









Something of a Maze



Gnarly Trees
I won’t go into too much detail about the trees. Still, I would highly recommend taking a look at Ddevos’ excellent Creepy Forest project, where they cover this and also link to a video tutorial that they found on YouTube.
Pipe cleaners are a good resource for making really gnarly-looking trees, which is what I am after.
For those of you who don’t want to follow the link to their awesome project, I will quickly gloss over it here.
Basically, get yourself a bunch of pipe cleaners. I prefer black ones, as if any paint comes off, it will just look like shadows. Twist them all together, gradually making smaller groups as you progress up the main trunk.
It is the same principle as wire armature trees. The main difference is that the fluff around the pipe cleaners can be heated up to create some nice twisted-looking bark, and it adds some girth to the trees.
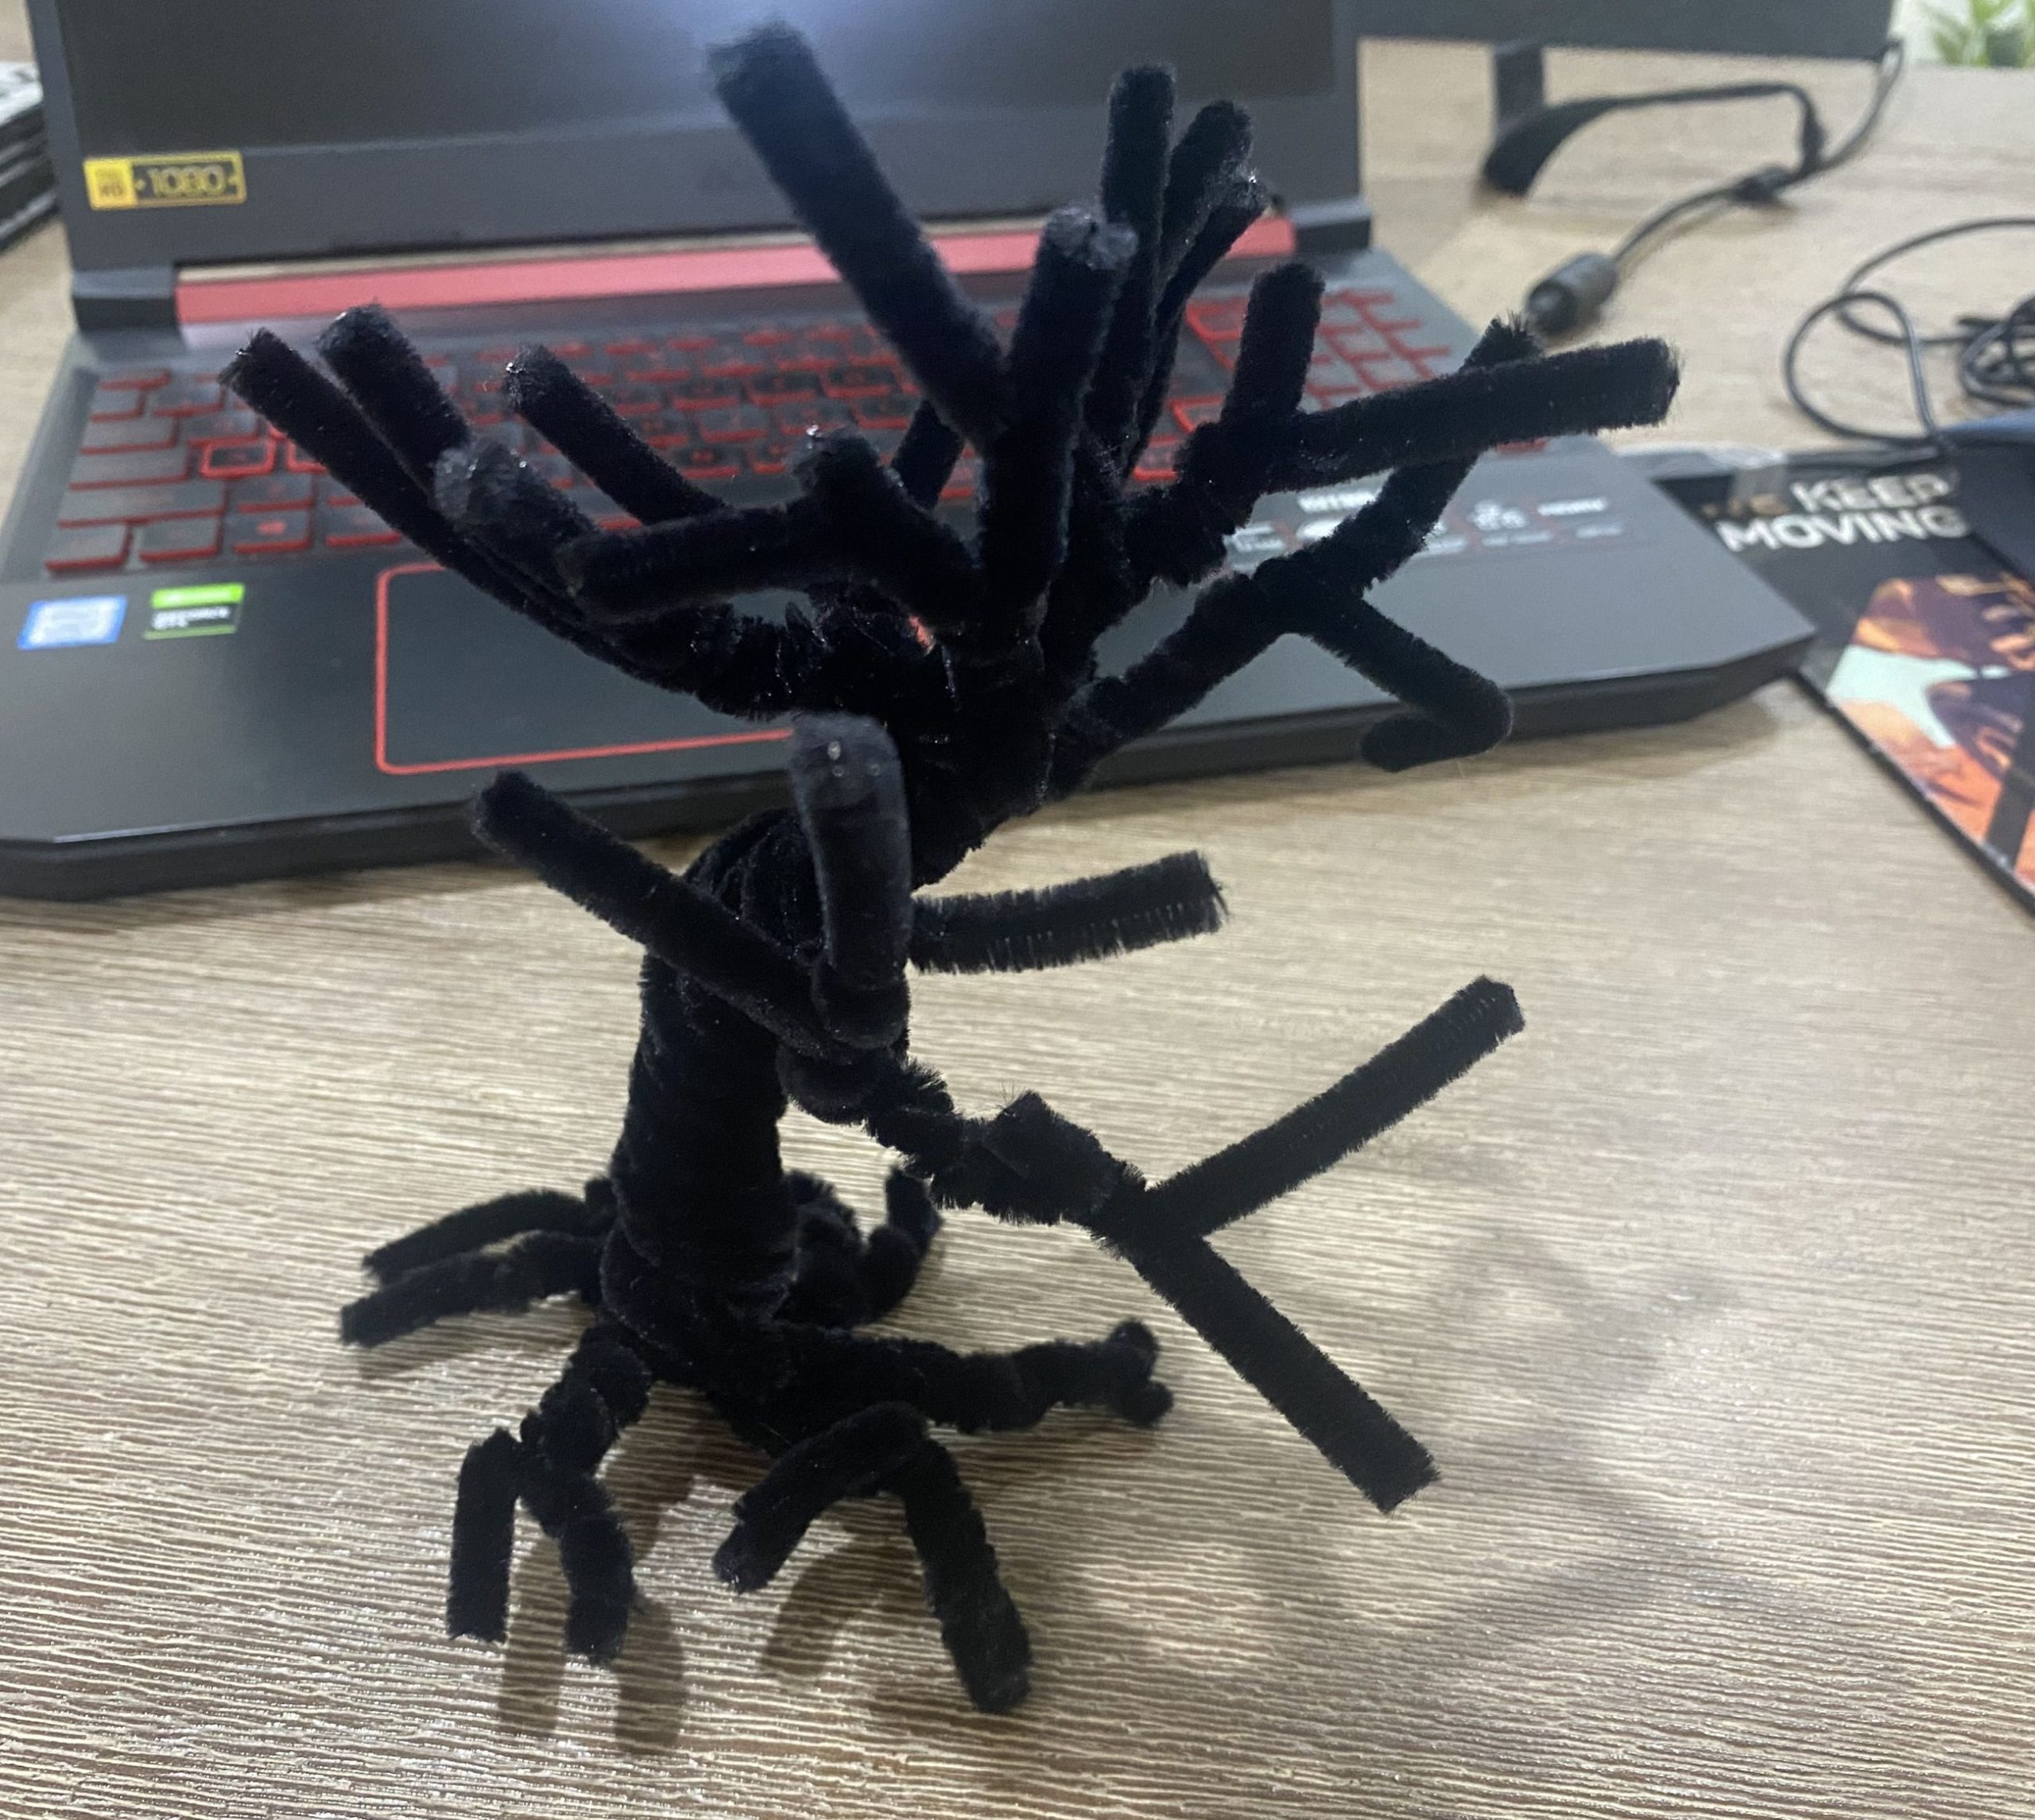
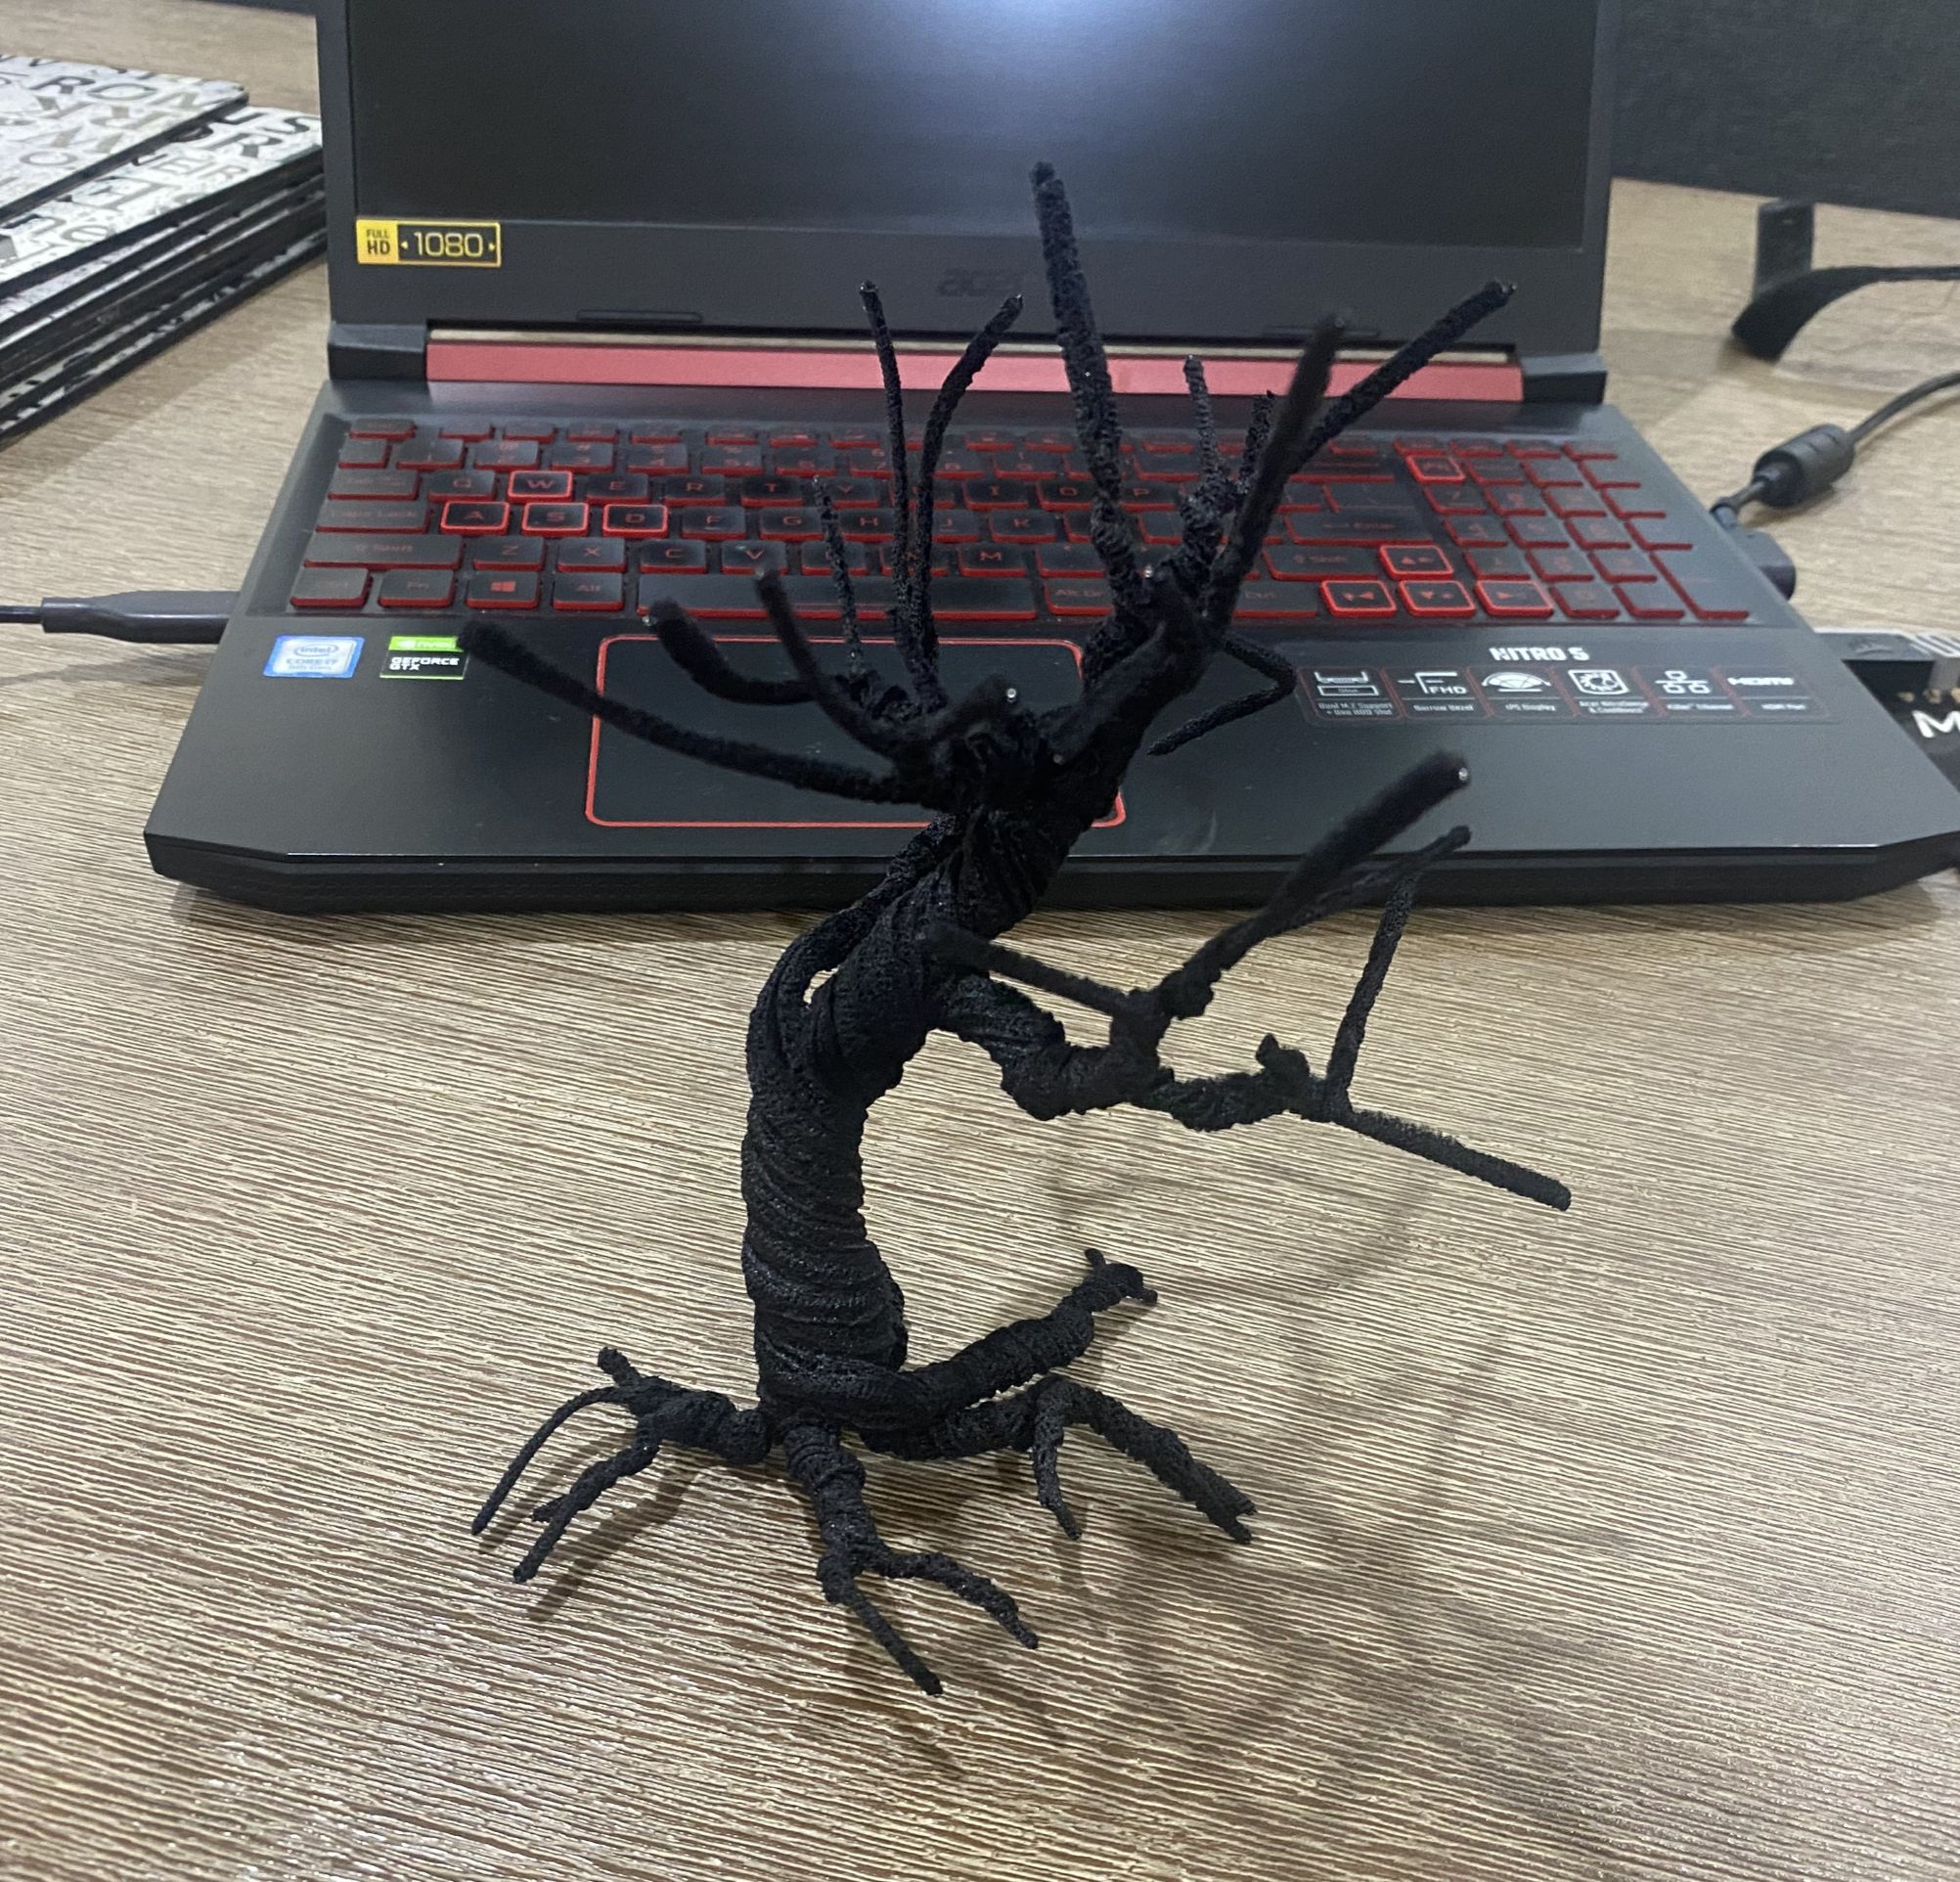
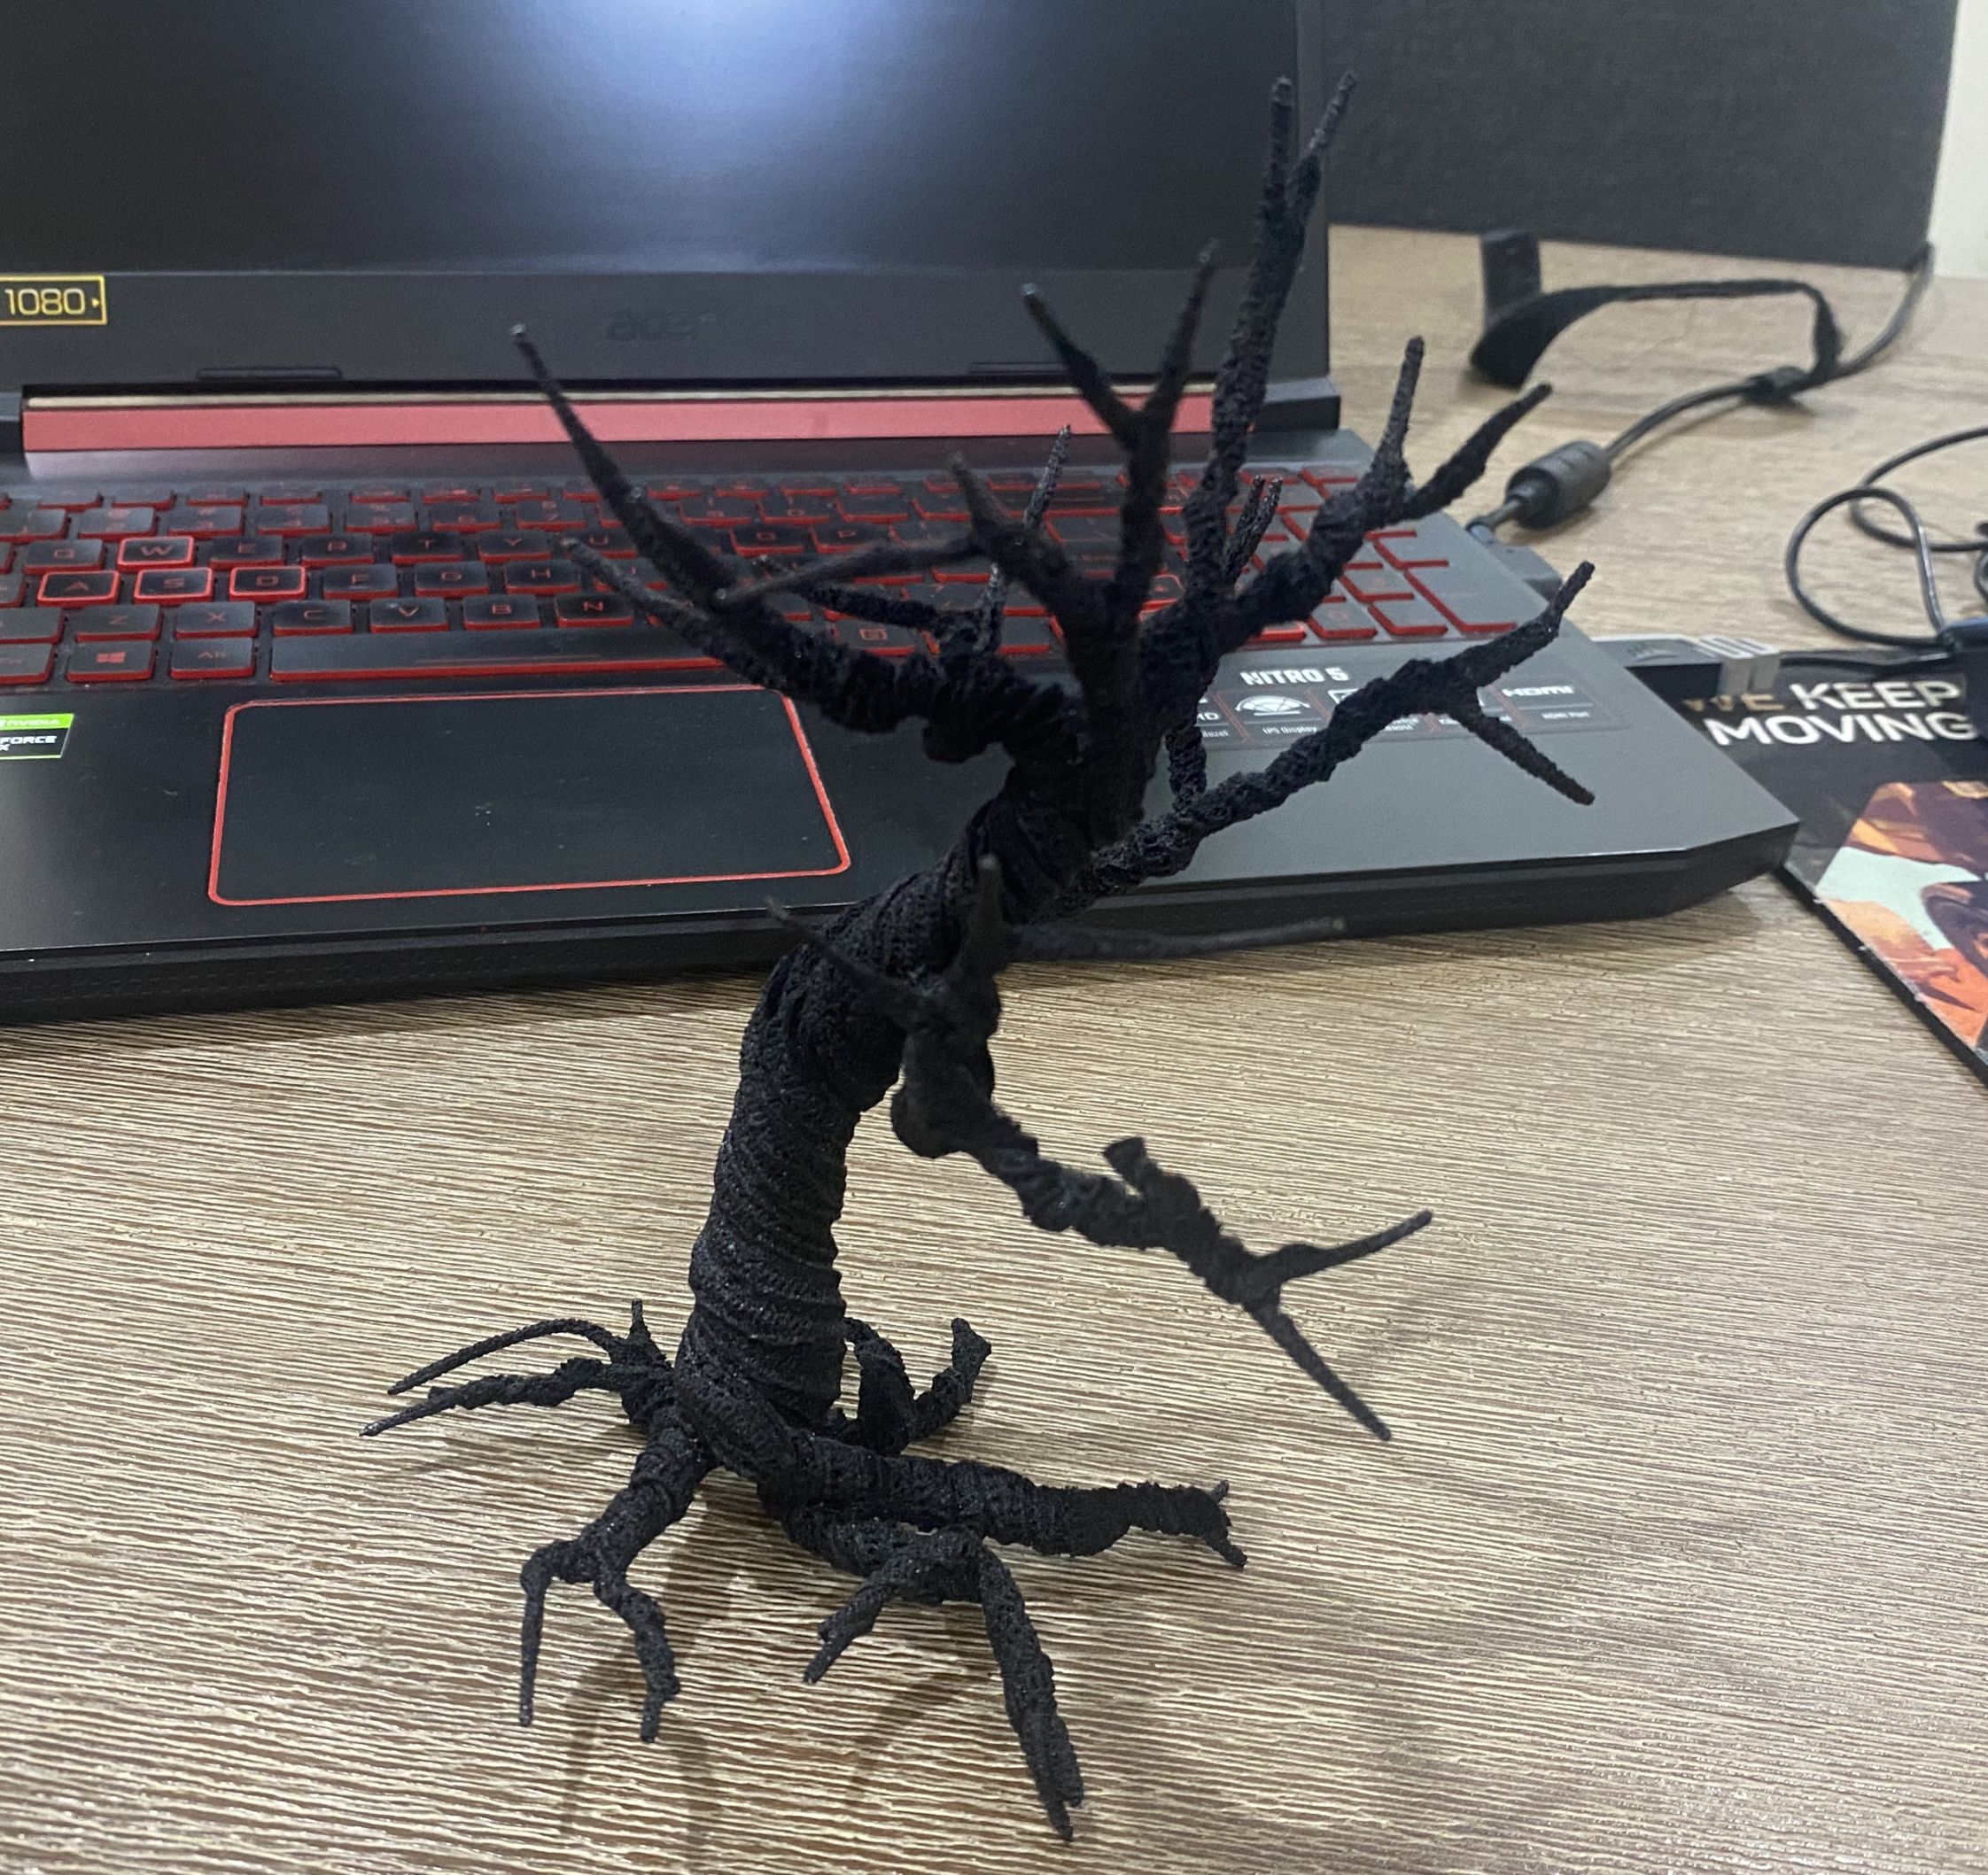
The more heat you apply, the tighter the fluff gets. This is helpful as it allows you to taper the ends of branches to create nice claw-like ends.
To do this, I initially used a heat gun. This is an extremely quick process and the ideal tool if you are doing a whole load of these.
After that, just use snips to cut the branches down to the required length.
Finally, I used a naked flame to heat the ends of the branches to create a nice tapering and give an impression of claws.
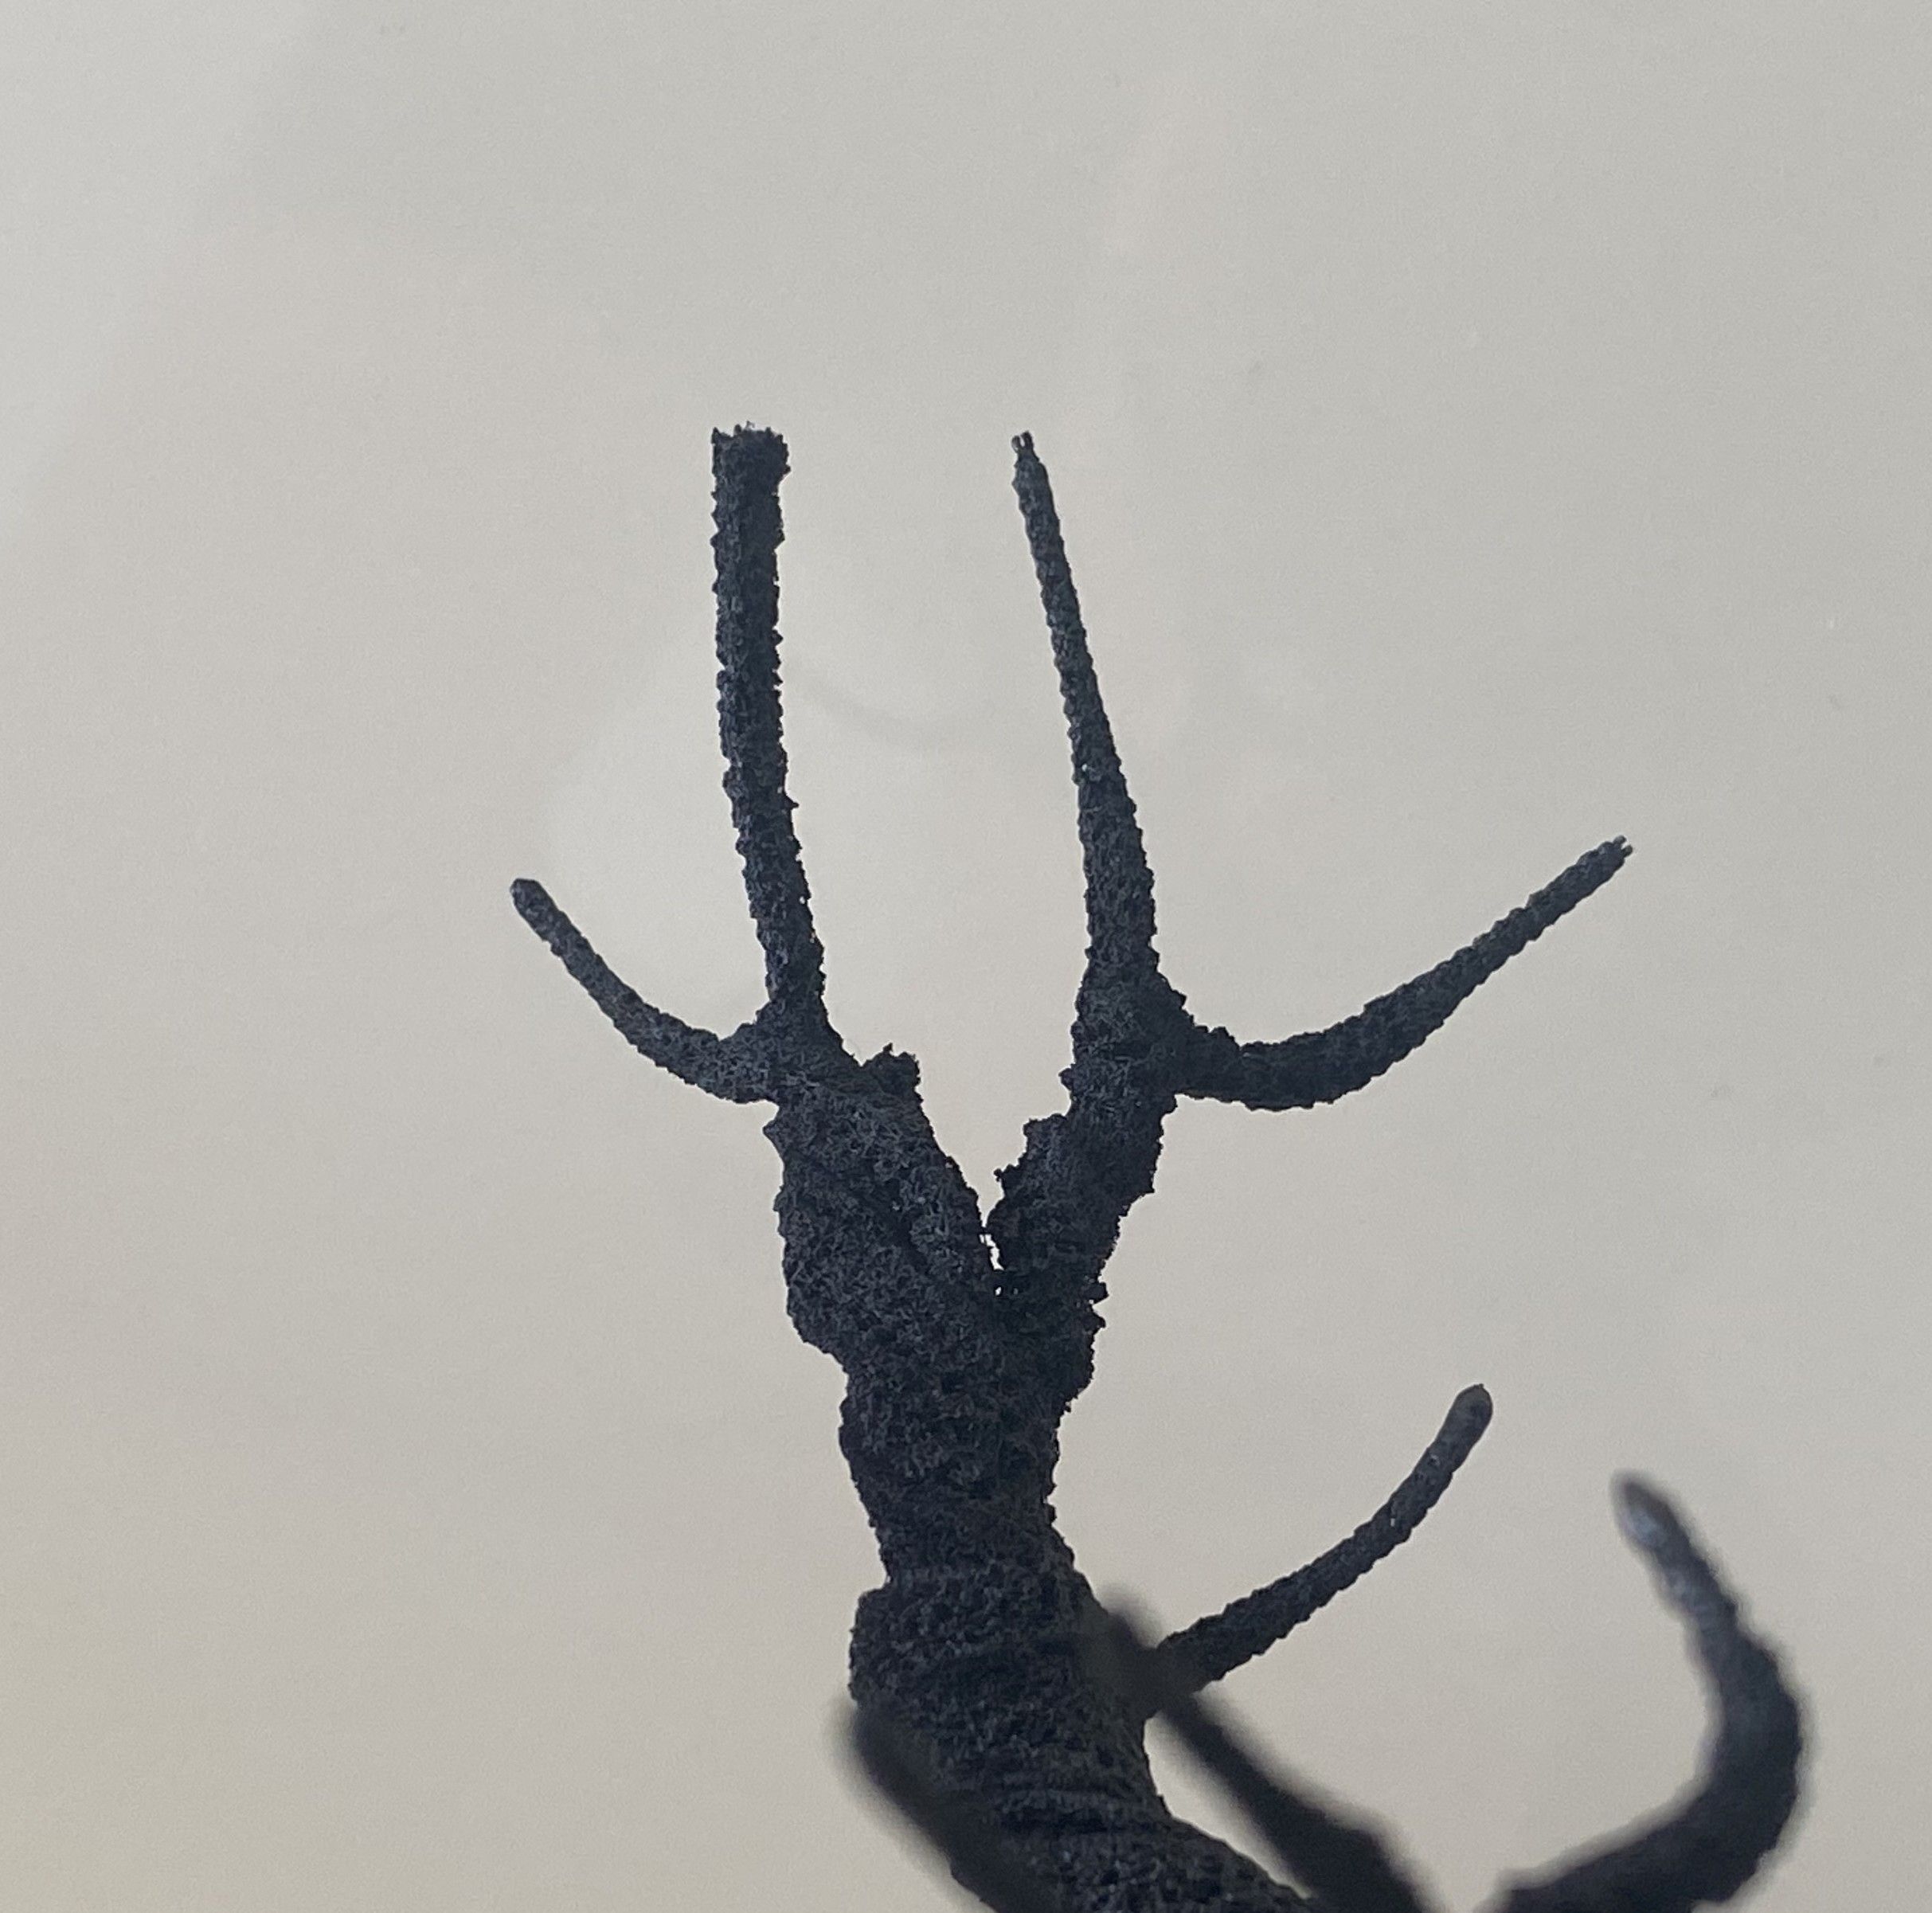 A comparison between a branch with just the heat gun and one which has been finished off with a naked flame.
Now, the number of branches that you end up with depends on how many pipe cleaners you use. This is not a problem if you want quite thin-trunked trees, but it can mean that smaller, thinner trees can look a little sparse when it comes to branches.
To get around this, you can loop the ends of the branches and then twist them back onto the main branch.
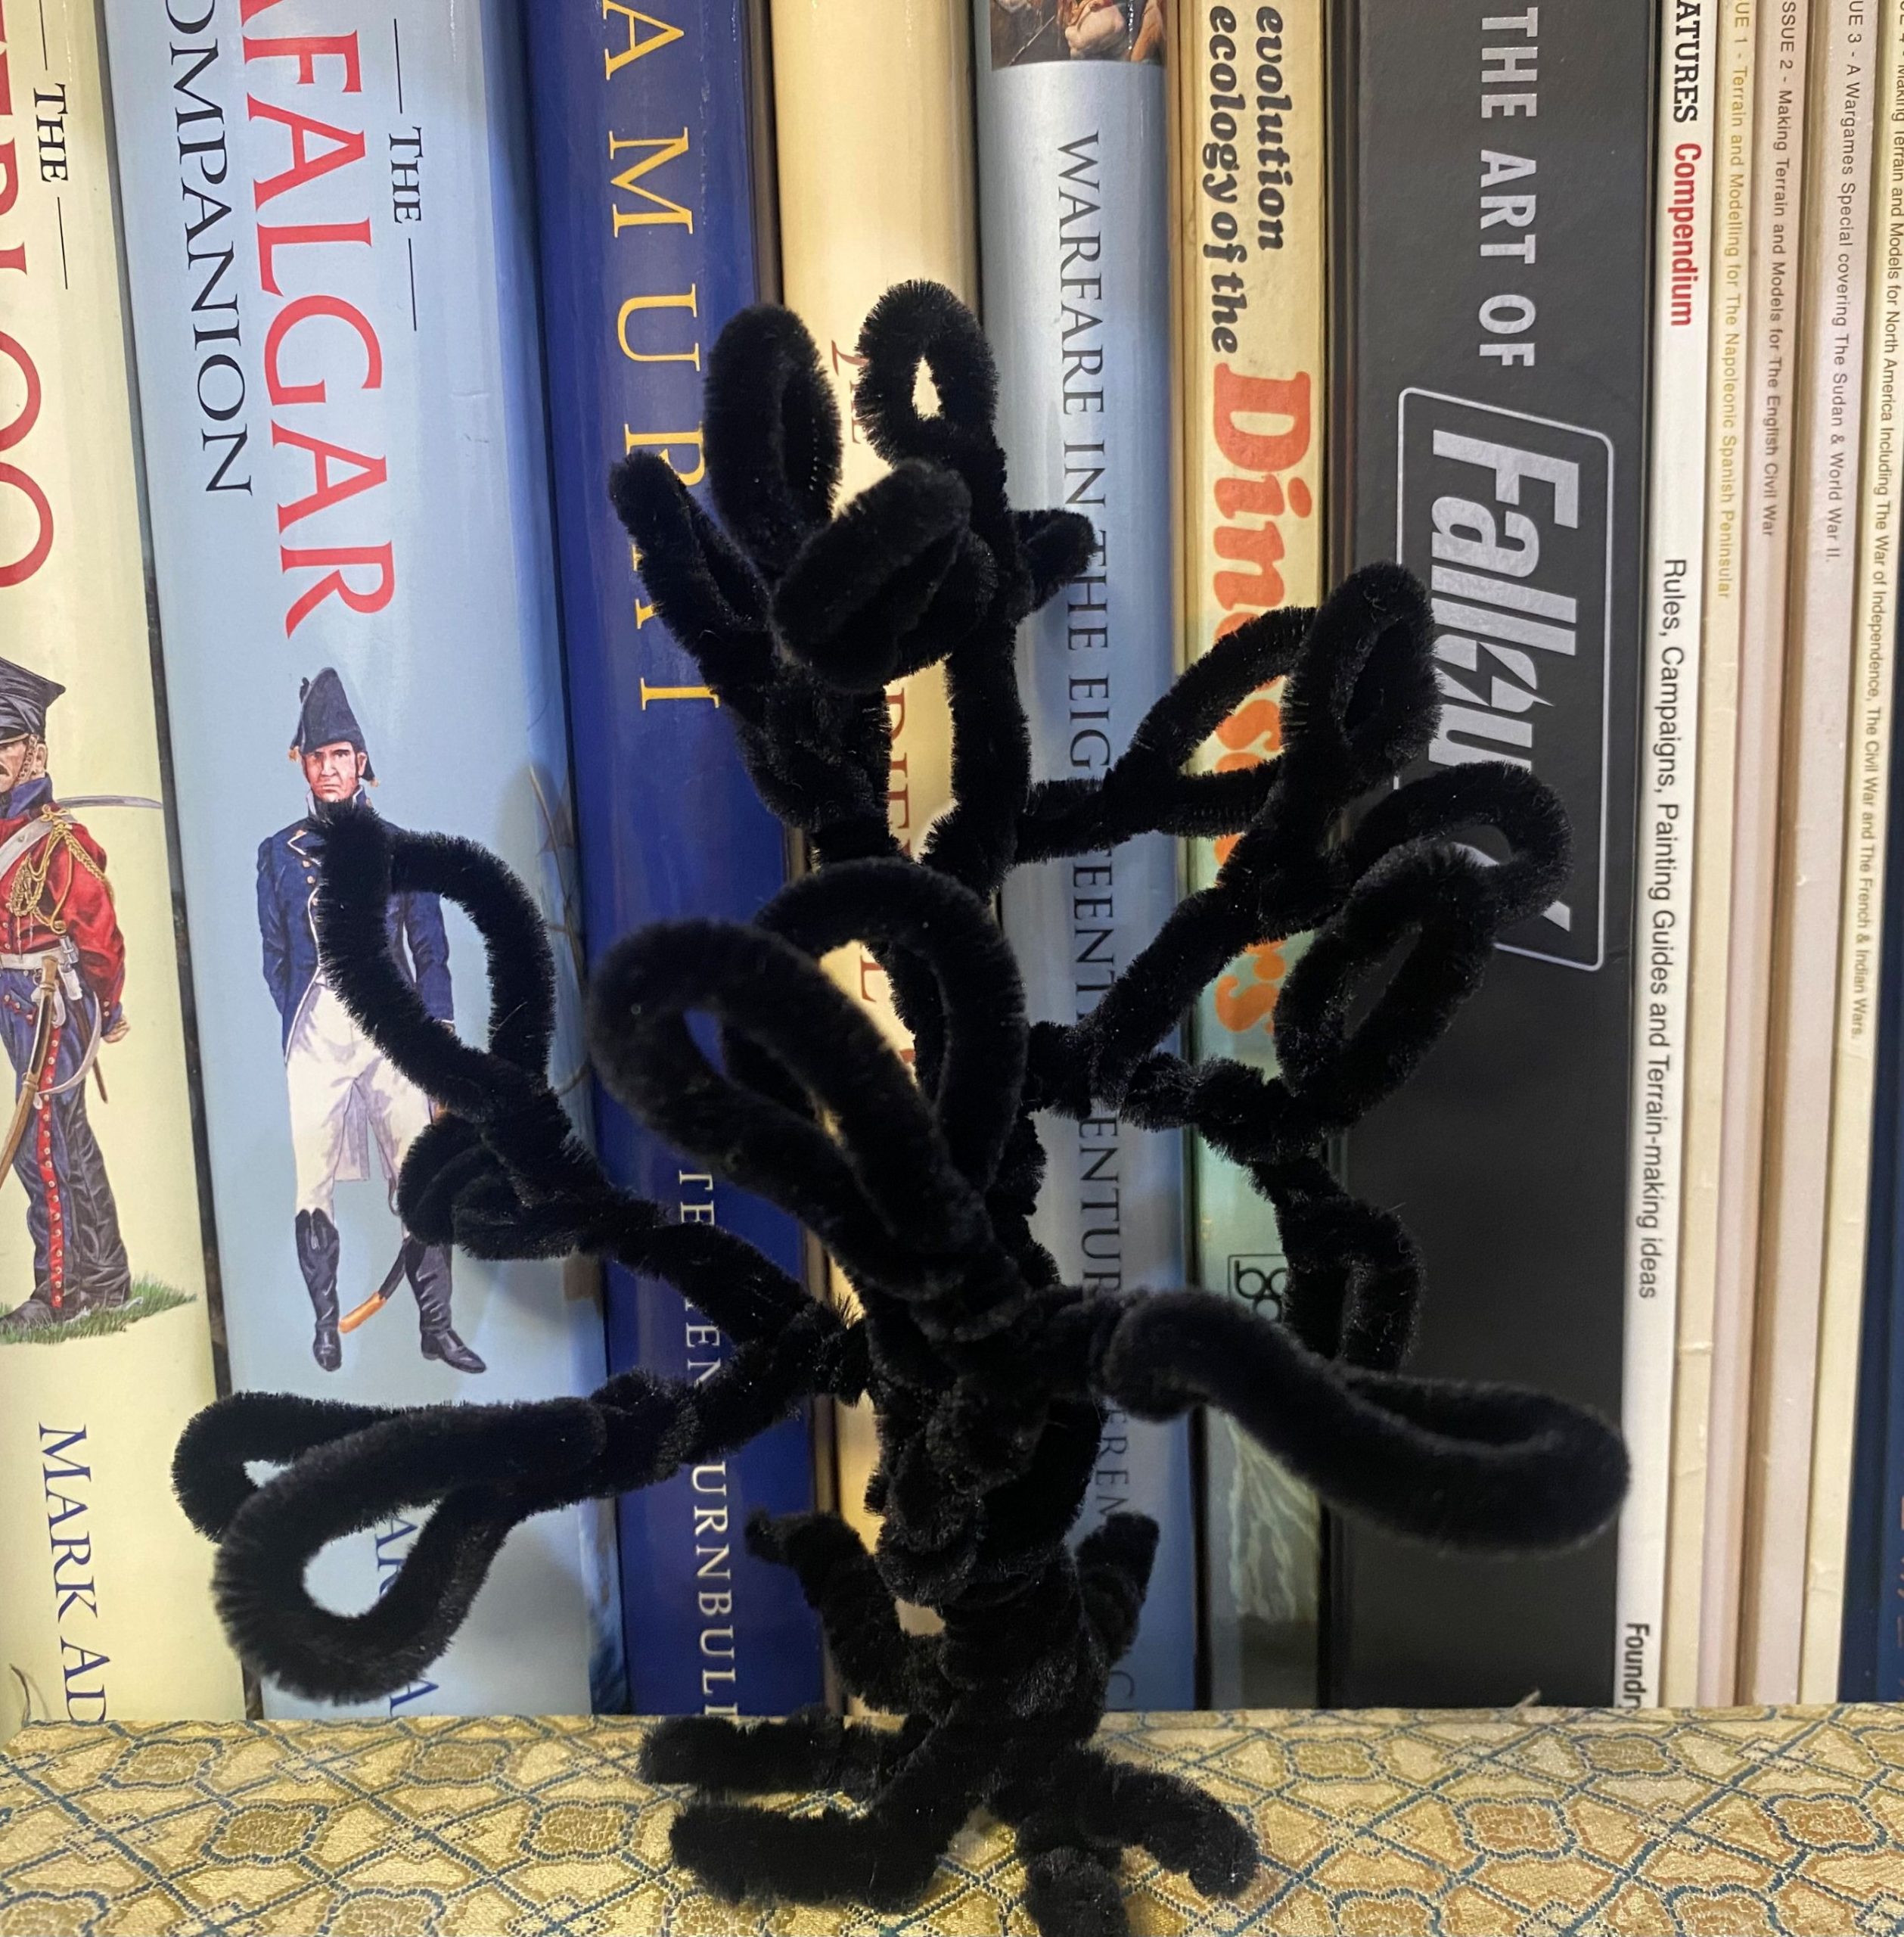
Clearly, it looks ridiculous at the moment. The next thing to do is to snip each loop, effectively creating two separate branches.
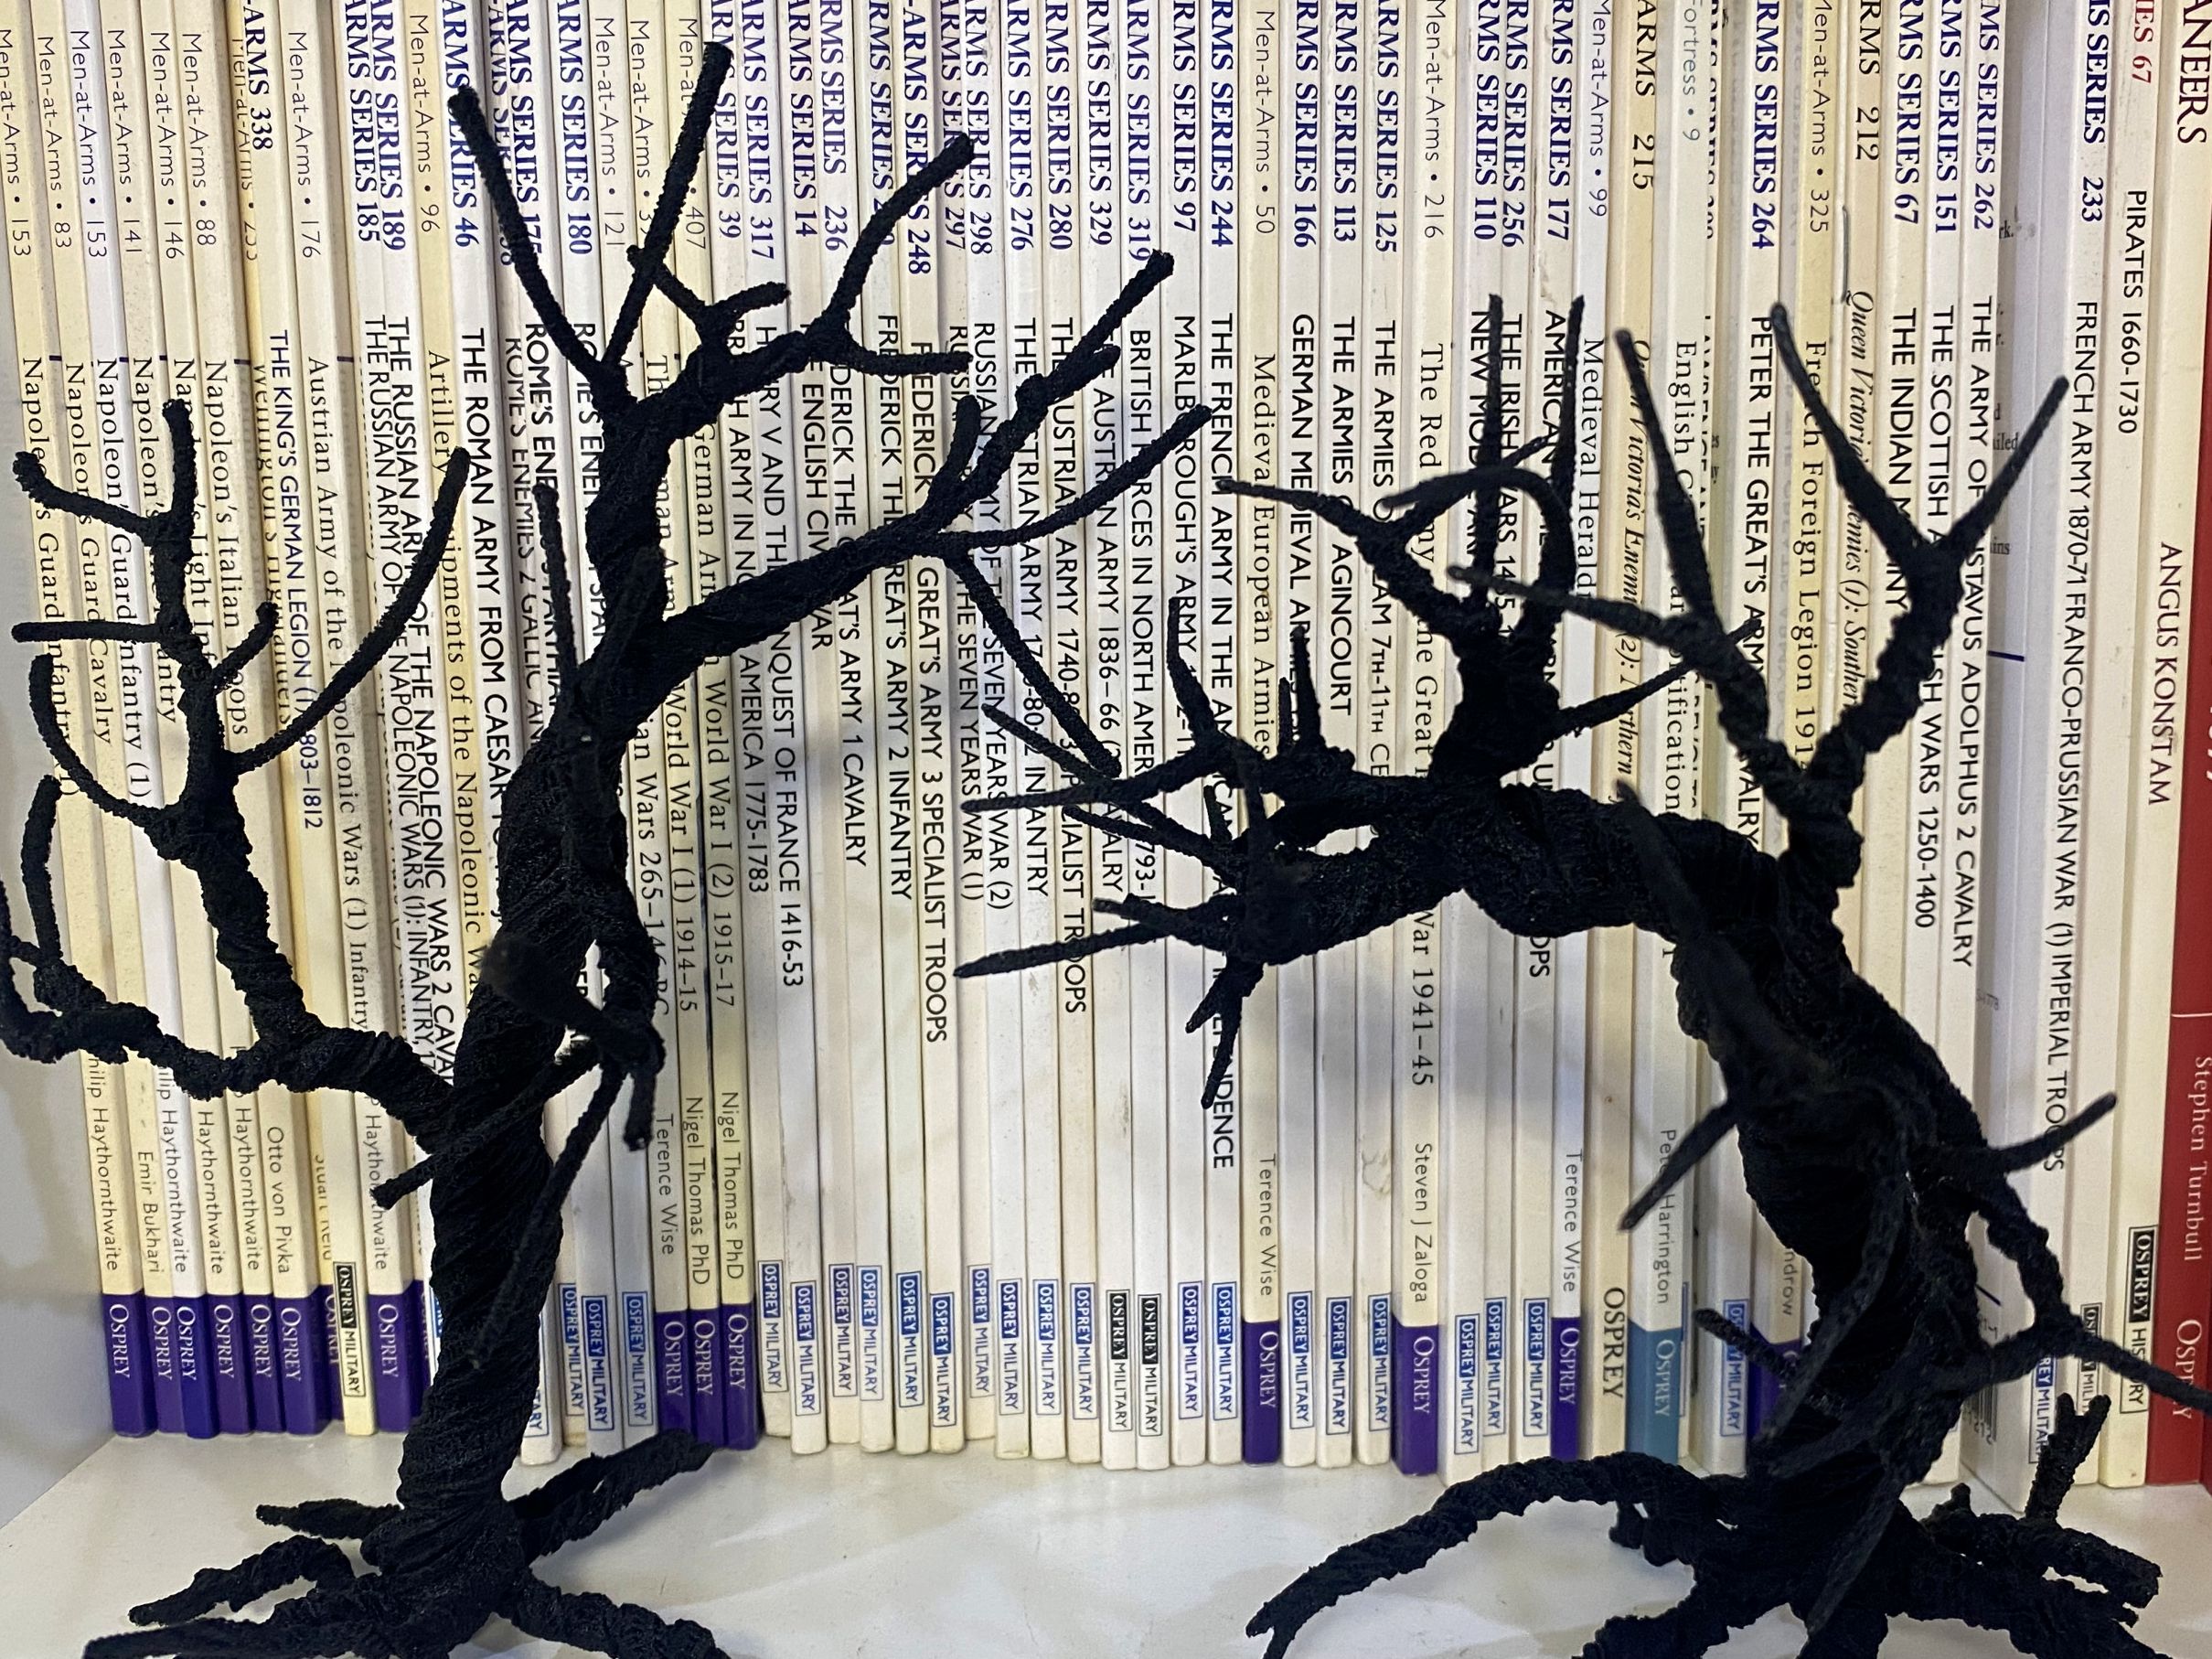 Another example of a tree with and without the ends finished off with a naked flame.
The next part of the process is to create the bark for the tree and then to paint it and add detailing. I will cover those steps later in this project.