







ANZACS and the return of 'Them', ( & Cthulu Kong, Goldylocks etc!))



Something old, a tale of highs and some very lows.
This part of project started as many often do late at night whilst watching it rain somewhere in Korea, in order to get Brain to switch off for sleep.
In this case I remembered that somewhere I had a plastic kit for a 1/48th Challenger tank. I had a quick look but couldn’t find it but did find a 1/48th Apache Kit, which had been brought for an Earlier Modern Afghanistan project. This of course reminded me of the Airfix 1/48th lynx Helicopter, which I brought as part of mulibox with Landrover for same project.
Next day I was able to find the Challenger, so these could all be added to building and painting schedule.
This started well the Challenger was one of those motorised ones, although I had no plans to run it has one, I had to put together the gearing for the front and rear drives. This was much easier than I thought and the whole model.went together easily. Now it probably isn’t the most accurate kit, plus the box said Challenger 2 but pretty sure it’s a 1 , but it looks OK and the only person likely to notice is John
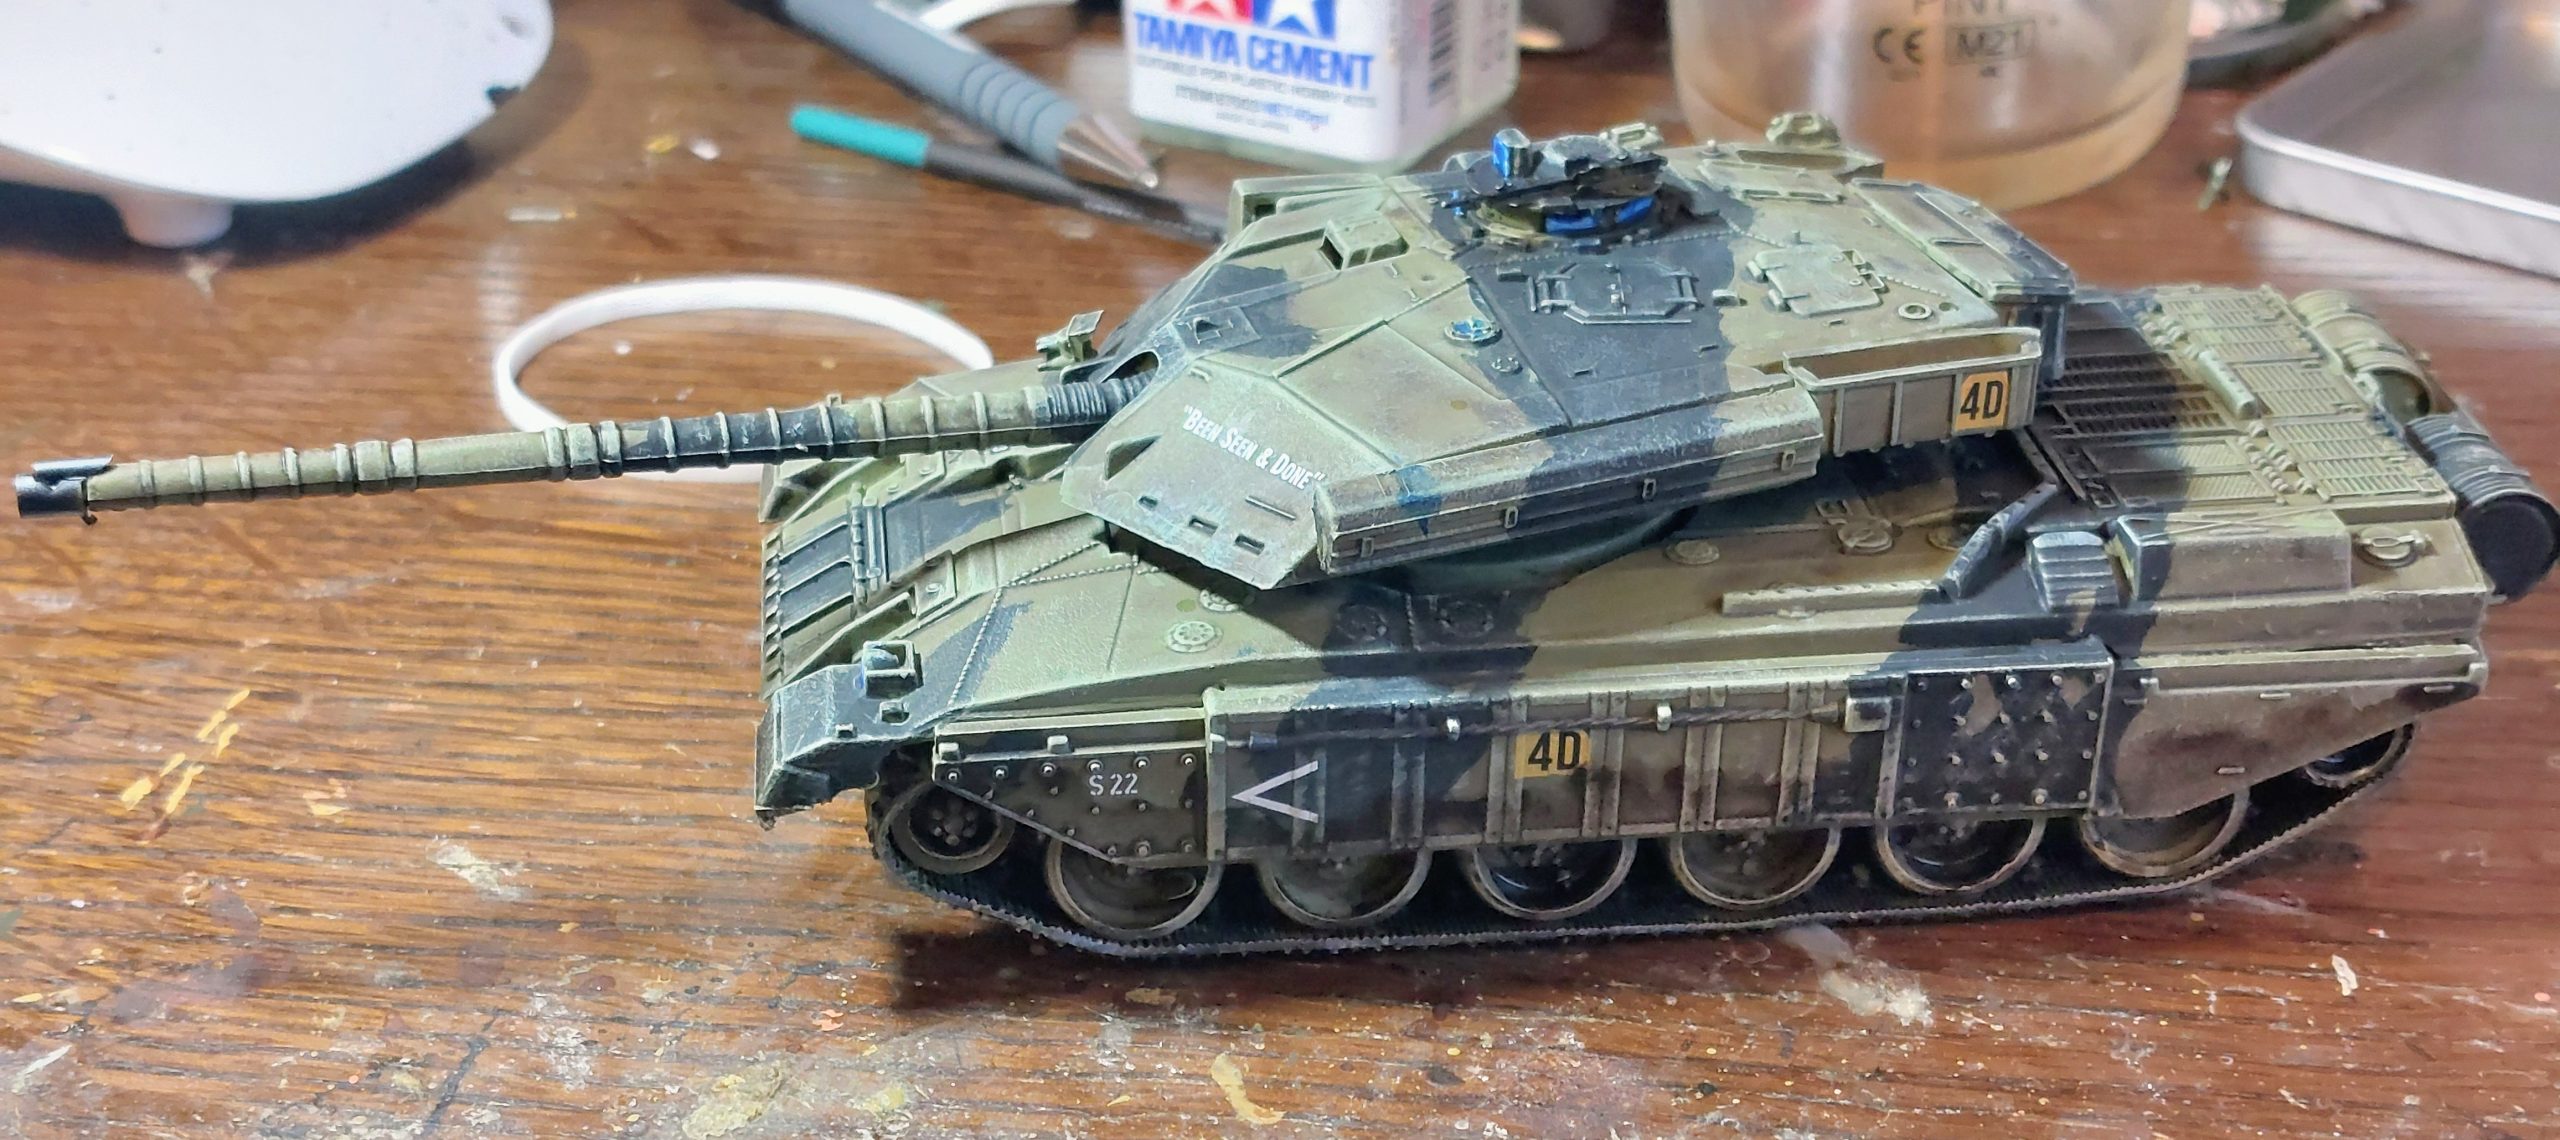
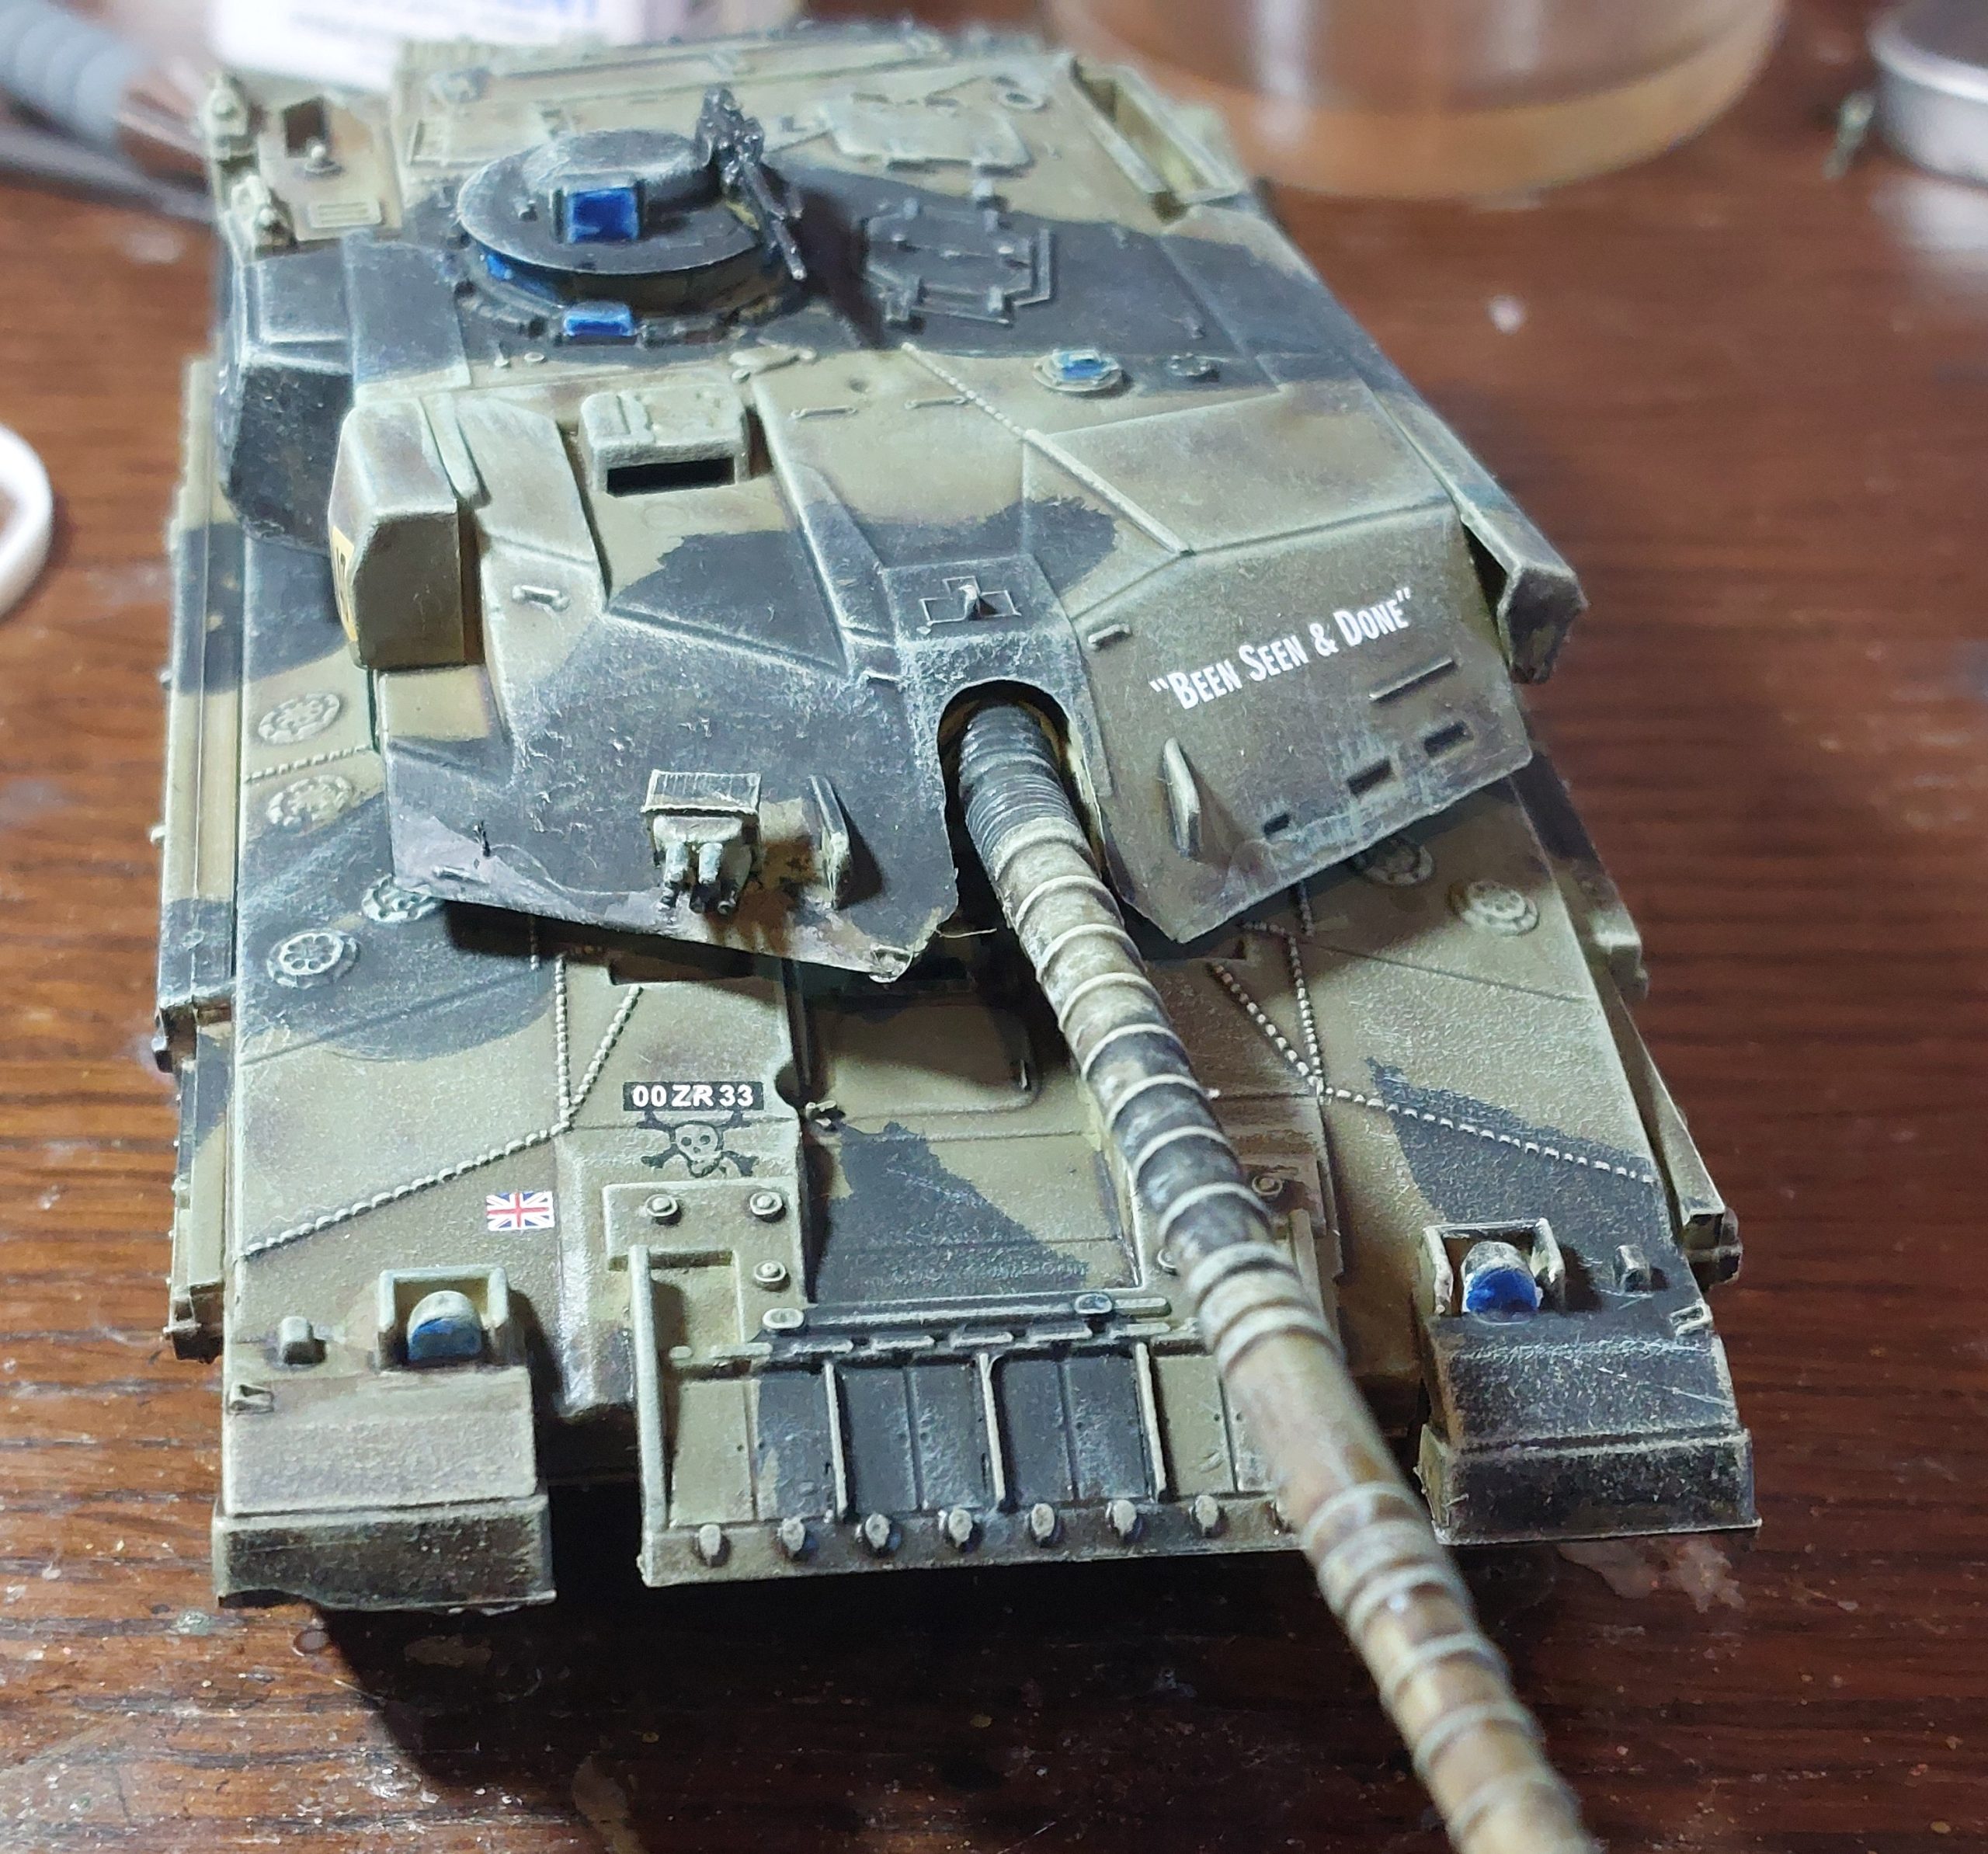
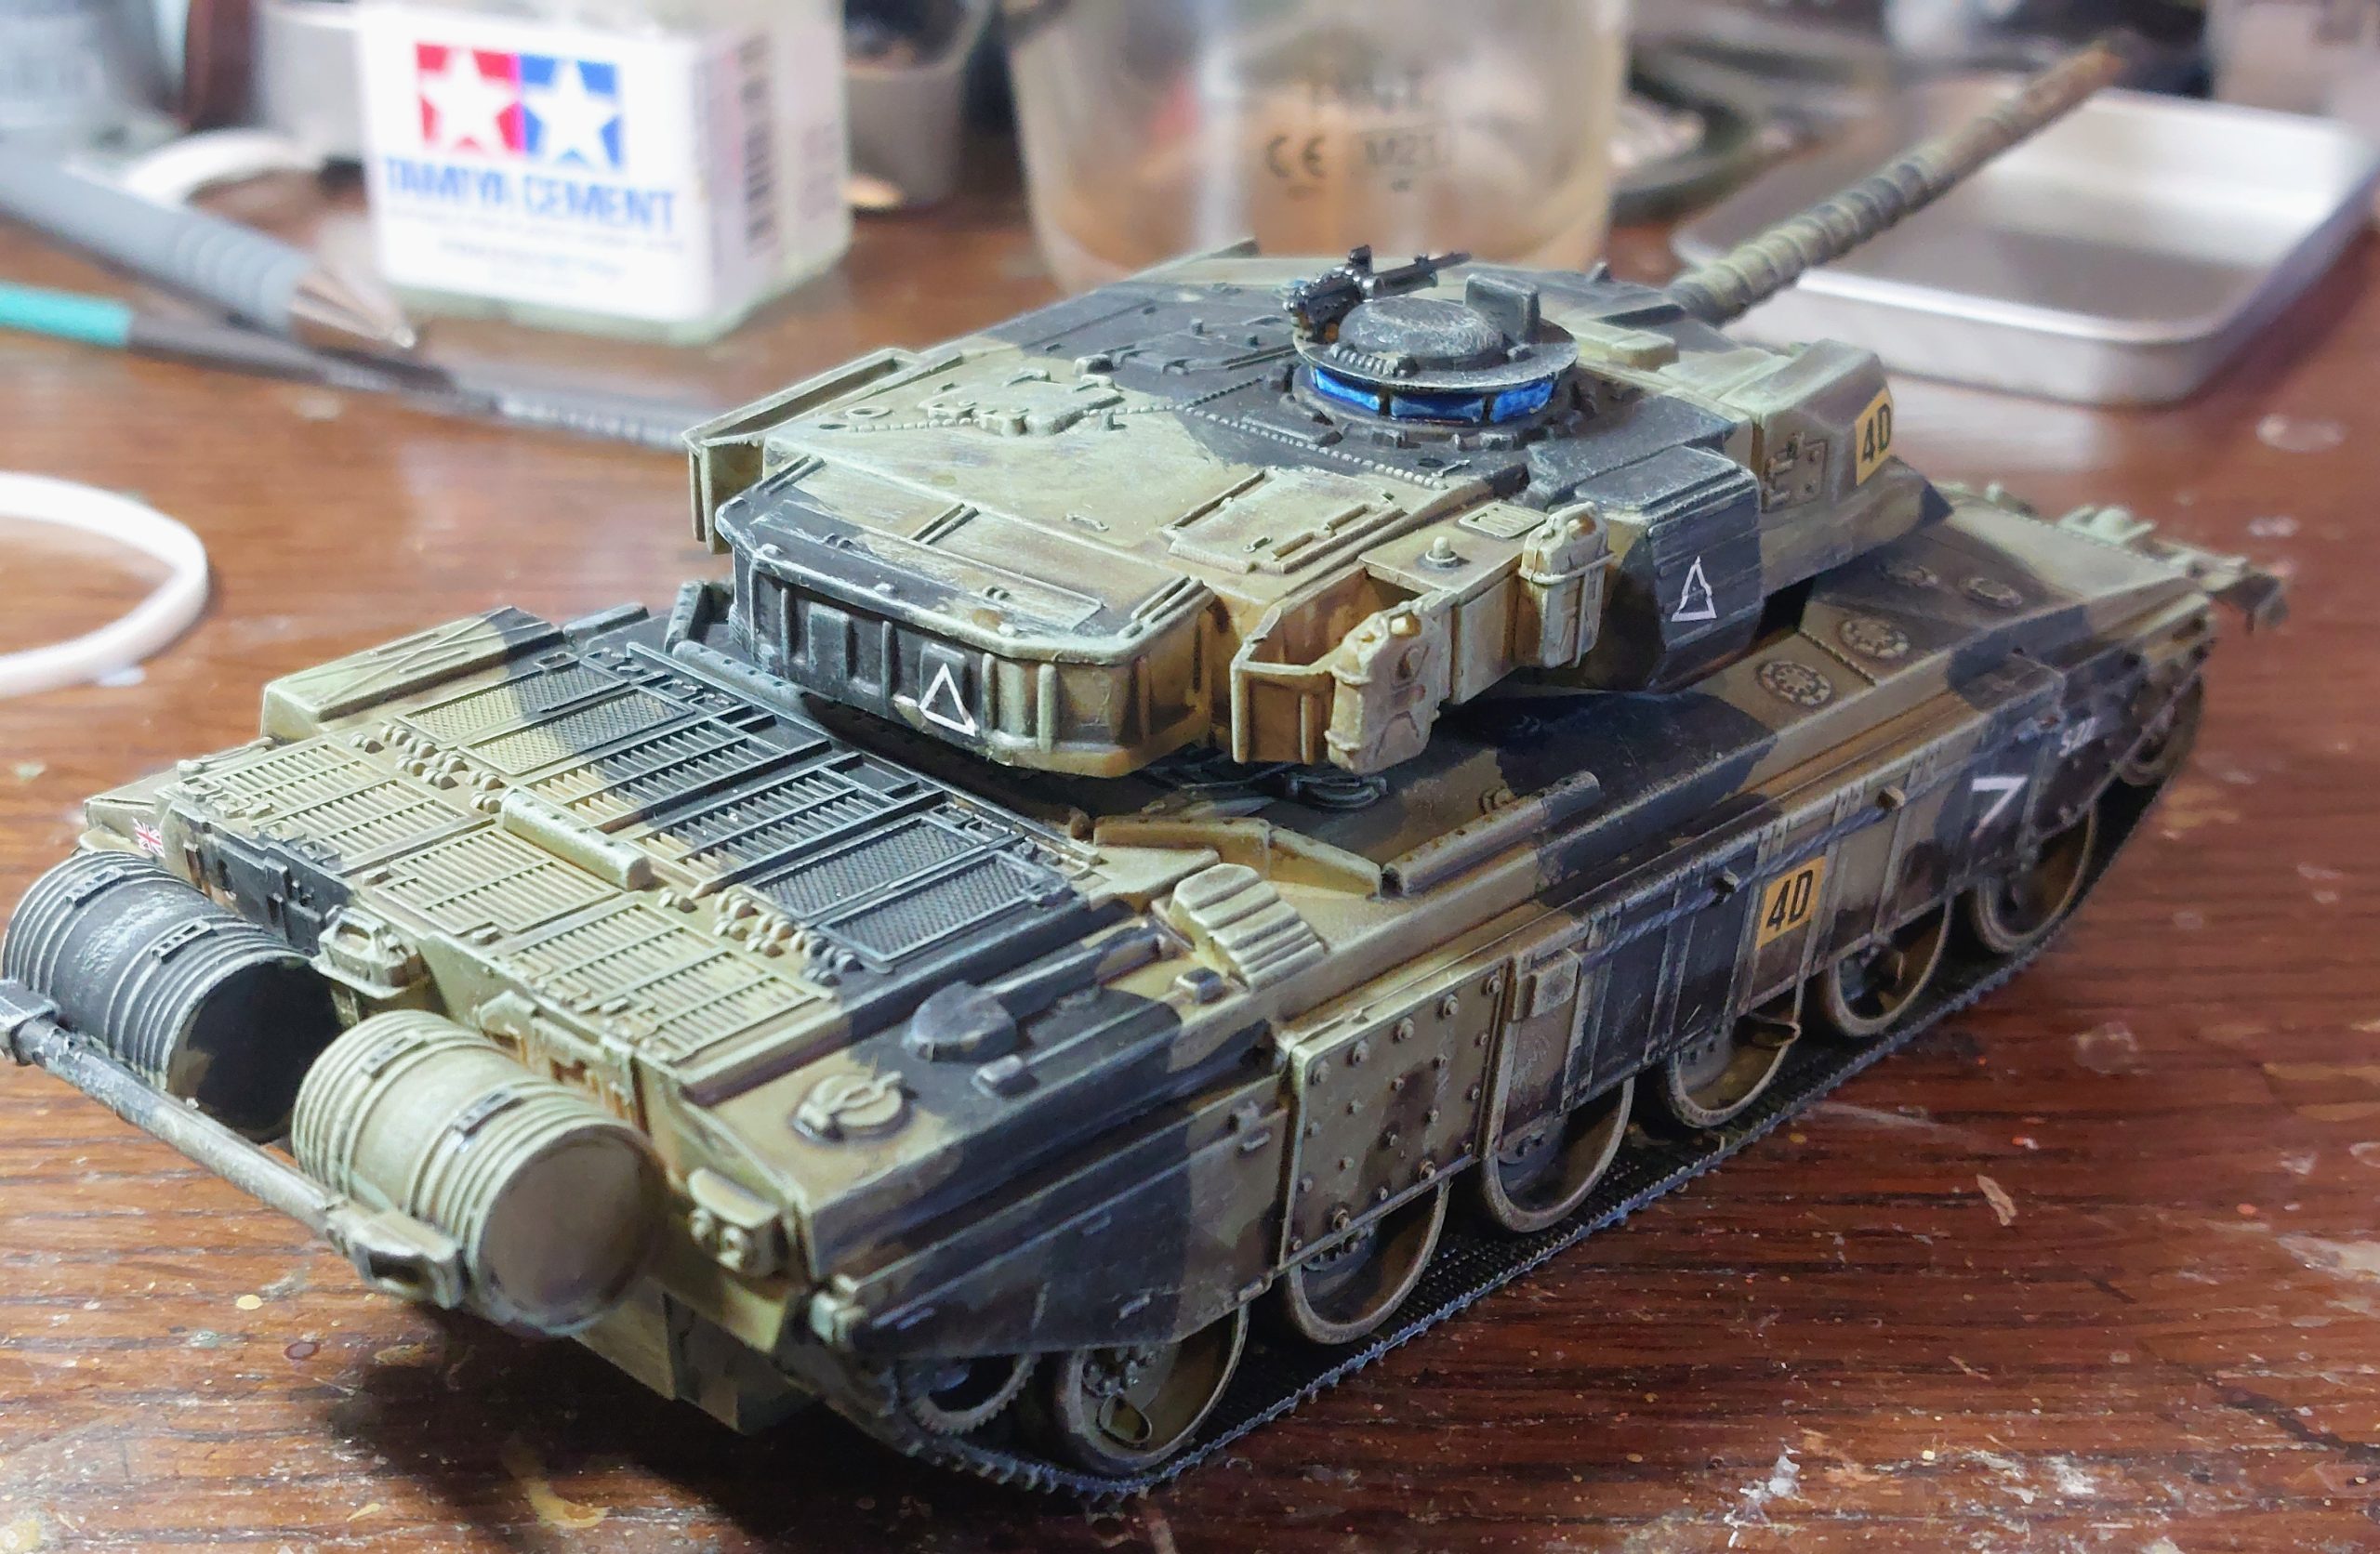
The vehicle is as fictional as the game setting with the Decals representing a mix of vehicle markings pretty much what took my fancy..
Luckily that was a decision I would need for next 2 parts of project.
At the start of the project I mentioned for the Vietnam era I had brought pre painted corgi die cast Helicopters which were still just available at reasonable prices , mainly as they were built and painted, including interiors which I wanted to avoid , I should have listened!!
I had begun to succumb and look at modern Helicopters avail in 1/48th for possible inclusion, including a massive Chinnock, and wisely decided to try with the models I had before considering more. It was a wise decision.
Chances are had I brought some, they would have just gone in pile to do gathering dust, which was part of the problem.
In reality it’s easier to use bottle tops , as they dont stay on games
table that long generally, are a pain to base but do look good.
Still I may have decided to leave well alone if not for the Lynx box which seemed to mock me everytime I walked past it.
Now it helped that I couldn’t find the build instructions which had got parted from box. But I found them online. I could have made life easier by making the Hog Version and just built exterior ,painted over the transparency’s and called it quits but, no I wanted Slick with Door gunners.
I Think these kits found my Achille heel on model.making, I’m crap at precision kits.
Now the Lynx was a very nice kit, no flash on moulding with very precise and fiddly parts. Each needed precisely fitting and careful removal of all mold lines and Sprue joints!!!!
2ndly it involves transparency for windows, which doesn’t work well with old glue fingers.
Anyway the Interior build went well and was sprayed with exterior a light grey, with odd bits of detail painte. But somewhere that I couldn’t find I hadn’t removed some slight lug and it was a pain to get it to sit together on main hull, relying on Elastic bands to hold whilst glue cured. Then there was a lot of fiddly and fine exterior detail parts, which broke not helped by the separate tail peice falling out everytime you grasped it. Therefore a lot of these bits got left off model simply for the reason if they broke getting them off spue or in fitting, they weren’t going to survive handling in a everage game.
Next if you want to spray paint model unless you want to.phaff with masking you need to spray before fixing windows etc. That is a skill beyond me, so windows were done post, and did I mention glue fingers!
Some 4 days of fairly intense hobbying later it was built, So I tried my painting skills to cover up errors, and think I weathered it to much…I’m used to Tanks
I won’t mention the method as its more a don’t than do, and you can make your own damn mistakes assuming you mad enough to try.
Only tip.I will give Blue contrast paint on windows does hide most of my glue finger!.
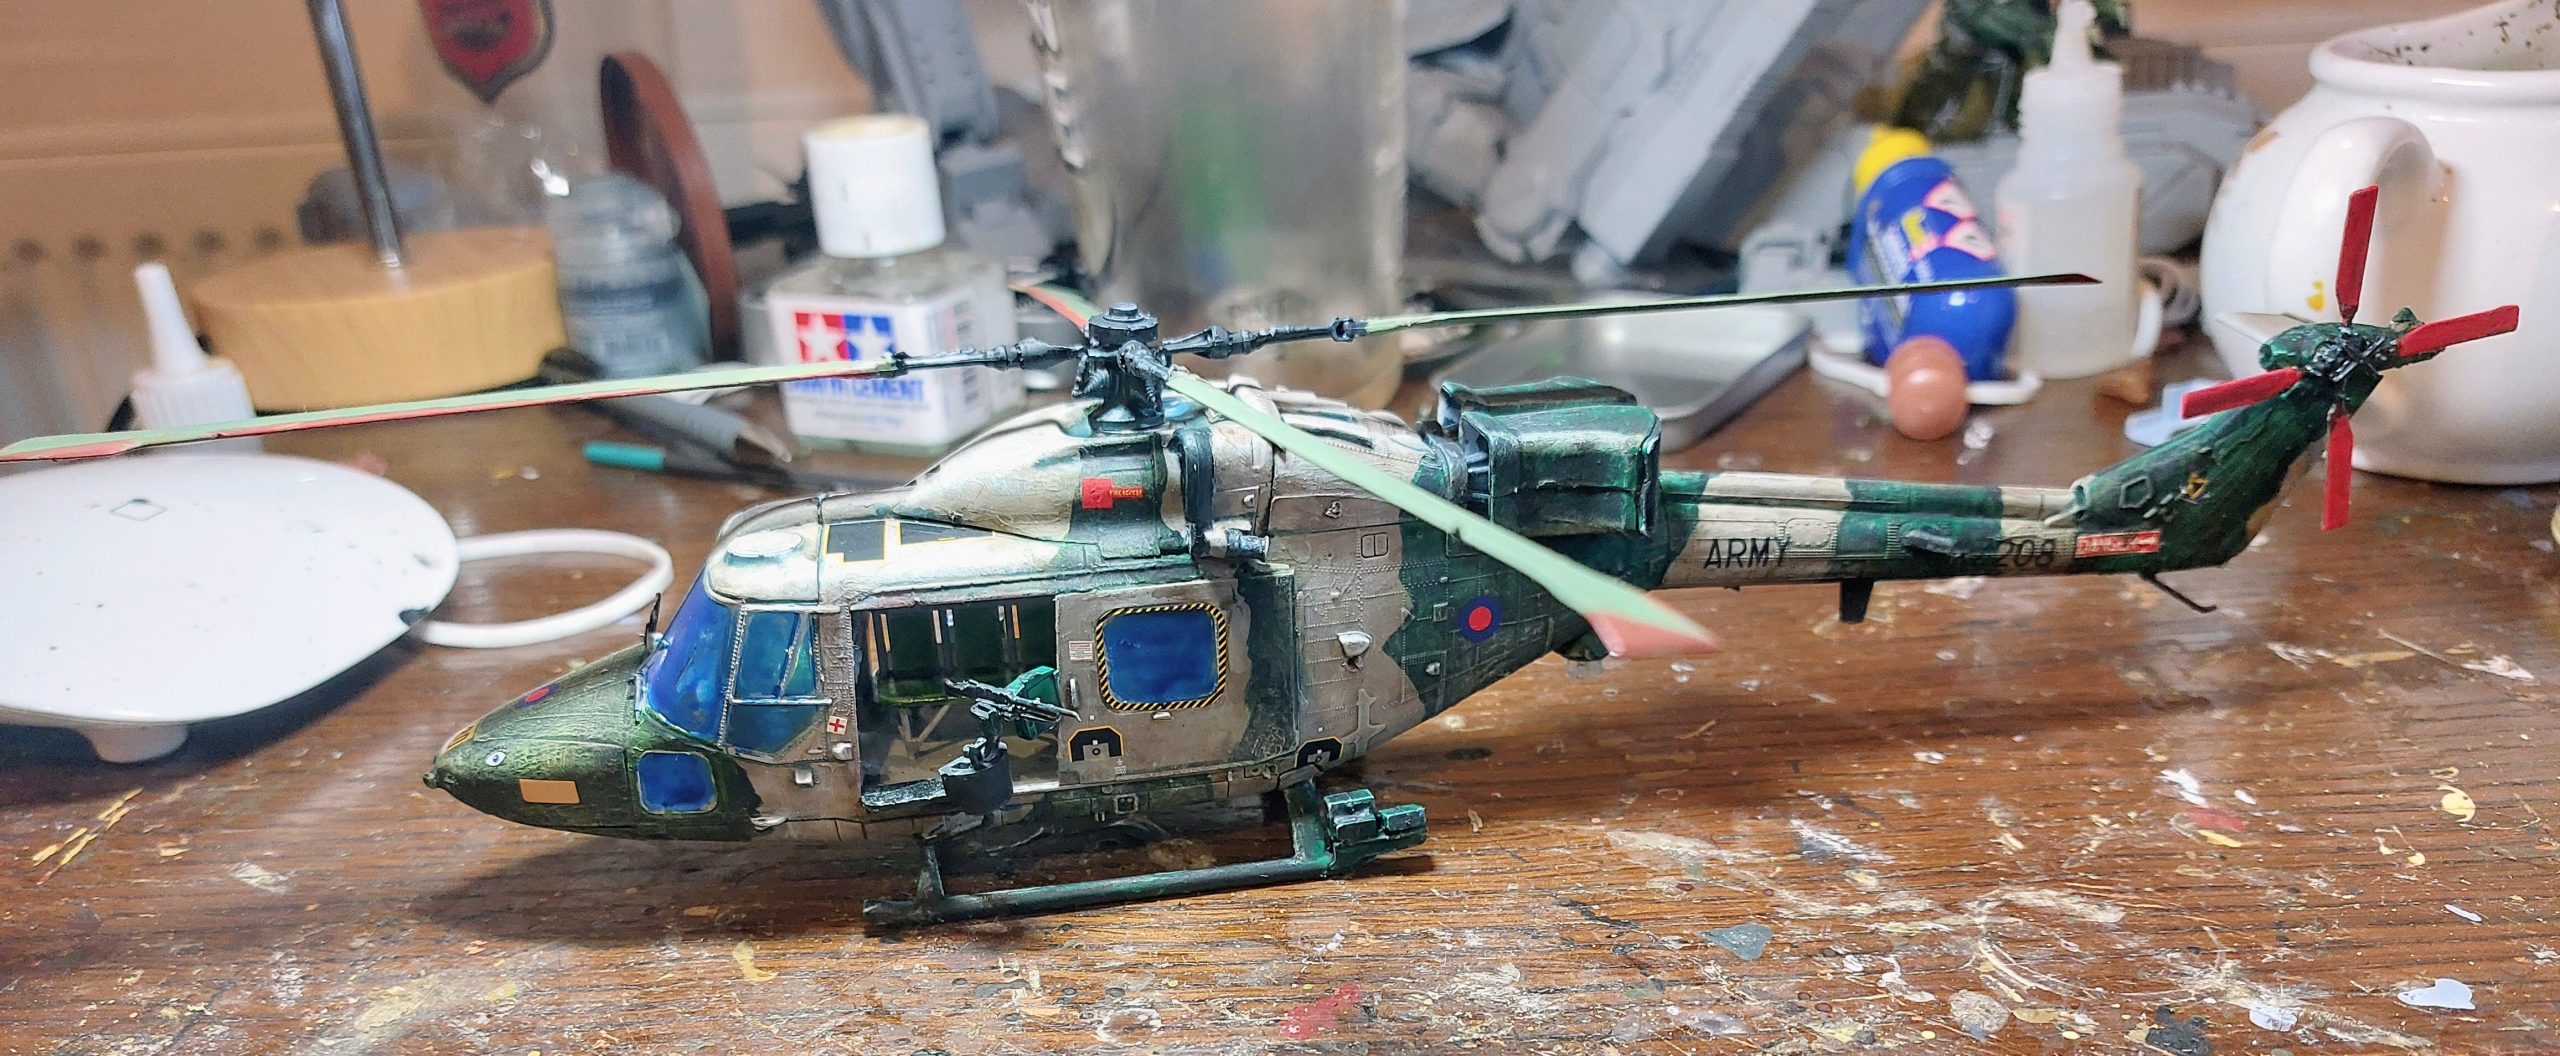
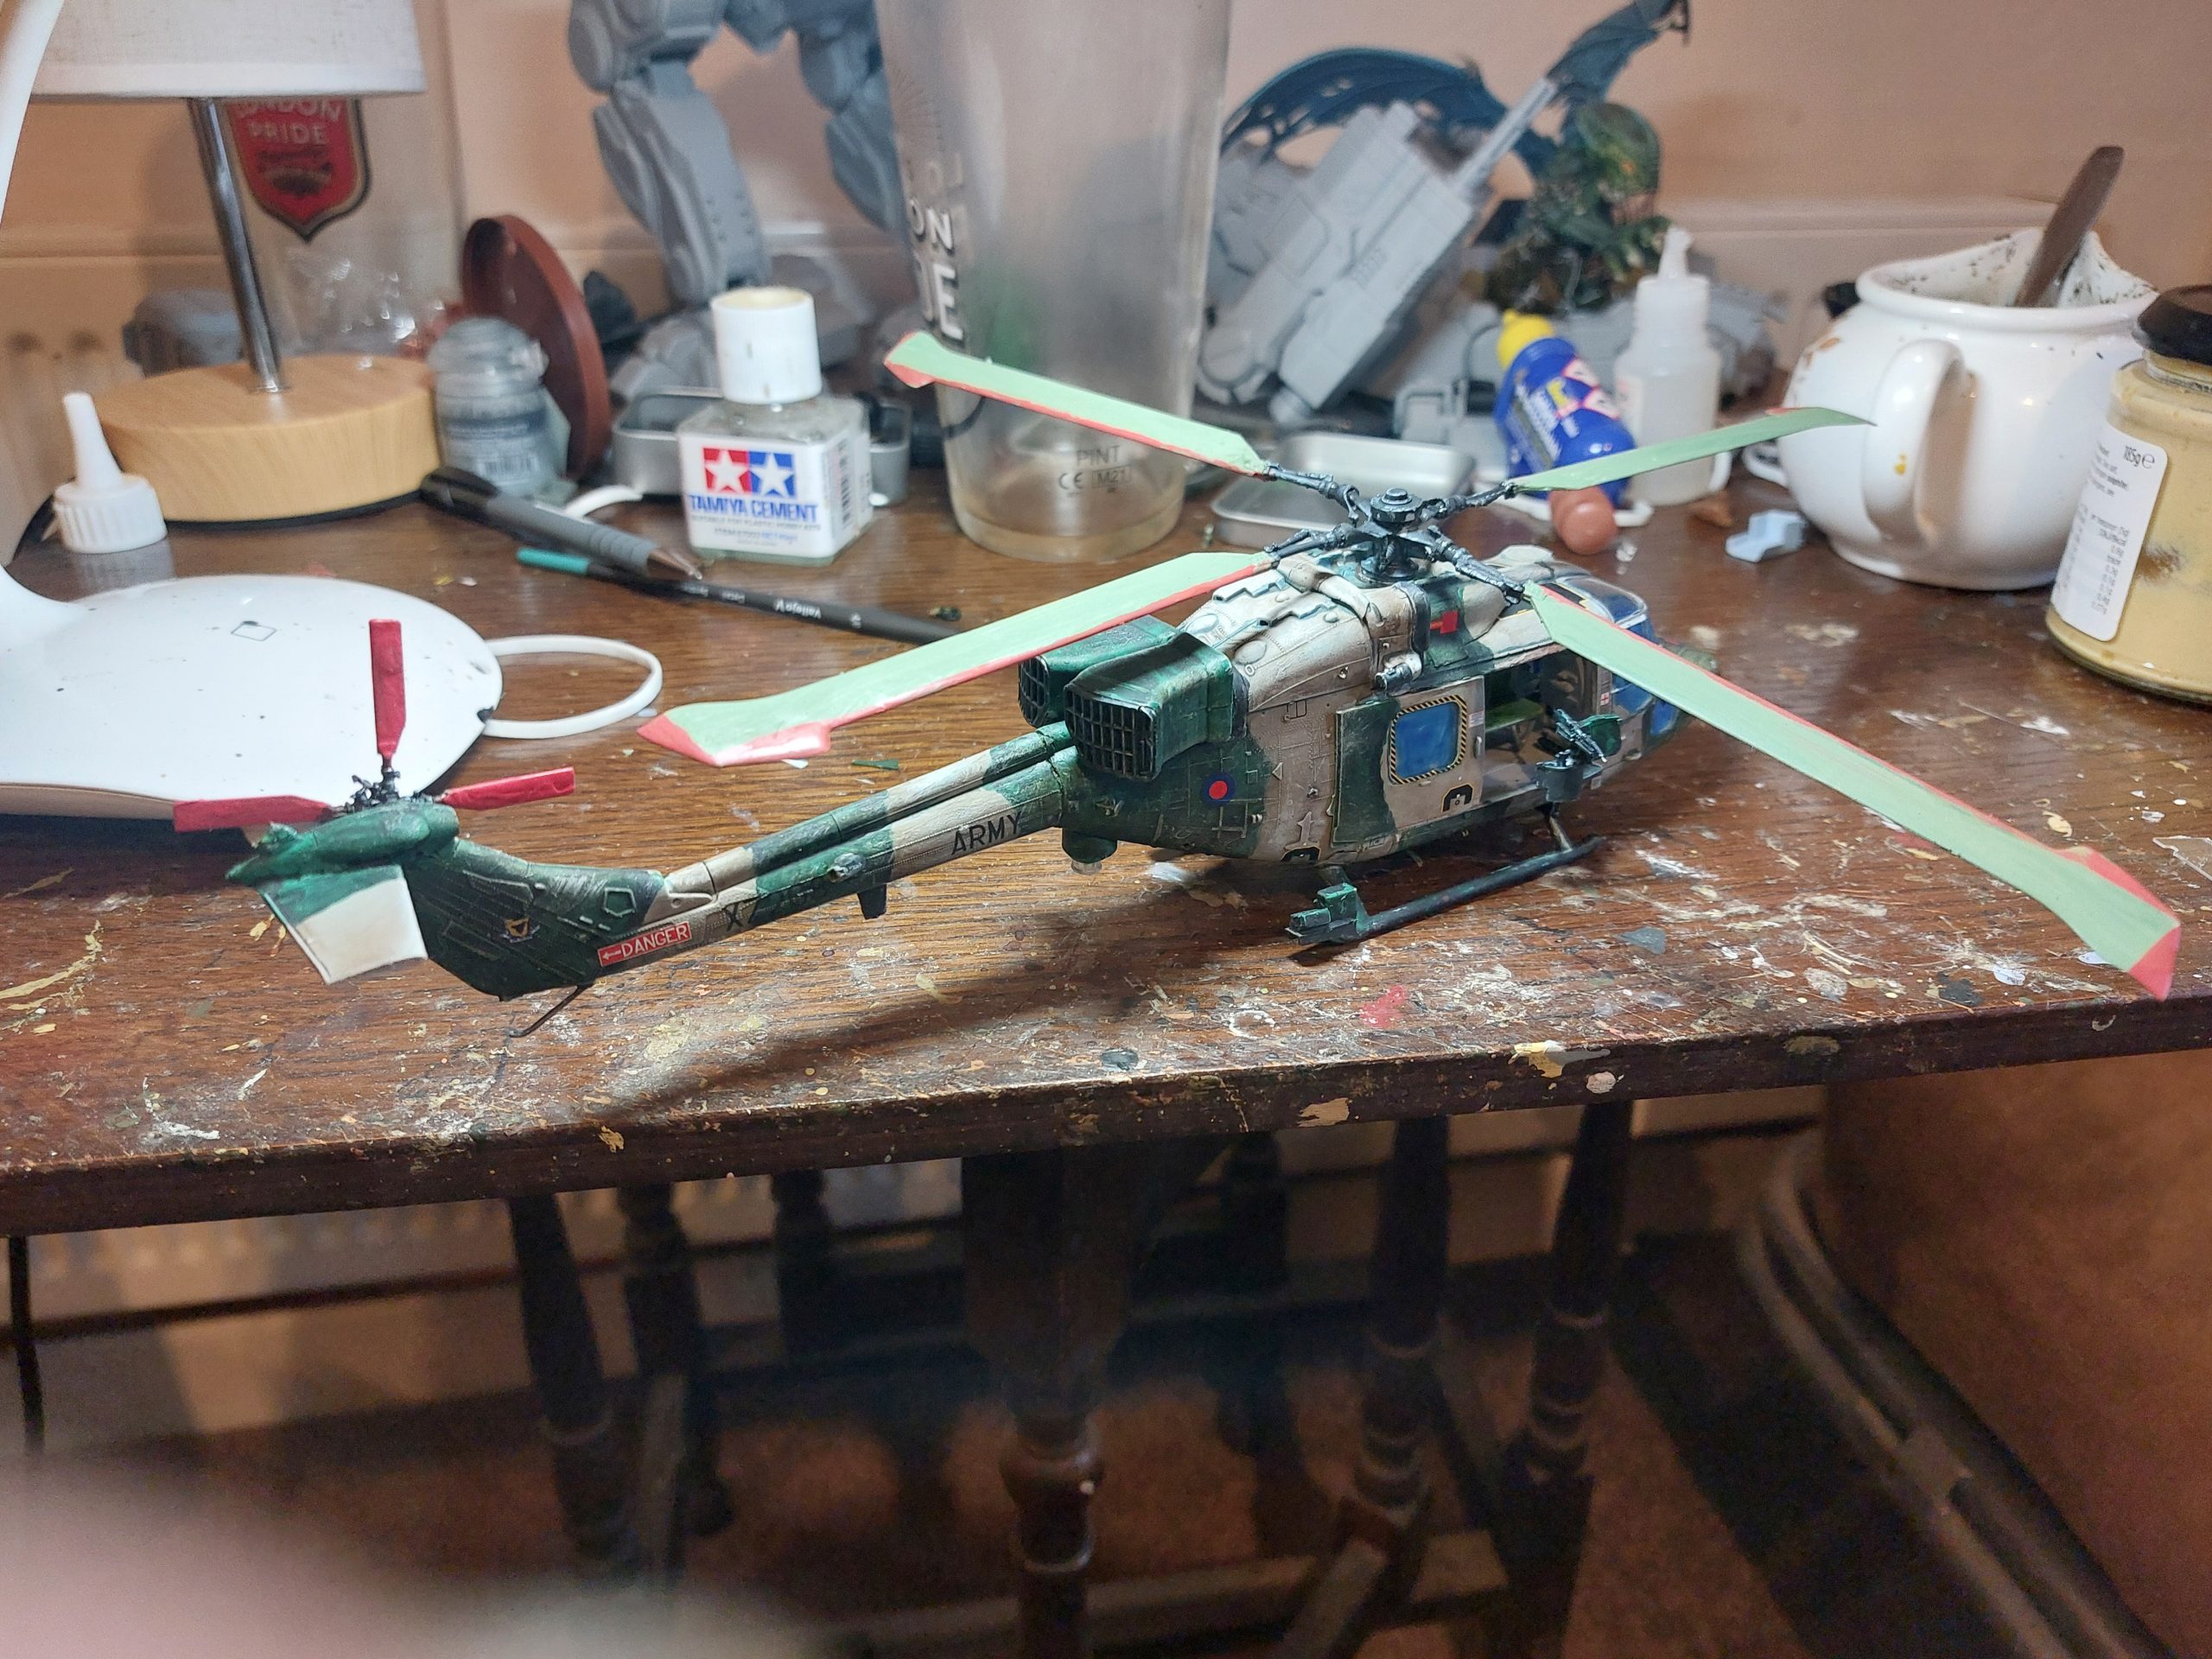
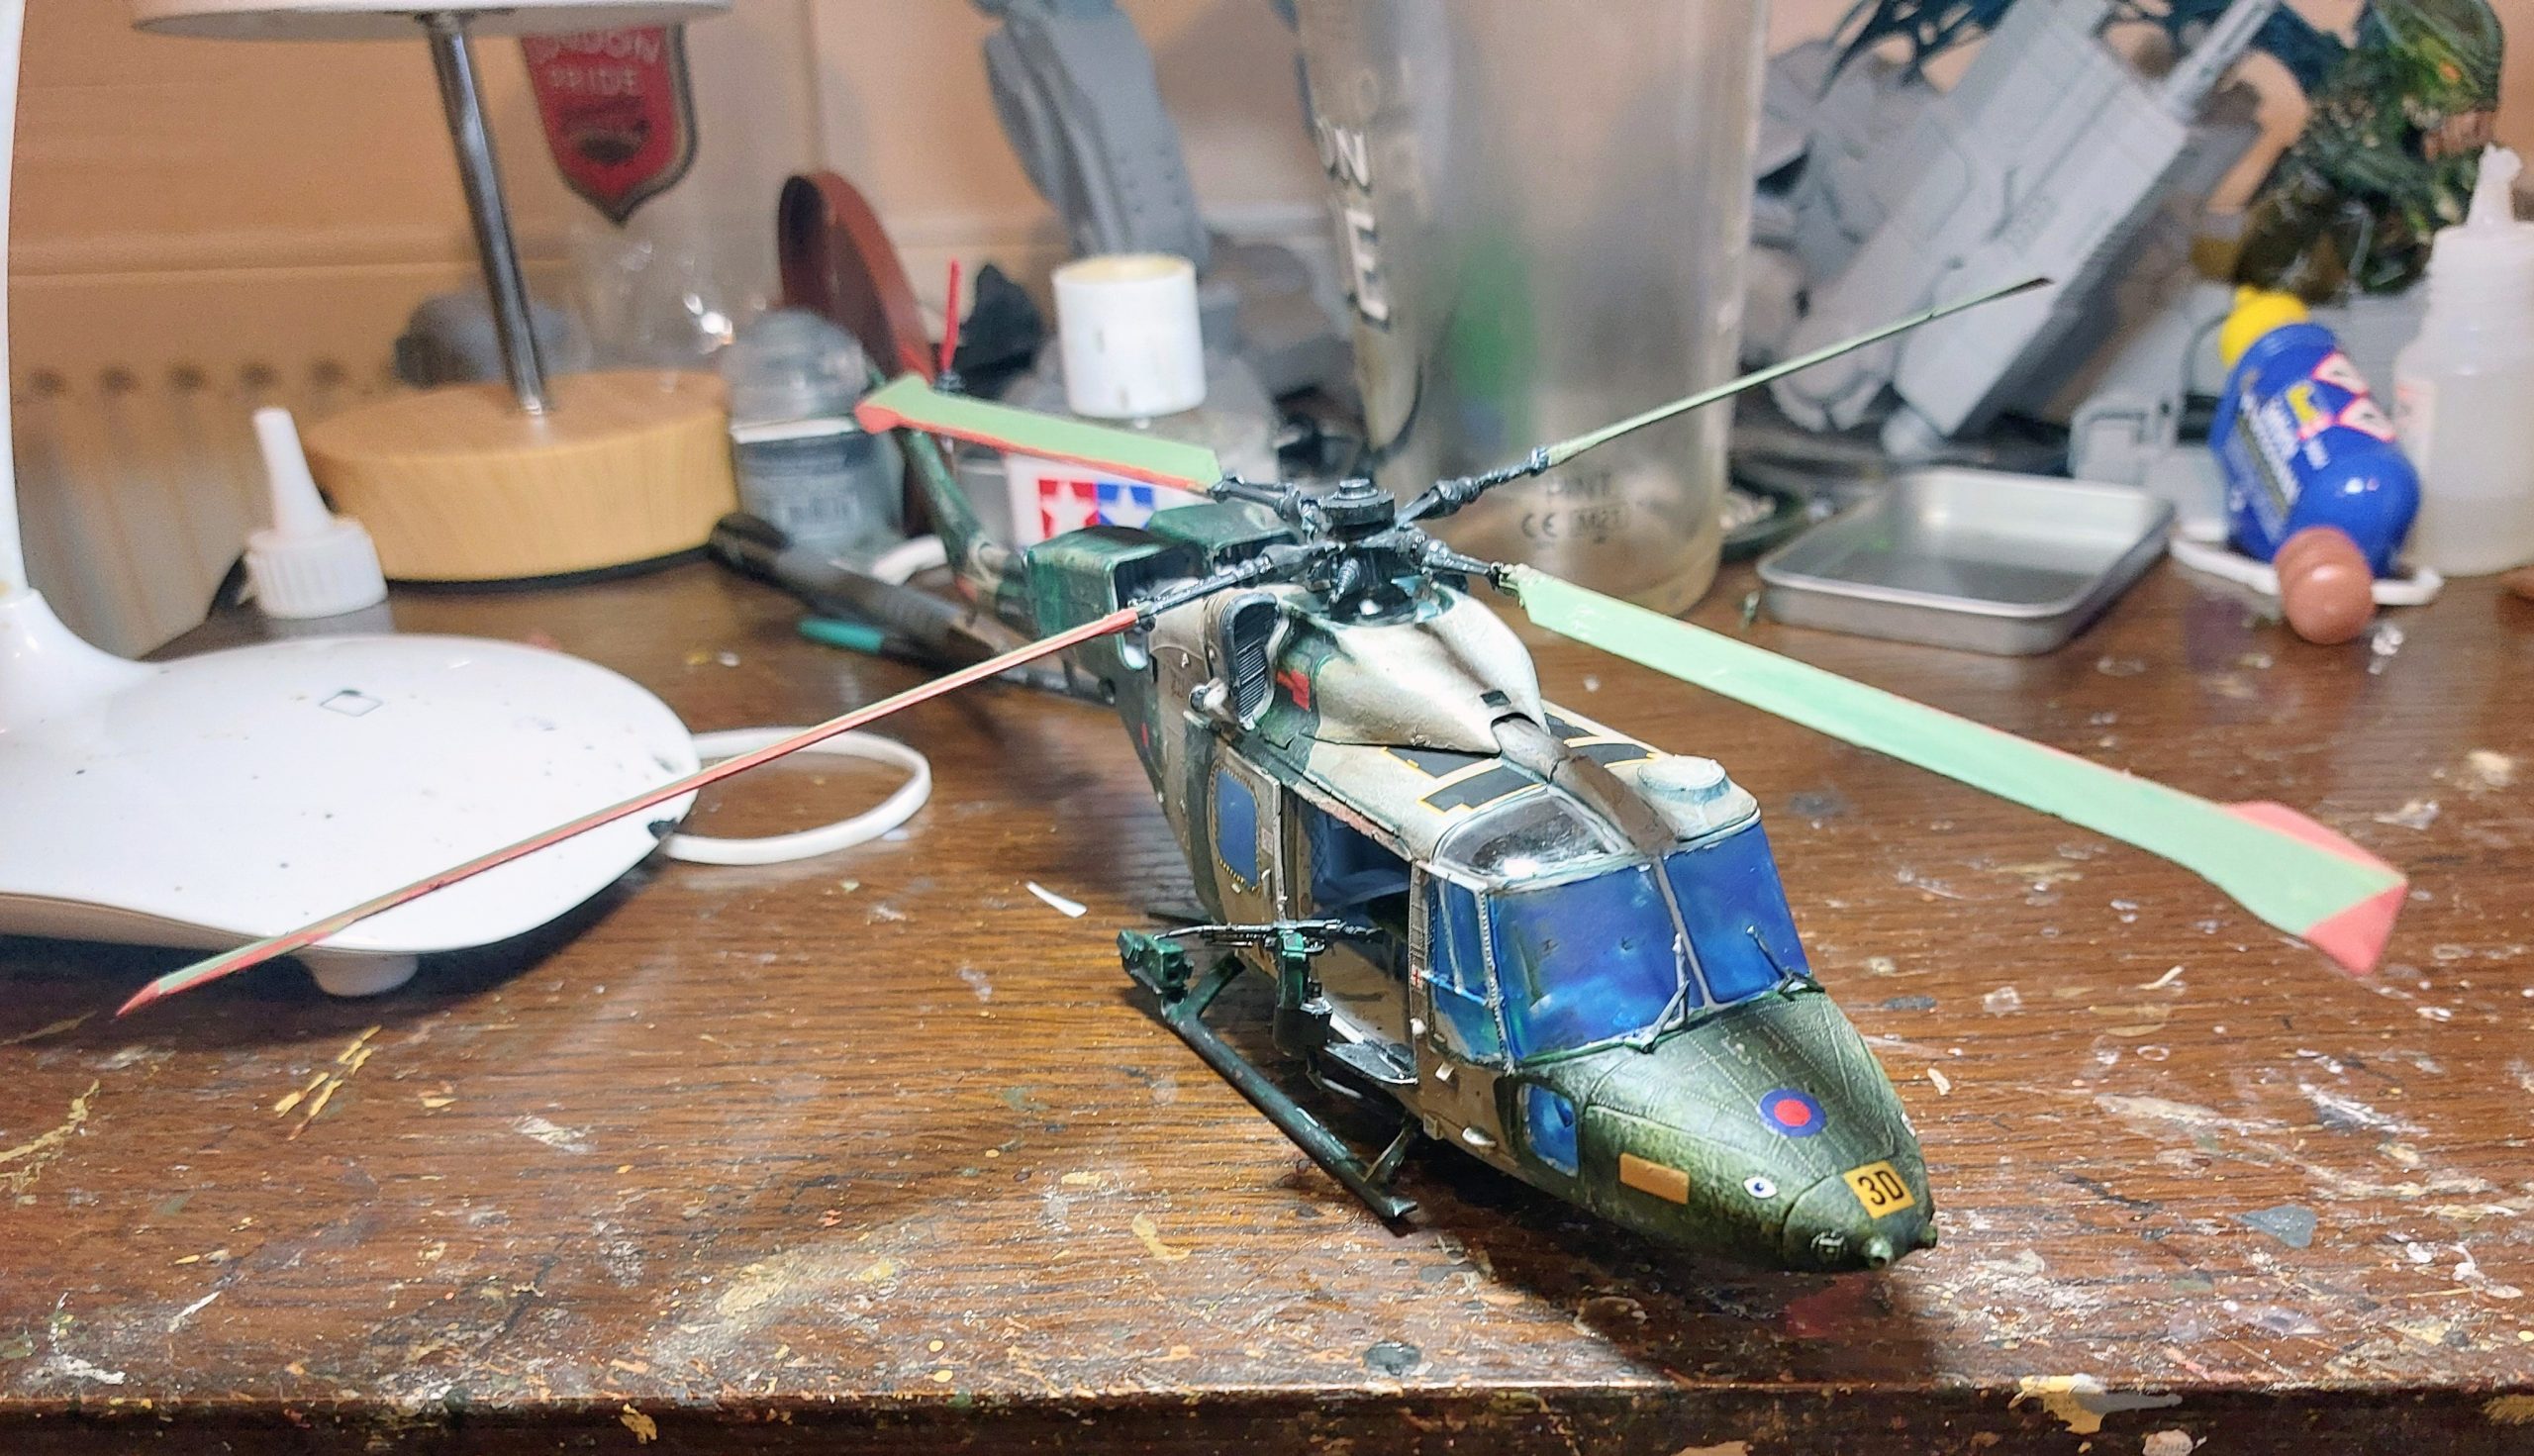
Again it’s no specific helicopter, and decals were very much used to cover up painting and construction errors. It does look much better in photo than in the flesh!
It has one redeeming fact, I that it’s done.
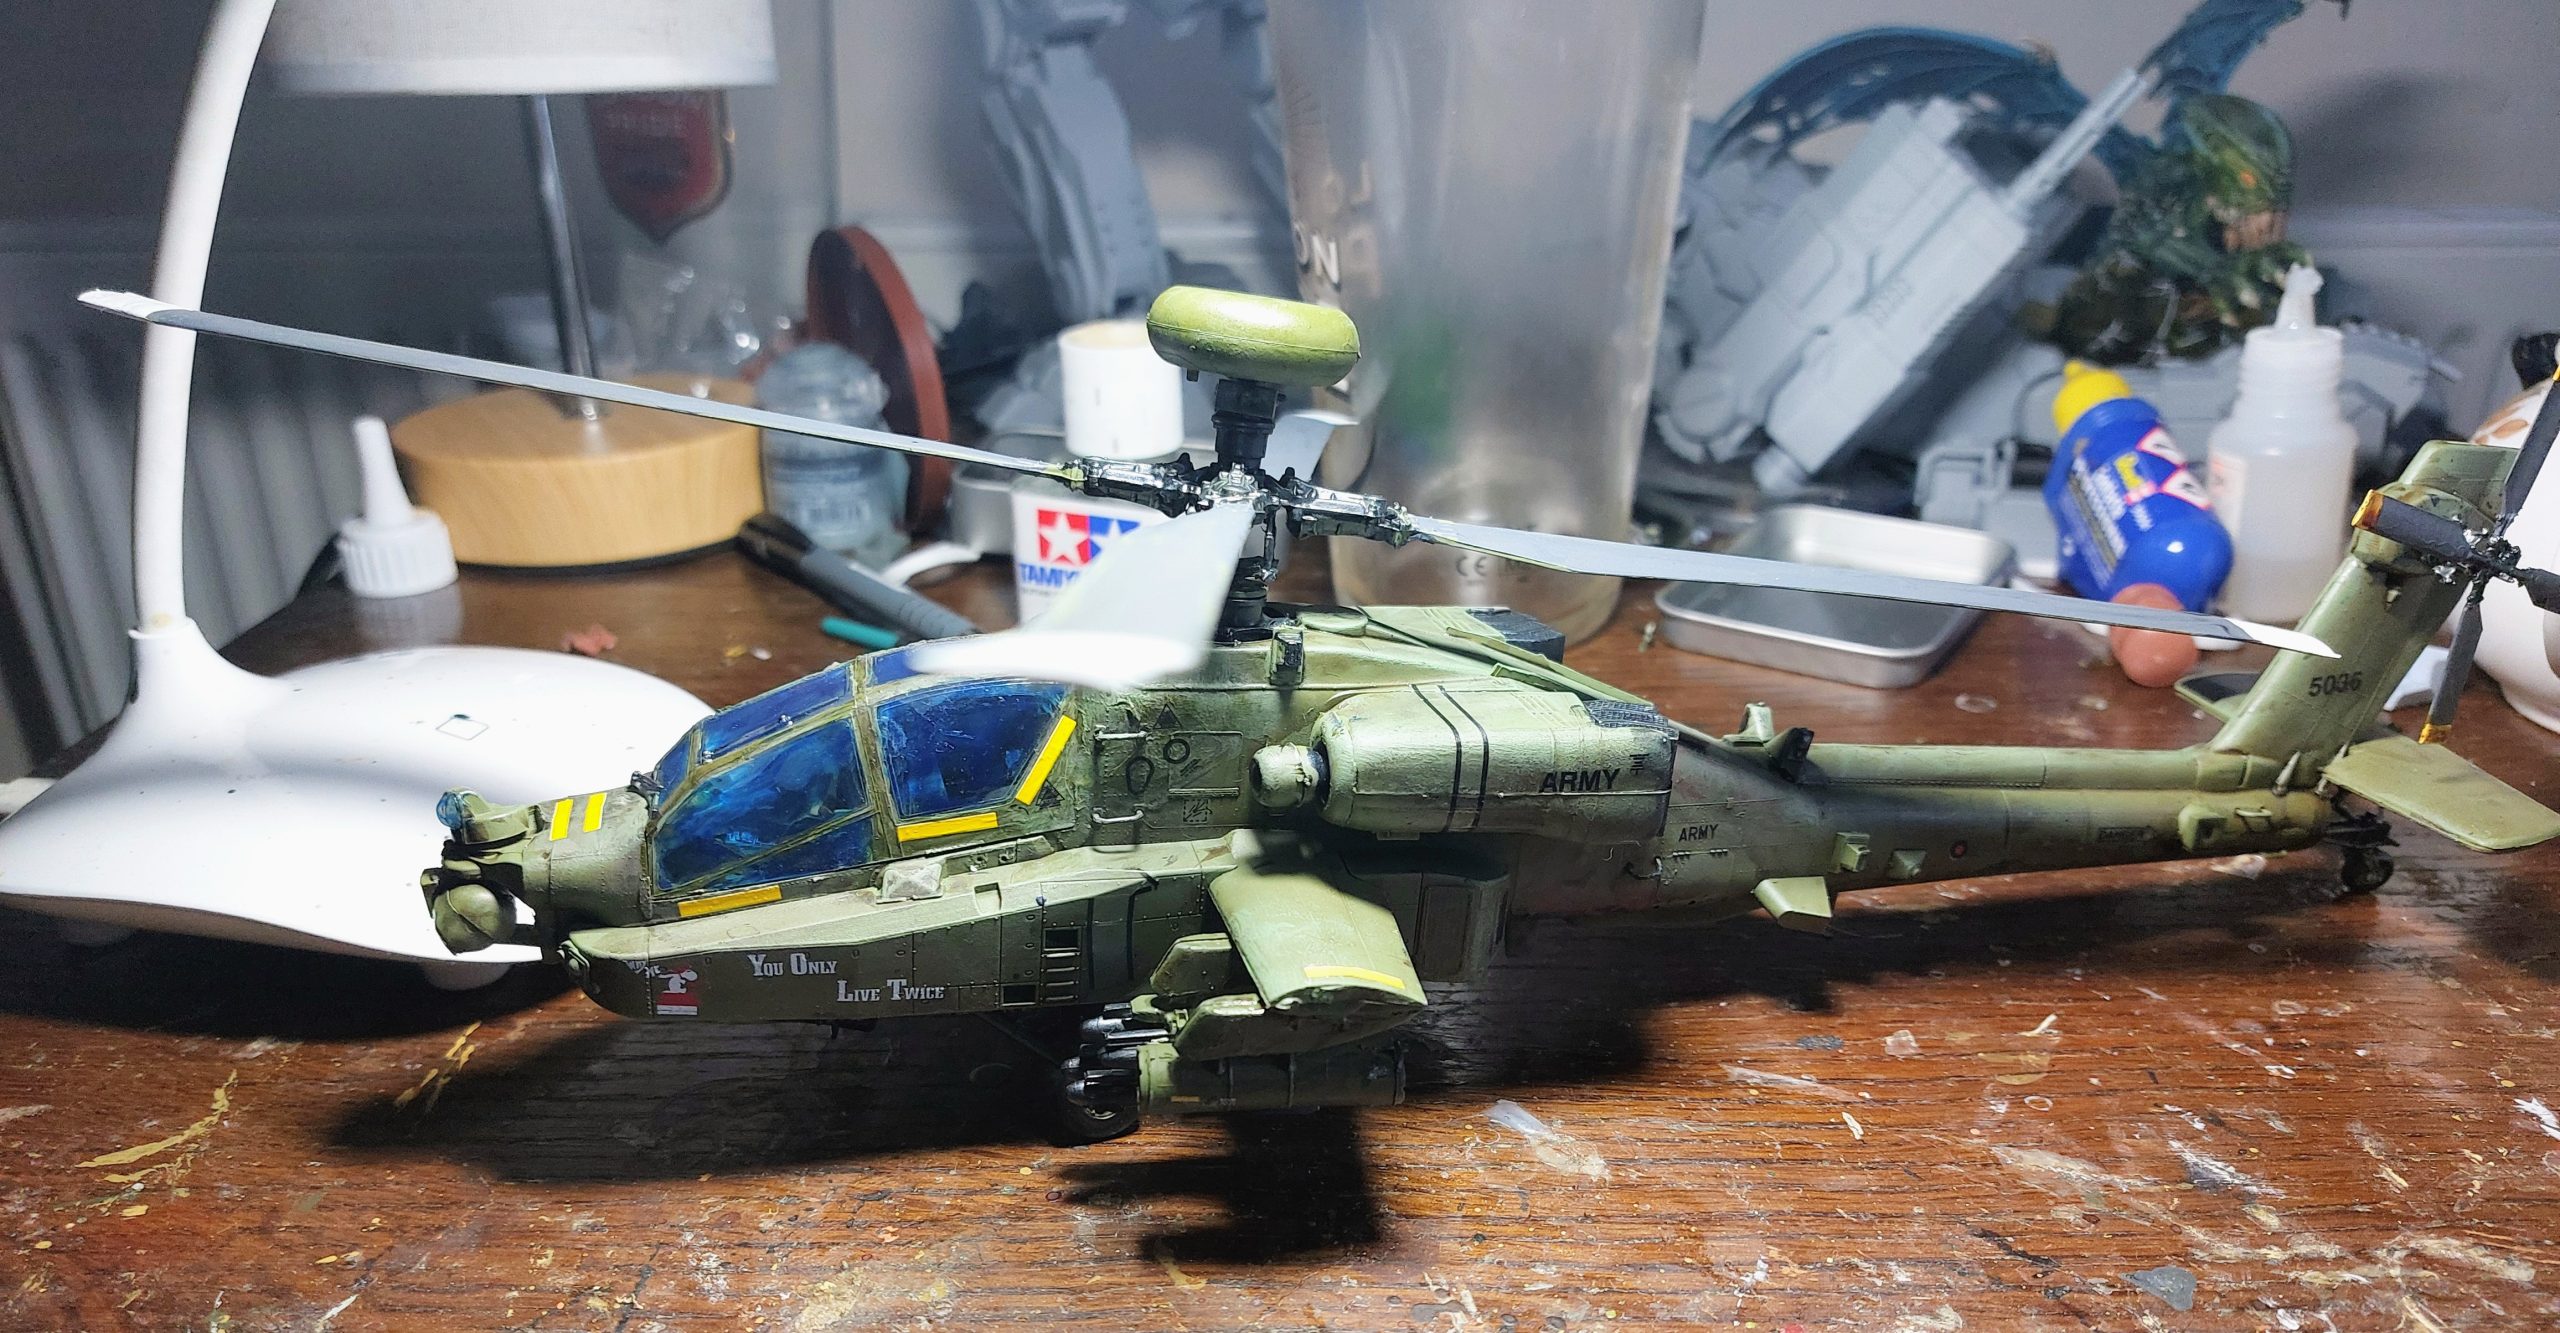
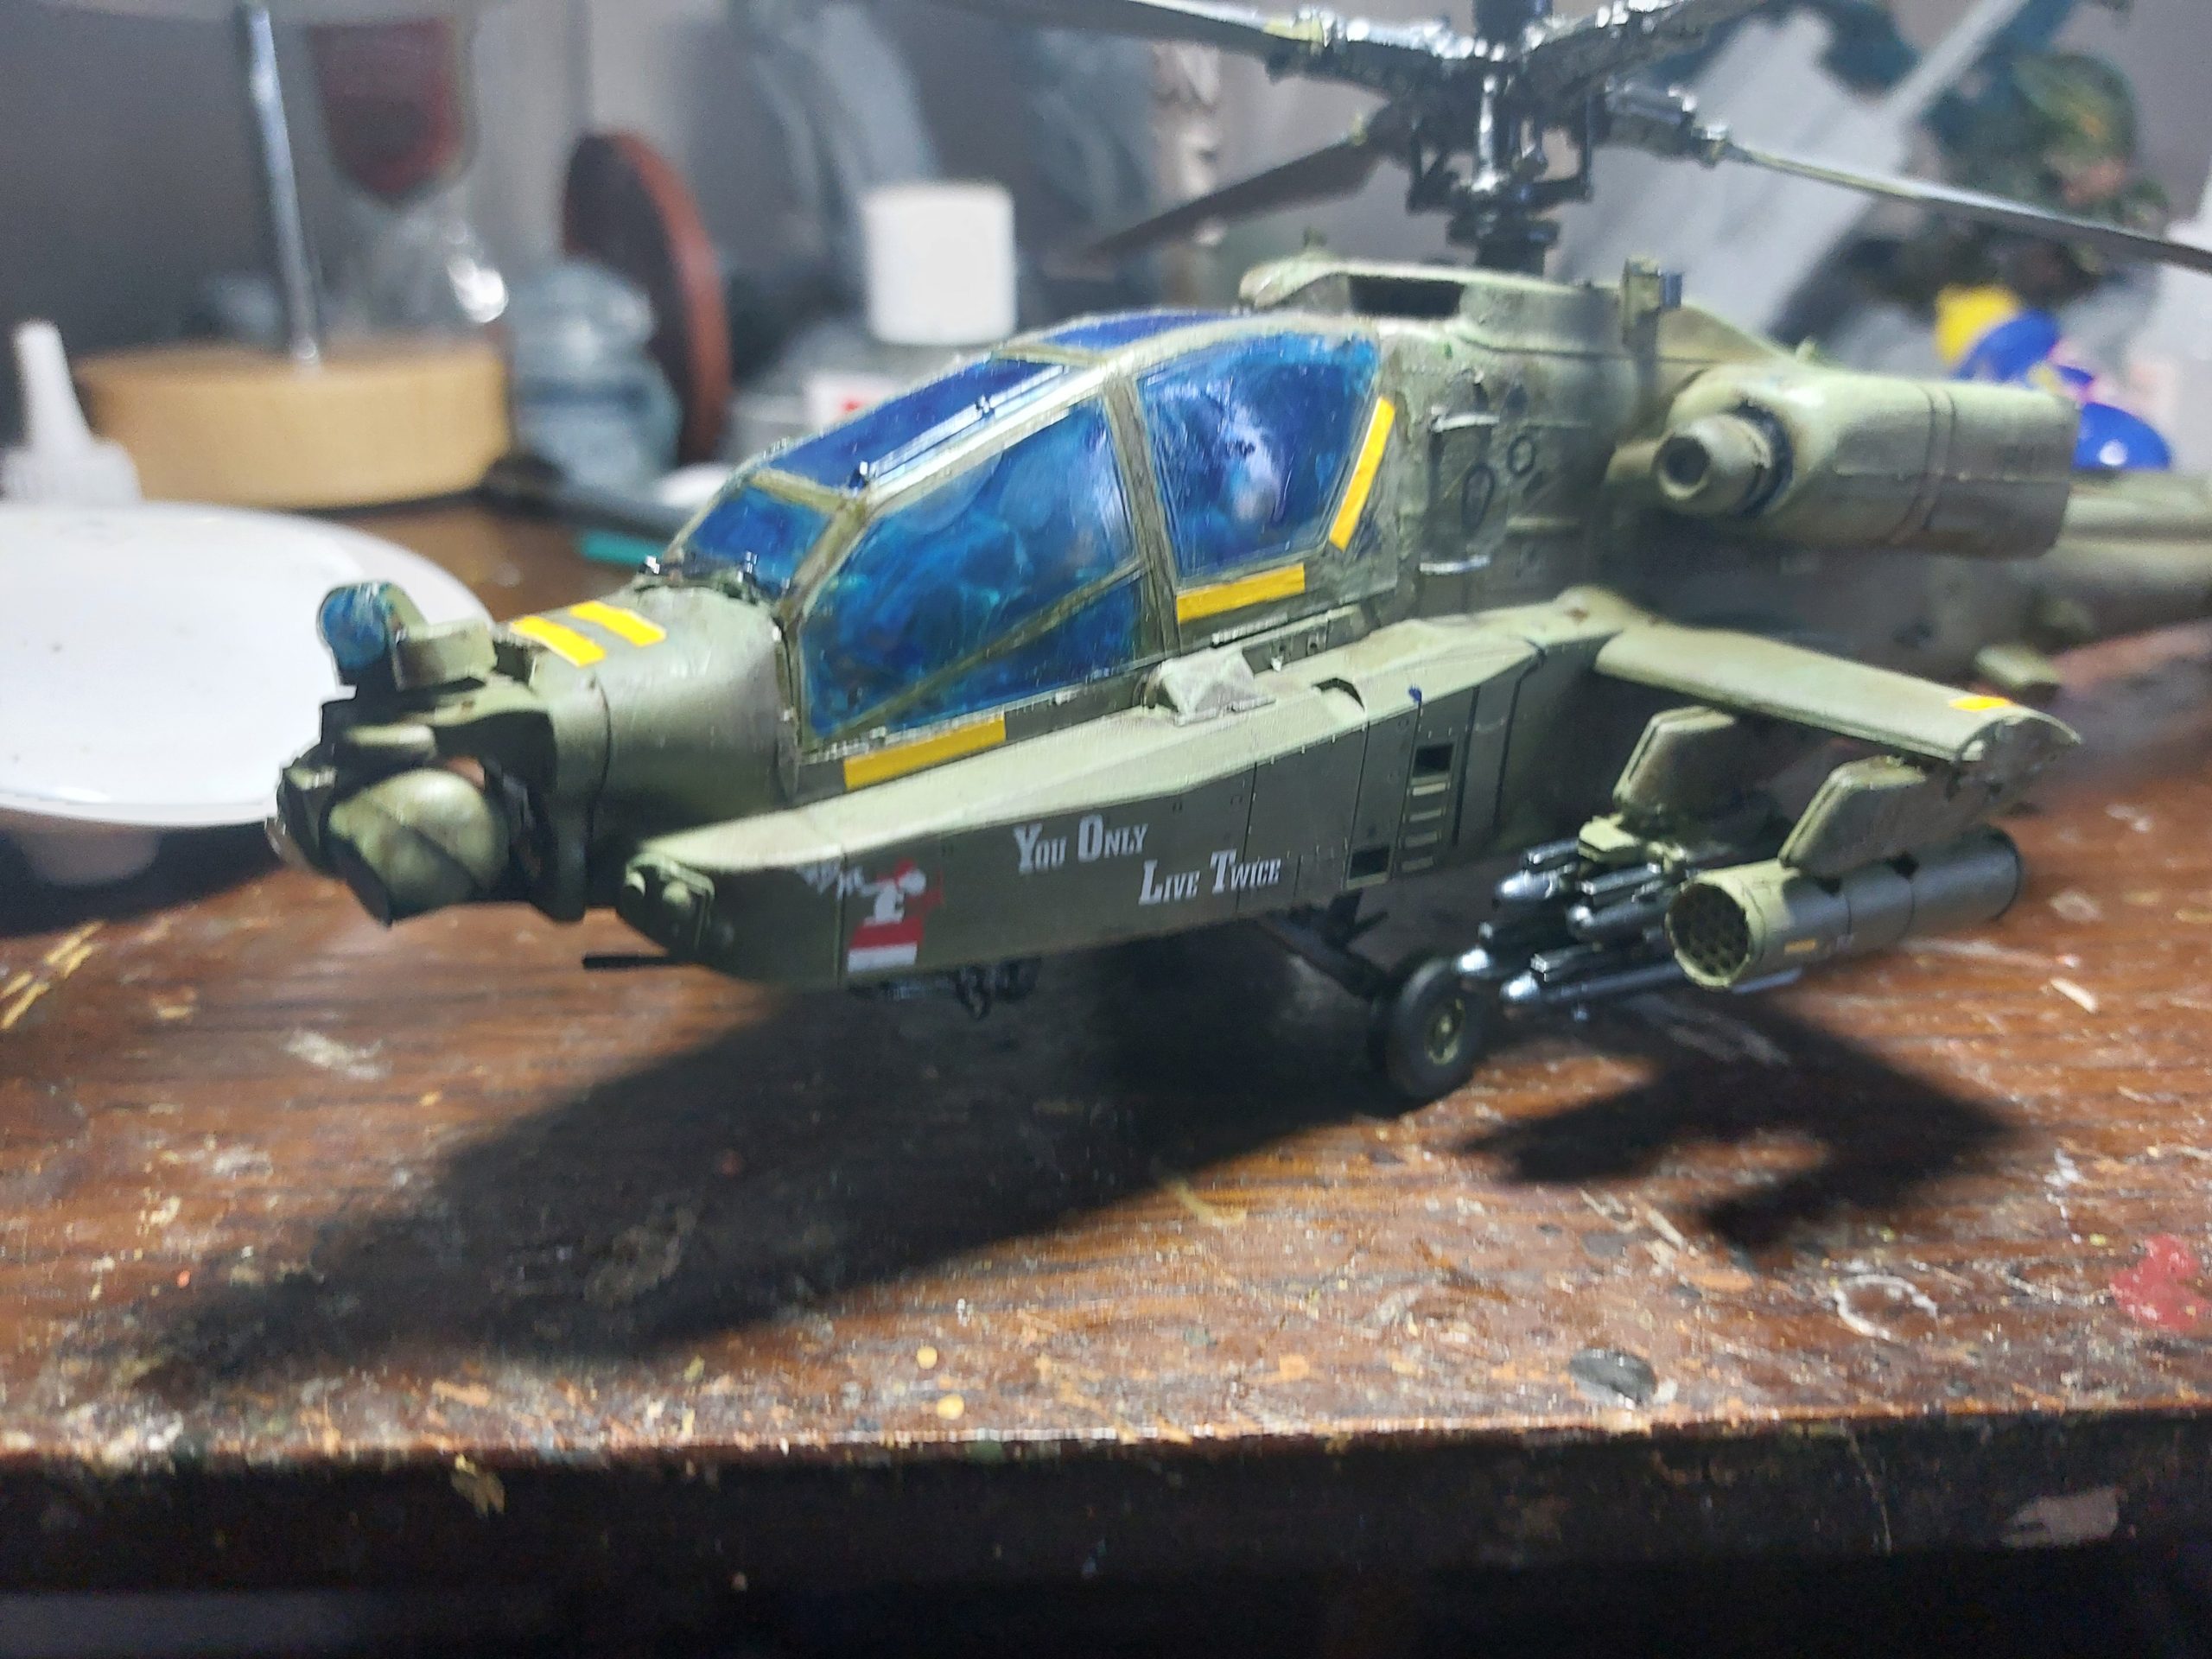
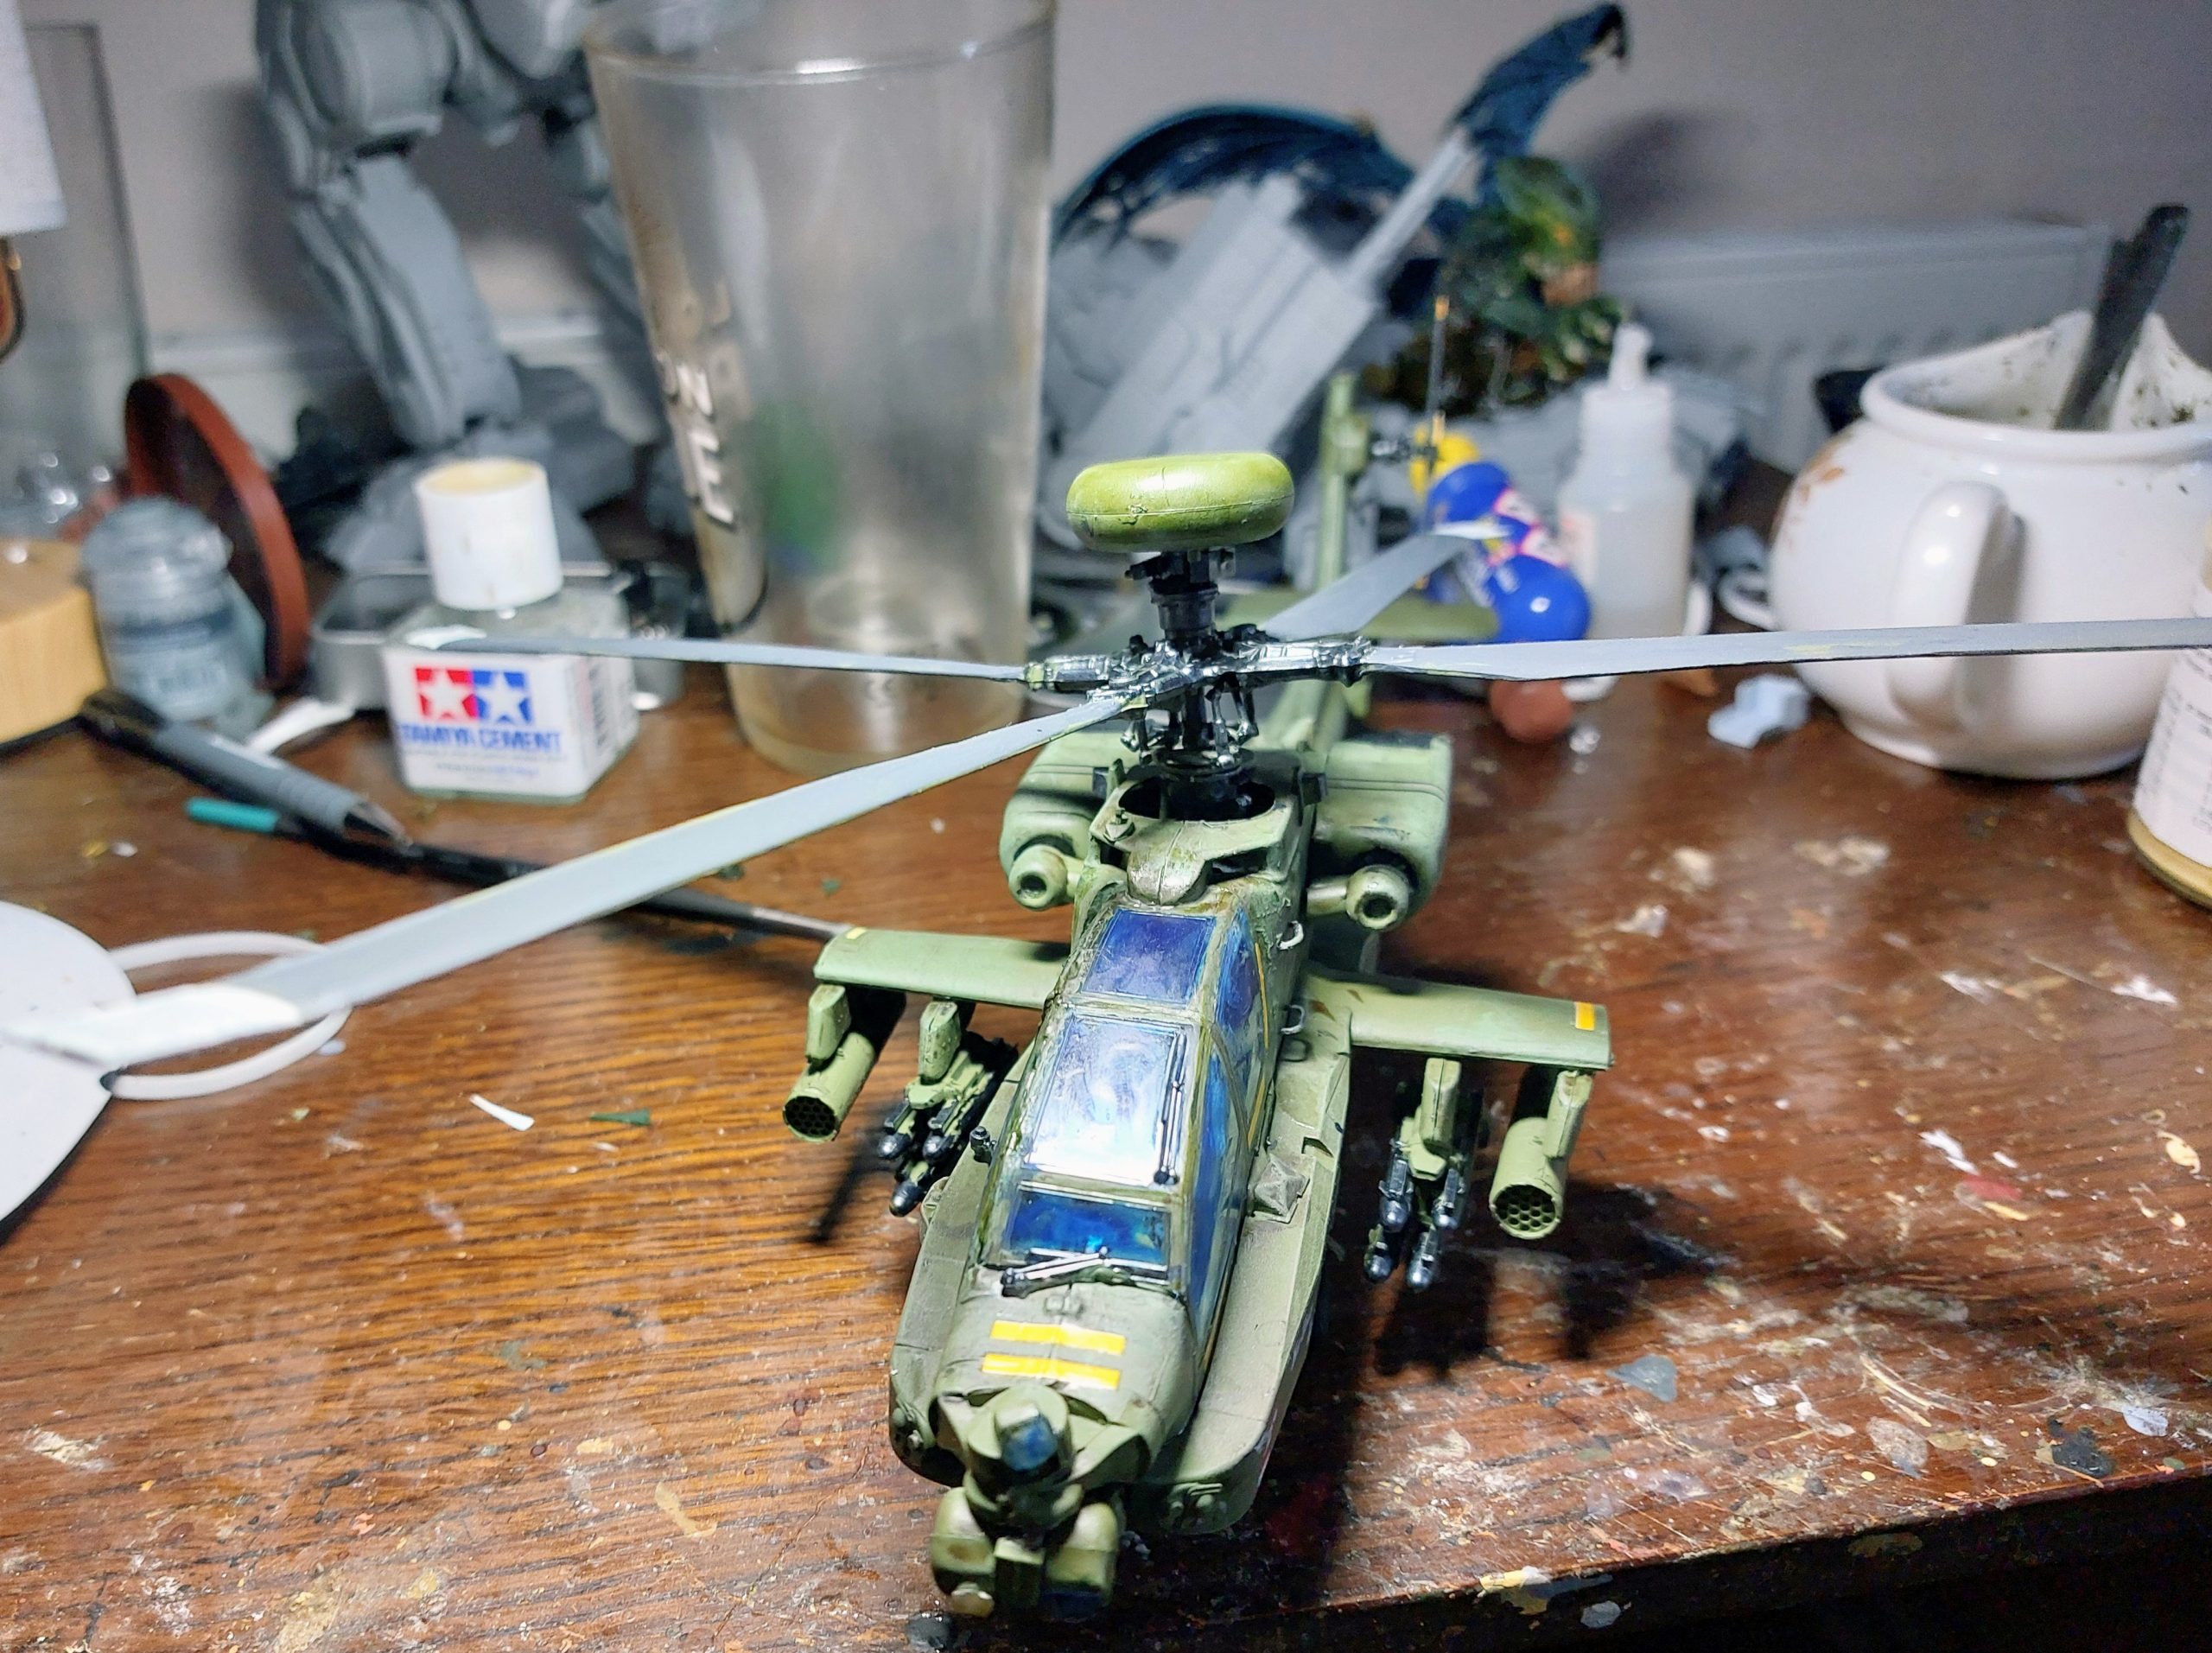
Next we have the Apache, this was Revell kit rather than Airfix little less quite so.precise and a lot more flash on Parts.
I wanted the Longbow version and this had instructions fo that variant .
Now right from start if you attempt to build one for gaming don’t bother with interior or pilots. Build the cockpit glass before final assembly as the cockpit glass is designed to be built open . My problem wax I didnt realise this till I completed the main build and had done the Base spraying. As usual glue finger was all over yhe place particularly as cockpit didn’t want to go together for closed cockpit.
Well here it is decals applied awaiting setting and final Matt Varnish. Note I’m only showing from tight side to hide gaps in cockpit canopy on left side.