








Frostgrave terrain for local club campaign April 2026



Project Update 4/12/2025
As I finish the final build of the gatehouse there is few things to post prior.
Firstly a little nifty trick for hard to glue places. Grab a bit of stick and dab a bit of glue for the frame where your window or similar joint. Then press the window in. It’s simple rather than losing control of the PVA bottle. Also if you press horizontal on the PVA bottle between the open spaces on your joints rather than from a downwards nozzle direction you will be able to get more control. It’s the silly little things like this that can help a lot.
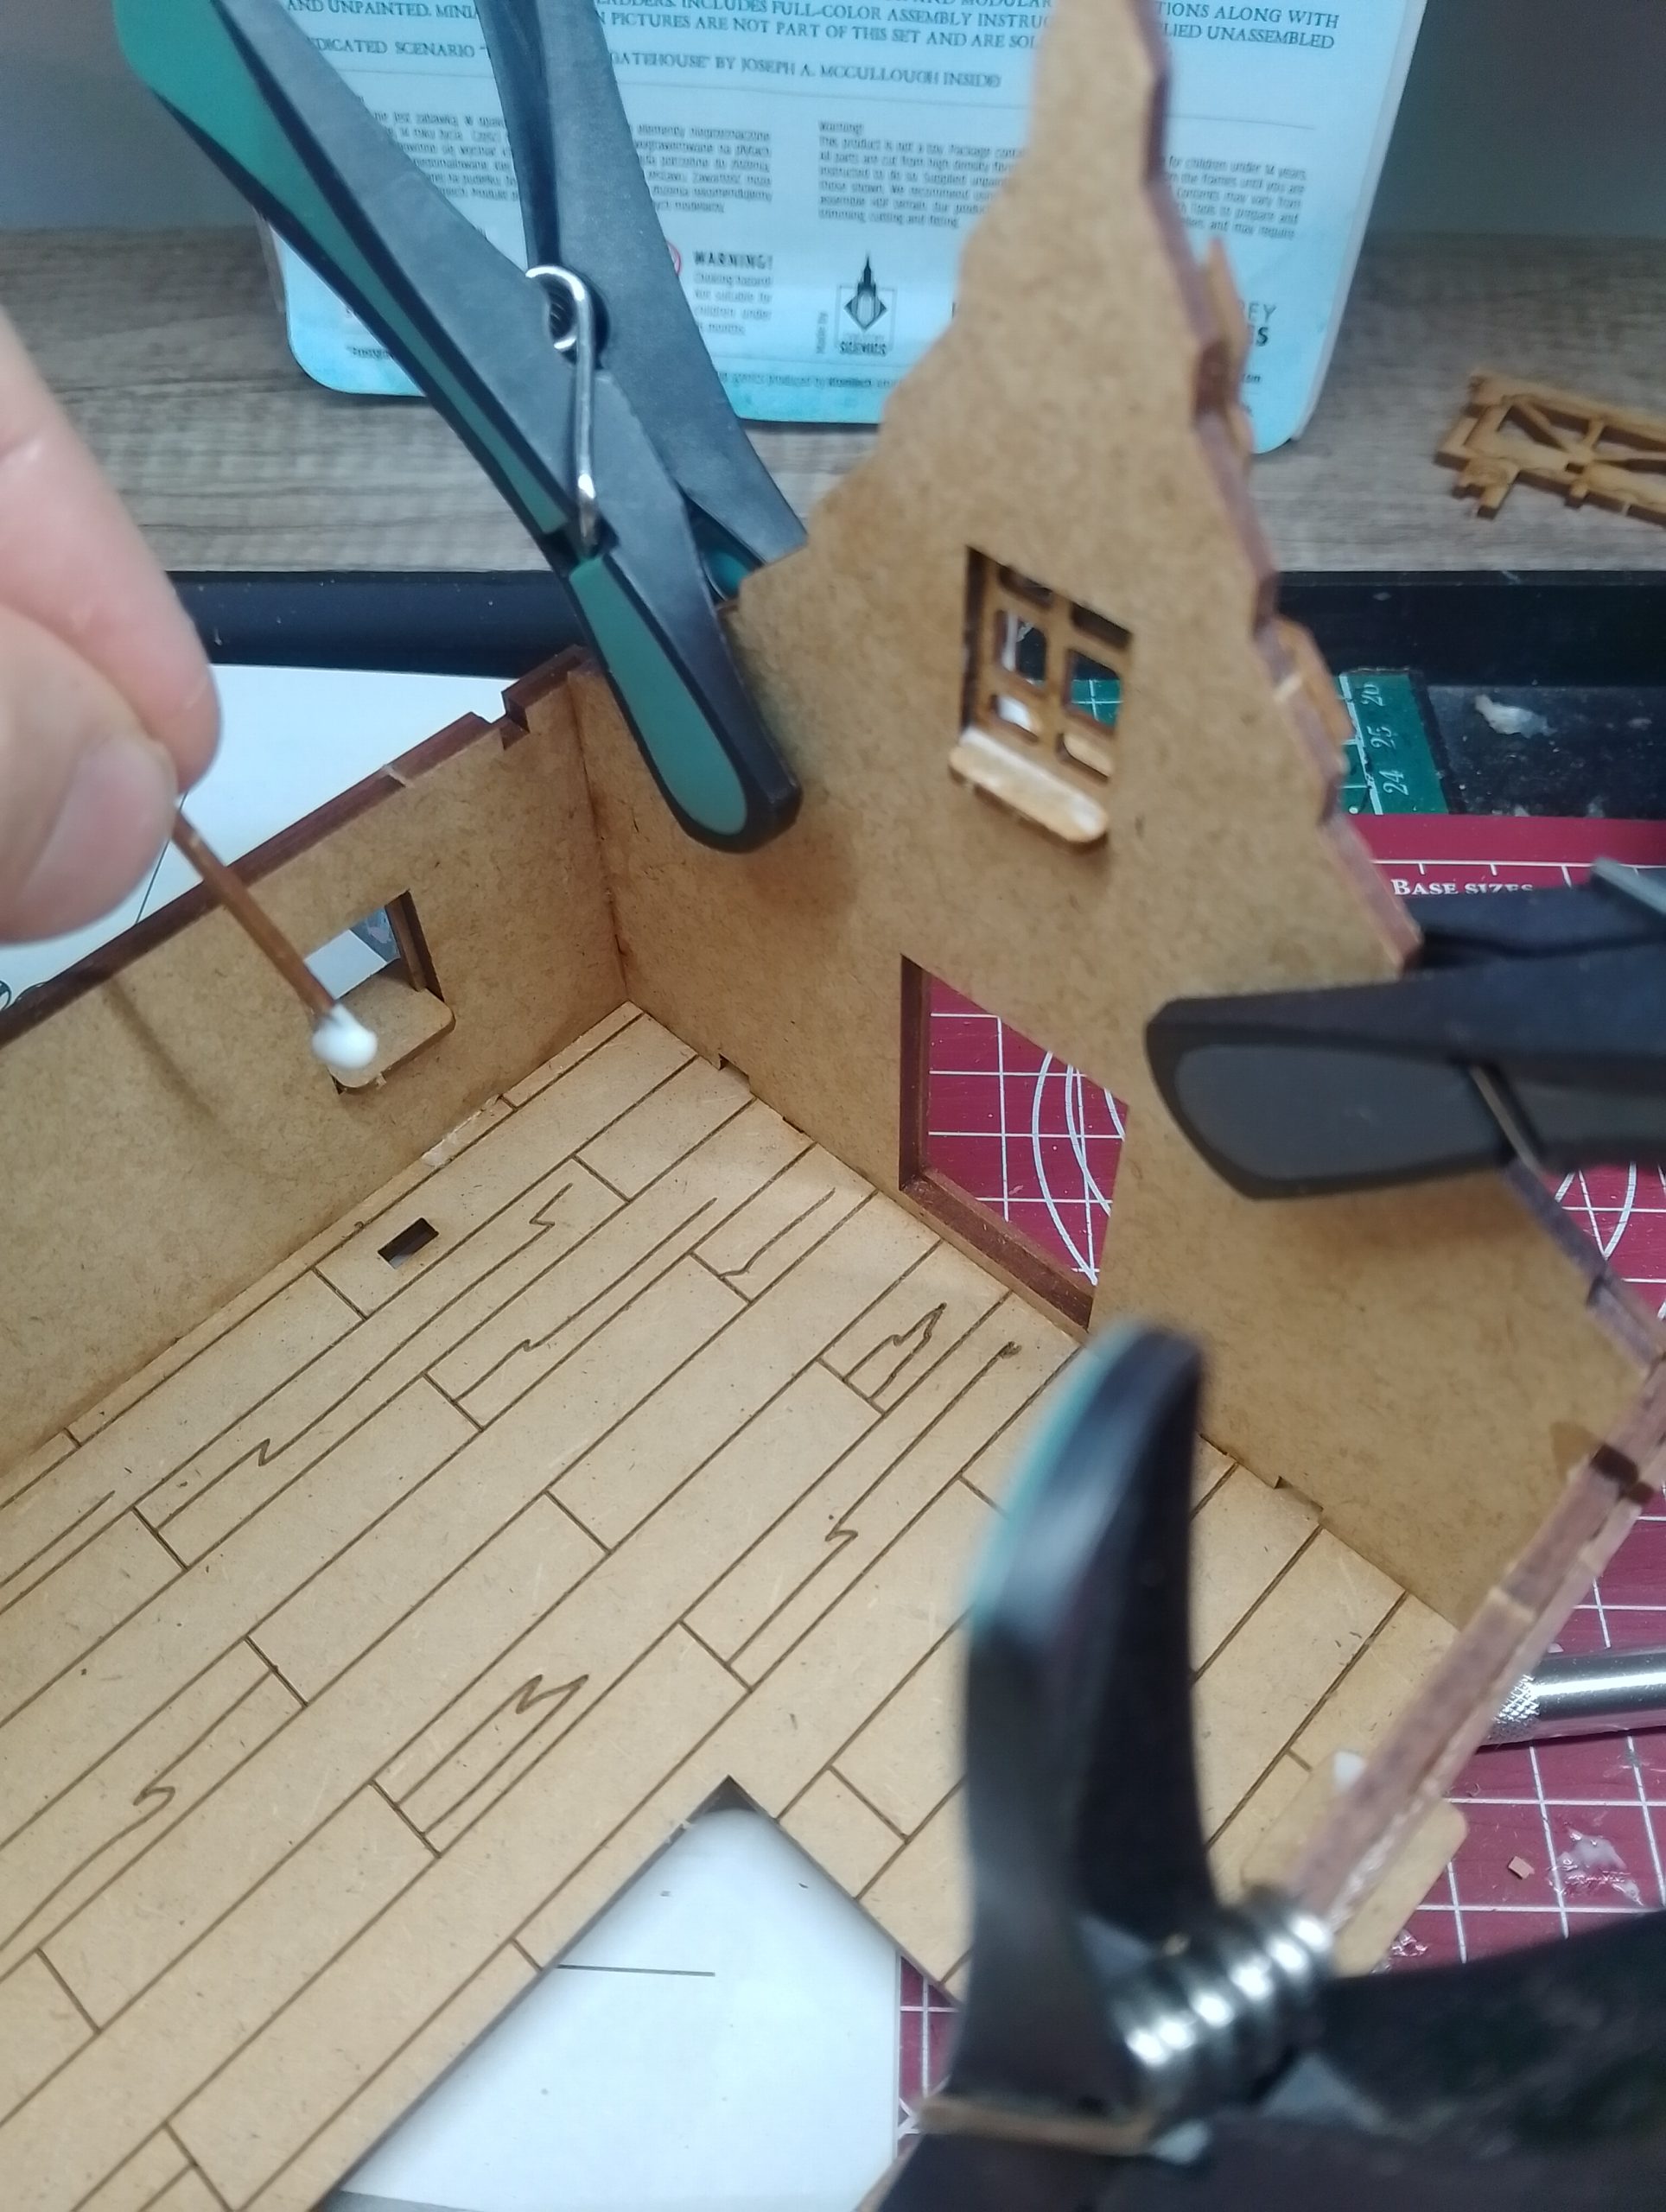 Its as simple as this, then press the piece in.
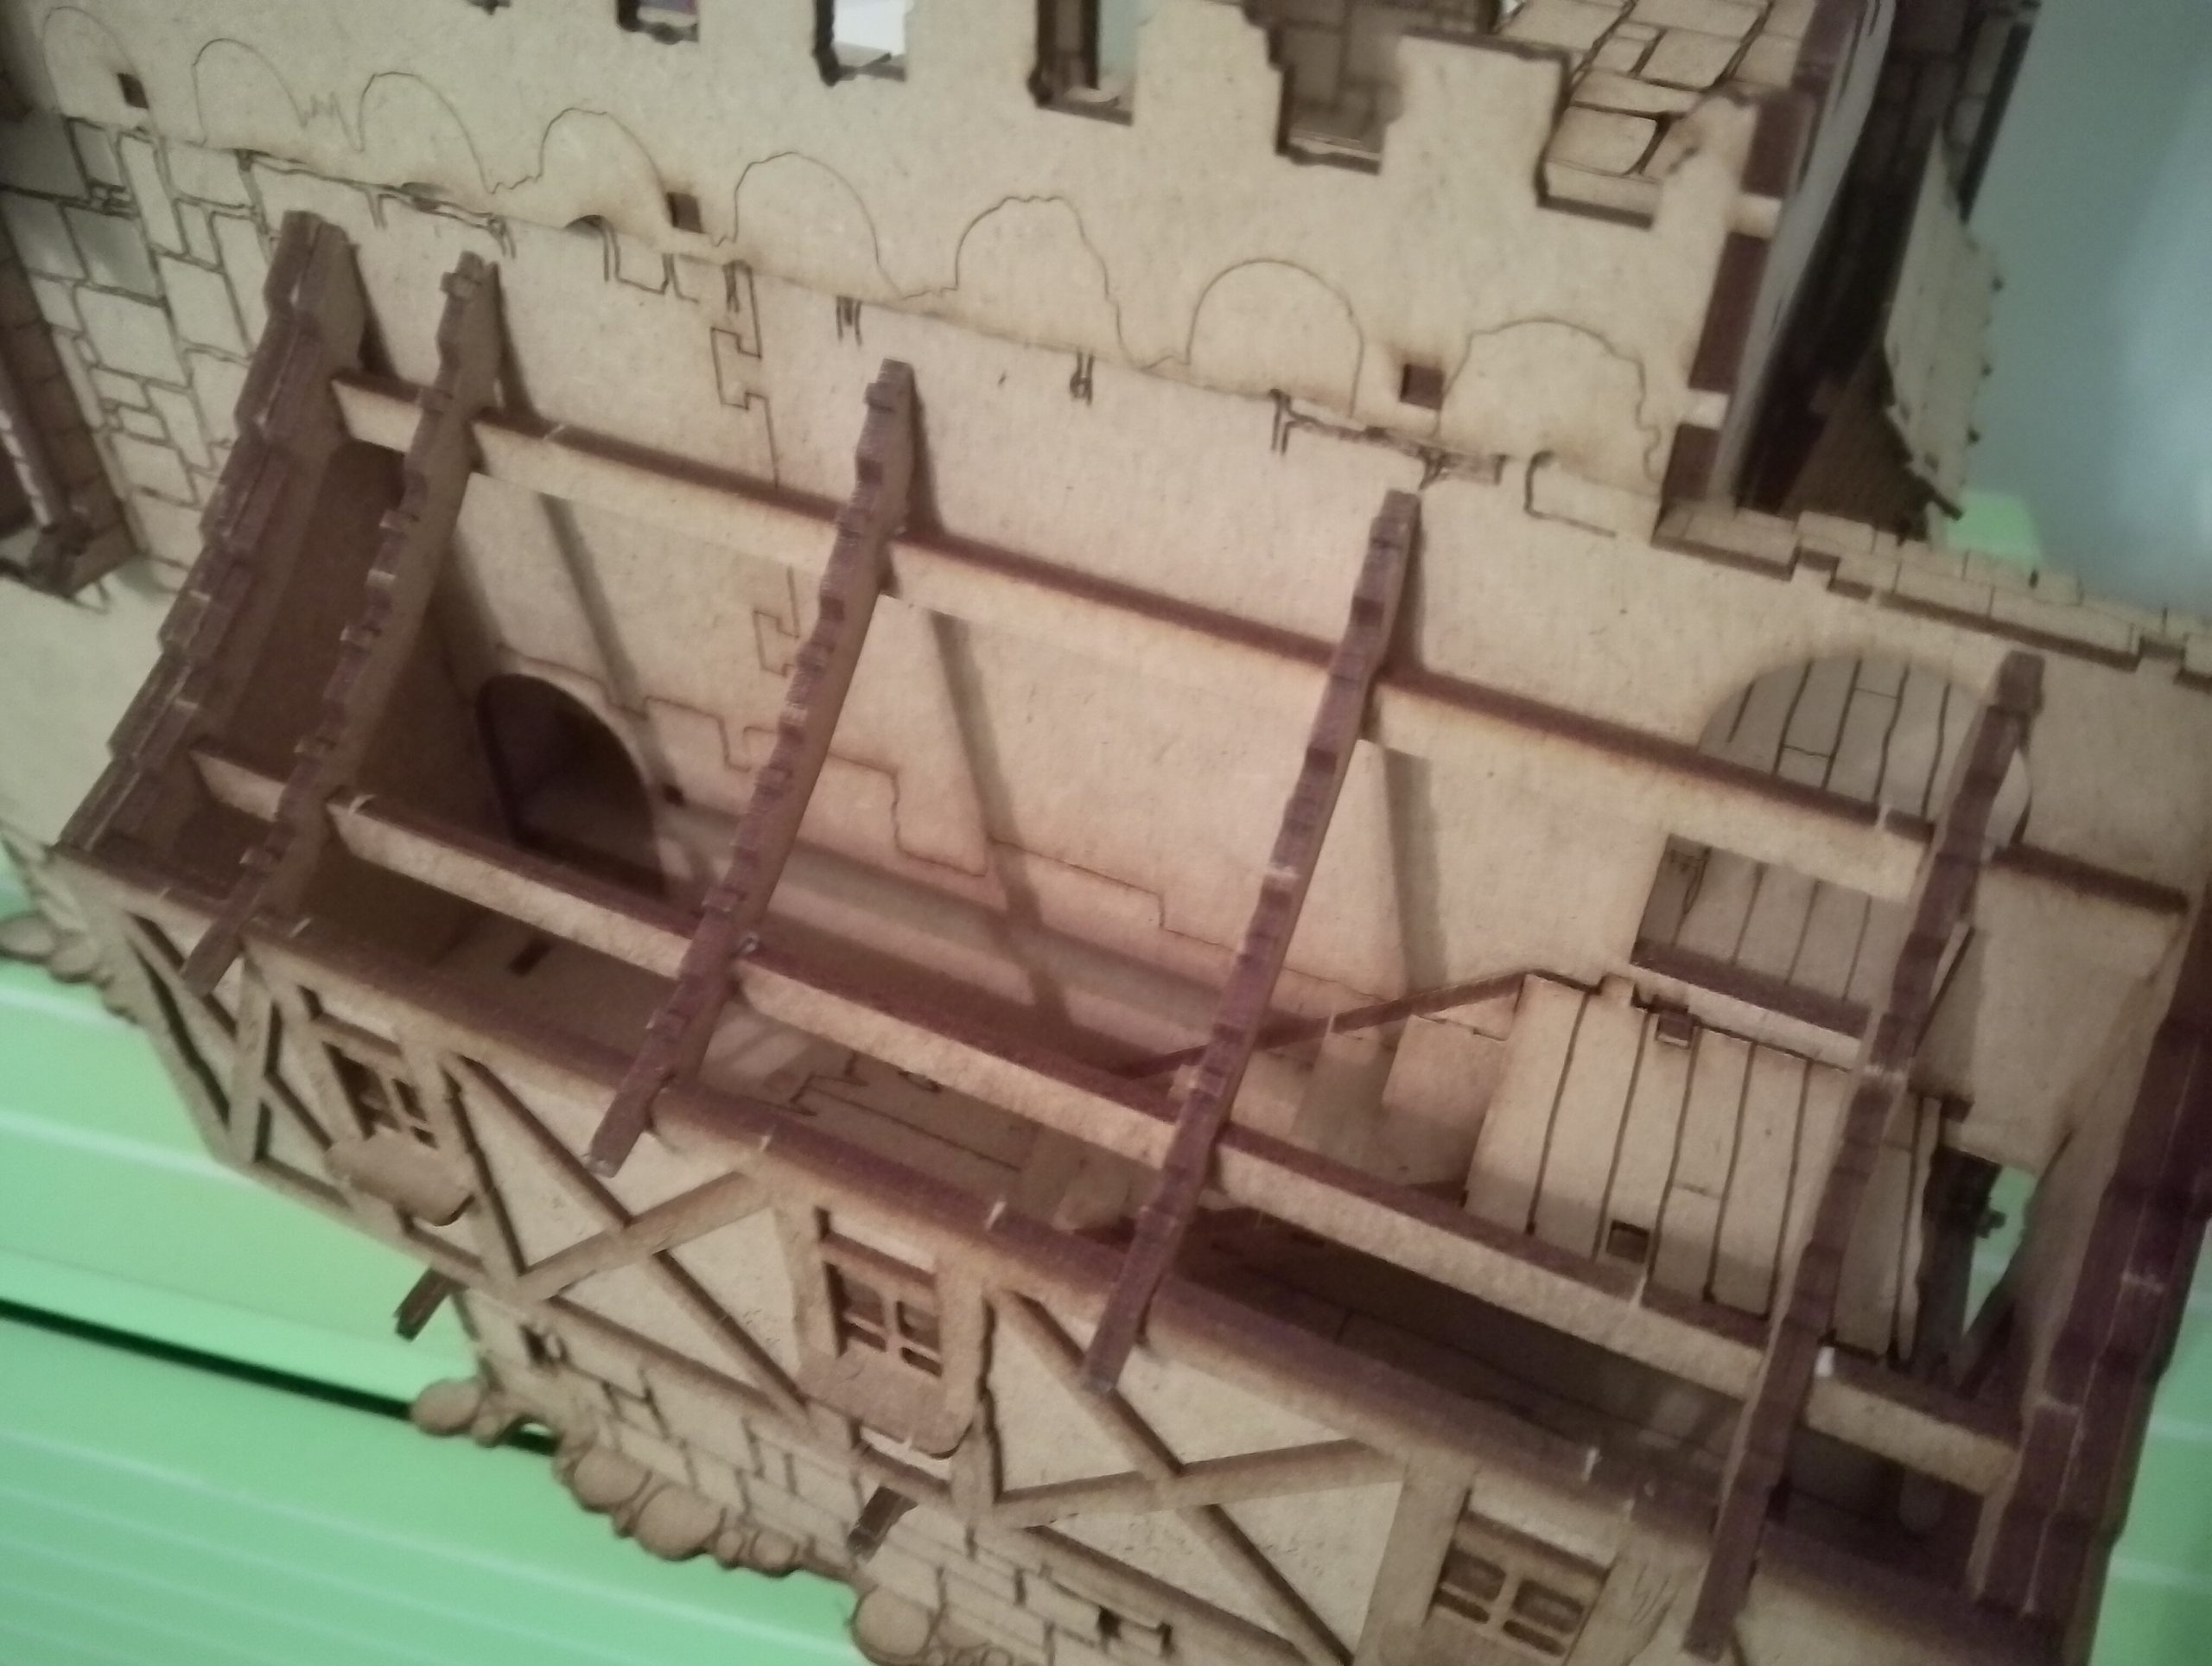
Another thing I have been doing is the roof tops. Dry fitting the glued frame and after leaving five minutes to set into your building.
Let it set so it is the correct shape. That way you don’t have to fix the issue later being too loose or not sitting properly in the joints.
All I had to do here was sand a bit of the walls lightly as it was a bit tight after.
Afterwards you can go to town with the roof tiles.
As I near towards painting, I have been researching colours of the stone in Frostgrave. I have seen several tones and have decided on an ochre deep sandy orange for the gatehouse. Some Ruddy pink stone, Greys and Ochre also for the ruins.
The flooring being the same stone colour or wood to keep it aligned as a collection of pieces.
I am using my airbrush for my terrain because rattlecans are not an option for both the cold climate and my hobby space. It’s a pretty mid tier Iwata airbrush. unable to do full detail as the needle is only 3mm. I use it mostly for large surfaces, priming and zenithals. Perfect for this kind of work, and it is super reliable and versatile with its light compact compressor.
I have these free ugly neon looking colours I got with my airbrush kit that I will be using. Toning it down with black and white. I try to use what I have rather than buy more paint. These airbrush paints are excellent airbrush consistency.
I also have all the tools and solutions shown in handy bottles, easy to grab and store.
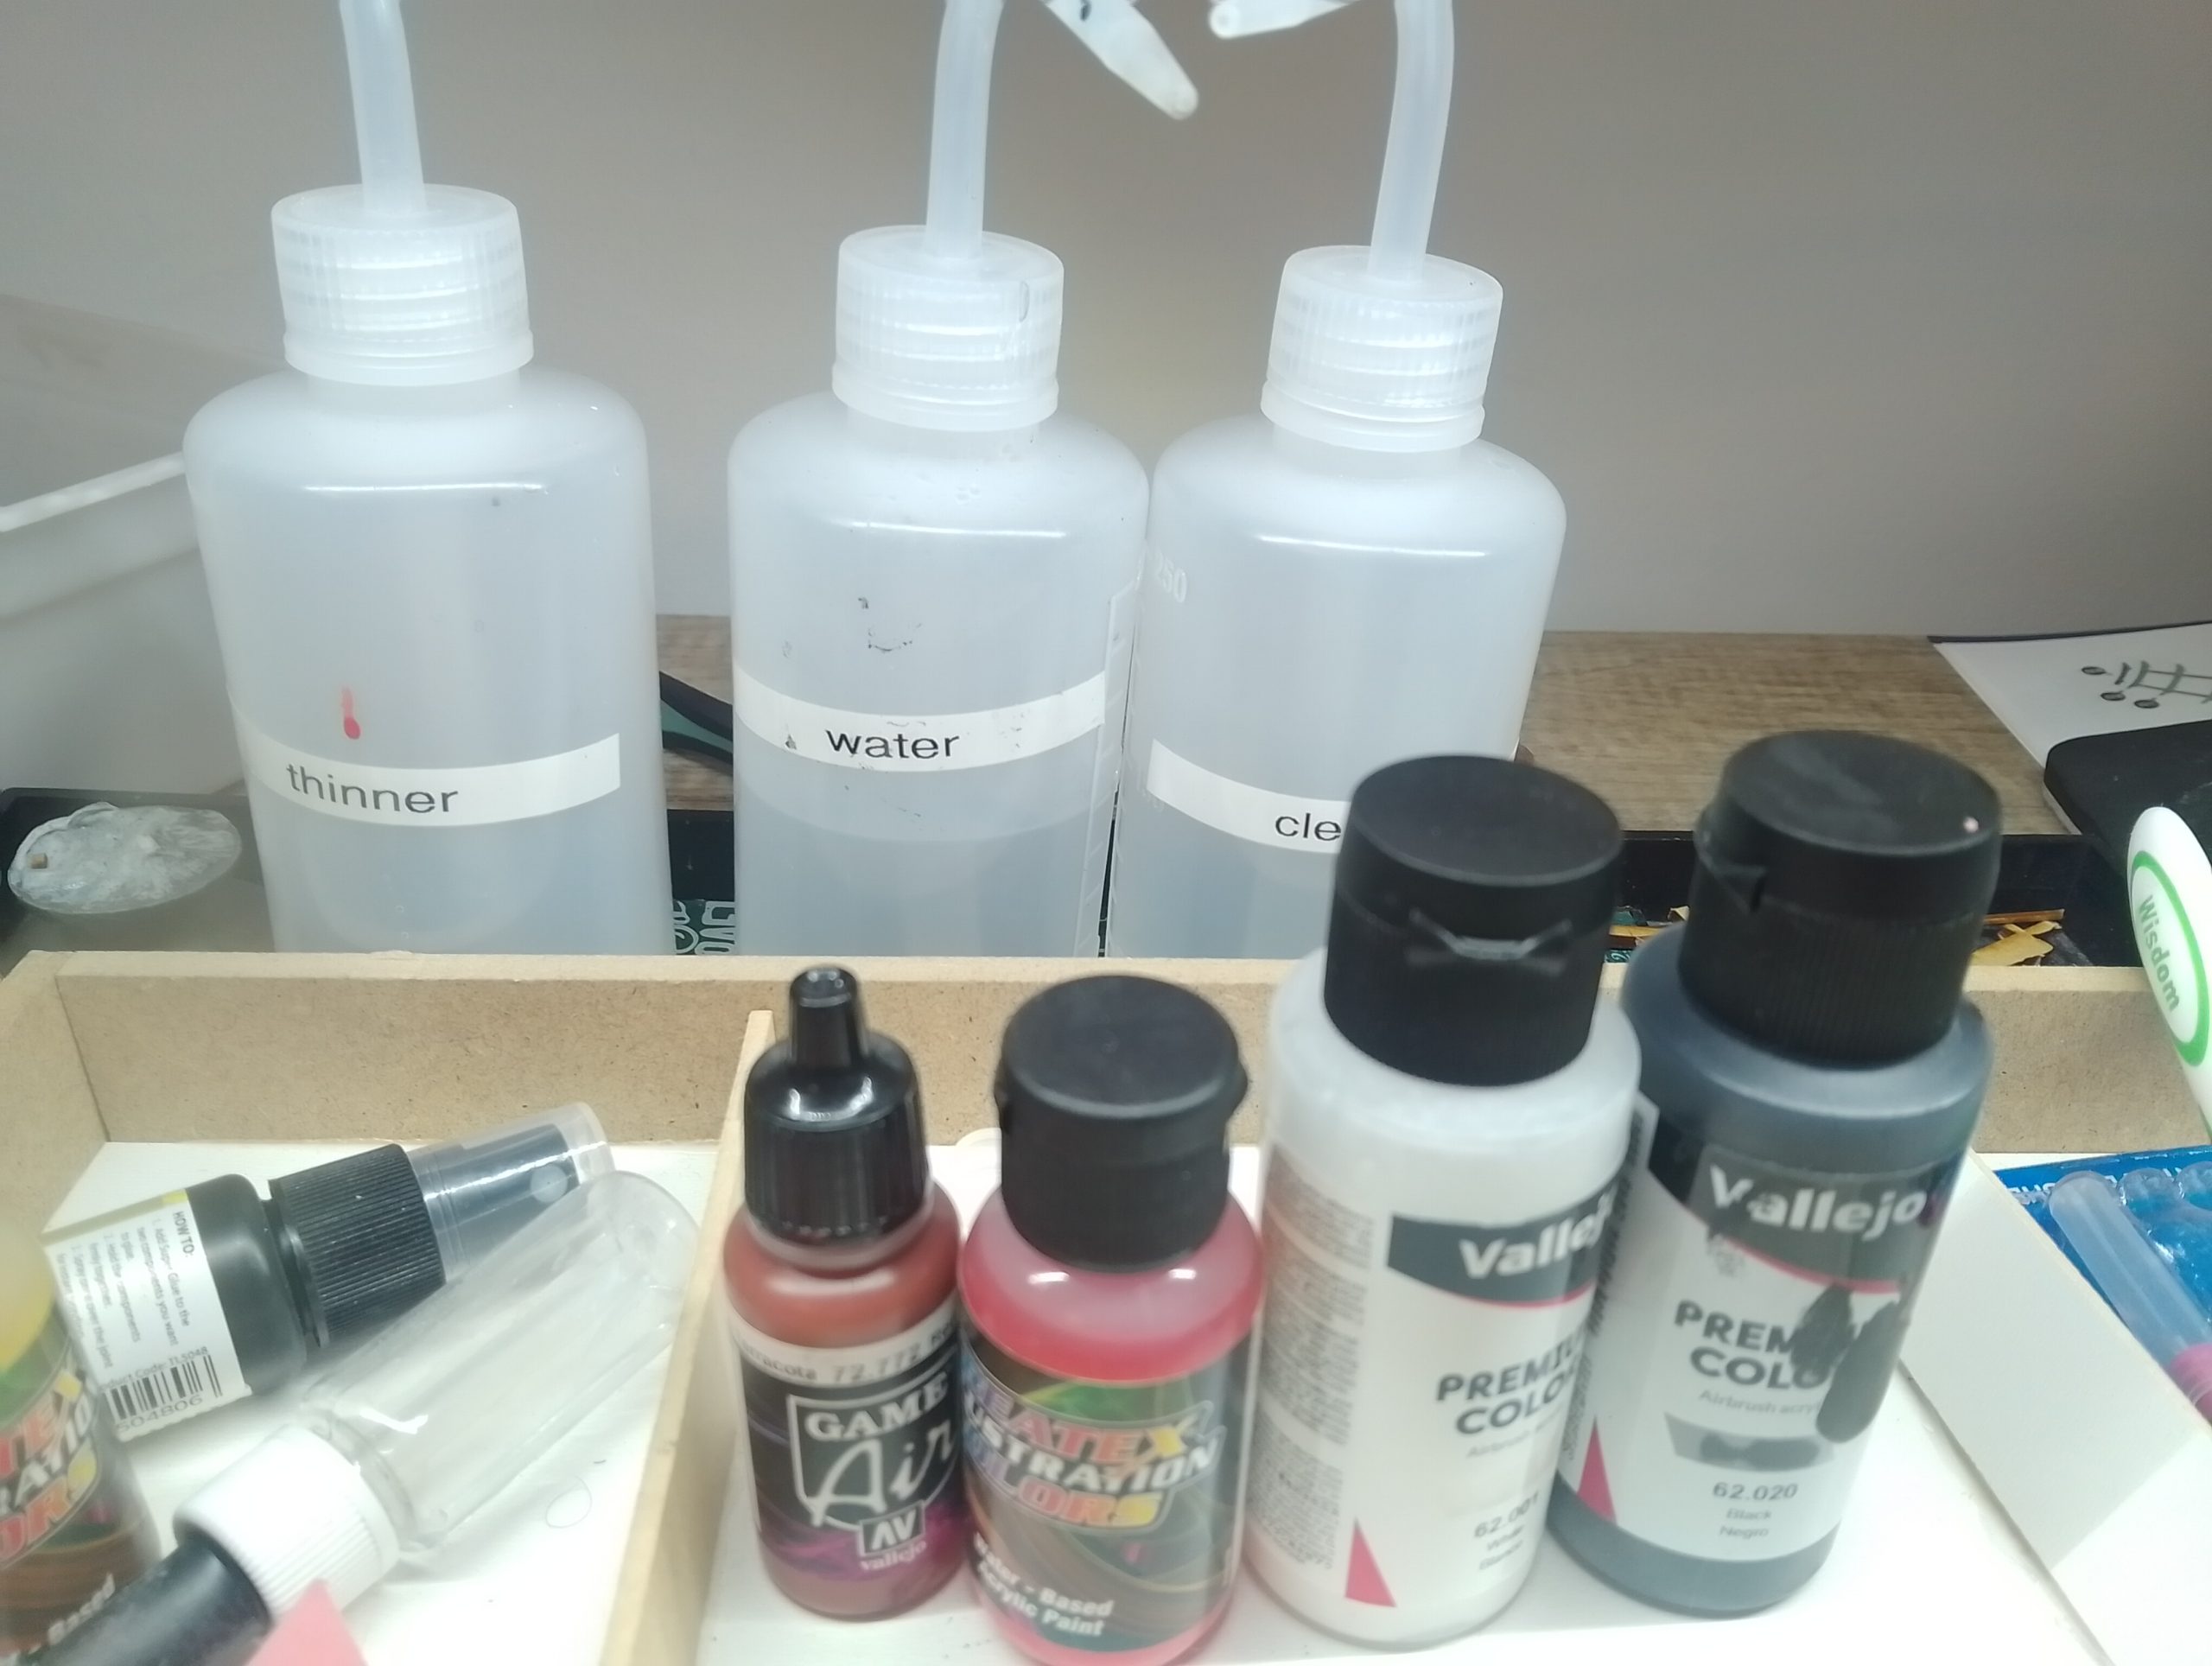 they are as bright as they are shown here!
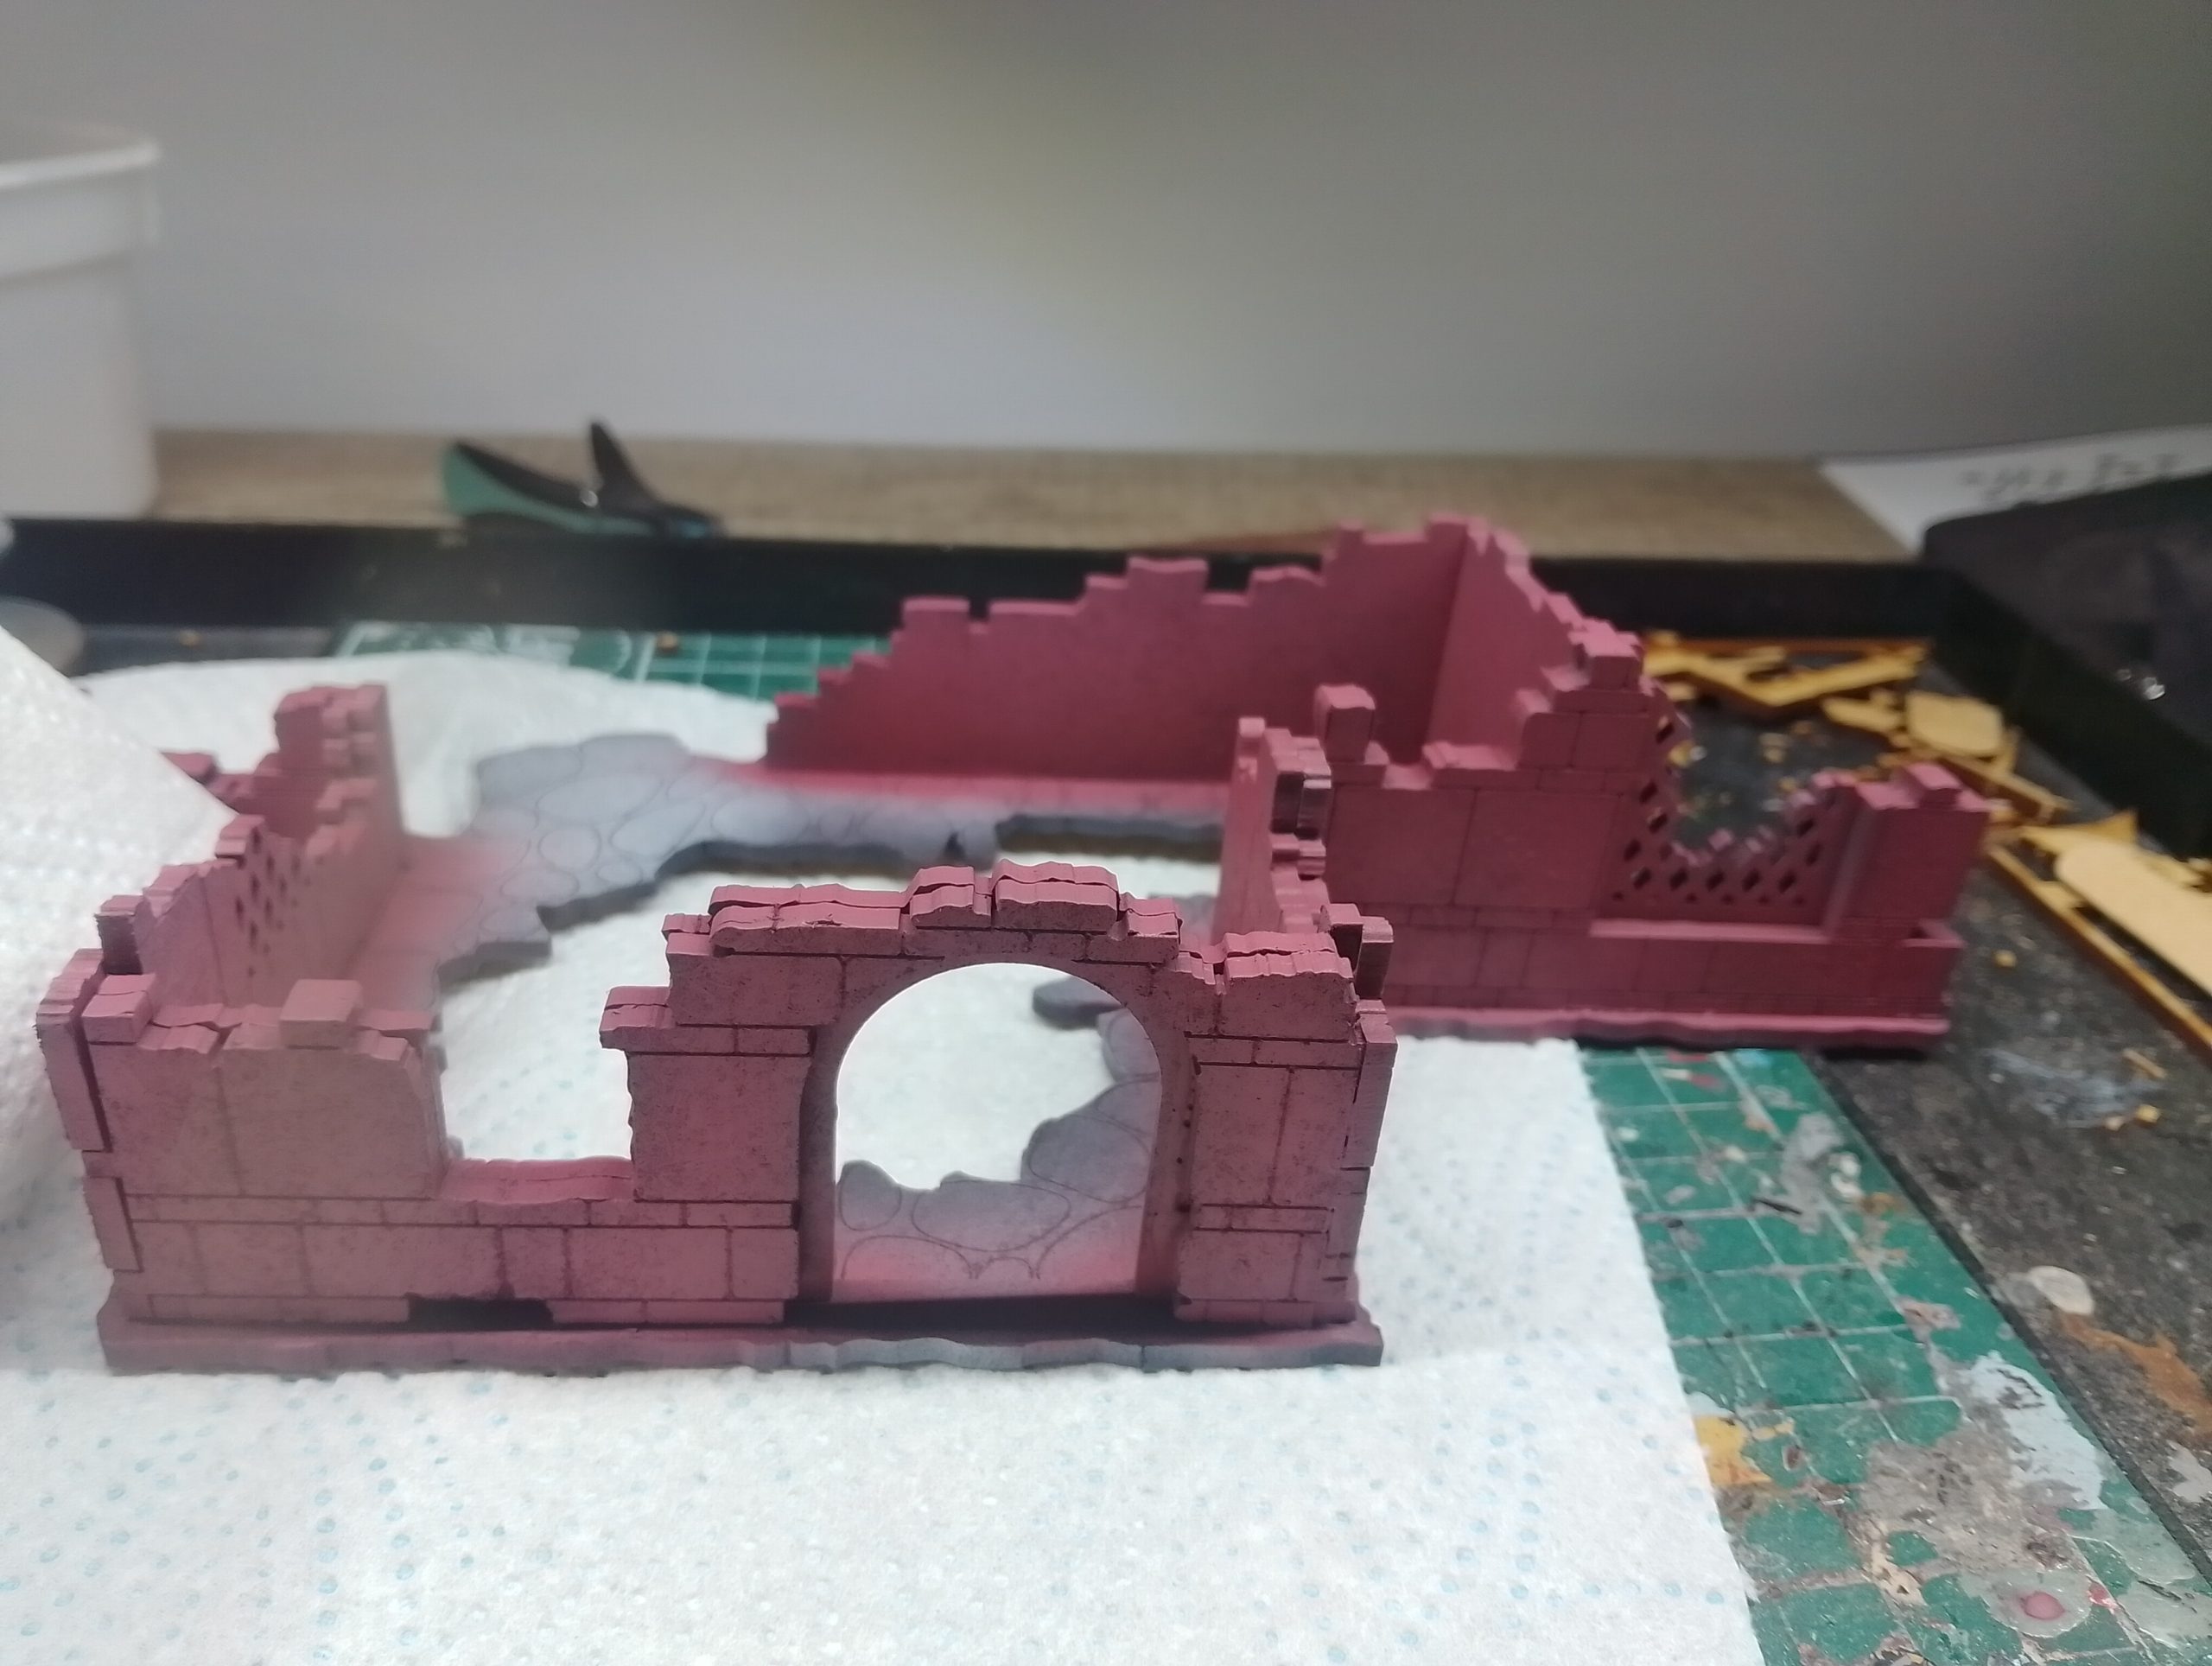
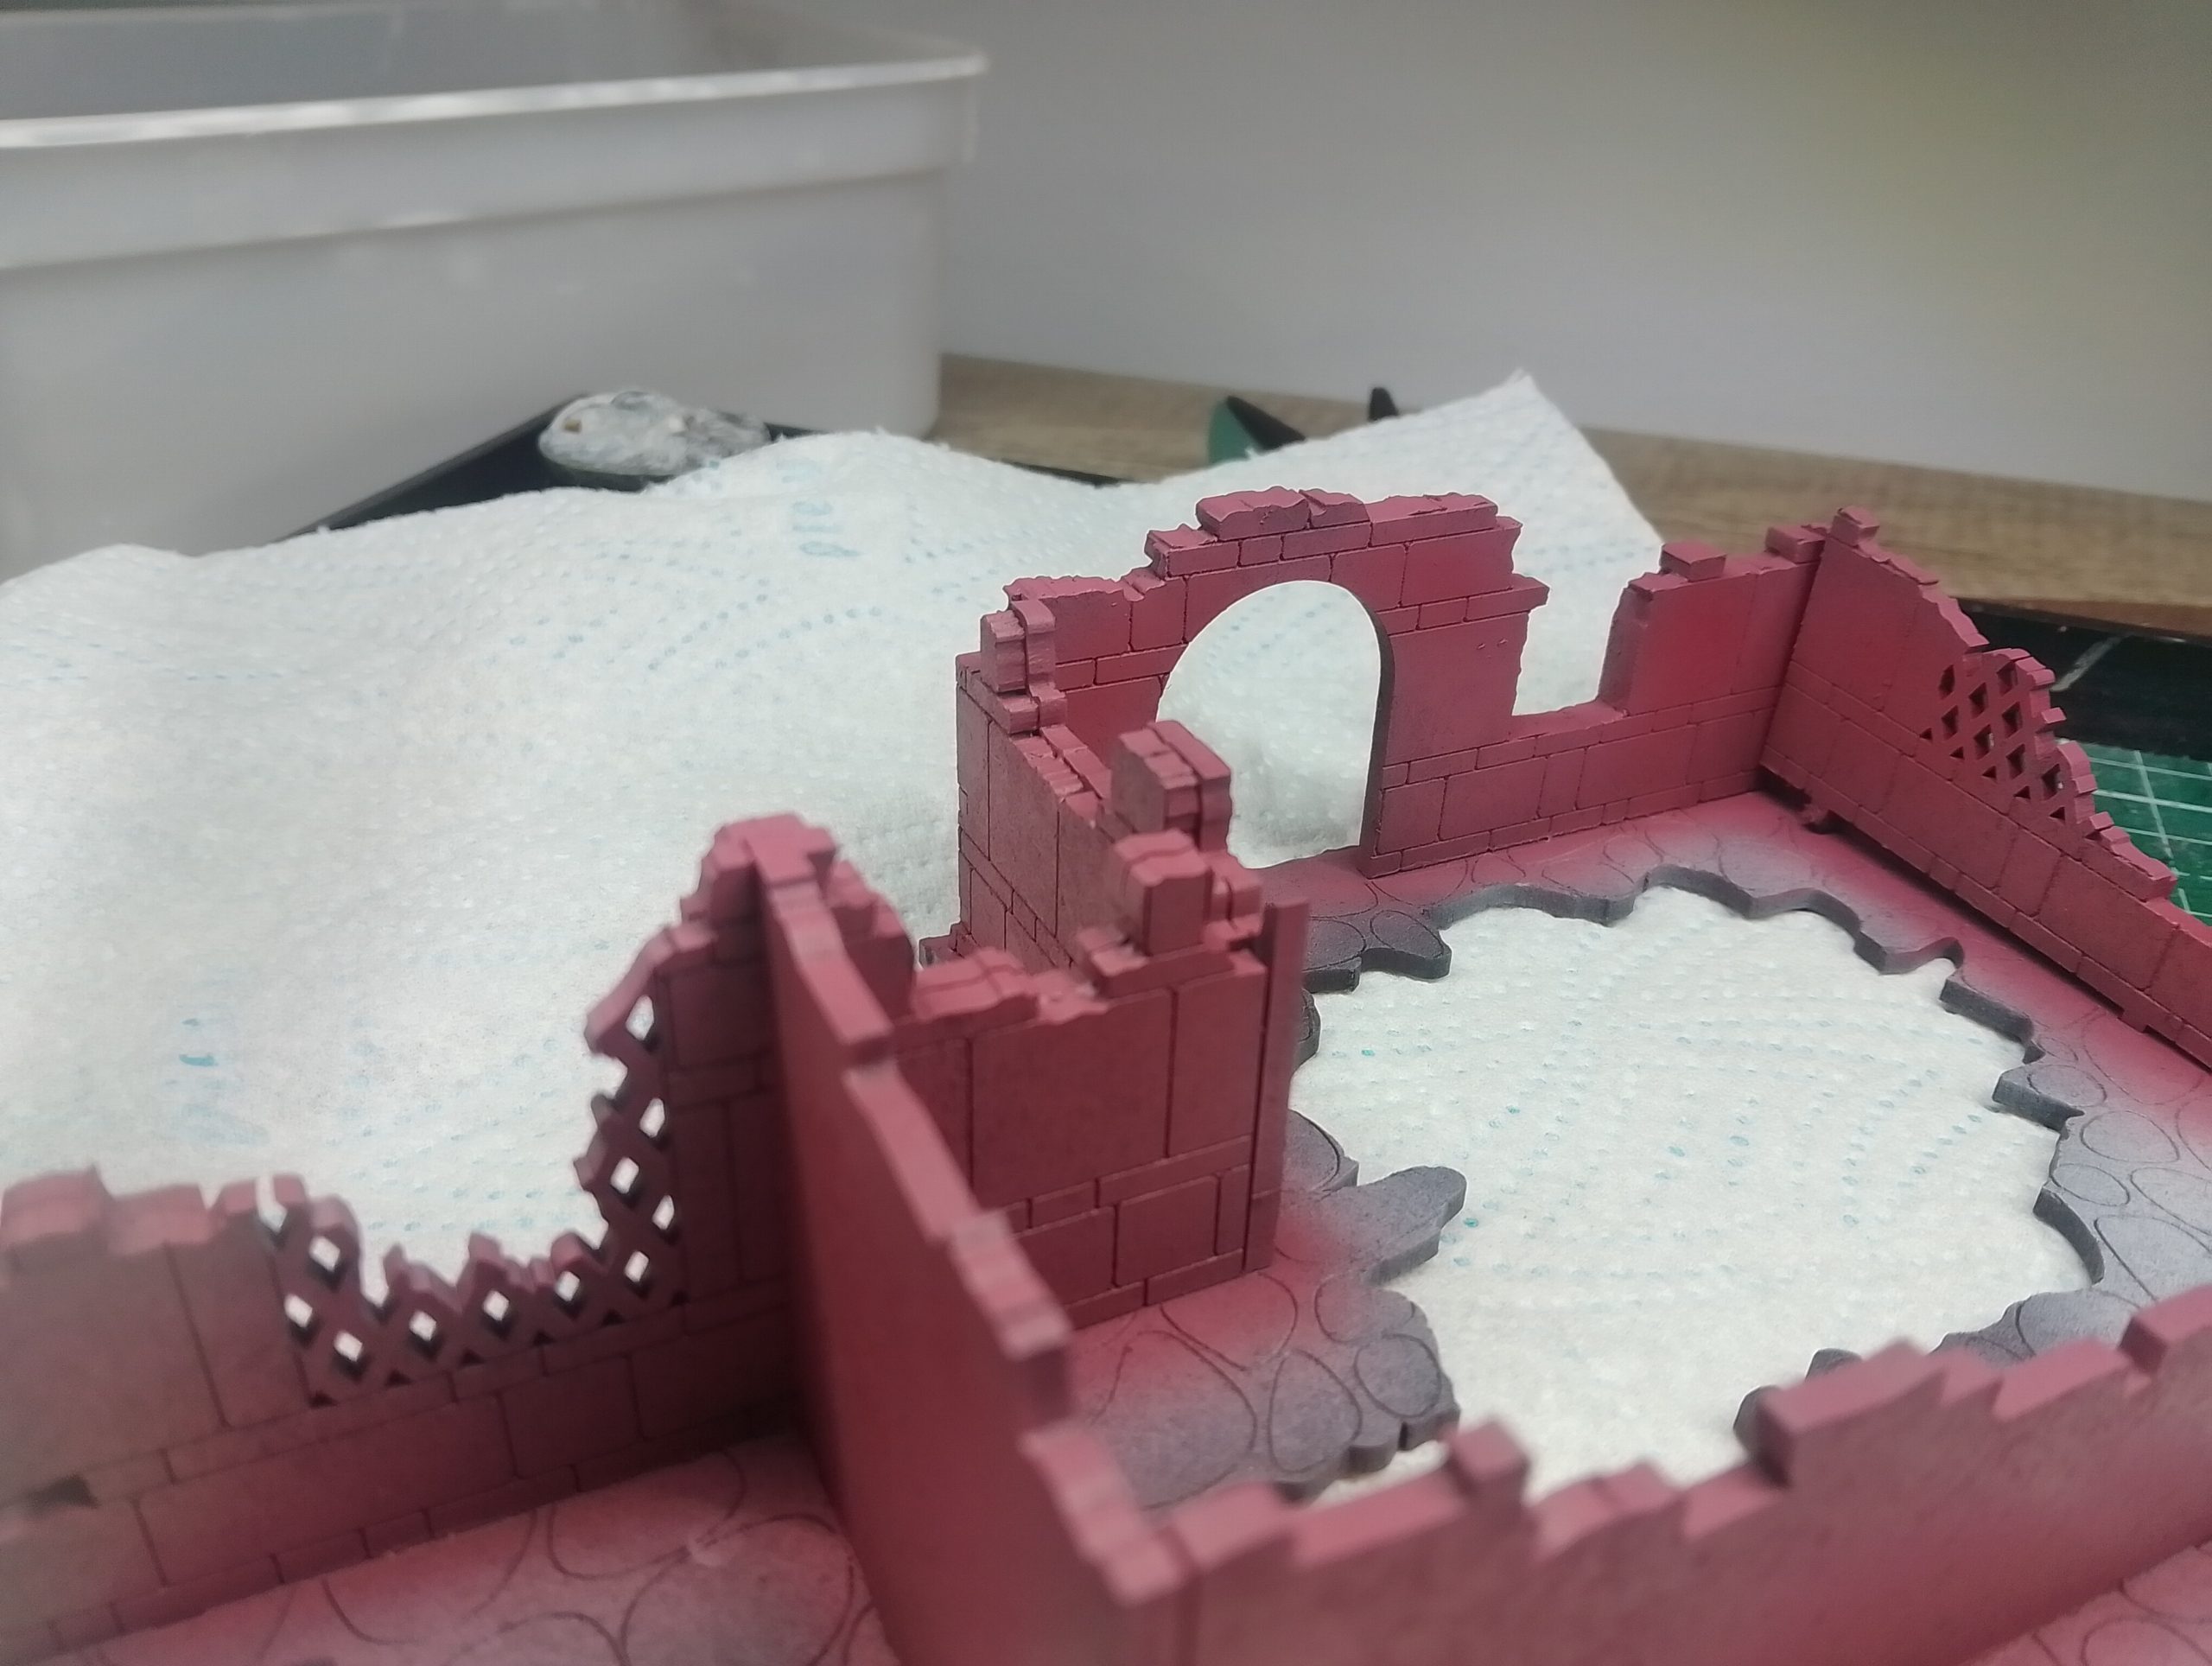
For my trial piece. I firstly primed black, then added directly white, mixing into the gravity feeder to form a grey on top as the zenithal.
Then I gradually added the red and a few more drops of white also.
Not cleaning the airbrush but using the natural mix of paint to form the red brick colour. This works great for what I’m doing as the snow is going to be the highlight/zenithal when I’m at this stage. On top of this it gives the MDF plenty to soak up if needed. Just a quick note that I will be using airbrush putty for most of the other pieces. I was just excited for the test 😀
The decision not to go all in bog standard grey is for two reasons. Frostgrave is meant to have been a rich city with frequent pickings.
it would make sense that the materials used should be of quality and flair. I will be trying to keep bigger buildings in the sandstone colour mentioned as most of the bigger structures seem to be in that tone. I also intend to show some of these ruins as being used a lot to gain access (a well trodden area with fireplaces and litter ect).
Since the gatehouse and ruins gives me the feeling of being at the outskirts rather than deep in the middle of Felstad city.
The second reason is also for gaming, it’s easier for people to converse and use the coloured building as a reference points rather than pointing and showing ect. While not all the buildings will be coloured they will be littered between the smaller L shaped grey stone ruins
STAY TUNED FOR THE BIG BUILD REVEAL SOON!

Subscribe
Login
Please login to comment
0 Comments
oldest