








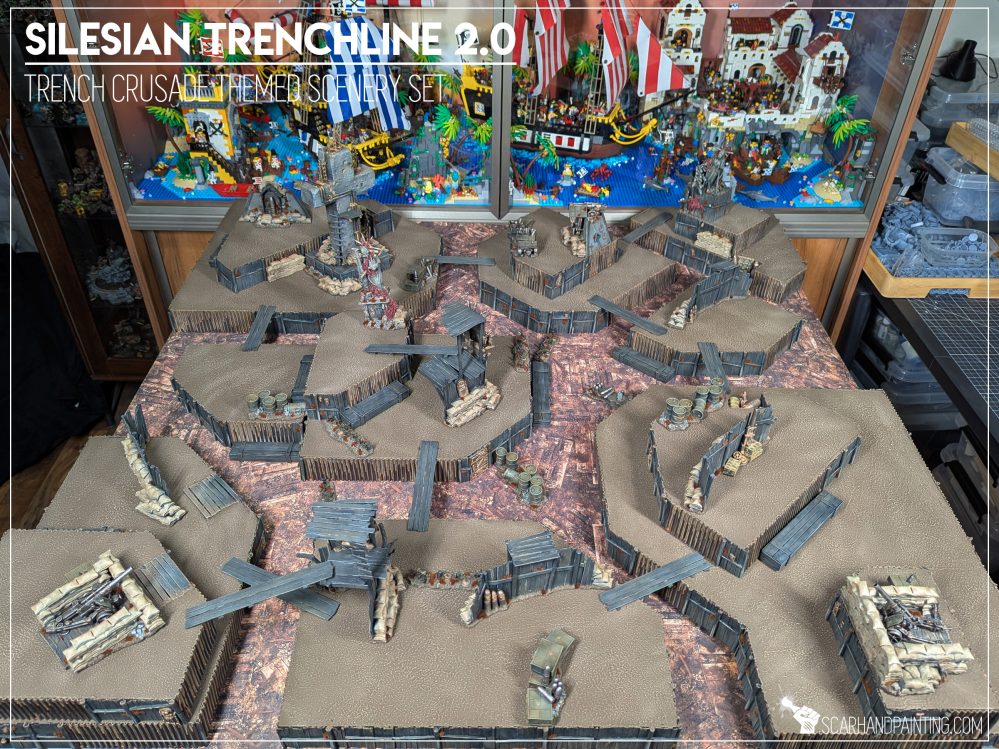
Silesian Trenchline 2.0


A Wholesome Week Of Scenery Making
I started the project on Monday 9th of February 2026.
All the necessary materials ordered for the occasion arrived early on Monday. 2″ thick XPS foam, corrugated paper, wooden coffee sticks, PVA glue, lots of Cyanoacrylate glue and other stuff plus some 3d printed bitz and pieces I produced throughout the previous Weekend…
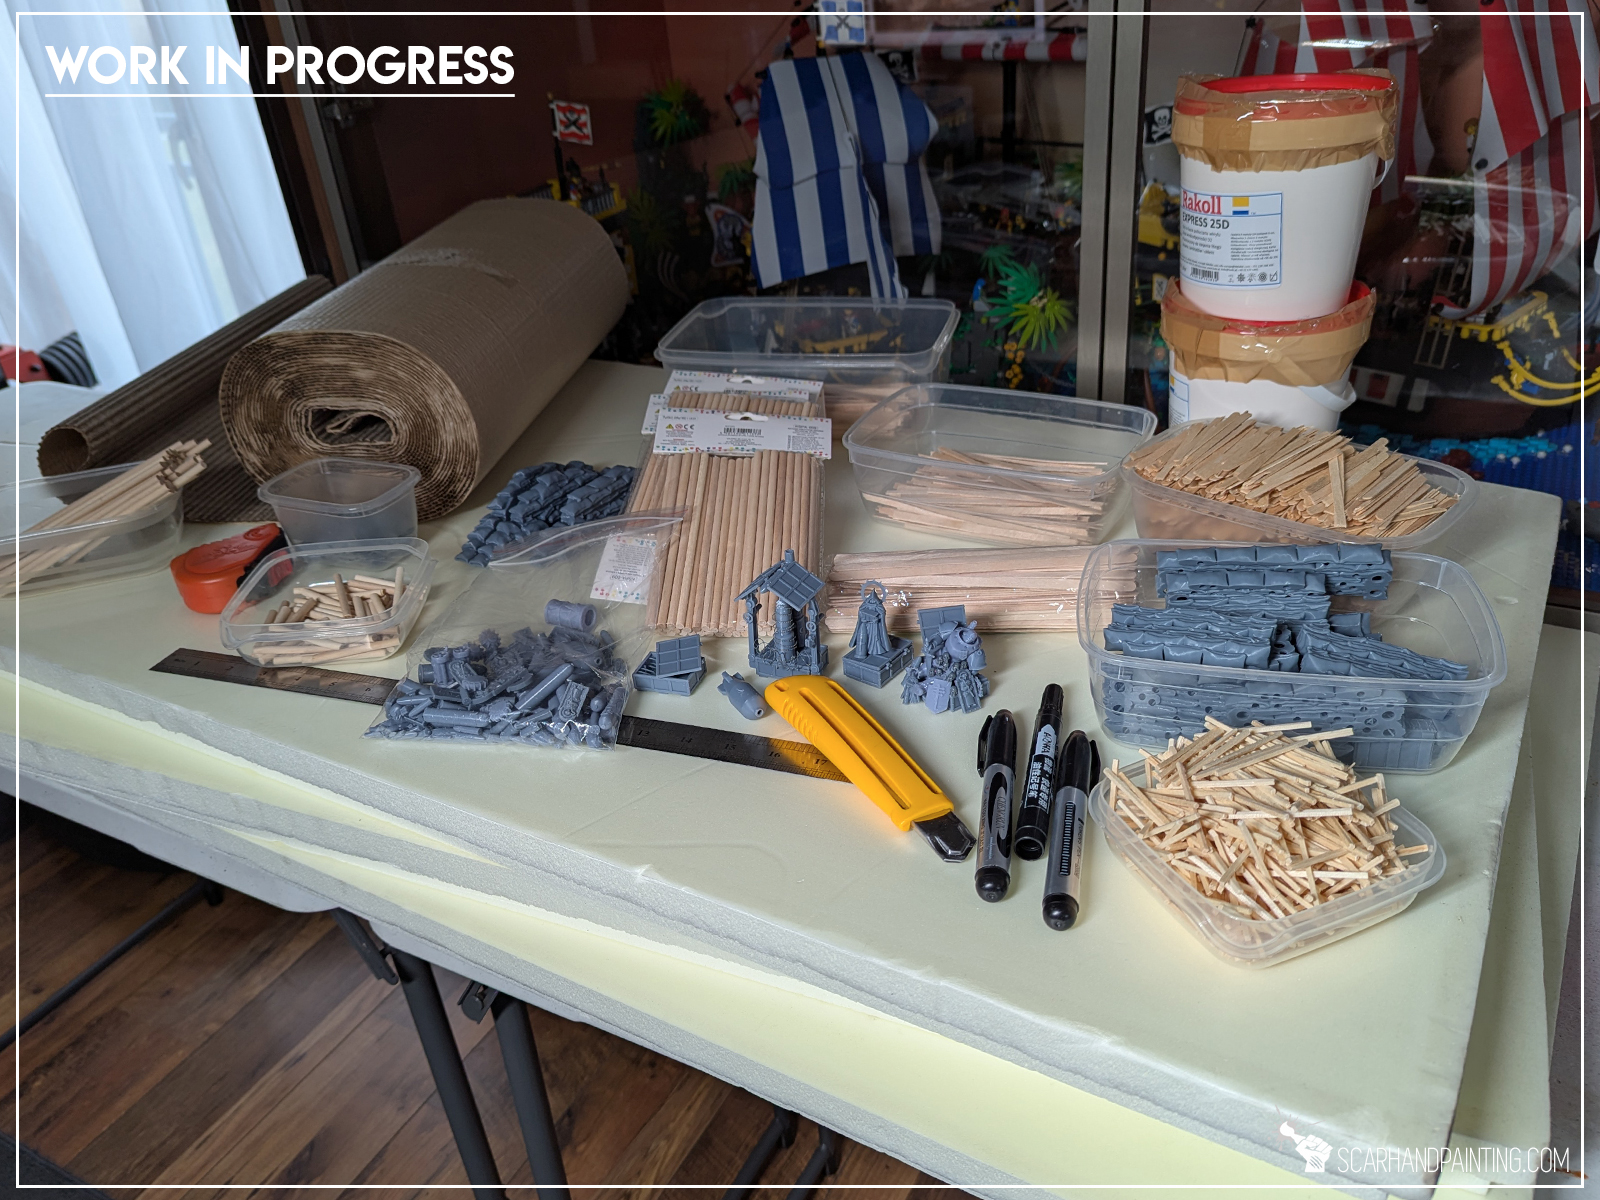
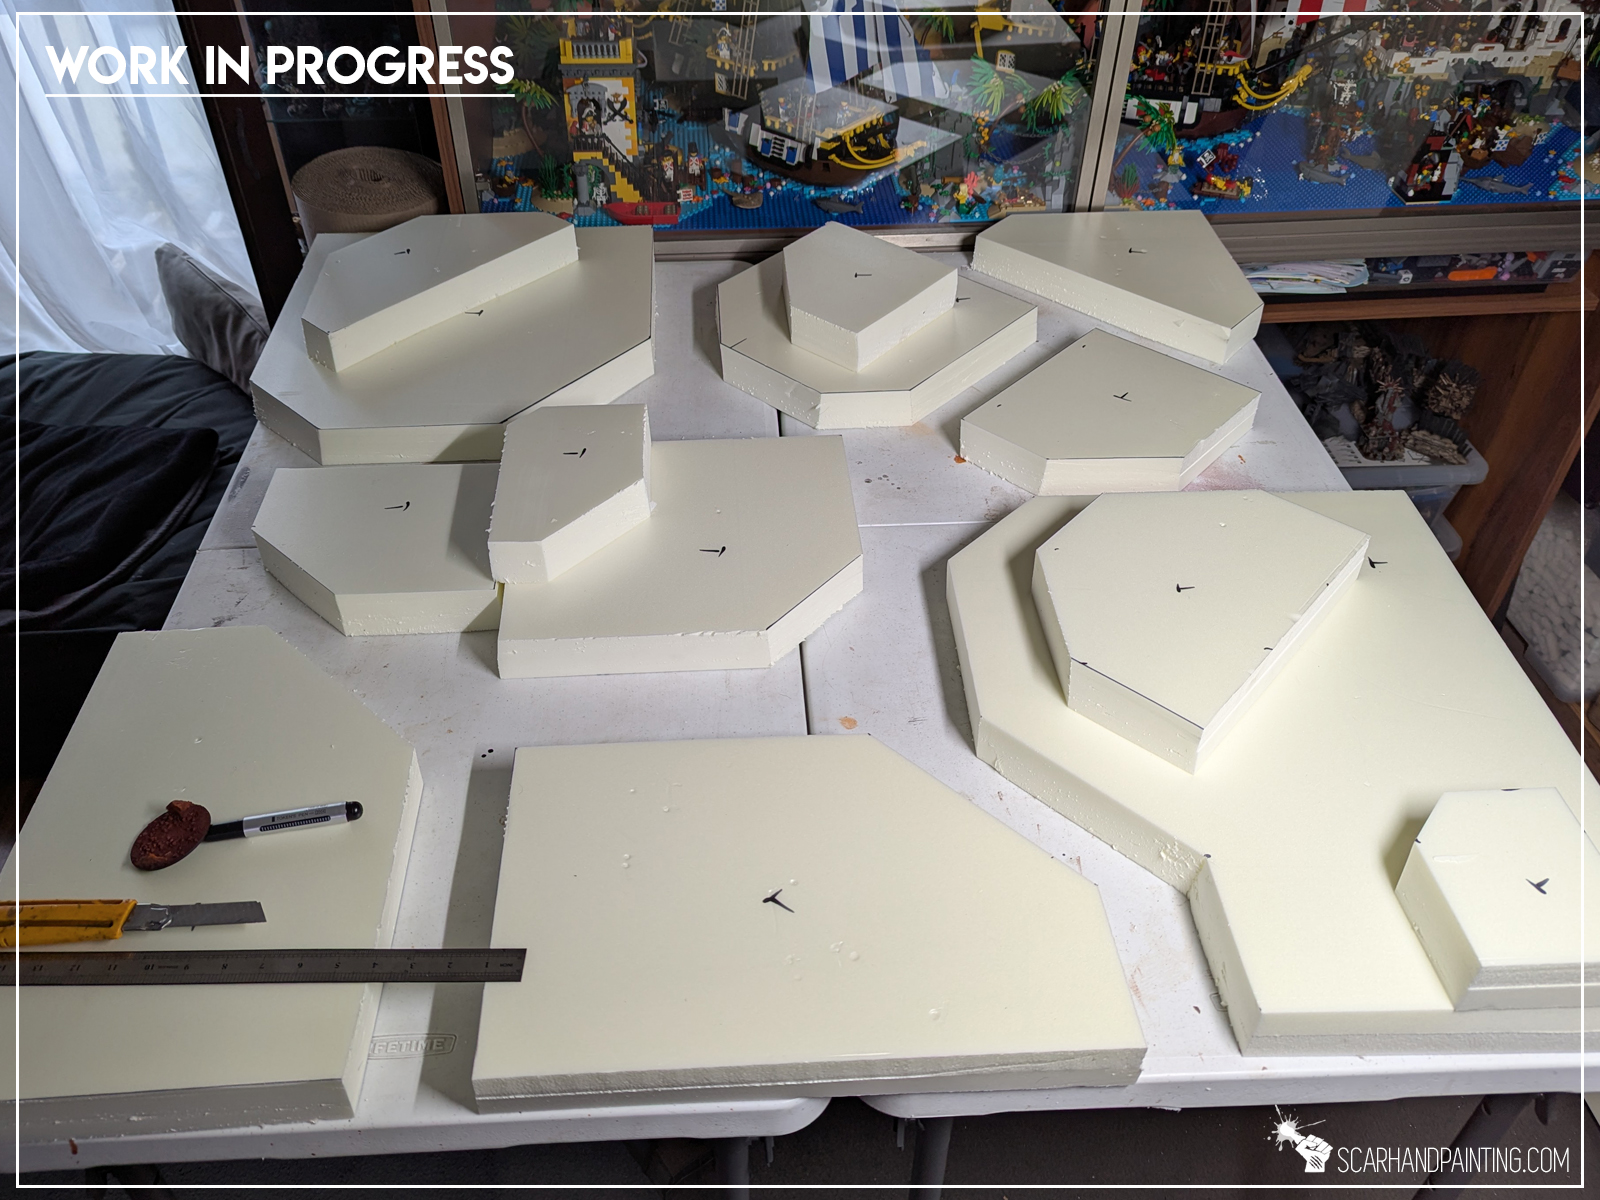
The standard process begun with copying the previous board layout 1:1, adding two more ‘shapes’ made of the leftover XPS foam to the mix. Marked, outlined then cut with an exacto knife – fast and furious, as it should be.
Below is a short video where you can see how I cut the XPS foam. Be warned though – I’ve earned a few ‘scars of honour’ back in the day when making scenery this way 😉
https://www.instagram.com/reel/DGjRwcGtx4a/?utm_source=ig_web_copy_link&igsh=MzRlODBiNWFlZA==
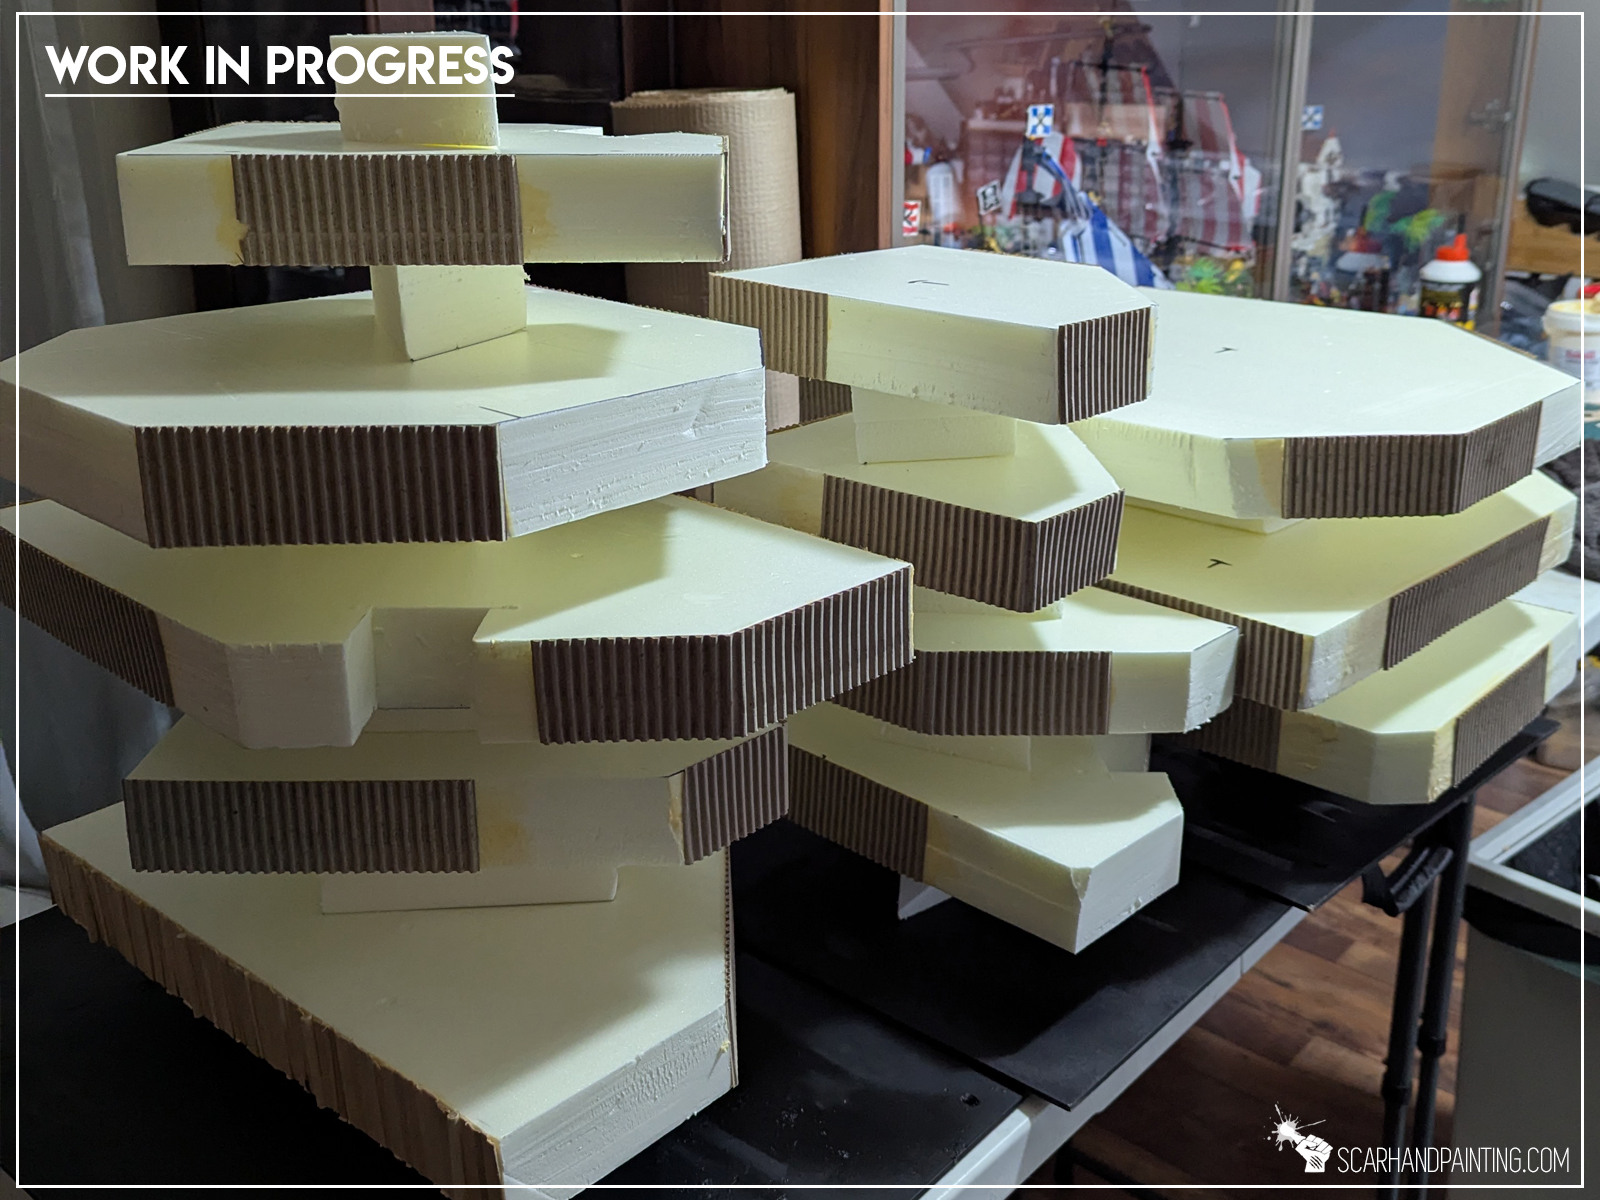
Next step was to fit the shapes onto a board and see if they need any adjustments. A few did got tuned actually. I then followed up with the standard:
– Strips of corrugated paper glued with PVA glue.
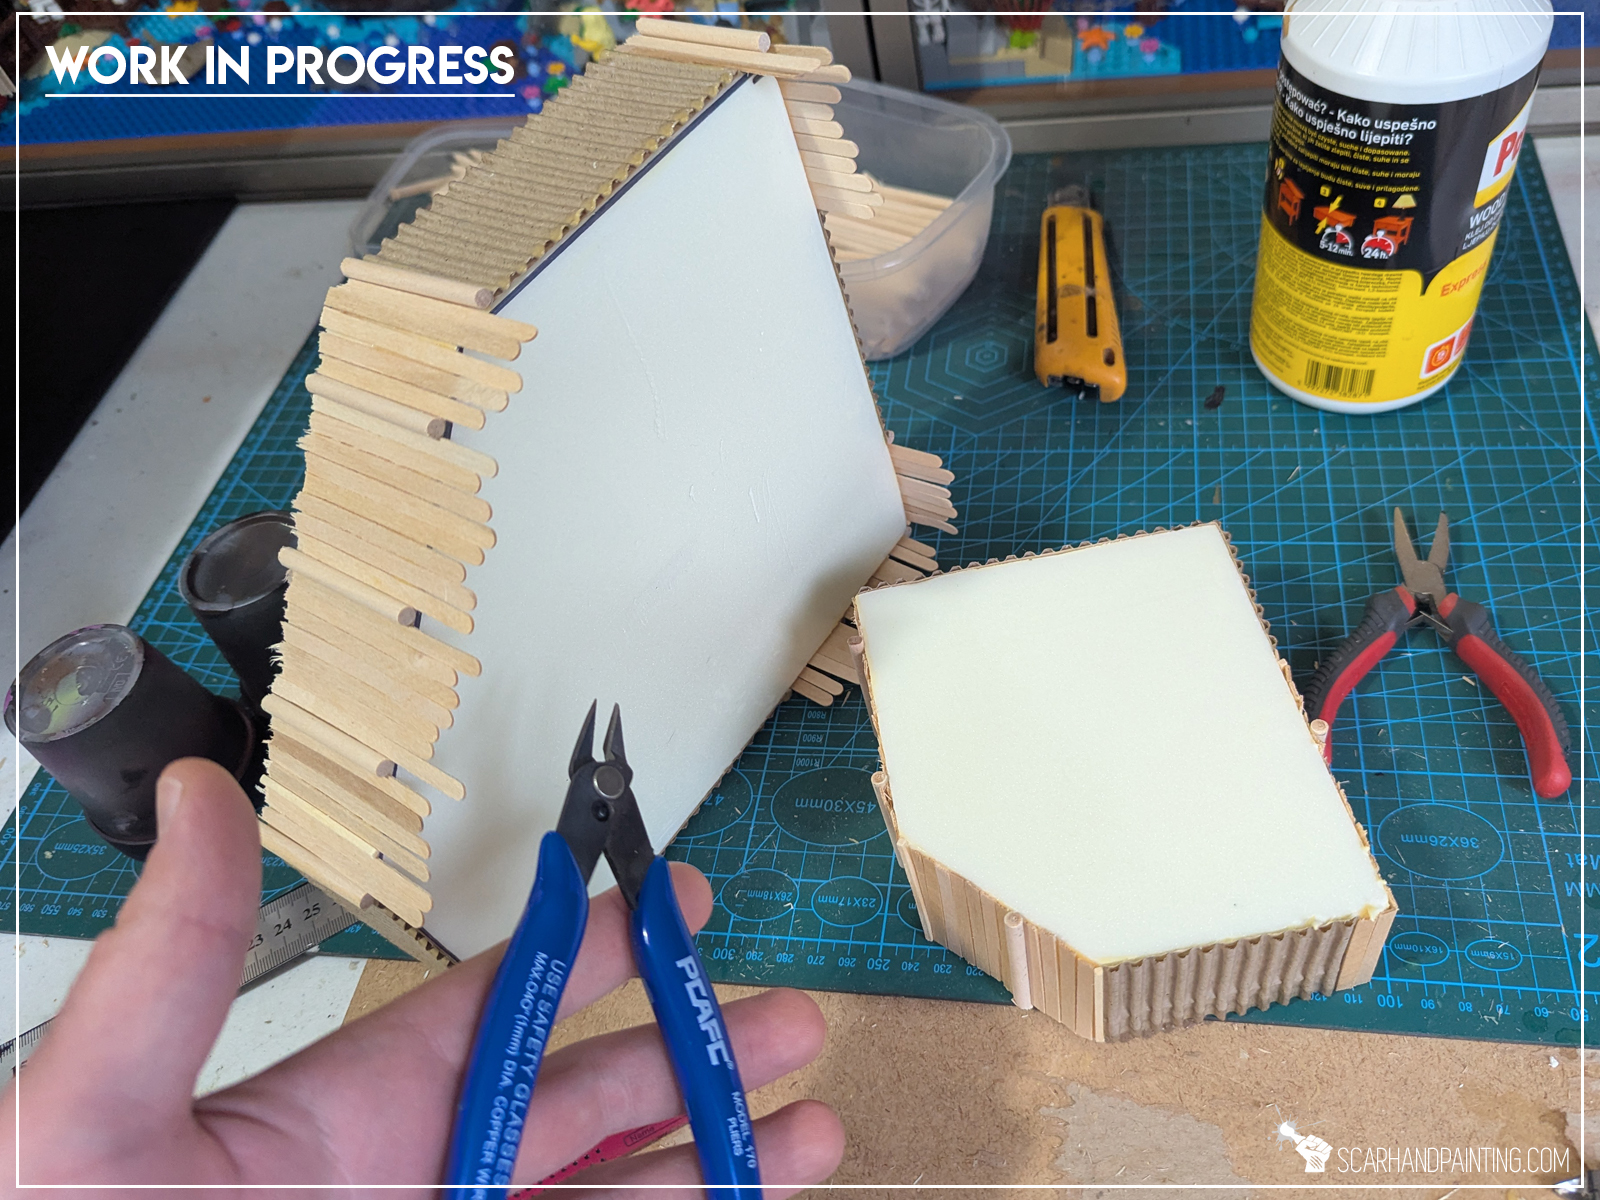
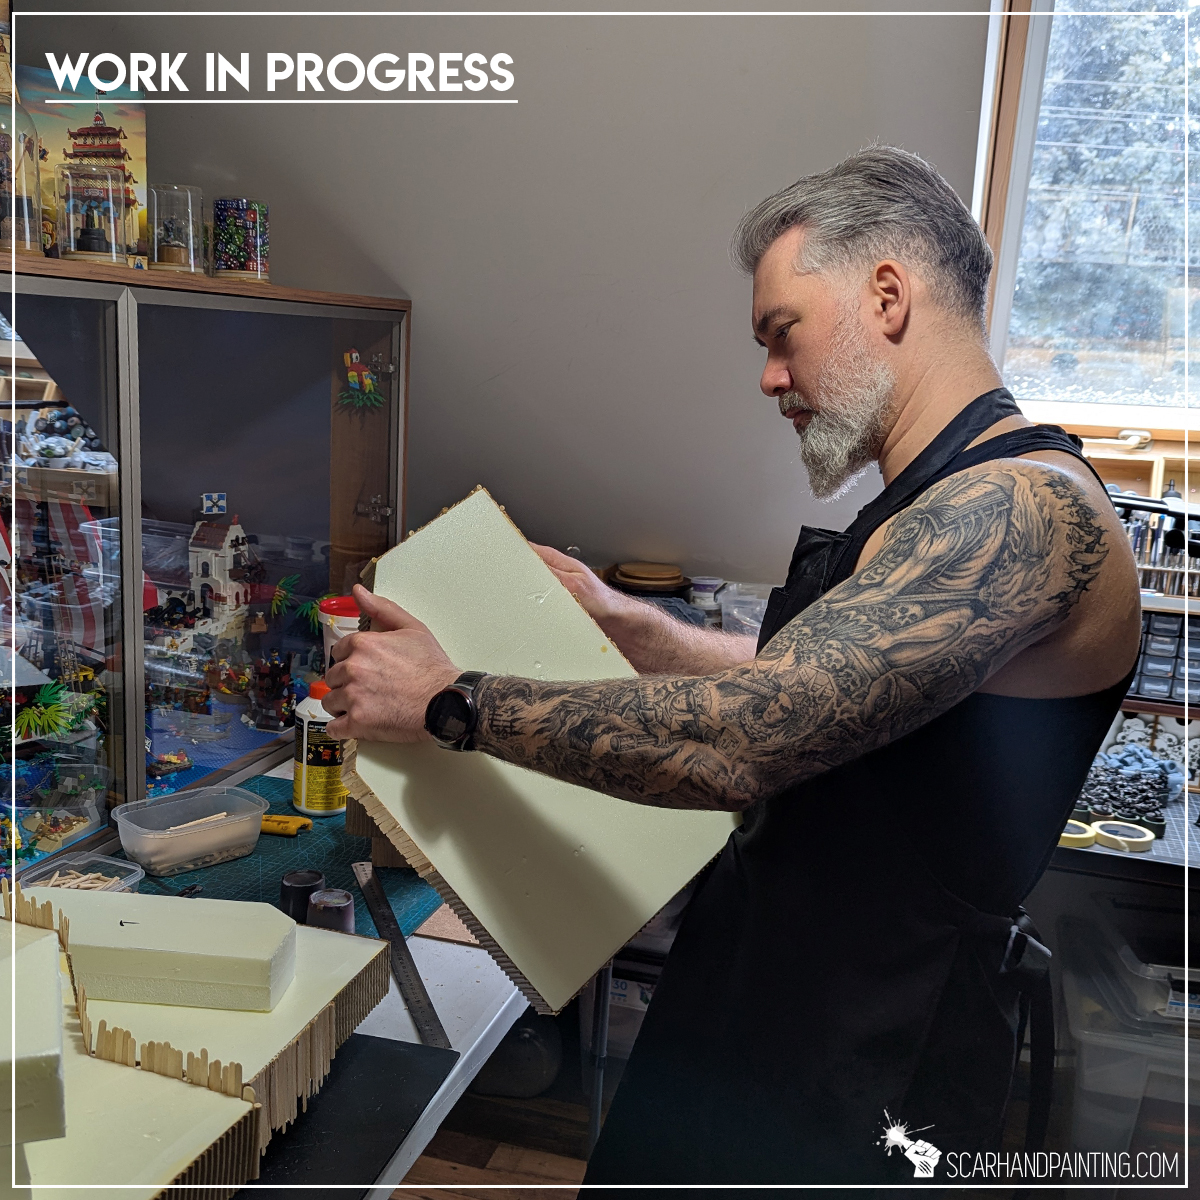
– Hundreds (actually over a thousand) mixed wooden sticks of varried thickness glued onto the remaining sides of each shape.
I made sure to mount coffee sticks so that they created a ragged top edge, but stuck out on the underside, to then cut them off in a straight line, once dry.
https://www.instagram.com/reel/DUkttGhiJVt/?utm_source=ig_web_copy_link&igsh=MzRlODBiNWFlZA==
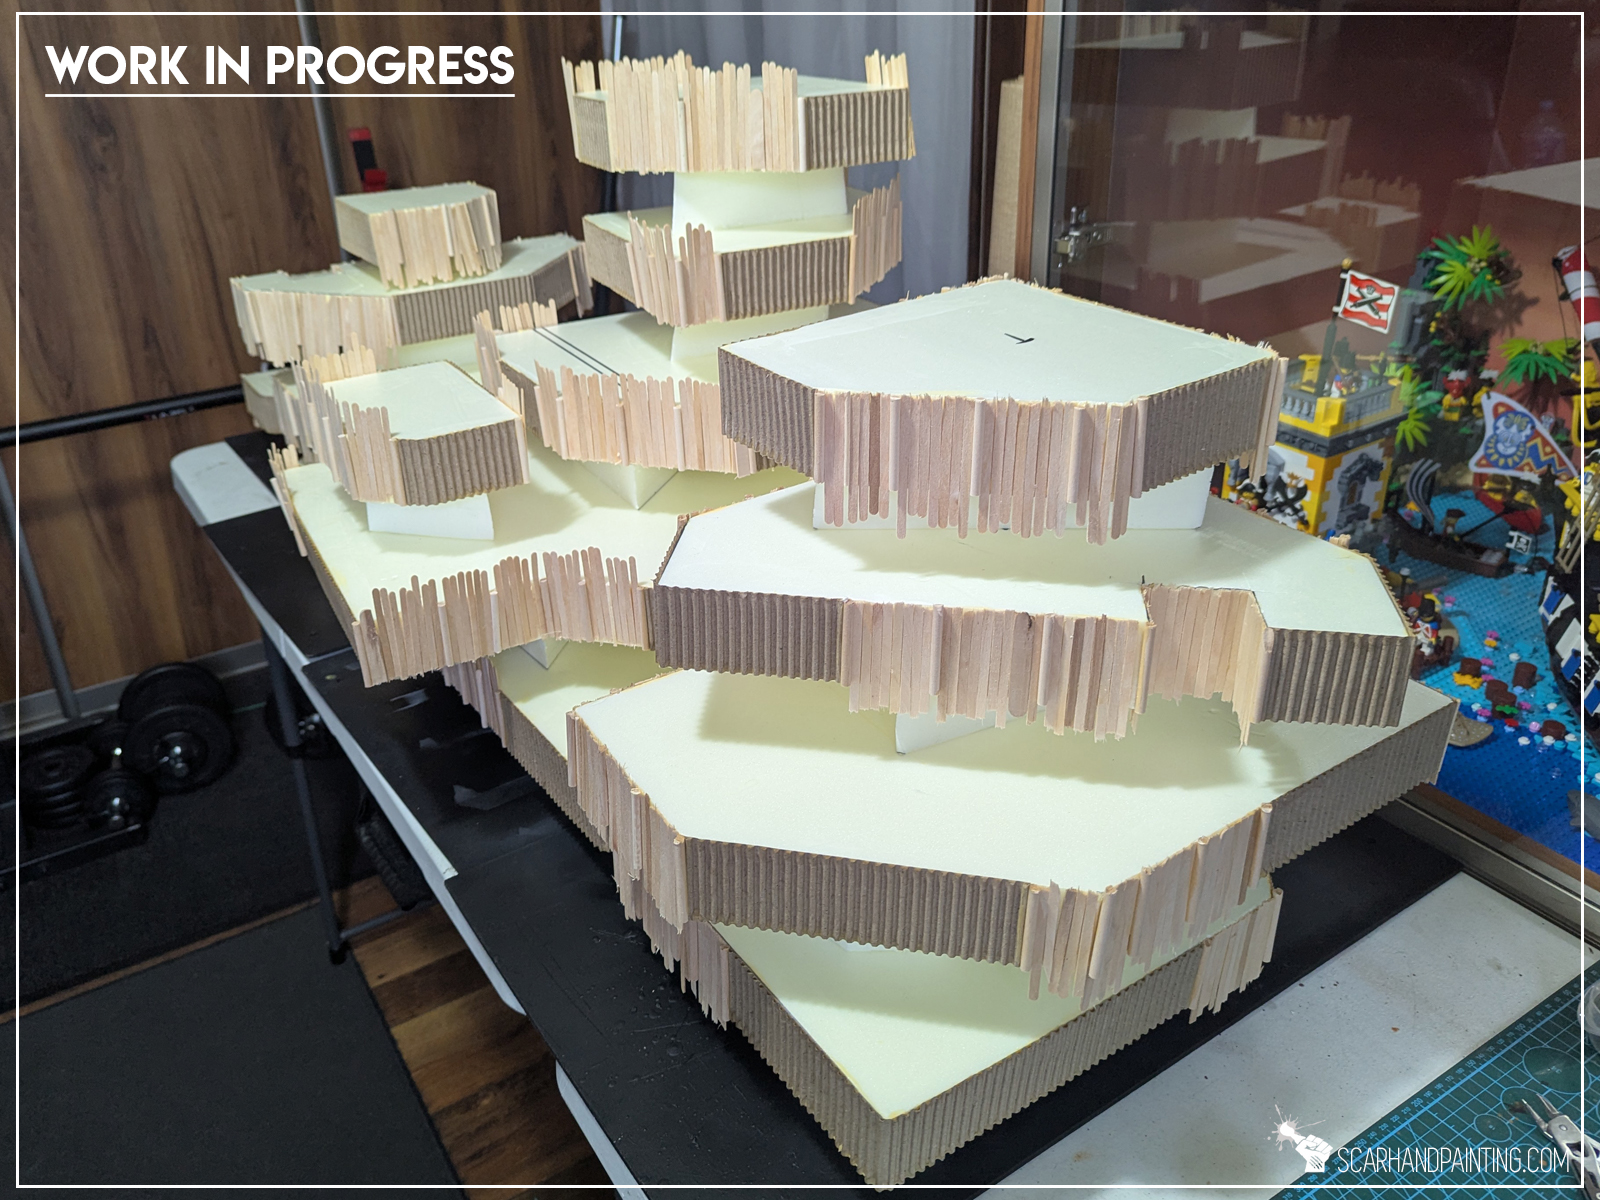
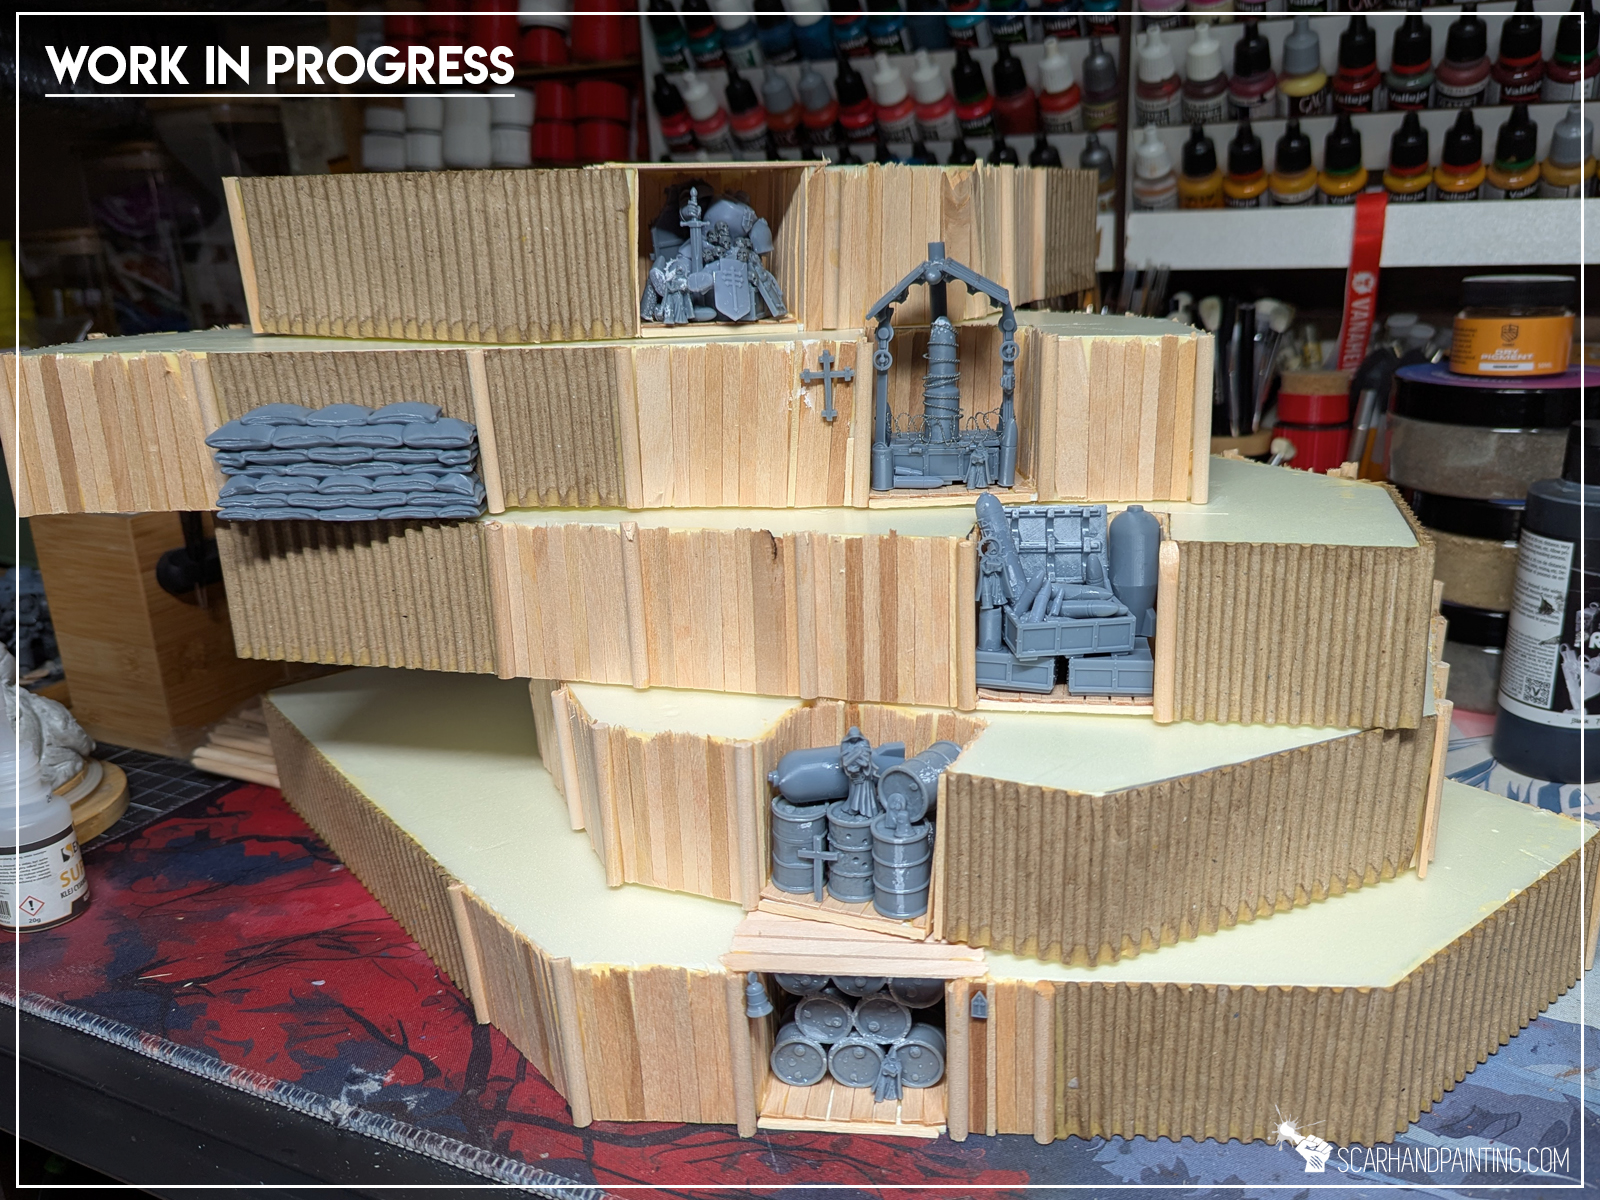
I also added a few extra details mounted in some of the walls. Small ammo cashes, a dead set of Mechanized Hevy Armour, Artillery Shrines etc…
Finally I set the game up with a buddy of mine to test the new board. The test was successfull, the board felt excelent.
It was time to paint this puppy…