



Manda (Amachan) goes to the Eastern Front




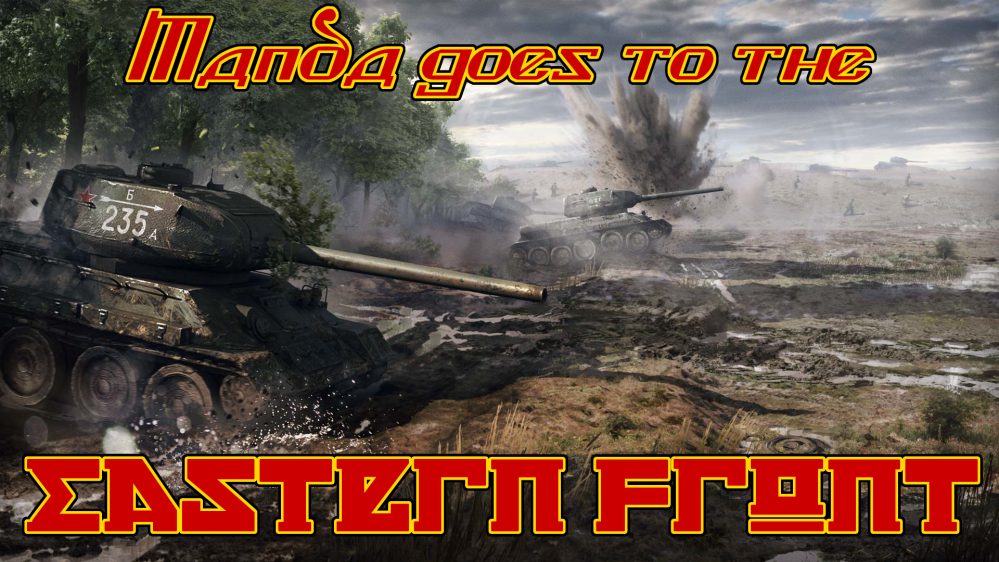
Getting back to the Eastern Front.
First of all I am redoing all the paint schemes I designed before for this project. Currently I just have the Soviet infantry one done and that is also what I am focussing on first. I will still be doing the 5th SS Panzerdivision “Wiking”, but let’s focus on one thing first. I have changed the basing scheme I am using, something I will address in a different post with a tutorial. I will be using the miniatures as individual miniatures for the most part and prepare the Flames of War bases as magnetic movement trays. This way I can still use it for Flames of War, but I am not stuck to having a set amount of miniatures glued to a base. Apart from that nothing has really changed. I am still going to torture myself by sculpting 15mm Papakhas on miniatures…..
9-Step Plan for Soviet Infantry:
Step 1: Cutting the miniatures of the sprue, cleaning them up. Drilling a hole in the base and gluing a 2x1mm magnet in the base. And finally sculpting a Papakha on 2/3rd of the miniatures.
Step 2: Apply a coat of AK Interactive Primer and Microfiller Grey (AK758).
Step 3: Apply a basecoat of Vallejo Model Air German Green Brown (71.272) over the whole model.
Step 4: Apply the acrylic base coats according to the following scheme:
- Bags/Canvas: Vallejo Model Color Green Grey (70.886)
- Belts: Vallejo Panzer Aces Leather Belt (70.312)
- Boots: Vallejo Panzer Aces Dark Rubber (70.306)
- Hair: Vallejo Model Color Chocolate Brown (70.872)
- Helmet: Vallejo Model Color Refractive Green (70.890)
- Komissar Cap & Trousers: Scale 75 Scalecolor Mediterranean Blue (SC-51)
- Metal bits: Vallejo Metal Color Burnt Iron (77.721)
- Papakha: Vallejo Model Color Flat Red (70.957) on top and Vallejo Model Color Black Grey (70.862) around the rim. And then a cross of Scale 75 Scalecolor Sol Yellow (SC-40) on top and dot with the same yellow up front.
- Pouches: Vallejo Model Color Red Leather (70.818)
- RGD-33 Stick Grenade: Vallejo Model Color Brown Sand (70.876)
- Skin: Scale 75 Scalecolor Golden Skin (SC-19)
- Trousers: On a roll of a 5+ on a D6 the model will get the Cossack trousers which will be painted with Scale 75 Scalecolor Cantabric Blue (SC-53) and the a Vallejo Model Color Flat Red (70.957) stripe on the side. The other trousers will just be in the basecoat from Step 3.
- Wood: Vallejo Panzer Aces New Wood (70.311)
Anything I missed will be added later.
Step 4.5: Kind of part of Step 4, but better to separate it. I will use the rim of the base in different colour to easily differentiate between the different types of units on the tabletop. This is my base rim colour chart:
- Riflemen – Scale 75 Scalecolor Black (SC-00)
- SMG Infantry – Vallejo Model Color Refractive Green (70.890)
- LMG/MMG/HMG – Scale 75 Scalecolor Irati Green (SC-43)
- Anti-tank – AK Interactive Acrylic Colors Dirty Yellow (AK11043)
- NCO – AK Interactive Acrylic Colors Medium Orange (AK11078)
- Officer – Vallejo Model Color Flat Red (70.957)
- Morale Officer – Vallejo Model Color Medium Blue (70.963)
- Artillery – Vallejo Model Color Blue Violet (70.811)
- Recon/Observer – Vallejo Model Color Mahogany Brown (70.846)
- Medic – AK Interactive Acrylic Colors Grimy Grey (AK11008)
Step 5: A thinned coat of Winsor & Newton Galeria Acrylic Mediums Matt Varnish (3040802). If the model contains any metal bits it will be preceded by a gloss coat of whatever I have available.
Step 6: 2 coats of AK Interactive Streaking Grime (AK012) drying it in between using a hairdryer and after that remove most of the excess using cotton buds and mineral spirits.
Step 7: Add a coat of AK Interactive Diorama Terrains Wet Ground (AK8016) to the base.
Step 8: Brush on a coat of AK Interactive Summer Kursk Earth (AK080), dry that with a hairdryer and then remove the excess with cotton buds without mineral spirits.
Step 9: Add a little bit of AK Interactive Diorama Puddles (AK8028) if appropriate and do another coat over the rim of the base according to Step 4.5.
After that they will look something like this:
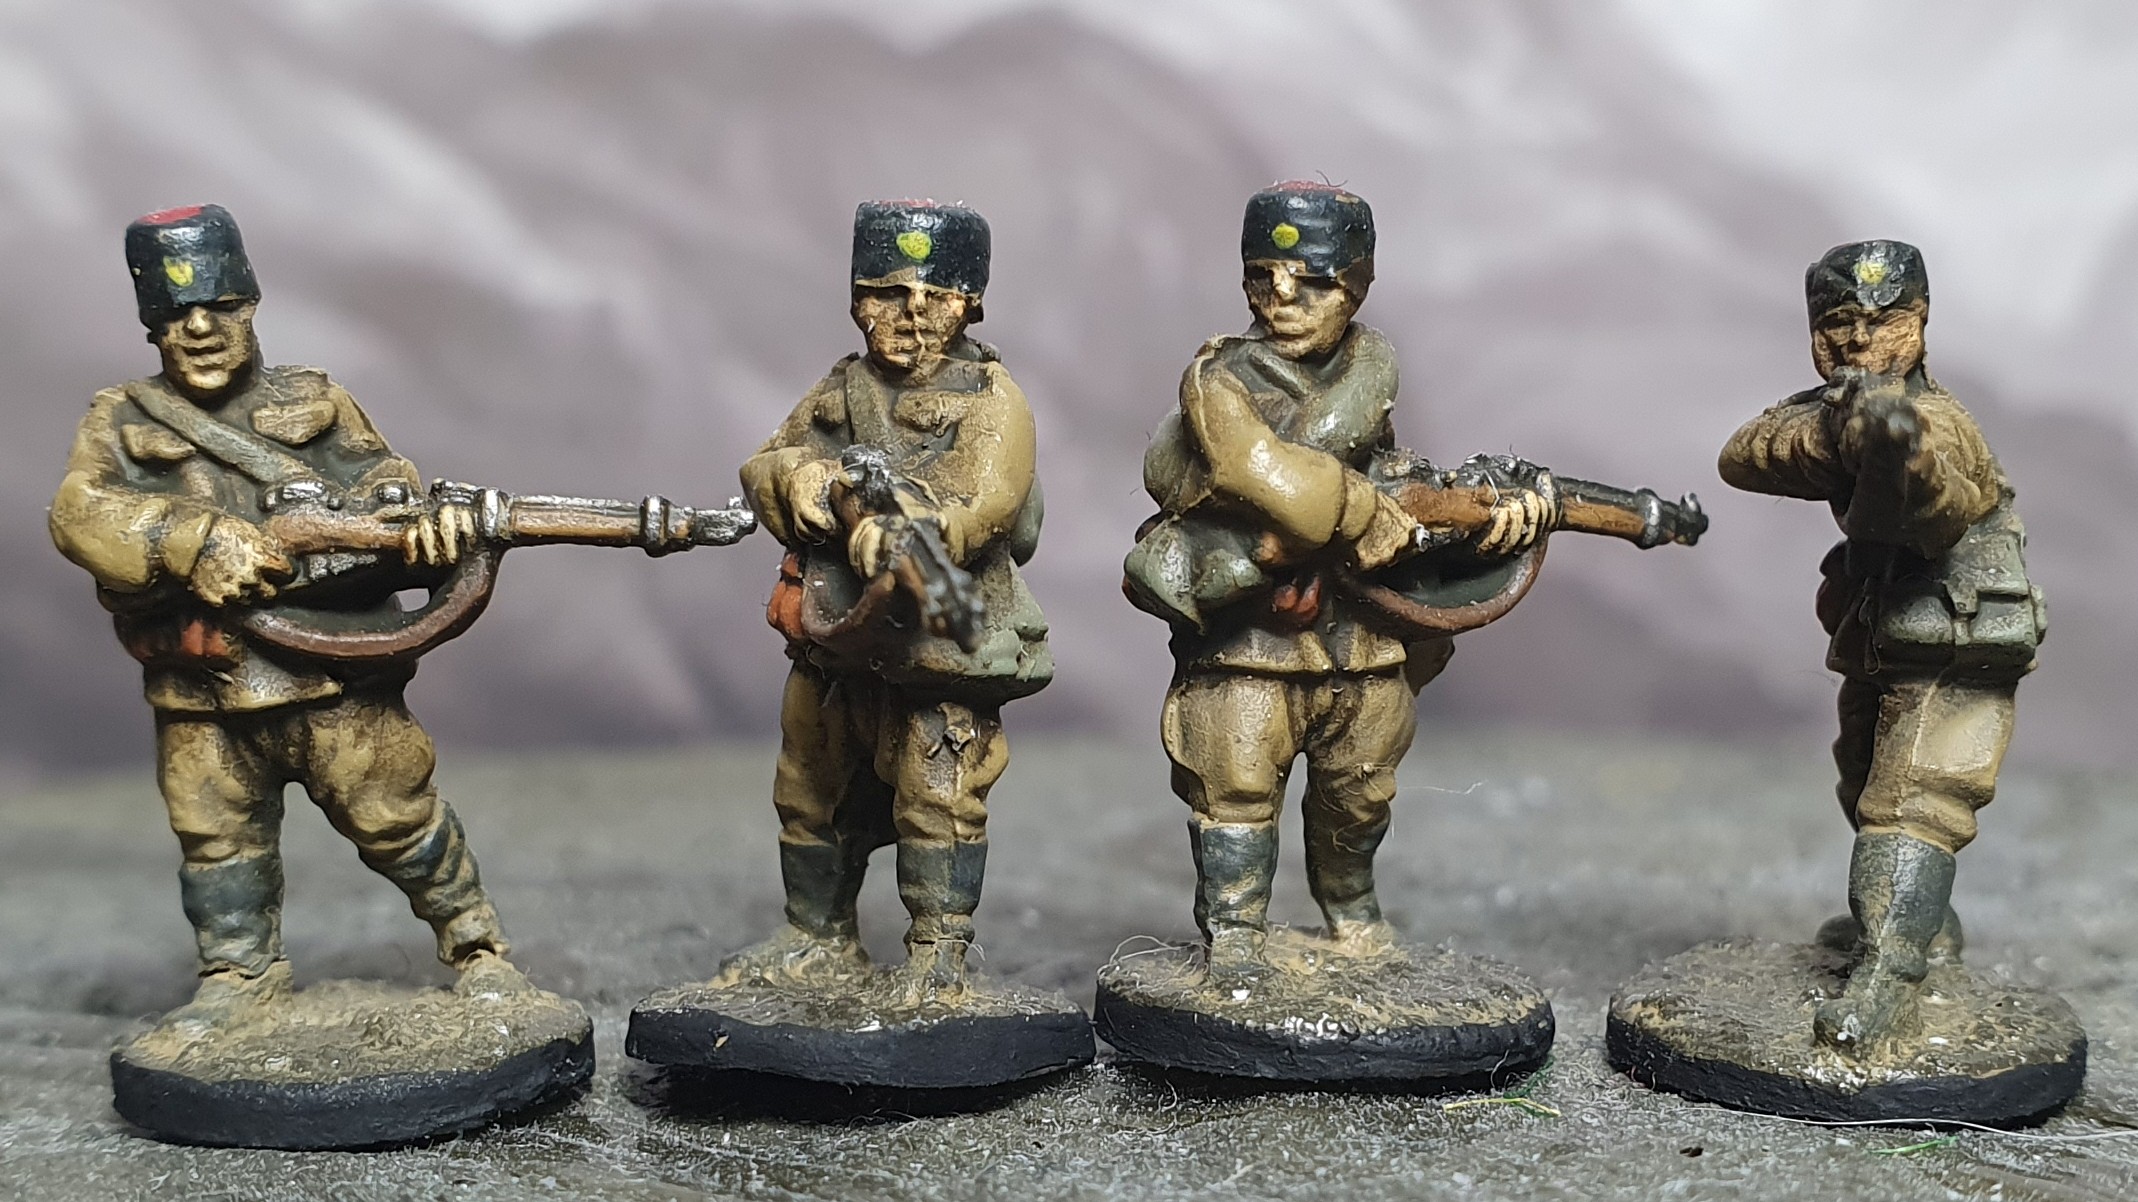
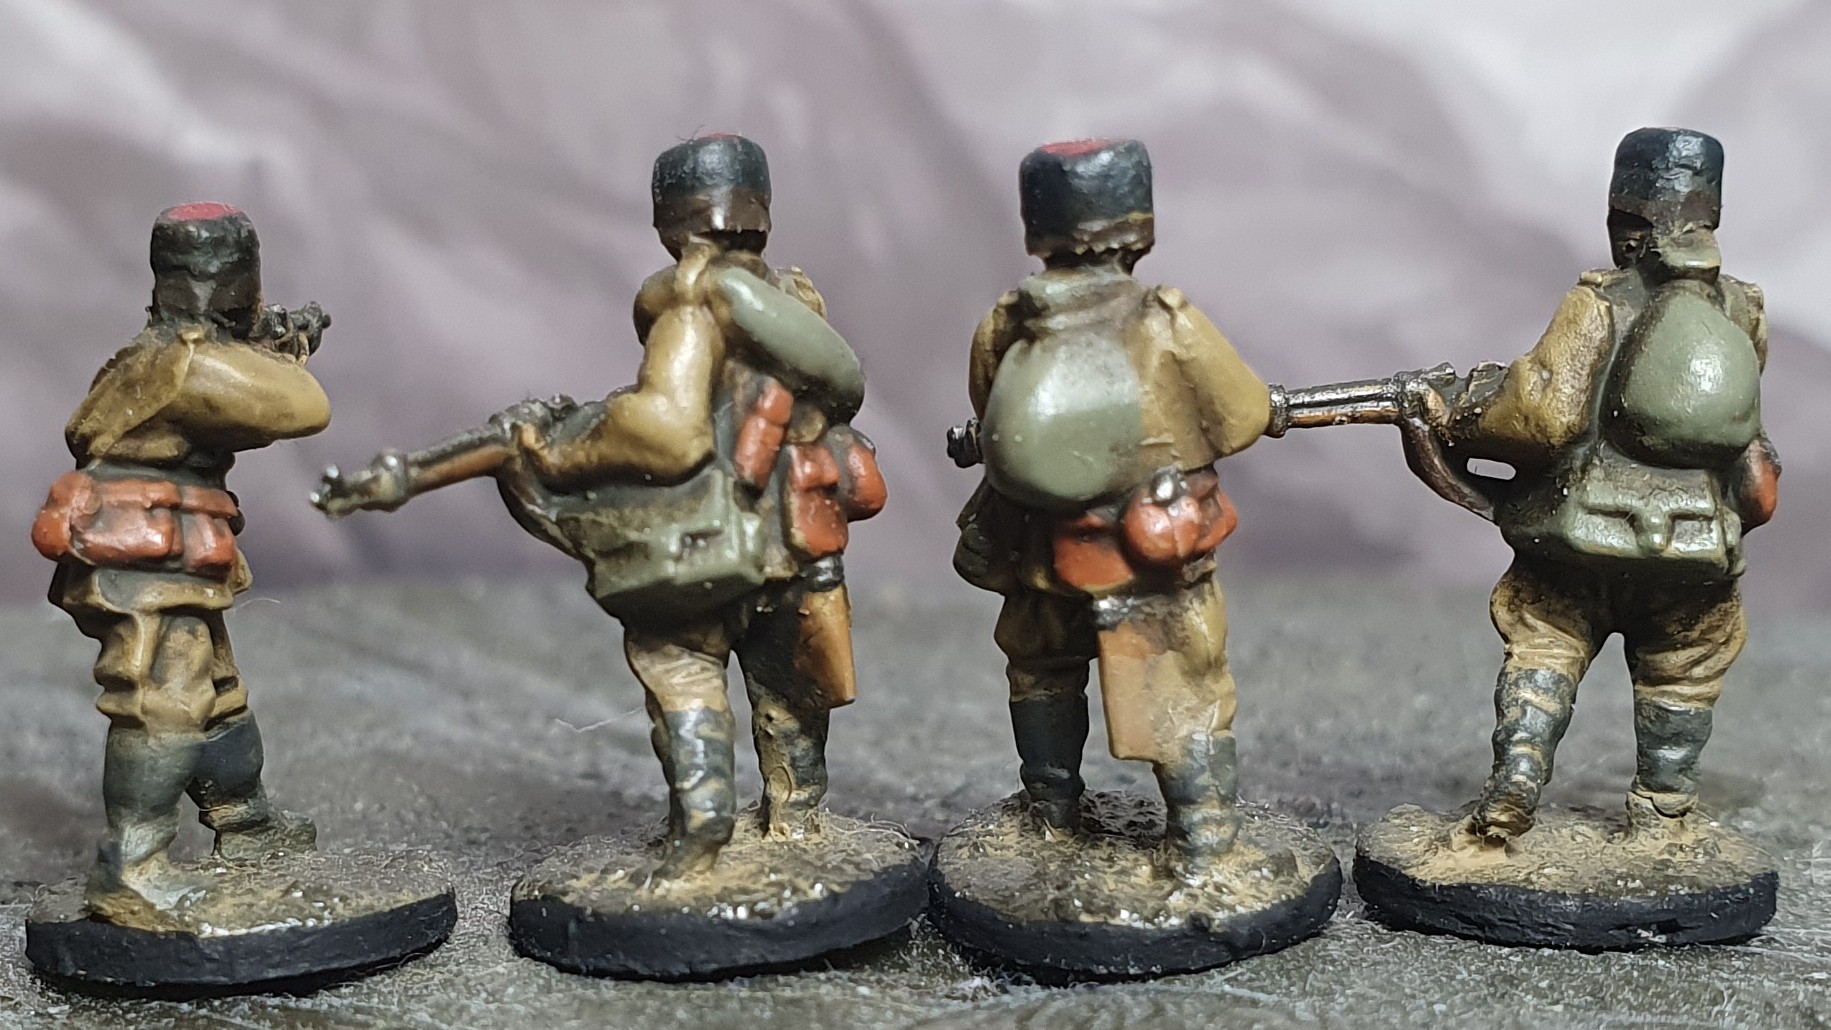
I will be adding a static grass coat to the models at a later date as I am not entirely happy with the colour of the static grass I have now.