











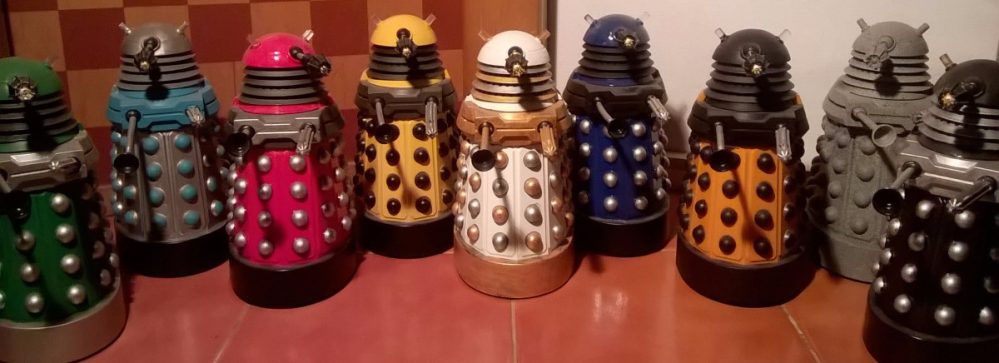
Learning to Paint... Again with Daleks




Return of the Daleks
So the Project is still ongoing, although I’ve been busy with decluttering, most of the remaining Daleks are well on the way to being finished.
Still painting using a variety of colours as I experiment with colour theory and seeing how modern day paints and pigments best fit my painting style.
Being a test range it does mean that for example the Dalek on the Right, modelled after the First Dalek Movie means that against the base coat, I can try two Gold colours one dark one light to see how they contrast and have it side by side.
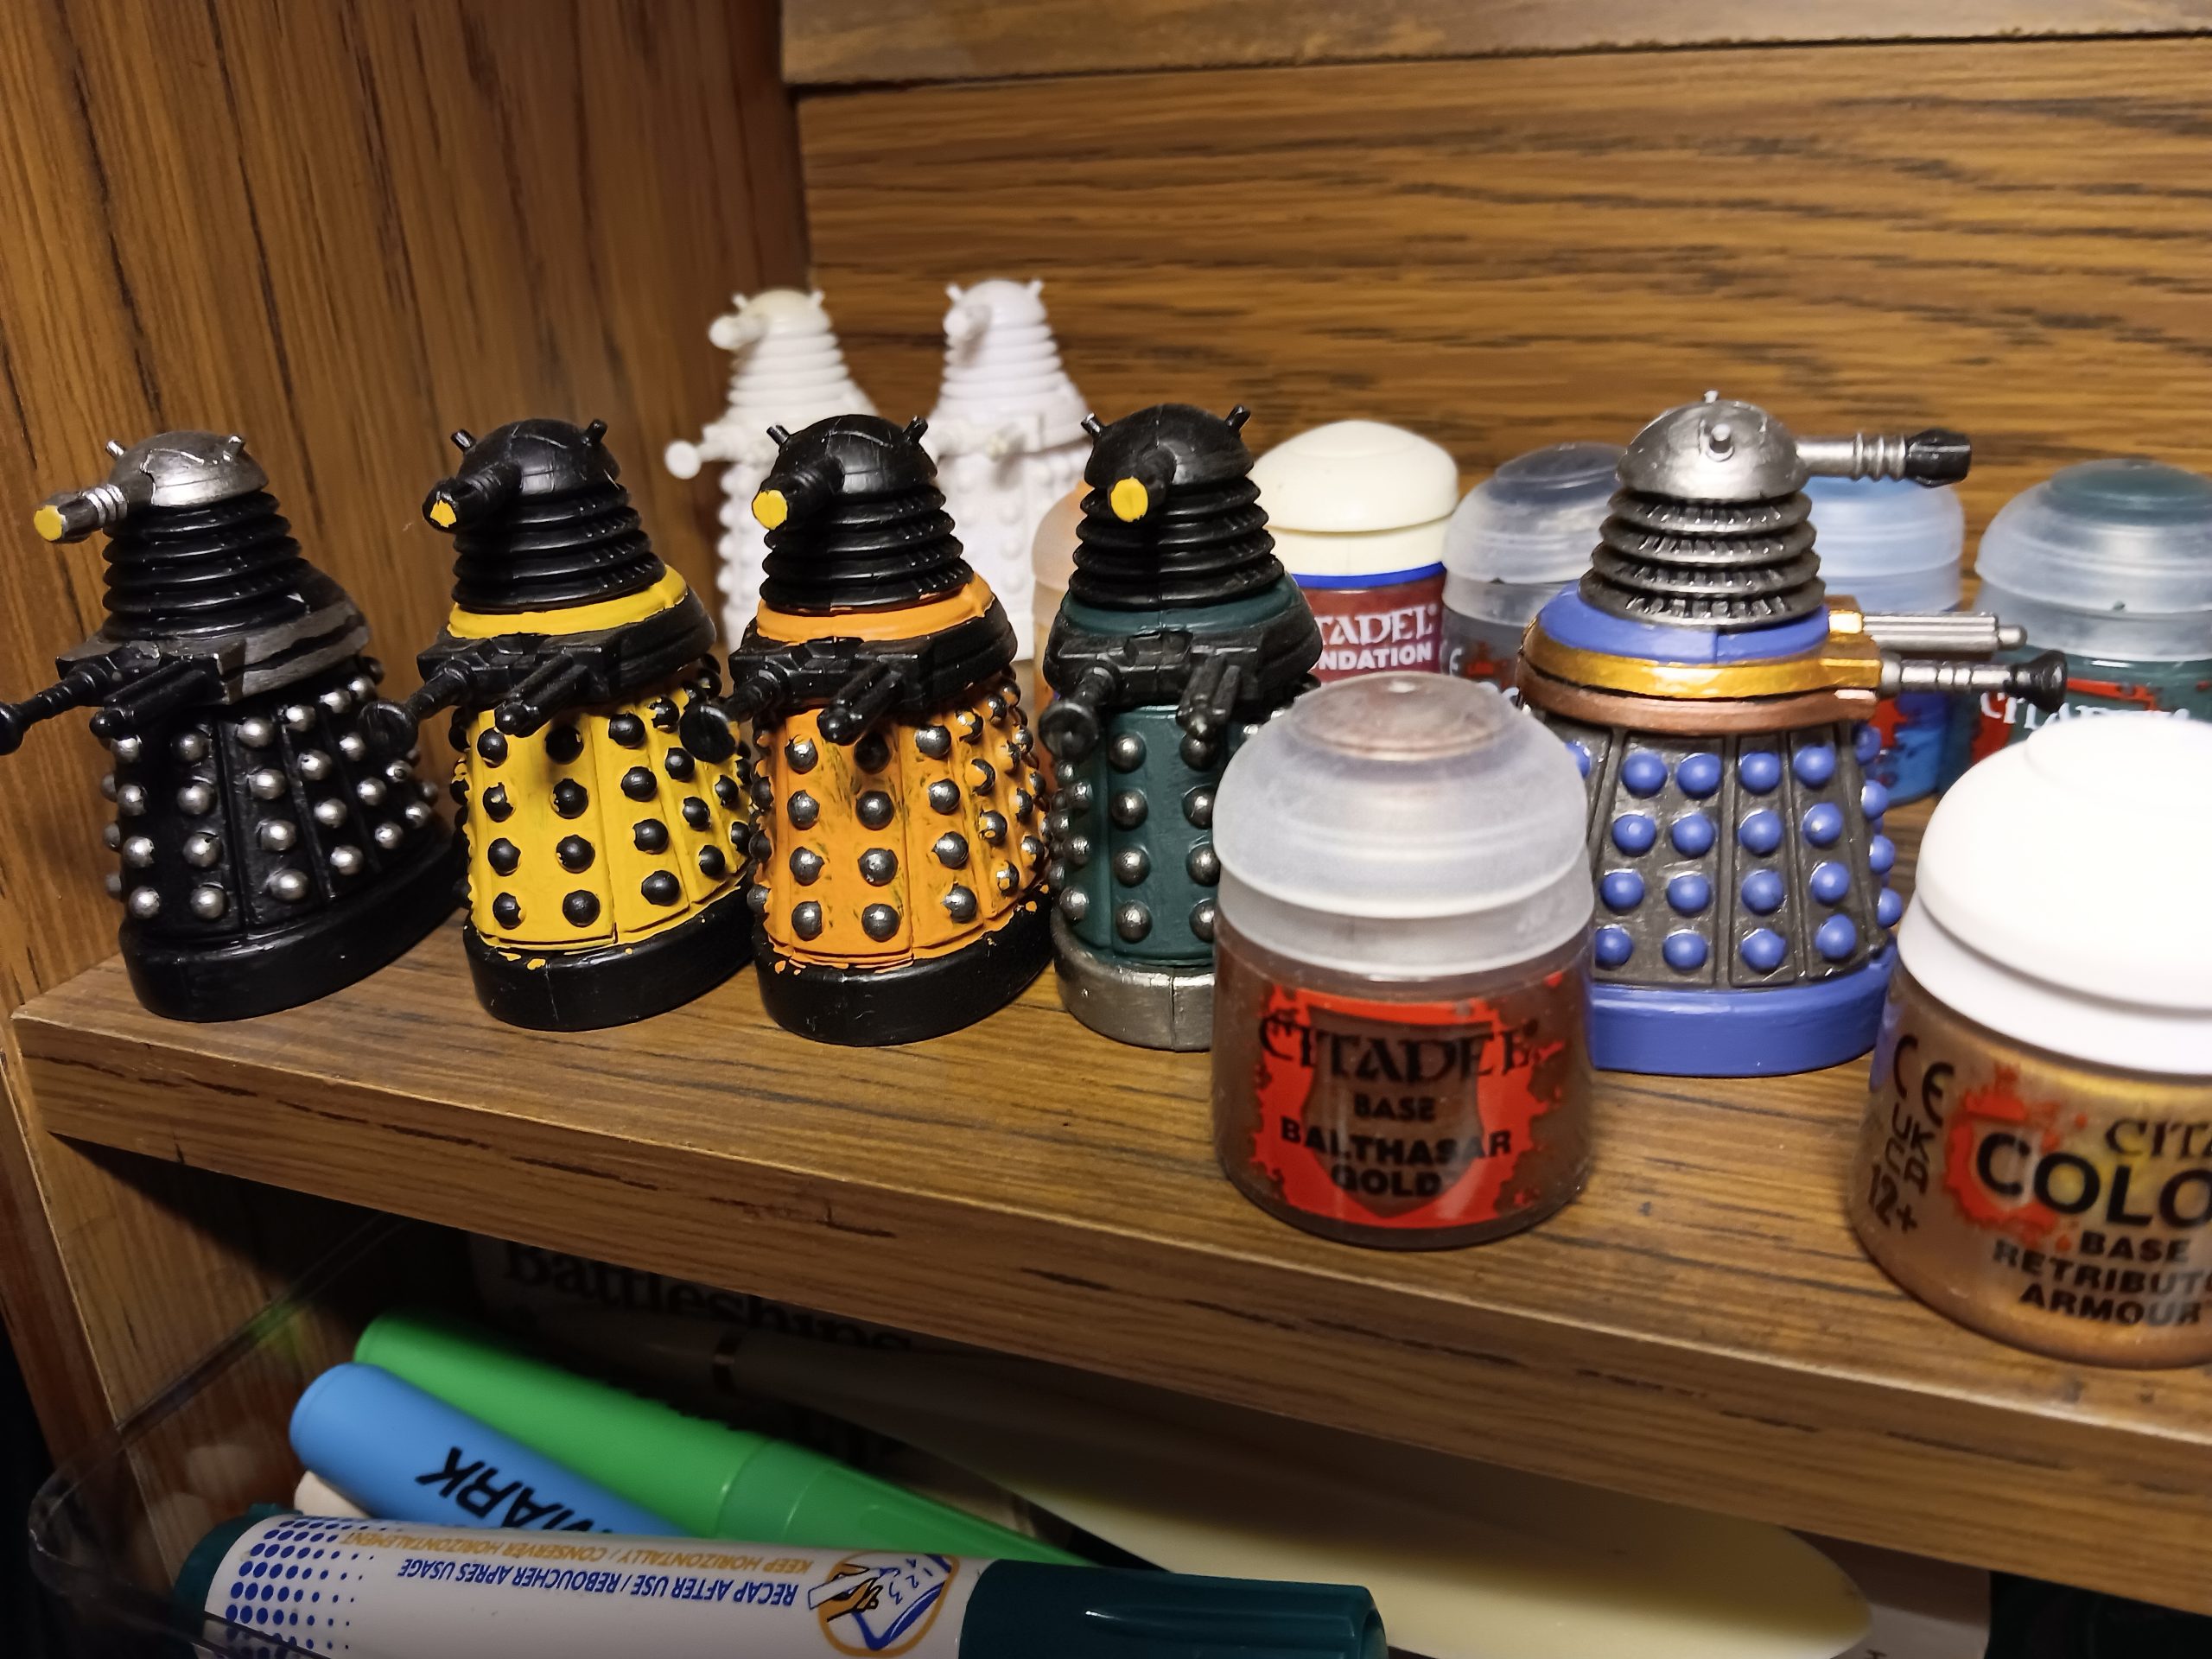 Return of the Daleks

















Nice job.
A little trick for painting the bumps, just in case you didn’t know, is to use the small plastic tube that you find on the end of paint brushes to keep the bristles nice and safe.
Find one that fits pretty well over the bump.
Put some paint on a palette, dip the end of the plastic tube into the paint and then dab it onto the raised bump.
The paint will leave a beautifully round dot covering the bump nicely. It is incredibly quick to do and will make consistently sized dots. It is how I did the rivets on the doors on my Coliseum build. You will find that you may only need to dip the plastic ‘straw’ into the paint every 5-6 dots.
Hope that helps.
Every tip is worth a try 🙂 Thanks.
https://www.youtube.com/watch?v=M7FxSm97ey4
Thanks Sundancer, feels like I’ve won a Gold Button! I’ll definitely have to get back to adding to the project now.
Oh a copy & paste error on my side XD That should have been this: