



Welcome to Abol – My First Landing on the World of Blkout




Recommendations: 31
About the Project
Blkout hit my radar via a variety of online vloggers who sung its praise. Of course, I had seen the booth at Adepticon, but never took the time to stop by and ask questions or enter a demo. So, late May 2026, I took the plunge and acquired a two player starter set to see what the game was all about But that acquisition gestated another project; while I have Fantasy, Wild West, Modern (to a degree) and retro scifi terrain, I am lacking the type fo hard scifi environment represented by Blkout. SO I also had to build/print a small table worth of terrain for my first game...
Related Game: BLKOUT
Related Genre: Science Fiction
This Project is Active
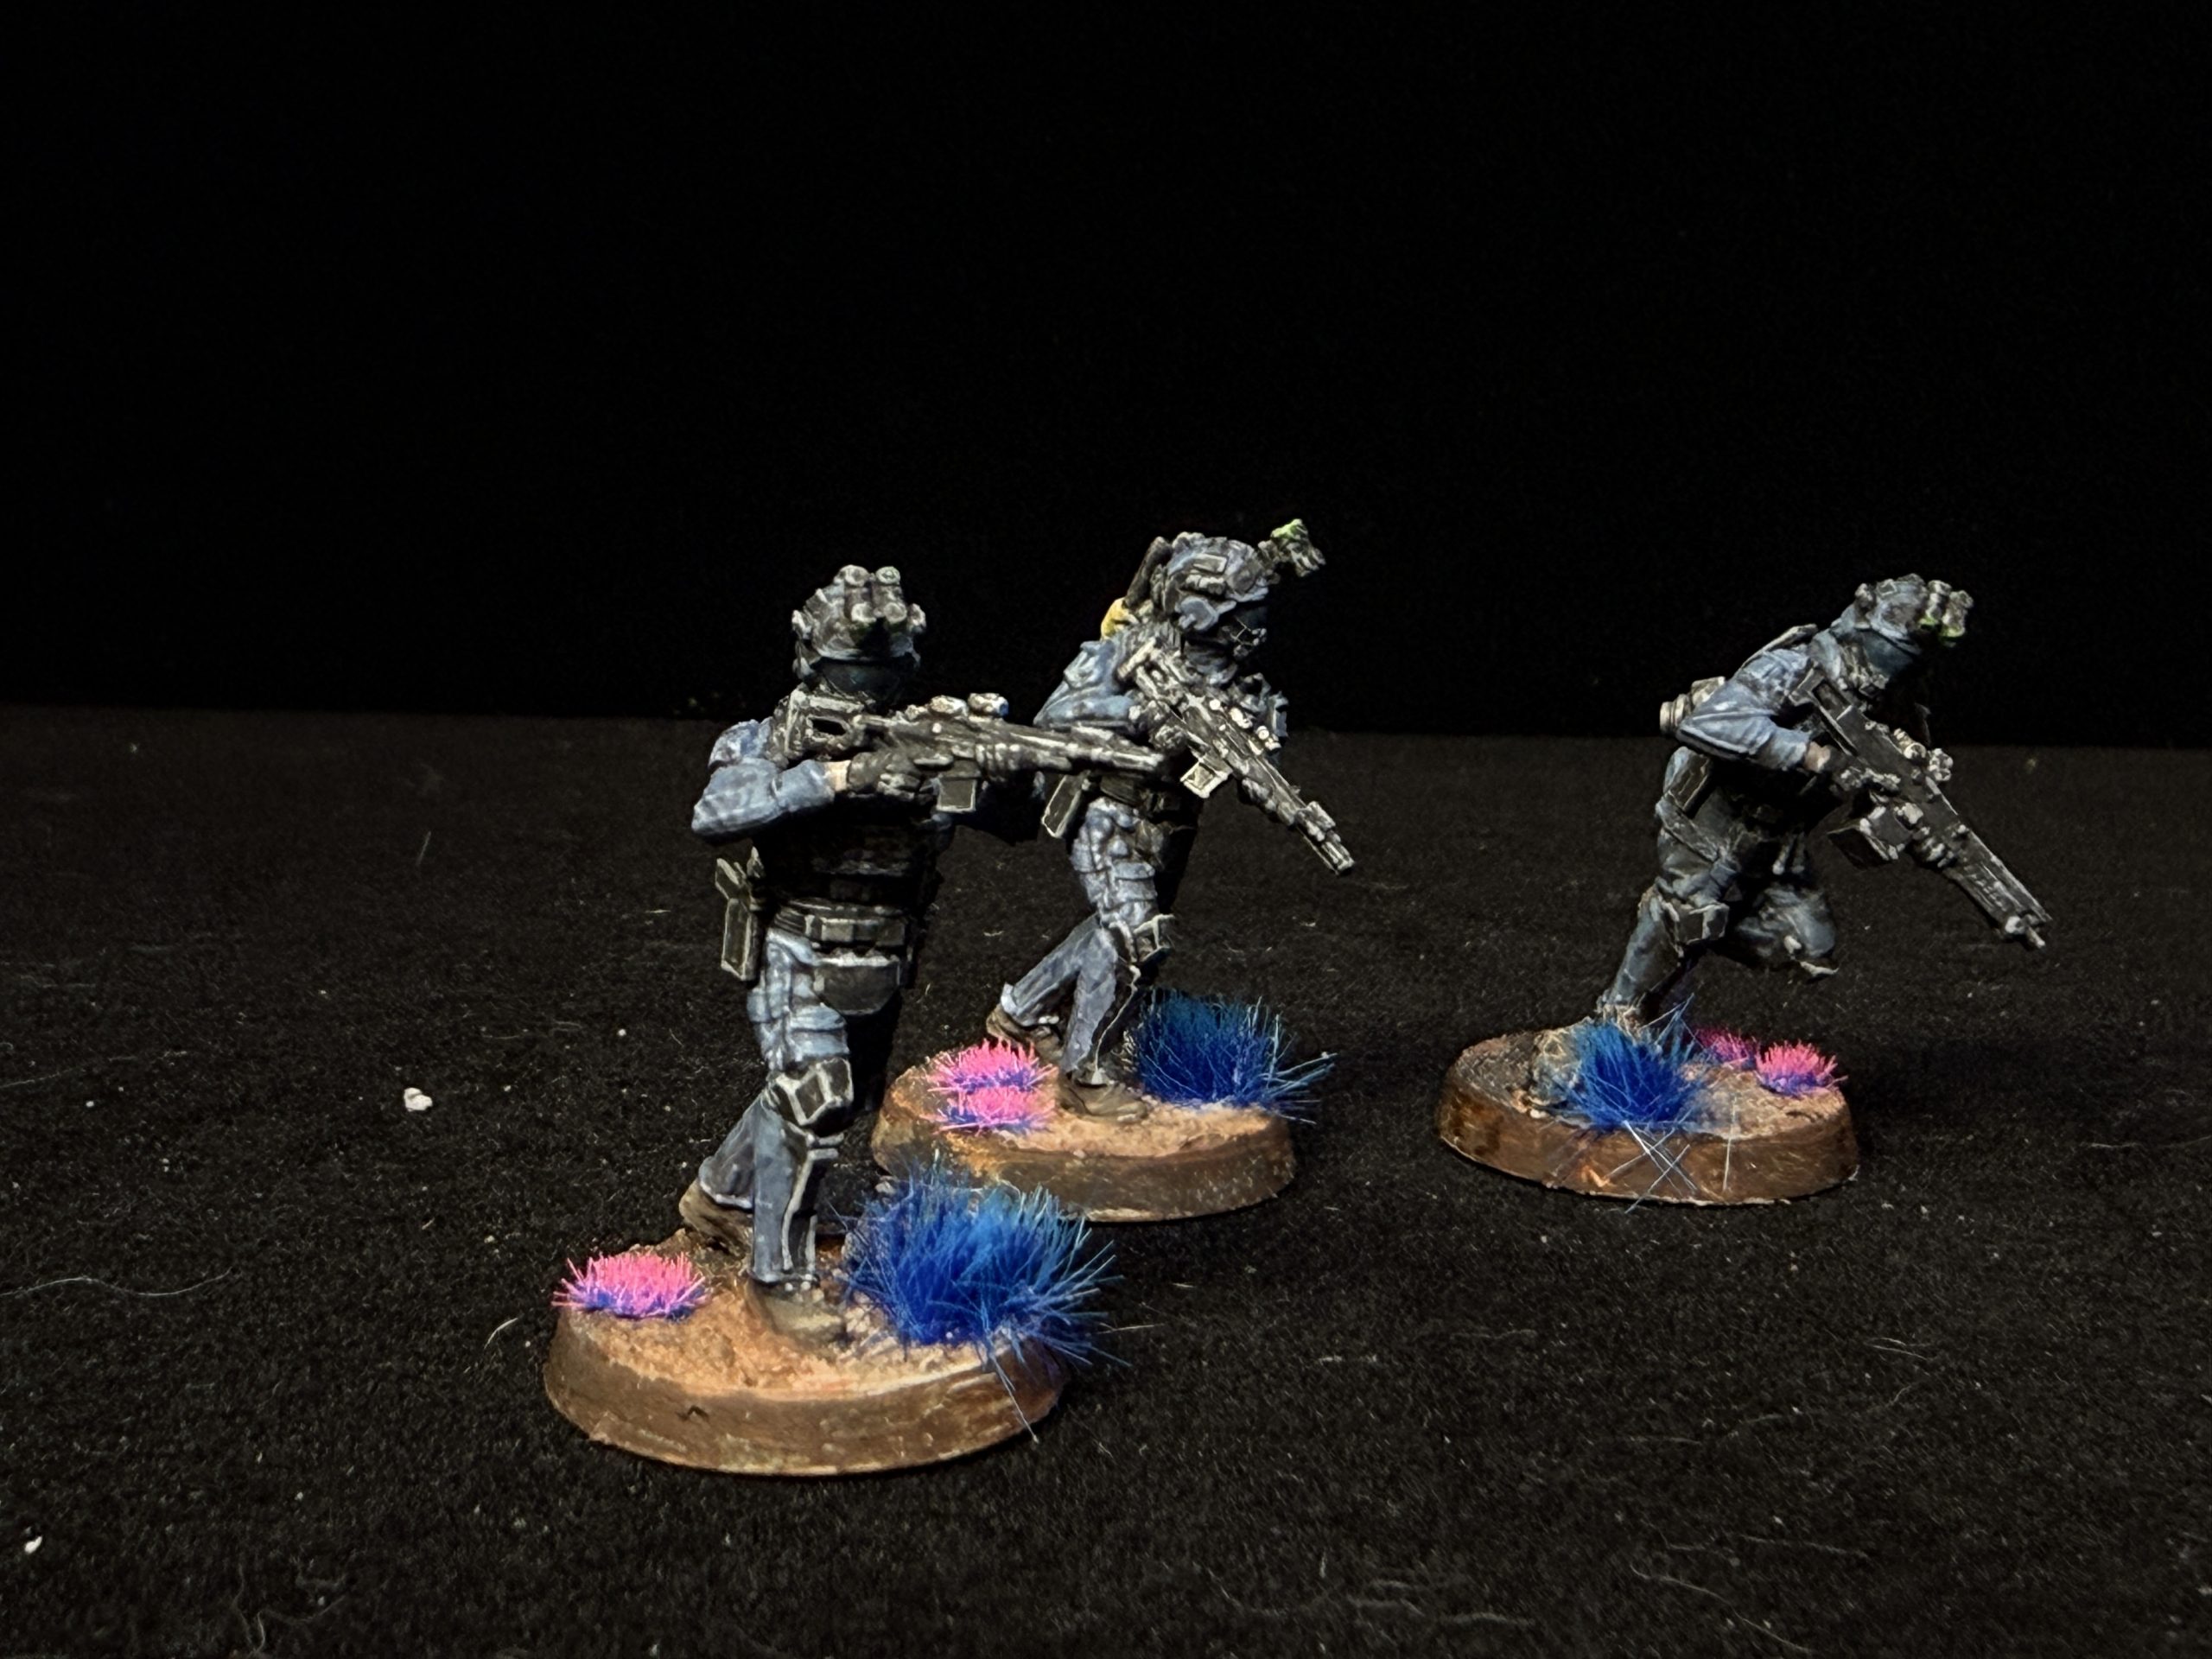
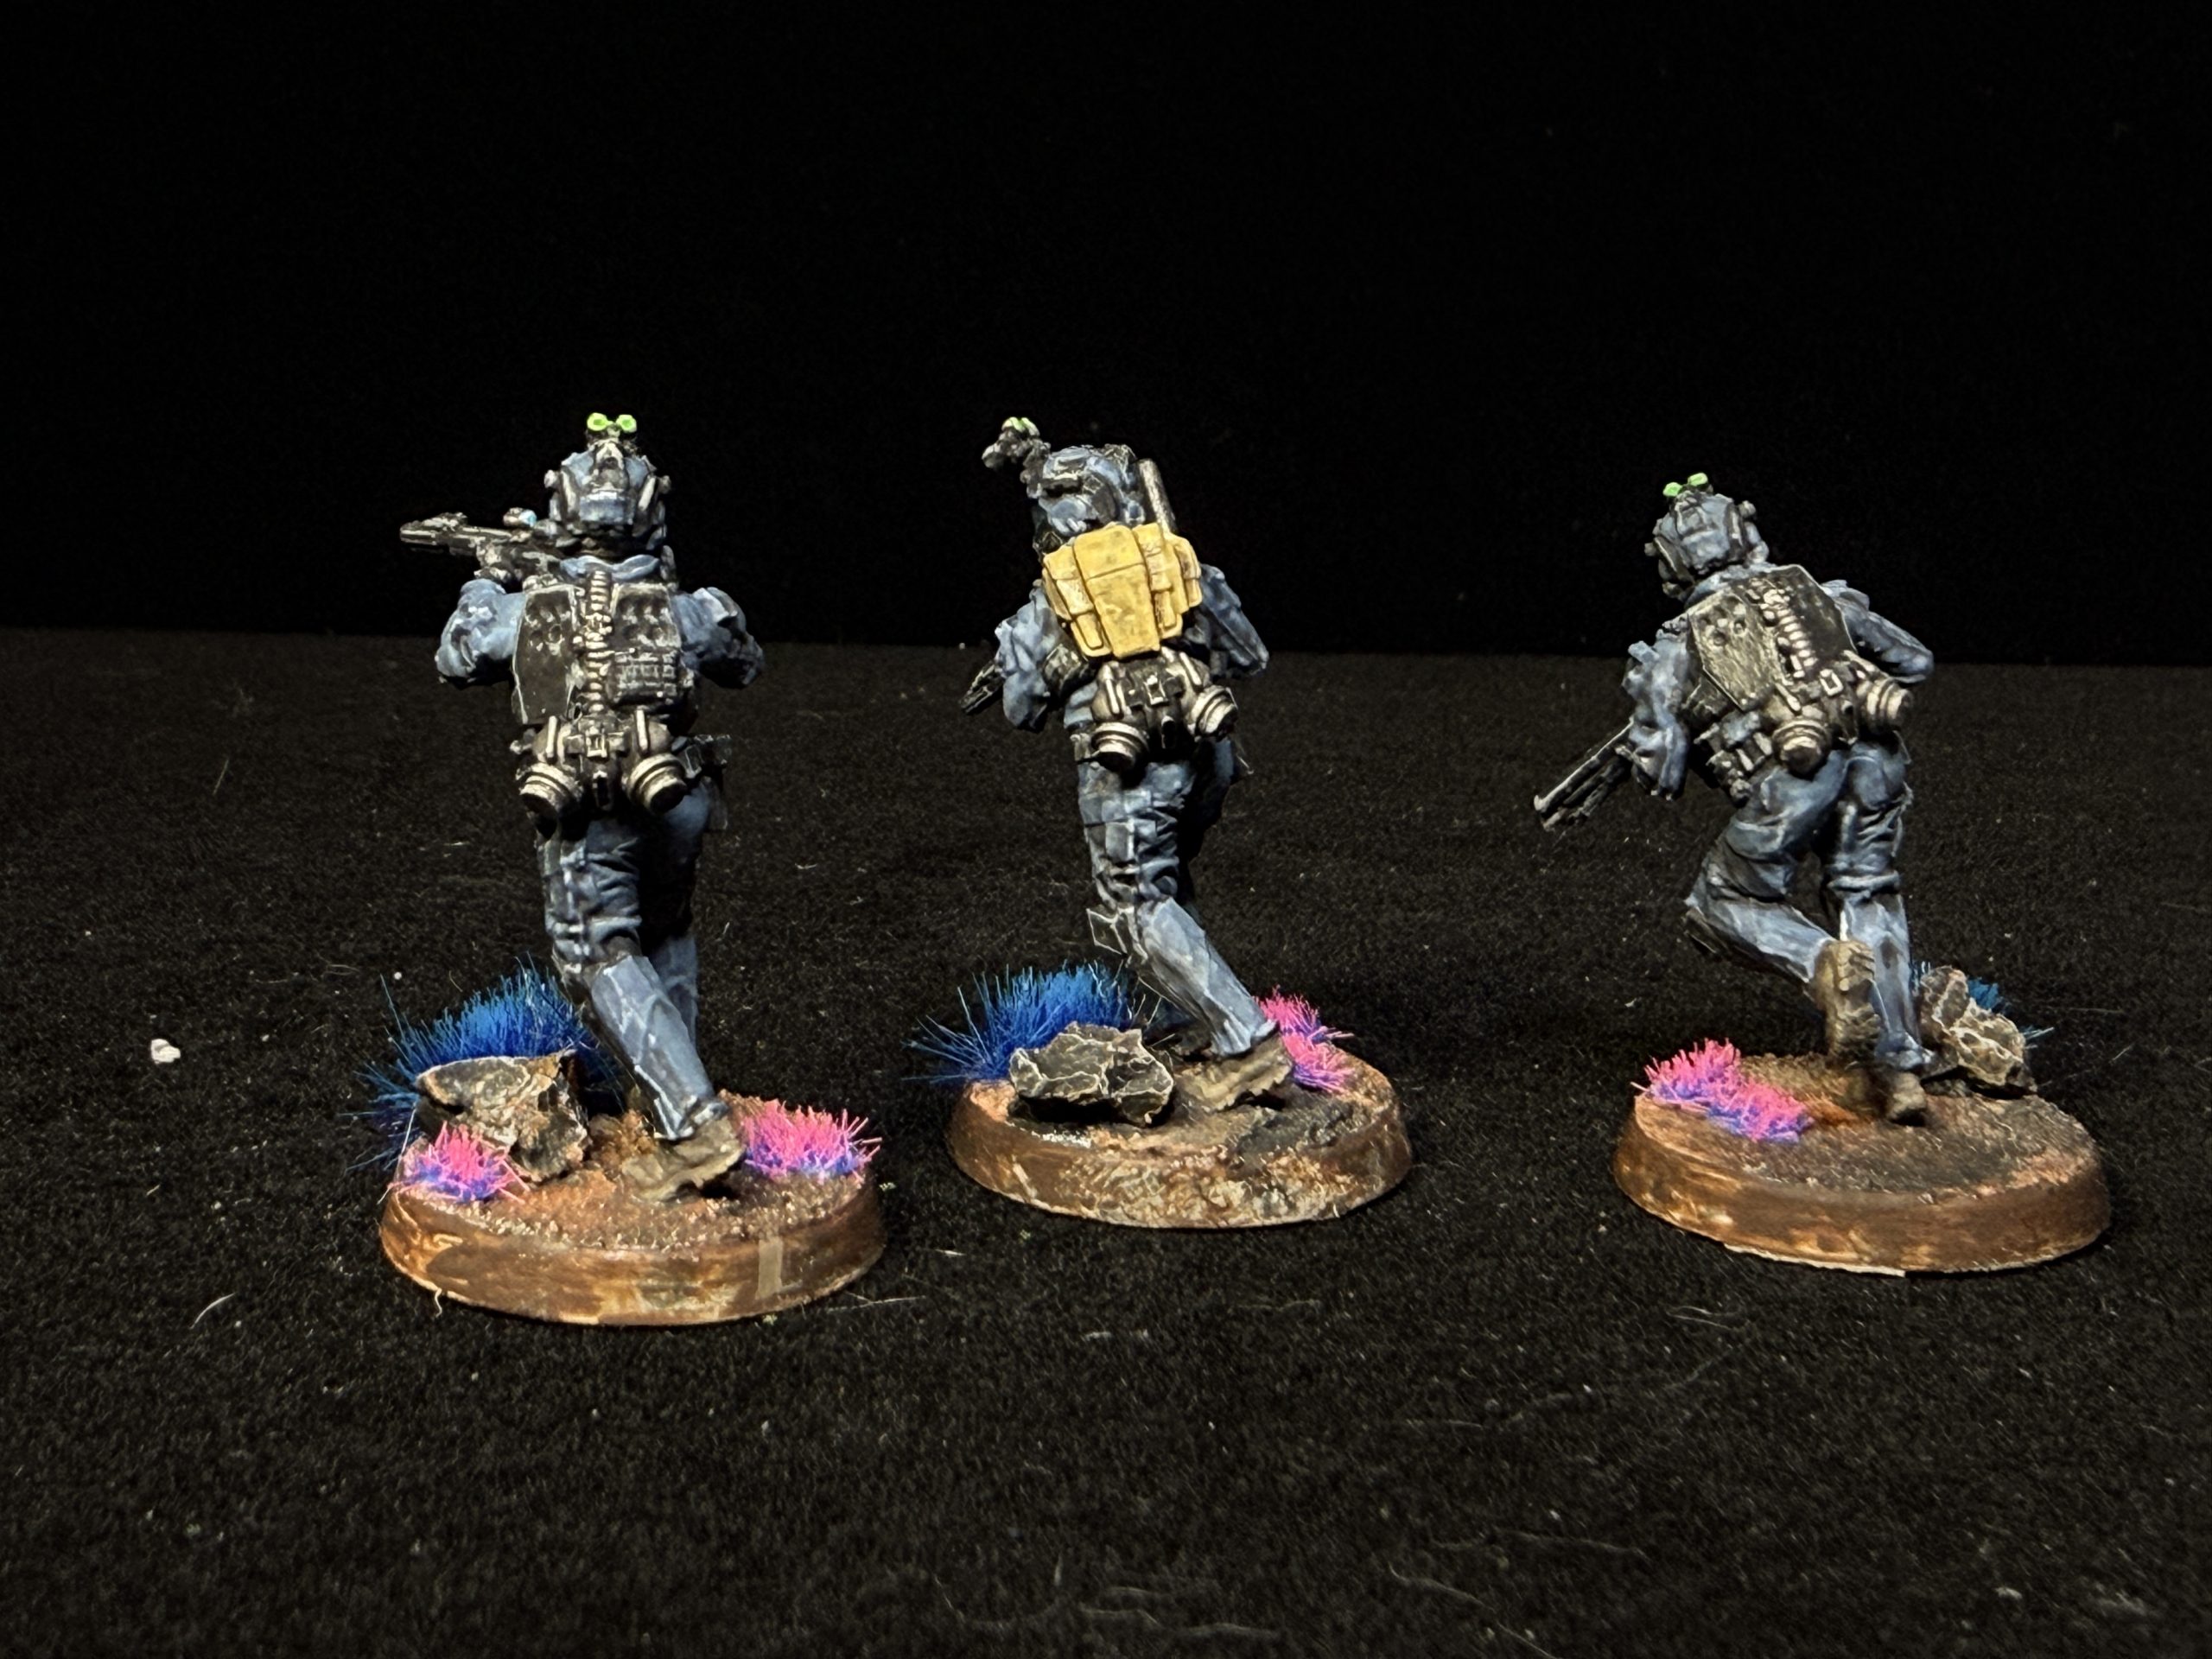
Task Force Boone
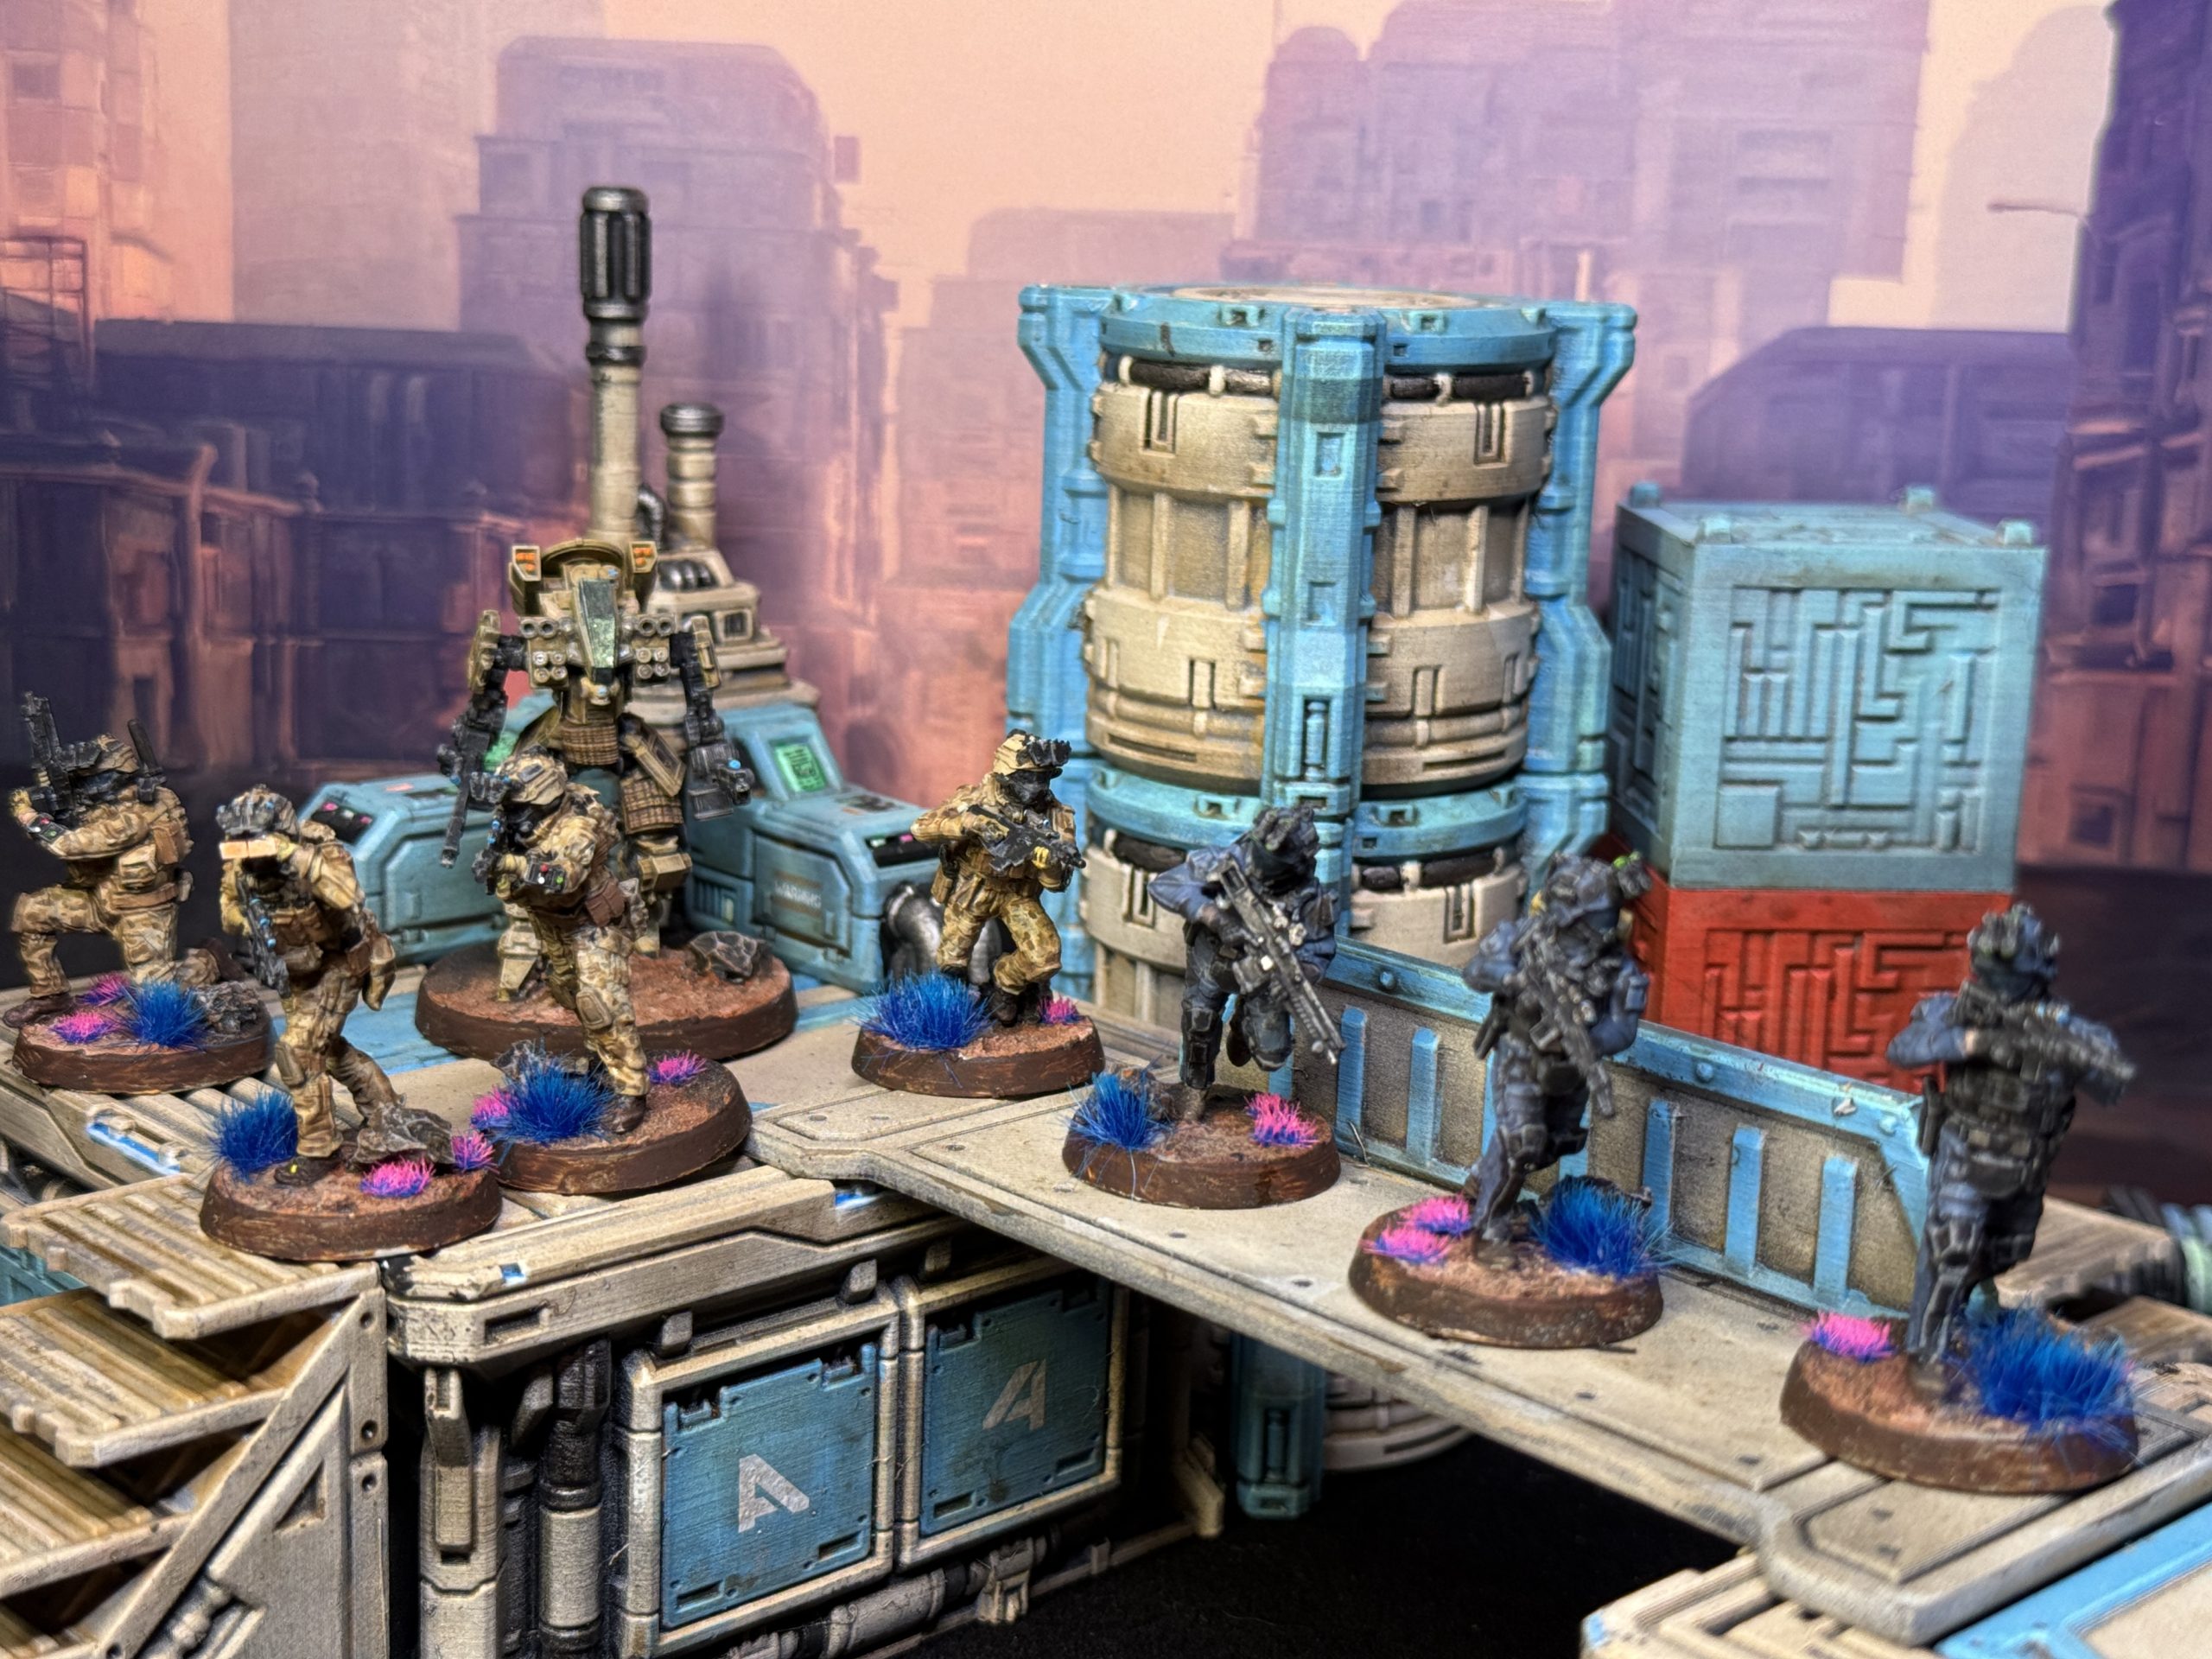
Opposing the UN is Task Force Boone. I will let you delve into the lore set by the creators of Blkout but let us just say, Task Force Boone is ‘Space America’ (well, technically Mars America).
First I painted the VAT Elements
Suit and helmet – Black highlighted blue grey
Armor, guns and straps: Black highlighted GW Administratum Grey
Visors: Gunmetal Blue (Vallejo)
Boots: Dark brown highlighted medium brown
Jammer backpack: Light brown shaded with Army Painter Dark Tone.
Apply shade of Army Painter Dark Tone to the entire miniature.
Basing was desert-like with a few rock formations. I decided to add the colorful vegetation to emphasize the alien nature of Abole. I also like the contrast with the militaristic muted uniforms.
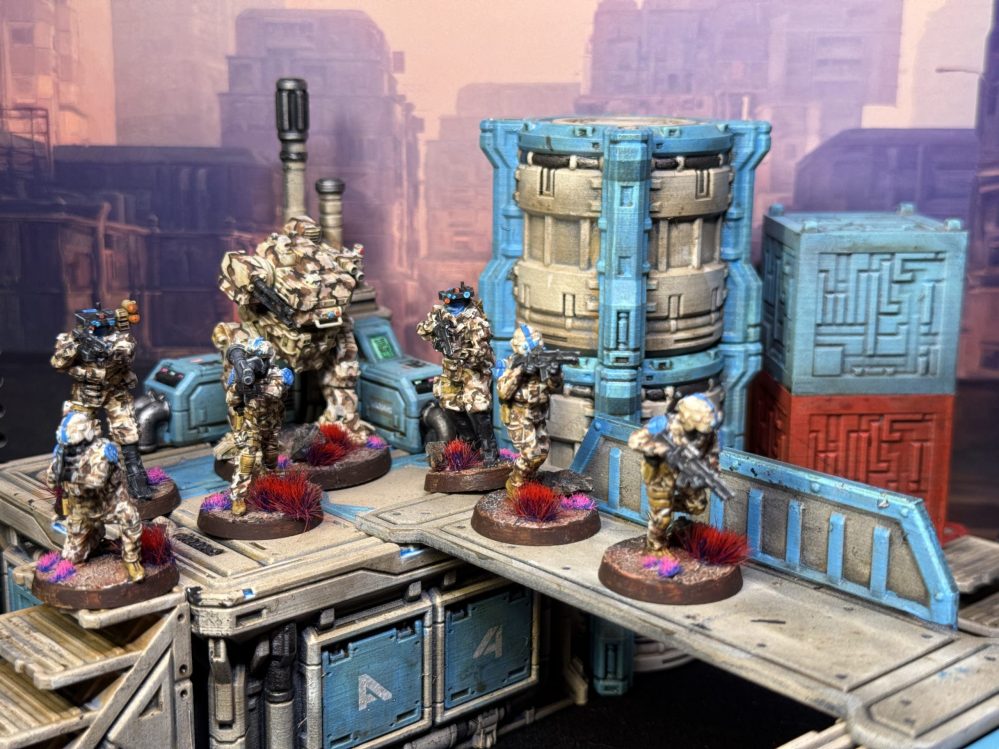
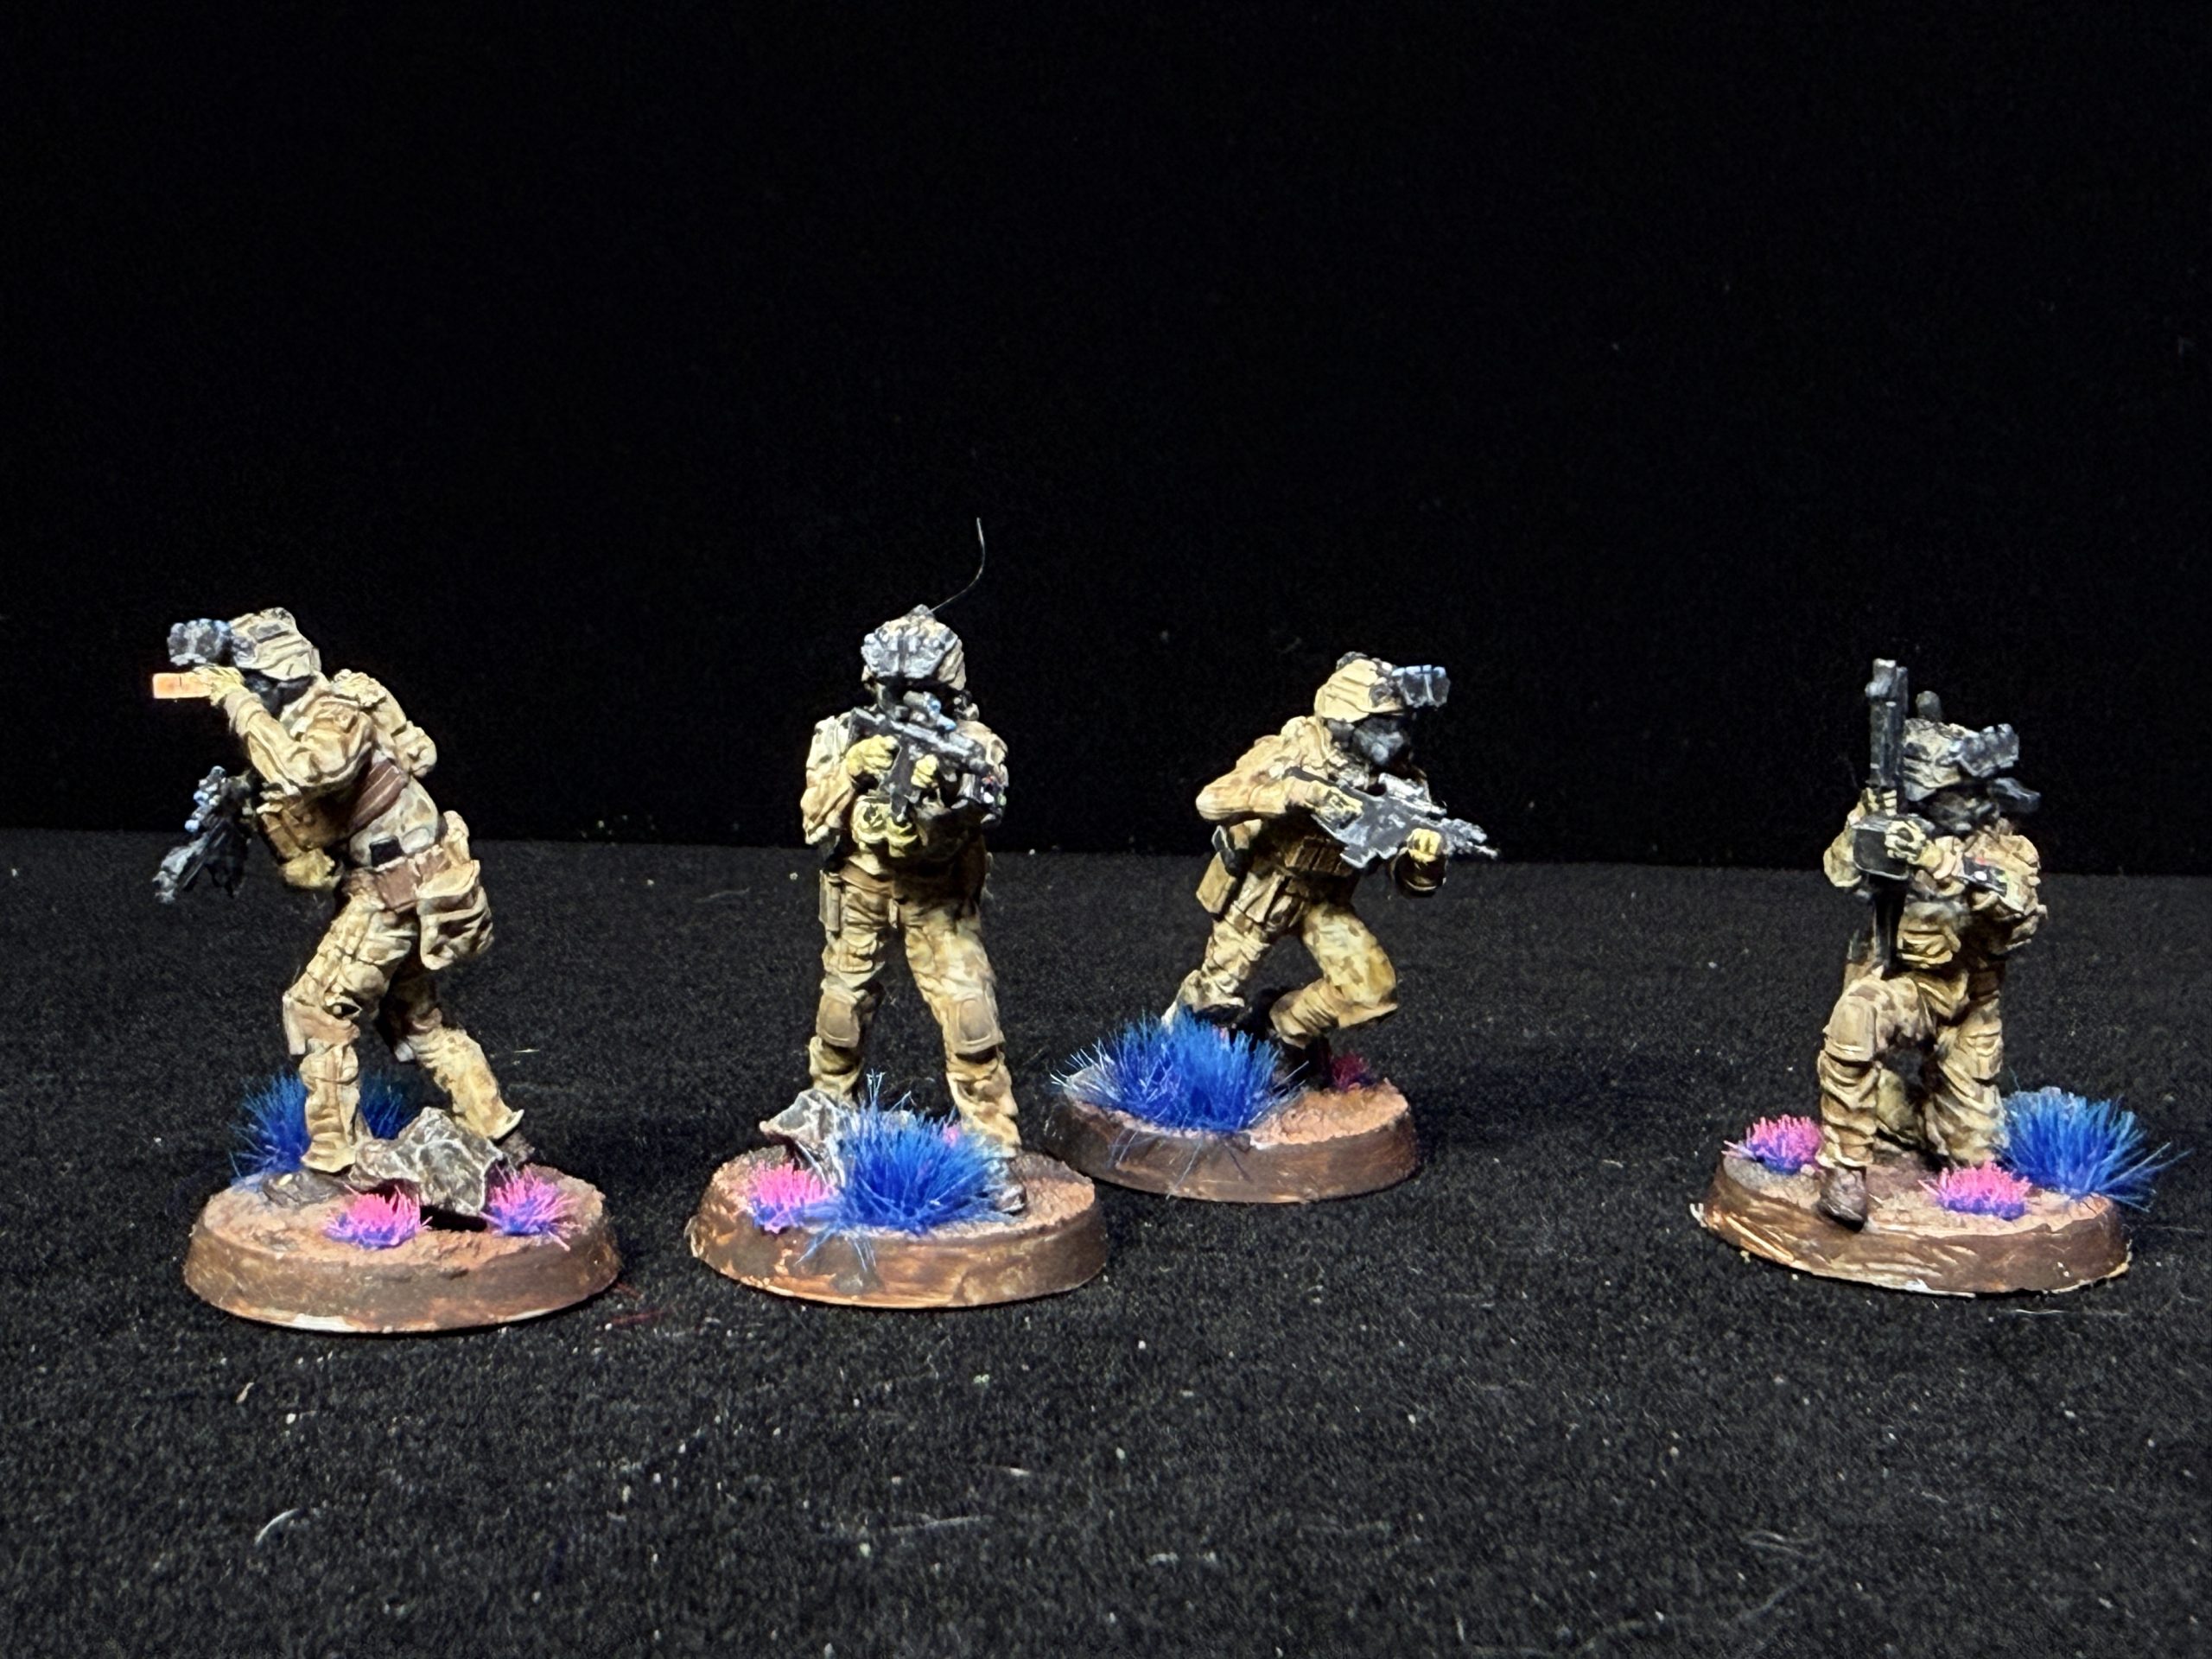
The Recon Team was next and I went with a more traditional outfit.
Suit and helmet – Light Sand, with a camo pattern of Desert Tan and Desert Brown in a cluster pattern (different from the elongated pattern used for the UN (use corresponding colors in your favorite range).
Armor and straps: Tan
Guns, jammer antennas, masks and night vision: Black highlighted GW Fenrissian Grey
Optics: Gunmetal Blue (Vallejo) – Binocular lens Army Painter Radioactive Glow – night vision and weapons optic Army painter Plasma Glow
Boots: Dark brown highlighted medium brown
Apply shade of Army Painter Dark Tone to the entire miniature.
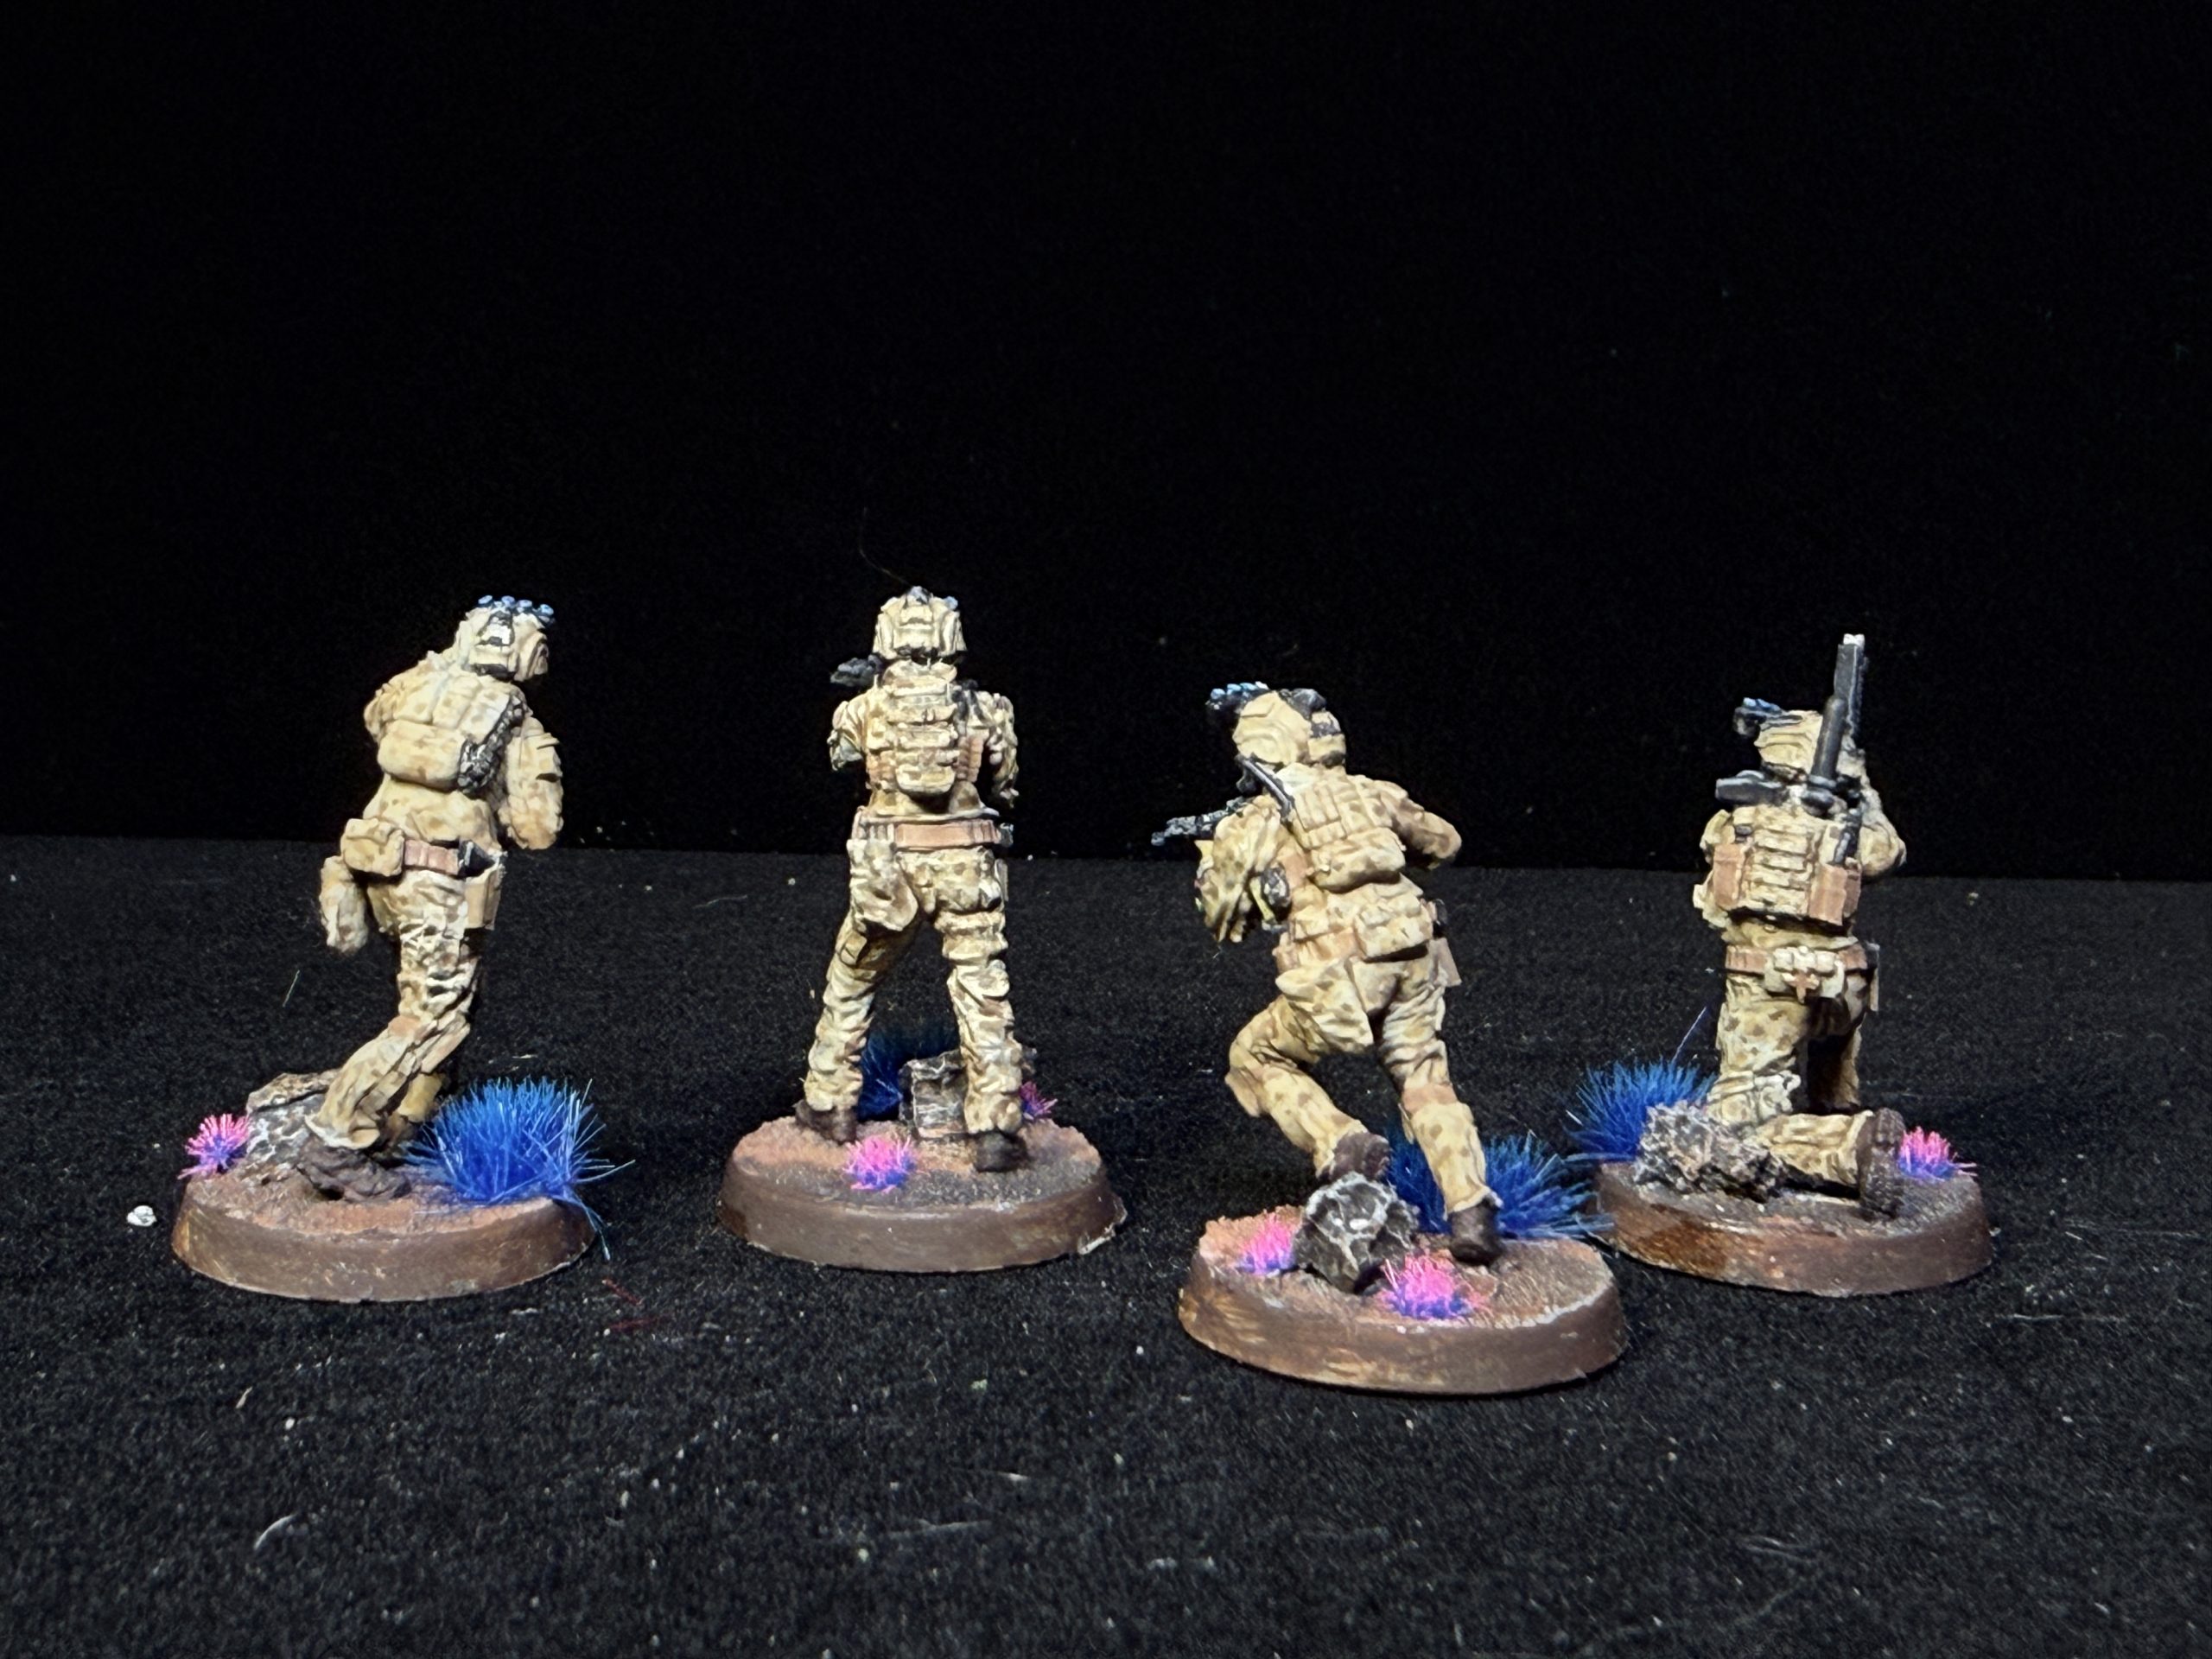
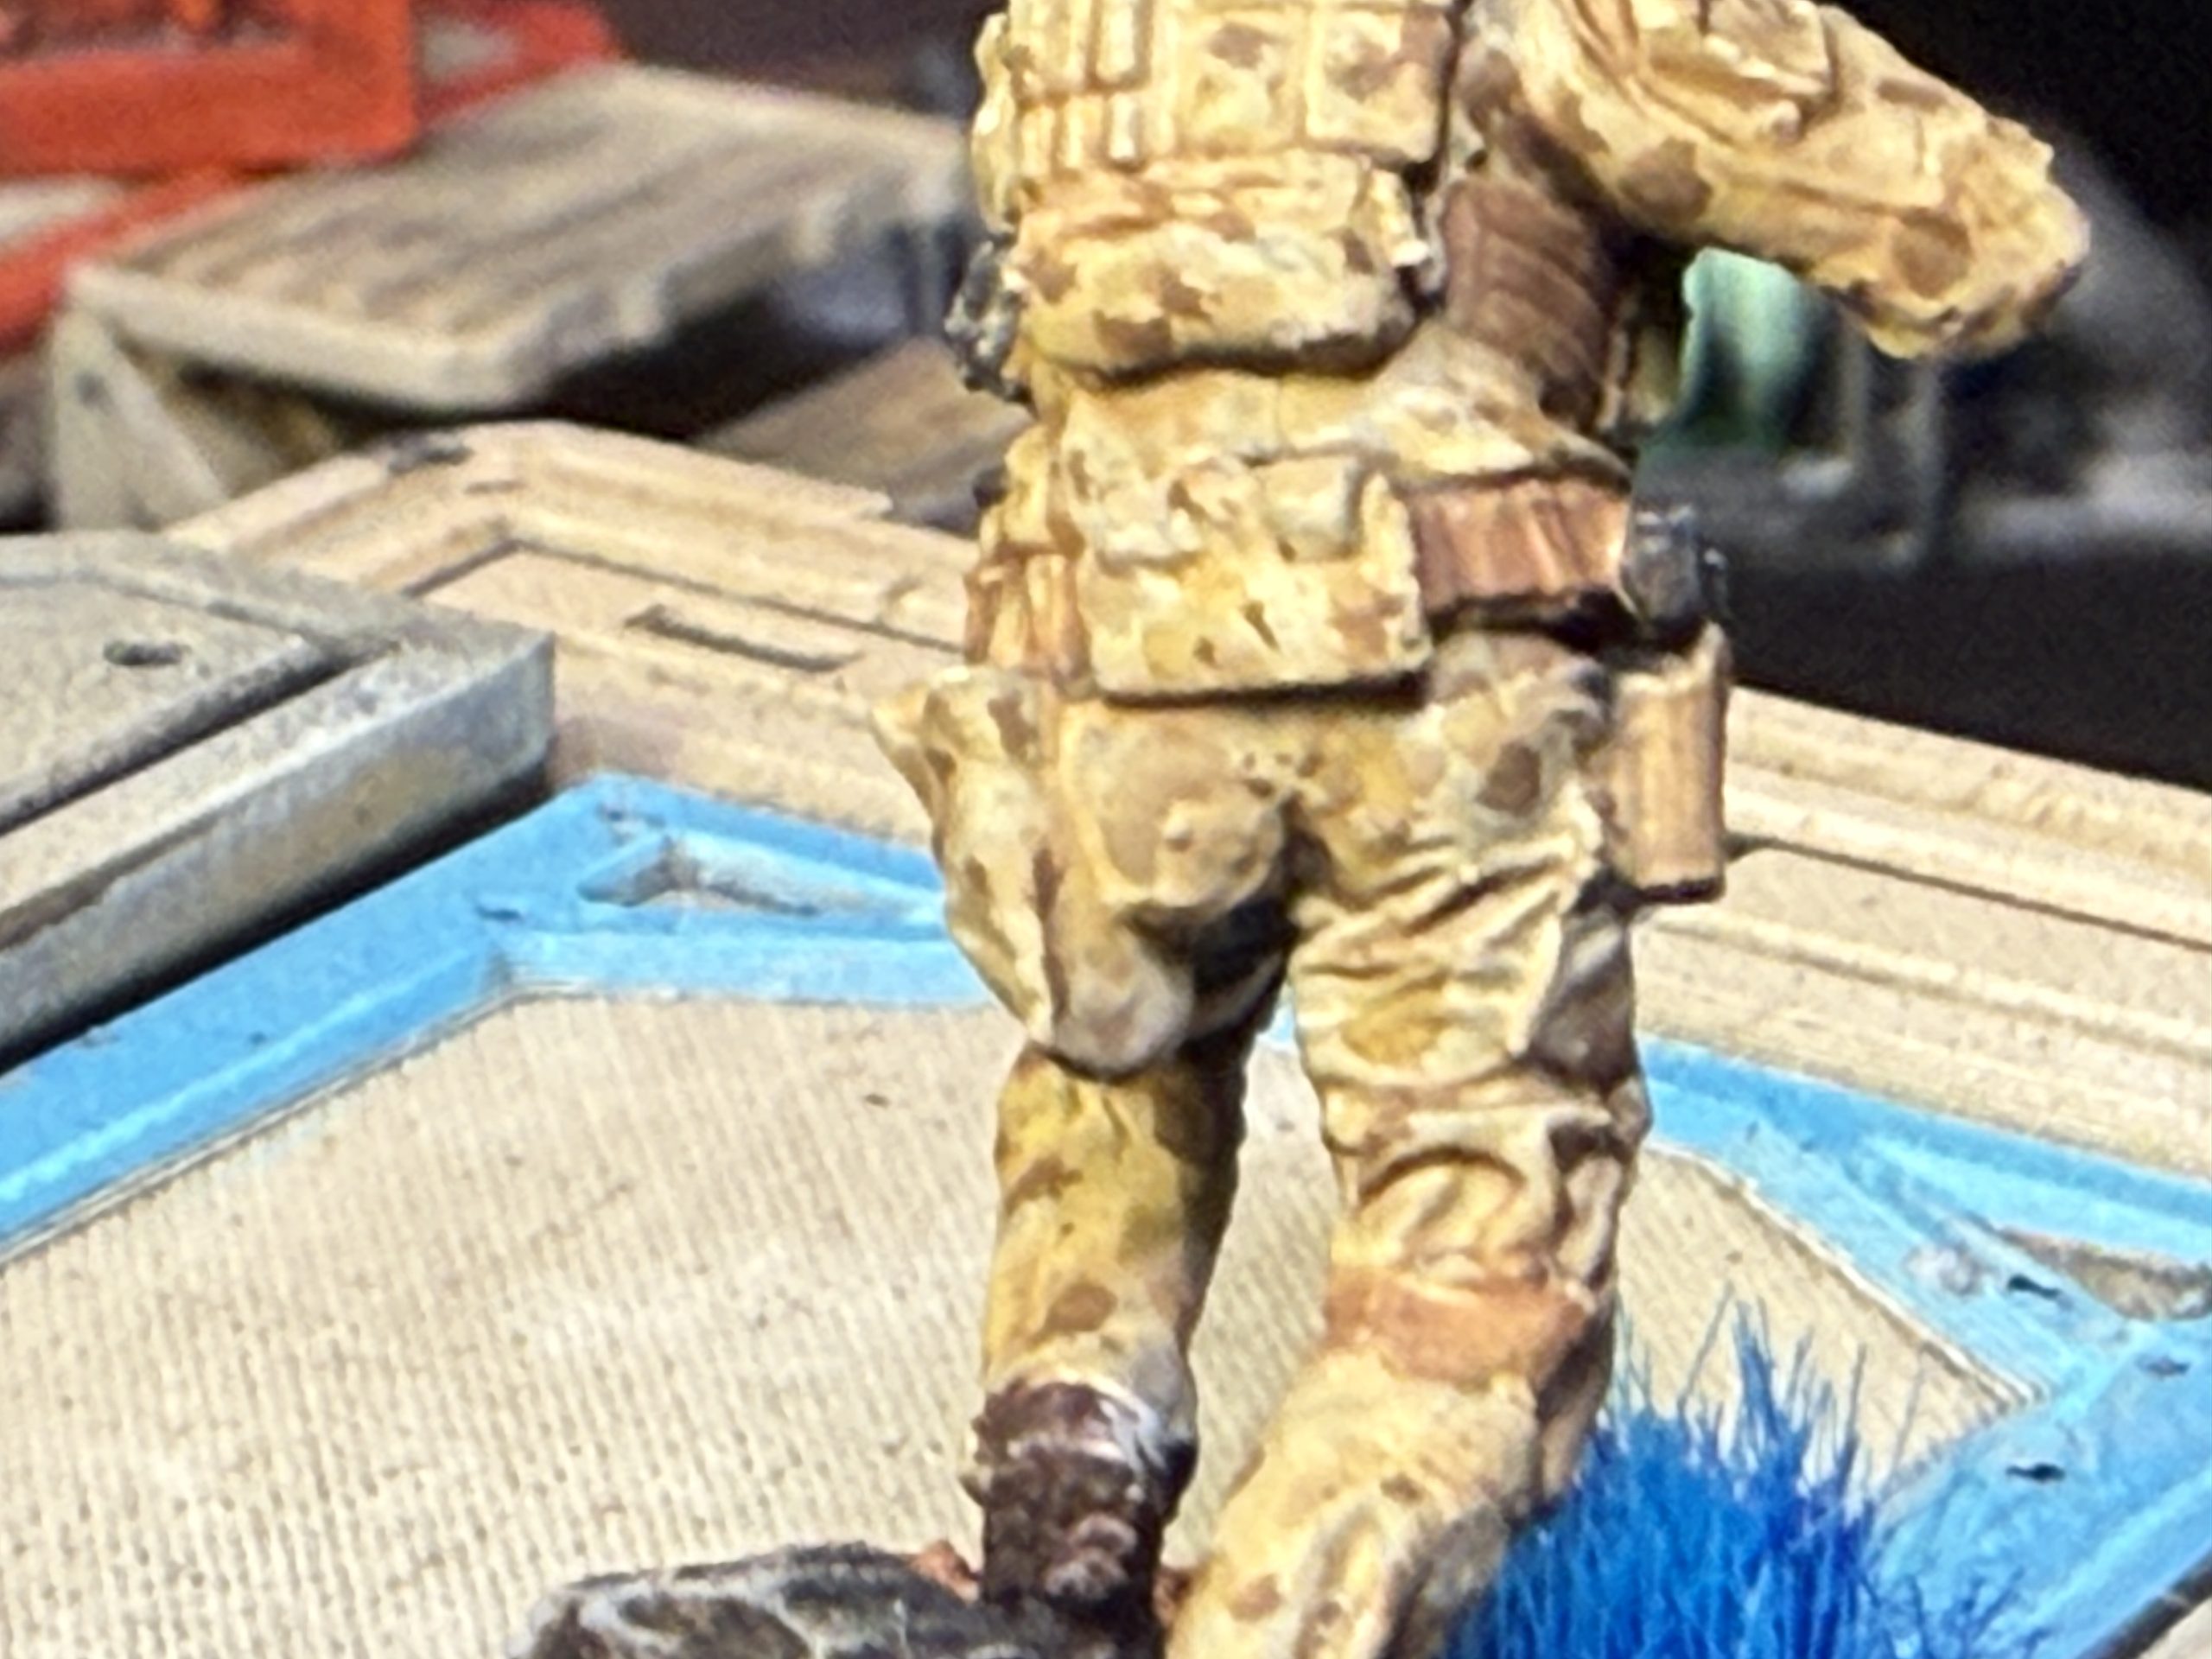 Camo detail
Lastly, I painted the Razorback, support AI for this unit. The painting was quite straight forward:
Armor: Sand highlighted light sand. Extrra Armor plating GW Baneblade Brown highlighted sand color.
Metallic parts: Black,. GW Fenrissian Grey and Led Belcher highlights.
Cockpit: Vallejo Electric Blue Intense Violet from the Space Dust set.
Missiles: Orange.
Decals: I picked a few left over Bloodbowl decals.
Exposed machinery: Vallejo Engine grime over mechanical parts
Army Painter Strong Tone ovr entire model
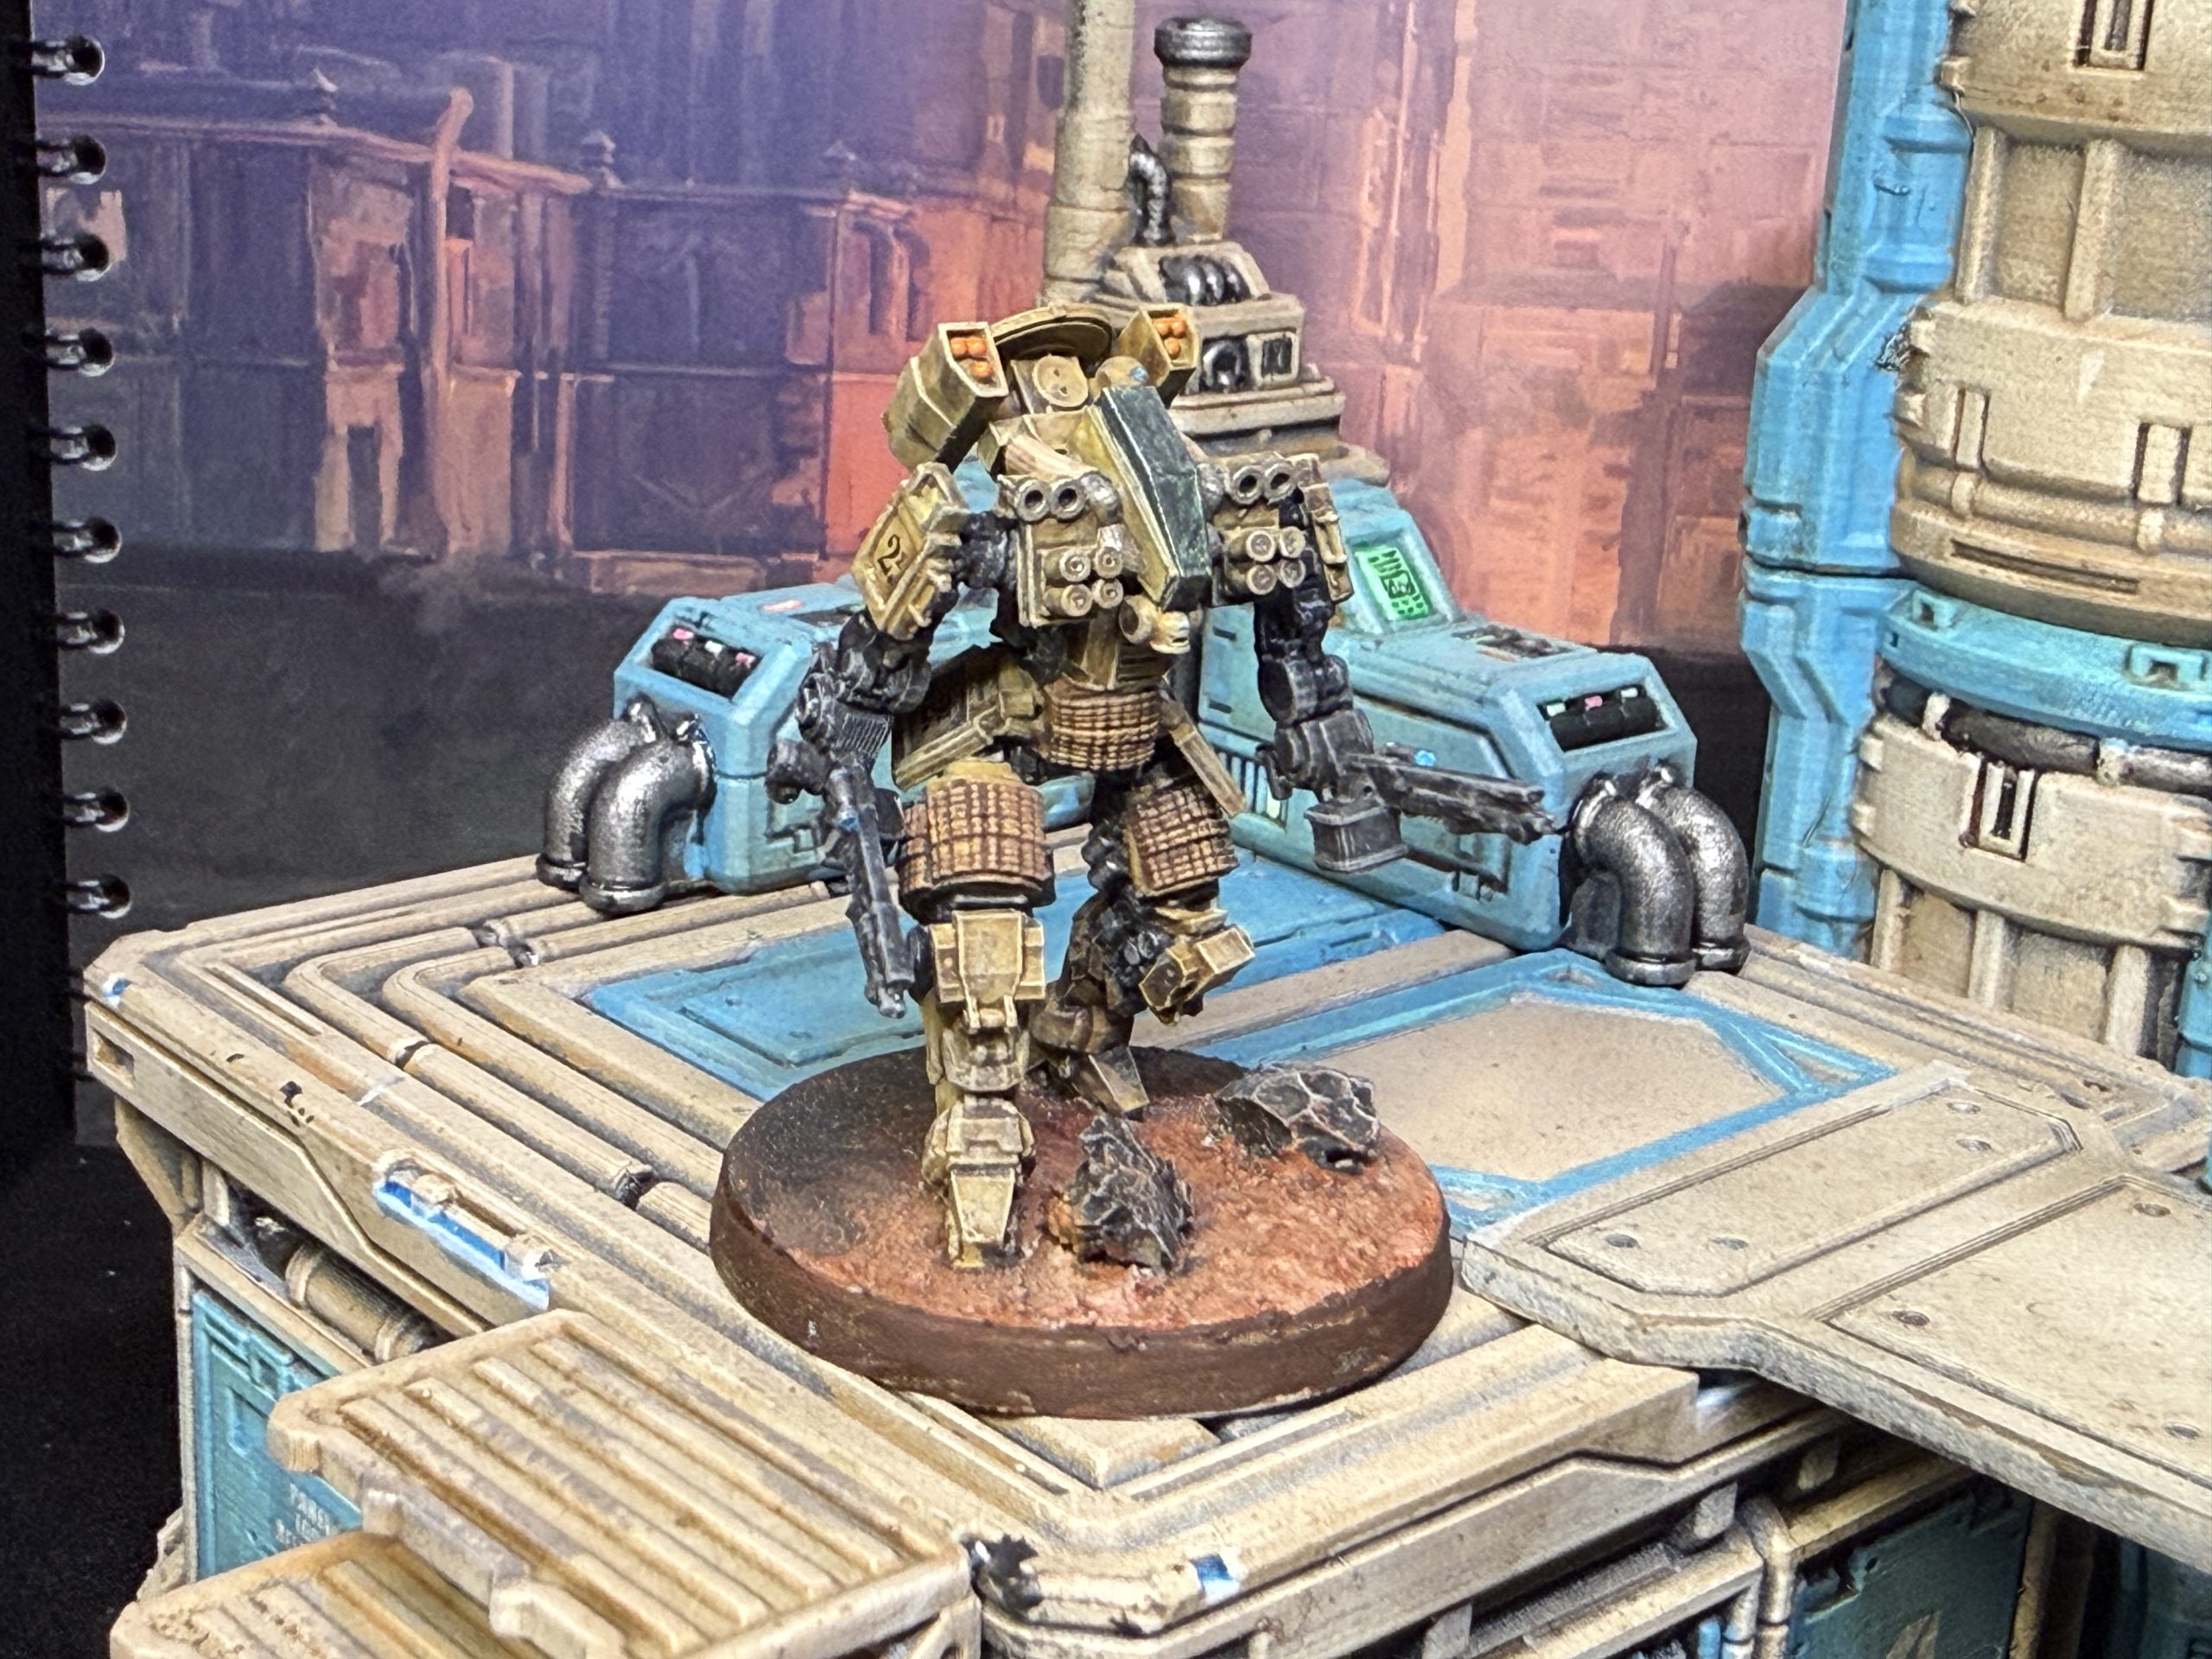
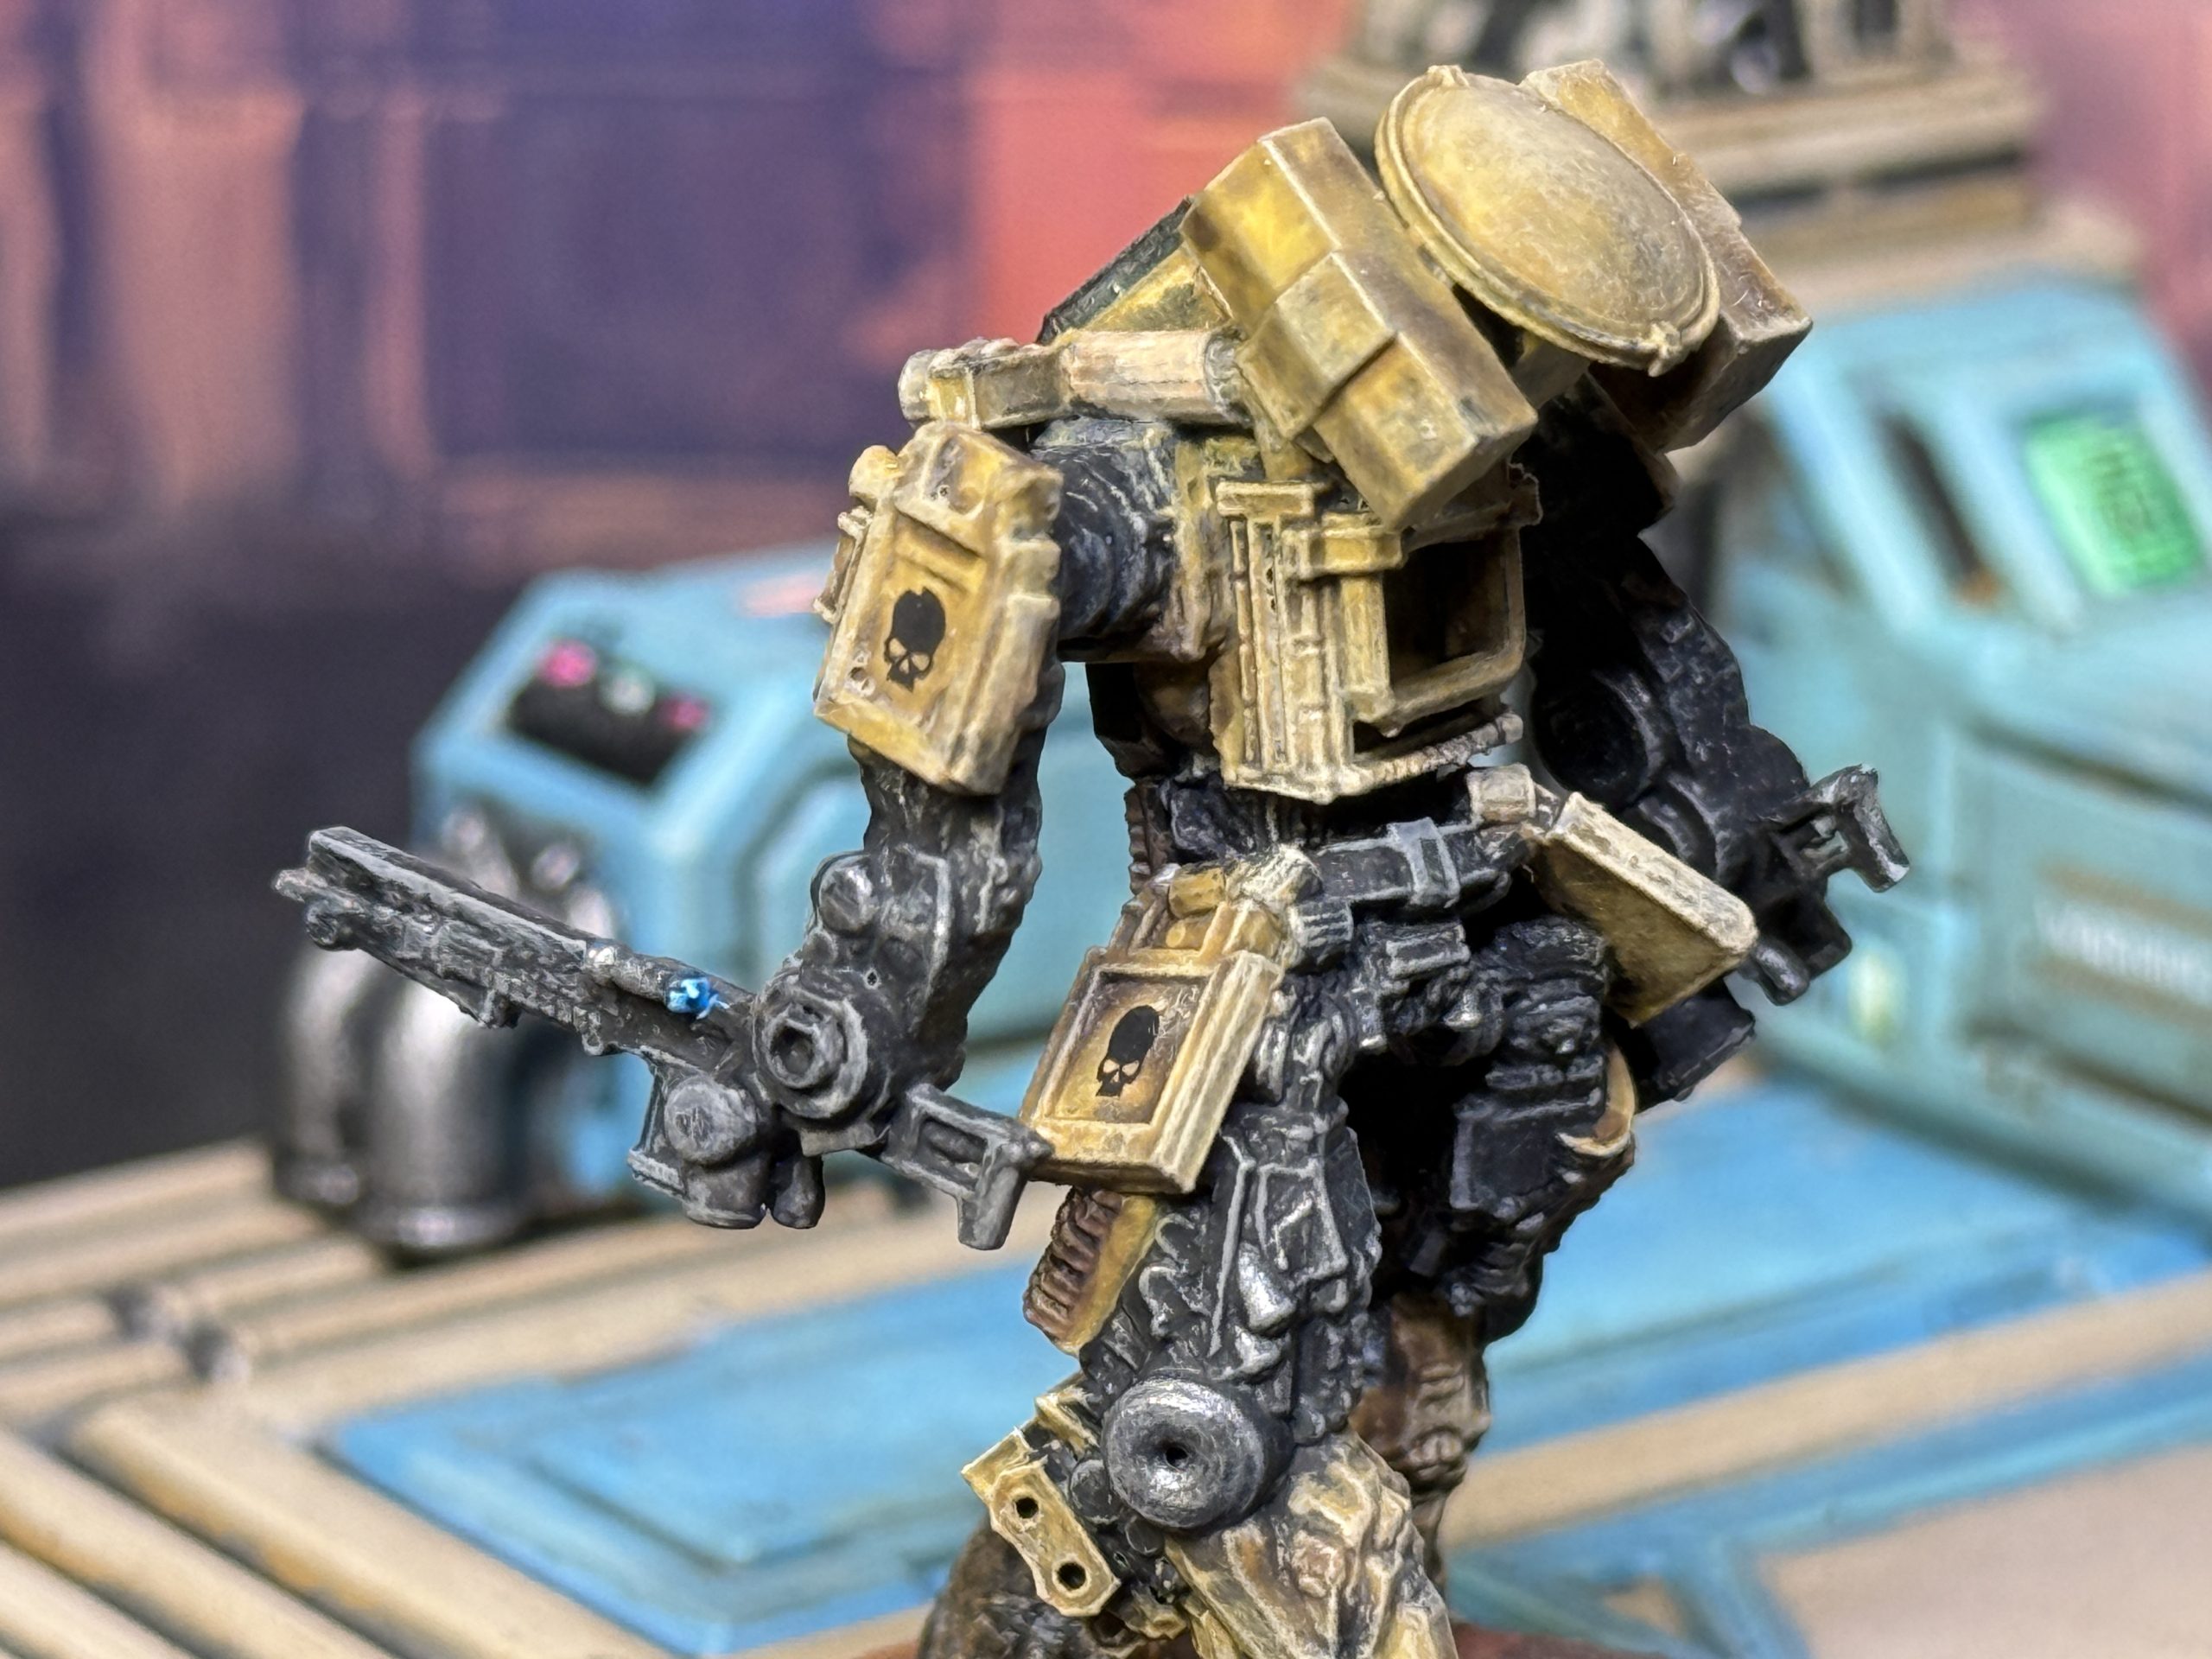
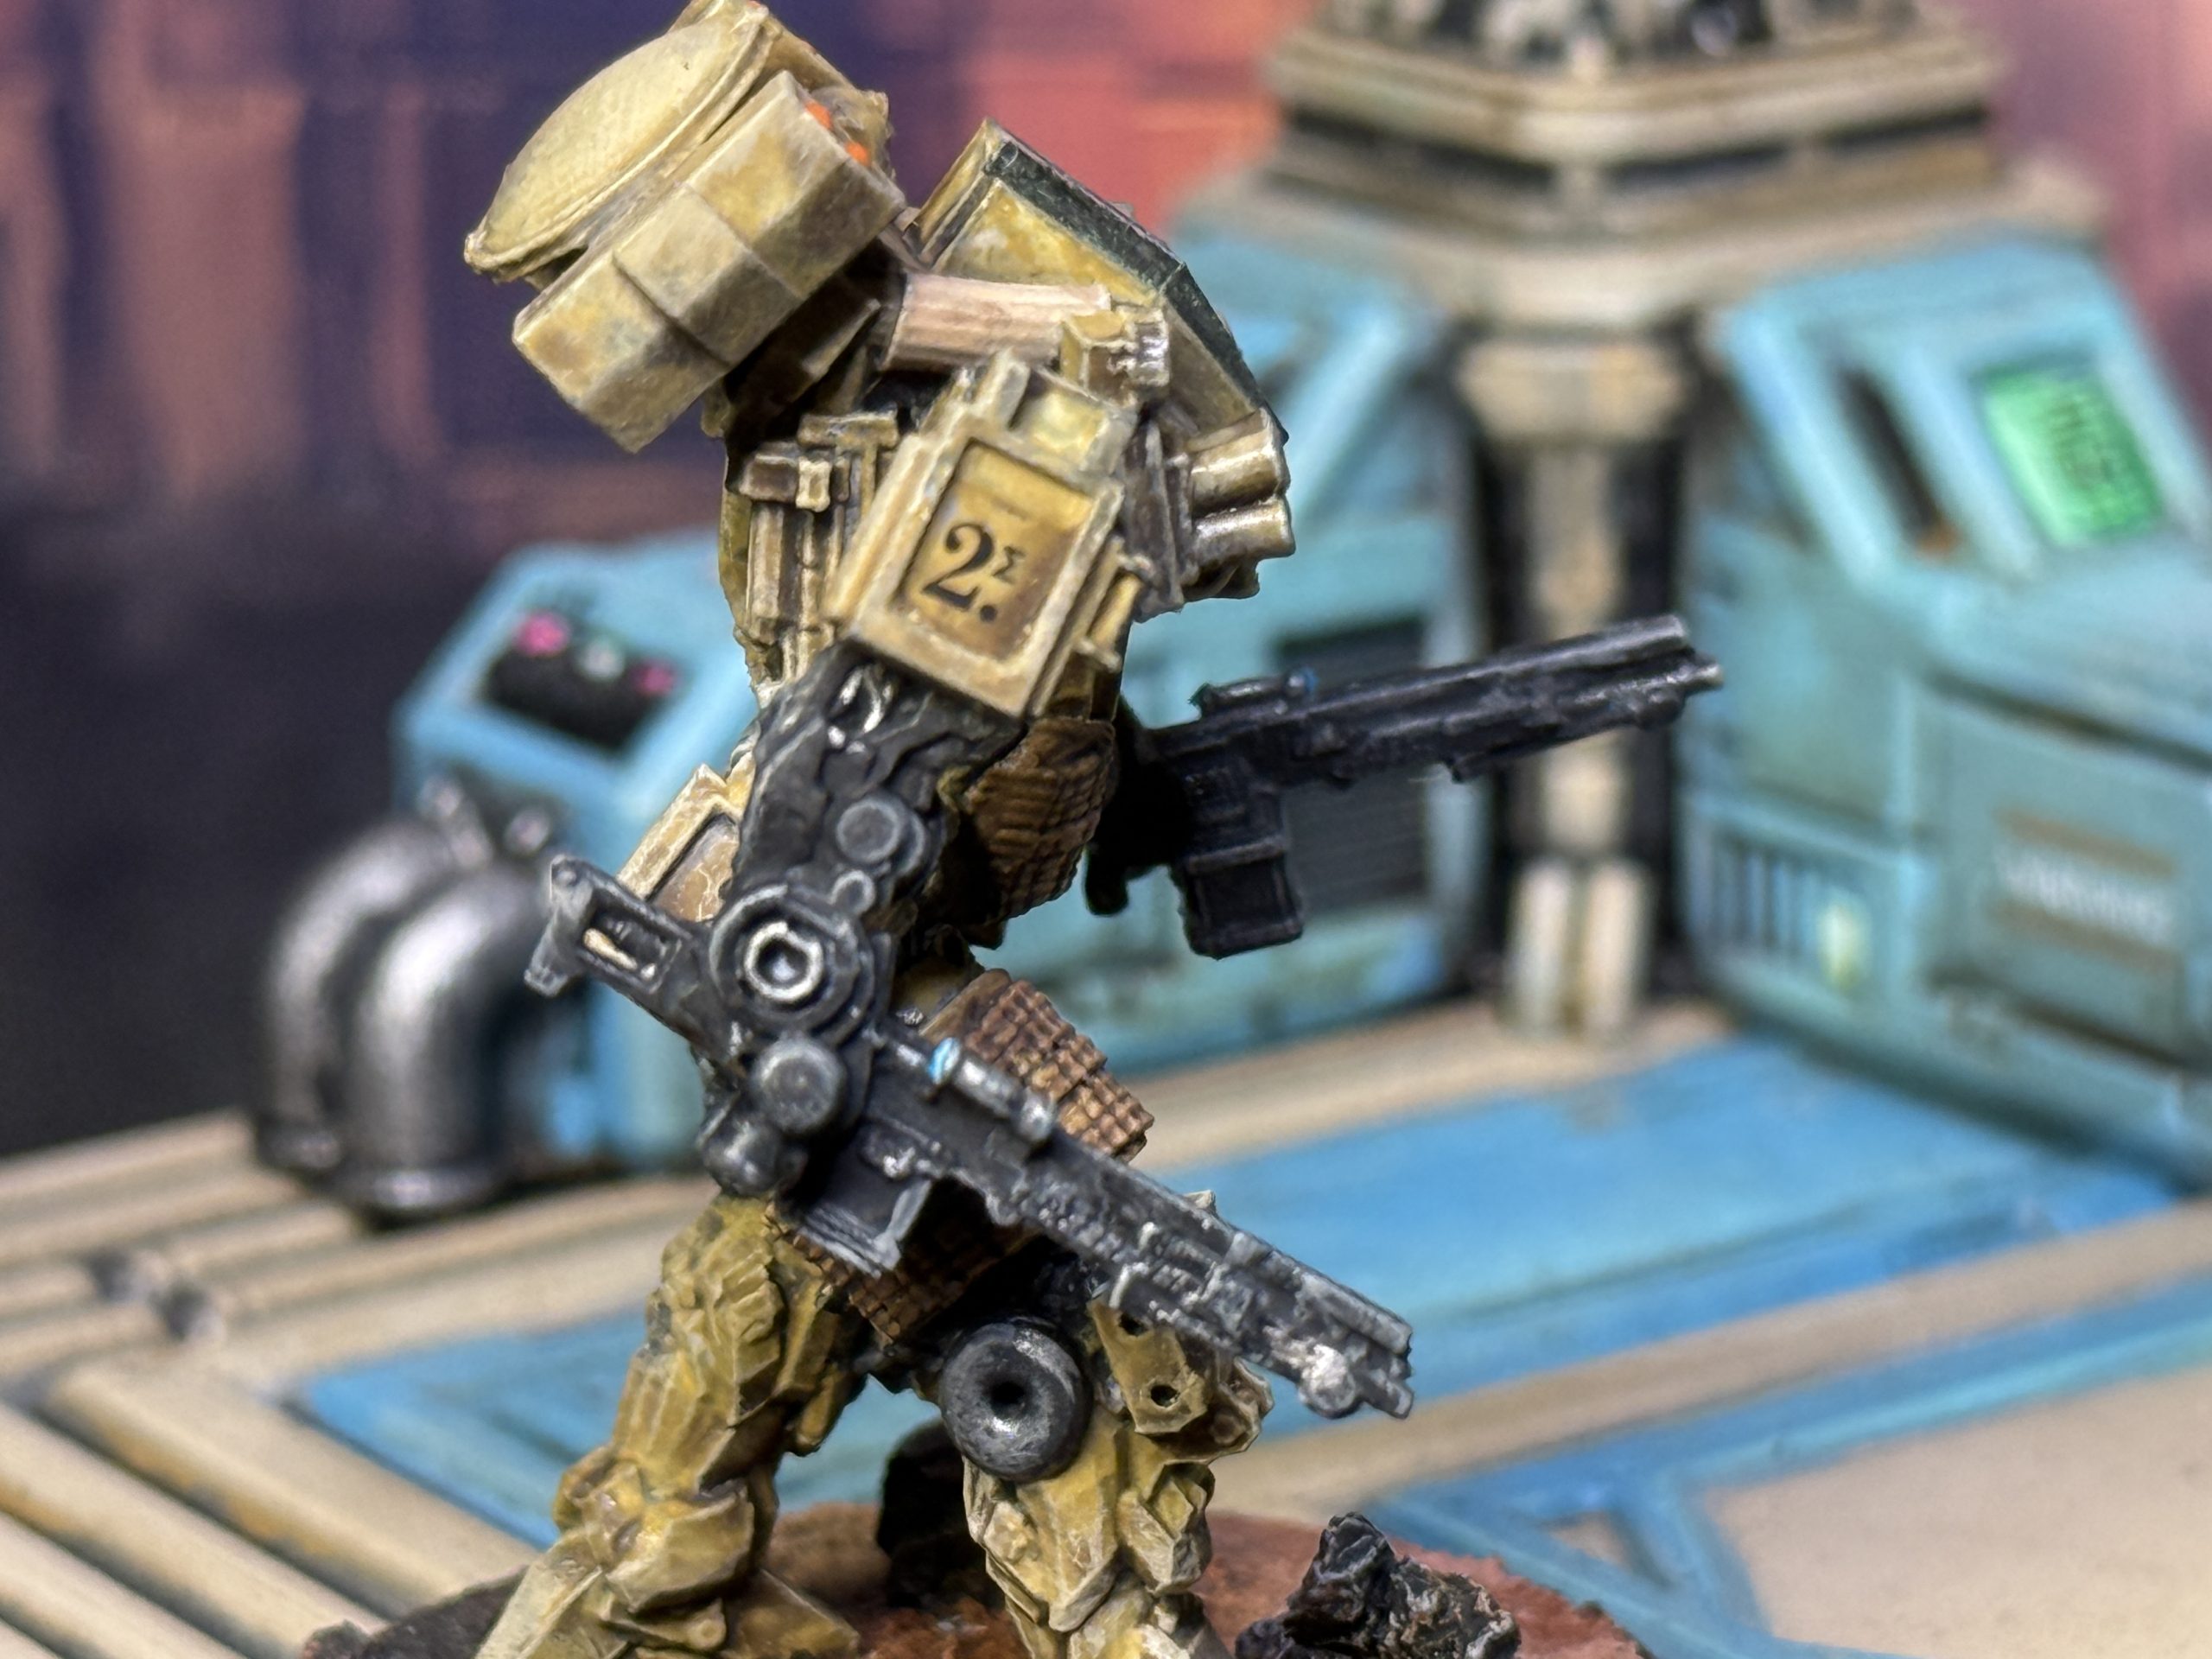
UN 3rd Battalion
First of the 2 miniature groups on the painting table, the UN 3rd Battalion. I went with a semi desert camo scheme, given the savanna nature of Abole. The Reserve Fireteam base uniform was painted Light Sand, with a camo pattern of Desert Tan, Desert Brown and Earth Brown (use corresponding colors in your favorite range).
Guns were painted black with highlights of Lead Belcher.
Boots and straps were painted Tan
Helmets and shoulder pads were accented with ‘UN blue’ (I also painted the number 3 to identify their unit)
Lenses were painted white then applied a drop of GW Frostheart contrast
The whole model was then washed in Army Painter Dark Tone
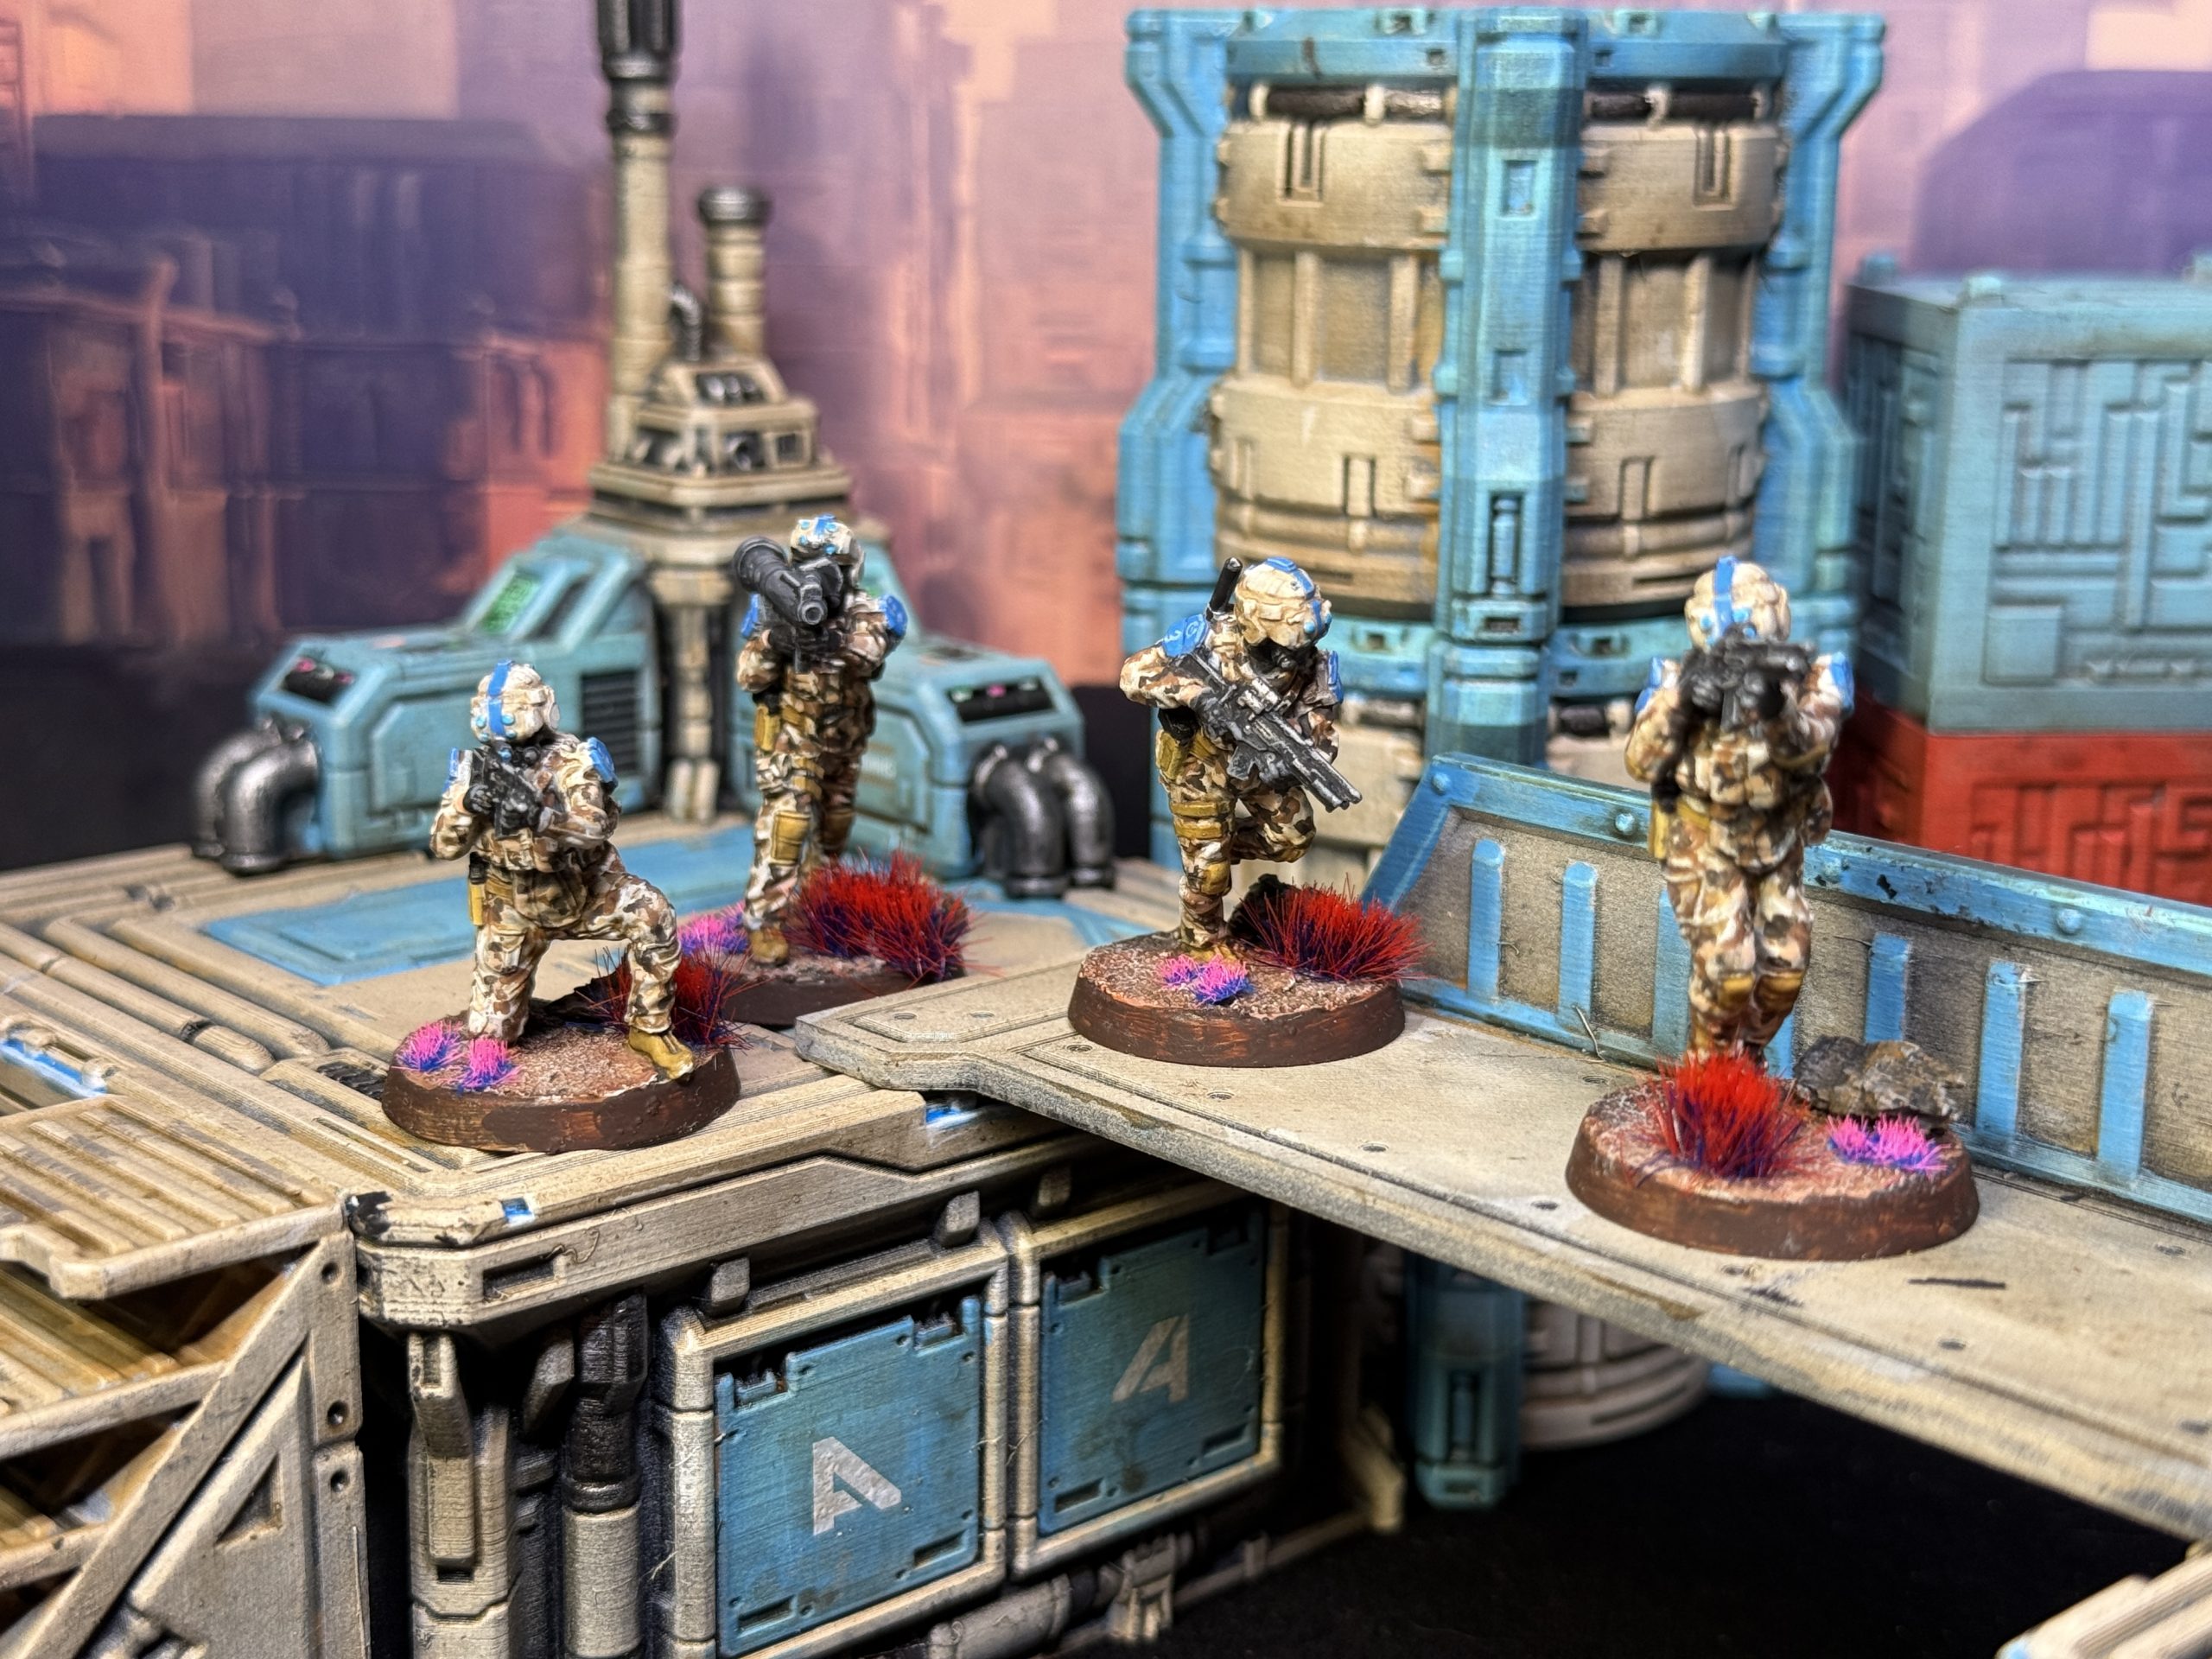 Reserve Fireteam
Then Pointmen (actually AIs) were painted identically but with the mechanical exposed parts and getter painted black and highlighted grey, as well as the ‘neck’ covering given a UN blue color. Careful with these in the game as they easily stick out of the terrain (being rather tall) and thus are exposed to sniper fire.
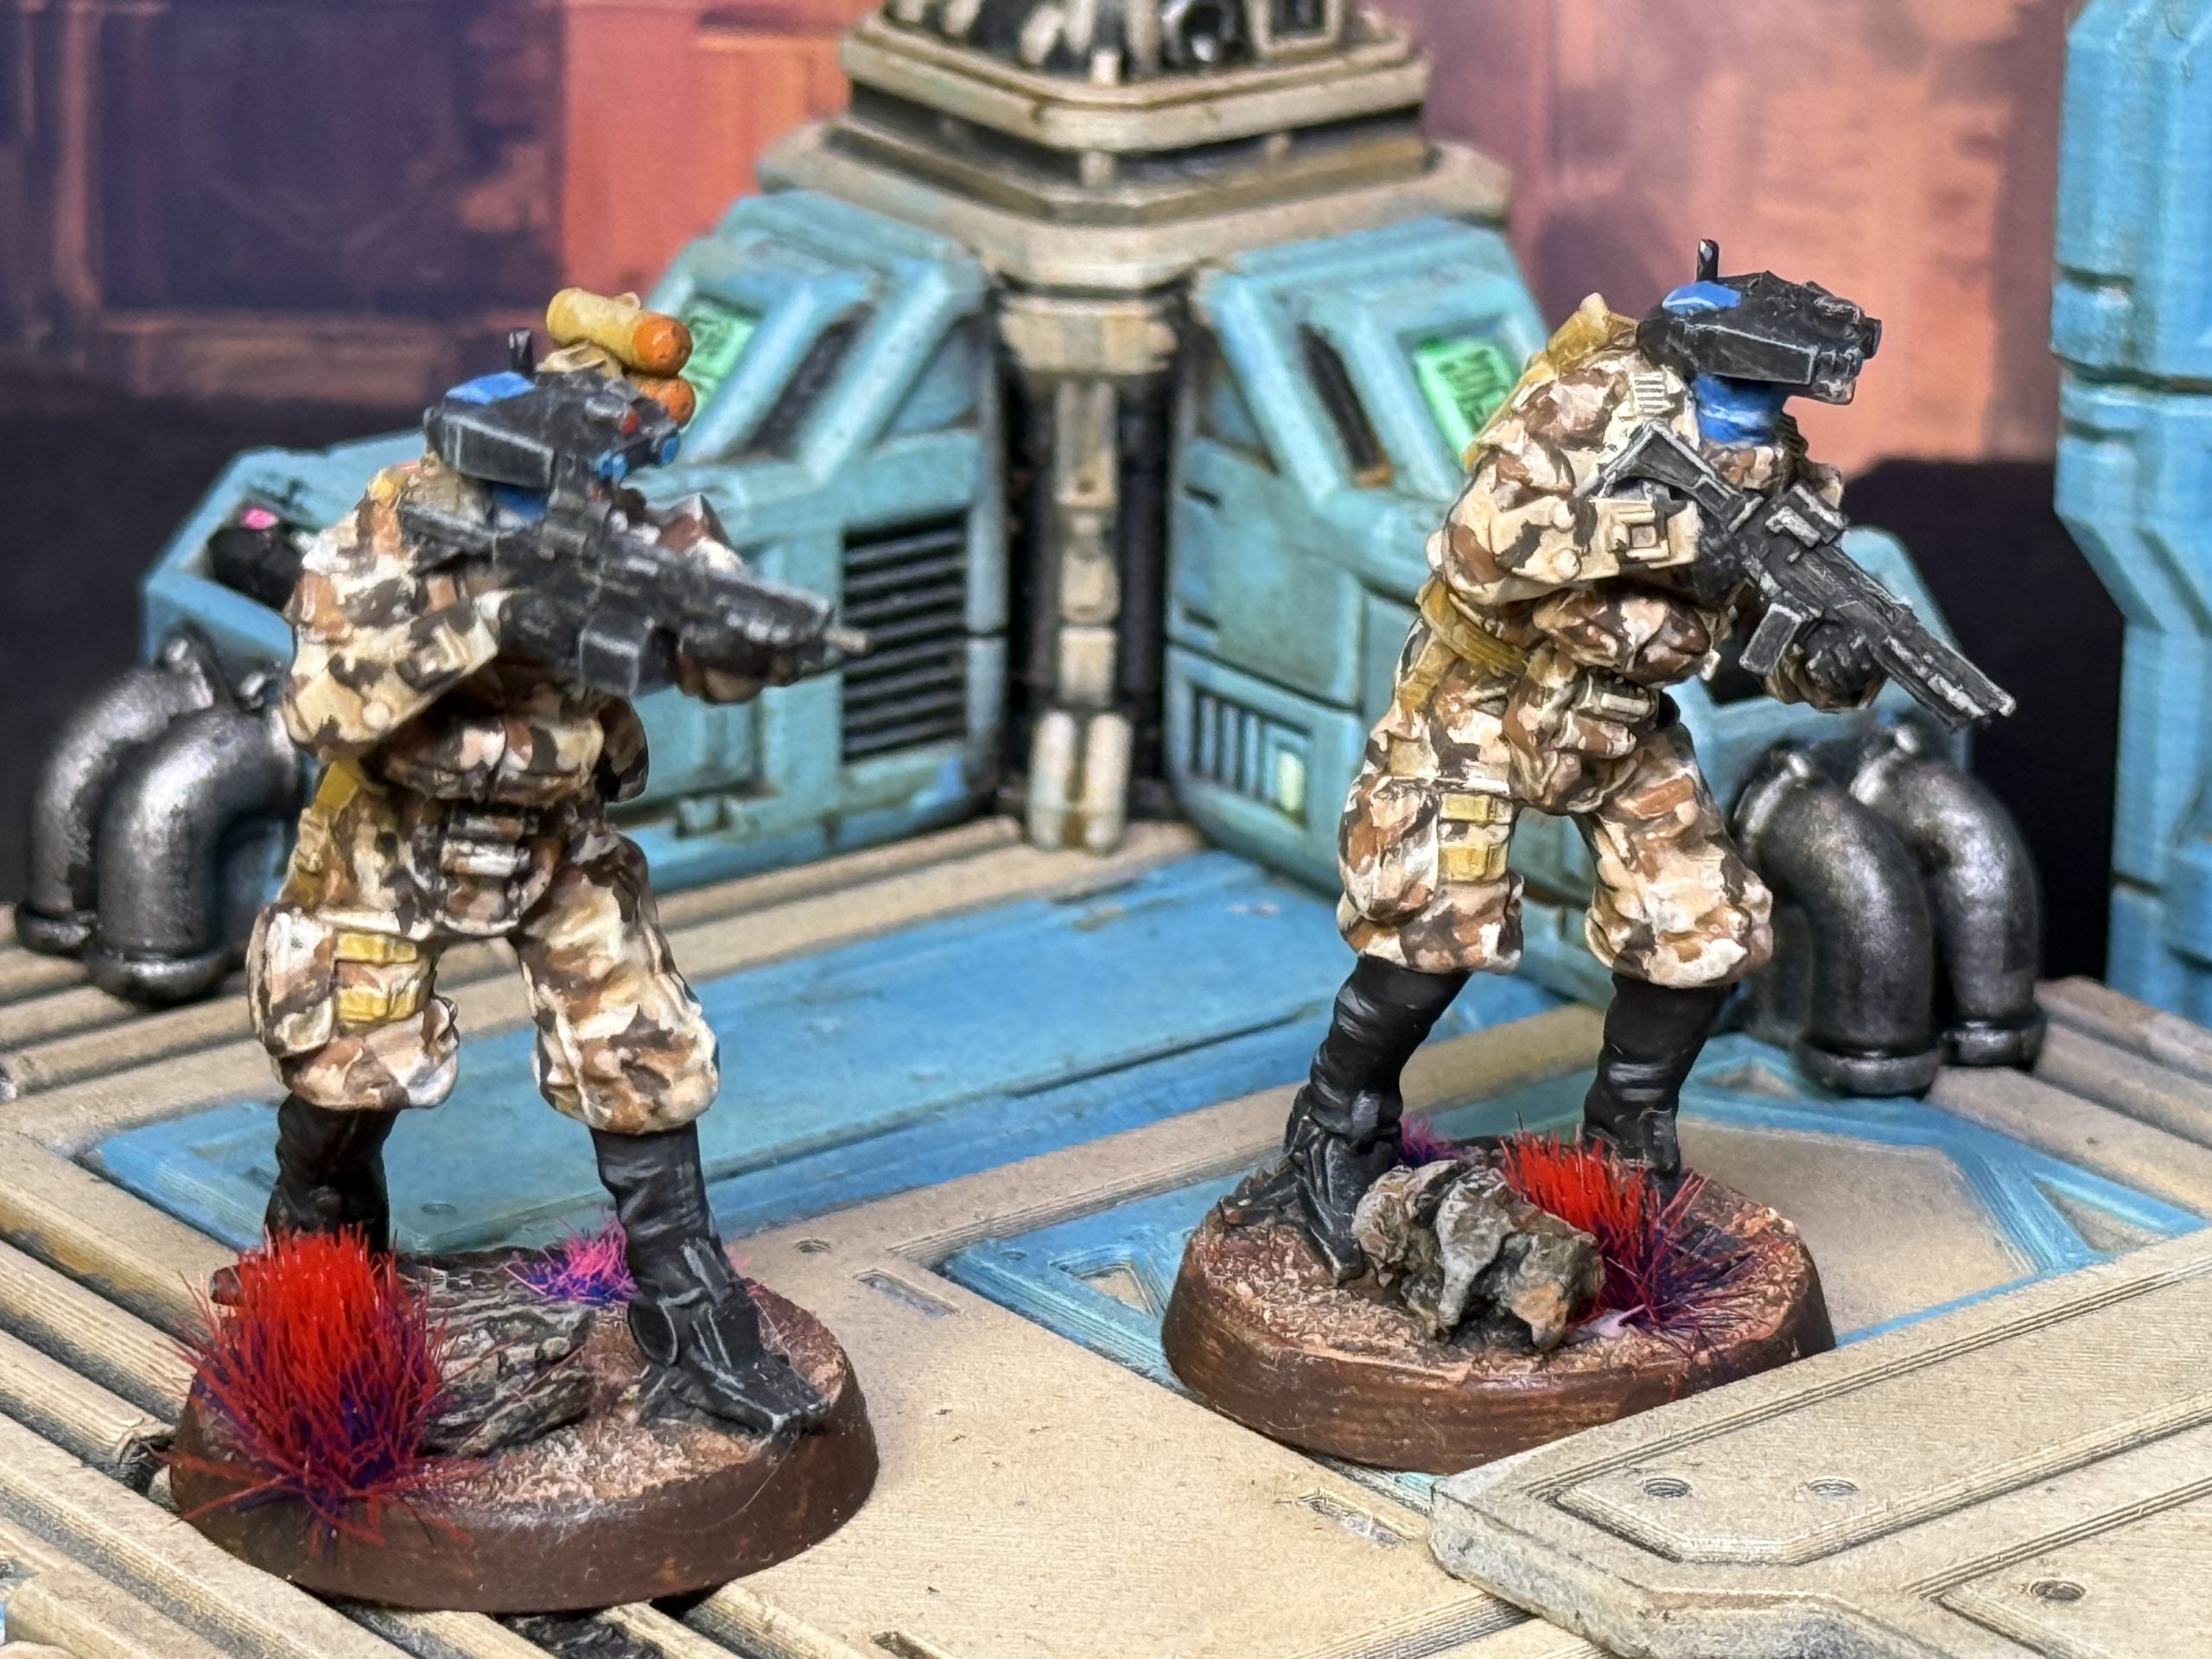 Pointmen
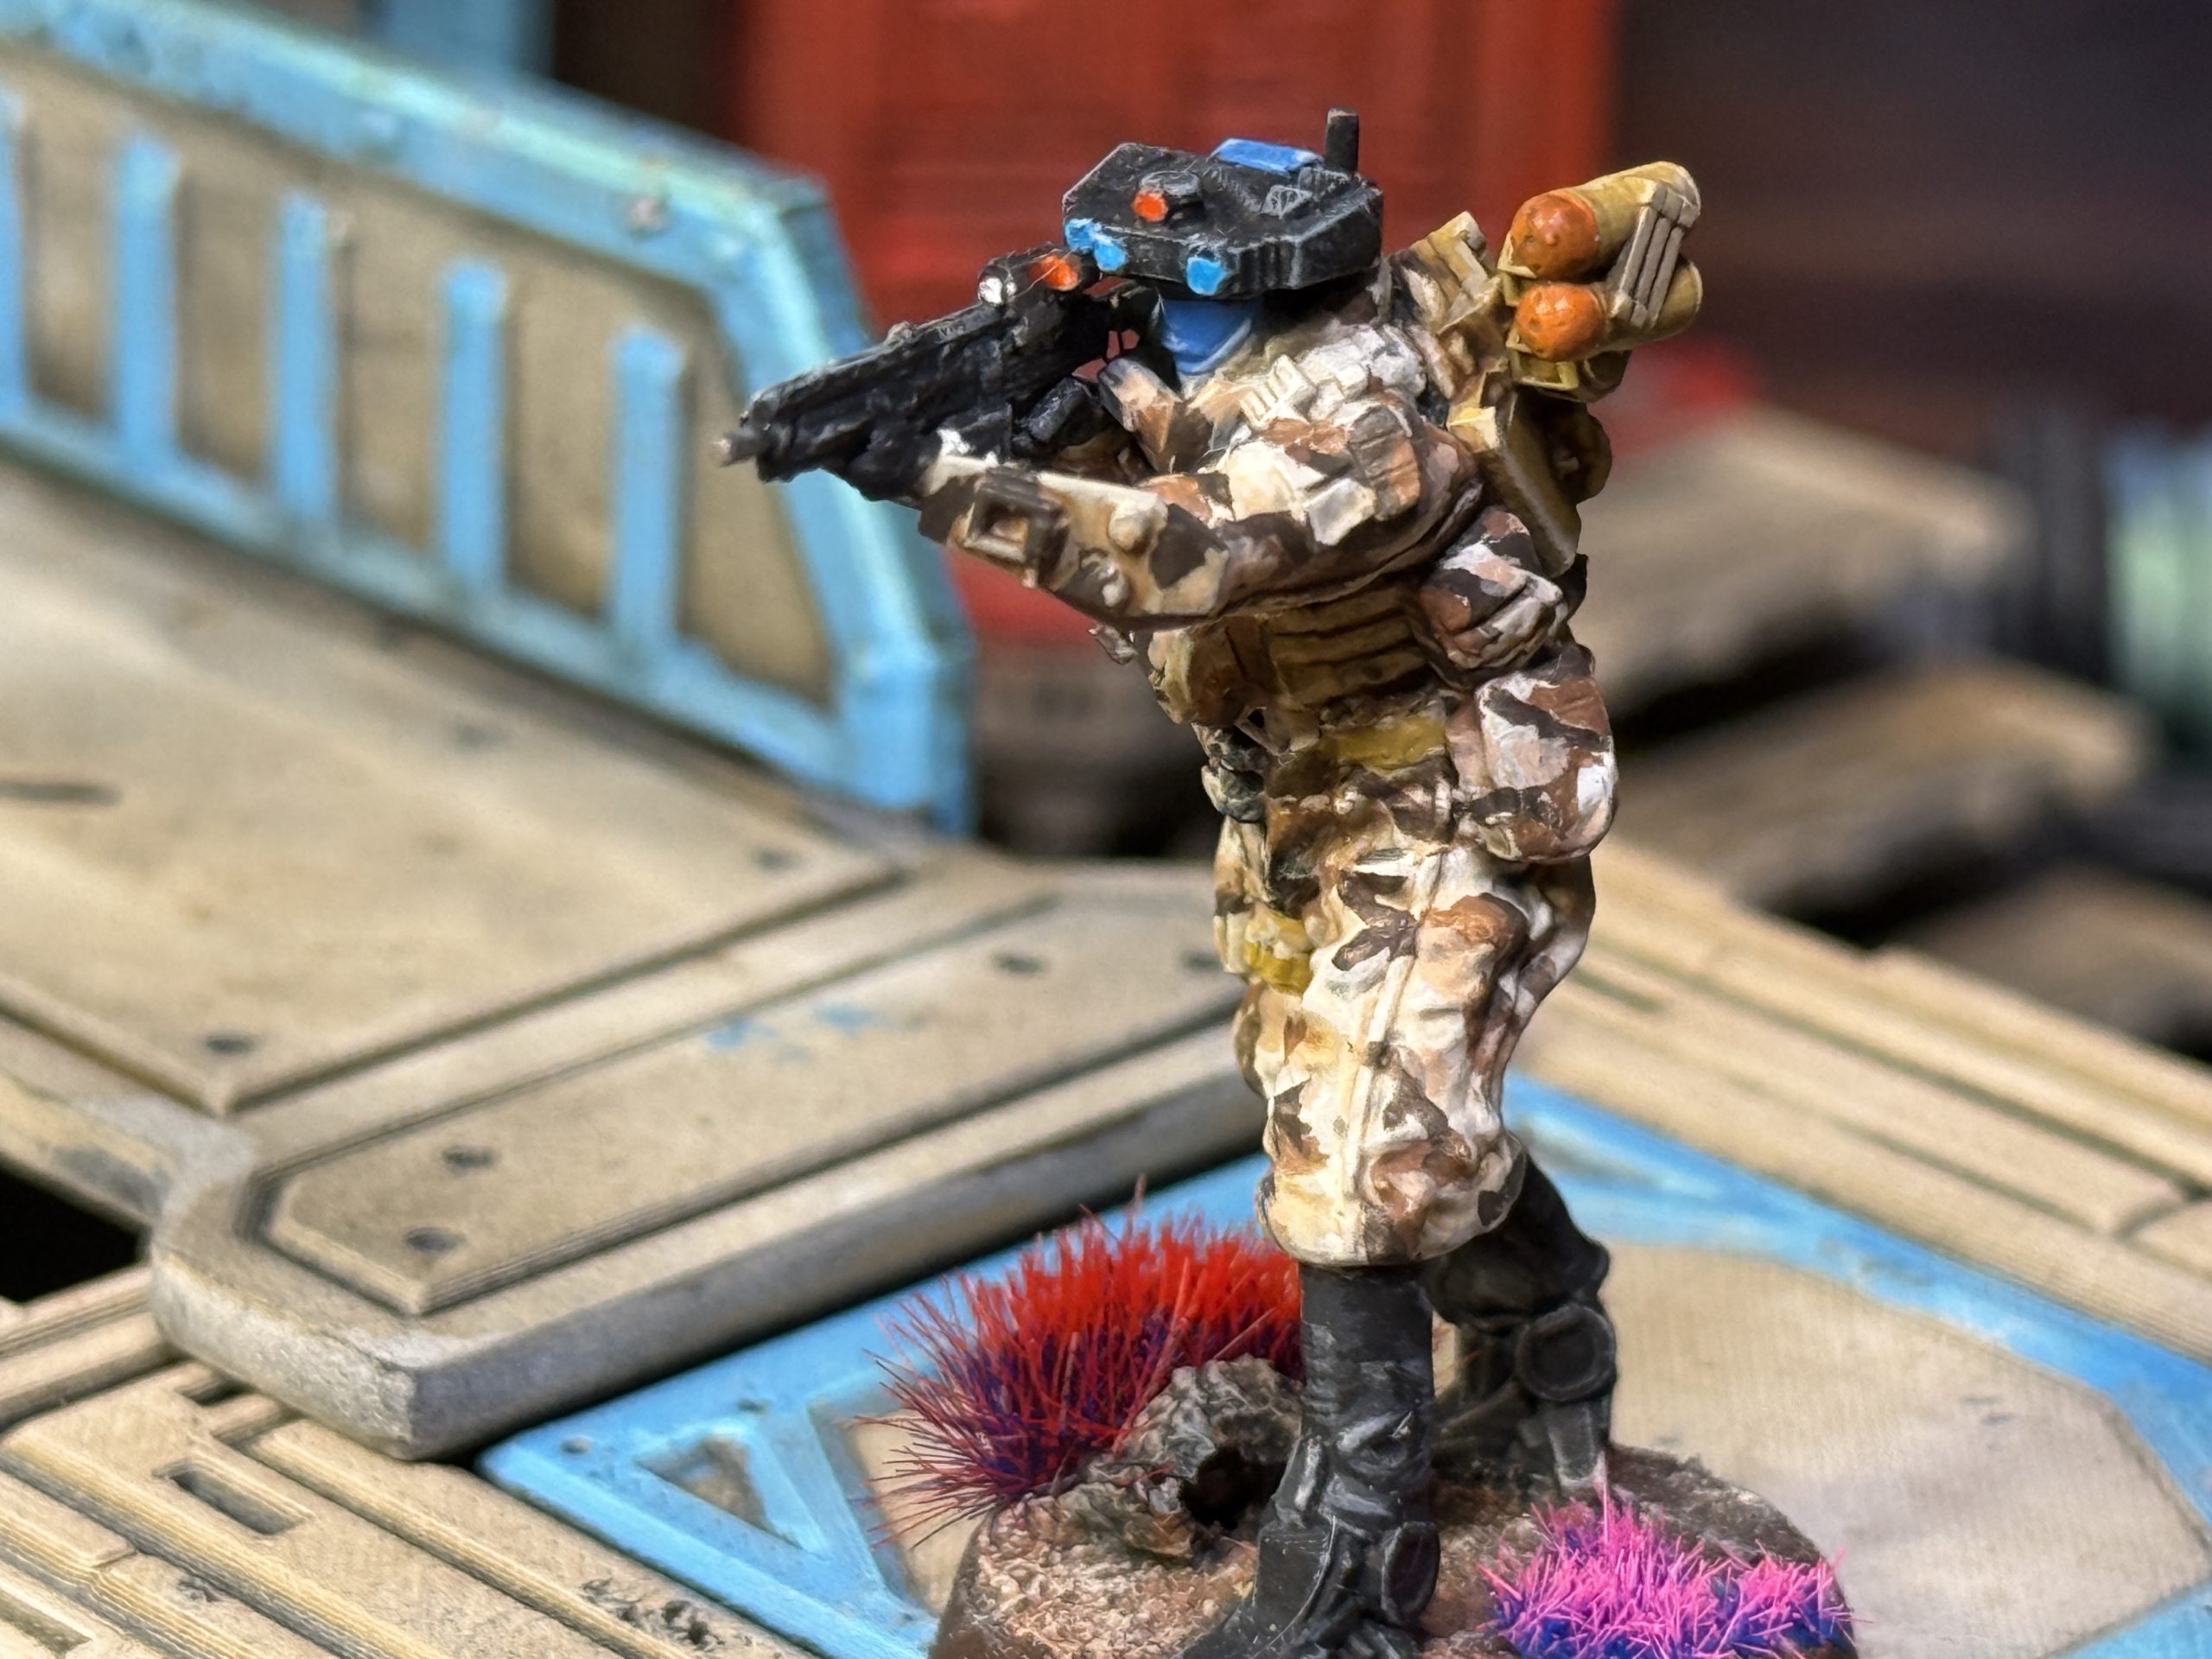 Pointman detail
Finally, I decided to cover the Peacemaker in camo, with slight accents of color for the lenses.
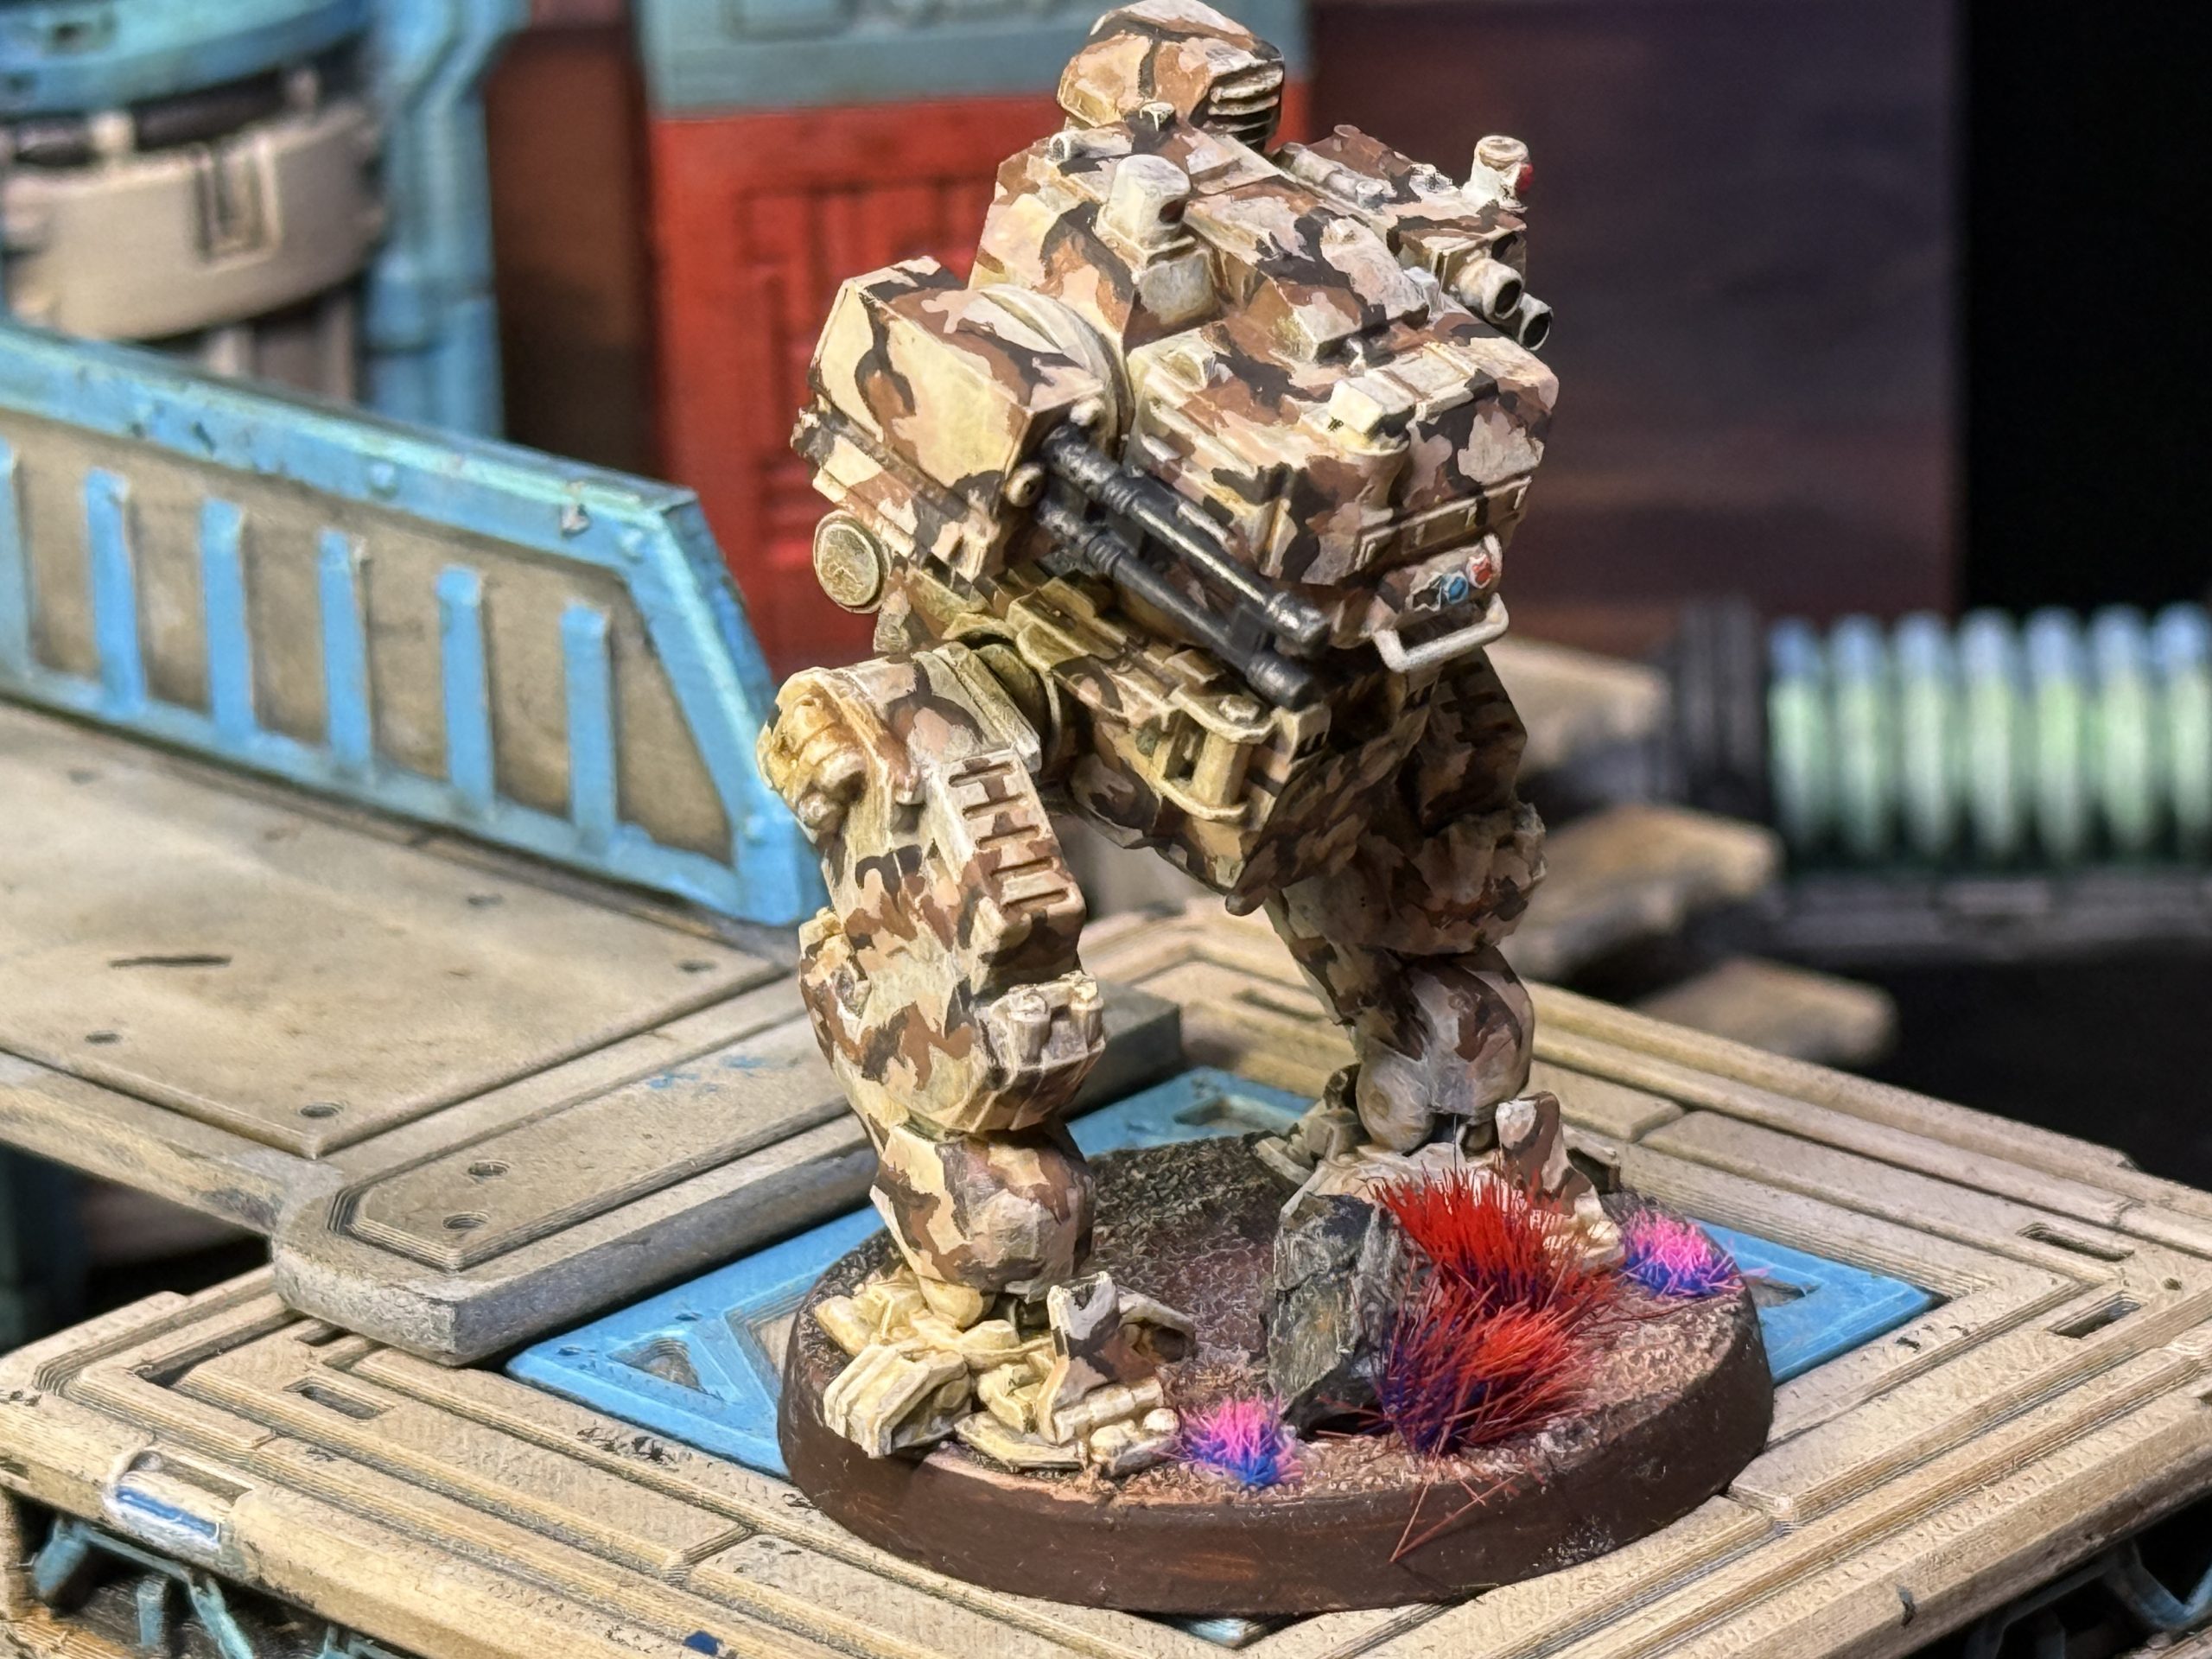
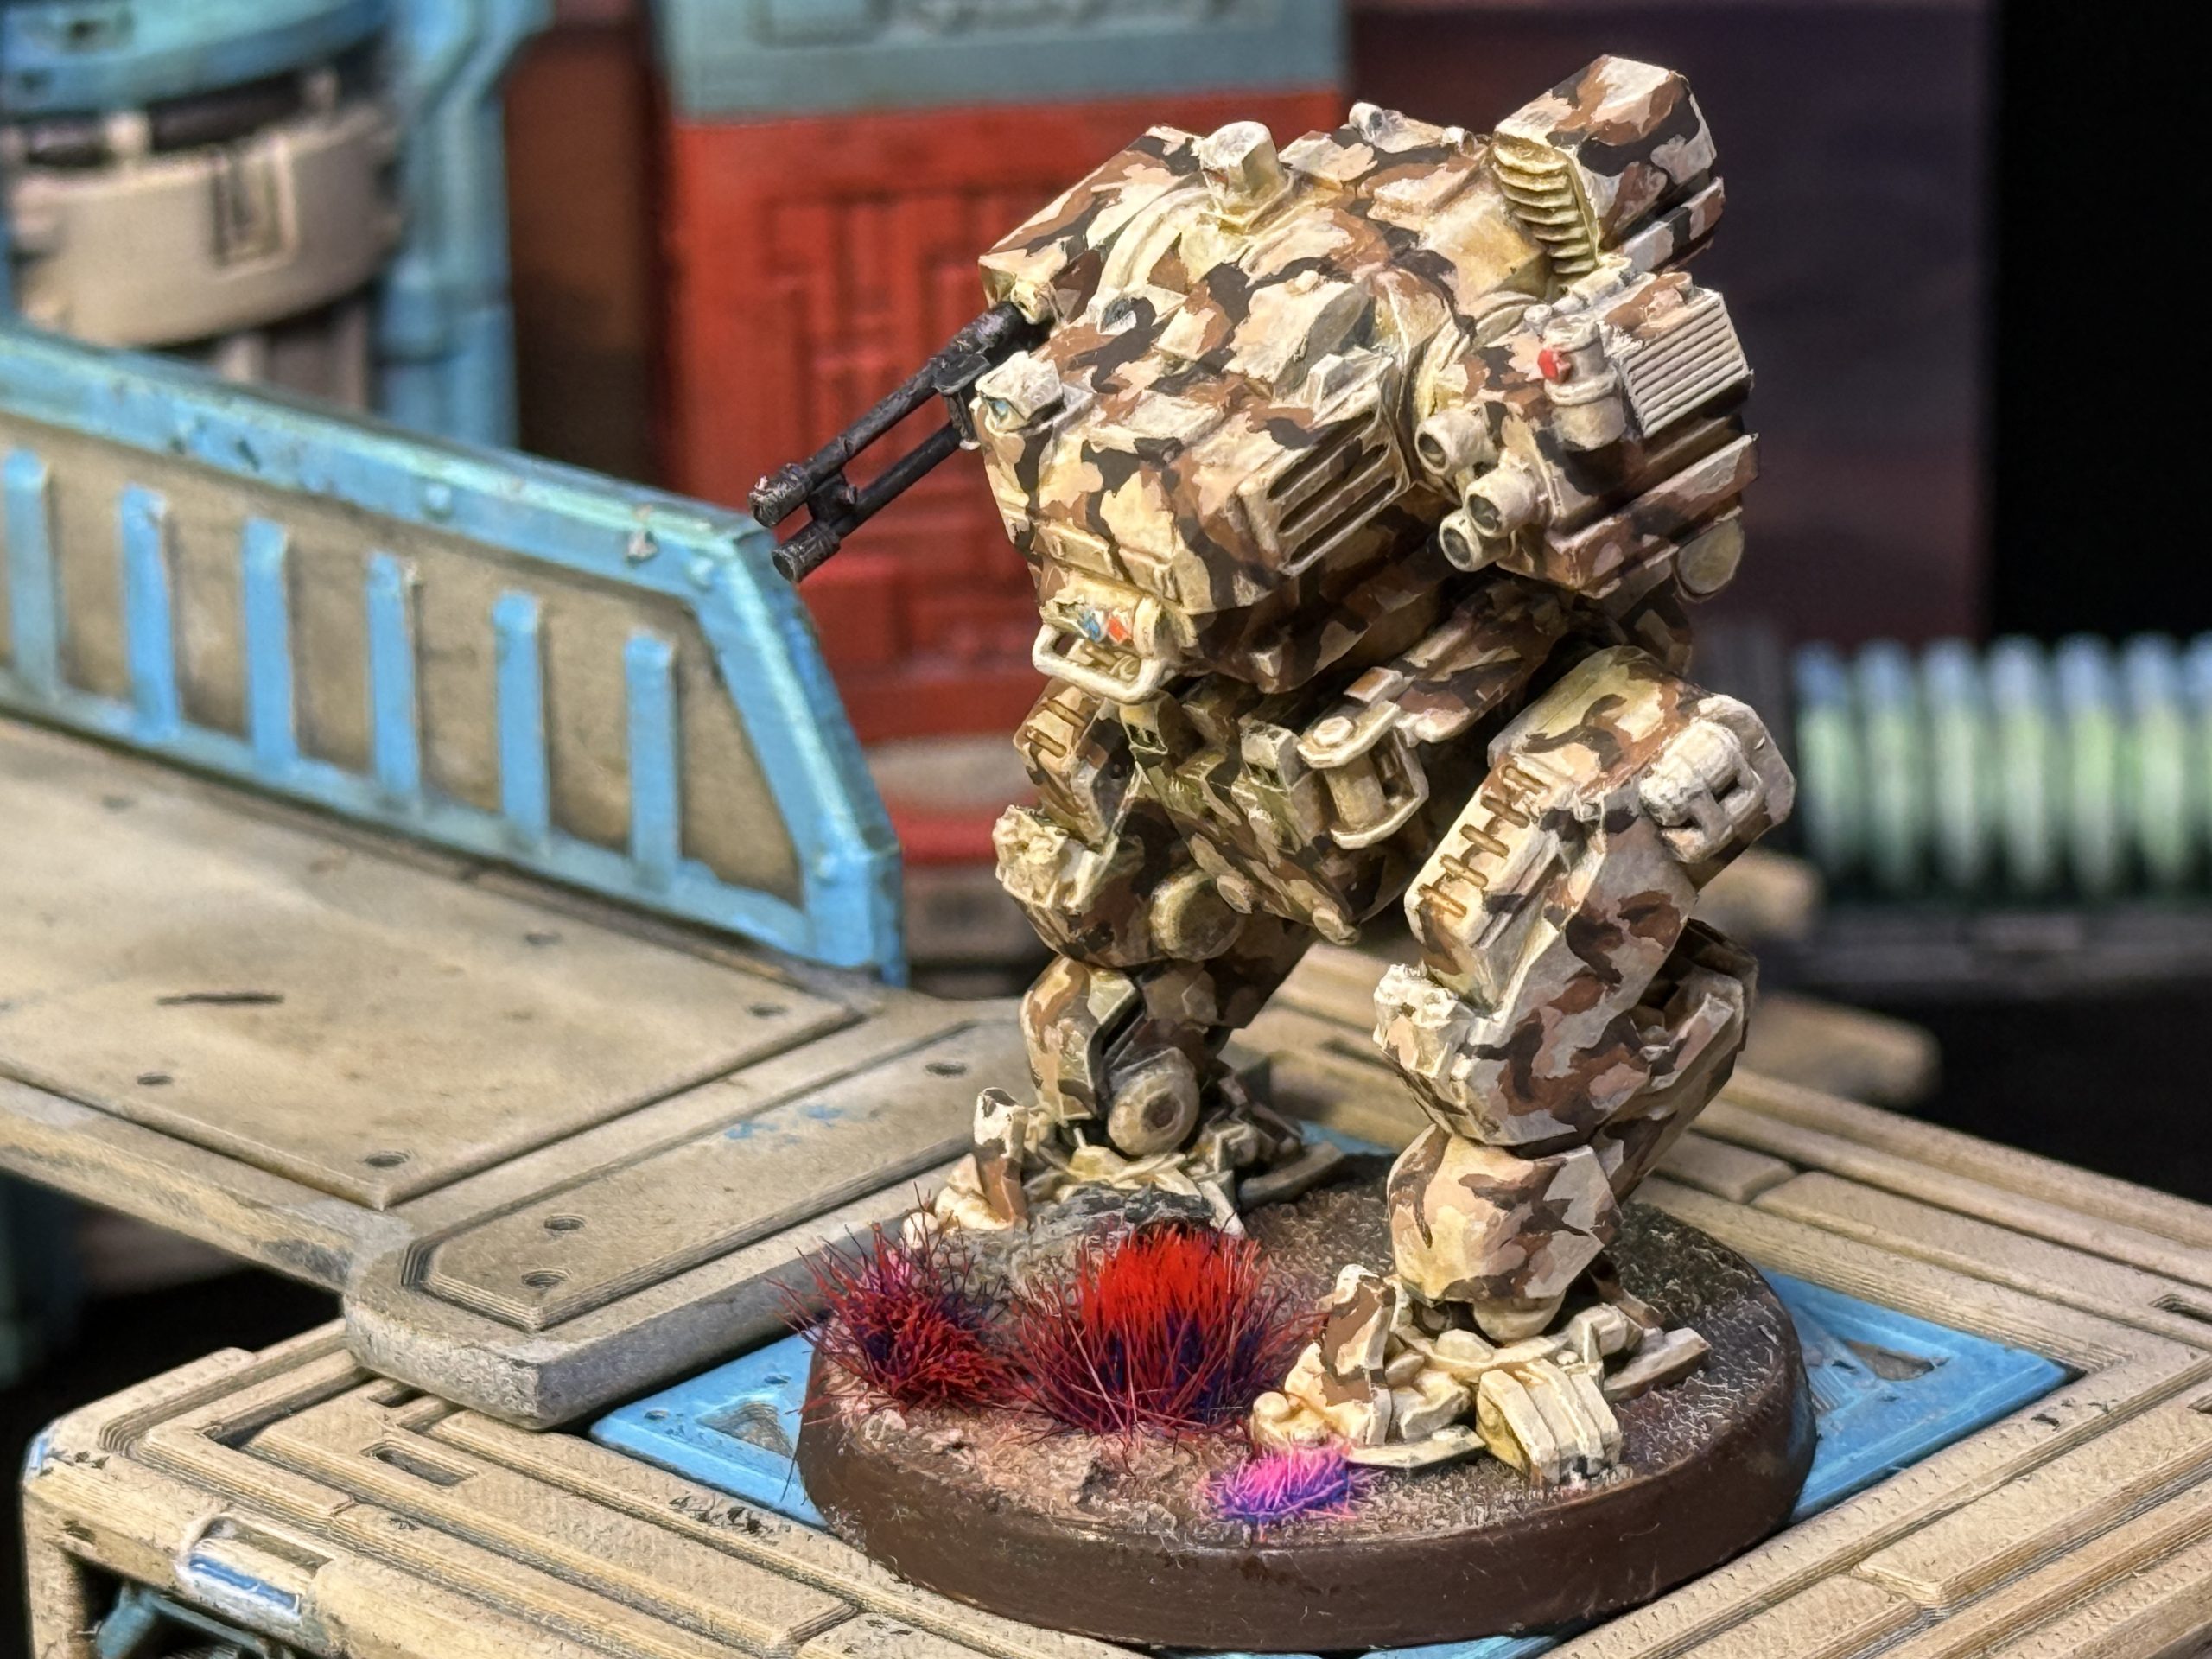
Basing was desert-like with a few rock formations. I decided to add the colorful vegetation to emphasize the alien nature of Abole. I also like the contrast with the militaristic muted uniforms.
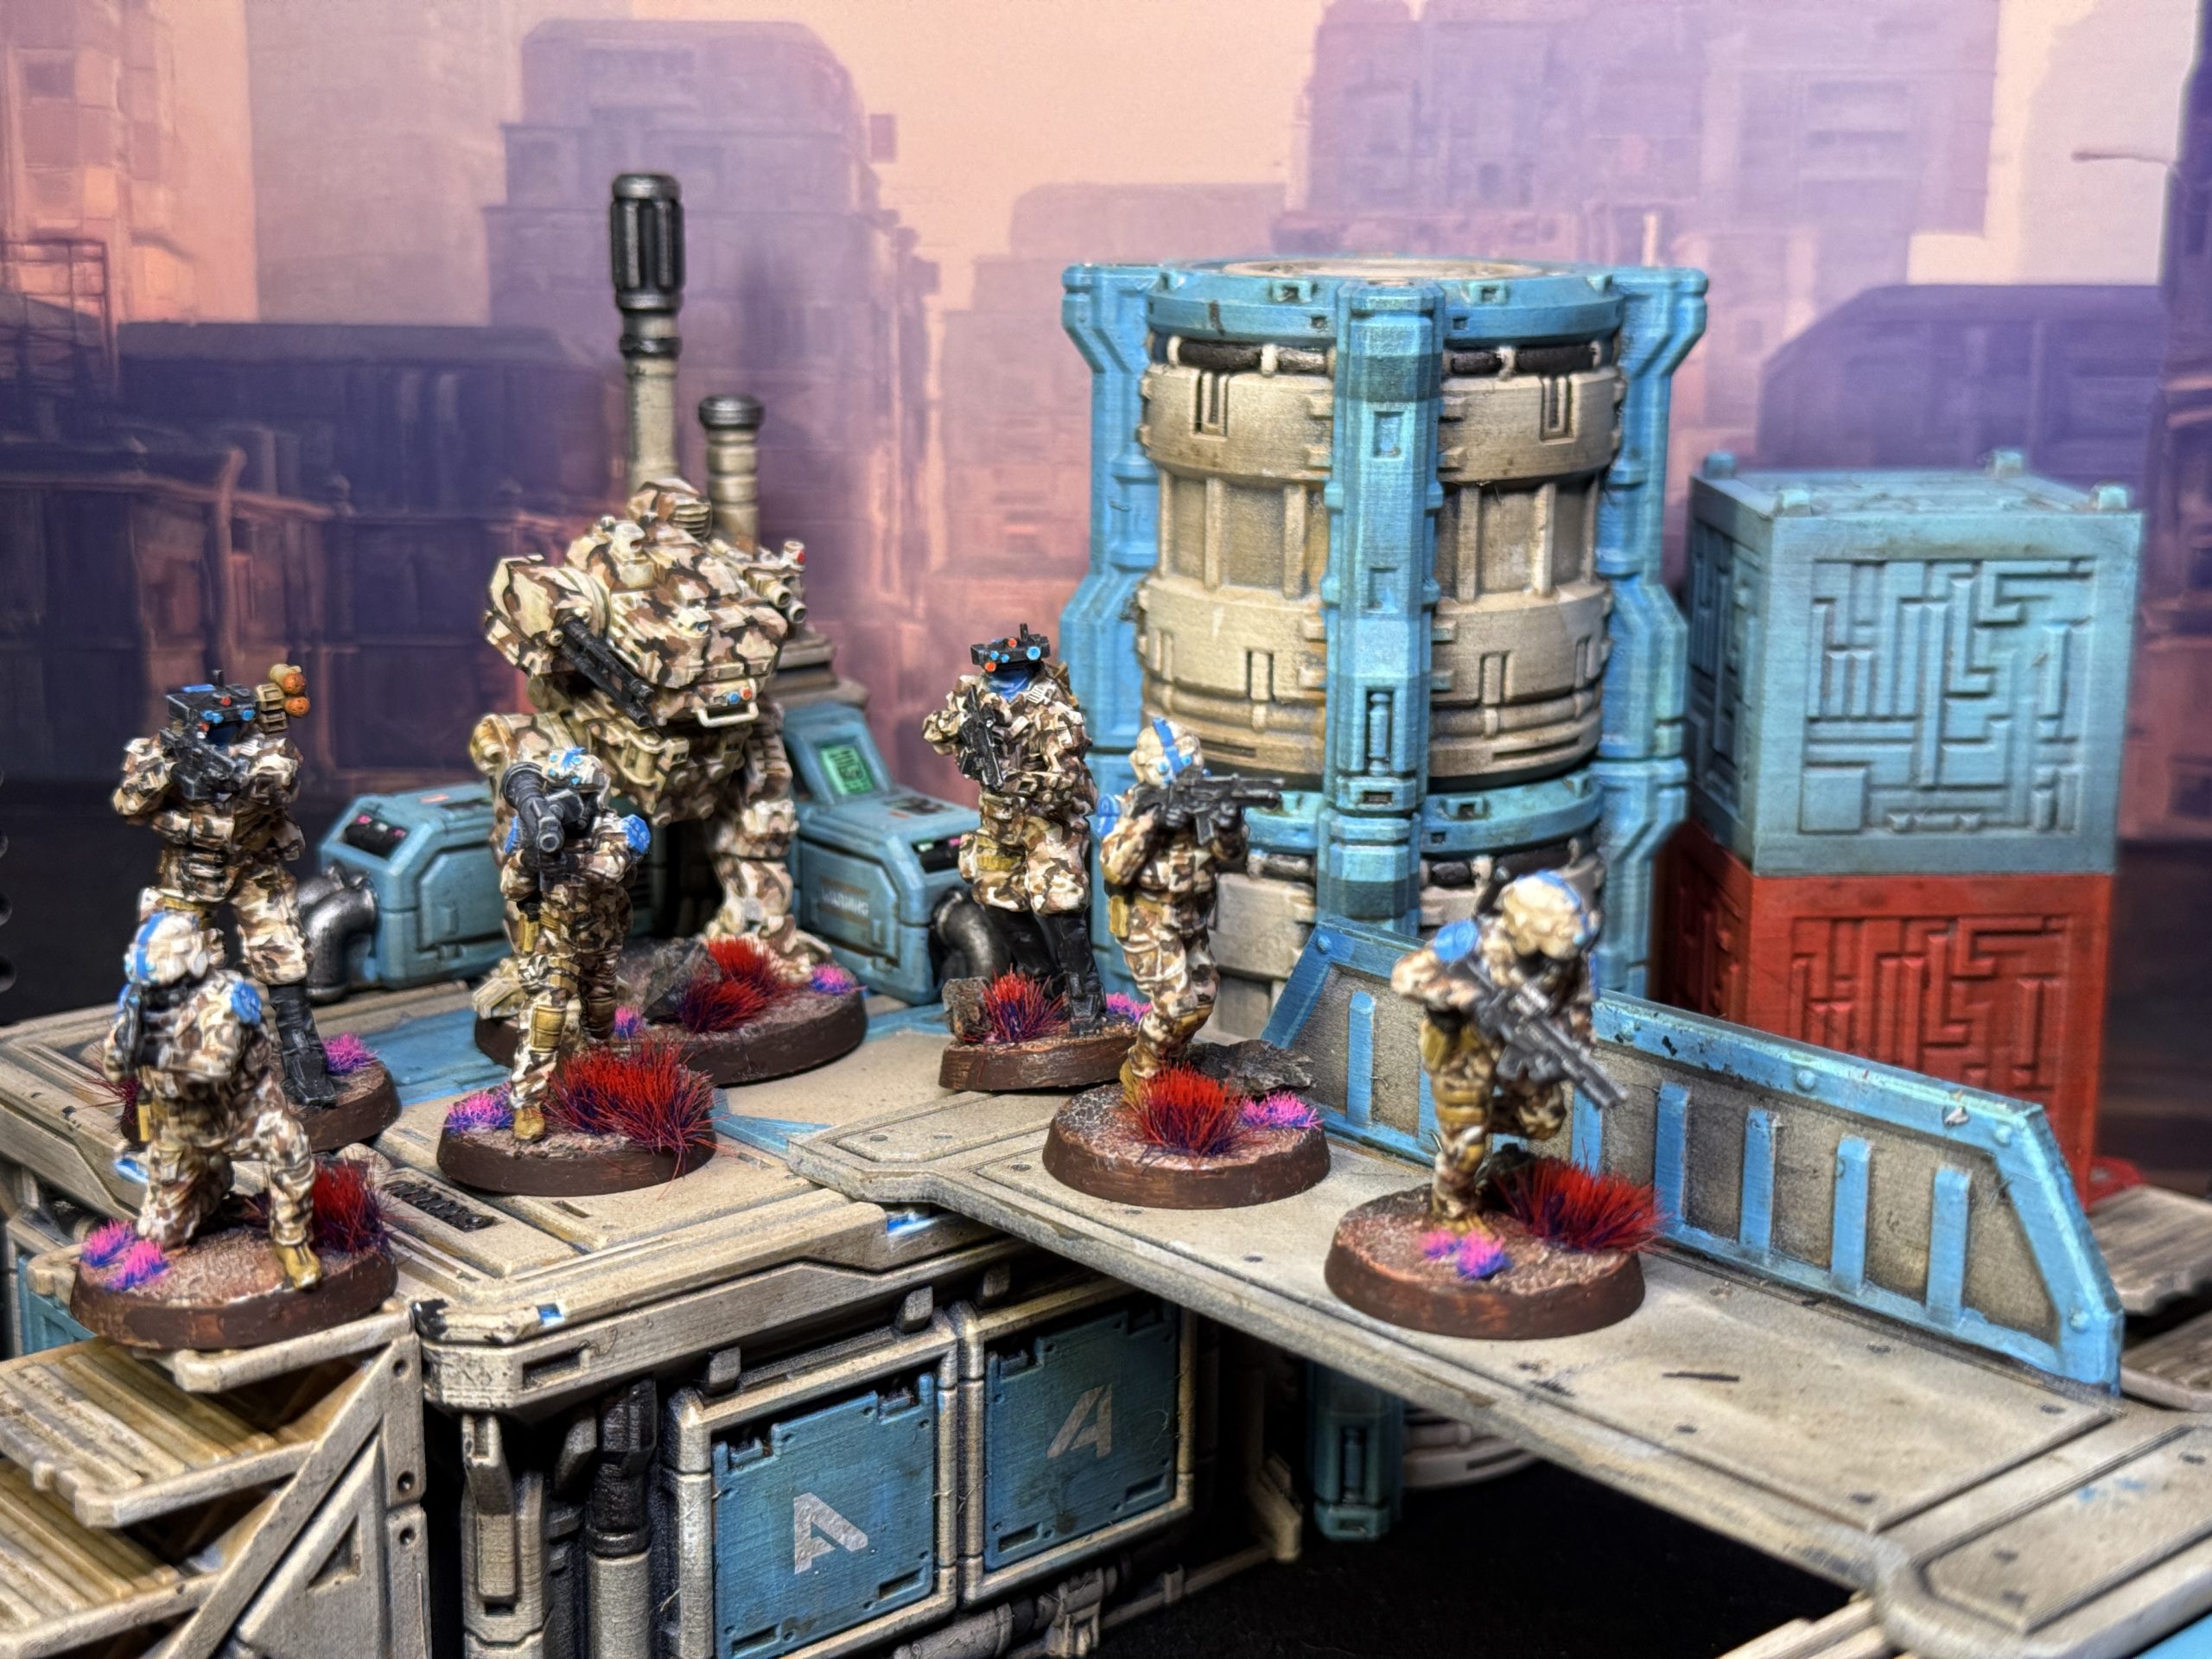 UN troops ready for counterinsurgency.
Industrial Sector (AKA District 0012)
As I mentioned in the intro, designing terrain for the game became necessary as I wanted to capture some of the hard scifi industrial look that (in my head) accompany the skirmish I expect from the two player starter set.
The Tabletop Engineer email newsletter revealed a printable set that seemed to match what I was looking for and I jumped on My Mini Factory site, trying to ignore the mountain of unprinted files in my library and took a look at District 0012 – Reboot
My faithful Bamboo Carbon became very busy…
How I painted District 0012
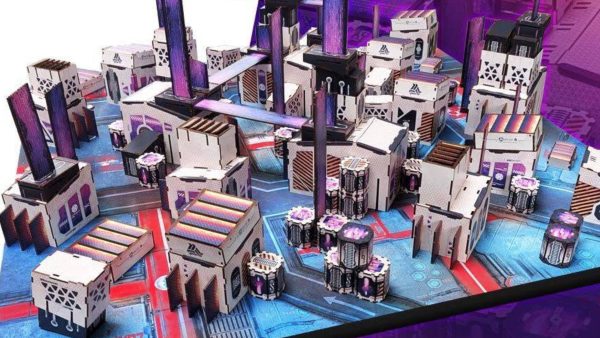
This set is essentially a group of various size blocks along with additional details, such as antenas, chimneys, generators, stairs, ladders and coils, creating a flexible scifi industrial environment. As a result, I had first to decide what scheme to apply to the entire set and, given I wanted the environment to portray the predominant savanna or industrial zones of Abole, I went with a medium brown main color, accented with either medium blue or red.
Base Color
Every printed element was primed matt black and to which was applied a zenithal white spray.
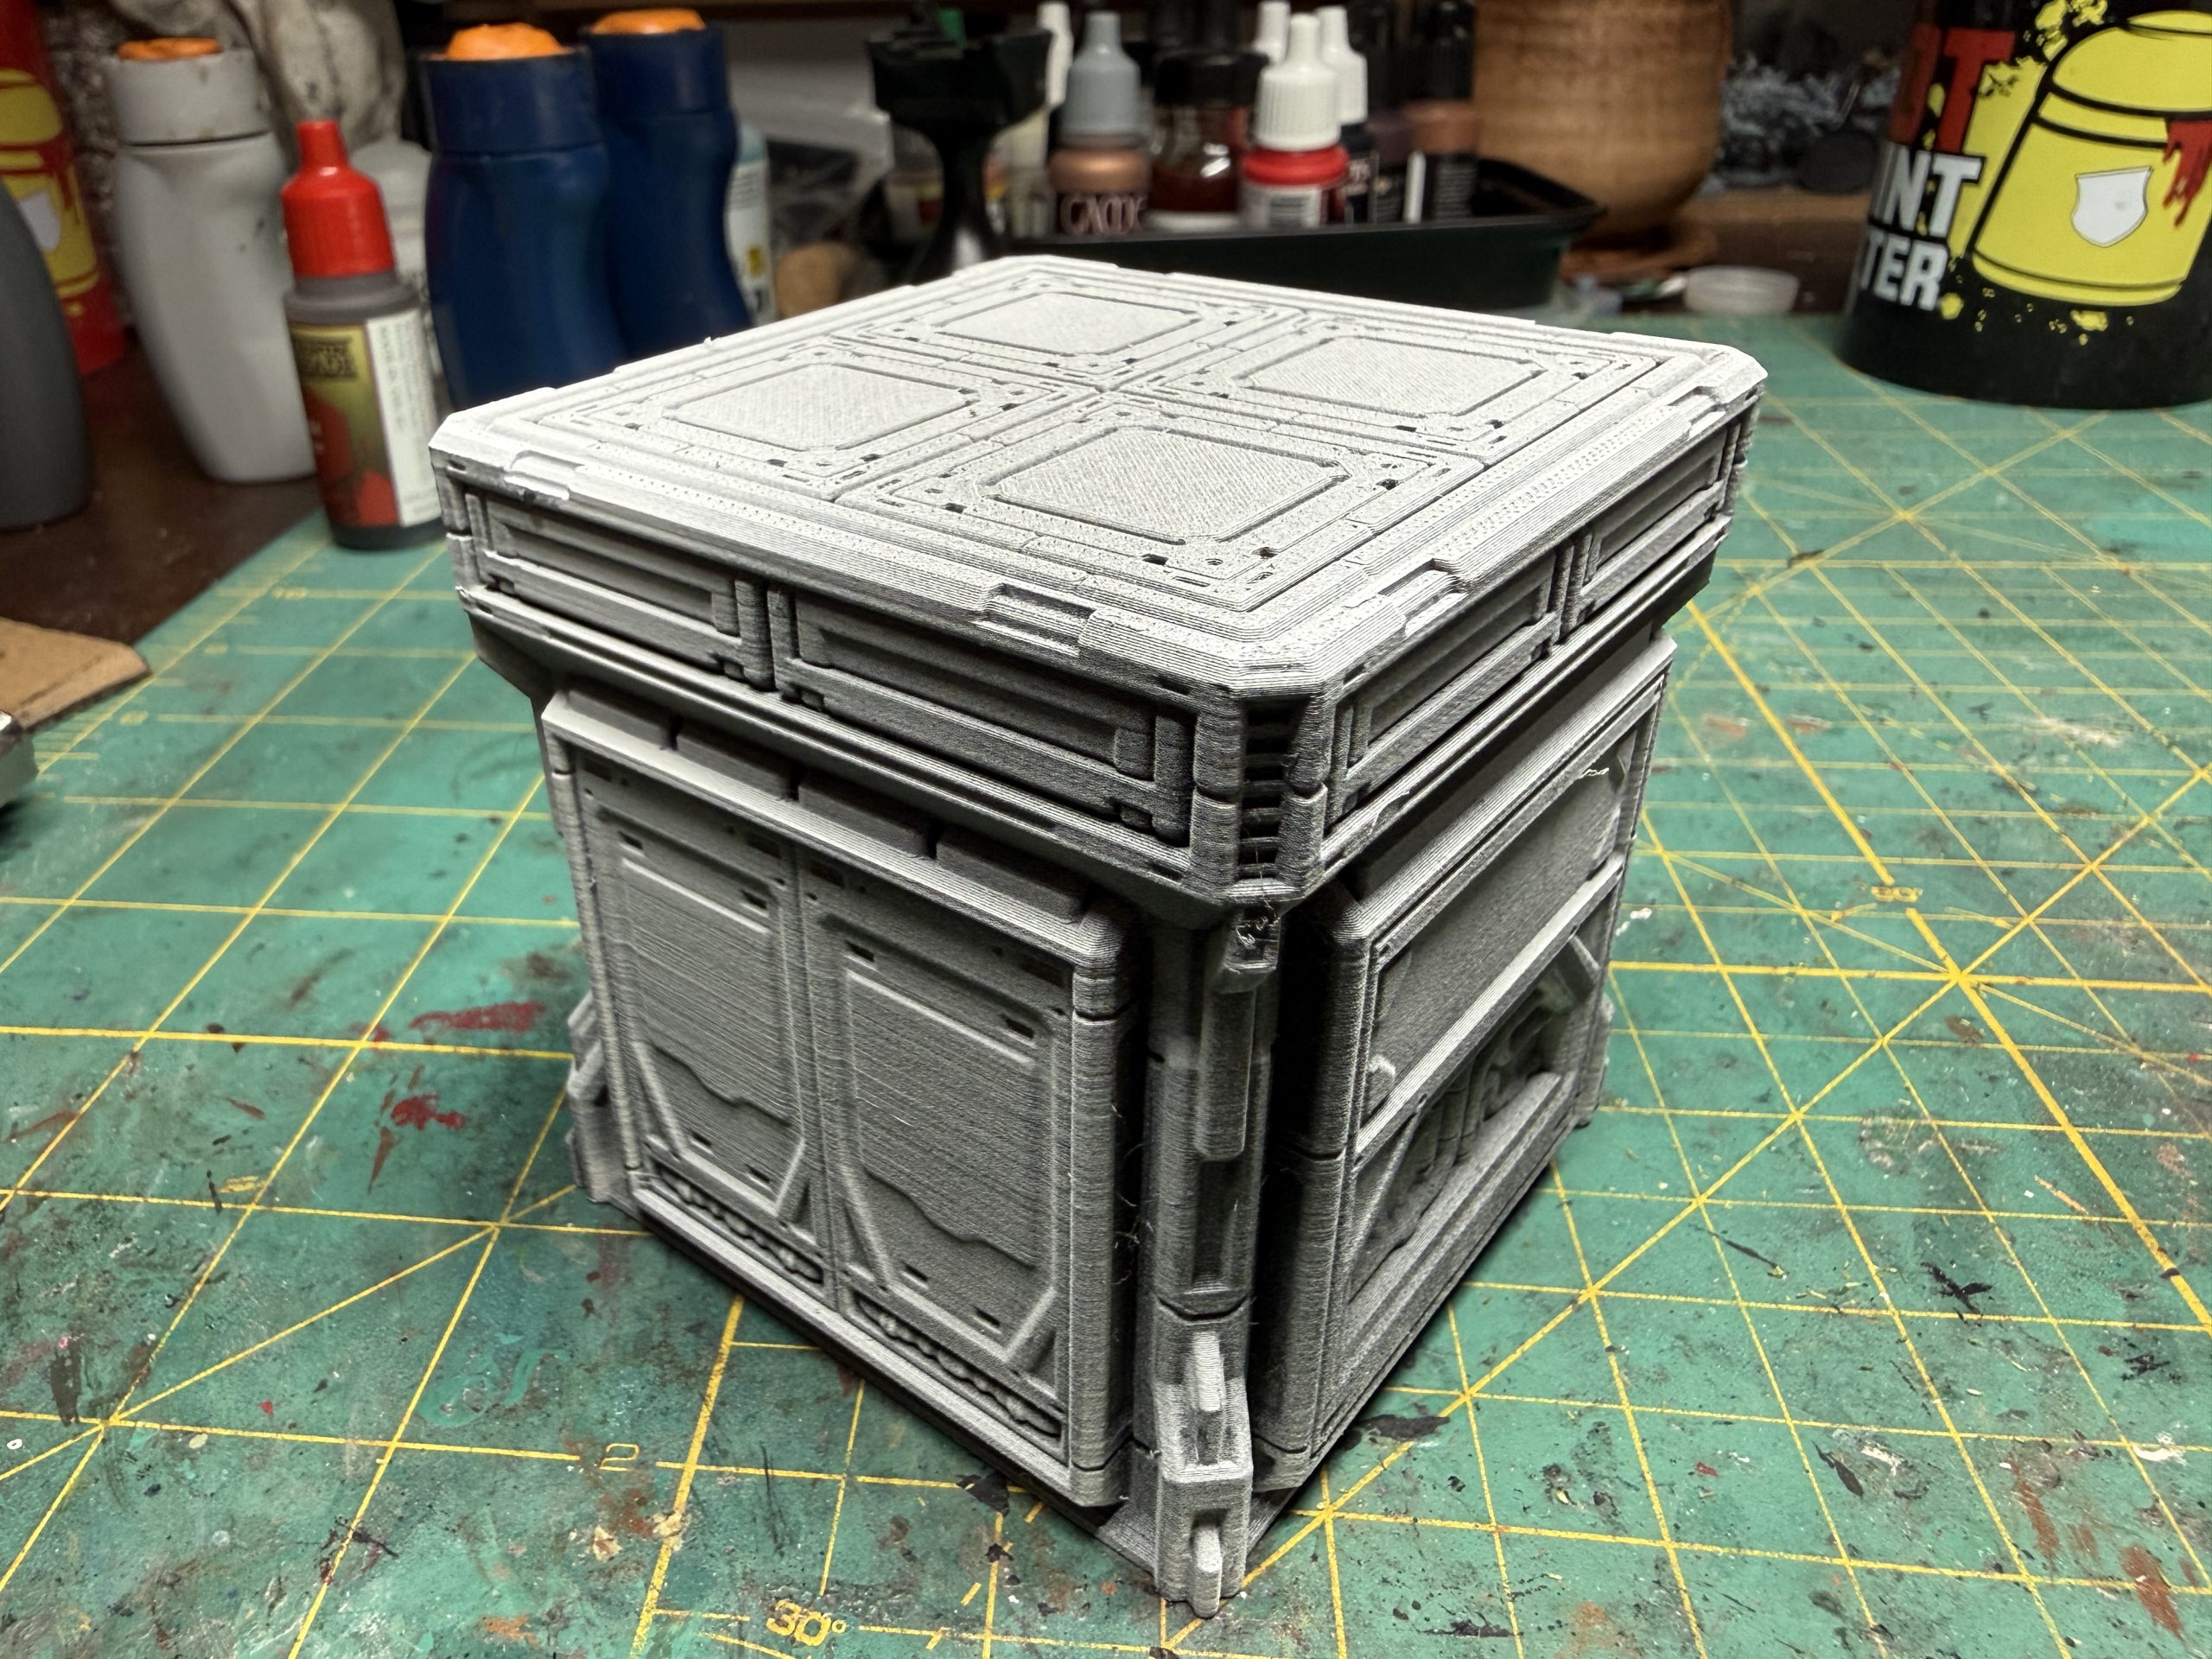 Primed platform/habs
Next, Three shades of brown were app9ied, using craft paint so as to save money on the quite significant amount of paint necessary. I chose to use mainly a makeup sponge as my main tool, using a large, a small and half (cut) a small sponge to apply the paint by dabbing and sliding the surface of the sponge holding paint to the model. In a few occasions, I had to use a medium brush due to the cramped space to be painted, although the vast majority of the work was done via sponges.
It does not really matter what shades of brown you pick as long as they become progressively lighter. Lightening the original shade with white is not recommended if you want to achieve a consistent tone across all the set objects, as it is rather difficult to achieve an identical color every time.
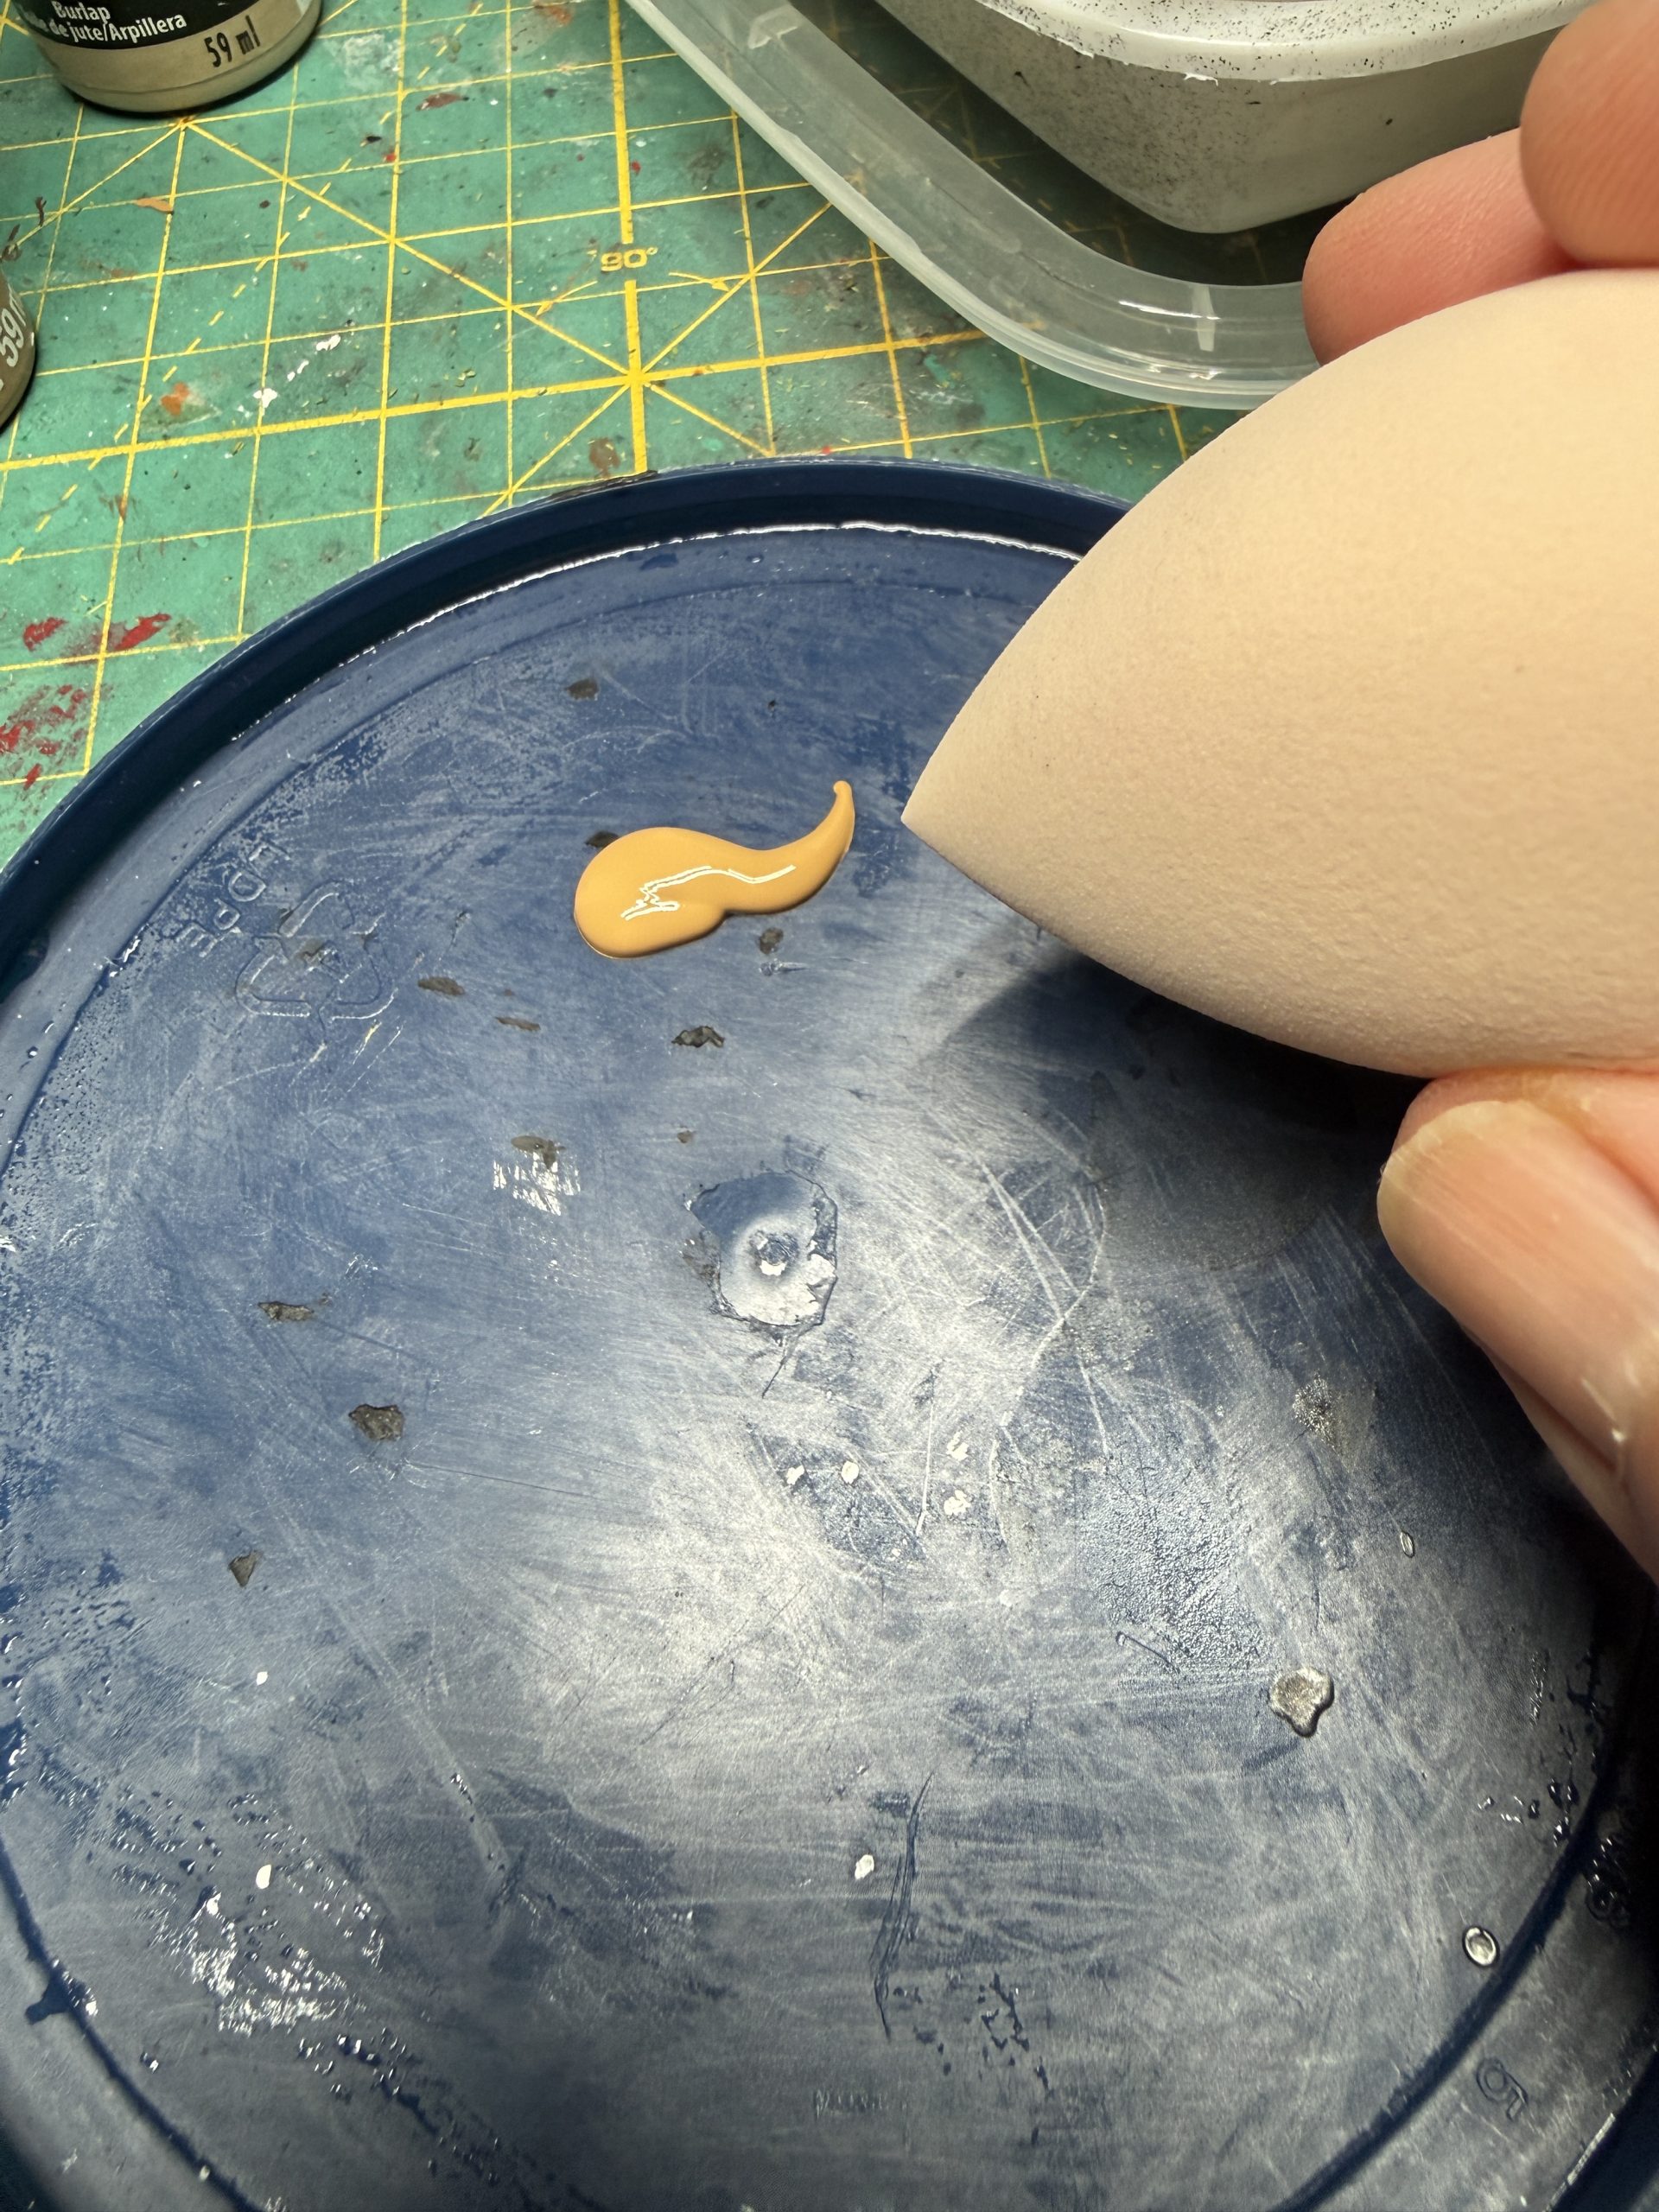
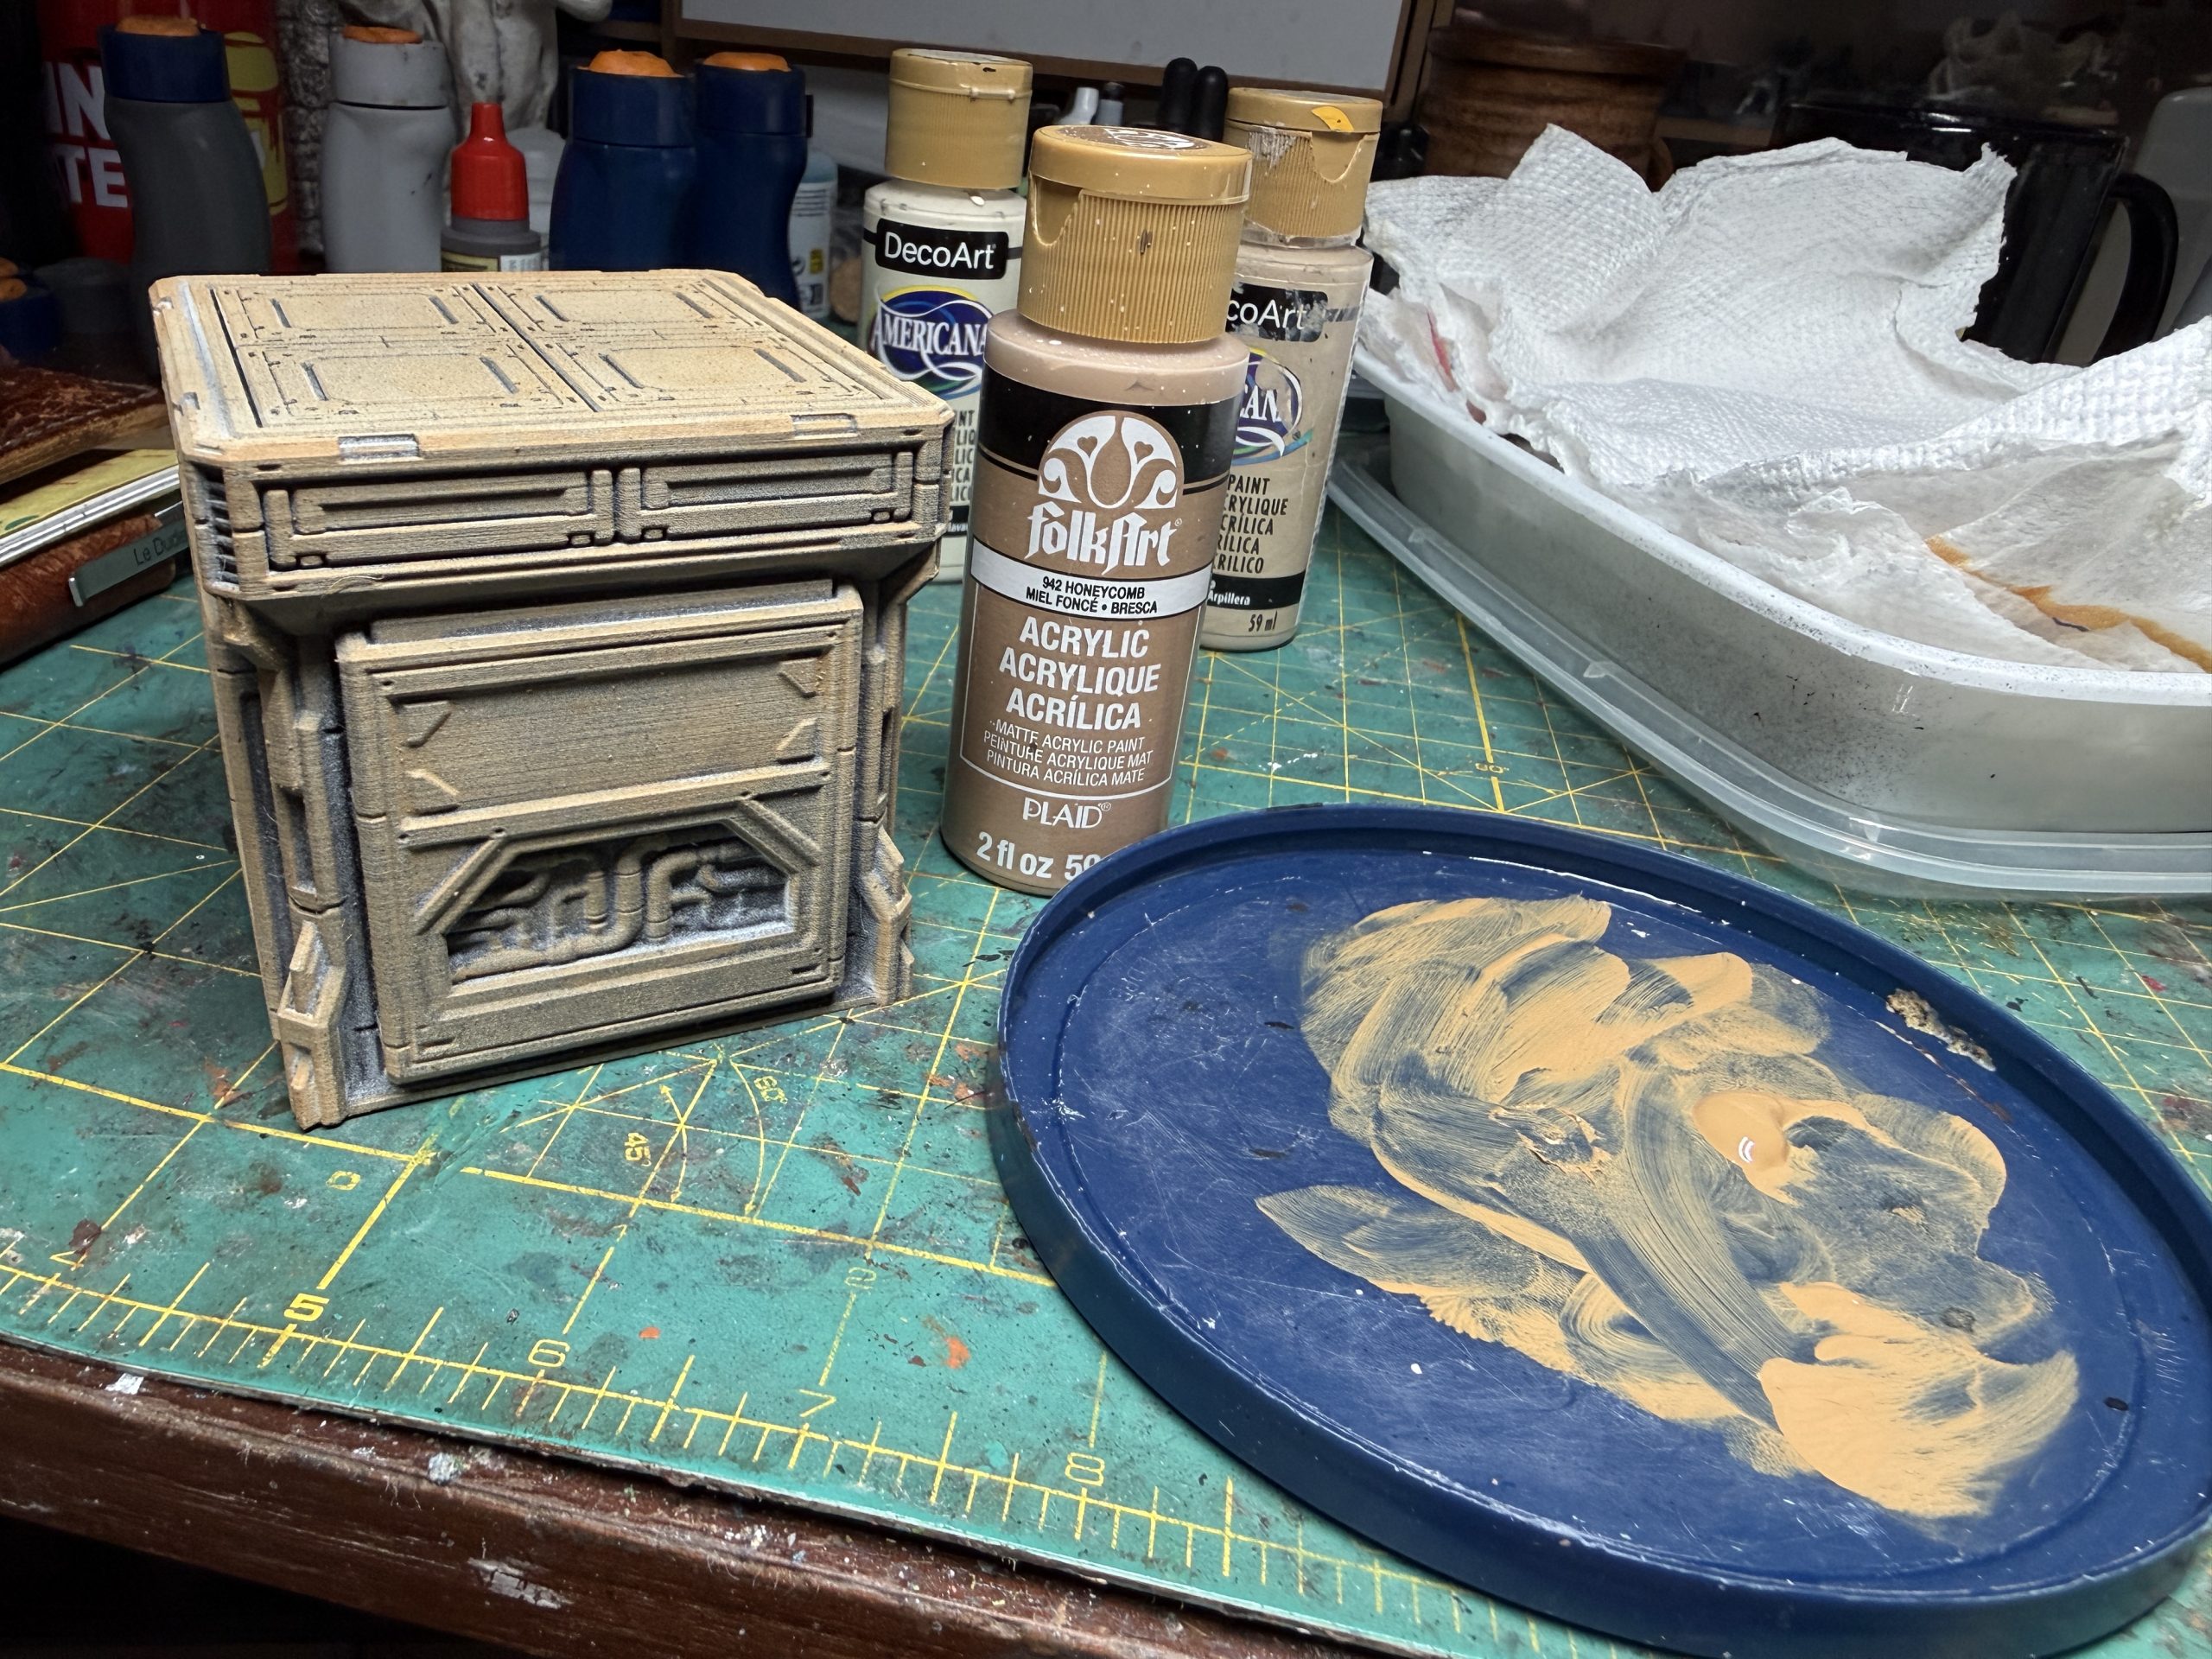
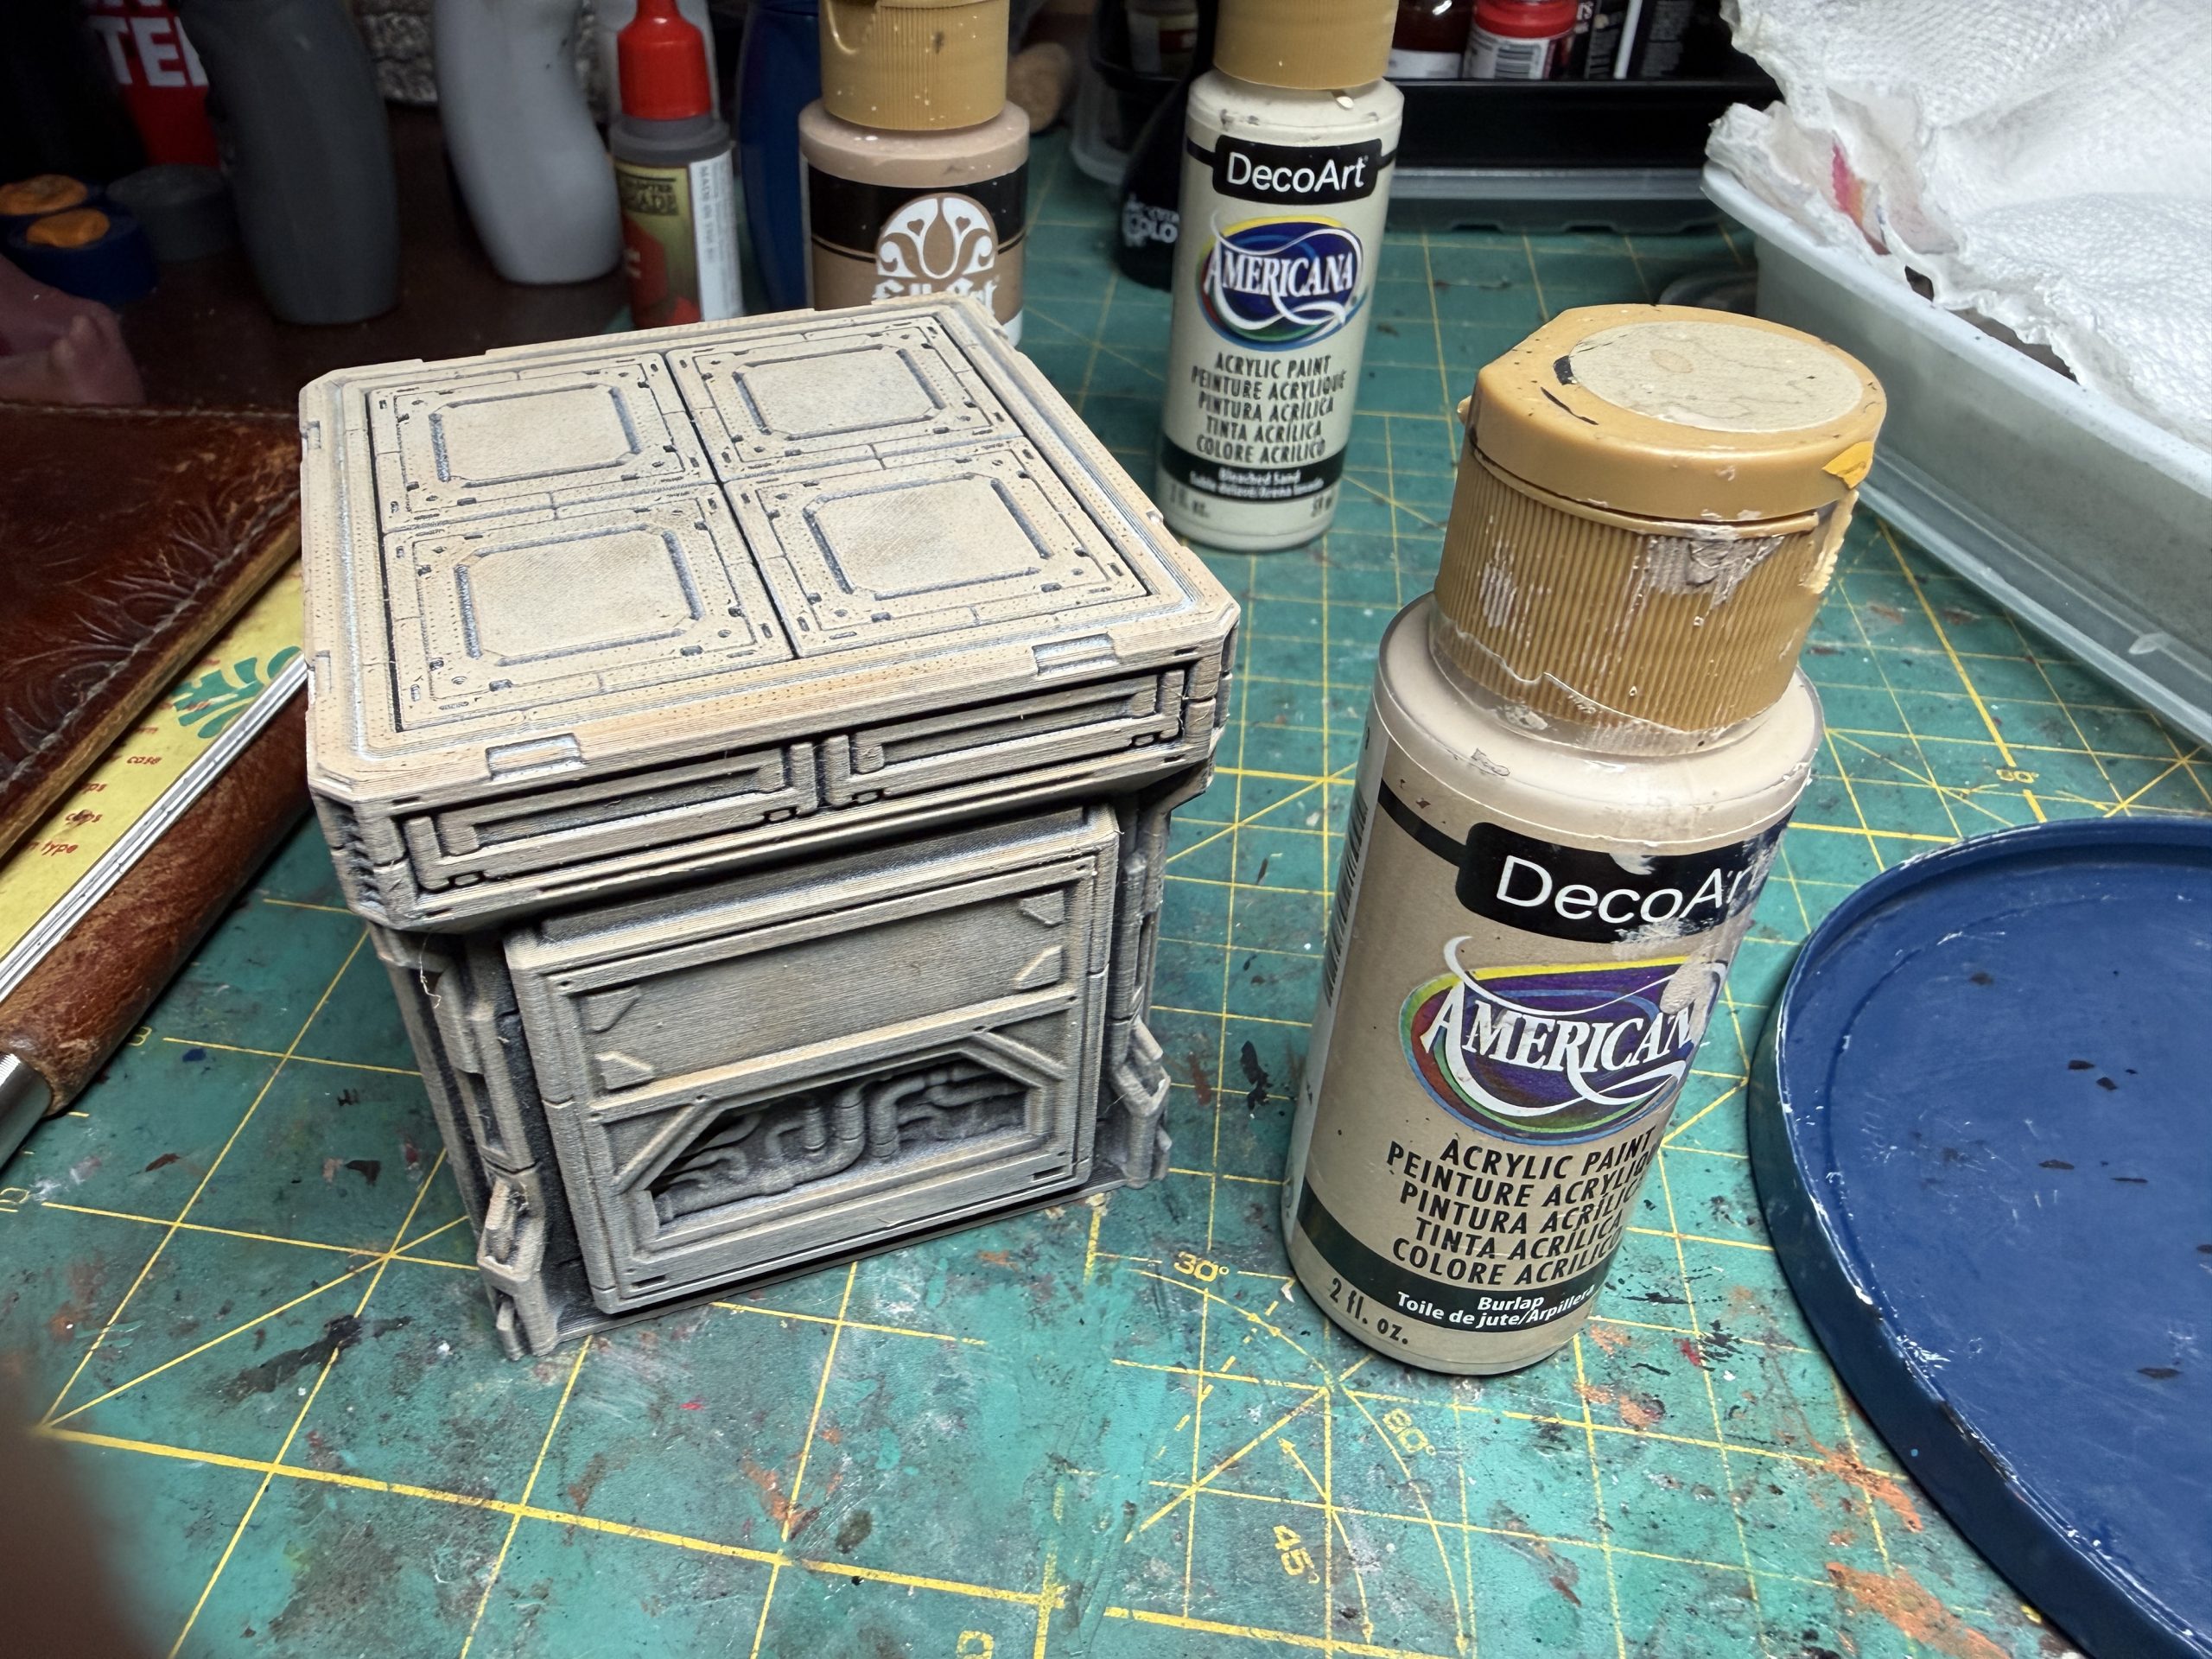
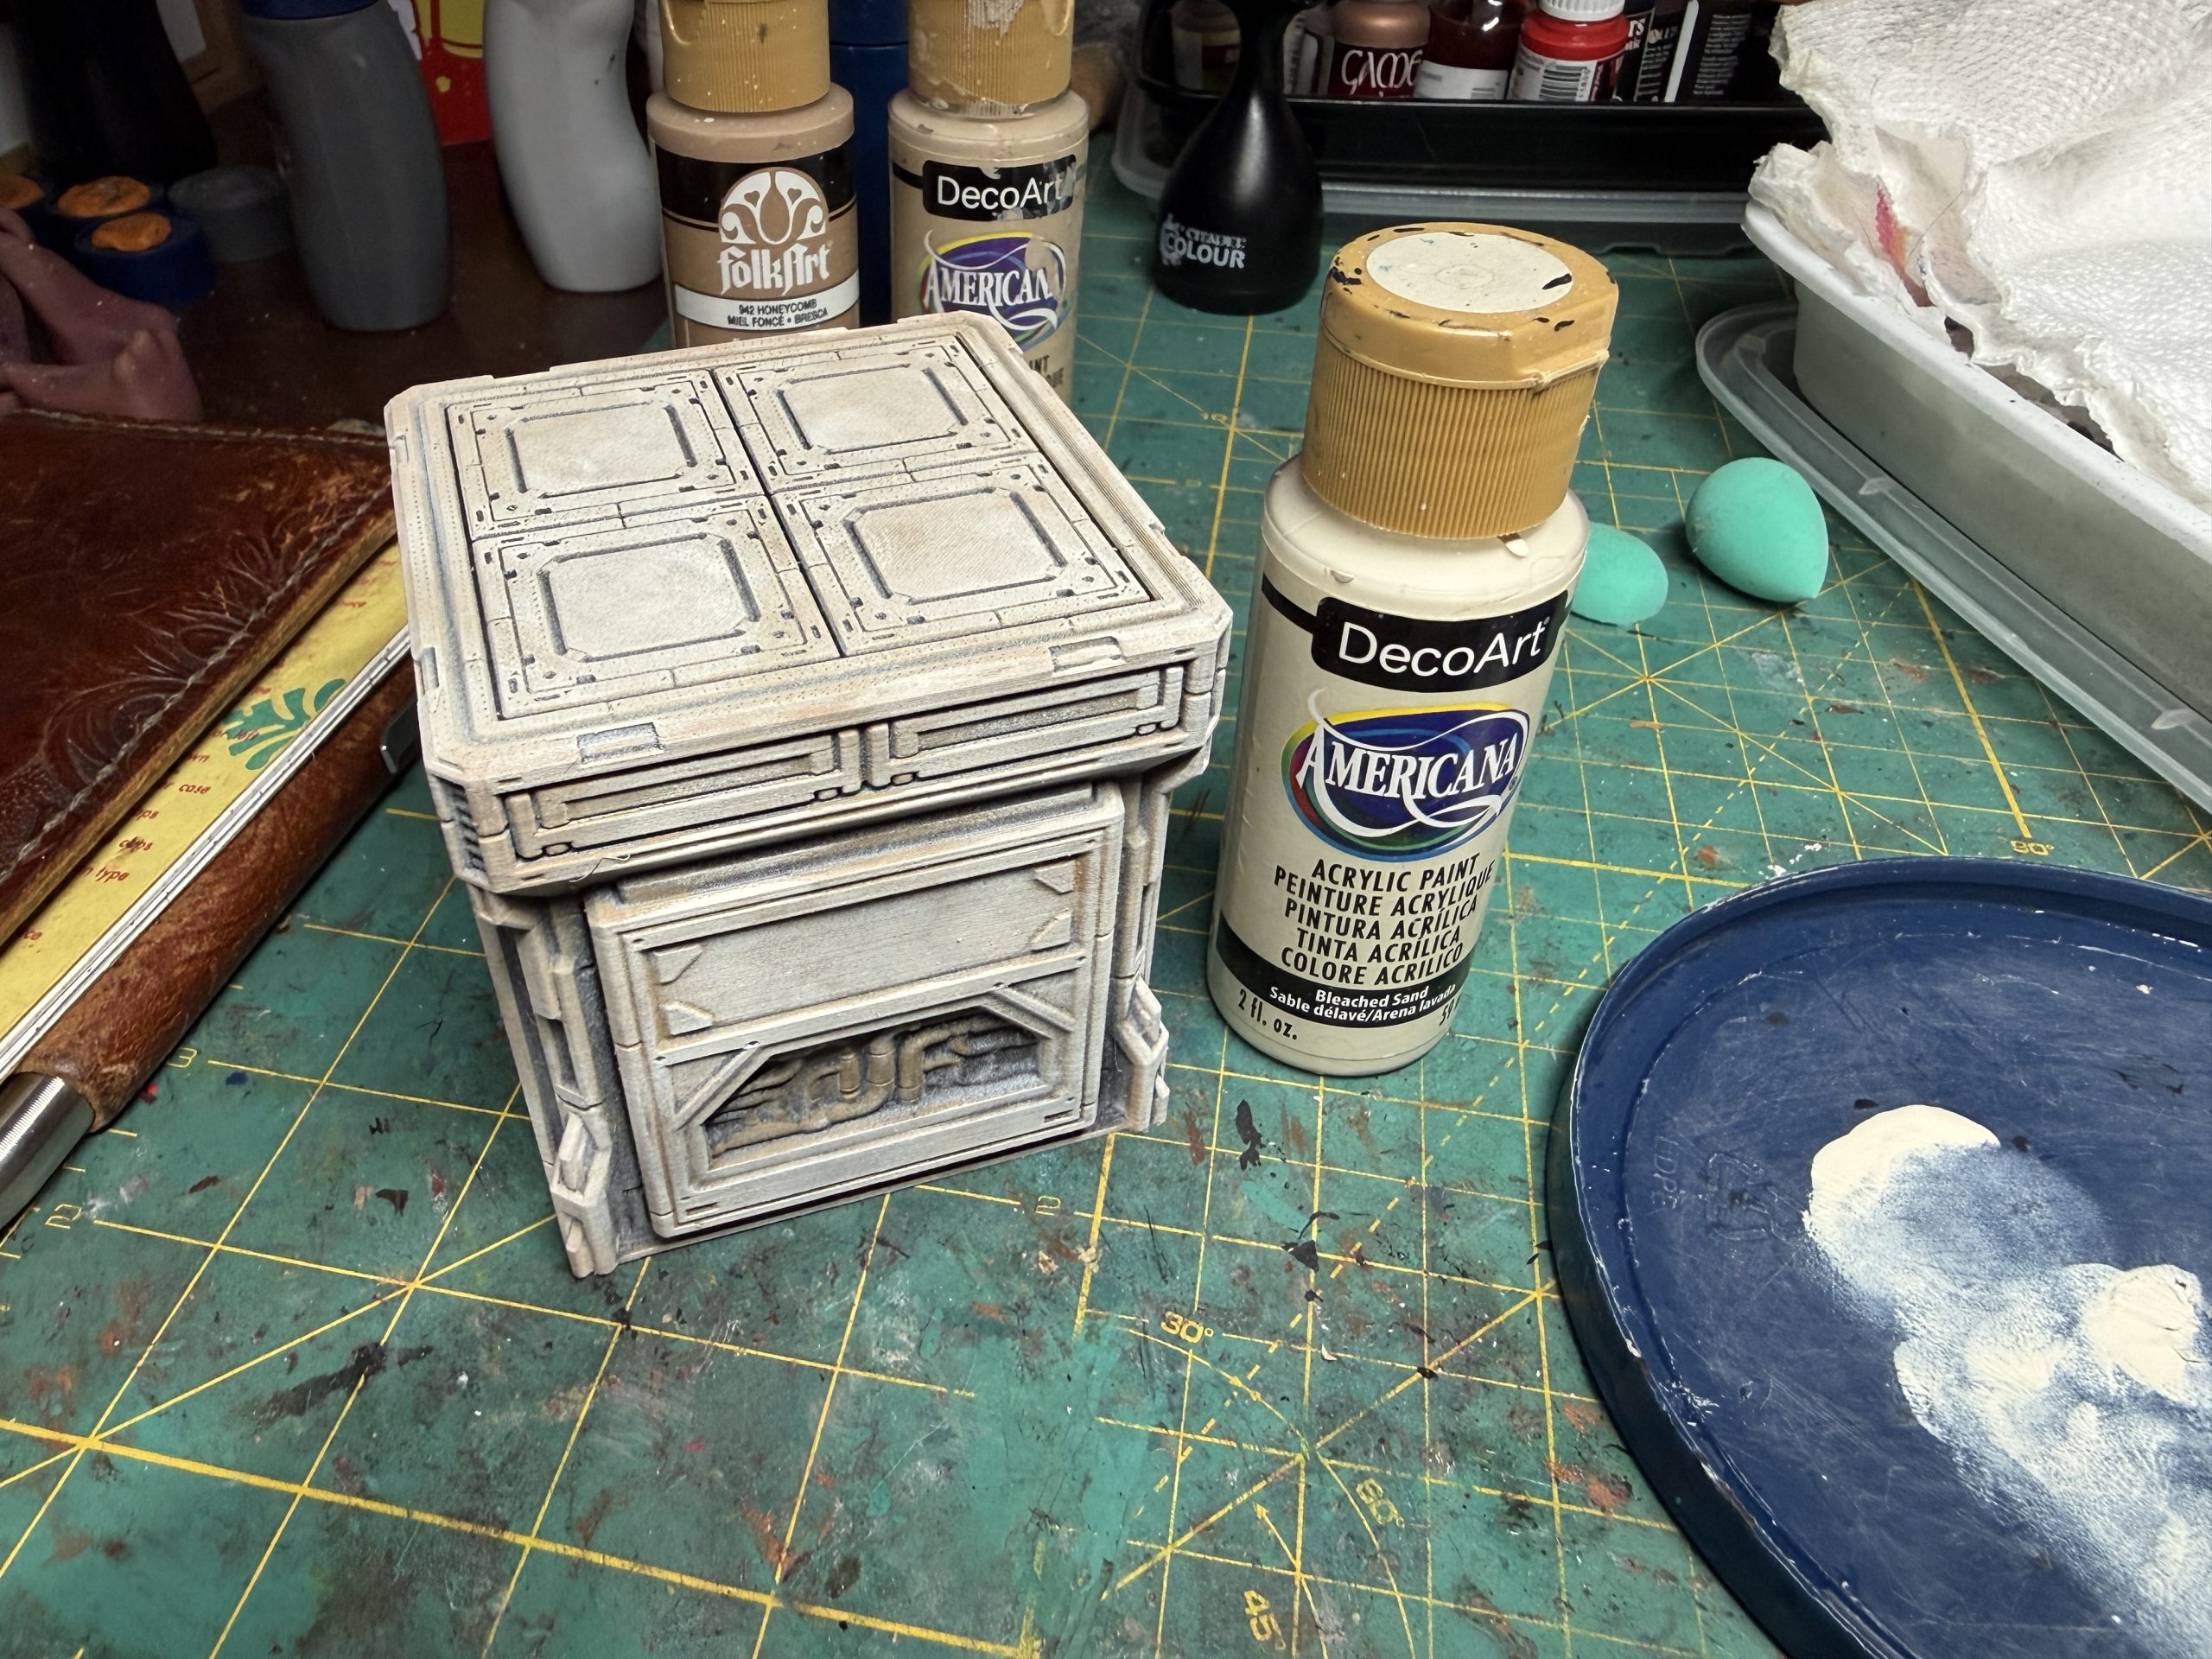
Color highlights were applied with a medium sp0nge and with a medium brush so as to avoid spreading the color outside of teh designated area.
Again, I chose a medium blue and a medium red, highlighted with a light blue and a medium orange. I suggest applying highlights with a medium dry brush.
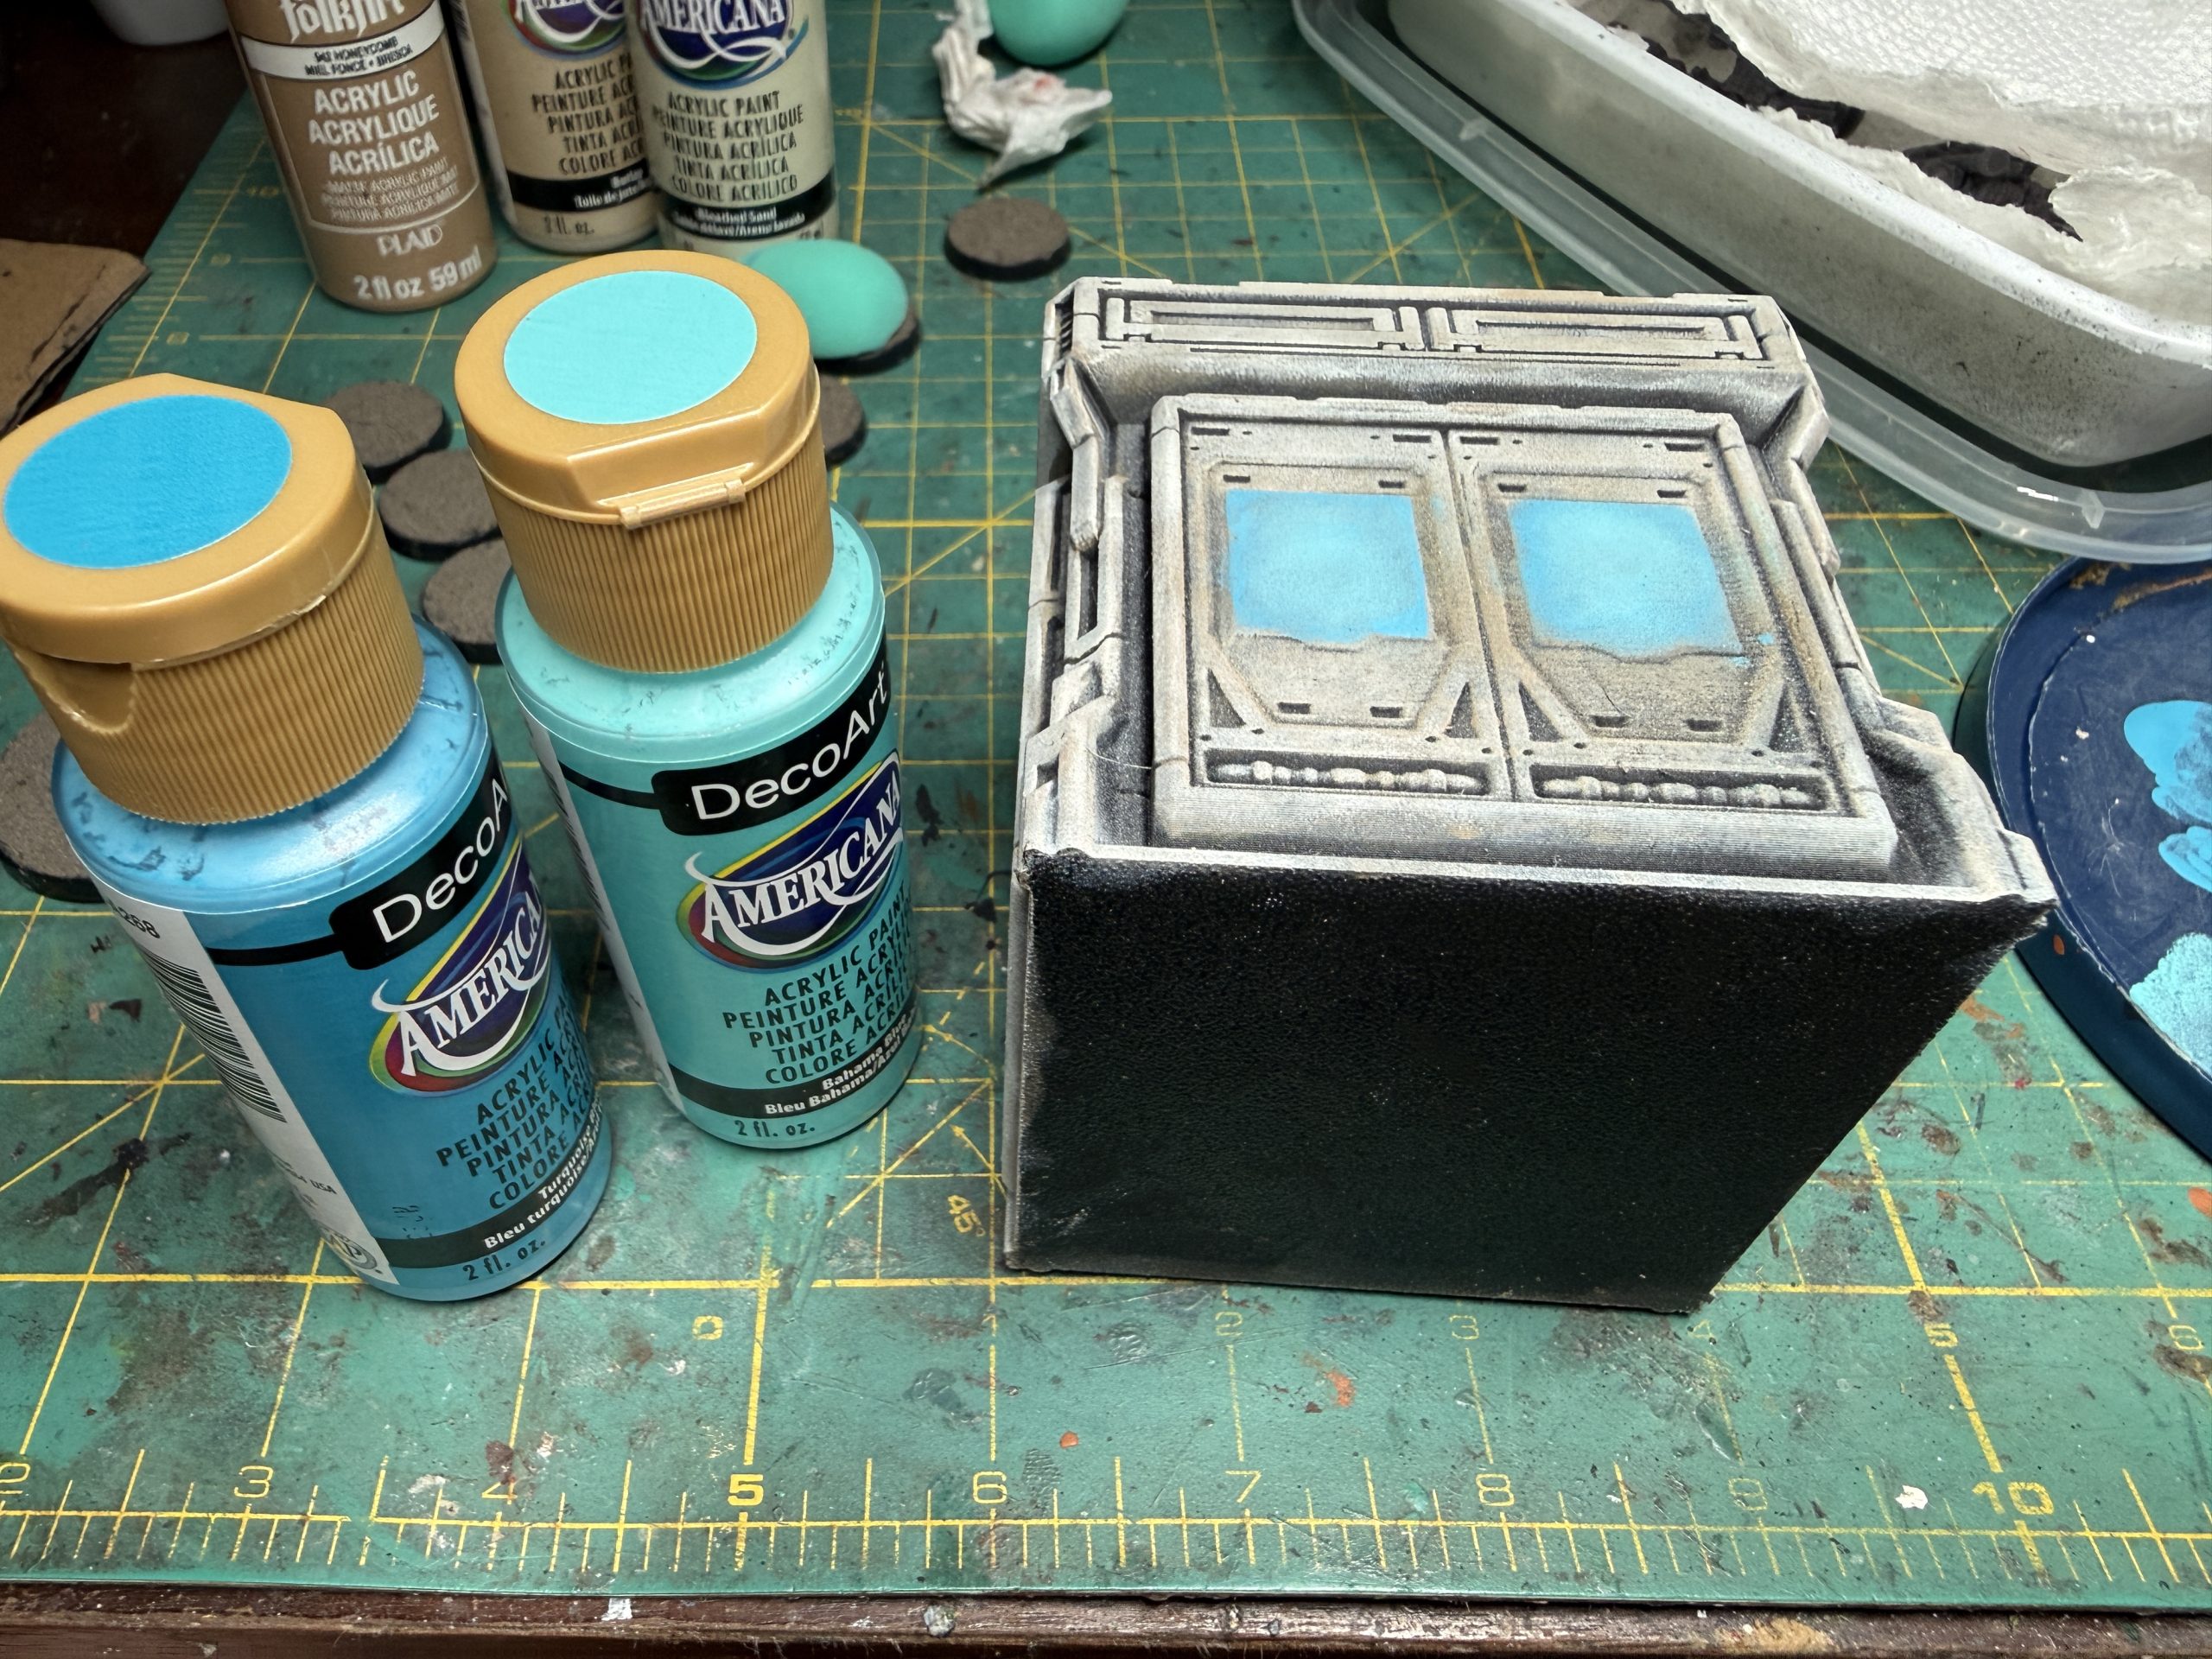
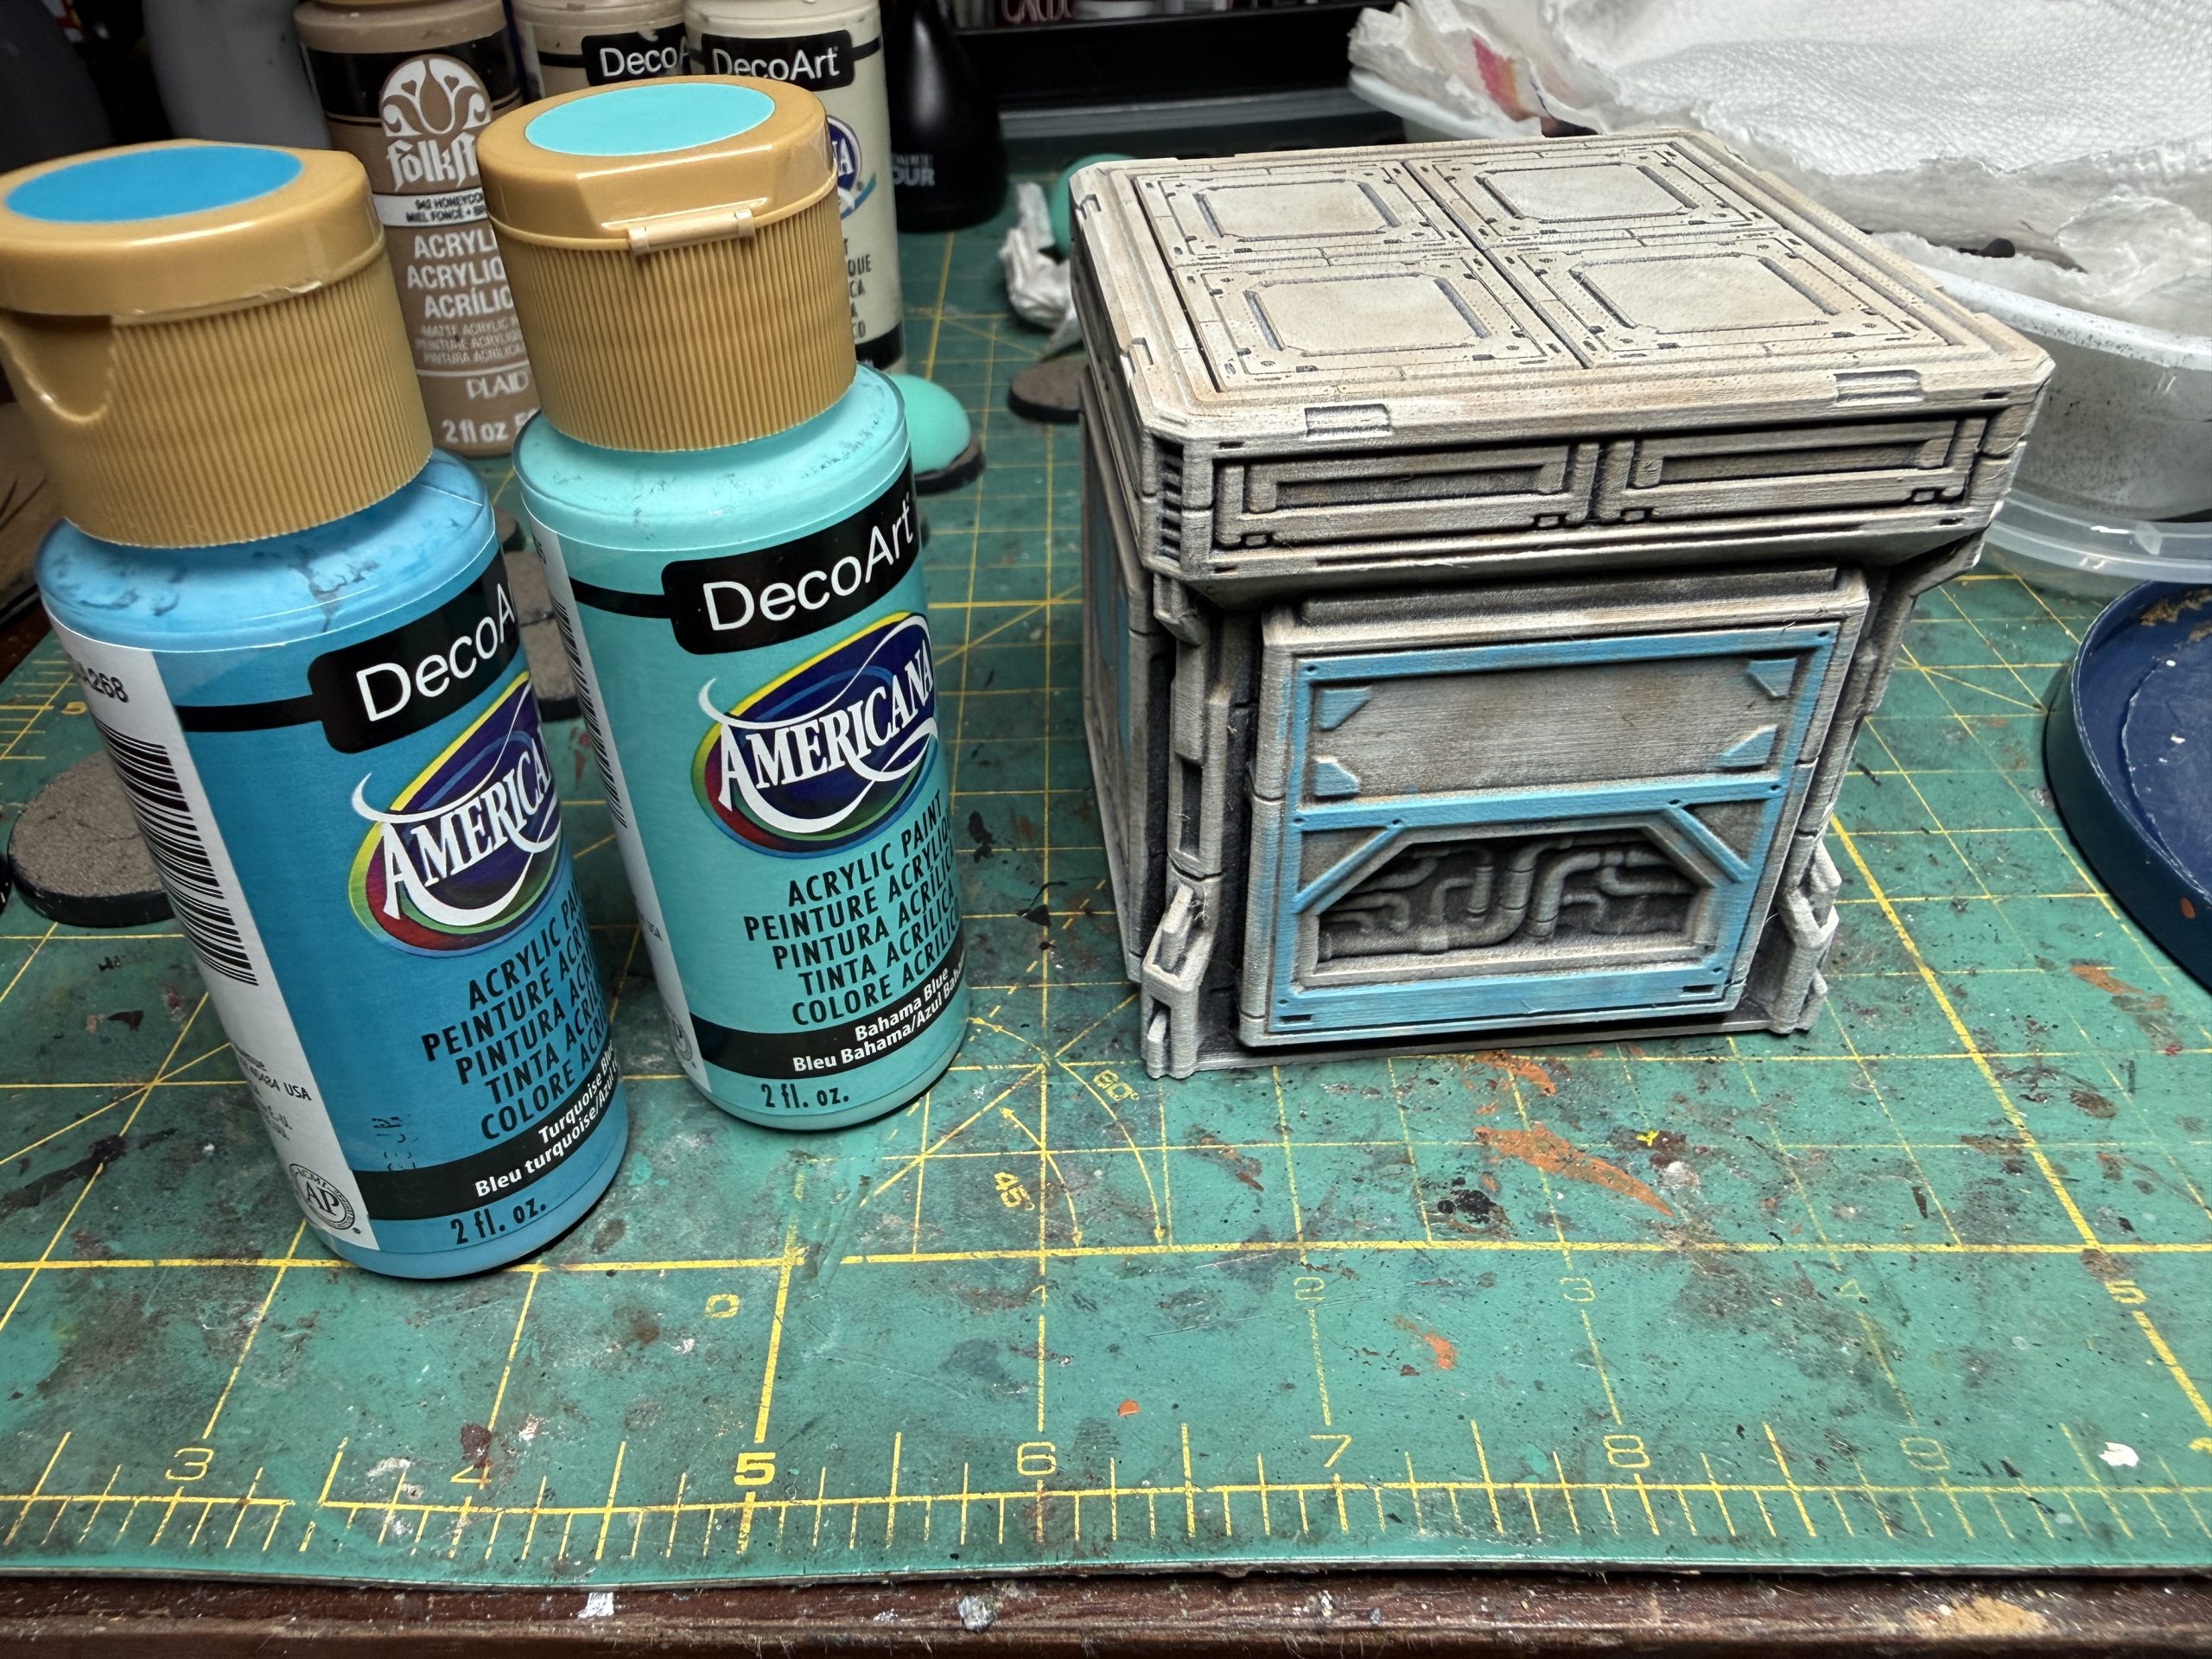
Once colors and highlights are applied, I cover the model in a home made brown wash (see this video to learn how to make it – https://www.youtube.com/watch?v=zCMl6CzwHy0&list=PLmUYW1OPJSU37iwijOEOdofCqJFnGgqiT&index=87) Once the wash is dry, apply details such as:
Metallic parts: undercoat of flat black then brush dark metallic color (my go to is Led Belcher from GW) followed by a lighter color (any medium silver will do) as a drybrush on top highlight. Finally, tie everything up with a dark wash. Because this is metal, I would suggest Nuln Oil Gloss from GW. You may also want to paint some of the metallic pipes and such brass, for variety, which should be highlighted by adding some silver to the original brass color (that works for me) and tied together with Reikland Felshade Gloss from GW.
Glowing areas (coils, vents, etc….): Paint white then cover with any of the special effects paint from GW or Army painter (I particularly like the ‘glow’ series from Army Painter)
Decals: If you have numbers, graffitis, alien signs, industrial signage, use them on the building, sparsely, to add details and break the monotony. I strongly suggest you acquire Micro Sol and Micro Set to help set these decals.
Here are a few results. More will be displayed with the miniatures and during the upcoming battle report.
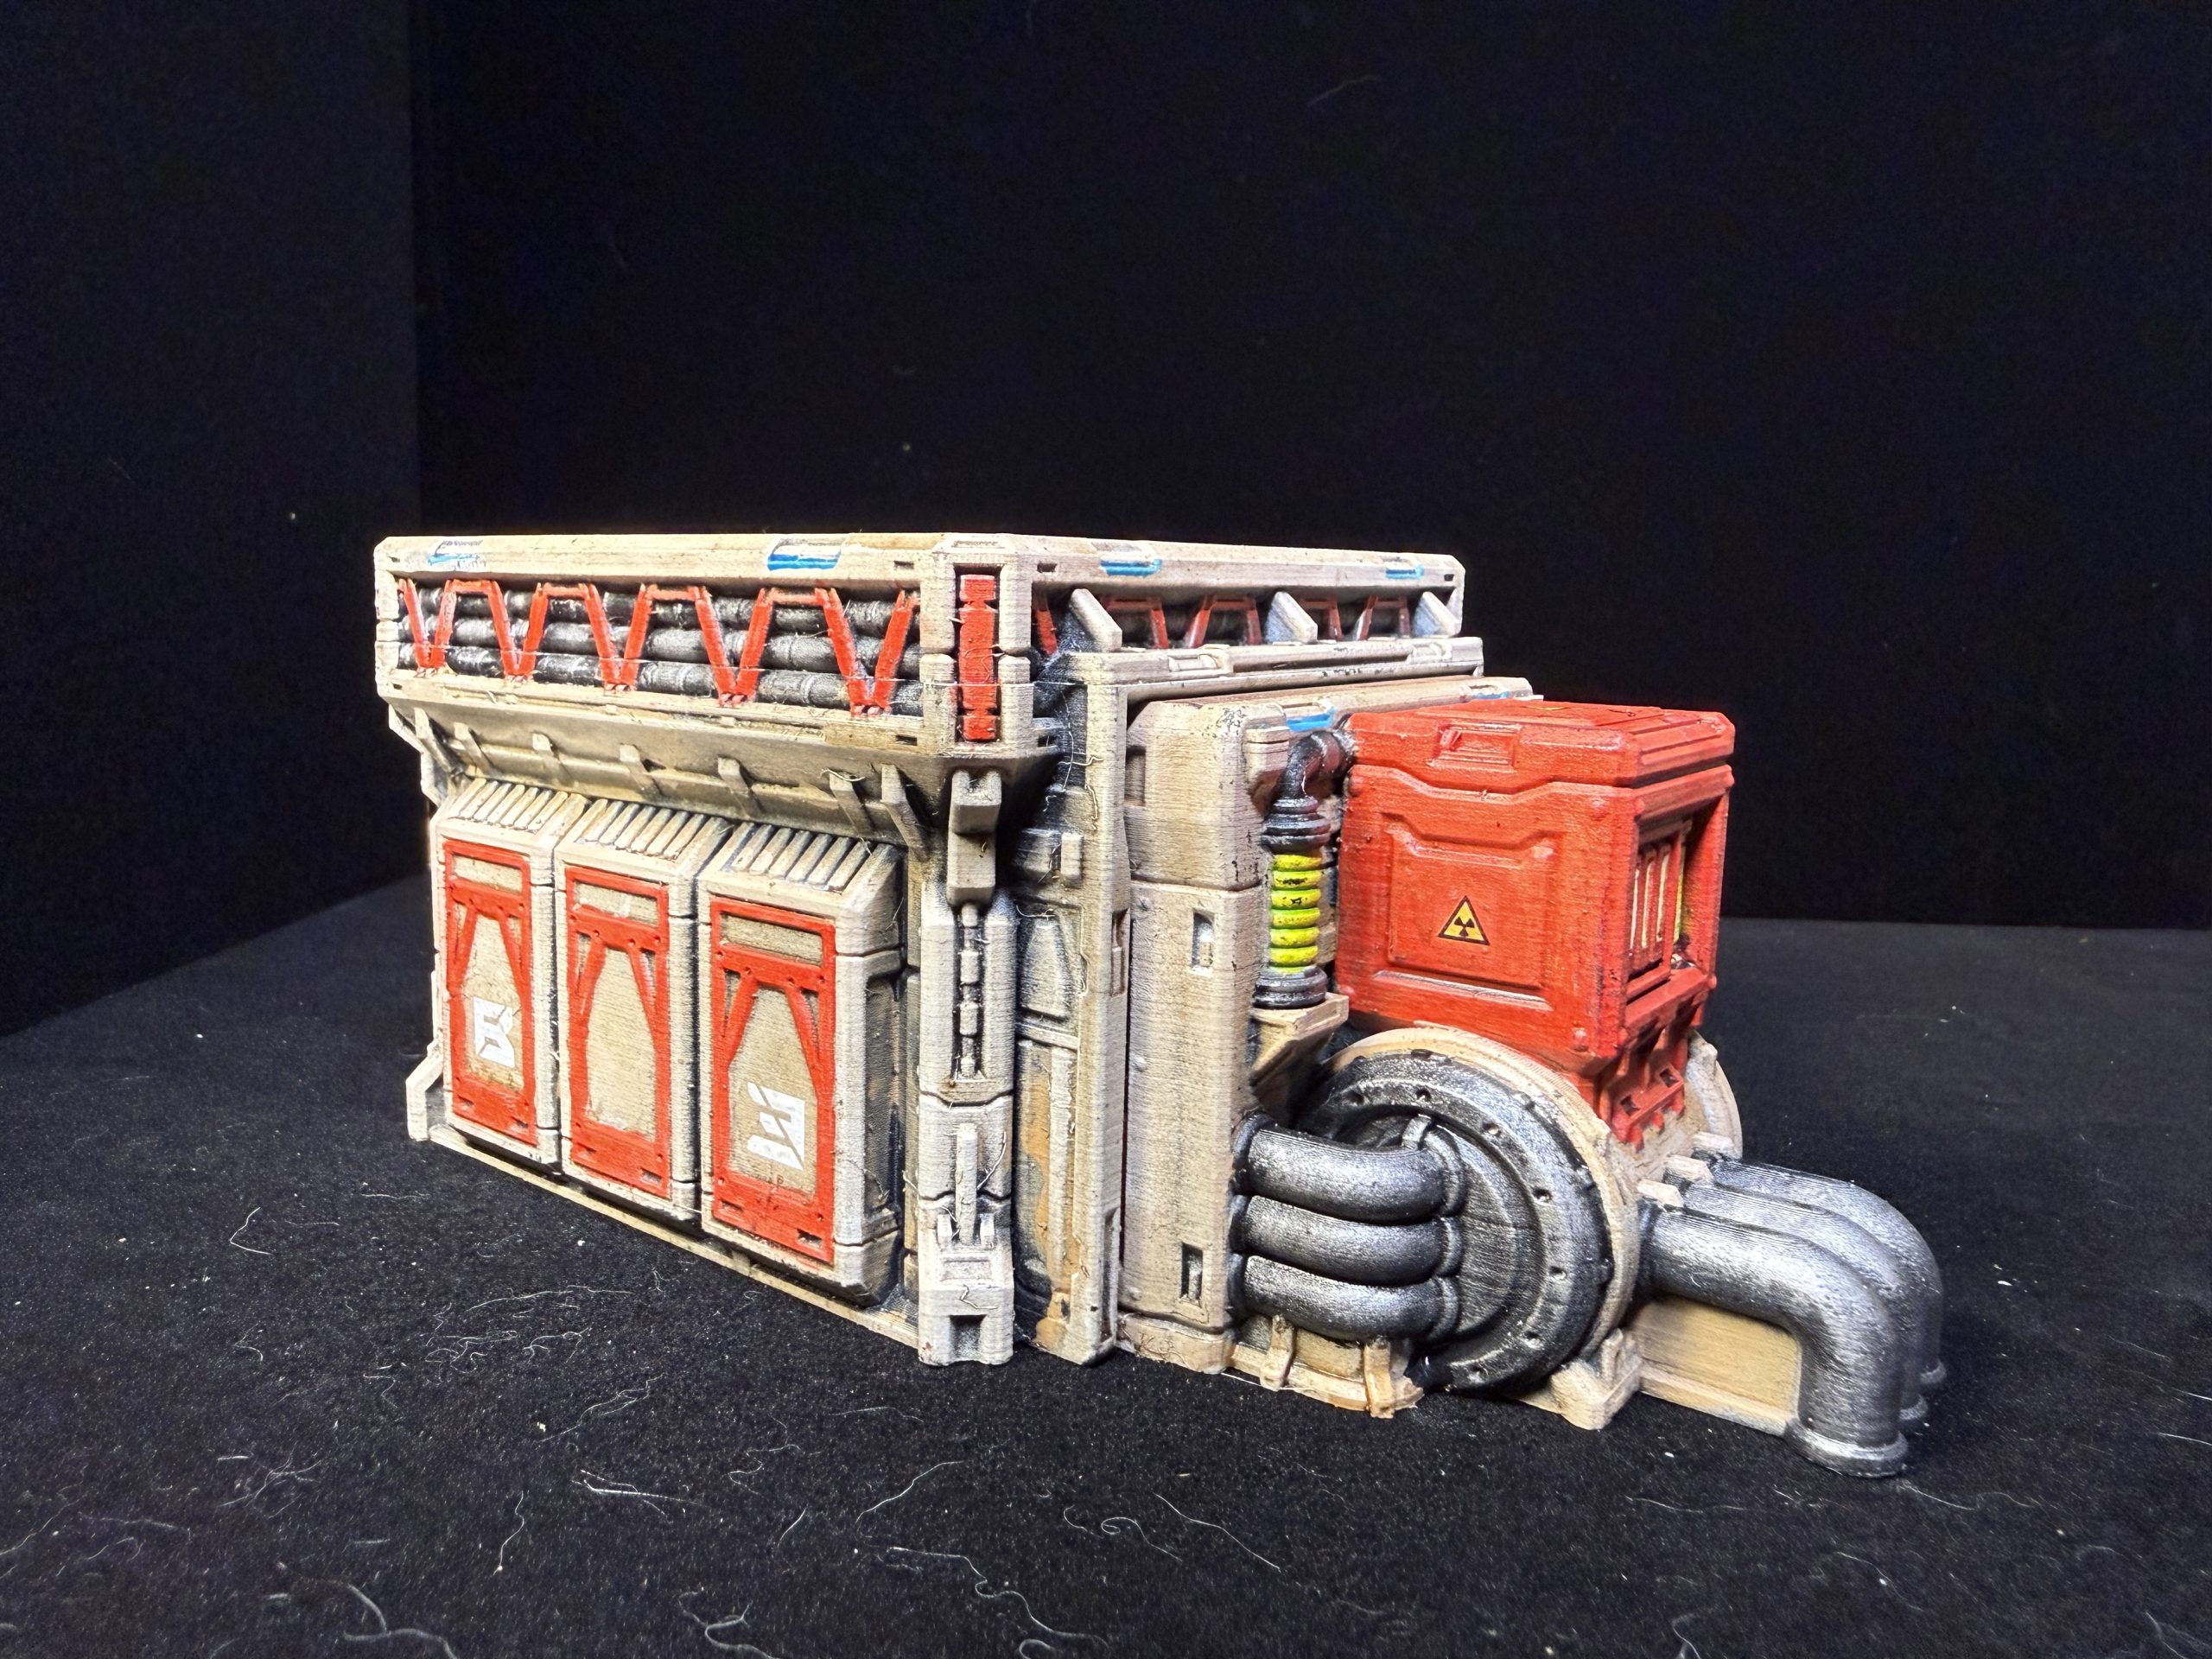 This generator comes appart in two pieces, allowing to create a self standing building with a separate generator part somewhere else on the board.
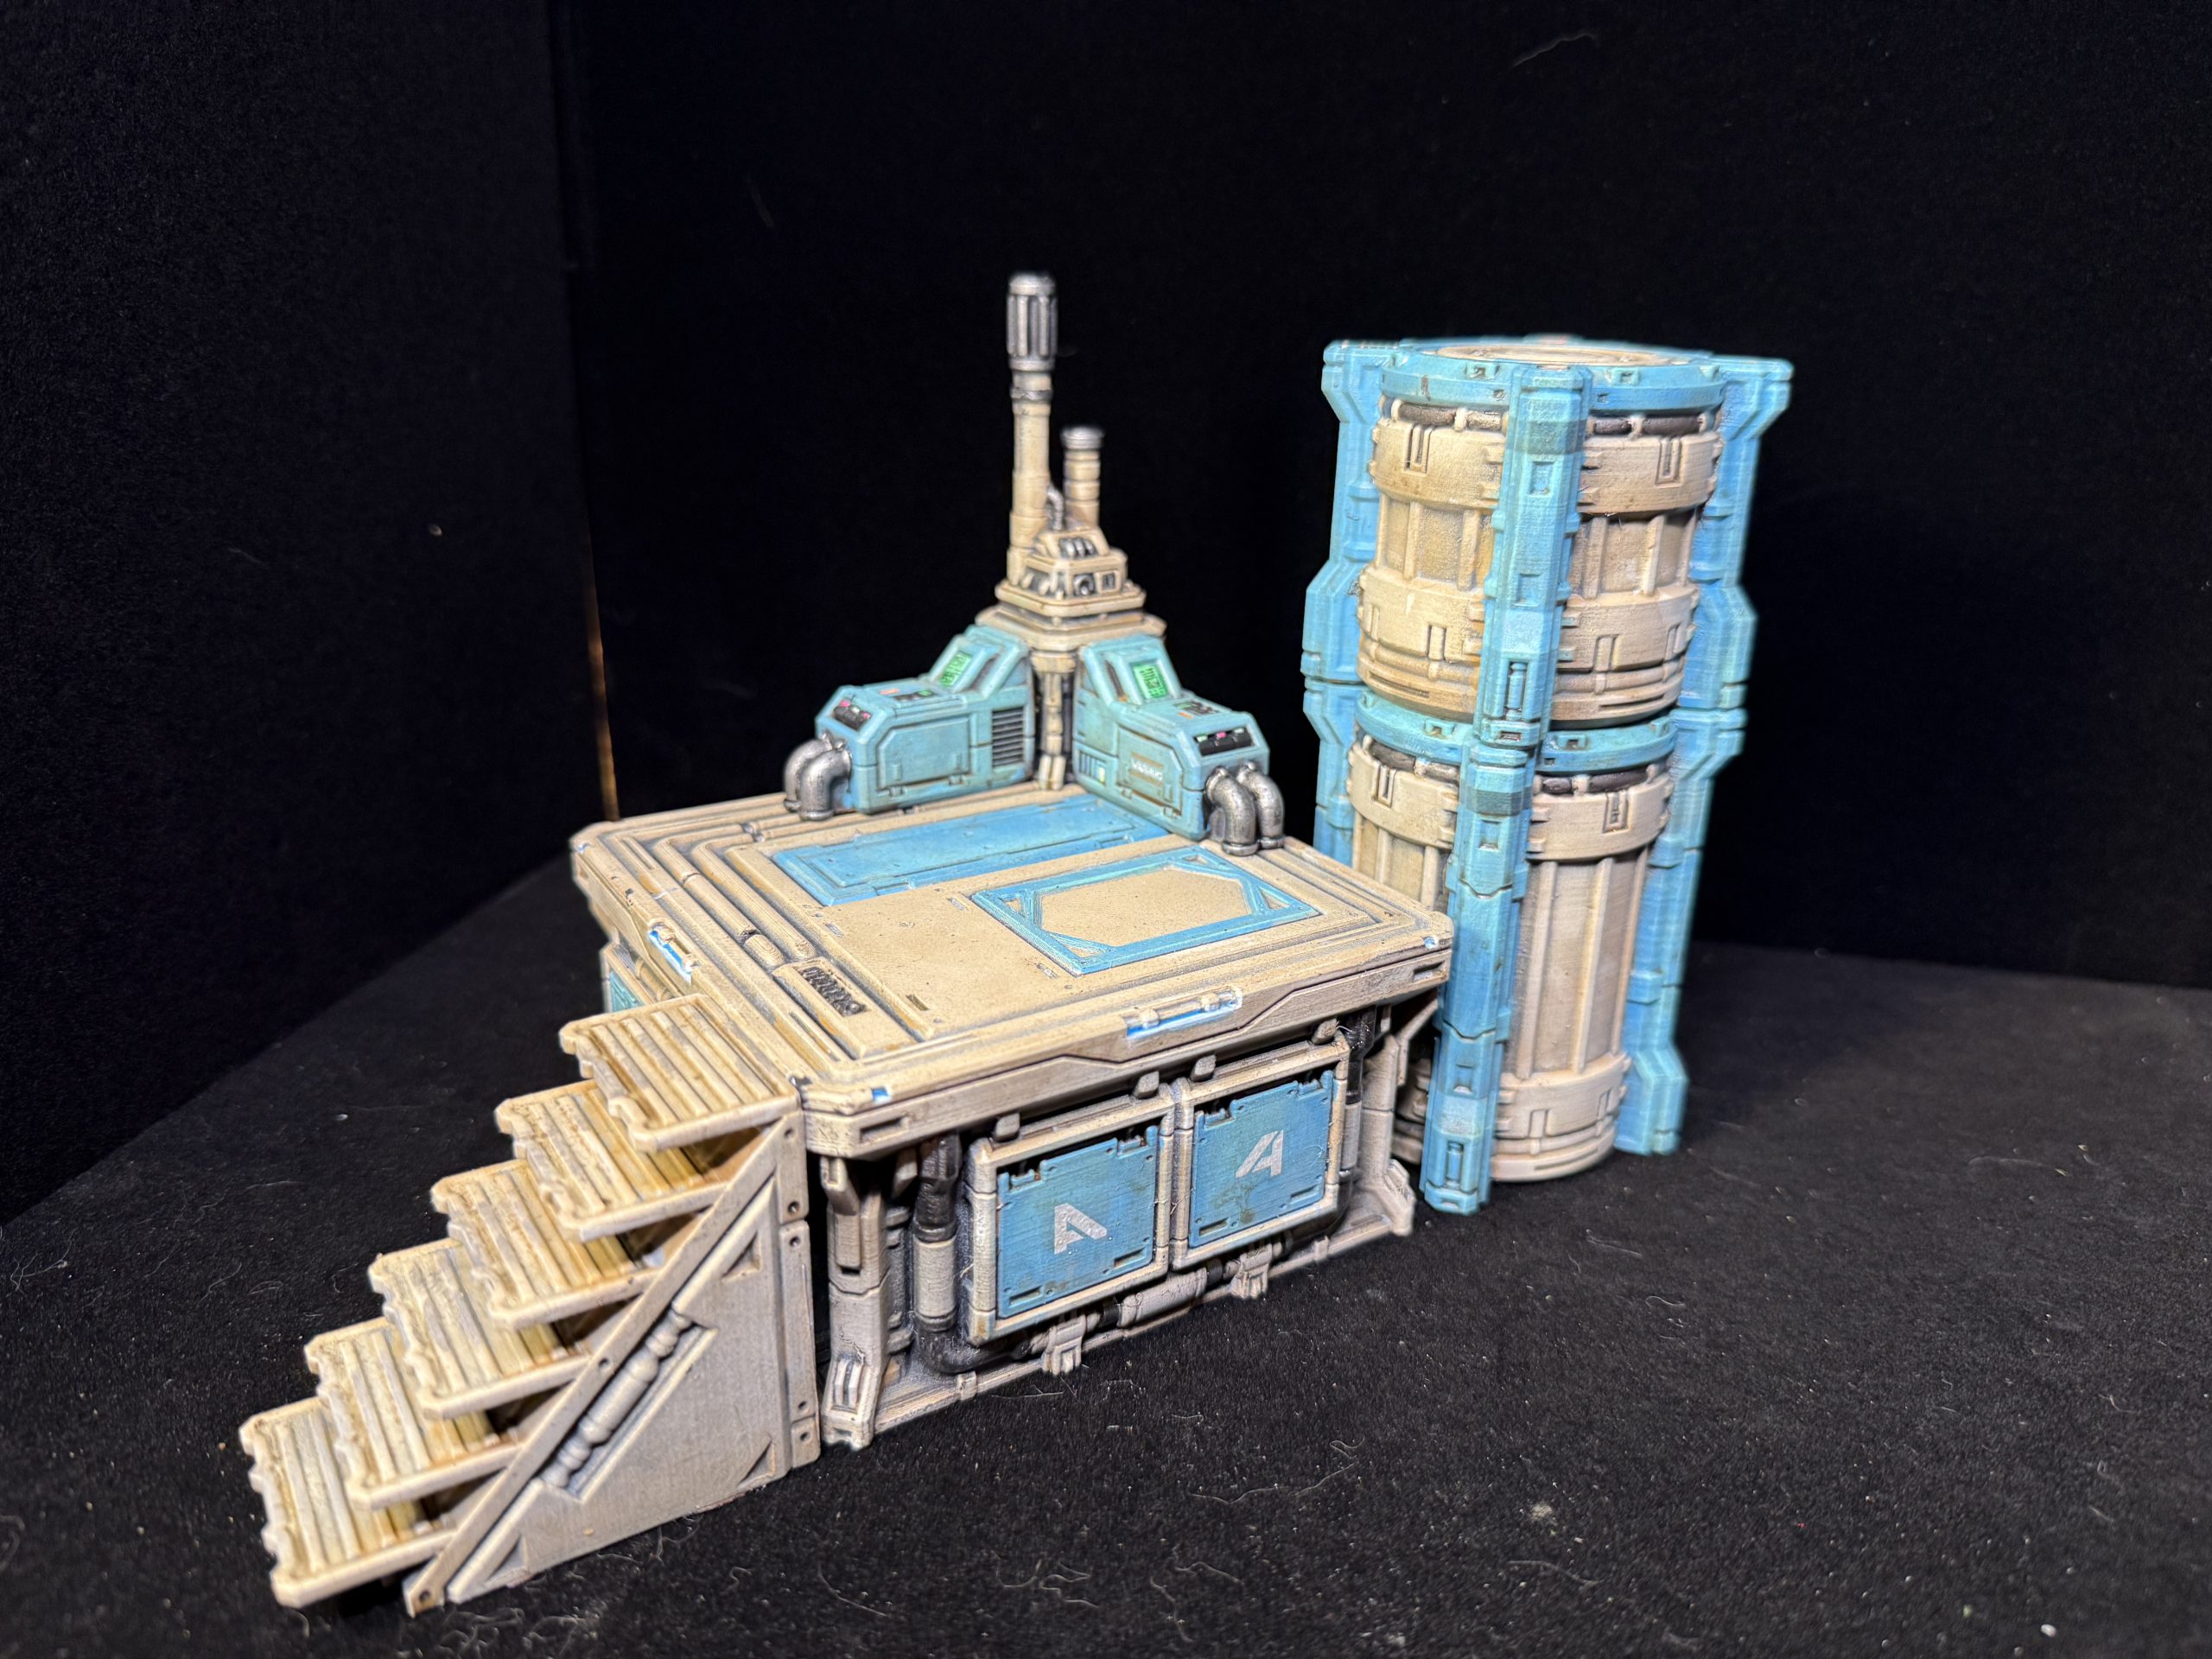 Various level of platforms make for variety of elevation and add to the terrain set variety
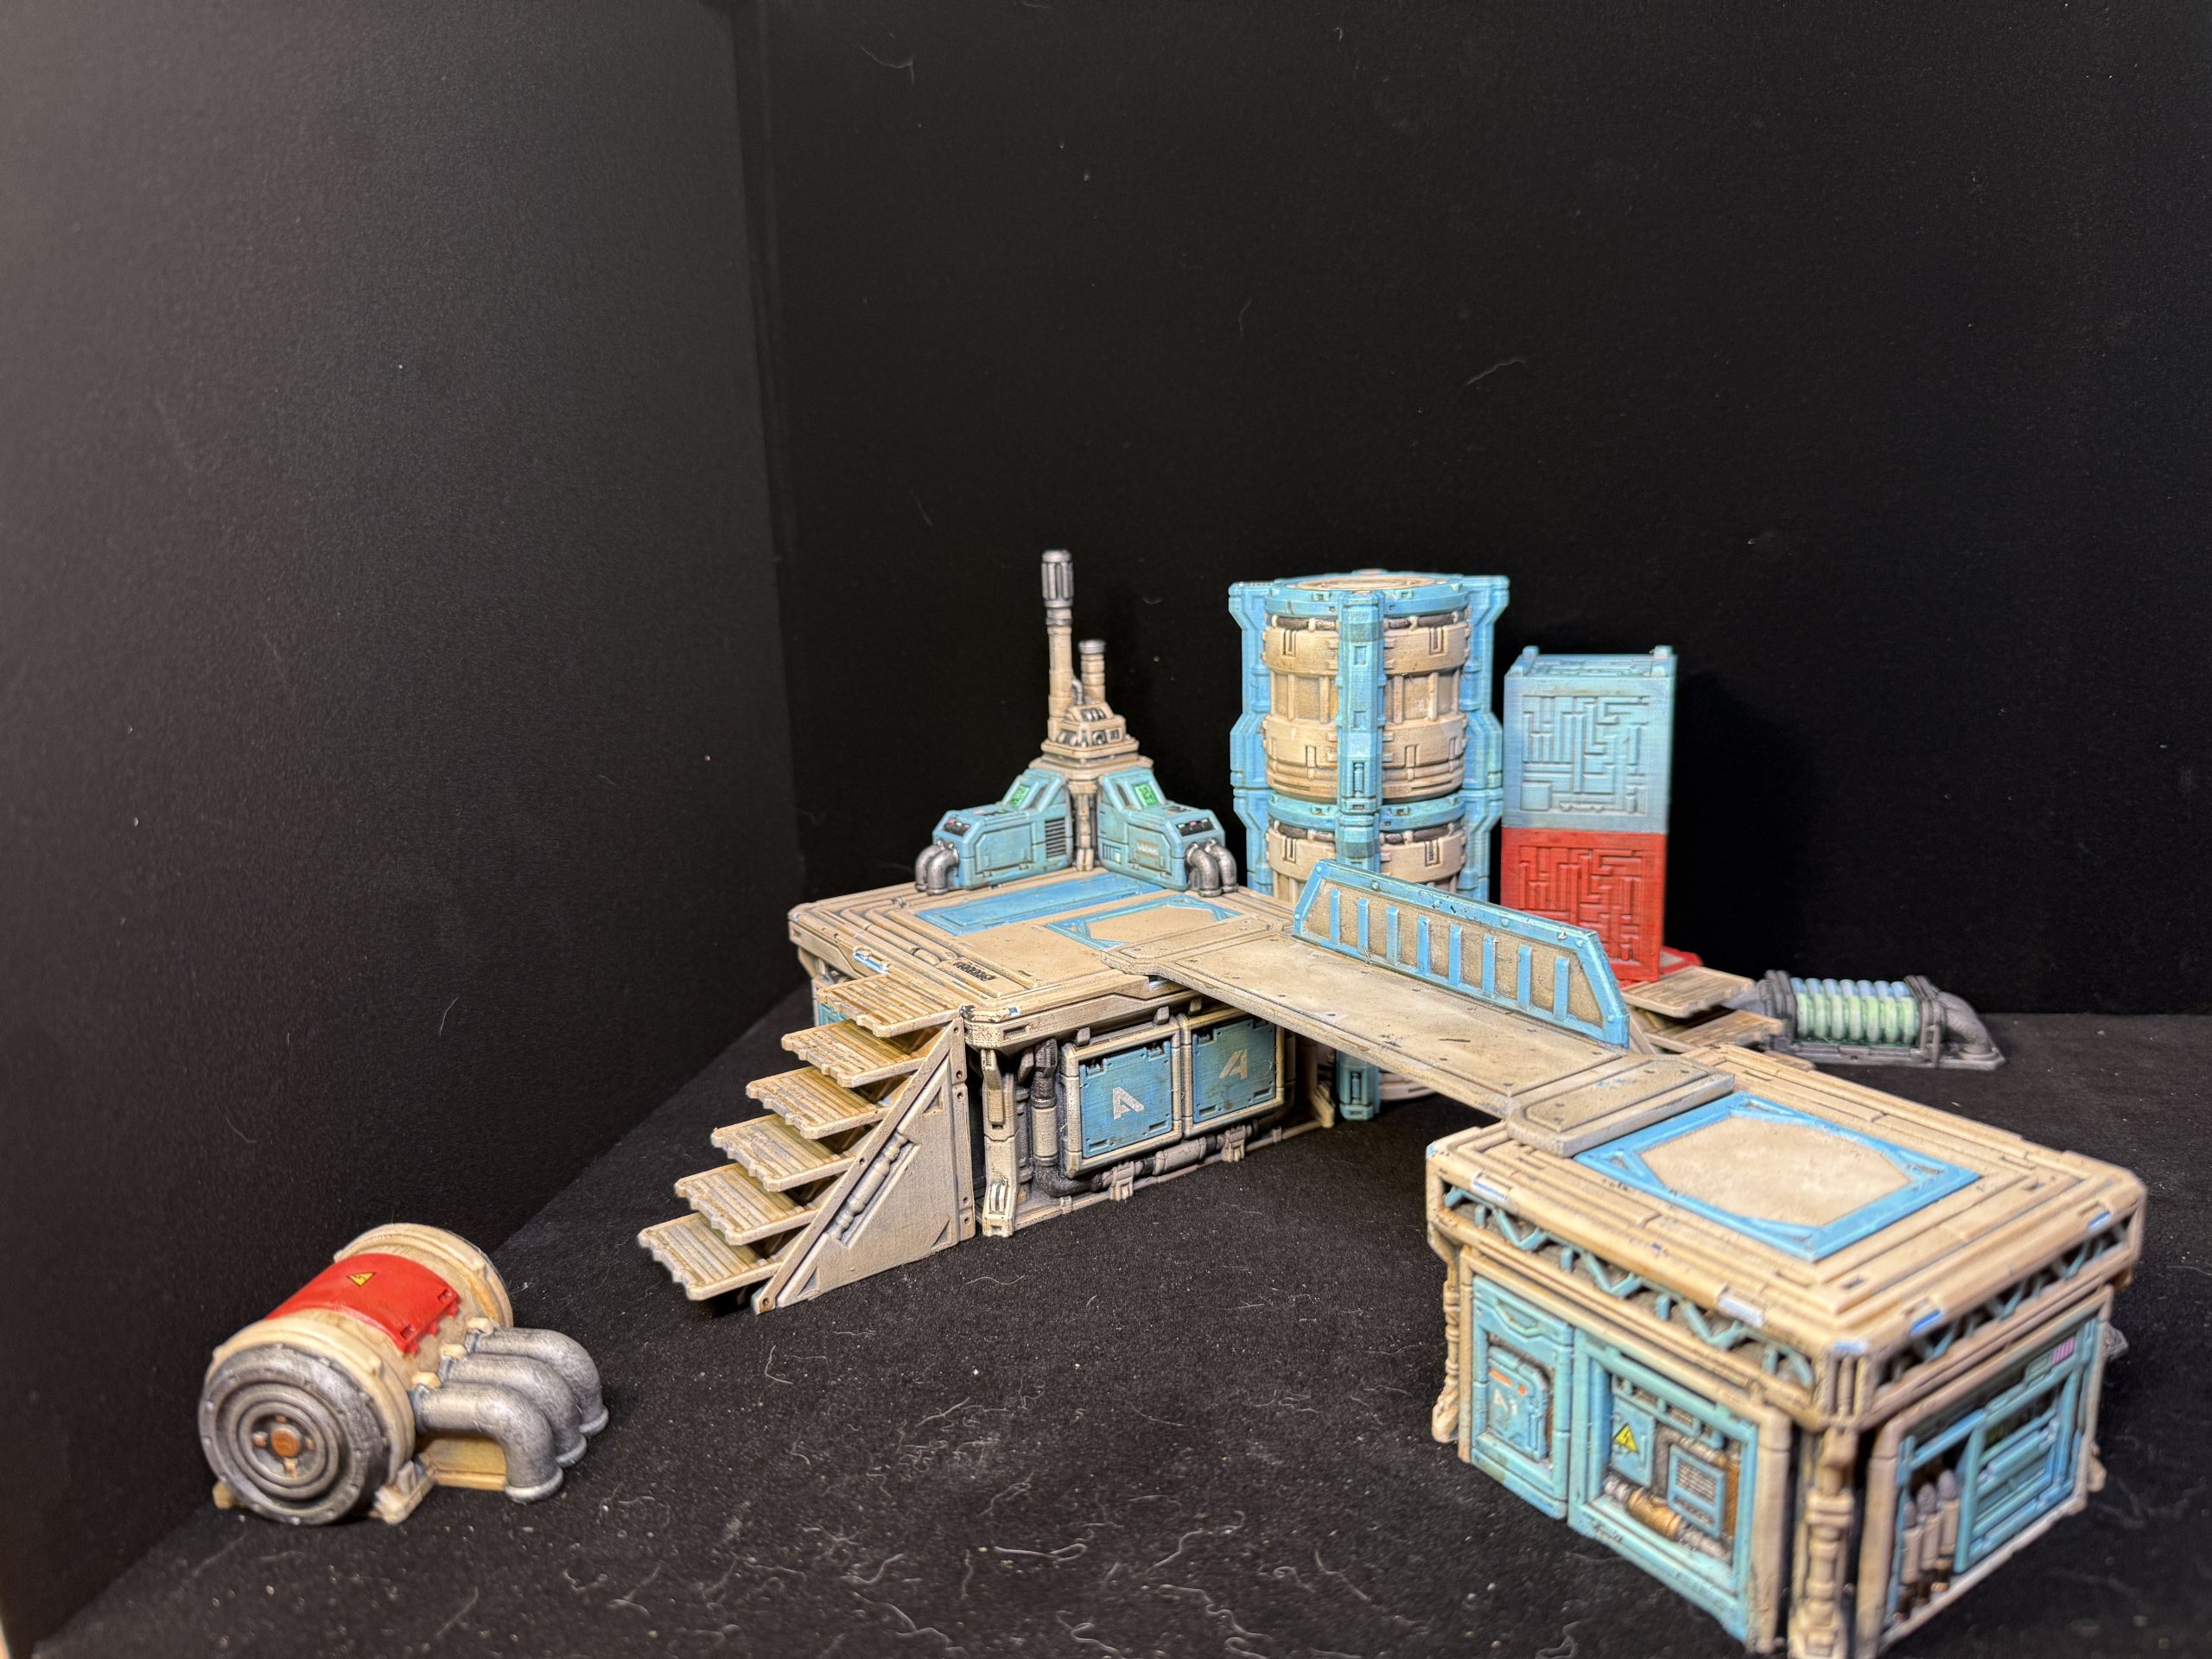 The large number of available antenas make for easy objective markers/hardpoints.