







Kings of War A Veteran Wargamer’s Newbie Guide



Recommendations: 146
About the Project
This project accompanies the articles on the main site where I start Kings of War 4th Edition from scratch. You'll find links to all of the articles as well more details and extra content that wouldn't fit in the main articles.
Related Game: Kings of War
Related Company: Mantic Games
Related Genre: Fantasy
This Project is Active
Ratkin: Building A Death Engine
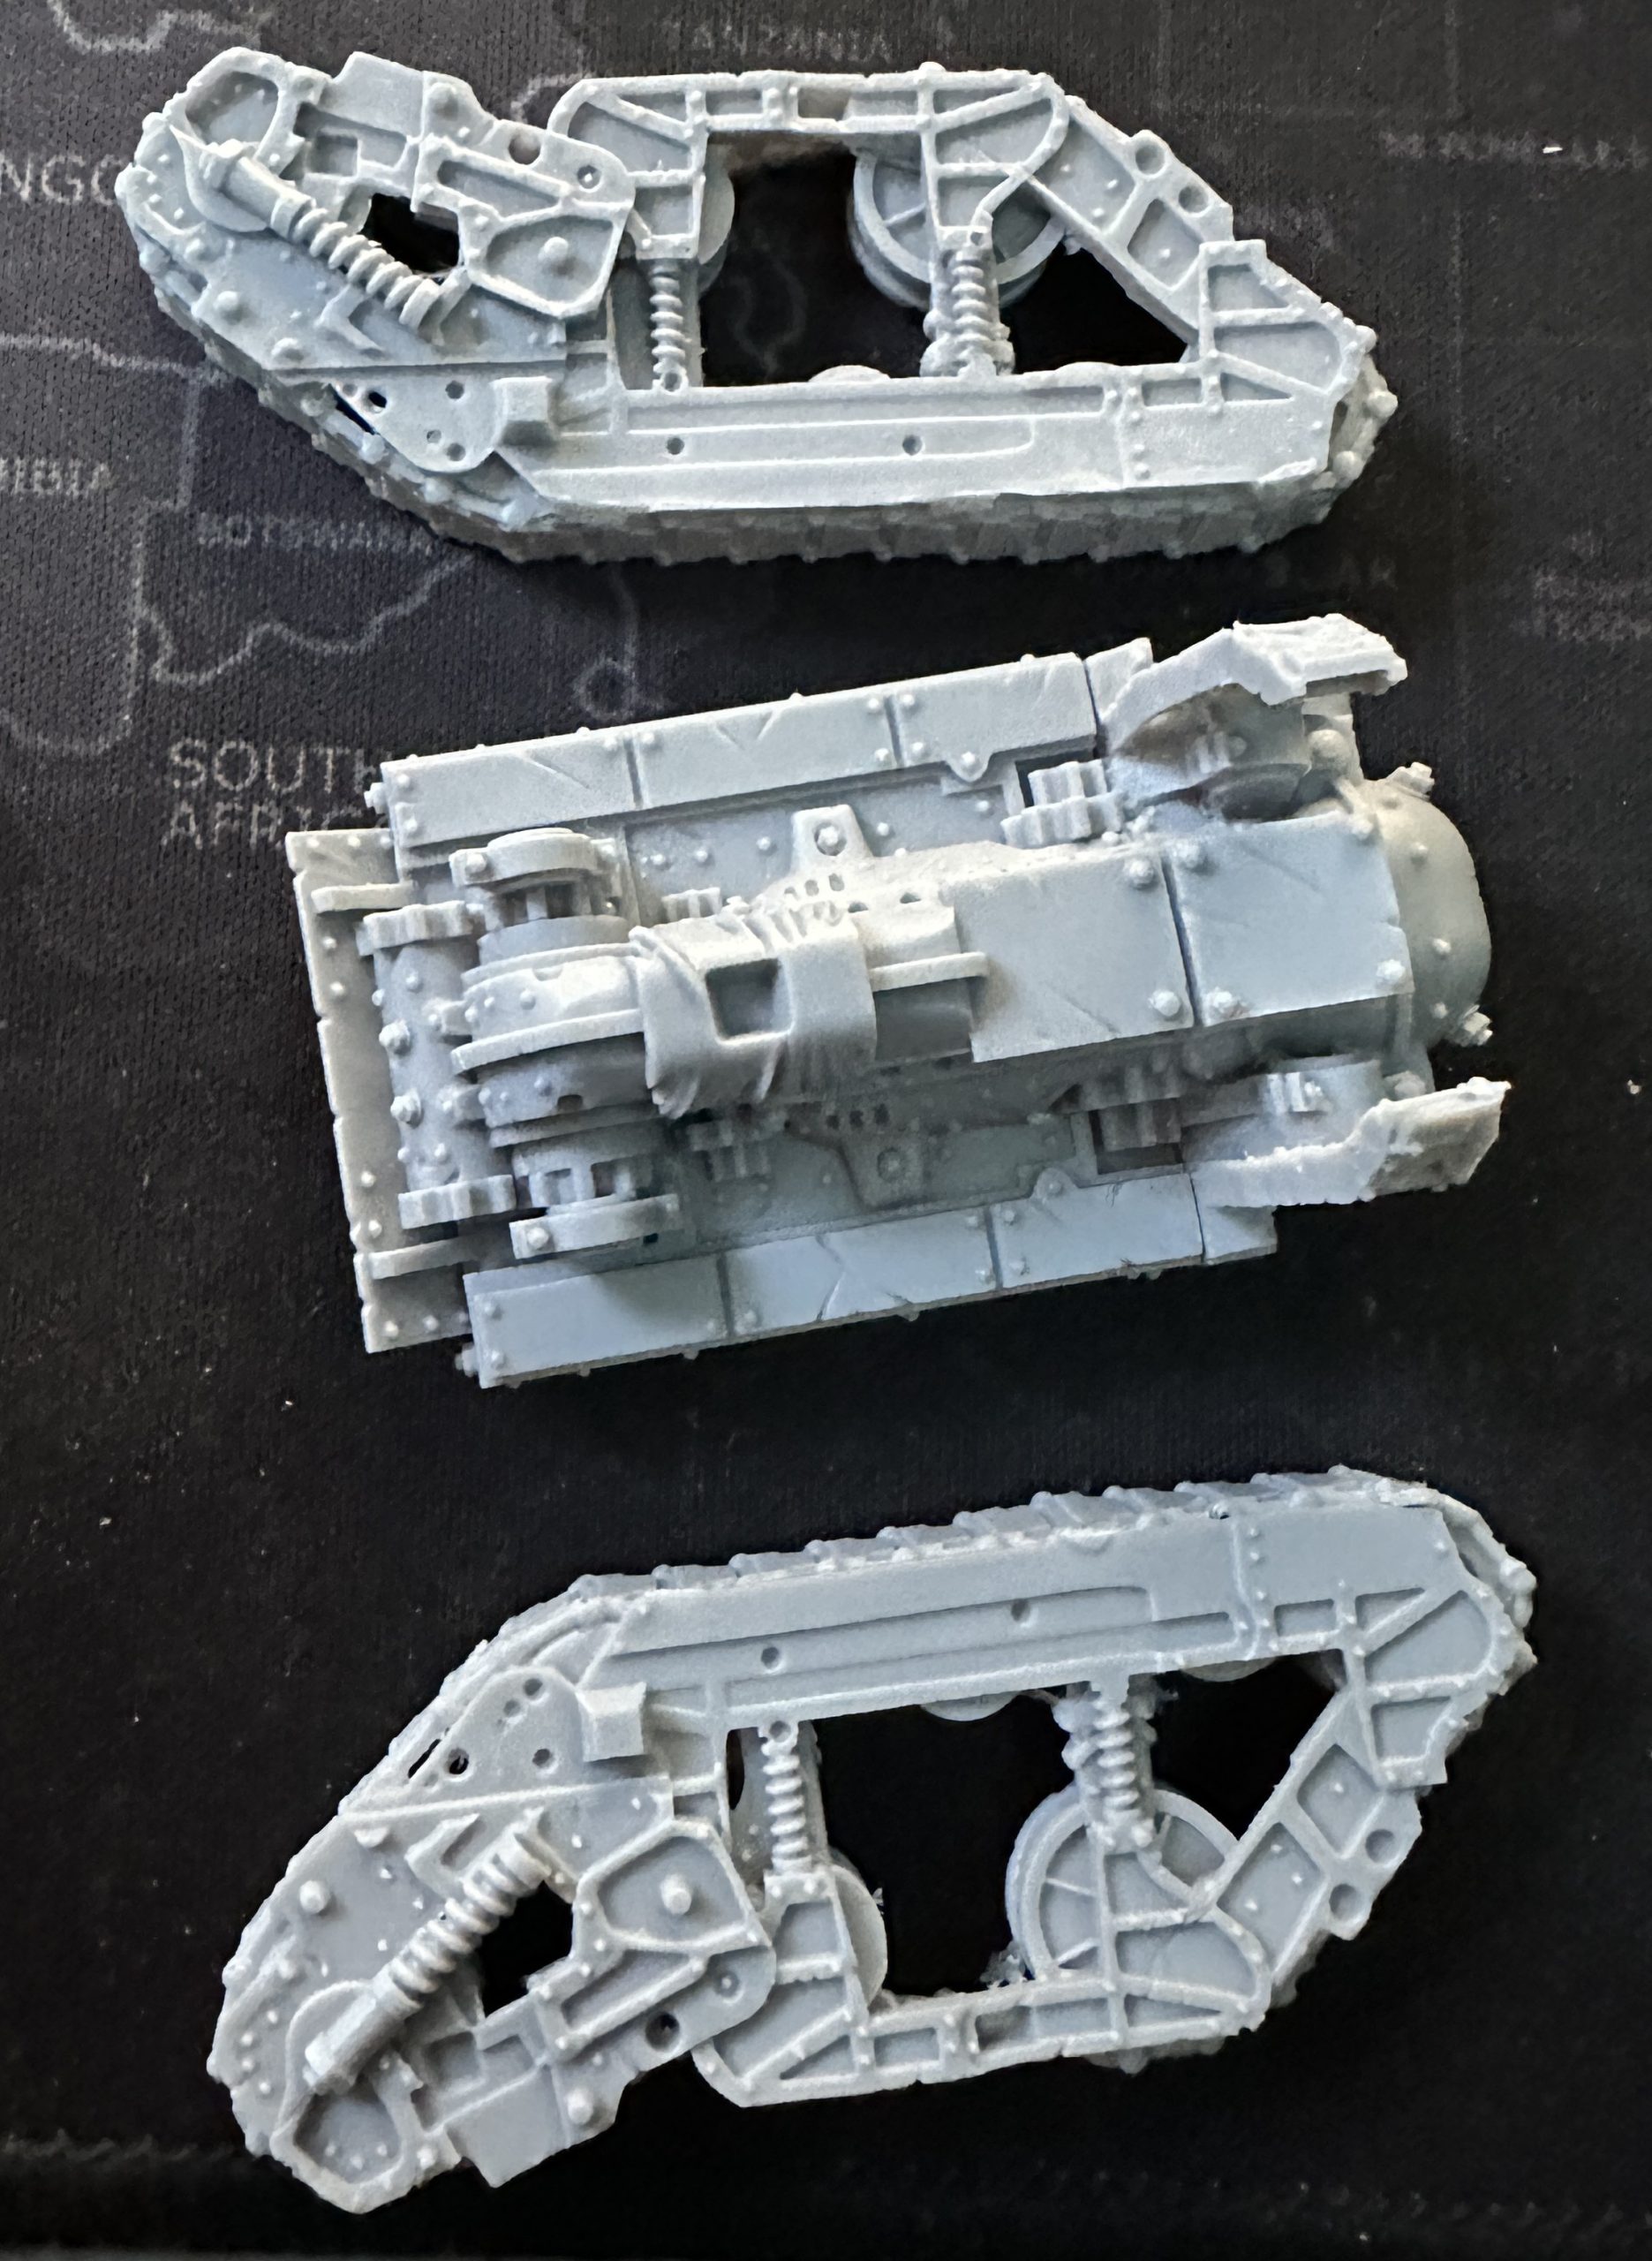
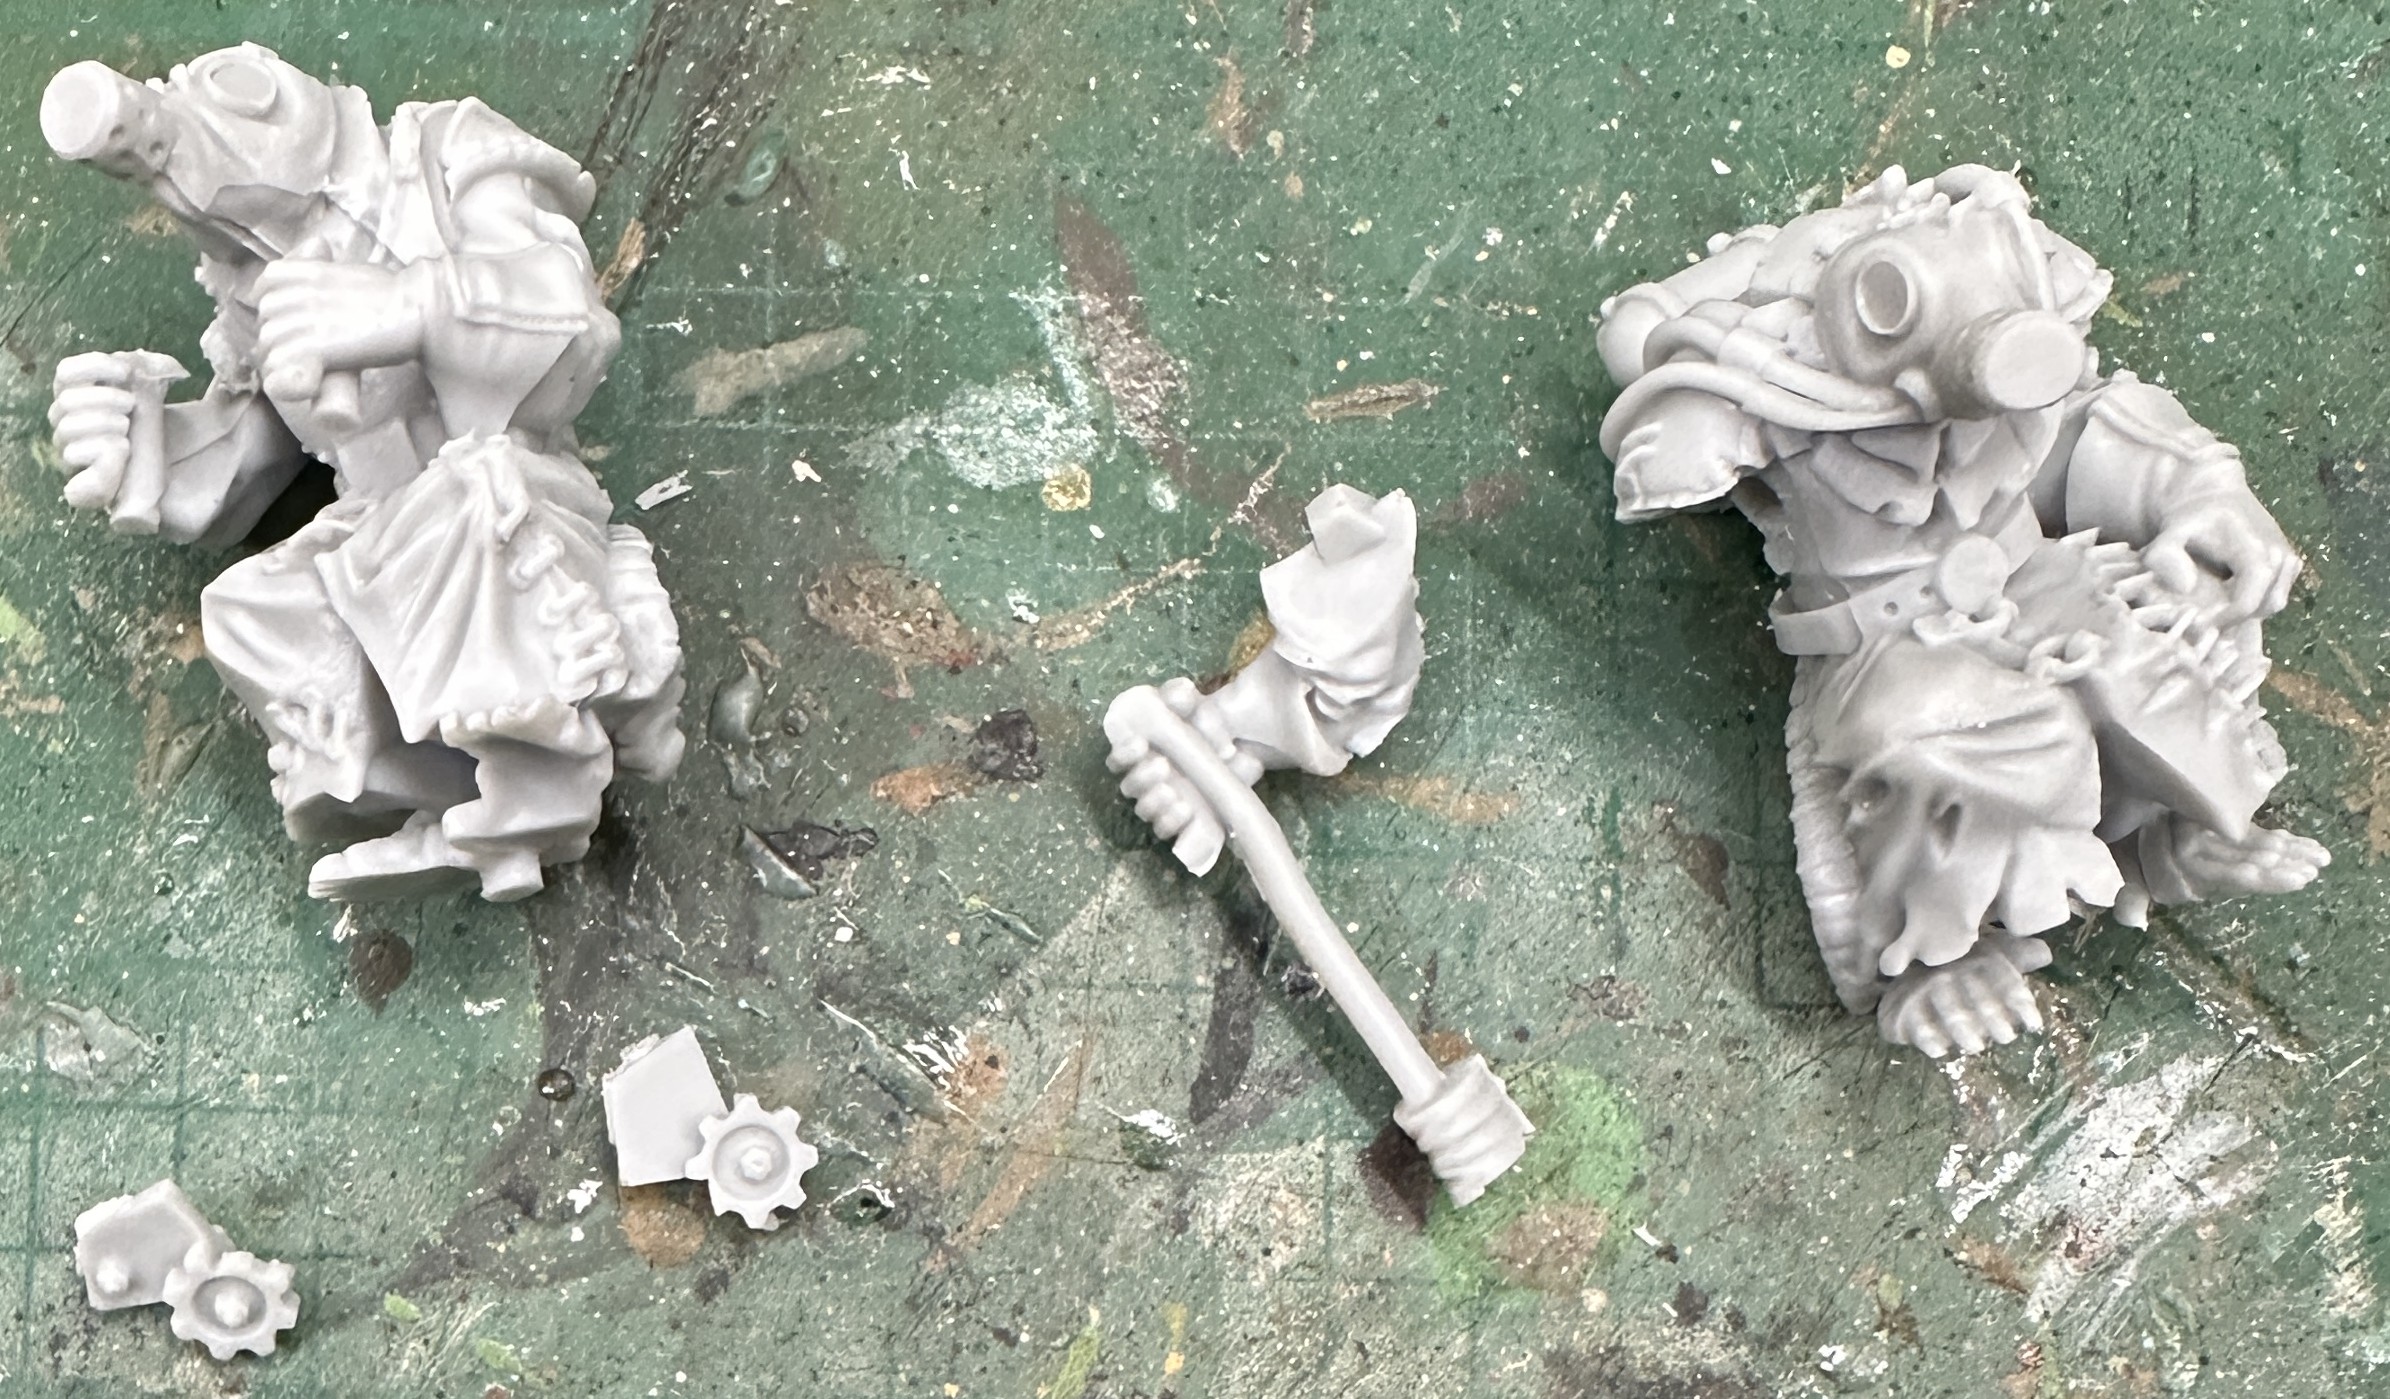
One of the first miniatures I bought was the Death Engine. It is just cool. Probably not a great take for tournament play as although it is quick and has Crushing Strength (2) it is a bit erratic in melee with D6+7 so anything from a measly 8 to a mighty 13 attacks. I opened the box to find a cast resin kit in quite a few pieces:
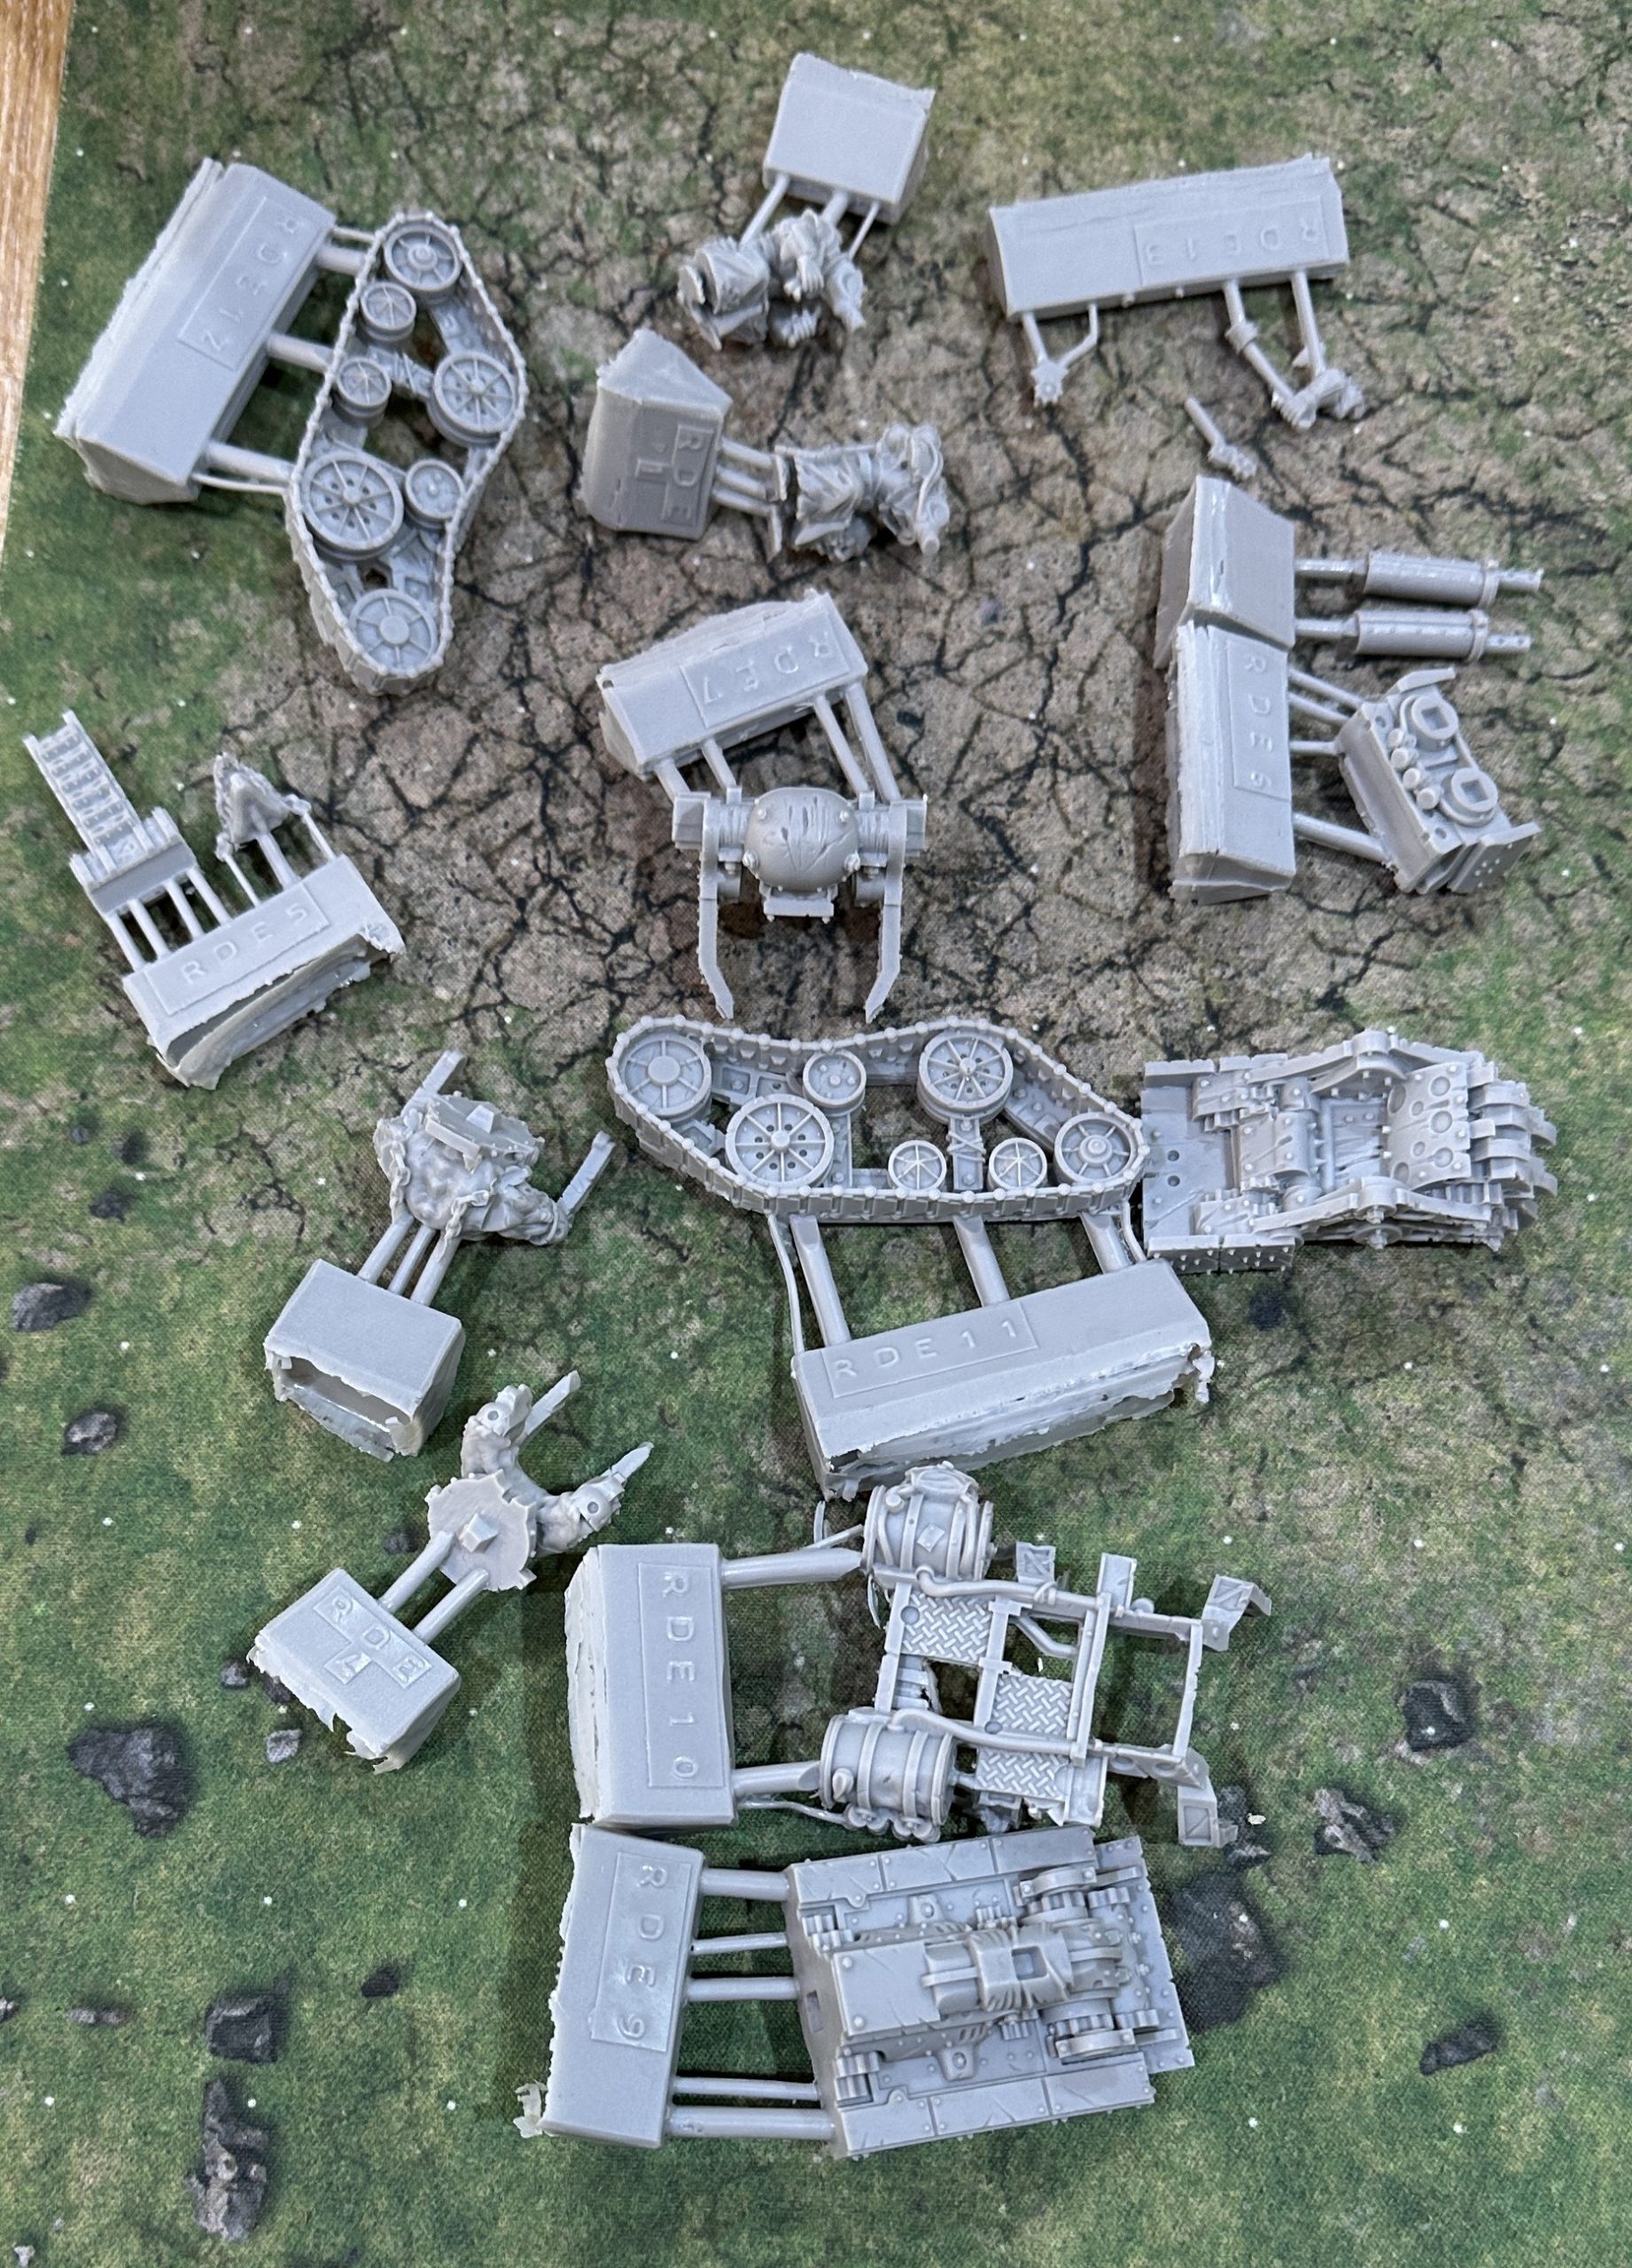
Once clipped off, washed and dried we are ready to assemble. Looked online for the instructions. Mantic haven’t done any. Come on Mantic, be better. This kit has been out for years. Not only that but there is only a photo of it from one angle. So even the ones you built you didn’t bother to photograph from behind. Sadly there isn’t anyone online who has built one or properly photographed either.
This isn’t an easy kit to build and I found it hard even with all my years of experience to call on. Given there isn’t any guidance I’ll try to give as much information on building it as I can here.
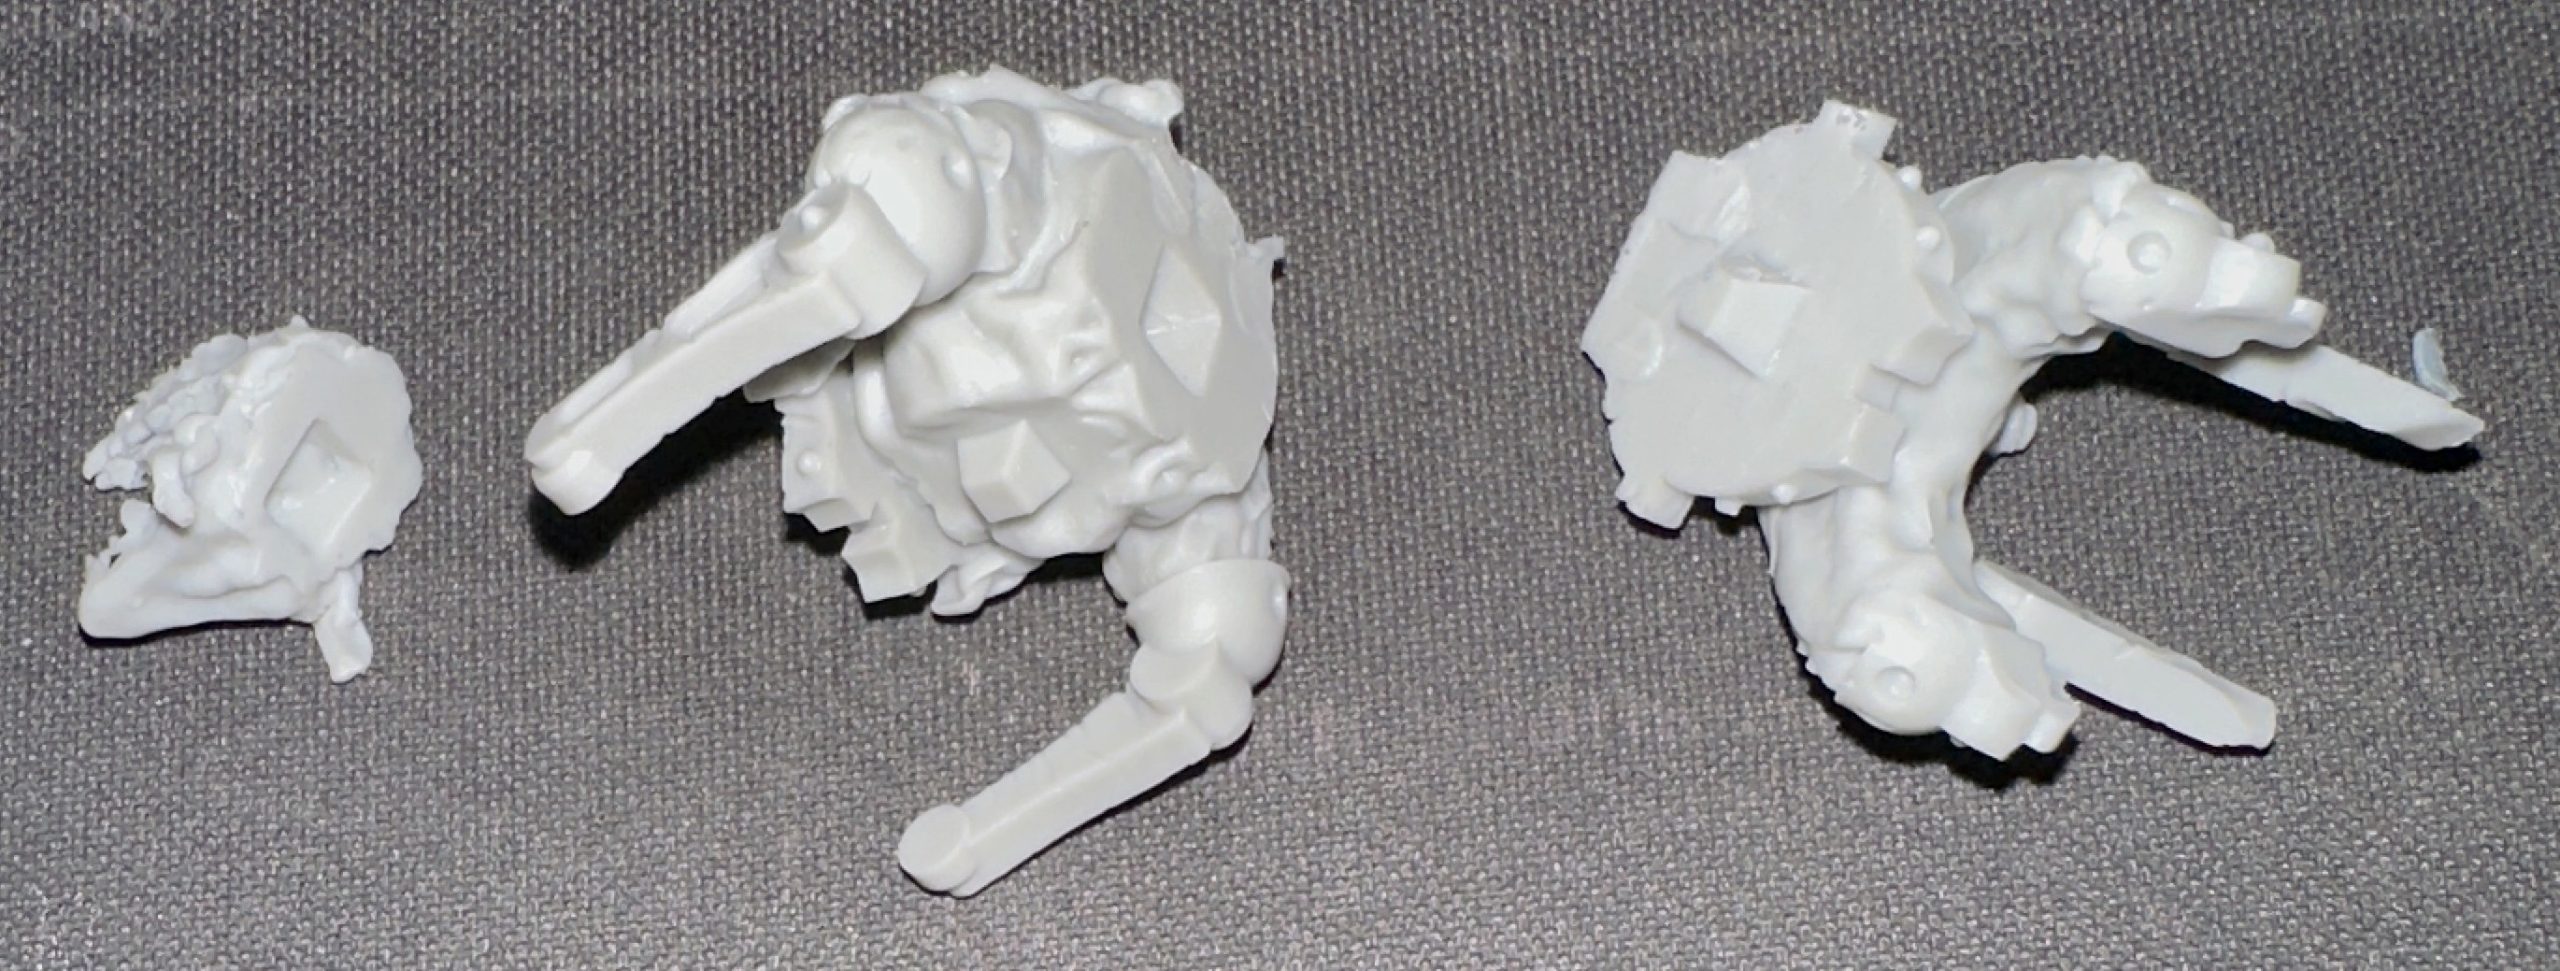
The easy parts to identify are the lower hull, tracks and the three parts of the giant rat who powers the Engine.
Lay them out and then glue together with superglue.
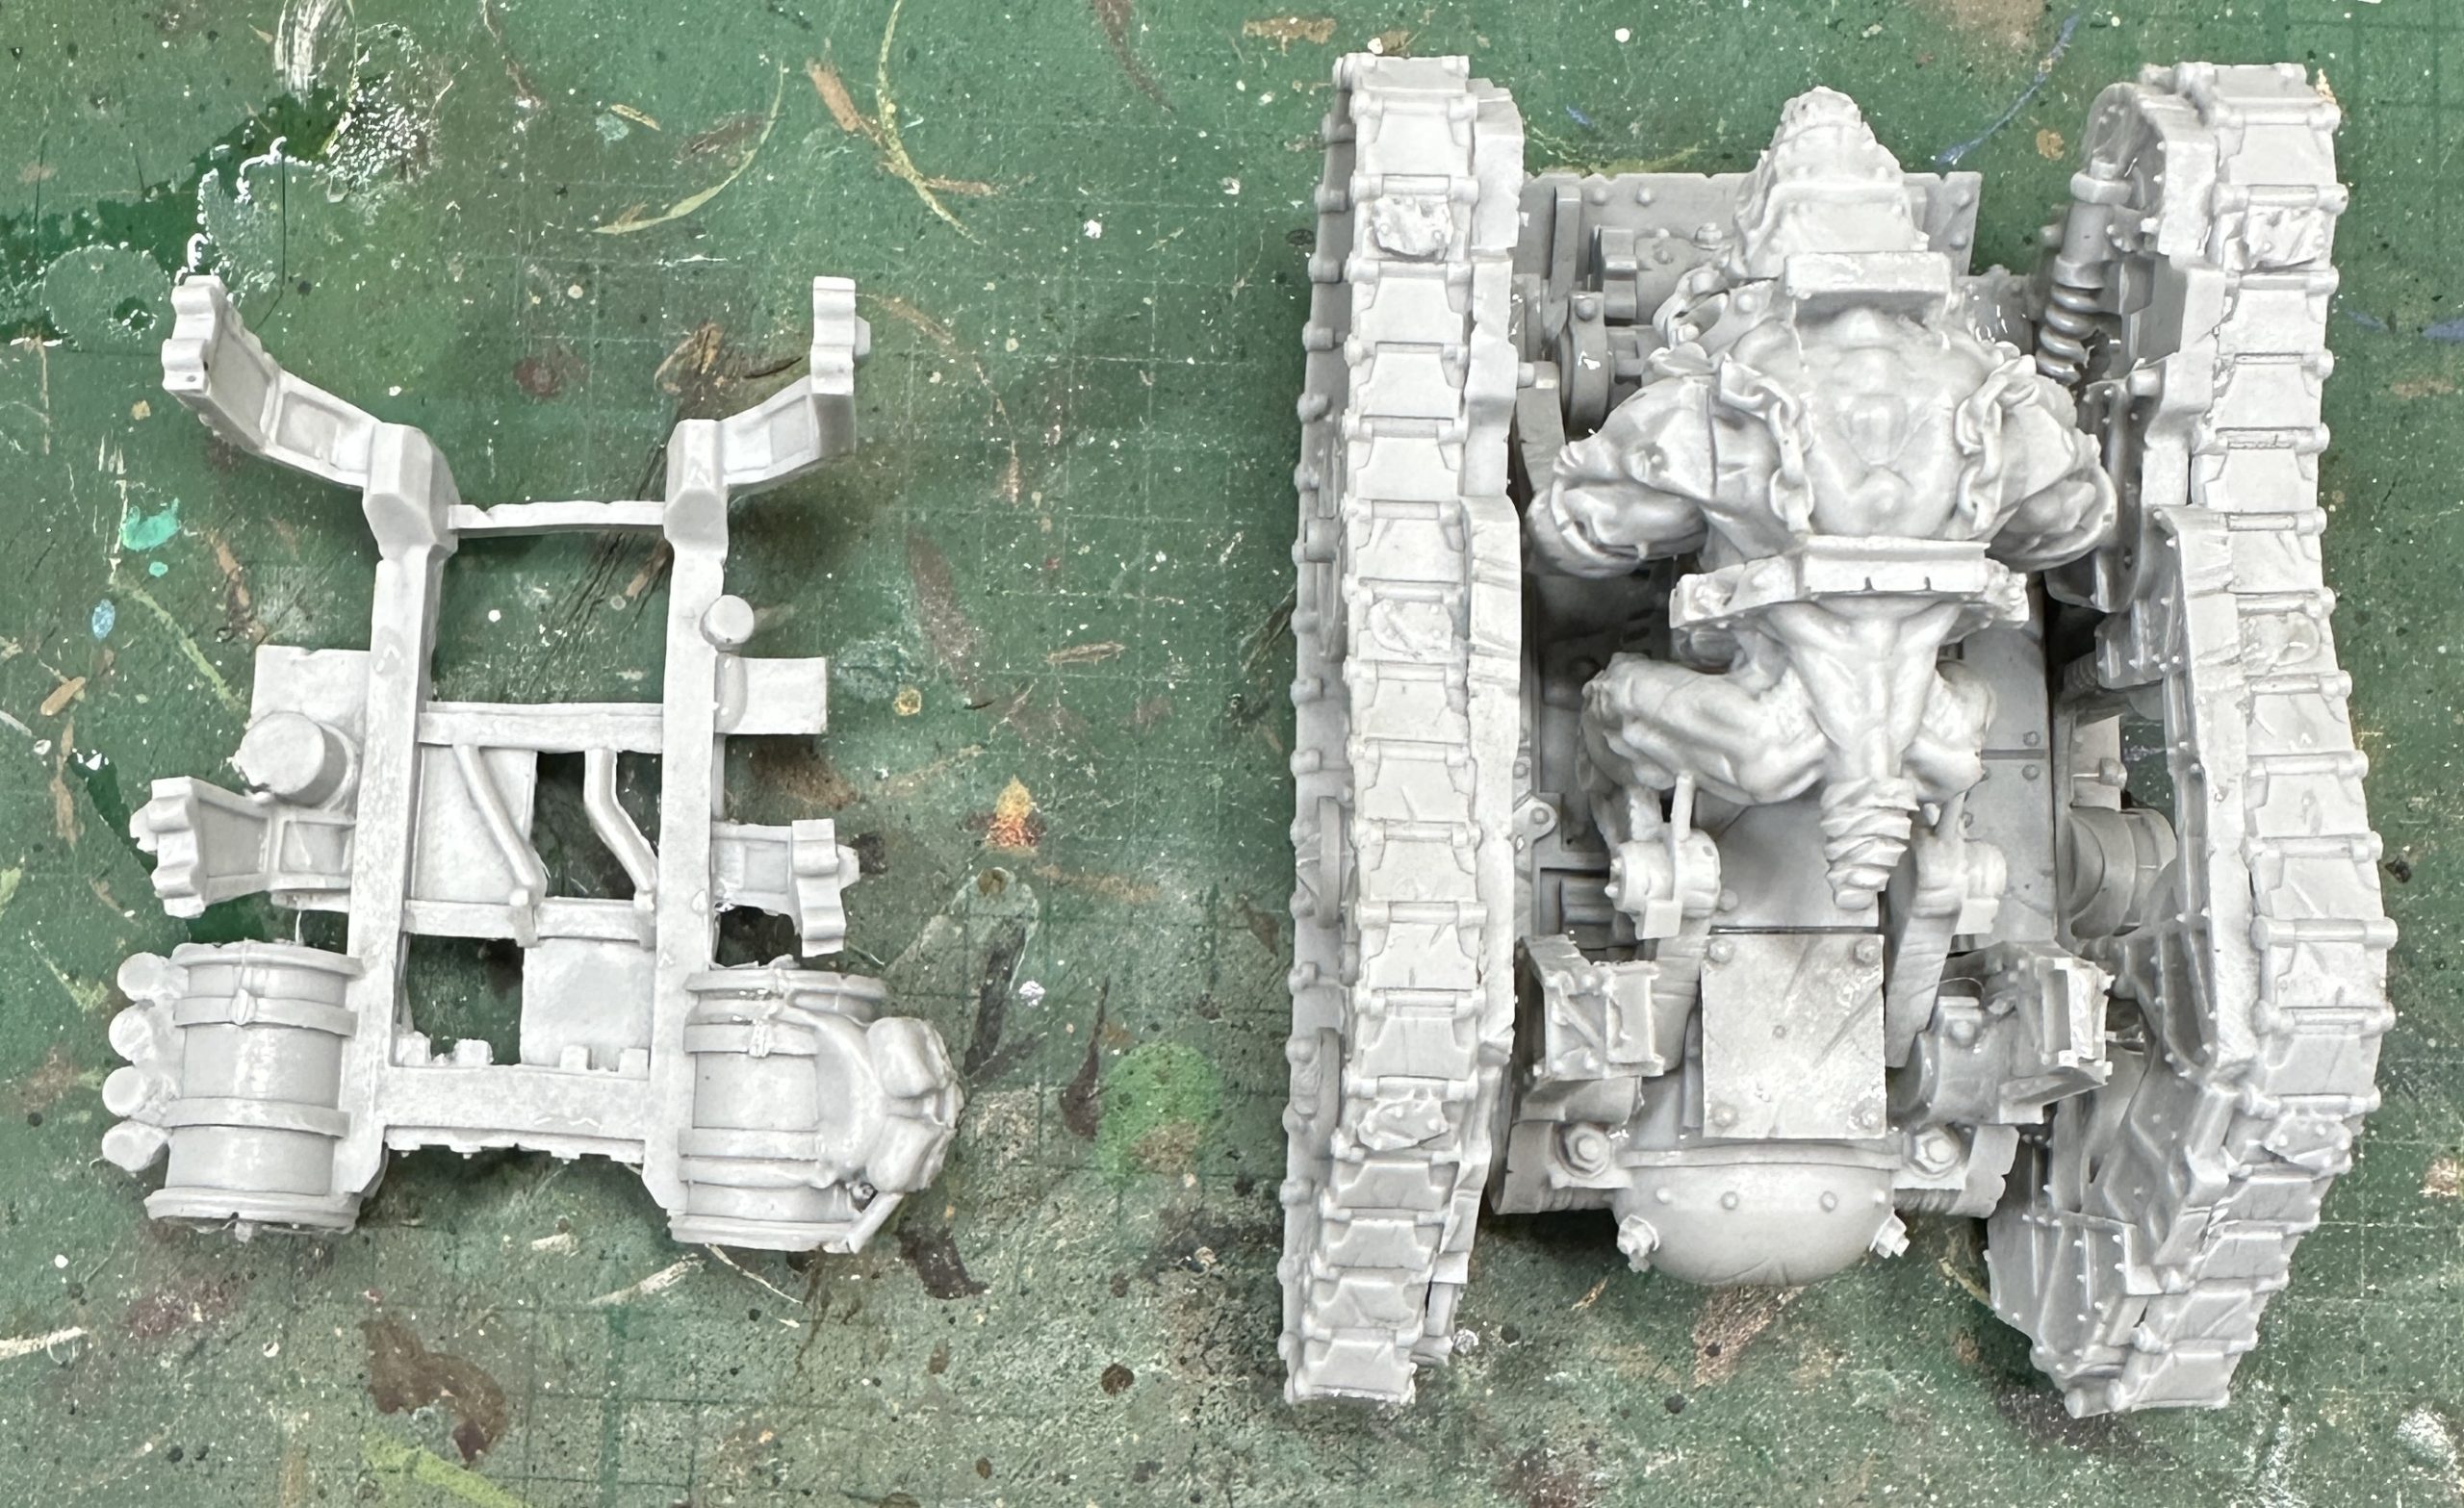
When set the two parts are combined by sliding the rat down into position. There are four main connection points. His front leg pistons line up inside the round parts at the front and his back pistons line up with similar slots at the back. You might have to push him down to get him to slide fully into position. I was careful as I didn’t want the resin to snap. He must go right down otherwise the upper hull frame won’t fit.
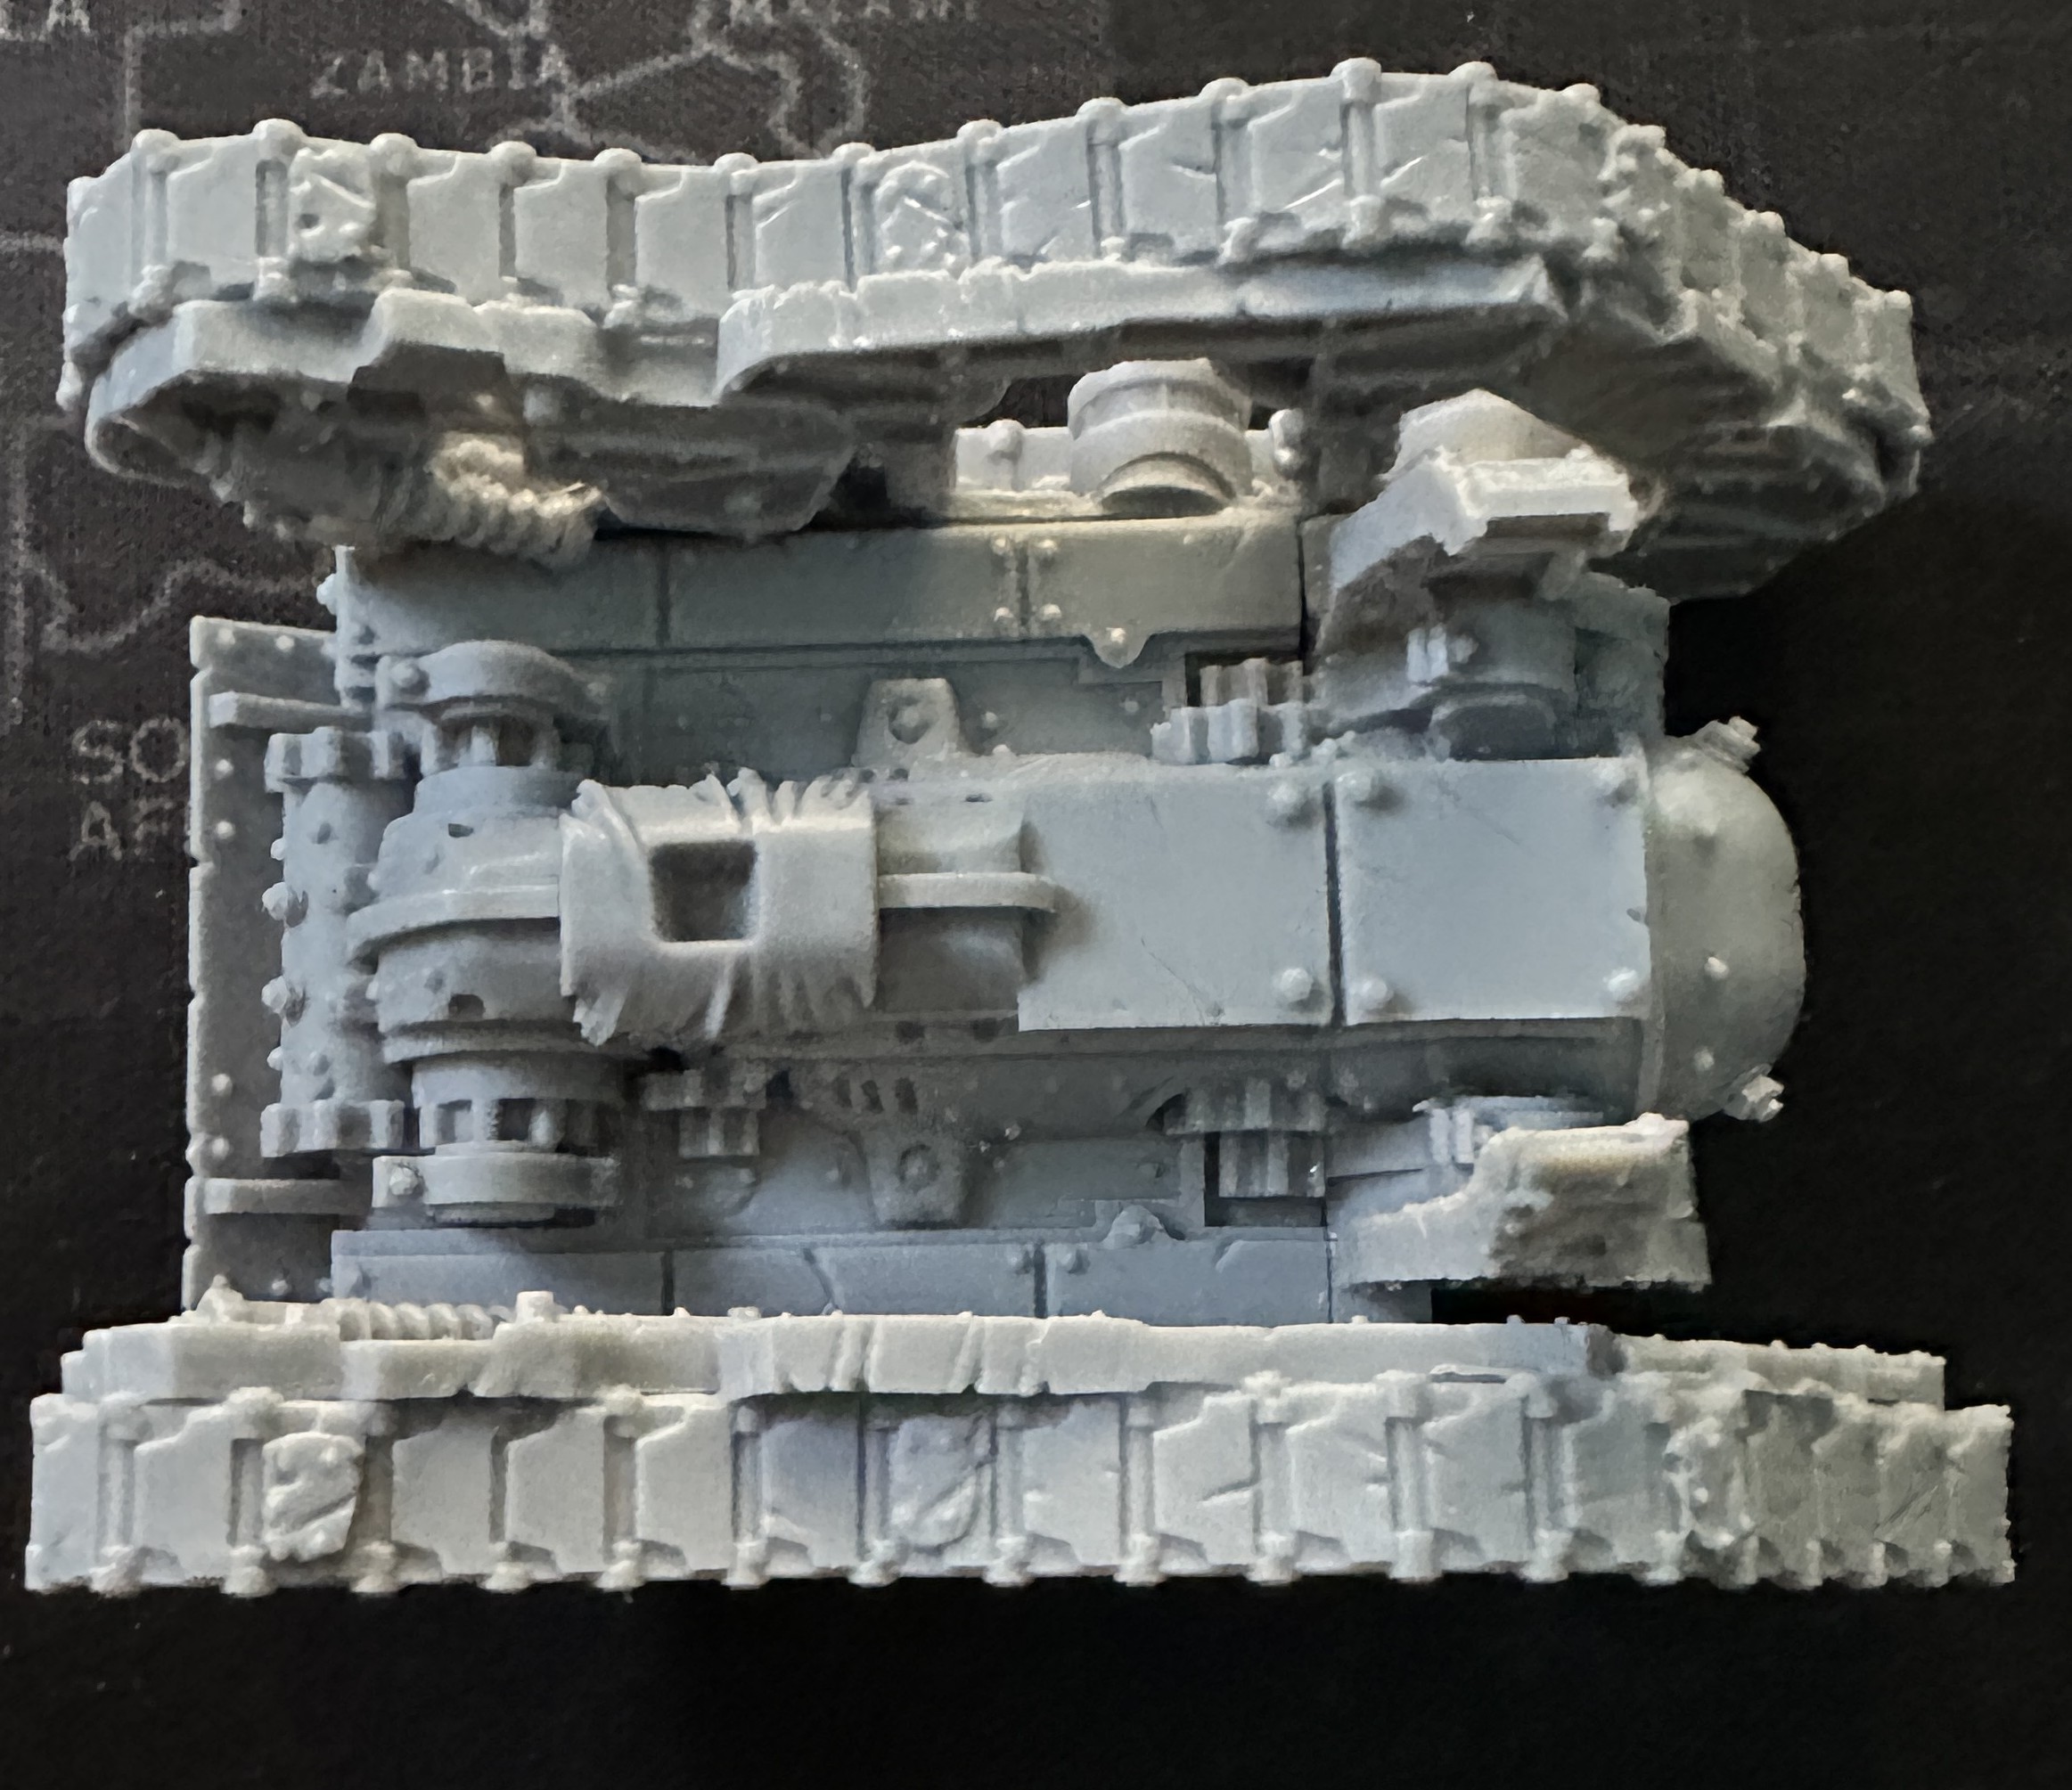
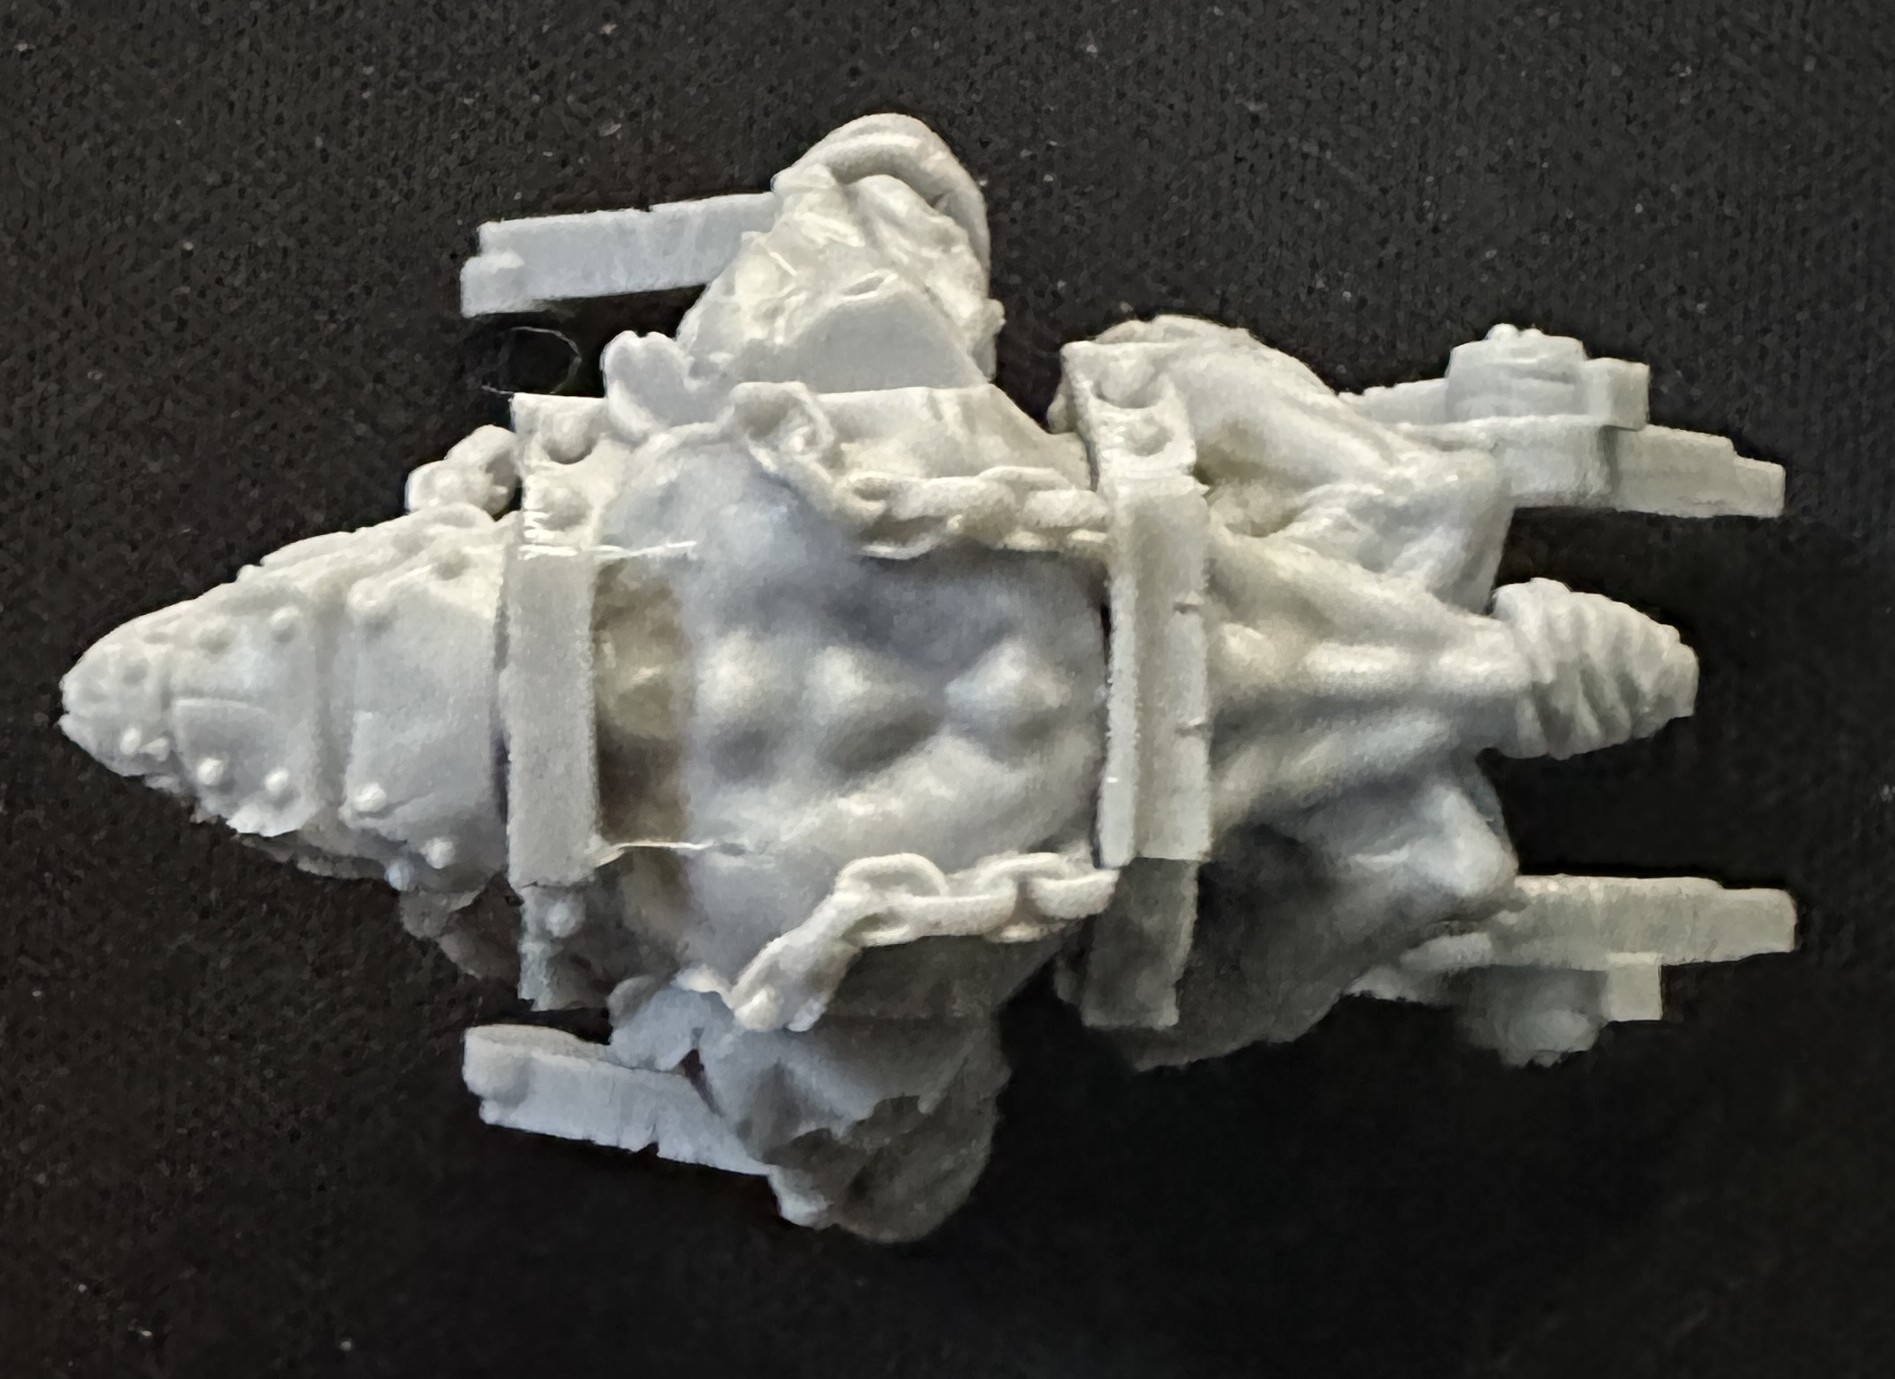
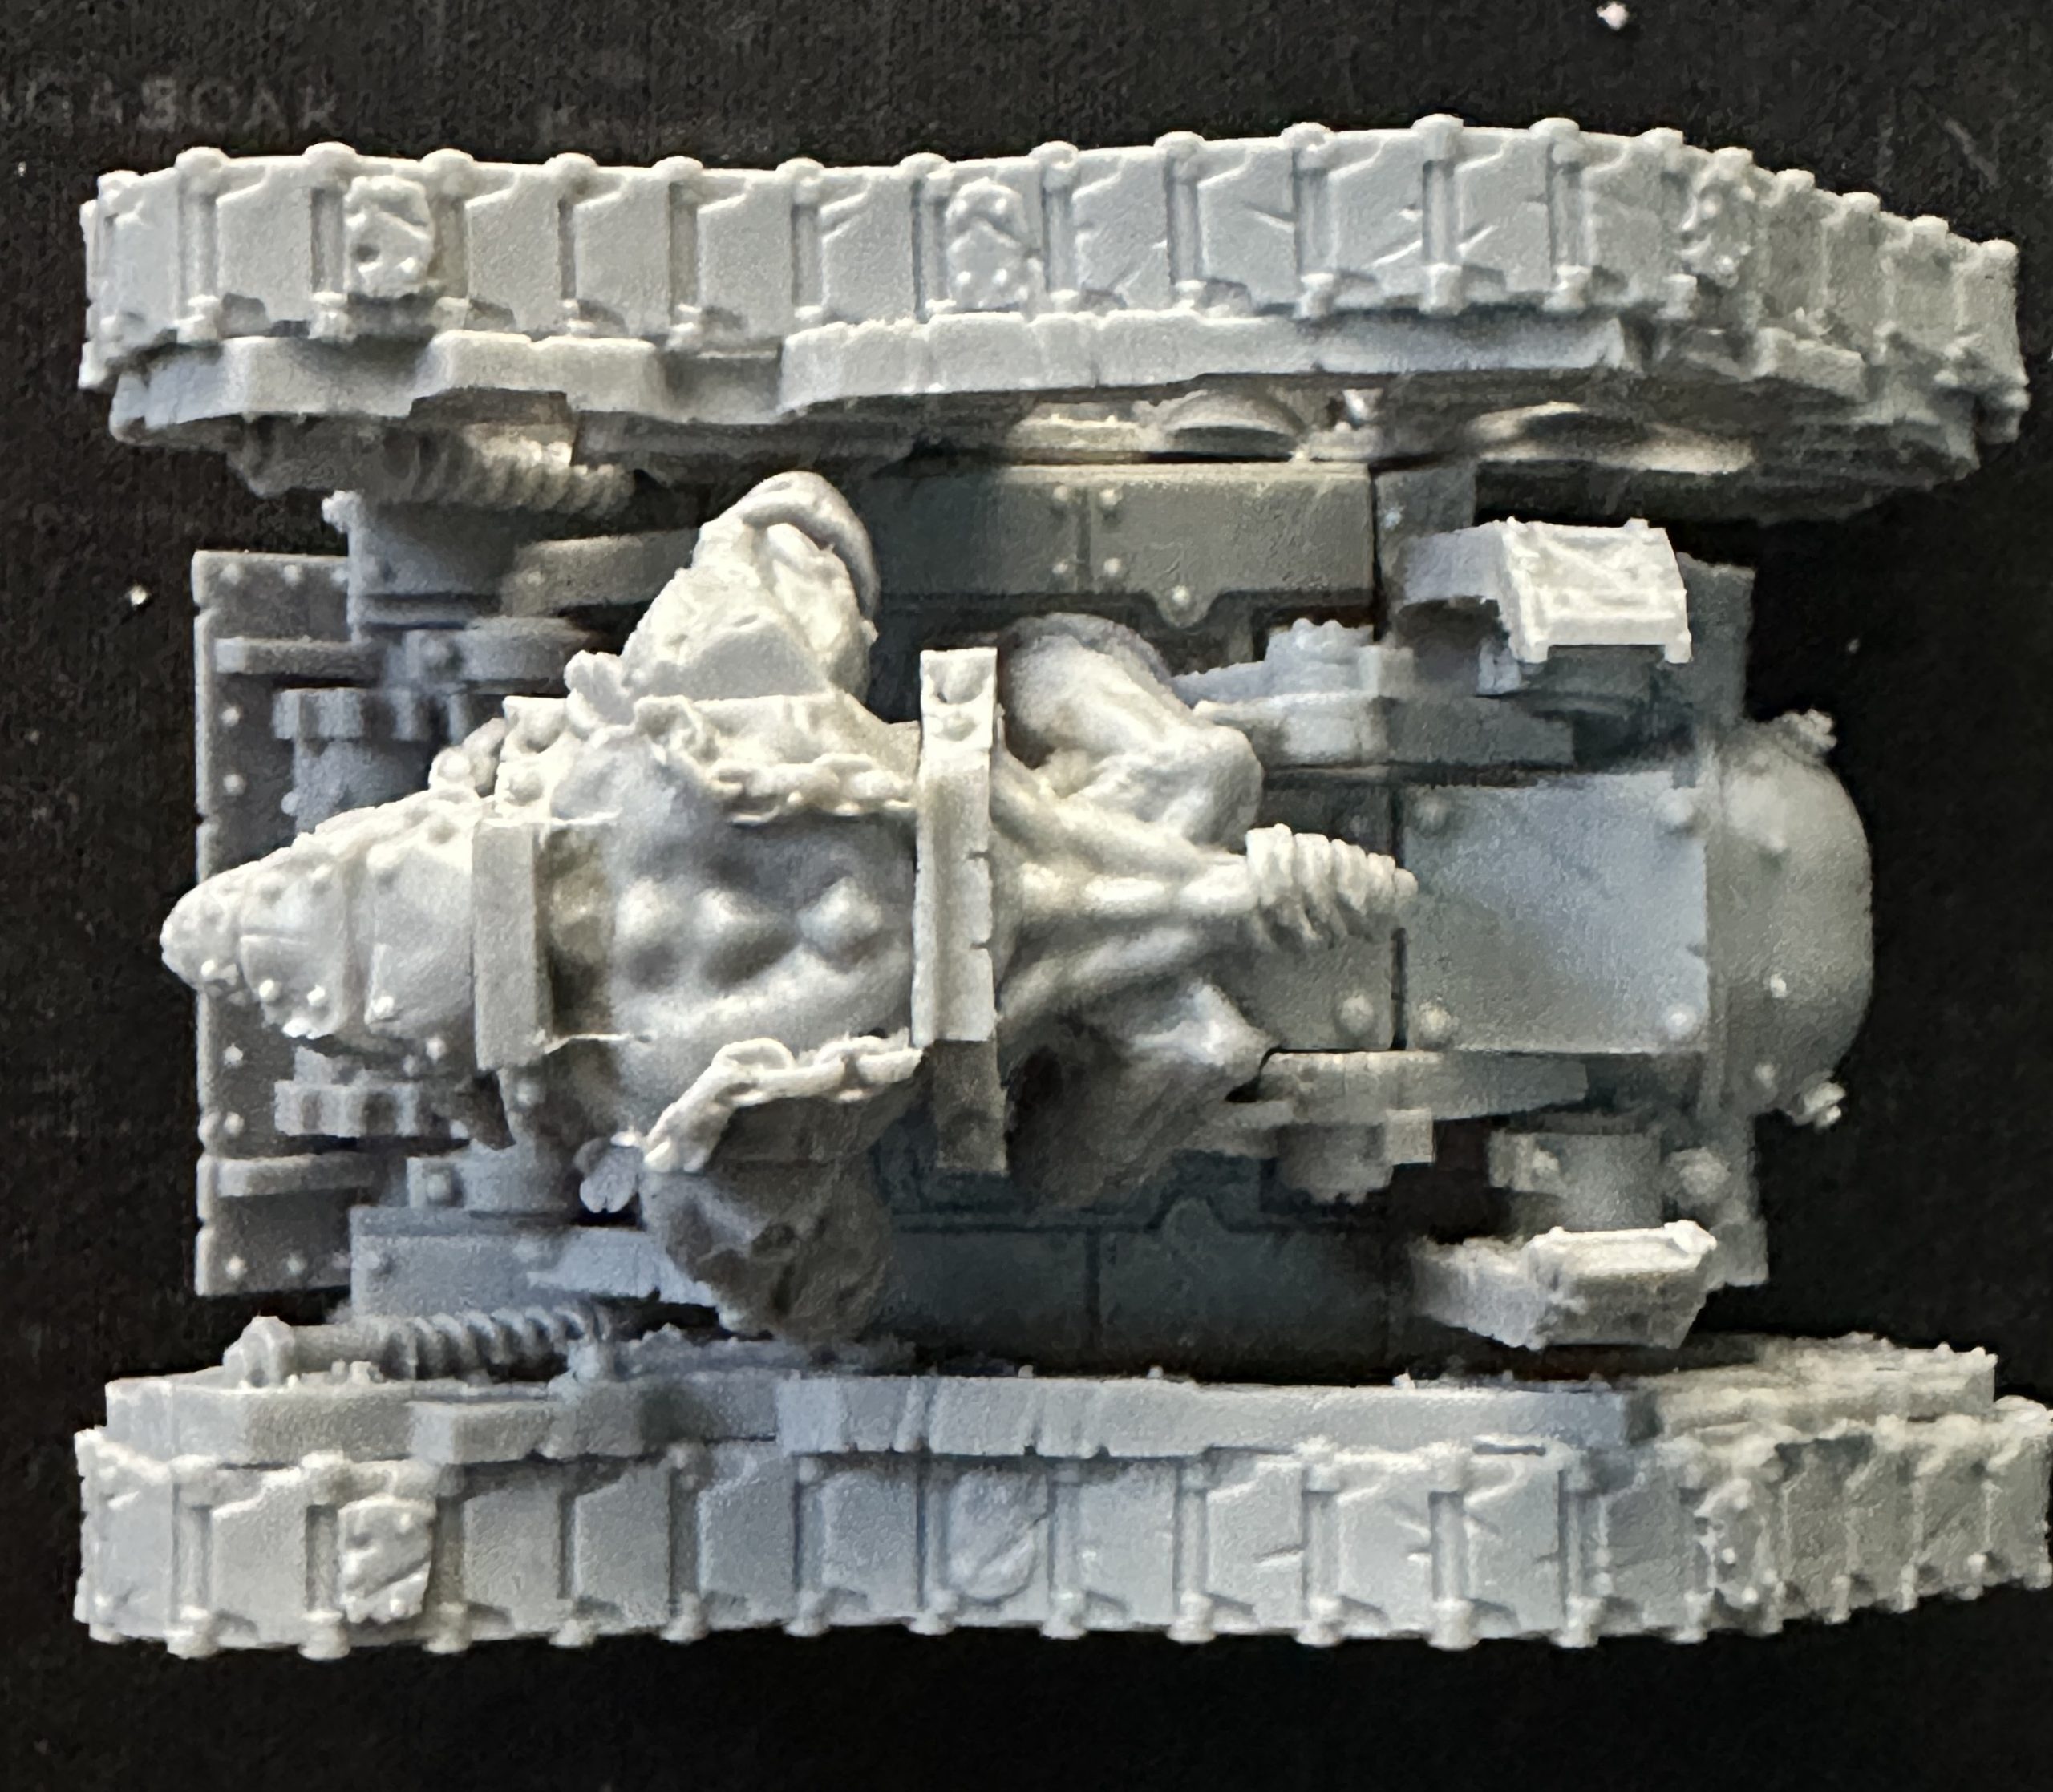
Now the real issues started. Fitting the upper hull is a pain.
The upper hull which is a framework cast in a single piece. Mine was badly warped as it was both bent and twisted and almost impossible to straighten out. This is done by heating the part up in boiled water, twisting back into position and then resetting in cold water.
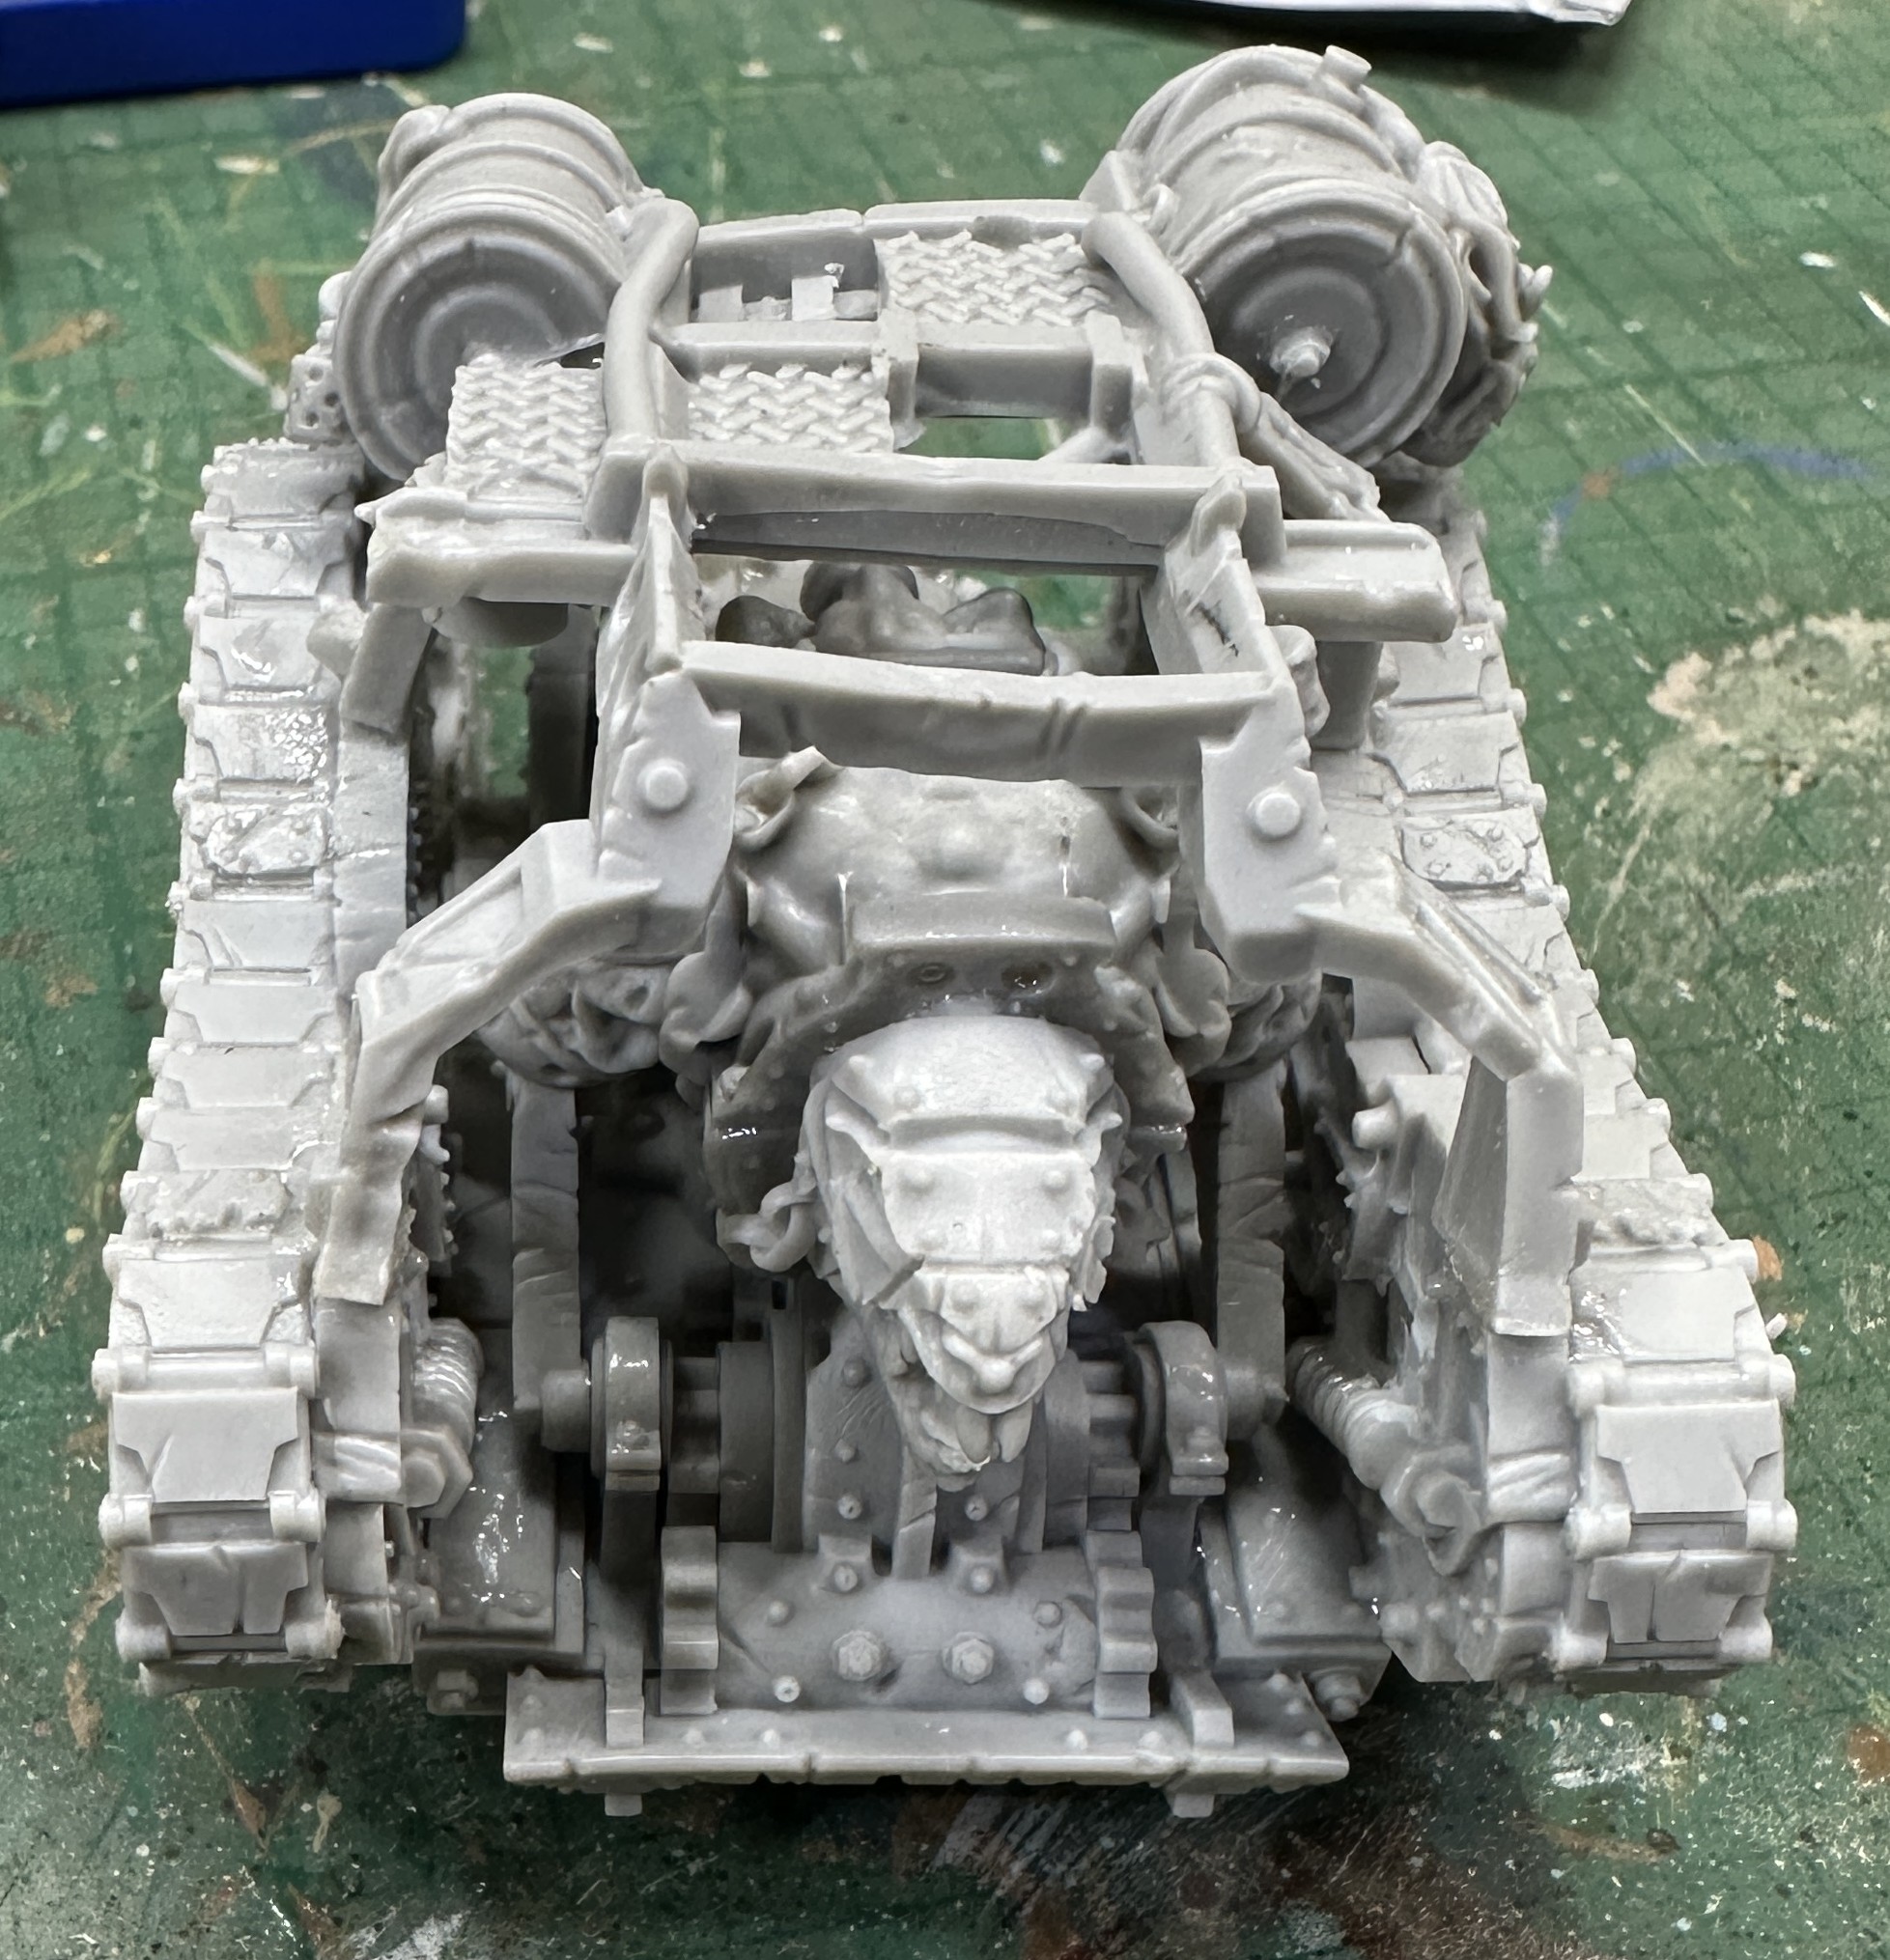
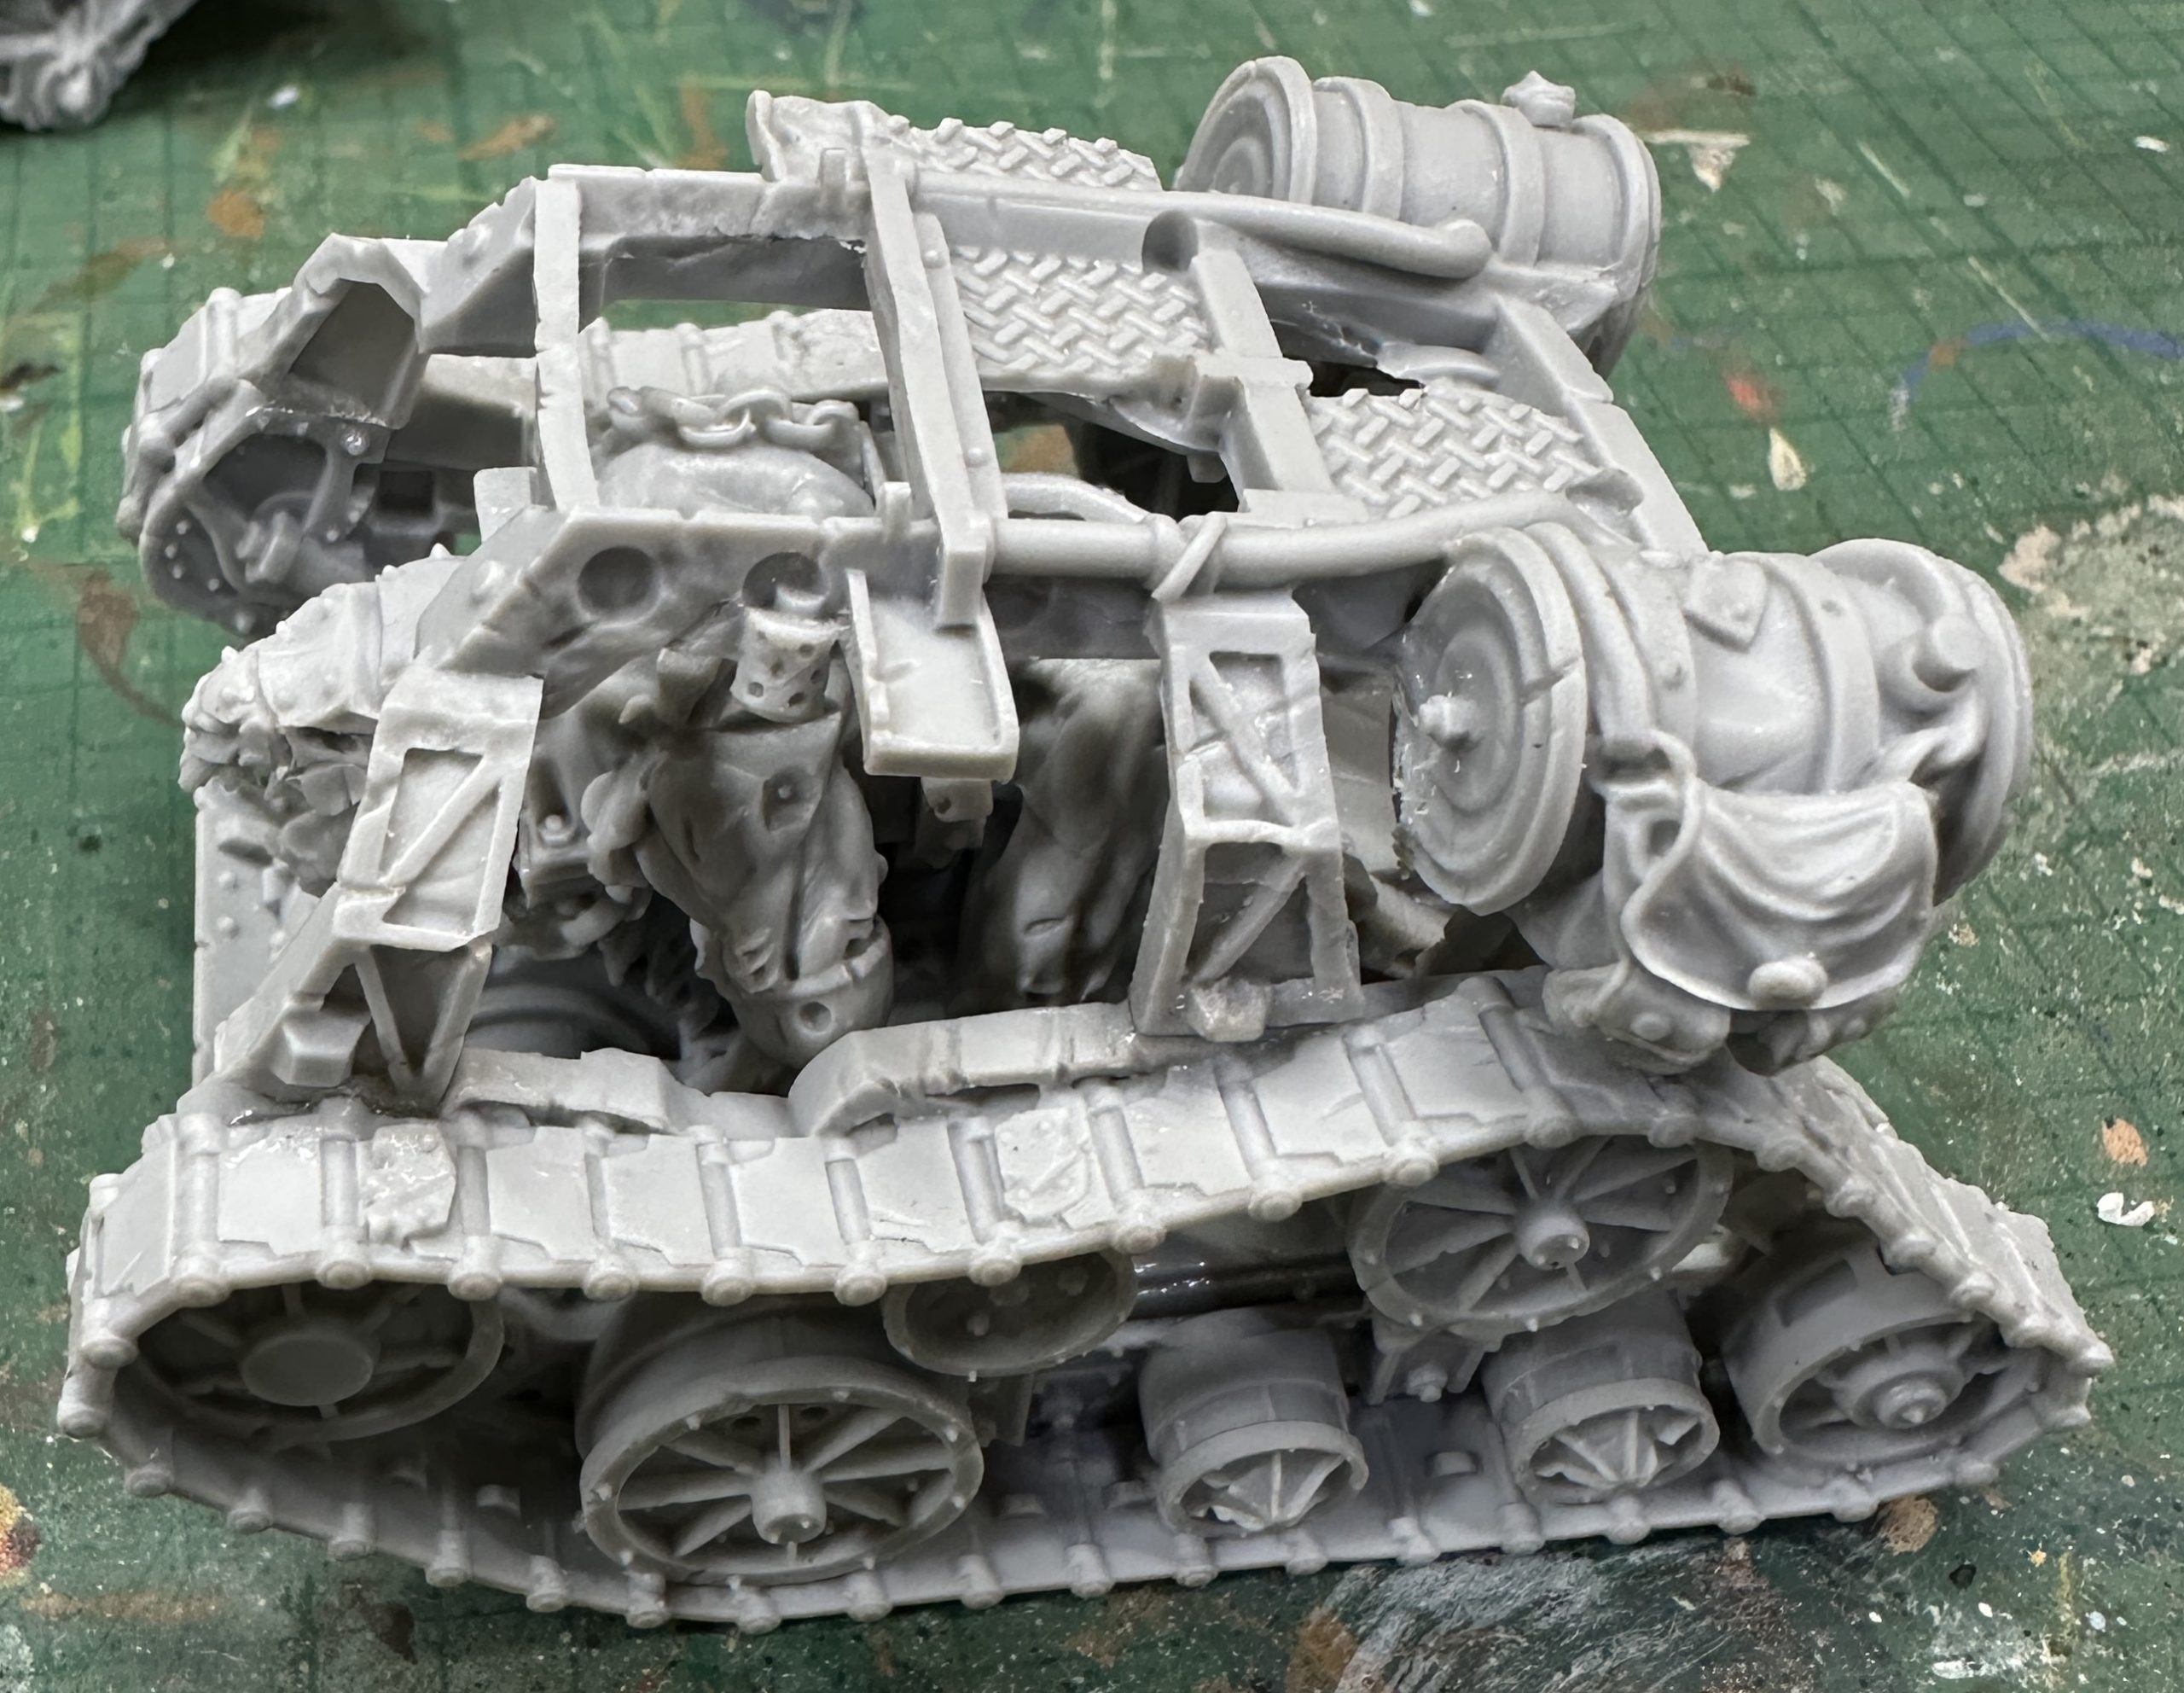
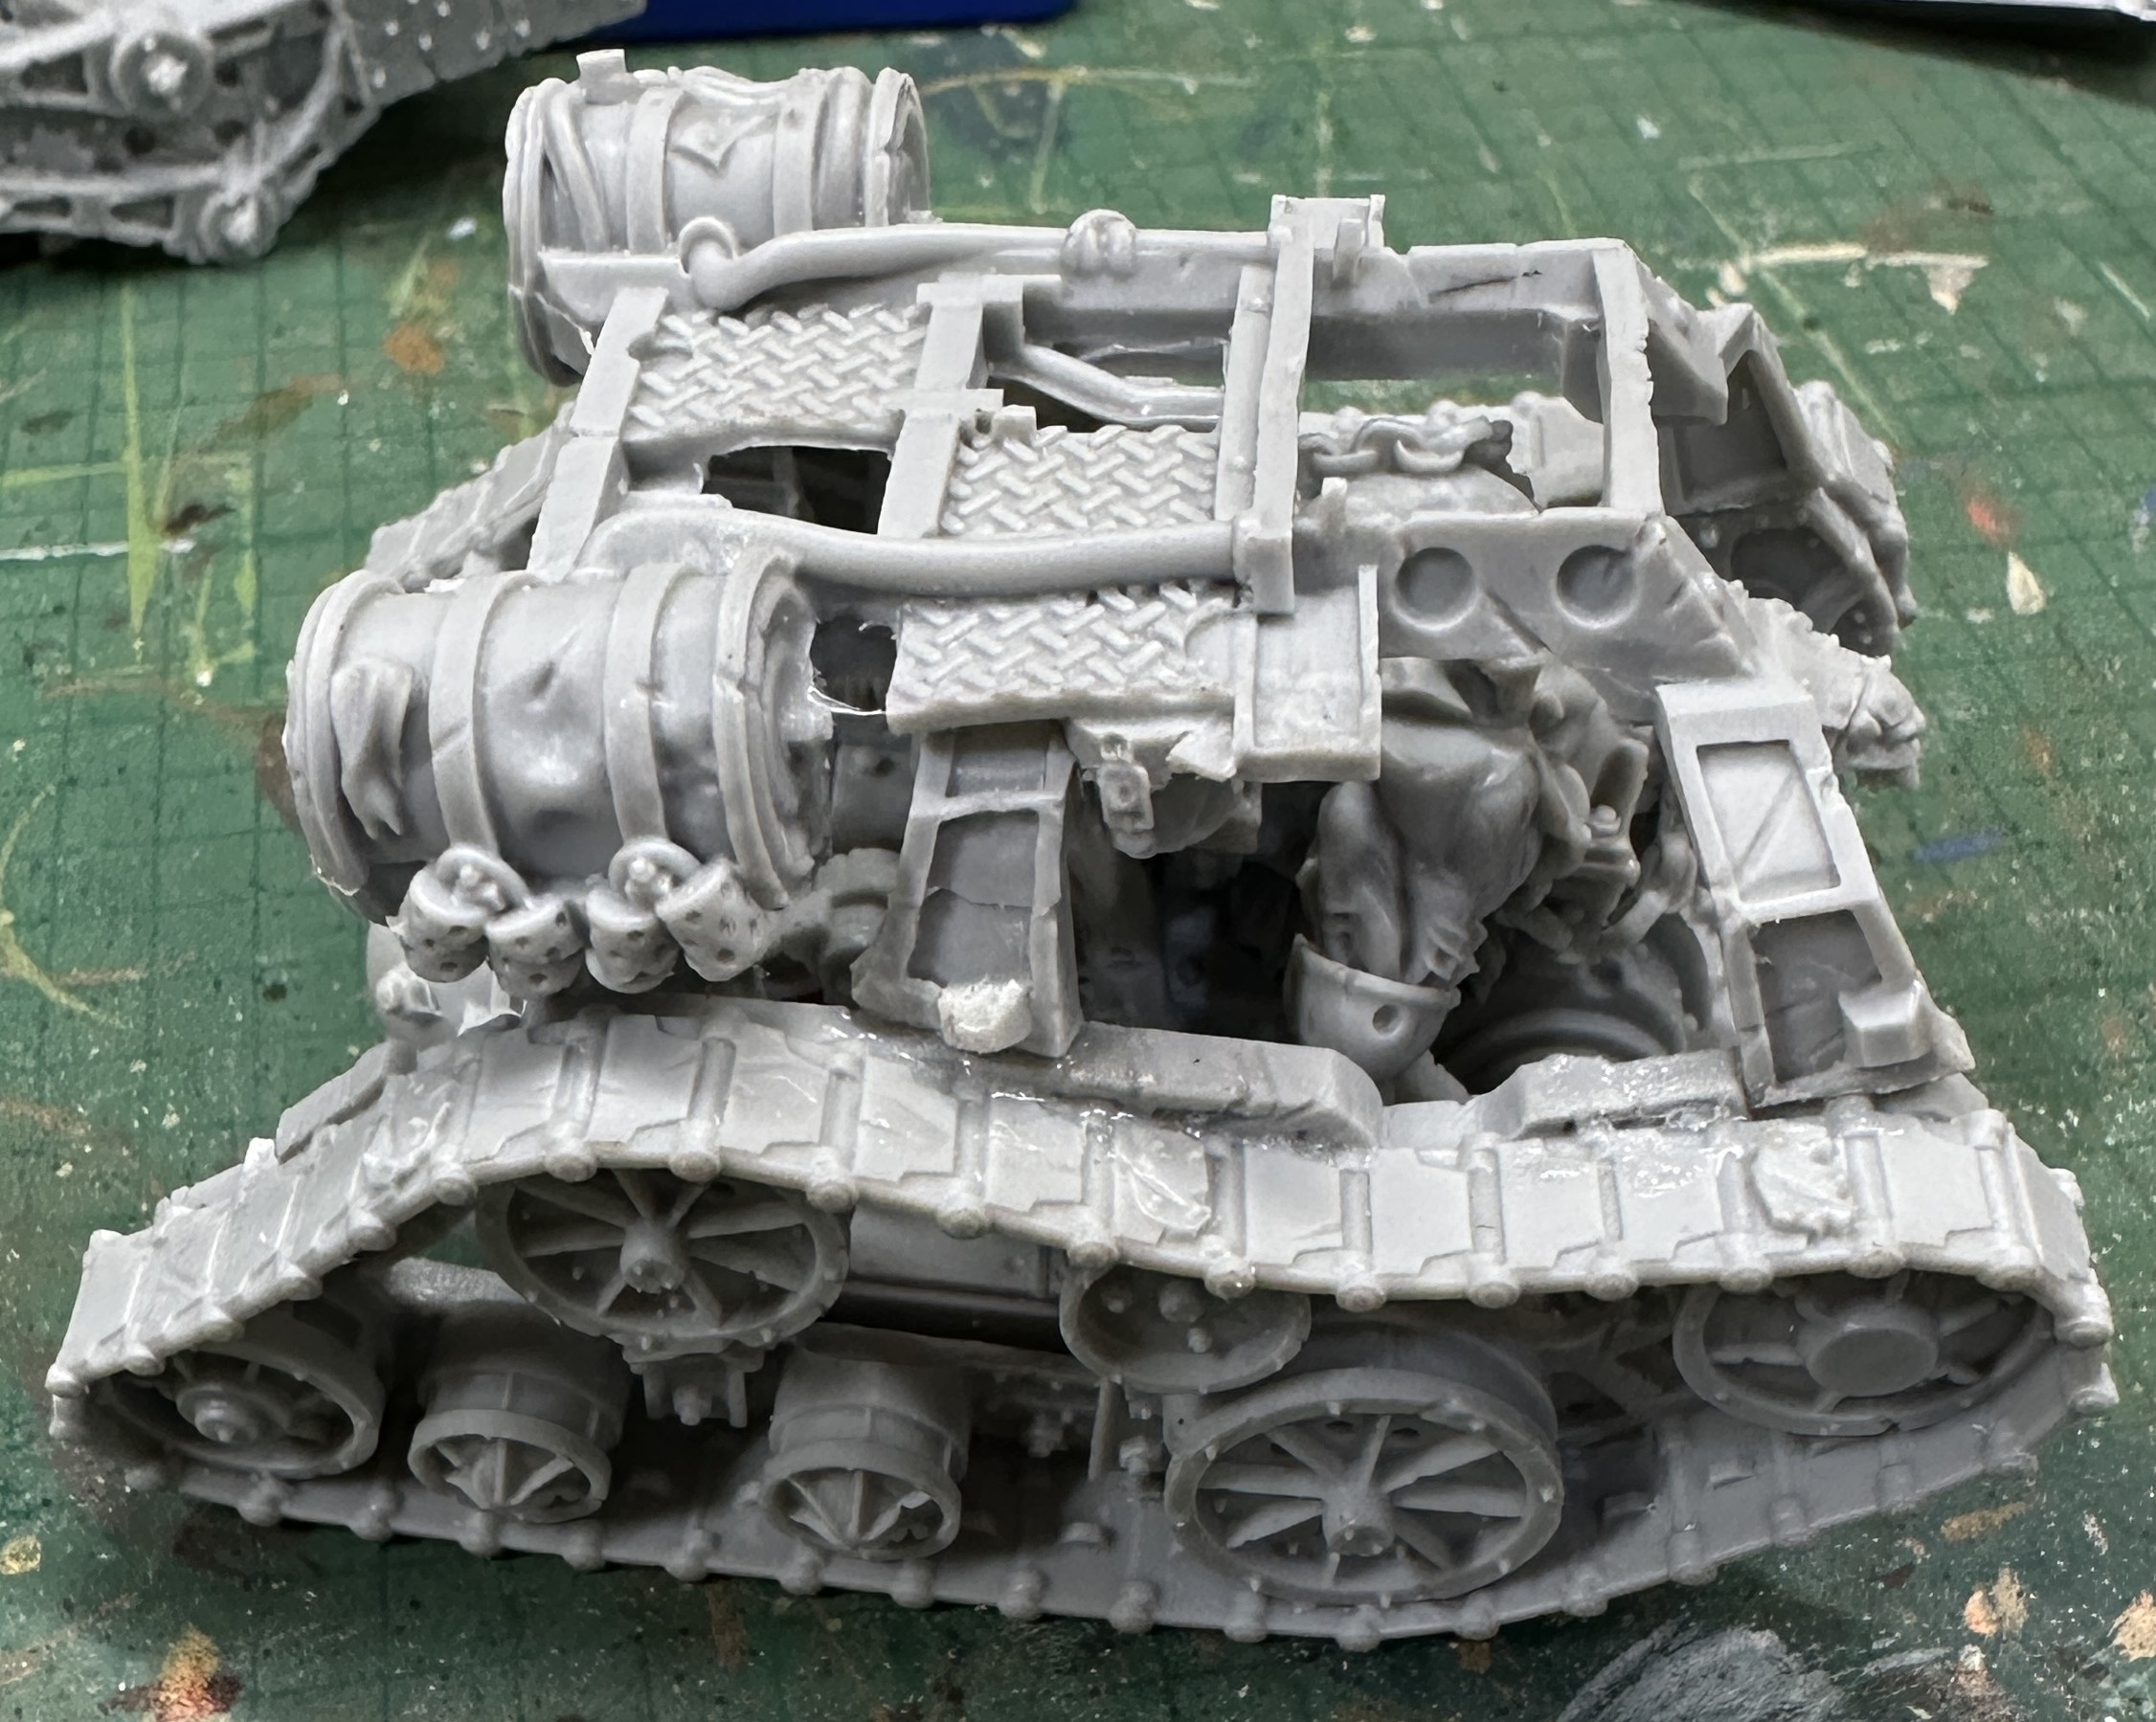
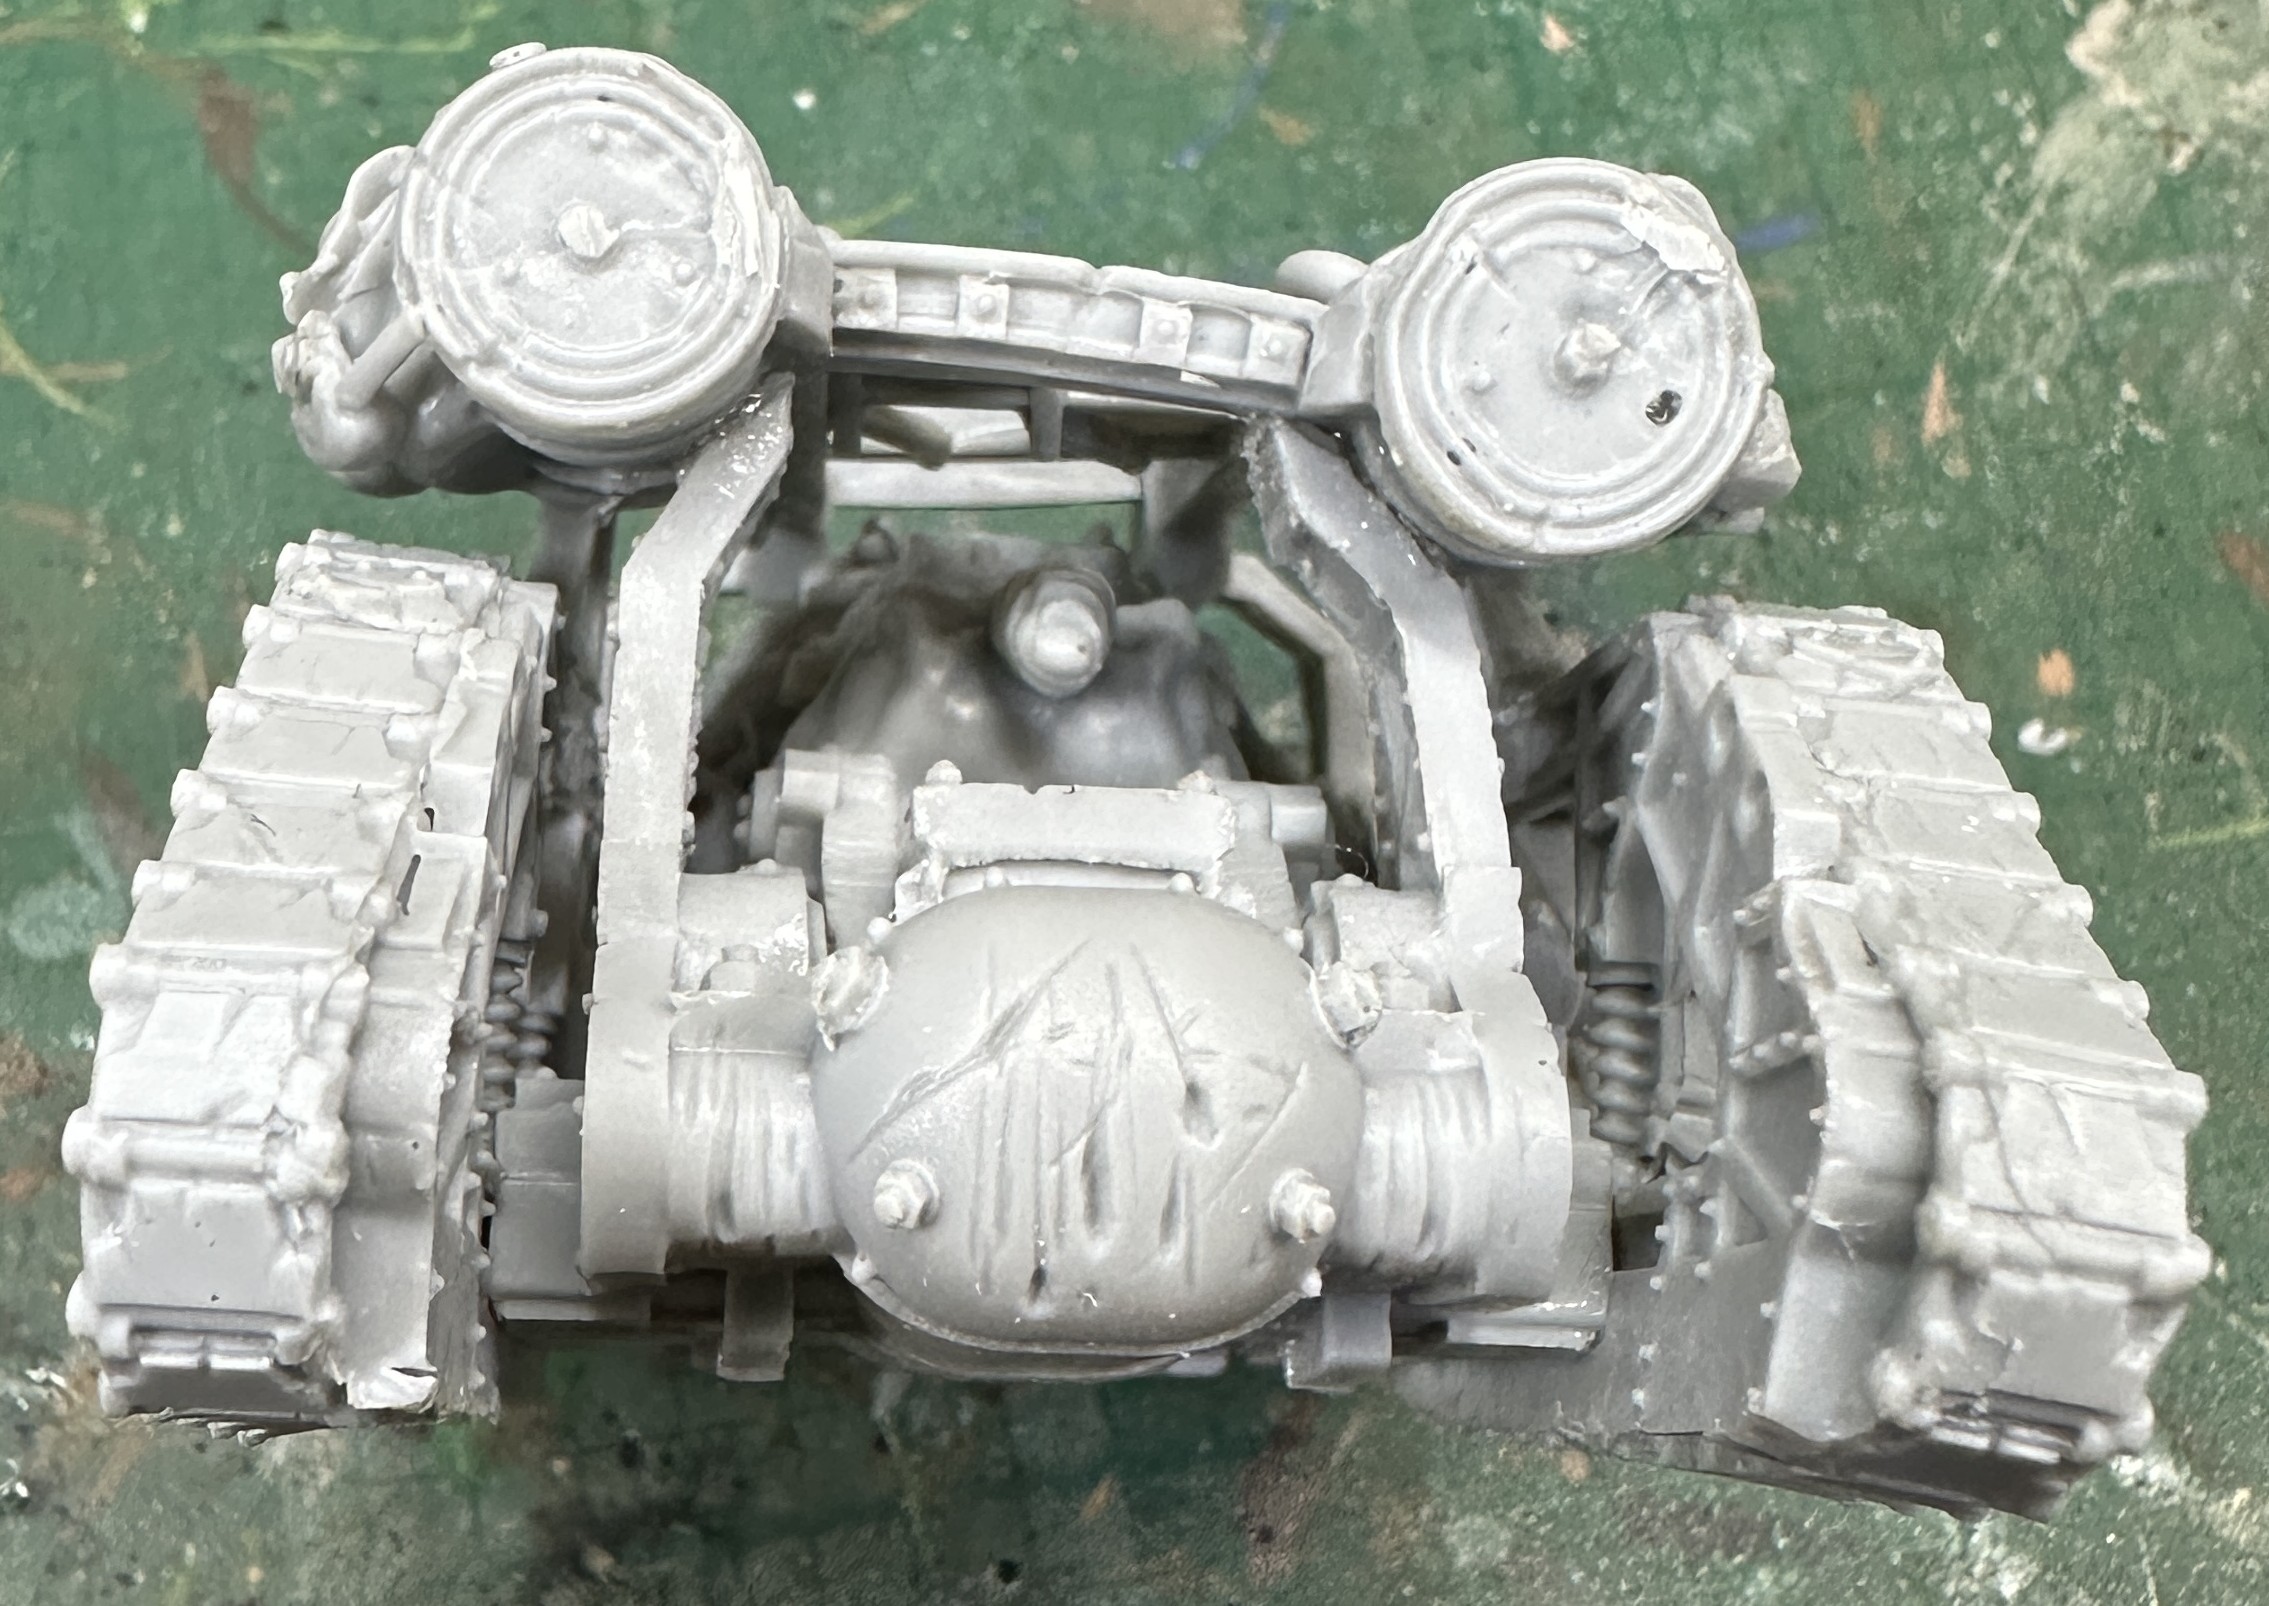
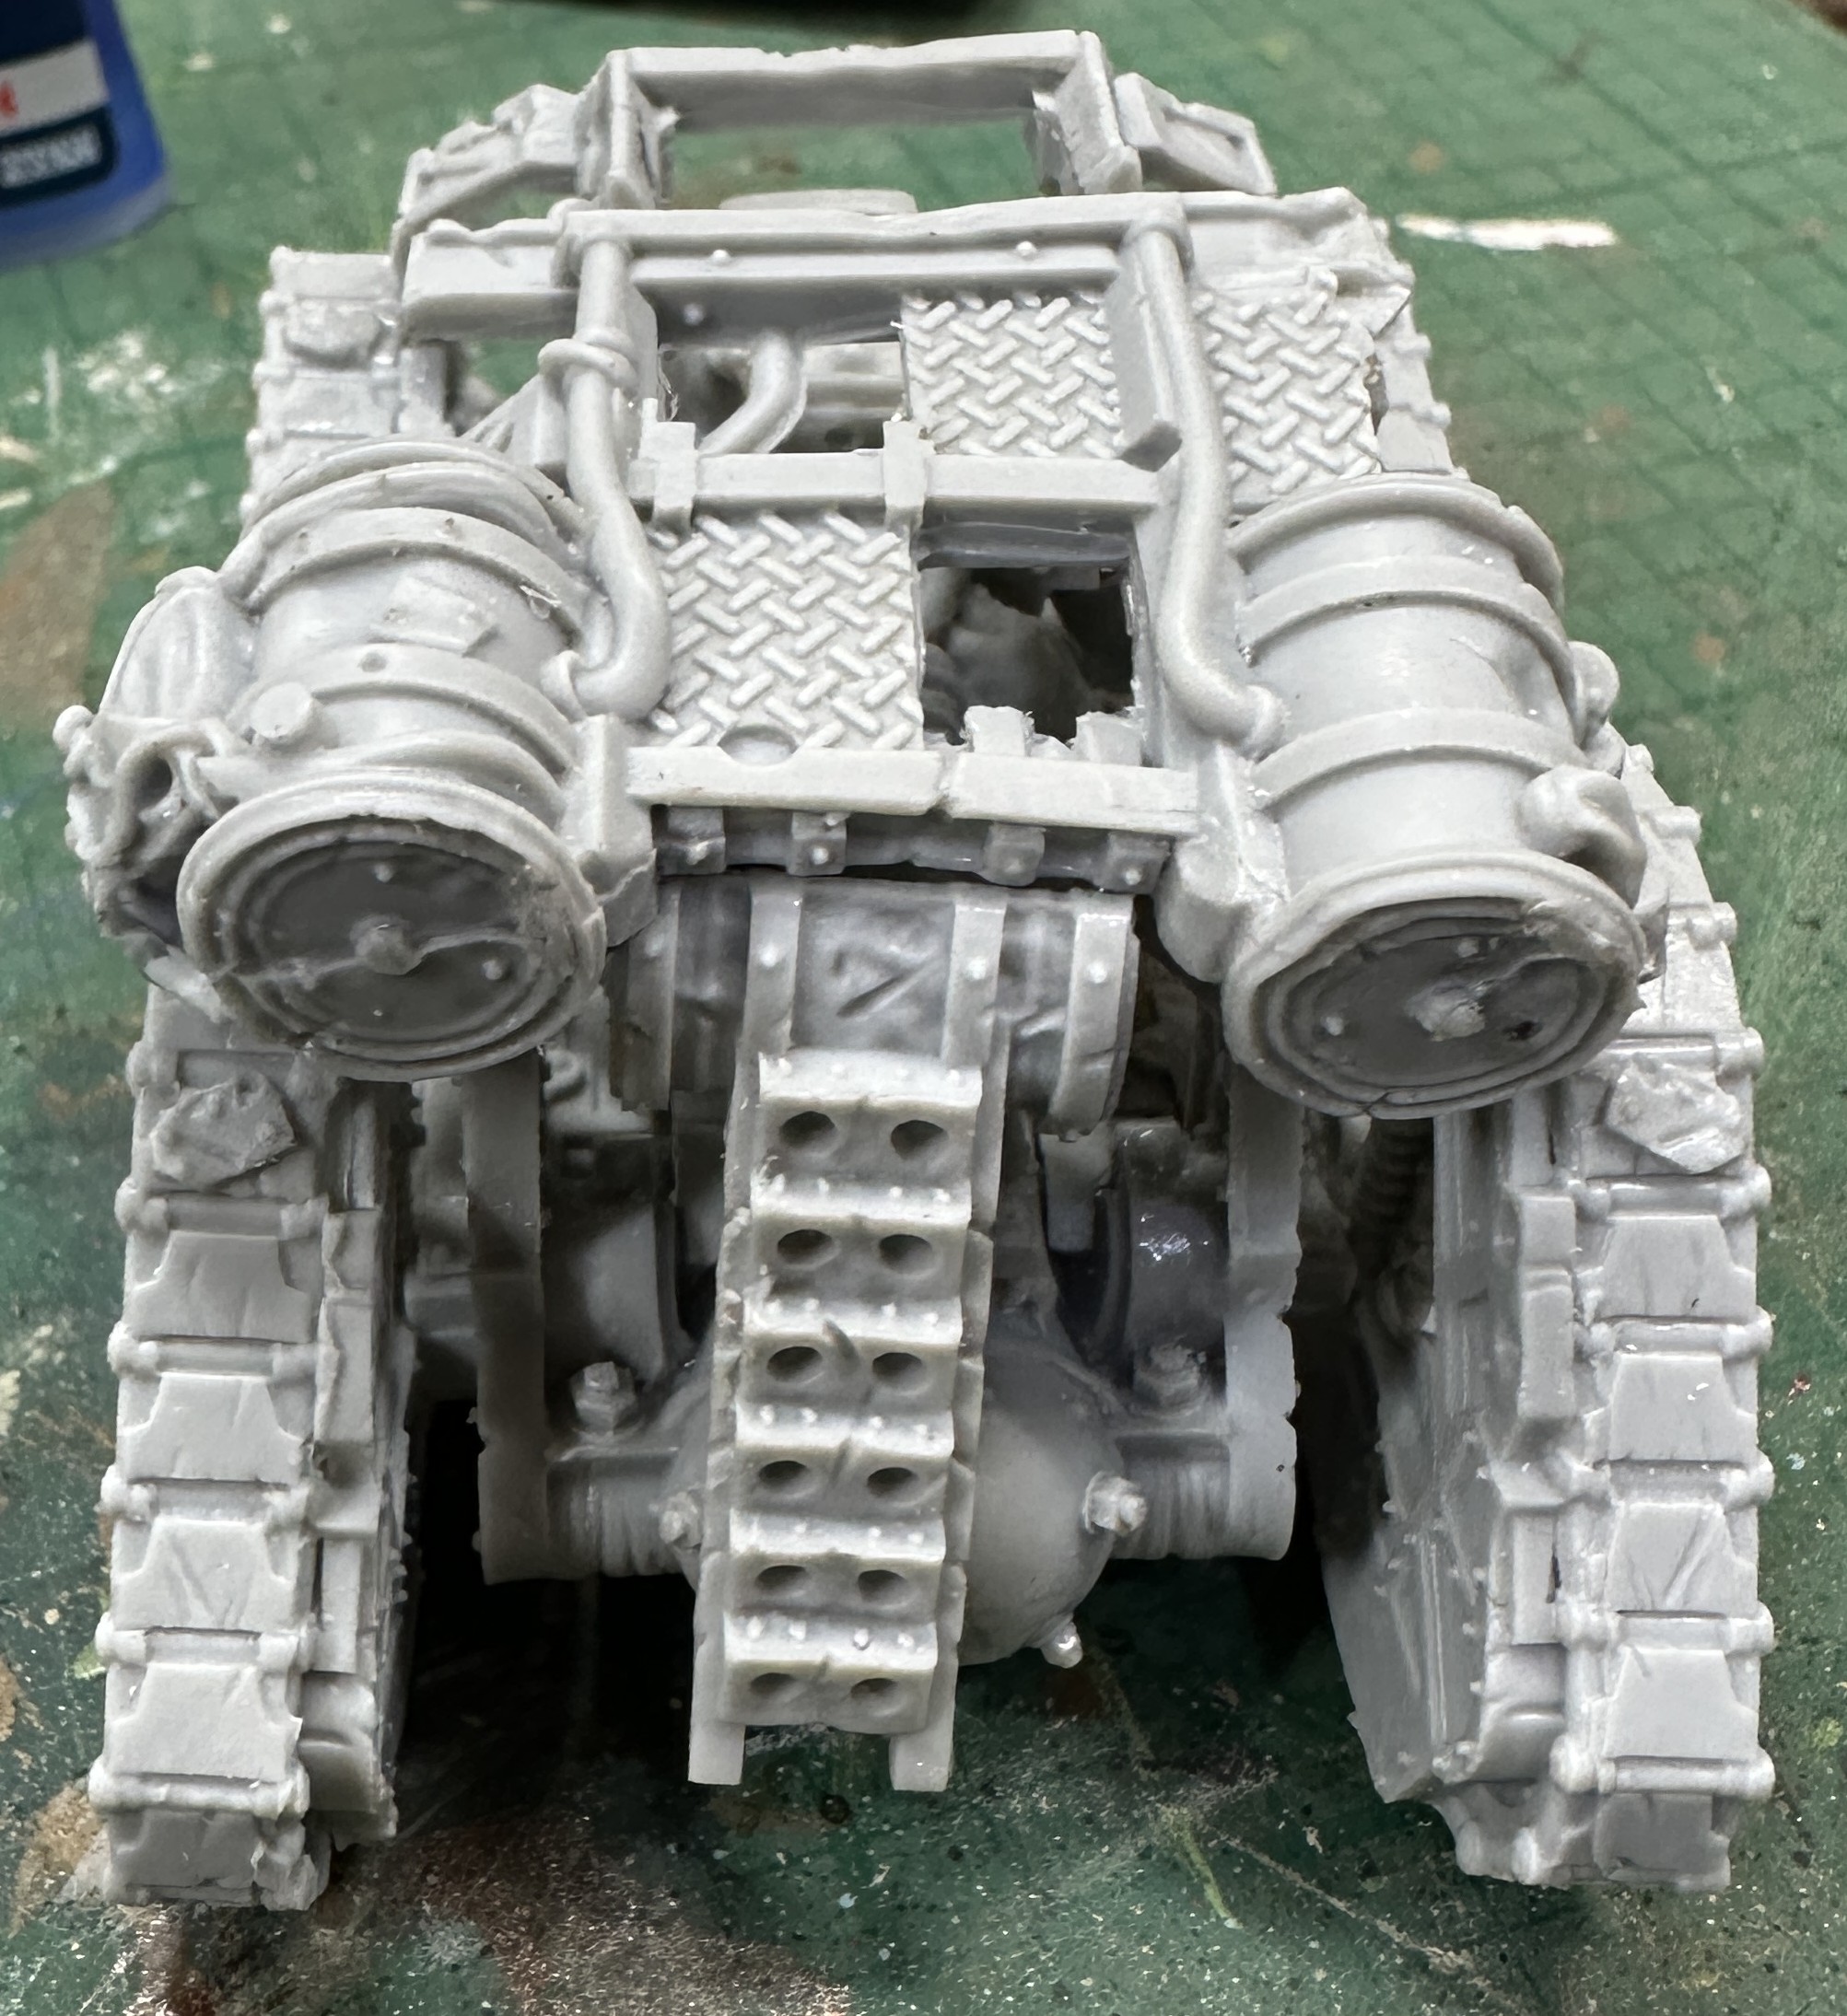
The trick to getting it in the right position is the rear. With no pictures of this to work from I test fitted the part lots of times until I got it to match the photos of the front as close as possible. At the back the two bits sticking up from the lower hull need to rest nicely on the inner side of the barrels, between the cast details.
Additionally there are lugs on the bottom of the frame ends but no lug holes in the lower frame. It is therefore hard to guess where it should fit. The amount of flex in this piece is not your friend at this point as the front struts can bend into several plausible positions. There are some tempting looking recesses but in the end I chose a slightly more prominent and longer section that was the best to adapt the pieces to fit to.
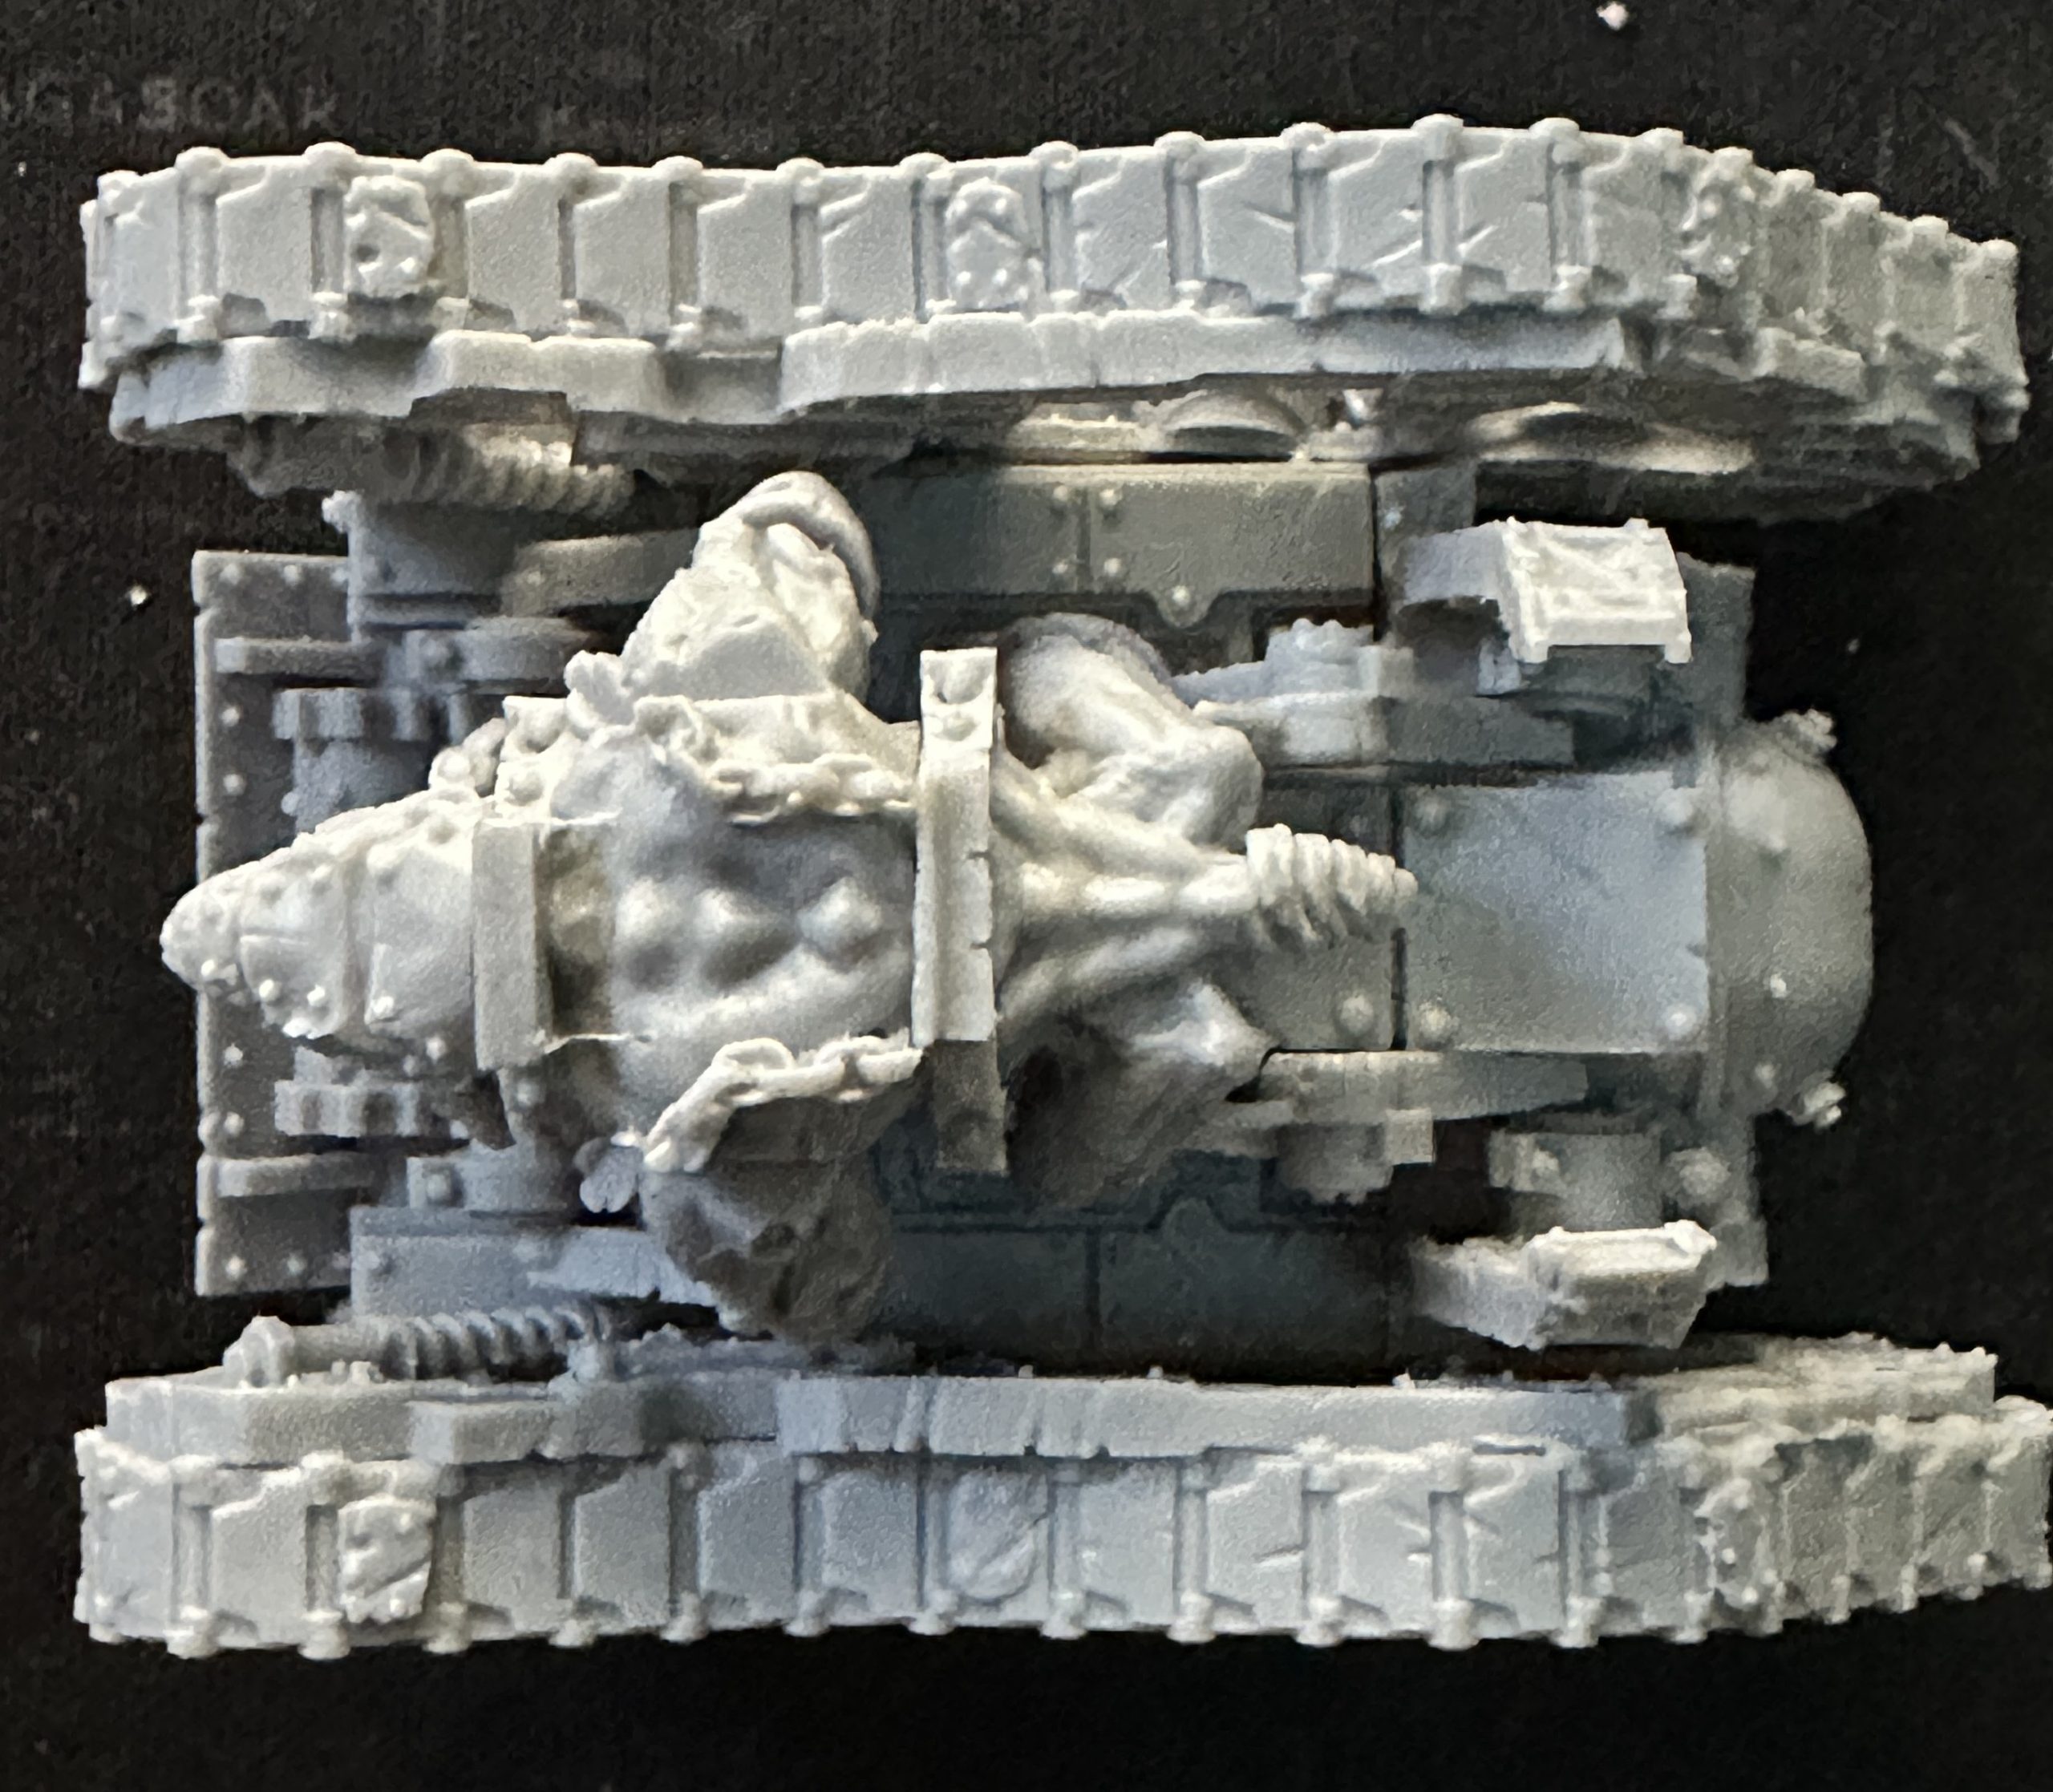
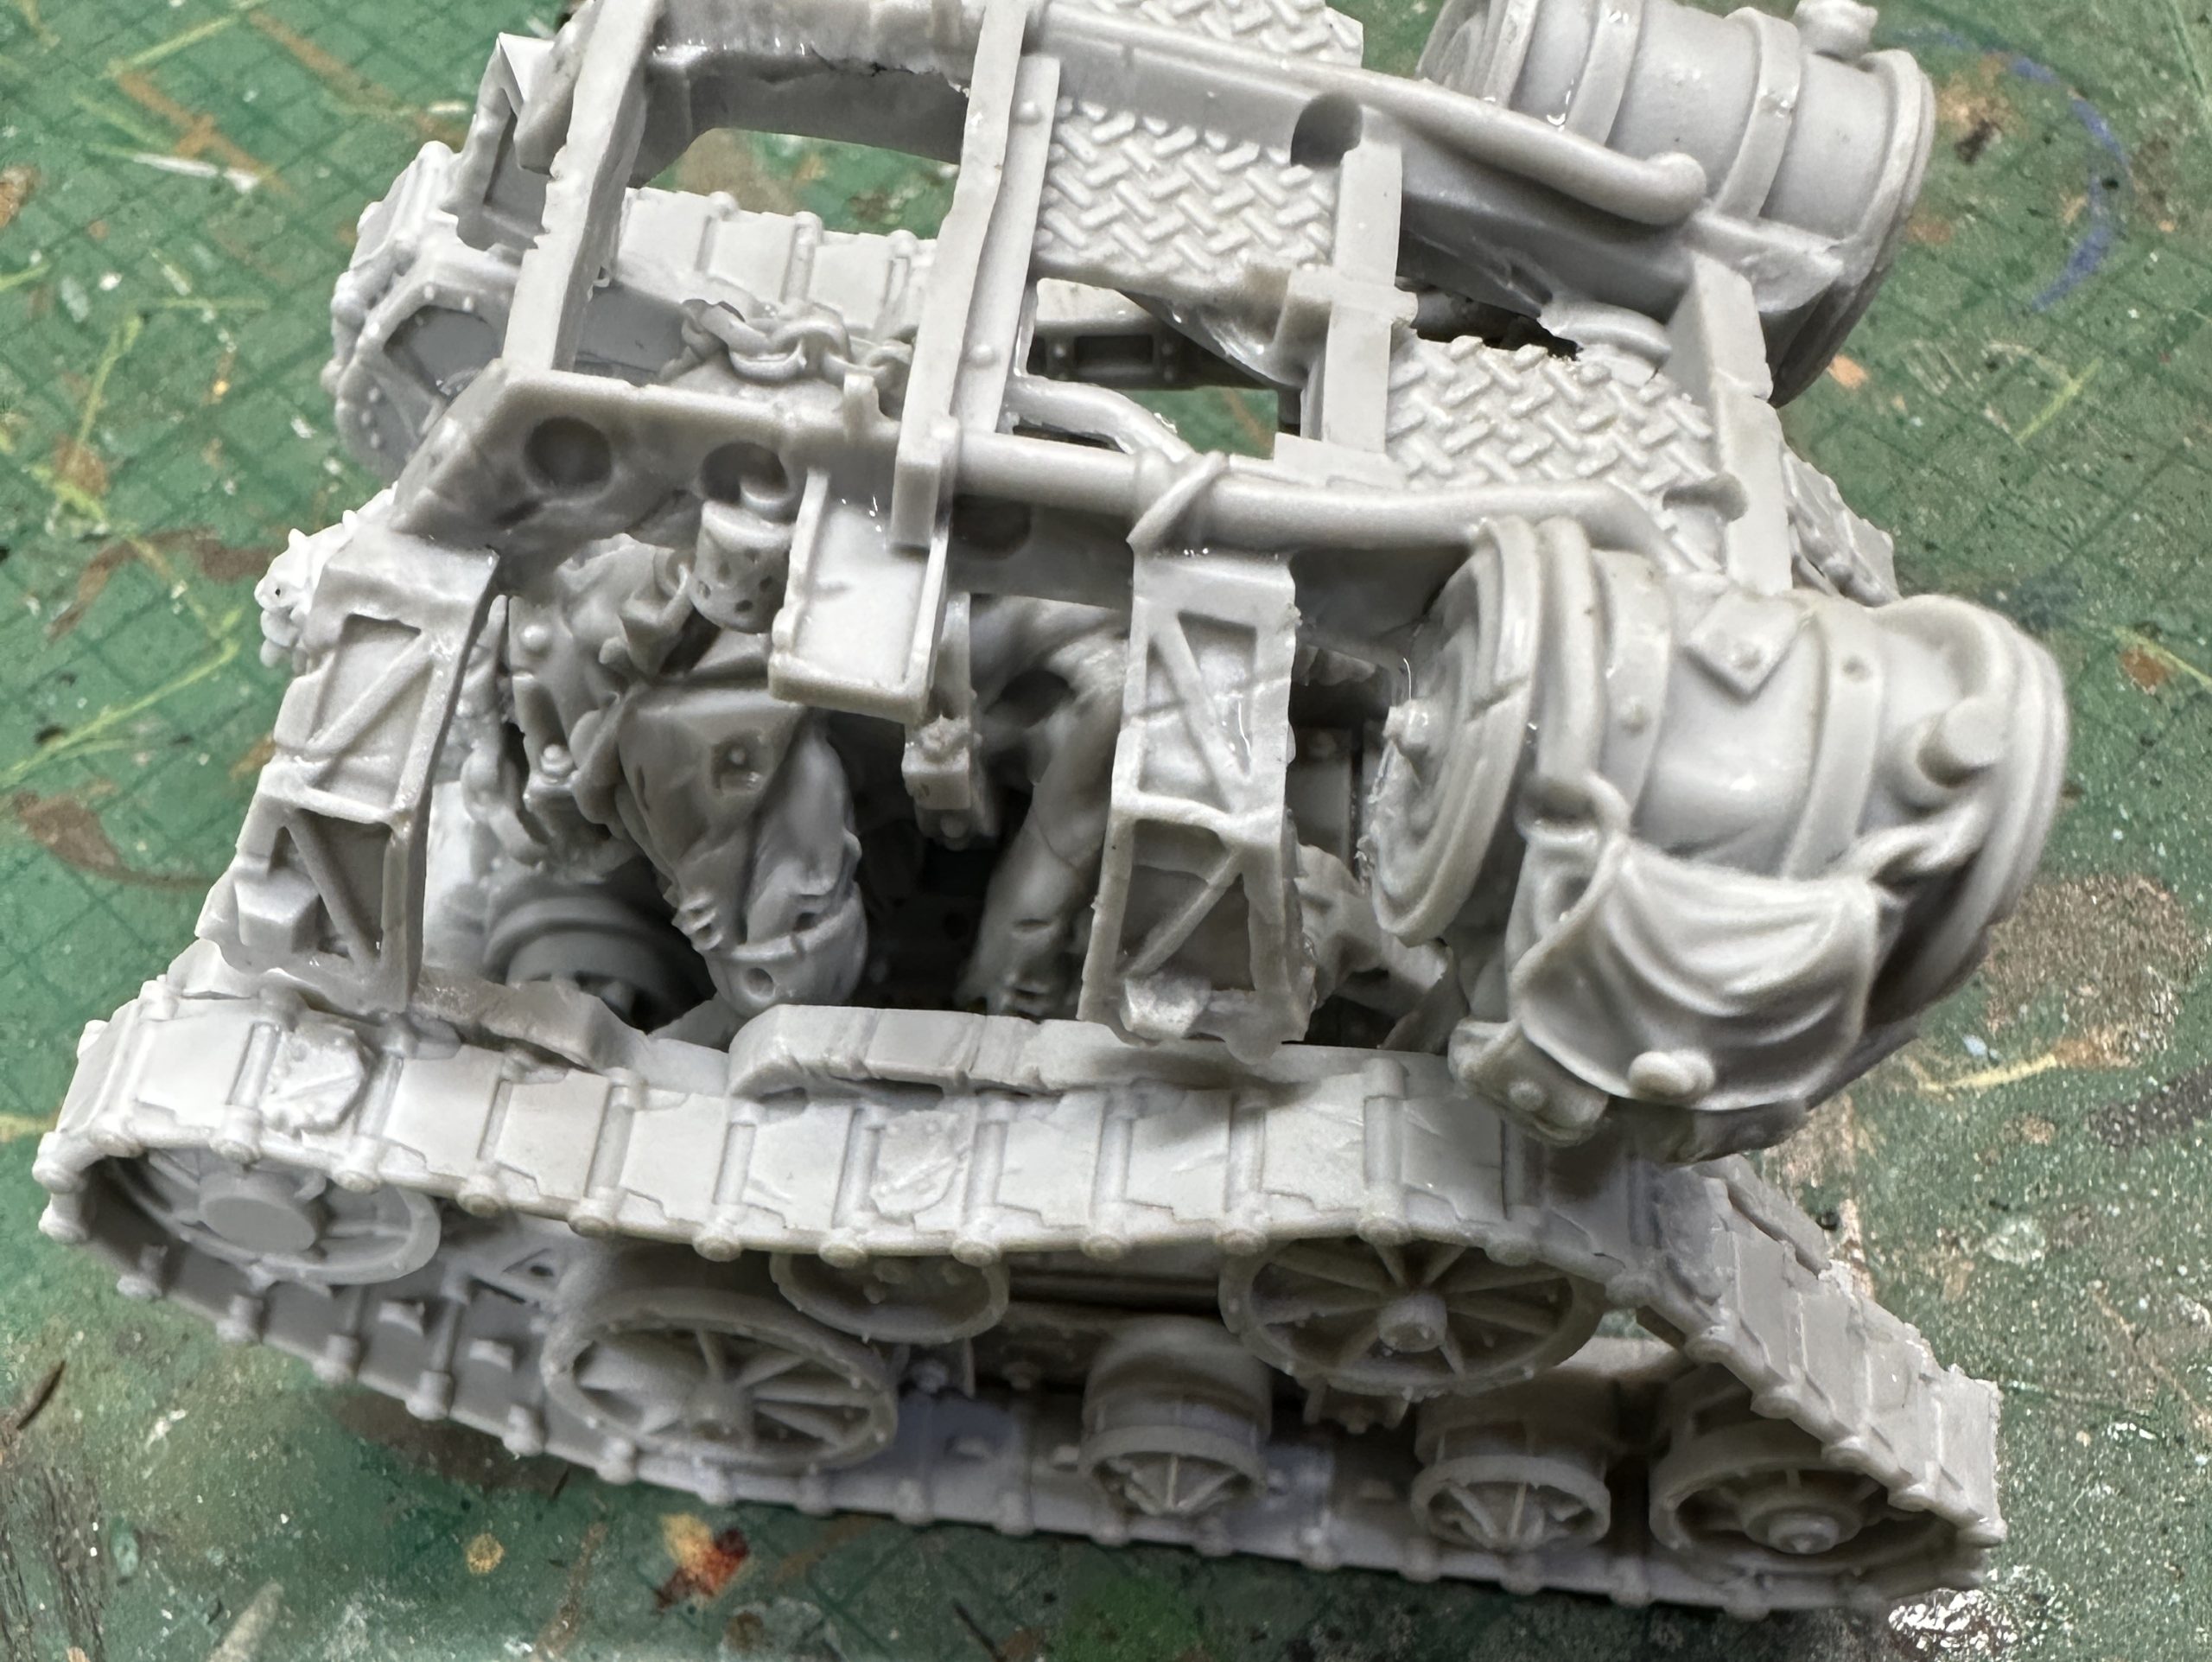
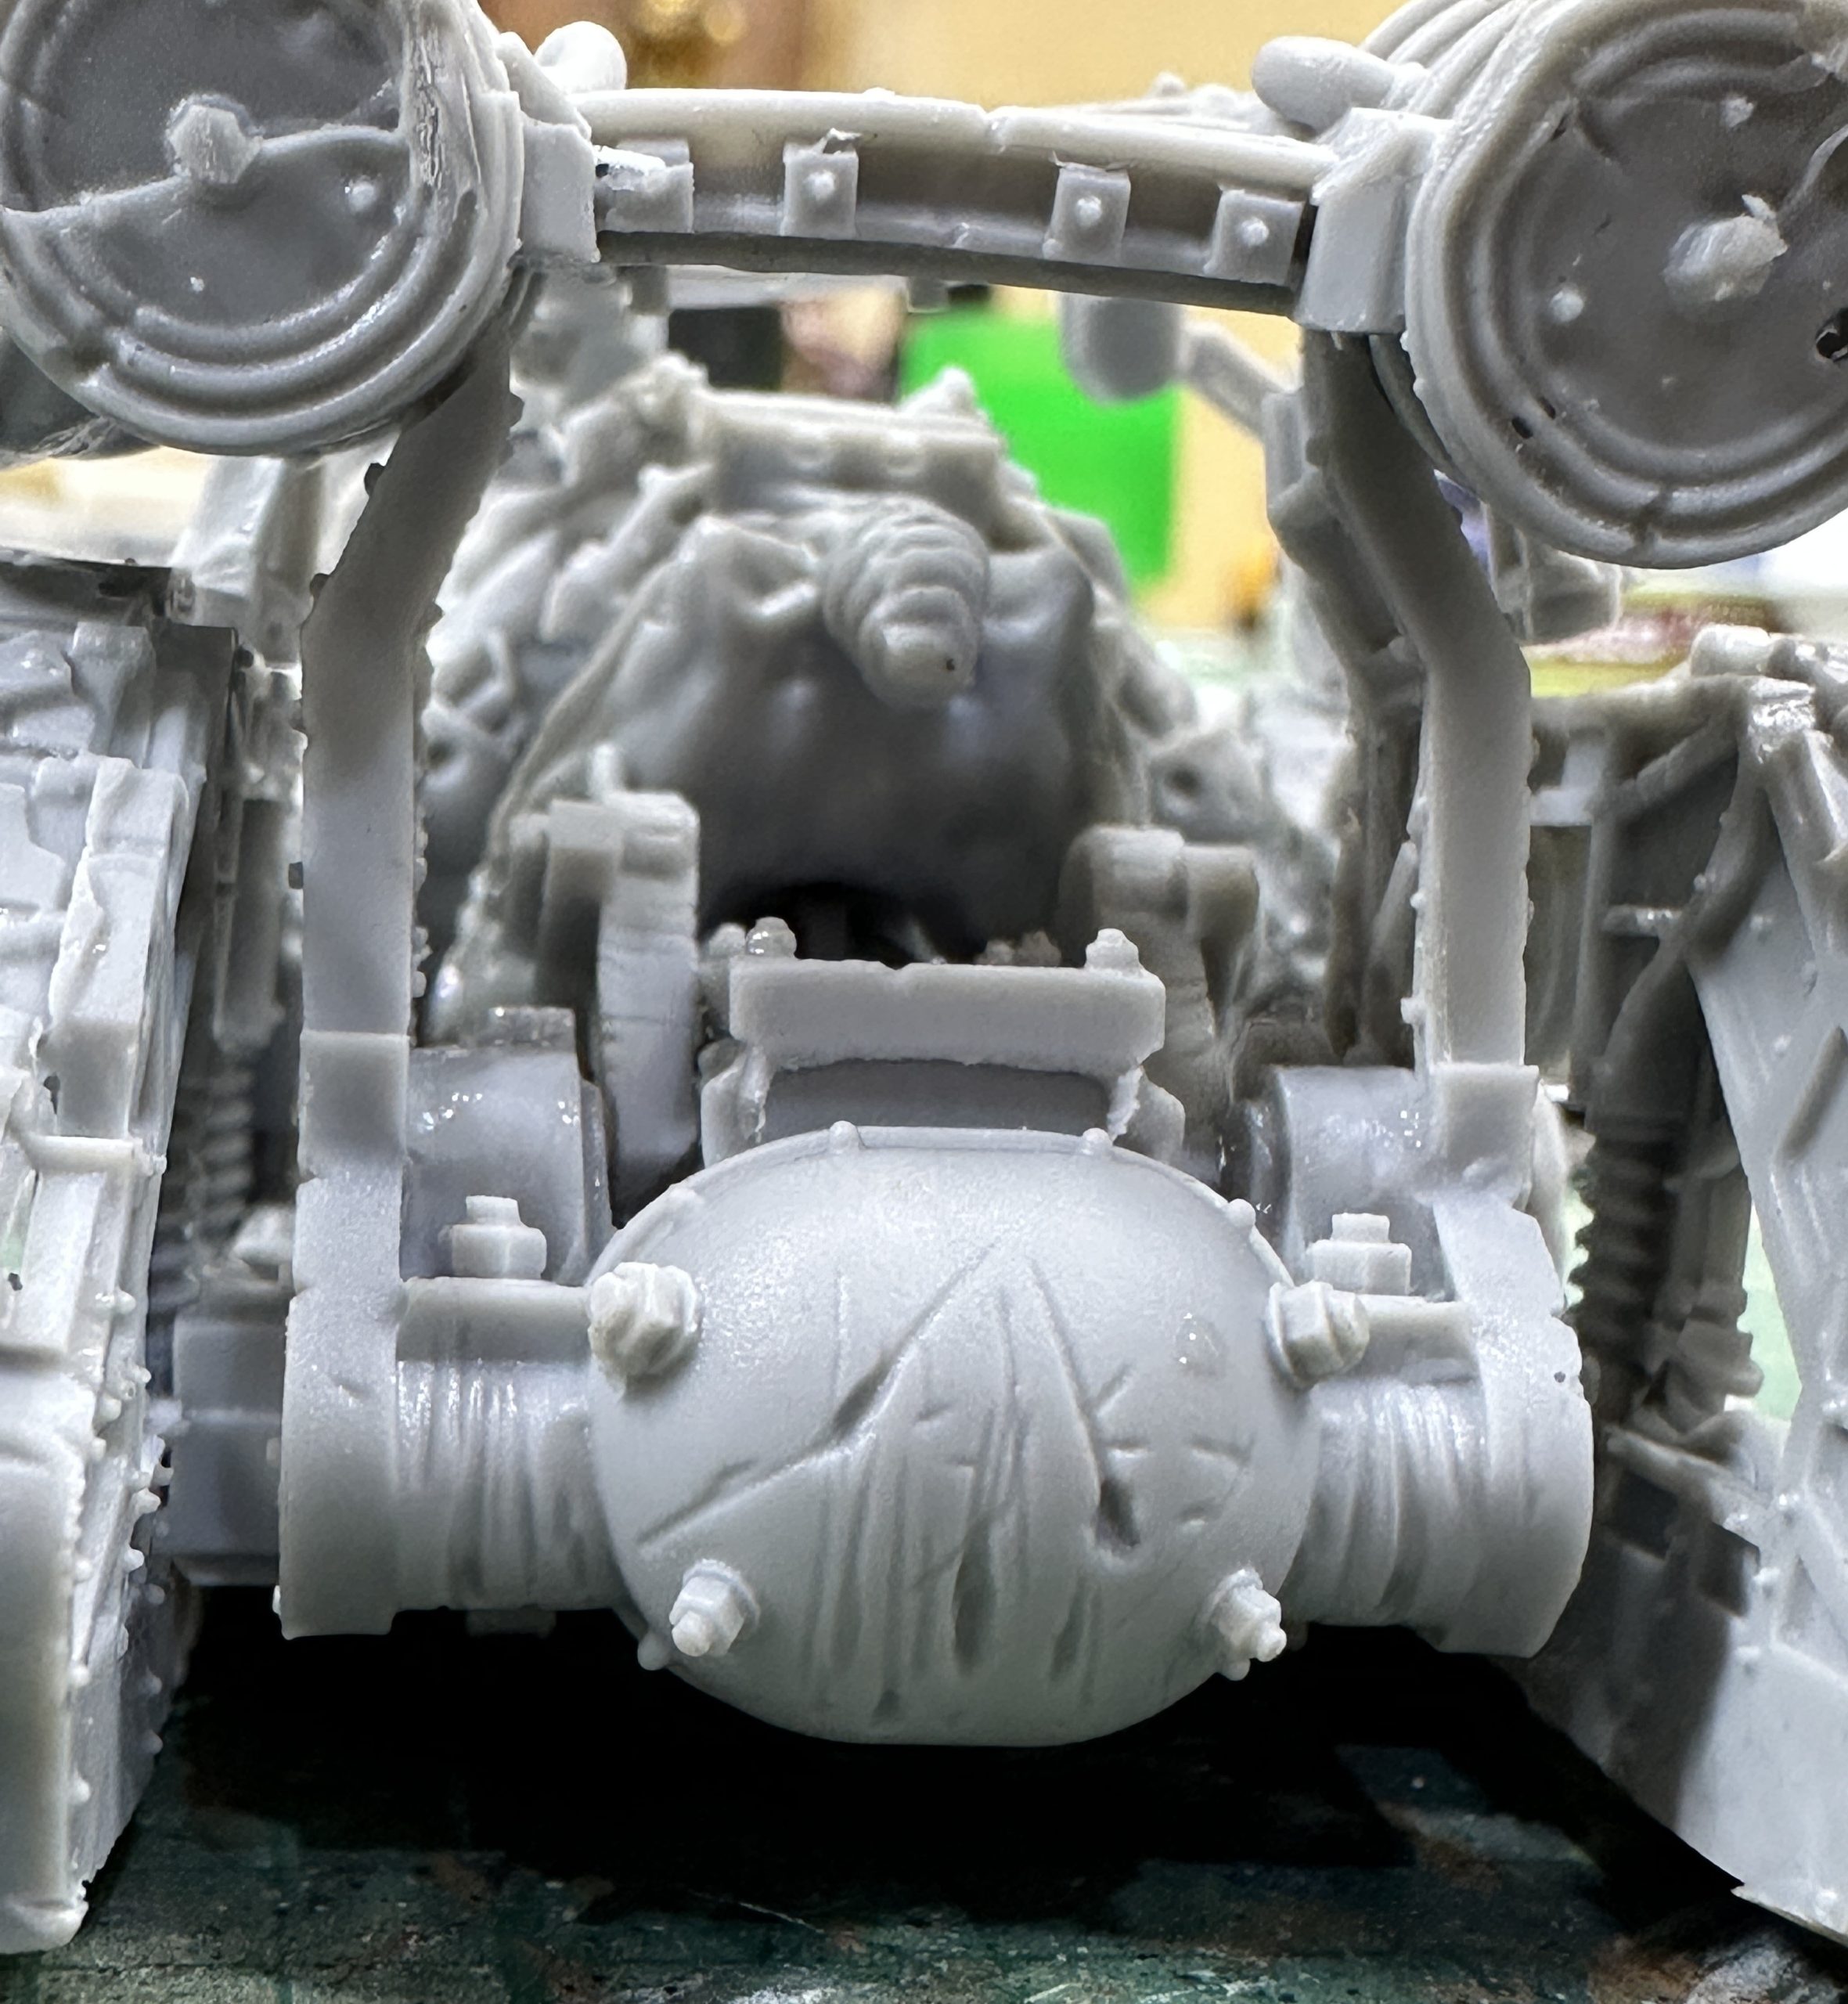
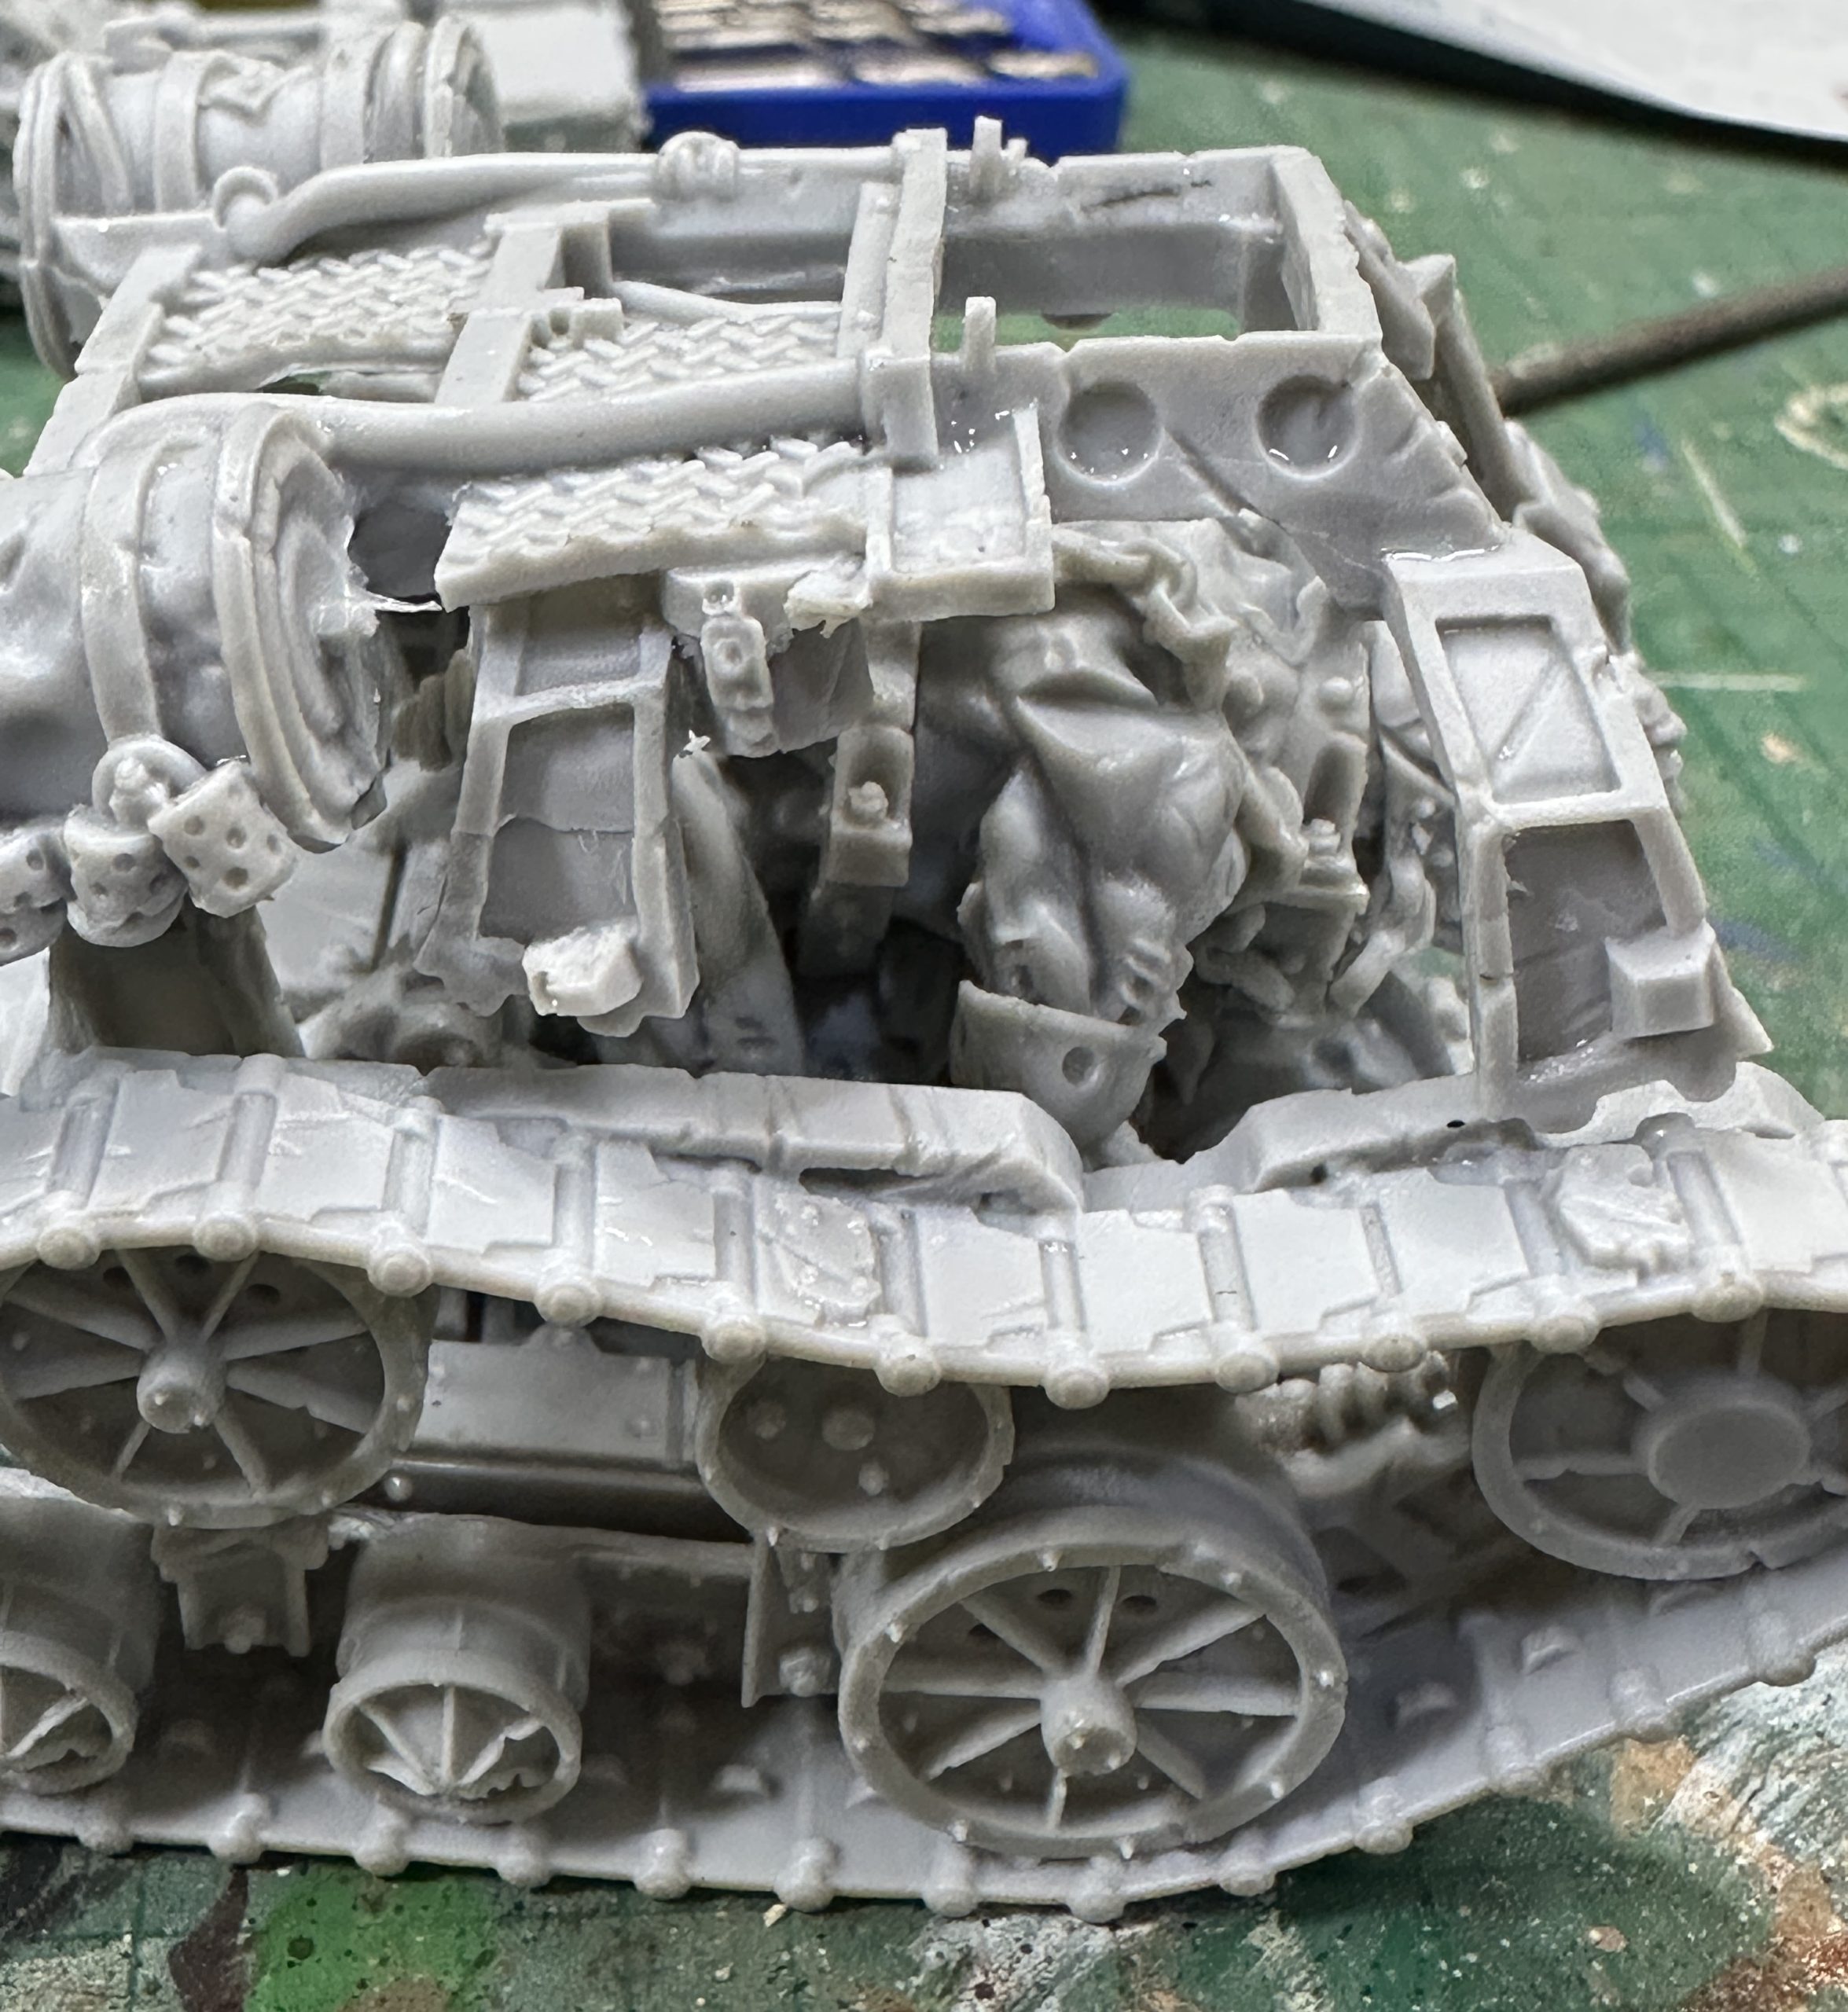
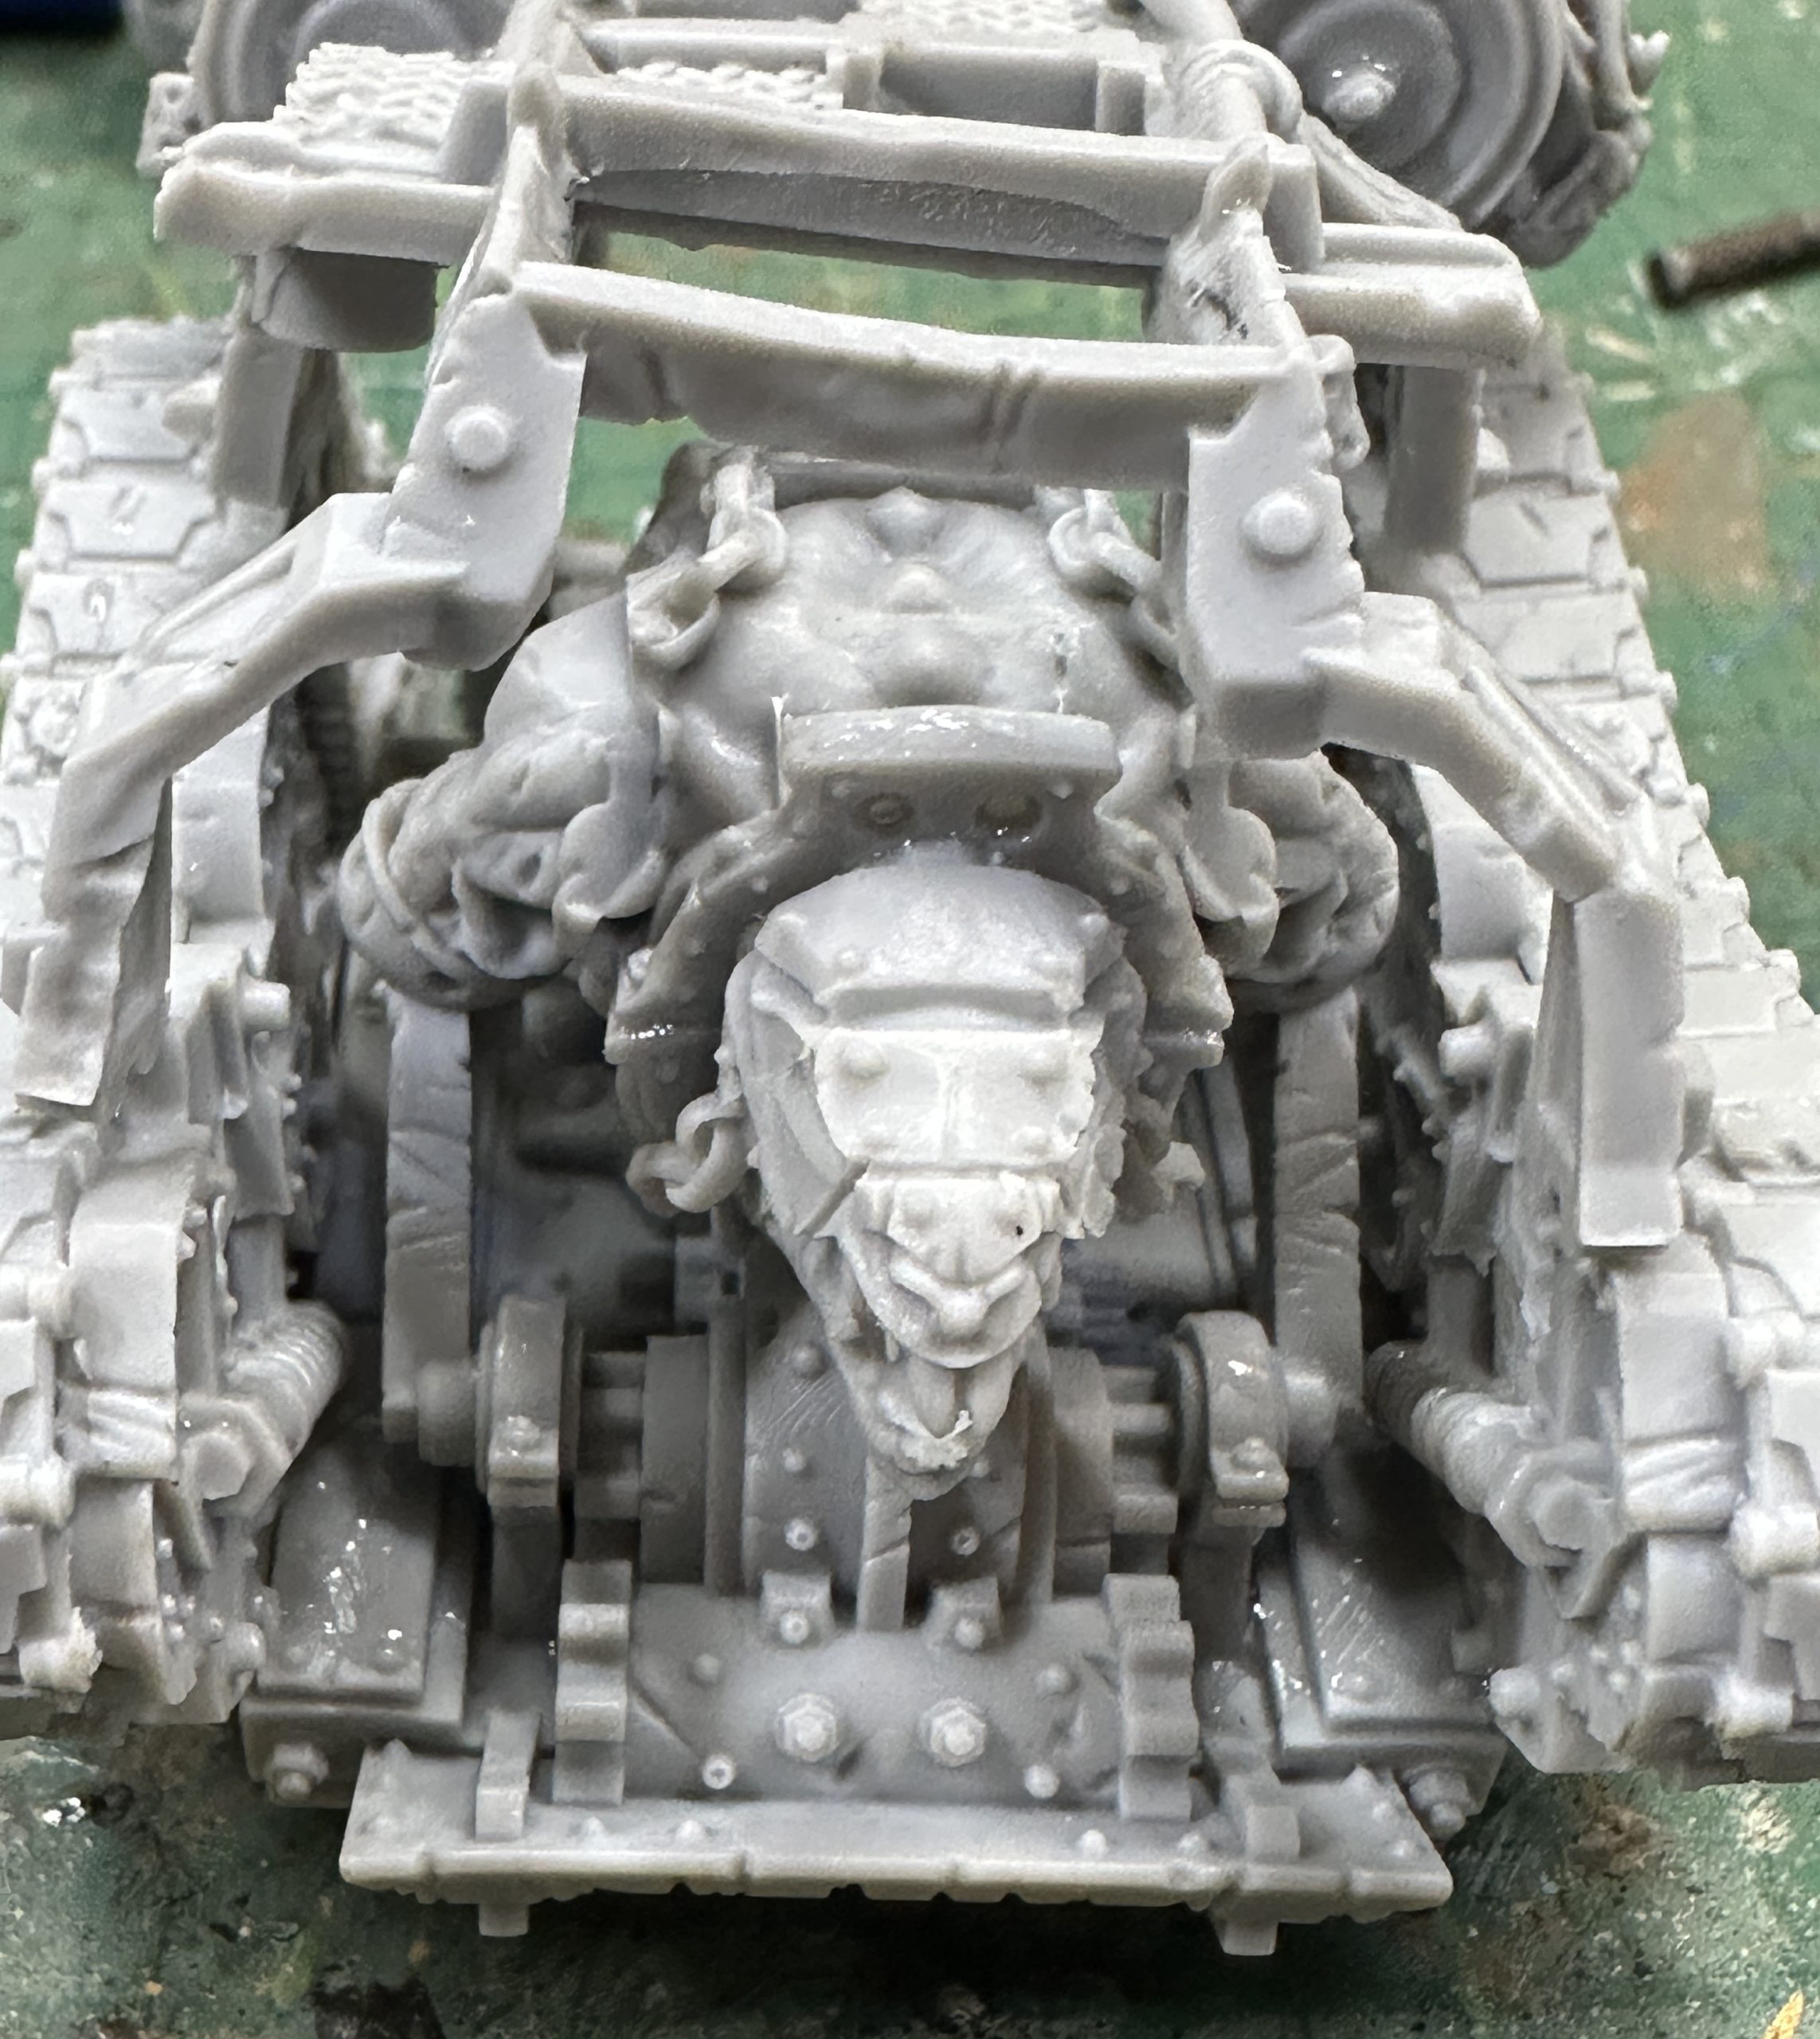
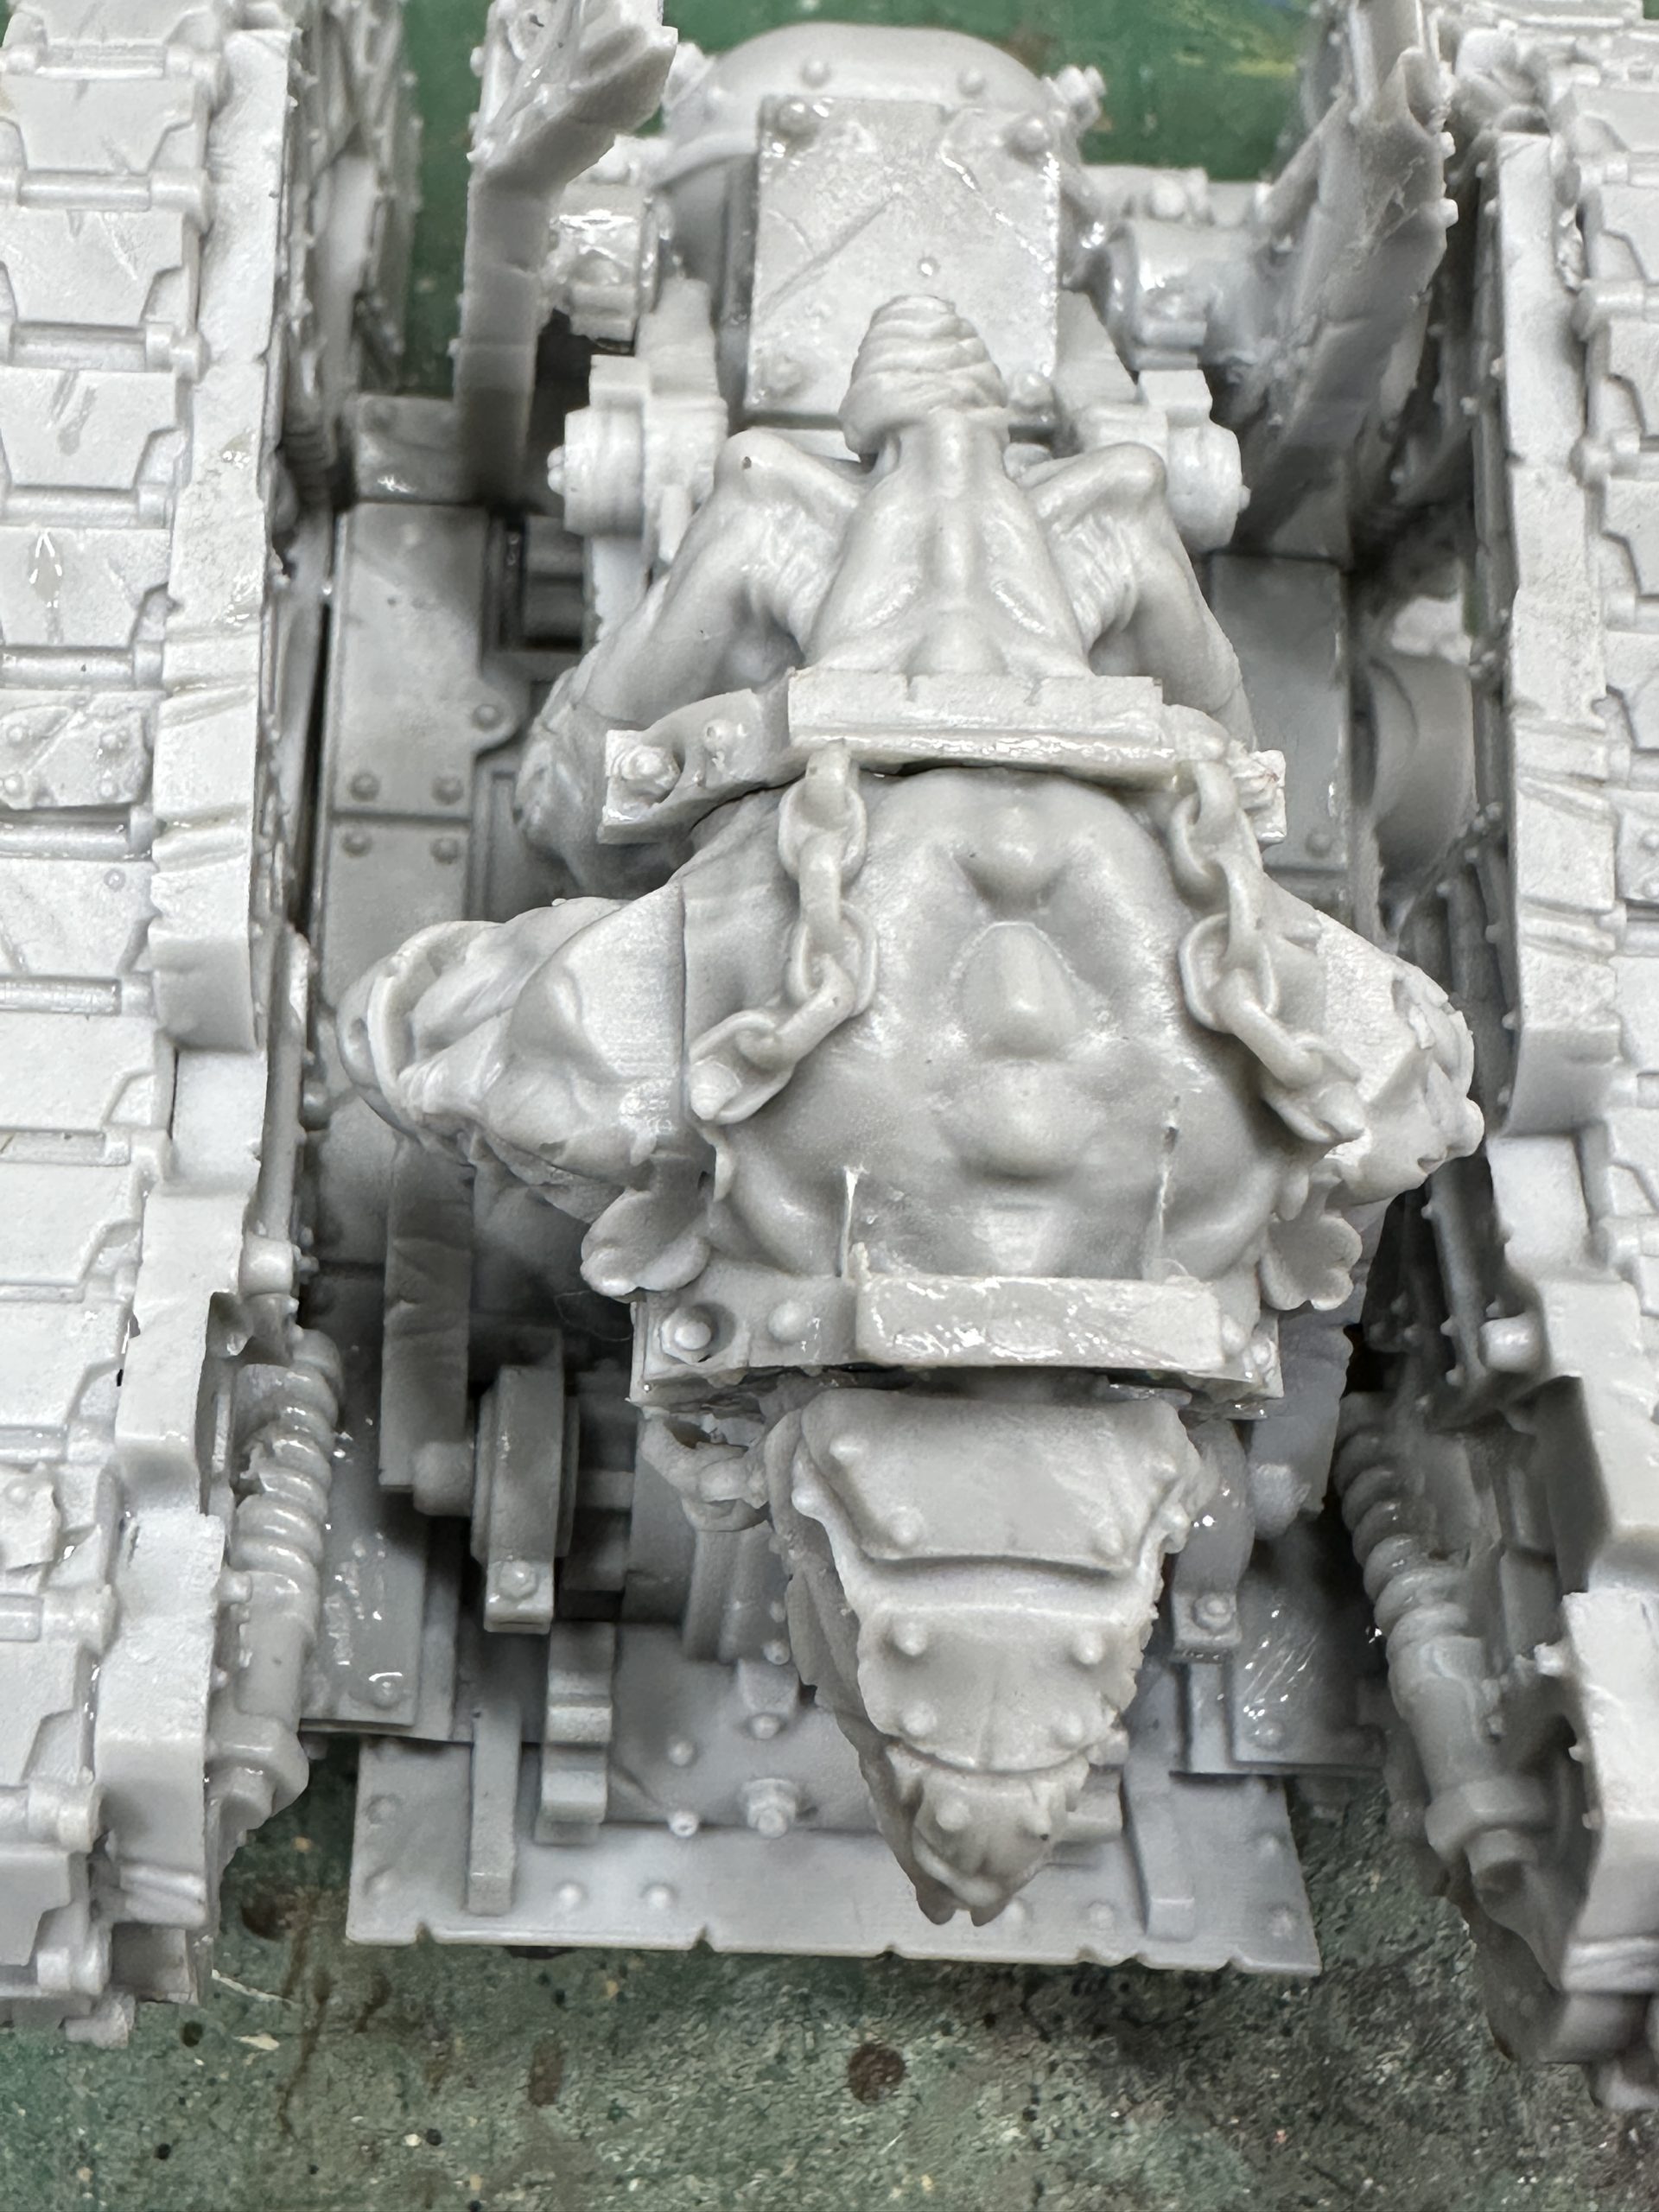
When in position with glue on, mine slipped a bit at the back, due to the twist I hadn’t fully straightened out. It will be okay as it is still fairly flat and the mis-positioning won’t stop other pieces from fitting.
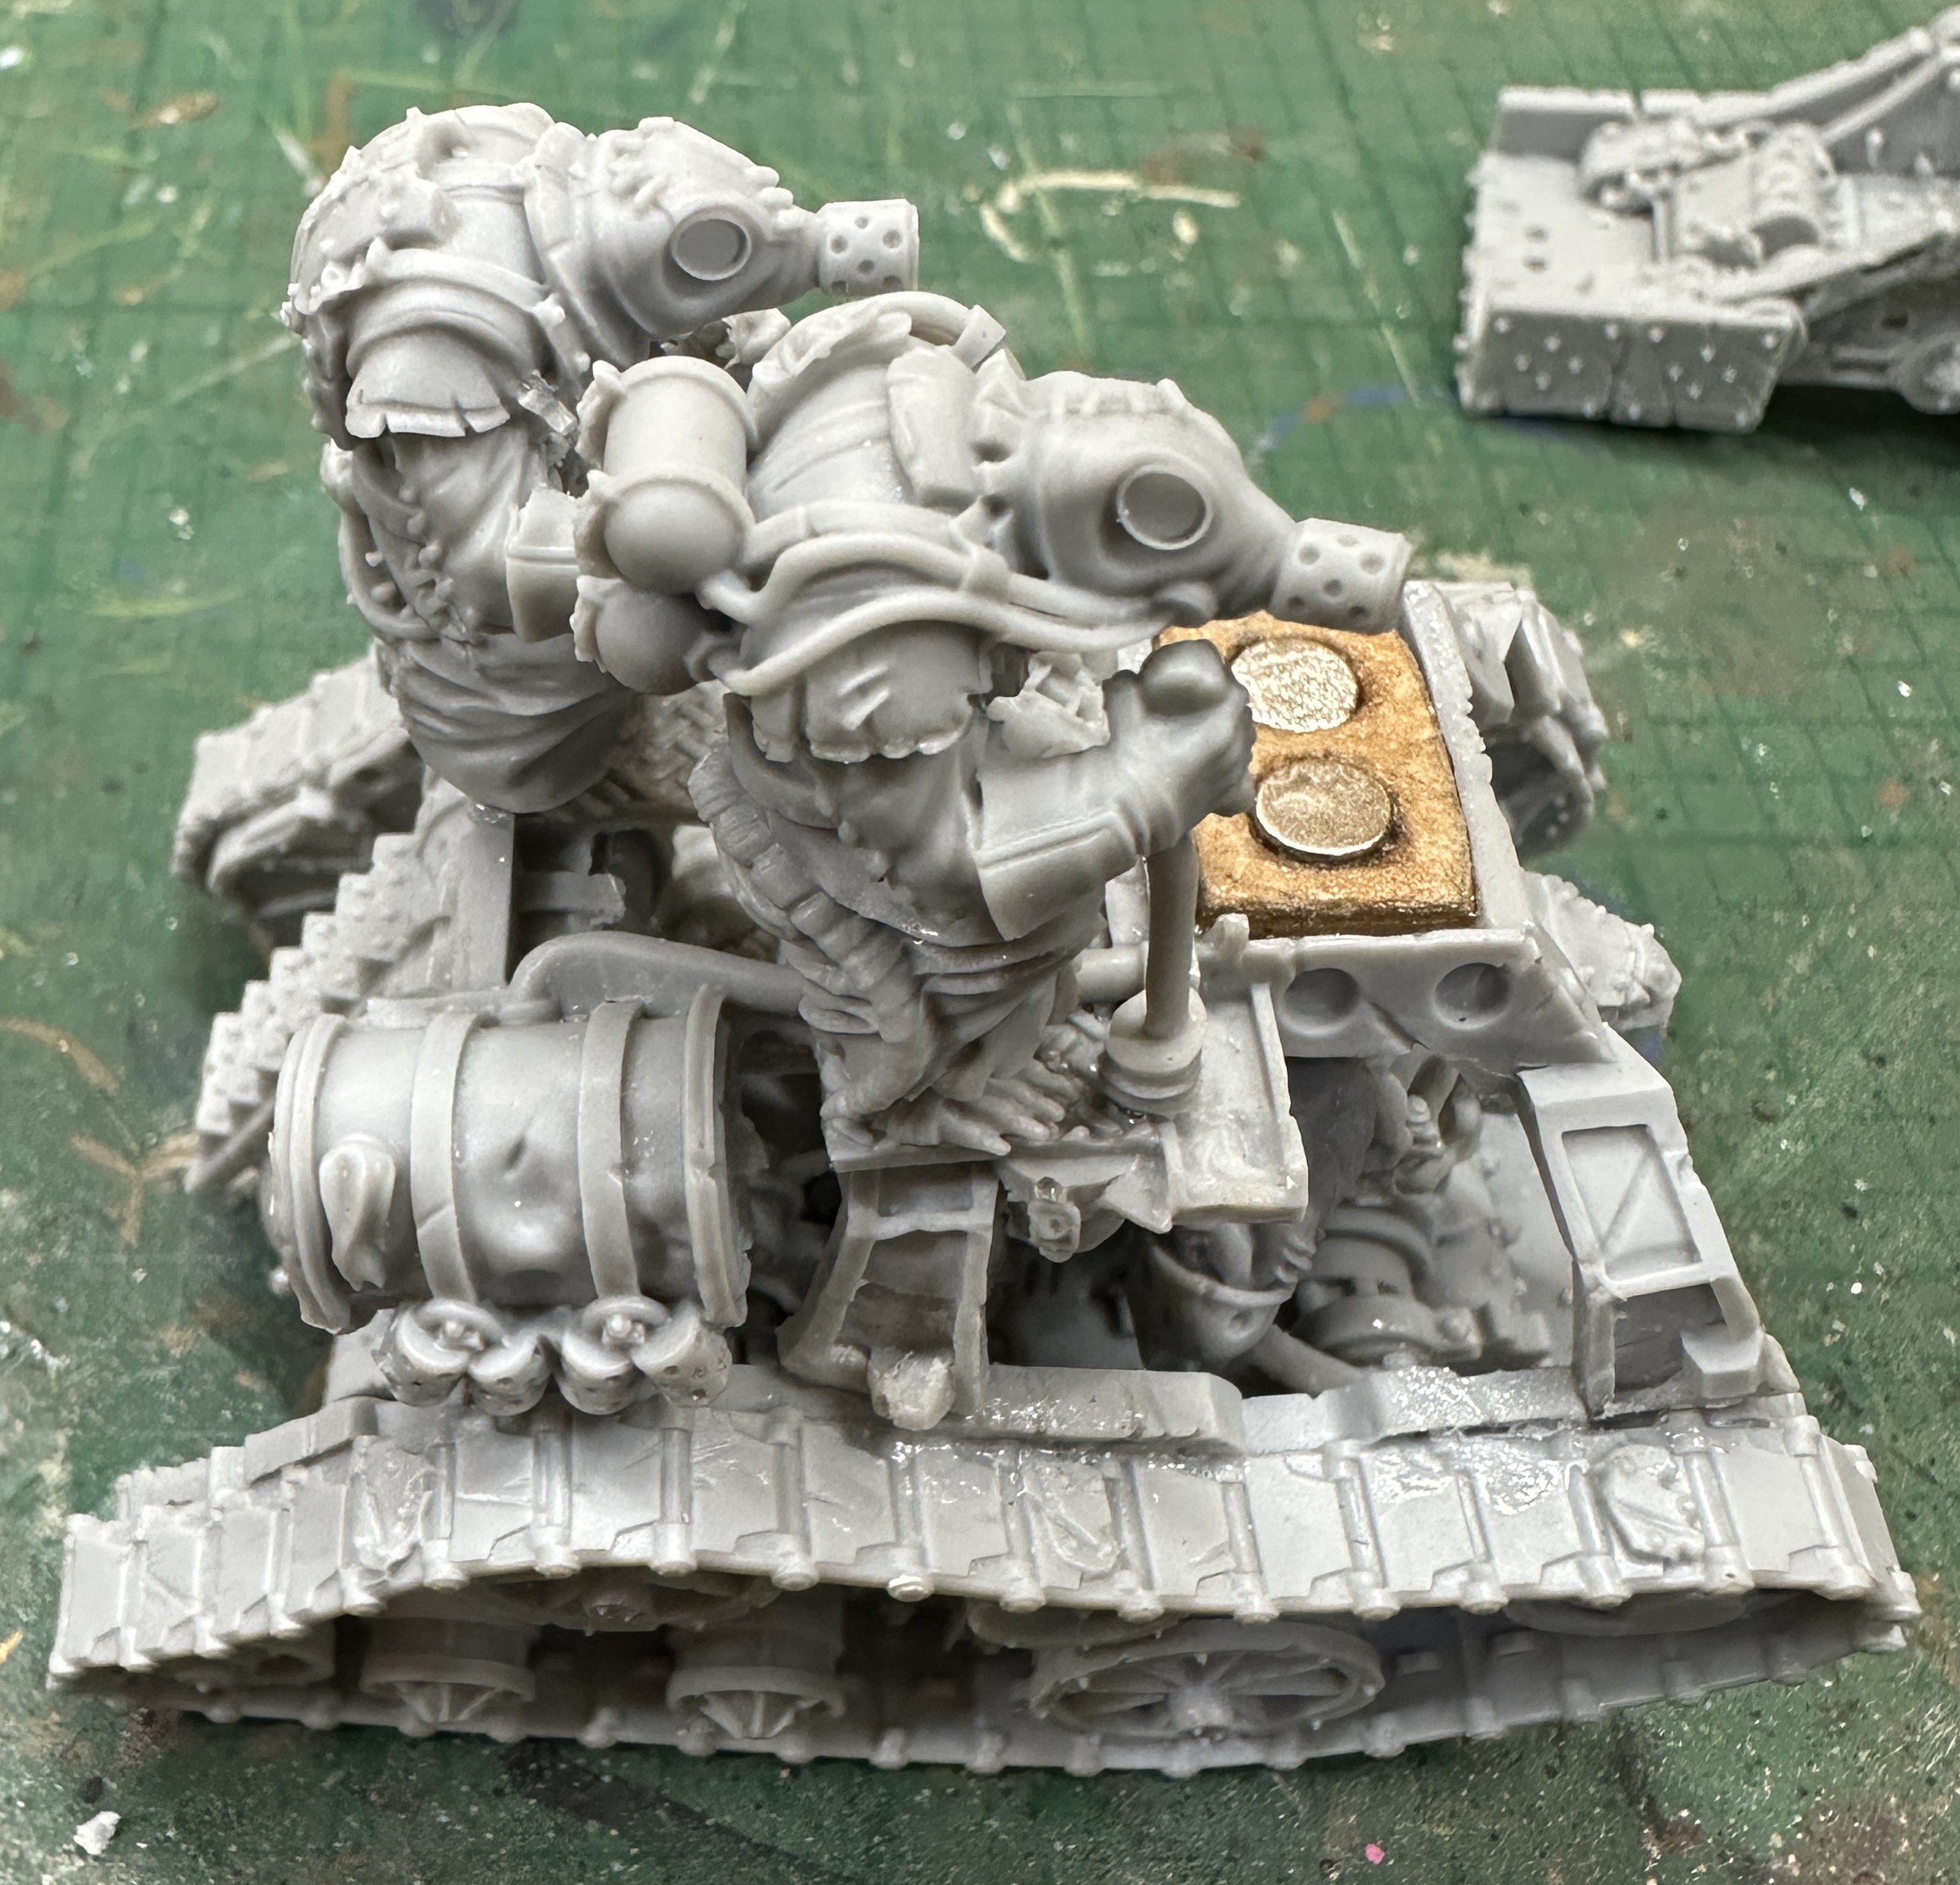
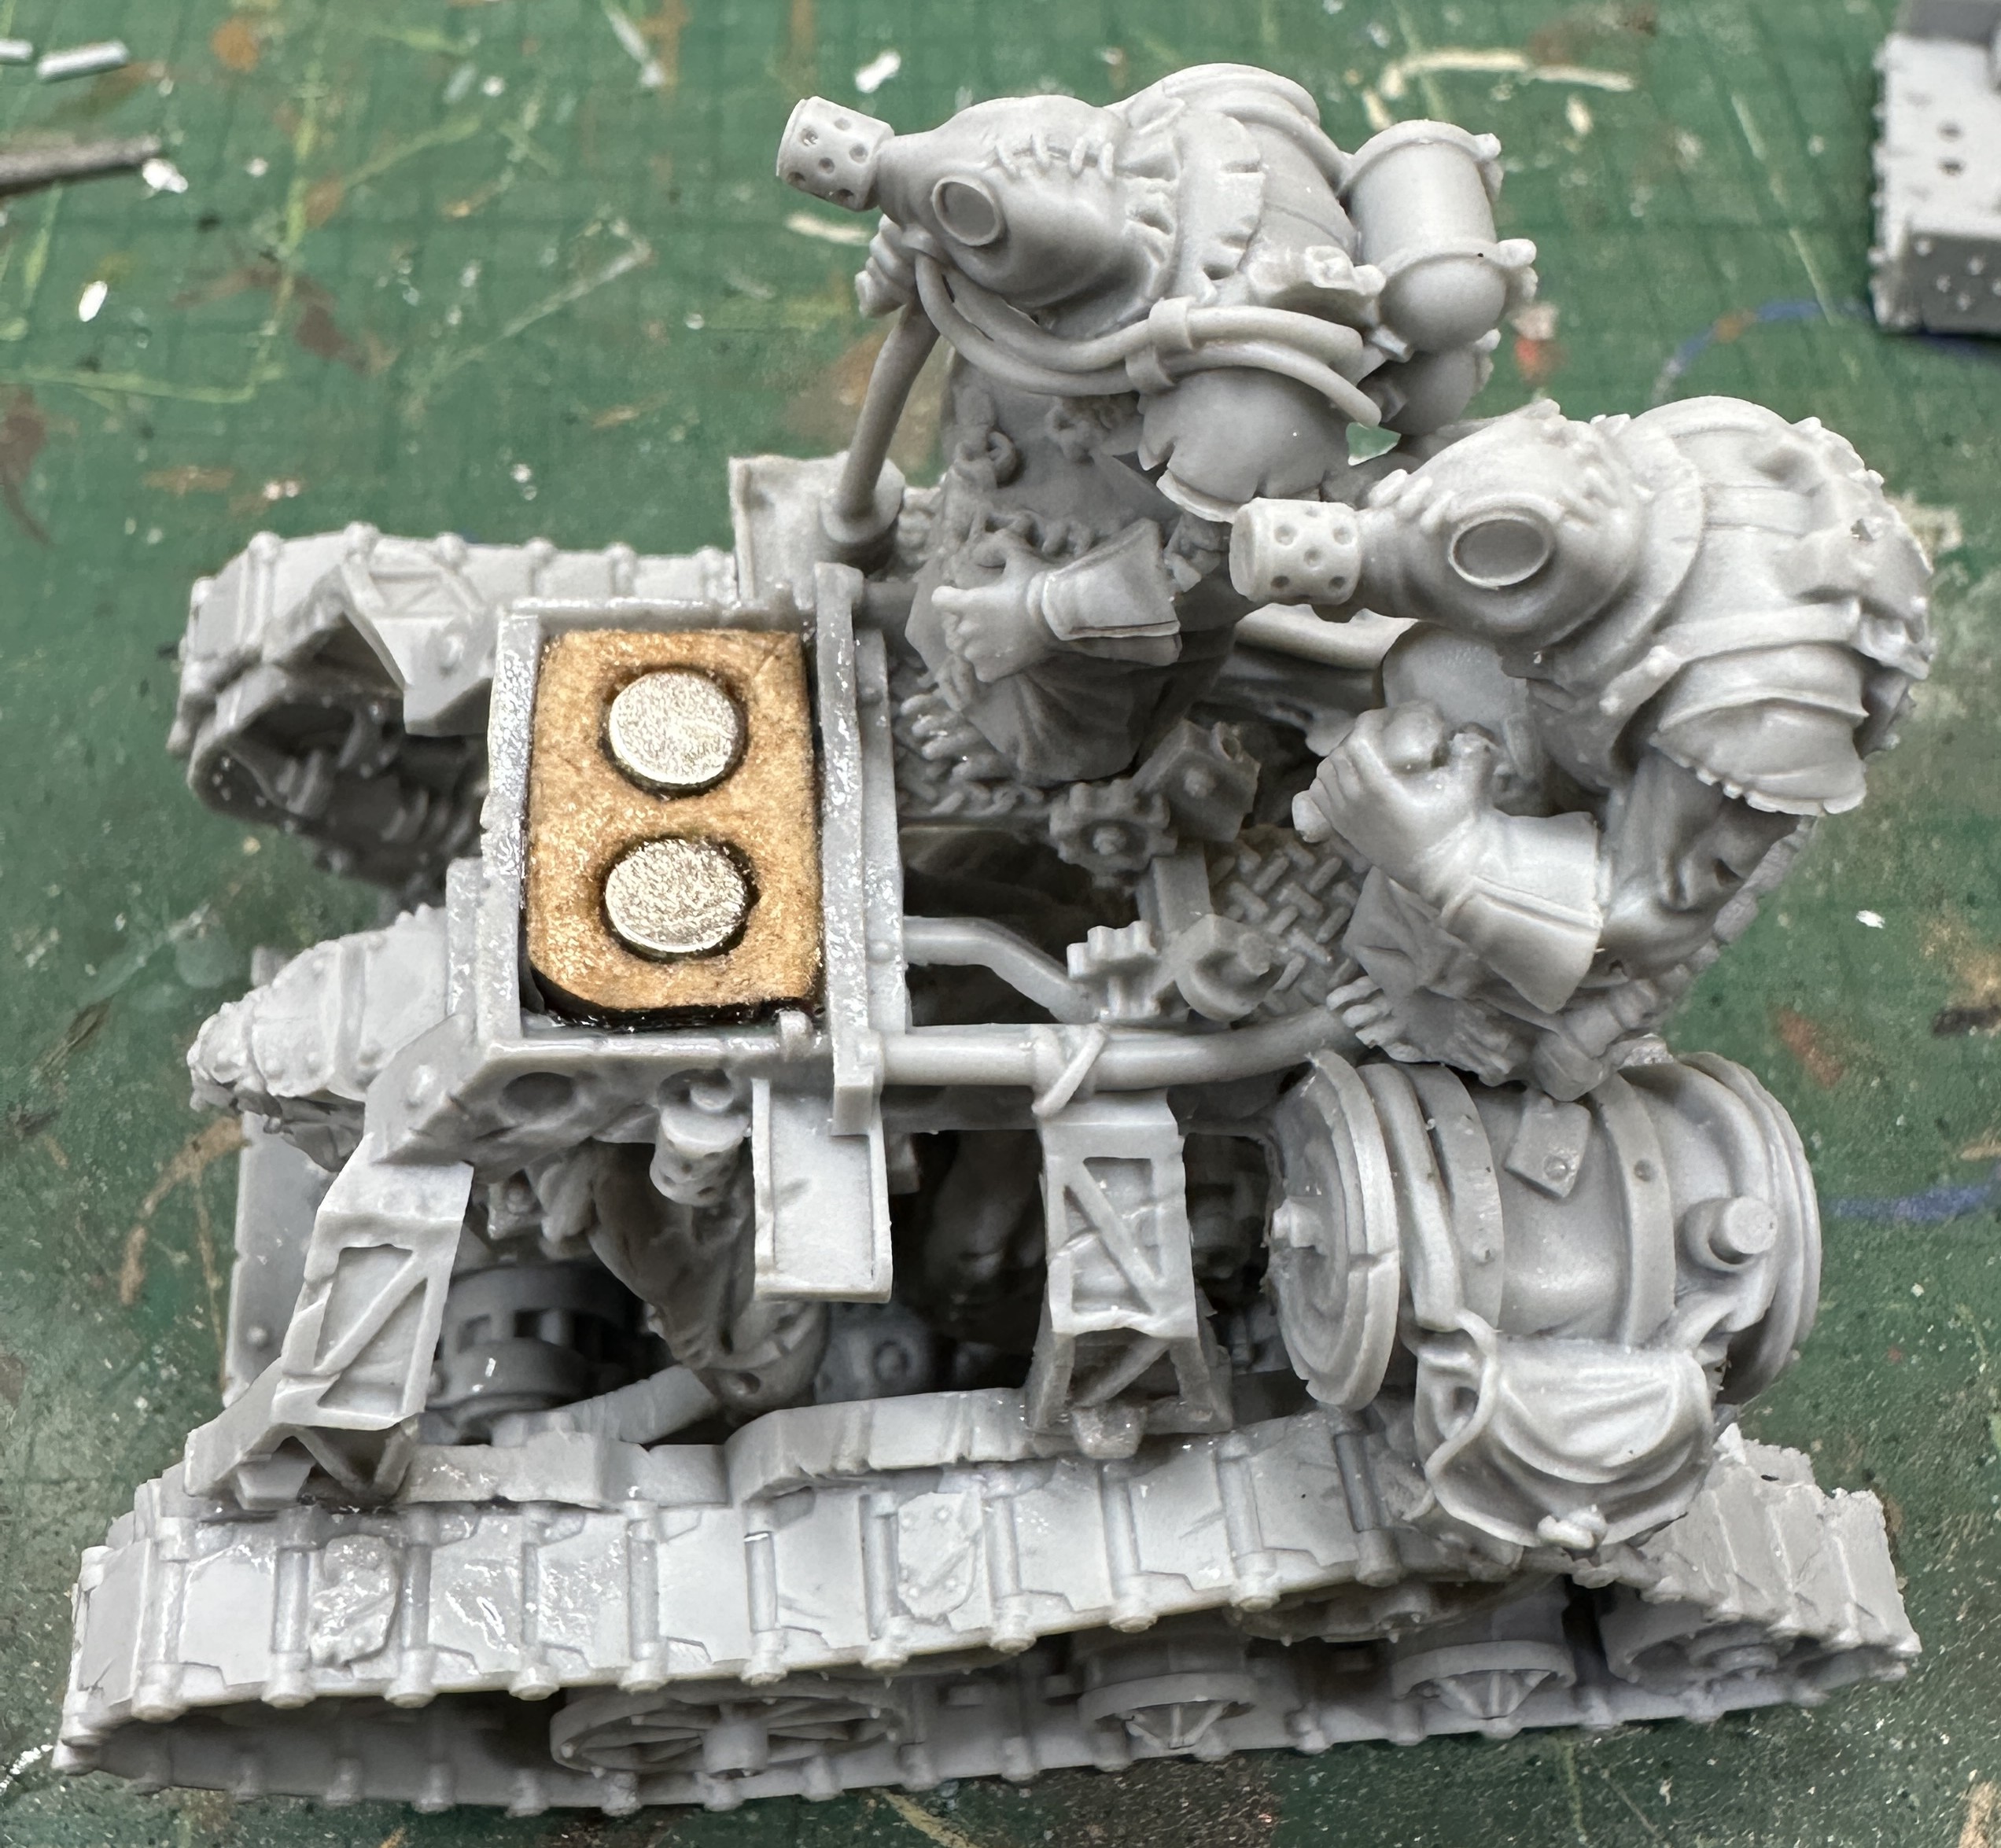
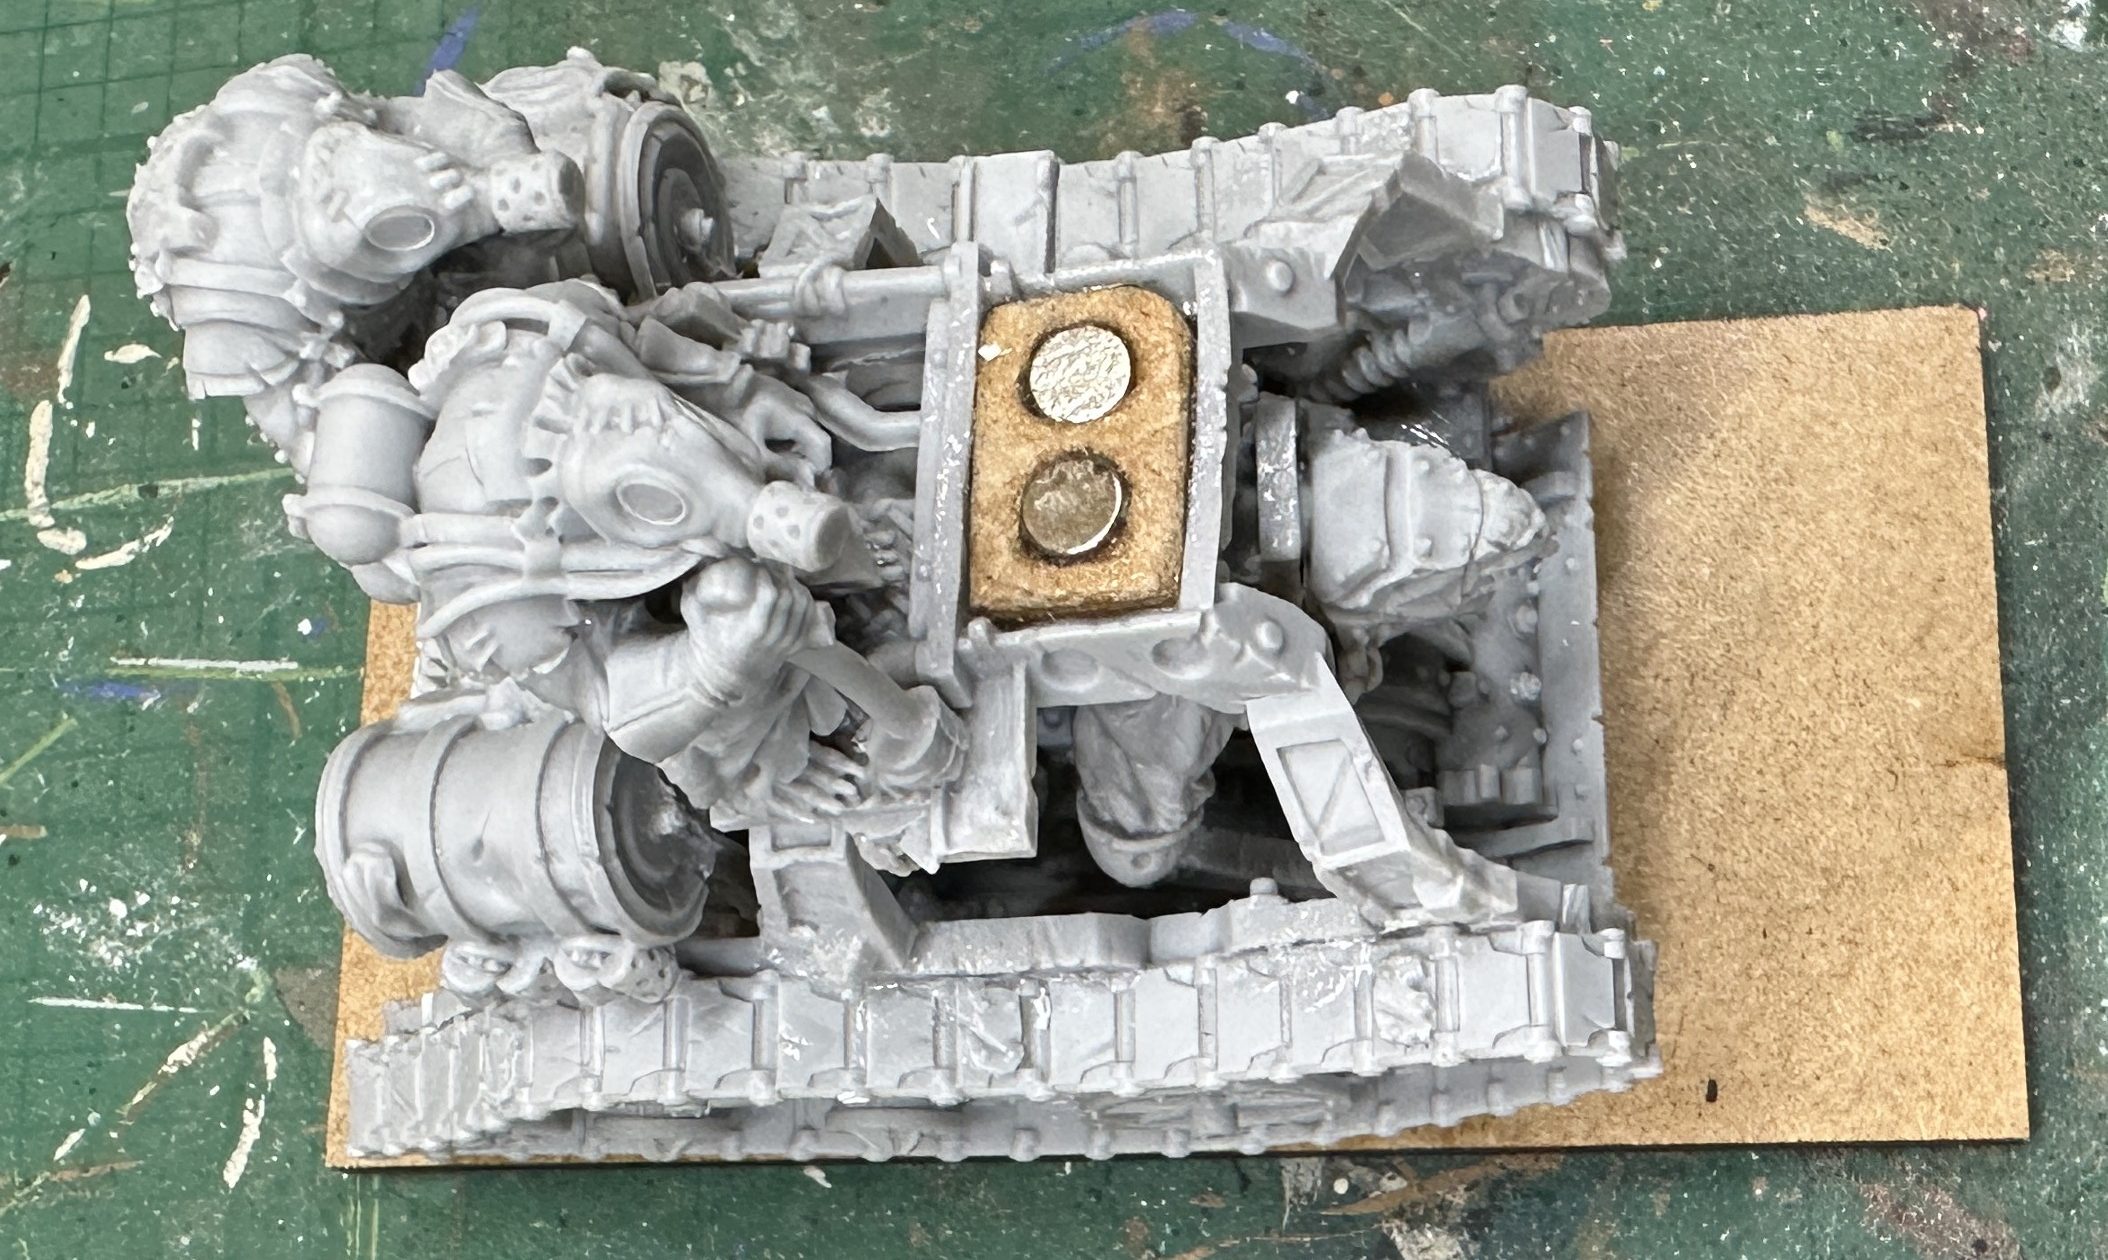
In the end I cut the lugs off the bottom of the front of the frame and filed the angle to match the surface they were being glued to, again different on both sides due to the twist. This took a long time to get right but these photos should save you some time lining it up in the best position.
Once dry you can fit the steps. There is a groove in the barrel that fits under the upper frame strut. Mine is a bit wonky due to the slip when gluing and twist in the frame. Still fits fine.
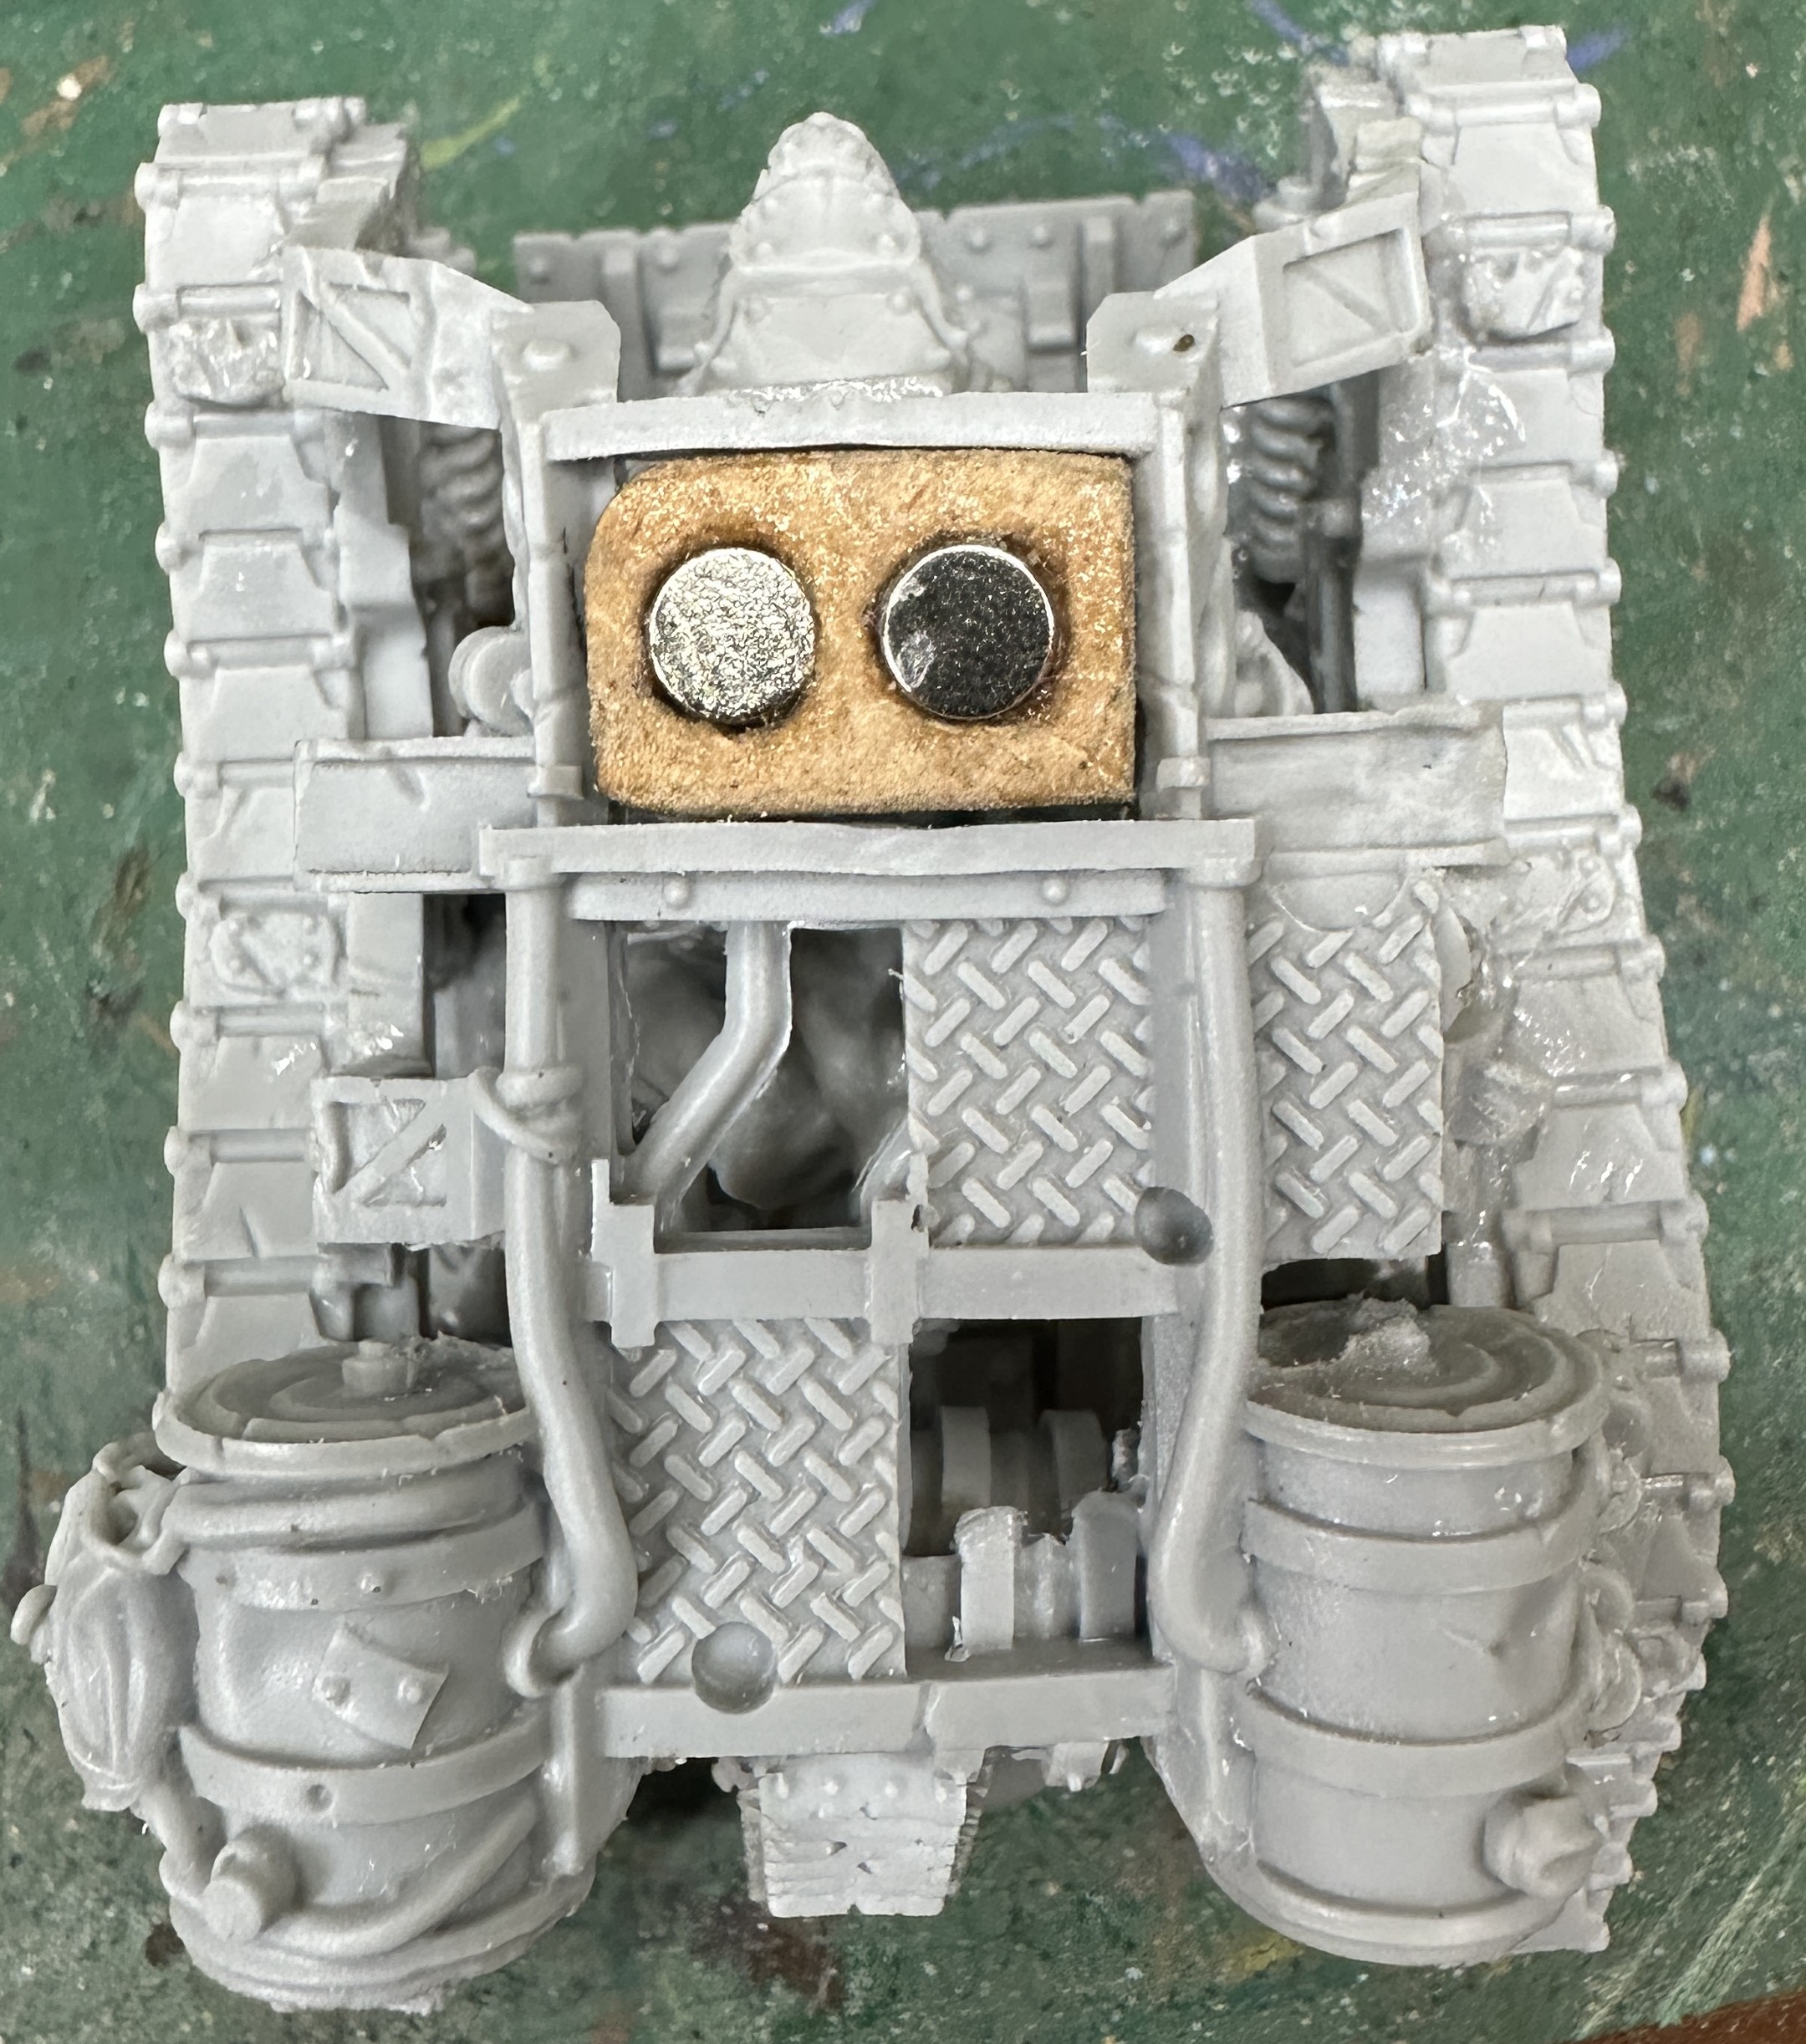
With that done I went on to magnetization. The Death Engine comes with two alternate builds, a shooty one with dual machine guns and a melee one with a big spinning mangler. I want the option to use both so magnets are the way to go.
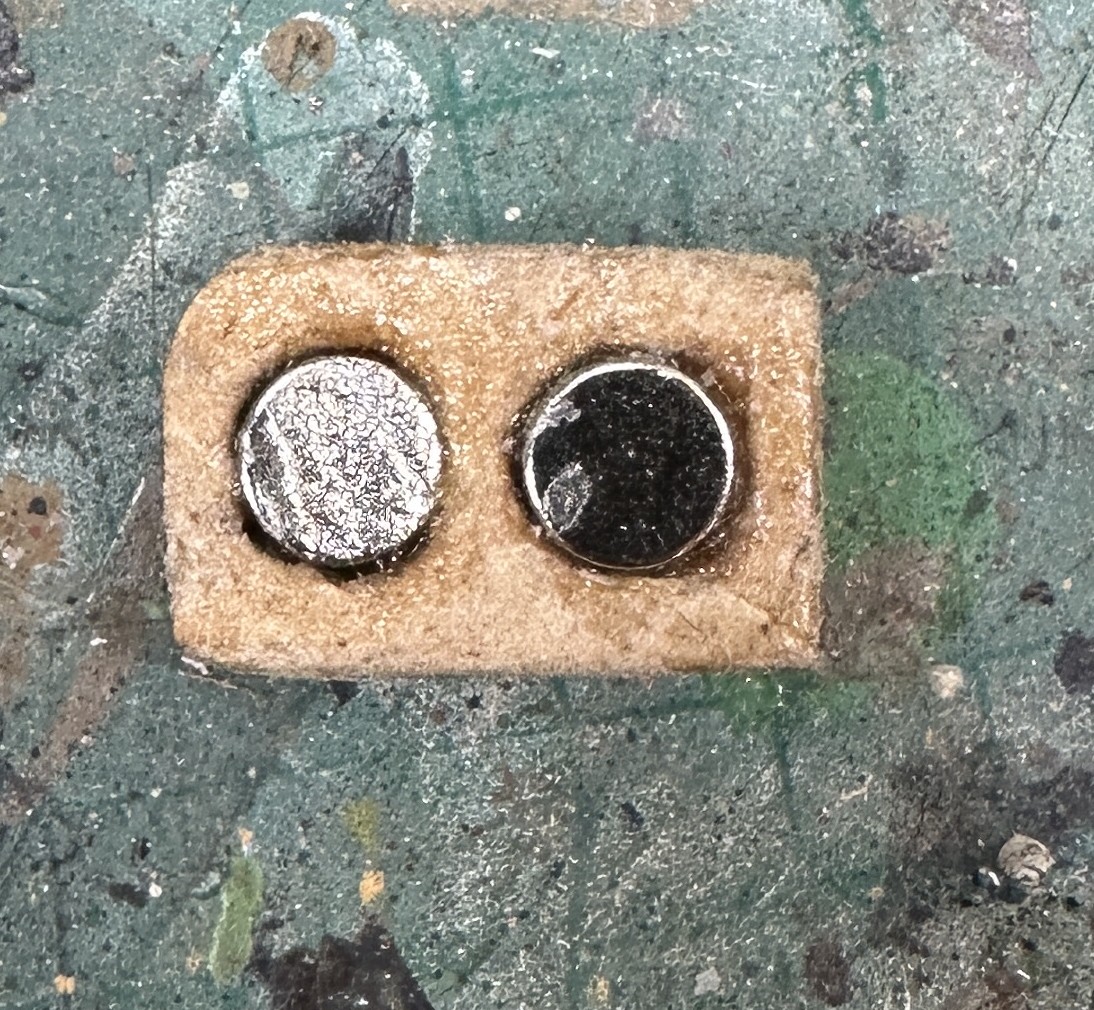
Unhelpfully the hull section that the alternate pieces fit onto is just a frame. There needs to be a solid part inserted inside this to house the magnets. I used an off-cut of 3mm MDF that I shaped to fit snugly. Holes were drilled in this and two magnets fitted. It was glued into place with superglue.
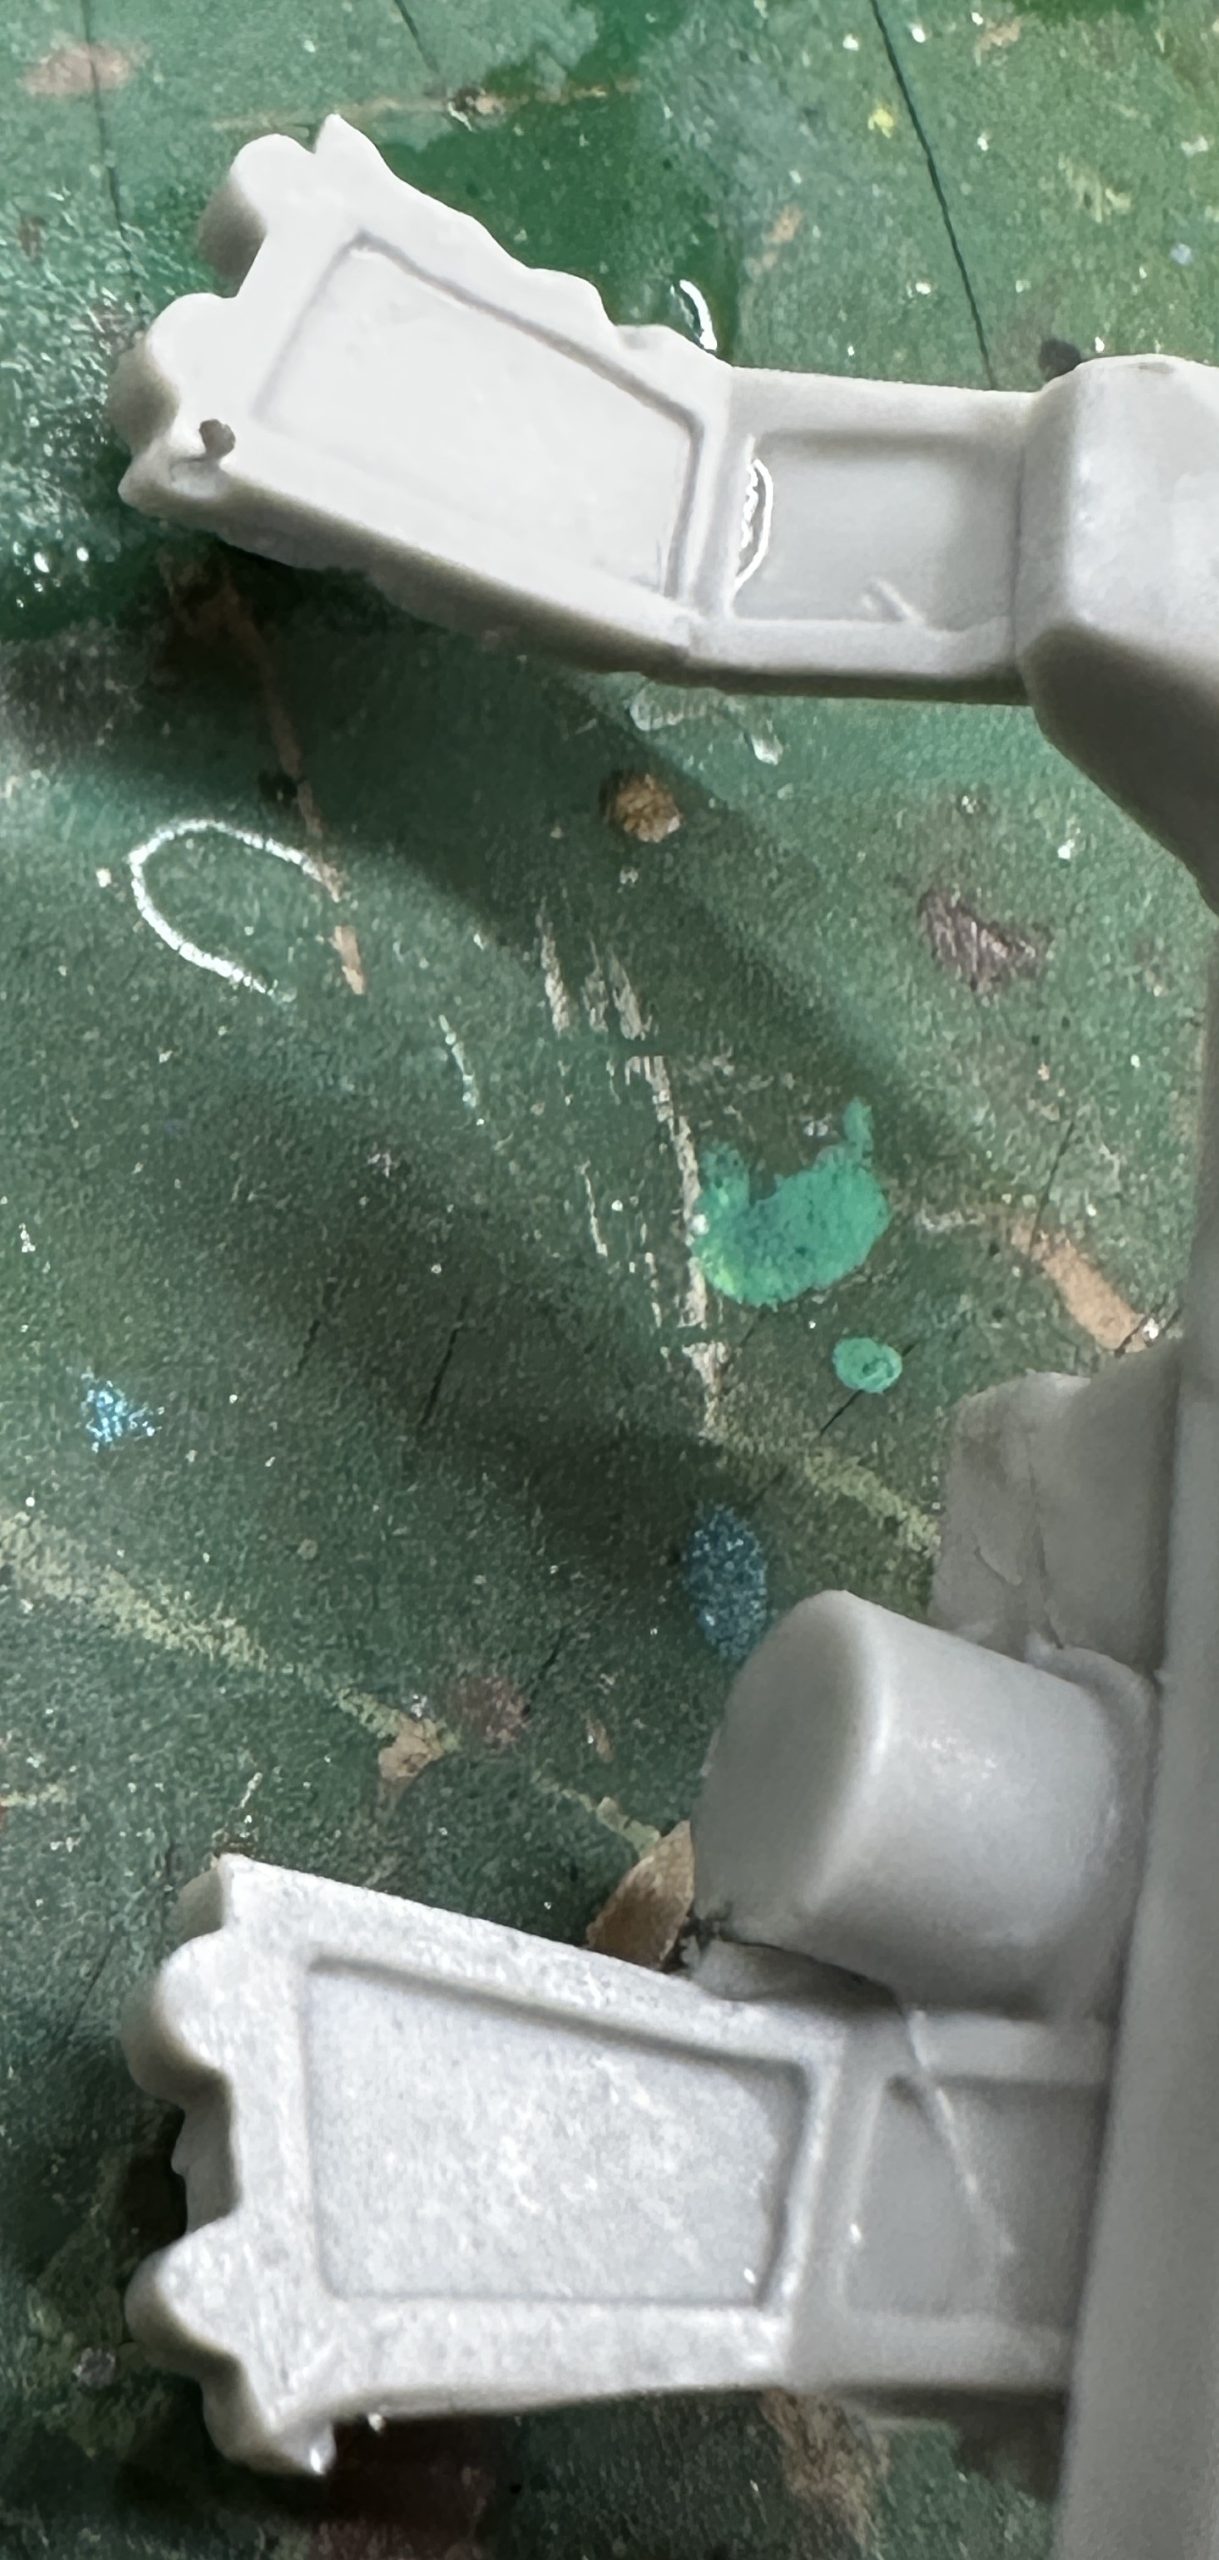
To transfer the exact position of these magnets onto the two interchangeable pieces I used a thick white paint that was blobbed onto the magnets and then the pieces were fitted on top, transferring the paint. Holes were drilled and magnets inserted, carefully checking they were the correct way round before gluing into position.
Now we can neatly interchange the two build options.
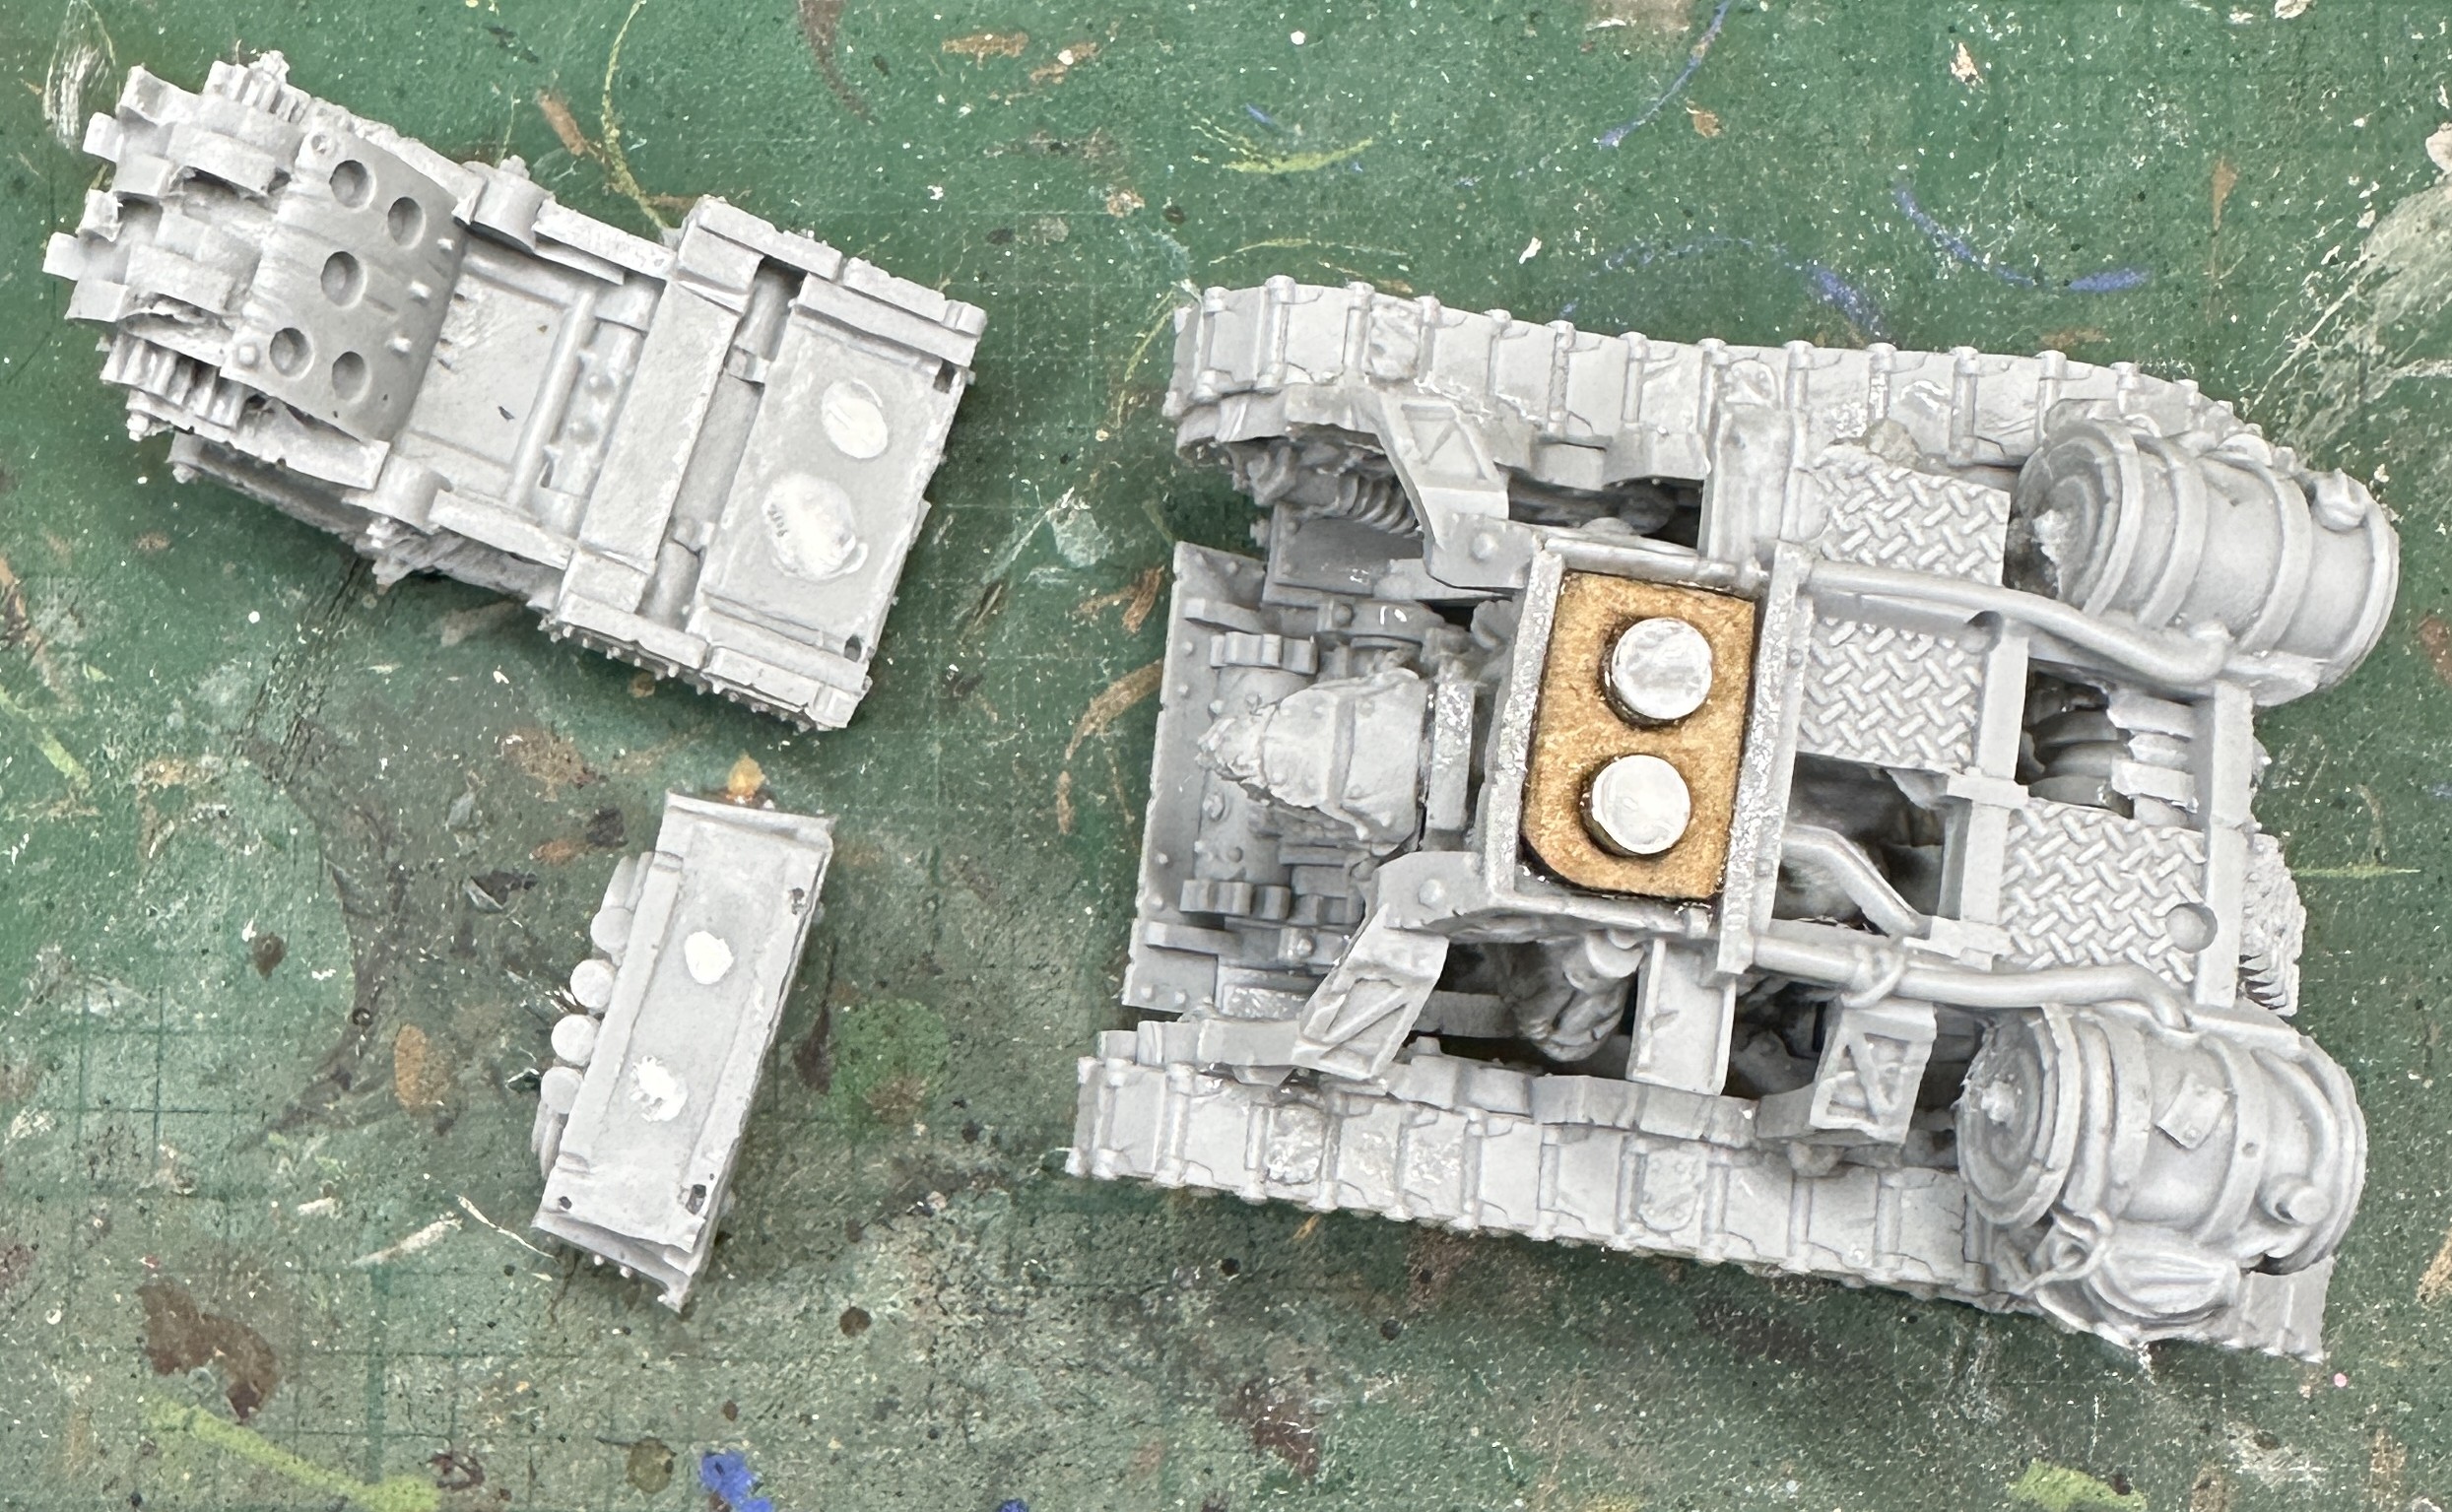
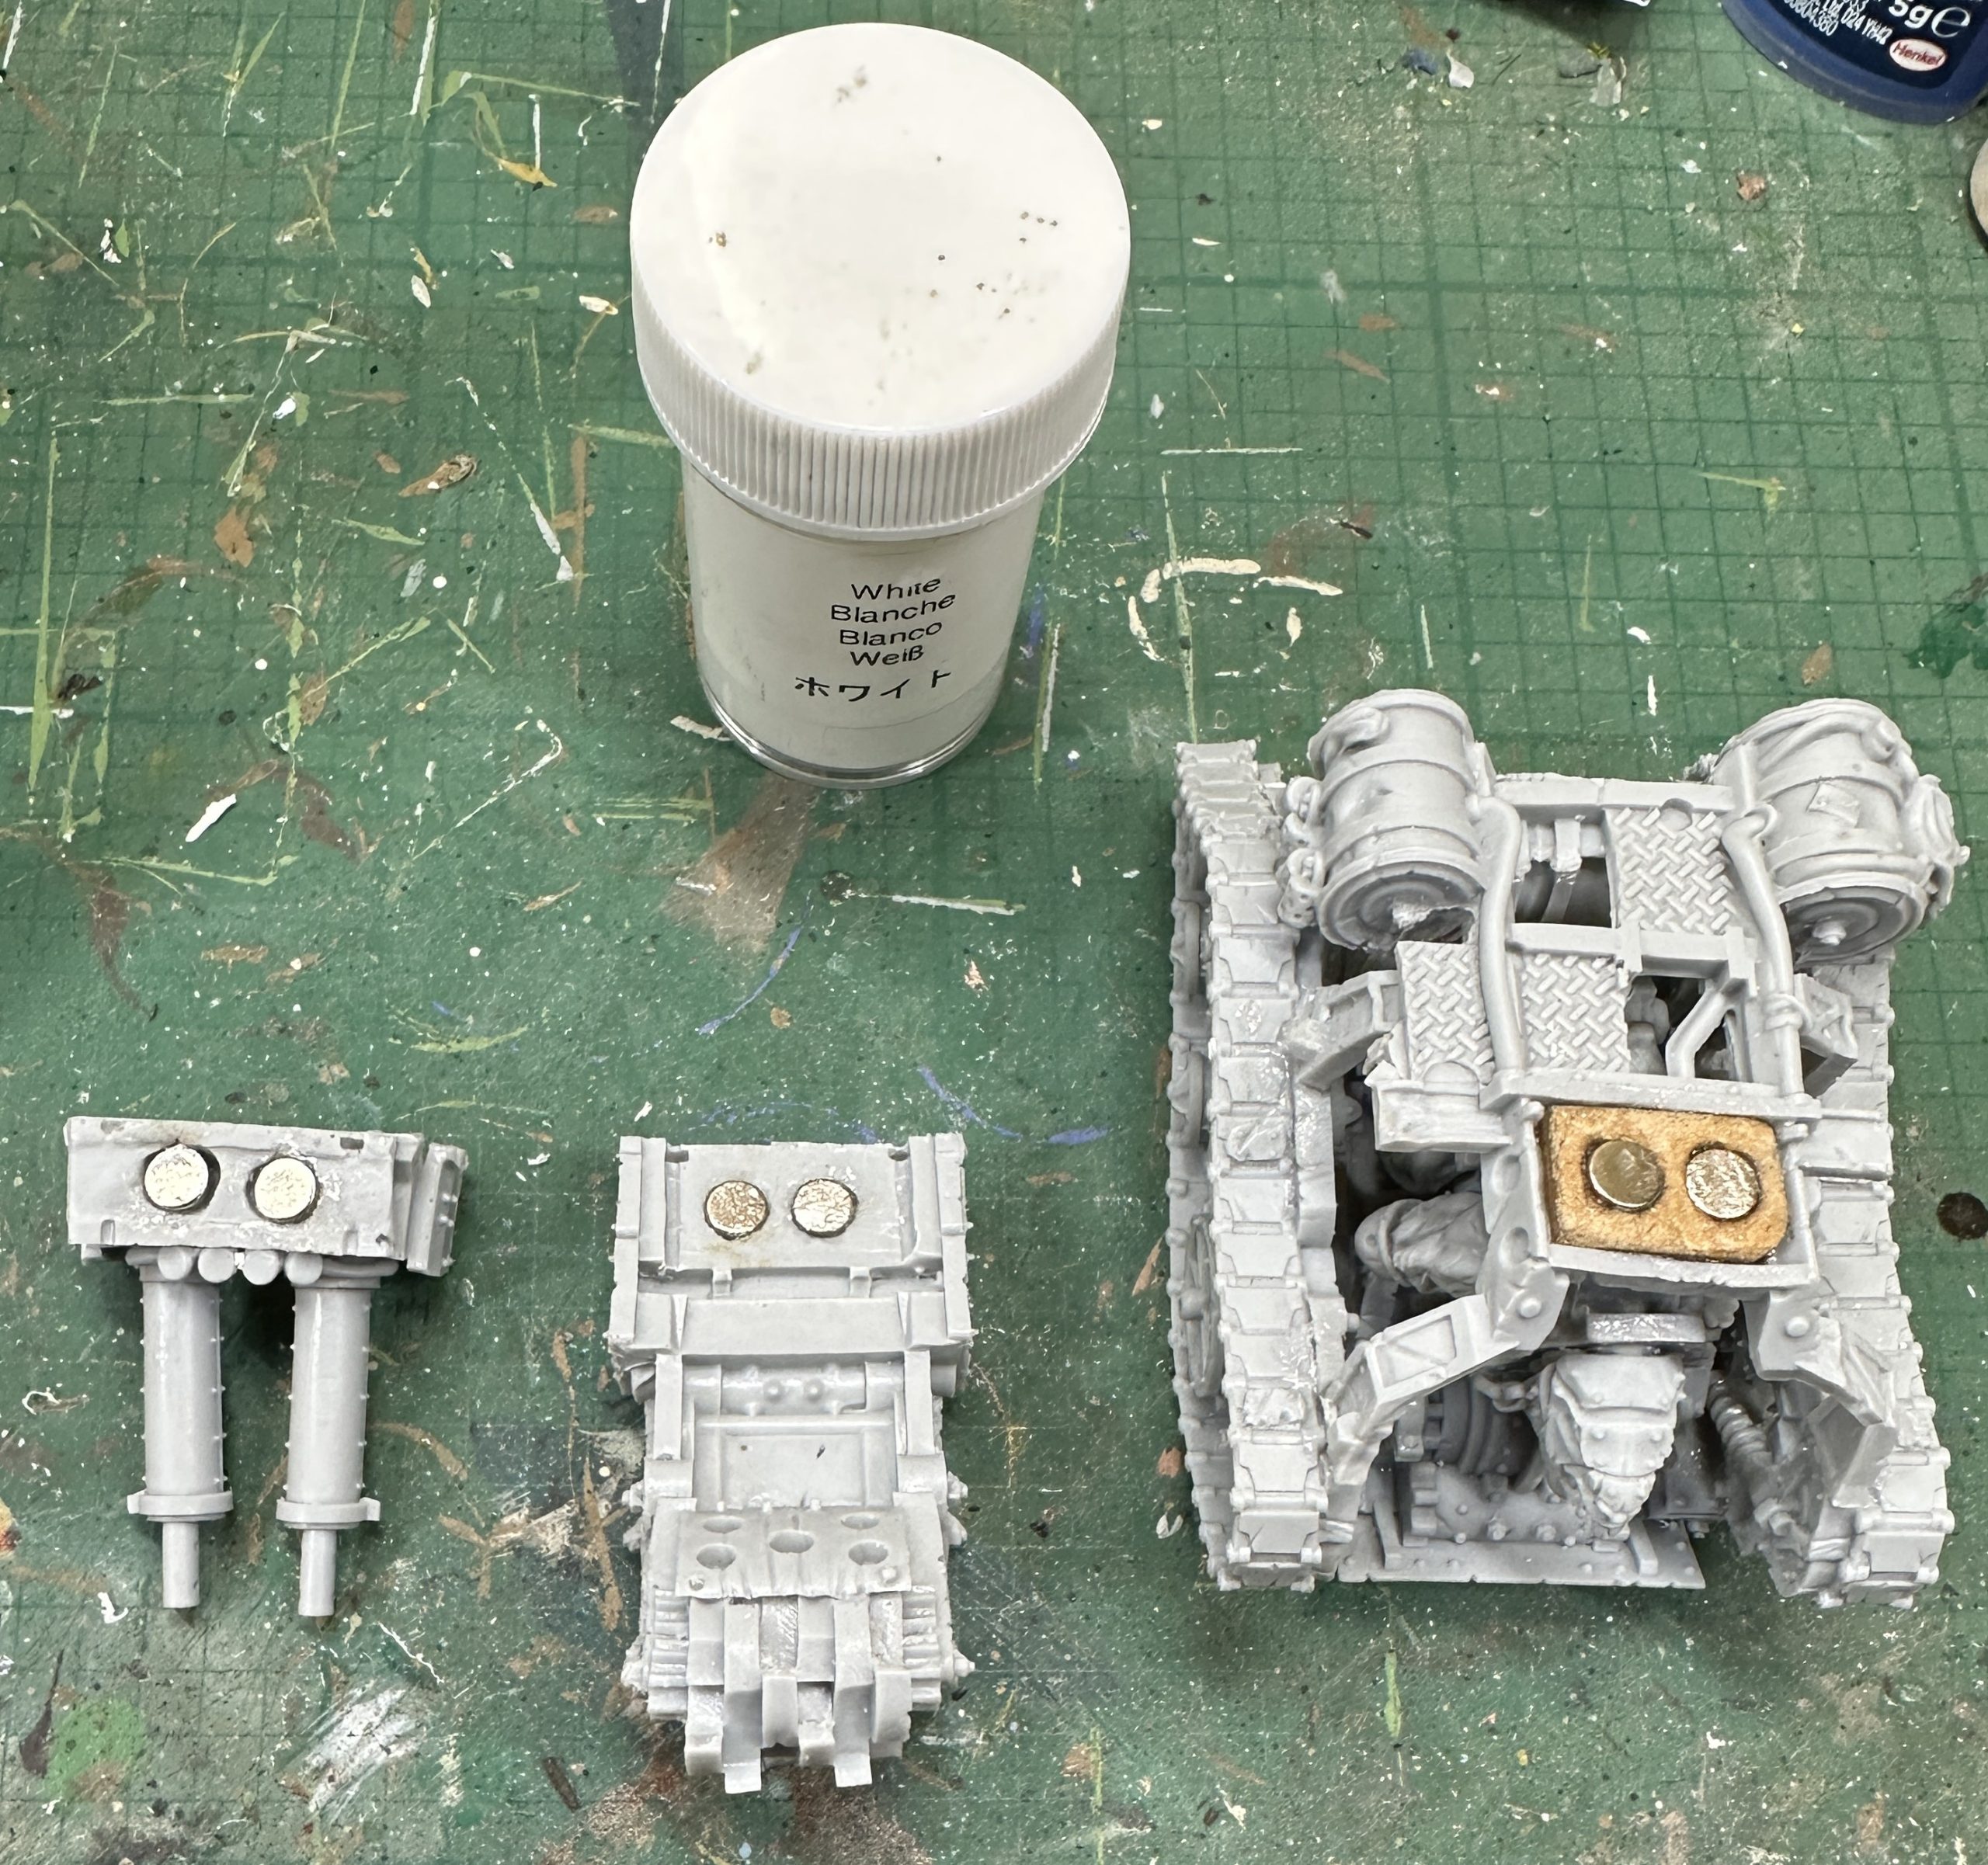
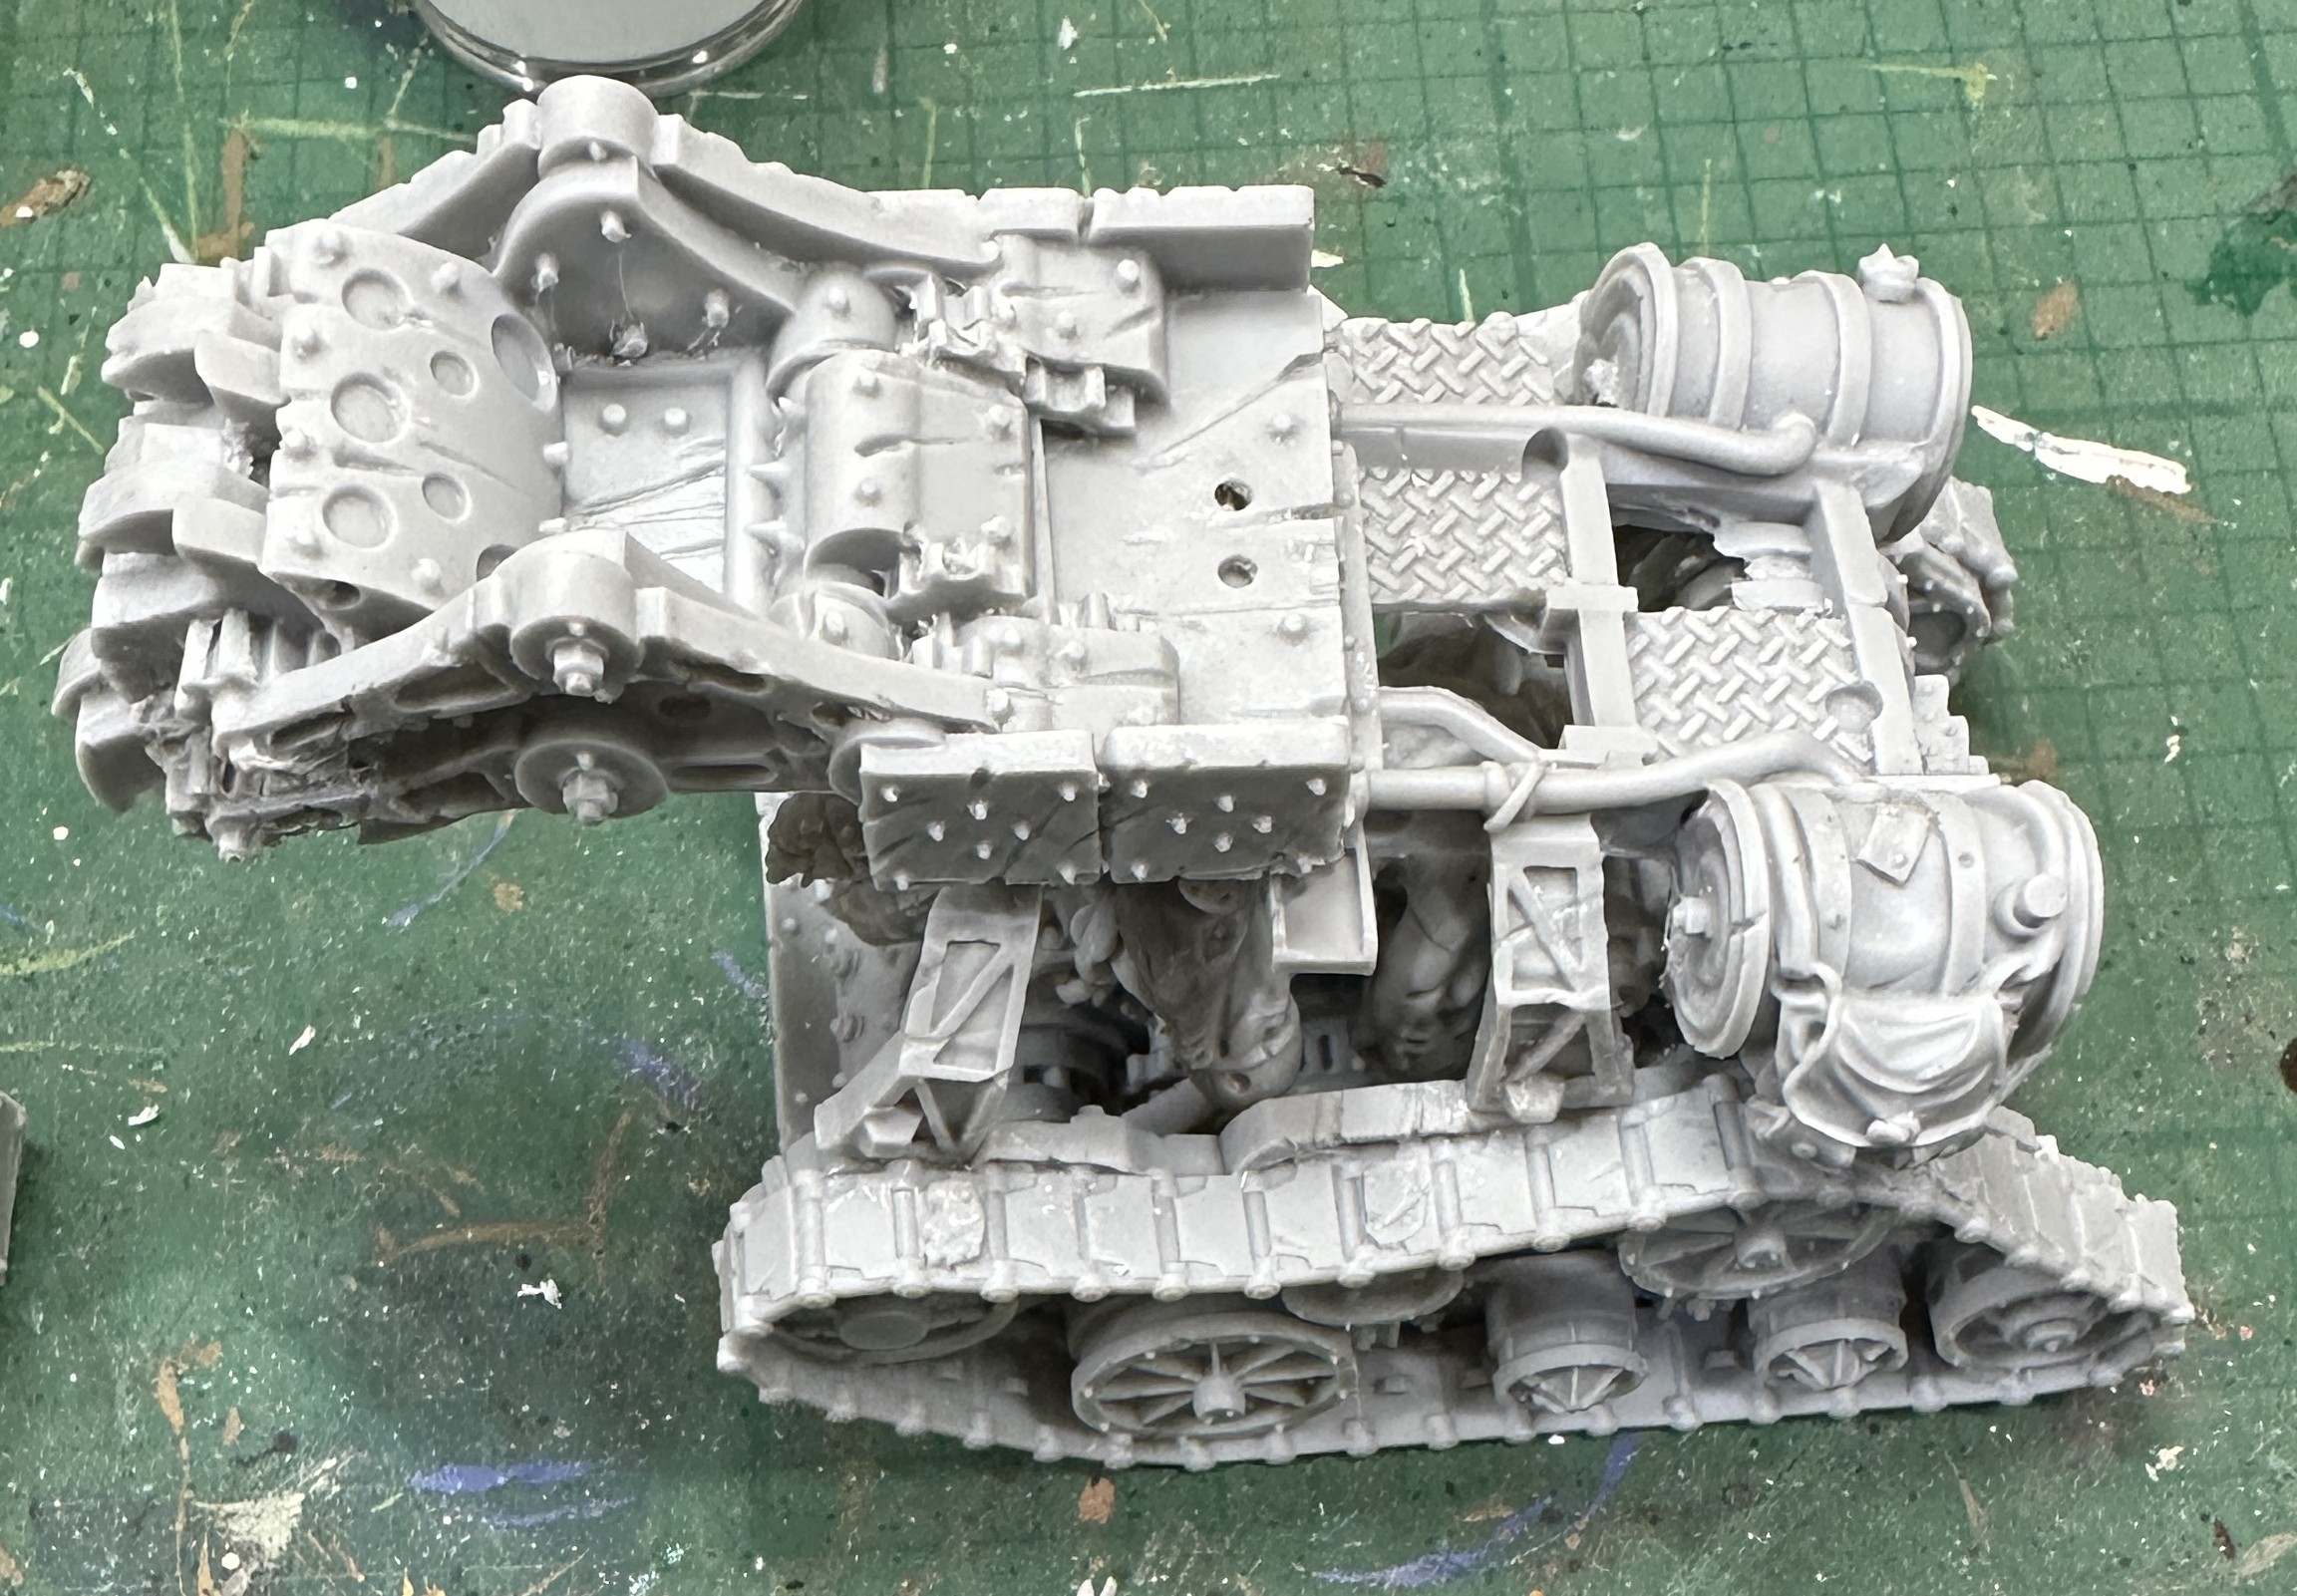
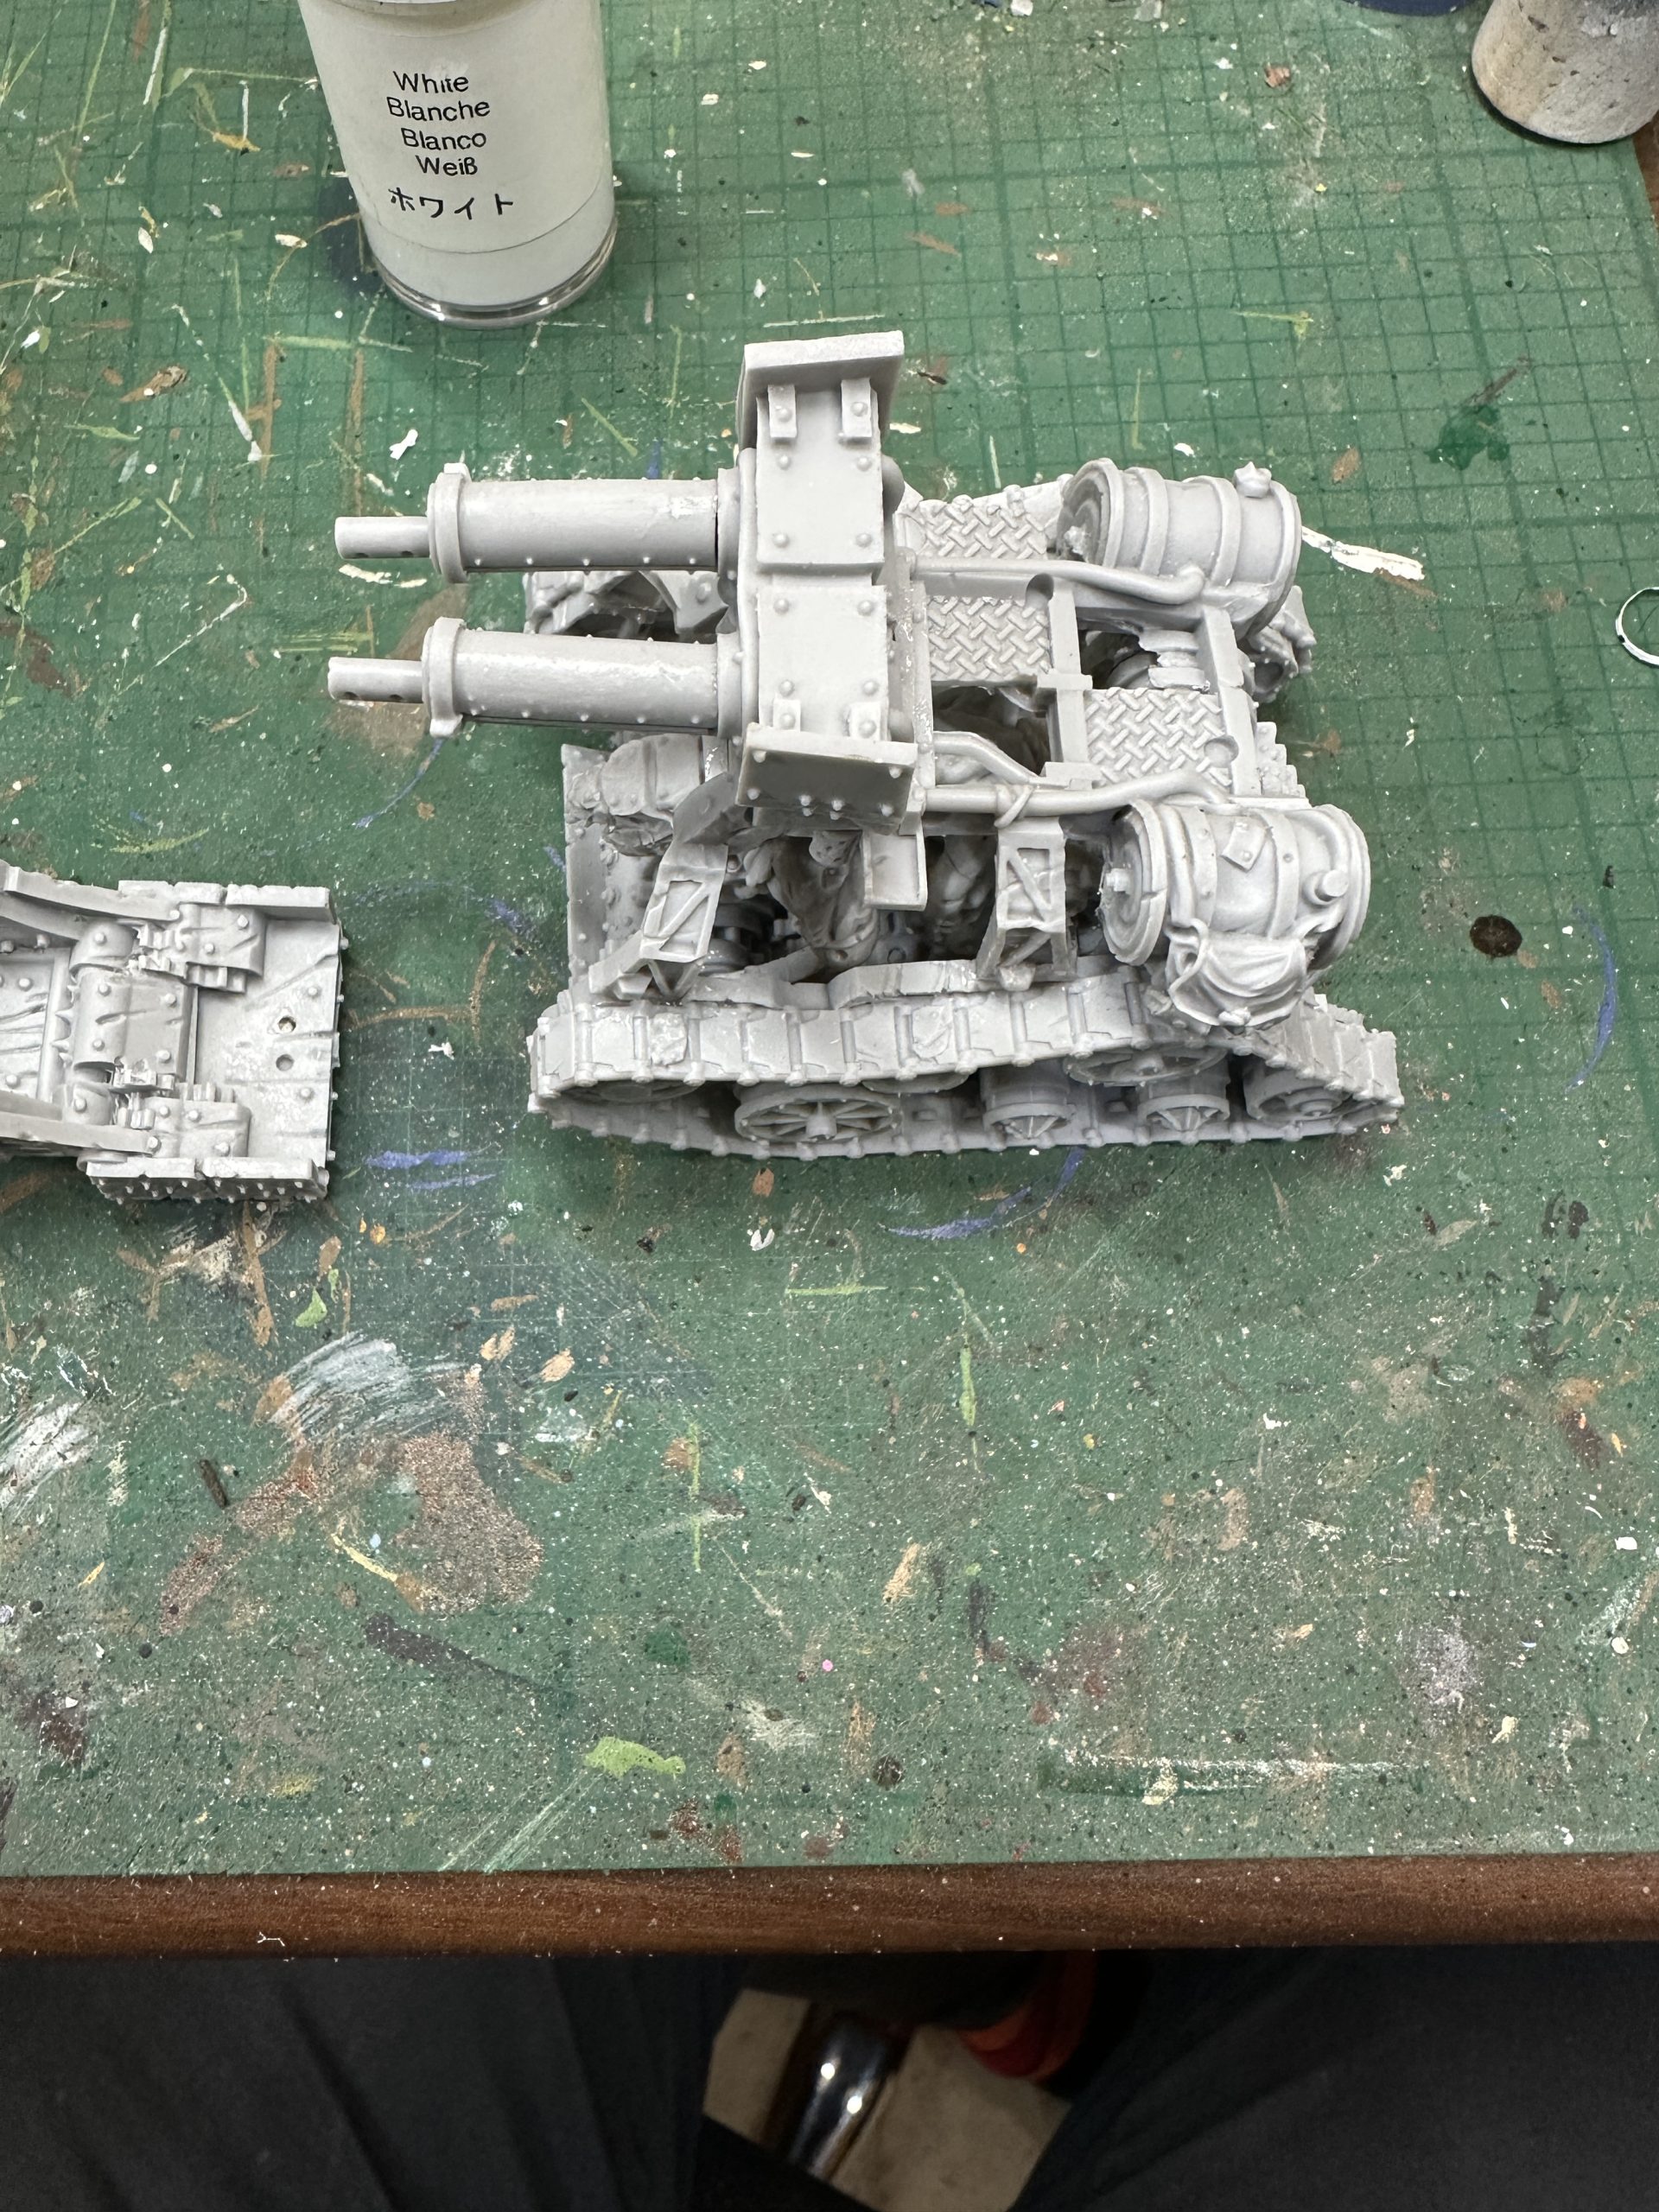
Finally the two crew and the control mechanisms. I have a feeling I cut off some cables for the driver that were supposed to connect his hand grip controls to the gears in the floor. They were next to some resin vents that were the same thickness so it was an understandable mistake. I’m not unhappy with their loss. Parts like that are vulnerable to breakage on a gaming piece so I’m fine with them being missing.
There is no clear point to fix the bottom of the weapon operator’s control gear stick onto the floor grating. I checked it didn’t catch against both interchangeable pieces and went with the position shown.
Finally glue the model onto a base. It only just fits for width. Remember to allow room at the front for the mangler arm.
And relax, we’re done 🙂
Abyssal Dwarfs: Converting A Standard Bearer
As wonderful as the Mantic kit for the Abyssal Dwarfs is, there is an issue in that there are no command options beyond some arms for making Darksoul and Decimator leaders (pointing. Standard).
I’d at least like a standard bearer. Fortunately the kit comes with a hand holding a round object, grenade? Ammunition for the blunderbuss? Not sure. Doesn’t matter. This gives us a hand in a good position to have the fist drilled out and a standard pole inserted.
I had a quick look through the bits boxes and found a few broken Lord of the Rings plastic Uruk-hai pikes. These were vulnerable to snapping at the hand but that leaves a good length and there is a cruel looking glaive like spear point at the top. Perfect.
Hands were drilled out with a pin vice and the shaft of what will be the flag pole inserted and secured with a dot of polycement. Then painting as per the guide in the Part 4 article. The shaft was painted Noble Skin.
Then on to the flag. First I needed an image. If you fancy the old GW Chaos Dwarf flags and icon images they are here. Mantic have some very clear iconography for the factions with each having a very nice logo like icon. The one for Abyssal Dwarfs is a skull with tusks. Perfect. I took a photo of this from one of the Mantic boxes I had. The cellophane was still on it but that provided a bit of a ripple-like look to the black background:
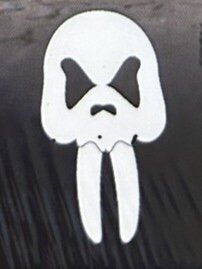
These were transferred into Word and duplicated and arranged in pairs ready for printing.
When I printed them this happened:
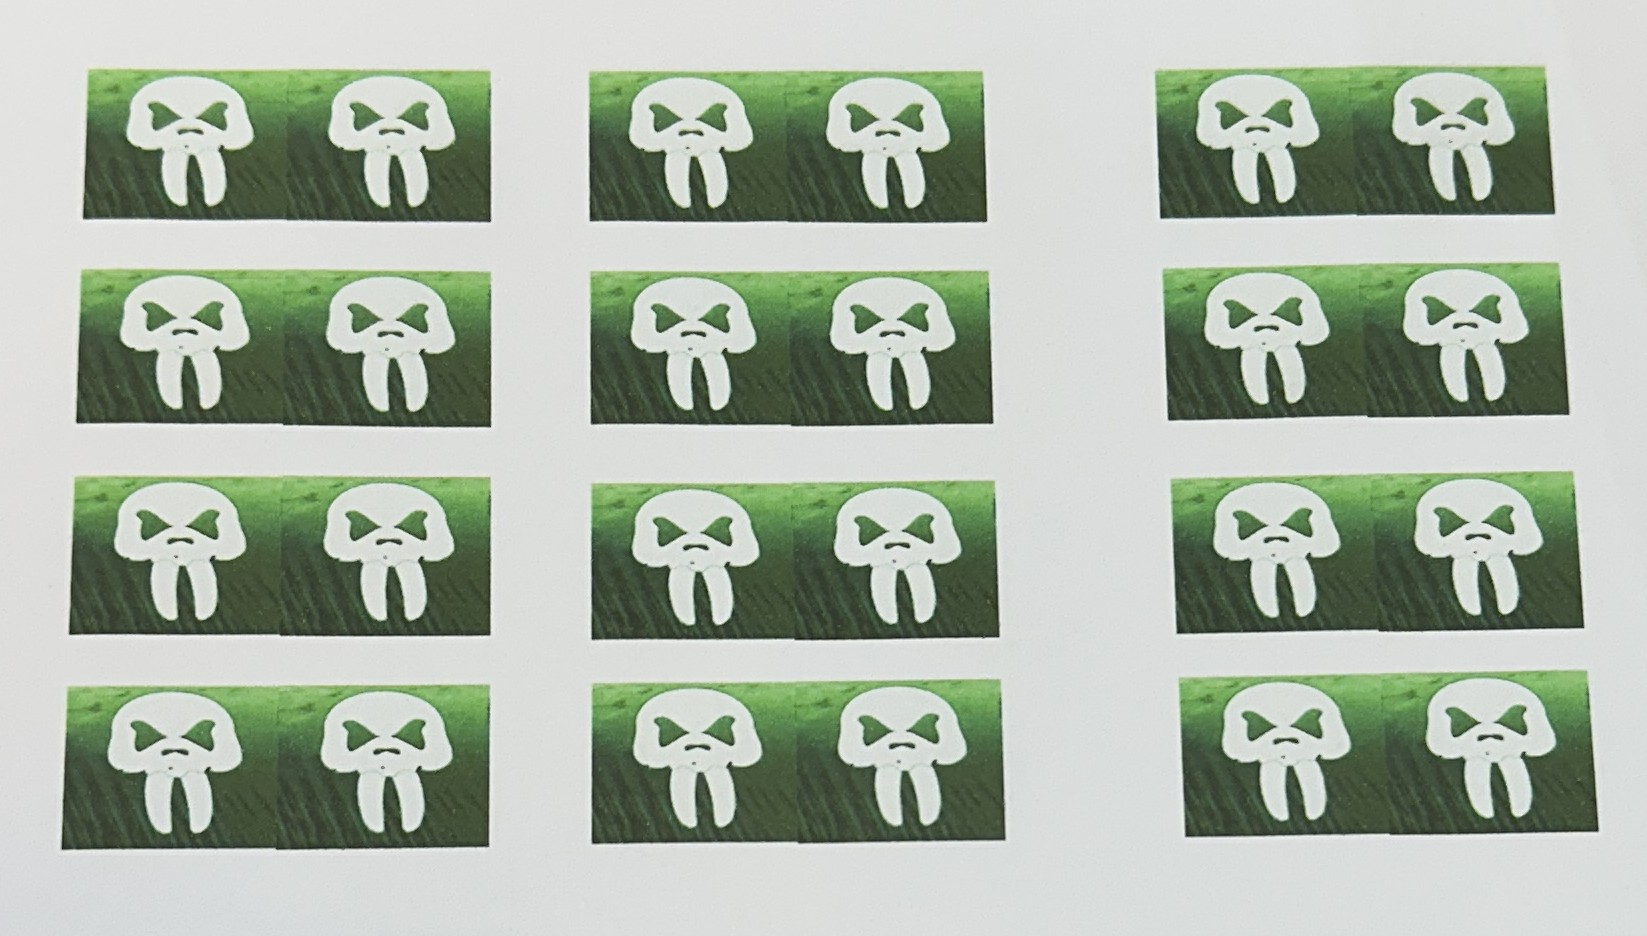
So not the plain black I had in mind but whatever my printer had been smoking that day had resulted in this lovely faded light to dark green transitioned background. The colour reminds me of the box colour for the 3rd edition releases, how apt. That’s right Bob, a “happy accident” indeed!
So not what I had imagined but as it is so much better I’m sticking with it. Before my printer decided to start behaving again I ran off another full page so I’ve got a whole army’s worth and more now.
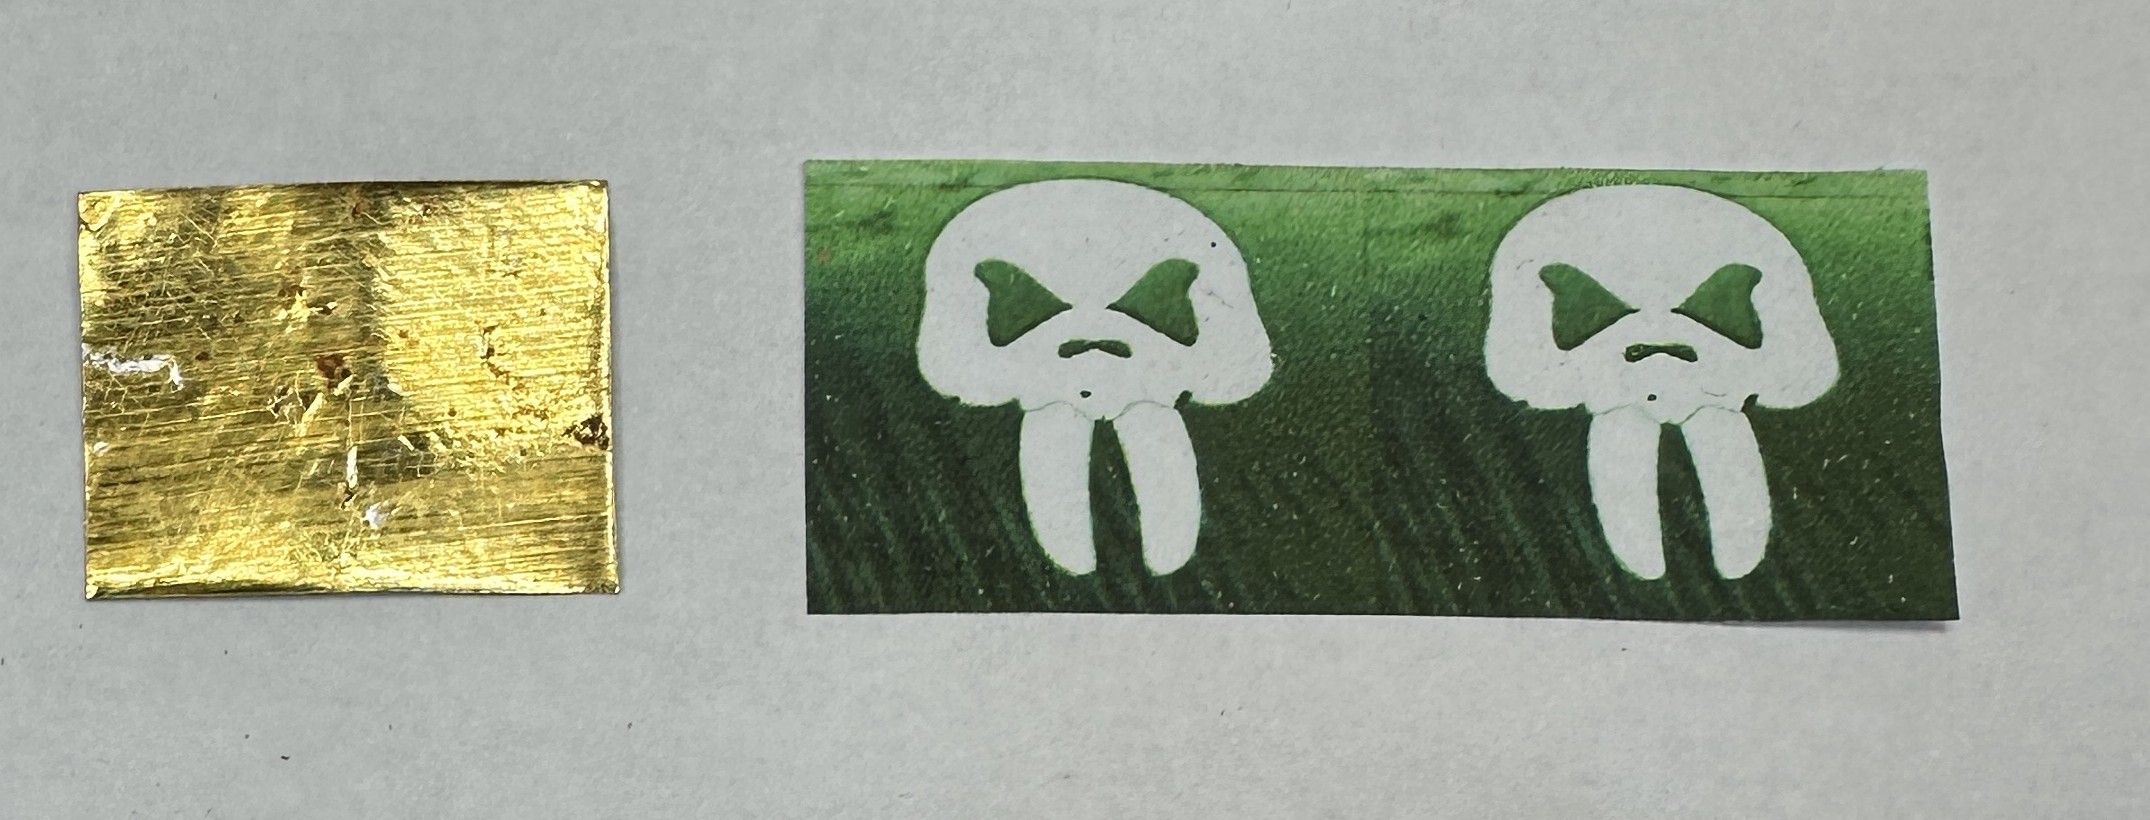
On to putting one onto the flag pole. I use a metal sandwich method. This requires a tomato paste tube which has been emptied and washed. Sections can then be cut off and flattened with the side of a pencil on a flat surface. When absolutely flat trim to a size slightly smaller than one side of the flag. Leave an allowance for the paper to wrap around the pole too.
To attach: Spread PVA on both sides of the metal and the inside of the flag. Position like this:
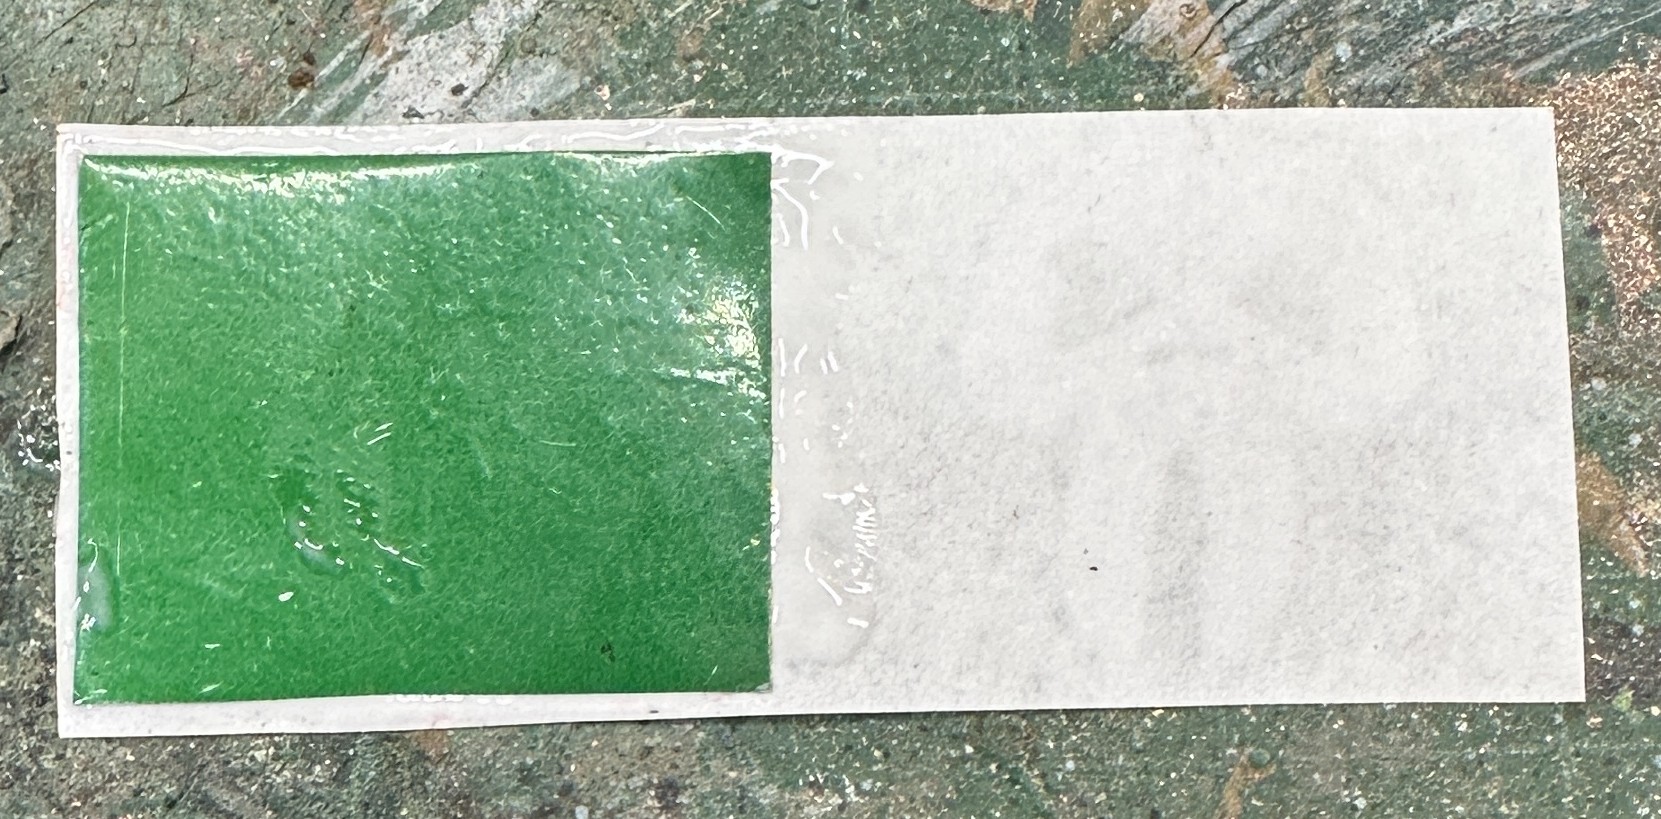
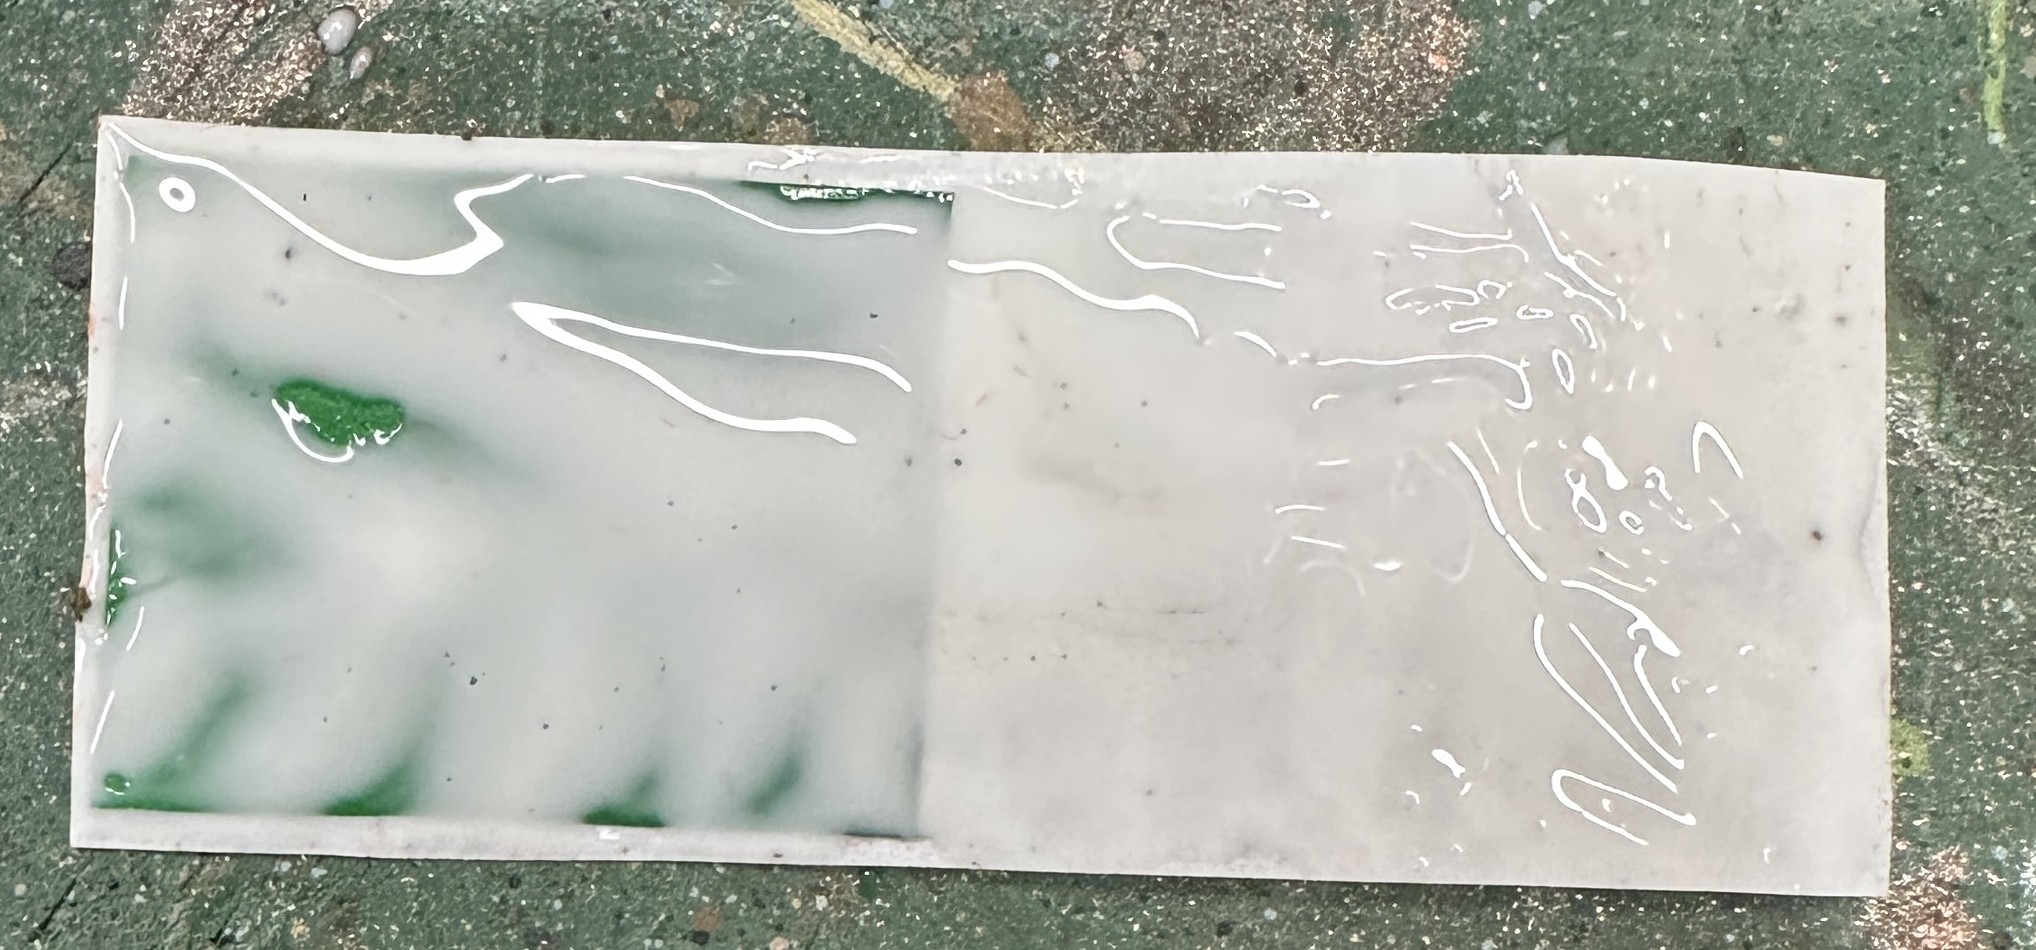
Wrap the now rather gluey flag around the flag pole. Position so that the paper edges meet evenly all the way around and there is no over/under lap showing on either side. The metal is now totally encased inside the paper.
Leave this to dry.
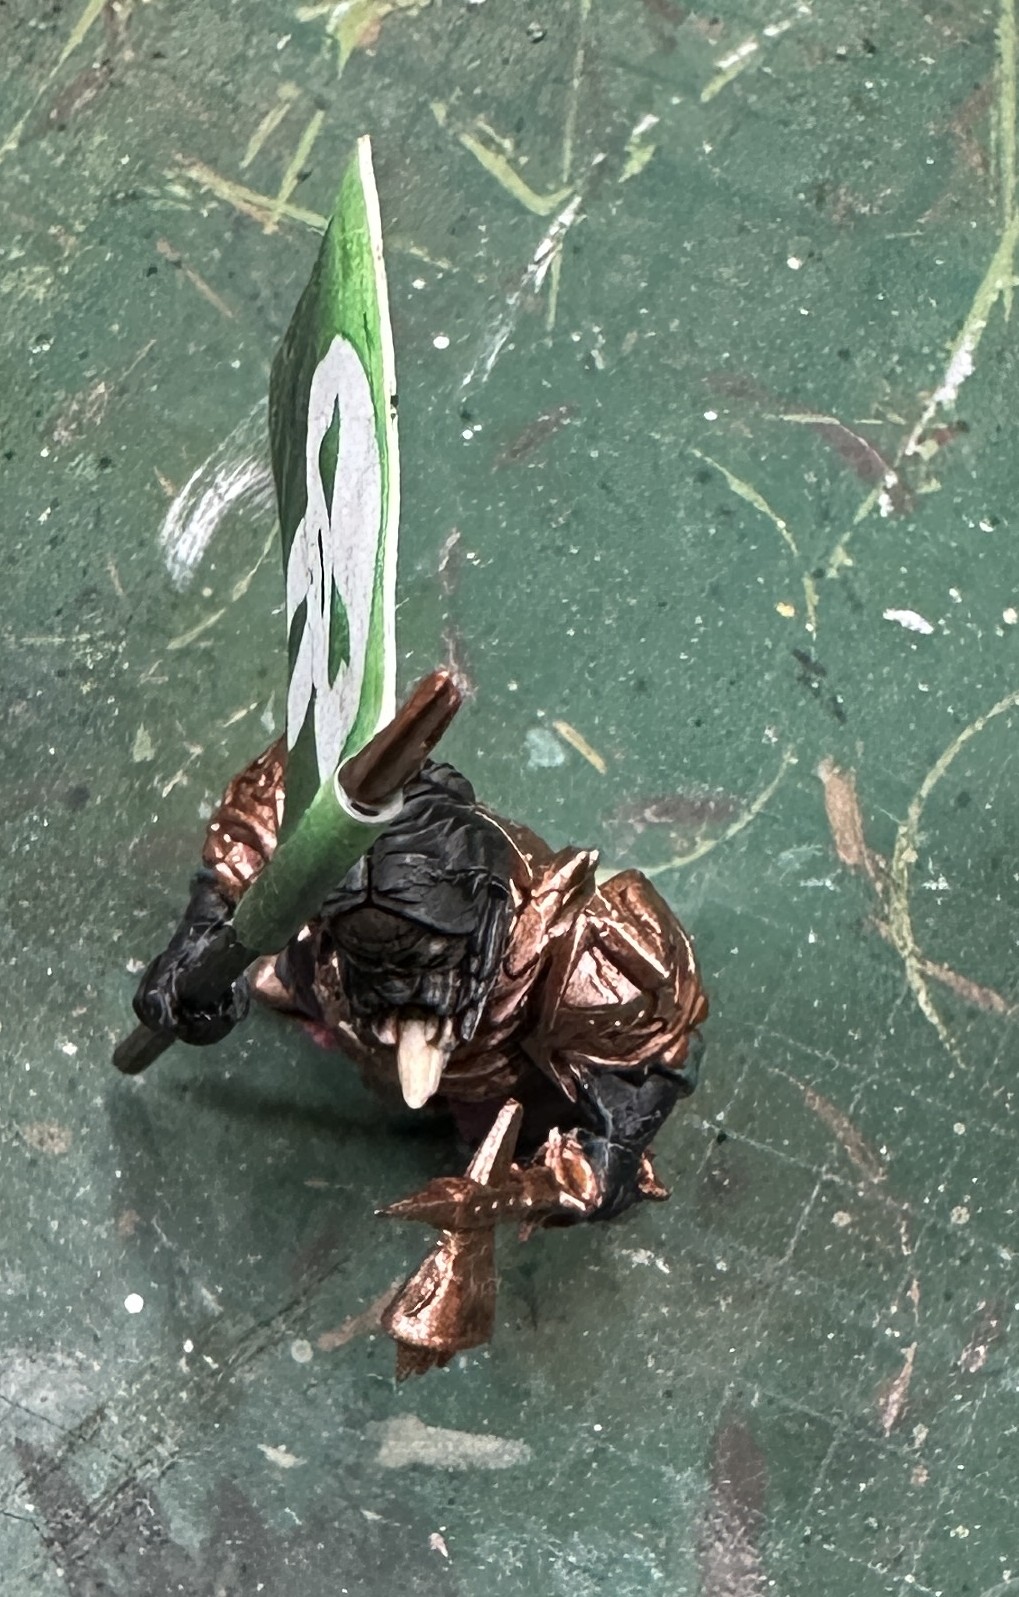
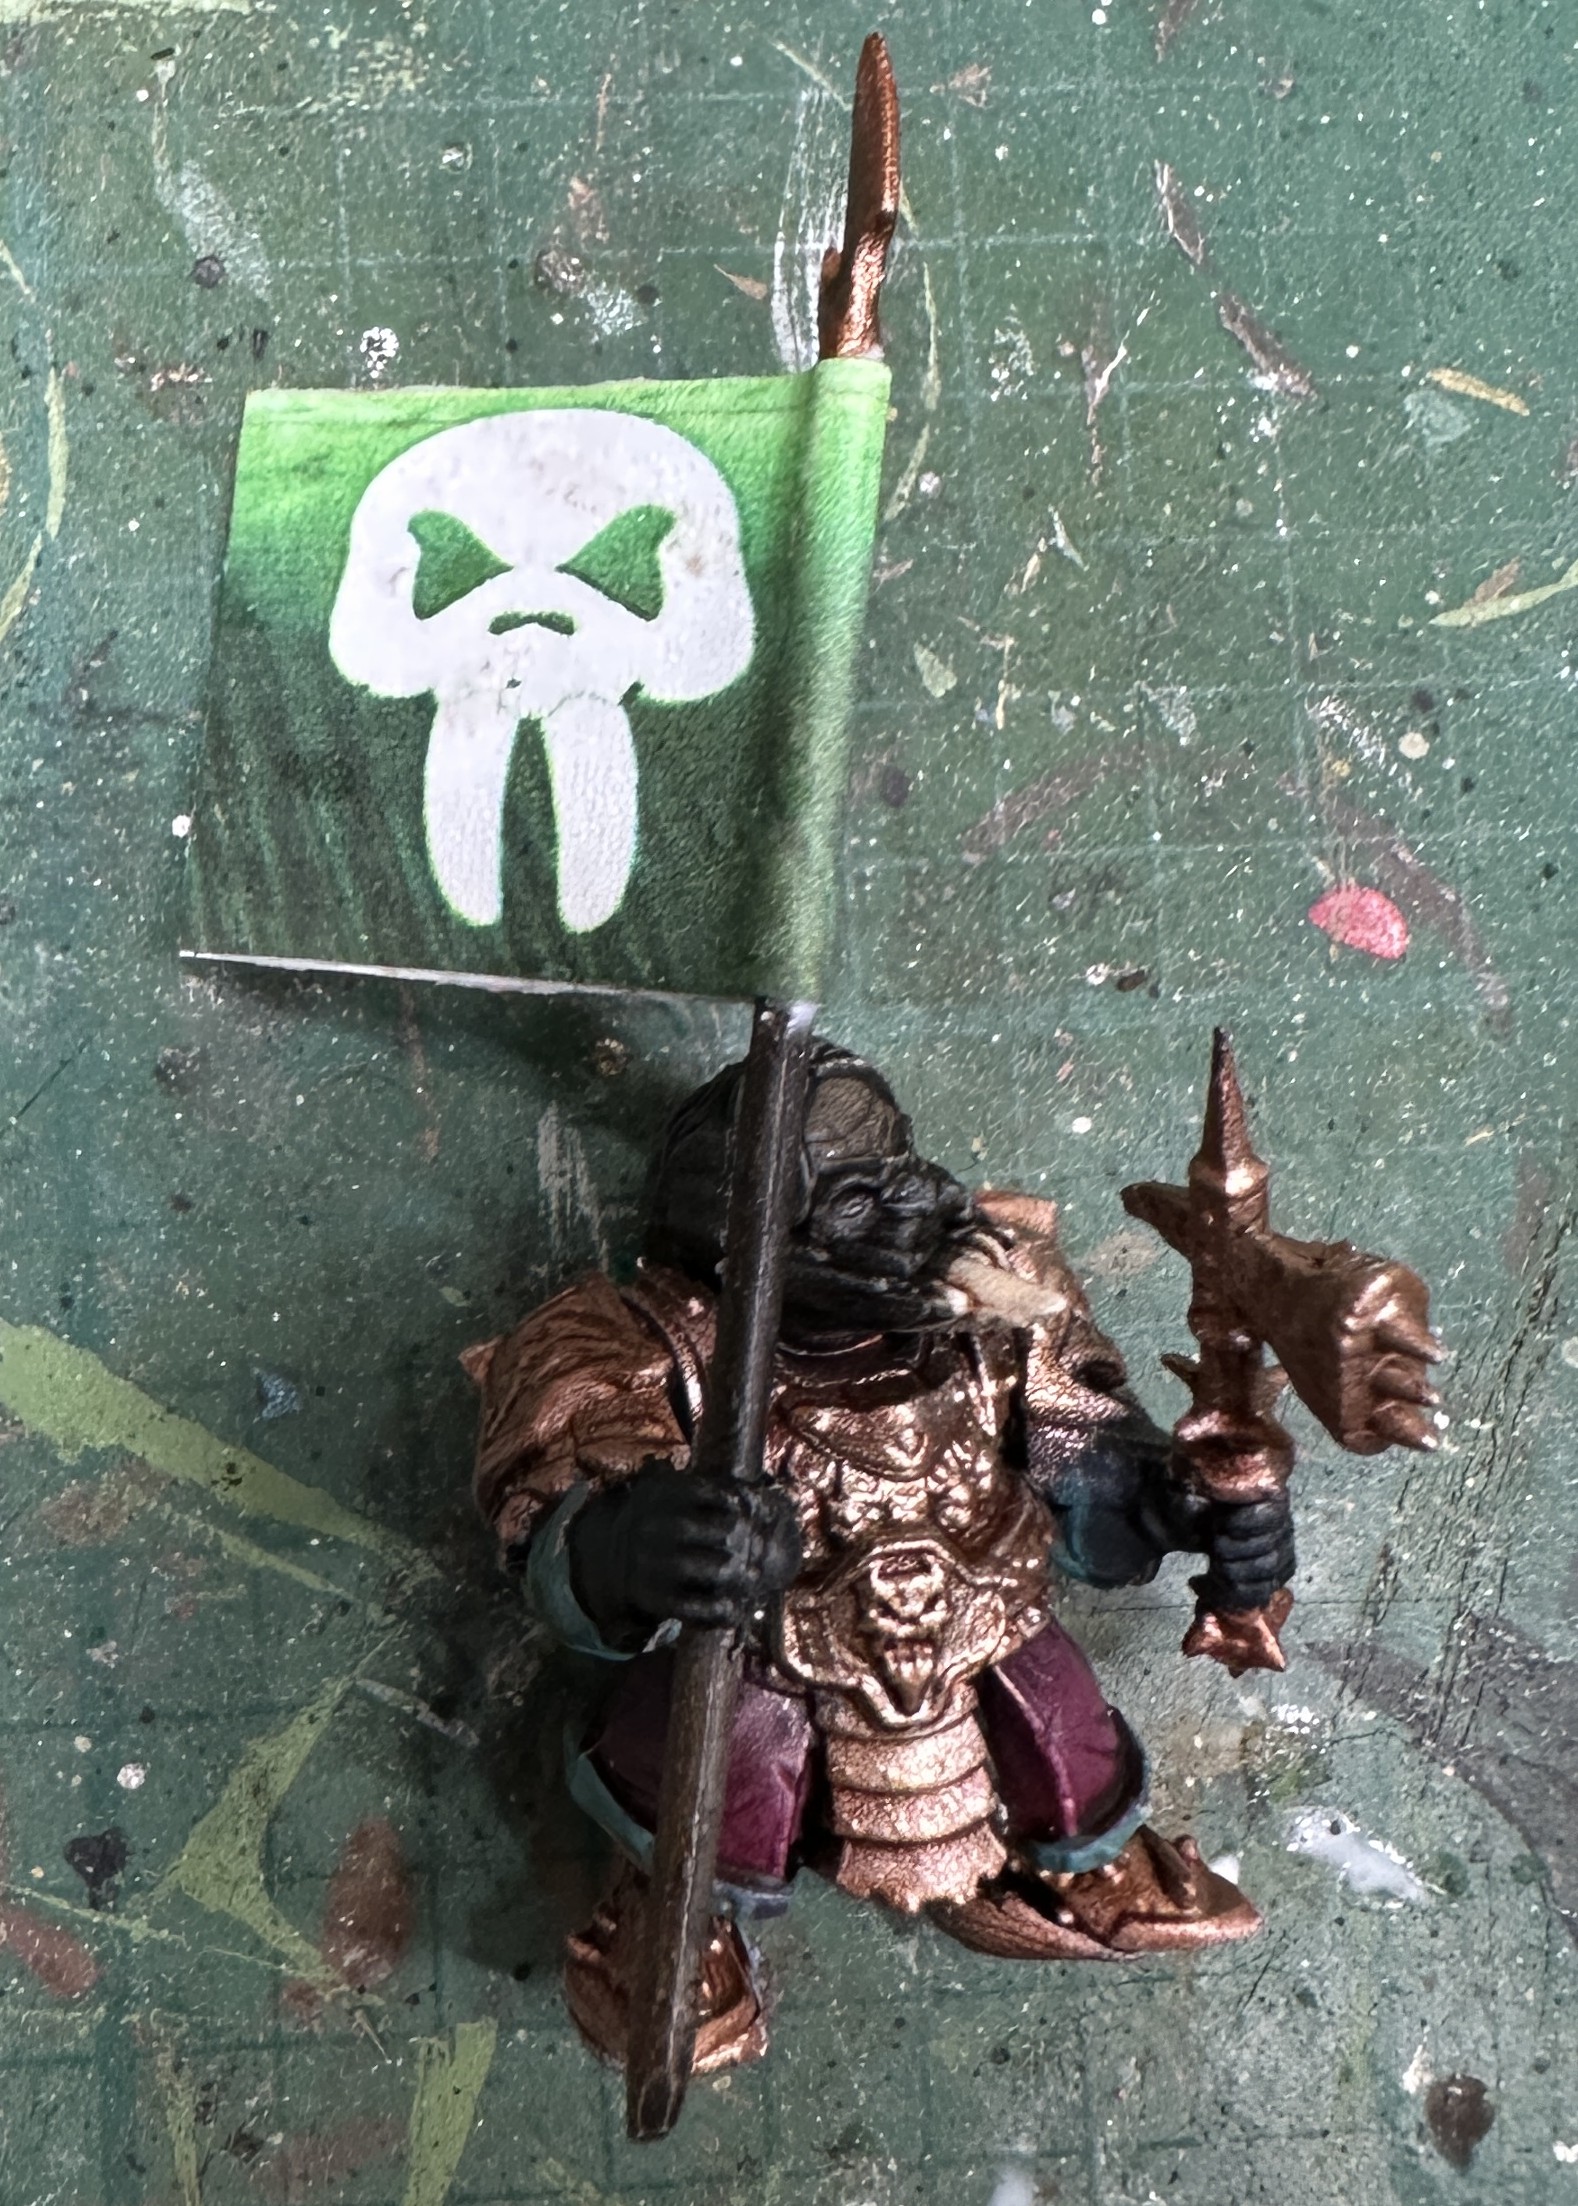
Did you leave it to dry? Please do. If you try this final part and the paper is even slightly wet it will tear and you’ll have to start again.
When it is dry you can start to put ripples into the flag. You can do this with nimble fingers or you can bend the flag against a paintbrush handle holding it first on one side, then the other to get the concertinaing in. The metal will hold the bends in a nice even way and the paper won’t crease like it does if you don’t have any metal in there. Once you are happy that the flag looks like it is rippling in the breeze you are done.
Paint the edge to cover up the white. Pick a colour that matches the top highlight colour on the flag, I used a pale green on the top edge and darkened it a little from about half way down the vertical side. Use a standard acrylic, not an ink or Speedpaint as this will seep into the paper and stain it. Get paint on the brush and then wipe a fair amount off and run the side of the bristles along the flag edge. If you try to paint it on with the tip you will overrun onto the face of the flag which you don’t want.
All that PVA soaked into the paper will make the flag very resilient for play and the metal holds it in the shape you gave it, even if it is bashed or knocked about.
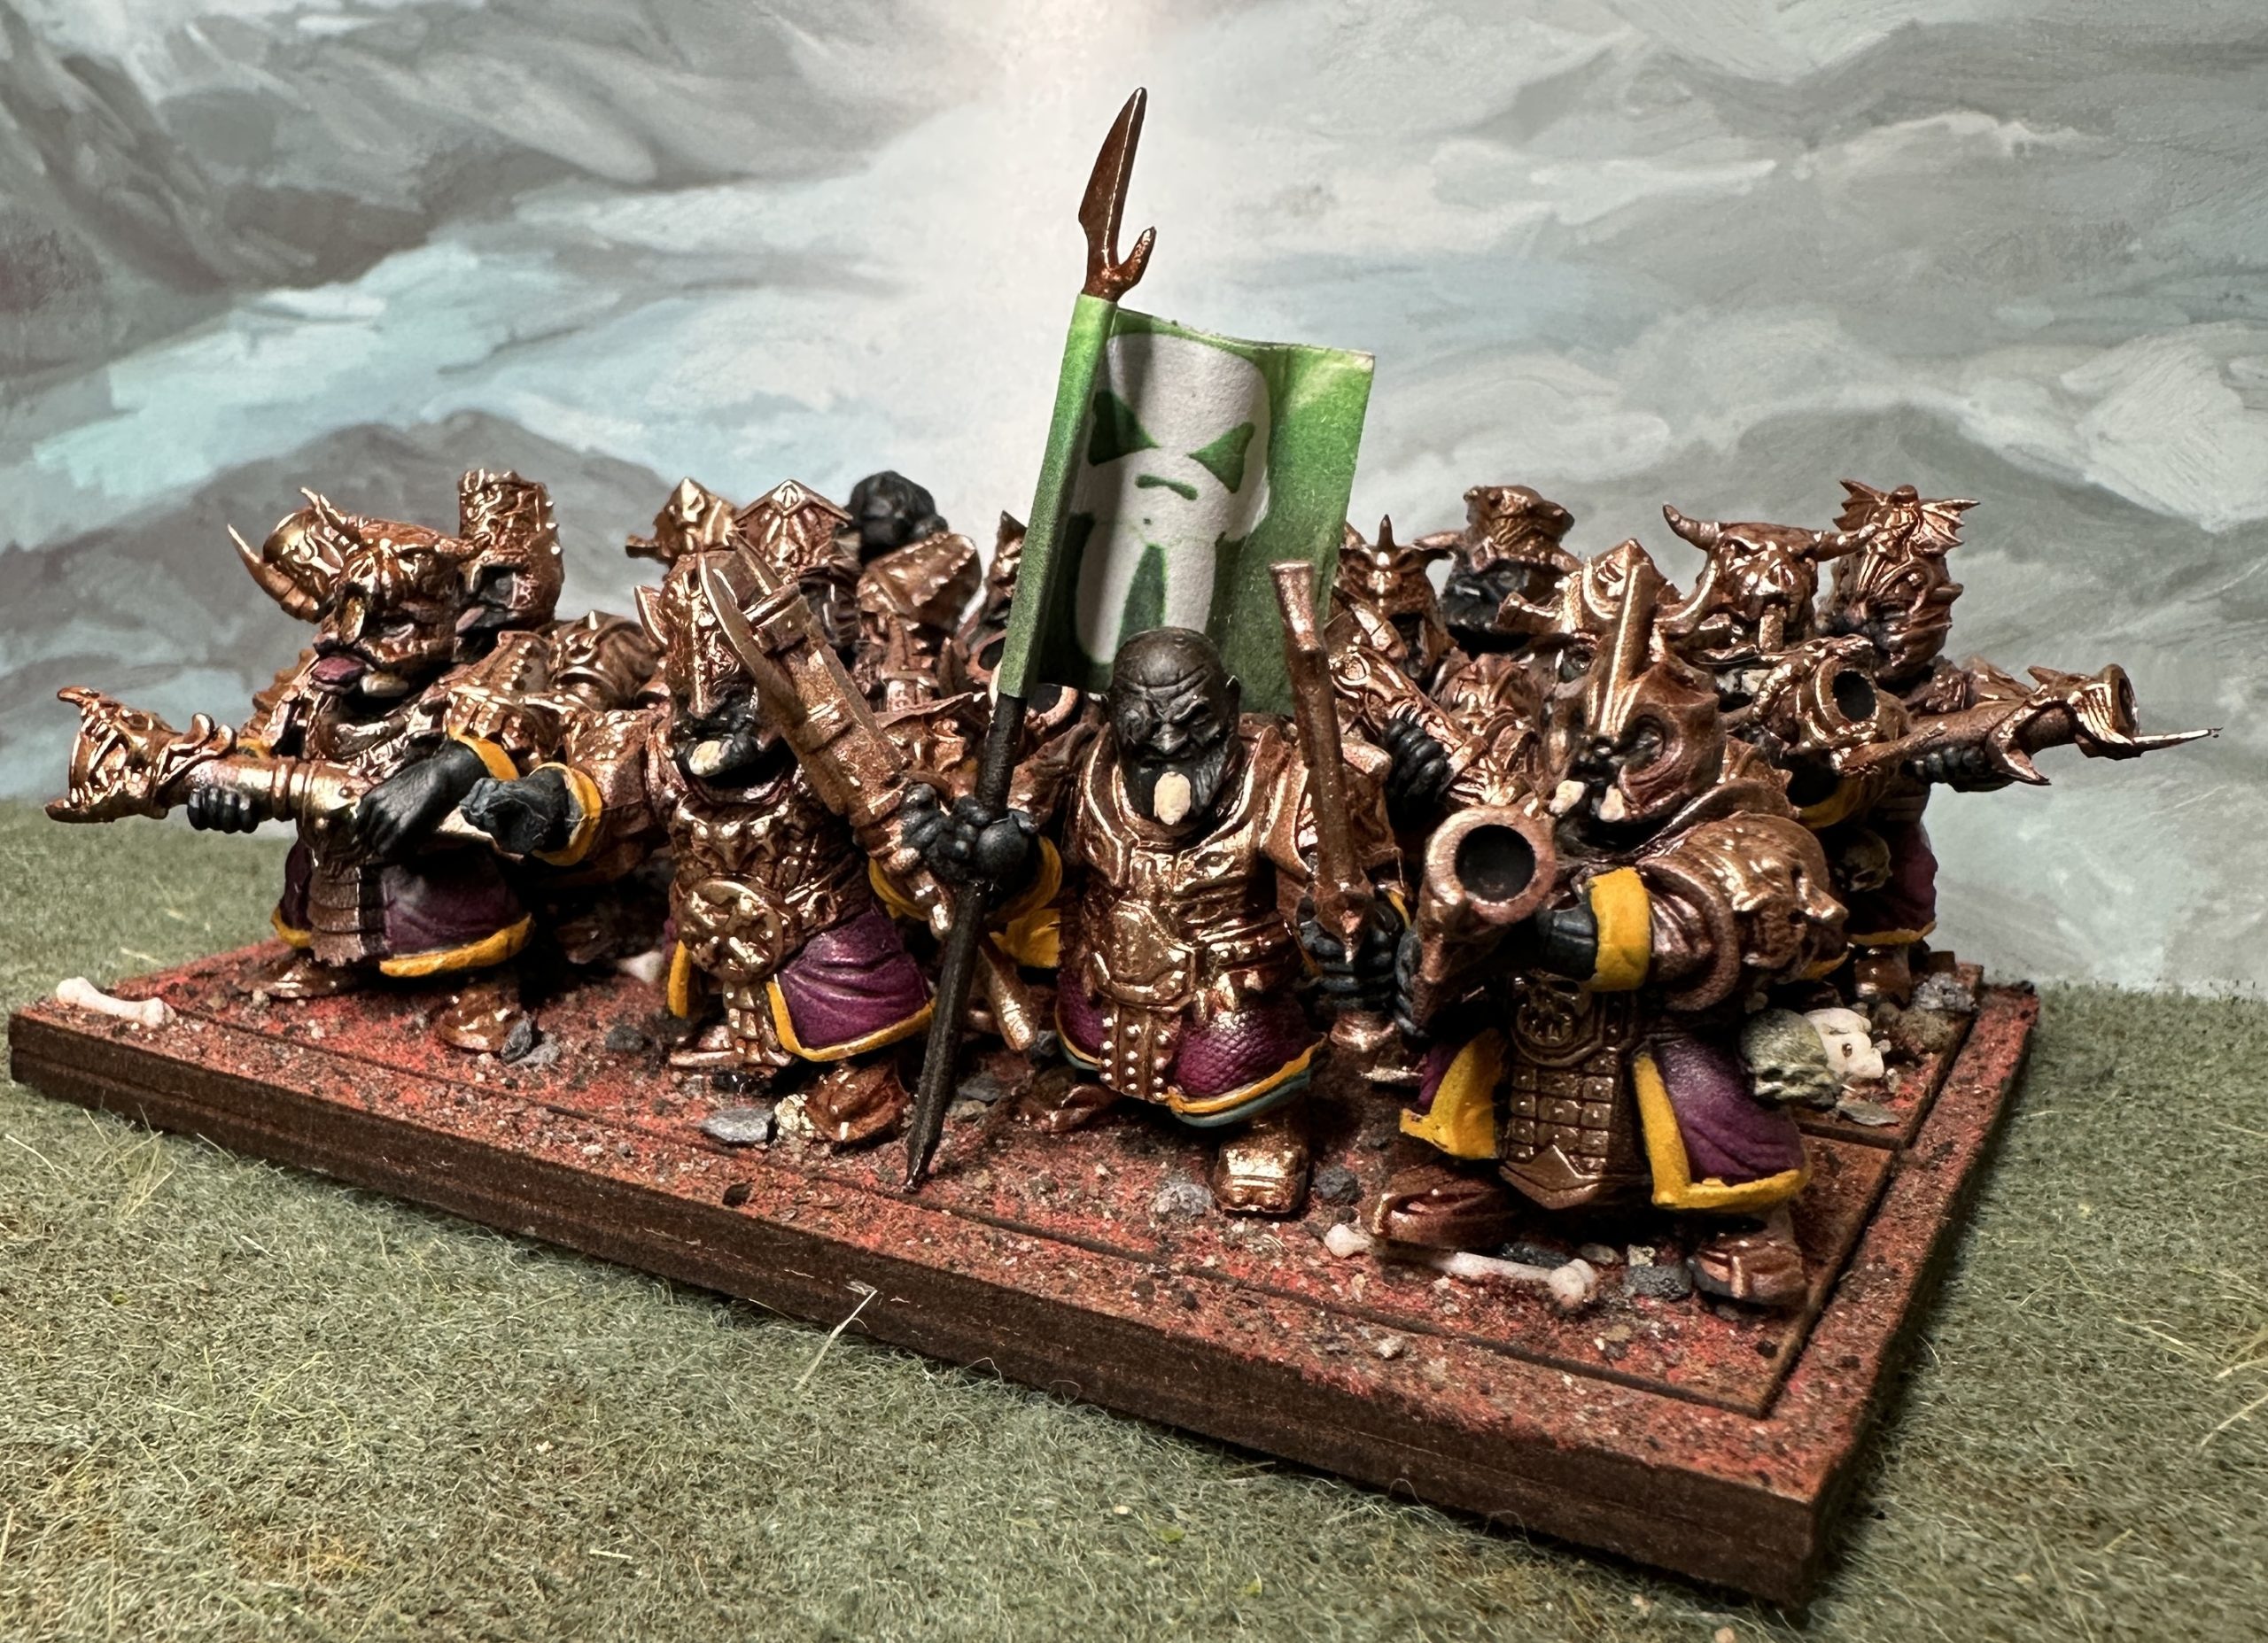
Ta-da!
Abyssal Dwarfs: Are We Drilling Blunderbuss Barrels?
Hell yes!
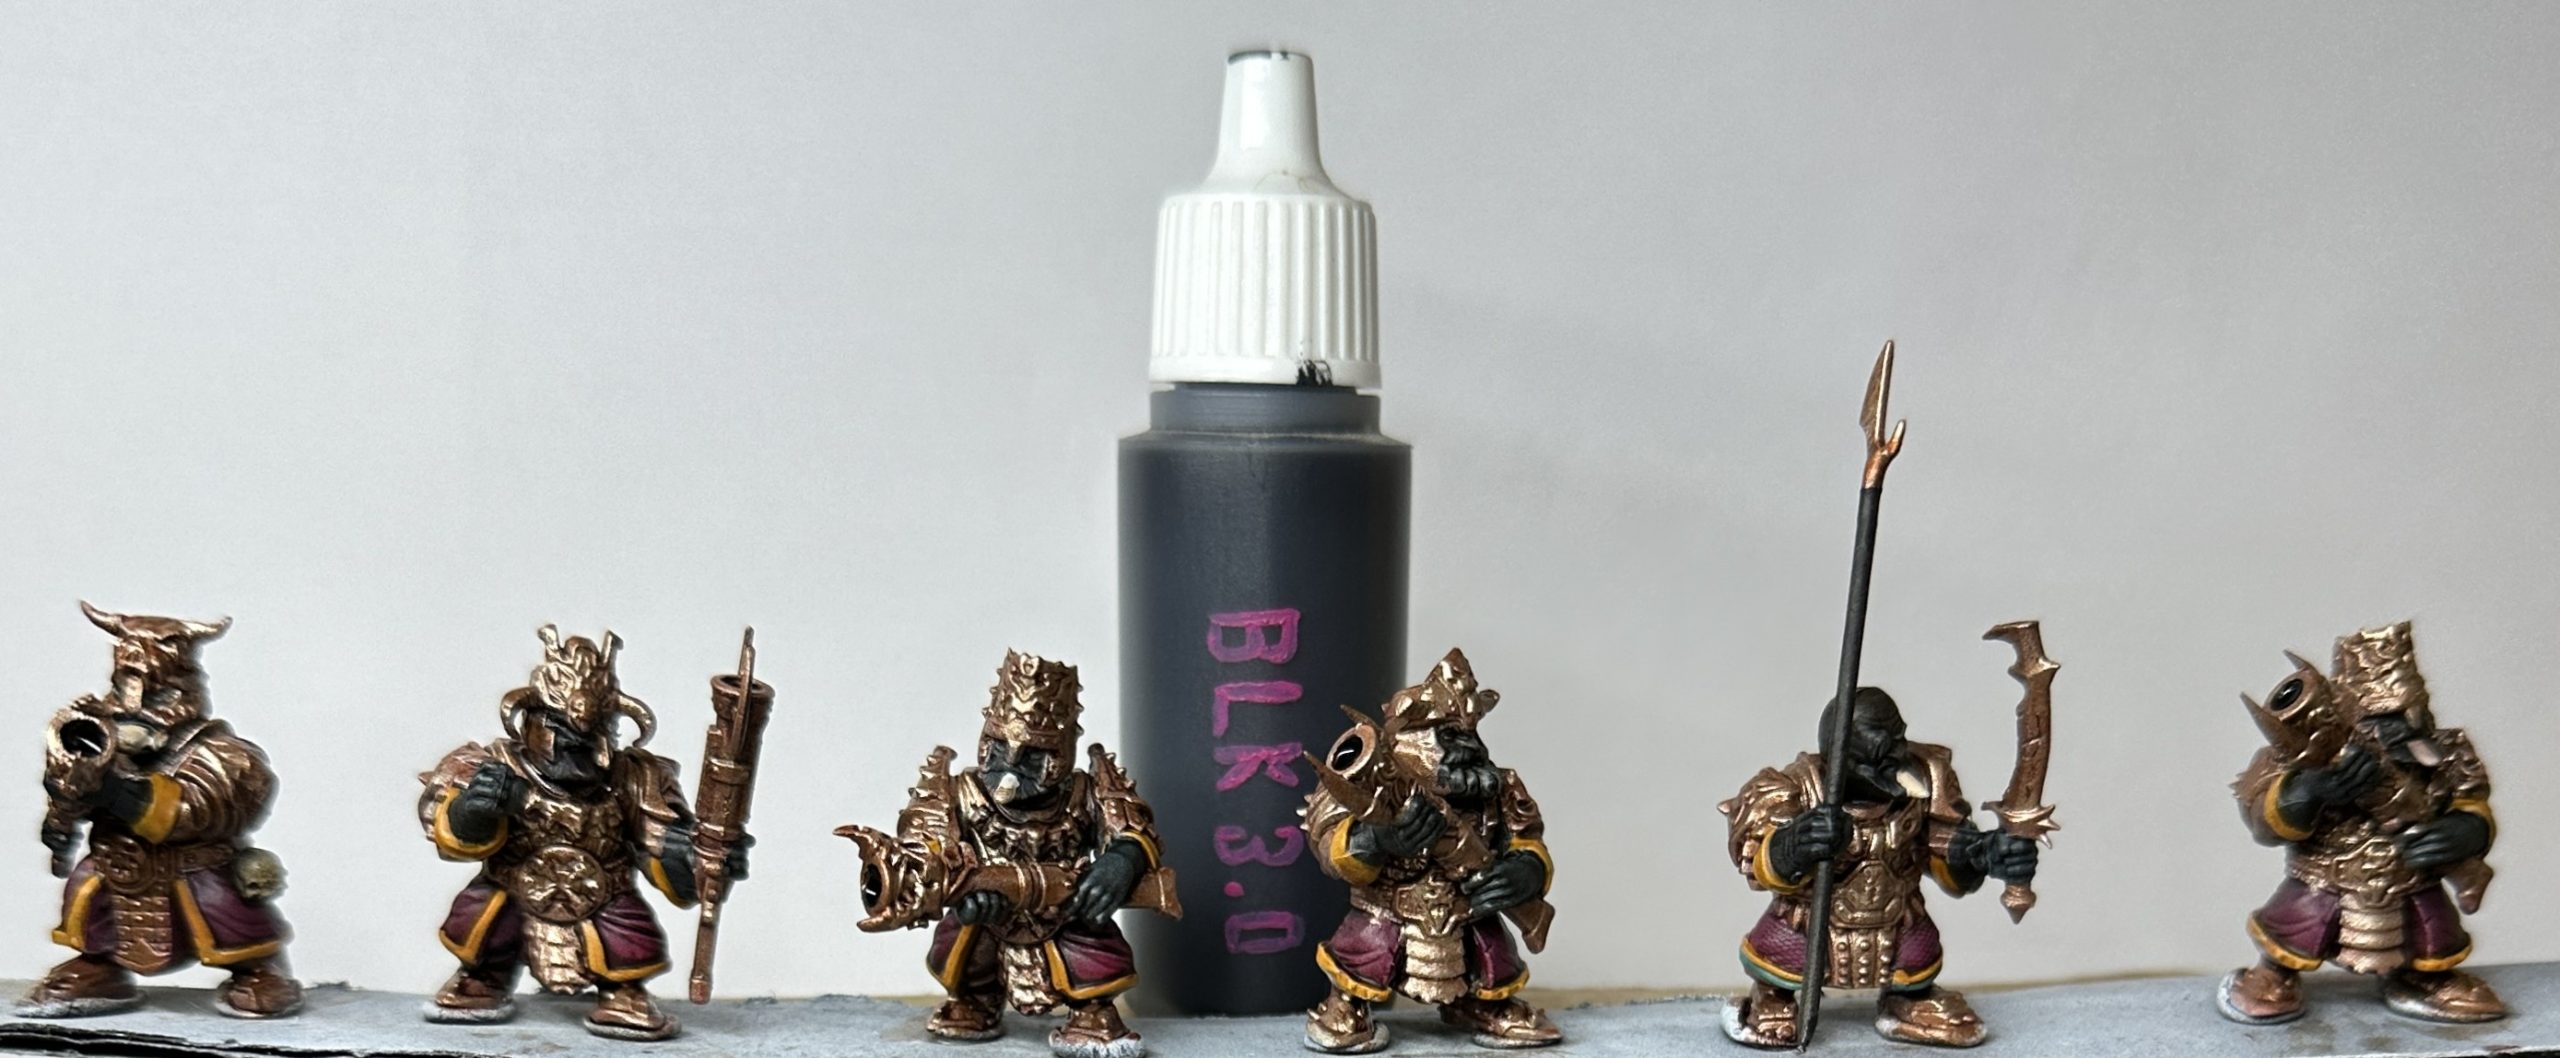
You can see the painting method in the Part 4 article. The assembly is very straightforward so you won’t need to see how to do that. The only extra I did was drill and paint the barrels of the Decimator’s blunderbusses.
First here is the issue – a very flat muzzle which will be hard to disguise with paint alone.
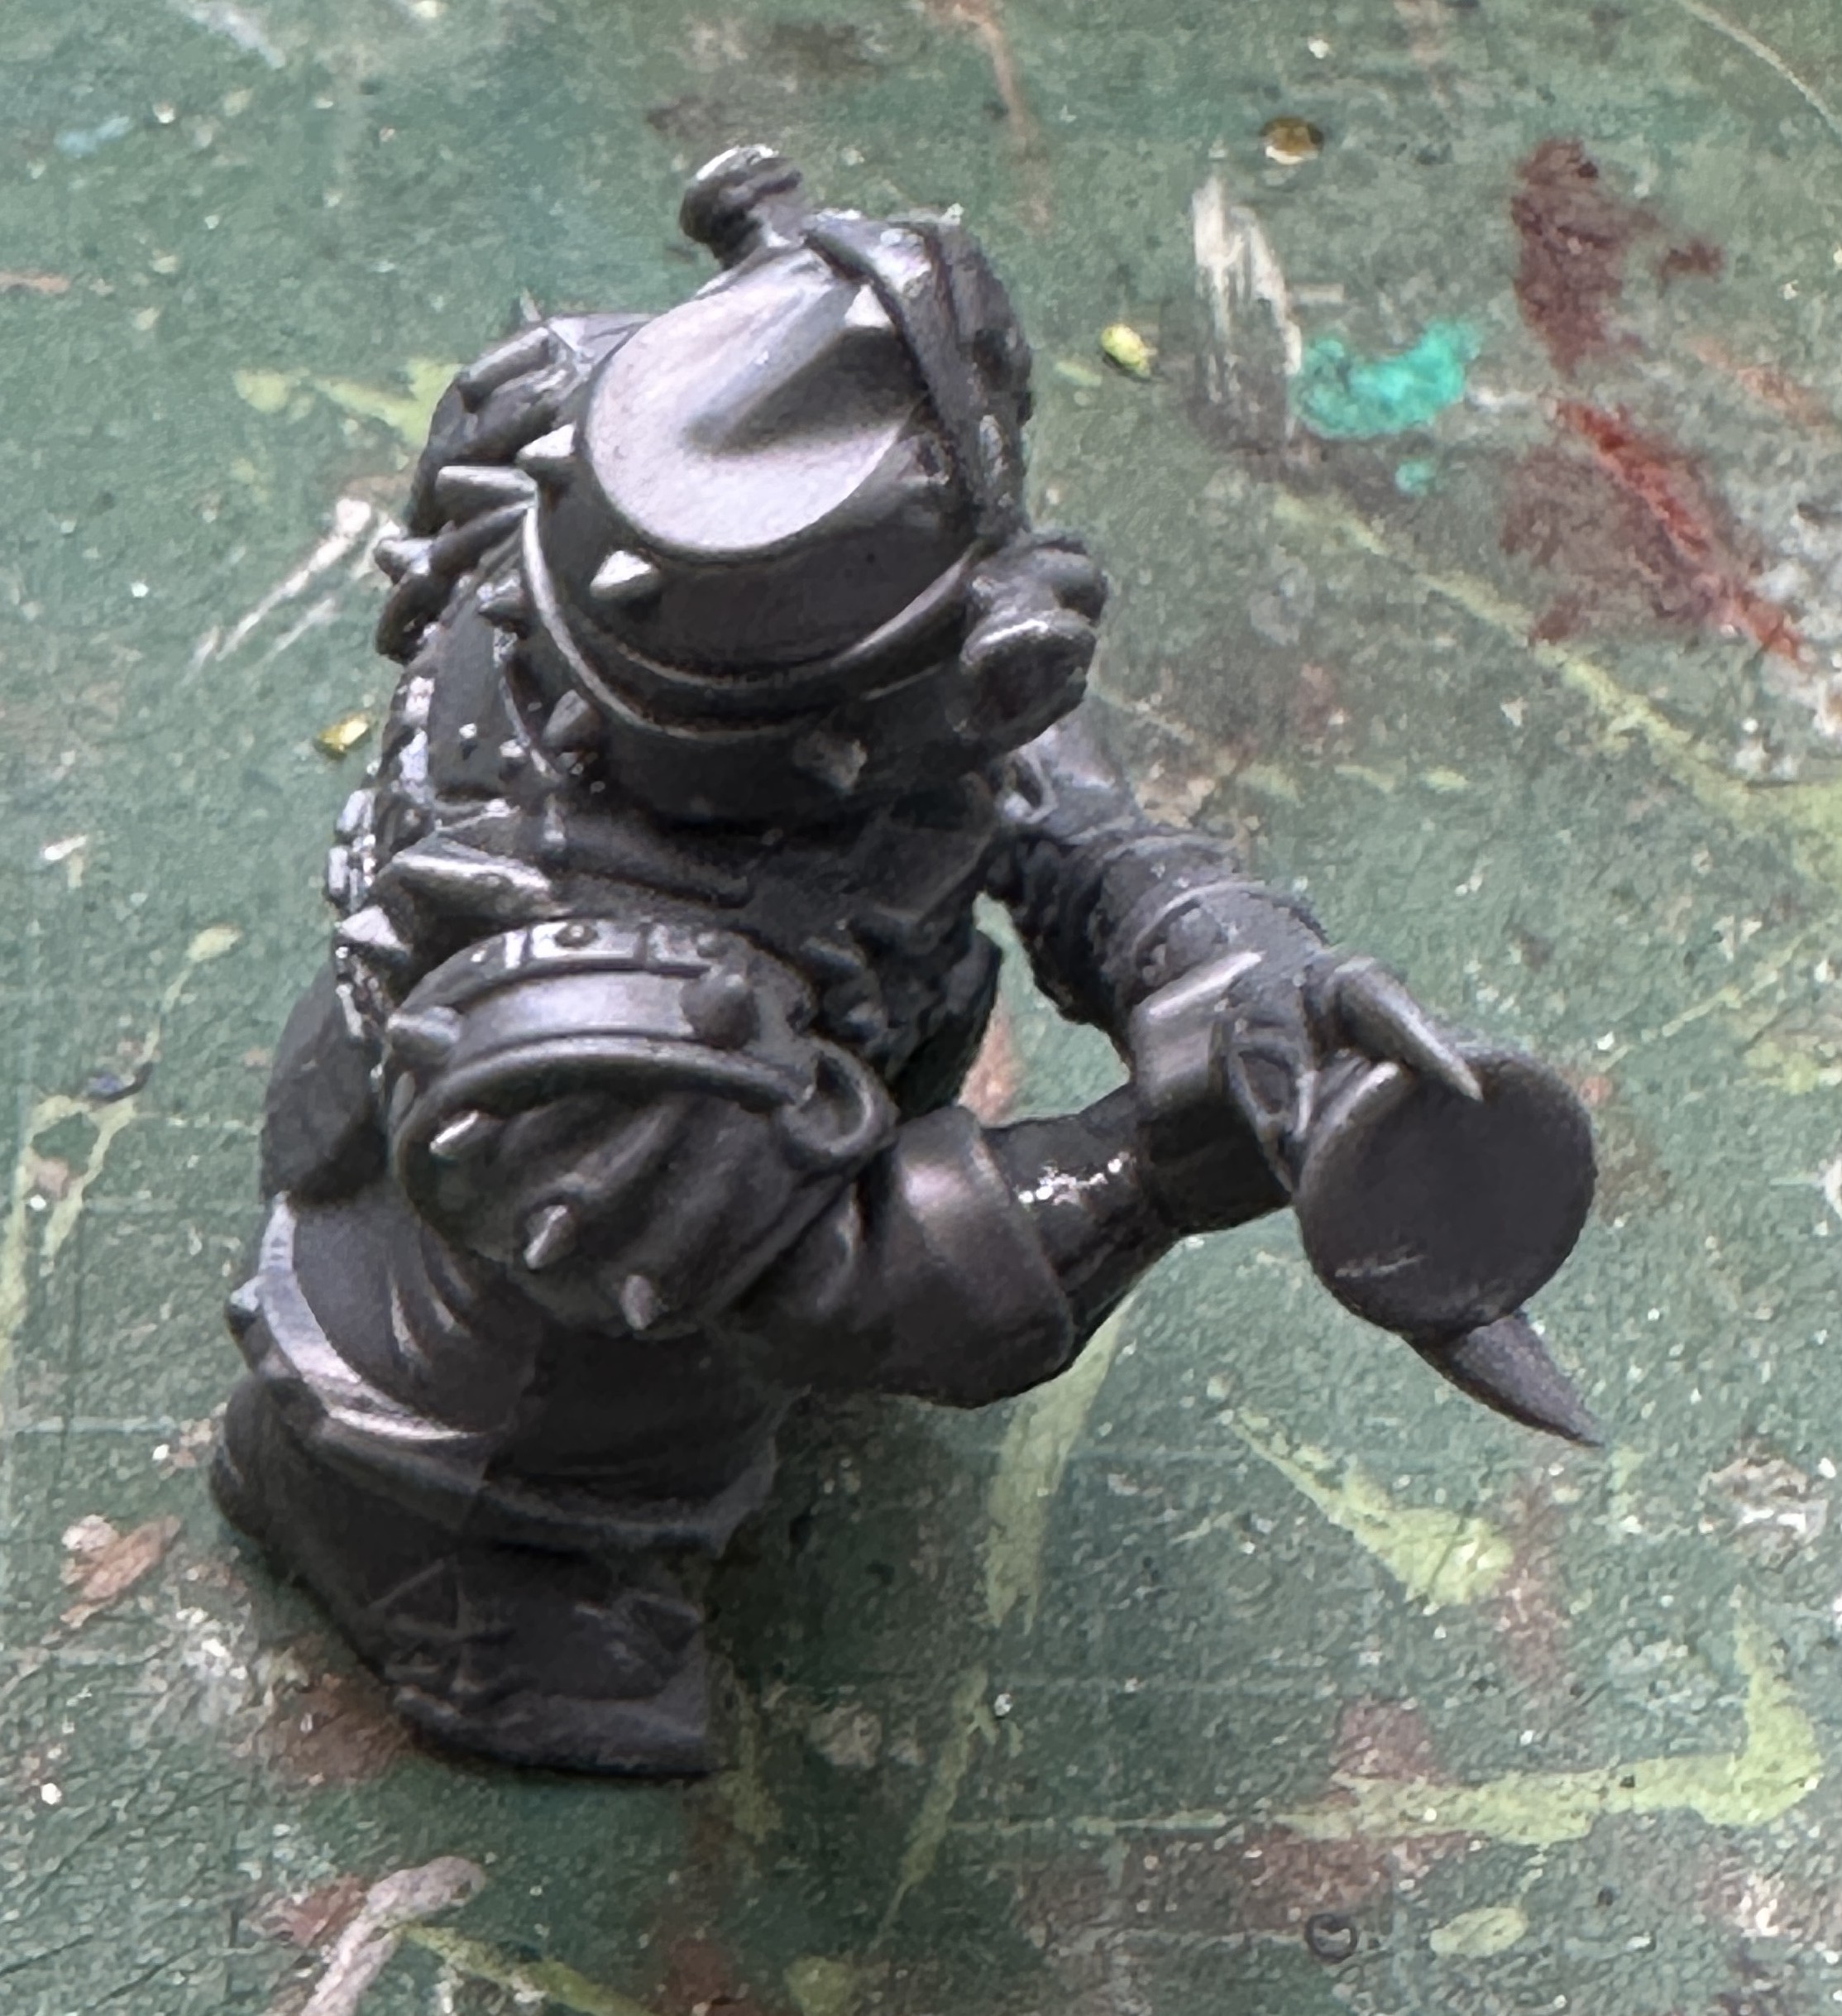
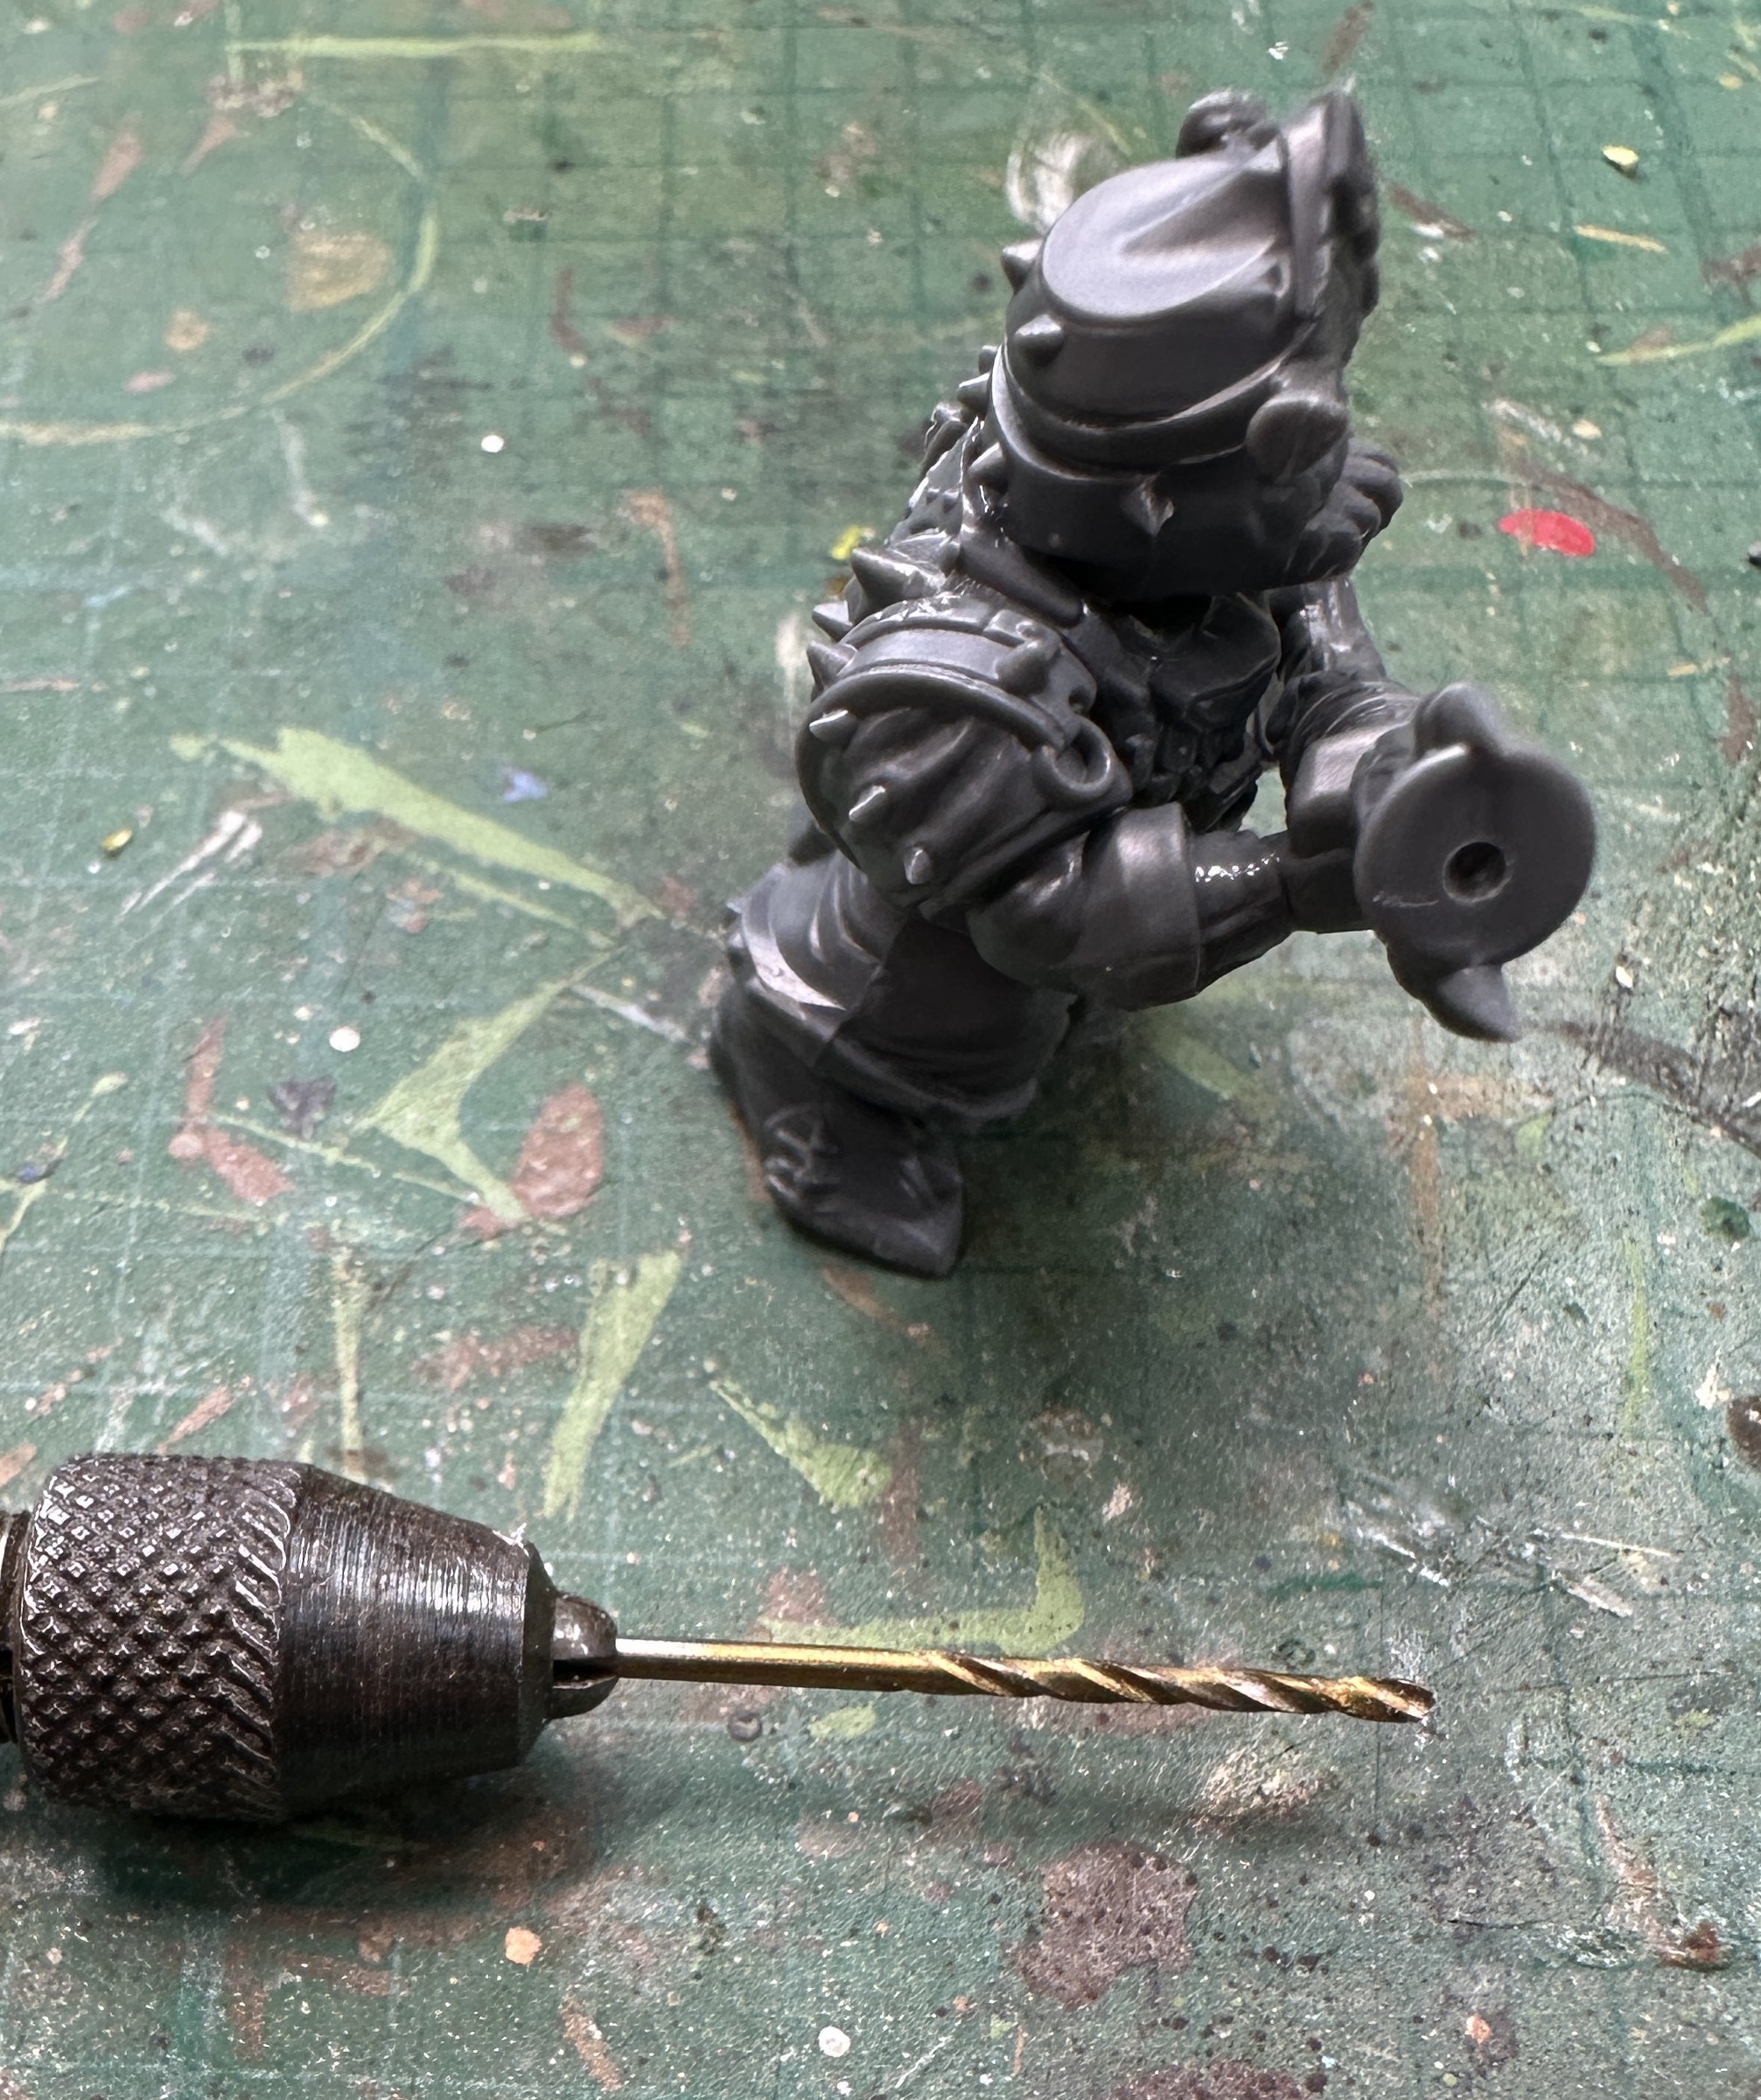
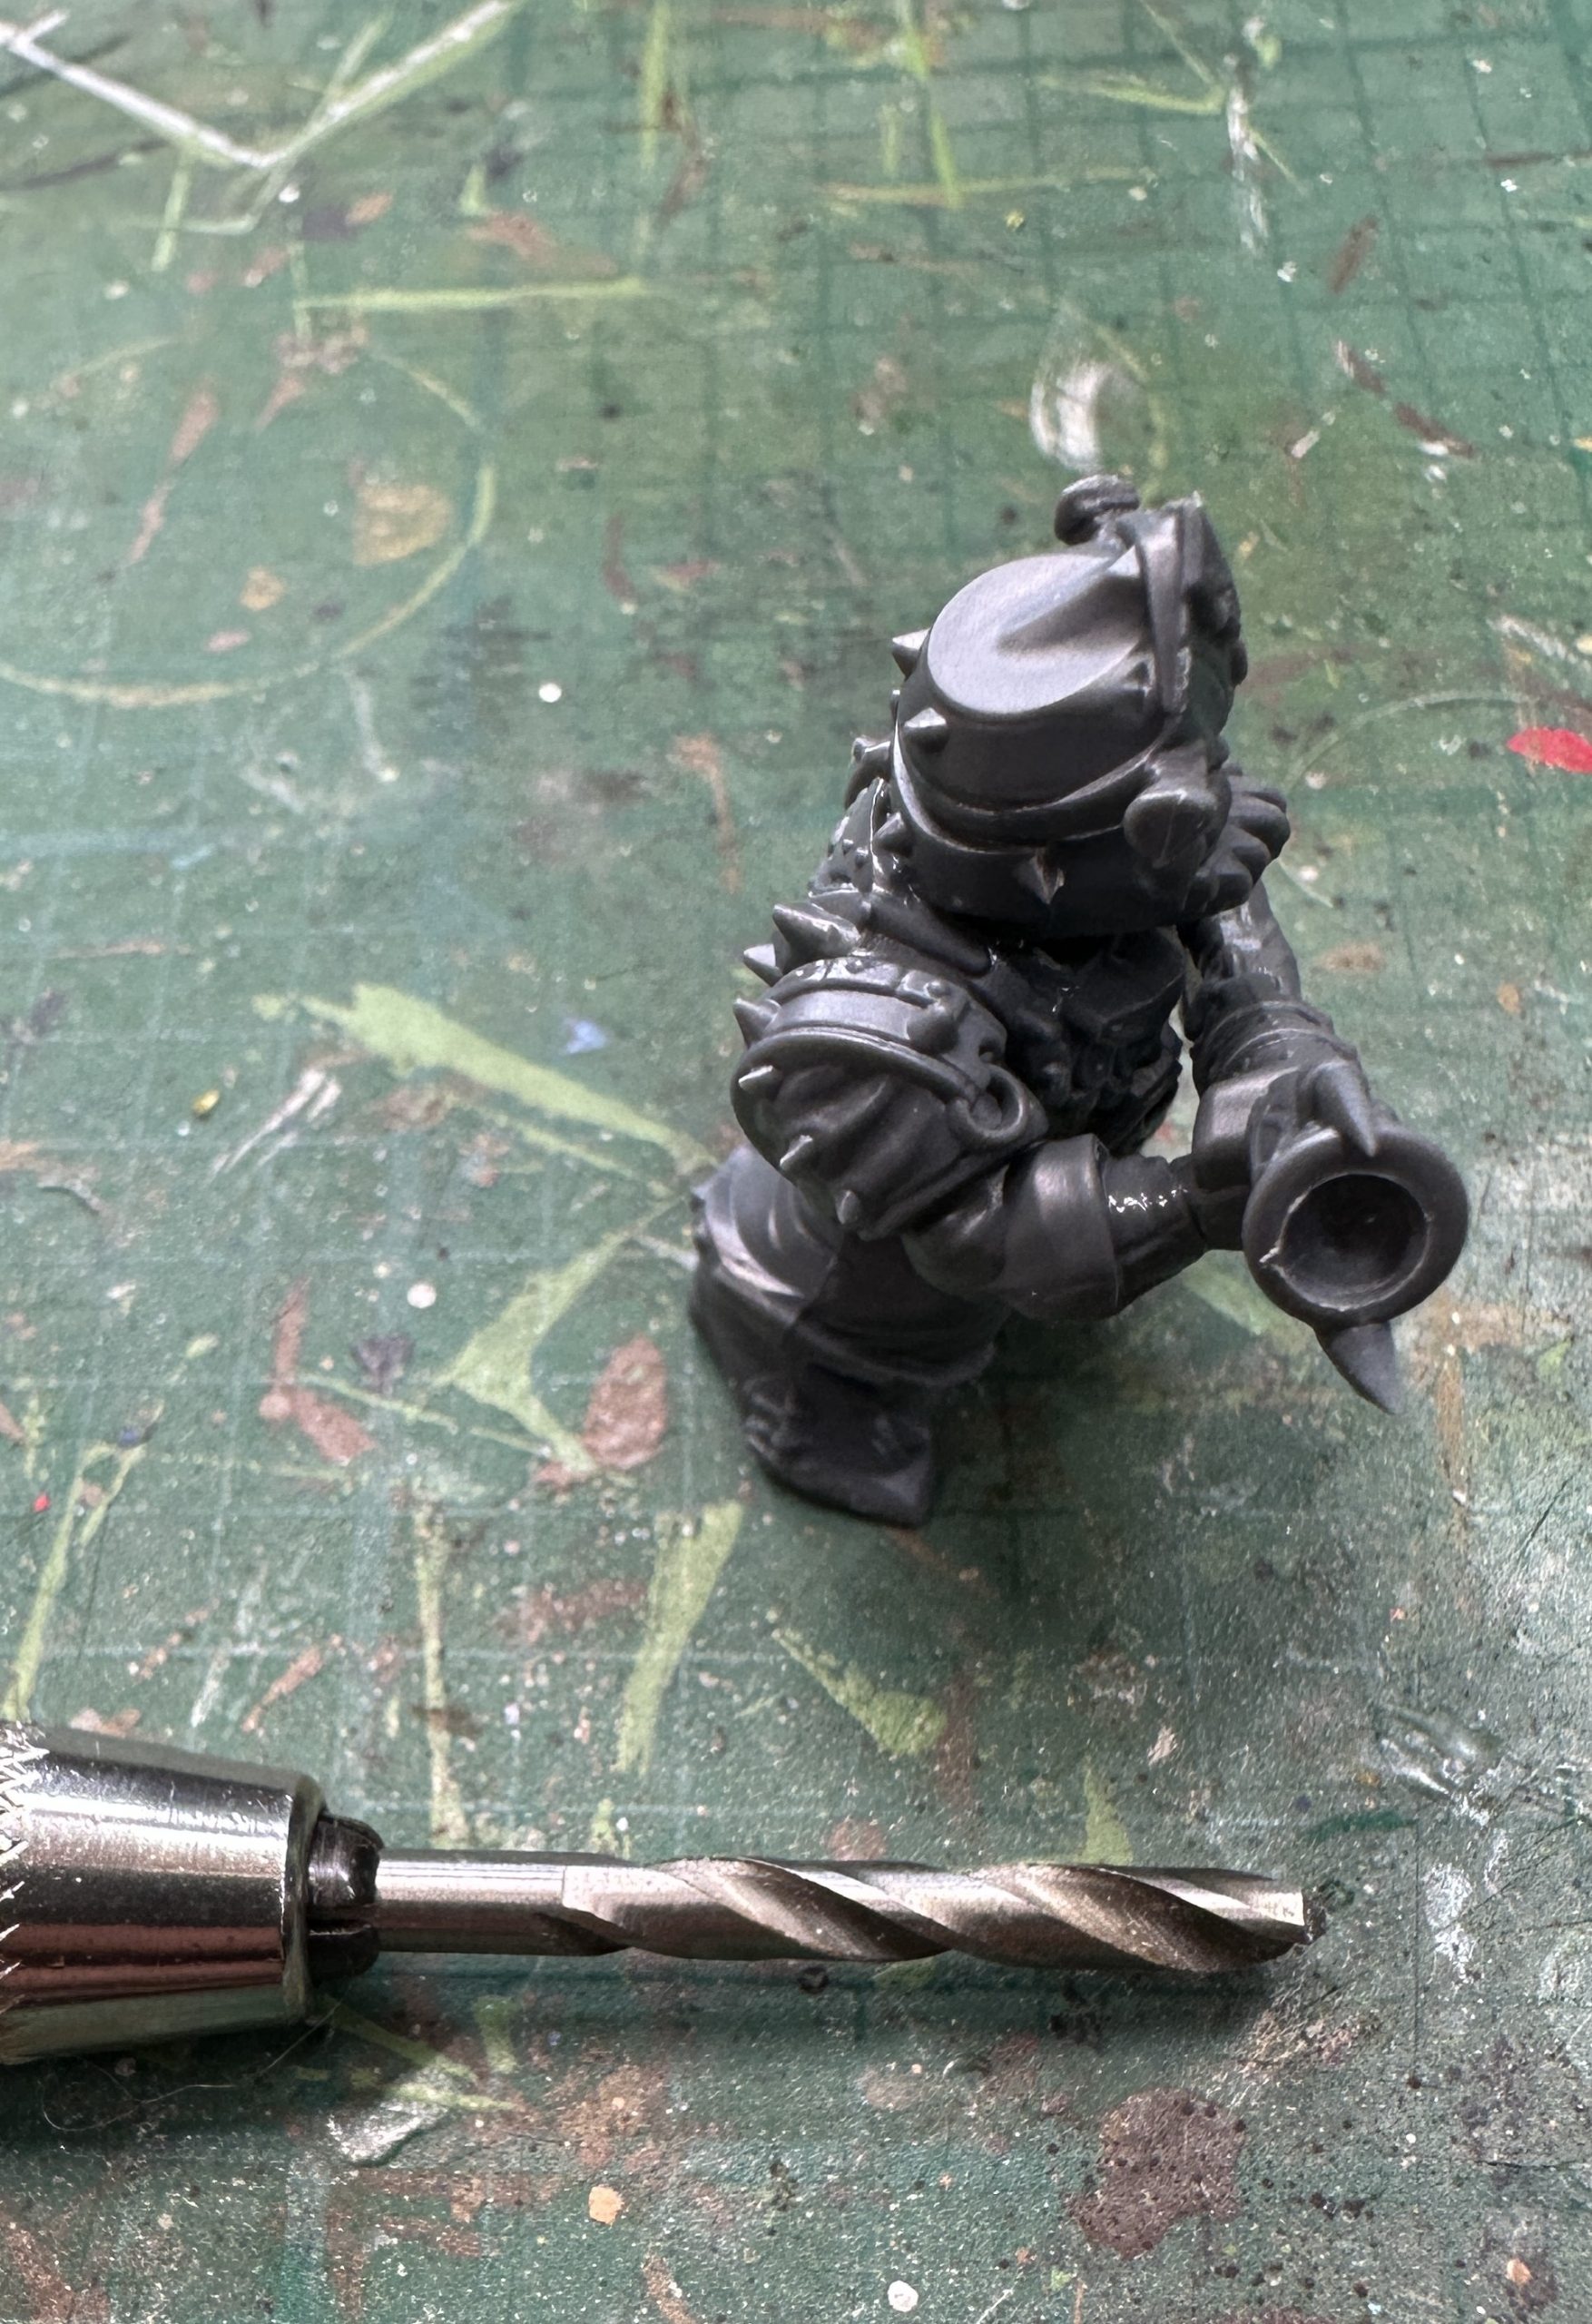
So to drilling. I use a pin vice and have a small set of drill bits. I started with the 0.8mm to drill a pilot hole as close to middle as I could. Then on to a 2.8mm bit which will leave a 1mm rim as long as we got it close to the centre. The 2.8mm on its own won’t catch into the plastic so easily so to avoid it skating across the surface and you missing the centre the pilot hole is needed.
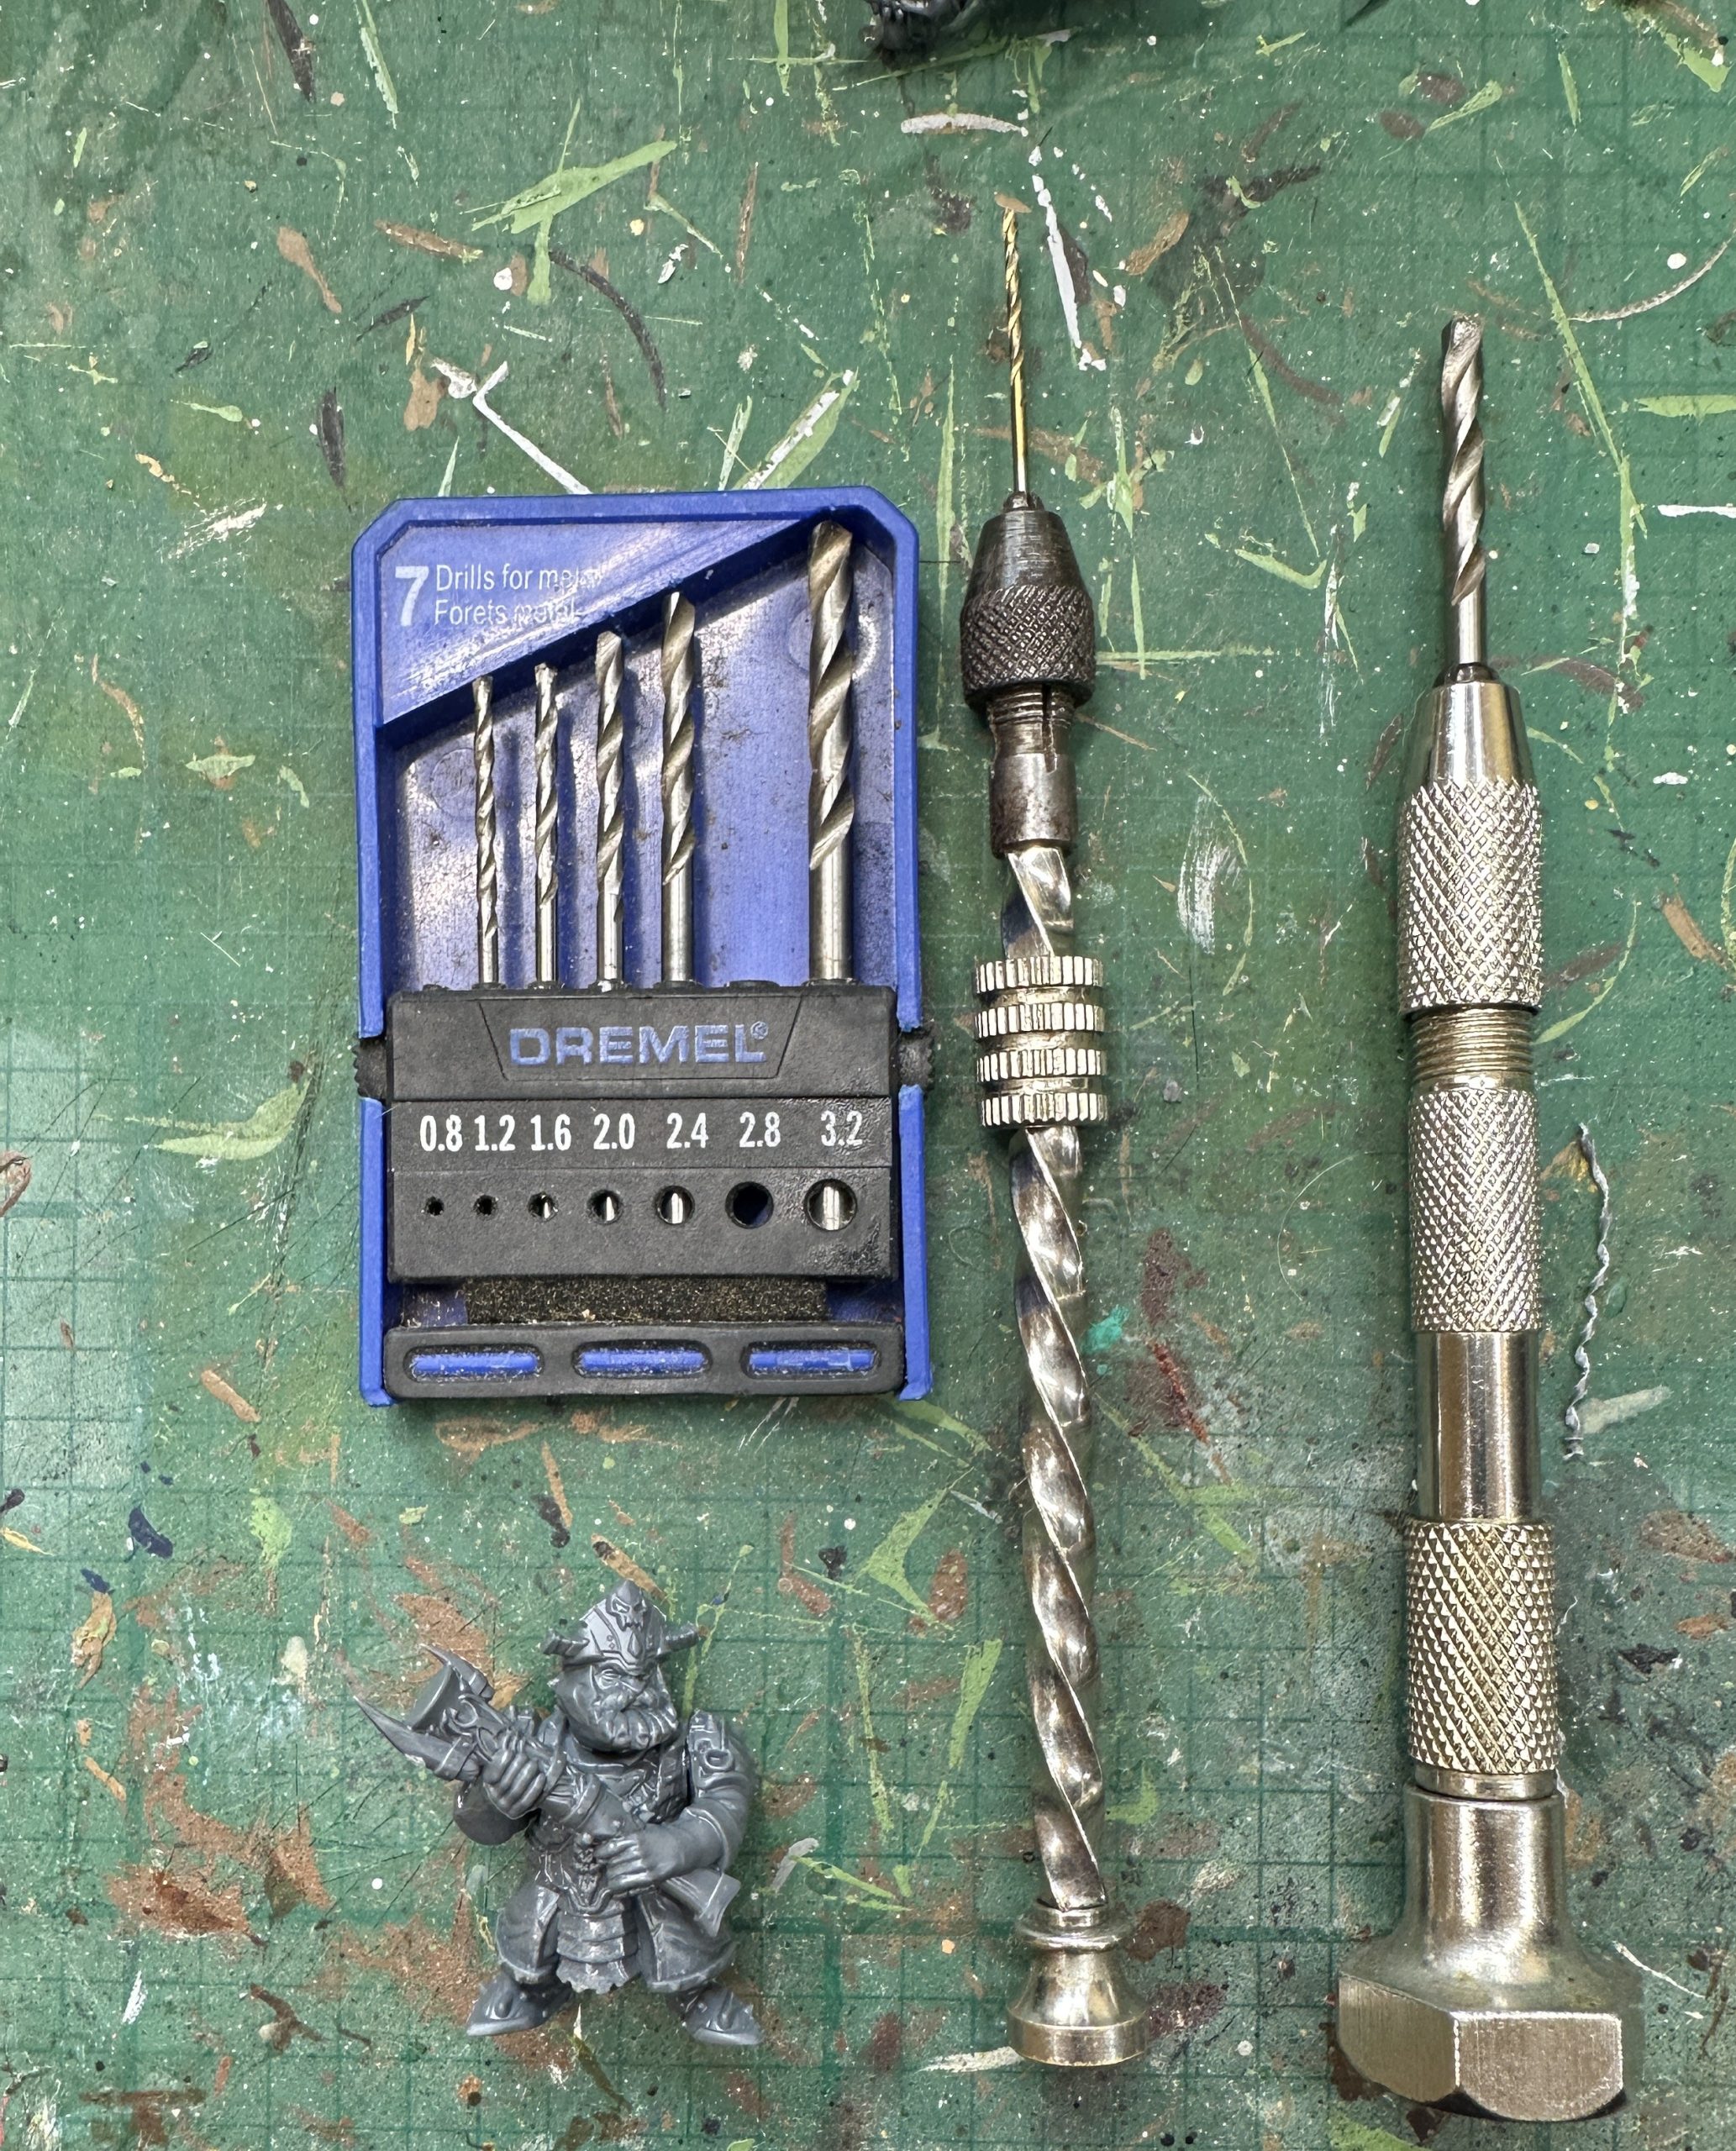
When the miniature is painted you can paint the inside of the barrel black. I use a form of Vanta Black called Black 3.0 (that I put in my own dropper bottle), but there are lots of these on the market. The high matt finish helps deflect light away and tricks the eye into seeing a deep, dark hole where in fact it is only a couple of millimeters.
Mass basing - how many is "full"?
I’ve not mass based units before so I’m excited to give it a go. Now I’ve got my adaptable basing system in place I know I won’t have to paint silly numbers of miniatures and can figure out exactly how many will be in my units.
The main issue will be the core infantry as they will be the largest number and represent the biggest painting task. I decided to test fit onto my new multibases. I took one of the card boxes an army had come in (good quality cardstock, thanks Mantic) and cut out bases of the correct sizes for a few different unit types.
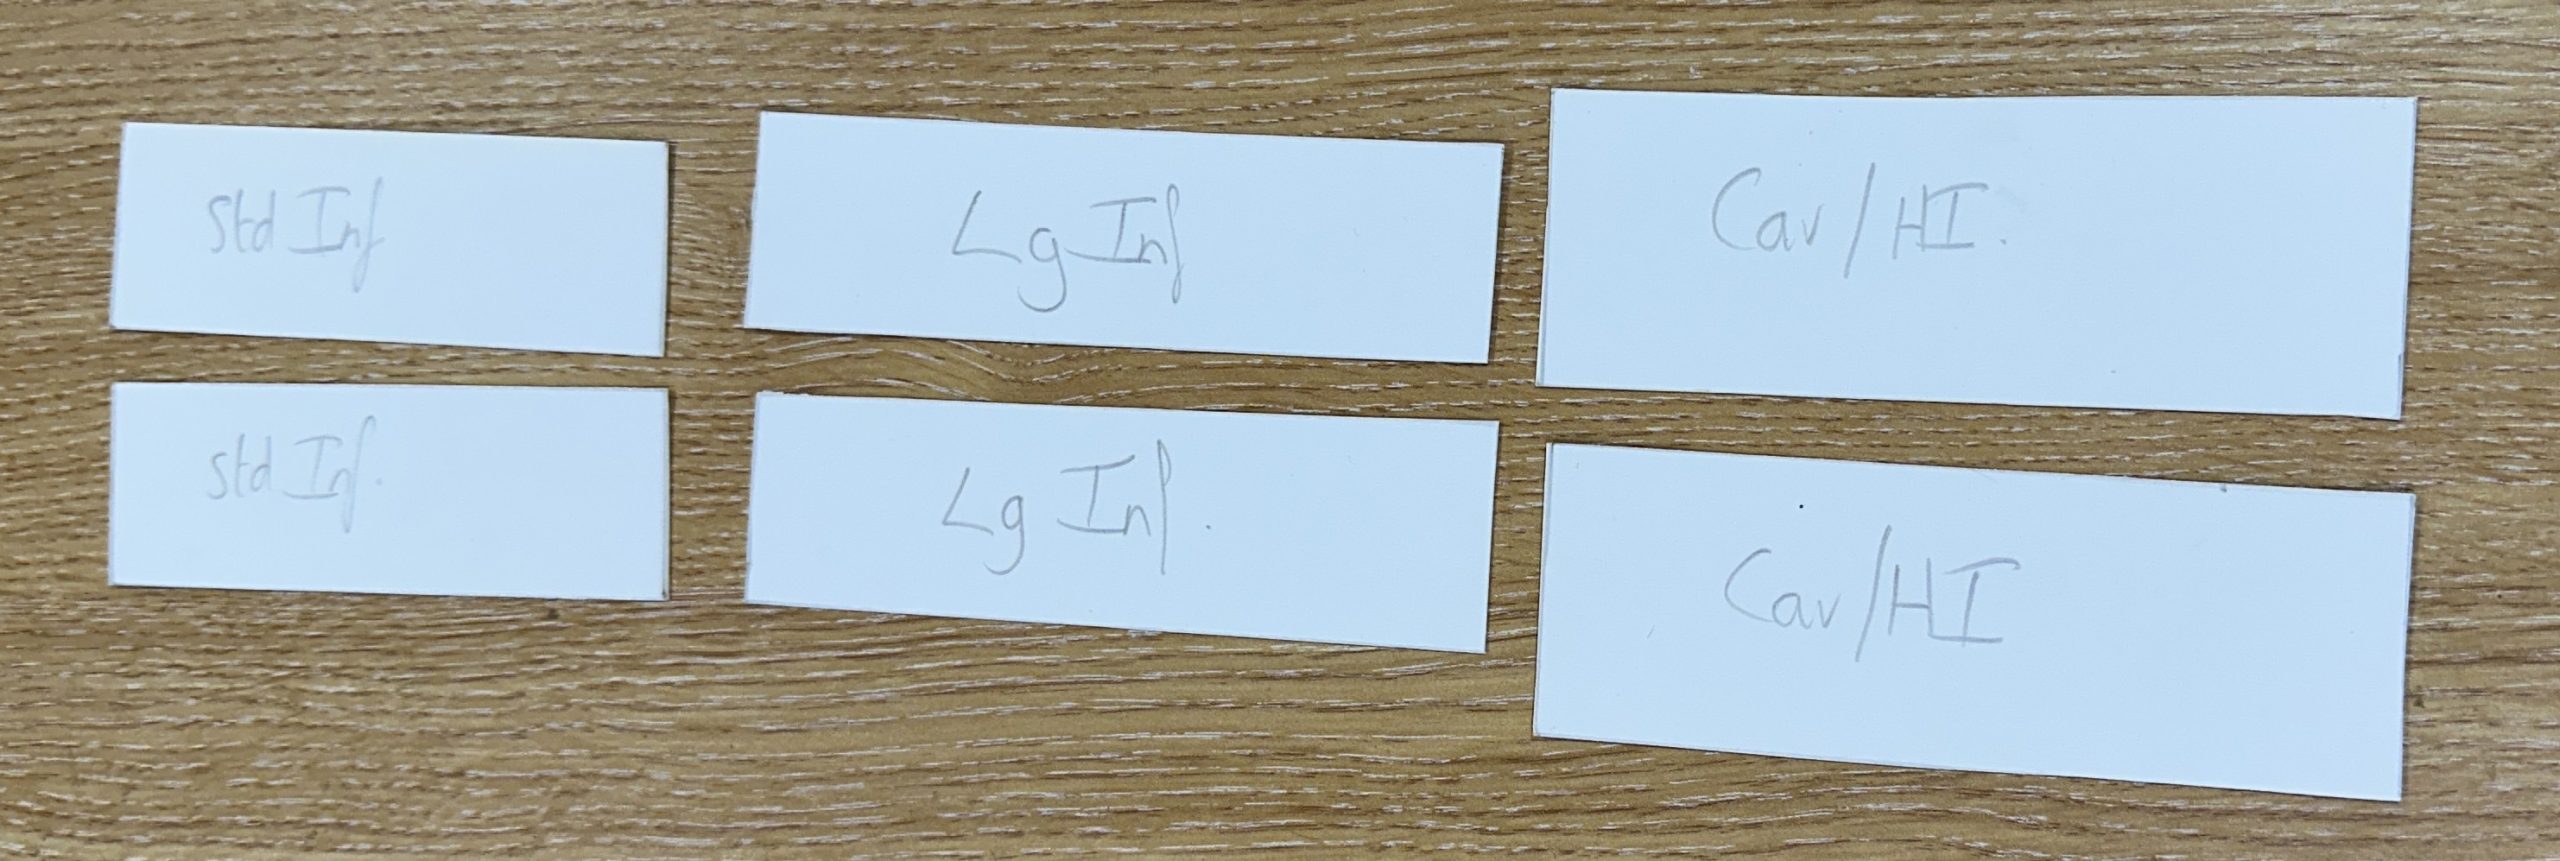
Then I assembled some miniatures of each type and started test-fitting them onto the bases.
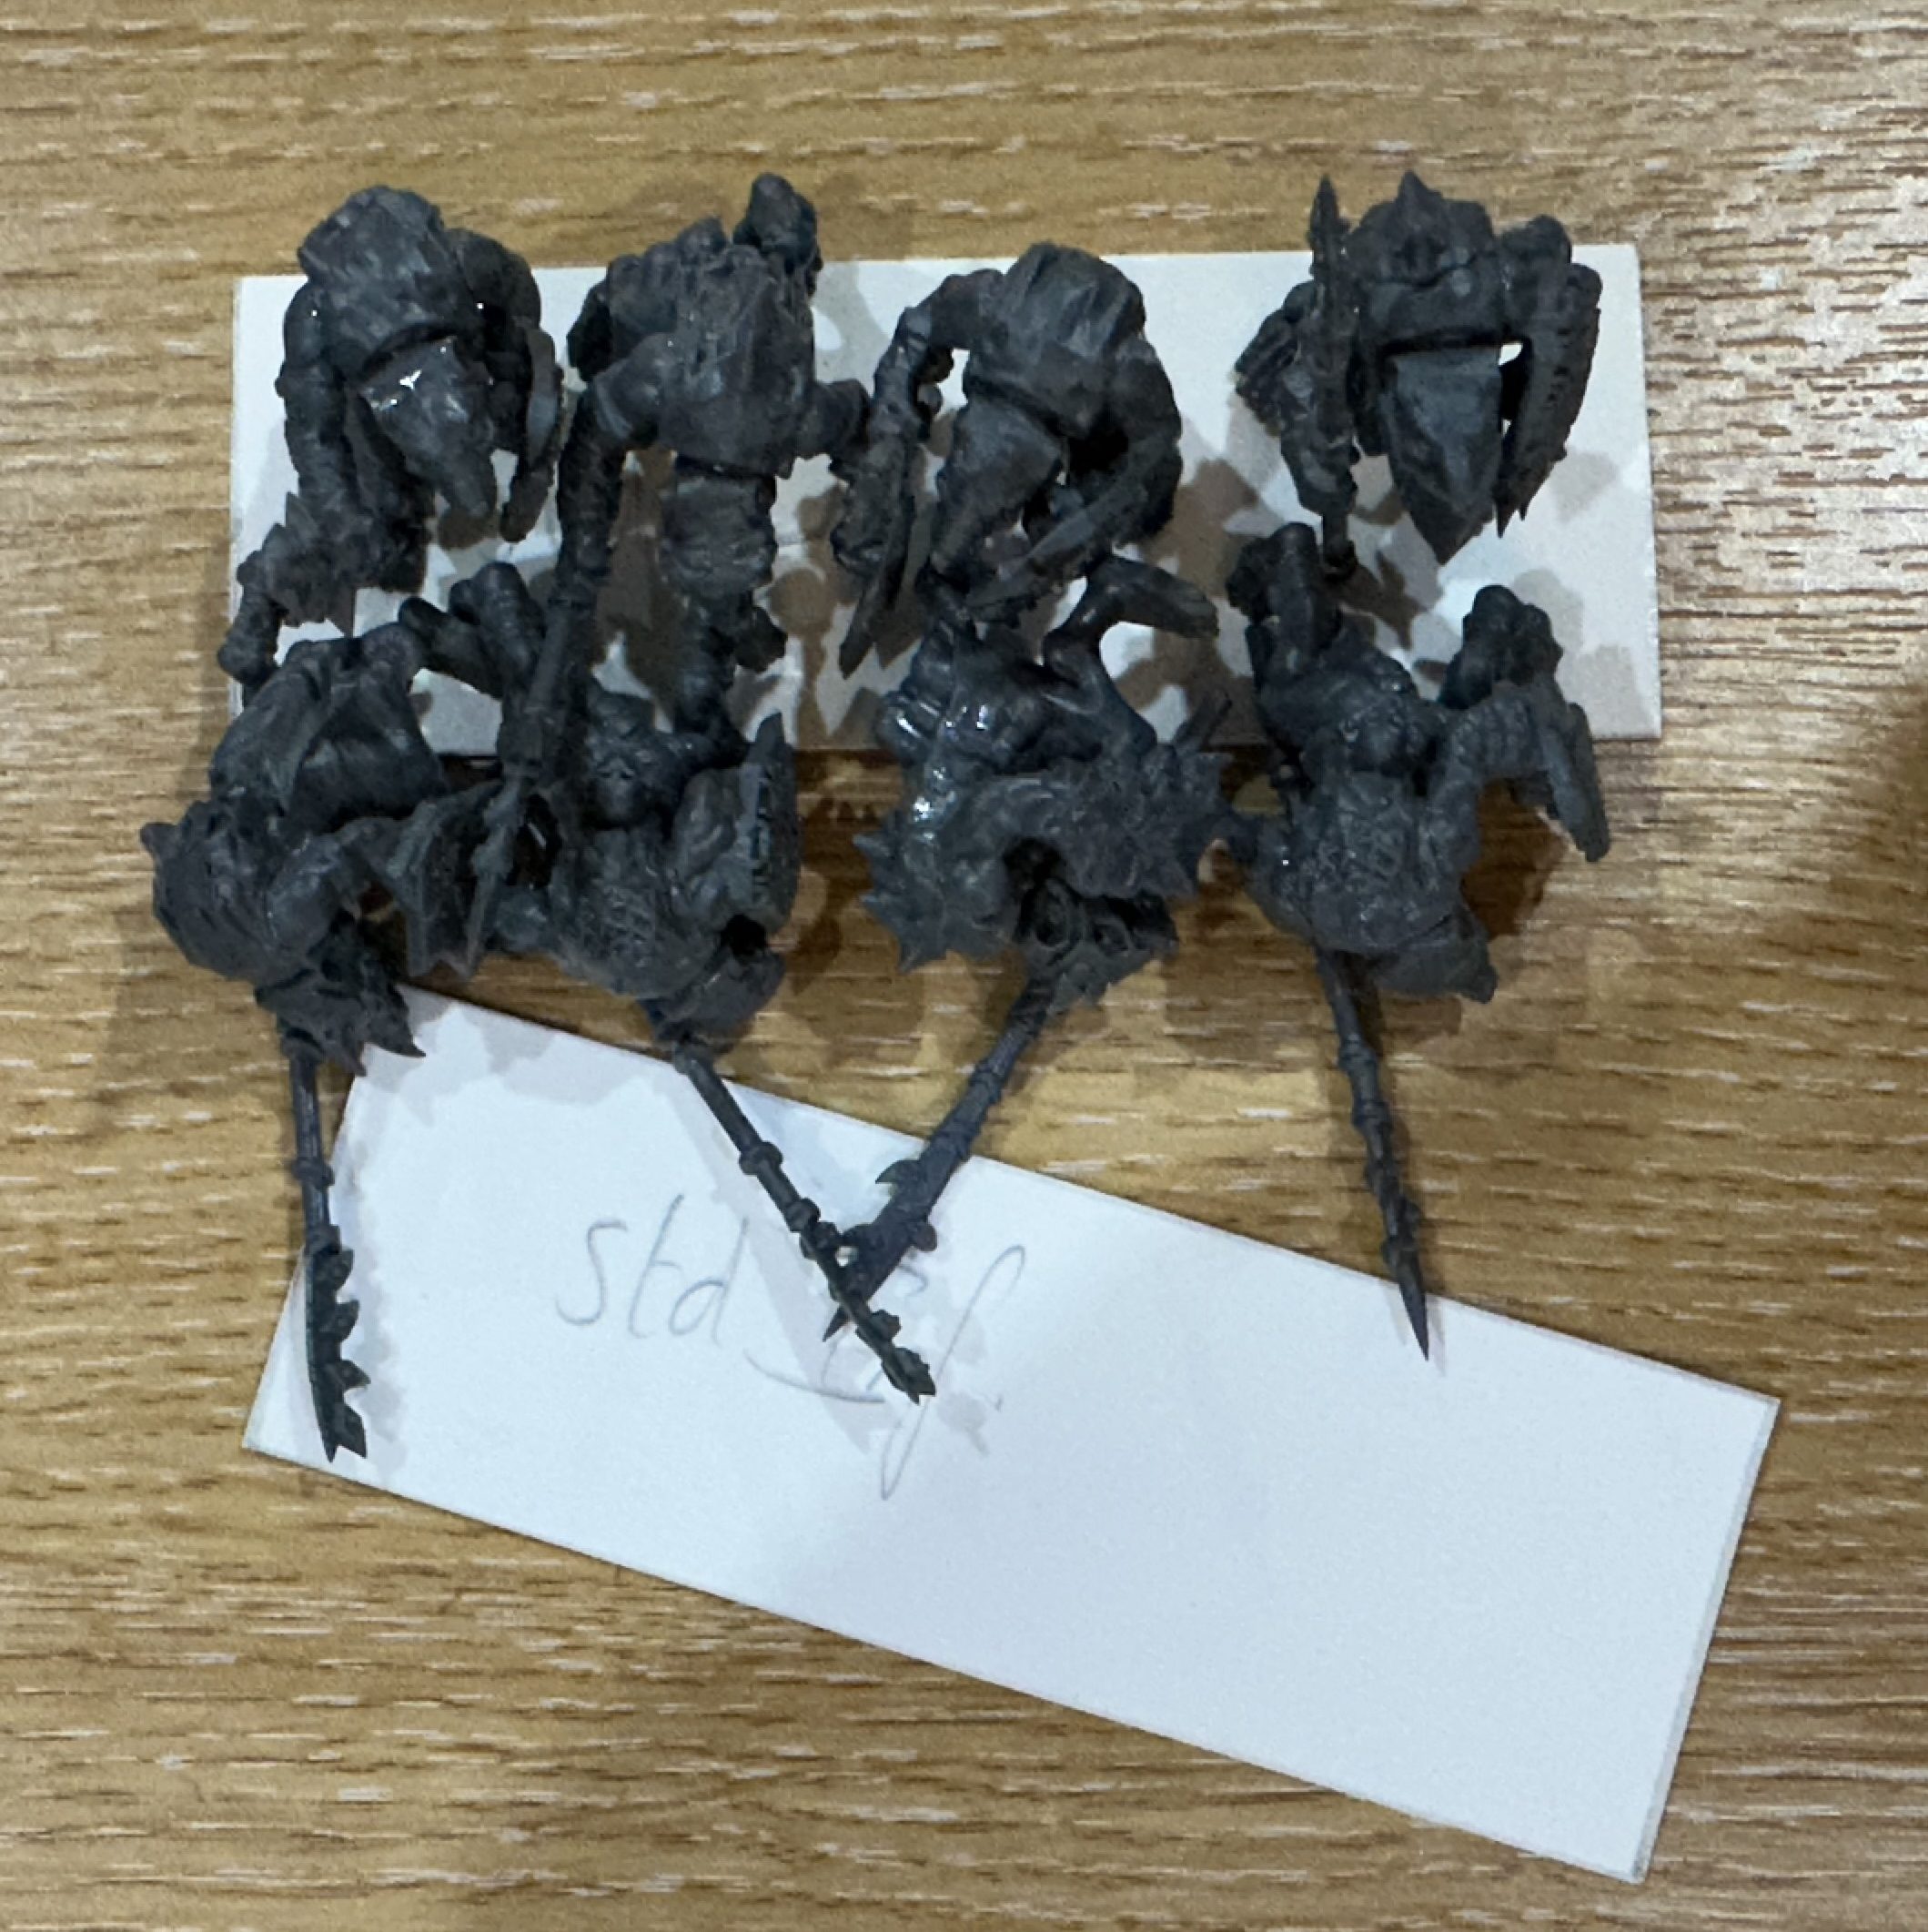
As you can see from this test with Ratkin I can get 8 onto a single troop base. I know Mantic want to get 20 into a regiment but their miniatures are quite chunky and have dynamic sculpts that make ranking up a challenge. There is absolutely no way I’d get 5 in a rank or 10 on a troop base, even on the full size base. So 8 it is then. This will be adjusted for bases with scenery elements but there will be at least a couple of core regiments that don’t have that and are just the ranked up troops.
Some of you may wonder why I’ve gone for such a tightly packed formation with neat ranks? I’m sure we’ve all seen armies in battle report videos with a few miniatures in open formation, loosely scattered across a regiment base. They look okay don’t they? You can still recognise what the unit is supposed to be can’t you? My response is that this is a mass-battle, rank and flank game. I’ll leave it there.
Zoid’s Adaptable Basing System™
Here are the sizes for the ZABS™ movement trays*:
Standard Infantry
Troop Close Order Tray 100mm x 40mm external, 94mm x 34mm internal (2mm top layer) – 3mm border.
Regiment Close Order Tray 100mm x 80mm external, 94mm x 68mm internal (2mm top layer) – 6mm border on longest side, 3mm border on short side.
Horde Close Order Tray 200mm x 80mm external, 188mm x 68mm internal (2mm top layer) – 6mm border.
Legion Close Order Tray 200mm x 120mm external, 188mm x 102mm (2mm top layer) – 9mm border longest side, 6mm border on the short side.
Cavalry/Heavy Infantry
Troop Close Order Tray 125mm x 50mm external, 119mm x 44mm internal (2mm top layer) – 3mm border.
Regiment Close Order Tray 125mm x 100mm external, 119mm x 88mm internal (2mm top layer) – 6mm border on longest side, 3mm border on short side.
Horde Close Order Tray 250mm x 100mm external, 238mm x 88mm internal (2mm top layer) – 6mm border.
Legion Close Order Tray 250mm x 150mm external, 238mm x 132mm (2mm top layer) – 9mm border longest side, 6mm border on the short side.
Large Infantry
Troop Close Order Tray 120mm x 40mm external, 114mm x 34mm internal (2mm top layer) – 3mm border.
Regiment Close Order Tray 120mm x 80mm external, 114mm x 68mm internal (2mm top layer) -6mm border longest side, 3mm border shortest side.
Monstrous Infantry
Troop Close Order Tray 150mm x 50mm external, 144mm x 44mm internal (2mm top layer) – 3mm border.
Regiment Close Order Tray 150mm x 100mm external, 144mm x 88mm internal (2mm top layer) – 6mm border longest side, 3mm border shortest side.
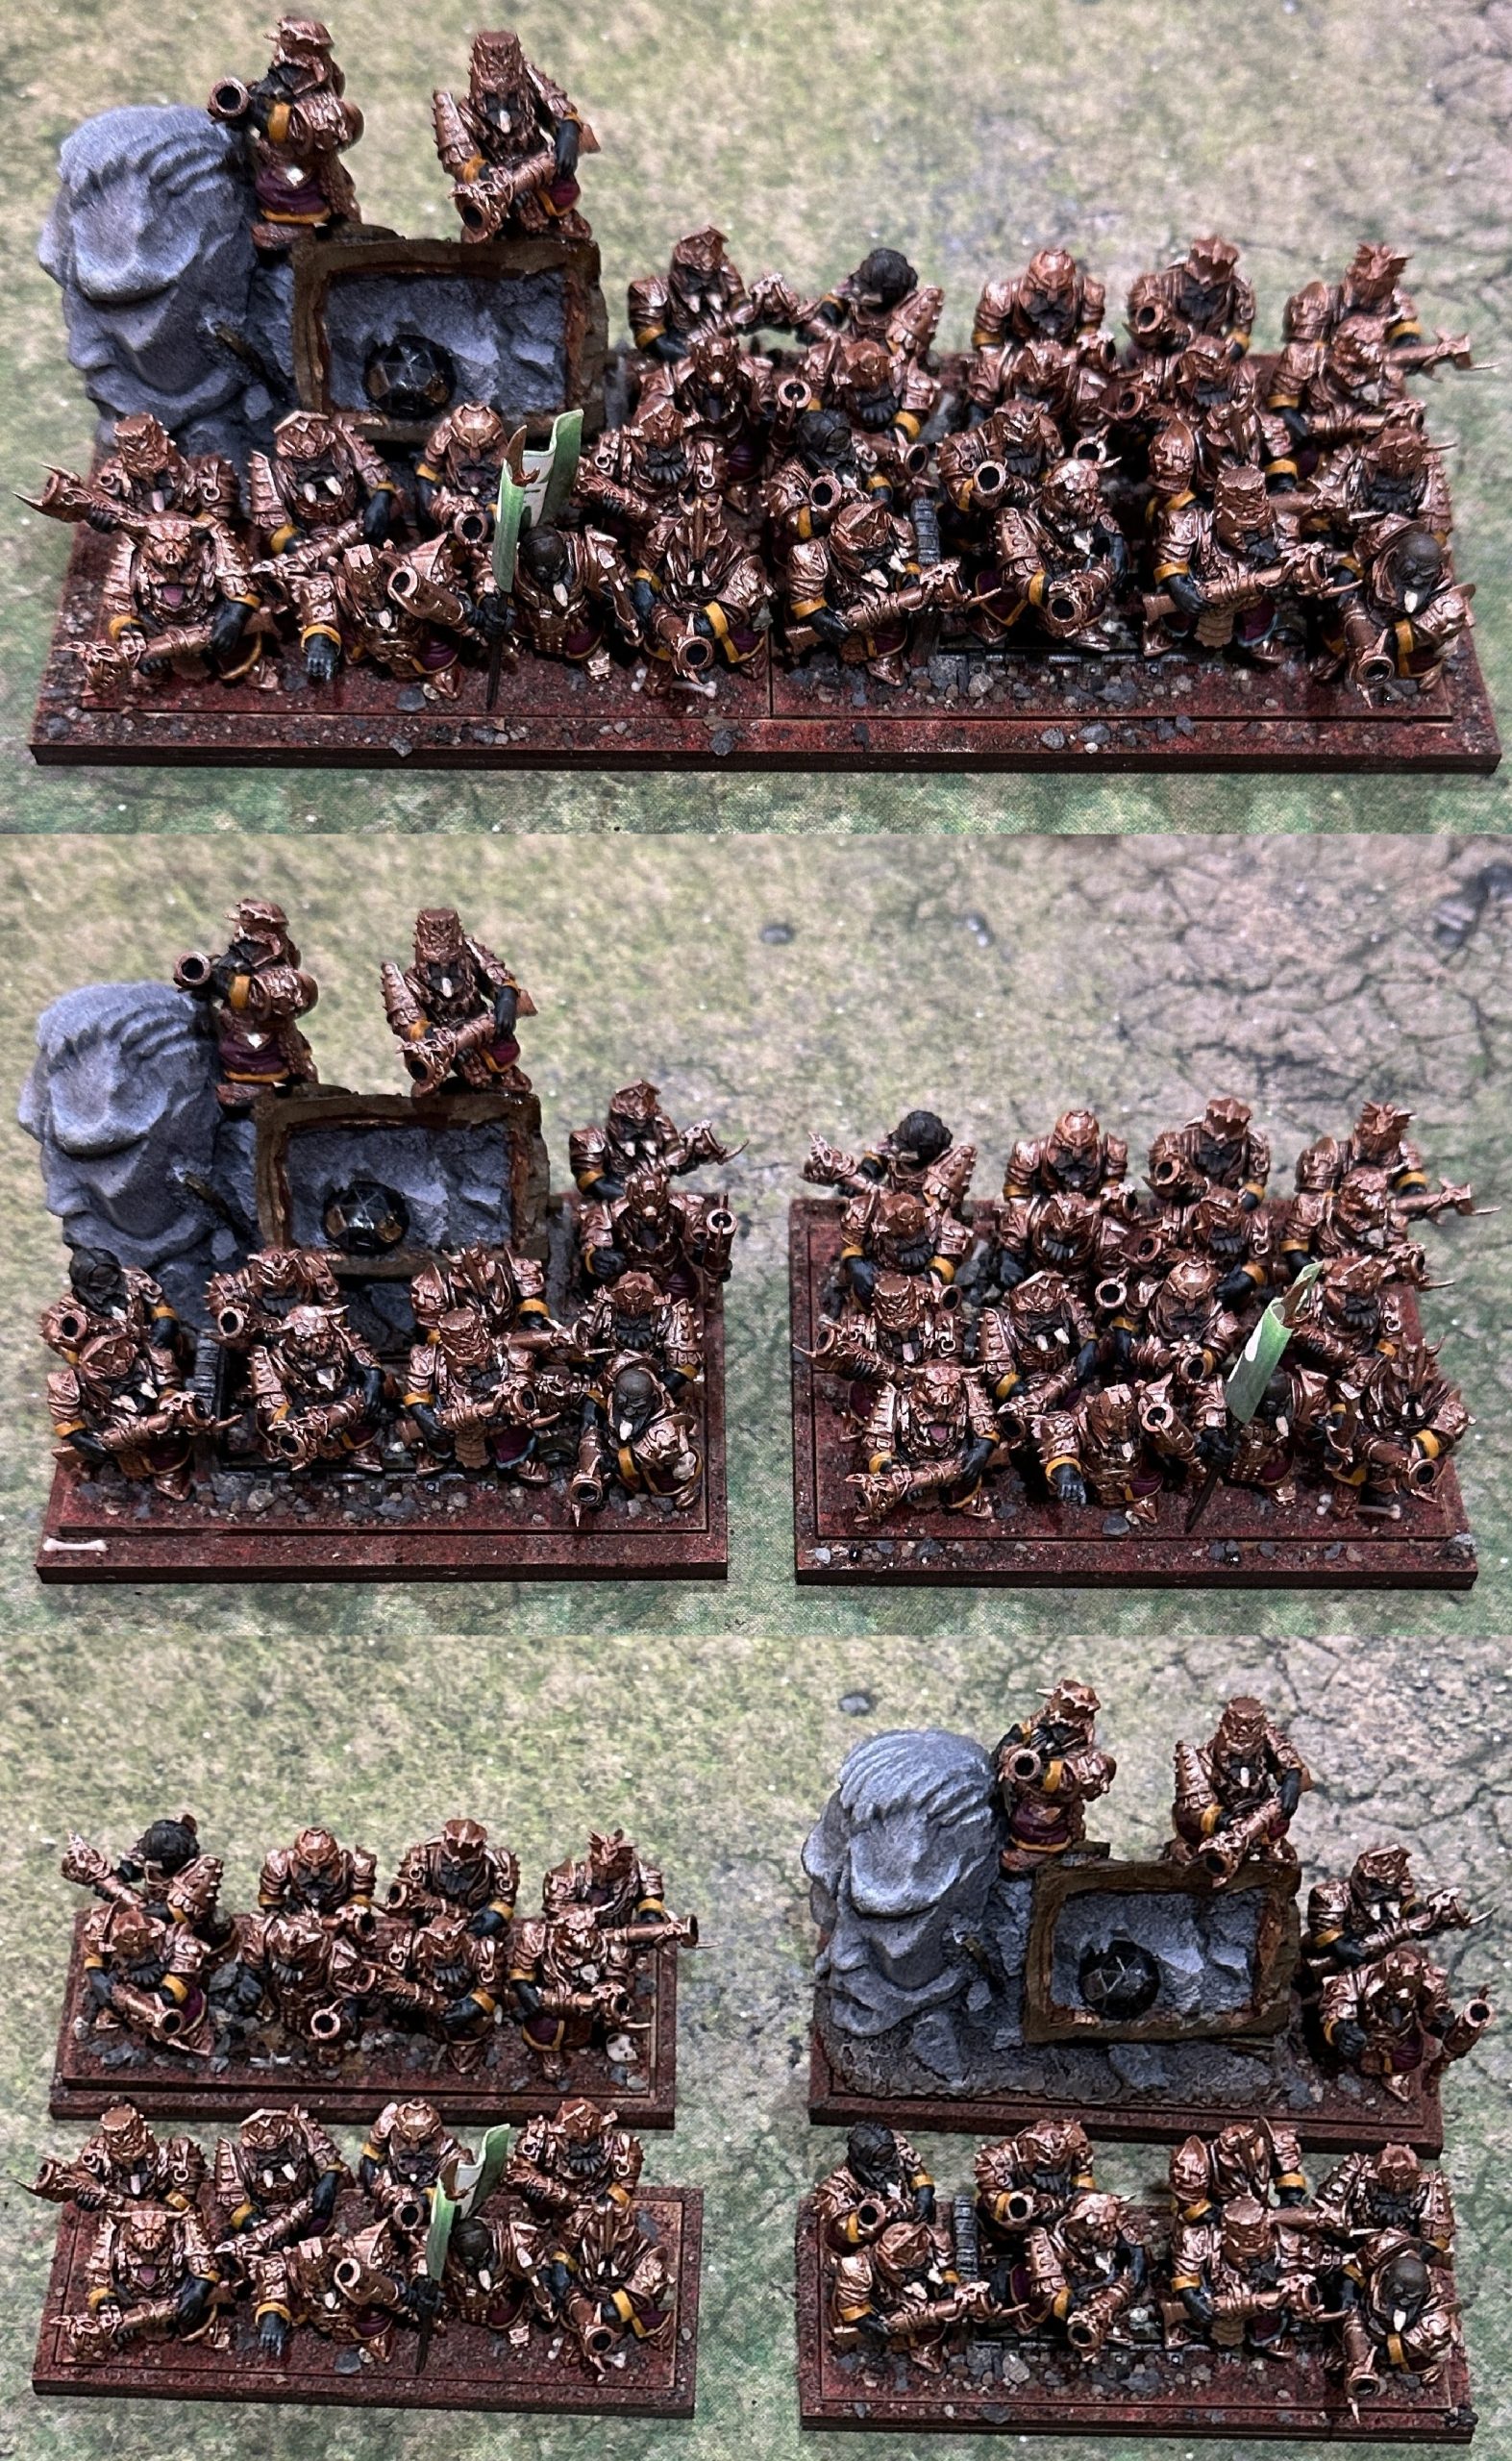 1 Horde or 2 Regiments or 4 Troops - all using the same 4 mulit-bases :)
 The internal dimensions of the Troop size tray are the ones you need for the bases you’ll actually put the miniatures on. So they are:
Infantry – 94mm x 34mm
Heavy Infantry/Cavalry – 119mm x 44mm
Large Infantry – 114mm x 34mm
Monstrous Infantry – 144mm x 44mm
I use a 2mm top layer so these bases are 2mm thick for me. You have the option of a 3mm top layer and can then use 3mm base thickness if you prefer, just amend the specifications accordingly.
You can find Warbases at https://warbases.co.uk/ Use the contact form https://warbases.co.uk/contact/ or email [email protected] to send a custom order. State clearly the number and sizes of bases and movement trays required (copy/paste from the details given above). You can reference this article or my original order reference which was Invoice # 5638.
* Not a real Trade Mark.
Battle Report: First practice game
I’ve had minis on the table to work through the different phases but tonight we put everything together and played the first full game of Ambush, Ratkin vs Abyssal Dwarfs.
Here are the two armies:
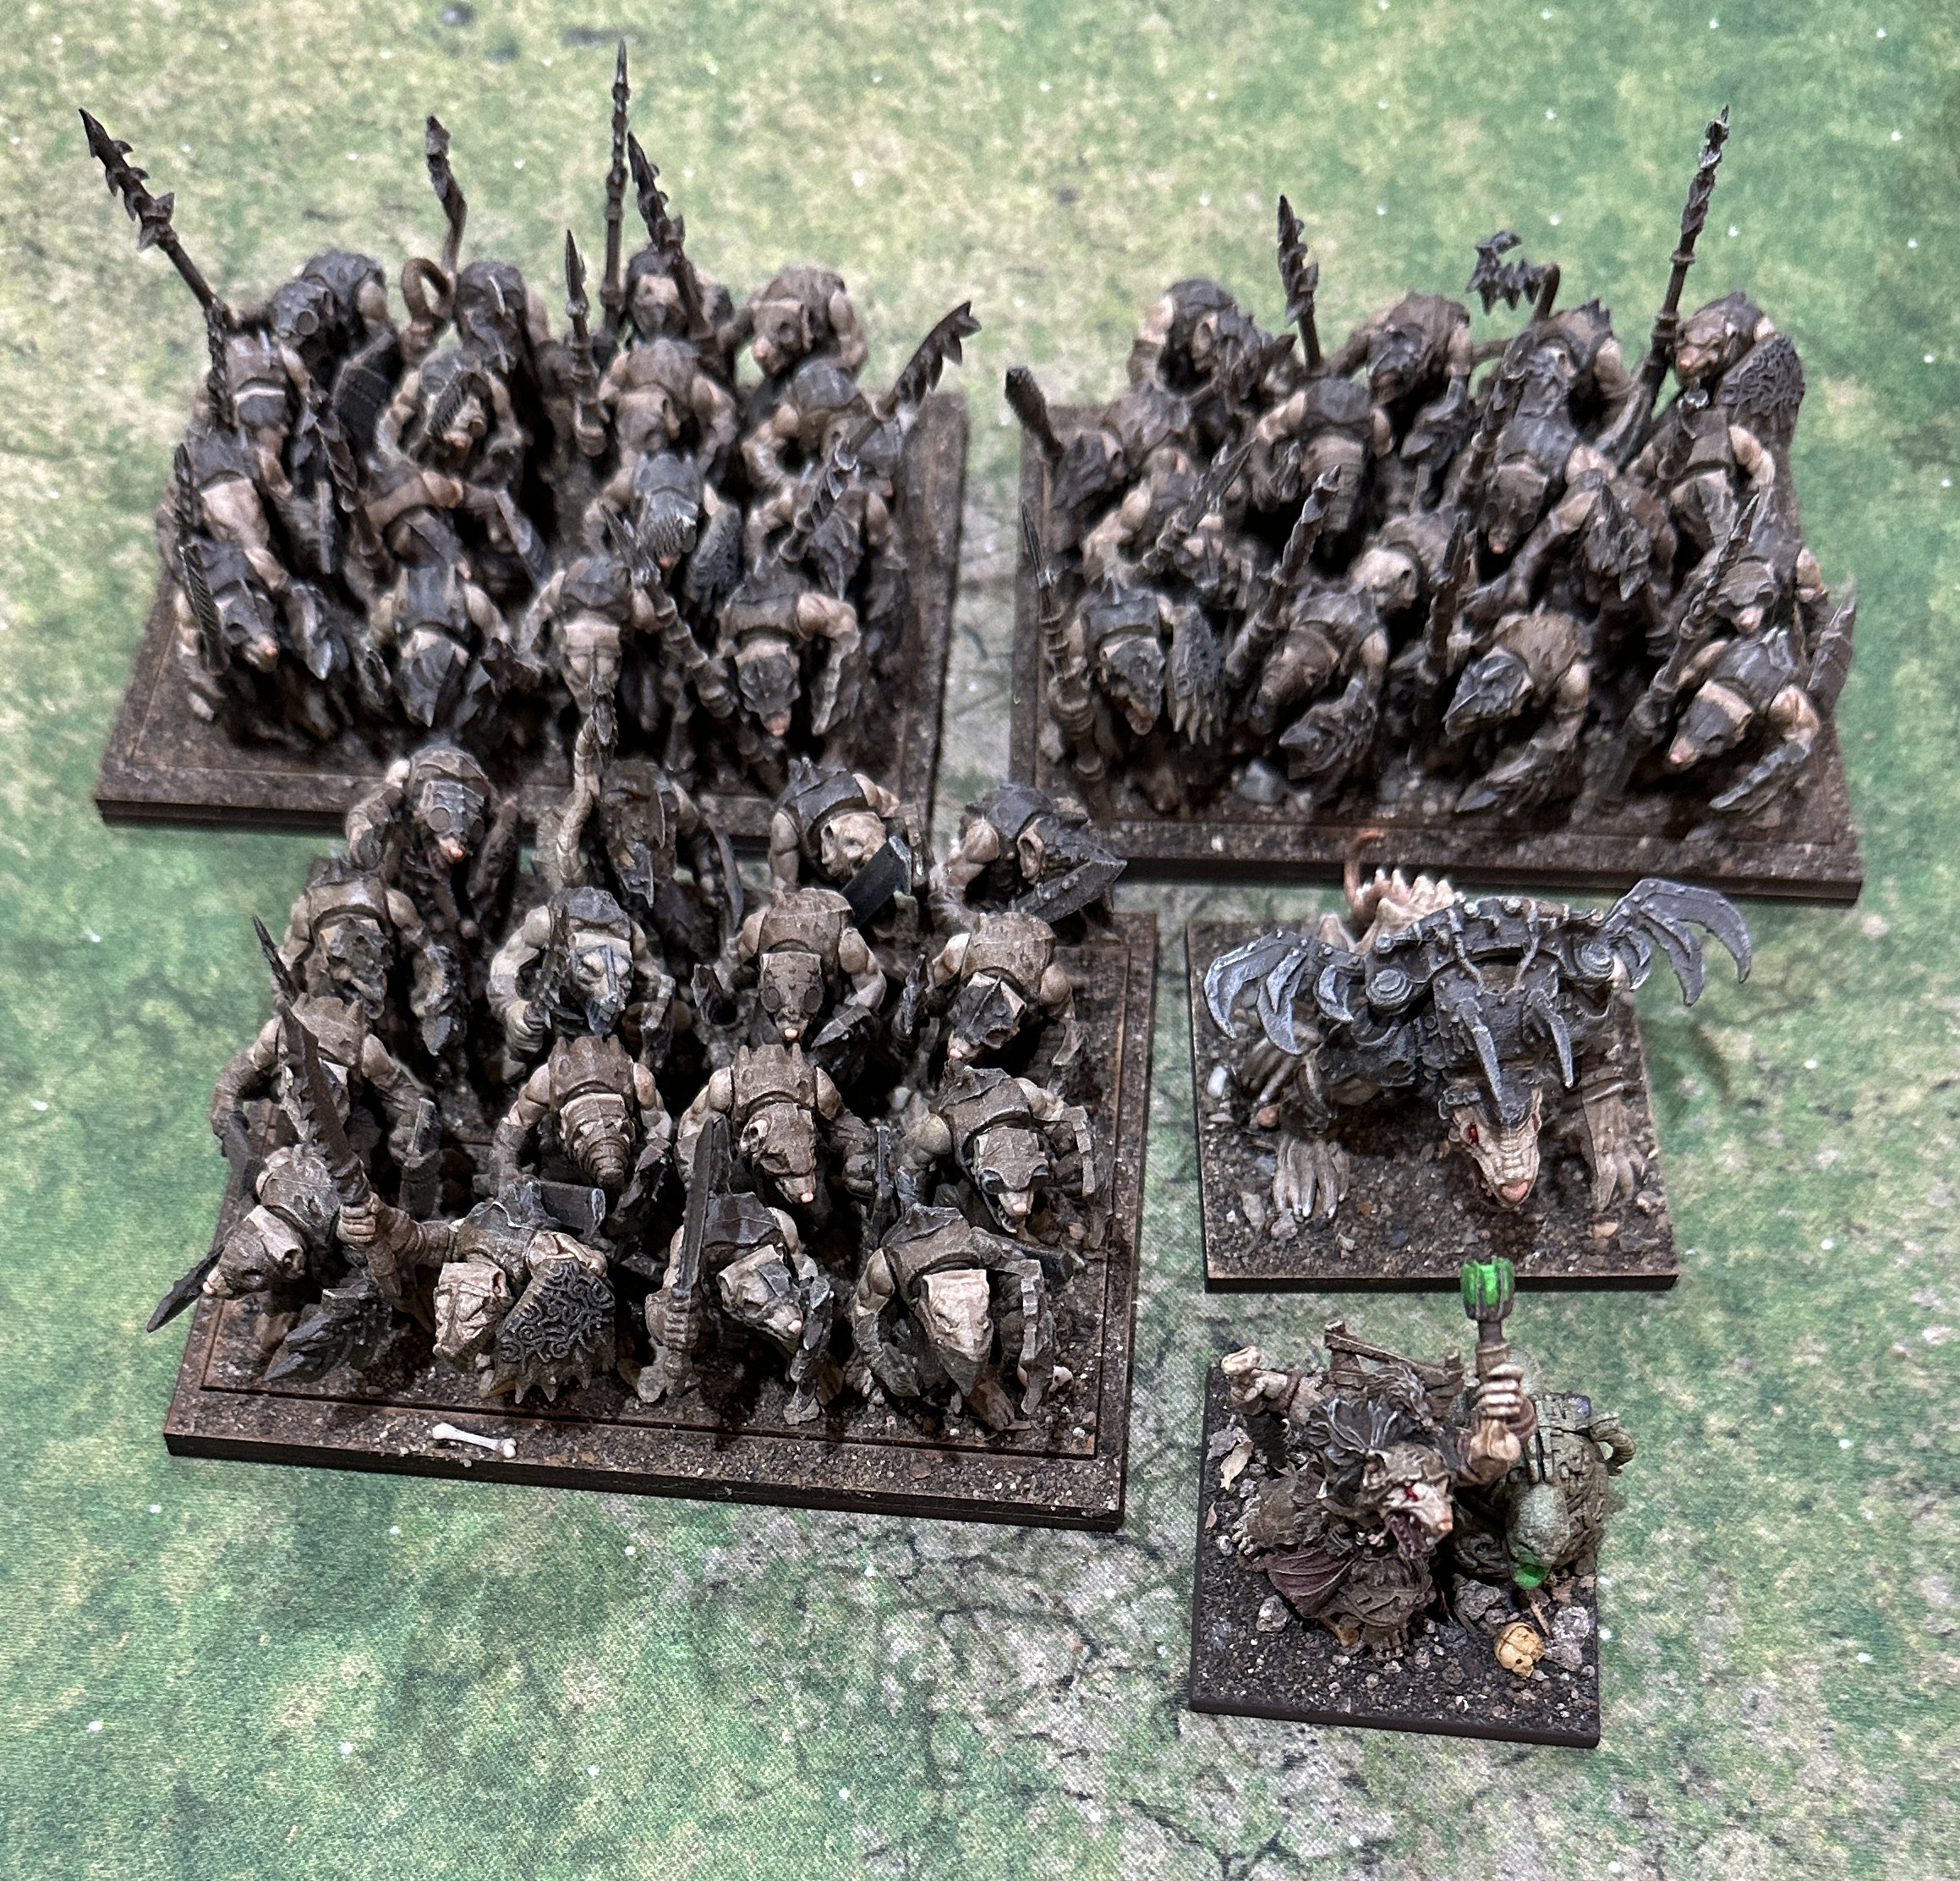
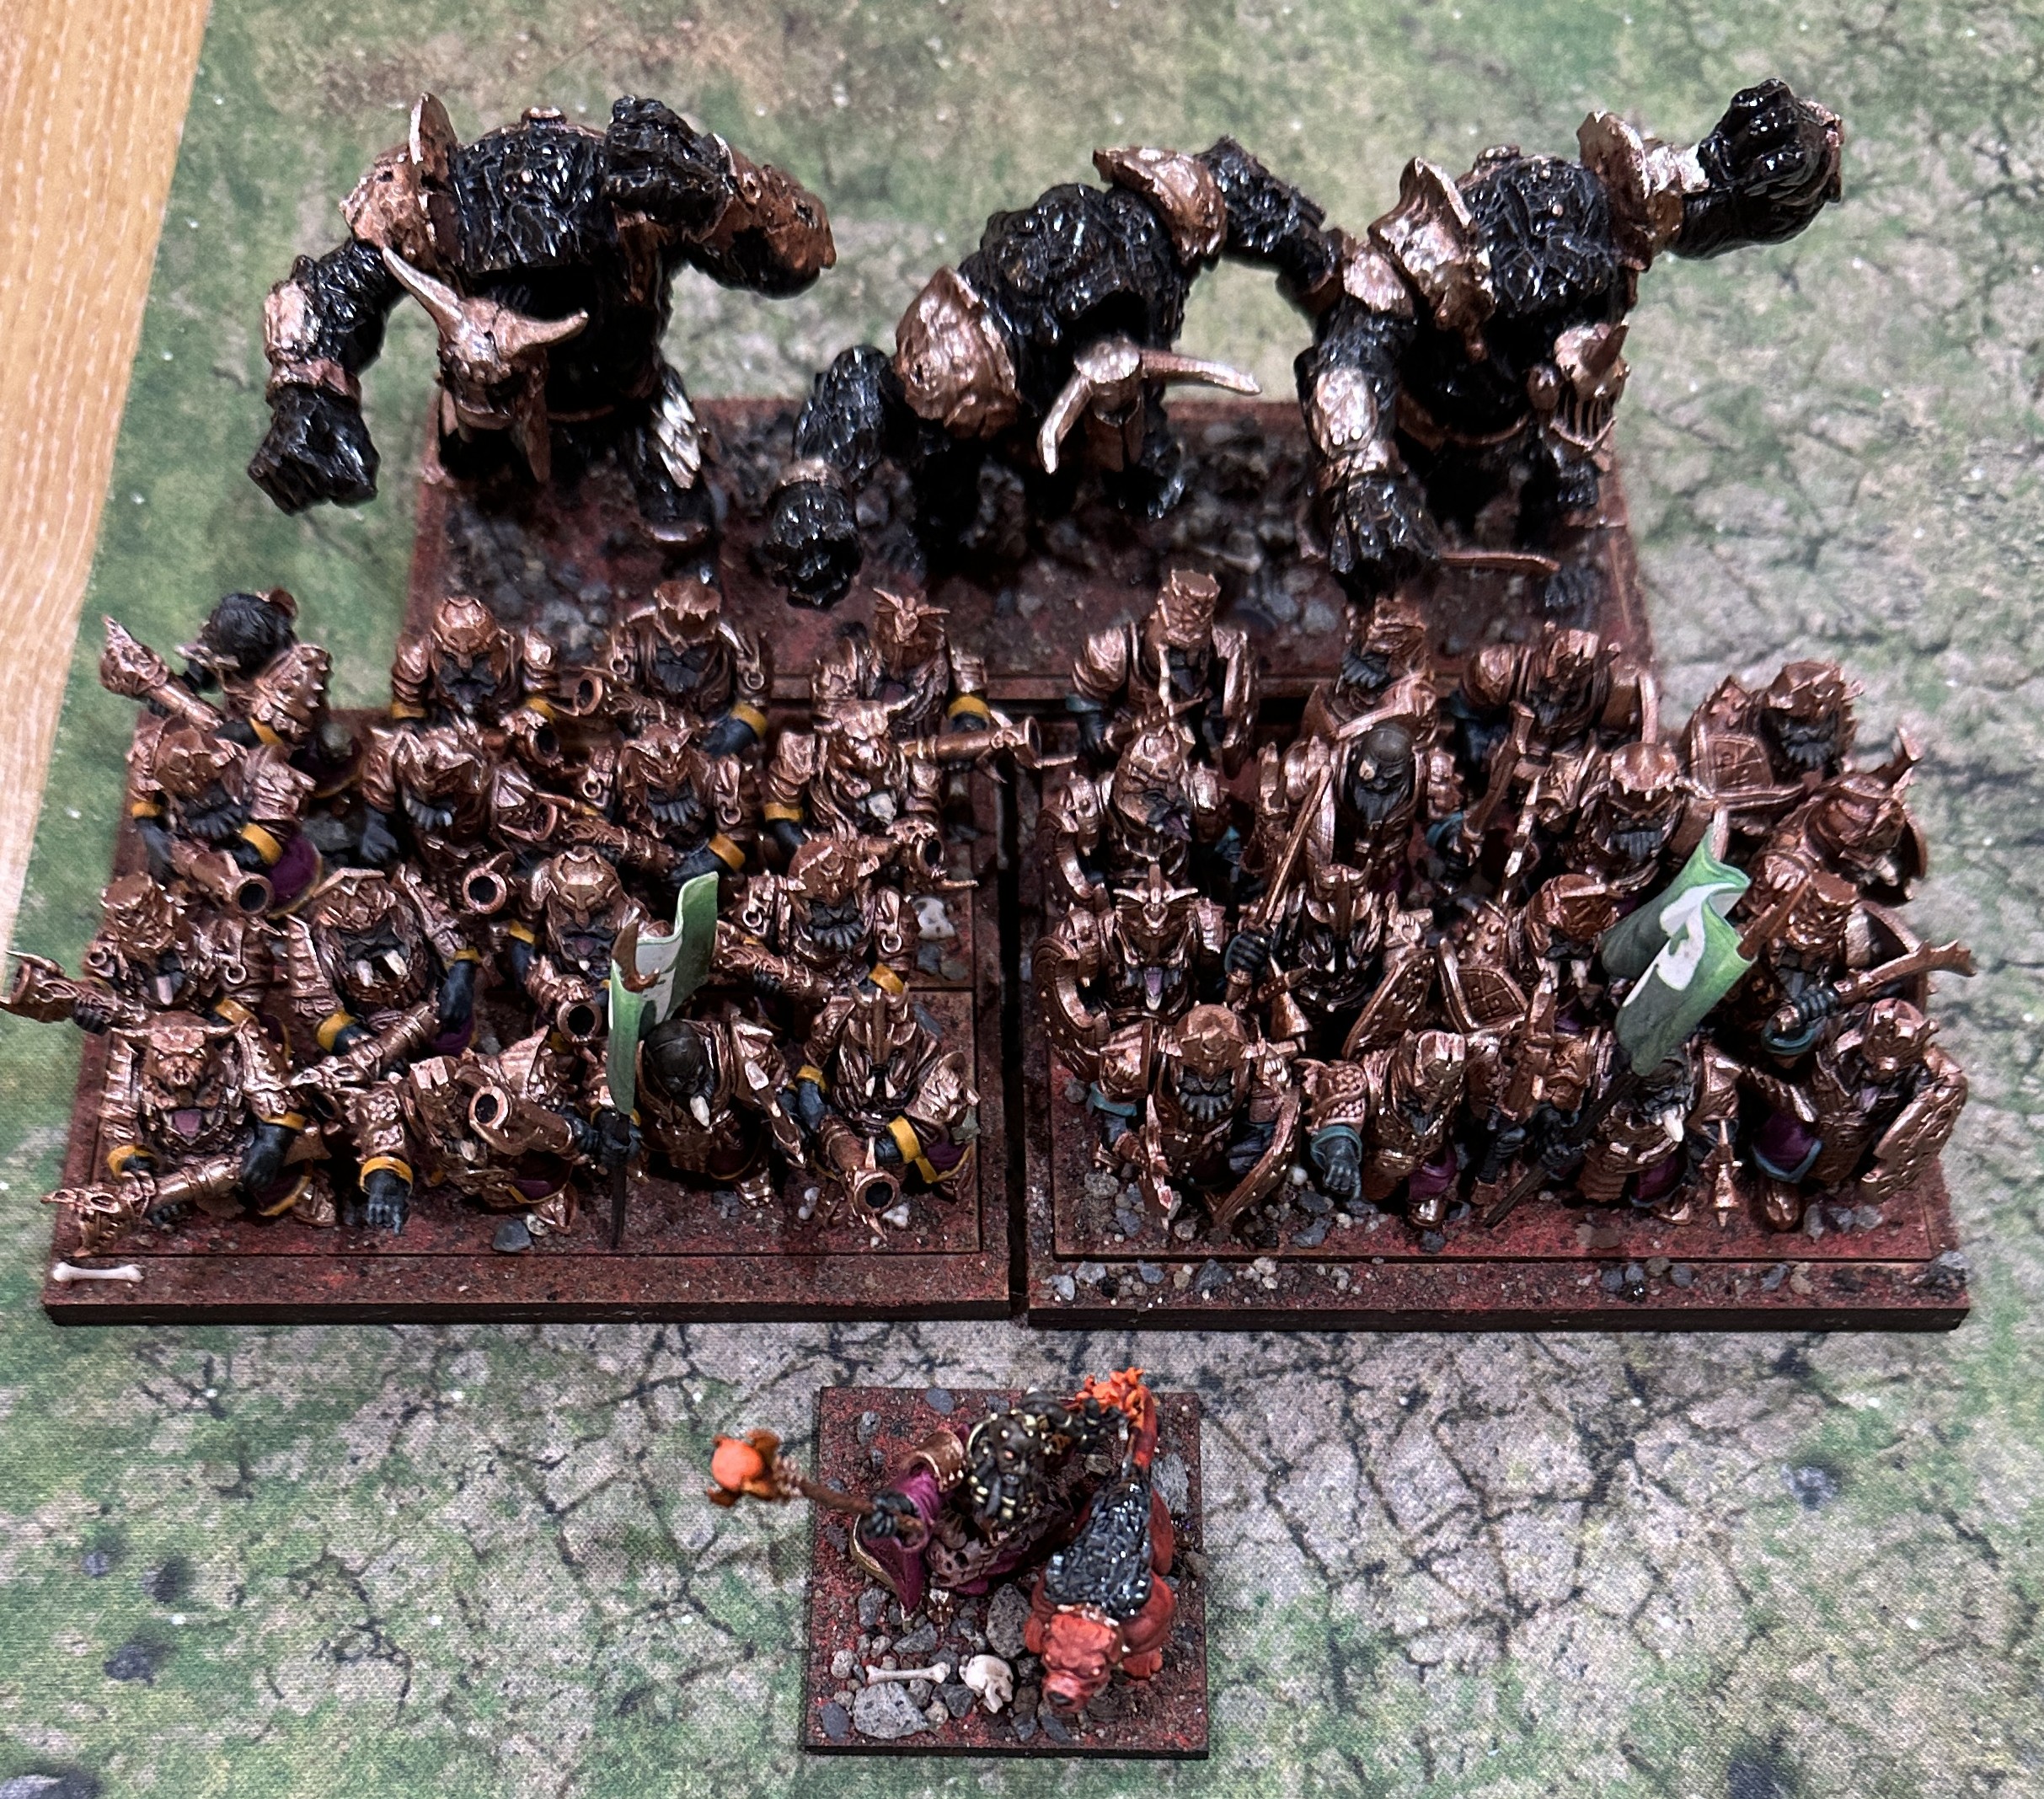
Ratkin won the roll off for sides and initial deployment so will also start the game with the first moves. Simplified table layout with just two blocking terrain and two rough ground in play.
Initial deployment looked like this. Ratkin held back the Night Terror until last and then put it on the wide right wing hoping to use its Sp 9 to whip around a flank. The rest of the force will meet in the middle of the board and grind it out. The Abyssal Dwarf plan is to advance and overwhelm a unit in melee and then pick off an exposed flank with the victorious unit.
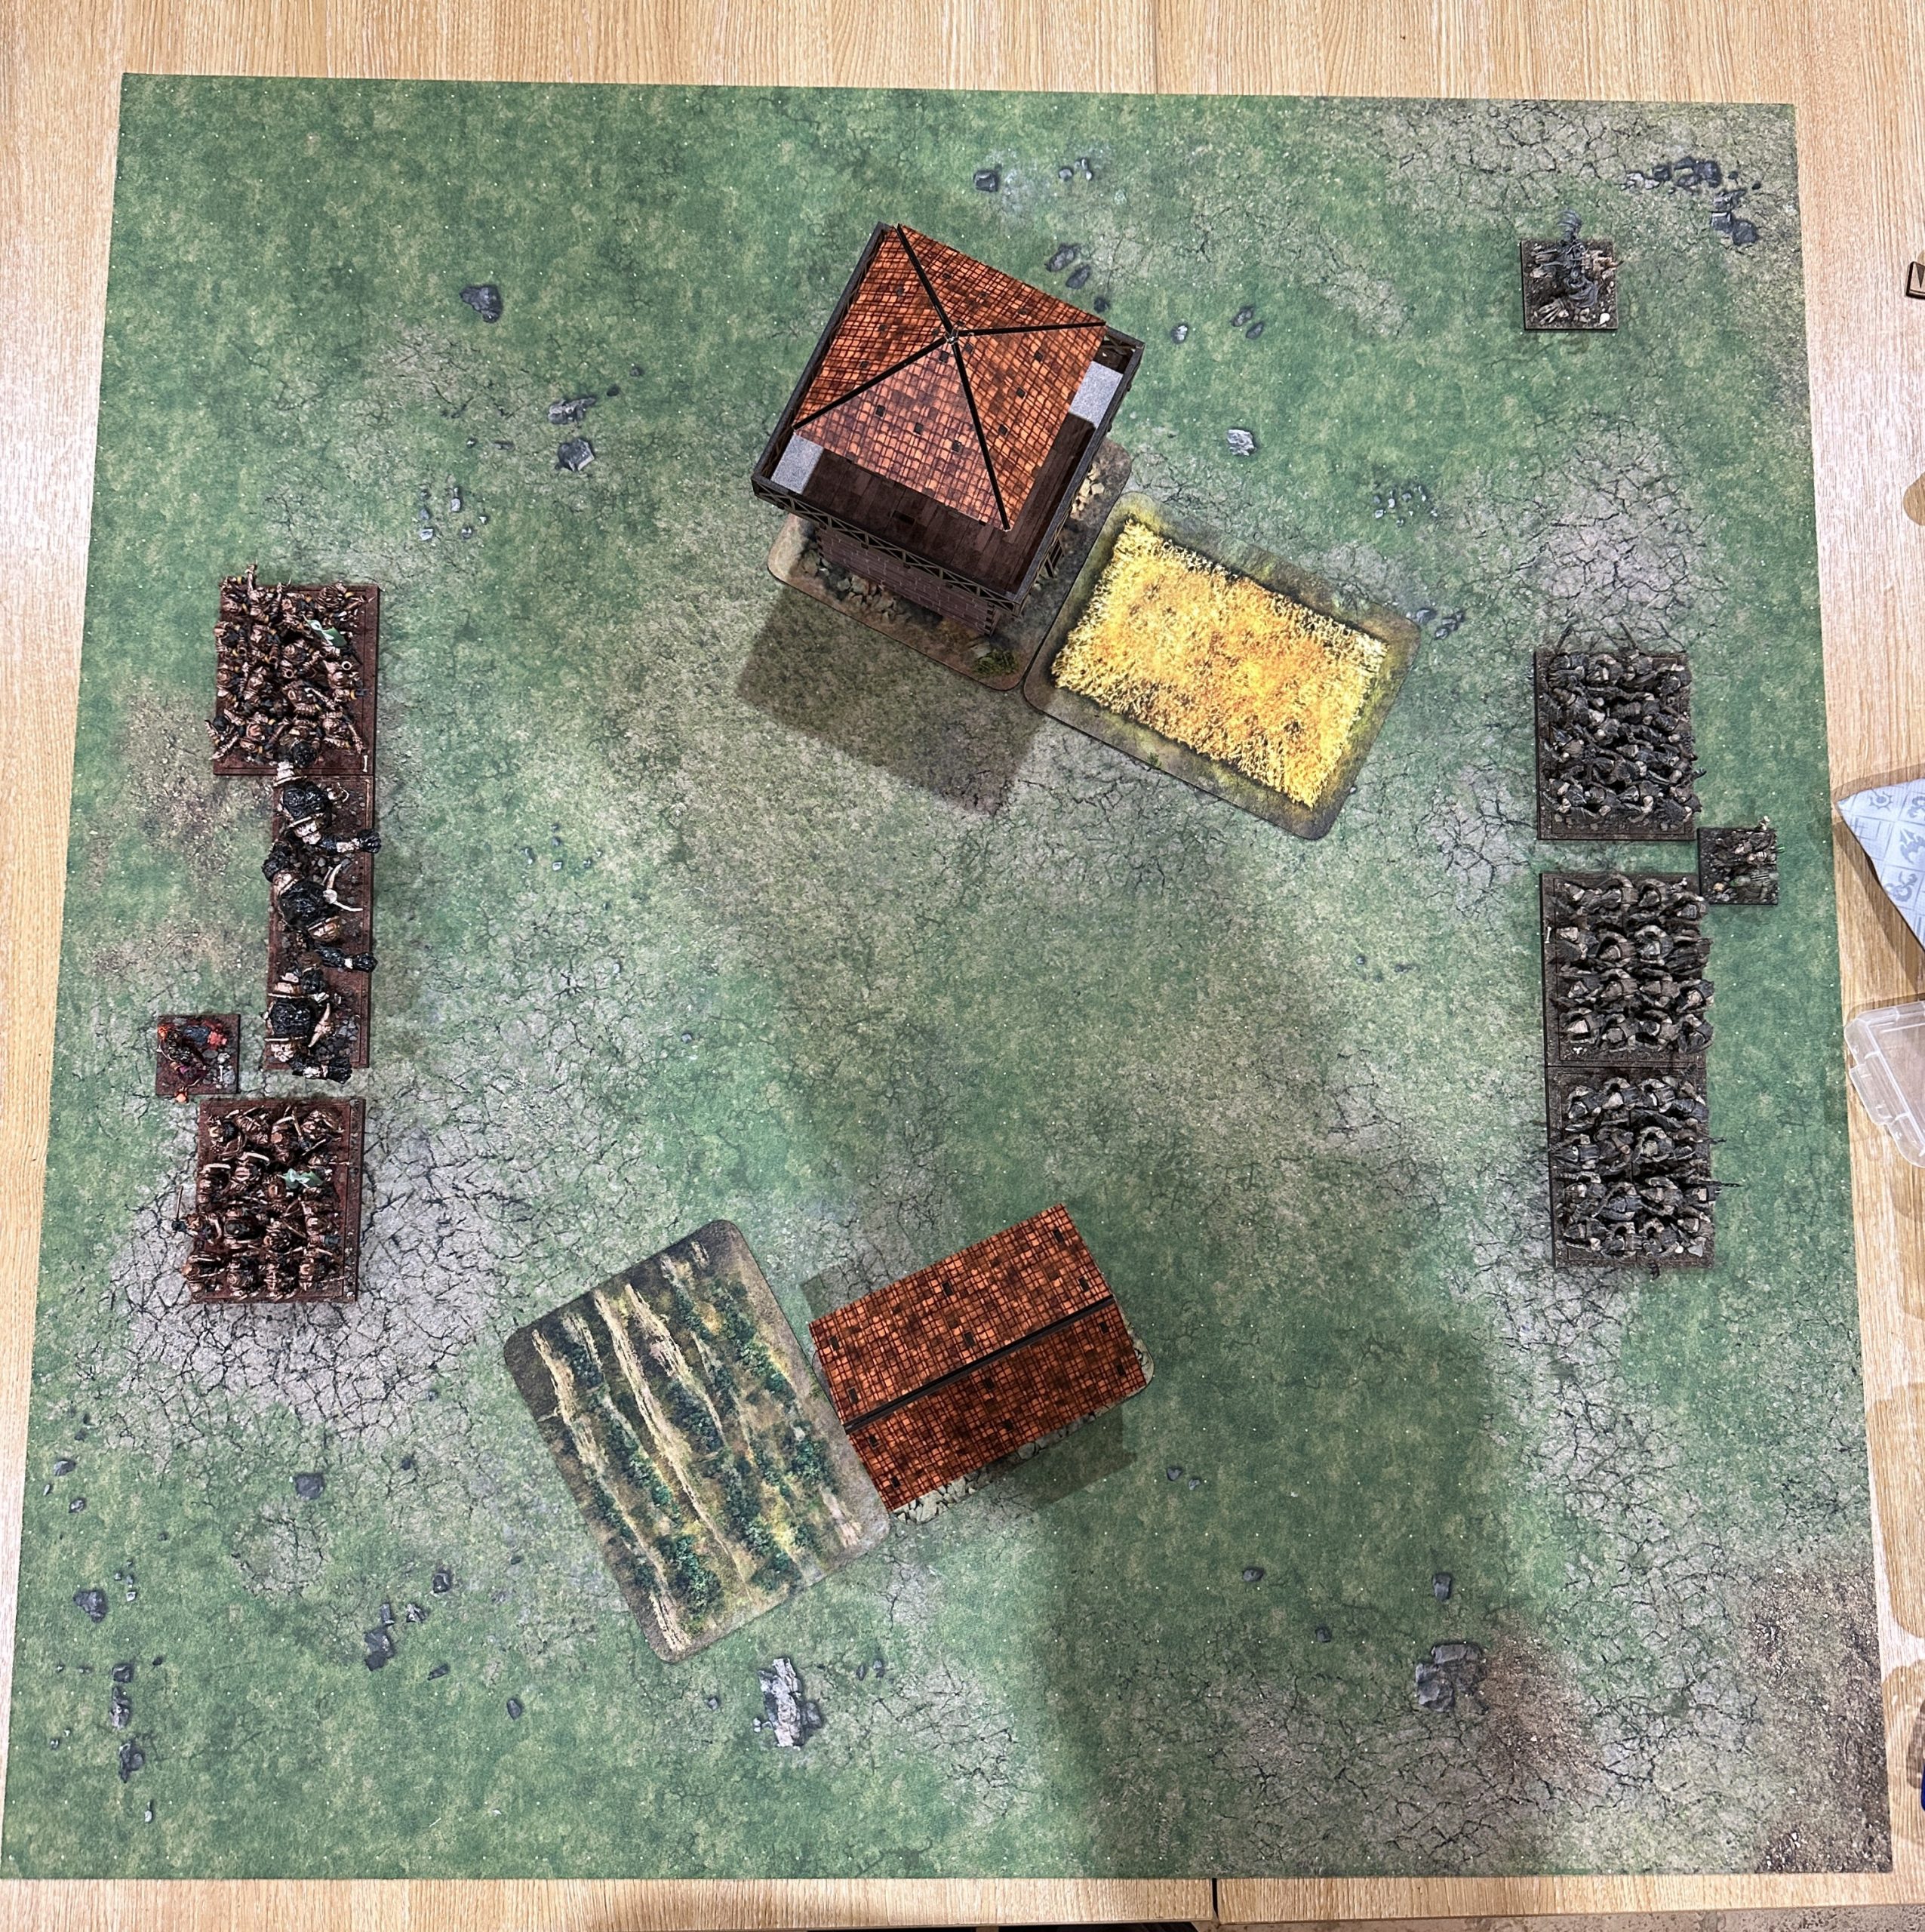 Initial Deployment. Abyssal Dwarfs on left, Ratkin on right.
Turn 1 – Ratkin
Ratkin move forward at the double except for one regiment of spears that gets stuck in the uneven terrain. Ratkin have no shooting. Turns out they stopped just out of charge range of the LOGs. Lucky. I’ll have to watch that in the future.
Turn 1 – Abyssal Dwarfs
Decimators on the left flank have to pivot to face the Night Terror. Everyone else moves up. Shooting from Decimators and Throwing Mastiffs plinks a bit of damage.
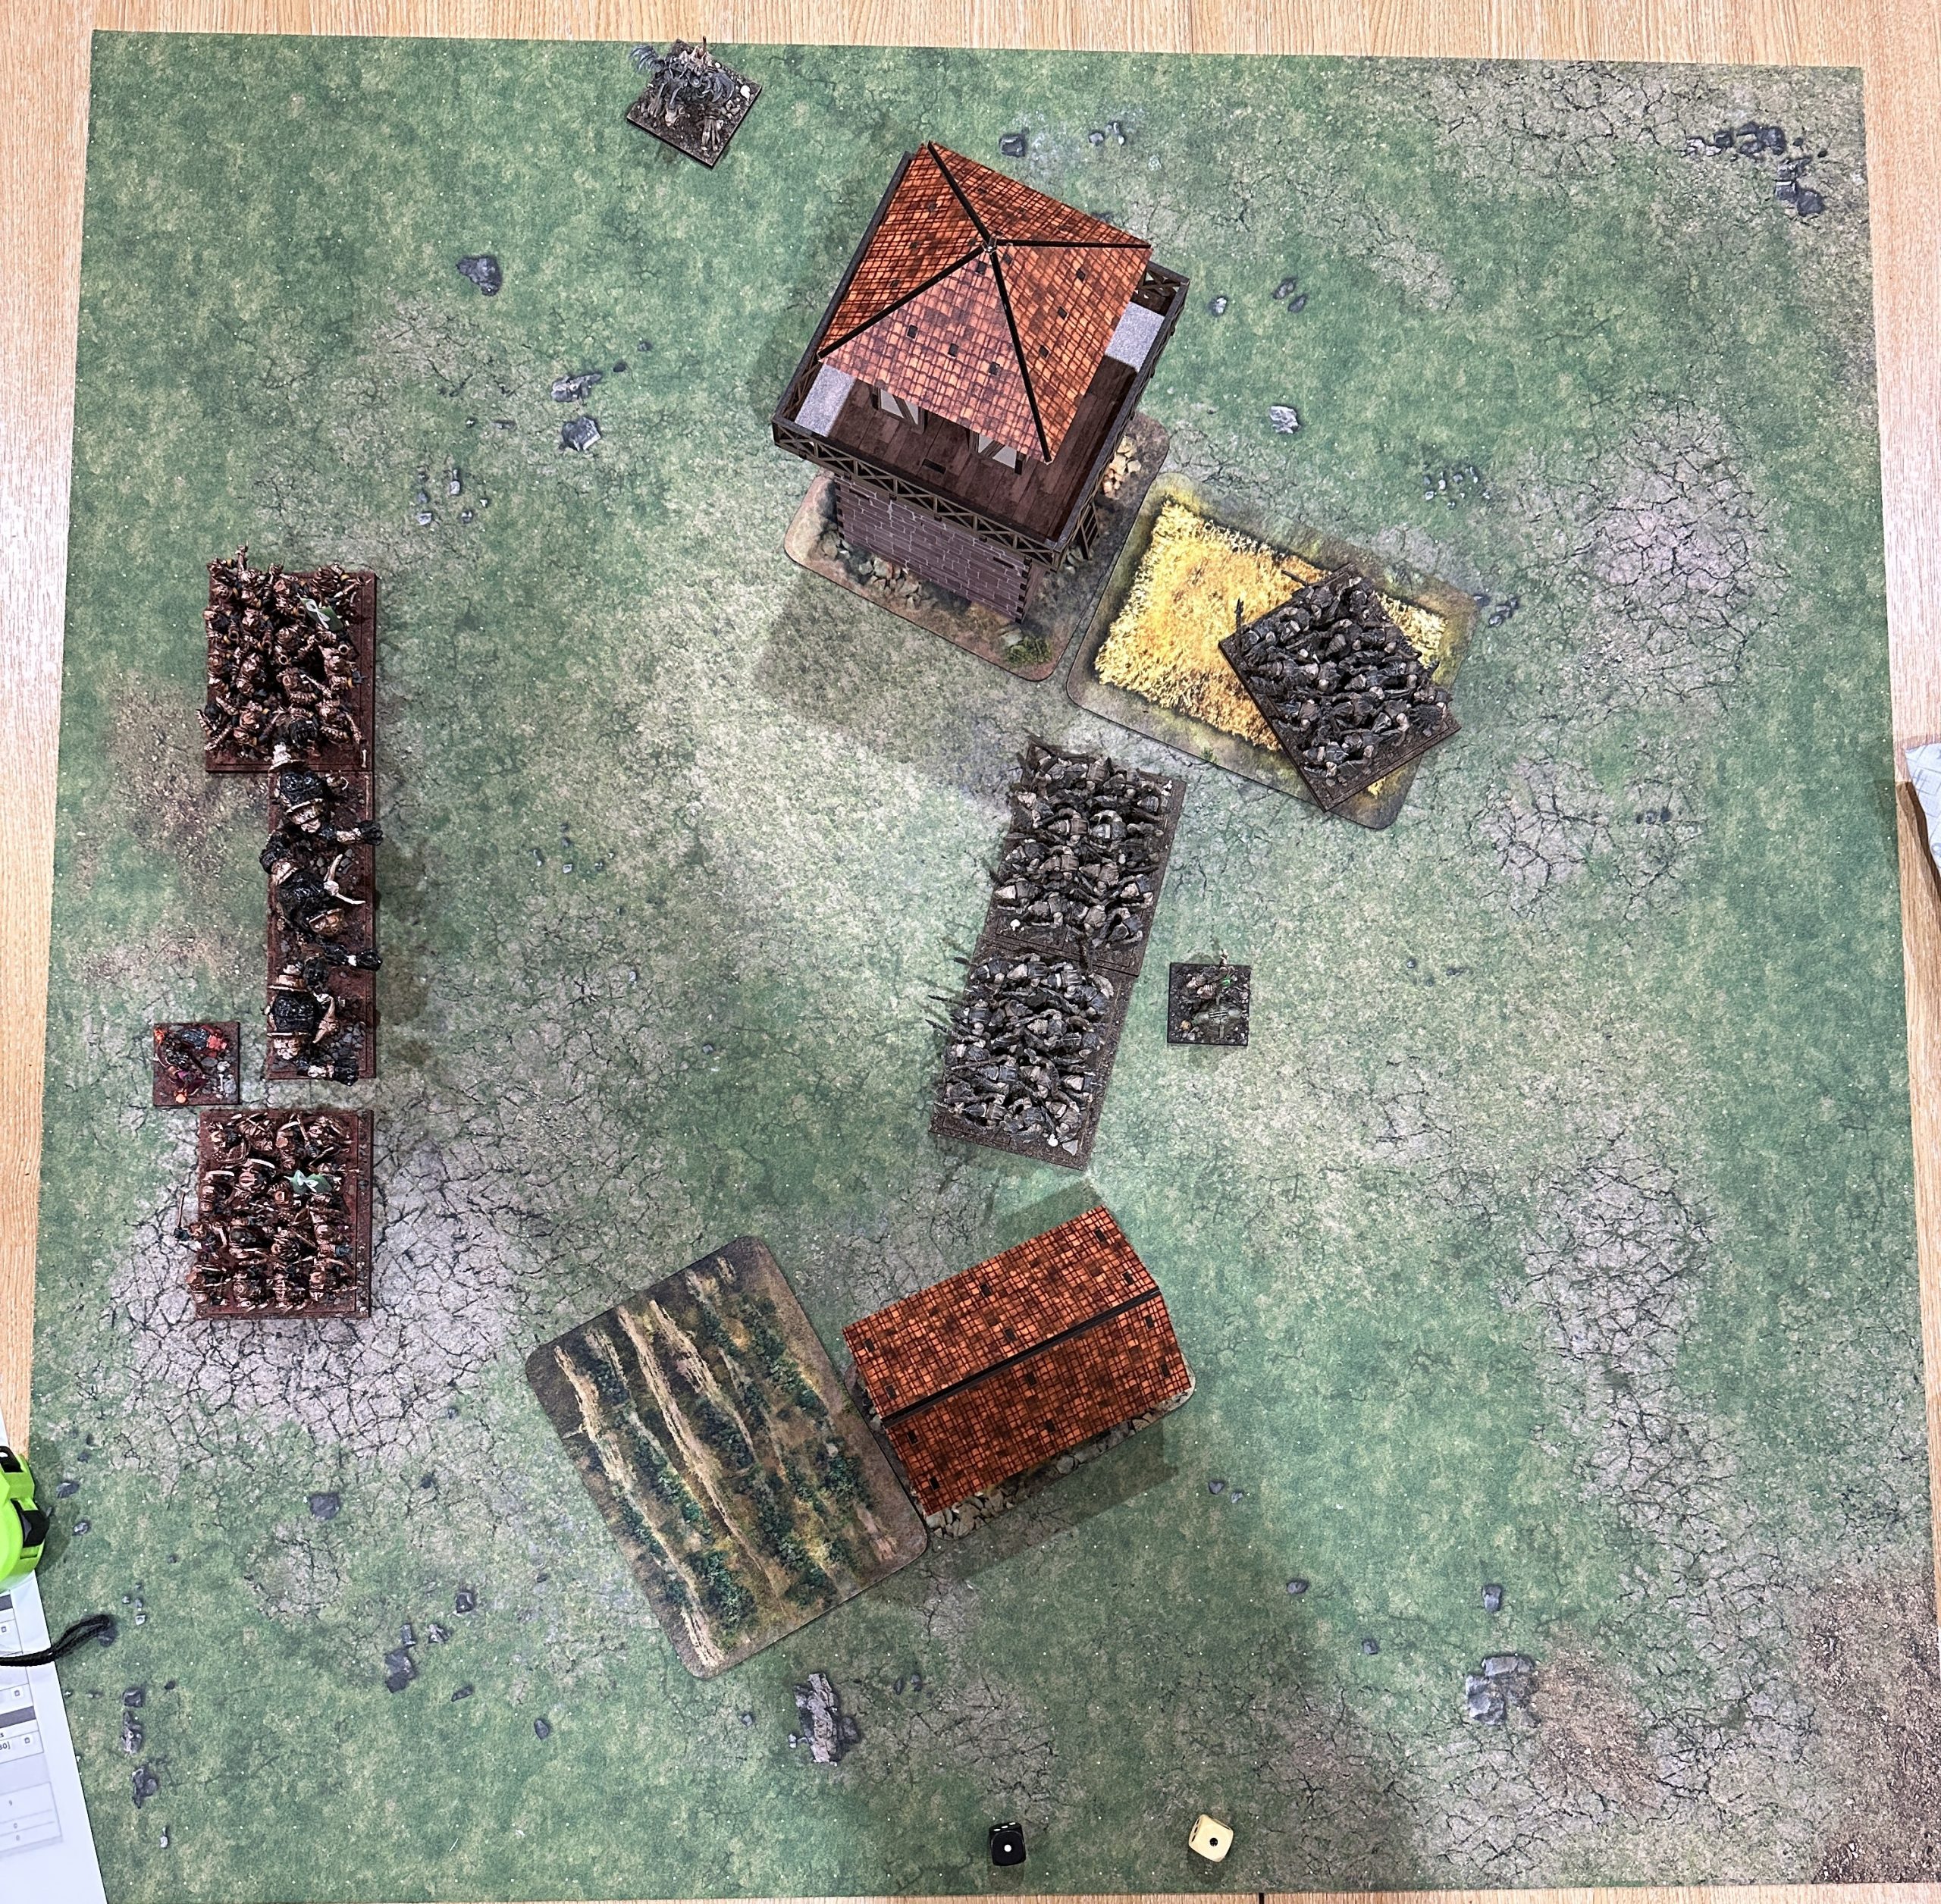
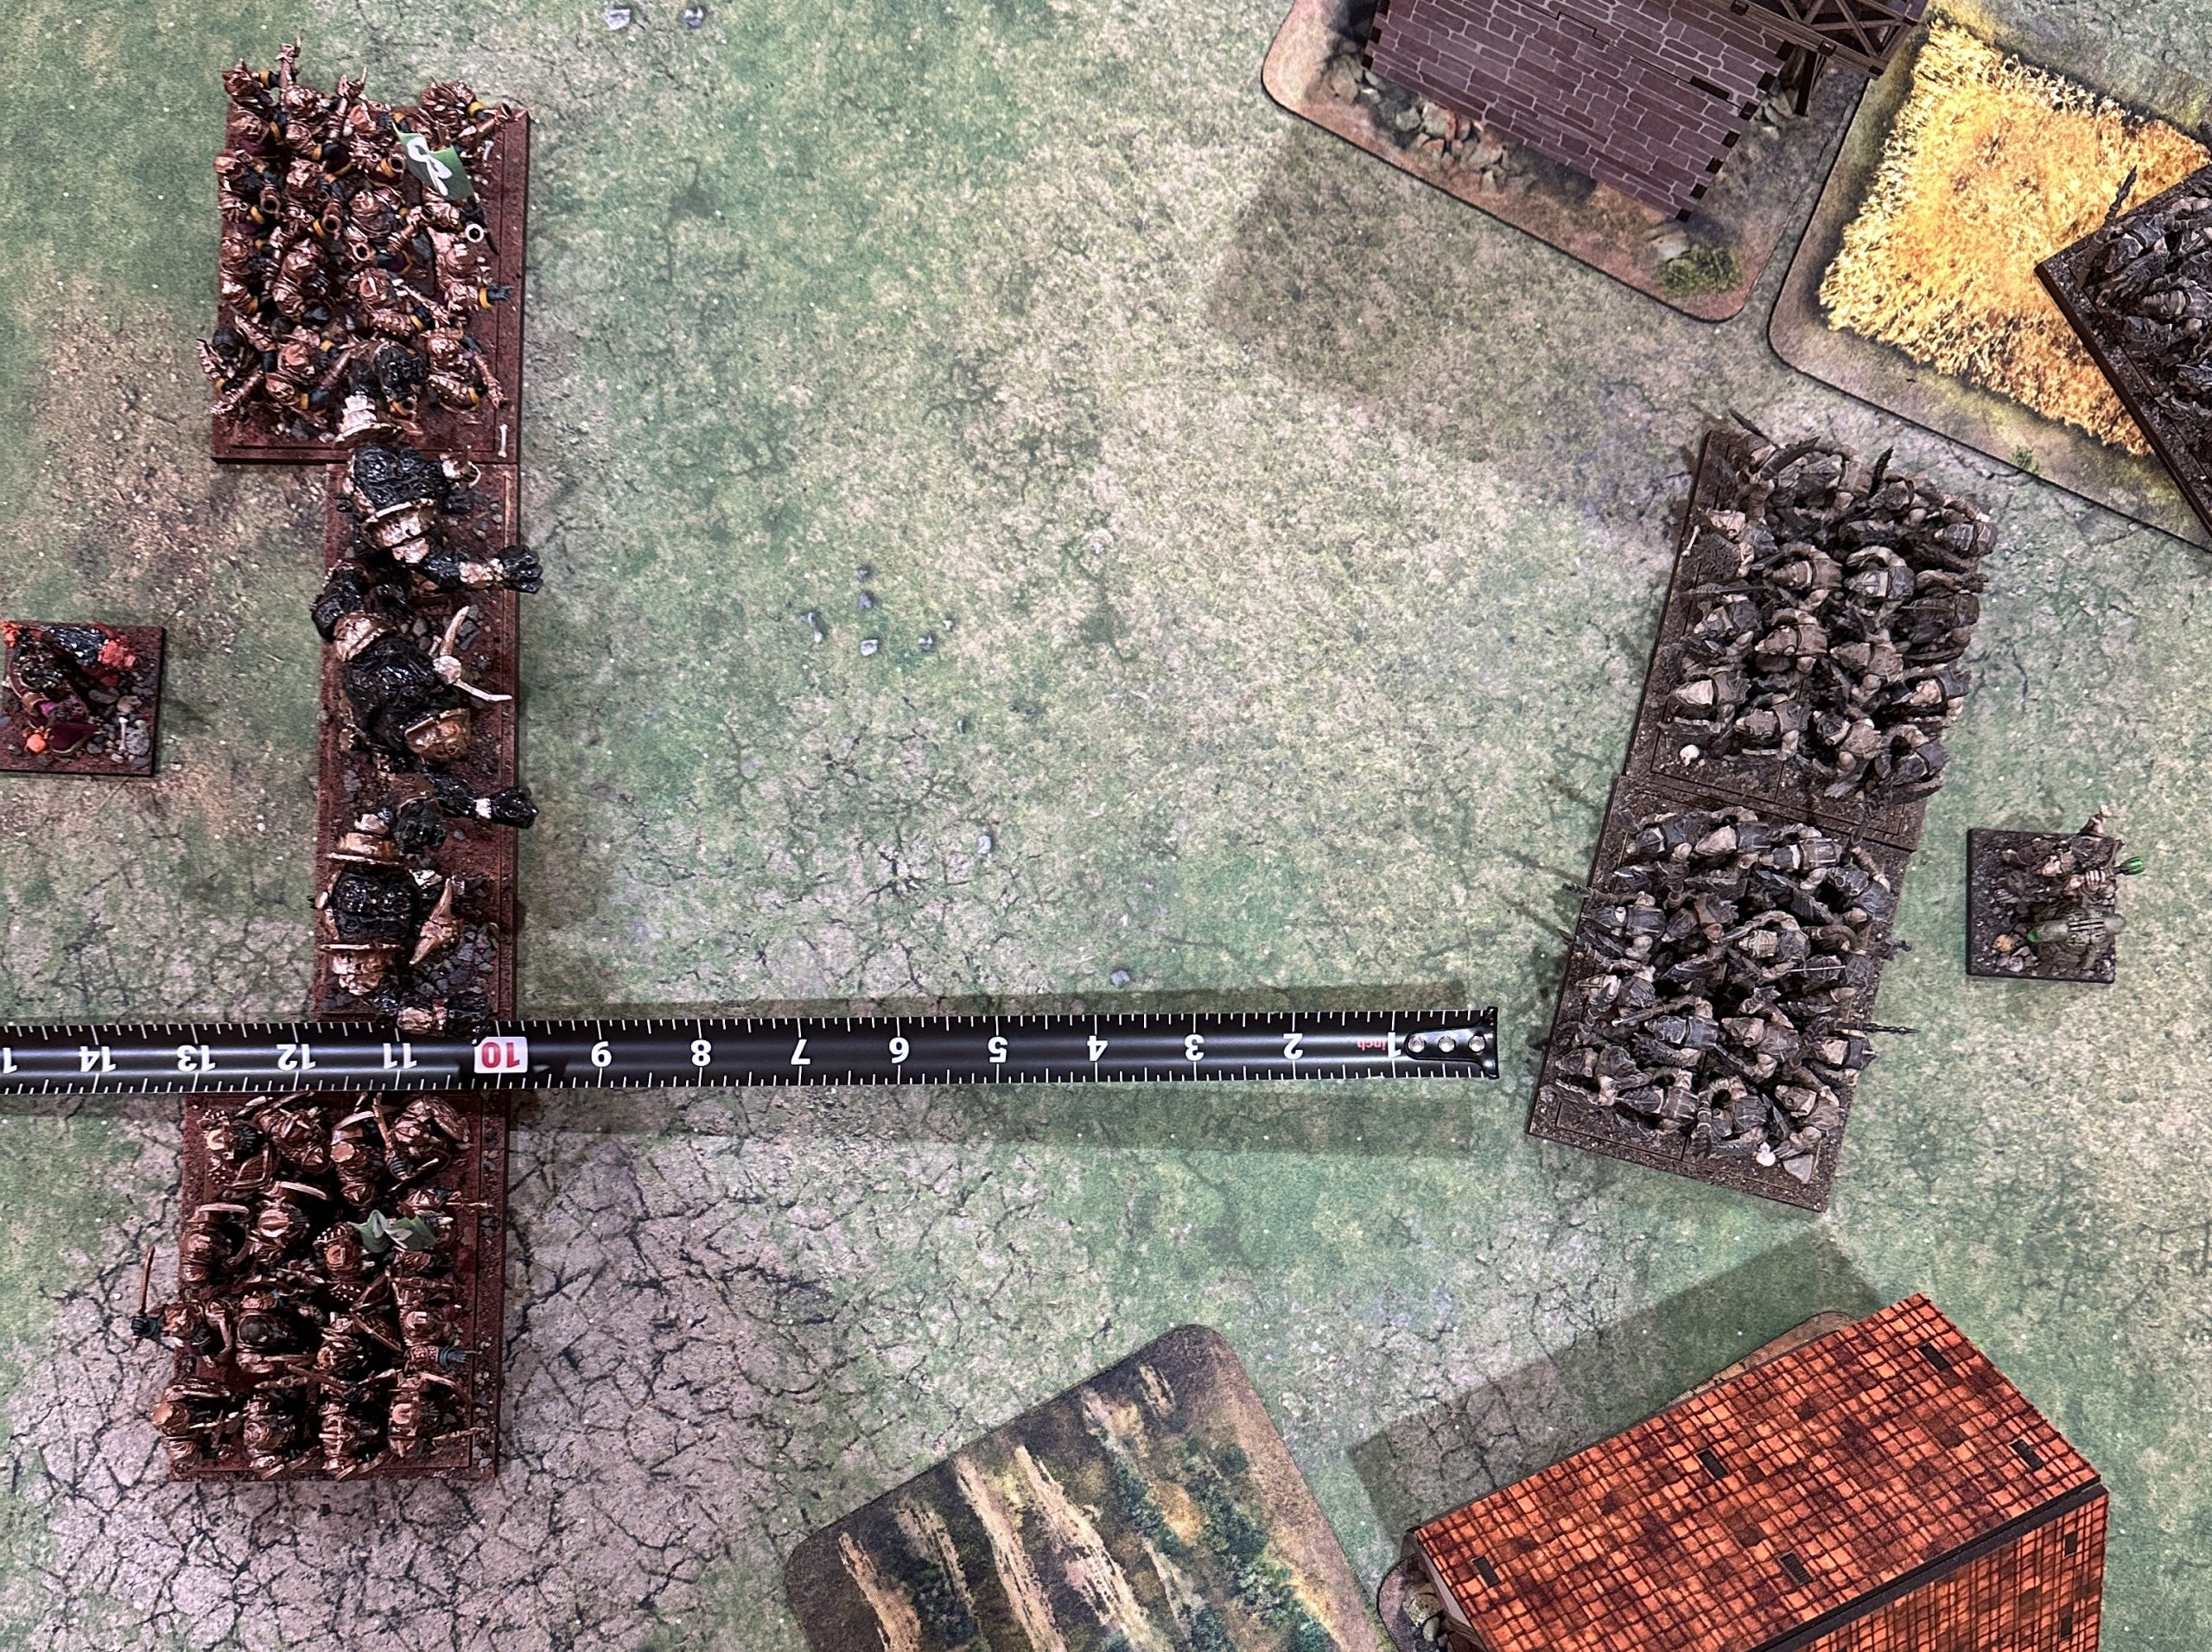
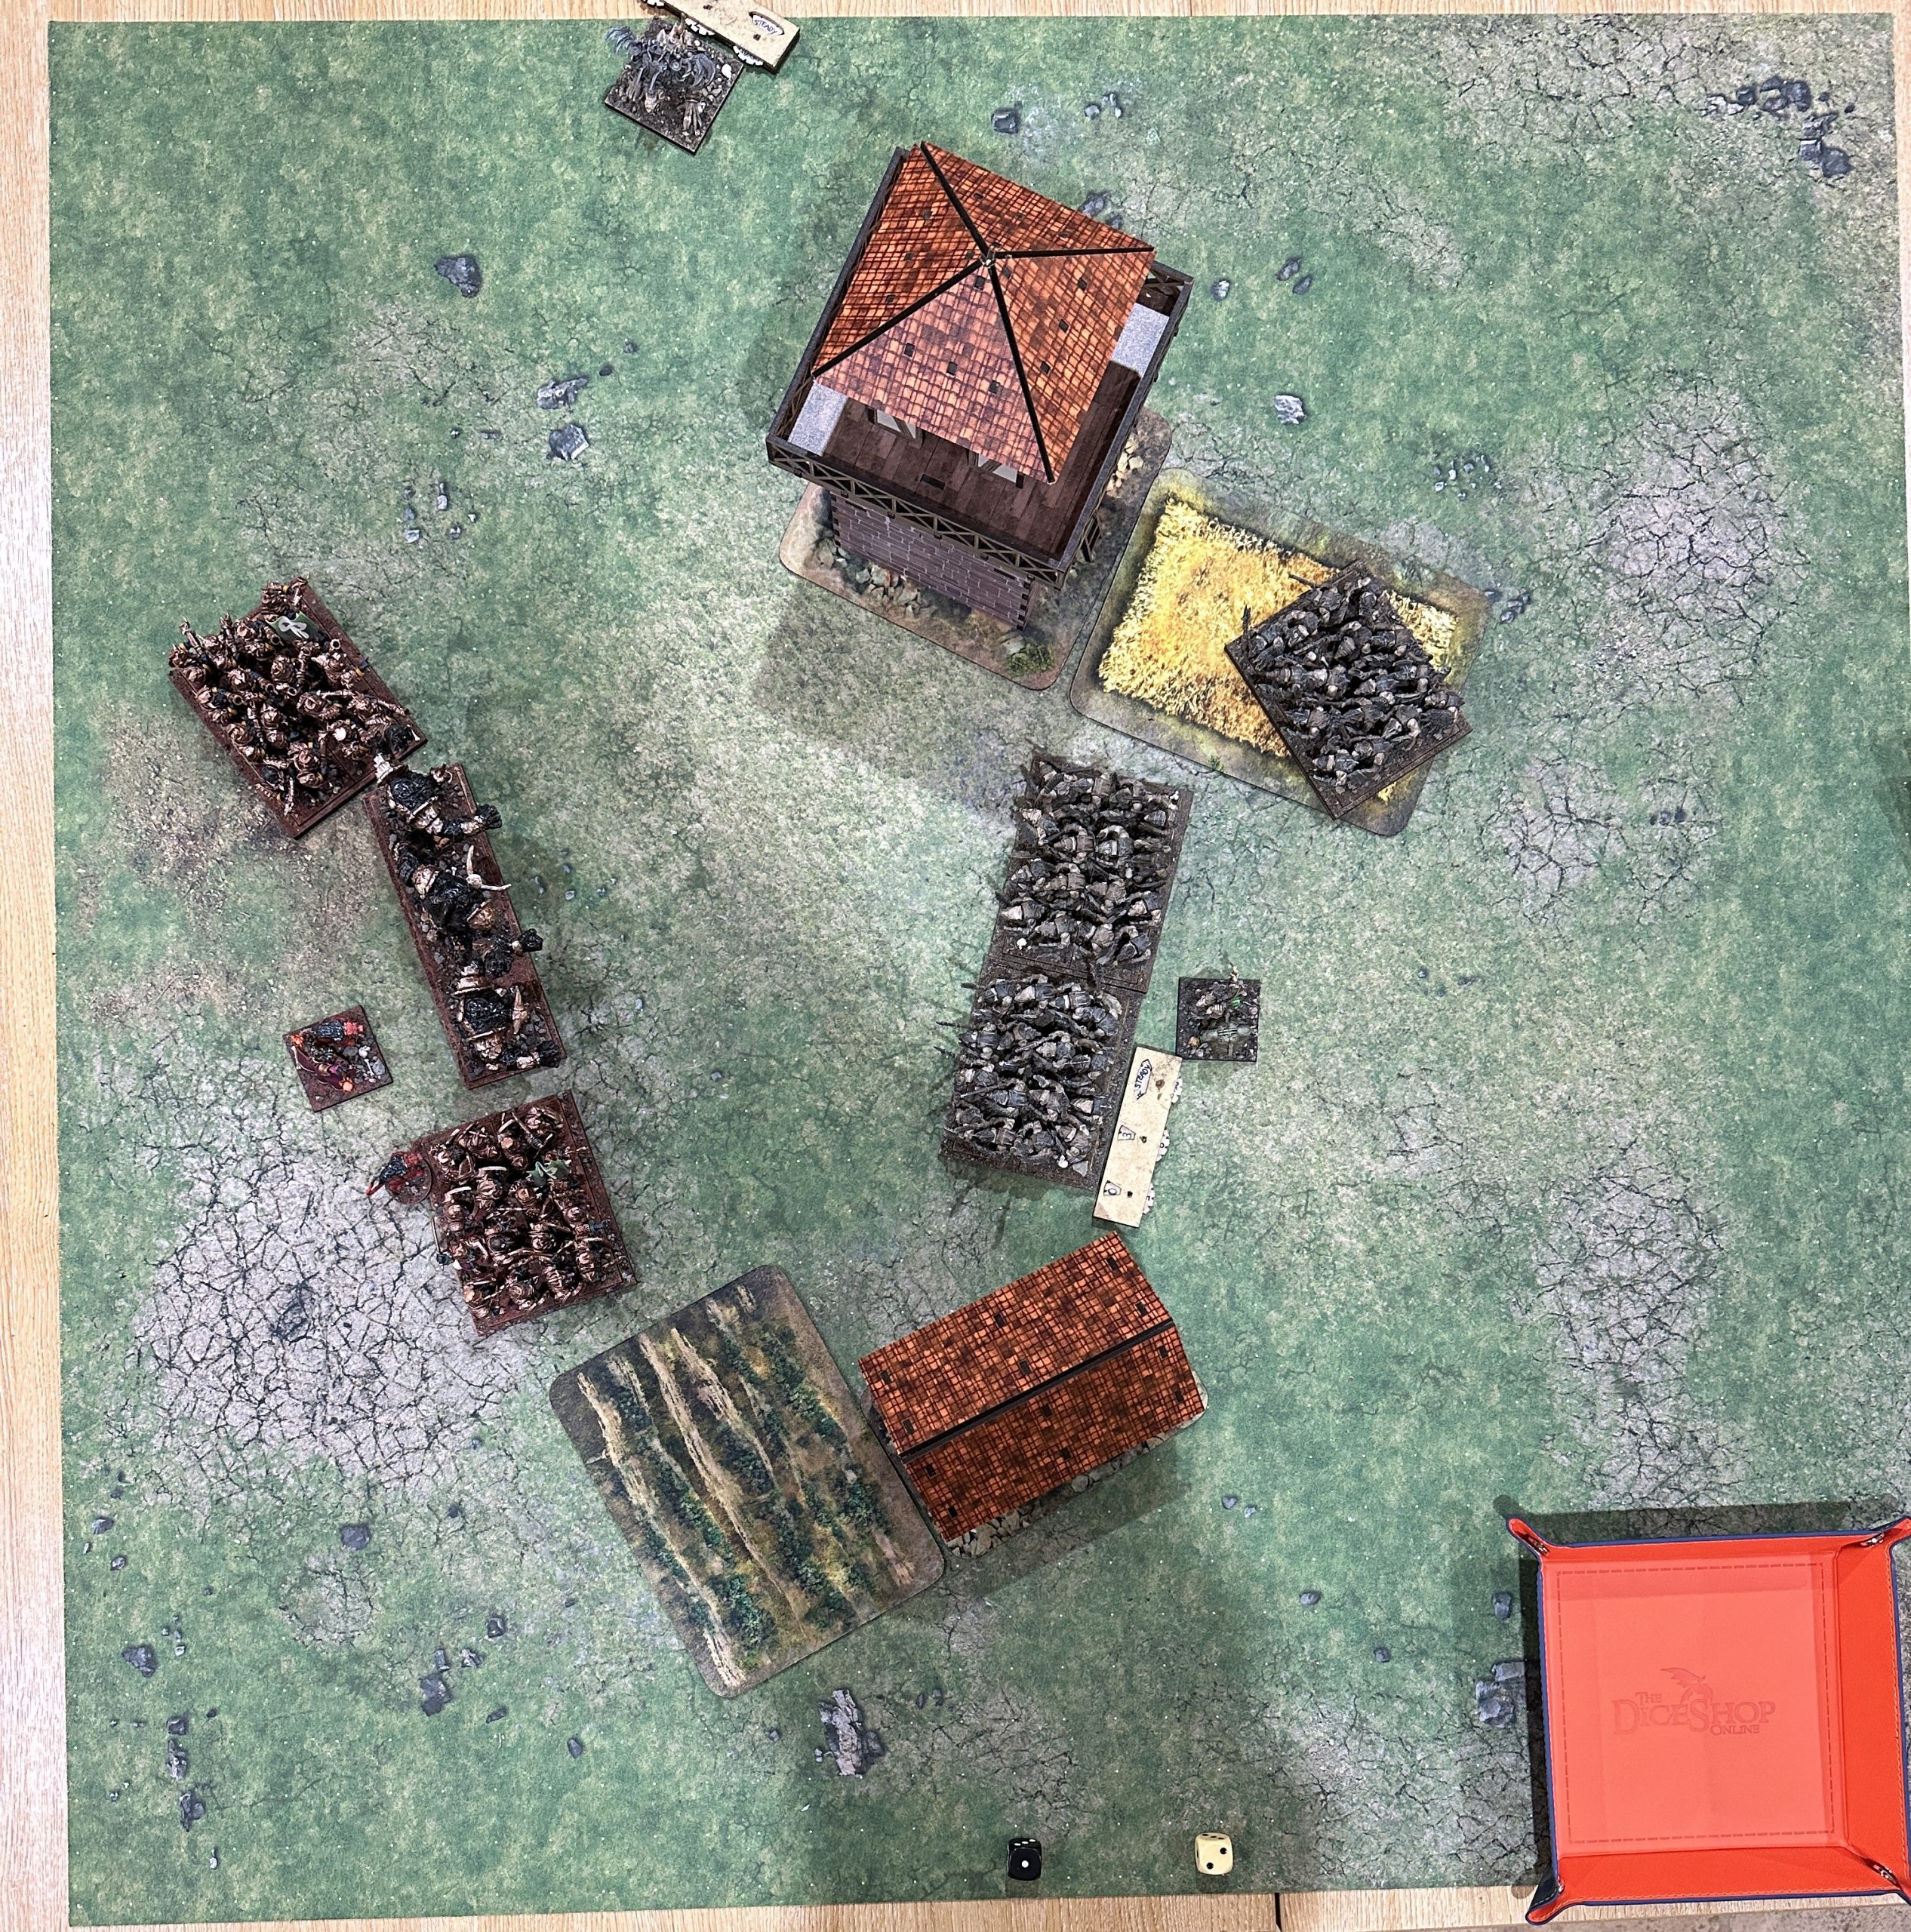
Turn 2 – Ratkin
Charges go in. The Warlock issues Plague Pots to Ensnare the opponent of one regiment and a Bane Chant is cast. Some damage but not much. De 6+ is tough and De 4+ across the board isn’t a bargain either, even with regiments having 15 attacks.
Turn 2 – Abyssal Dwarfs
All locked in combat now so a Bane Chant is cast and fighting commences. Damage is building up slowly but all Nerve tests are passed.
Turn 3
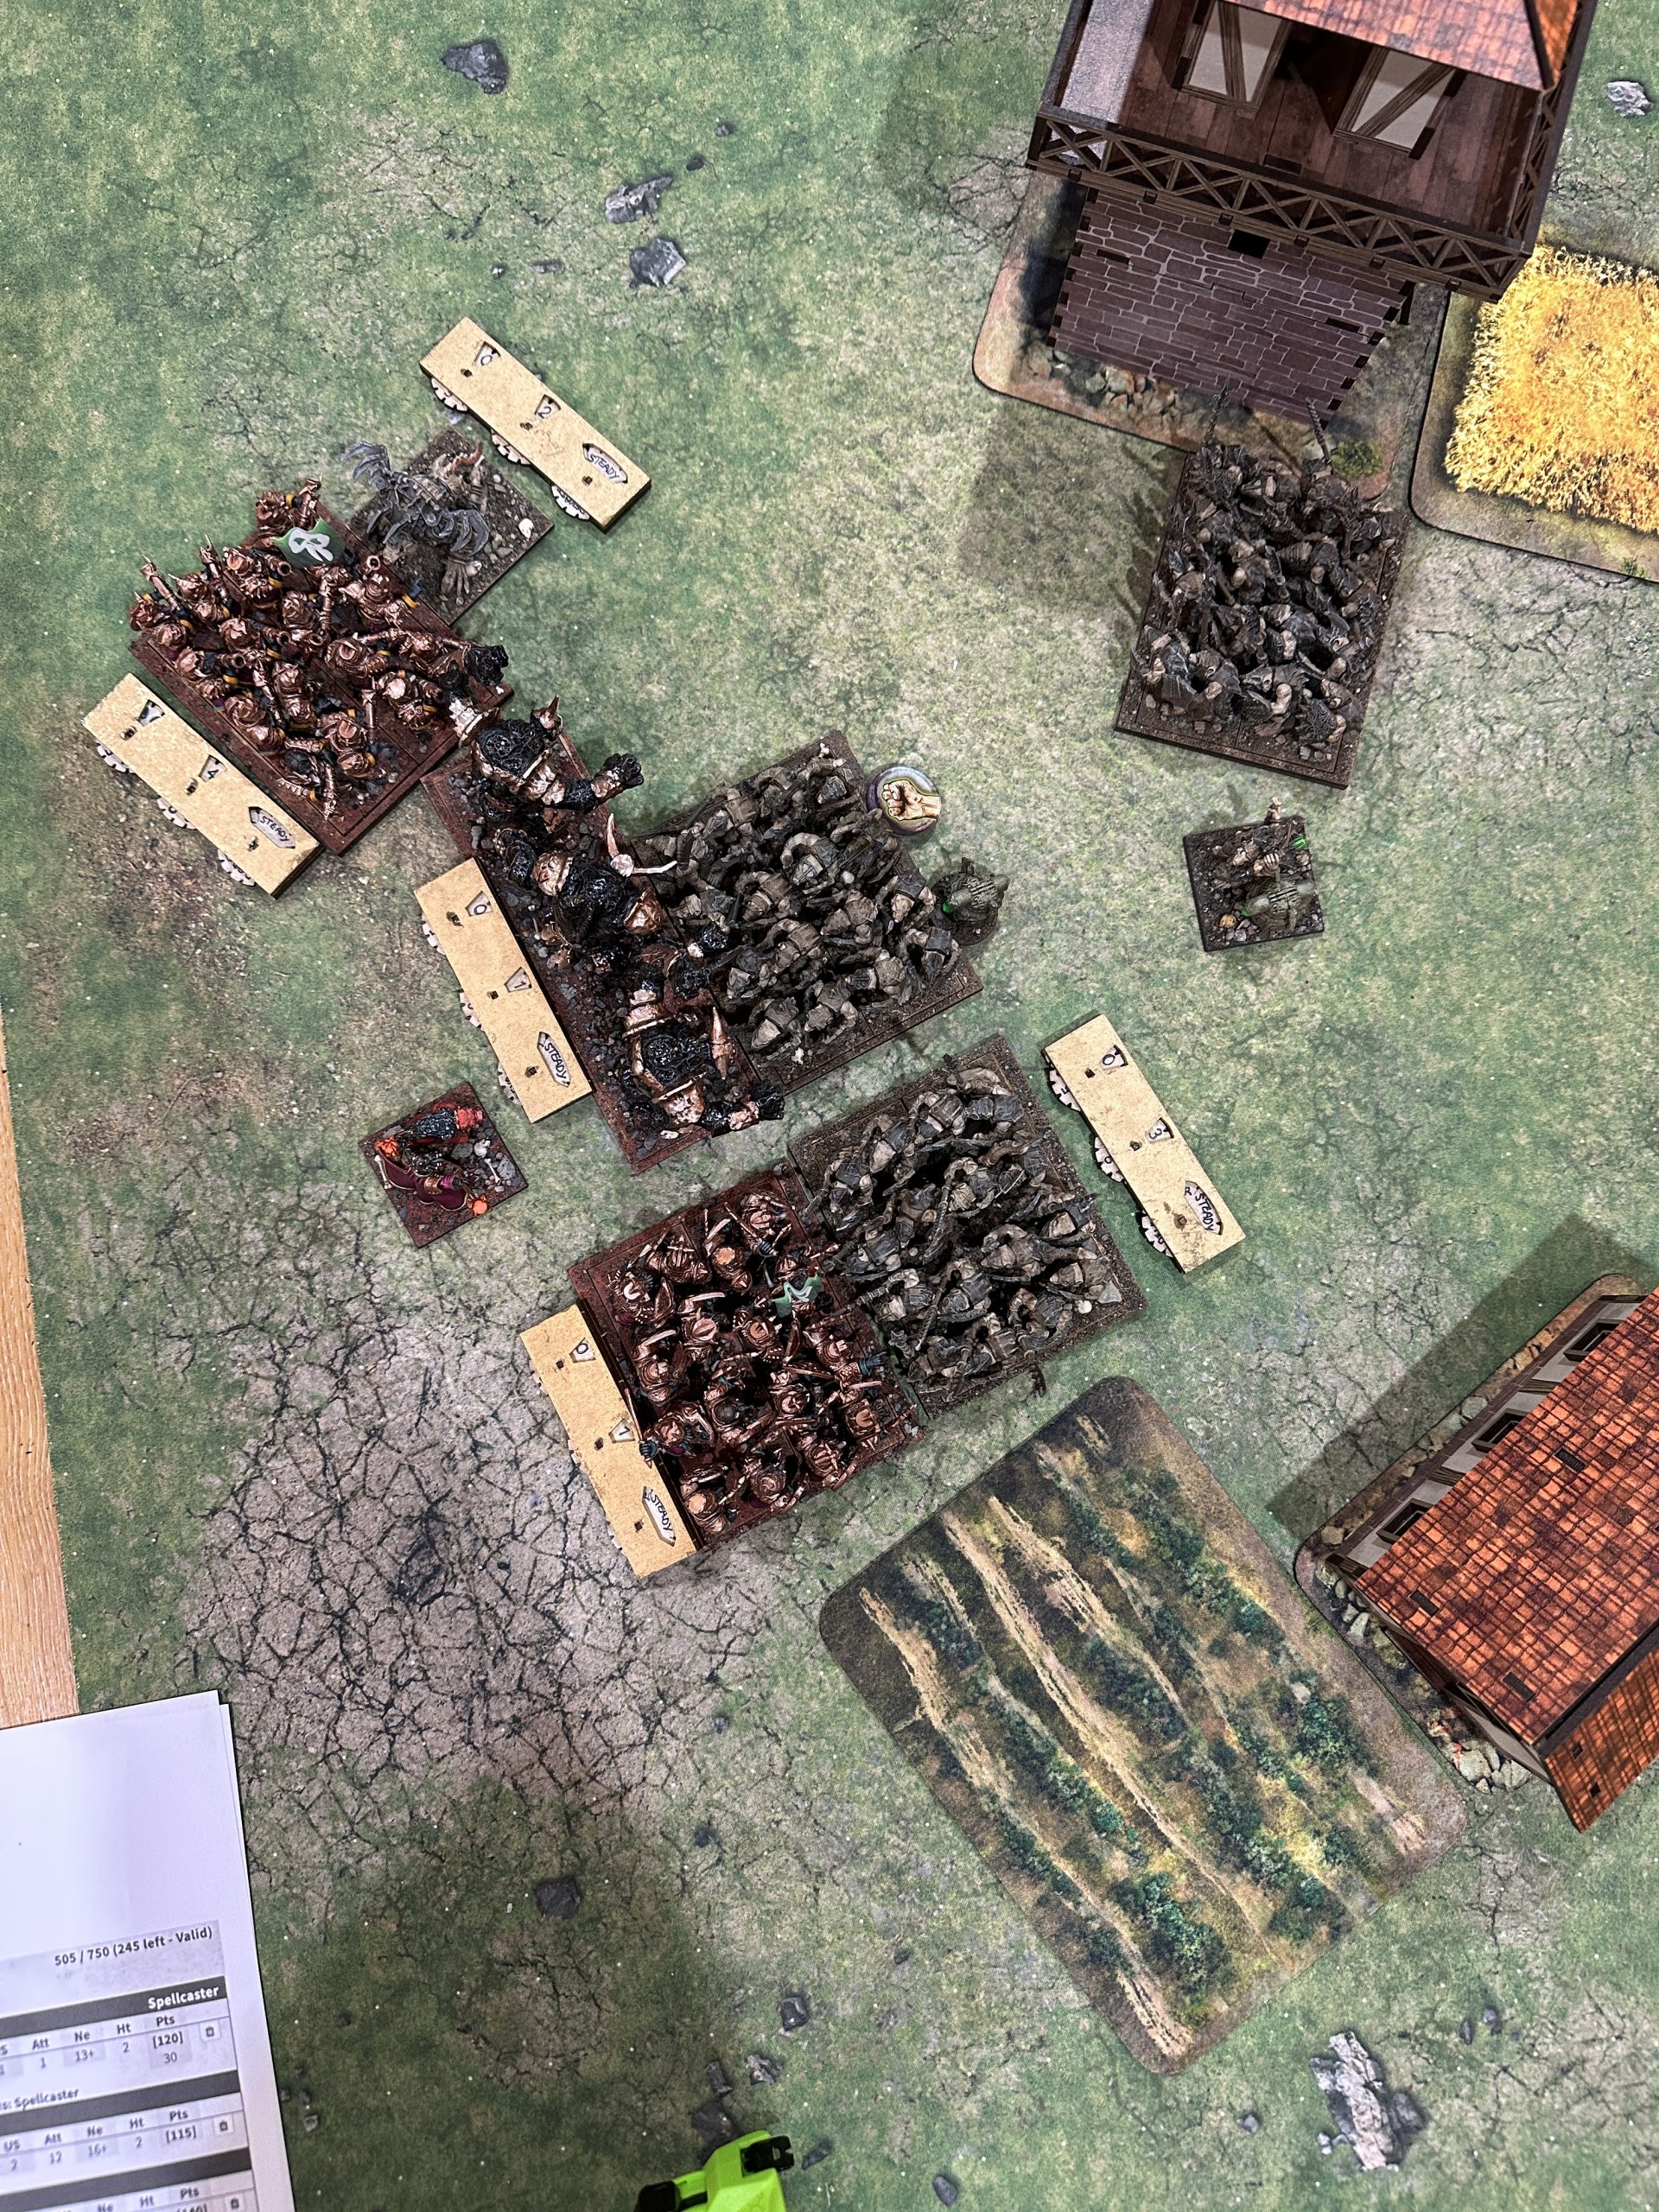
Fighting continues but units are getting close to routing now. Blacksouls manage to beat the unit to their front but the Warlock pulls away and the Ratkin get the spare regiment across to cover.
Turn 4
Somehow the Ratkin fighting the LOGs are getting damage onto them every round and have built up 3 wounds. They test their Nerve and roll a double 6. My first rule query. I’m pretty sure I got it right. The LOGs are protected by the Iron-caster’s Inspiring so don’t Rout, they just need to take the test again. However, before that happens a double 6 that doesn’t Rout a unit does D6 additional damage. Ratkin roll a 1 (Boo!) taking the unit up to 4 wounds. Ratkin player rolls Nerve test again and gets a 10 and with the 4 Damage already taken Routs the 14+ Nerve LOGs! That loss blows the middle out of the Abyssal line and to compound the issue the Night Terror finishes off the Decimators. You can see the fateful Nerve rolls behind the Abyssal Dwarf units in the picture.
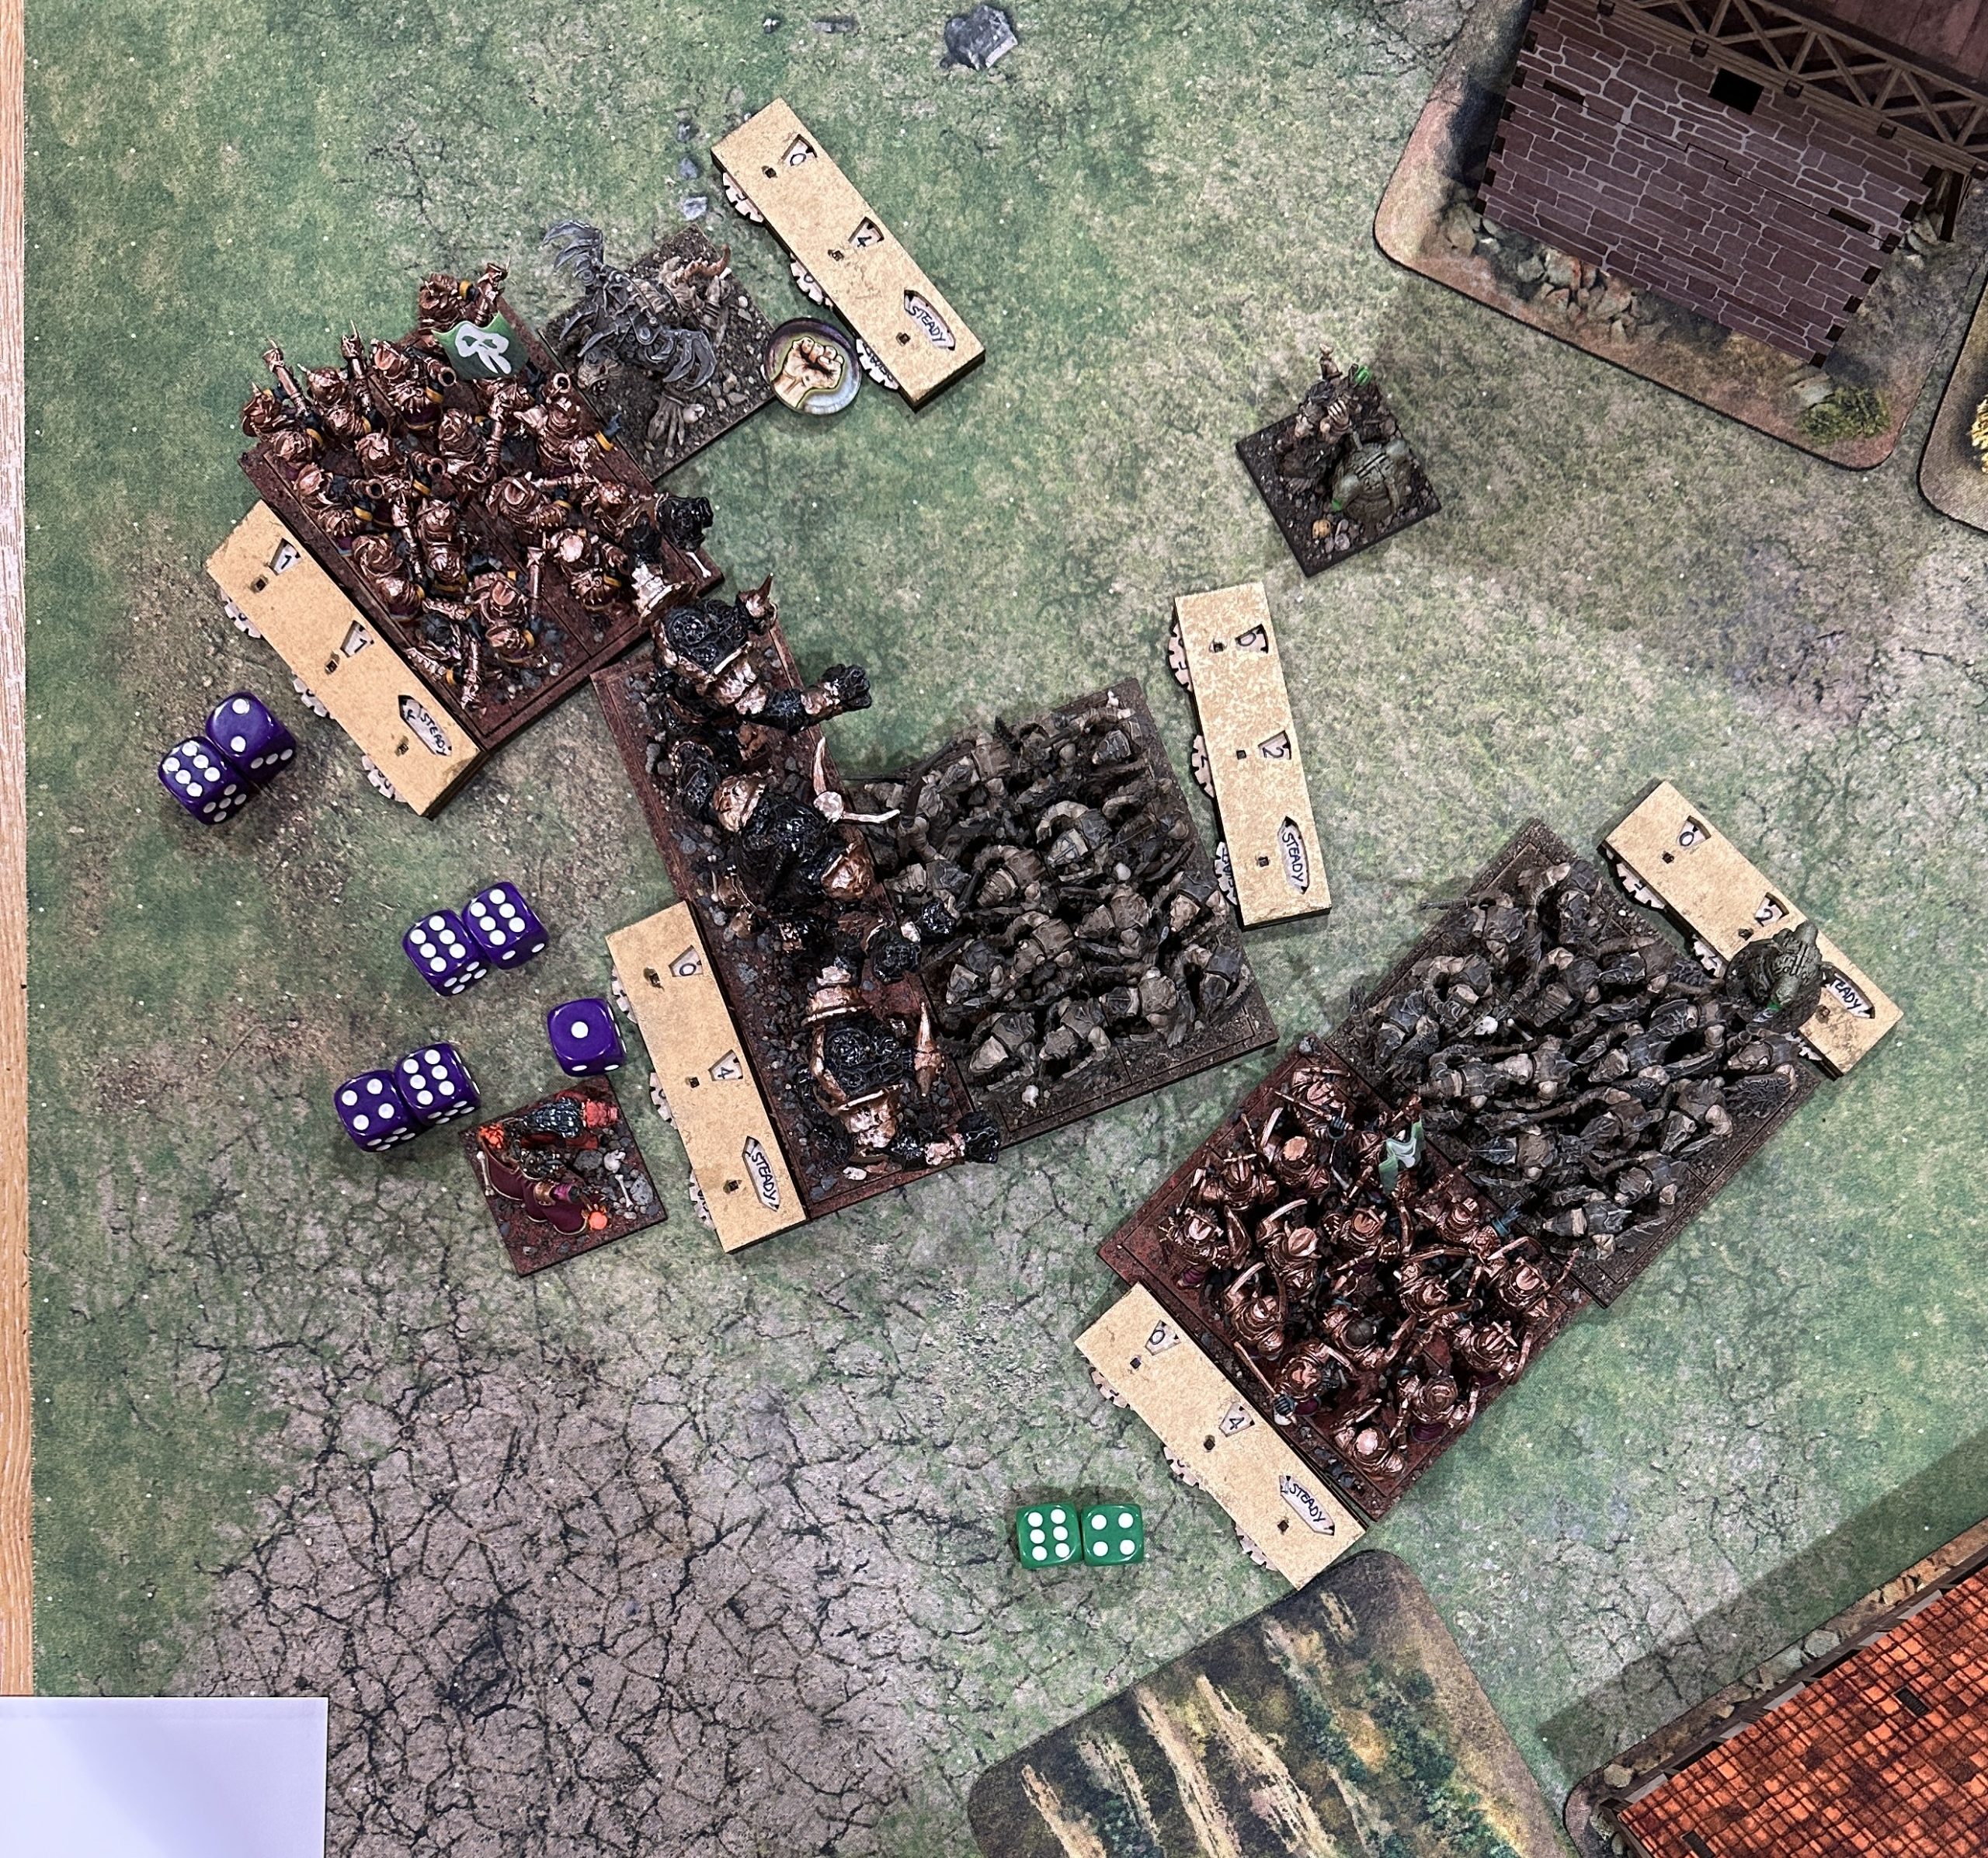
With only one unit left the Abyssal Dwarfs concede. For practice it was played out anyway and contrary to the odds the Blacksouls took out the unit in front of them after surviving a flank charge from the Night Terror. They got got next turn. The Iron-caster was holding off the other regiment who couldn’t get past his De 5+ but they would have flanked him next turn and a Bane Chant and charging Night Terror would have done for him.
Victory to the Ratkin!
That was a great game. Initially it looked like the better combat ability of the Abyssal Dwarfs would win through but the LOGs performed poorly against a unit supported by Plague Pots for a couple of rounds. That gave the Ratkin time to keep chipping damage onto their opponents and a couple of high Nerve test rolls and they win.
It shows that the margins are fine in this game so any mistakes will be painful. Great fun and I got the win! (And yes, I know I’m playing solo at the moment, shhh, don’t take away my moment of triumph).
Accessories Review: 3D Buildings
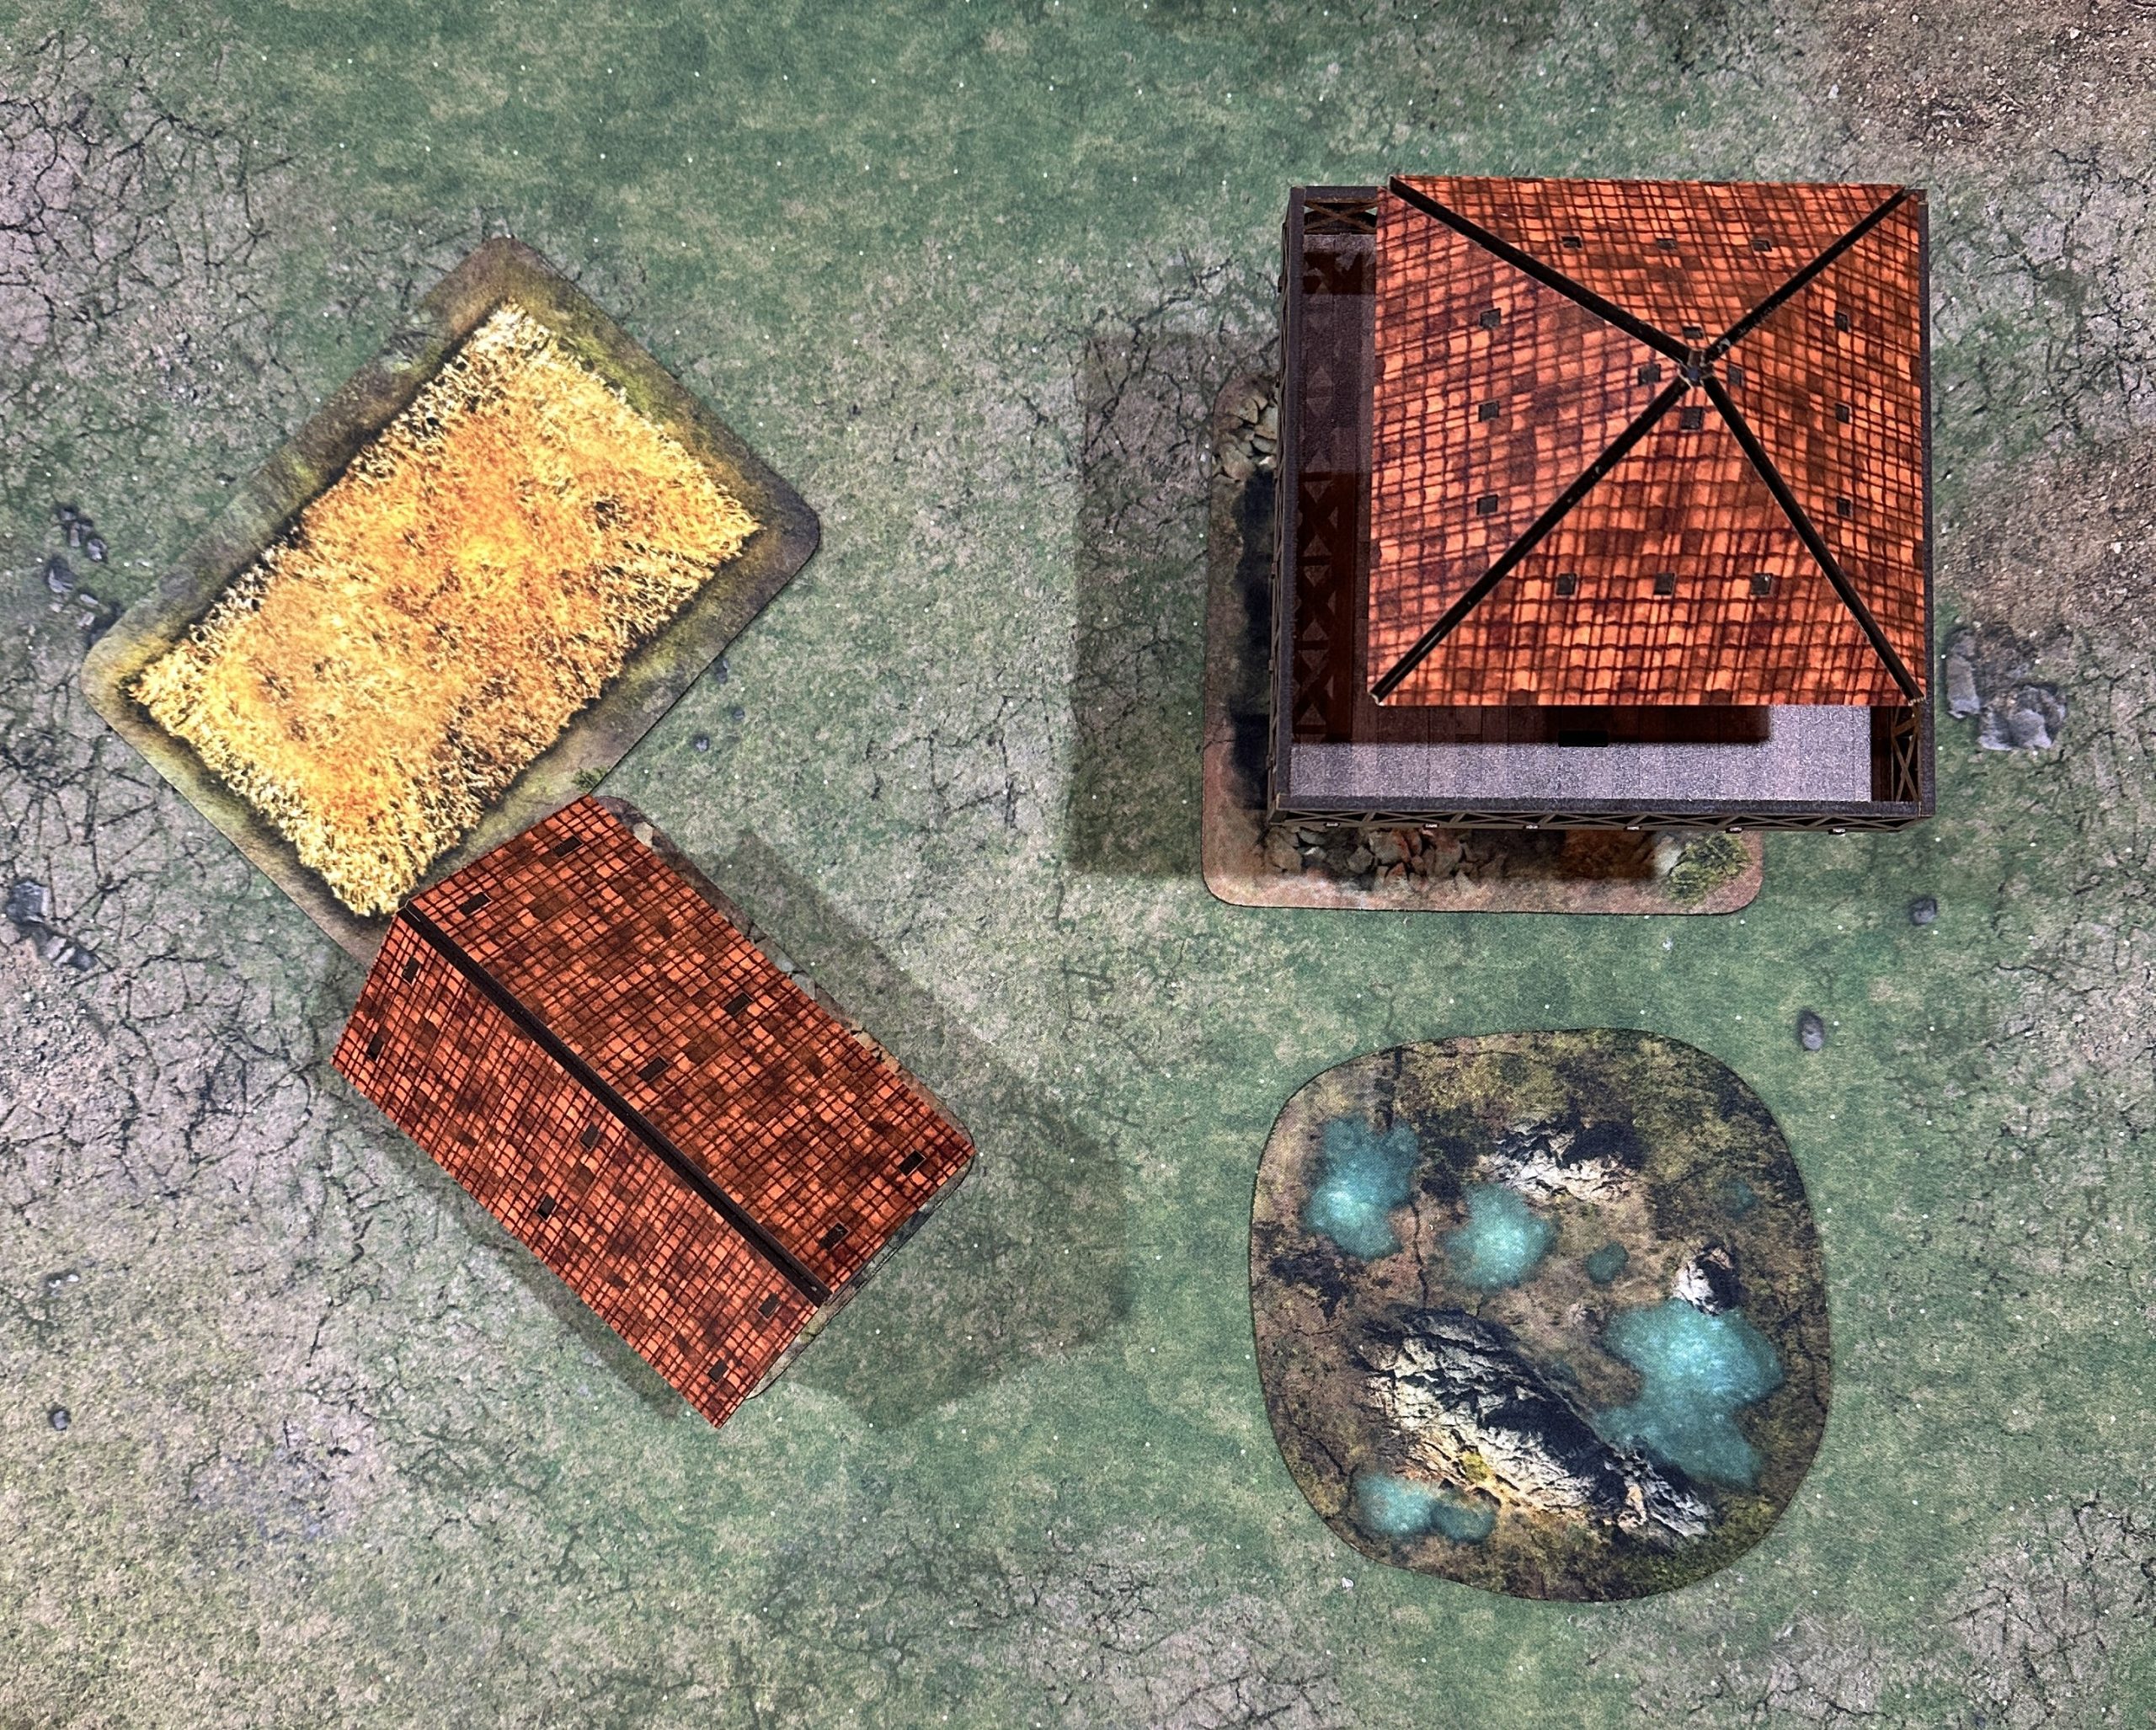
The game features blocking terrain that is impossible for units to see around. Whilst the 2D terrain set has a couple of sections that represent this is is harder to envision on the table than with the other 2D terrain pieces. Therefore I’ve upgraded the setup with a couple of 3D buildings. I went for some lovely pre-coloured mdf from Warbases. I picked these up at Salute along with a few others including a large villa. I wasn’t planning on making them until after I’d moved but I measured the two mats I needed buildings for and luckily I have two that are a perfect fit:
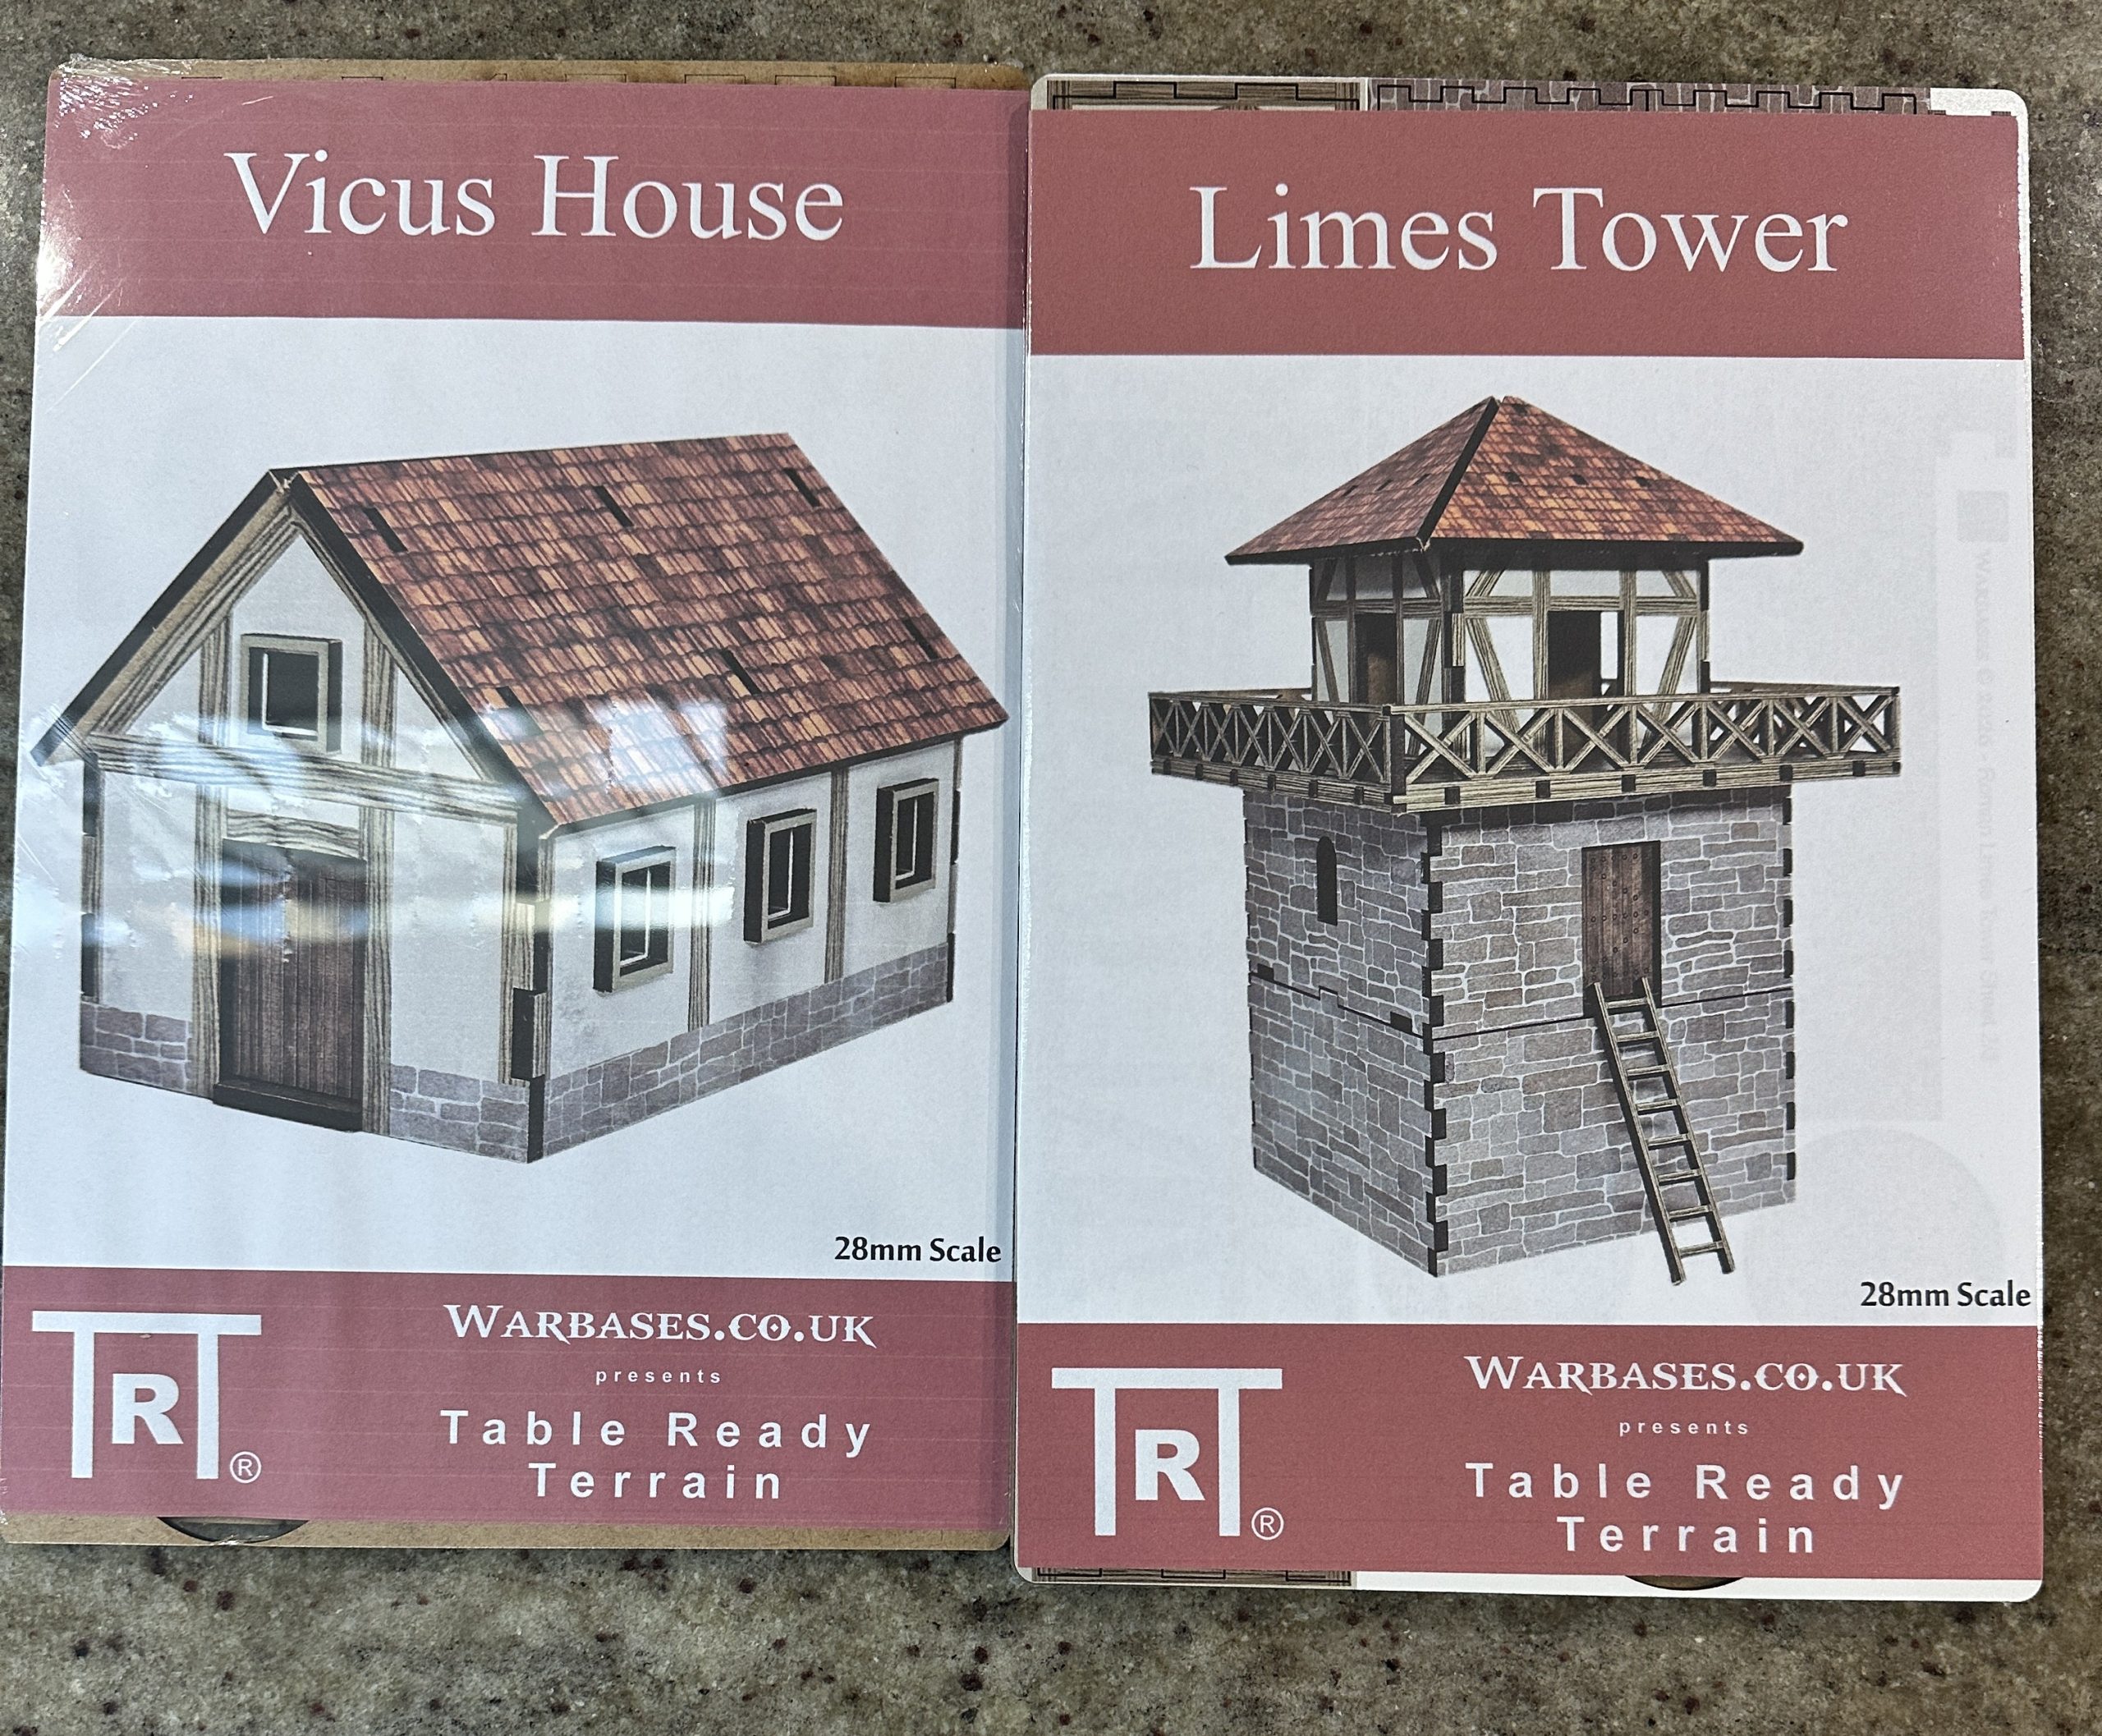
I know this will meet with Gerry’s approval as he suggested using them for non-historical contexts when they were discussed in a Weekender and the bright colours work very well on this fantasy setup. They fit within the footprint of the 2D terrain mats and enhance the look of the table no end.
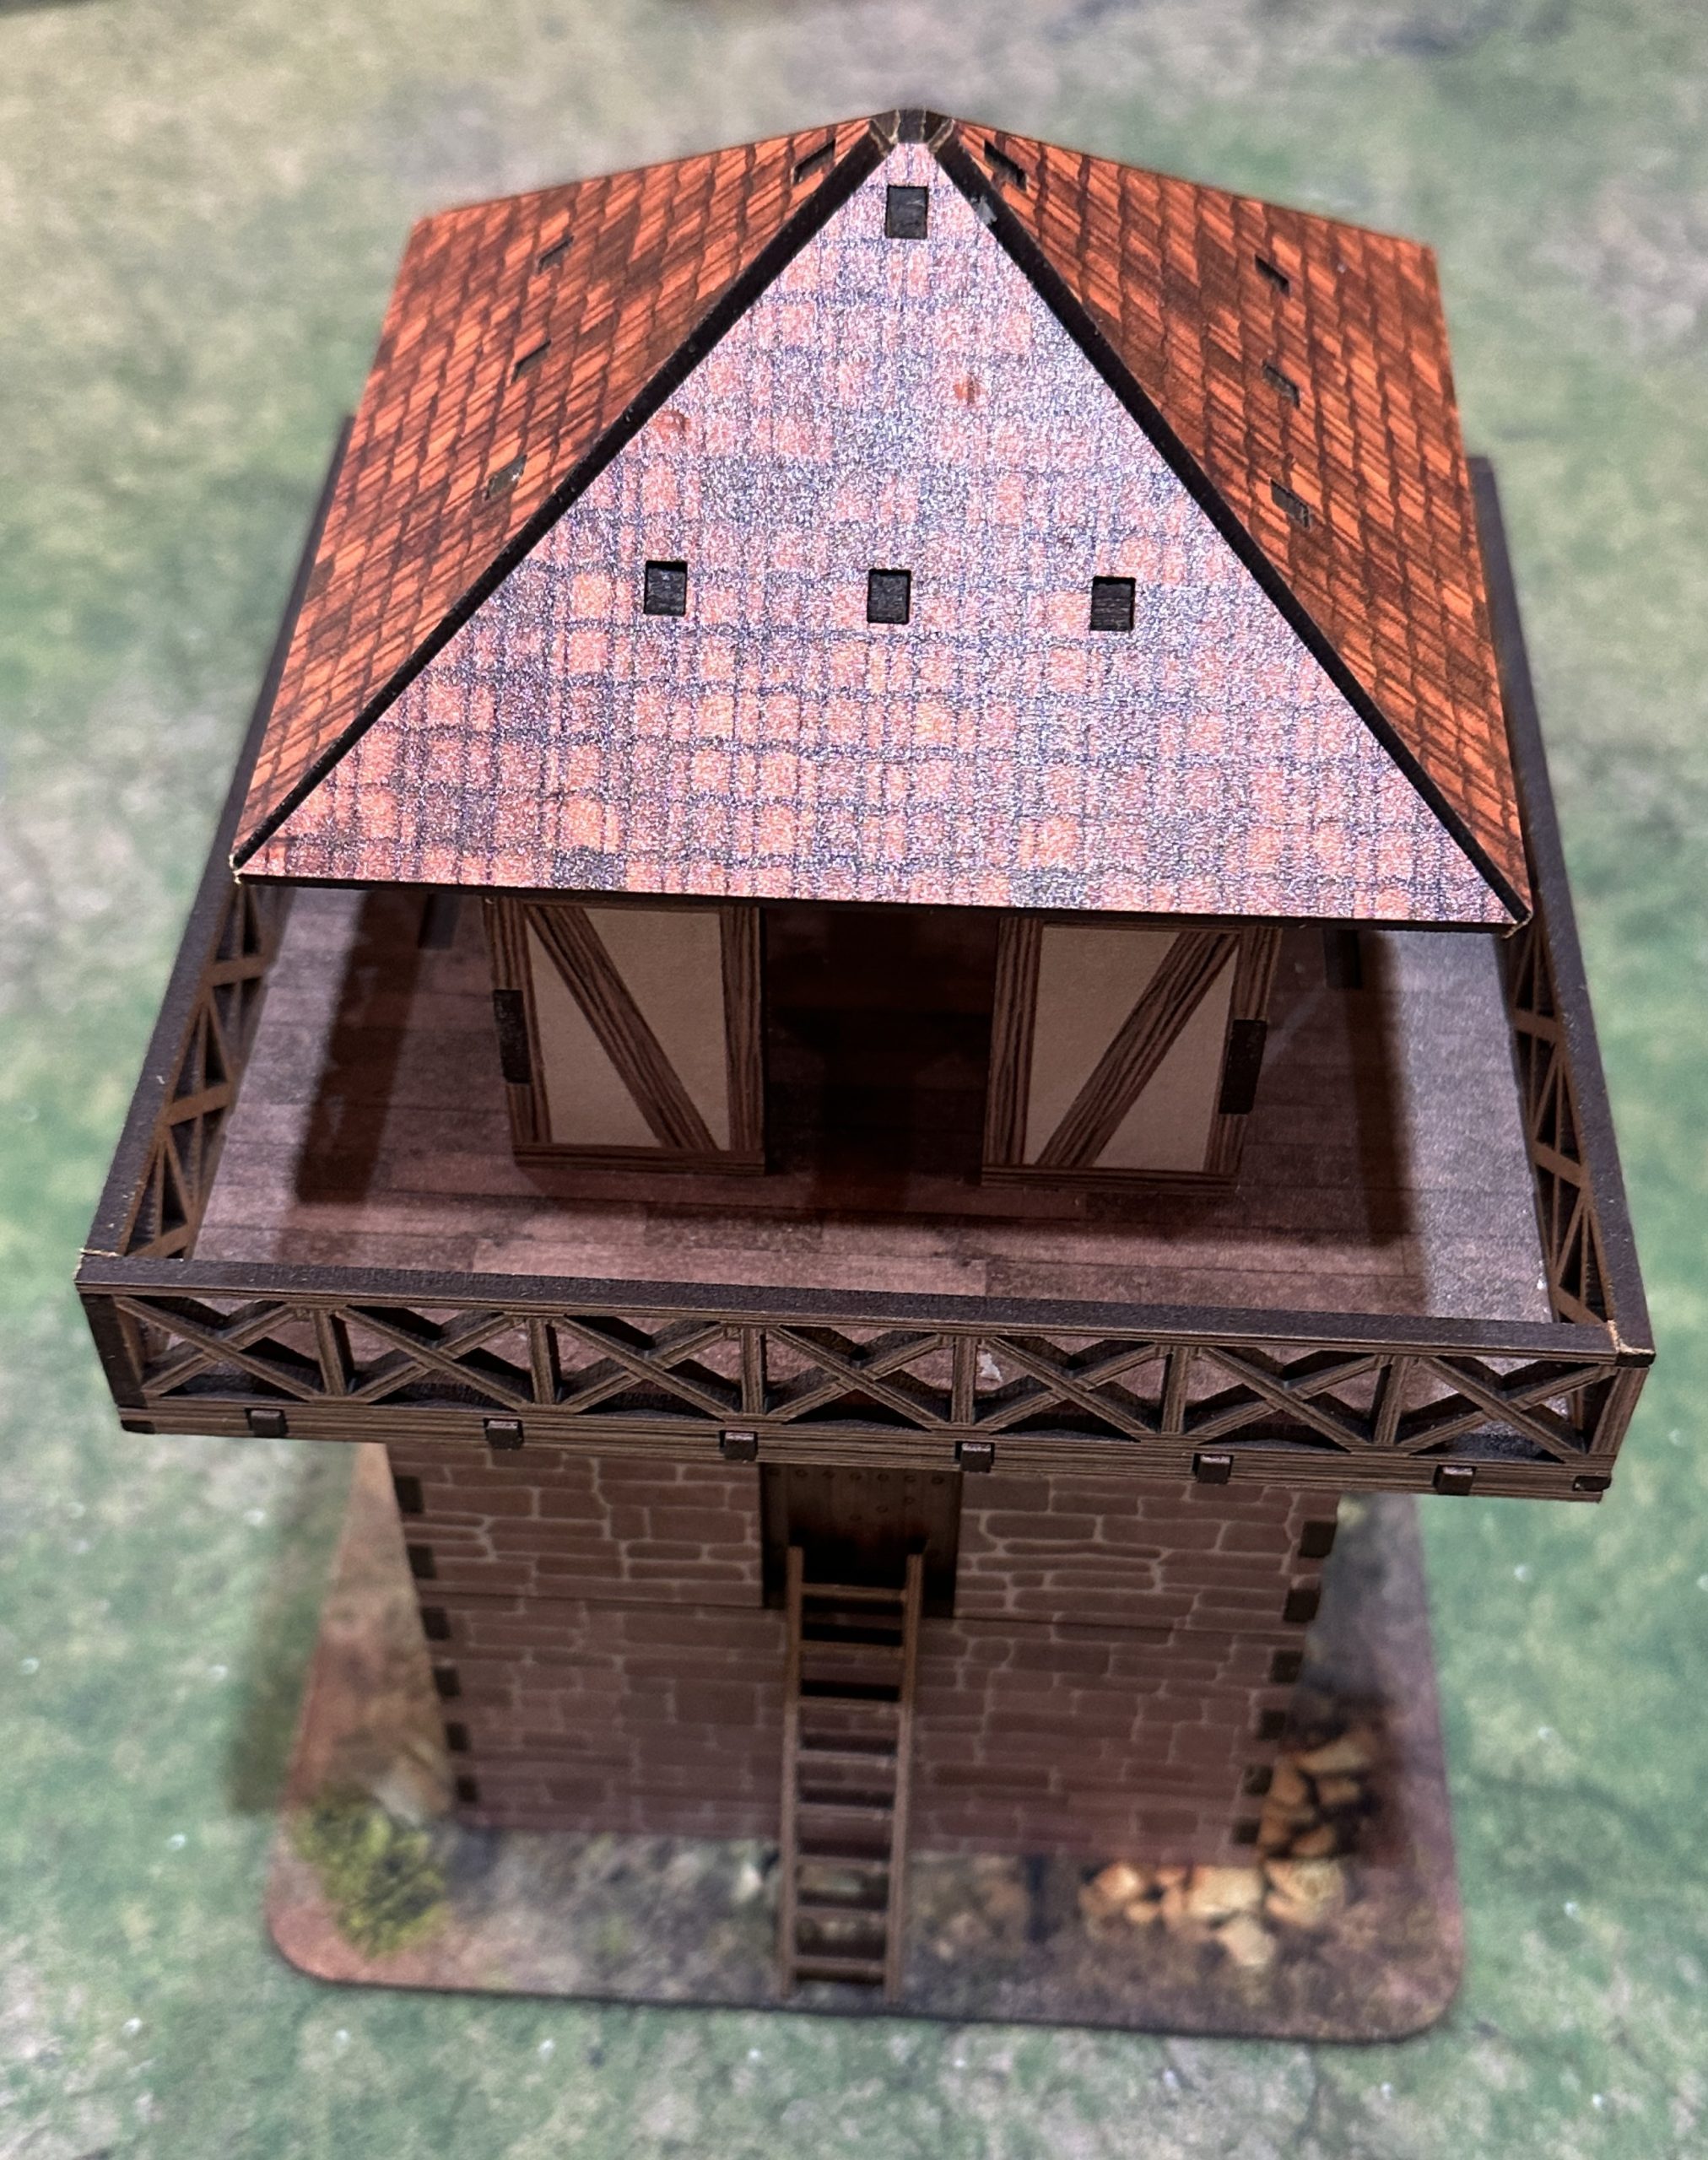
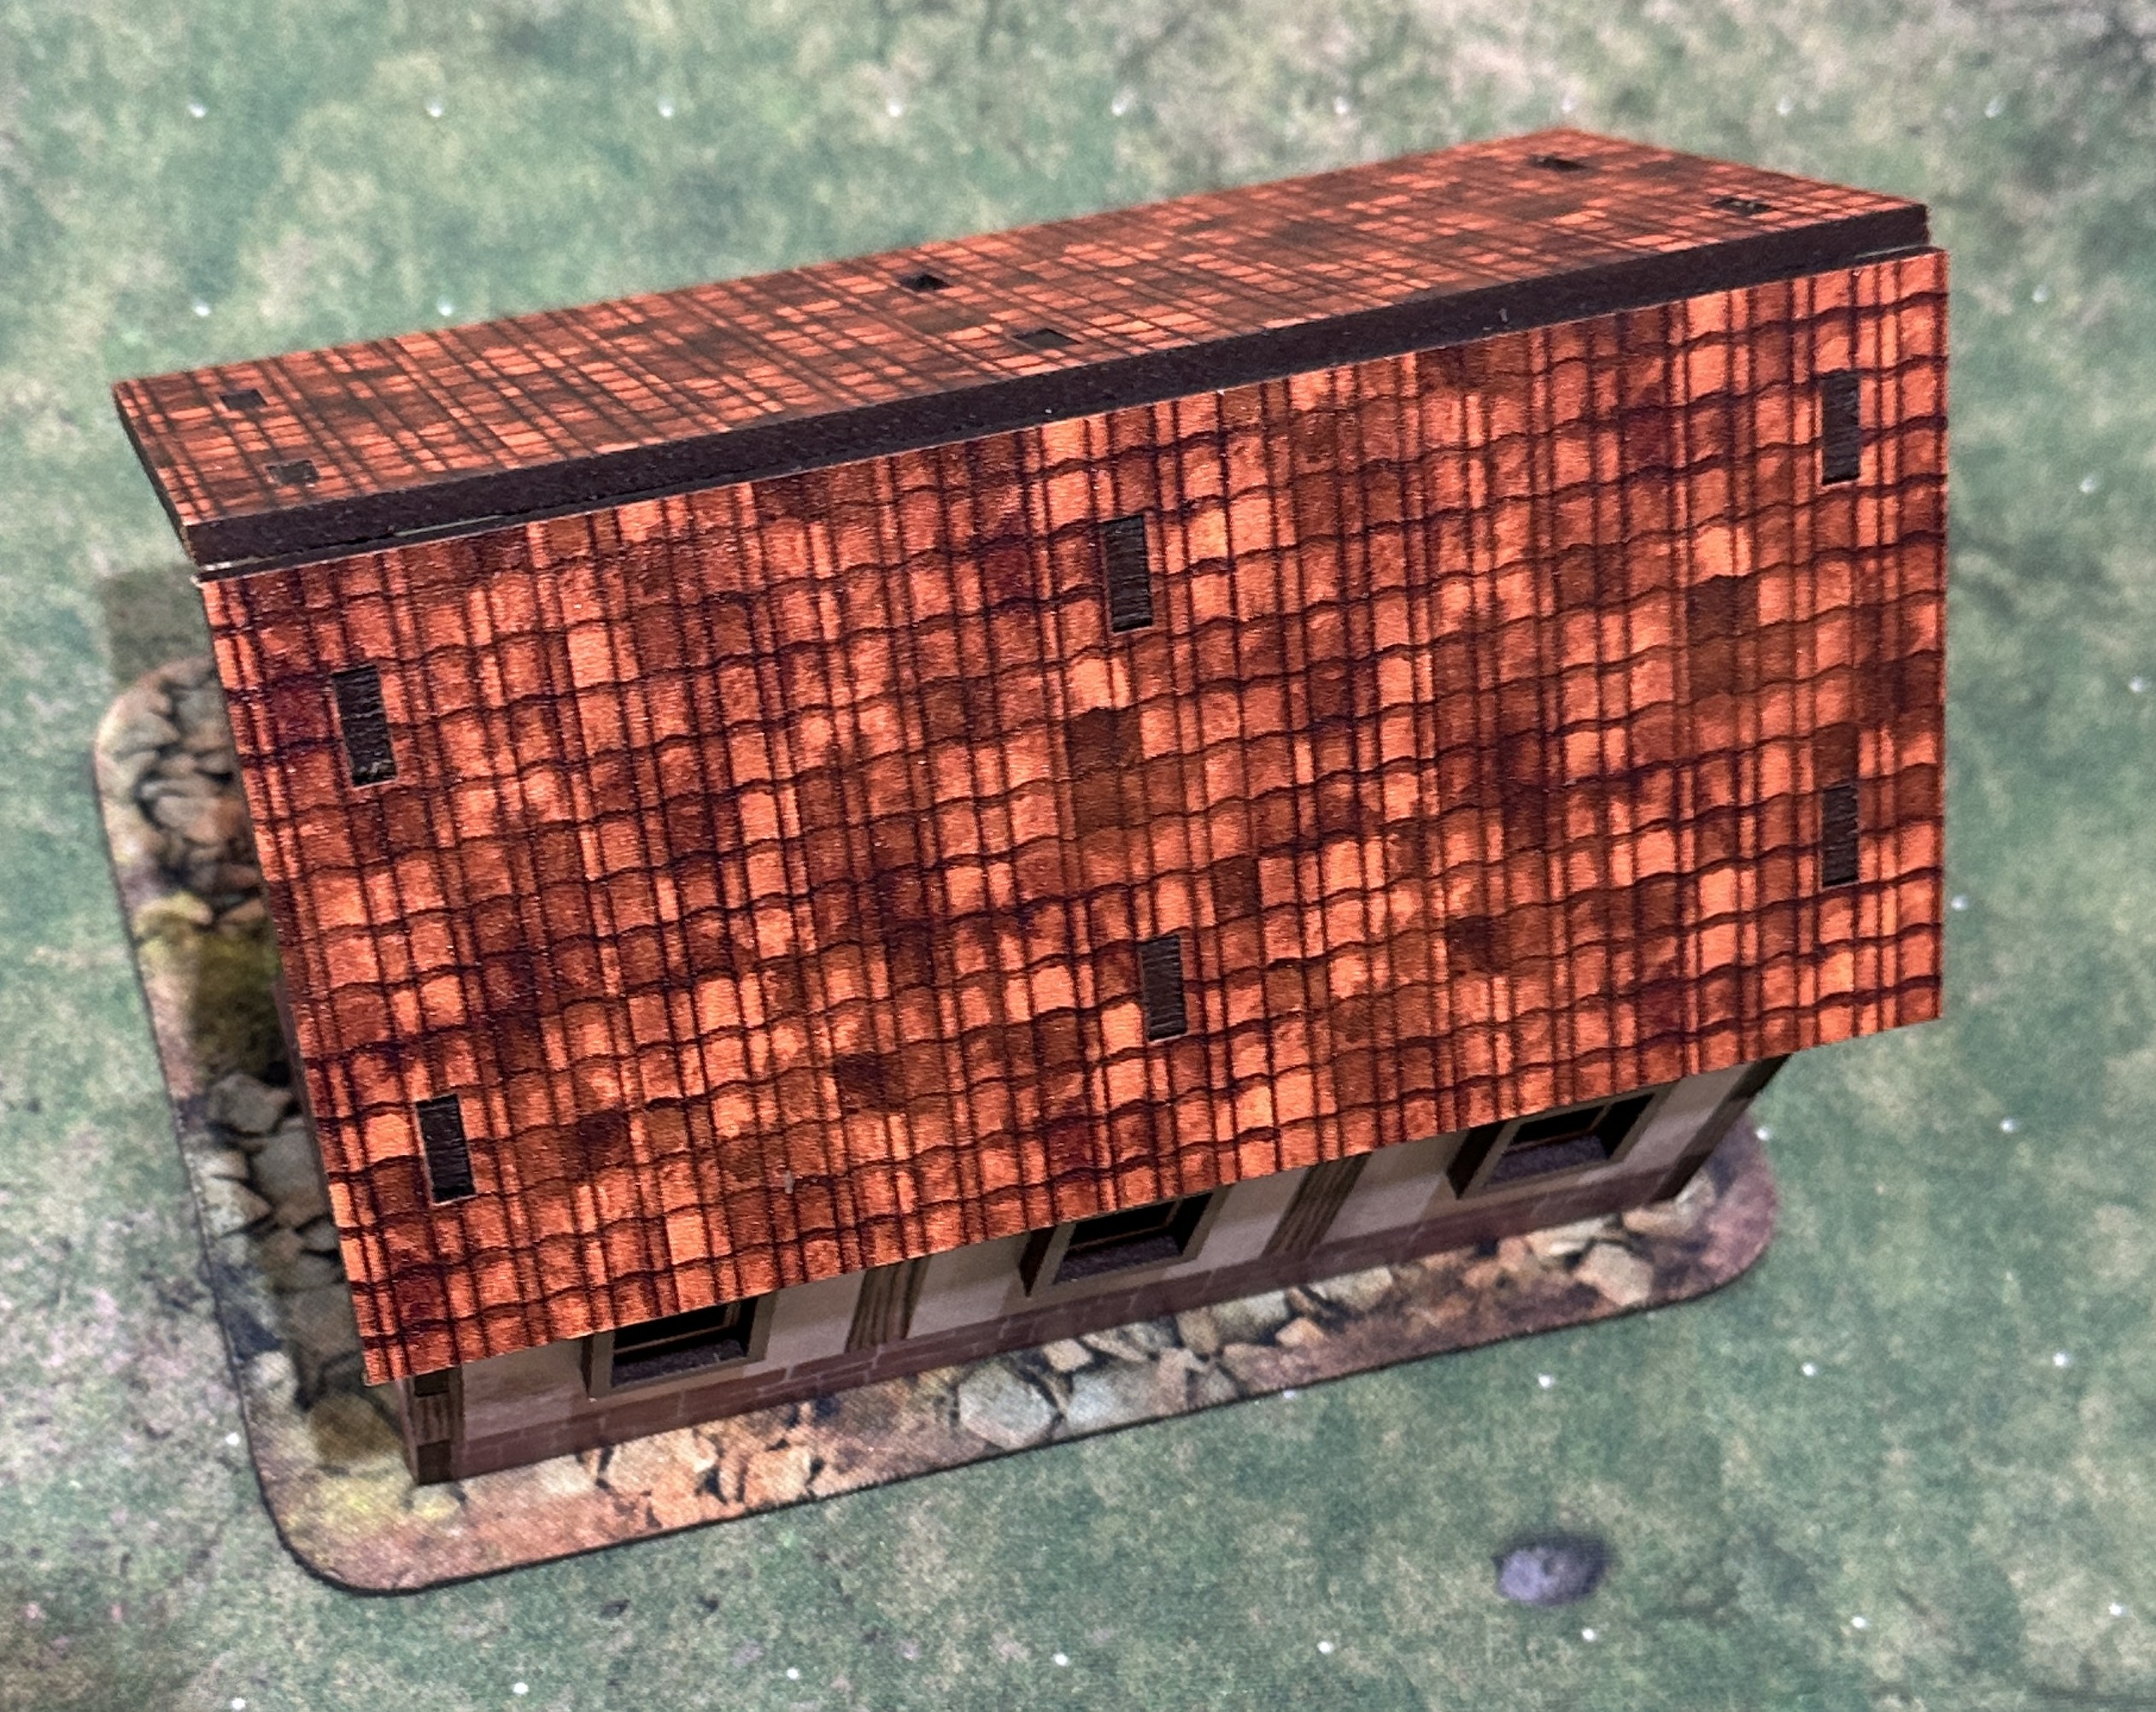
They don’t come with instructions but the build is pretty obvious and they go together easily. They are able to be taken apart for interior access and ease of storage, the roof of the house comes off and the limes tower breaks down into a number of sections. Great kits, highly recommended.