




The Dogs - Spring Clean Challenge 2026



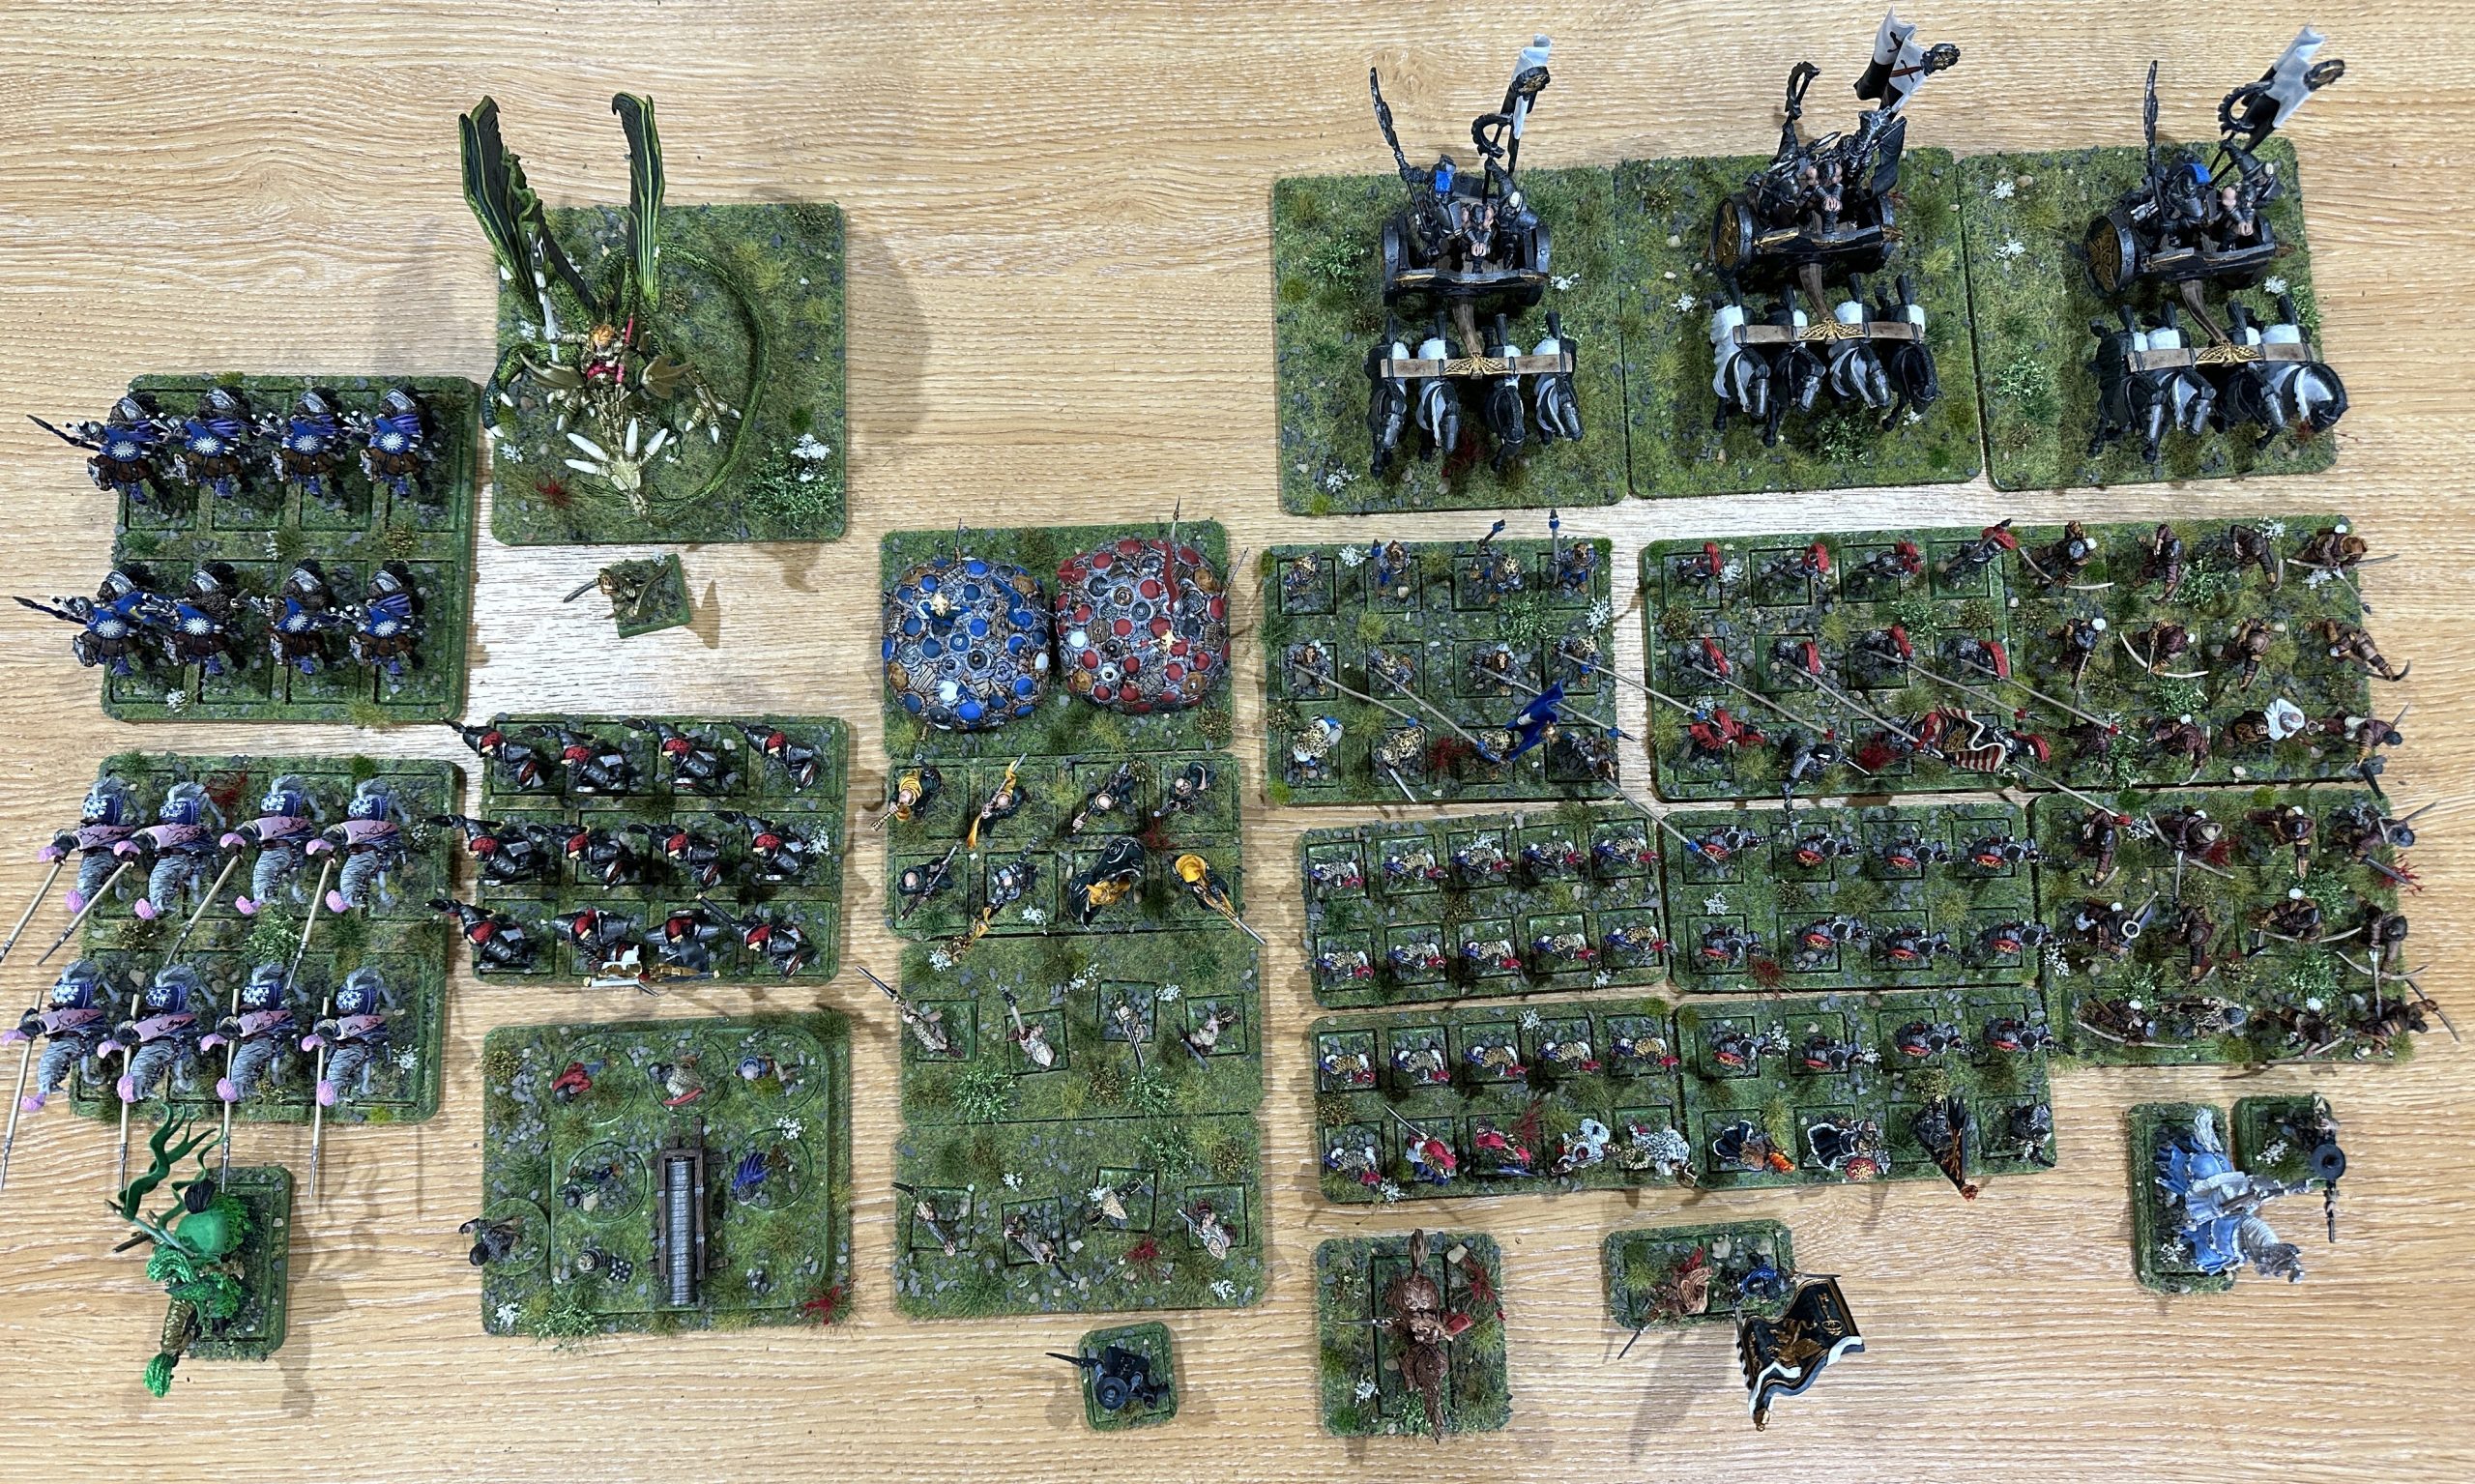
Leopold's Leopard Company - the last unit is finished!
I’m not a fan of the studio paint job for this unit. They went with plain black and white beneath the leopard skins. Having used red and blue as the main focus colours throughout the project, and with the other pike unit having had a red focus, this unit would have blue. Highlord Blue was used on hose and the pike tassels. I like the orangey shade of leather with blue so Hardened Leather was used on shoes, belts and scabbards. Aged Hide for the skin. Broadsword Silver for the armour and weapon basecoat. The Leopard skins aren’t present on all of the miniatures so I decided to do the plain metal helmets bronze so there wasn’t such a sharp contrast between those with and those without the leopard skins. Hoard Bronze was painted onto the helmets and the gorgets. Finally the leopard skins were base coated in a mix of 80% Howling Sand, 10% Sand Golem, 10% Pallid Bone. Bases were rimmed in Goblin Green.
After a coat of matt varnish spray (Mr Hobby Super Clear matt) they are ready for highlights and metallics.
The shine was restored to the armour and weapons with Darkstar Baroque. The bronze elements were highlighted with AP Emperor Gold. Teeth on helmets and skins were painted white.
Painting Leopard pattern
Before starting the skin colour had to be improved. Leopard skins have a darker brown colour along the spine and a a bit paler around the stomach. I used AP Strong Tone Wash with a drop of Dark Oak Speedpaint in for the darker section and a light drybrush of Vallejo Bonewhit around the edge that would have been the underside.
The leopard pattern was Vallejo German Camouflage Brown thinned with a dot of Dark Oak Speedpaint and a bit of water. I have to keep this mix at a good consistency, thin enough to flow well from a very thin brush (000) but not as thin as Speedpaint as I needed to control where it went on models with fur texture sculpted on. The pattern is made by putting four dots in a very tight square or diamond and then joining three or all four dots together with a rounded line. This leaves a very small amount of the plain fur colour in the centre of the spot/arc. I had to remember to not always join the same three dots so the gap ended up pointing in the same direction, they need to be randomised. On the real animal there are slightly larger spots along the upper flanks, where the darker brown of the spine blends back into the lighter fur colour. I did some slightly bigger ones there. My pattern is oversized. If I did it true to scale they would just be very small brown dots. I want it to look like a leopard pattern so the dots have to be upscaled so they are visible. Once all of the spots were on I checked for any gaps and added some smaller brown dots to fill in empty areas where there wasn’t enough room for a new spot. I added tiny dots of Vallejo Air Sand into spots where I’d covered up the central gap.
The eyes and noses were painted black. Done!
The final detail was adding a banner. I didn’t have the original printed flag for this unit so drew a 30mm x 60mm rectangle on a piece of white paper and painted it very loosely with Highlord Blue. I wanted this to look streaky, with darker and lighter areas to mimic the light across a fluttering flag. I have some Veni Vidi Vici waterslide shield transfer sets that have a white leopard head. These were applied to the centre of the flags and then matt varnish was applied. The transfers are very old and didn’t like the varnish and crinkled a bit, but did settle down again once dry. A piece of tomato paste tube was cut to size, flattened and stuck onto one side and the flag was stuck in place around the flagpole with PVA. When everything was fully dry the flag was edged with Vallejo Flat Blue and then bent around a paintbrush to get the folds nice and round. Highlights were painted onto the blue with Flat Blue and white acrylic was used to highlight the leopard head design.
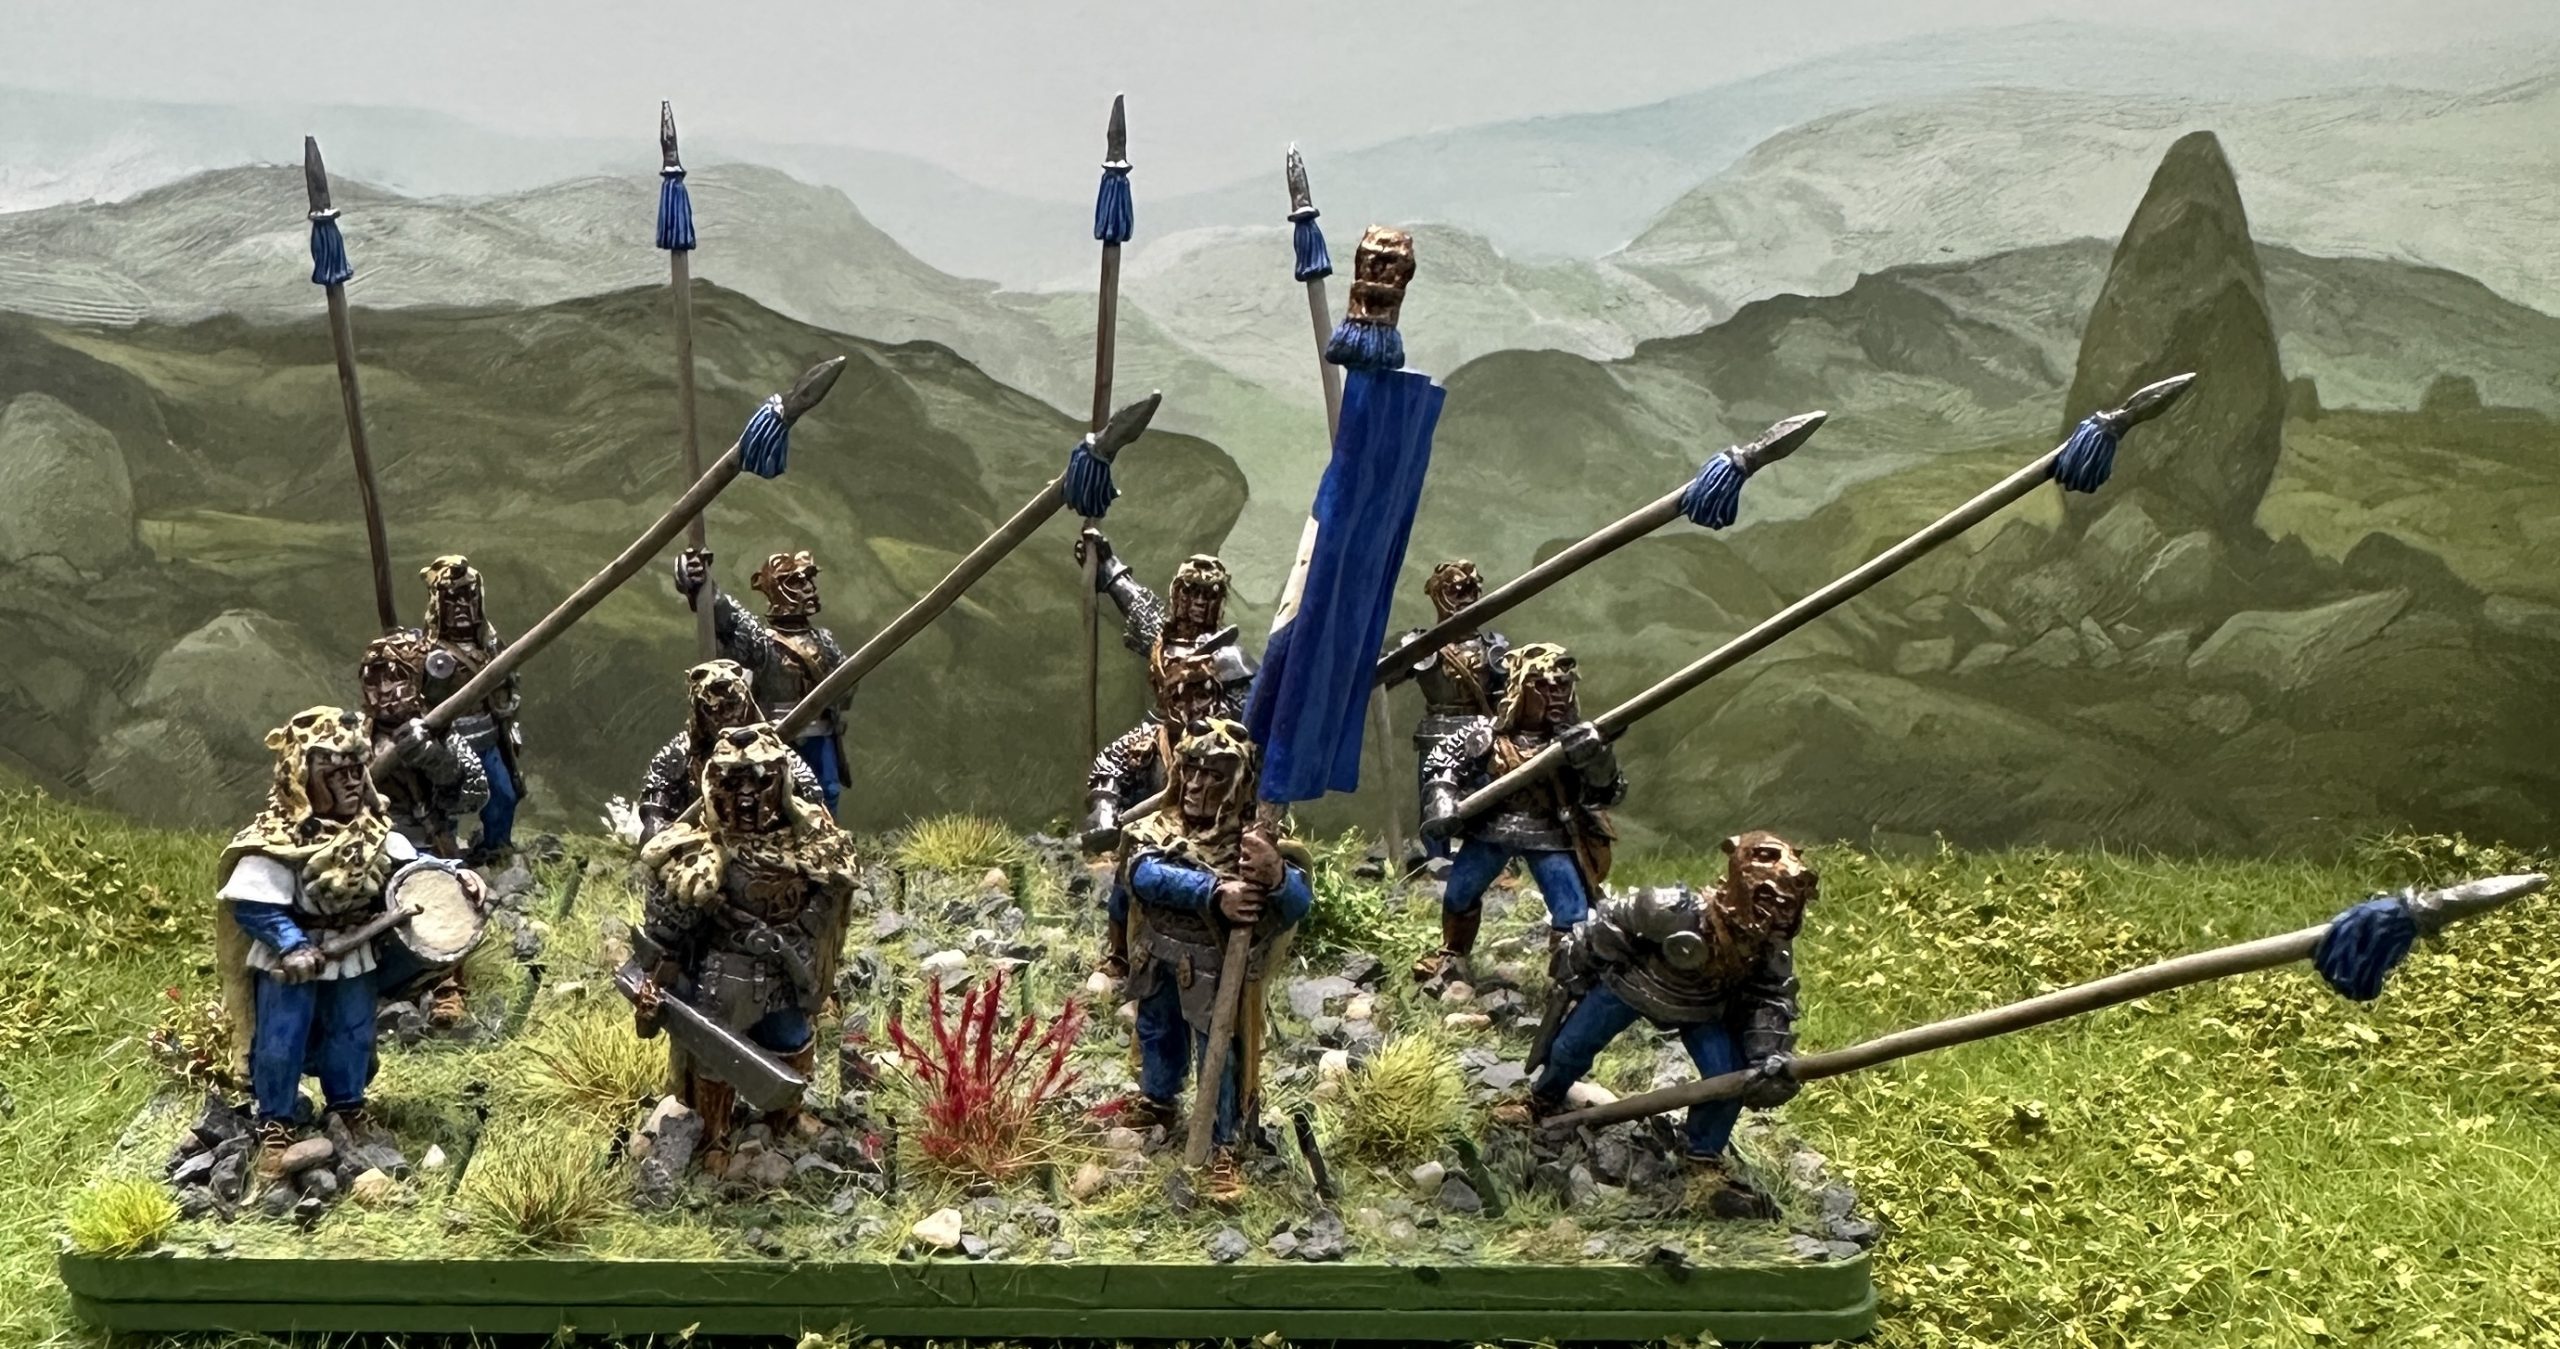
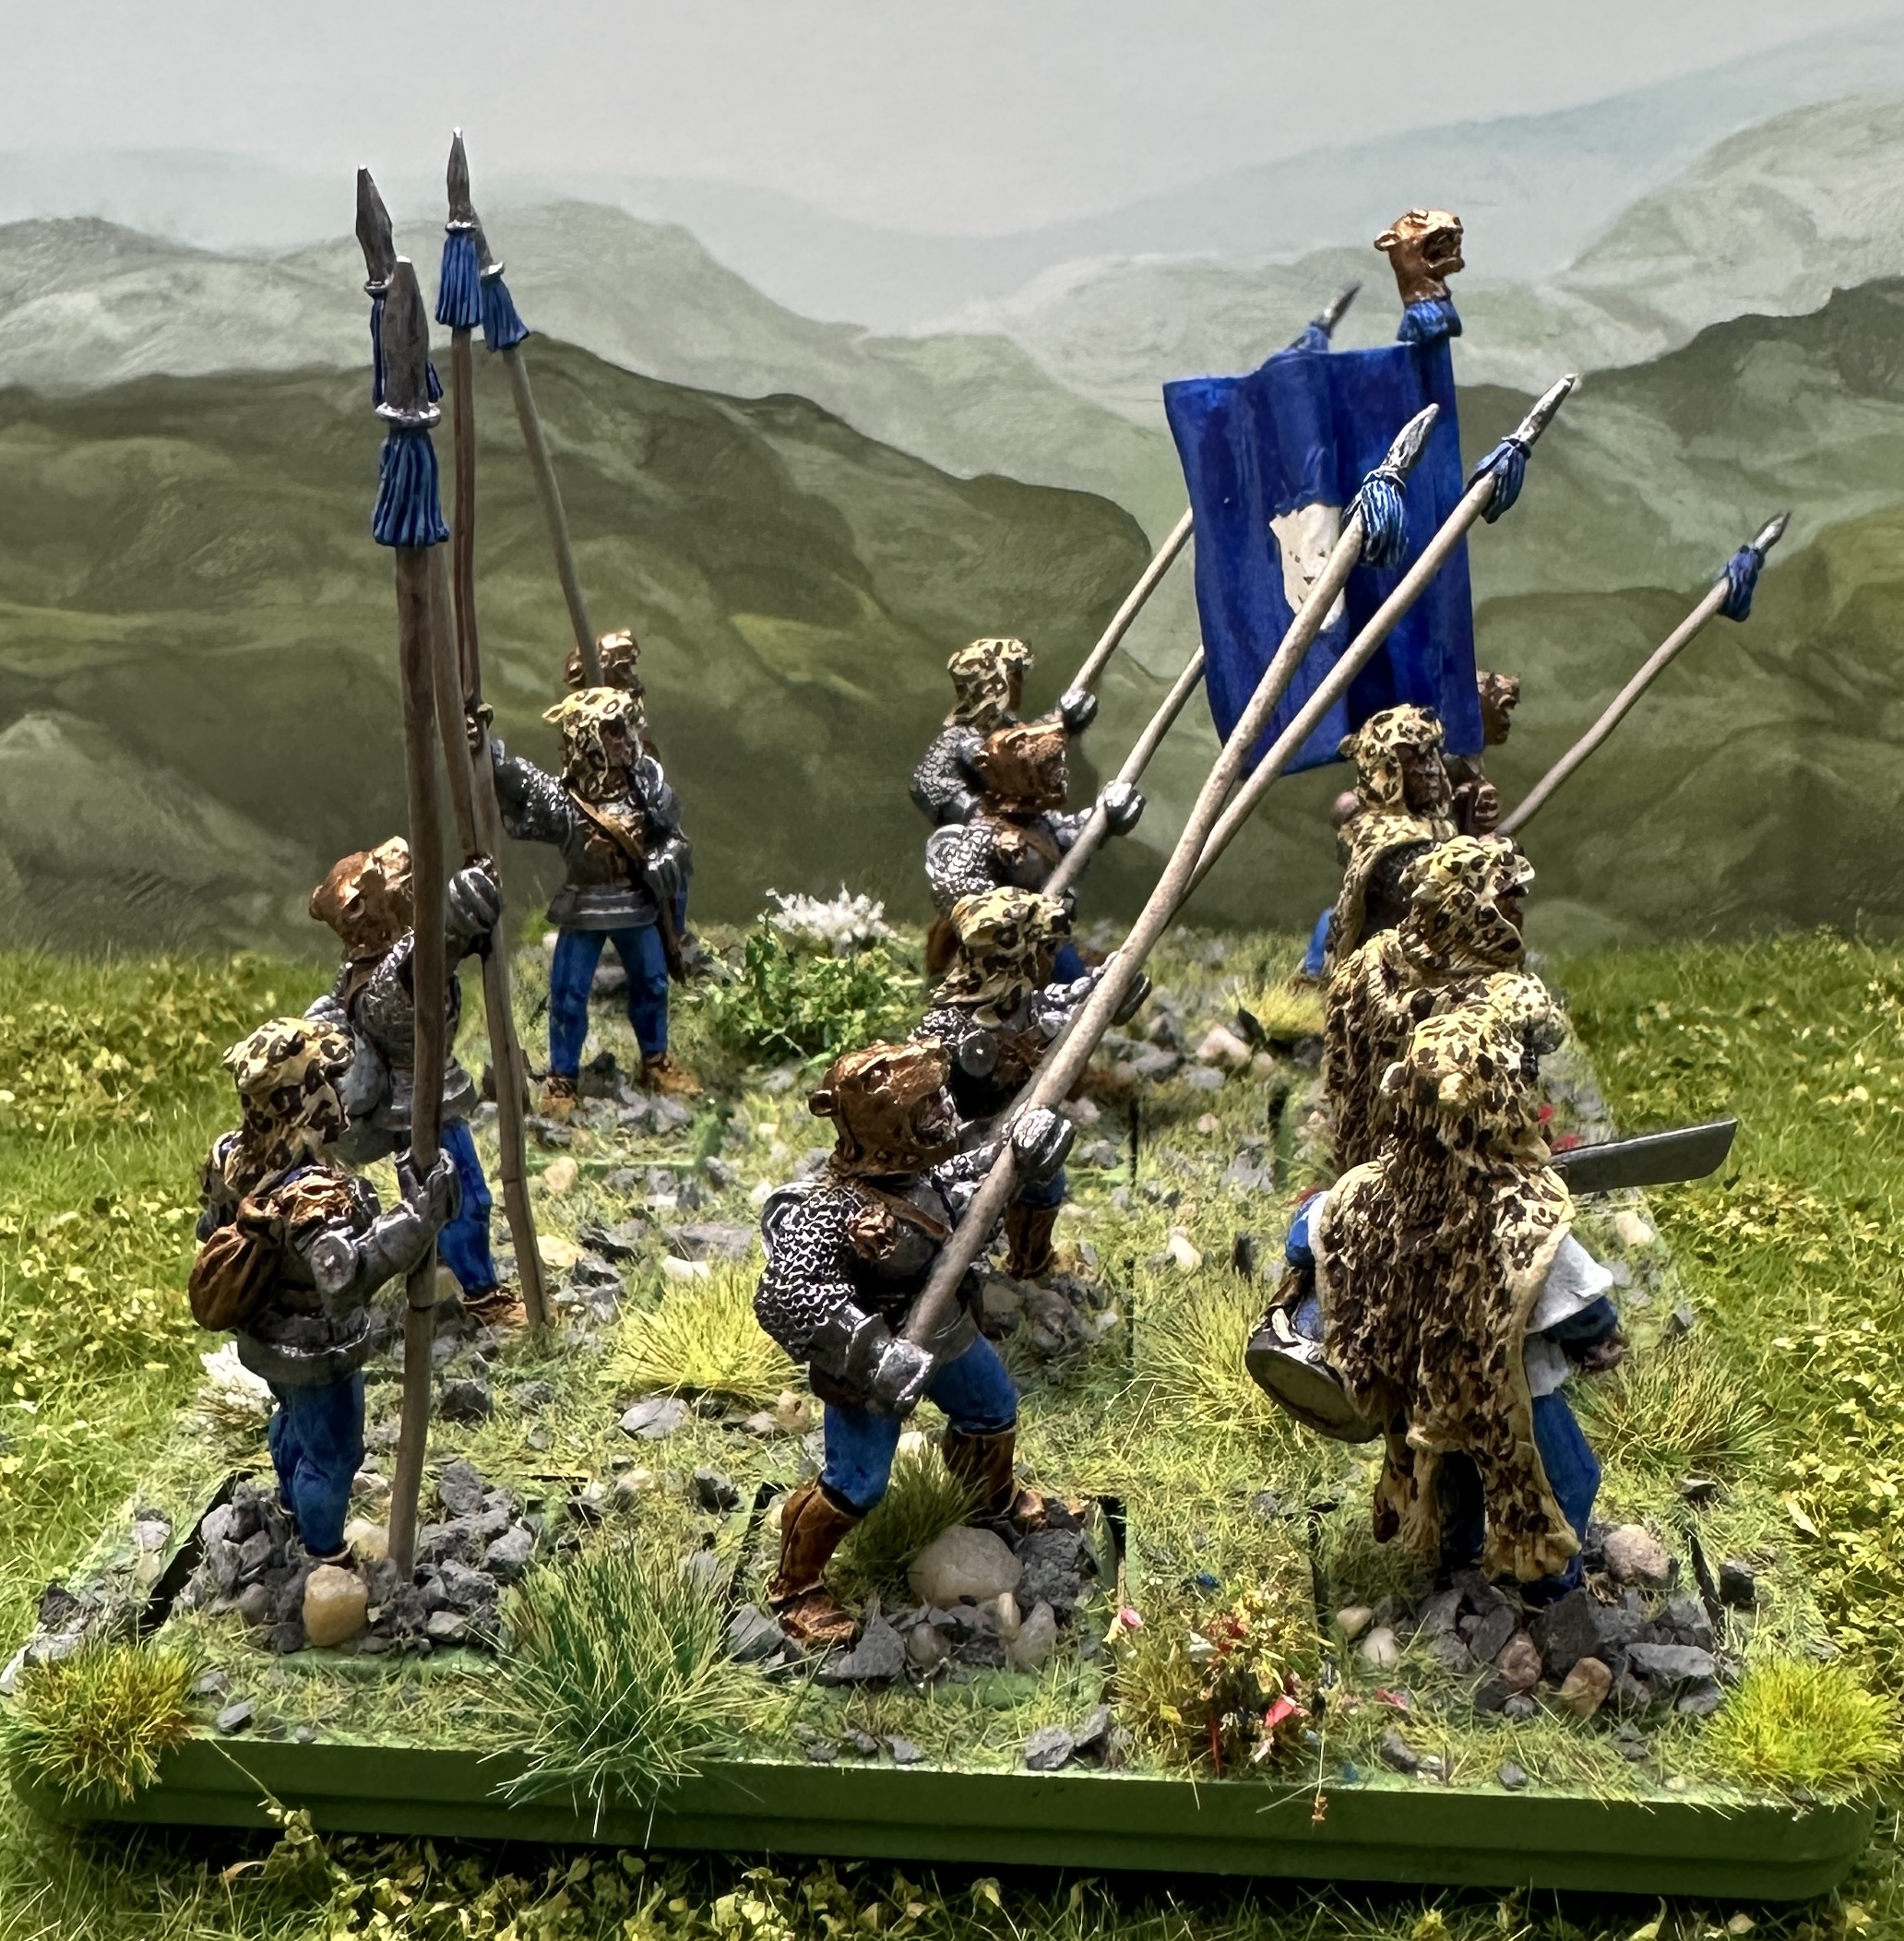
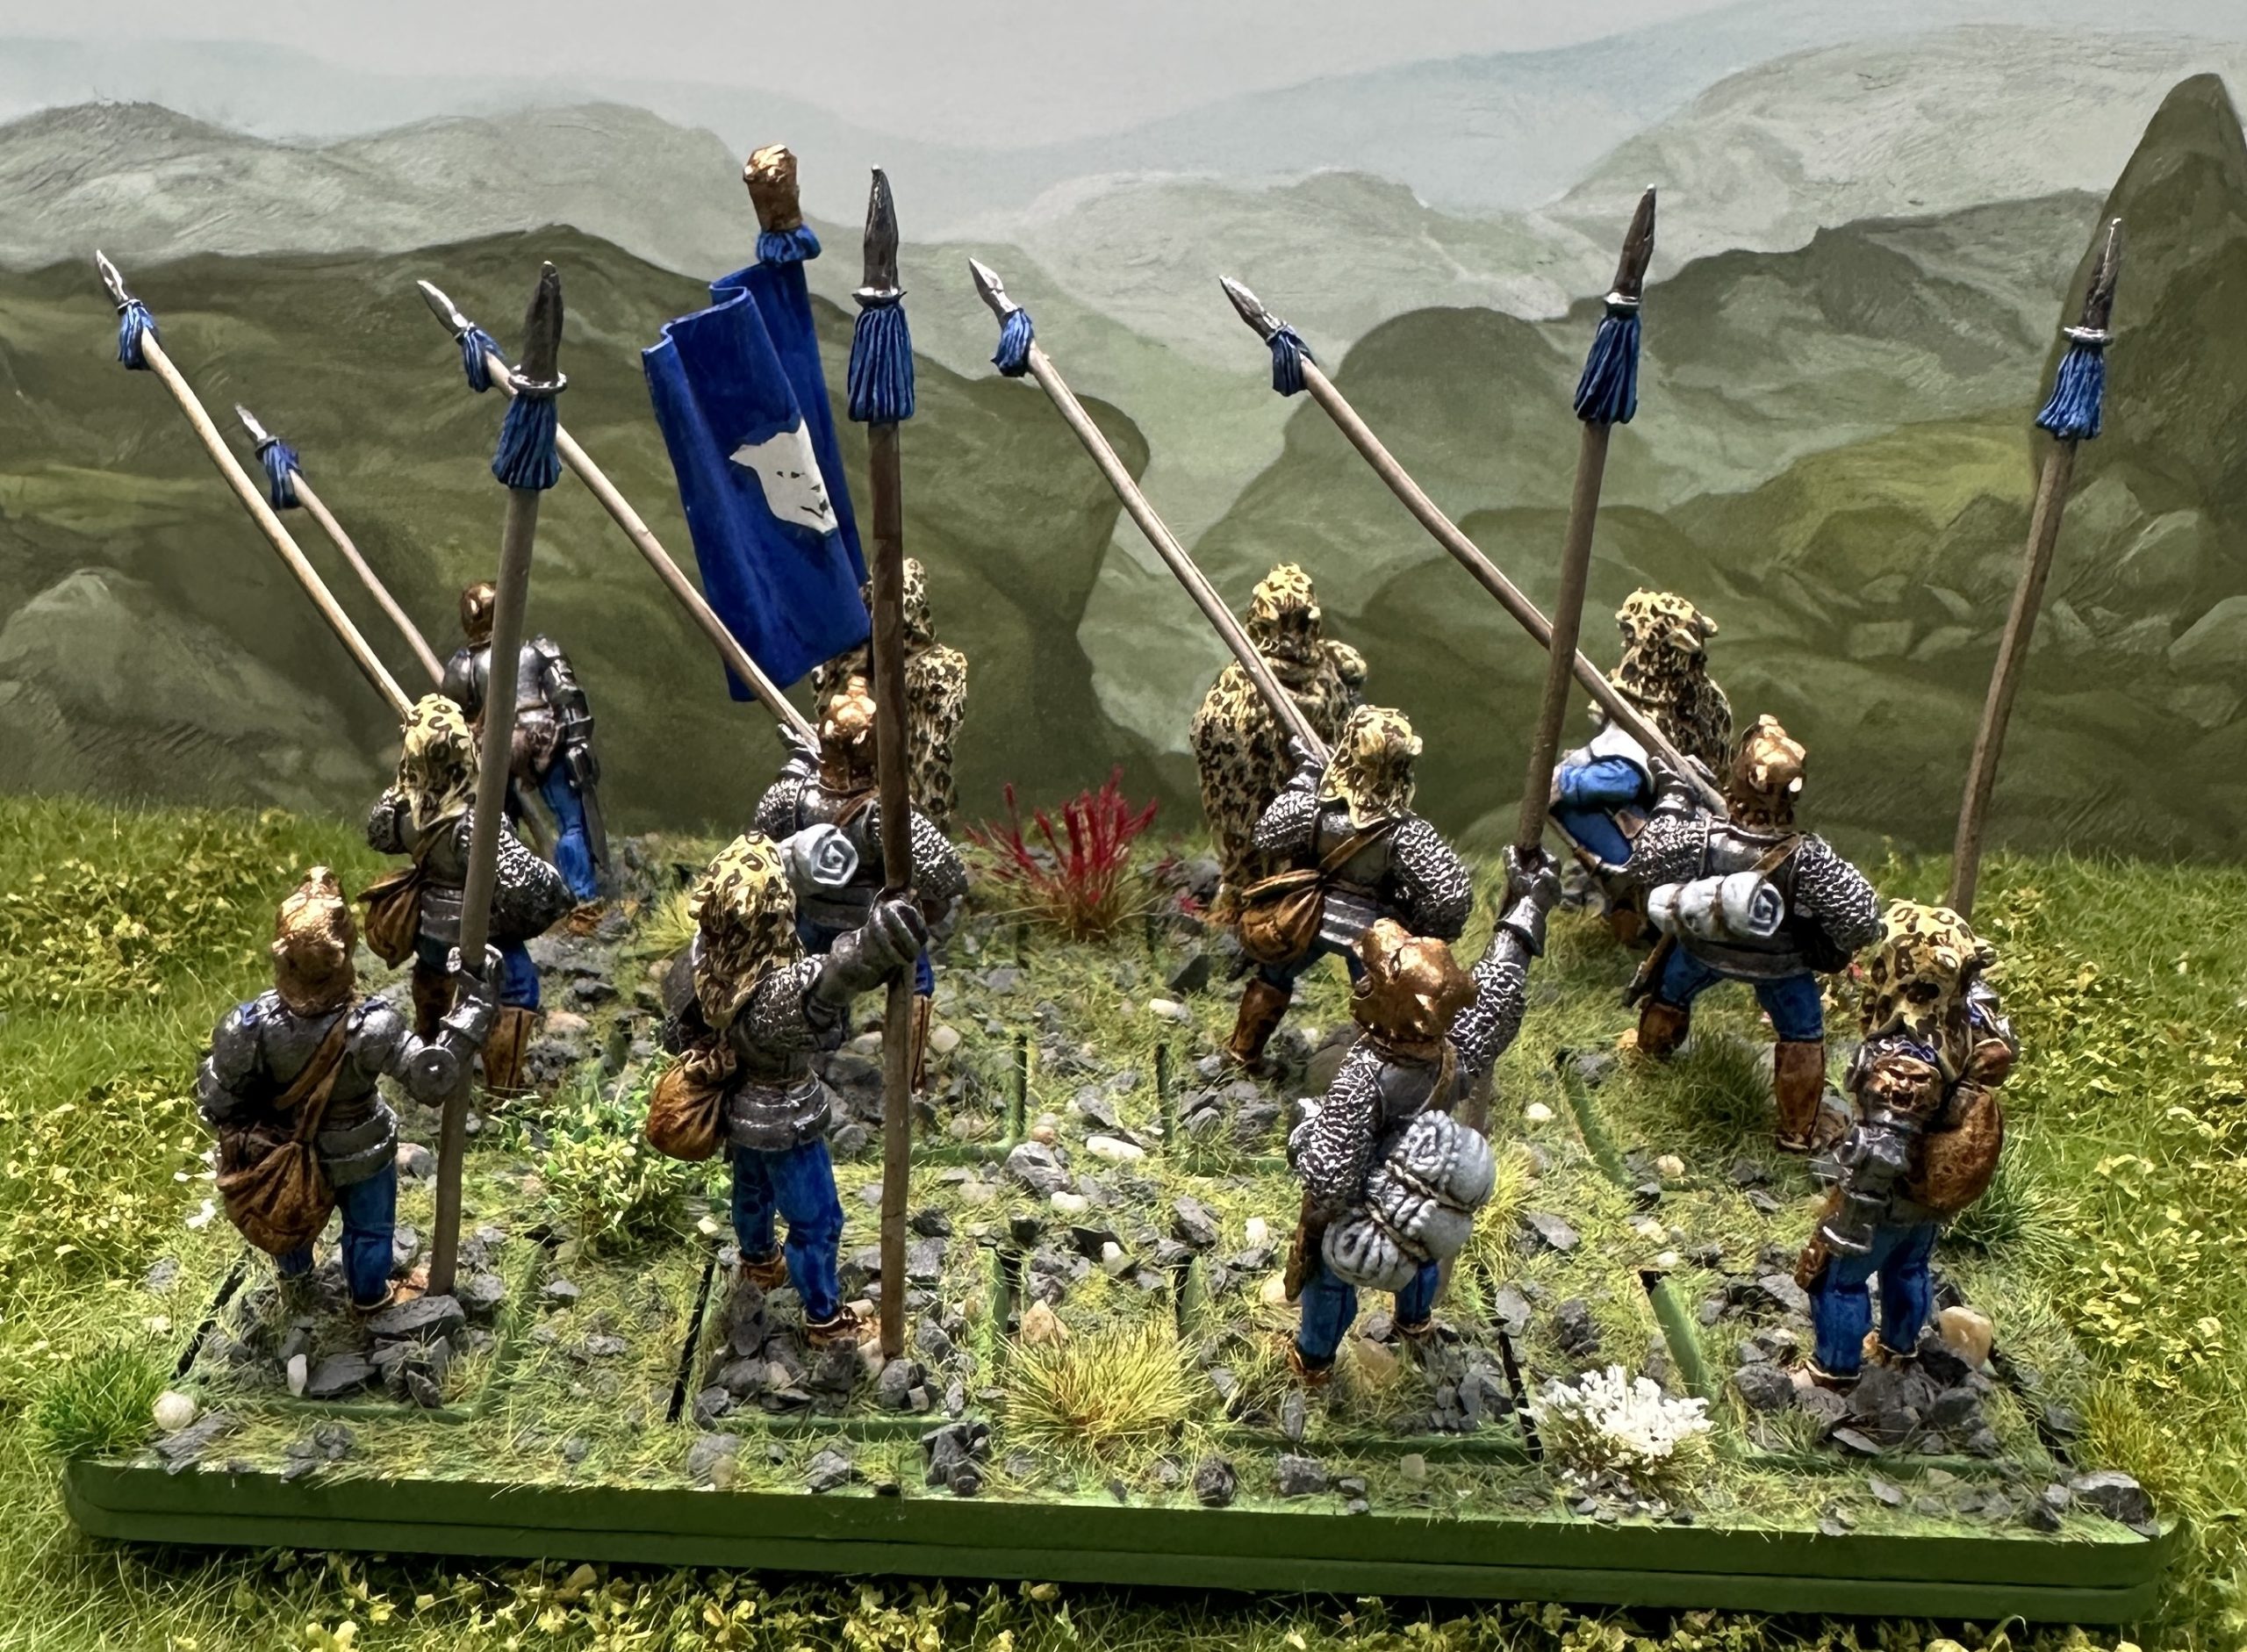
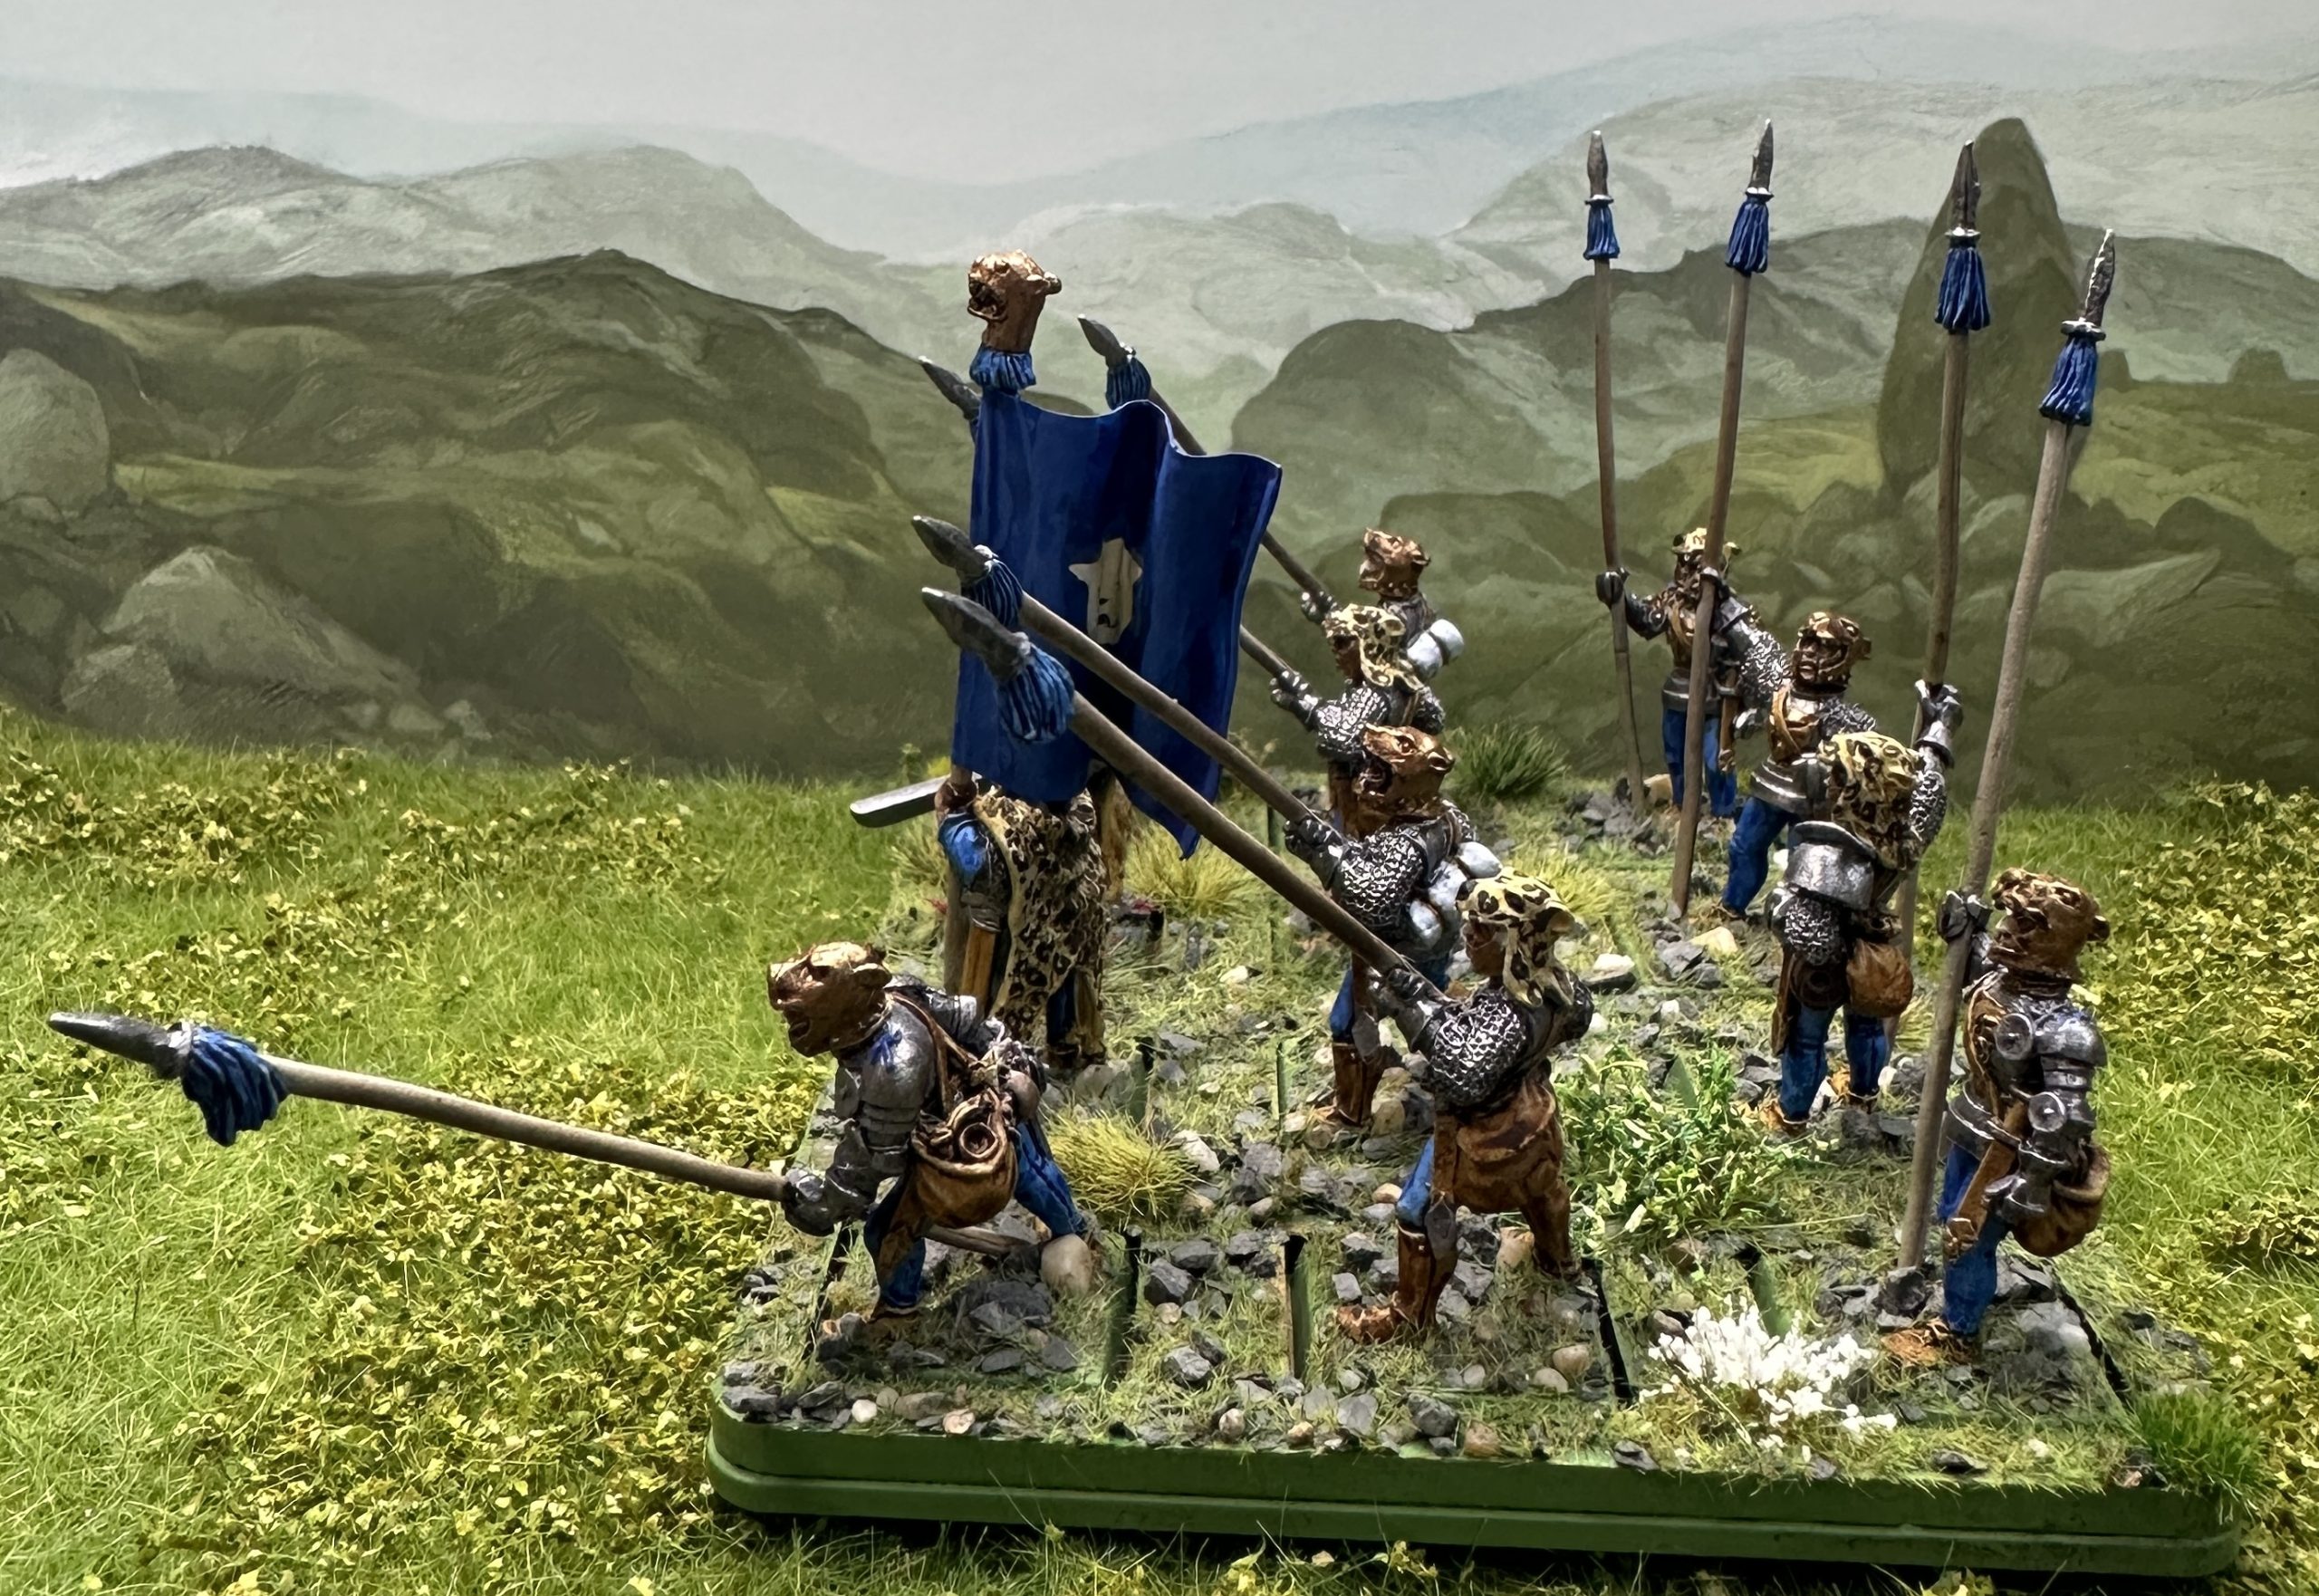
That’s it for the painting 🙂
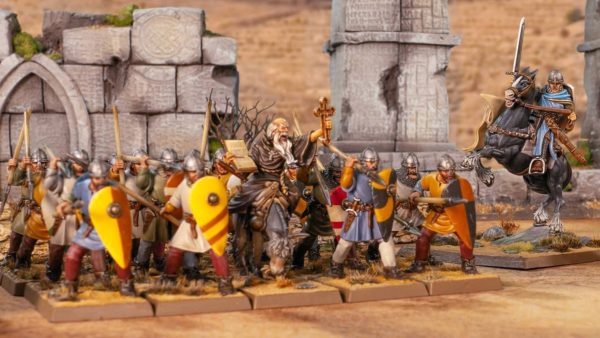
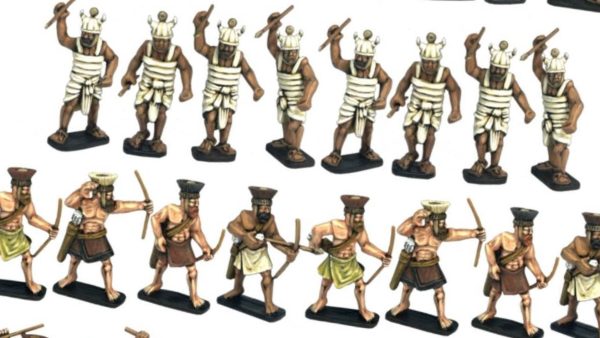
This is what we have now