






Kali Yuga: The Age of Conflict



Flocking hell! It's massive
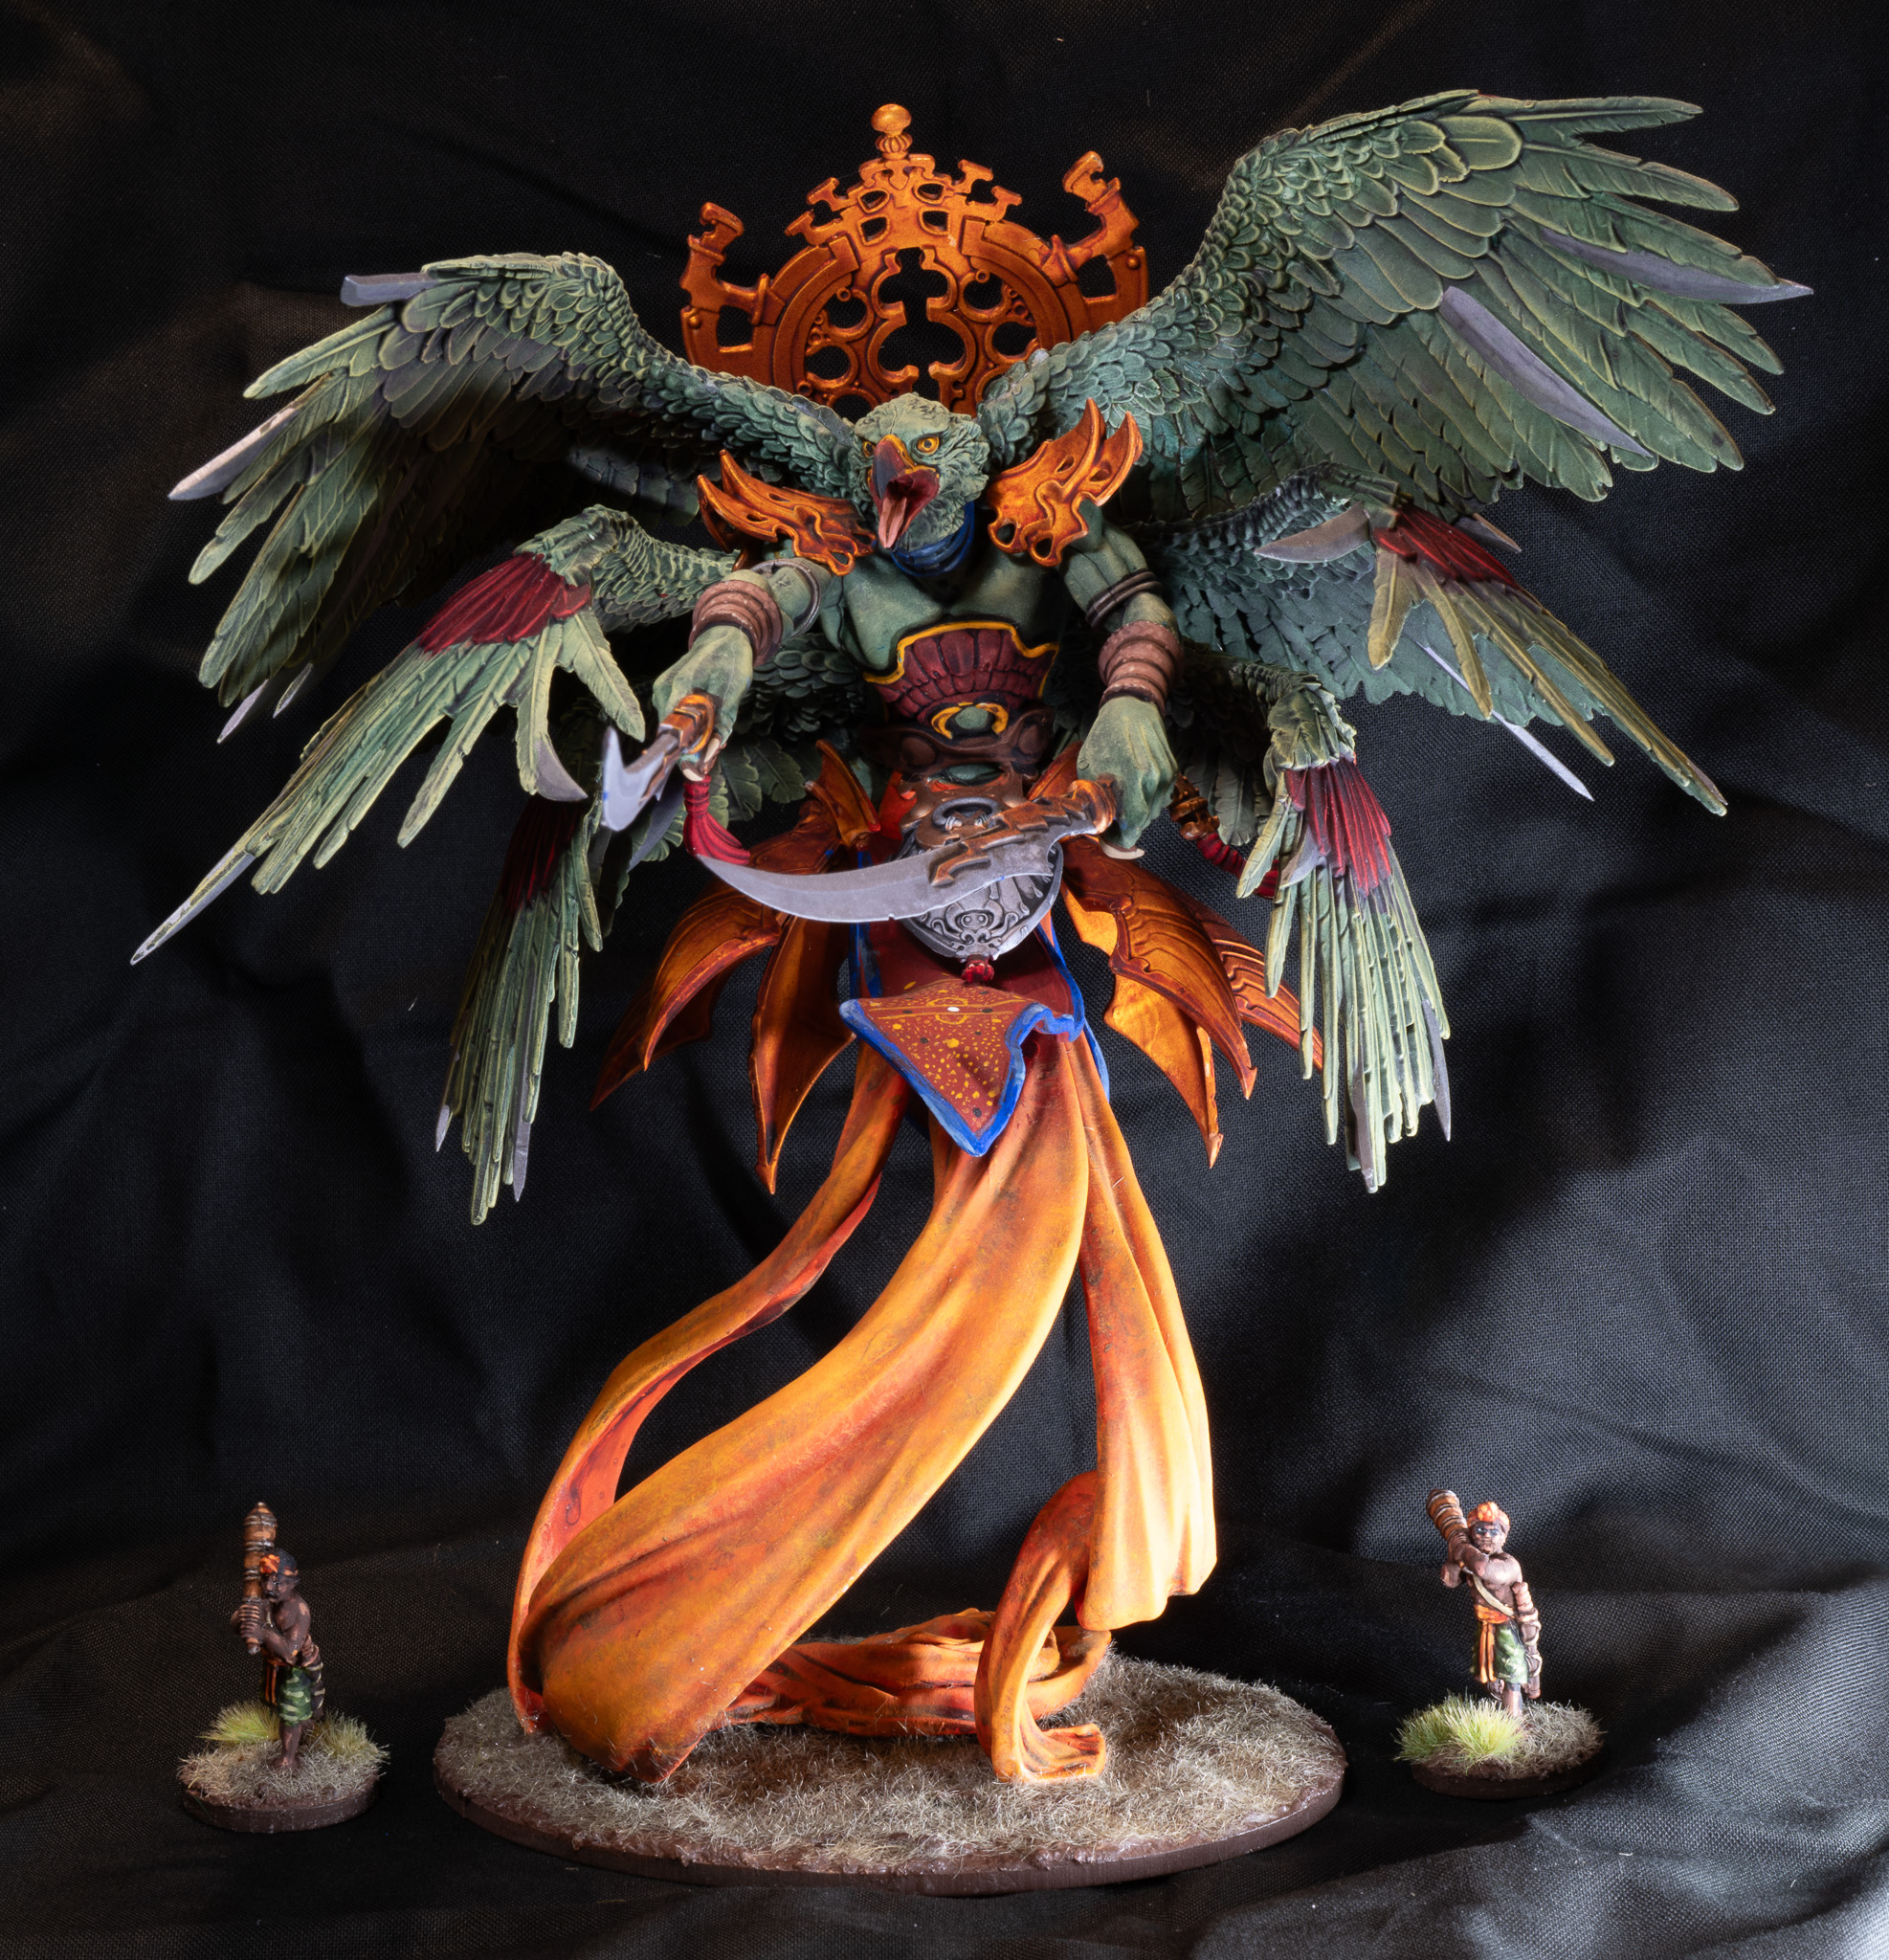
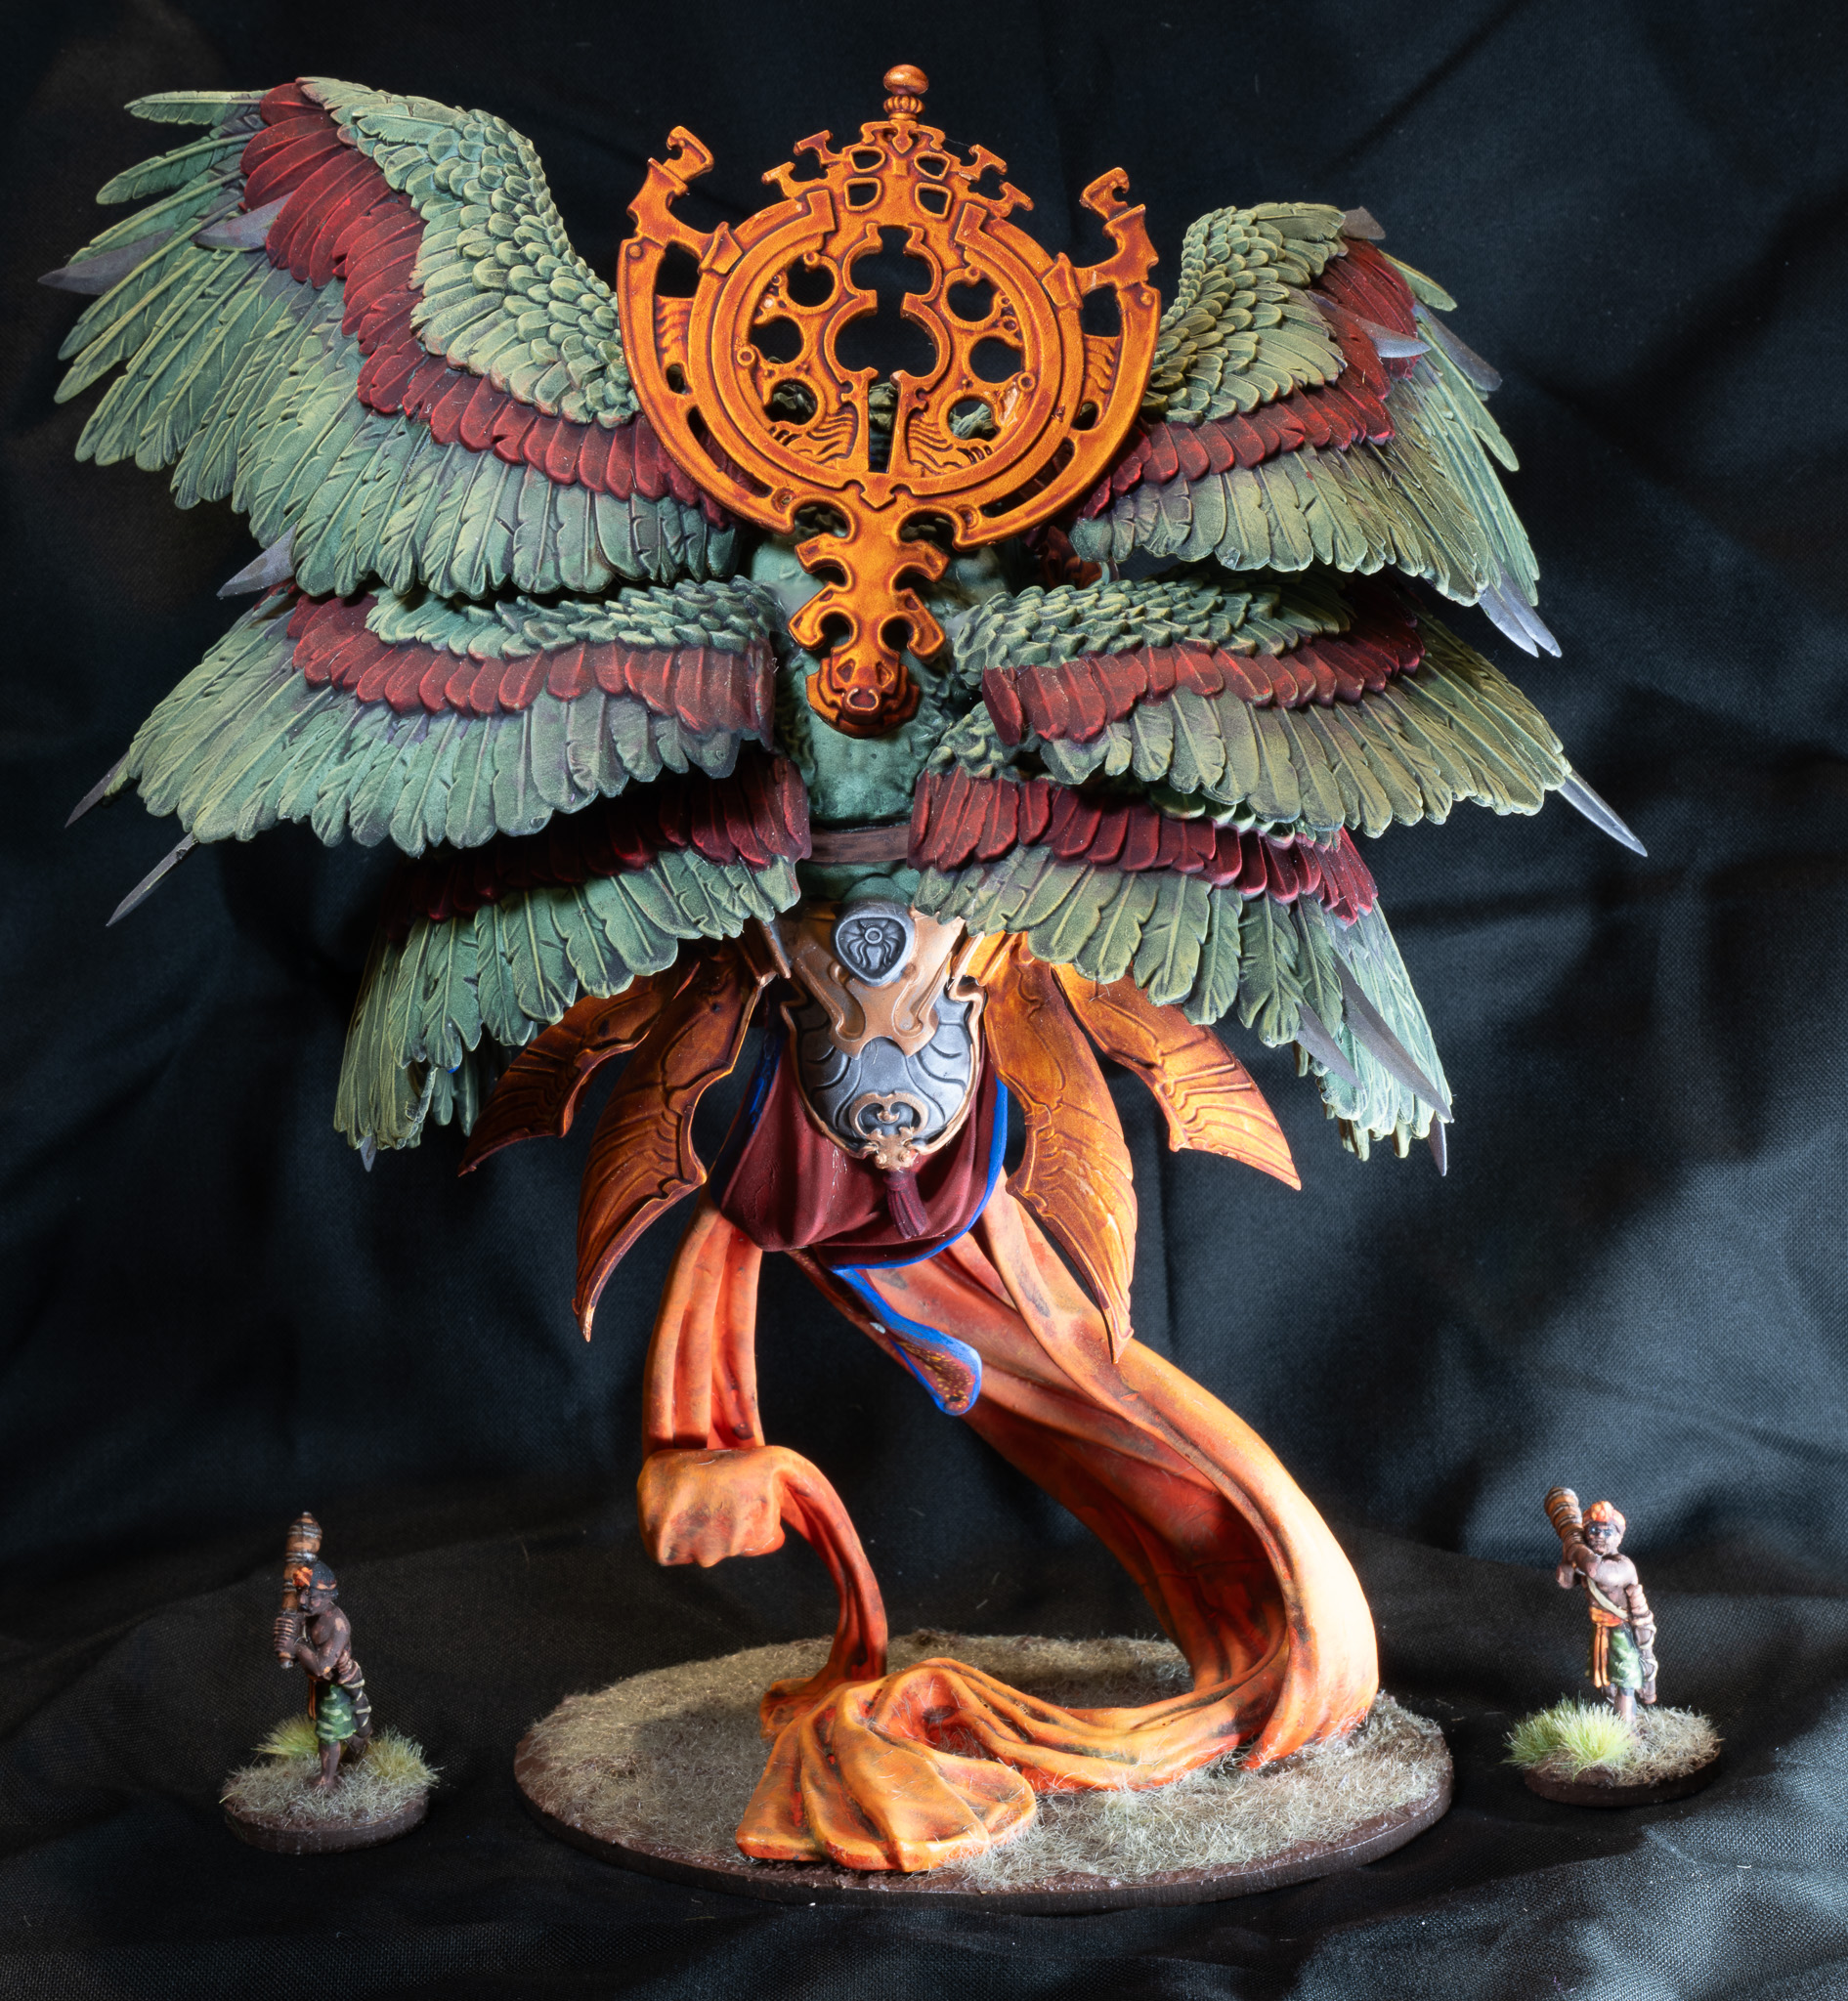
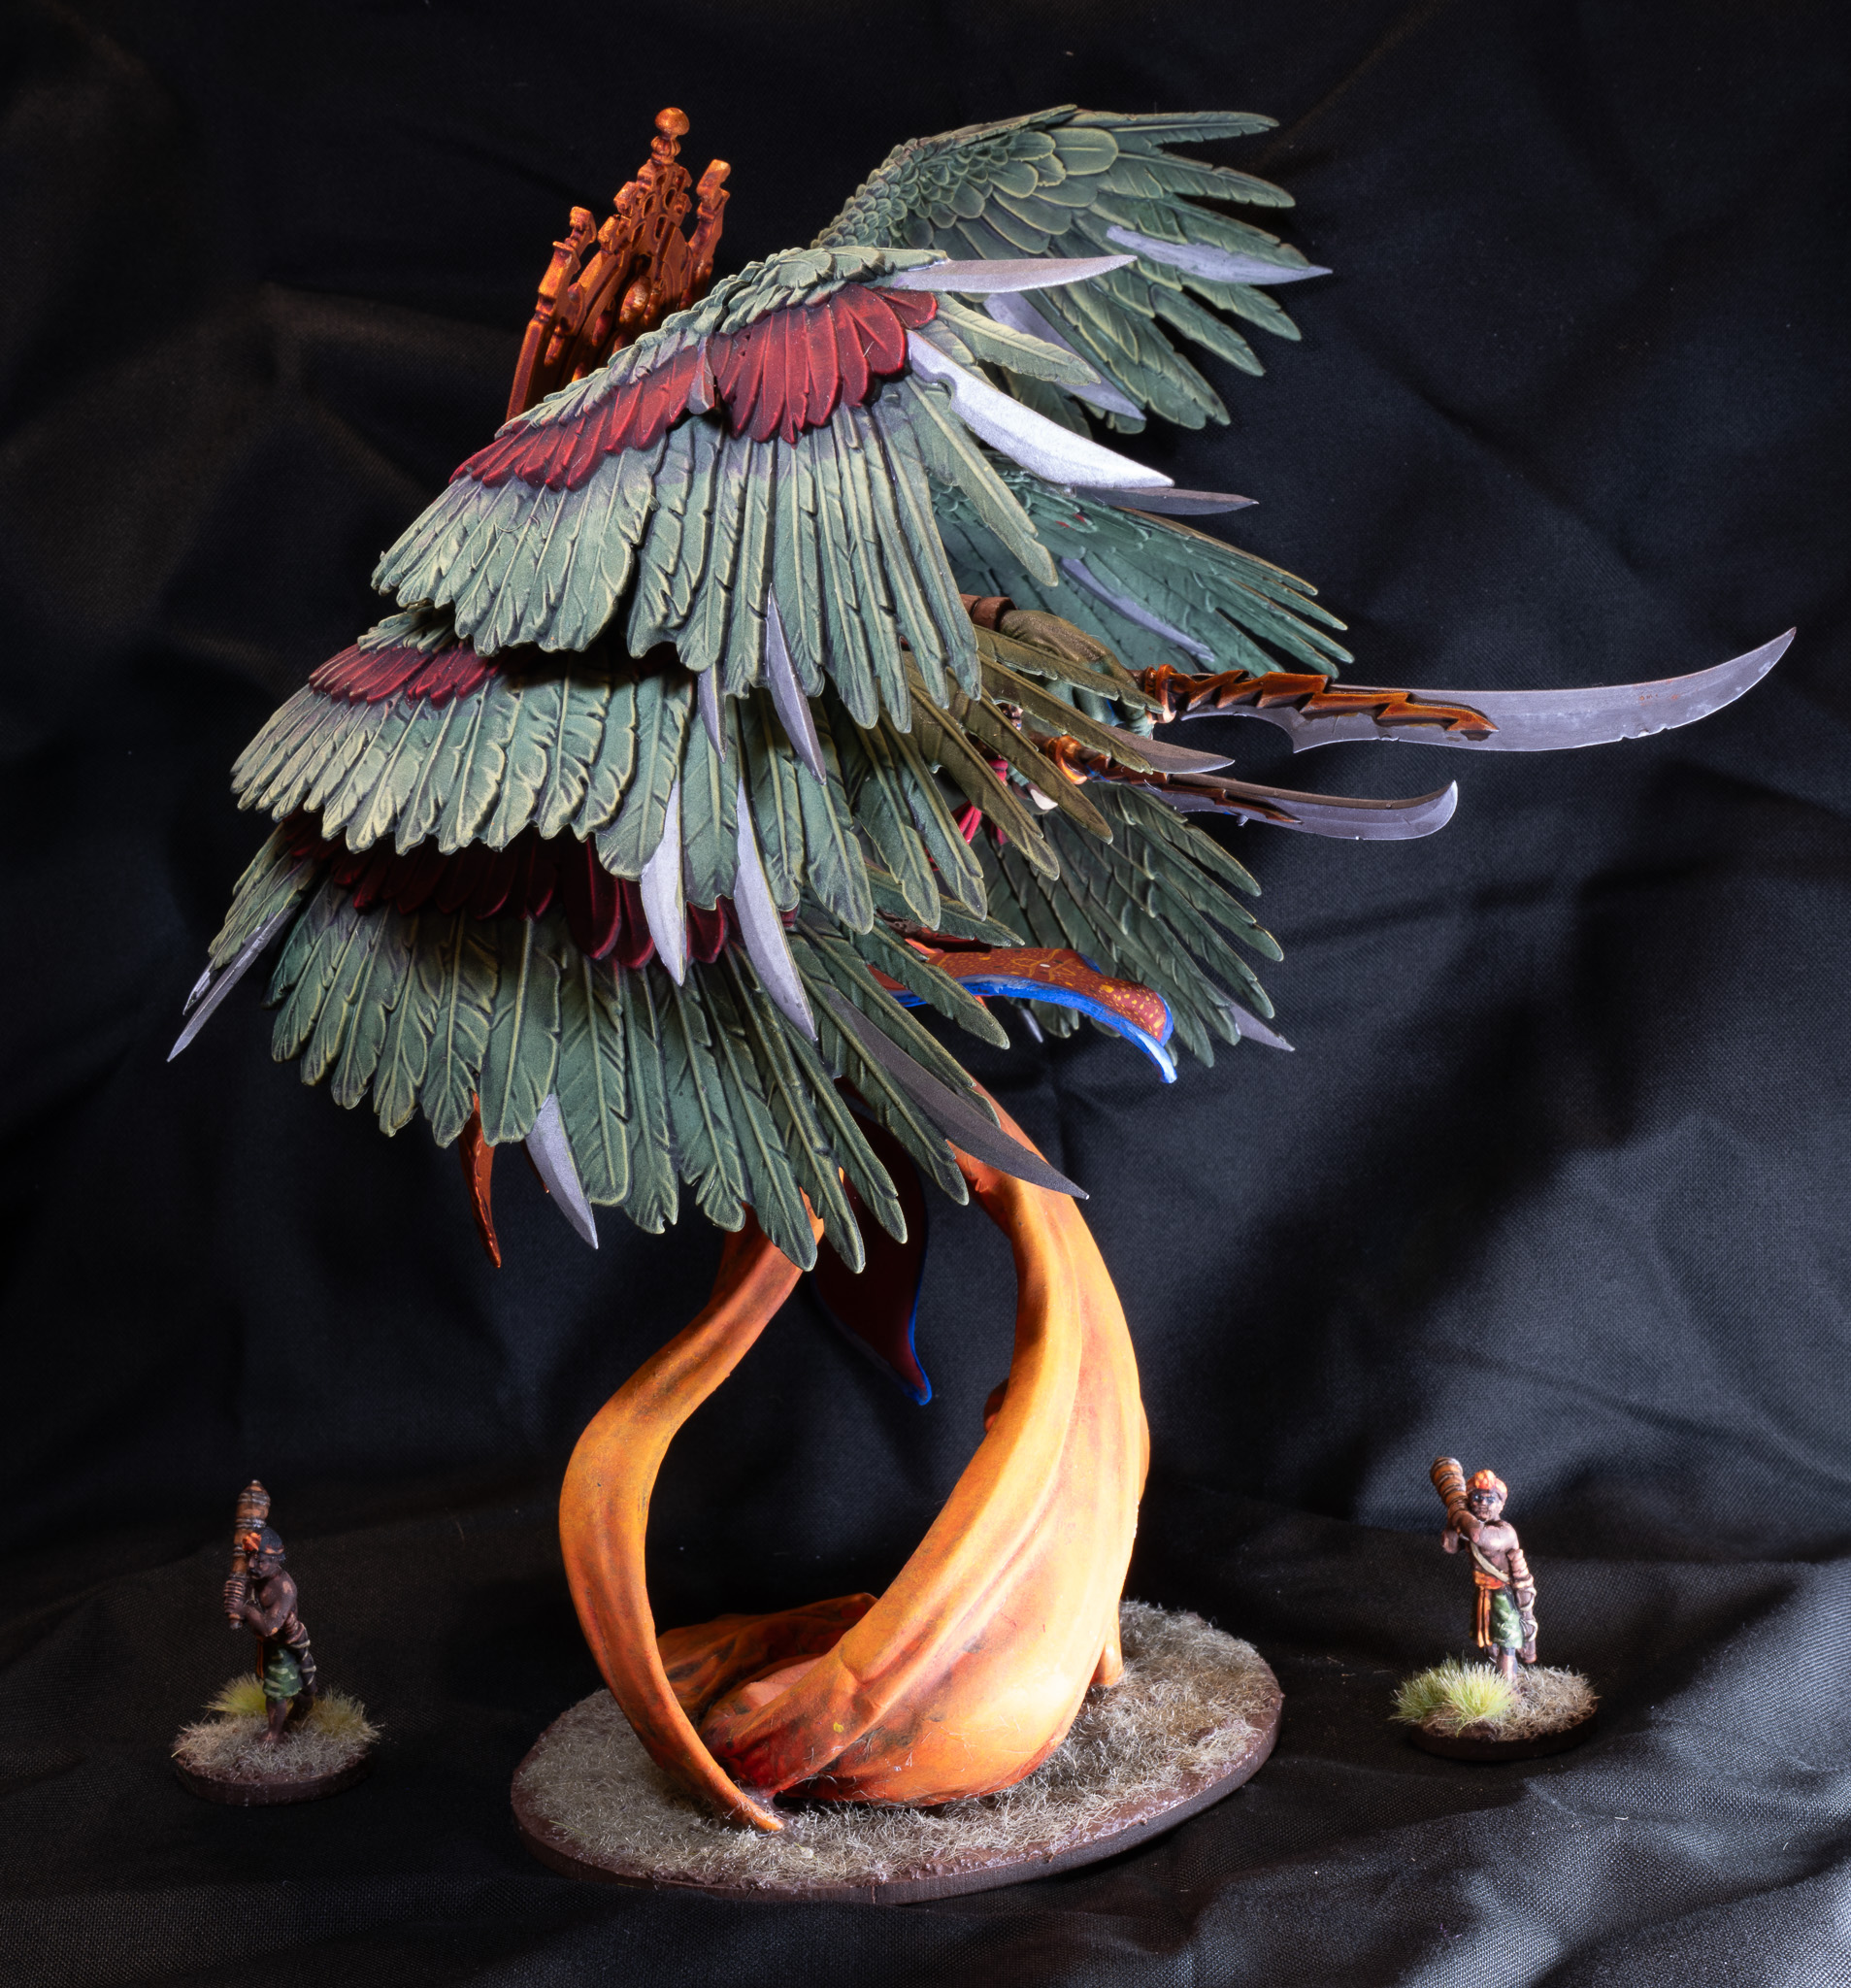
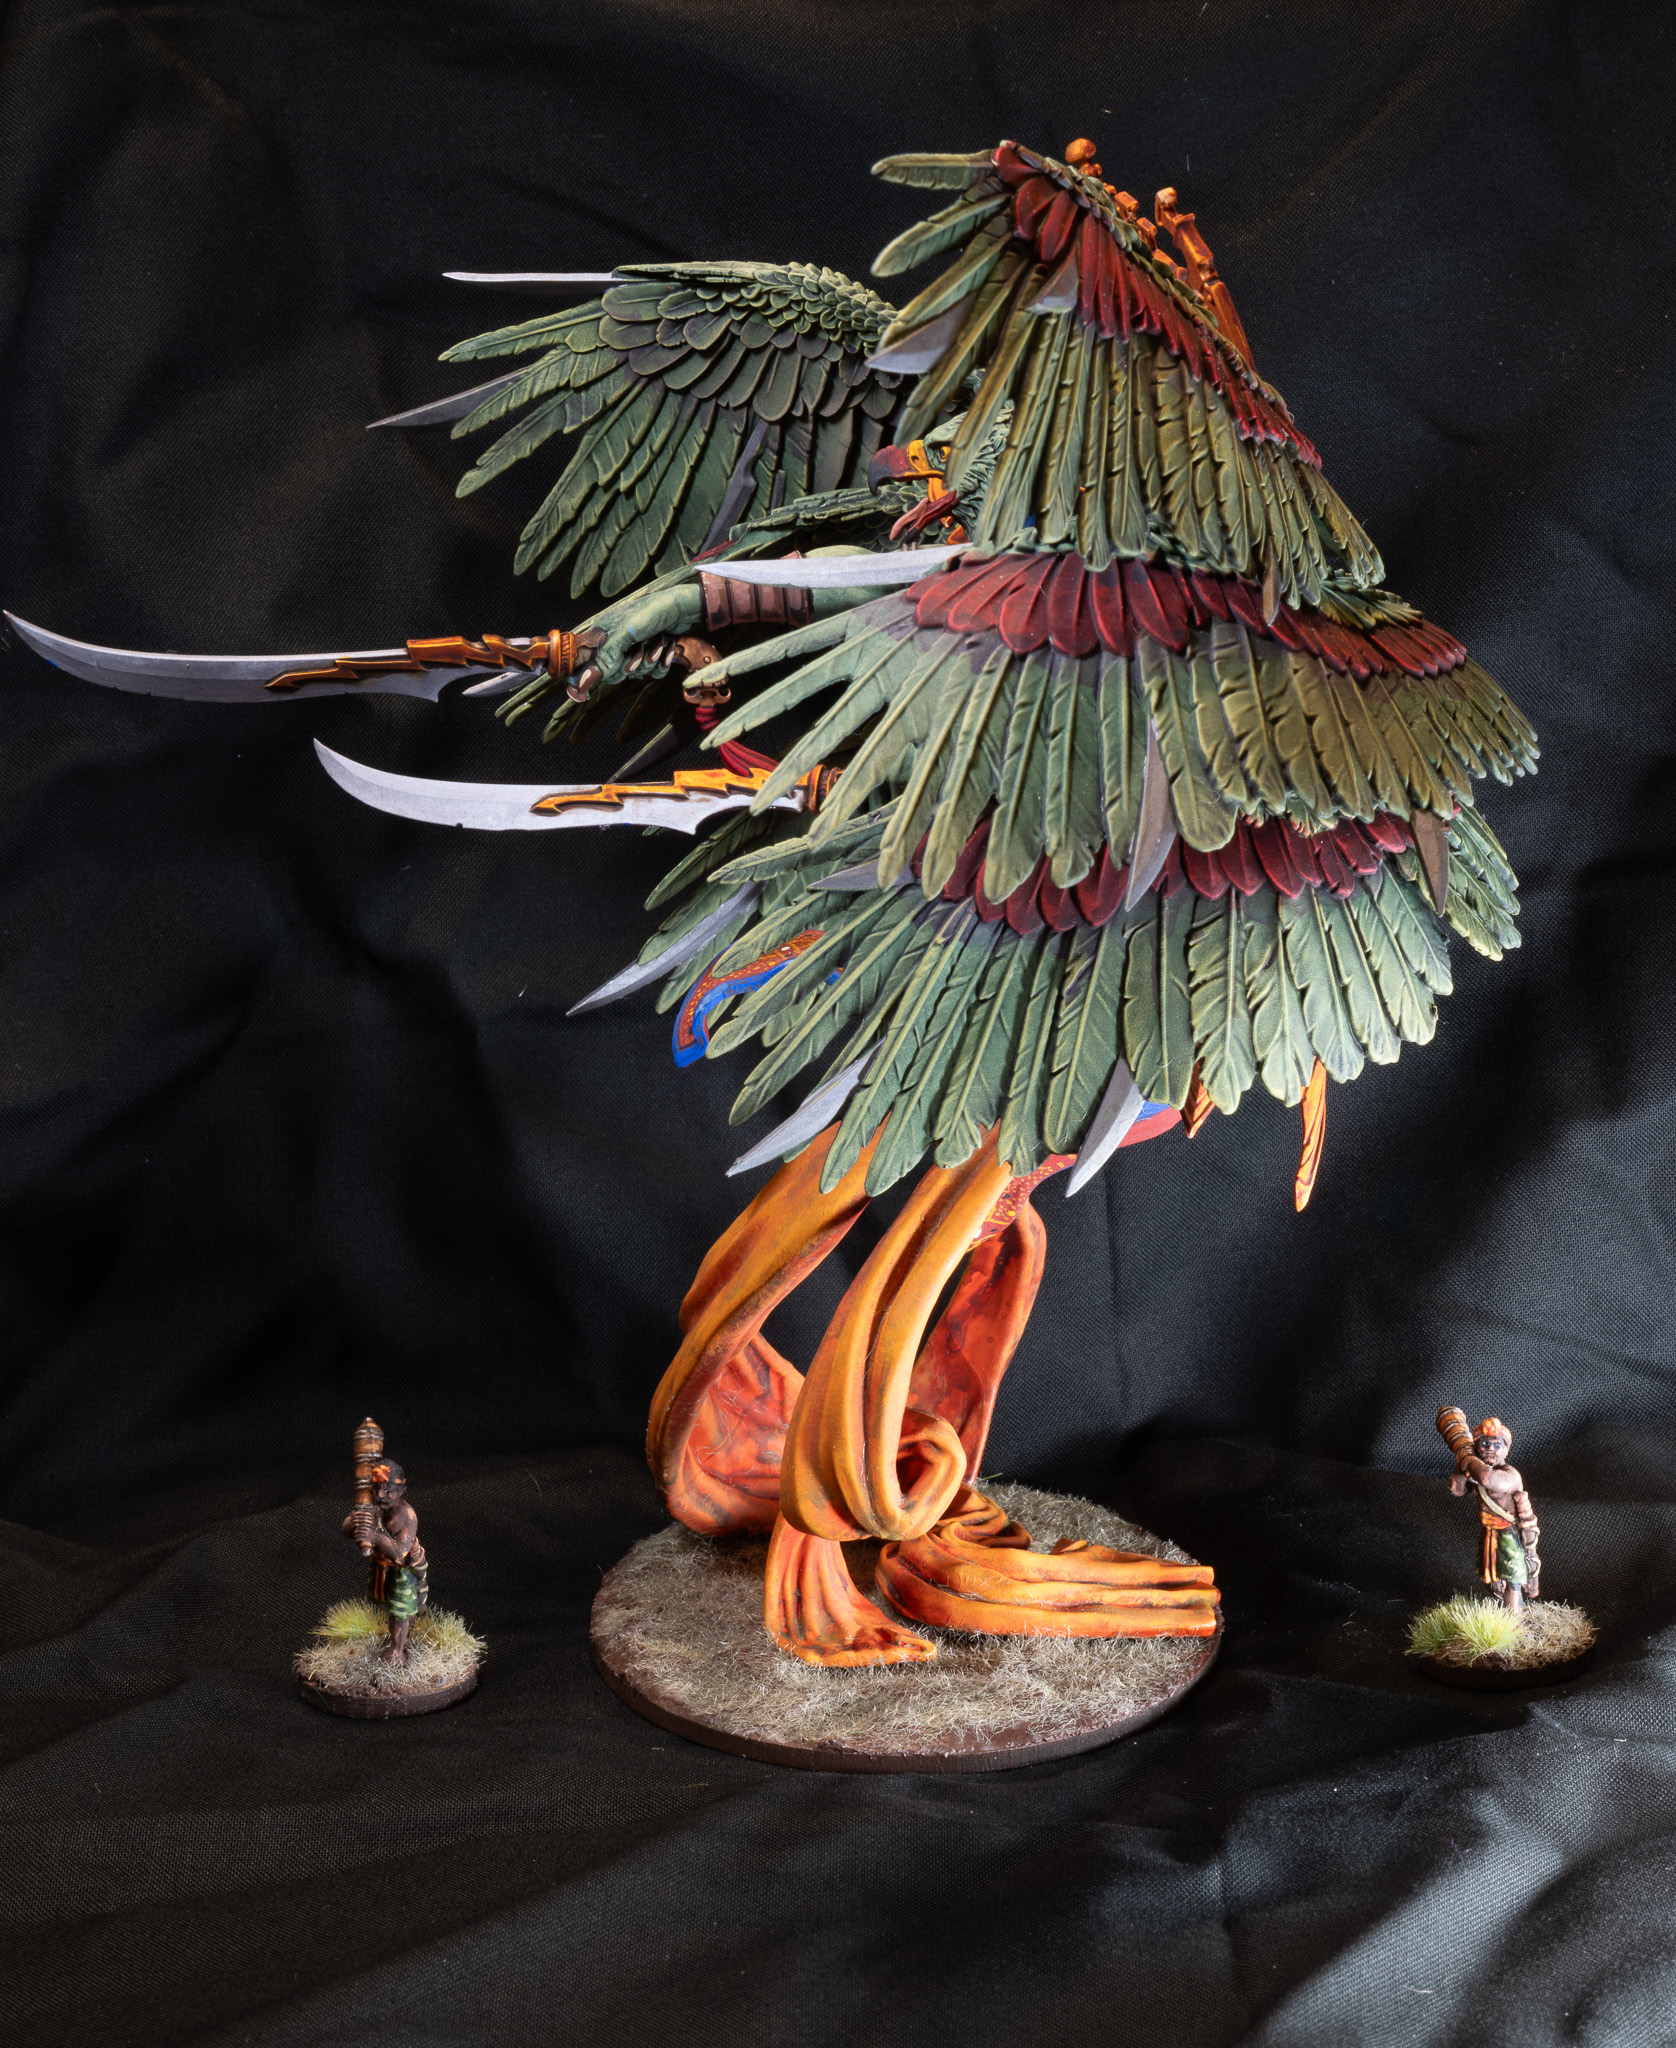
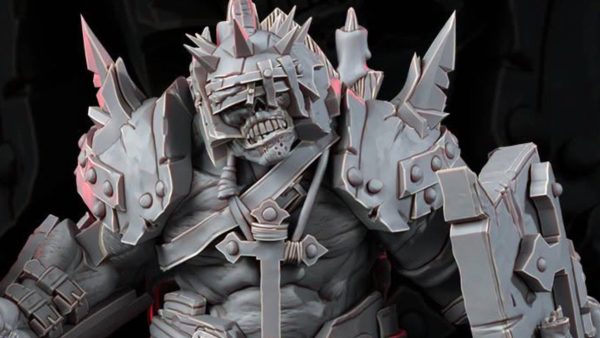
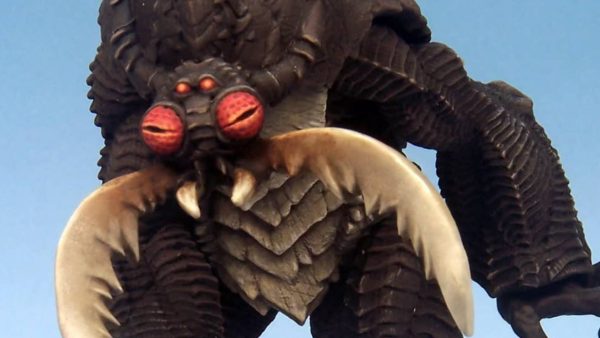
This is one hell of a large model. Parabellum was not playing around when they wanted to make a showstopper. My complaint is that there should be some measure like Gundam as to the difficulty of some models. This is beyond beginners and will only end in tears for the unprepared.
Trinitiavartha is a kit that requires building it in sections and subassembly painting if you want to up your display. There’s no way around it. It is also best held together with sprue goo. In order to get the best adhesion I suggest masking the connection points before priming so you keep bare grey plastic for later. The contact points were engineered for a moulding production problem and the modeler/player has been left with a functionality issue.
Assemble the body with the flowing fabric, head and arms. DO NOT attach the armor plating yet and leave the backpiece alone for now.
The first problem is trying to keep it all balanced as you join the top of the fabric to the bottom of the torso. It will hold but it does need some assistance to sit level at the end so be sure to figure out what base you’ll use and have it sit flat. If you plan on getting fancy with you paint job DO NOT attach the fabric to the base until your figure is varnished. You won’t be able to adequately get under the model to angle a brush very well. This is the same reason yo leave the armor off as the waist fabric has good open space to play with freehand.
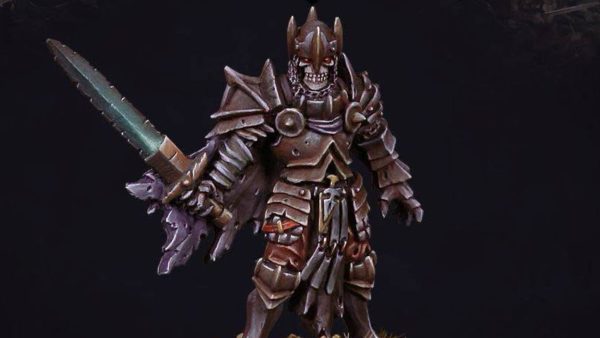
The second problem is the armor once you get the fabric portion out of the way. The figure’s right side is fine to attach as there is a section like a pelvic crest that it fits onto well. The figures left side, under the sword closer to the body, doesn’t fit as well. Gap filling with a material that bonds like-to-like is the best course of action here. I make this decision after using 5 minute epoxy and gap filling with CA glue. Despite the short epoxy cure time it needed assistance to sit in place without shifting and falling off. The rear plate is molded onto he fabric so it doesn’t pose an issue unless you’re trying to get fancy on your fabric design.
The third issue is the greatest technically and visually. That is the wings. If you want to drybrush or do any work painting them first is the only way to go about it before attaching them. Once on there is no getting to the face closest to the body. You will need to work from bottom to top. The layered effect does not allow any other way. The bottom wings attach well and should have an extremely strong bond due to the engineering. This goes for the top pair of wings which should be attached last. The middle wings… they’re garbage. They work for the design but the connections are suggestions which won’t hold up well to play. It is imperative to pin them so they have a solid structure to prevent shifting while an adhesive is curing. The way the wings sit also will be a pain for how the top set into place. At your own discretion, if you want to avoid too much misalignment of the wings you can always attach the bottom set and the top before tackling the middle. It bears repeating, the center wing attachments are not great. They will need to be given extra attention to stability so that they sit with space between wings and stand up to play/transport.
With all those headaches out of the way the back panel device can be easily slotted into the divot between the wings. You might want to press against the lower end of it to and keep contact between the back/ornament for full adhesion of the part.
A lengthy rant on the build for a visually rewarding monster.




MADNESS!