





The Dogs - Spring Clean Challenge 2026



Battle Report: The Battle of Barrowvale
Setup
We are using Scenario 1: Battle from page 90 of the Midgard book. In this scenario the two armies meet across a clear battlefield with two pieces of impassable terrain, one at either end. The Imperialist are the Defending player and have 45 Reputation plus another 10 from their Riding allies, 14 tokens. The Dogs of War are the Attacking player and have 62 Reputation, 16 tokens.
Win conditions: The first side that finishes a turn with zero tokens is forced to retreat. Should a turn end with both sides holding no tokens the engagement is a draw.
As I’m fighting this solo there are some basic standing orders in place:
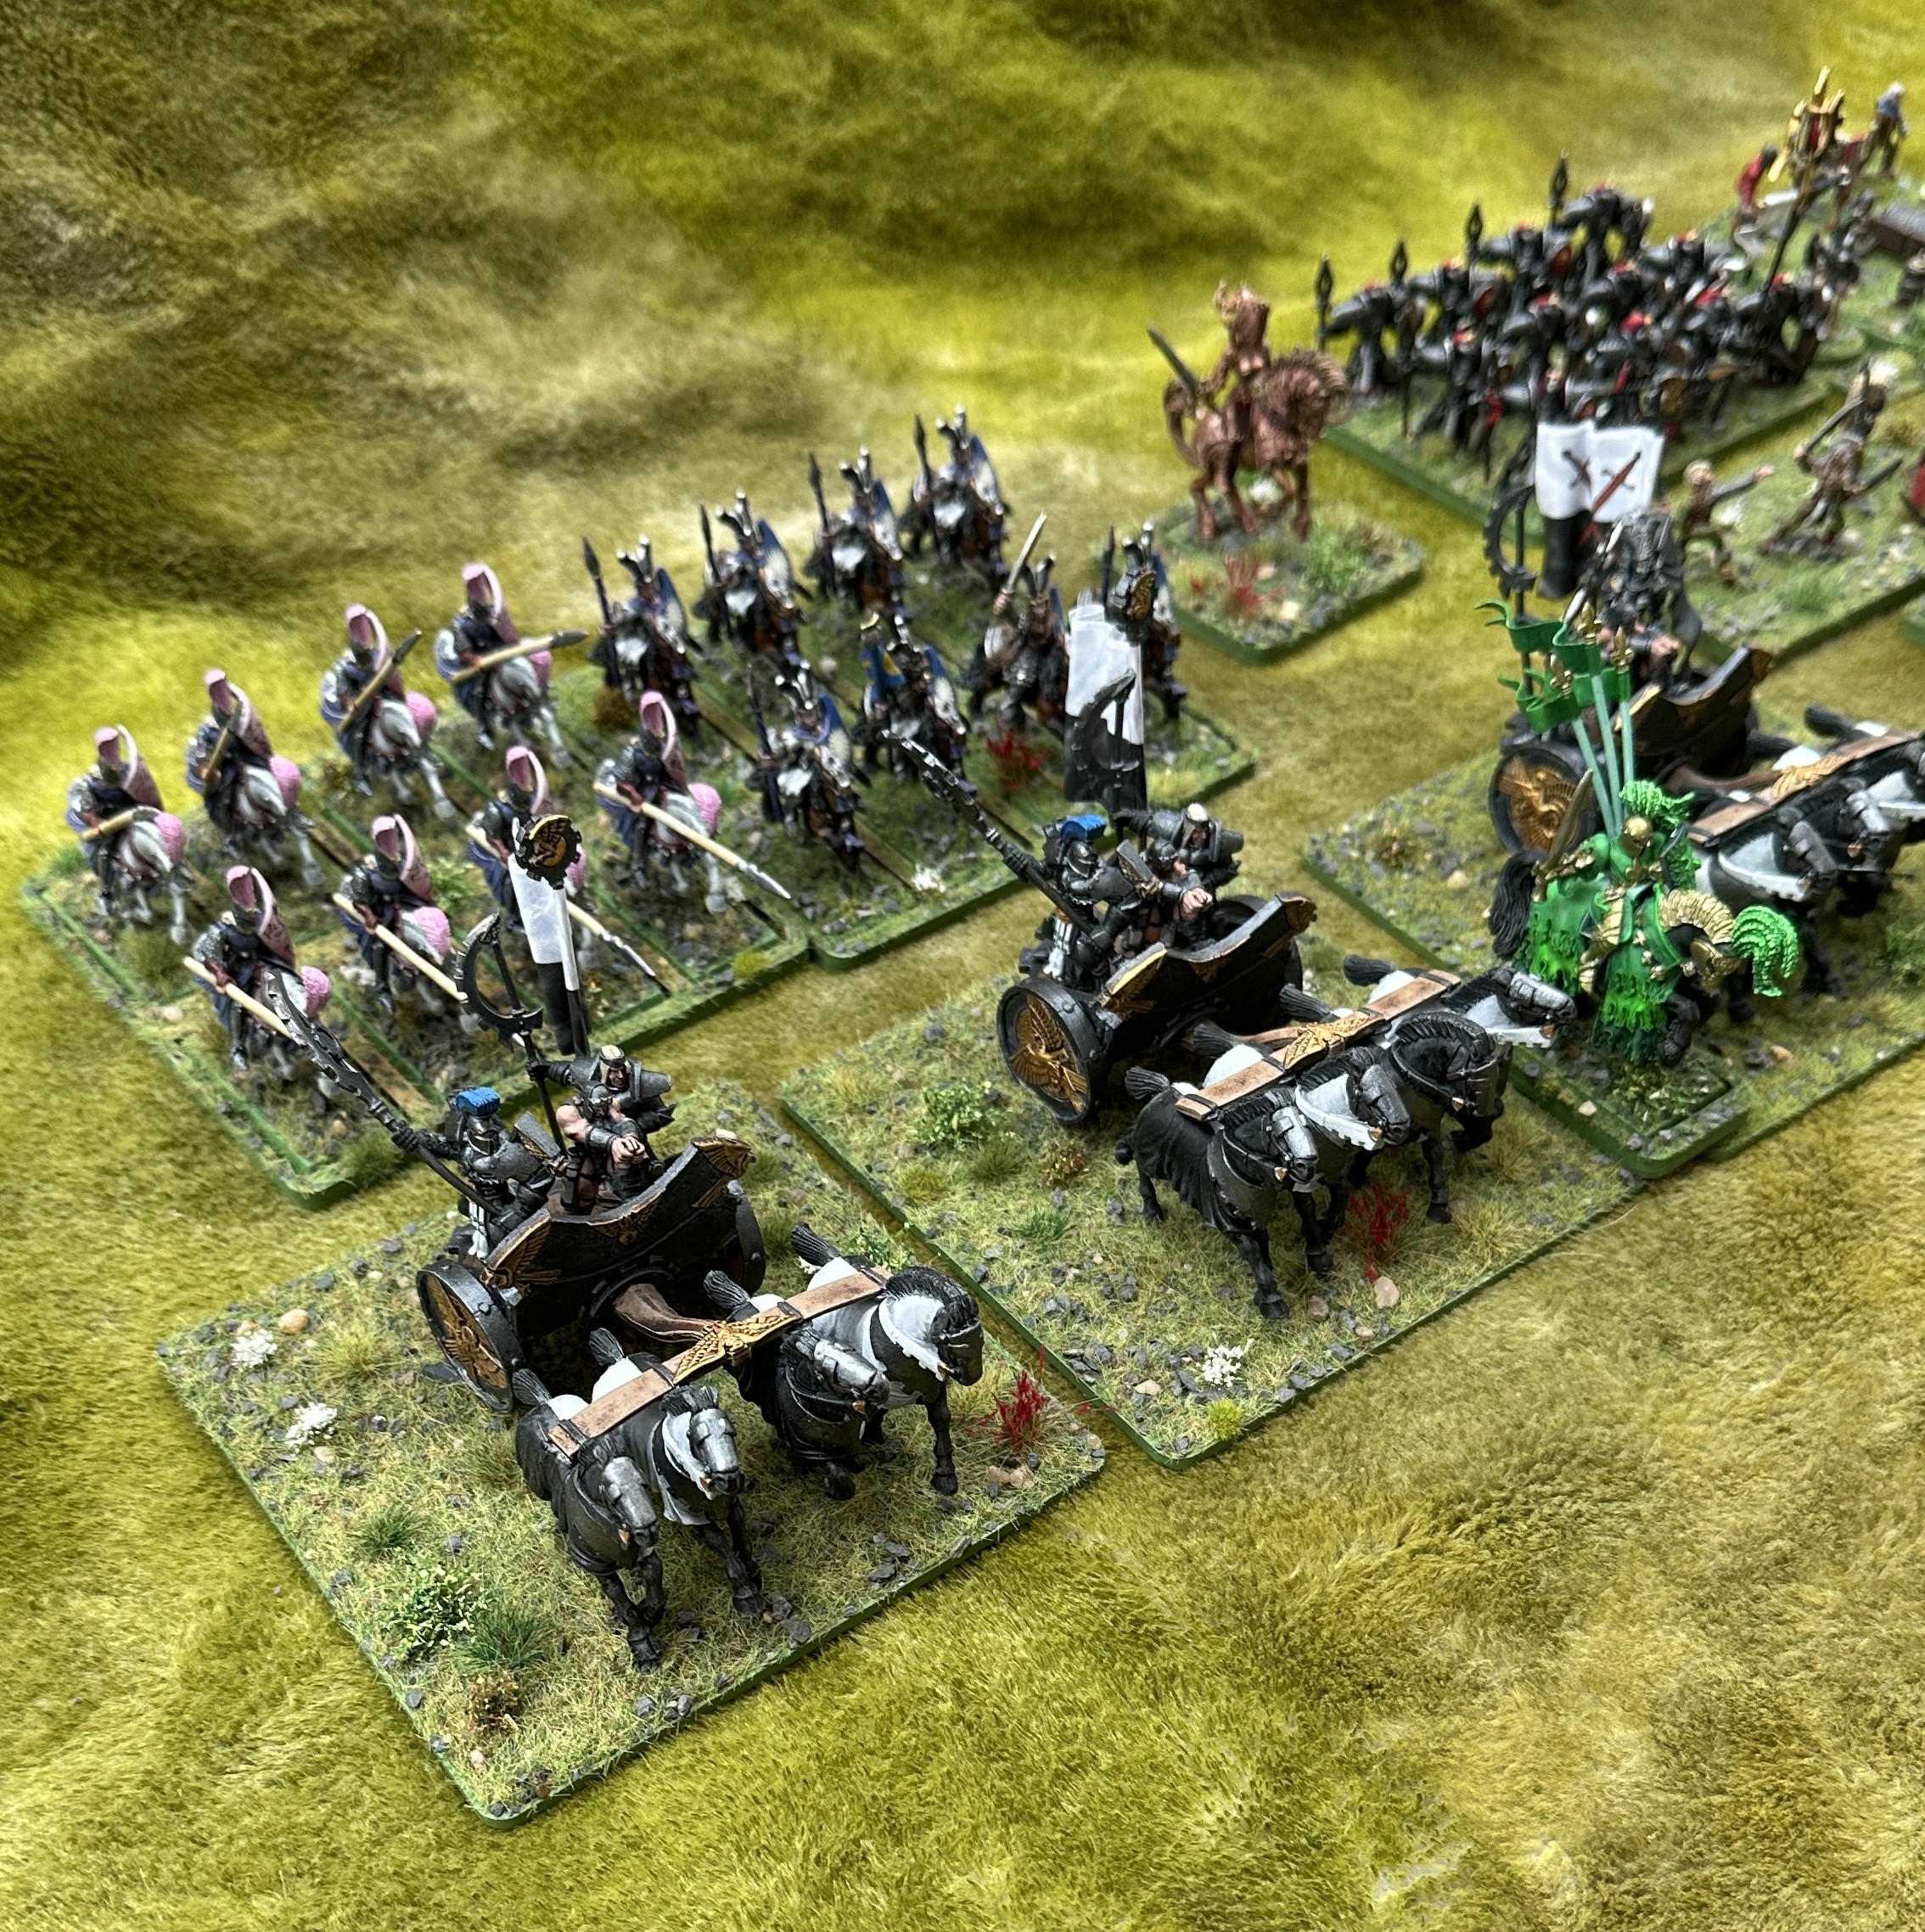
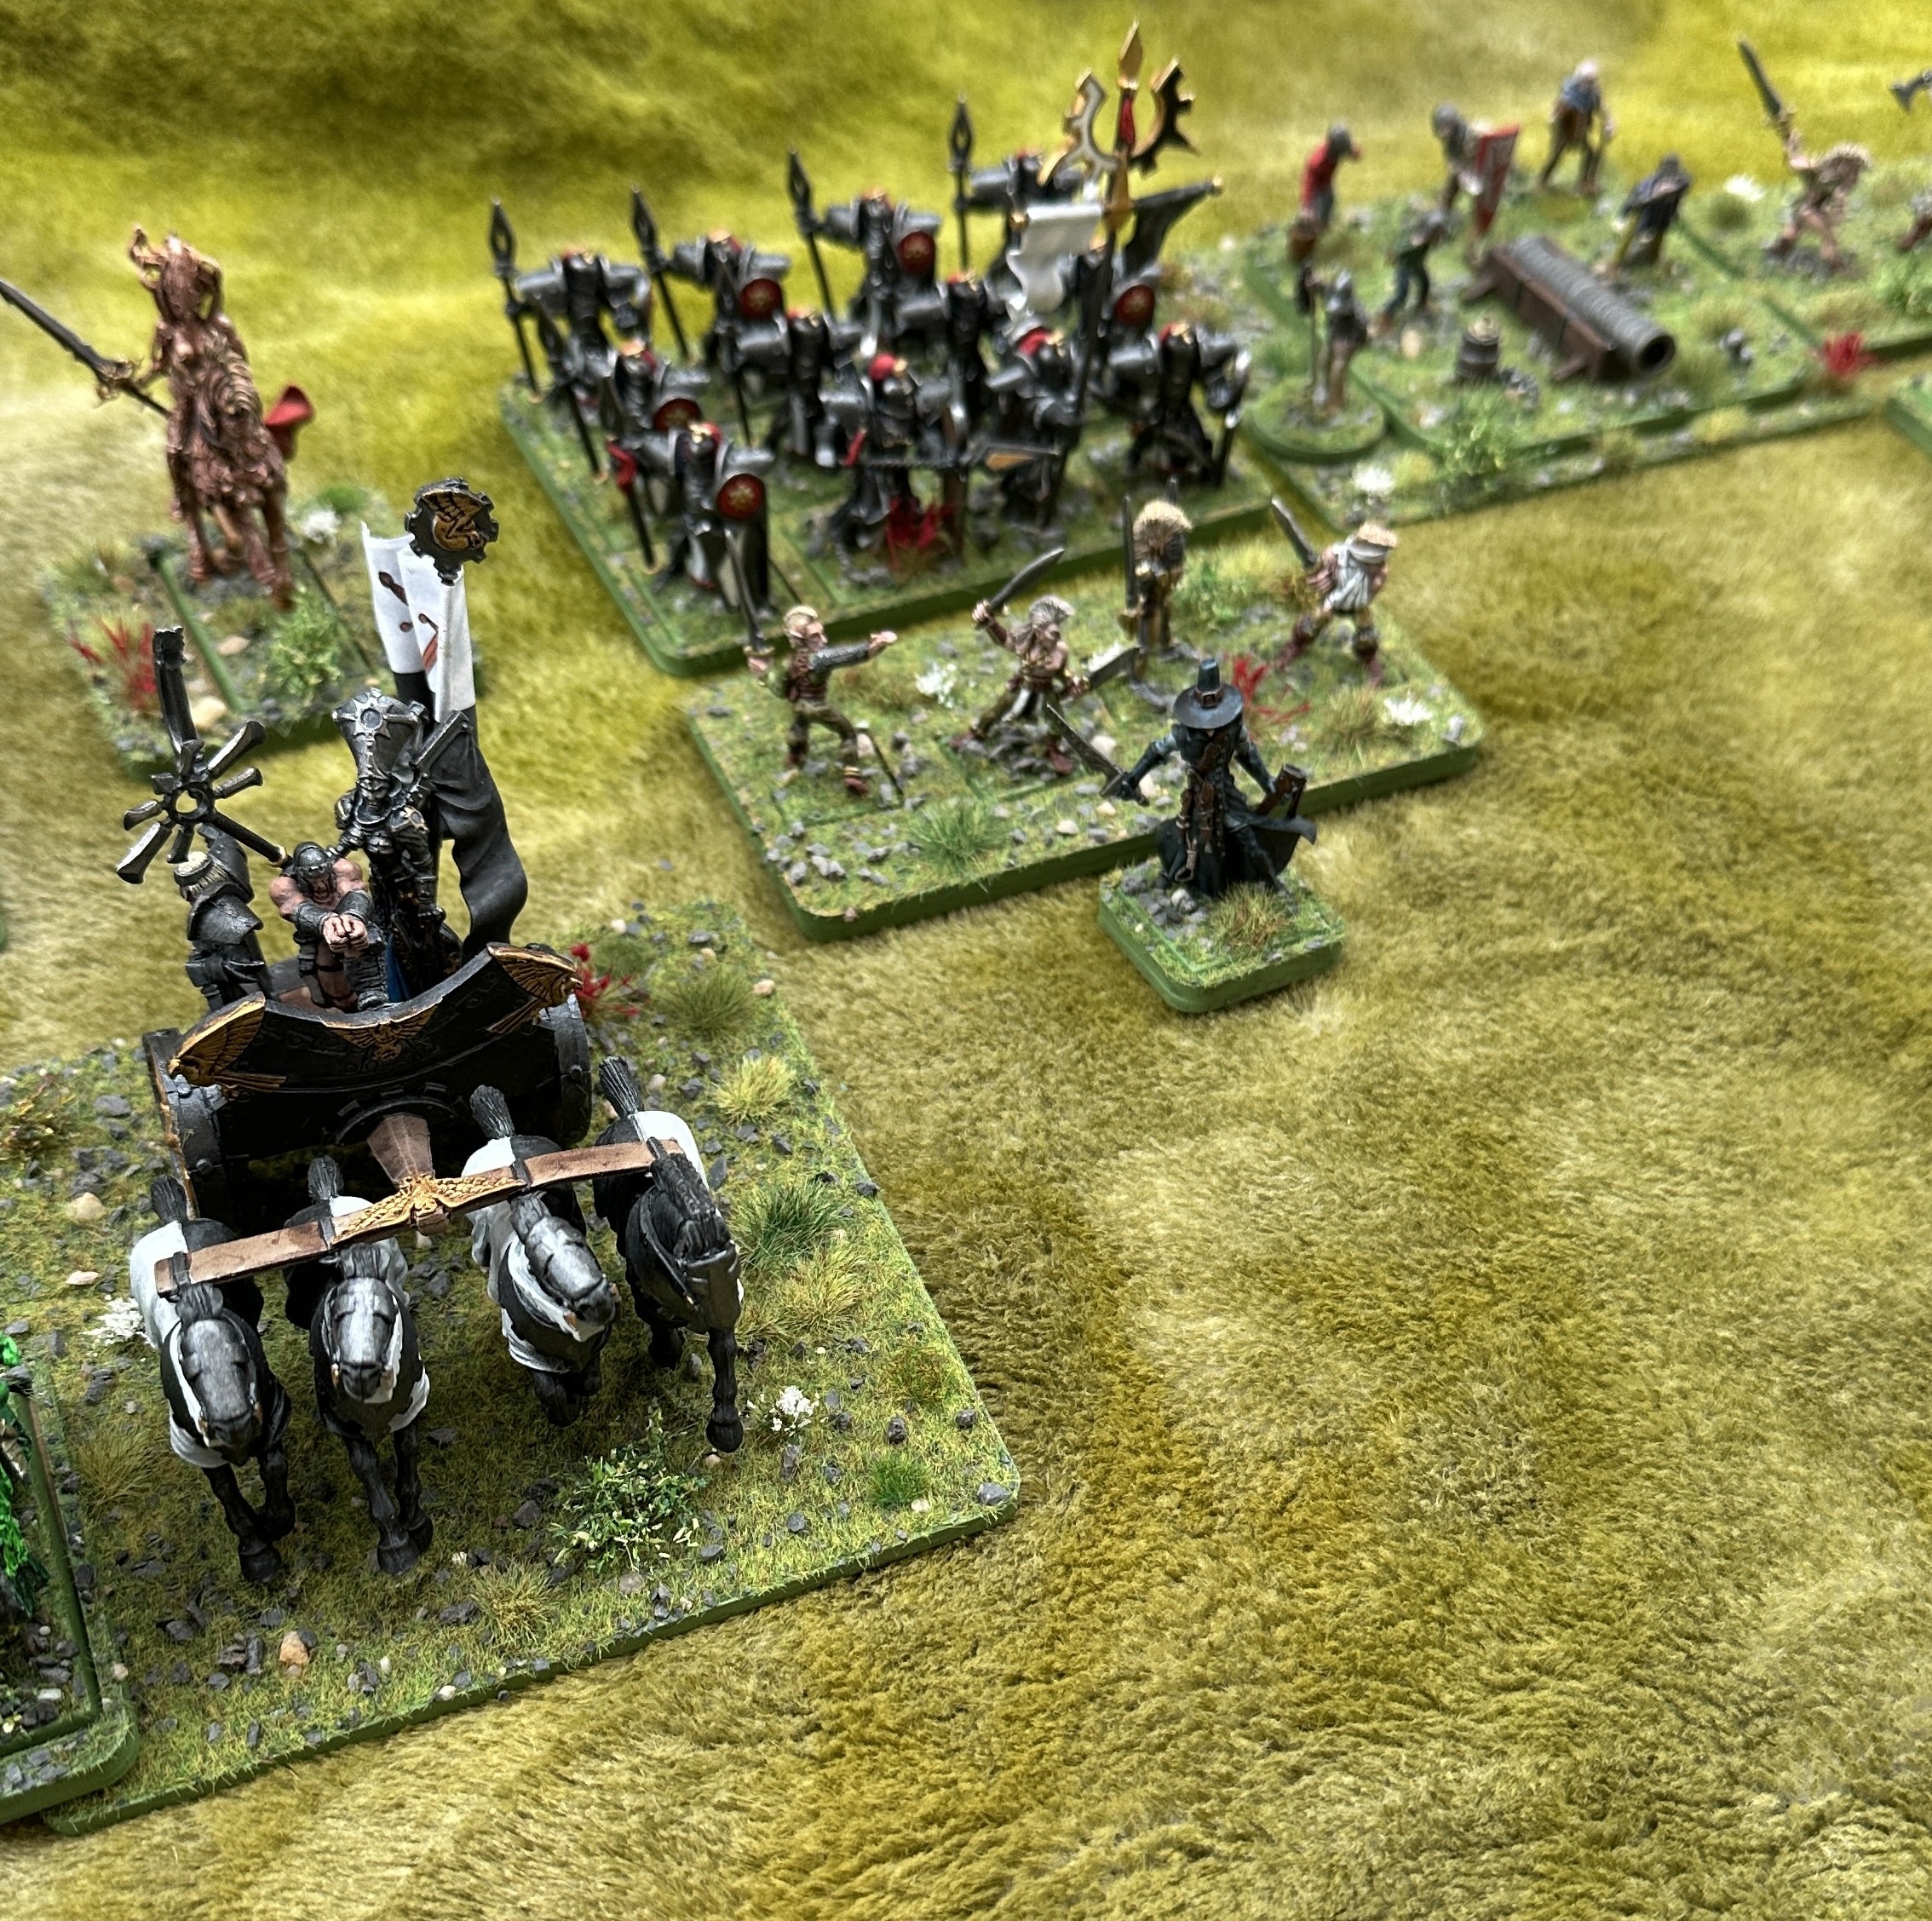
The Dogs will be using a hammer and anvil strategy, hammering with their chariots and dragon in the first wave and cavalry in the second. Their anvil will be the spear and pike units and they hope to exploit the Replacements rule for the spears and the Pike rule for the others to hold off the charge of the knights for long enough for their hammer to smash to opposite wing.
The Imperials will be dispensing with the usual arrow barrage and then charge and just using an all out assault approach, with all cavalry units charging headlong at the first opportunity. Other units will support where possible. As arrogant types they will refuse to redeploy any units at the end of Attacker deployment as the scenario permits, and they will accept any and all single combat challenges issued although not issue any themselves as their opponent aren’t worthy enough.
Initial Dispositions
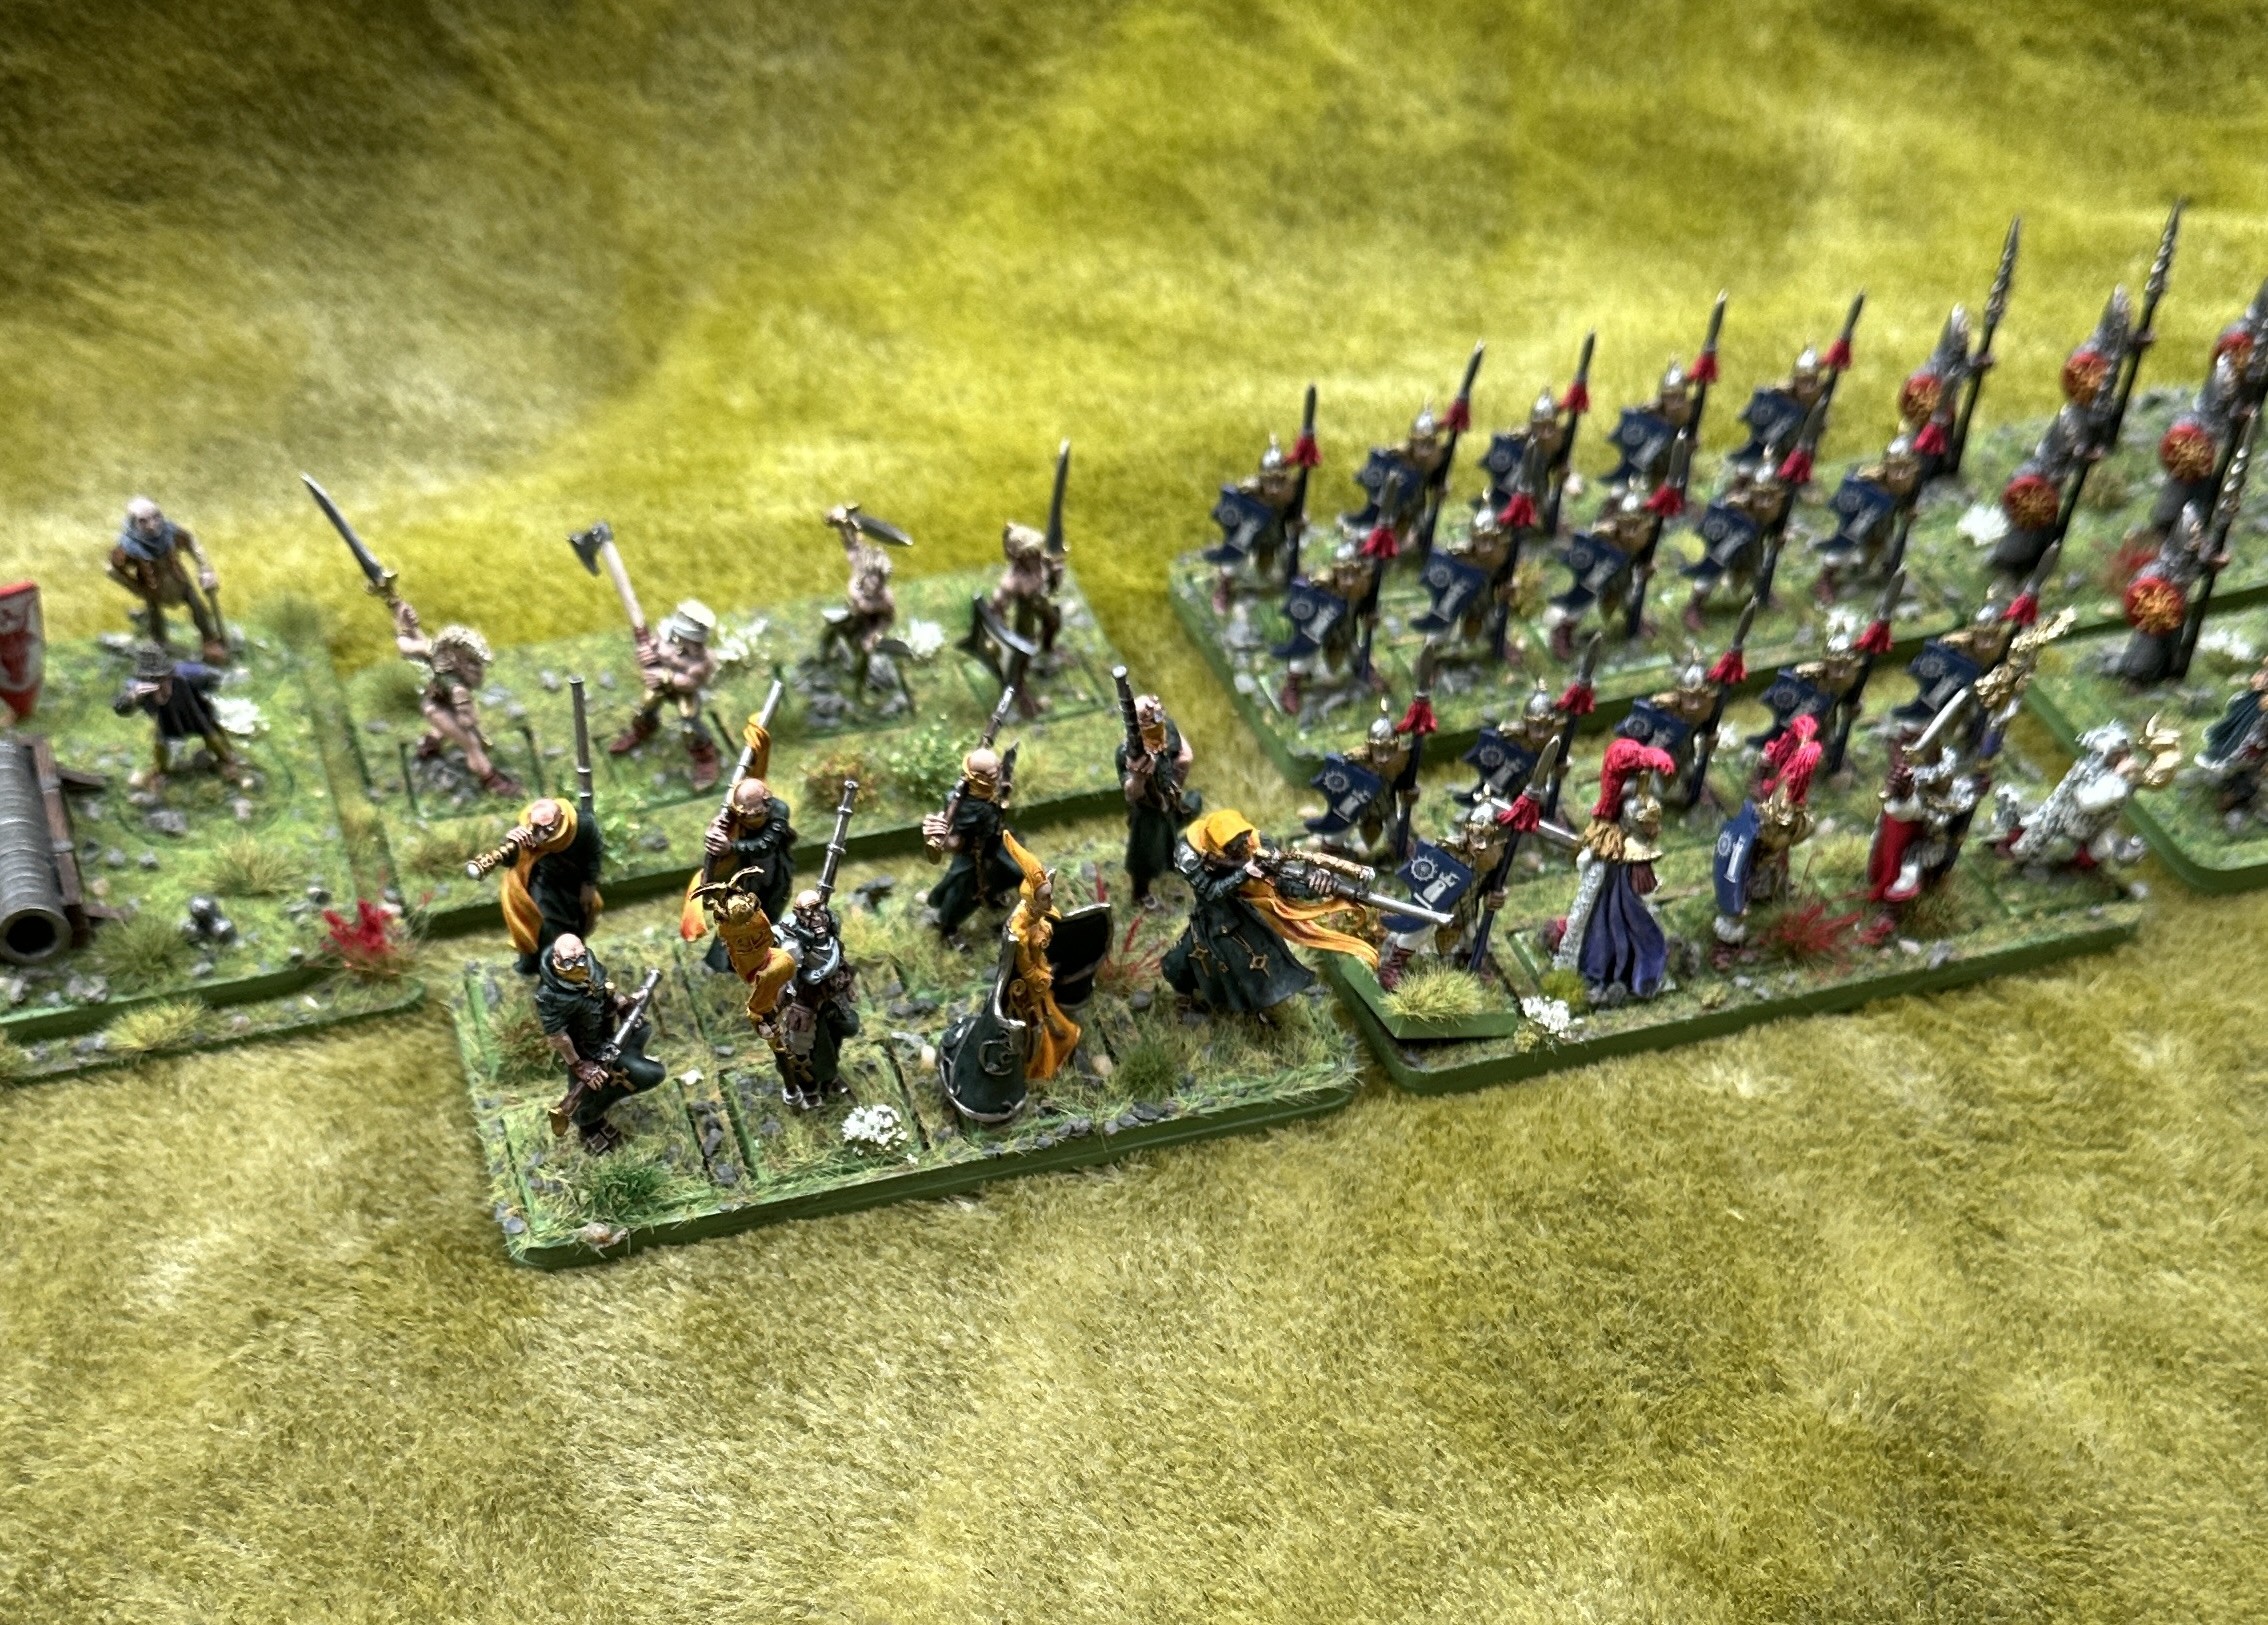
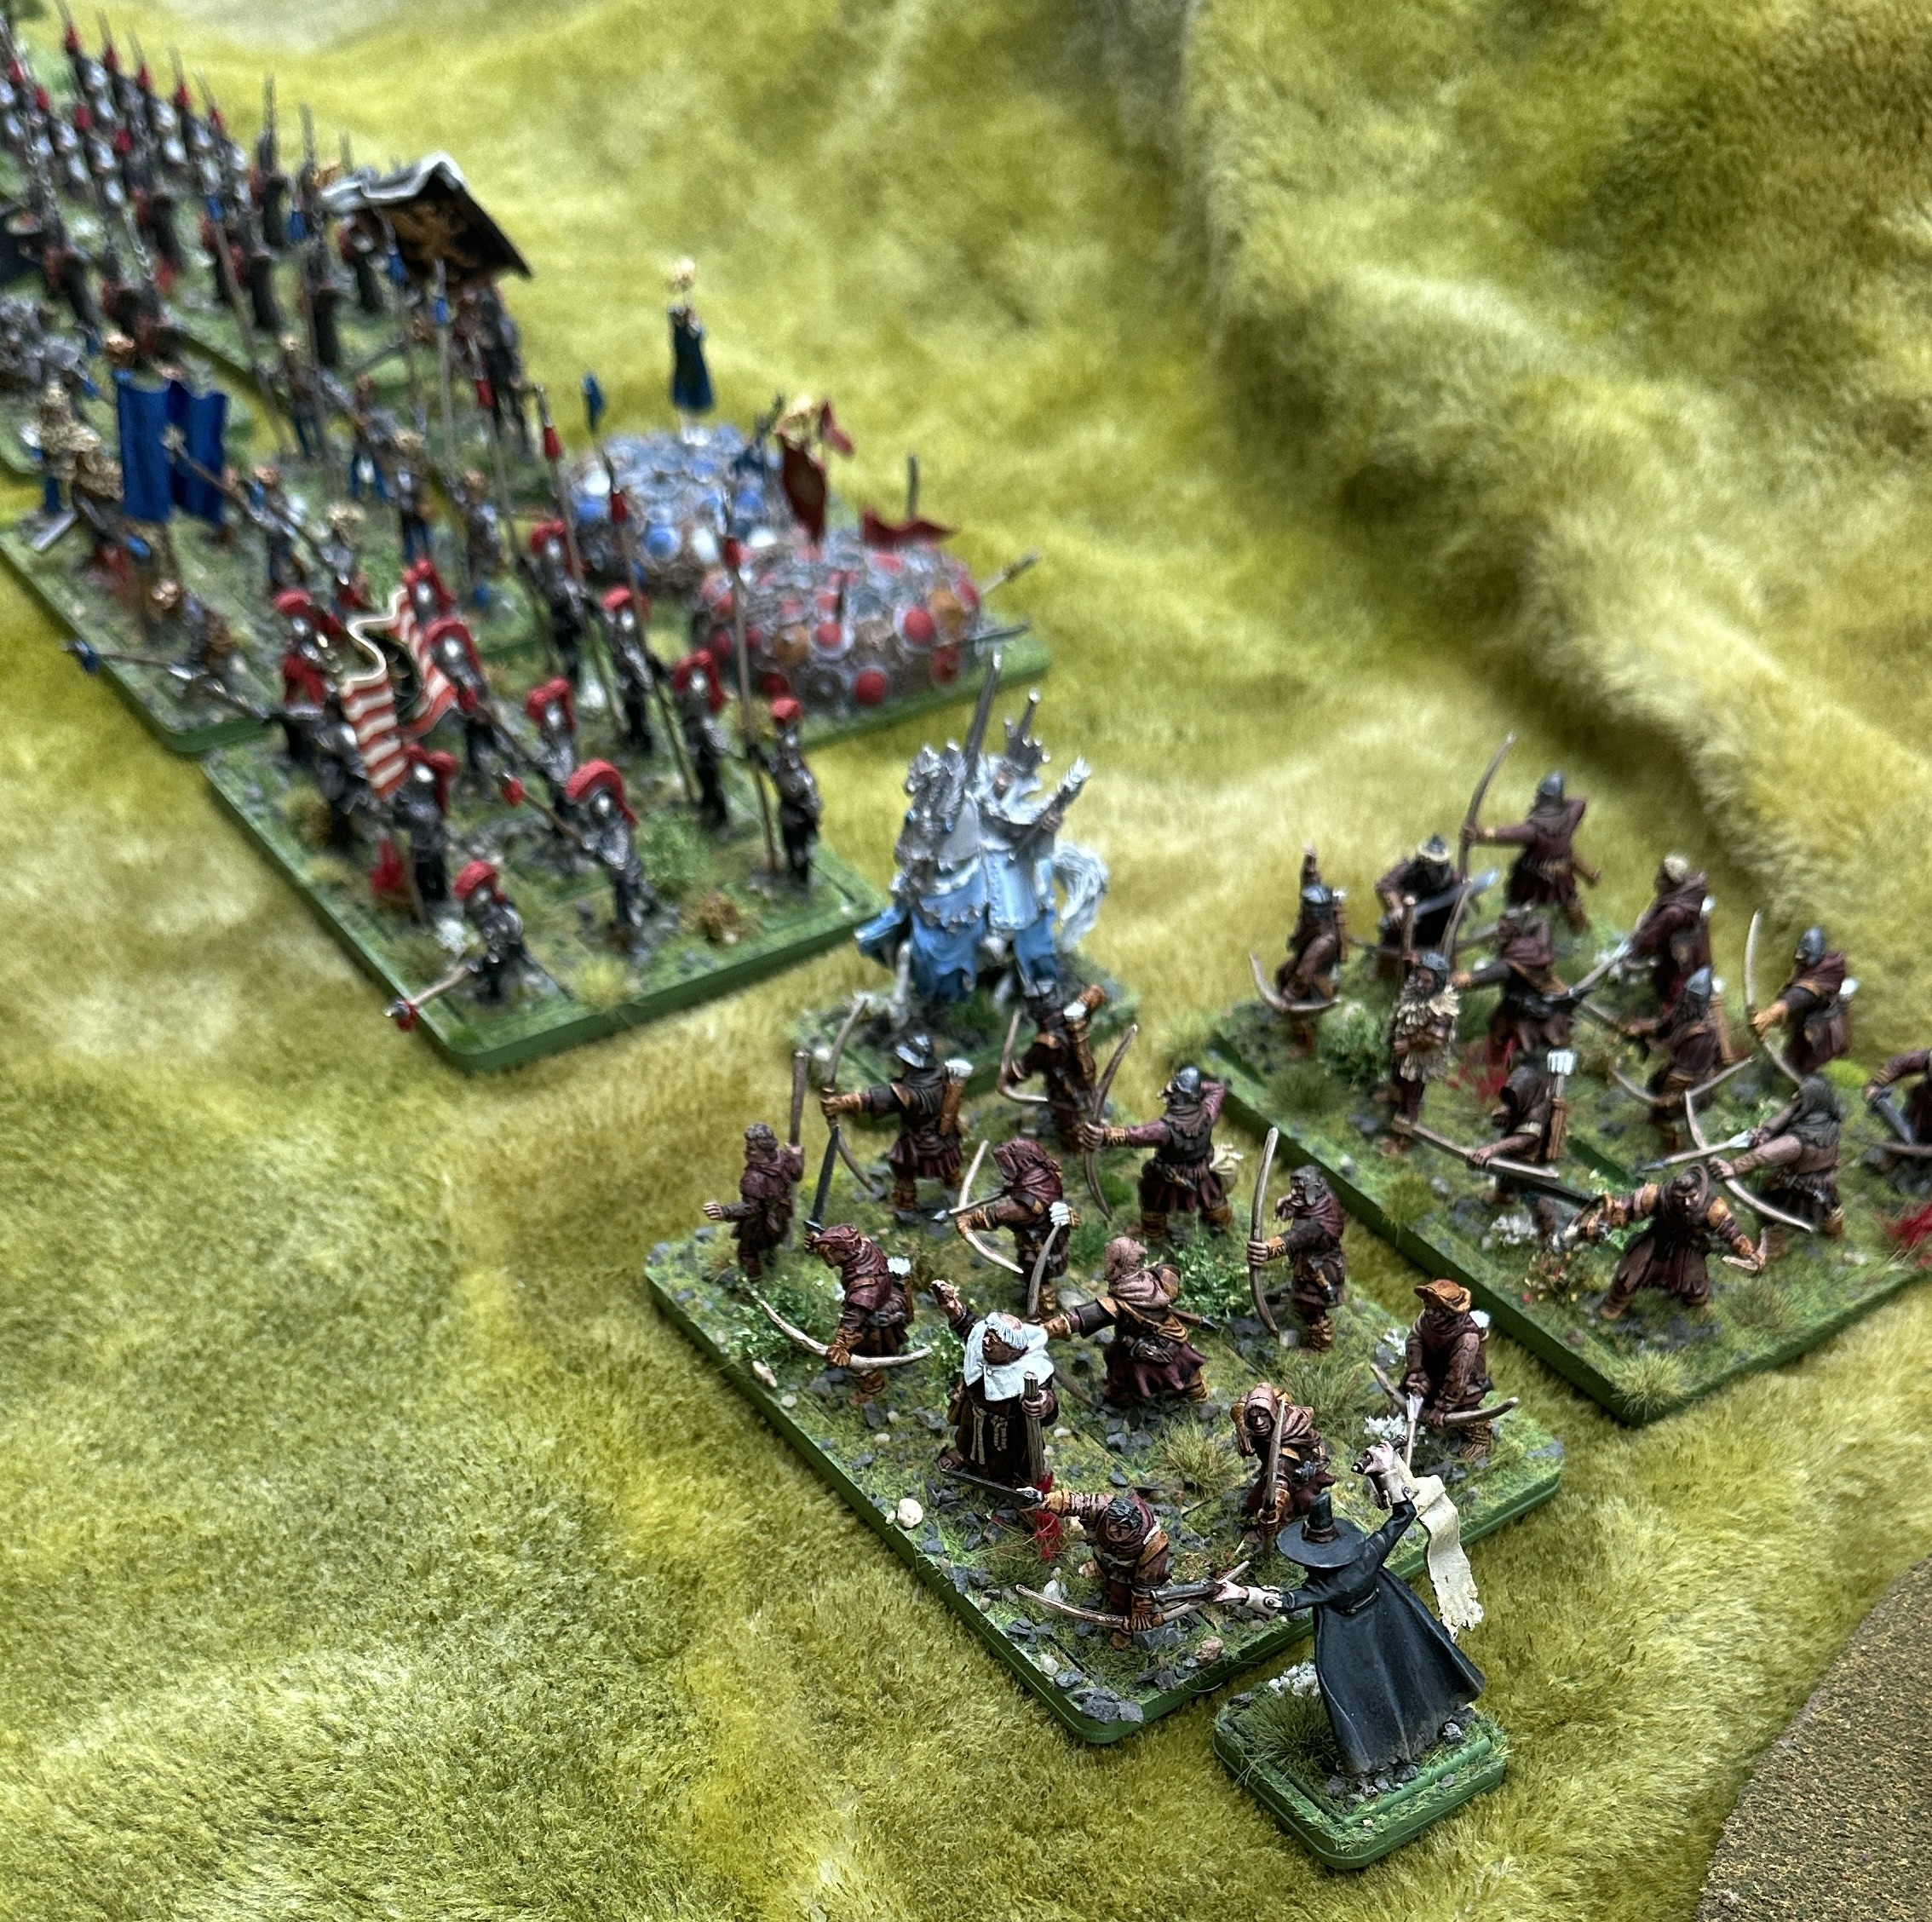
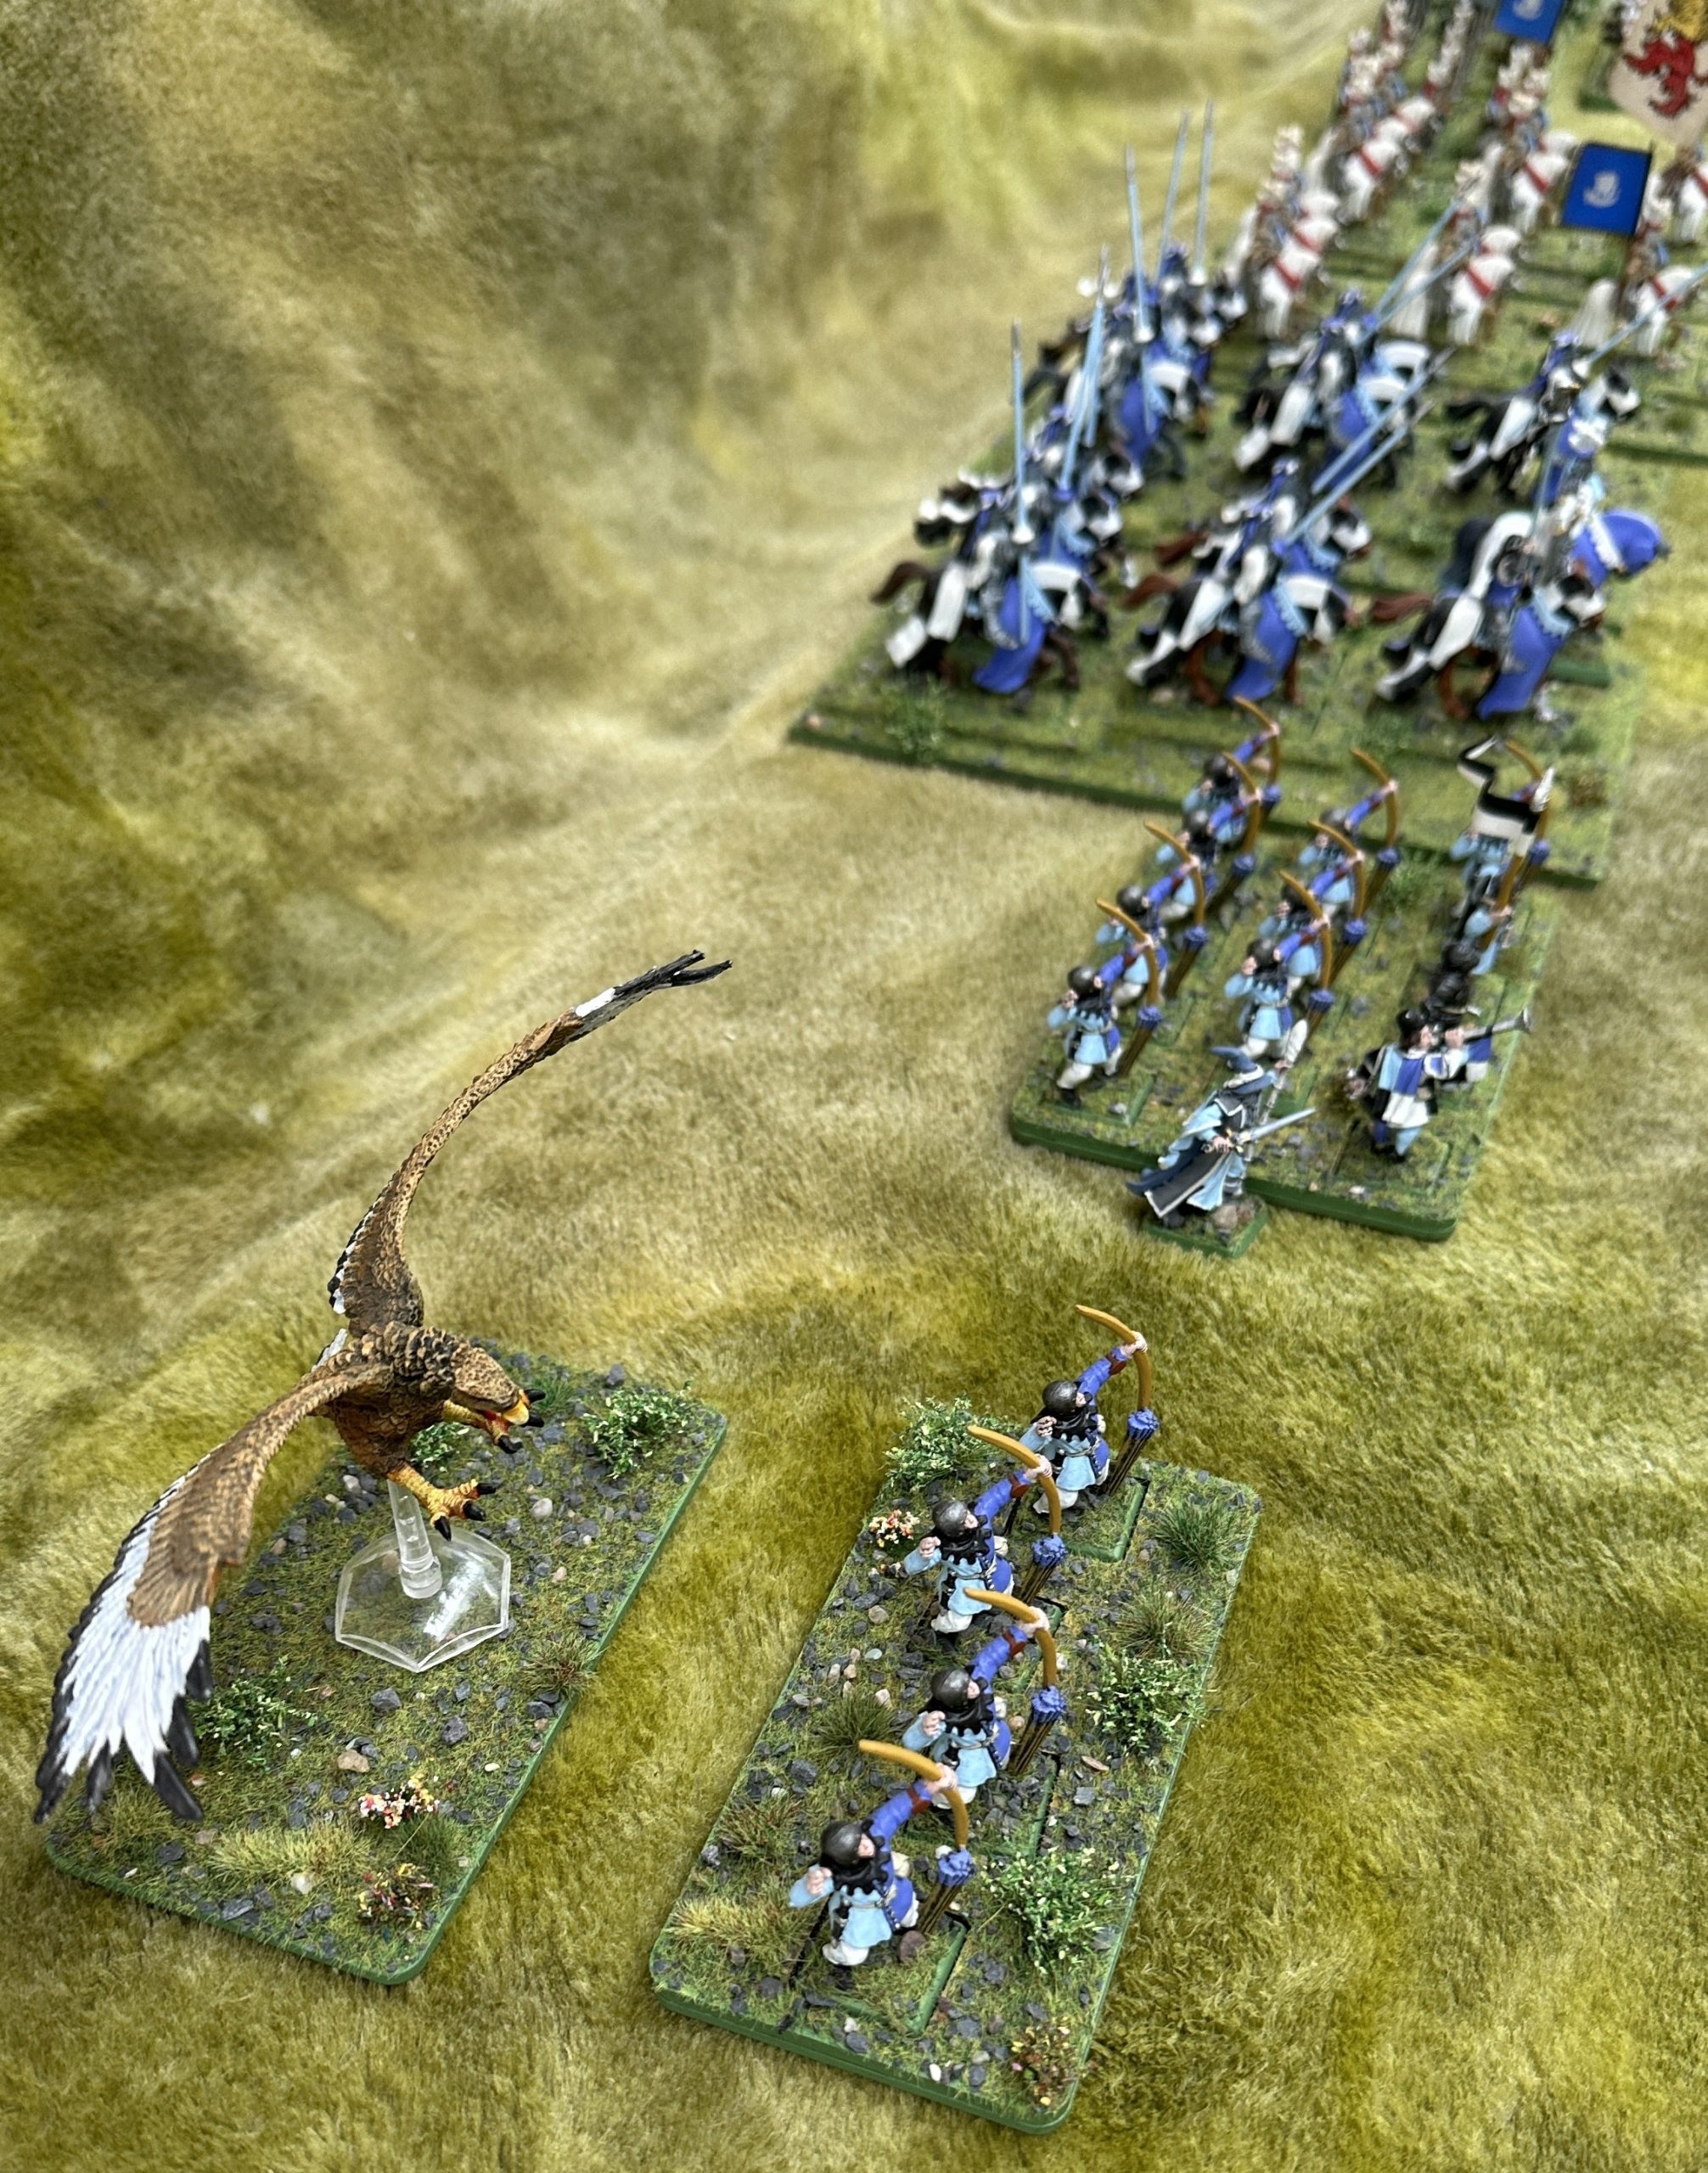
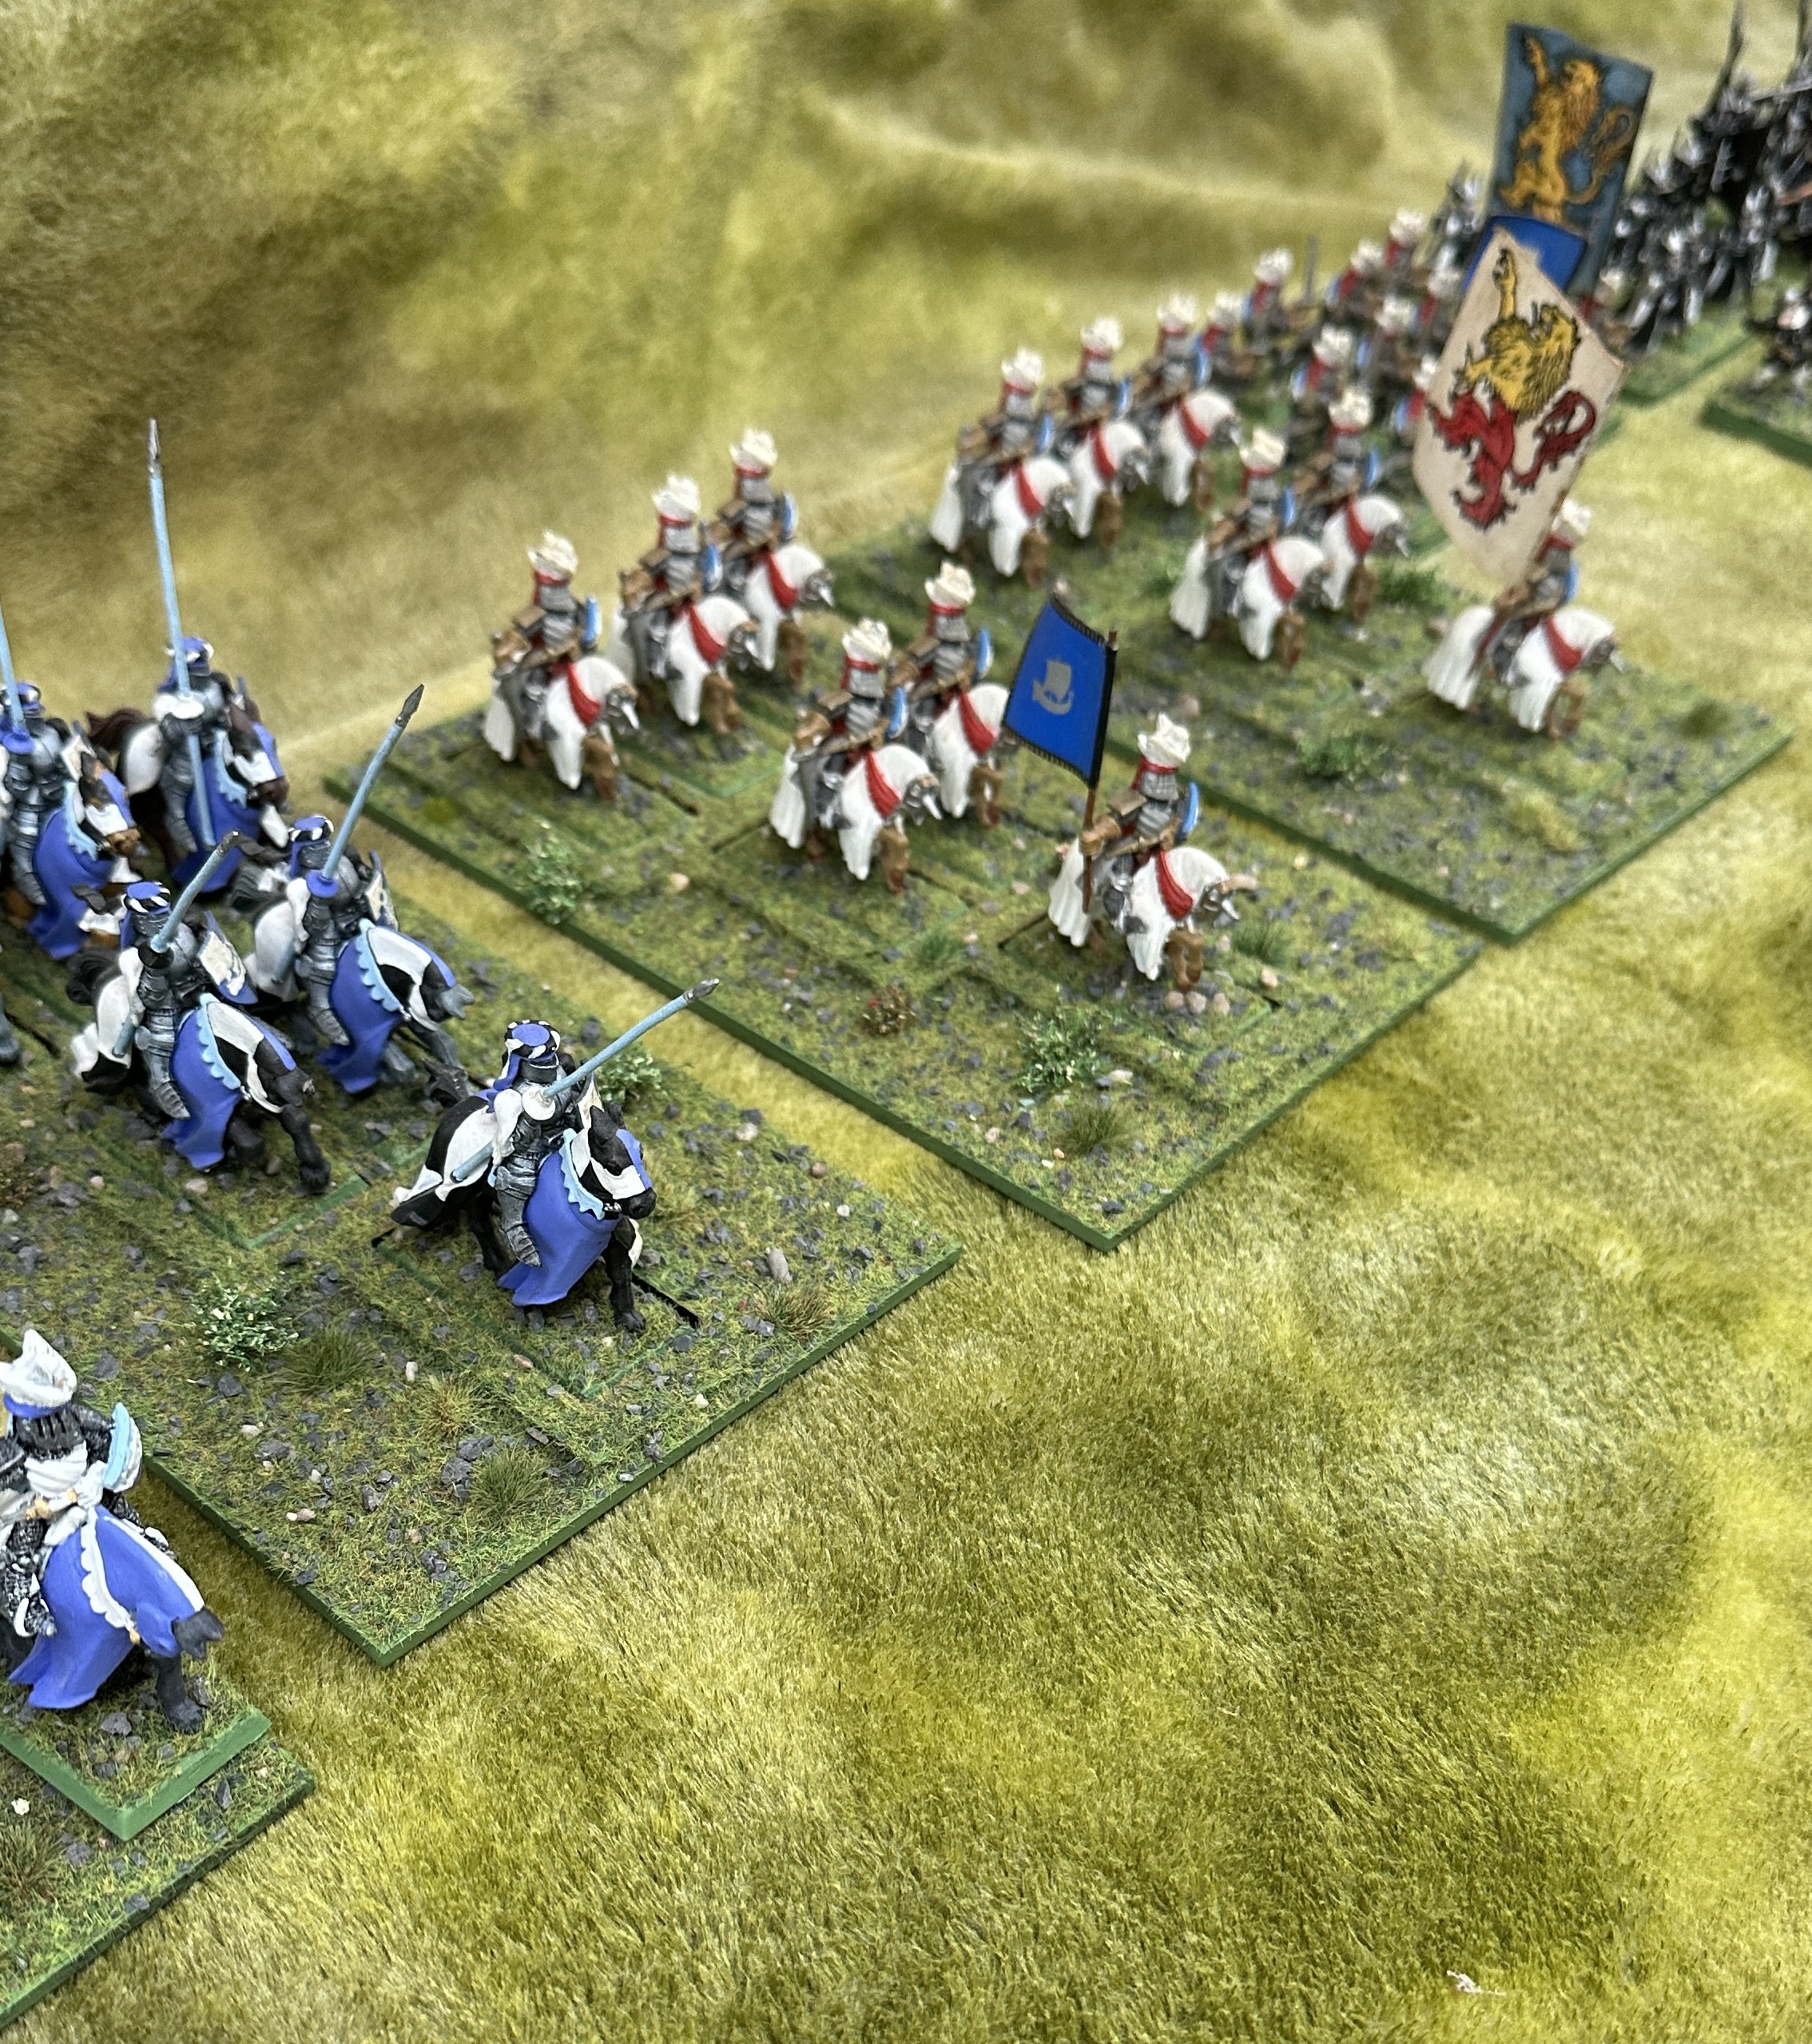
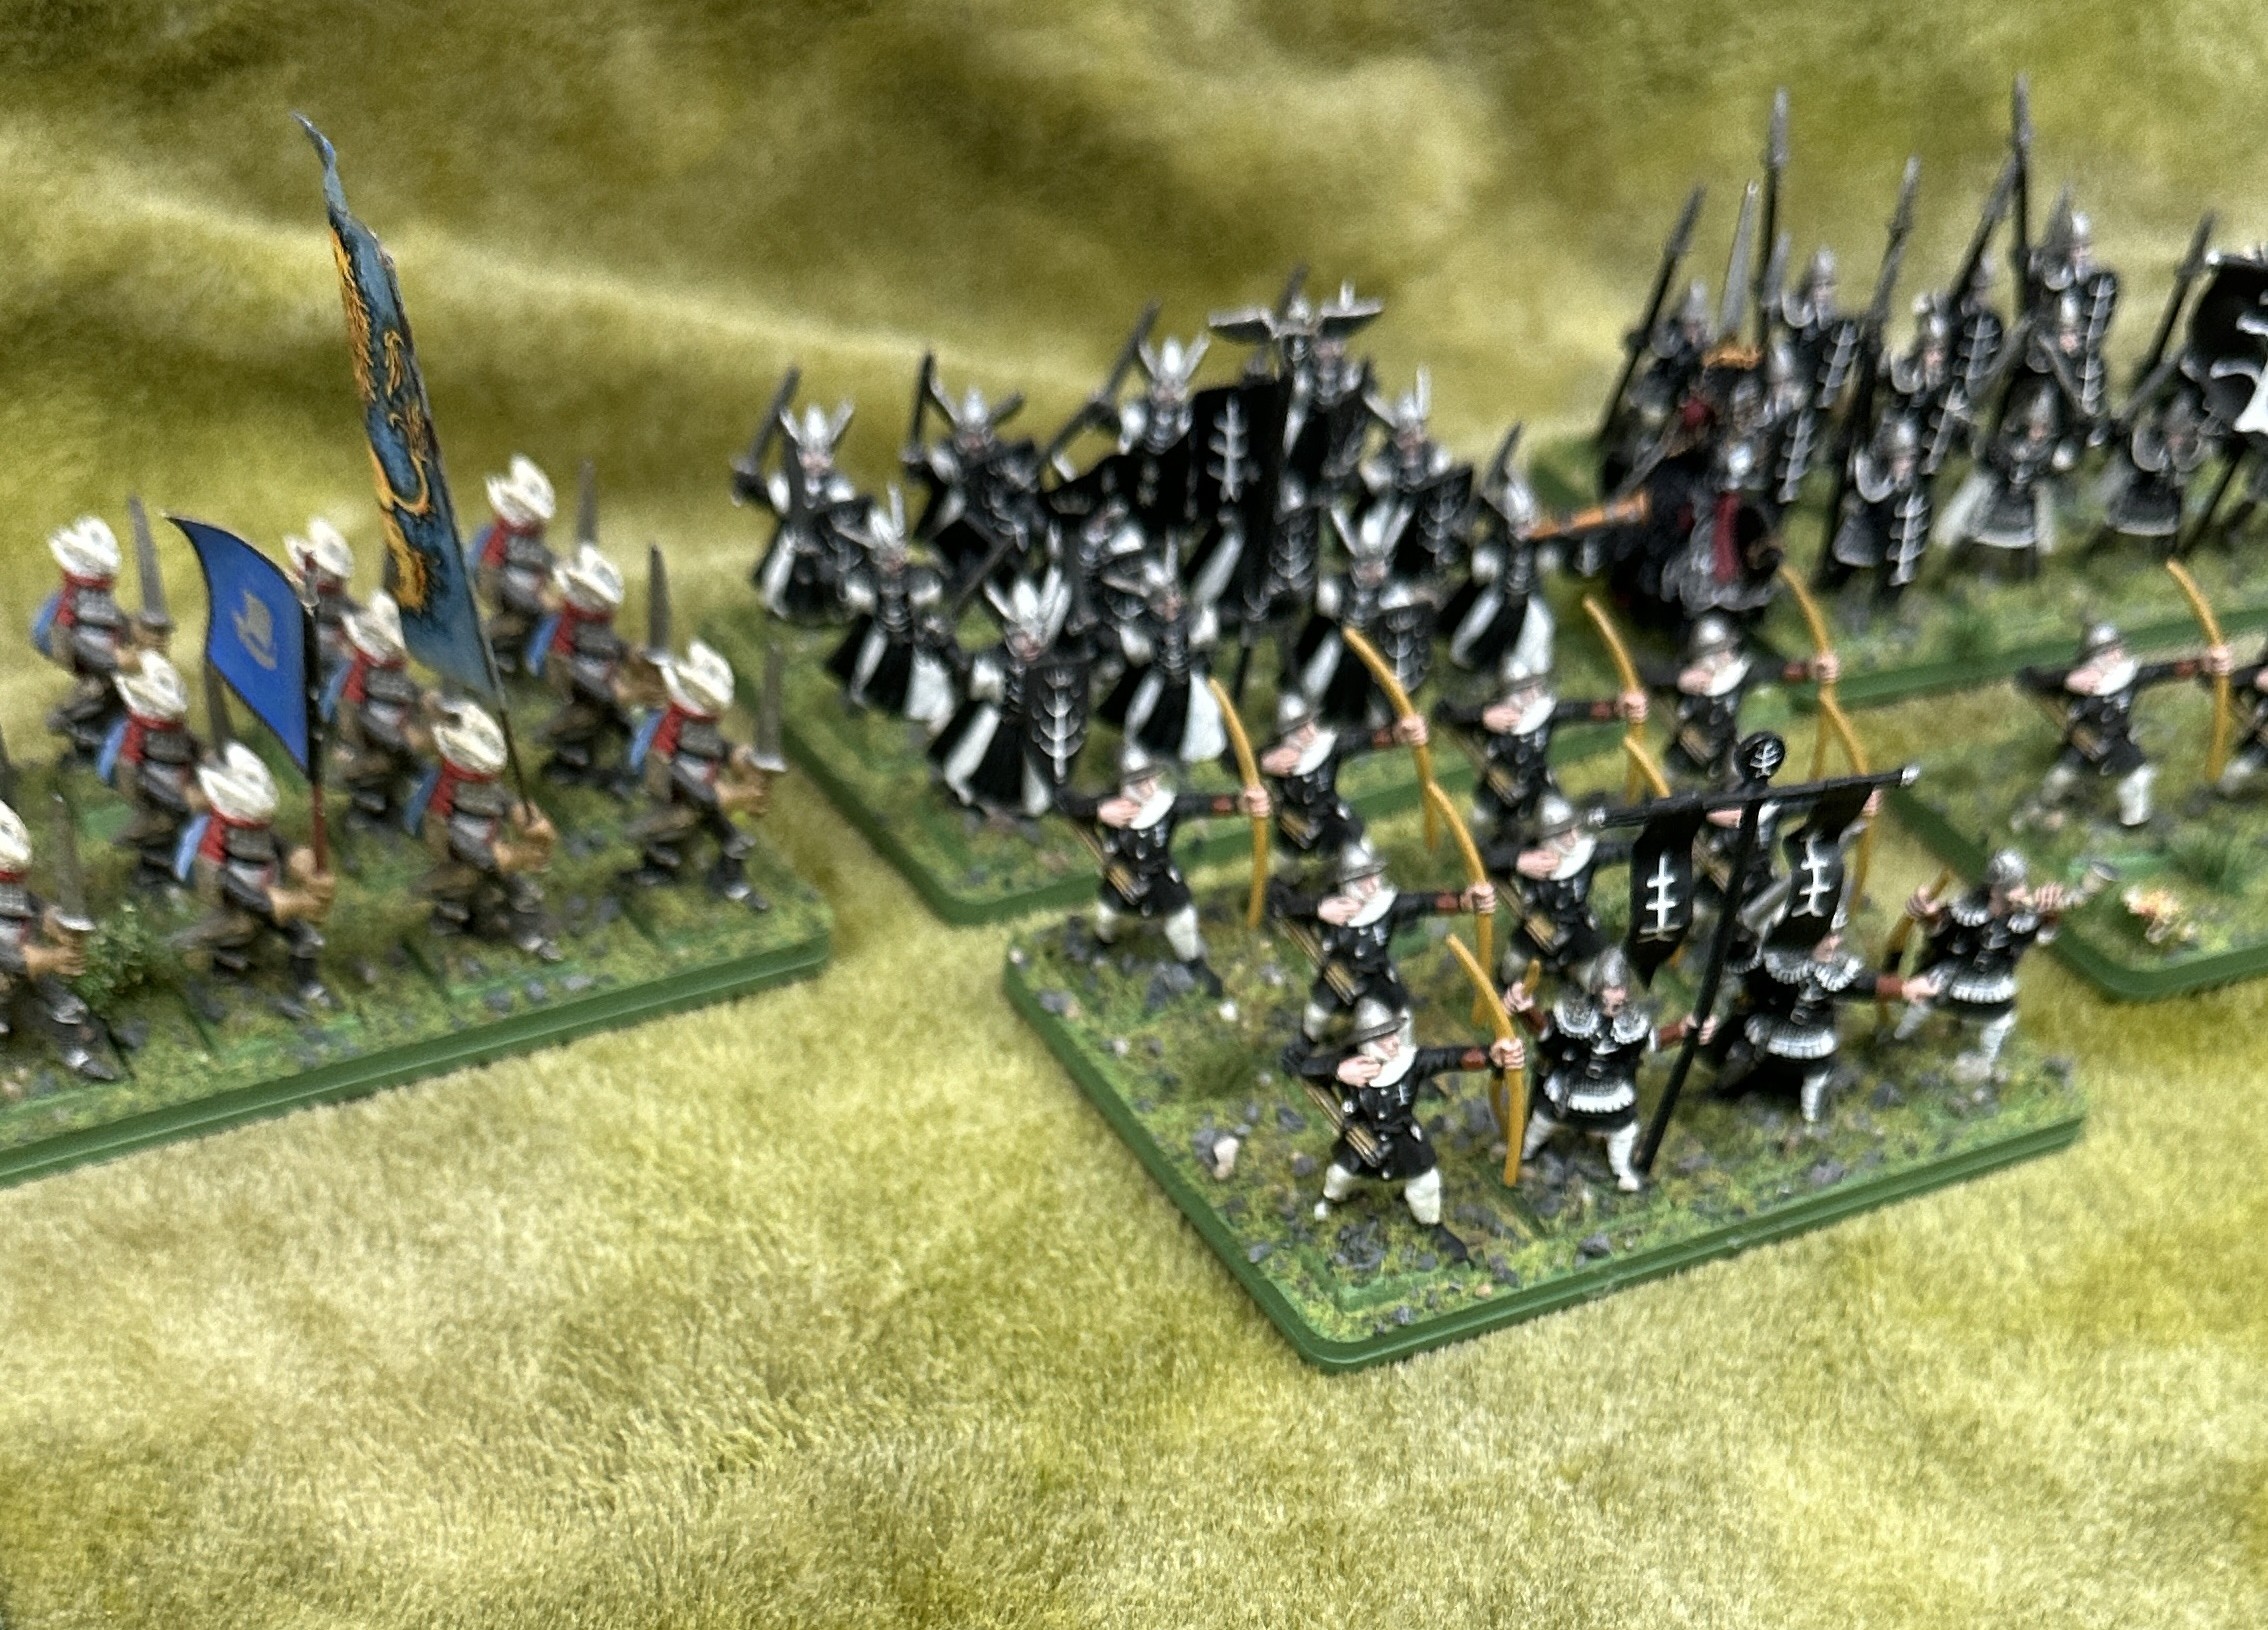
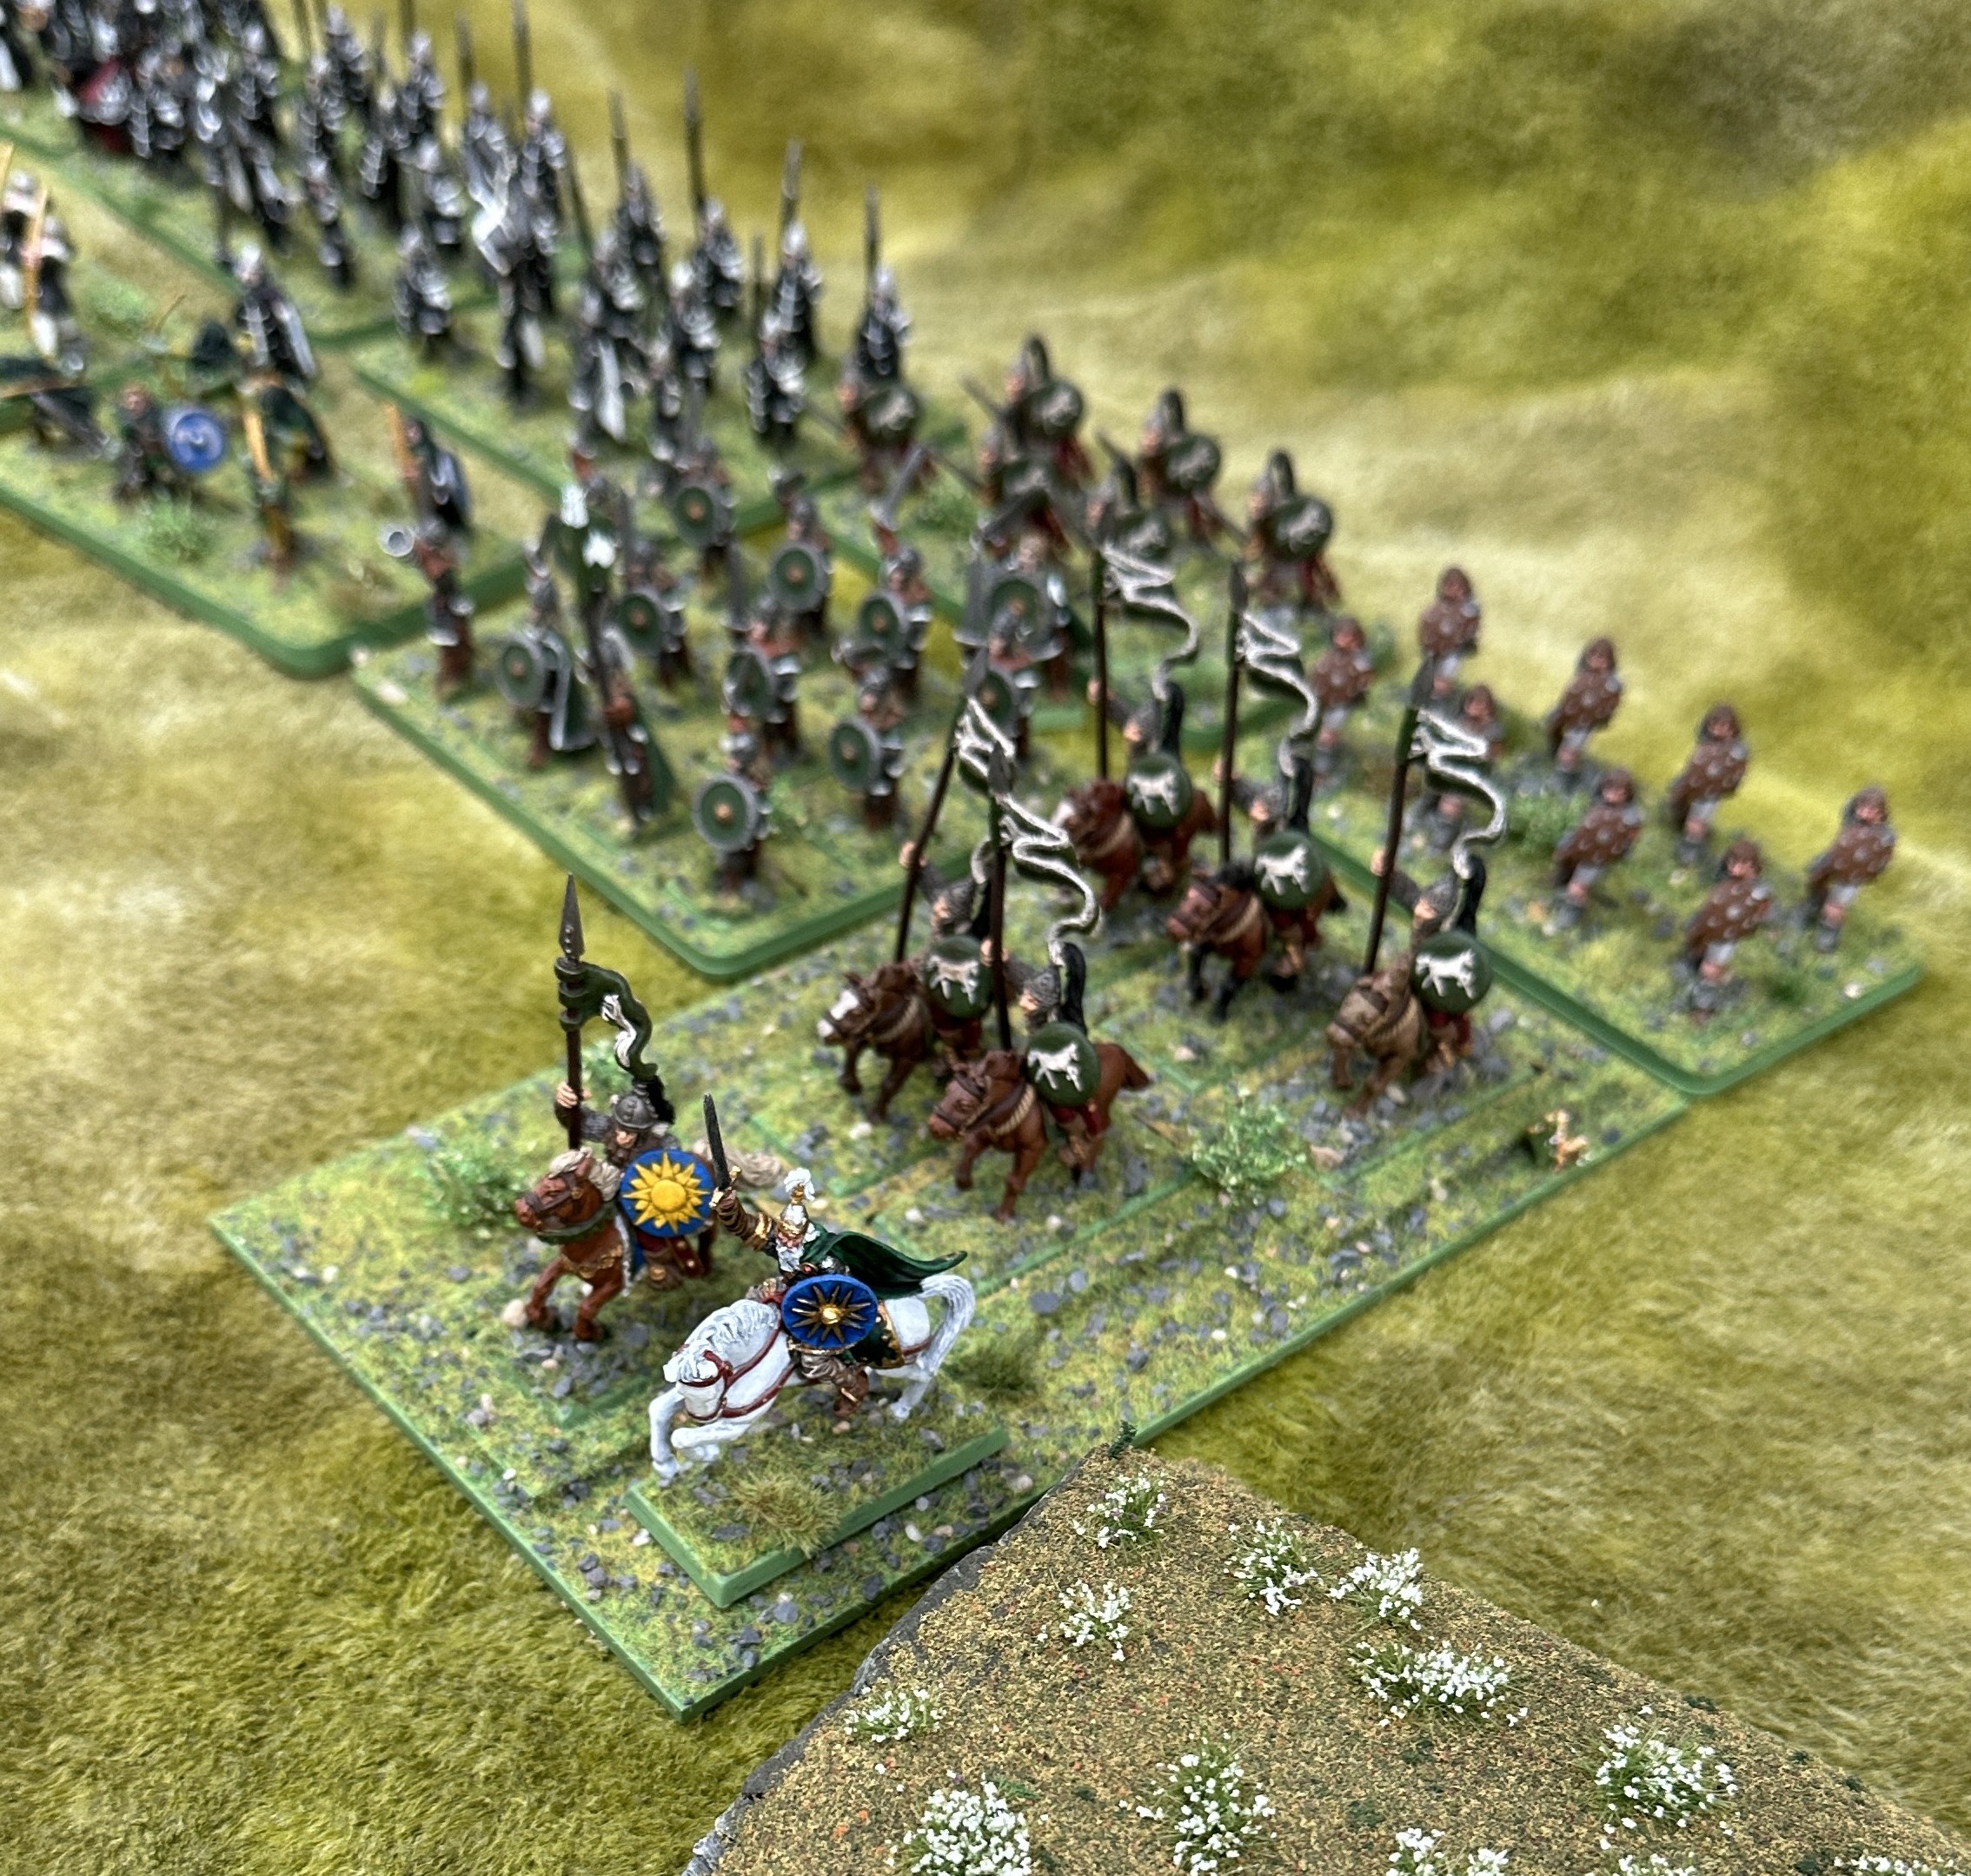
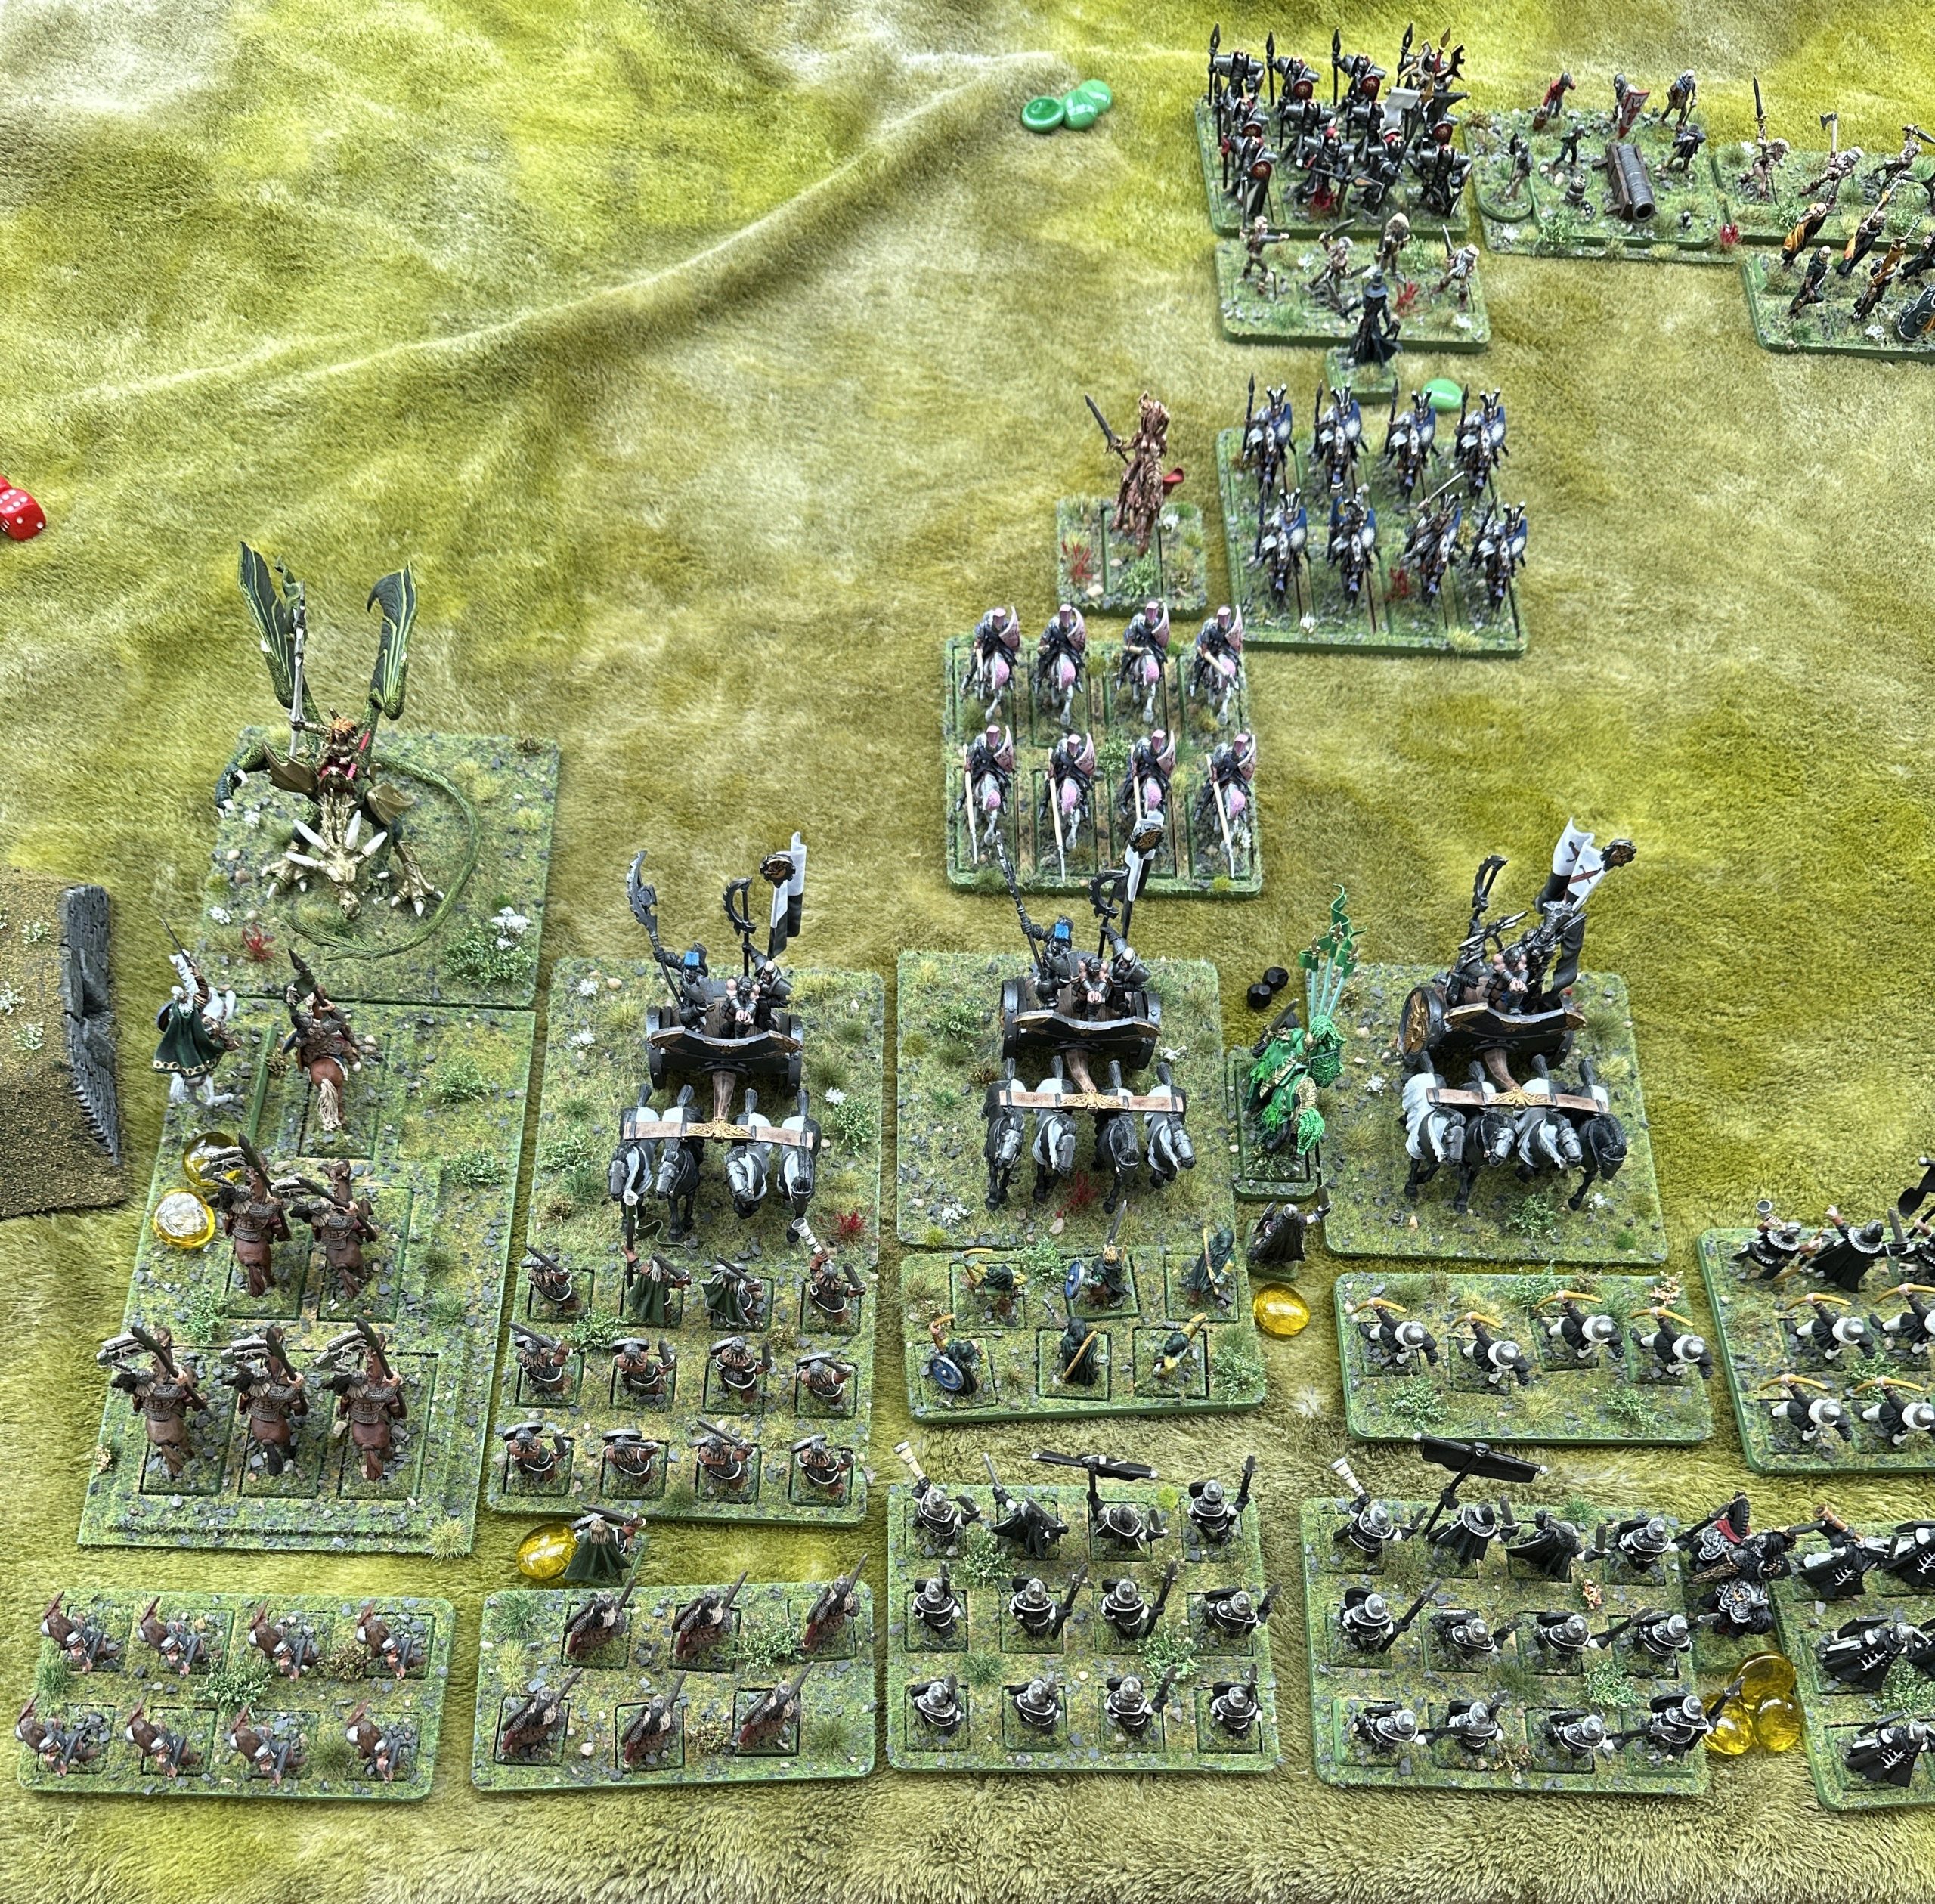
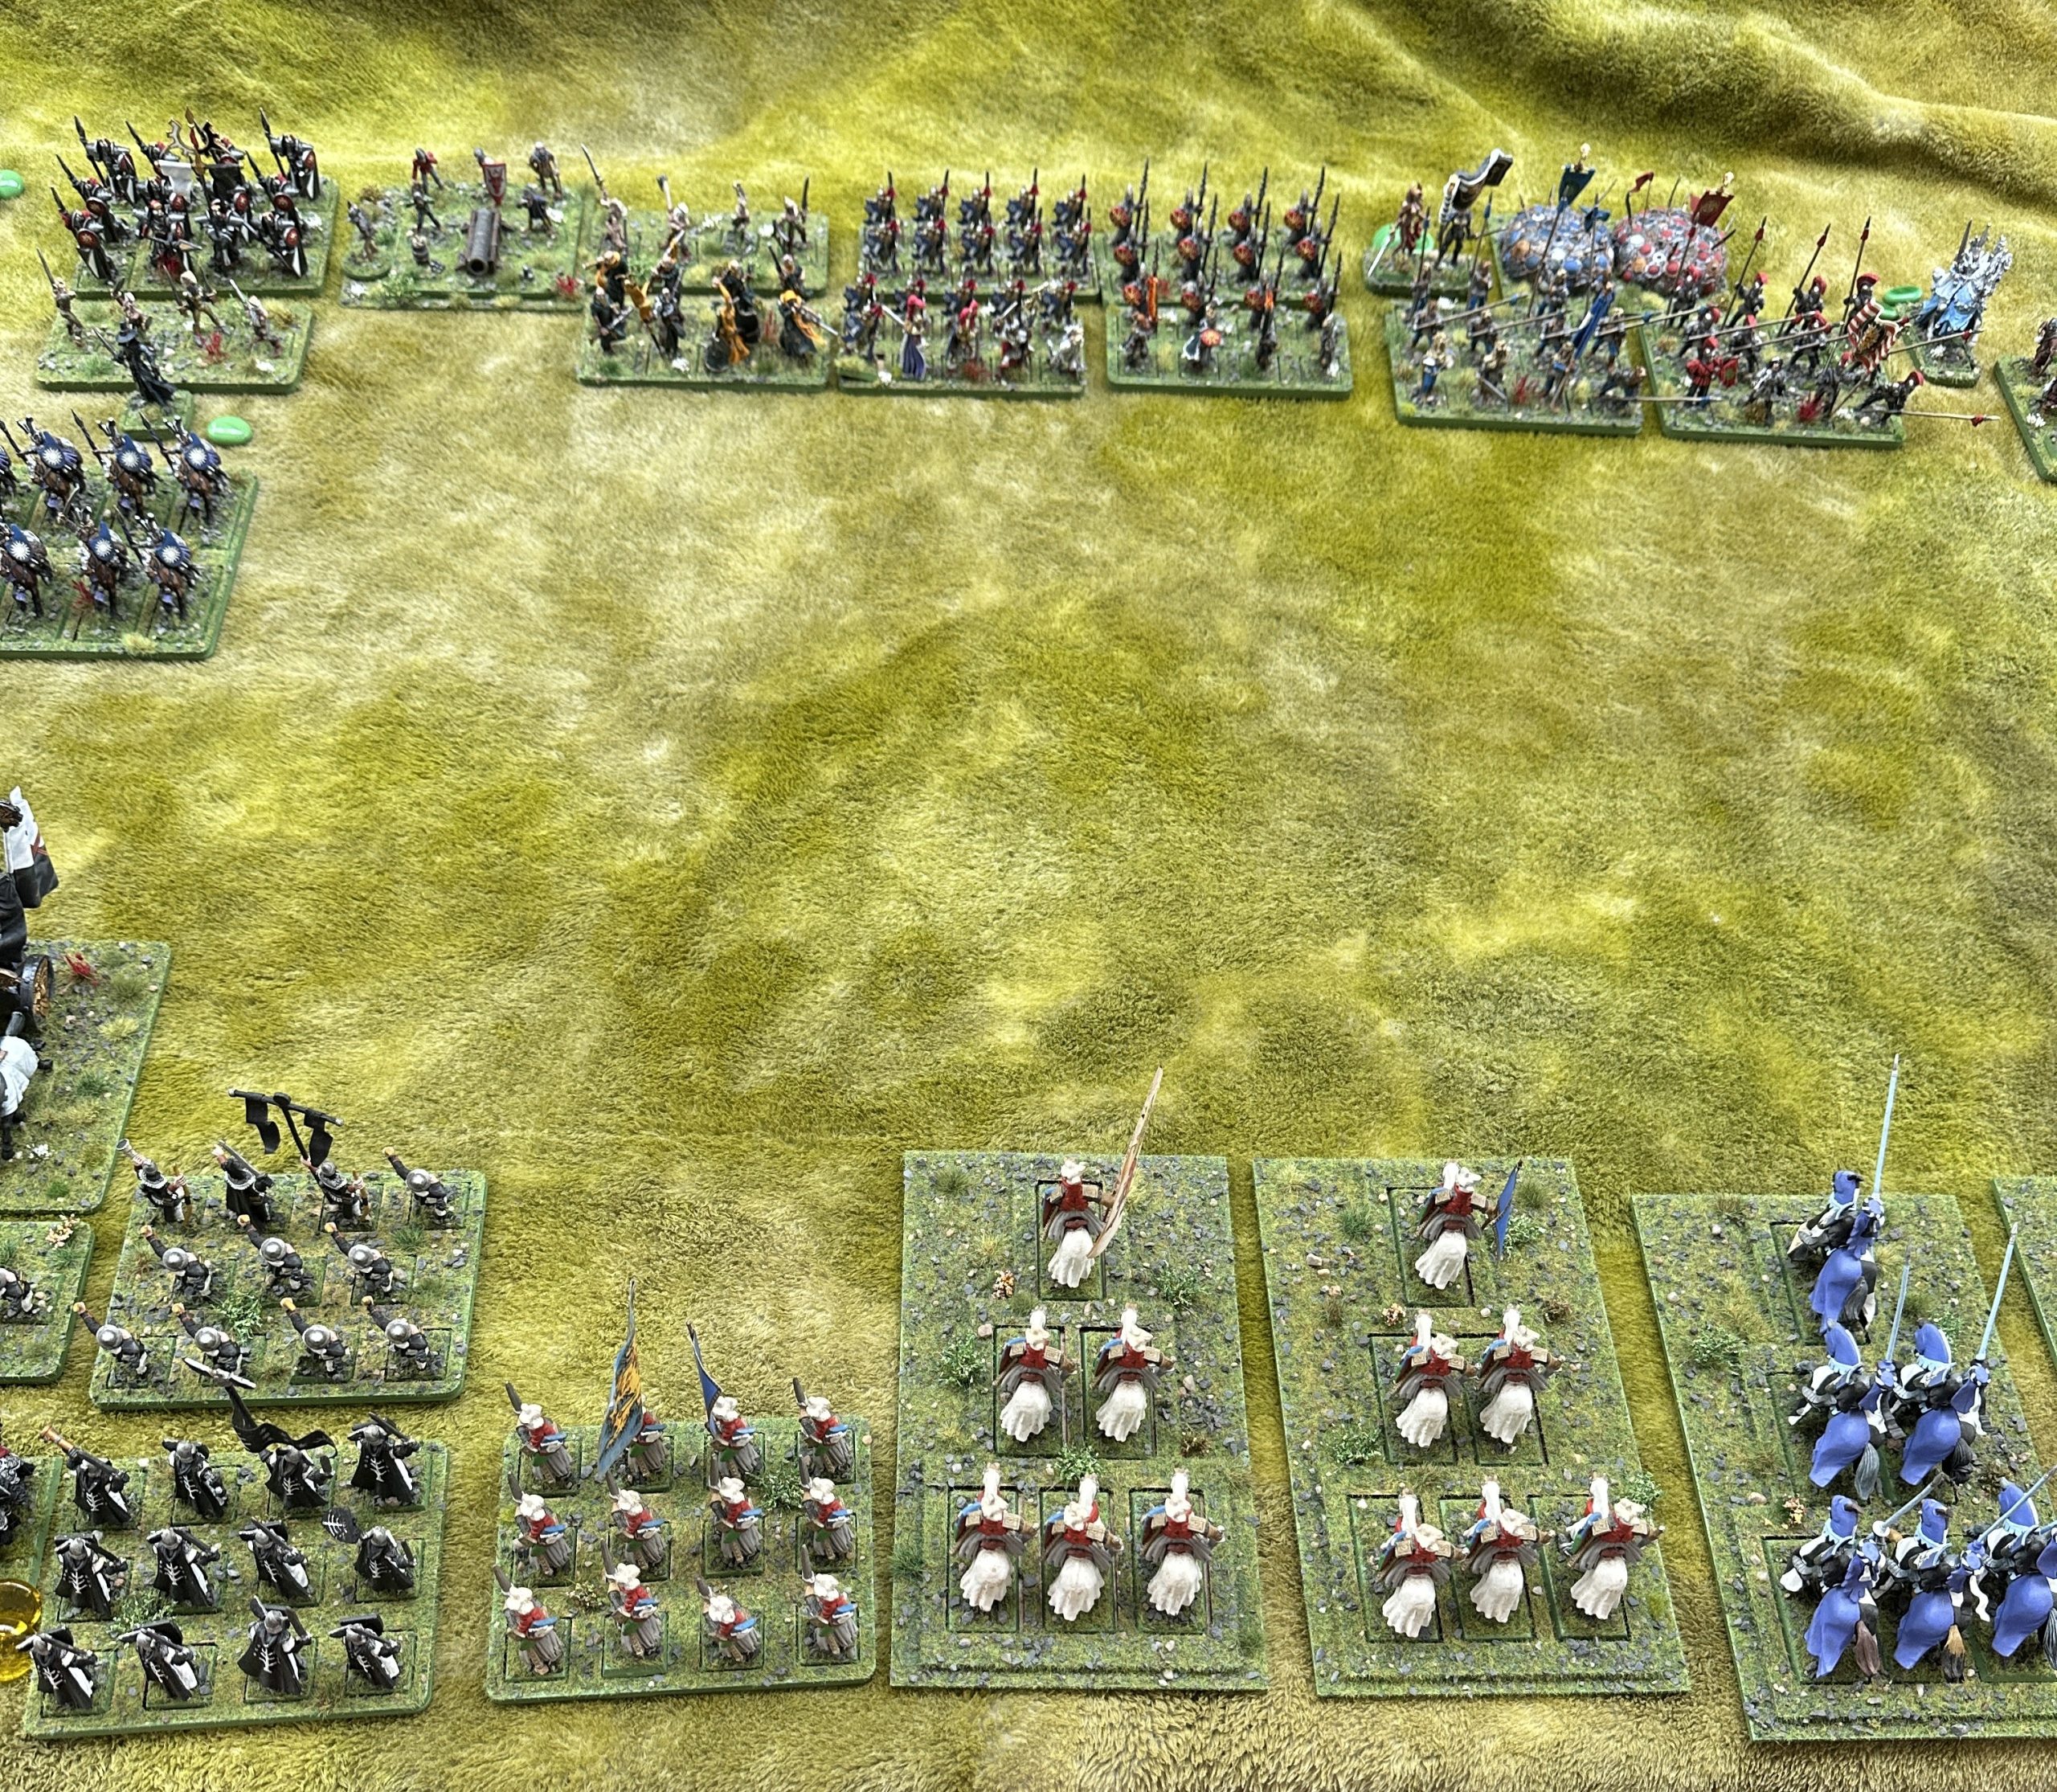
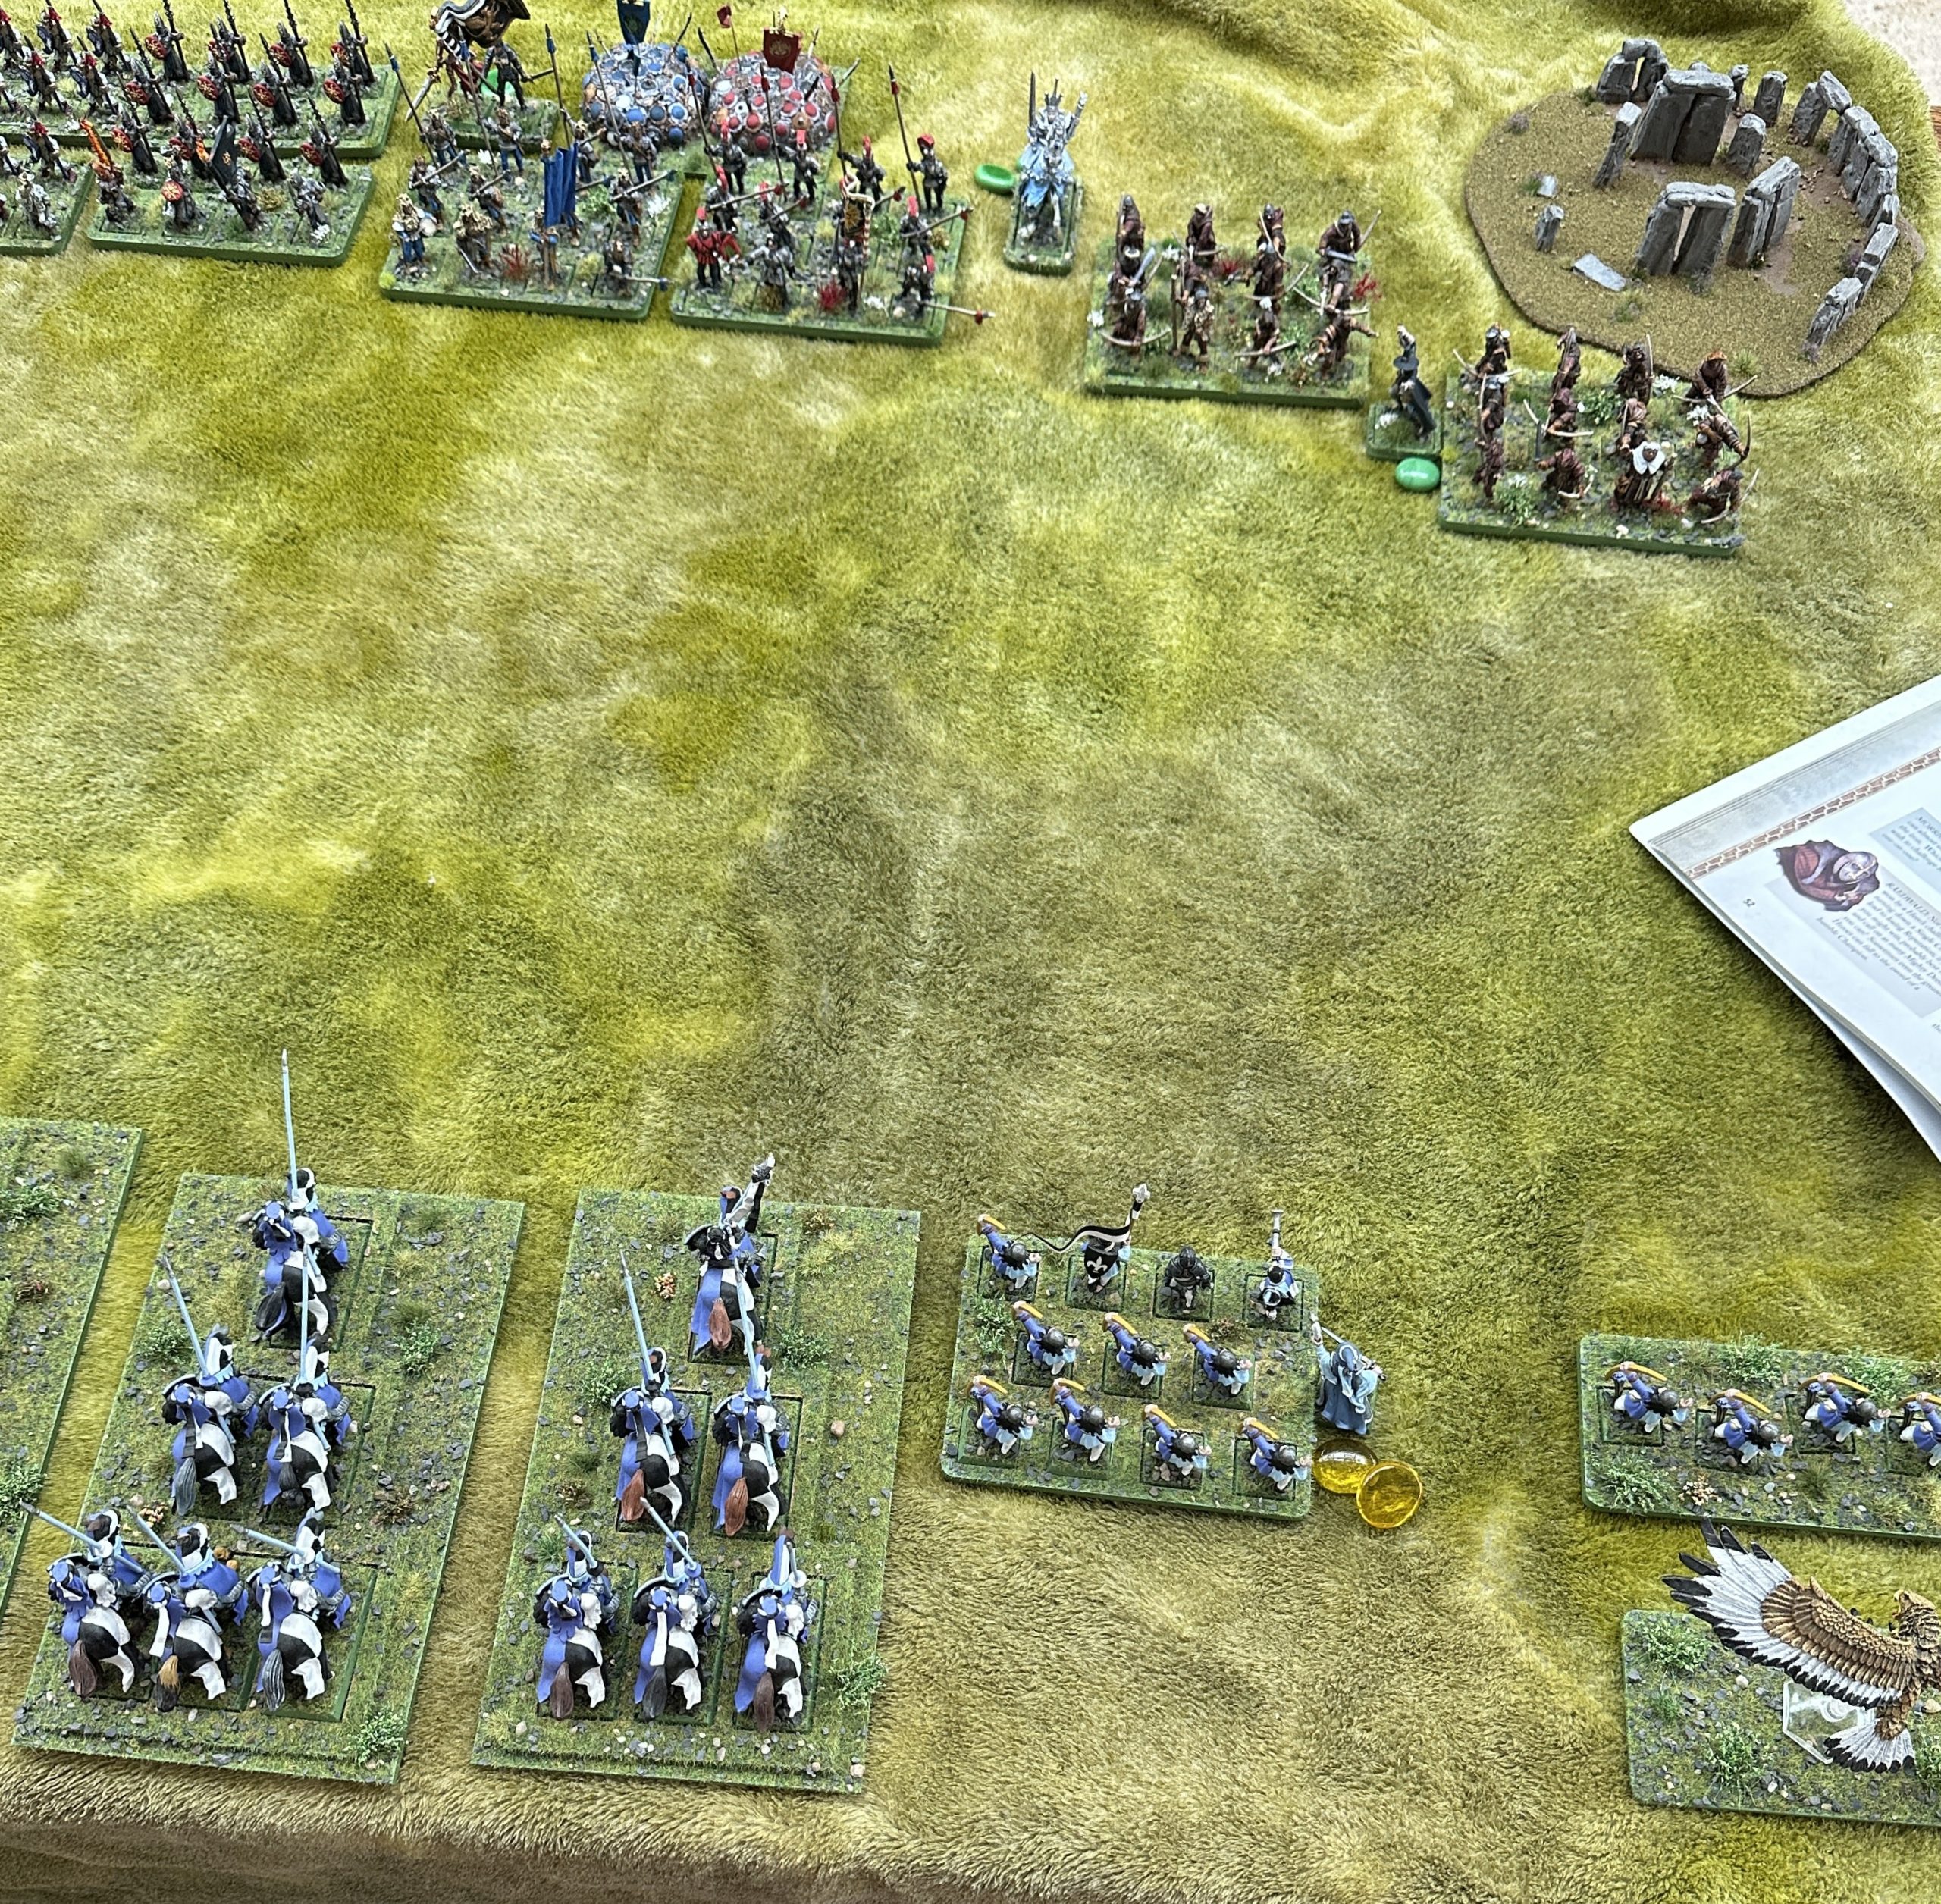
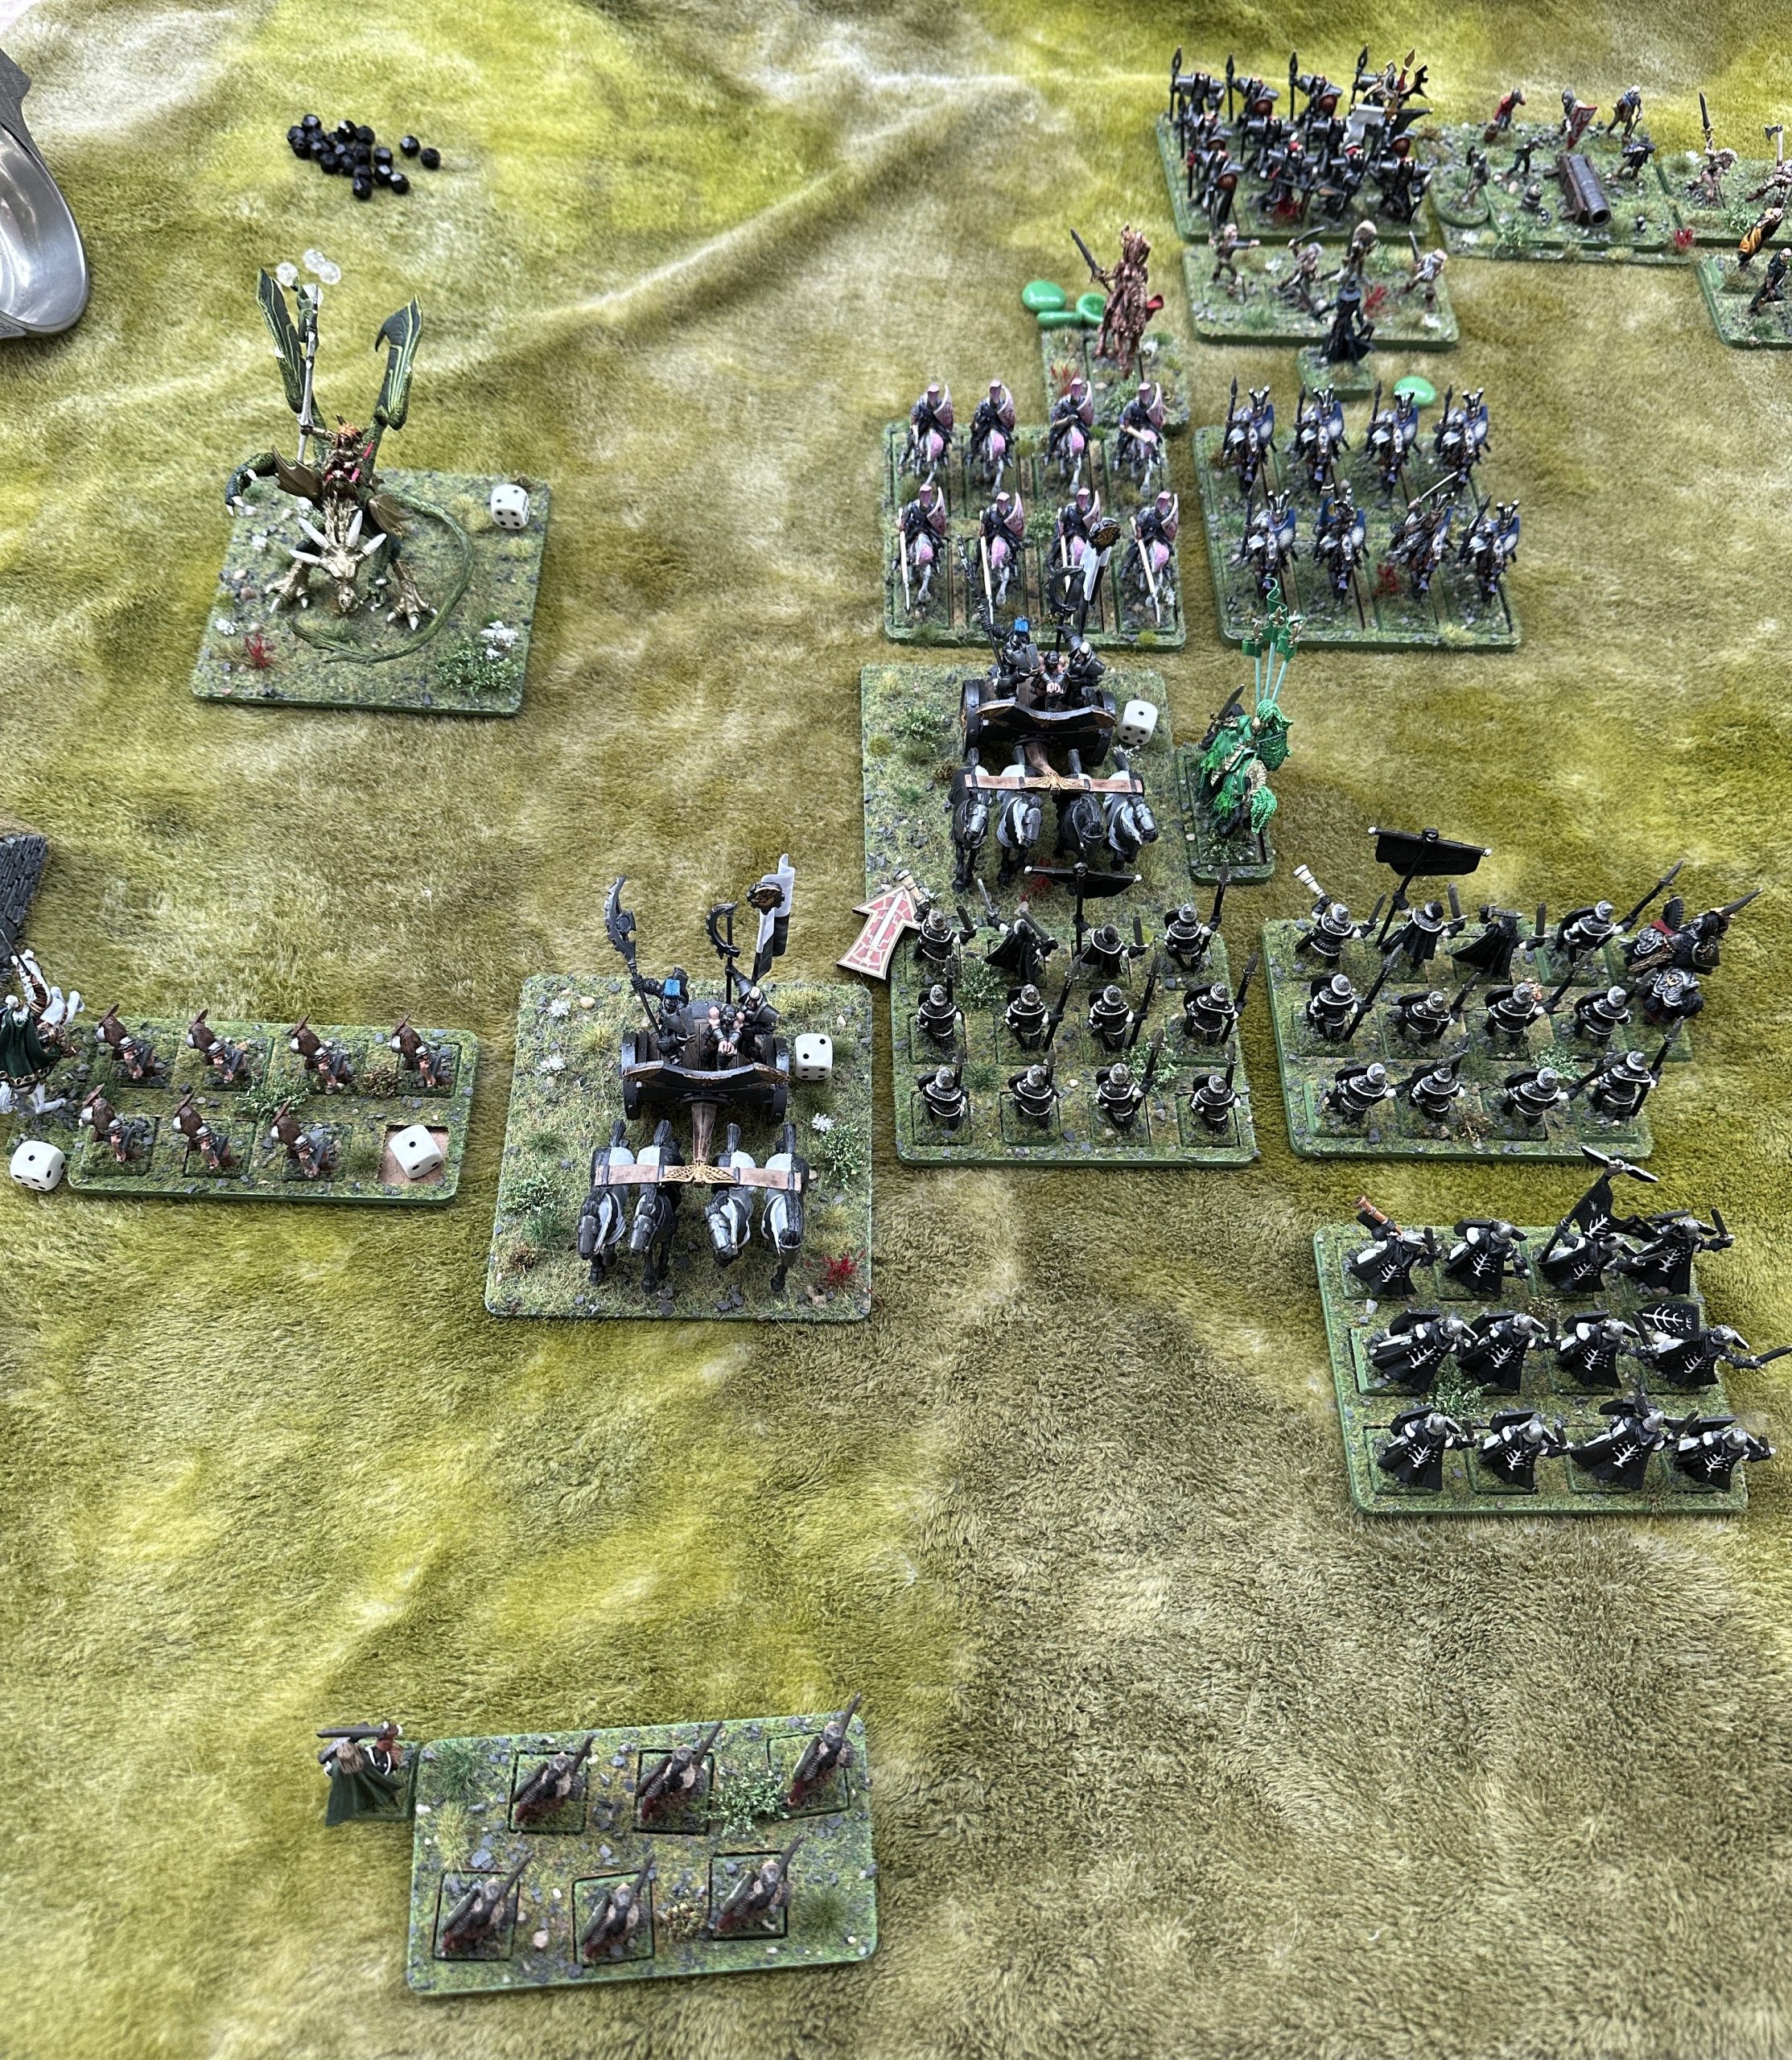
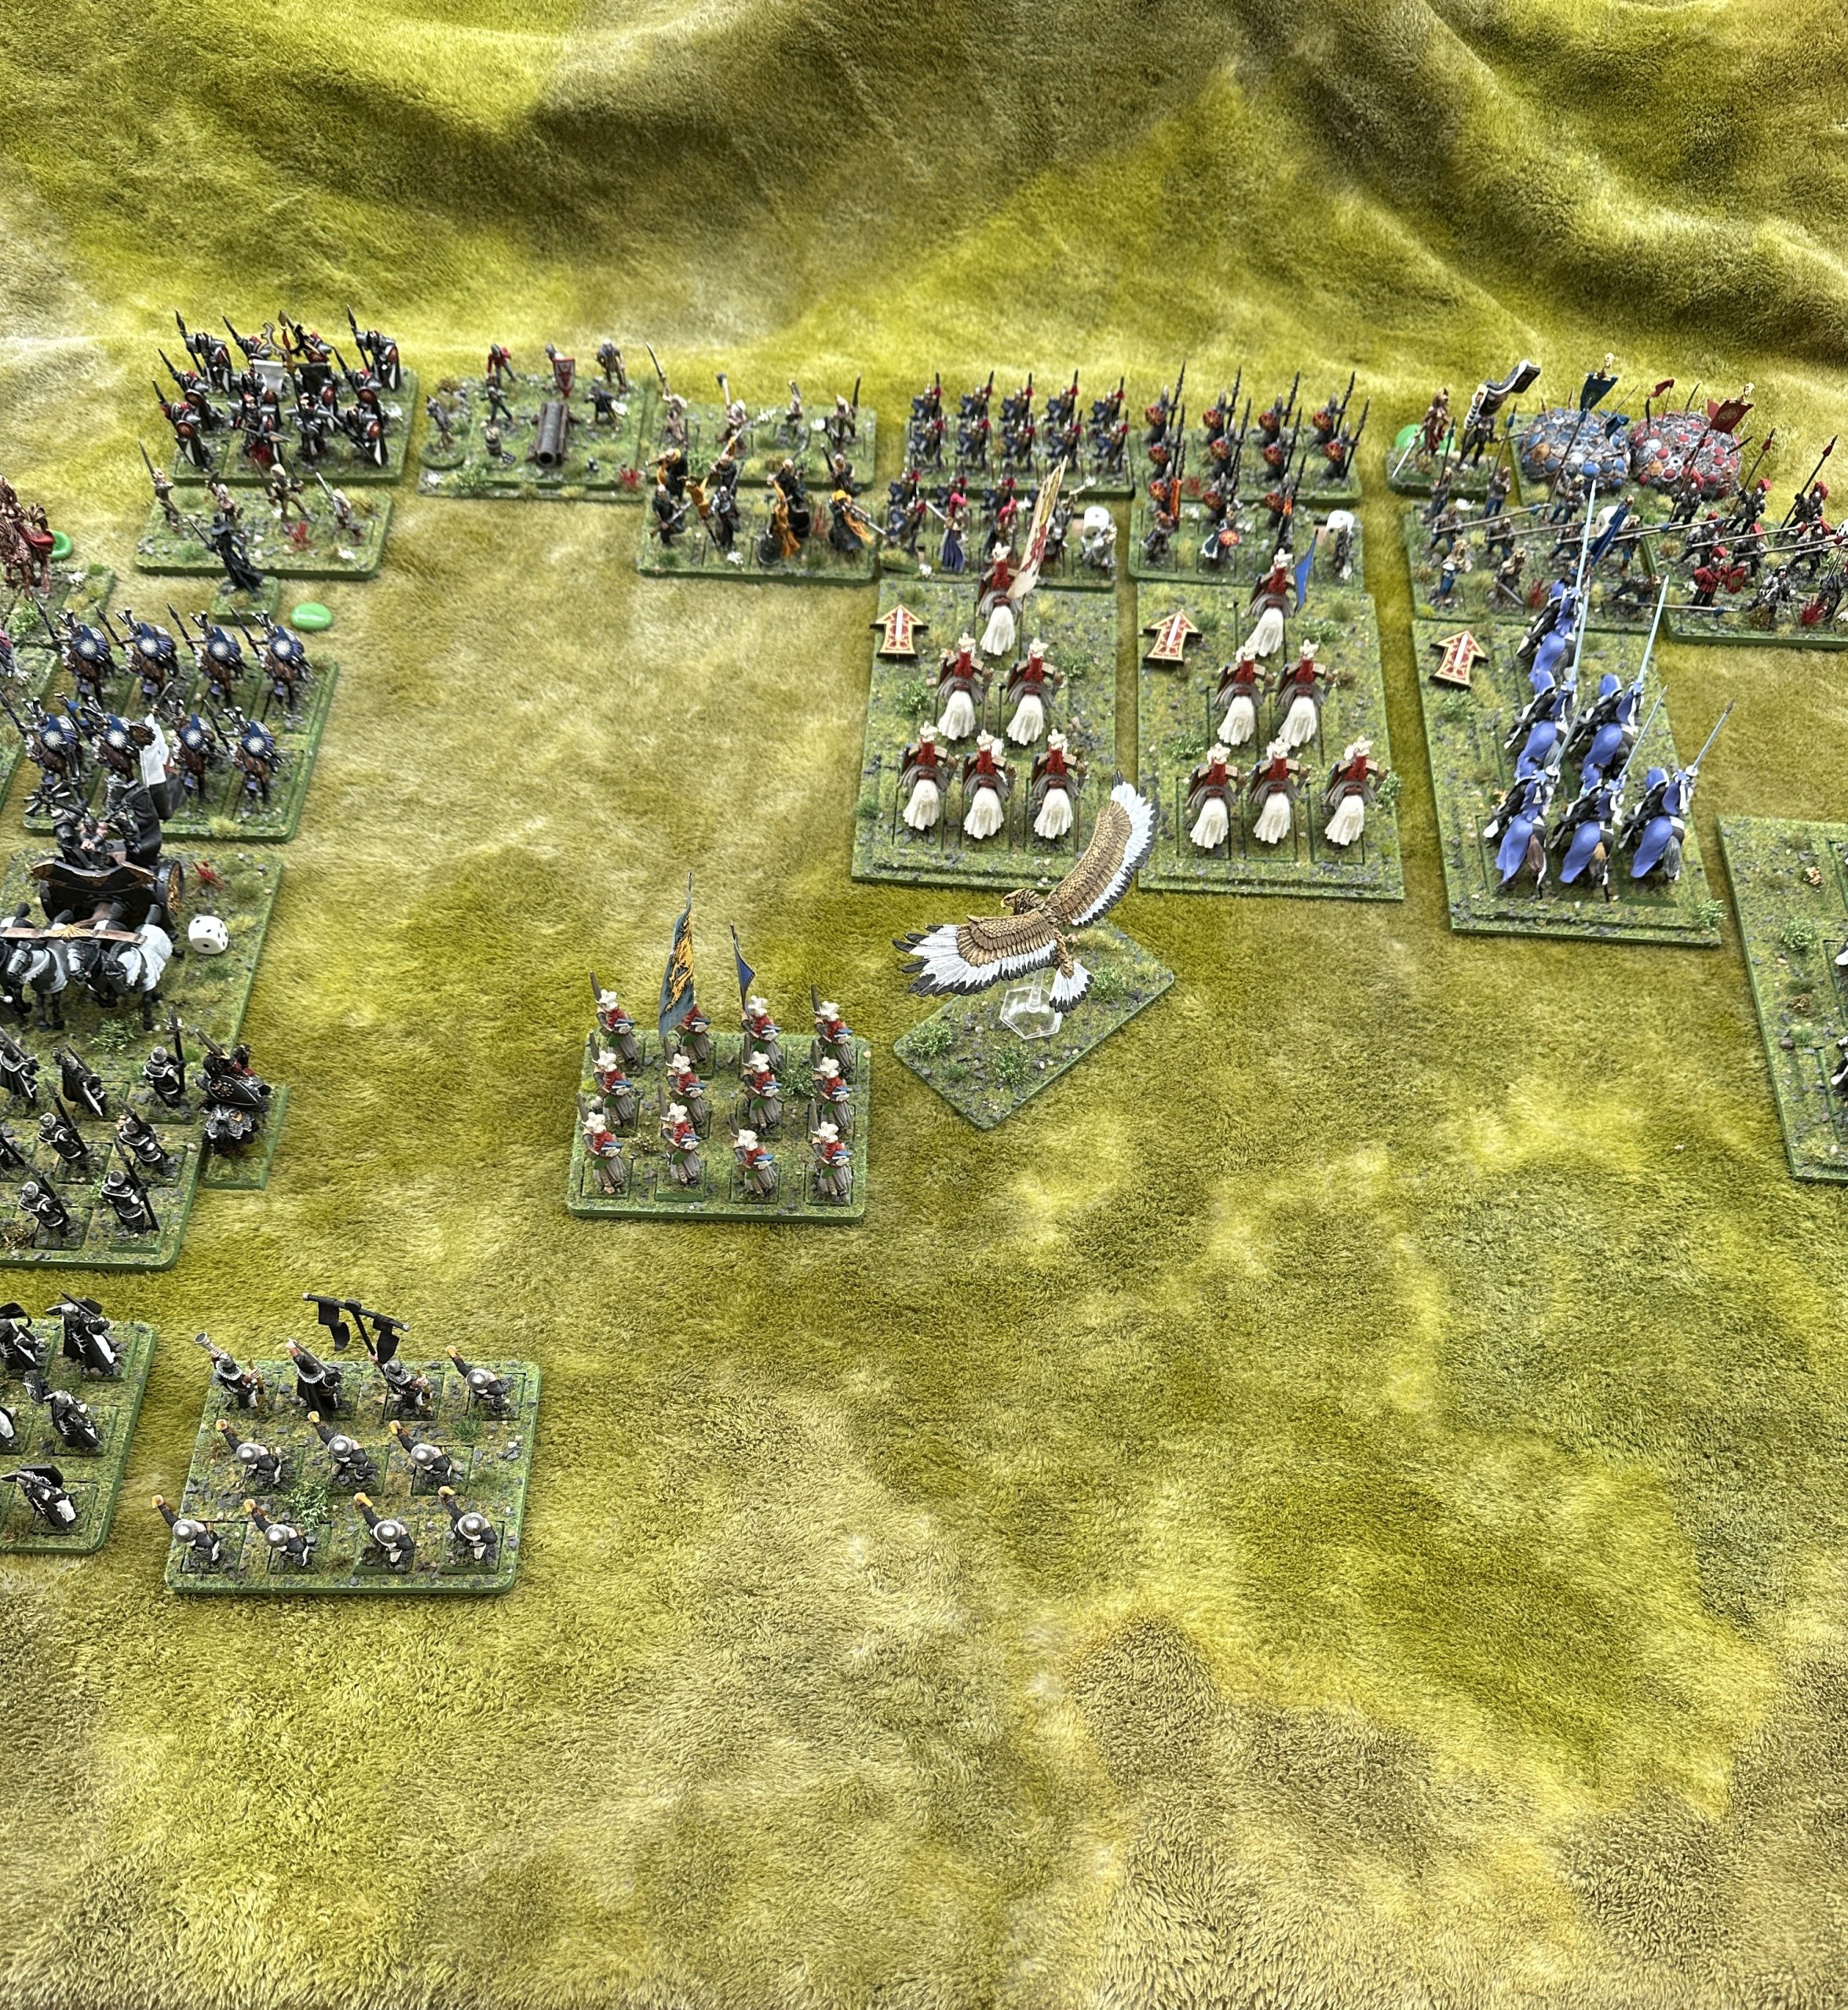
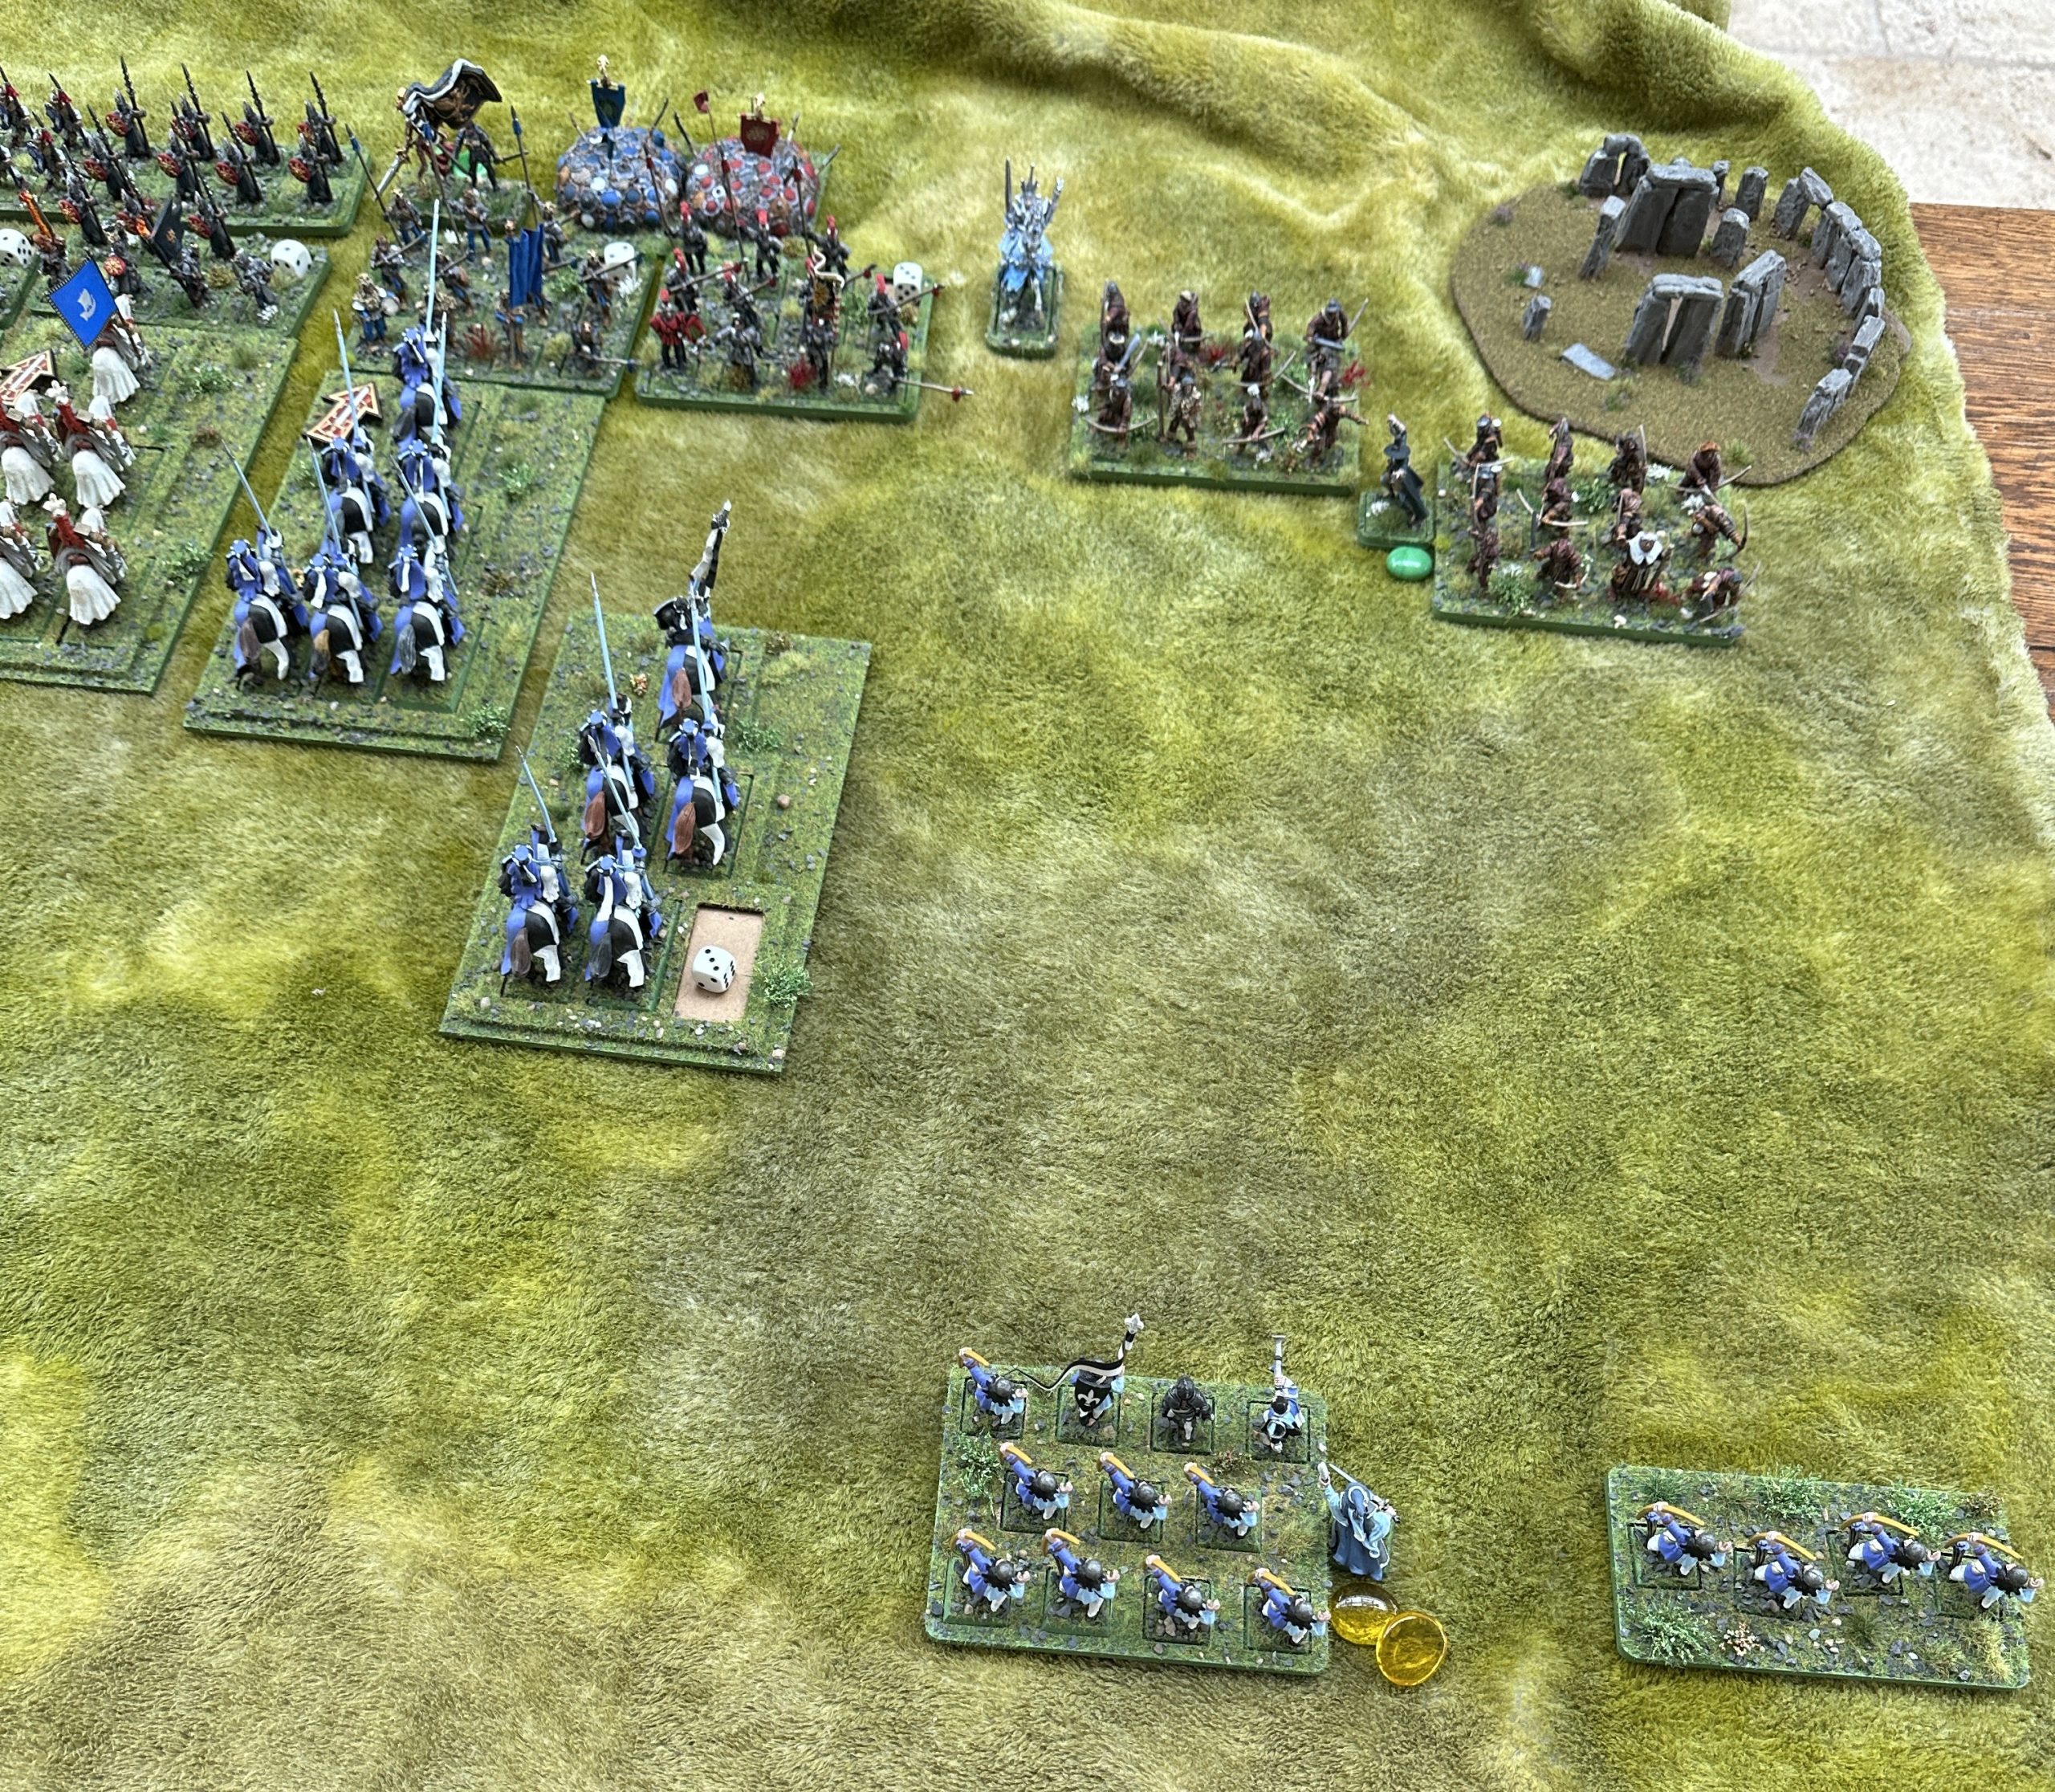
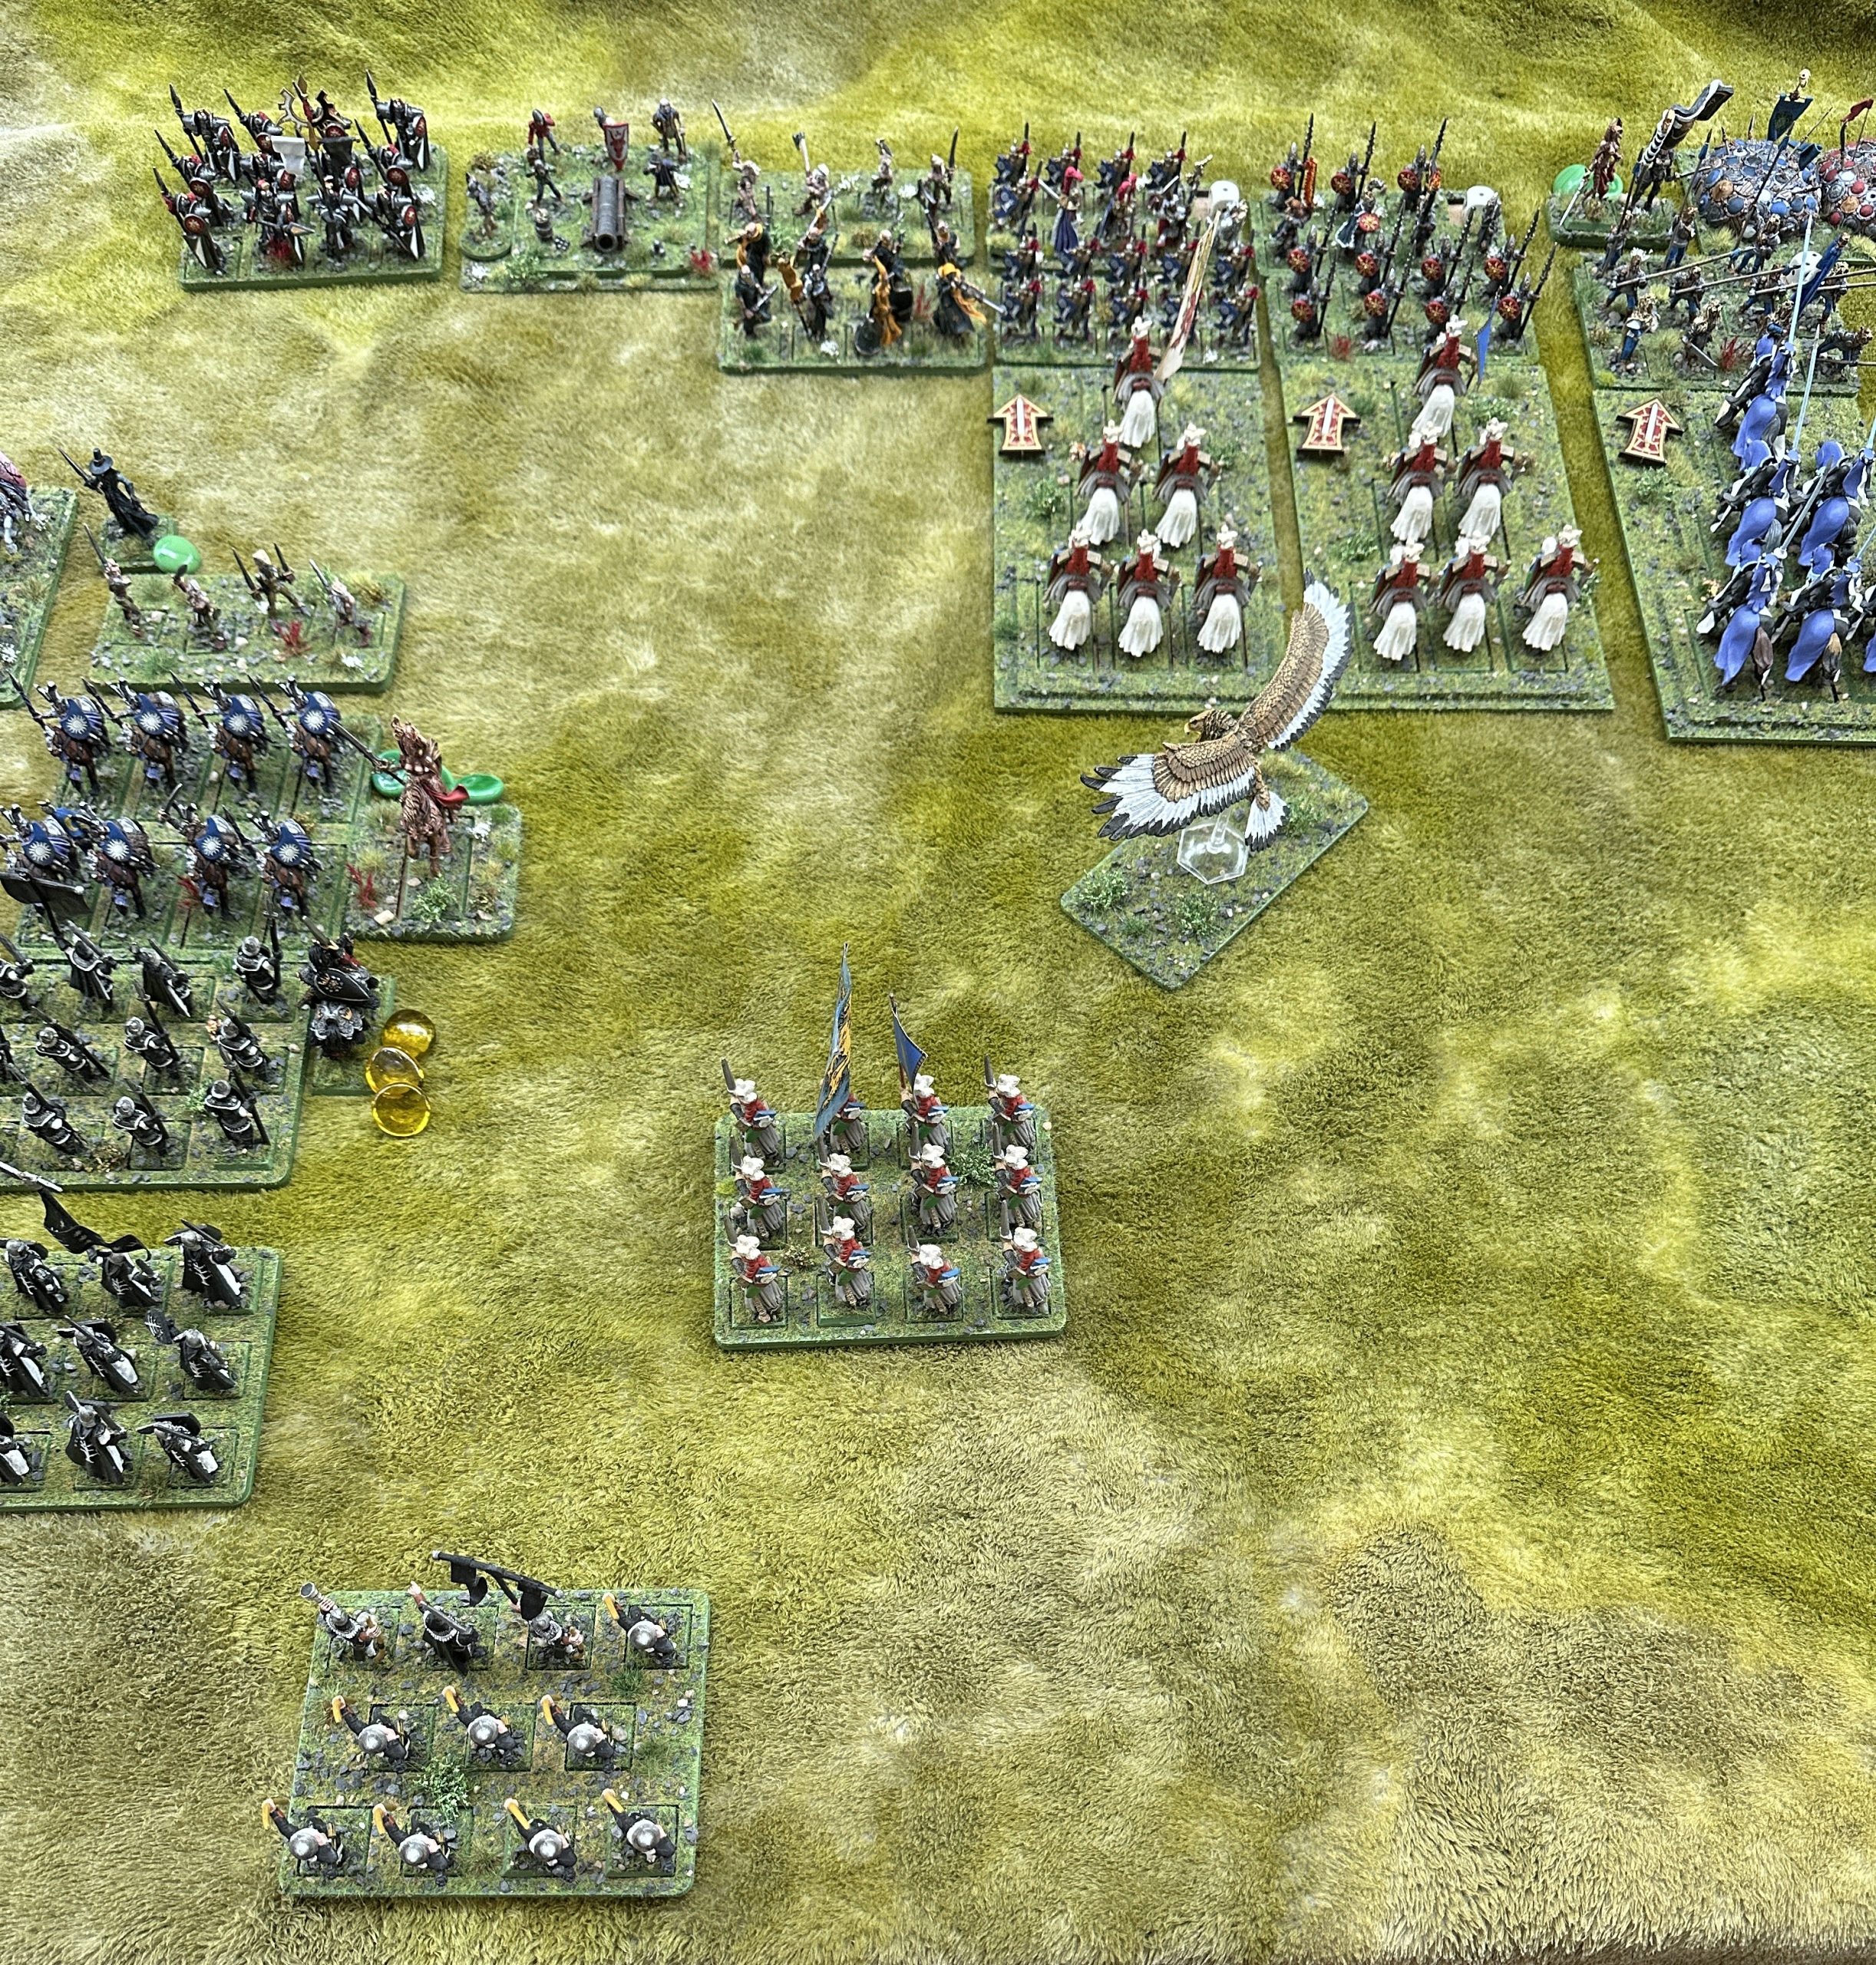
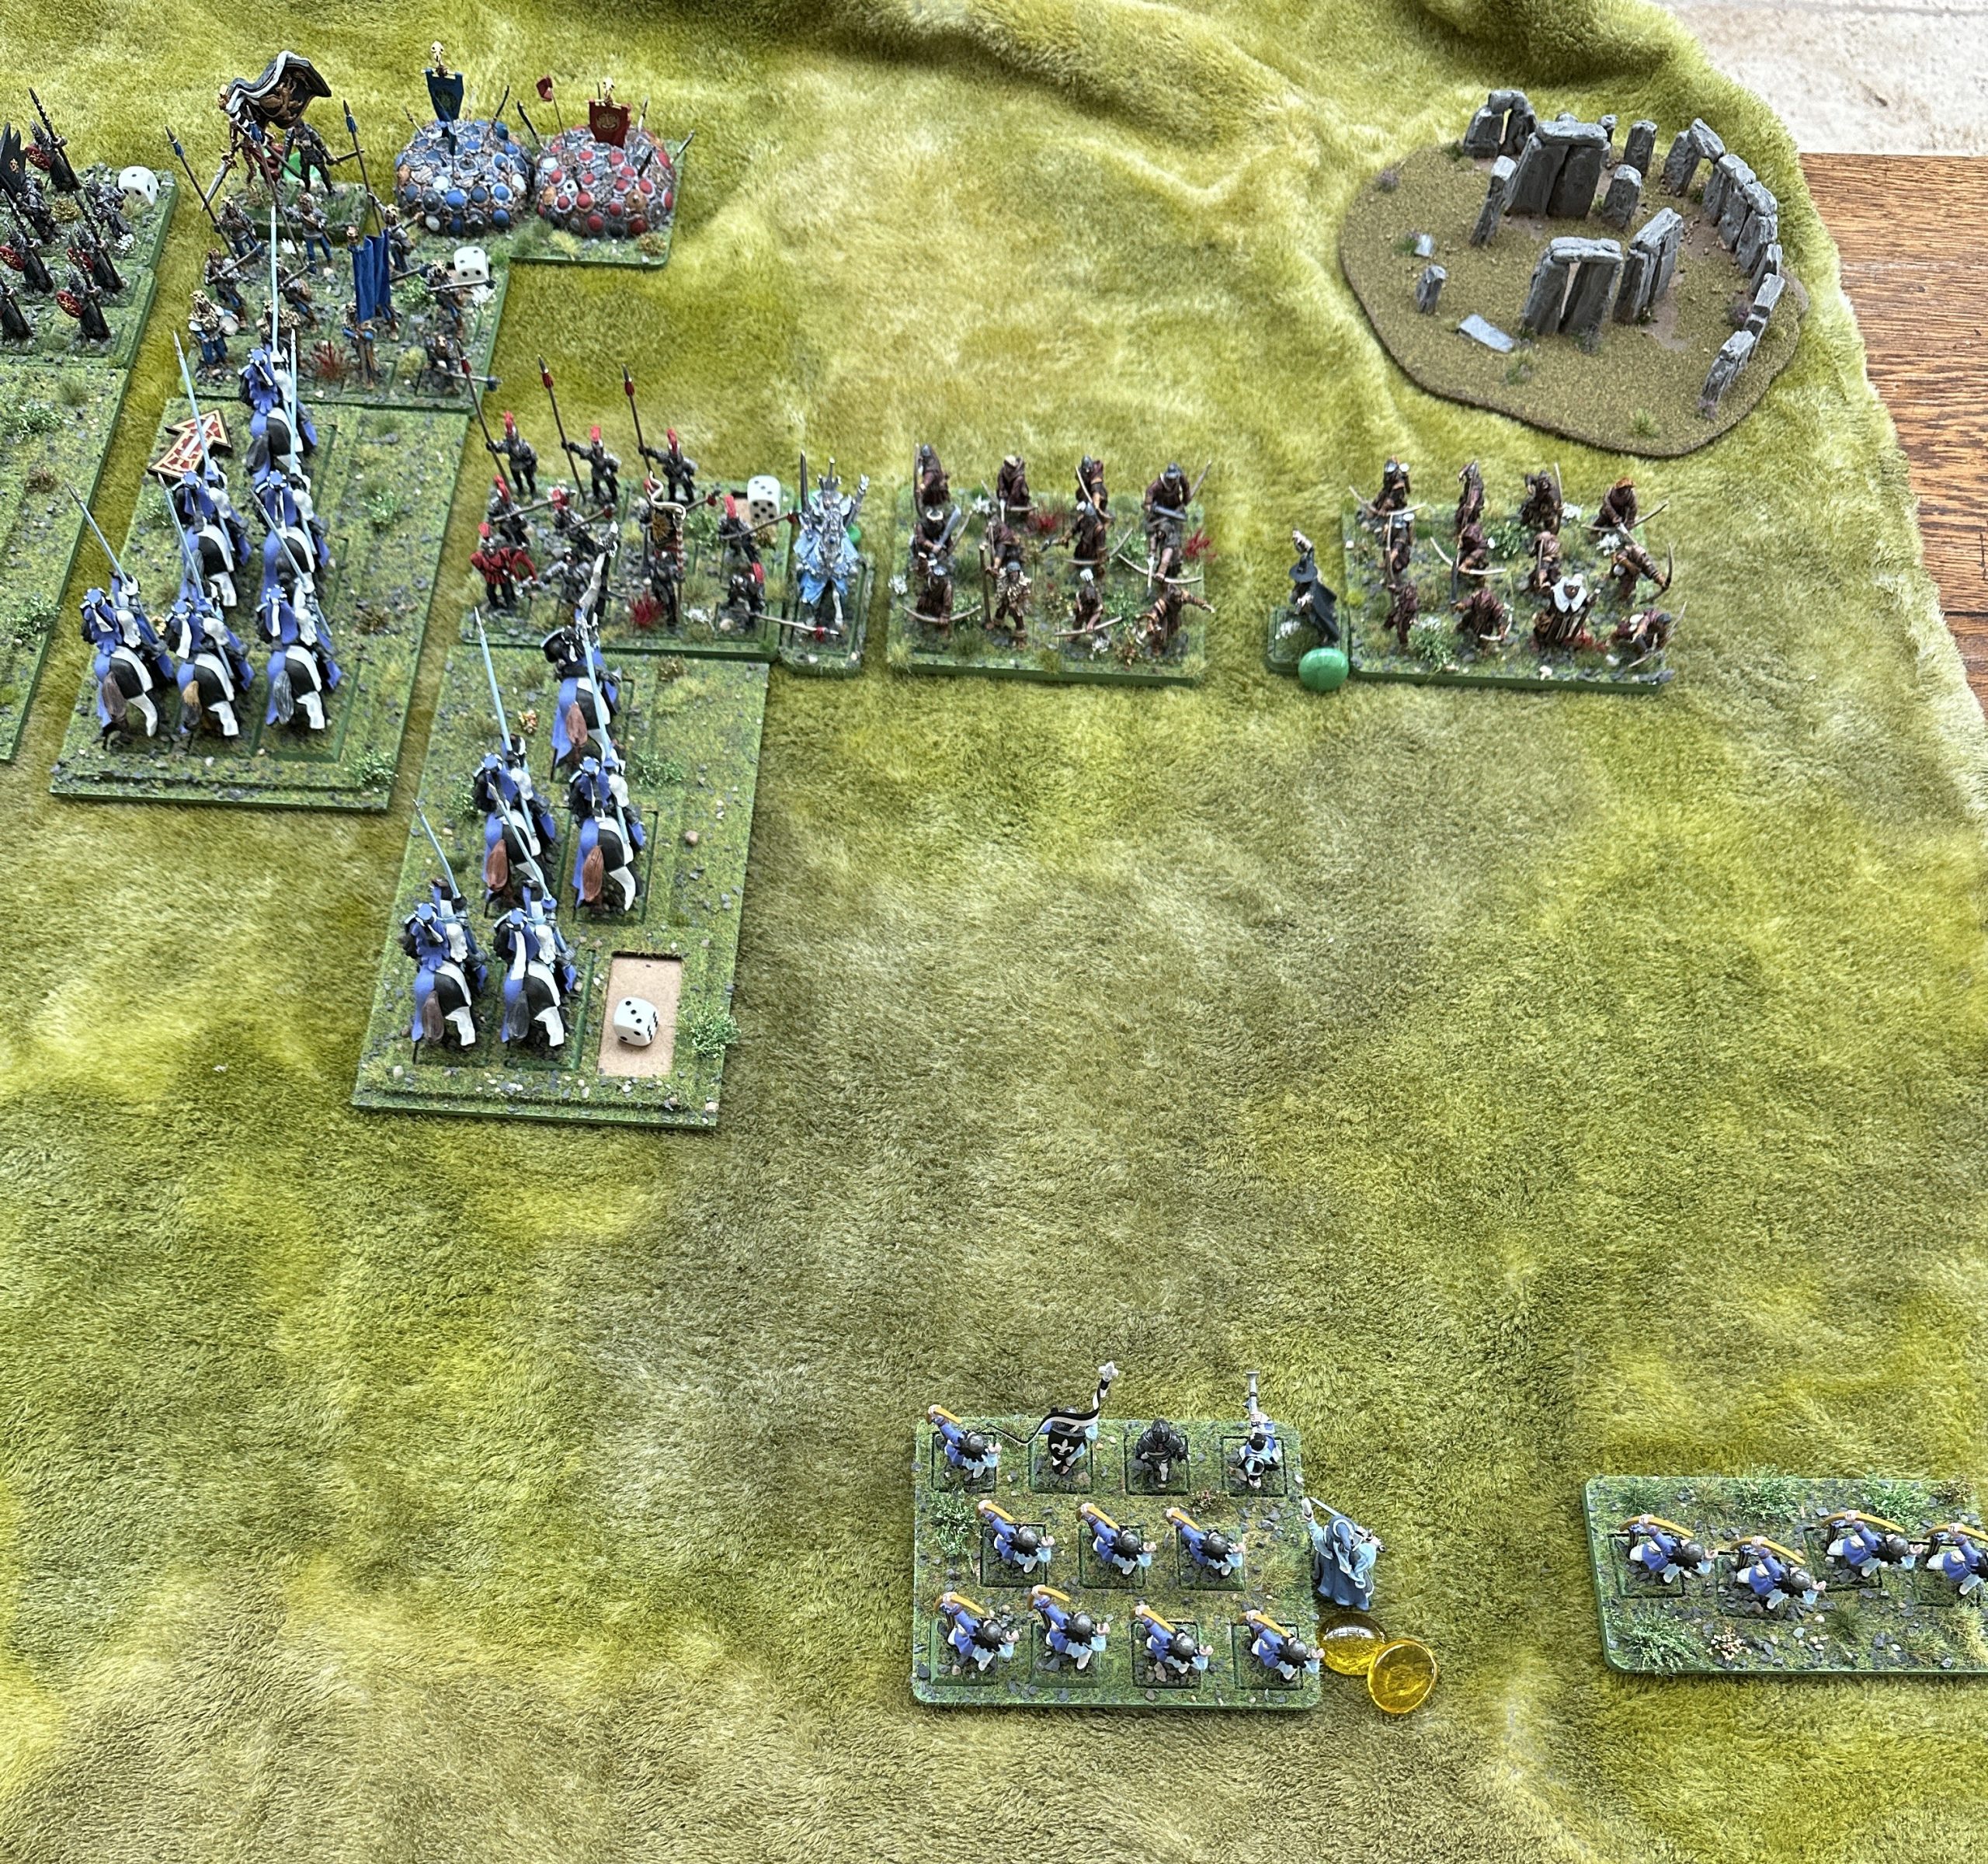
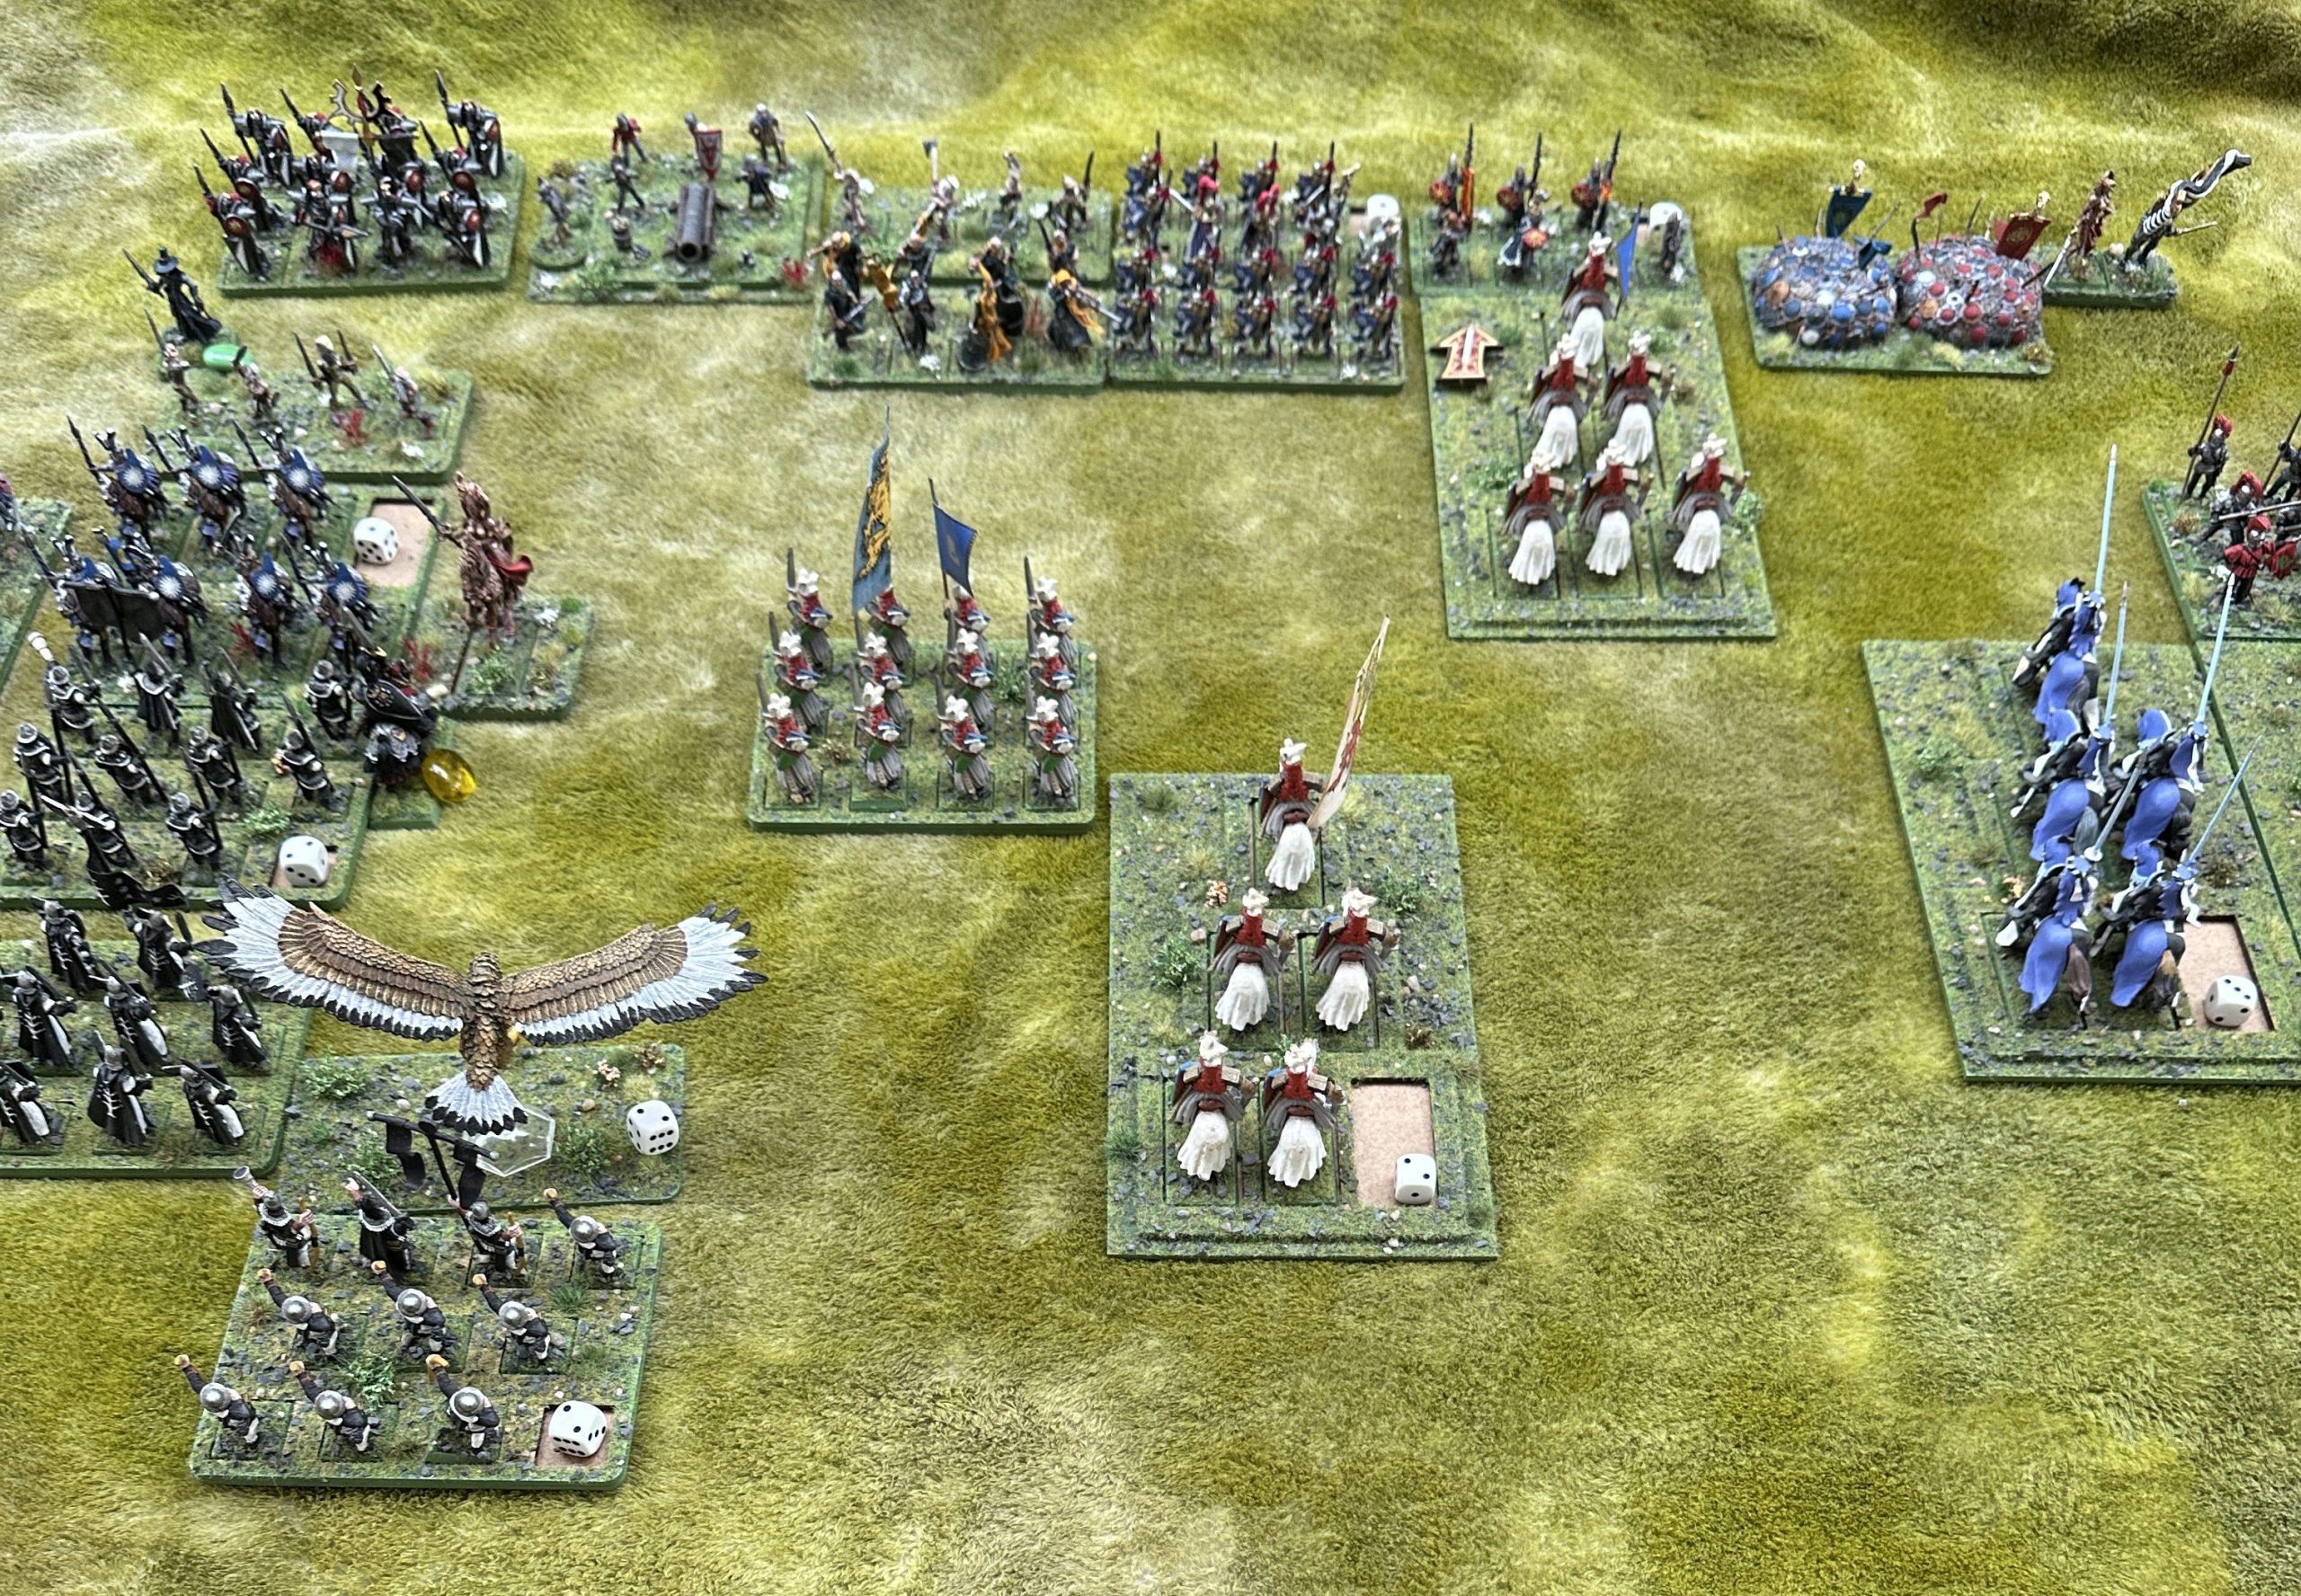
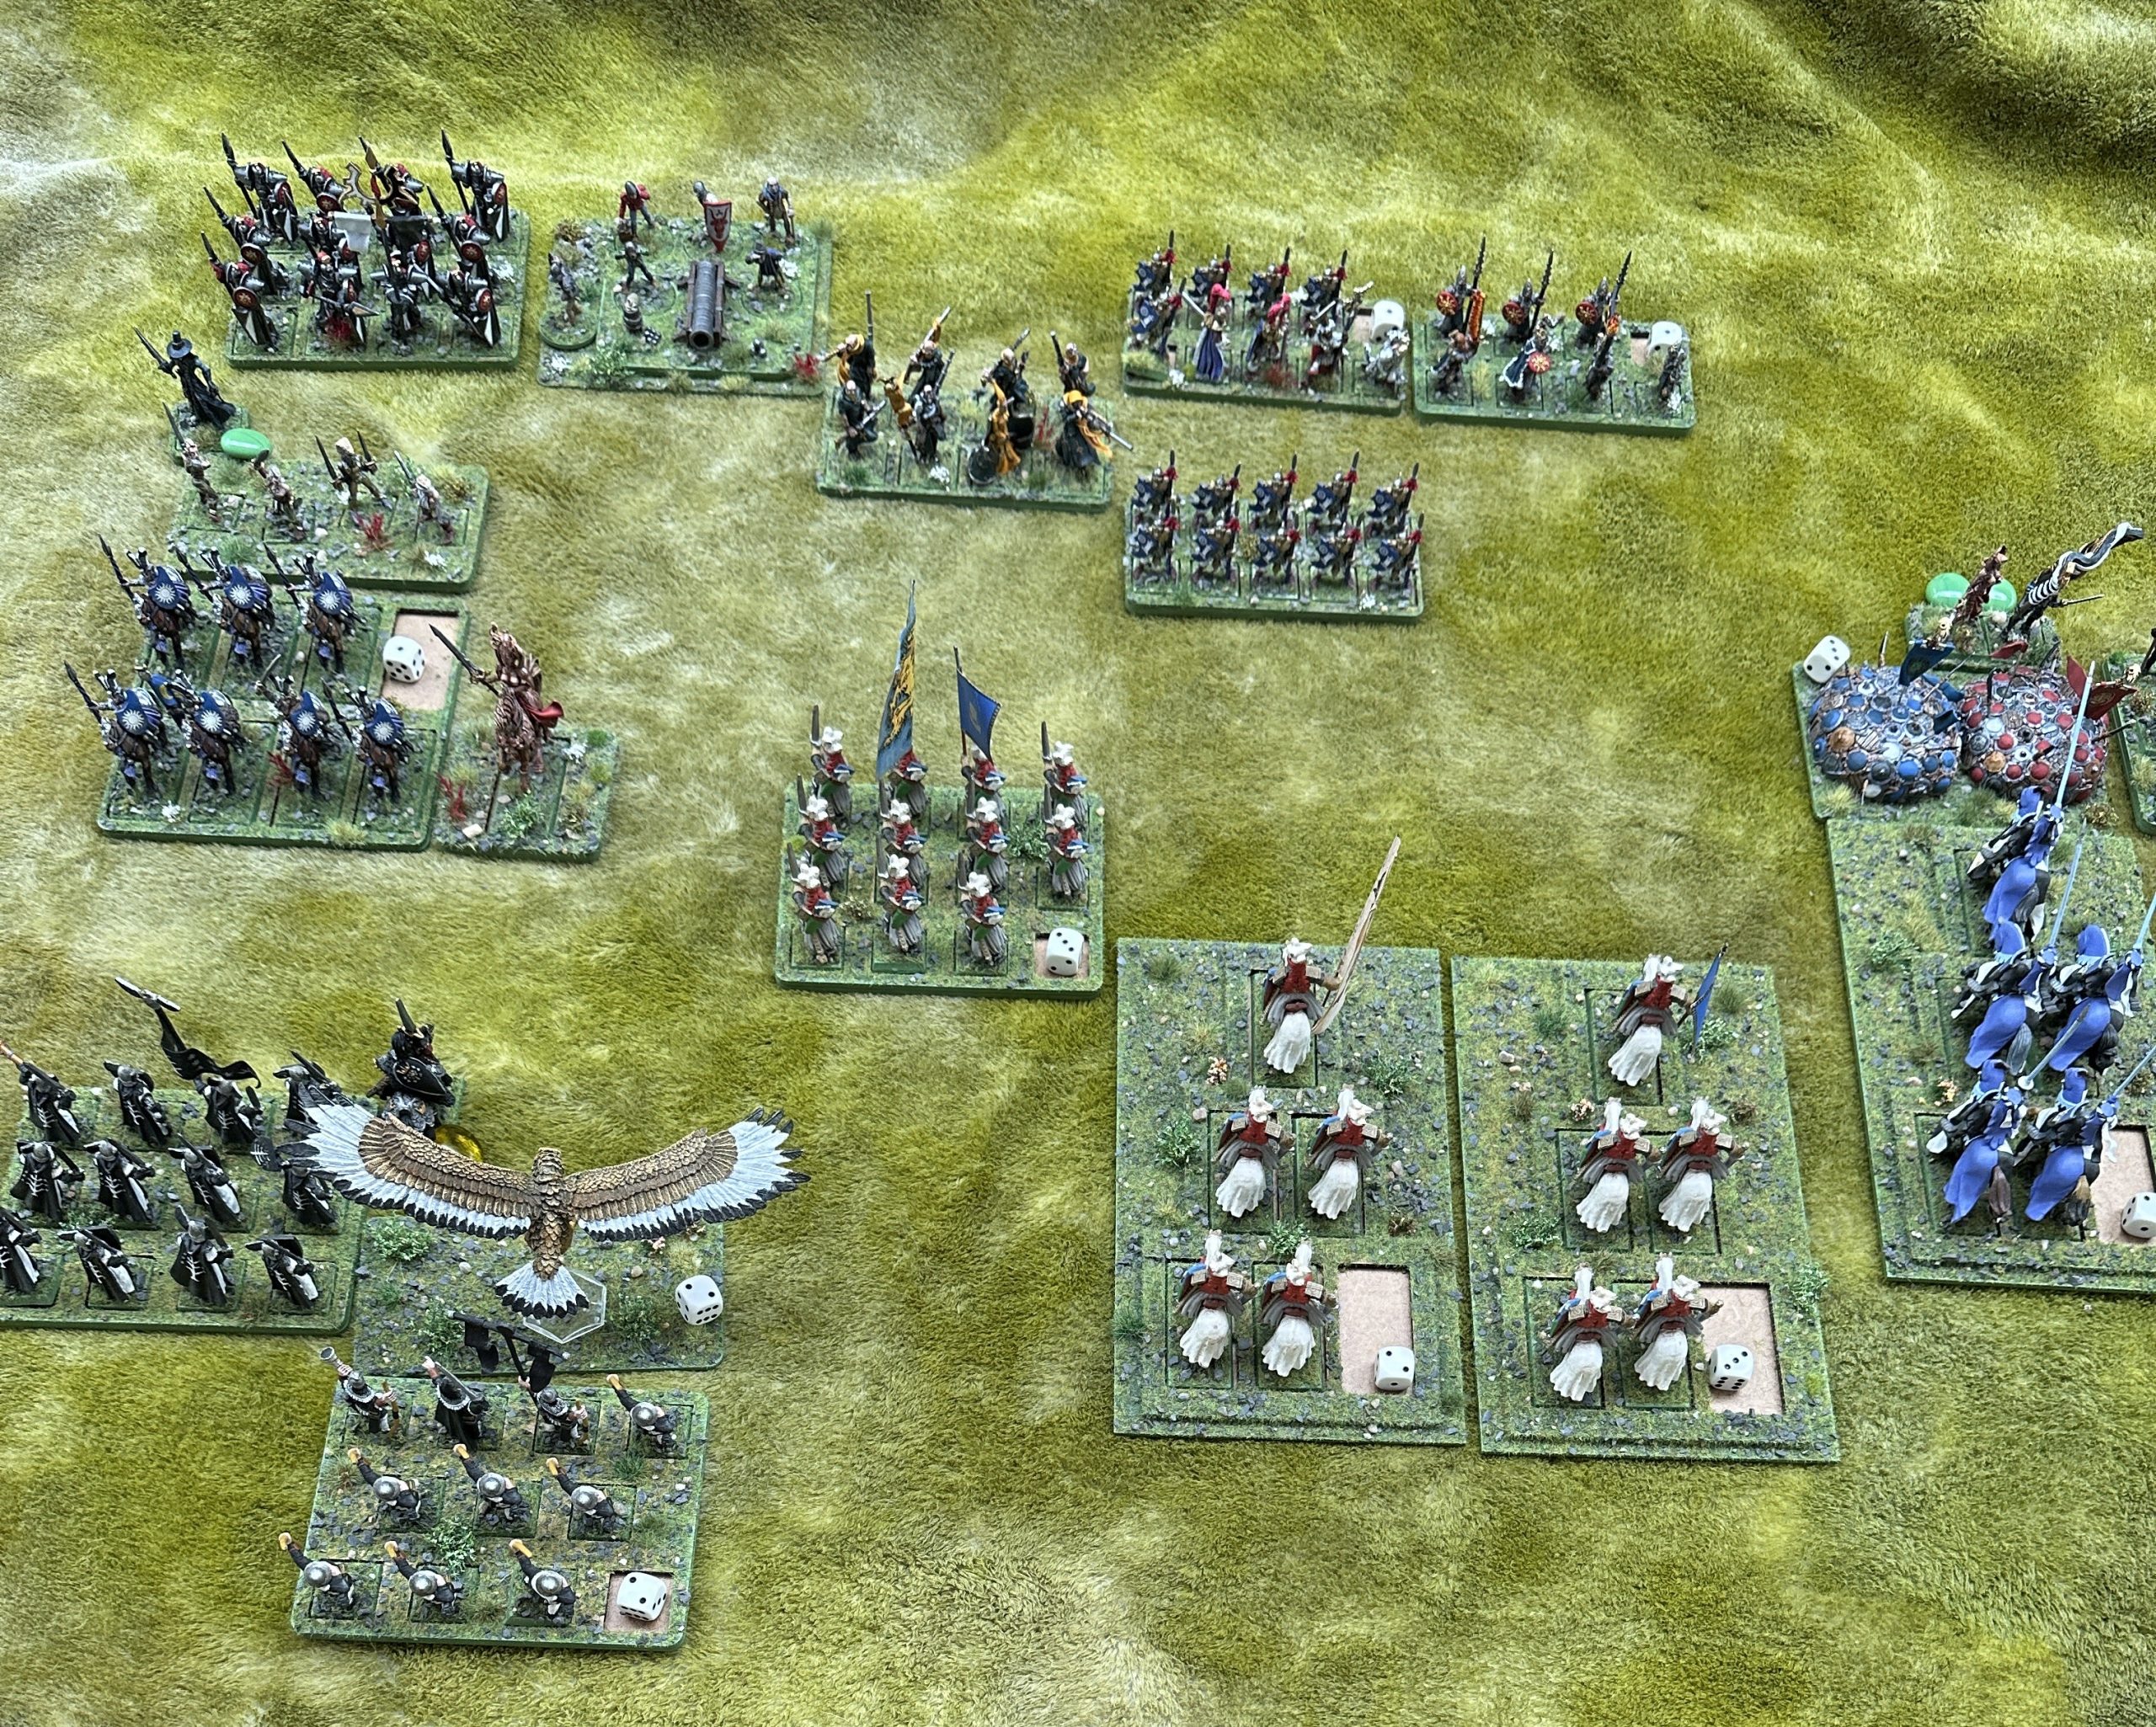
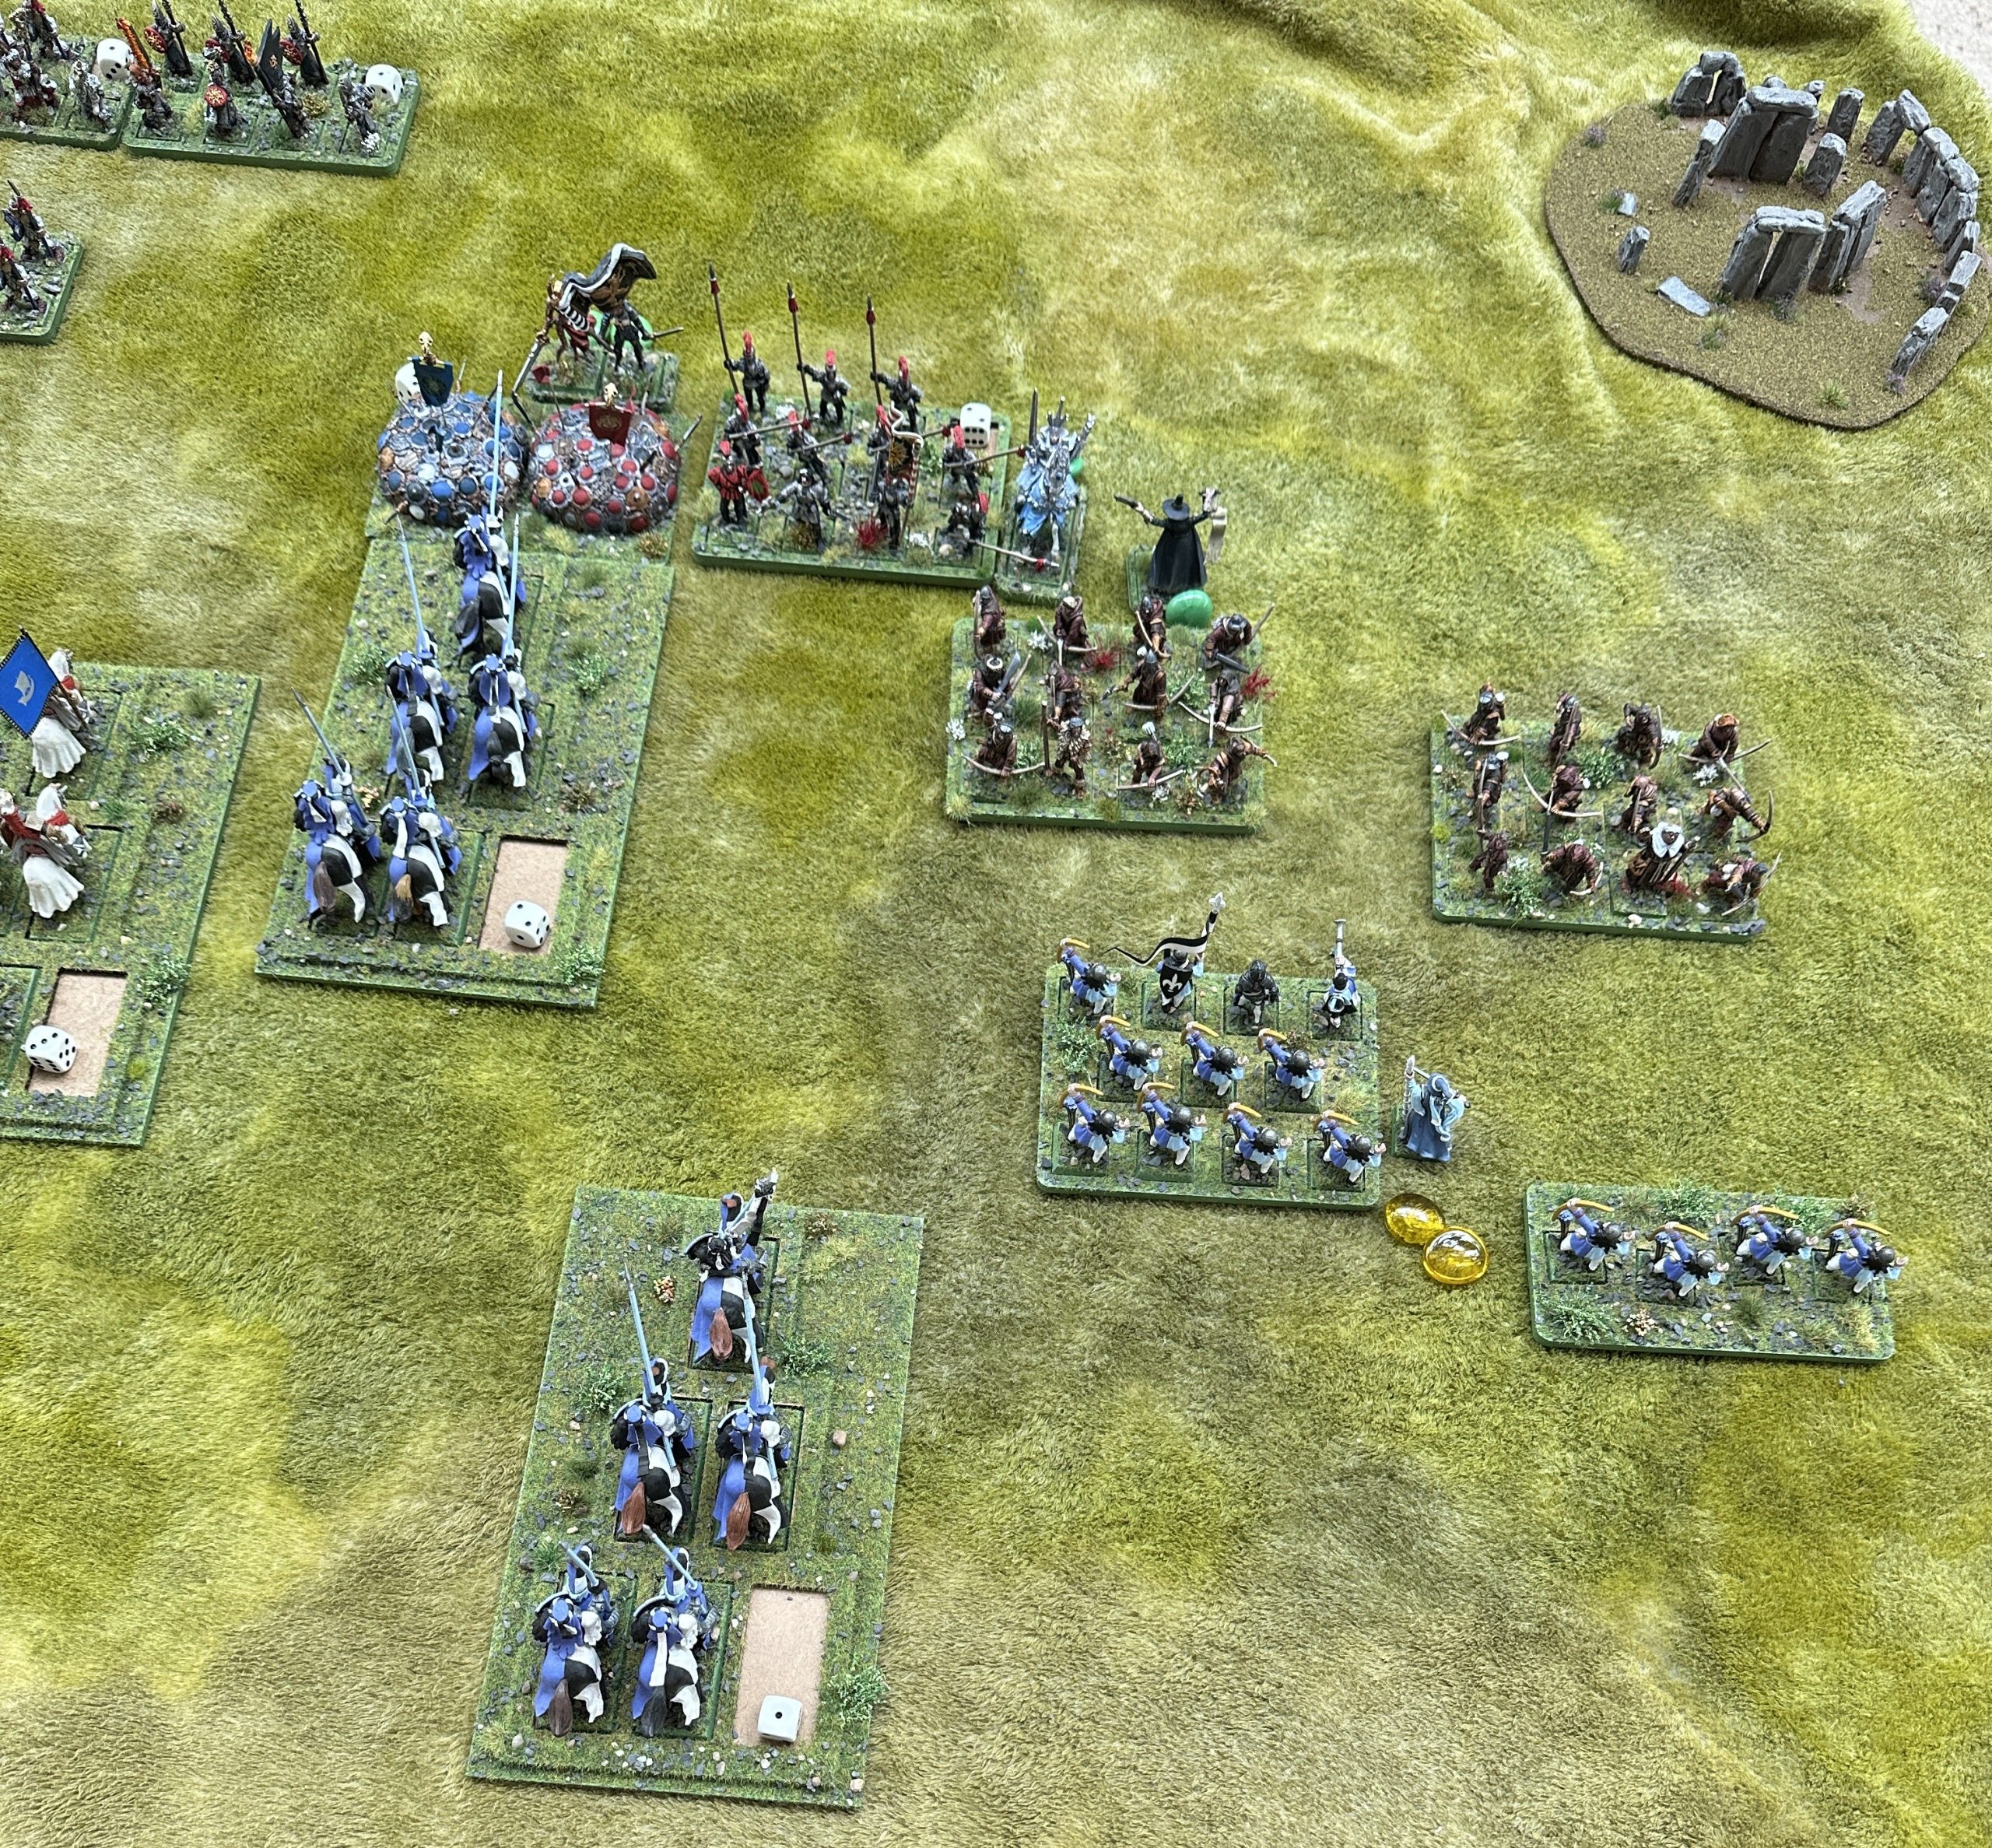
The first image is of both sides, the Dogs of War are on the left. The review of both armies starts on their right flank and then across. The Dogs have the dragon on their right, the Imperials have the great eagle on their right.
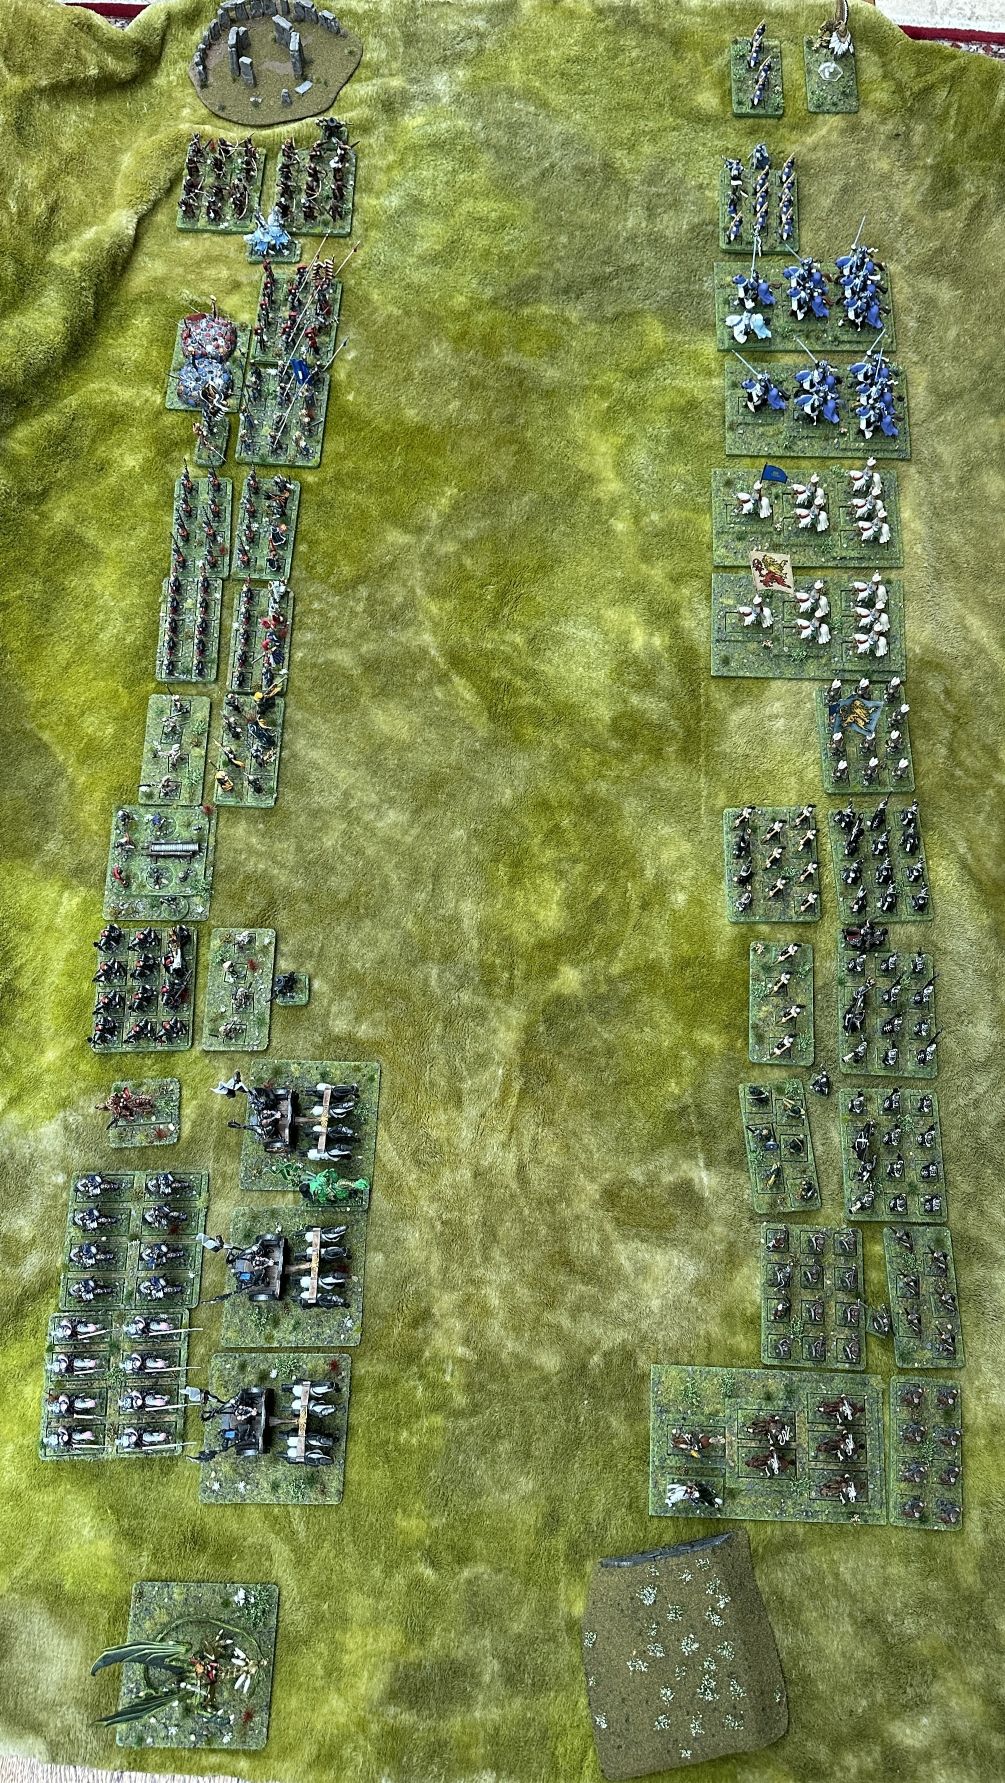 Battle of Barrowvale. Dogs of War on the left and Imperials on the right.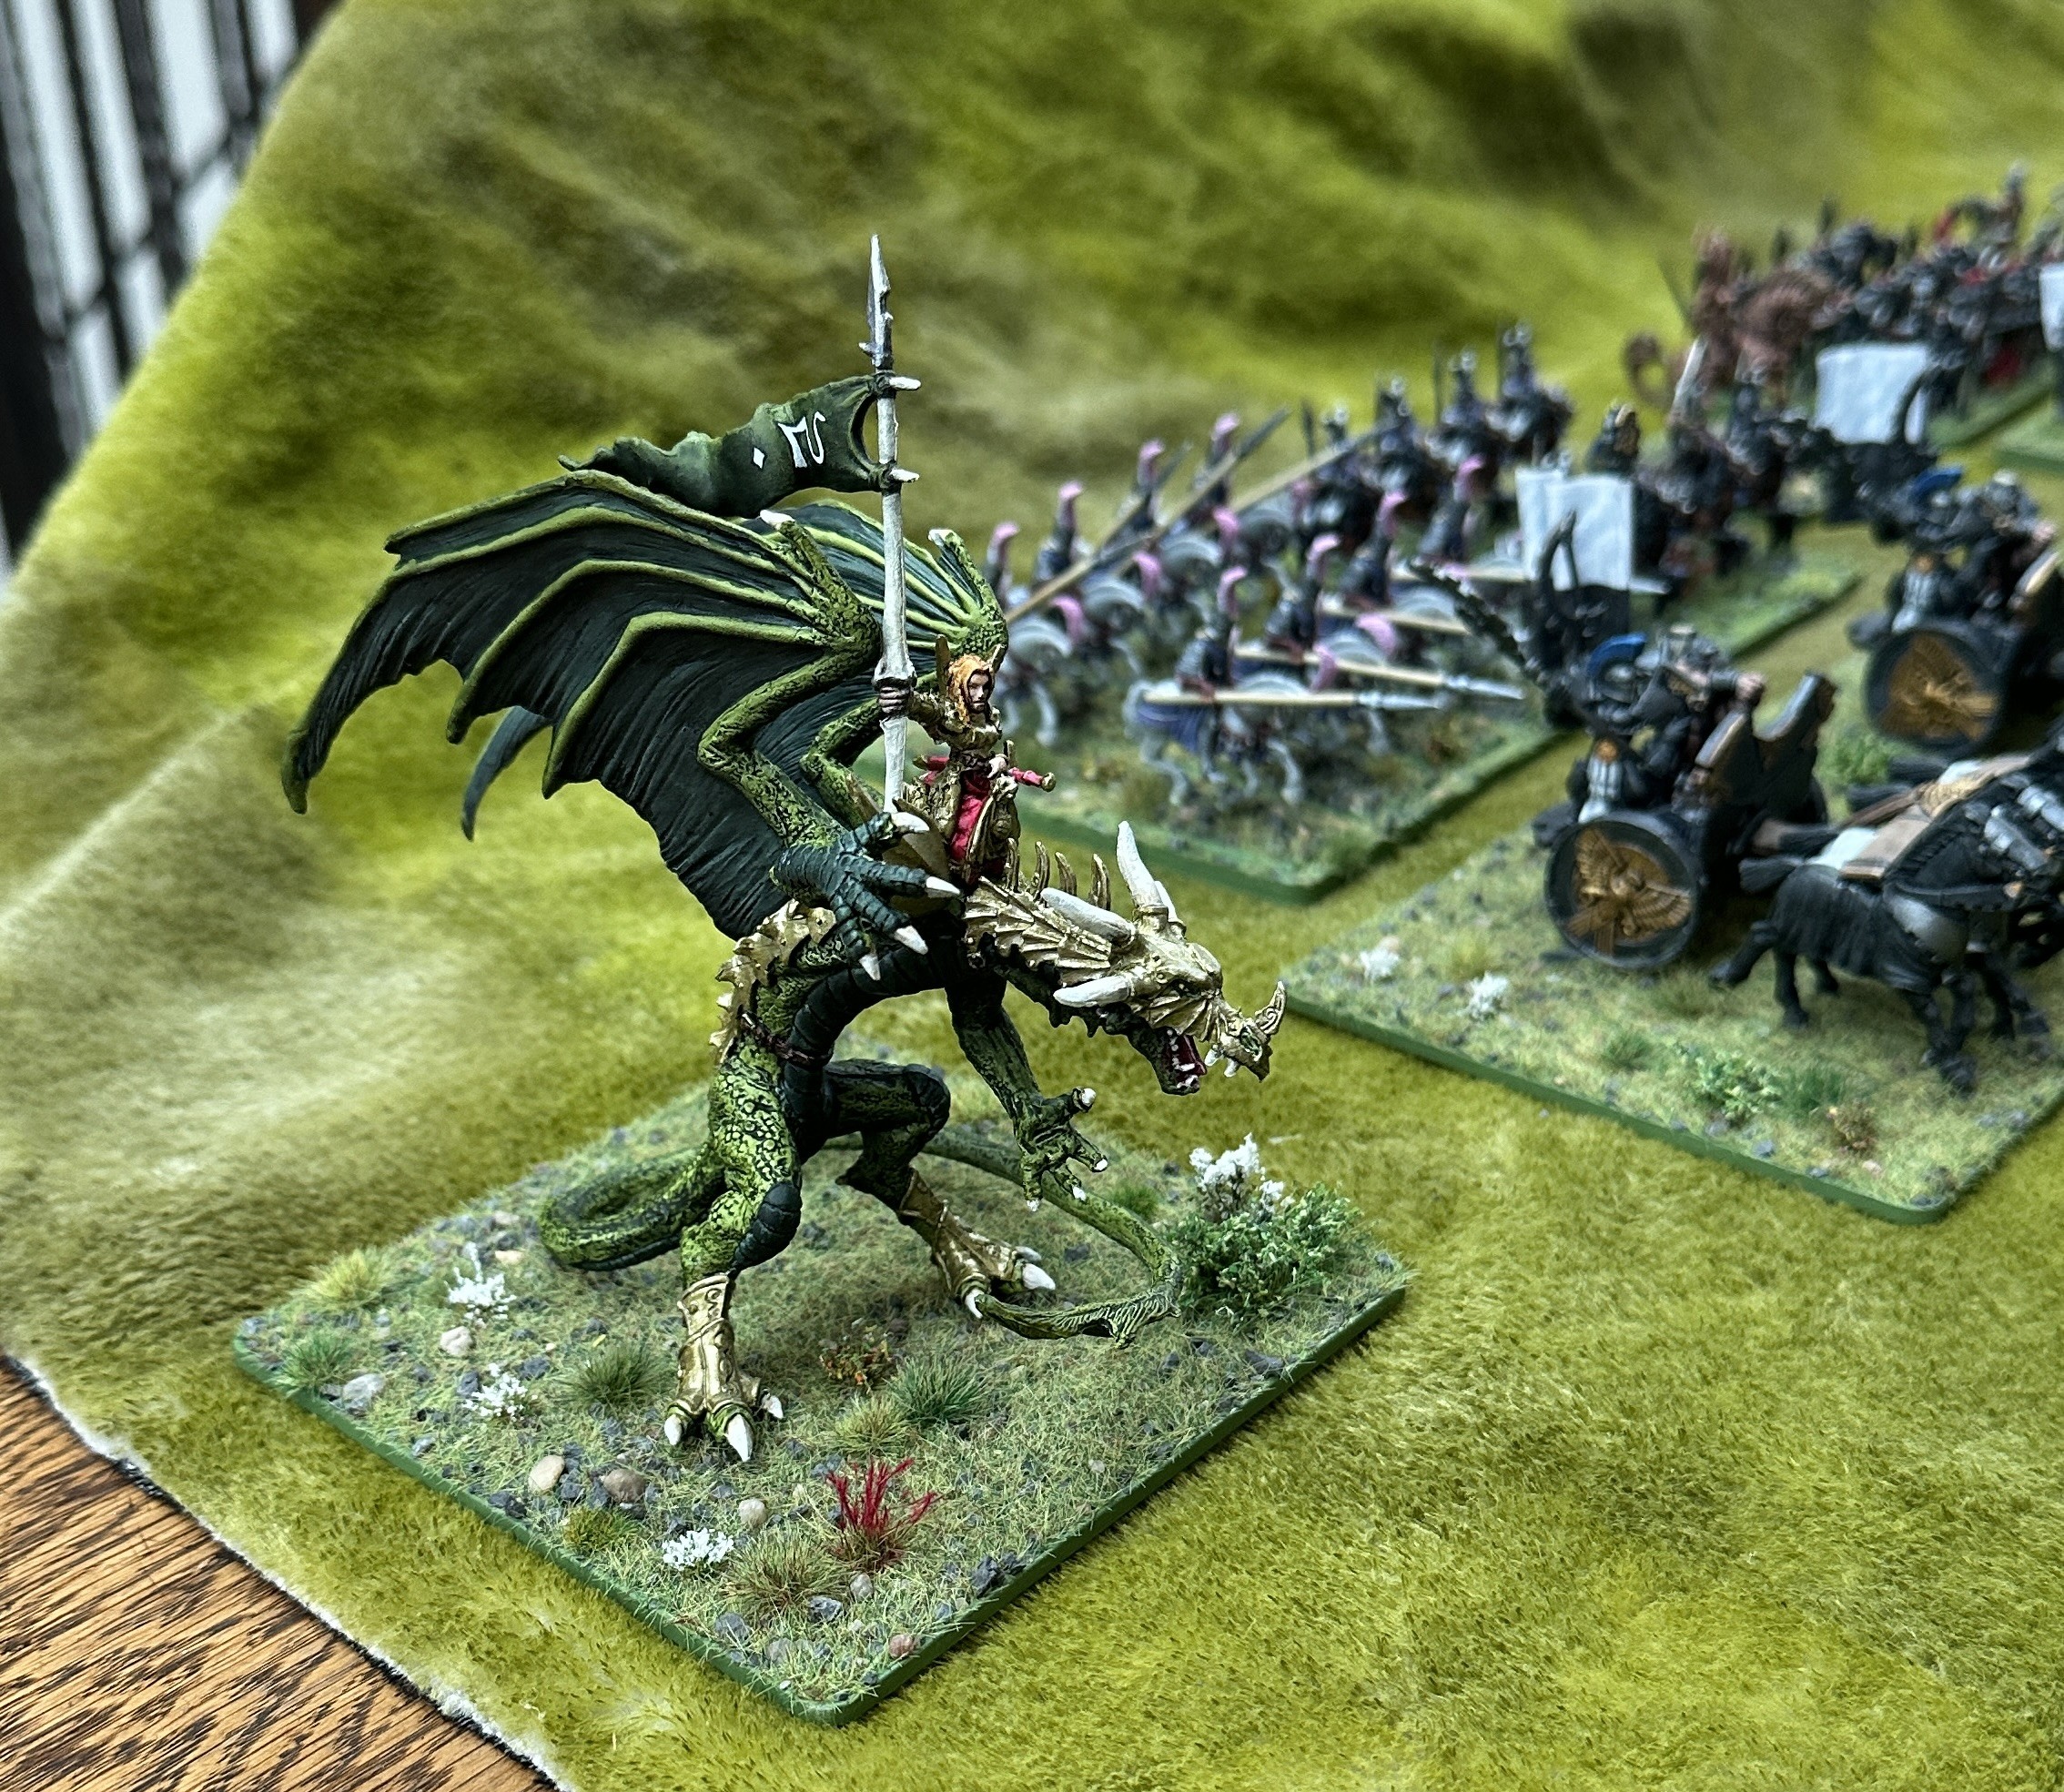
The Opening Challenge
After the allocation of Mighty Deeds in Turn 1 Phase 1 but before the main battle starts there is a roll off for a Single Combat. This takes place before both armies and if there is a winner they receive an extra 2 Reputation tokens.
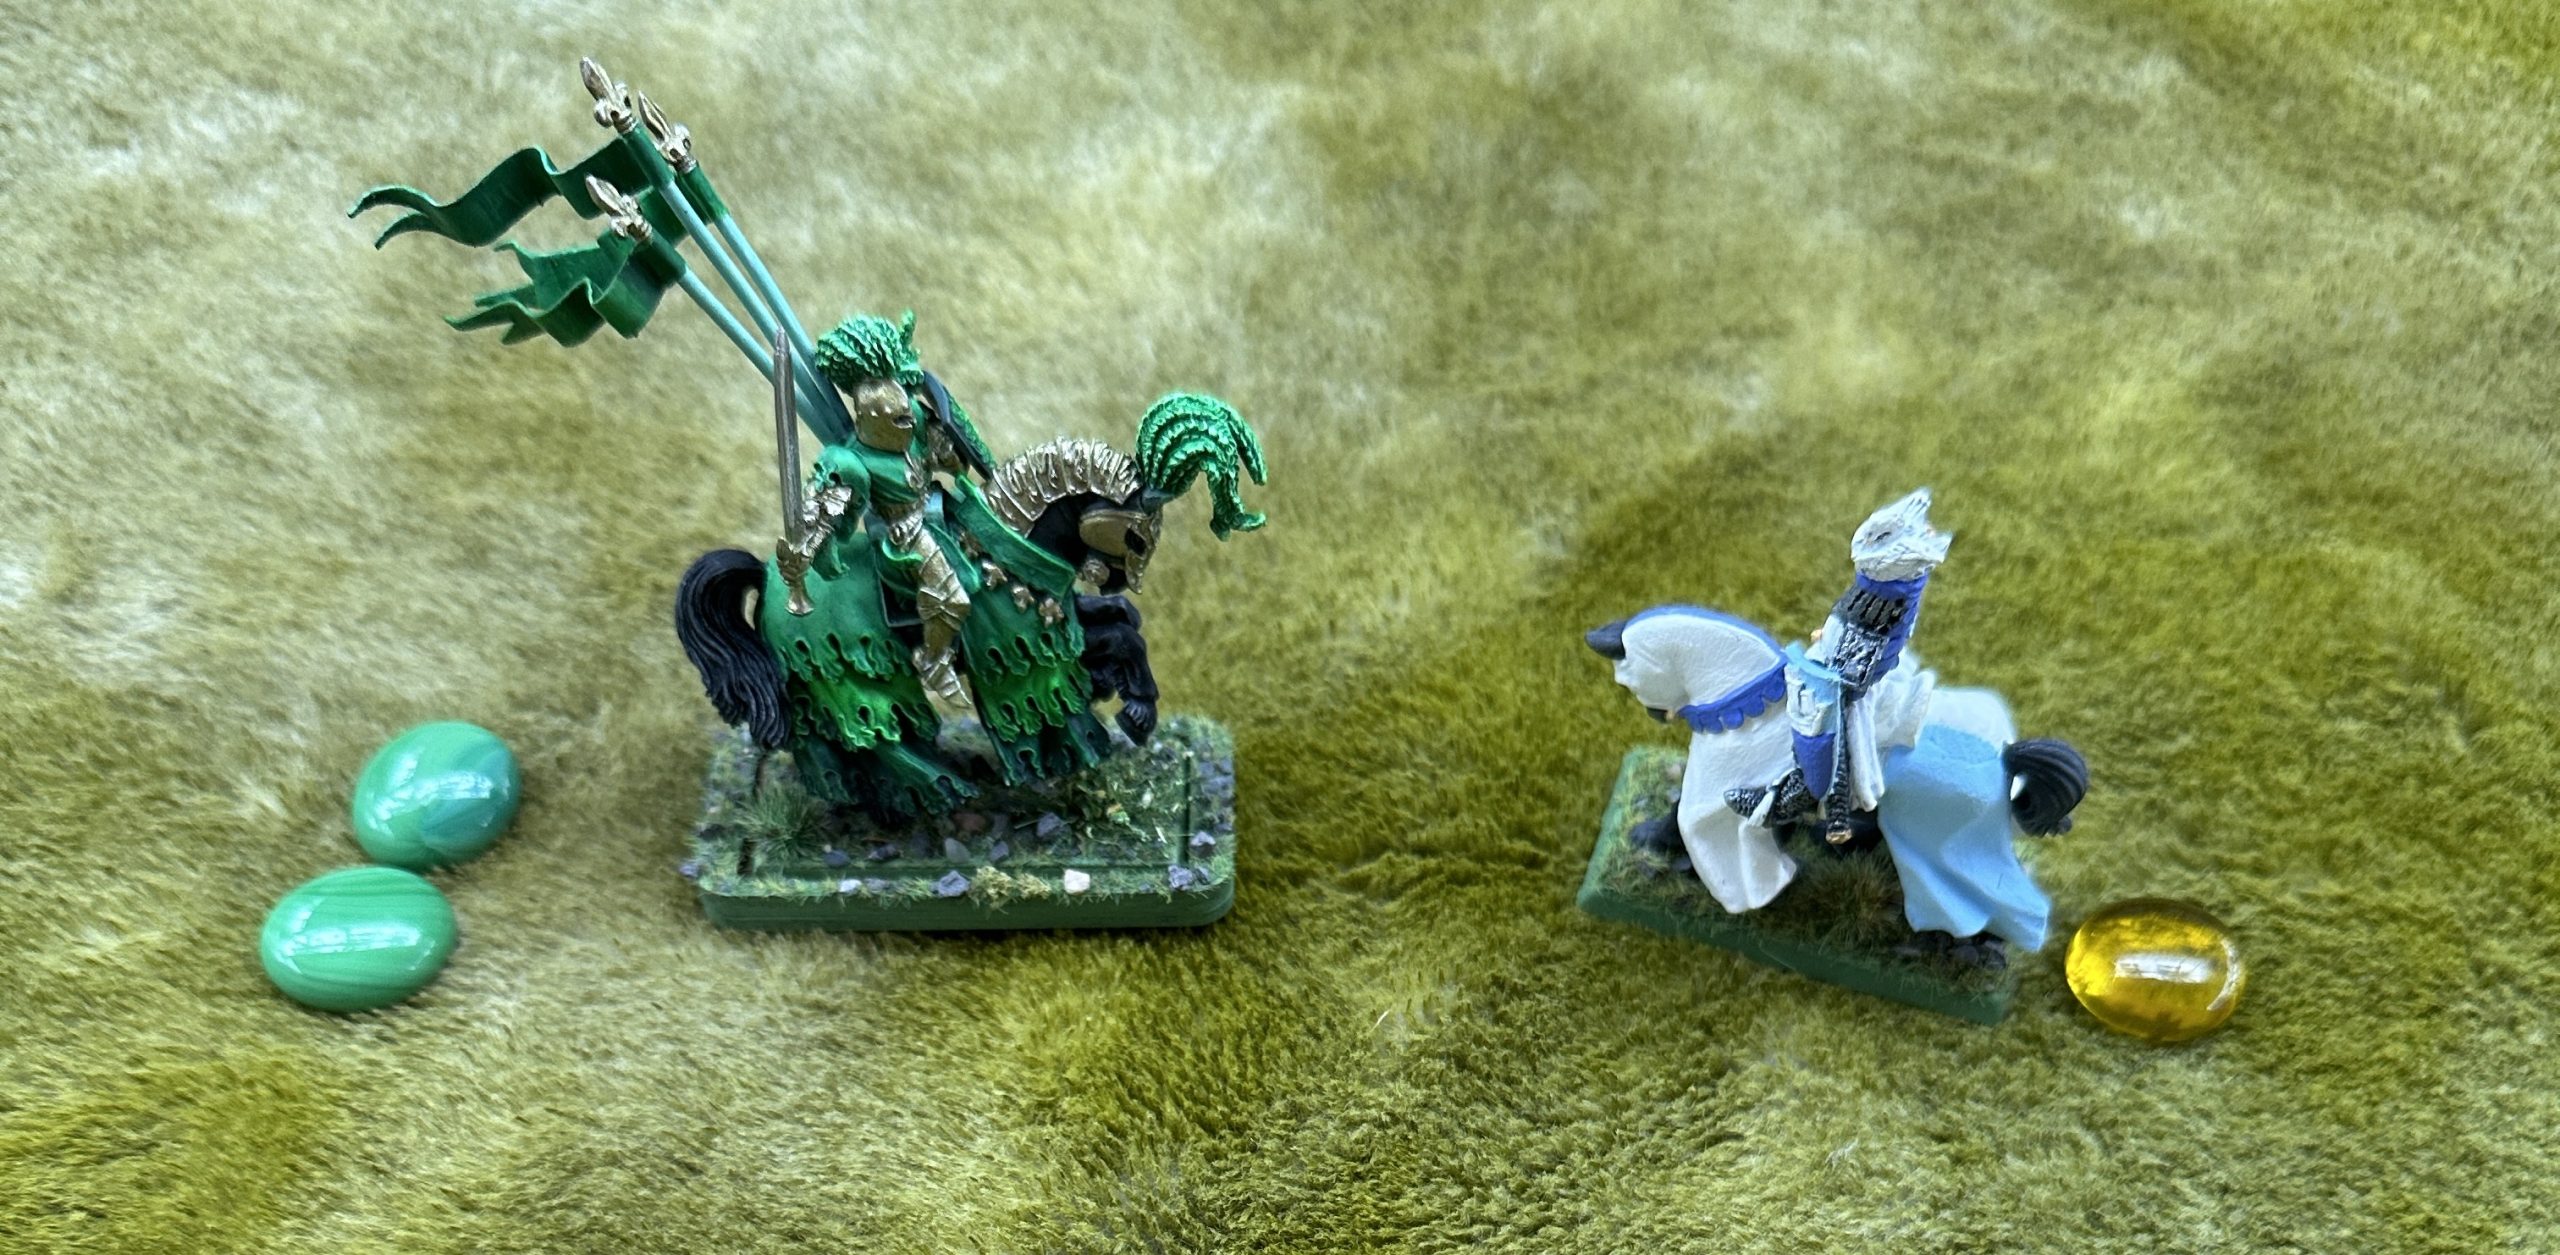
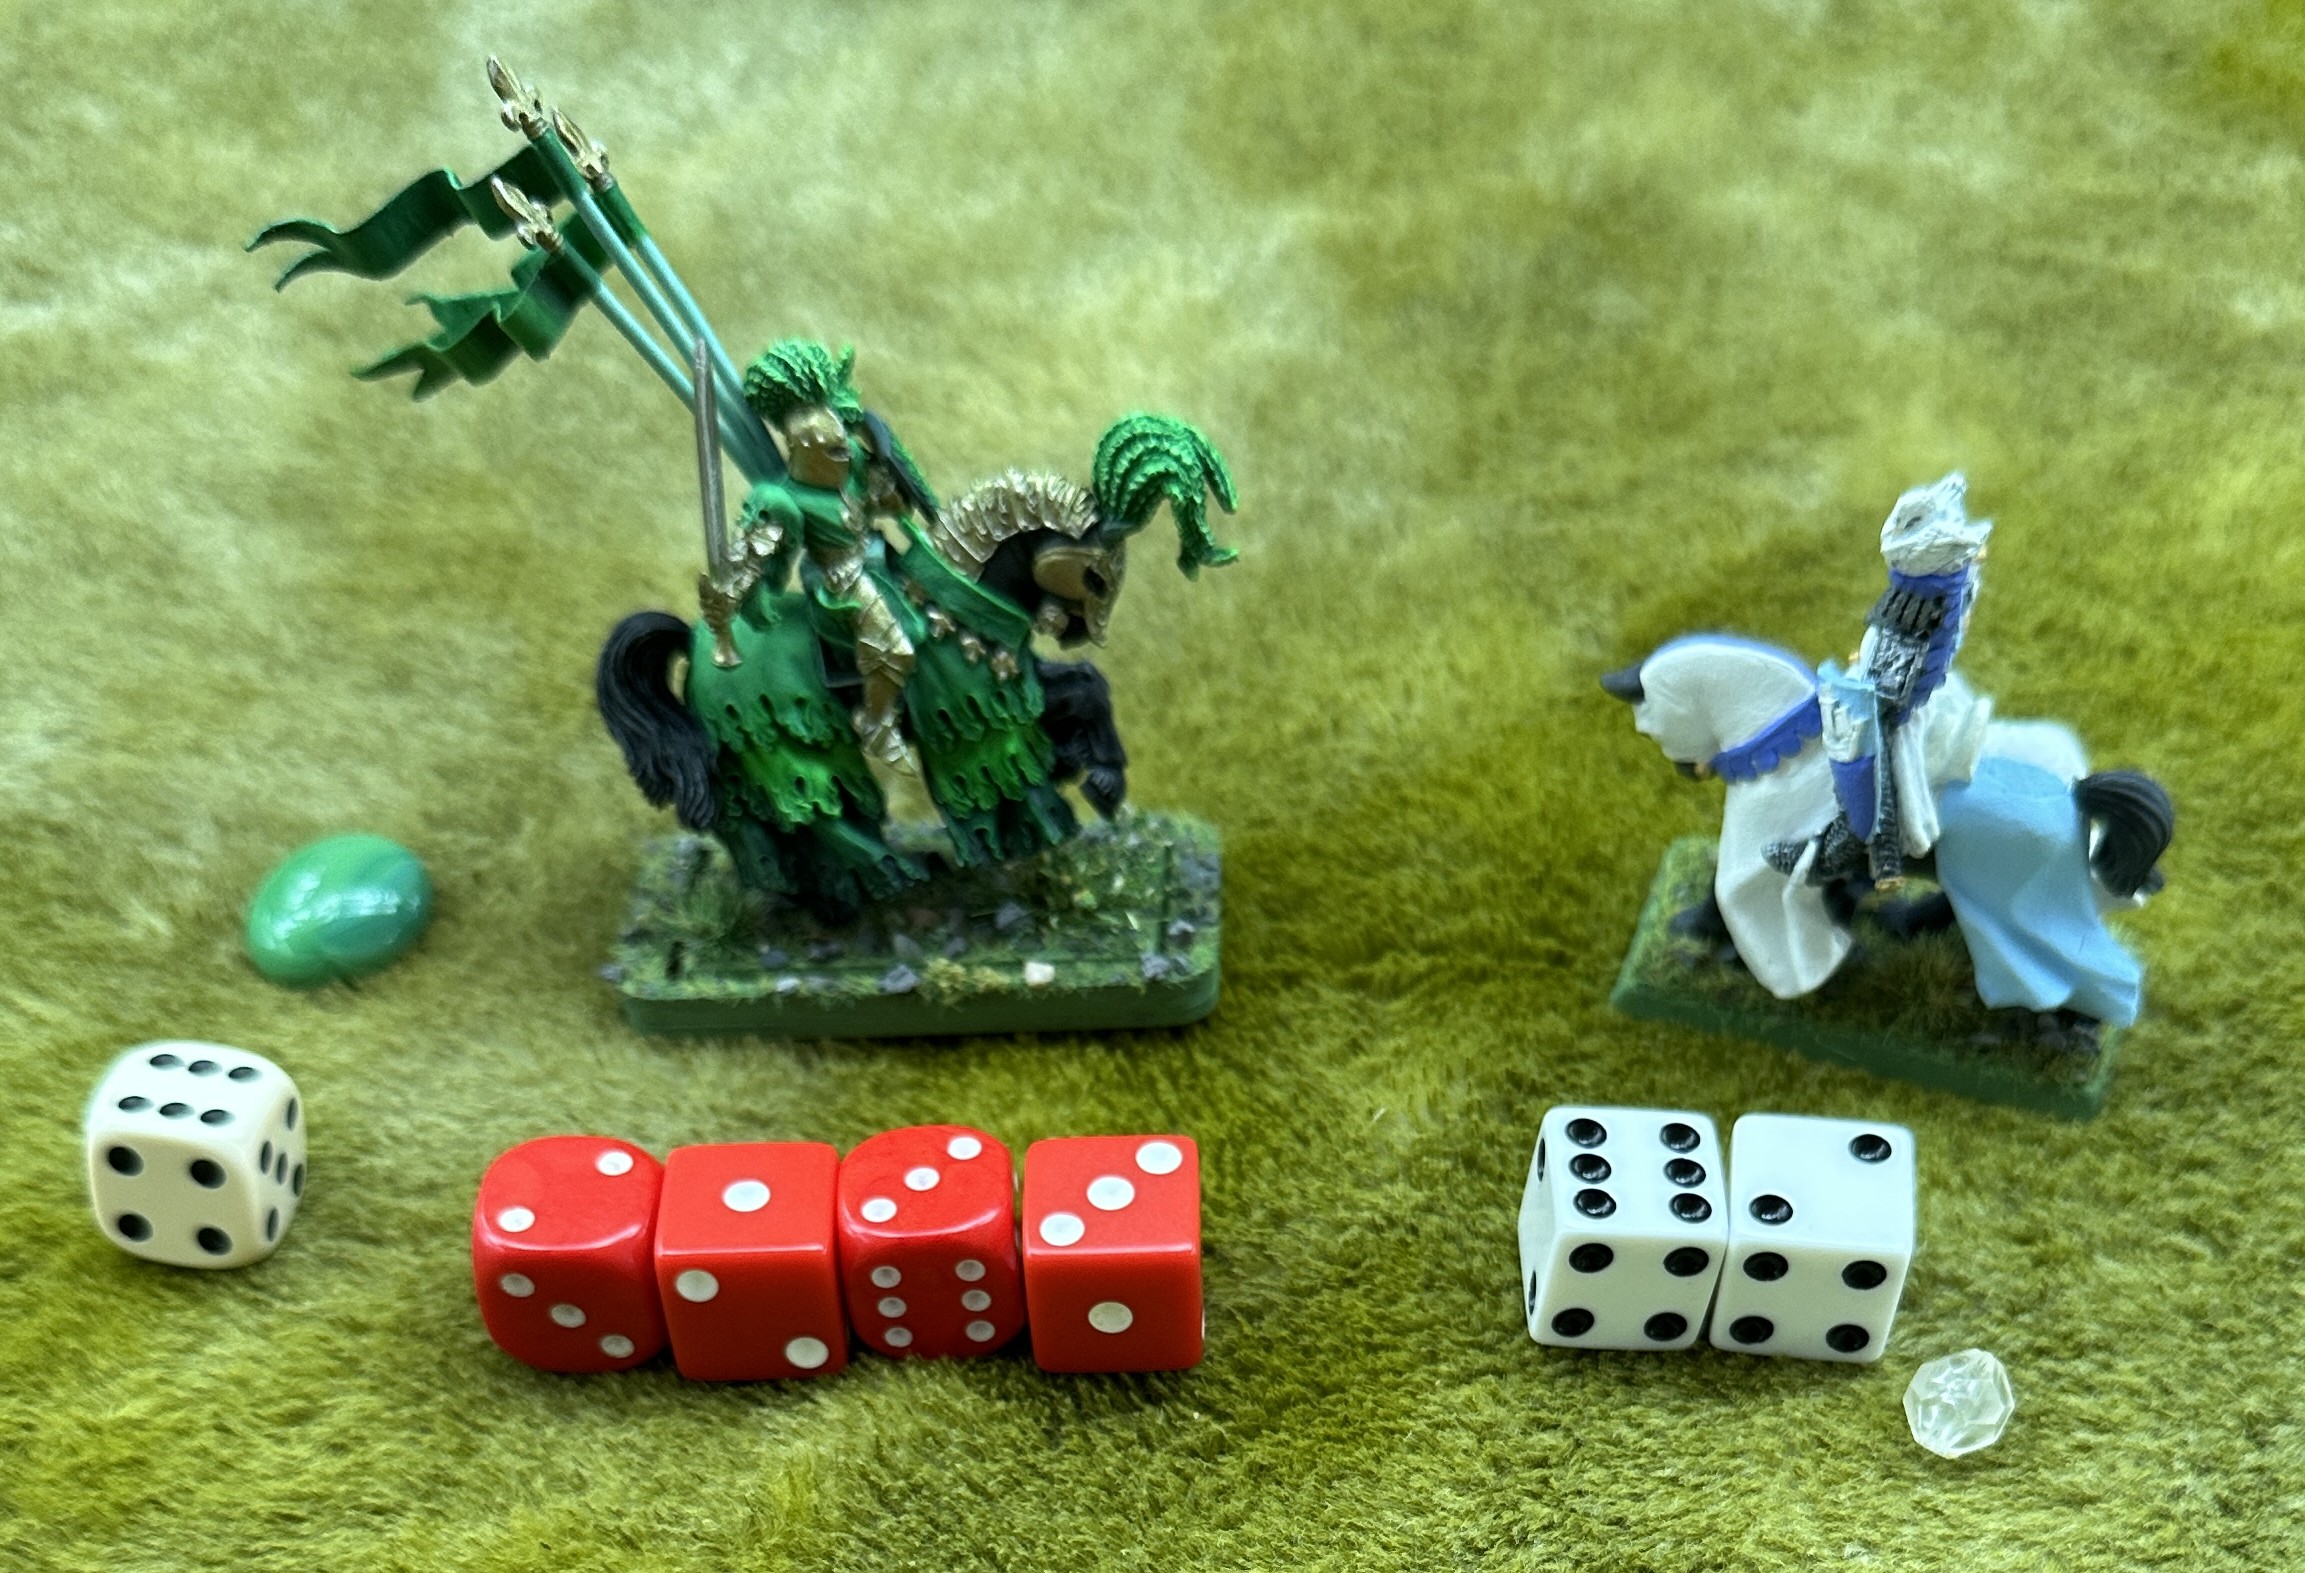
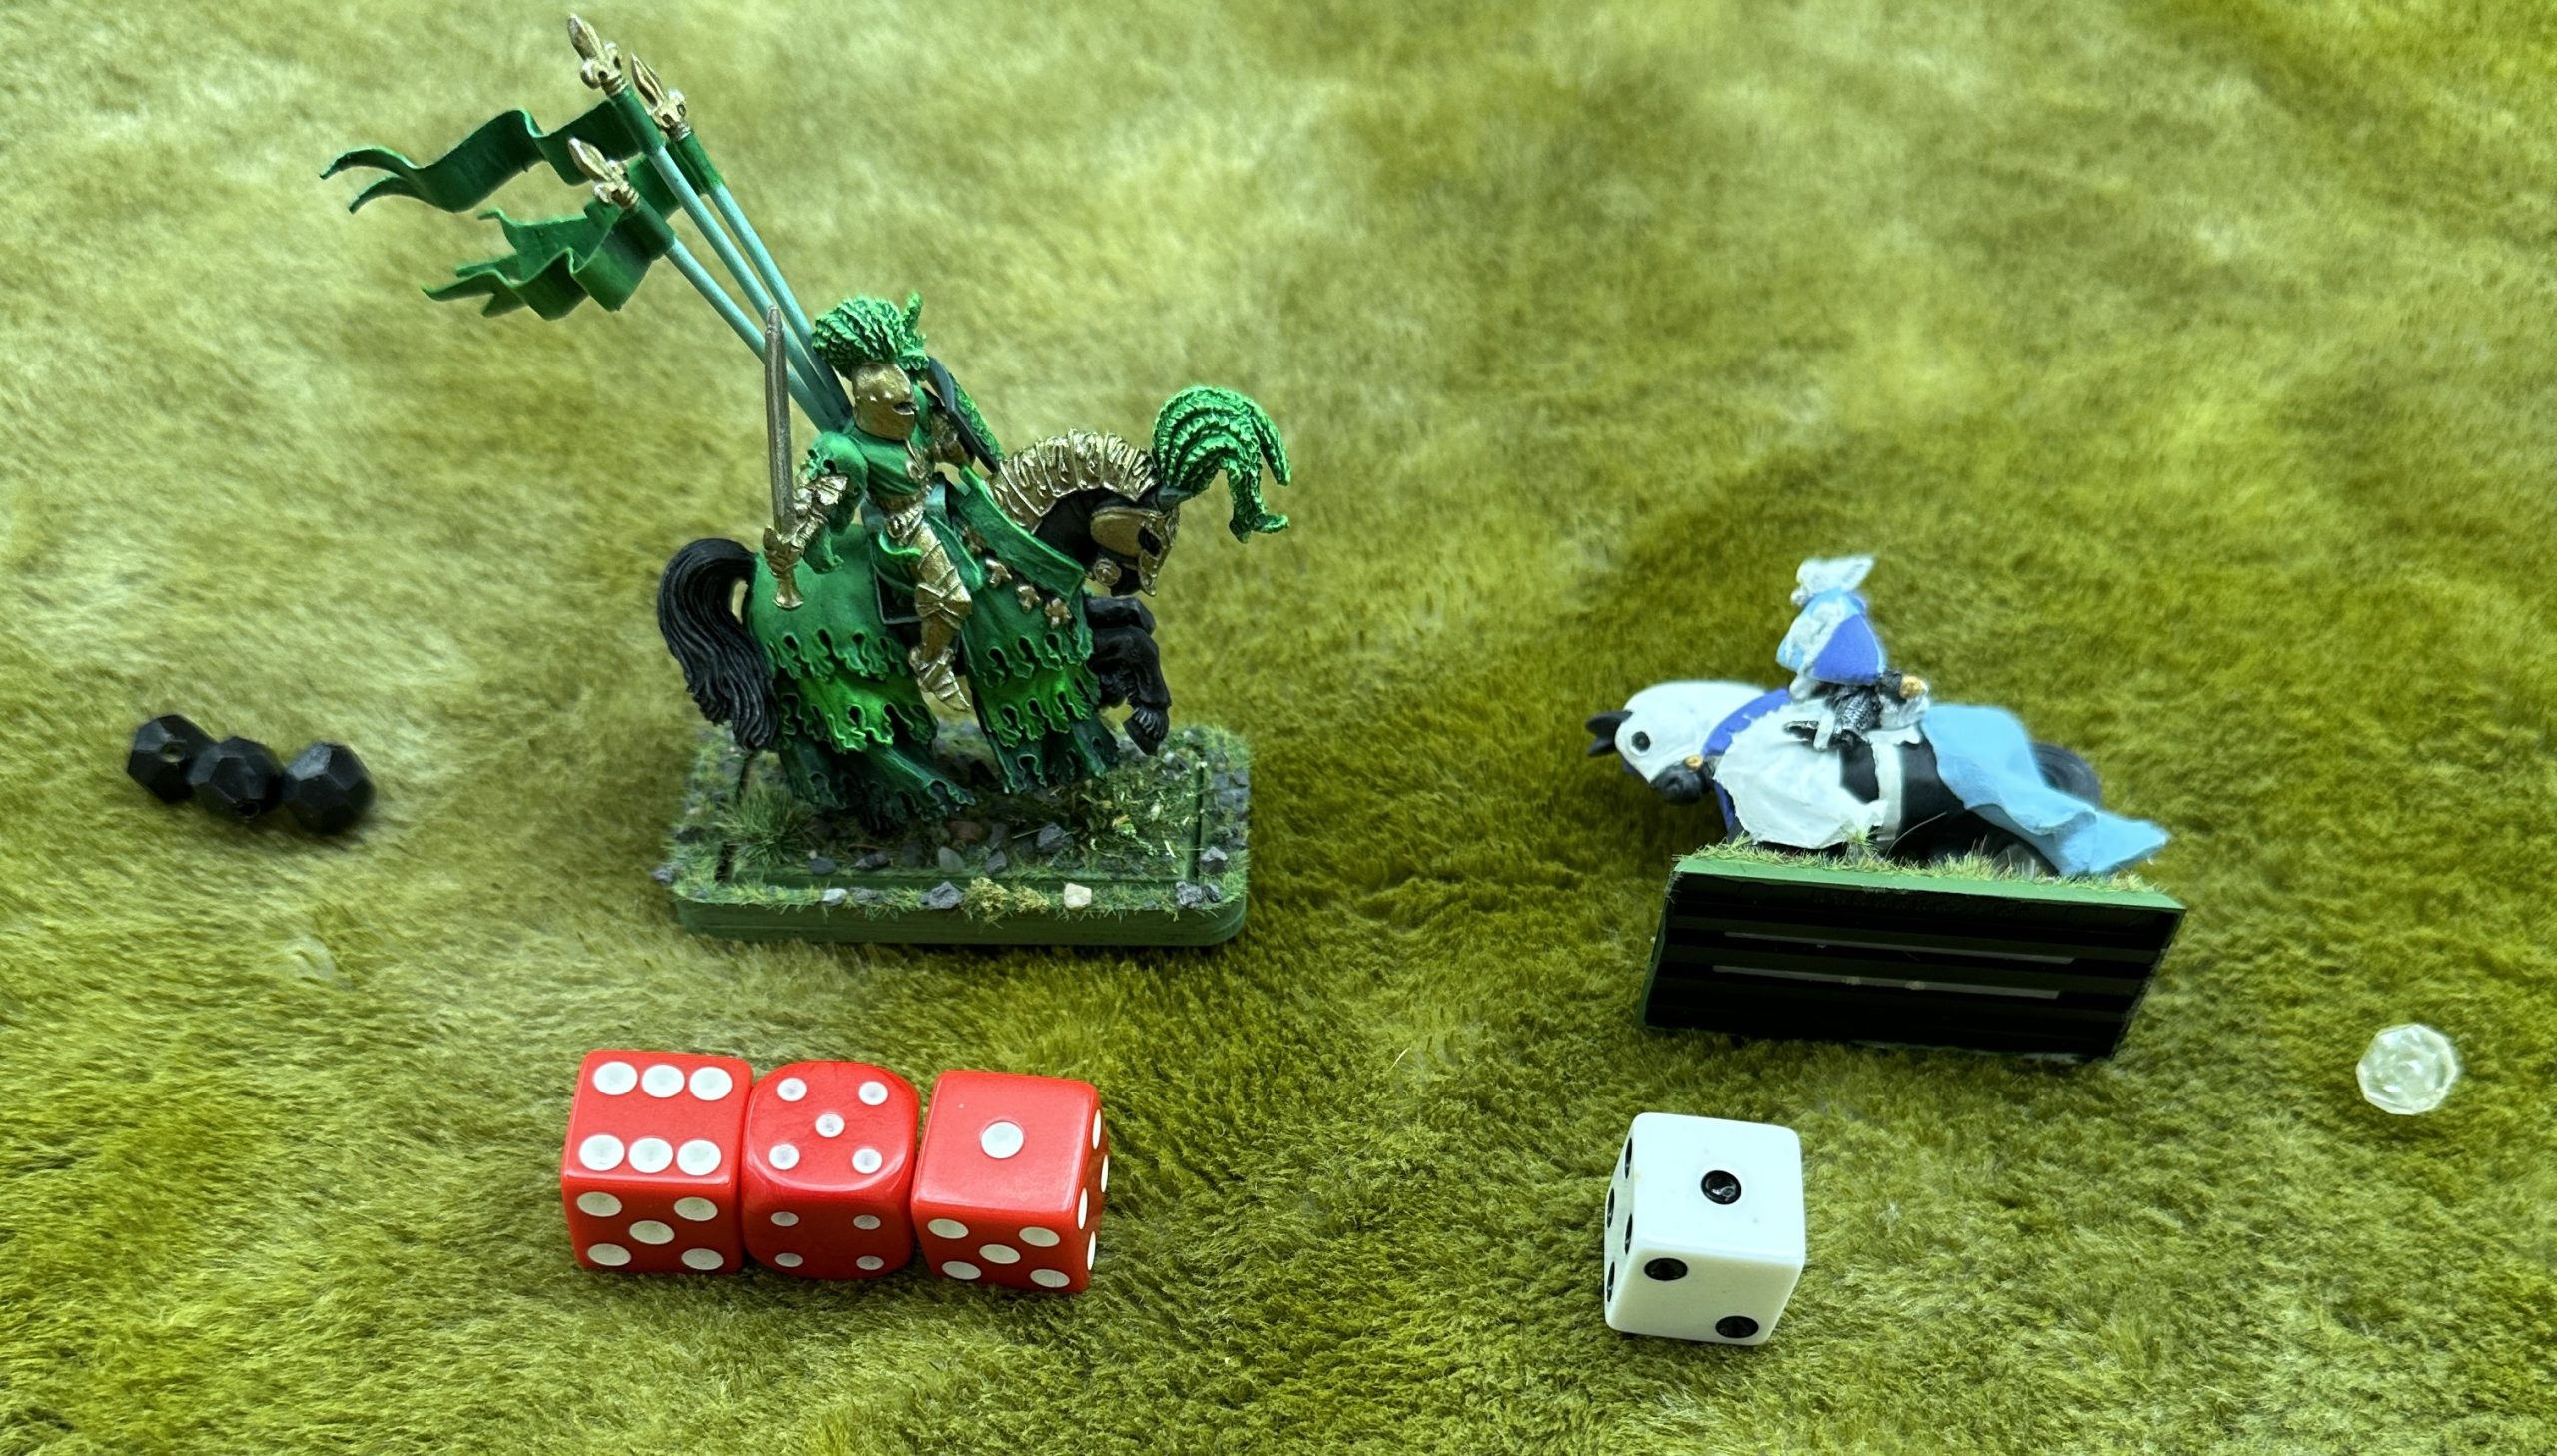
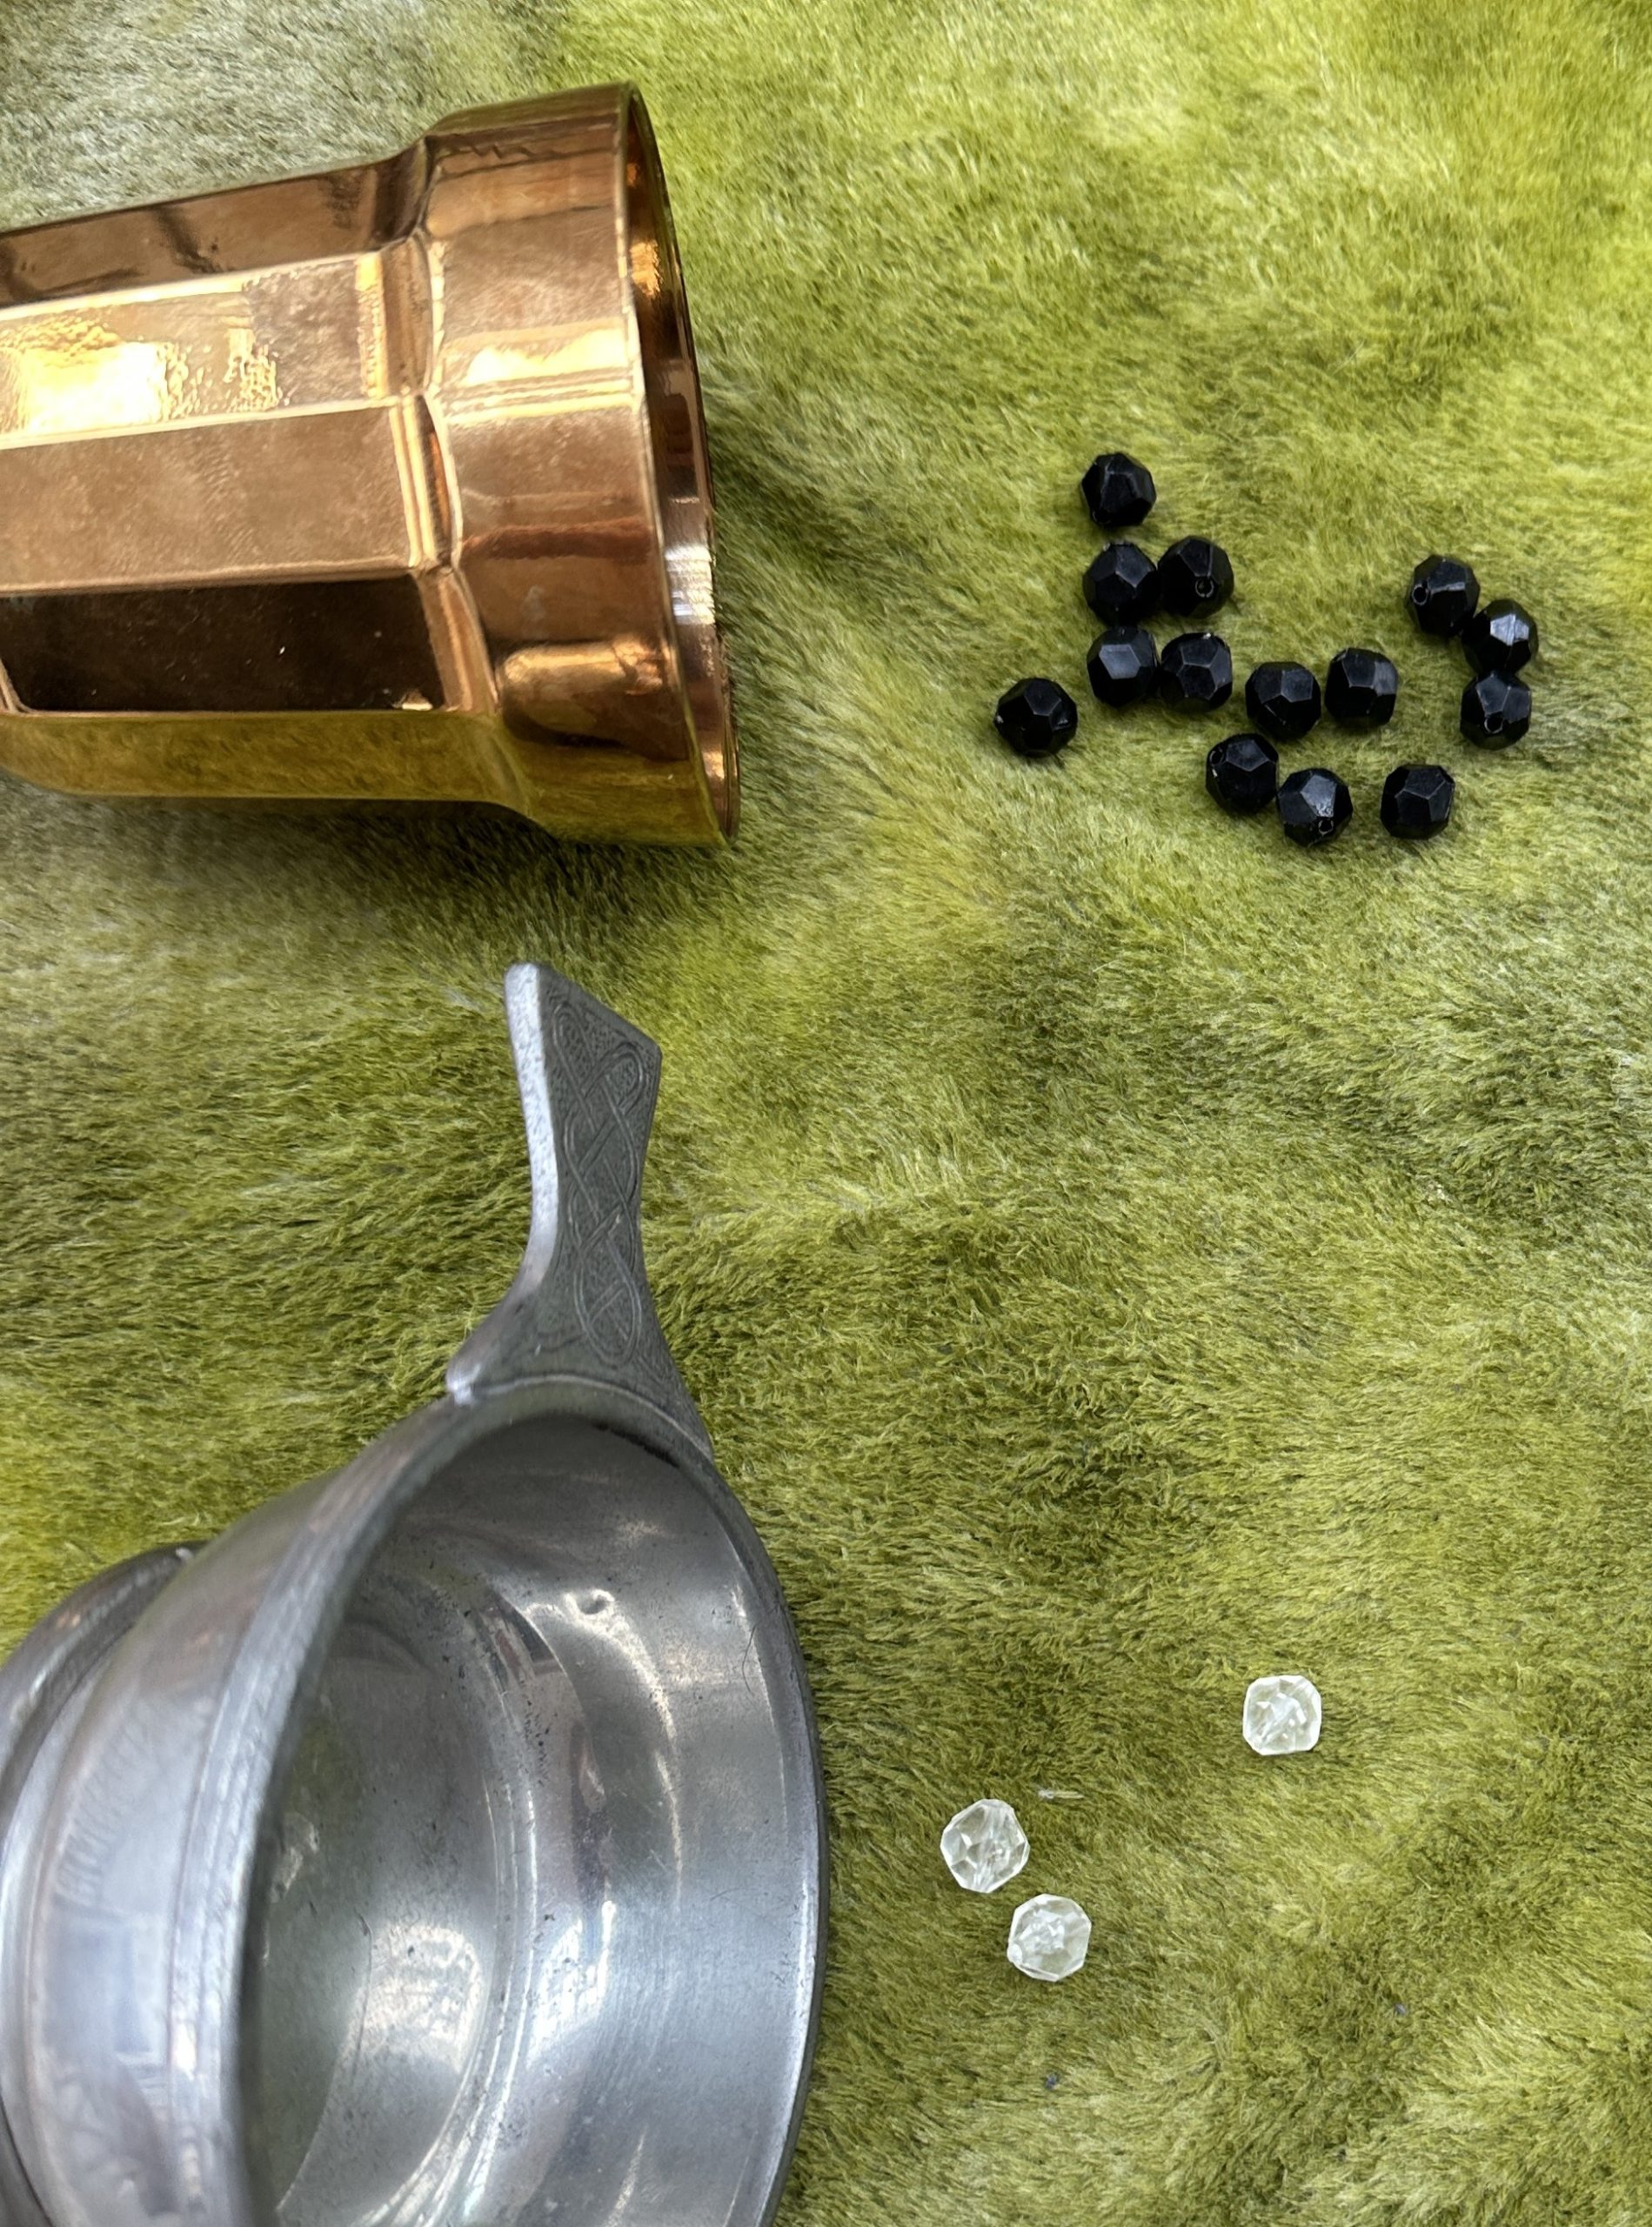
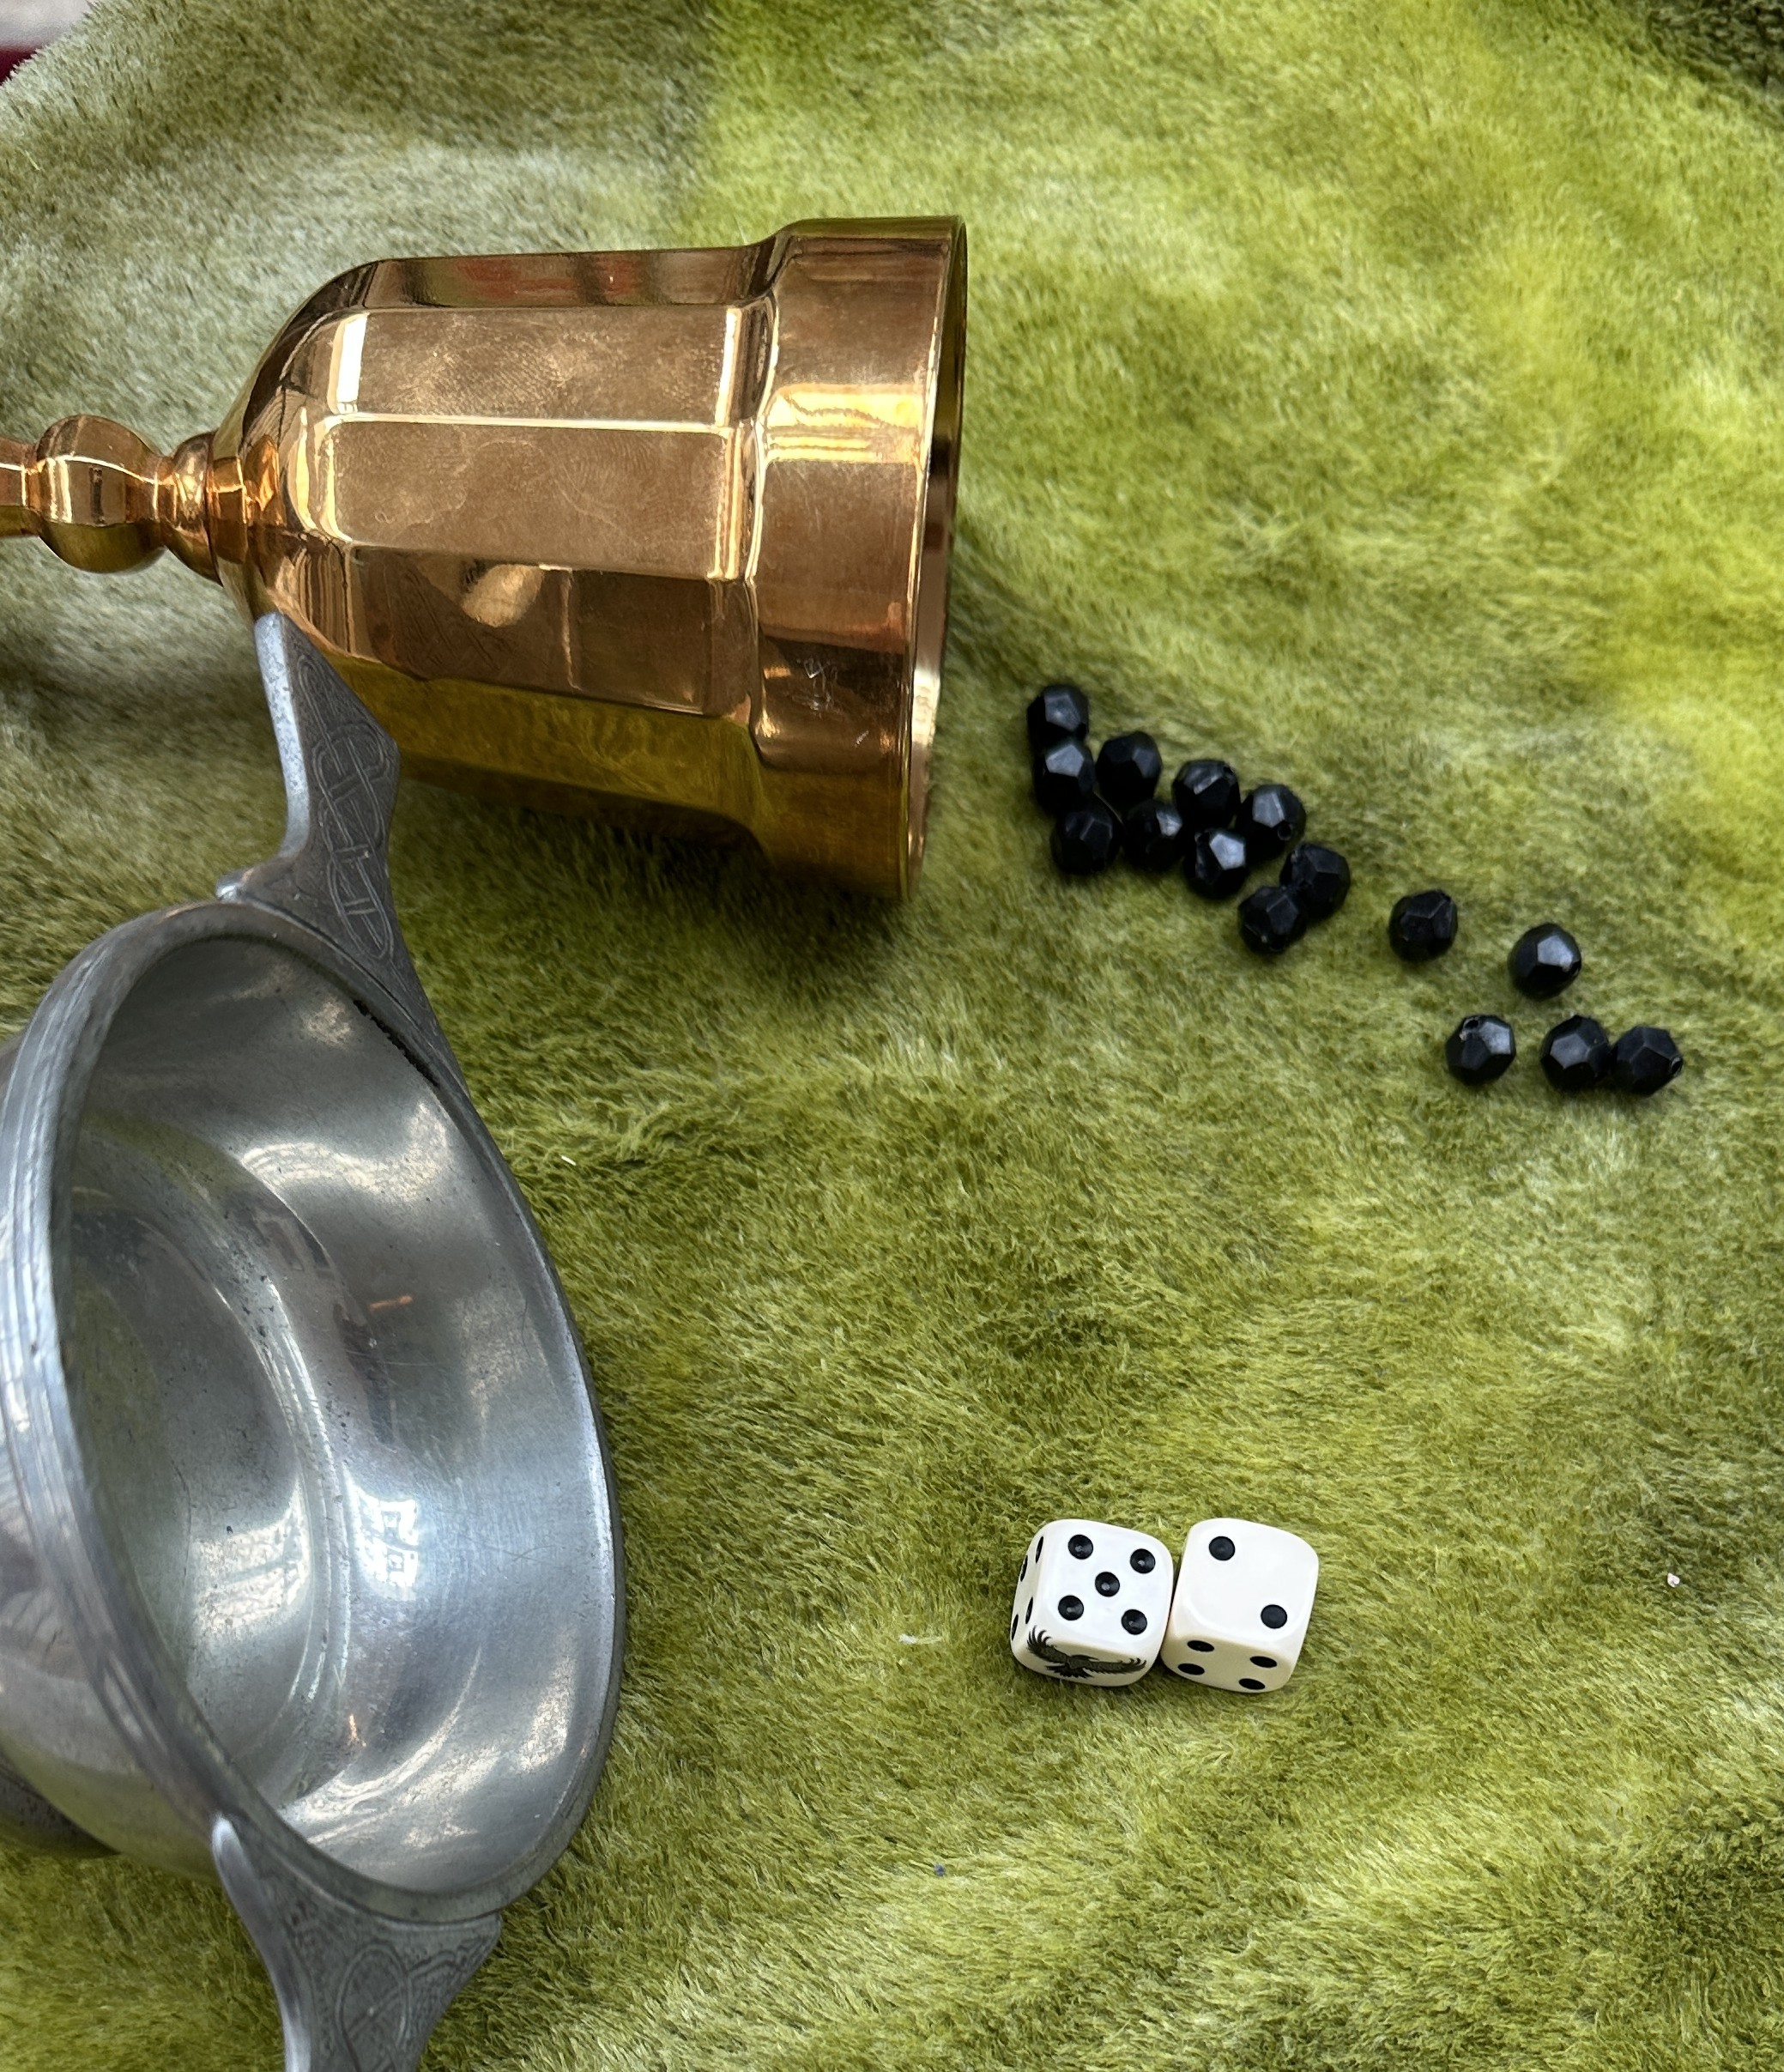
You can see the progress of the challenge here. Both Champions approach with their allocated Mighty Deed tokens (left).
The opening combat round saw a hit scored by the Imperial knight on The Green Knight who scored none, is reduced to L1 after the loss of 1 stamina, but then passed his risk to heroes raven roll (the die with 6 showing). (centre image)
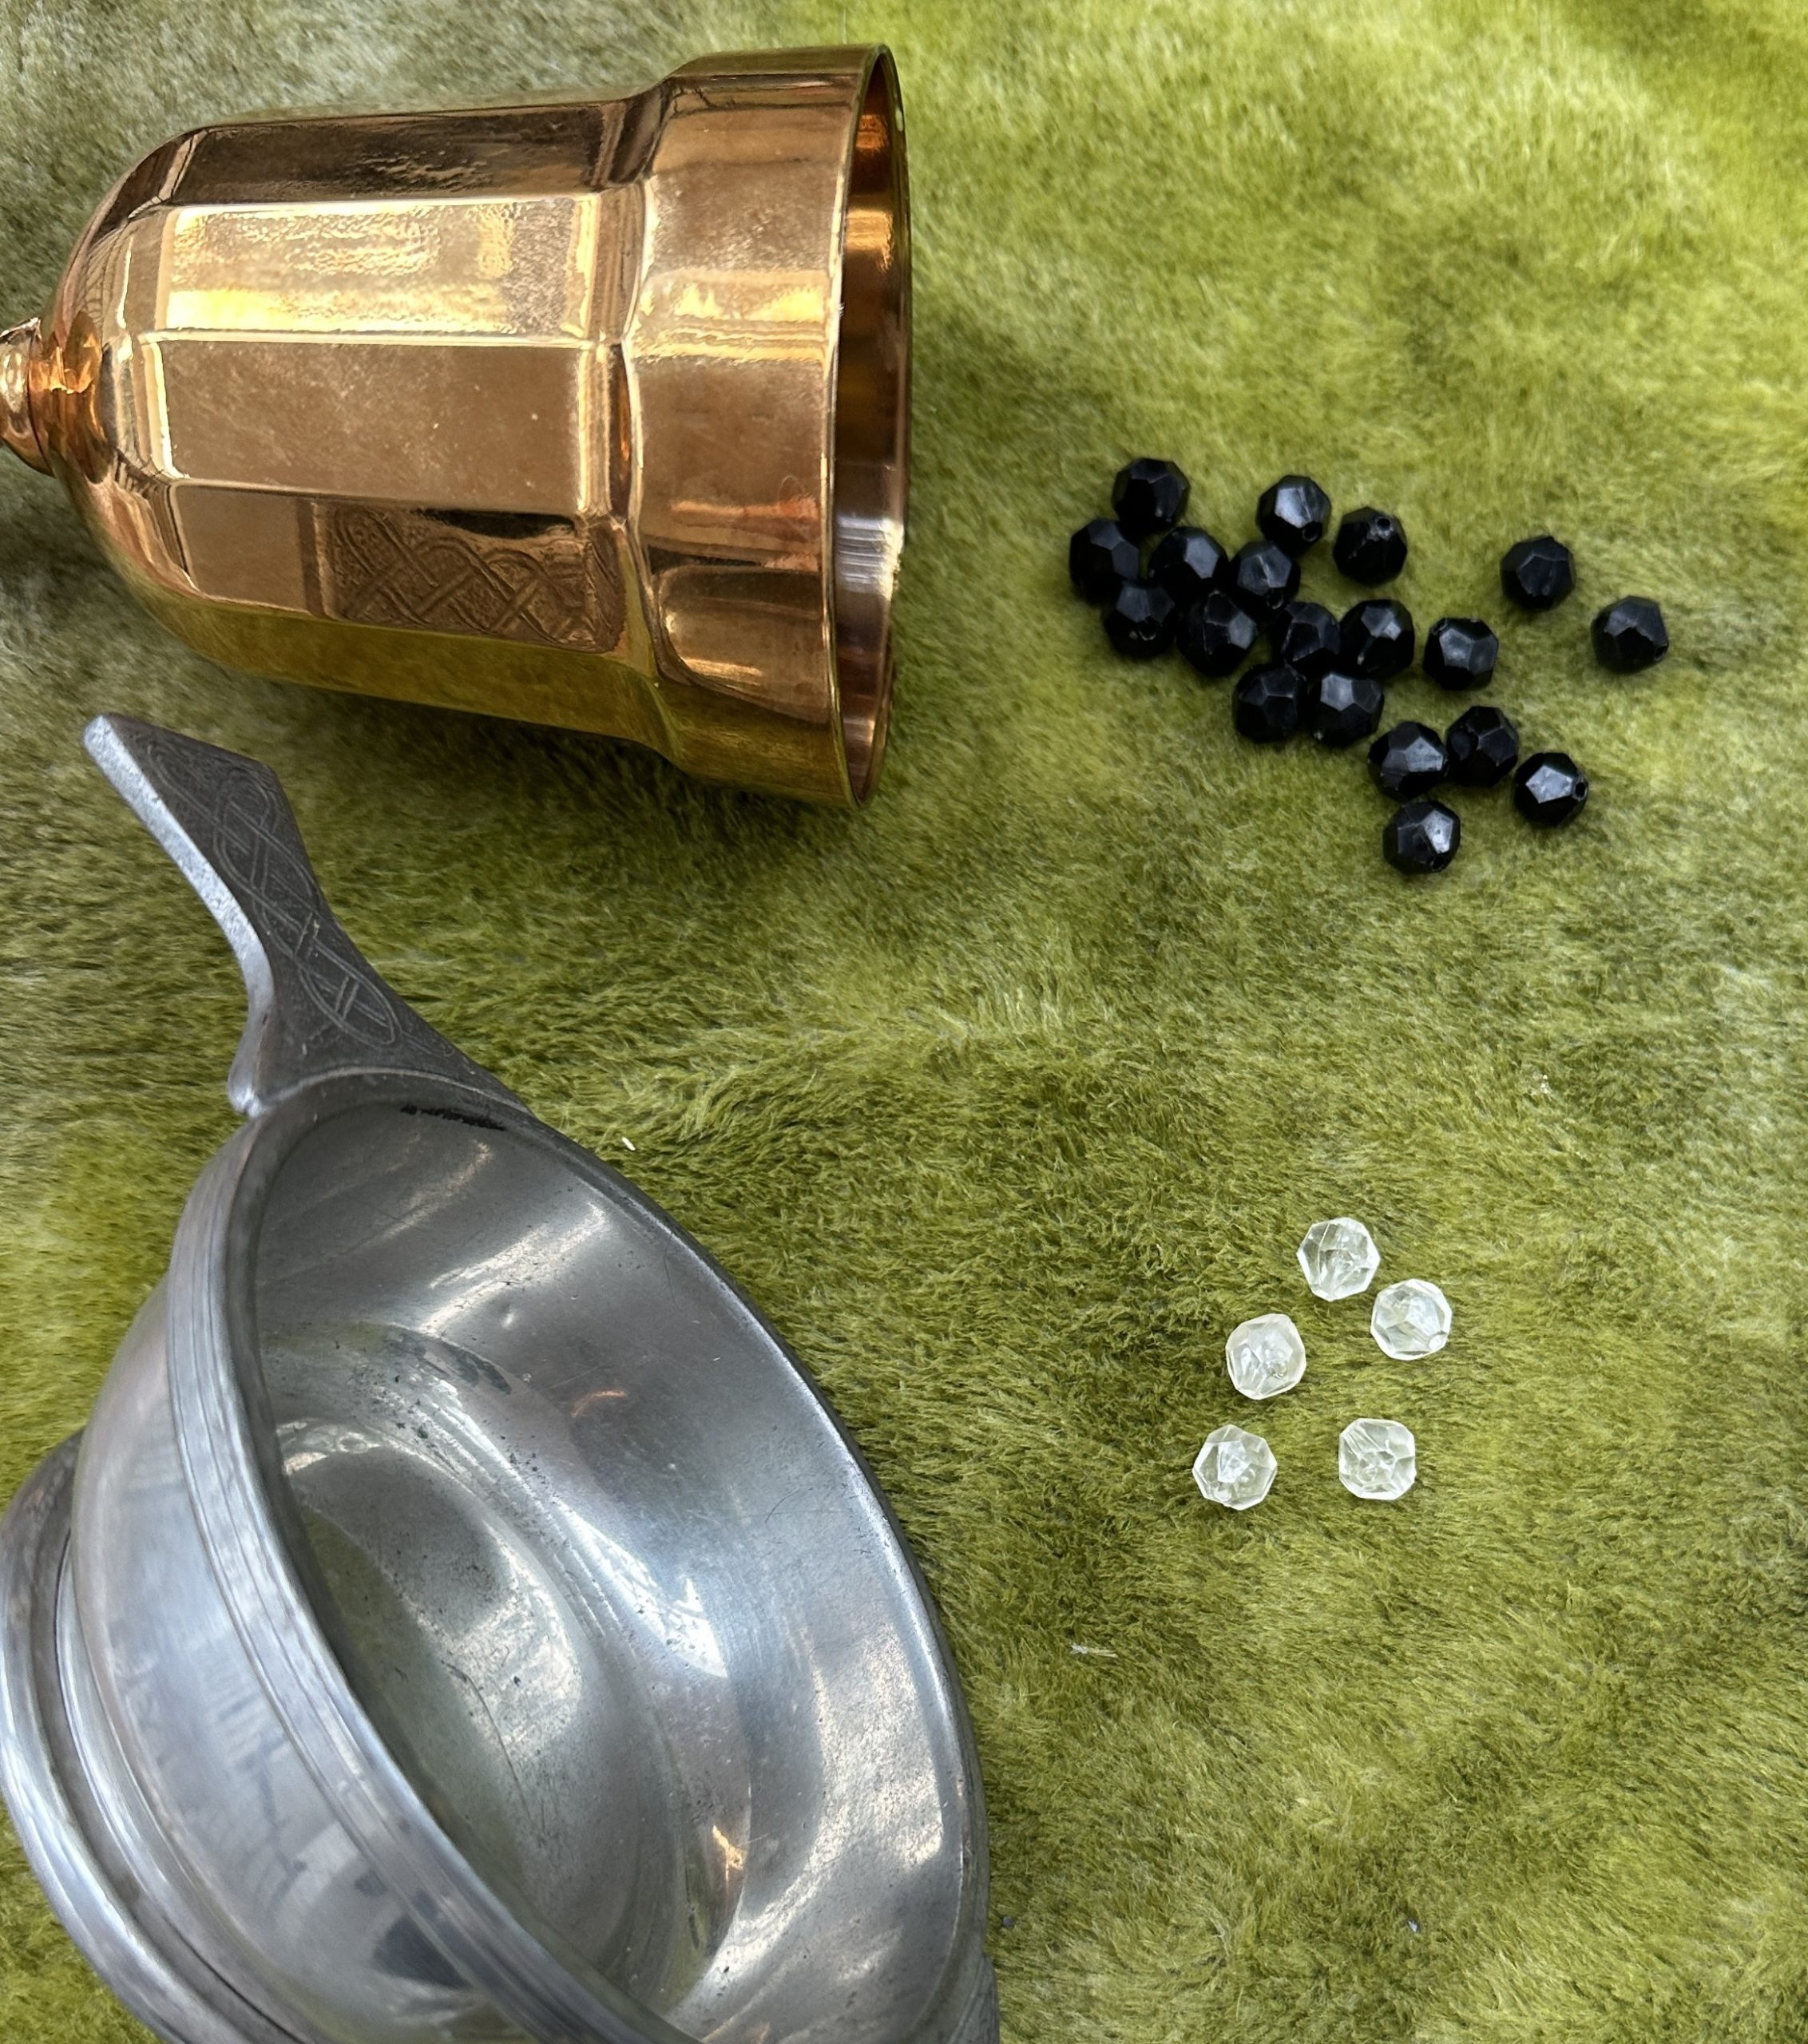
The second round of combat with The Green Knight scoring enough hits (2) to overwealm the other champion’s stamina (1). The Green Knight wins and gets 3 Reputation Tokens, the defeated knight still gets one for his hit in the first round but one is also removed from the cup after he dies (right)
The following accounts of the Battle of Barrowvale have been taken from:
“The Recollections of Moche Müller’s son. Member of the Herbstwald Brigands who served in the mercenary wars with the fabled La Lionne Rousse”,
and
“A Faithful Account of the Fall of the Empire” by Rodger d’Arnoth, sometime squire to his worshipful lordship Sir Arnold of Blaine’s Keep.
Moche: We had been engaged by the Freeport Council to defend them from a threatened invasion by their Imperialist neighbours. La Lionne, as was her usual way, took the fight to the enemy and we advanced boldly into Imperialist territory, hoping to prevent the Satrap from mustering his full forces. Our informants had told us they intended to muster in a wide but narrow valley of ancient barrows. When we arrived it was clear we were too late, the Imperial allies were already there. La Lionne wasted no time and ordered a general advance.
Rodger: The unworthy rebels of the so called “Freeport” had hired a ragged band of mercenaries. Seeing them assemble across the valley there didn’t seem to be anything to be concerned about. A bigger mish-mash of ne’er do wells and chancers had never before been seen. Our stout allies of the Riding had arrived the previous evening so we were able to meet them with our full force. Our most noble lord deployed in the time honoured way with our main strength of knights in the centre and right and our noble allies on the left.
Moche: The Green Knight made his way before the host and rode back and forth leveling his sword at each leader or champion in their host as he went past. One knight rode forward to meet the challenge. The combatants met between the hosts. The enemy champion delivered a great blow at the first pass. The cheer died in the throats of the enemy host as they could see our champion mystically unharmed and their hero’s blade withdrawn clean from the wound. With that, The Green Knight dispatched his opponent with a flurry of blows of a skill and control that was beautiful to behold. We cheered as he trotted back to his position to the total silence of our foes.
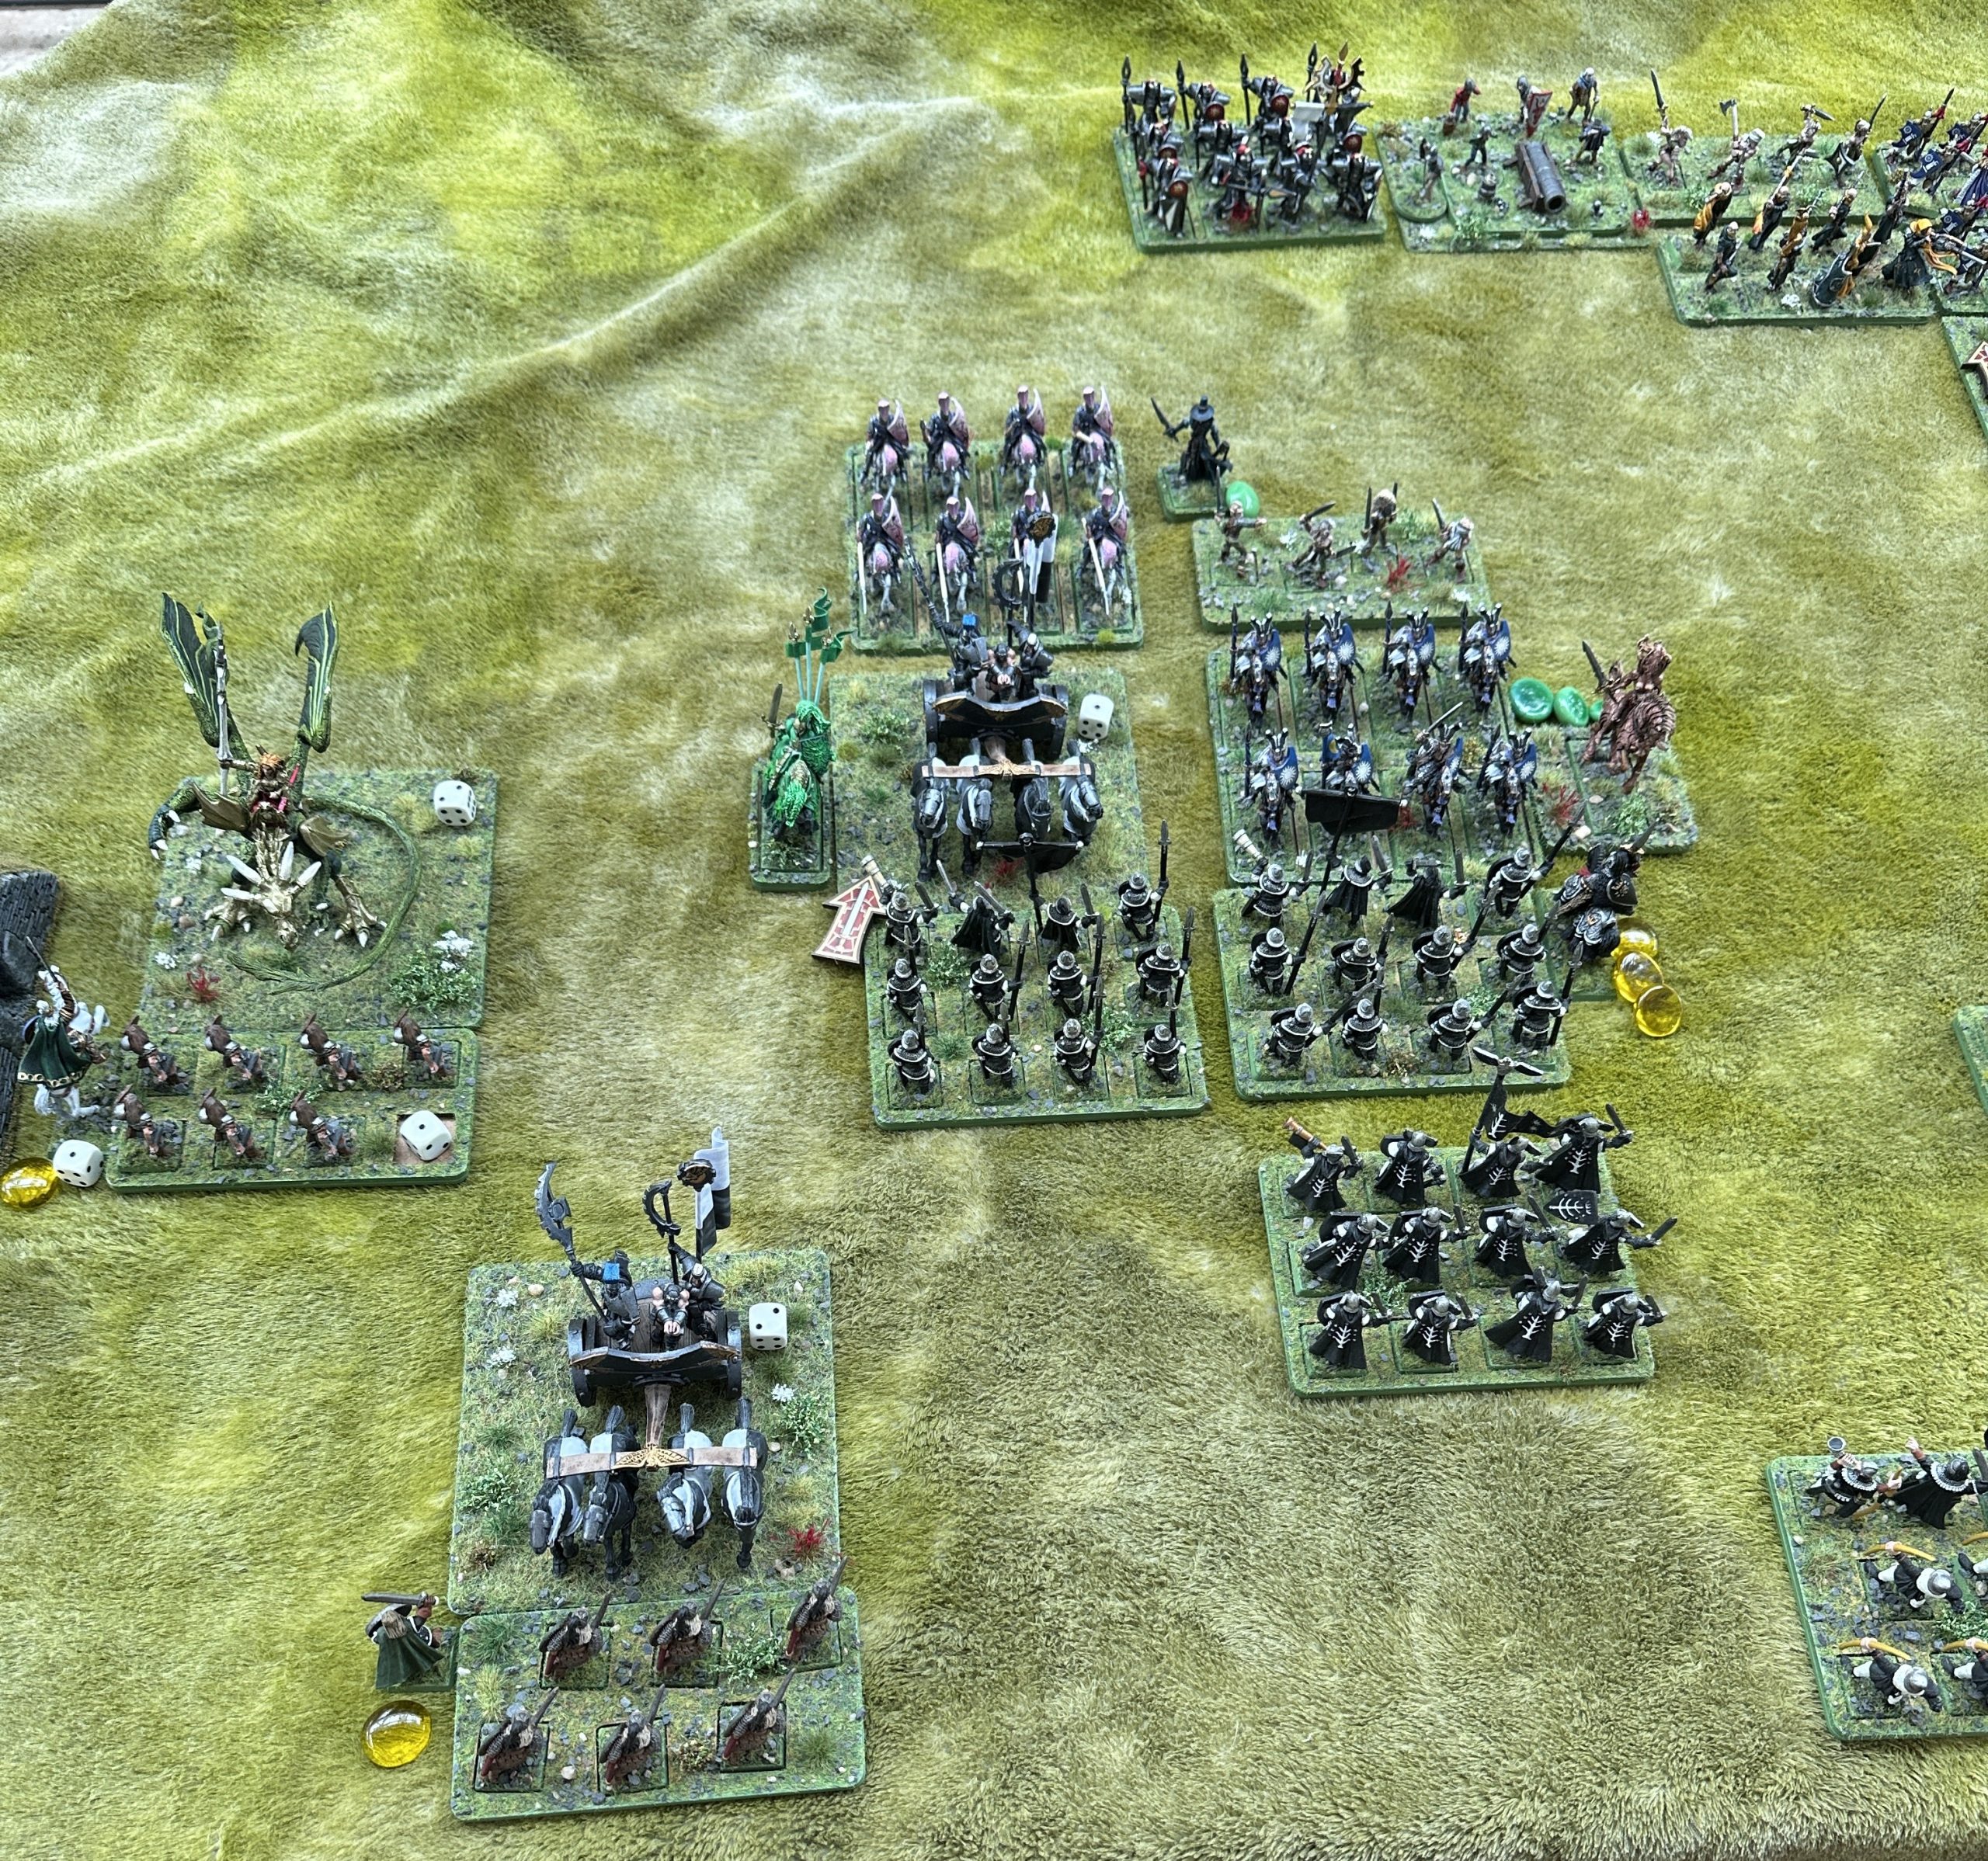
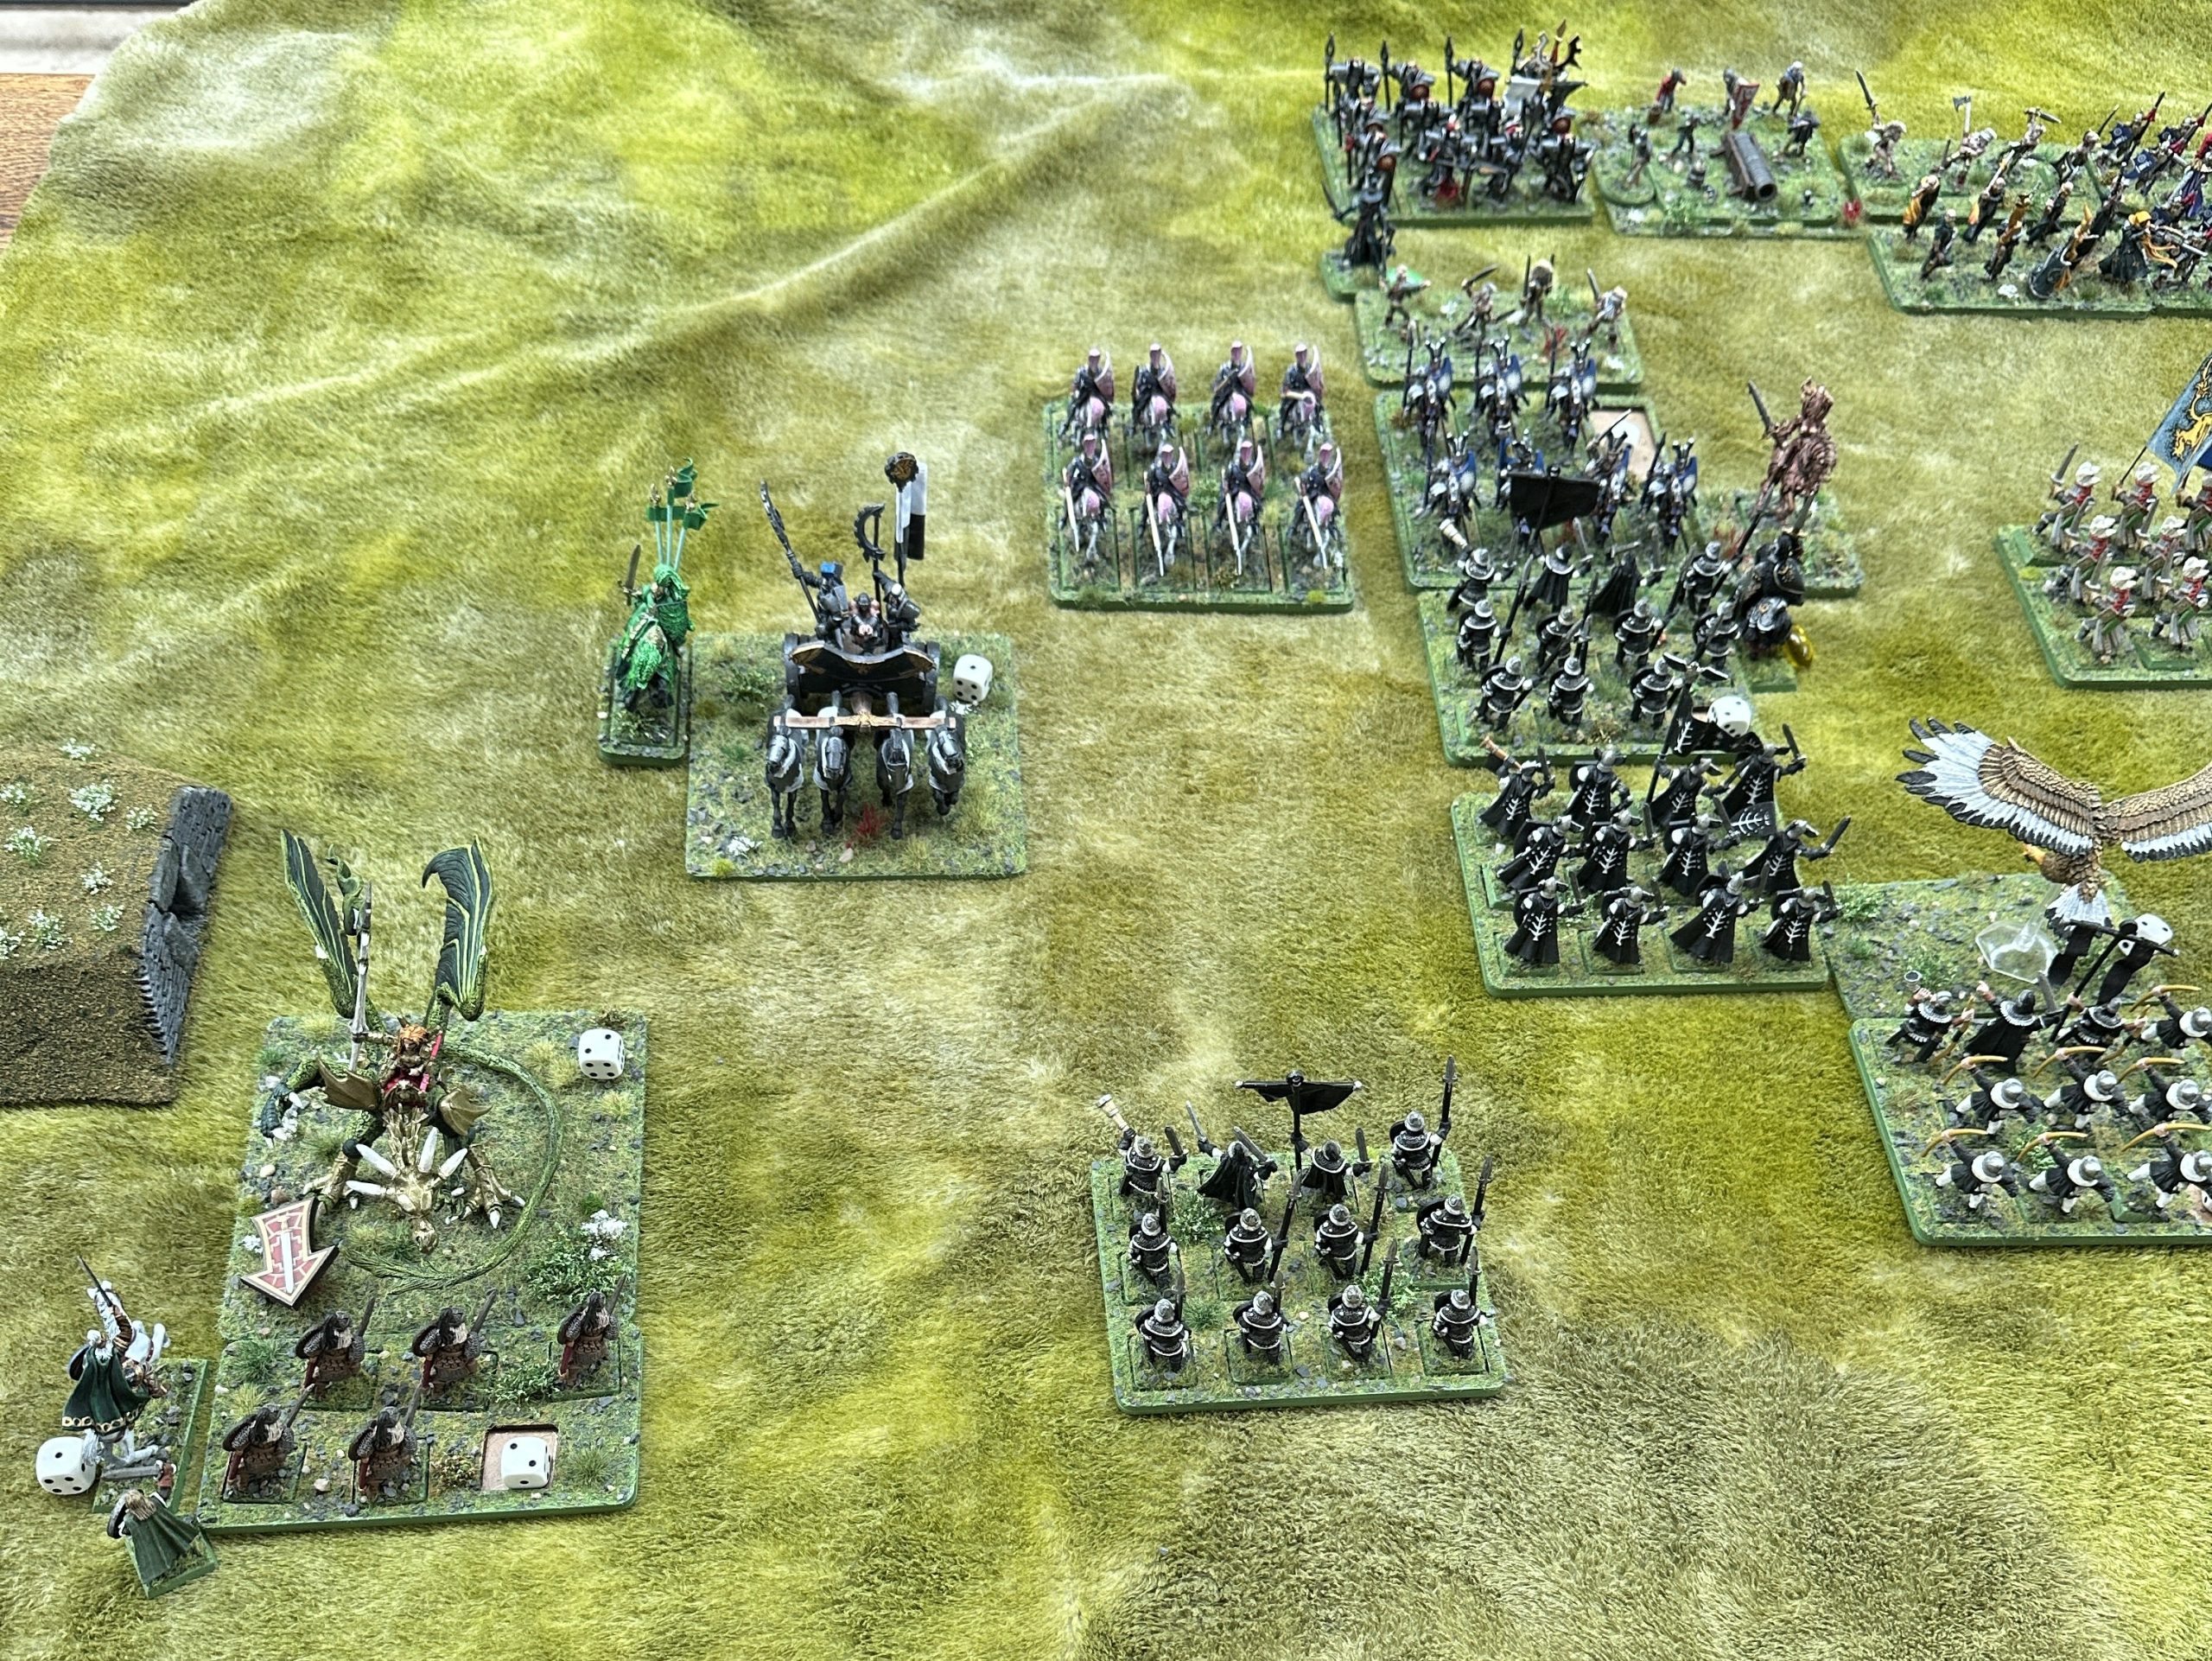
Rodger: Typically of these dishonourable reprobates, they cheated in the champion’s challenge, sending a magically protected knight to meet our finest champion, Sir Percy. Despite delivering a blow that would have cleft any opponent in twain their green clad devil rode past as if nothing had happened. There wasn’t even any blood evident on Sir Percy’s blade. In the very next pass a blur of blows of inhuman speed sadly dispatched Sir Percy. A terrible end for a great and noble knight. Barely had the green devil returned to their lines than their chariots charged. Caught off guard our noble allies barely had to time to respond before the huge chariots crashed into their lines. The green devil was amongst them and once again met one of our heroes in single combat and again the ensorcelled devil triumphed, beating the Master of The Tower in single combat. Units on our left disintegrated including the famed Riding horsemen who fell before the charge of a giant green dragon, their king held his own despite being wounded and was rescued by a charge of militiamen. Our stout yeomen spearmen counter charged the chariots on the left with our lord at their head. His unit obliterated the chariot to their fore with our lord’s blessed blade striking the fatal blow. In our centre the flower of Imperial chivalry charged down upon the enemy to their front. Alas they did not sweep all before them as they had so many times before. For some reason the ragtag line of spear and pike held, although they seemed sorely pressed. Surely their centre was moments from collapse and our inevitable victory would be complete.
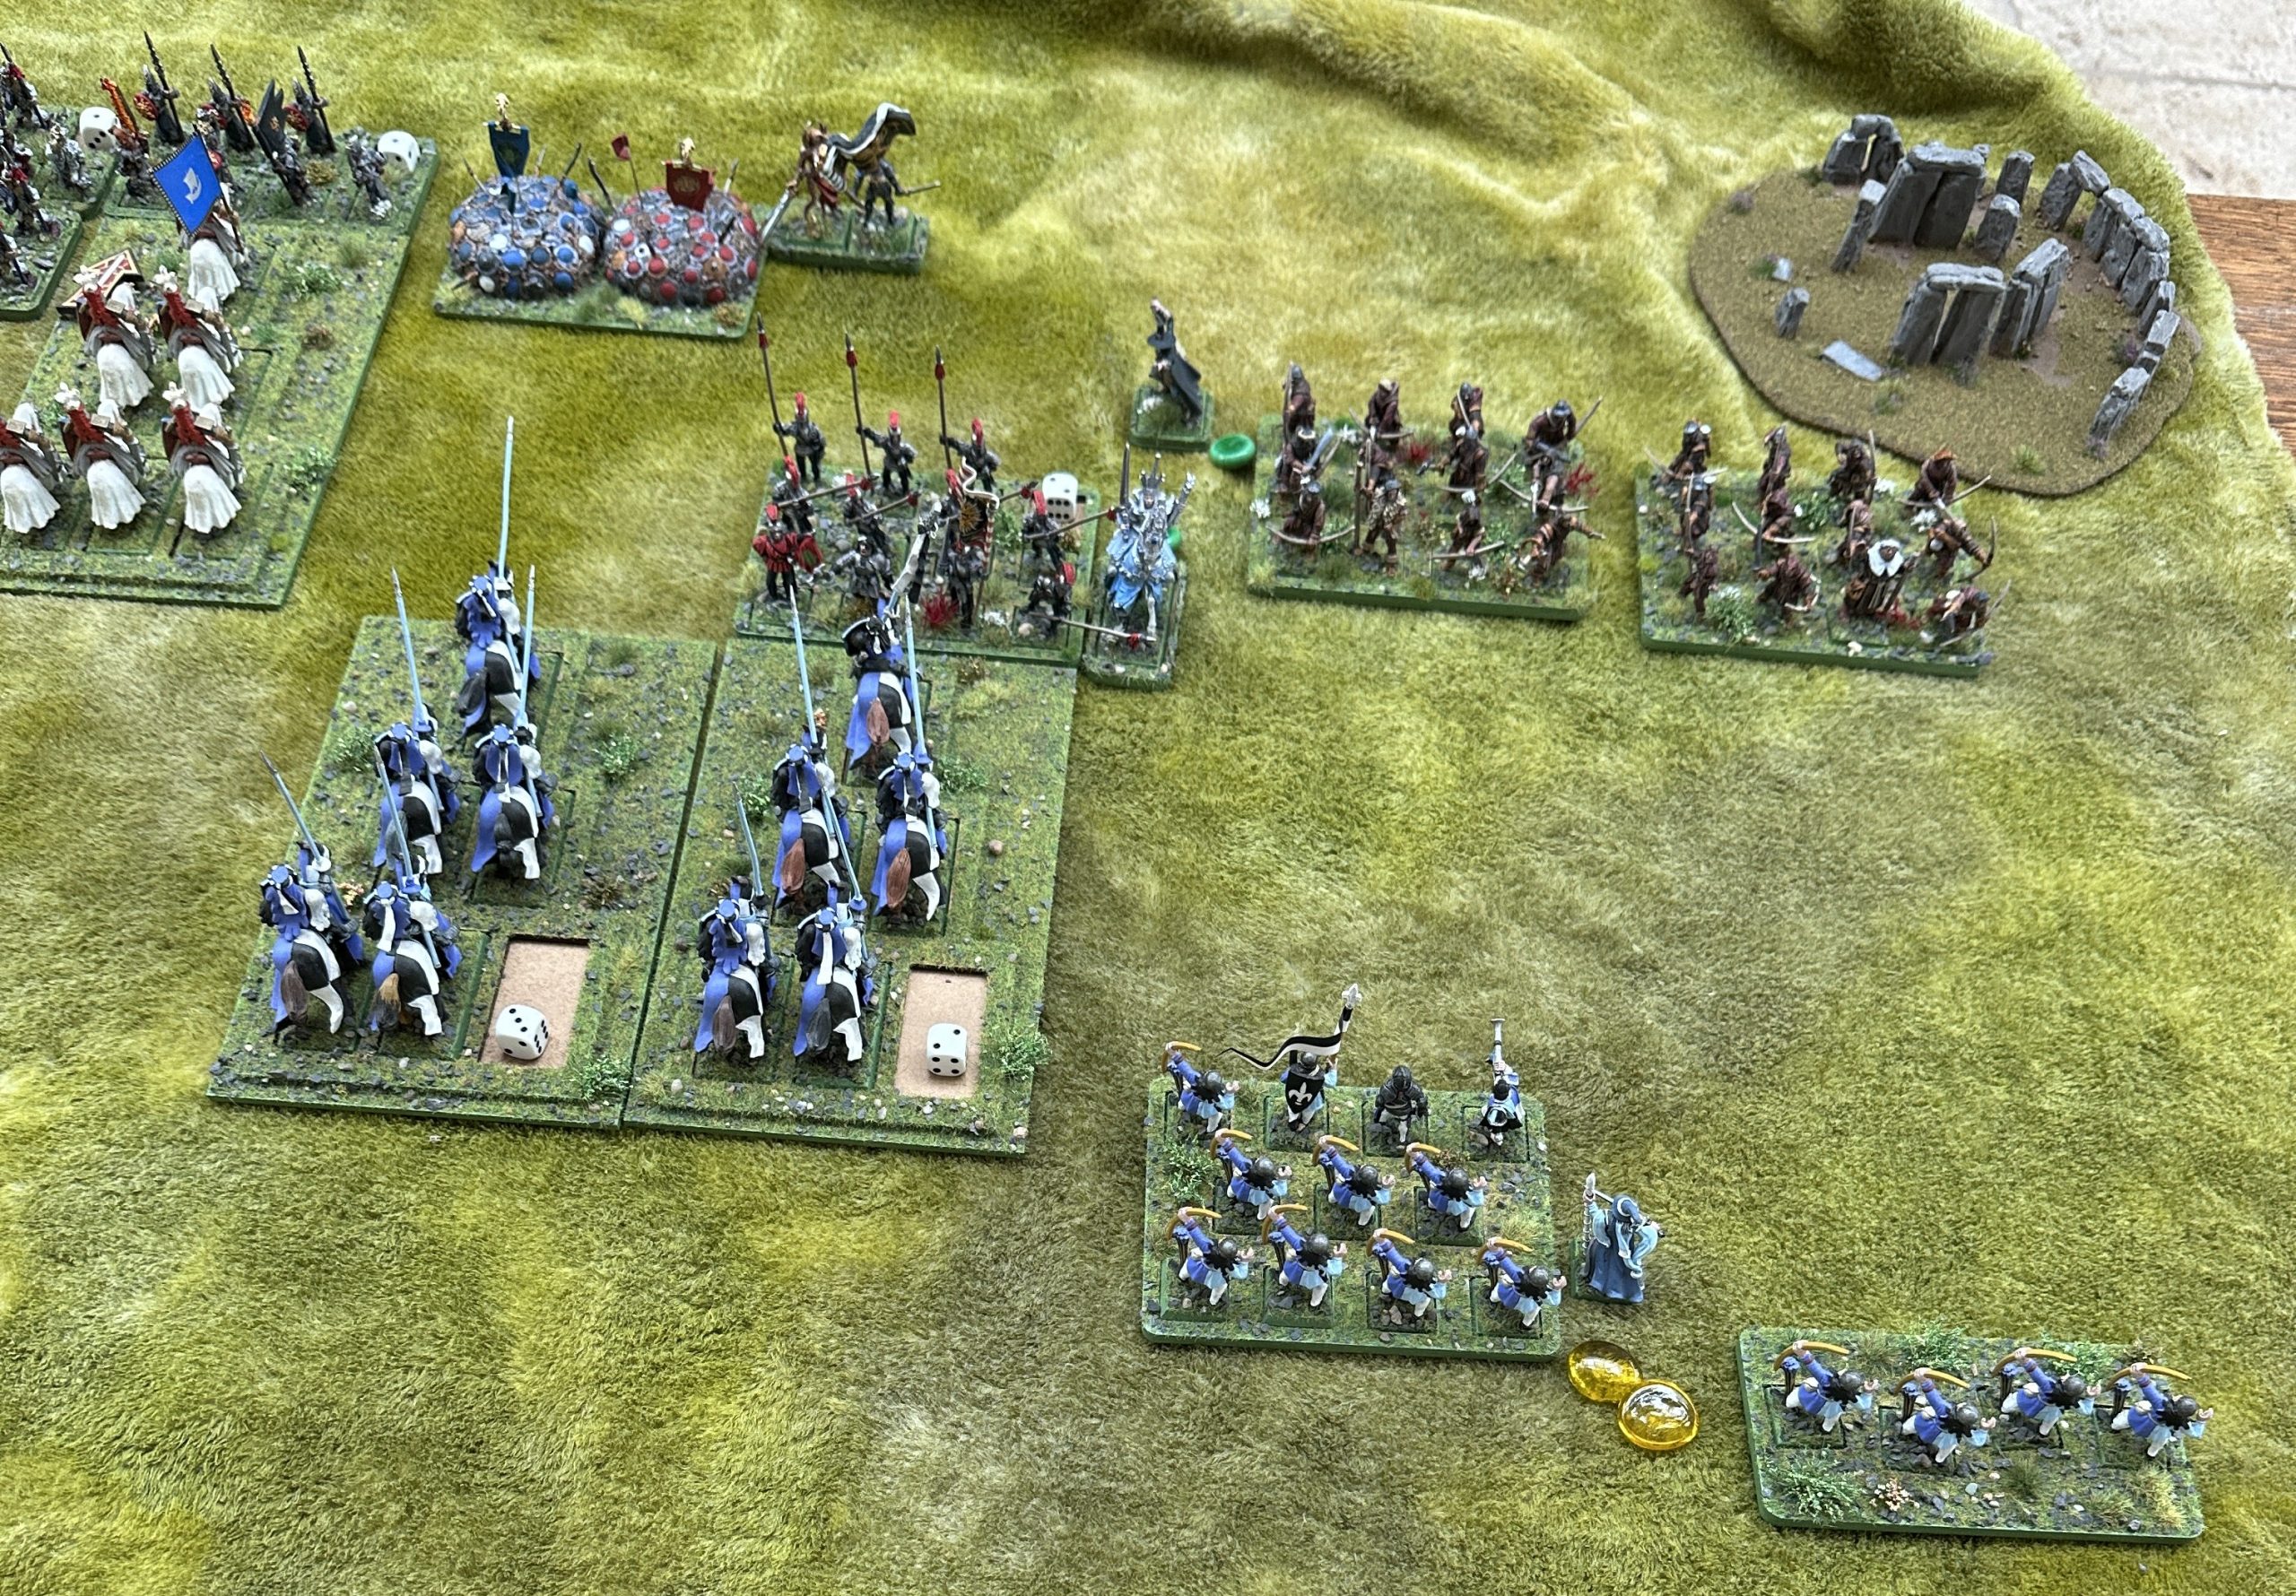
First three images show Attacker movement (charge of chariots and dragon) and combat, the final 3 show Defender movement (charge of knights), combat and the remaining shooting phase results.
End of Round 1 scoring (final image):
Dogs of War: 19
Imperials: 5
Turn 2
Moche: As is often the case once the two forces engage there is a confusing period where the battle descends into a series of individual fights between opposing regiments. From our position on the extreme left we had a good view of the proceedings and the give and take of battle. The charge of their knights was an impressive sight but it was held by our doughty foot and as they paused briefly to regroup they seemed astonished to watch the perfect precision of the replacing of the front line of spears with those from the rear ranks. Perhaps as dedicated amateurs they underestimated the practiced dedication of us professionals.
Rodger: The general melee became confused as both armies engaged along their fronts. I was fortunate to see our Lord vanquish the unit to his fore and meet their general with a spirited charge that pushed her and her soldiers back. Surely the pressure of our force would break these foreigners.
First three images show Attacker movement and combat, the final 3 show Defender movement, combat and the remaining shooting phase results.
End of Round 2 scoring (final image):
Dogs of War: 15
Imperials: 3
Turn 3
Moche: Their line was clearly becoming badly disjointed as some units pushed into our line and others were vanquished and their soldiers started to run for their homes. From on top of a barrow mound I had a clear sight of the terror of our army – a dragon giving full vent to its blood lust. I clearly saw Fearfang jump into the middle of the Riding Royal Guards, ripping them limb from limb and finishing off by biting the head off their prince and tearing their king and his horse in half. He died by what I later found out is the entrance to the tomb of his ancestors. Shortly thereafter they began to retreat and then a headlong flight commenced. As our cavalry speeded them on their way we contented ourselves with plundering their camp which was richly appointed. Glory to La Lionne Rousse!
Roger: How the rout started is not known. Somehow the line must had become disrupted and their regiments were able, in several places, to converge on our leading squadrons. The momentum of the Imperial knights across the centre failed and they were pushed back. Seeing the flower of Imperial chivalry retire took the heart from our army and what started as an orderly withdrawal became a headlong flight with every man fleeing as best they could. A black day that will sit long in the memory and very much the beginning of our present woes.
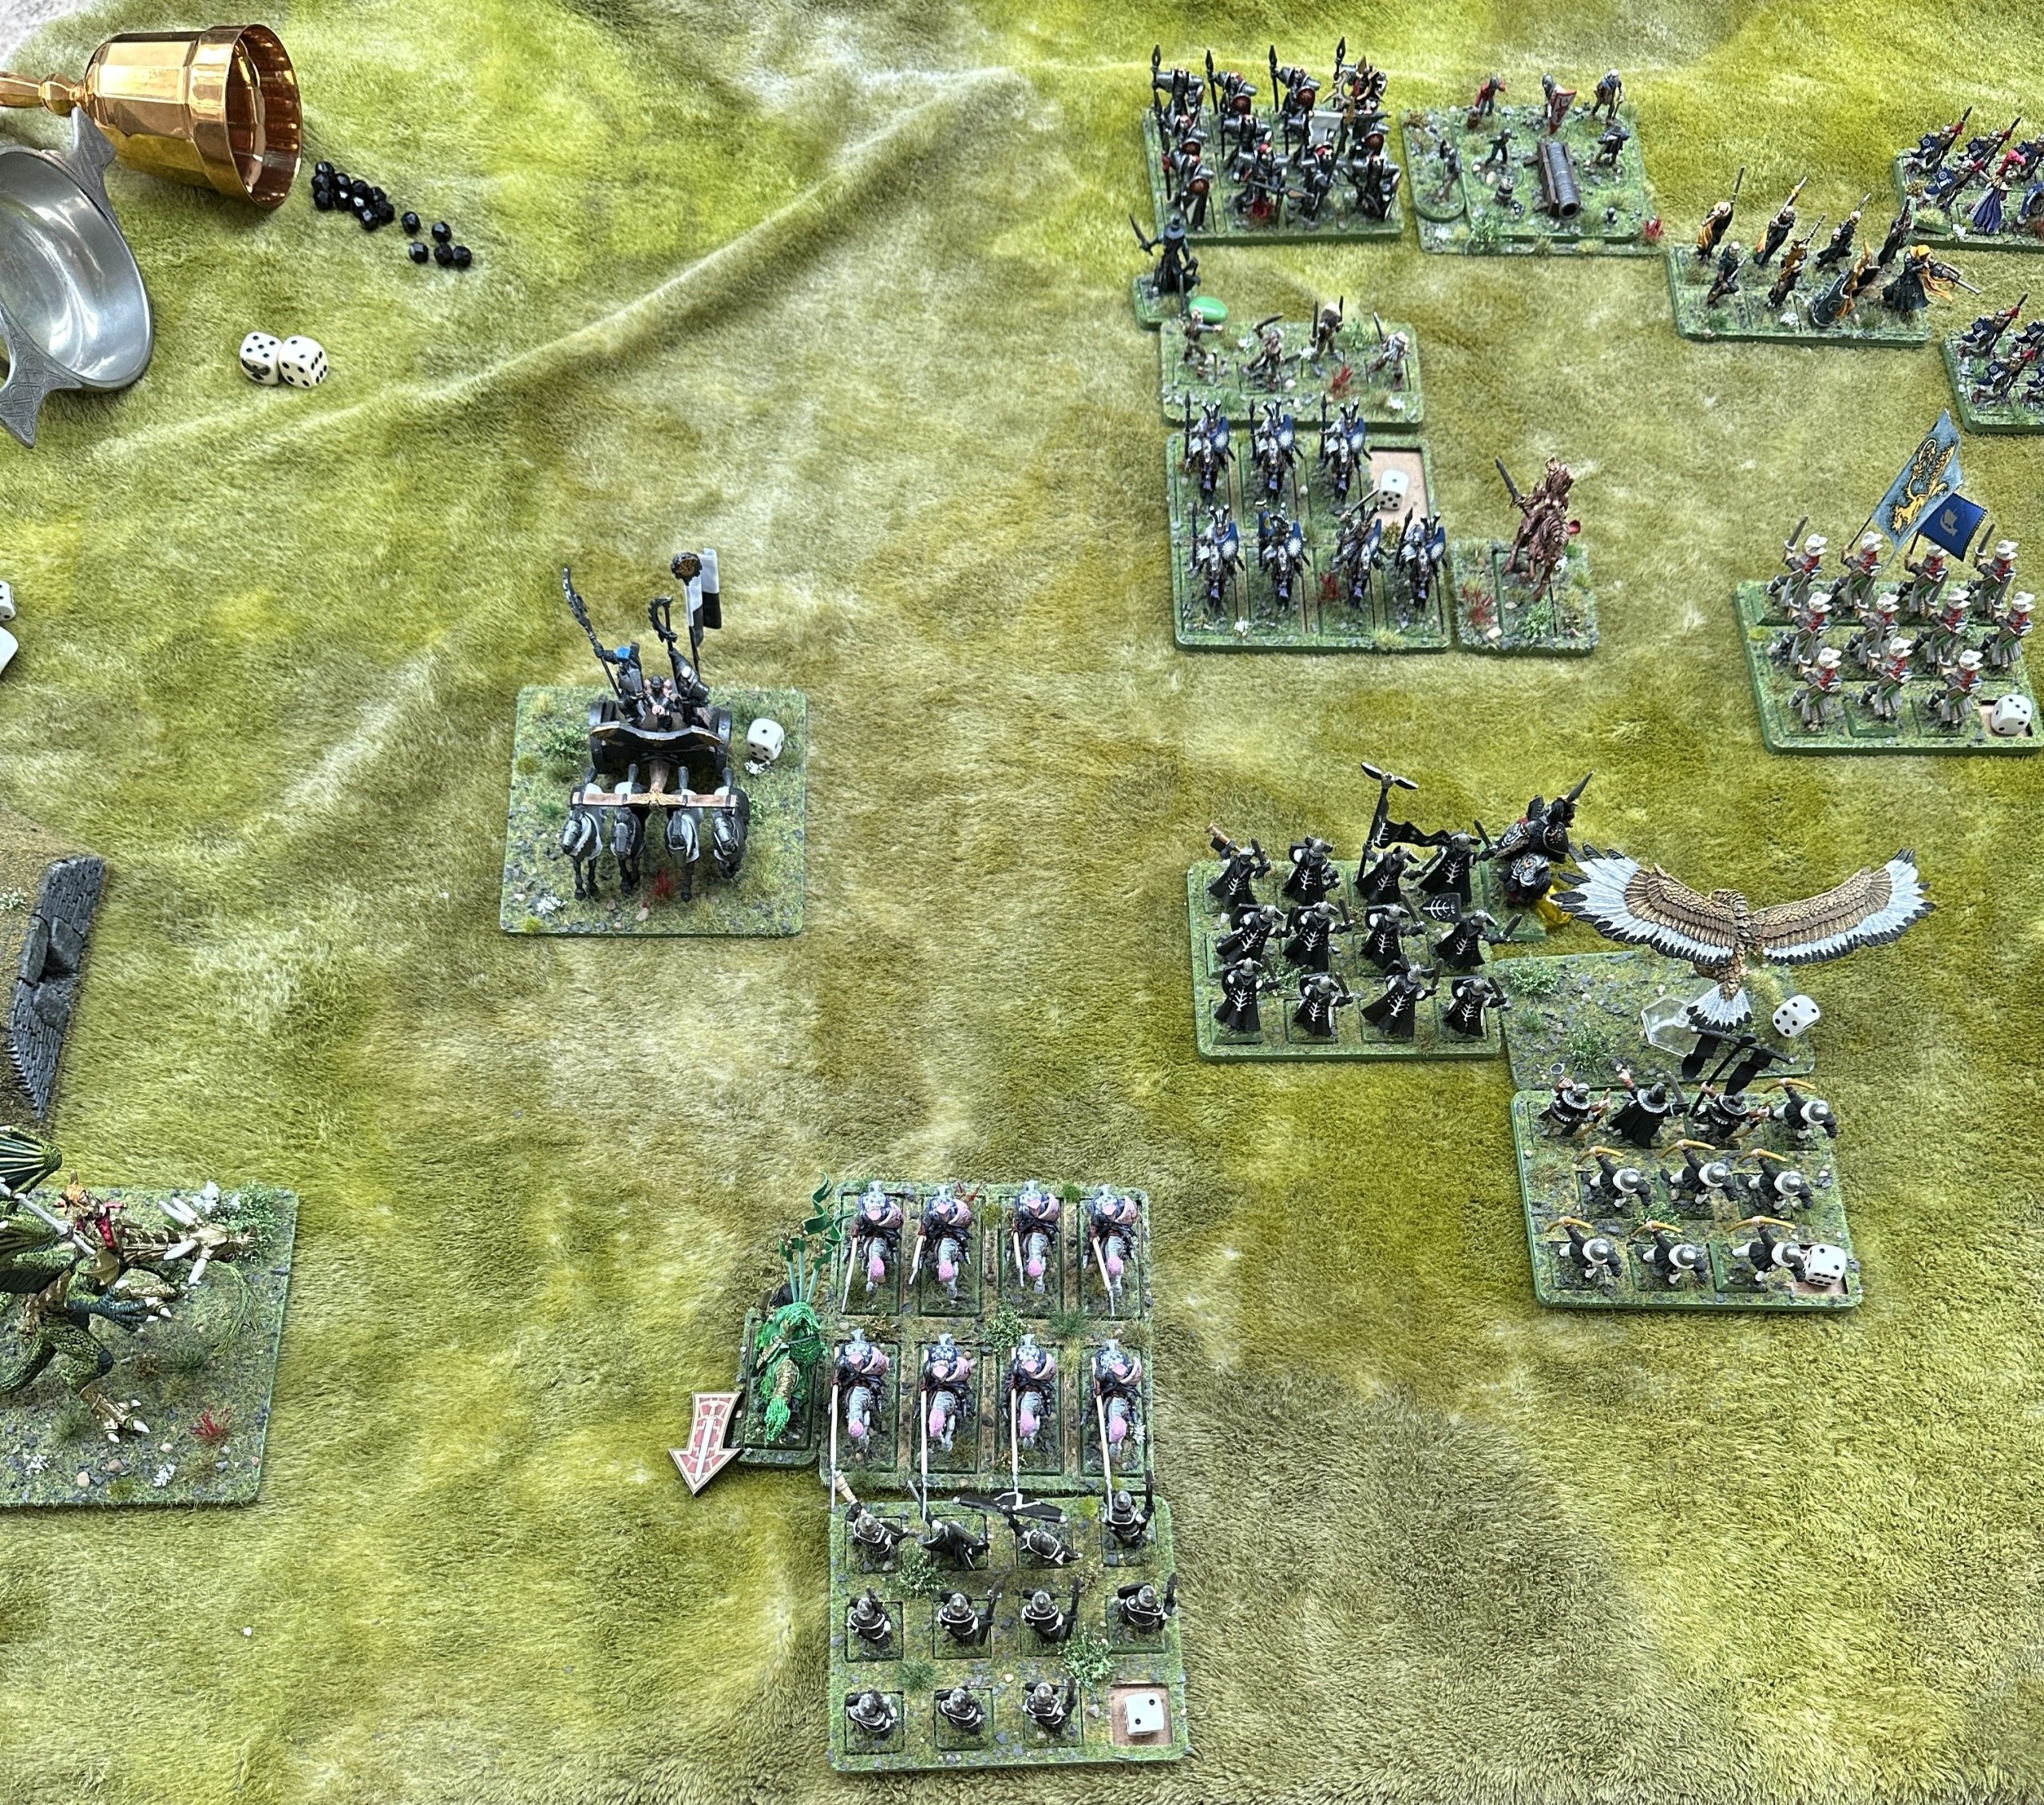
The game finished after Attacker movement and combat with the Defender unable to recover their position to a positive value or overcome the opposition number of tokens, regardless of actions or combat outcomes.
End of the game (final image, dice number to show negative tokens)
Dogs of War: 15
Imperials: -7
Evaluation
I’m very pleased with how that went. Surprisingly the Dogs of War won. I don’t think that has happened to one of my newly painted armies before 😀 In terms of the overall plans I think both were sound and had the Imperial knights been a little more fortunate with their rolling they might have breached the line opposite them. However, the chariots did very well and melted through a unit of heavy infantry spearmen in the first combat which is incredibly hard to do. Having charged several heroes the Dogs did well maintaining their token numbers whilst early unit and hero losses were very hard for the Imperials to recover from.
Knight of the Fight
The Green Knight. He certainly delivered based on the lore I wrote for him getting injured in his very first action but then taking out two heroes in single combat and the unit he was attached to also beat two enemy units during the game.

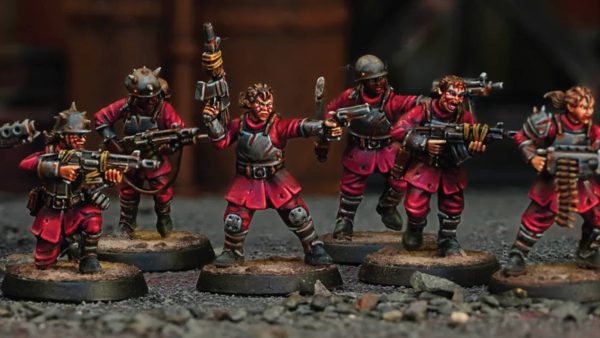
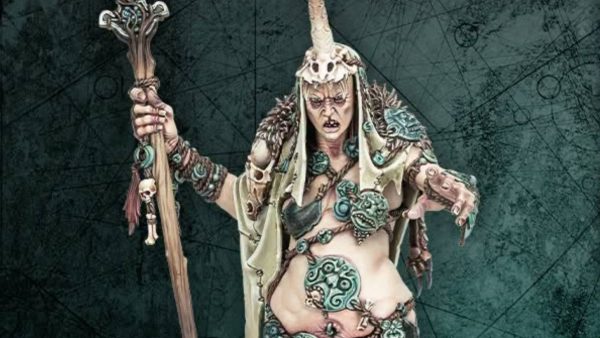
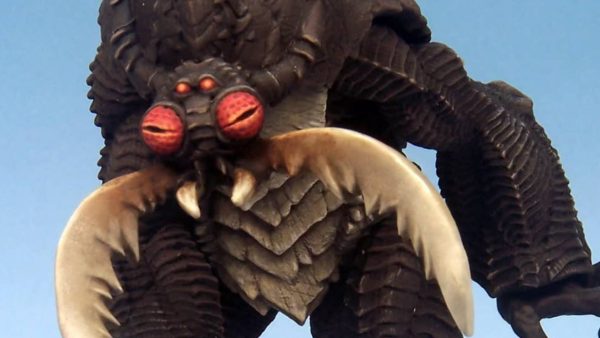
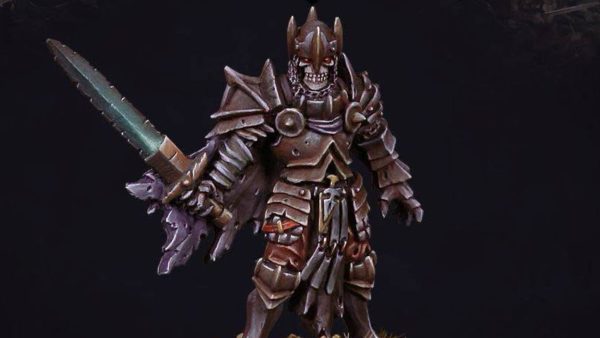
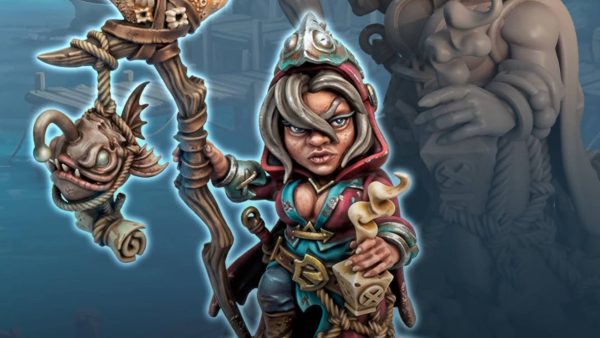


Keen batrep. I was also pleased to see the models Kyra & Lavarath from Reaper done up so well
Thanks for dropping by and commenting @horati0nosebl0wer Glad you liked the batrep. I had great fun painting Kyra & Lavarath. I really enjoy a big mini and I know you like a feature miniature too having painted the ones for your Ancient Indian project so beautifully.