






Redvers and Son Get Into Bushido




Battle Report No. 15 - Horselords vs Kinshi Temple
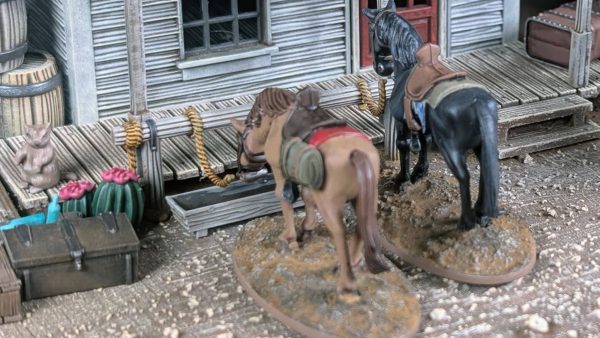
Time for another game. At UKGE, I picked up the Horse Lords faction pack and have gotten round to building them. Unfortunately they suffered a bit in the heat over the summer and, while stored in the garage, they melted a bit and I’ve had to try to repair them. But hopefully no serious damage. But having bought them, I wanted to give them a whirl, so, unprepared and without really reading the actual cards, I took on my son’s Kinshi Temple faction.
On my side, I selected Oiwa Yoshitaka (OY) who’s a bit of a beast in combat. Takeda Reiko (TK) who offers some useful support abilities. Inoue Kikuko (IK) who handily comes with a bow. Watanabe Yuka (WY) who has some useful Ki feats to gain activation. Tomato Kazuma (TK) who is also a beast in combat. All the models are mounted and as a consequence they’re all very mobile. They all also have the Banzai! Special rule that allows a Charge action as a simple action rather than a complex one (complex actions require two activation counters). I also selected a Themed list which gives some buffs but also a Curse card that only allows me to take 1 Activation counter for each model in the first turn.
My son’s Kinshi Temple are built upon their ability to add counters to their shared faction card that unlocks increasingly more powerful ki abilities. As the game progresses, Kinshi get increasingly more powerful. My son took Batsu, Shakaku, two Kami of the Empty Mind, Nagashikaku, Master Shi and Kodai.
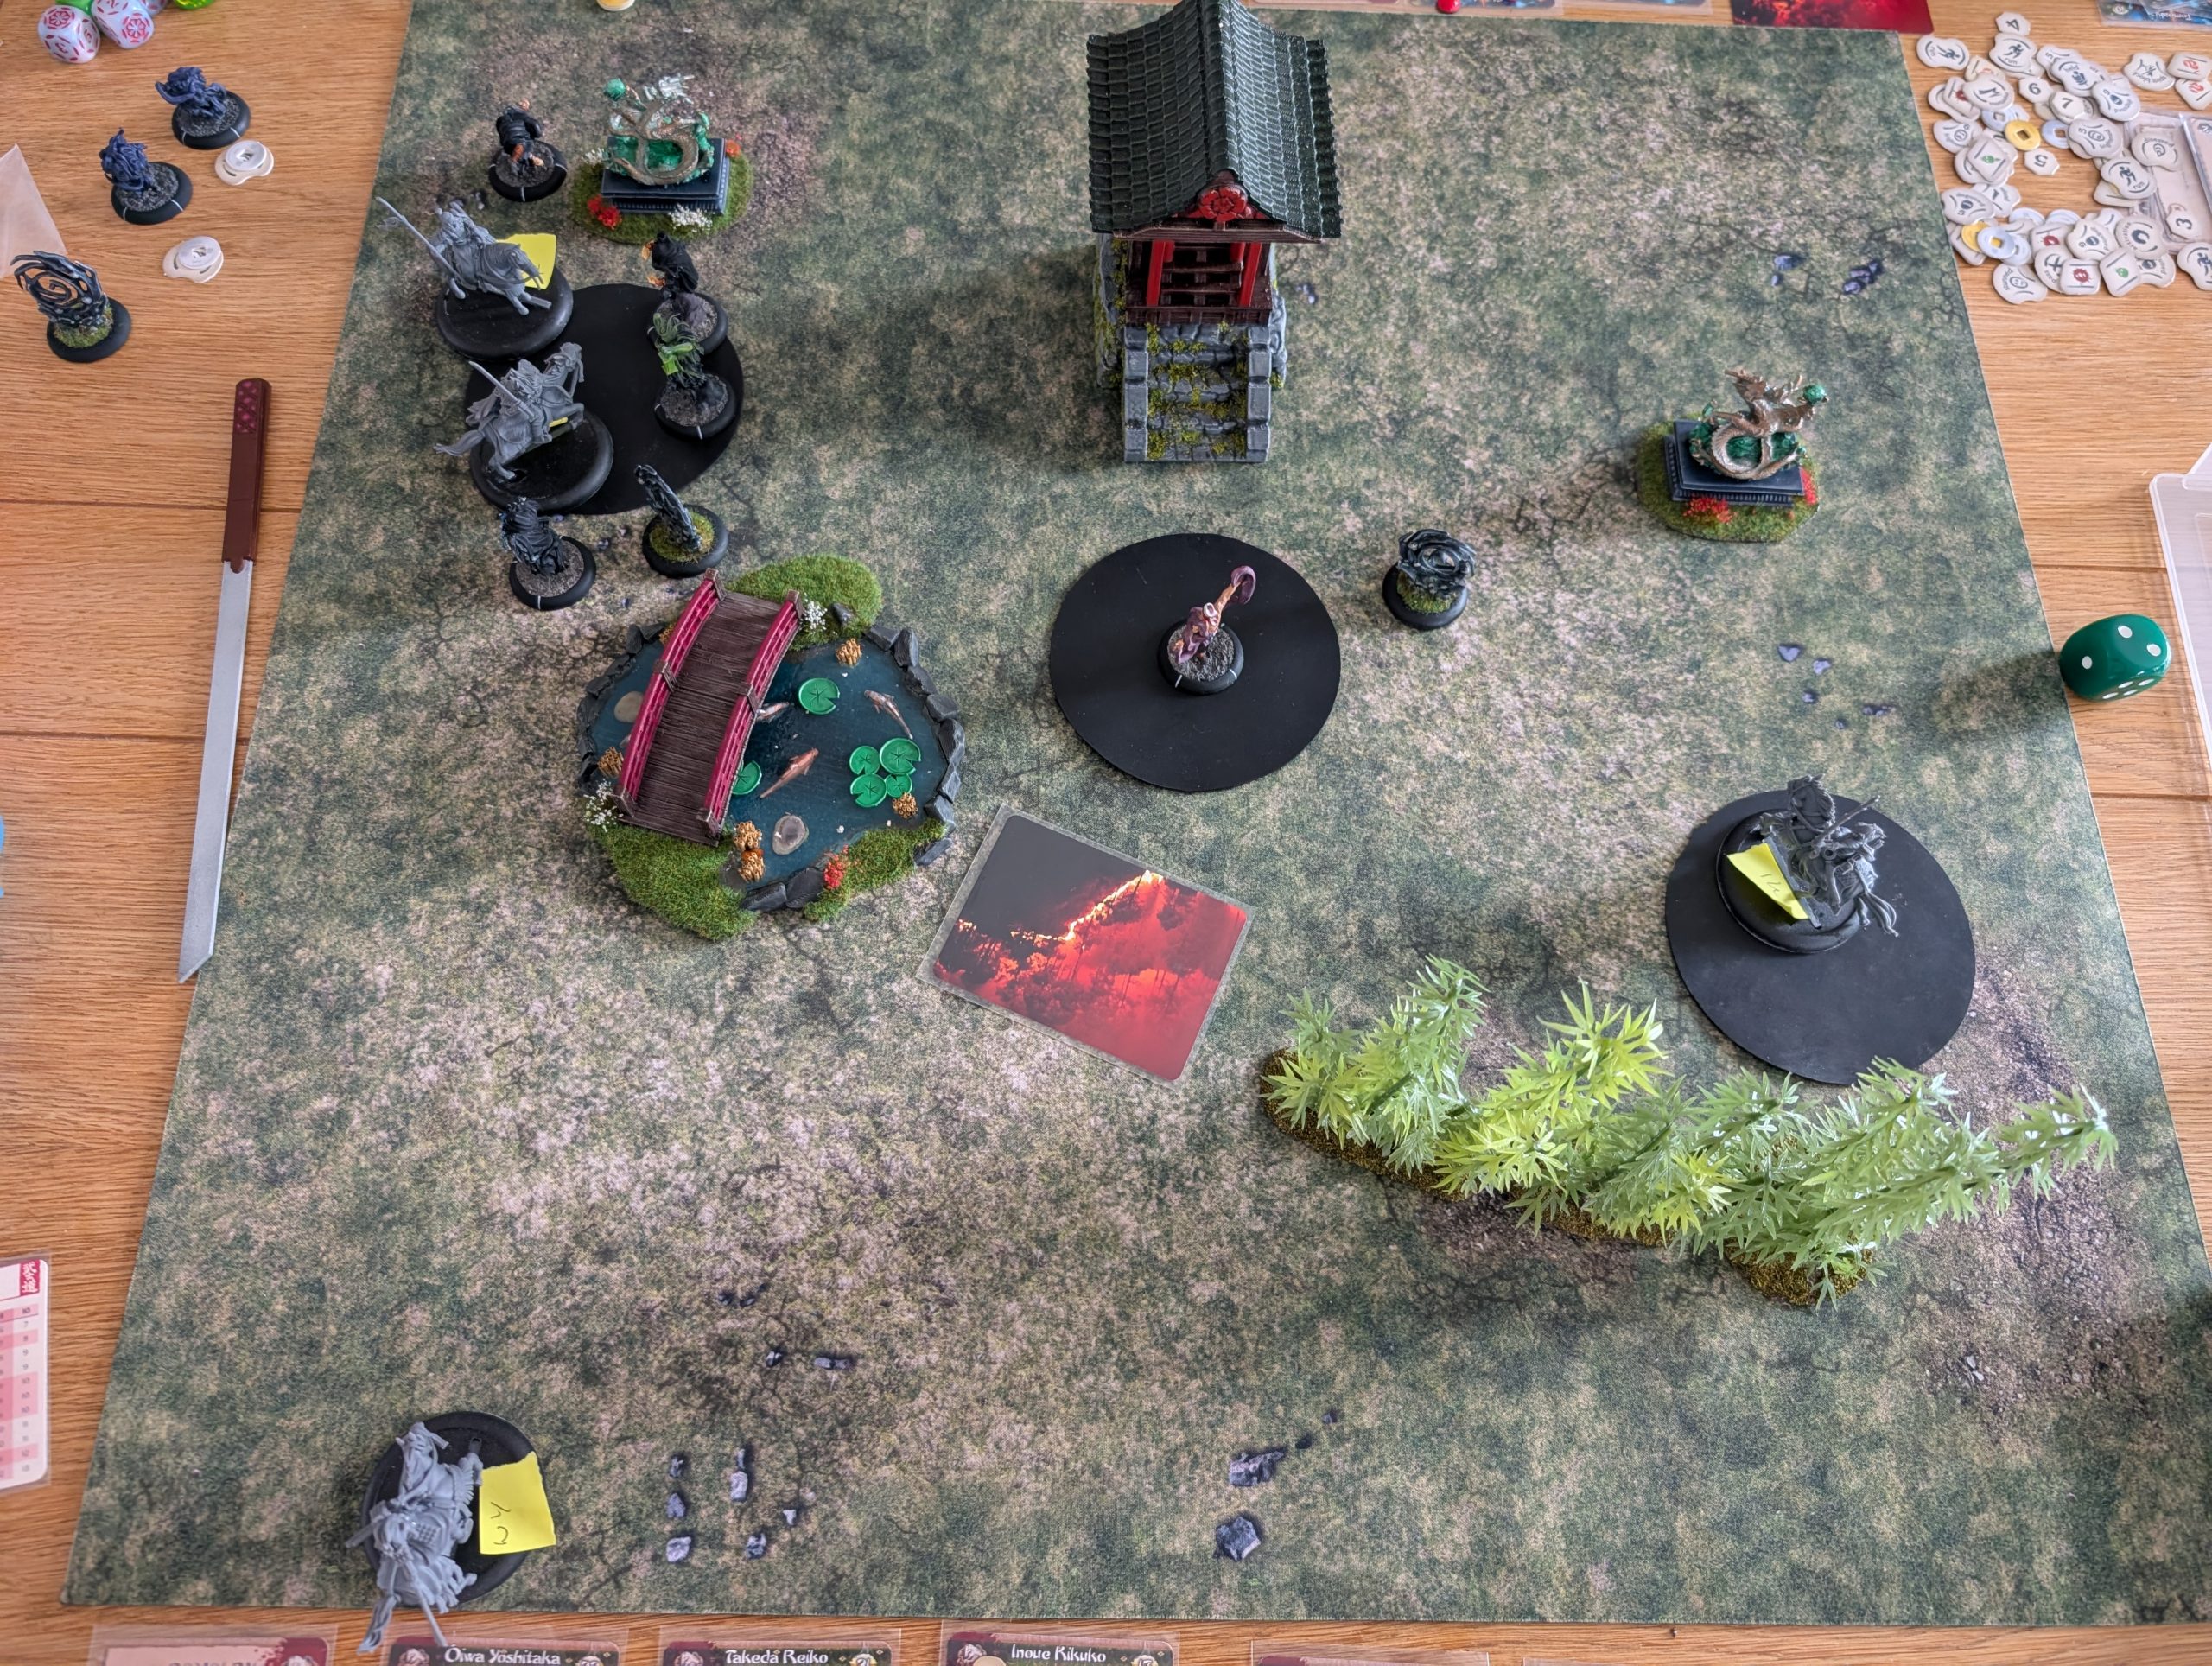
We’re playing a scenario with three scoring zones that lay diagonally across the board. To control a zone, you must have more models fully within the zone than your opponent and the points cost of those models must be more that your opponent’s models. This is a small challenge for me as all of my models are on 50mm bases and the zones are 4” diameter, so getting fully in the zone and staying there will be tough.
Below you can see the board set up and deployment. After placing terrain, I triggered an event card that allowed me to remove a piece of terrain, so I promptly cleared a piece from my side that was blocking access to the zones. My son also deployed his faction terrain that included a burning ground zone and some portals that allows his models to move around easily and also use them as jump points for Ki feats.
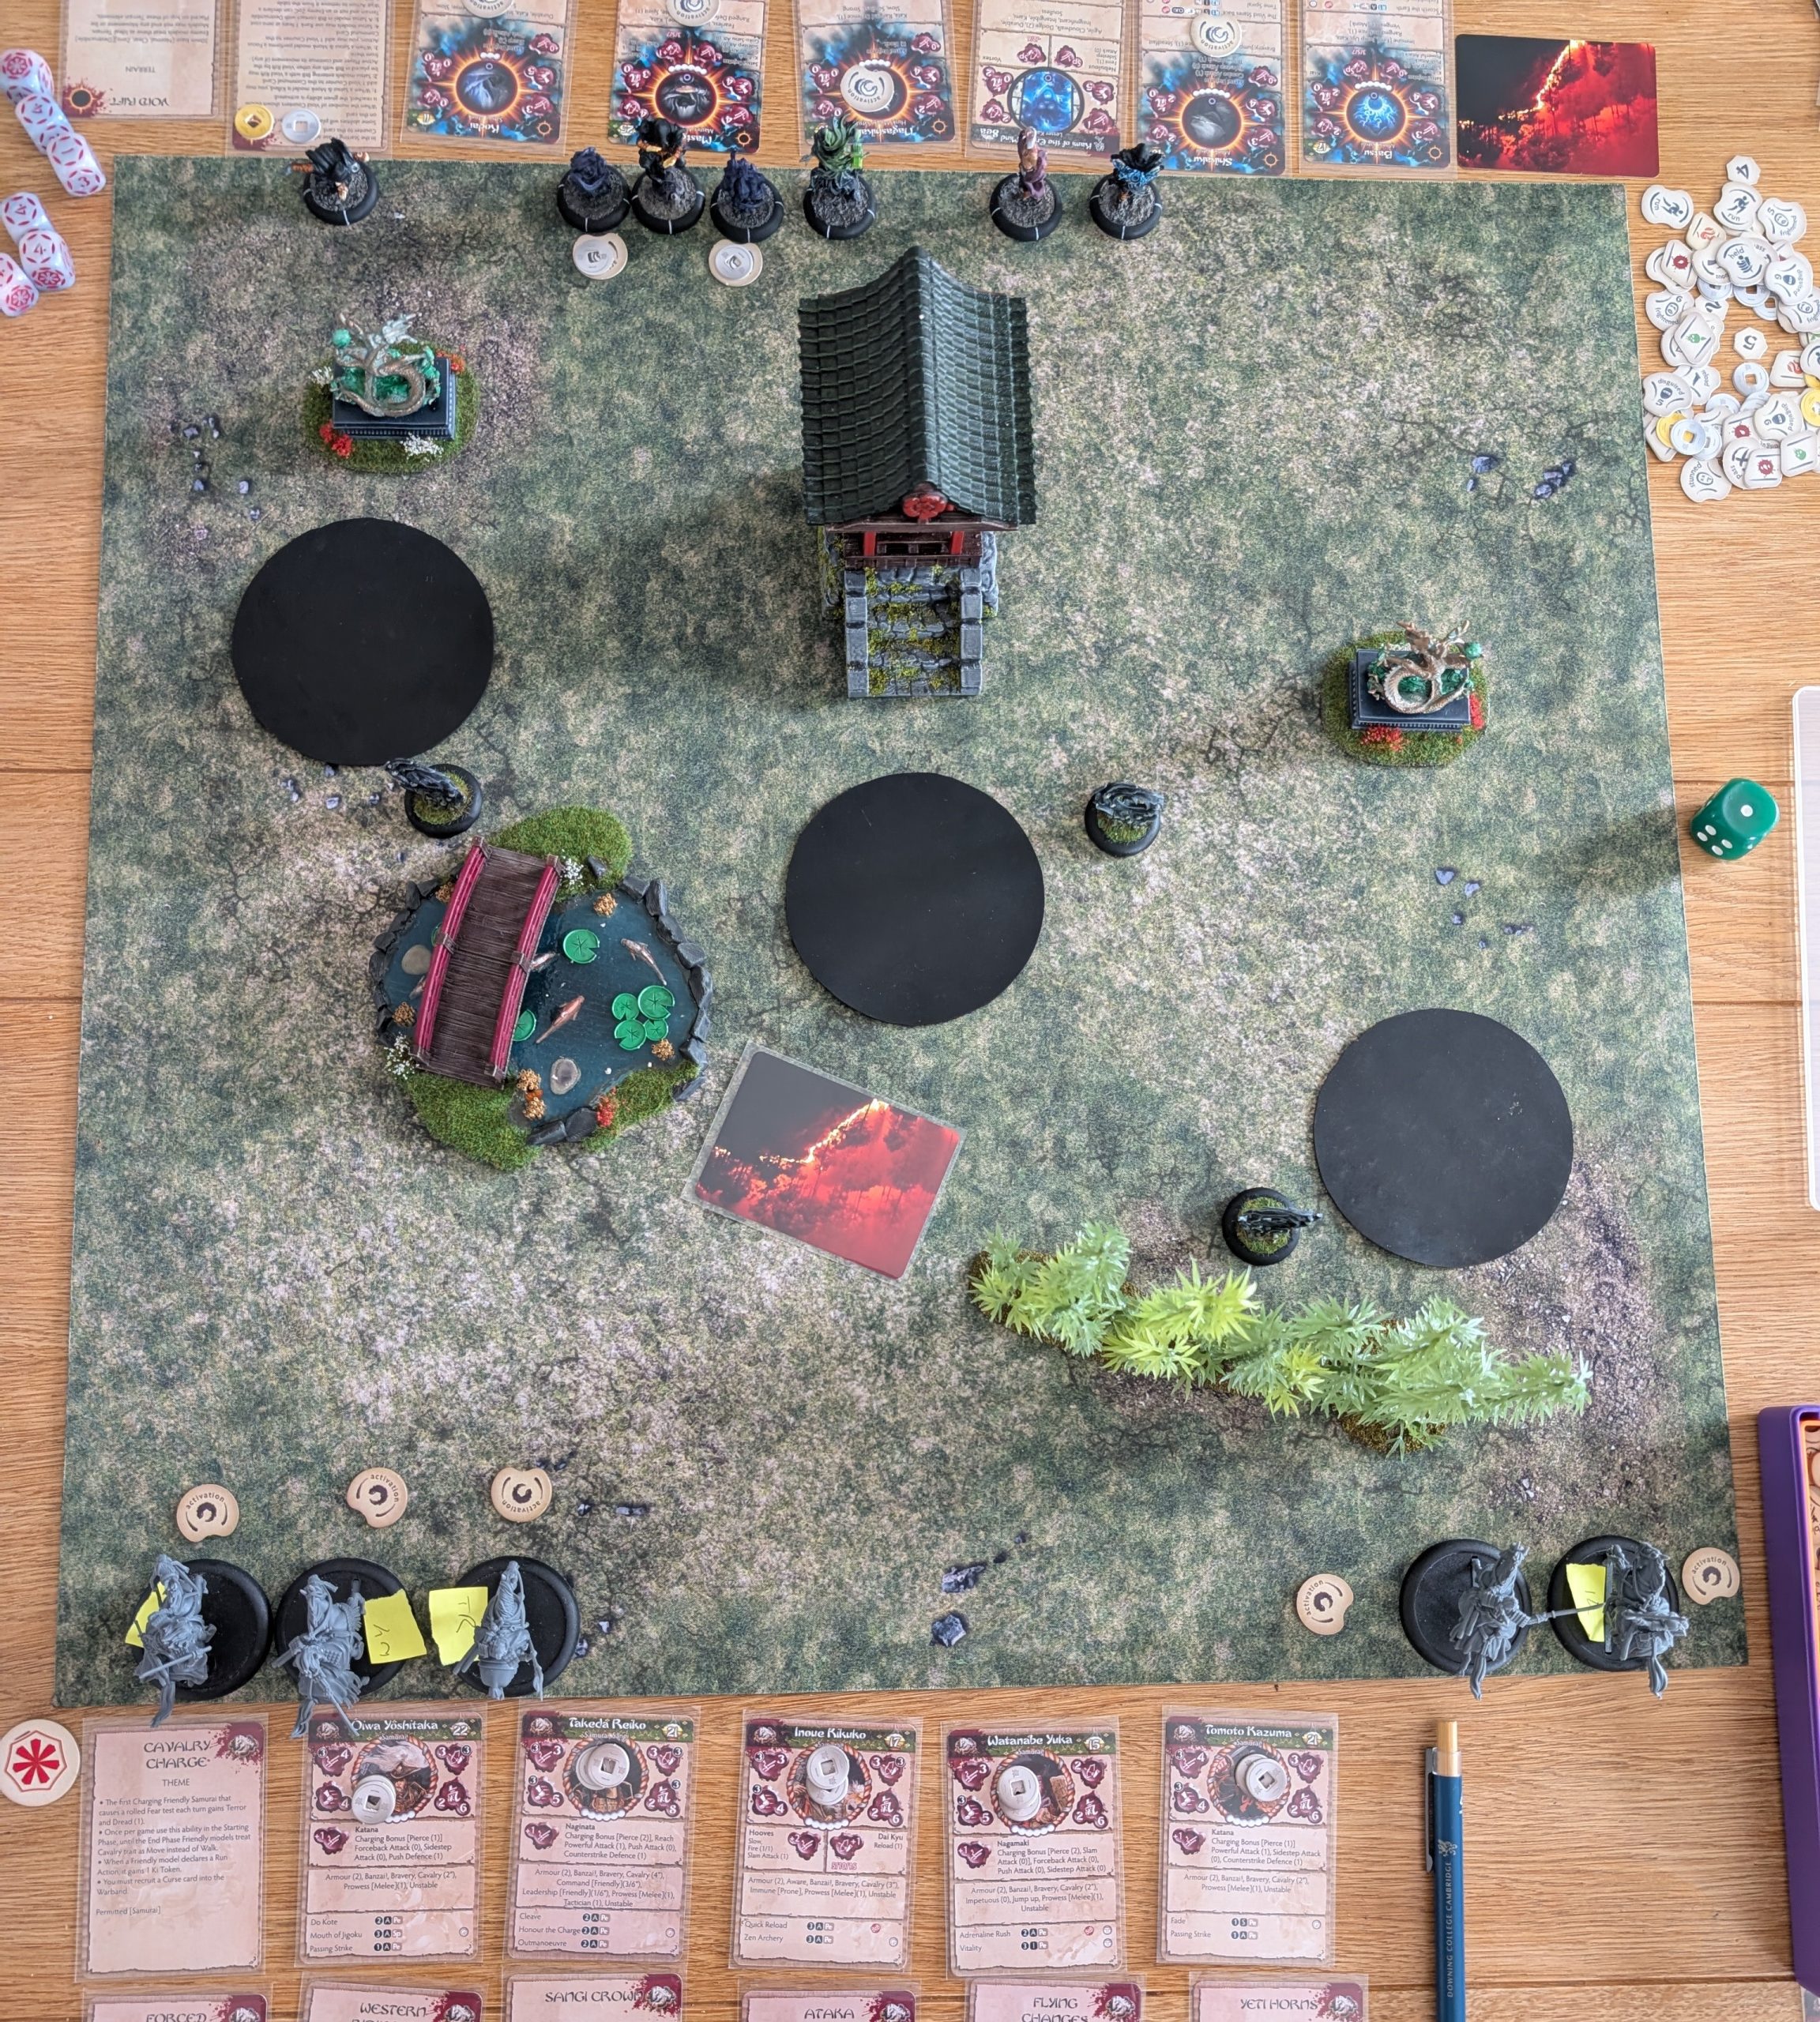
Turn 1.
My son starts off by inflicting a wound on one of his Kami models to gain a void token for his faction card. I start advancing my horselords to close the gap.
Shikaku uses his Look into the Void Ki feat and he’s able to win the challenge dice off and I’m lucky that this only inflicts 1 wound on TK – it could have been a lot worse. Master Shi is also able to successfully get off his Contemplate the Void feat that removes the only Activation counter that WY had and so WY is going nowhere this turn. Finally, one of the Kami is able to steal a Ki token from TR and recover the wound it took earlier in the round.
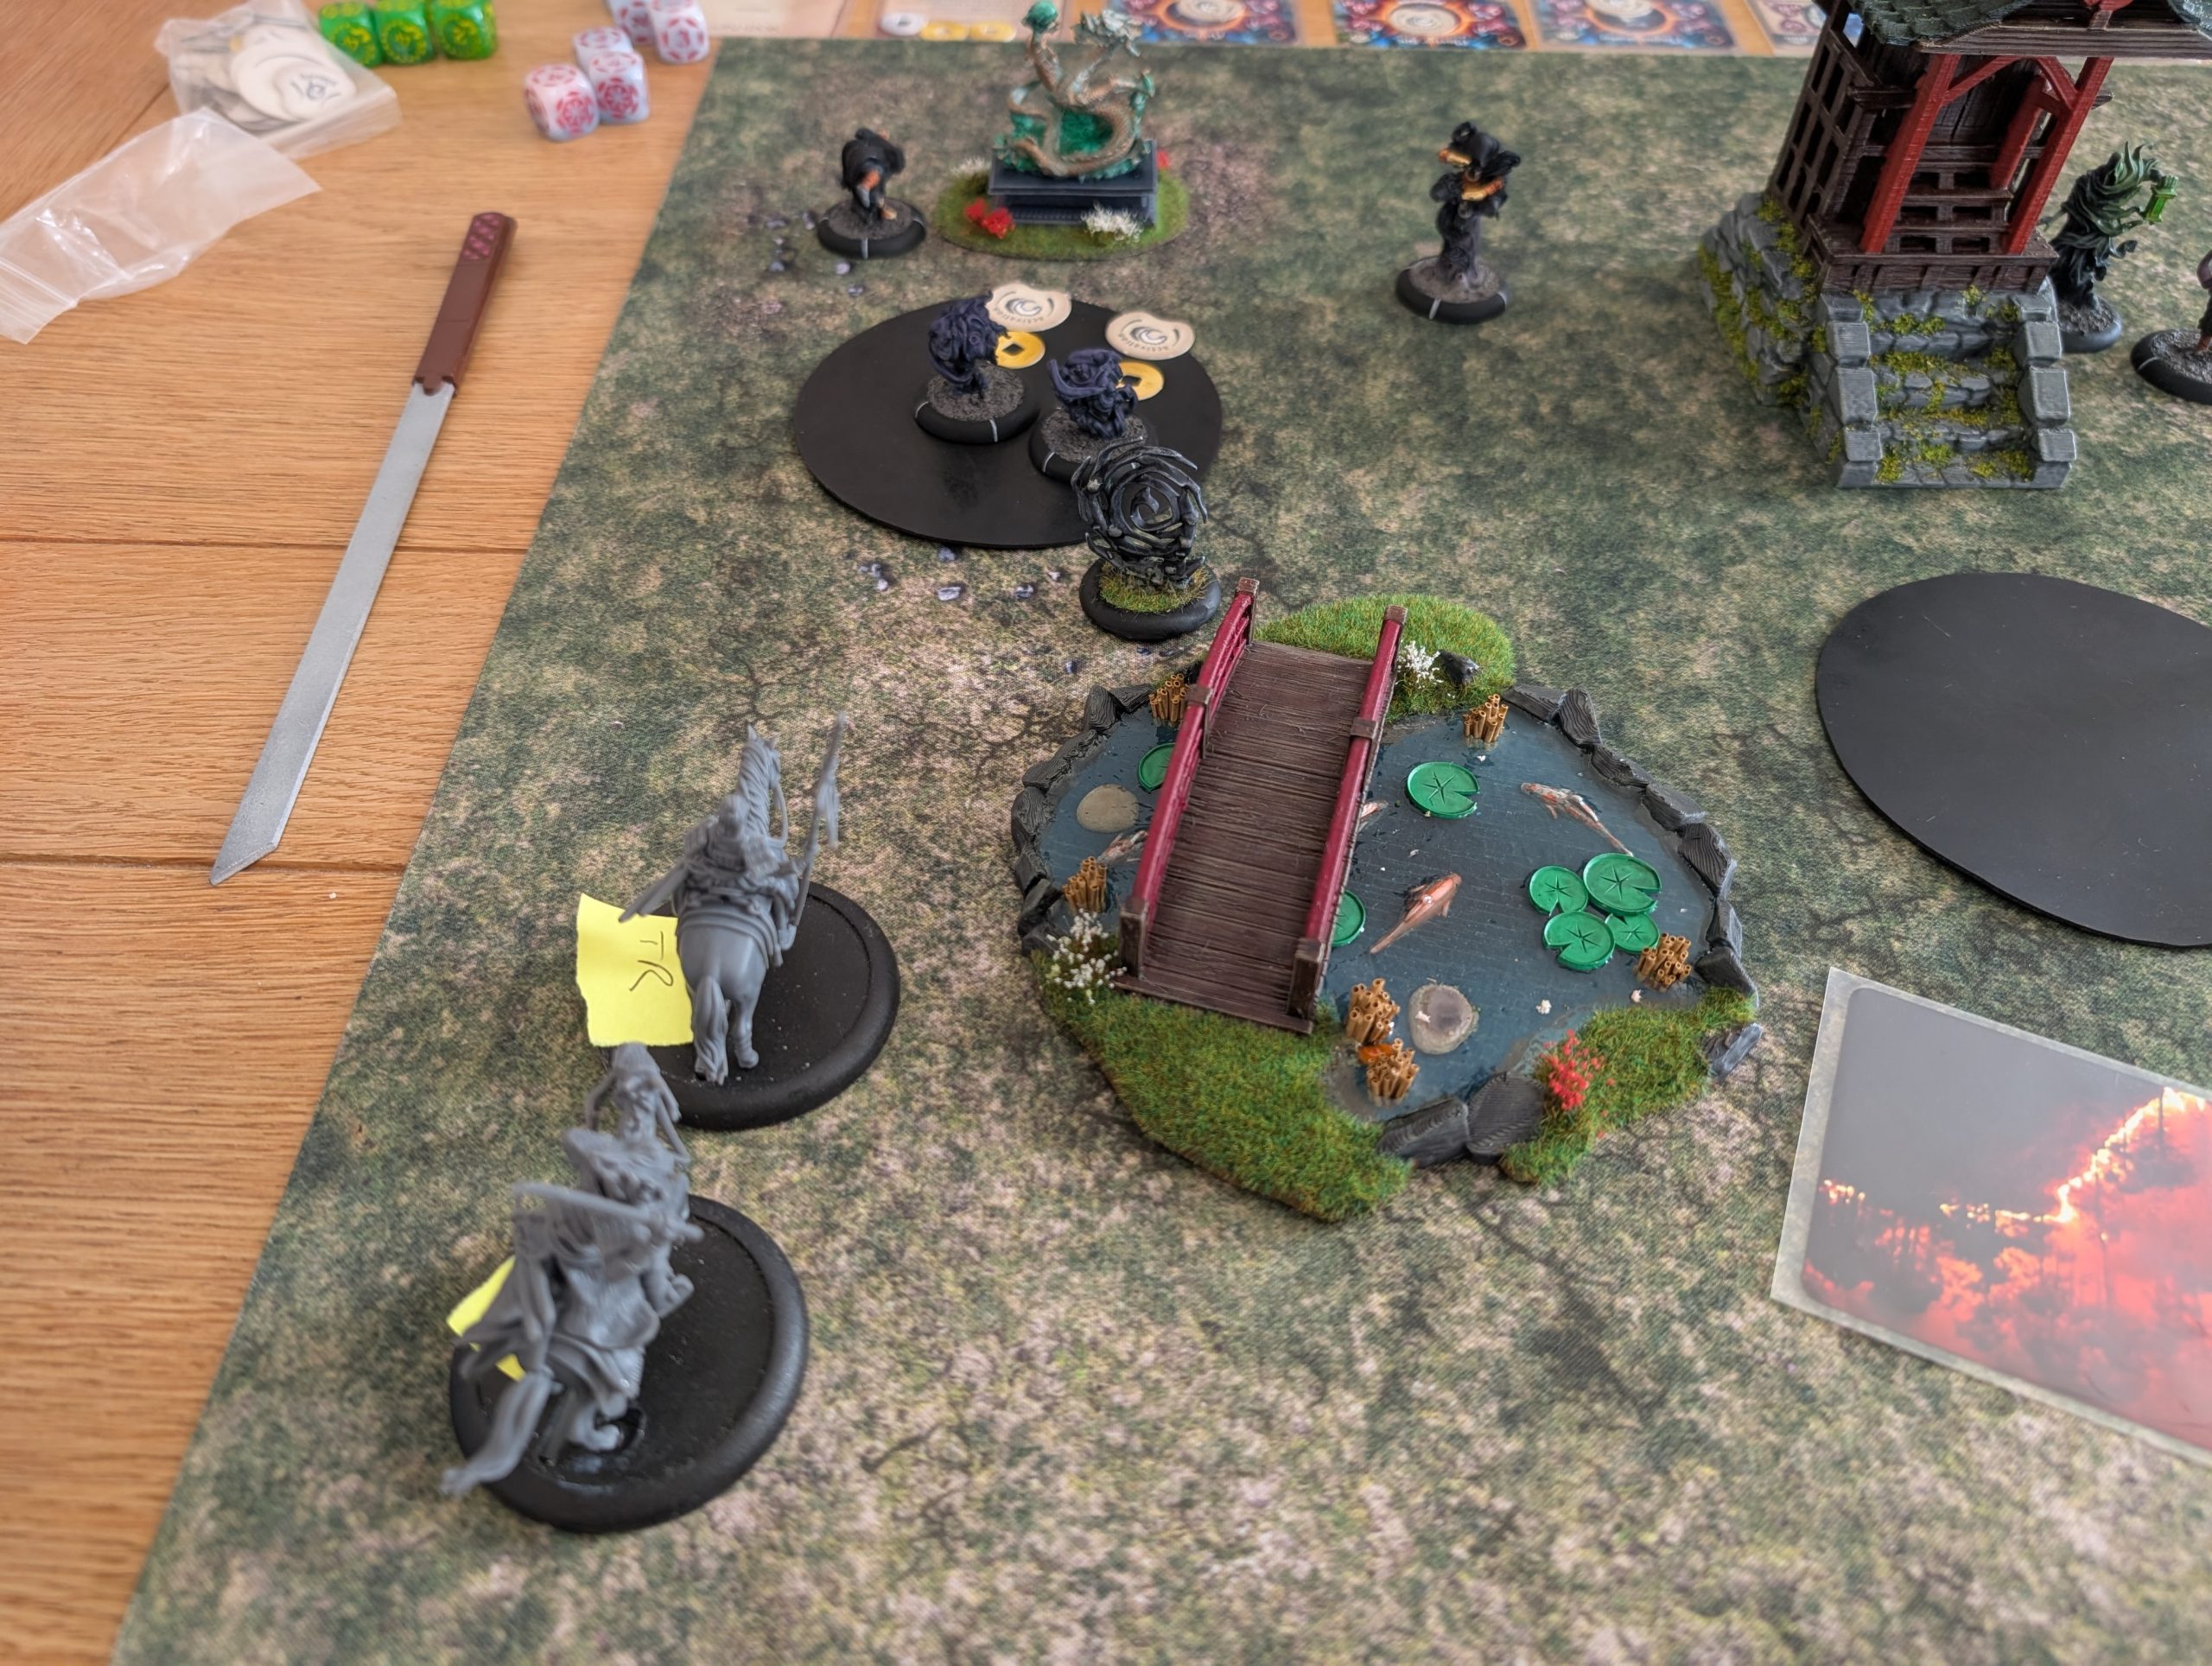
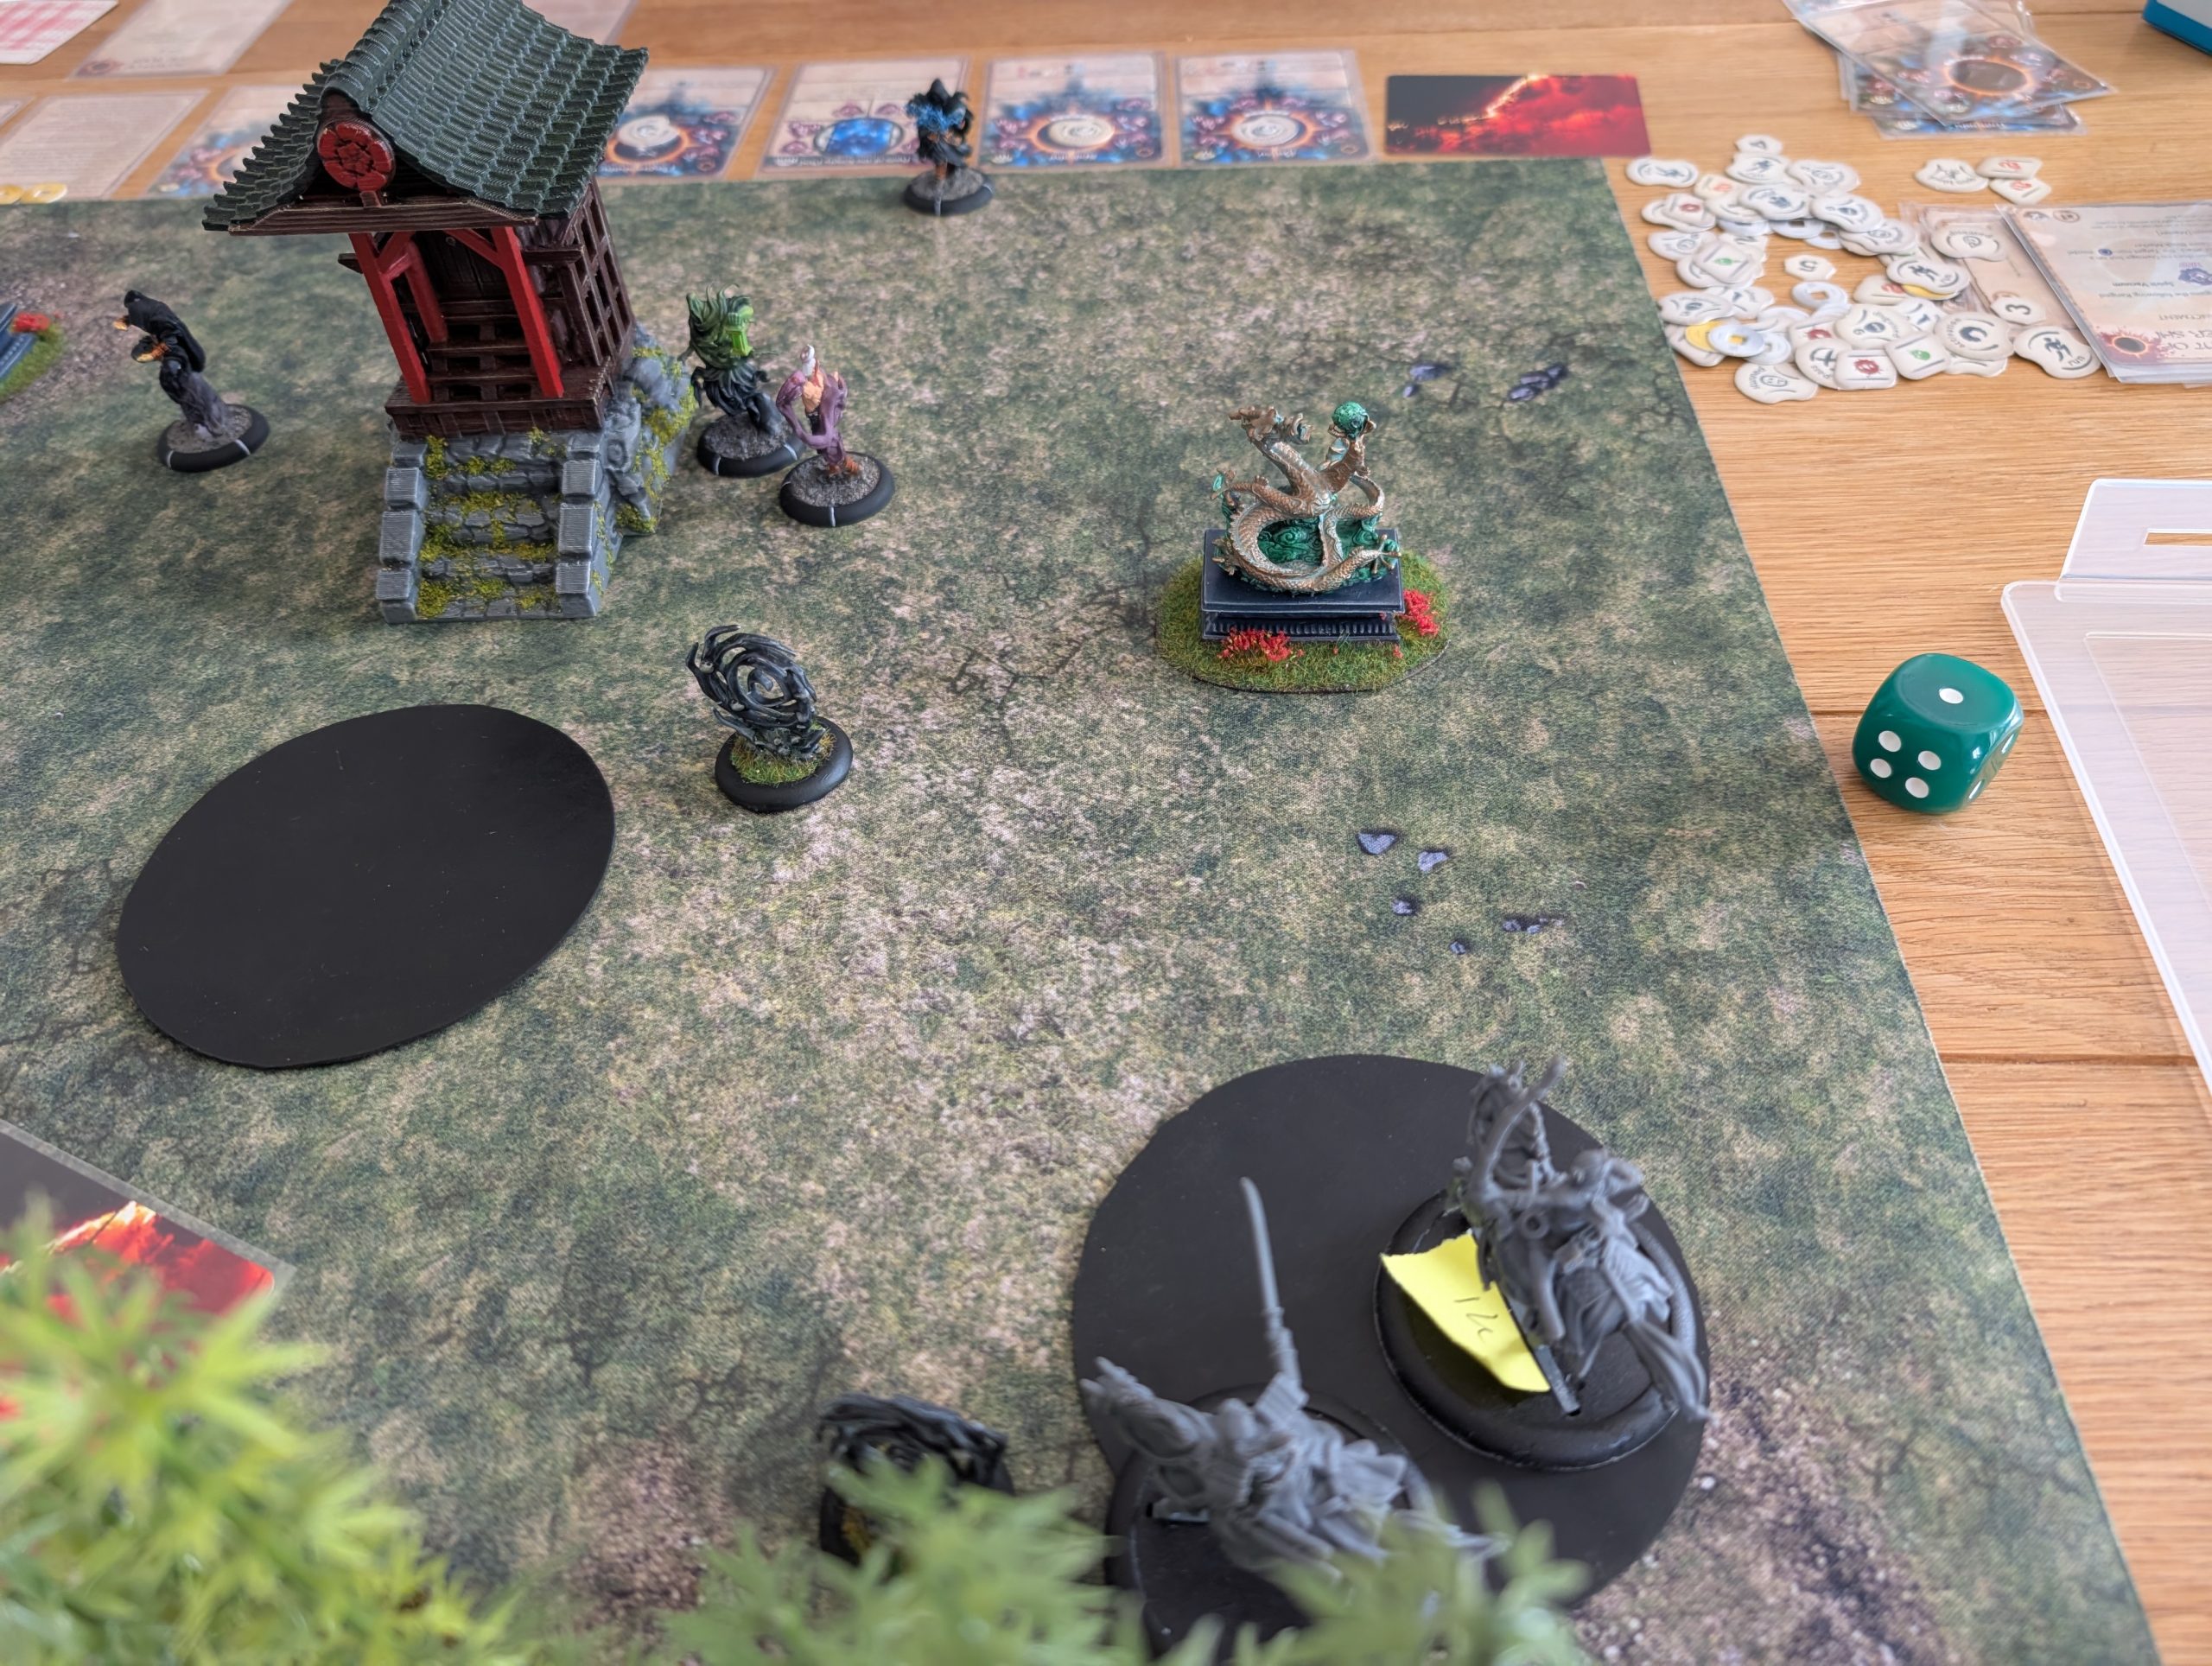
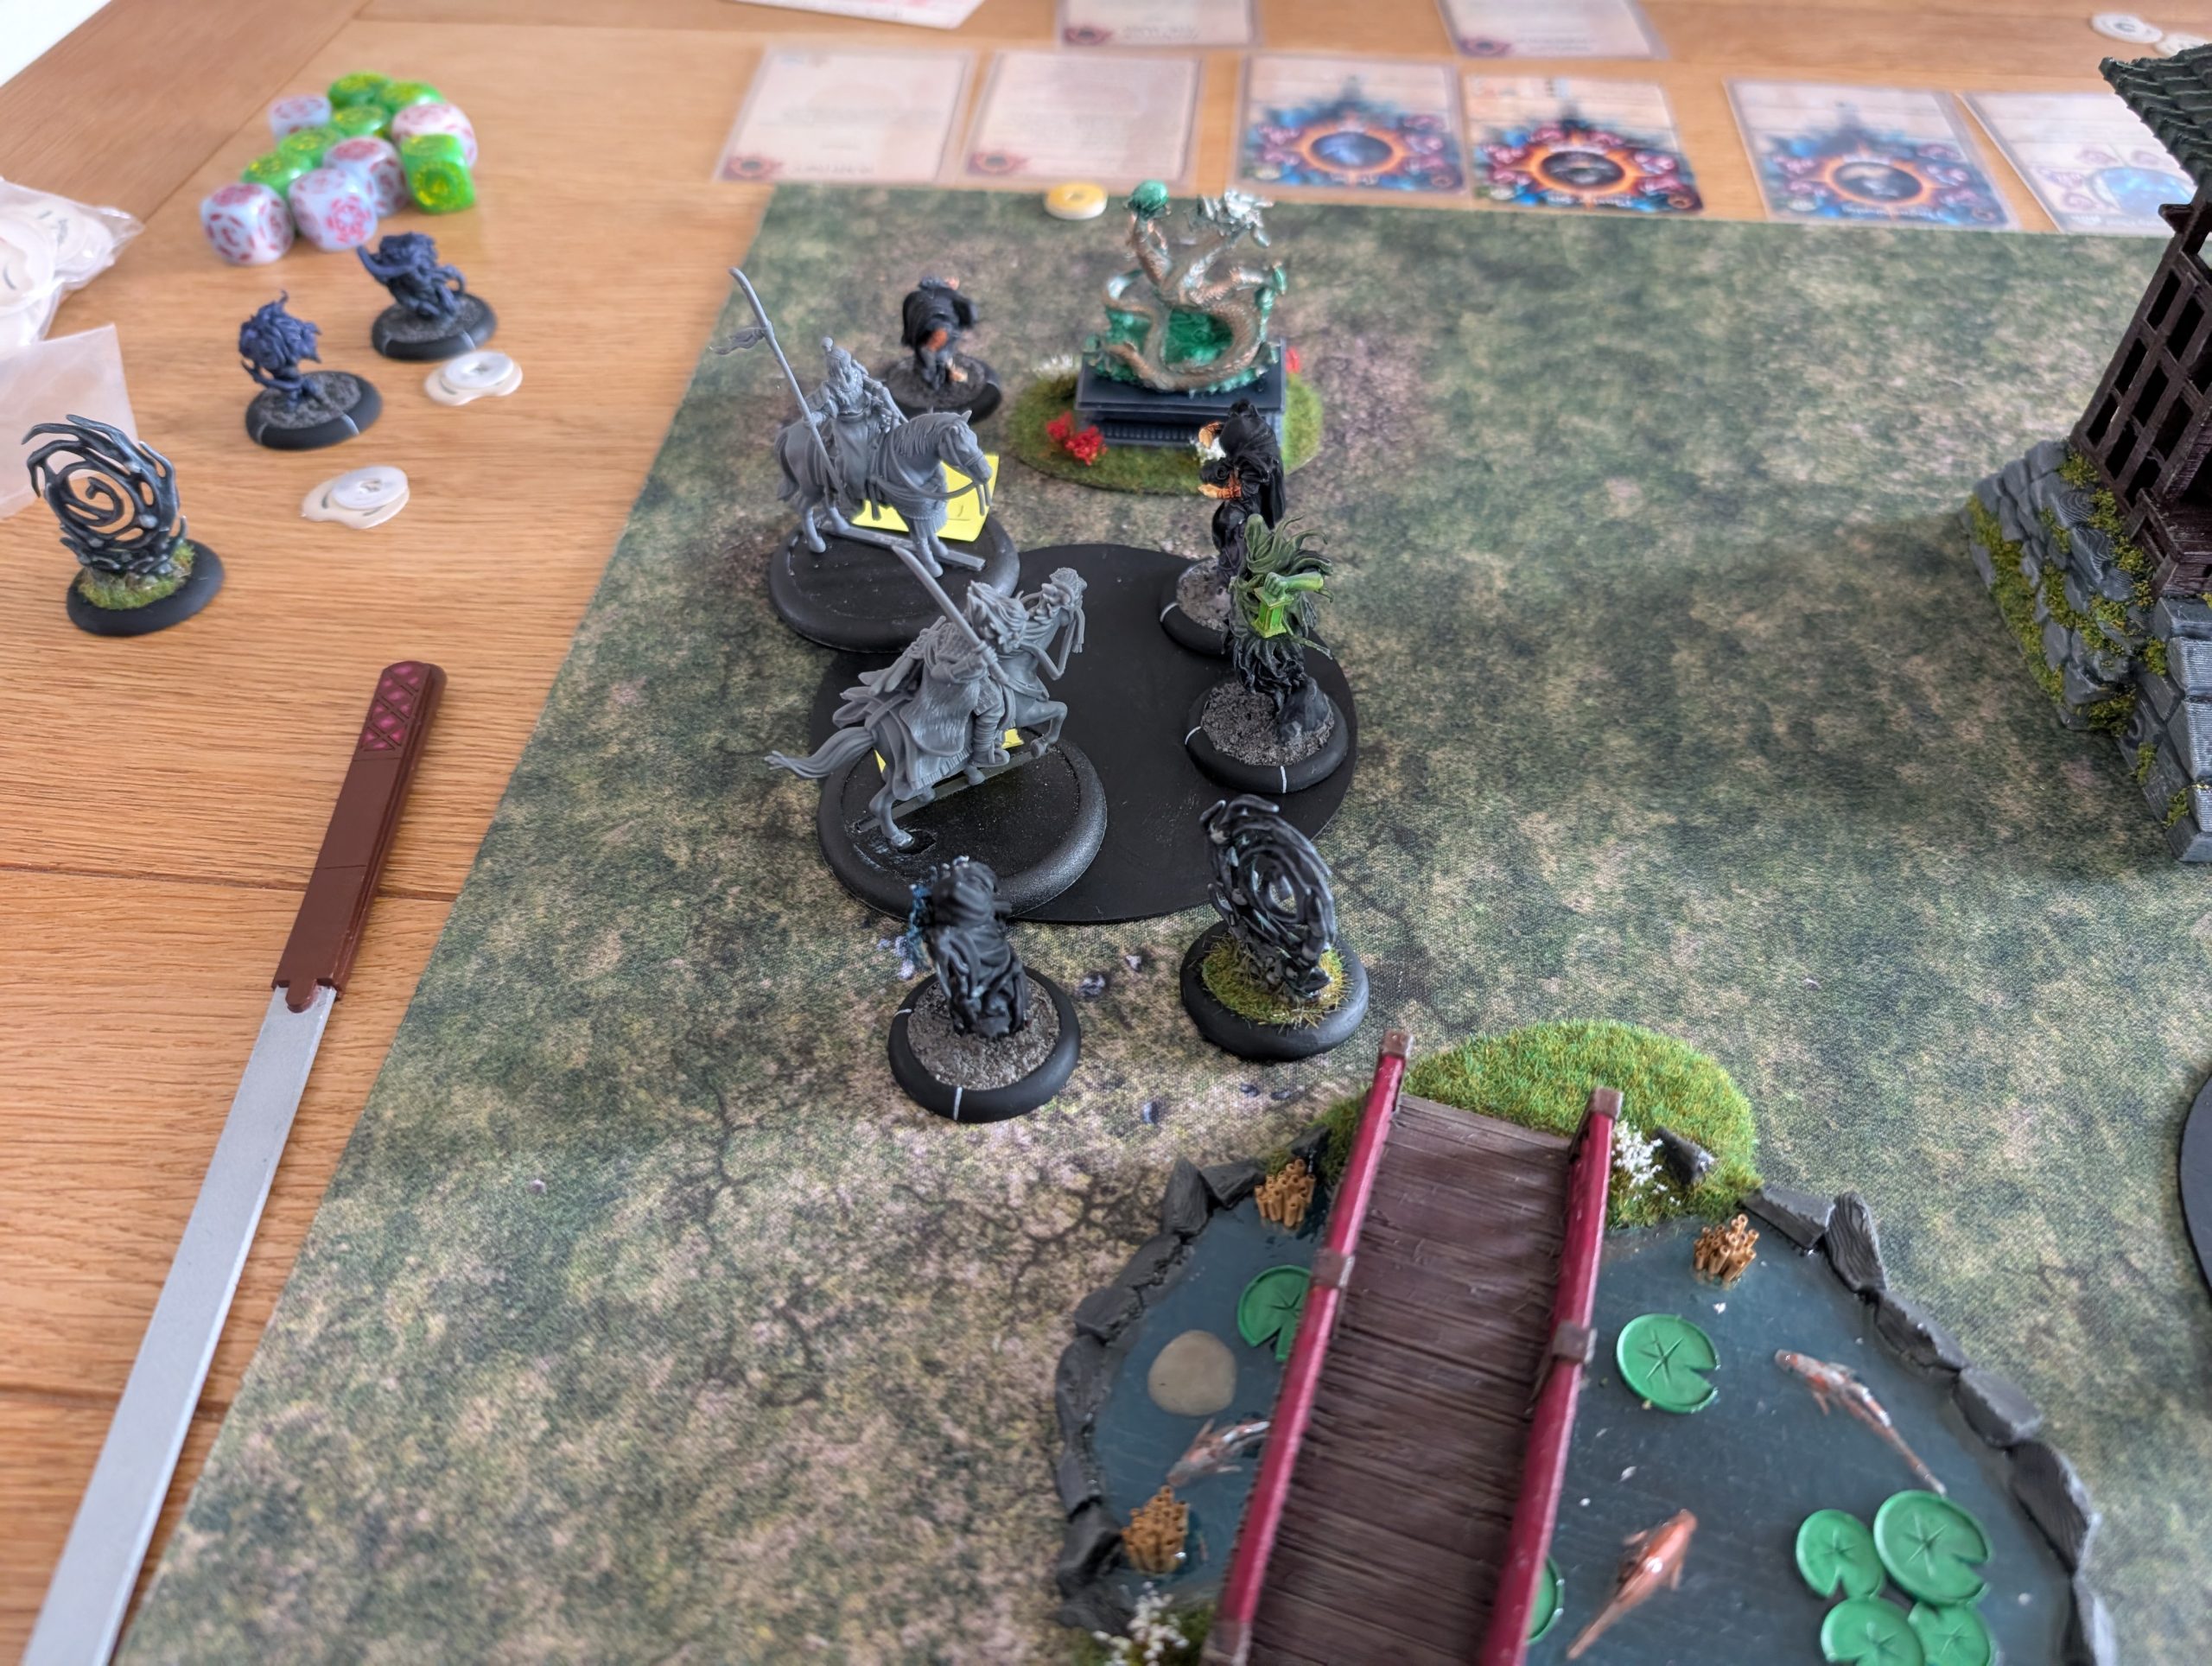
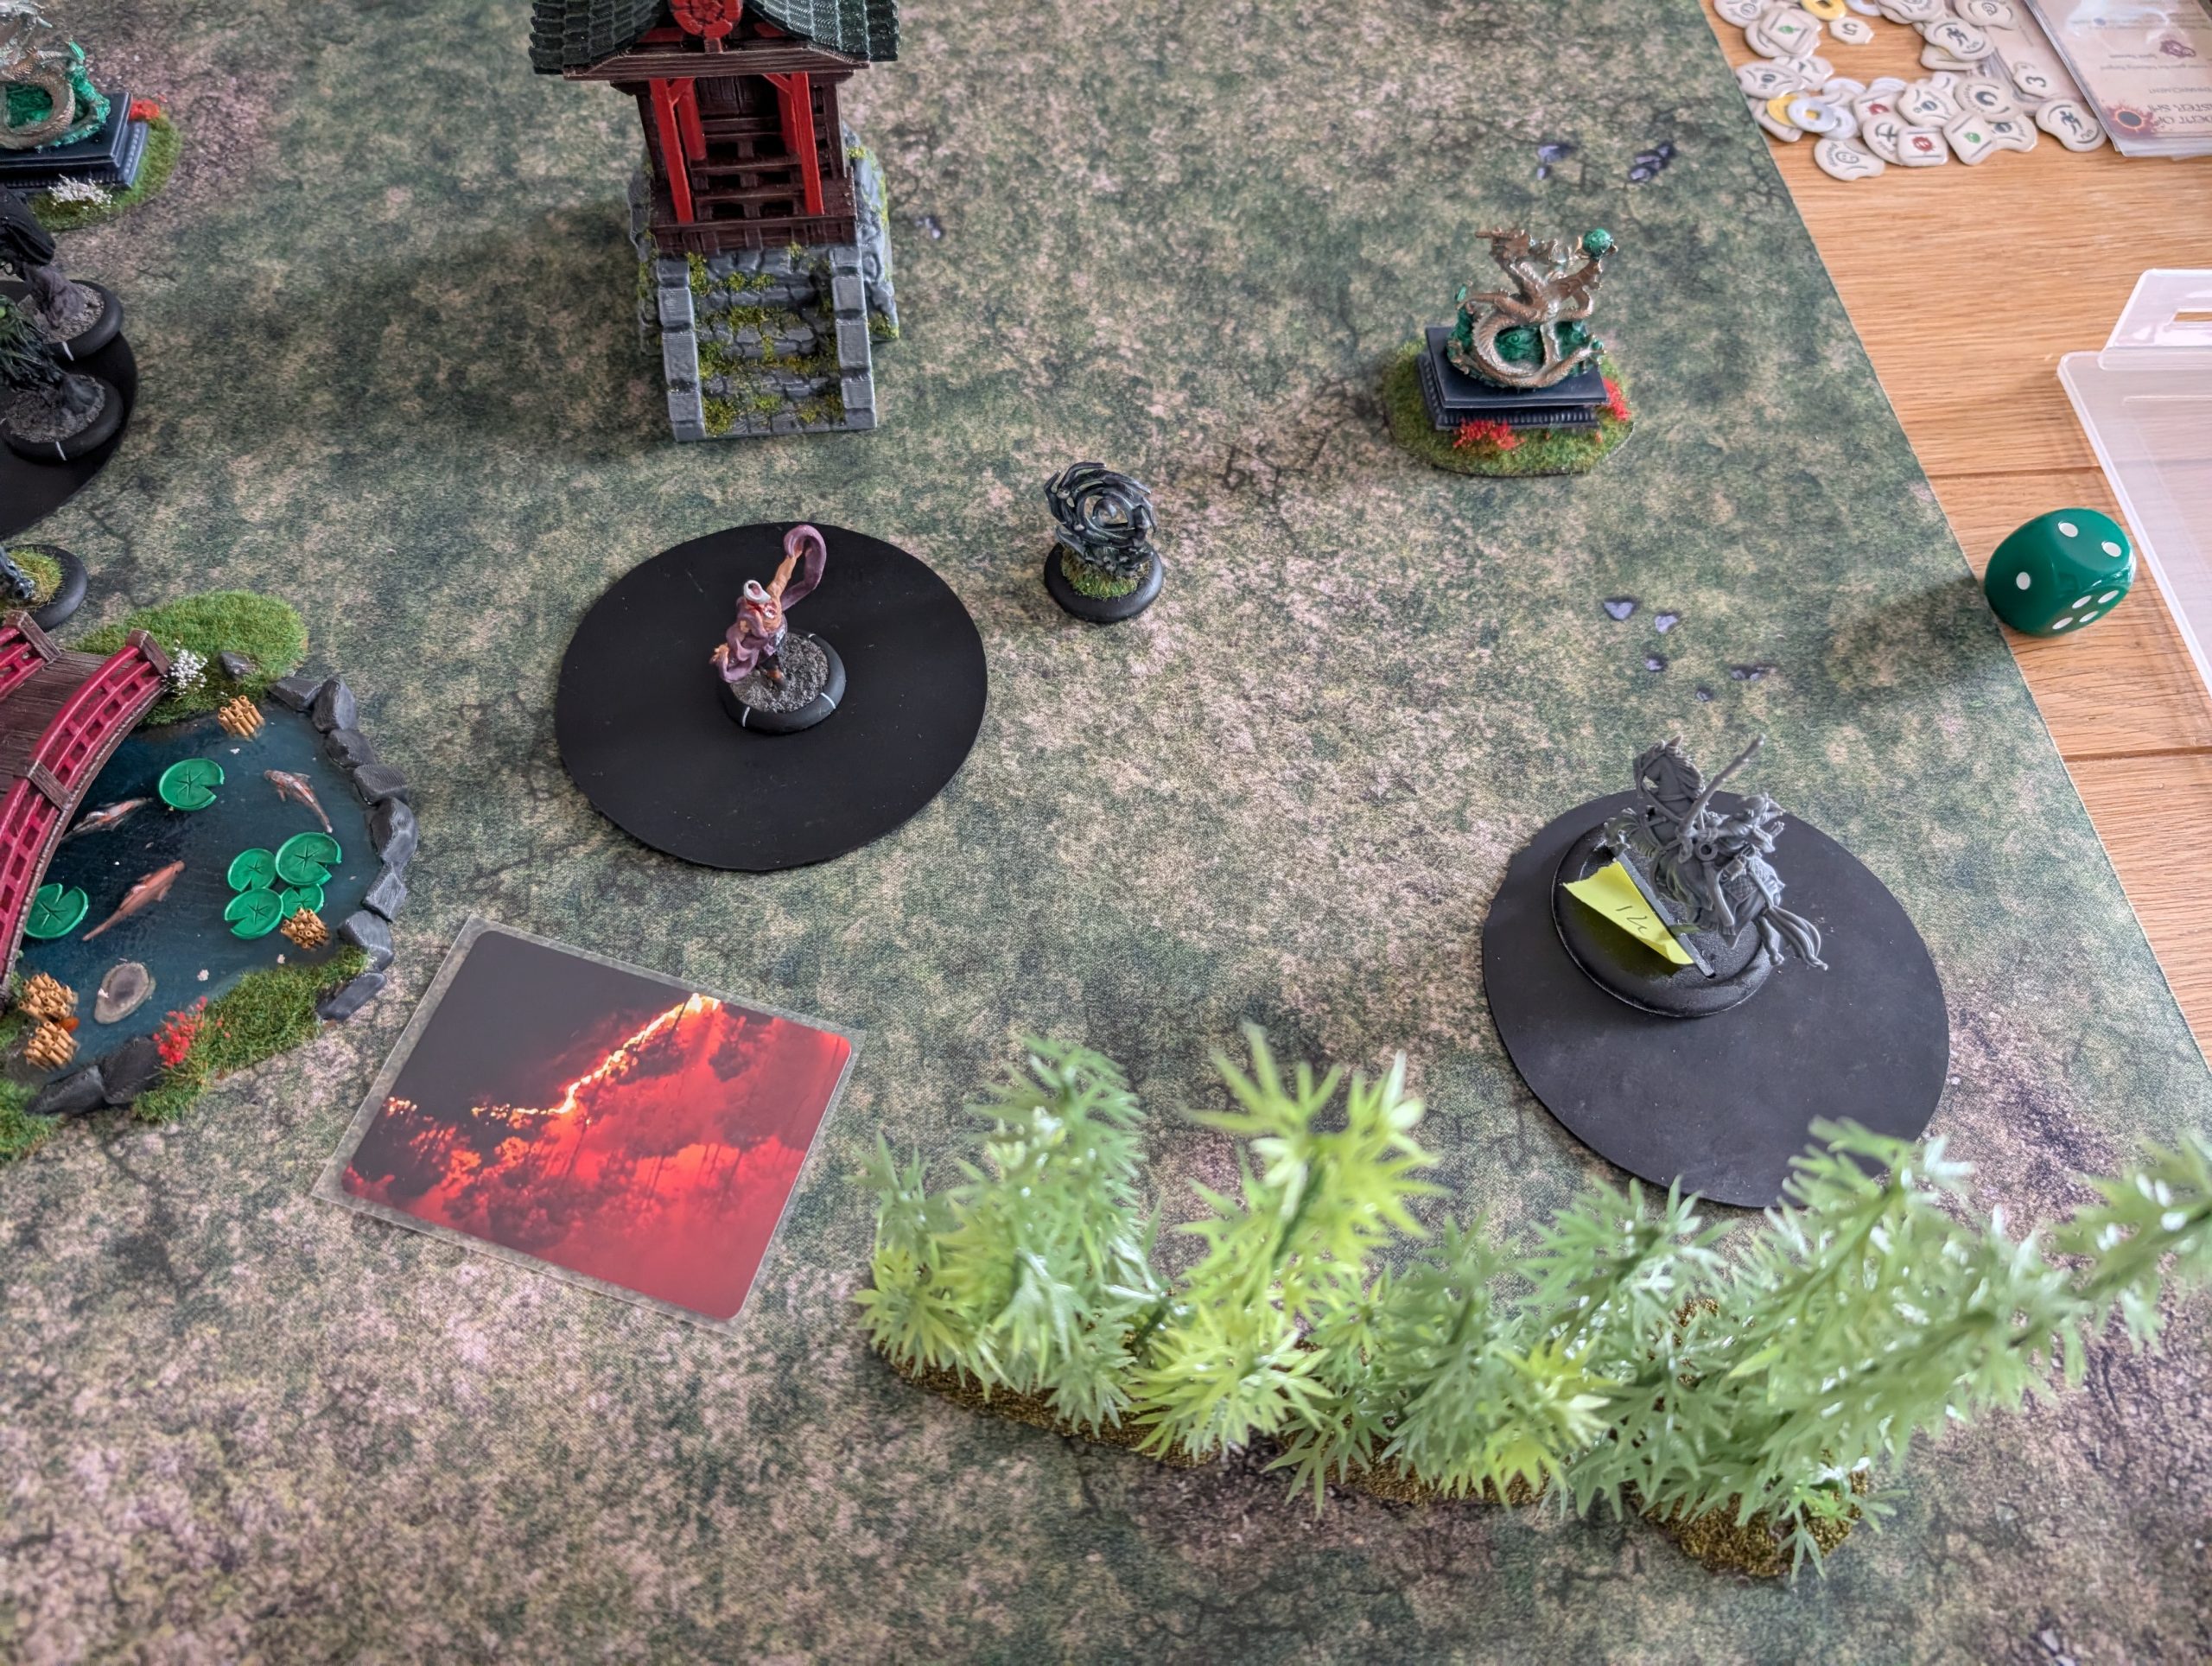
Below you can see the positions at the end of turn 1.
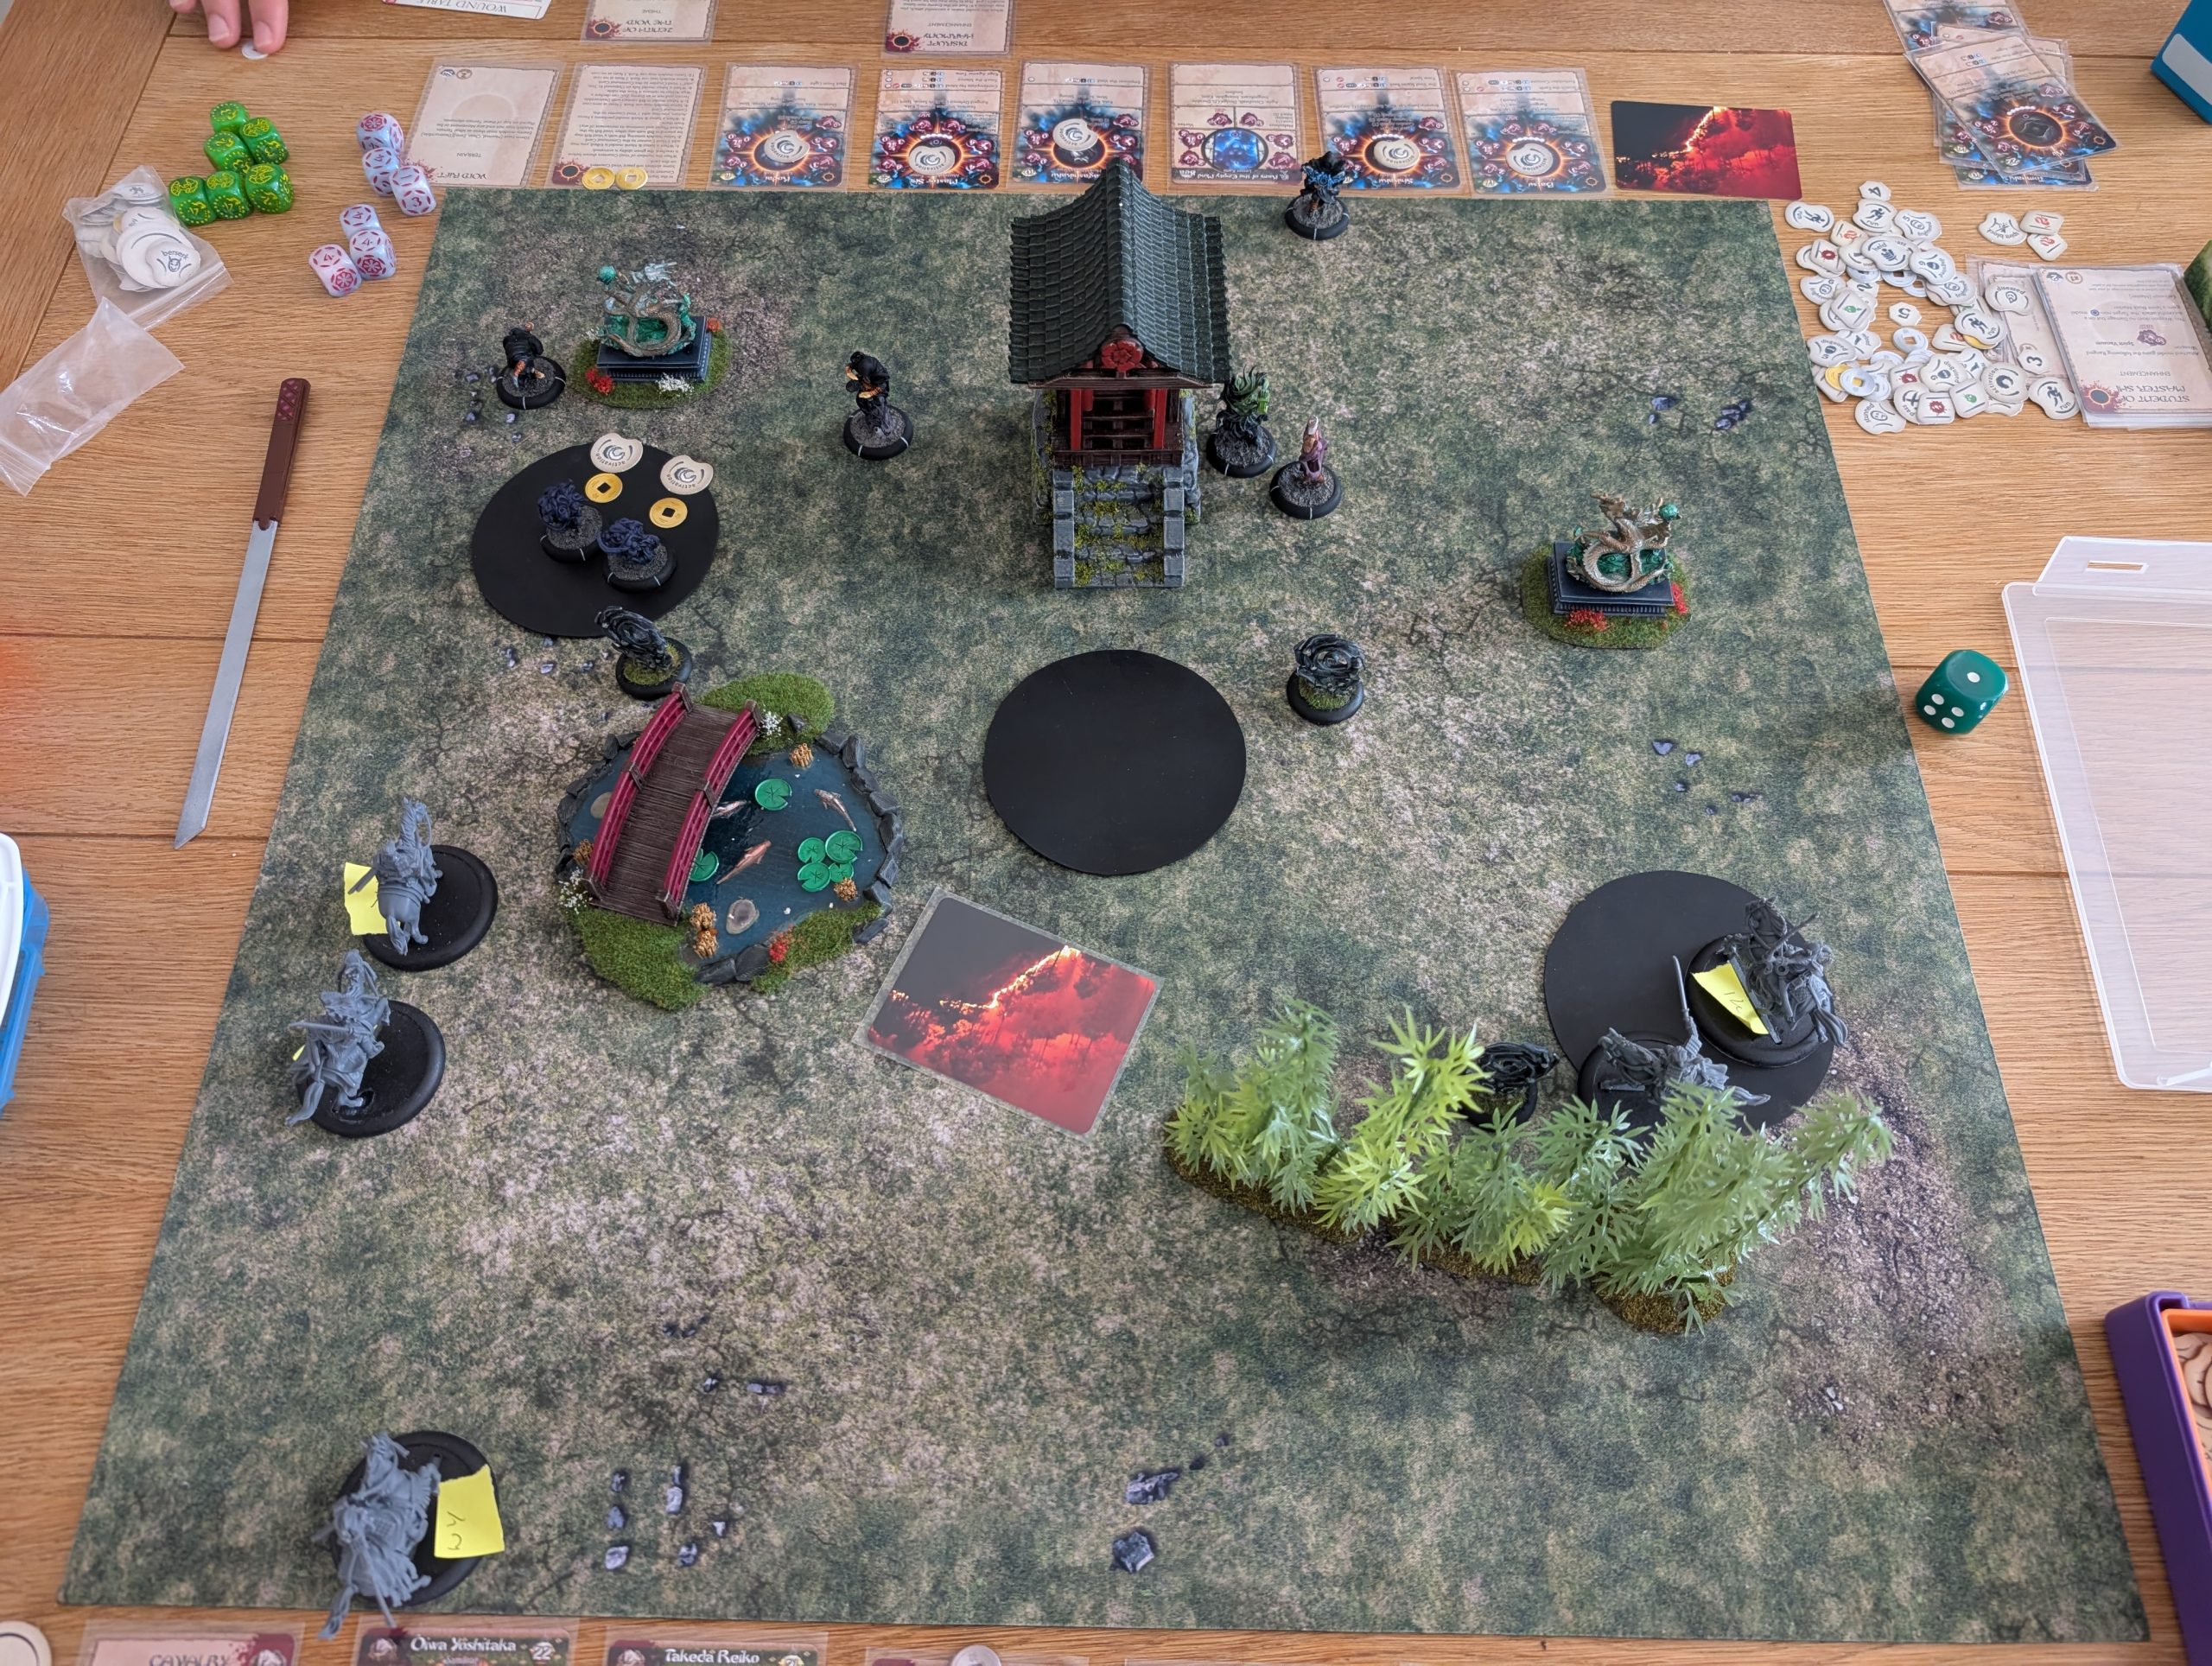
Turn 2.
I win the initiative and launch OY into a charge into one of the kami. OY has a special ability that when they charge, they can move through other models and those models can also move (for free) into base to base with the charged model, so TR also gets into btb with the kami. The resulting combat kills the kami.
Shikaku again uses Look into the Void and again succeeds the test to cause TK 2 wounds.
I activate OY again and push the combat with the other Kami. Once again, OY does the business and kills the kami, so that’s two less models for me to worry about.
My son, enjoying Shikaku’s special ability, again succeeds with Look into the Void and once again causes damage to TK. This is too much for TK and he is killed by the attack.
Enraged, TR charges Shikaku. Shikaku is inside one of the zones and I need to push him out. He’s also without activations and therefore down a melee dice so this should be a good combat for me. I select Push Attack which, if successful, will push Shikaku back out of the zone but only cause half damage. I roll poorly and I’m only able to cause a couple of wounds but do at least push Shikaku back.
Master Shi again uses Contemplate the Void and WY loses an activation counter, which is really debilitating as I was looking to set up a charge to get into a zone of control with WY.
Kinshi can use their portals to move around easily and so I get IK to destroy one of the three that are deployed to try to reduce the options.
Kodai uses the portals to move around quickly and attack OY with a push attack. He rolls well and causes a wound and pushes OY back out of the zone. This leaves my son controlling two zones at the end of turn 2 and so he earns 1 Victory Point.
State of play at the end of turn 2.
Turn 3.
I again win the initiative and start by charging OY into Batsu. Batsu isn’t great in combat and I’m able to inflict 3 wounds and also play a side step defence to move back out of combat. This doesn’t work so well as Batsu uses a ki feat to put down a scorched earth marker that puts out fire tokens for anyone in the marker or passing through it, so that’s OY and TR both getting burnt.
Reacting to further scorched earth events, WY charges Batsu and kills him.
Maser Shi looks to attack TR. Fortunately, TR has Reach and so gets to attack first. I put all my melee dice into attack and declare a push attack. Fortunately I’m successful and Master Shi gets shoved back out of melee before he can land his attack.
Shikaku once again uses his Look into the Void successfully on OY and out right kills OY. Will my son ever fail his dice rolls?
I charge TR into Shikaku to try to nullify his Look into the Void ability. I spend some Ki to also upgrade the attack with a +2 to the dice pool and put all three of my dice into attack. I’m hoping that I can kill Shikaku outright. I promptly roll a 3, 1 and 1. 1’s don’t count so my total attack level is 3 plus the extra 2 I’ve paid for, so 5 in total. No problem I thought, TR has the ability to re roll a melee dice and I promptly reroll a 1 into another 1. So I’m stuck with 5. My son rolls two defence dice and scores 6 in total so I’m unsuccessful. This hurts. My son also rolled a single attack dice scoring 3. As I rolled no defence dice, that’s a successful hit and I end up taking 3 wounds for my trouble. Not a good result.
I use WY to launch a slam attack against Nagashikaku which gives a better result, shoving Nigashikaku back 3” and I use WY Ki ability to also inflict 4 wounds. Not quite enough to kill Nagashikaku.
Kodai once again goes portal hopping and is able to leap out behind WY and create a surprise (this removes a melee dice from WY). With the dice that I have left, WY rolls poorly and Kodai inflicts 5 wounds and WY is looking very unhealthy.
IK looks to use her bow and moves into position to shoot at Shikaku. I promptly roll 3 2s, which is not enough and annoying given that IK should really be hitting quite easily – another missed opportunity.
As the round closes out, TR takes fire damage from the scorched earth marker and that’s enough to kill.
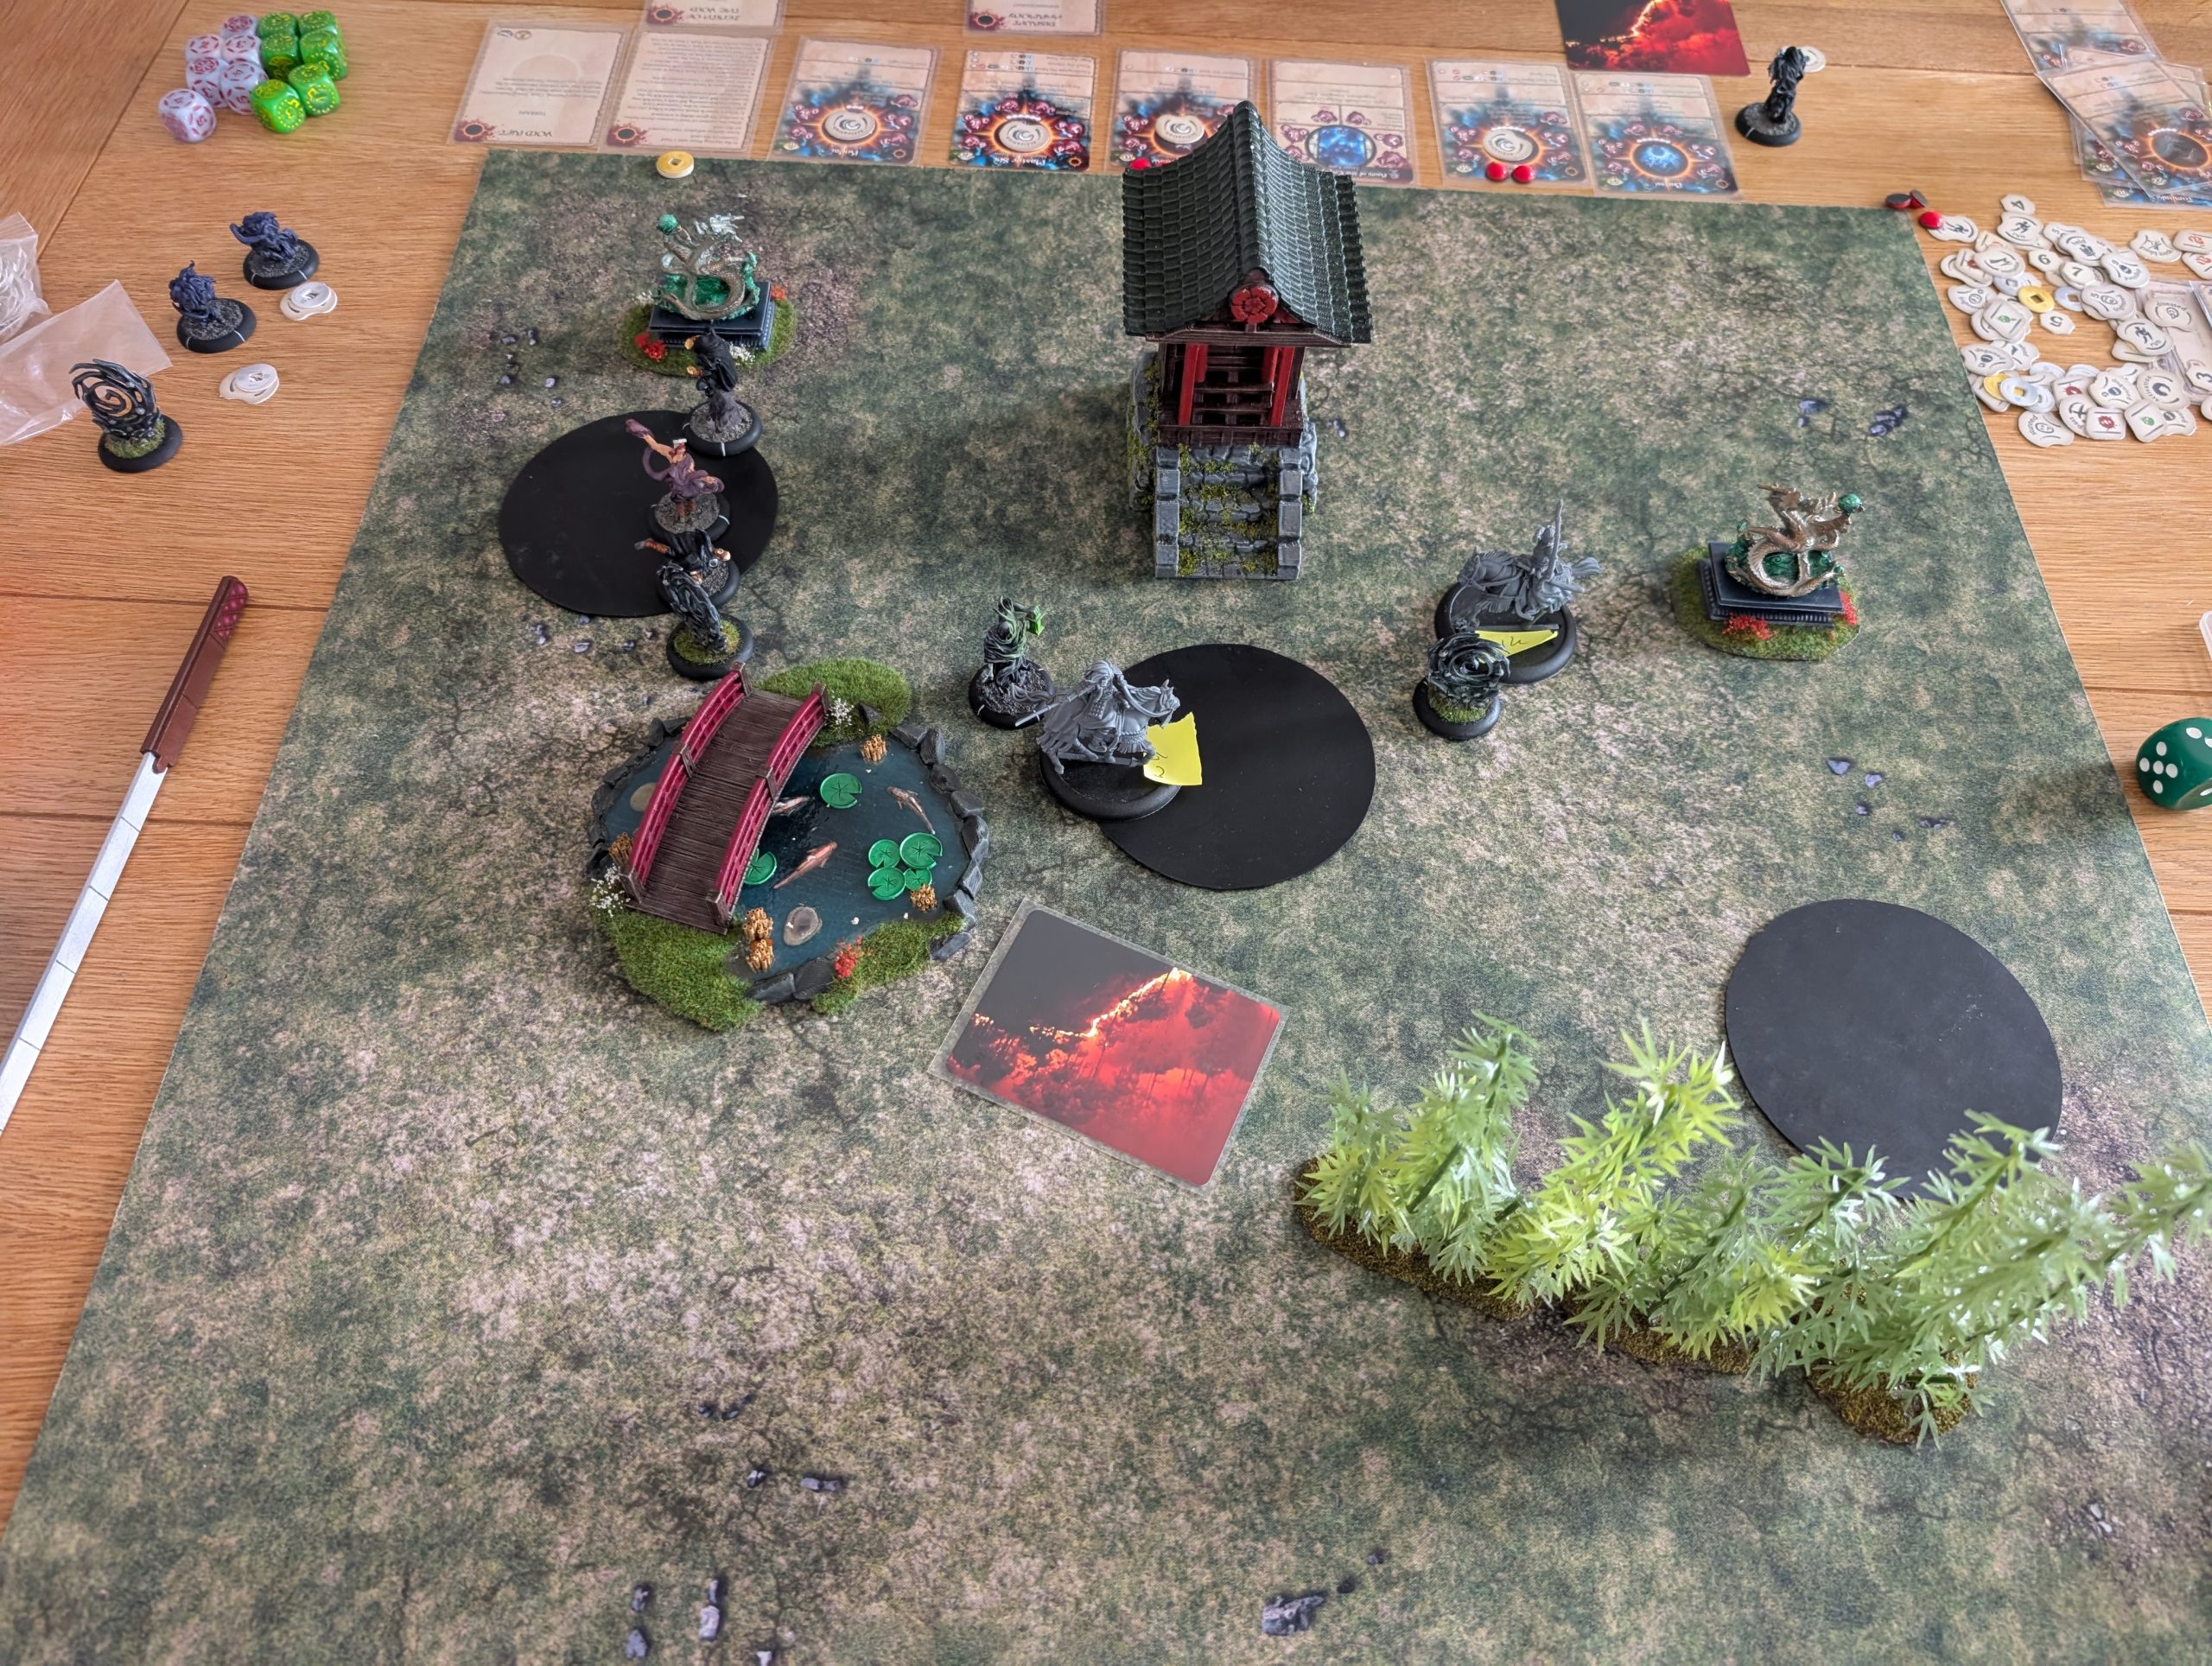
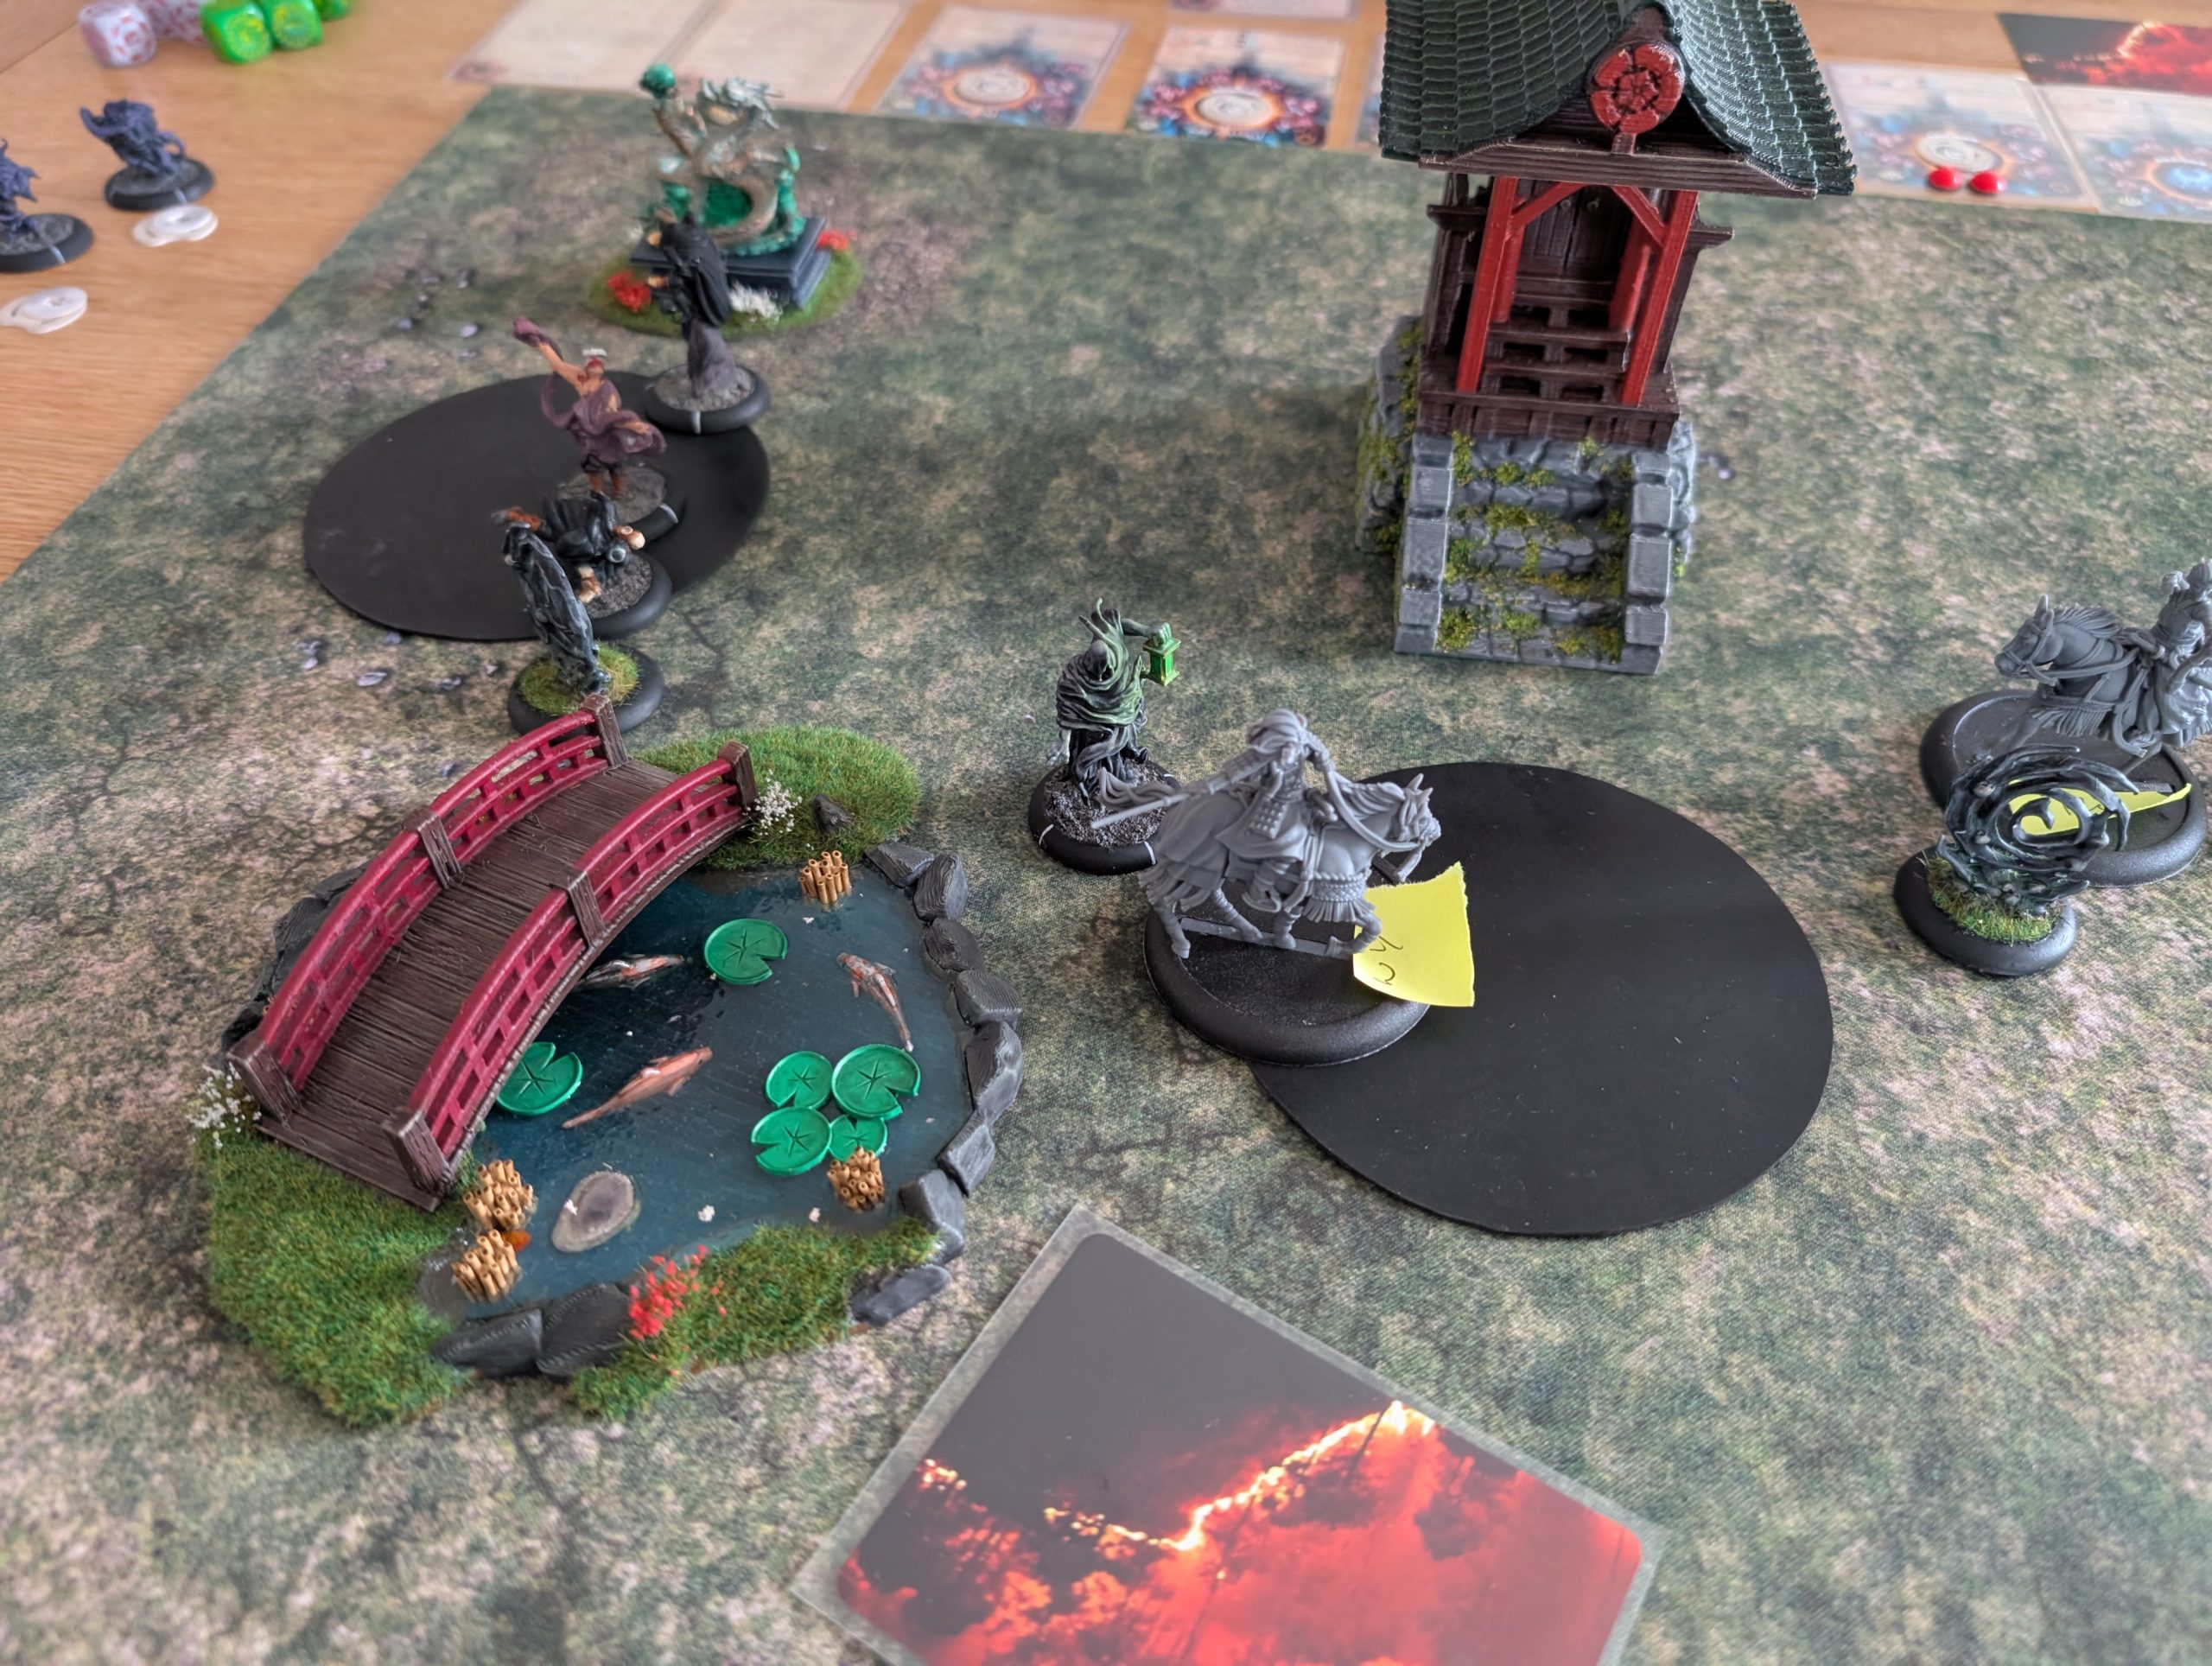
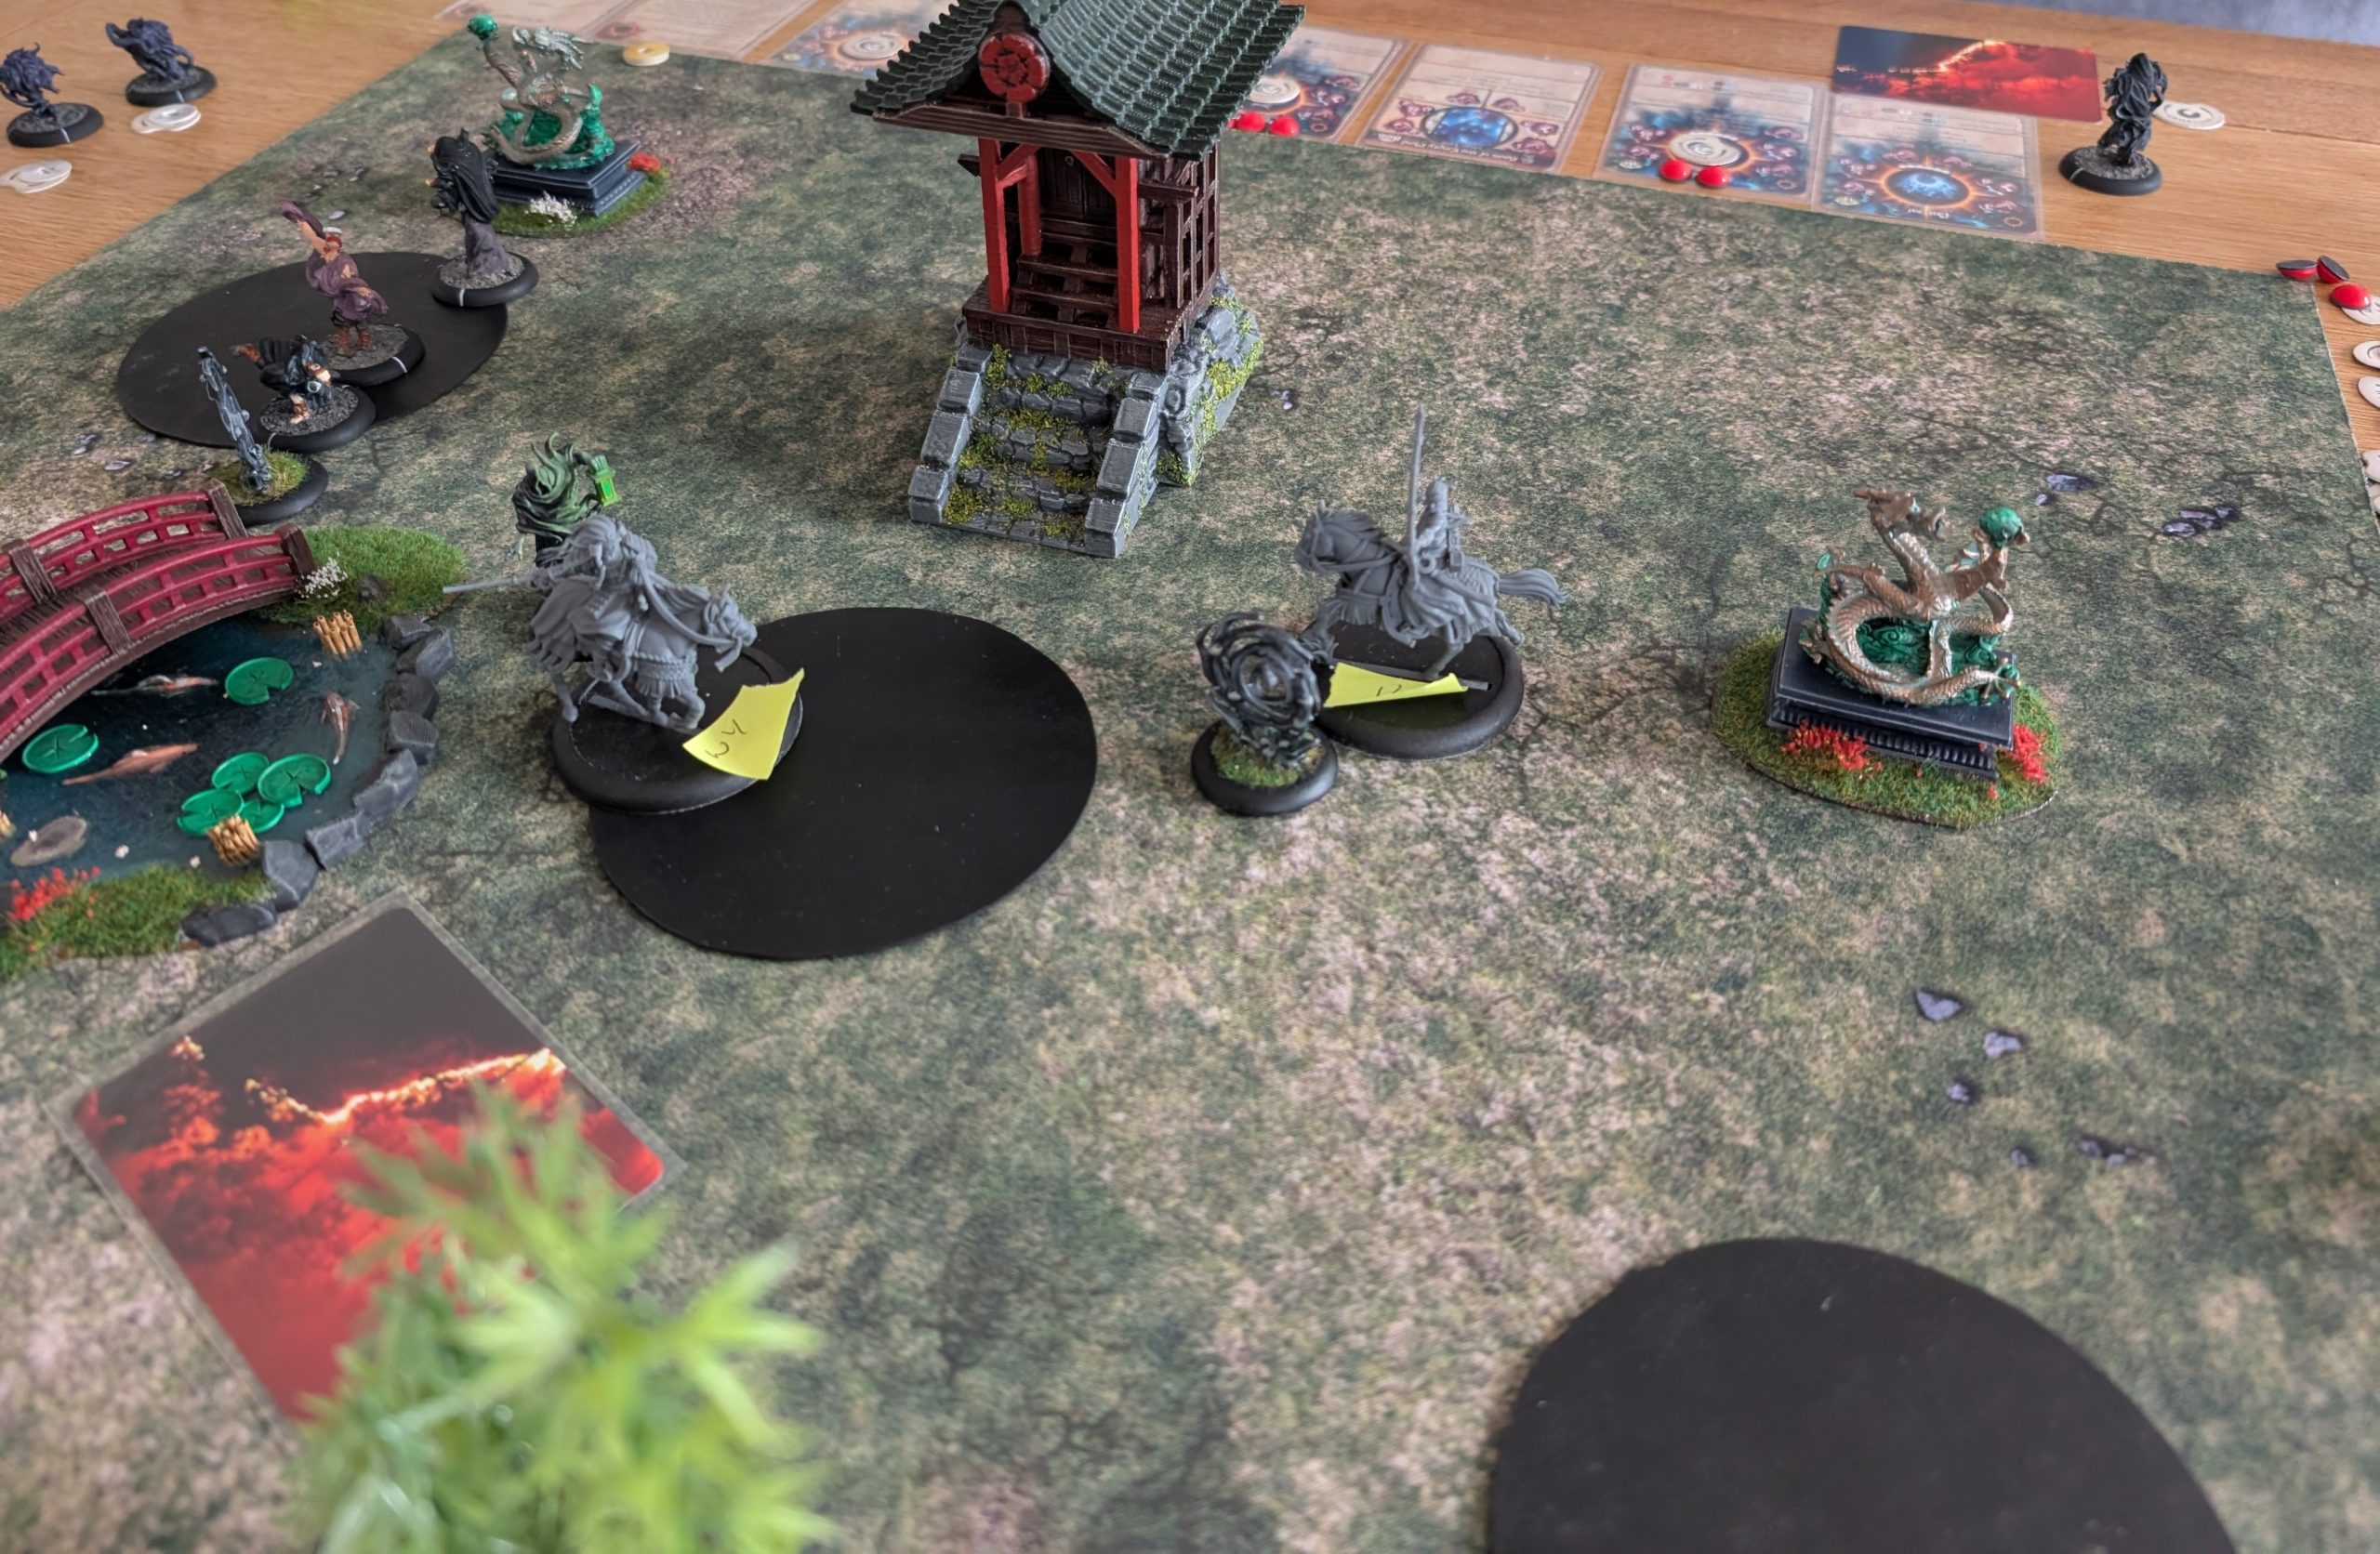
Turn 4.
My son wins the initiative and Master Shi uses his Contemplate no Mind Ki feat. I roll so badly to defend this Ki feat that IK loses both activations and so will take no action at all this turn. This is a massive blow as I was hoping to use her bow and Ki feat to try to remove some of Kinshi models that are close to death.
WY launches an attack but fails to land a blow and Kodai is able to once again portal hop to surprise WY and kill. With just an inactive IK left on the table, my son is able occupy two zones and claim the second VP. At this point, I conceded as victory was gone.
Overall, a good game and my son was able to ramp up the Kinshi’s abilities very quickly. The Horselords are quick and better in melee when compared to my normal faction, Cult of Yurei. But clearly I need some more practice with them.
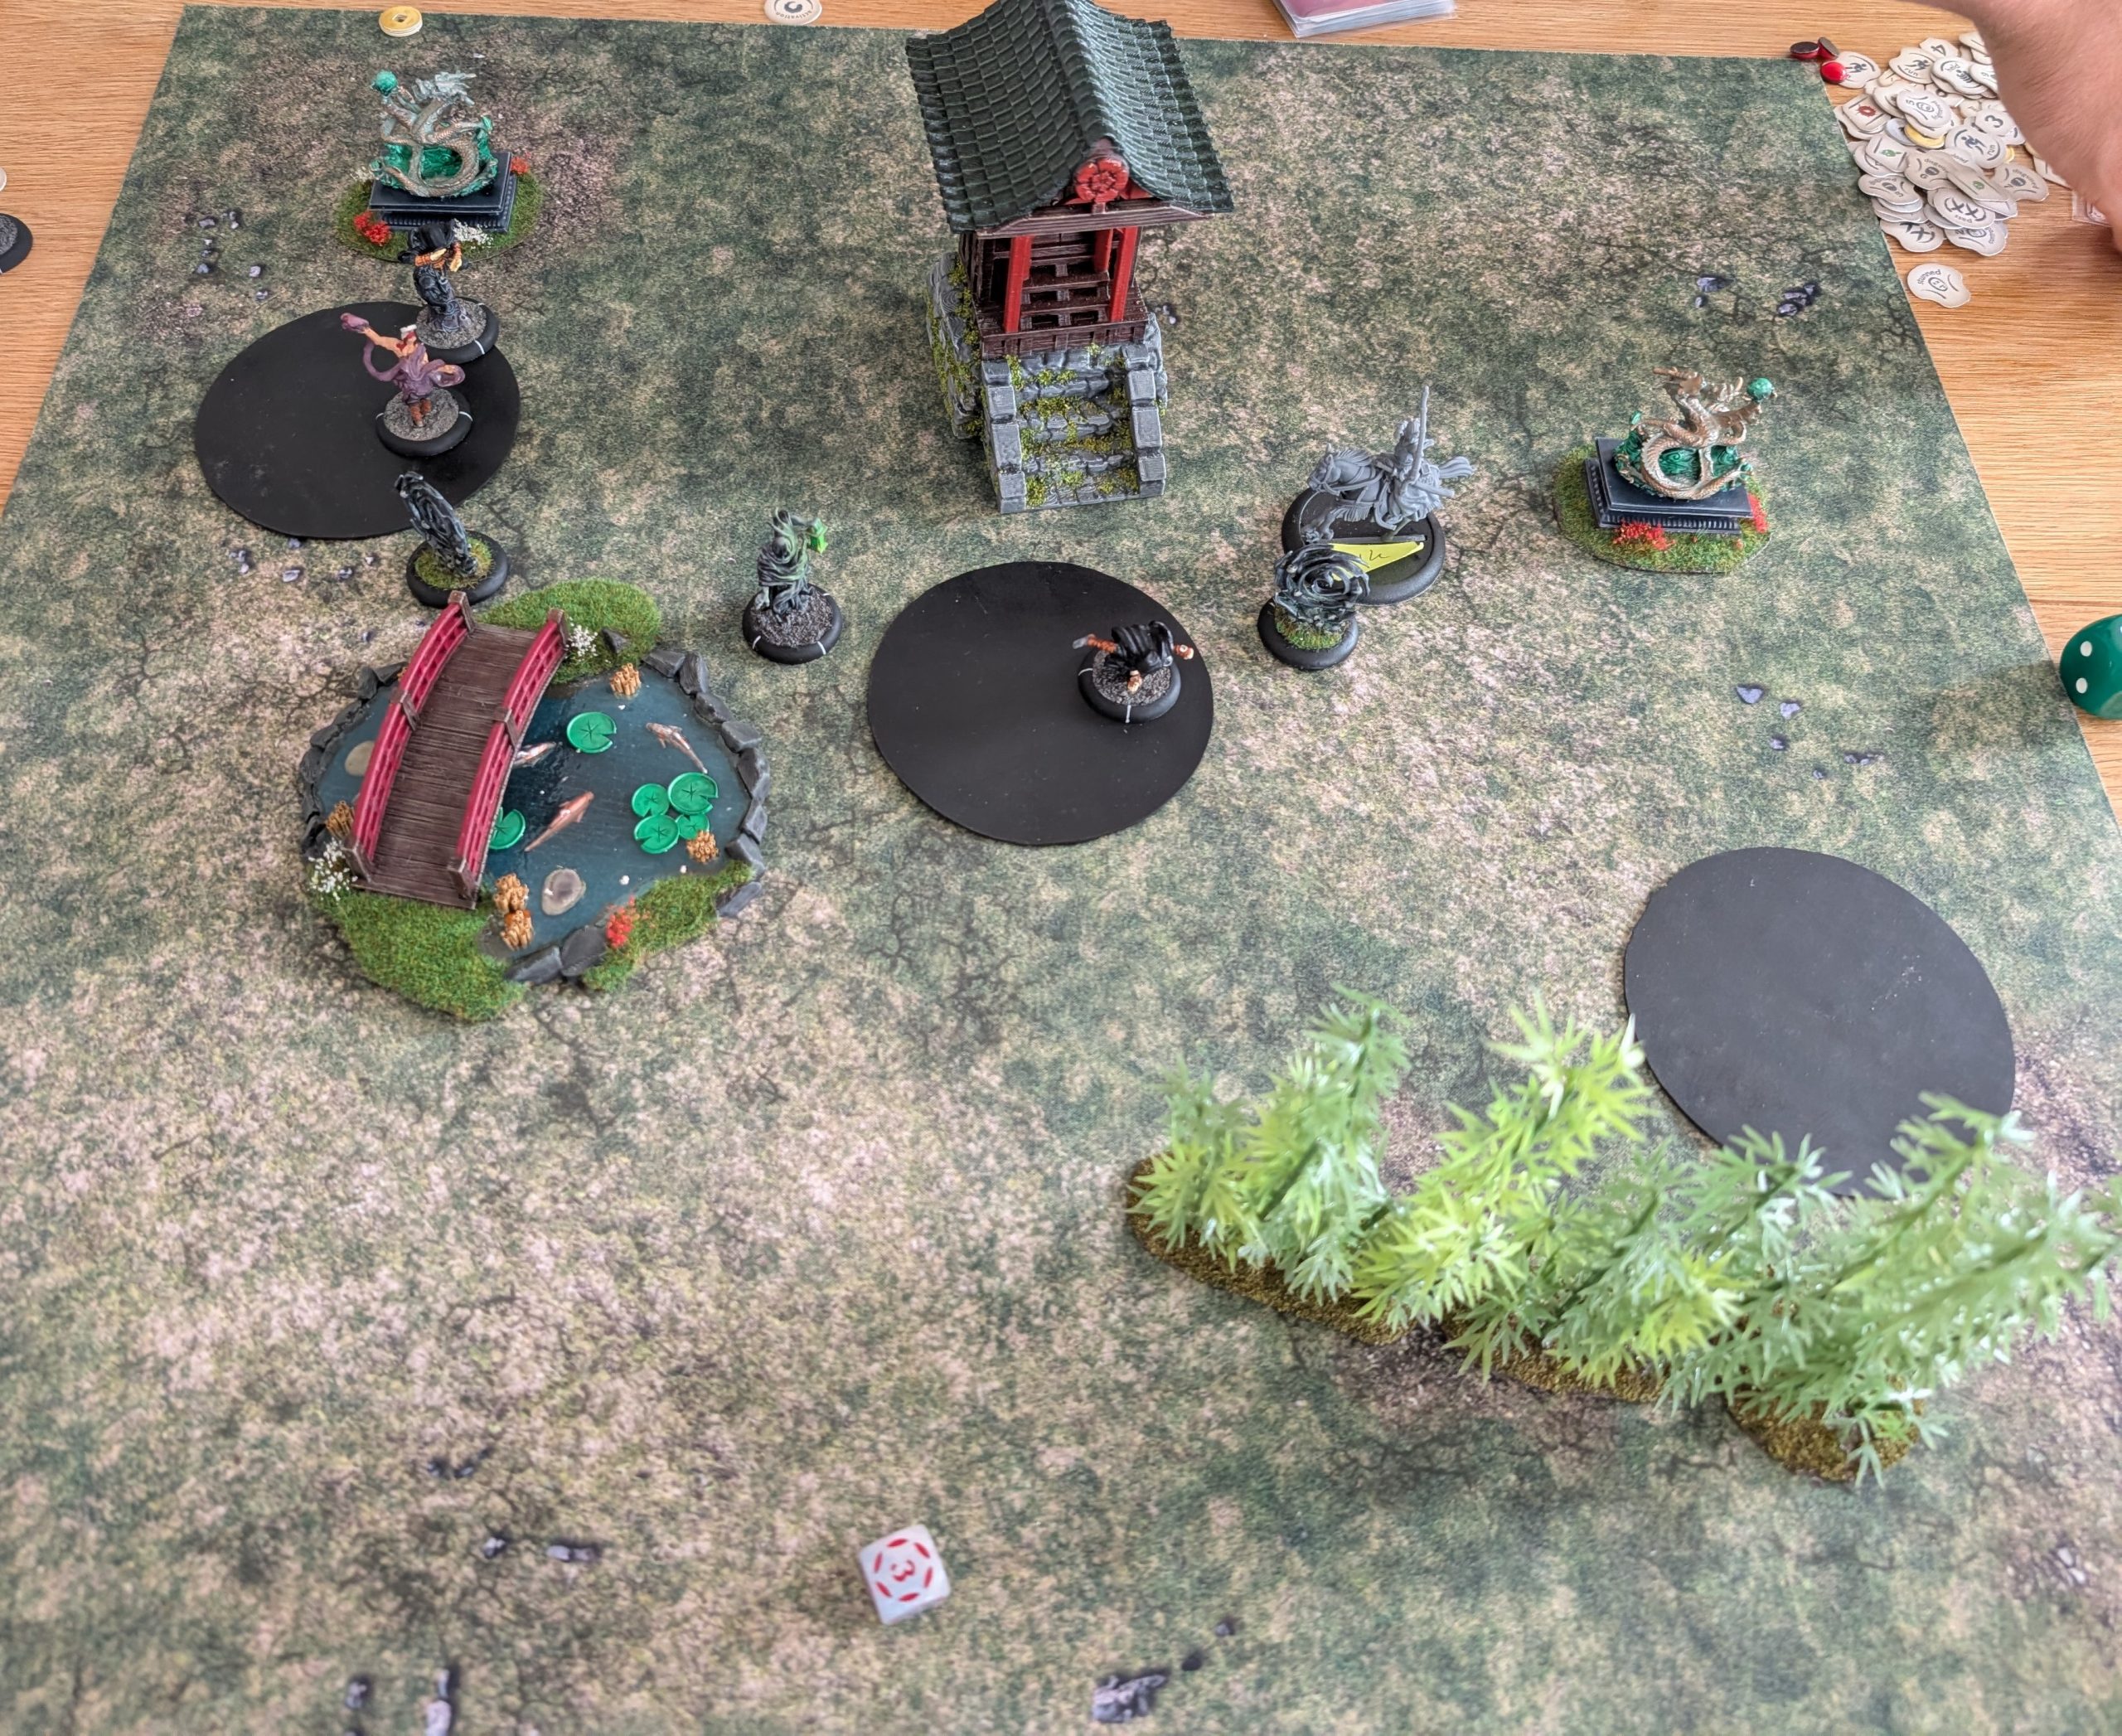 The point that I conceded