








Kings of War A Veteran Wargamer's Newbie Guide



Abyssal Dwarfs: Army Review
The army is finished. Woot! I’ve painted 214 miniatures since the beginning of July and got the last of them done to a sufficient standard. I ‘ll probably revisit a few things once the Ogres are ready.
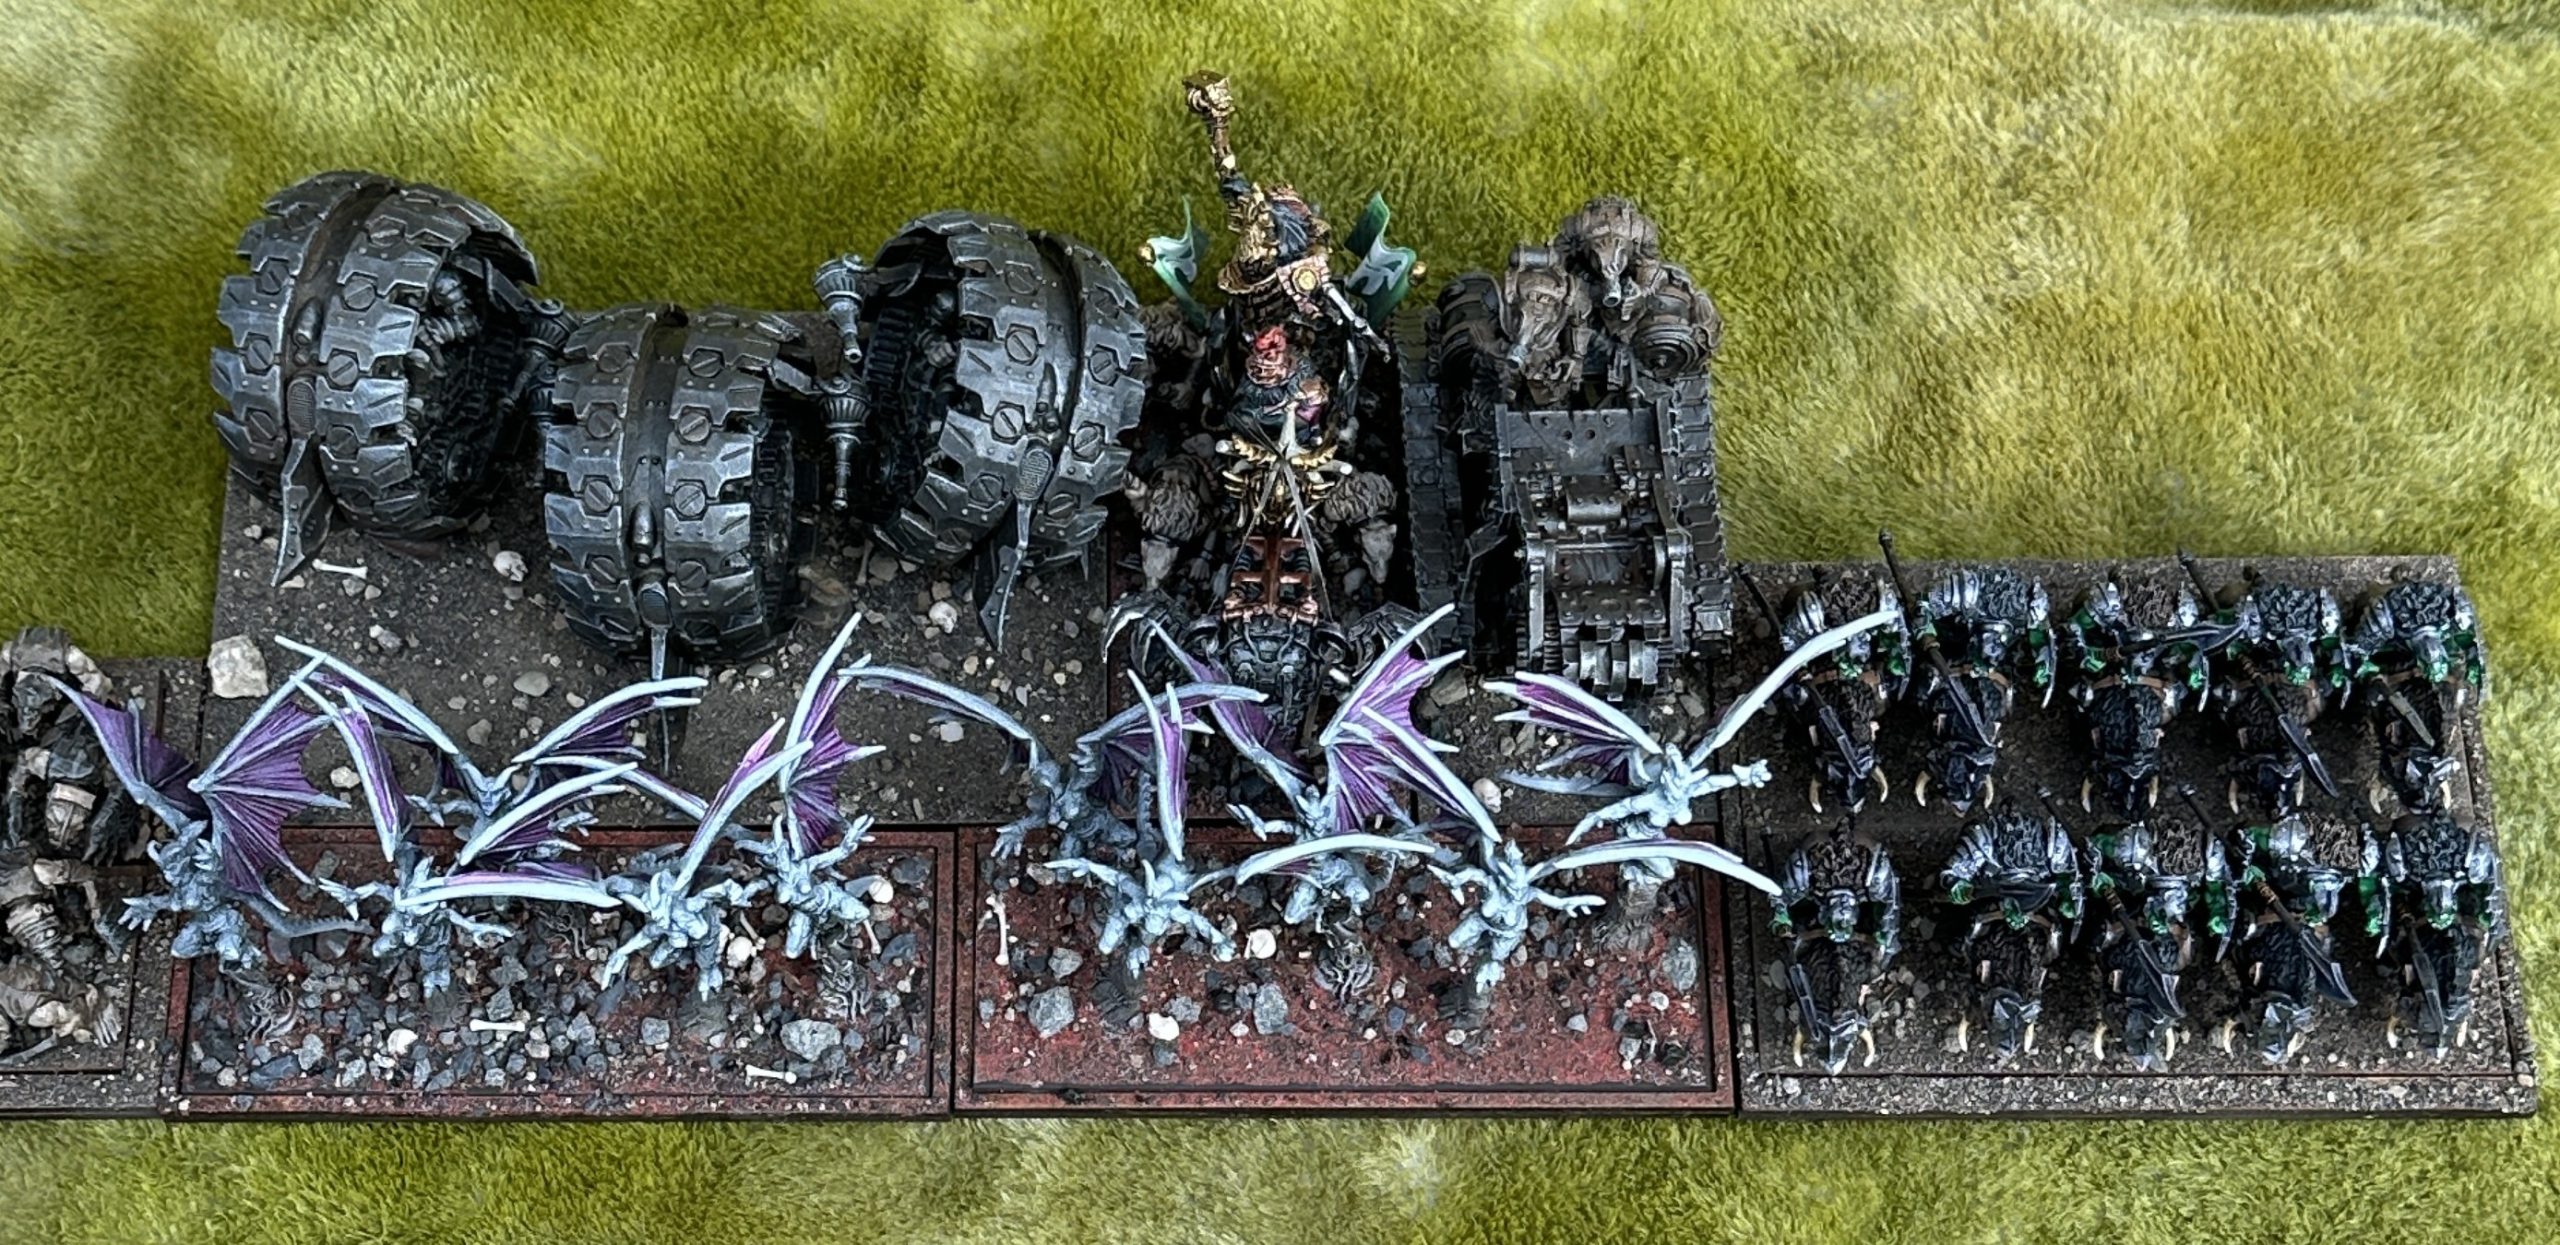
Here is the army in standard deployment

The whole army has a front of 51″ if I want to cover Golekh and the Ratkin Hammers with the Gargoyles. If I need to expand I can add an extra 10″ if we don’t double up with the Gargoyles and they take up their own frontage. That leaves a maximum of 11″ of table length uncovered so there is a good spread available and it is unlikely that many armies will be able to significantly outflank us in deployment.
Overall we have an Anvil in the centre and two different flank options. The main Hammer is Golekh’s wing and the other side is more balanced with the Anvil/Hammer Golems.
Up close then the centre has the two Ratkin Hordes backed by the Slave Driver. These hordes with Last Breath are nasty in the late game putting 4D3 auto Crush (2) hits onto an enemy who will already be carrying damage. The Decimators sit on one side and force an opponent to push up and engage with the anvil. Ideally I’m looking for a hill to park them on or a building to hang them off. They sit by the Immortal Guard nearest to the Iron-caster’s wing who are looking for open flanks as the anvil is engaged. It looks like this:
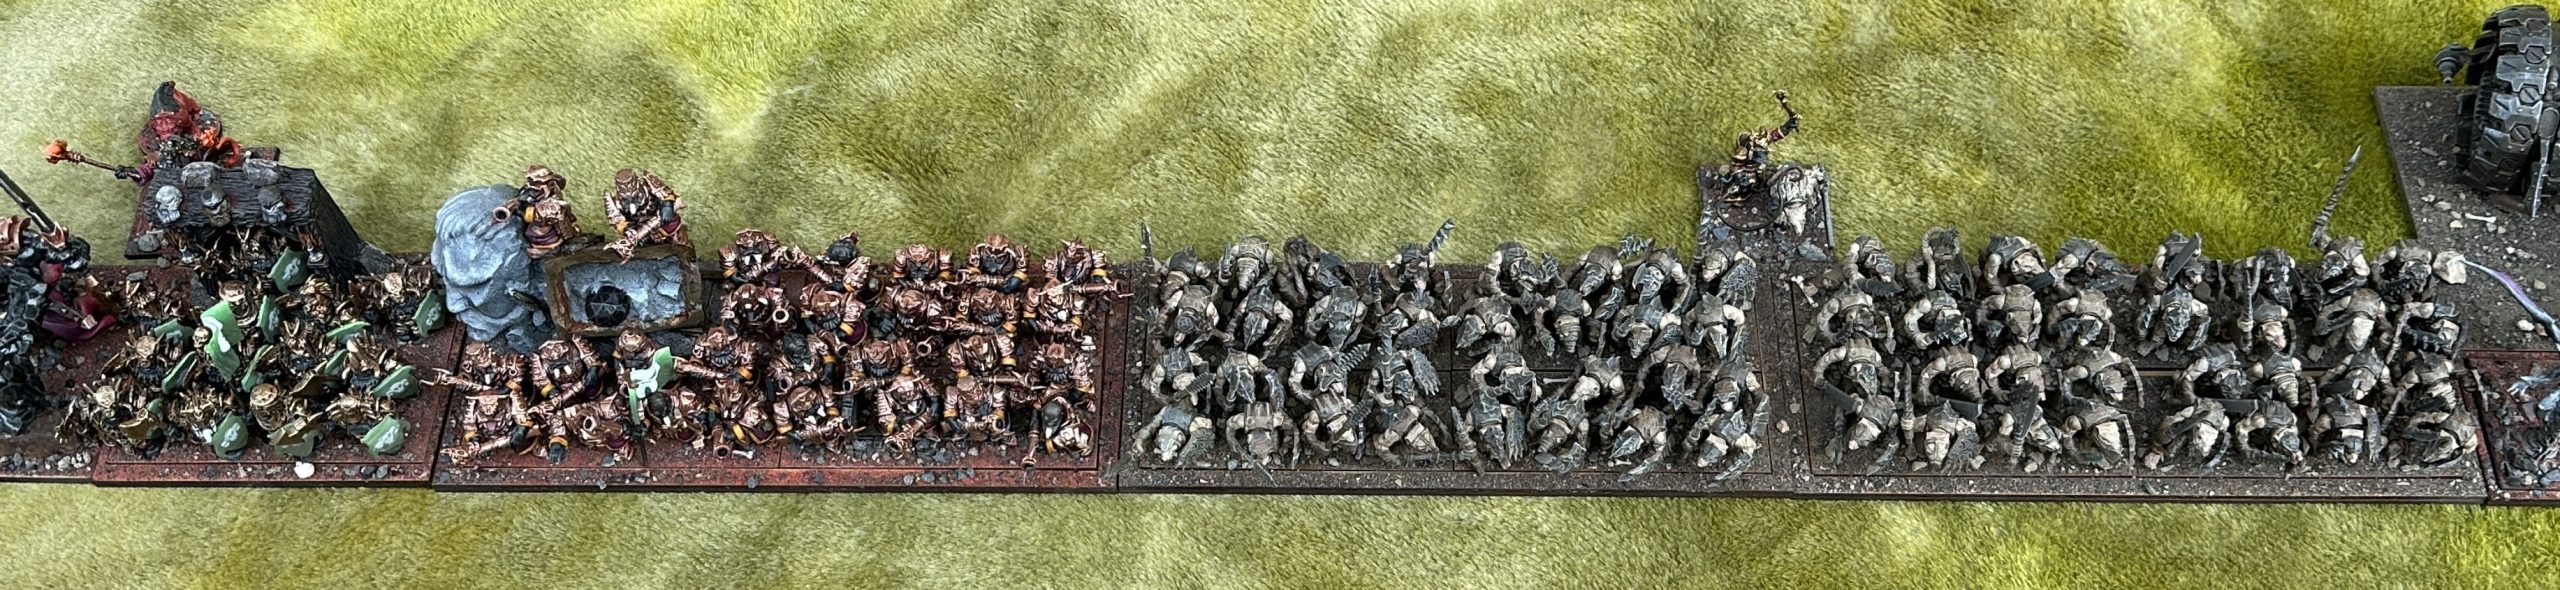
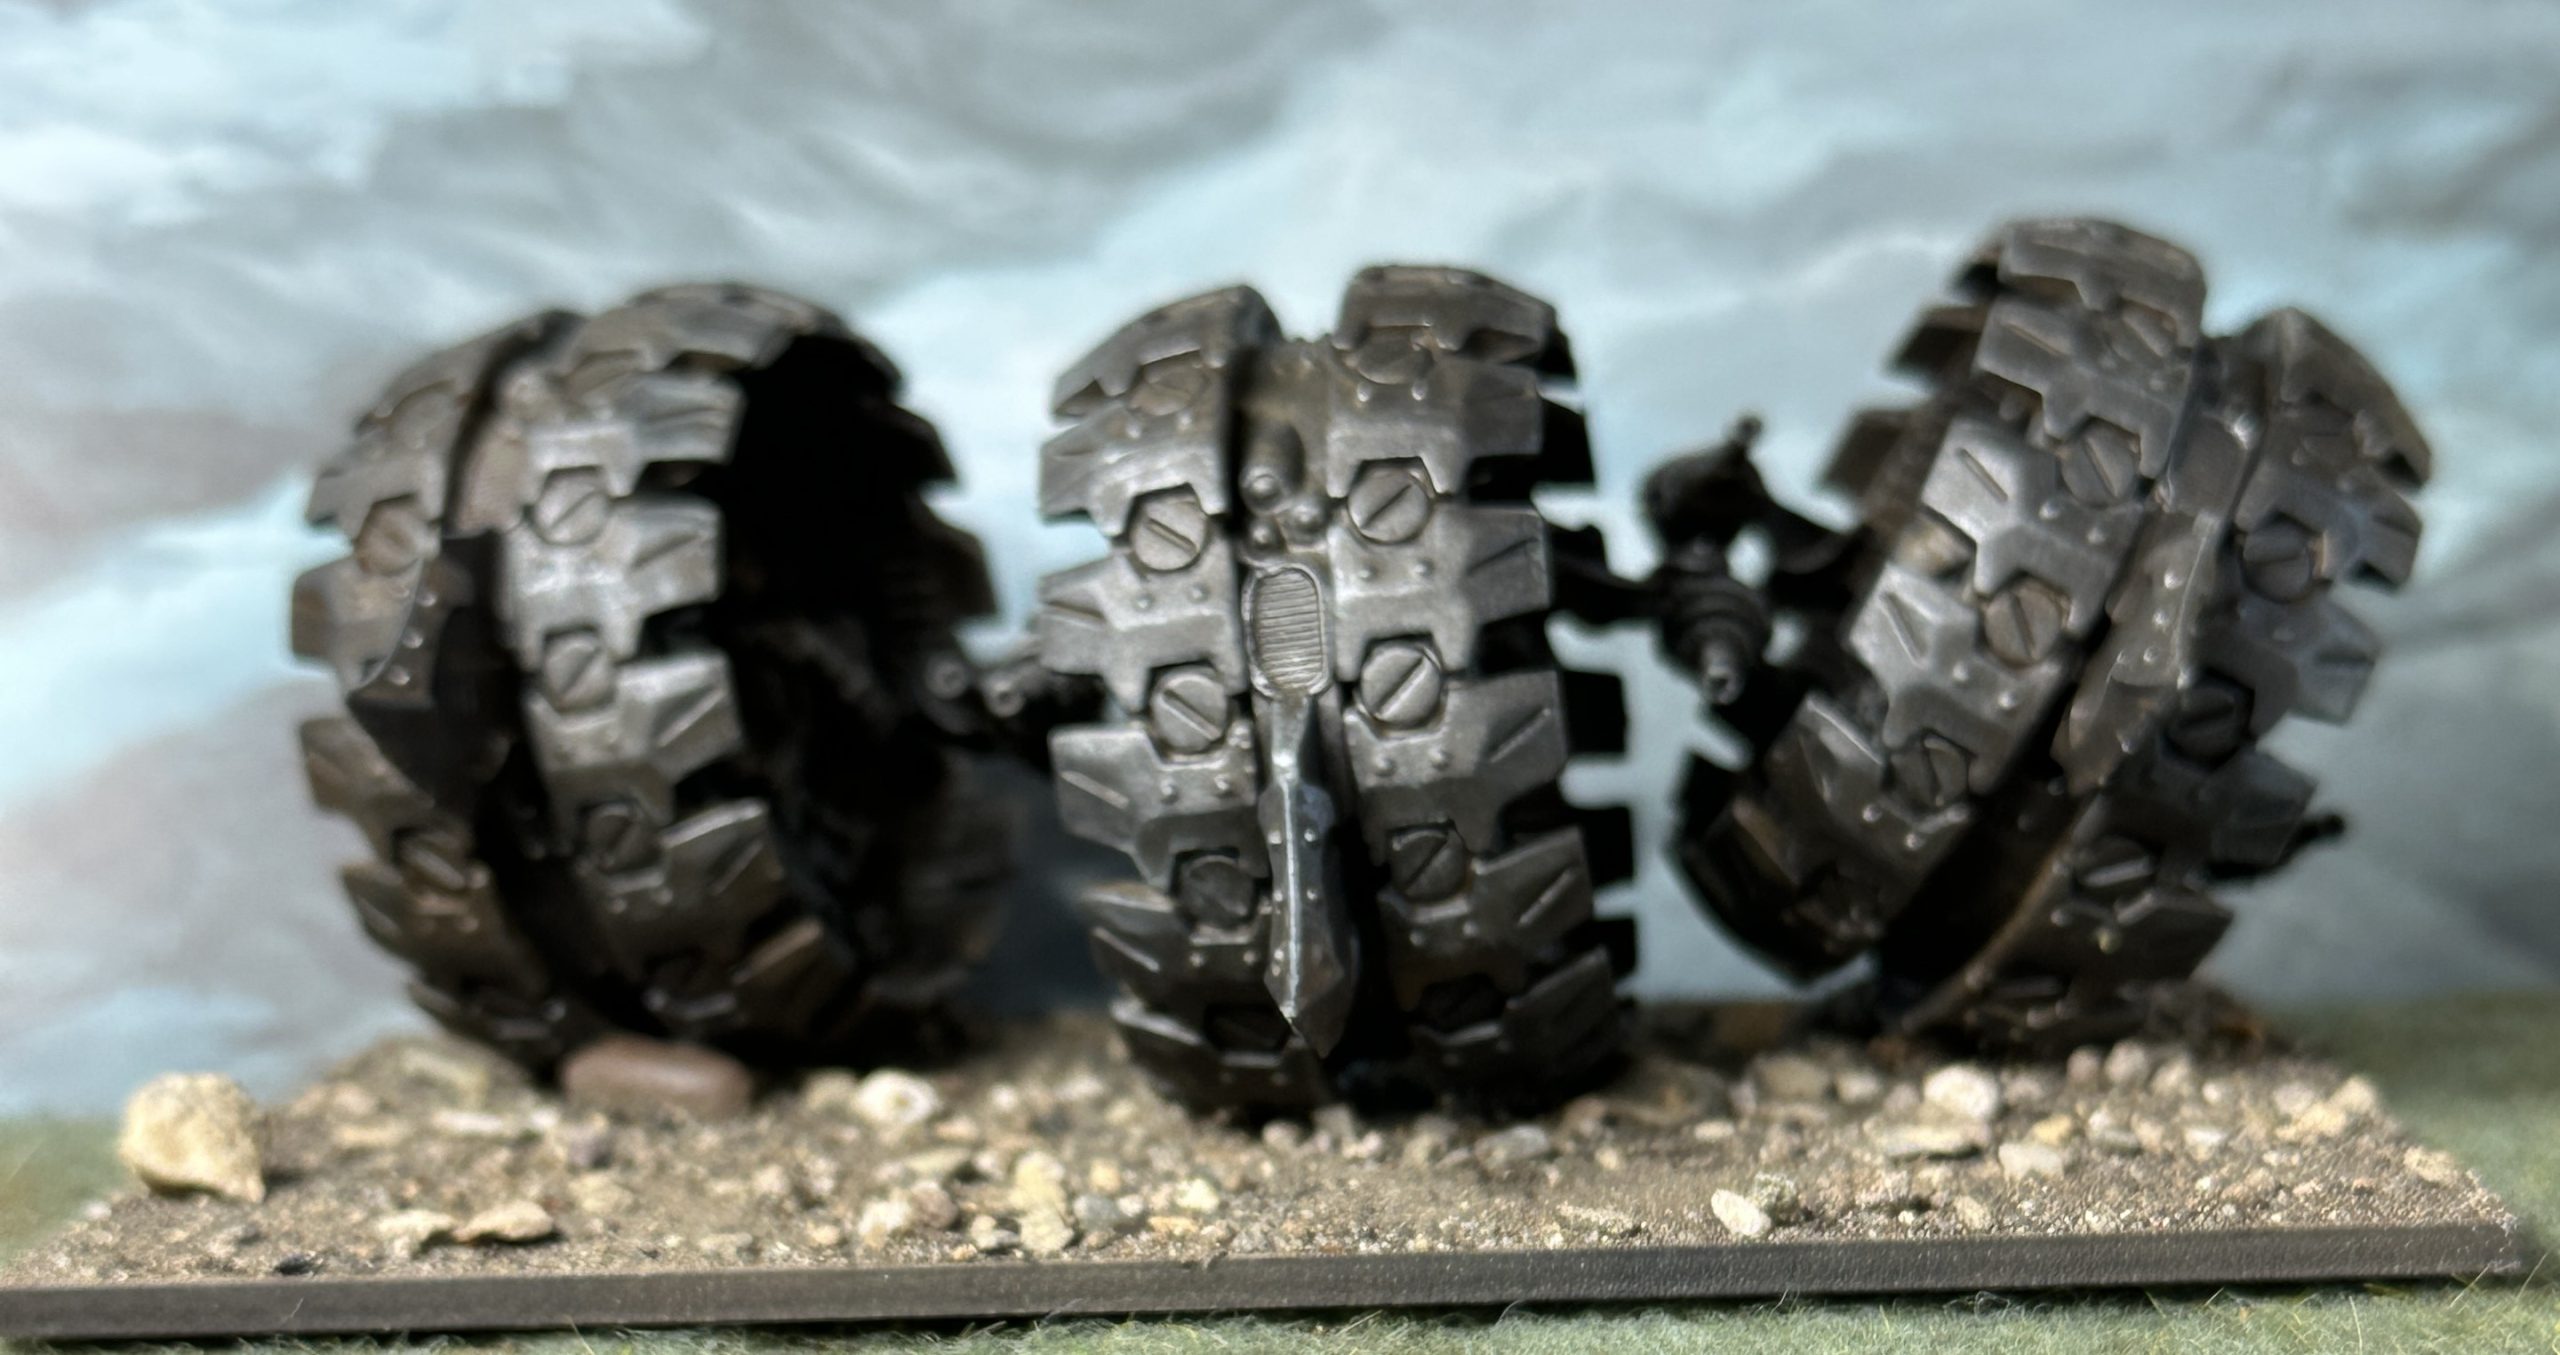
The main Hammer is Golekh and his speedy slaves. They all hit hard and look scary so will attract the major hurty units the enemy have during deployment so I’ll place them where they get a free run across the table and let the opponent worry about how to respond. The Tunnel Runners look the scariest and the Brew of Sharpness makes them even more scary but that attracts chargers and the two smaller bases of the Death Engine and Golekh get options on charges into exposed flanks as a result. The Gore Riders love a charge into terrain with their Jesse’s Boots. All of the Slave and Mutant units can be given Last Breath and those auto hits with Crush (2) are nasty.
Gargoyles are nasty if given free range across the board. Enemies who lack flying will struggle with them getting in behind and forcing units to turn, possibly exposing flanks to other units.
The other wing has the Golems supported by the Iron-caster with his Surge and Bane Chant. Playing them next to the Immortal Guard creates a very strong block of crushy combat damage output. There is no weak defense units for the enemy to pick on,Golems are De 6+ and the Immortal Guard can regenerate as well as being De 5+. It is therefore hard for an opponent to concentrate enough damage onto one of these units to get it to Rout and start finding open flanks.
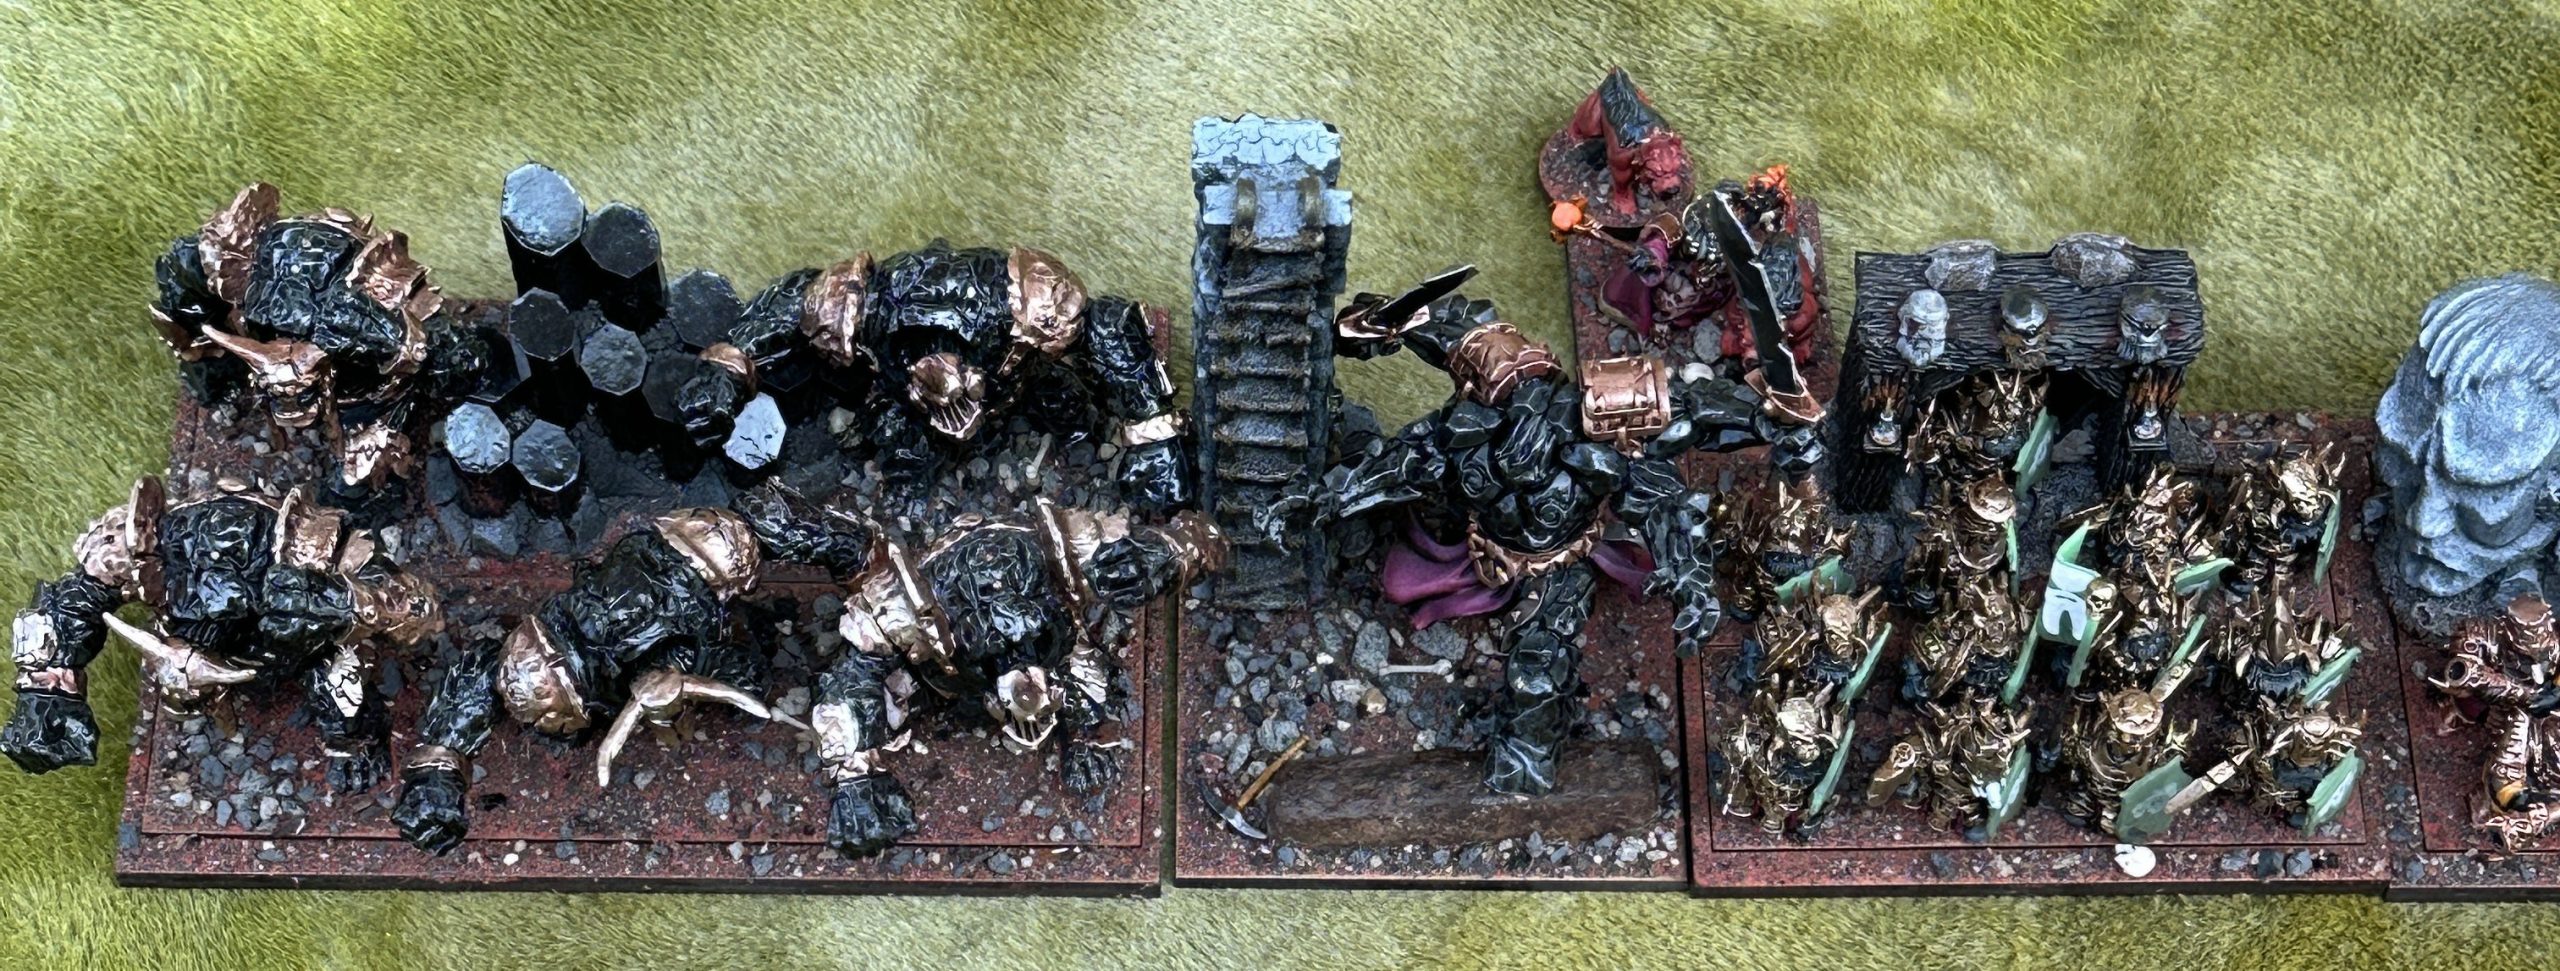
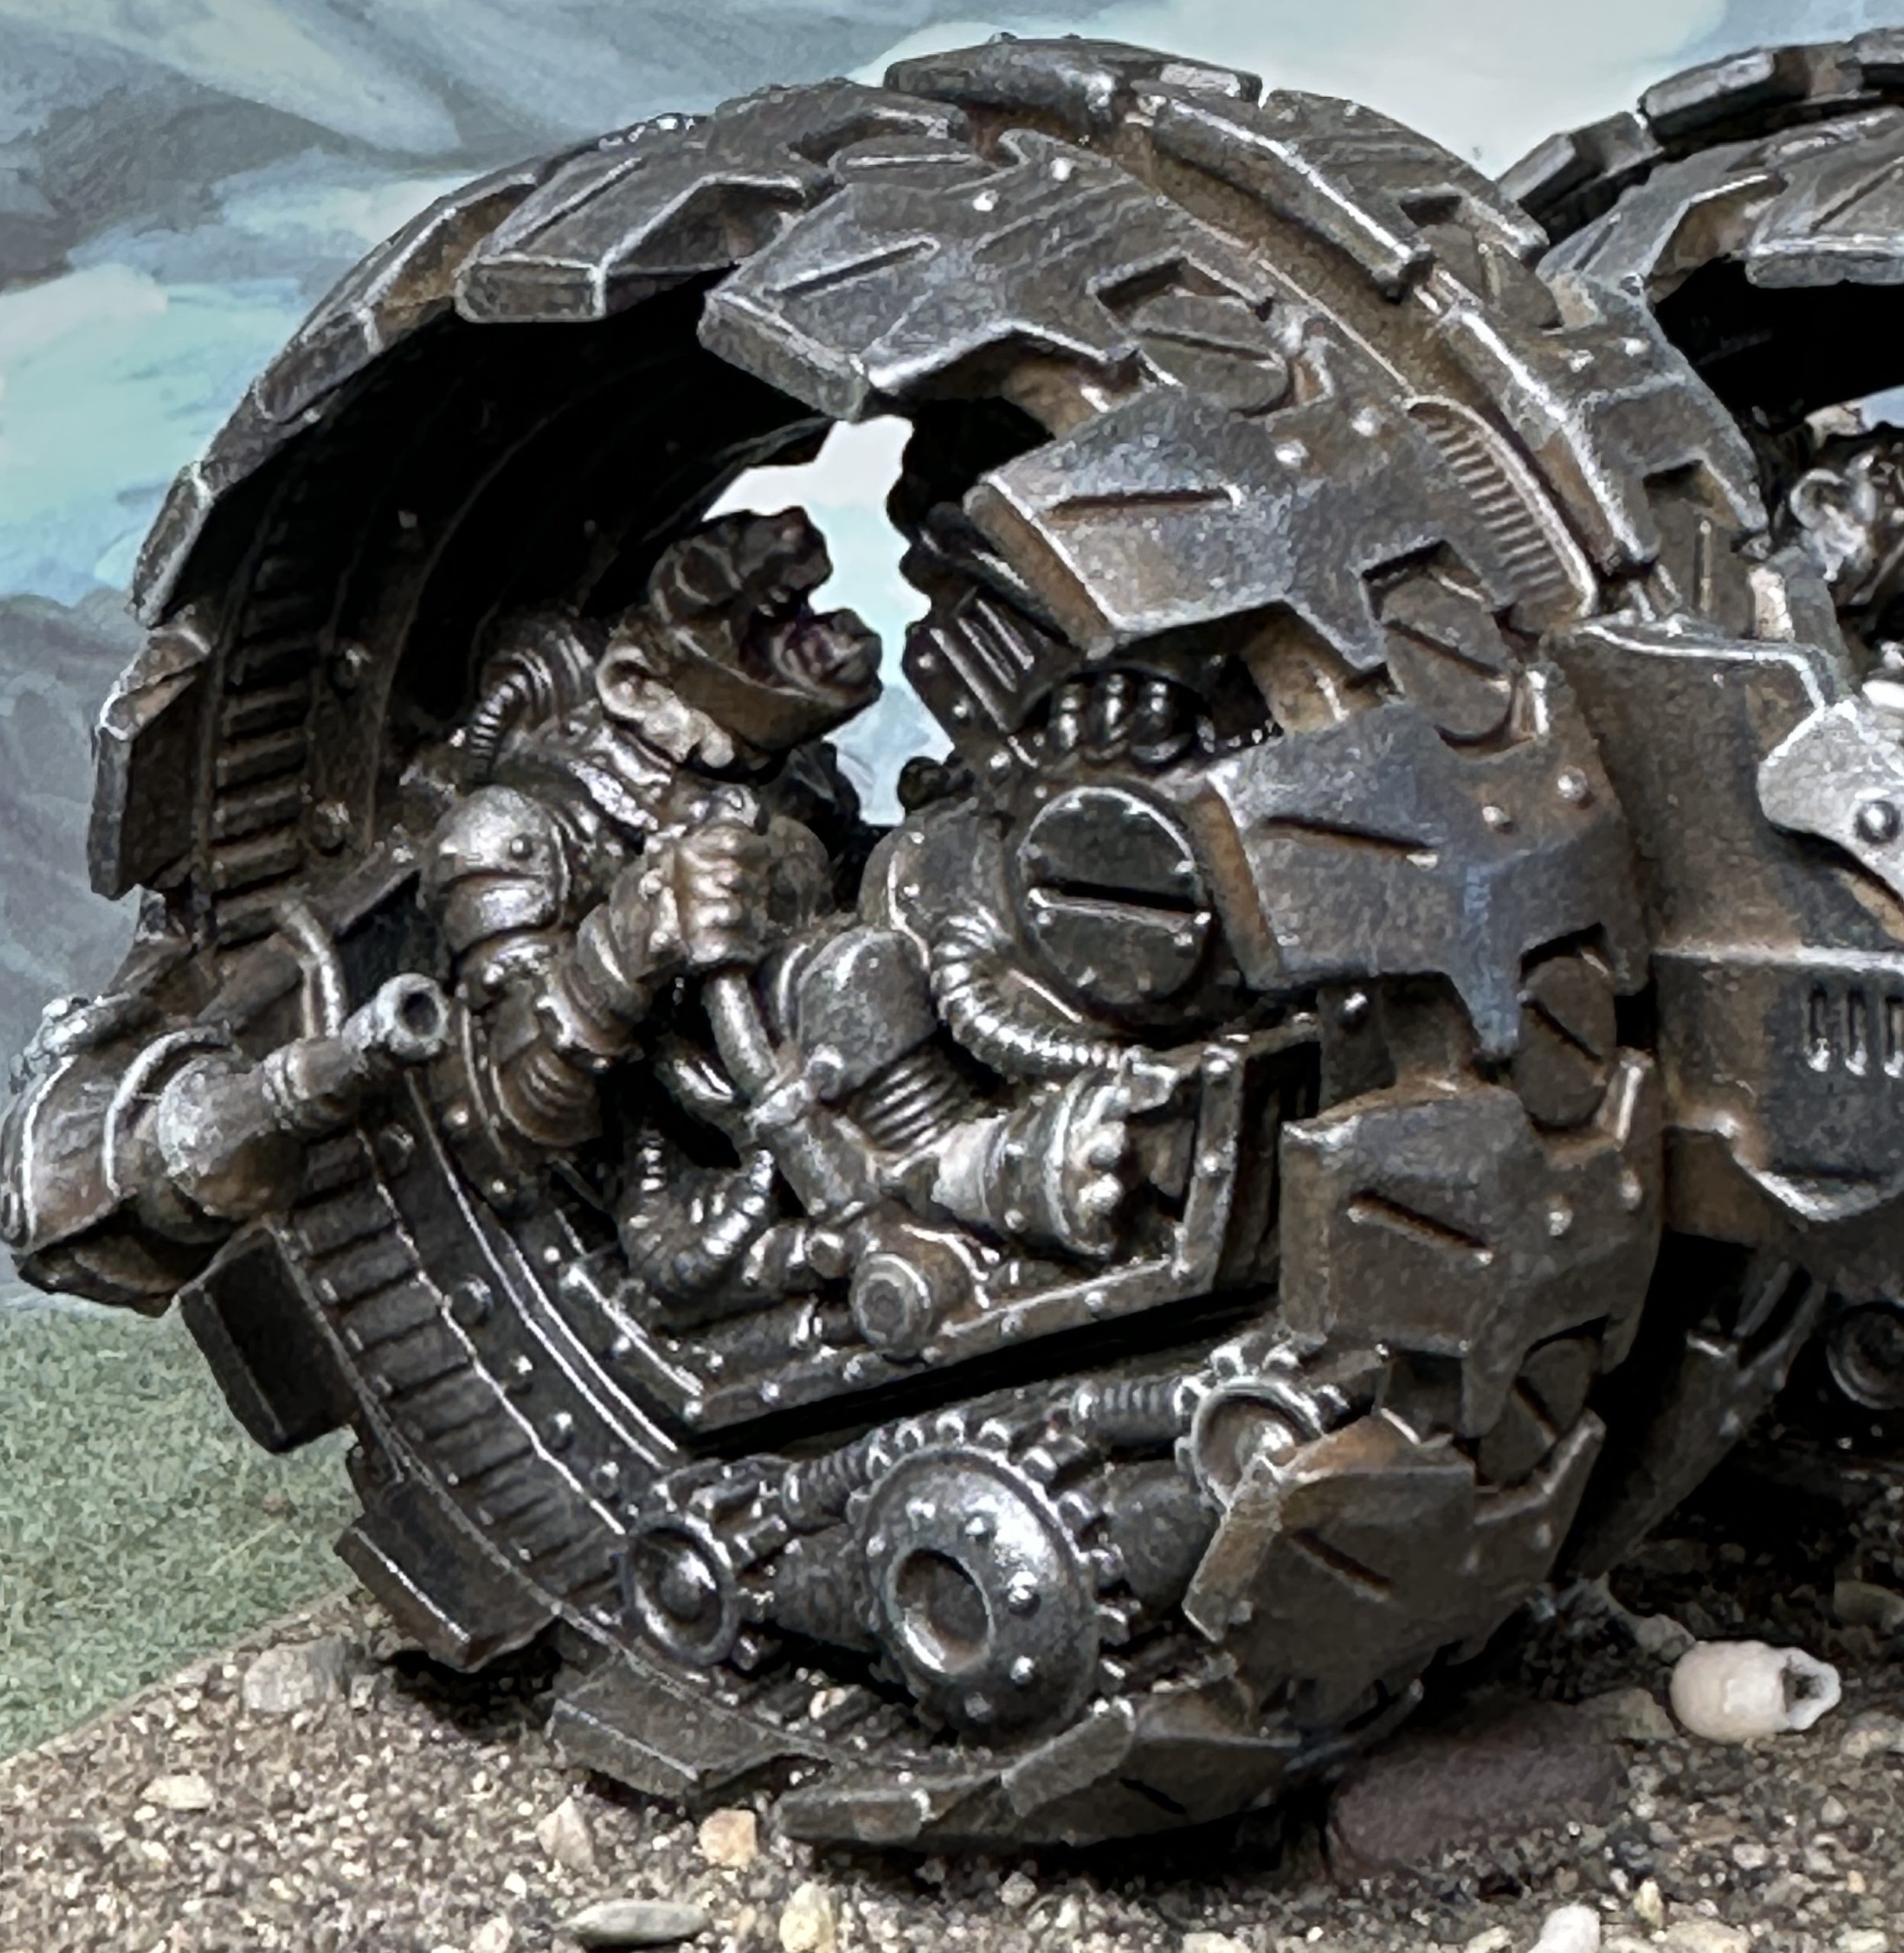
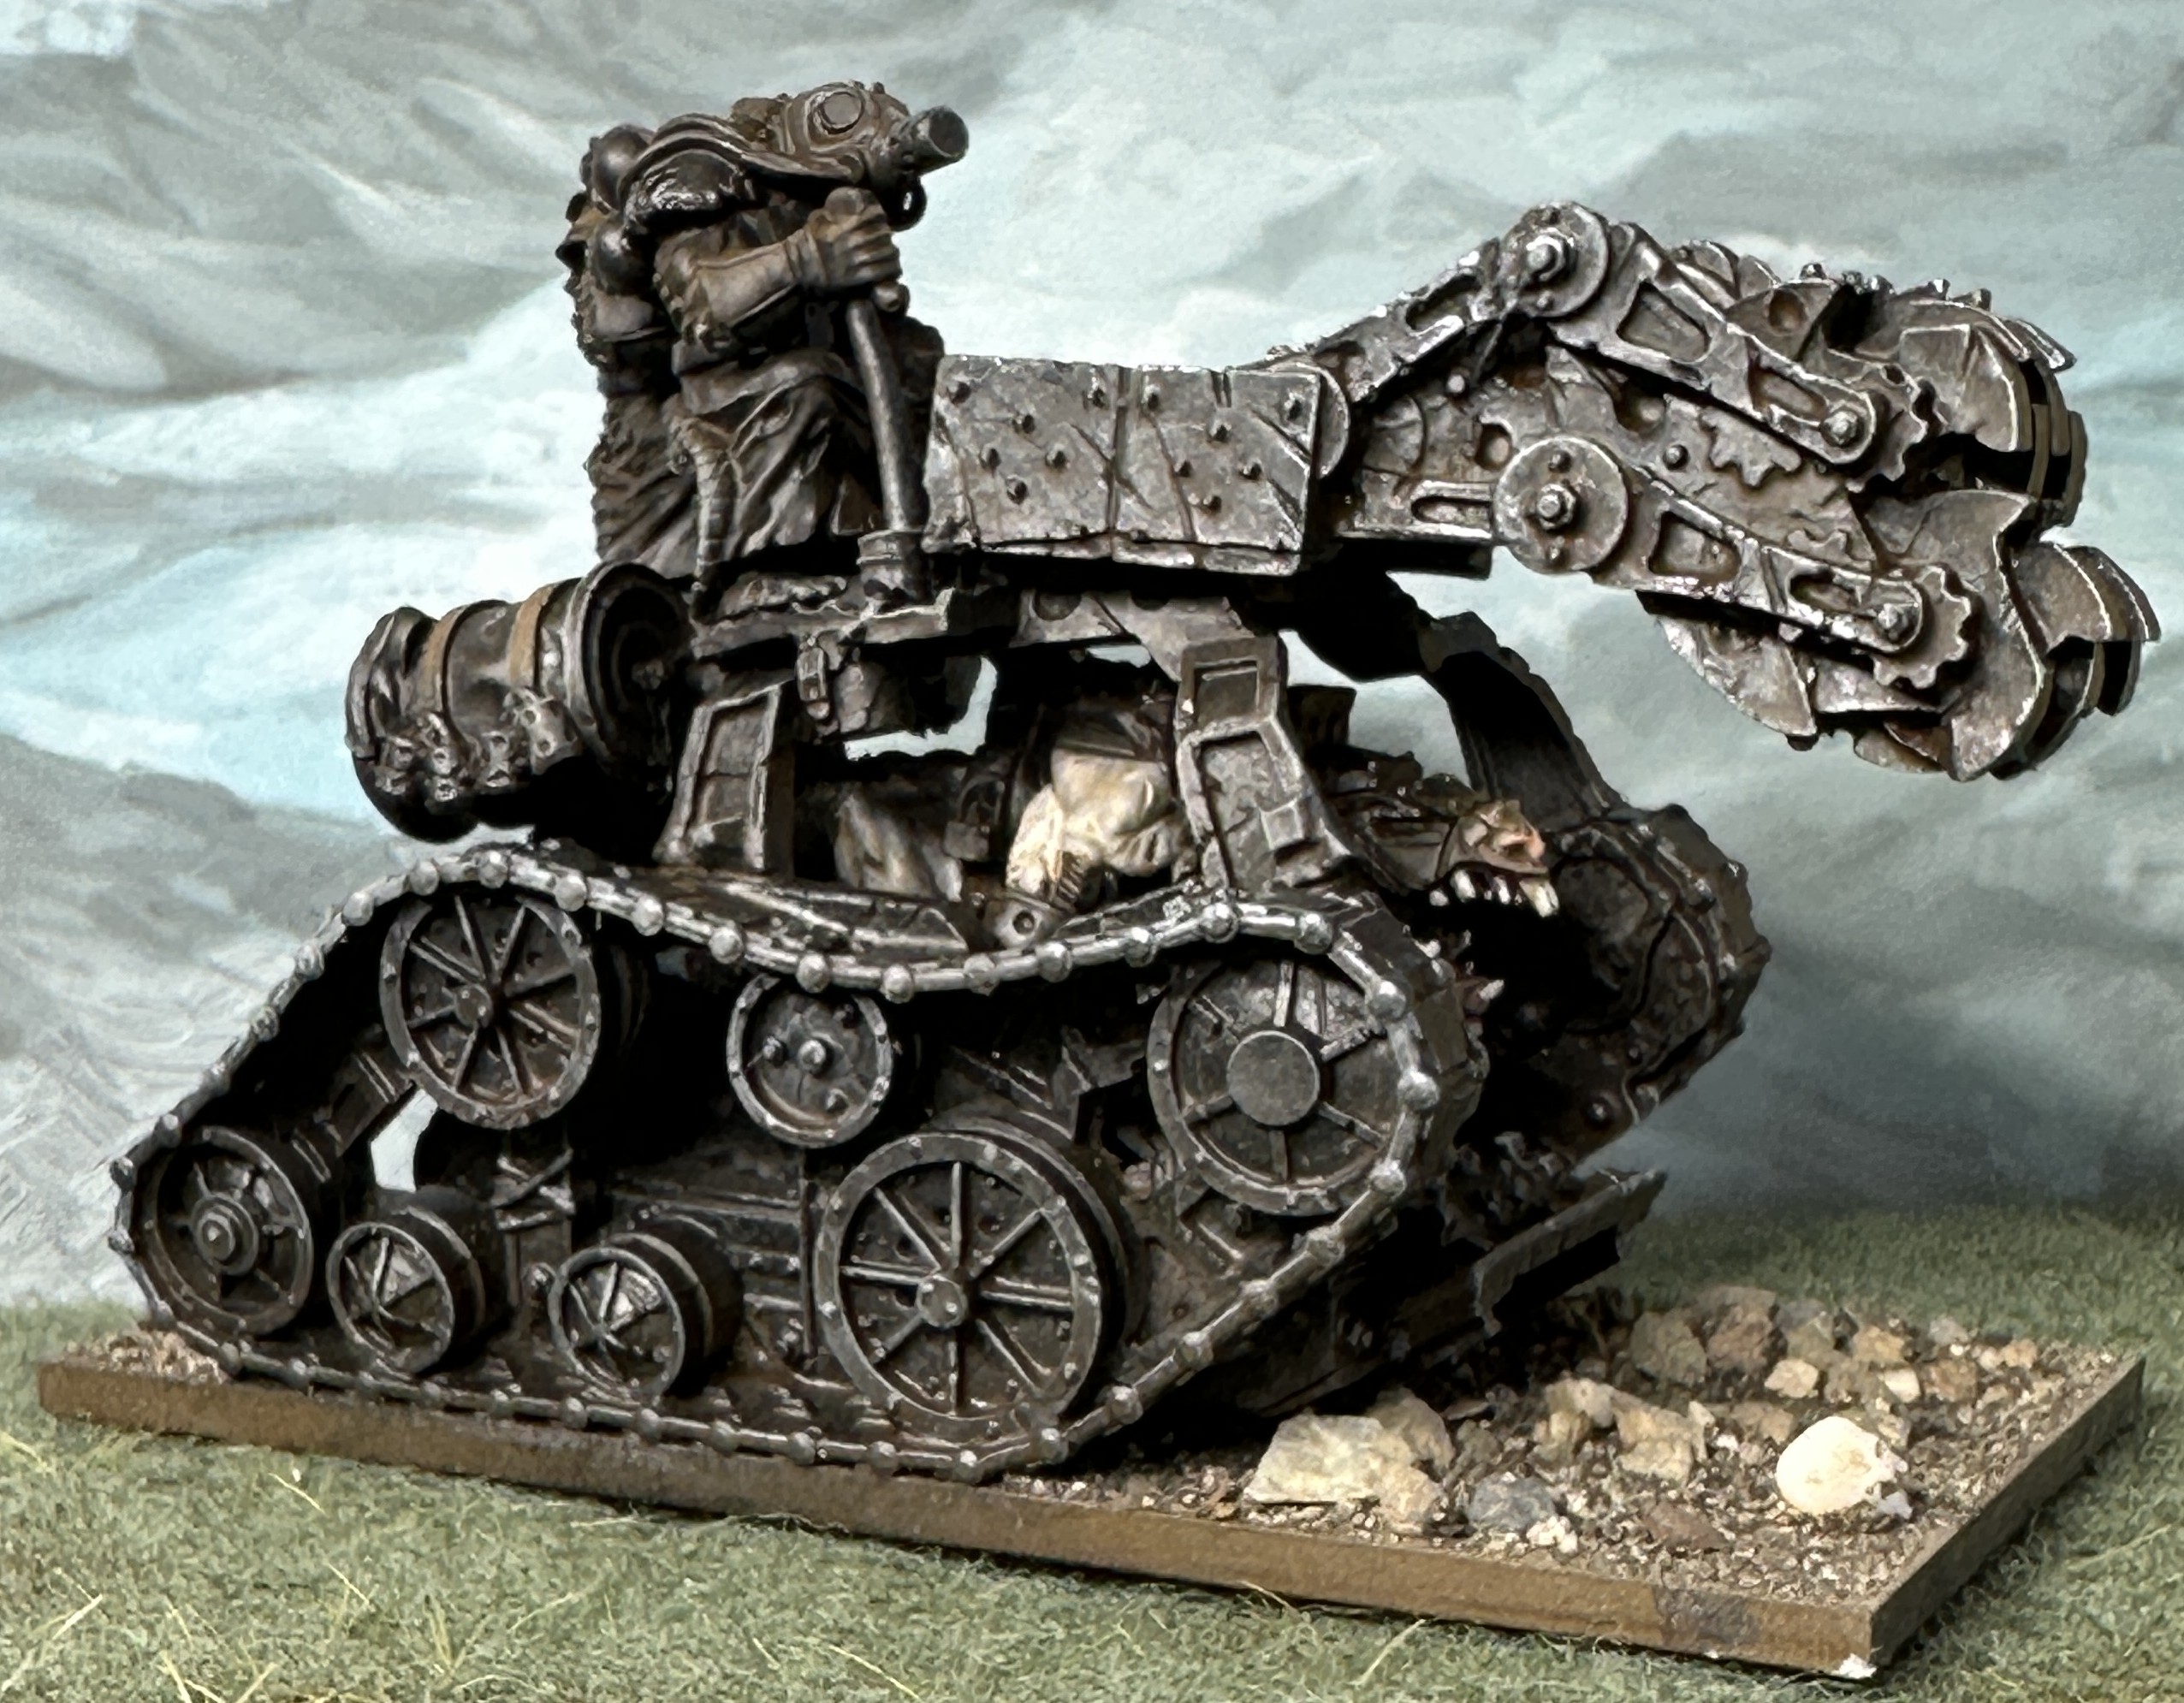
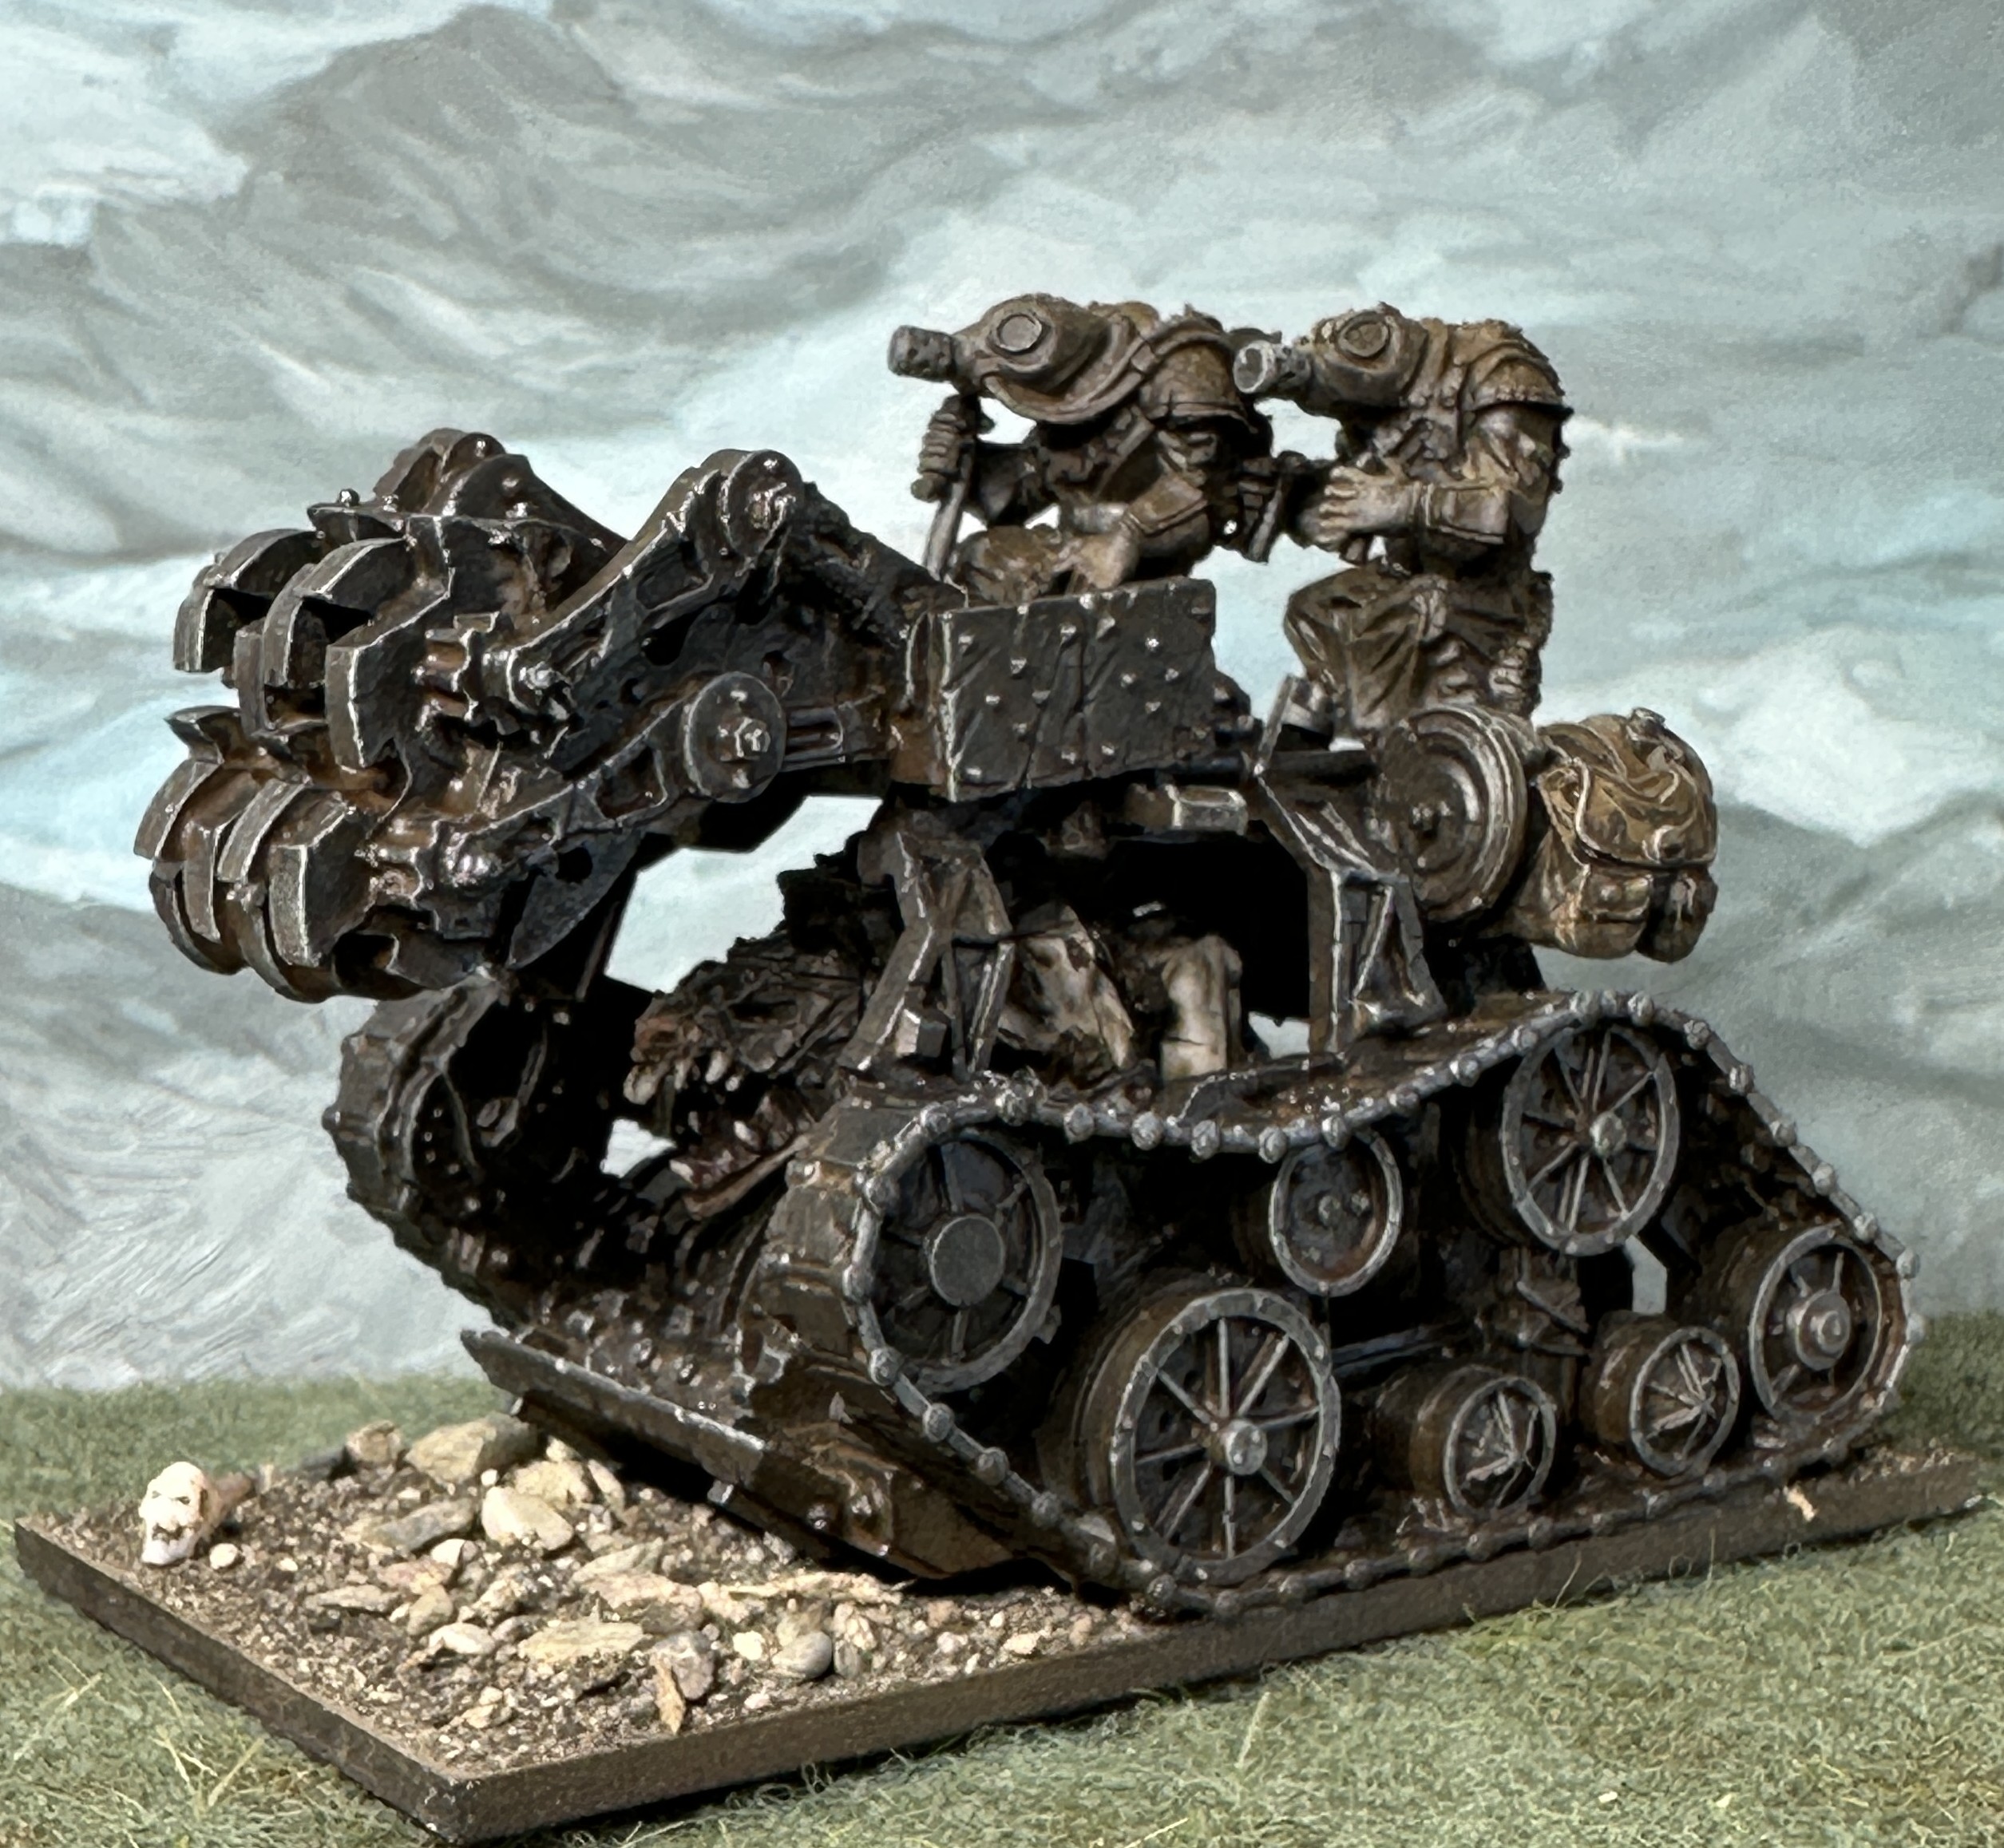
Finally a gallery of close up pics that I’ve not shown yet.