




Marvel Crisis Protocol by Lawnor



Recommendations: 166
About the Project
I've got a bunch of naked MCP stuff, and it's time to get it table ready. My friends are getting in to it so I need a squad ready to go ASAP.
Related Game: Marvel Crisis Protocol Miniatures Game
Related Company: Atomic Mass Games
Related Genre: Pulp
Related Contest: Spring Clean Hobby Challenge 2023
This Project is Completed
Daily Bugle & Daily Grind WIP Part 4 - Windows
Two-or-three-ish weeks ago I painted the windows on my card following a Youtube video by Ghool. I loved the results and have every intention of following his video again for these windows. However it appears in that time someone has deleted almost every proof of Ghools existence from the internet. His Youtube channel is gone. His Patreon is blank. I can’t find a Facebook, Twitter, or Instagram account for him. He’s been teaching people to paint online for who knows how many years and all that content appears to just be gone. I don’t understand why, unless he’s doing some big overhaul of everything and it’ll all be back soon?
I did not write down what I did. Why would I when the video is there forever and does a much better job than my notes ever would. Bugger. I’ve been checking daily for almost a week and there’s no signs of life from Ghools content so It’s up to me to try and remember what I did and make notes this time. Welcome to my notes.
 Base Coat with P3 Exile Blue
 Prepare some P3 Exile Blue and P3 Meridius Blue on your palette. Mix with the bare minimum water only. Paint the high point of the window with Meridius Blue, and then put a line of Exile Blue along it. DO NOT LET THEM DRY! Act quick!
 Wet your brush. Take the wort off by touching it to your tongue (I remember Ghool saying that) but leave it wet. You want enough water for your paints to thin as you push them around, but not so much you flood the area. Touch your brush to the highest highlight edge or corner and brush side to side while pulling paint to the opposite edge. Do not lift your brush. Work your way back up and down a few times until you are happy enough.
 Allow that to dry. Repeat the step if wanted. I did. Allow that to dry.
 Paint a smaller highlight with P3 Arcane Blue (Again almost as waterless as from the pot), and paint a thin line of Meridios Blue under that. Repeat the swipes with a wet brush
 Allow to dry
 Mix a touch of Arcane Blue in to some thinned white and paint a few lines across the windows following the direction of swish
 Once everything else is finished and varnished apply an optional coat of gloss varnish to your windows. I should have thinned mine down but I was in a rush so I didn't and now there are bumps and brush strokes in it that show up when the light catches them
Is this perfect? No. Is this exactly what Ghool did? Probably not. Will it do? Yup. Definitely. On the table no one will be looking directly at the terrain, and from a distance, or when you’re not looking directly at it it’s just right. I experimented a little to get these results. I tried not applying the darker tone in a line. I tried brushing up from the bottom first with a watery brush. I tried with a little too much water on my brush and had to fix it fast! This was the closest I could come up with to whatever it was I did before.
I think the shape of these windows affected the results. Every window pane here is recessed a little, which is made worse by the concrete frame to the shacks. With the cars I could almost lay the brush flat while swishing. I could not do that here and I could feel that making things harder.
They’re done and I am happy enough. That’s the last of the terrain. The core set is finished. I can return to the fun of painting people, and escape the hardship of painting things that don’t fit in my hand or on a hobby holder.
The Hulk and the Wakandans are built and will get primed tonight.


Hulk Smash! (-ed Out In Less Than A Day)
I had some concerns about painting Hulk. I was afraid I’d end up painting him too similar in green to the car or the Daily Bugles. I’d seen the work of others that pushed in to yellow and I was afraid I might stray too far in to yellow. So I found a guide and used that for inspiration for colour choices. I didn’t follow it exactly, but I followed Sorastros guide, using equivalent paints I had to hand.
Hulk Flesh
Airbrush reverse zenithnal with VGC 72.147 Heavy Black Green
Wide Zenithal Airbrush with 50/50 mix of Heavy Black Green and VMC 70.922 Uniform Green
Narrow Zenithal airbrush with pure Uniform Green
Targeted airbrush with VMC 70.967 Olive Green
I did some airbrush work here on some other projects while it was out and continued the flesh by brush later on.

Next I picked out the hair
Hair
Base: P3 Thamar Black mixed with just enough P3 Greatcoat Grey to lighten it
Wash: GW Nuln Oil
Highlight: P3 Hammerfall Khaki
Highlight: P3 Hammerfall Khaki mixed with P3 Menoth White Base
Highlight: Menoth White Base
Glaze: GW Agrax Earthshade

Back to the green. Watch the video linked about for more detailed steps. I’m really skipping over a lot here. My words can never inform as well as that video.
Hulk Flesh Continued
It’s all brushwork from now on
Highlight: VMC 70.967 Olive Green
Highlight: VMC 70.827 Lime Green
Glaze transitions with P3 Iosan Green
Highlight: VMC 70.827 Lime Green
Deep Shade with mix of VGC 72.147 Heavy Black Green and GW Naggaroth Night. Also apply to finger nails
Mouth
Gum: P3 Khardic Flesh mixed with a little black
Teeth: P3 Menoth White Highlight mixed with a little black
Highlight teeth with Menoth White Highlight
Hulk Flesh Contd…
Highlight “Light”/right side of face with Lime Green mixed with Khardic Flesh
Highlight Lime Green mixed with Miniature Paints 64 Lemon Yellow.
Highlight “dark”/left side of face with Lime Green mixed with P3 Arcane Blue
Highlight Lime Green mixed with more Lemon Yellow. Use on all appropriate regions, but definitely pick out veins with this.
Eyes
Base with P3 Menoth White Highlight, possibly from the above mix with a little black. You want it to look different to the teeth.
Put some GW Coelia Greenshade over both eyes and count to about 10 before removing it with your brush.
Pupil: Black


Next up is the Hulk pants. Traditionally, these are purple, but I didn’t want a vibrant purple. I’ve multiple purple triads from a few different companies, but they all seem to be basically the same 3 shades, ideal for Tyranids. I wanted something more desaturated so I experimented by adding some grey to what I had. Here’s what I ended up doing:
Purple Hulk Pants
Base: Reaper MSP 09022 Nightshade Purple mixed to taste with VMC 70.990 Light Grey
Shade: Thinned Nightshade Purple
Highlight: Reaper MSP 09023 Imperial Purple mixed to taste with Light Grey
Highlight: Add more Light Grey

The button doing all the work keeping those pants on was based with P3 Deathless Metal and given a dot of GW Retributor Armour for a glint. he was based the same as the earlier models.


Wakanda Foraboutaweekend!
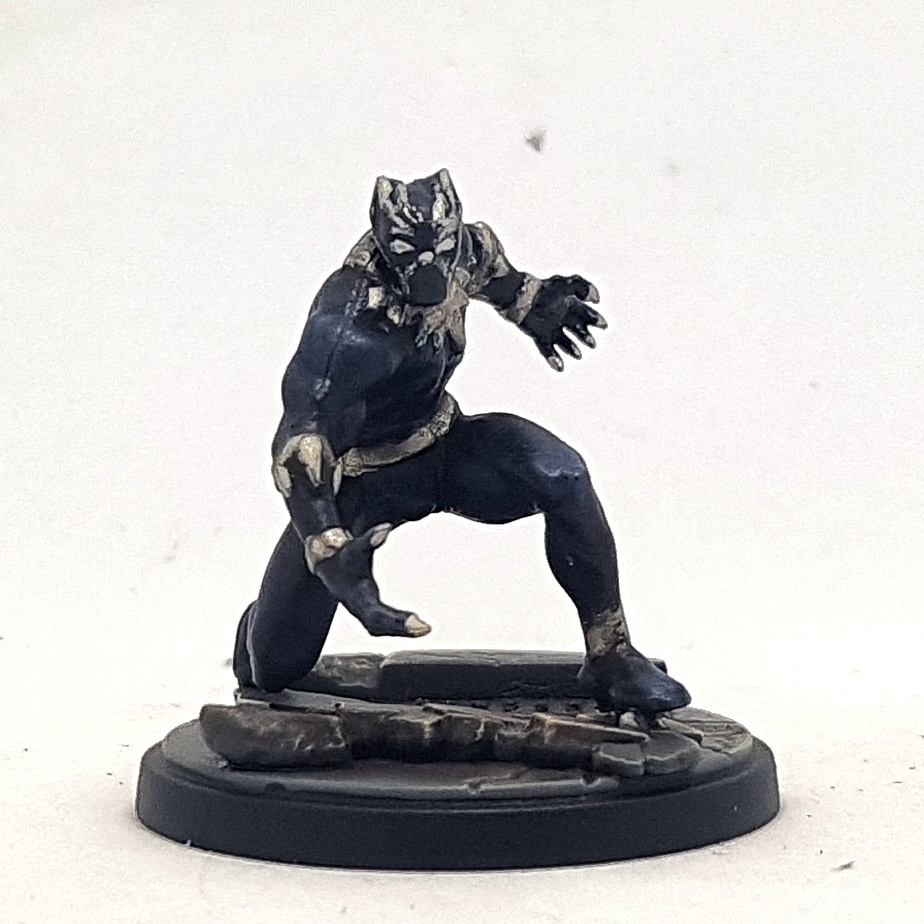
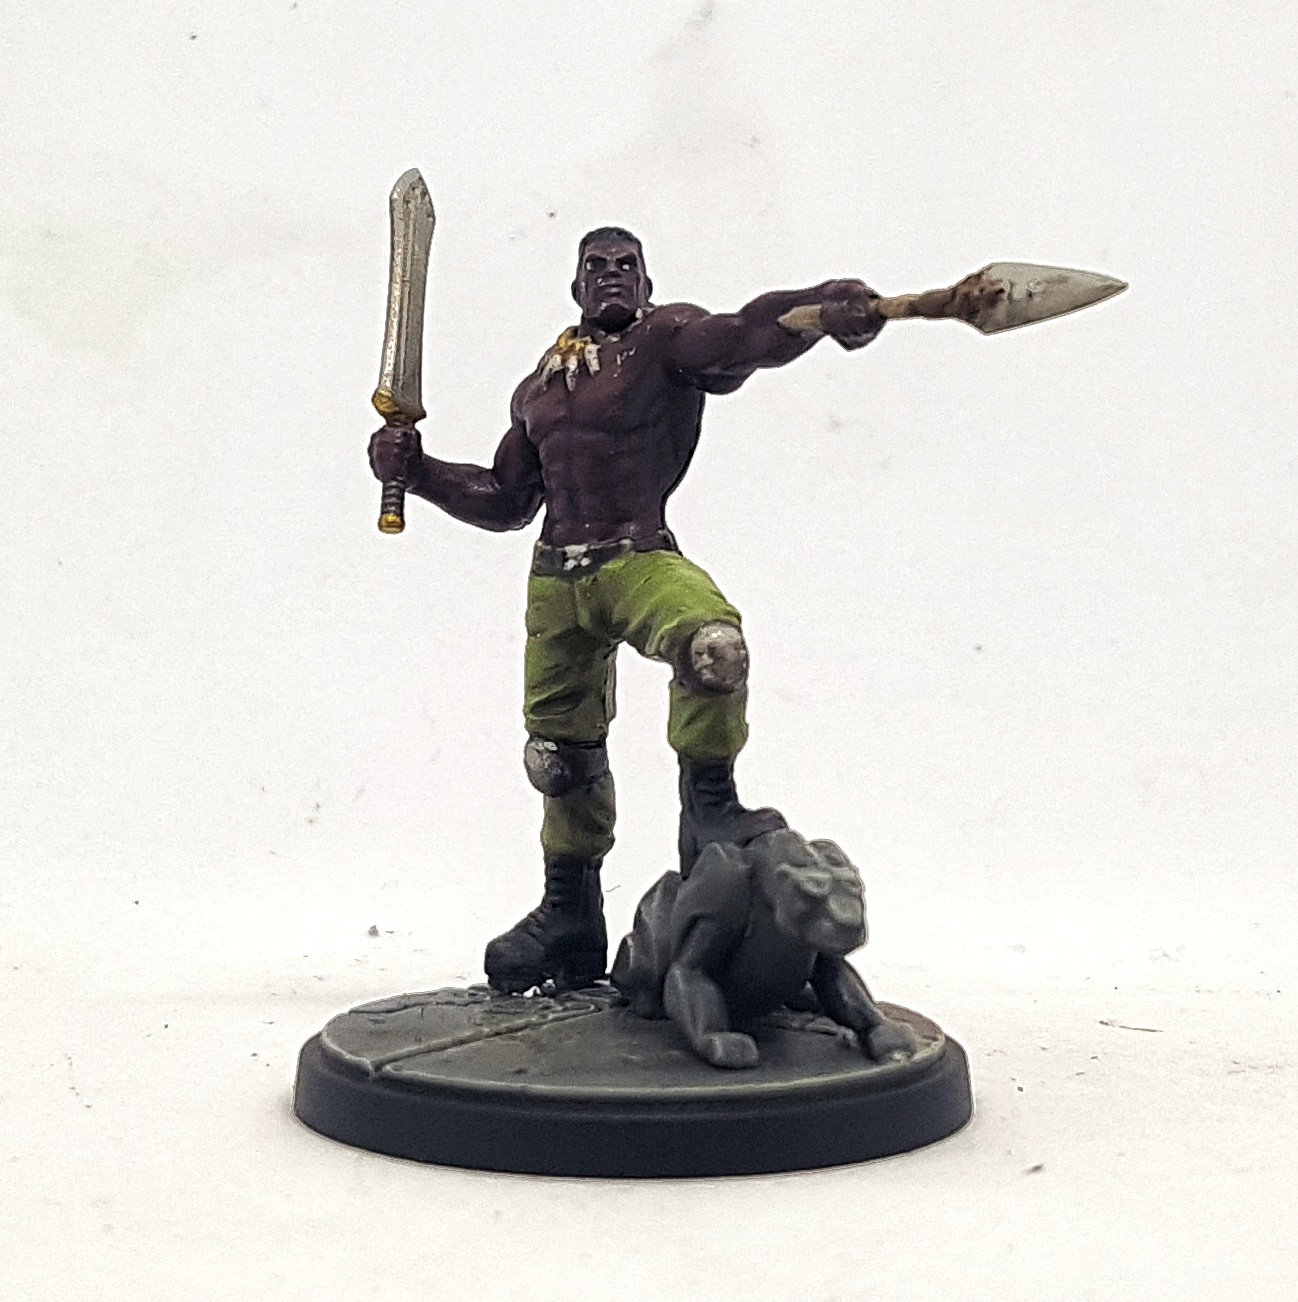
I’ve 4 models here, one of which was mostly done in one airbrush blast, and the other three have the same skin tone I want to do at the same time. Lets start with the Black panther because he’s quick to get done and put on one side.
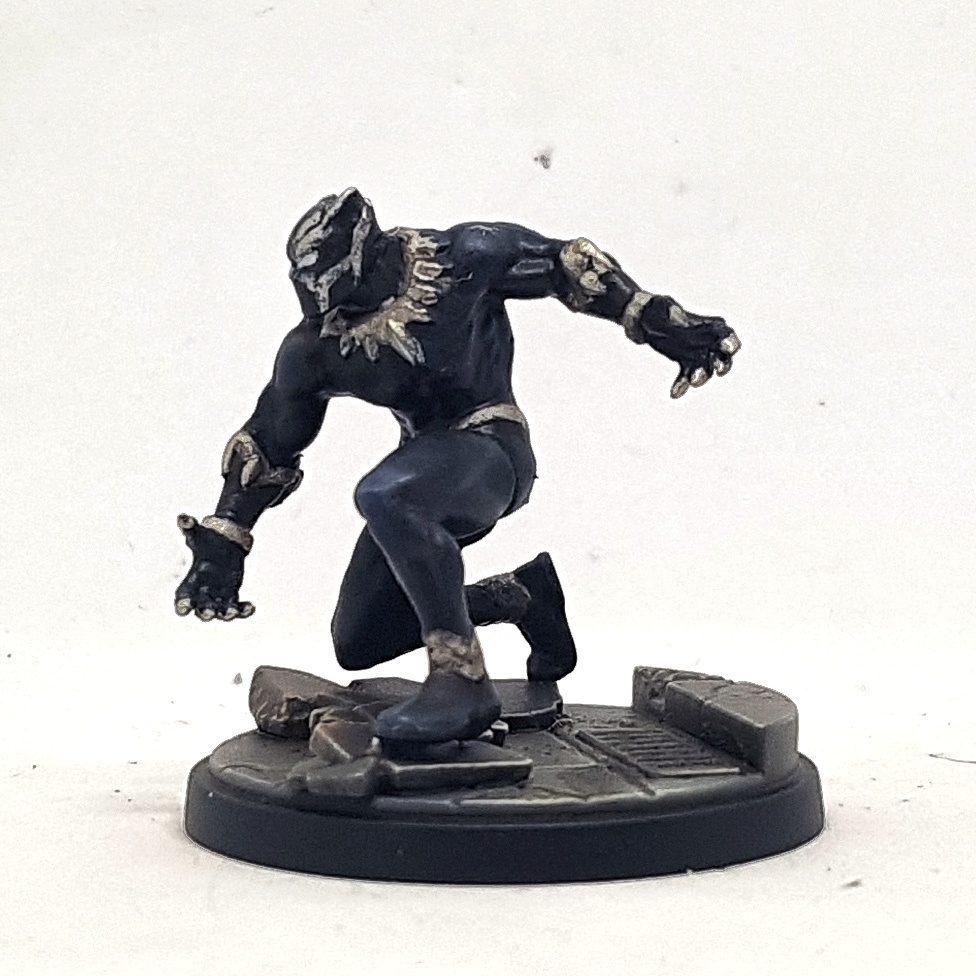
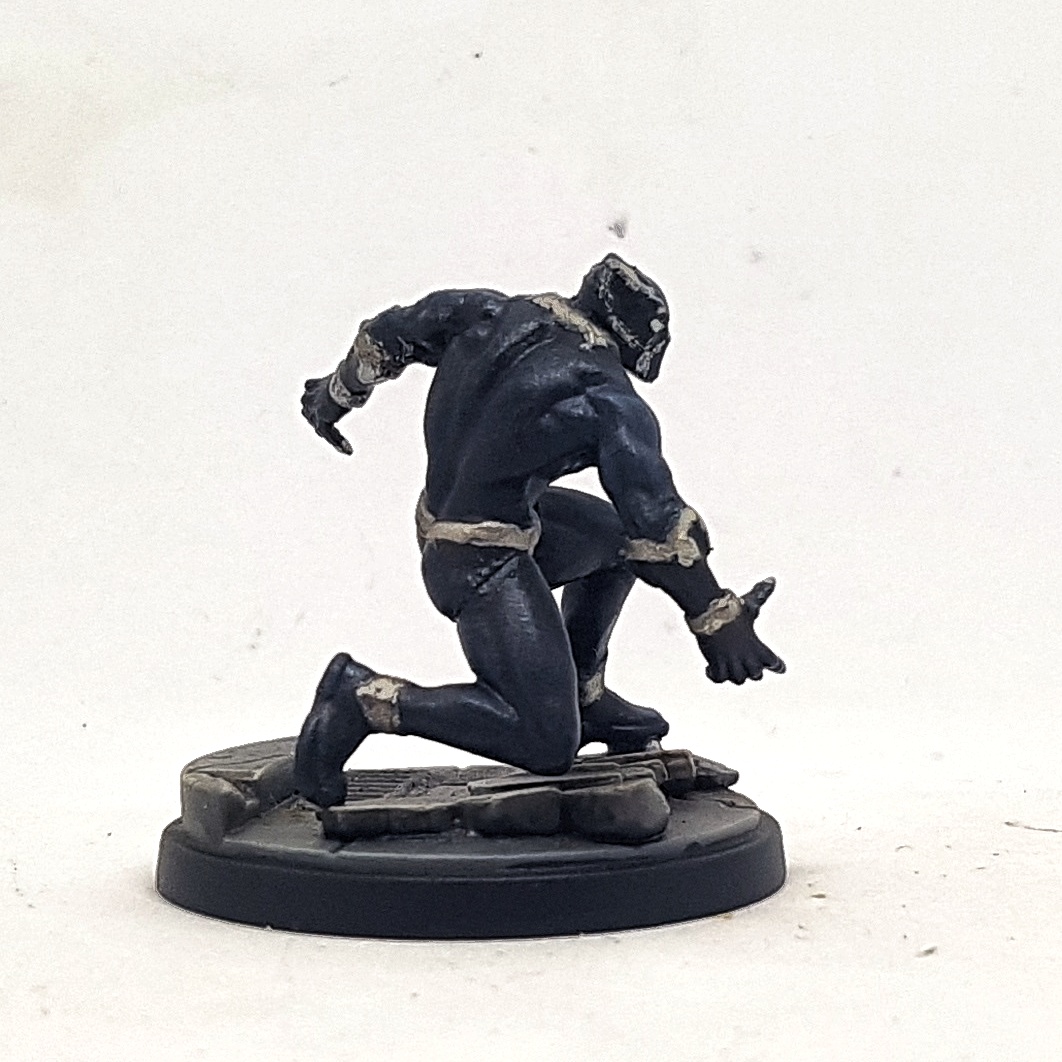
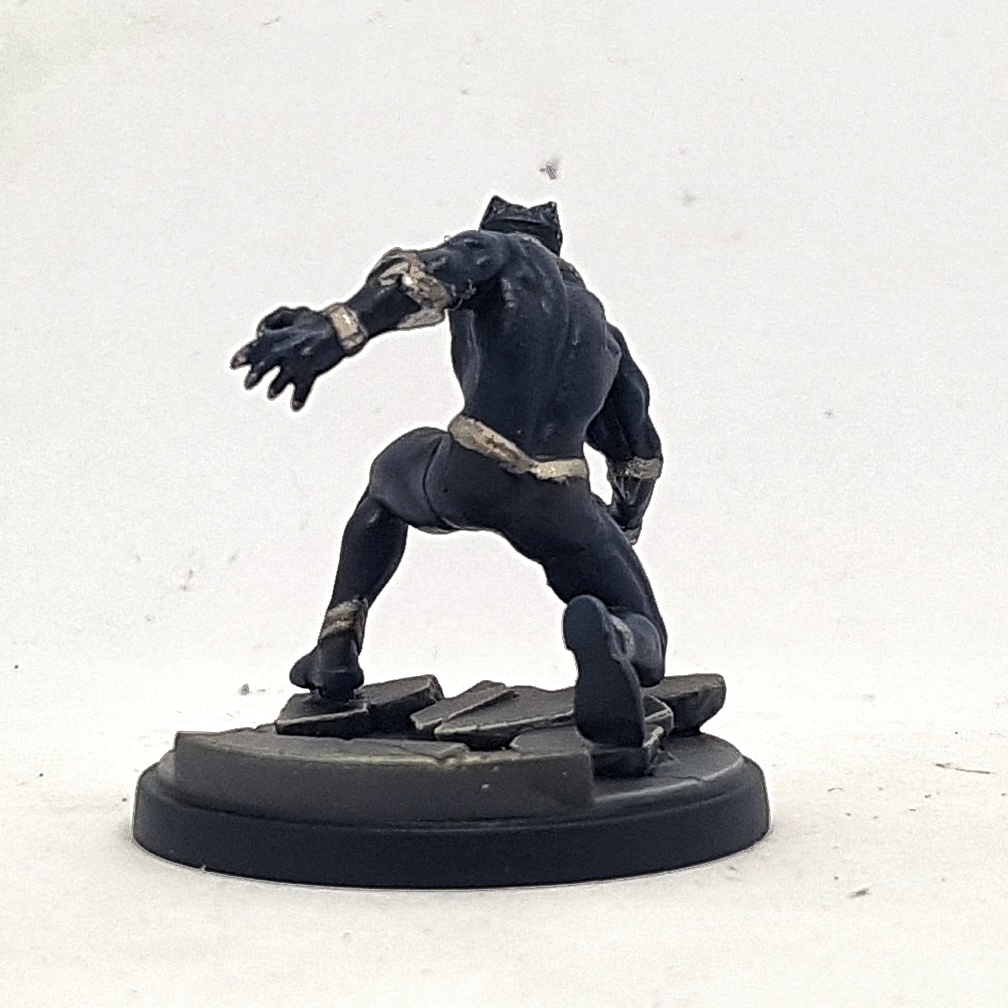
Black Panther Suit
Prime black. Use only a gentle zenithal light grey. Nothing as heavy handed as usual
Airbrush Base Coat with Hataka A001 Dark Sea Blue (I find Hataka paints too thin to paint with by brush, but they work well enough through an airbrush. The thinness can help let a zenithal preshade influence things, too.
Wash: GW Nuln Oil
Targeted Drybrush: P3 Gravedigger Denim on high points only (I thought of this after taking the next pic but forgot to take an updated shot.
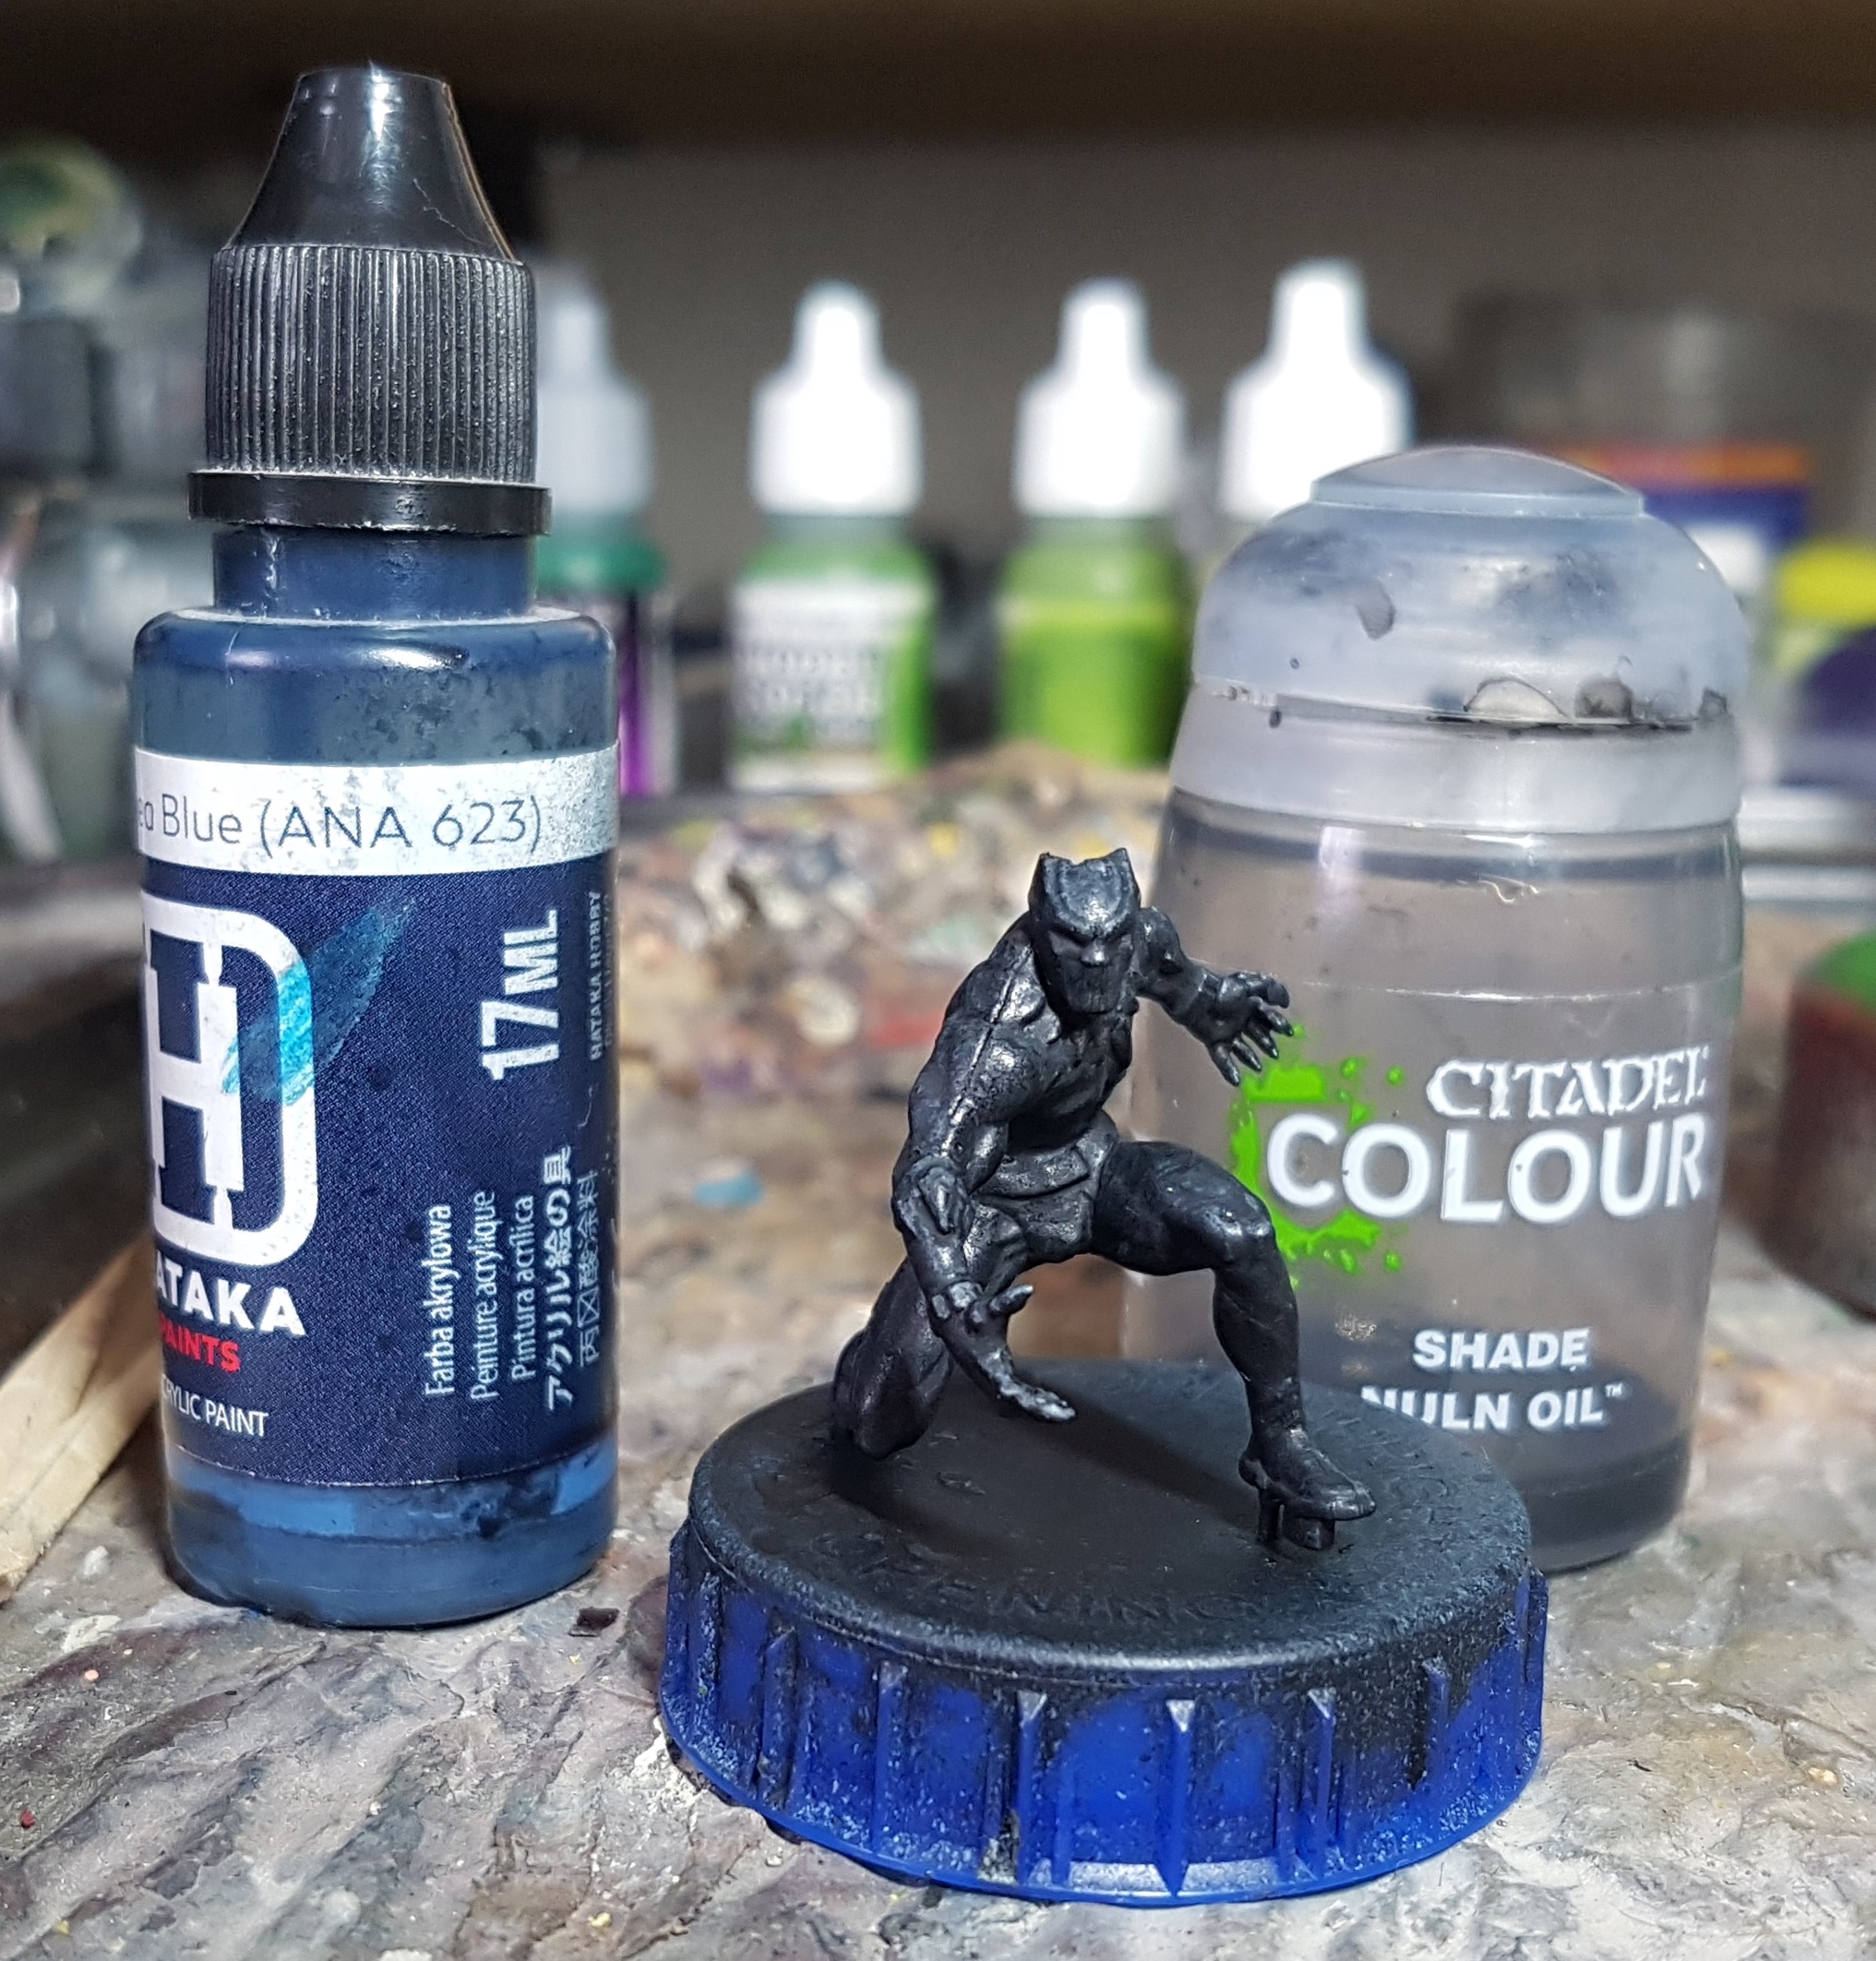
I then put him on one side until I was ready to paint the steel on another model.
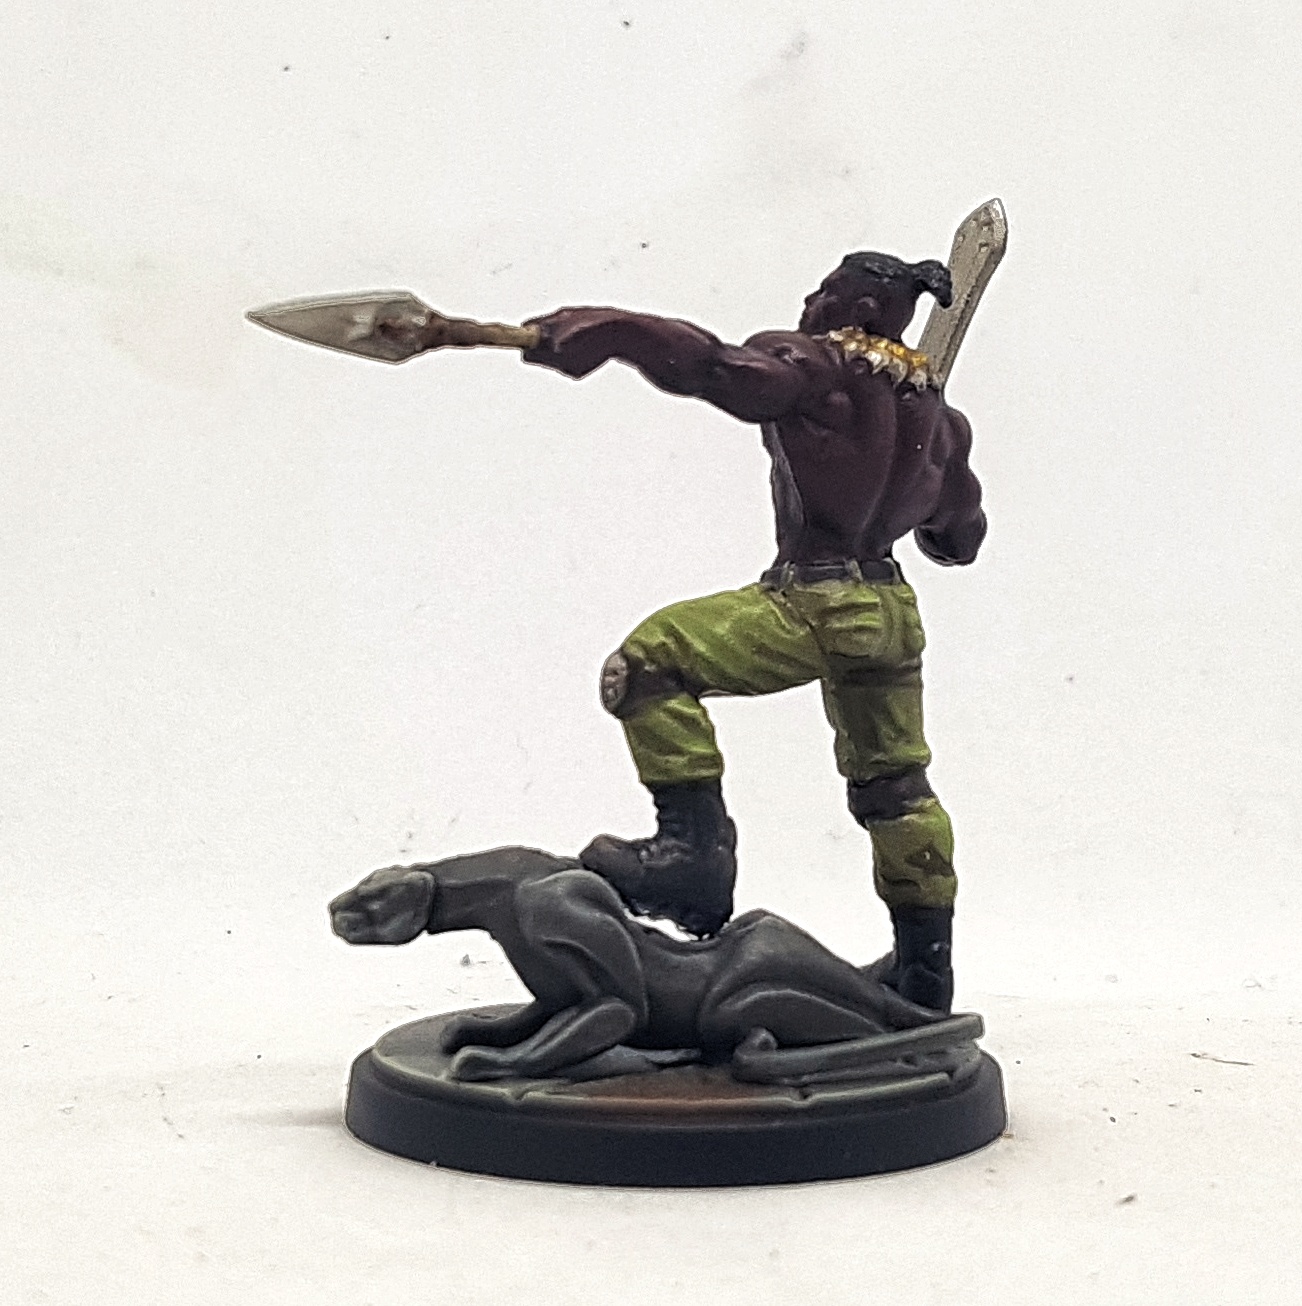
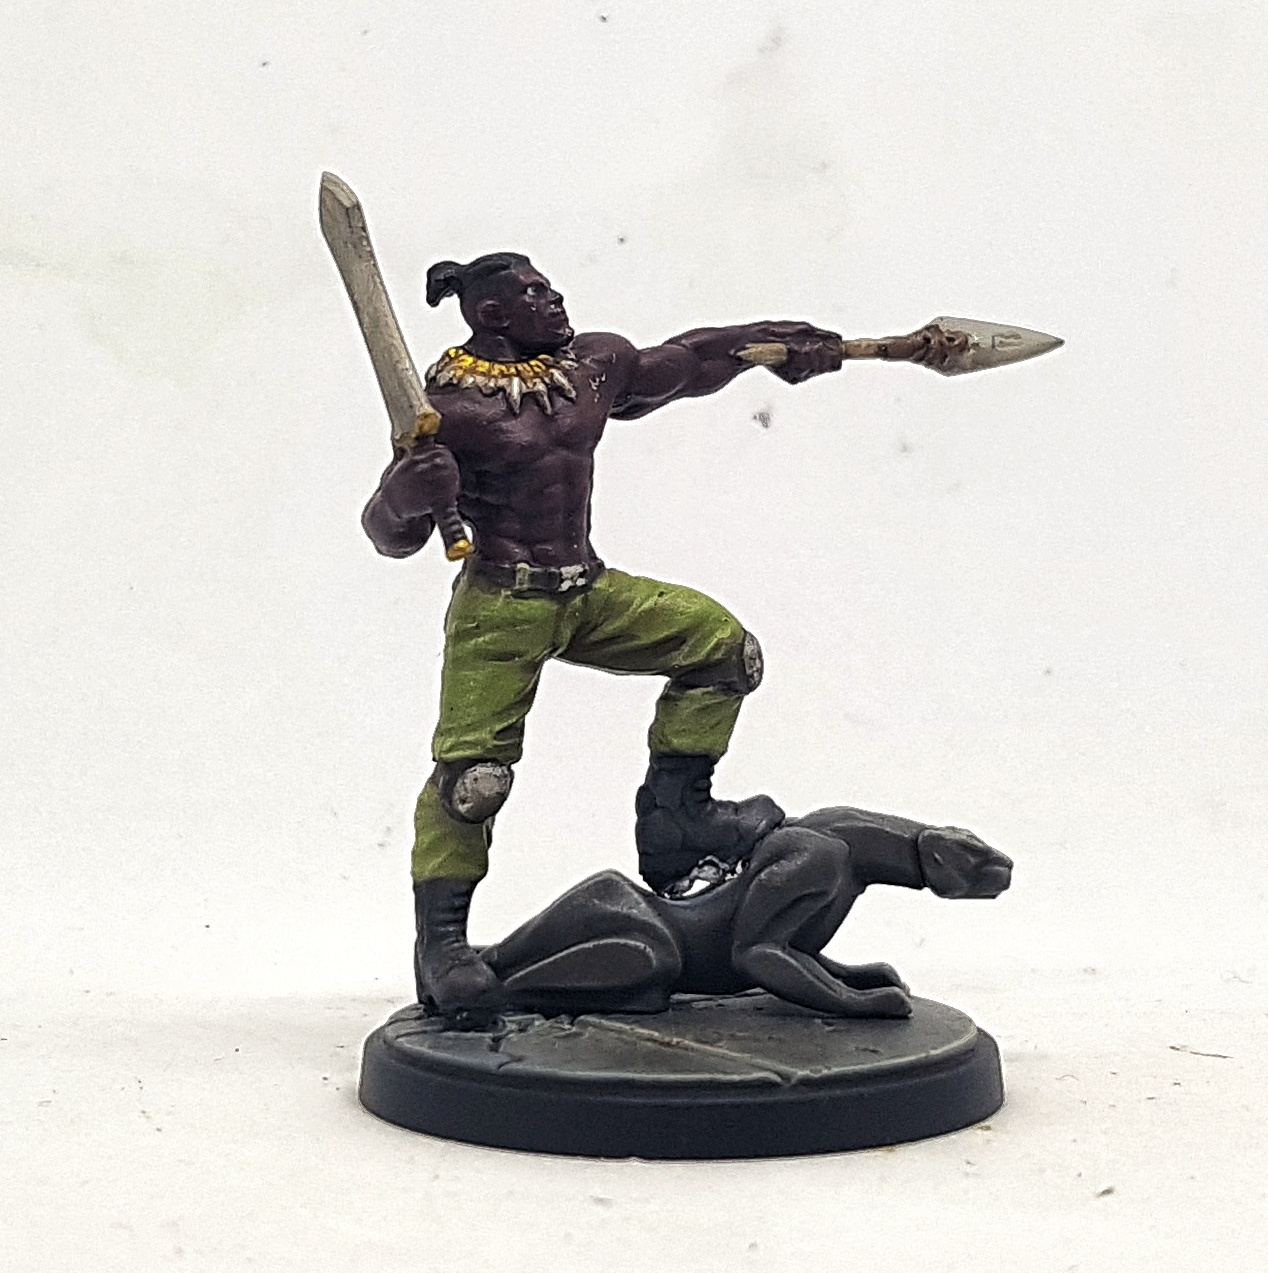
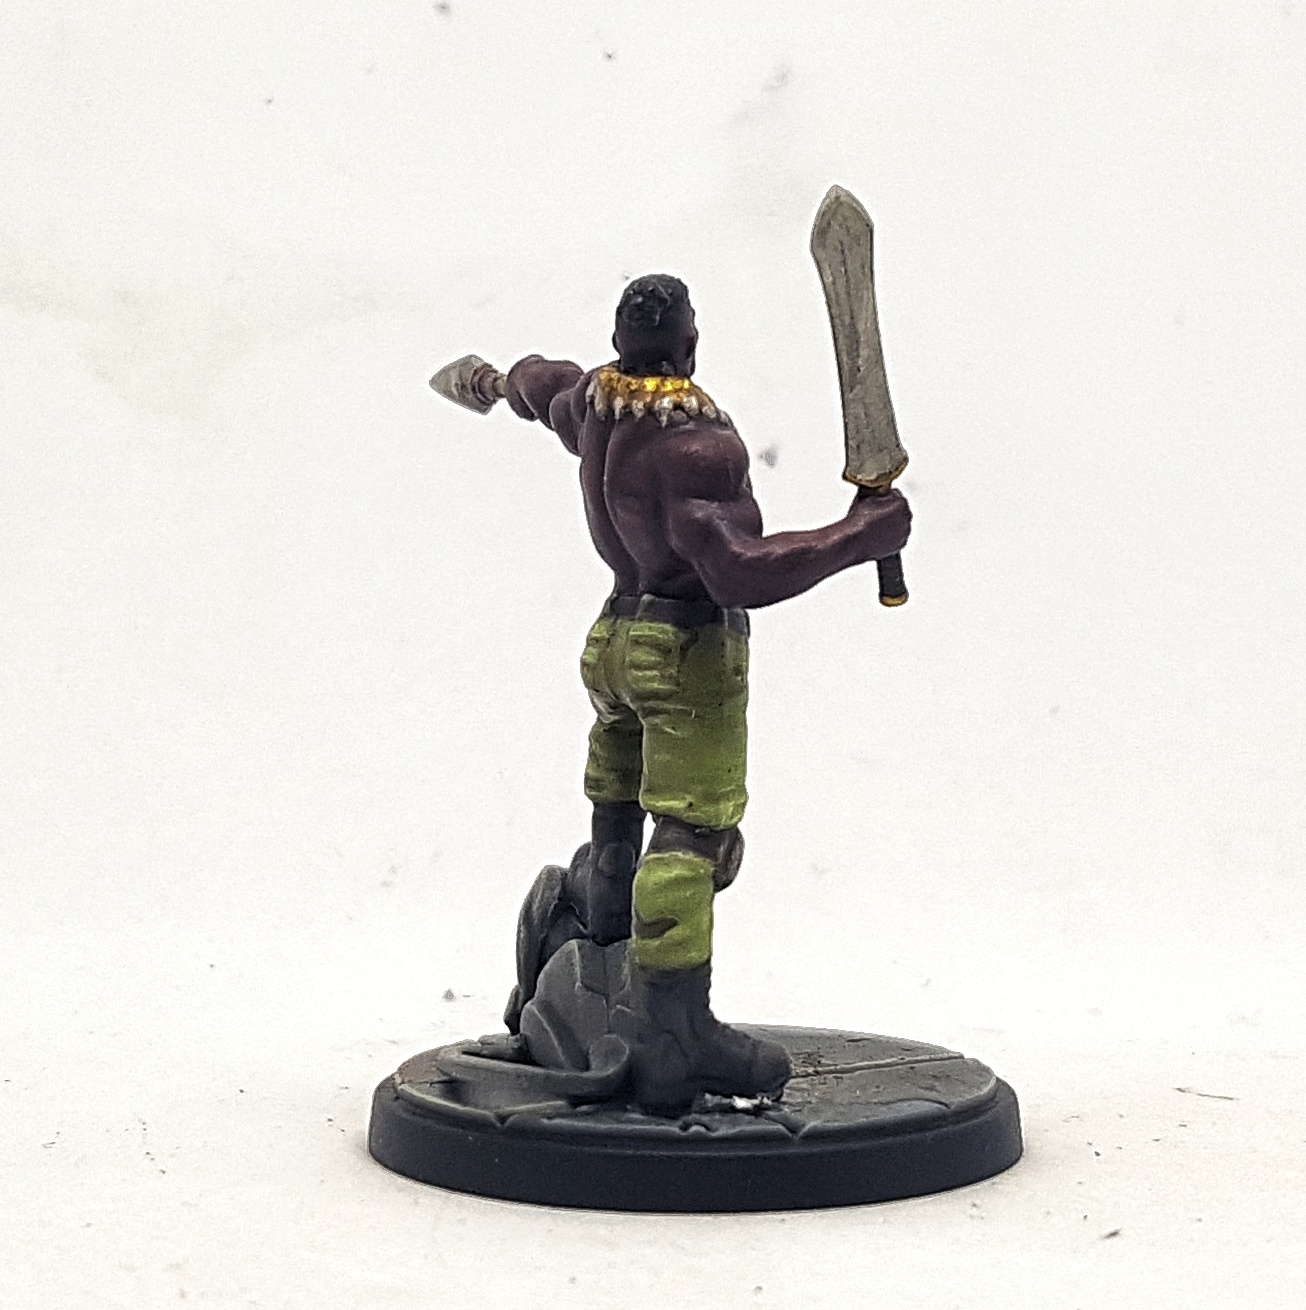
Killmonger’s Trousers
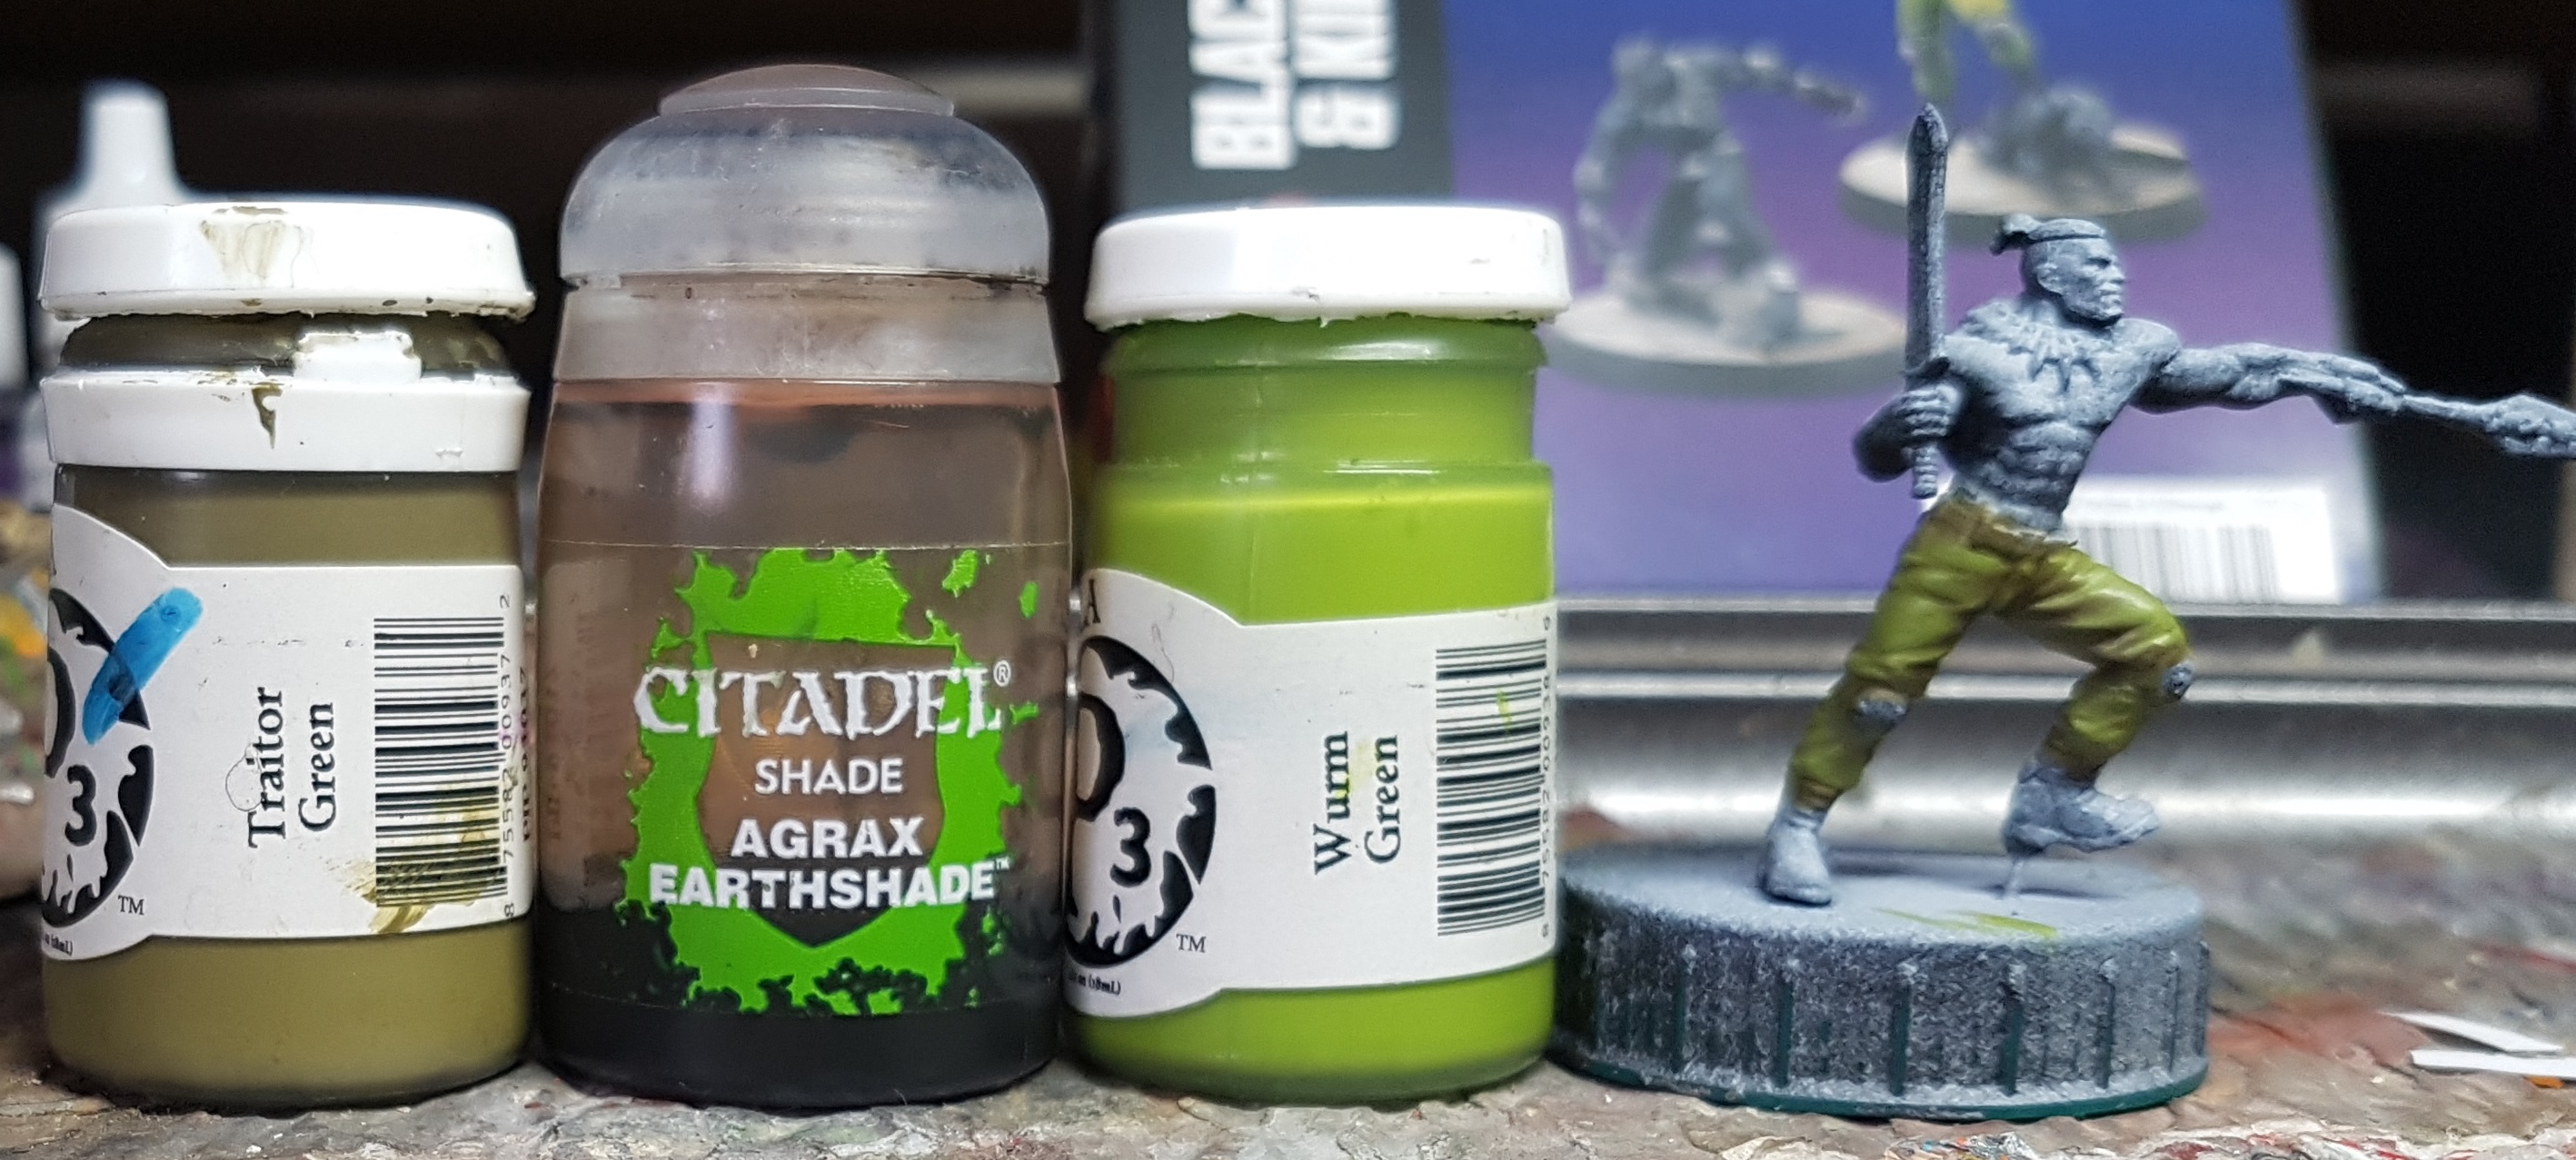
Base: P3 Traitor Green
Wash only in the folds etc, not over the whole surface with GW Agrax Earthshade
Highlight: Traitor Green mixed with P3 Wyrm Green
Highlight: Wyrm Green
Killmongers Belt & Straps
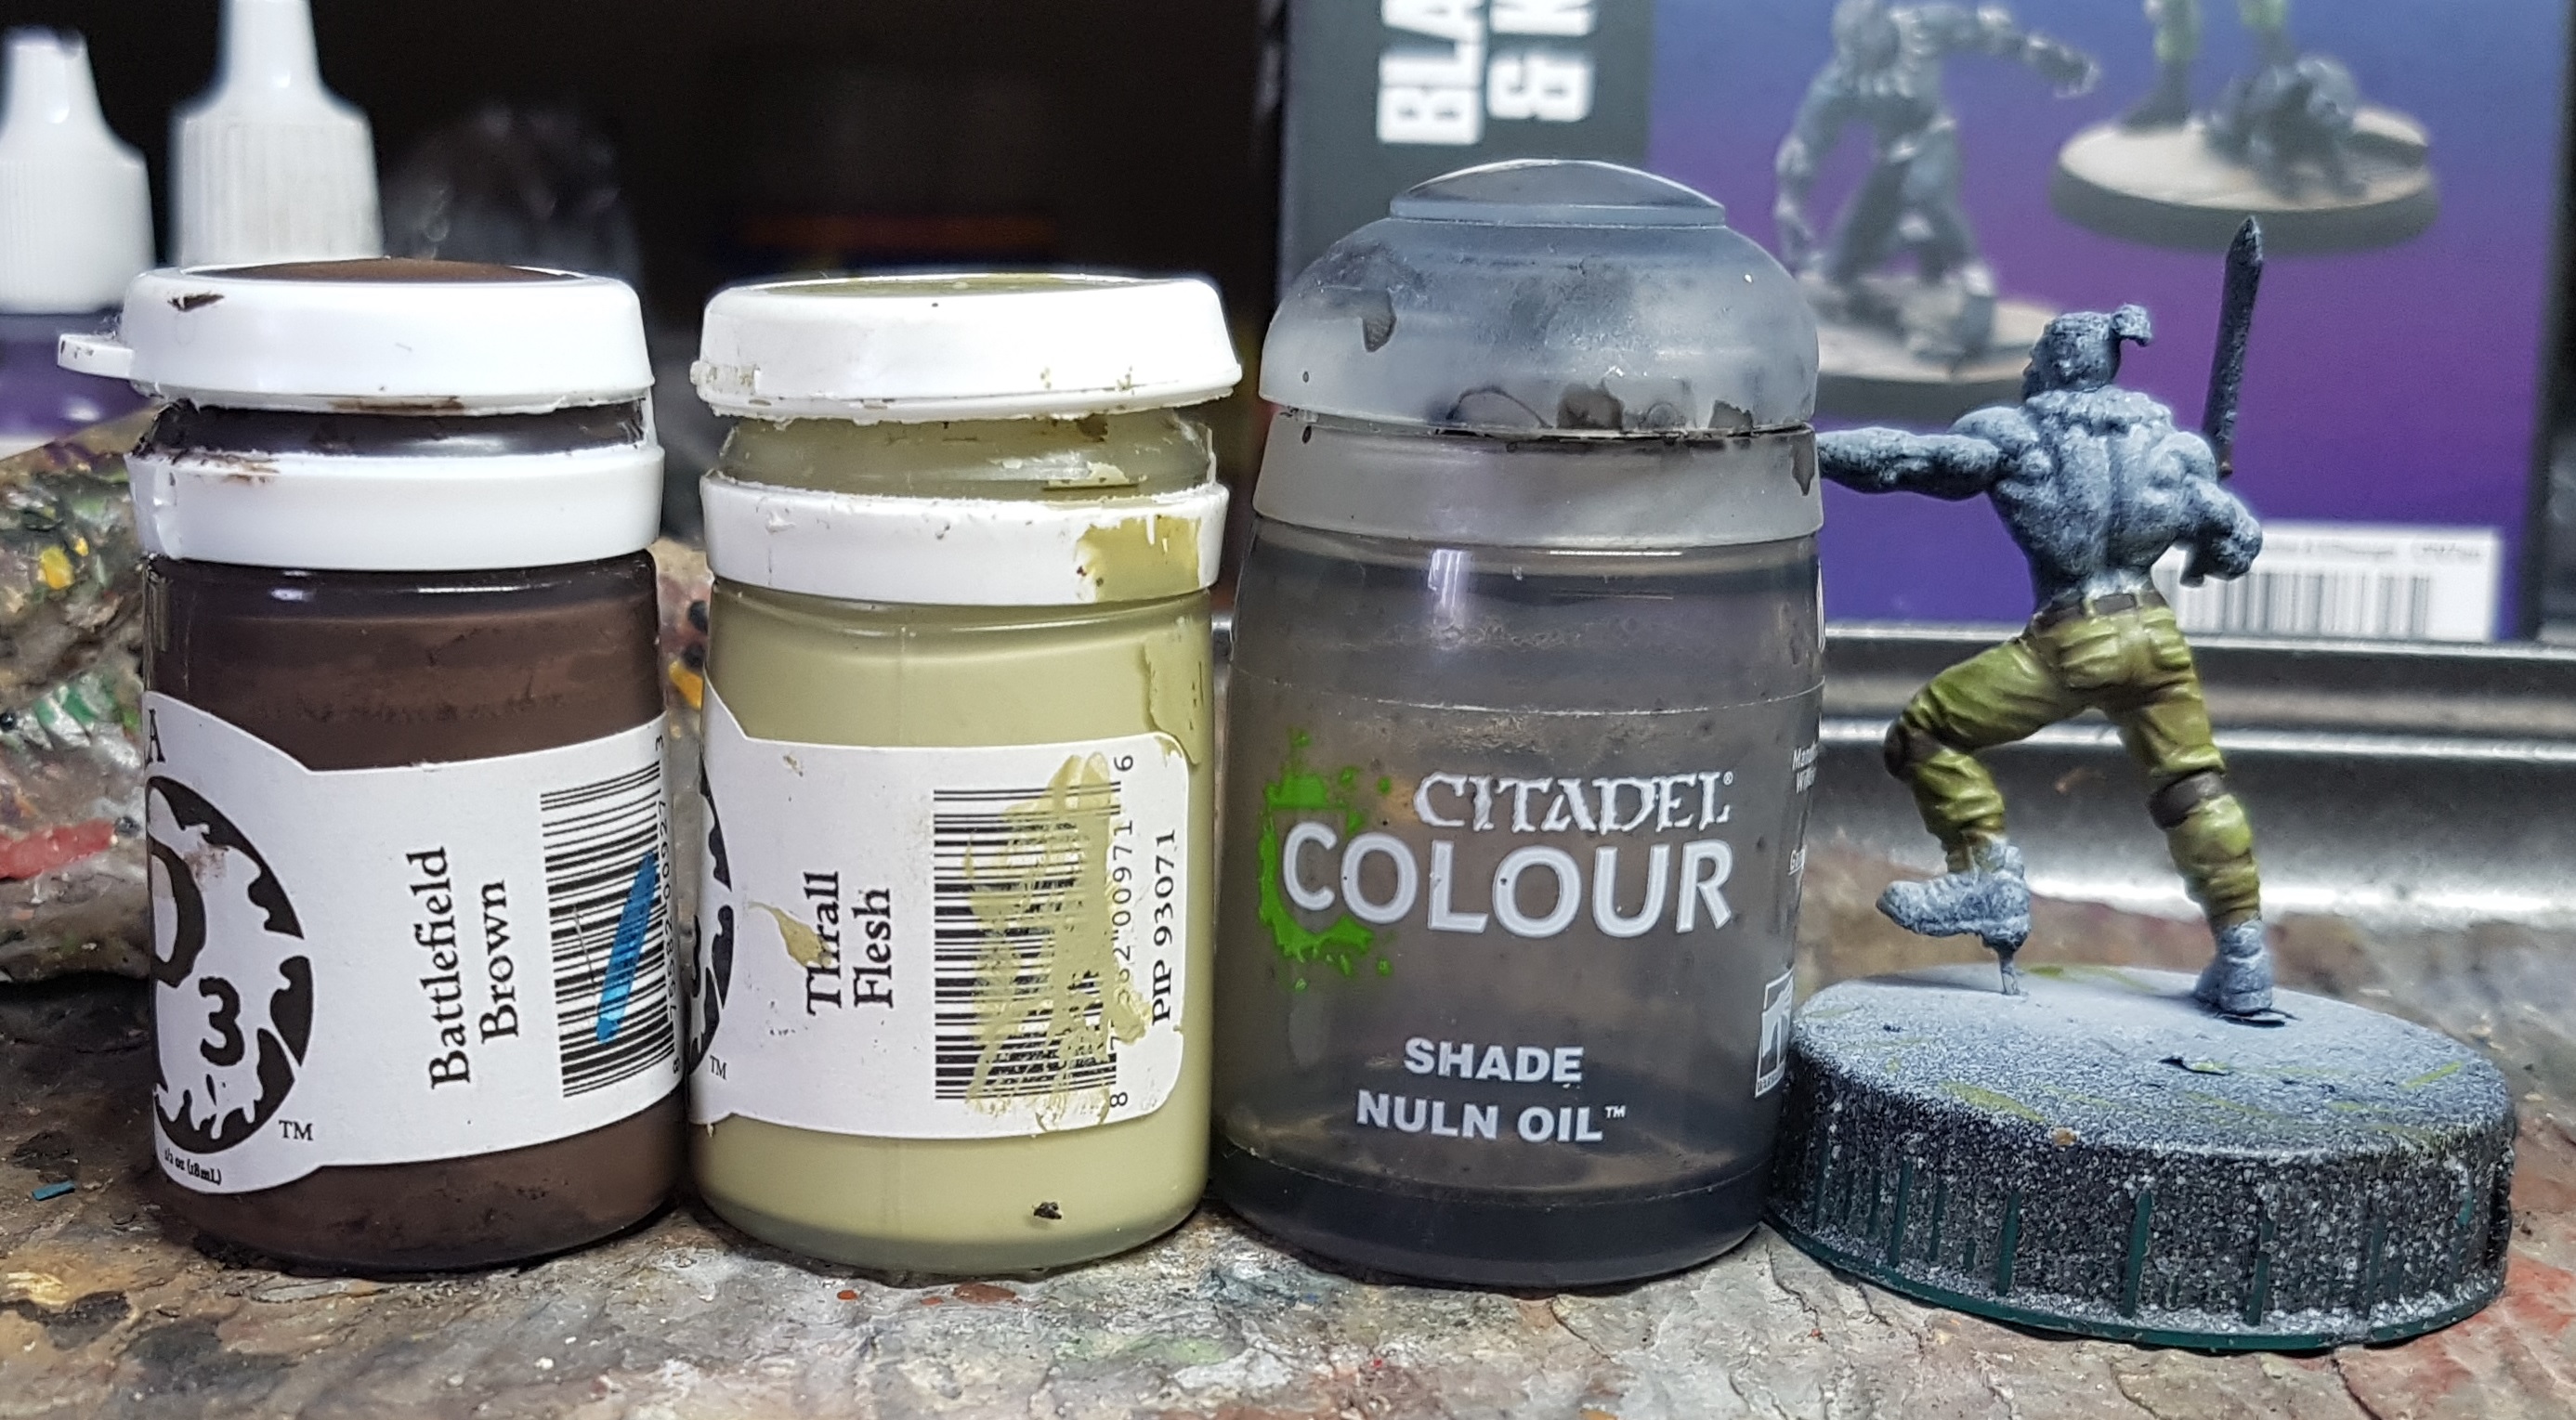
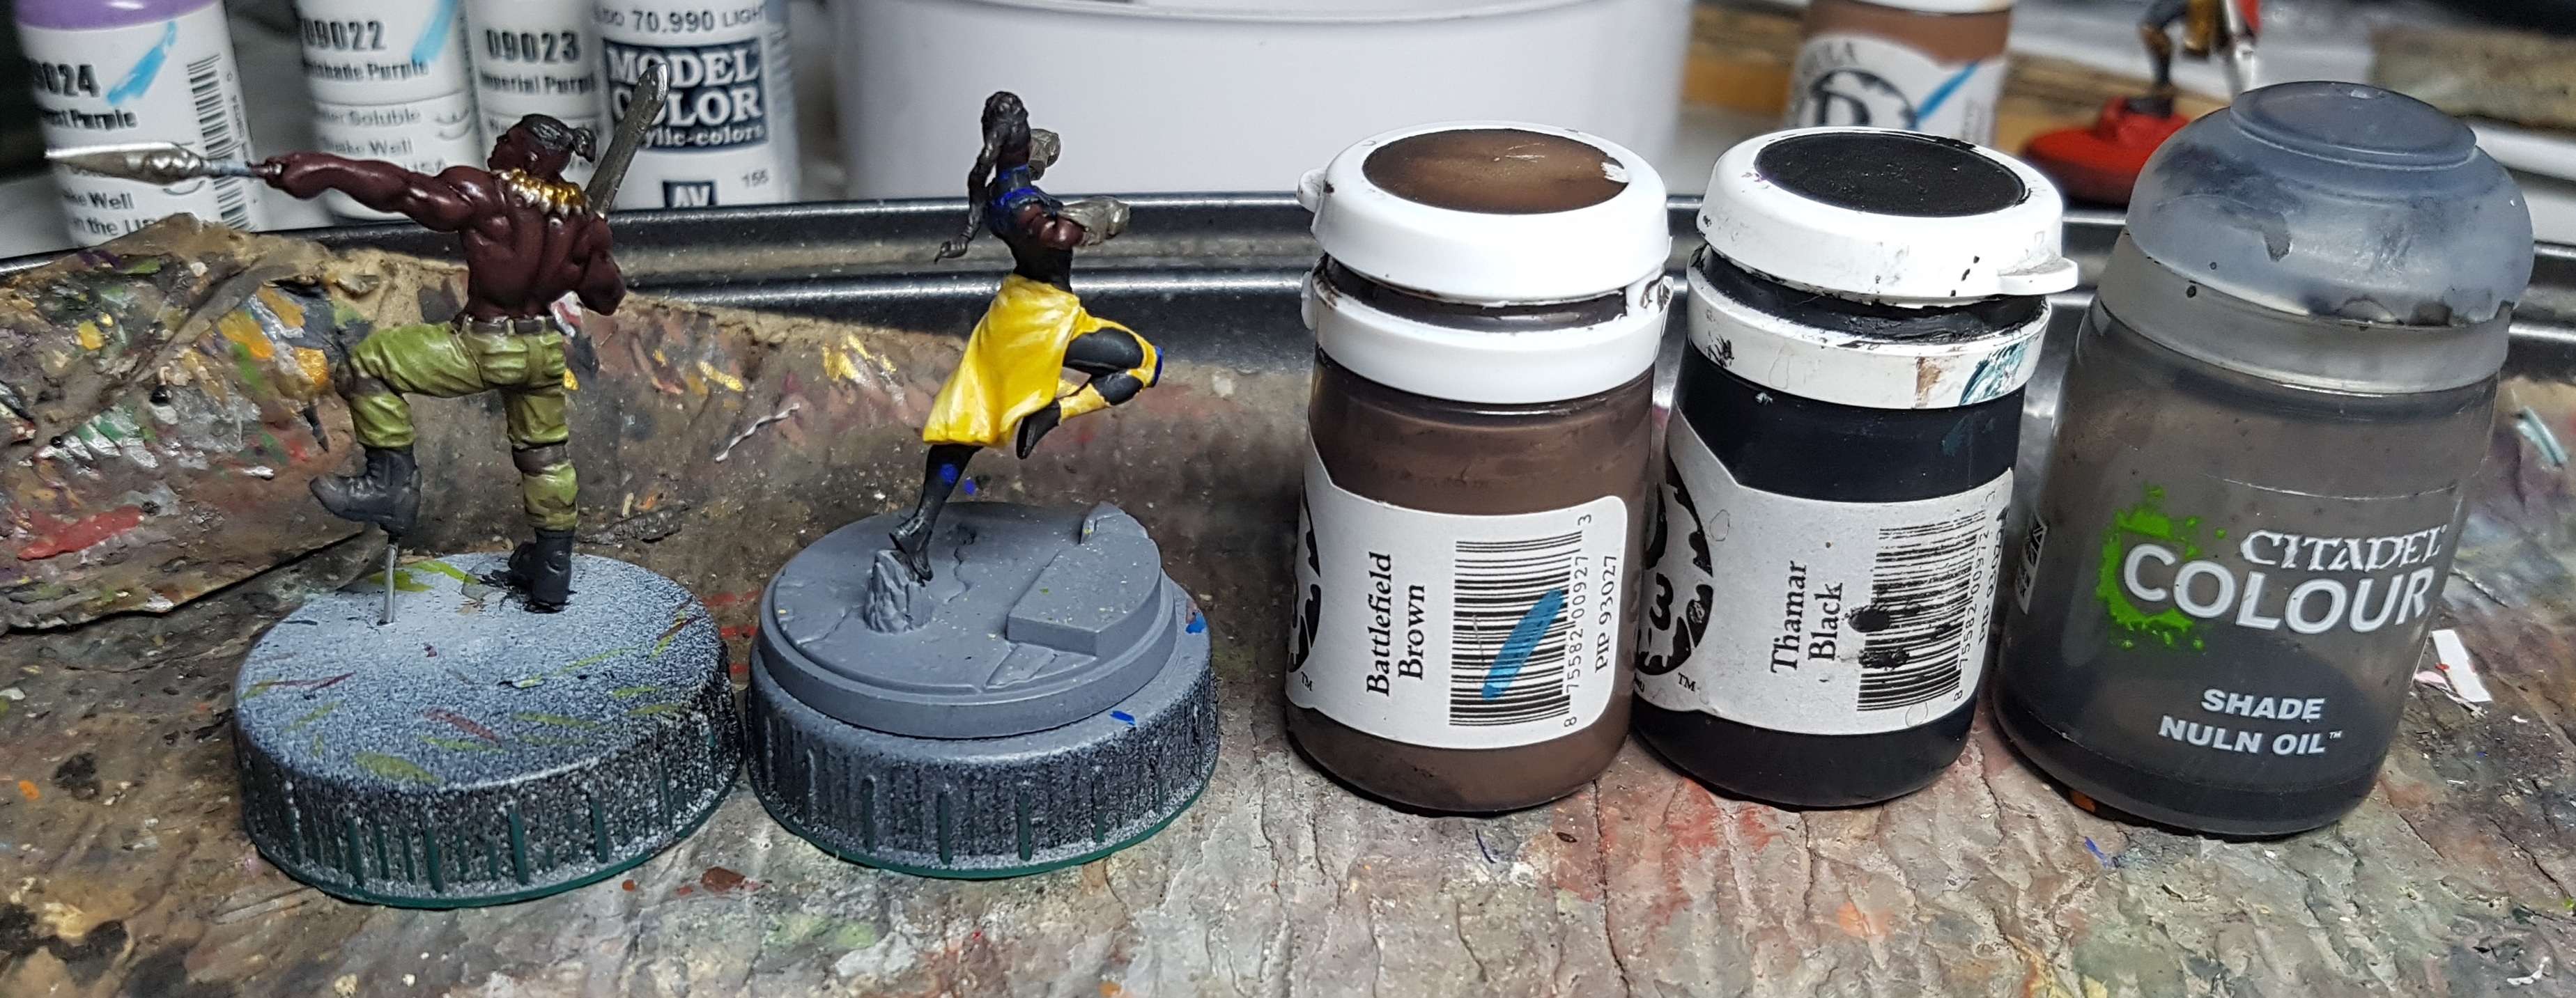
Base: P3 Battlefield Brown
Drybrush: P3 Thrall Flesh (You can afford to get this on the trousers)
Wash: GW Nuln Oil
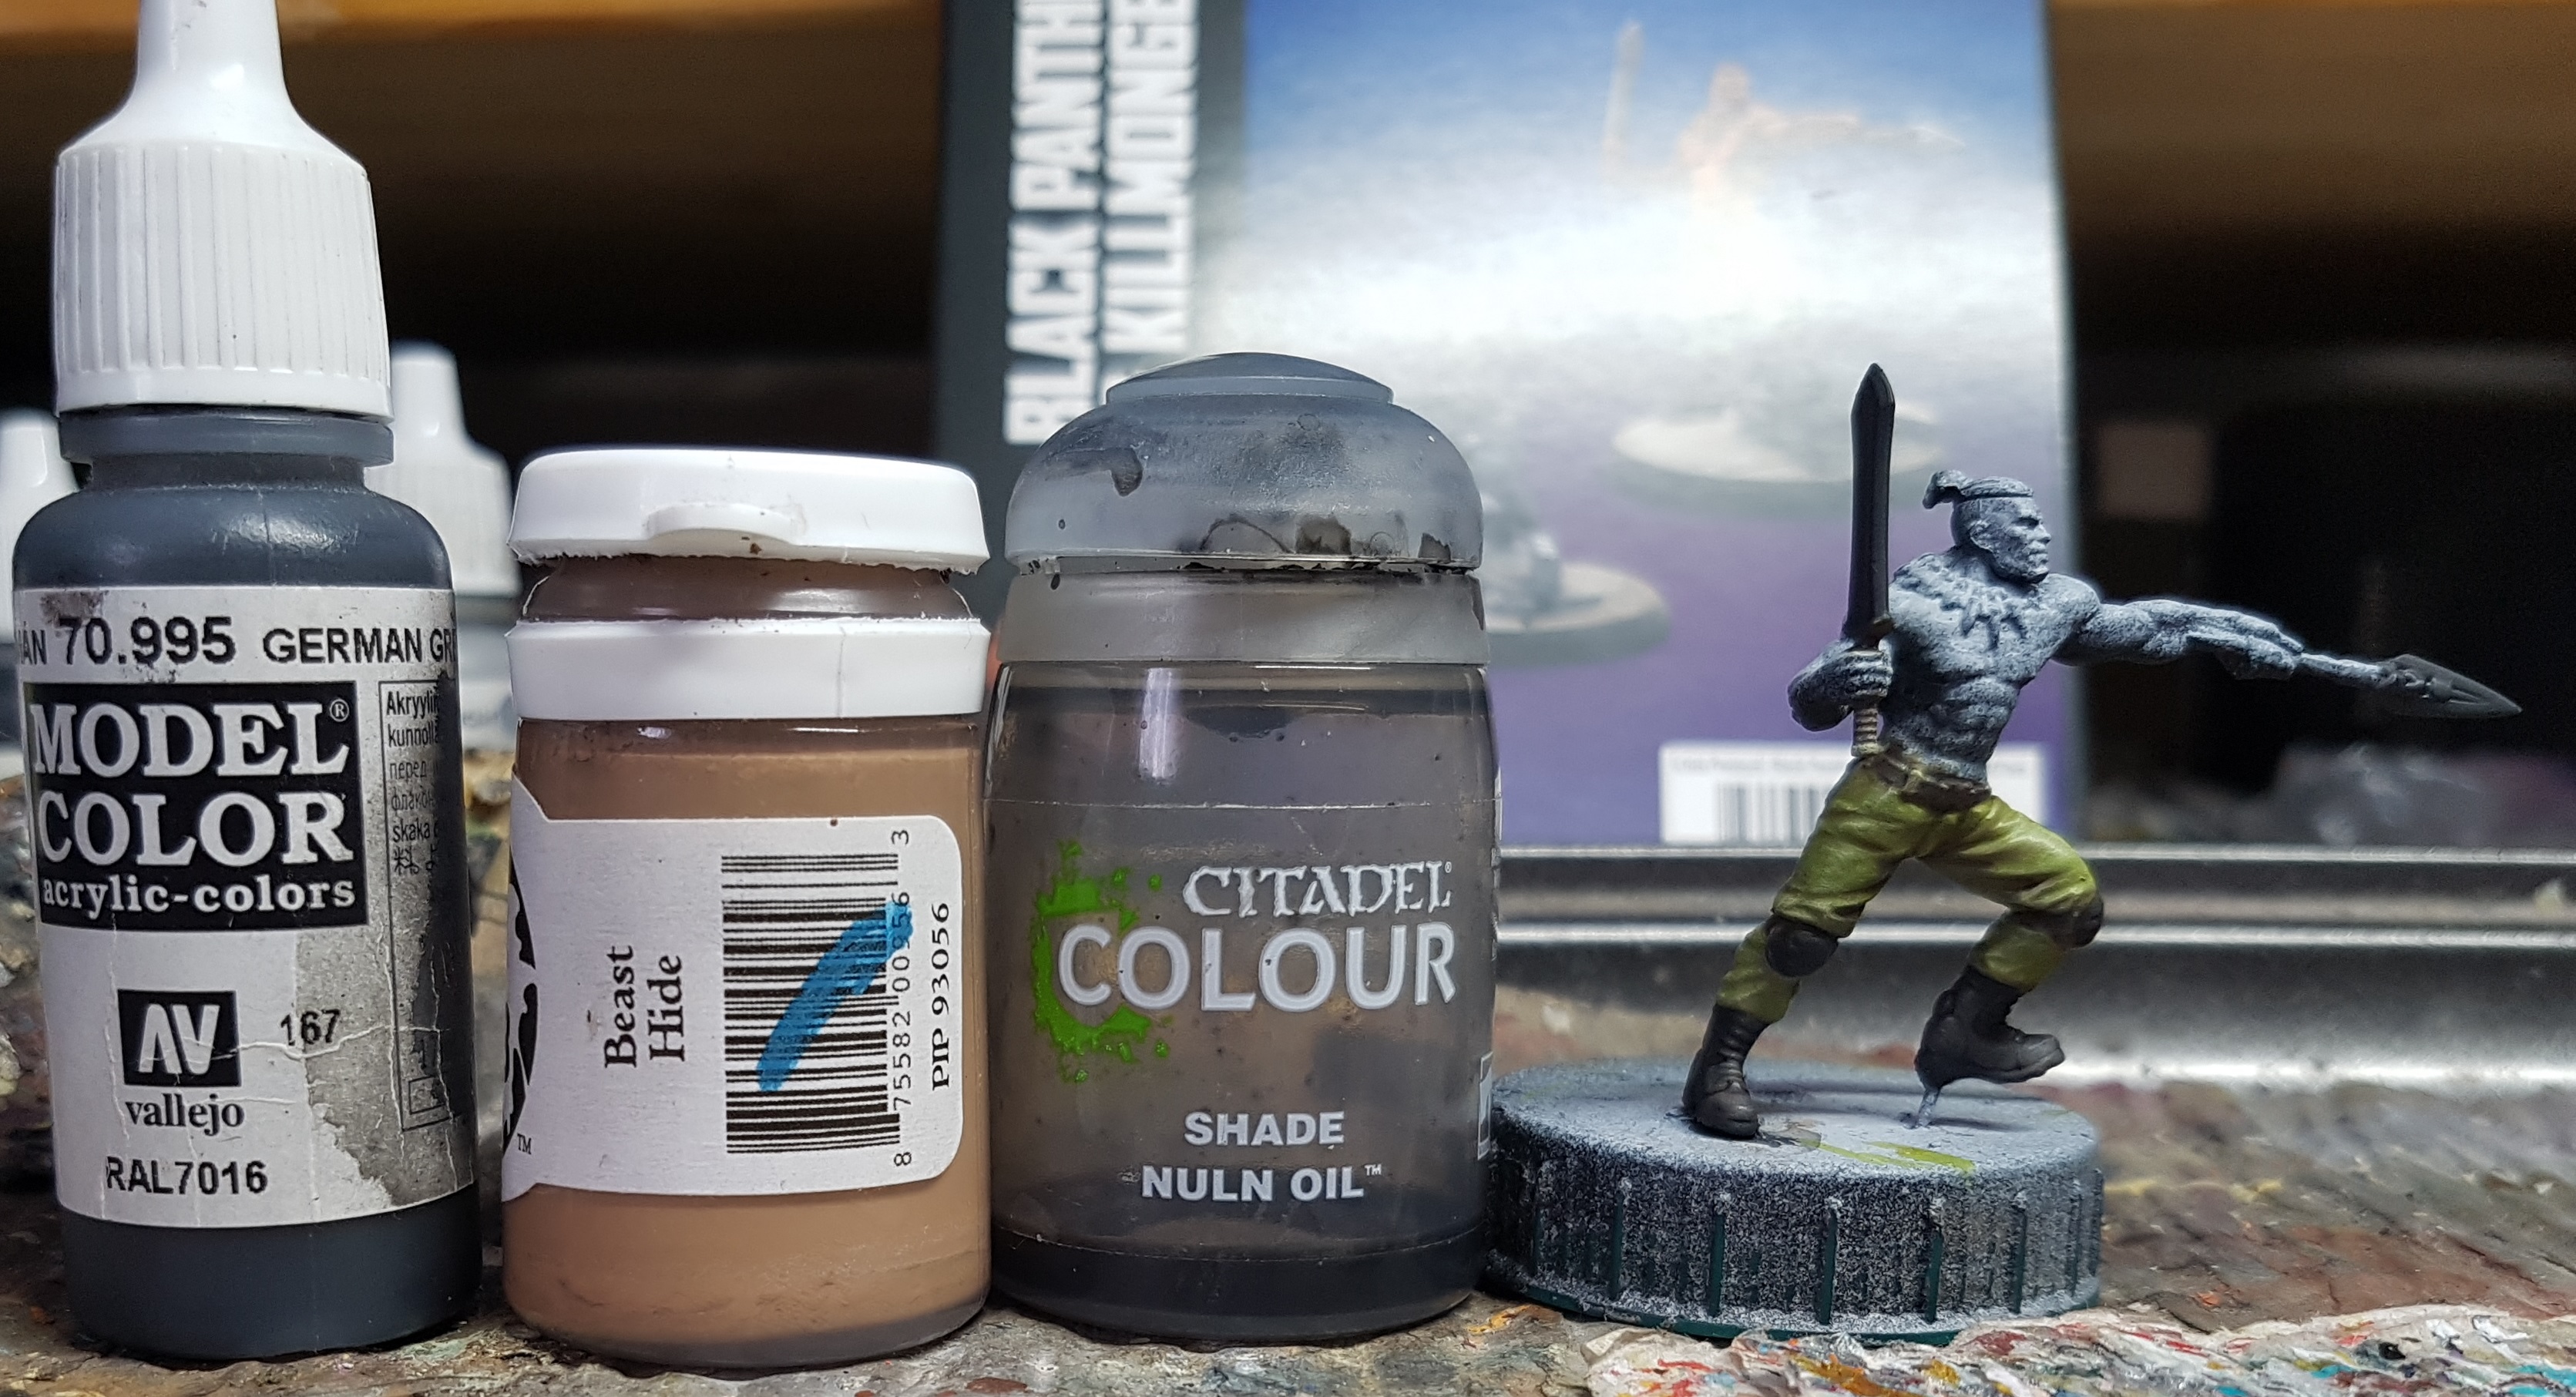
Killmongers Shoes
Base: VMC 70.995 German Grey
Drybrush: P3 Beast Hide
Wash: GW Nuln Oil
He then went to one side until I was ready for metallics.
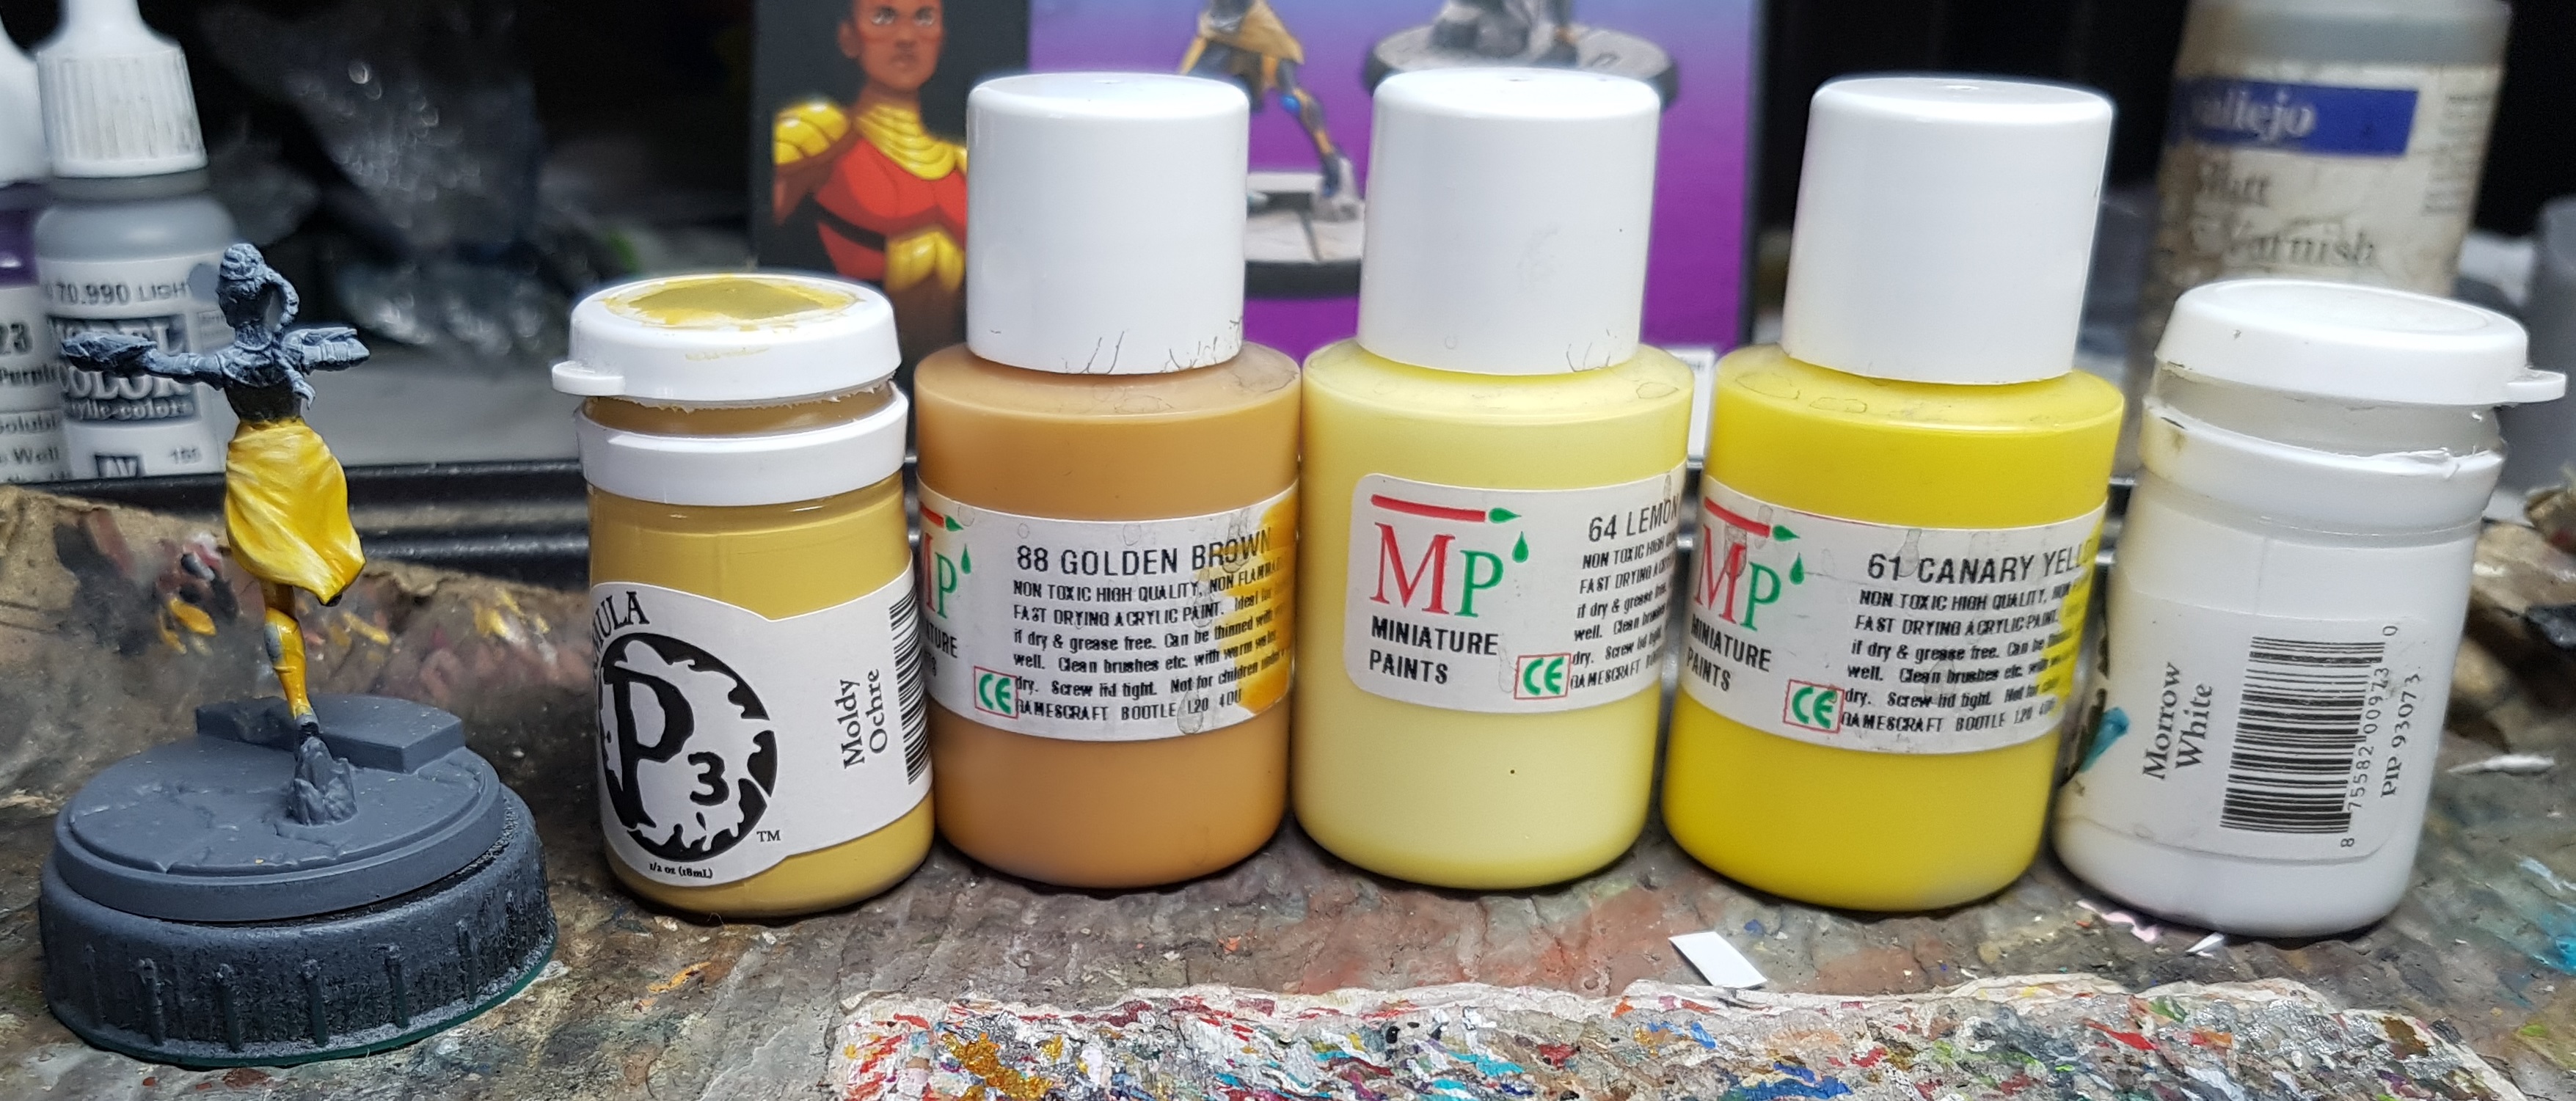
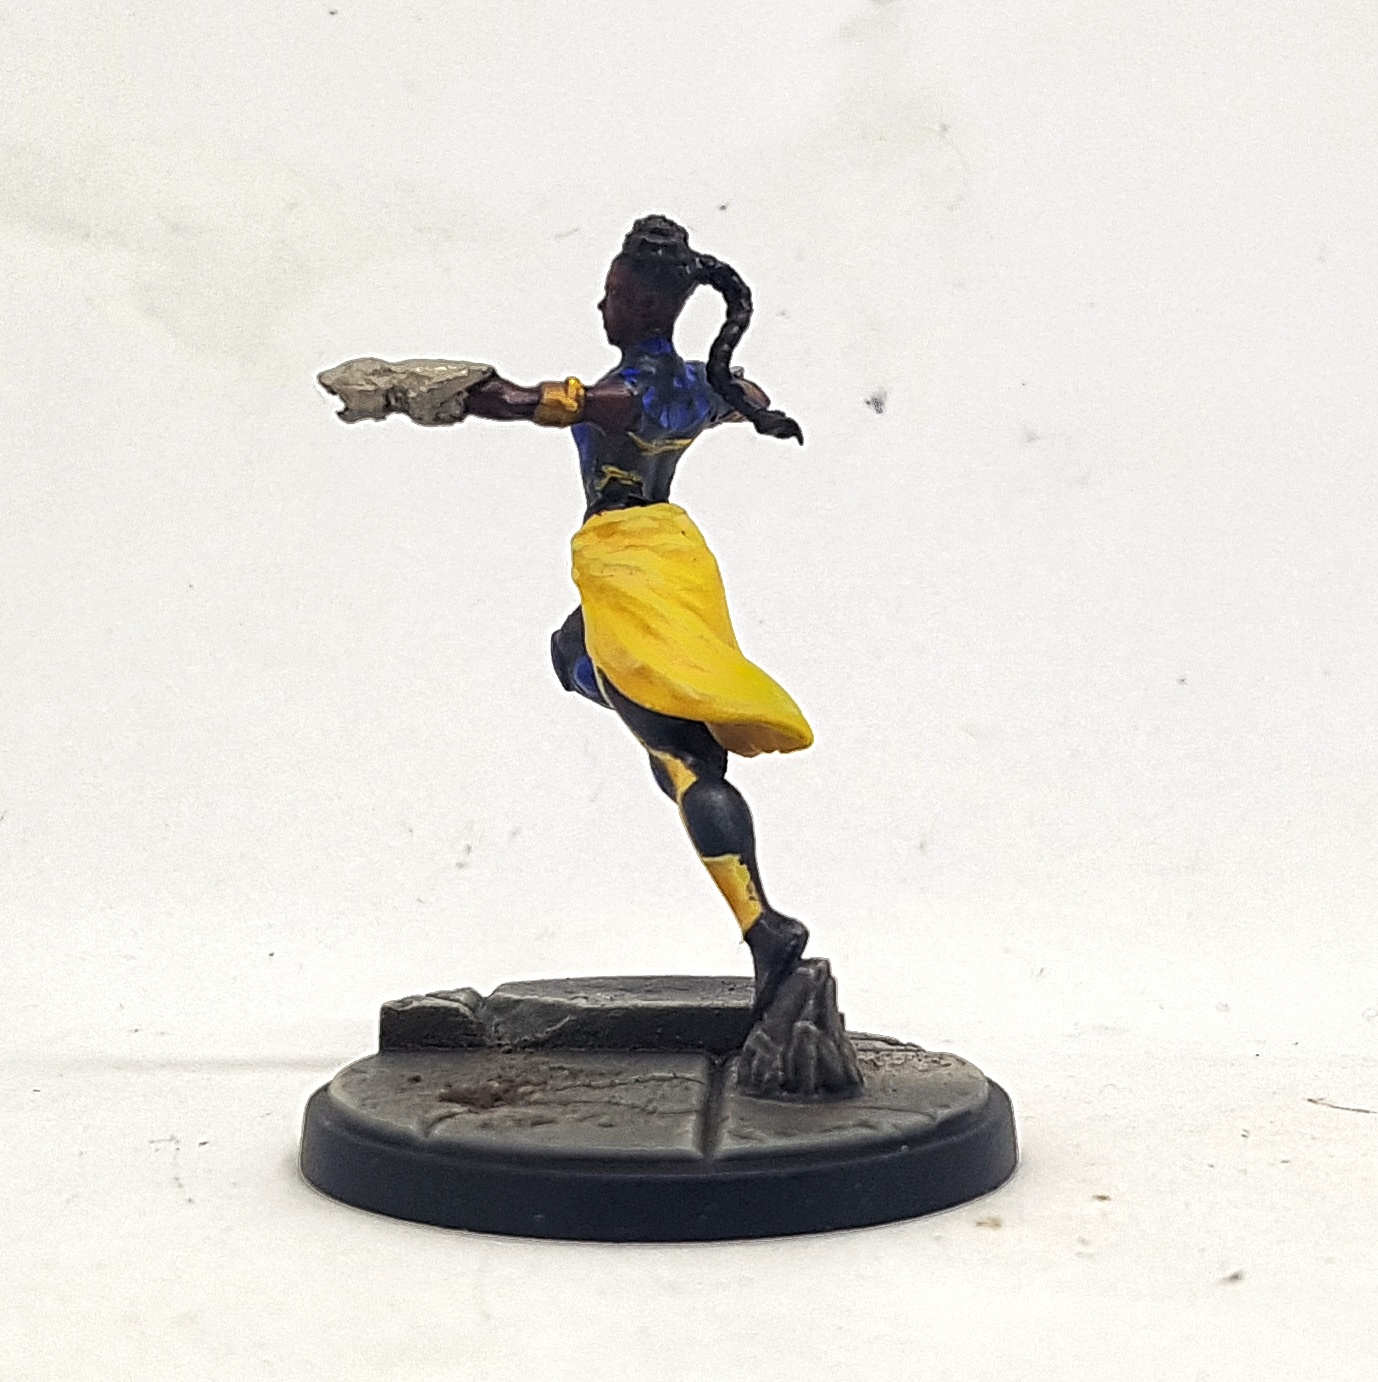
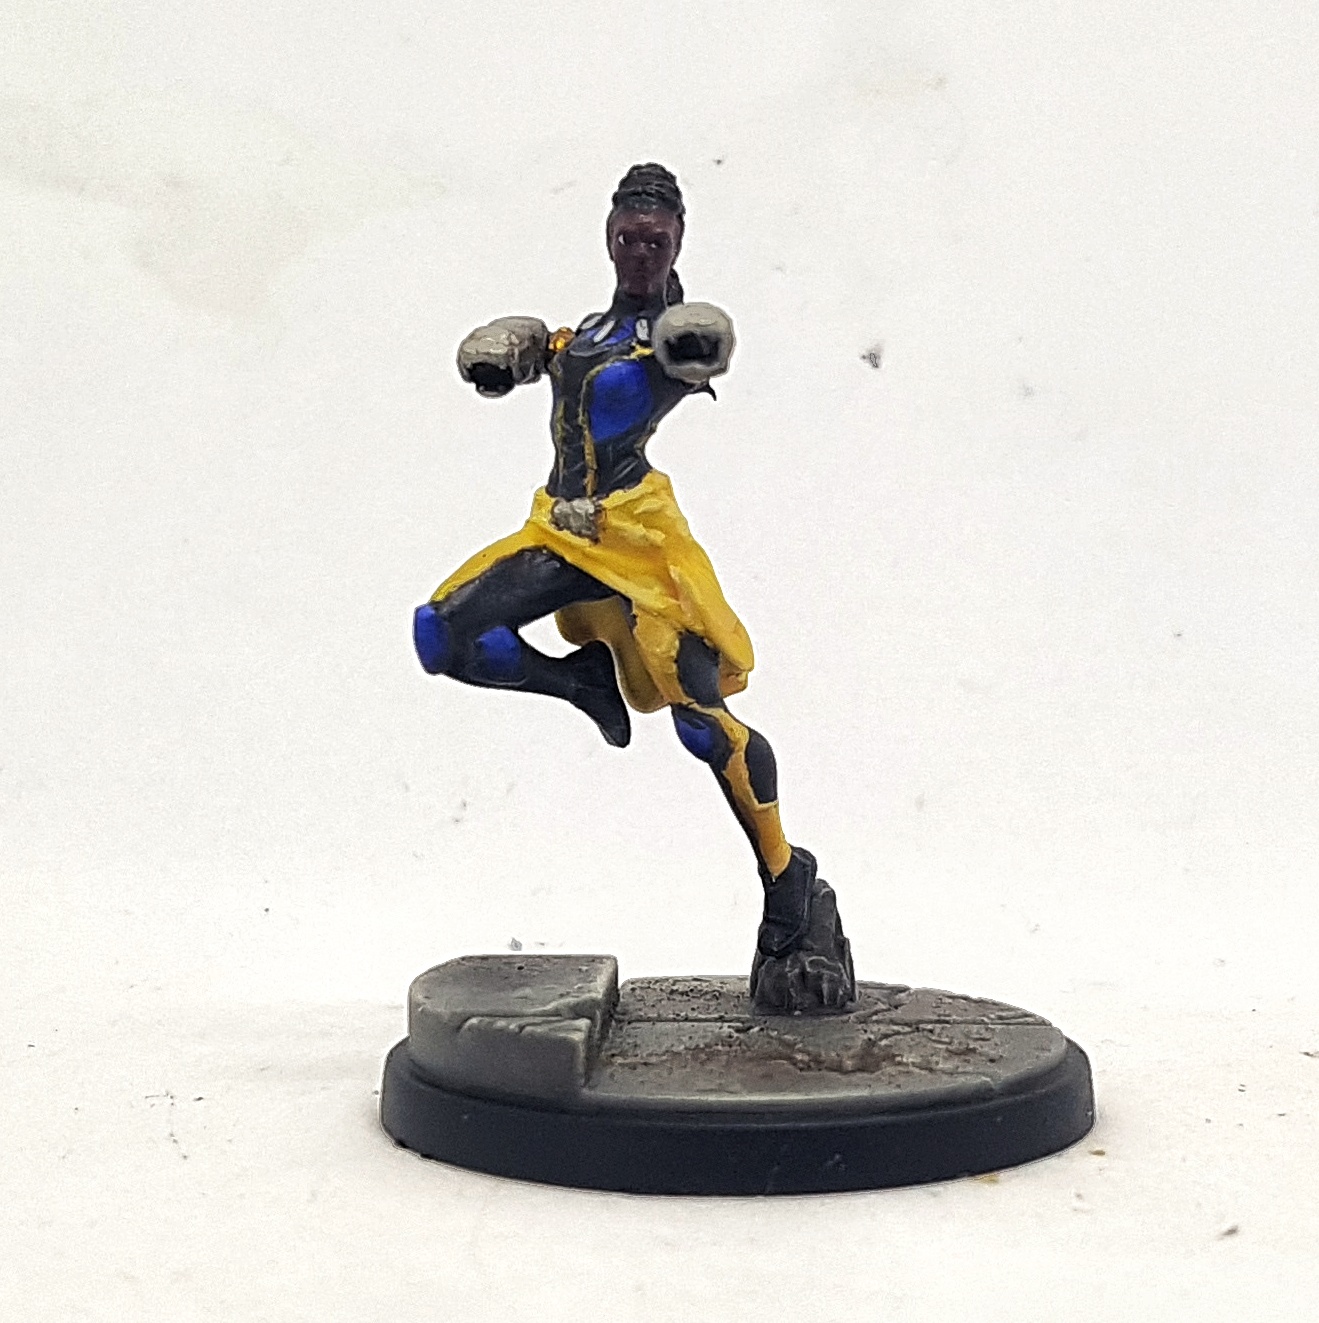
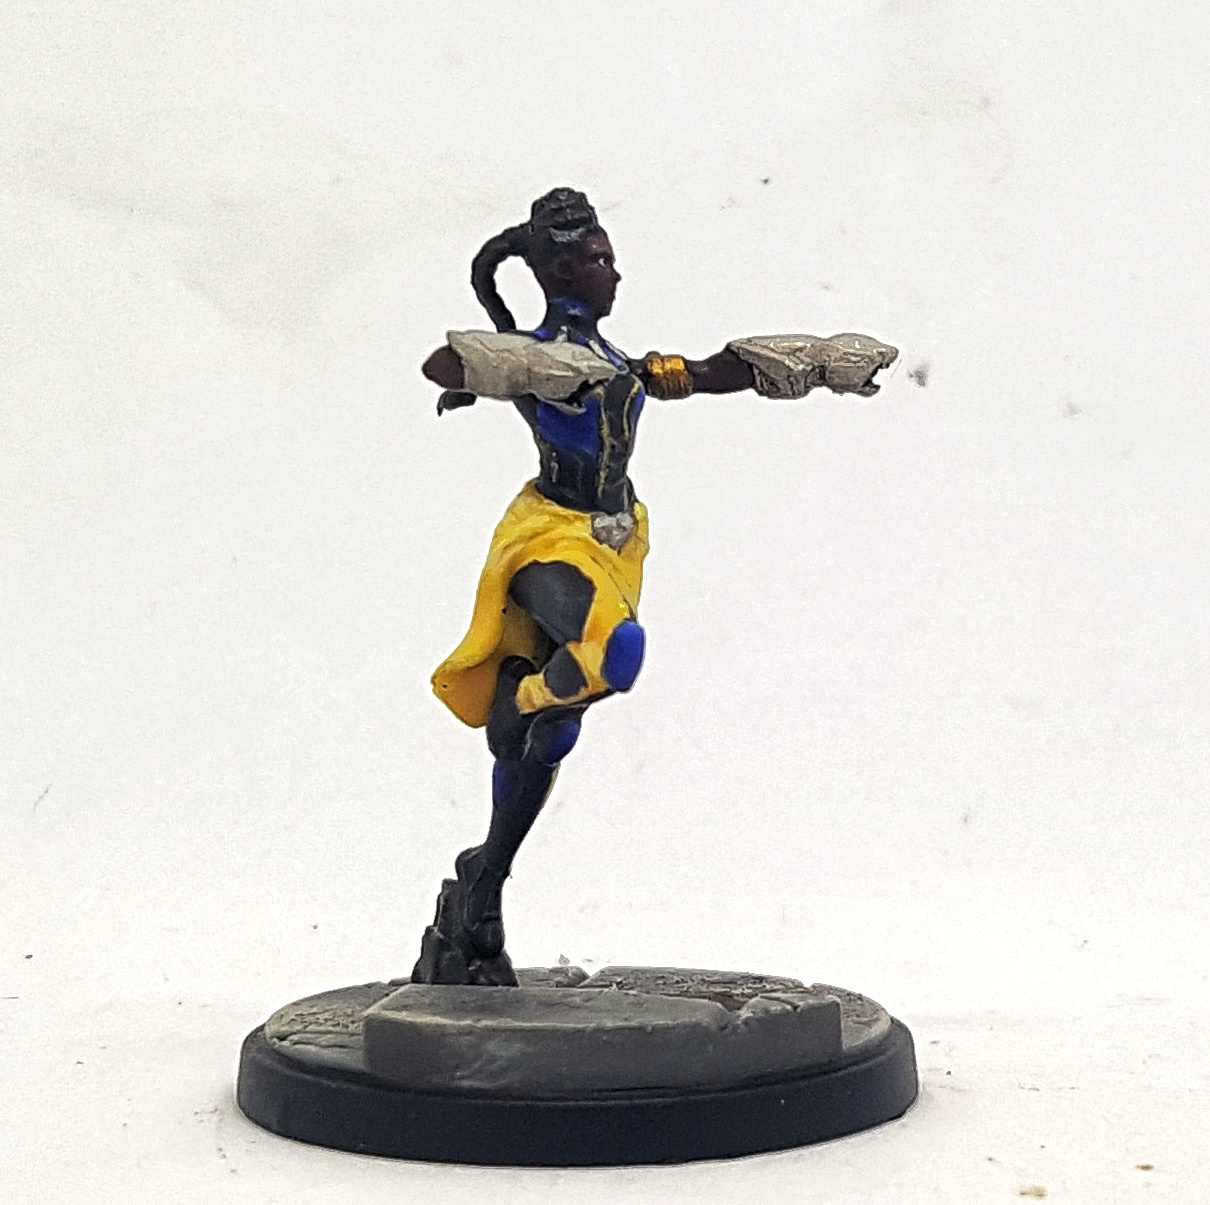
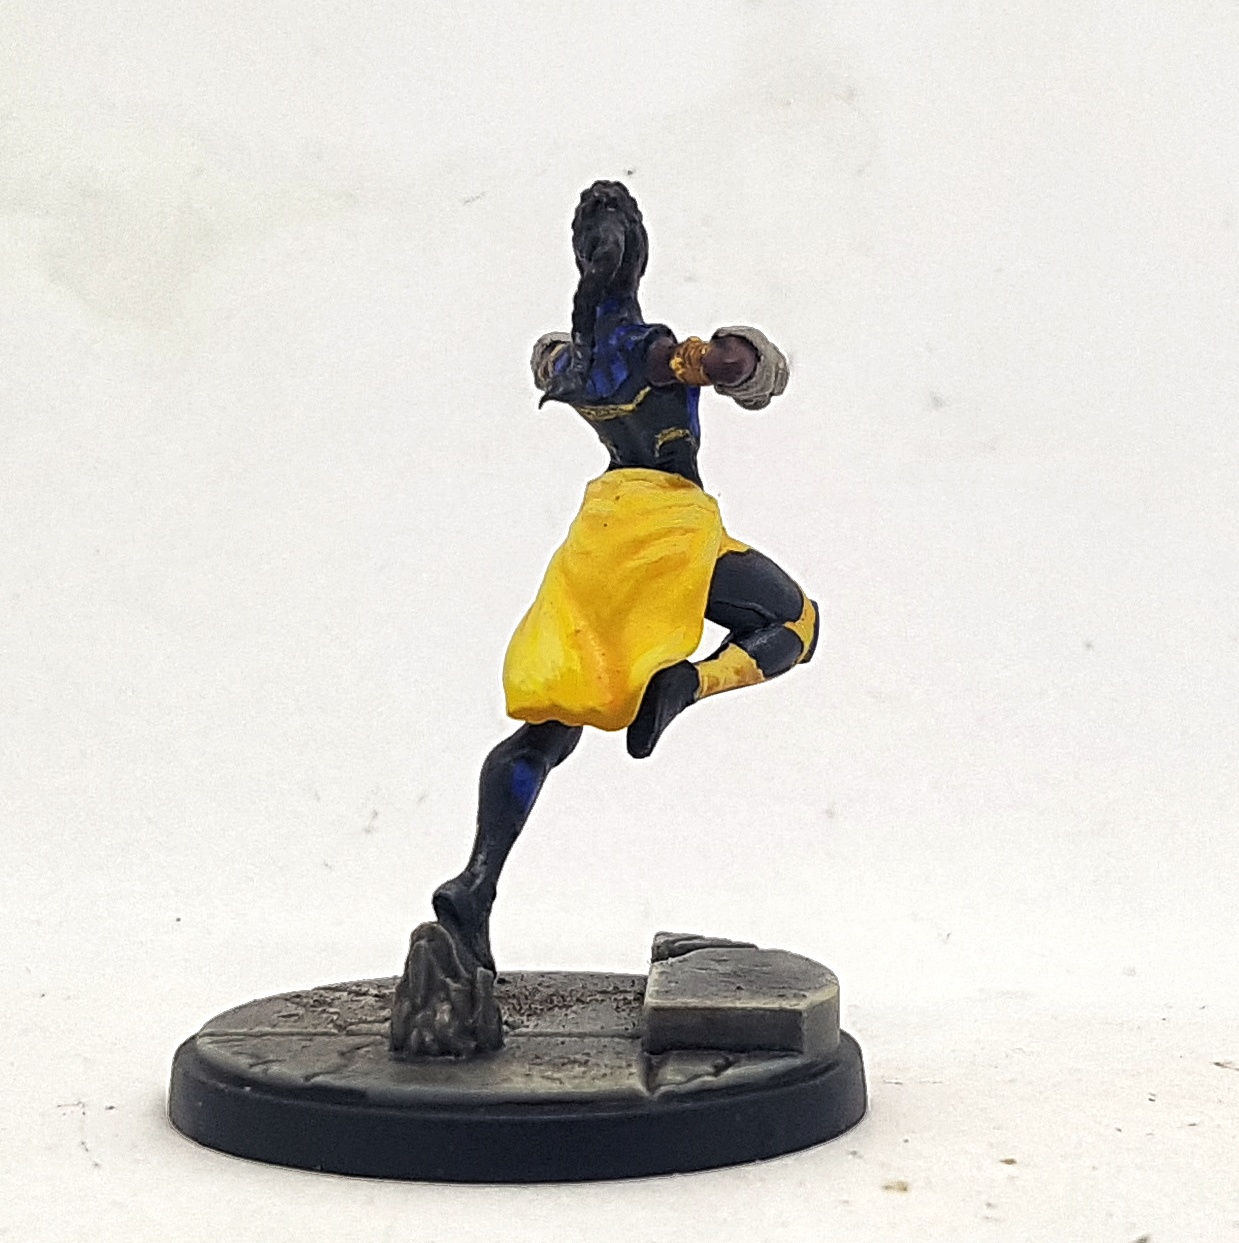
Shuri has two shades of yellow on her.
Yellow Skirt
Undercoat: p3 Mouldy Ochre (Do other yellow areas too)
Base: 50/50 mix of Gamecraft Miniature Paint Golden Brown and Gamecraft Miniature Paint Canary Yellow. This took more coats than I would have liked, and the detail may have suffered a bit. Airbrushing would likely have covered better with less.
Layer Shade: Thinned Golden Brown
Layer Highlight: Canary Yellow
Layer Highlight 2: Canary yellow mixed 1:1 with Gamecraft Miniature Paint Lemon Yellow
Layer Highlight 3: Canary yellow mixed 1:2 with Lemon Yellow
Layer Highlight 4: Lemon Yellow
Layer Highlight 5: Lemon Yellow with just a touch of P3 Morrow White
Layer Highlight 6: Add more white
Layer Highlight 7: Add more white
Layer Highlight 8: Add glint highlights with just pure white CAREFULLY!
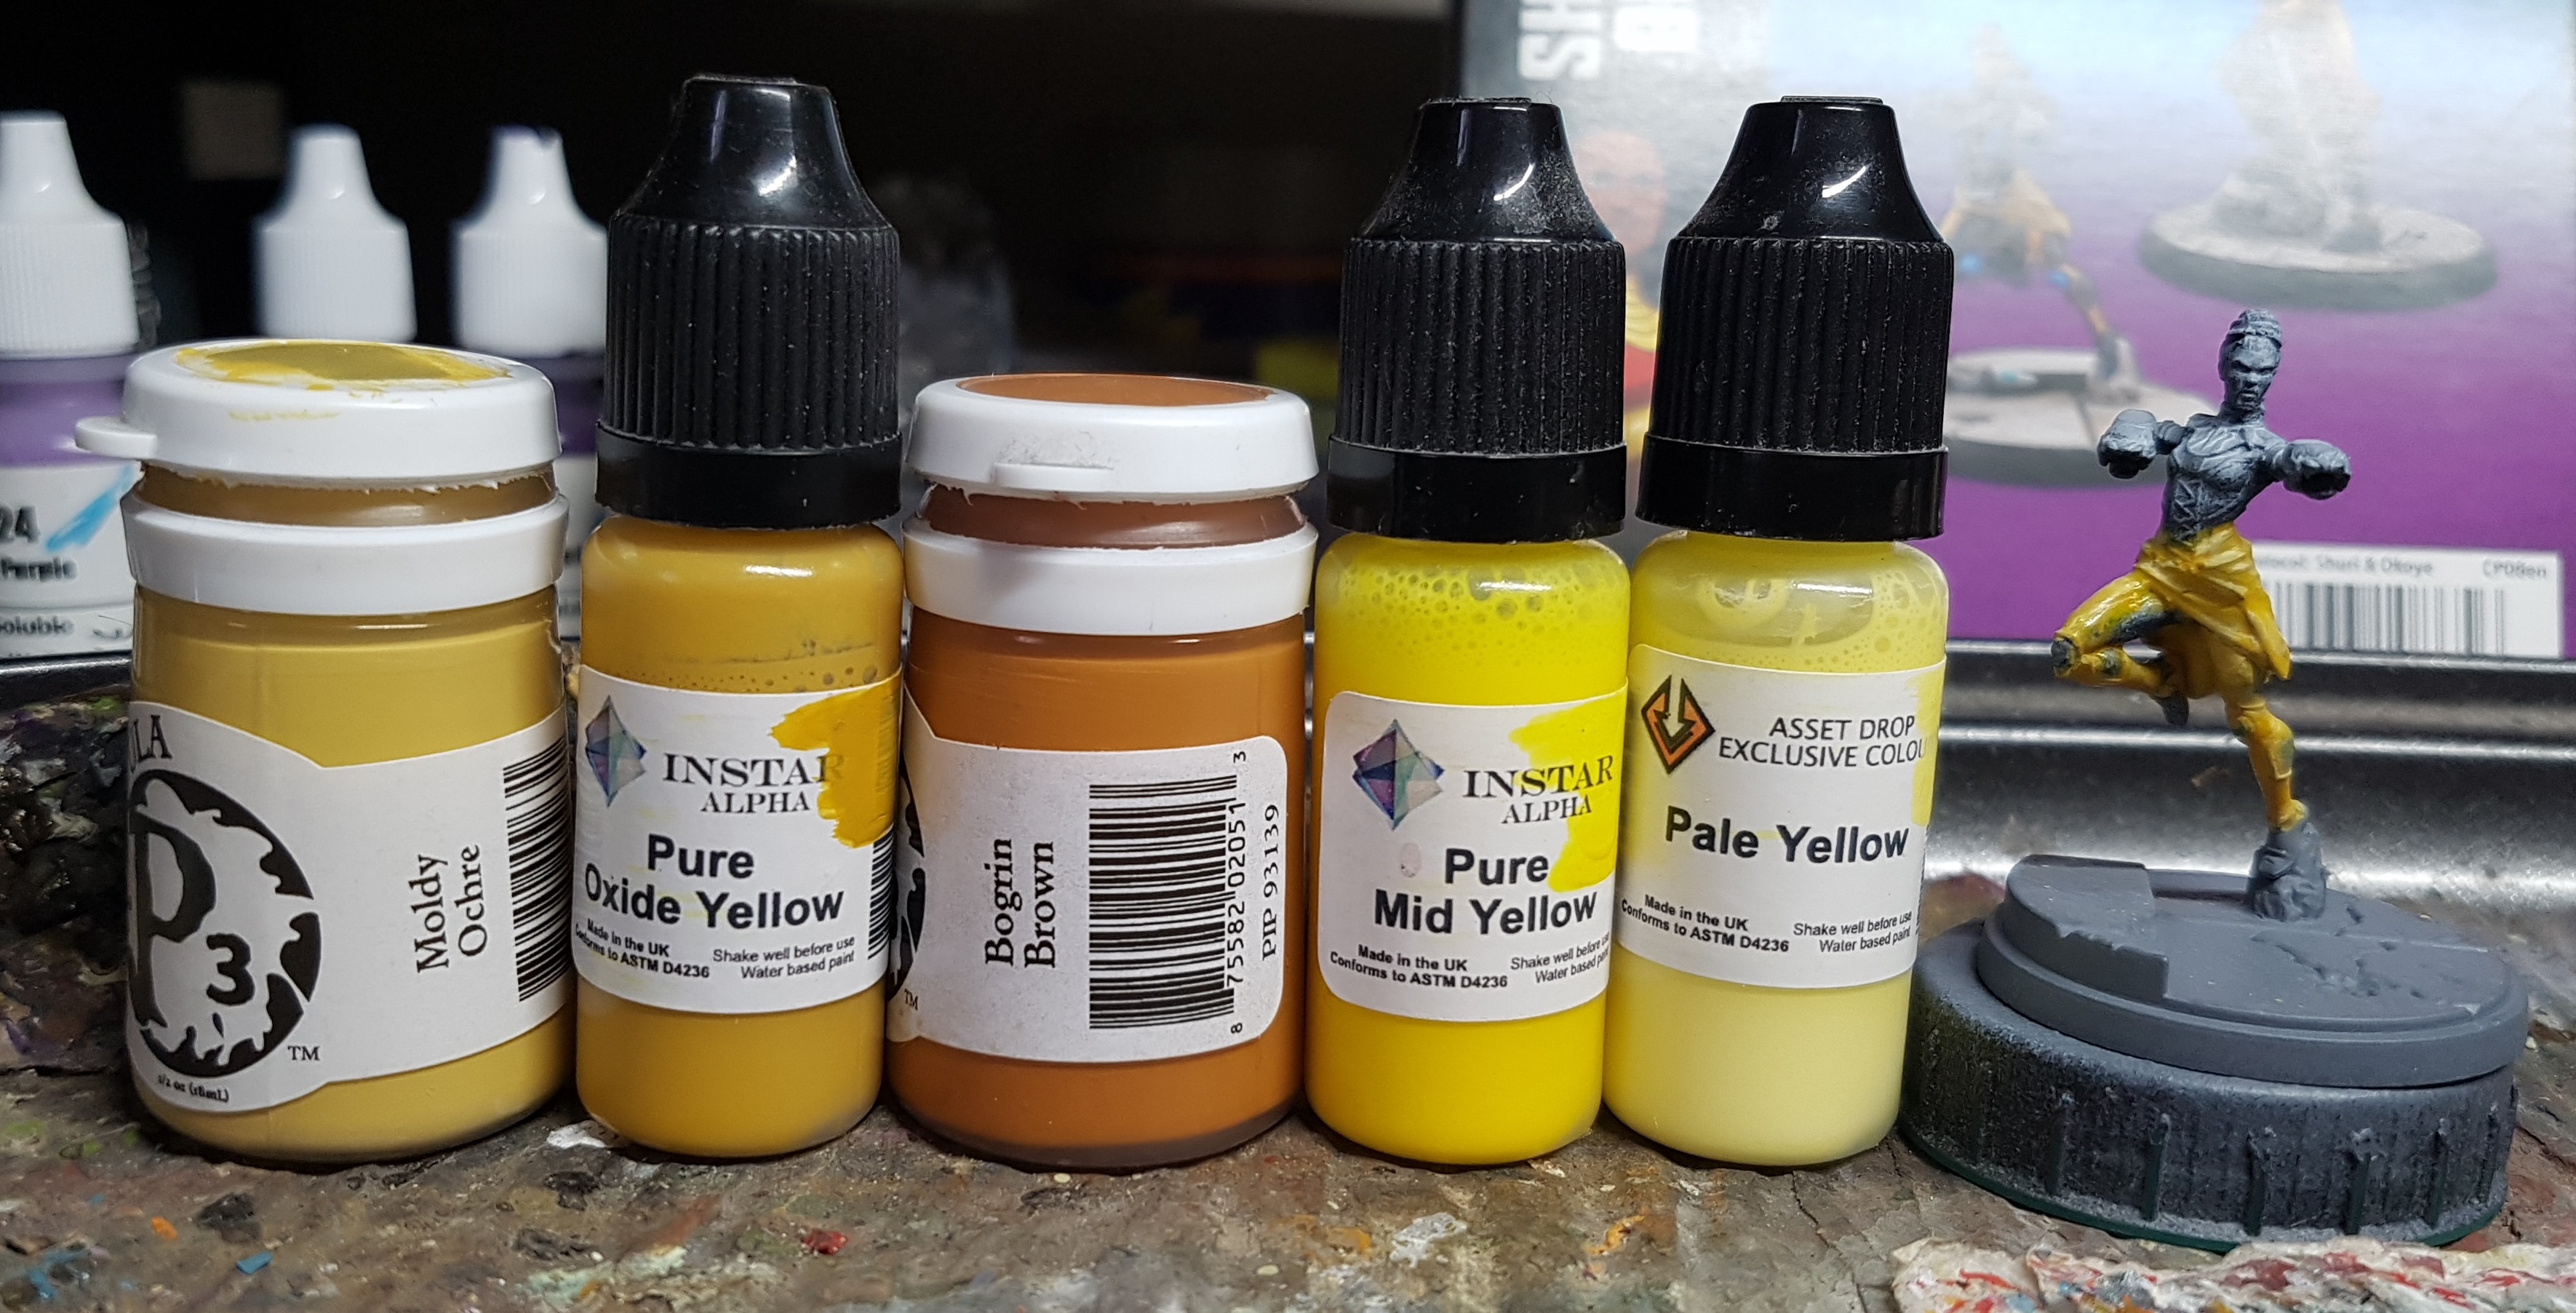
Yellow Leg Patches
Undercoat P3 Mouldy ochre
Base: Instar Alpha Pure Oxide Yellow
Wash: P3 Bogwin Brown
Reclaim with base
Highlight: Instar Alpha Pure Mid Yellow
Highlight: Instar Pale Yellow
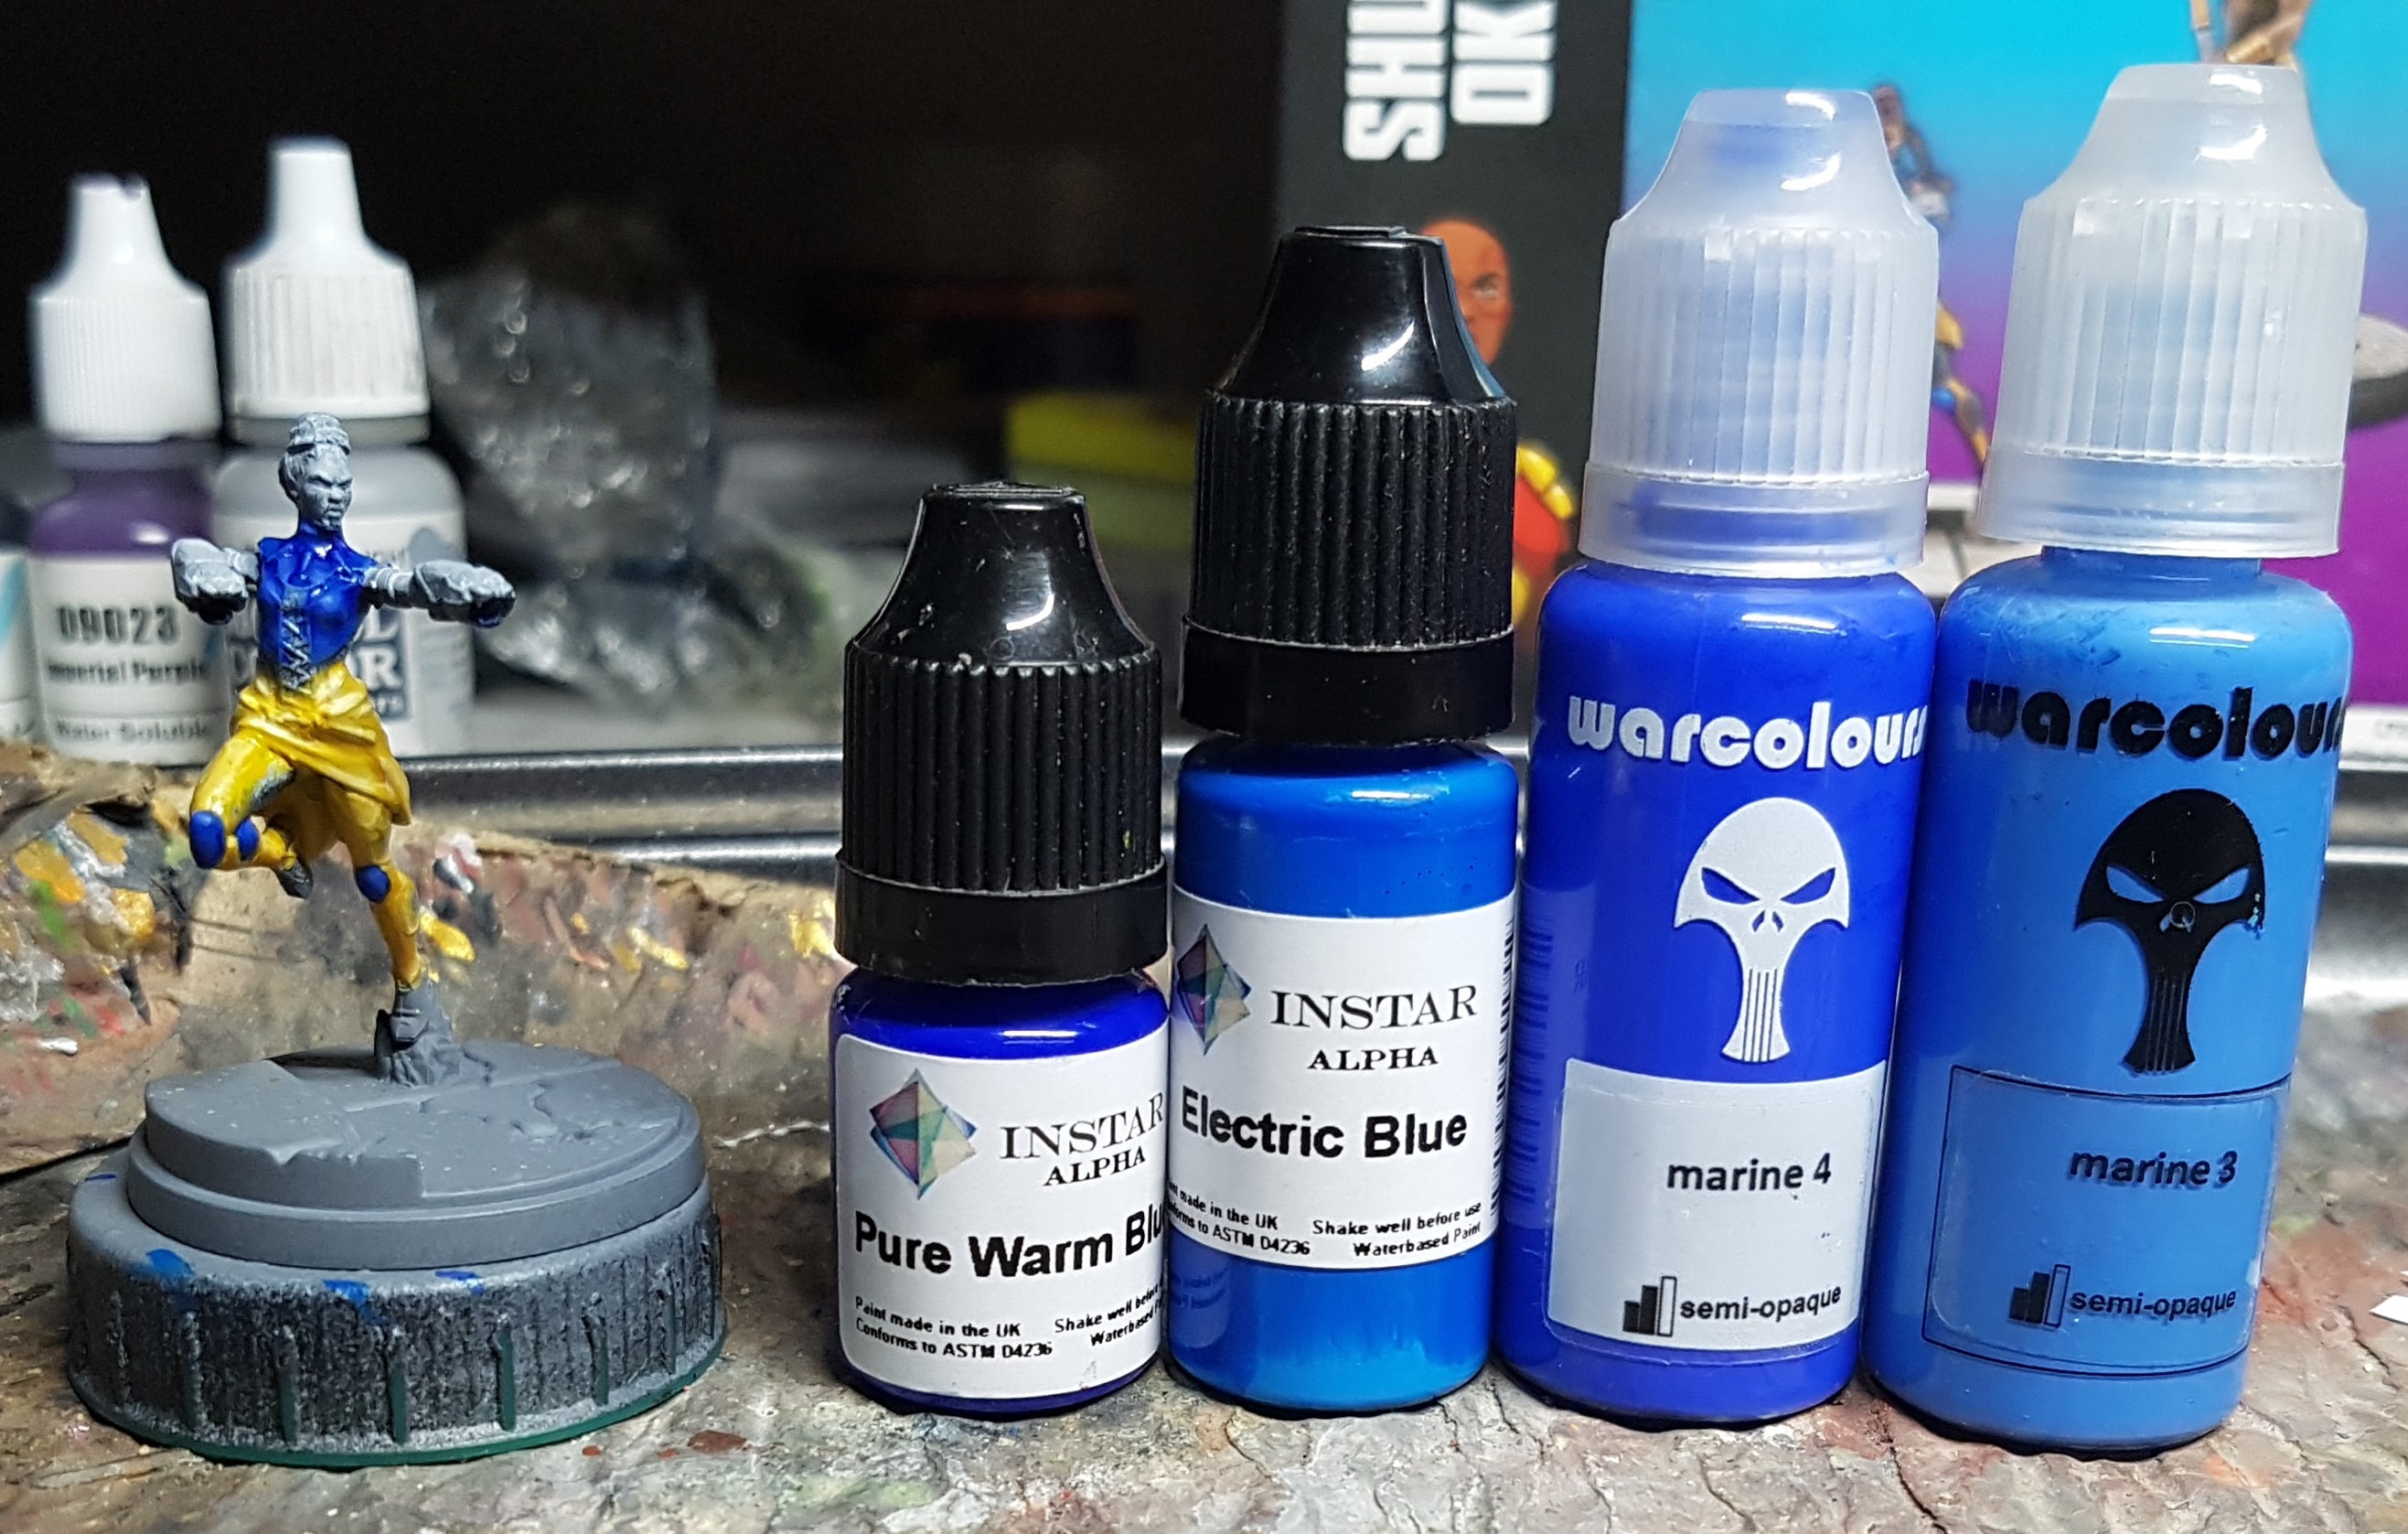
Shuri Blue
Base: Instar Alpha Electric Blue
Layer Shade: Instar Alpha Pure Warm Blue
Highlight: Warcolours Marine 4
Highlight: Warcolours Marine 3
Shuri then joined the others on one side waiting.
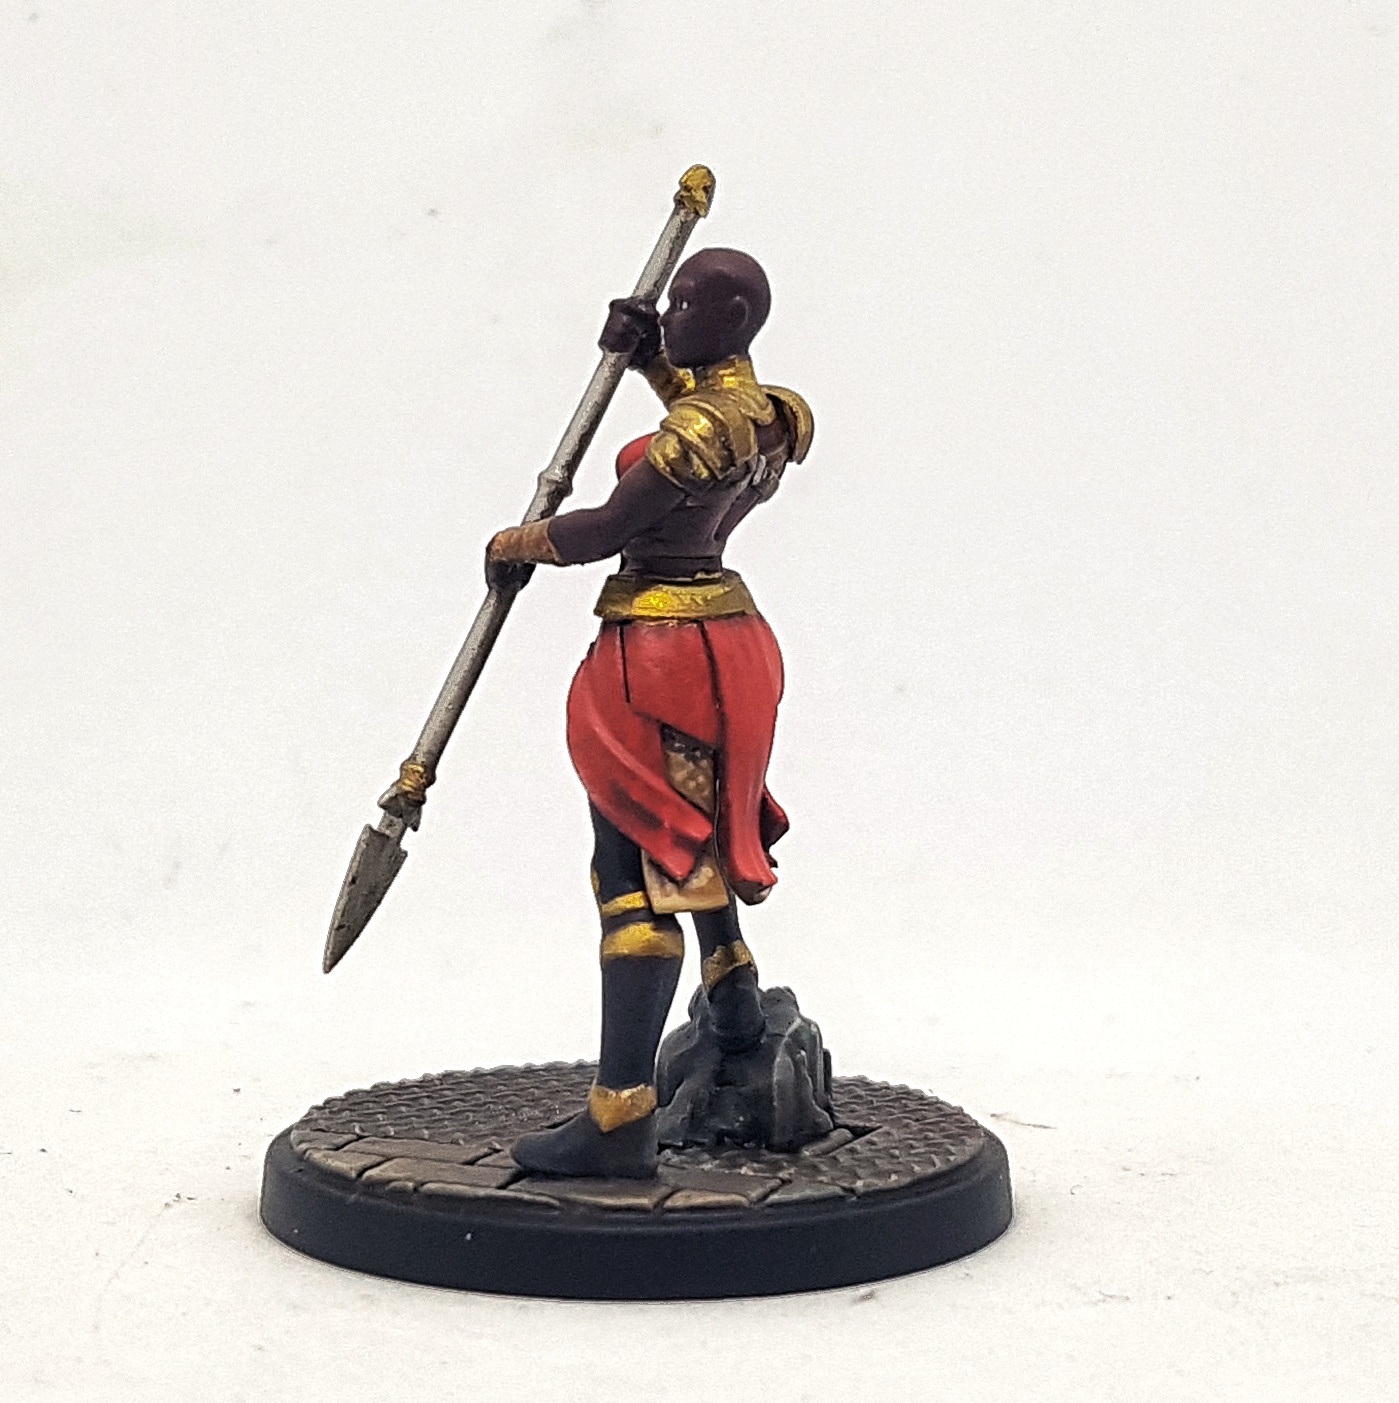
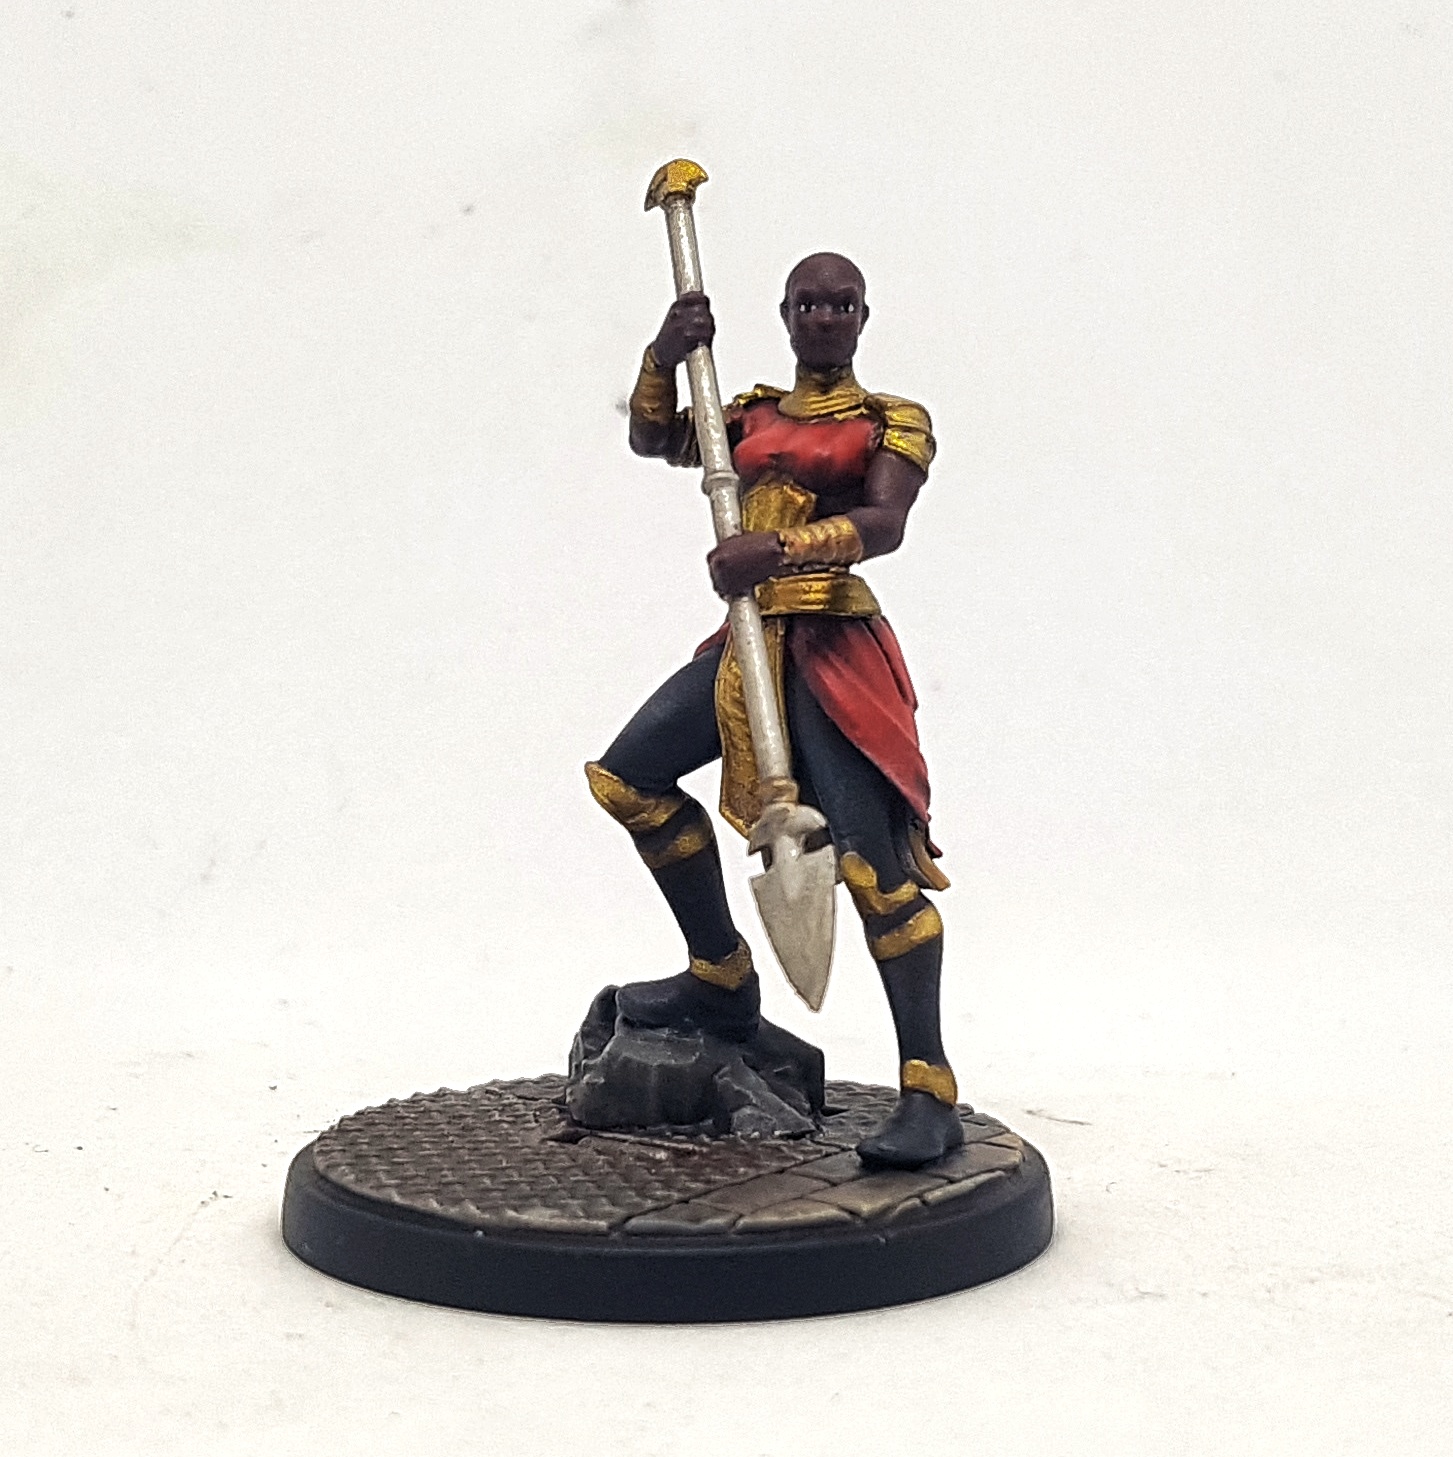
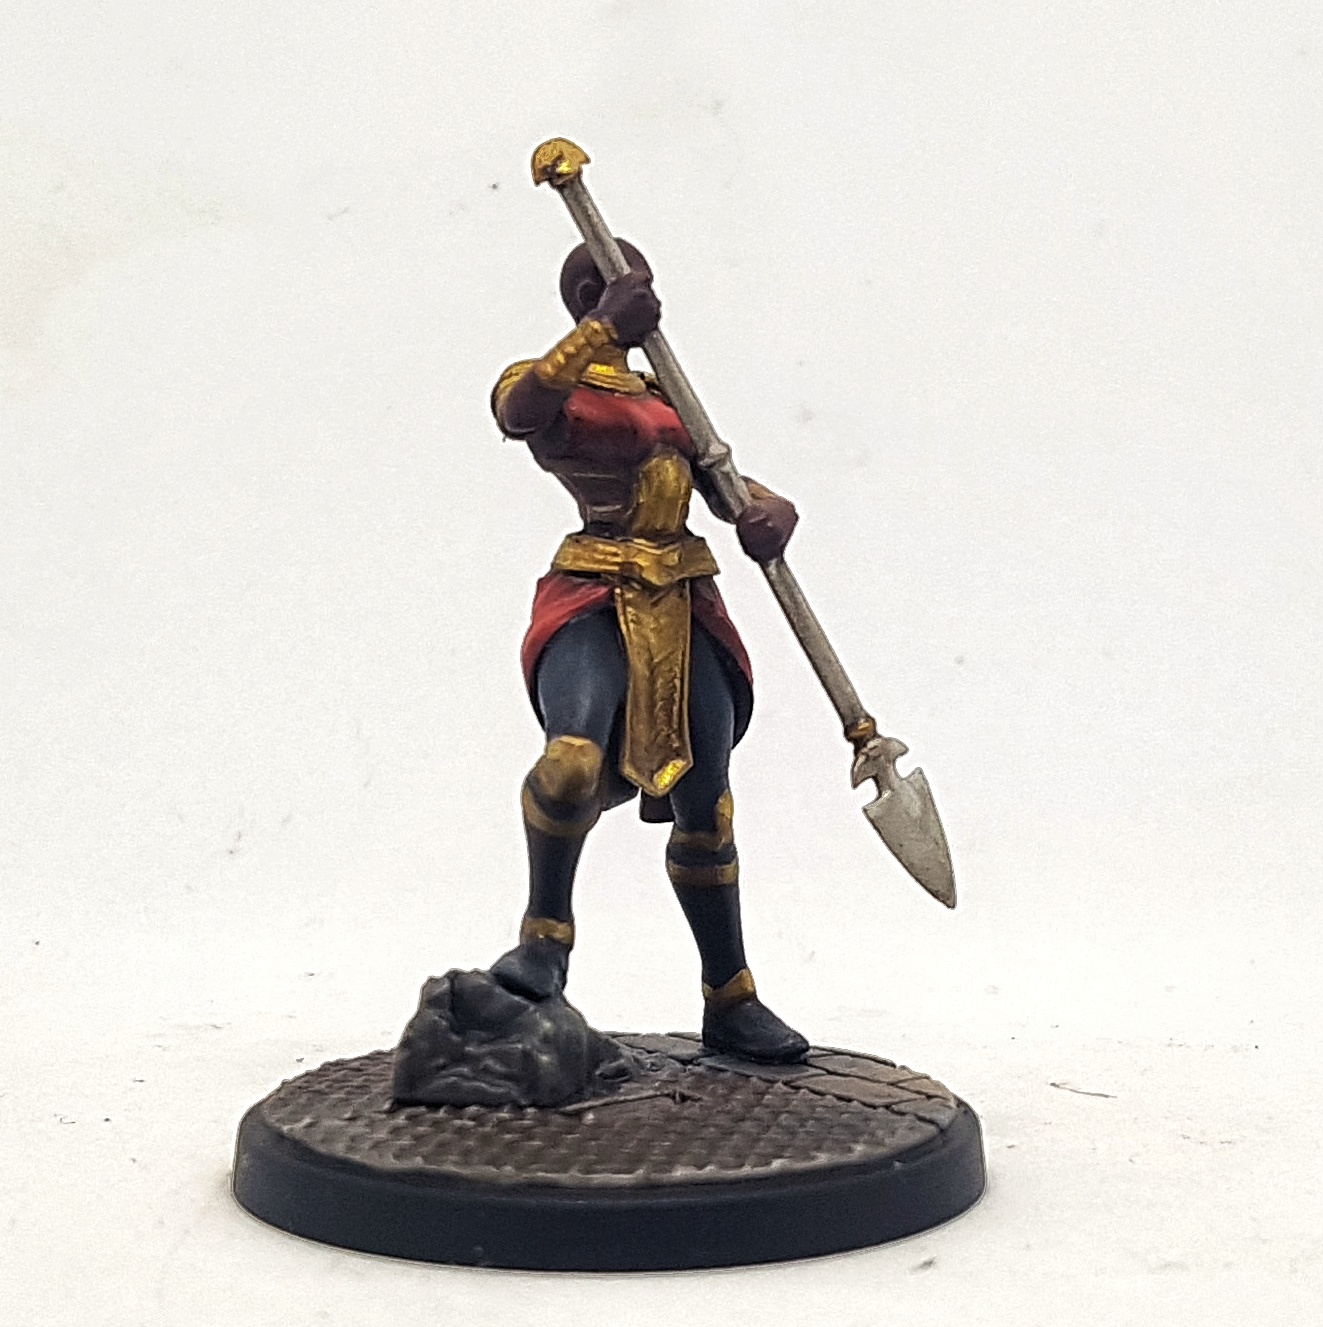
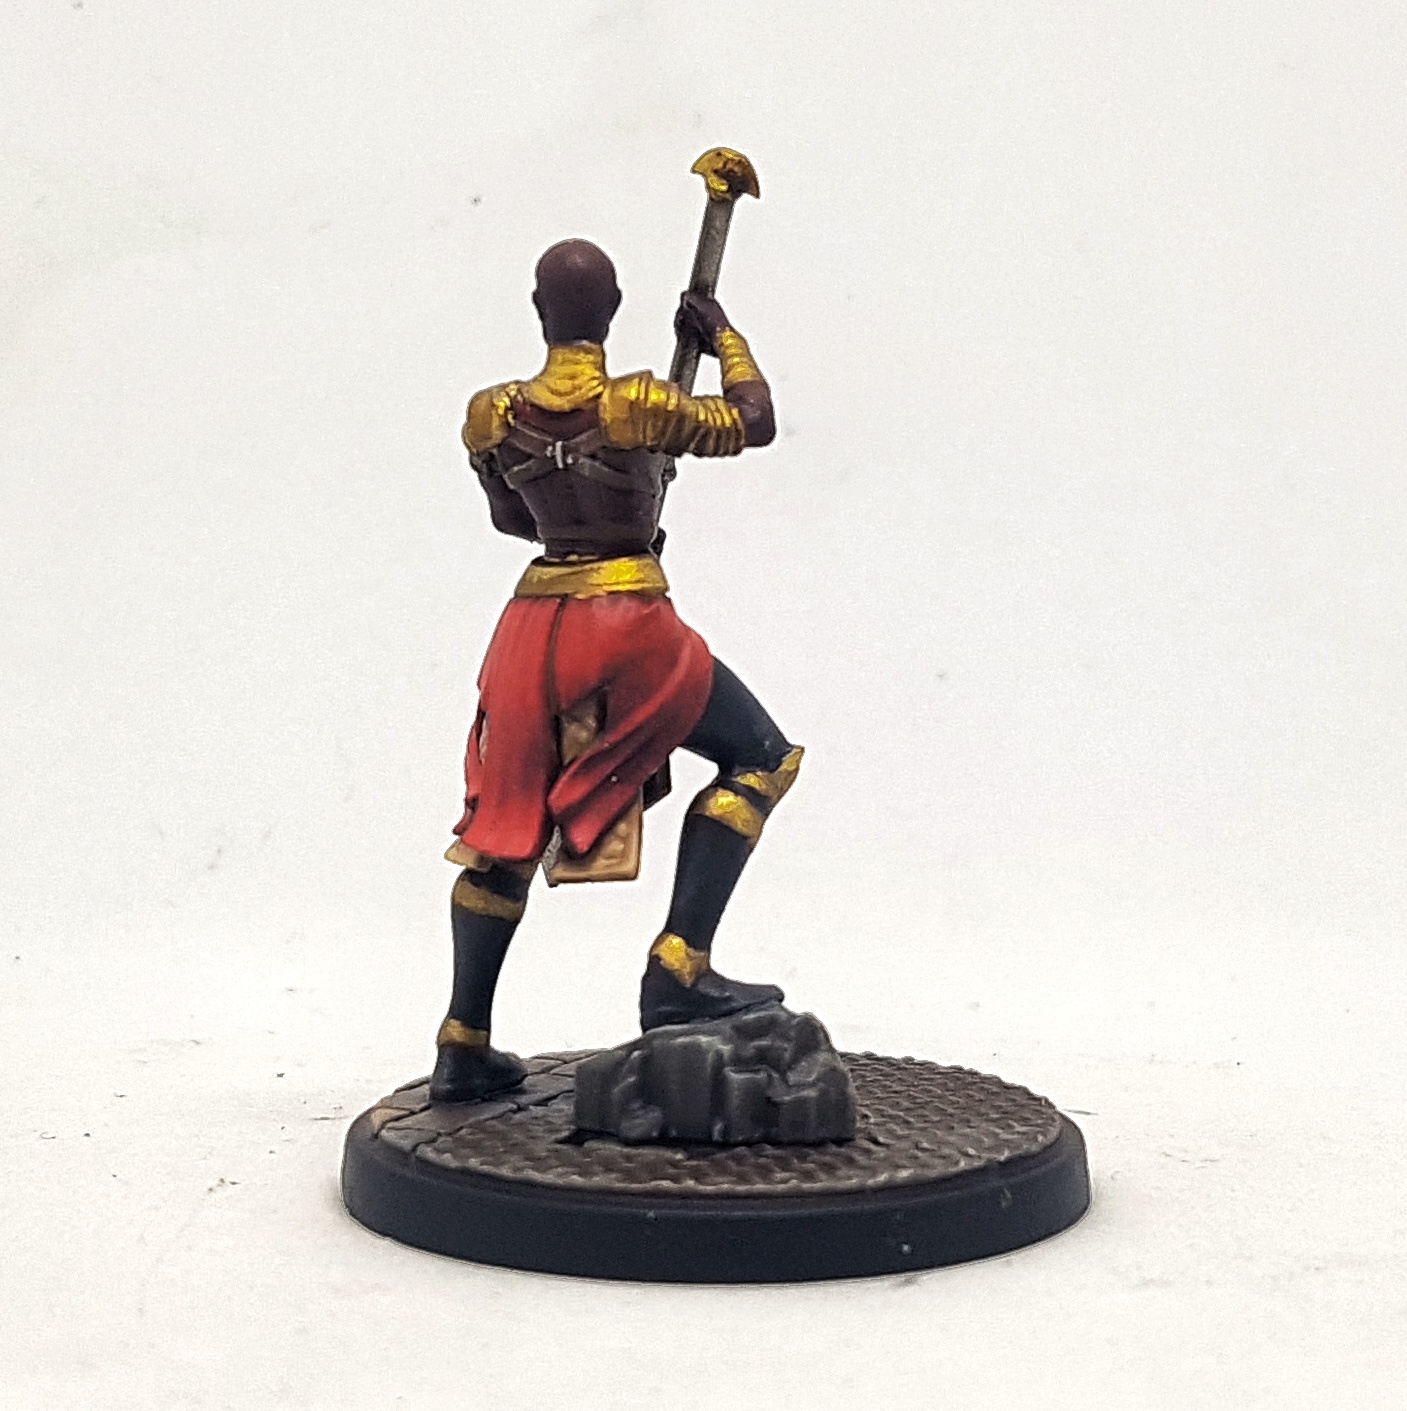
When I had the airbrush out at the start I gave Okoye a few sprays of VGC Red Ink, allowing the zenithal preshade to provide natural gradients. I added a little P3 Yellow Ink to the mix and used this to enhance the highlights. A few select deep shadows were picked out with GW Carroburg Crimson. I then returned Killmonger to my tray, along side Okoye, and painted their golds
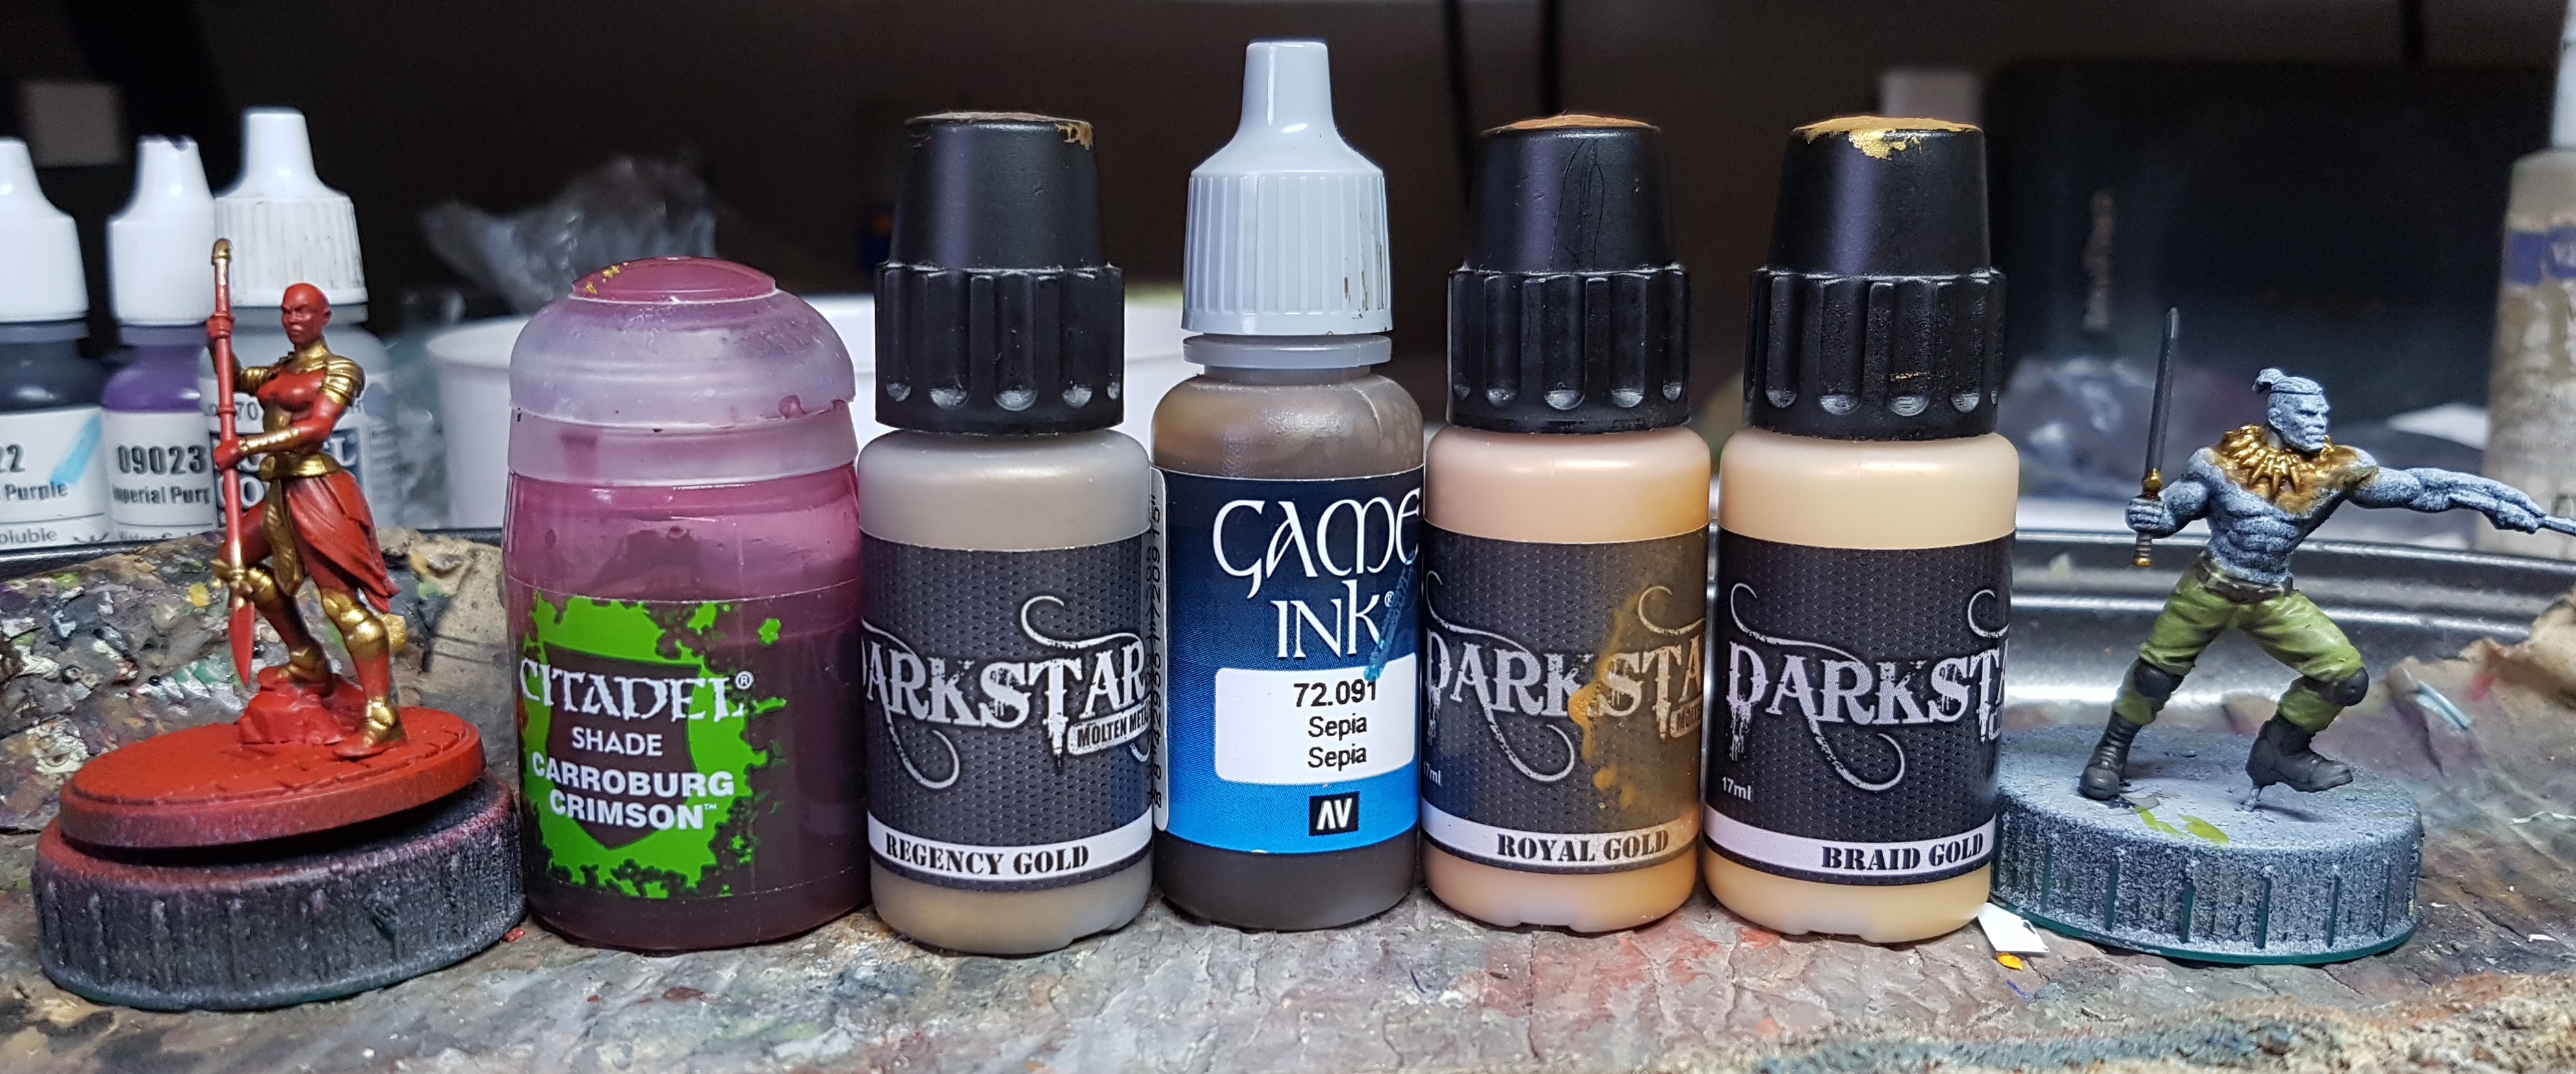
Gold
Base: Darkstar Regency Gold
Wash: Thin a little VGC 72.091 Sepia with Instar Water+ and apply all over
Reclaim with base
Highlight: Darkstar Royal Gold
Highlight with Darkstar Braid Gold
Everyone returned to the tray now.
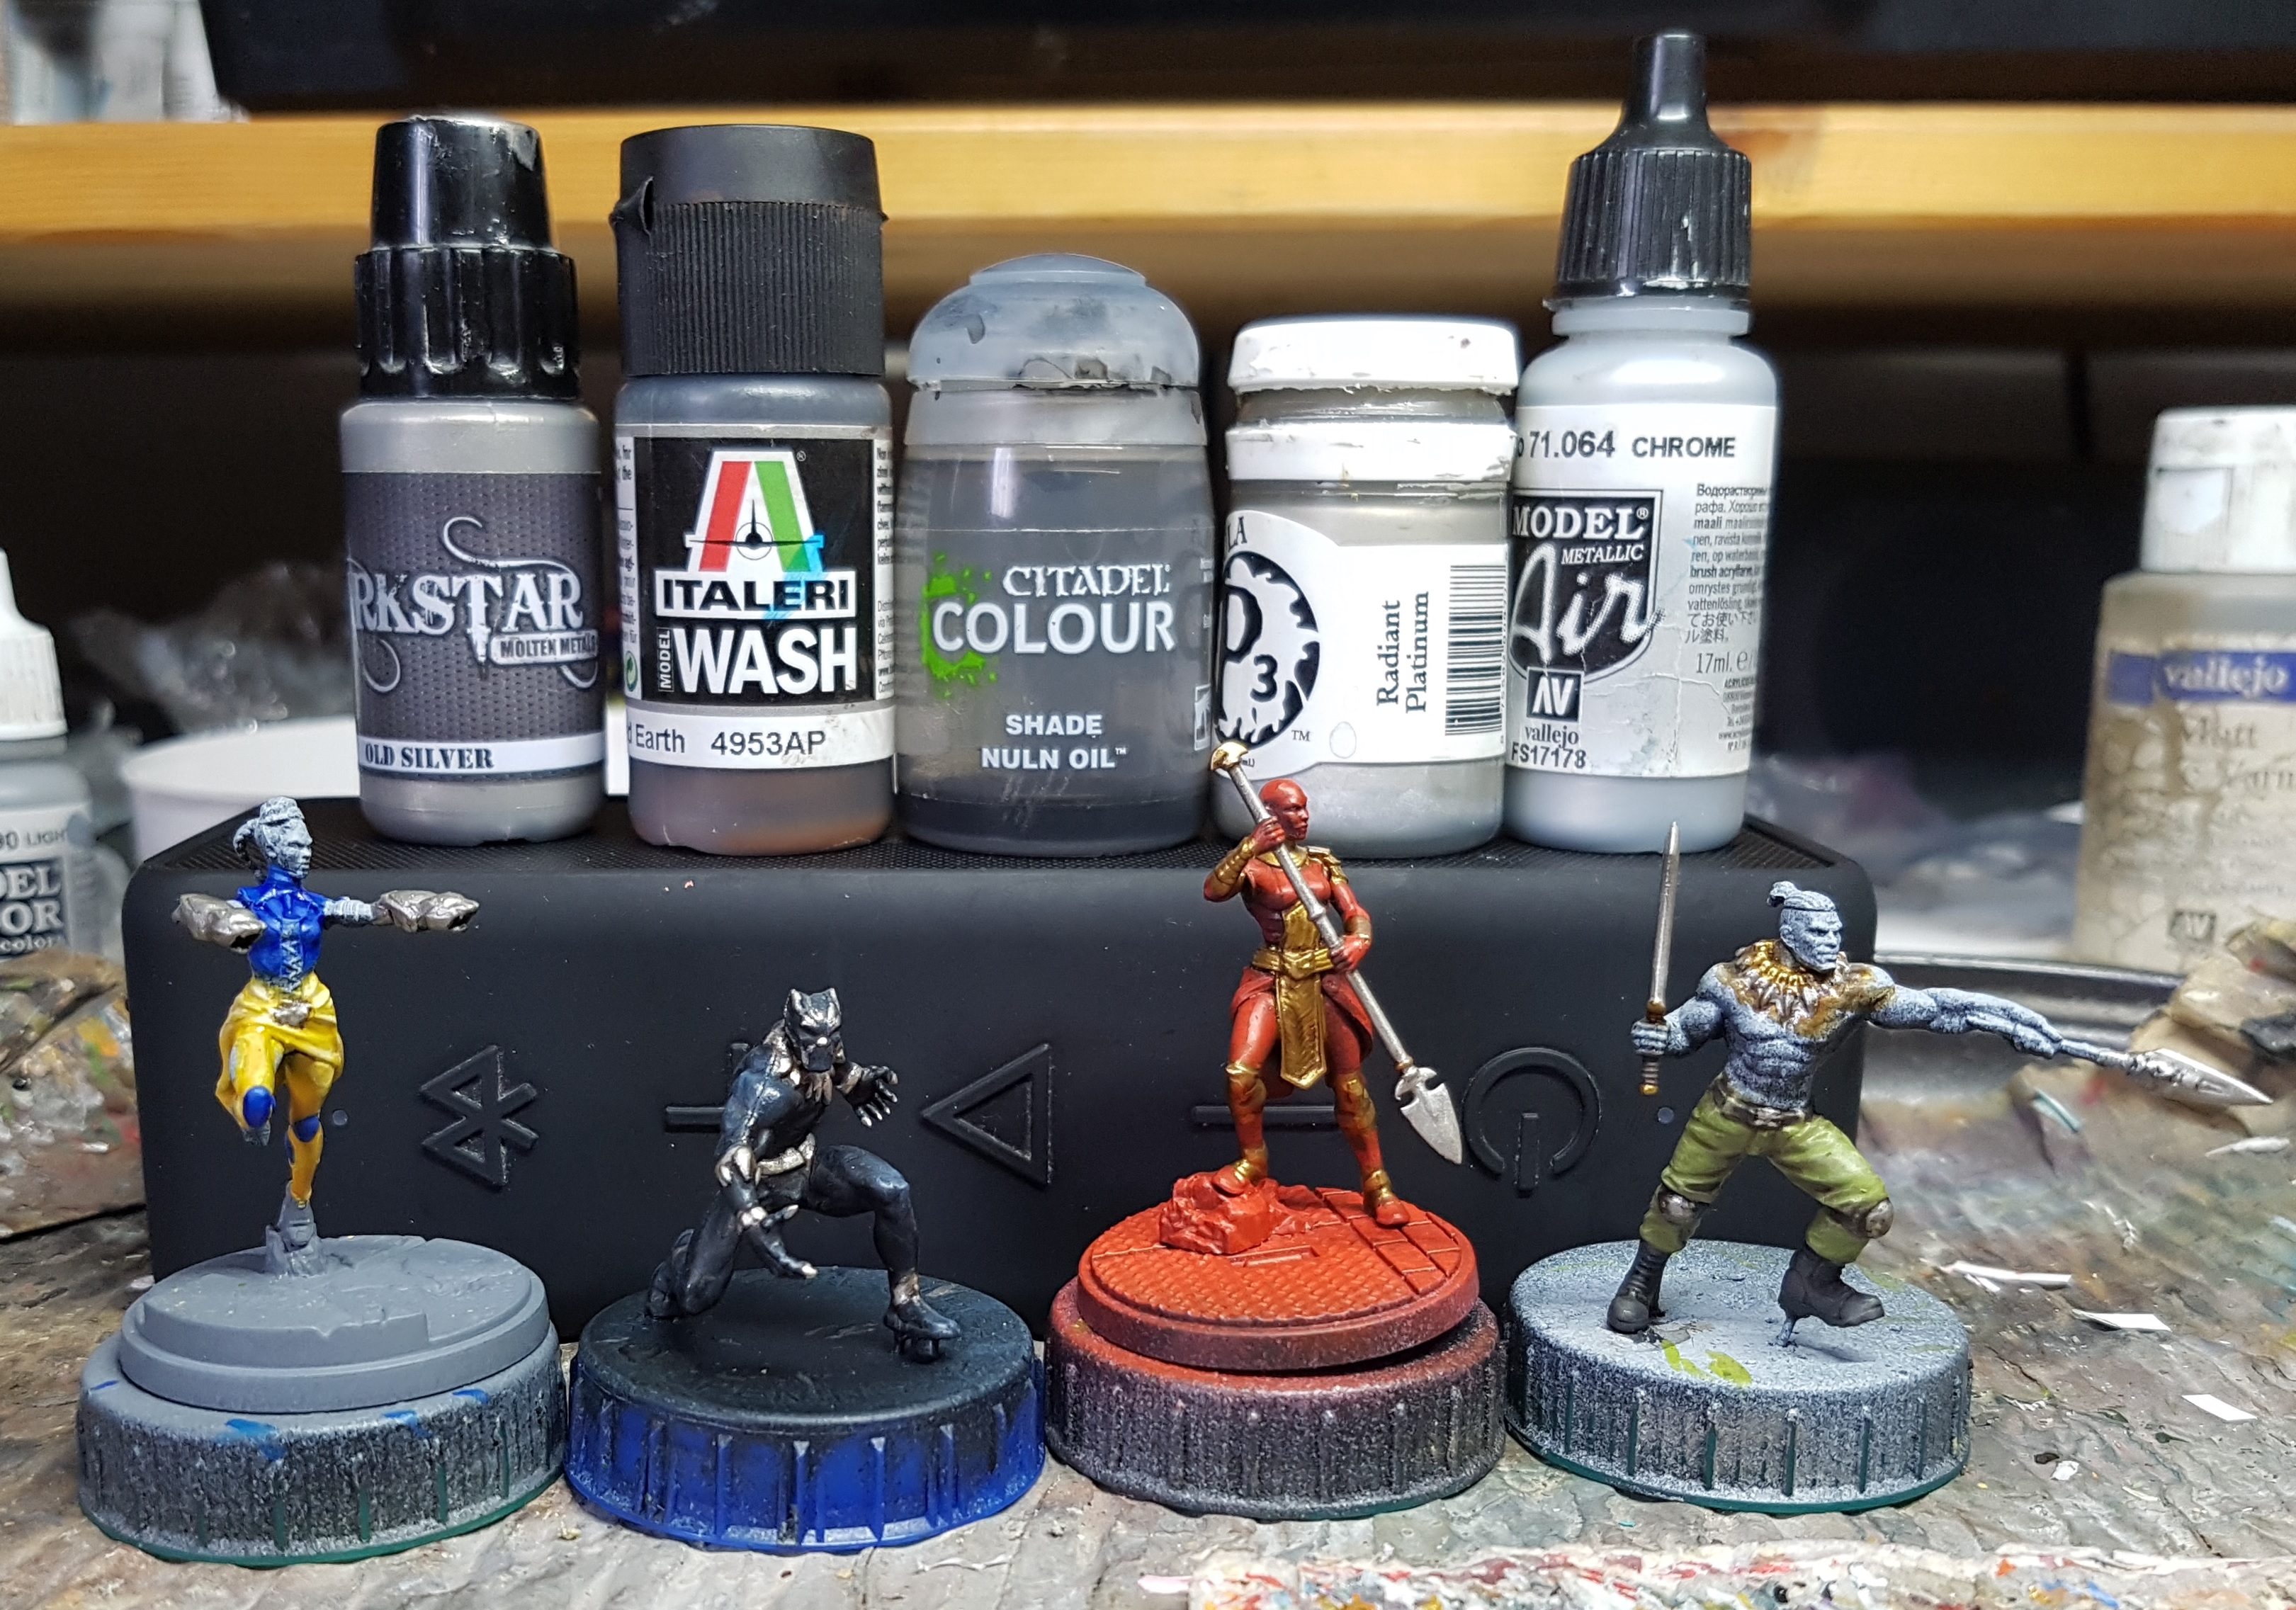
Vibranium
Base: Darkstar Old Silver
Wash: Italeri Wash 4953AP Oiled Earth
Pin/targeted Wash: GW Nuln Oil
Highlight: P3 Radiant Platinum
Highlight: P3 Radiant Platinum mixed with VMA 71.064 Chrome
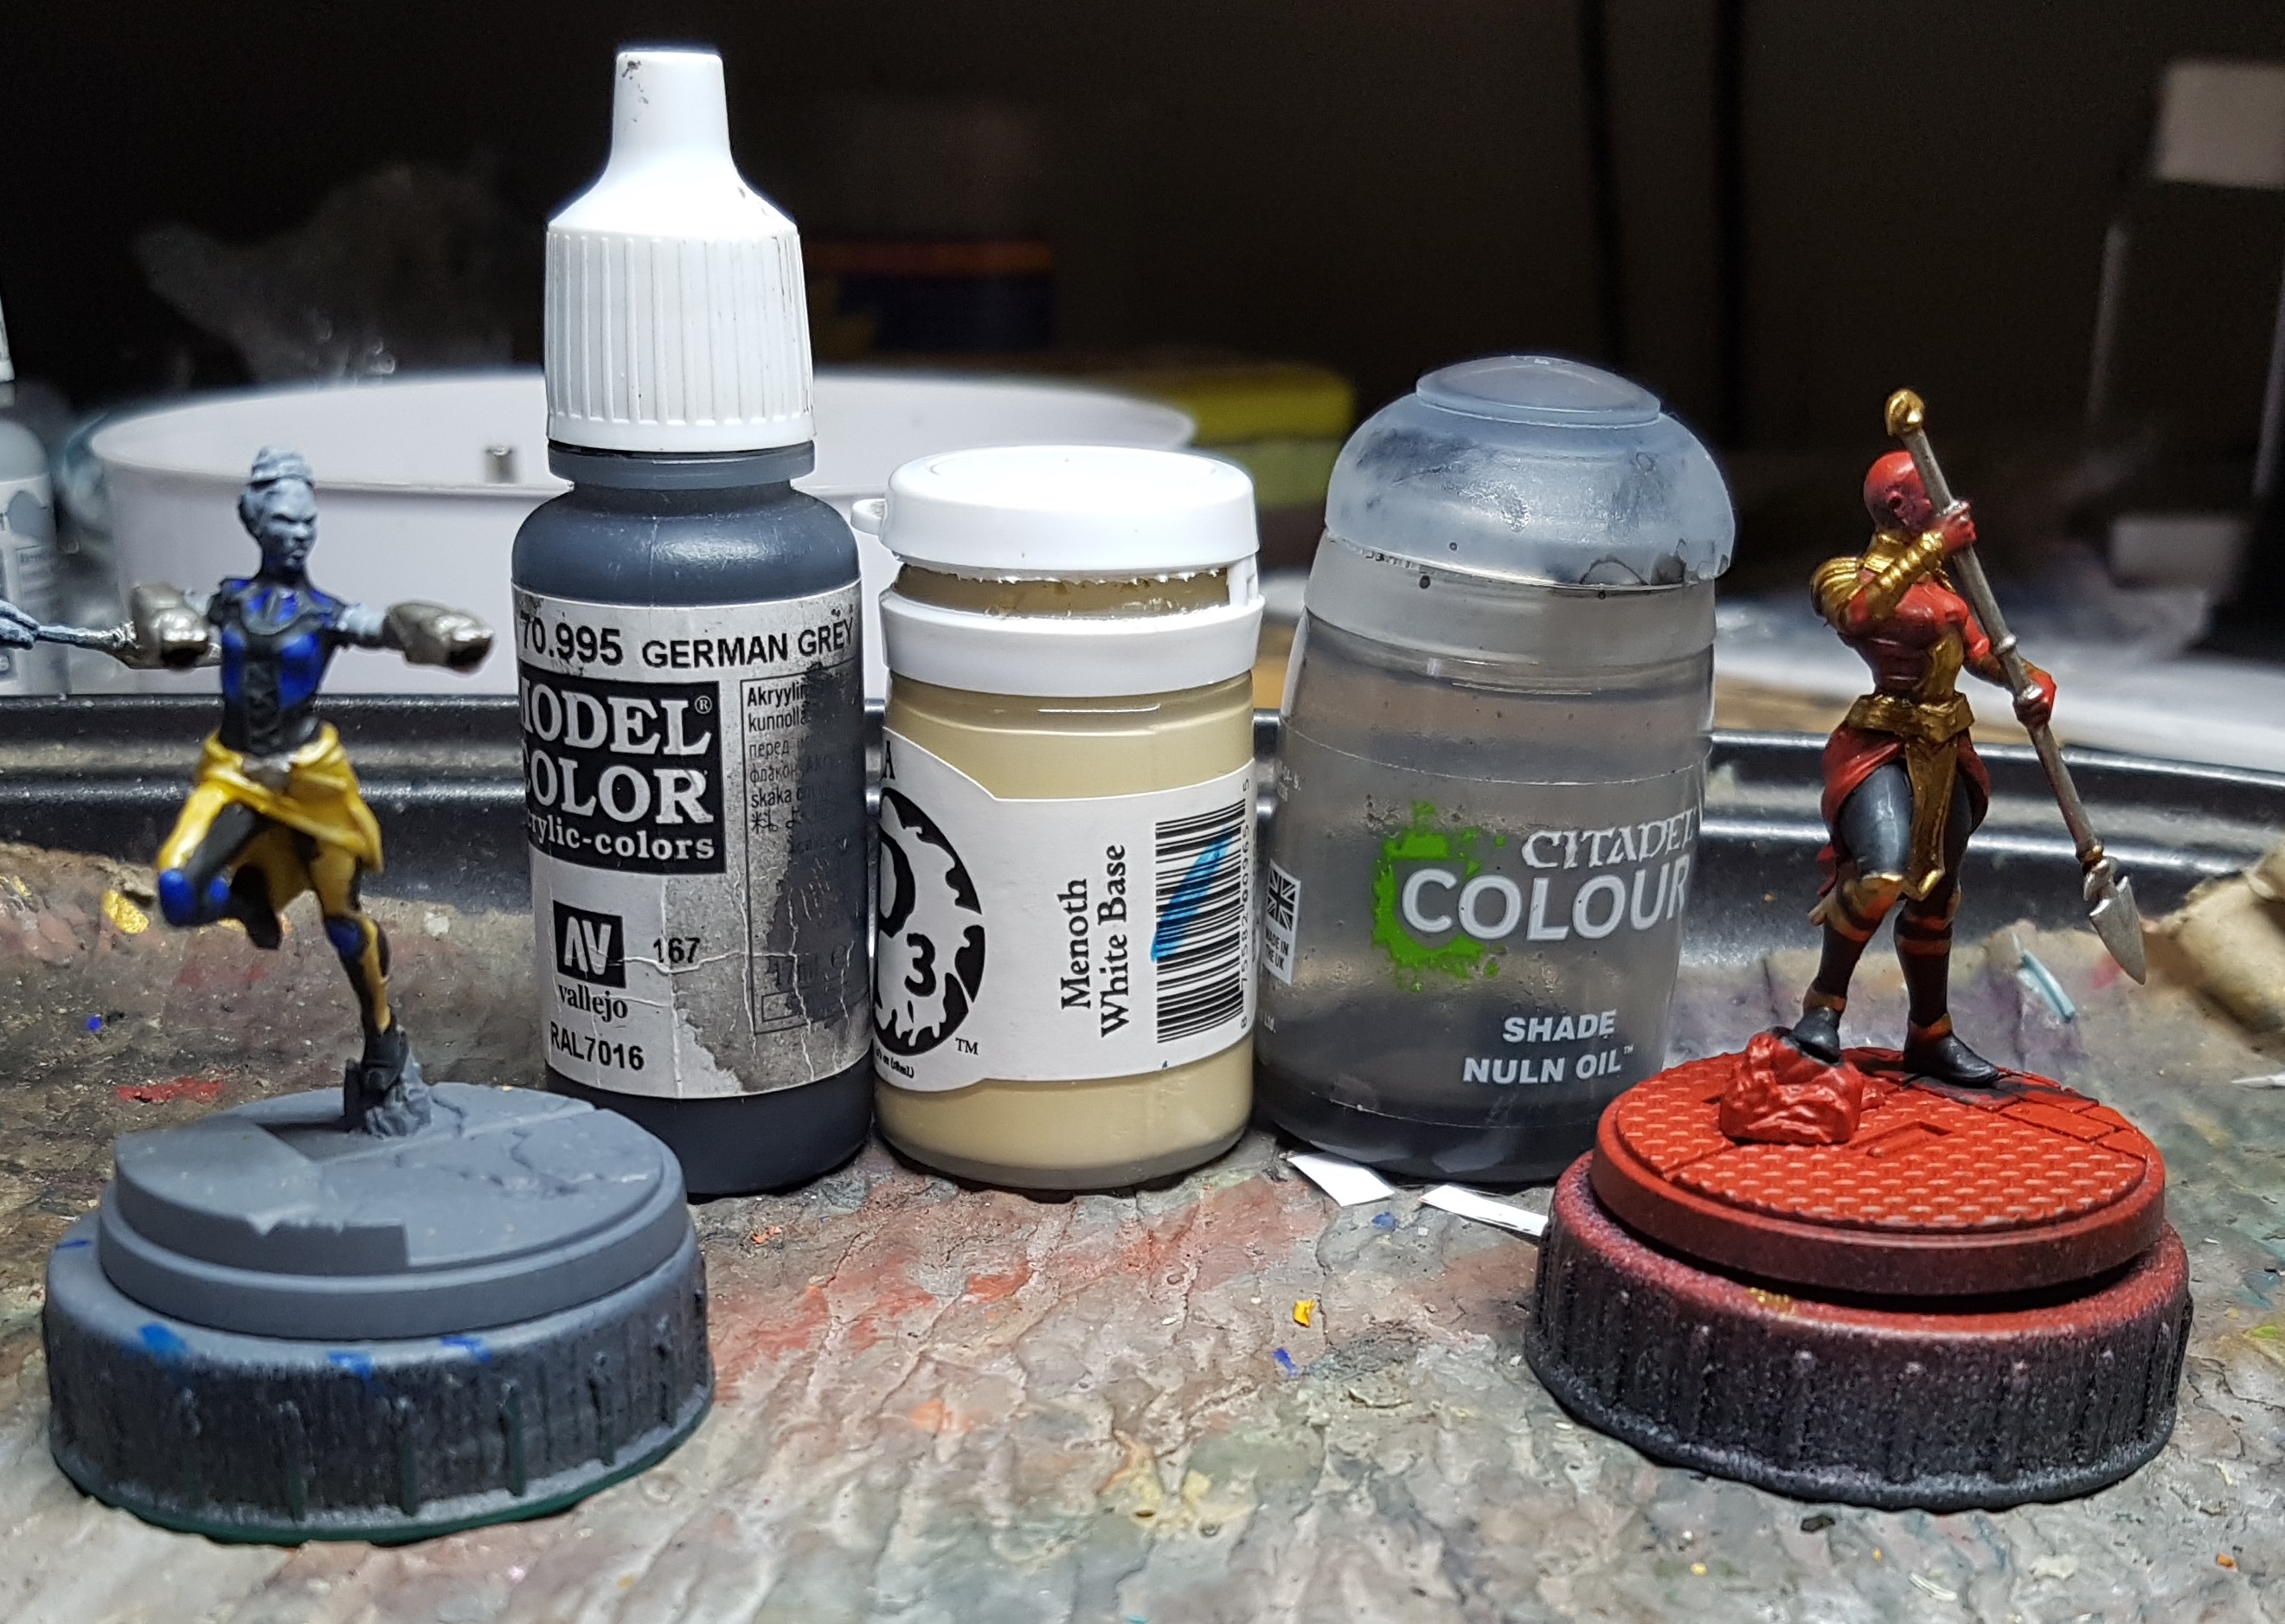
Shuri & Okoye’s Black Cloth
Base: VMC 70.995 German grey
Drybrush: P3 Menoth White Base
Wash: GW Nuln Oil
Okoye’s Tan Leather Skirts
Base: P3 Rucksack Tan
Wash: P3 Gun Corps Brown
Dark Wash: P3 Battlefield Brown
Drybrush: P3 Rucksack Tan mixed with P3 Menoth White Base
Drybrush above with added P3 Menoth White Highlight
African Flesh Tones
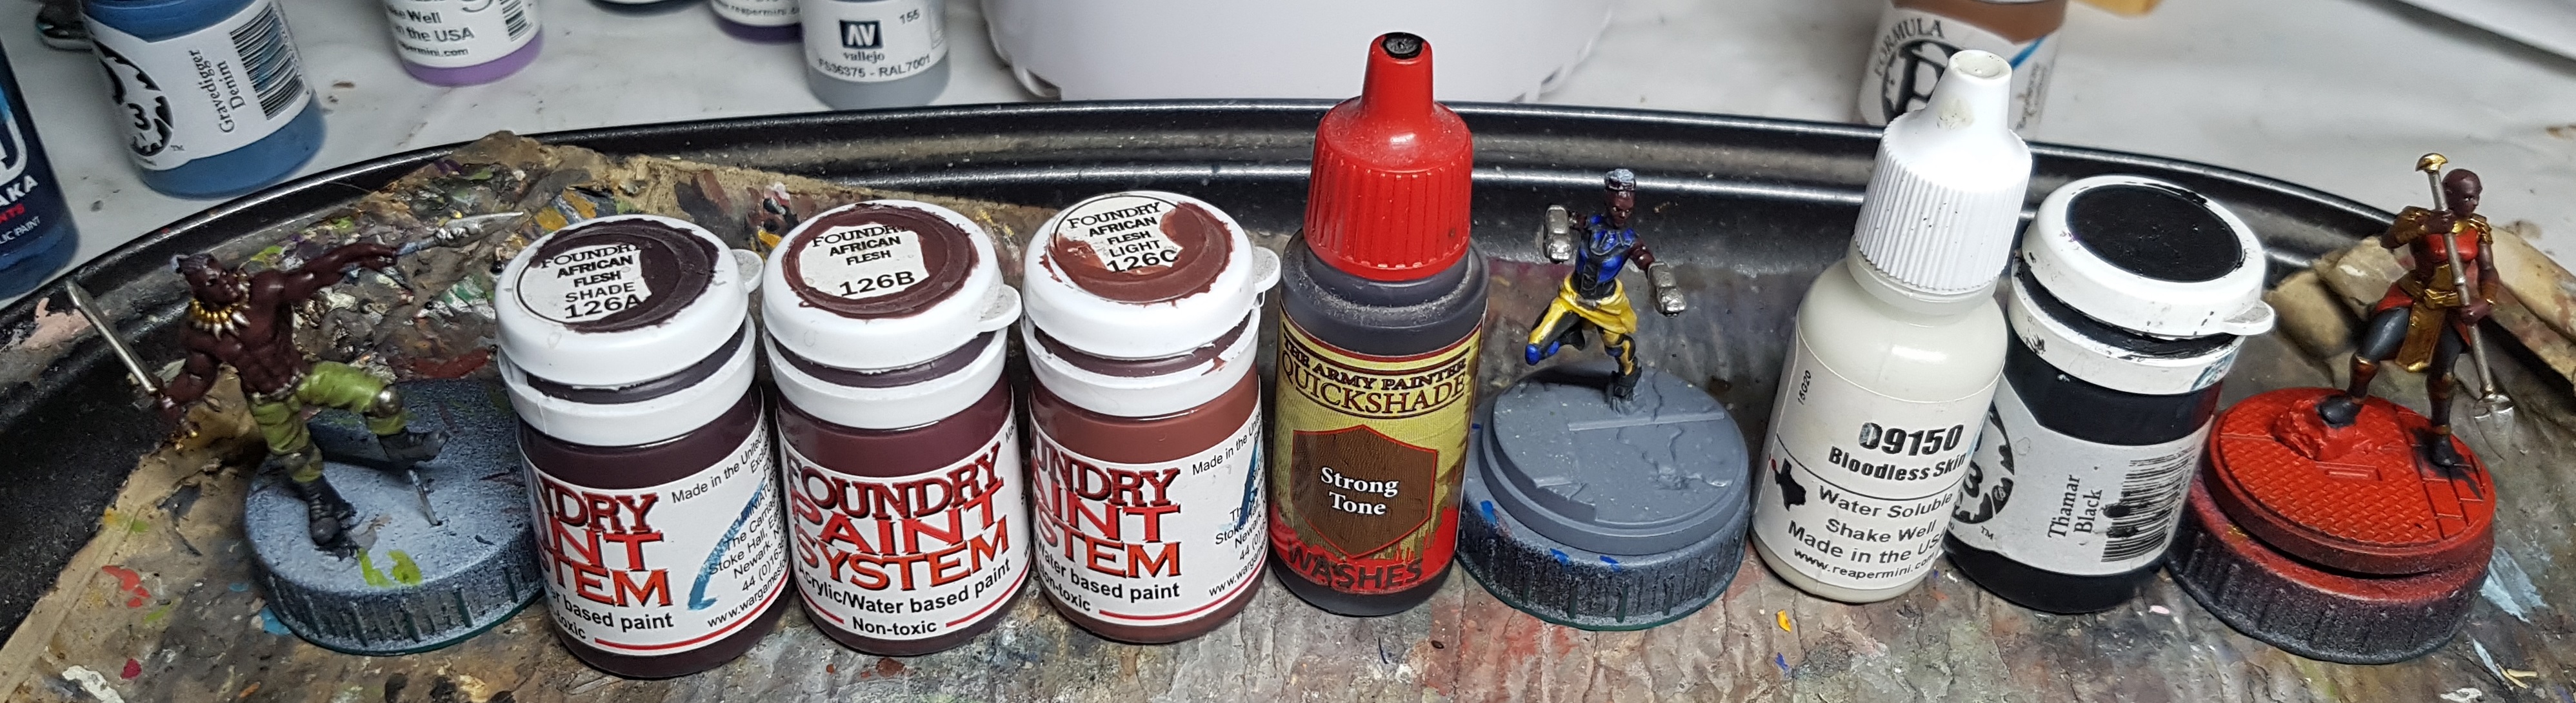
Base: Foundry African Flesh Shade 126A
Layer Highlight: Foundry African Flesh 126B
Layer Highlight: Foundry African Flesh Light 126C
Pin Wash: Army Painter Strong Tone
Eyes
Base: Reaper MSP 09150 Bloodless Skin
Pupil: Black
Hair
Base: Mix of P3 Thamar Black and P3 Battlefield Brown
Wash: GW Nuln Oil
Drybrush: P3 Battlefield Brown
Wood
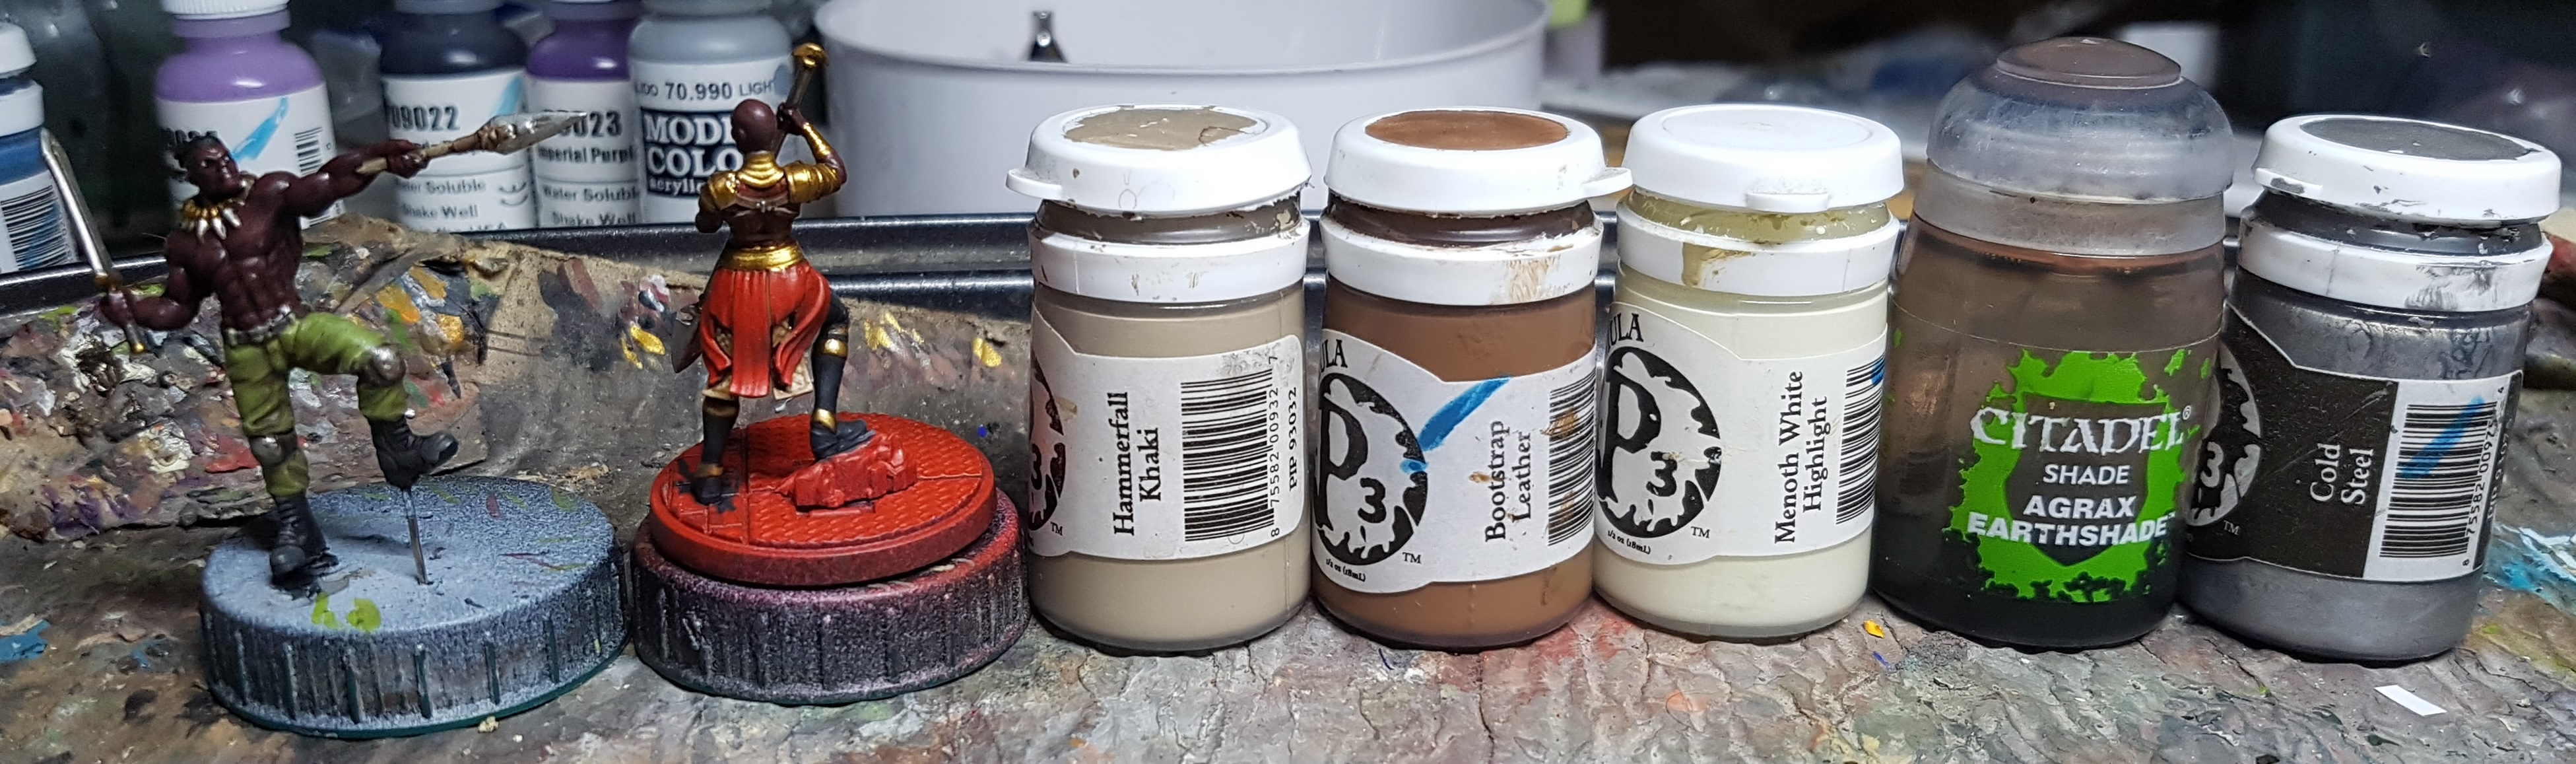
Base: P3 Hammerfall Khaki
Drybrush: P3 Menoth White Highlight
Wash: GW Agrax Earthshade
Extra Straps Etc
Base: P3 Bootstrap Leather
Drybrush: P3 Menoth White Highlight
Wash: GW Agrax Earthshade
Pick out buckles etc with P3 Cold Steel
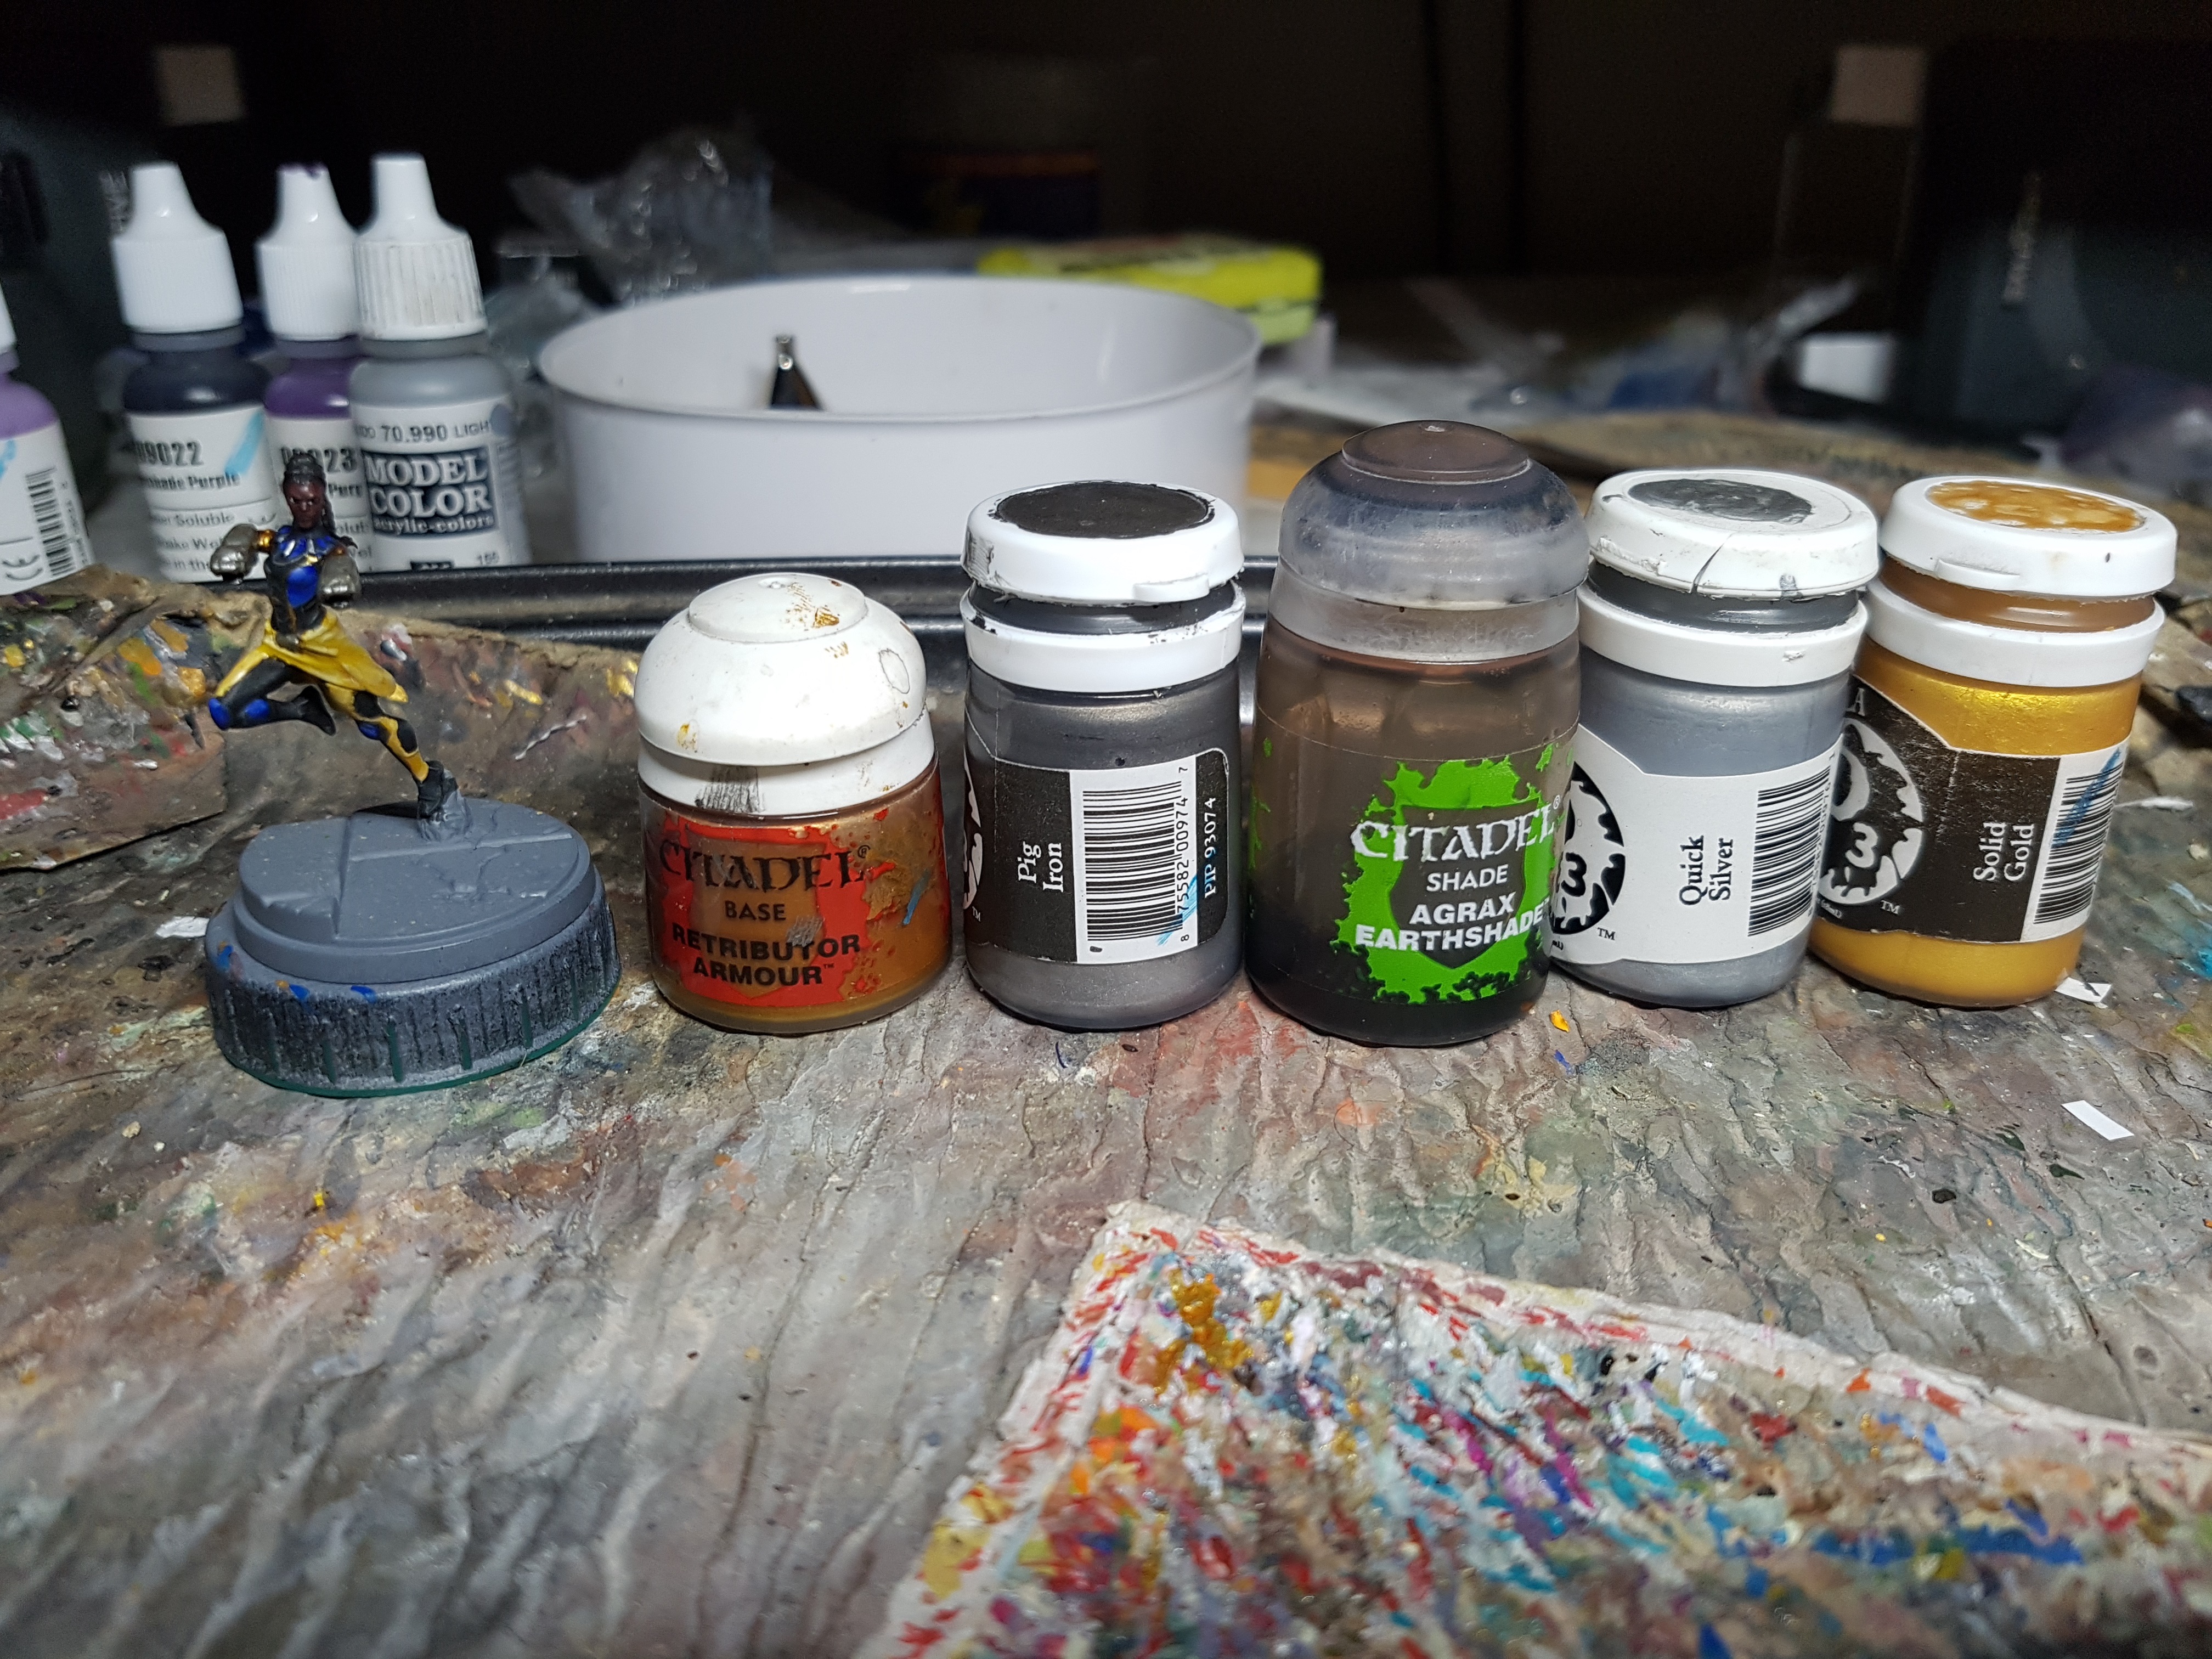
Gold and Silver Trim
Base: Either GW Retributor Gold or Pig iron
Wash Gold: GW Agrax Earthshade
Highlight: Either P3 Solid Gold or P3 Quick Silver
Everyone was then based the same as previously.
More Papercraft Terrain
So all my characters are done and I’ve got a load of size 1-3 terrain, maybe even 1 4 or two. I don’t have any size 5’s though. I do have a Tymeagain/4Ground voucher I received in march which I was going to use to order a building or two. However it’s not working and they’re not answering their emails. I’m choosing to believe they are busy hands on types who don’t sit at a computer all day and I’m giving them time.
In the mean time though I want some buildings on my table so I scoured the internet and found some ready to print 30mm scale buildings for a game called “Z War One”. I’ve printed out a couple on to regular A3 paper (I upscaled to 110% because MCP is around 40mm scale, but it’ll be helpful if these buildings will work for 40mm and fit for 30mm too).
Once printed out, I glued them on to the backs of pizza and cereal boxes. They didn’t all fit, so I had to cut along the corners of buildings and make my own tabs to rebuild later.

WIP
More Papercraft Terrain
So all my characters are done and I’ve got a load of size 1-3 terrain, maybe even 1 4 or two. I don’t have any size 5’s though. I do have a Tymeagain/4Ground voucher I received in march which I was going to use to order a building or two. However it’s not working and they’re not answering their emails. I’m choosing to believe they are busy hands on types who don’t sit at a computer all day and I’m giving them time.
In the mean time though I want some buildings on my table so I scoured the internet and found some ready to print 30mm scale buildings for a game called “Z War One”. I’ve printed out a couple on to regular A3 paper (I upscaled to 110% because MCP is around 40mm scale, but it’ll be helpful if these buildings will work for 40mm and fit for 30mm too).
The files can be found HERE. There are 3 different files. One seems to make rooms etc for on the deck of a ship. Another has mostly the front halves of council flats, but if you could mirror the images and print out a second set that would probably make whole buildings.
Once printed out, I trimmed most of the excess paper off, leaving a healthy margin. You want to glue beyond the lines to reduce the chances of peeling later and extra paper lets you do that. otherwise you likely won’t glue all the way up to the edge. I then glued them on to the backs of pizza and cereal boxes using a pritt stick. They didn’t all fit, so I had to cut along the corners of buildings and make my own tabs to rebuild later.

I left them longer than perhaps they needed to dry. I had other things to be doing, so why chance it? I then cut them out, remembering to leave extra tabs where I’d had to cut two walls apart. I also made every tab larger than was drawn. It’s handy to have extra surface area for glue. you can always trim excess off later, but you can’t really add more on once it’s cut.

I used a metal ruler and the edge of a screwdriver to score along the folds. I didn’t want to use anything too sharp in case I cut too deep. I discovered that using a blunt tool means the paper tears though, so I switched back to my hobby knife and was careful with the pressure I applied.

I then used superglue and care to put everything together. I wouldn’t trust Pritt Stick to hold, and PVA would take far too long to dry without clamps holding everything together.
Be careful at this stage. It’s easy to accidentally glue your fingers to the models and damage the printouts. Look at the back of the newsagents near that bin. I can live with it though.


I’d been putting off making more papercraft terrain because my Pritt Stick had dried up. You know how they are. Two minutes after first use, they’ve lost their stickiness. I don’t know how many of mine went in the bin as a kid. They’re great, but have a very short lifespan and you never get the full use out of them.
Did you know they can be easily restored, no matter how long they’ve been dry? I didn’t, but I googled and it turns out it’s super simple. Before bed one night I ran mine under the tap and gently filled it up. I put the lid back on and left it standing in the sink (I forgot to flip it. I’ve only just remembered I was supposed to do that). Next morning it was moist and possibly useable, but I feared it had drained overnight so I topped it off before going to work, but this time left it standing in water in a cup, filled just above the twisty bit. That evening I used to to make these building. It worked a treat. Pretty sure my Pritt Stick had dried up long before anyone knew the word Covid.
Never waste a glue stick again! Amazing! Something I could have done with knowing 40 years ago.
Battle Report On My First Game
Well, it’s probably not going to end up as a true battle report, but those are the magic words used to summon a Gerry so let’s see if this gets me on the uHH or boosts my chances in the Spring Cleaning Challenge. I have pics of the end of each round. lets se how much or little I can remember, or will I just go for general opinions I had after play?
This is my first ever game. I’m a learn by doing type. I’d read the rules, but they go in one eye and out the other unless I get to apply them while re-reading them so I set up the demo game from the Learn to Play guide and played against myself. Here we see the initial setup as prescribed in that book. I like that it didn’t start with good vs evil. it mixed the teams, reinforcing the idea that that’s how we play. It also meant that each side had three models gaining the affiliation bonus and two who didn’t, forcing us to learn how that works.
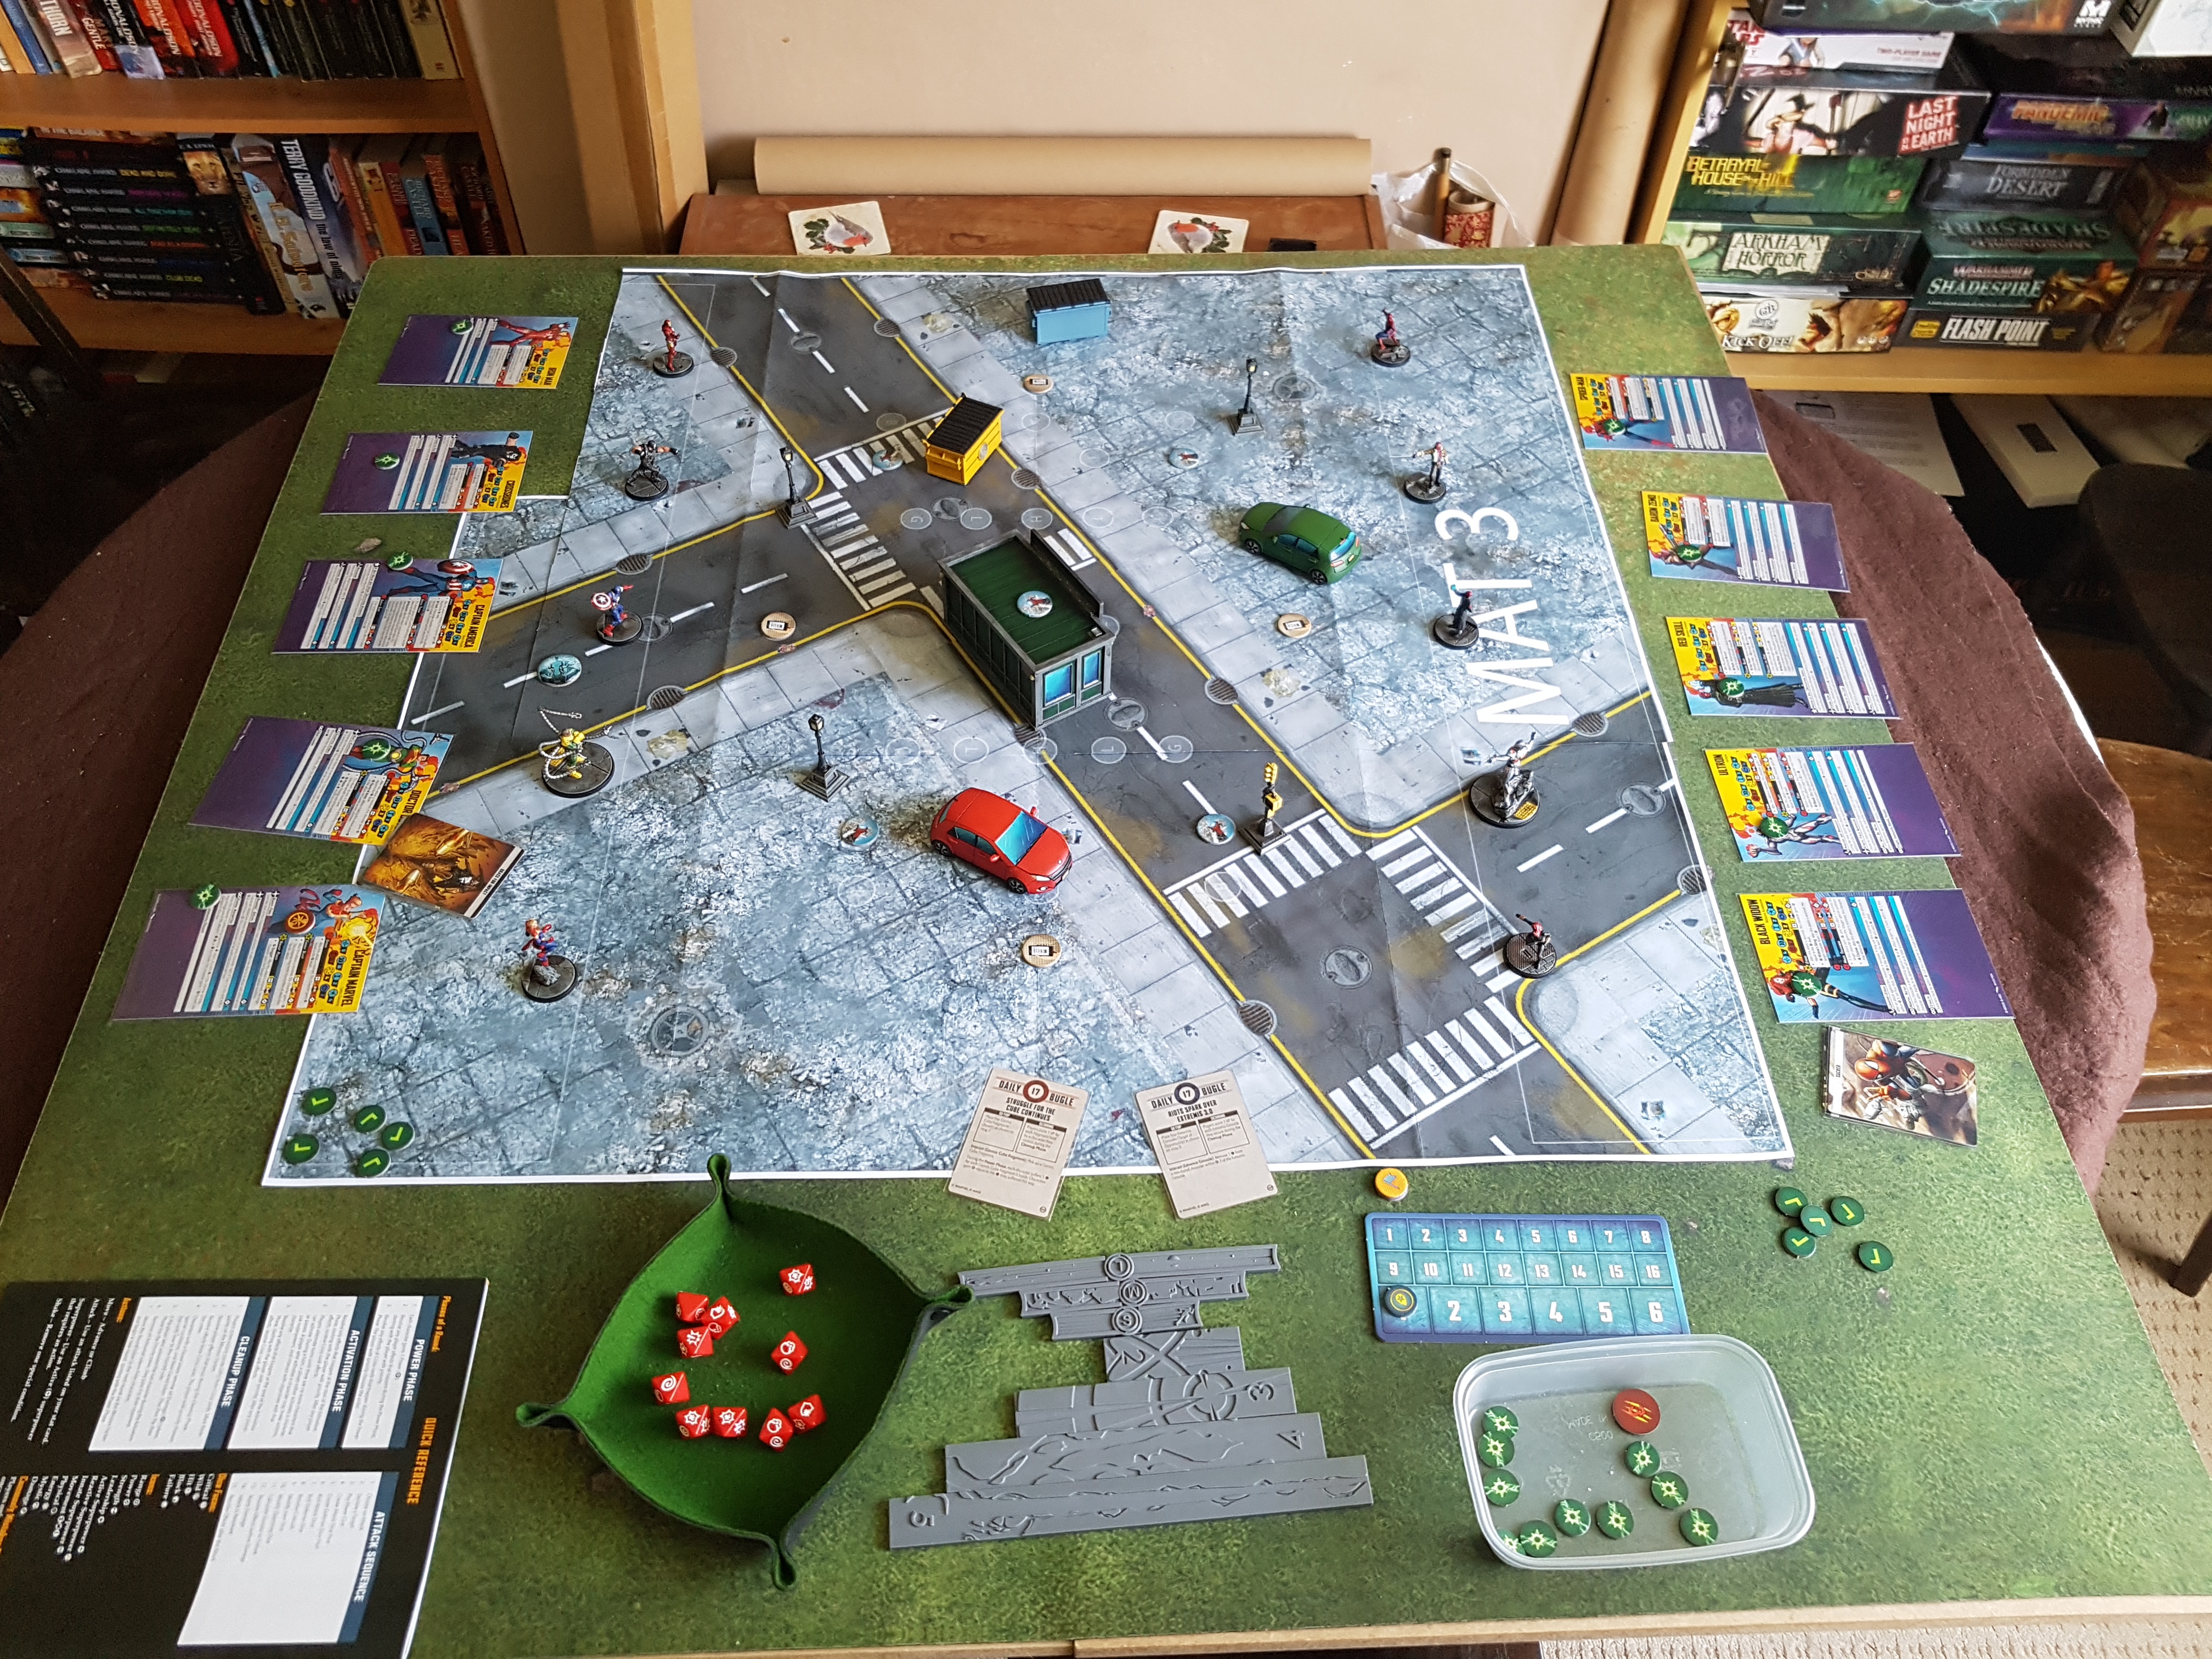 The Setup
Round 1 was mostly people running forward to claim objectives. Some of the later characters actually got to make attacks. Spiderman hurt Crossbones, knocking him back 2, but he got a reactive 2 move so basically stood still. Doc Ock took a hit off Black Widow, Zemo got shot by Iron Man, and Red Skull hurt himself to gain power. I didn’t even look at my tactic cards.
Team Skull has picked up two of the mobile objectives (Cosmic Cube fragments) and is guarding two of the immobile objectives (Extremis terminals)
Team Captain America has two of the Cube fragments and is only camping one of the terminals. The plan was for Crossbones to grab that shard and head back over the following turn to that central terminal. I had already forgotten that by this stage, or he may have moved that way after Spiderman pushed him.
4-3 to Red Skull at the end of Round 1 (It’s first to 15 wins)
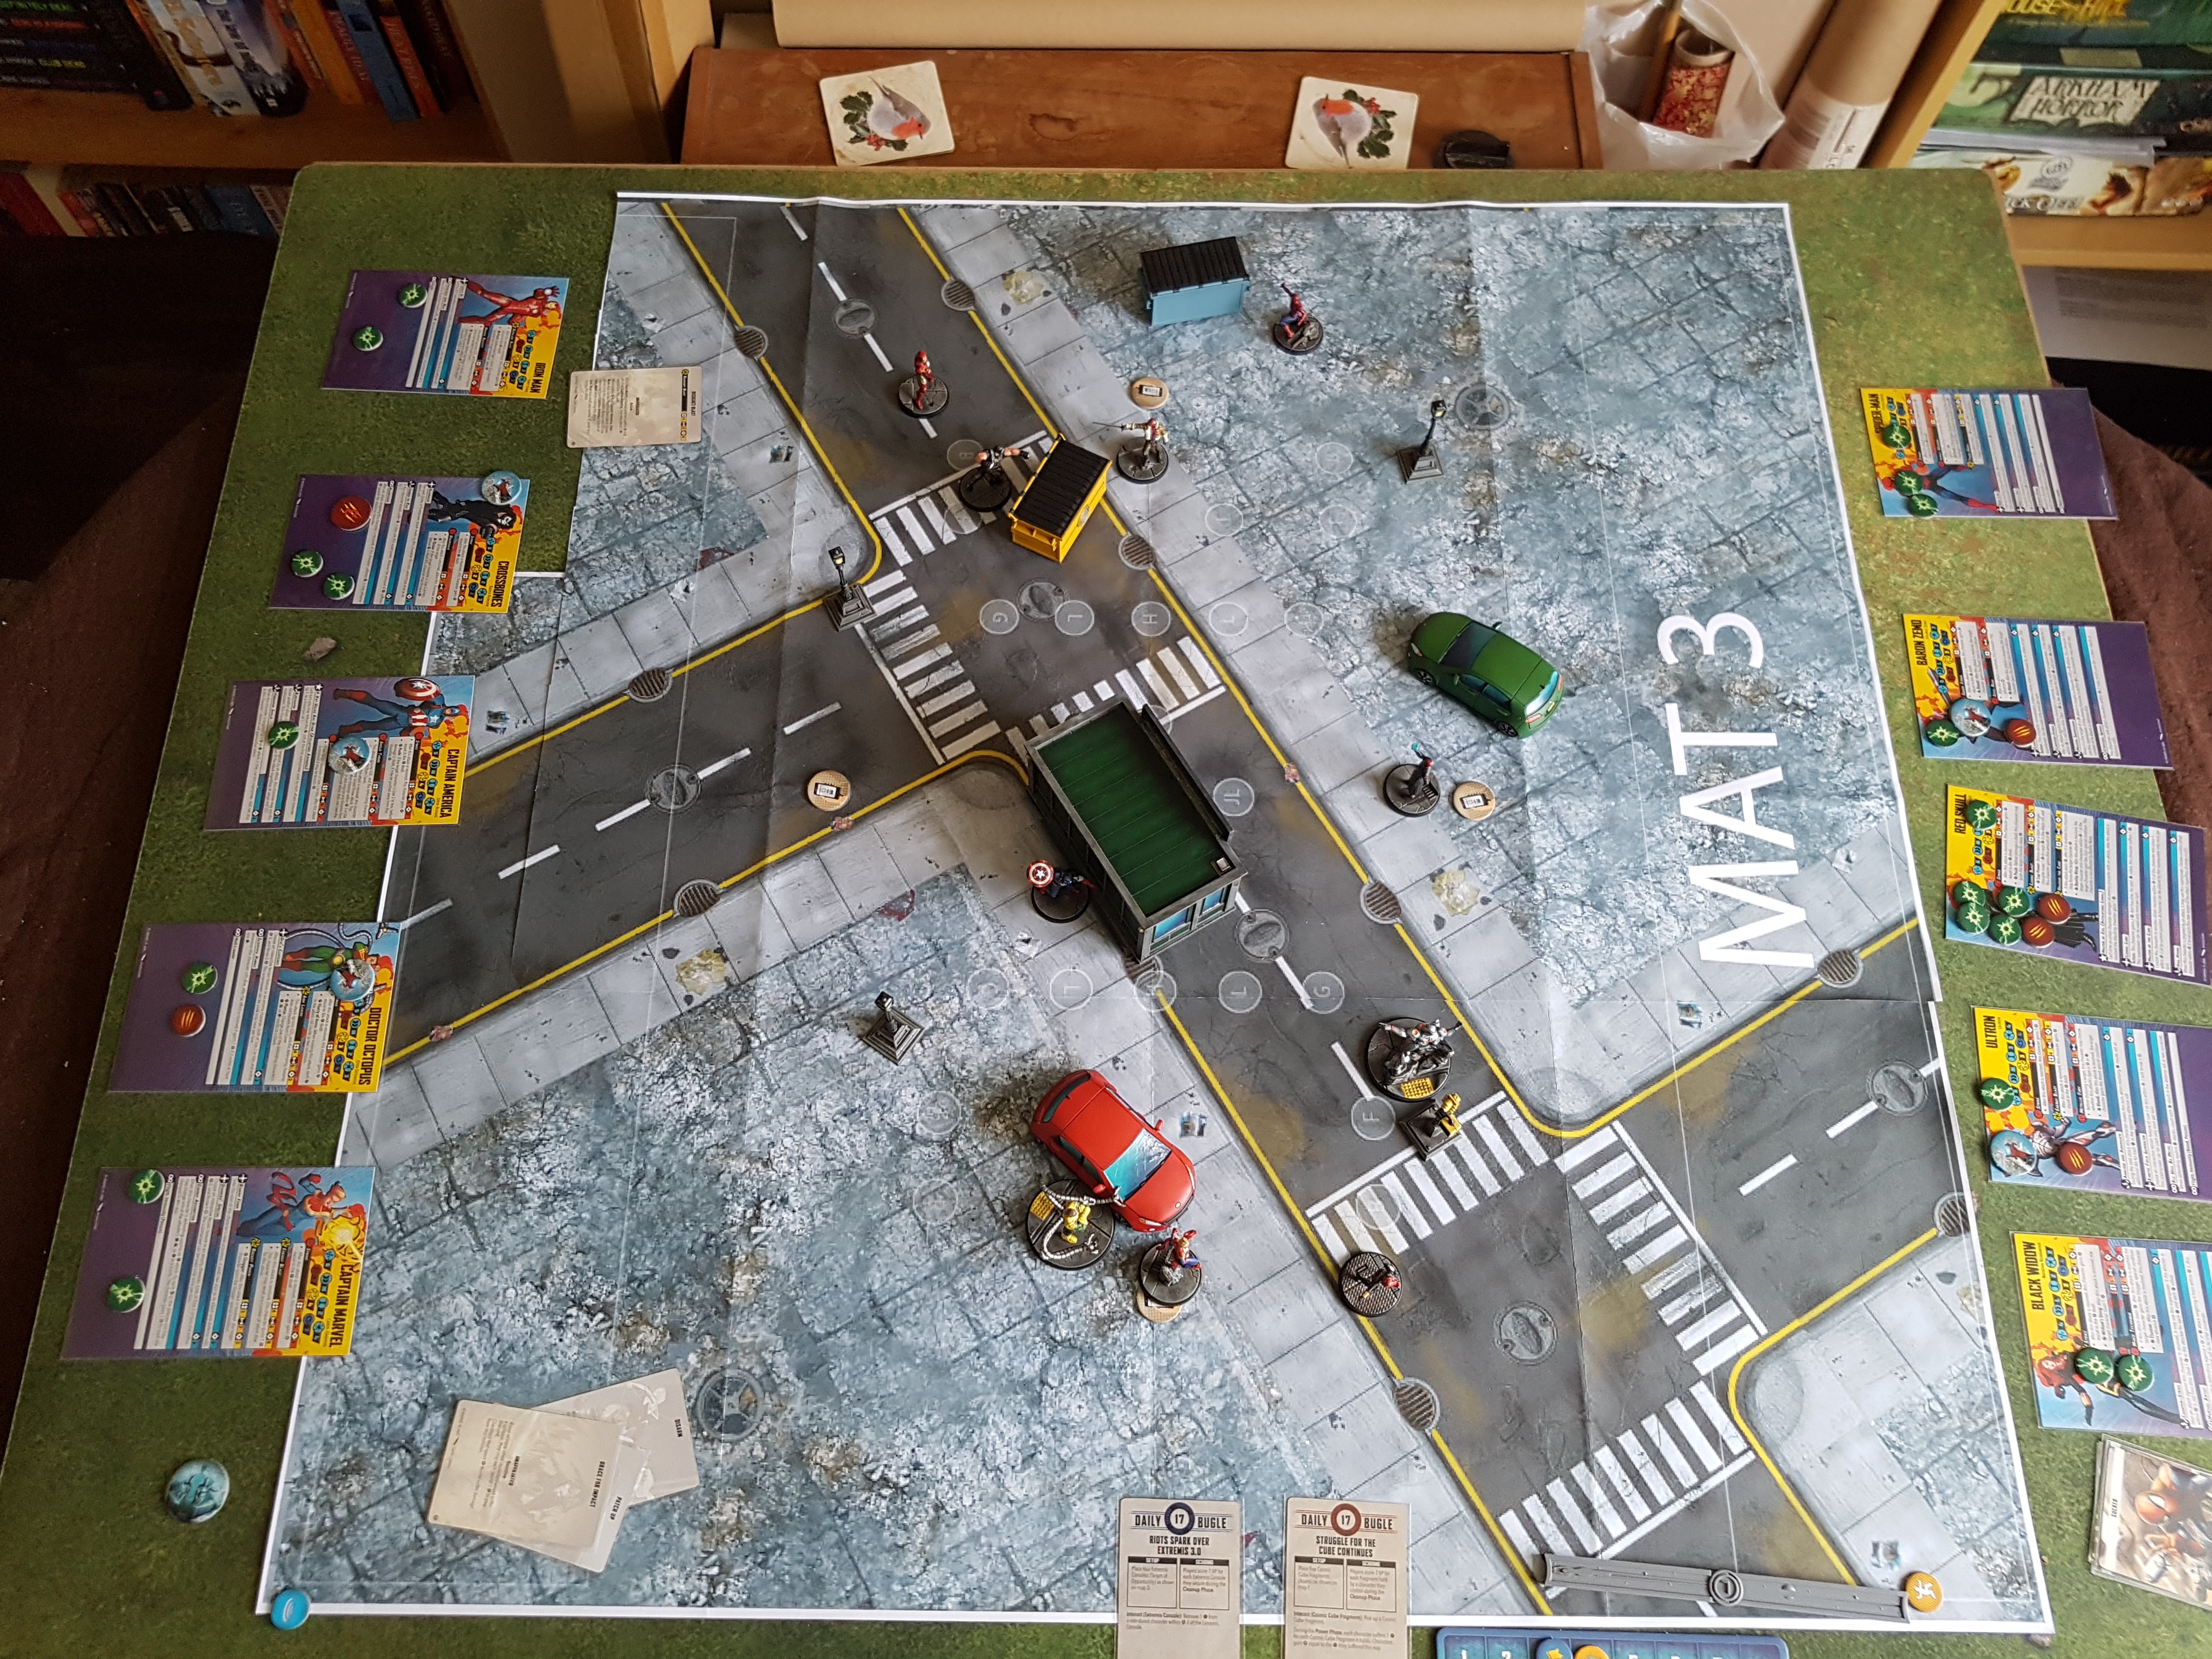 End of round 1: Team Captain America 3, Team Red Skull 4
Spiderman and Zemo are able to flip Crossbones card, causing him to drop his Cube Fragment. Zemo grabs it and runs back towards Red Skull. Spiderman pulls Iron man away from the terminal and then runs in to control it. Captain America retreats to camp the Extremis Terminal, with an eye to aiding in the red car fight with a long range attack later. Doc Ock and Captain Marvel are able to throw Ultron backwards in to a crossing light, leaving him on one health. He will become dazed and drop his Cube Shard at the start of the next round, but not until after scoring. The red car terminal is now dominated by Team Captain America.
Team America is controlling 2 terminals and holds 2 fragments, scoring 4 points. Team Skull controls 2 terminals and holds 3 fragments, scoring 5.
I appear to have accidentally cheated here. Zemo had one Cube Fragment during round 1 and it appears to have drifted over to Red Skulls card at some point. I’m only noticing that now.
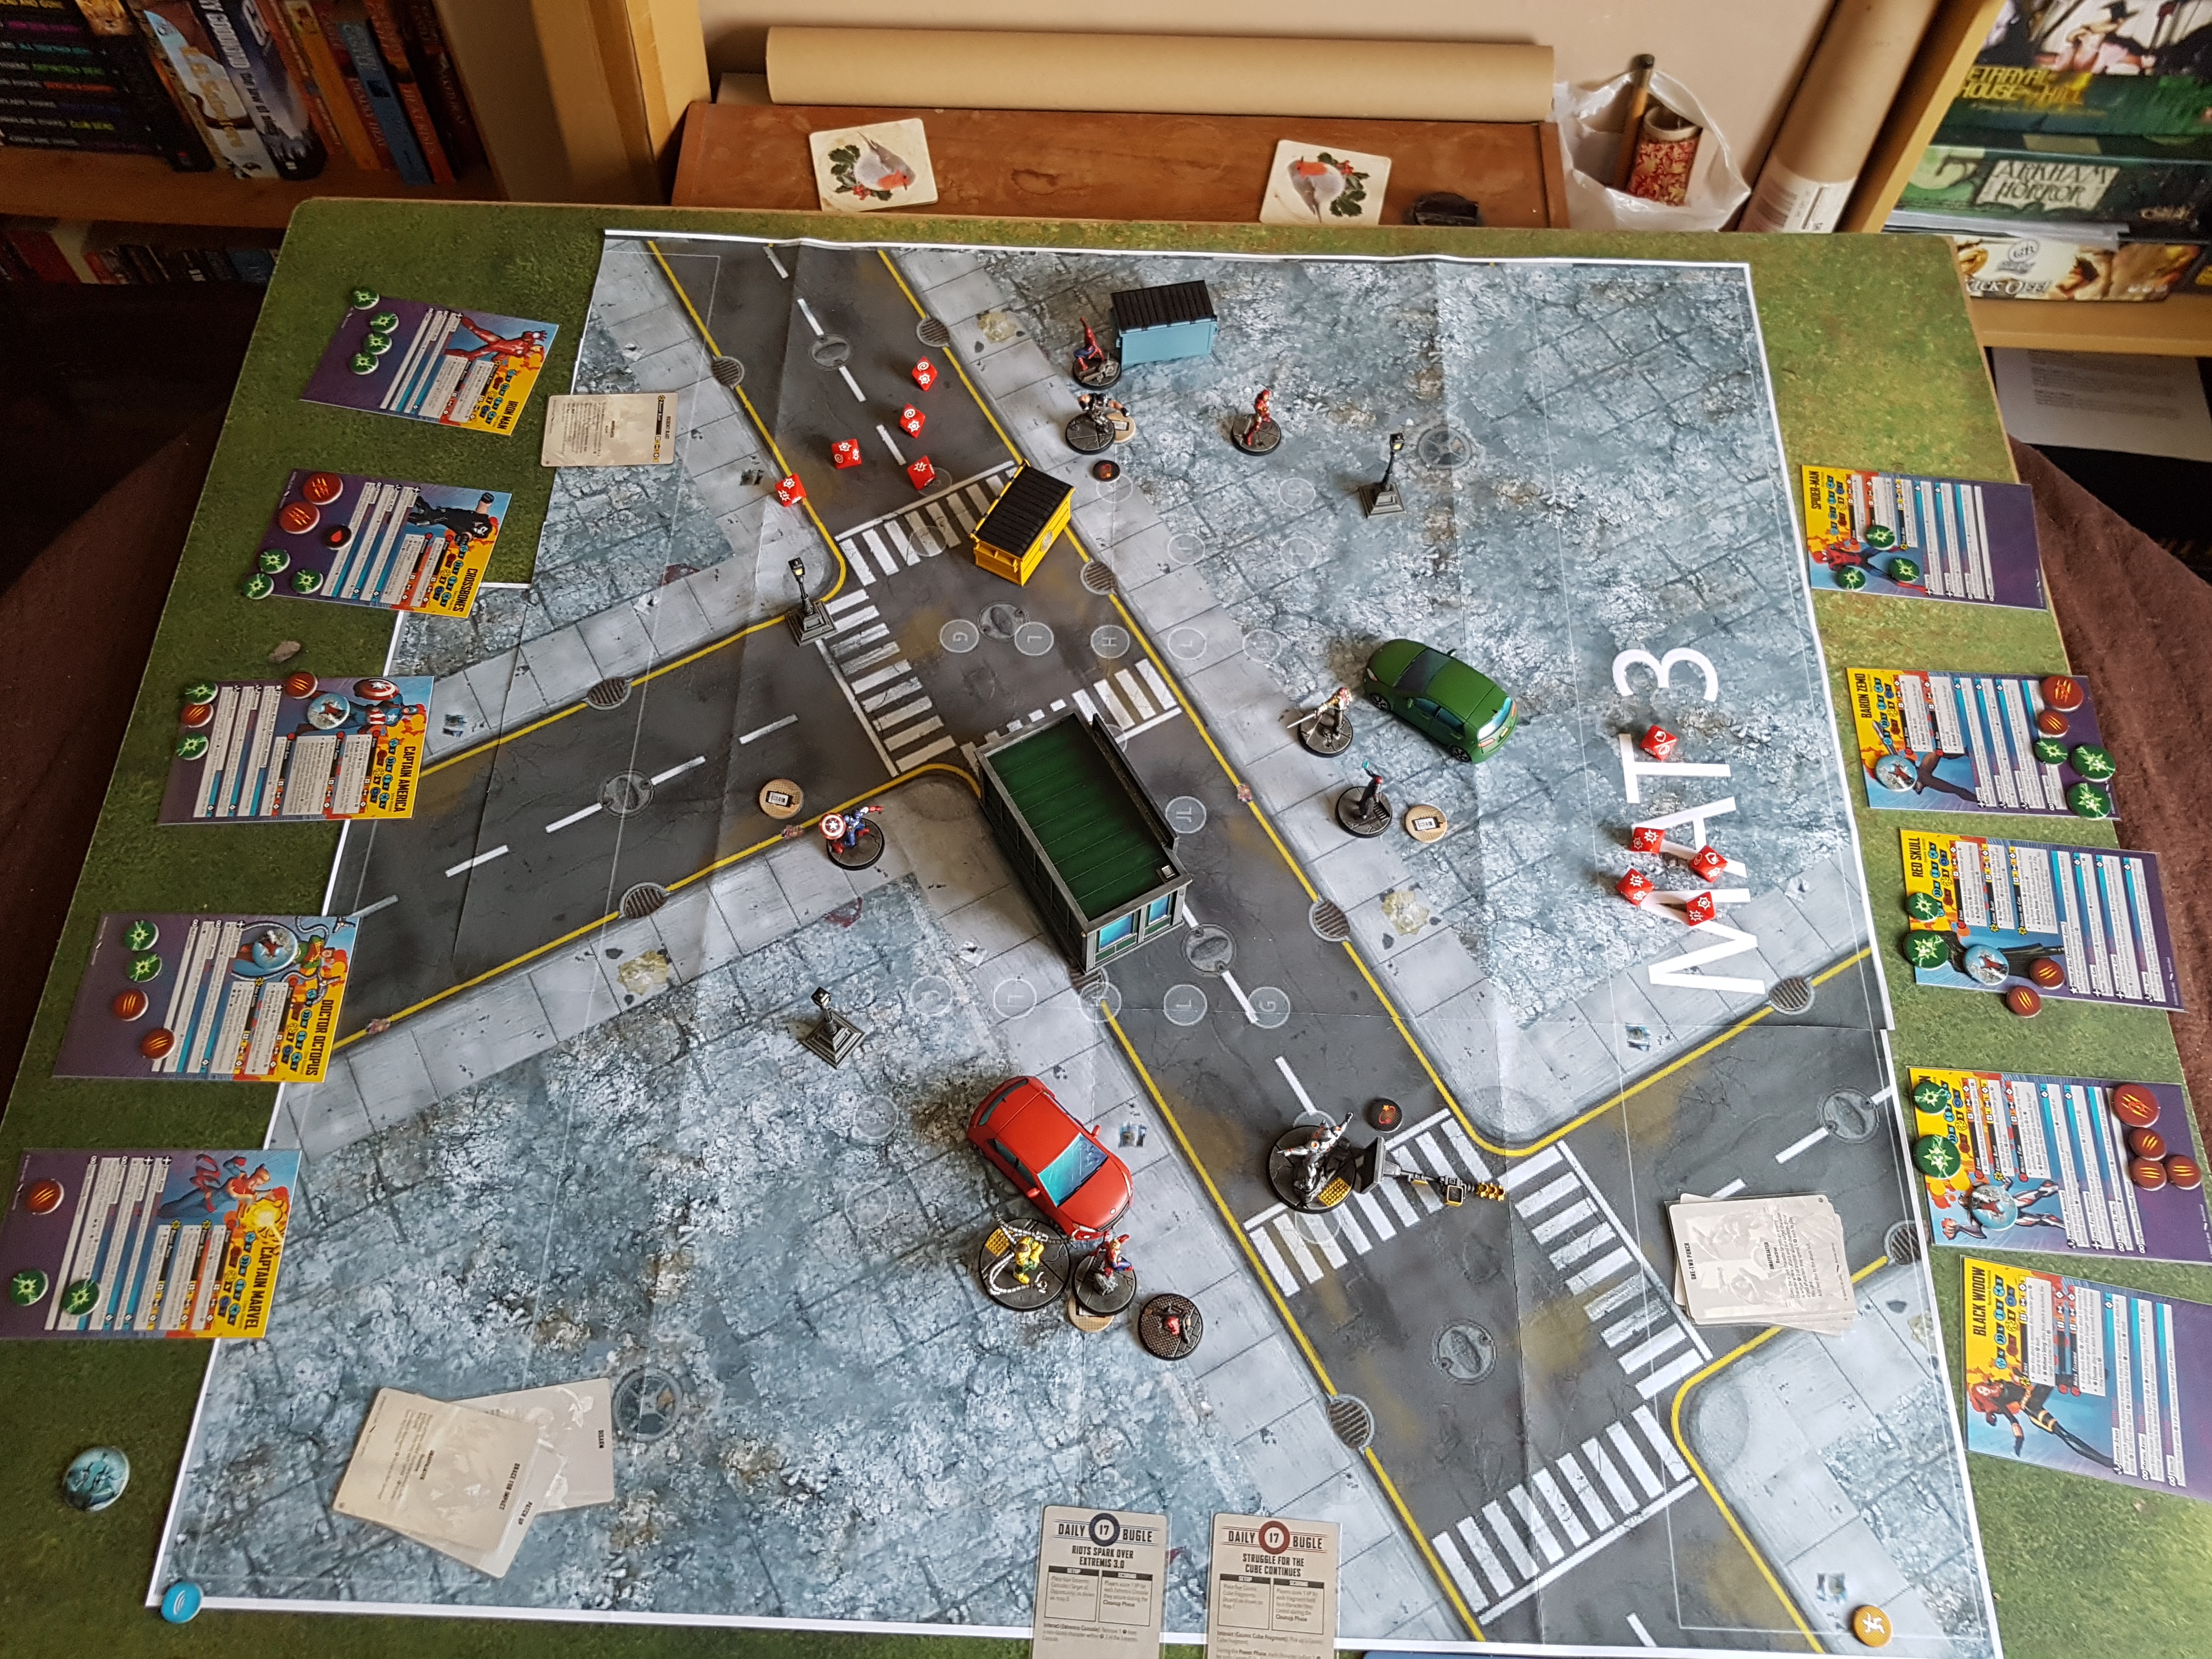 End of round 2: Team Captain America 7, Team Red Skull 9
I remembered to look at the tactics cards this turn, but barely used them. It was too much for me to keep track of everything for both sides during my first game, and a lot of the abilities seem situation, and I’d already made some unusable through positioning.
Team America has realised that they are losing massively. I’m a Warmachine player and the scoring is quite different there. You need a 5 point lead on your opponent to win, which means so long as you’re scoring you can drag the game out and catch up. That doesn’t work in MCP. it’s first to 16, no matter how much the other side is scoring. Captain America abandons his post to try and stop the enemy from scoring, and maybe help reclaim some Fragments. he misses his attacks though.
Ultron flipped his card at the start of the turn, becoming dazed and useless. he dropped his Fragment, but Black Widow grabbed it and ran back to camp with Red Skull and Zemo. iron man ran forward to try and help Captain America stop the enemy from scoring, but it was too little too late and the dice were against them.
At the end of the round Team America score 1 terminal, and 2 fragments. team Skull score 2 terminals and 3 fragments. That’s 10 to 14. Skull just needs 1 point to win. there’s not much that can be done to stop them.
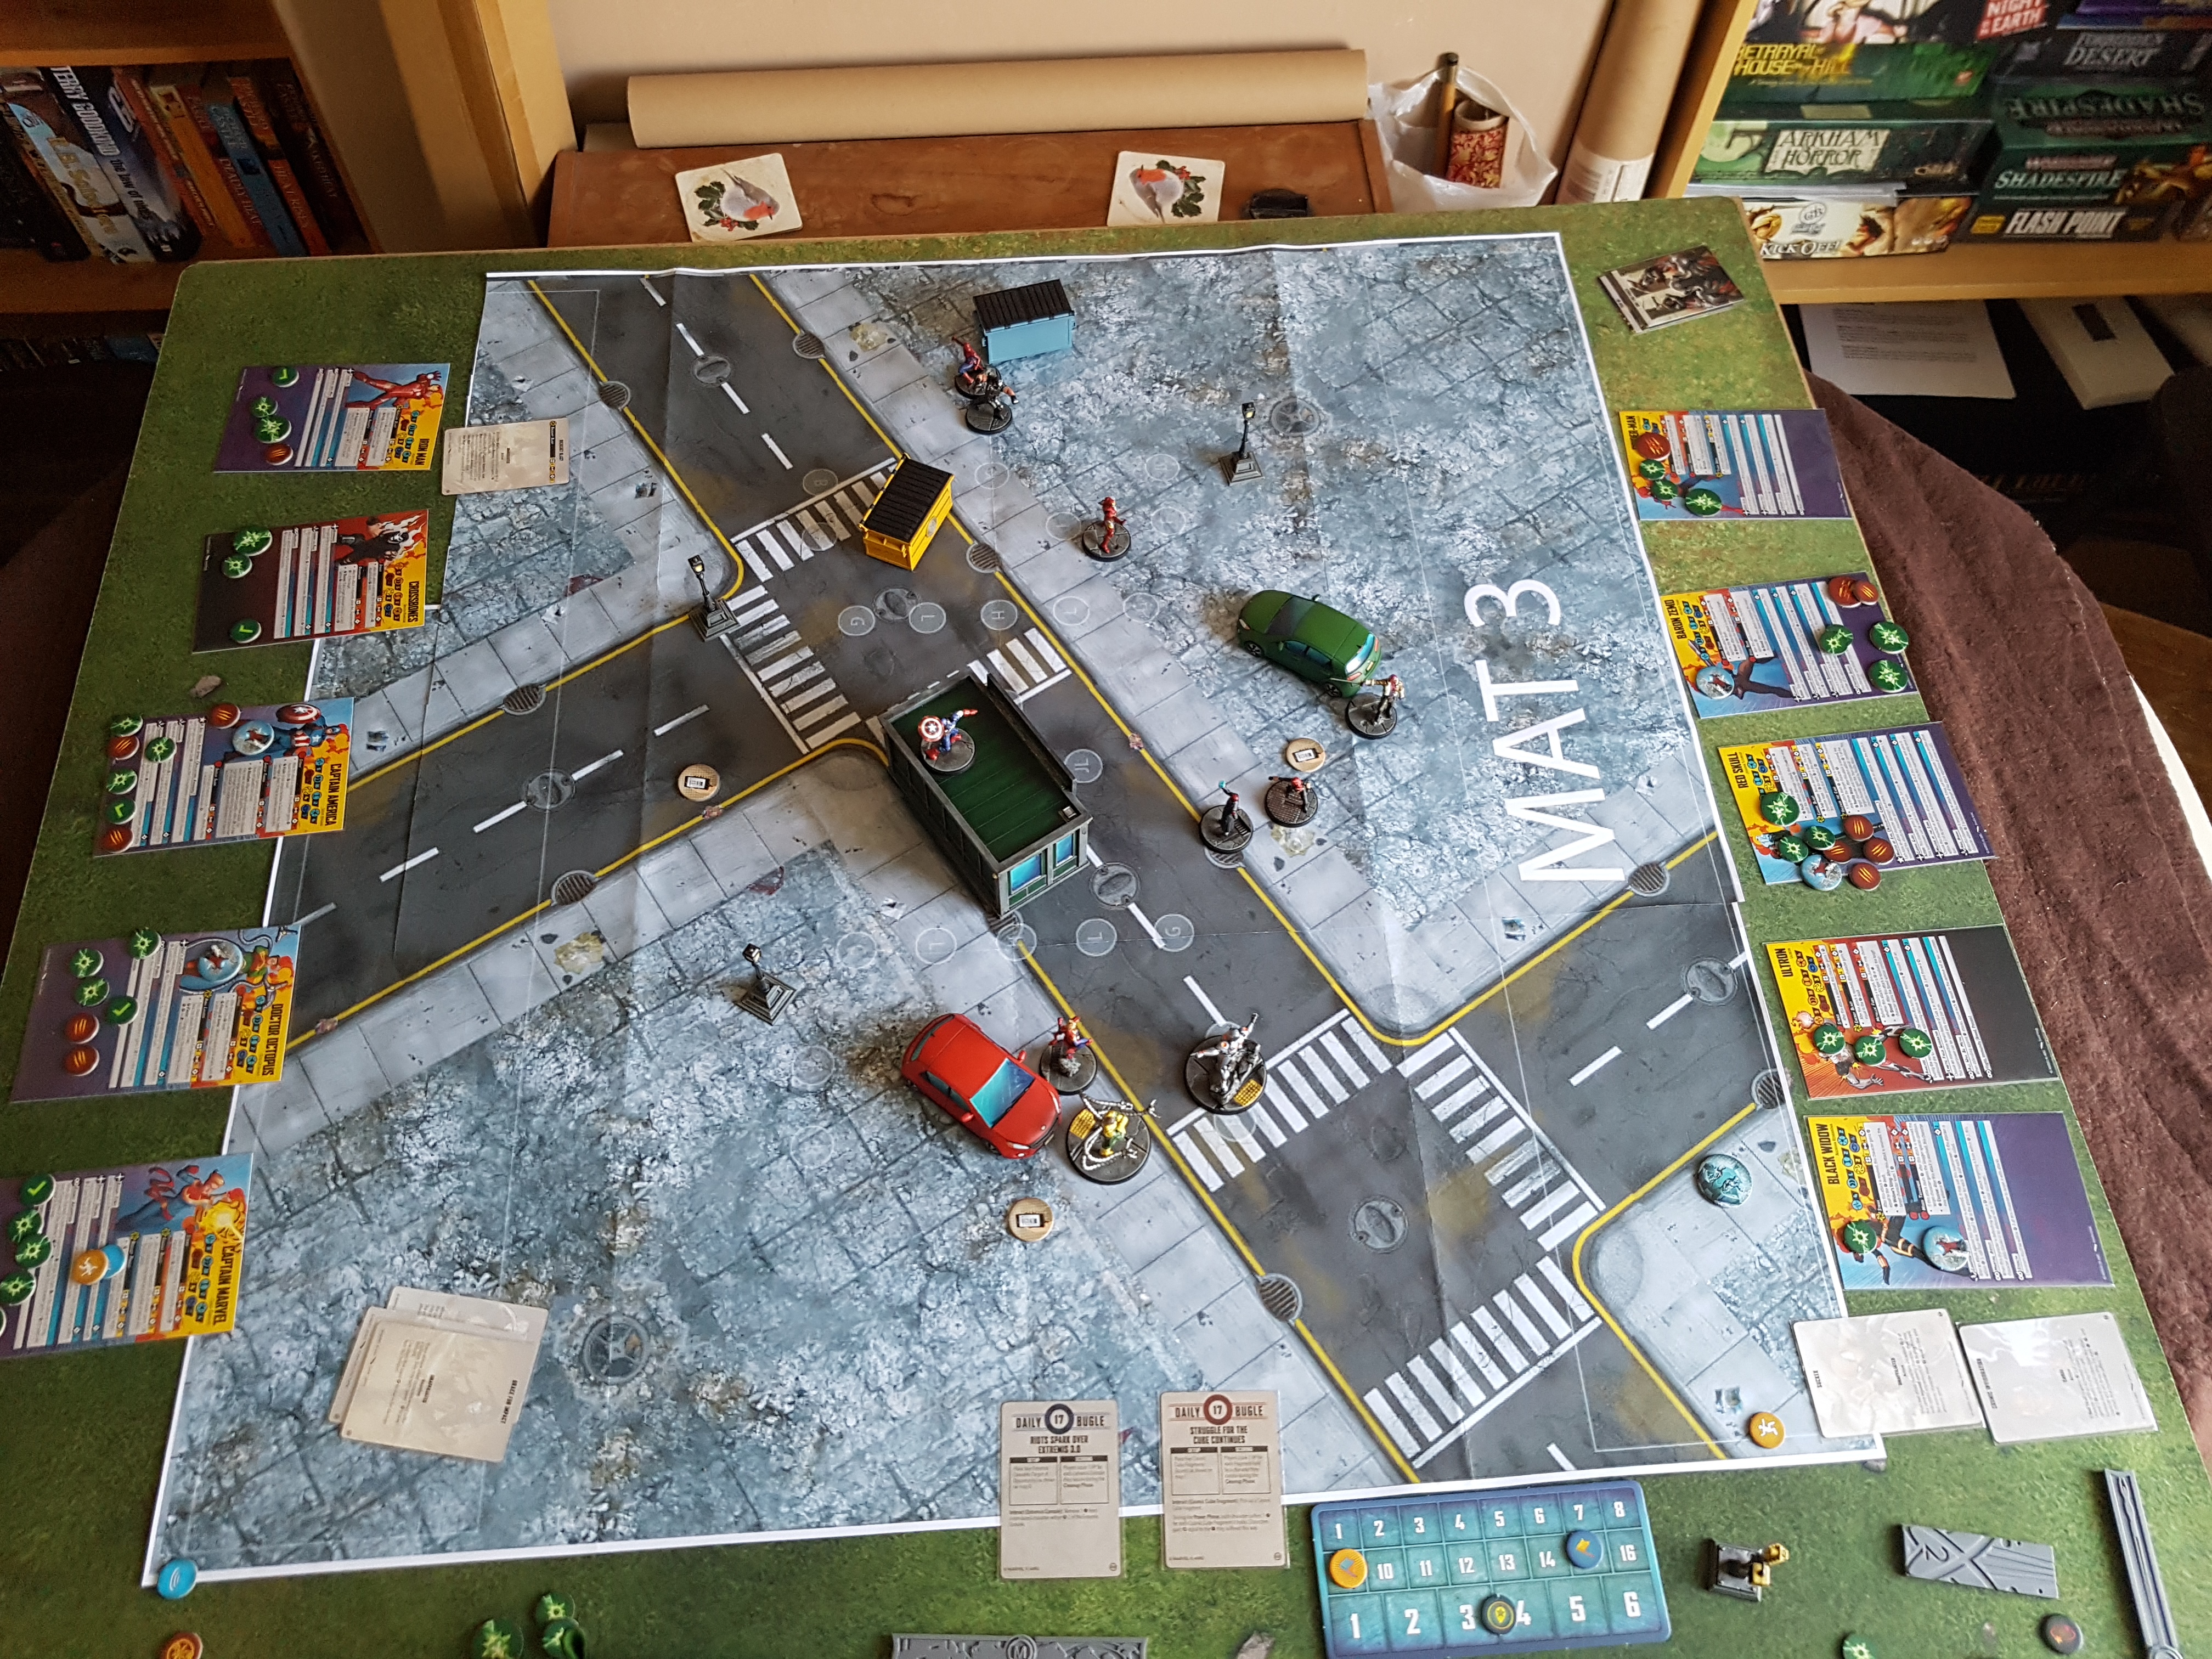 End of round 3: Team Captain America 10, Team Red Skull 14
Everyone went all in, but there wasn’t much that could be done. it even got worse. Doc Ock went down after being hit by a car, and Black Widow stole his Fragment. Captain America, Red Skull and Spiderman got dazed/flipped. Iron man ran in and reclaimed Captain Americas Fragment before anyone else could get it. Ultron grabbed Red Skull’s fragment.
Team America had 1 Fragment and controlled 1 terminal, scoring 2. Team Skull had 4 fragments and controlled 1 terminal, scoring 5. That’s 12-19 in favour of Team Red Skull
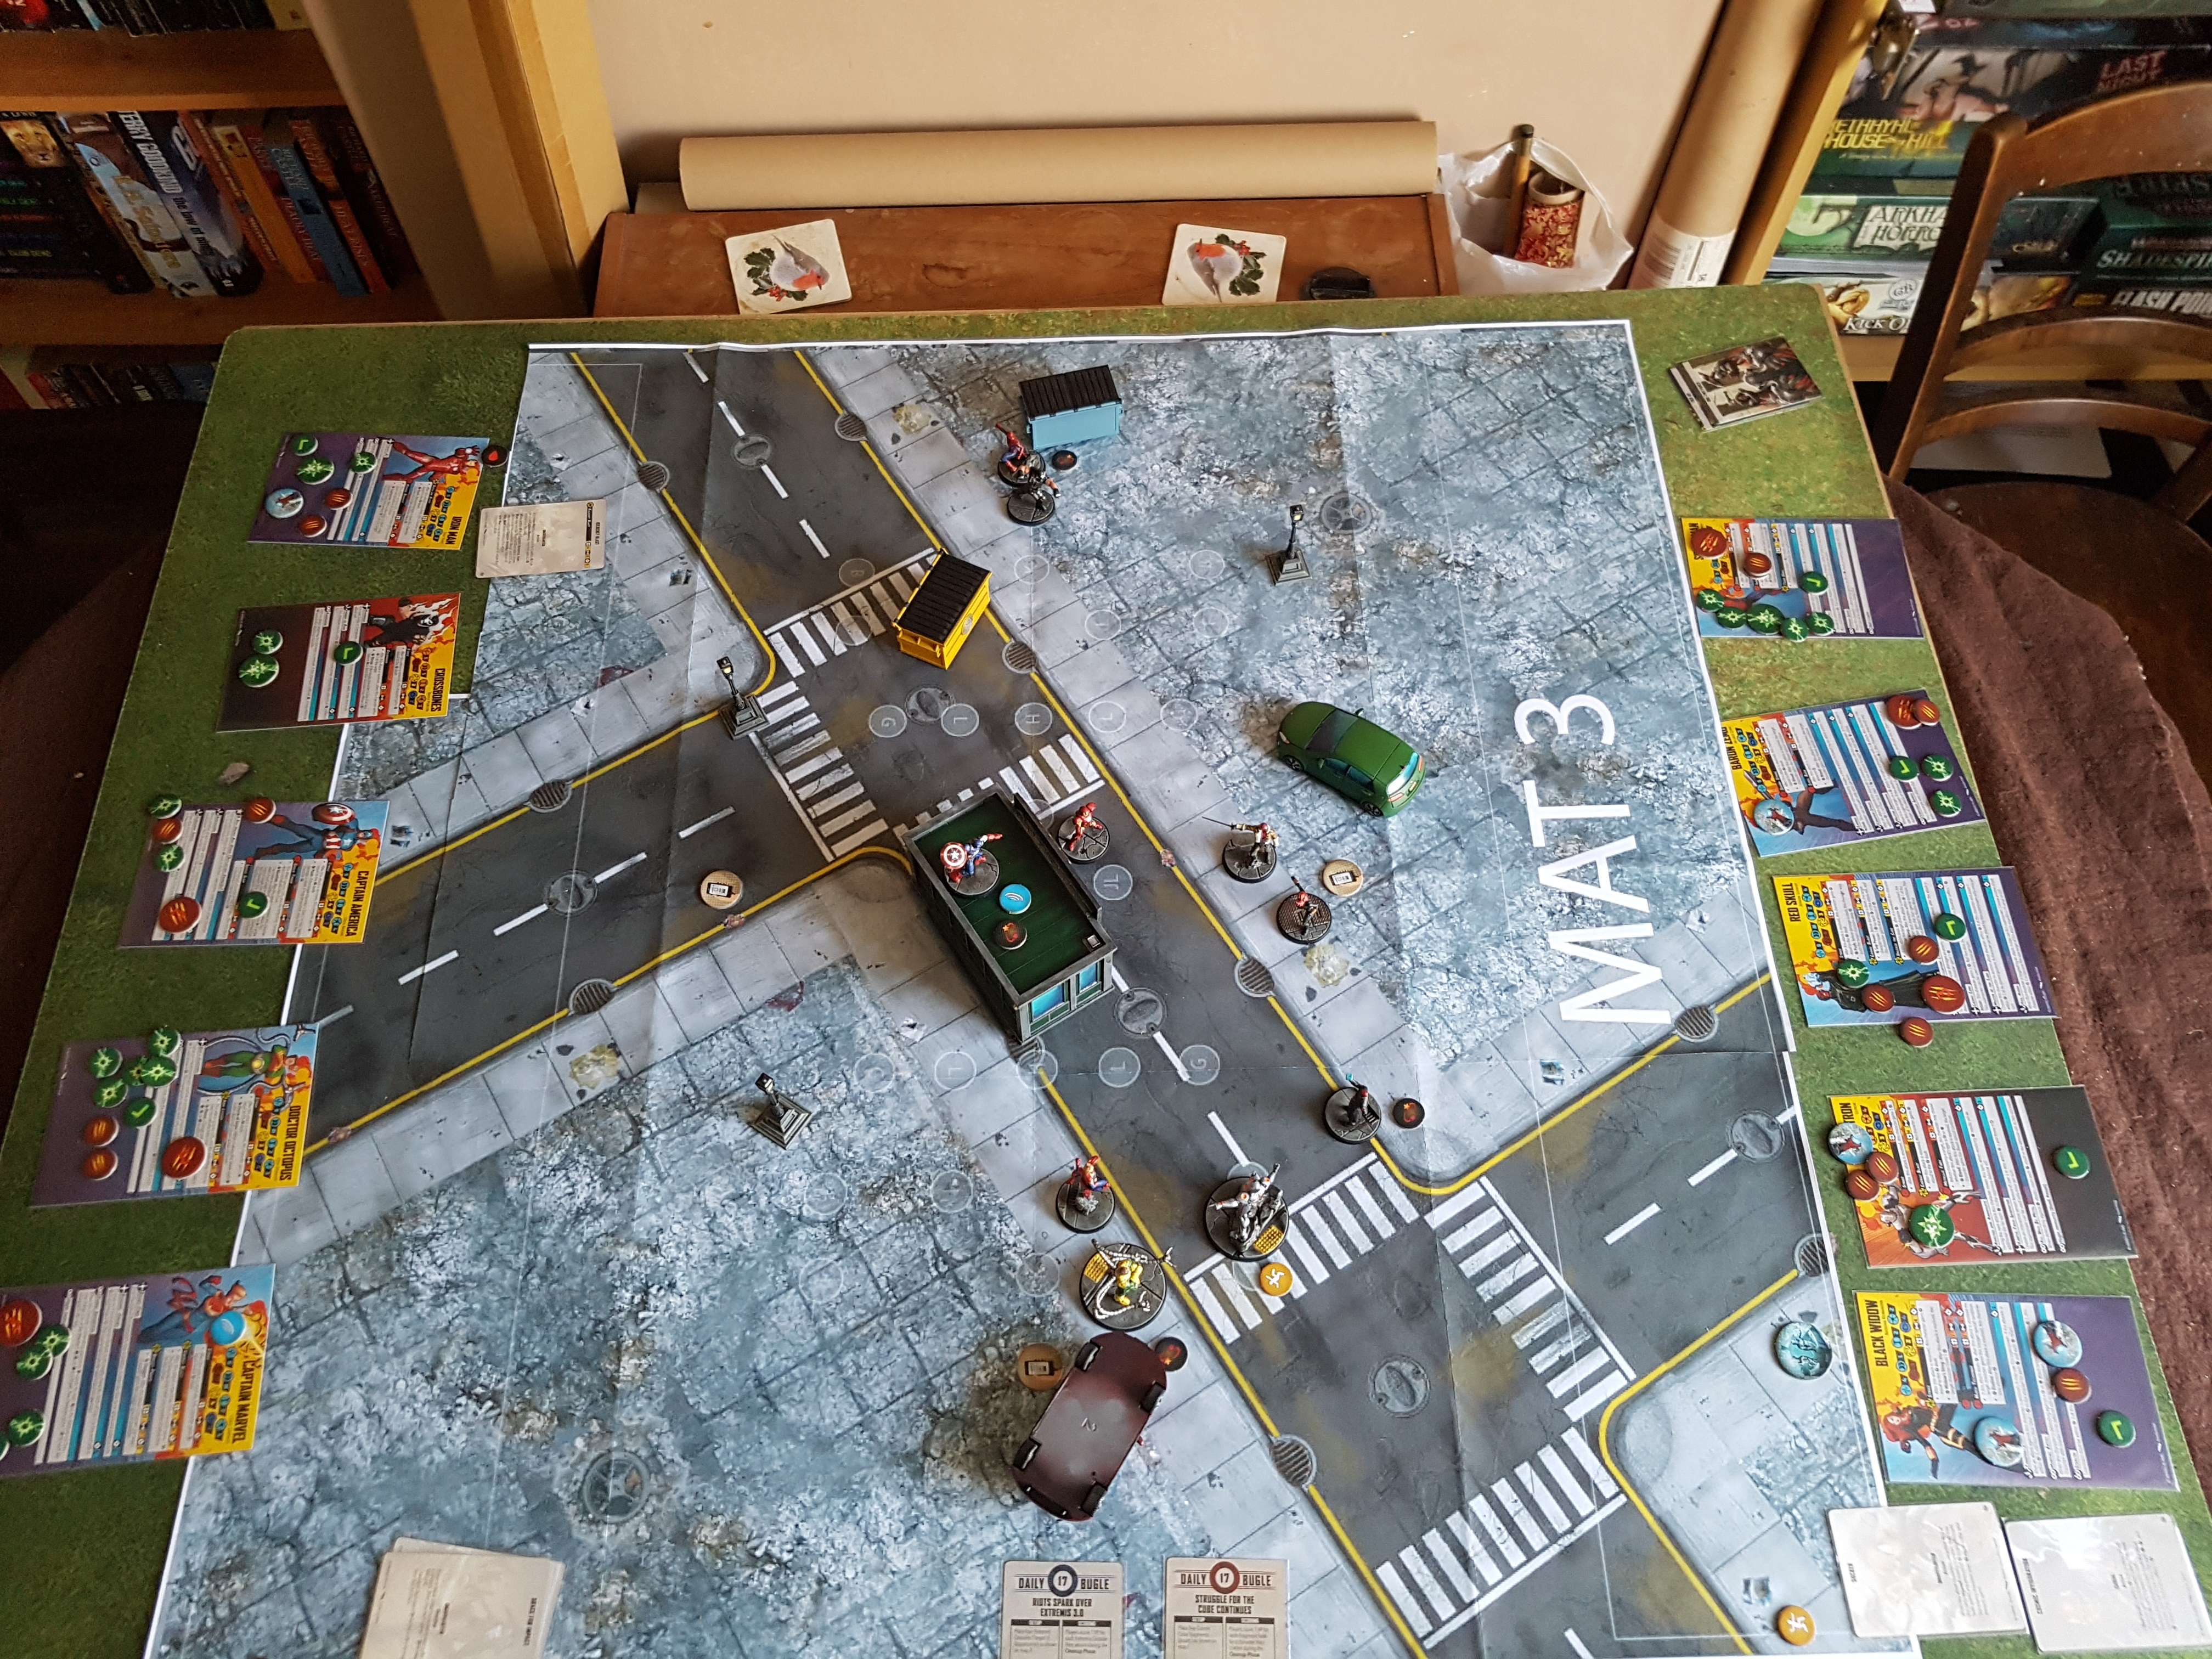 End of round 4 and the game: Team Captain America 12, Team Red Skull 19
So that was fun. I’d prefer to have a second person there so we could go again and I could focus more on one side and one set of cards. Another time.
Playing that taught me this is much more of a sports game than a war game, only there isn’t one ball. There were 9, and 4 of them couldn’t move. It’s got much more in common with Guild Ball than Warmachine. I look forward to getting some games in and trying to play it more like a sportball game.
While I had everything out I set up a bust table to show off everything I’d done since the start of the project and to see what a full busy table I can build would look like.
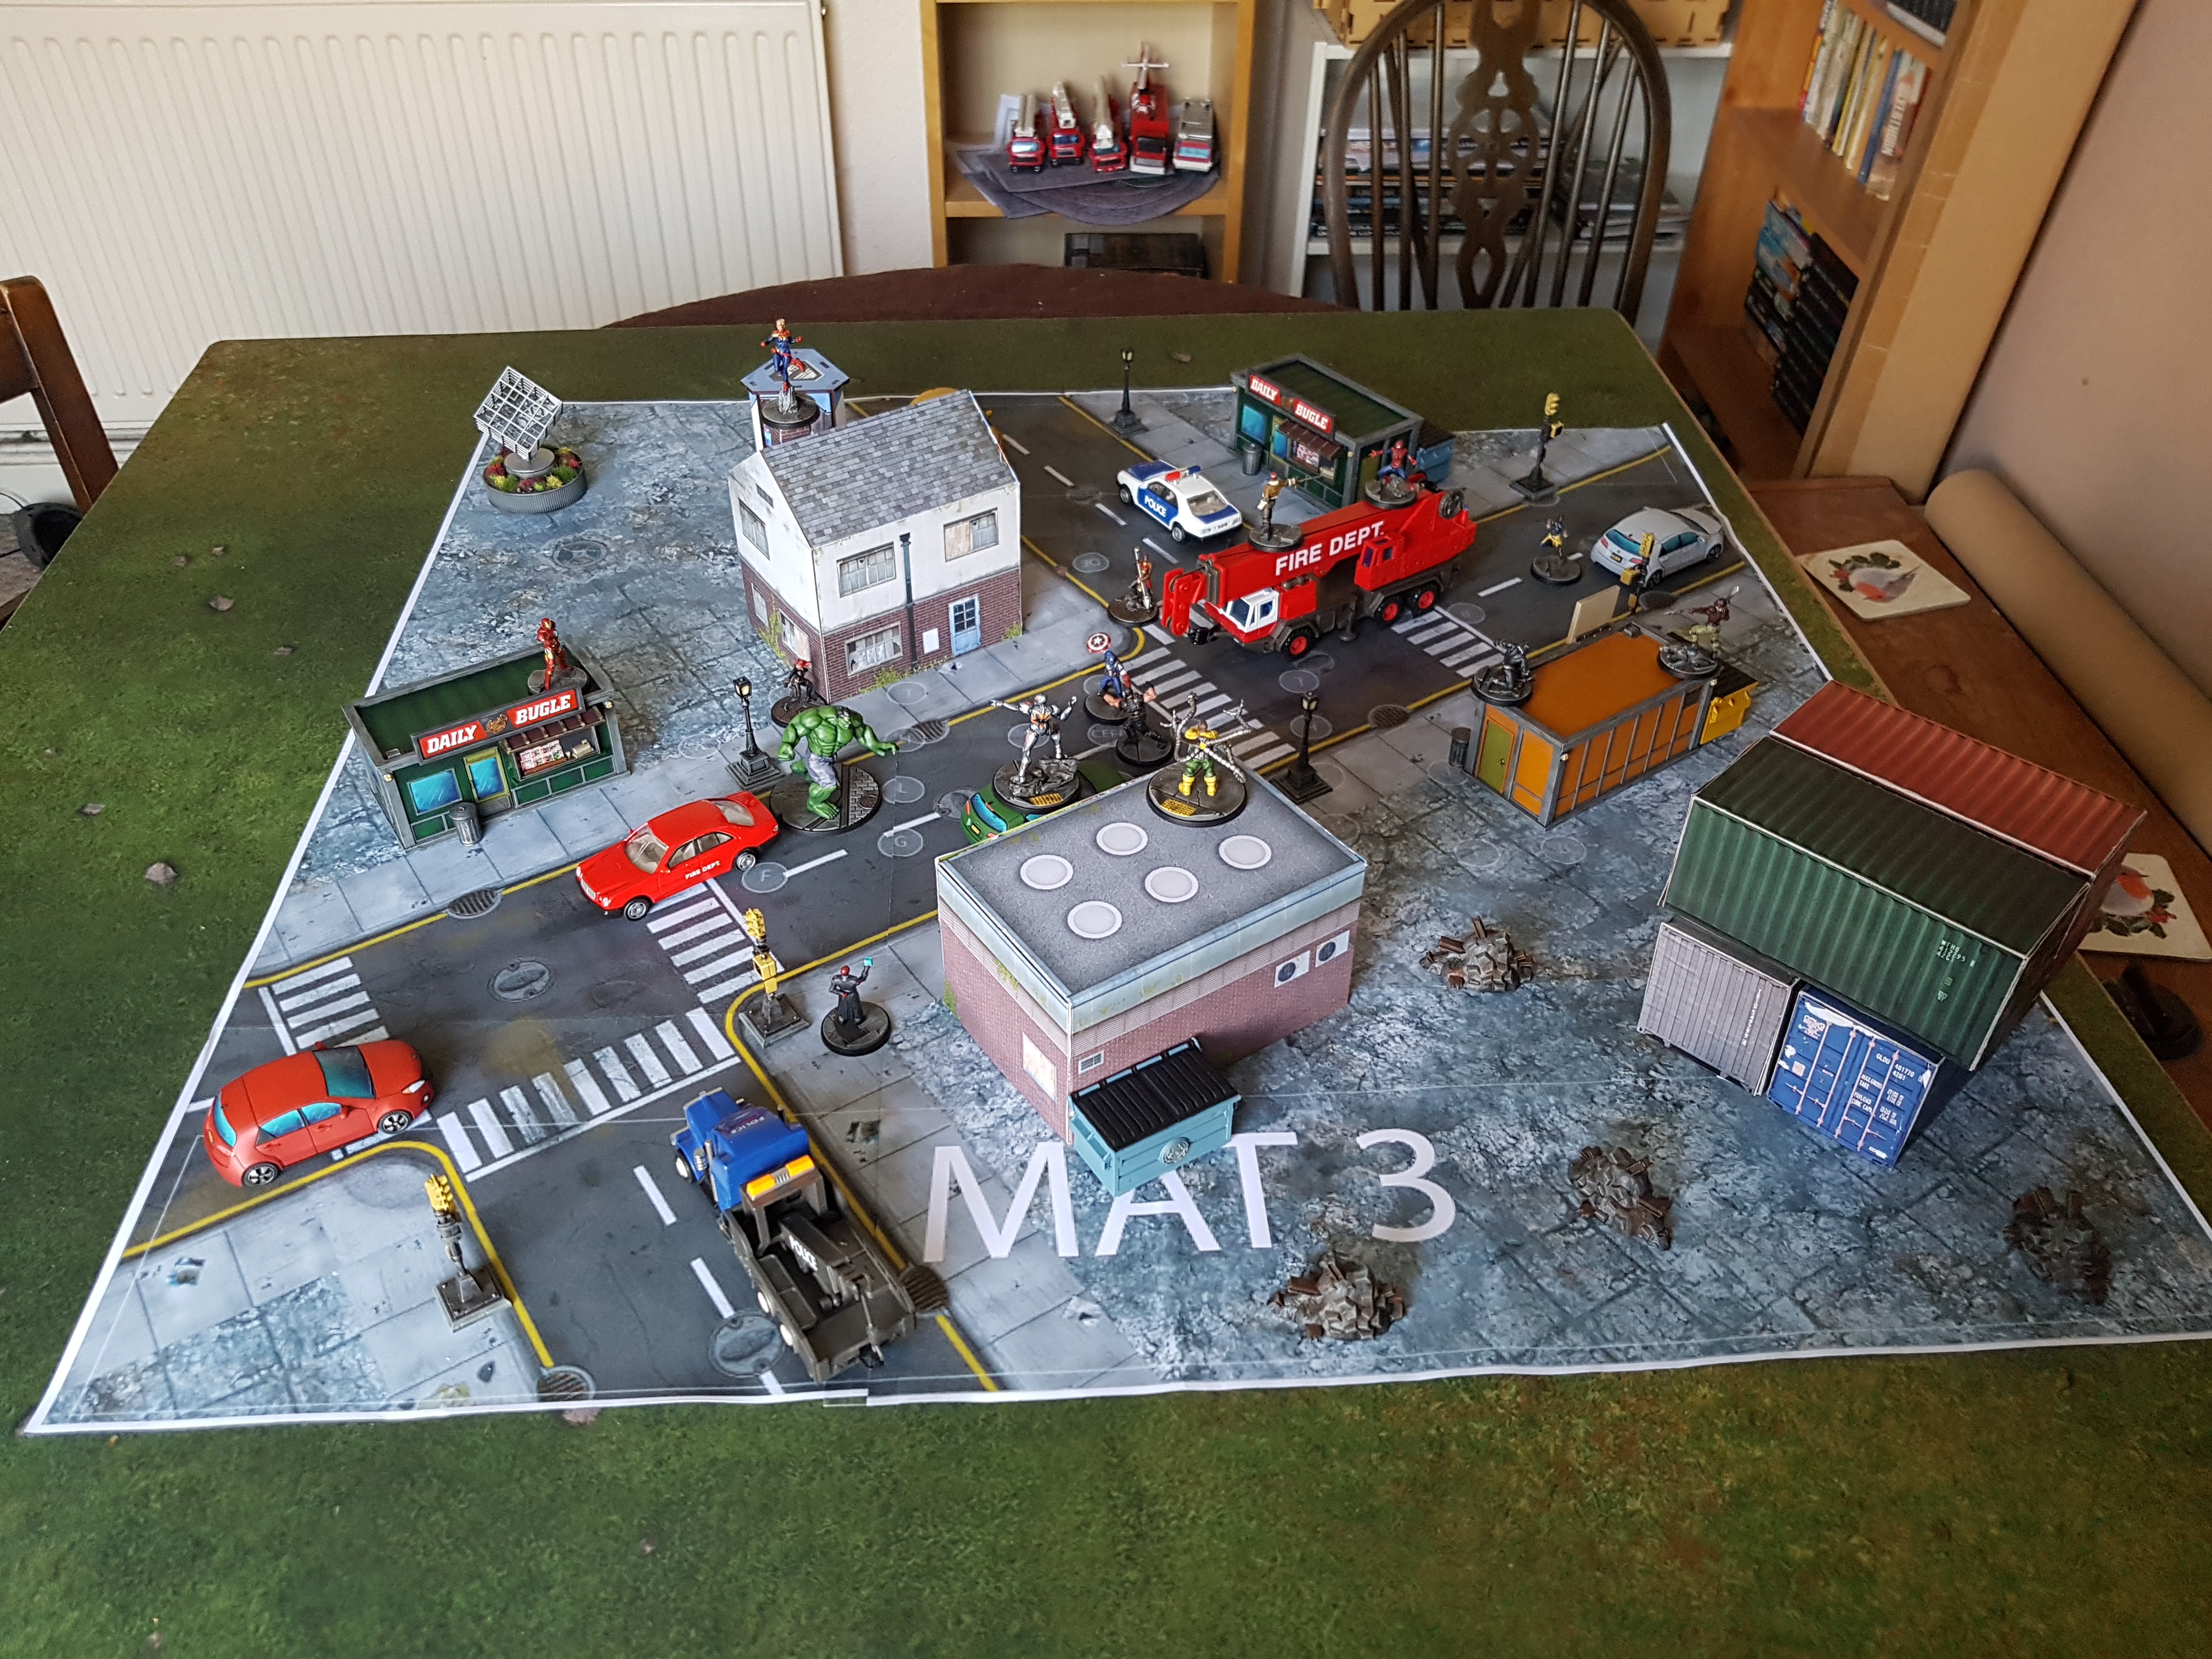
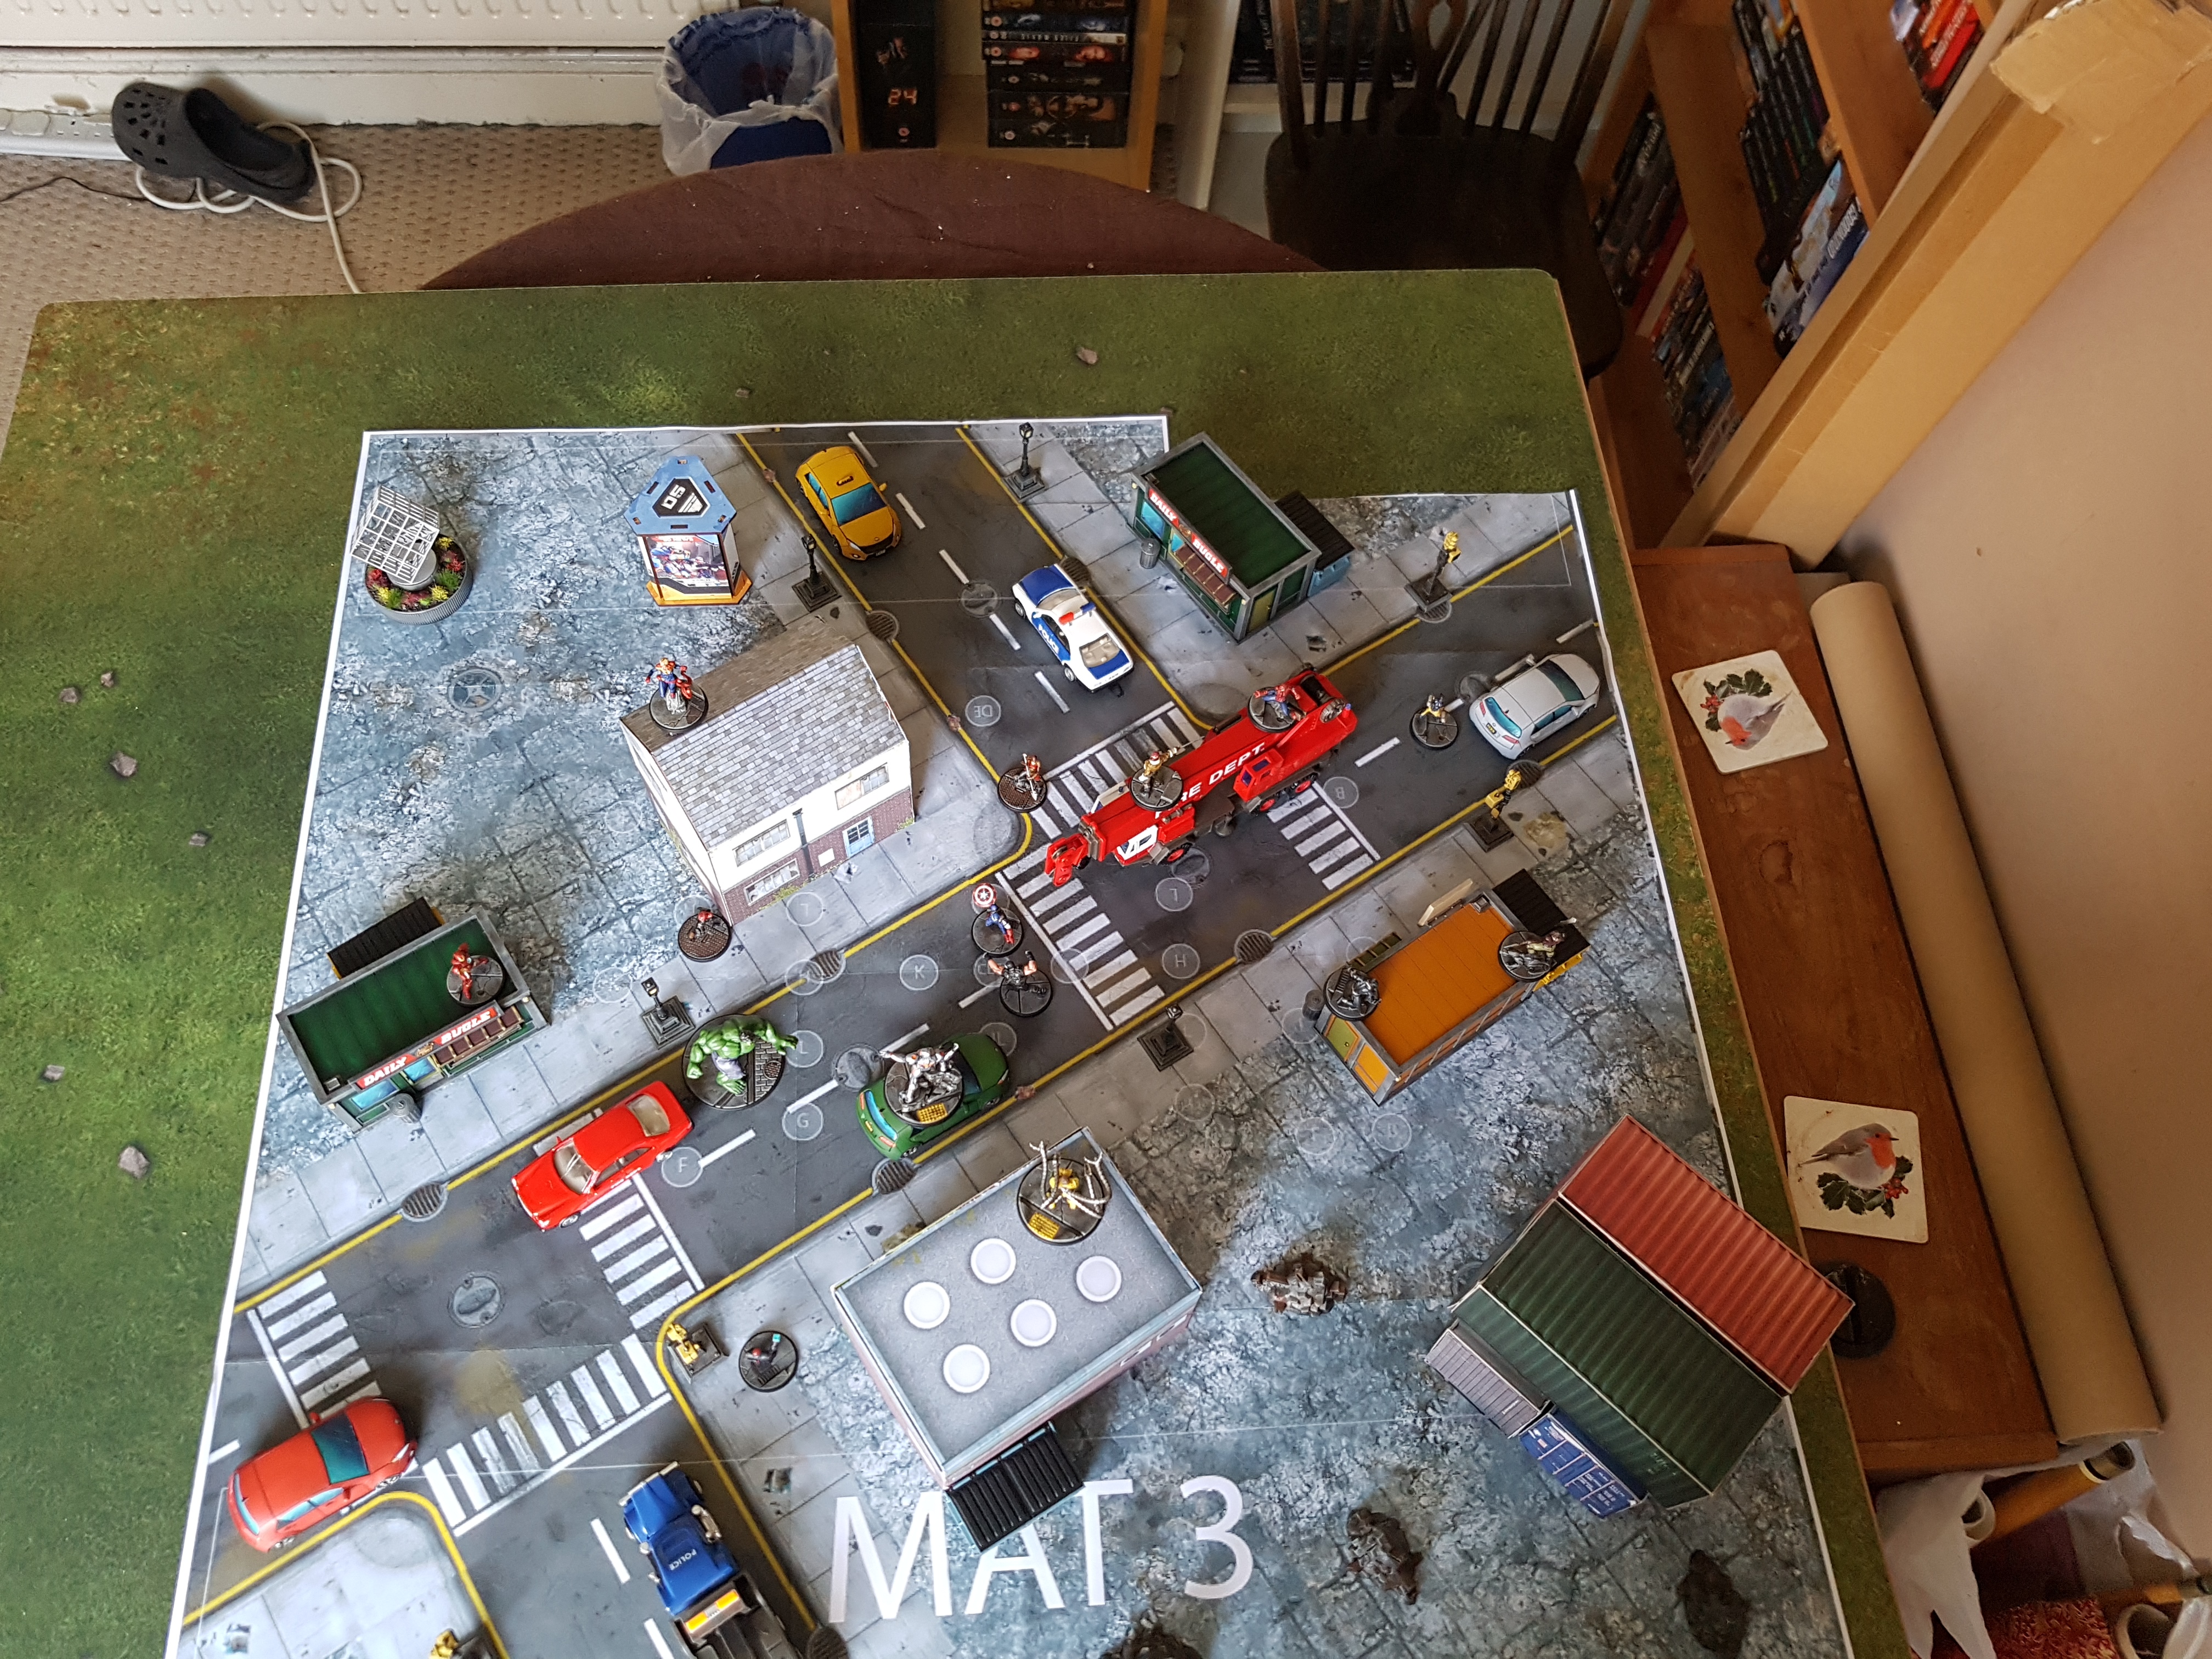
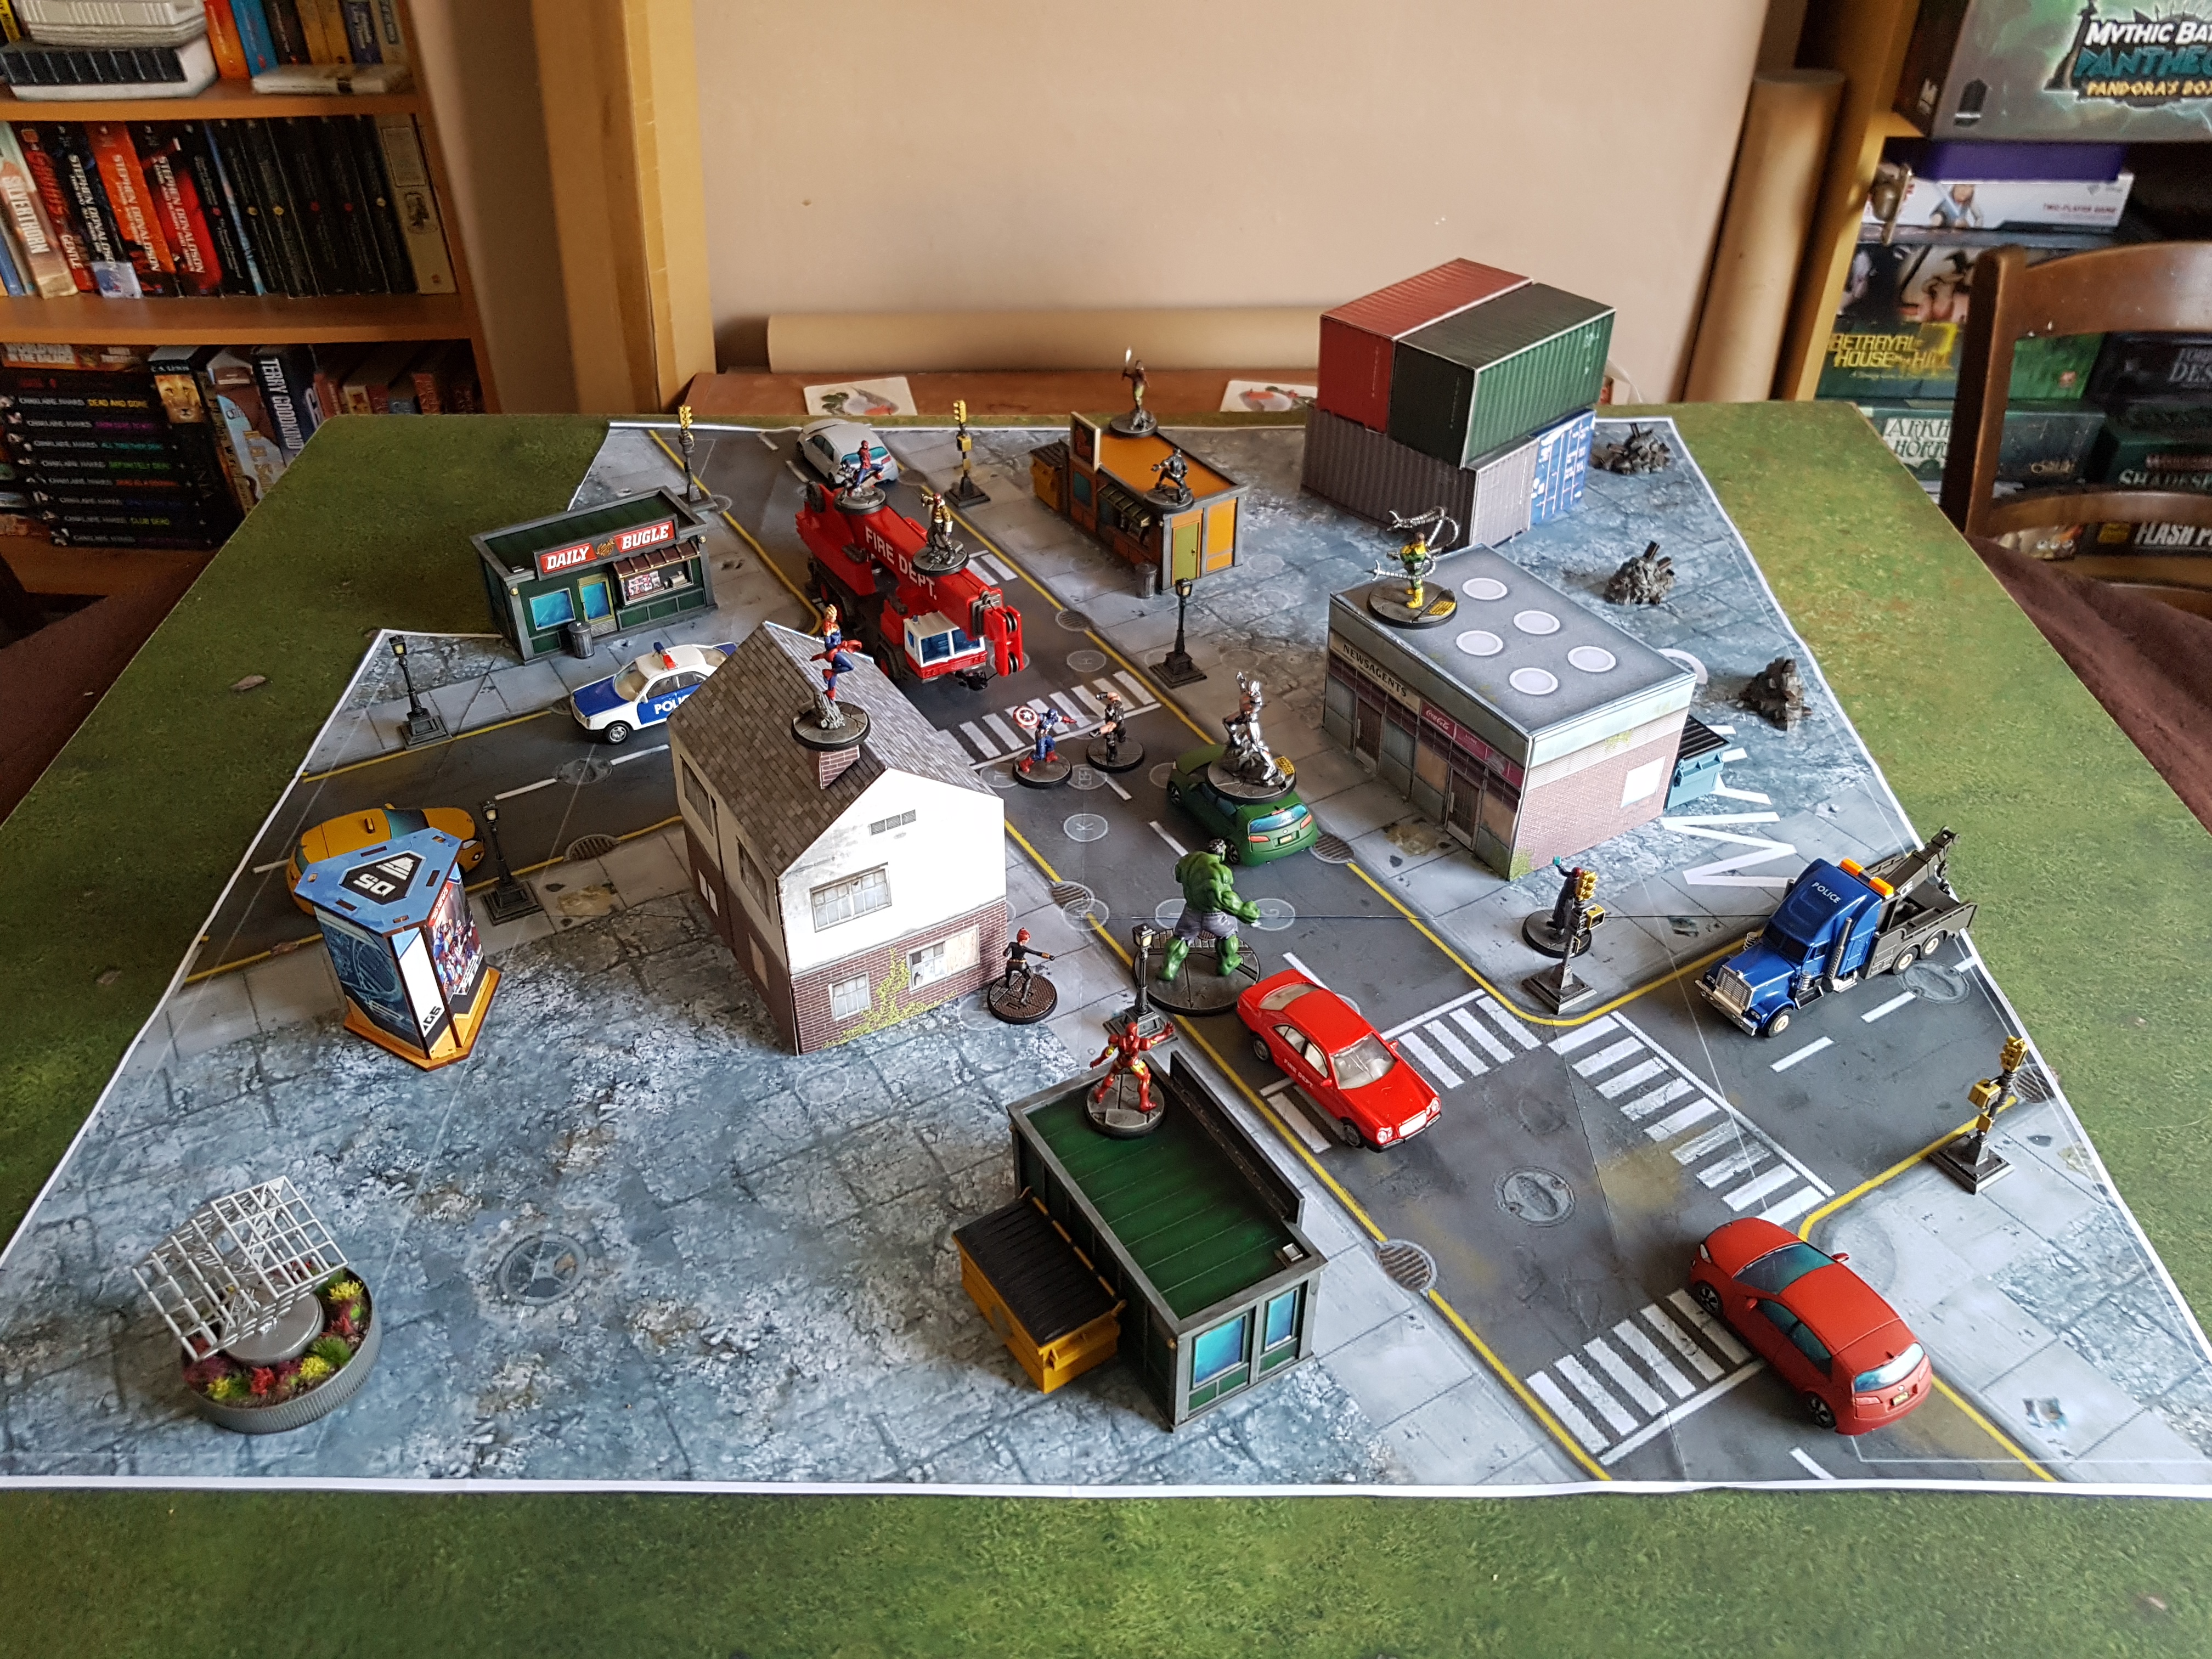
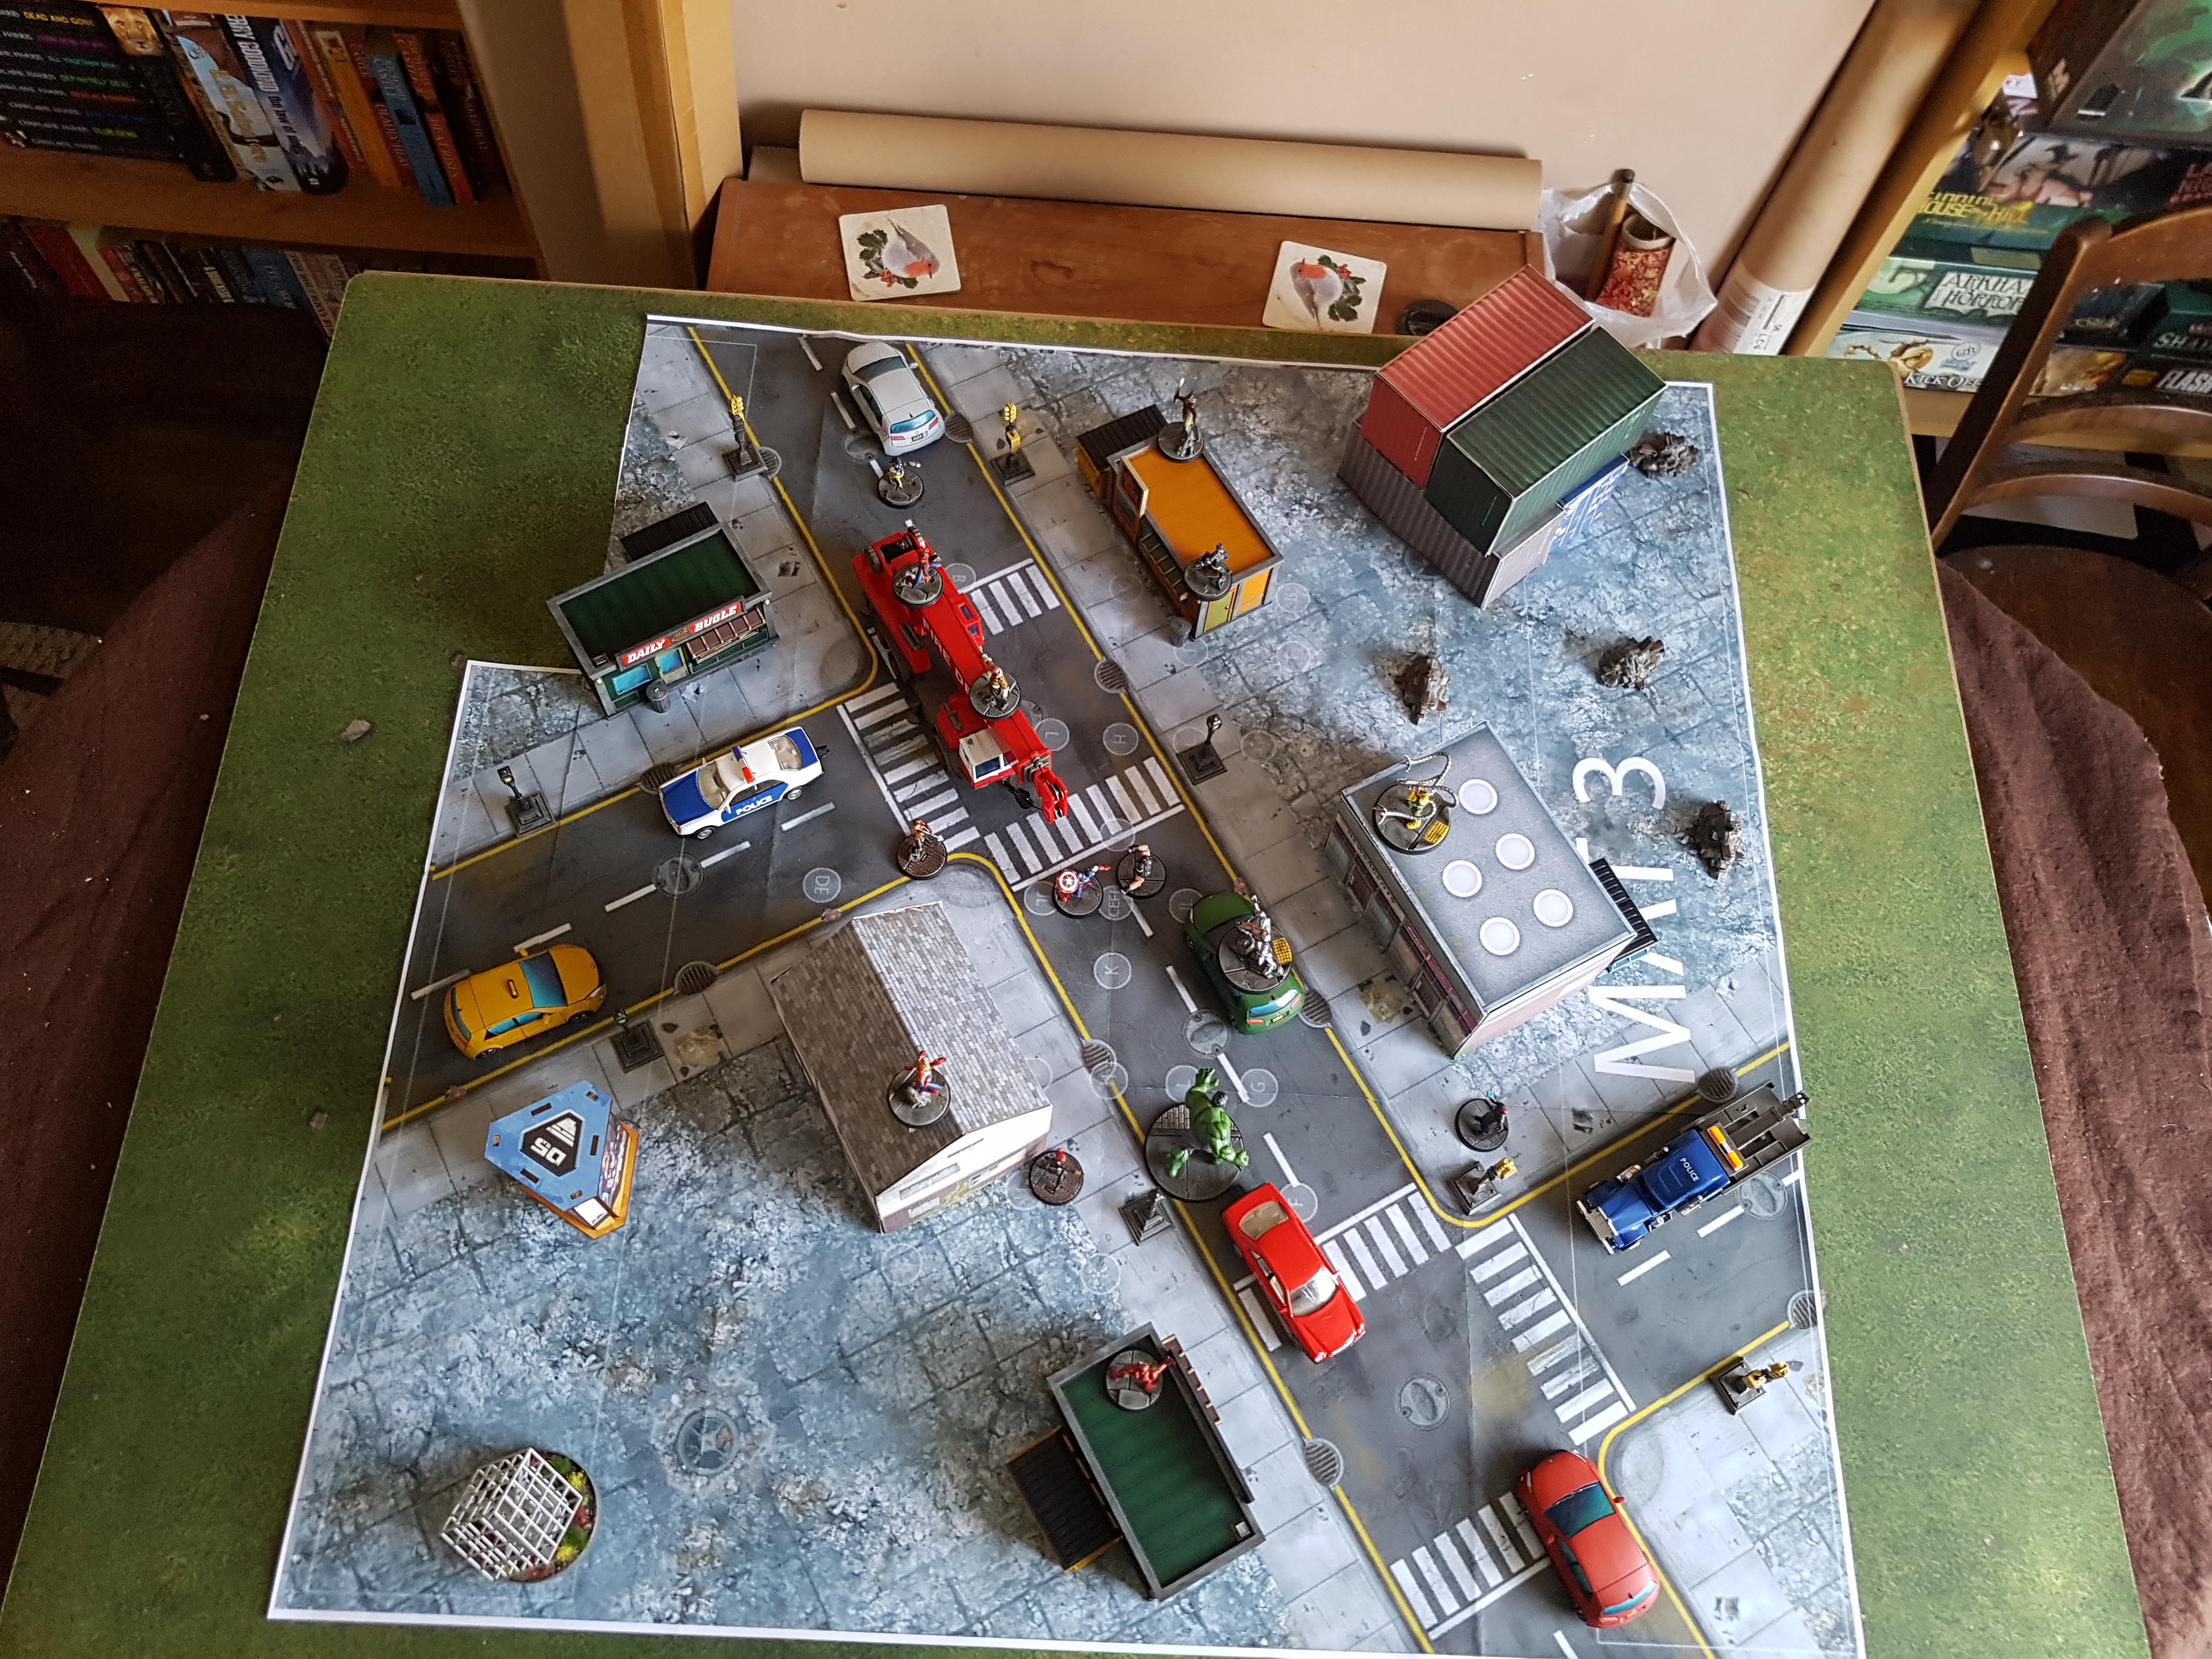
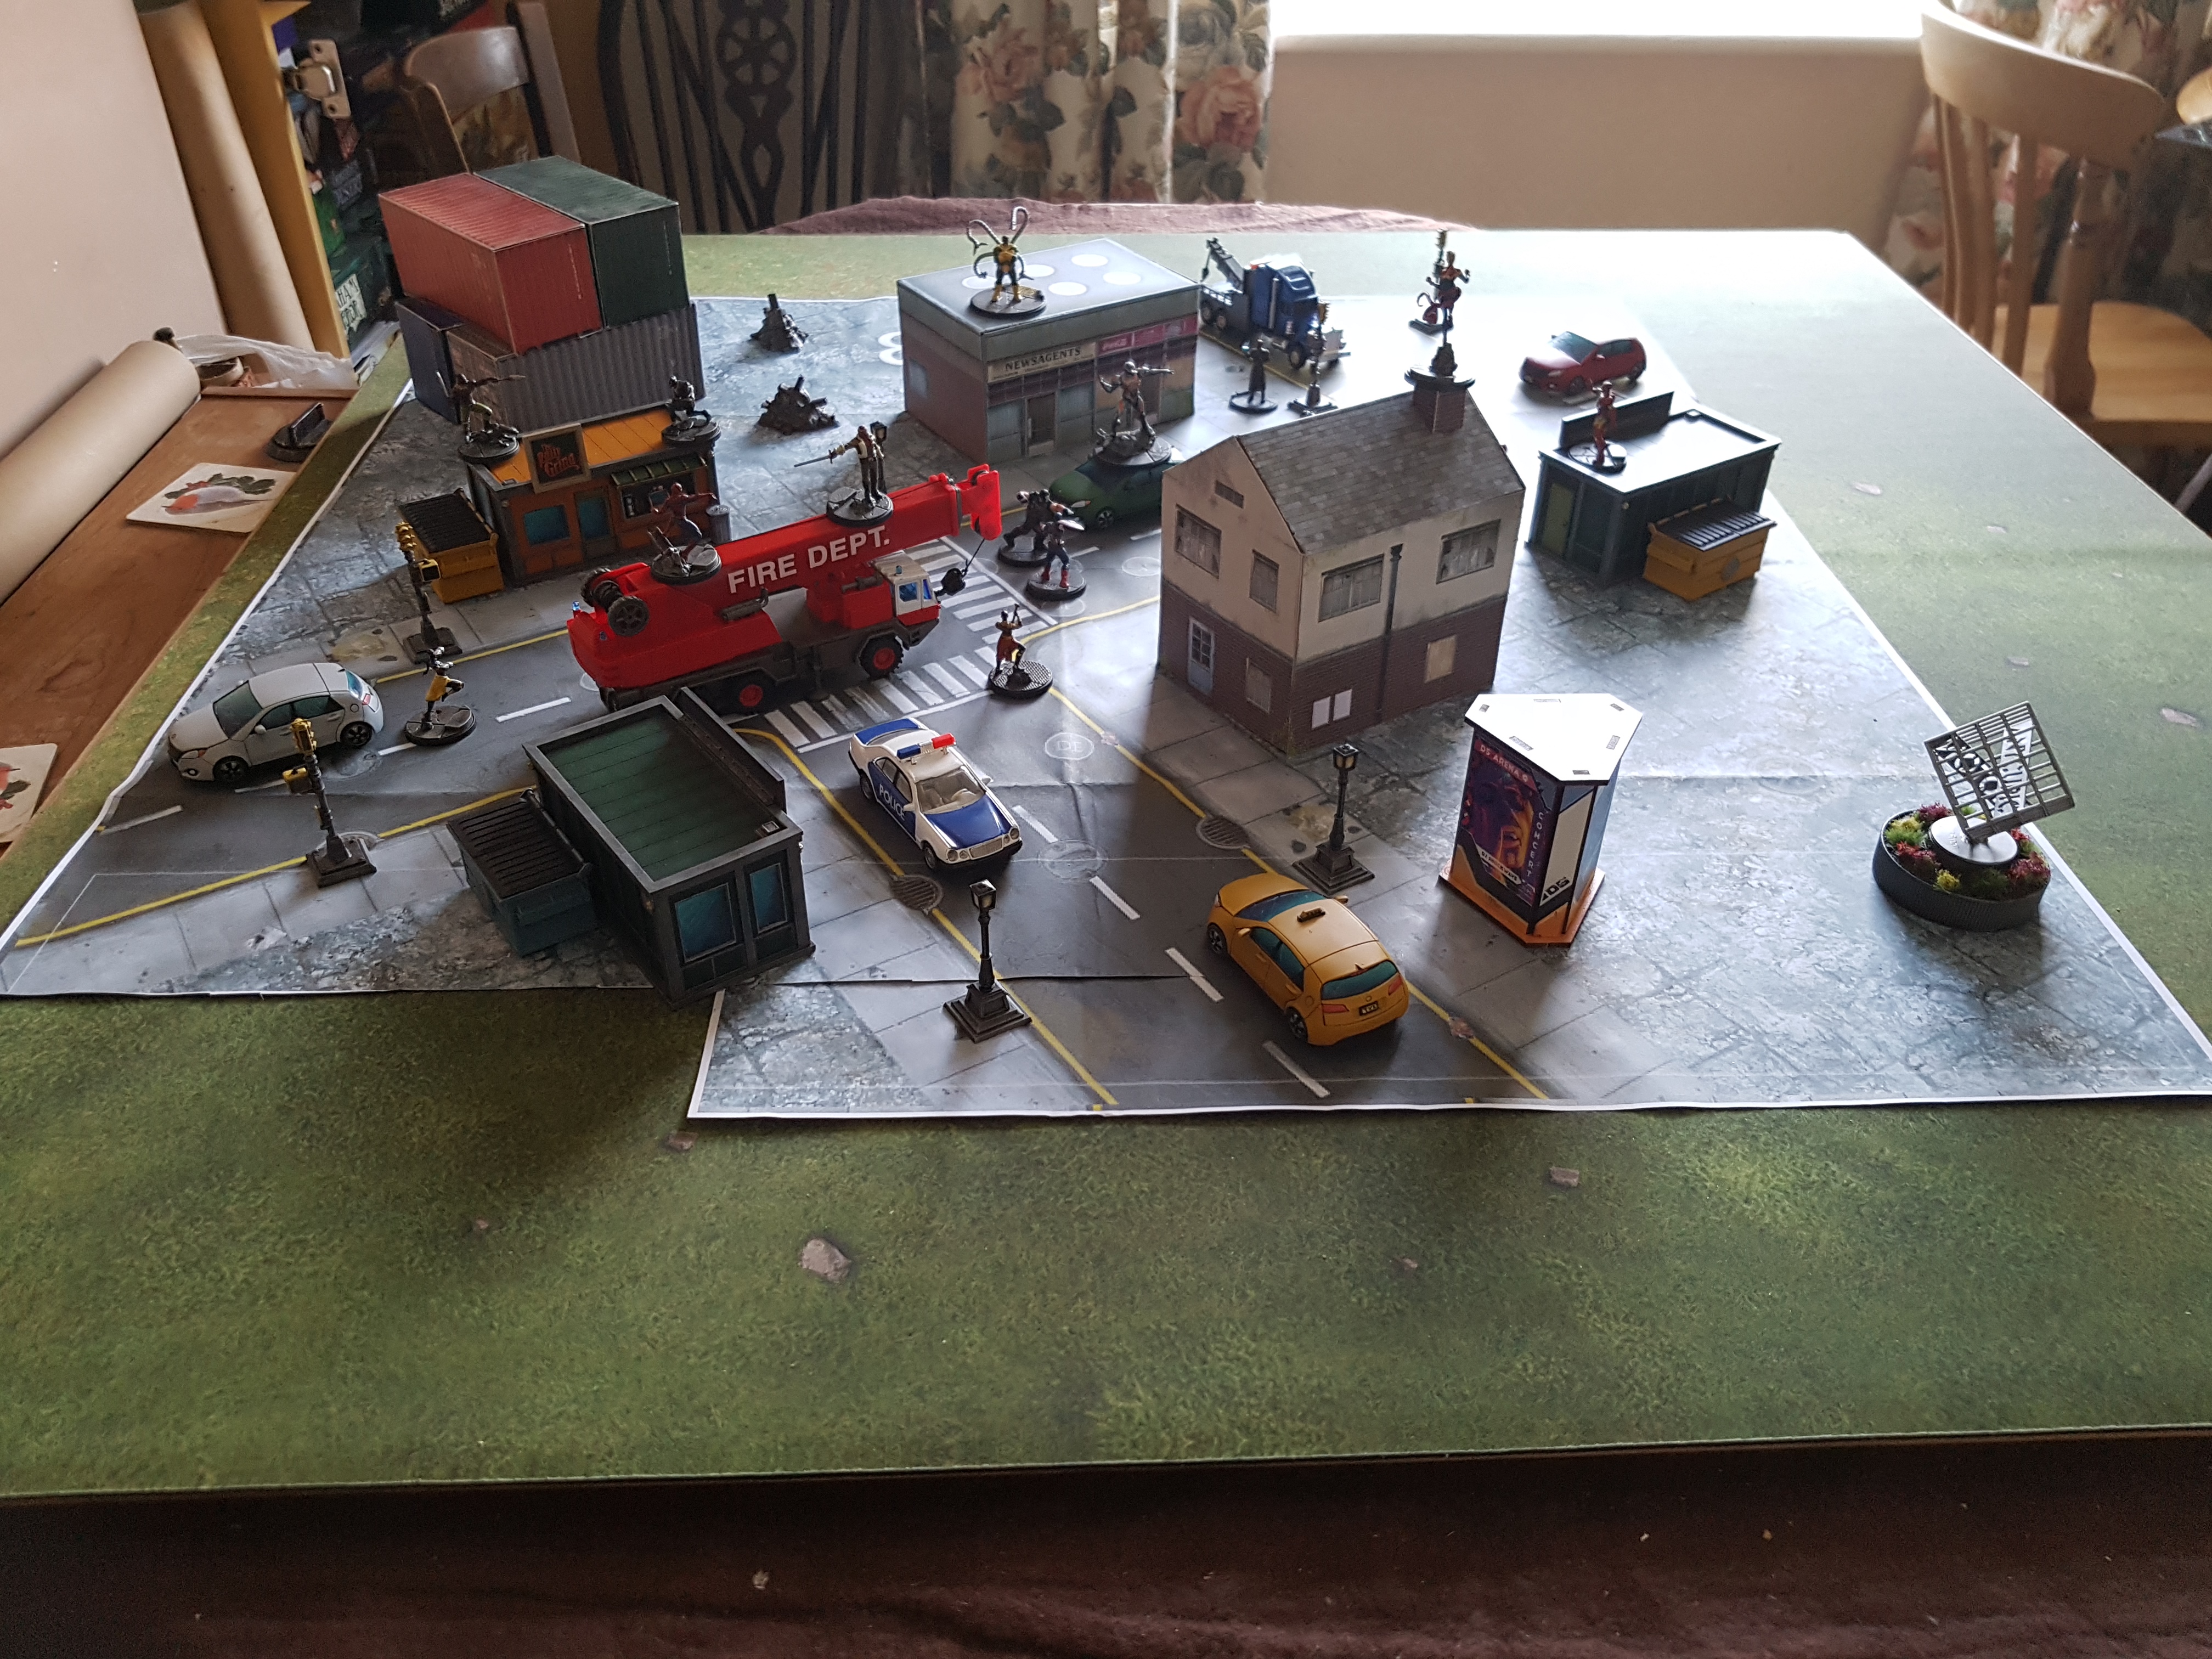
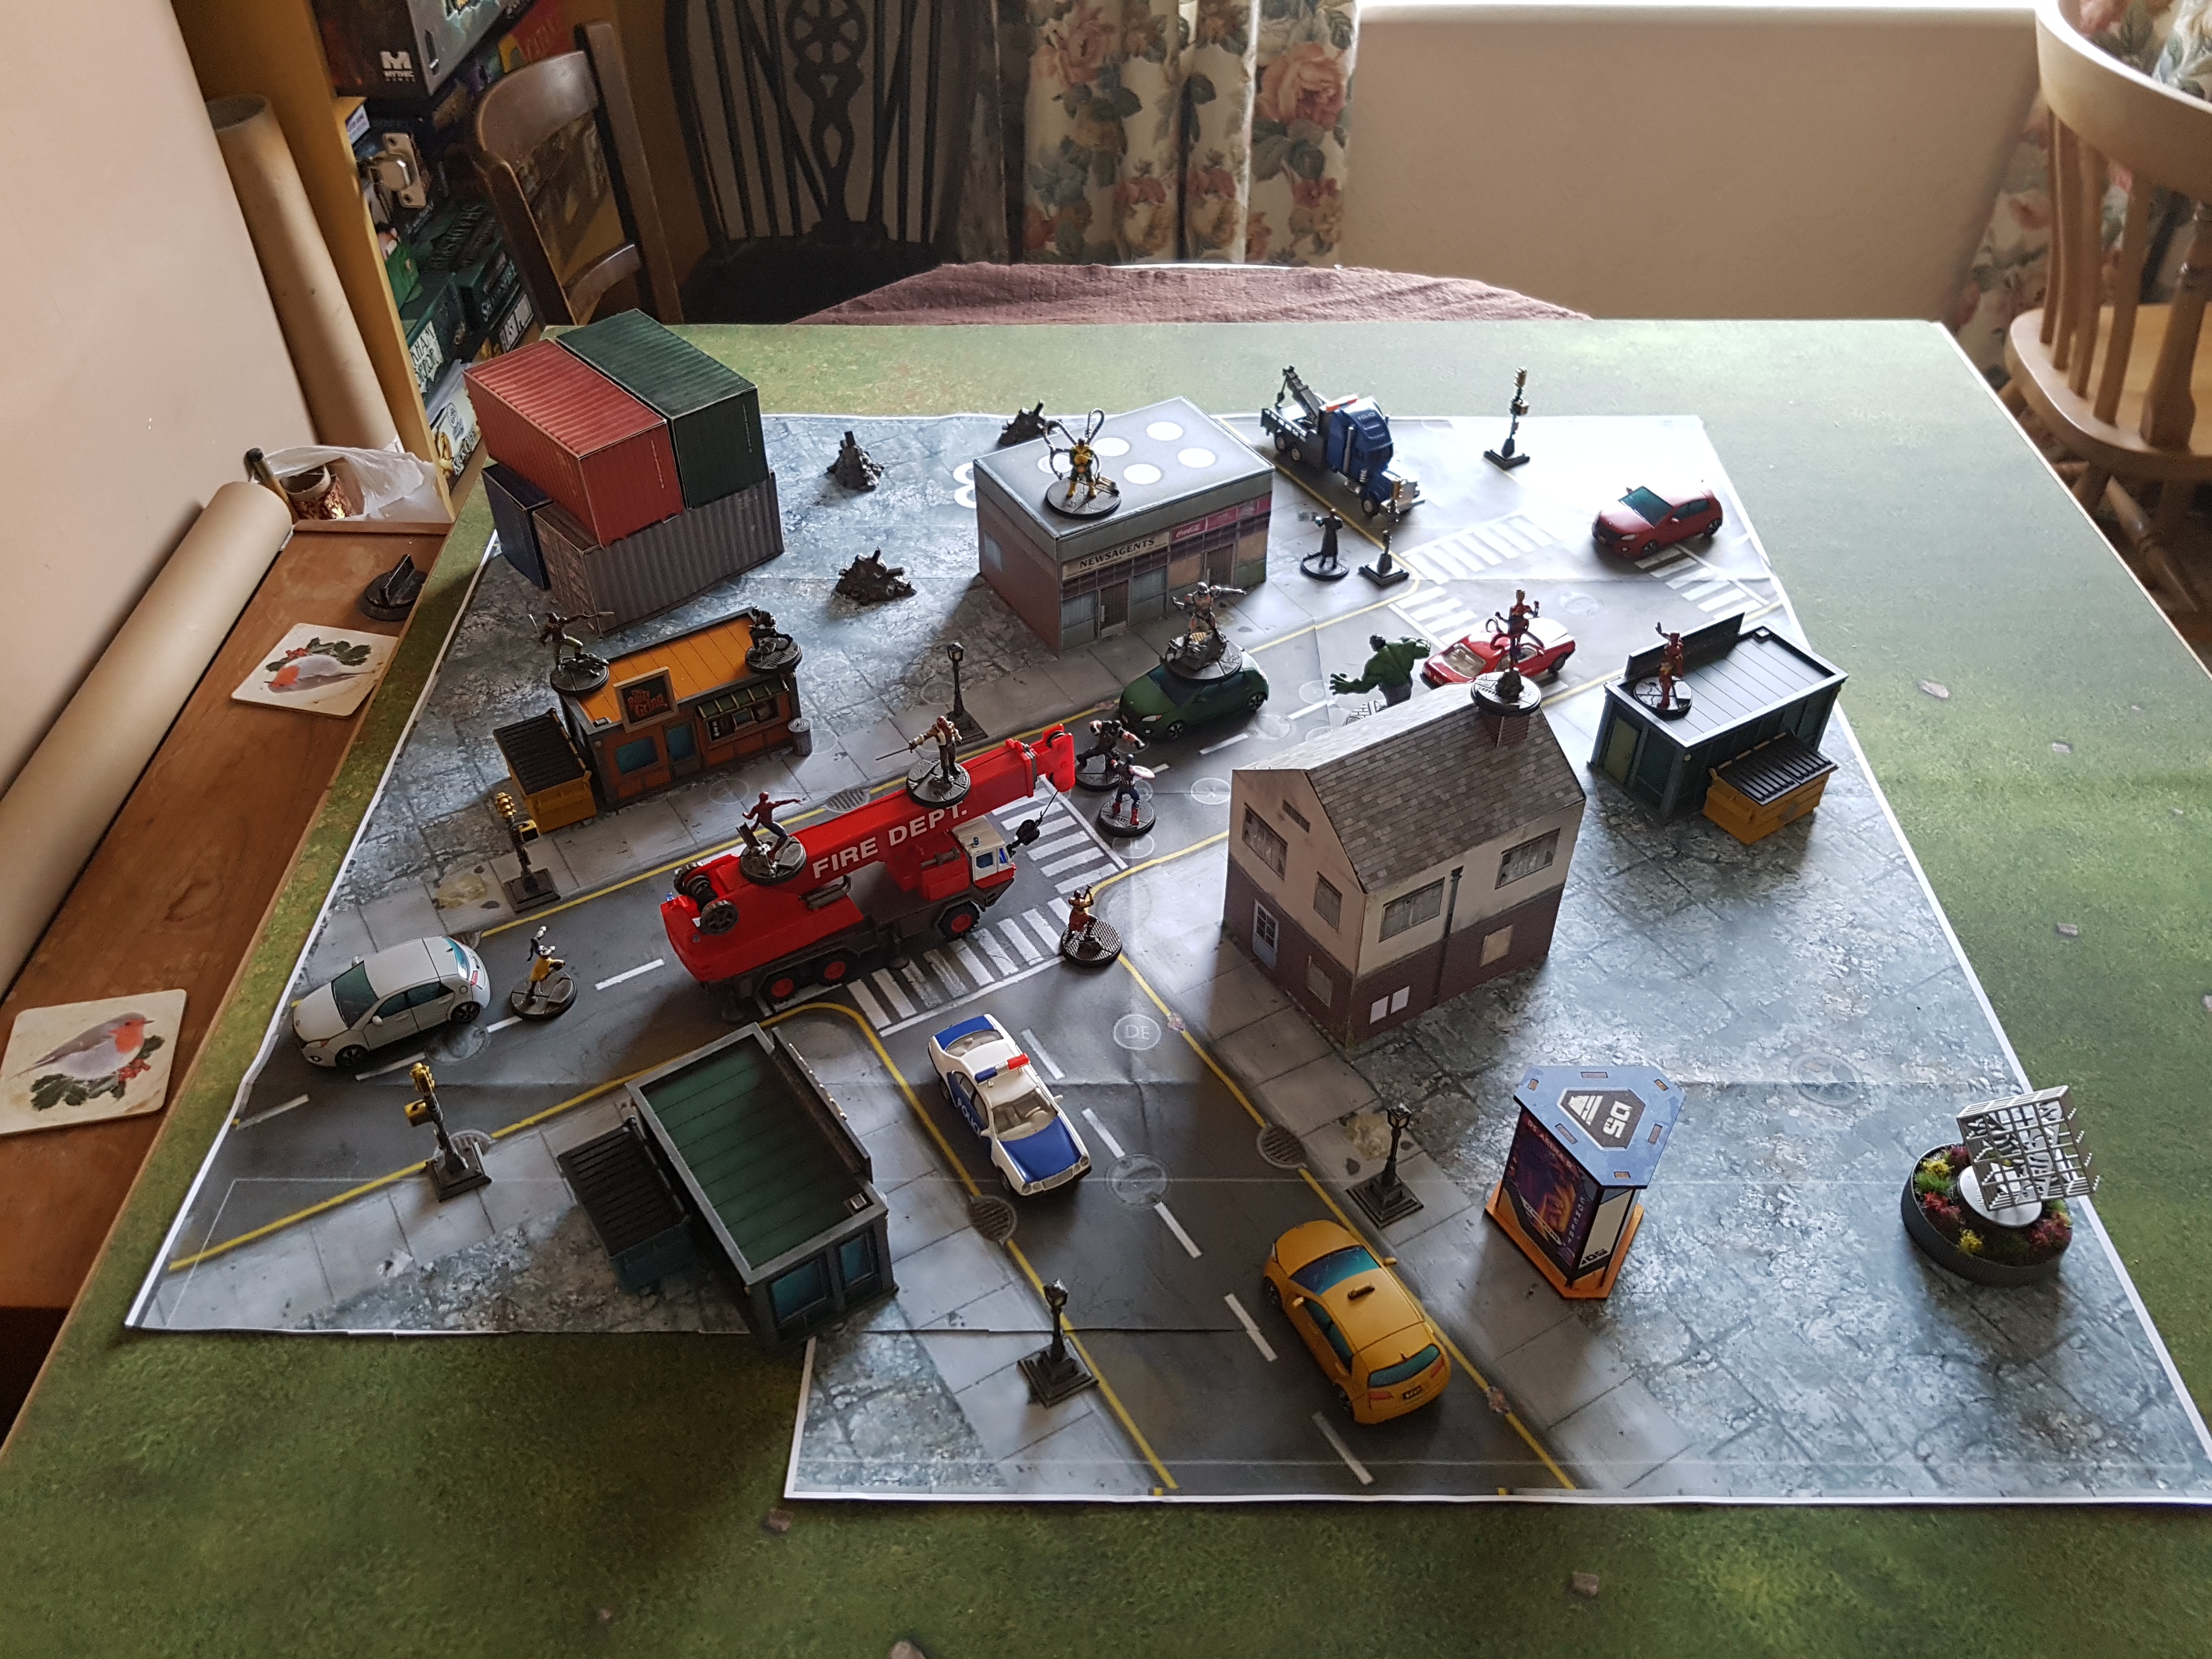
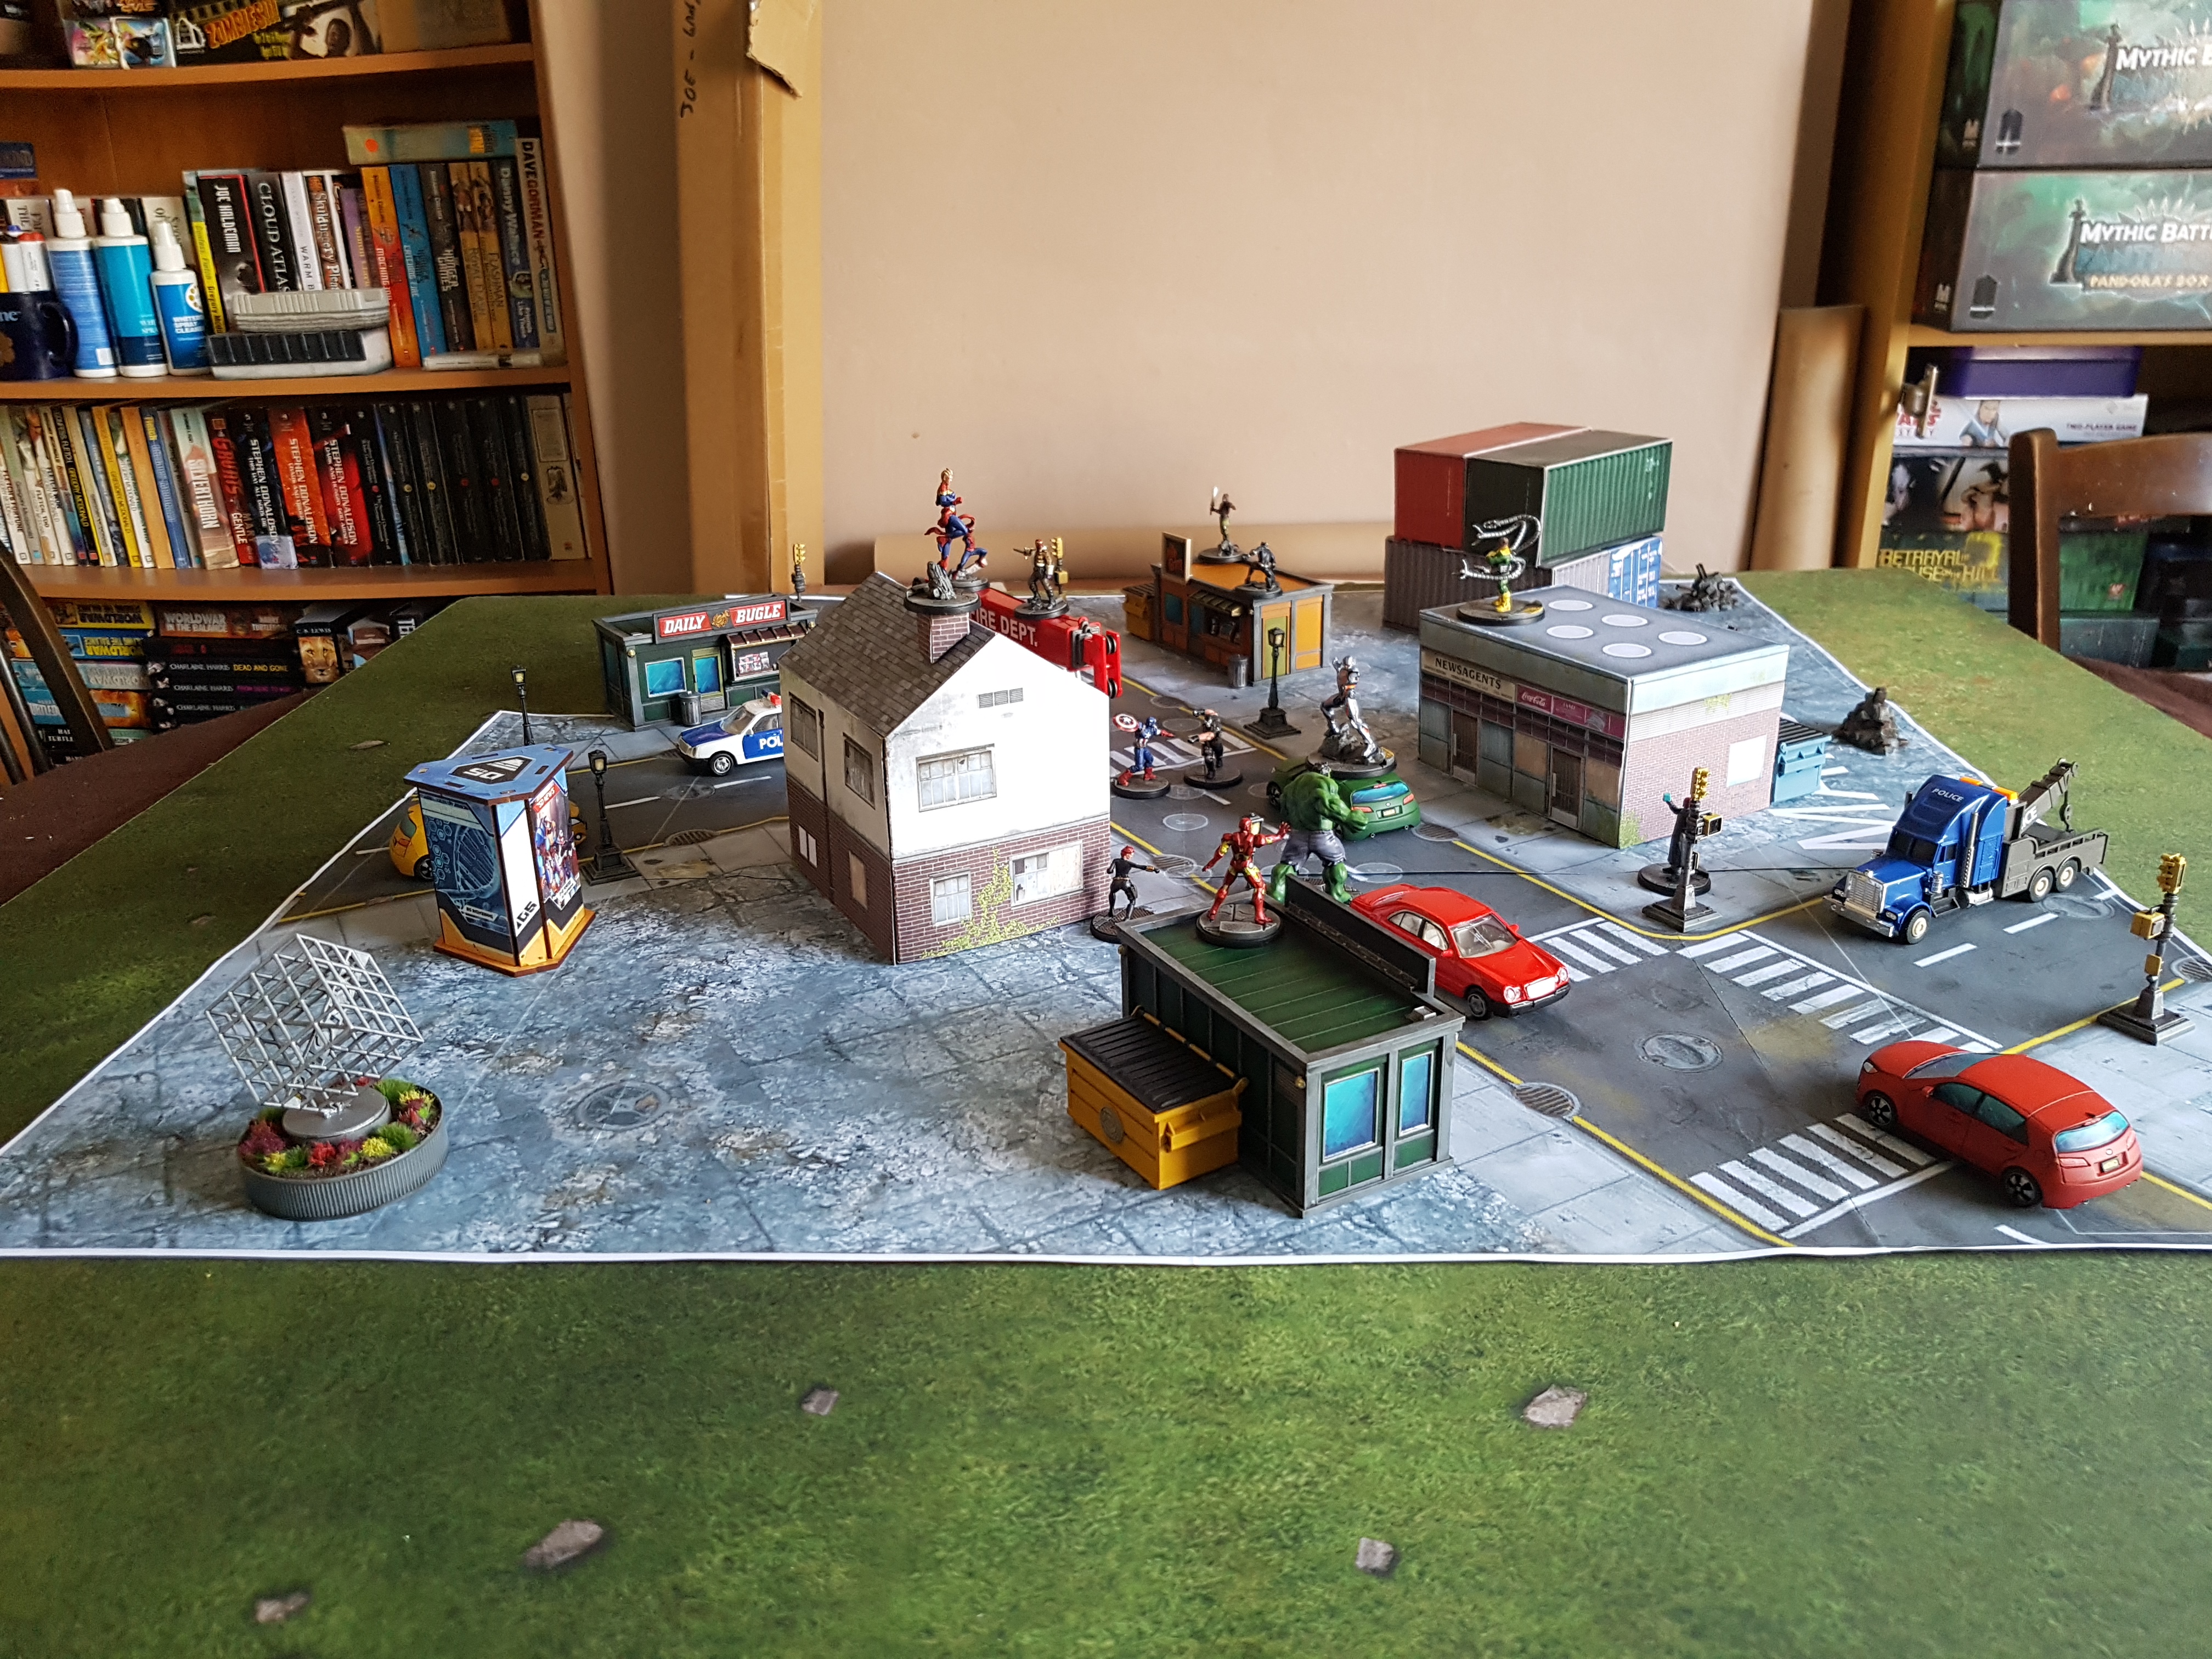
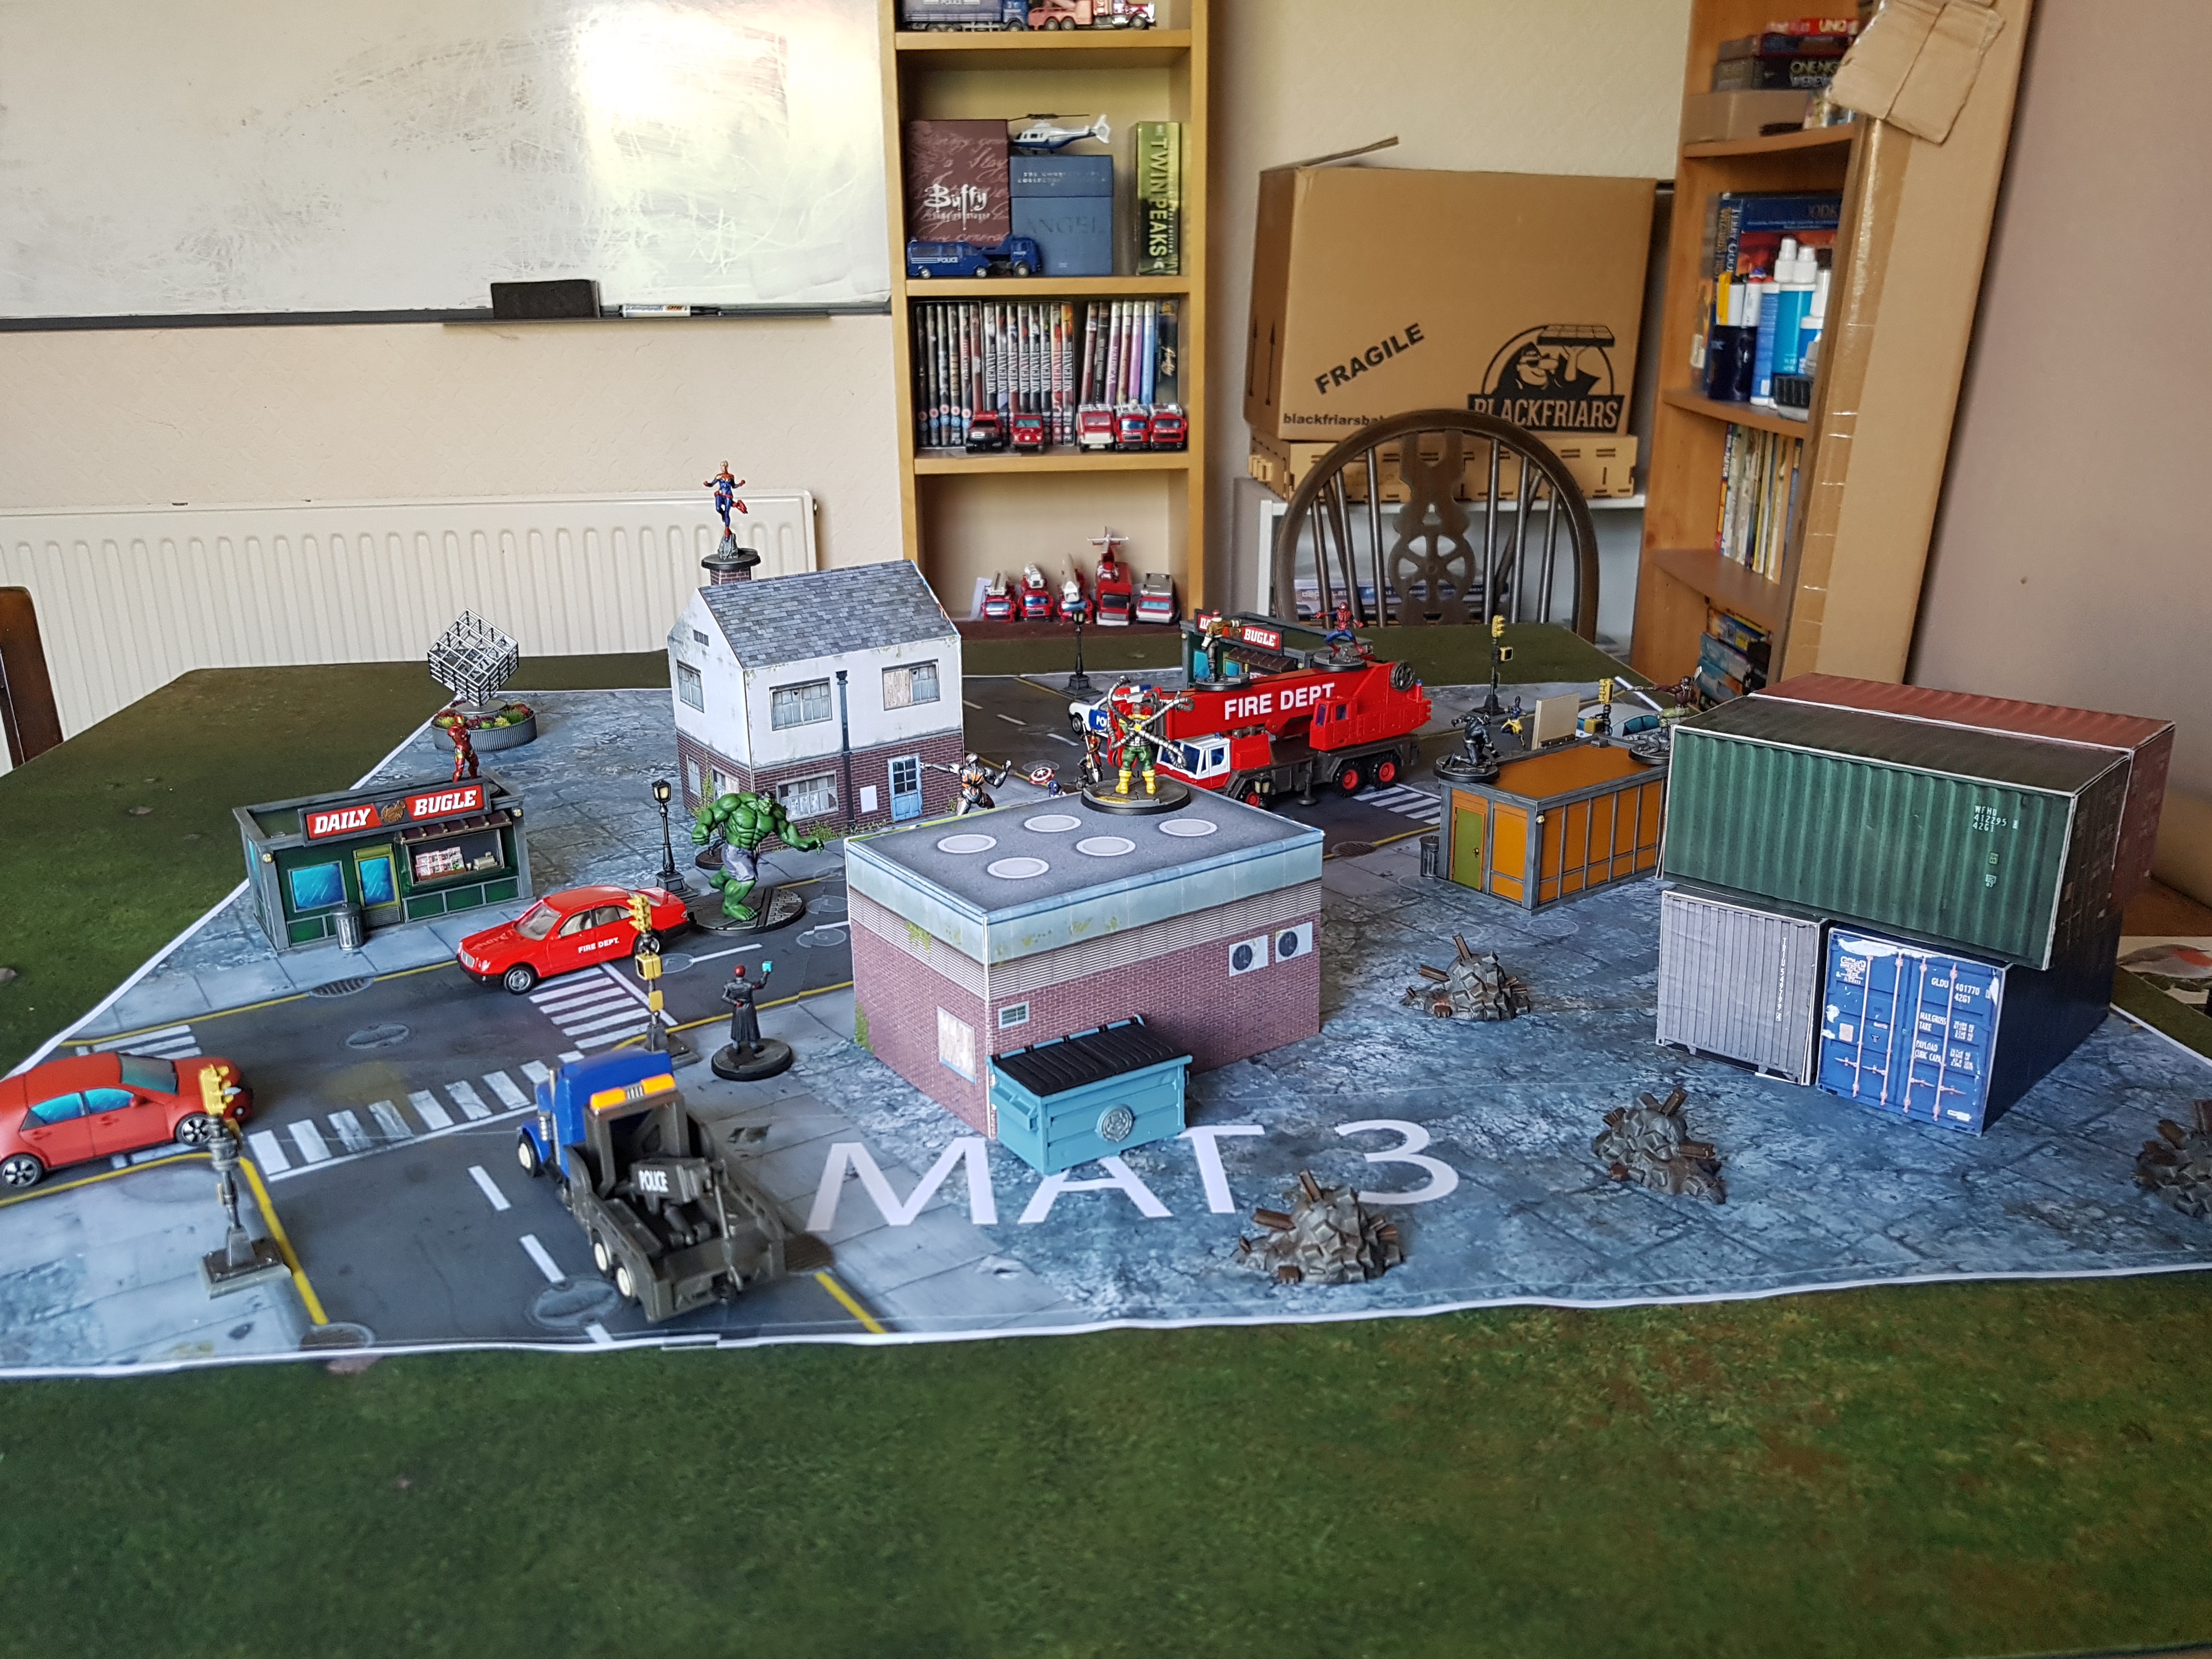
South Point View
Back in February 4Ground / Tymeagain had a competition to win a £100 voucher. With everything built I finally know what I need. A good solid size 5 centrepiece, and it’s just arrived in the post. This retails at about £130. I think it’s going to take a while to build, what with glue drying times. It’s no longer on their website so I guess I got the last one.
The pen is for scale scale. This thing is about the size and weight of a ream of paper


 Stock image (Lifted of an old BoW news article as it's not in their store anymore)
South Point View Complete
Diablo 4 came out about the same time this arrived and ate up all my free time, but I finally made a start on this project. I’ve built other MDF kits before (2 paint racks, the Gloomhaven box inserts and a couple of basic uncoloured buildings) so I had some idea of how this was going to go: Apply some PVA, walk away for a few hours while it dries, come back for the next stage, repeat until done. Looking at the store photos I assumed this was going to be 2 boxes, 4 walls and a roof each. A quick and simple build.
WRONG!
Simple! How laughable. I’ve always thought 4Ground terrain was too expensive. It looks great, but £130 for 2 boxes that make up one piece of terrain? That’s insane. I get it now. These kits are on a par with Gundam model kits and high end gaming pieces. Building 4ground terrain pieces could be a hobby in itself. I’m not saying it was hard, or overly complicated. It was detailed and had lots and lots of parts. There were 8 sides of instructions for it. It’s so detailed each window is made of 6 parts (not including the wall) and the first half page of instruction is on building a window.
 Eight sides of instructions, and acetate windows!
 All the leftover sprues at the end of the project. That's a lot of wood!
I started work Thursday evening after work. I’d apply some glue, then go run a few dungeons in Diablo 4 while the glue dried. I got 2-3 building cycles in on Thursday and Friday evenings, and continued this across the whole of the weekend. It did take the whole weekend to build it, and the glue was still drying when I went to be on Sunday. It may have taken longer than it needed to as I was easily distracted by Diablo 4 (Spoiler: Diablo is currently not in Diablo 4. At least, I’ve not found him). If I was building another I could see ways to speed it up if I had table space to work. I could do all the windows at once, if not be working on all 6 sections (2 storeys and 2 roofs) at once. That would require a lot of flat space though. I don’t think I have enough I can free up for a whole weekend.
It’s all built now and I quite enjoyed the process. Here’s some extra bits I did not stated in the instructions for anyone doing something similar
- Lay down a ground sheet. You’re gonna drip glue everywhere. Put down some newspaper to catch it, and put down some newspaper under that so when the glue soaks through it sticks to the second sheet and not your table
- I ran a line of PVA straight from the bottle alone the inside corner anywhere two walls or a wall and floor joined together. This will provide extra strength. Also, PVA shrinks as it dries so it might even help pull everything together
- One of the storeys does not have a ceiling or floor to provide structural integrity to the walls. To help prevent them from collapsing I took some old MDF sprue and glued that in to the corners after doing the above step. Hopefully this will add some strength.
- However much glue you think this will need, it’ll need more. I’ve had the same 500ml bottle of PVA for years. I use it for basing minis. I’ve never noticed the volume drop. I could feel it getting lighter all the time. I’d squeeze enough out to brush on for the current step only to find out I needed 4 times as much as I thought. There’s still plenty in my bottle, but if you’re running low have a spare bottle on standby before starting a project like this
 The scale on this is good for MCP. I though tit might be a bit small as it says its 28mm, and I believe MCP is built more towards 40mm. It looks right though.


They said it was 360mm tall. I thought that’s barely bigger than a full size ruler. Not that big at all. In reality It’s about 380mm tall and it feels a lot bigger. This thing is huge. It also comes apart in to 4 separate levels. This means you could spread it round the table as the footprint for multiple buildings if you needed that. It wouldn’t look 100% authentic. You could definitely split it in to two building and no on would notice.
That’s this project done. I’ve built and painted everything I currently expect to get for this. I hope to one day get in a few games and then I might come back once I’ve bought more stuff. Until then, this project is complete.


 All the sections it splits down in to. Much easier to store and transport, and can also be used to fill out a table as single storey buildings if i wanted