









Redvers and Son Get Into Bushido




Recommendations: 1291
About the Project
My son and I were looking for a new game to get into. Something that was low on models, fun and reasonably quick to play. We decided on Bushido.
Related Game: Bushido
Related Genre: Fantasy
This Project is Active
Bases and Fences
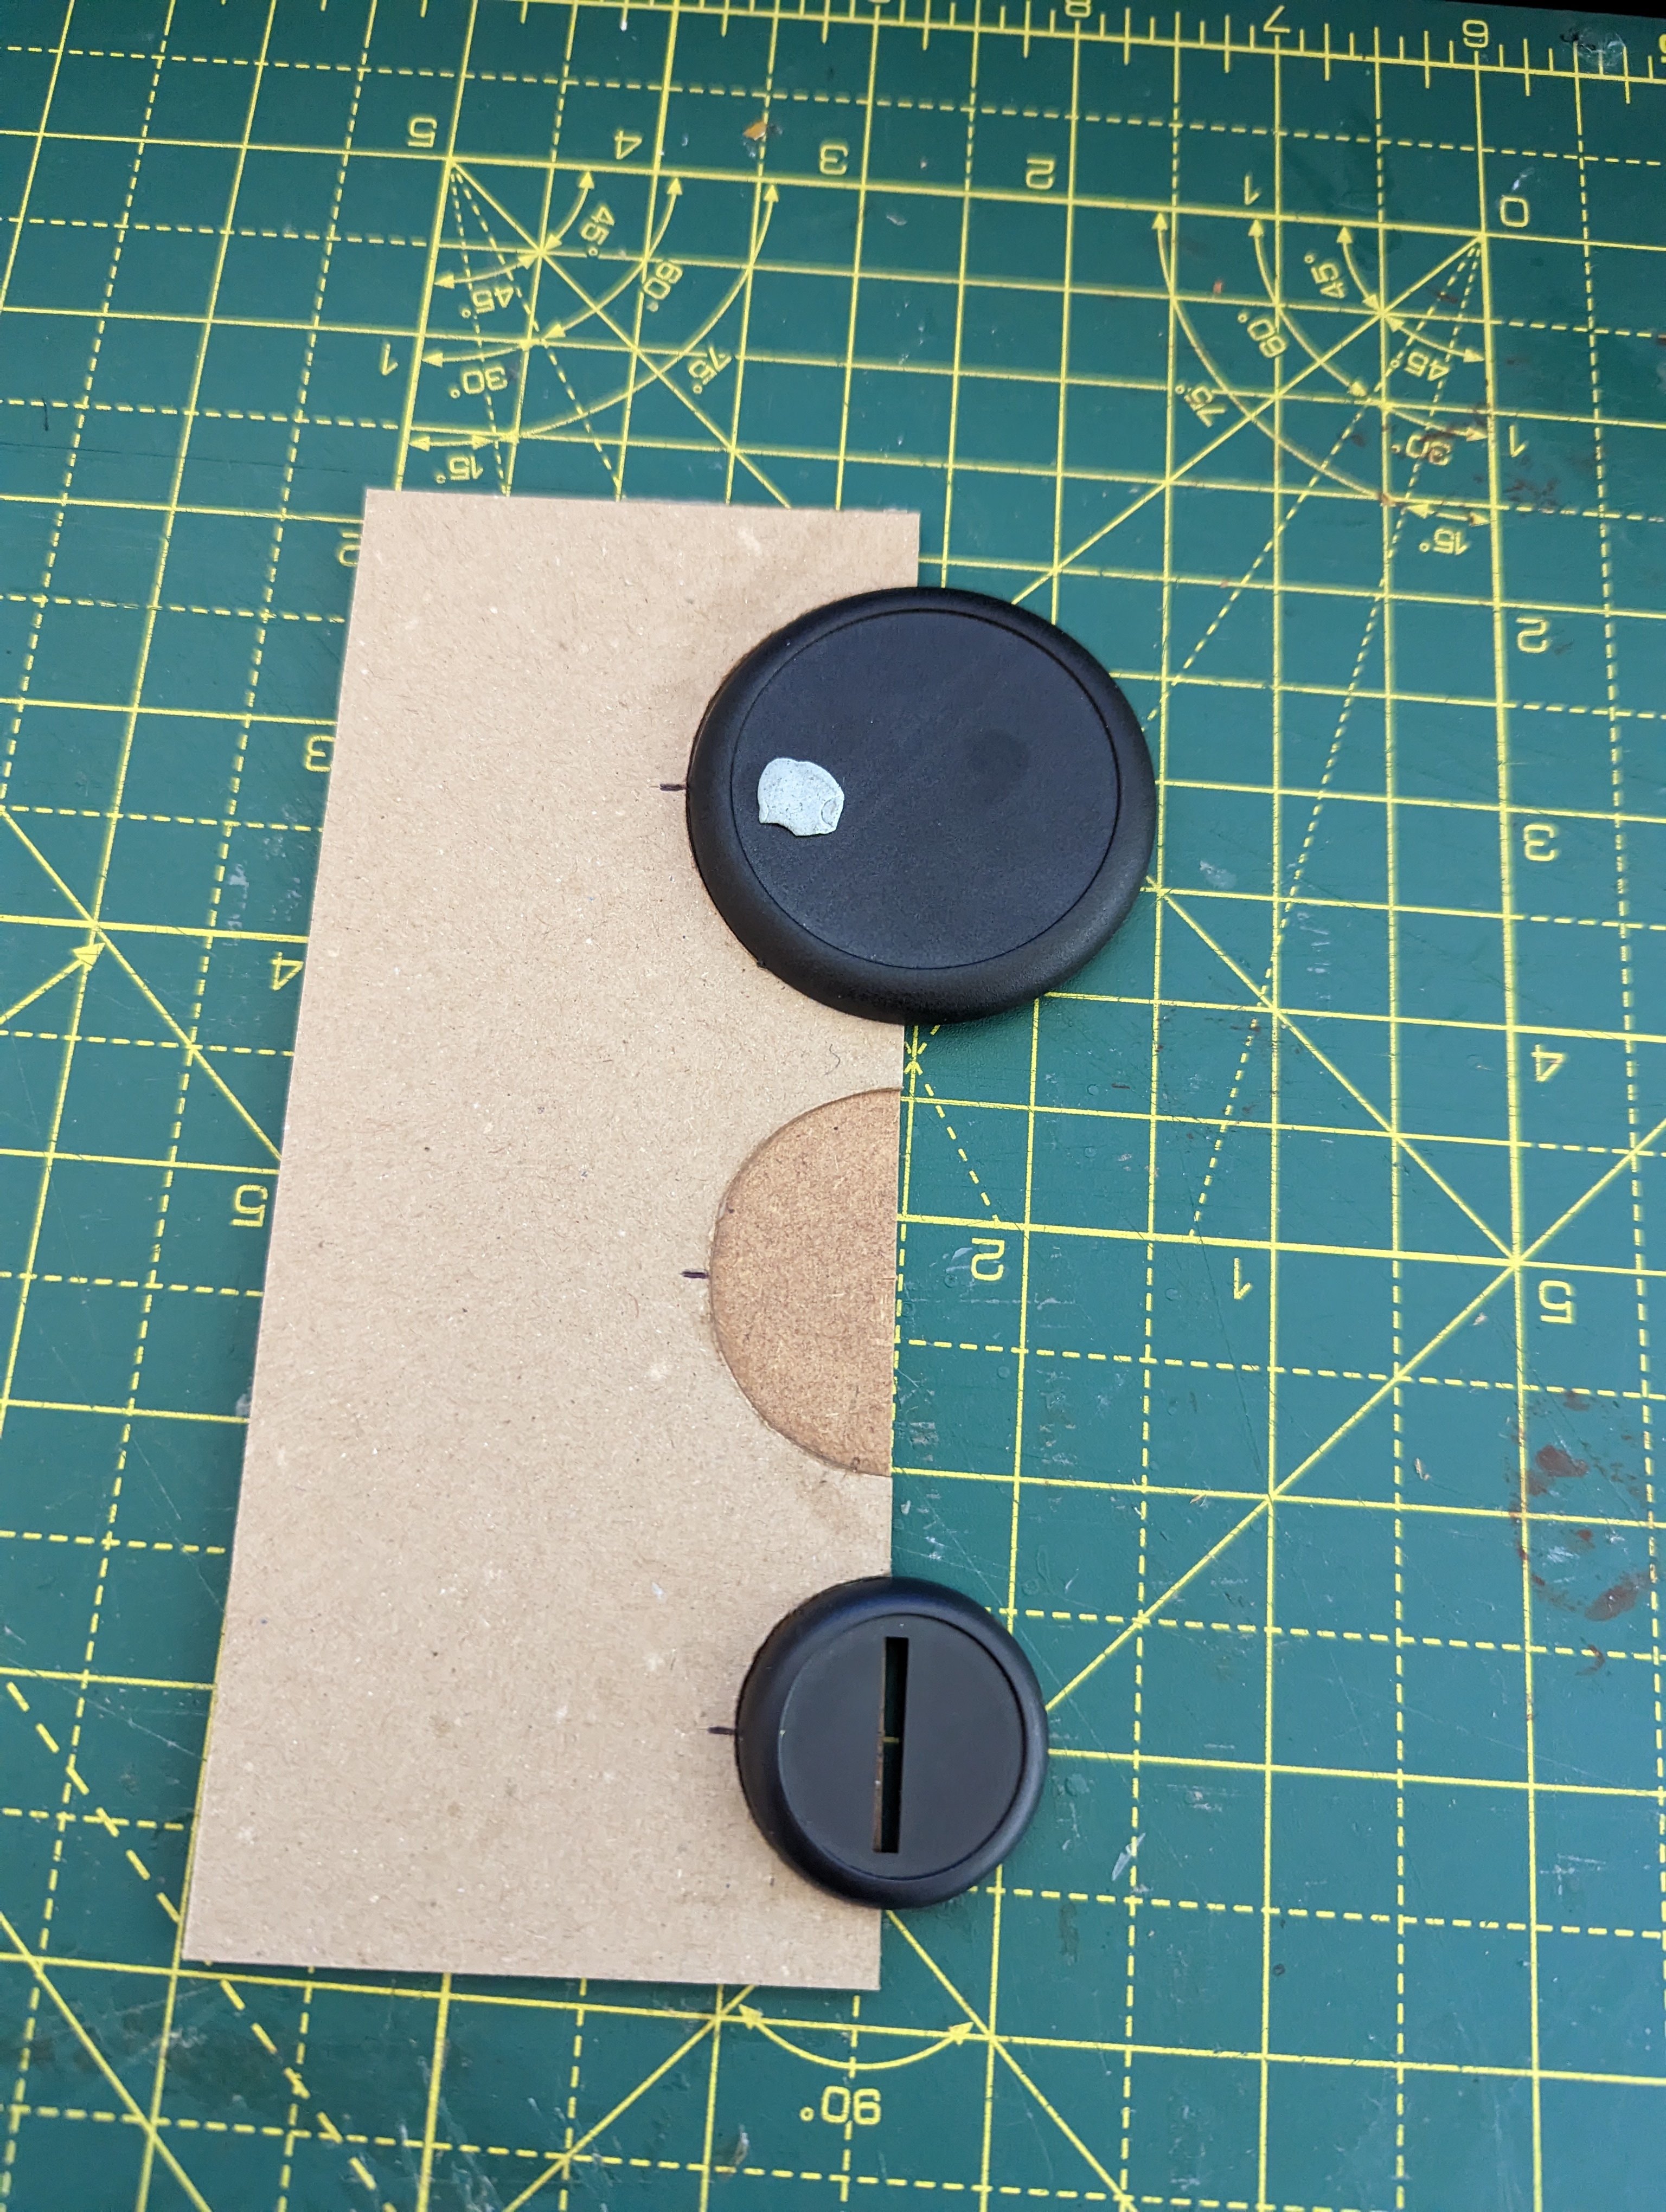
Bushido uses three different base sizes (30, 40 and 50mm). Models also have fields of vision of 180 degrees and a forward facing. As the bases are round, these need to be marked on to the base.
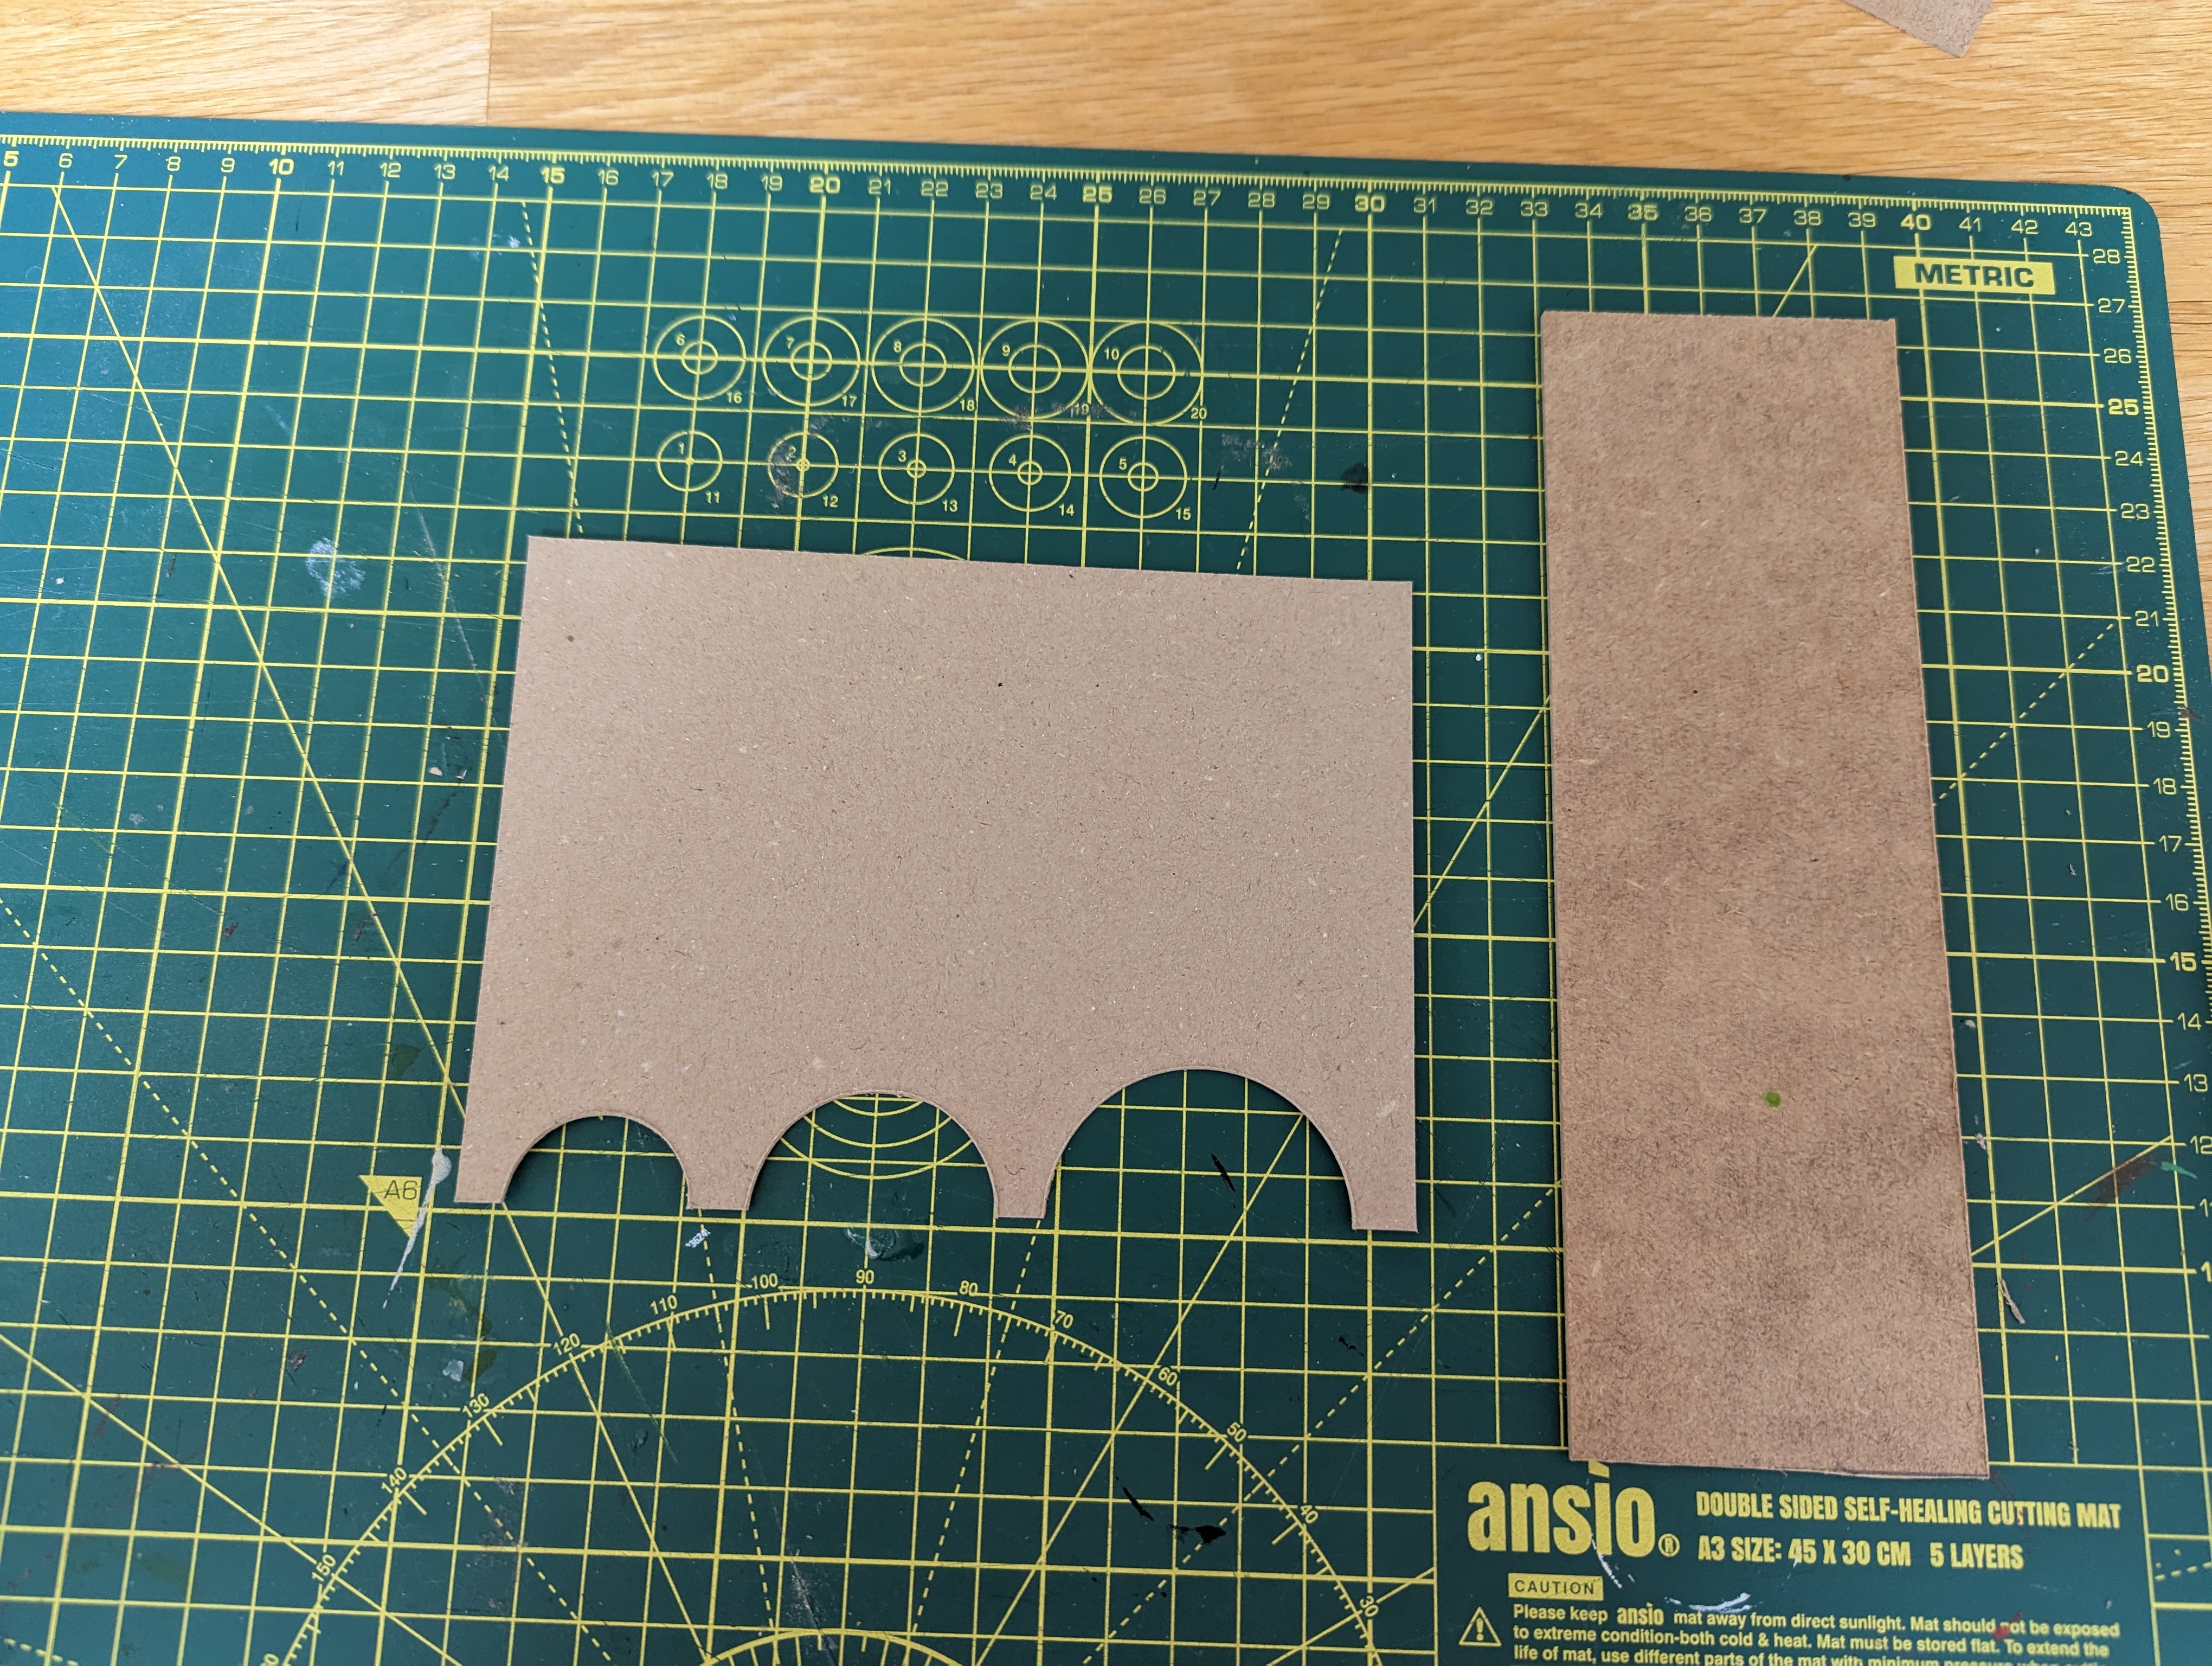
To make sure that all of the bases are the same and to make marking the bases easier, I’m going to build a jig/template. For this I will need some MDF, some thick card and a circle cutter.
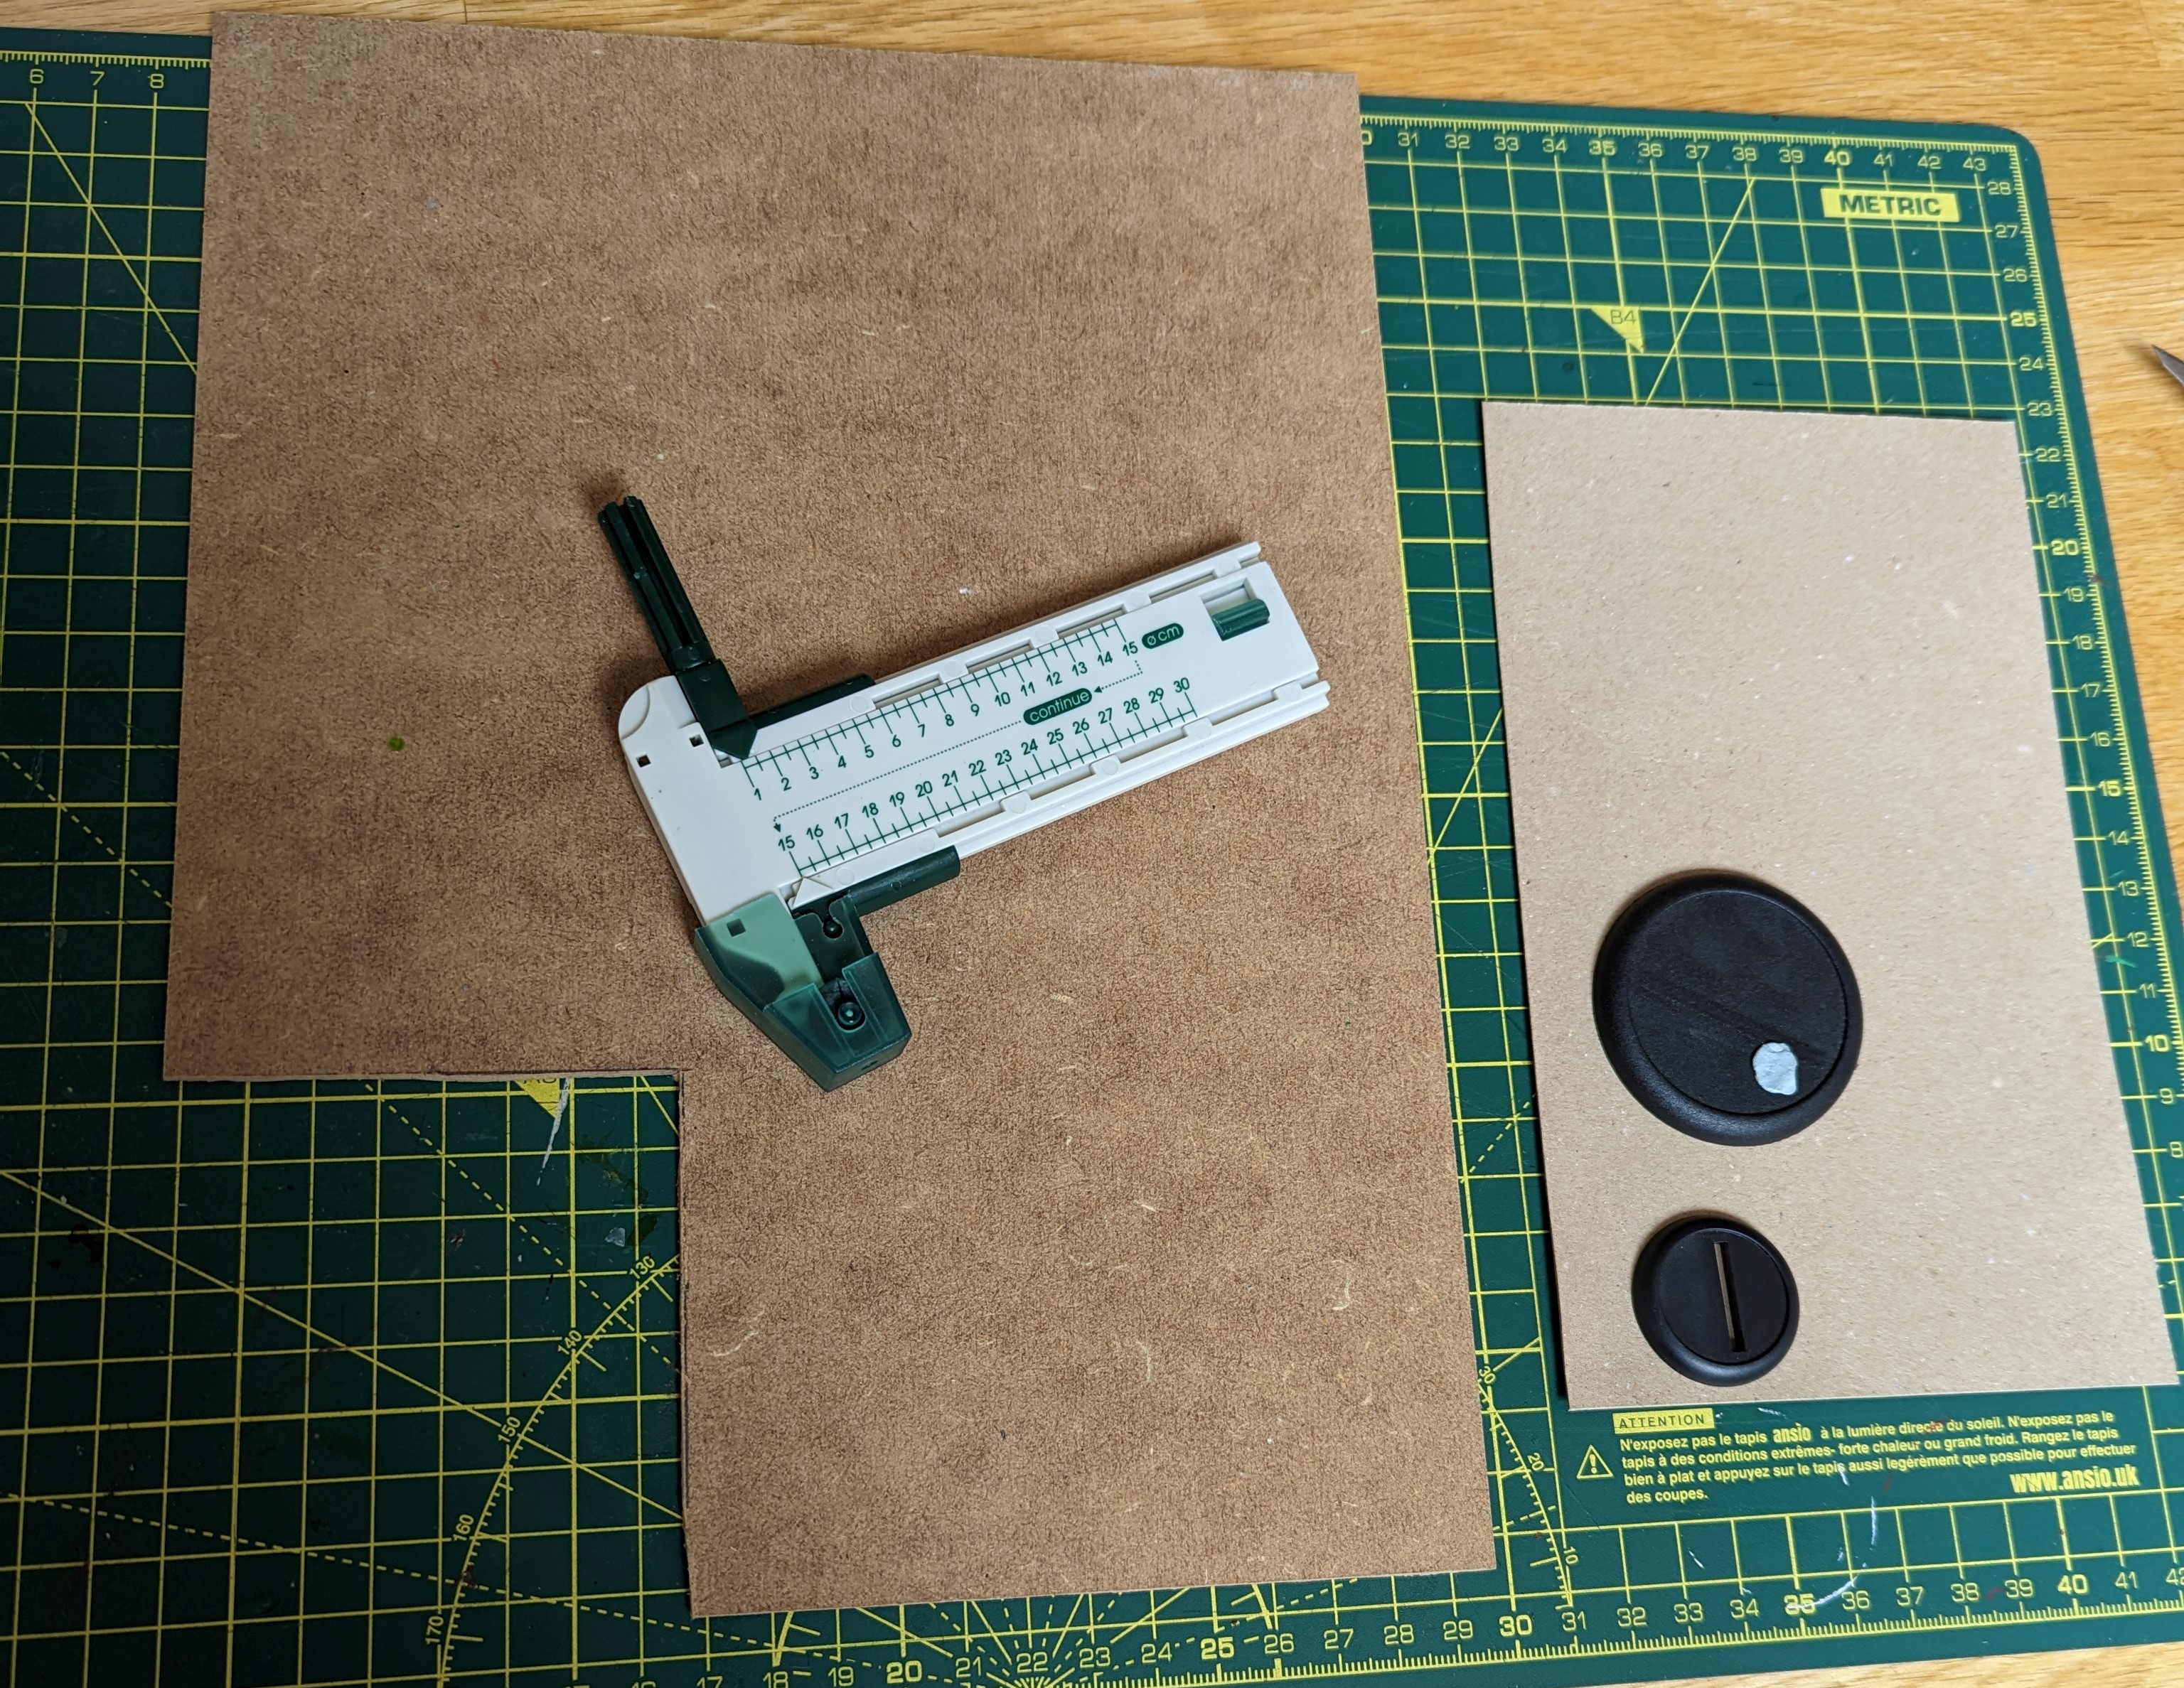
I’ve simply cut half circles out of the card of 30, 40 and 50mm radius using the circle cutter. The card is then glued to the MDF and once dry, cut down to a manageable size.
To mark the bases, I can simply fit the base into the required slot and the edge of the MDF will be the 180 degree field of vision. Simple!
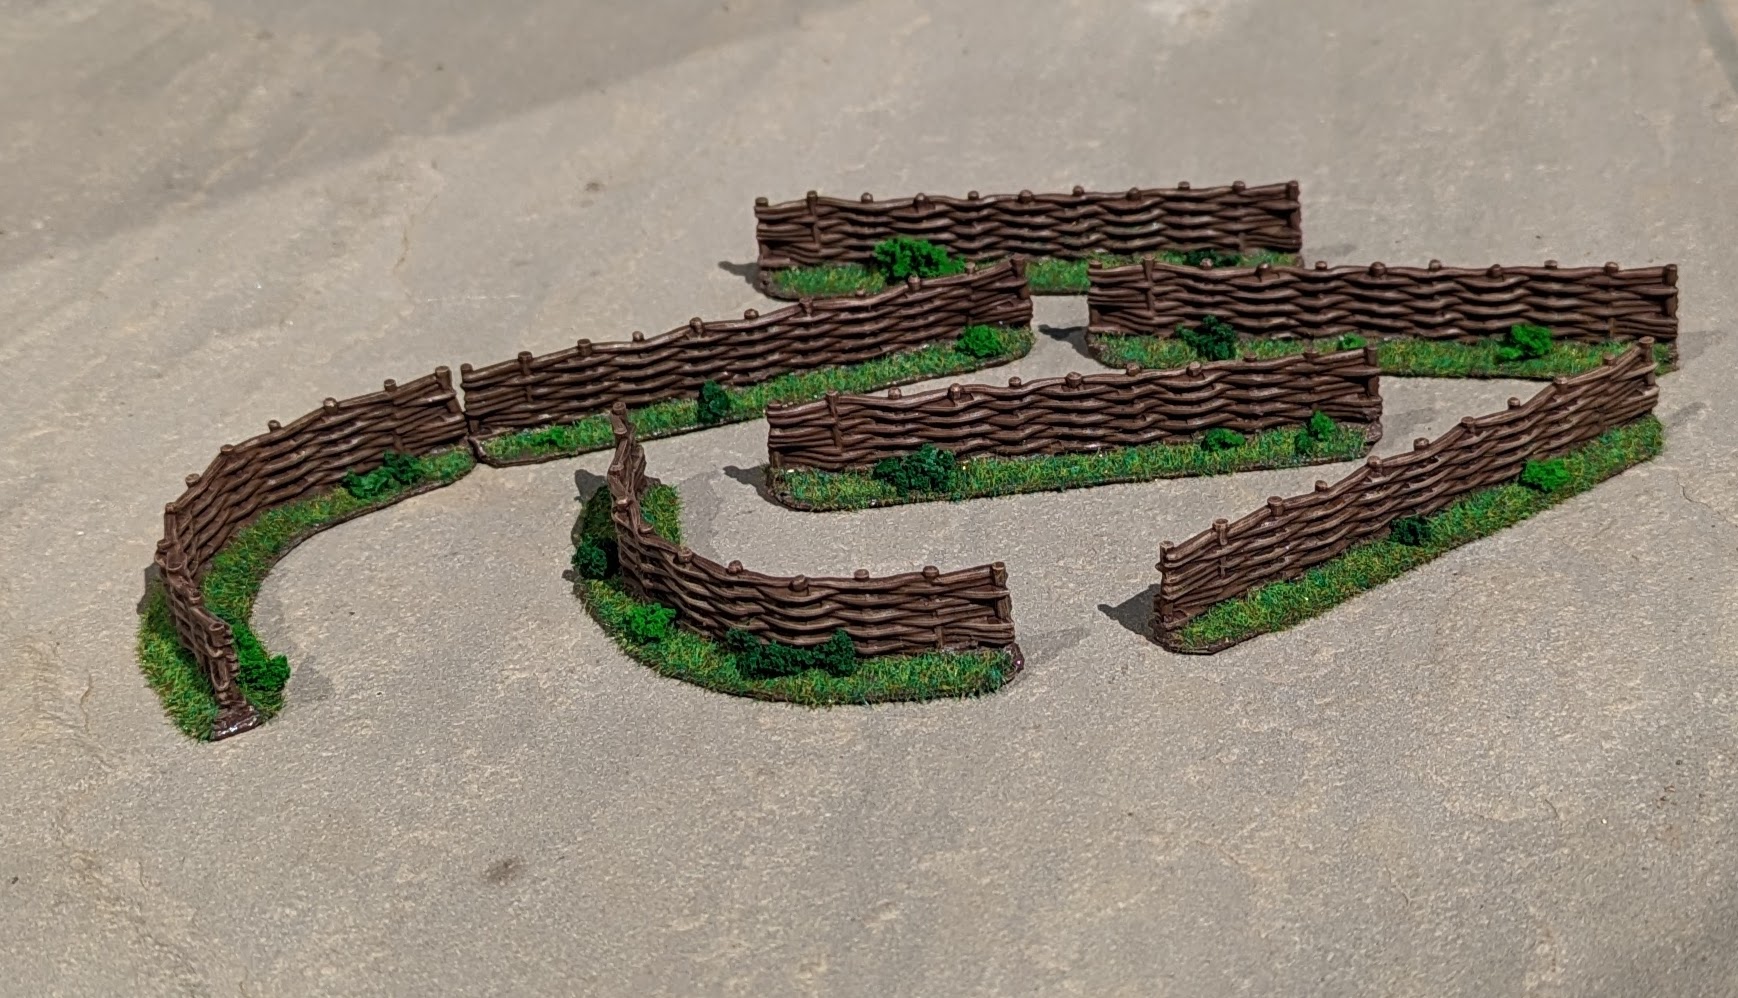
I’ve also painted up some 3D printed fences to provide some low cover.
Simple approach with a mid brown, heavy dark brown wash and then dry brushed with Iraqi sand. The base was then given an acrylic mud compound and the static grass applied. Quick and easy.
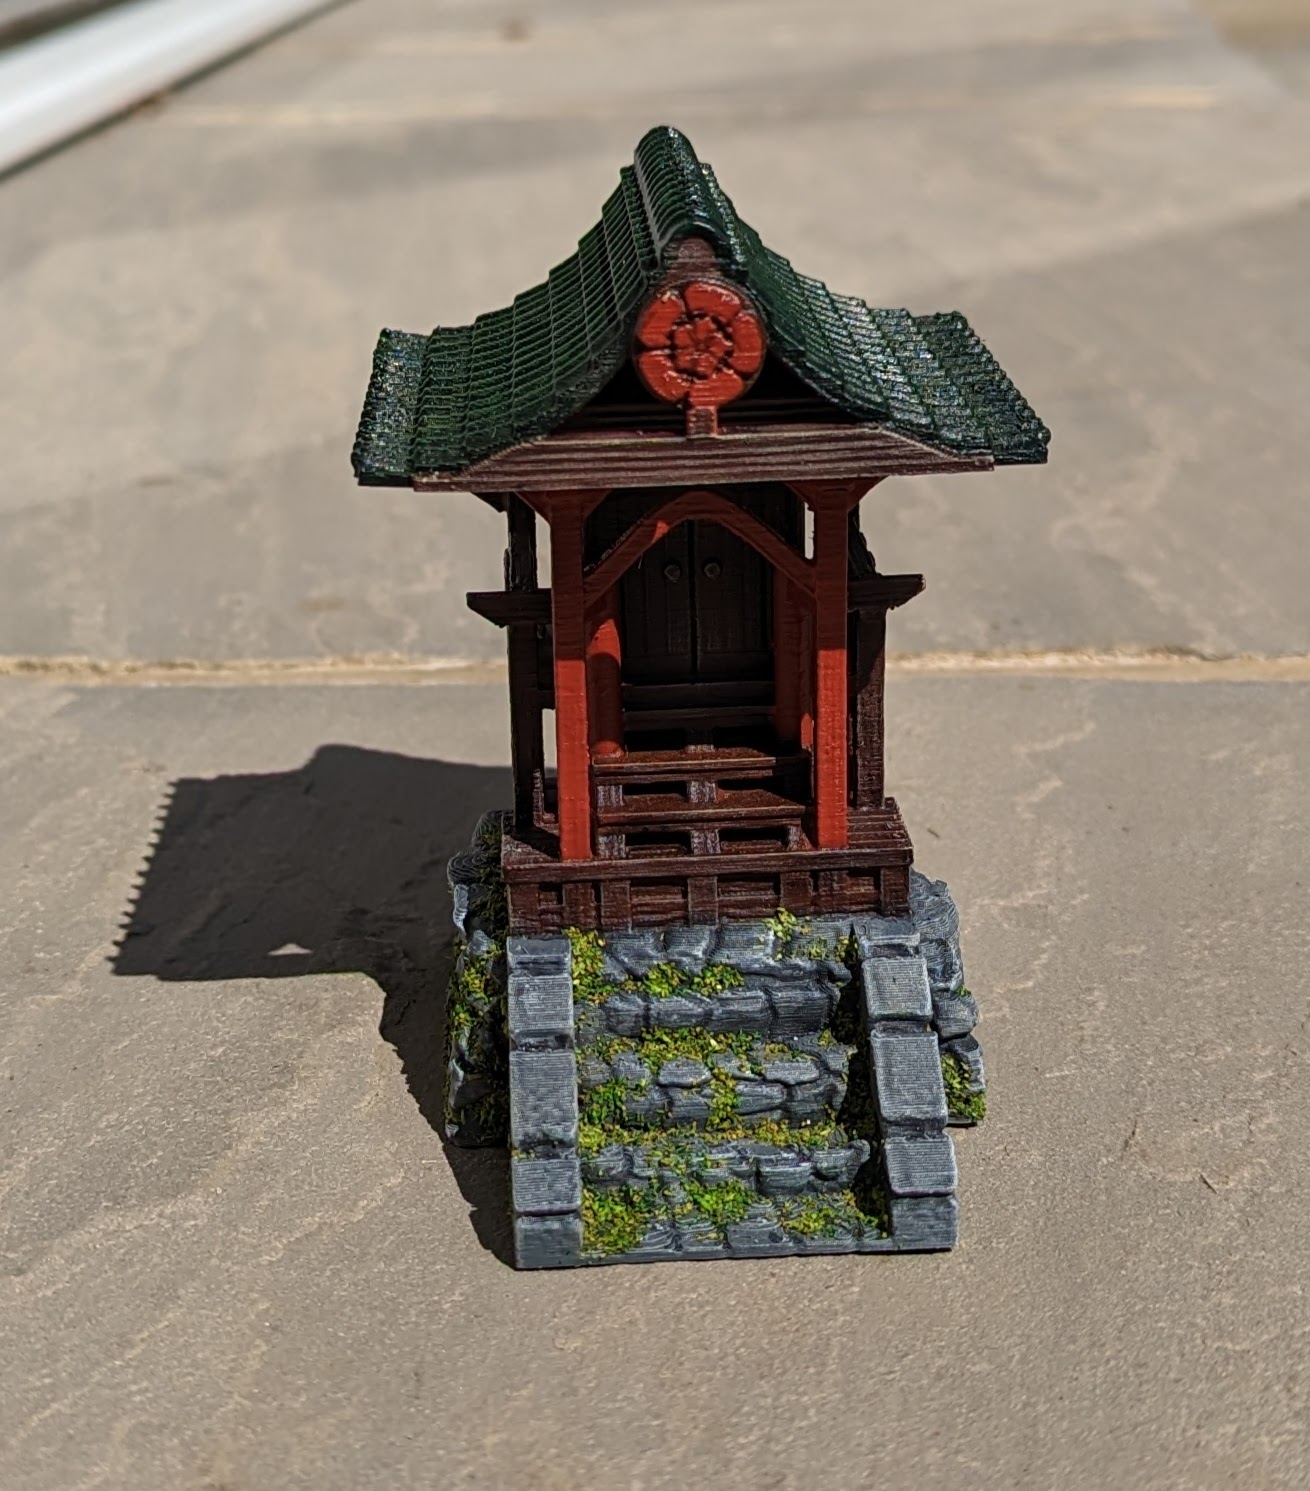
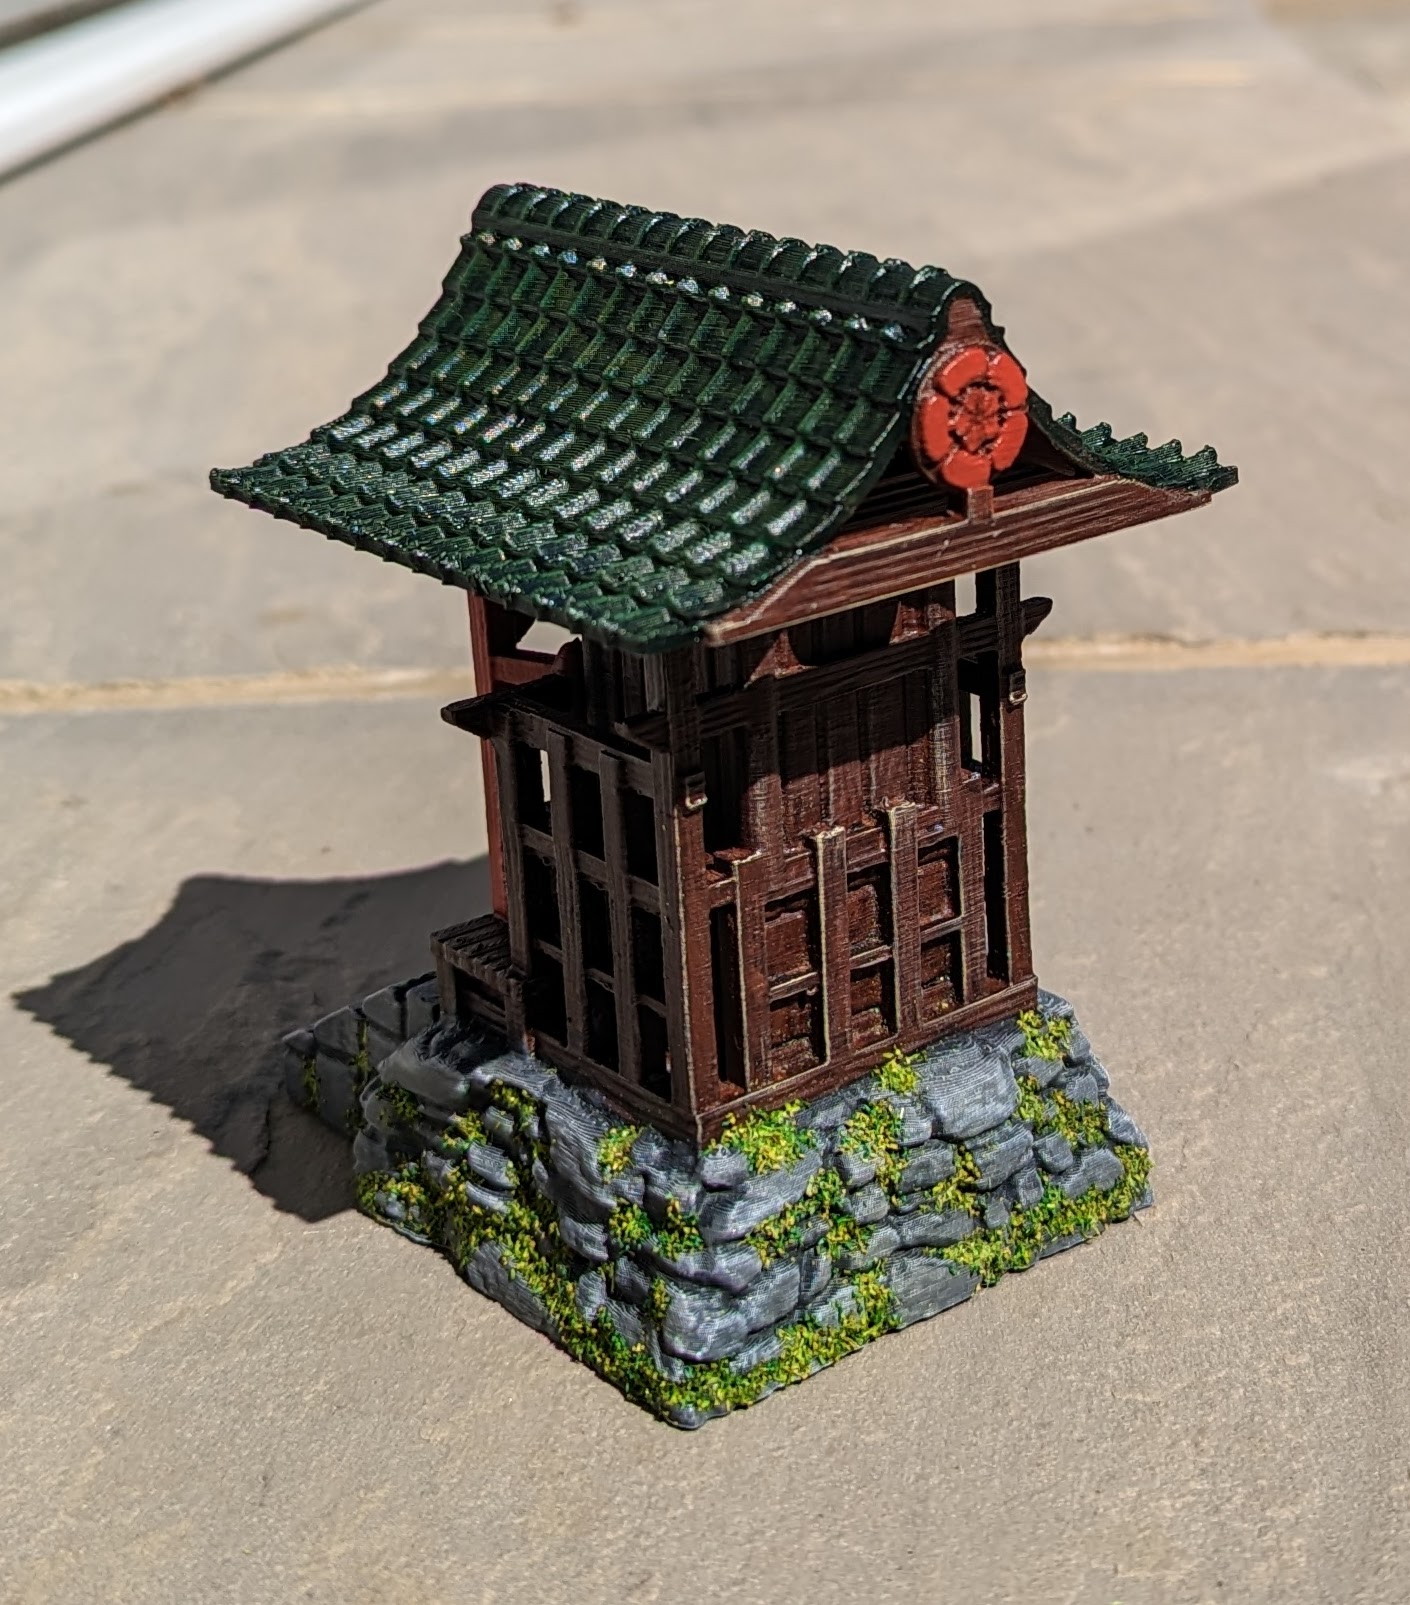
A Shinto Shrine
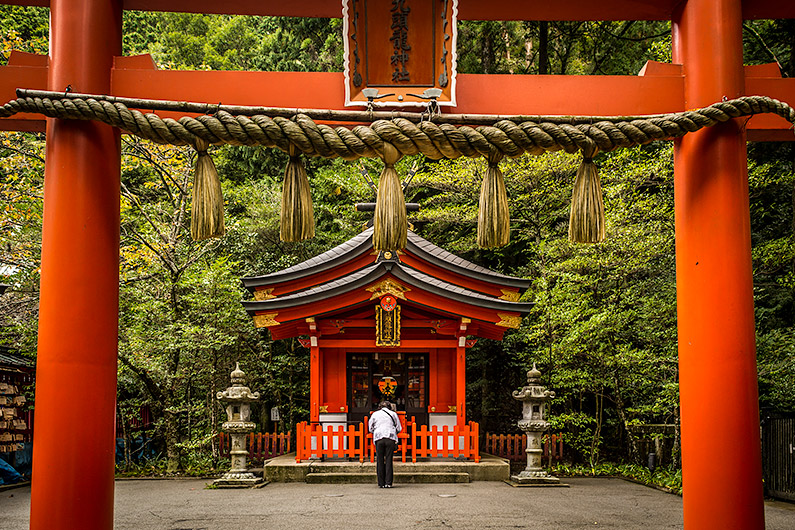
While I’ve 3d printed some stuff myself, I also bought a couple of larger pieces. One of these is a Shinto Shrine. Before setting out to paint, I’ve had a quick look around for some reference pictures.
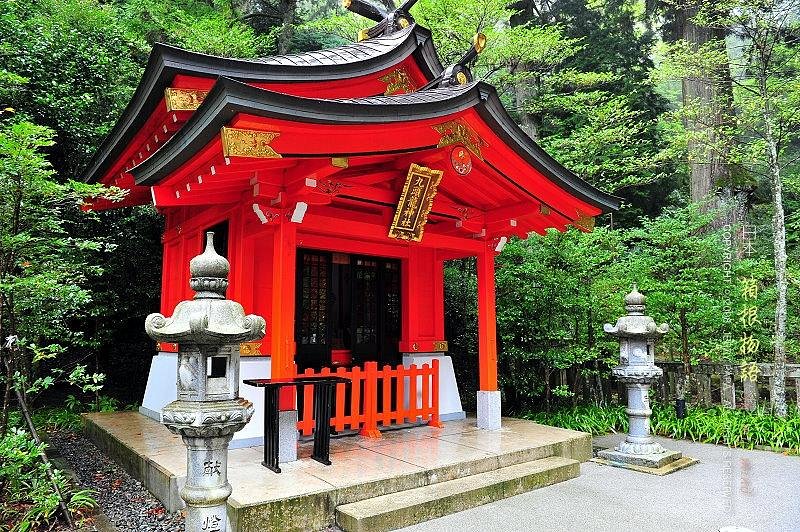
The model comes in two pieces which were given a grey primer. I’ve then just used the cheap acrylic paints from the Works, except for the red, which is a vallejo crimson.
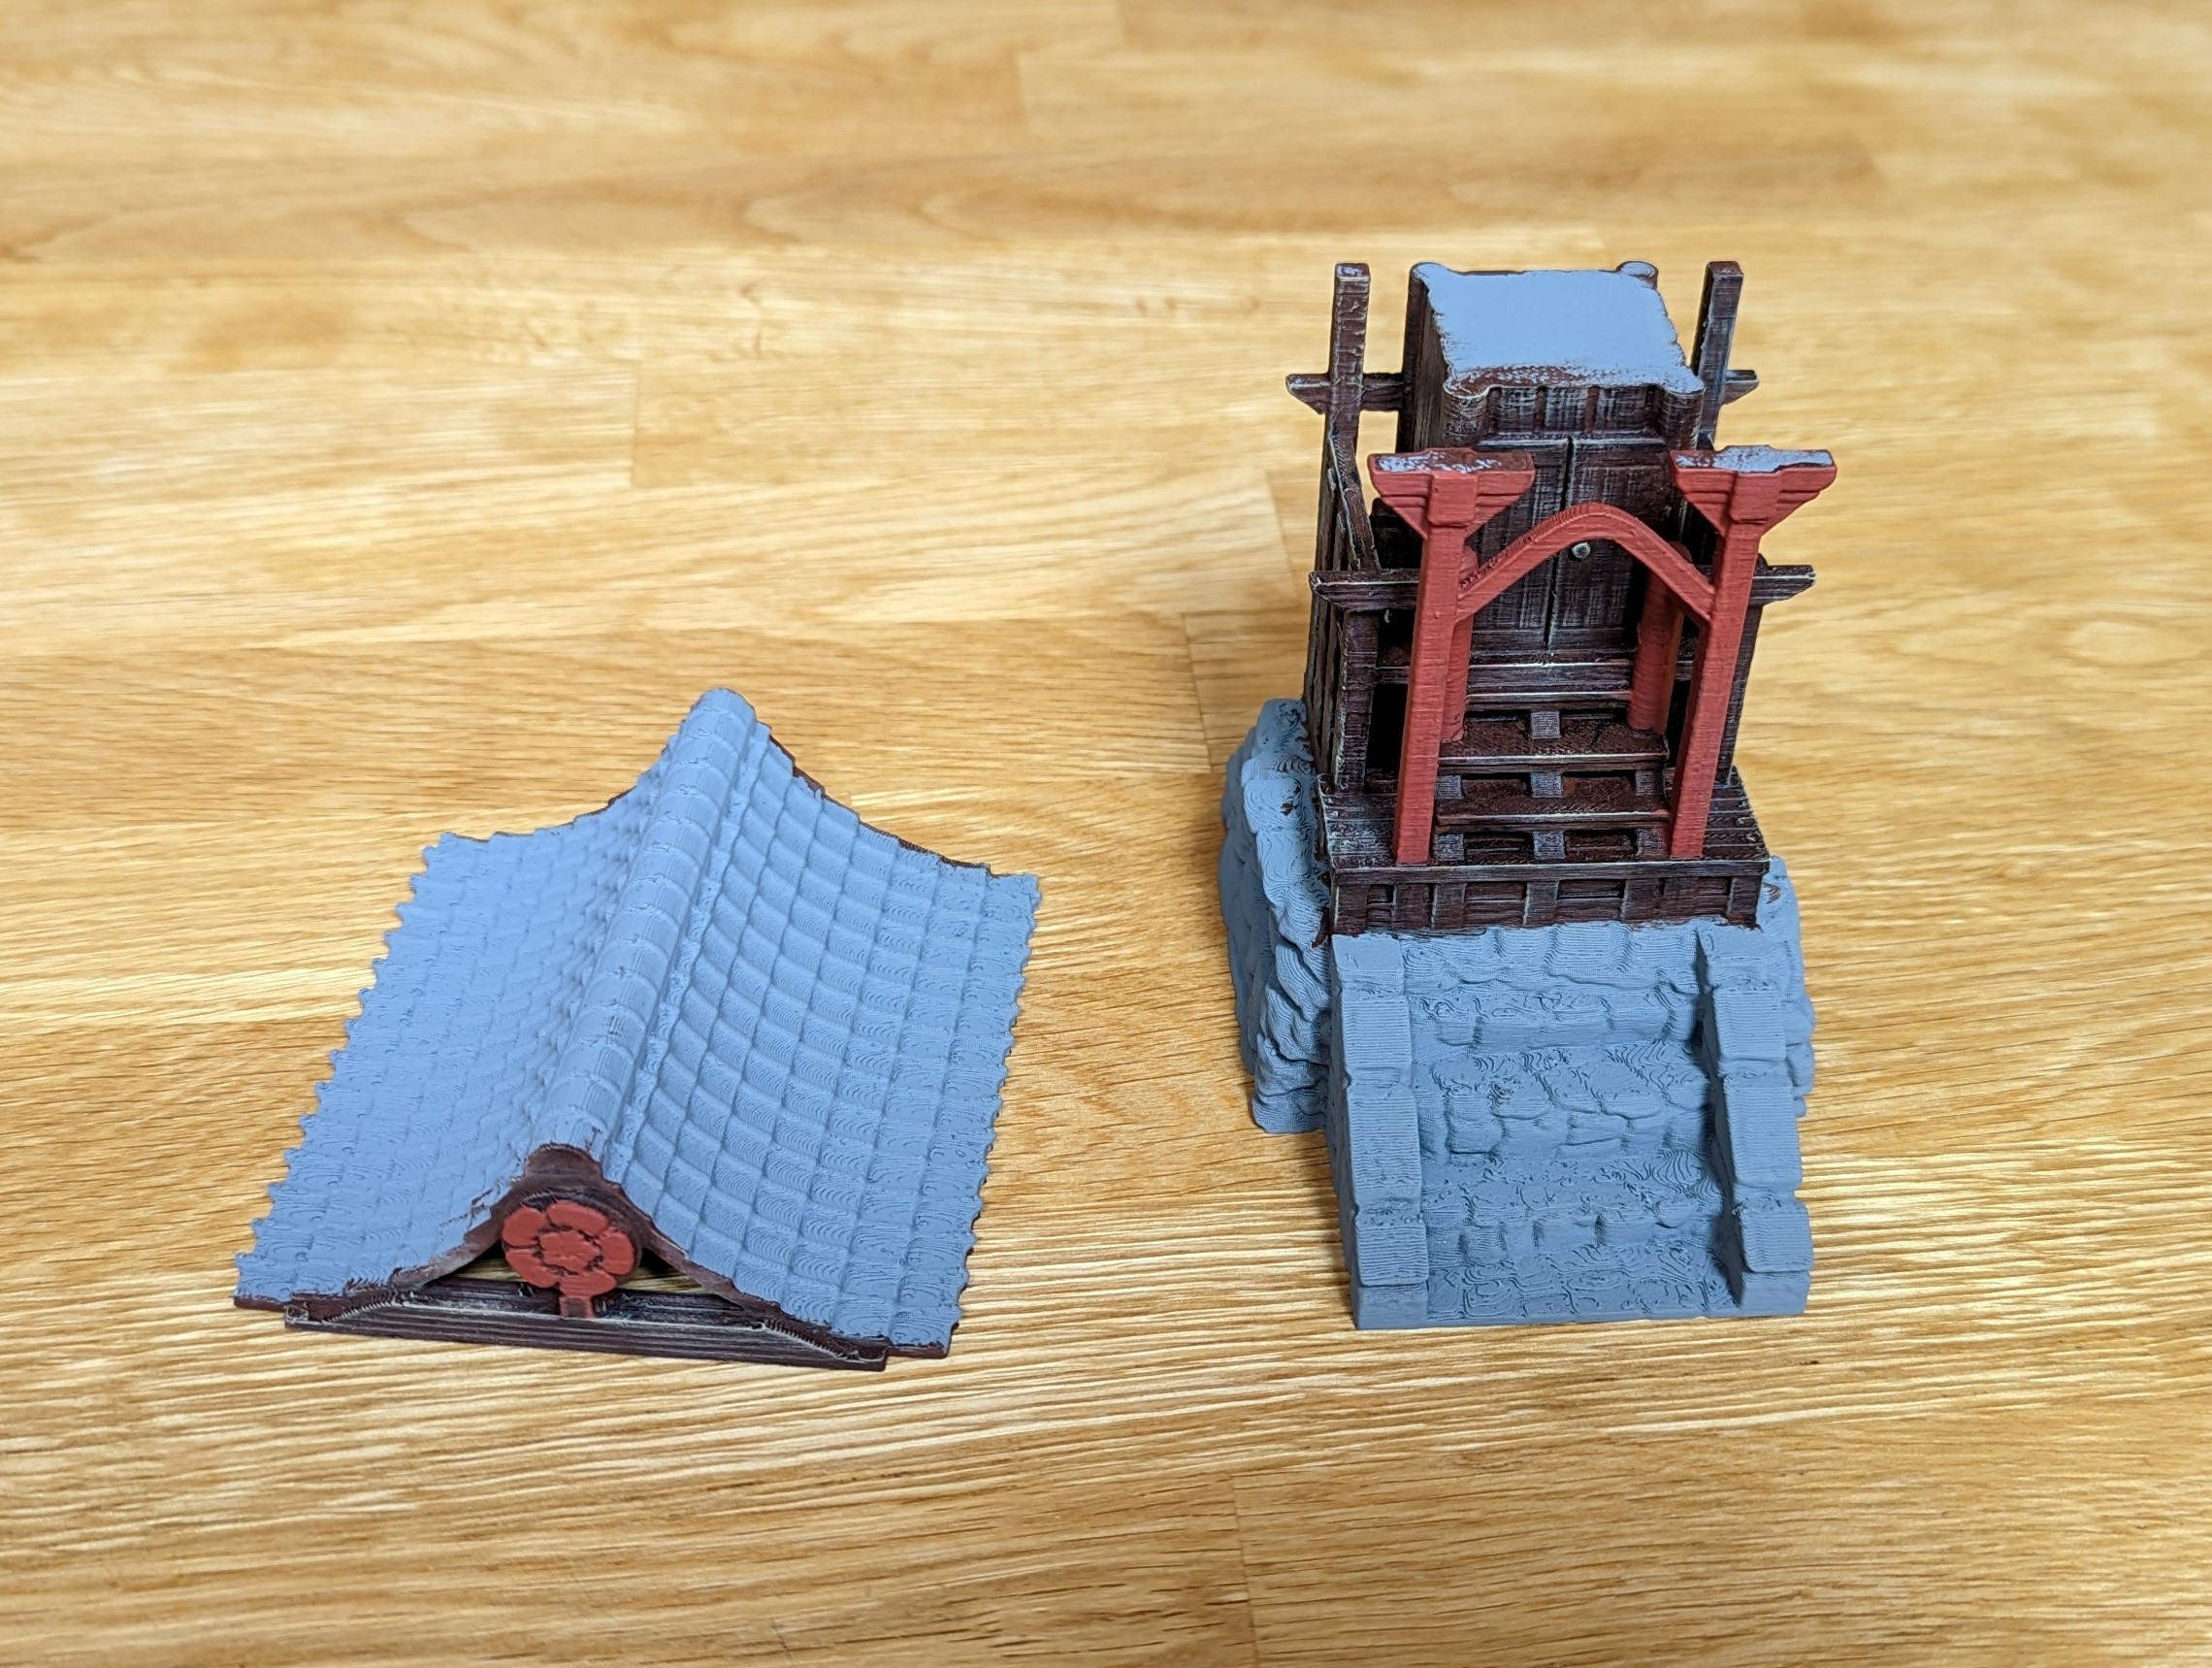
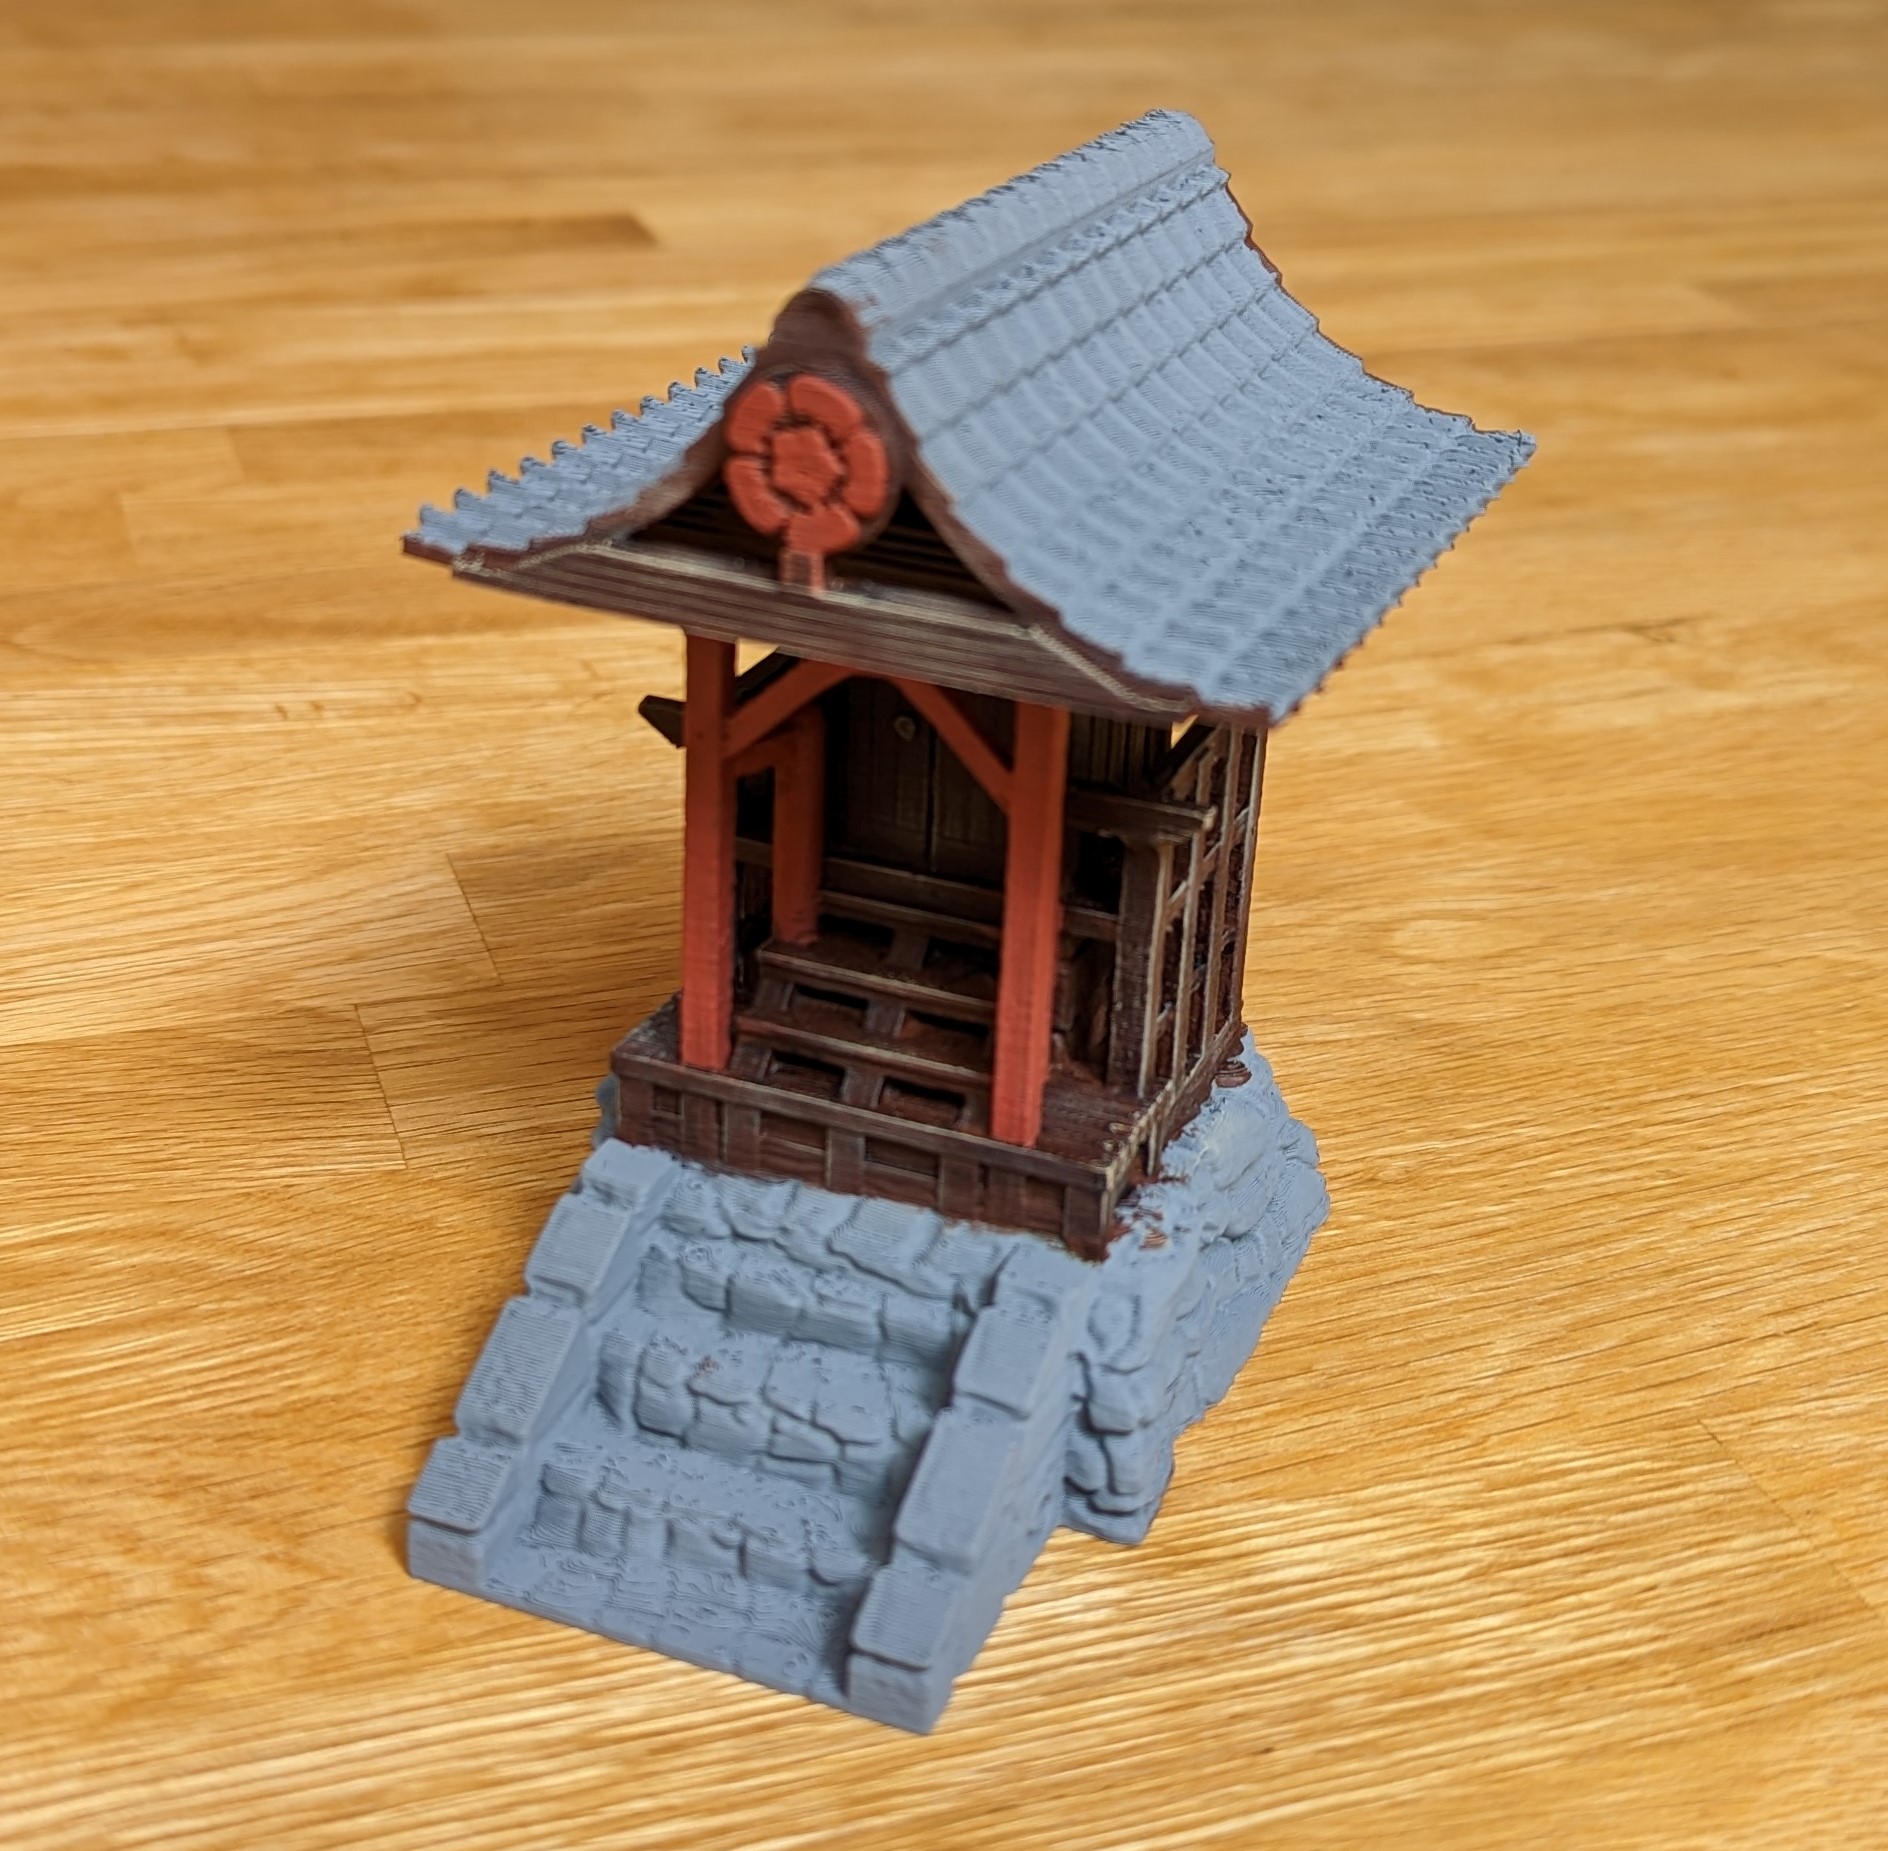
The wood was given a heavy wash before an Iraqi sand dry brush.
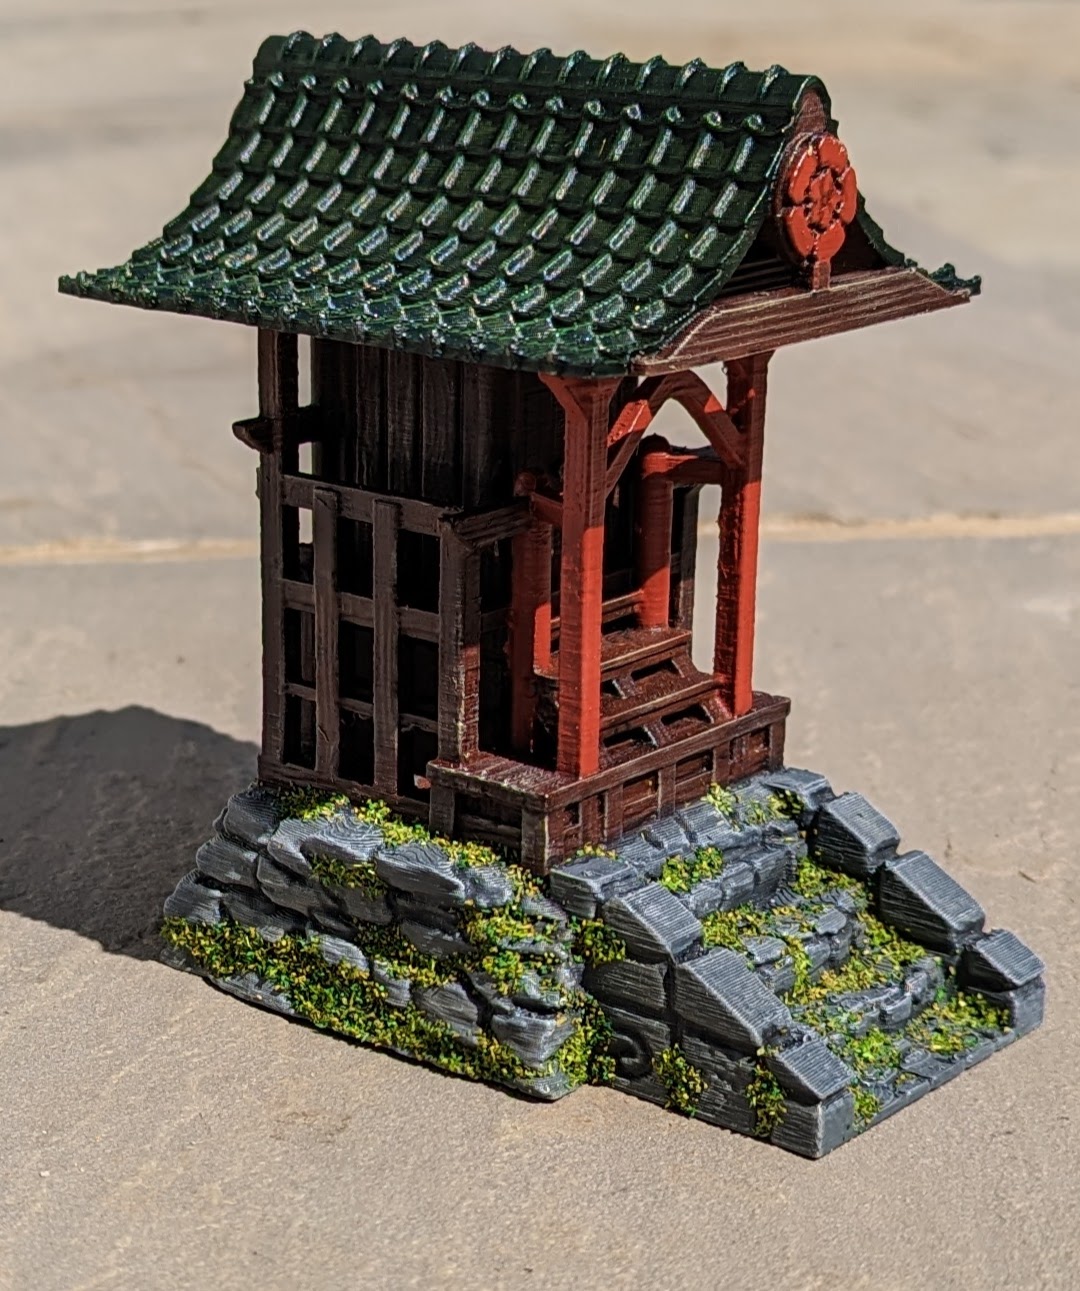
The tiles I painted a dark green and then dry brushed with a goblin green.
Unfortunately, the model suffers from stepping from the print which makes washes and dry brushing harder. For the wood and tile areas, this isn’t such a problem however my first attempt at the stones looked awful as a dark wash ran into the stepping creating a lined effect.
Now I could have applied some plastic glue or other methods to smooth this out, but this is a terrain piece and life is too short. So I repainted the stones grey and applied the wash just between the rocks rather than all over. I’ve then carefully dry brushed with a light grey and the end result was passable, at least from 3 feet.
Final step was to apply some flock around the stones to hide the worst of the stepping and job done.
Rice Stores
Returning to the MDF buildings, we set to work on the rice stores. I looked up some pictures for reference and found a Yayoi historical museum in southern Japan that has built some of these as part of the exhibits. These are all thatched and our MDF building isn’t so we need to rectify that.
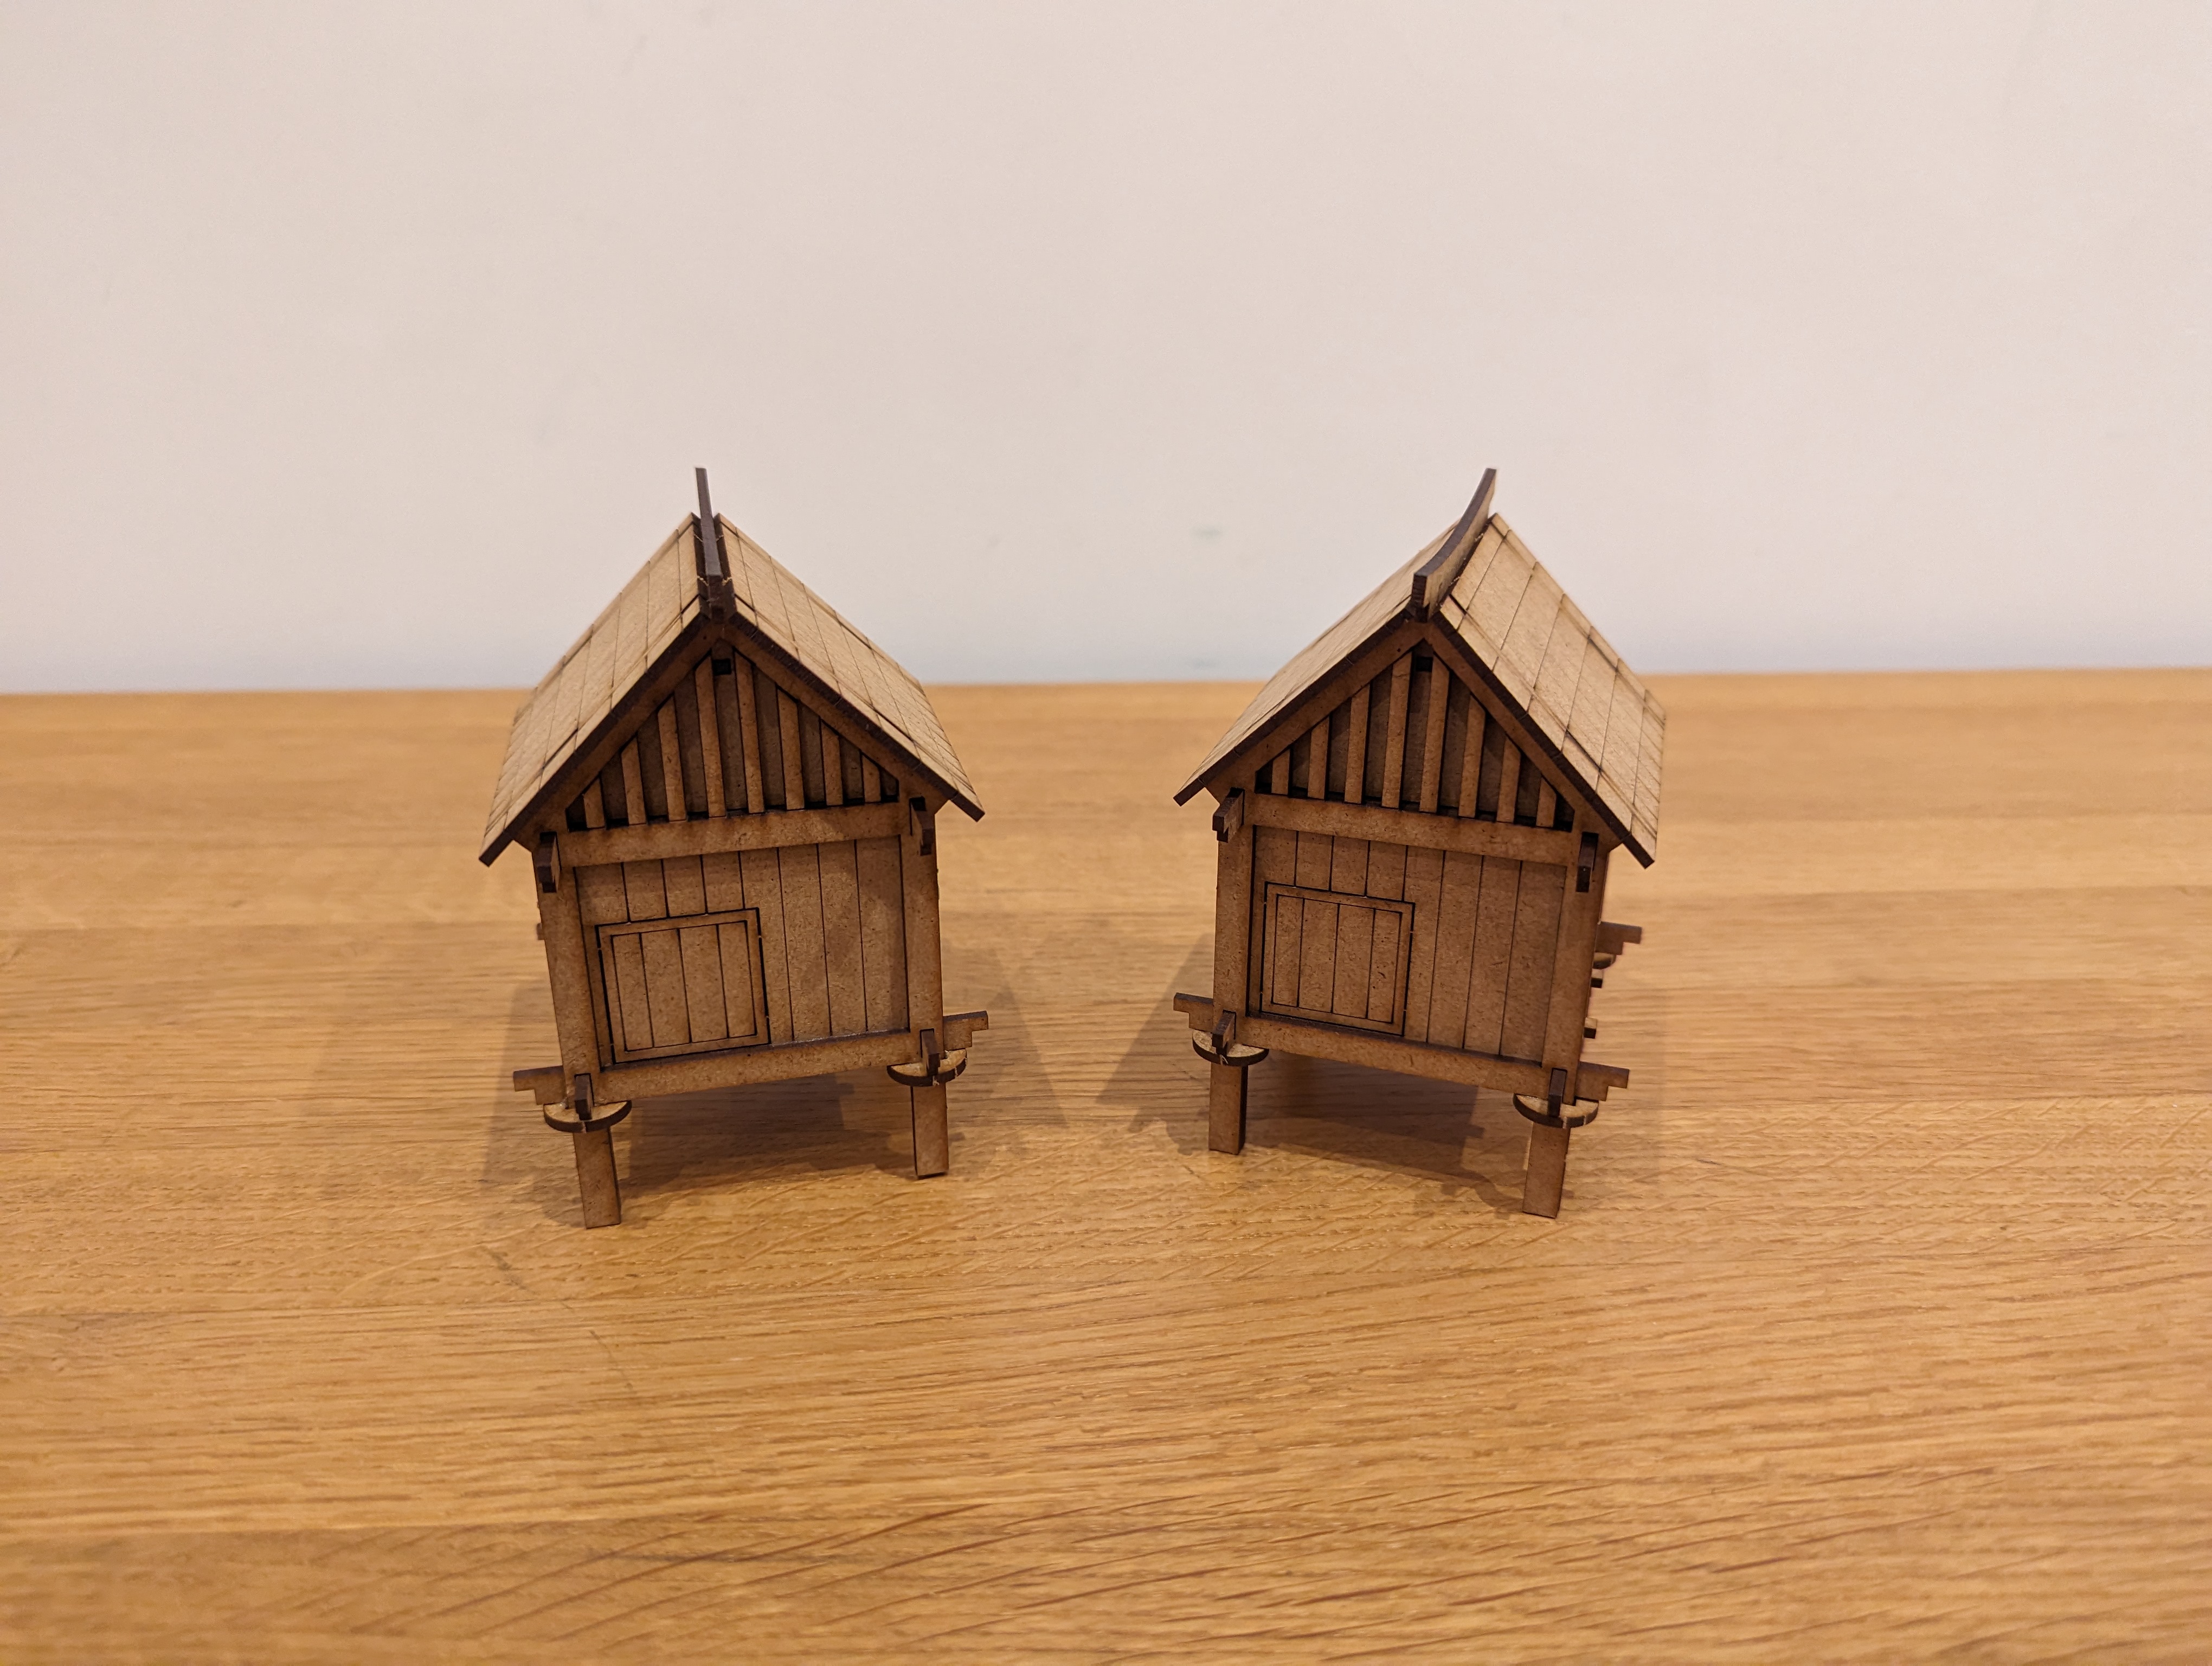
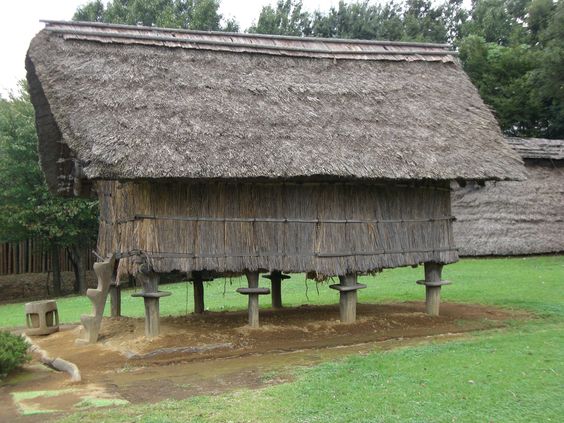
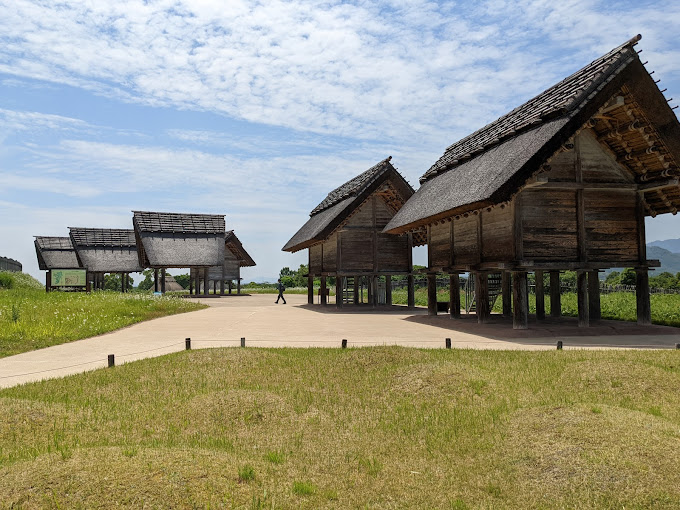
There’s a few ways of making thatched roofs and there’s even a Gerry Can on it as well but here’s how we tackled it.
Heading to our local Poundland, we bought a wallpaper brush for £1 (who’d have thought?). Removing the metal rim, it was easy to take the bristles off ready for adding to the roof.
The roof was then smeared liberally with PVA and the bristles applied. Fortunately, the bristles are about the same length as the roof, so there will be minimum trimming once in place. Once the PVA dried, we then added two separate applications of terrain cement, just to make sure that everything stayed in place.
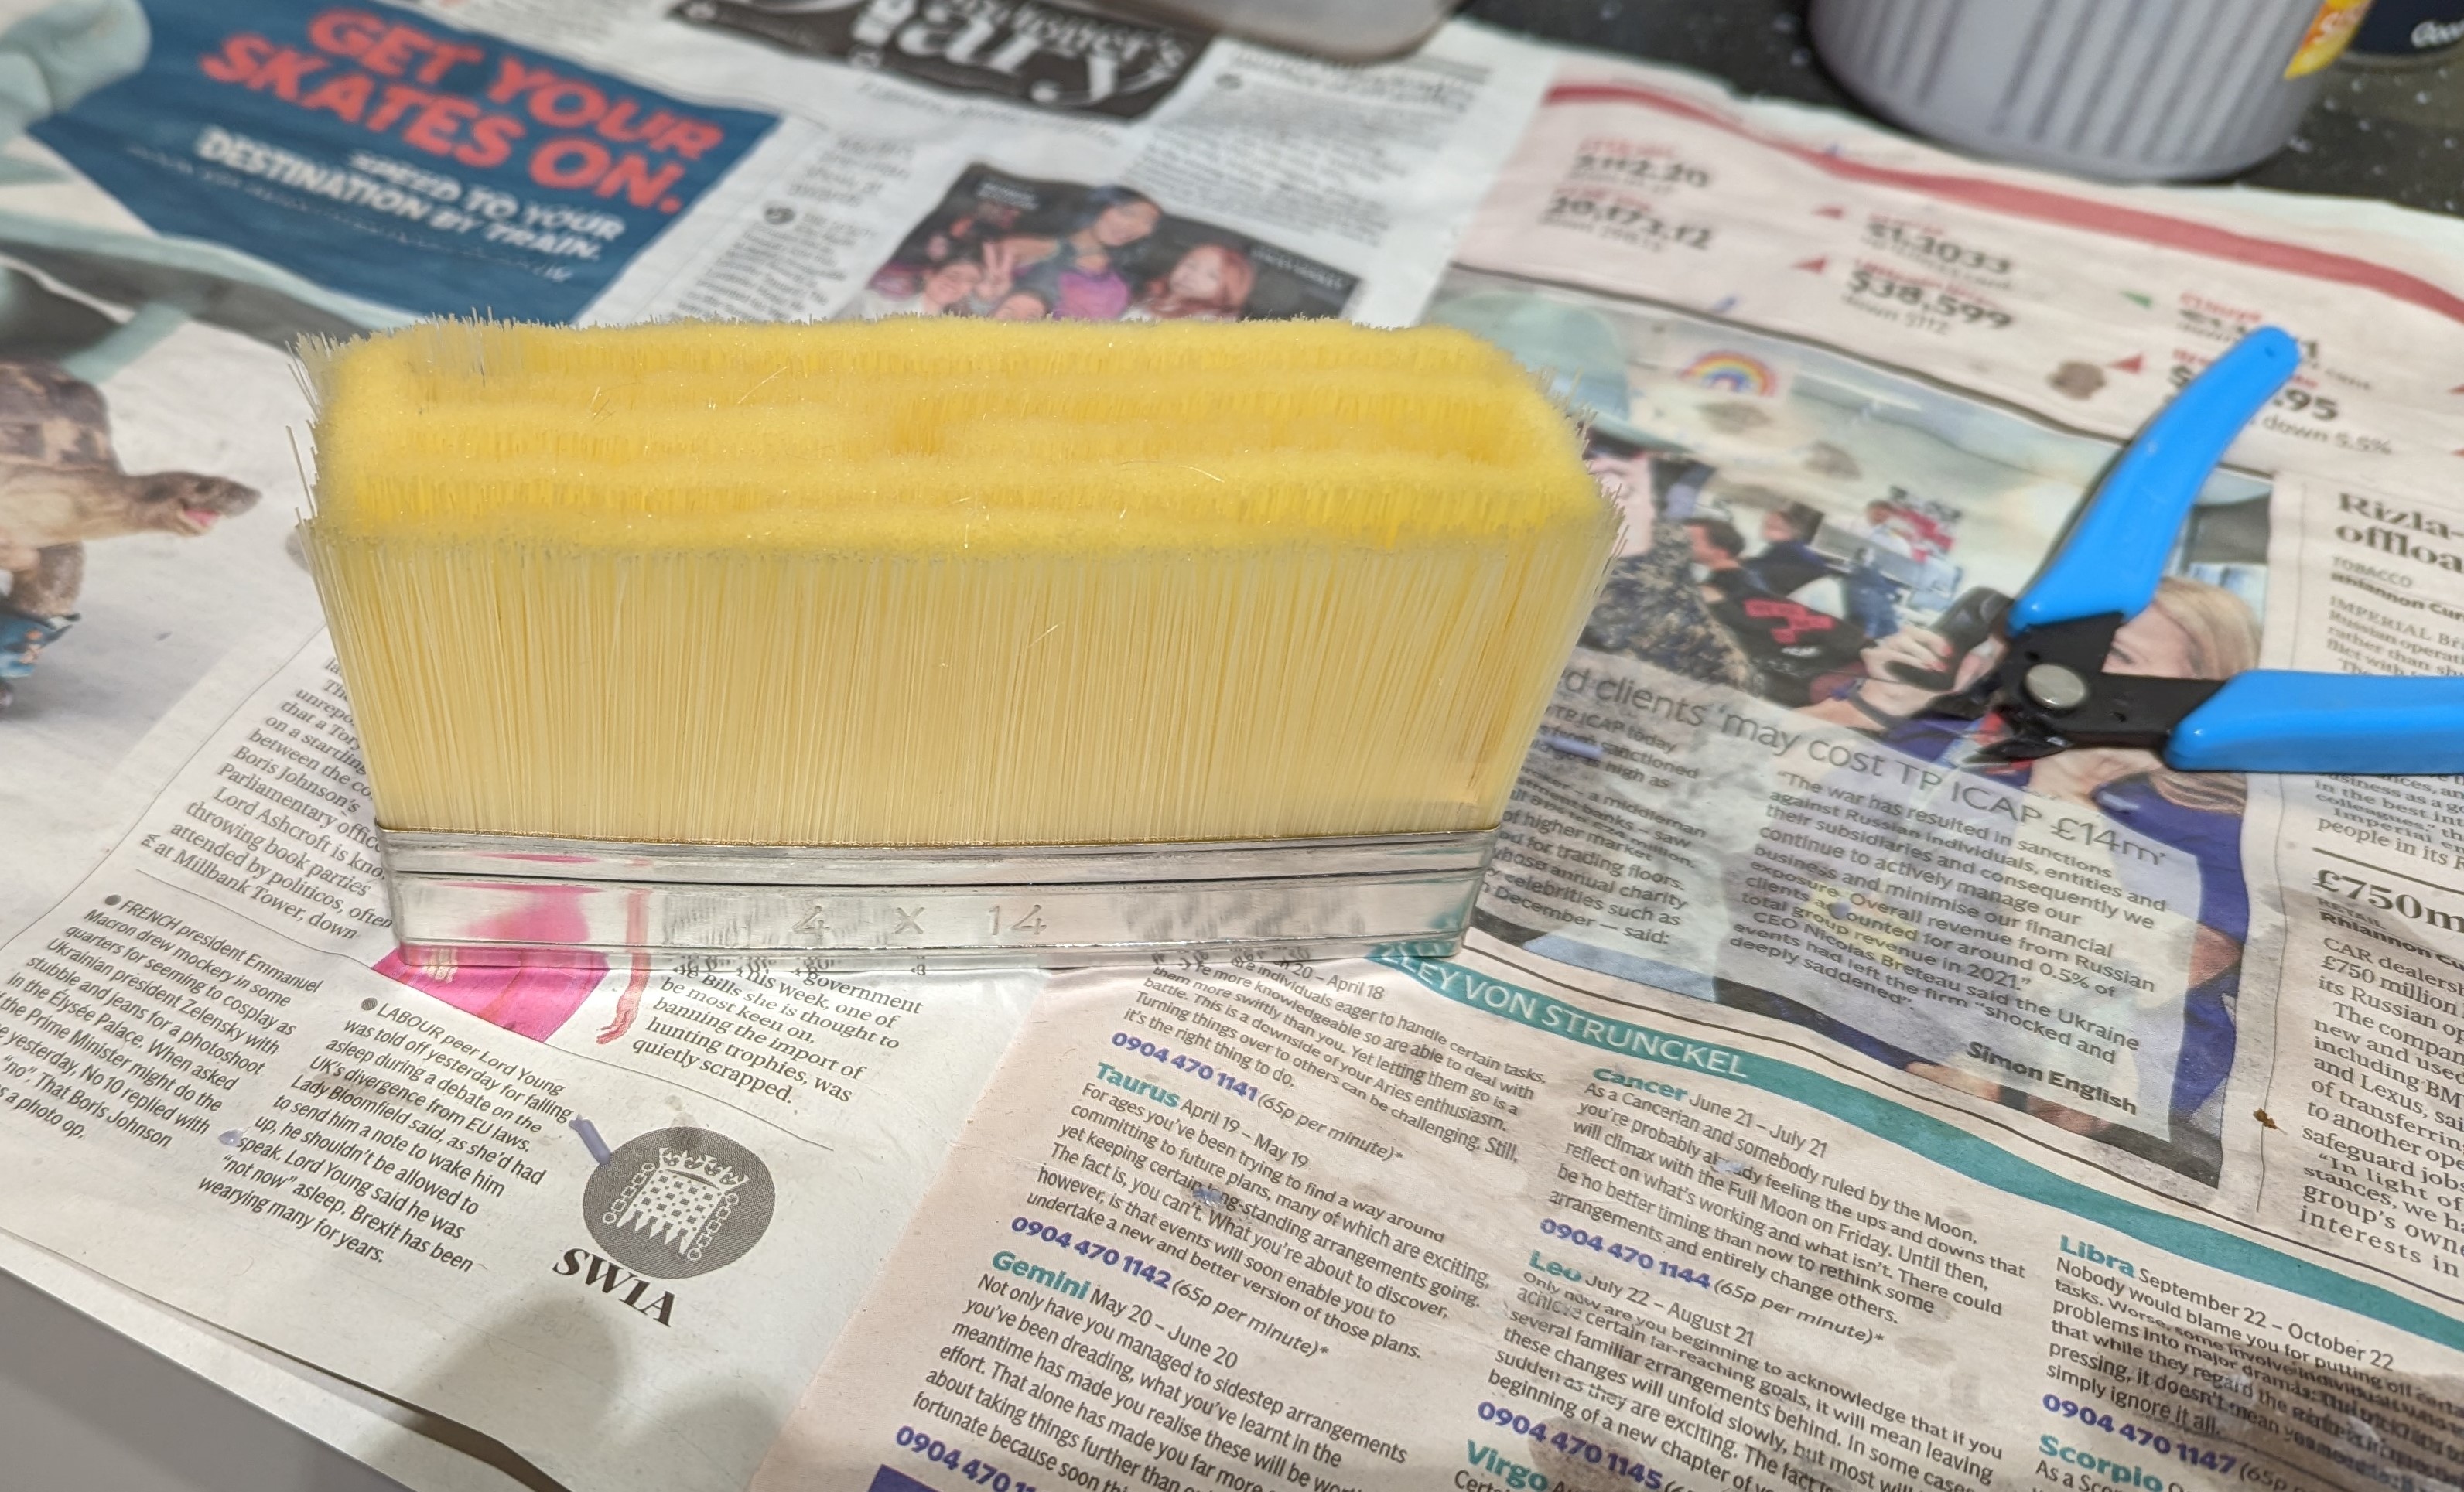
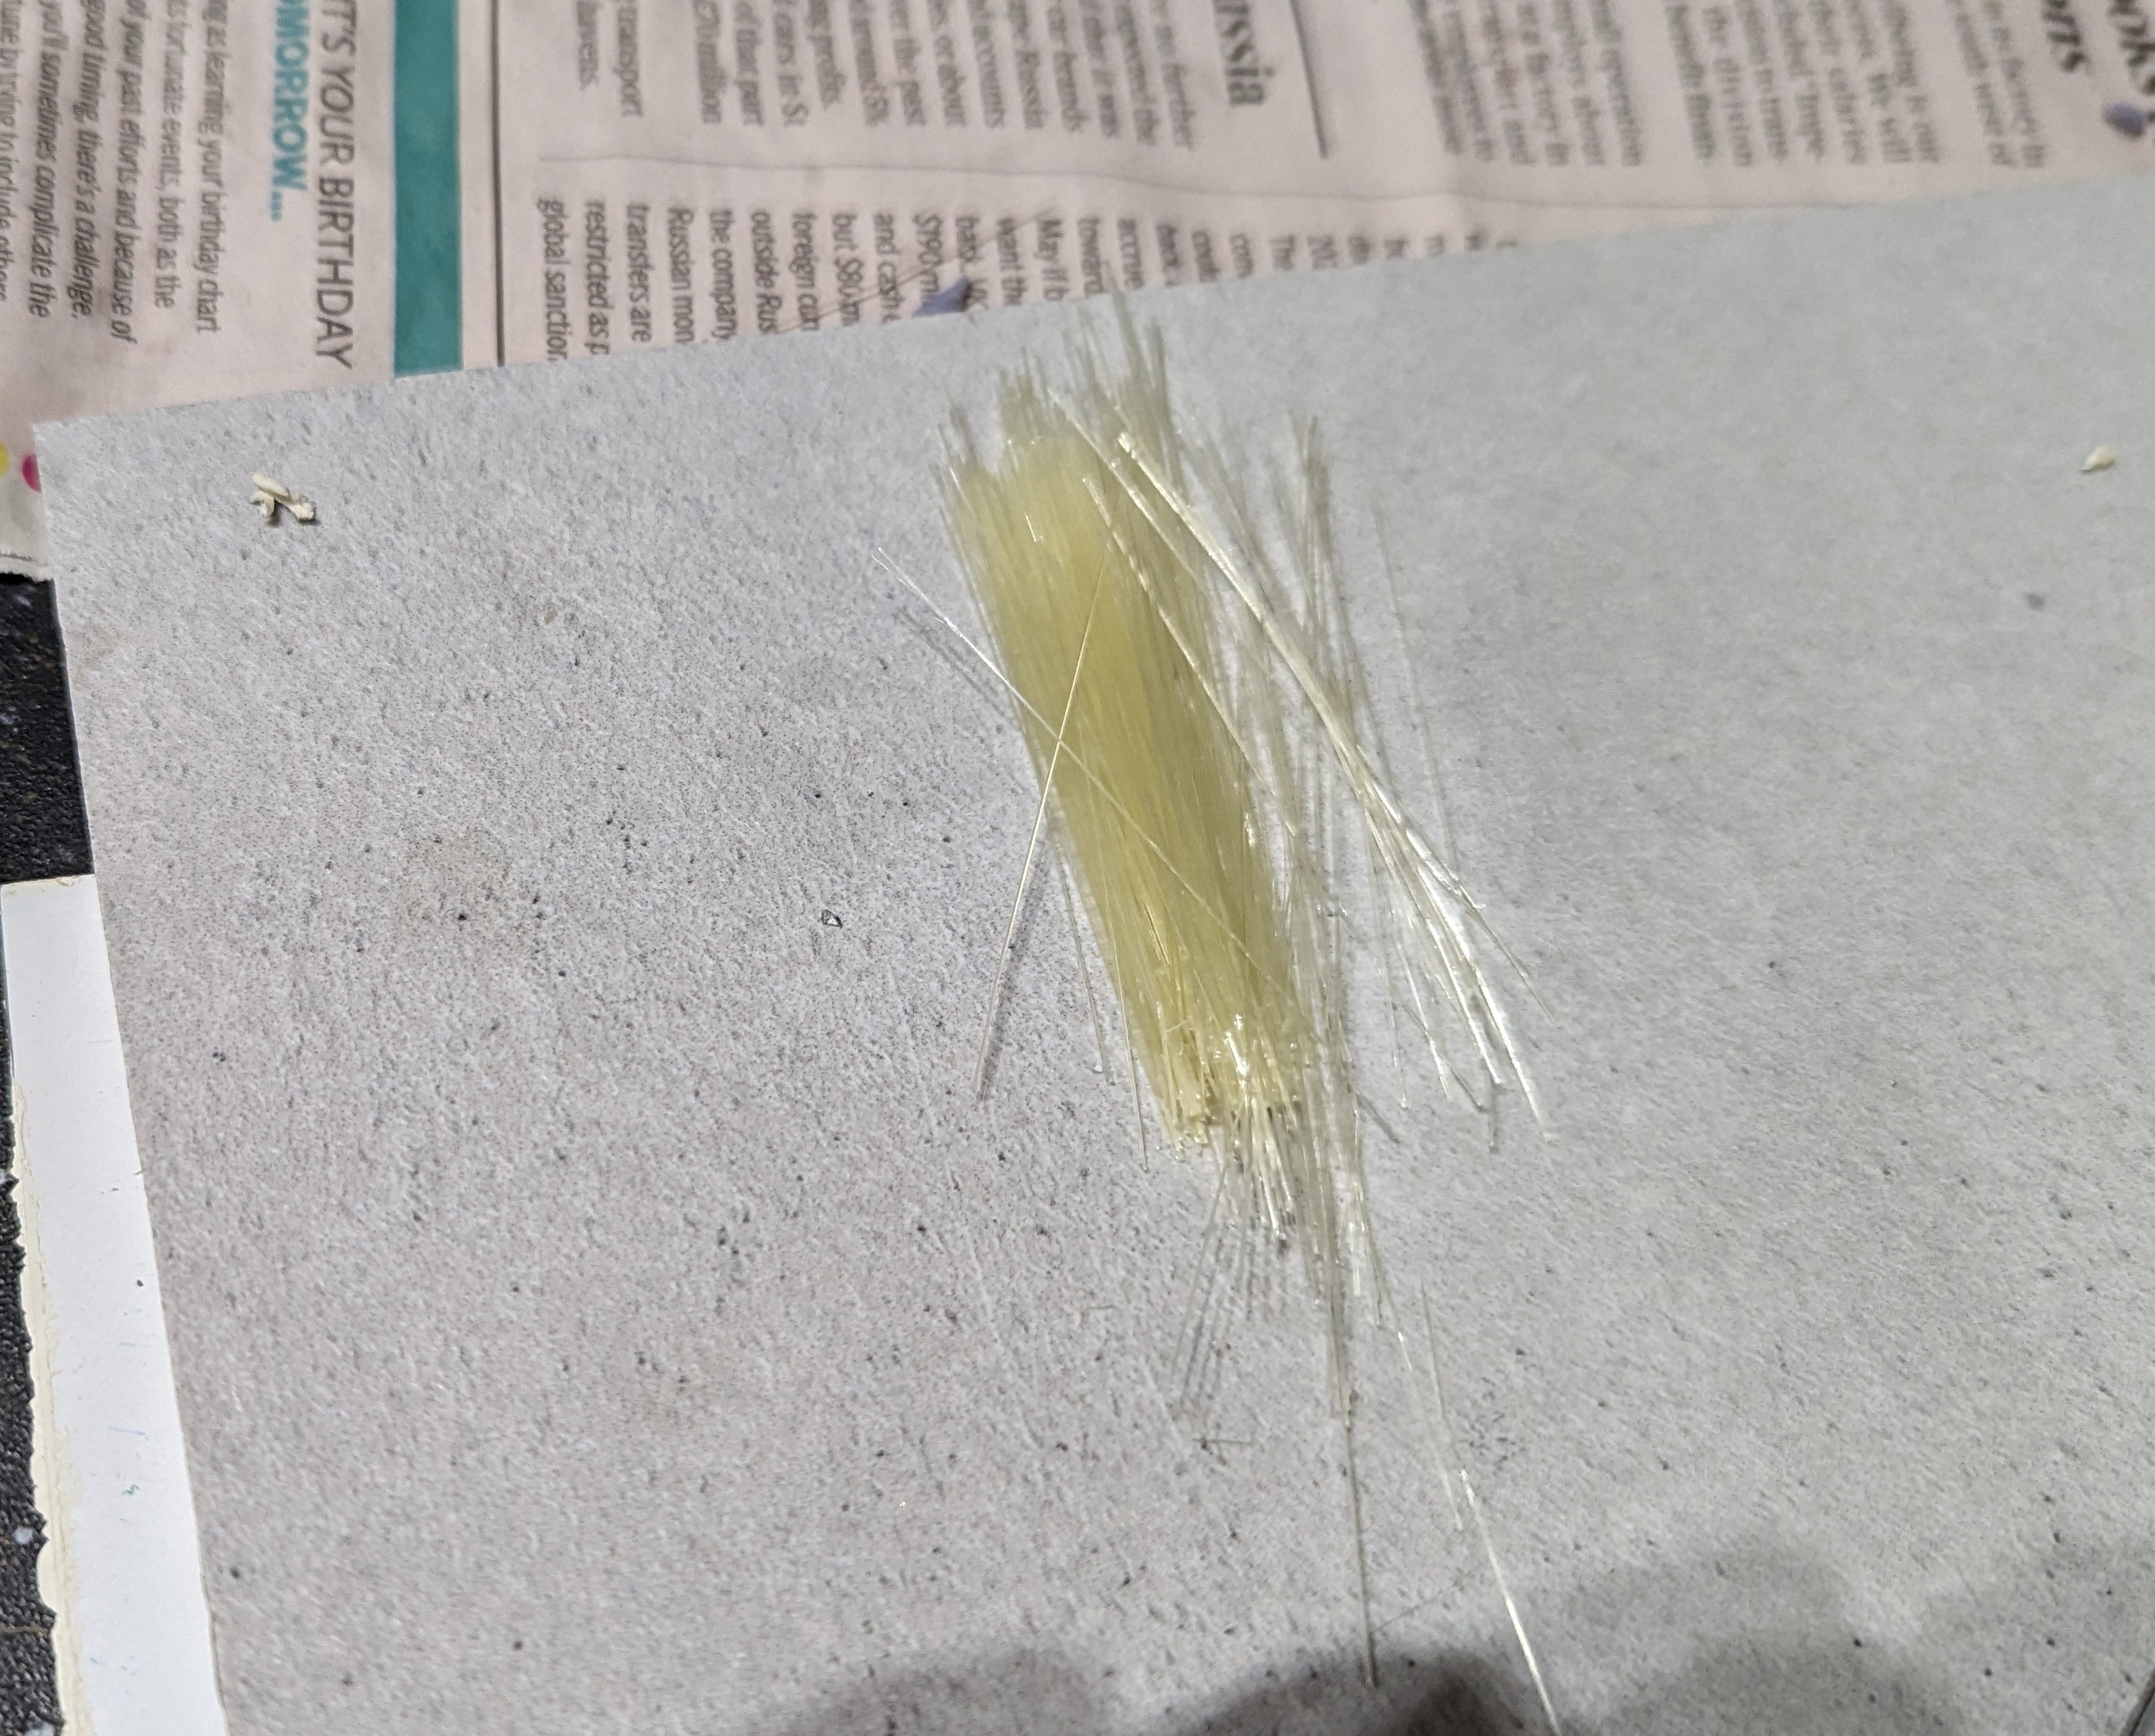
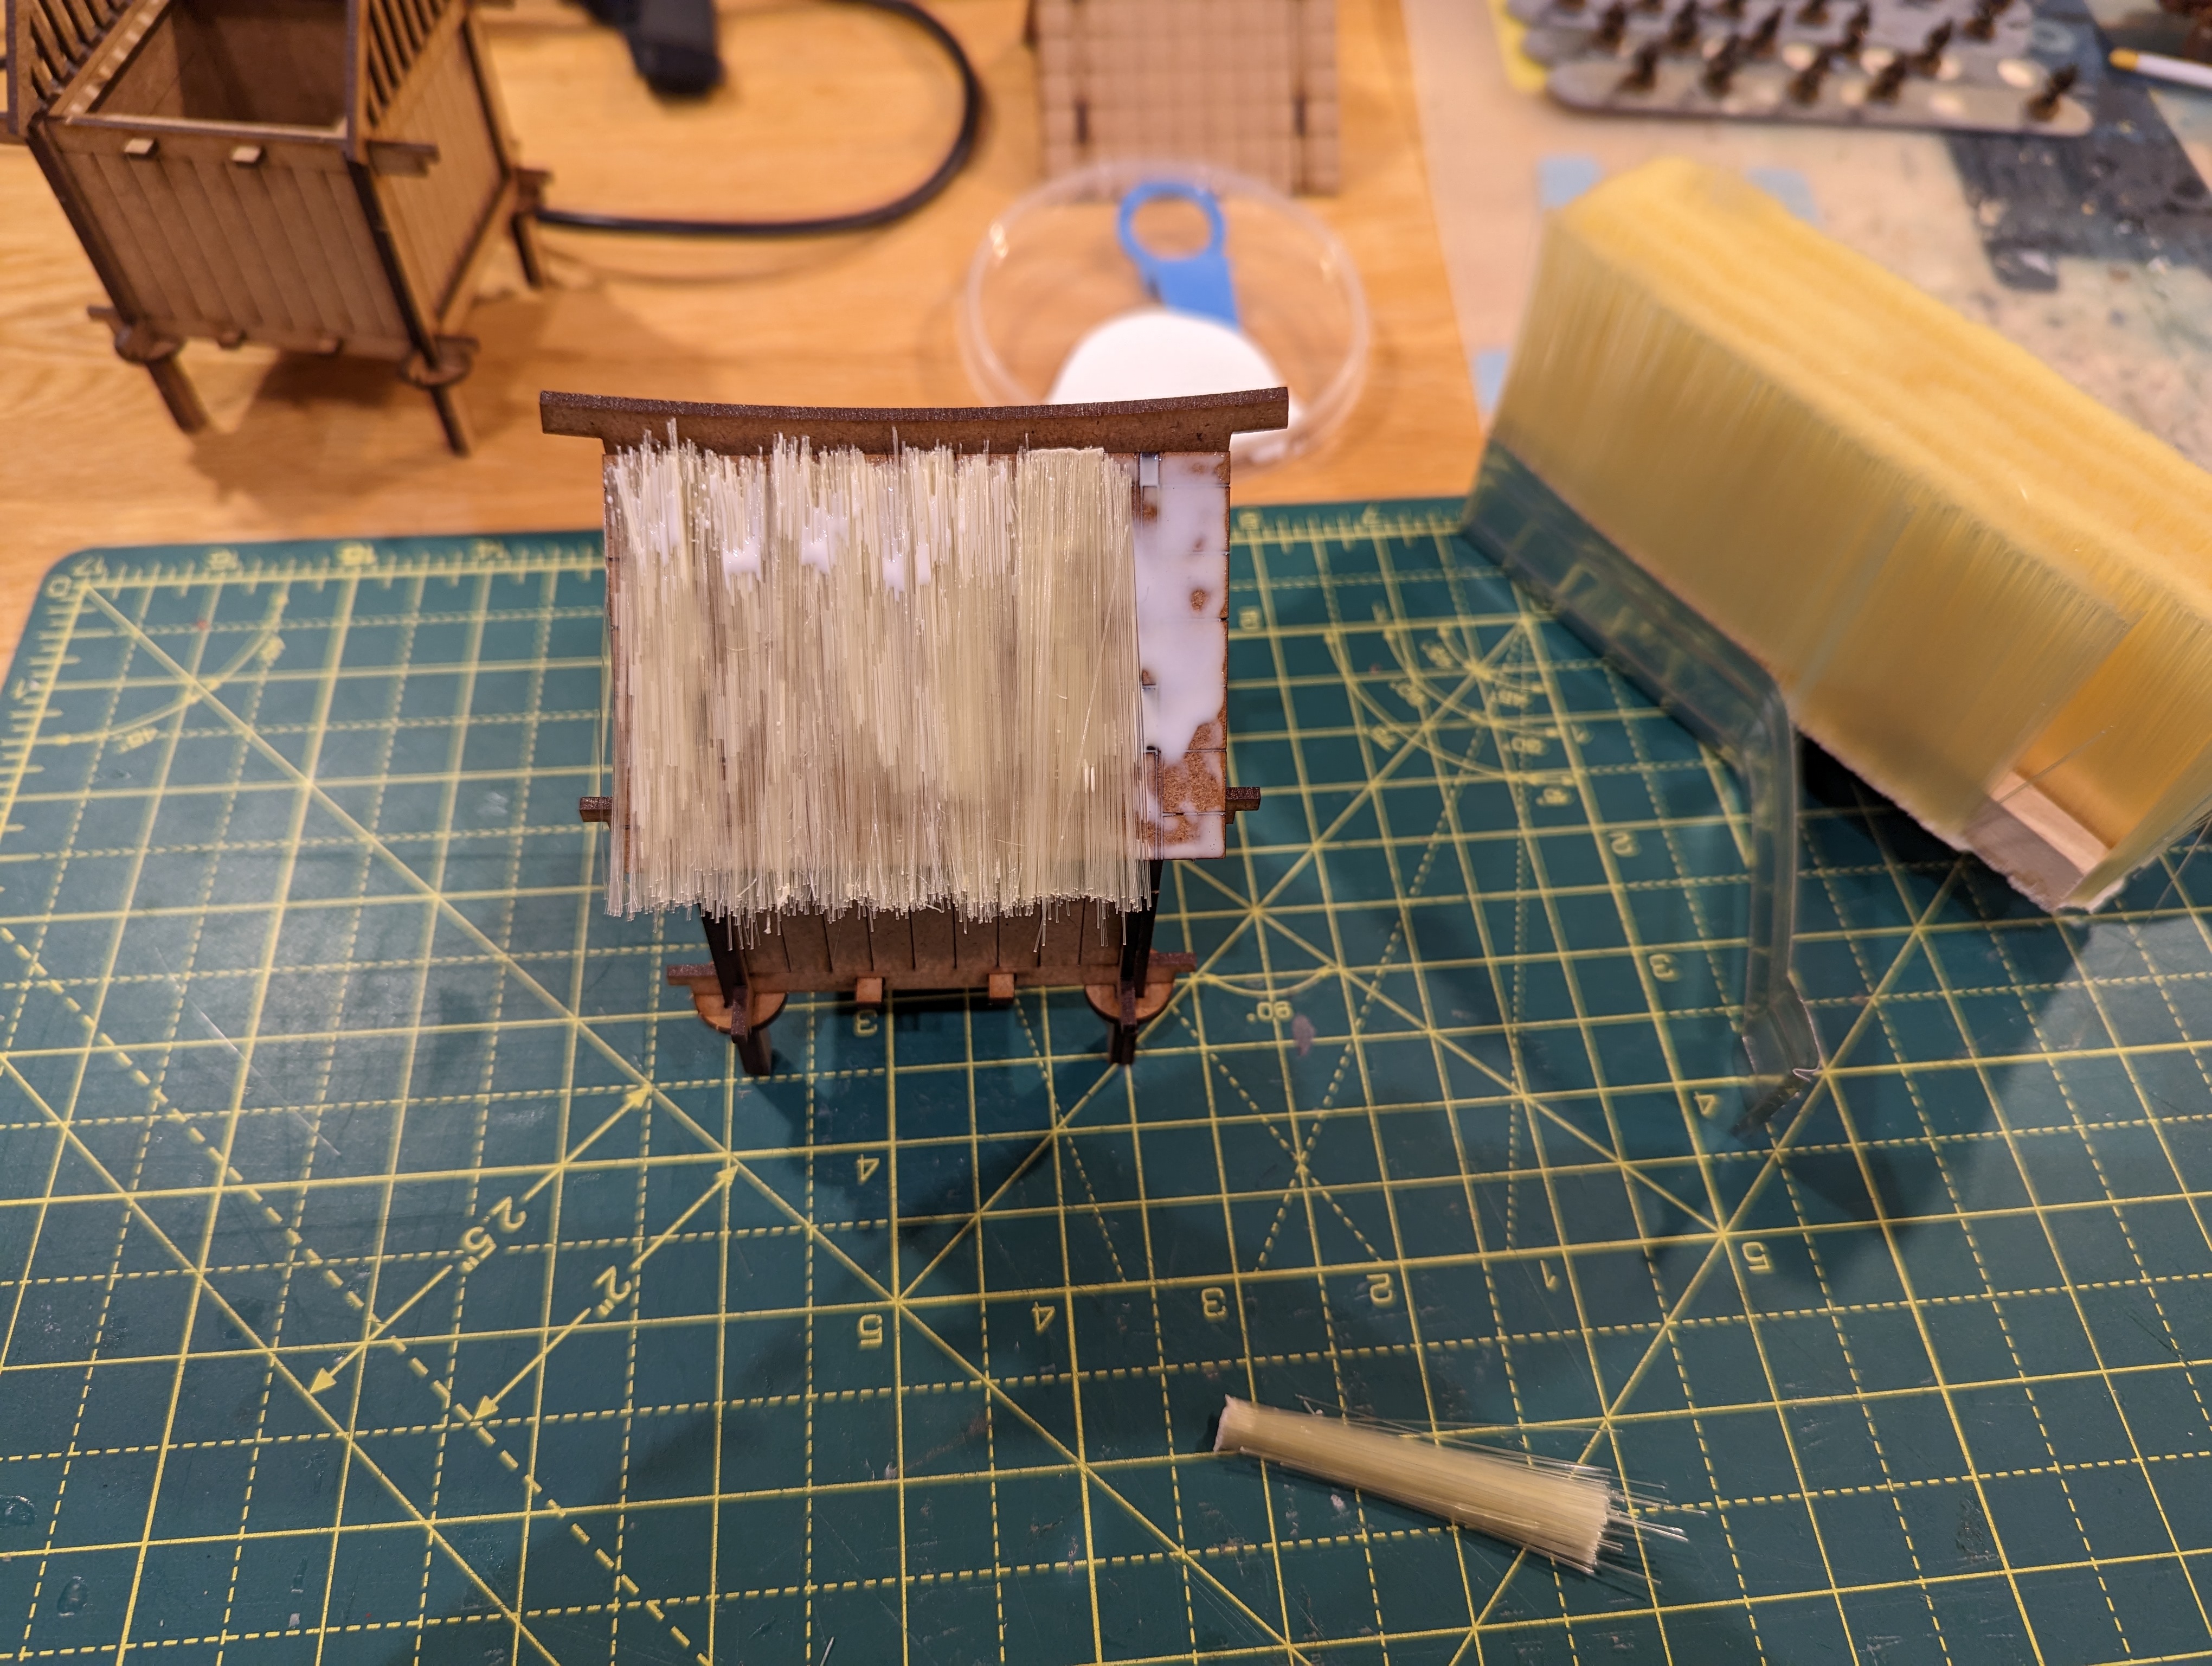
Once this was all dry, the whole thing got primed and I then set my son to work painting it. We’re using cheap acrylic paint from The Works for this – no point using the good stuff on MDF terrain!
The wood was painted a dark brown and the thatch black, just to make sure that there were no light patches.
The thatch then got a dry brush of grey.
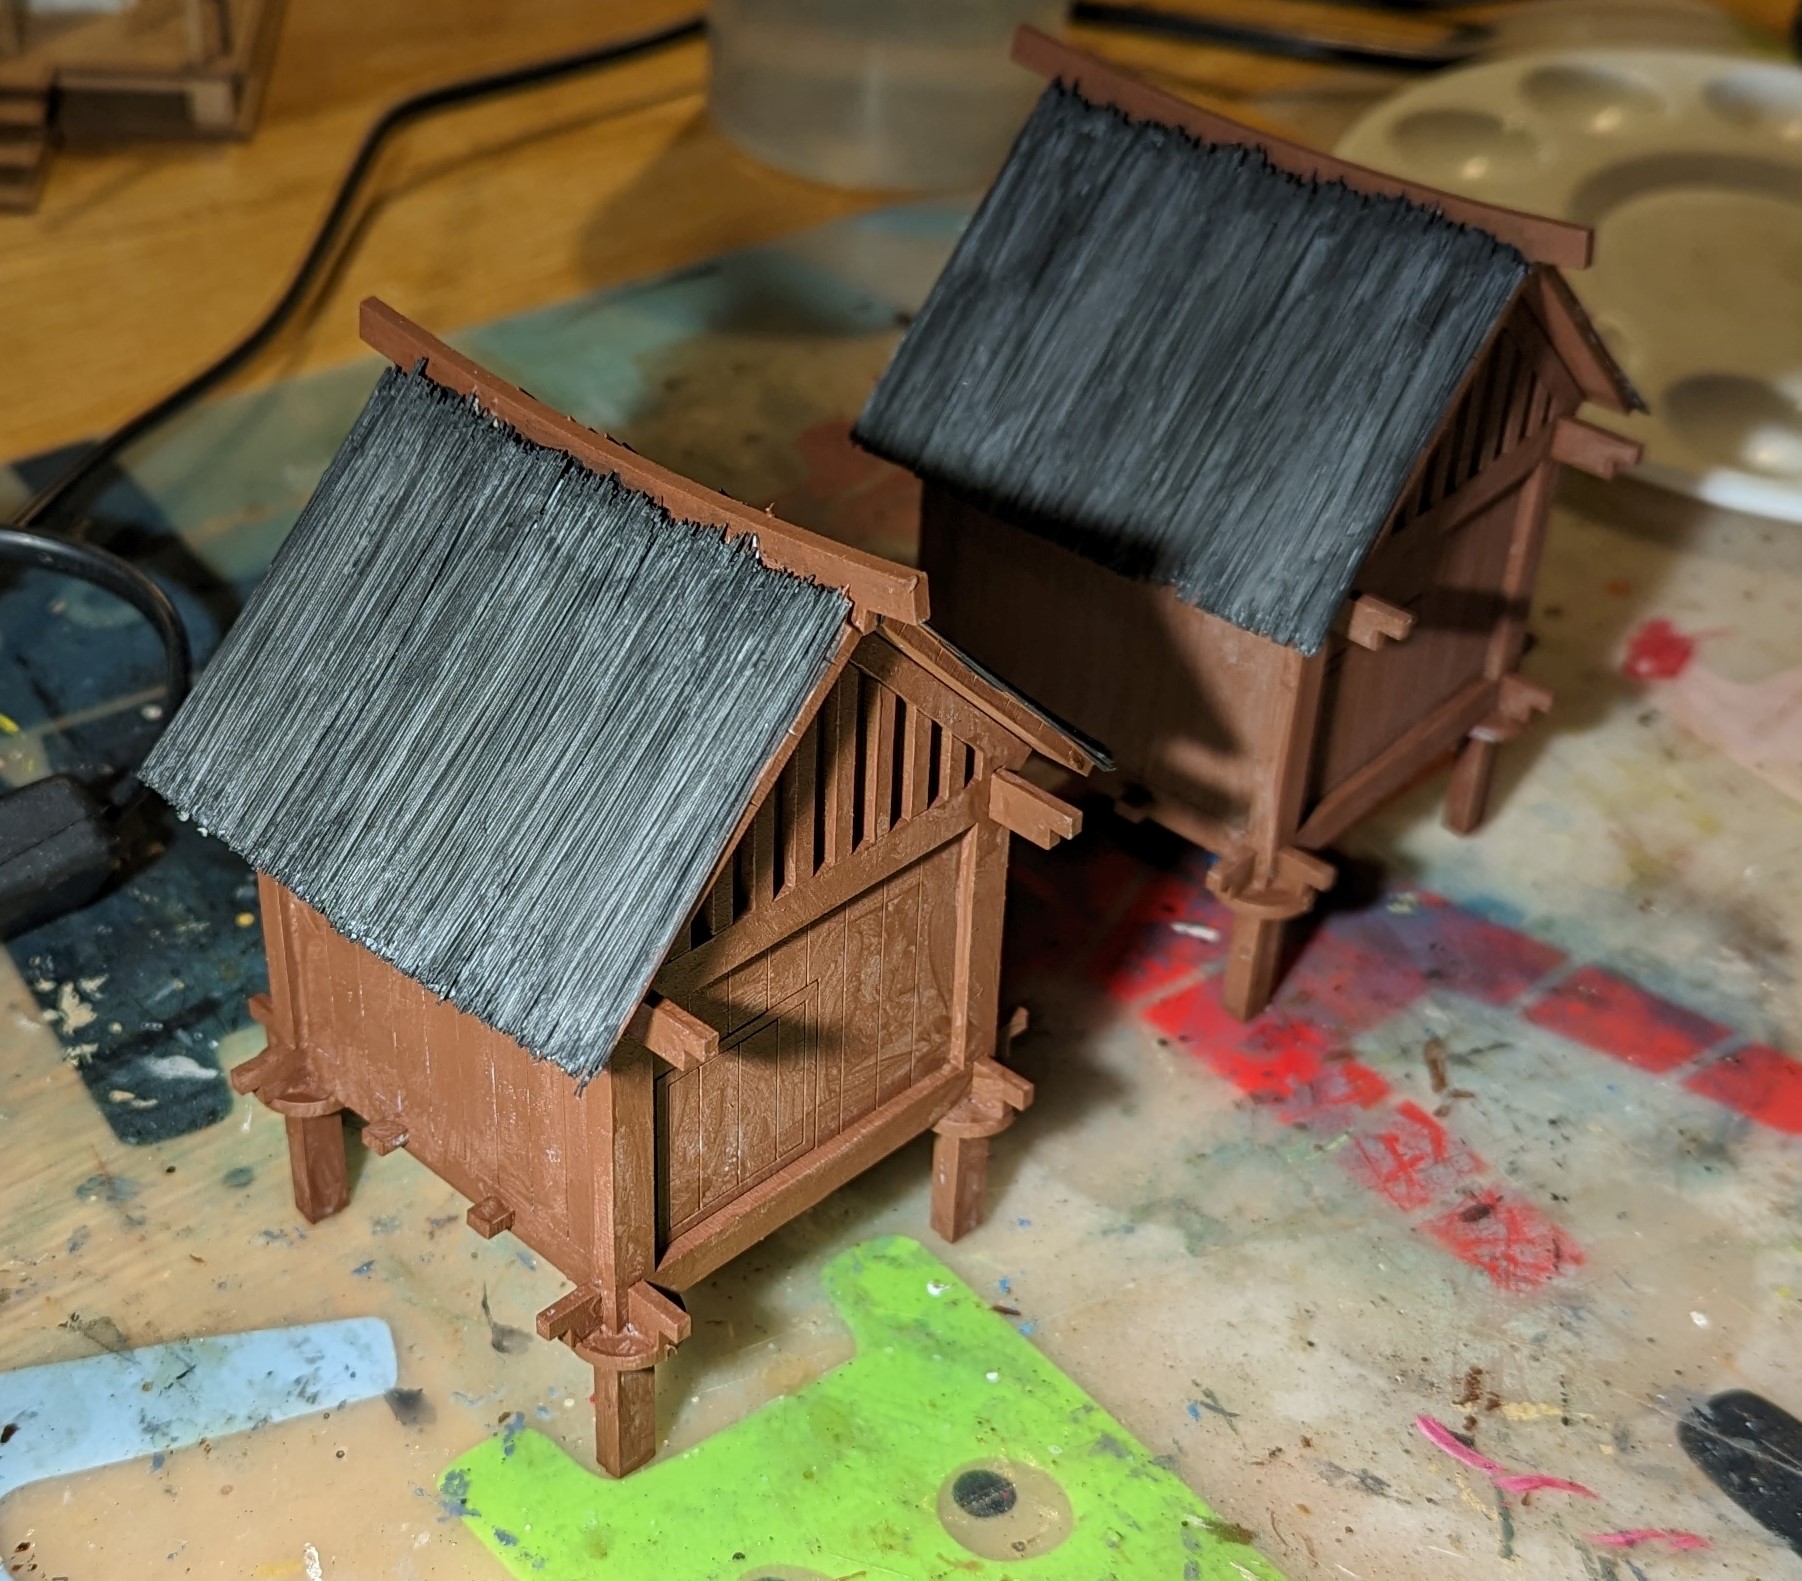
To finish things off, we gave the model a dry brush of Iraqi Sand before applying a coat of gloss varnish. Once dry, I broke out the Mig enamel panel liner and applied this into the grooves of the wood planking and door, just to really bring out the shadow.
This then got a final matt varnish to lock everything in place. Quick and easy but quite effective.
 Our finished rice stores
Picking our factions
The month of May is birthday month for myself and my son, so a good opportunity to get a faction starter set. This does mean that we both need to pick a faction. My son found this easy. As soon as he found out that the Temple of Rokan can have a bo staff wielding panda, he was all in on the monks. He was also delighted to find out that he can field an old man riding a tortoise. So his birthday presents were duly lined up and he’ll get these at the end of the month.
I was torn between several of the factions. I particularly like the Savage Wave, mainly for the idea of massive oni crashing around the table top. The Prefecture of Ryu with their samurai also look particularly enticing. But in all my years of gaming, I’ve never had an undead army, so I’ve opted for the Cult of Yurei and I’ve duly asked for the starter faction set for that.


With the factions chosen and on order for our respective birthdays, we’ve both been looking at the options on what to field and how to expand our start forces. For the Cult of Yurei, I noted that I could field rat swarms and plague rats. Digging around Thingiverse and MyMiniFactory, I tracked down some stl files that I’ve adapted and 3d printed. So I now have some small rat swarms, some large rat swarms and three plague rats to paint up
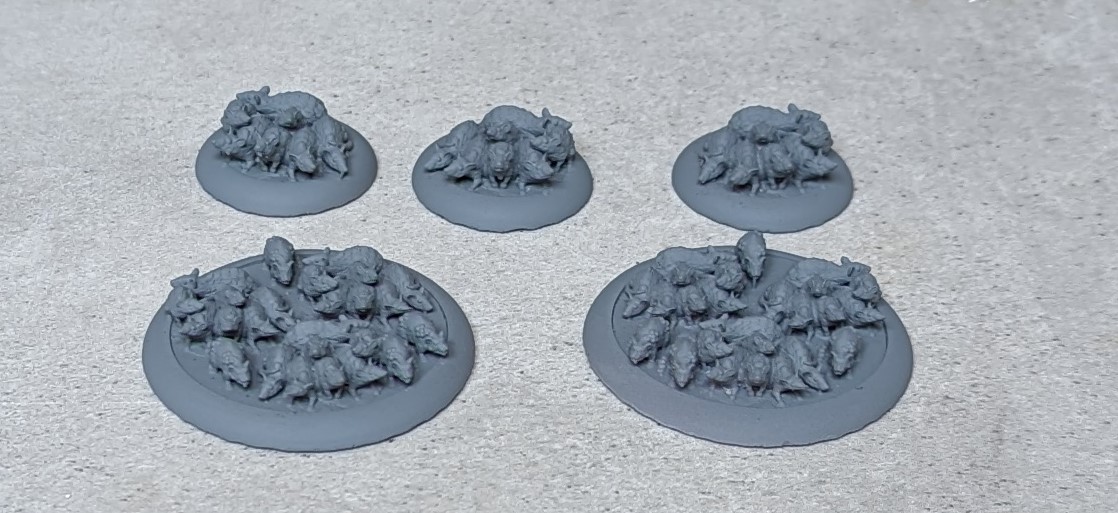 Rat swarms
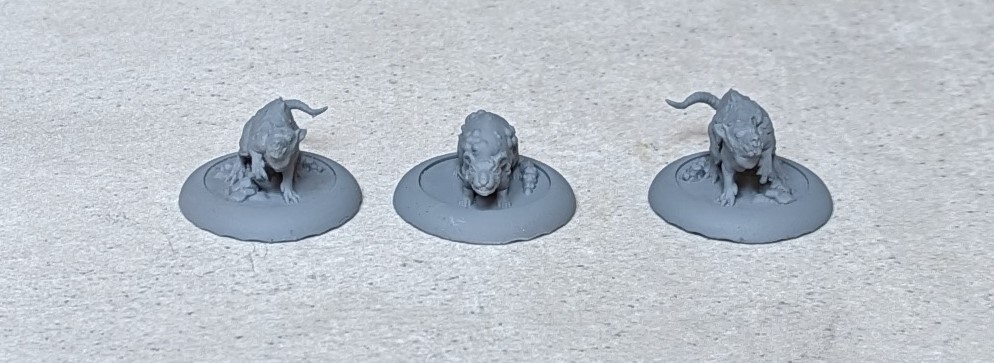 Plague rats
For the Temple of Rokan, they can field what I can best describe as temple statues in the form of characters called Shisa and Oki Shisa. Thingiverse contains a number of stl files of temple statues, so I printed these out as well for my son.
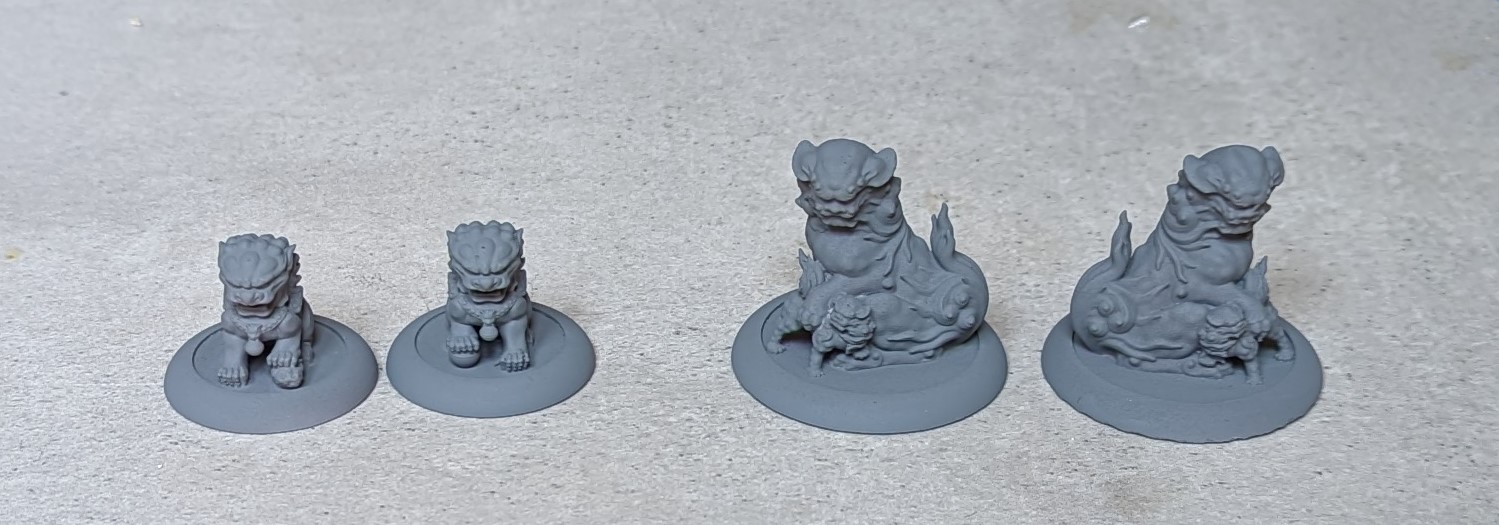 Shisa on the left and Oki Shisa on the right
Some Terrain
So while building some MDF buildings, we’ve also been working on painting up some of the 3D prints that I ran off. When it comes to terrain, some detail is good for immersion, but don’t over do it – time is precious.
So, first up we have the stone lanterns. This was very quick and dirty. A grey primer to start followed by a heavy wash of nightshade blue. This was then topped off with a dry brush of some old GW dry brush paint – Longbeard I think (it’s a very light grey). Very quick and very easy.
I then thought, let’s try an OSL for good measure. This was just a quick spray of a light yellow via the airbrush. Doesn’t look brilliant but good enough for terrain and the tabletop.
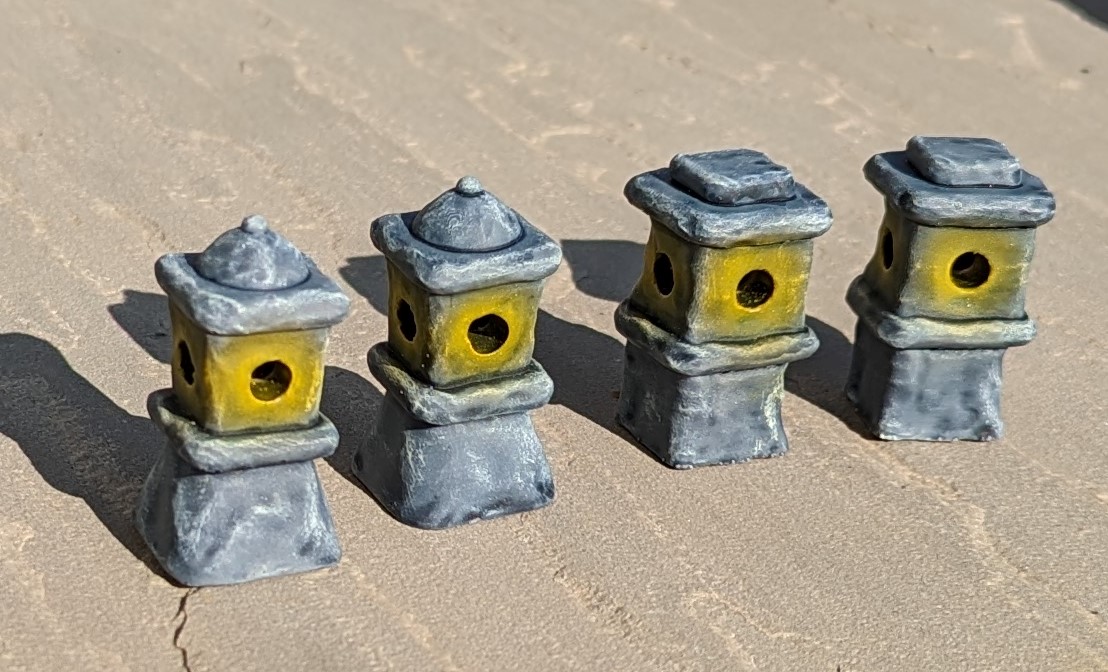 Stone lanterns
Next up are the wooden items. Again, simple is best. While I know worn wood isn’t brown in real life, for the sake of speed I applied a flat earth. This was then followed by an Army Painter dark tone before a heavy dry brush of Iraqi Sand. Probably no more than an evenings work in total.
The carts got a little more attention with some gun metal applied to obvious metal aspects with a nuln oil wash to these. The pots were painted a cavalry brown and highlighted with a light brown glaze. The rope is scruffulous brown with a strong tone wash applied. Finally the linen tops were cammo biege. Looks fine from 3 feet away.
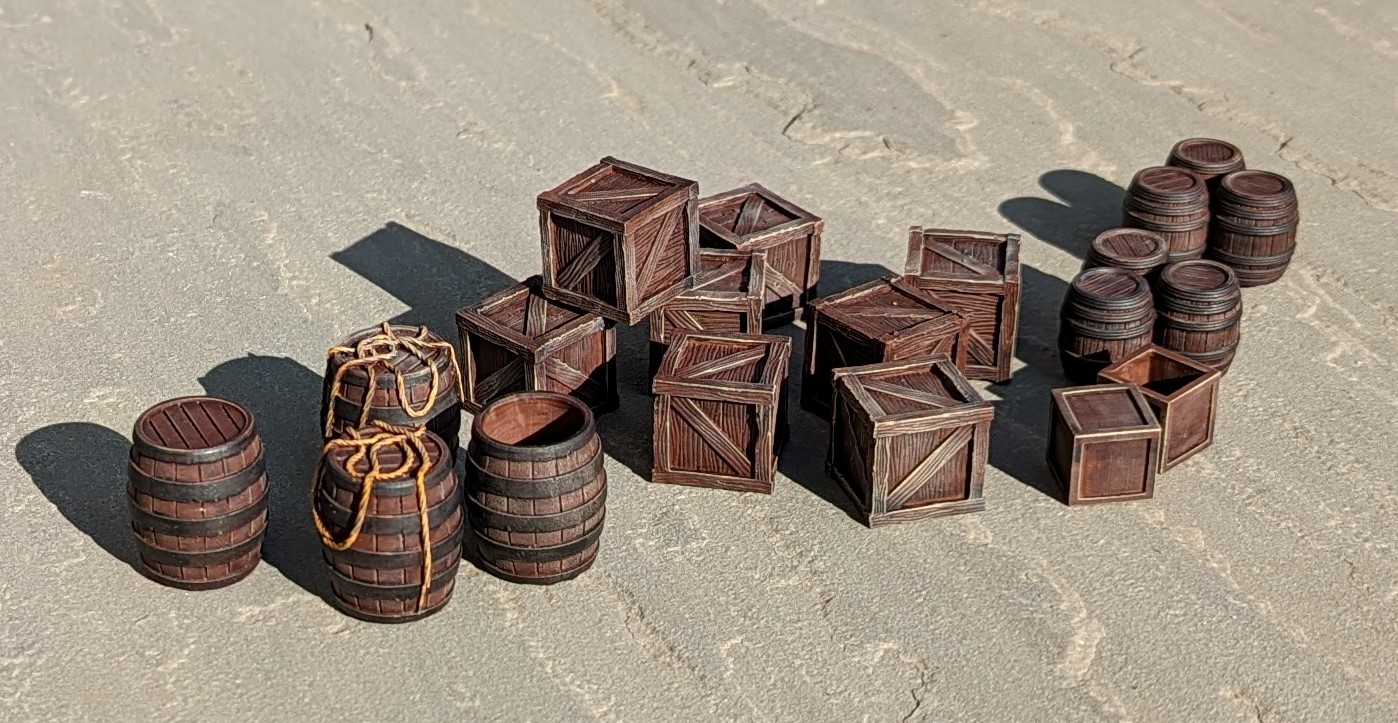 Storage stuff
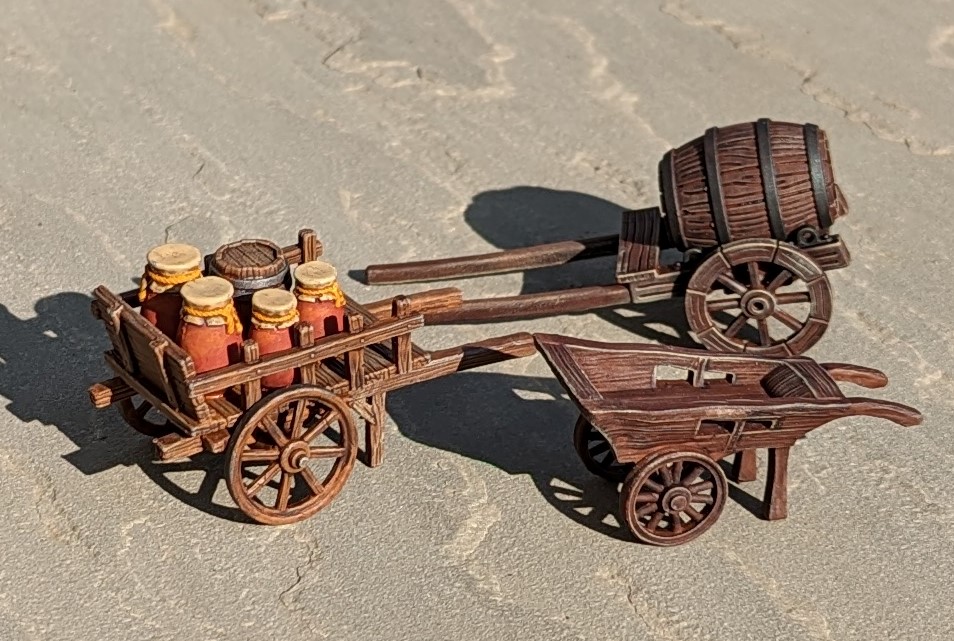 A selection of carts, all placed before any horses
Buildings
So my son and I have been busy with the MDF terrain from Sarissa. Armed with a sharp knife and a pot of wood glue, we’ve been busy sticking the buildings together. This is definitely a part of the hobby that my son really enjoys and immediately grabbed the Dojo as the building he wanted to tackle first. I took on the less ambitious rice stores.
 Rice store
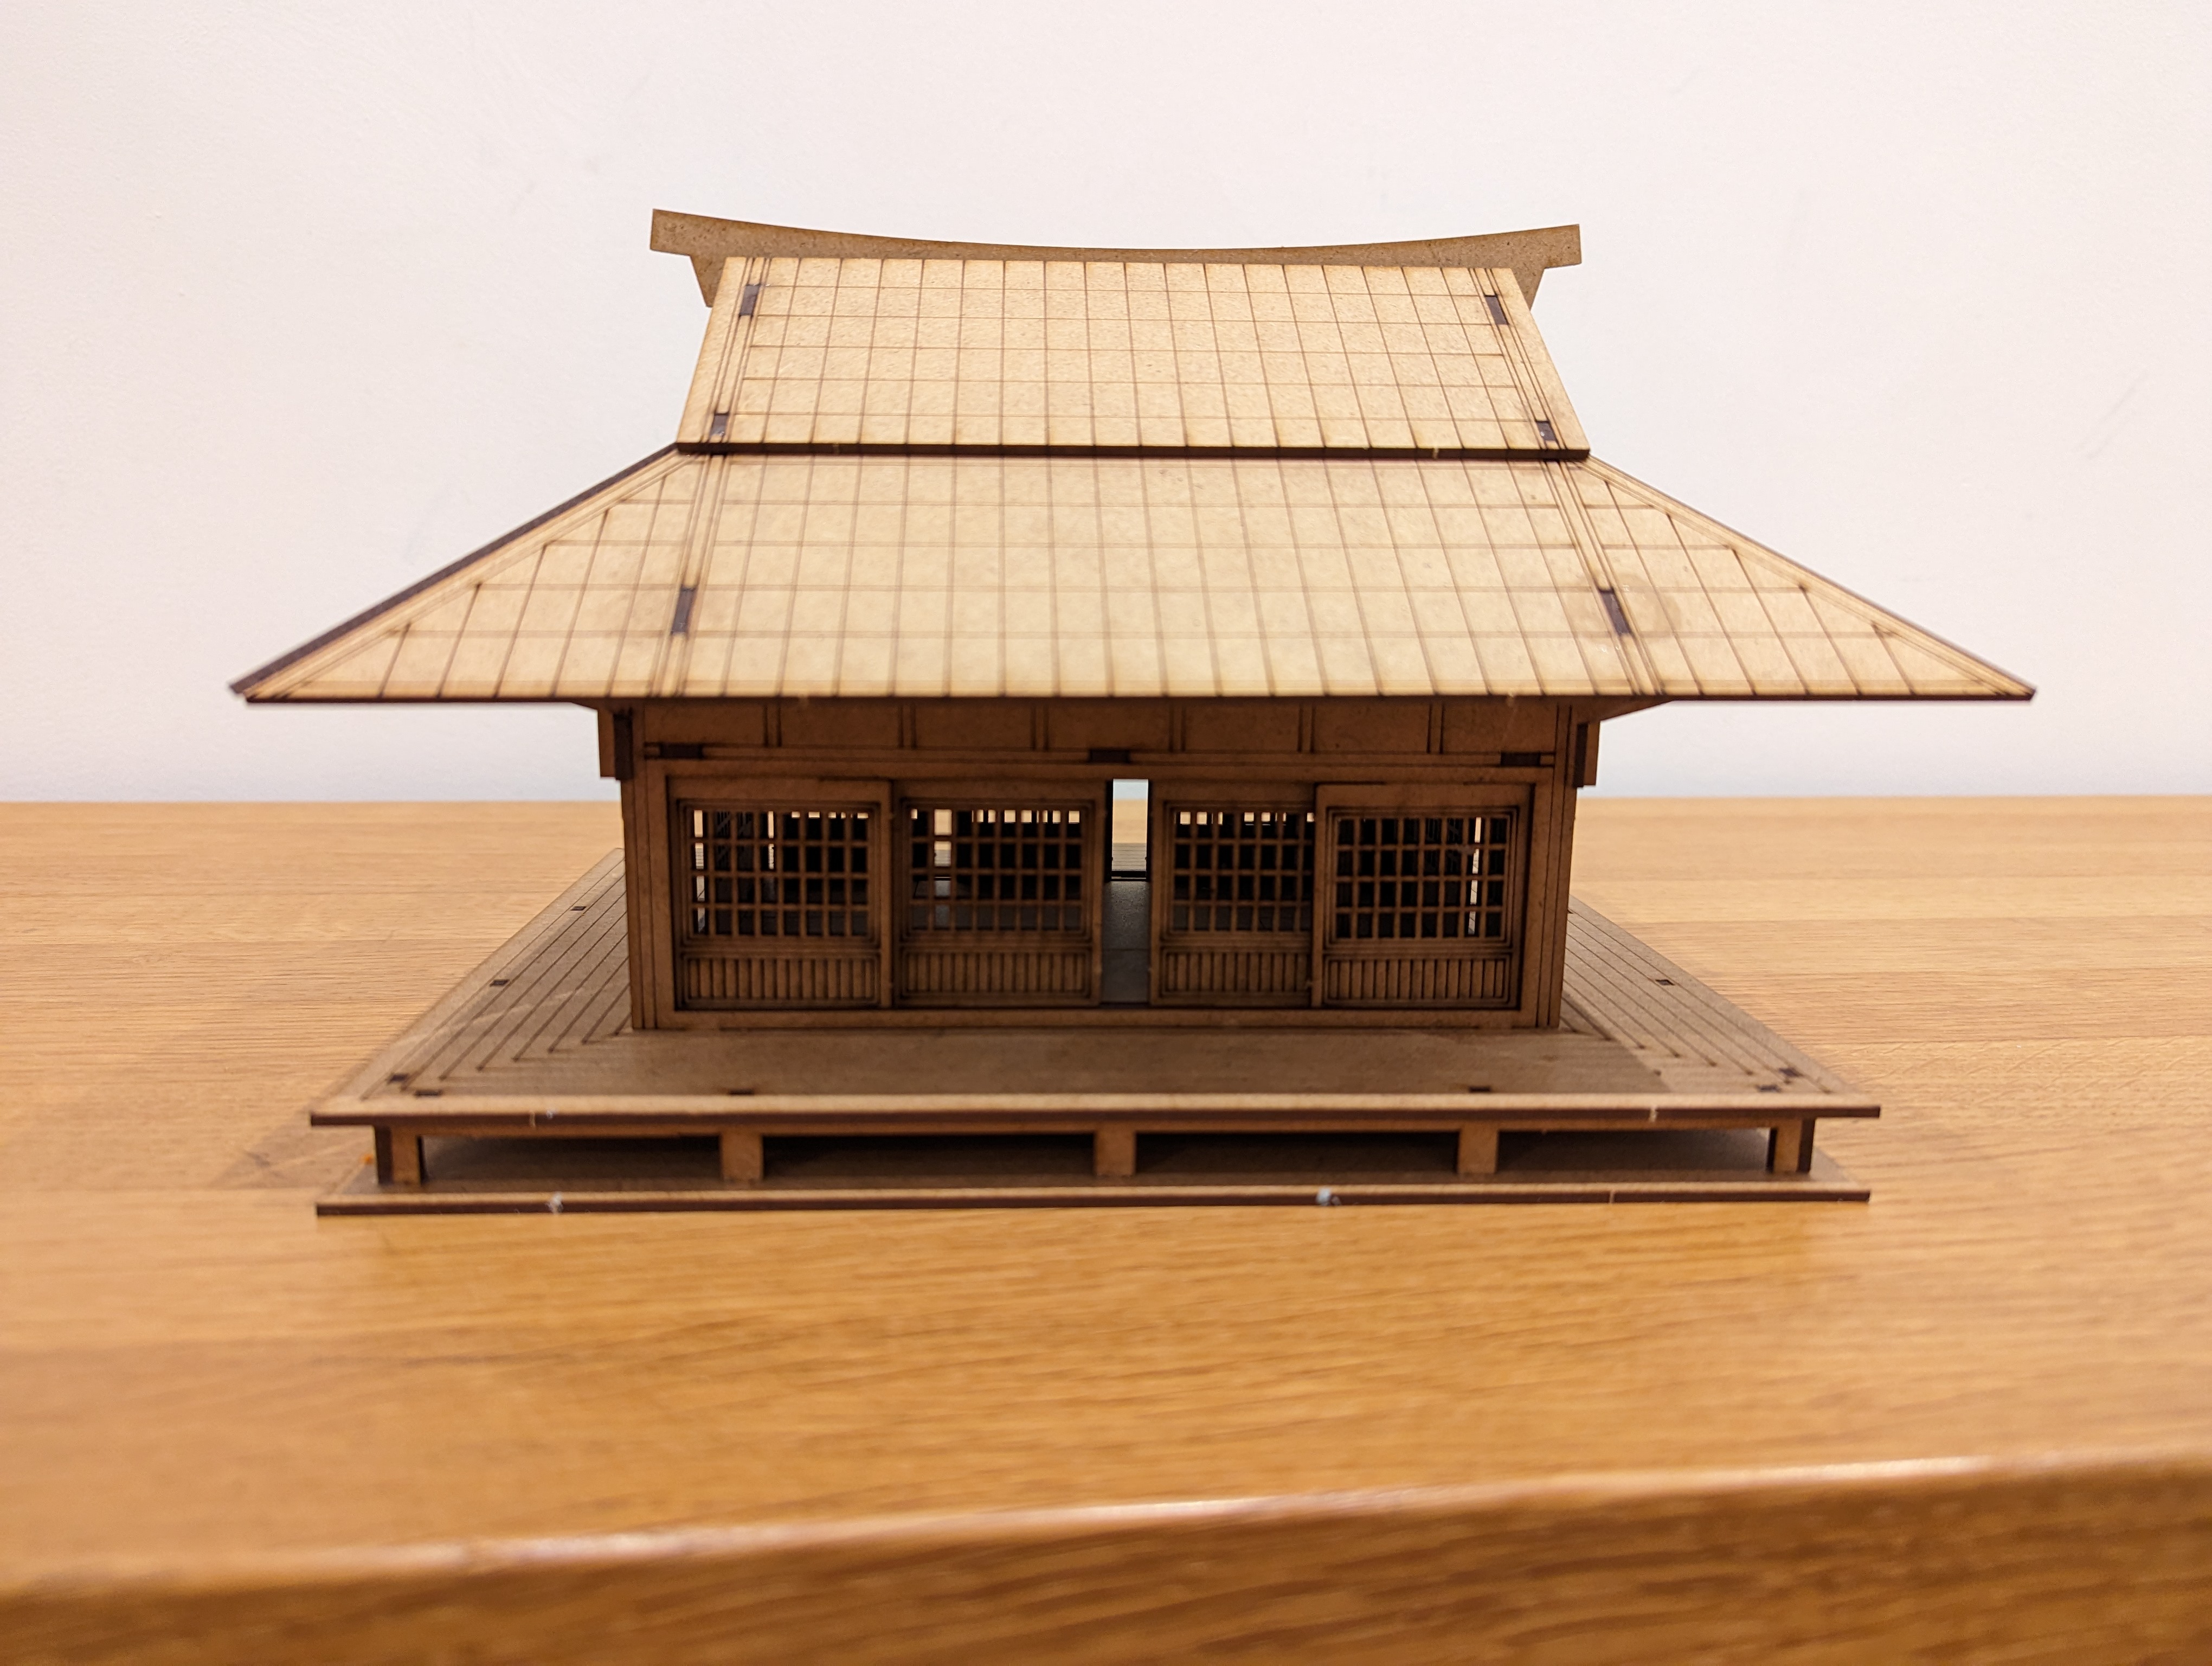 Dojo
Dojo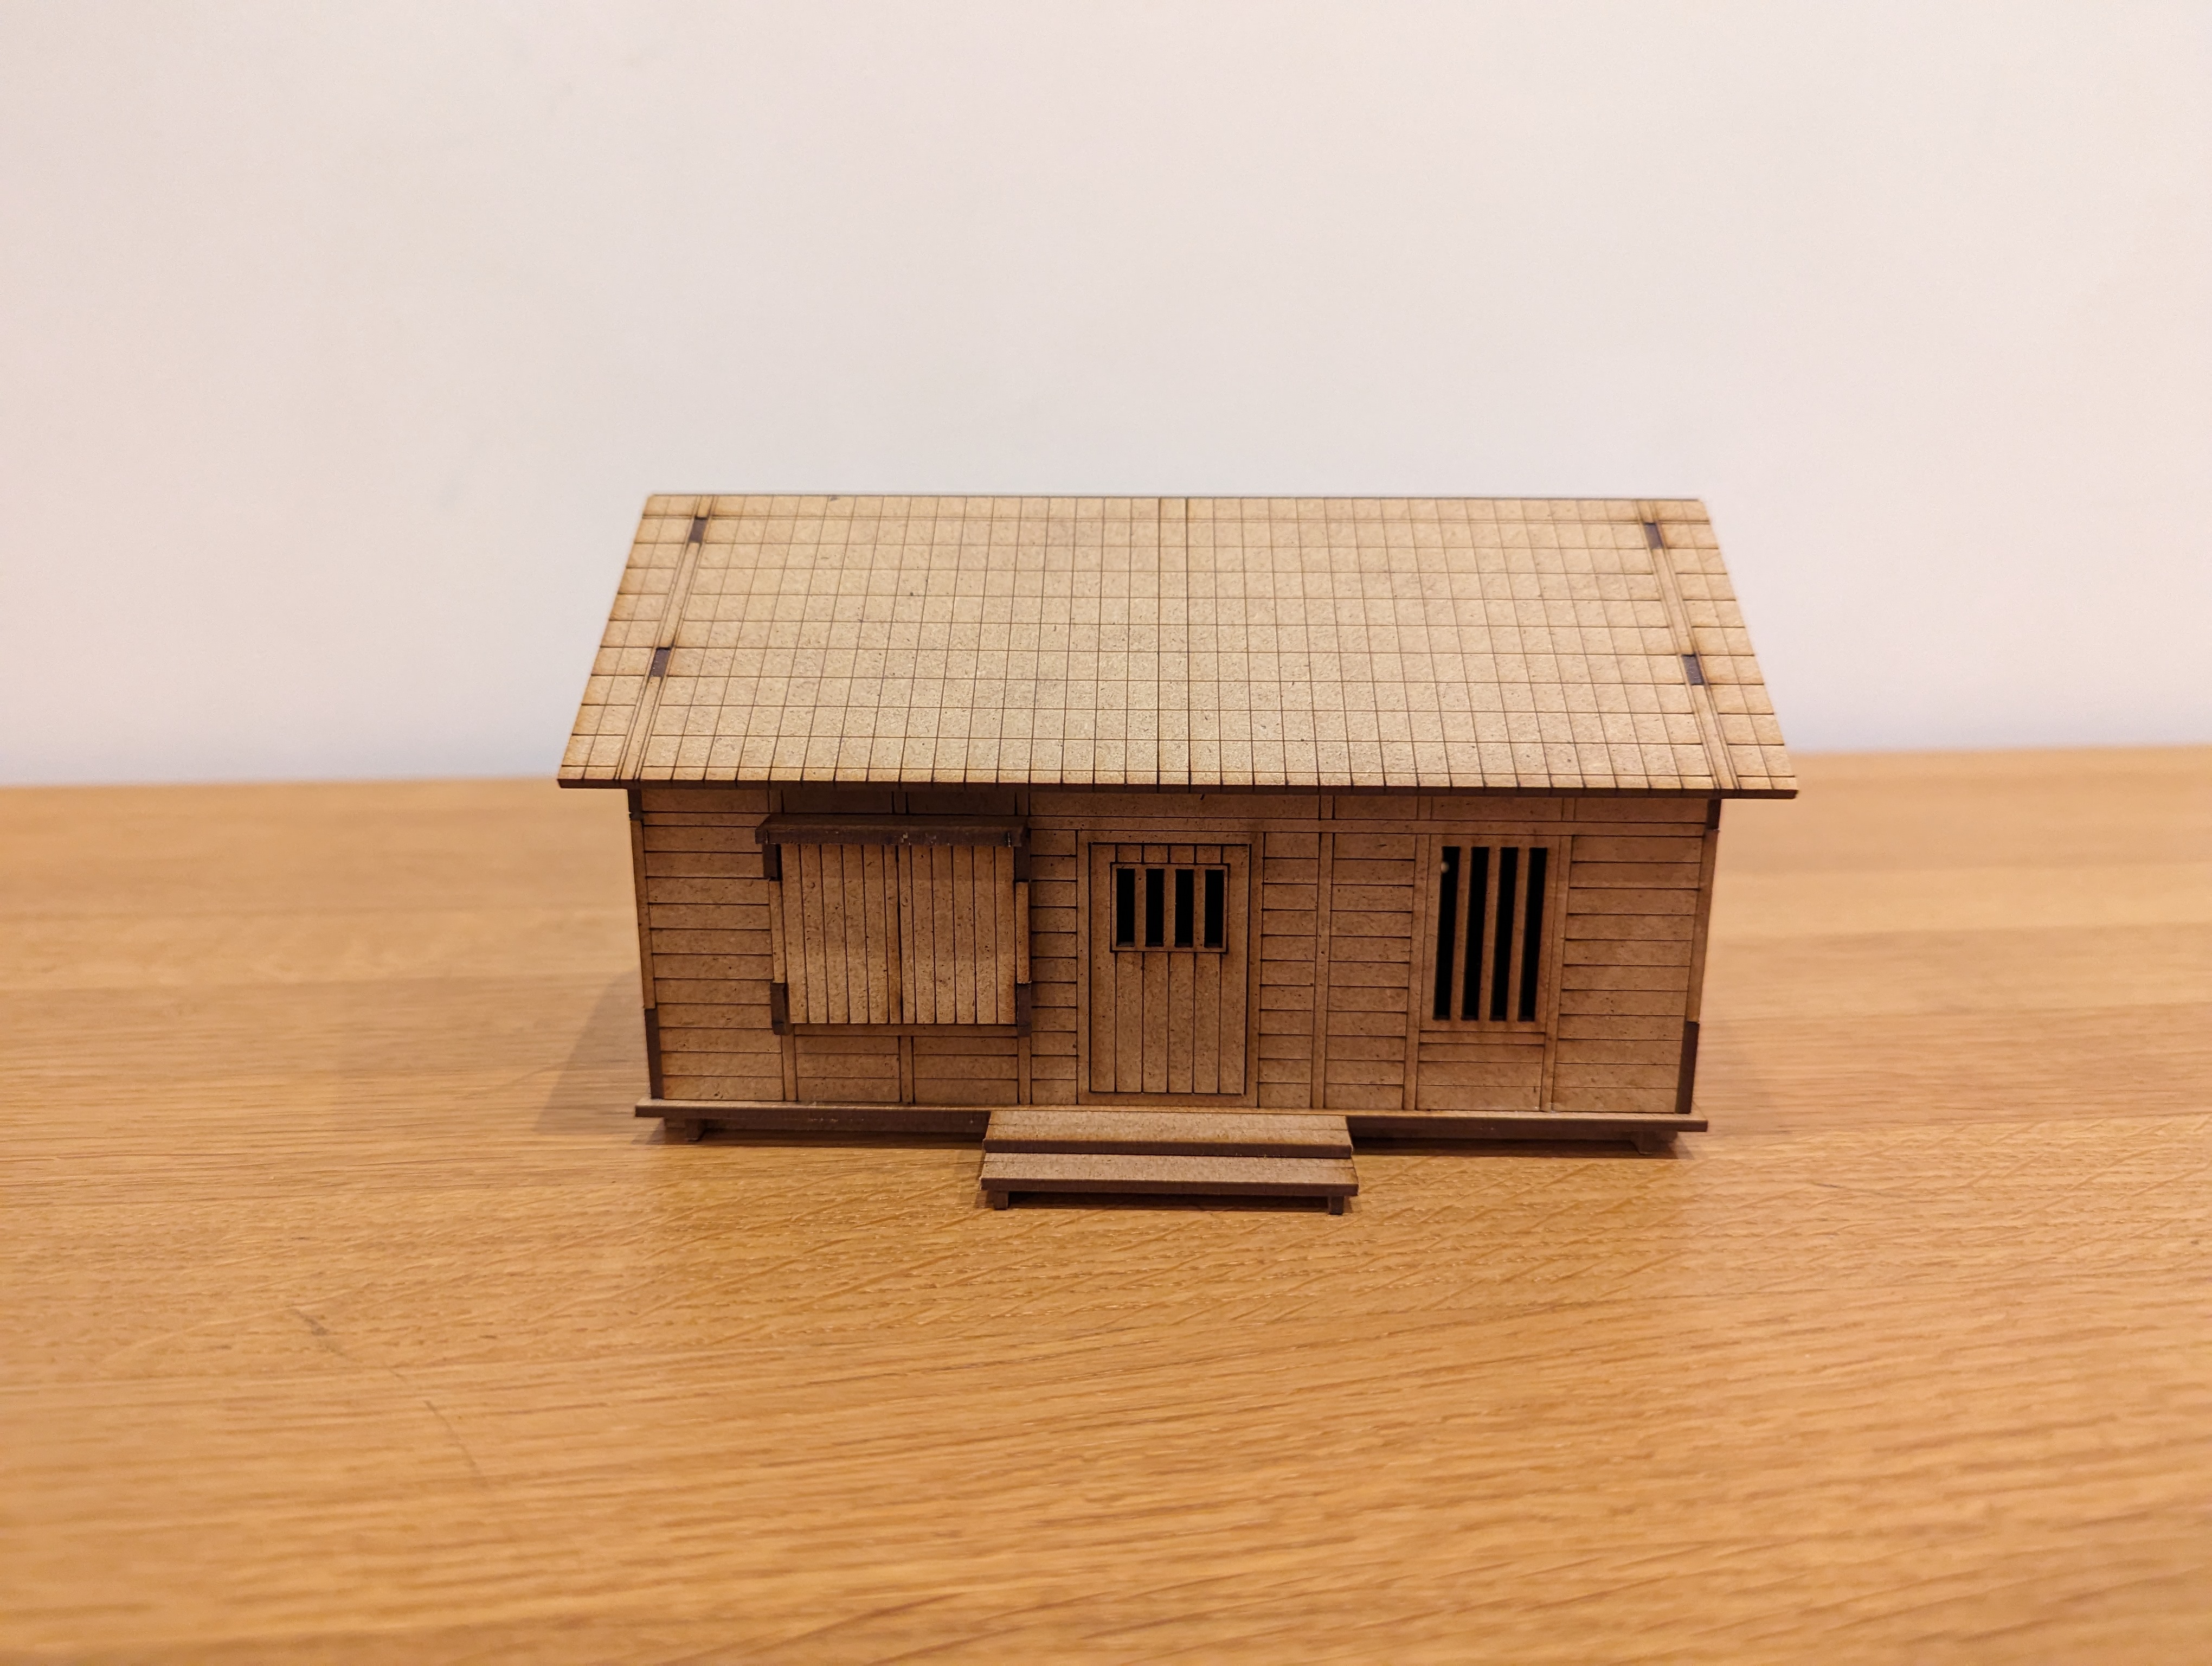 Farmer's house
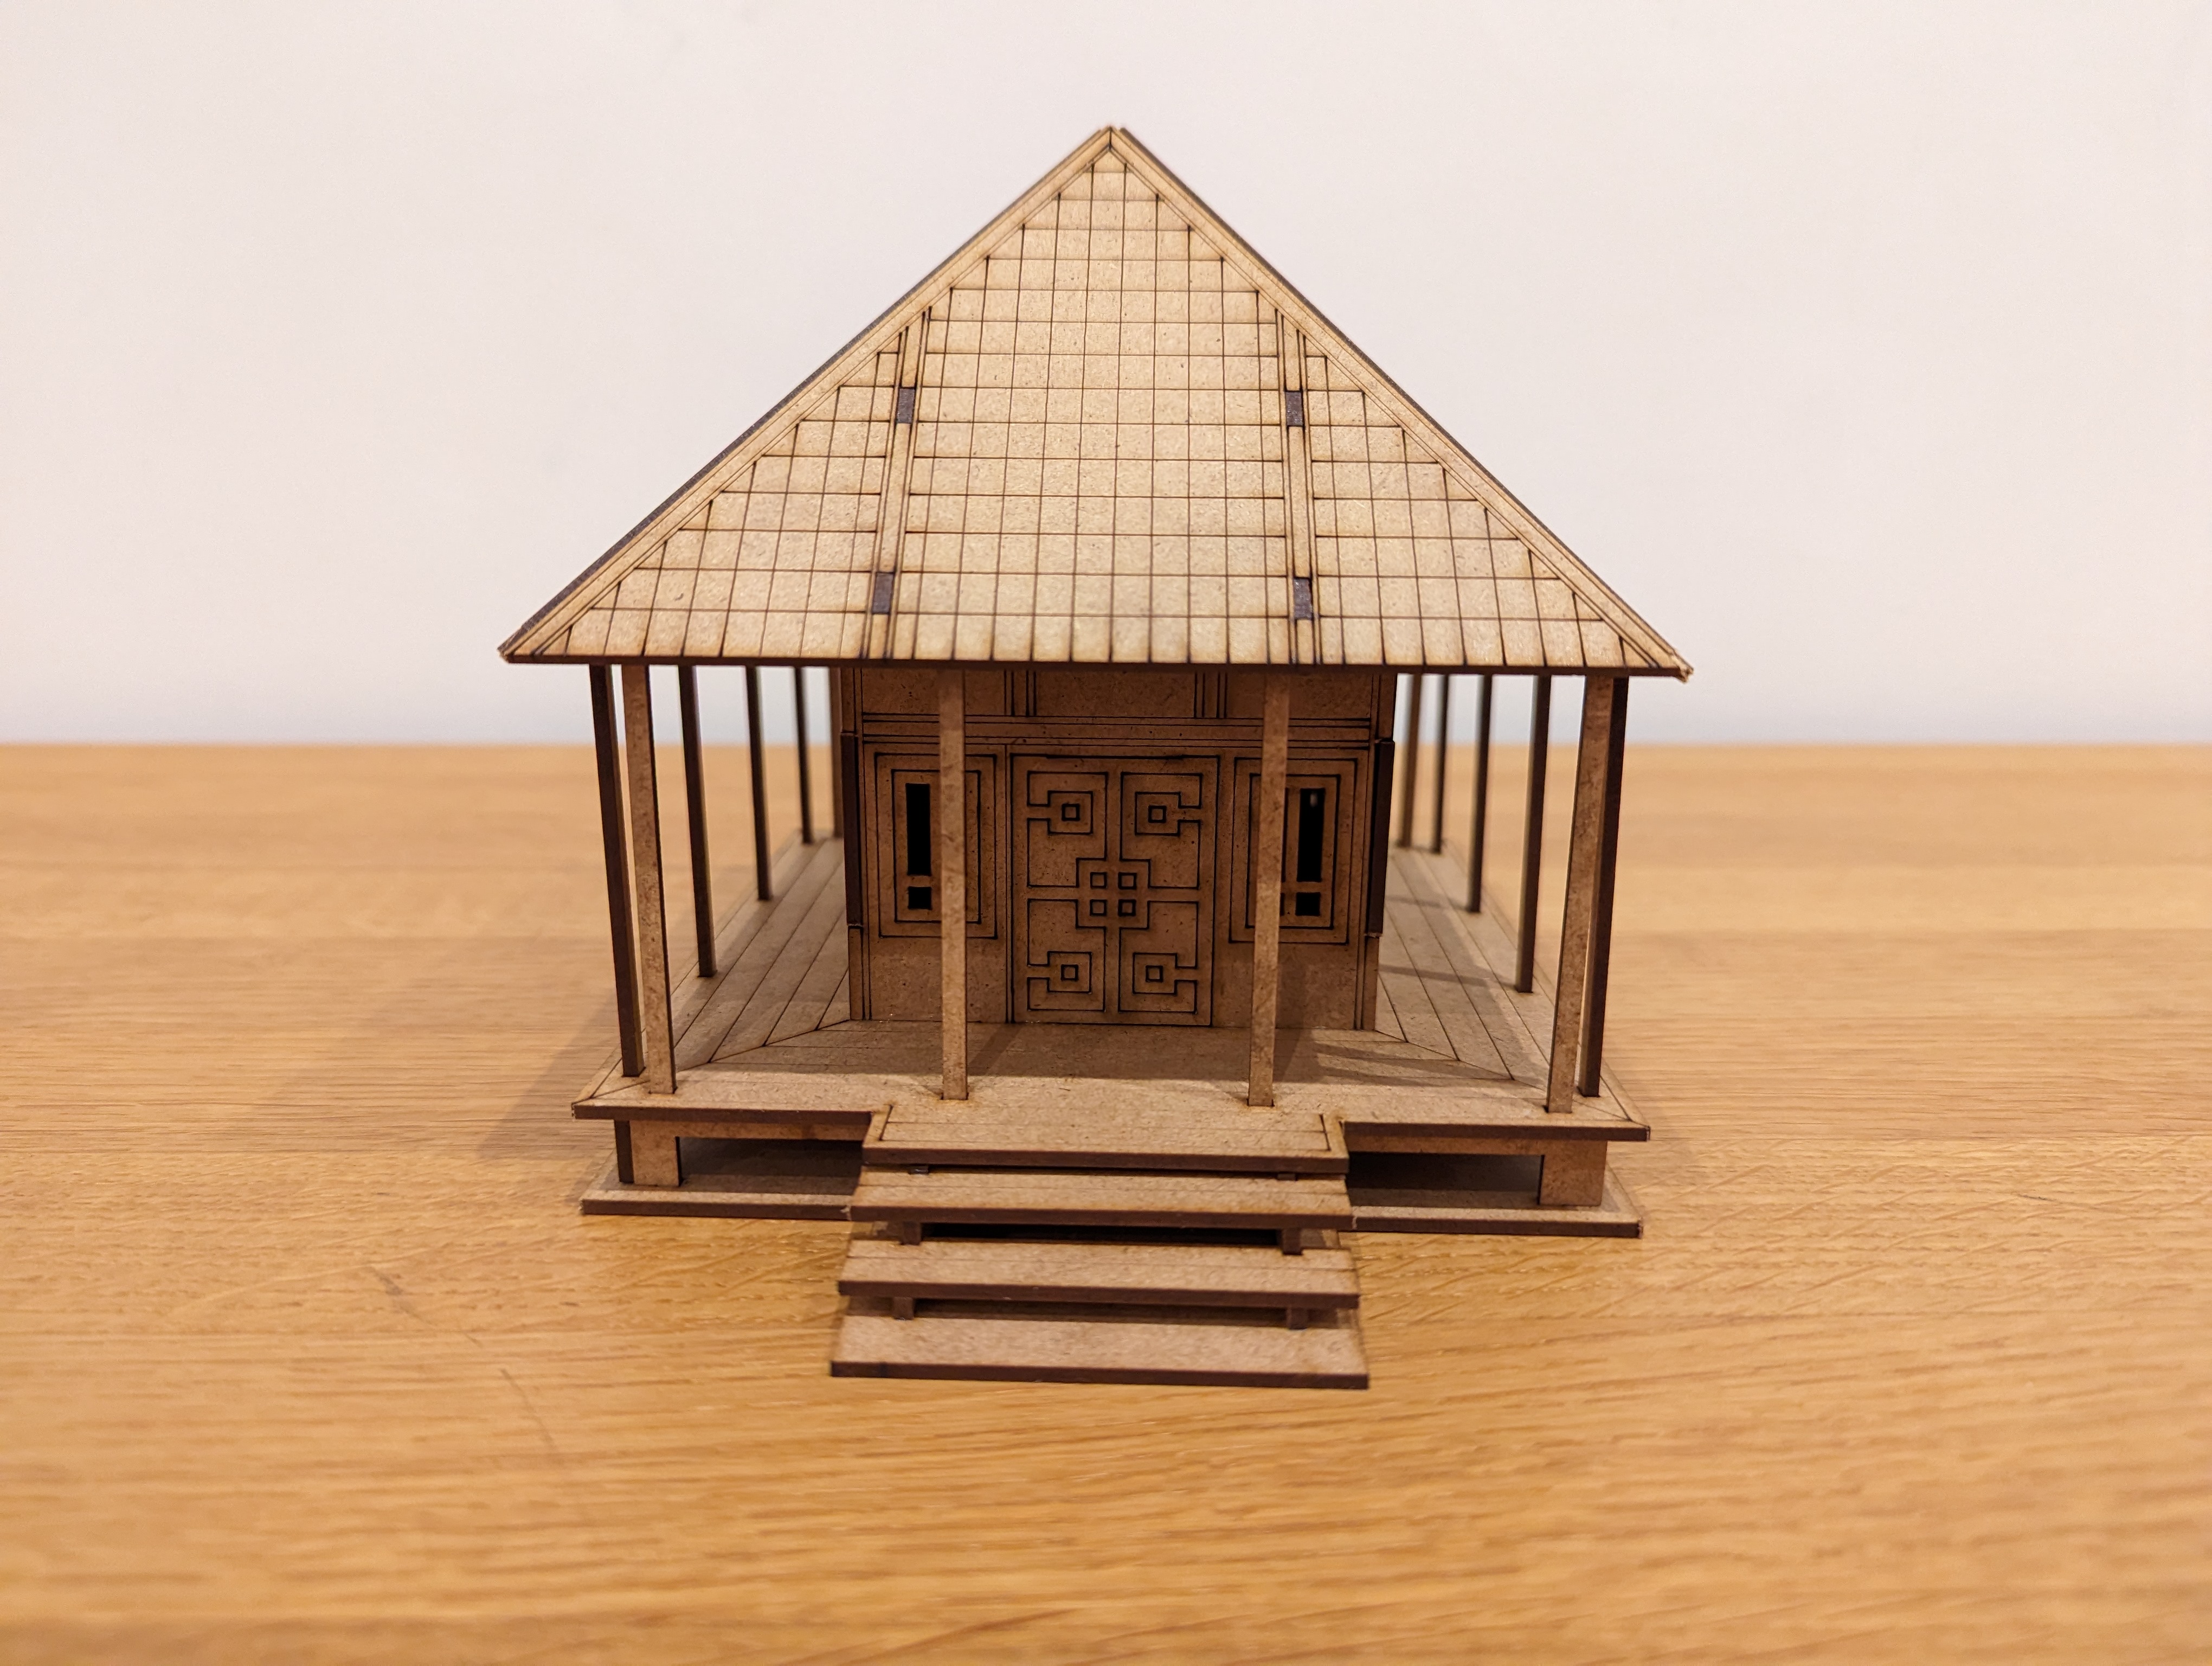 Shrine
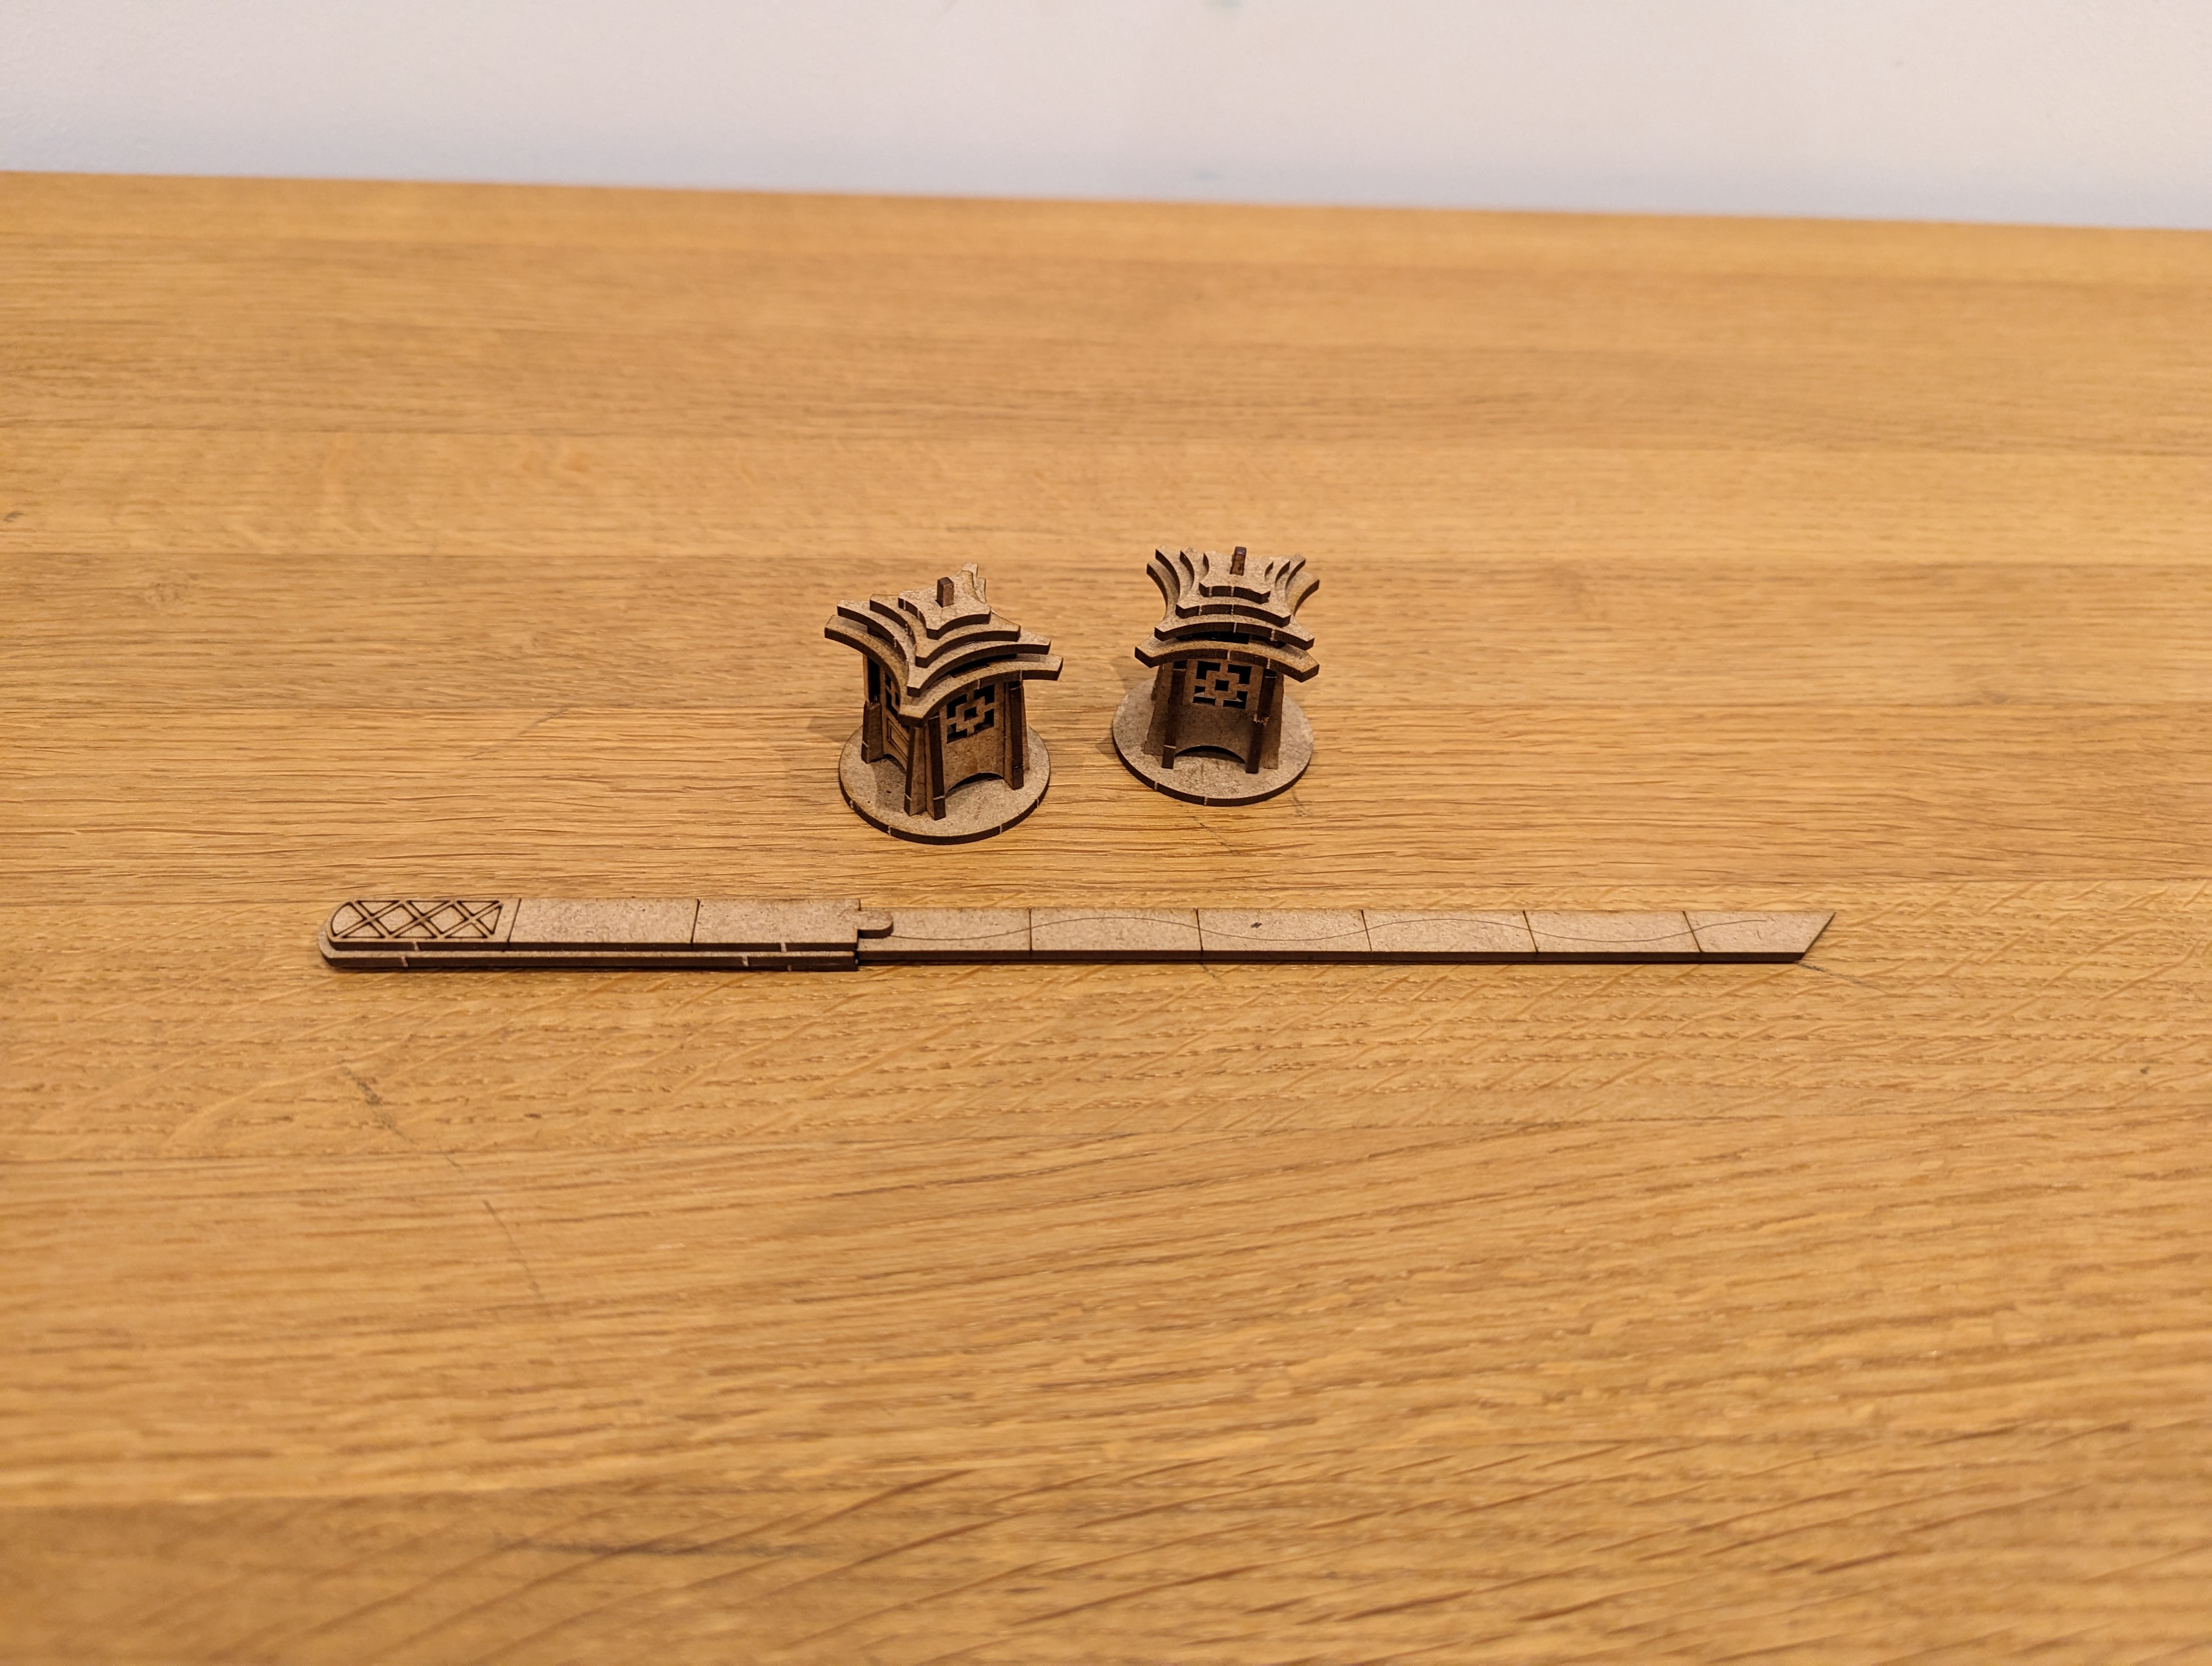 Lanterns and measuring stick
This lot then needed to be sealed ready for painting. I’ve just used a commercially available MDF sealer for this and liberally slapped it over the models. My son doesn’t enjoy the painting side of the hobby but (literally) throwing the sealer onto these was right up his street. I had a lot of clearing up to do after…
More Terrain
The only terrain I have for 28mm is old 40k stuff which won’t really work. The MDF buildings from Sarrissa will cover the building needs but I now require some other terrain pieces and ‘dressing’. I’ve therefore fired up the 3D printer and gone shopping/scouring My Mini Factory and Thingiverse for useful stuff.
I downloaded a lot of stuff and the 3D printer has been working overtime, with barely a minutes break. Here’s what I now have ready for clean up, priming and painting
 Lanterns
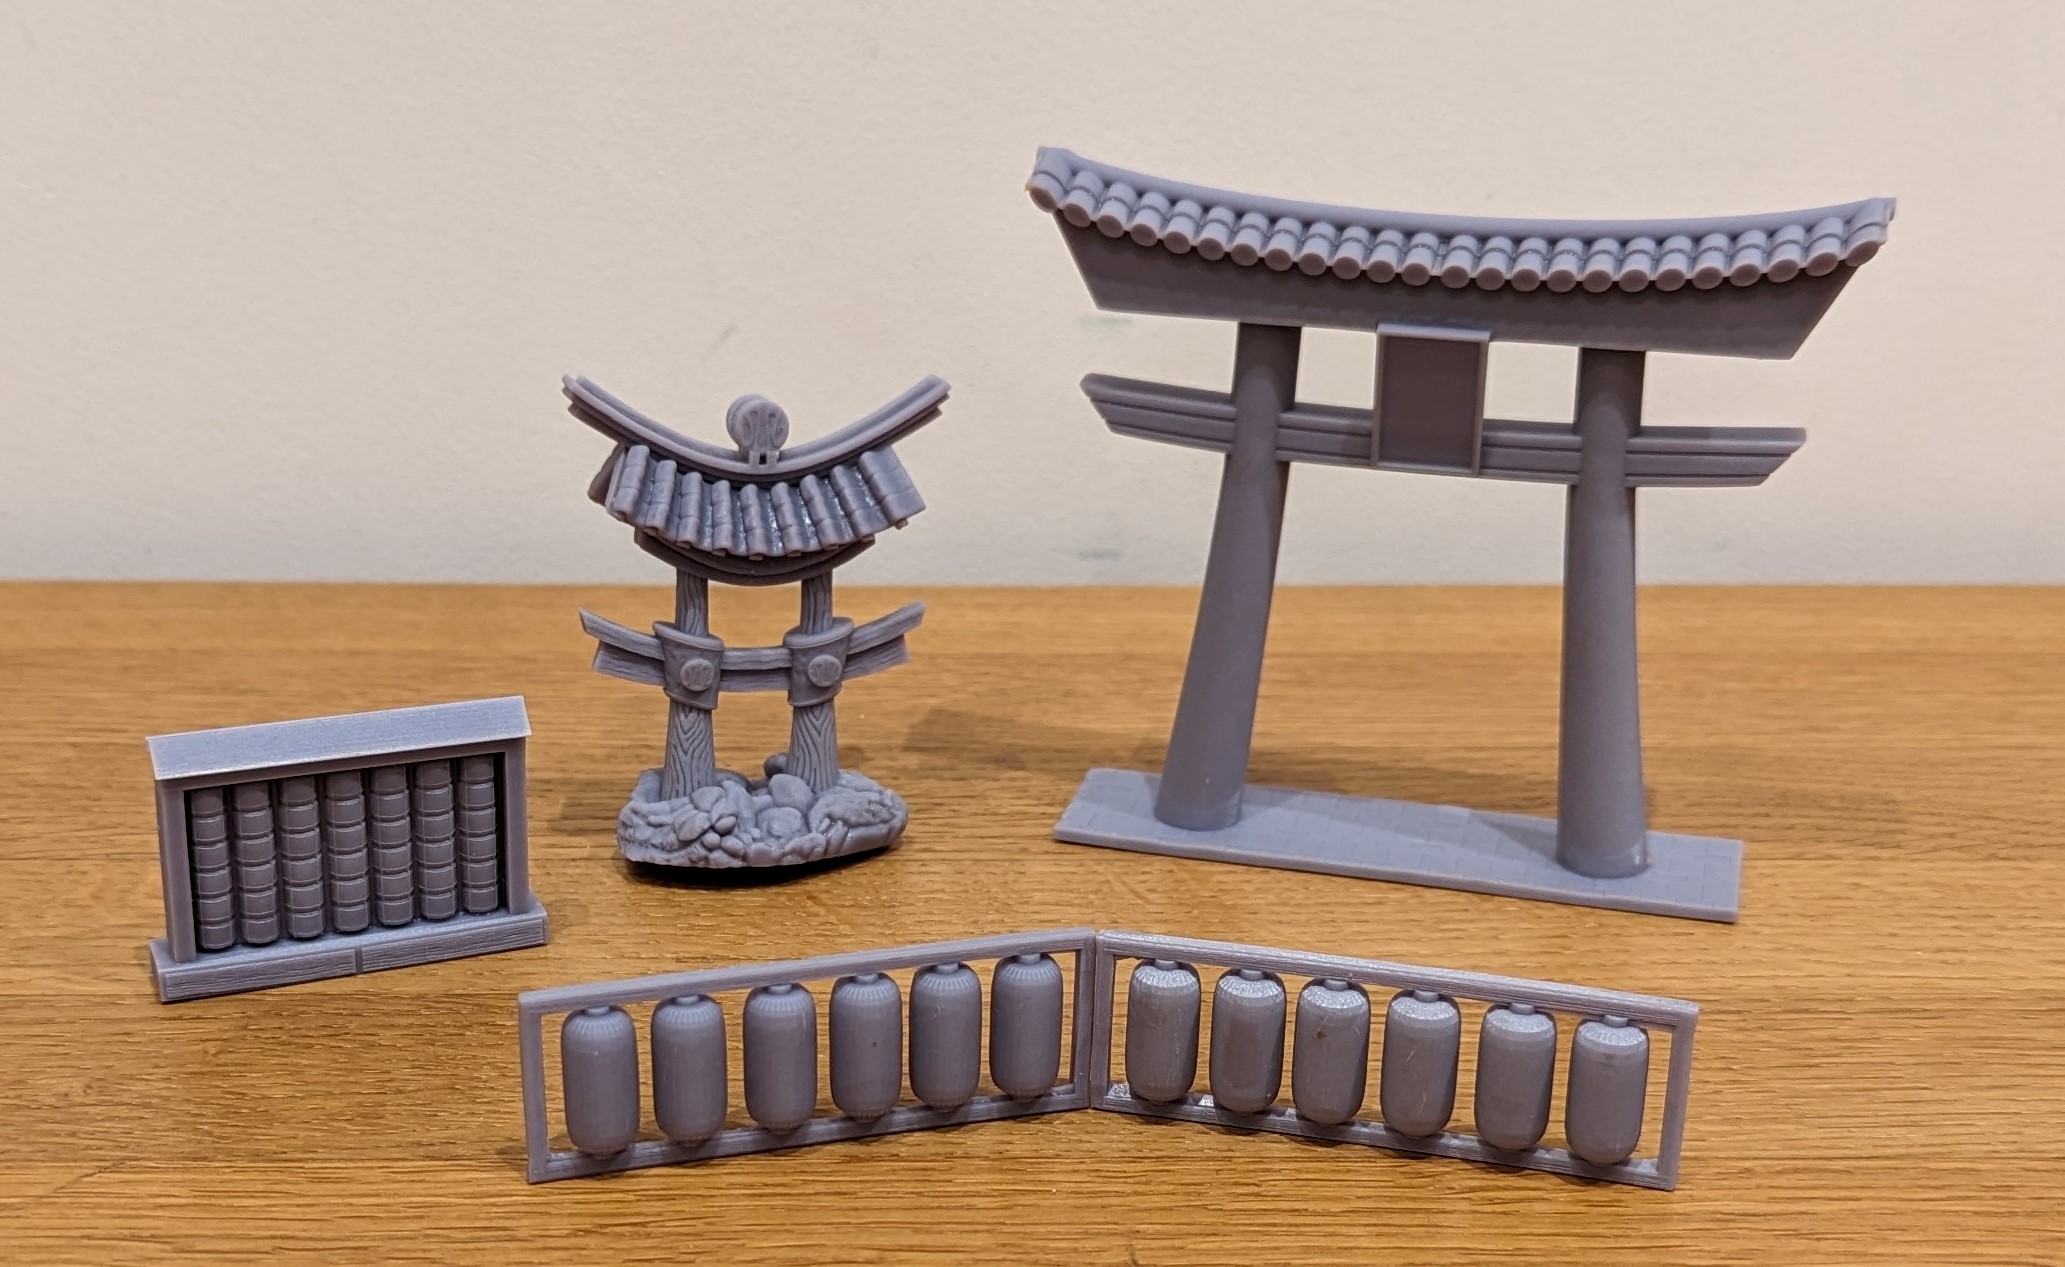 Torii gate, Shrine, Sake rack and lanterns
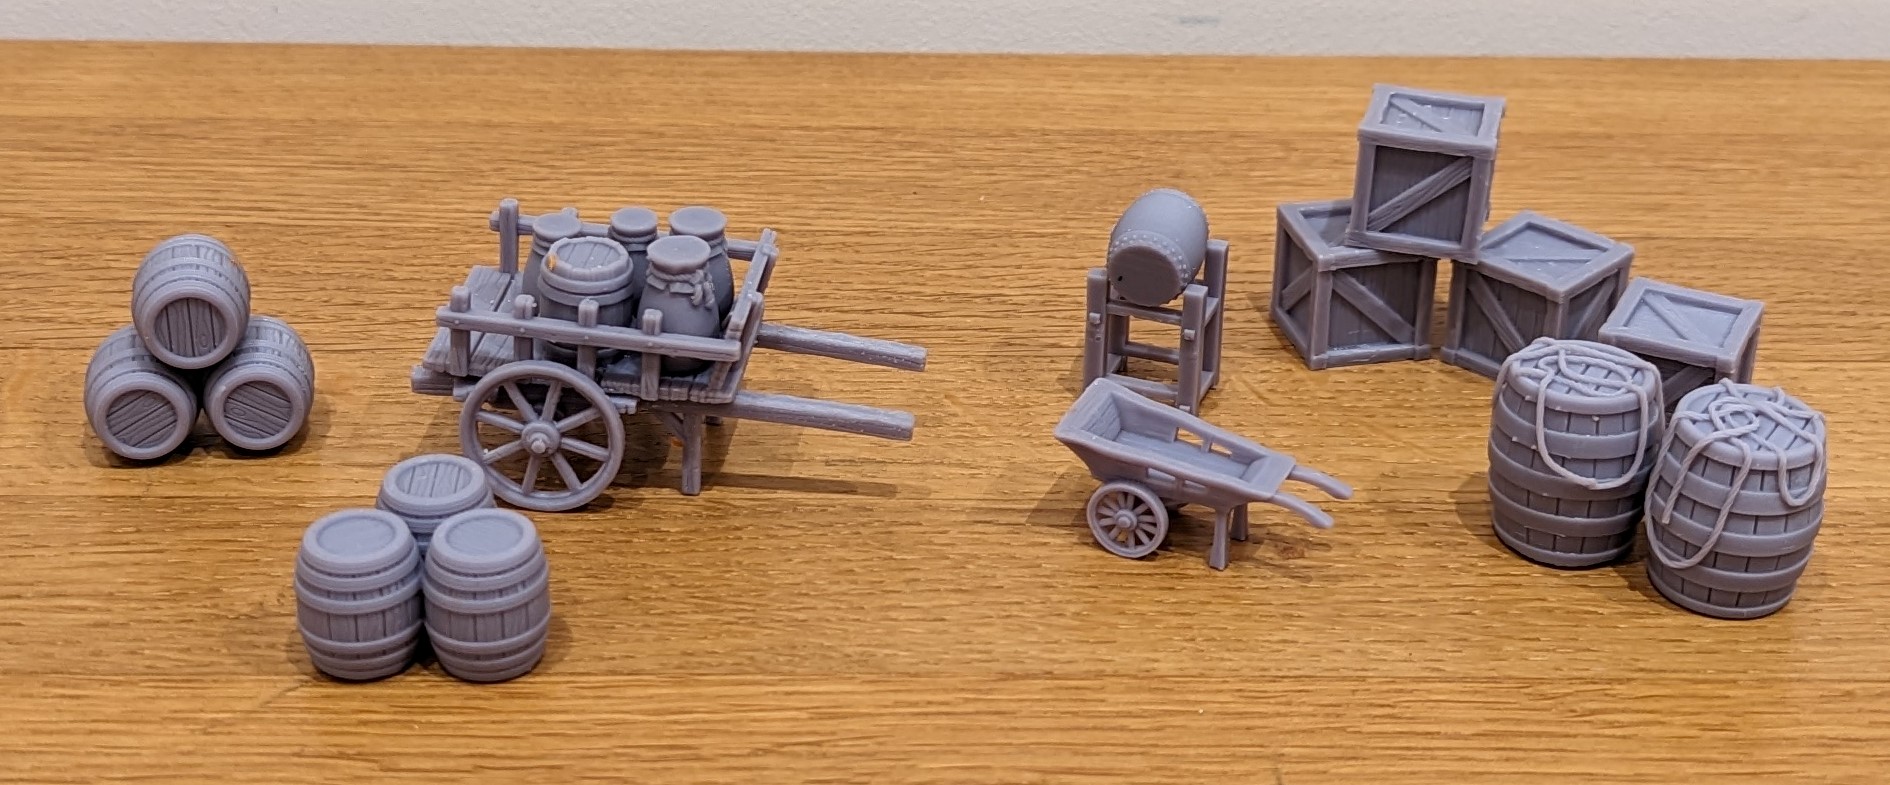 Carts, barrels and boxes
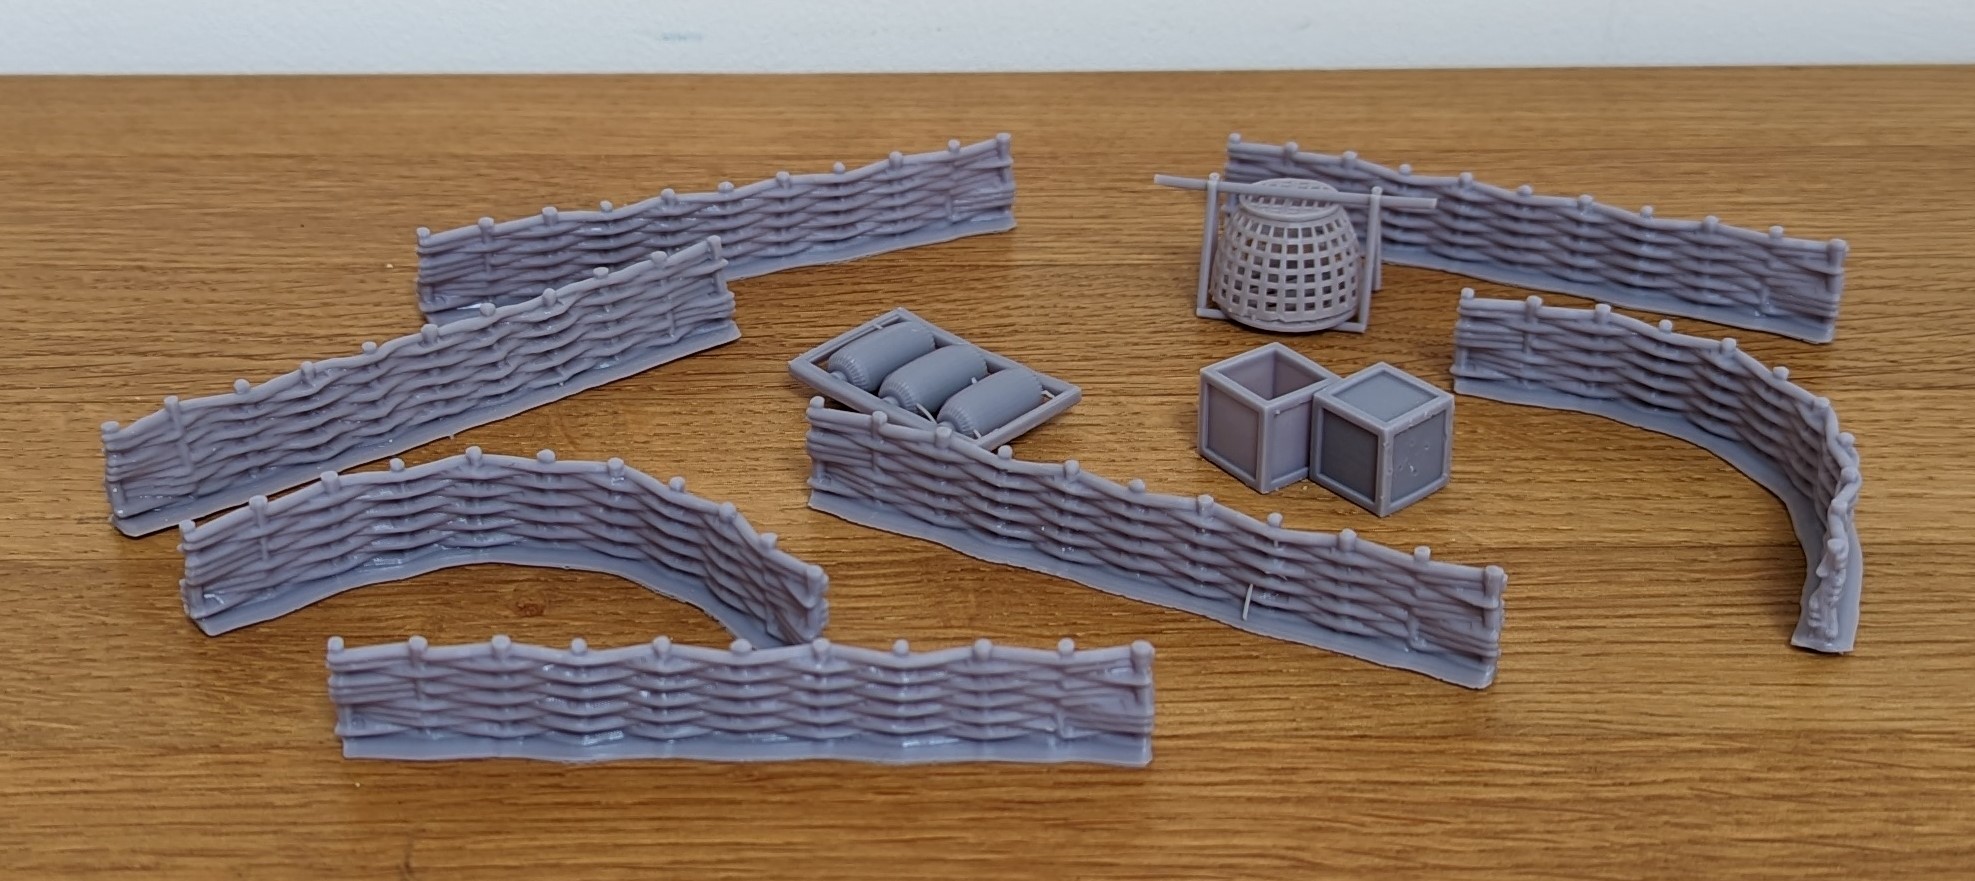 Fences
So plenty to get painted but hopefully will be fairly quick as it is terrain and I think you can get away with a slightly lower quality paint job when compared to the actual miniatures. At least that’s my theory.
The downside is that I have ruined my attempts to reduce my pile of potential. I have a progress update on this on my other project here:
Terrain
The game is played on a 2′ by 2′ area and requires some terrain to block line of sight etc. I don’t have any Japanese/Eastern influenced terrain so something I need to correct.
For the buildings, Sarissa make some options for Bushido, Test of Honour etc that fit the bill. For other stuff, I will fire up the 3D printer and either buy the STL or design them myself in Blender.
Here’s what arrived from Sarissa

So we’re now the proud owners of,
2 x Rice storage huts
1 Dojo
1 Simple house
1 Samurai measuring sword
2 lanterns
Time to get building

![Gripping Beast Announce They Are Closing Their Doors [Updated]](https://images.beastsofwar.com/2026/09/gripping-beast-announcement-cover-600-338.jpg)