



Draconis: Spring Clean 2026 (Fallout) and Onward


Recommendations: 125
About the Project
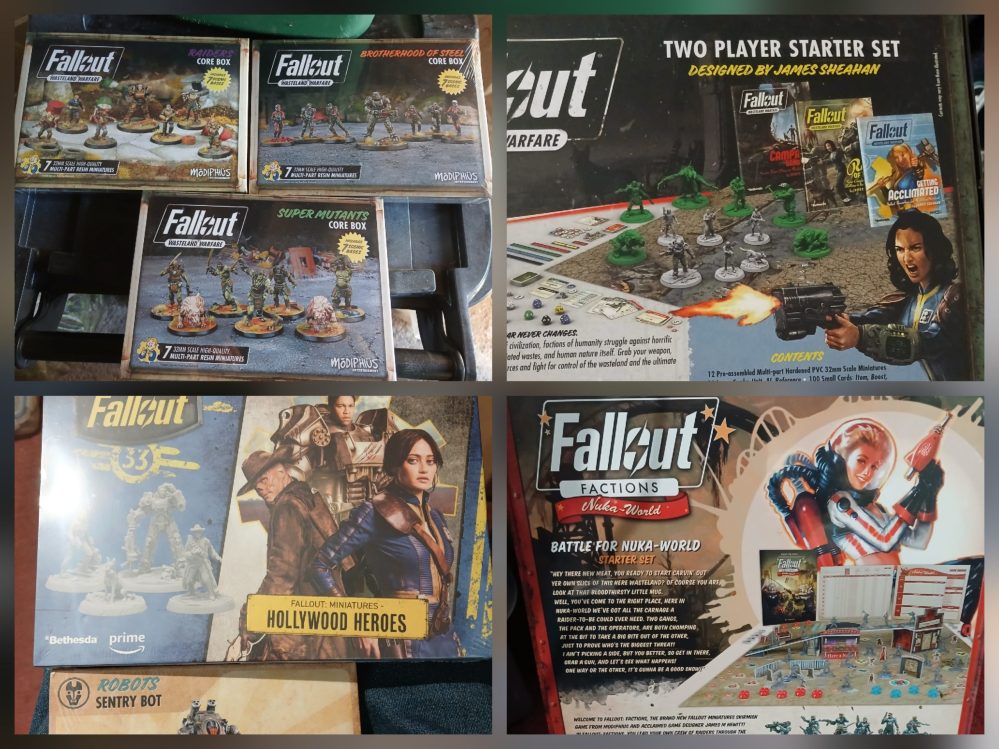
I had a few possibilities for this year’s Spring Clean Challenge, and have finally decide on Fallout. I played a couple of games of Fallout Wasteland Warfare a few years back at my local club. I then went on and purchased a starter and some other packs, and more recently picked up Fallout Factions Nuka World in a Modiphius sale. However, I don’t have any of the minis painted. With the prospect of Fallout Wasteland Warfare Second edition coming later this year, and with a solo (and hopefully Co-operative) focus I decided that I would take the opportunity to get some minis ready for it before release. I am sure that once it is out I will find that I need to get some other minis (in particular creatures, as I have just a Deathclaw), but expect that raiders, super mutants and Brotherhood of Steel should get some use for it.
Related Game: Fallout: Wasteland Warfare
Related Company: Modiphius Entertainment
Related Genre: Post-Apocalyptic
Related Contest: Spring Clean Hobby Challenge 2026
This Project is Active
Starter Set Finished
With the Zetan done that is the starter set finished. Only 13 minis, but I am glad that I have got them done.
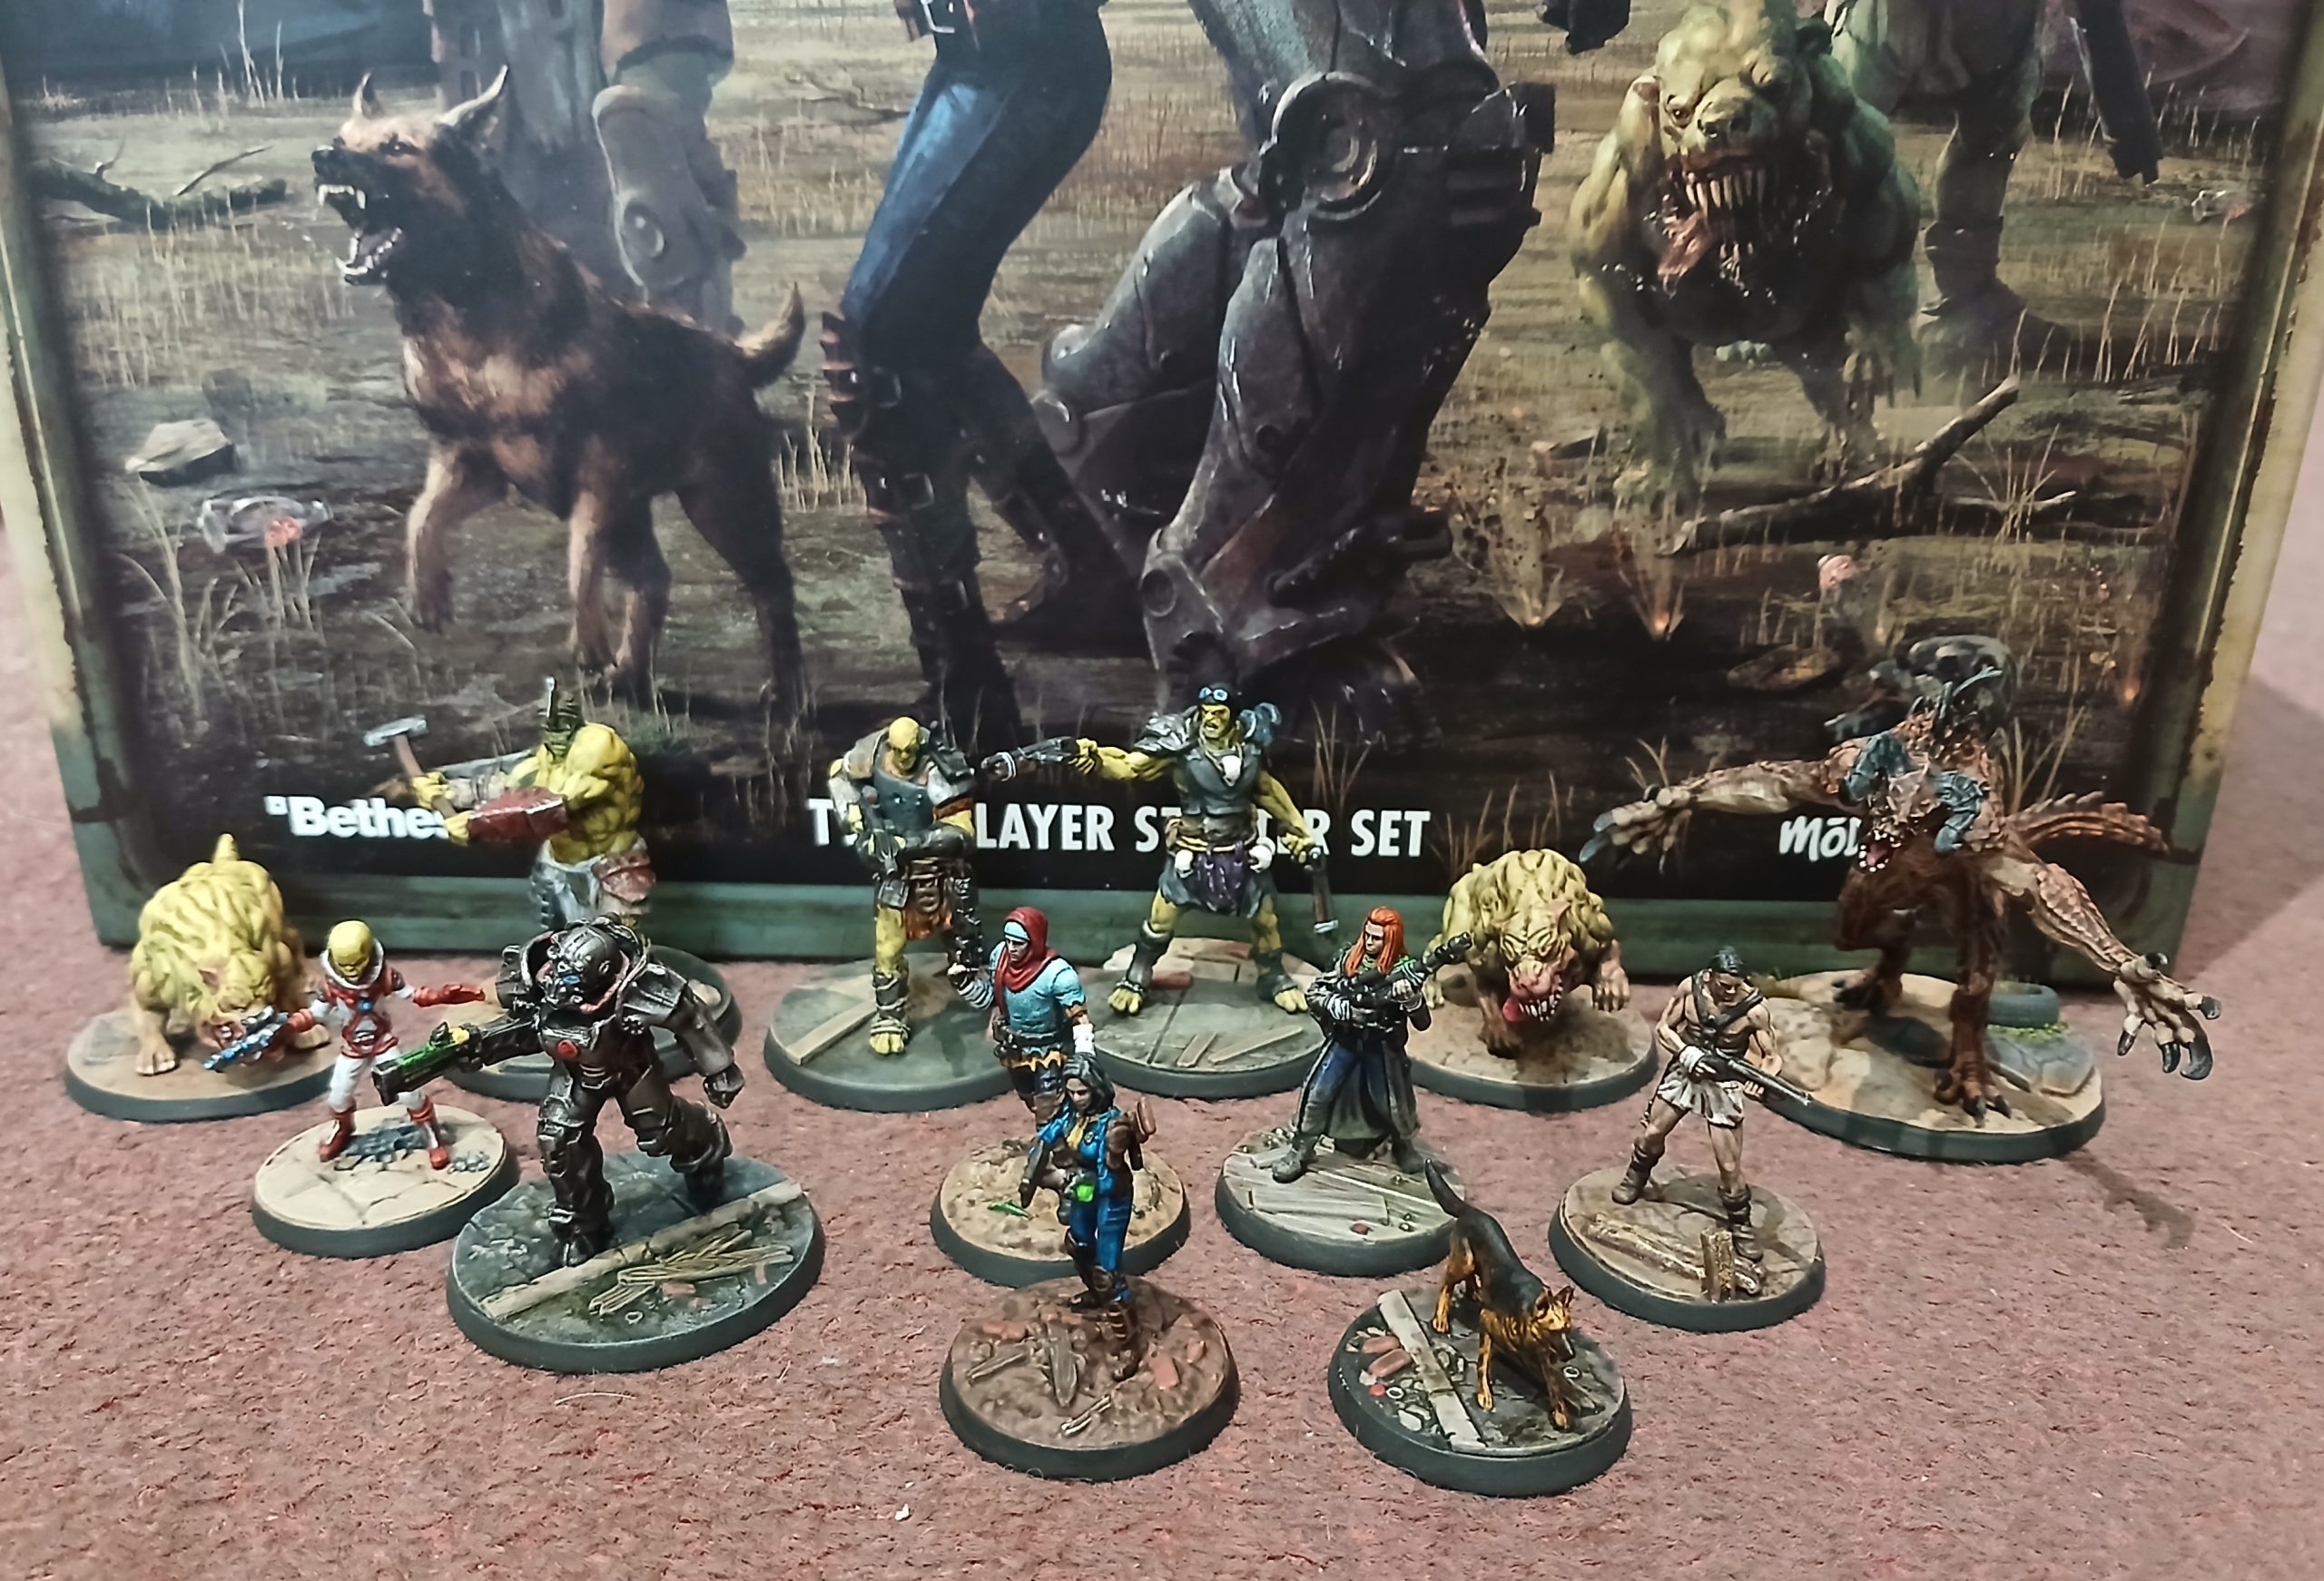
They are PVC material, so in places the detail was a little vague. But overall I think they came out quite well.
Next up?
I think it will be the sentry bot and the Wasteland Raider box….. probably….
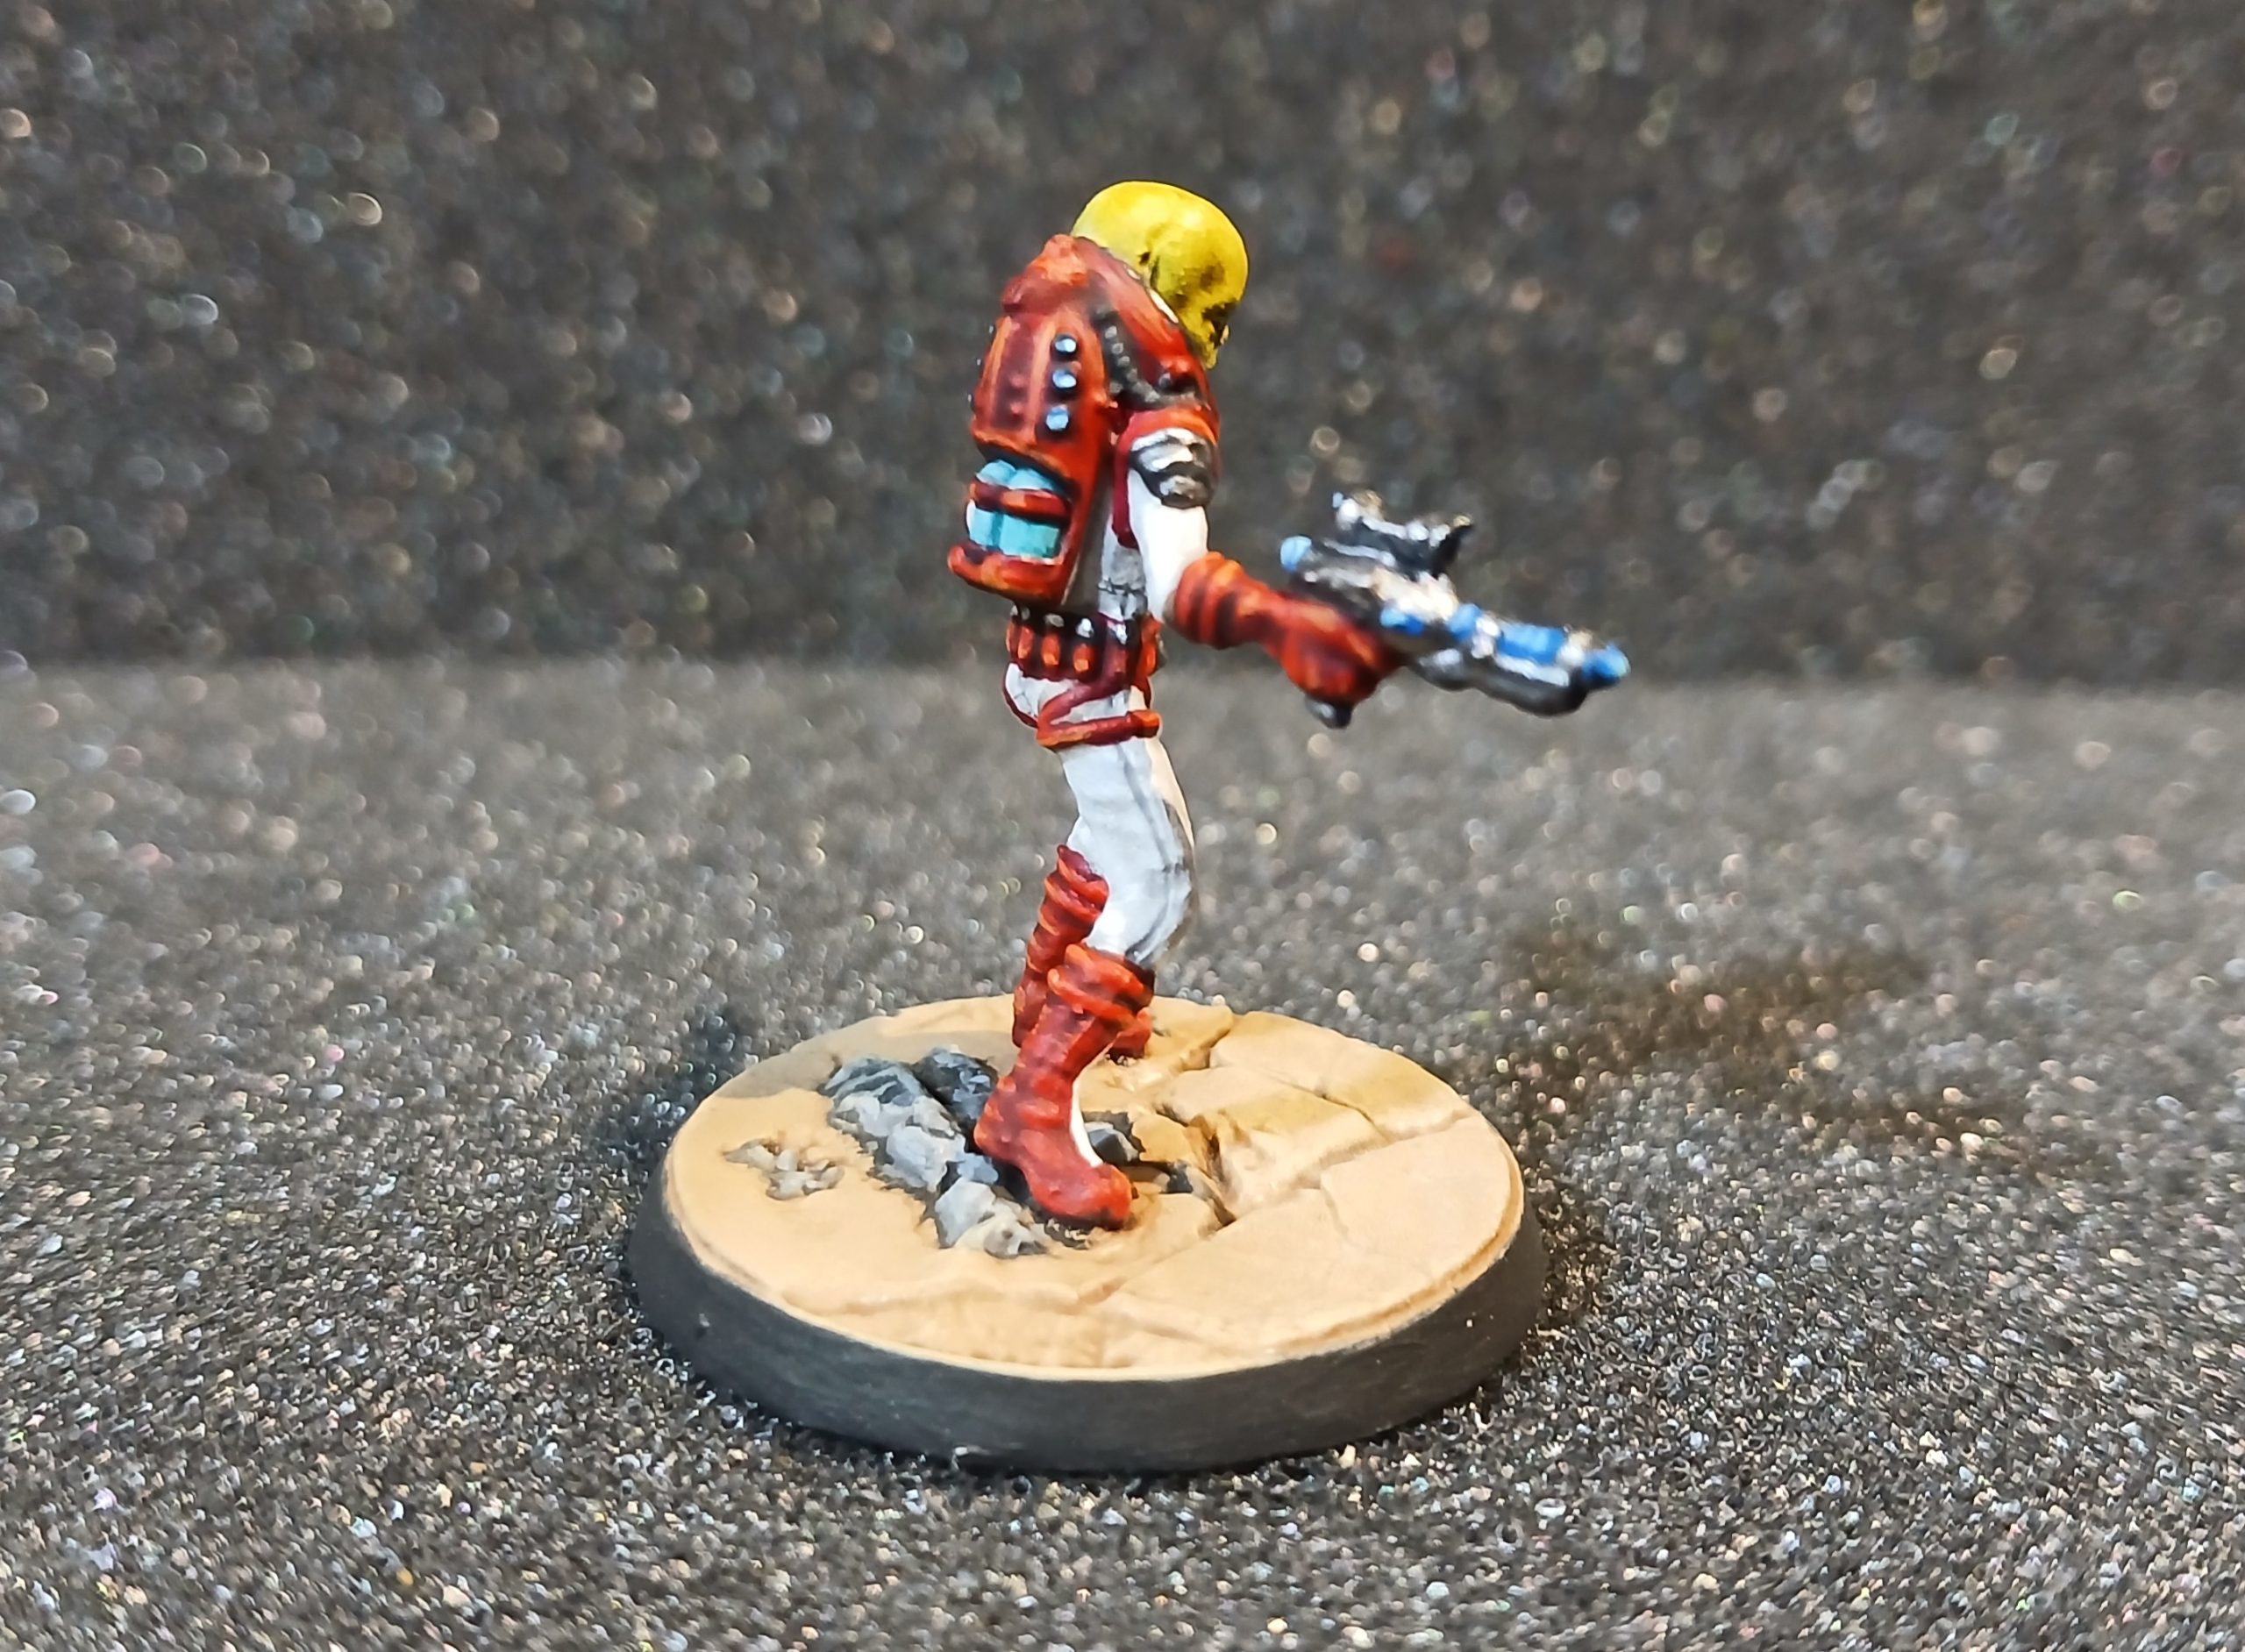
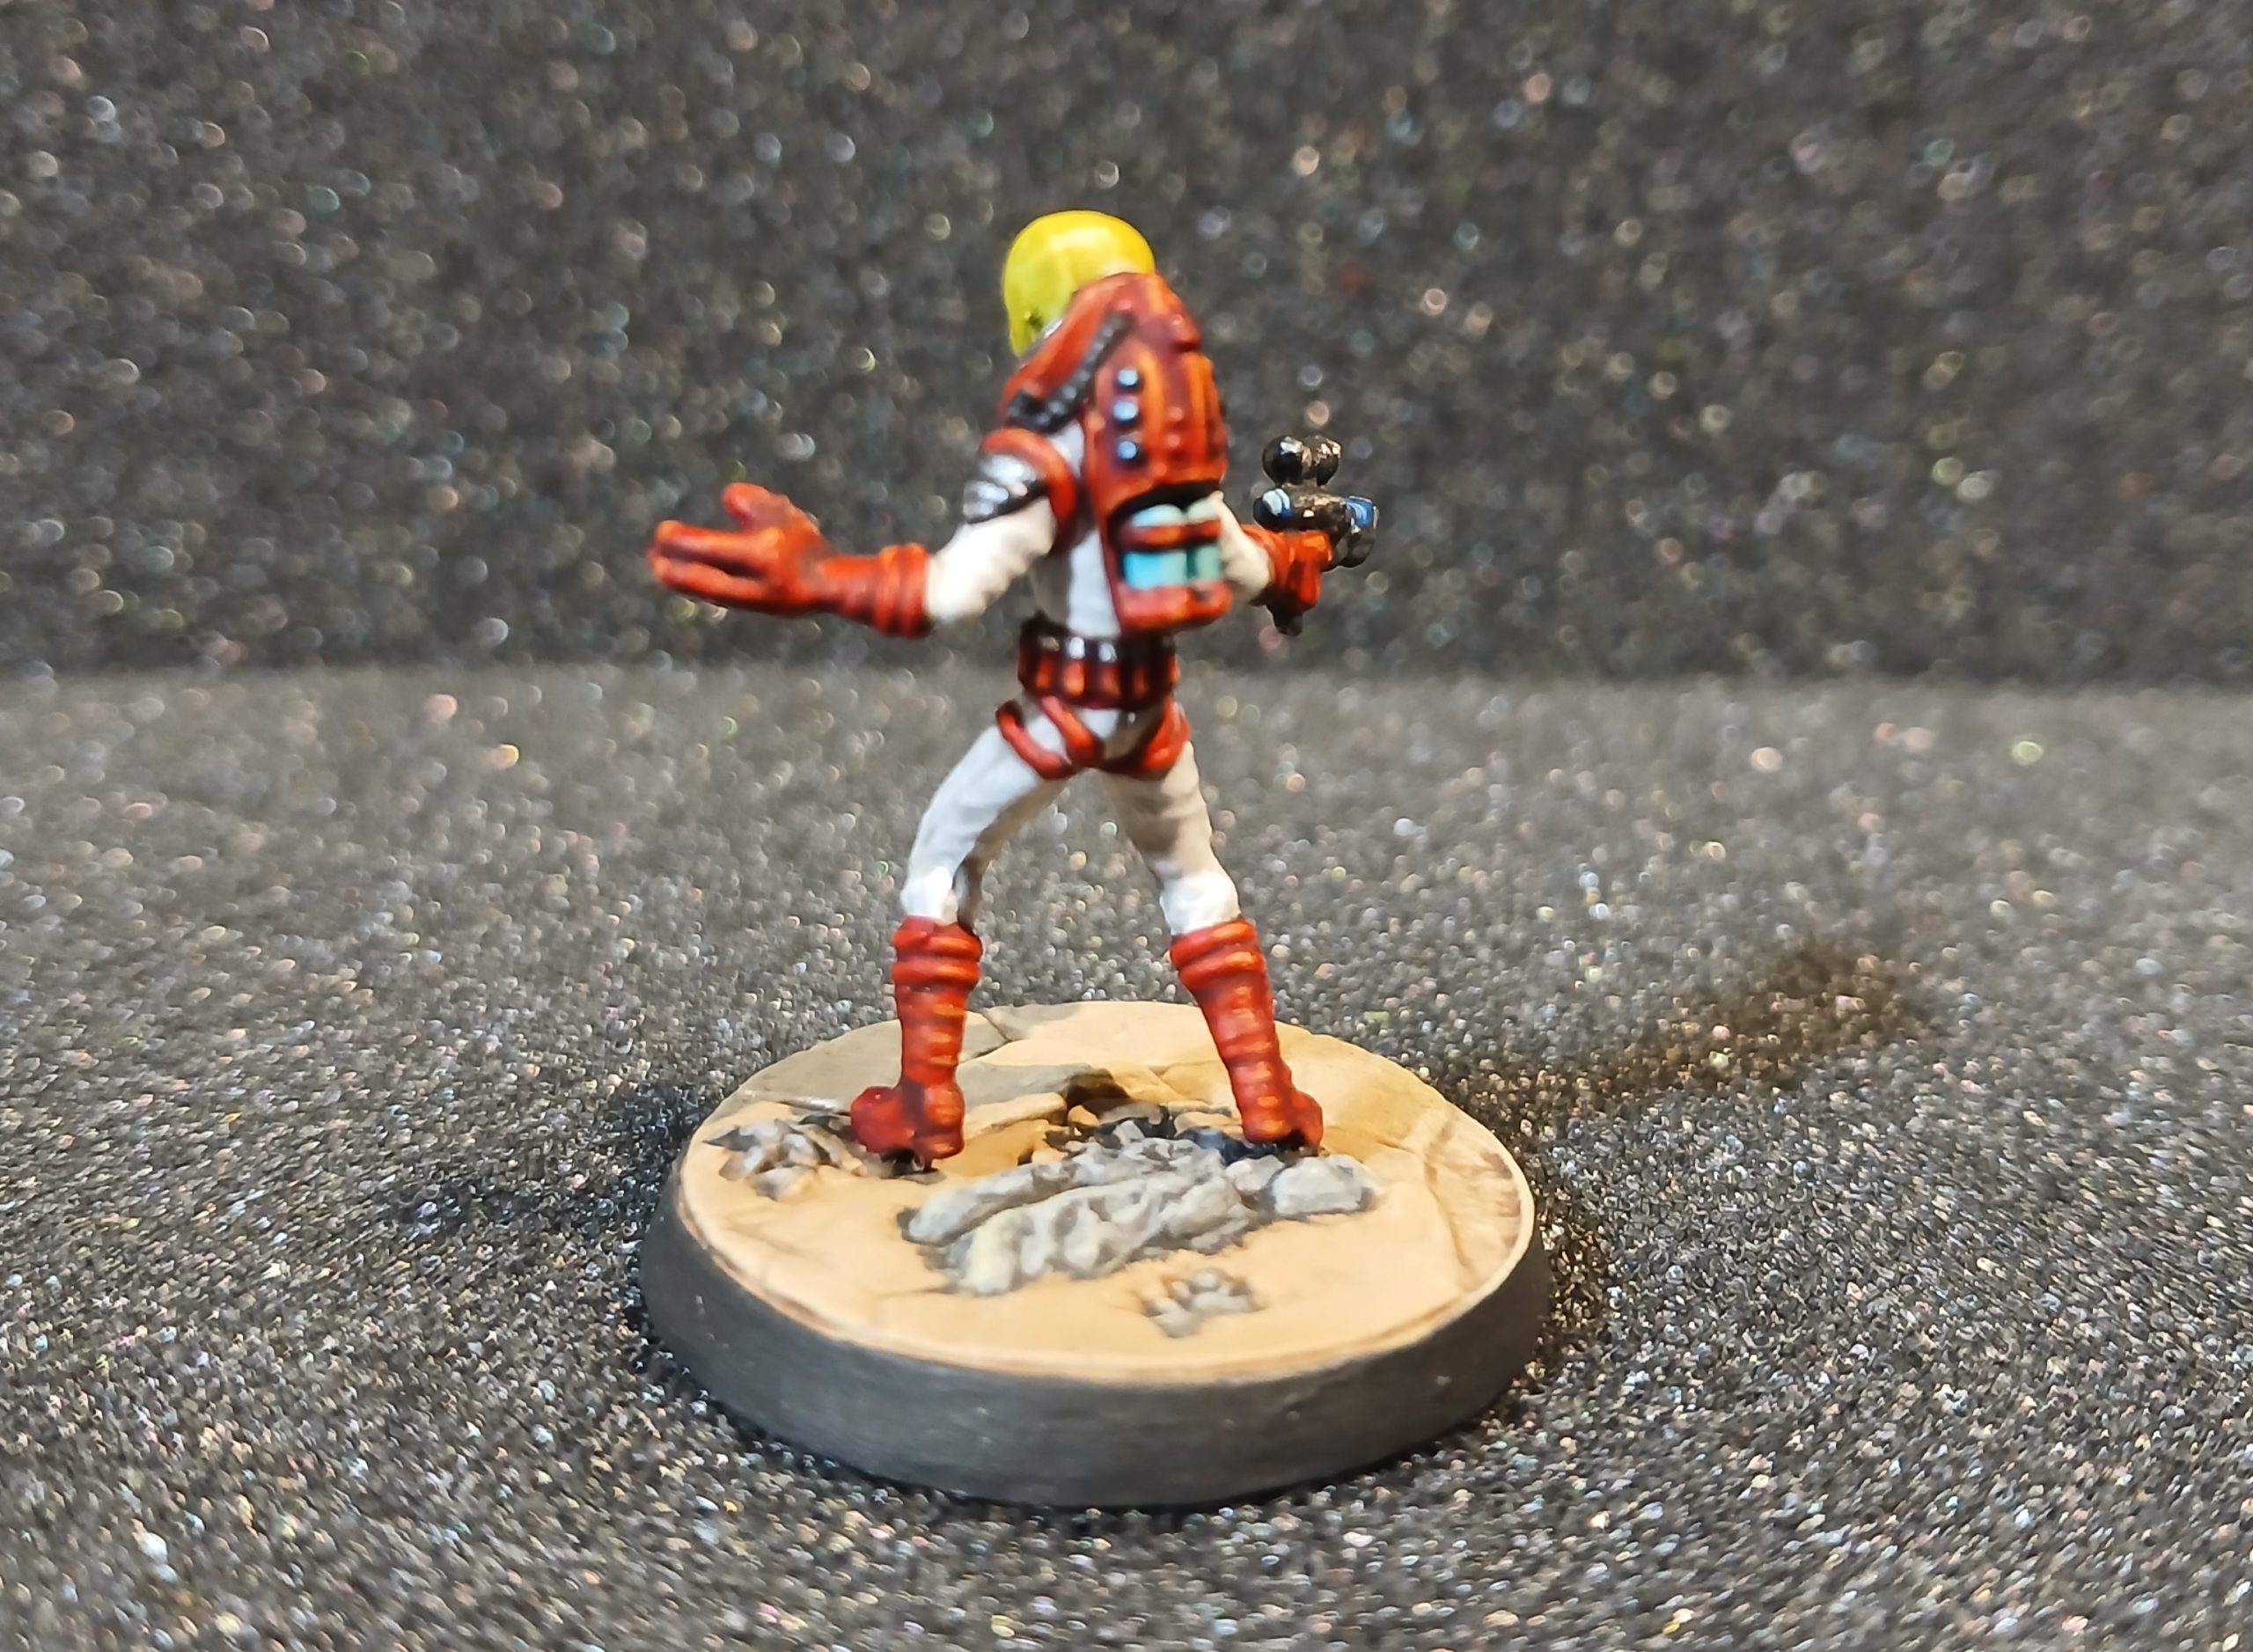
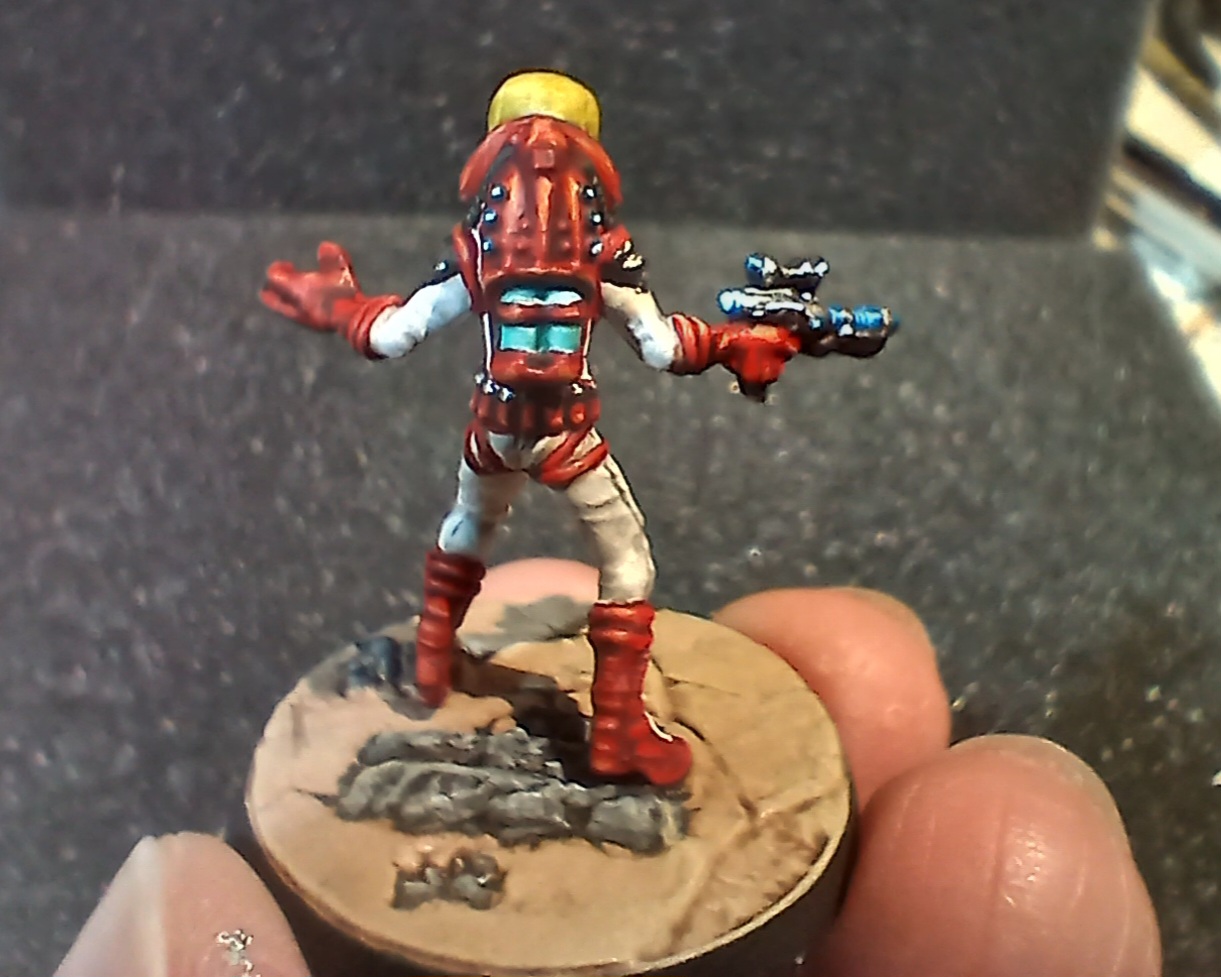
Zetan!
8th June 2026
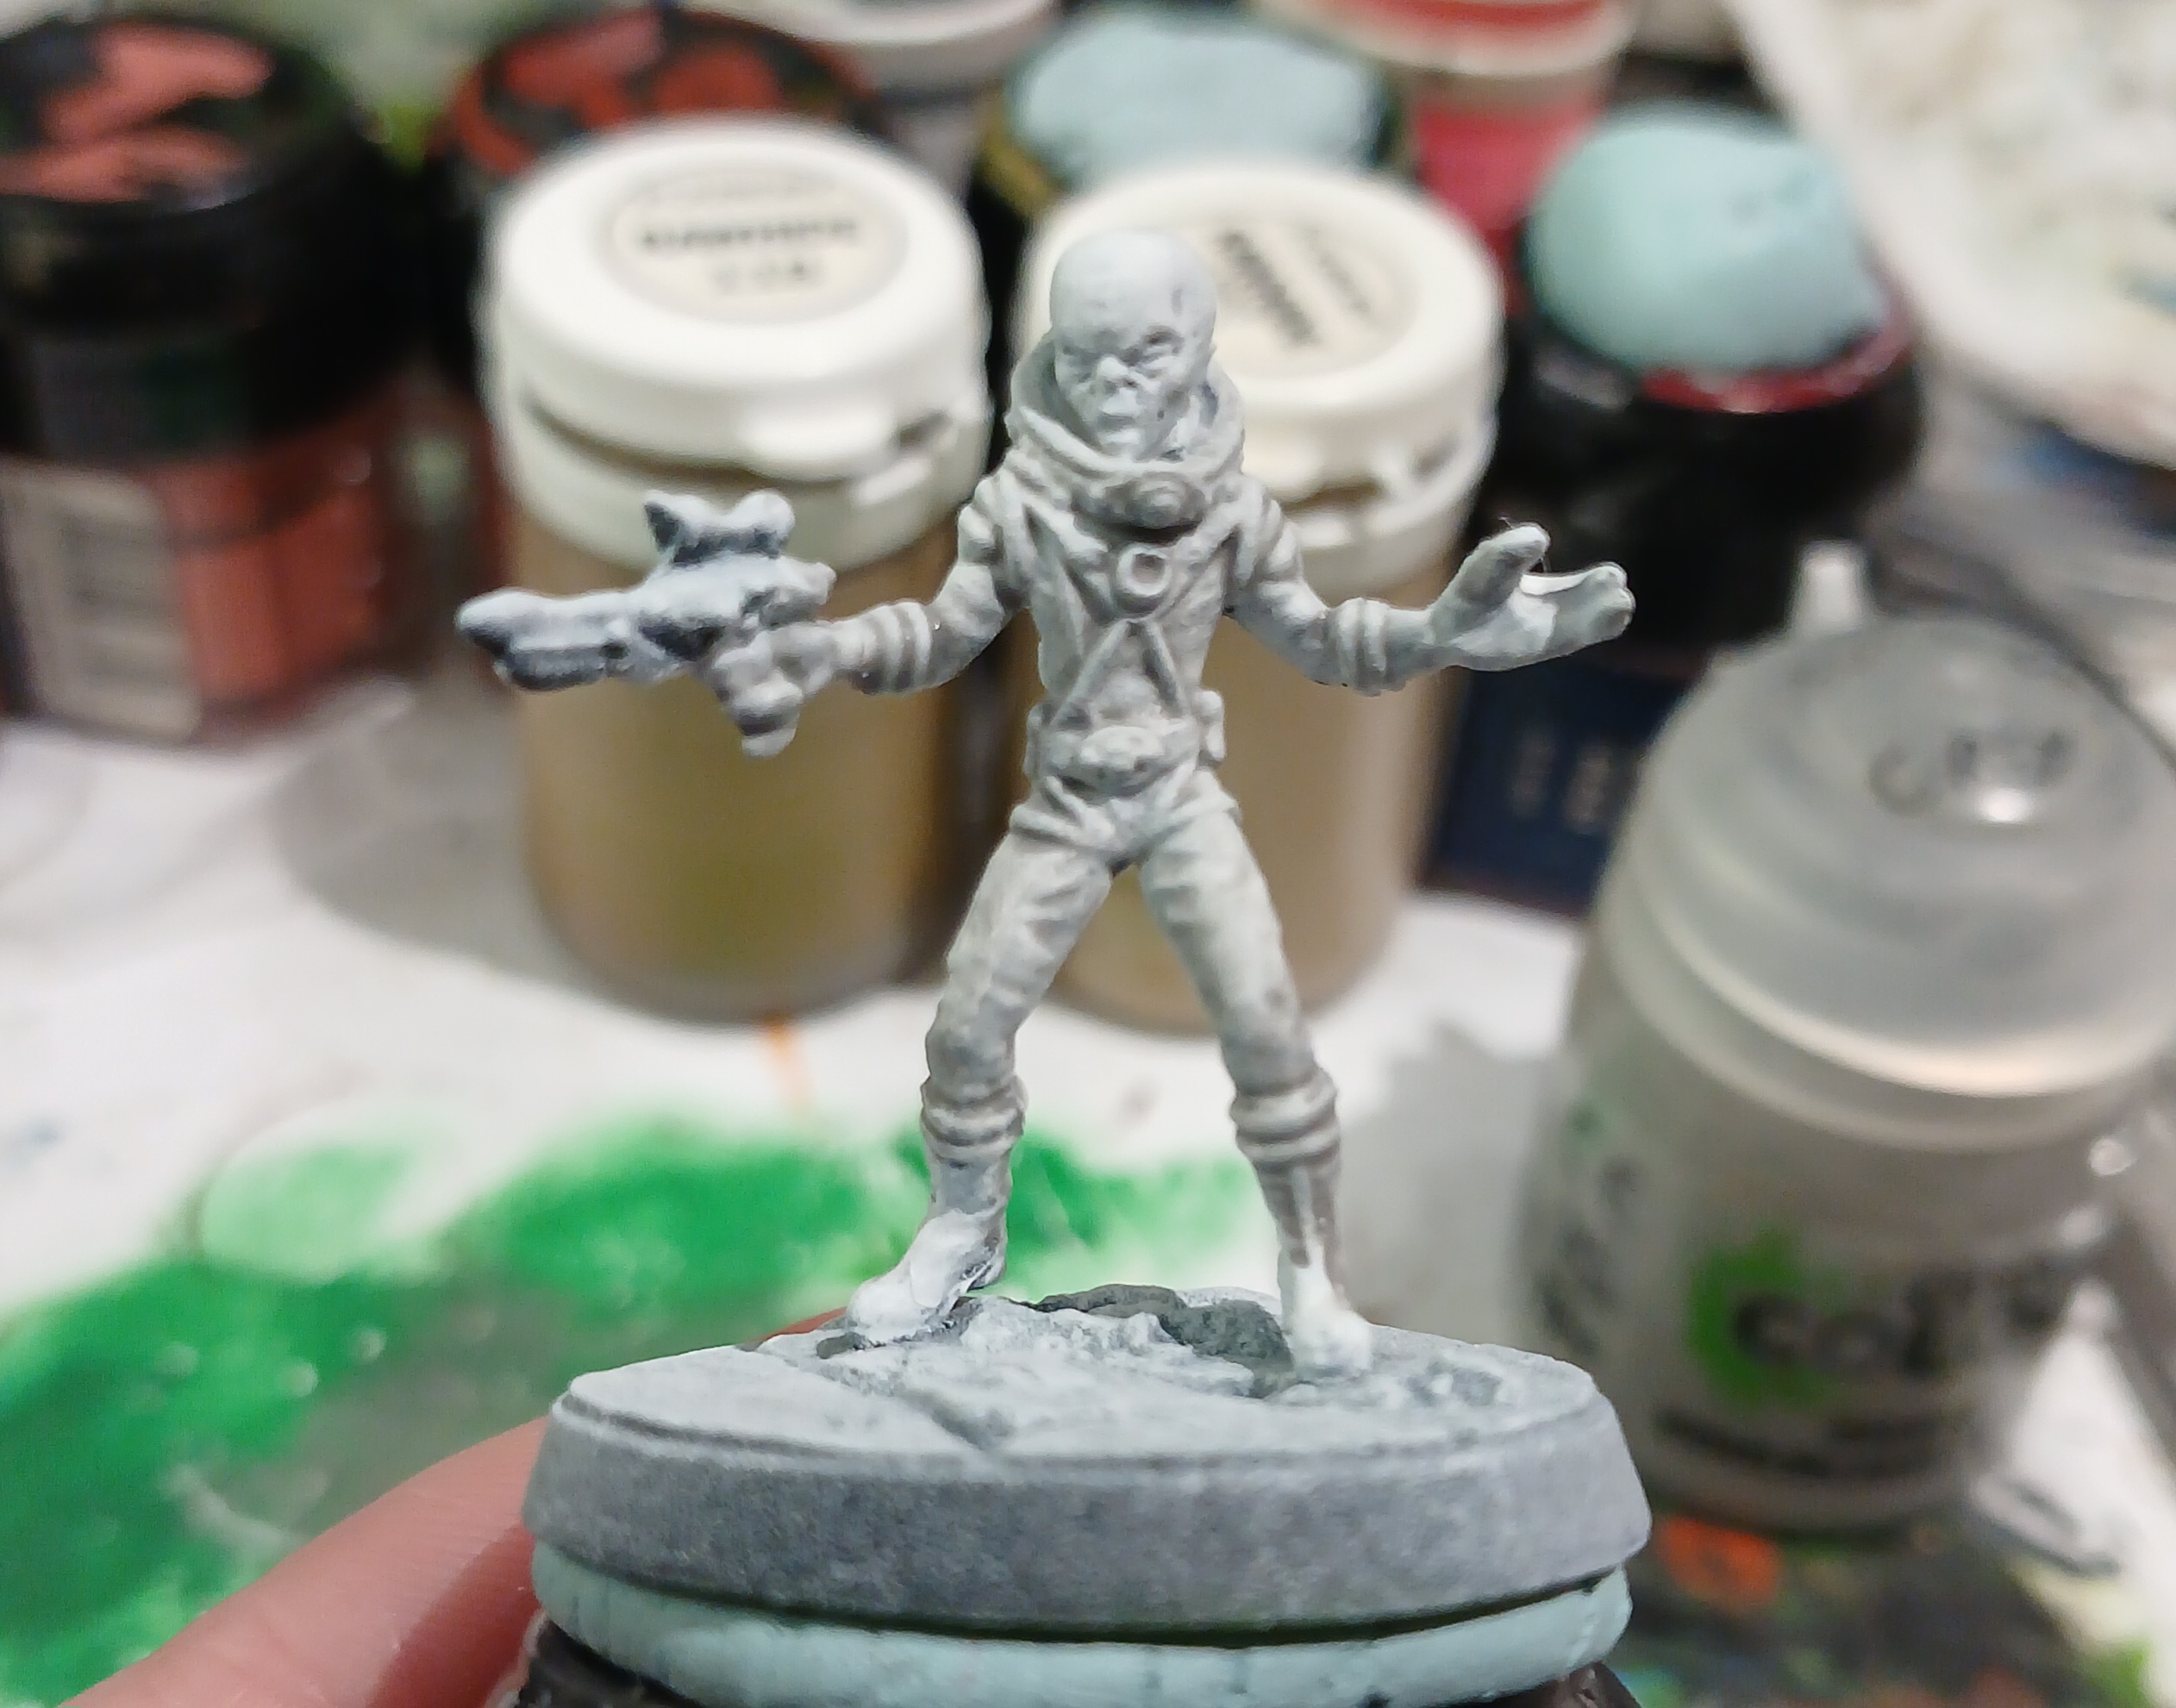
The Zetan was a bonus figure in the starter set. I started out by repainting the jumpsuit white, so that I could apply a wash of Soulblight grey.
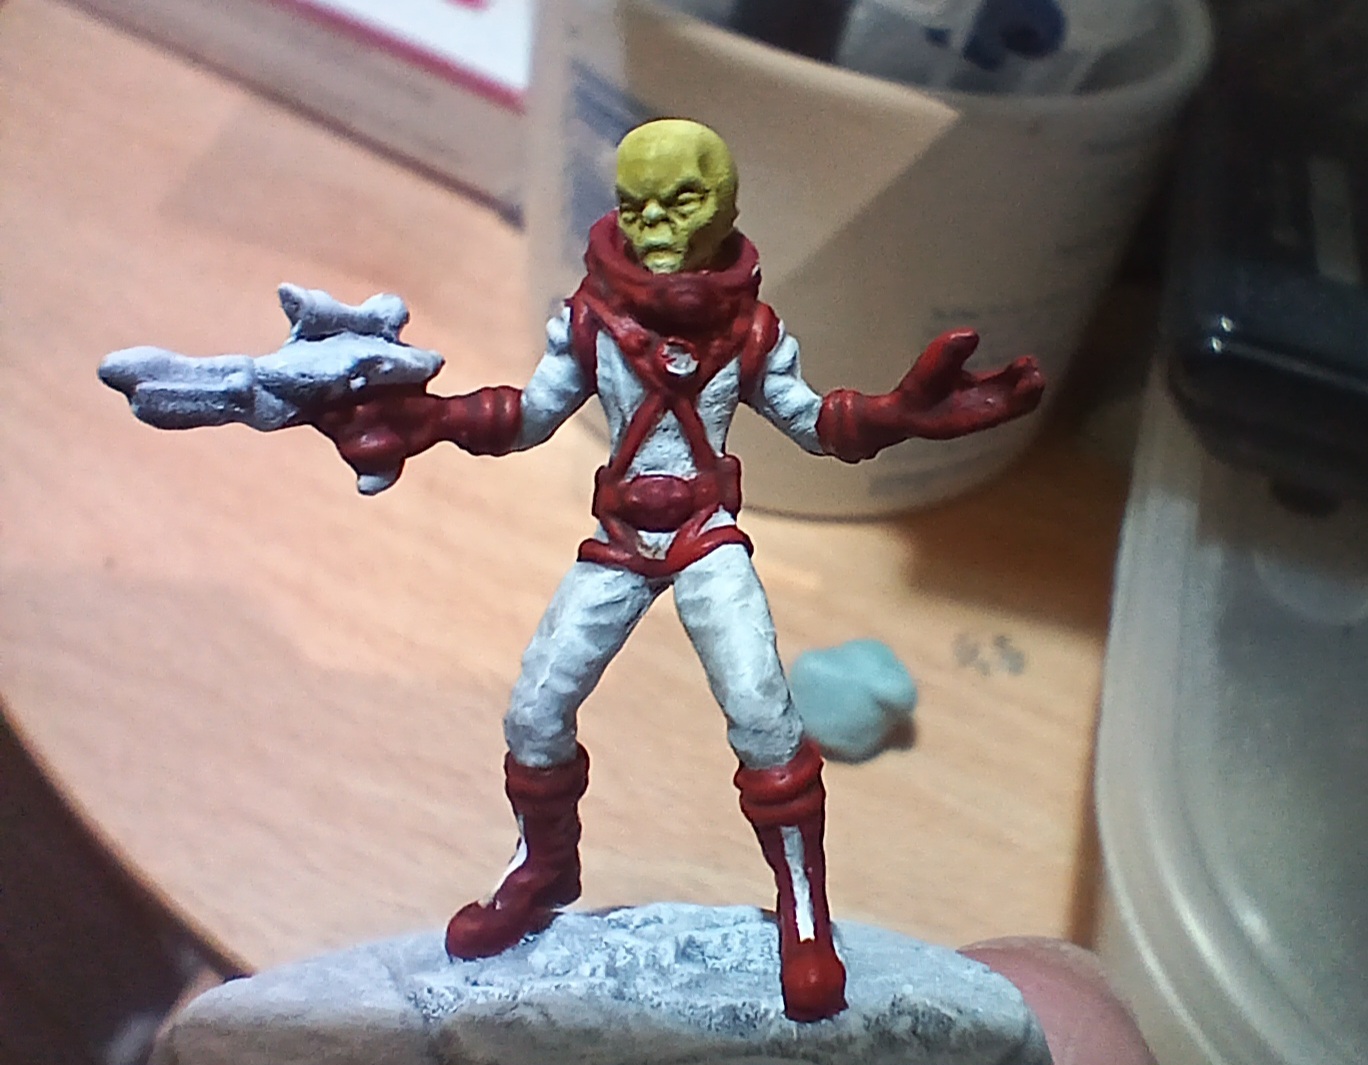
Then I painted in the piping, boots, gloves and suit armour in Khorne red. This was washed with agrax, then highlighted back with Khorne, followed by Mephiston red, then Evil Sunz Scarlet. The skin was painted with plaguebearer flesh.

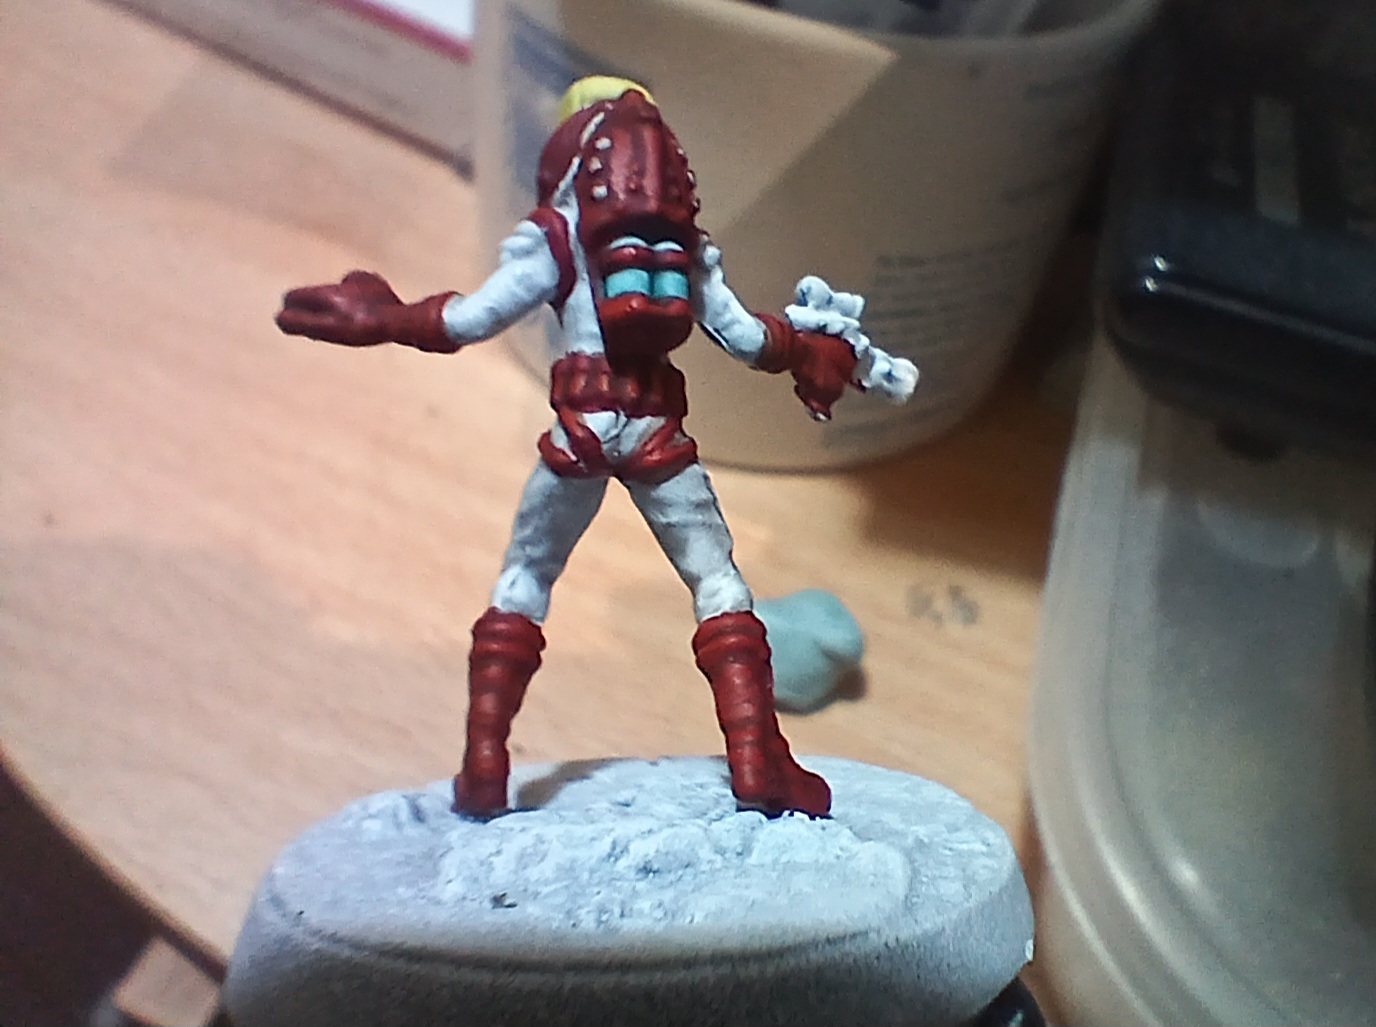
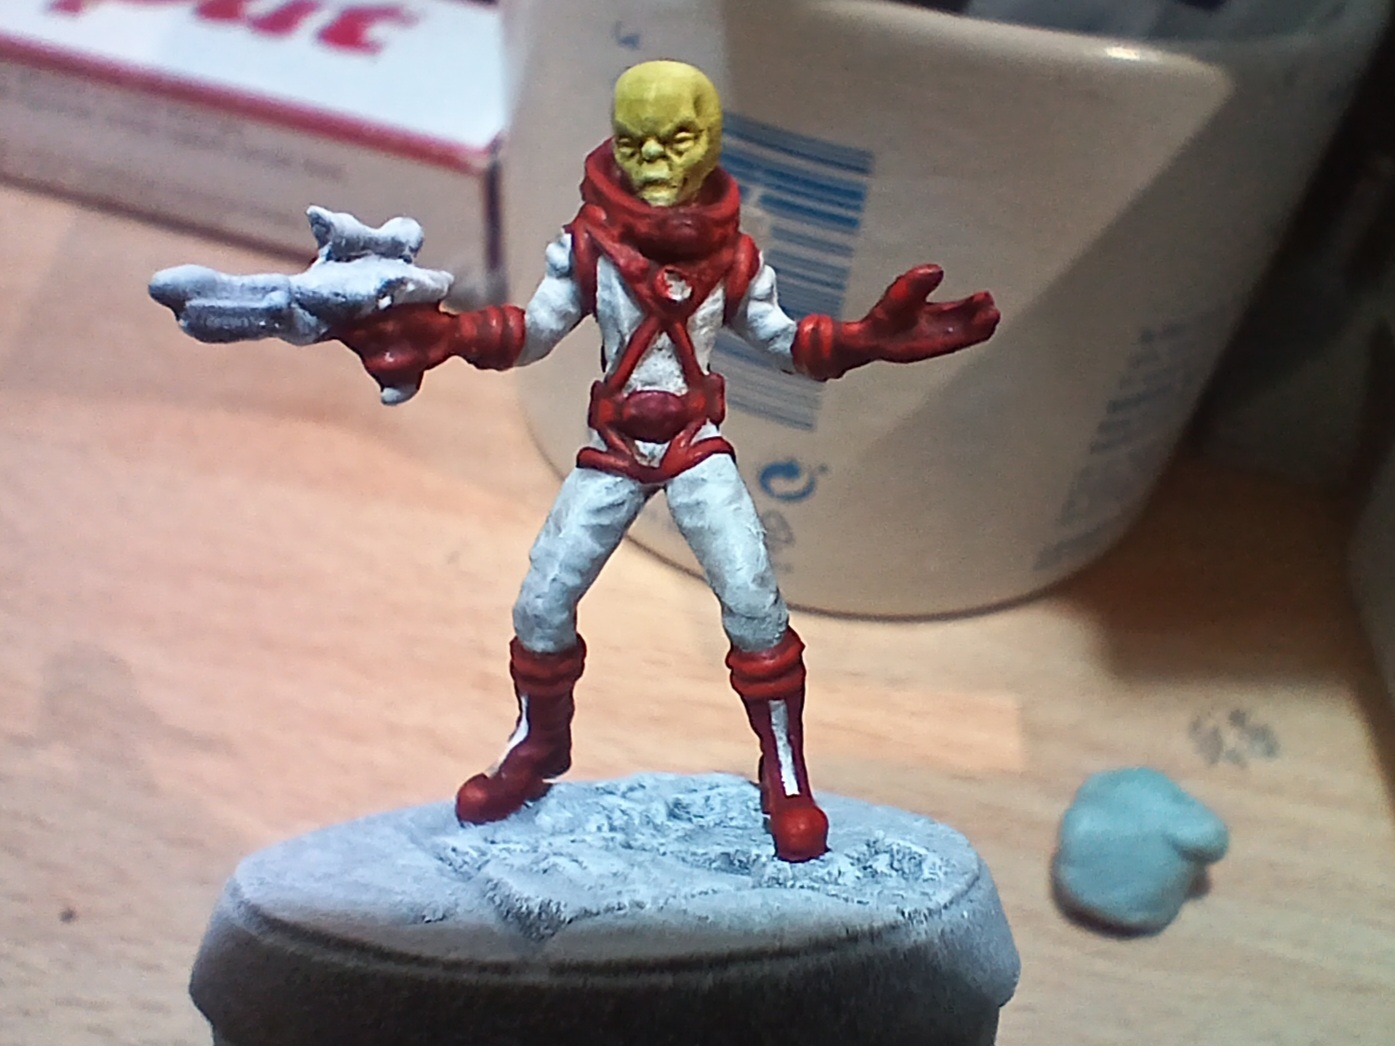
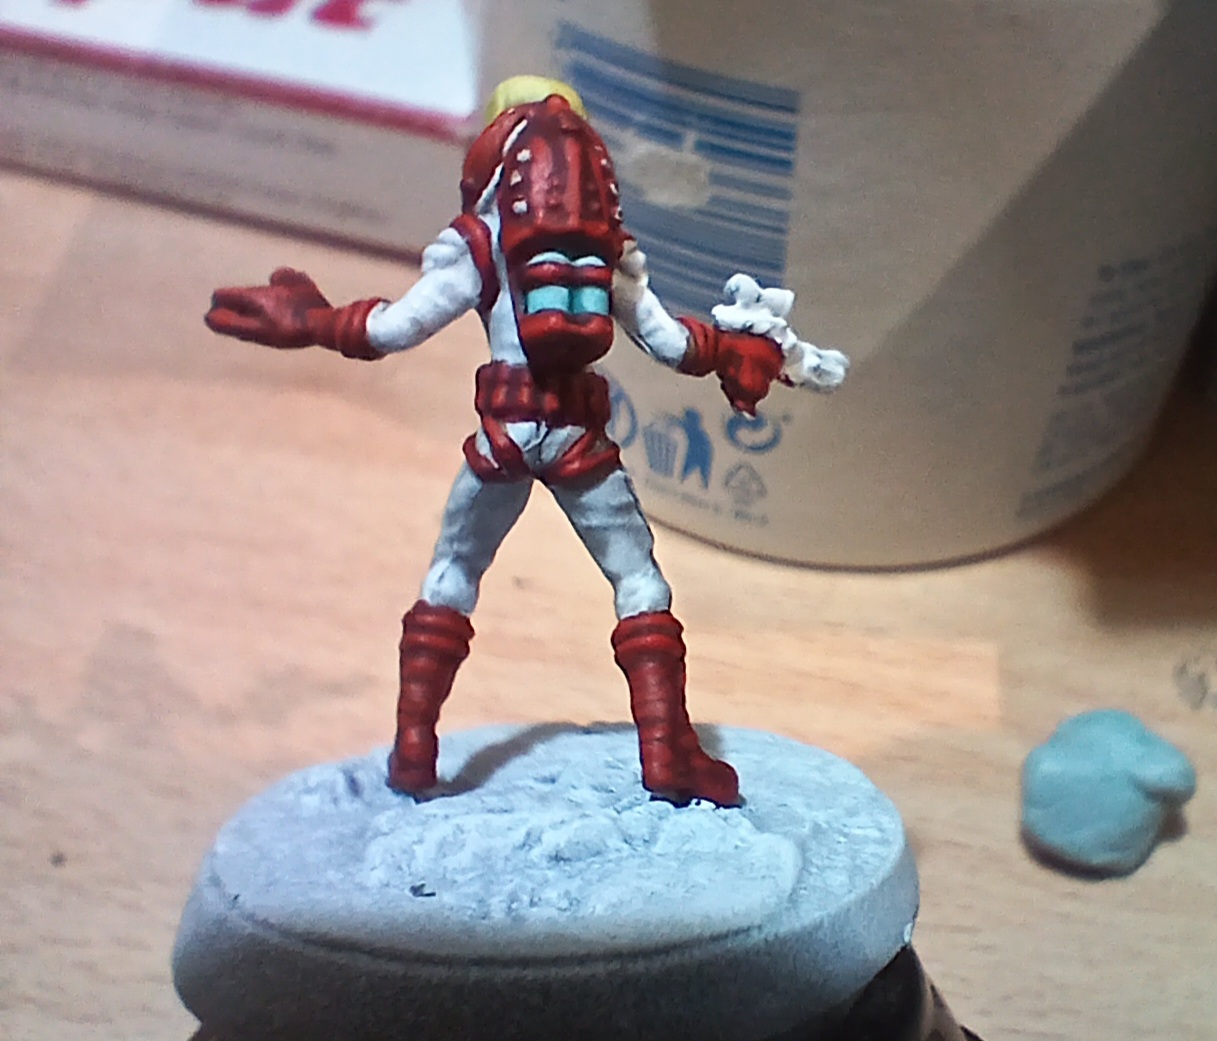
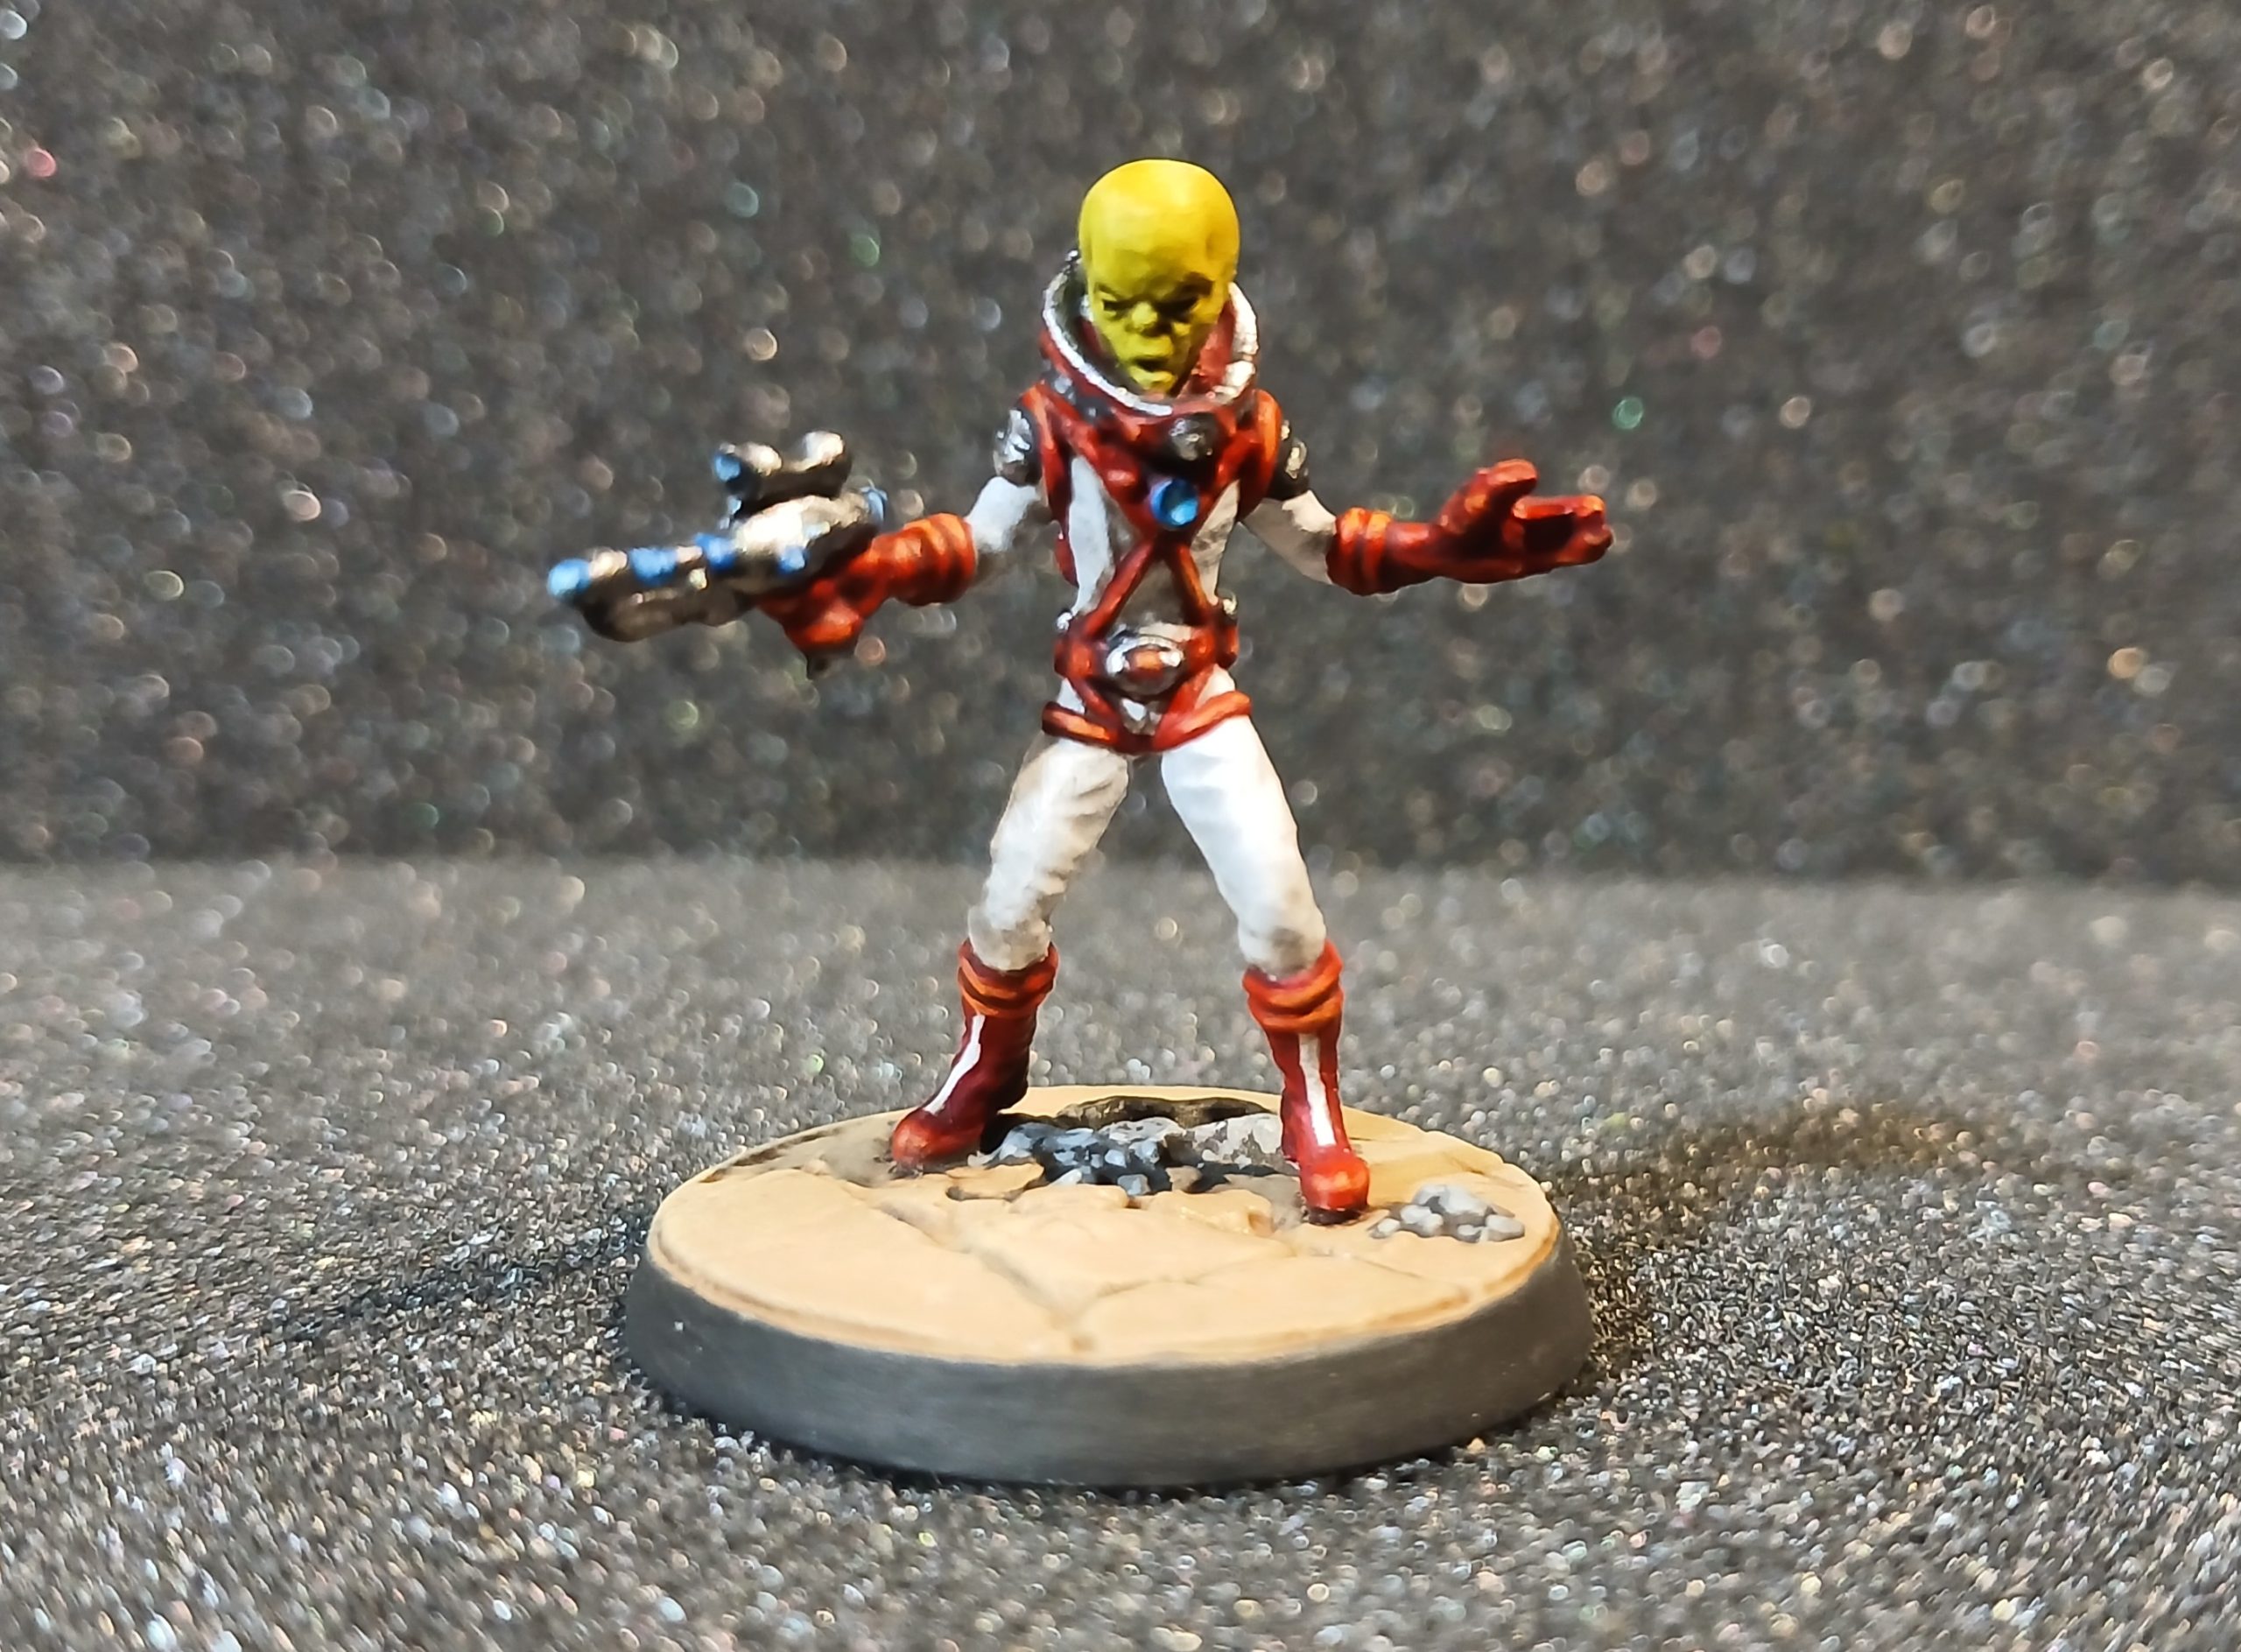
Then I painted the gun and metal areas black, followed by gunmetal and highlighted mithril silver. Armour pipes were picked out in black. Blue details were added in dark blue, then lighter blue highlights added for the gun and chest piece.
I then went back in and added an orange highlight to upper areas of the various red items, and it helped it to pop a little more.
Deathclaw!
5th June 2026
Getting close to the end of the starter box now, just the Deathclaw and the bonus Zetan to go.
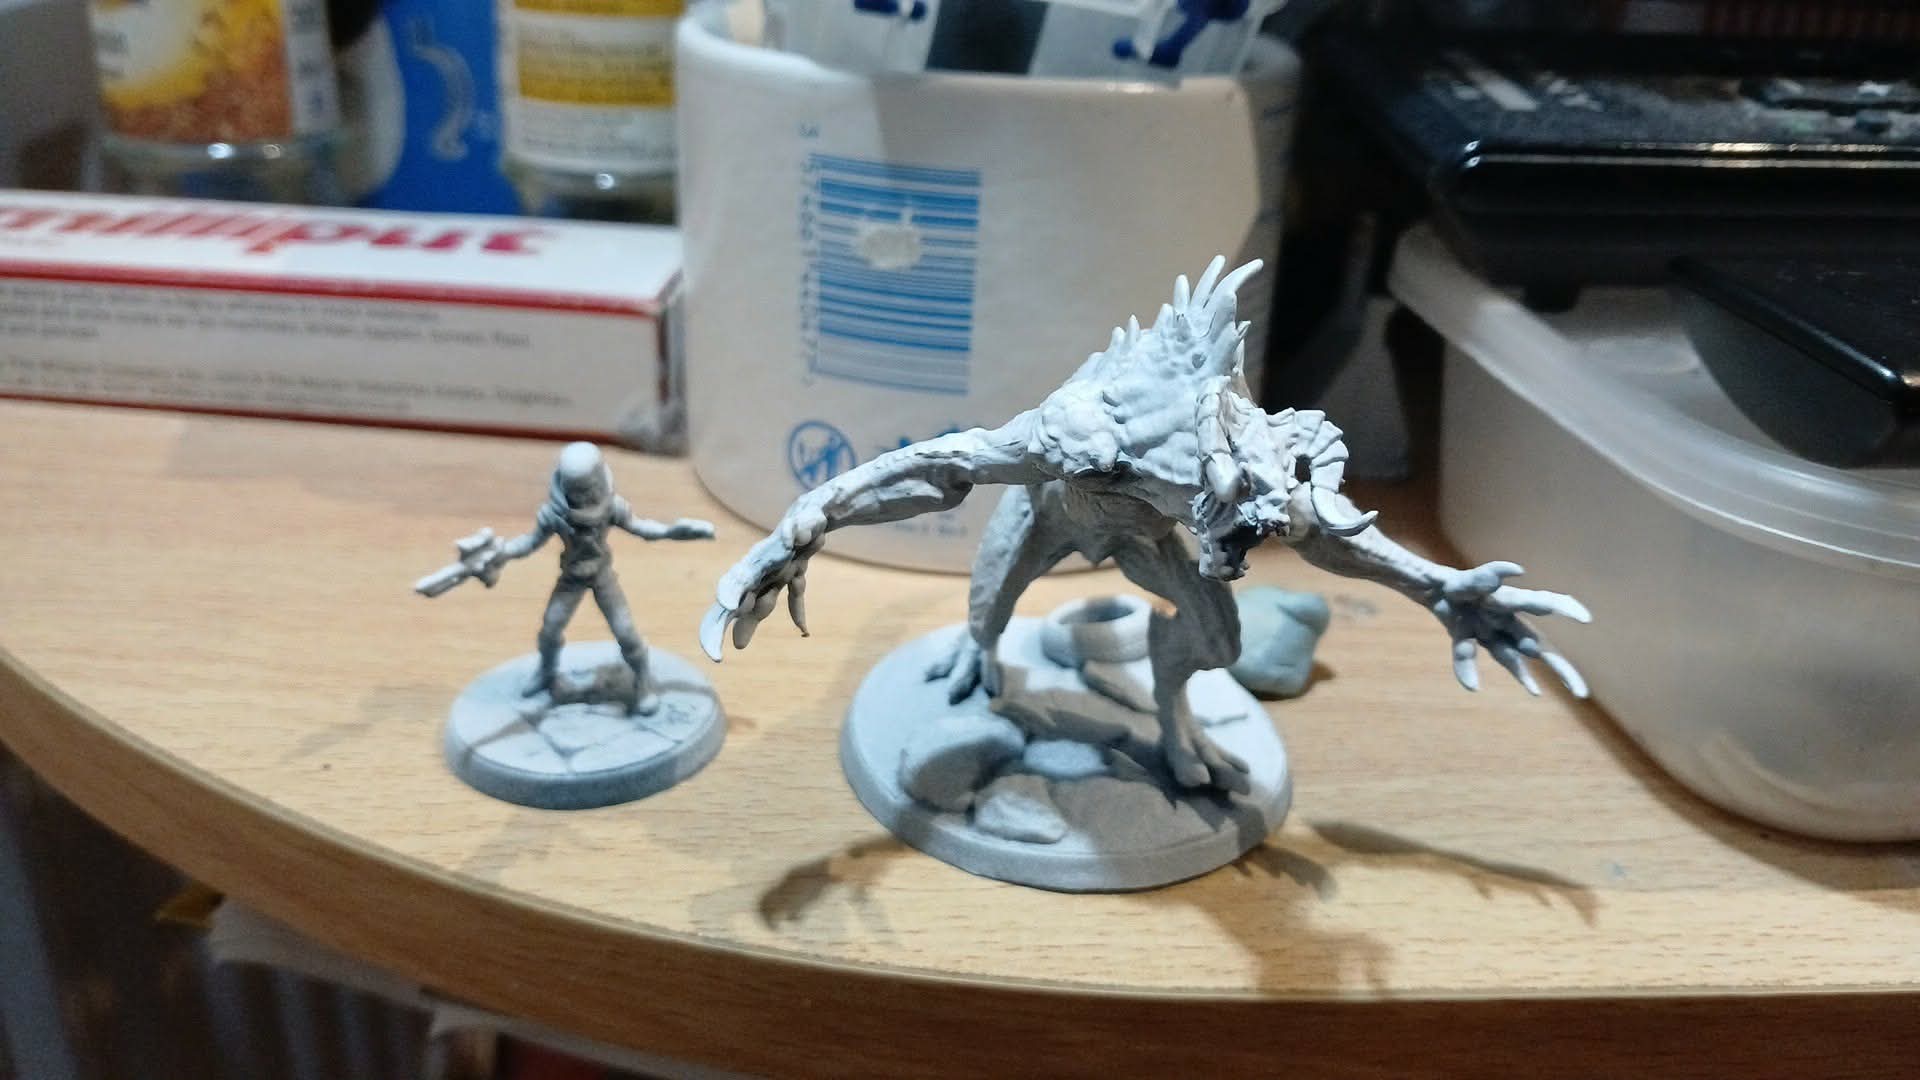
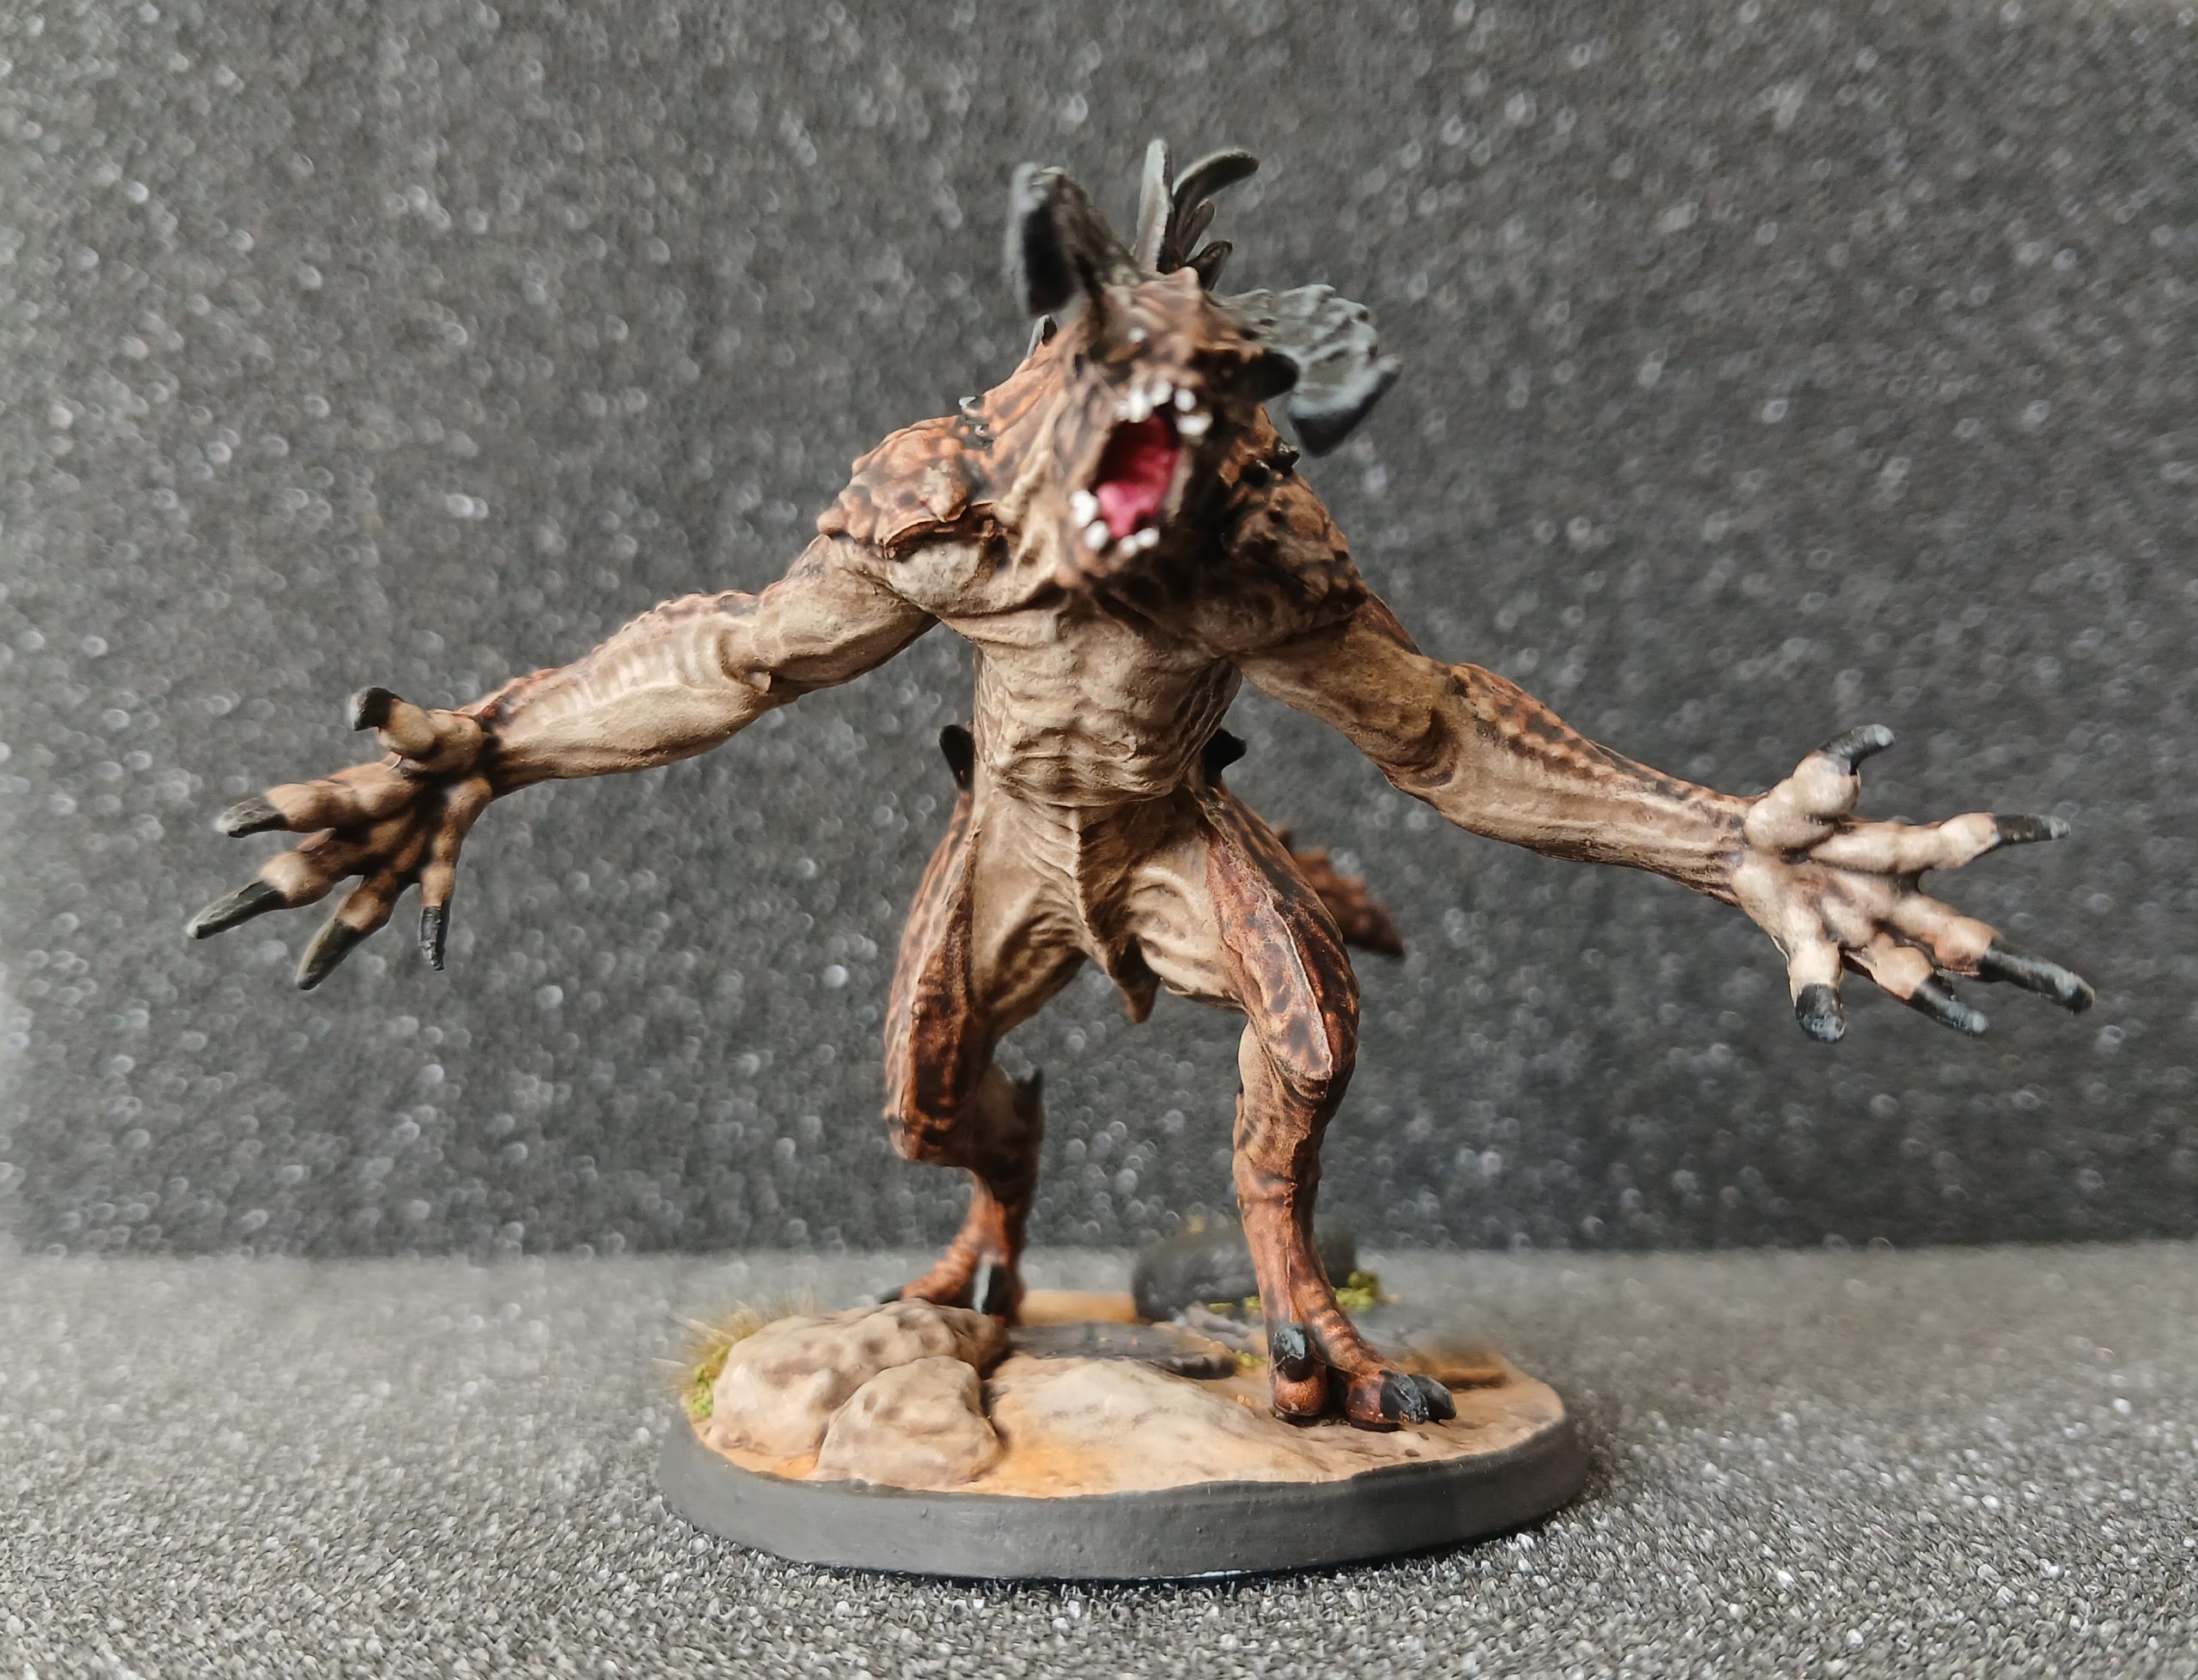
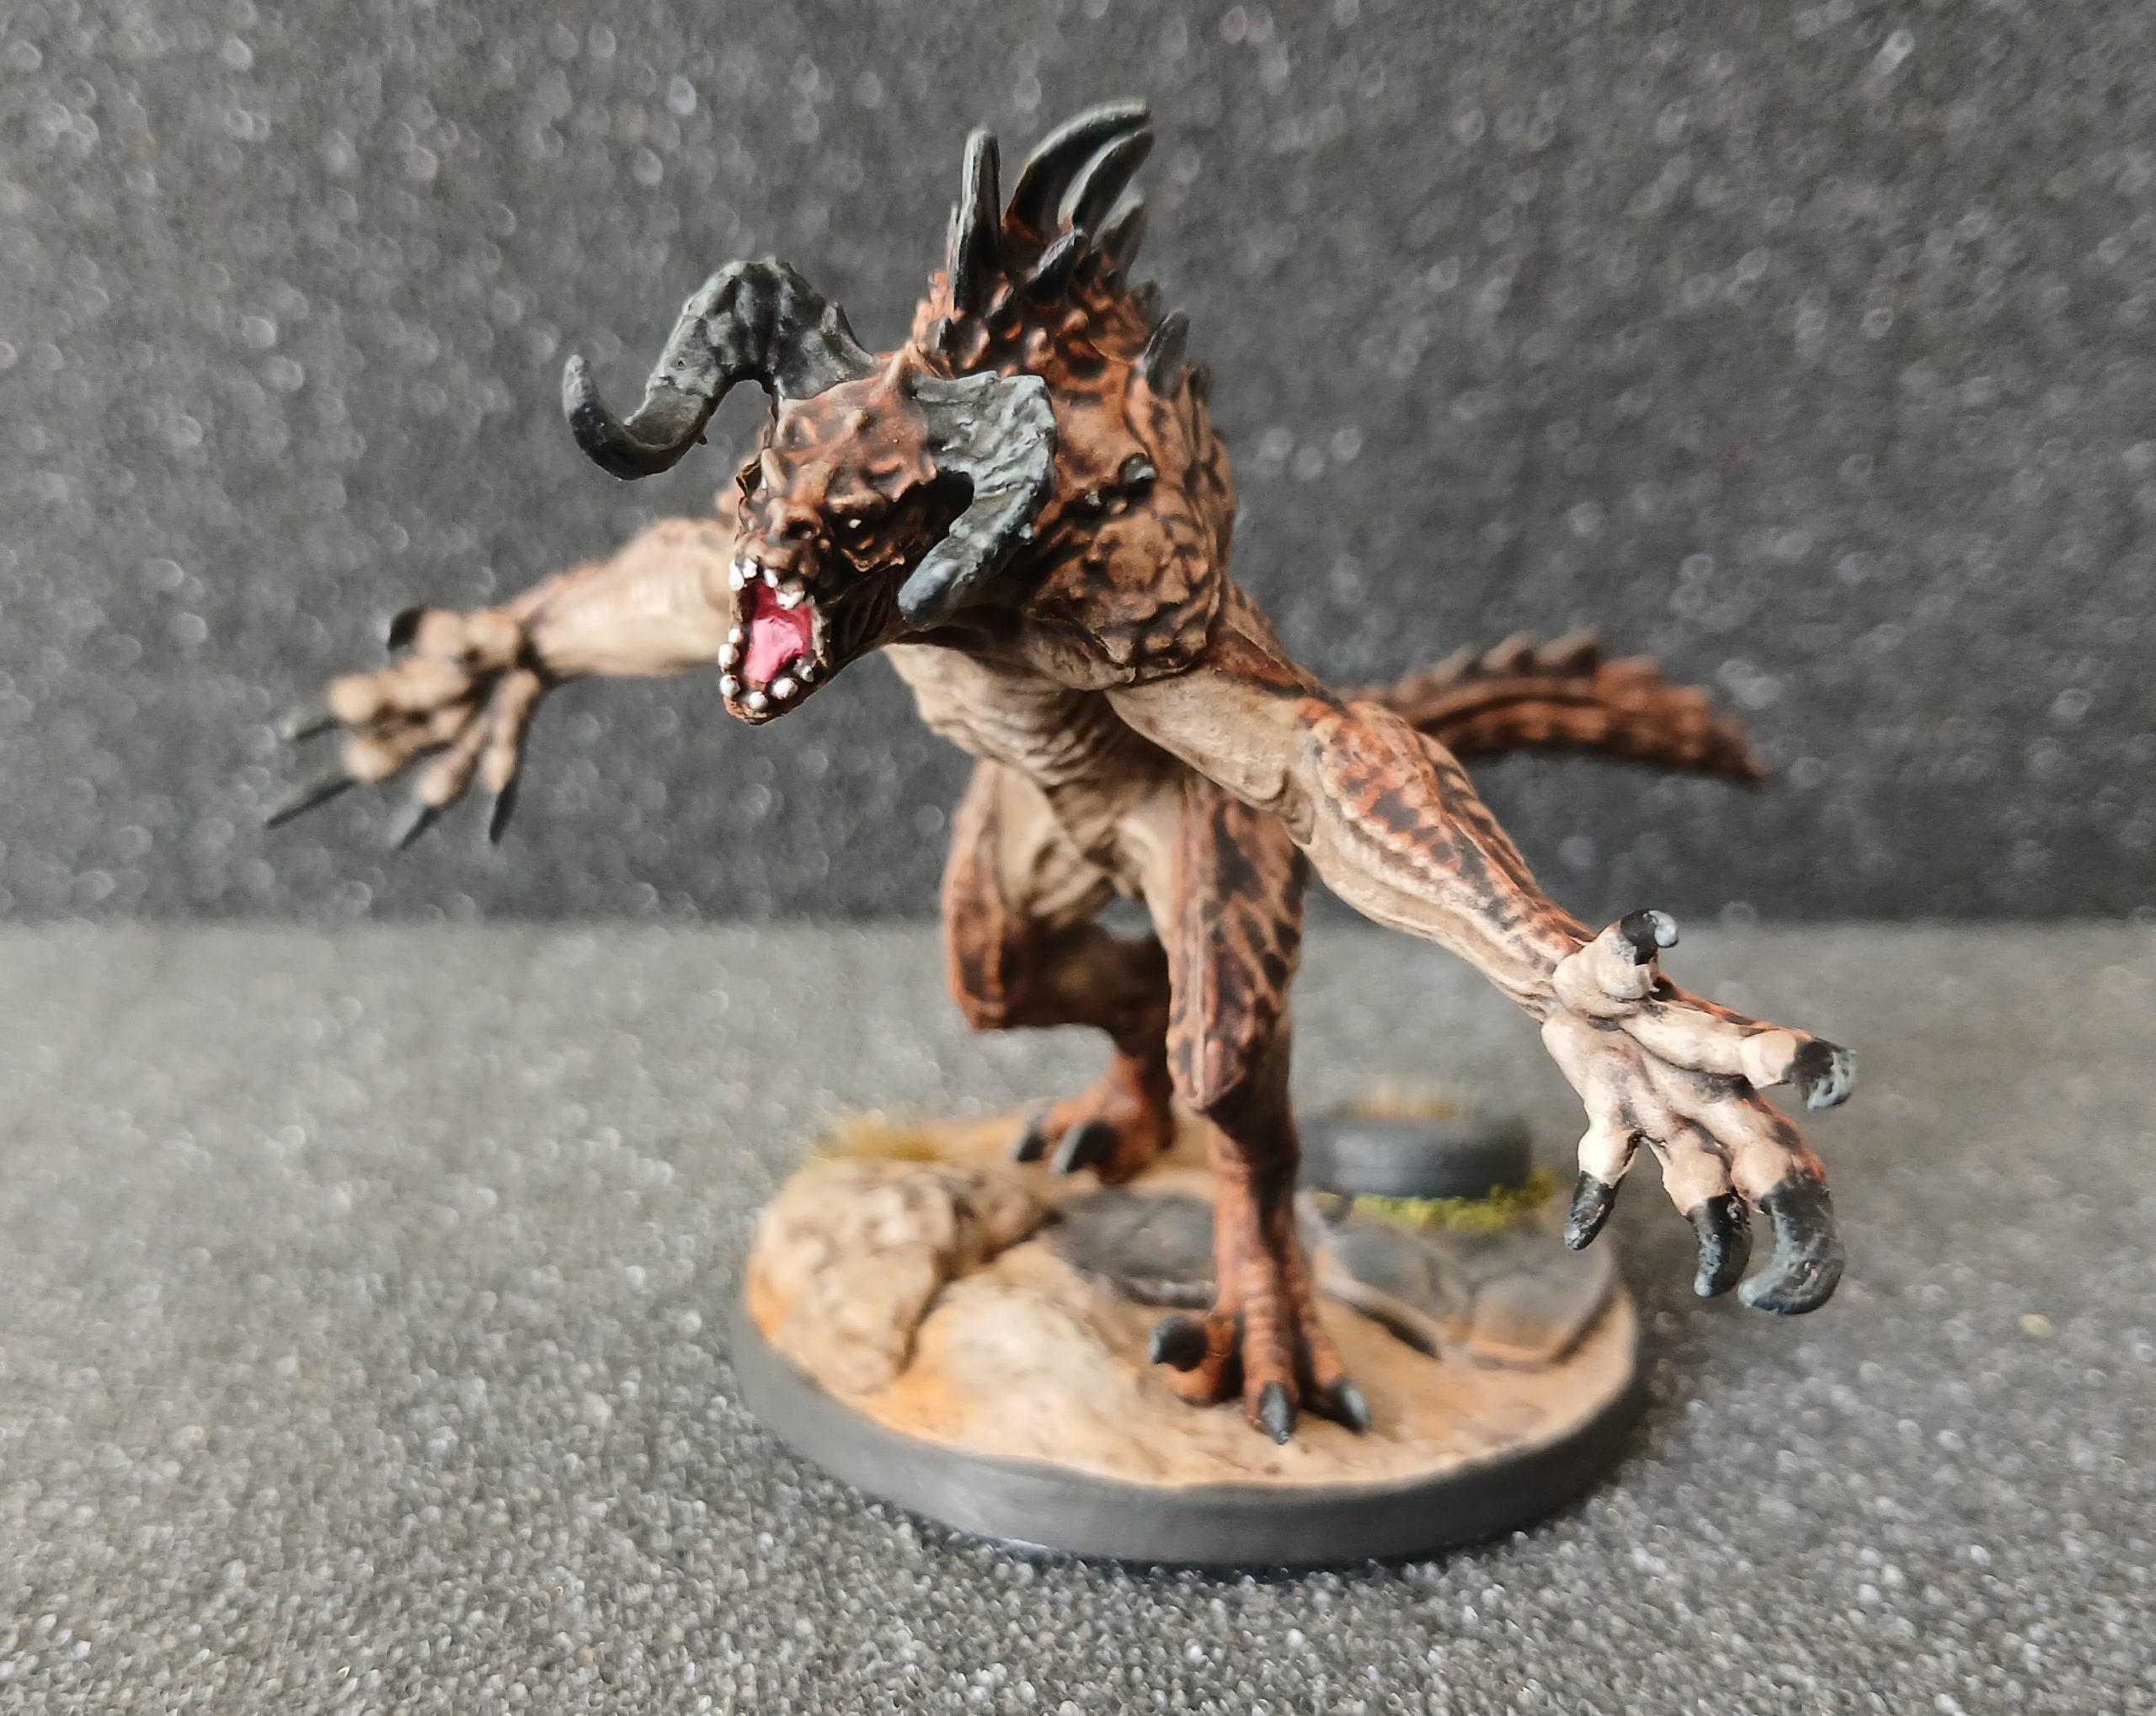
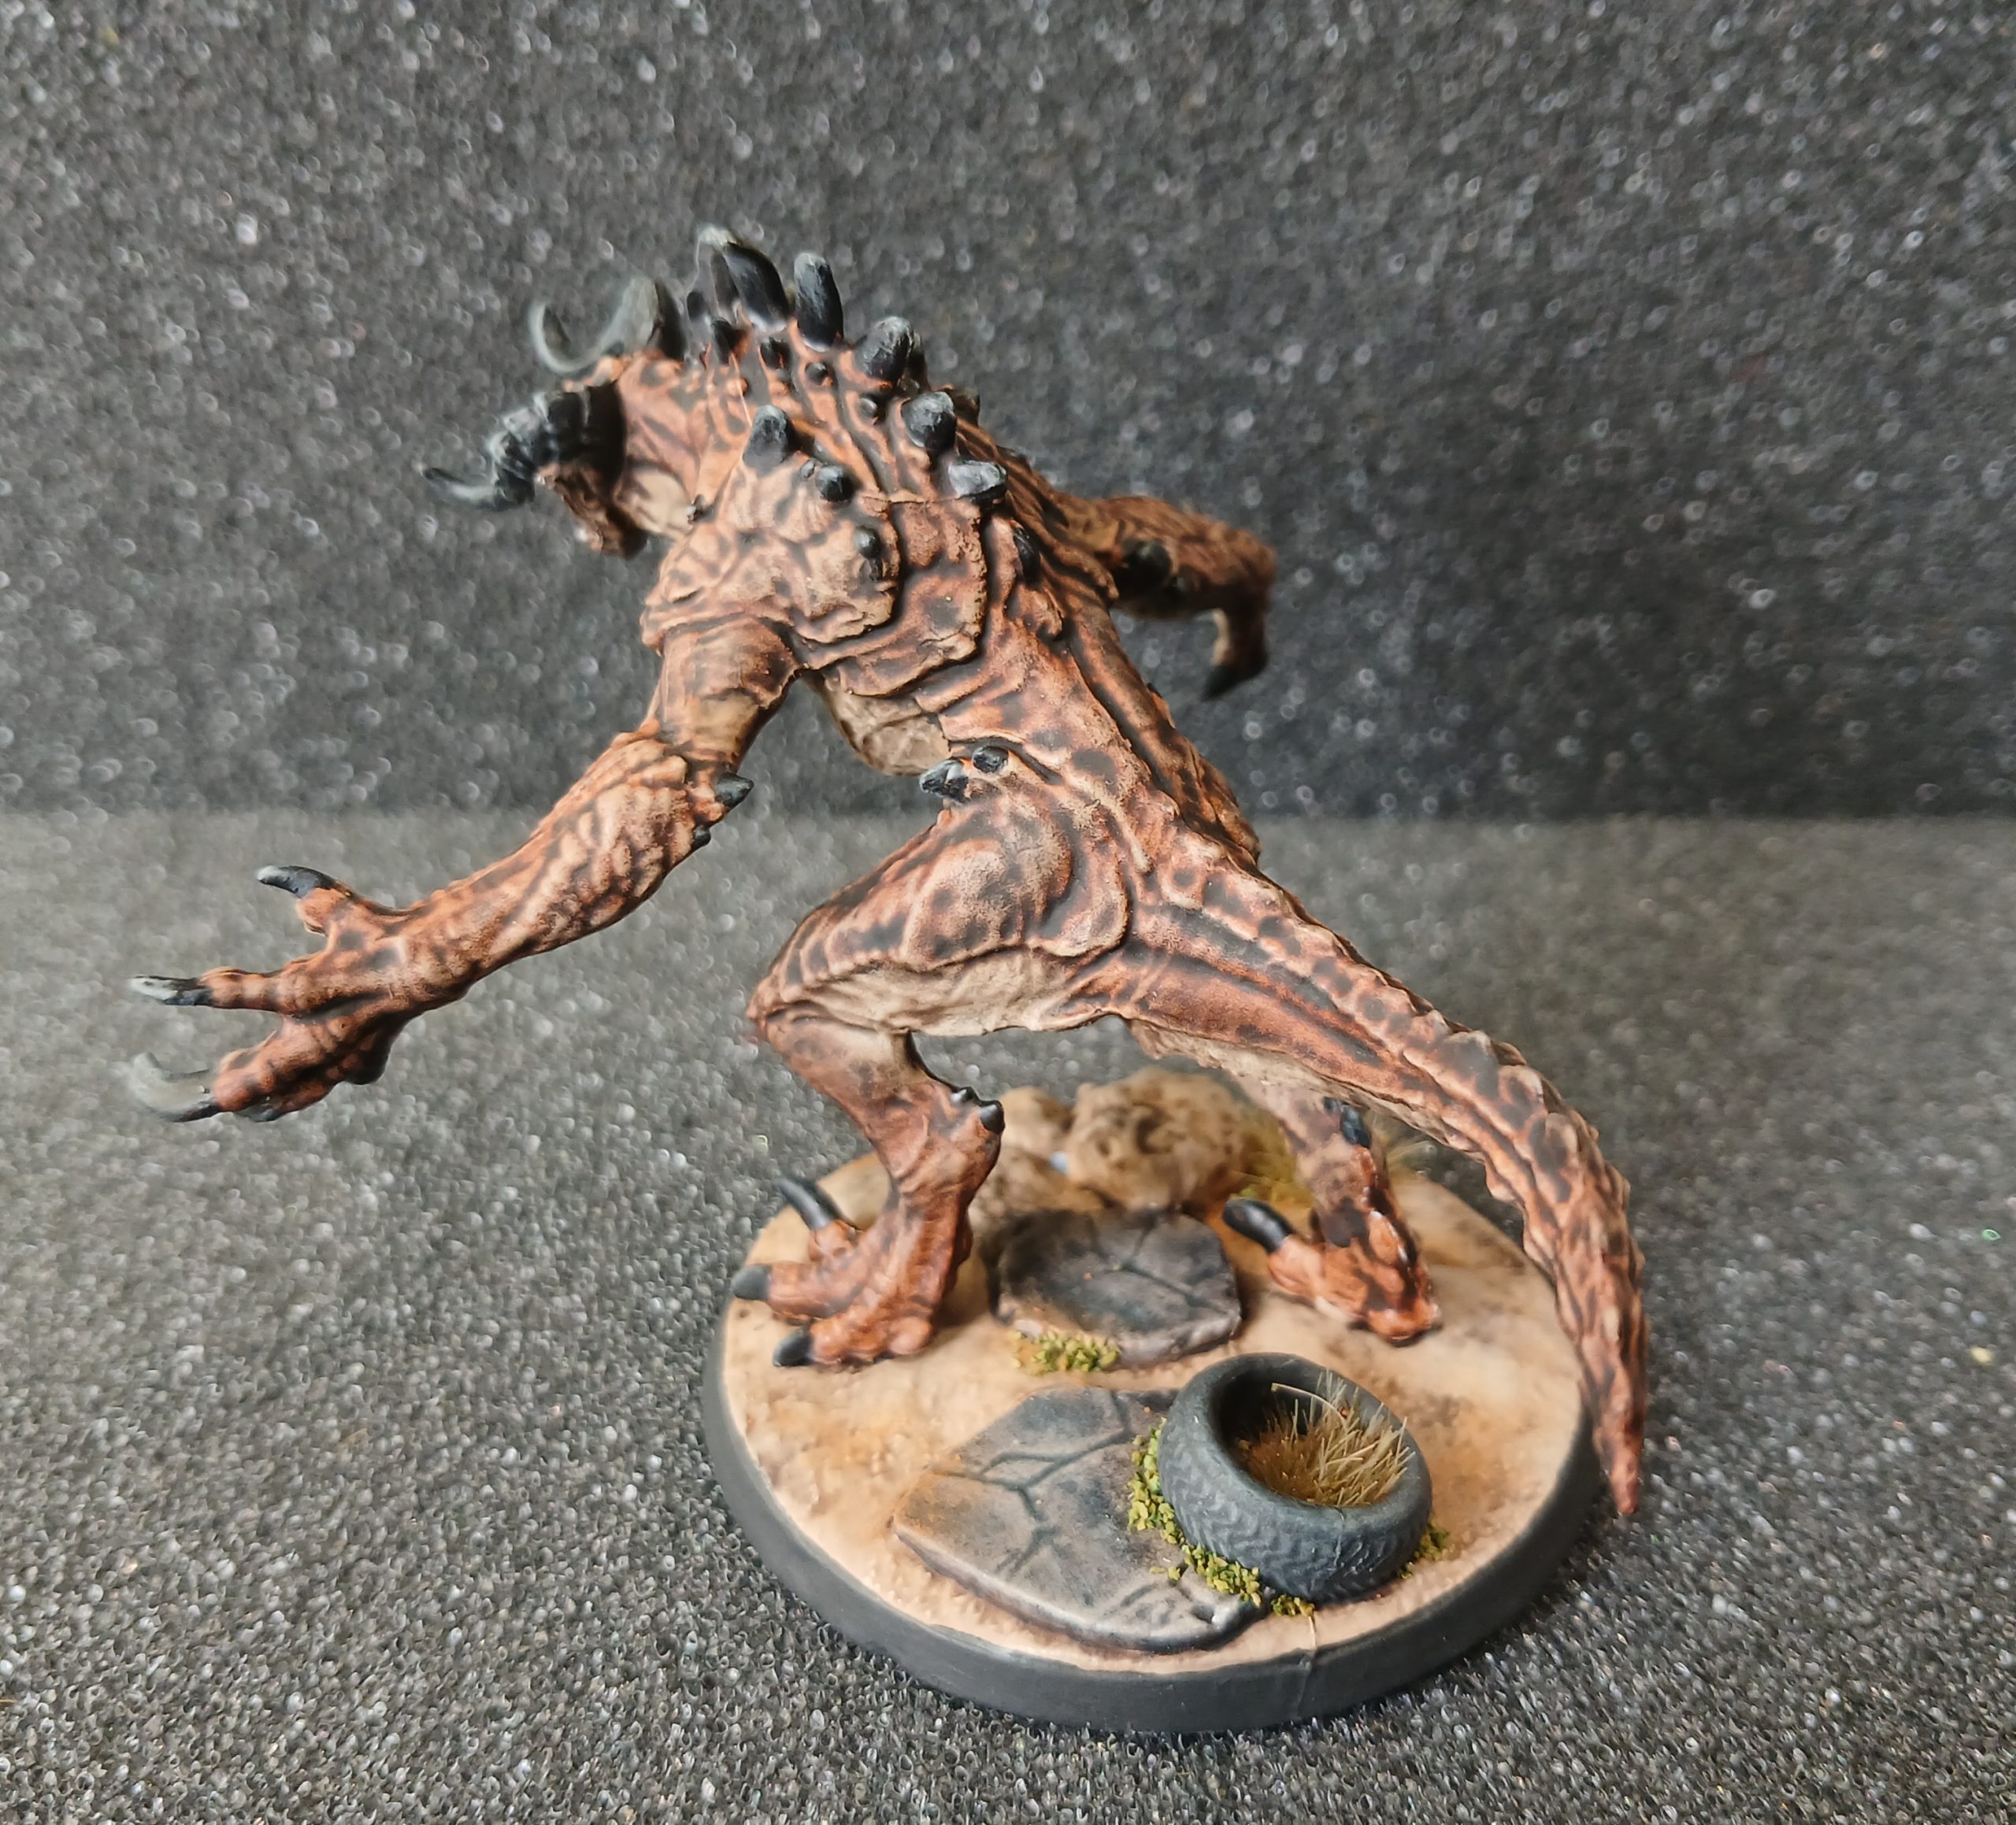
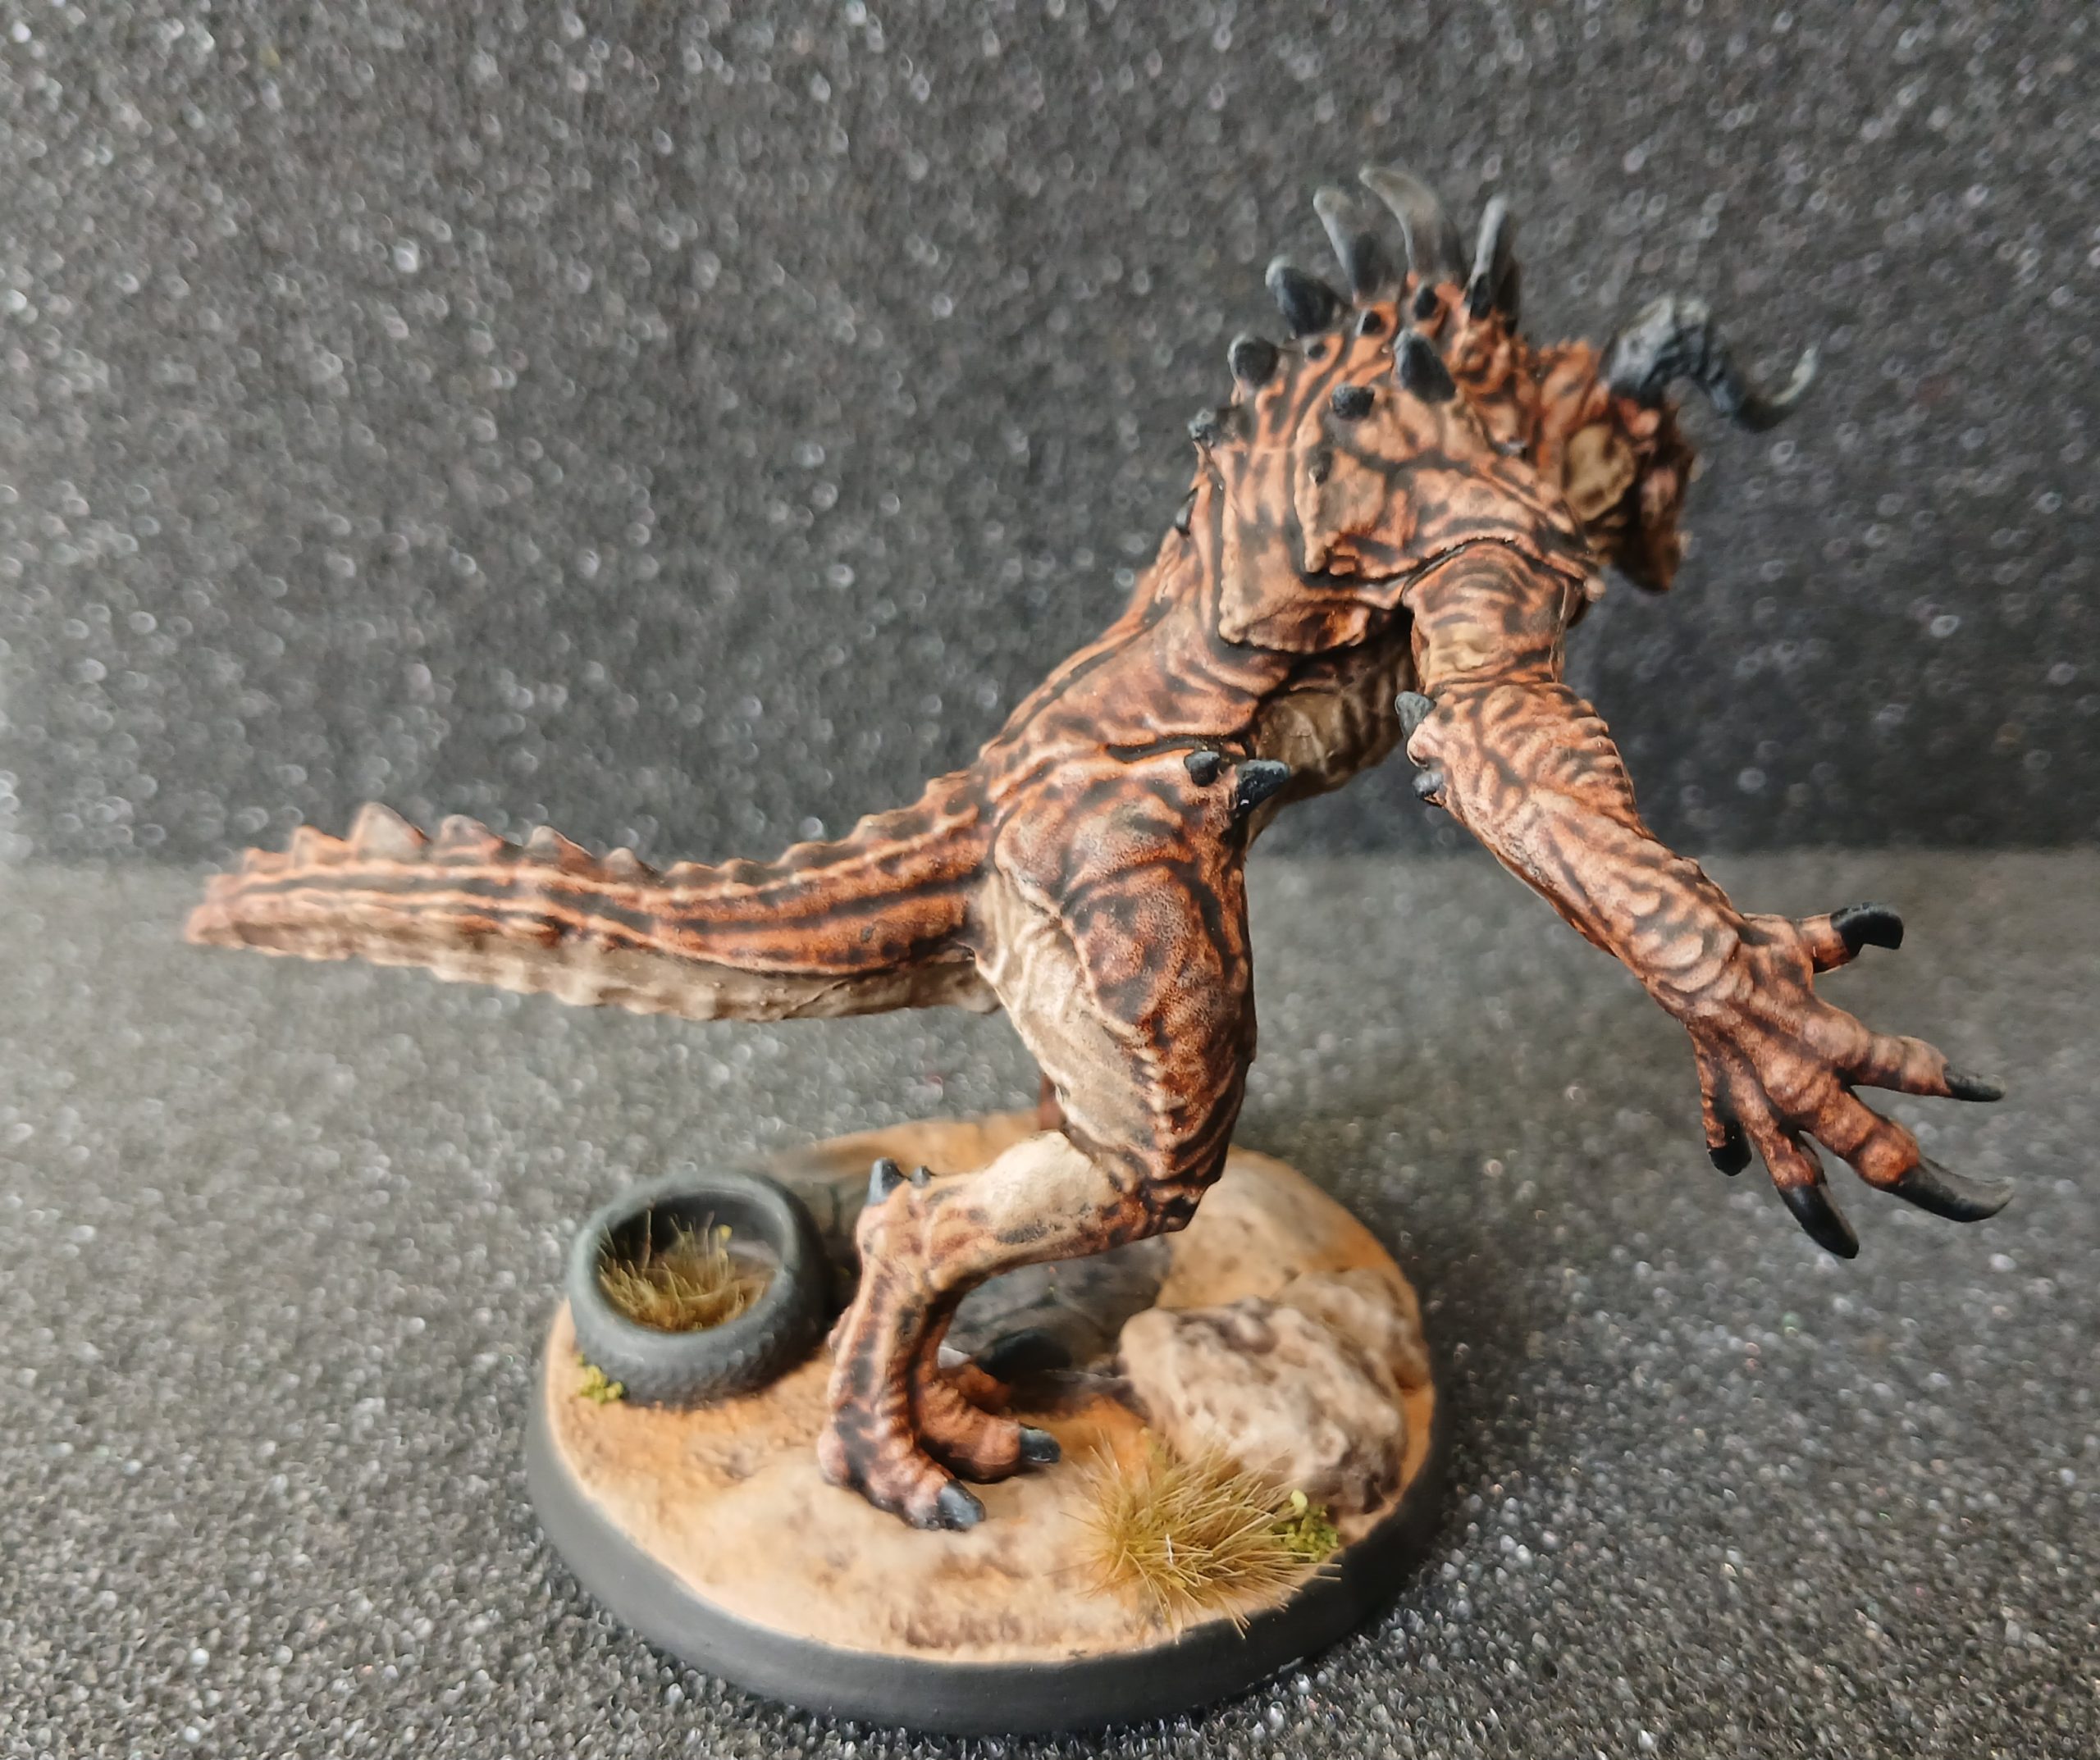
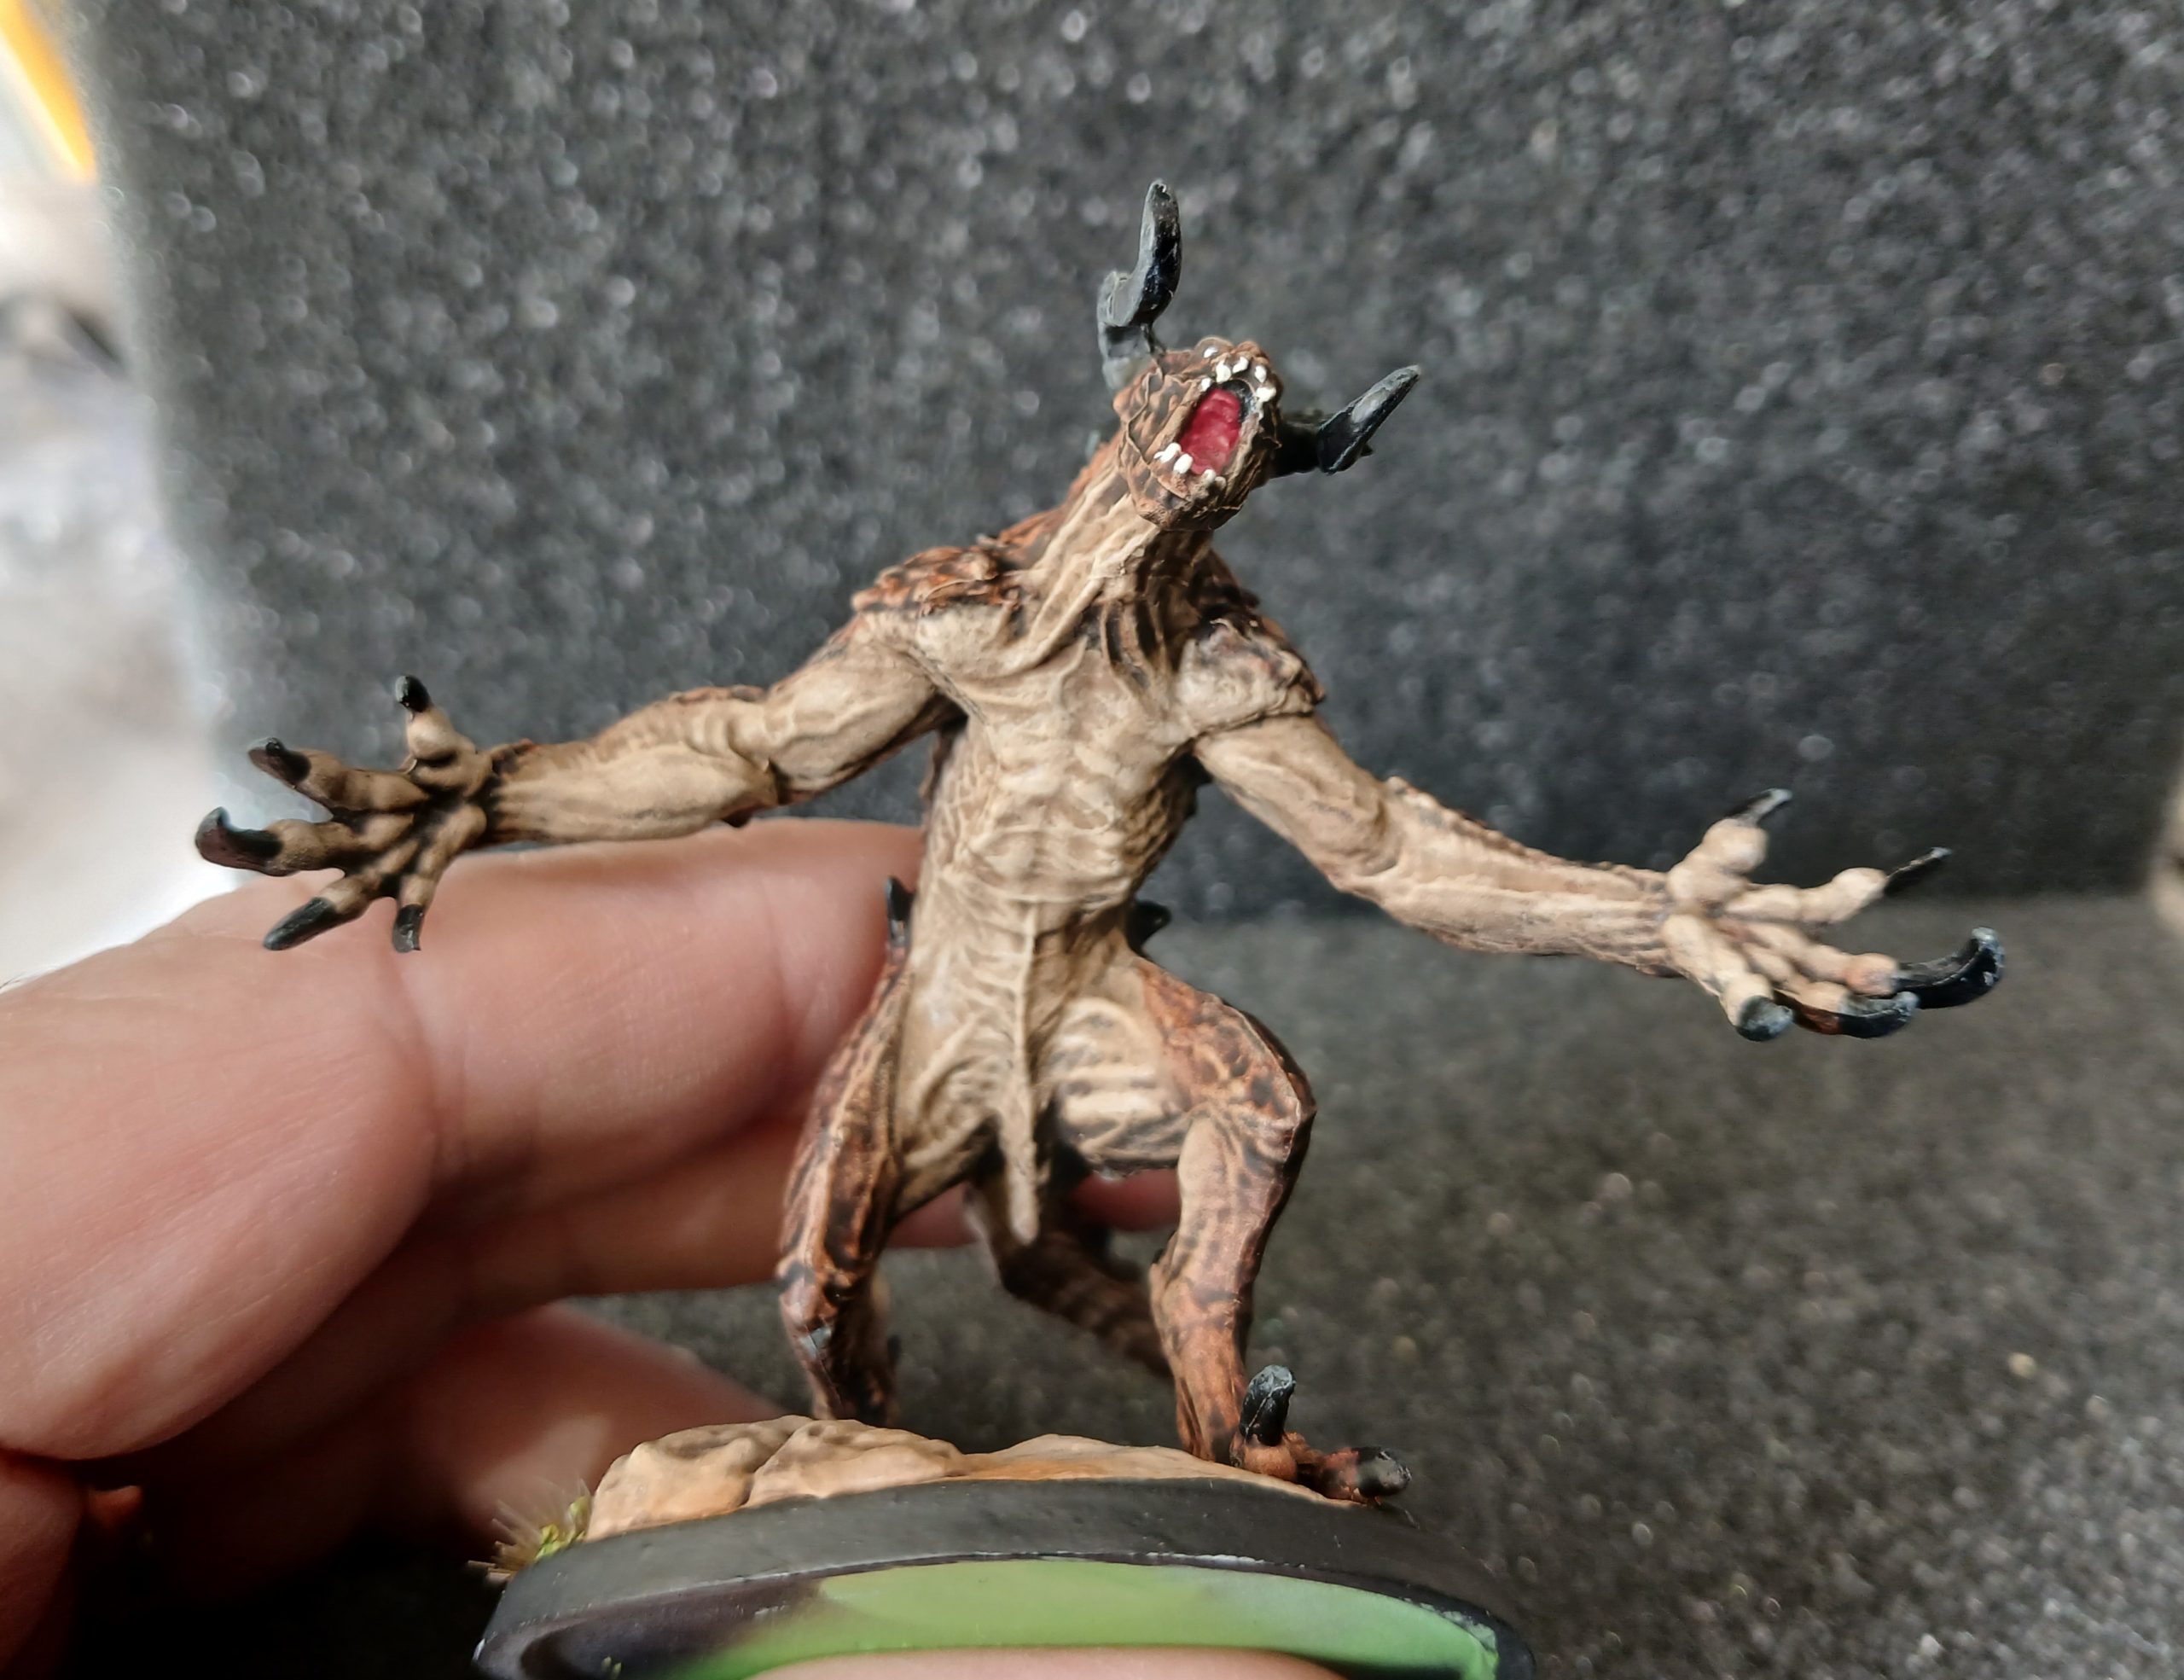
I knew I wanted to go with brown tones for the Deathclaw, and a light underbelly. The zentihal prime wasn’t quite right for that though.
I started out by laying down some Gore Grunta fur contrast all over, then blocked in the underbelly and other fleshy areas in a mid beige (Rawhide from Foundry). I then drybrushed the brown armour areas (although it went a little chalky) and built up lighter layers for the under belly using lighter rawhide shade, then adding in some Ivory.
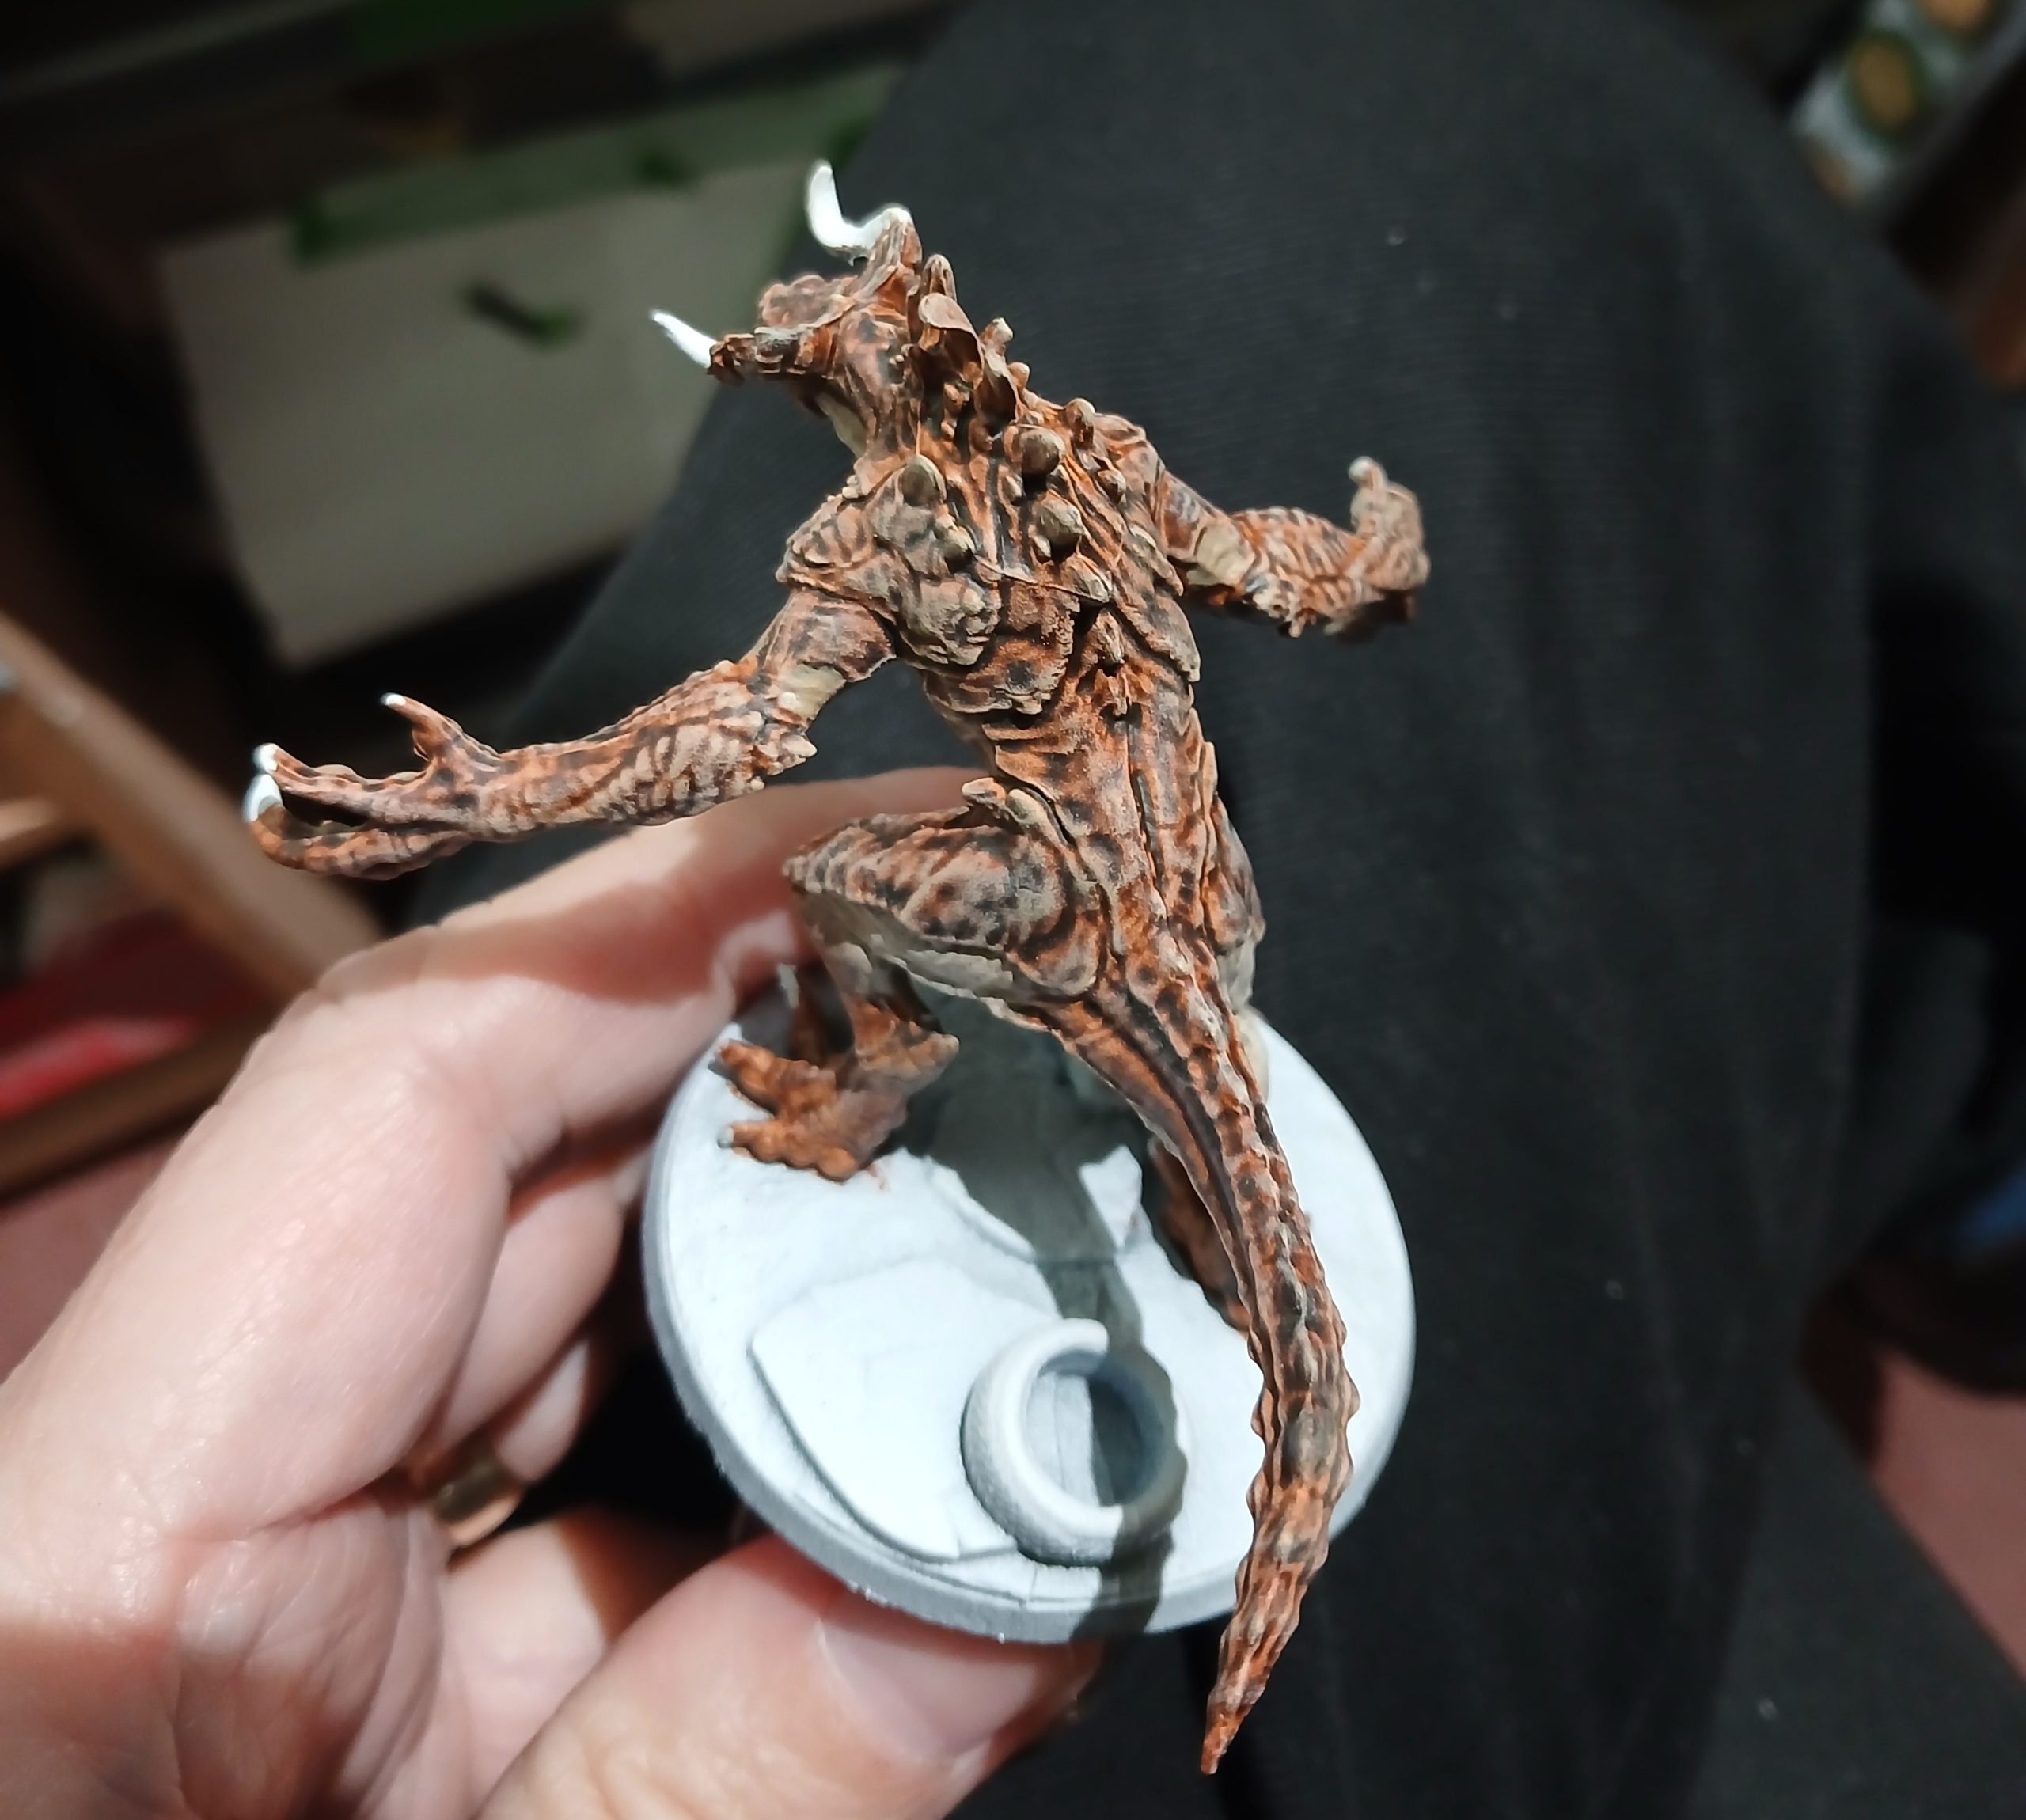
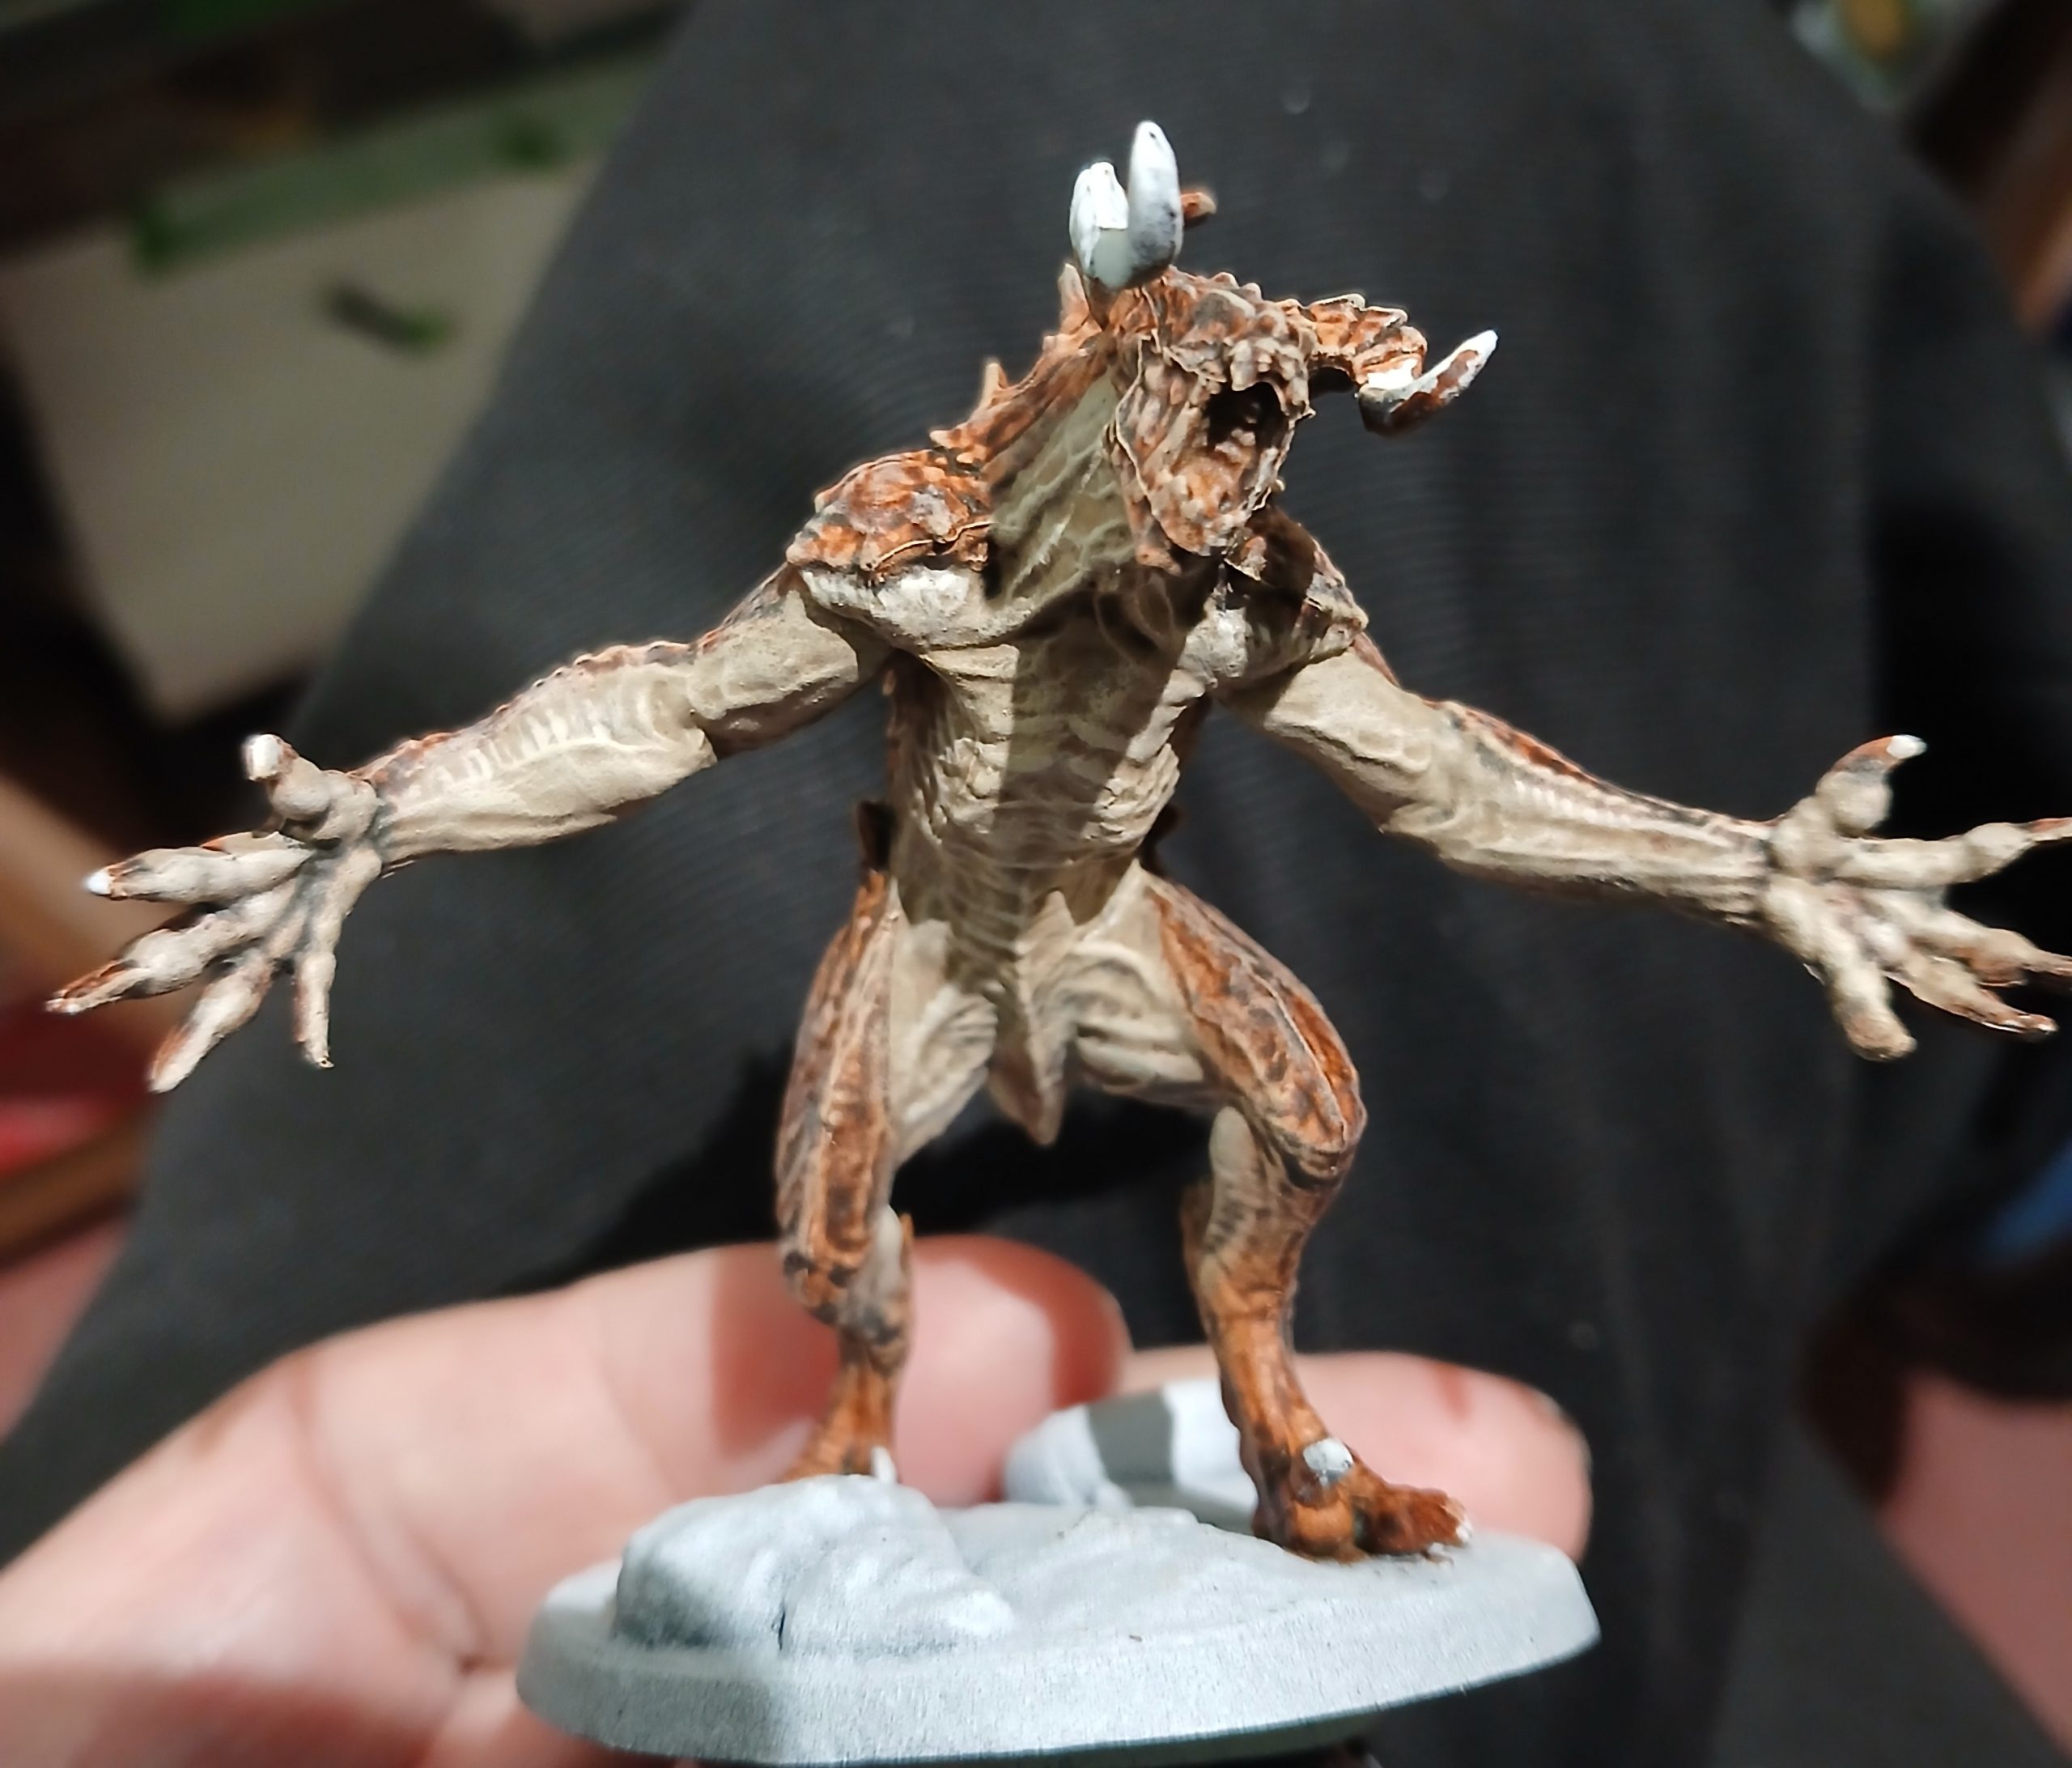
Then I gave an all over Agrax wash, thinned for the light areas. I also then blocked in the base colours for sand, tarmac and tyre, and gave them an Agrax wash to mute them and tie it together.
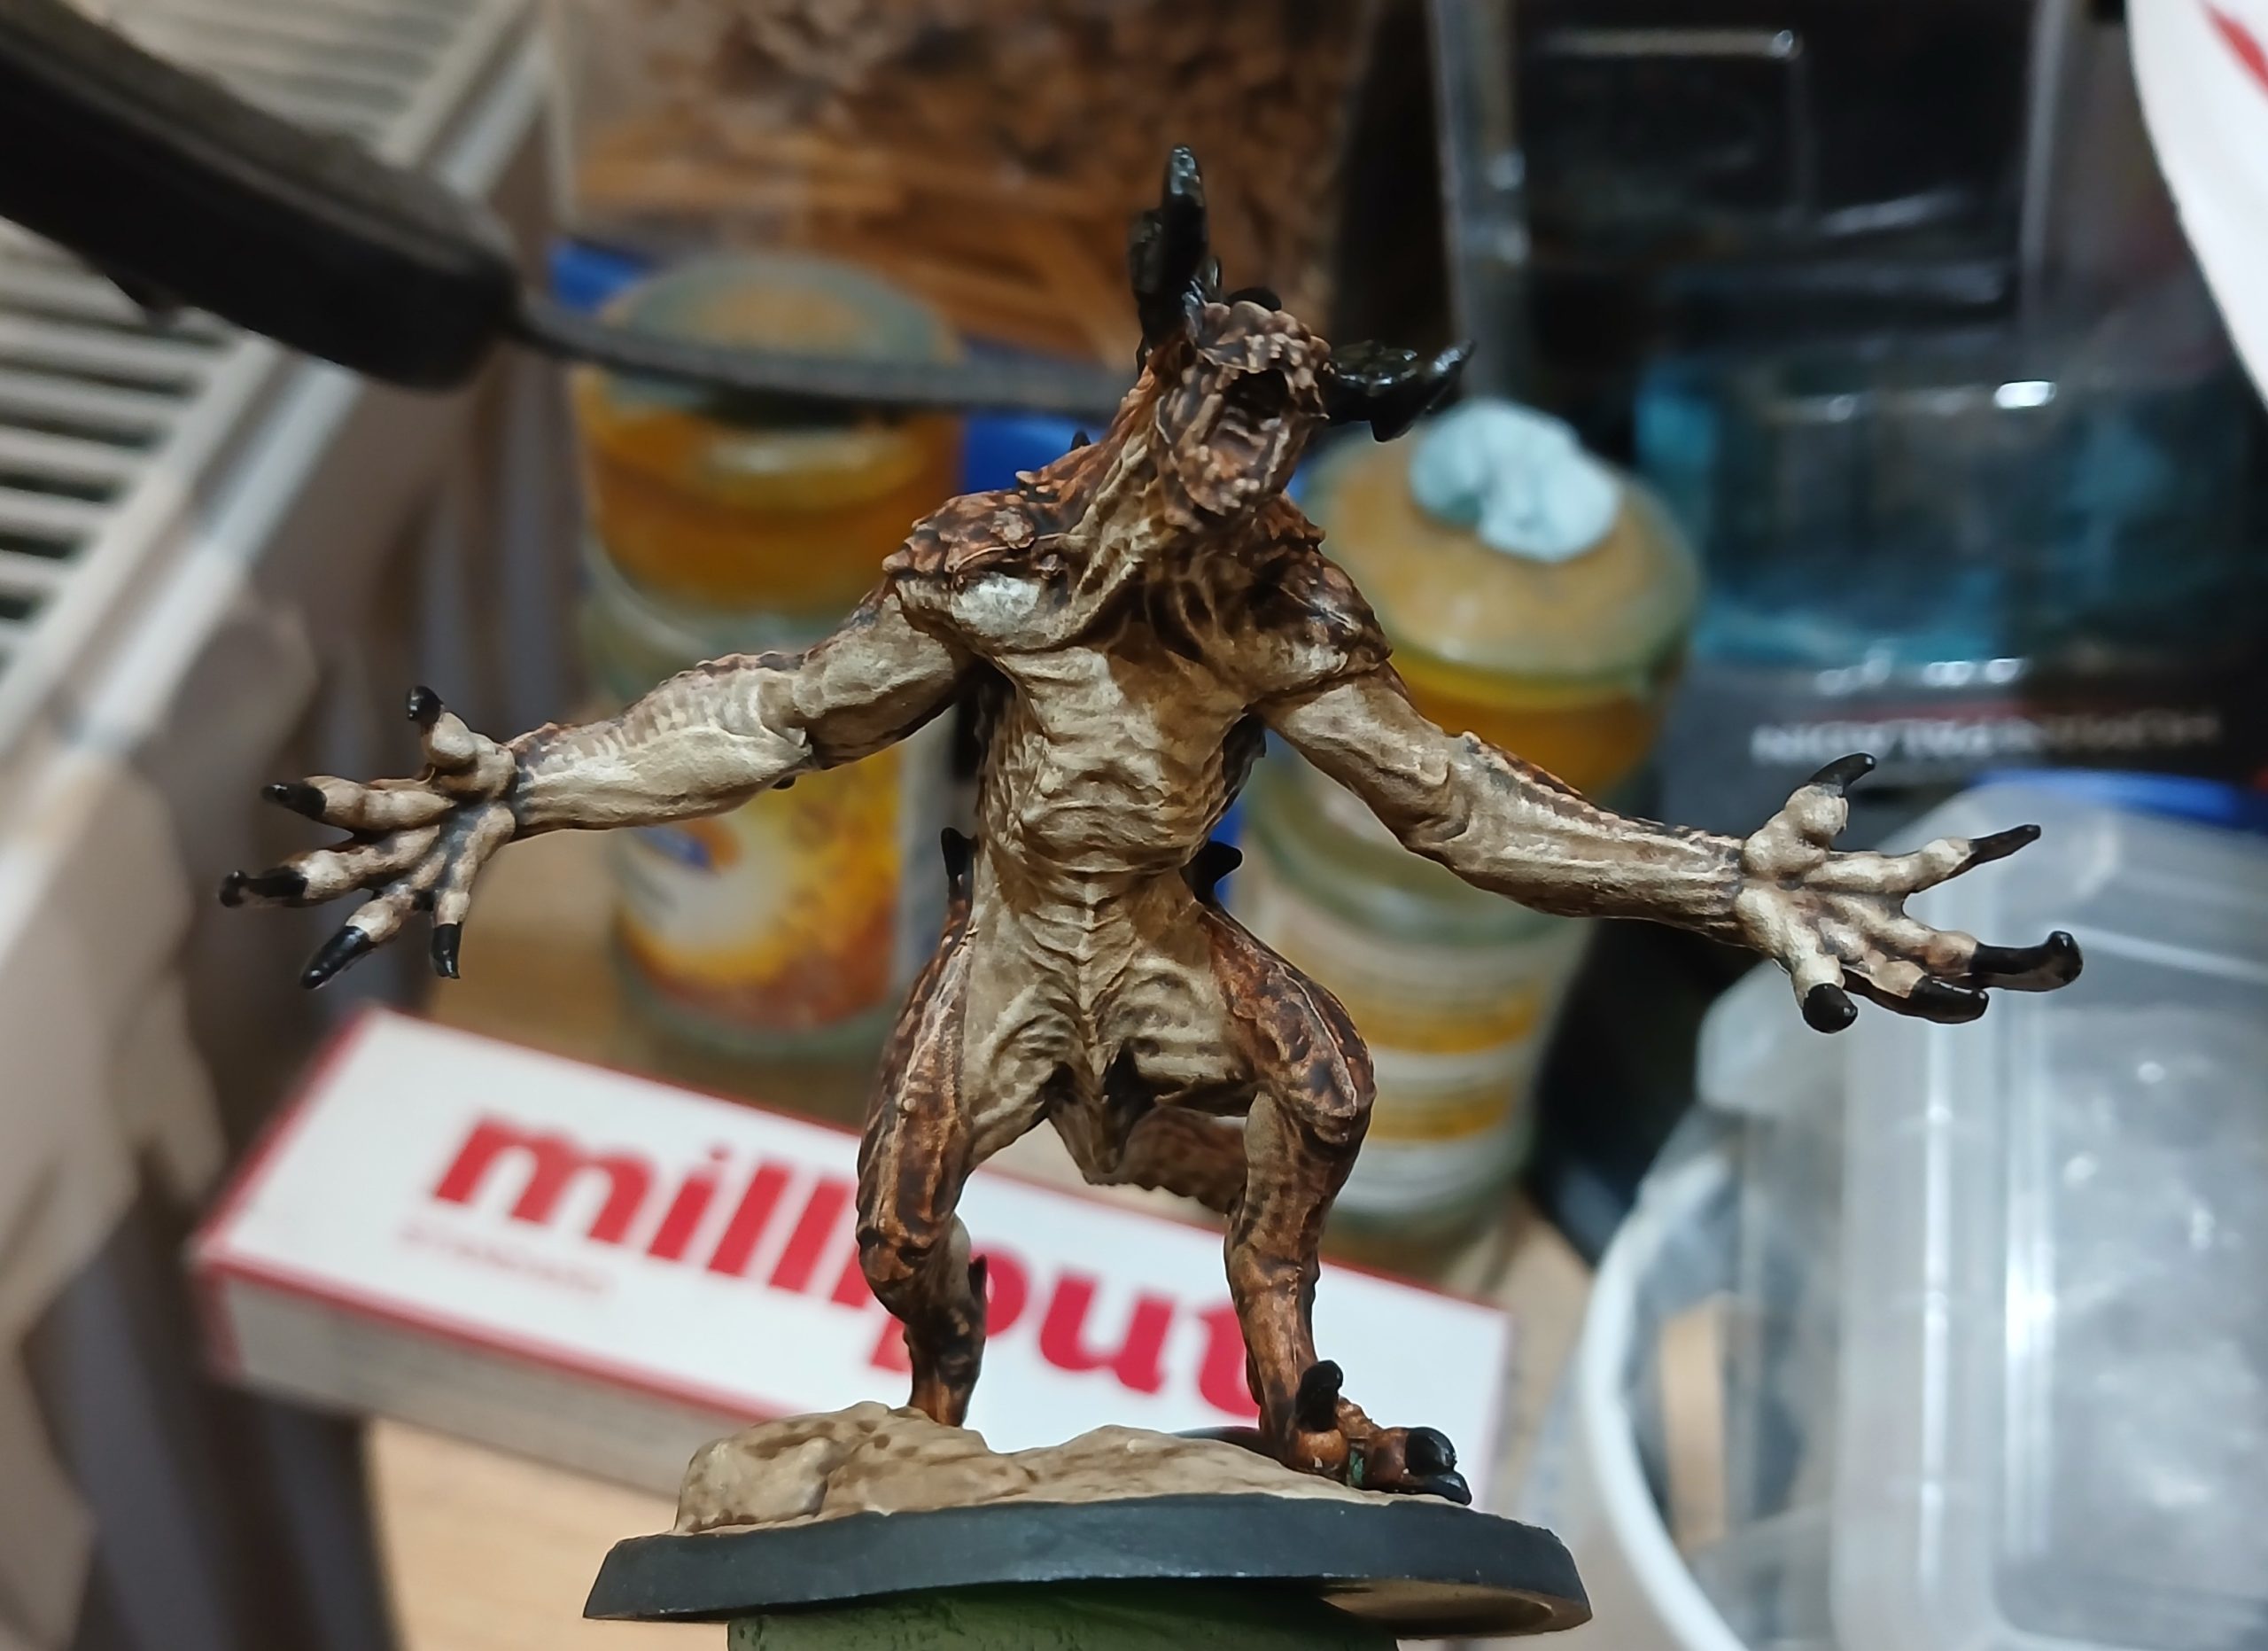
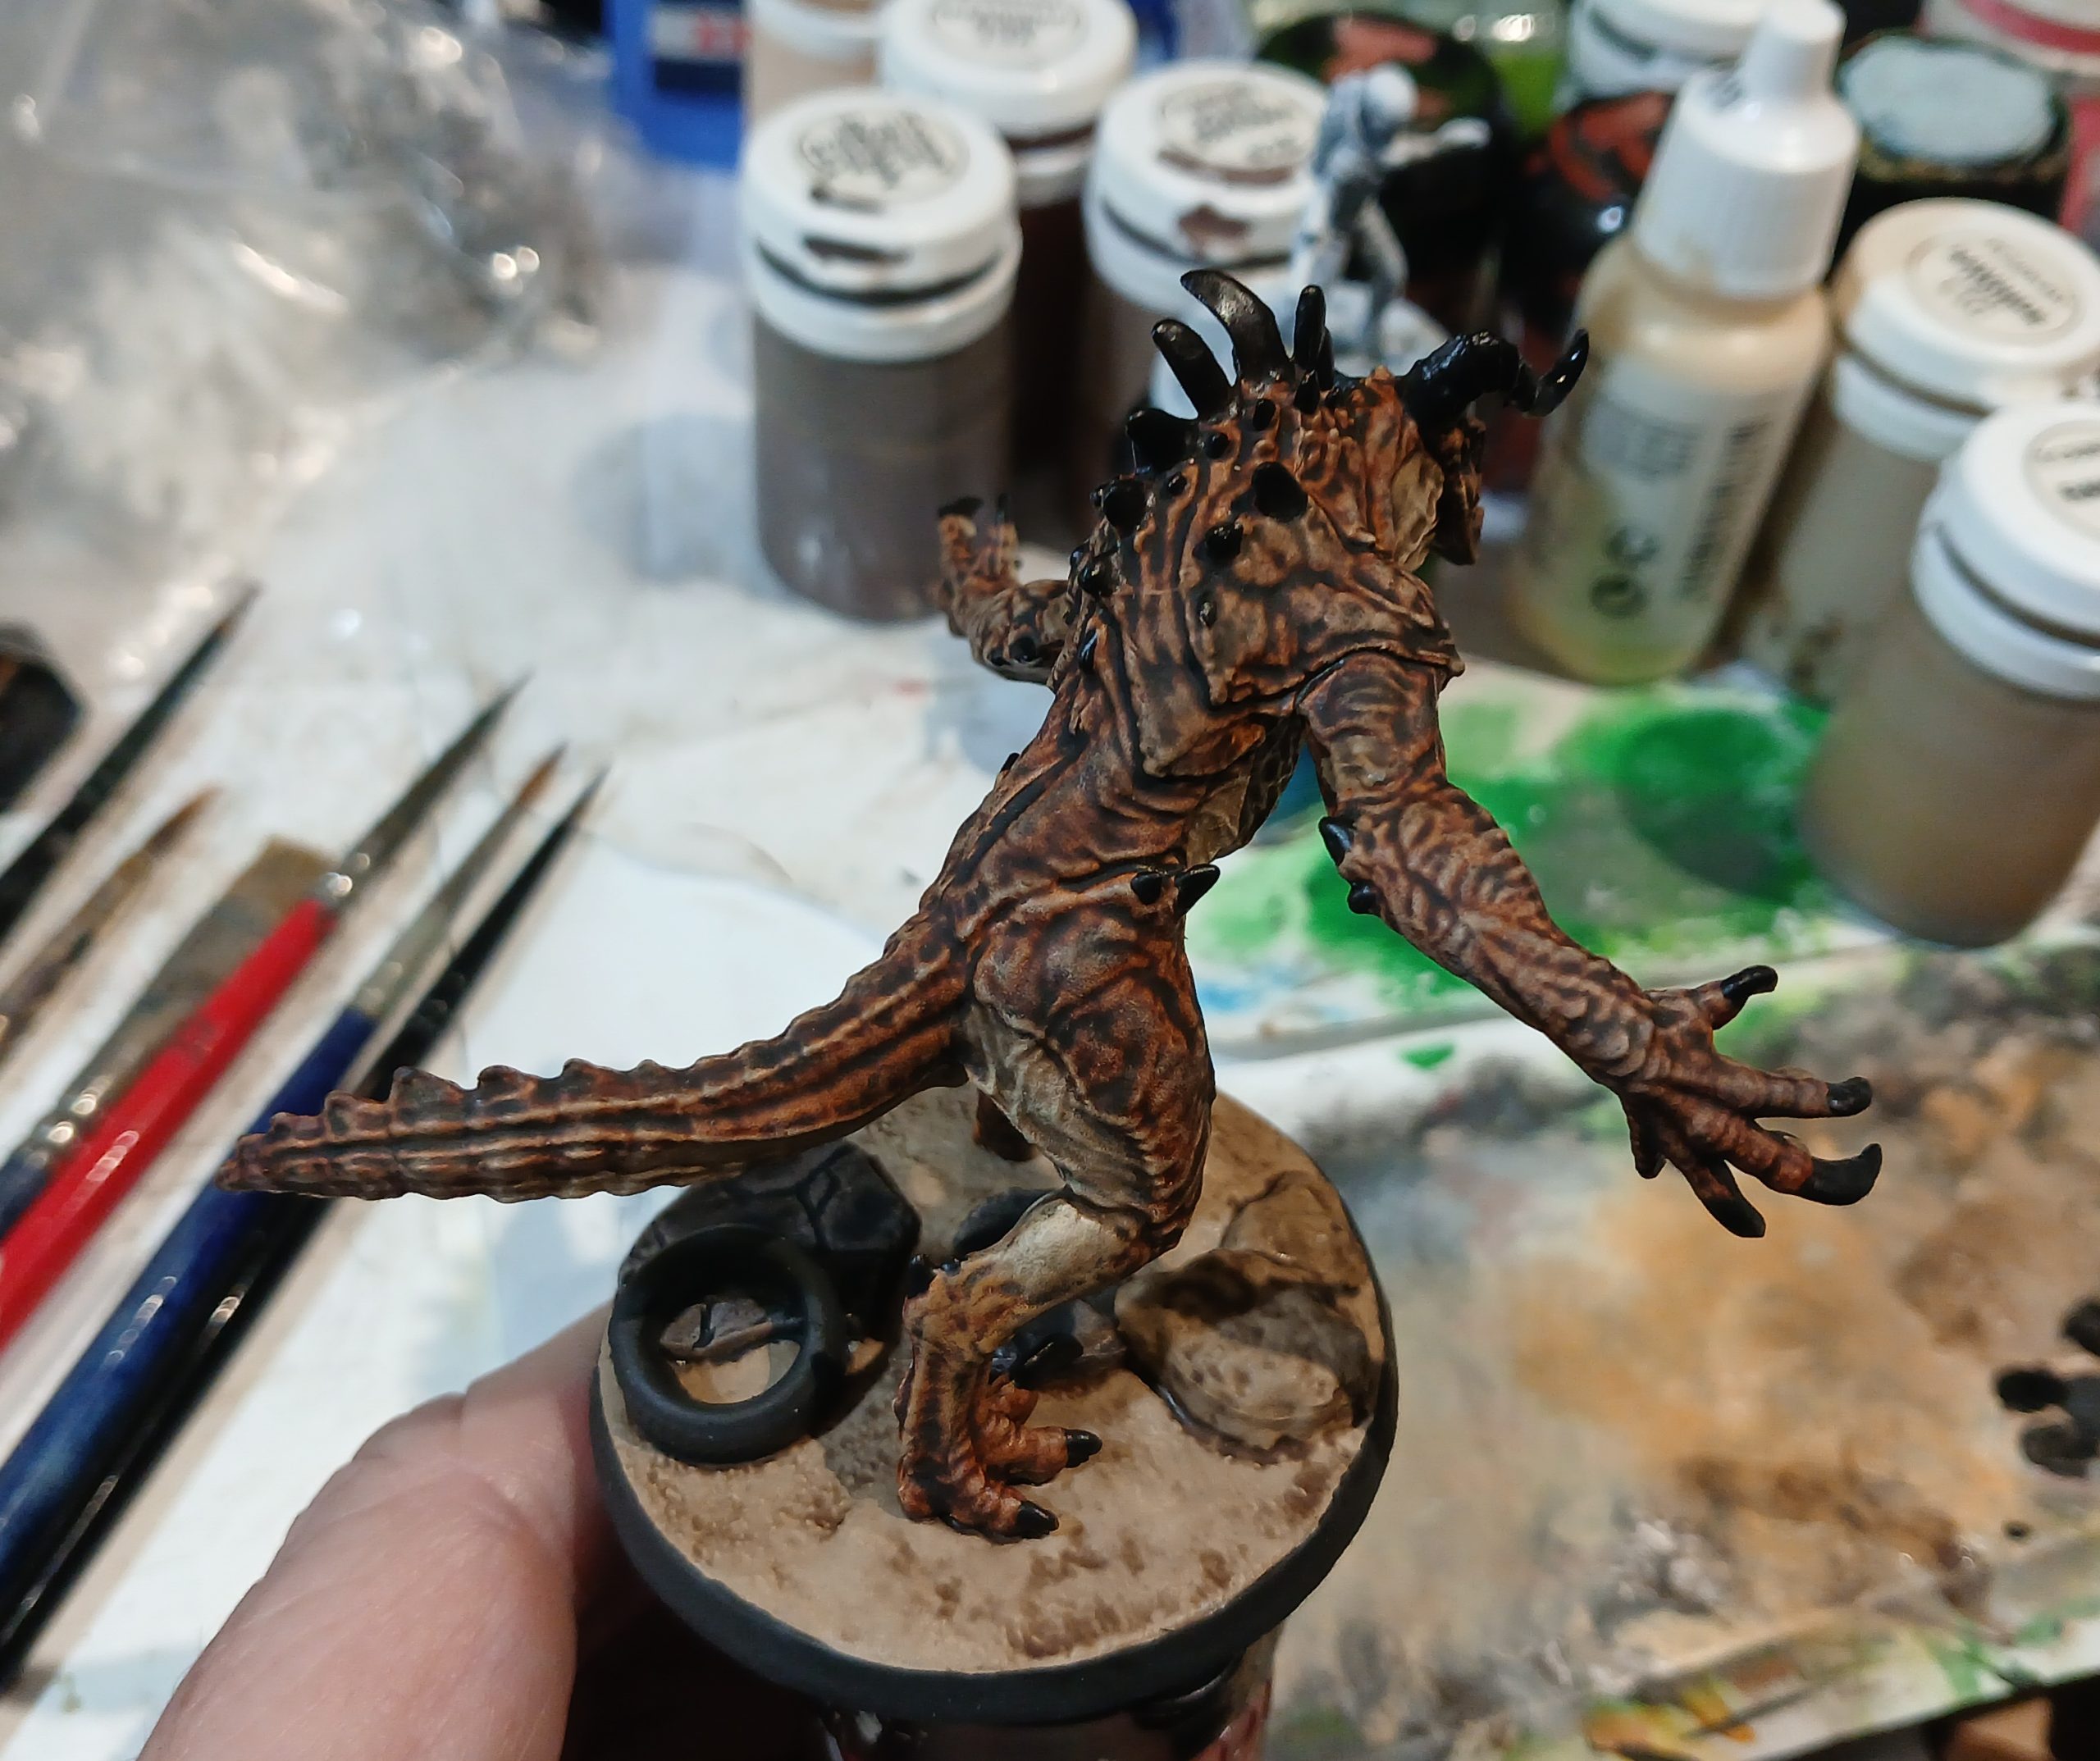
I had also picked out the claws, horns and larger spines in black, so I followed with a very light drybrush of ivory (leaving a grey gradient).
Areas of the underbelly with highlighted on the upper sections and I added in the mouth (deep red), tongue (pink), teeth and eyes to bring the face to life.
A few added touches of orange to areas of the base, and some tufts, and the Deathclaw was done. Its not amazing, but it is done 😊
Supermutants!
31st May 2026
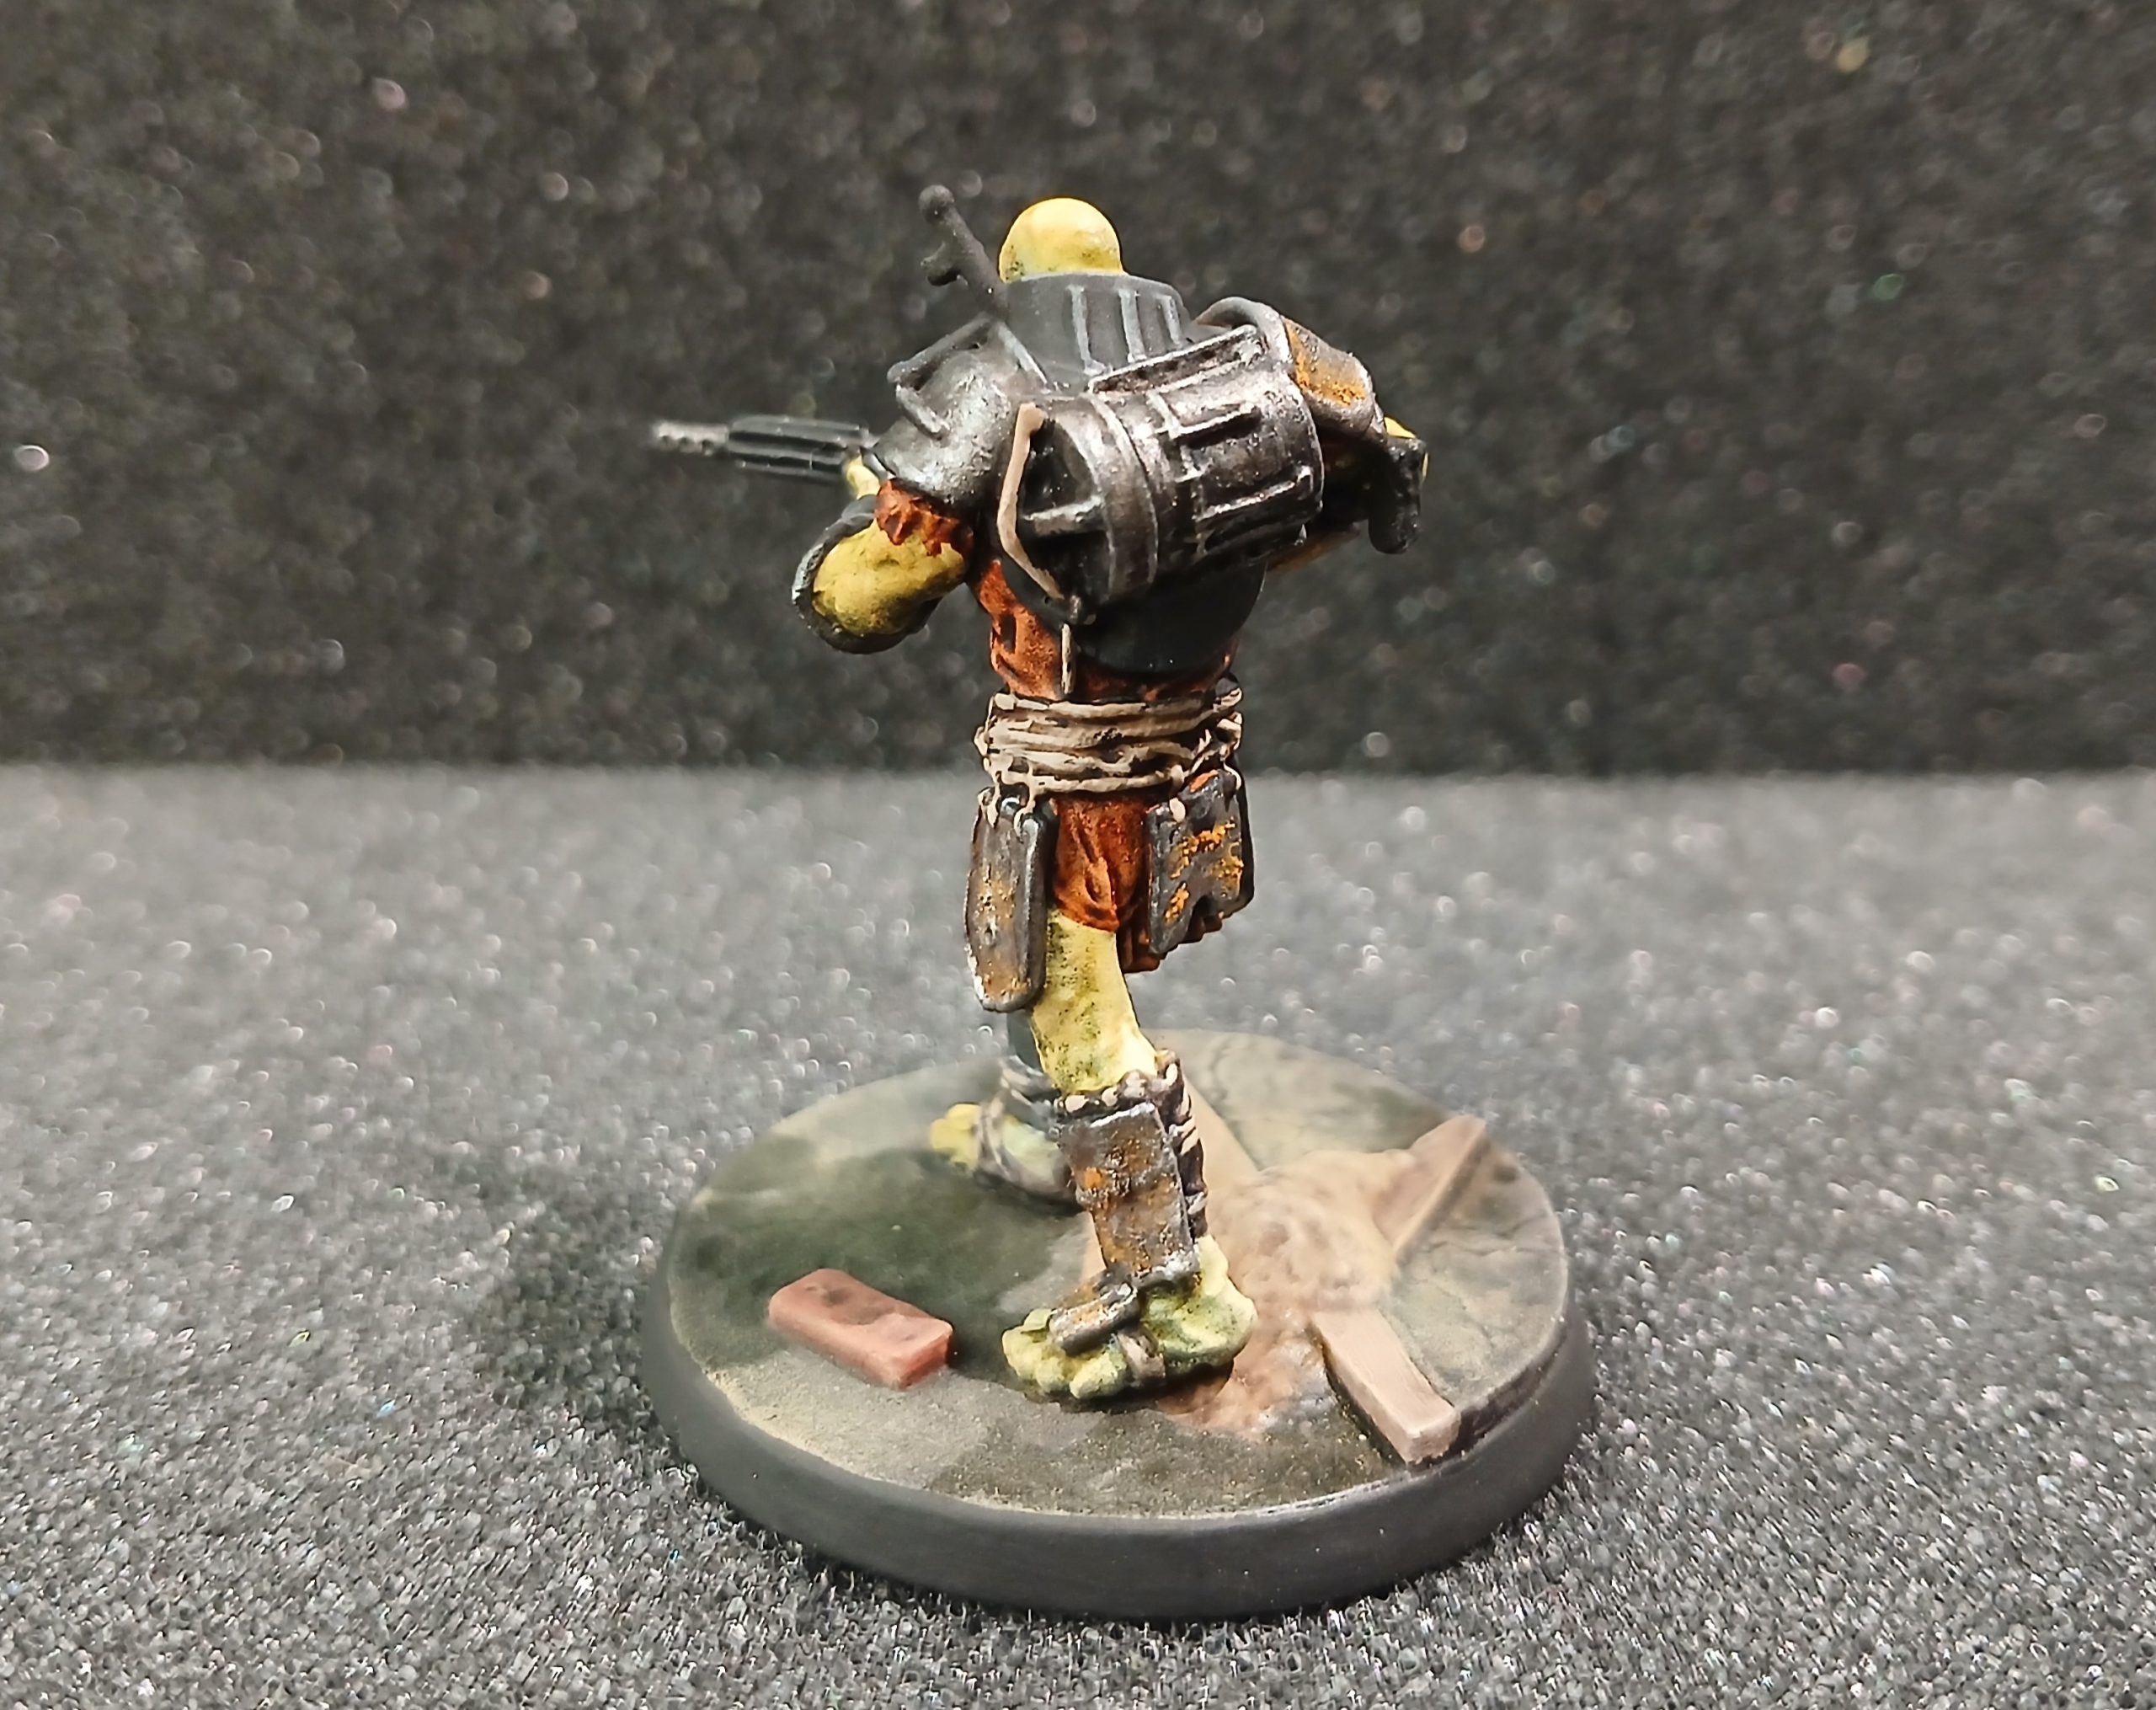
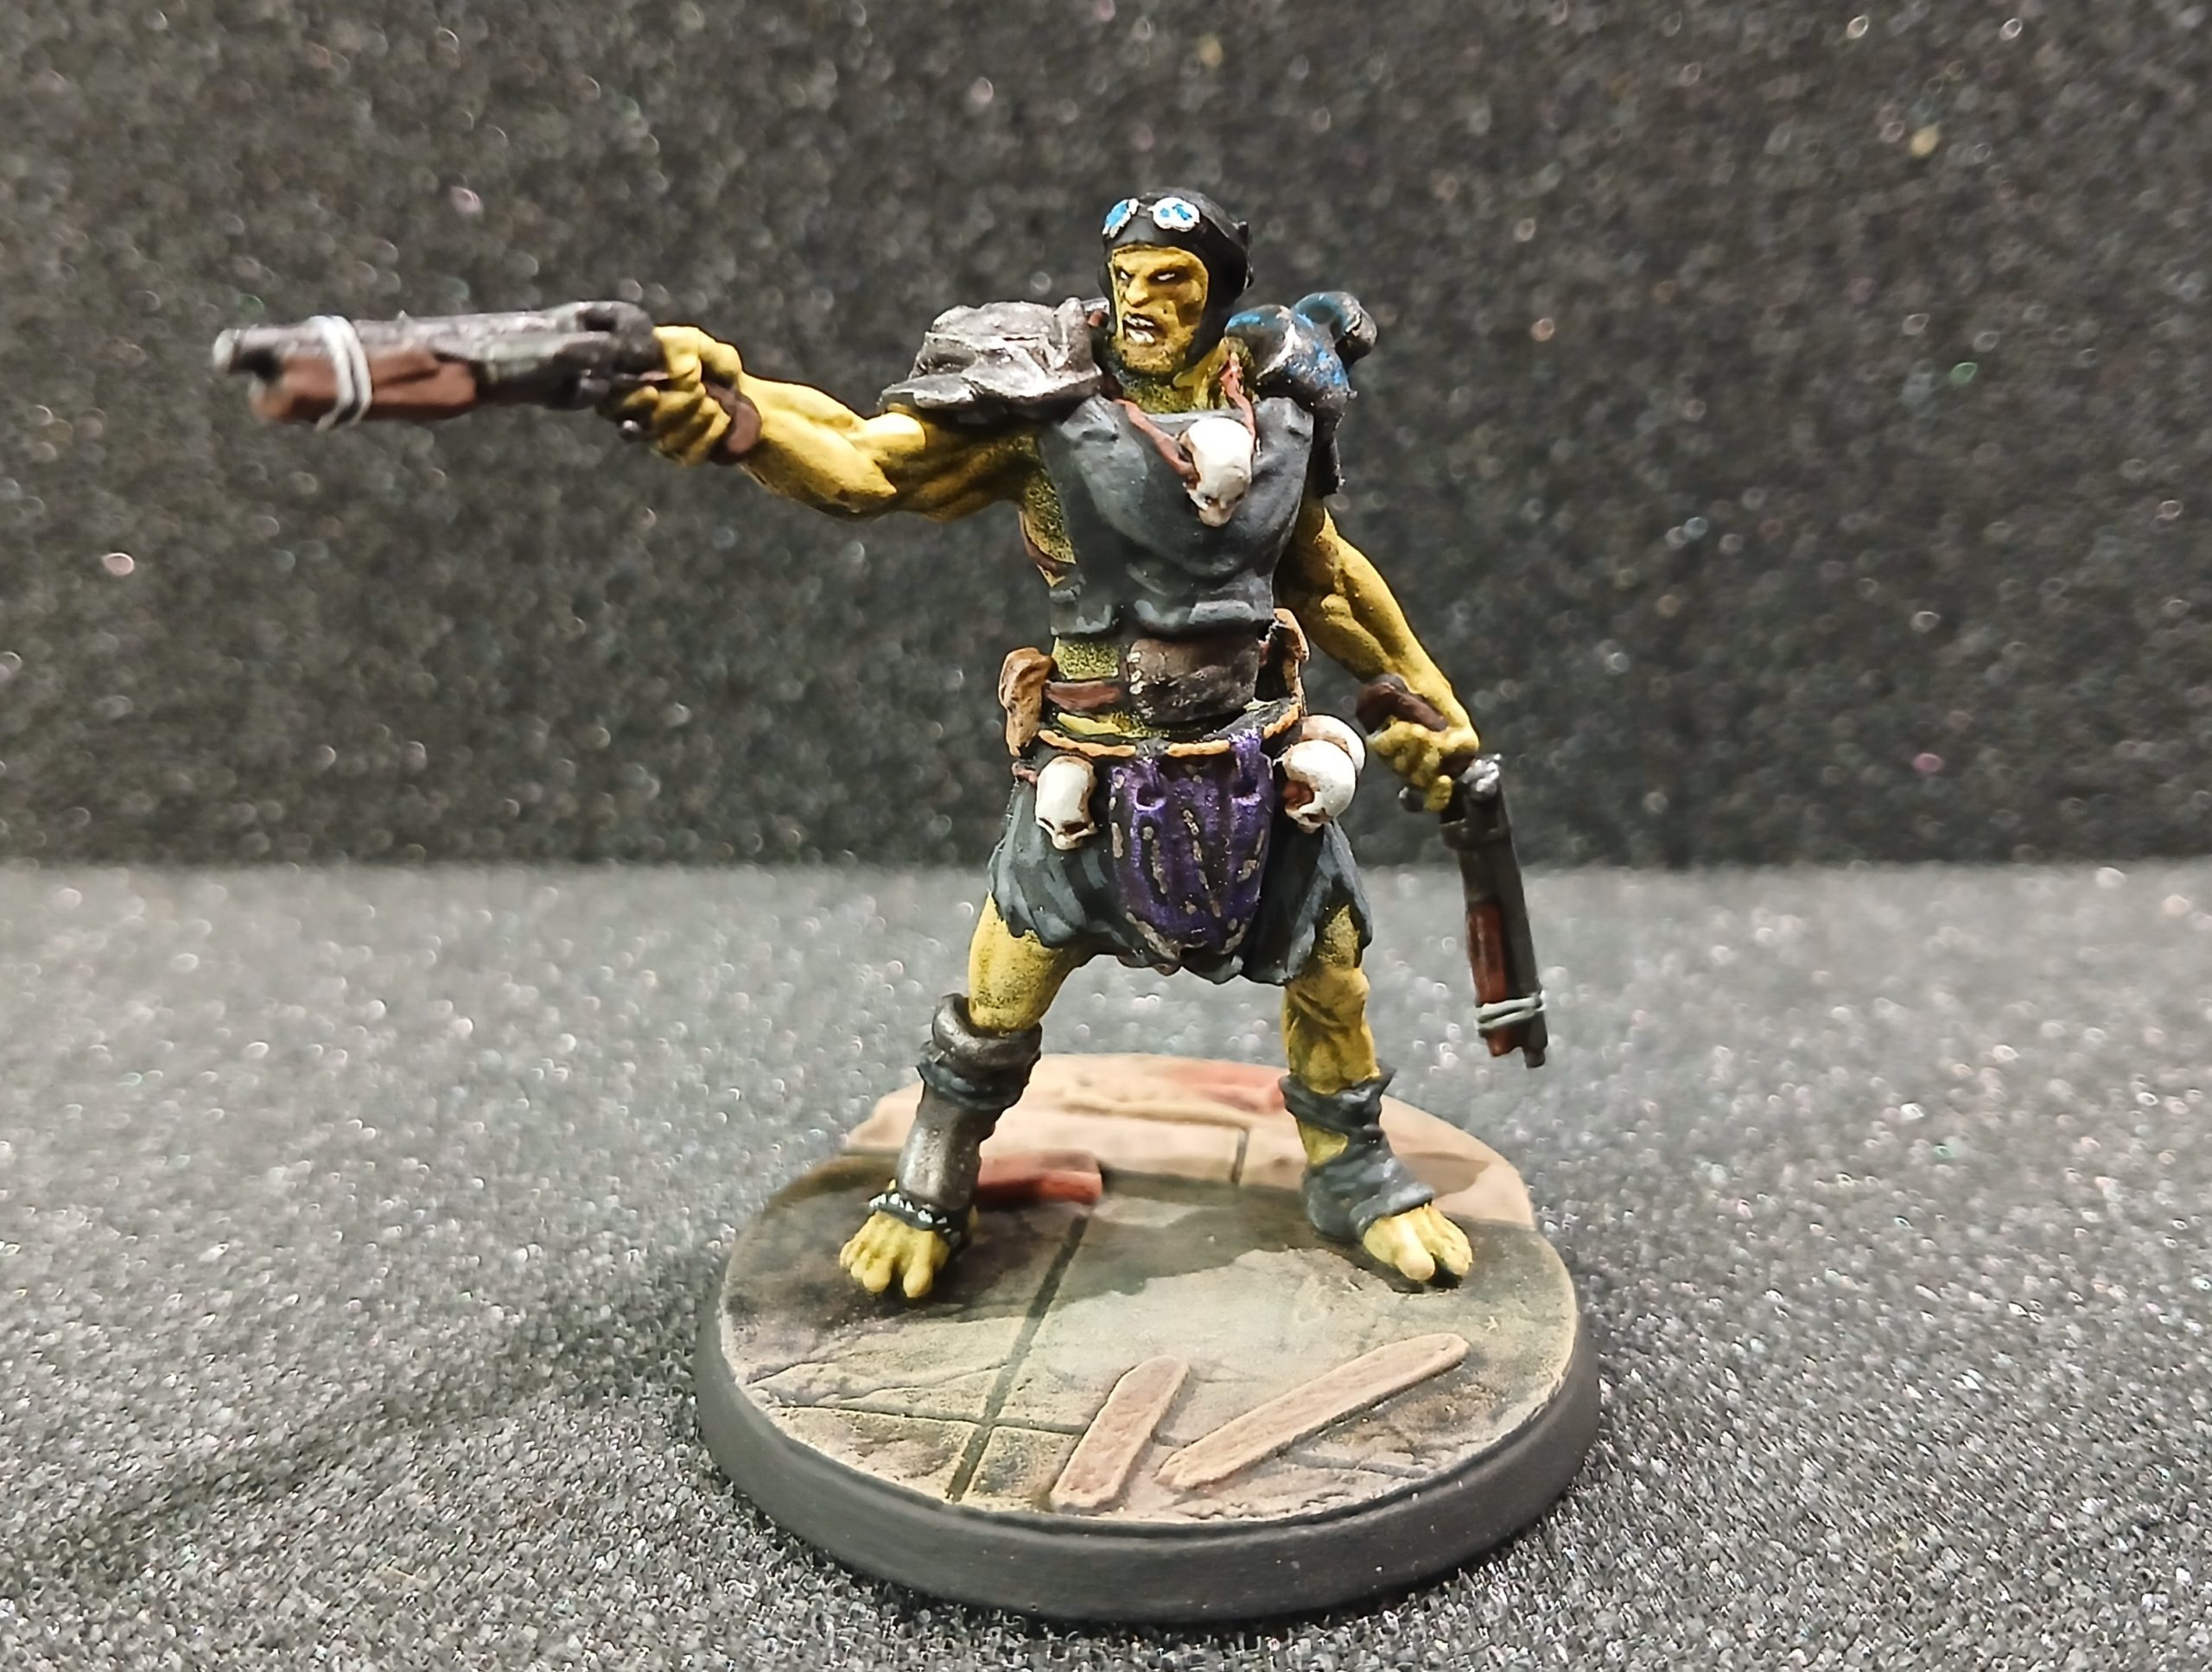
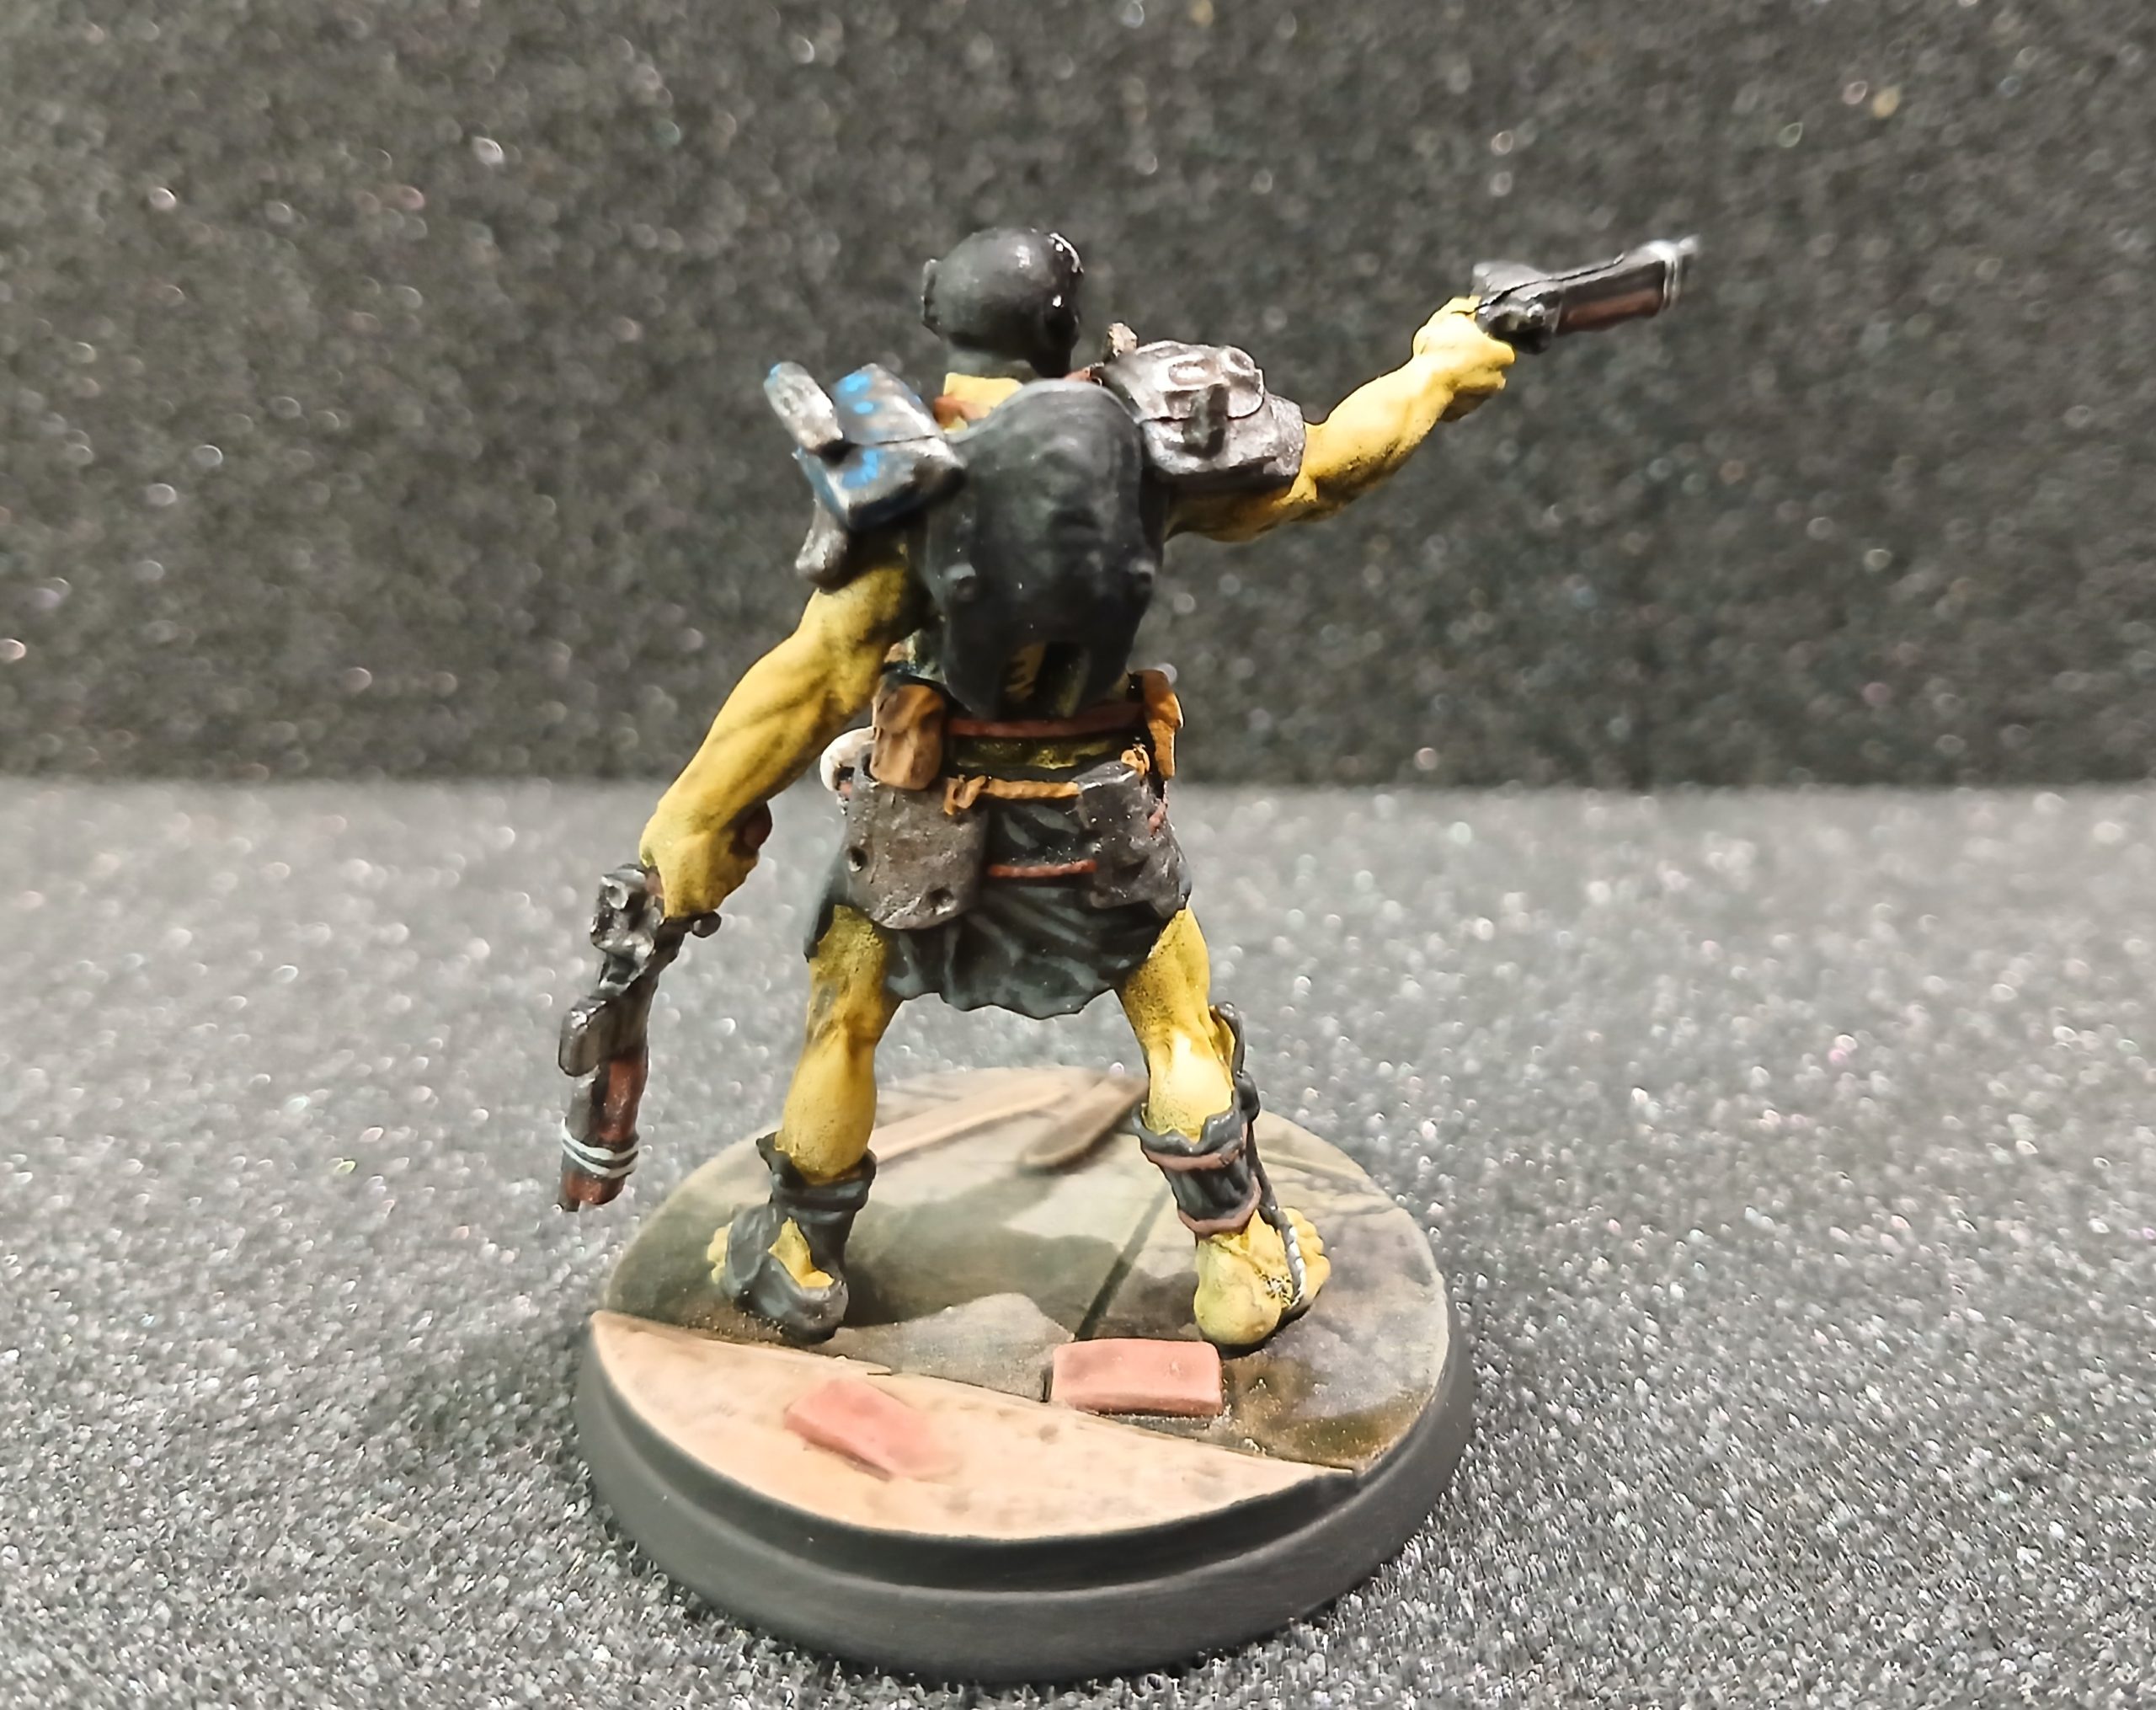
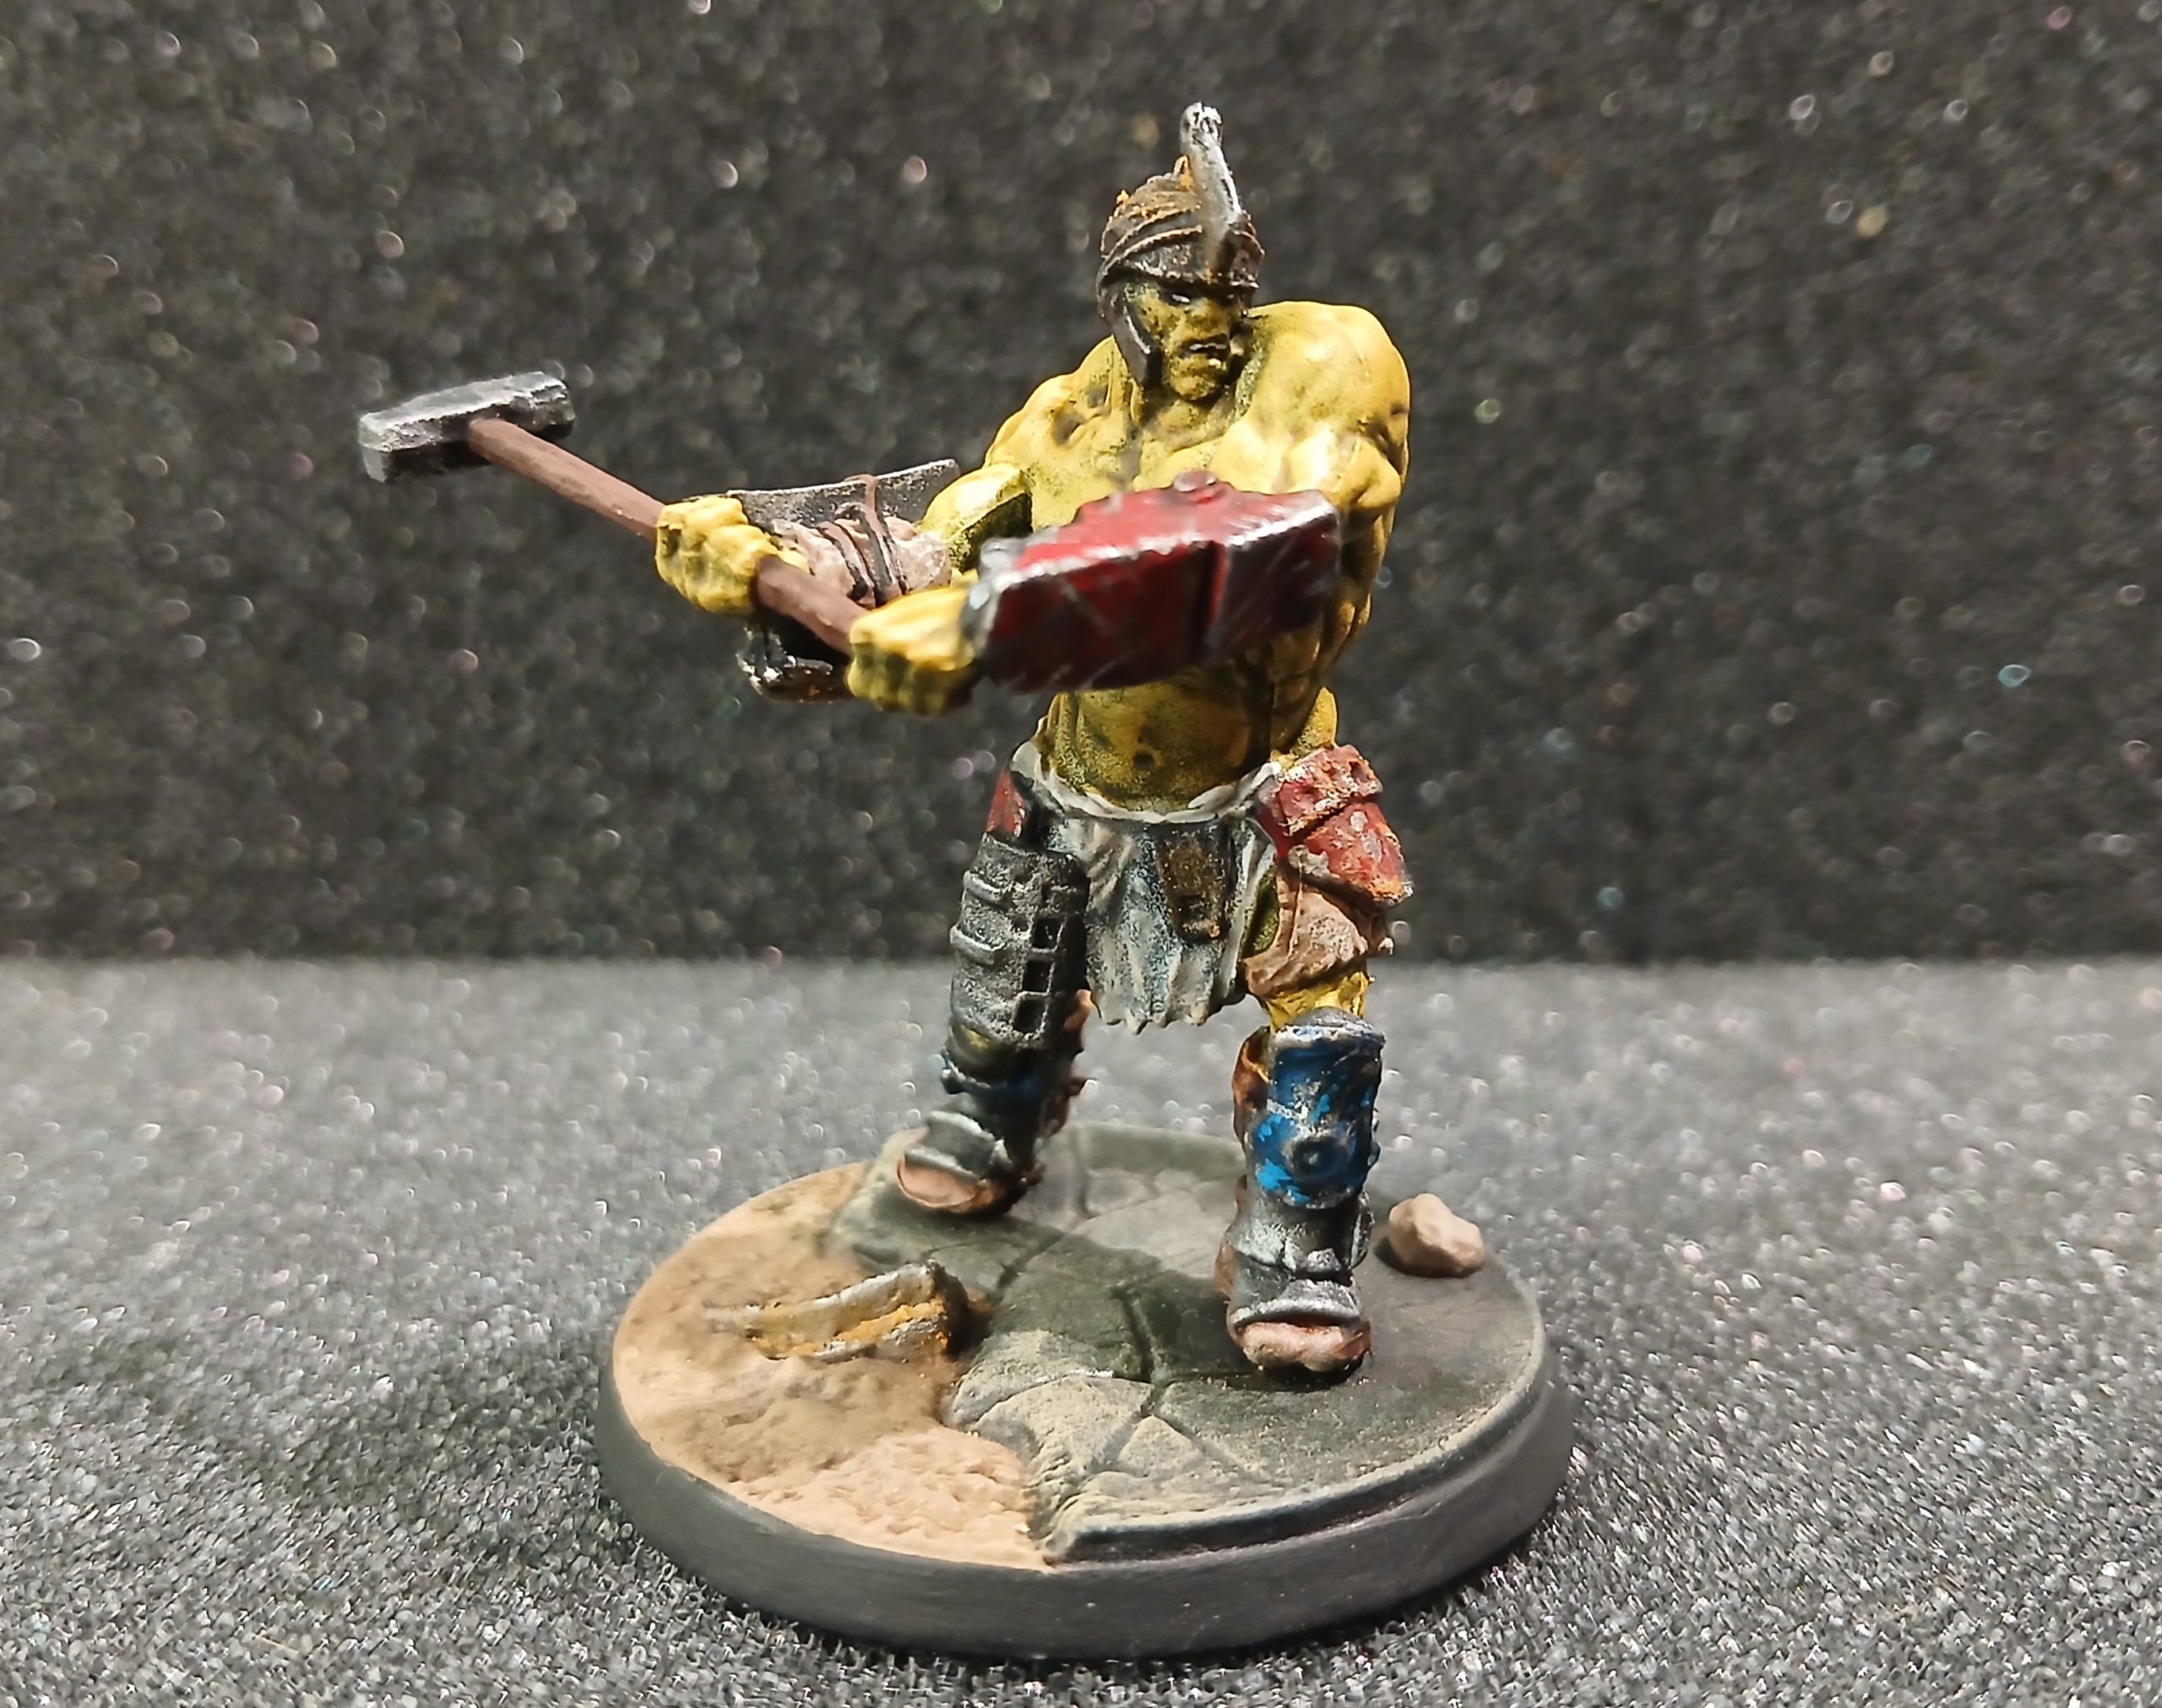
It took a while to get back into working on these following our short break, and the hot weather. I had made a start before going away, but struggled with deciding on colours (as I often do).
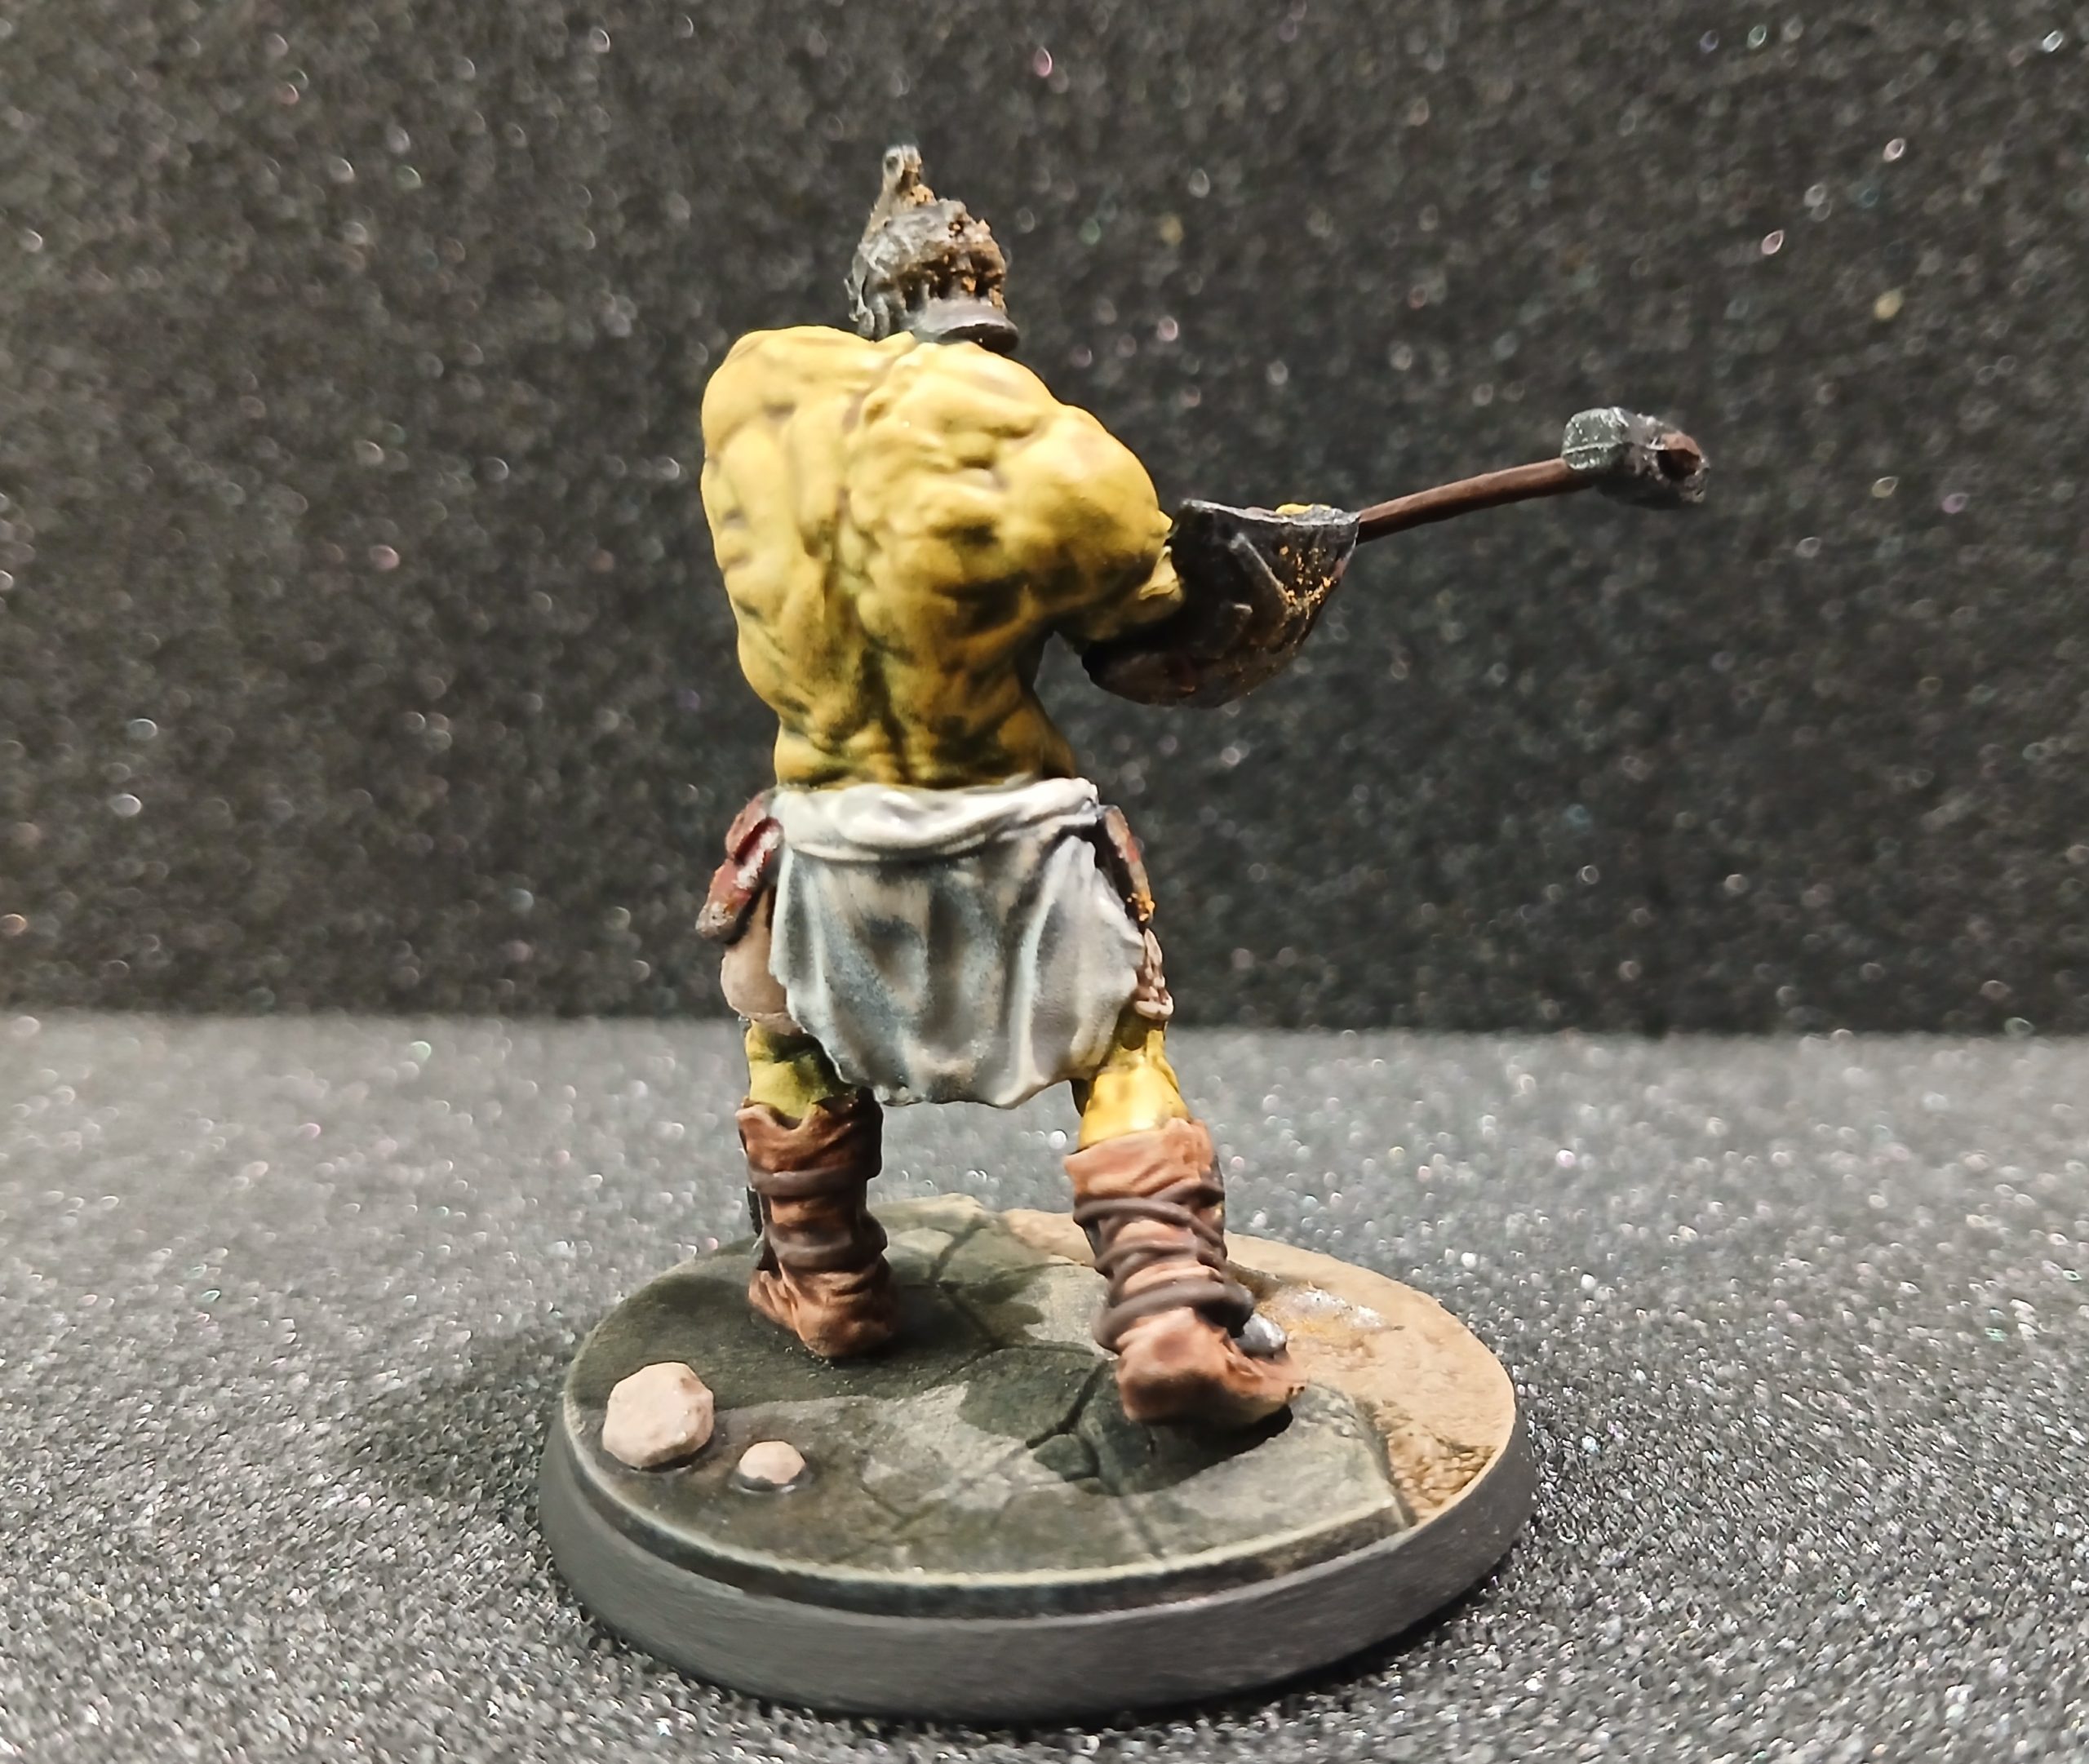
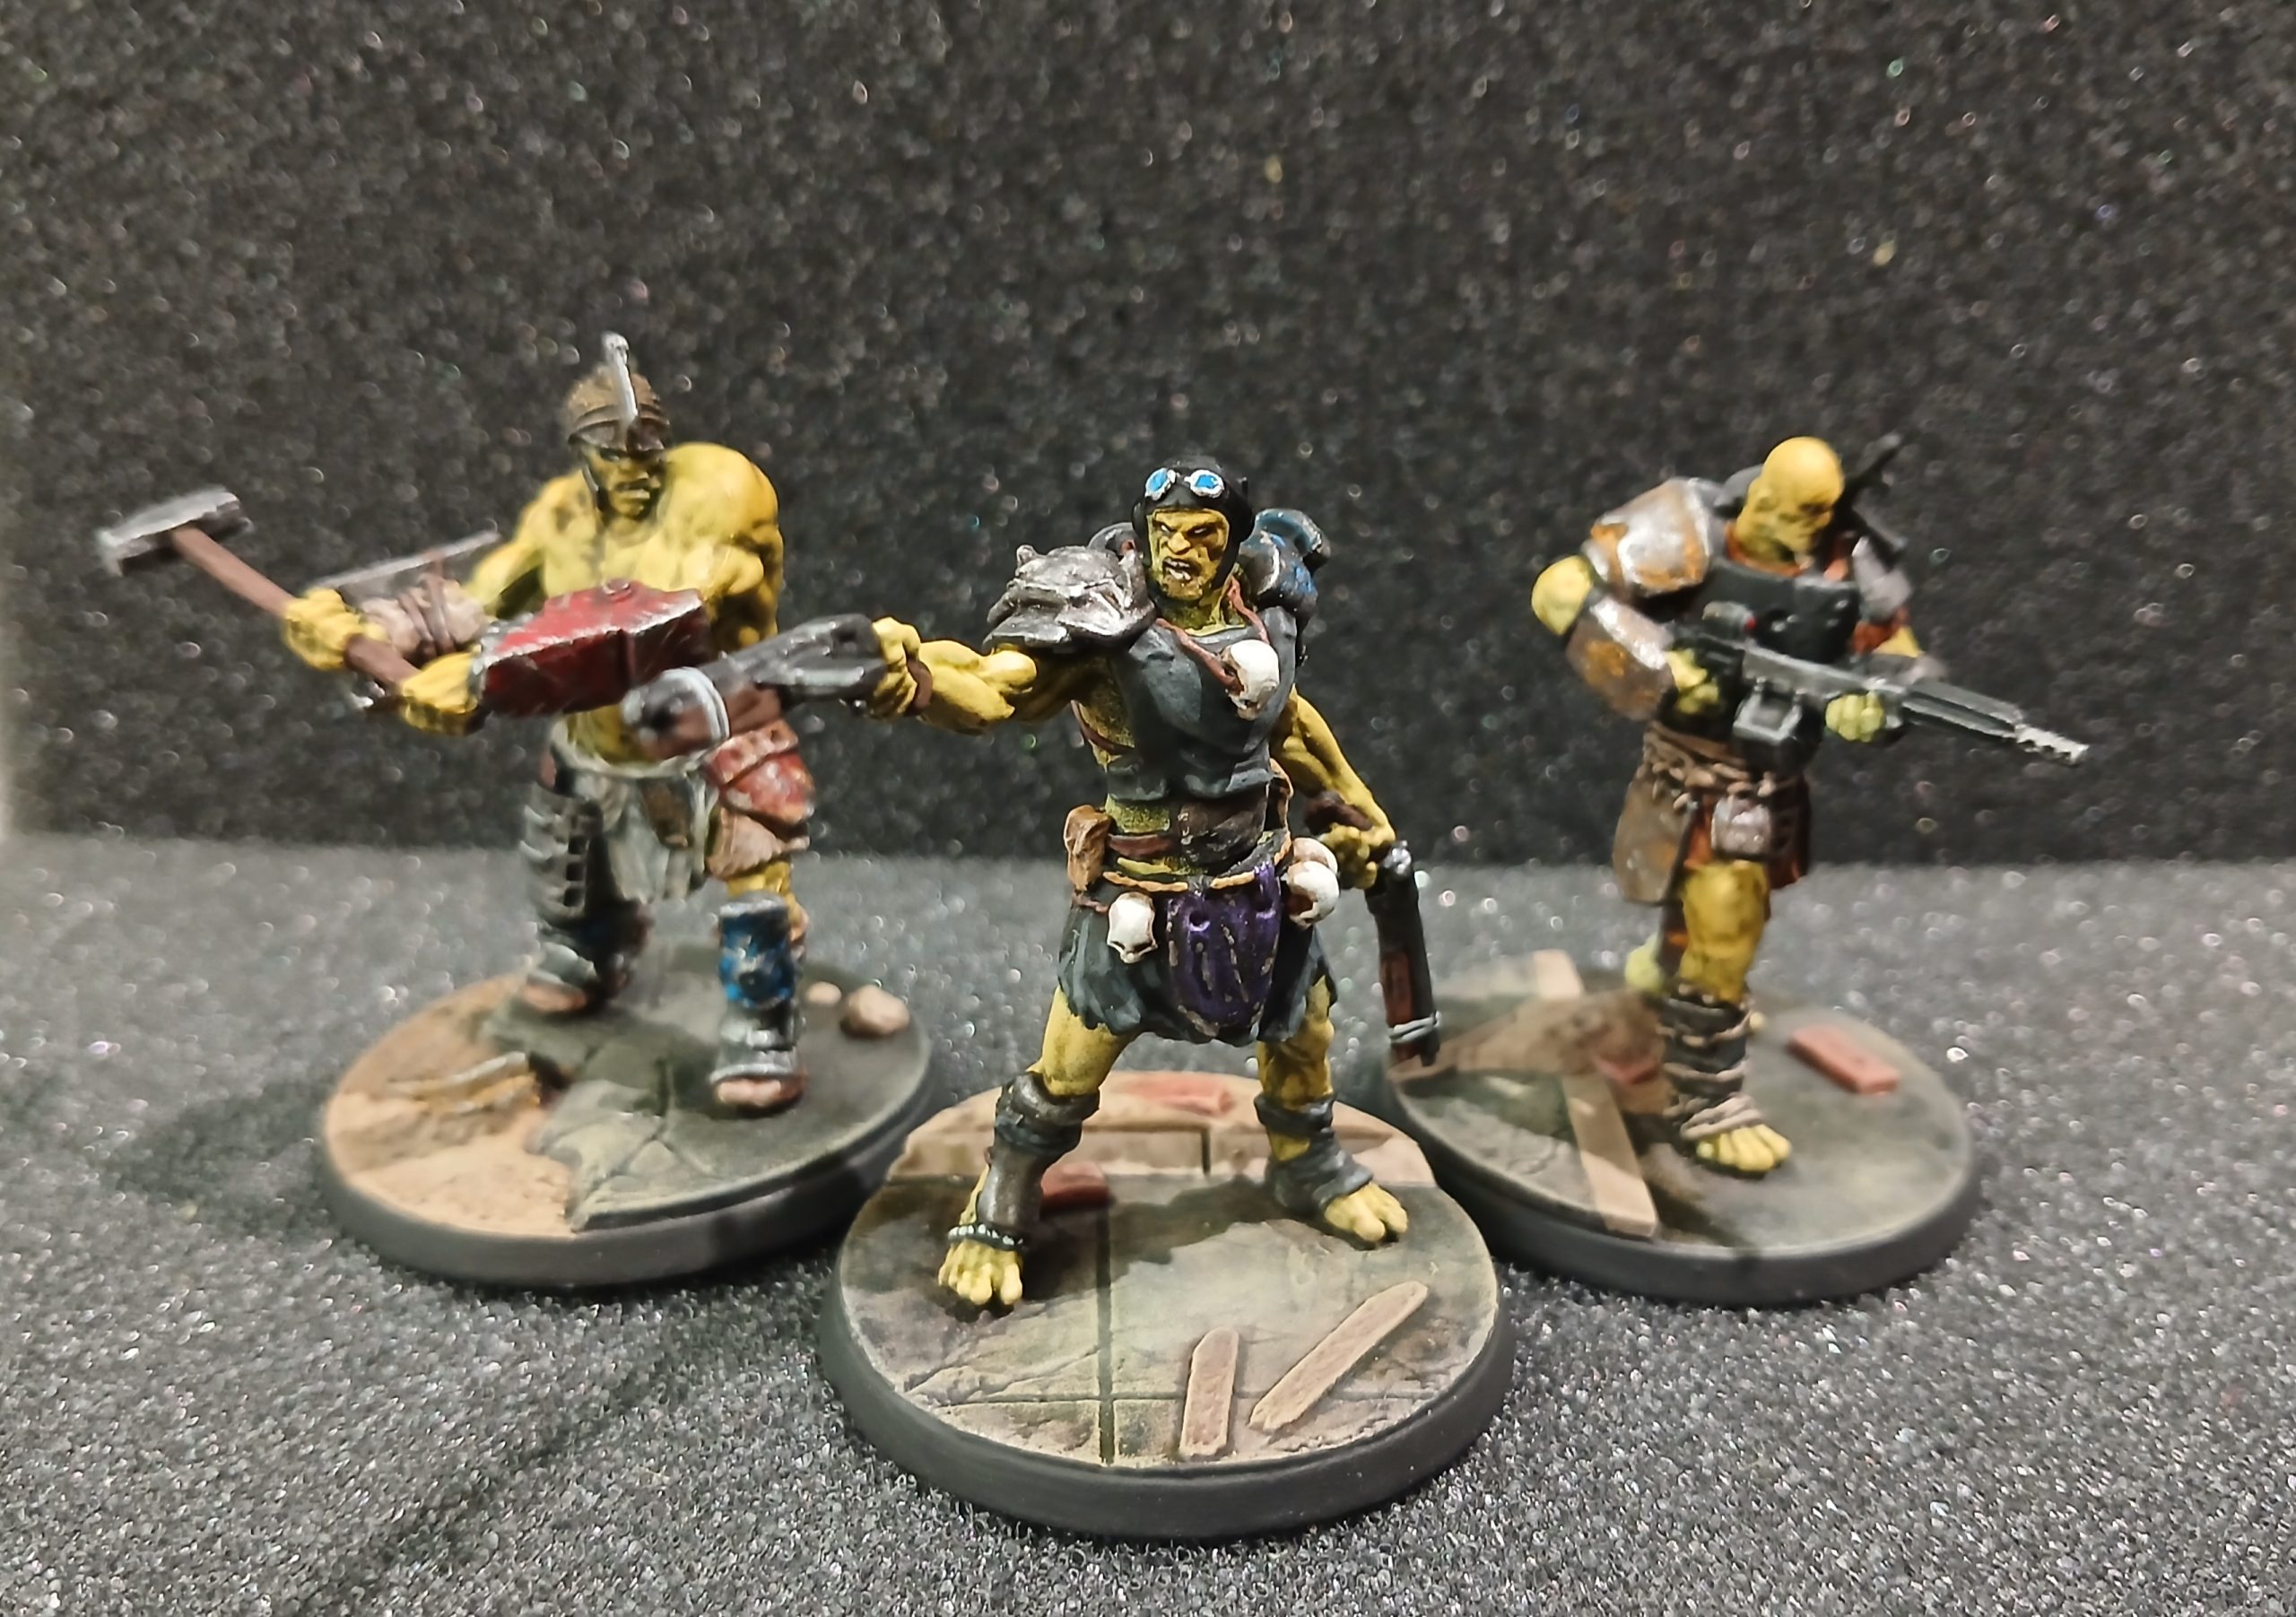
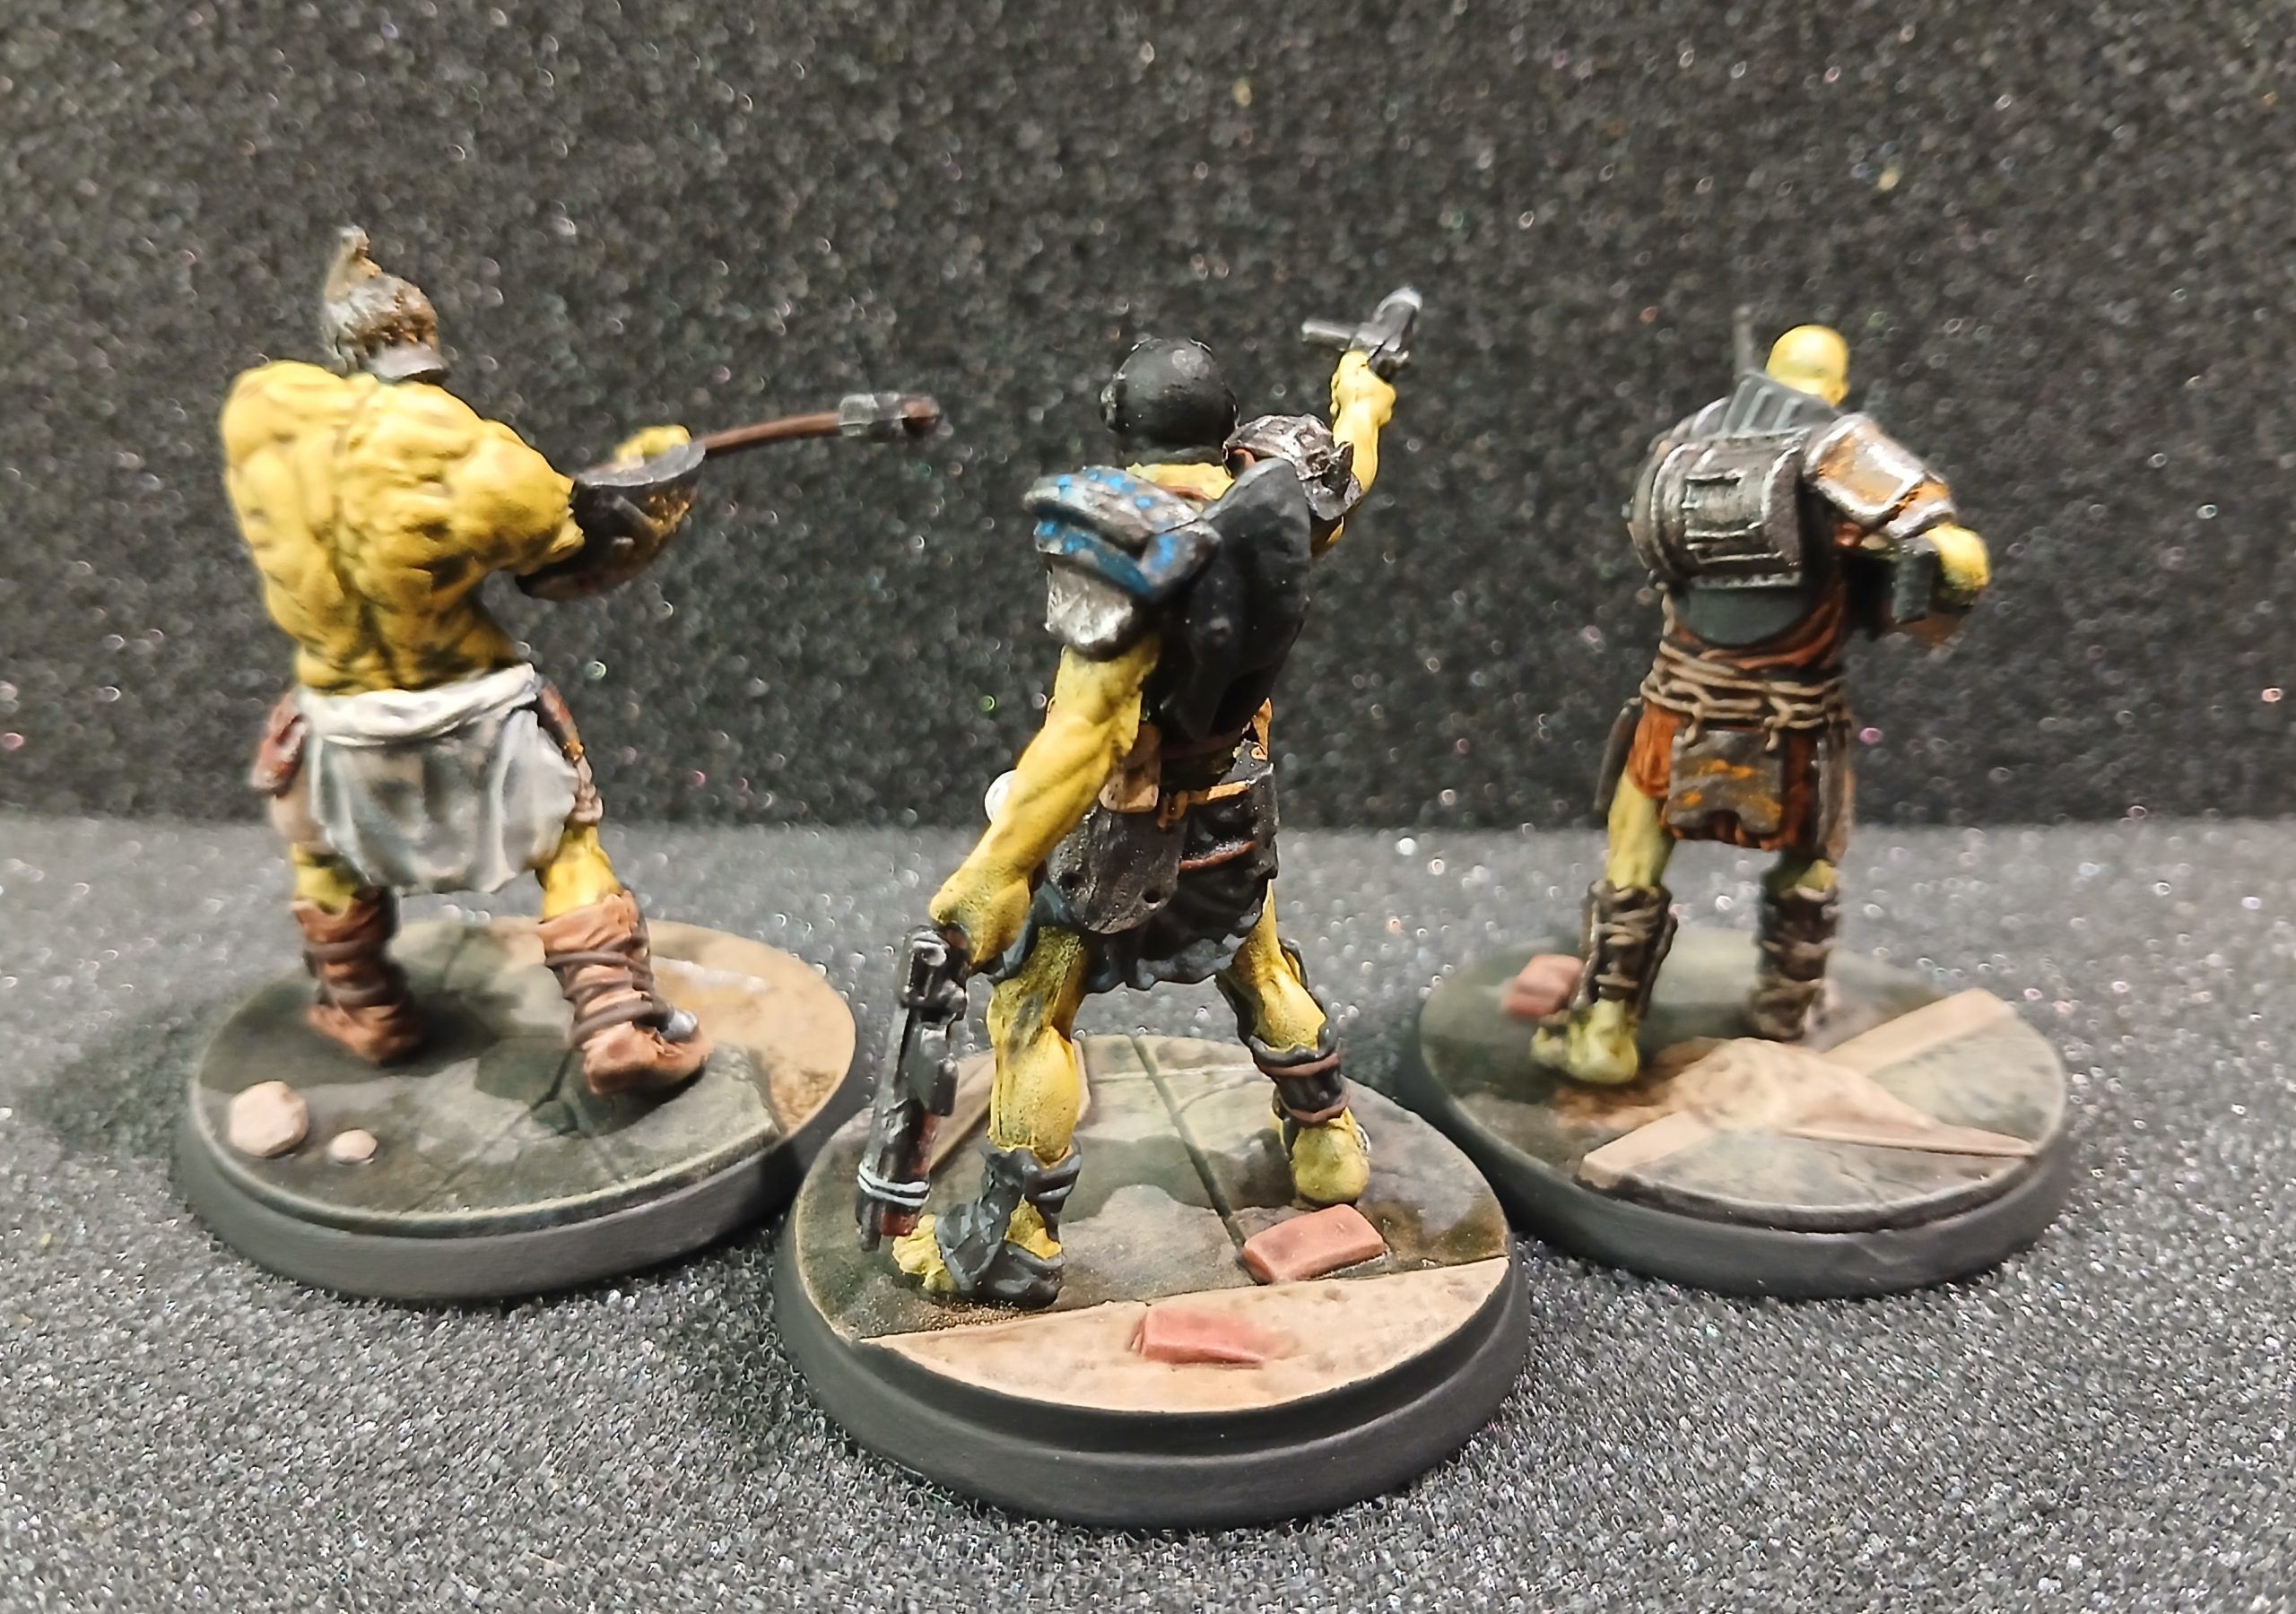
Usual prime method, then I laid down some Plaguebearer flesh contrast for their skin, and starting blocking in some rubber black for various panels. I also used some gore grunta contrast for the clothing on the MG armed mutant.
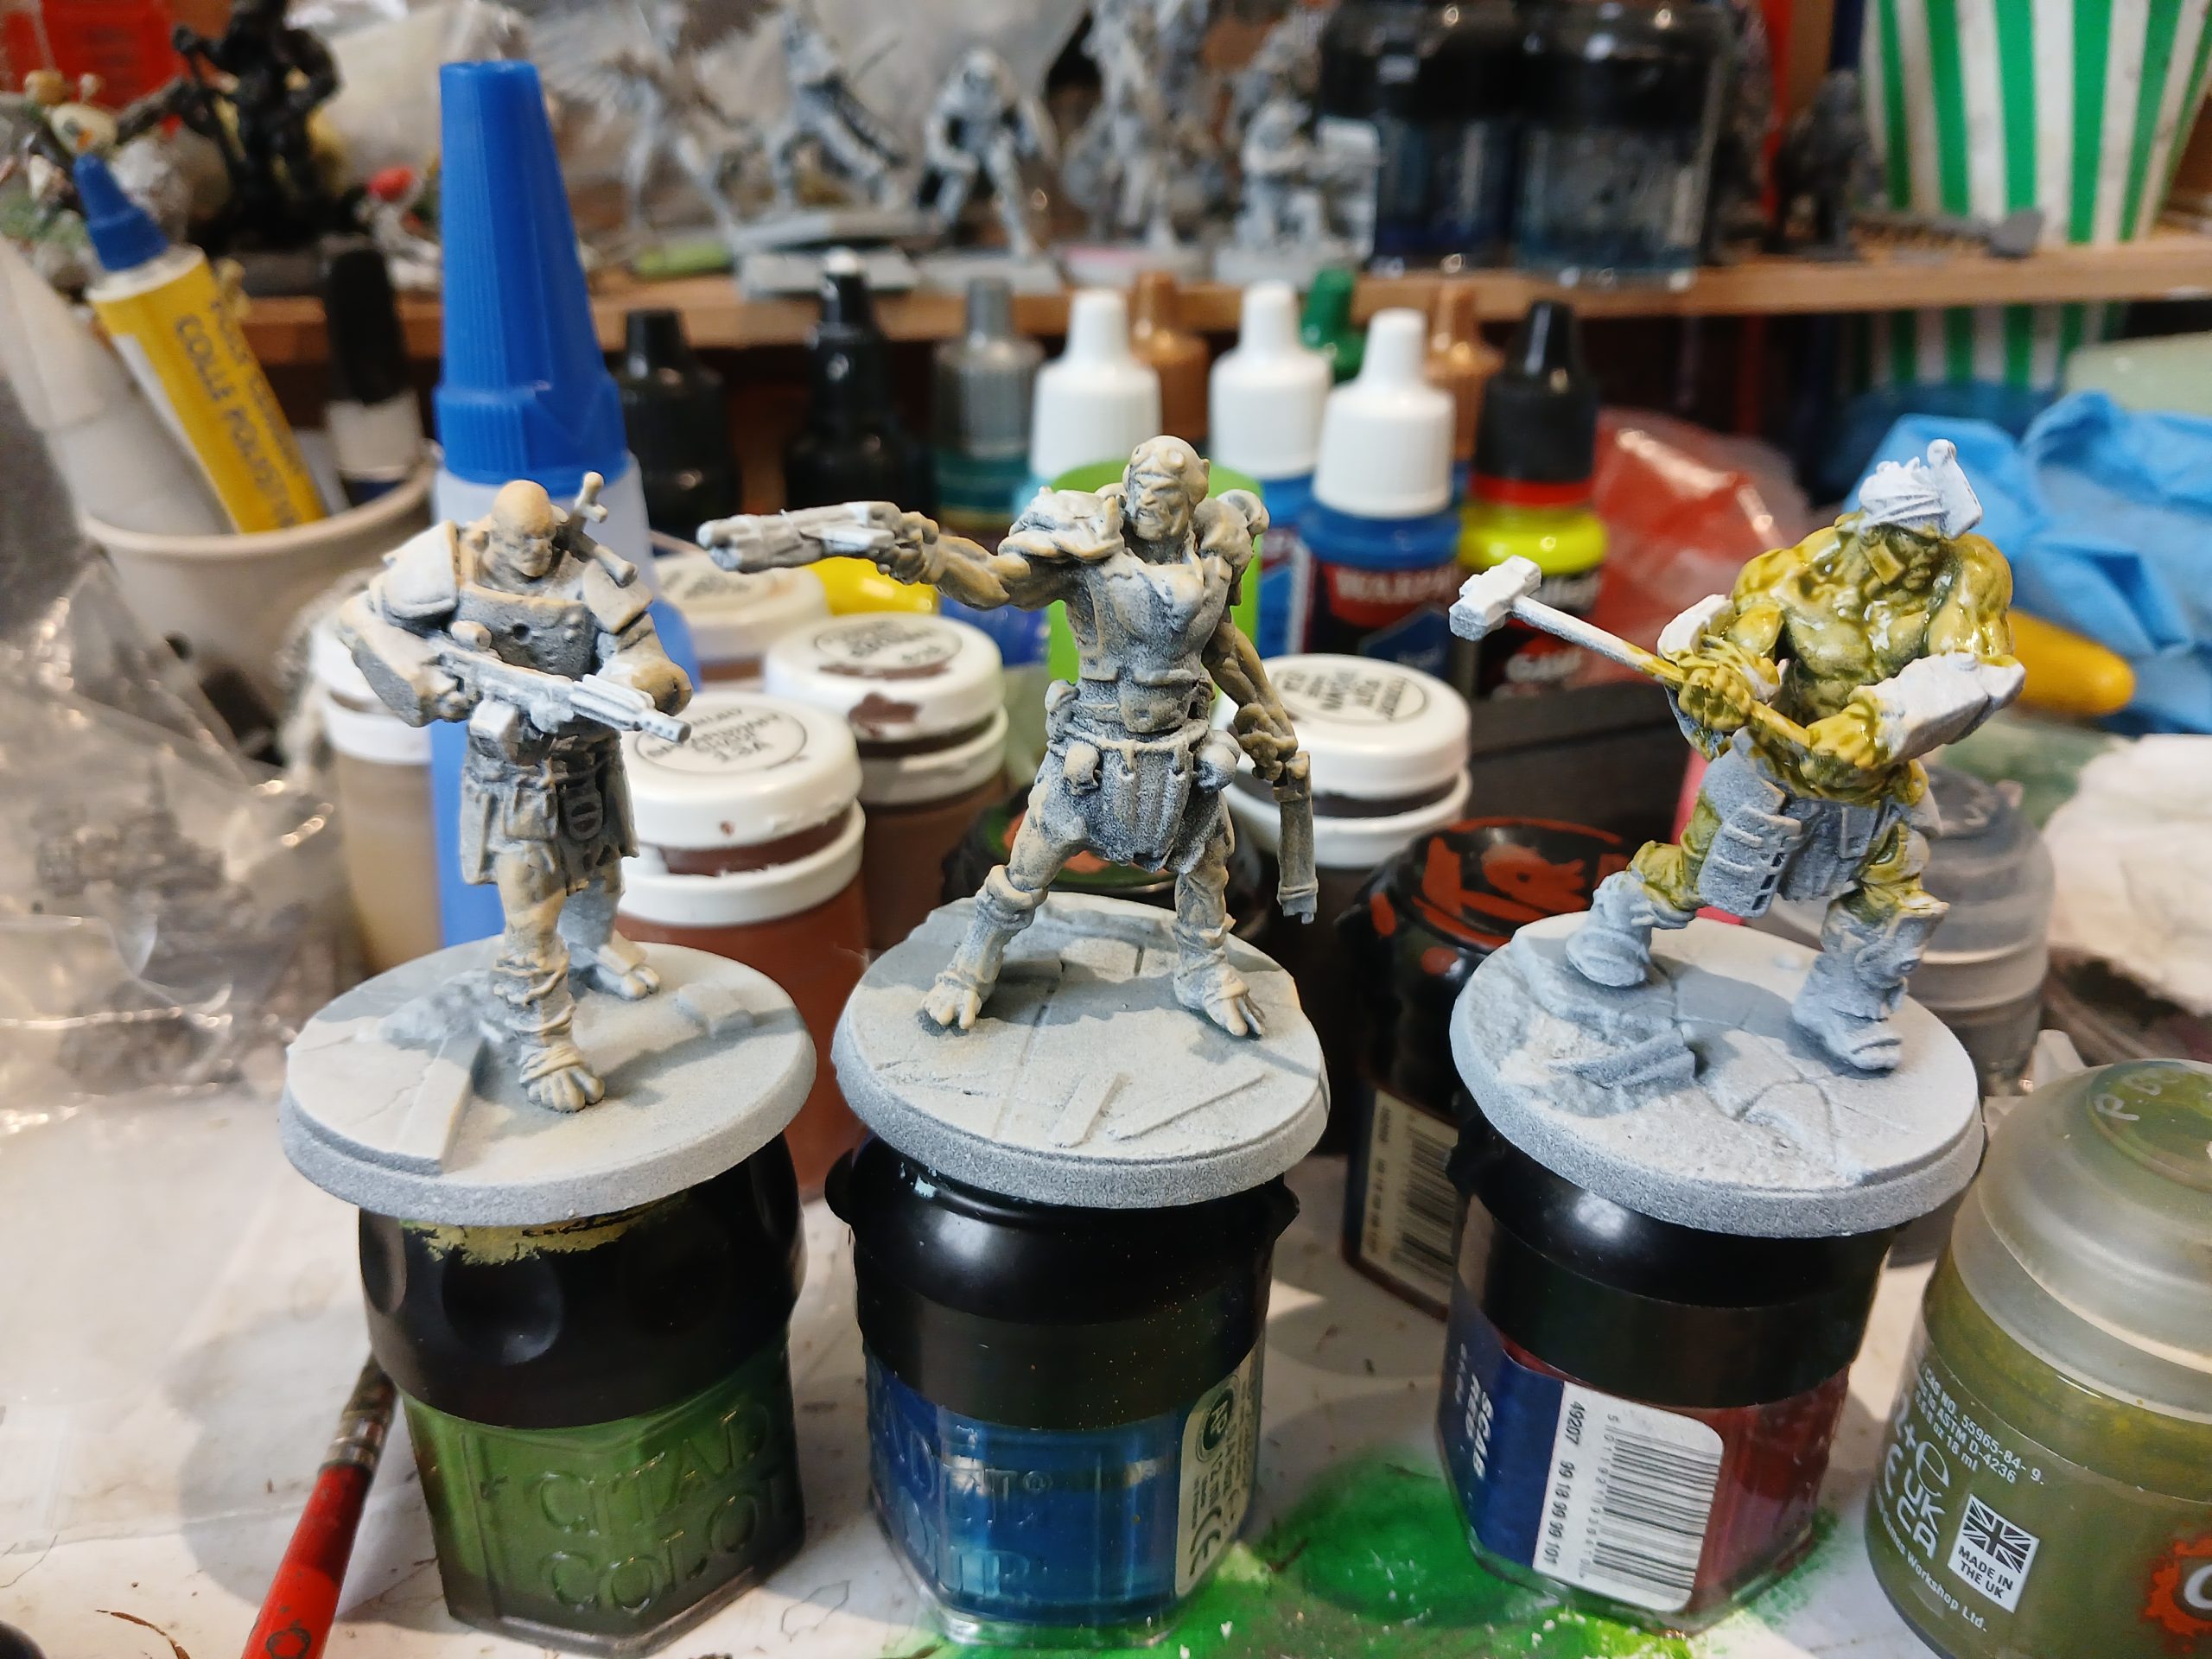
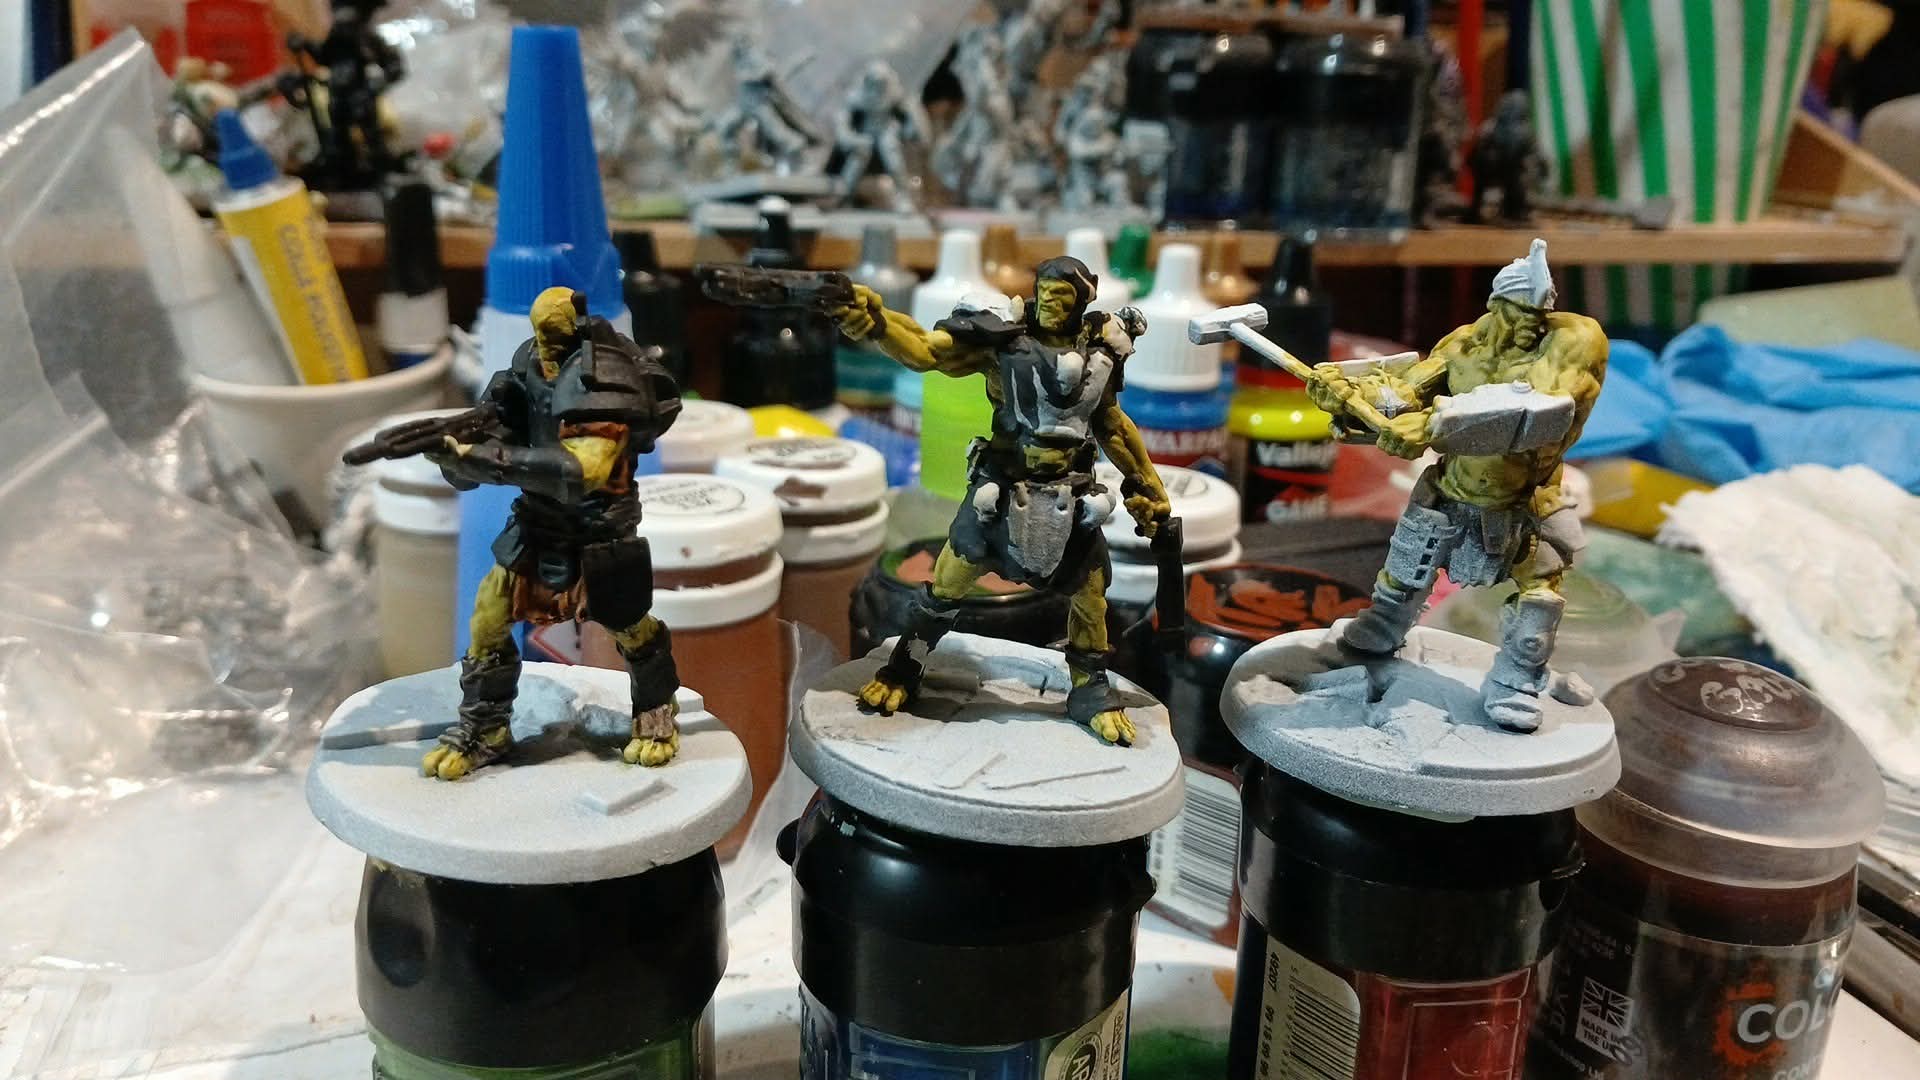
Then, almost three weeks later I got back to things…. I worked on rust and chipping on some armour panels. Using brown washes, drybrushing and highlighting for the bare metal, and more ‘scratch’ based weathering on coloured panels.
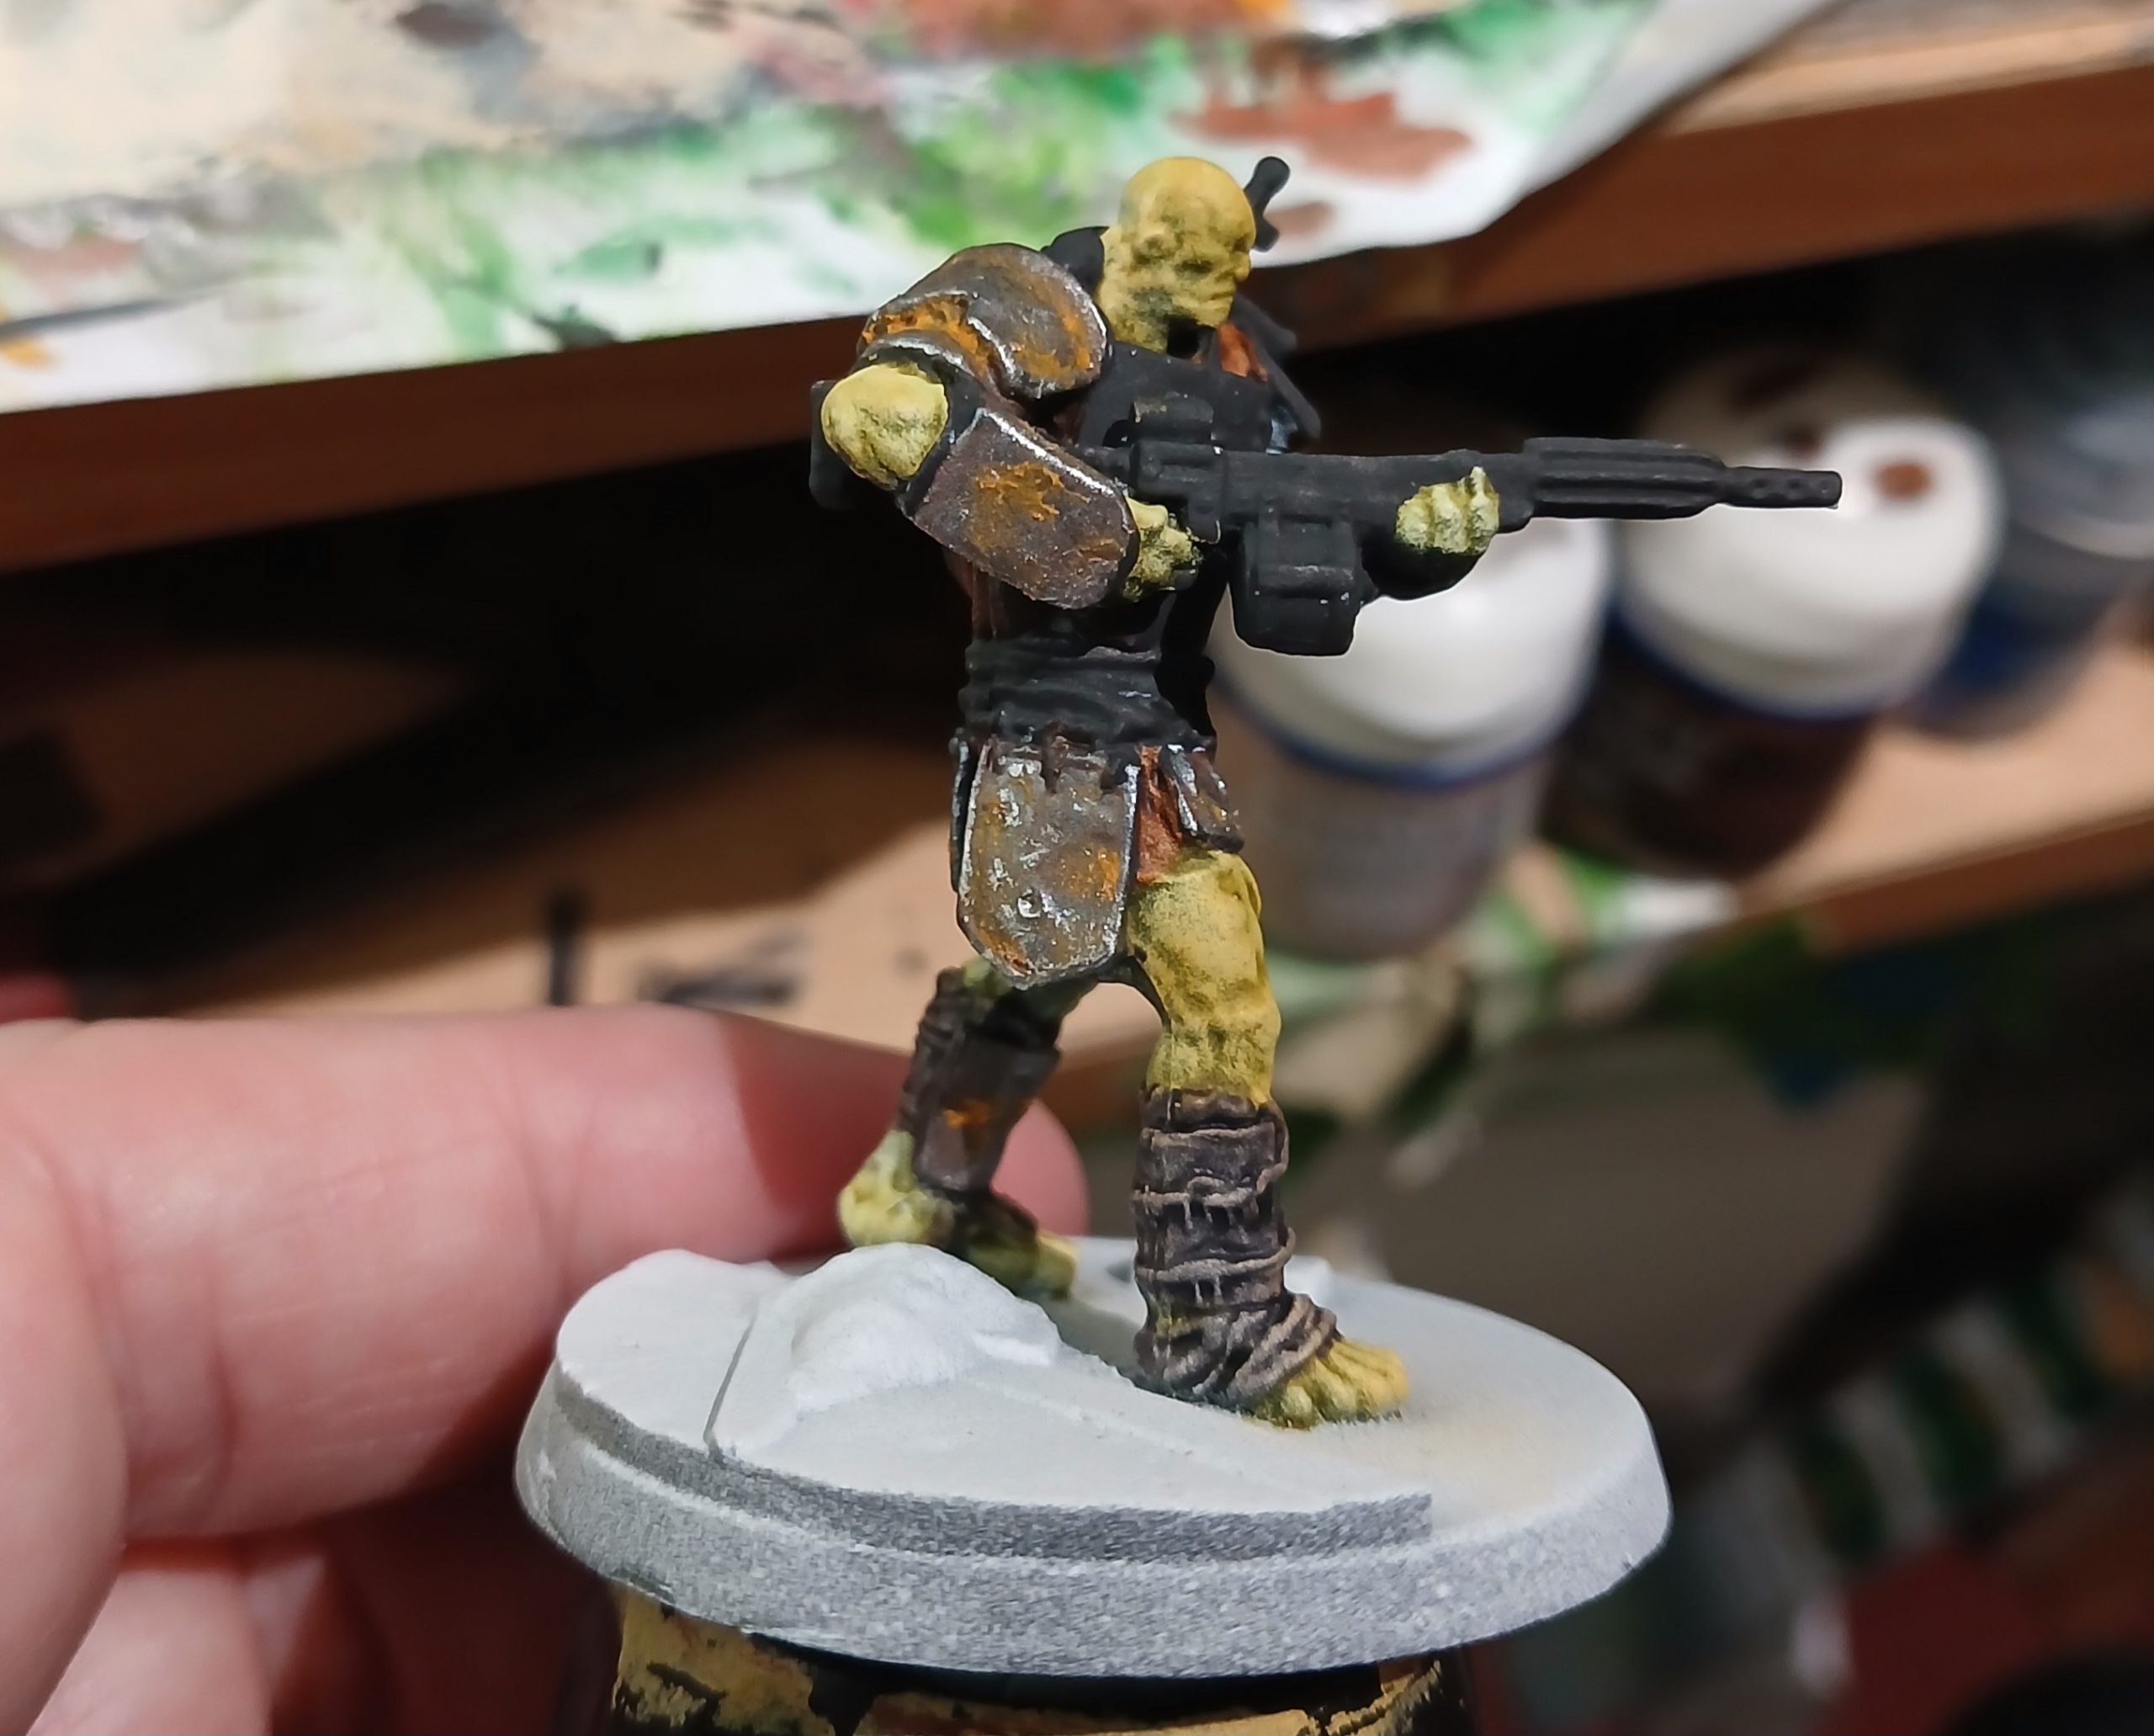
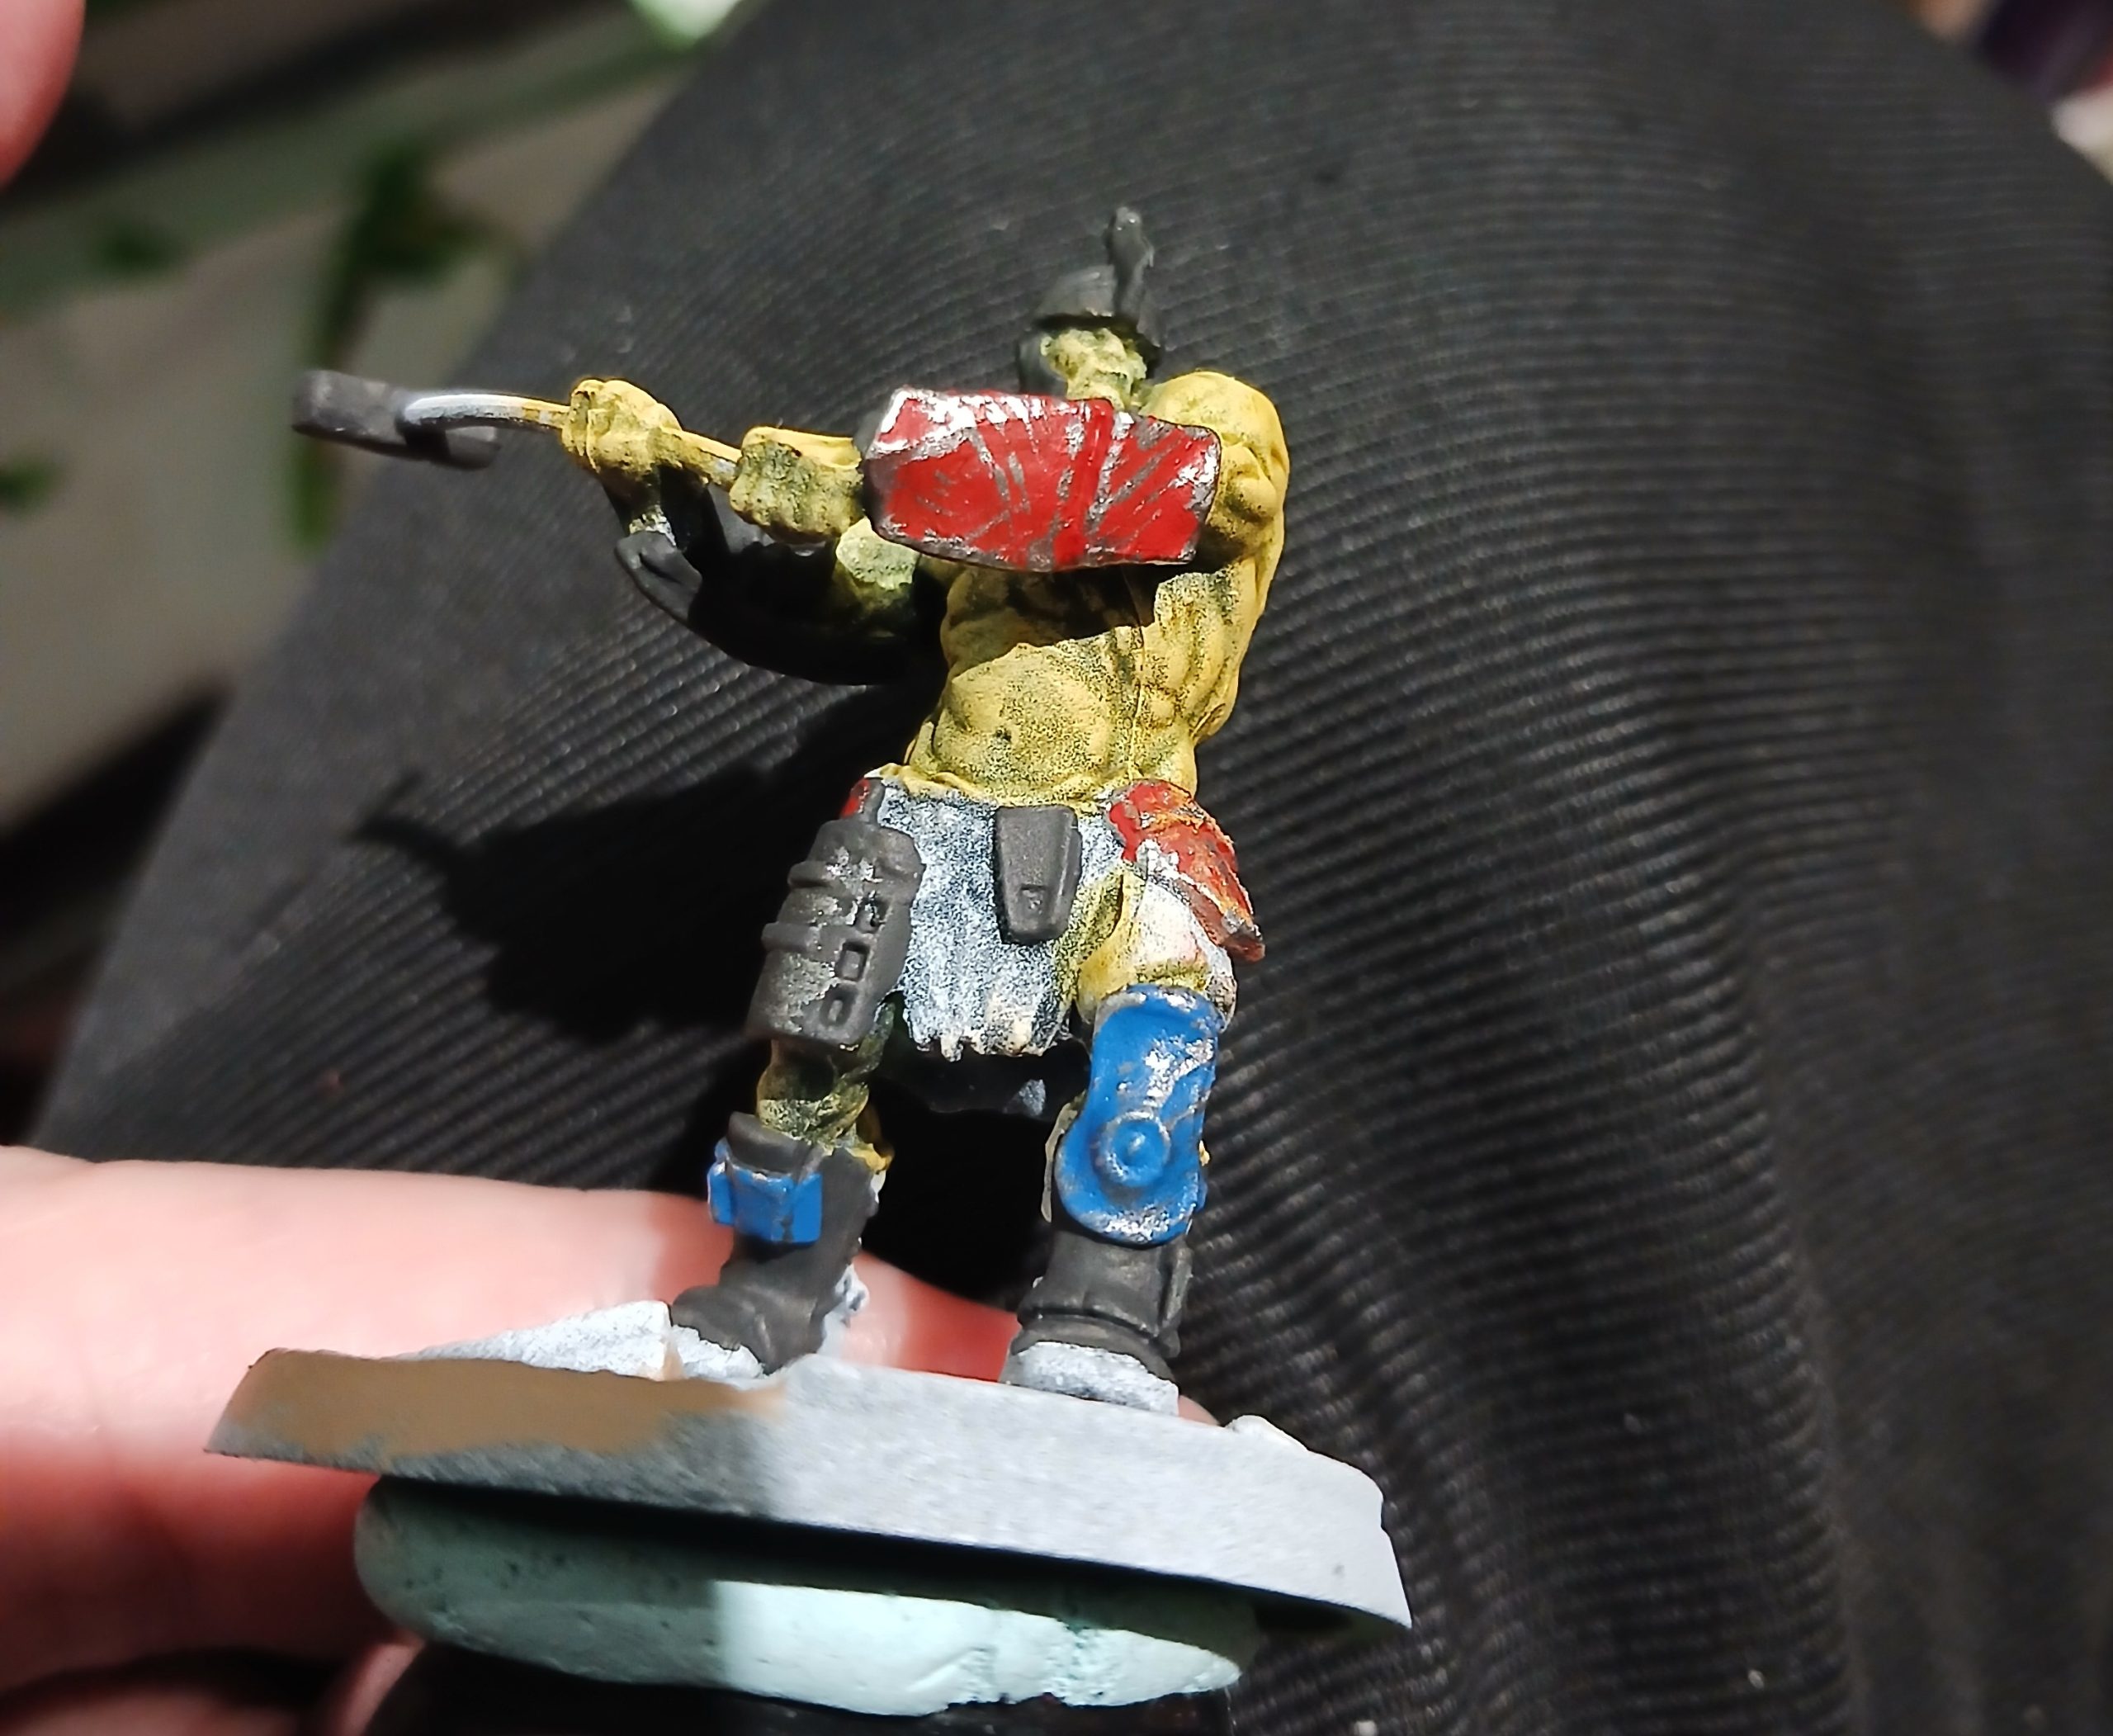
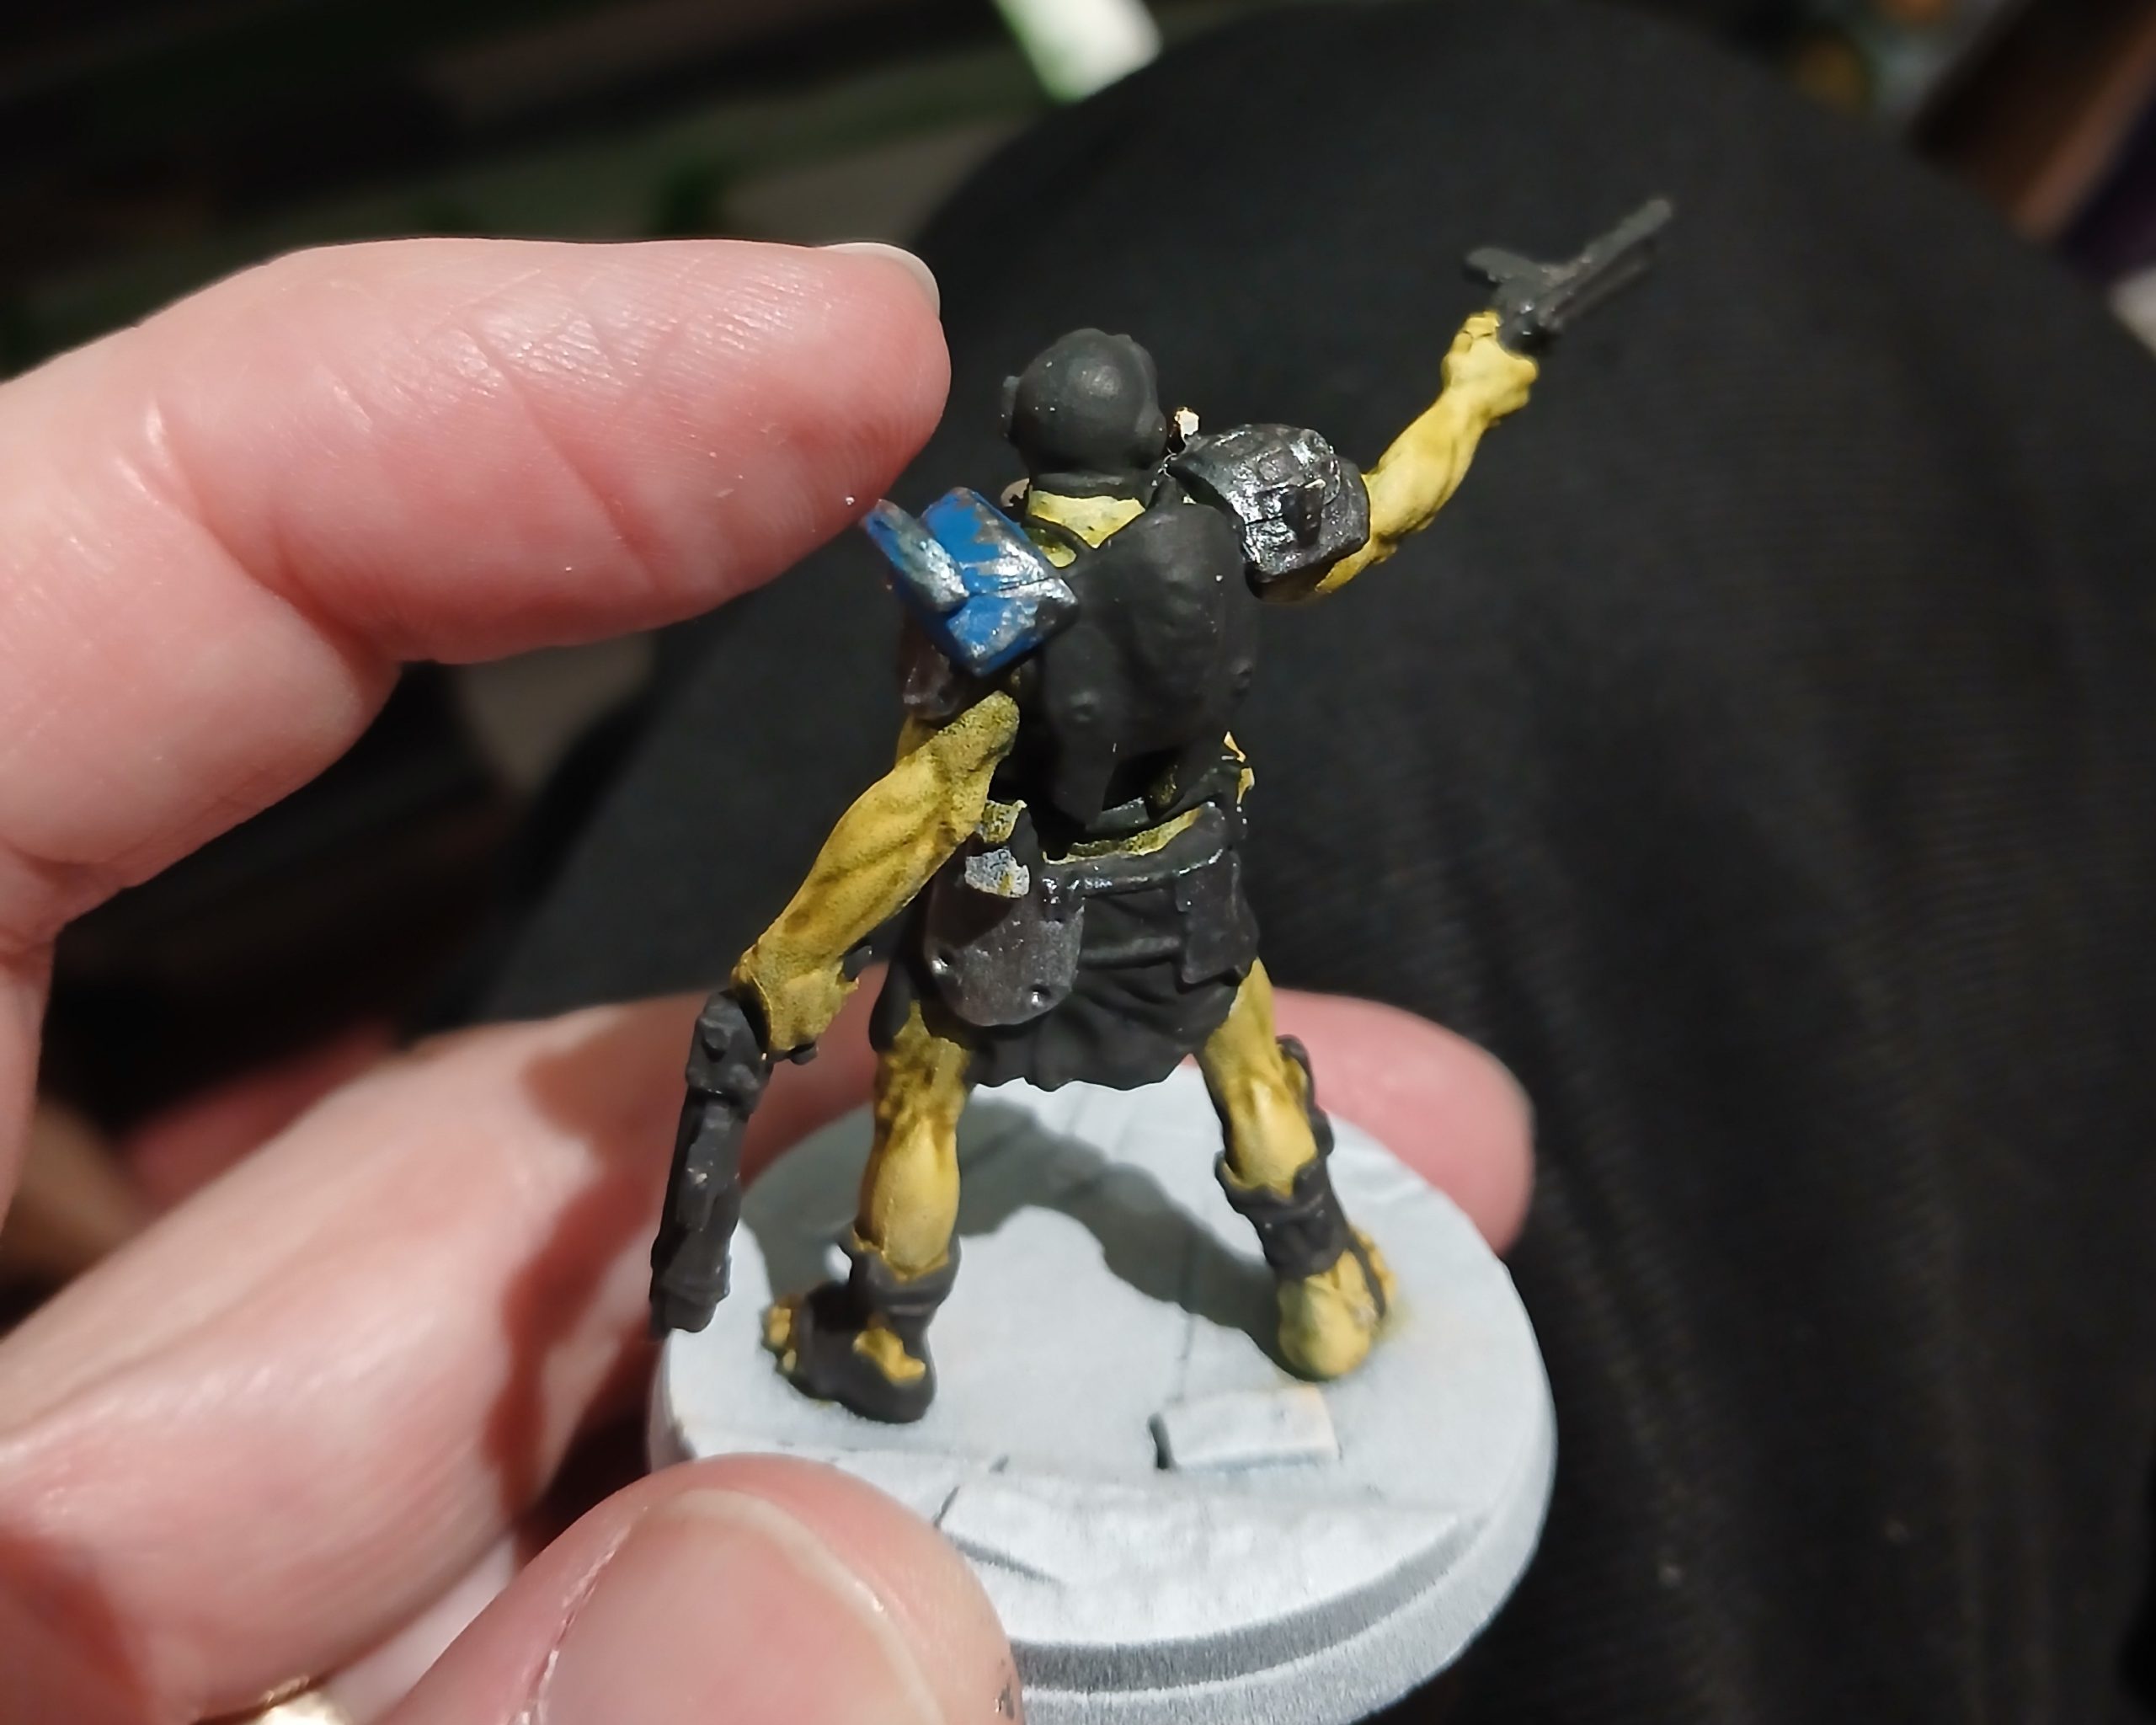
Once I was finally back at it I tried a few different things, eventually choosing dark grey clothing for the mutant with the flying hat (highlighting up from rubber black through 4 greys – too many really for the end result 😊 ) and pale grey for the hammer brute.
I also worked on the bases – something I often do when I am struggling with the main figure.
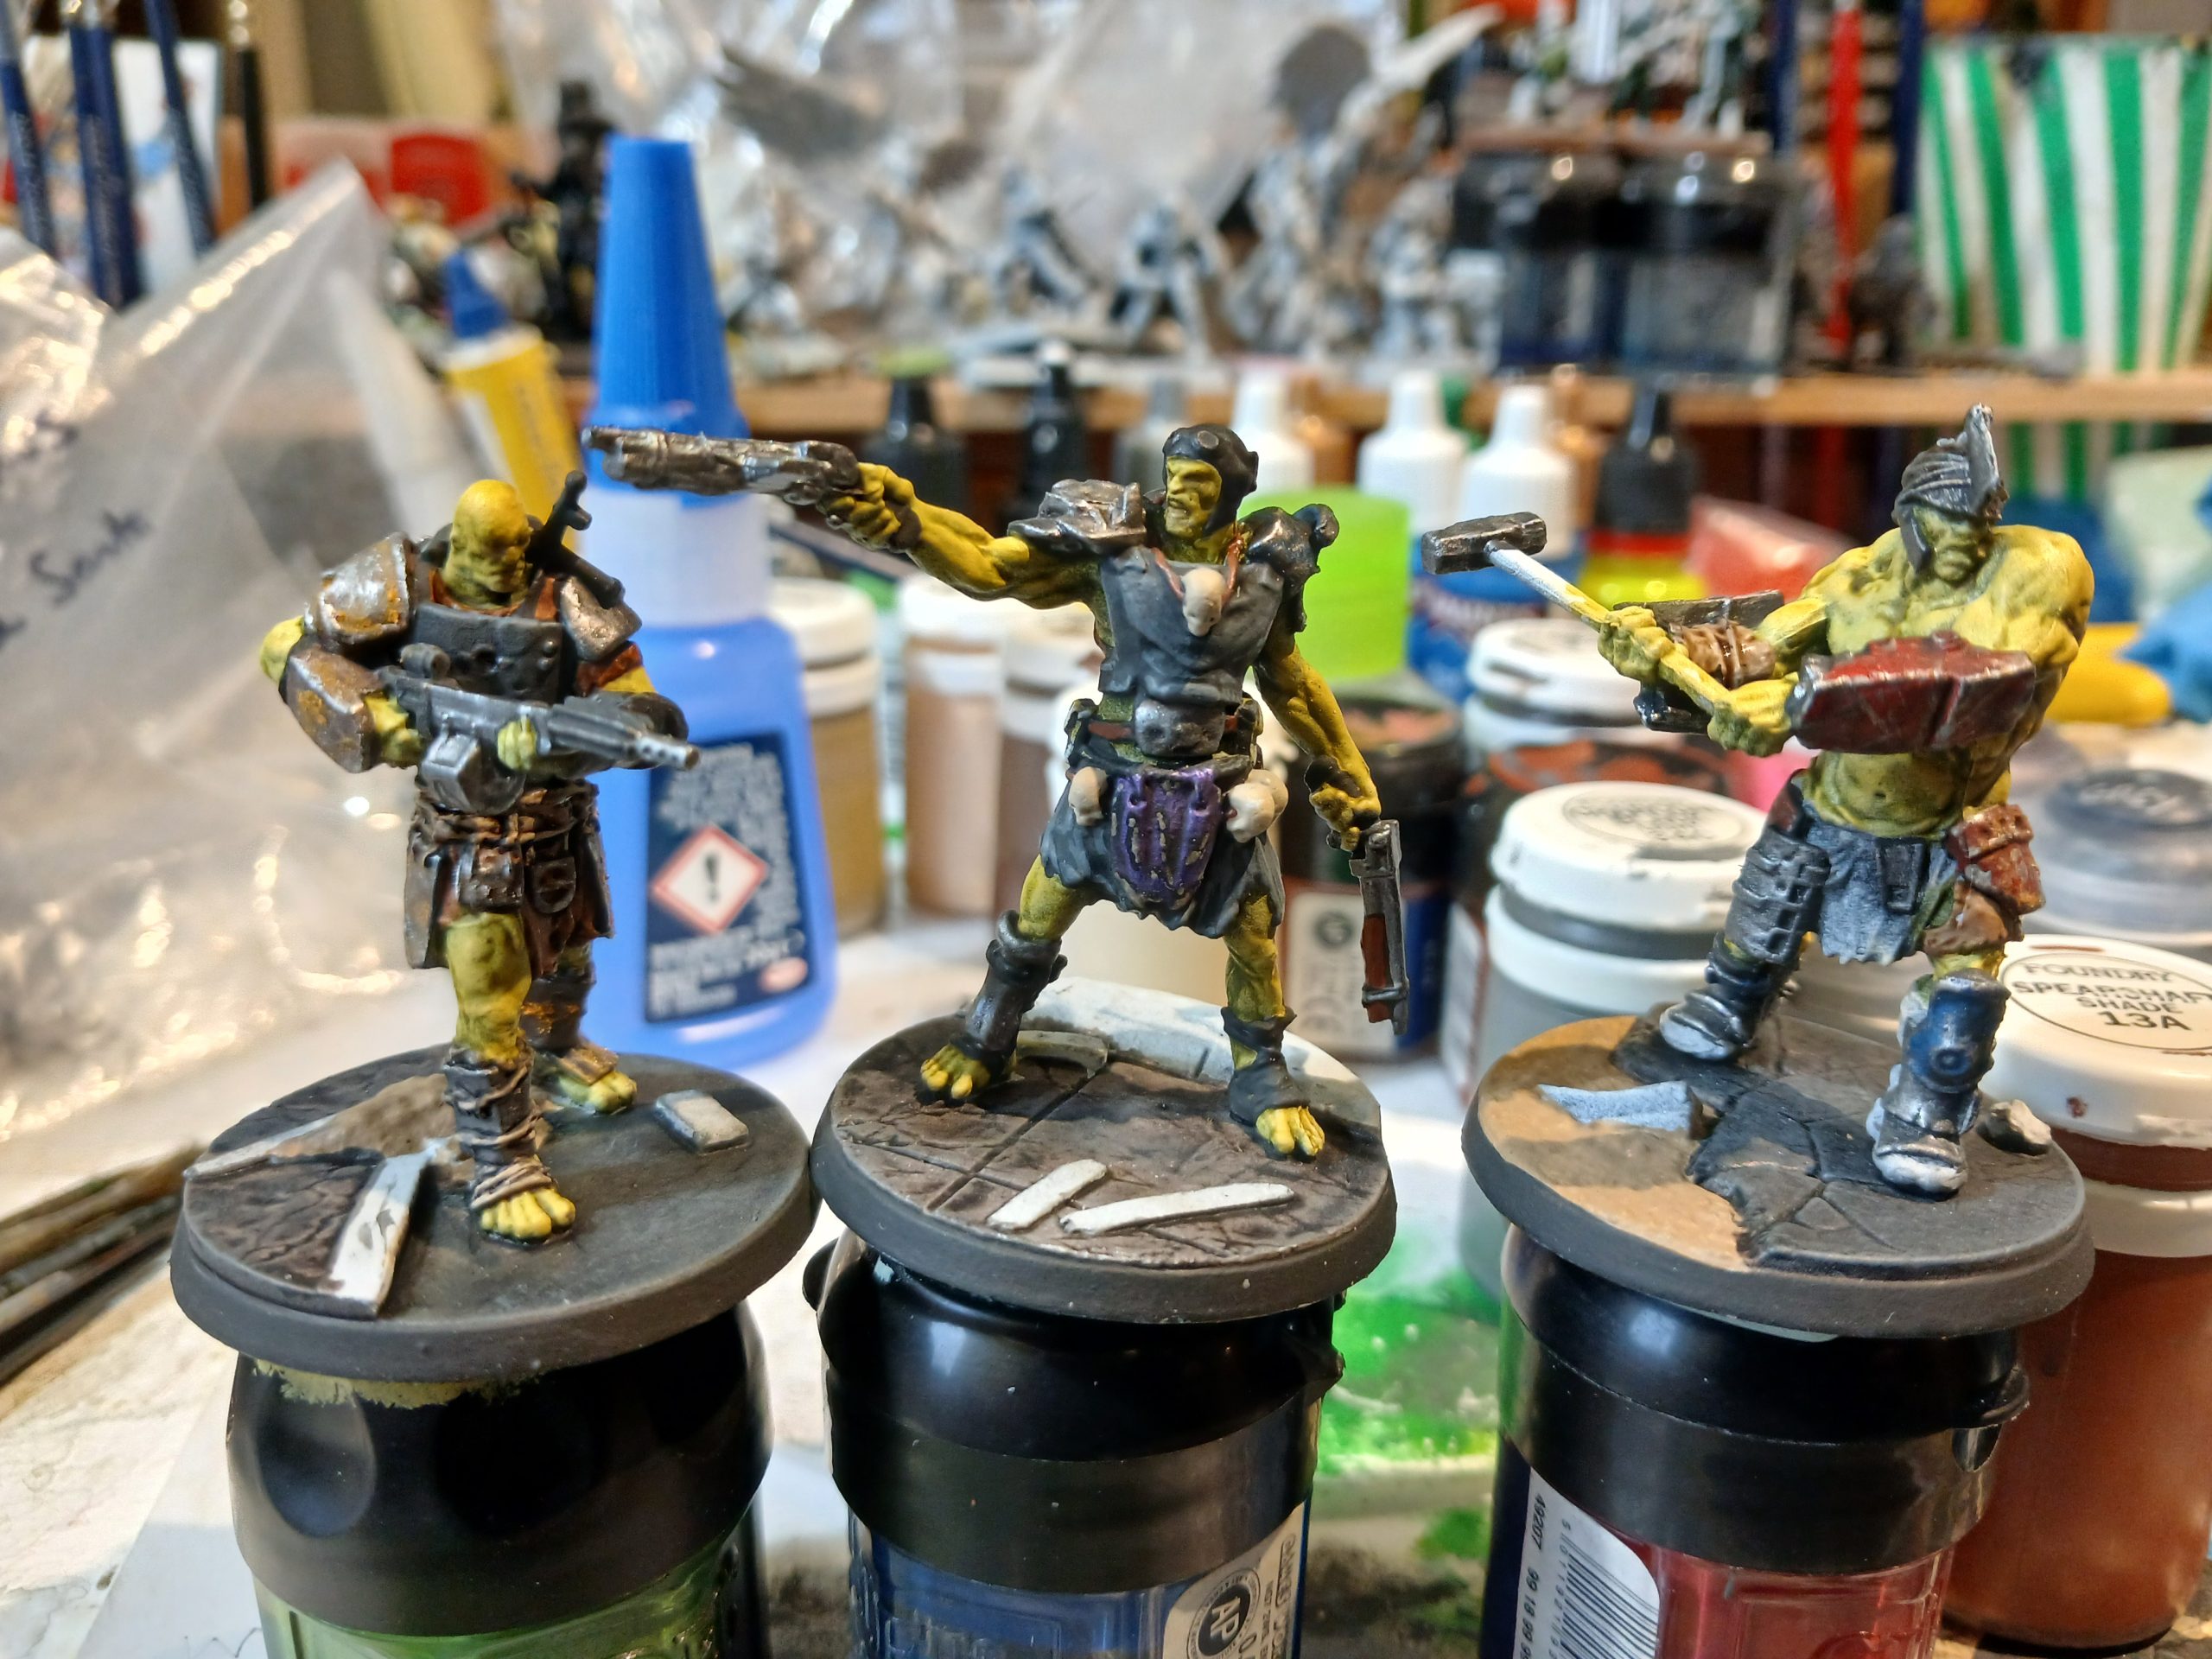
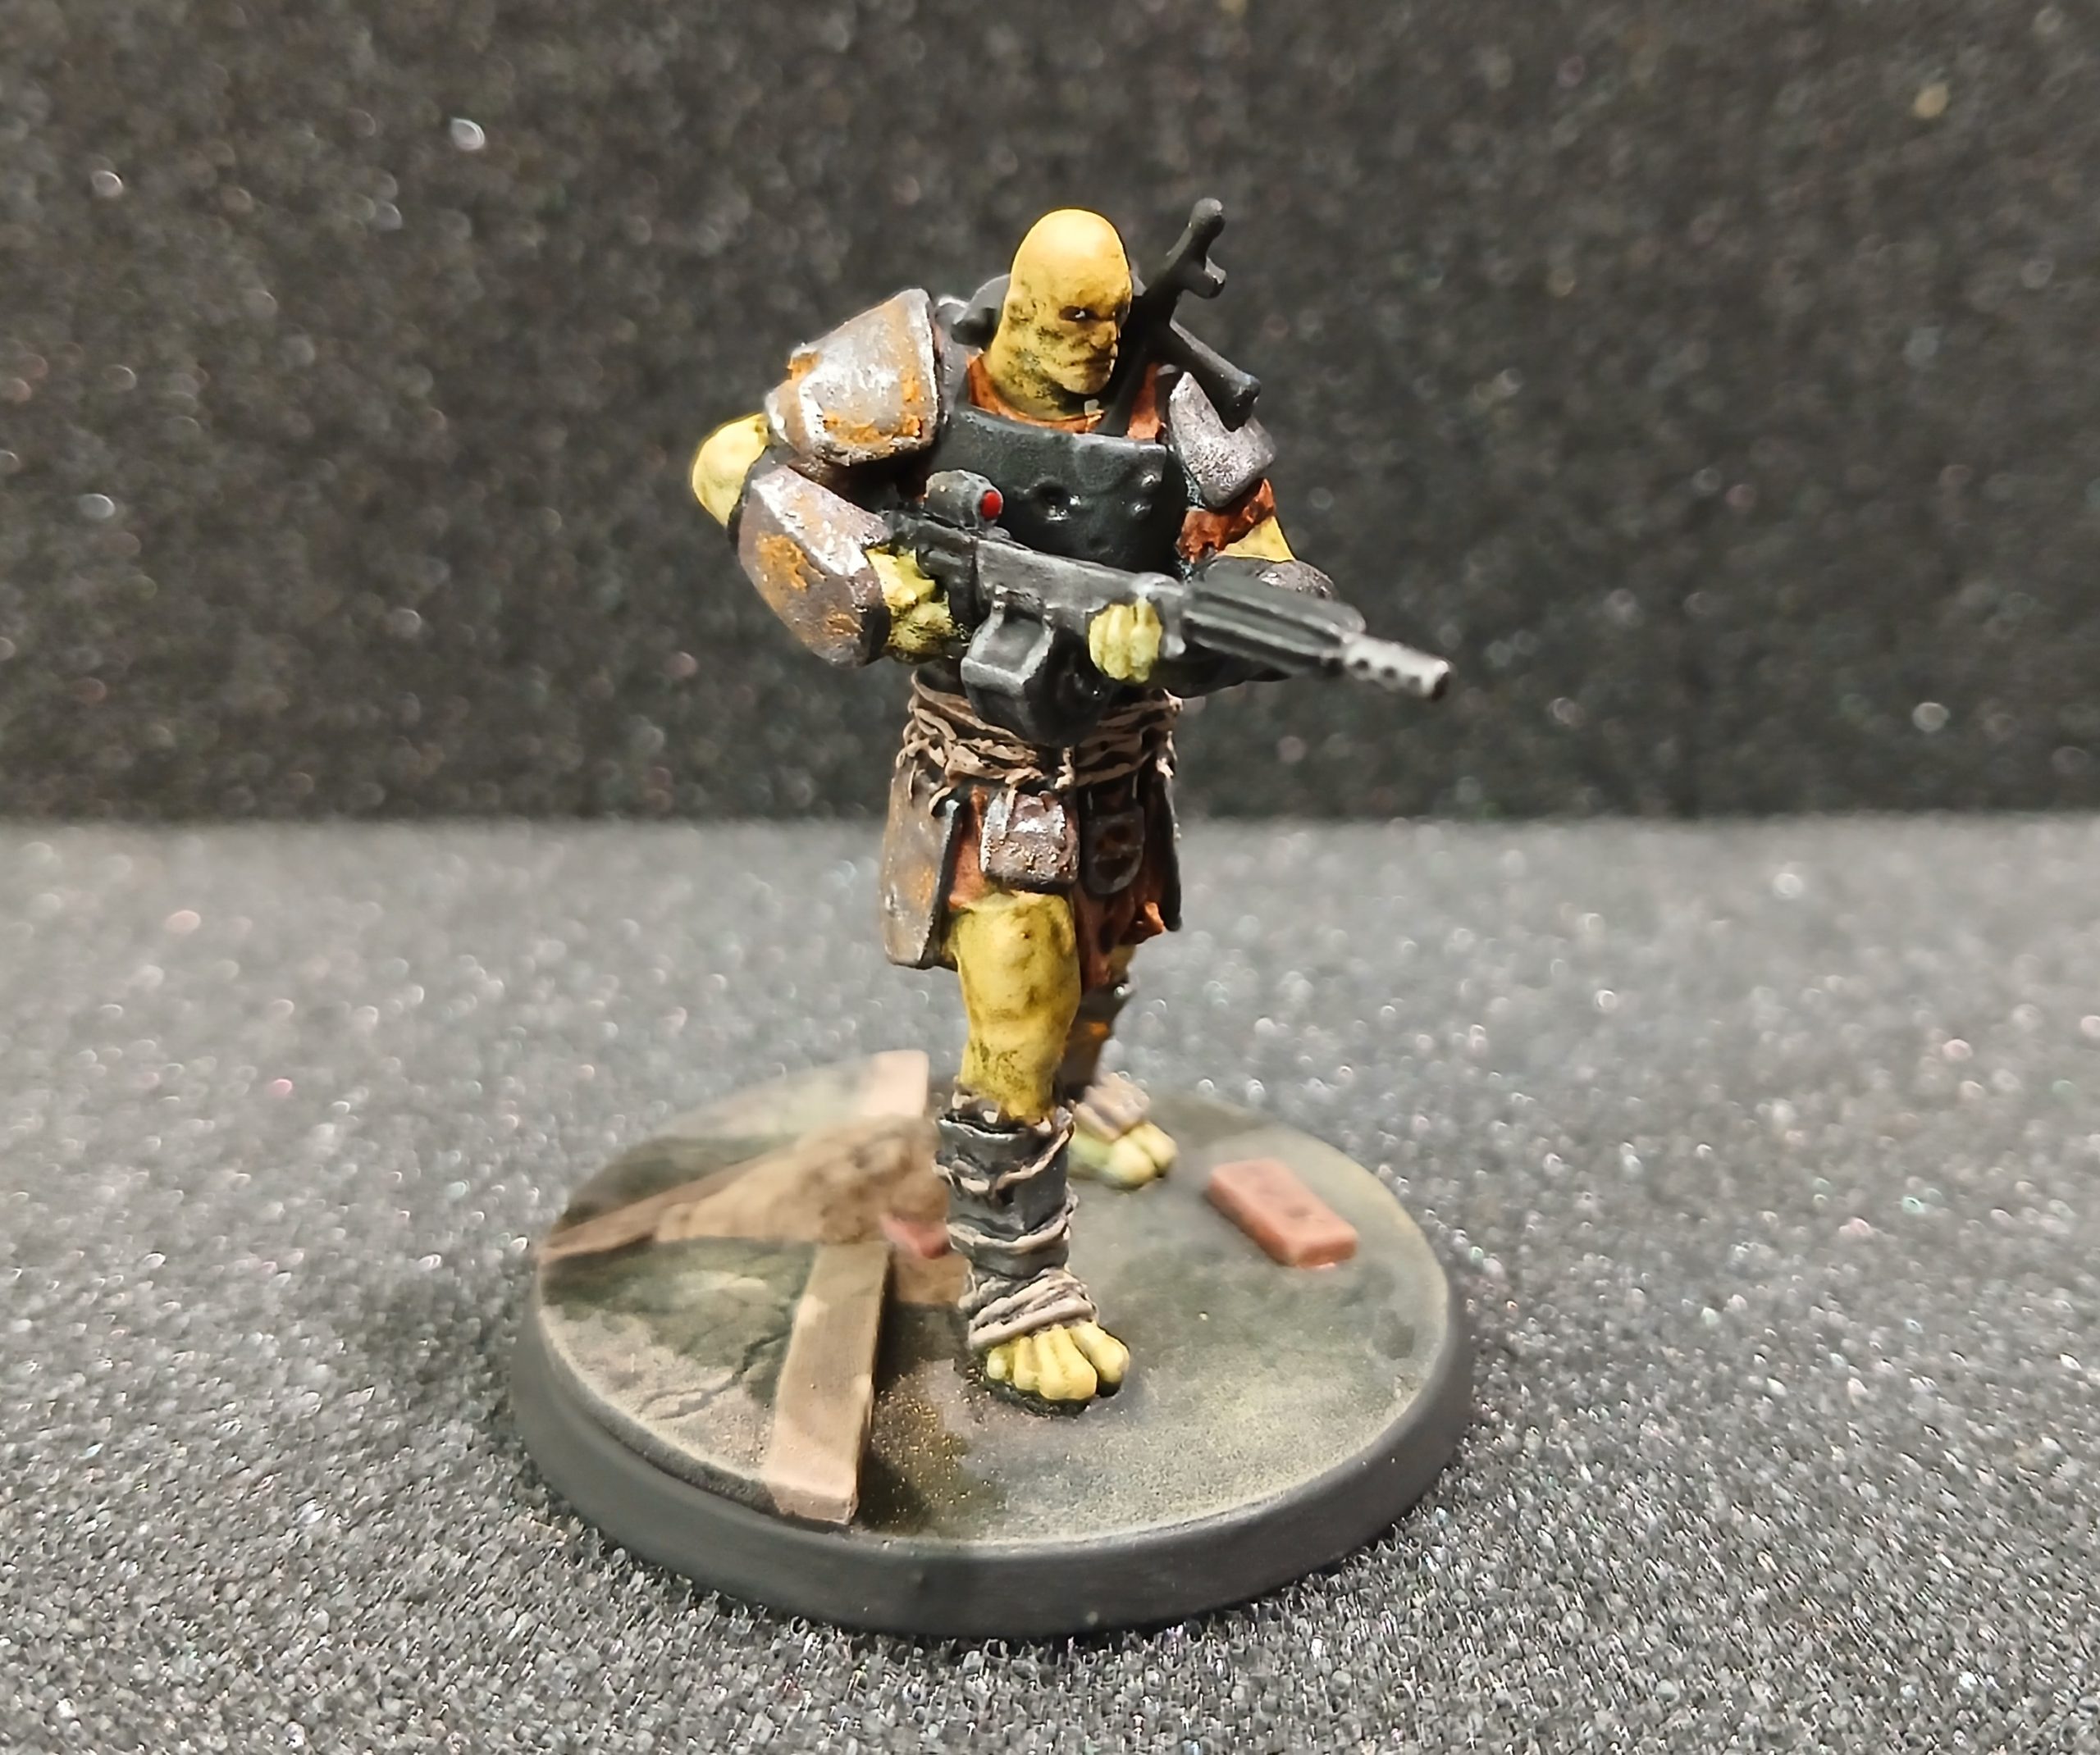
Finishing touches, picking out eyes (sort of..), weapon details, ropes and straps getting highlights, and adding various weathering stages to the bases (Agrax wash, some streaking grime patches, rawhide drybrushing and stippling etc).
A breath of fresh air (part 2)
Eventually they located some sources of clean water, and headed back to their home settlement with the information – passing further Points of Interest to be added to their Pip Boy maps….
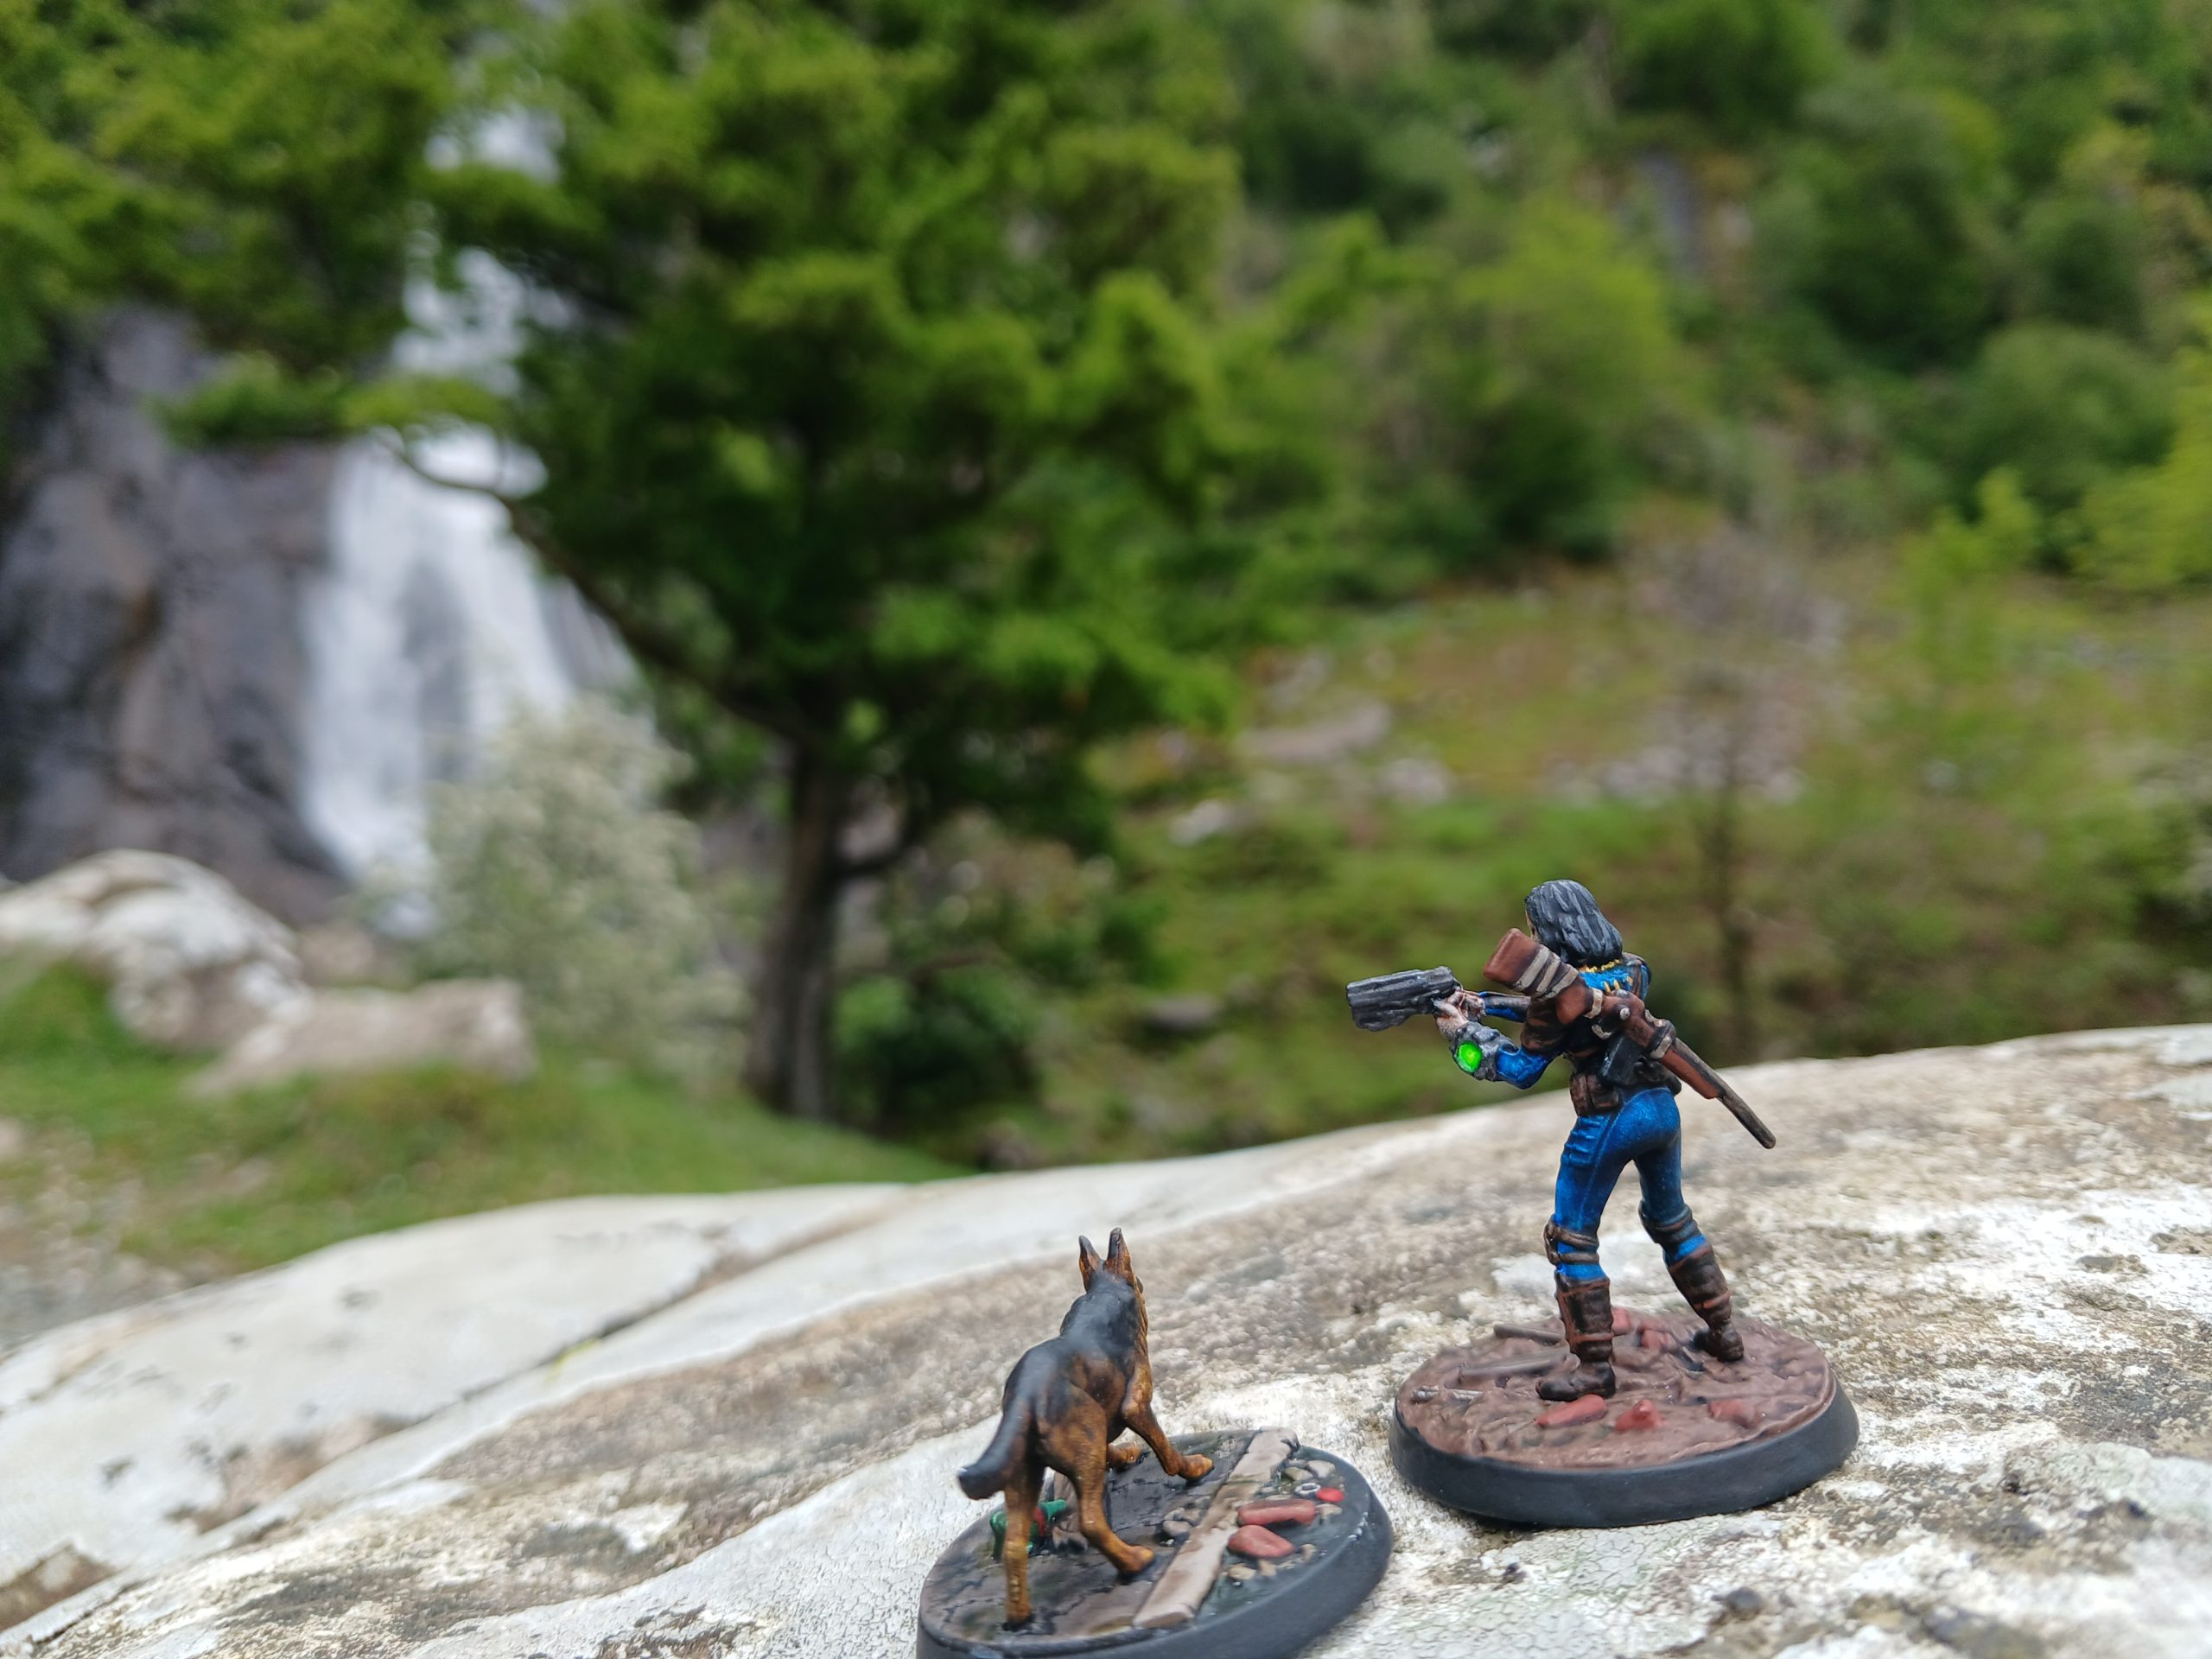
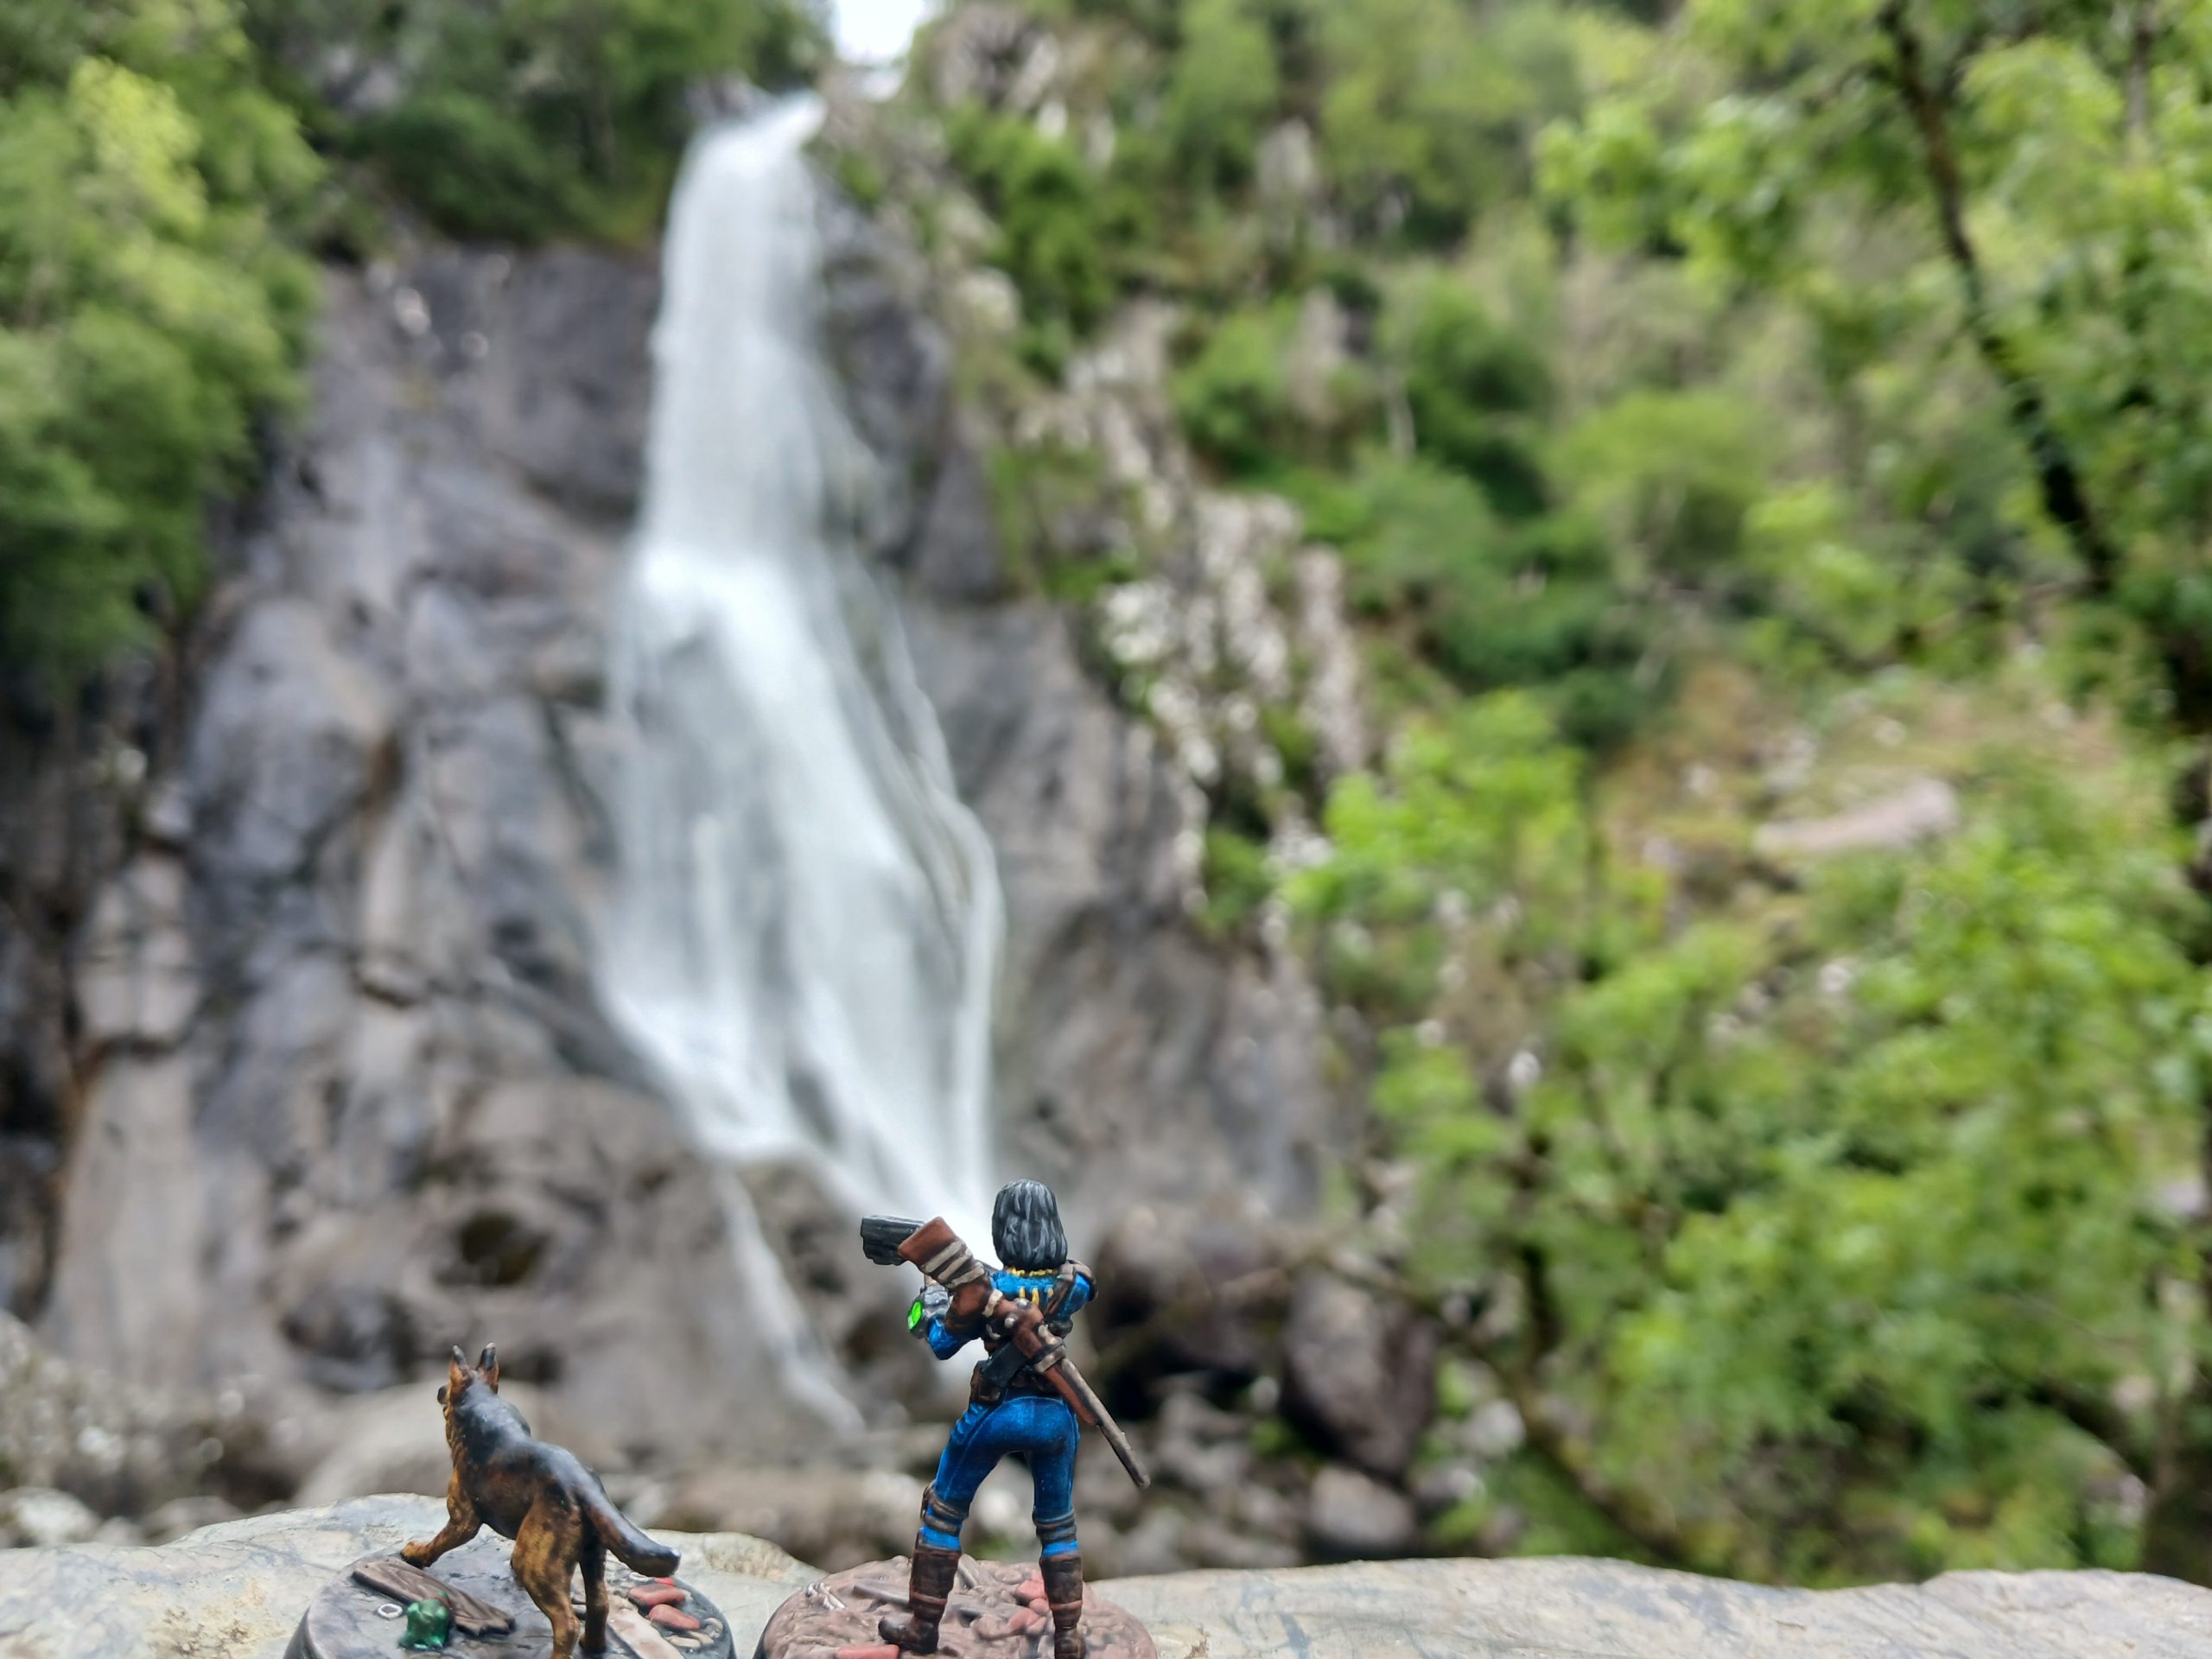 Aber Falls, a source of radiation free water....
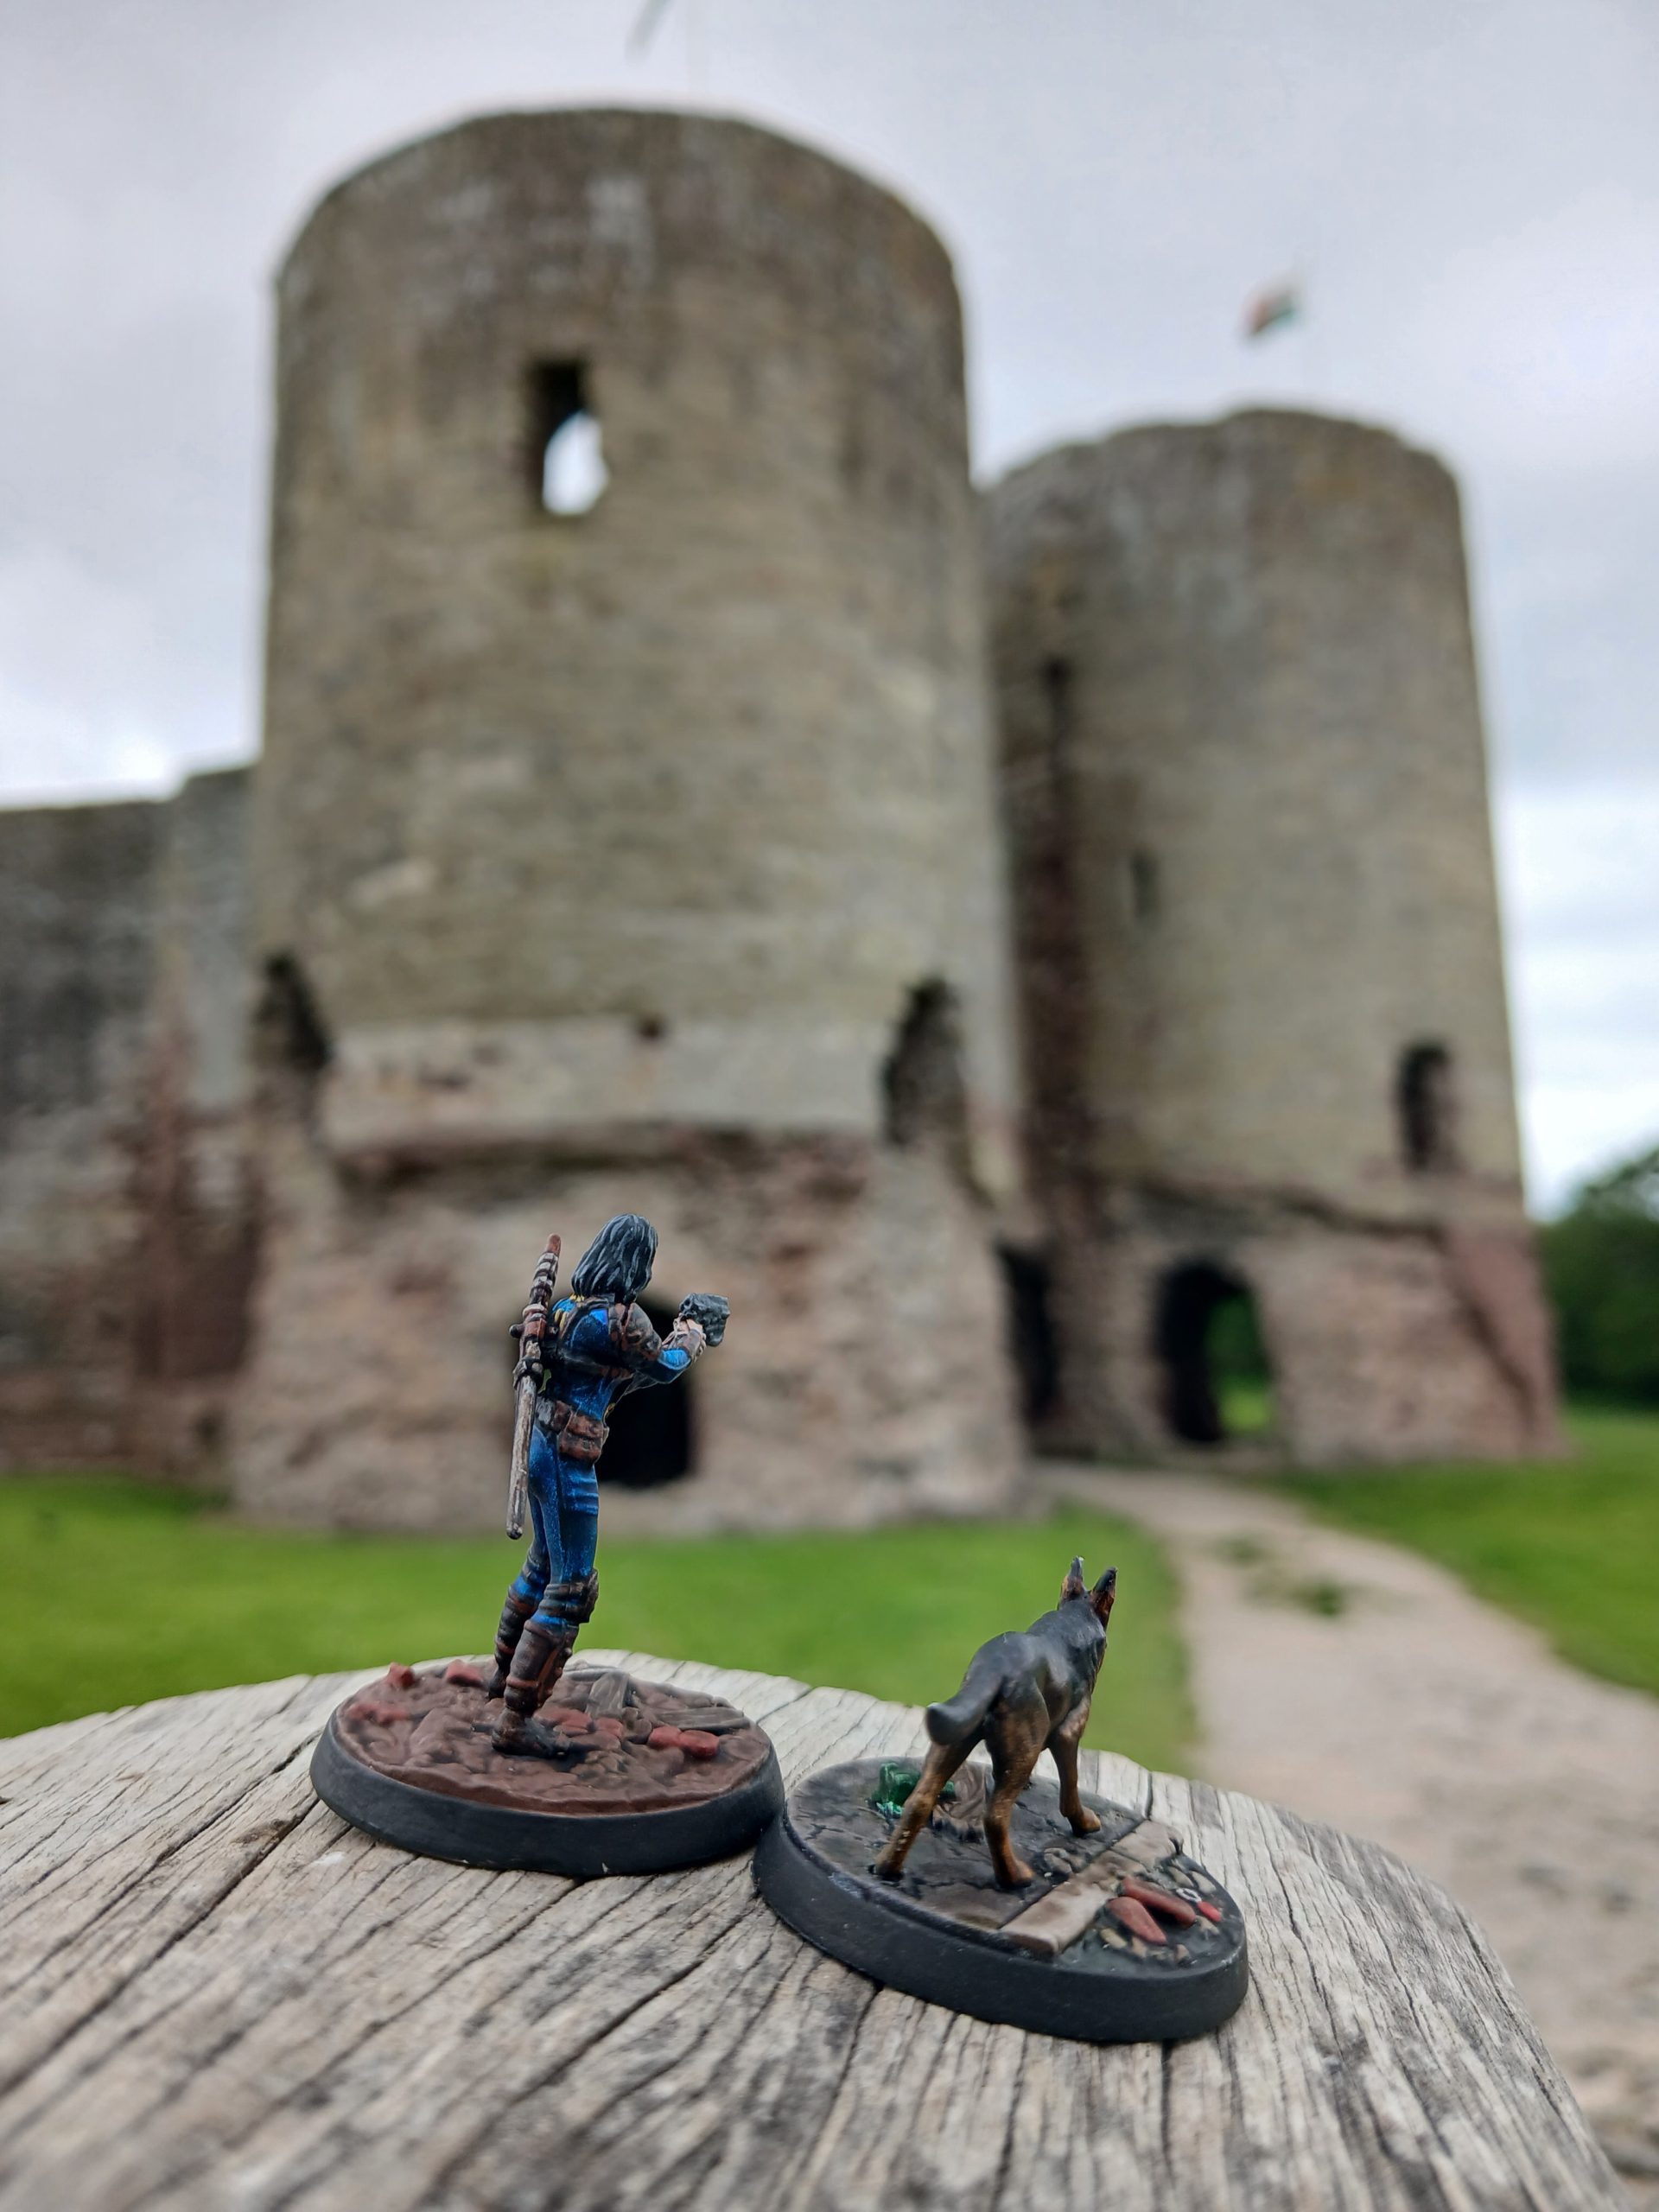
Rhuddlan Castle, devoid of life
Snowdonia, a rugged defensible landscape
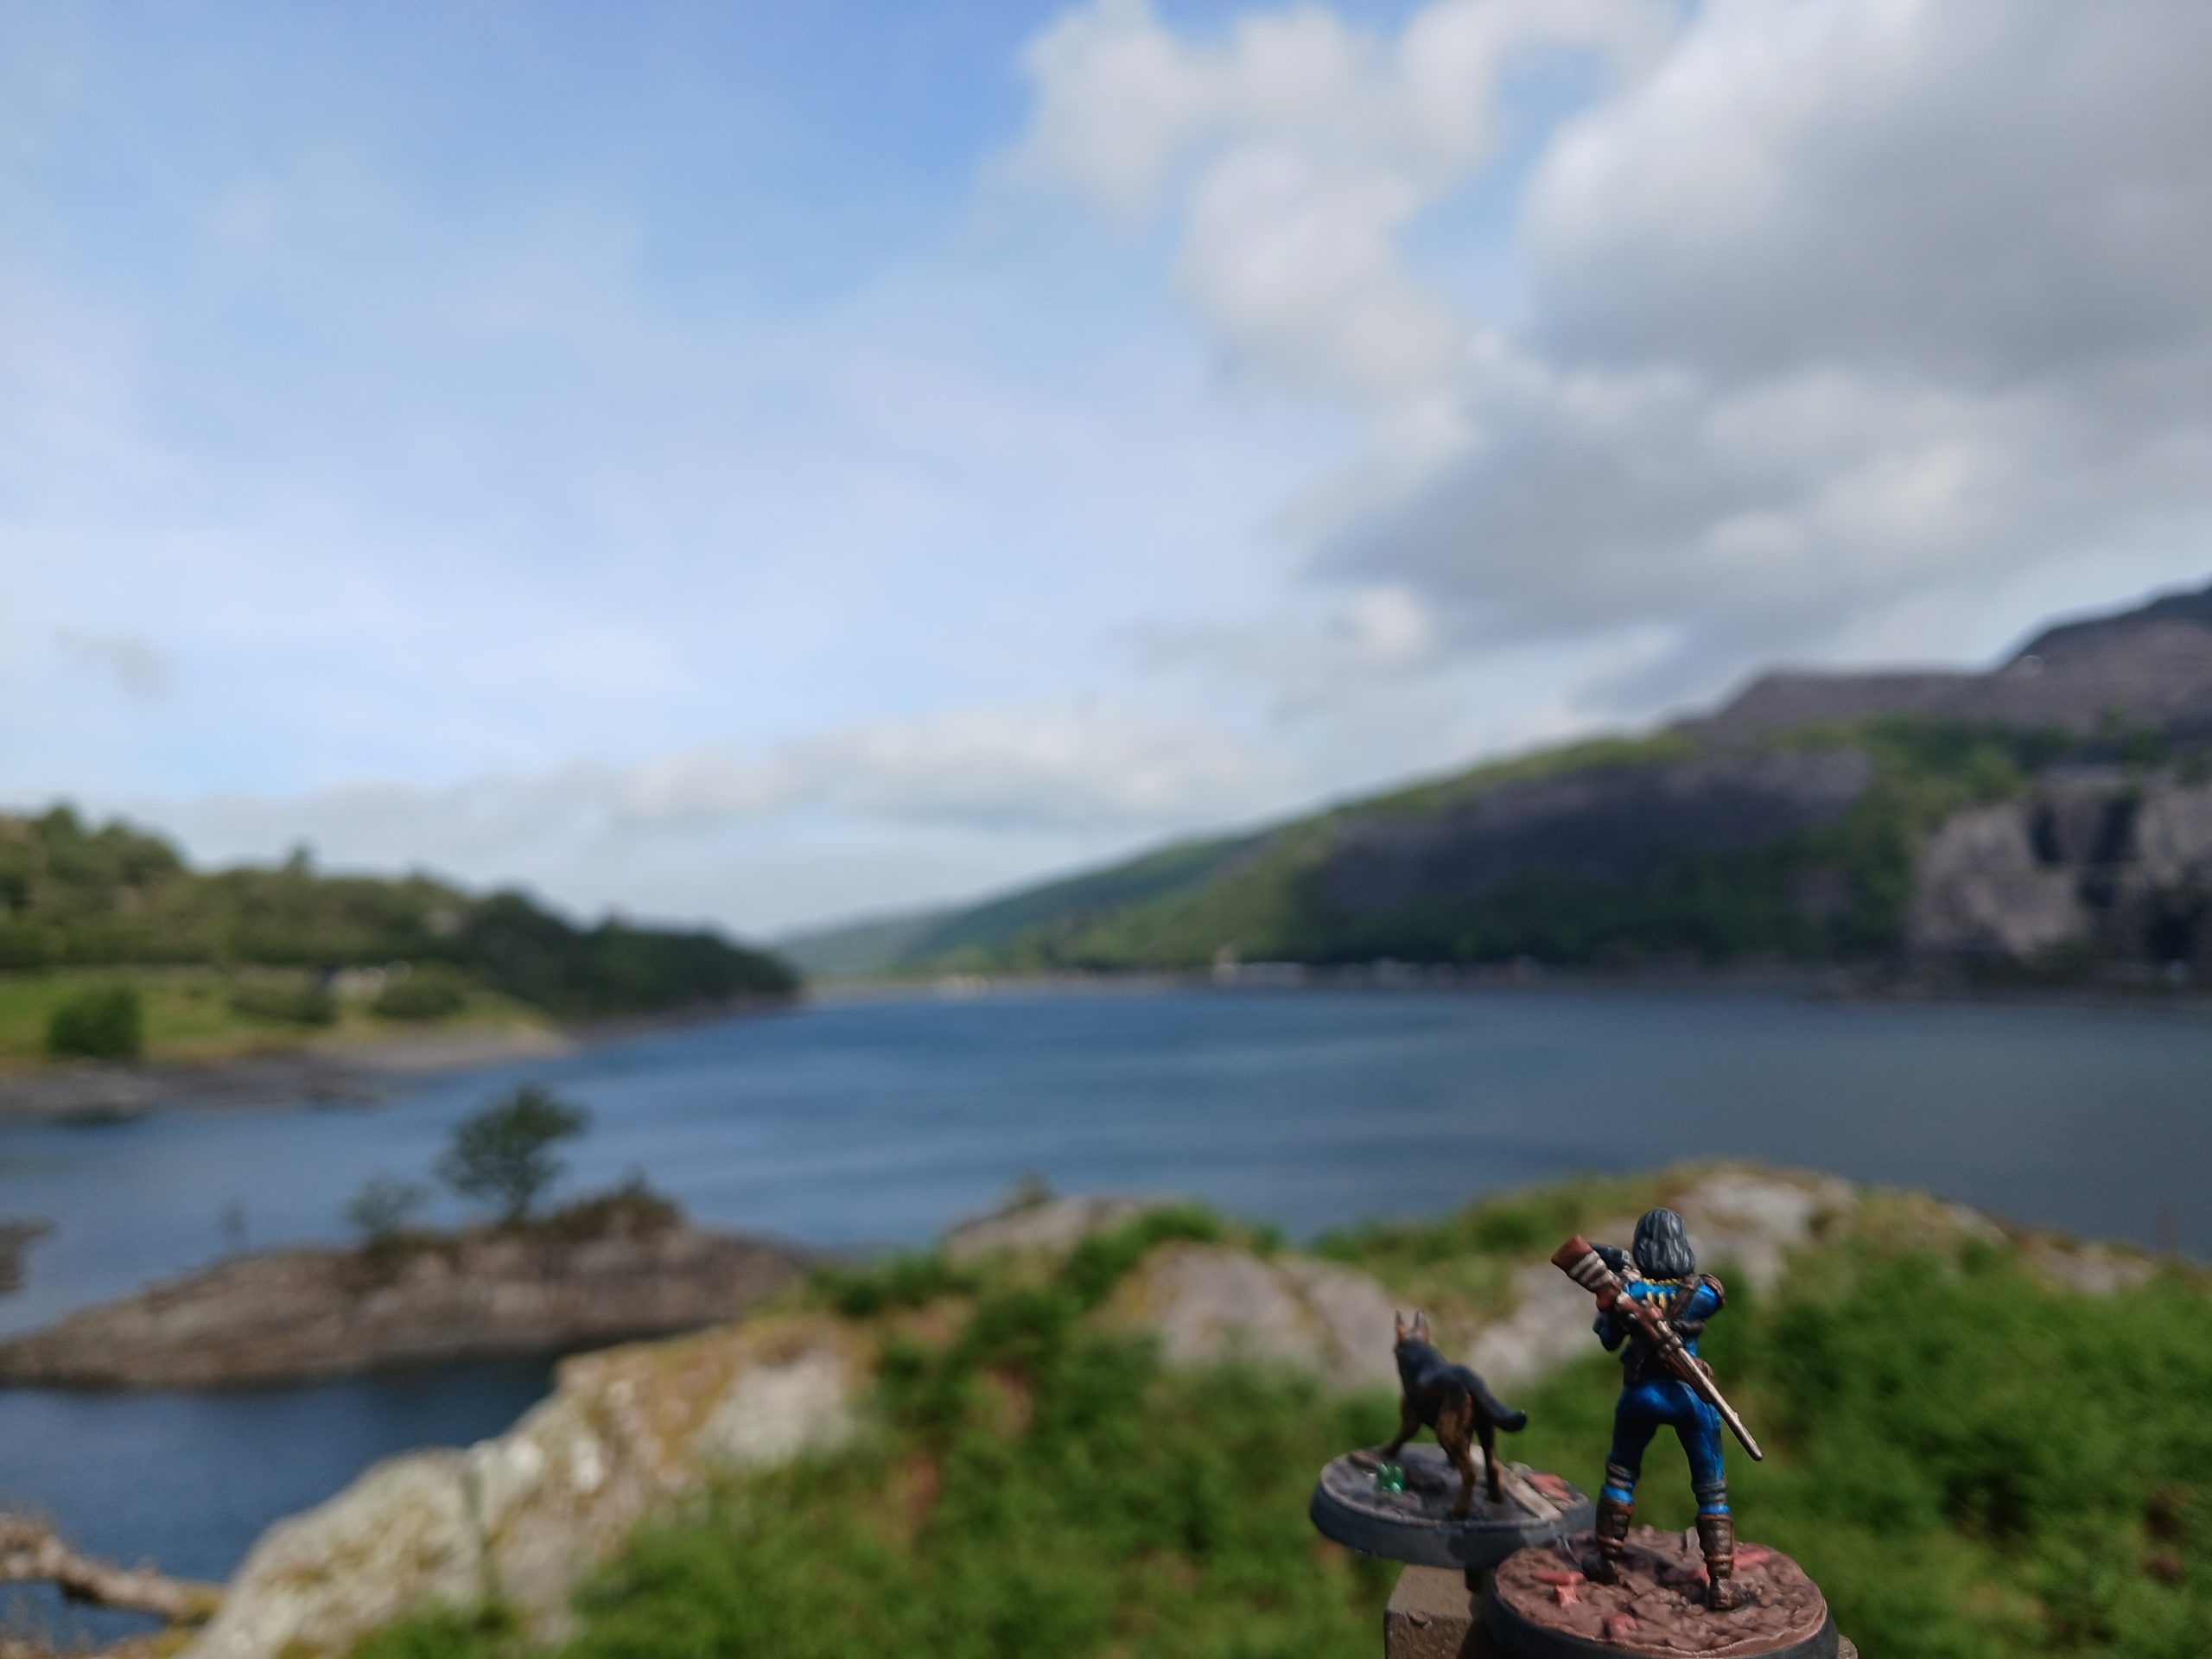
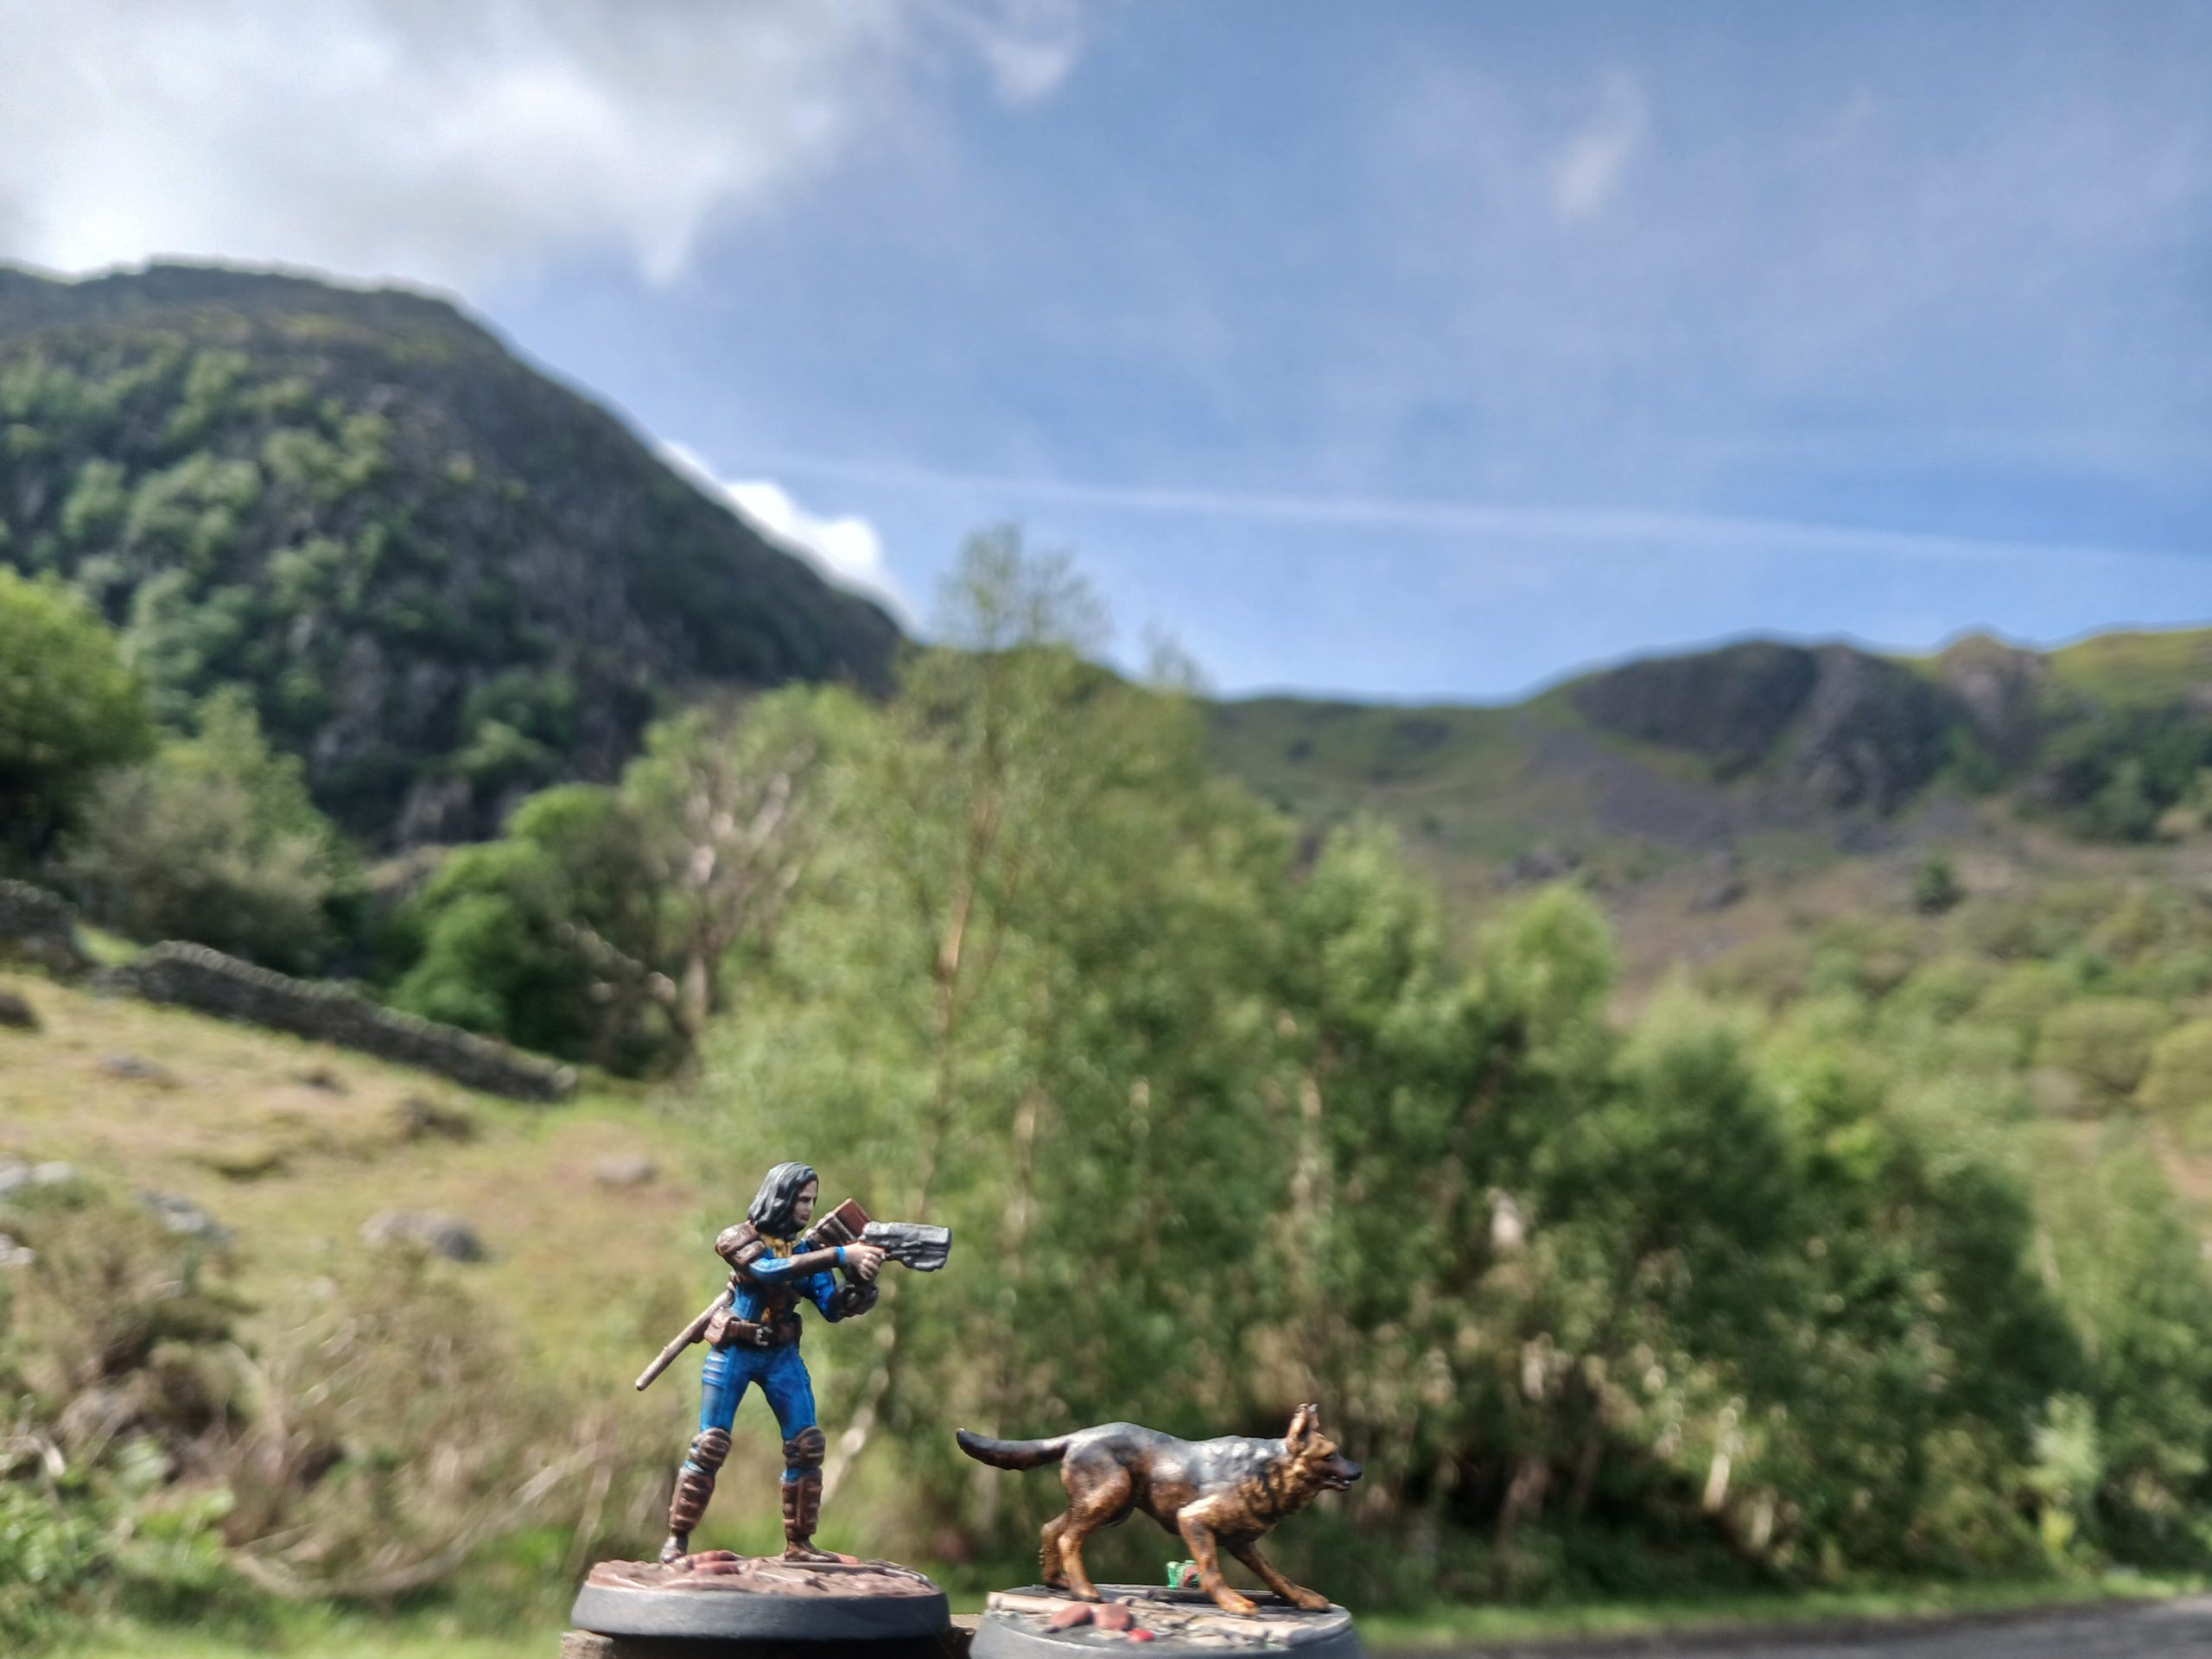
Swallow Falls, another source of safe water, this time closer to the trade route...
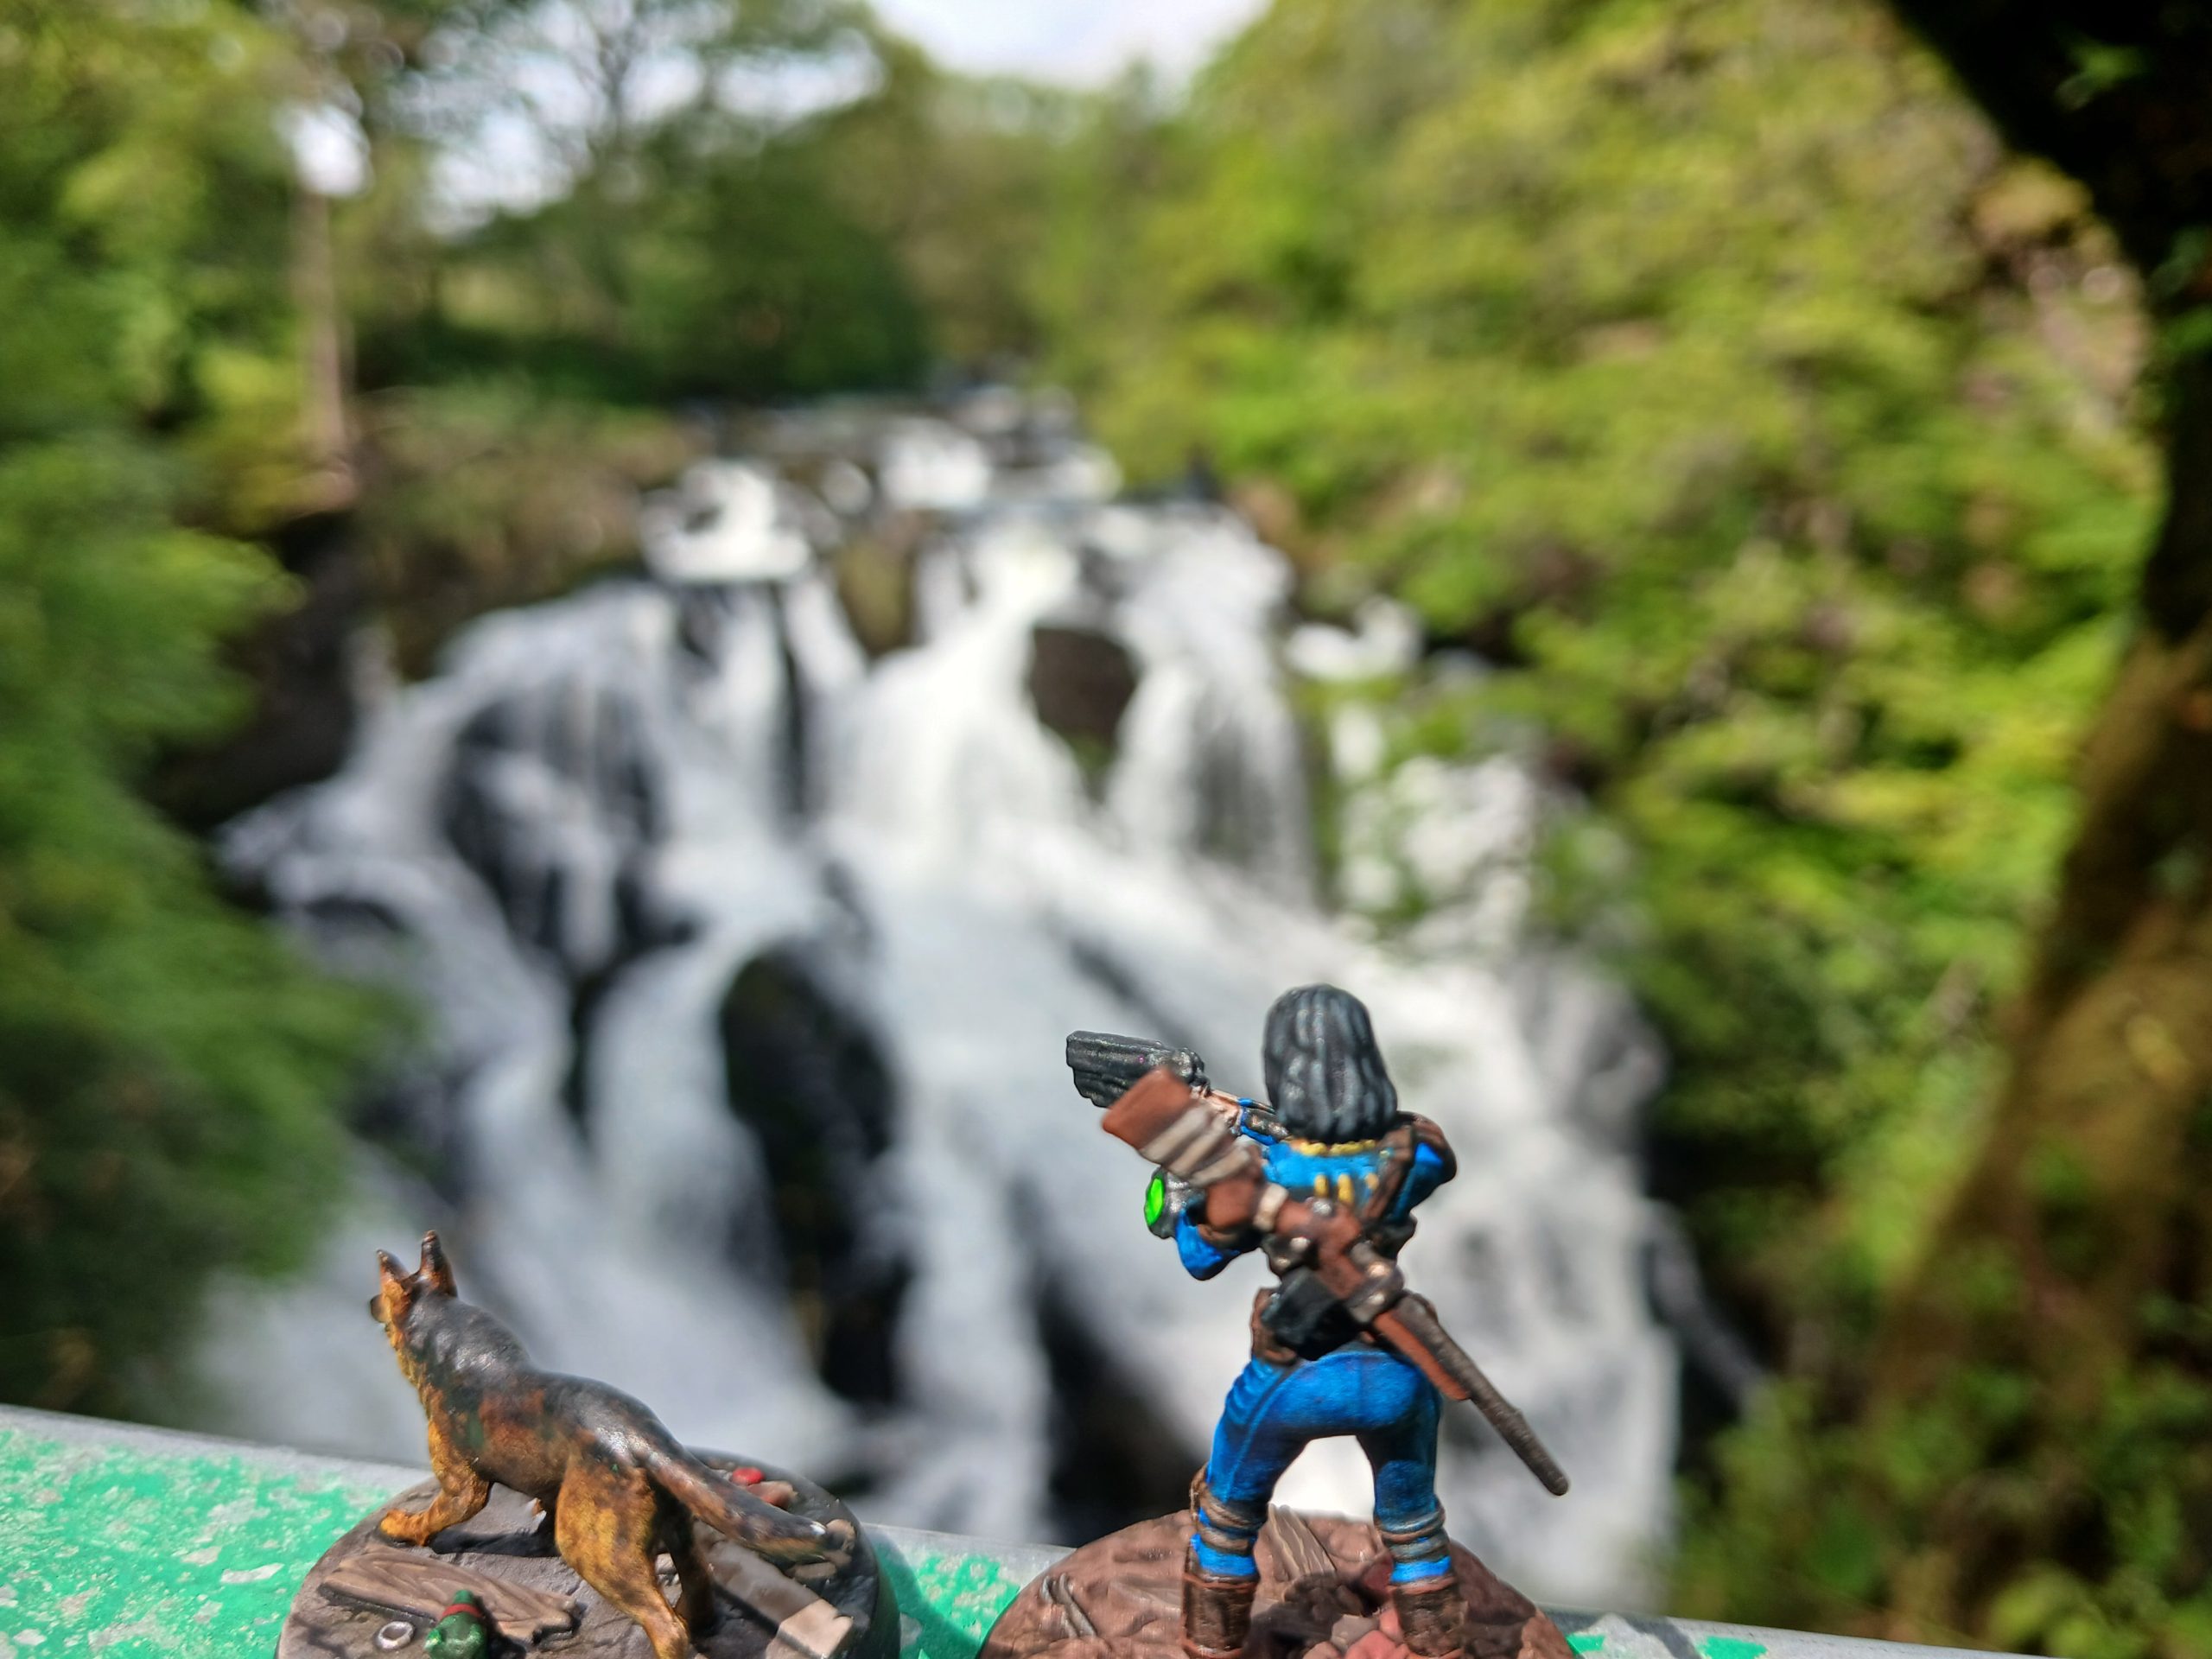
Returning home they pass a mysterious mound and what must be a Brotherhood of Steel forward base
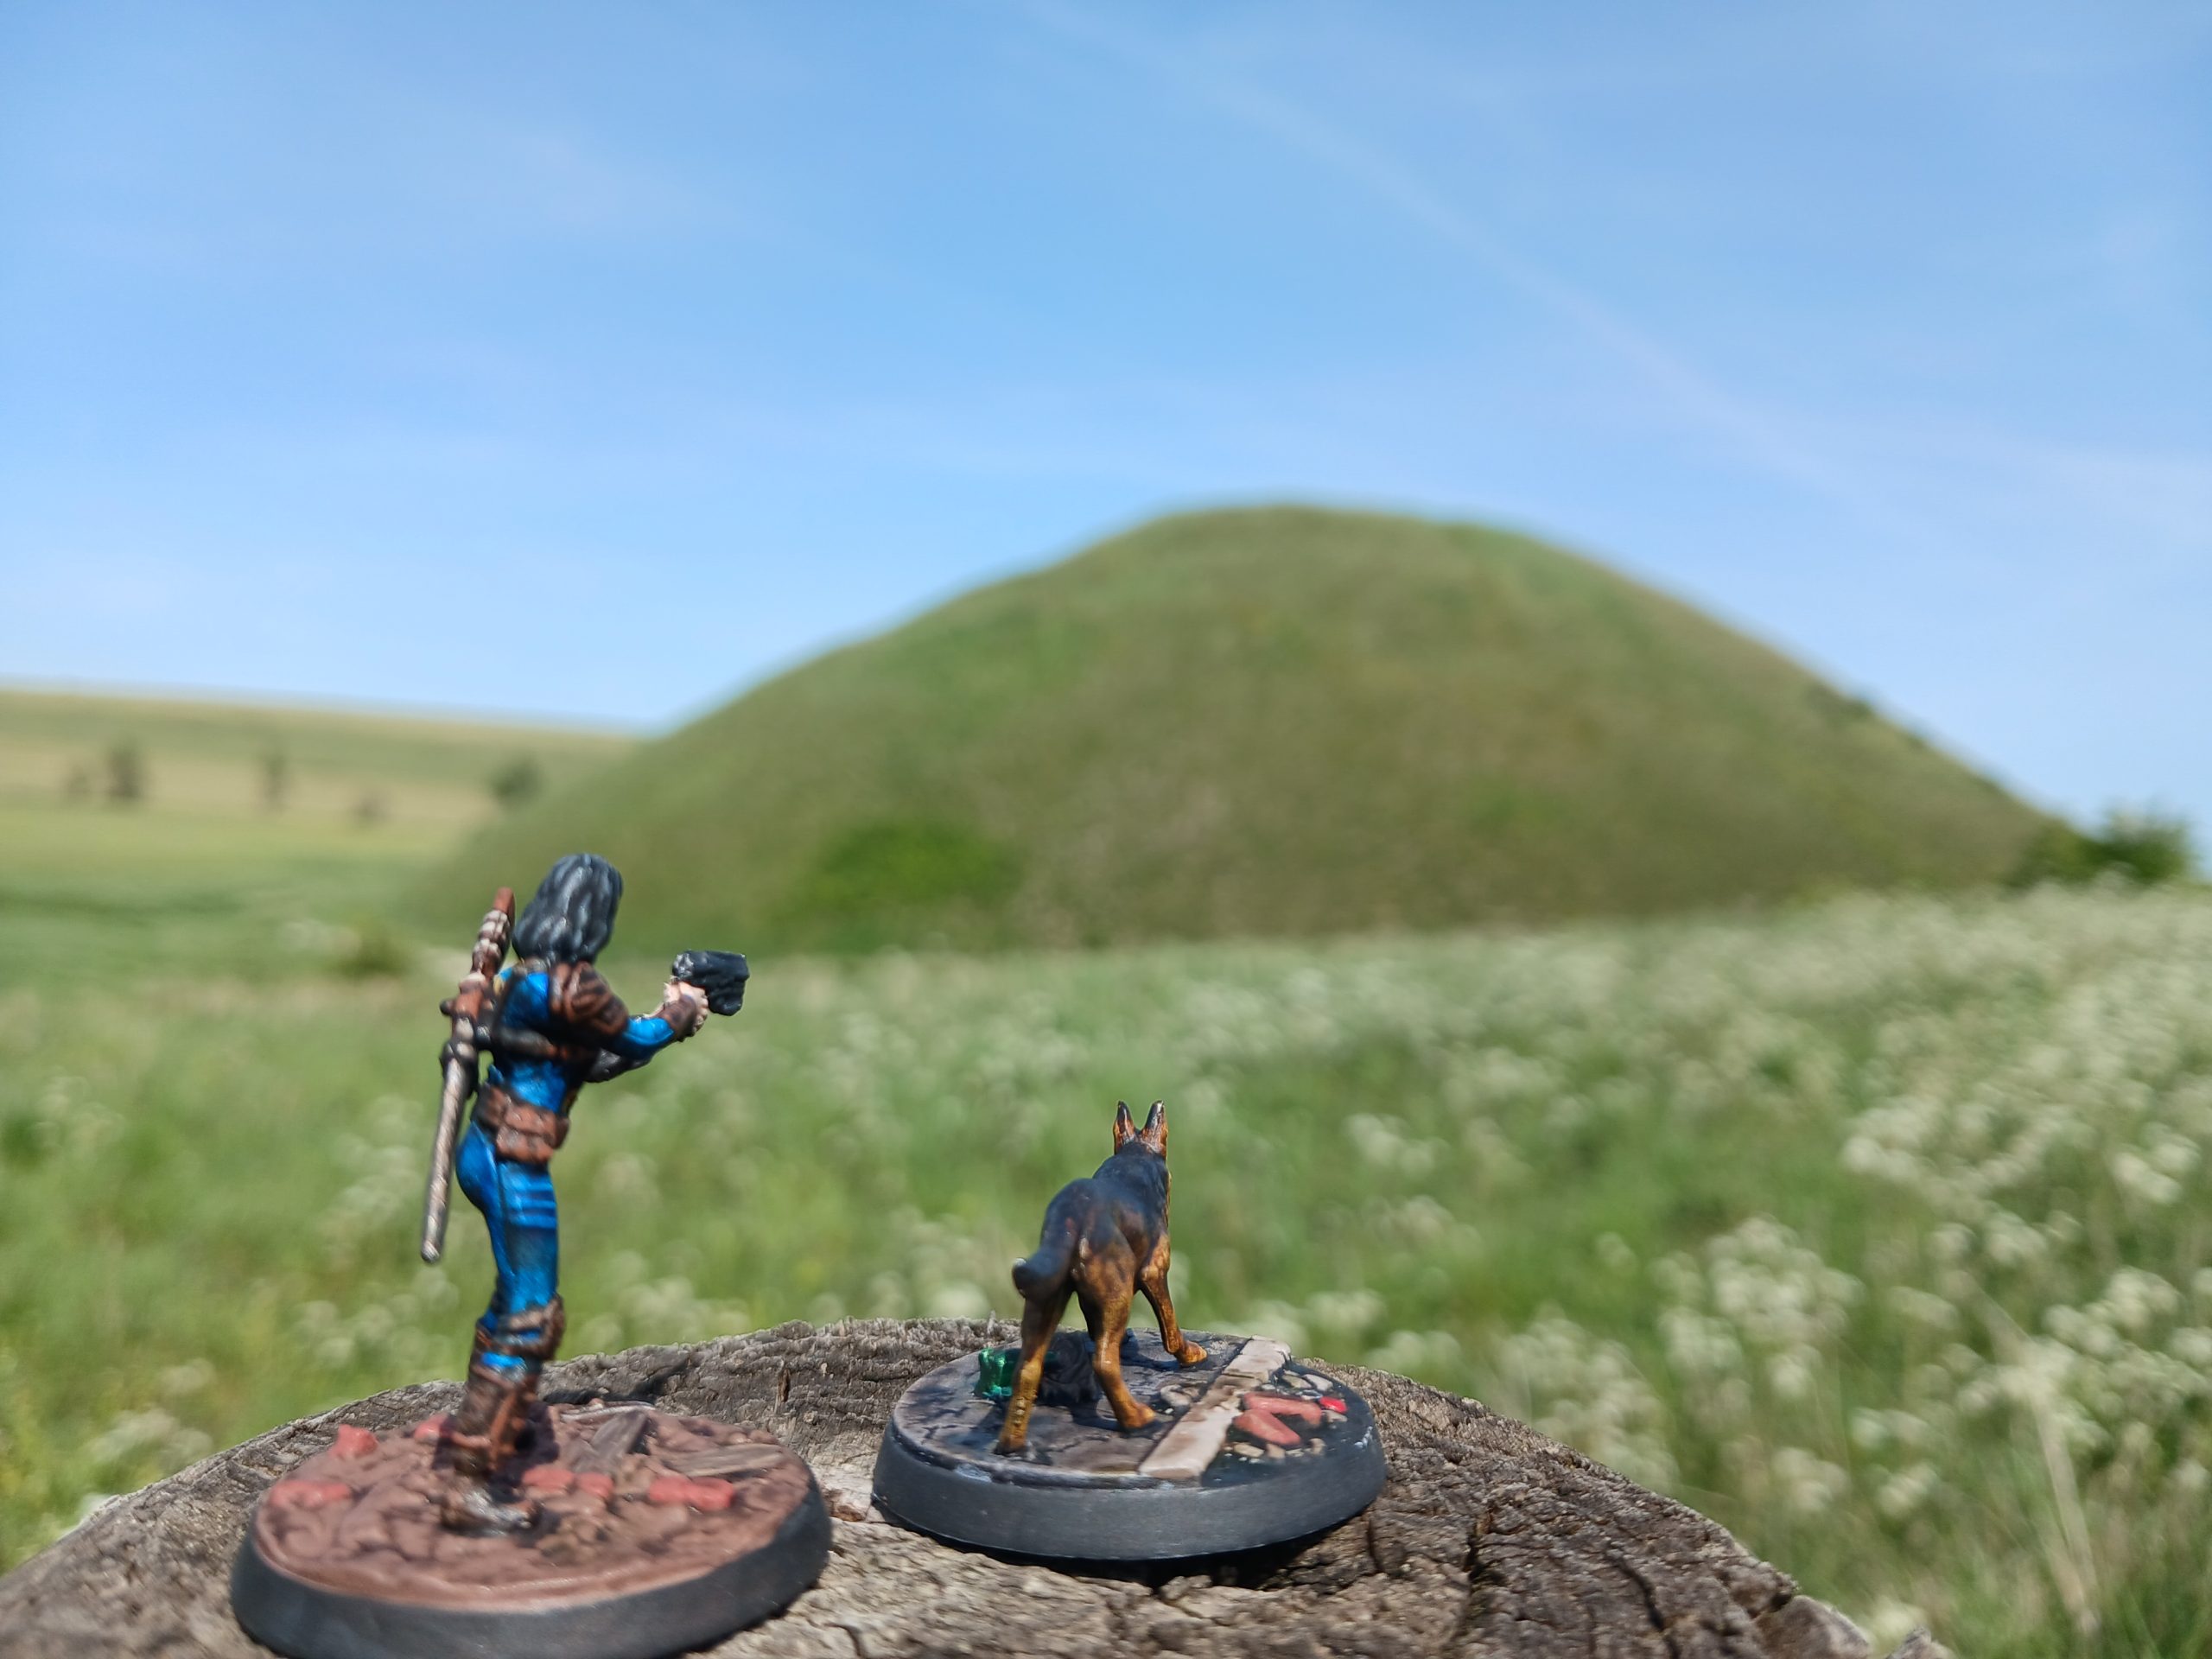 Silbury hill added to the Pip Boy. What was it created for? Who knows...
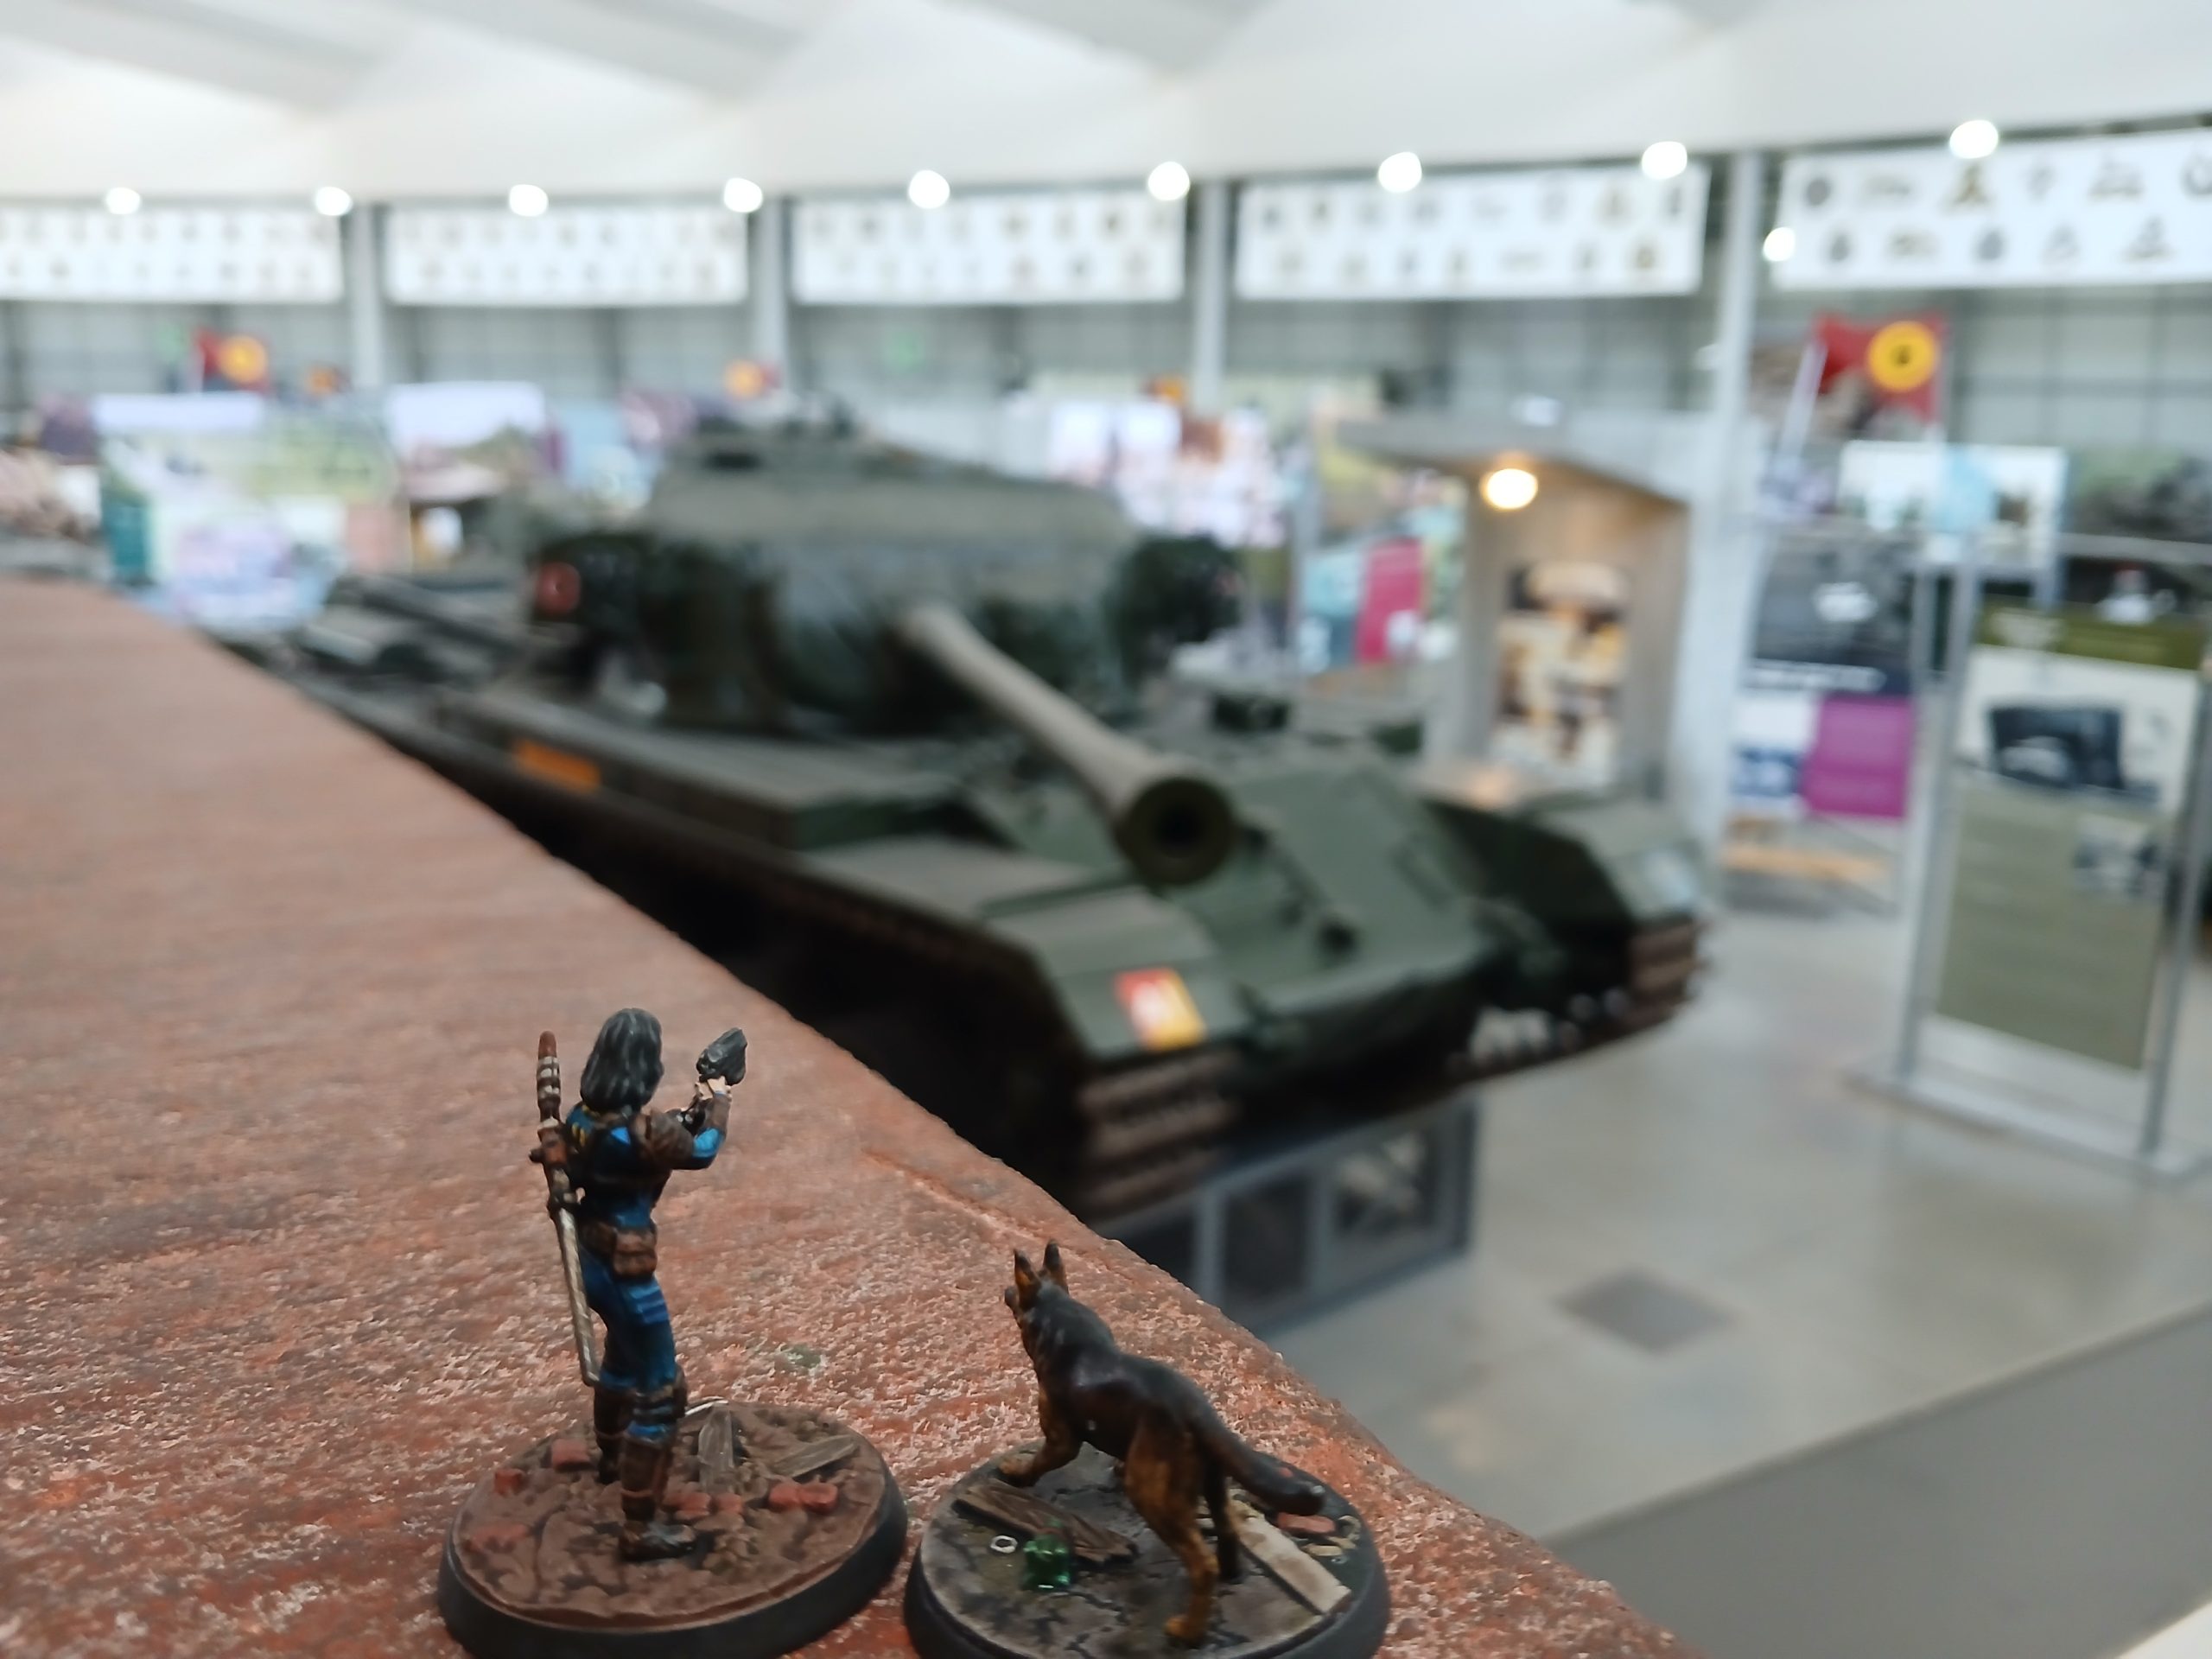 BoS forward base at Bovington.... stealth required here
A breath of fresh air (part 1)
26th May 2026
The Sole Survivor and Dogmeat spent some time of late wandering in the lands of a place known as ‘Wales’.
They encountered Raider bases, Super Mutant encampments and BoS fortifications.
Powis Castle, signs of a raider camp
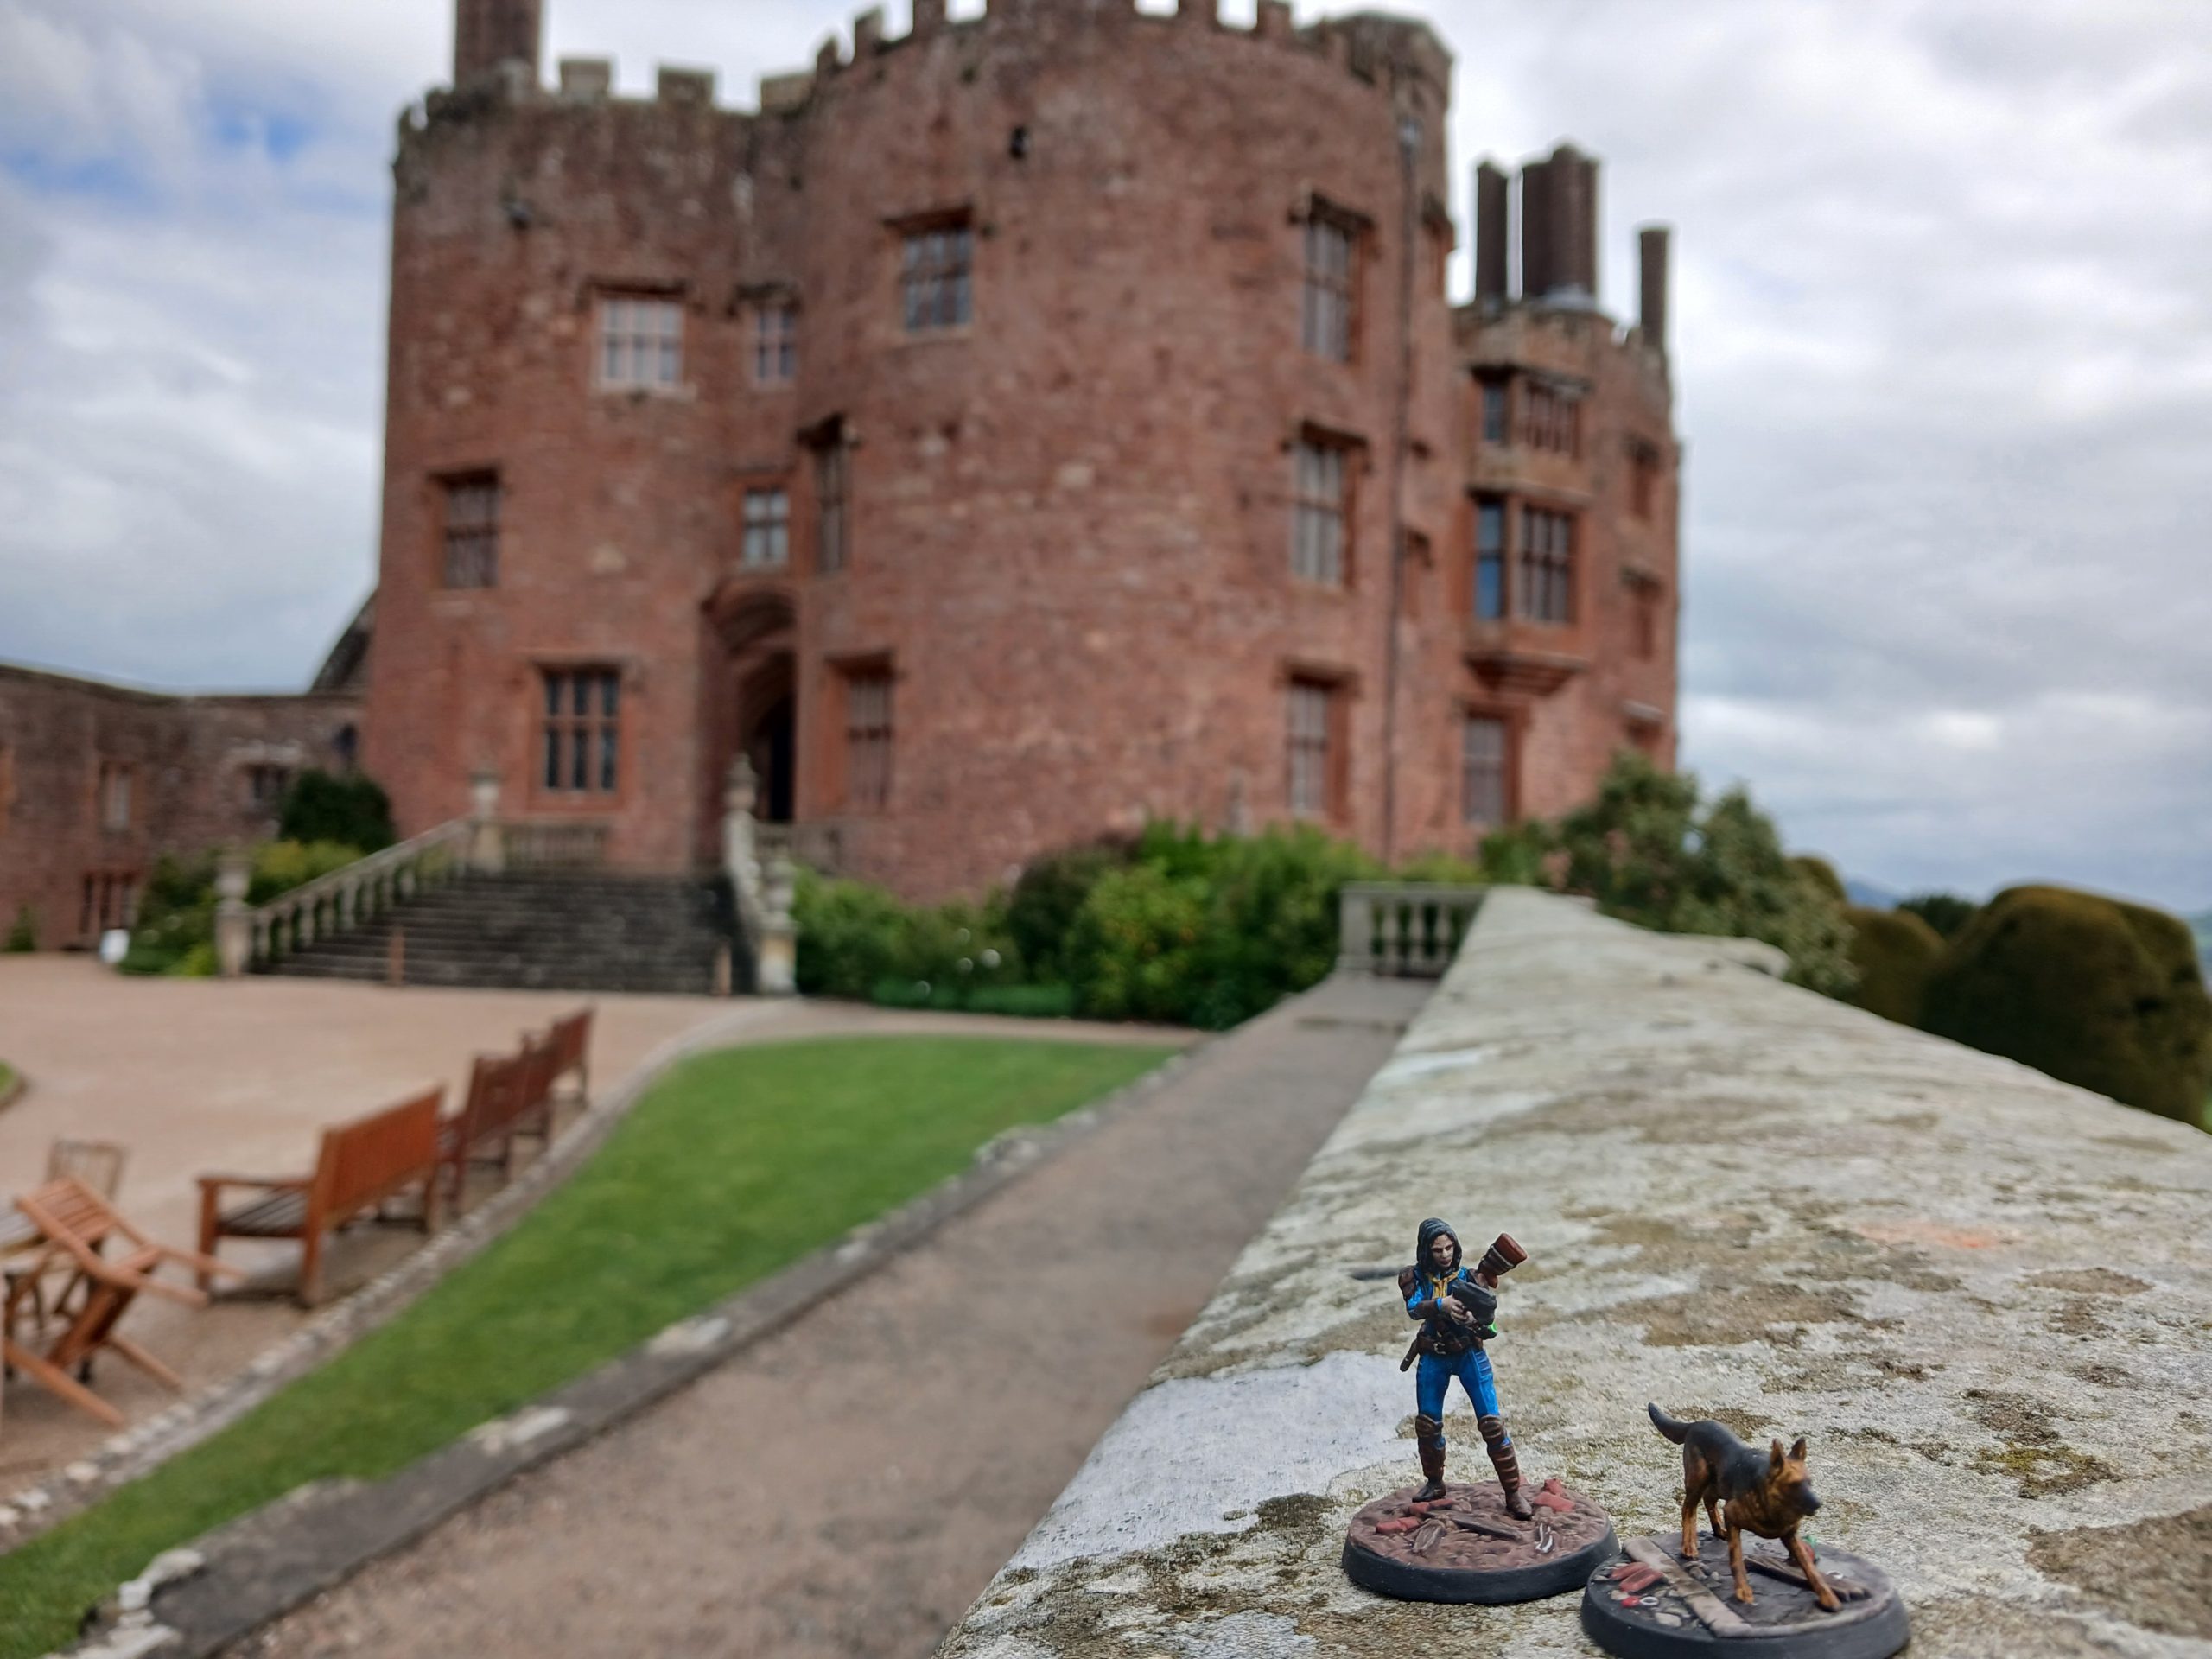
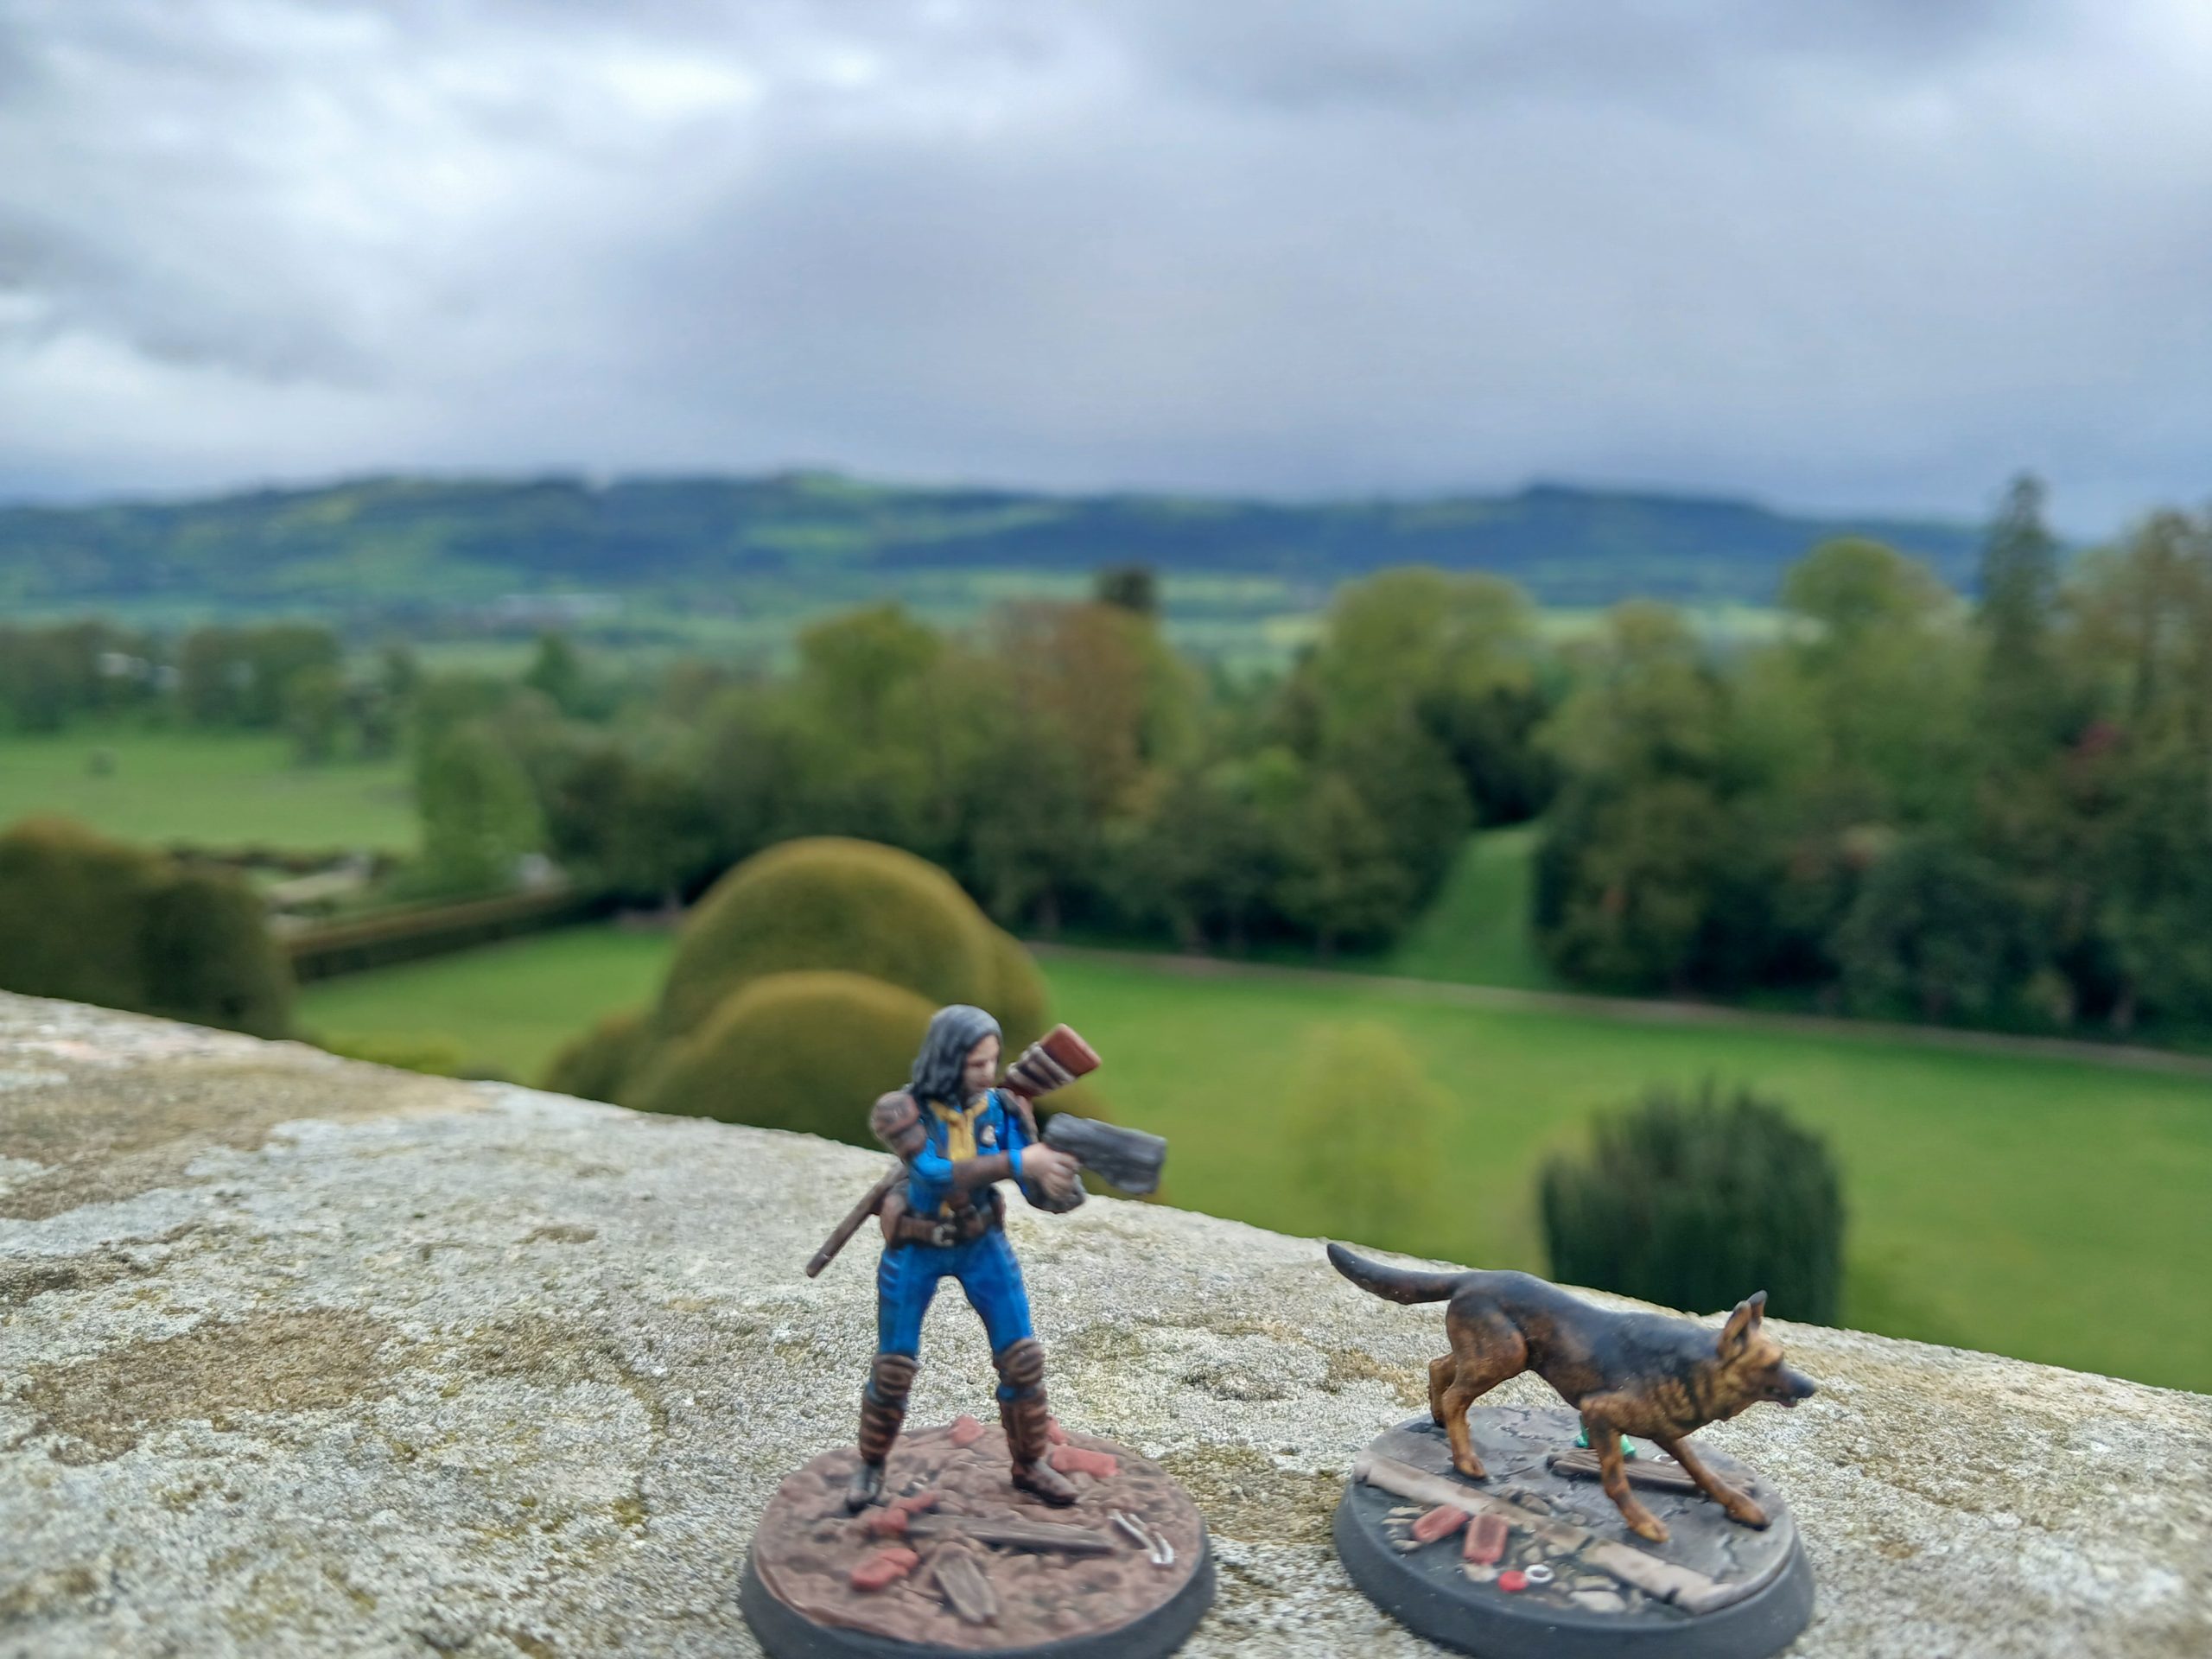
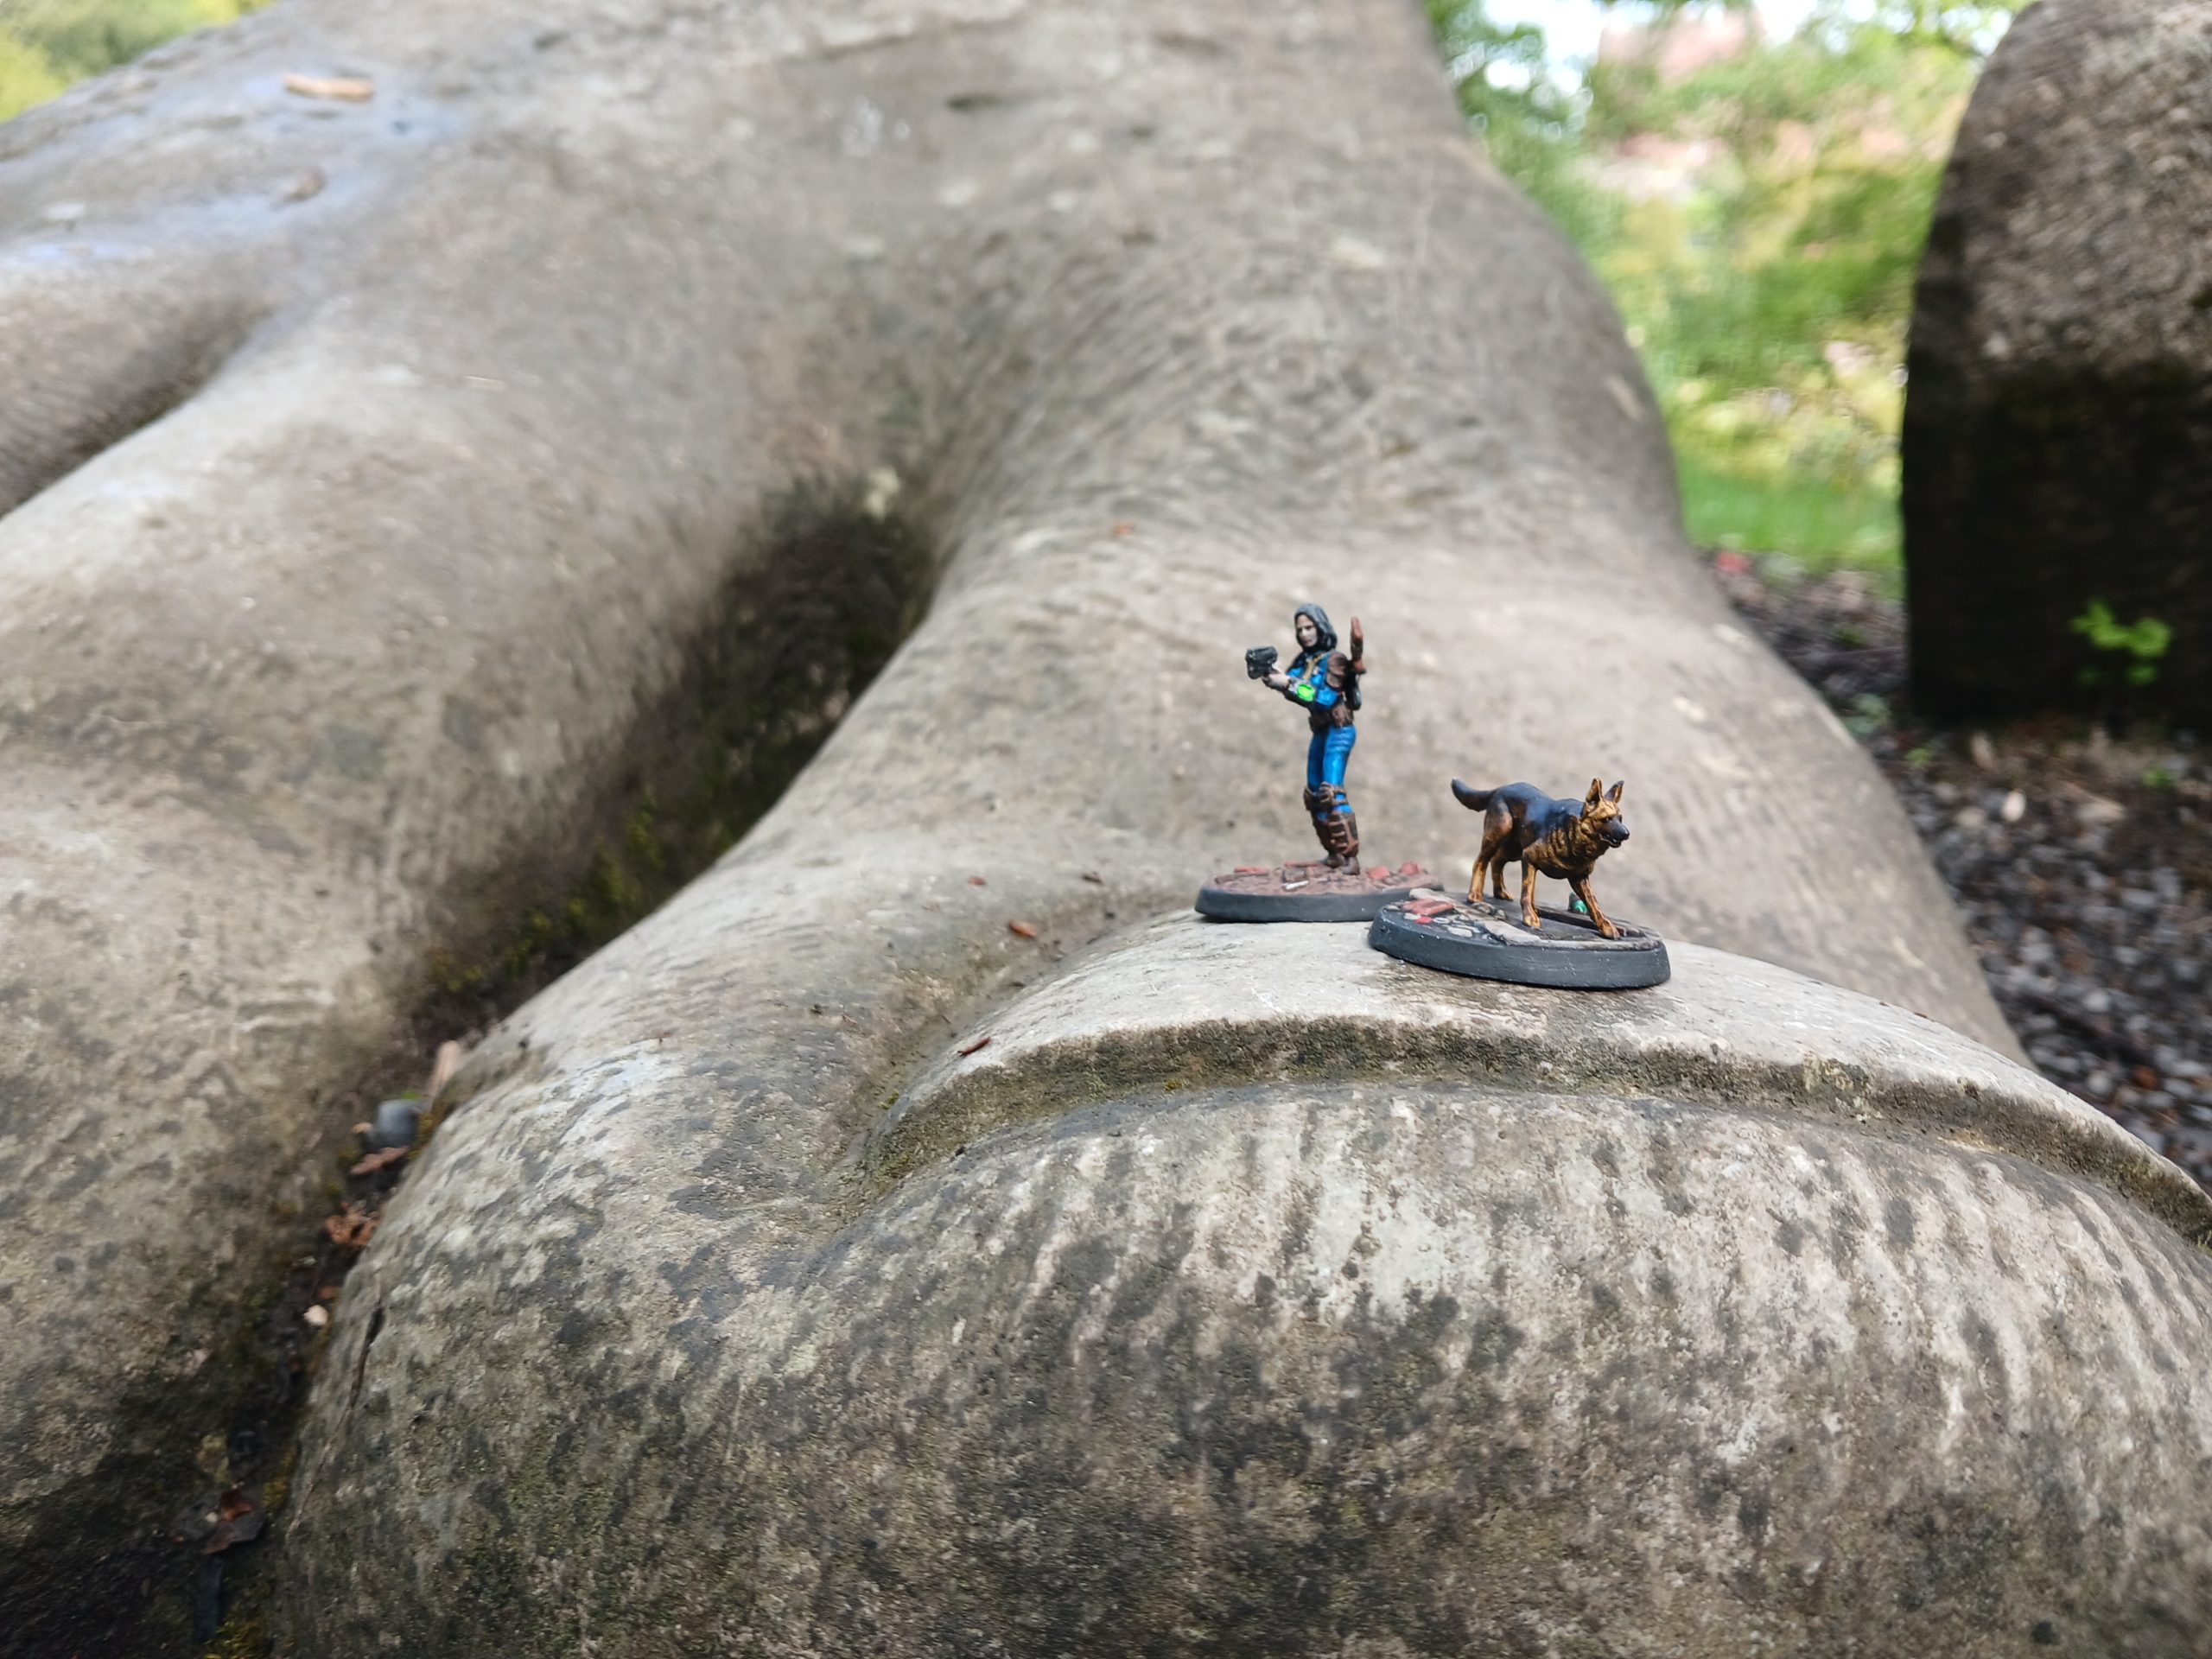
Colwyn Bay, sculpture of what must be an ancient warrior of great note
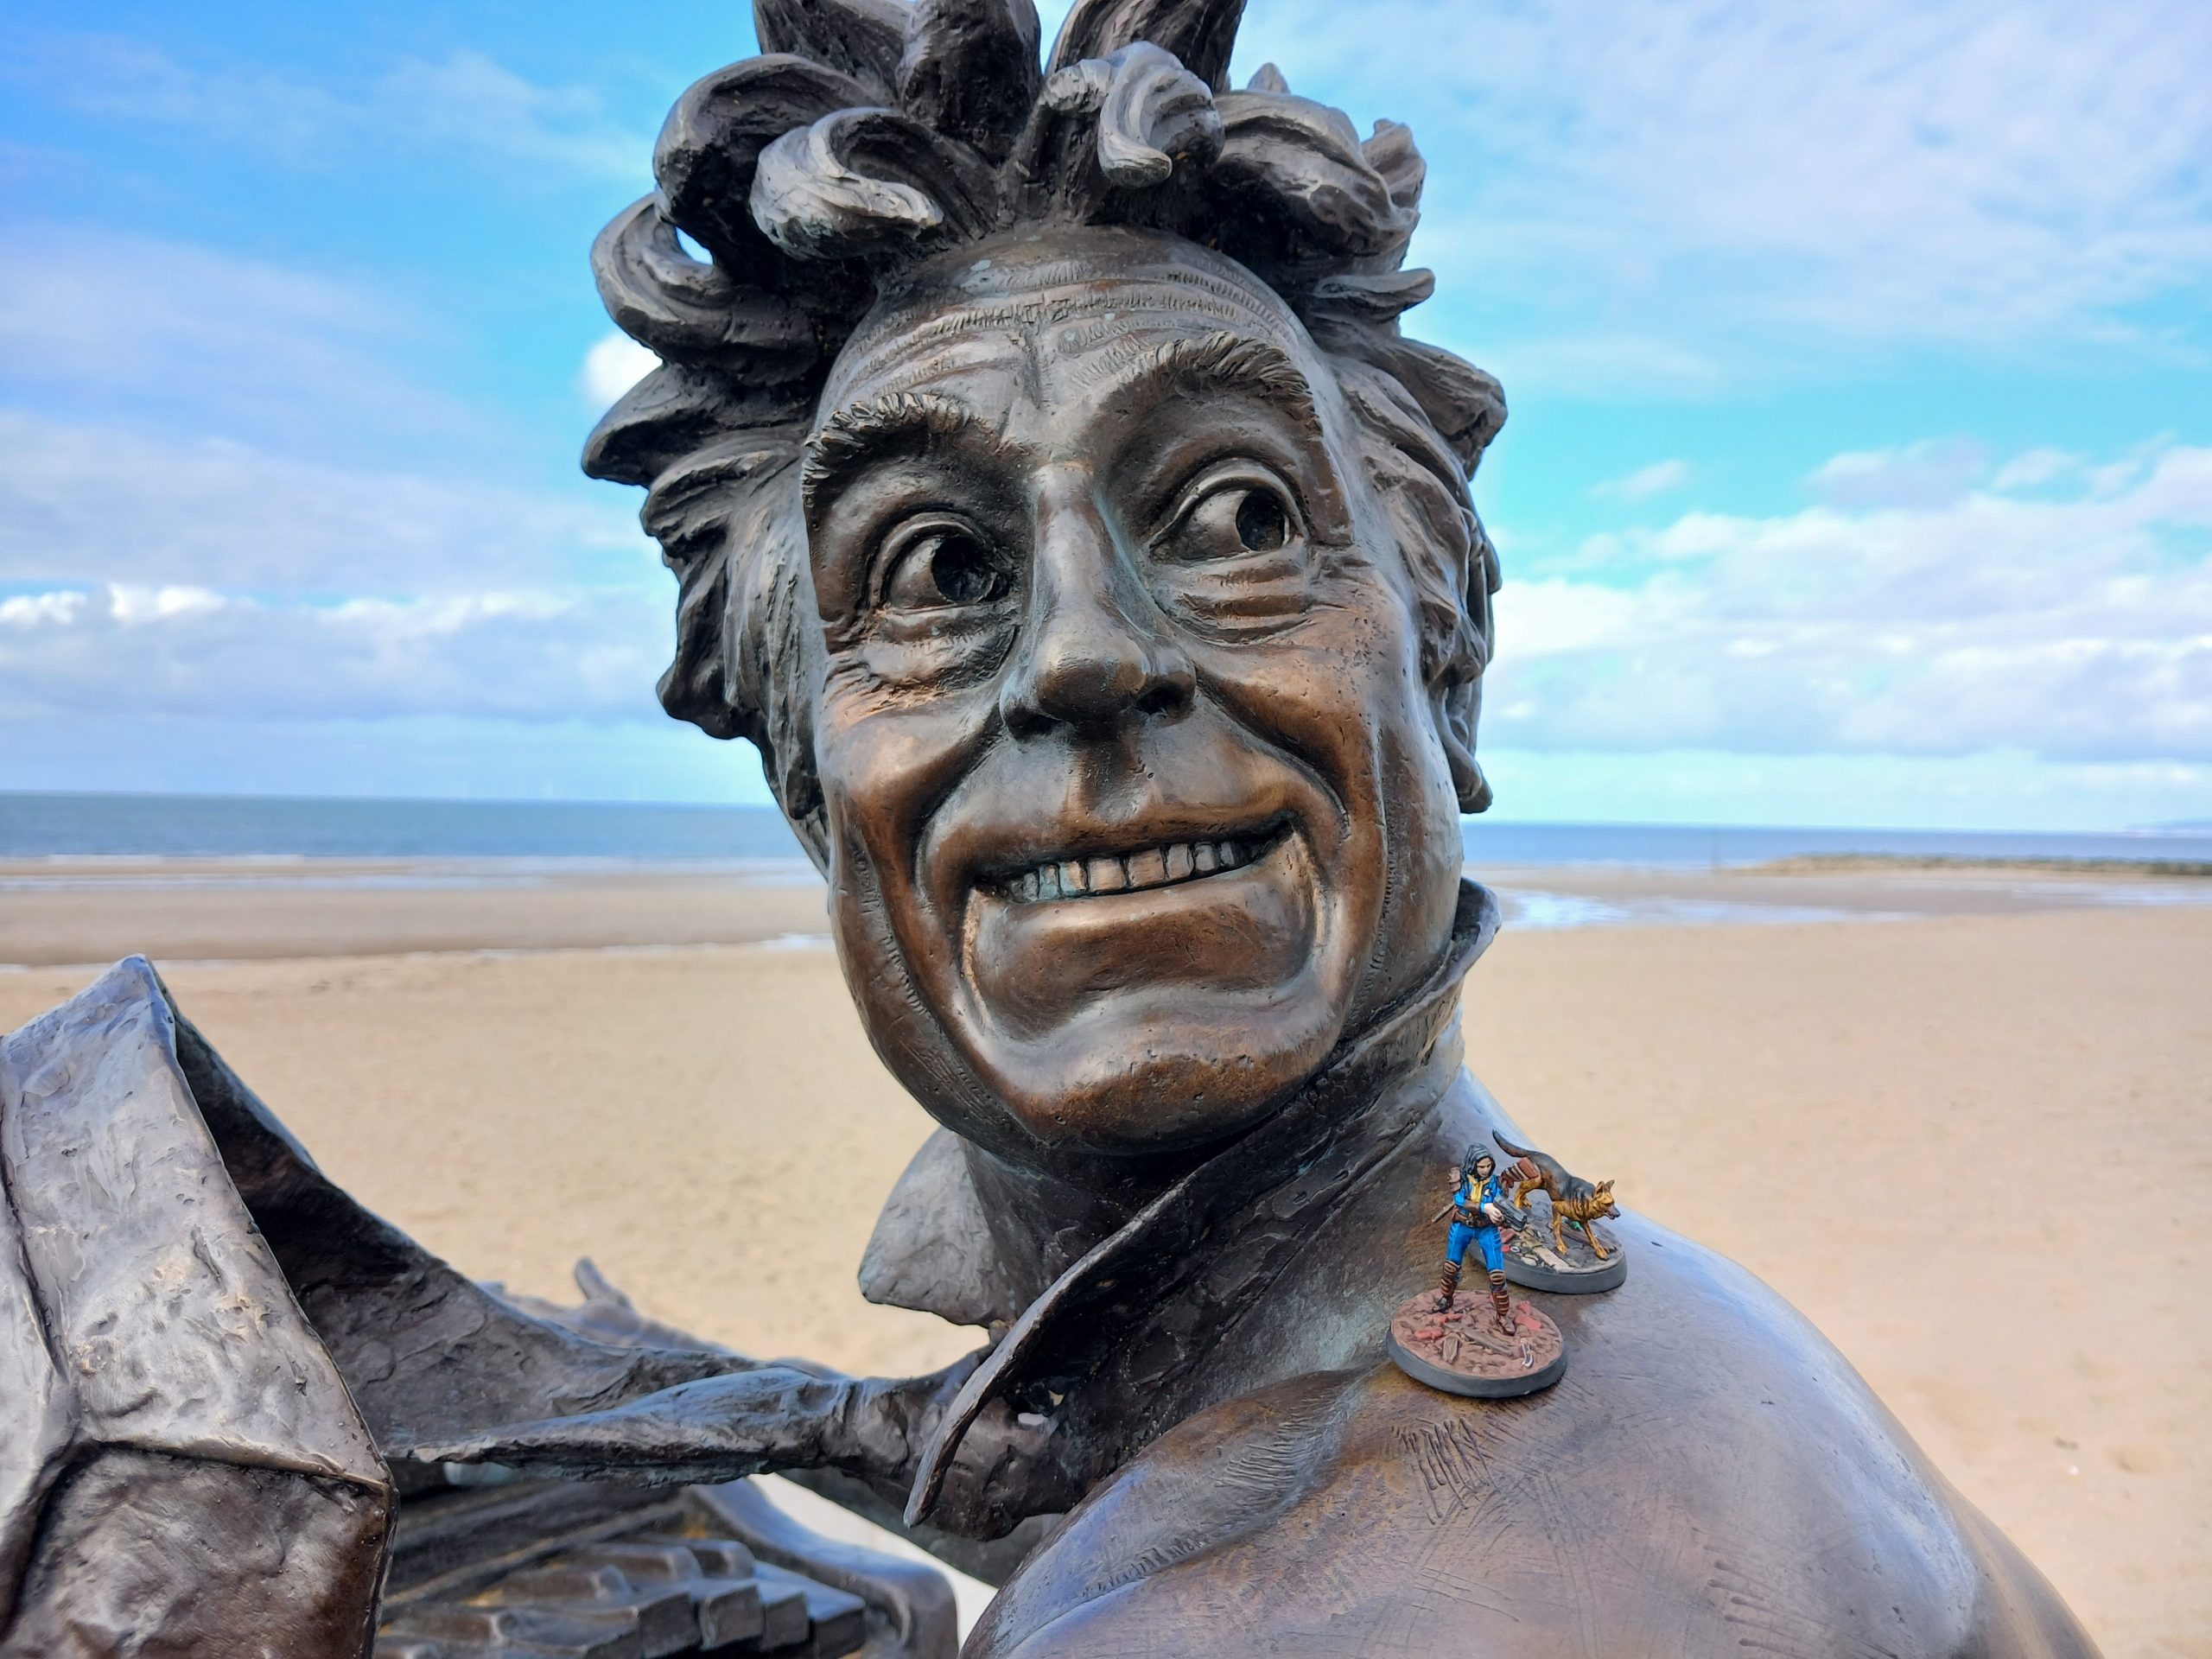
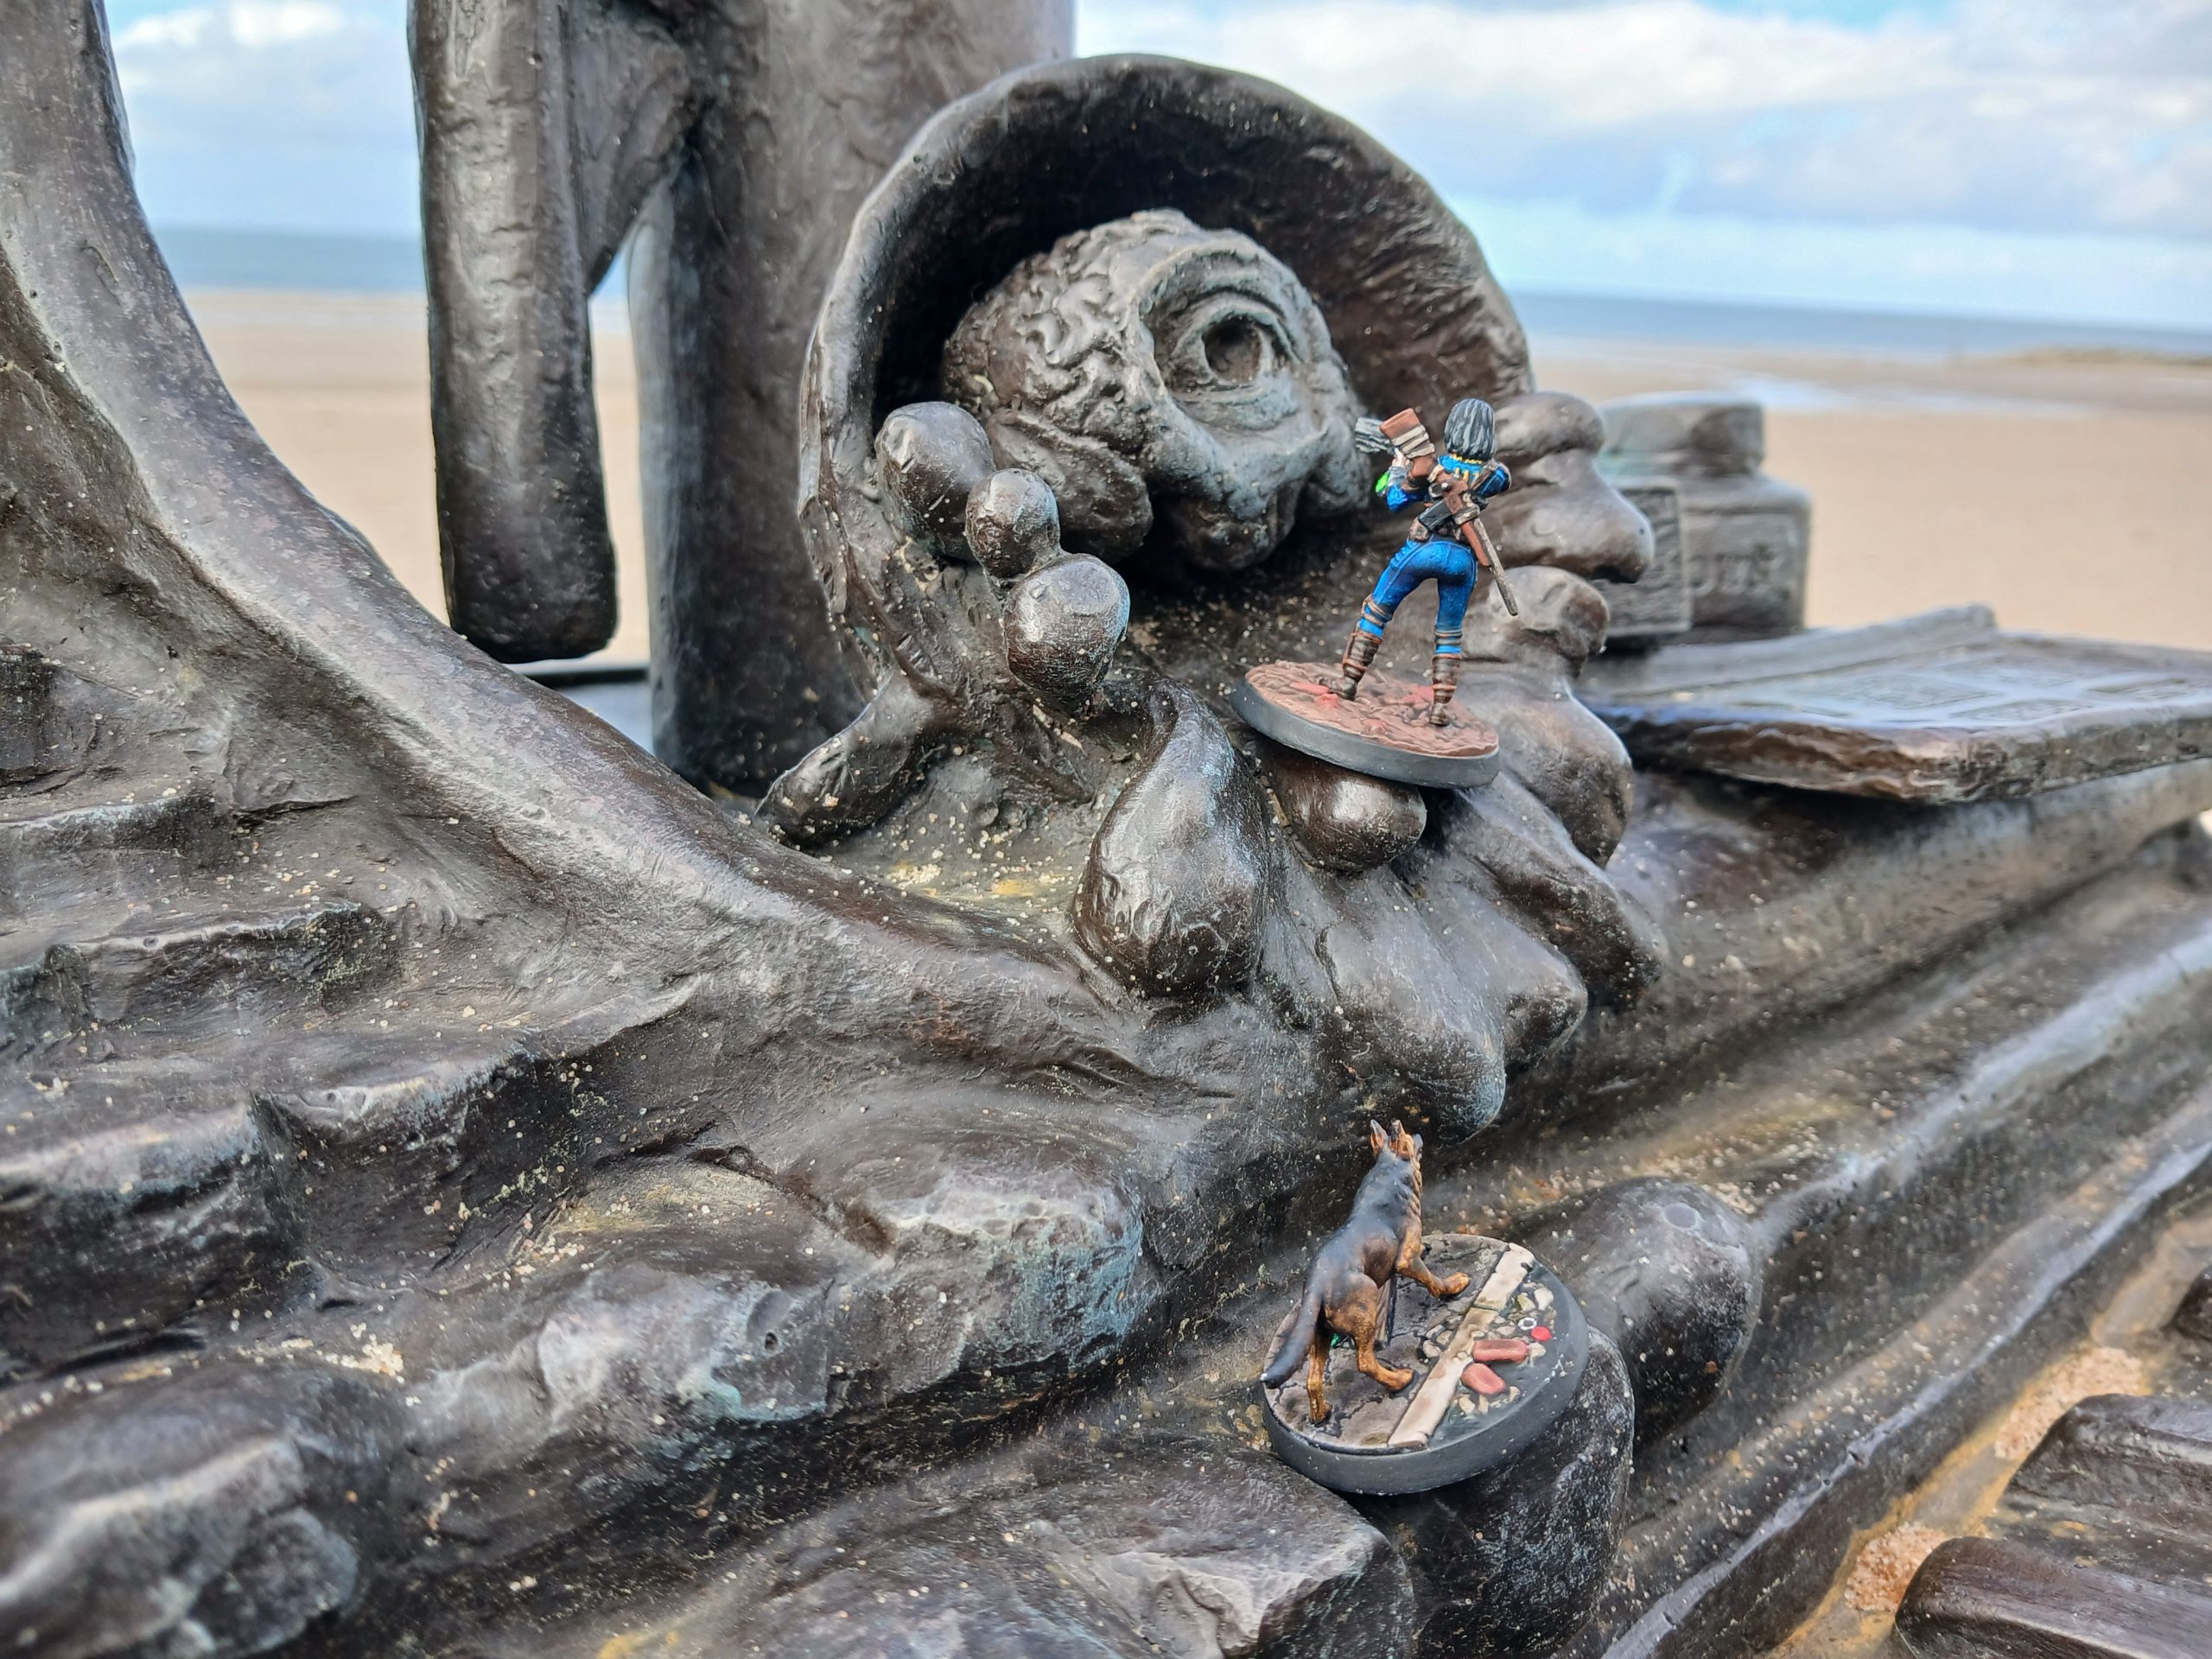
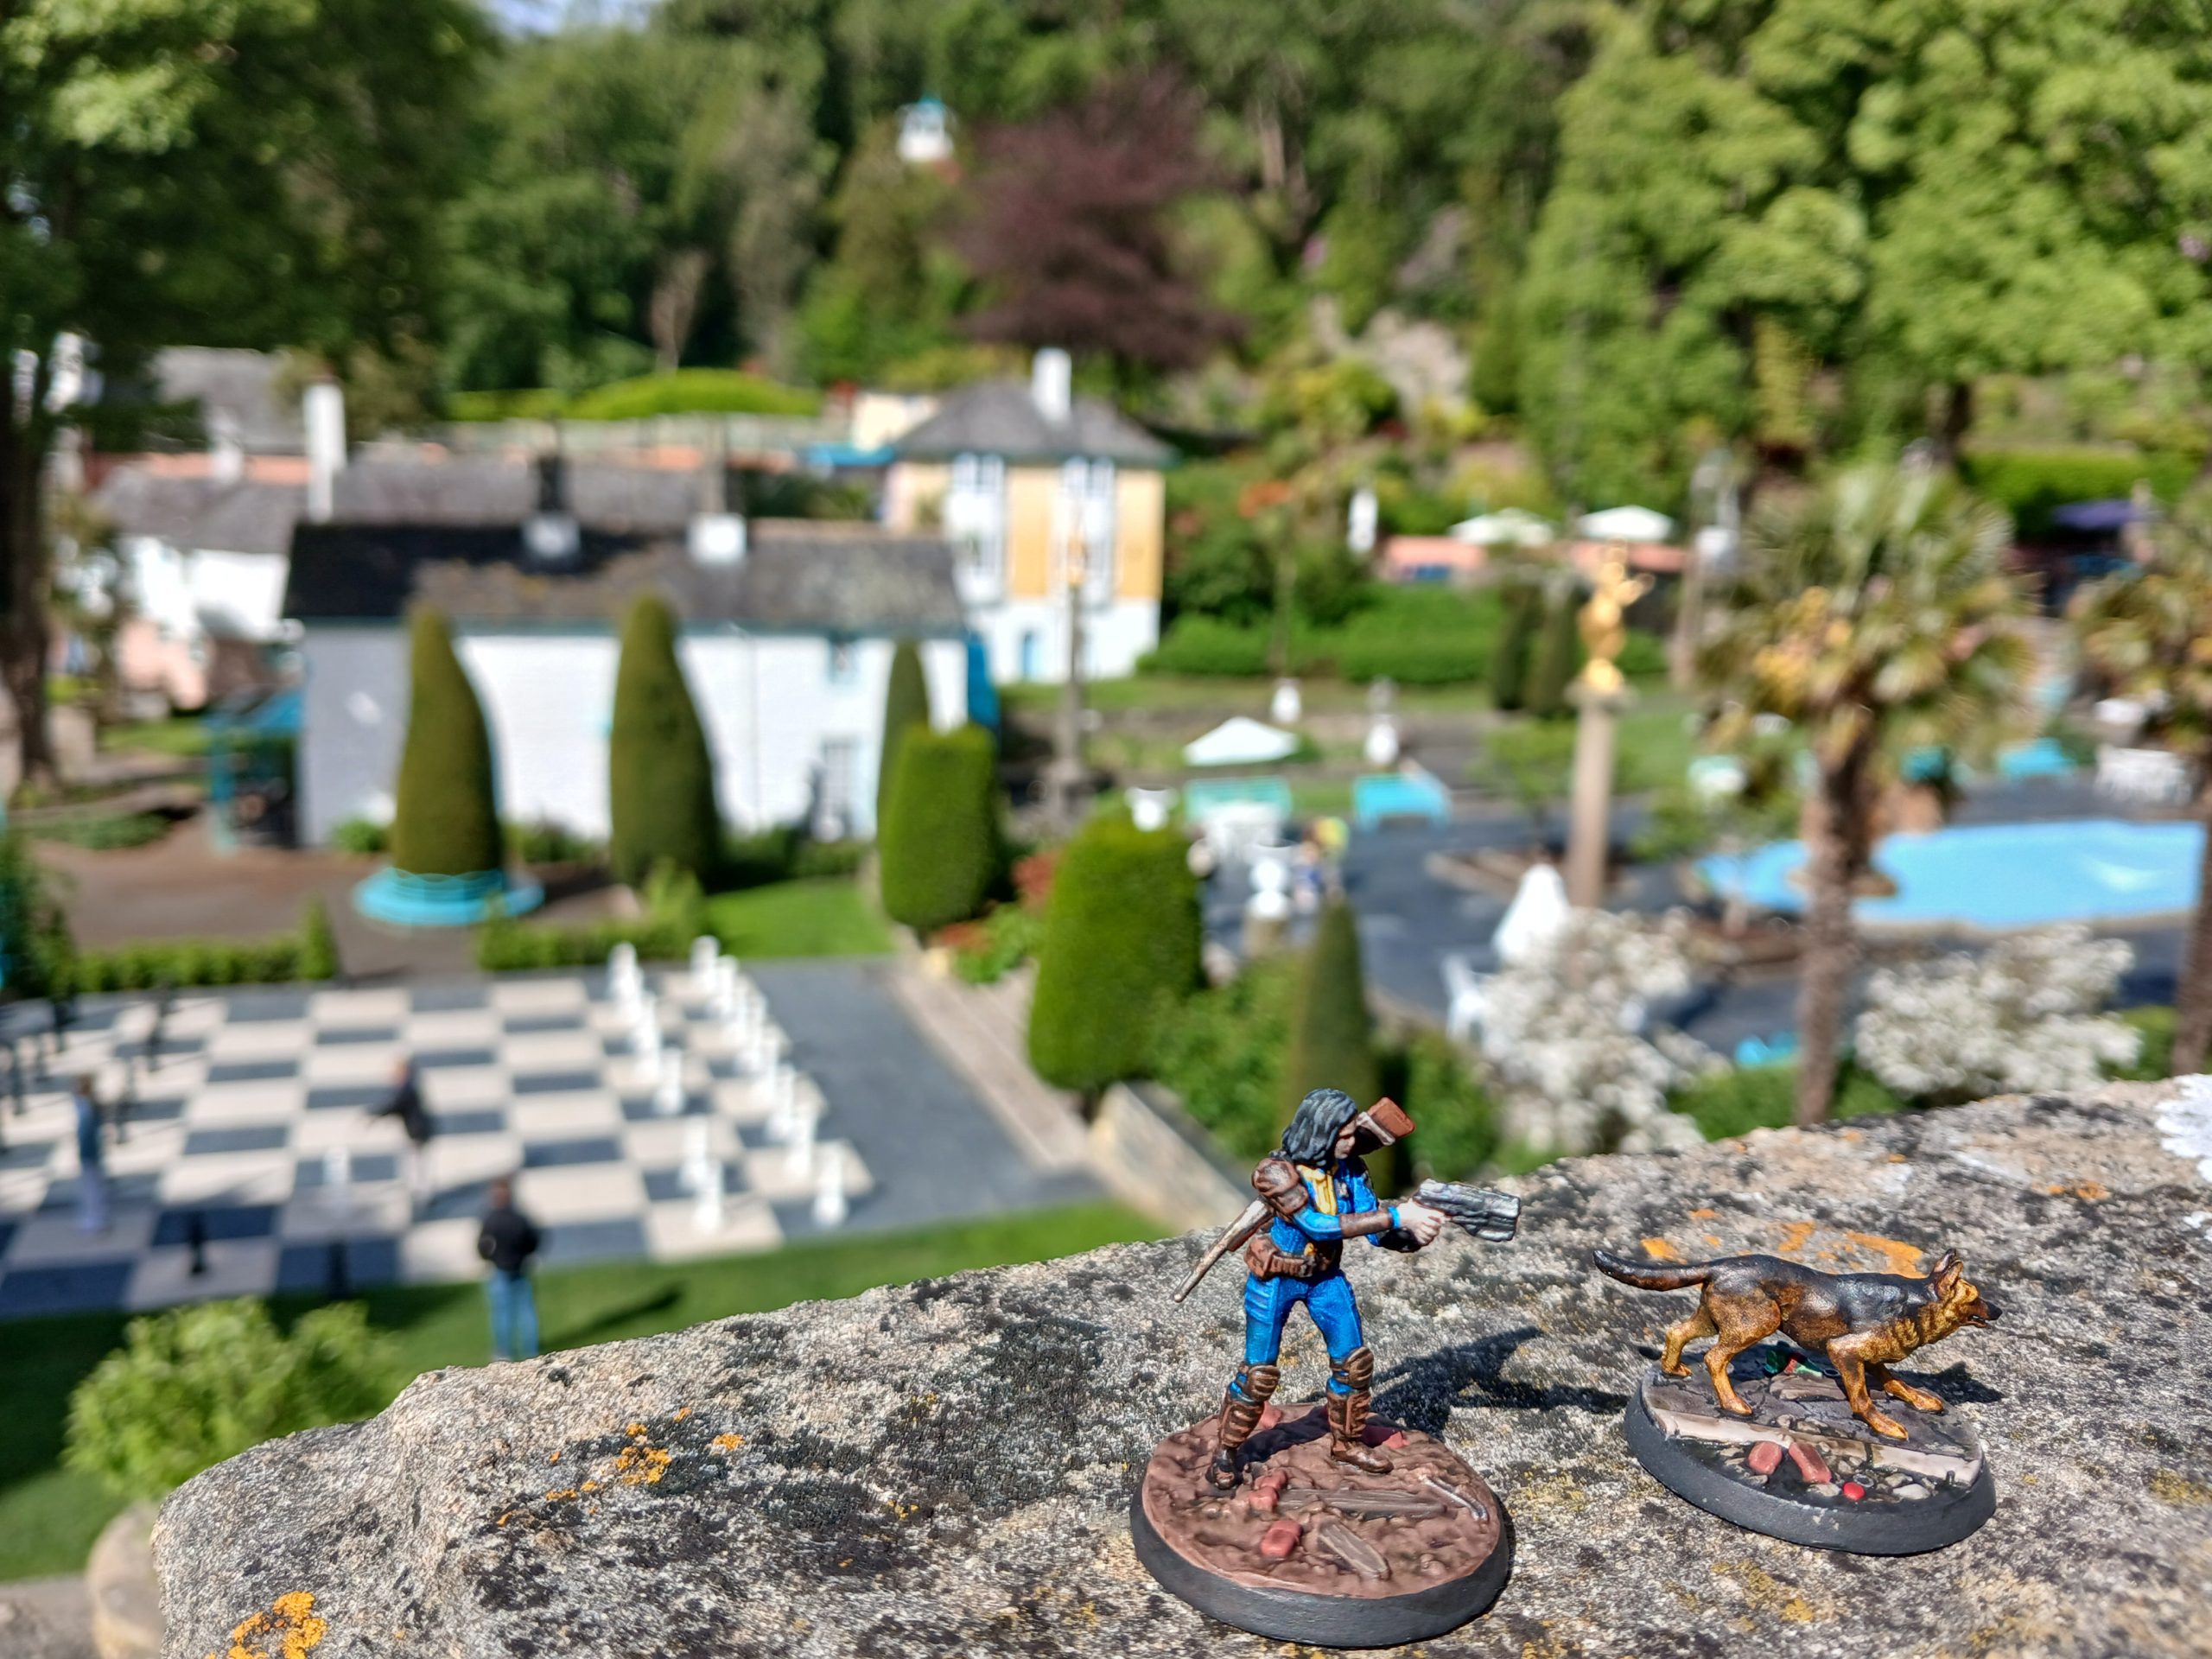
Portmeirion, where they helped free a Prisoner...
Harlech Castle, Supermutant haunt
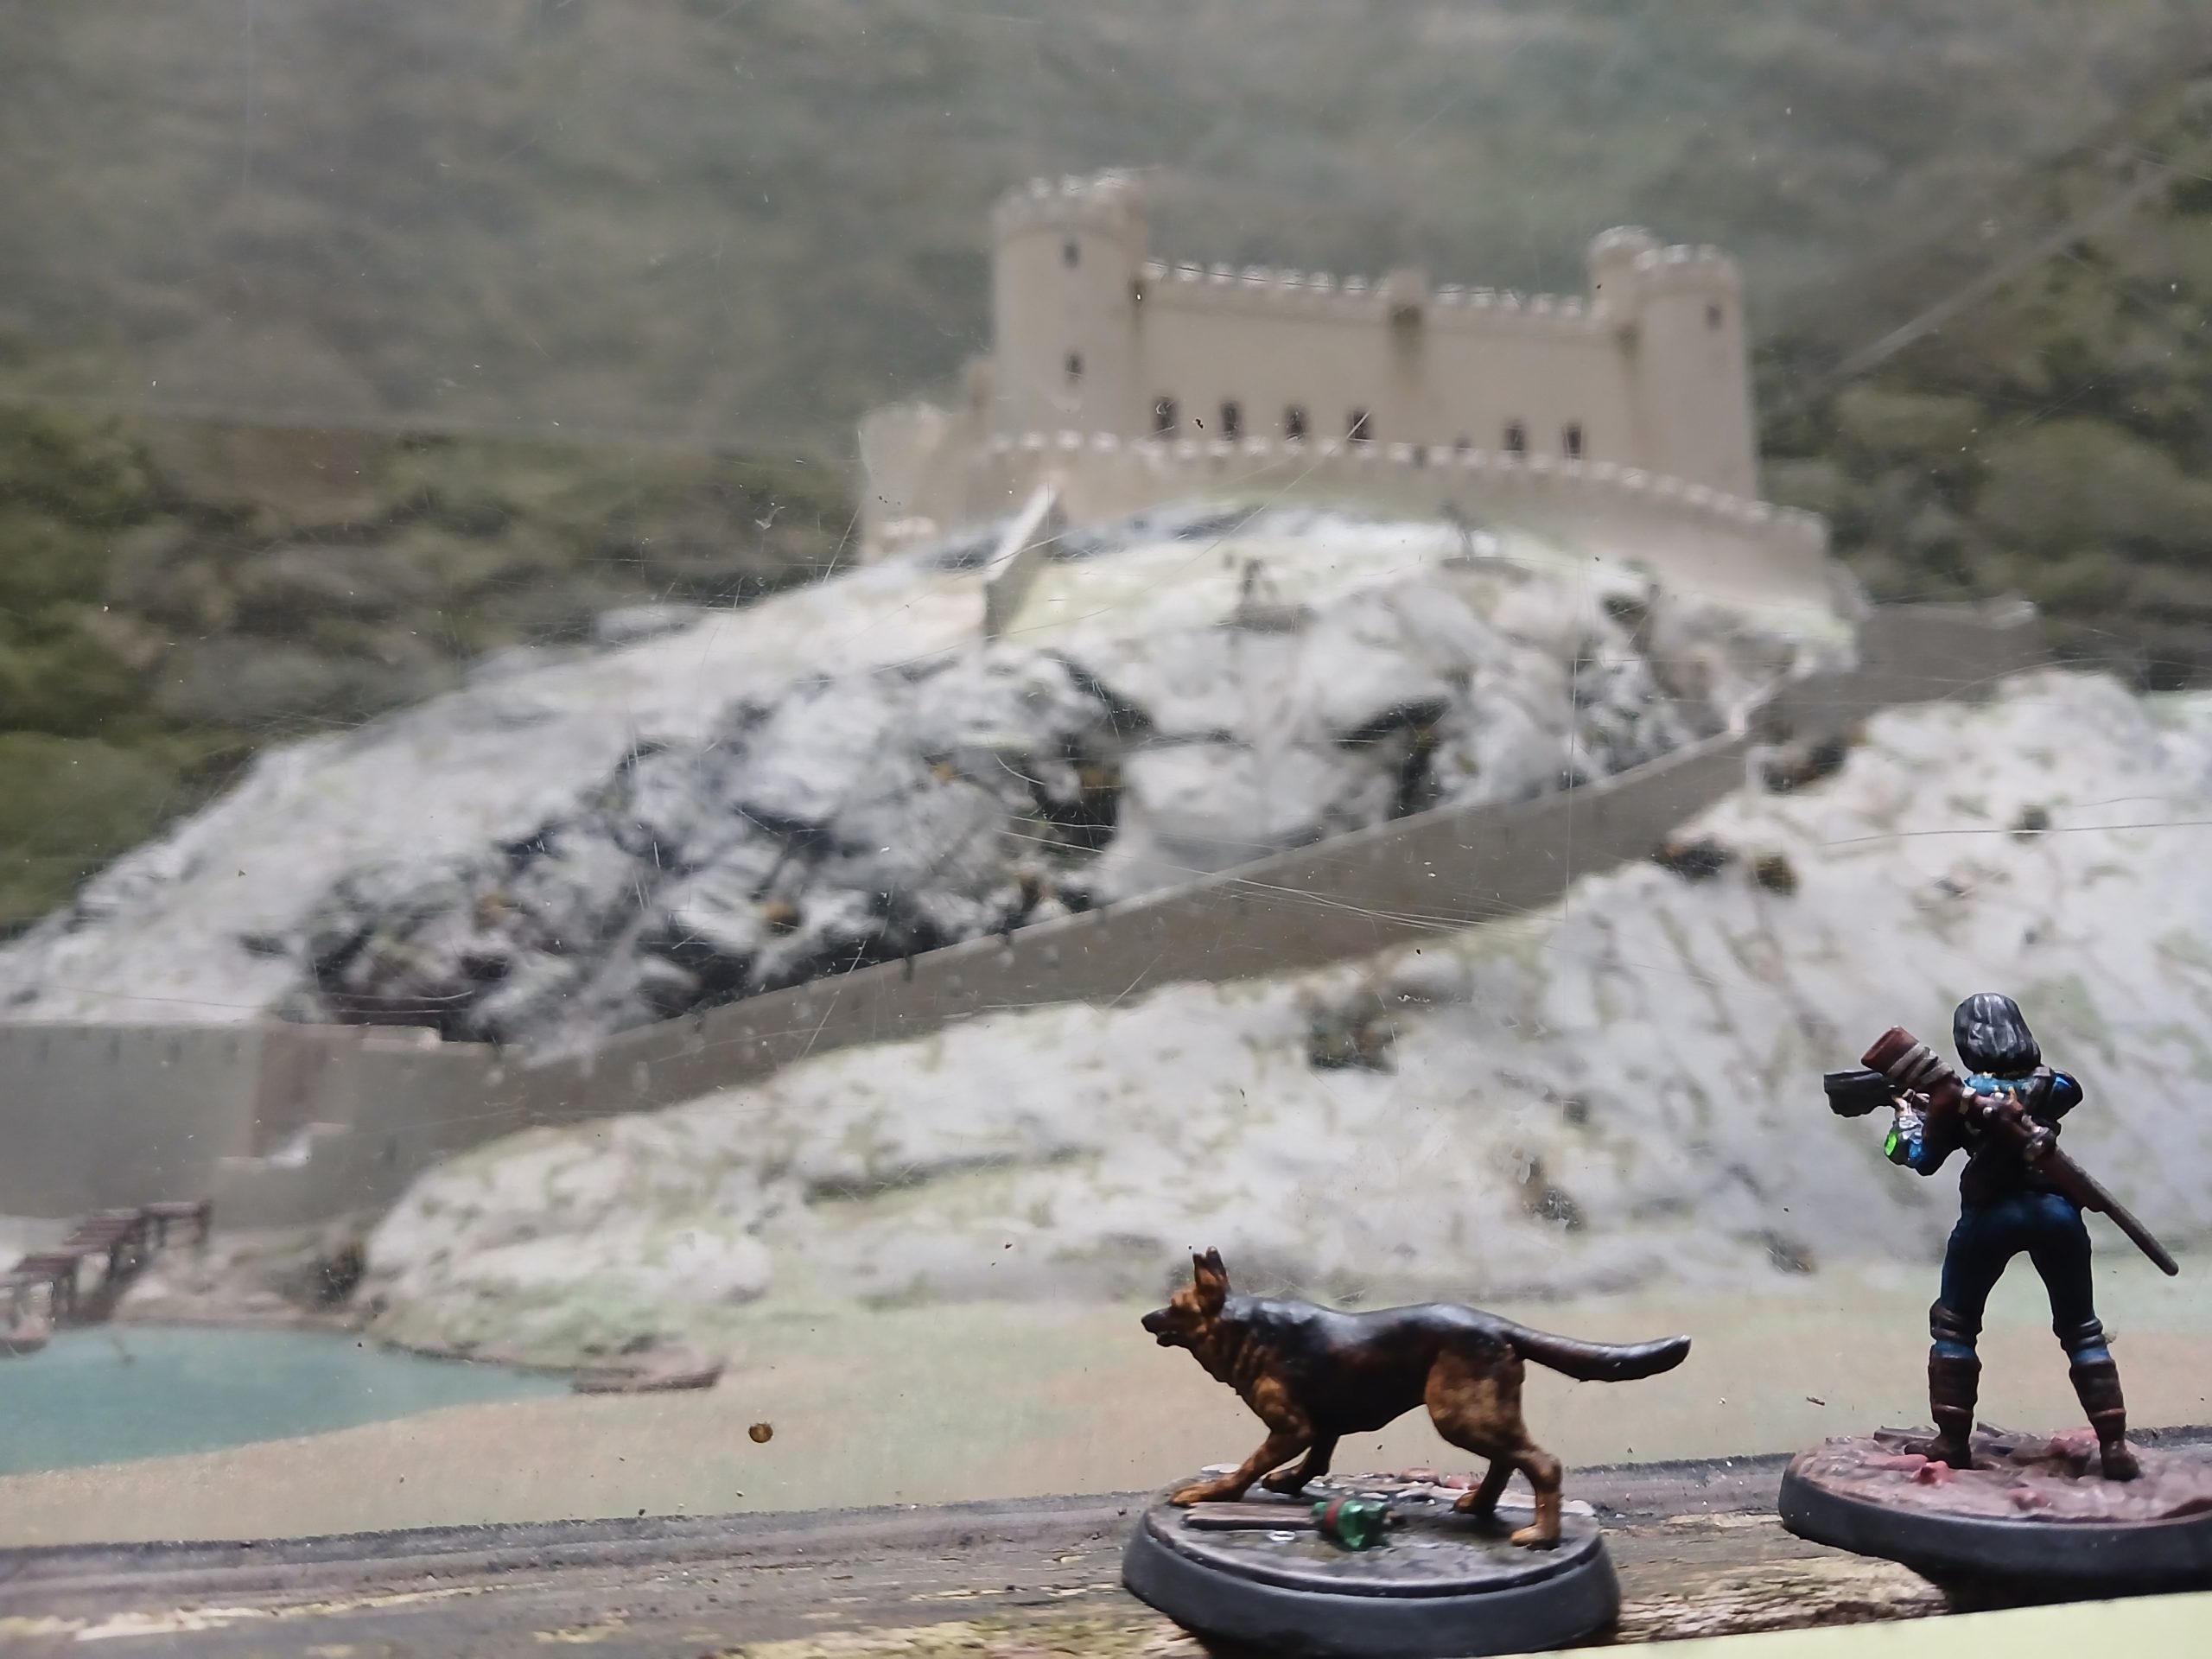 But is this one small, or far away?
Caernarfon Castle and Beaumaris Castle, full of ghouls
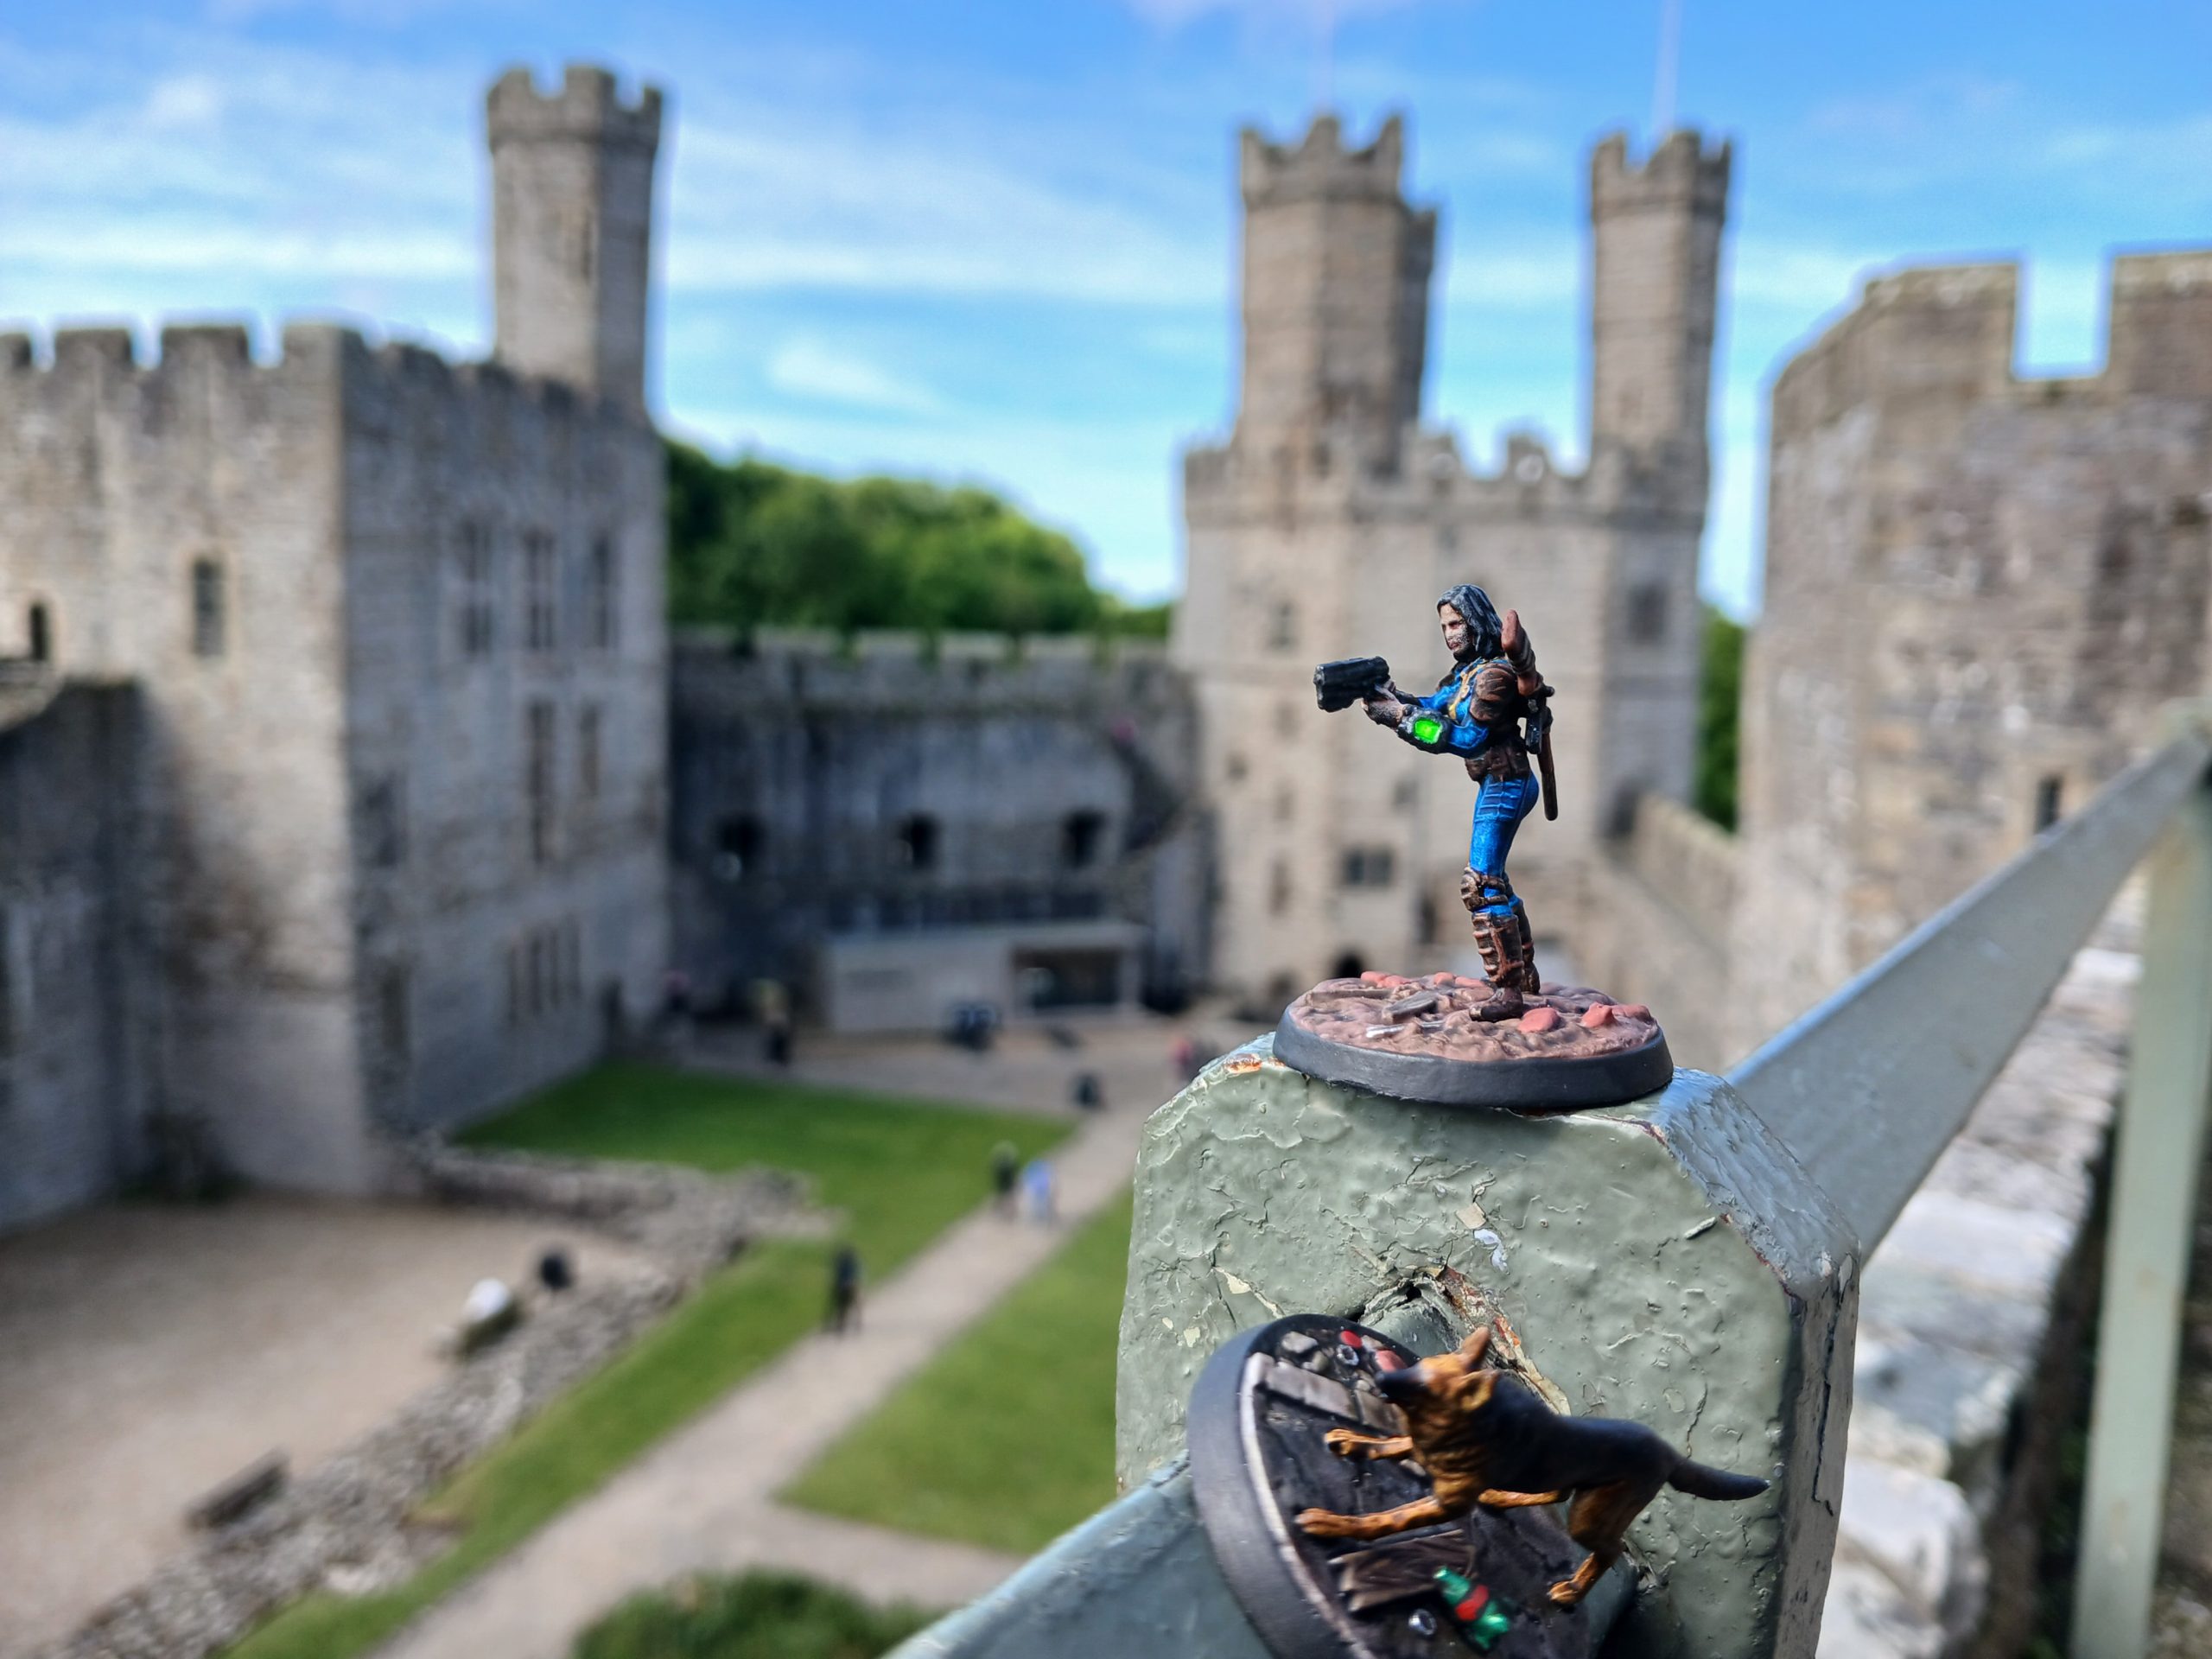 Caernarfon, taking the high ground
 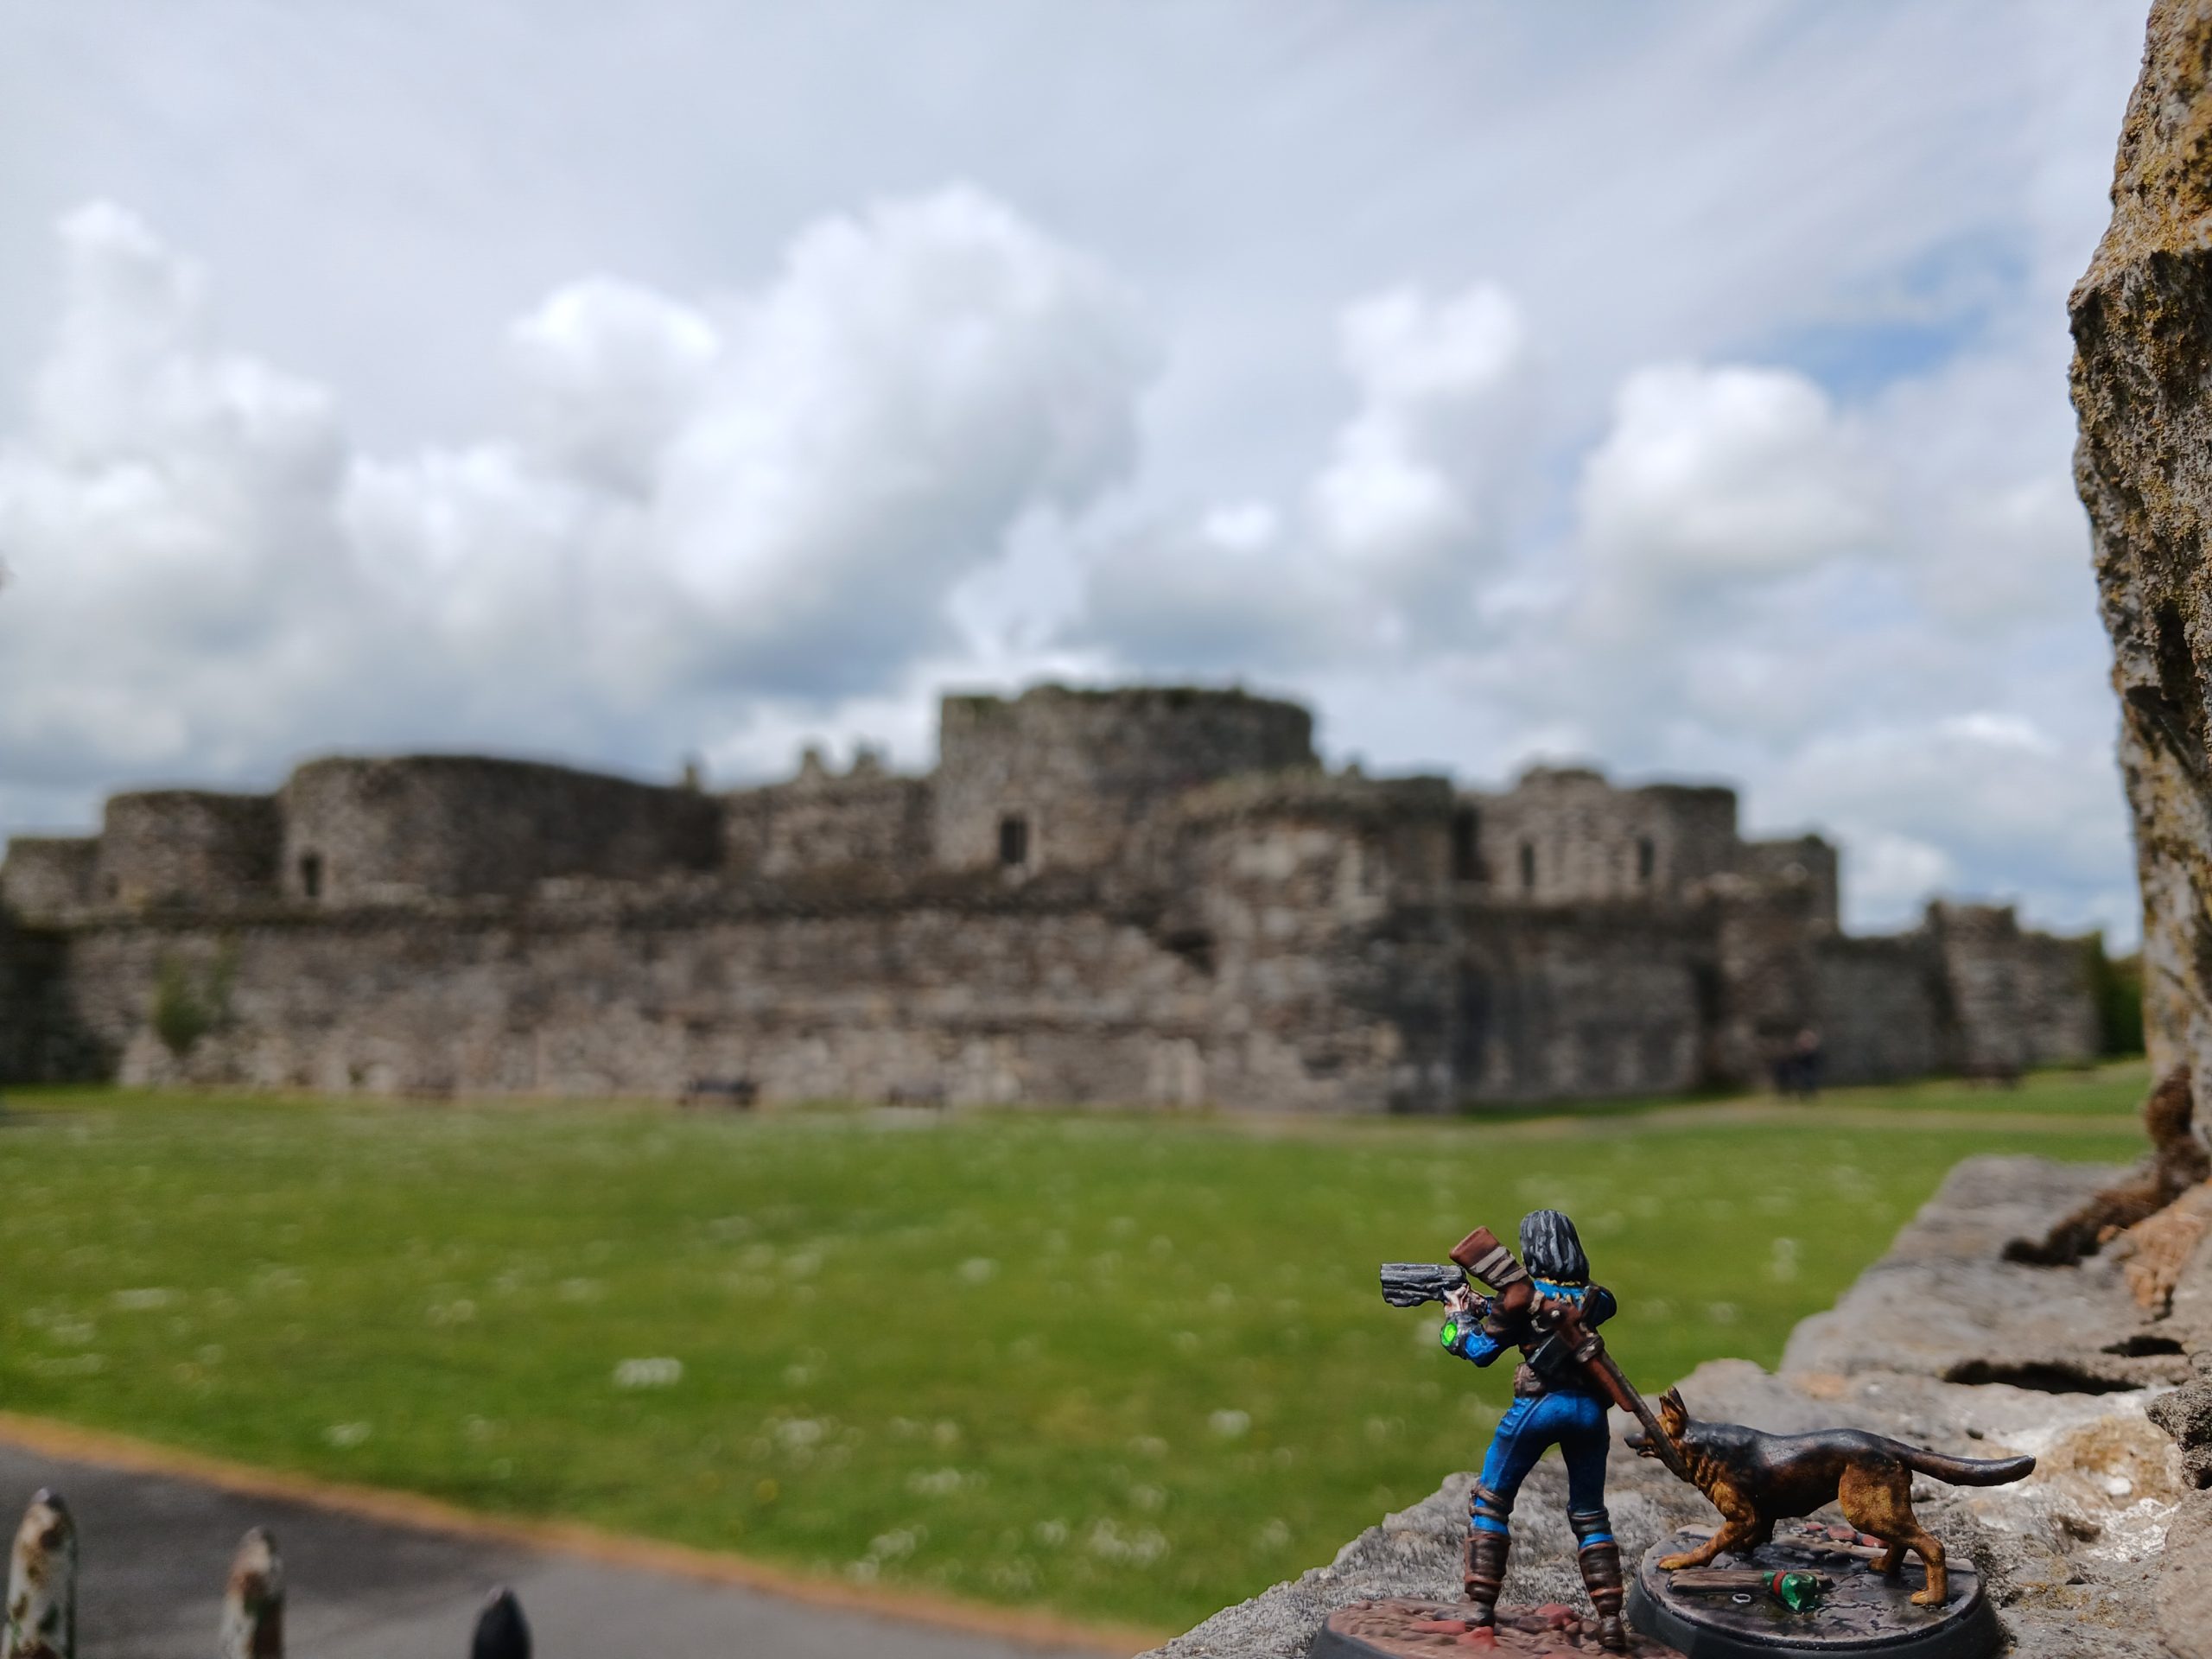 Beaumaris, sneaking around the outskirts
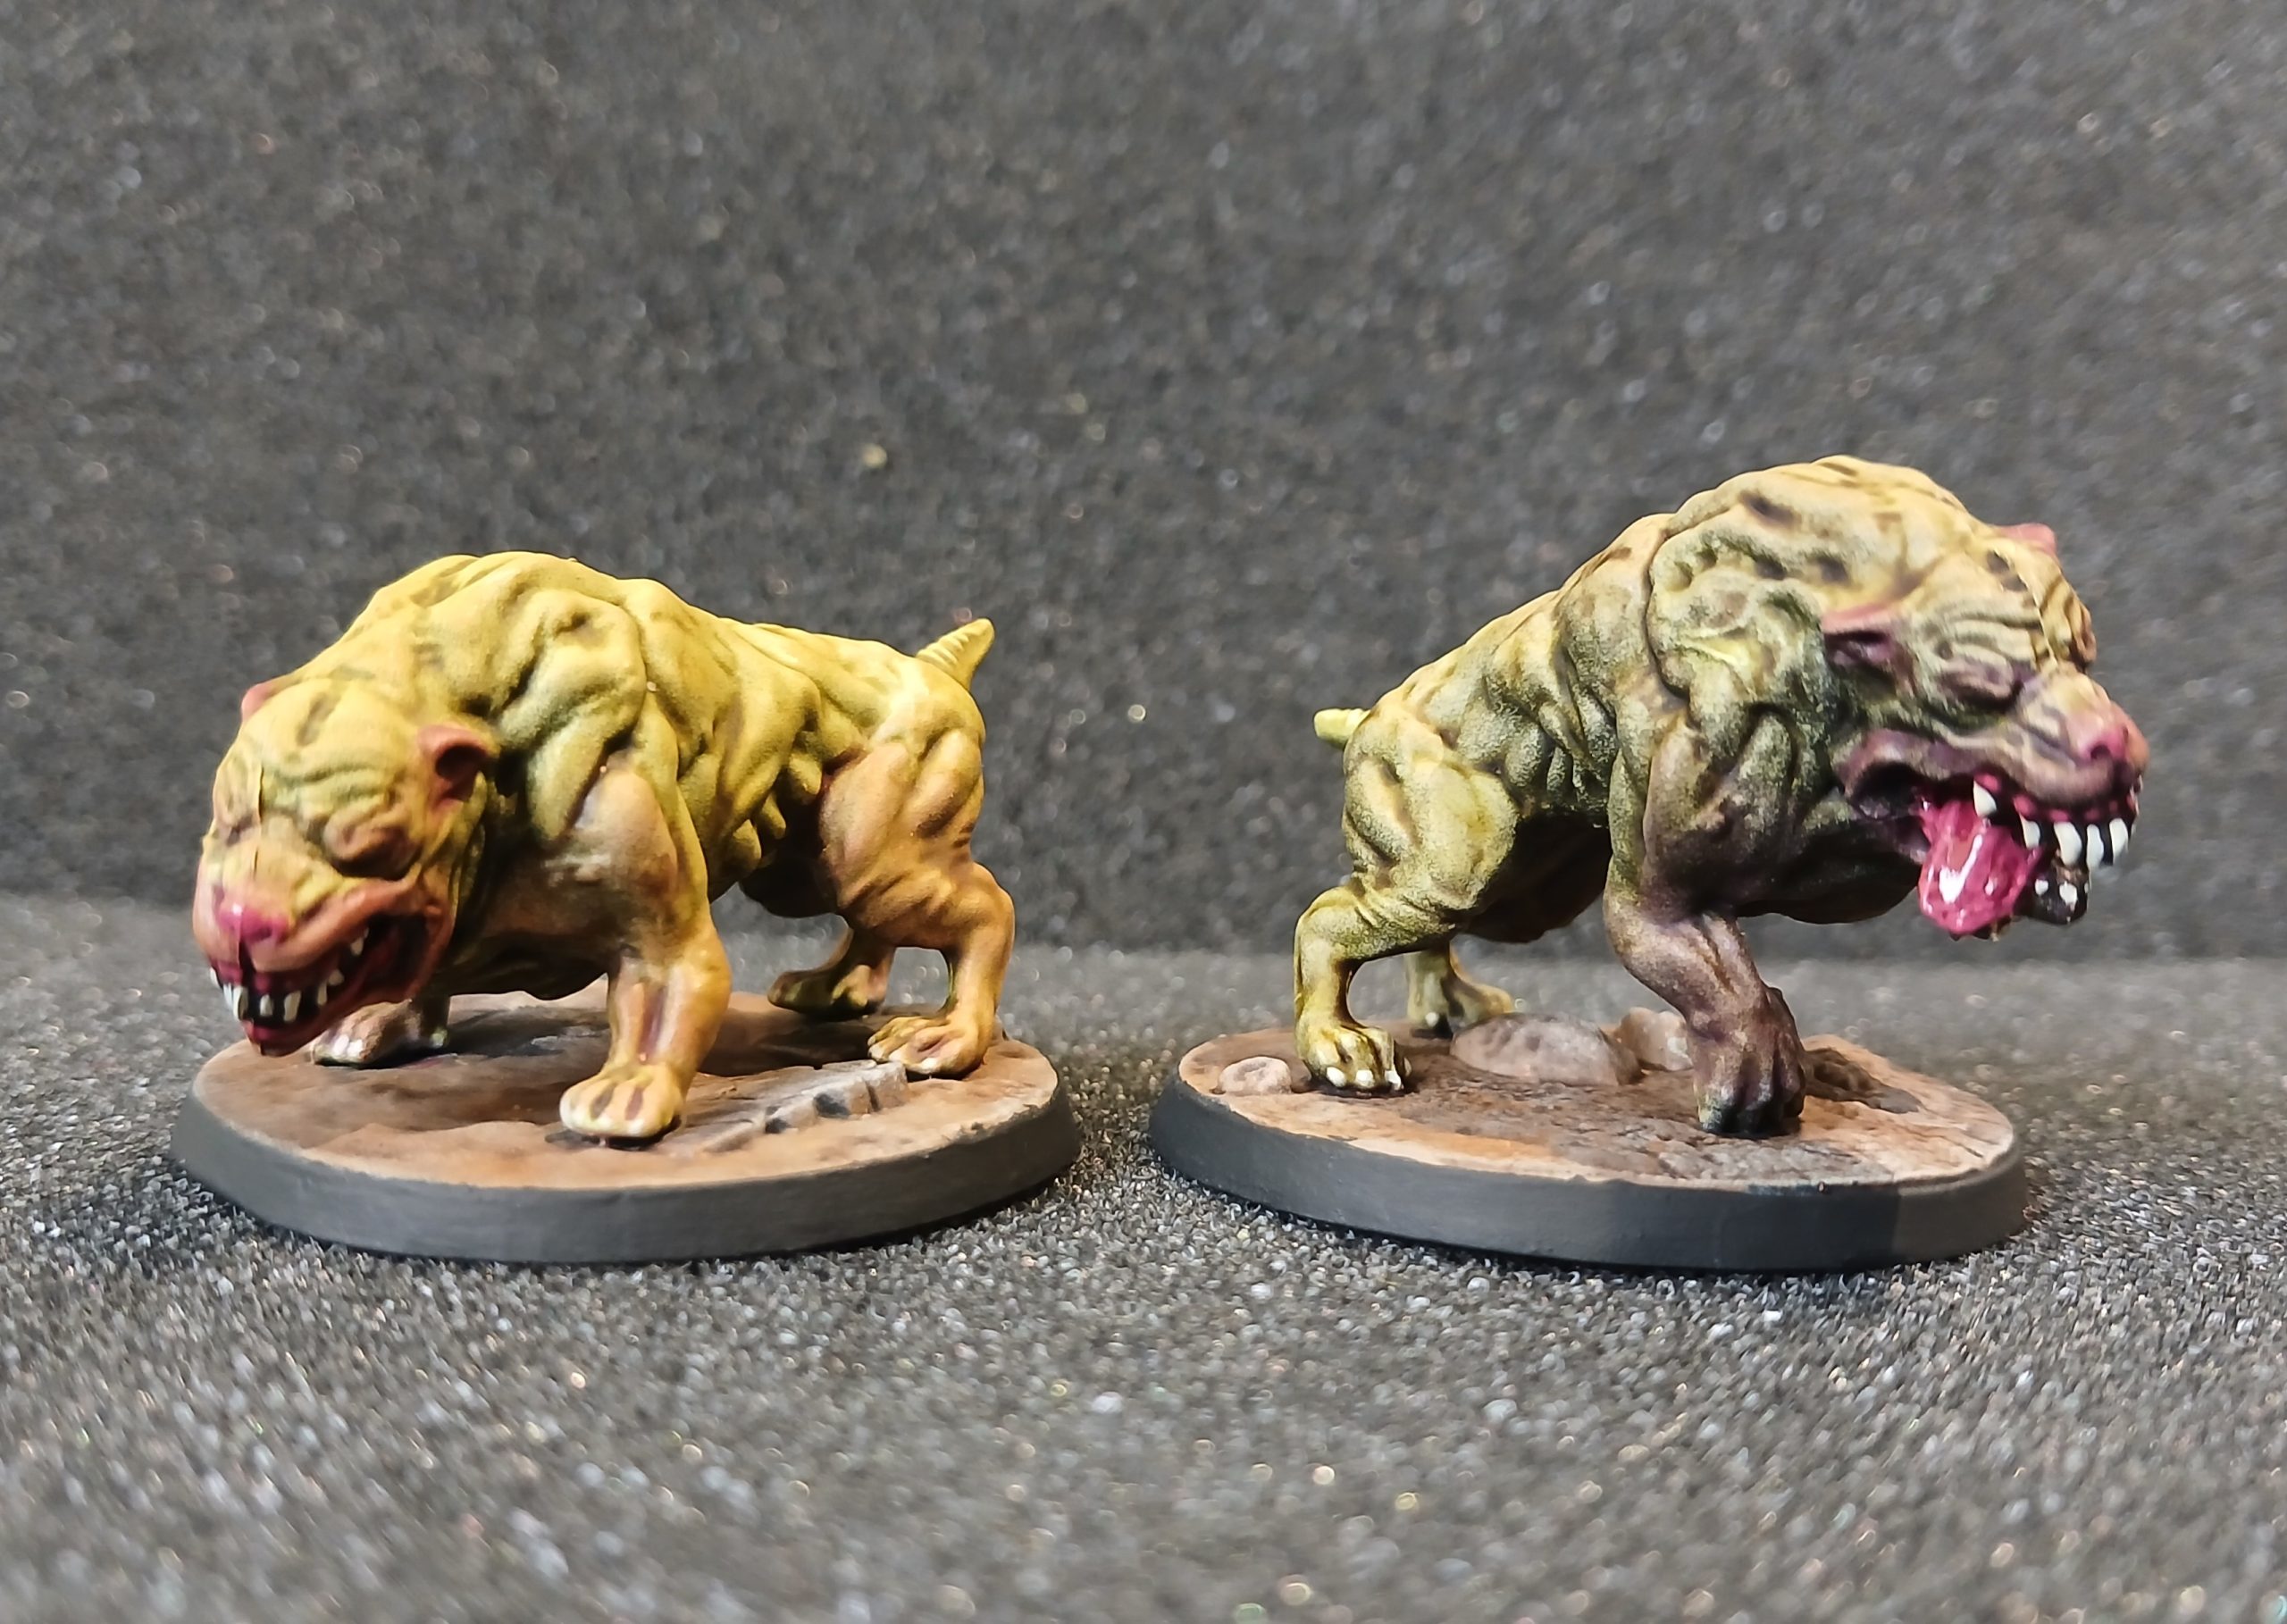
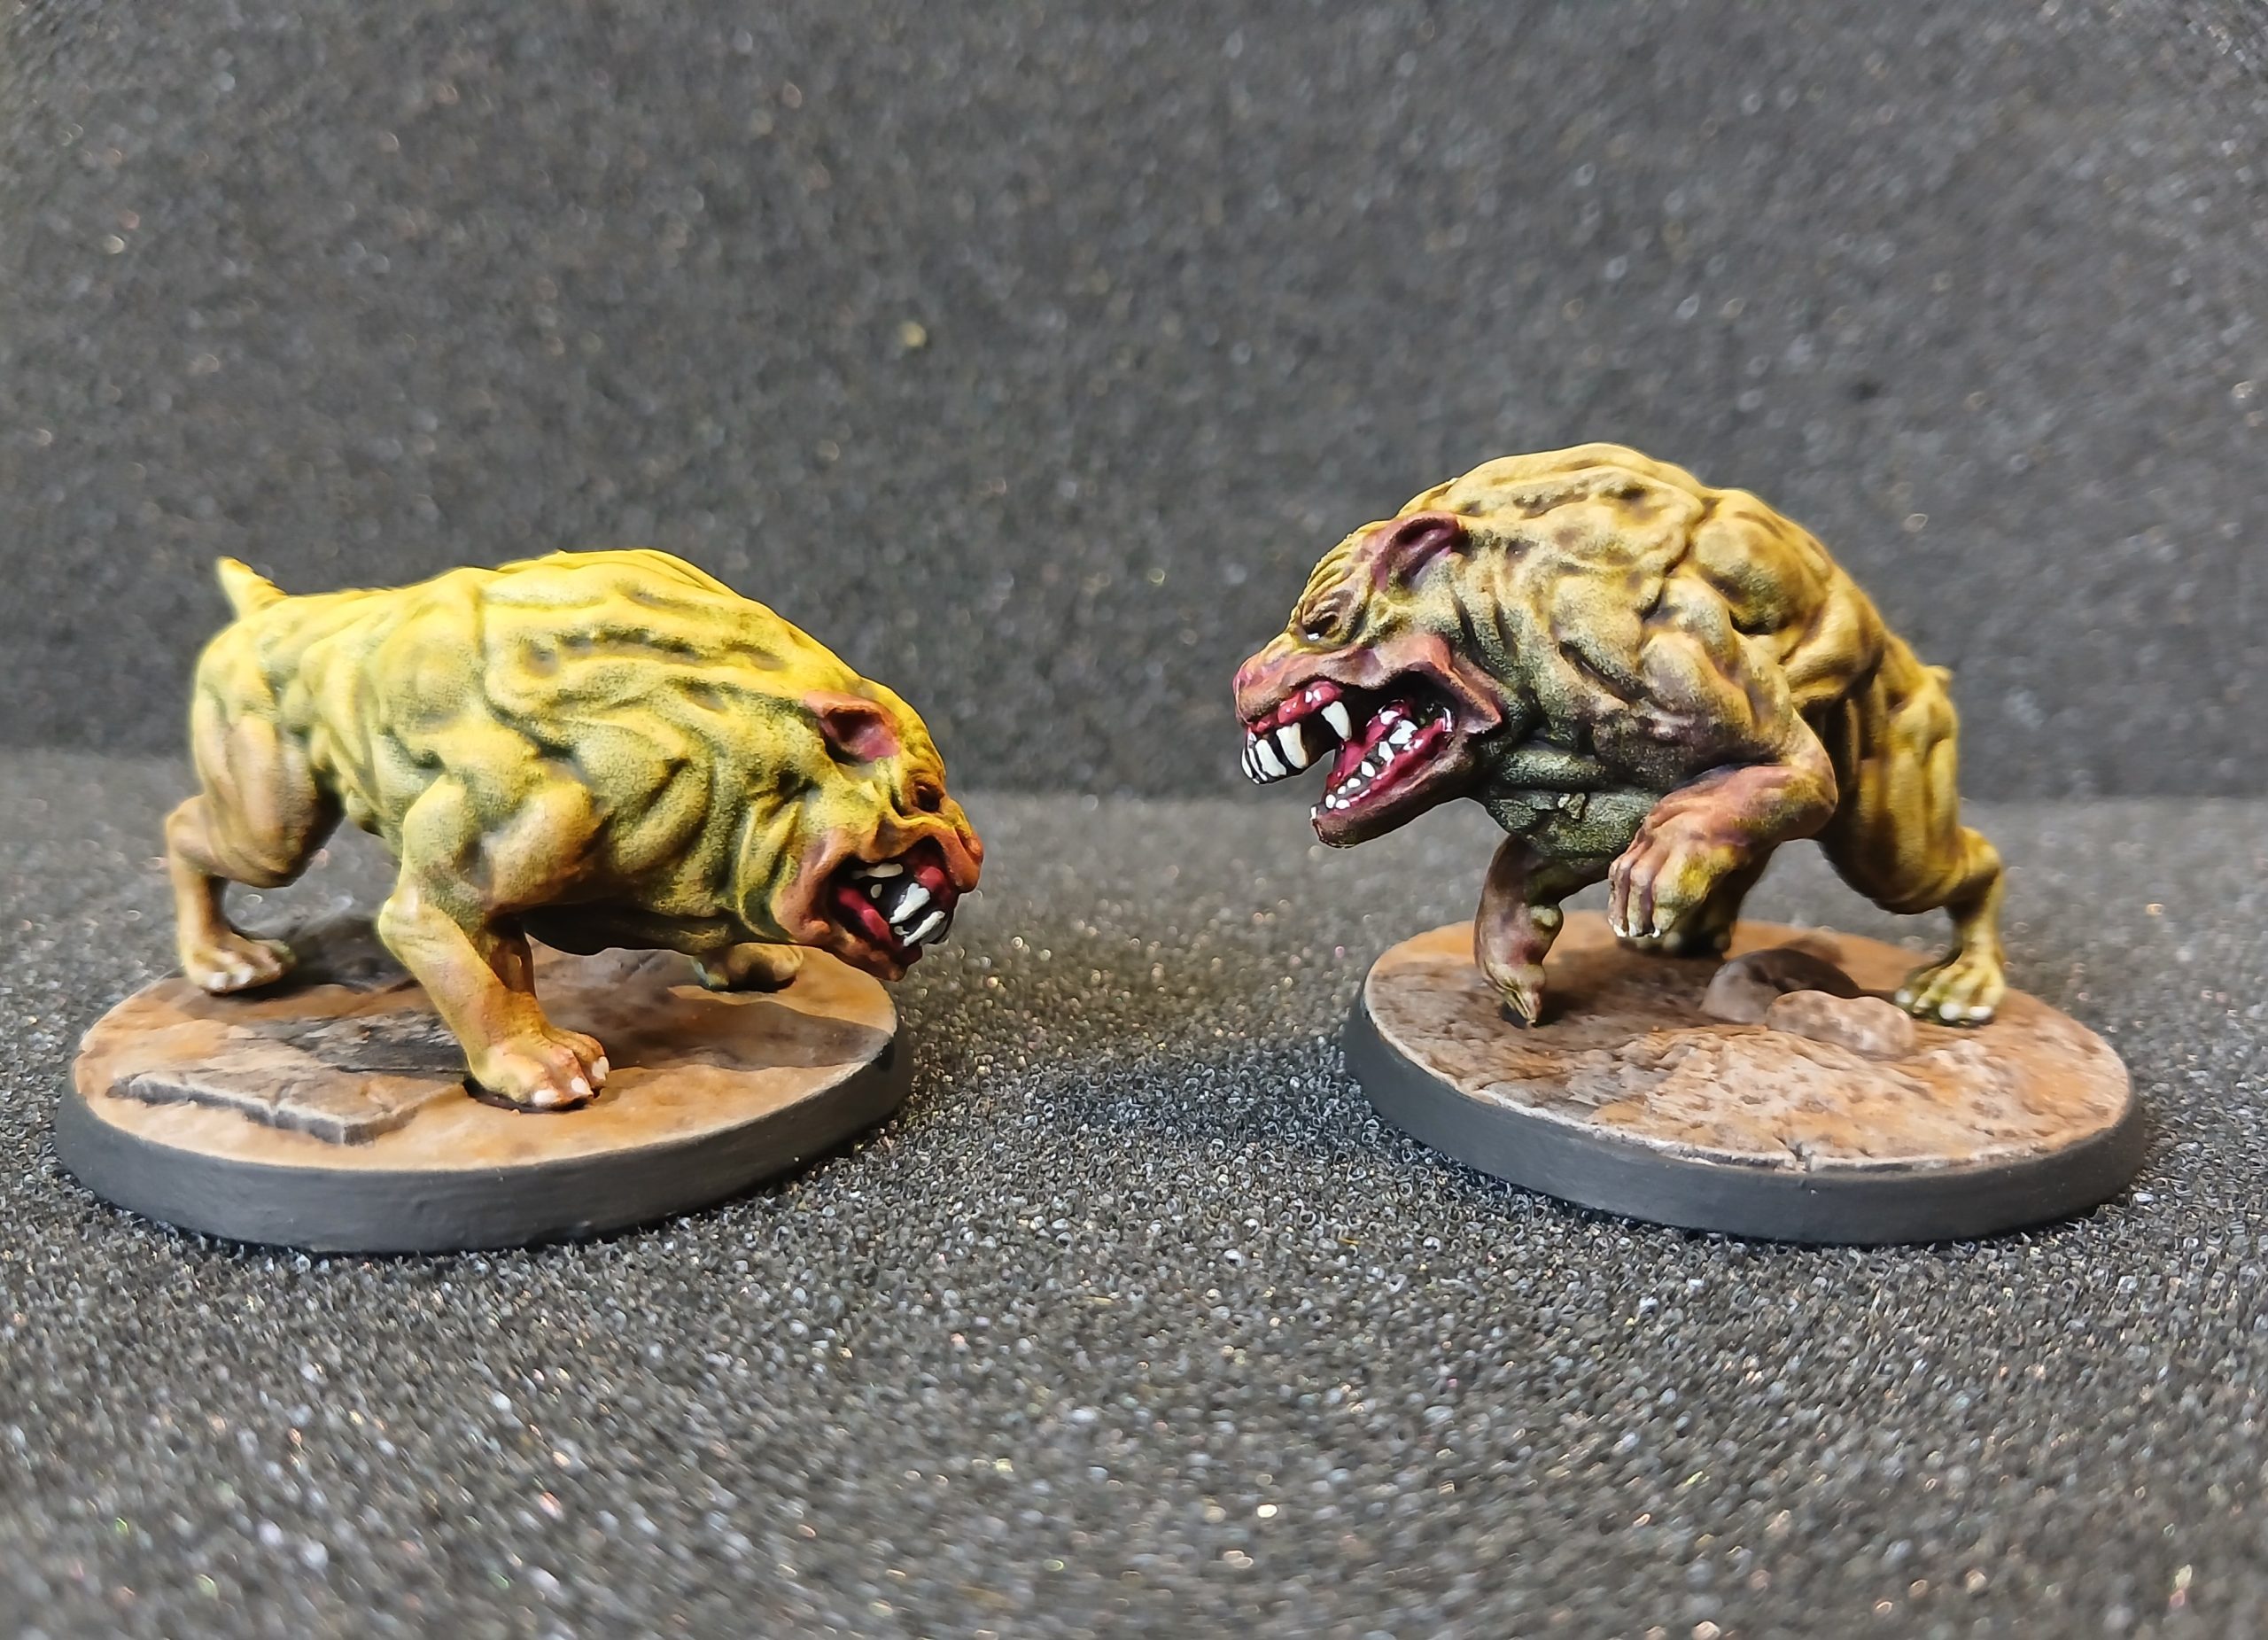
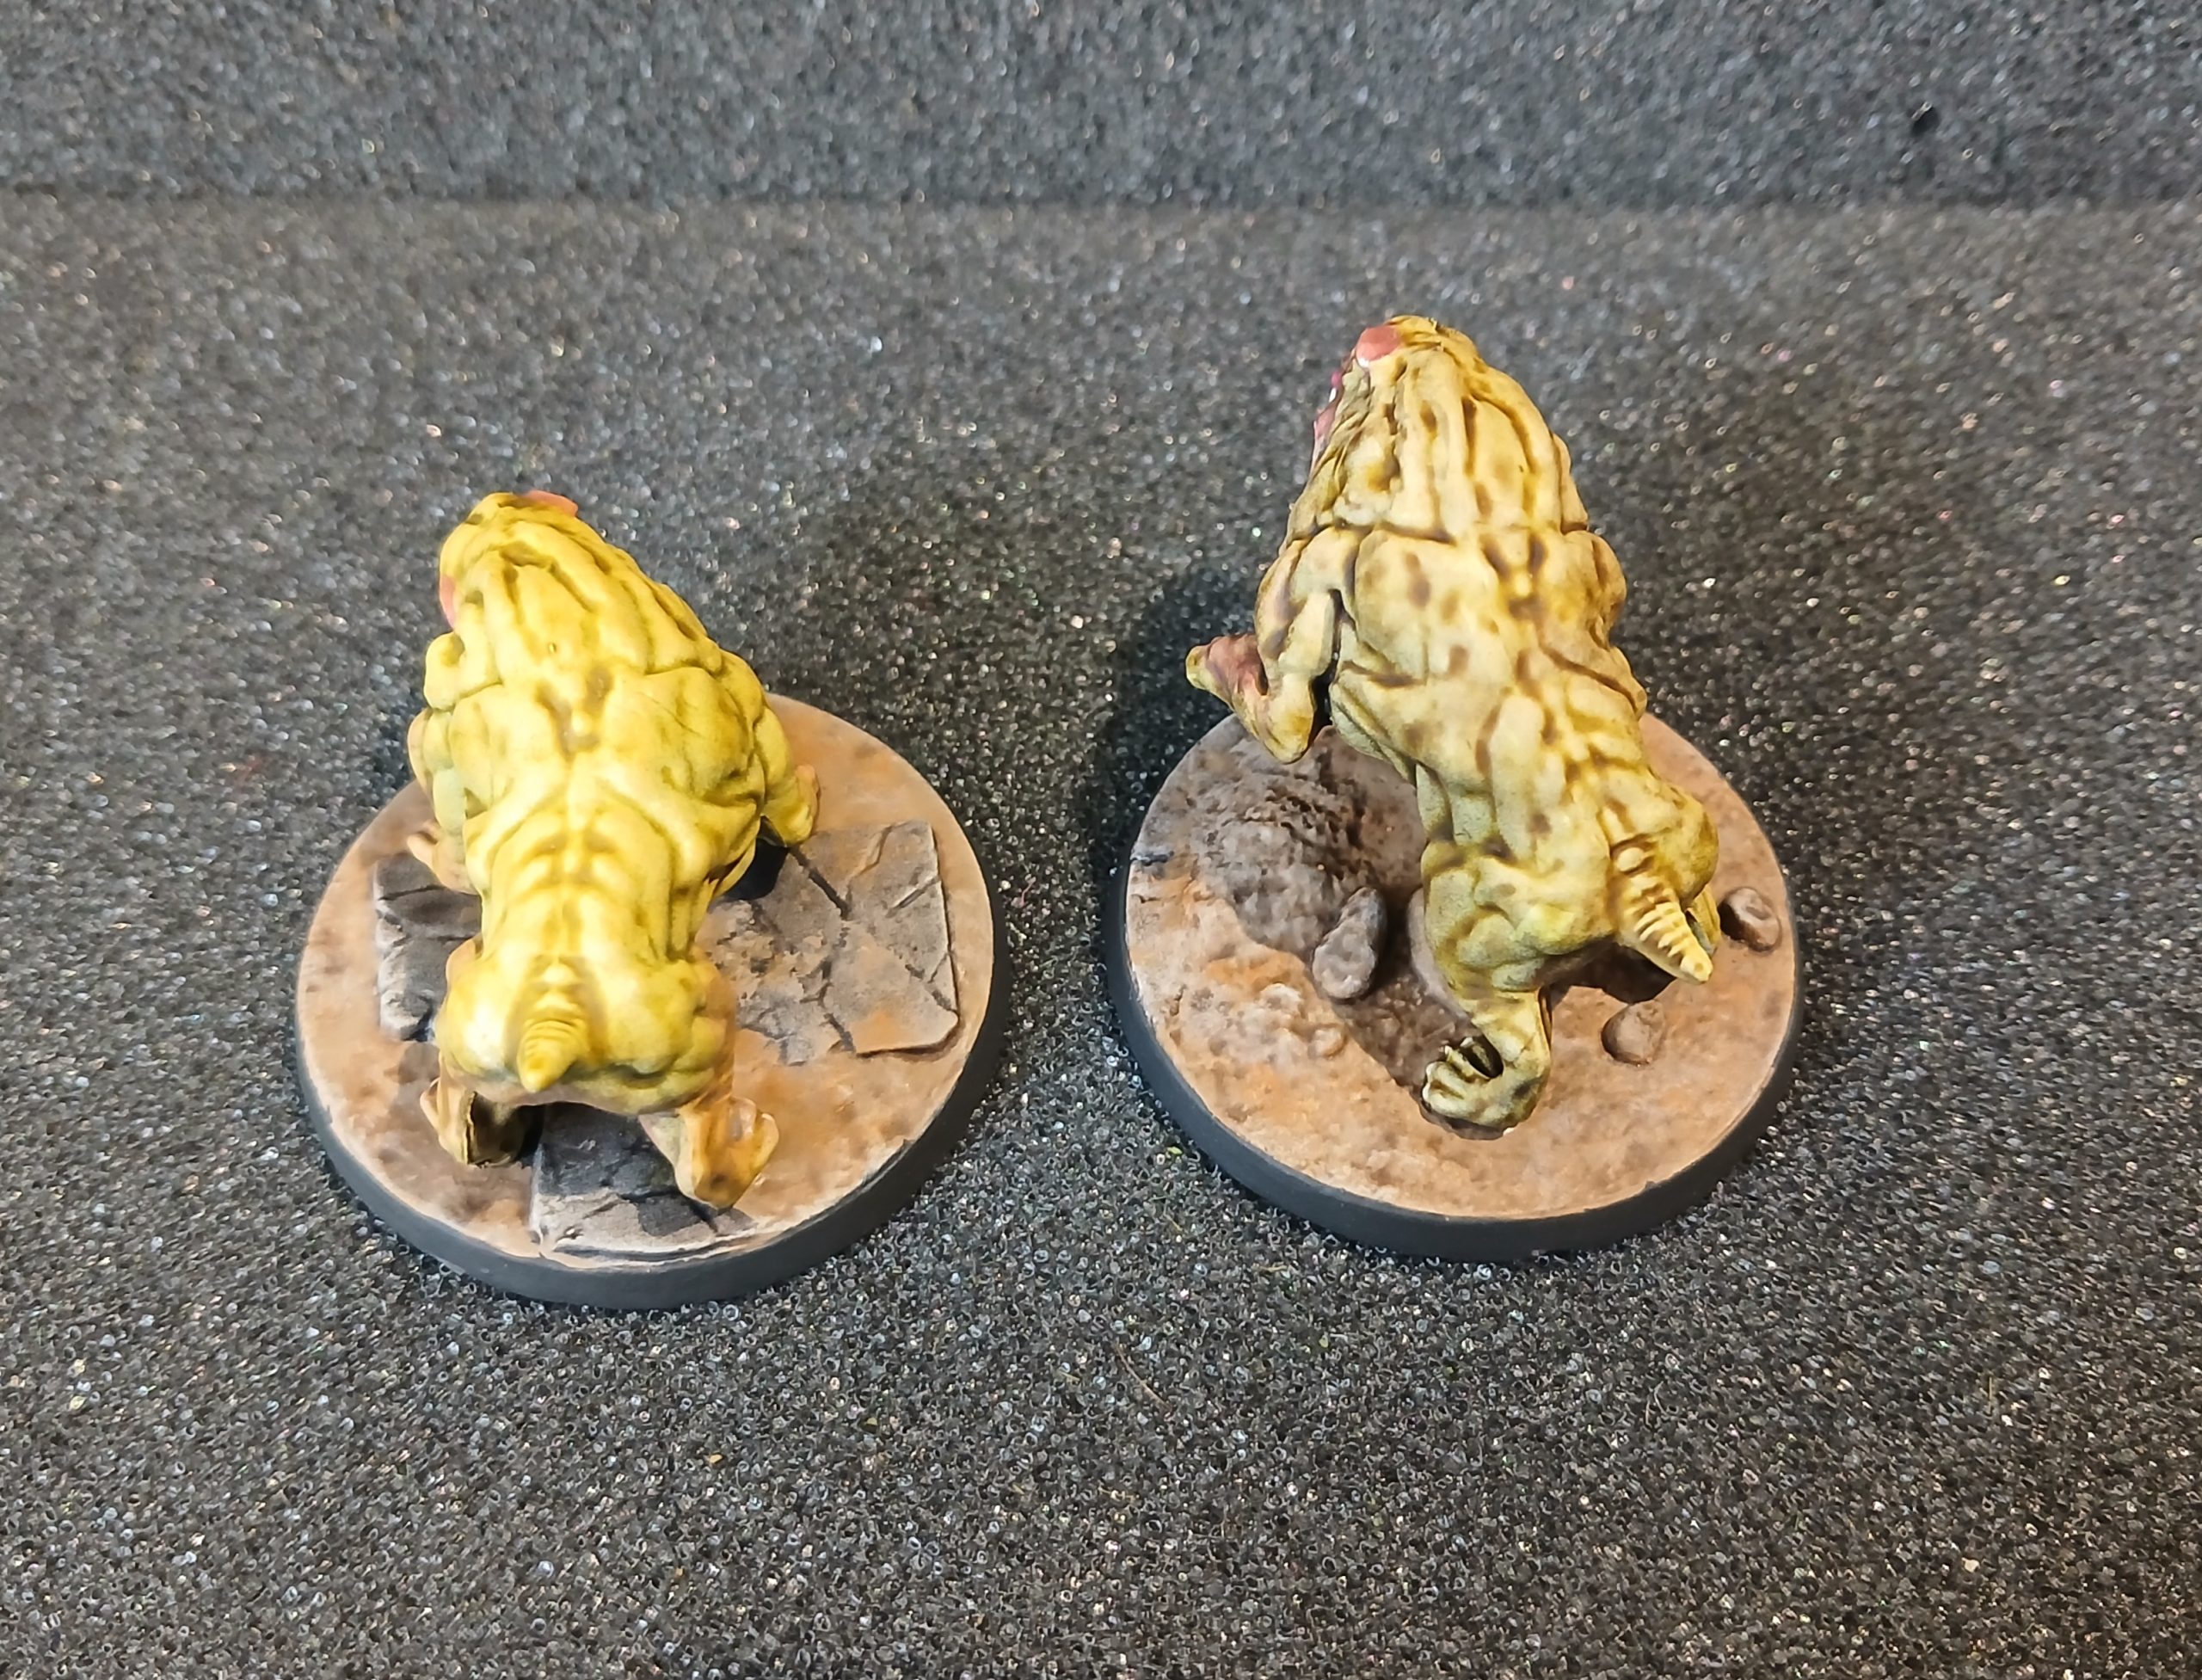
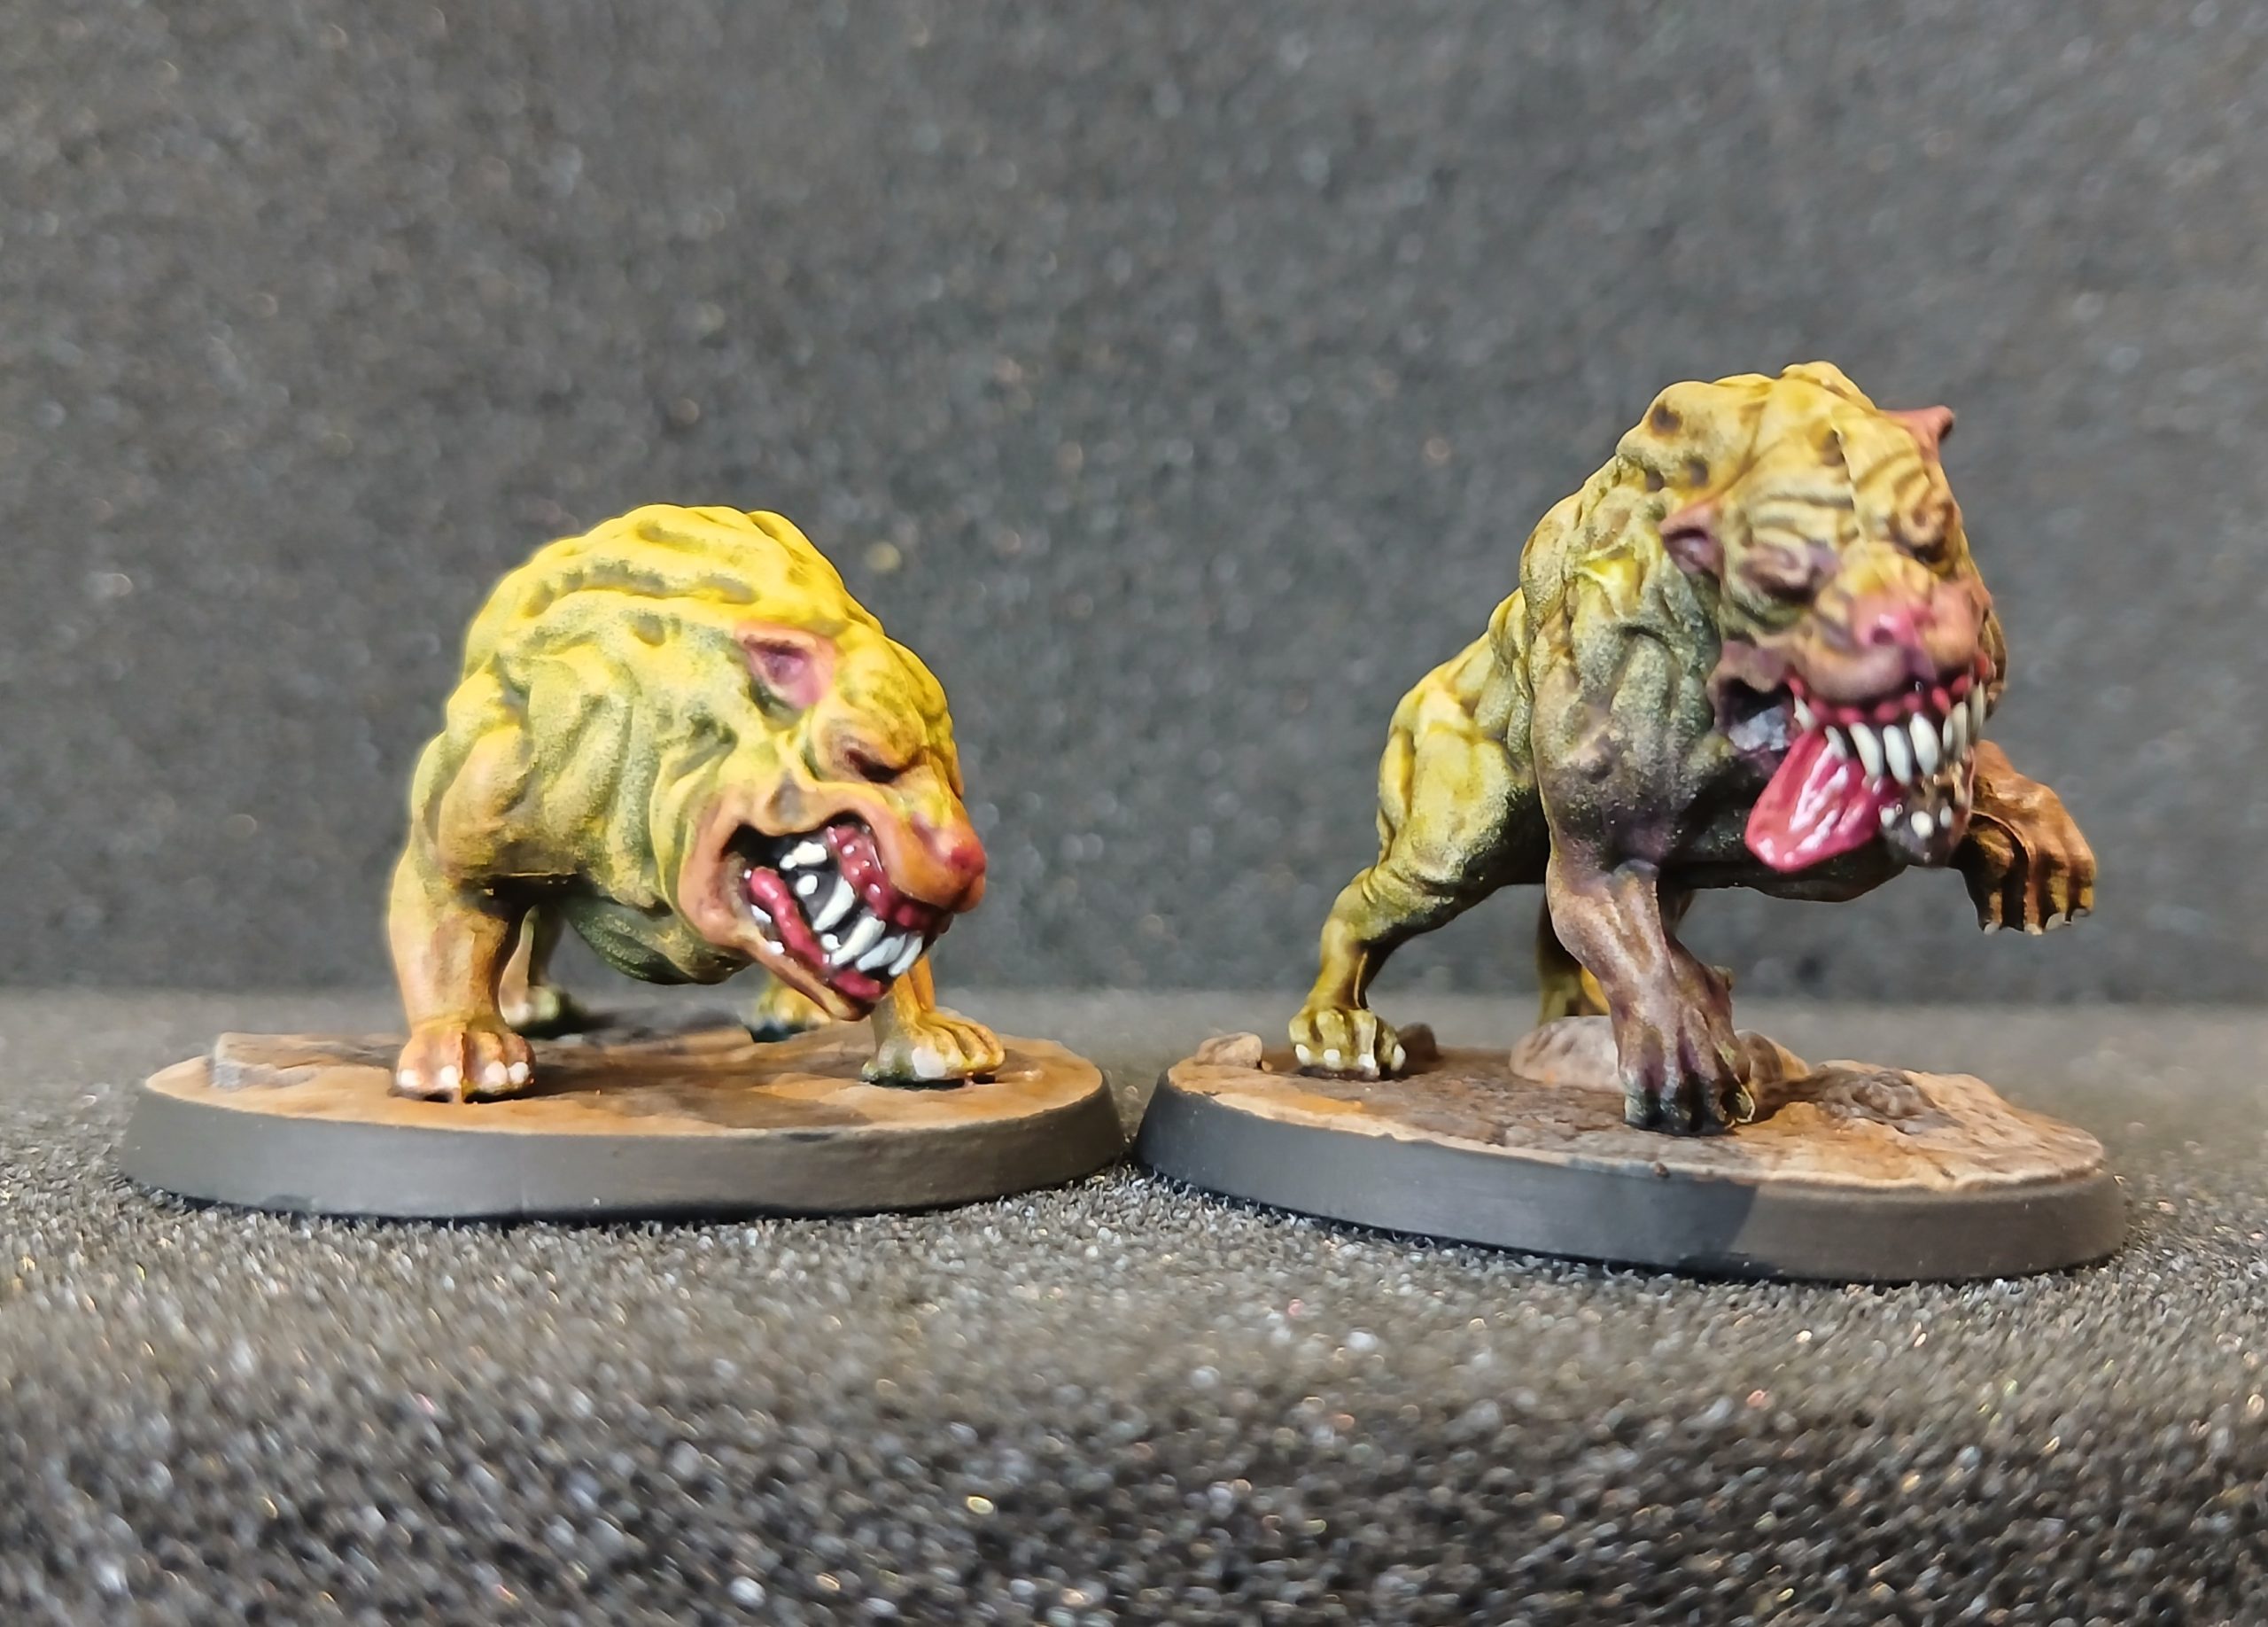
 Super Mutant Hounds
8th May 2026
Thought I would try to quickly knock these two out as they are mostly just skin and teeth 😊
Started out with zenithal prime white over black, as usual. For the first one I applied Plaguebearer flesh contrast. However, that came out a little too light. So for the second one, on the left in pics, I dry brushed over with flesh prior to adding the contrast.
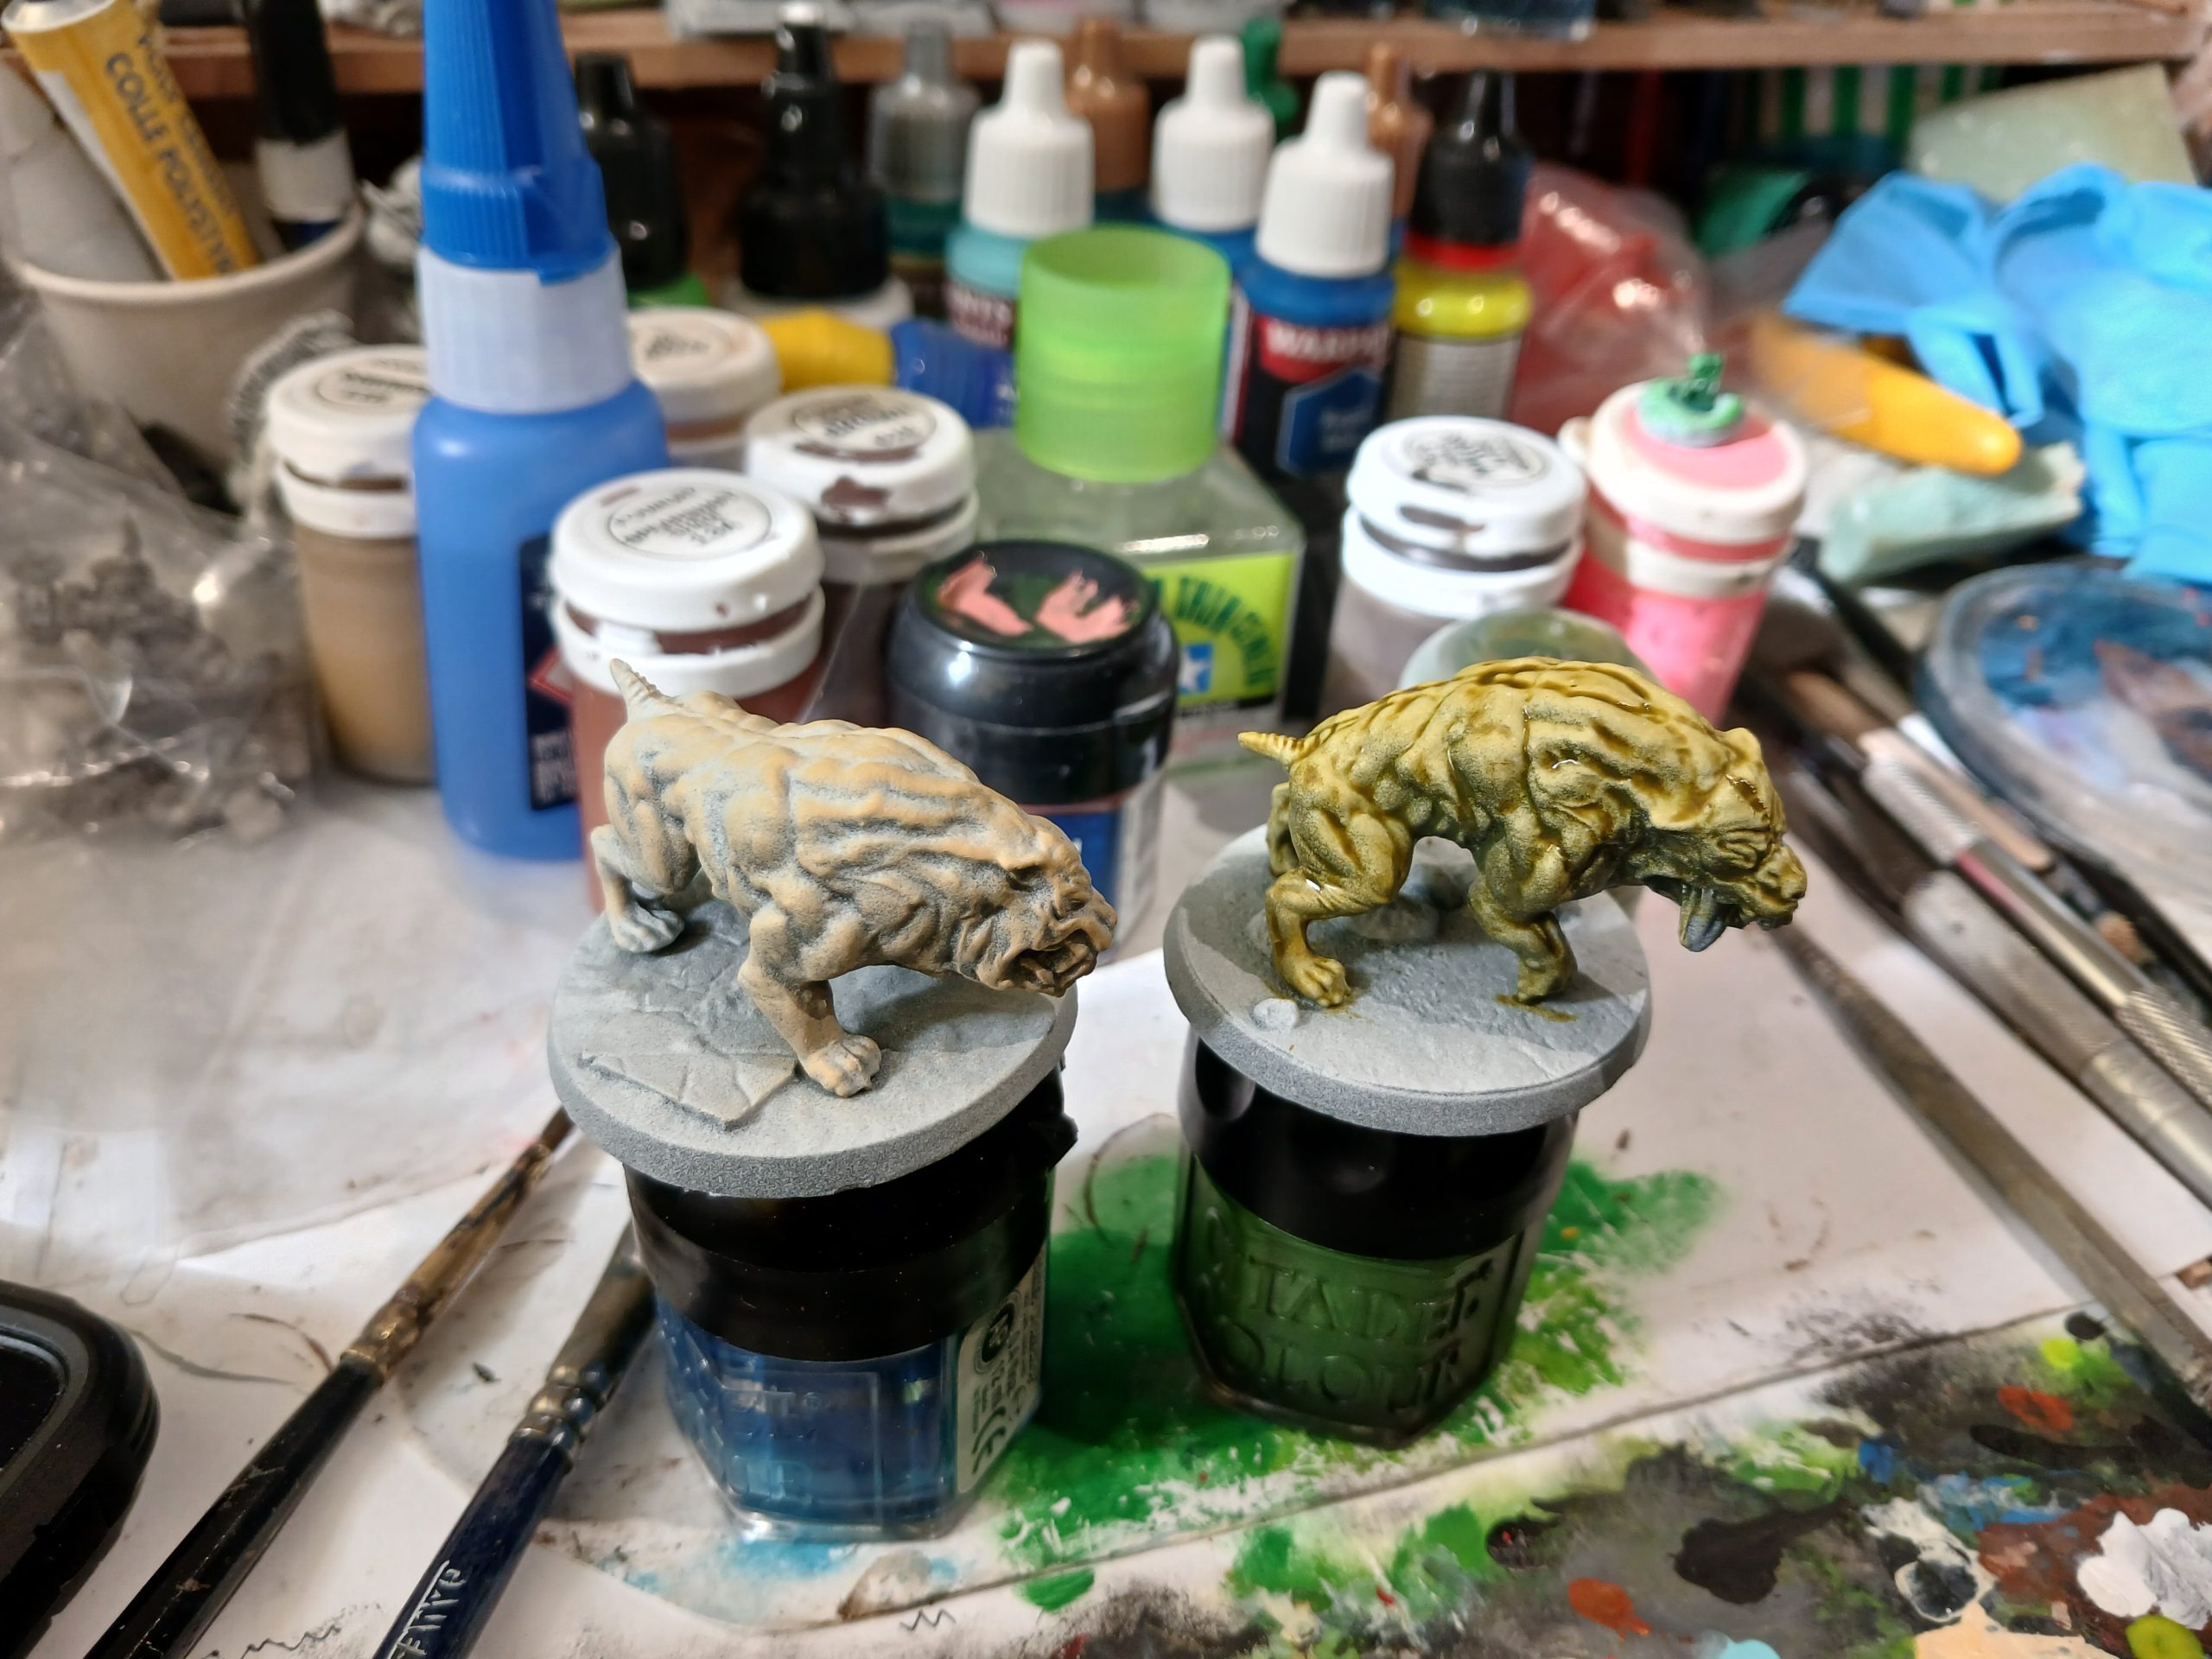
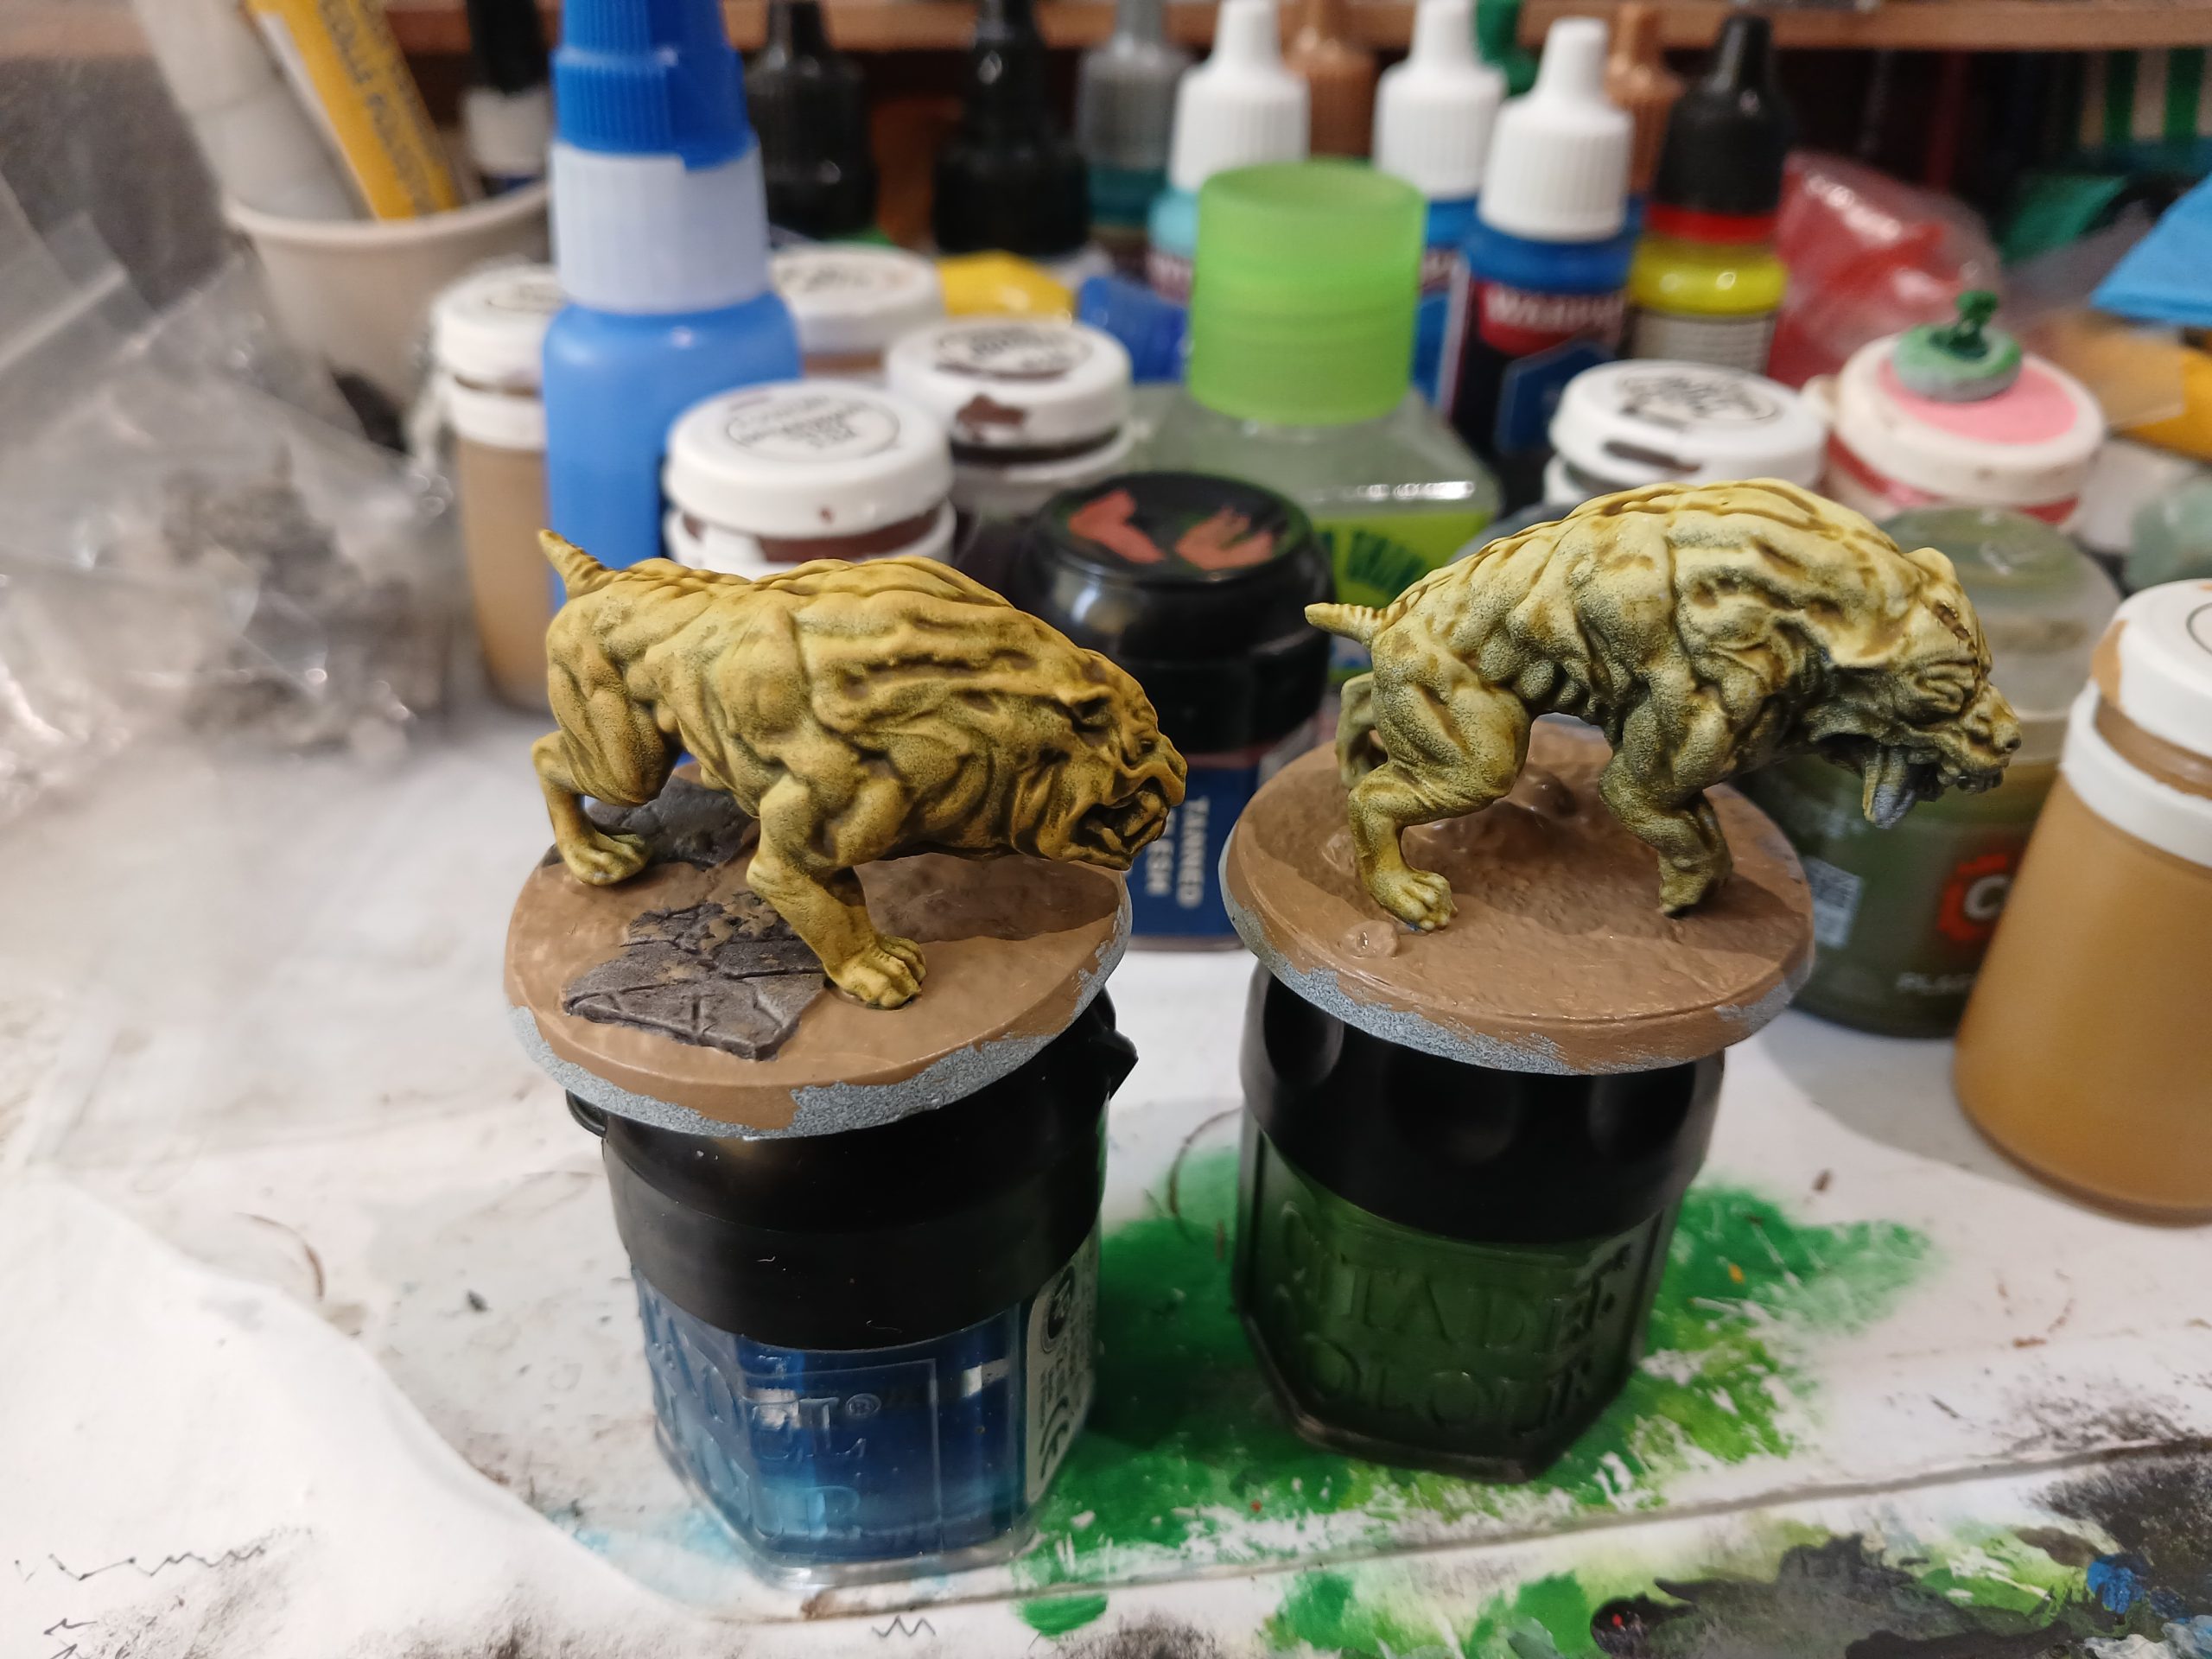
For the right side one I added an Agrax wash (must buy some more…) to take the edge of the brightness. Then I applied a dark pink to the gums and tongue, followed by a thinned pink to the eyes, ears, lips and legs. This was followed by a crimson wash over those same areas.
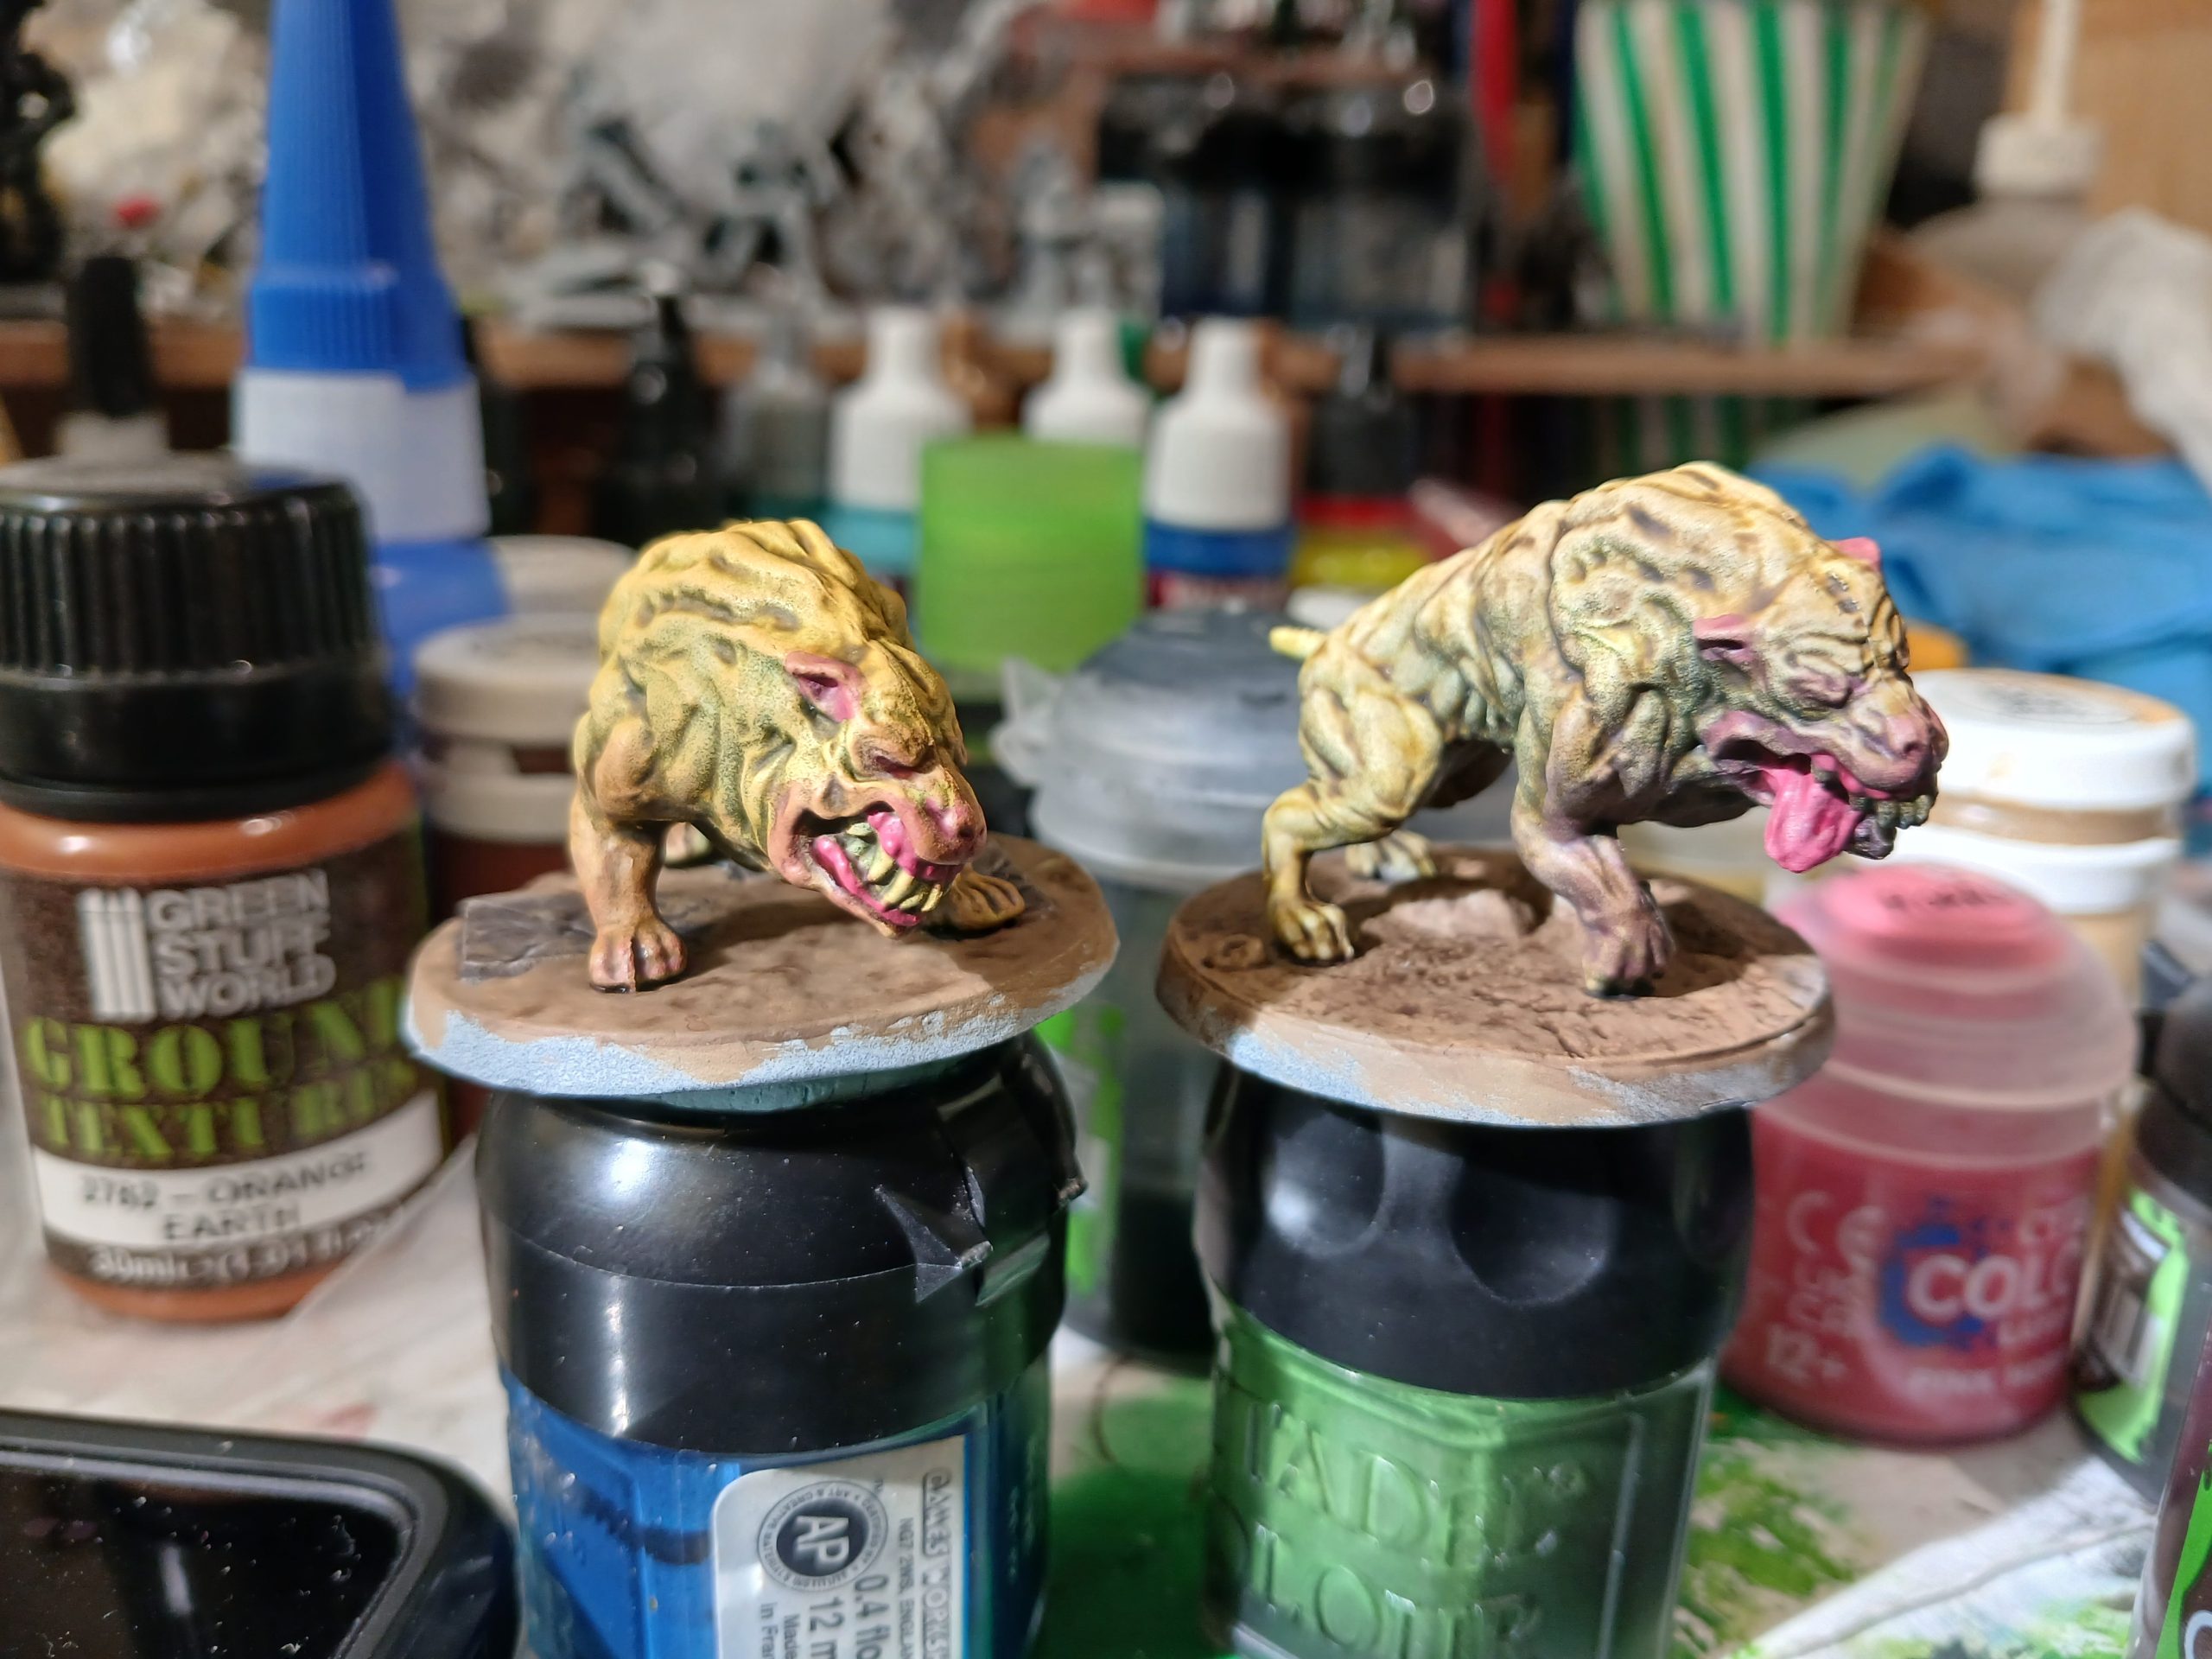
Finally I highlighted the gums and tongues, painted the teeth in dark brown followed by an ivory, added black for the eyes and then used a gloss varnish on the gums, tongue and eyes.
The bases were painted with a base colour of rawhide, with grey for the slab areas. All washed again with Agrax and dry brushed with pale sand. I added in very light stippling of an orange tone to add some colour interest to the beige. Its not obvious in the pics, but does help irl.
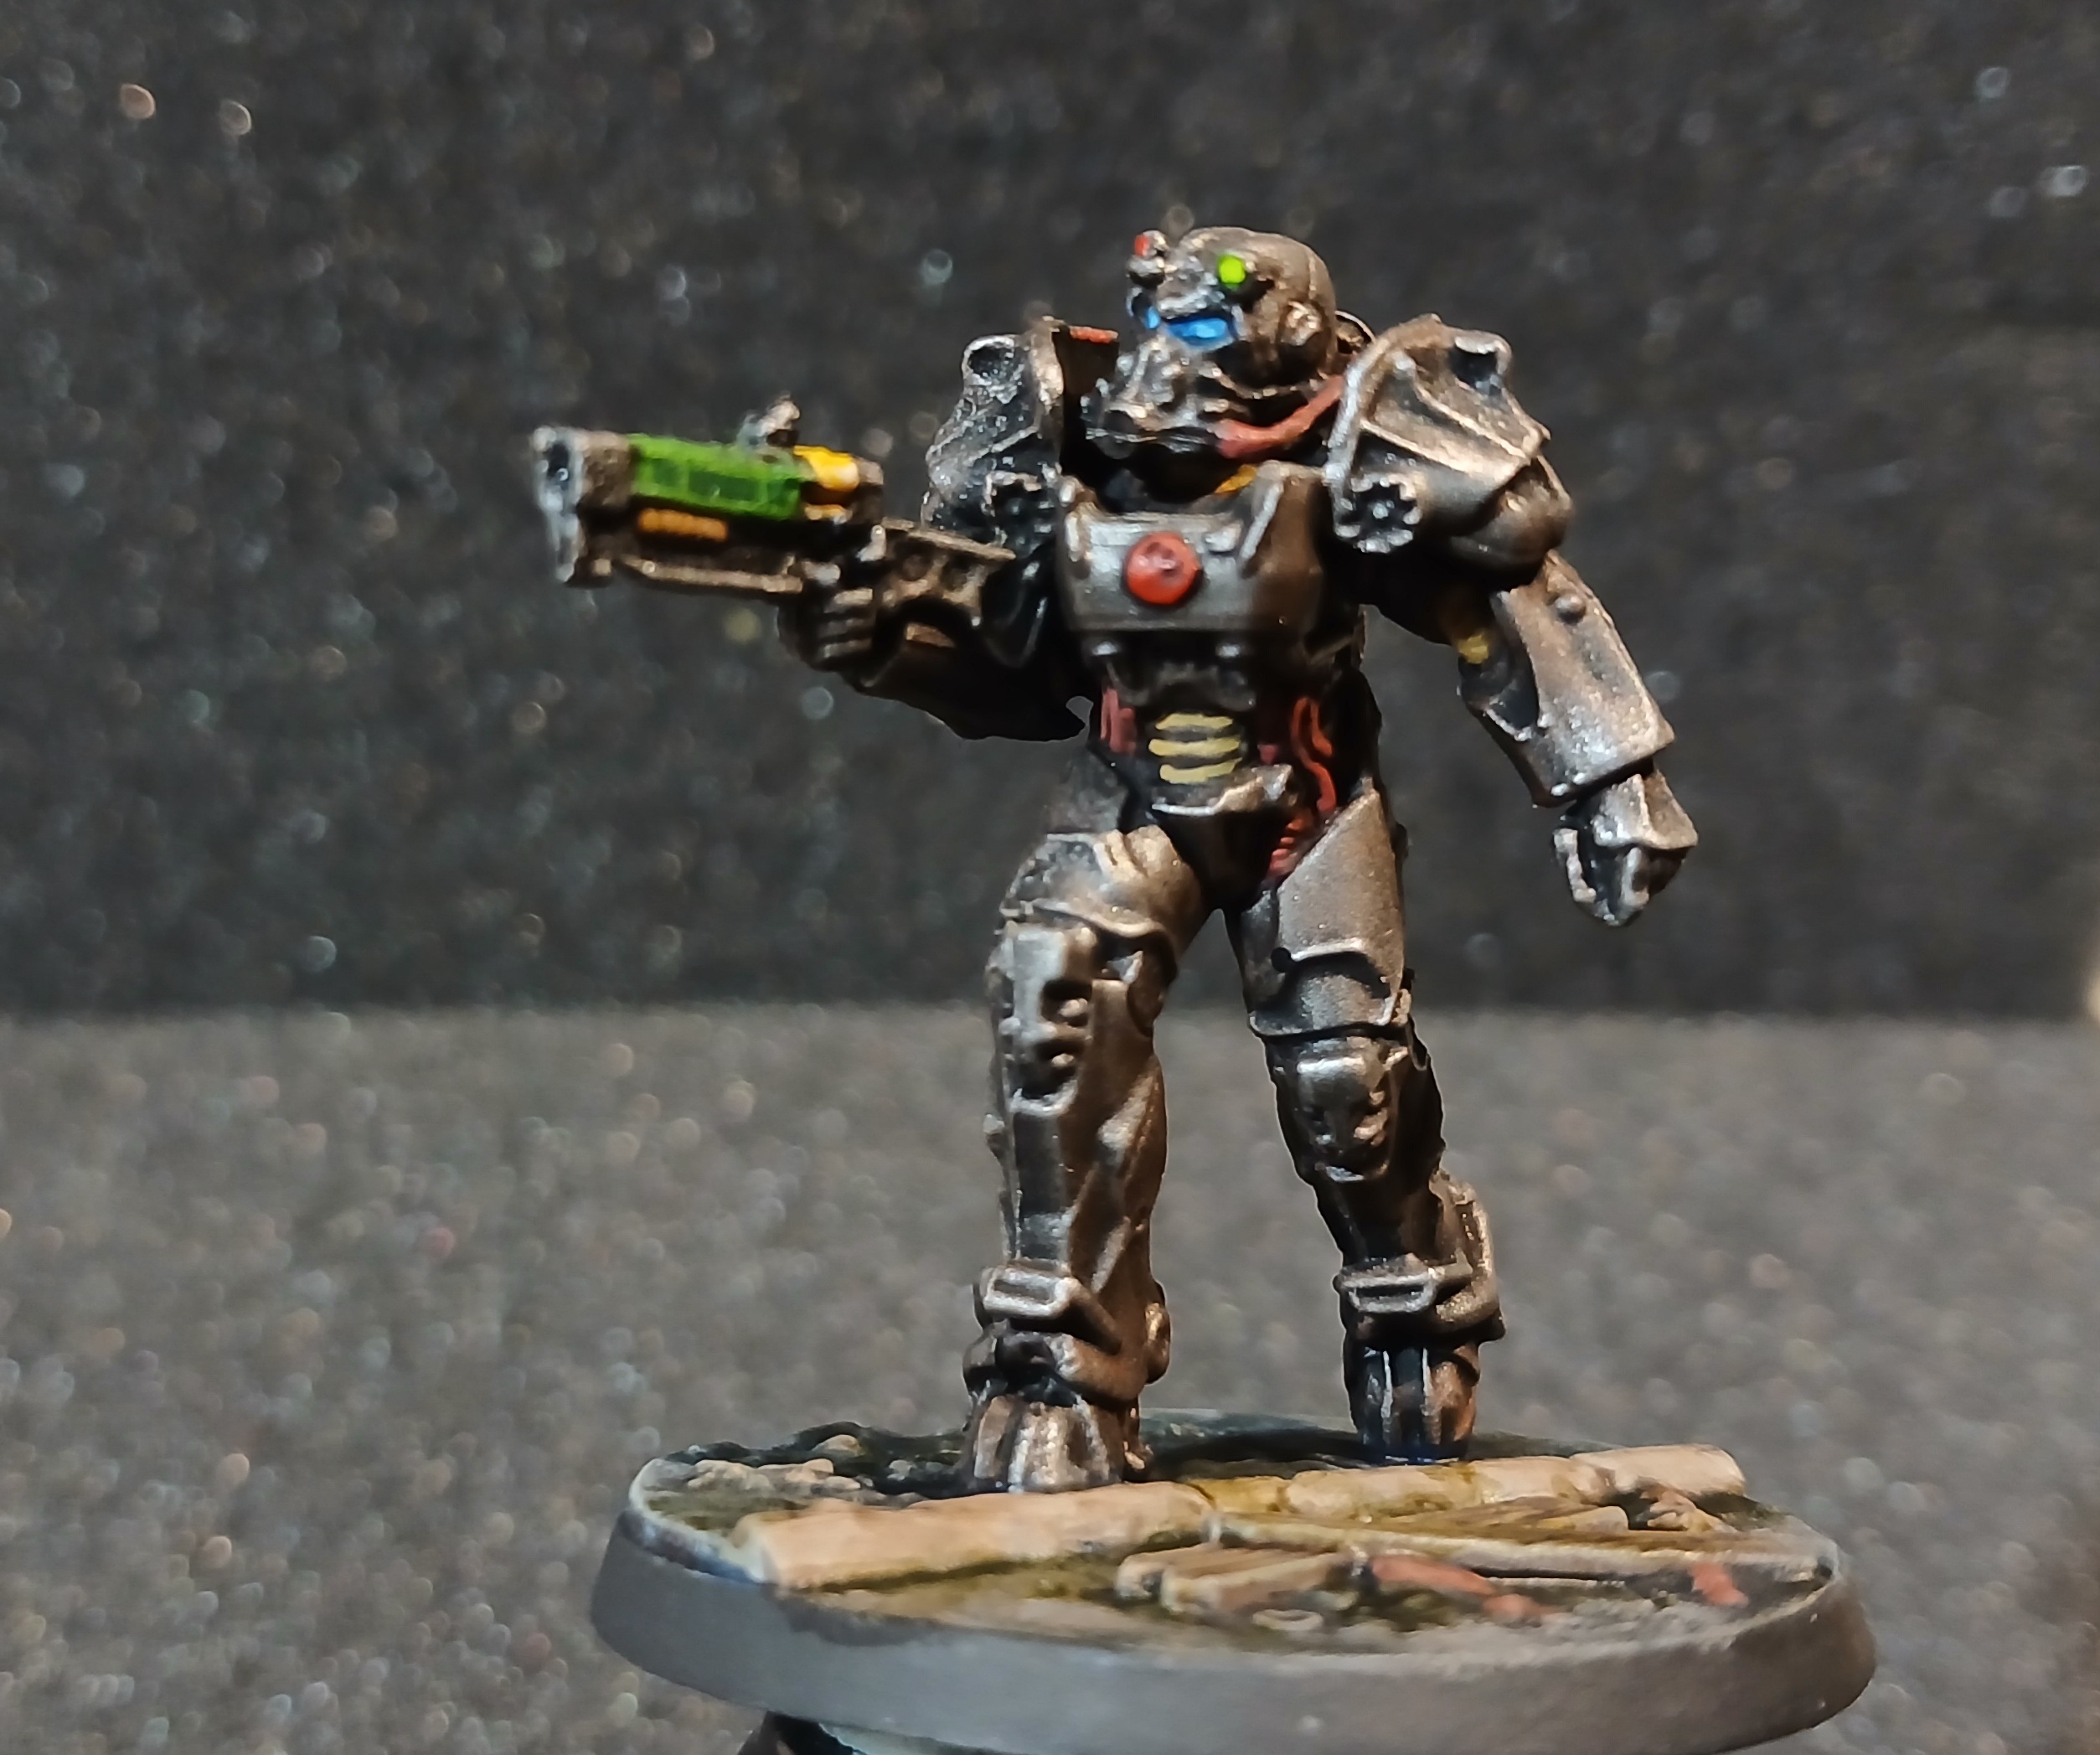
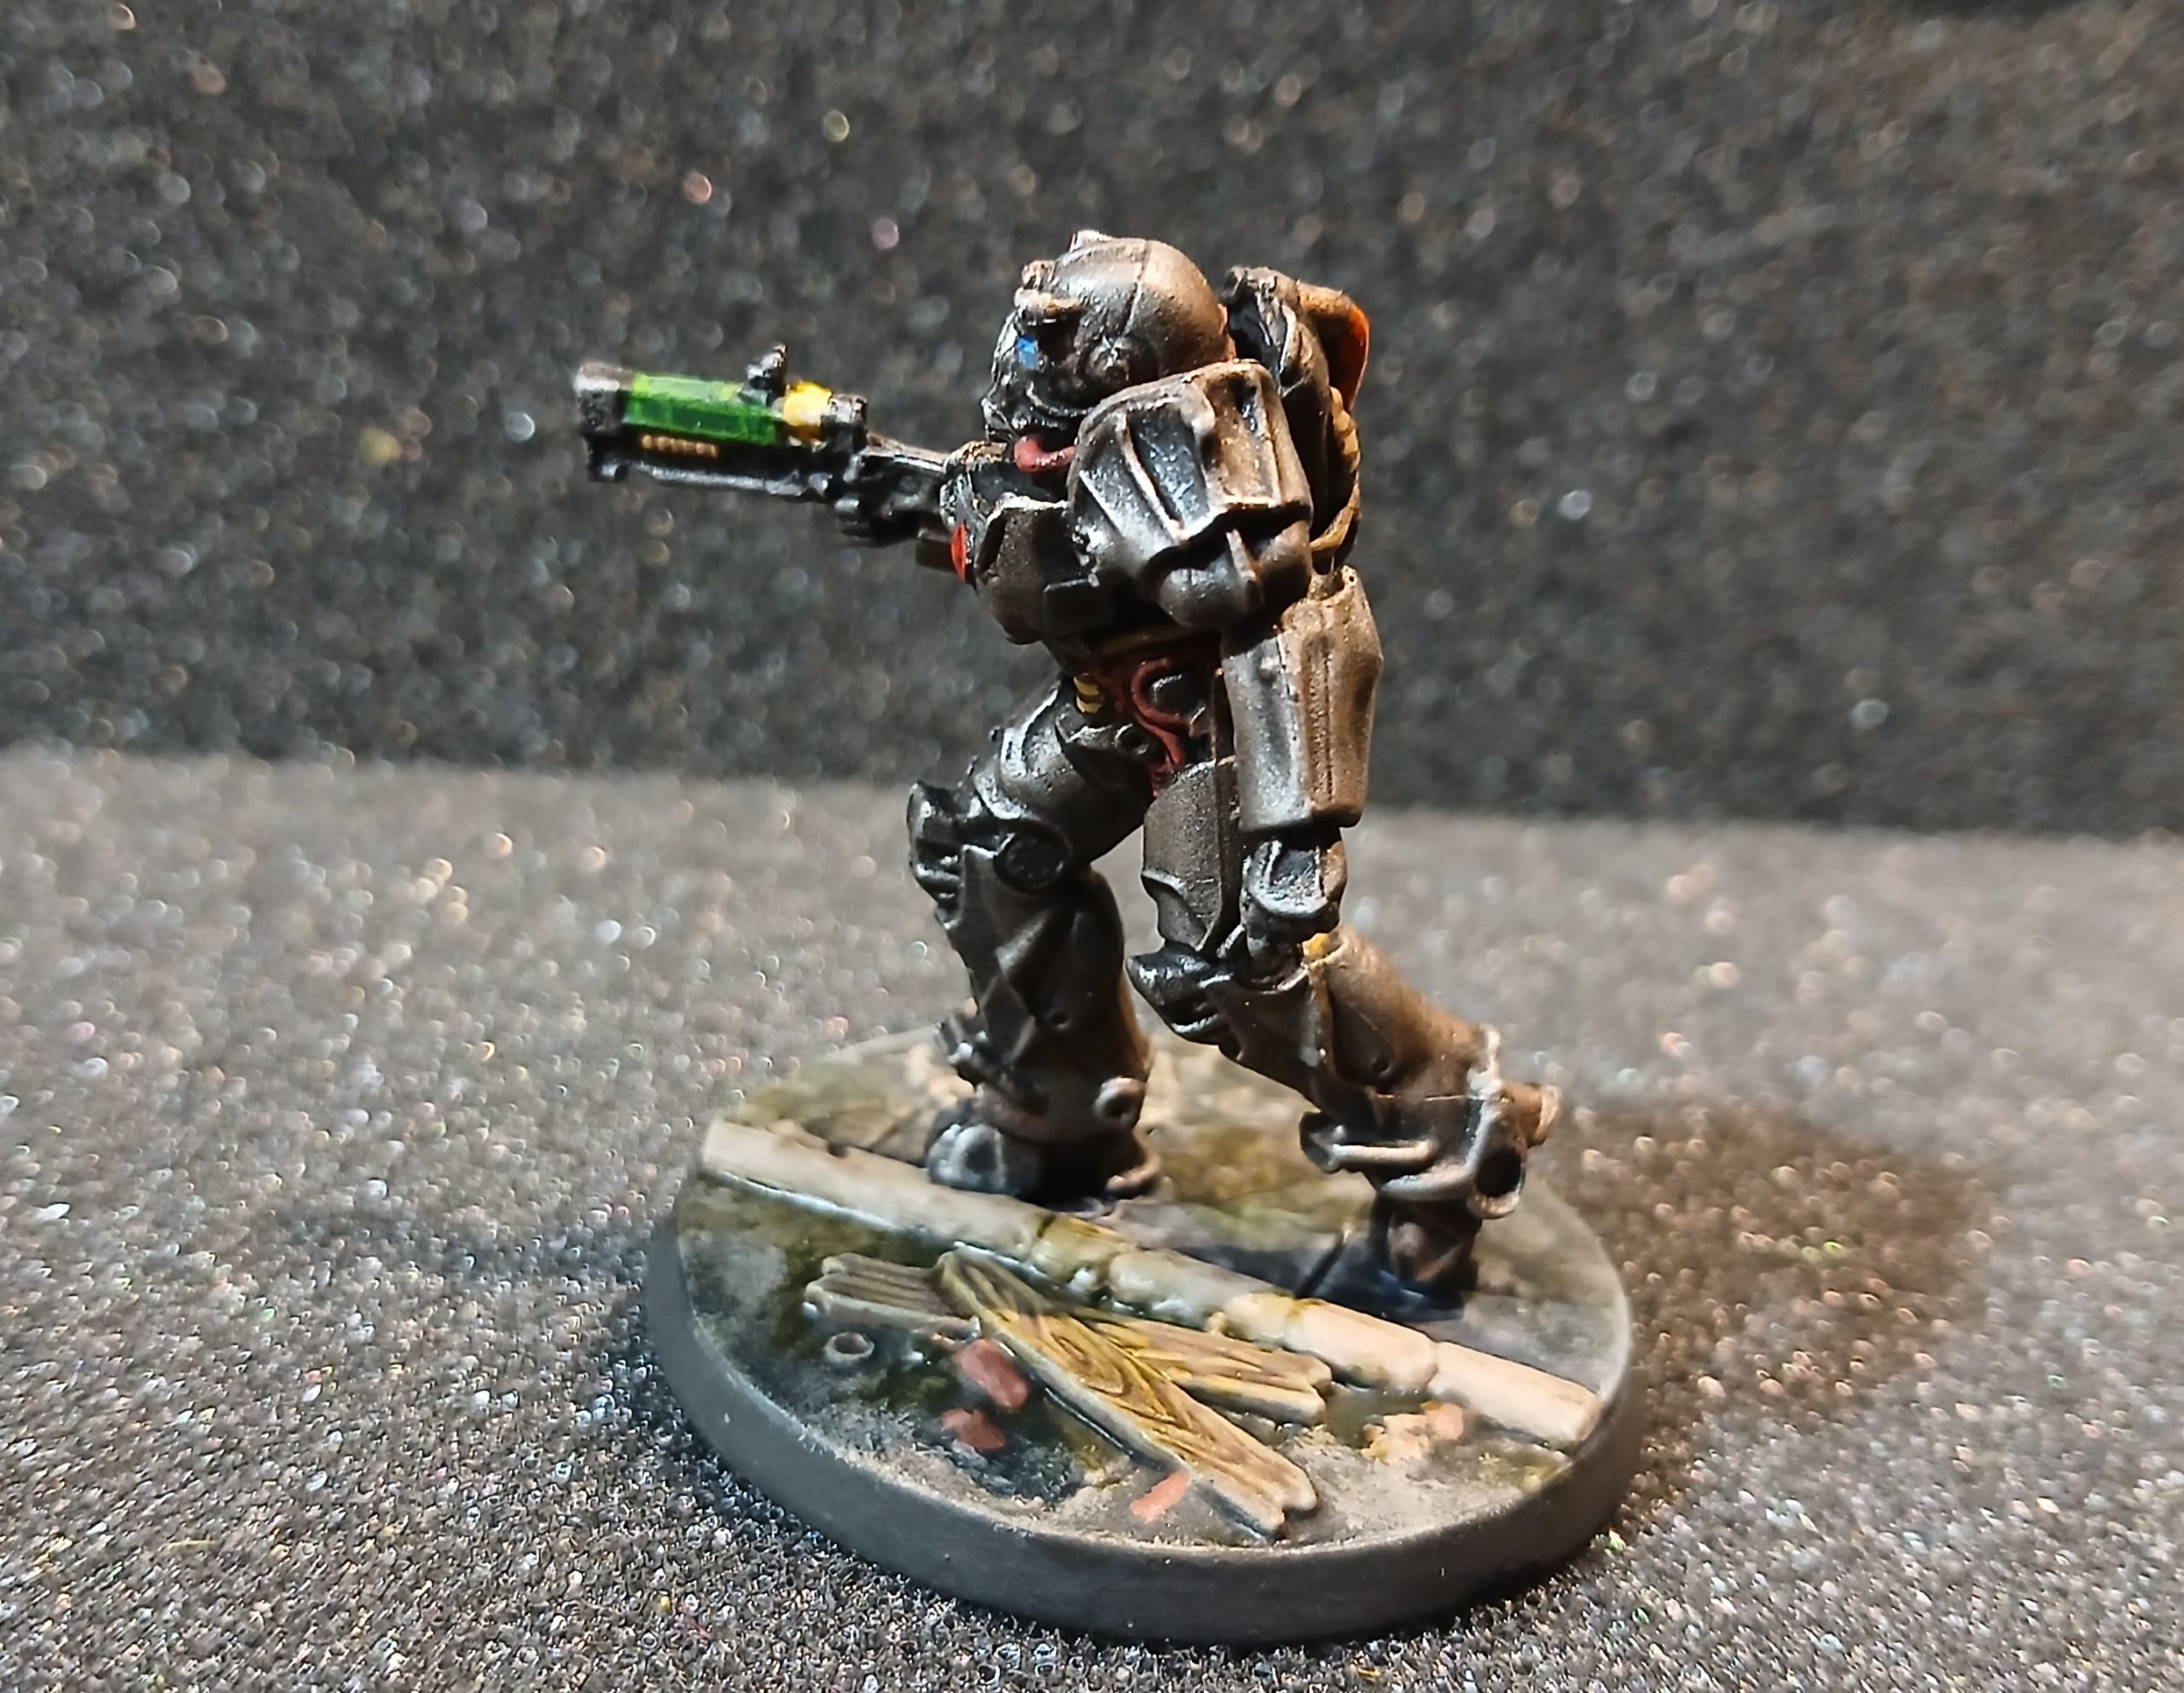
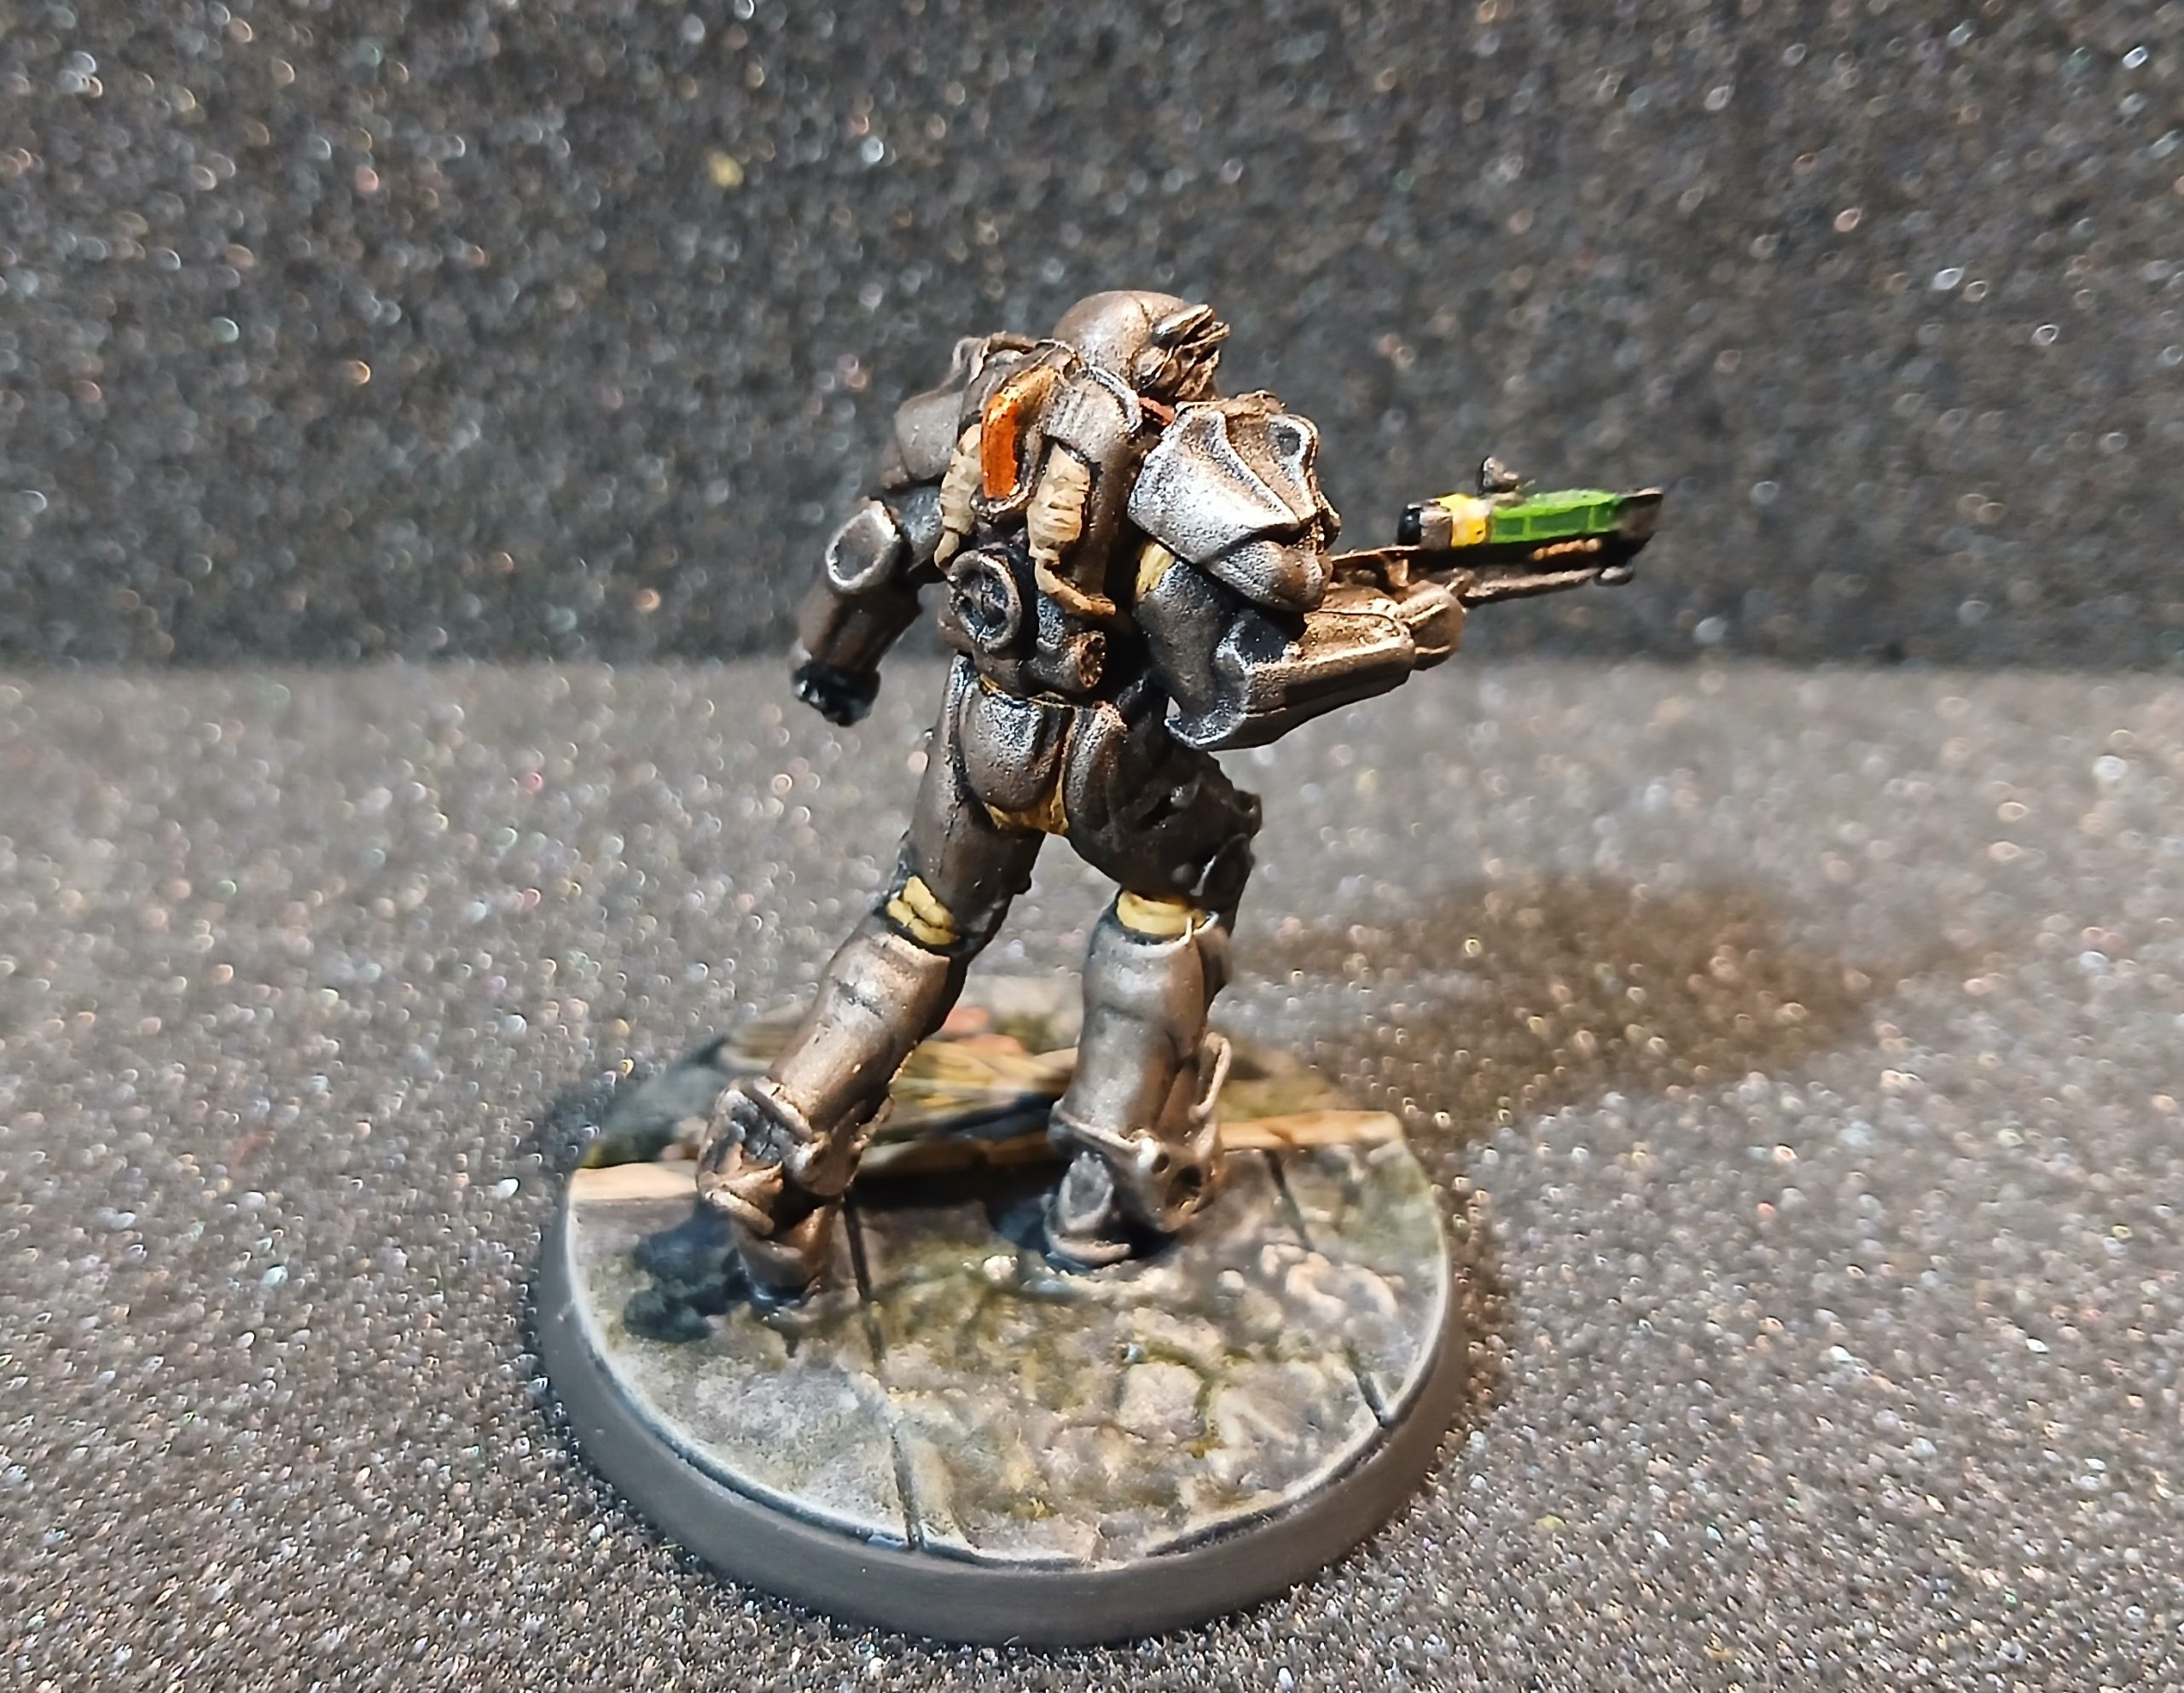
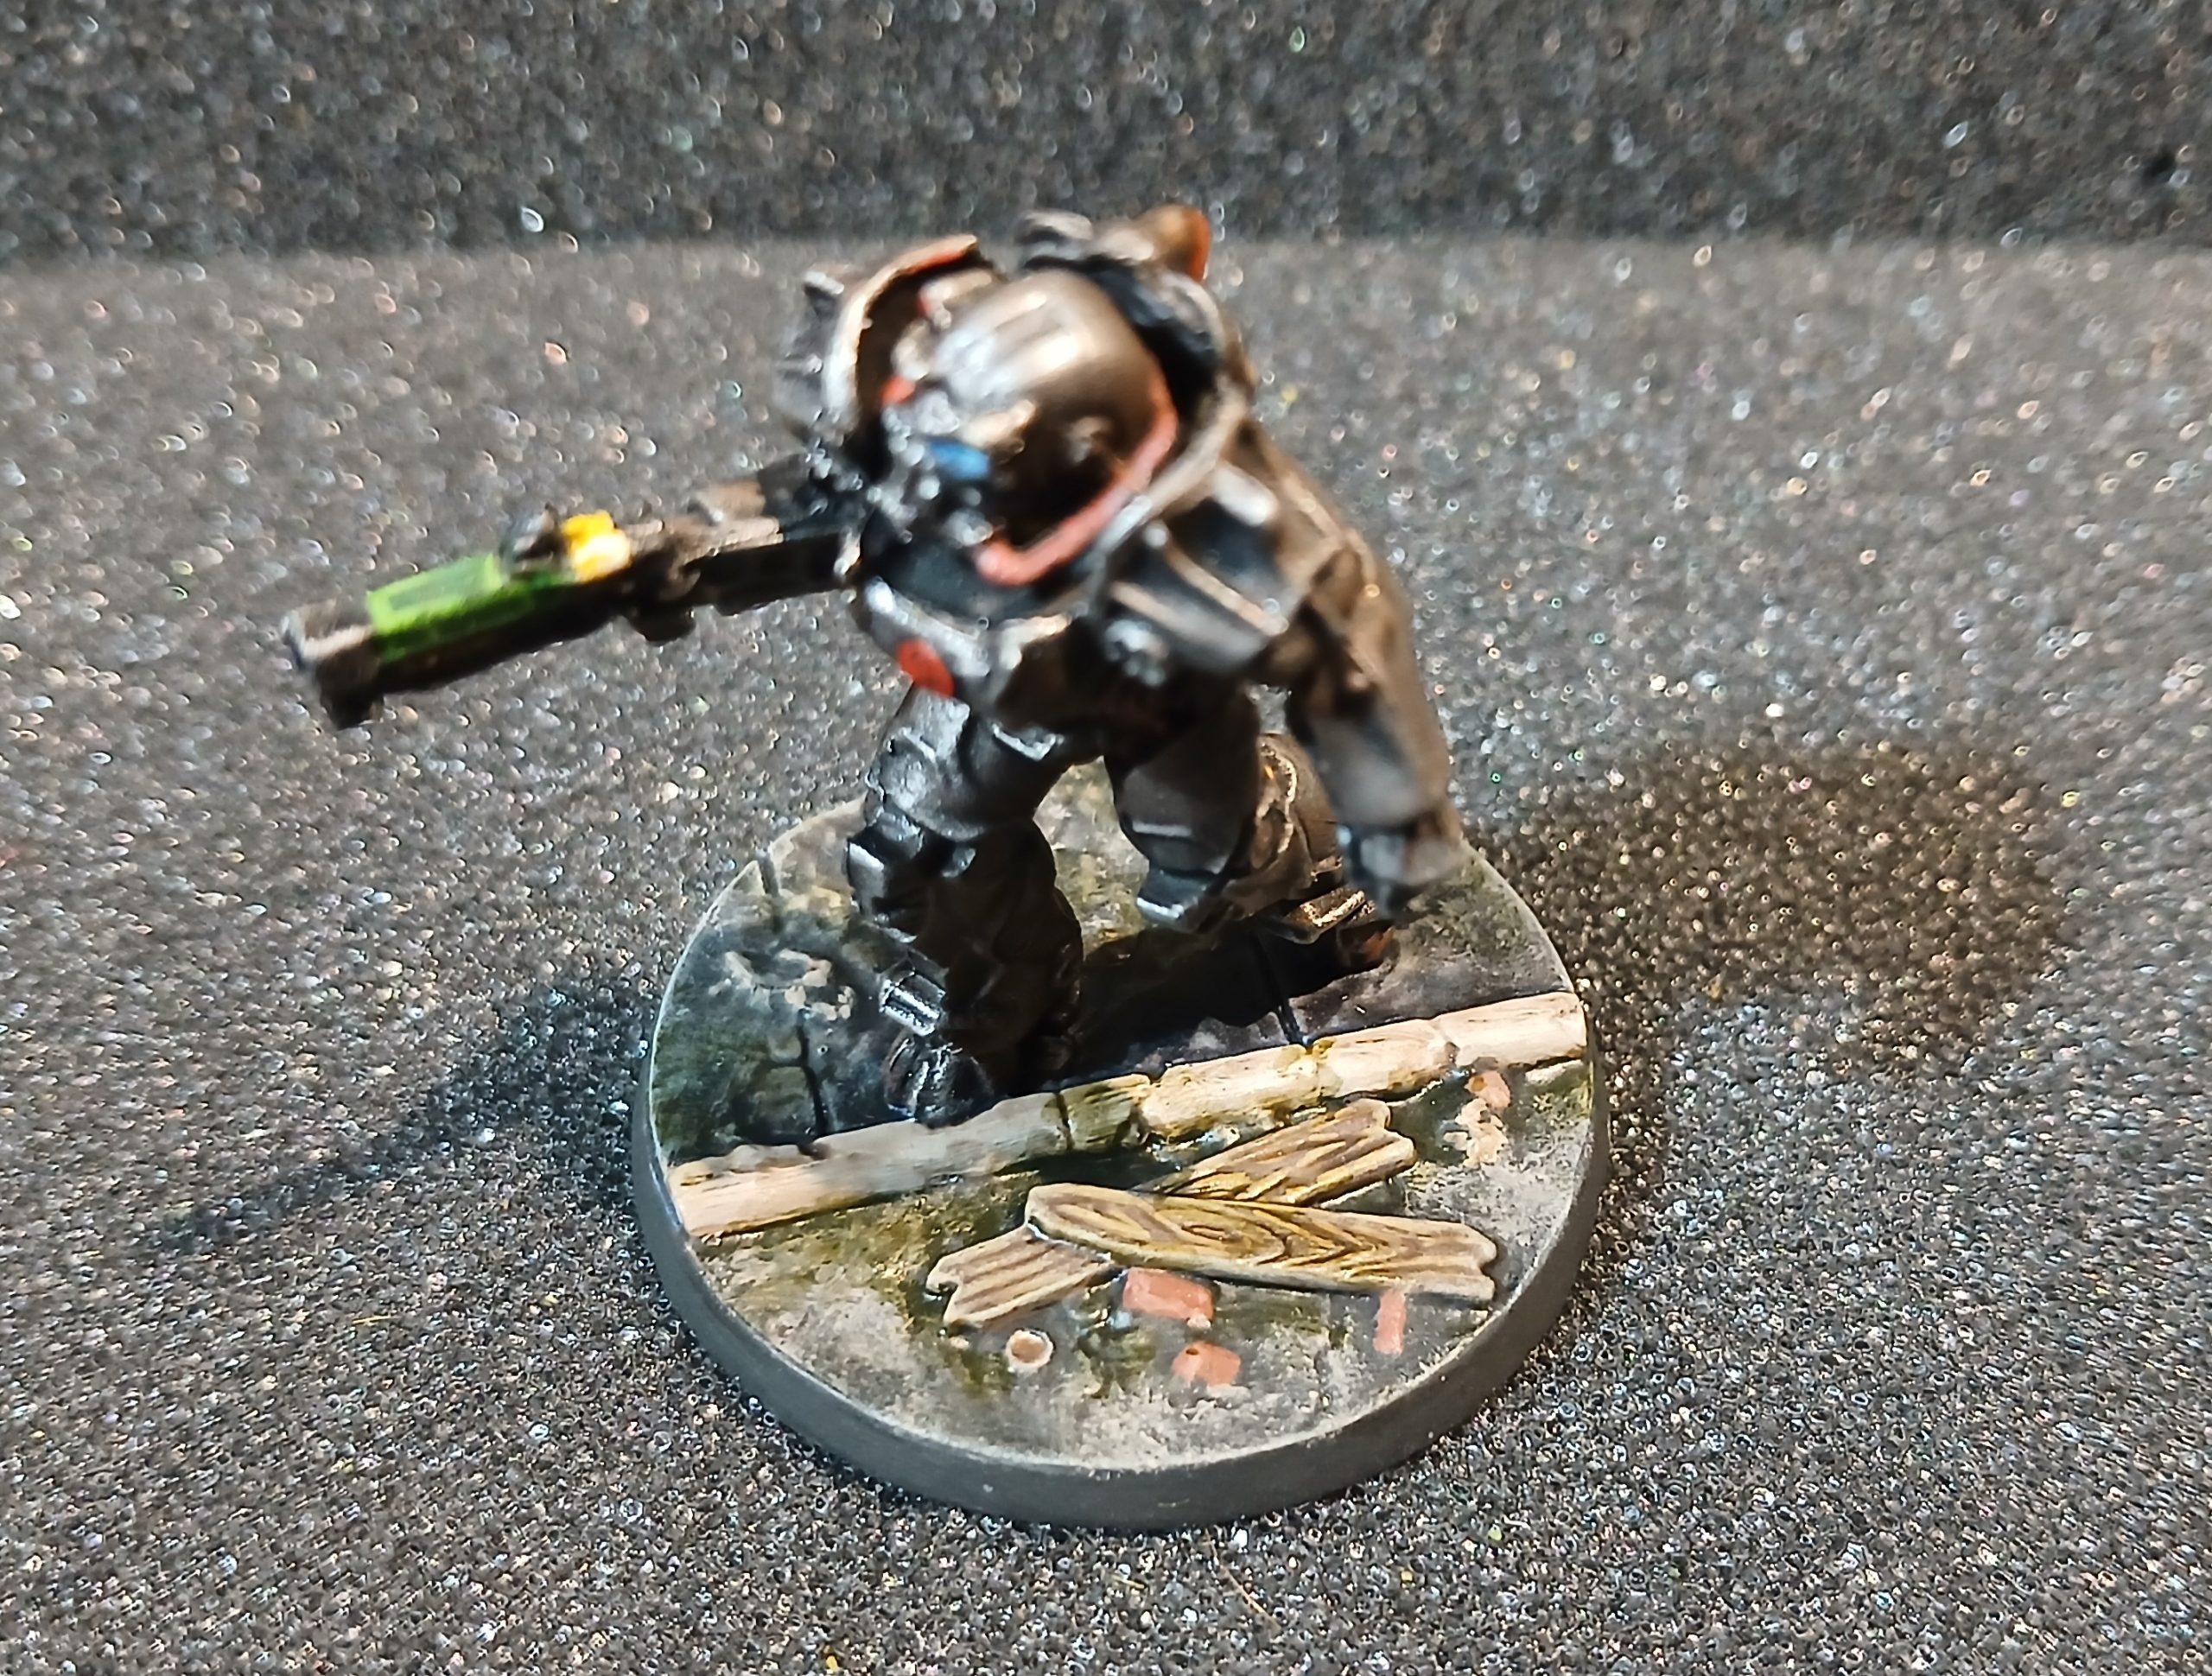
T-60 Power Armour
7th May 2026
Onto the iconic power armour. This was dry brushed silver over the black prime. Then followed up with a thinned wash of a red brown to add some weathering.
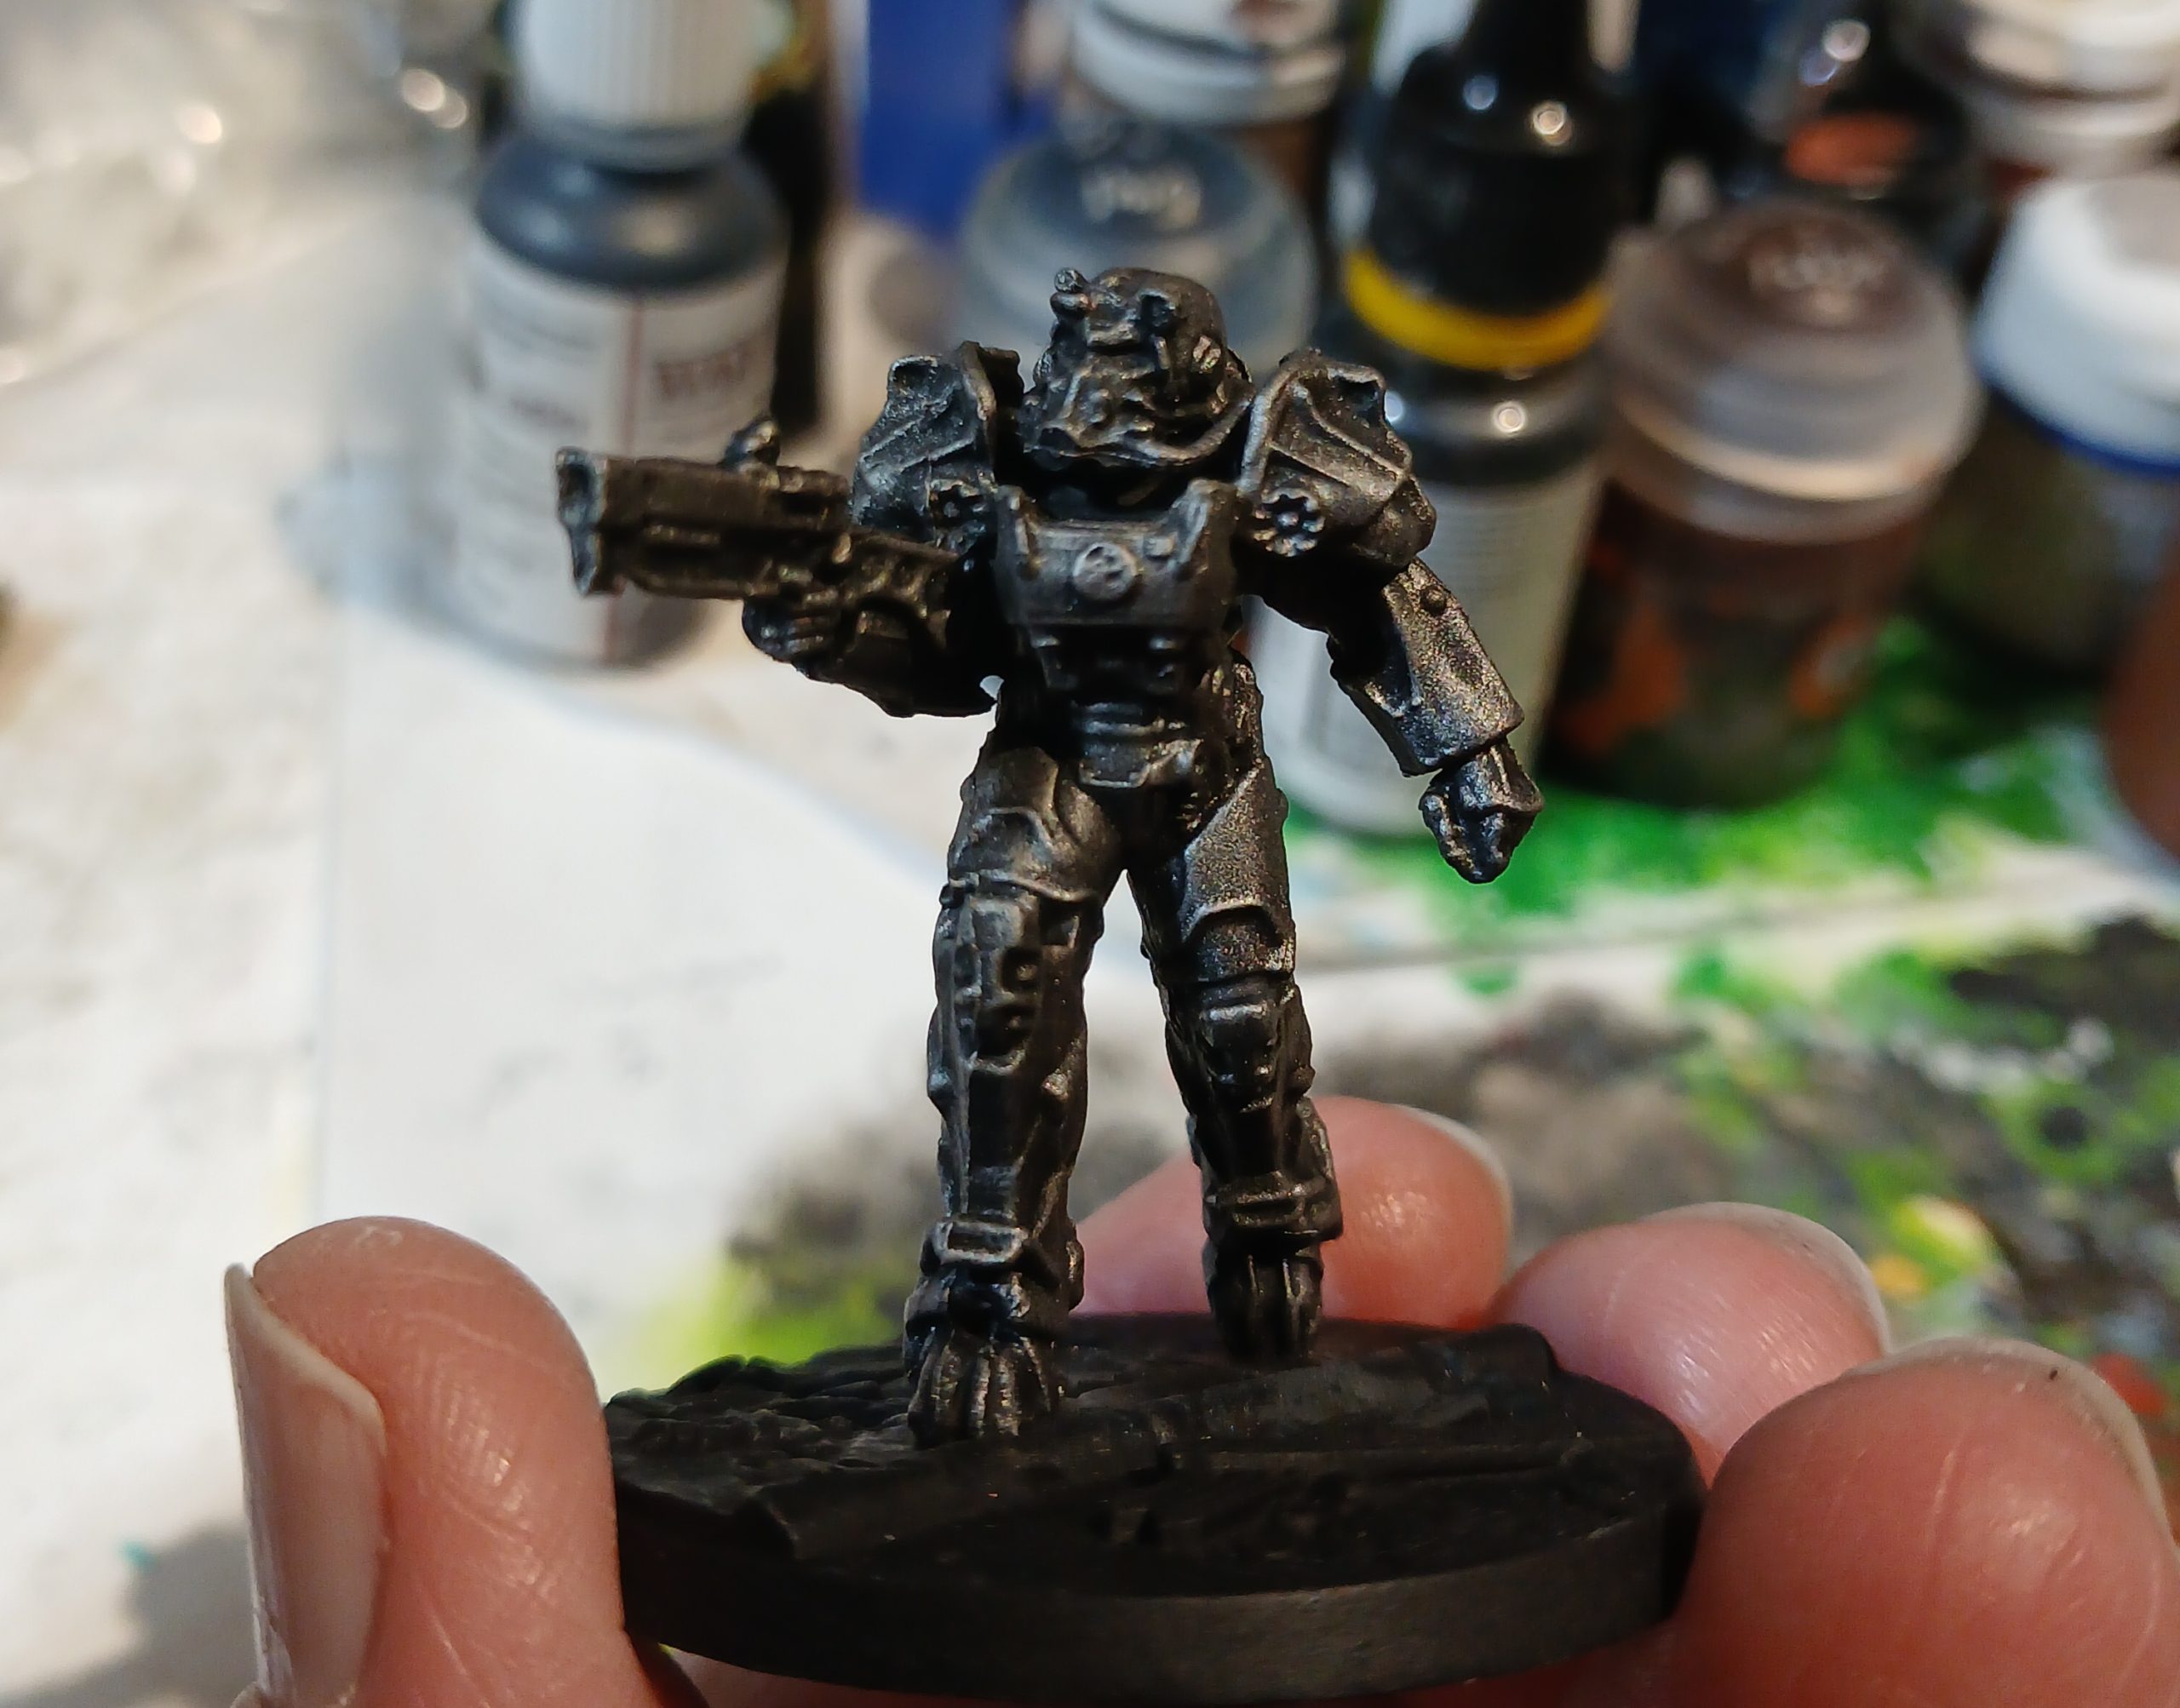
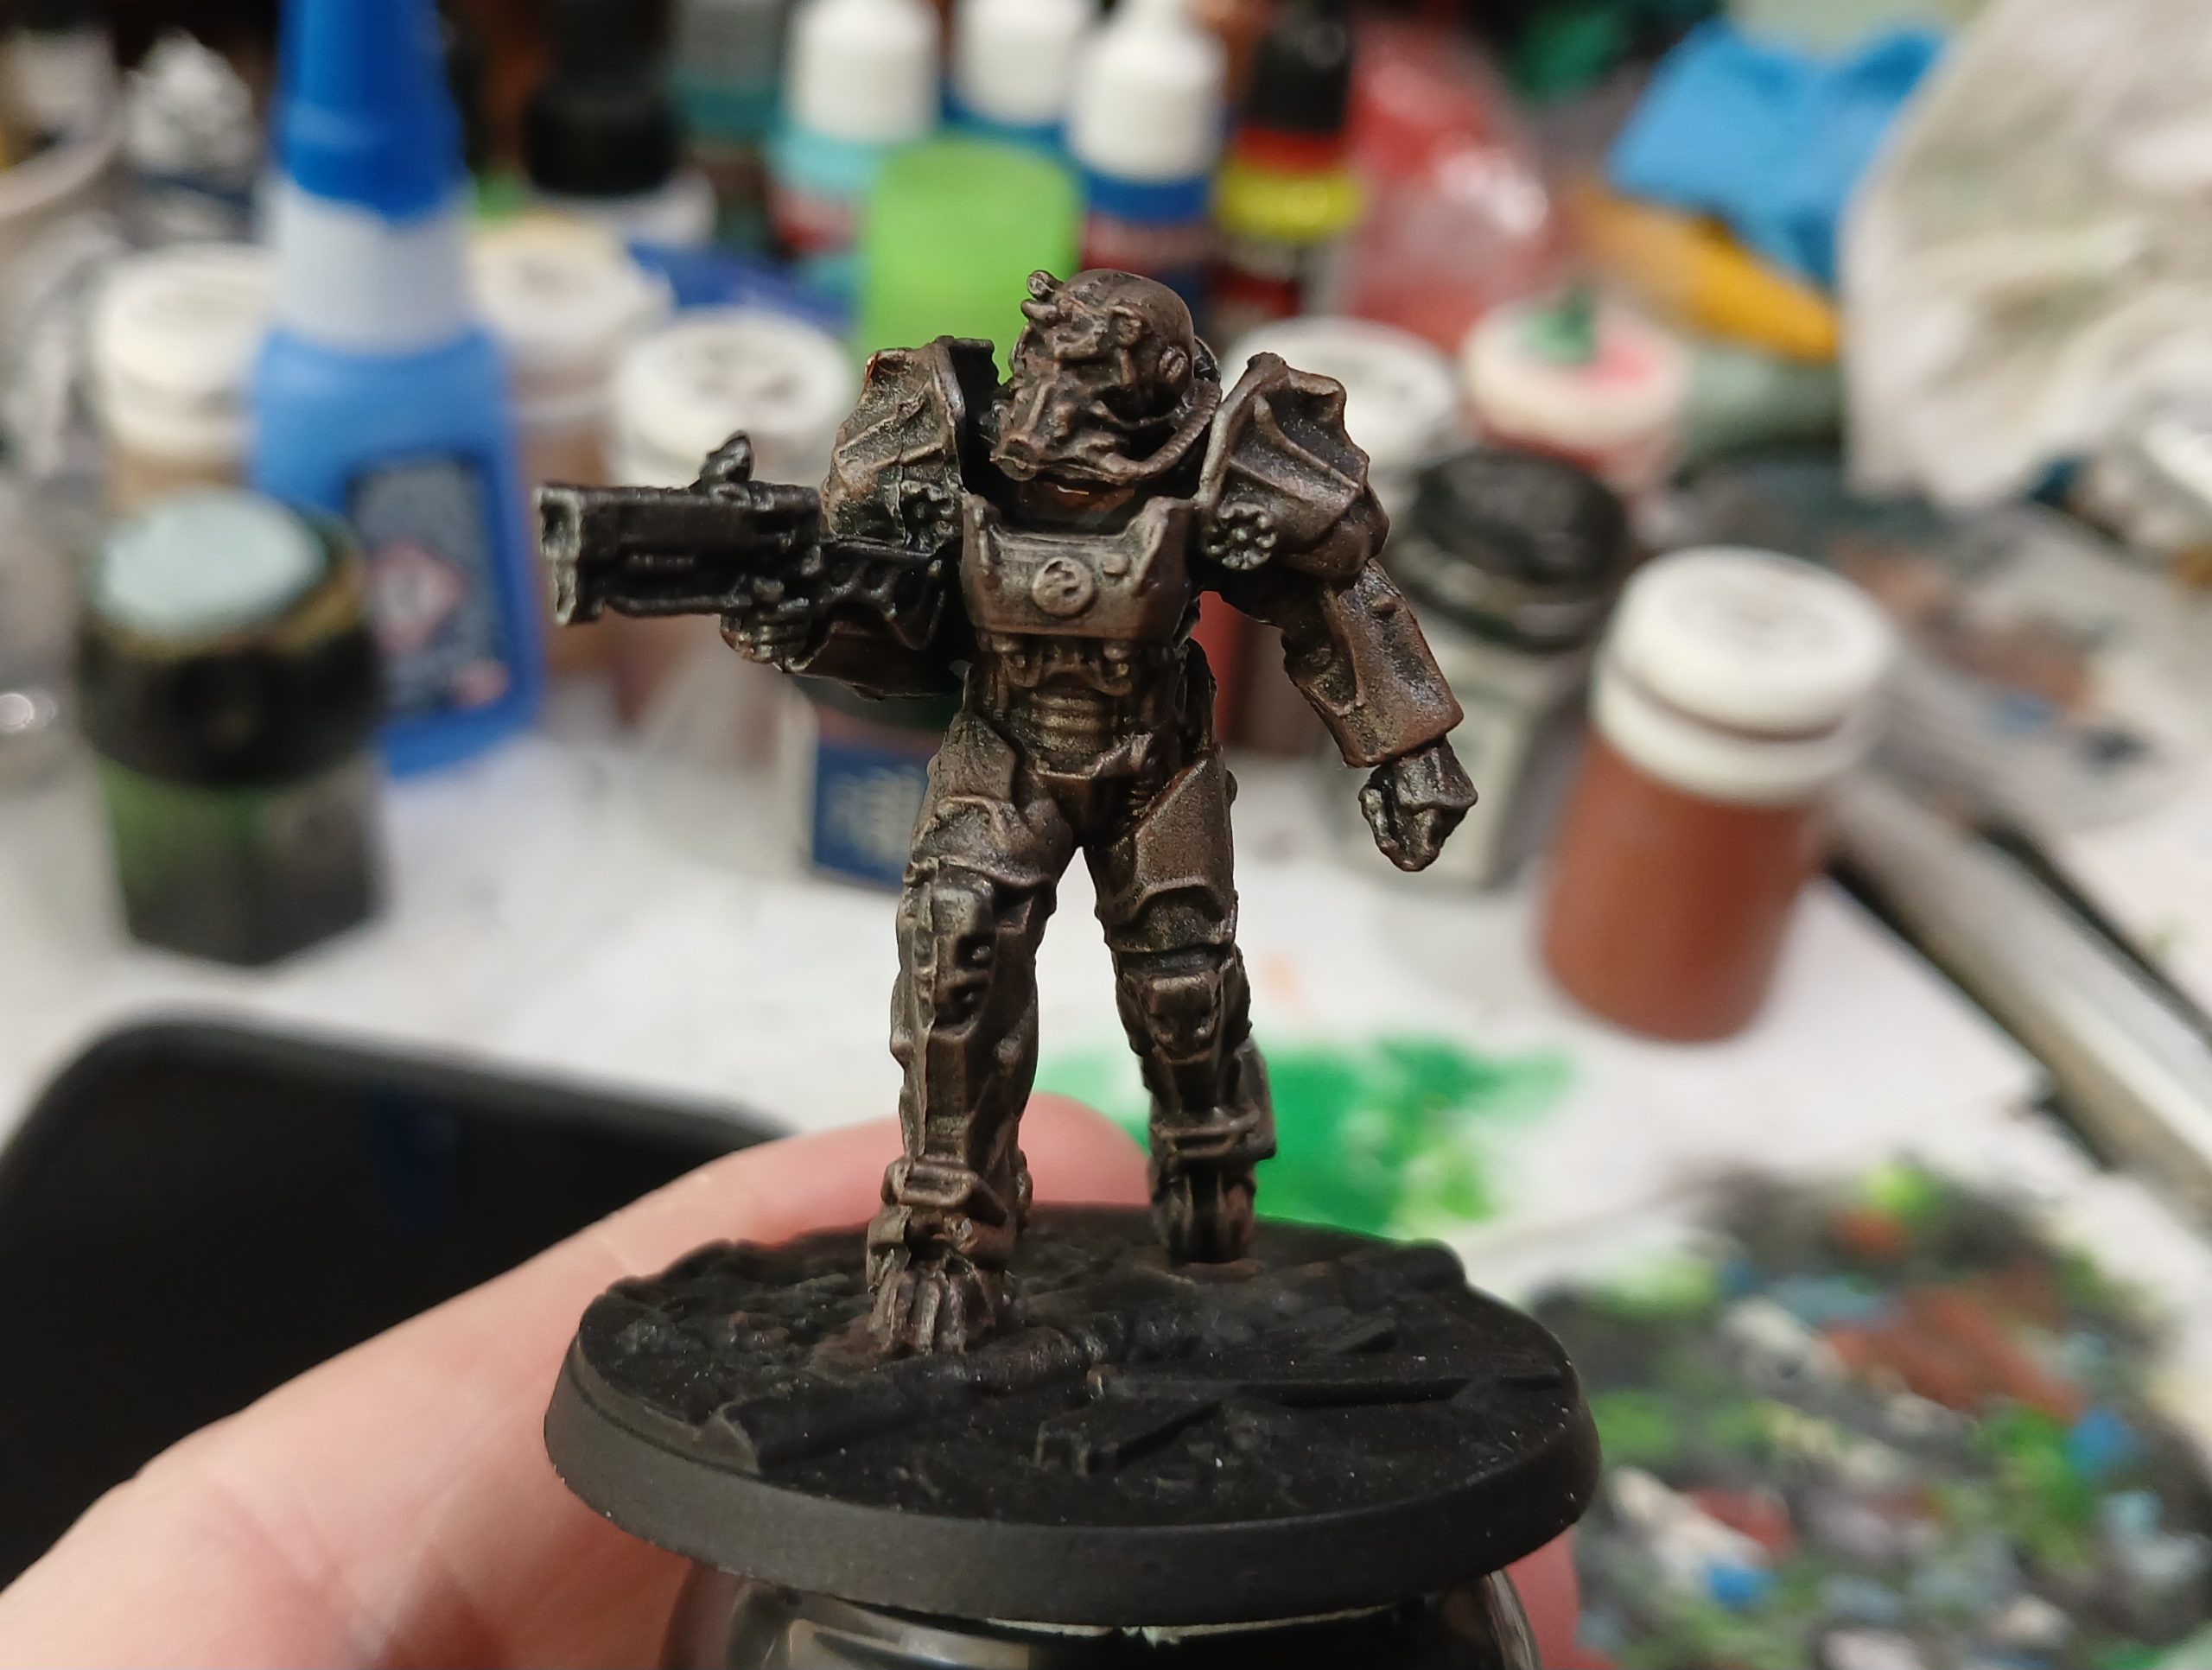
After that I painted in the hoses, piping, undersuit and rear canisters. Then I gave it an all over wash with Agrax.
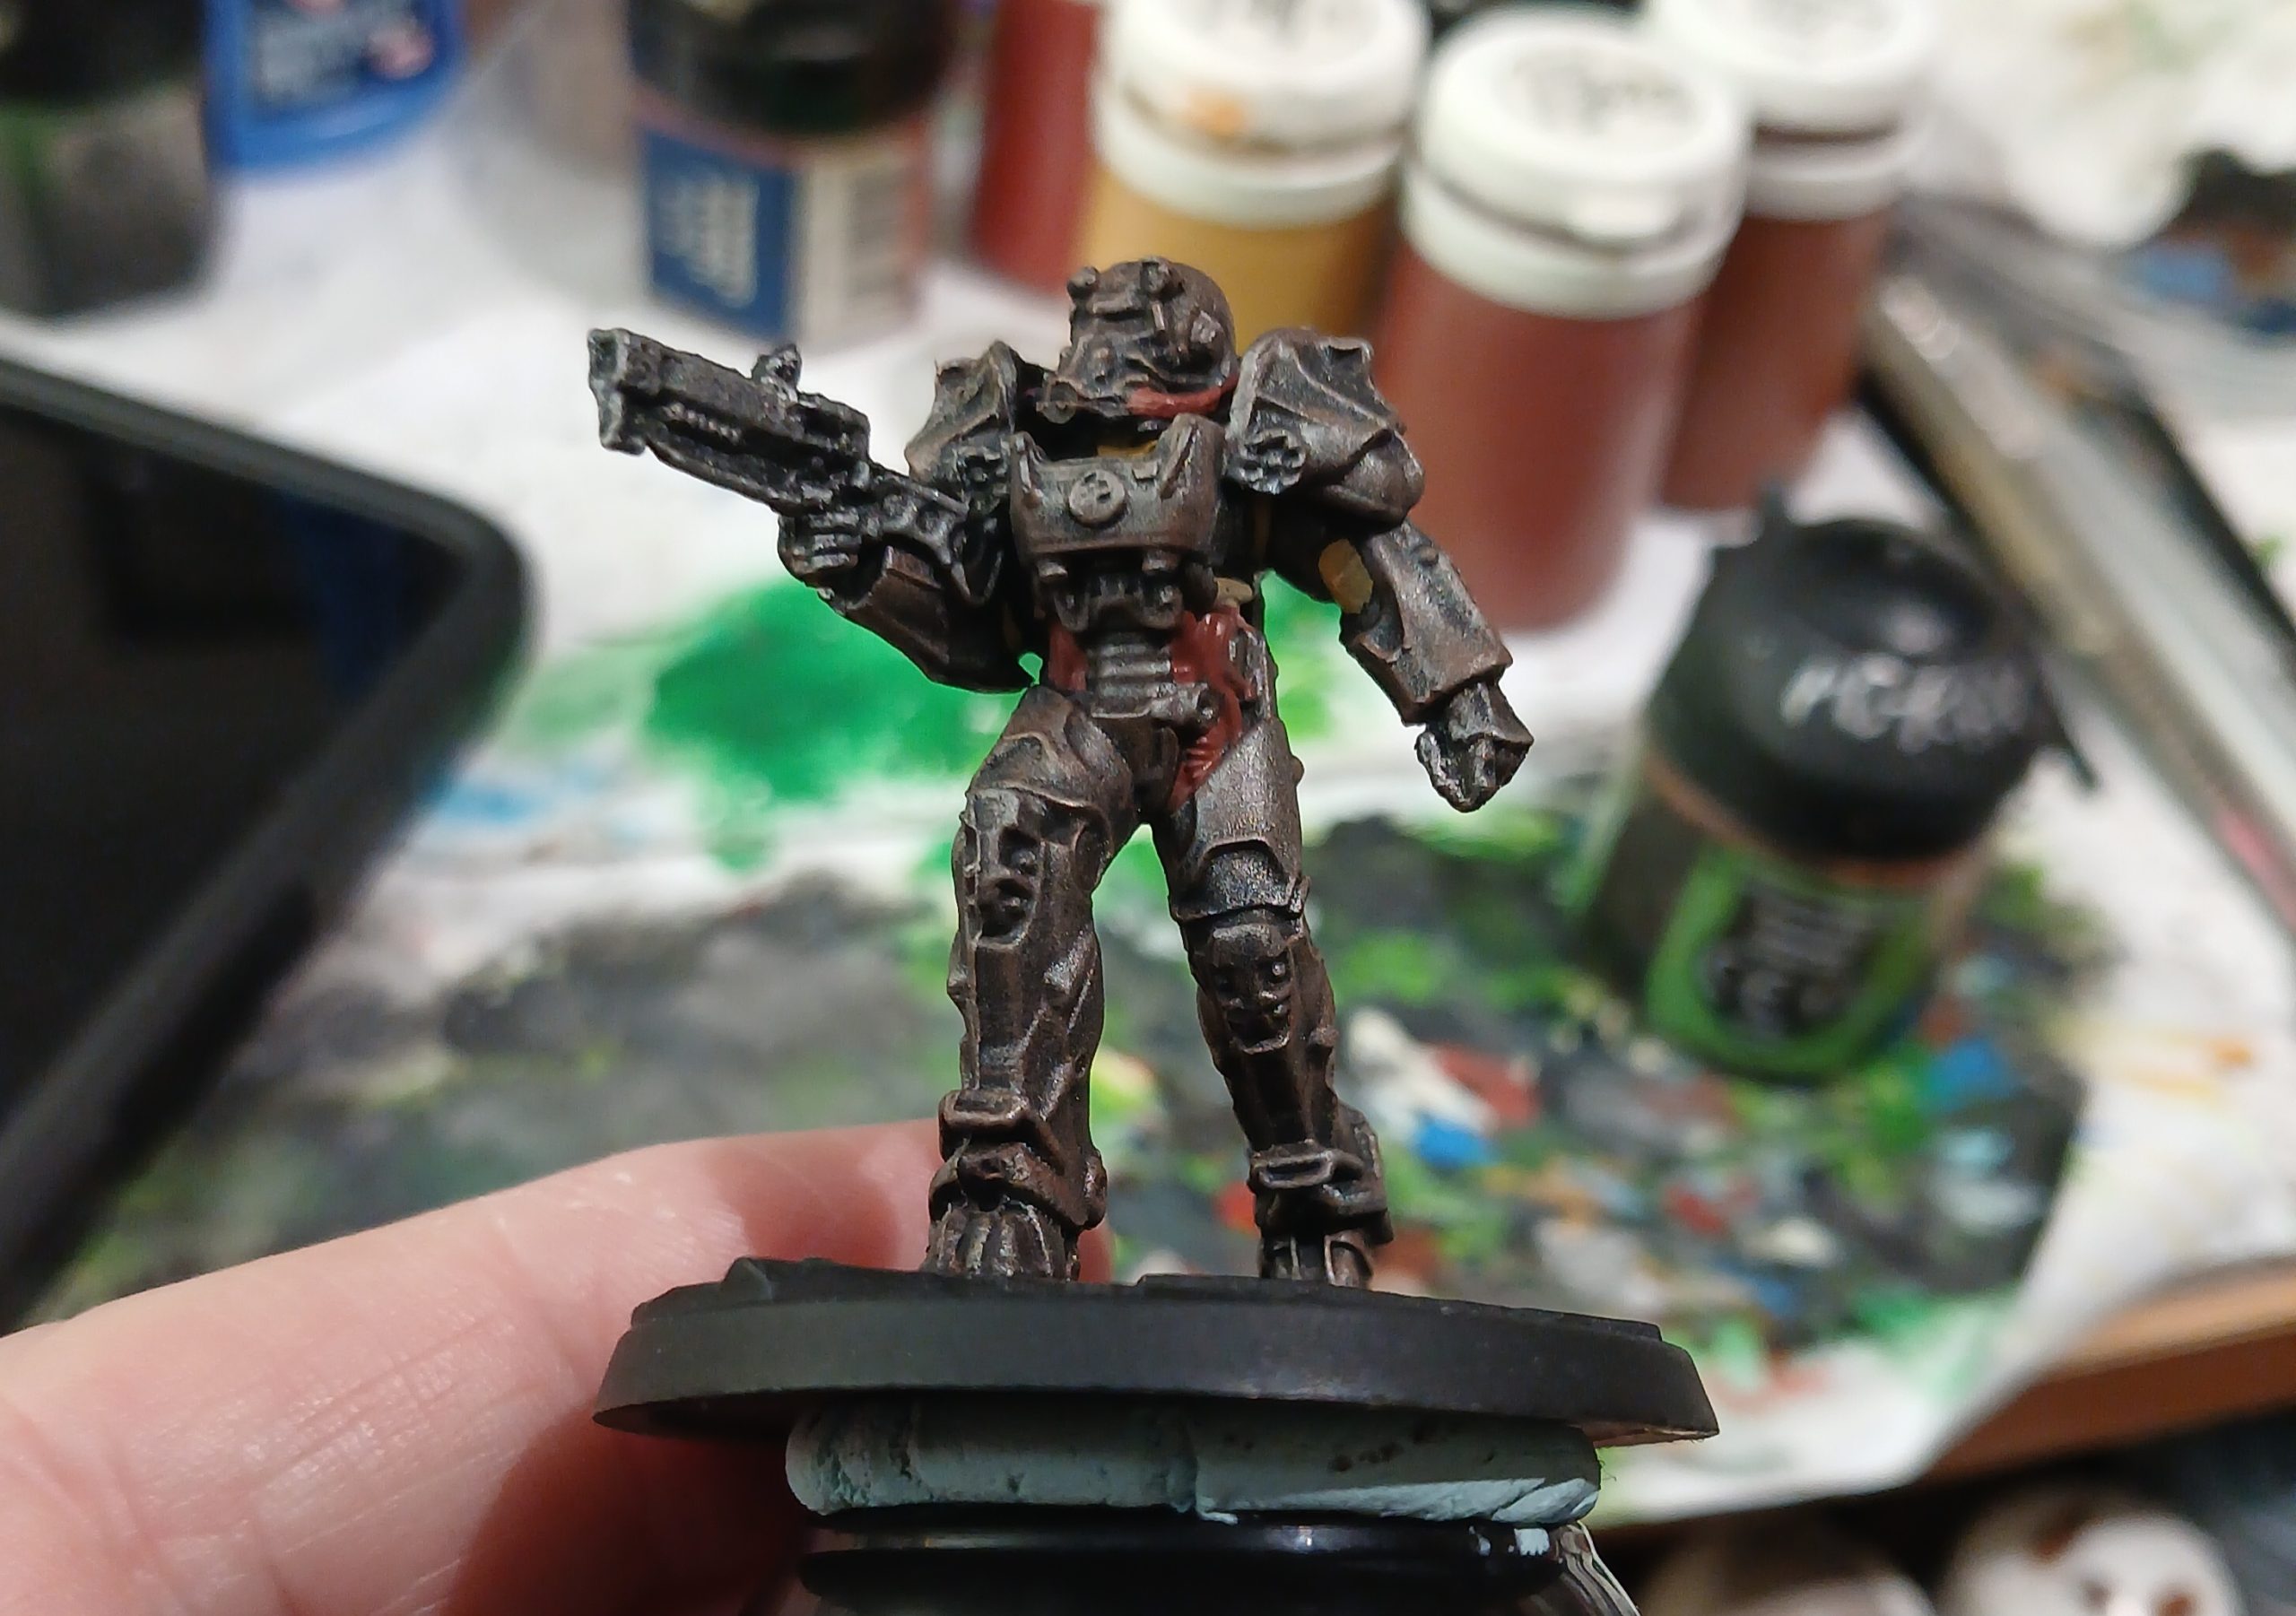
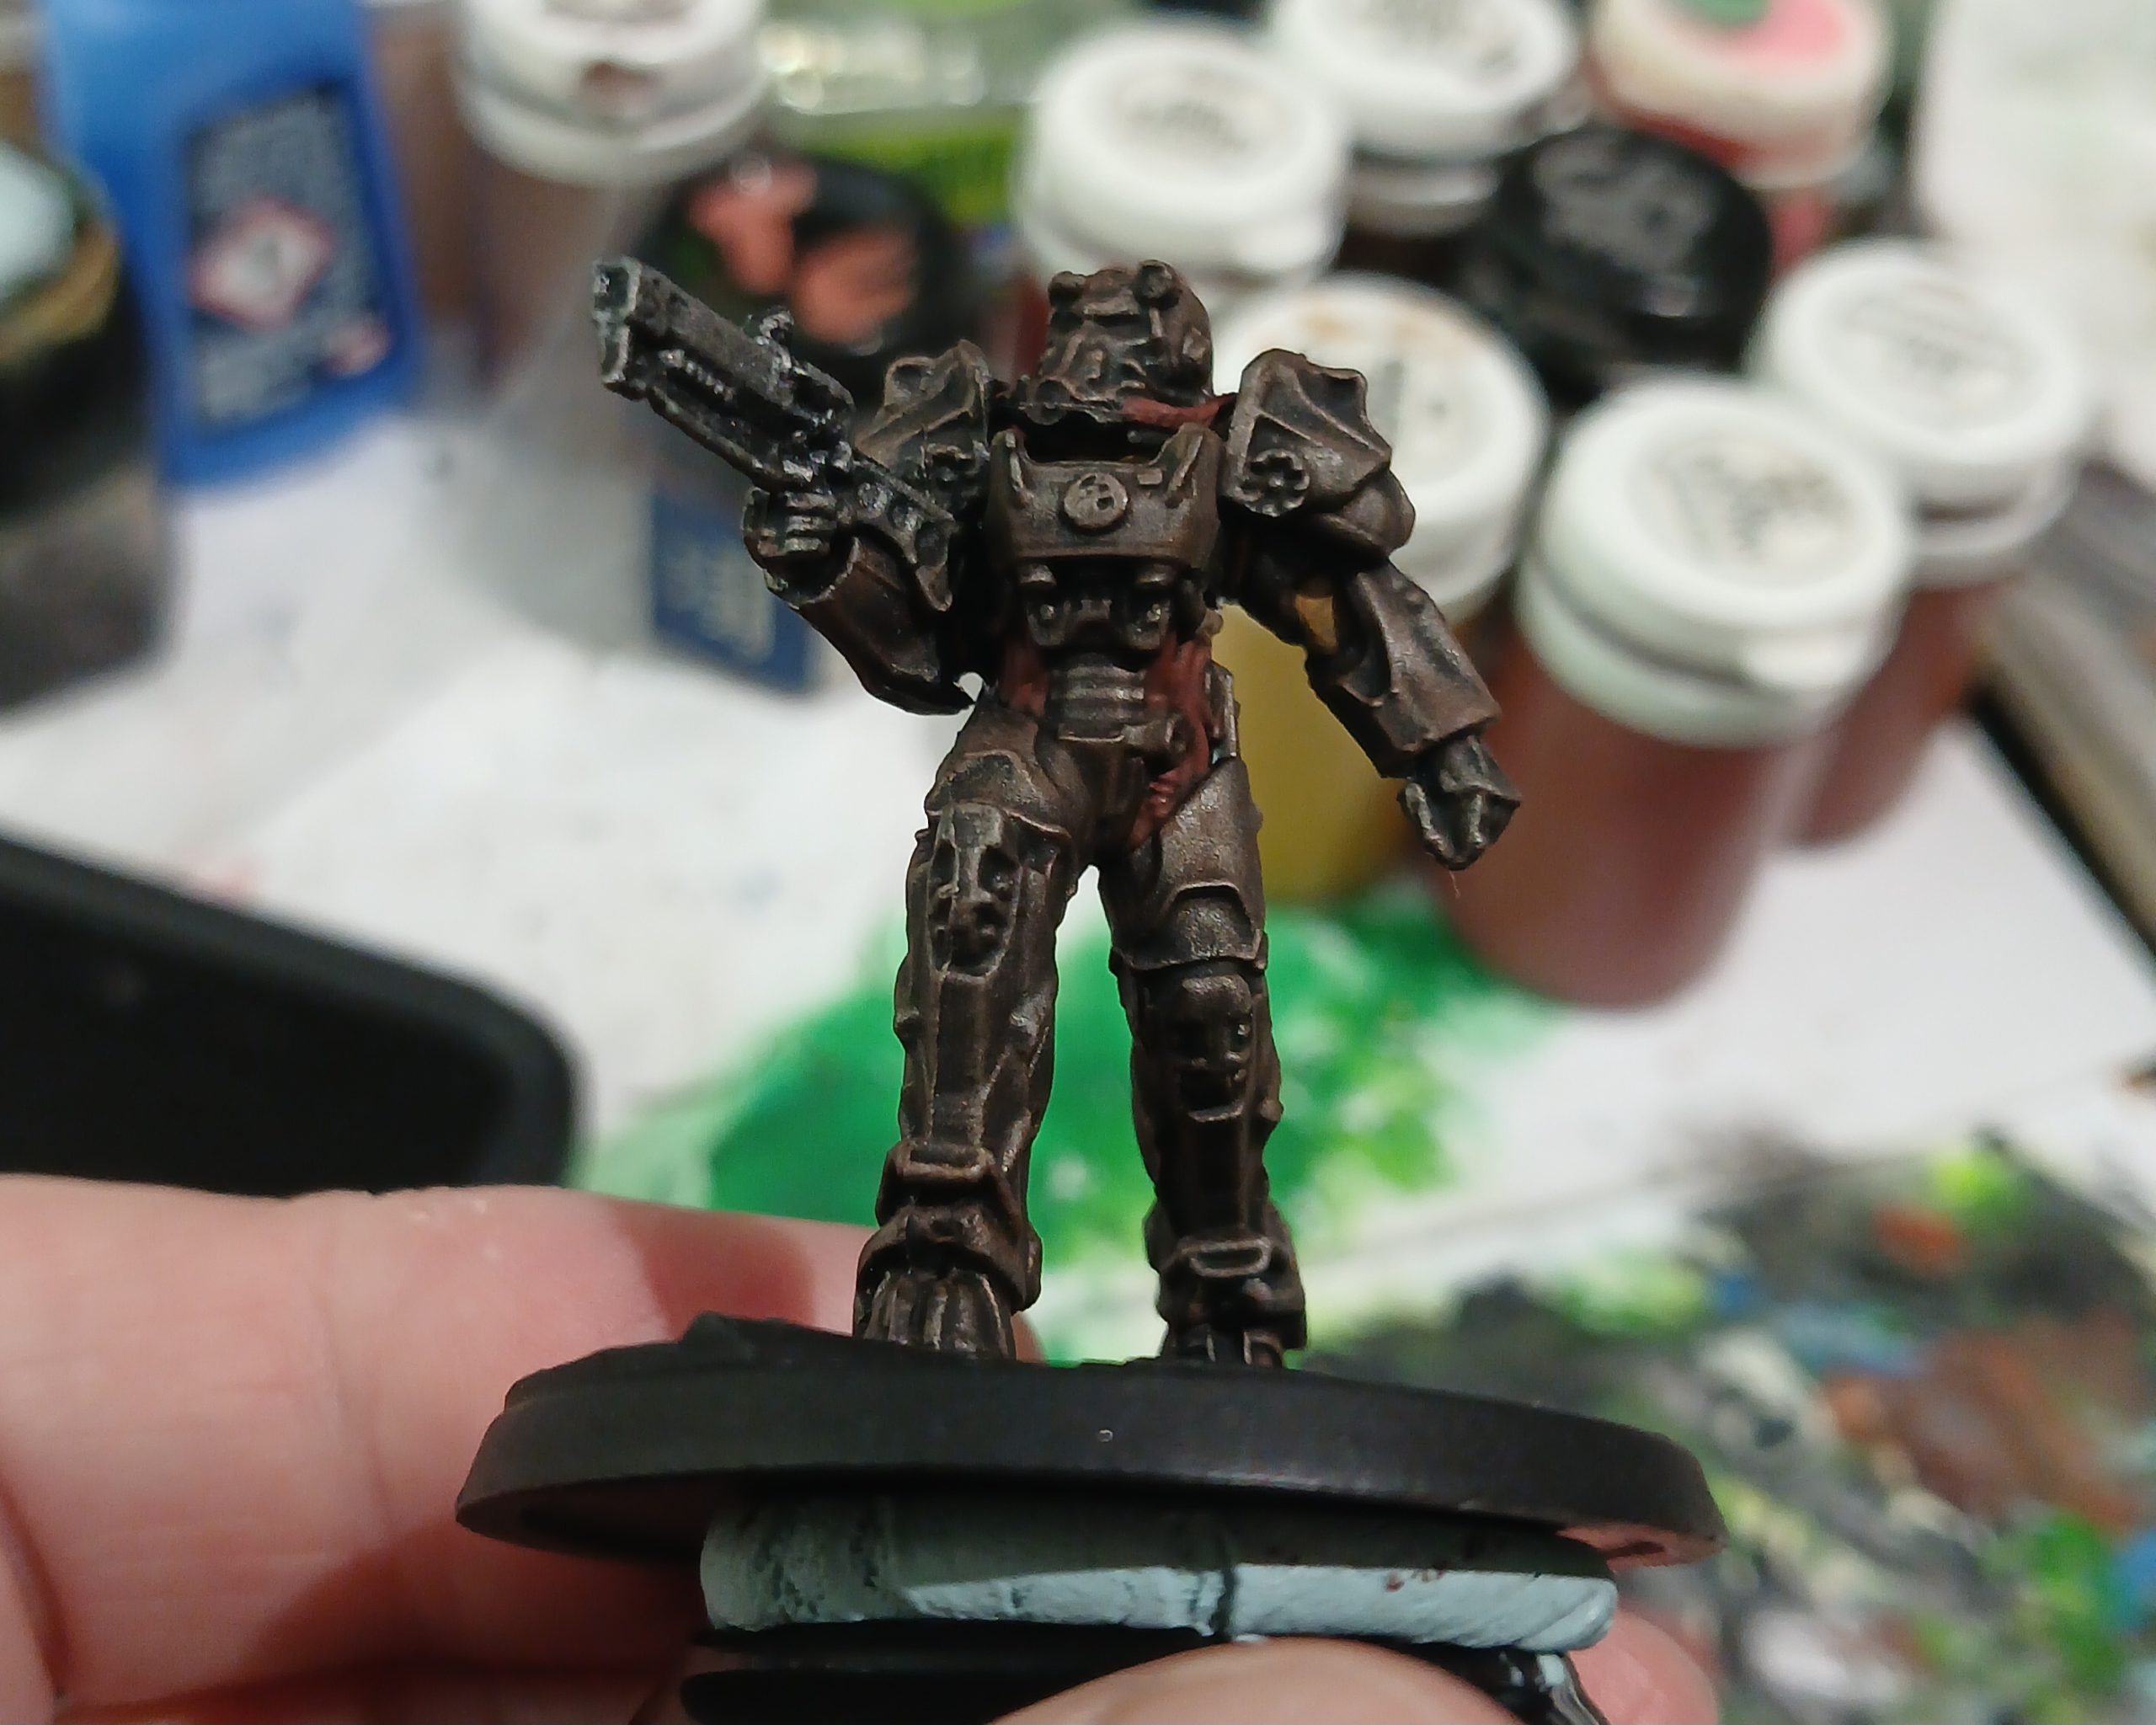
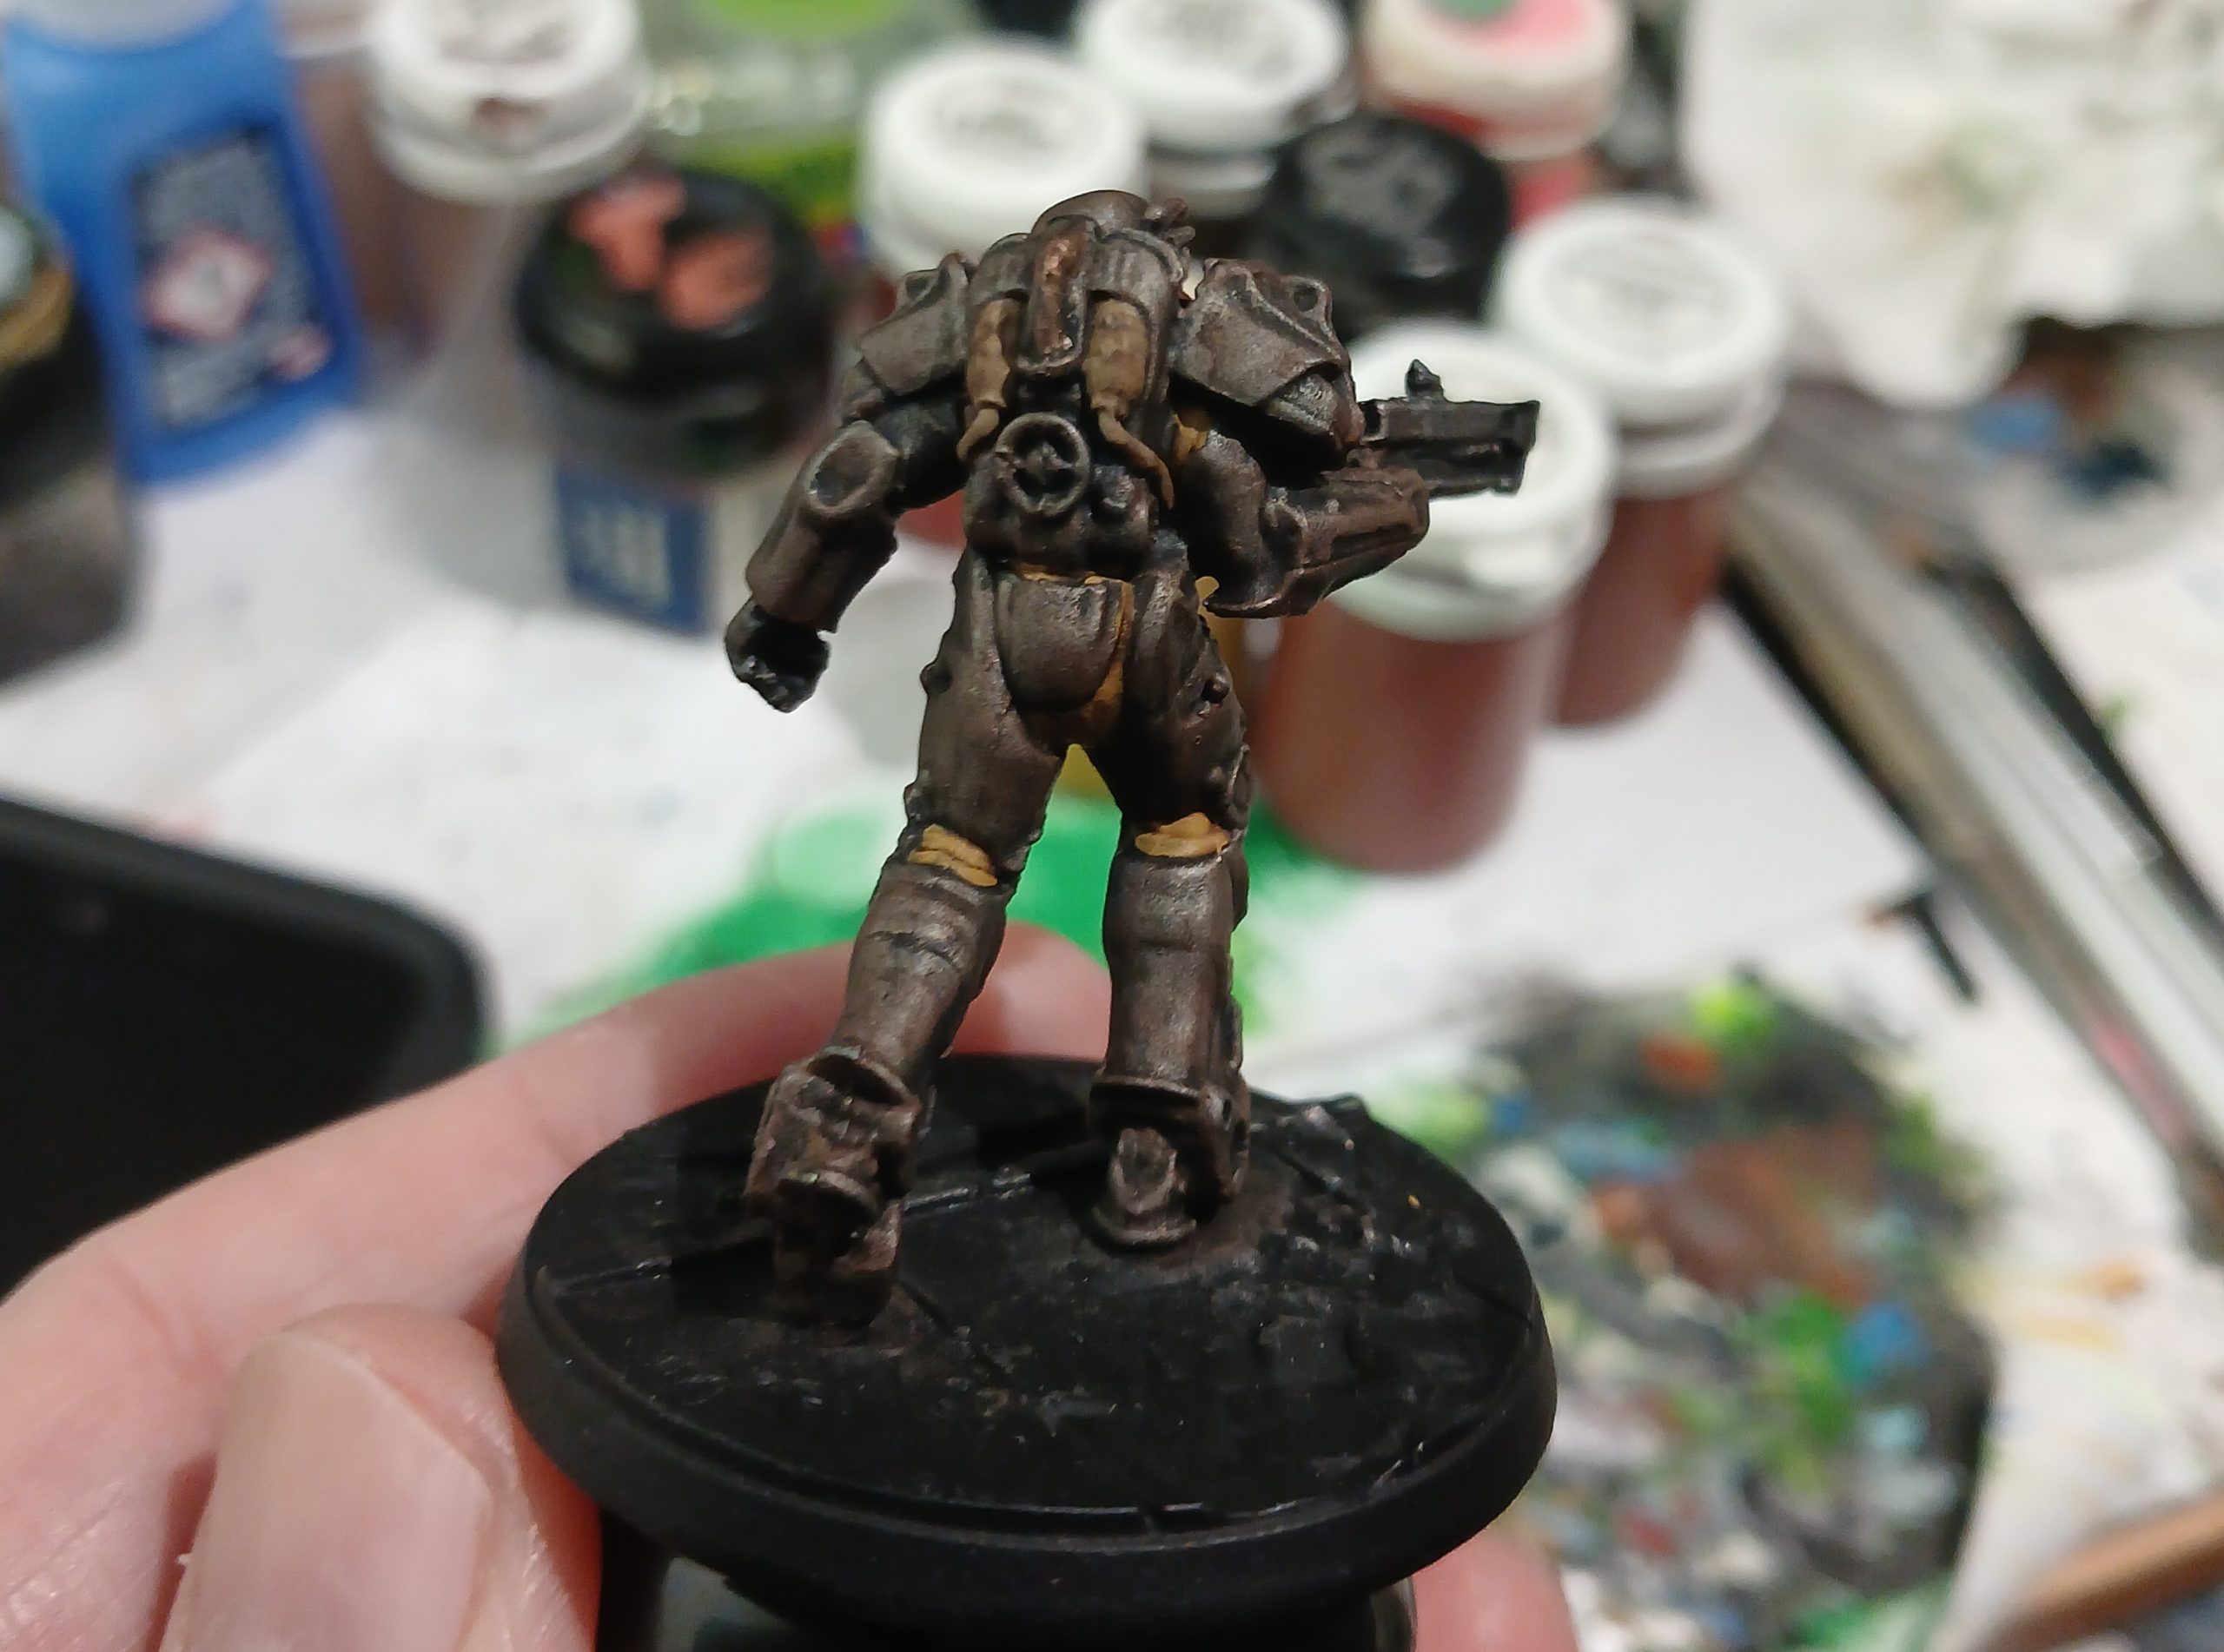
Oddly, after two brown toned washes the armour was looking a little too brown overall…. Not sure how that could be 😊
So I went back in and gave the metal a silver drybrush followed by highlighting the undersuit, hoses etc and adding in some black lining to separate some armour plates and pipes.
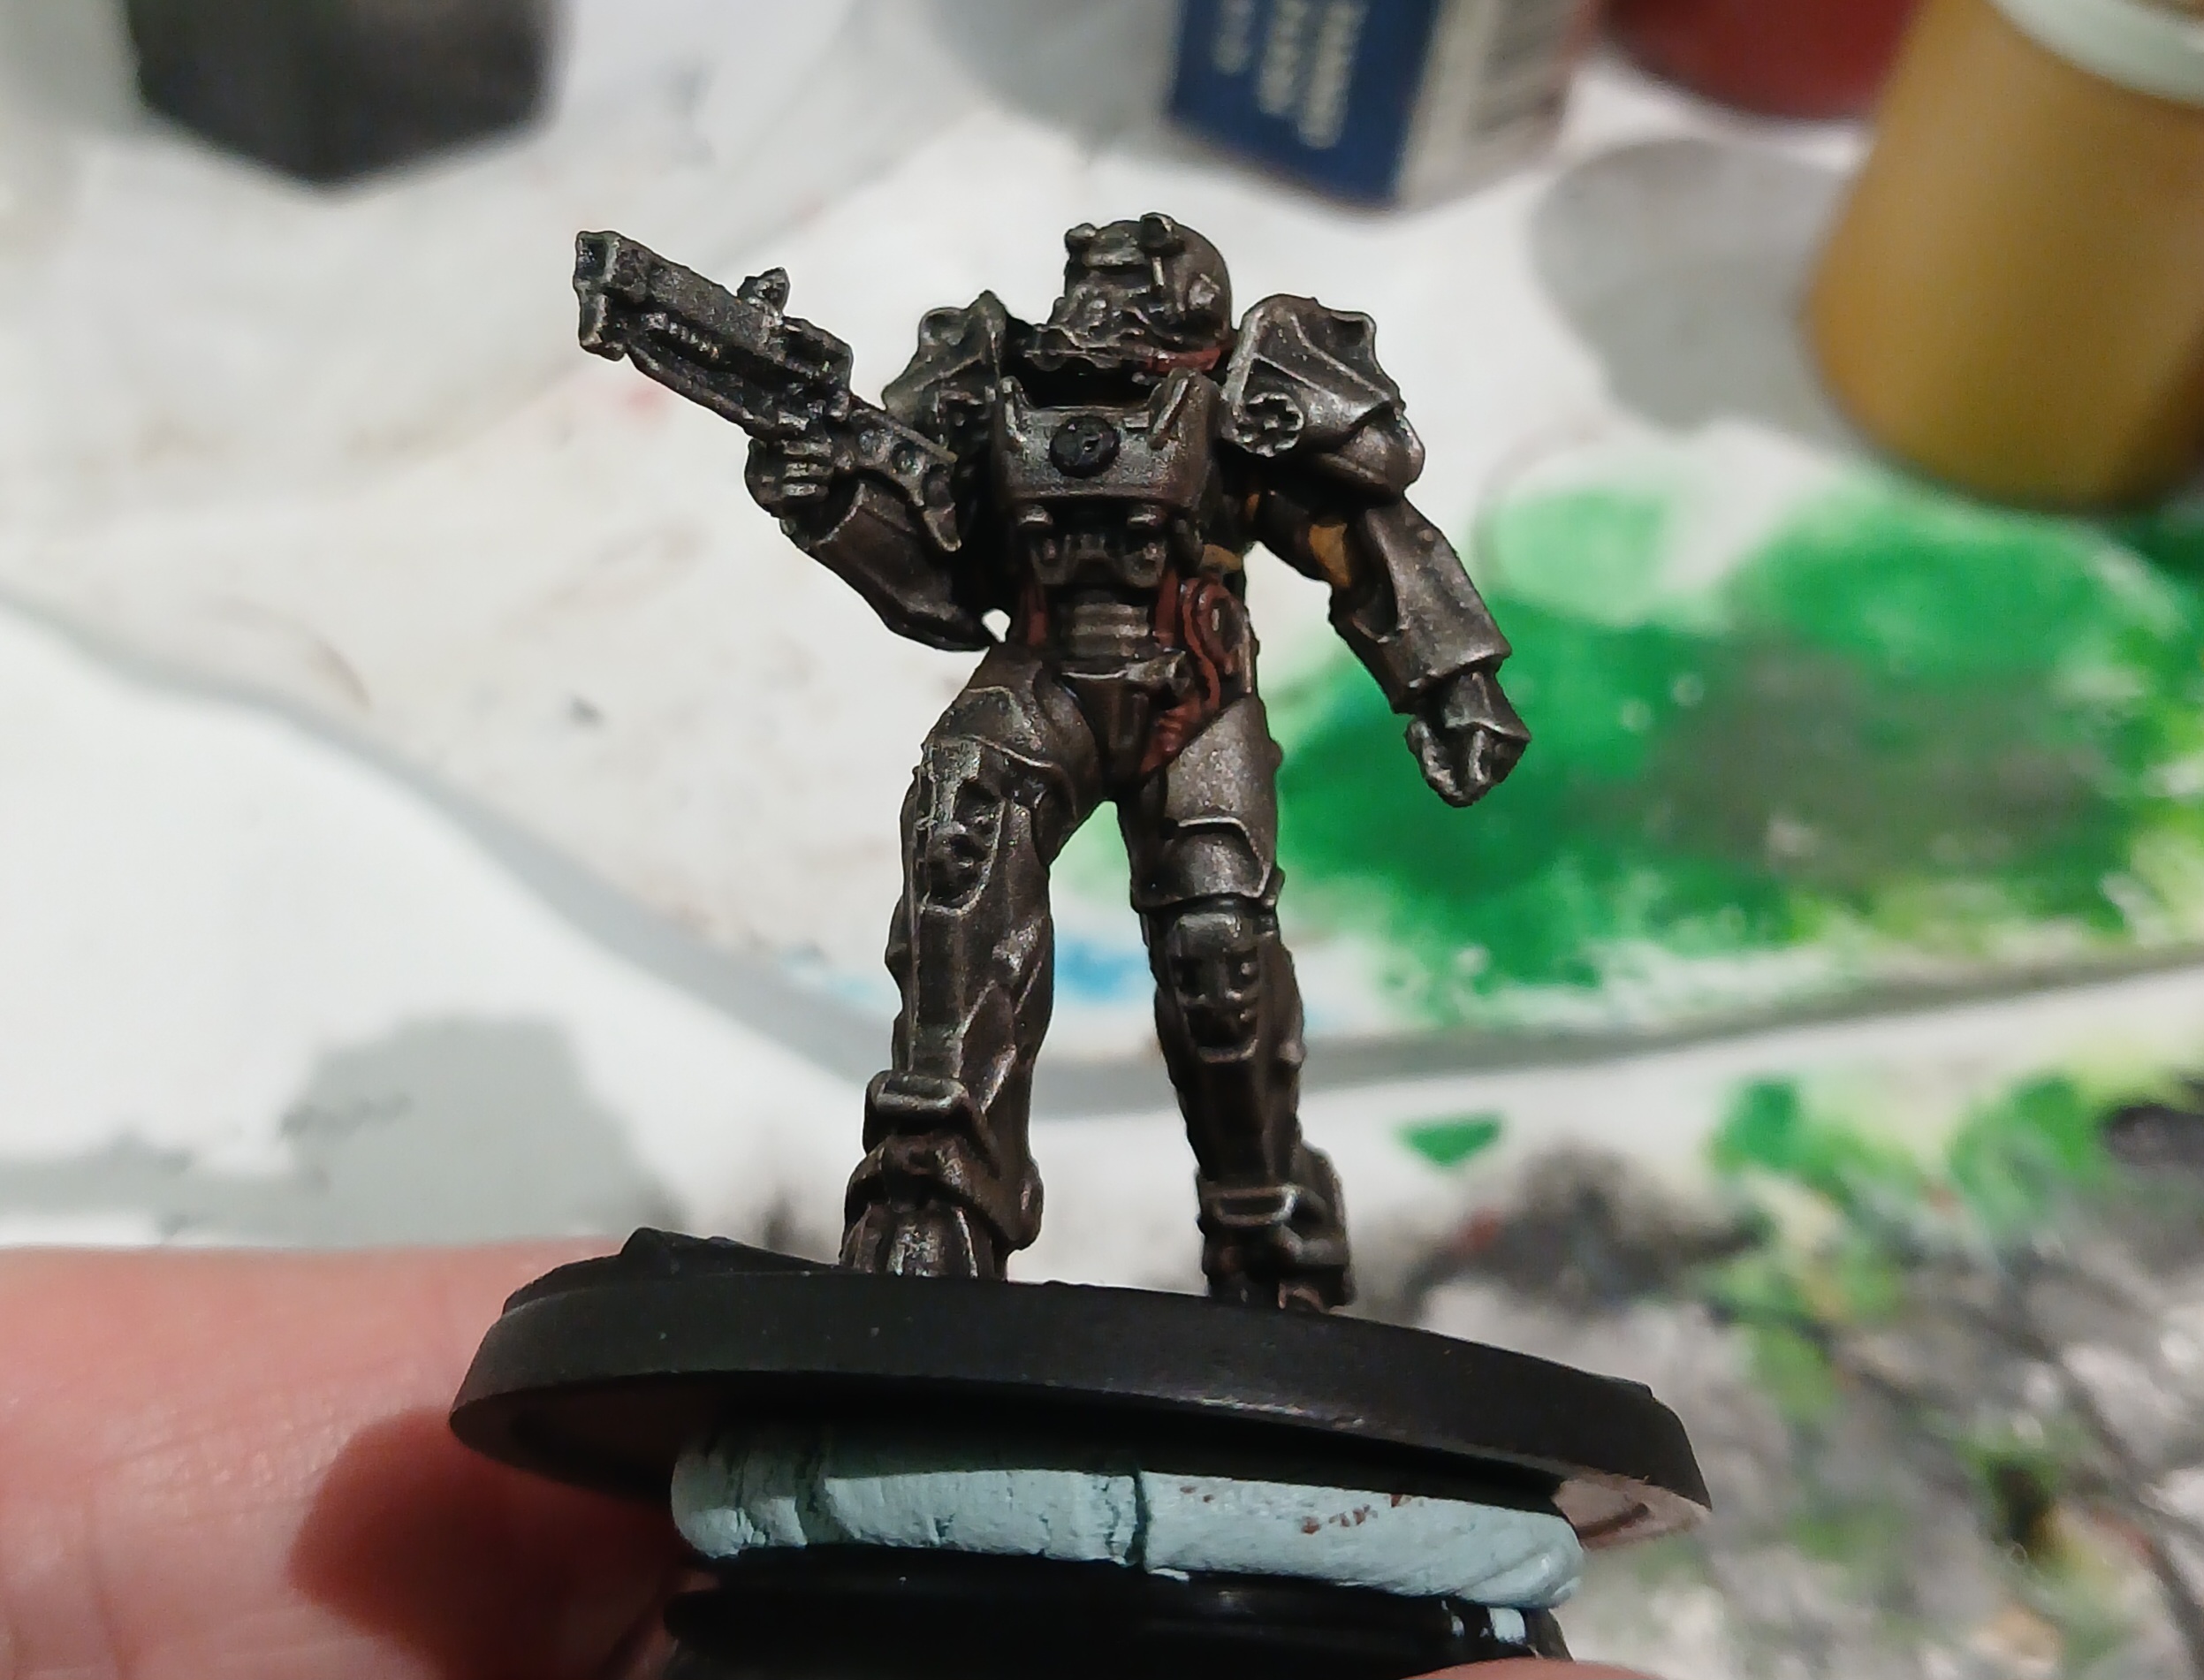
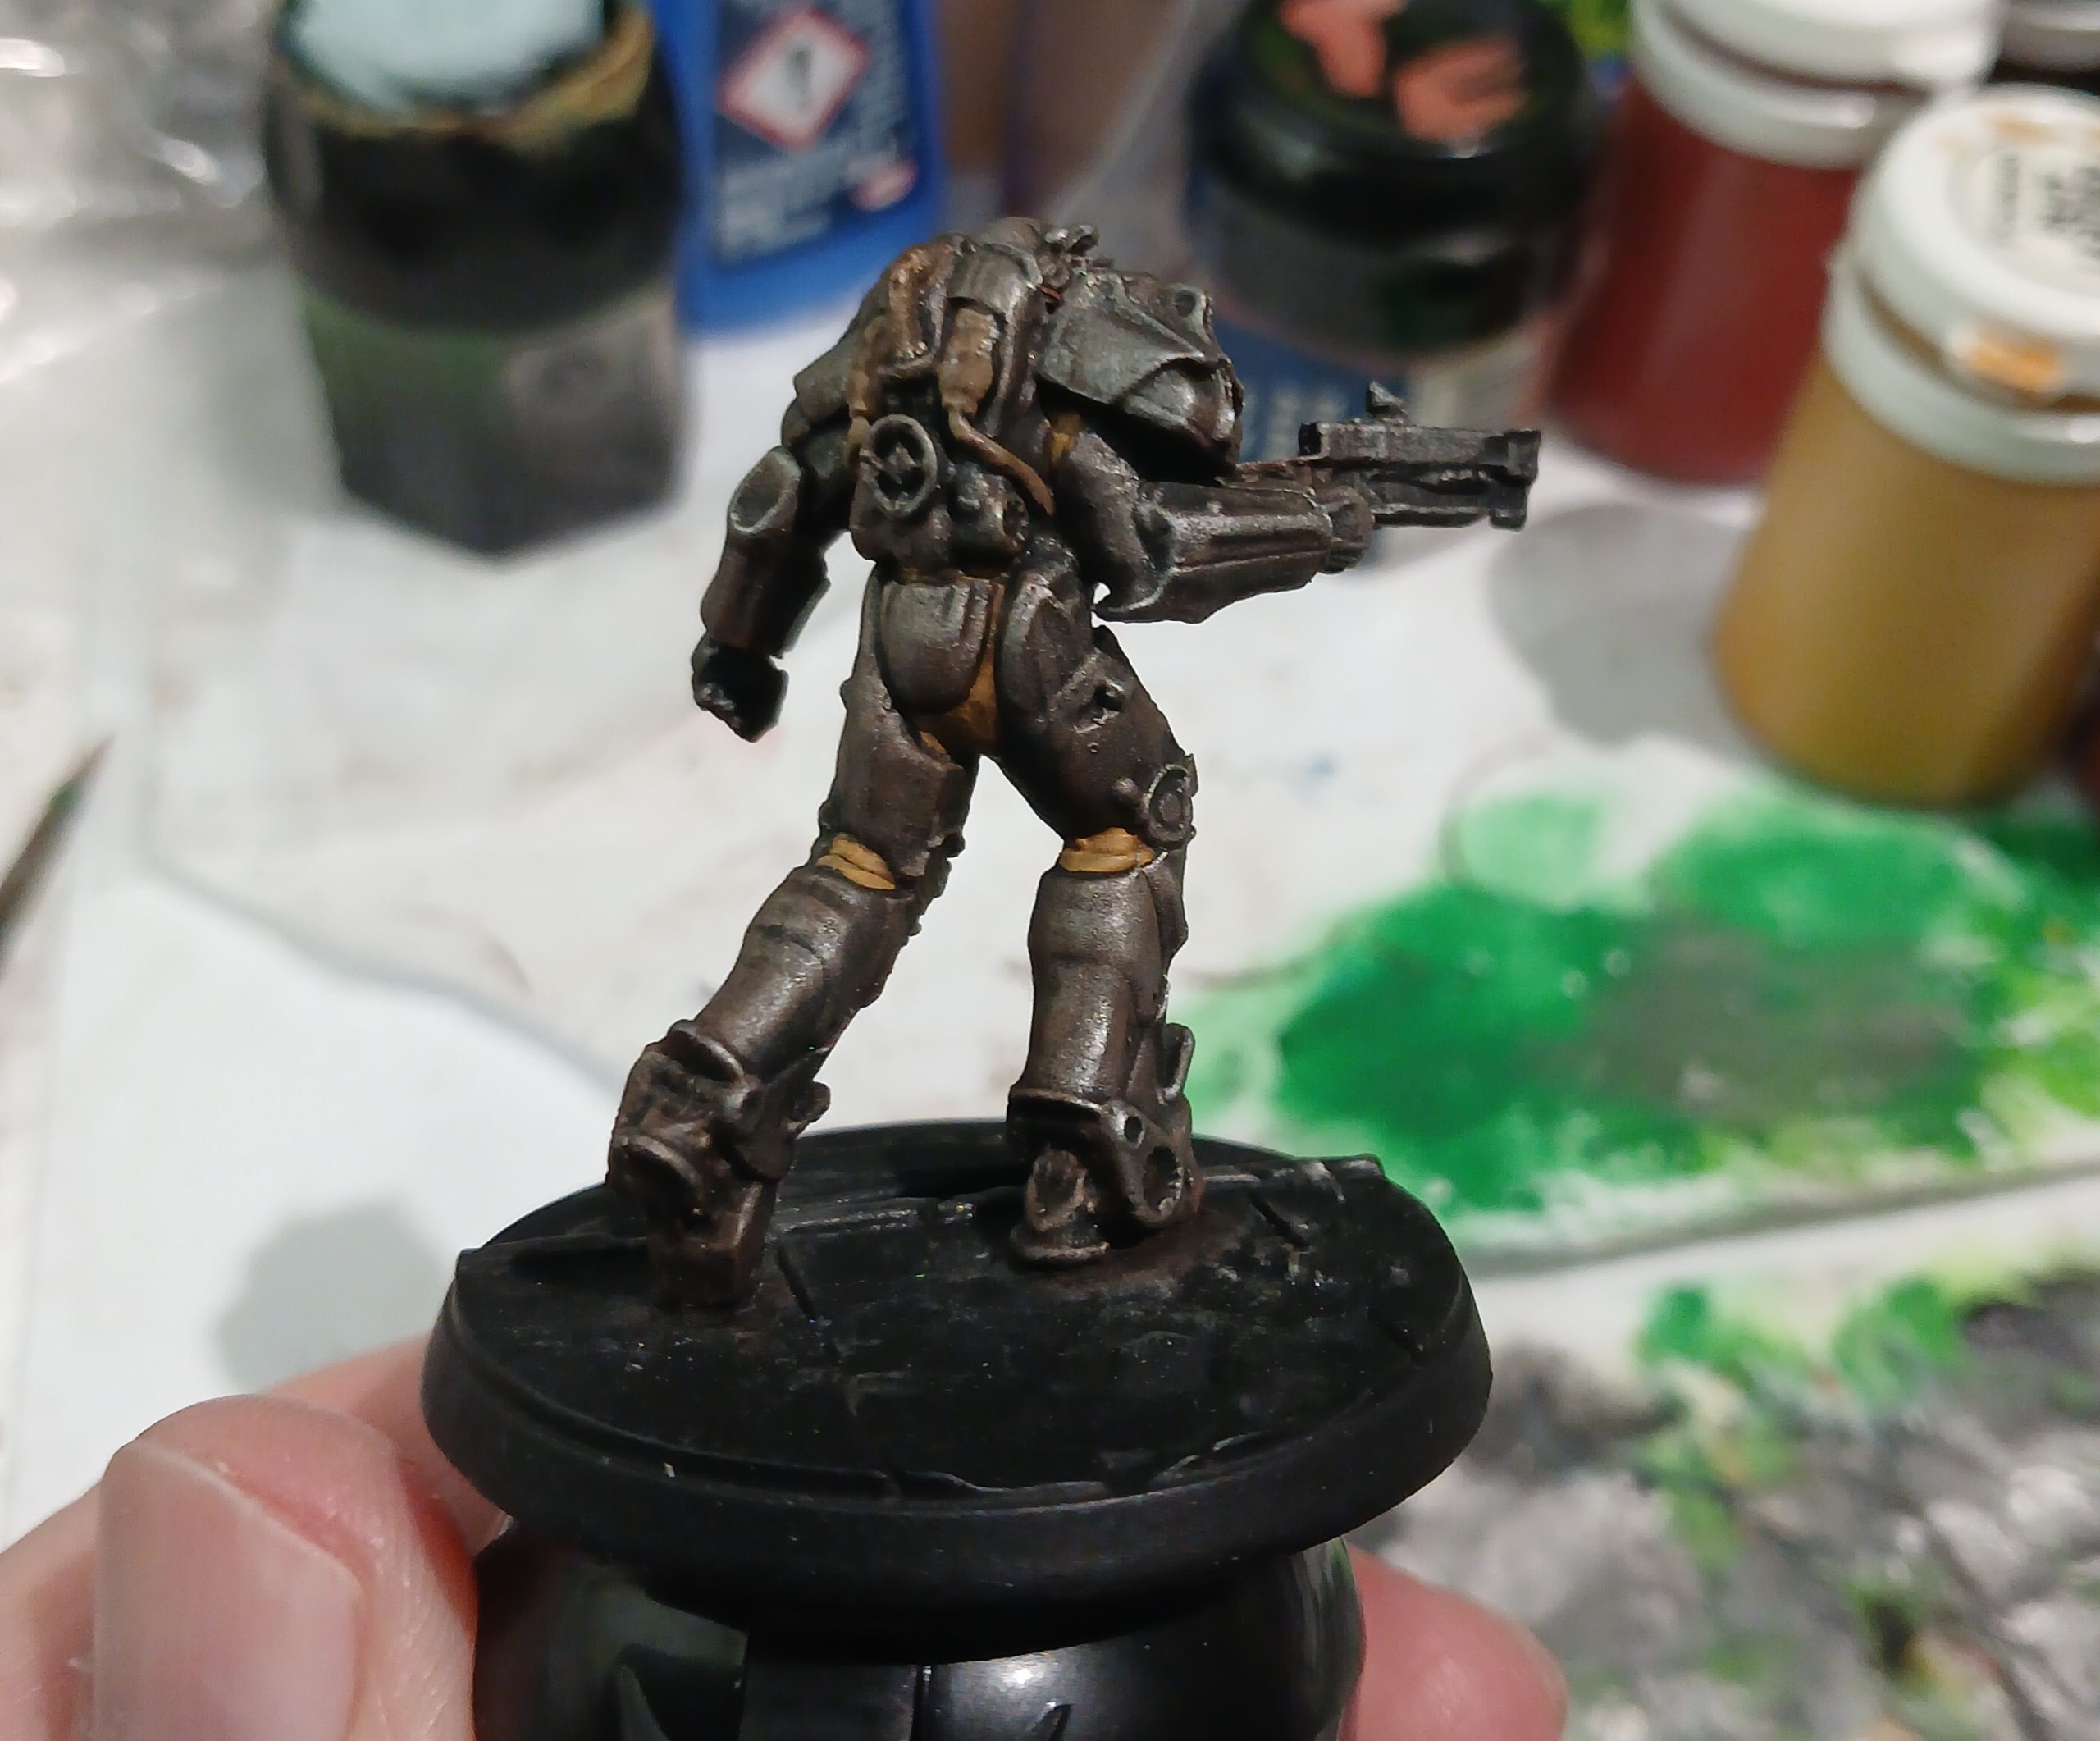
Then I started working on the base as well as adding in some blue eye lenses, a light and a red chest logo (vague). For the base features I painted them in a similar way to the base of Dogmeat. Painting on woodgrain to the planks, picking out a cap, some bricks and adding some green and brown tones to the dark grey of the road and path surface.
Finally I painted up the gun as a laser rifle, with a green ‘barrel’ housing and a yellow ‘capacitor’.