






Laputa – Castle In TheSky




Recommendations: 5
About the Project
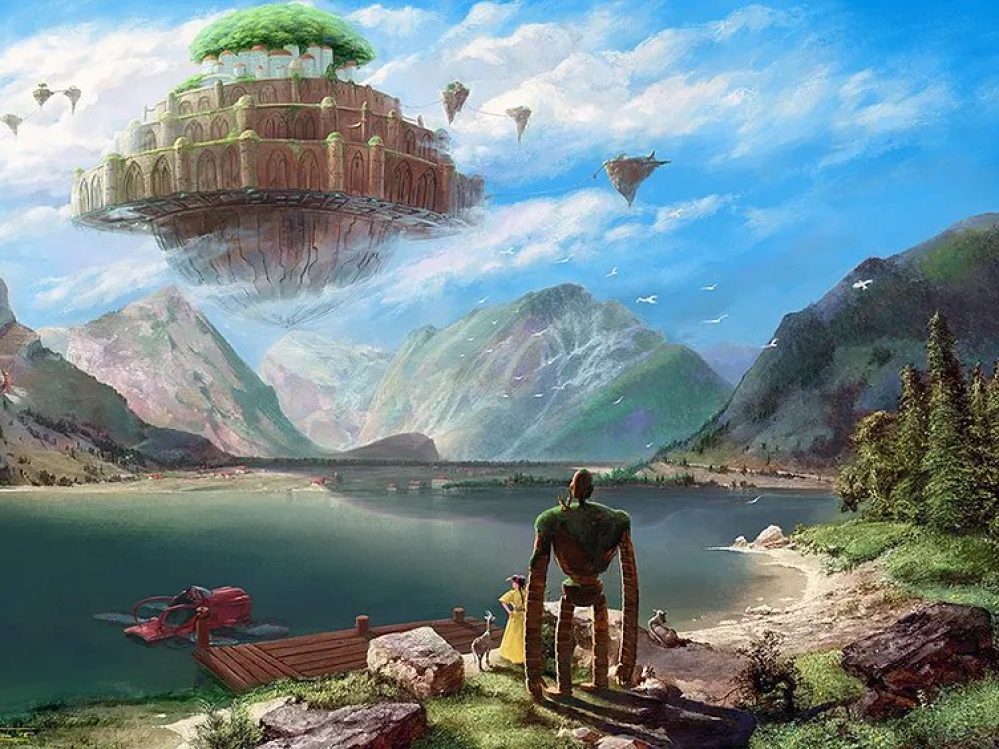
This is the 2nd diorama I ever build over 25 years ago! It is based on a Ghibli movie called 'Laputa - Castle in the Sky'. The pictures were on the old Gmail site called Picassa, but when it changed to Google photos, I had already misplaced the password to that account and I could not remember it. I honestly thought the WIP photos were lost. Recently, I bought a Kindle, and I was getting rid of tons of novels when I stumbled upon a paper bookmark with several passwords - including the account I thought I had lost! The novel was 'To Kill a Mockingbird' by Harper Lee (one of my all time favourites). I don't remember writing the passwords on the bookmark, but I'm glad I did. So, with that out of the way, I thought I'd post the project process here. This was a 1/20 plastic kit from Fine Molds that I bought back in the day from HobbyLink Japan. When I saw it, I recall immediately that I wanted to create this scene. In fact, looking back, I think my love of dioramas actually began with this kit. Even though the painting is not as good, the amount of joy and satisfaction I felt after making it, made me realize that this is the heart of the hobby for me.
Related Genre: Fantasy
This Project is Active
Making Vegetation
Hi everyone,
Today I want to talk about making plants for your diorama with real plants. This is the technique I used for this diorama.
The most common way to use natural plants, is to use dried-out plants. With a coat of paint or varnish, they can keep for decades.
One way I like to use natural plants is with glycerine. You take the plants you want to preserve and immerse them completely in a warm 50% mixture of glycerine and water. Let the plants soak for a day and then let them dry thoroughly.
You might find that not all plants keep well with this method, and some might turn black or brown. This is a little problem though, as you will be painting them up.
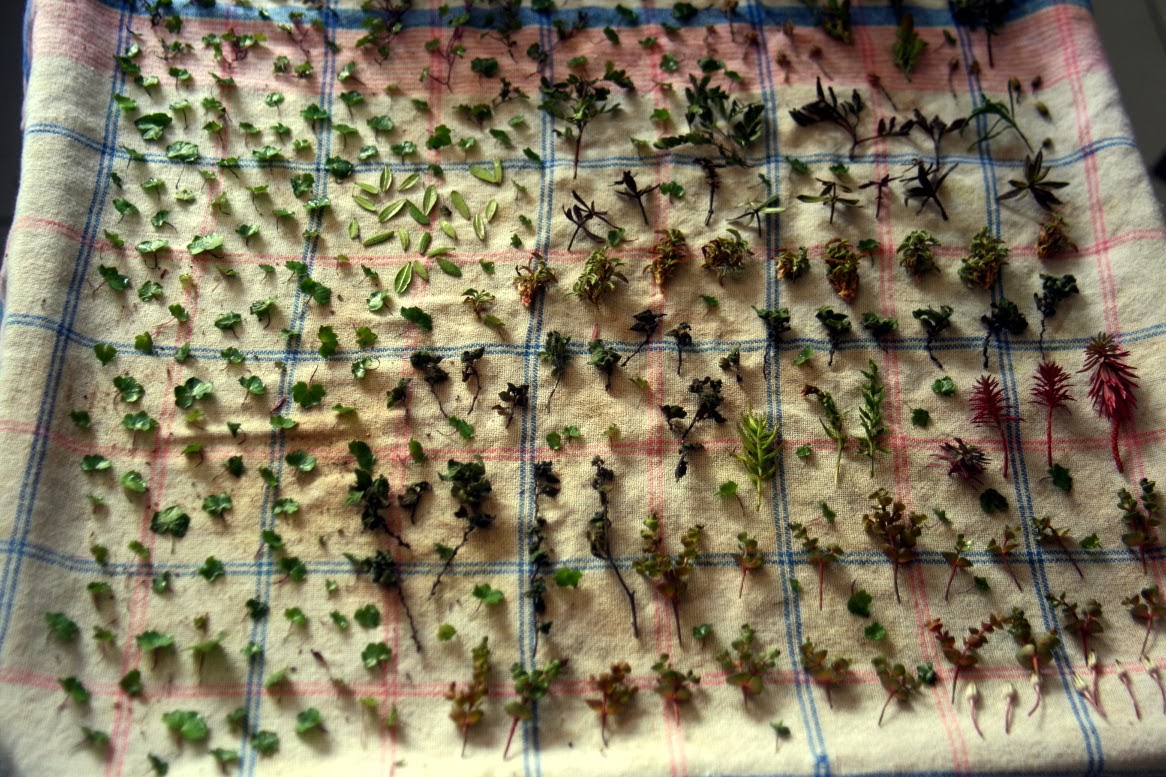
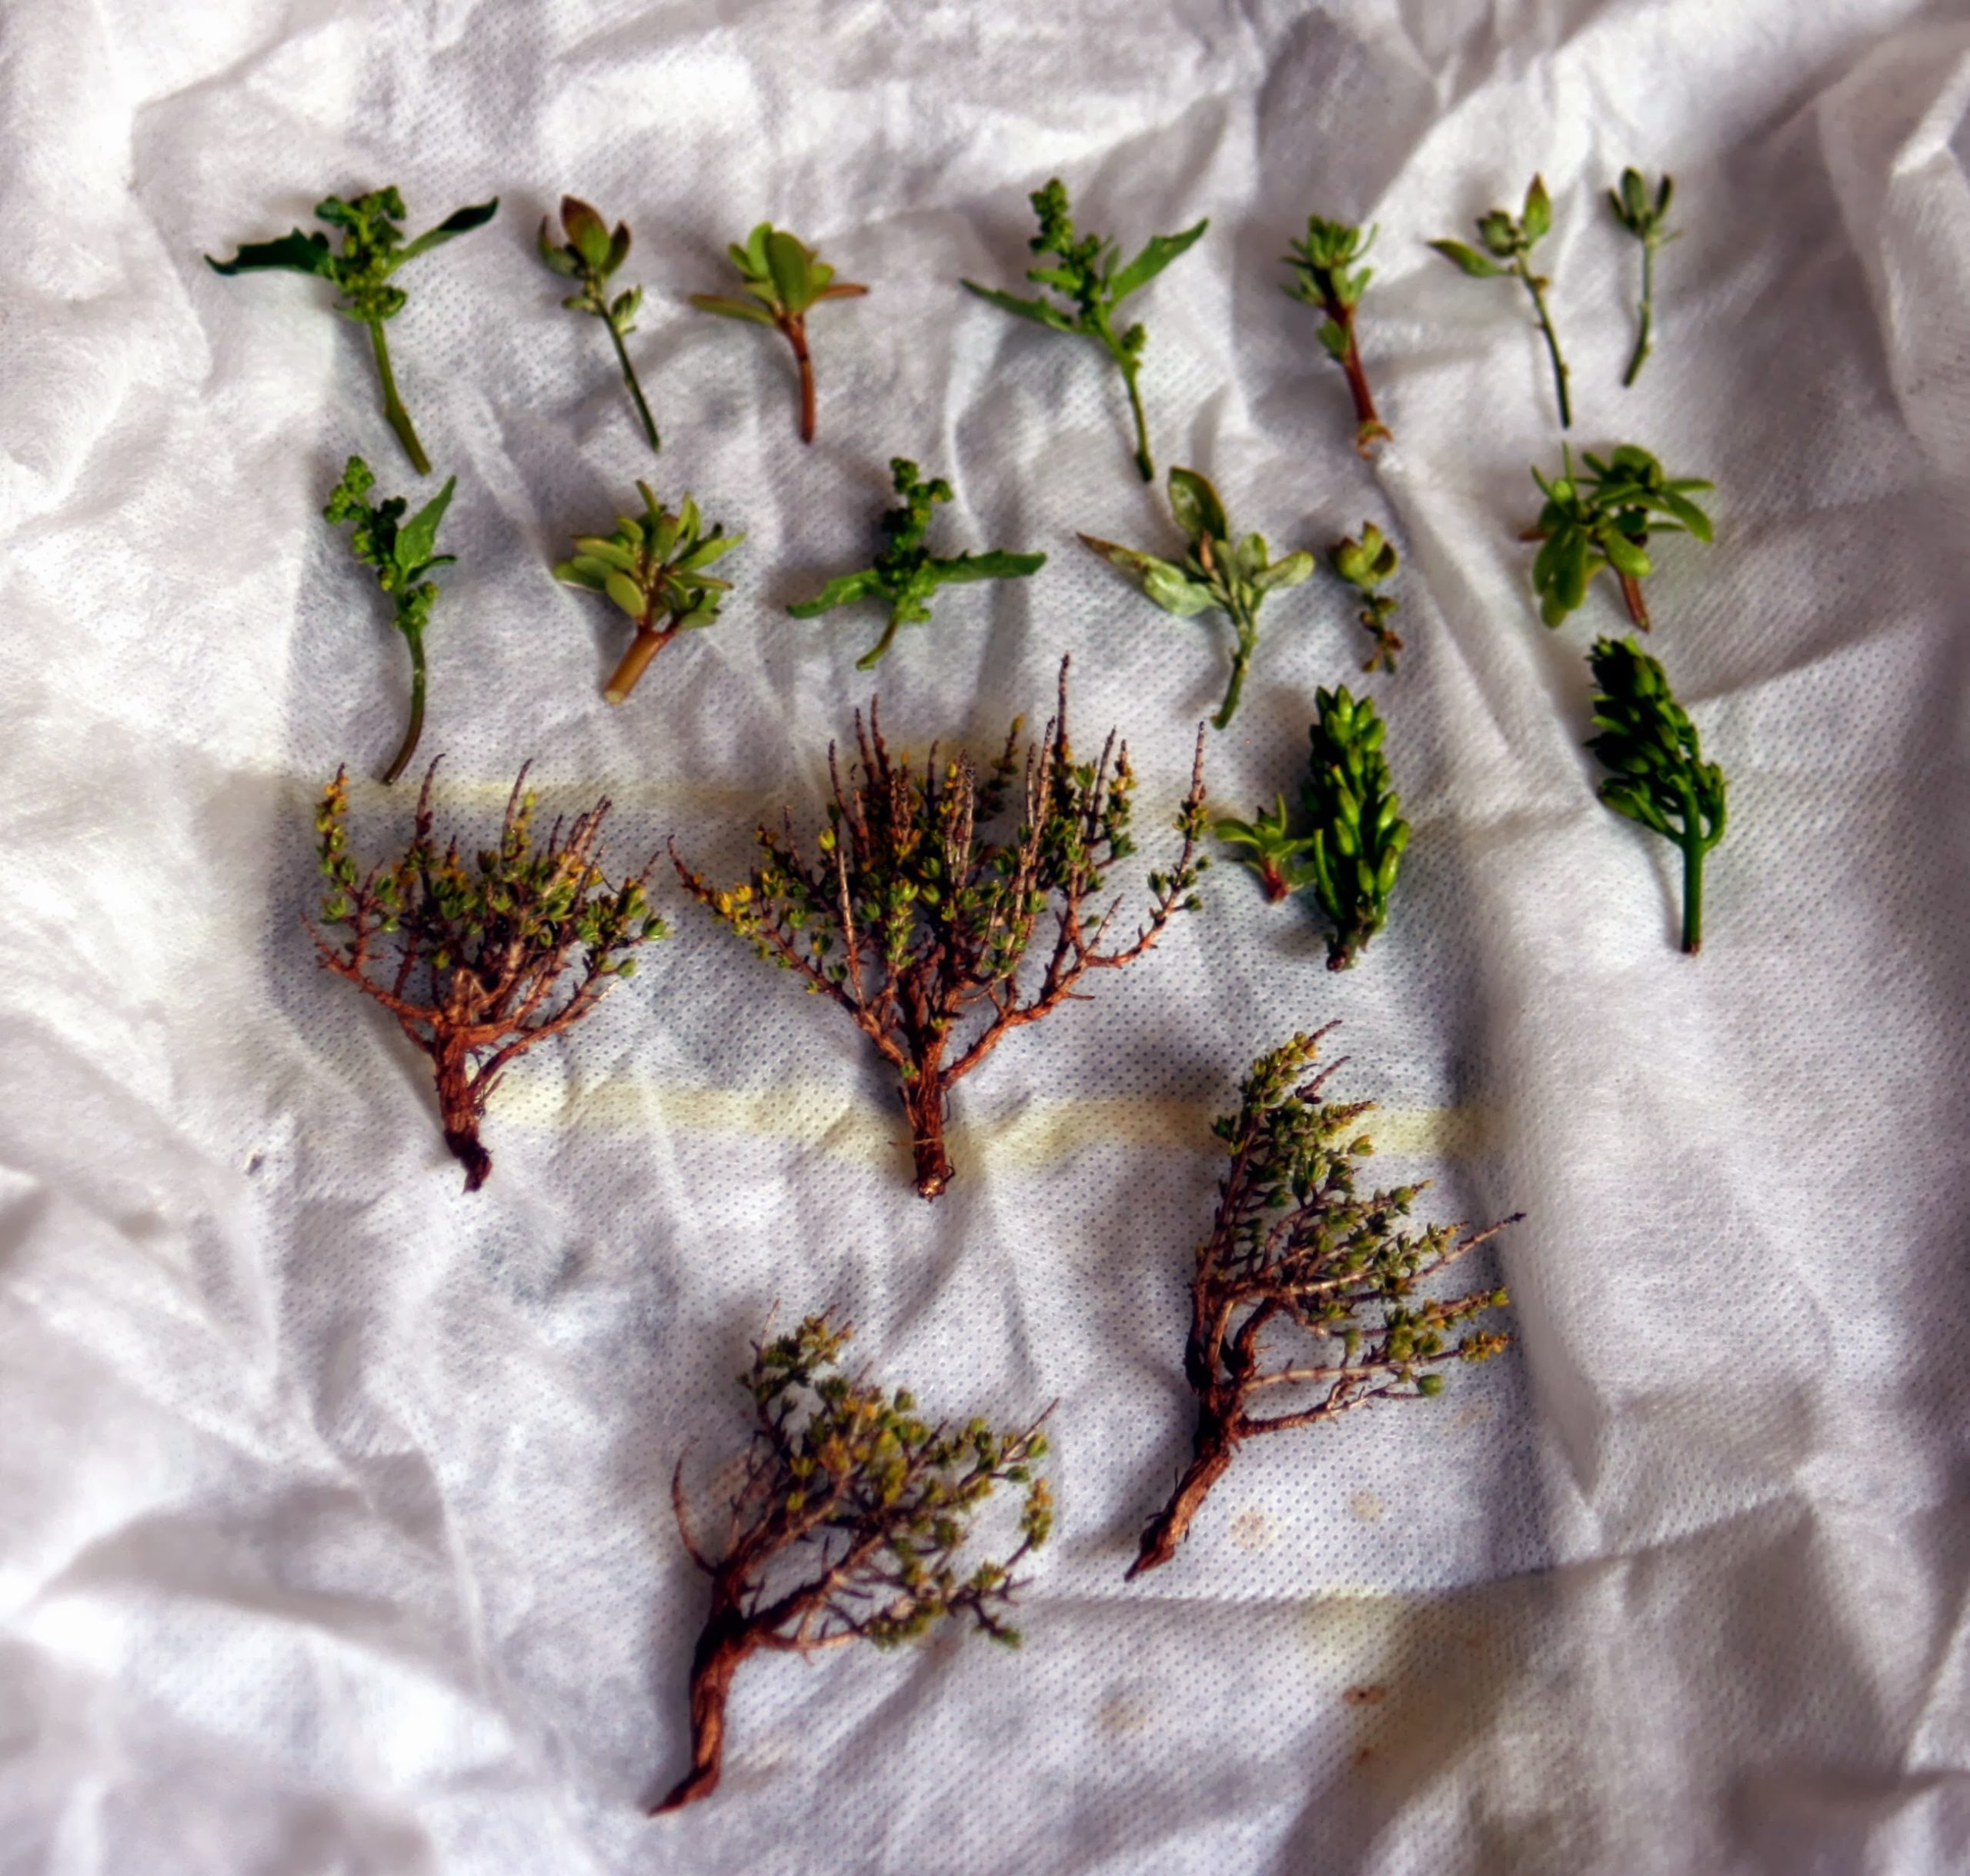
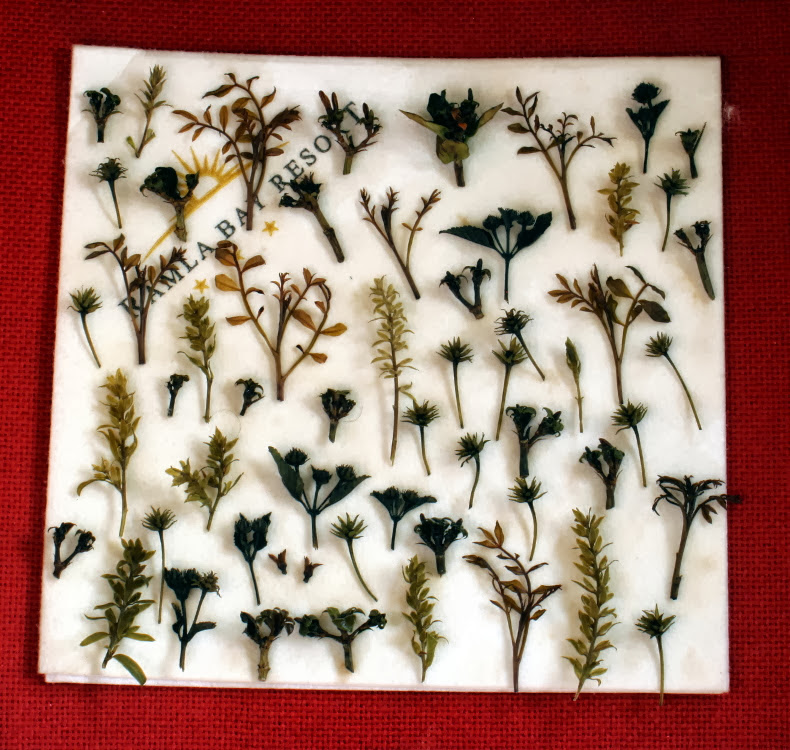
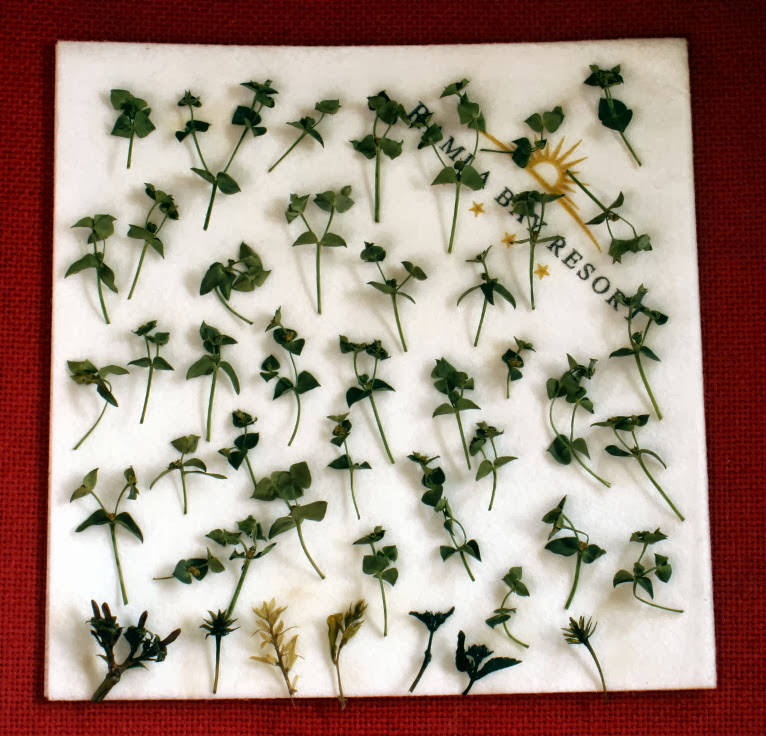
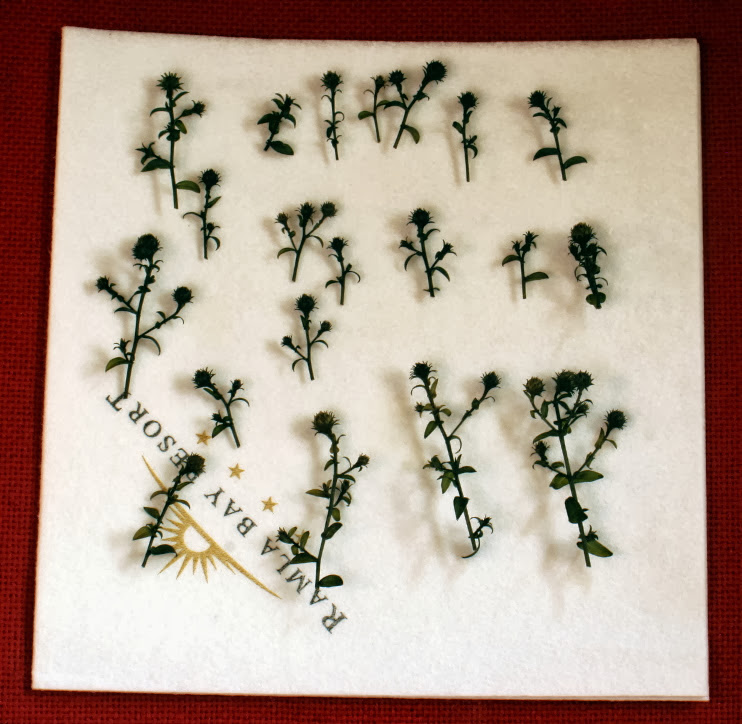
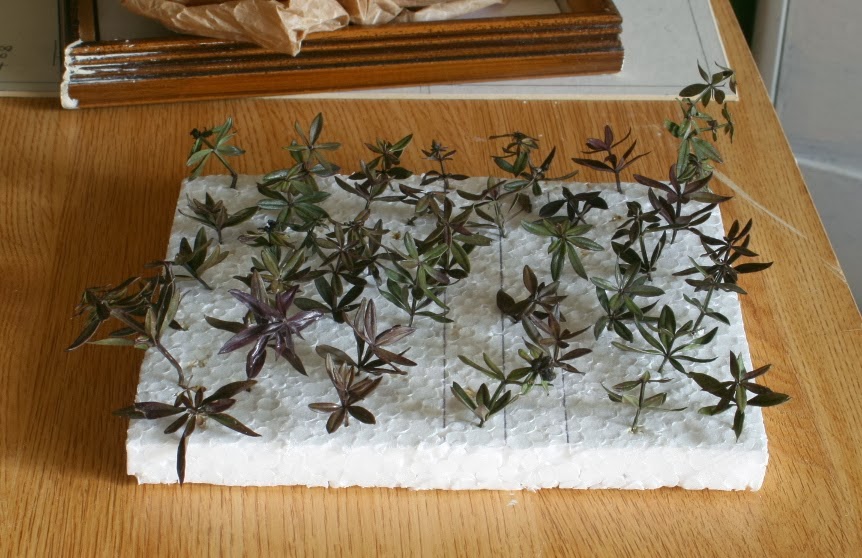
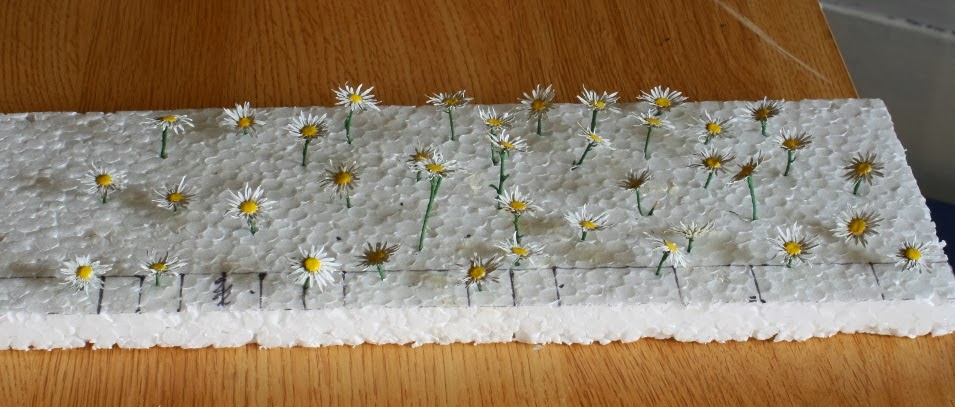
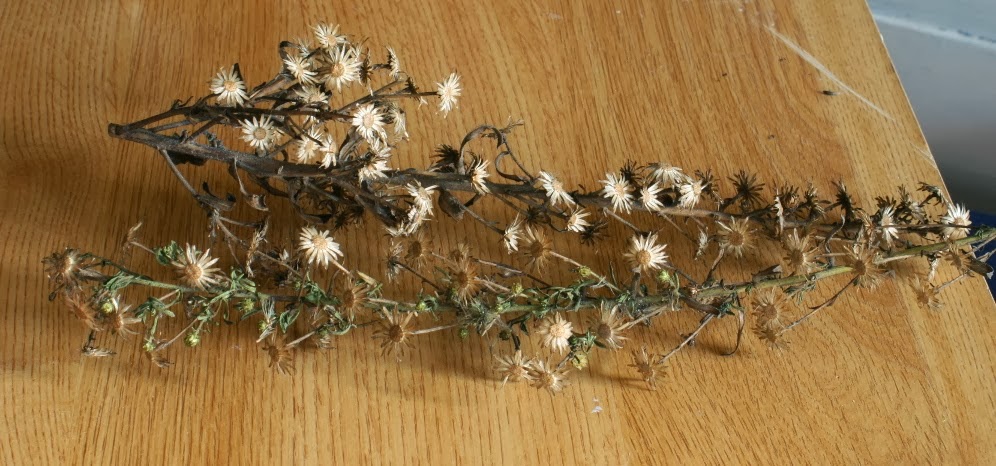
The next step is to make pots for your plants, if, like in this case, you are building a garden.
For this you have to use your imagination, and keep note of the scale. I use sewing thimbles, electrical components and a myriad of other stuff that comes to hand.
Sometimes you might need to use putty to sculpt them into a more pot-like shape.
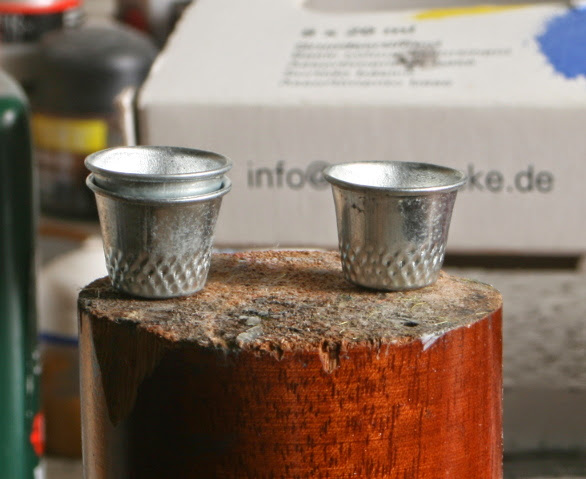 Sewing thimbles make great pots.
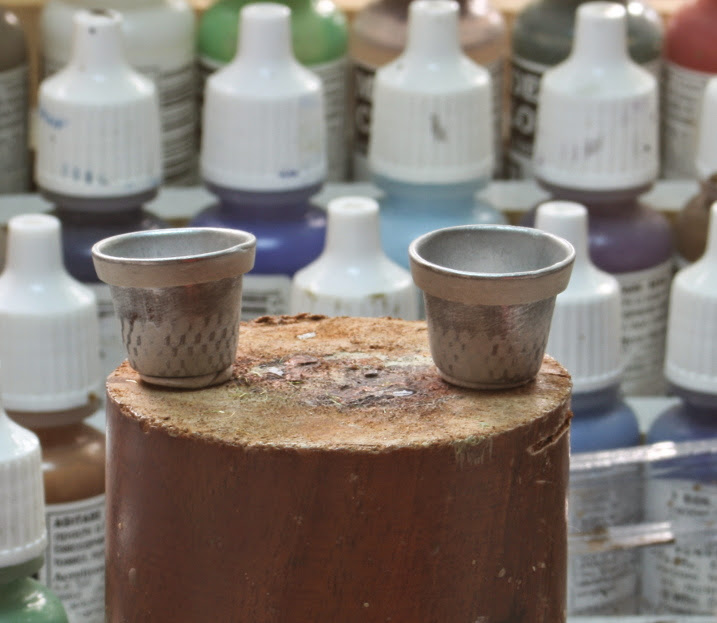 Thimble and putty.
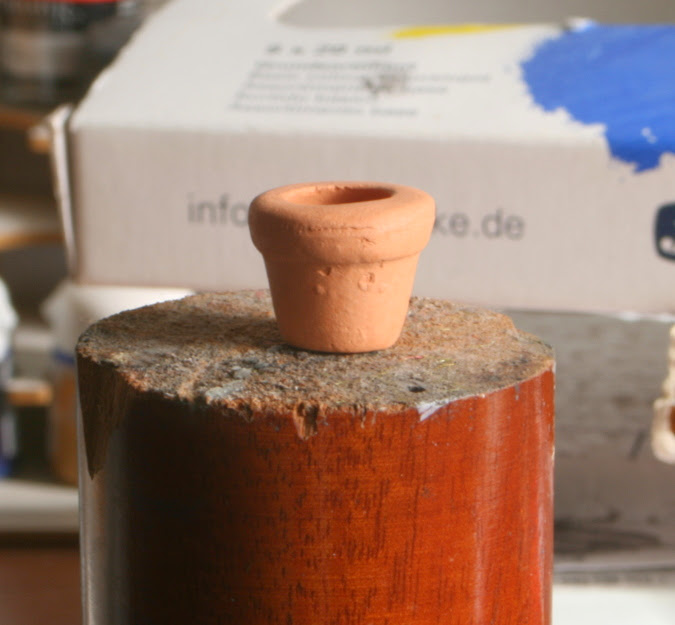 A thimble plus putty and paint.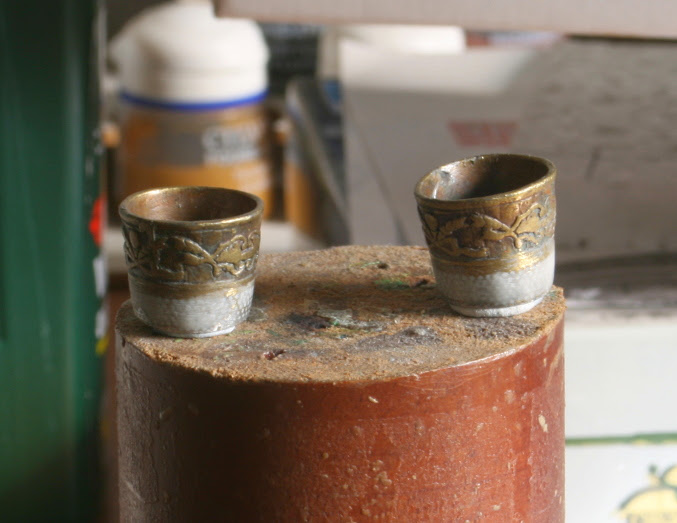
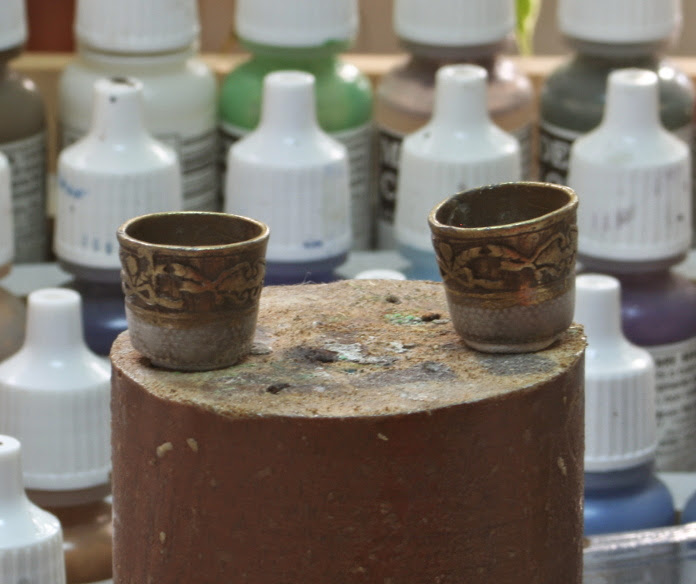
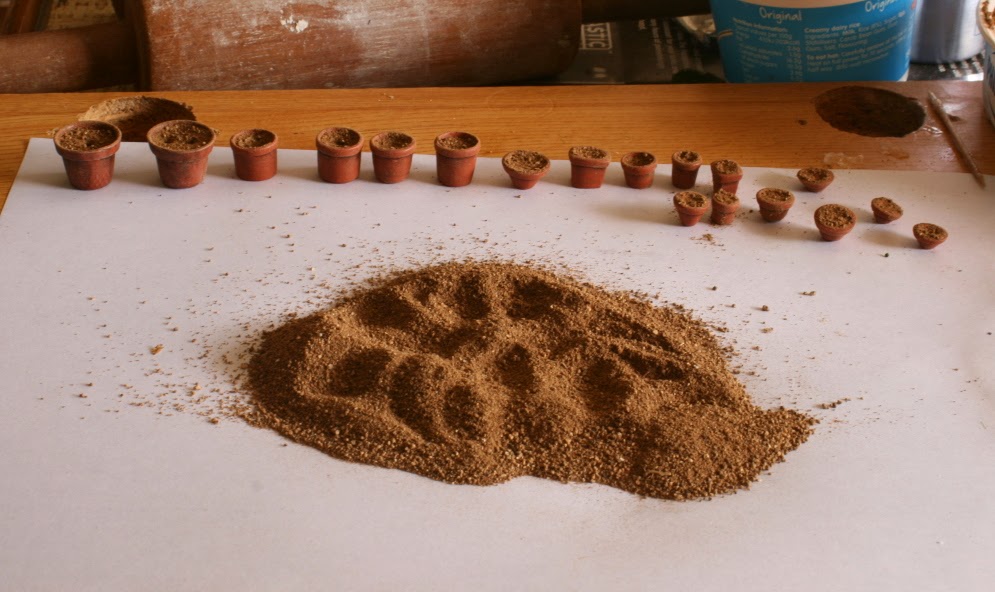
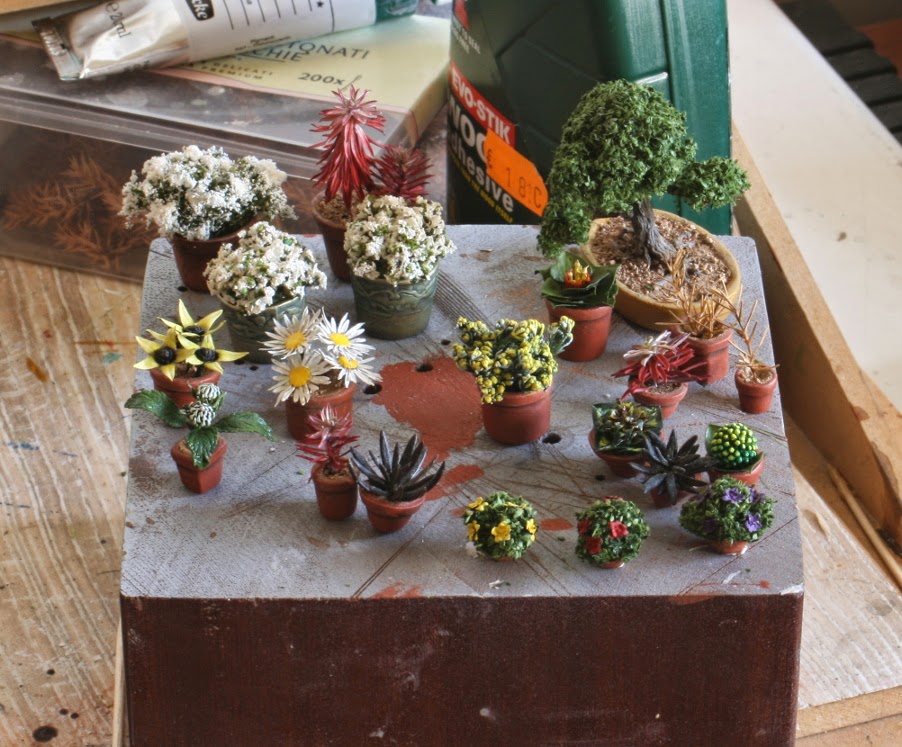 A myriad of pot plants to brighten any diorama.
That is all for now. I will continue in a few days when I get a day off work.
Until next time, stay safe and have fun.
NR.
Dealing With The Models
Hi everyone,
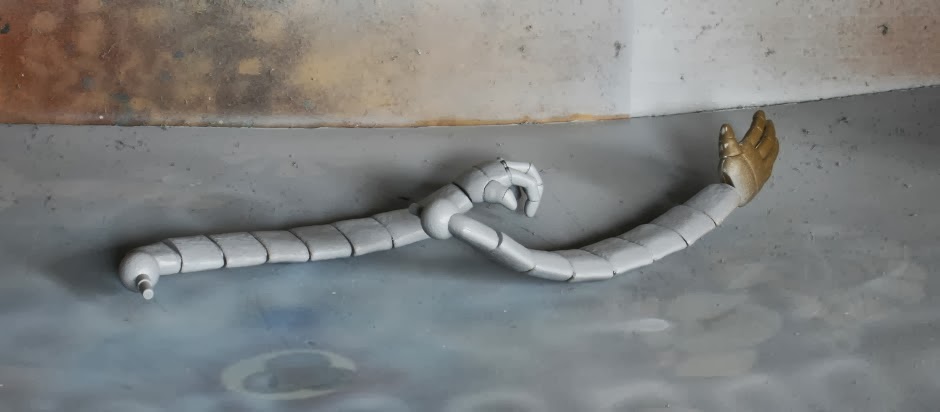
The next step of this project was to work on the models, especially the mild modification and fitting of the robot.
To be honest, this was not particularly difficult due to the size of the robot and the very simple shapes of the model.
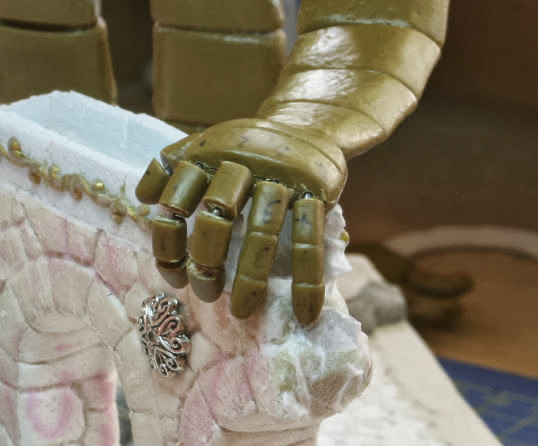
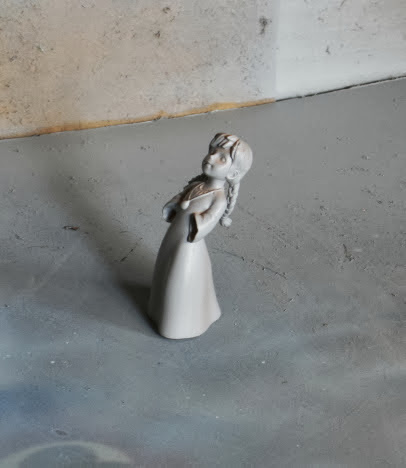
The most work done was on the hand grabbing the water way, but the girl was very simple to build.
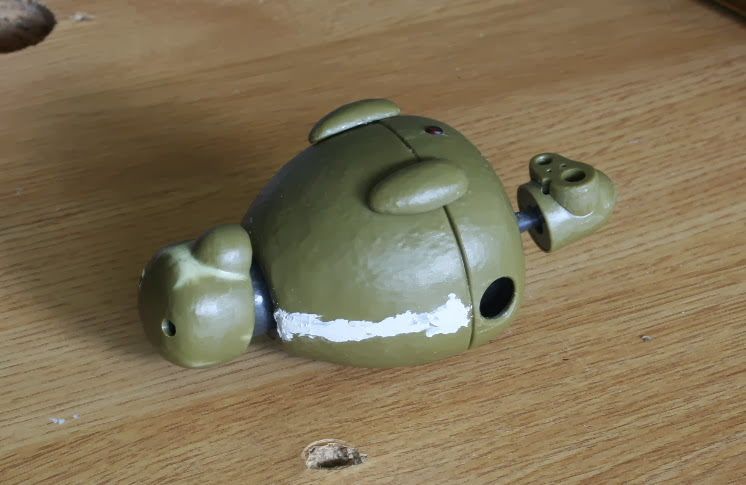 Just like any other model, this needs a bit of filling.
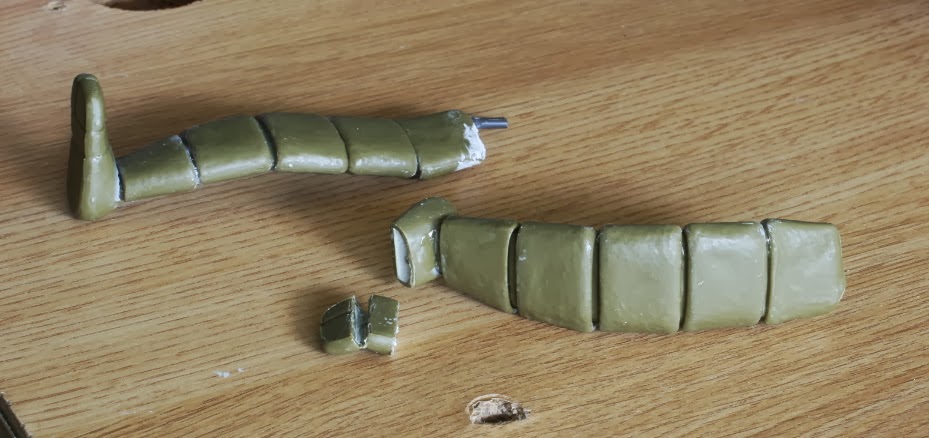 Taking apart the foot in order to fit to the base.
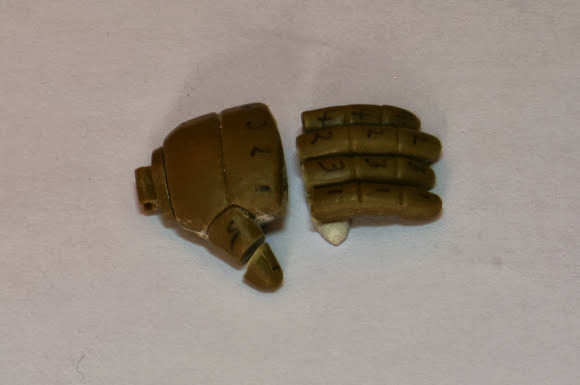 Cutting off the fingers to make the fit.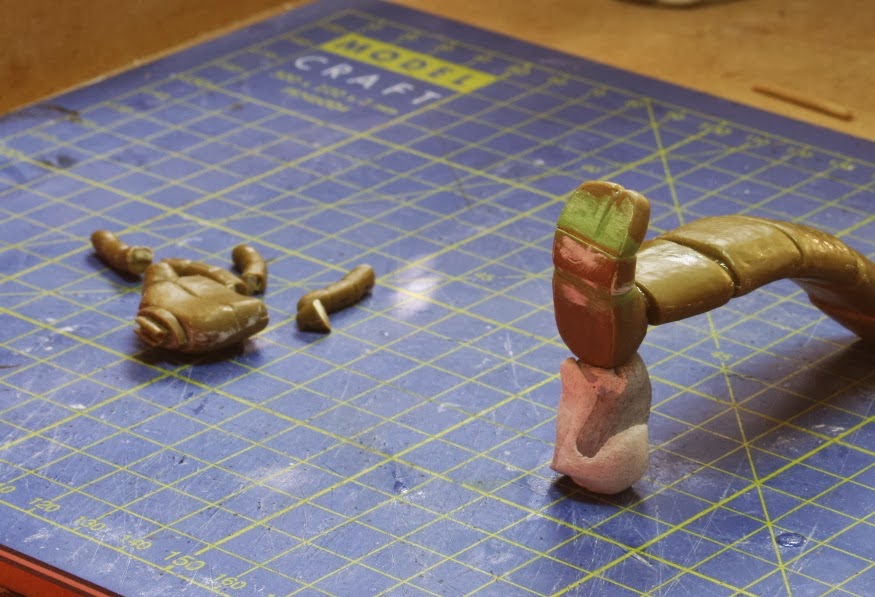
 Reconnecting the fingers with wire, in order to bend and fit to the waterway.
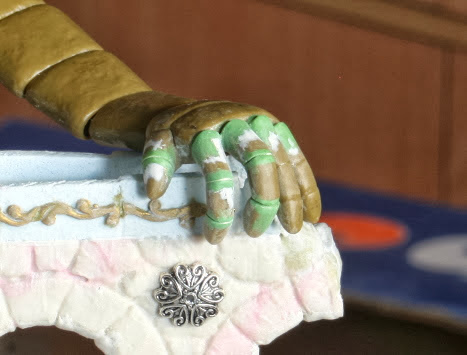 Fitted and puttied up.
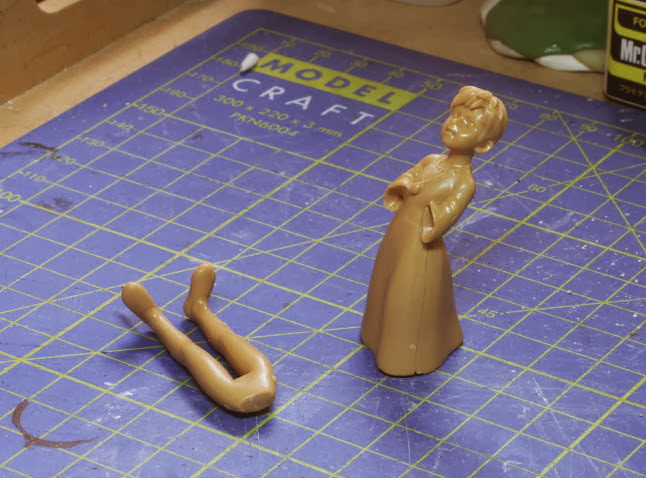 Sheeta is a very straght forward and simple model.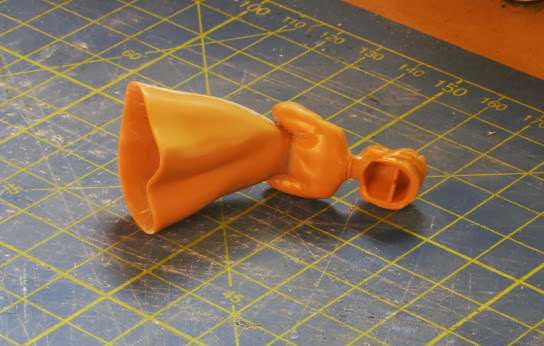
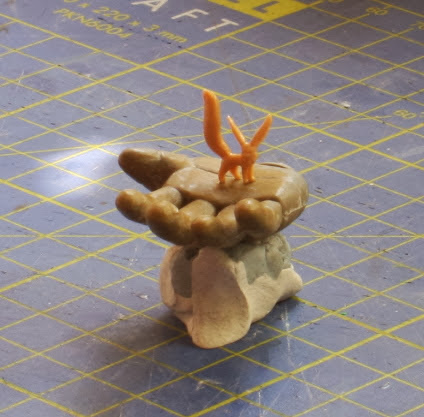 On some level, this little picachu-like creature ties the story together.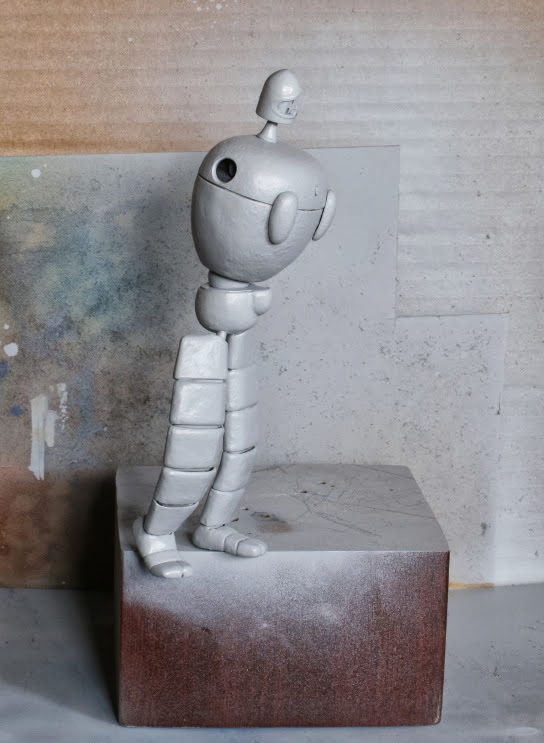
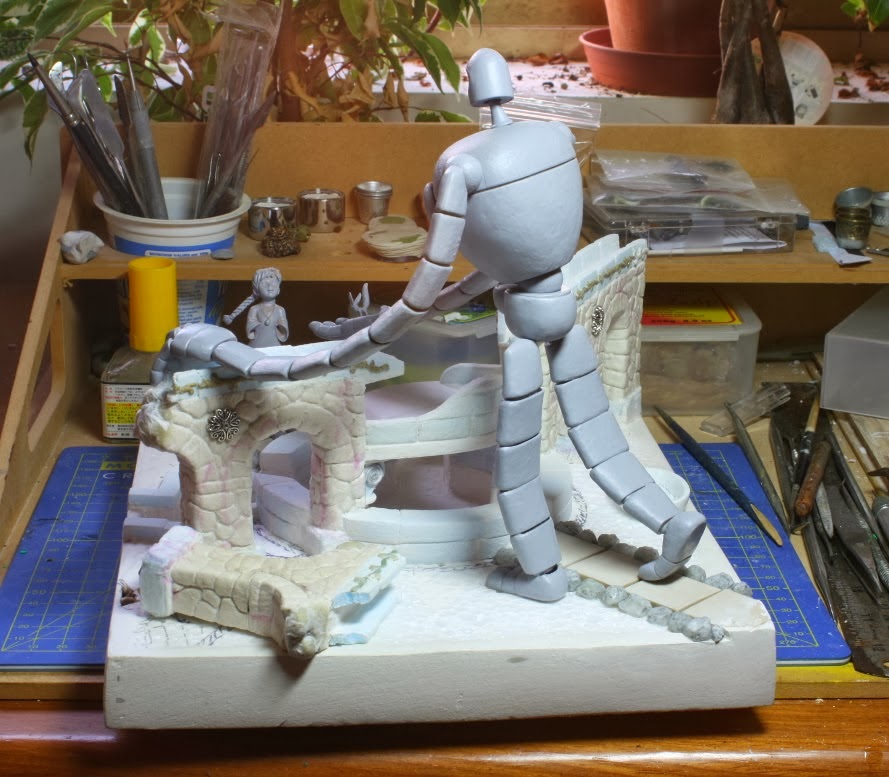
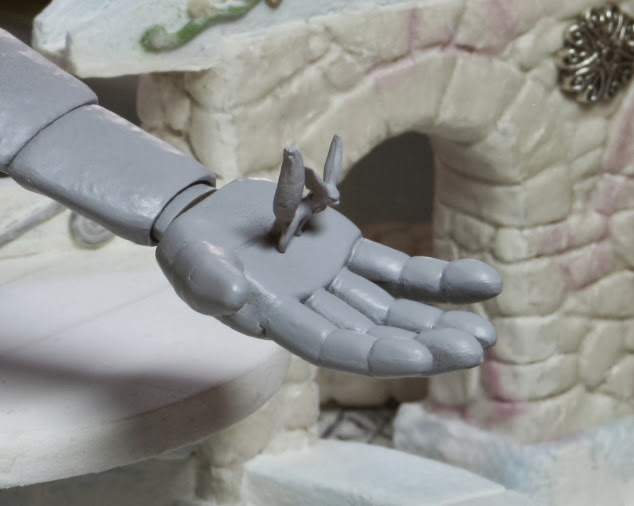
After everything was fitted, I primed the models and I tested the fitting again. When I was satisfied. I moved on to working on the vegetation and plants, but that is for next time.
Until then, stay safe and have fun.
NR.
Working On The Base
Hi everyone,
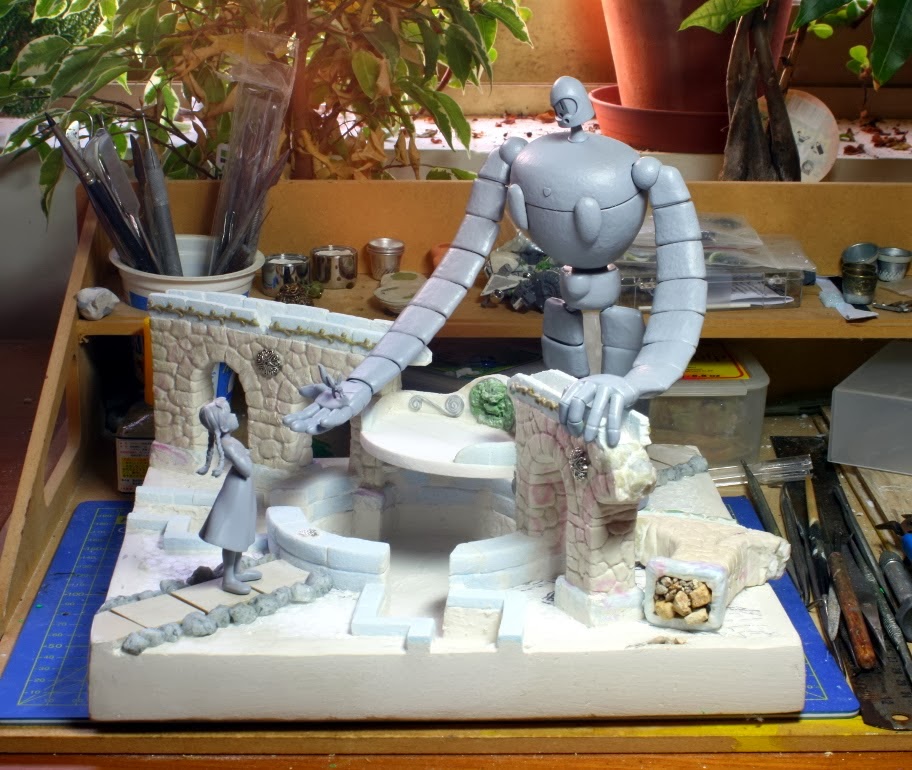
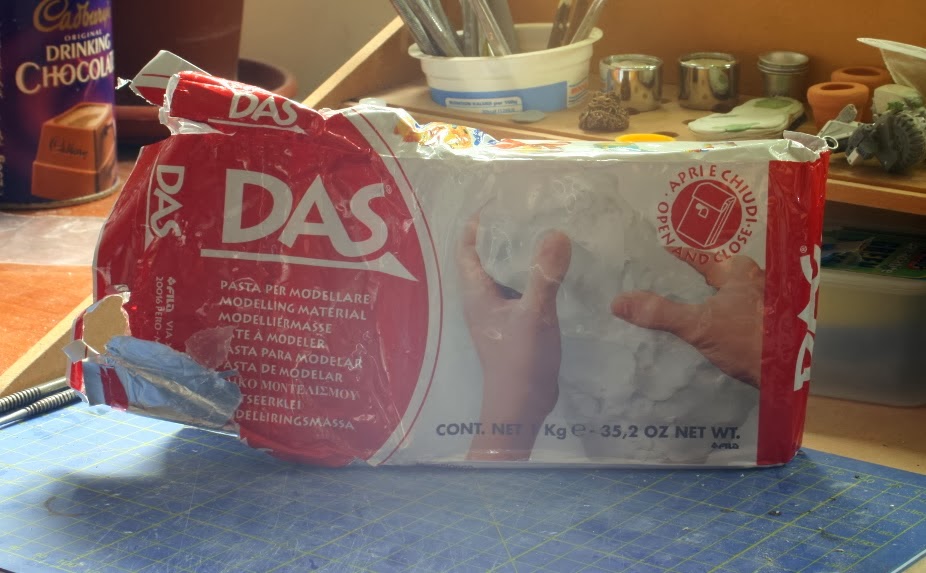
Today I will say a few words on the base. After fitting the girl and the robot I recall sealing off the little water way with air-drying clay and marking in the bricks. I then added layers of tissue paper covered with PVA glue to create texture.
Most of the ornaments I found at a craft and hobby store, except for the lion’s head that I took an imprint of (I don’t recall from what).
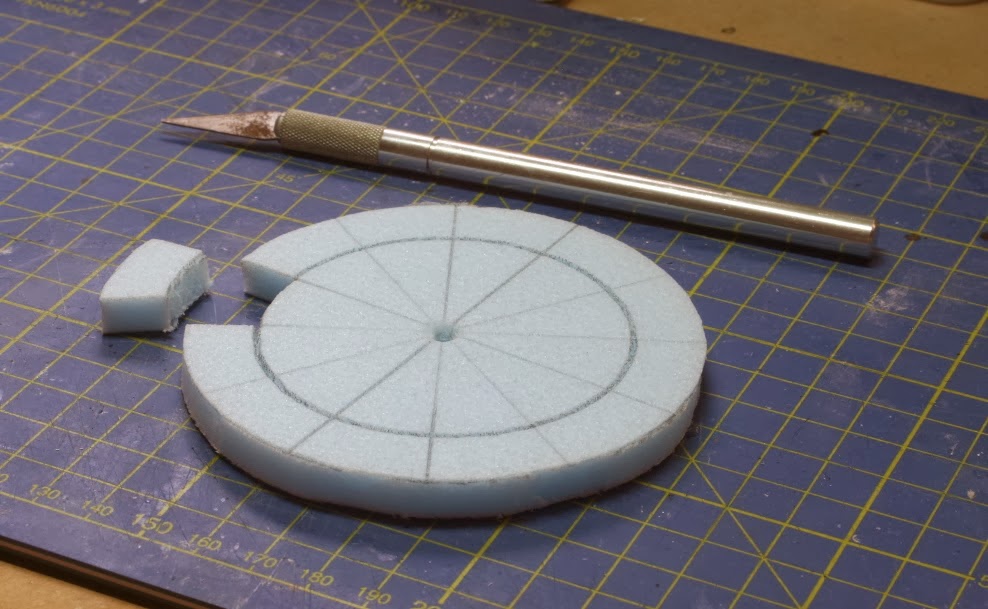
The fountain/pool base was built up stone by stone. In this case, I recall it just looked better than impressing the brick.
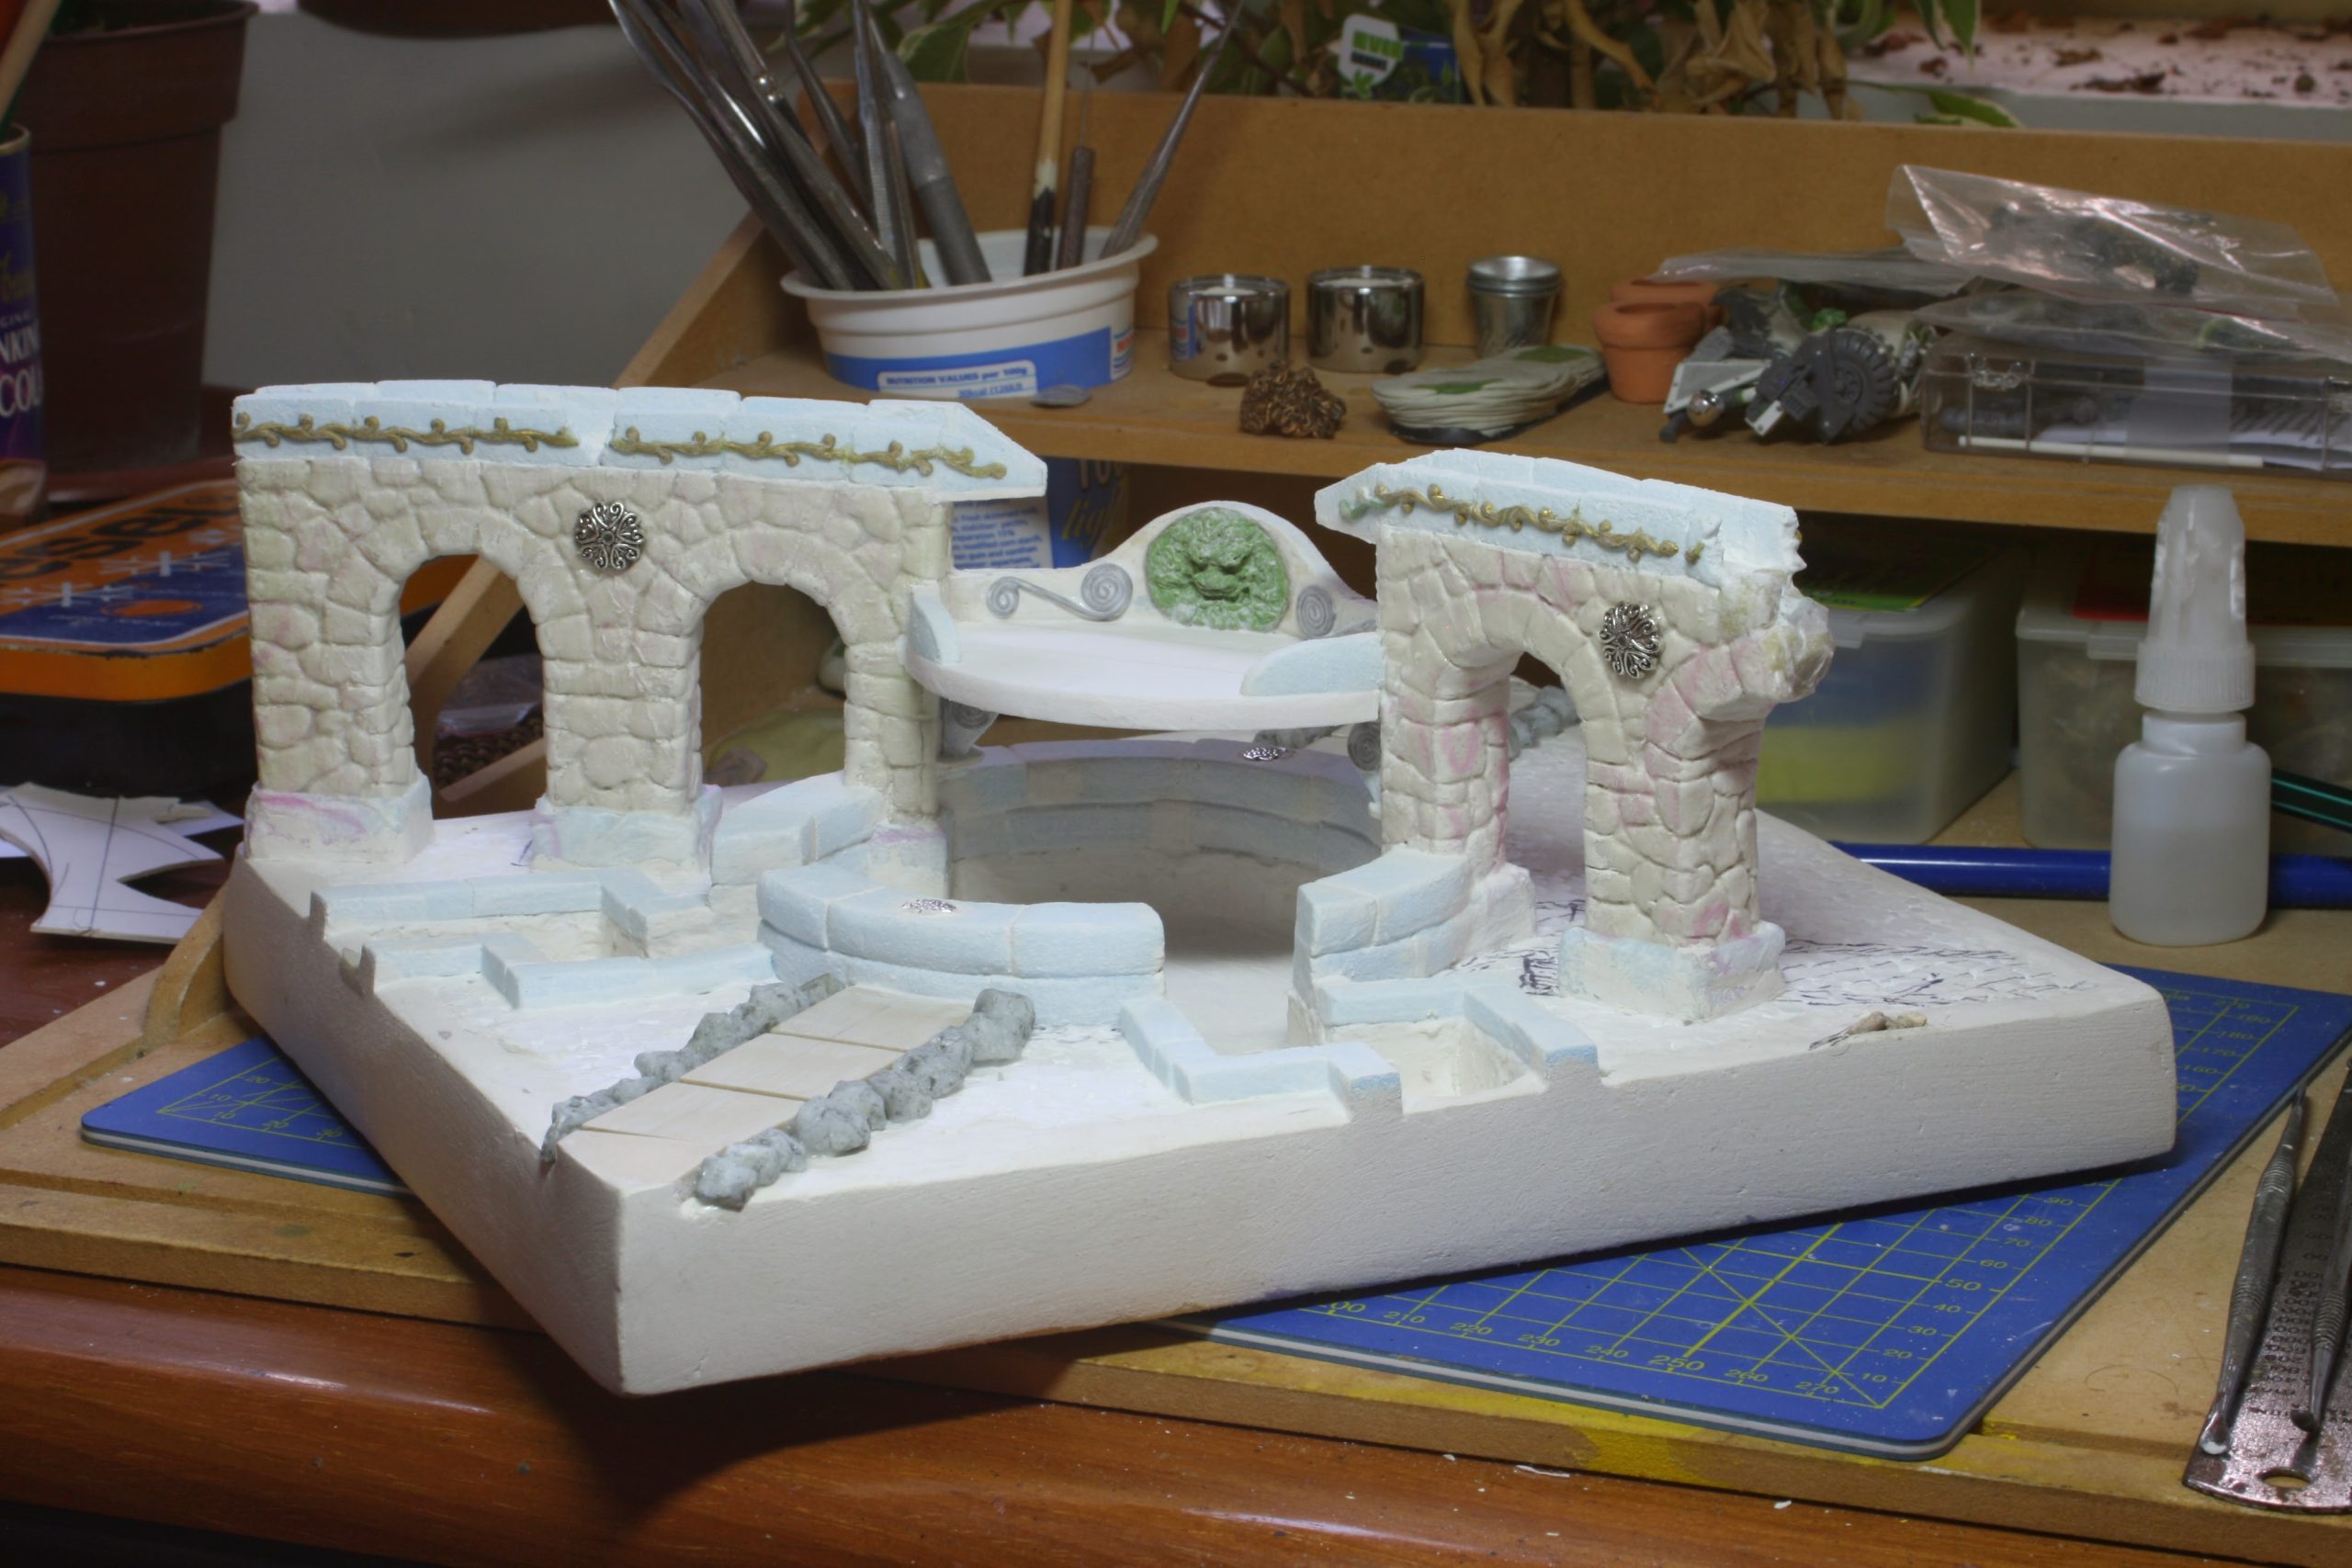 The structure is in place and covered with DAS and tissue as well as several ornaments.
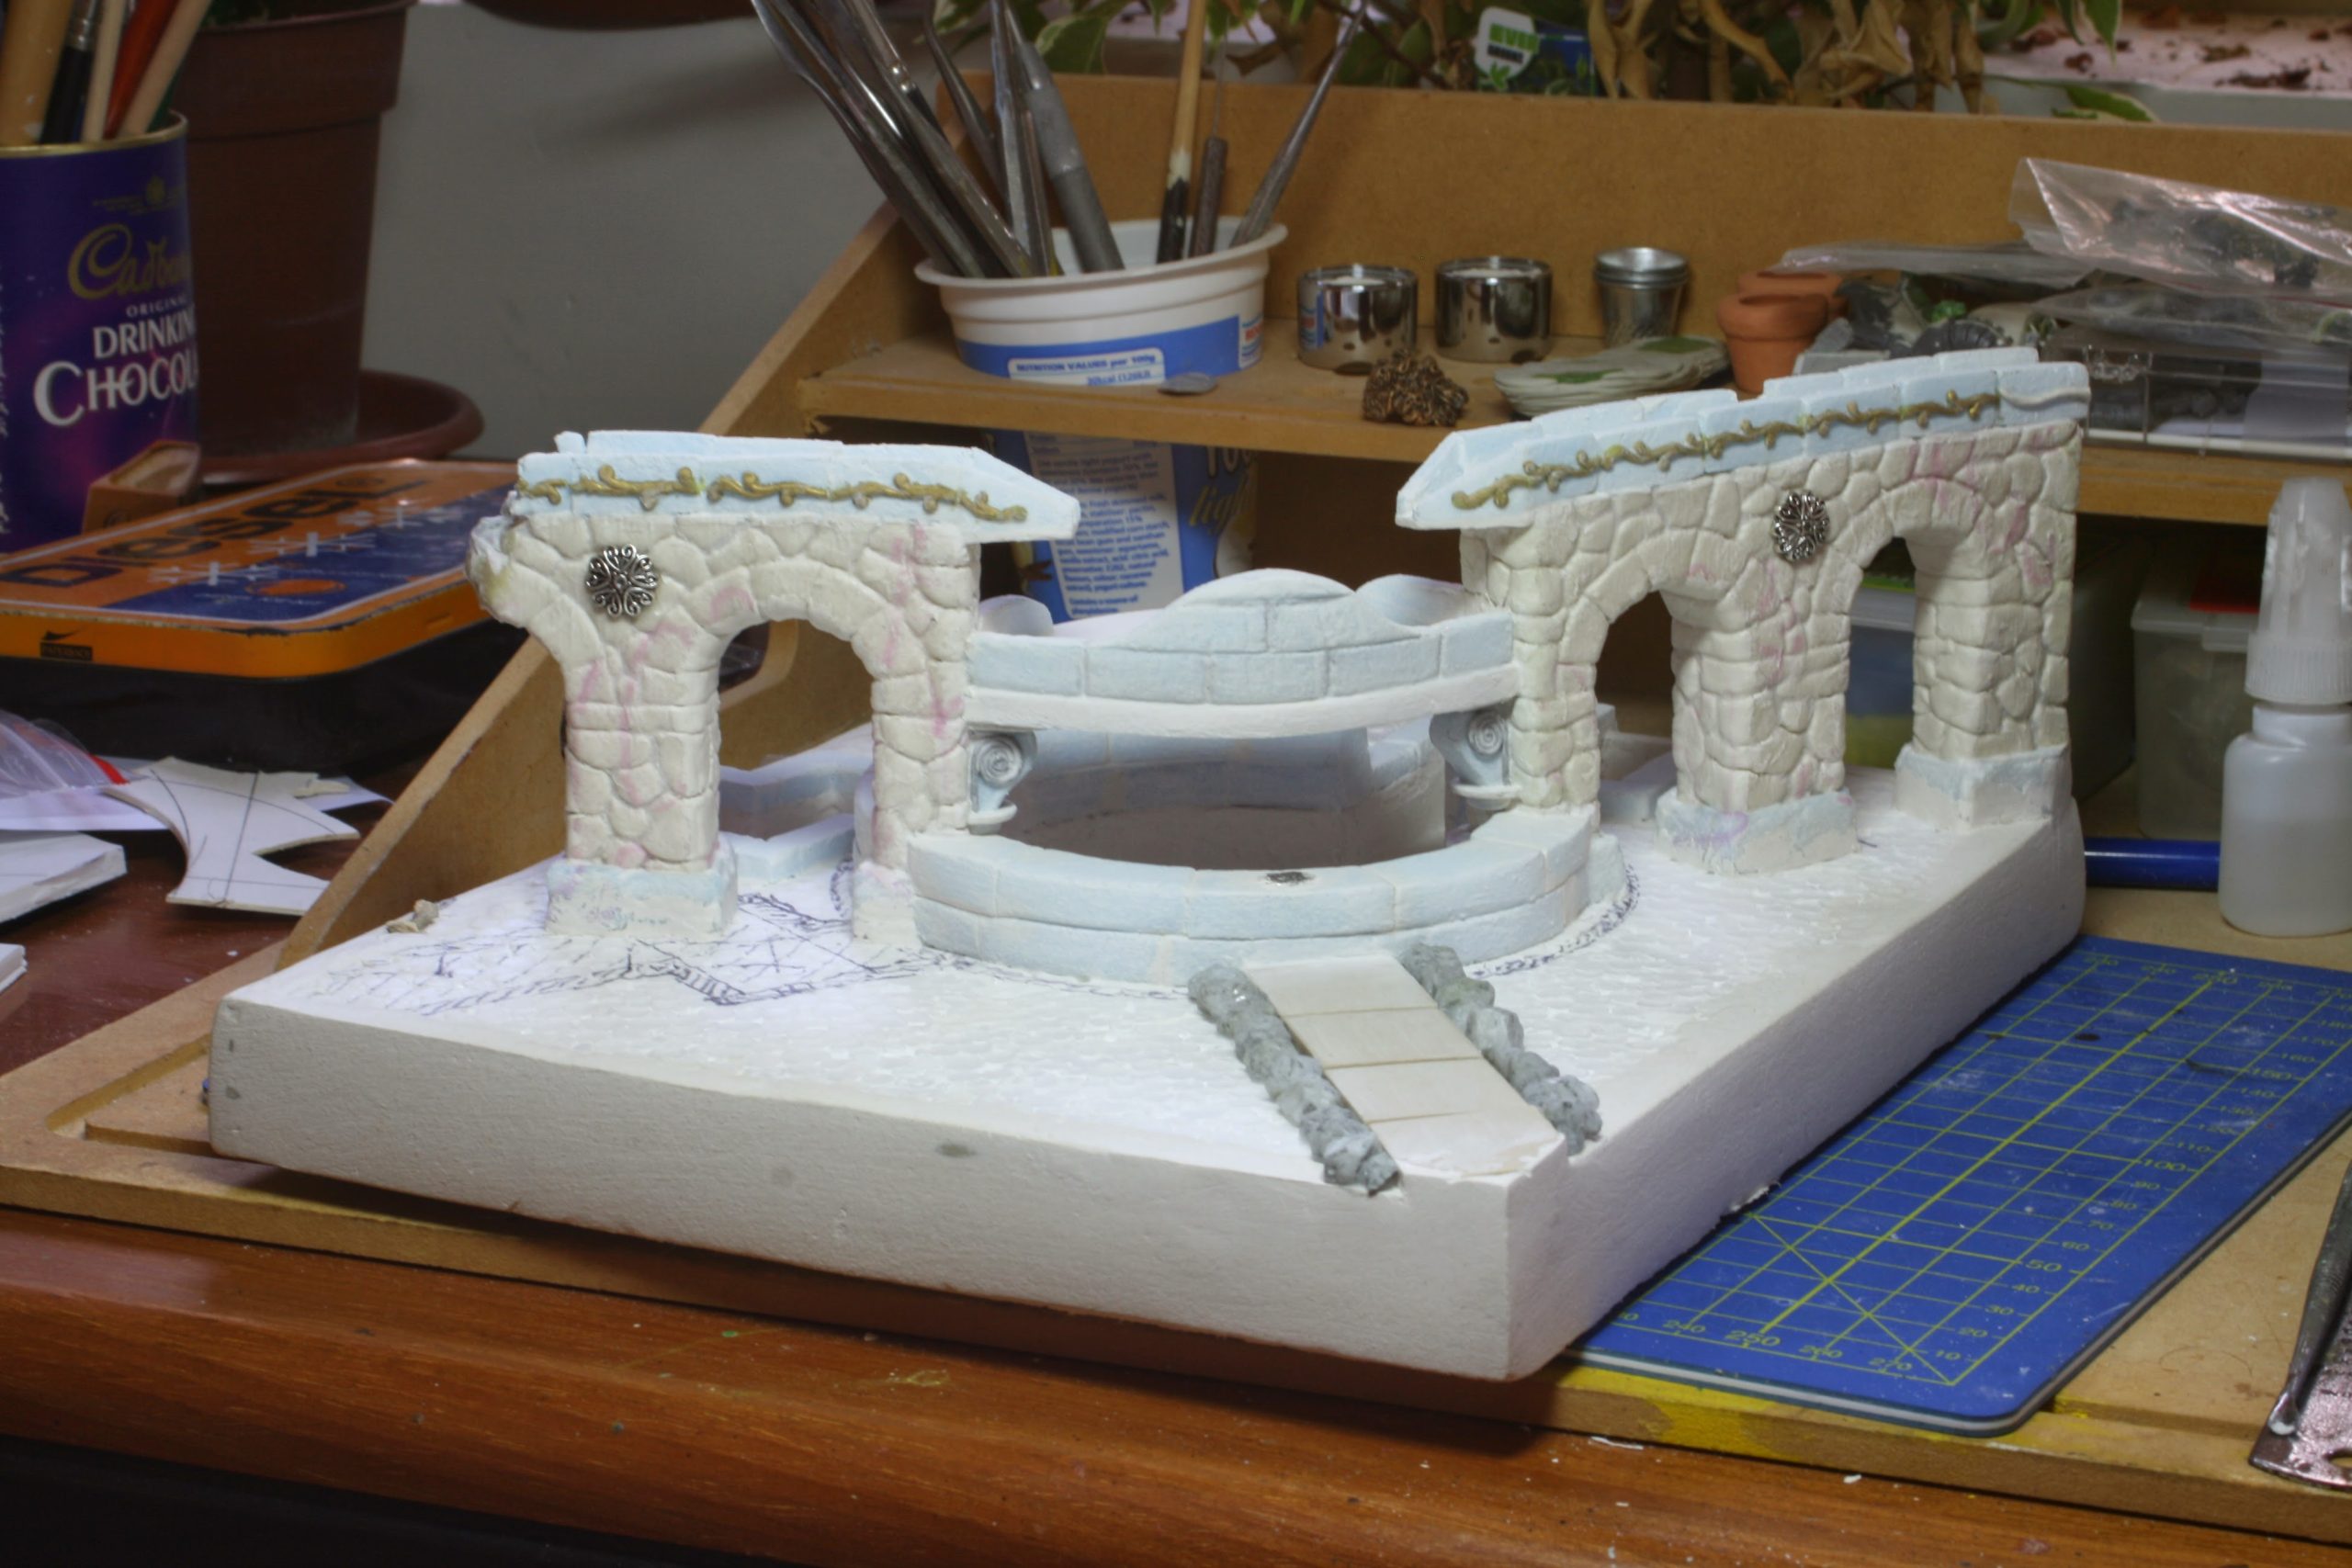 The back view.
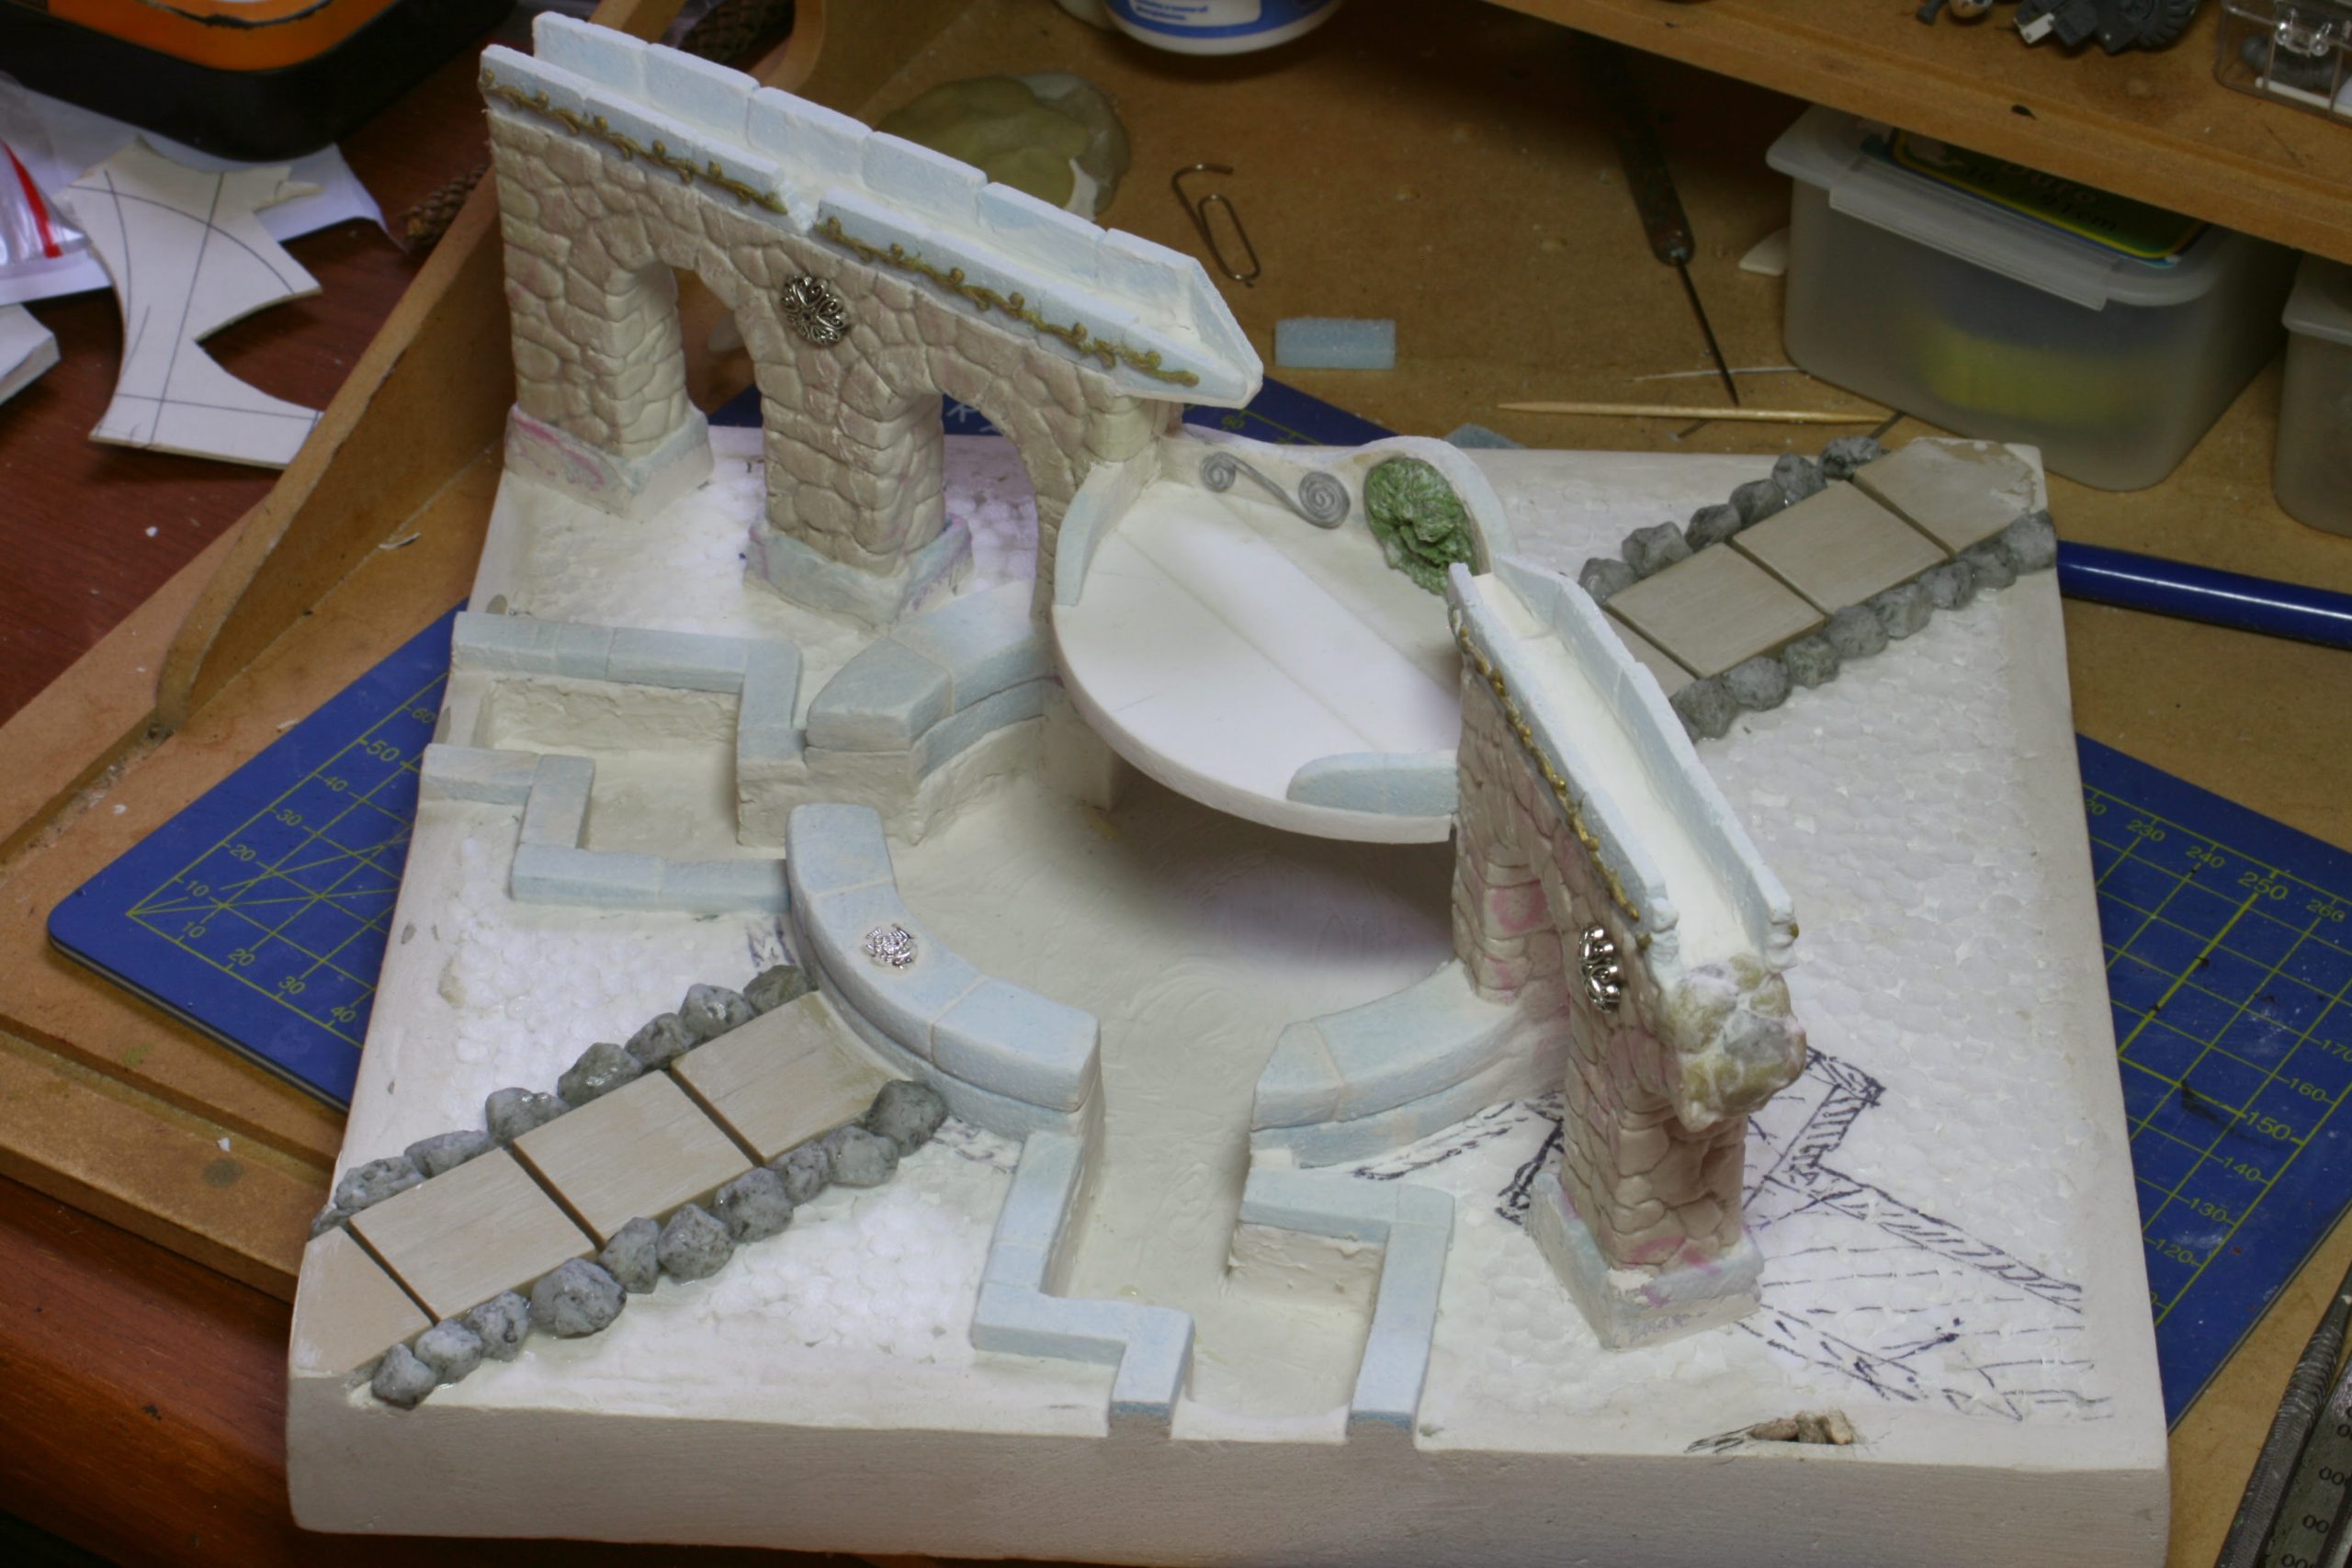 Top view.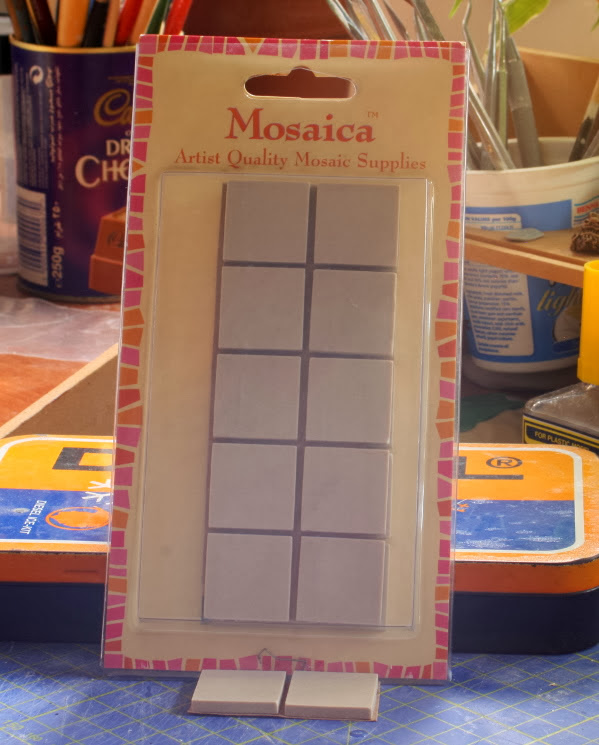
Below is another gallery with another round of fittings. Where I live, we say, ‘measure a hundred times and cut the cloth once‘. Always good advice.
I also start to cut up and fit the robot properly to the base.
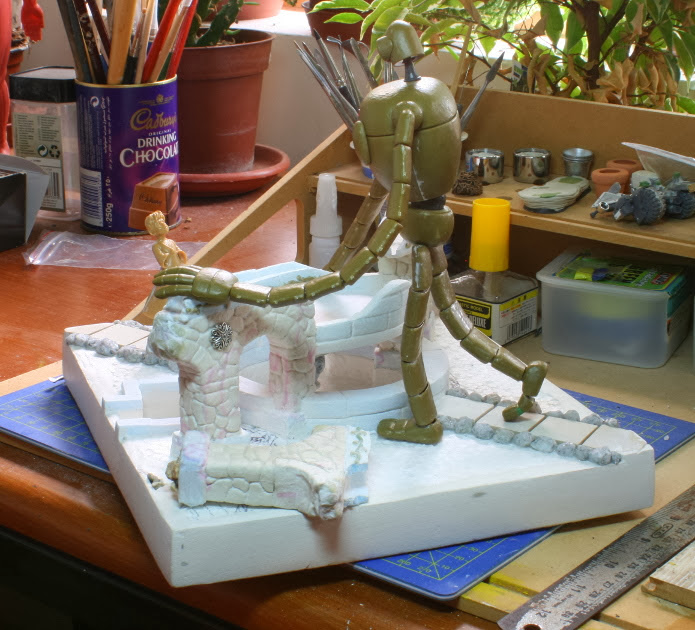
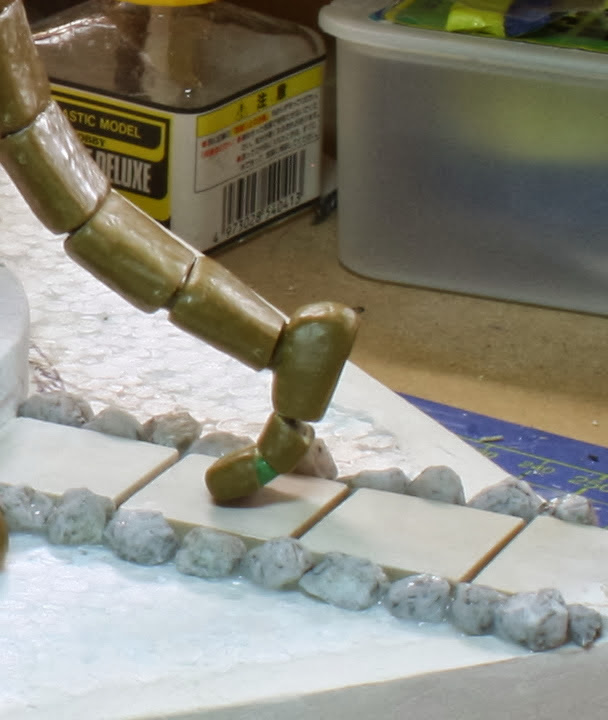
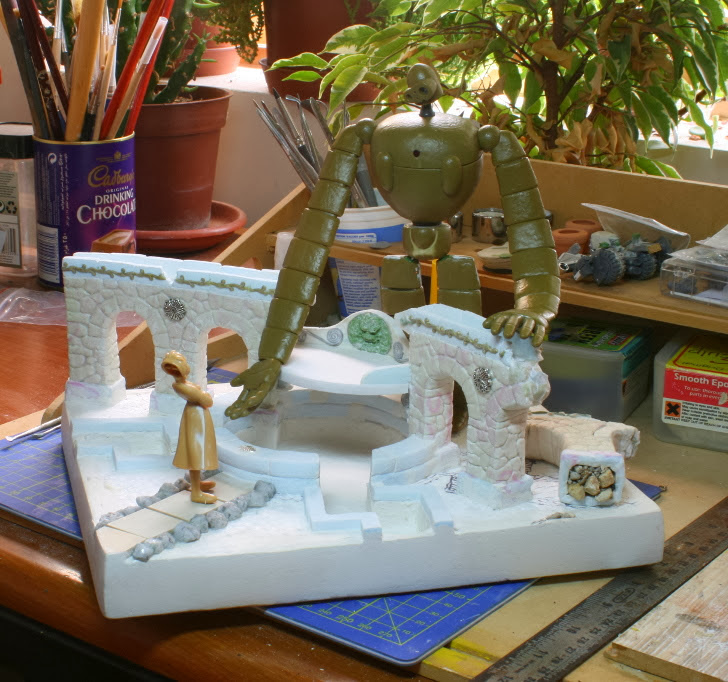
That is all for today, hopefully I get some free time on Sunday to add more posts.
Until then, stay safe and have fun.
NR.
First Steps
Hi everyone,
In this short project, I will be going down memory lane, and trying to remember the steps taken in building this diorama from Laputa – Castle In The Sky. I will have to work with the pictures at hand, because back then I had no reason to take that many.
There are actually two kits of the Laputa guardian robot. This one, and another with the robot in combat mode with the boy instead of the girl.
The first step is always to assemble the kit without gluing it together and see what you can achieve – size and pose permitting.
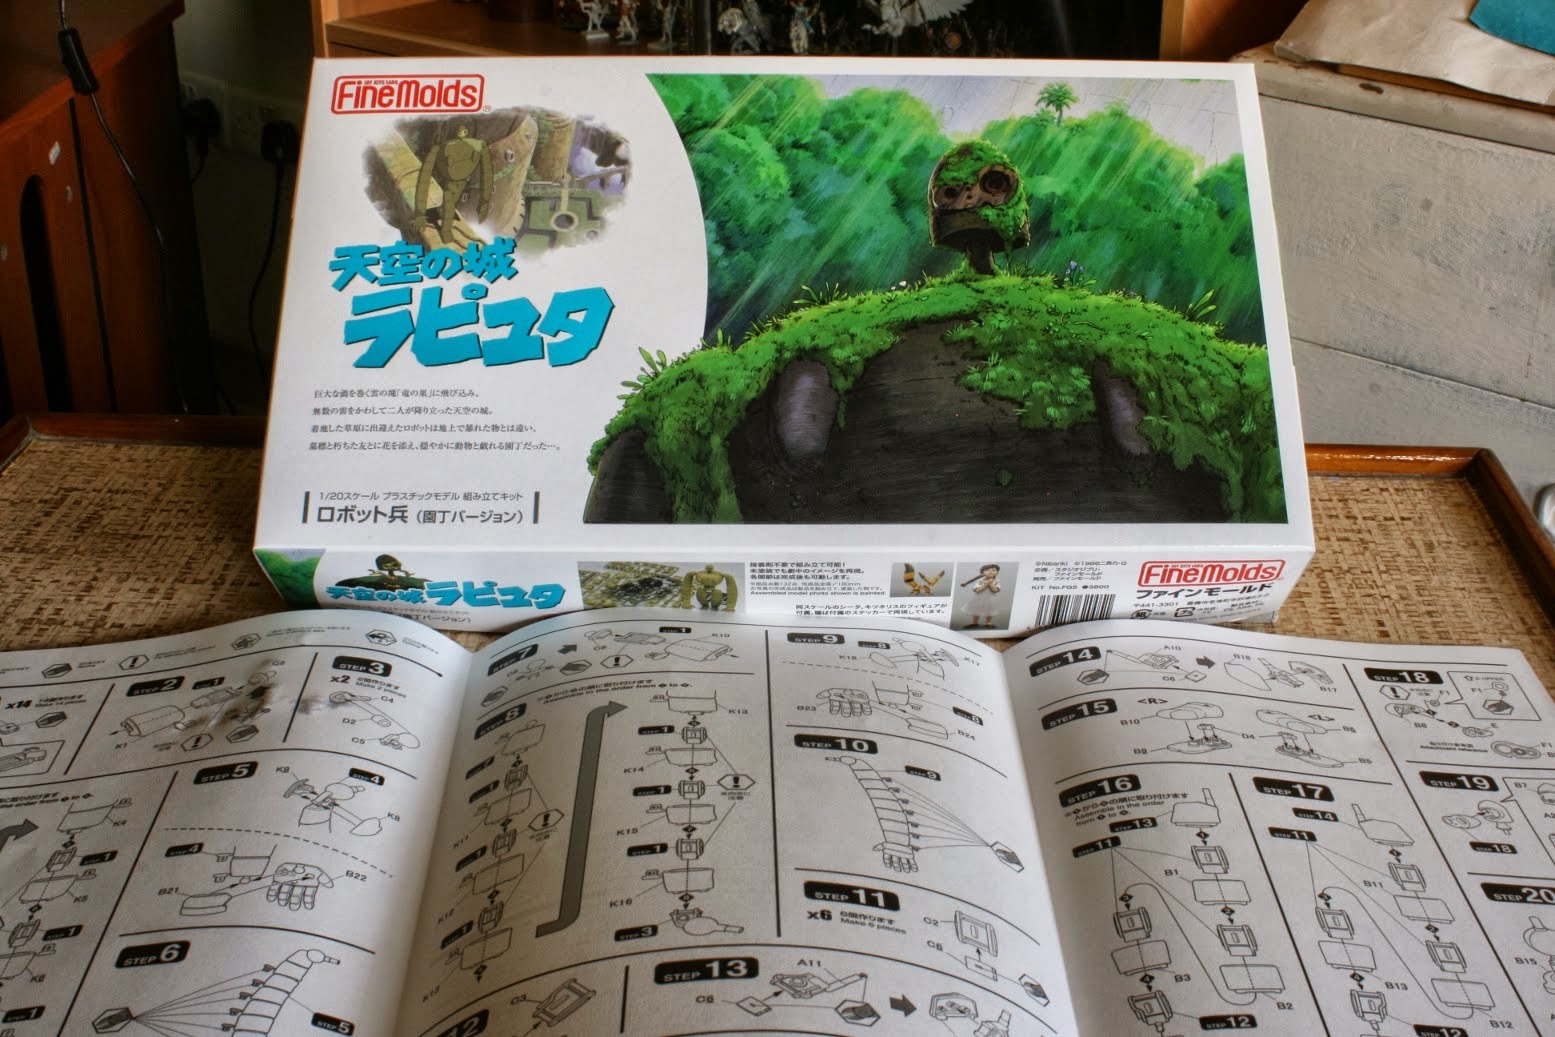 The original box the kit came in.
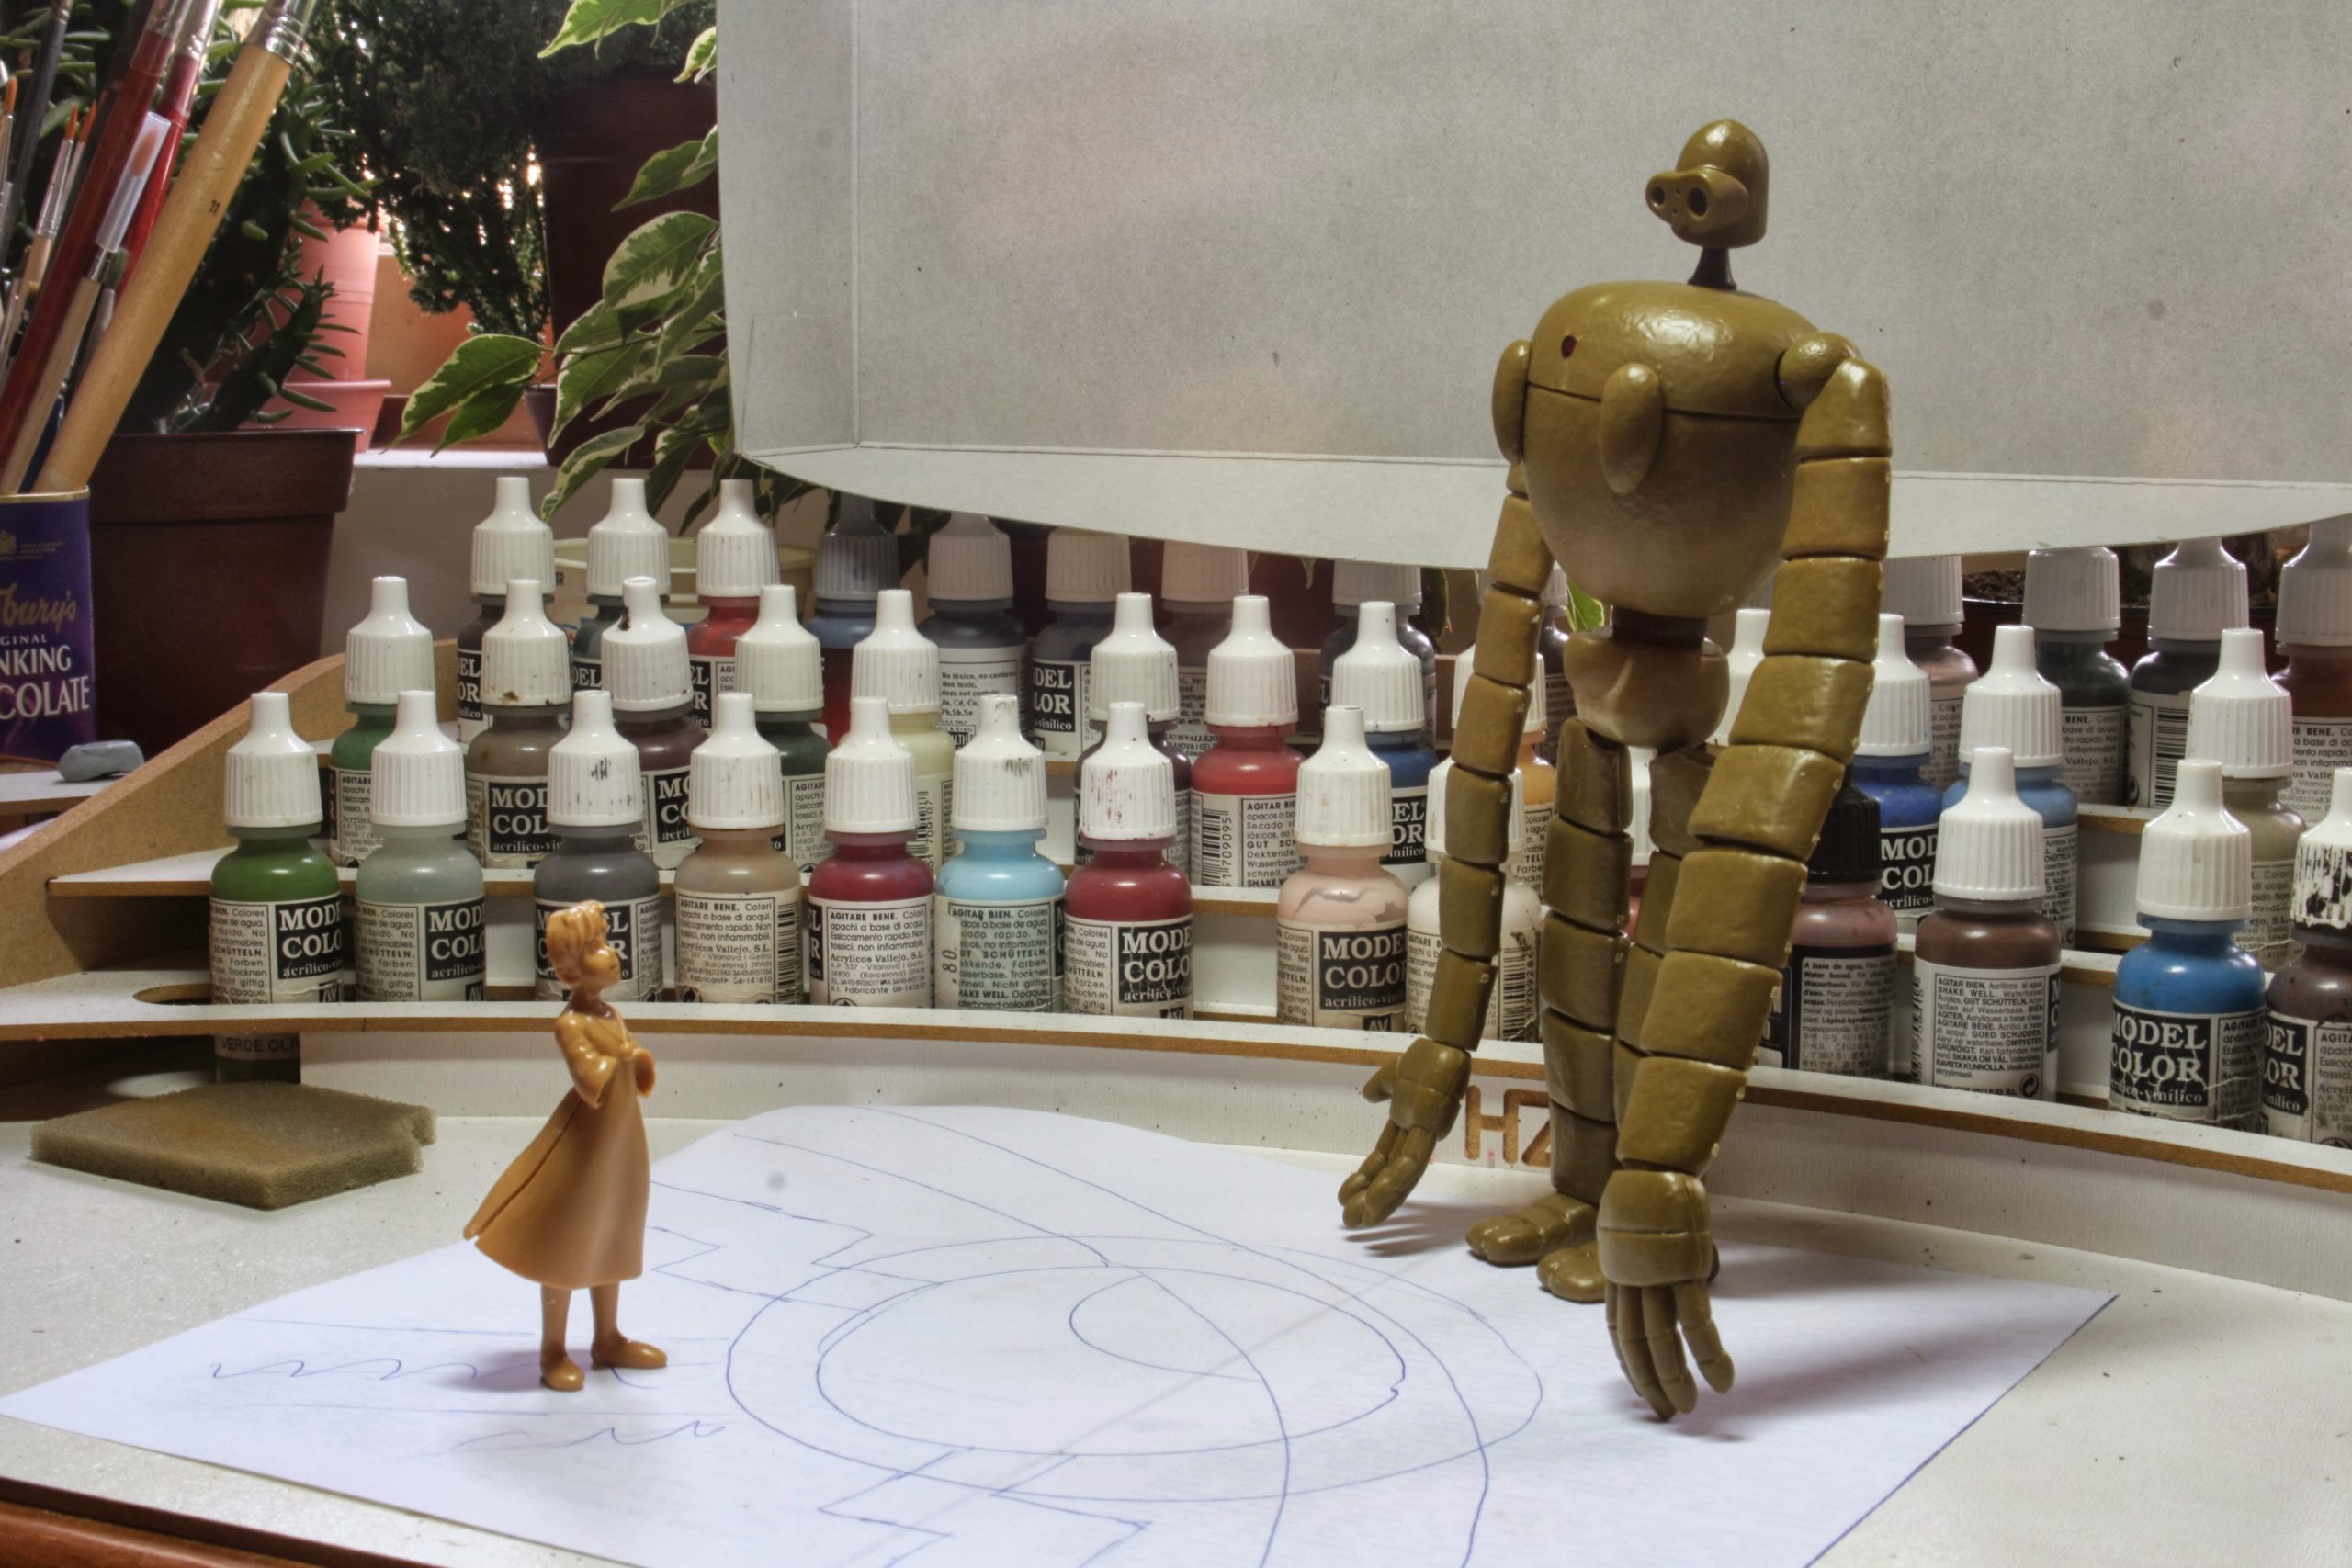 I recall that the model was rather static for what I really wanted to do, and I knew I did not have the experience to make a really dynamic pose, so I went for a more peaceful interaction.
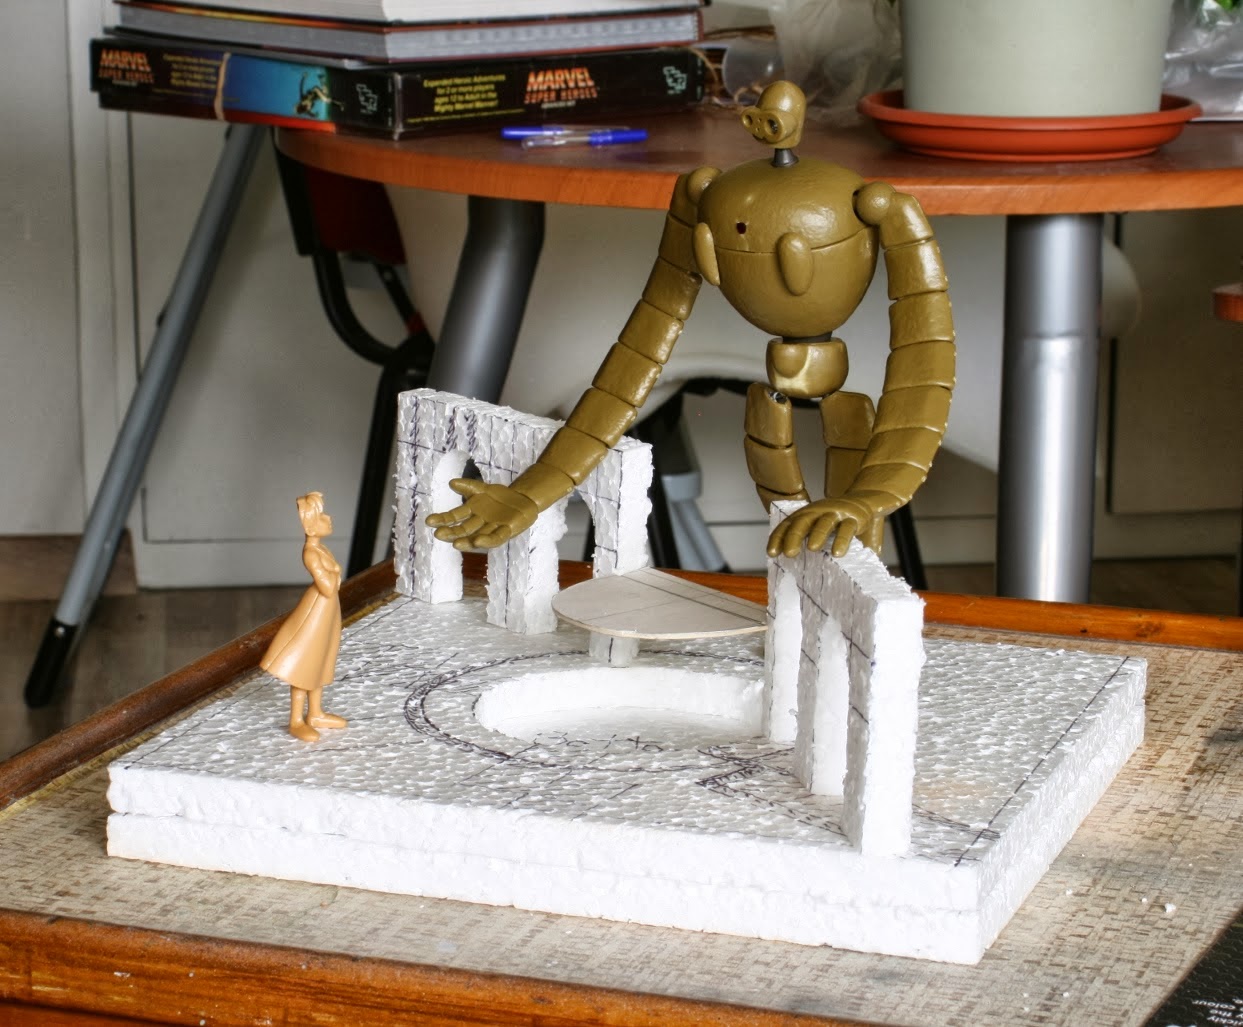 Here I decided what story I wanted to tell and I started to design a scene.
That is all I can manage time-wise for now. I will try to get back to it in a day or two.
As always stay safe and have fun,
NR.