









Star Wars: Legion Painting VLOG – Part 5
9 years ago 12We're kicking off today looking at the Imperials so far and plans for the Rebels going forward


We're kicking off today looking at the Imperials so far and plans for the Rebels going forward

We're moving onto the colours that I've used to bring out the details and then I paint up some Stormtrooper details.

For Part 3, it's time to get painting. Everything is primed and ready, so I'm moving on to getting the minis highlighted.

In Part 2, now with everything built we get to take a look at the armies marching out for Star Wars: Legions.

Hi everyone, and welcome to a brand new project Vlog! Star Wars Legion is here, so now I'm getting stuck into painting the armies of the Rebels and the Empire.

In the run up to the release of Star Wars Legion I have taken on an idea to build a cool table using my old "friend" an Imperial AT-AT.

Just how do magnets work?

Big Projects – TRIUMPH! See The Painting Wargaming Collections Article Series By Dave Over the decades that I’ve been involved in the hobby, I’ve always derived the most joy from working on and, eventually, completing a big project. Most often […]

We learn about failures and turning them into a positive!

You know, usually by "Part 15" I am nearing the end of a project. Anyway! Moving on!

FINAL PART and here we are everyone! It is time to check out the finished gun... or do I mean, GUNS!

TEST FIRE! That's right!

I show you how I am going to add another detail to the gun in the form of some optics.

John's back again to try a new guide from Asset Drop's box...

Time to bring the tripod up to the same stage as the rest of the gun before weathering them down!

Now it's time for me to get my hands on the ceiling mount base plate and throw some paint and weathering at it.

We catch up with Justin who is making some great progress on the ceiling mount.

Dave Taylor talks us through some of the ways you can motivate yourself to get that tabletop project finished!

It's time to show you how the metallic details are done and what else I want to add as some finer detail points.

The boys are out in the hobby hall figuring out how to use the guns tripod as part of the ceiling mount.

While the boys work on the basics of the ceiling mounting I am back in my cave to do some tidy up work.

For the first video of the new year I get some help from a couple of familiar faces on what we are going to do with the gun.

Today I show you the parts all basecoated before I put the gun back together.

John looks to learn and sharpen up some techniques with Asset Drop's guide and paint selection

Now that the gun parts are primed, we can discuss what colours I have chosen for it.

It's time to take this bad boy out for priming.

I want to do some fabrication work to detract from the toy-like appearance of the Nerf gun.

It's time to remove all the branding and other patterns I don't want on the weapon.

Today I am going to be getting the gun ready for priming

Time to check out the parts of the Nerf gun and see what I think we can do!

Welcome to this special project on giving a Nerf Gun a makeover!

I am making some real progress today as I wrap up the conversion work on the Grenadiers.

It's time to get through the planning stage as Dave Taylor gives us the low down on this next step.

Check out how my Grenadiers are coming together!

Today I show you the cavalry models now ready to prime!

Oh boy do I have a treat for you lot today!

The cavalry are built and ready for their conversion parts.

Now that the Mecharius has received its filler primer I move on to the pre-shading step.

Back on the right -track- today (get it?)

I am looking for your help, suggestions and feedback on how my first go at this cavalry model has turned out.

Now that the Mecharius has had its bath it's time to prep the parts for construction!

Hey guys, today I am showing you my "first pass" on the infantry models.
Supported by (Turn Off)

1
Help Raise Money For Legendary Wargaming Artist Karl Kopinski
3
Scibor Preview Brand New Miniatures Coming To Kickstarter Soon
5
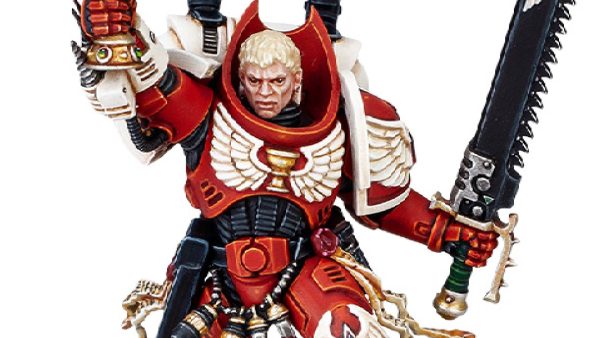
Hope For Warhammer 40,000’s Blood Angels Players With New Tease?
6
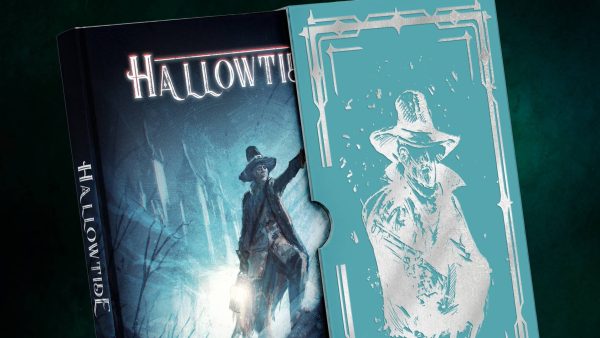
Delve Into Eldritch Fantasy Wargaming With Black Site’s Hallowtide
4
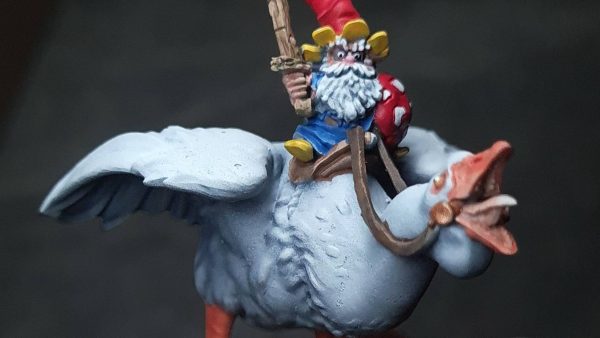
Celebrate Gnomevember With Warp’s New Special Characters

4
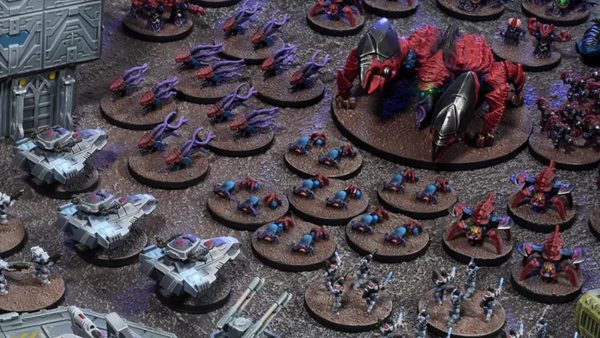
Head Into Hagglethorn Hollow’s New Fantastical Evermaze!
2
Epic Warpath Reinforcements Bring New Firepower To Every Faction

2
Dive Back Into Discworld With New Lancre and Überwald RPG Books
4
Mantic Unleash The Nameless! Warpath Command Protocols Expansion
5
Pick Up Mike Broadbent’s Toy Town Miniatures From Slave2Gaming
8
More New Khazalite Holds Miniatures For Warhammer Age Of Sigmar
2
Warhammer: The Horus Heresy Battle Groups For Christmas Previewed
1
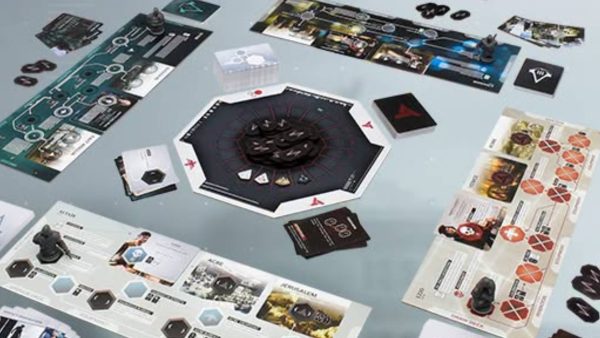
Mantic’s Assassin’s Creed: Animus Board Game Now Available
2
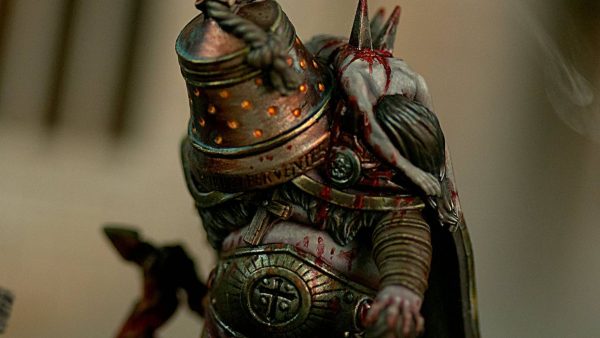
Keep The Horror Coming With TTCombat’s Baphrael For Carnevale
0
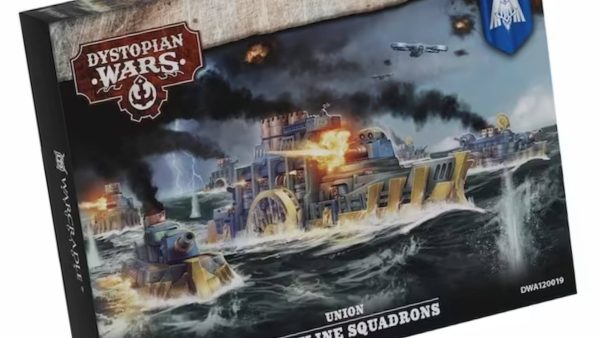
Union Frontline Squadrons Of 2026 Hove Into Dystopian Wars
1
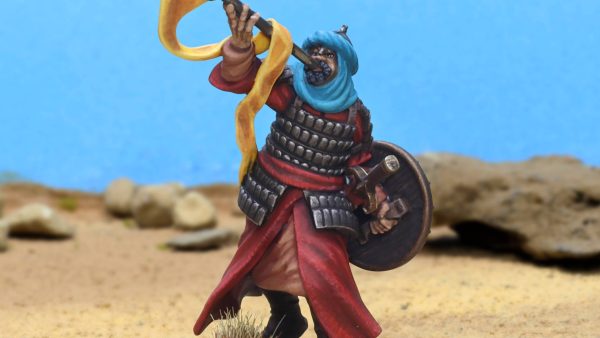
Sound The Horns Of Dorylaeum With Two New Martyrdom Miniatures
0
Armoured Clash’s Heroes Of The Empire & Crown Coming Soon
3
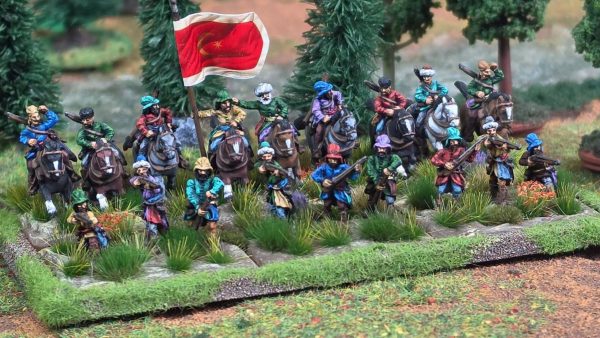
10mm Horselords Ride Forth For Wargames Atlantic’s Fantasy Range
10
Militant Monks Plastic Kit Coming This Week For The Barons’ War
5
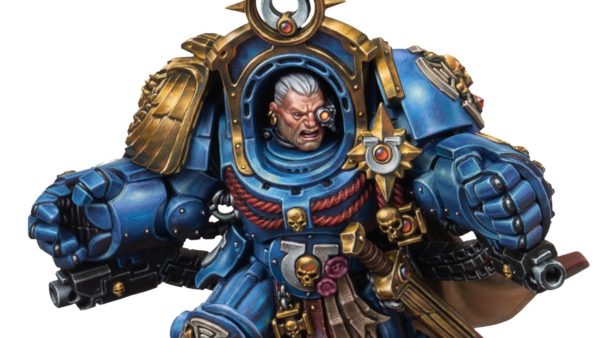
Oak & Flame Expansion Comes To Guards of Traitor’s Toll
8
Check Out The Golden Demon Winners From SPIEL Essen 2026
1
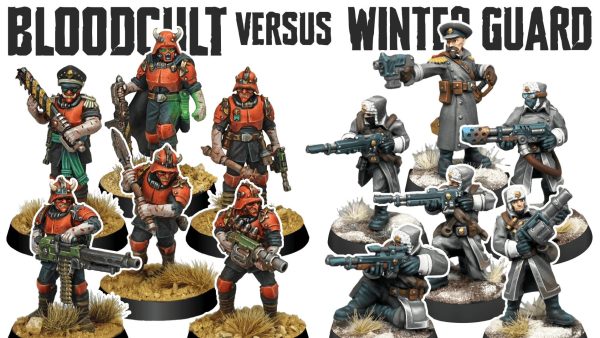
Blood & Ice Clash With New War Scenery Sci-Fi Human Armies

1
Two New Expansions Spotted For Osprey Games’ The Silver Bayonet
4
Unleash Chaos With Three New Marvel: Crisis Protocol Characters

4
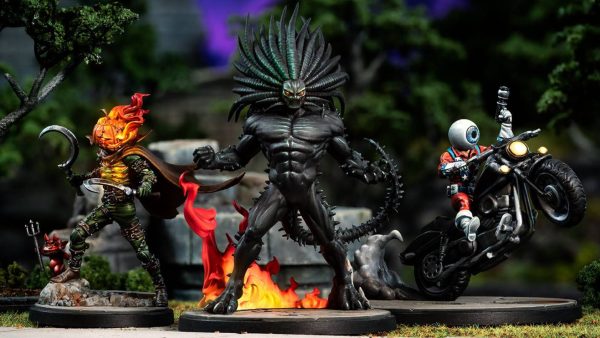
The Hollow Harvest Comes To Empire Of The Dead For Halloween

2
Collect WW2 Heroes Of The Dutch Resistance With Bad Squiddo
0
Wargamer Introduce More New Sets For By Fire & Sword Fans
0
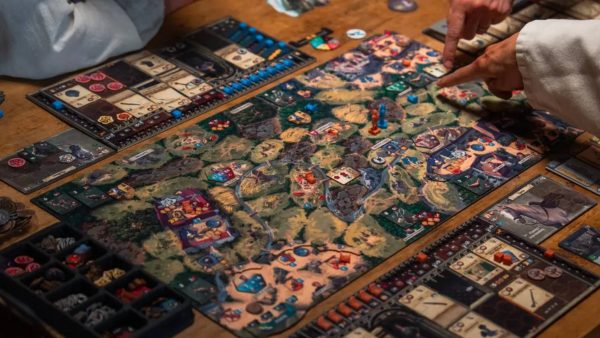
5 Big Board Games That Made A Splash At SPIEL Essen 2026
4
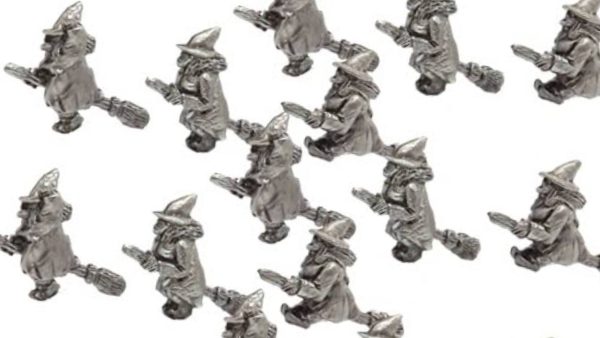
Pendraken Dive Into Tiny Halloween Spooks With Witches & Yetis
6
Forgotten Pigments Army Painter Announce Partnership With D&D