



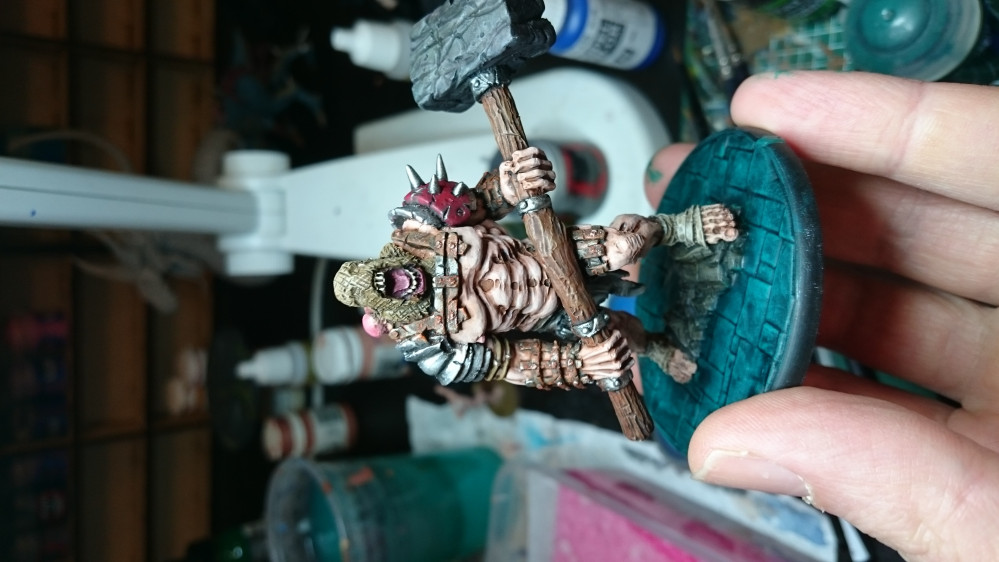
From the bowels of Ker-Ys



Recommendations: 225
About the Project
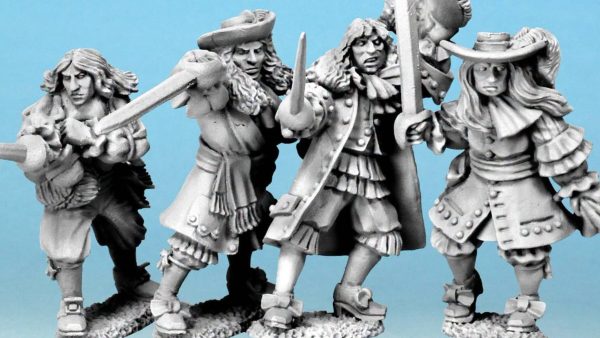
This project will document the building and painting of my fist army for Darklands, the Ysians.
Related Game: Darklands
Related Genre: Fantasy
This Project is Active
Abhorrents assemble!
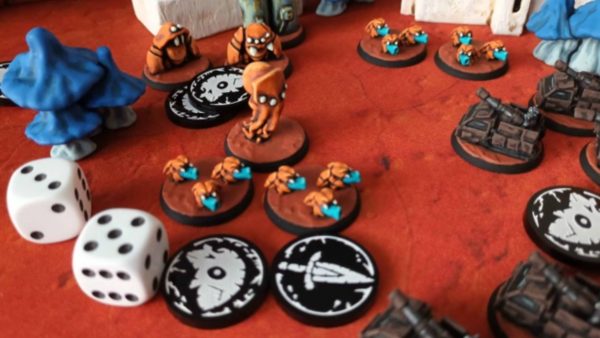
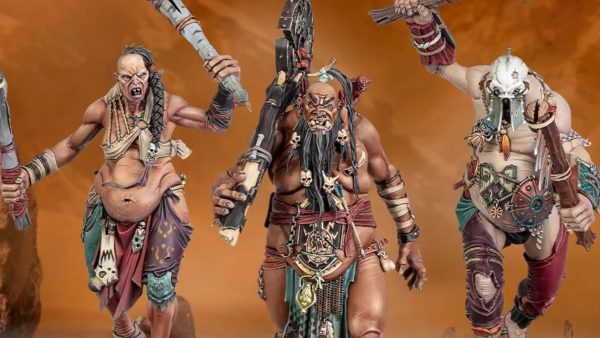
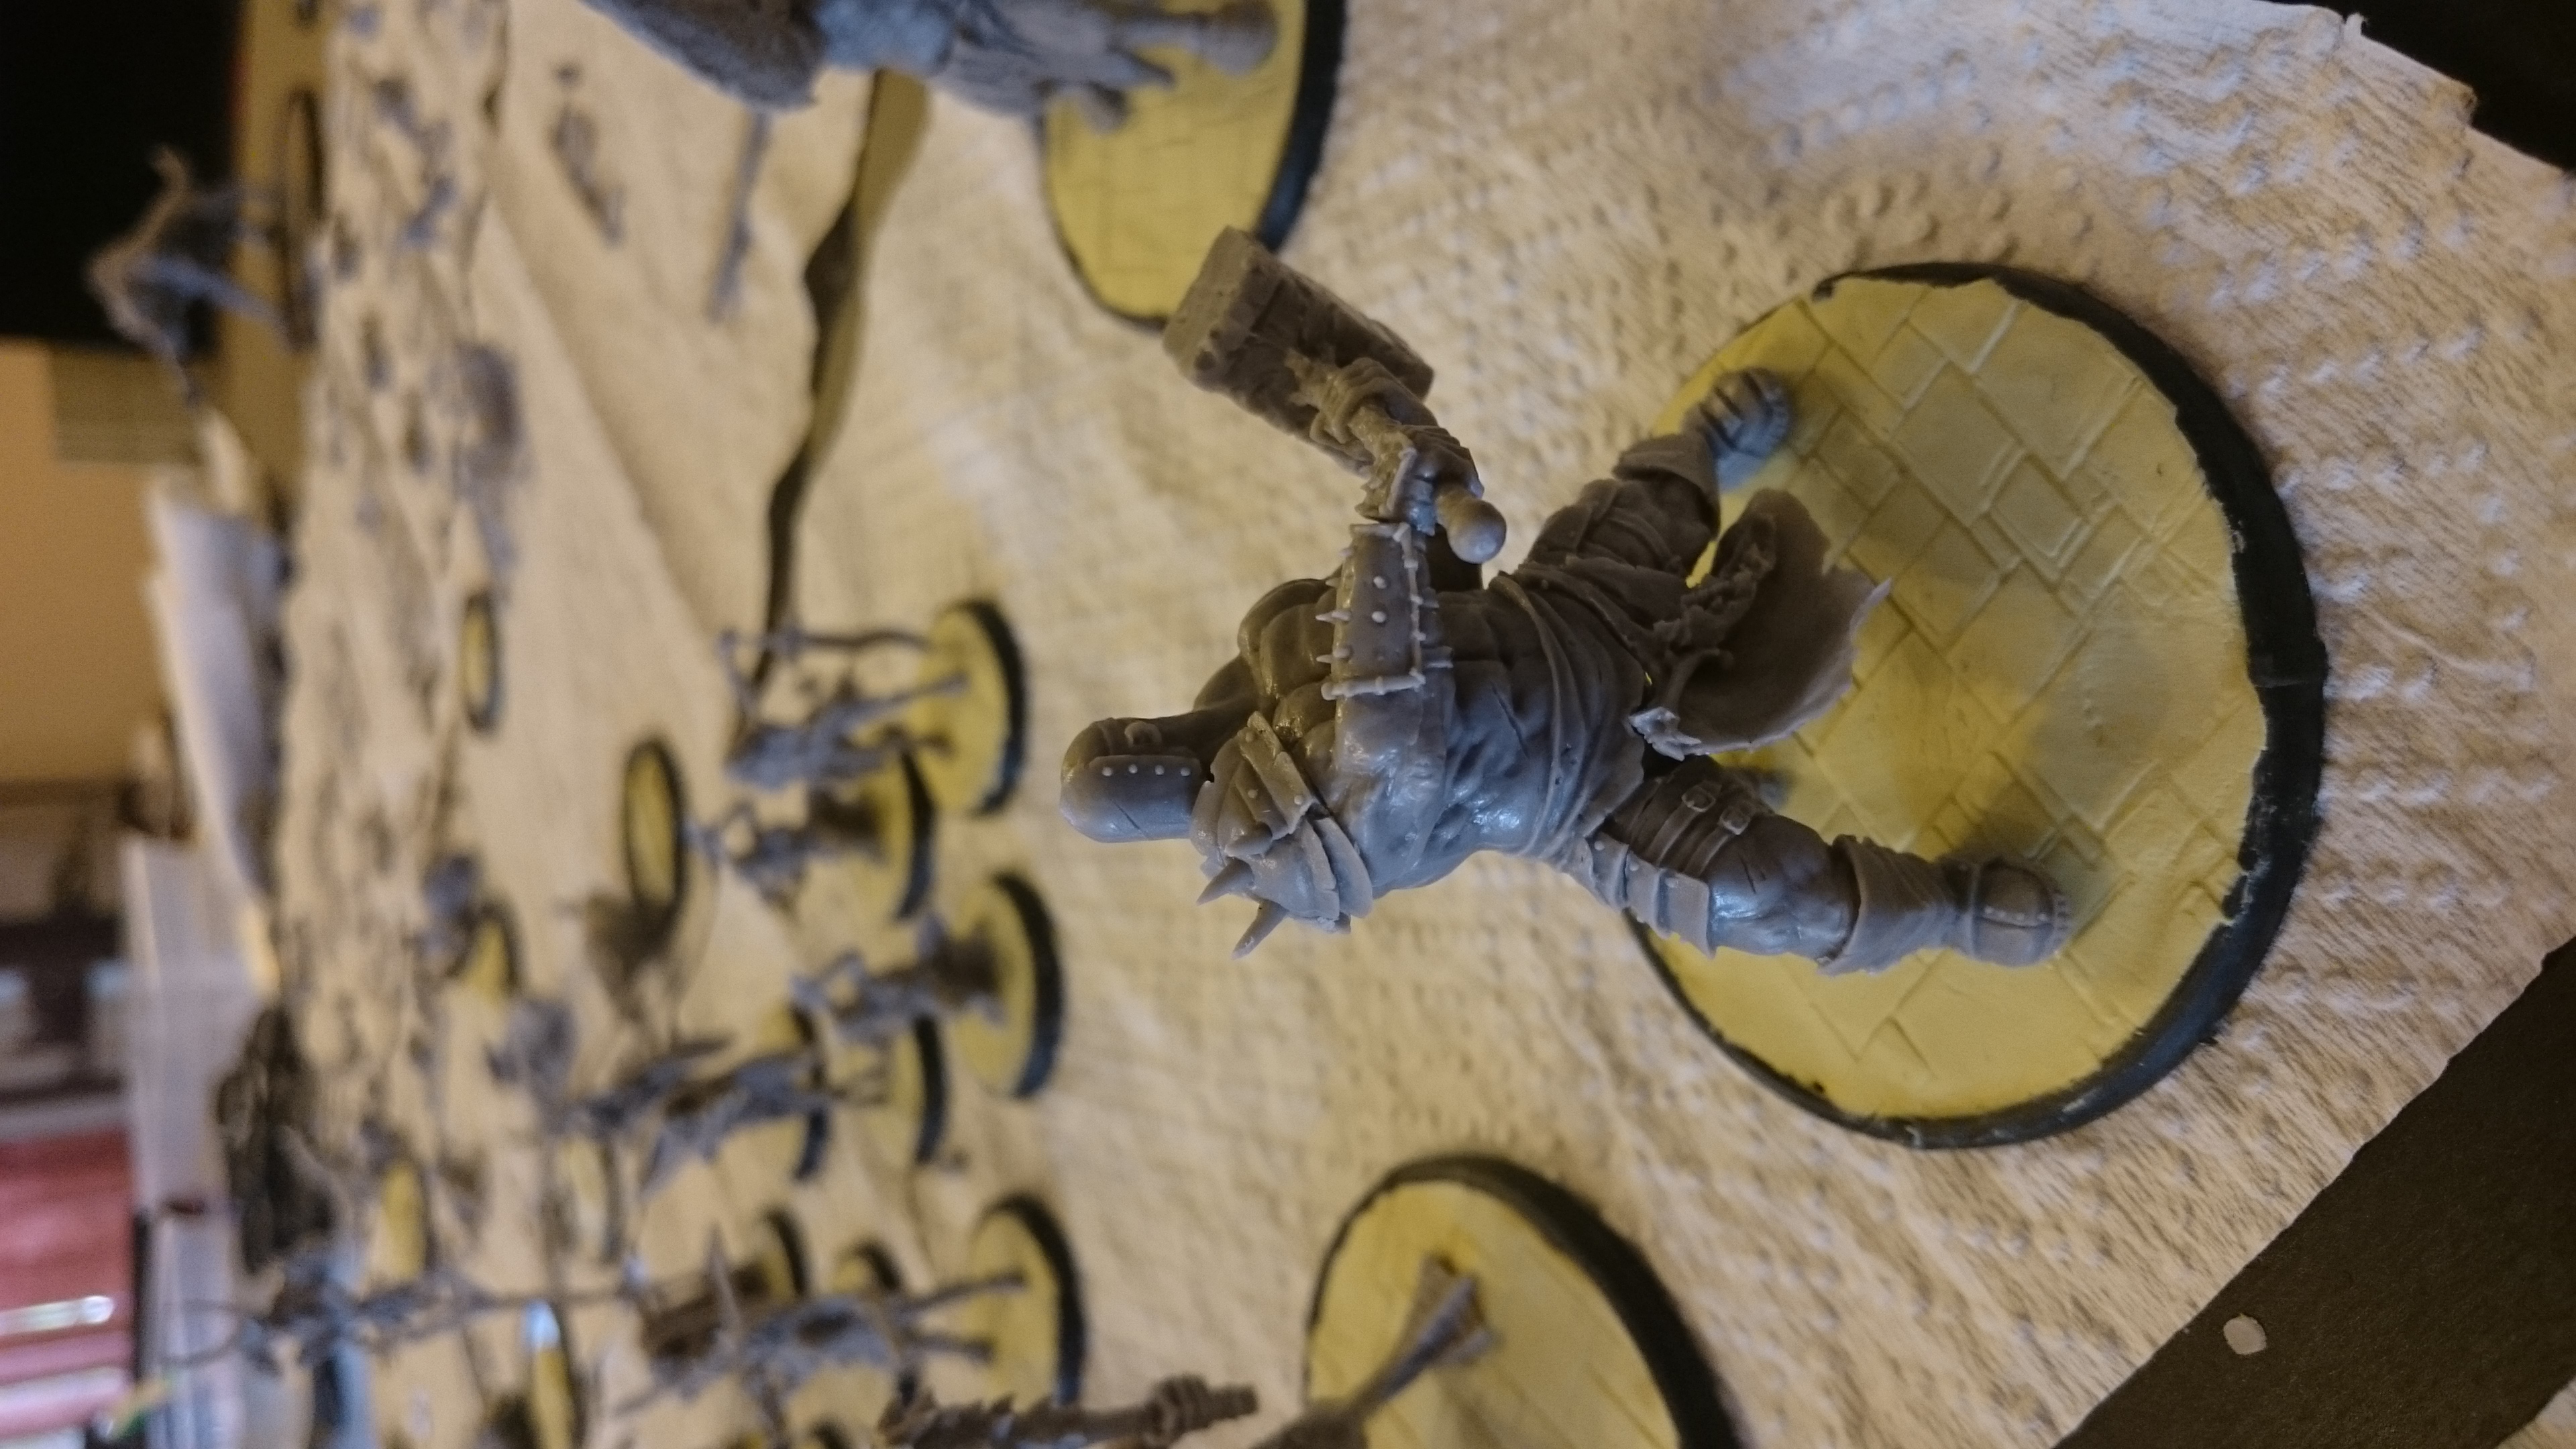
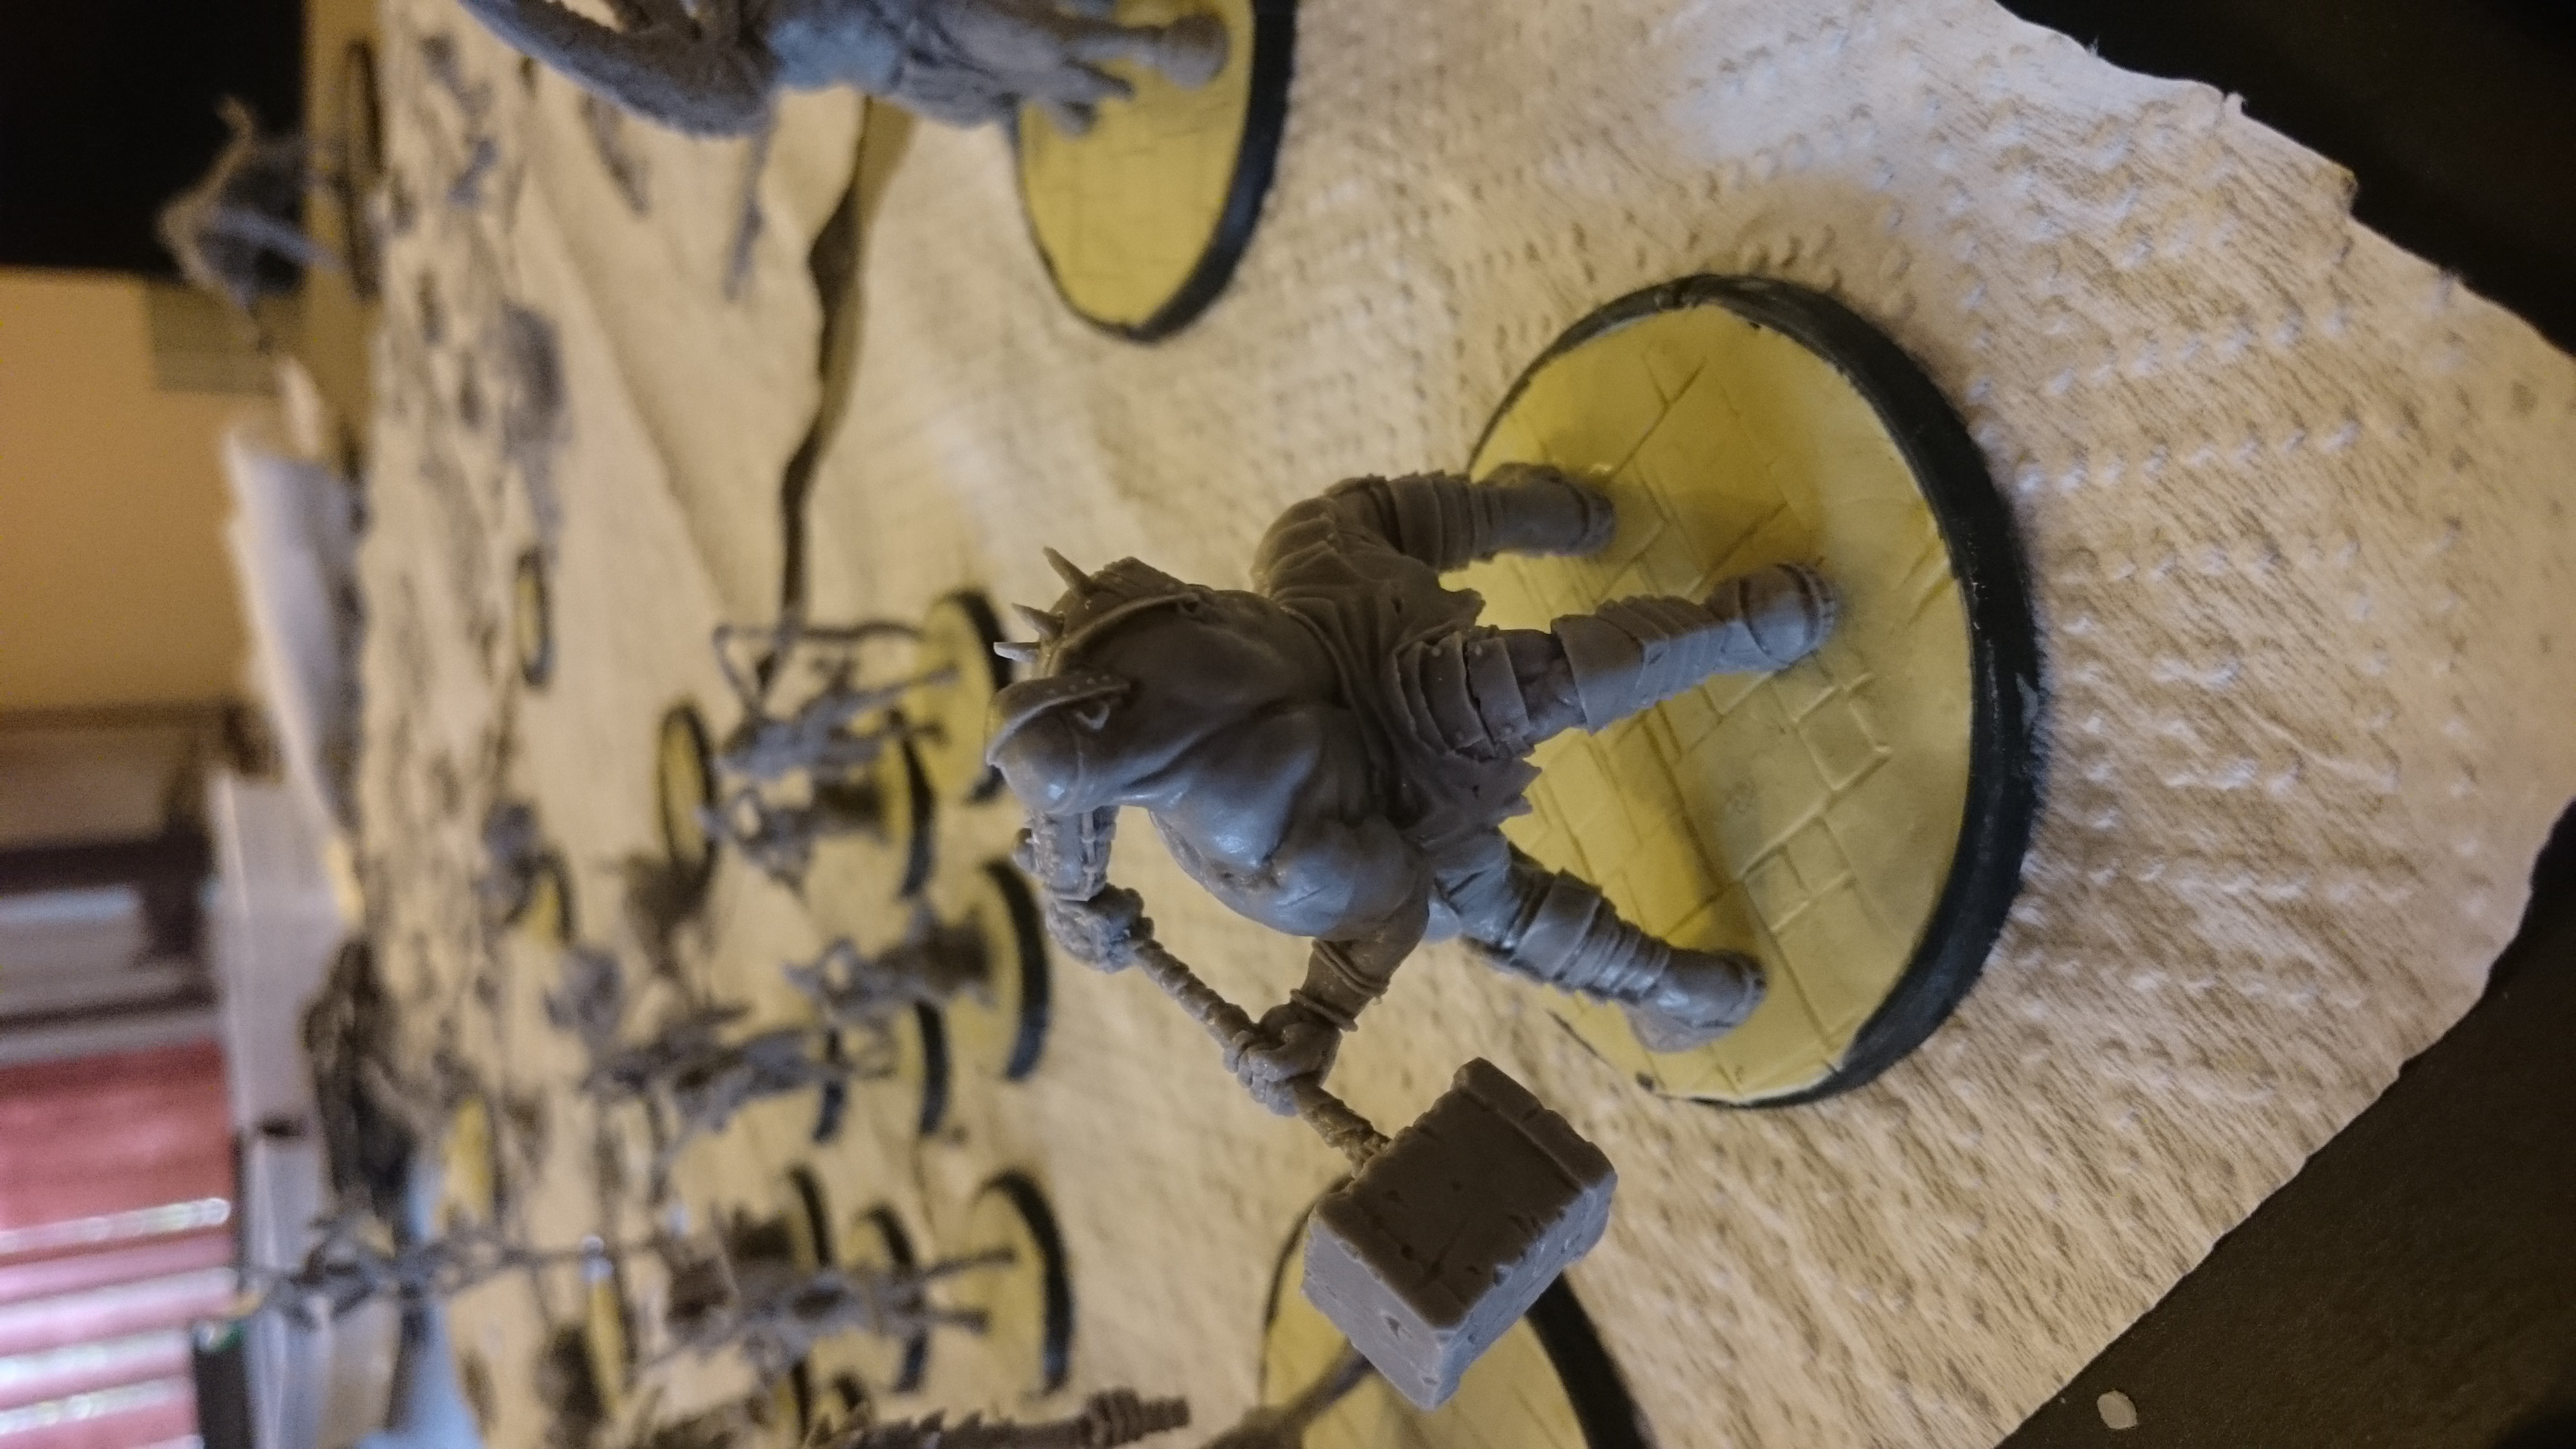
Nothing too much here, just some up close photos of some assembled minis before greenstuffing commences.
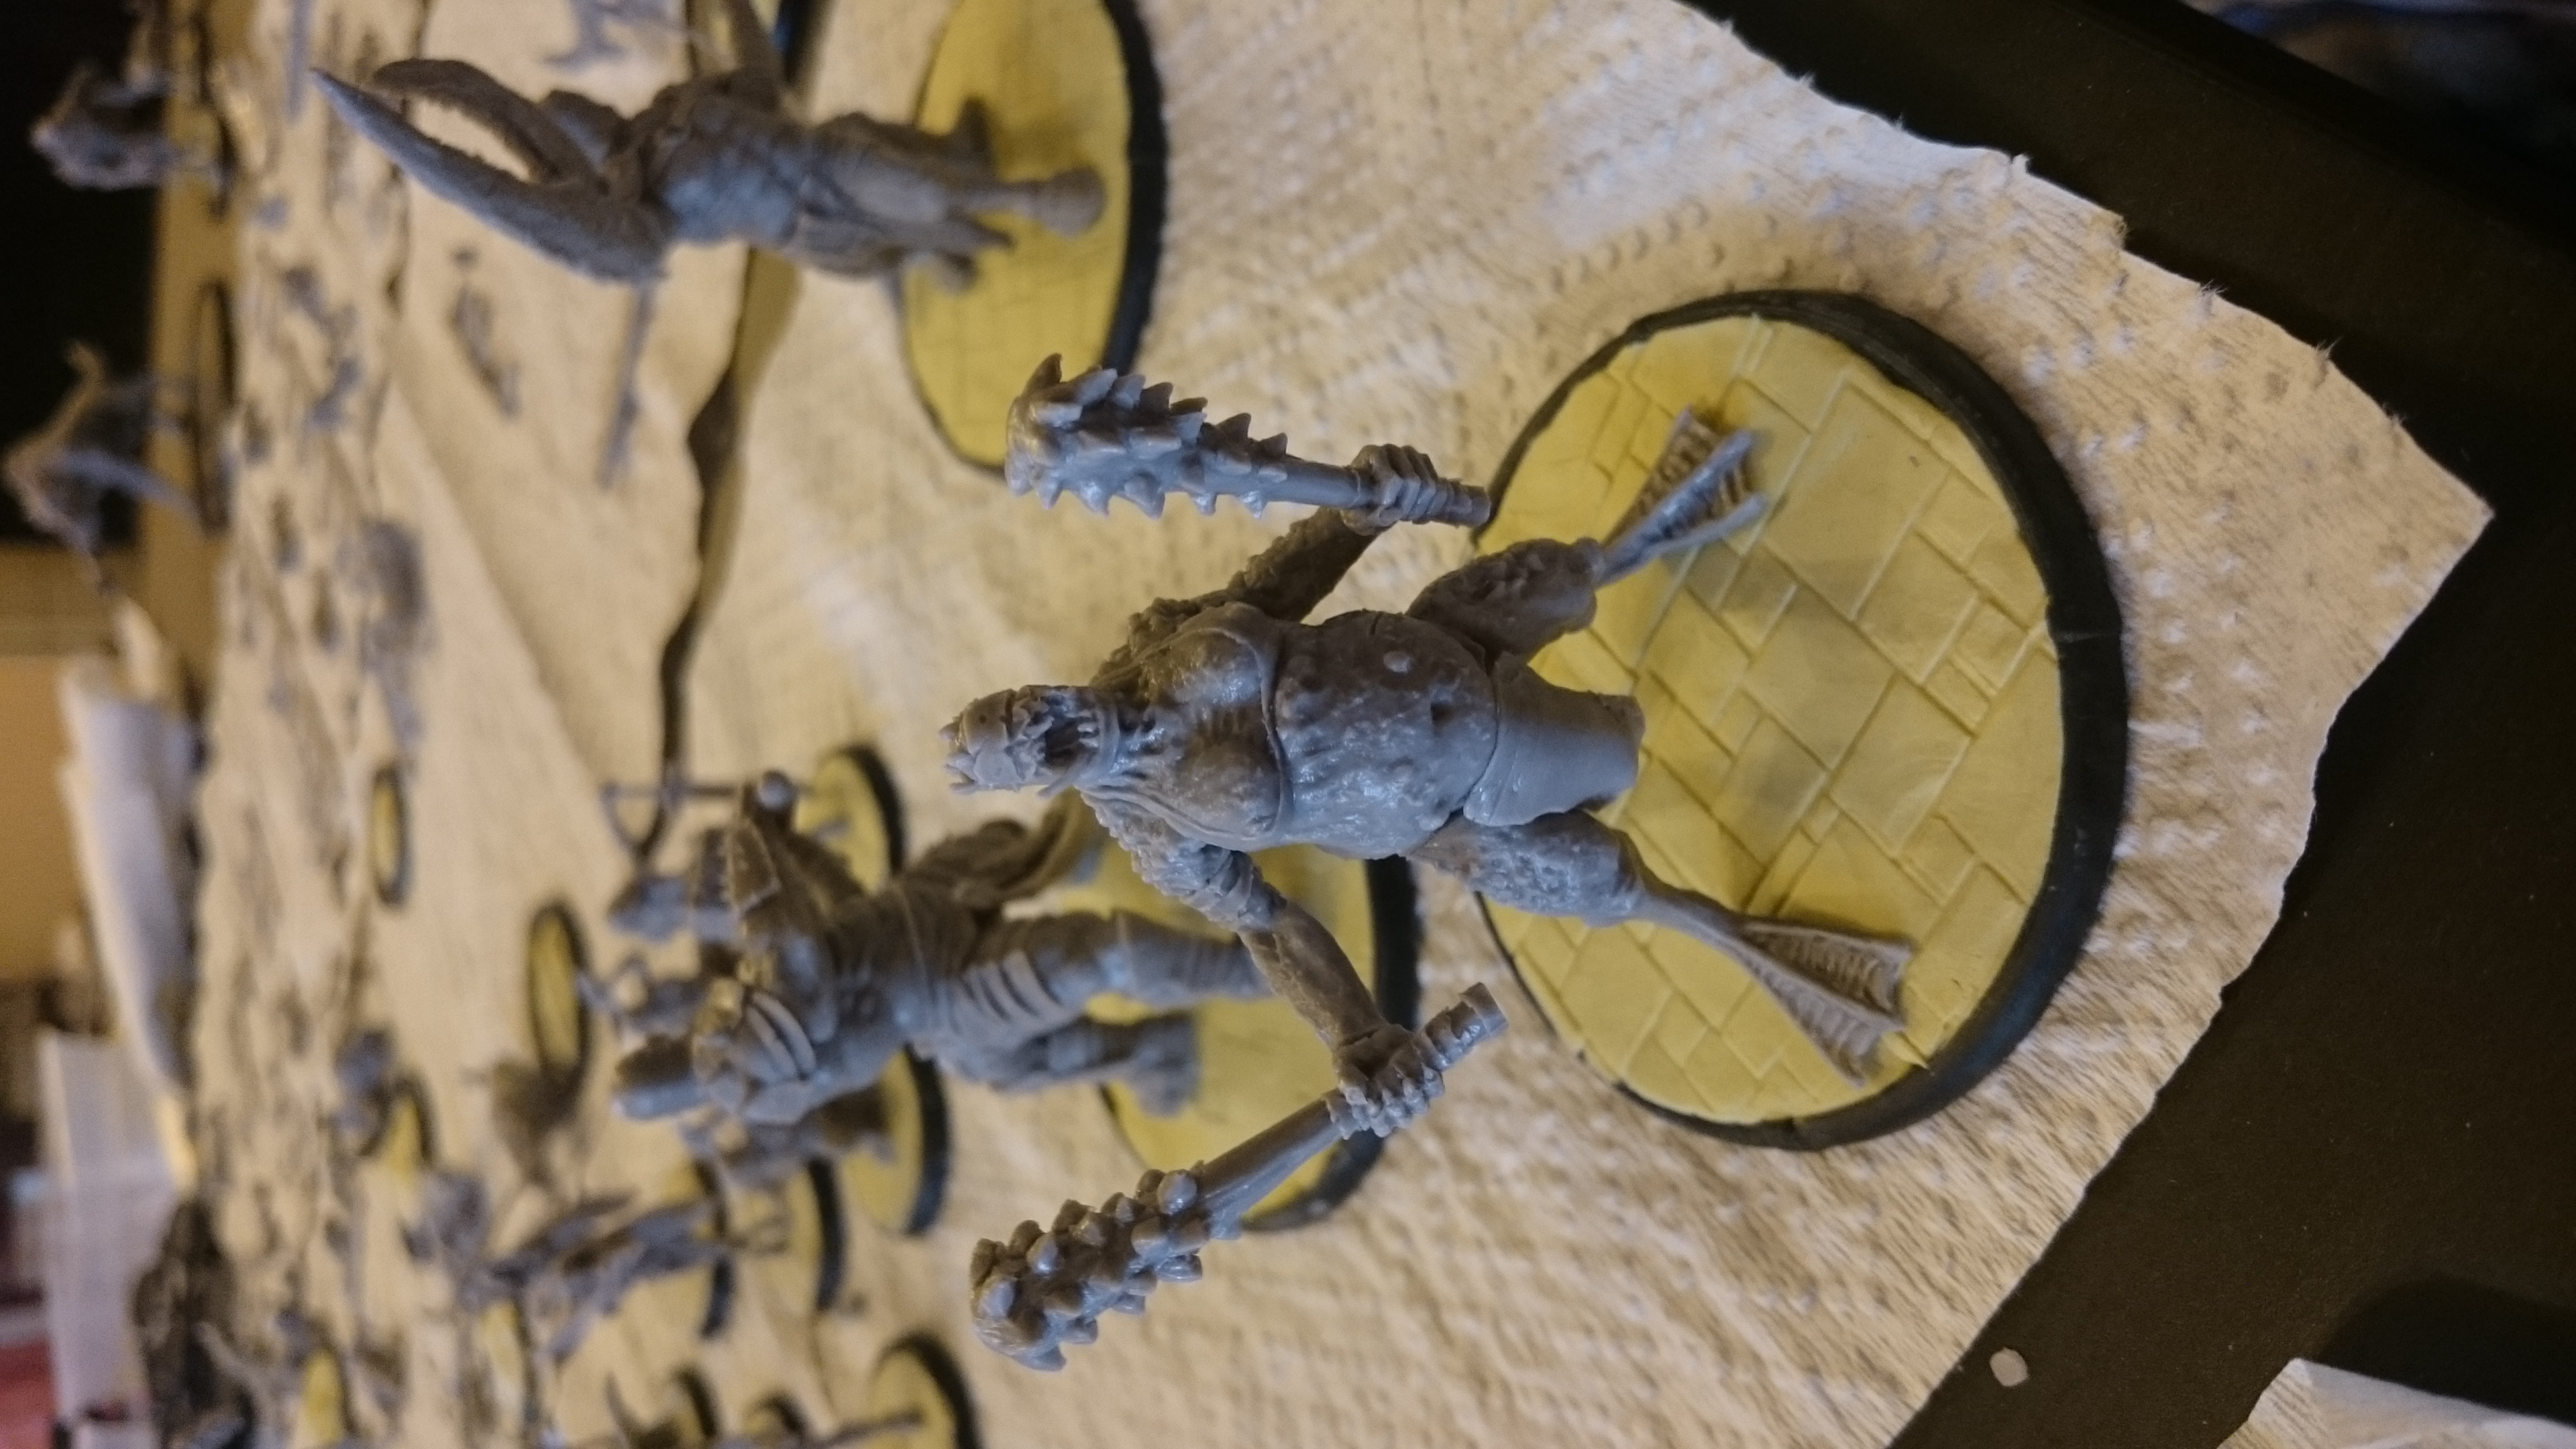 She likes to go clubbing
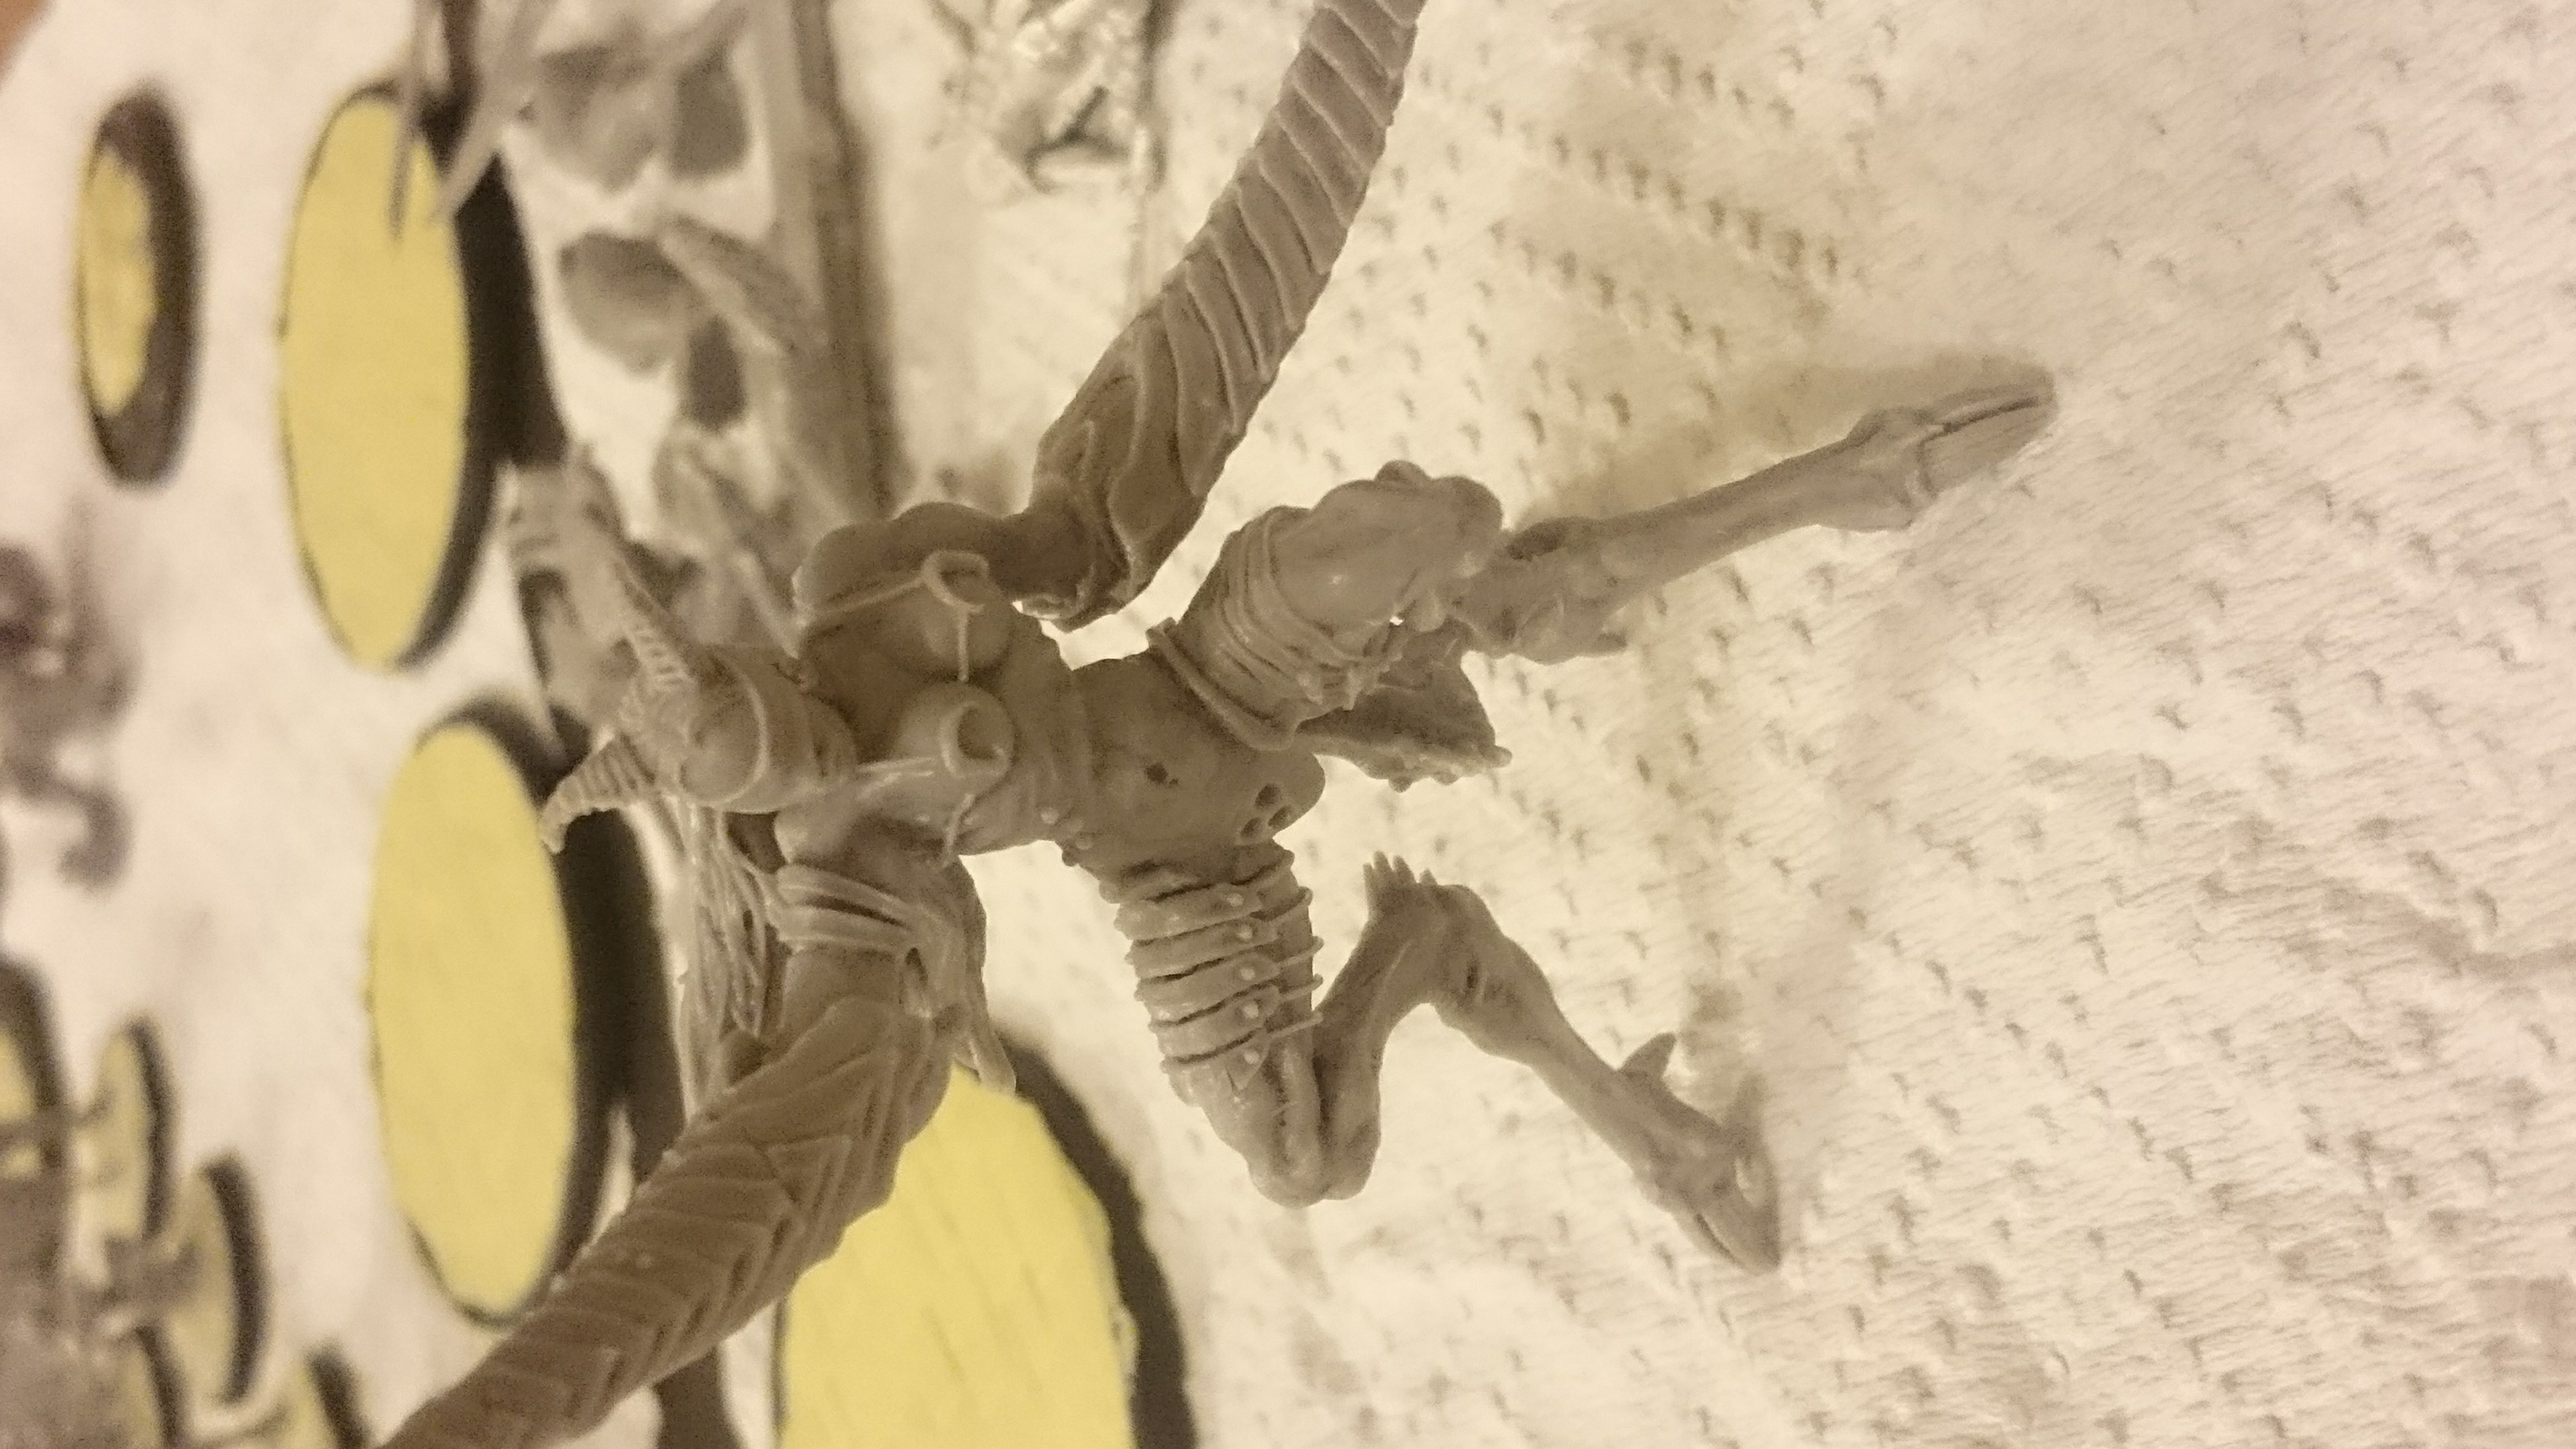
 Another of the three legged horrors from the fleshcrafters pits.
 Three legs!
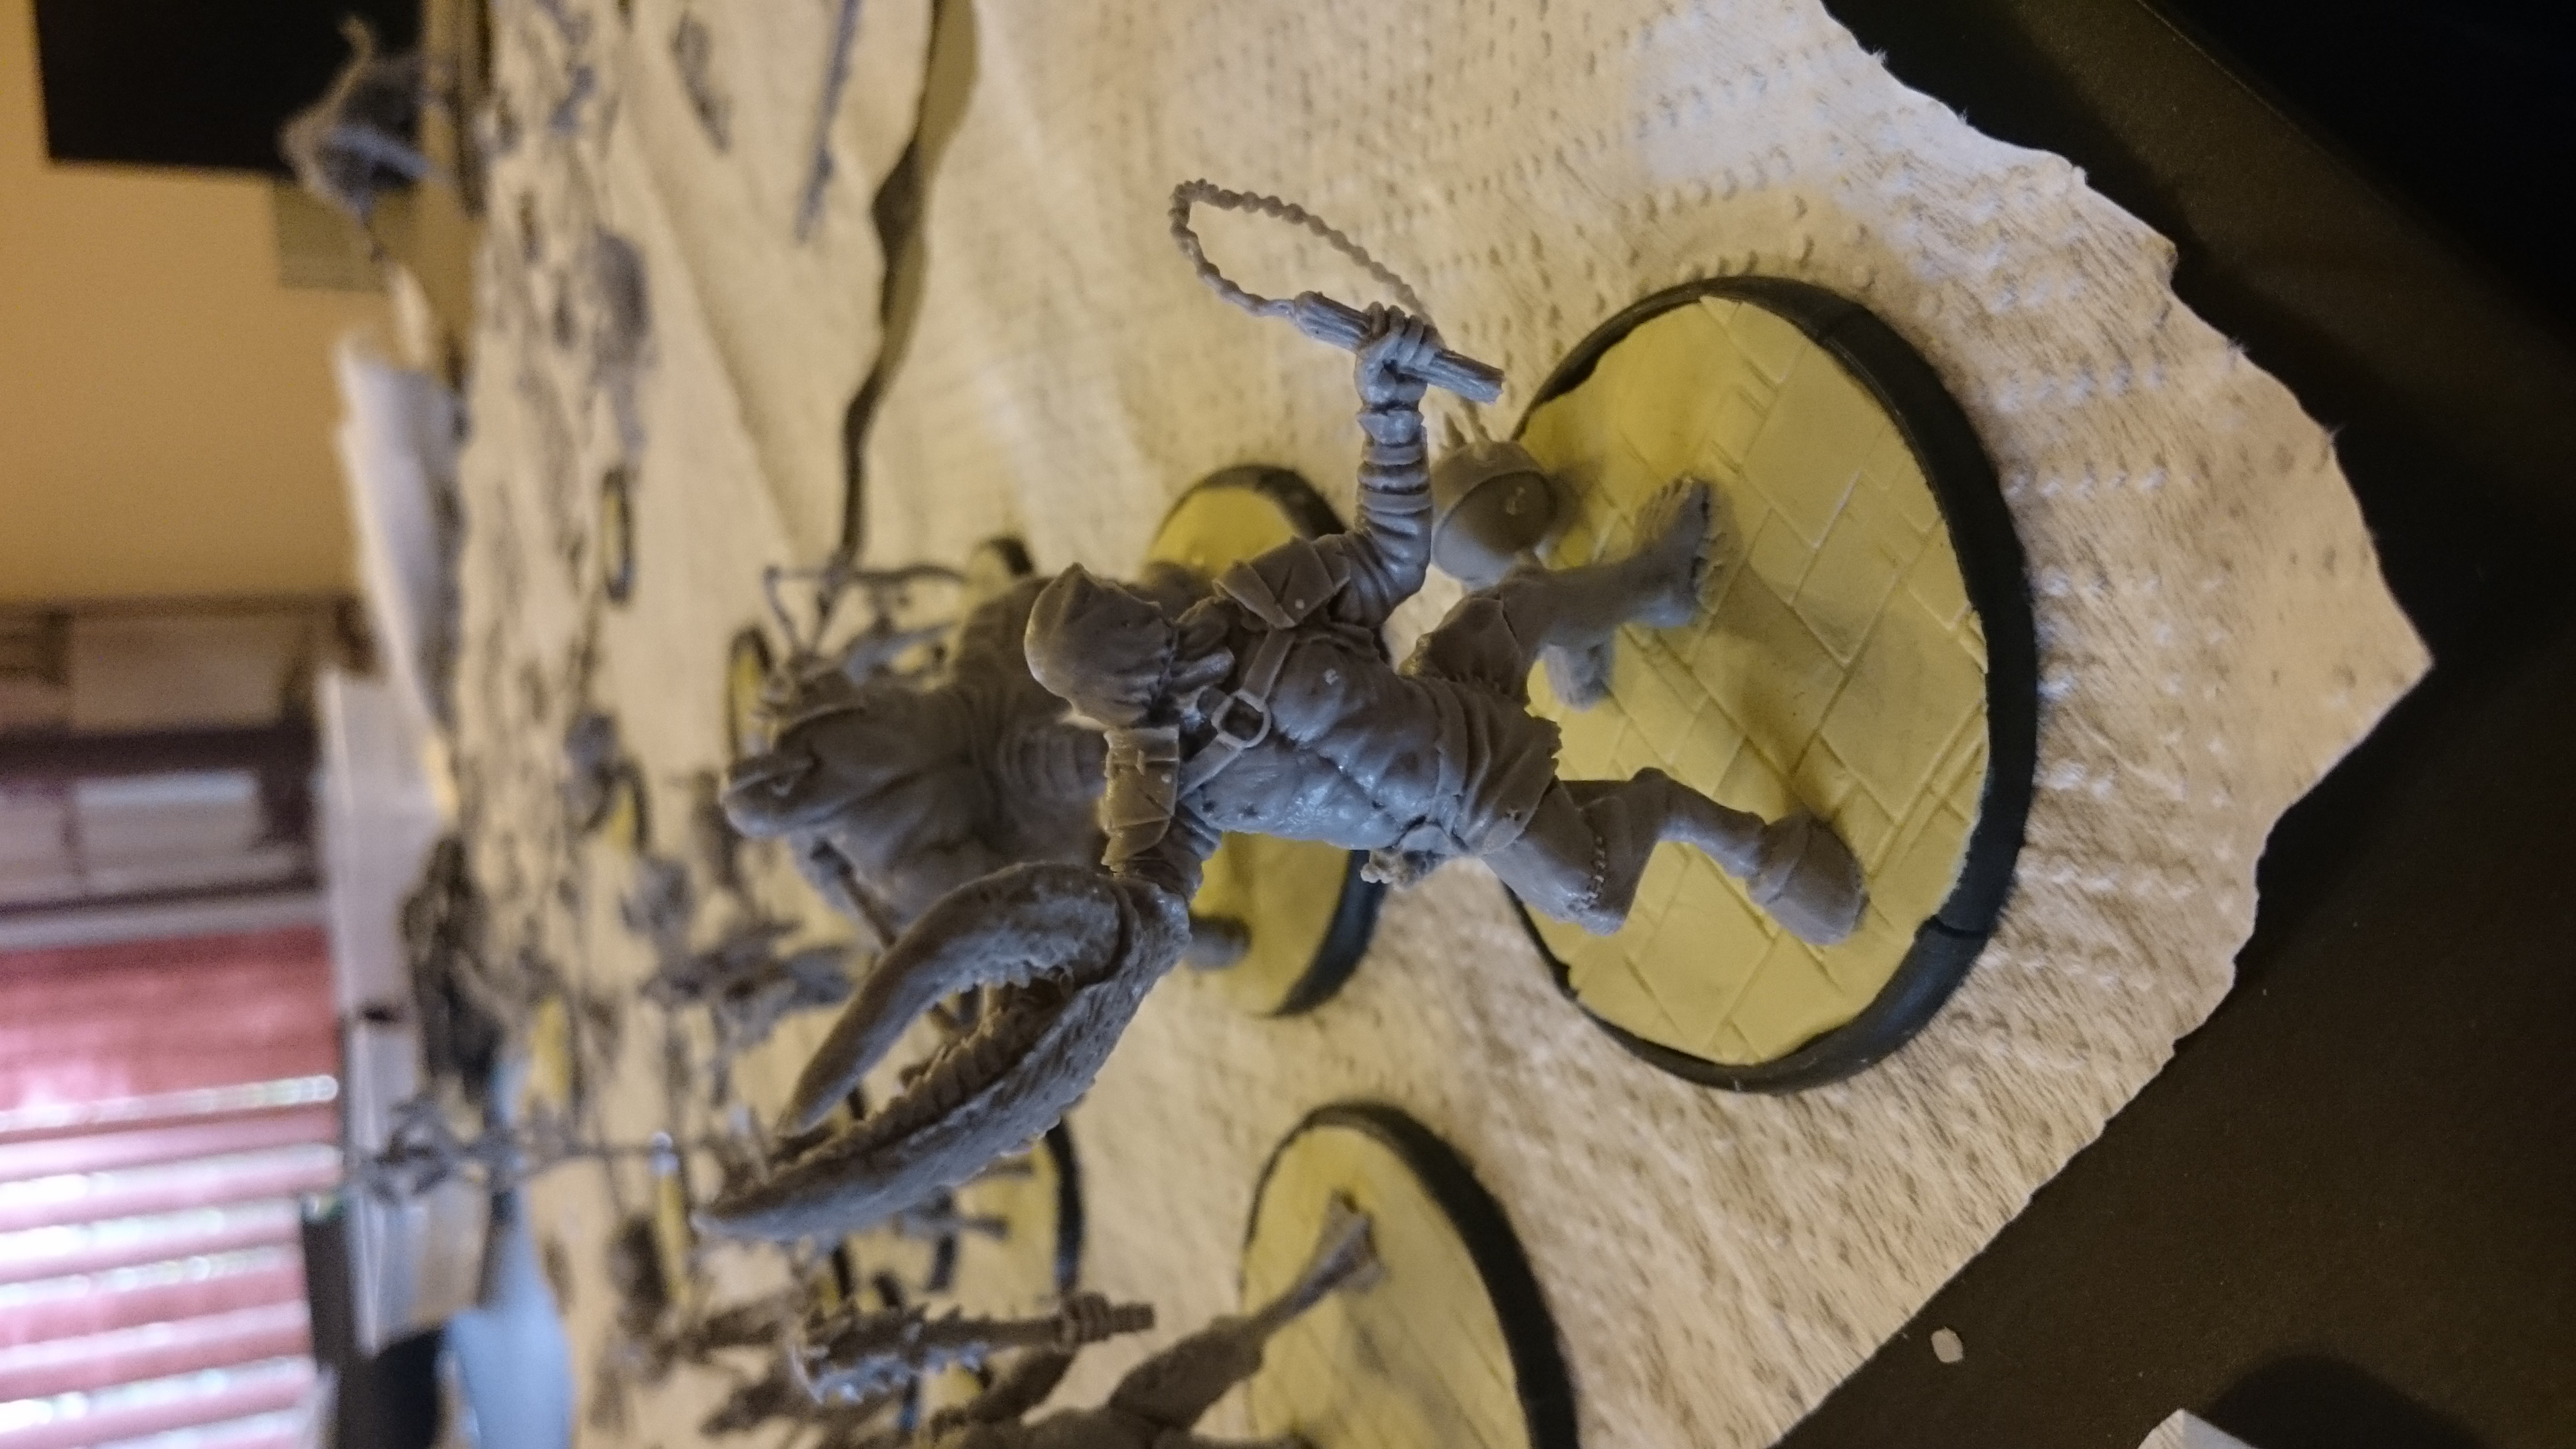 What became of zoidberg
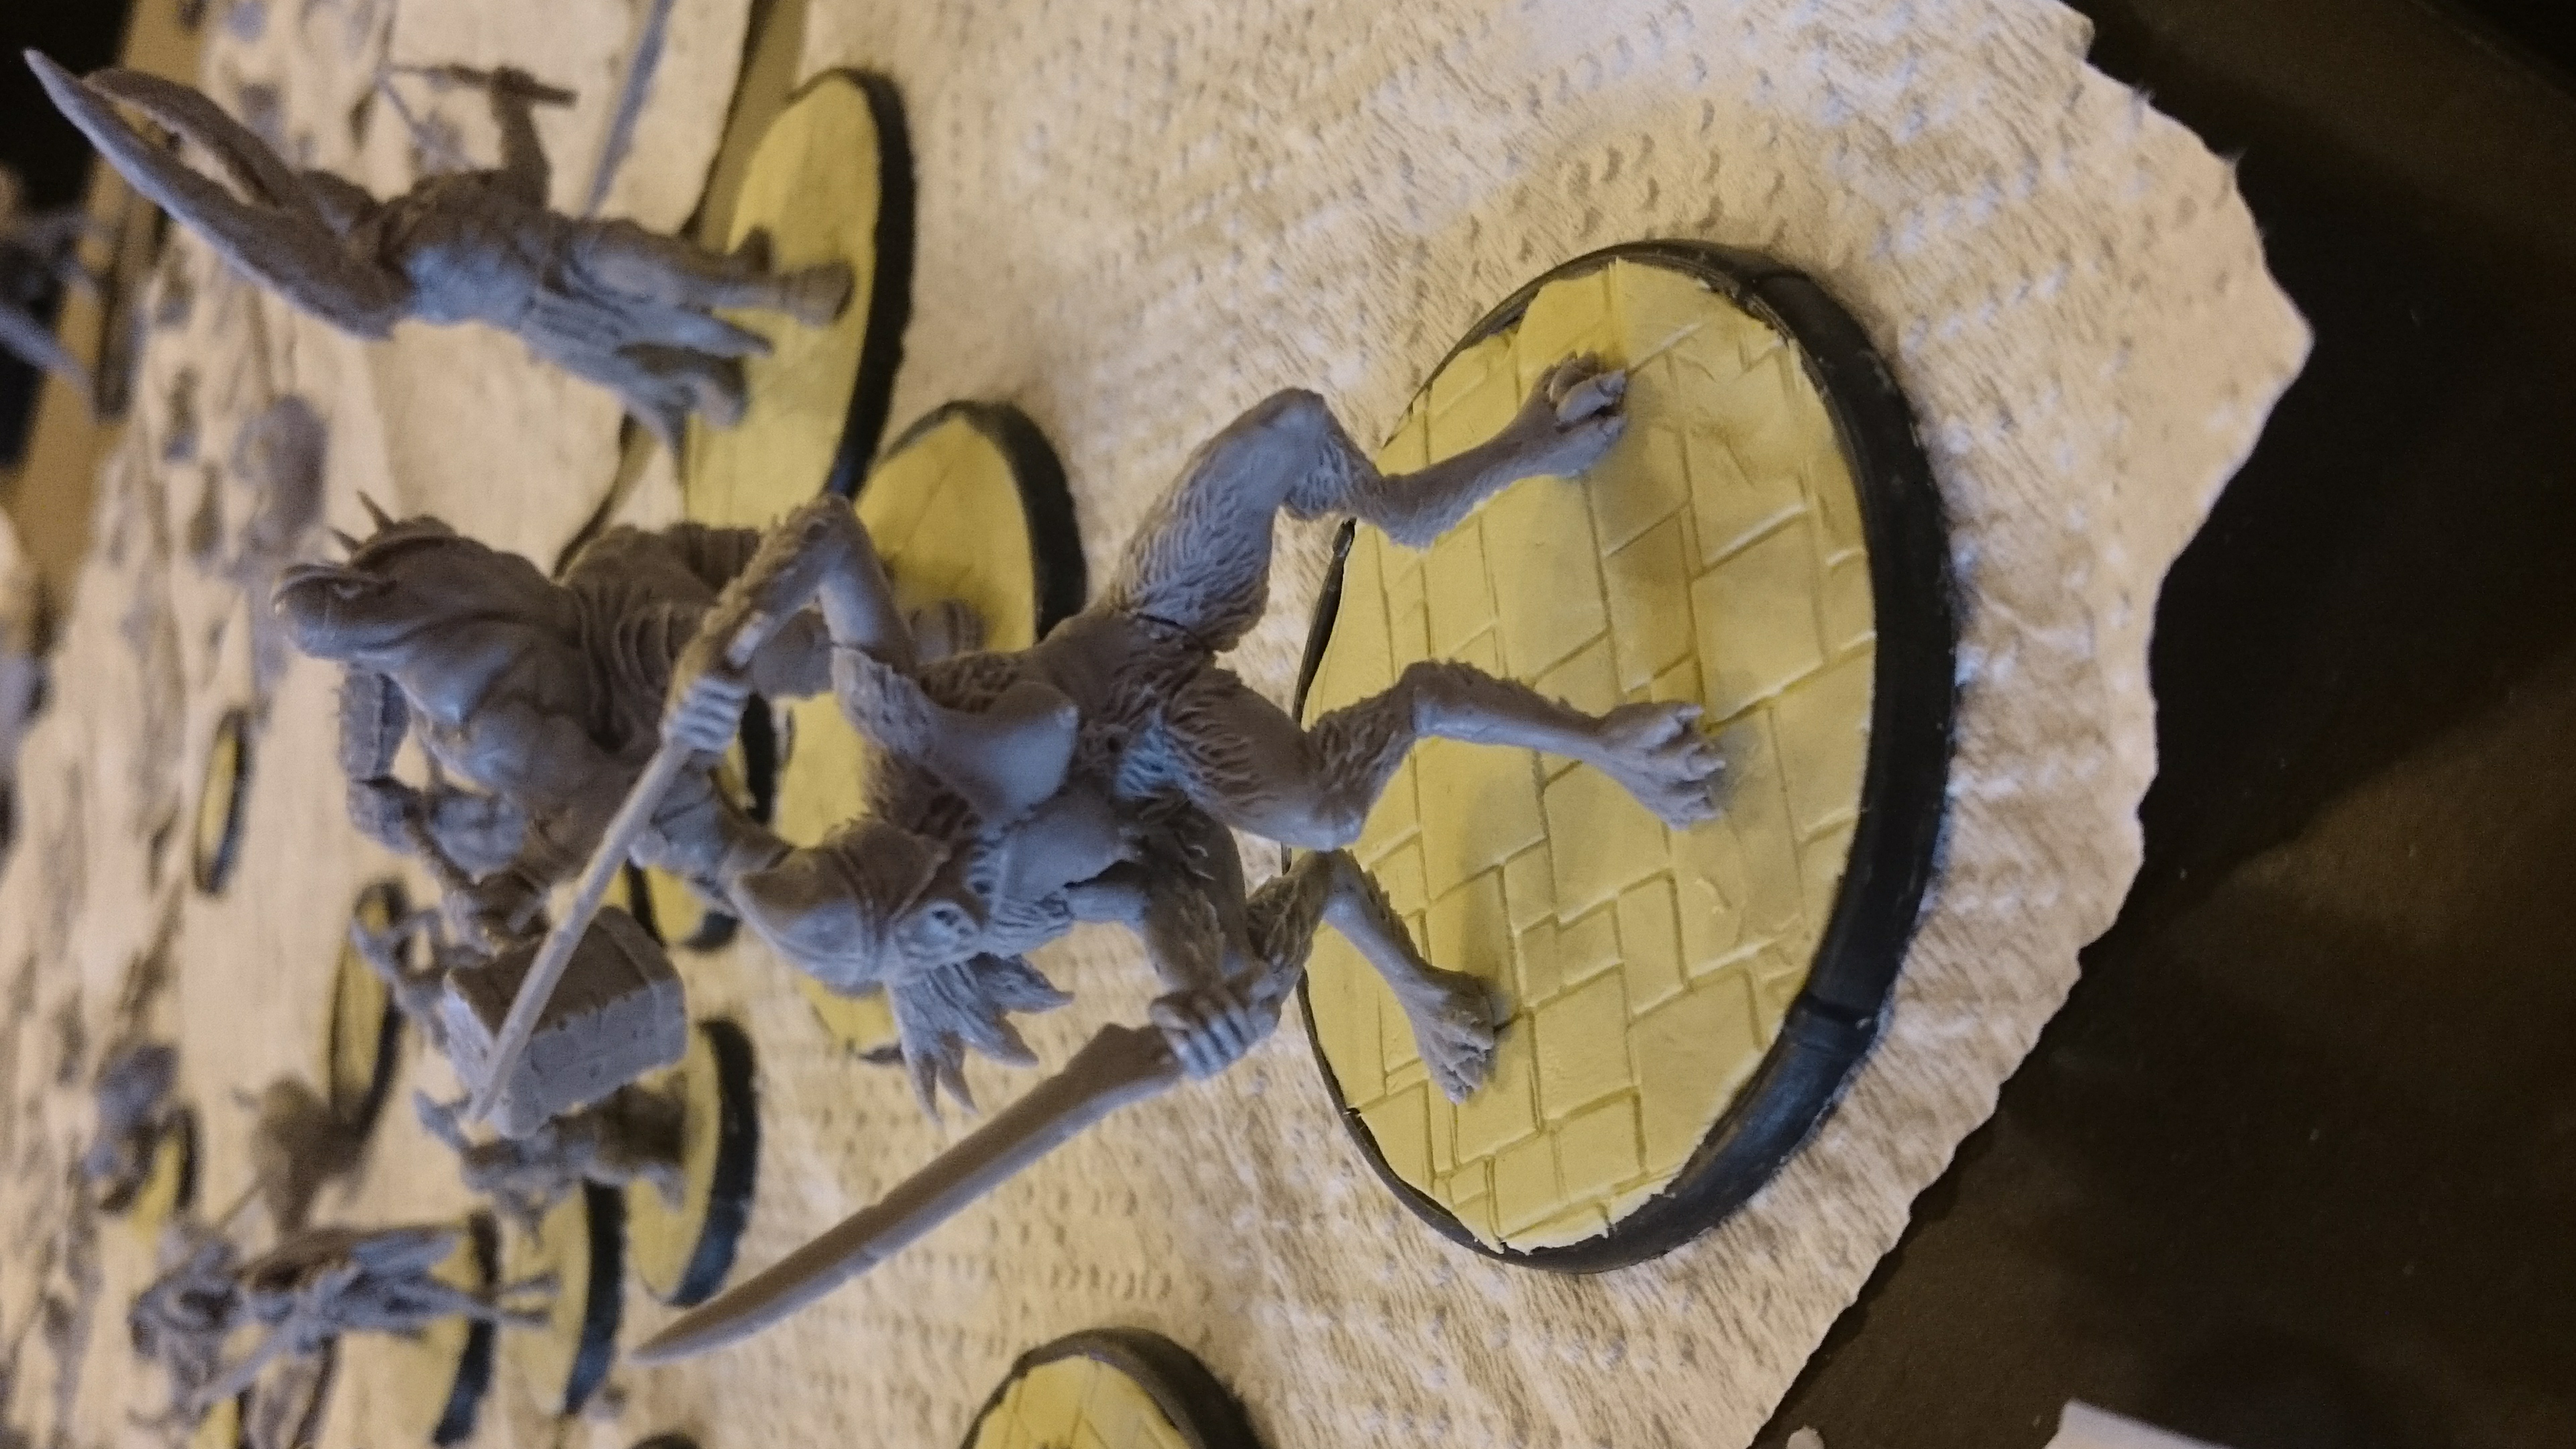 Insert horrible pun here
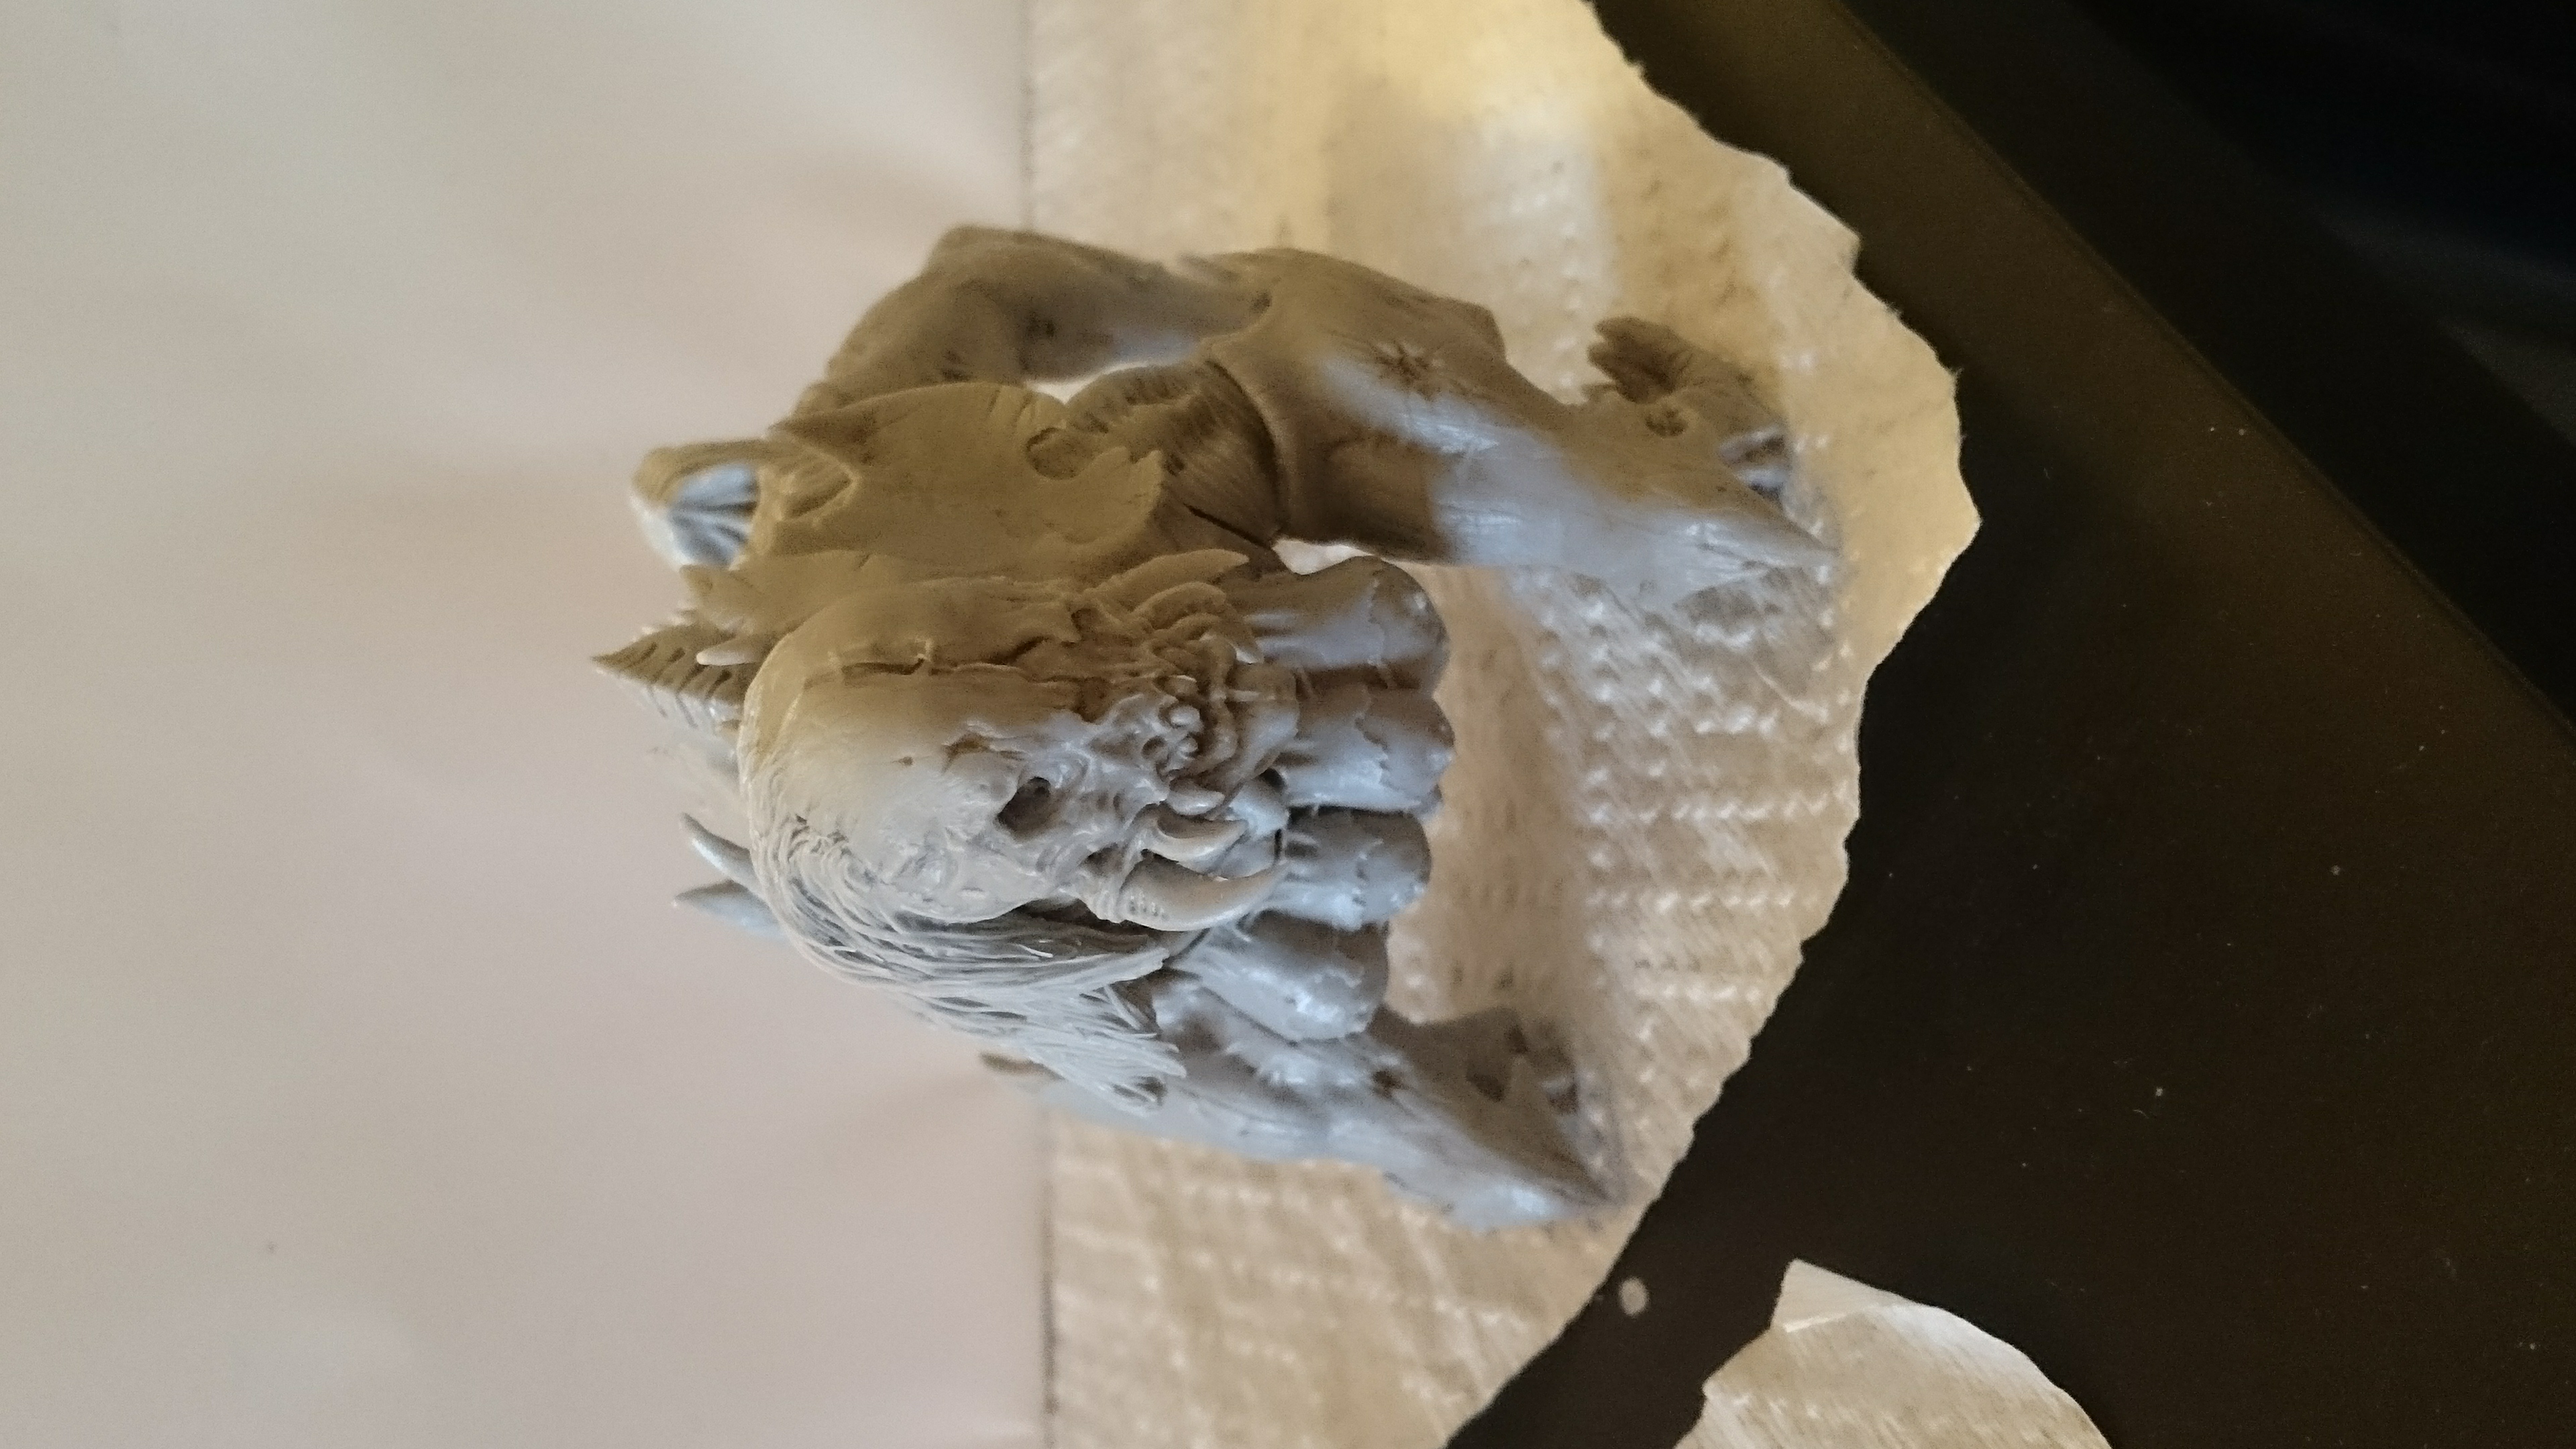 Torku in her wretched glory
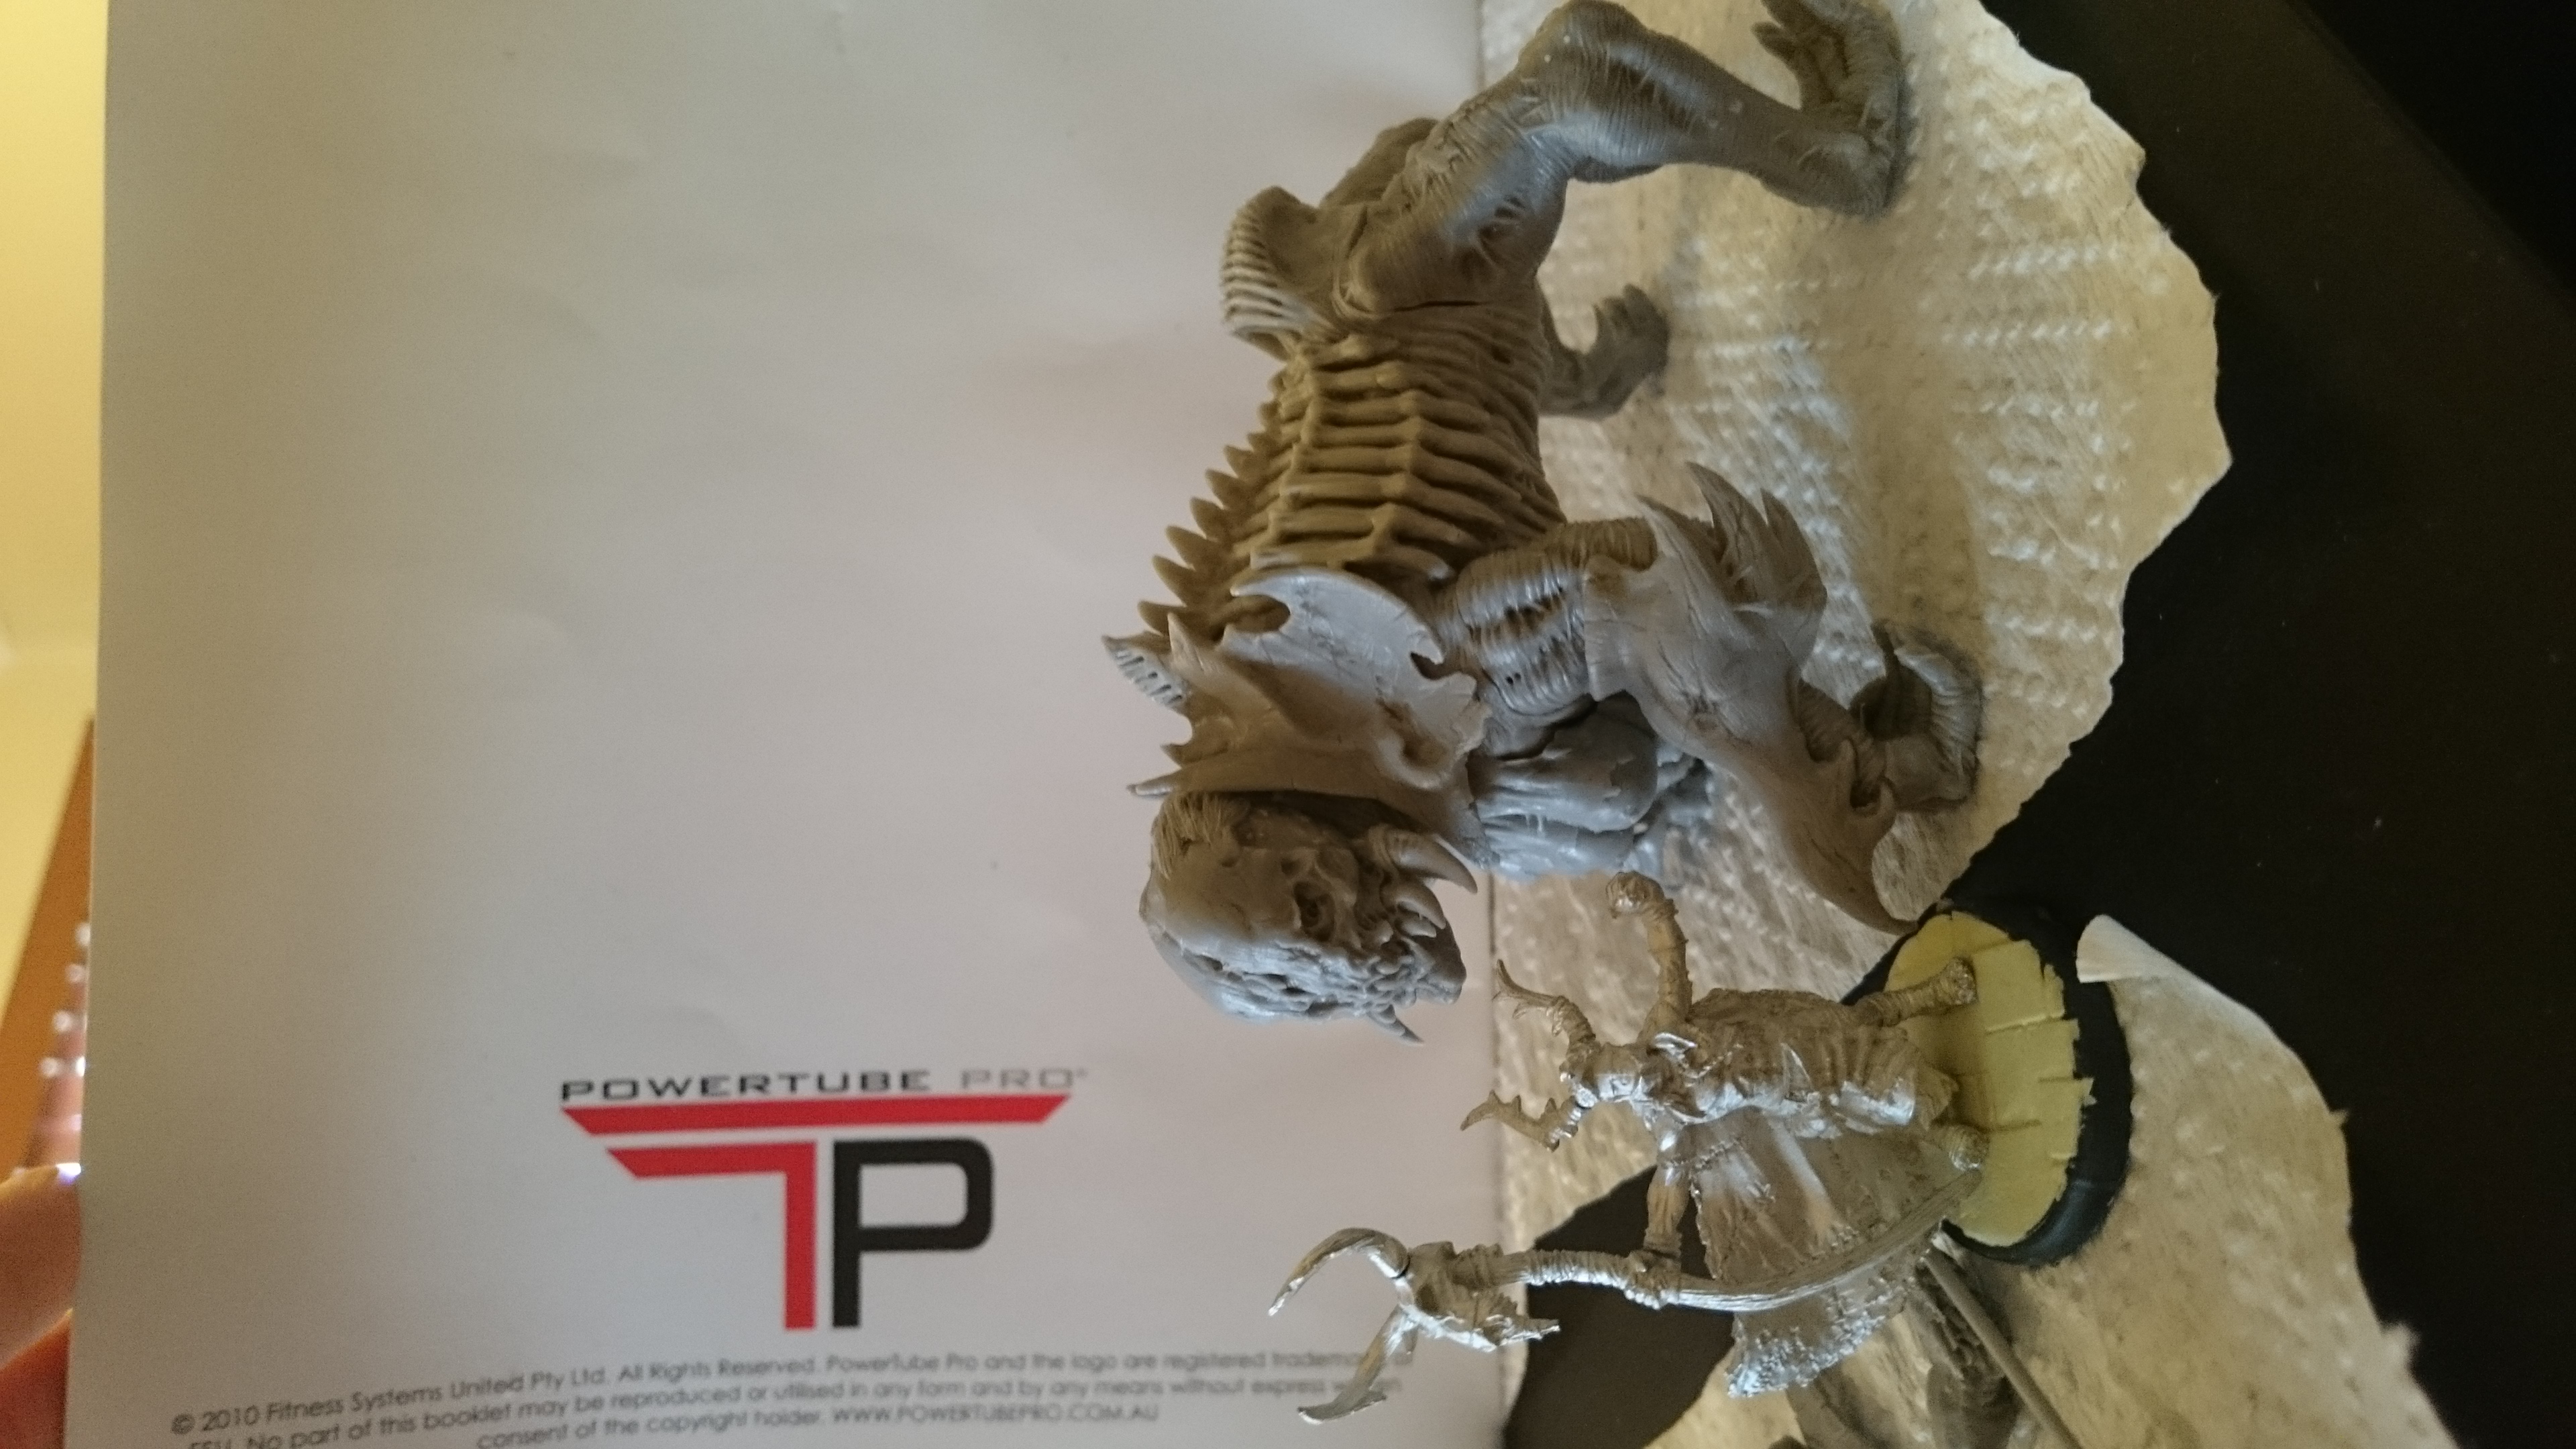 For scale
 Touching base part 2 or the thing I forgot in the last entry.
Realise I left out a bit in the last update. Oops.
This is regarding the bases seen in the last update. These were created differently than the flagstone ones.
If you recall the flagstone ones were made by applying and flattening the milliput to the base, wetting the putty and the mould and pressing the mould onto the miliput/base.
With things like rocks or objects that rise up a bit don’t put the milliput on the base. Instead get the mould, in this case some rock moulds I made again with bluestuff.
Wet the mould but don’t wet the milliput. Put a ball of milliput on the mould and press it in and flatten it as much as possible.
Then grab the base and press it firmly against the miliput in the mould. Gently peel the mould off.
The milliput will have stuck to the base and provided you wet the mould, it should come out very easily leaving you with a quick and easy scenic base.
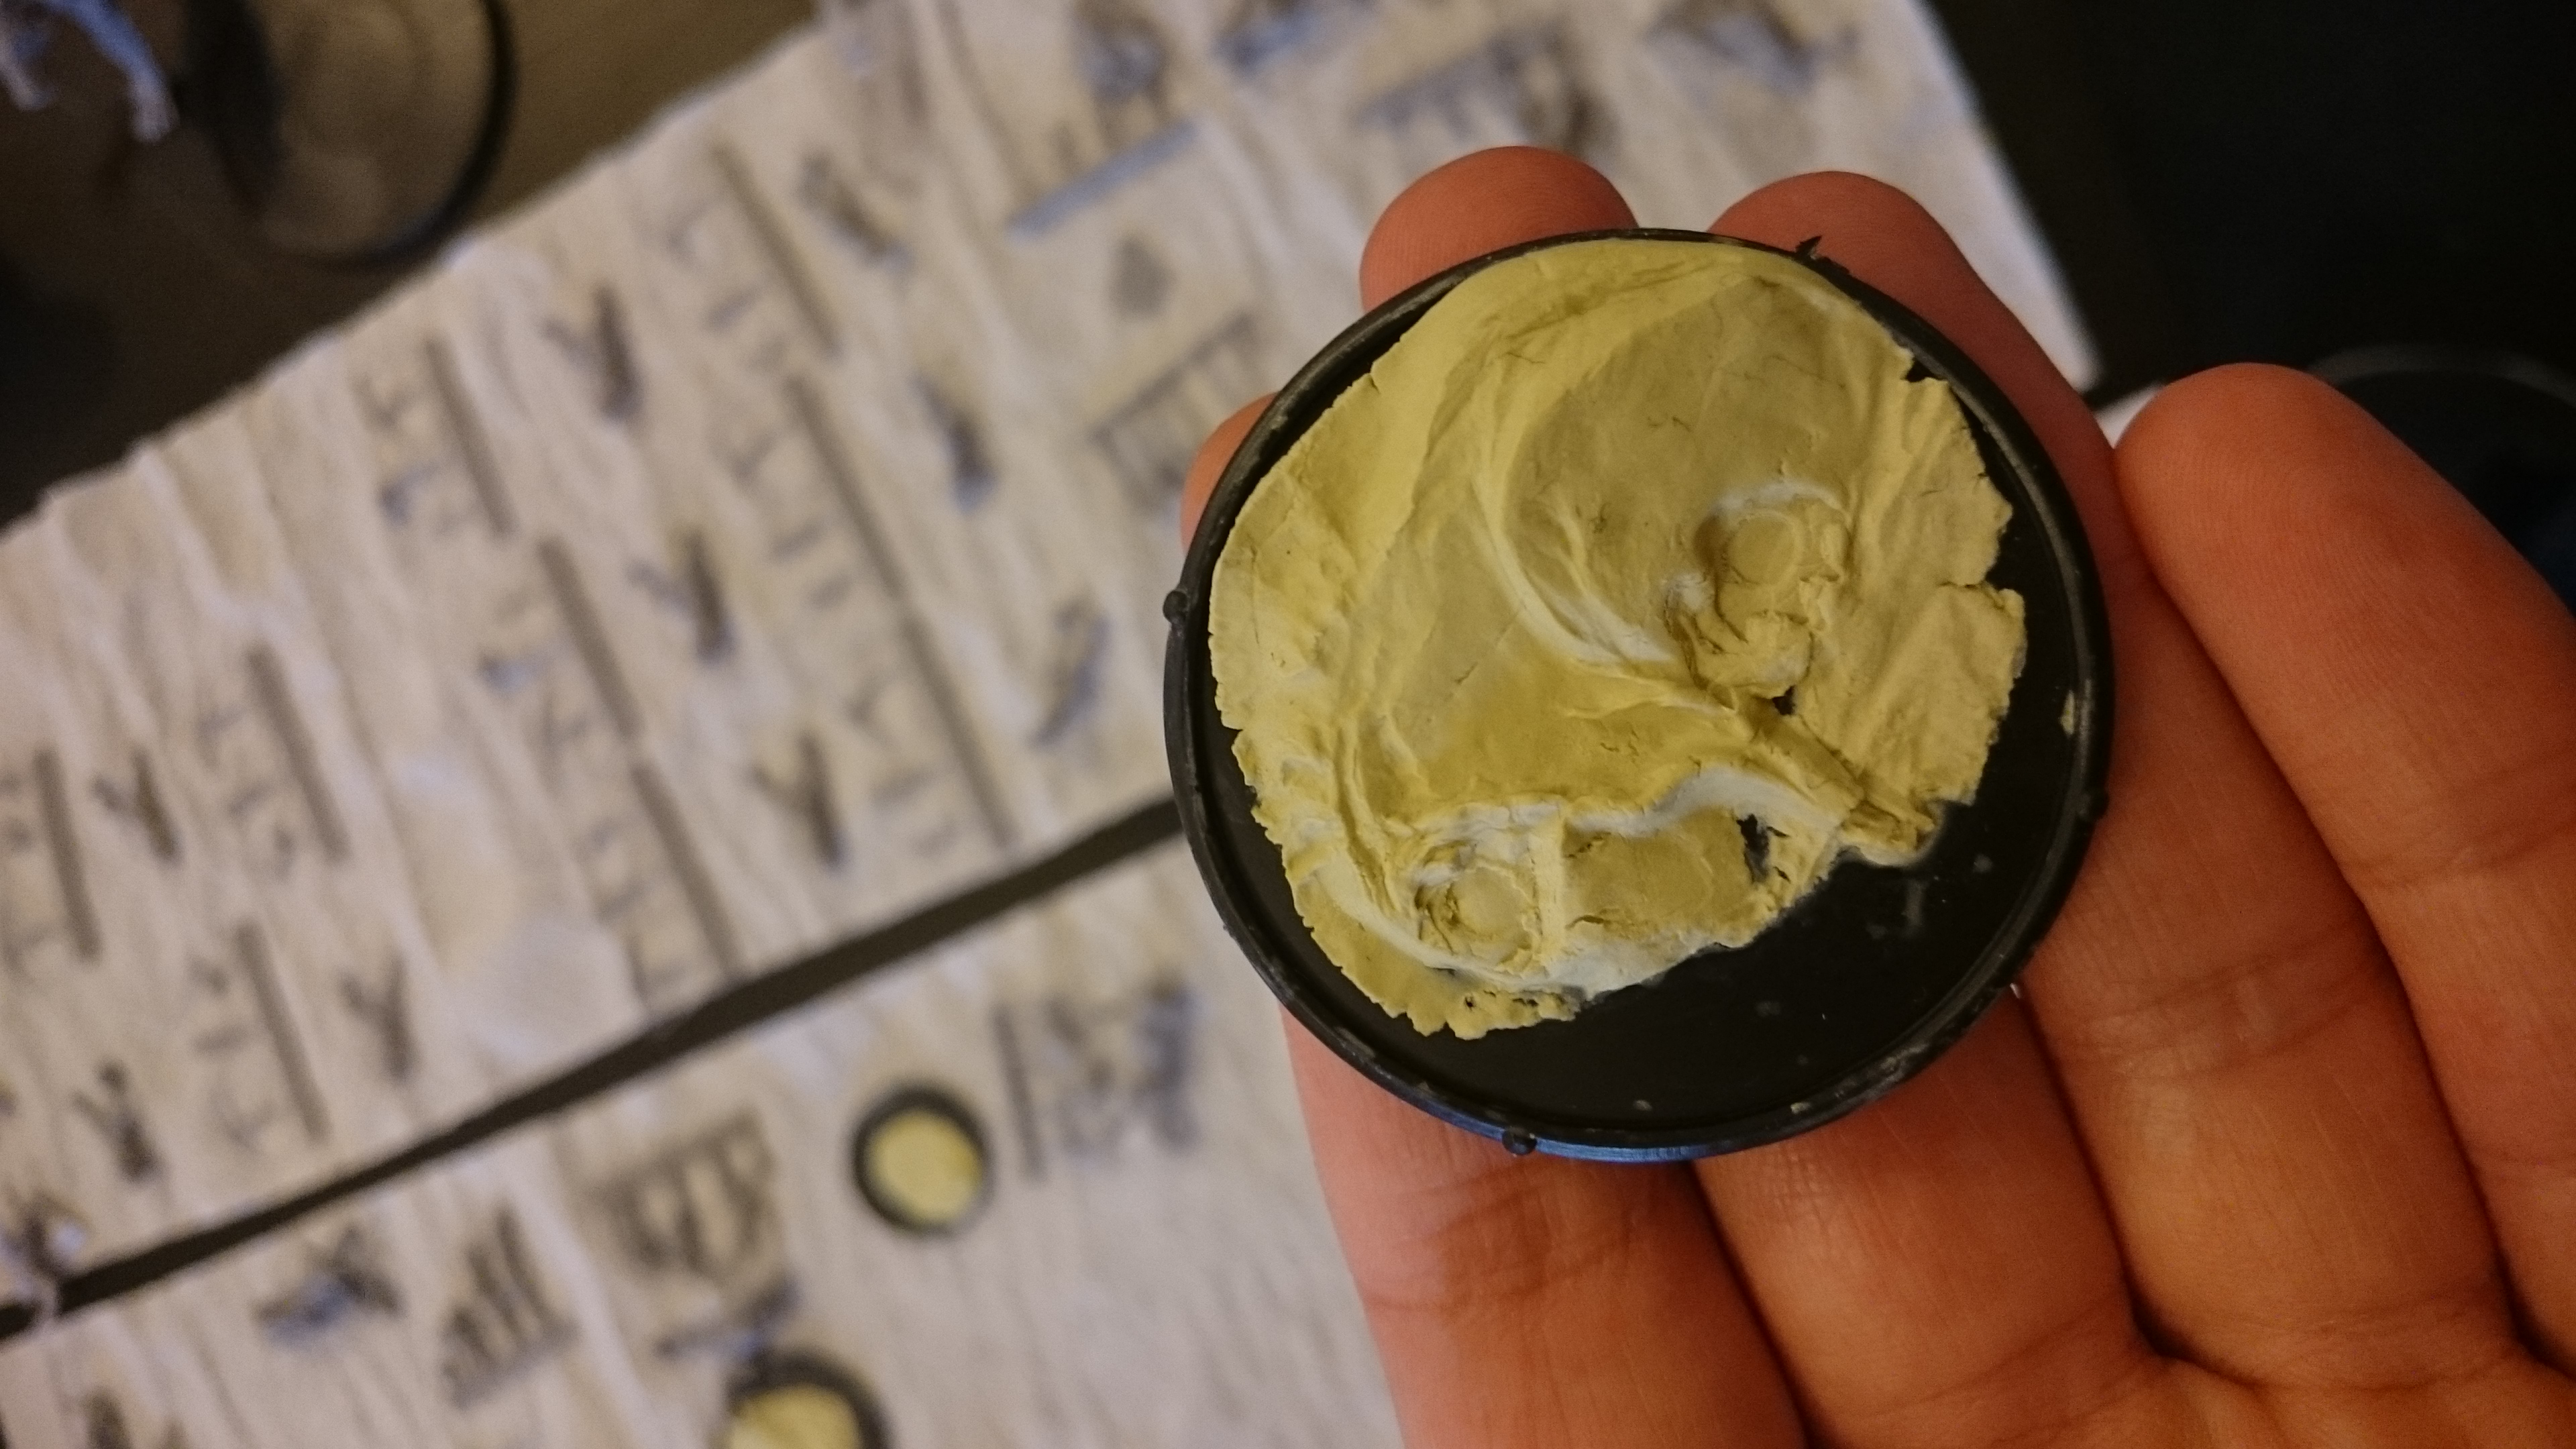
Now just smooth the edges onto the base to help the transition from base to scenic and she’s done!
Touching base
Greetings.
I thought I would follow up a little on the bases and some tricks that can help your models fit better into more textured bases.
Now for the flagstone ones, as they are fairly flat they are basically done at this point. However I was making some bases for my cousin’s force and some of my fomoraic characters which are anything but flat.
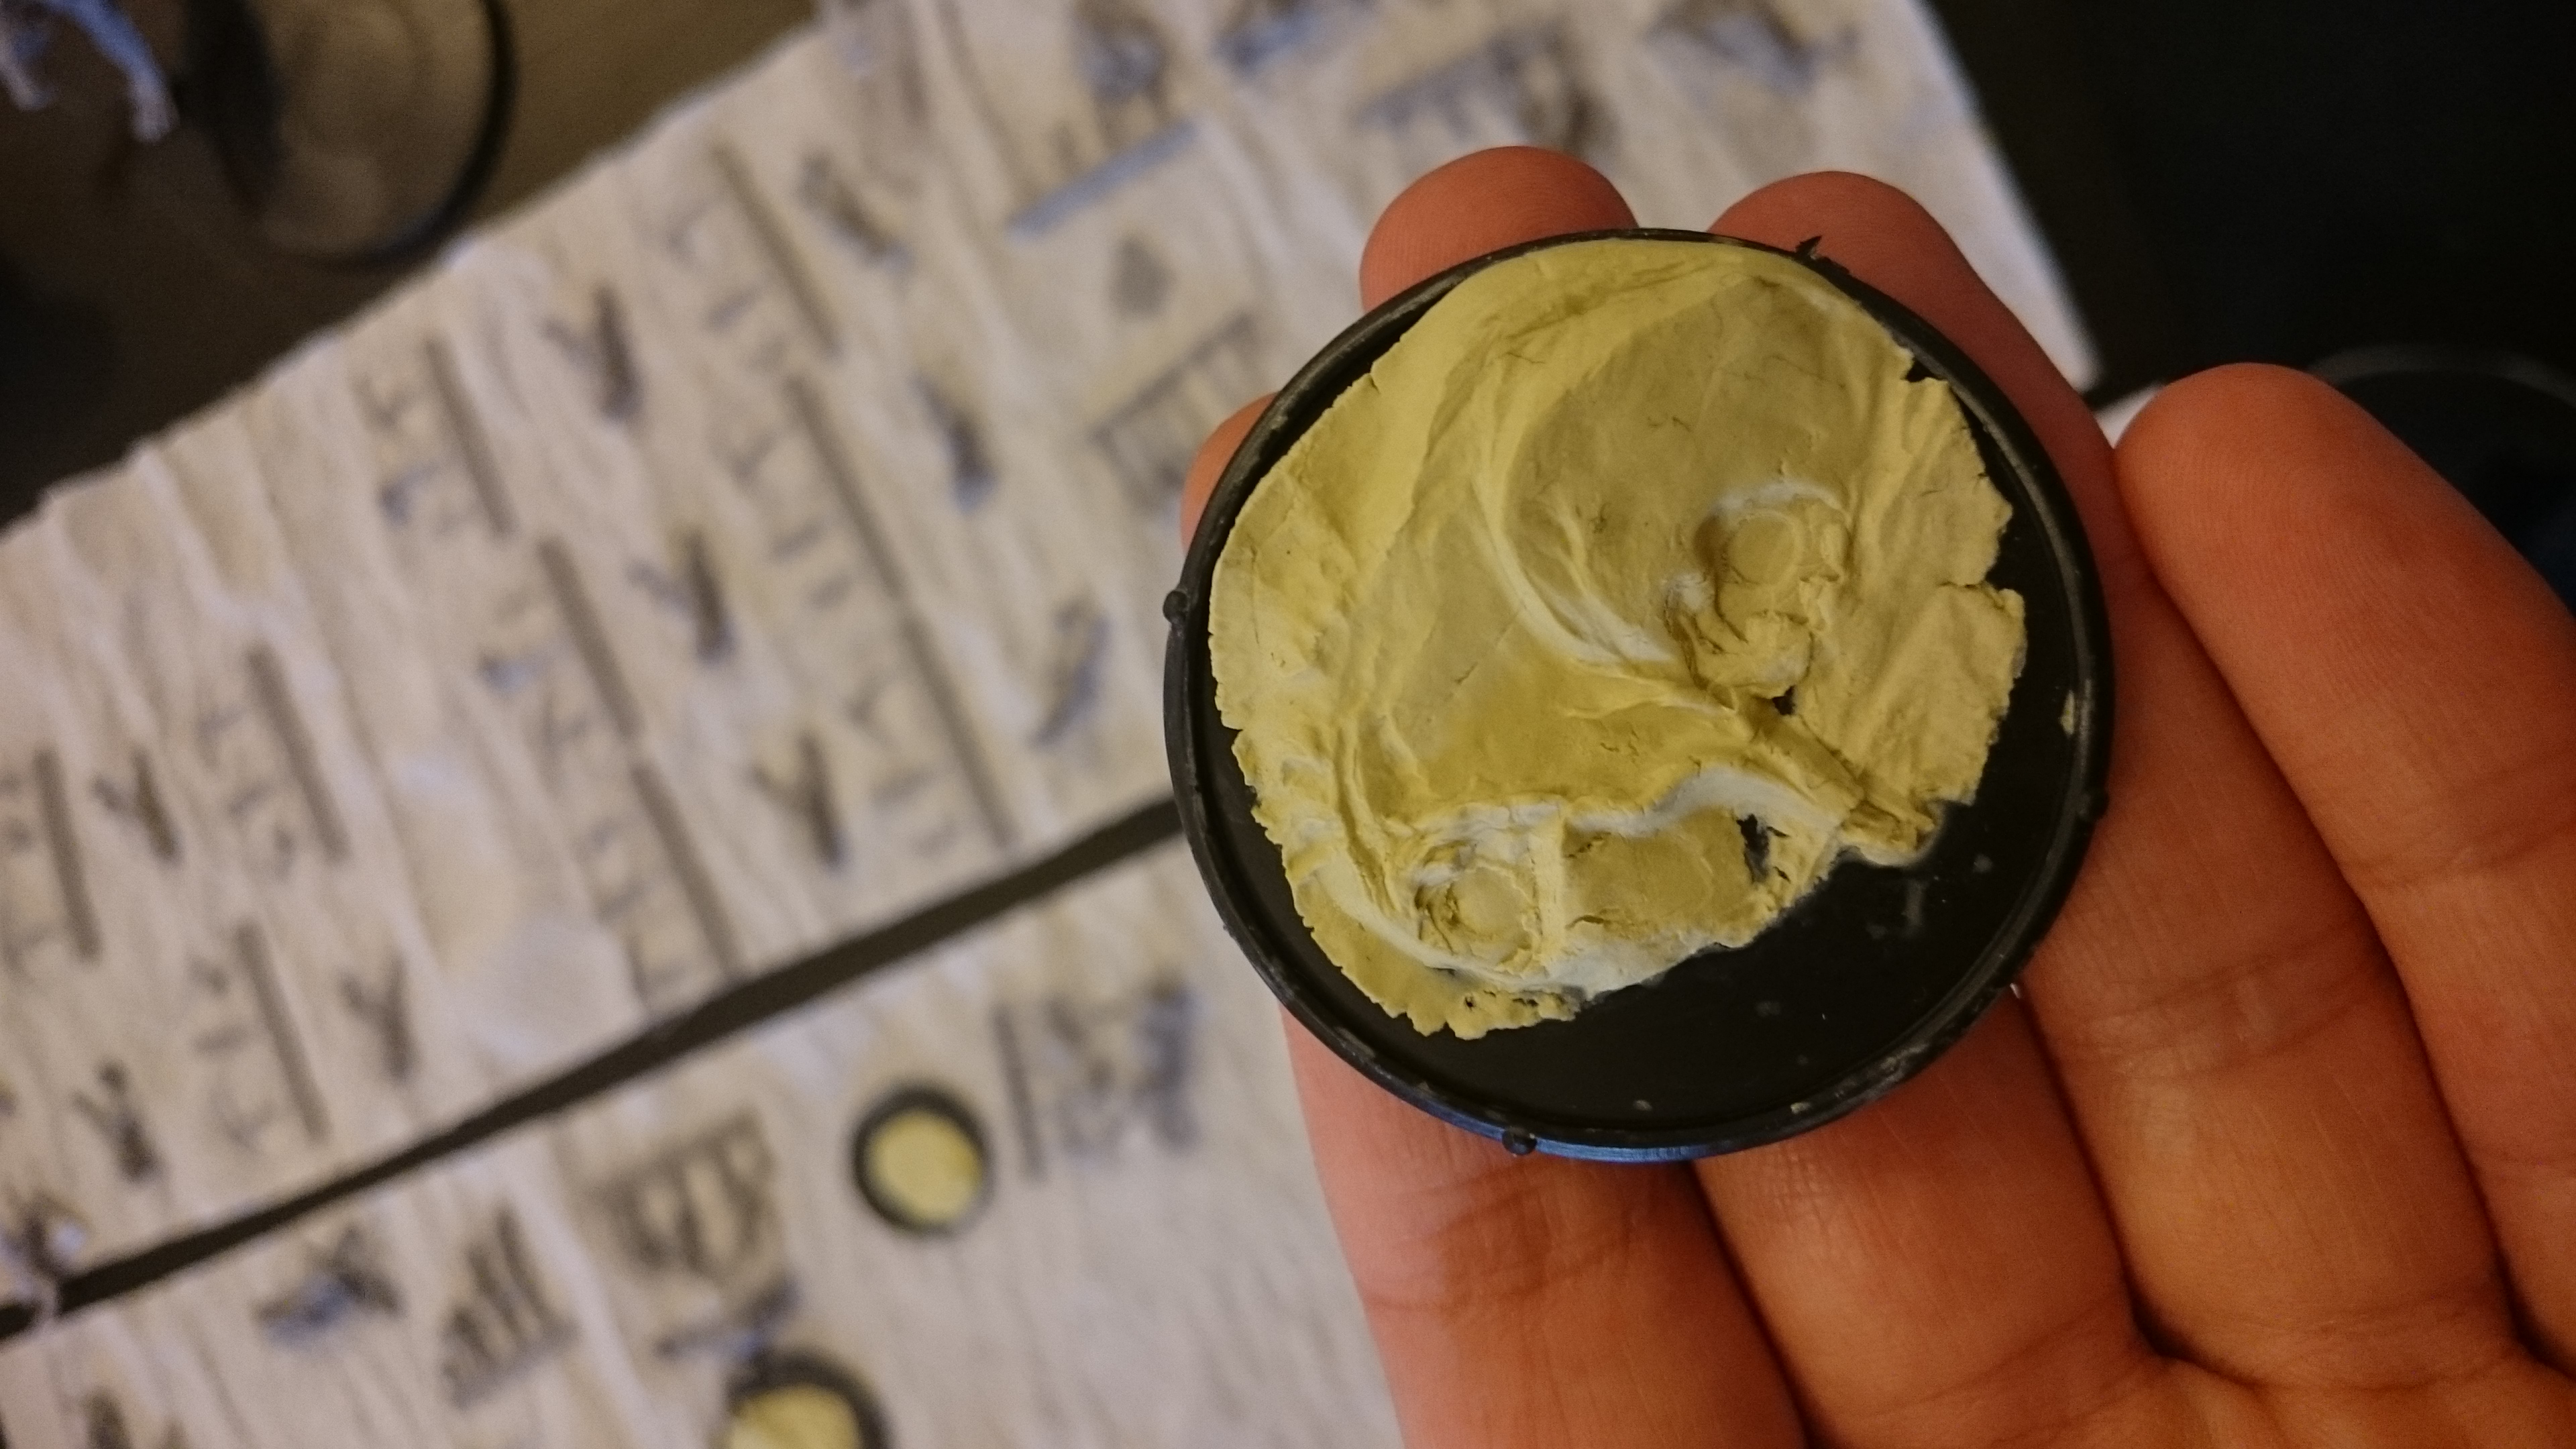
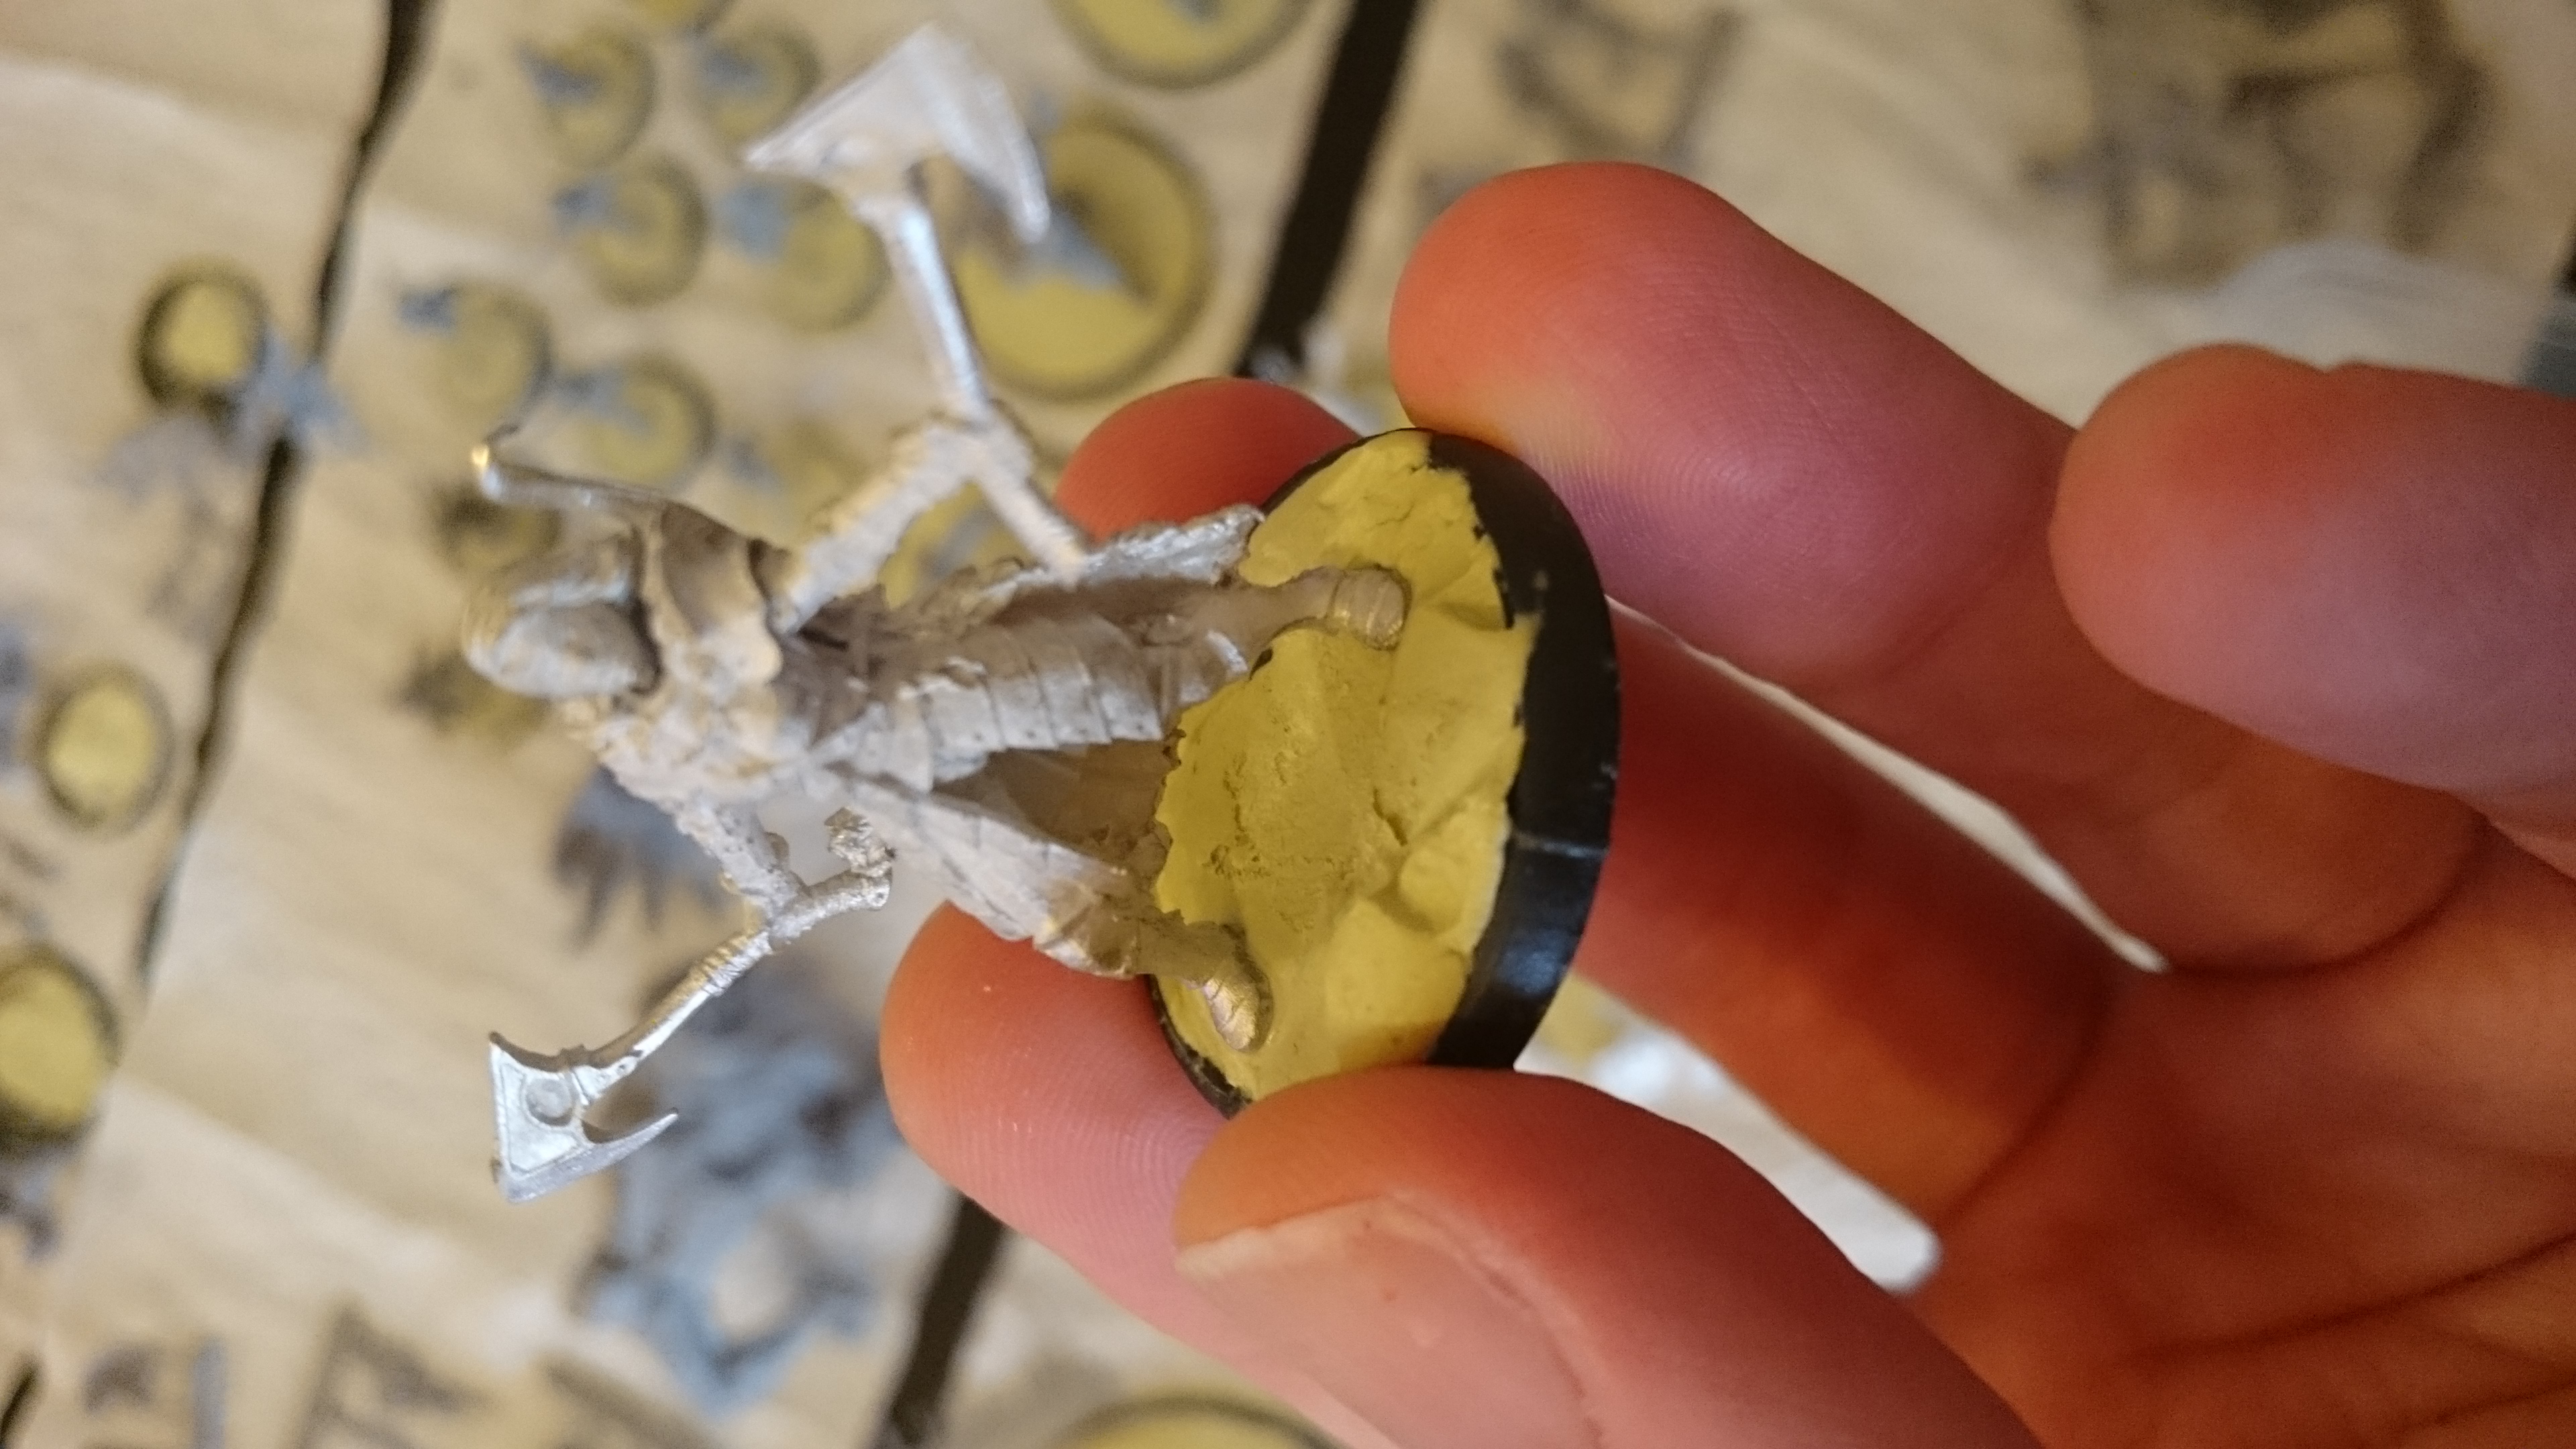
This base for example has a nice amount of texture and feature to it, but would make placing a model on it a little tricky depending on the mini, and even make it look a little unrealistic as it would be unlikely their feet would be flat on the surface.
The solution is simples. Give the milliput about 15 mins to make sure it isnt too wet/sticky (longer may be required ), then grab the mini and gently push it into the miliput a little.
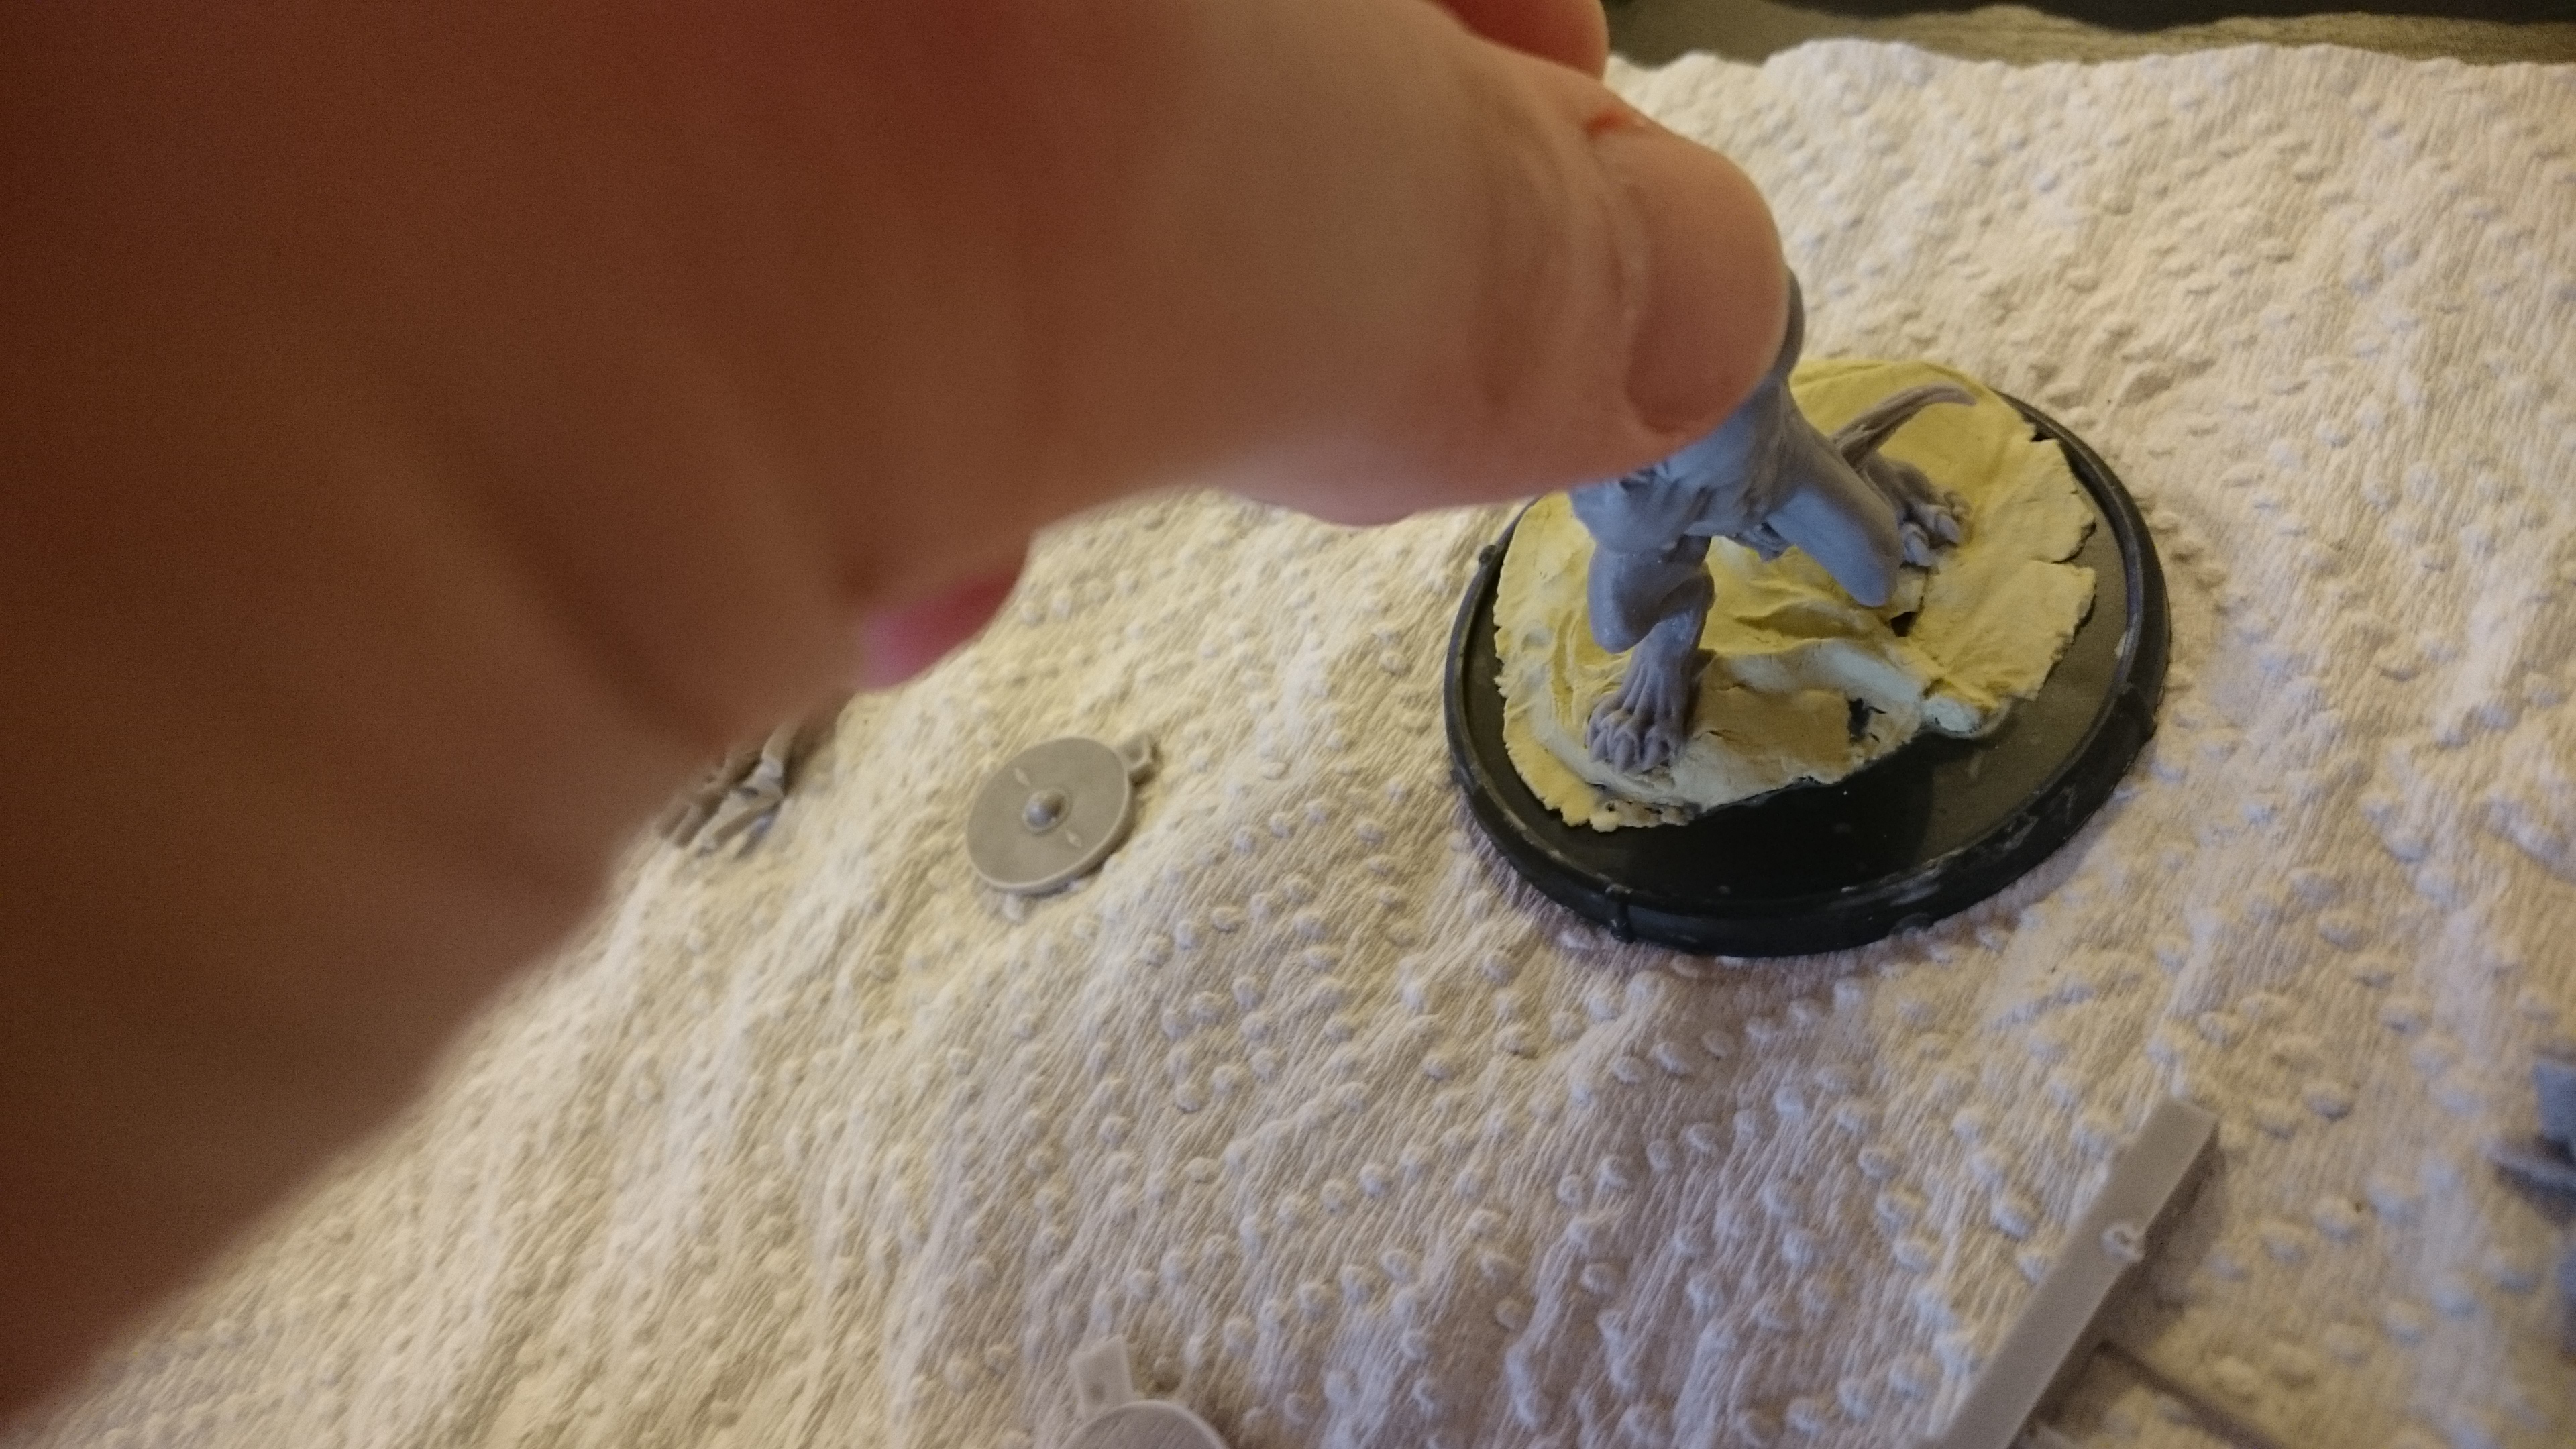
This should leave a light impression in the base of the models “footprint” as it were. So now when it dries there will be a perfect space to place the mini and their feet will be flush on the terrain making for a more realistic finish. ?
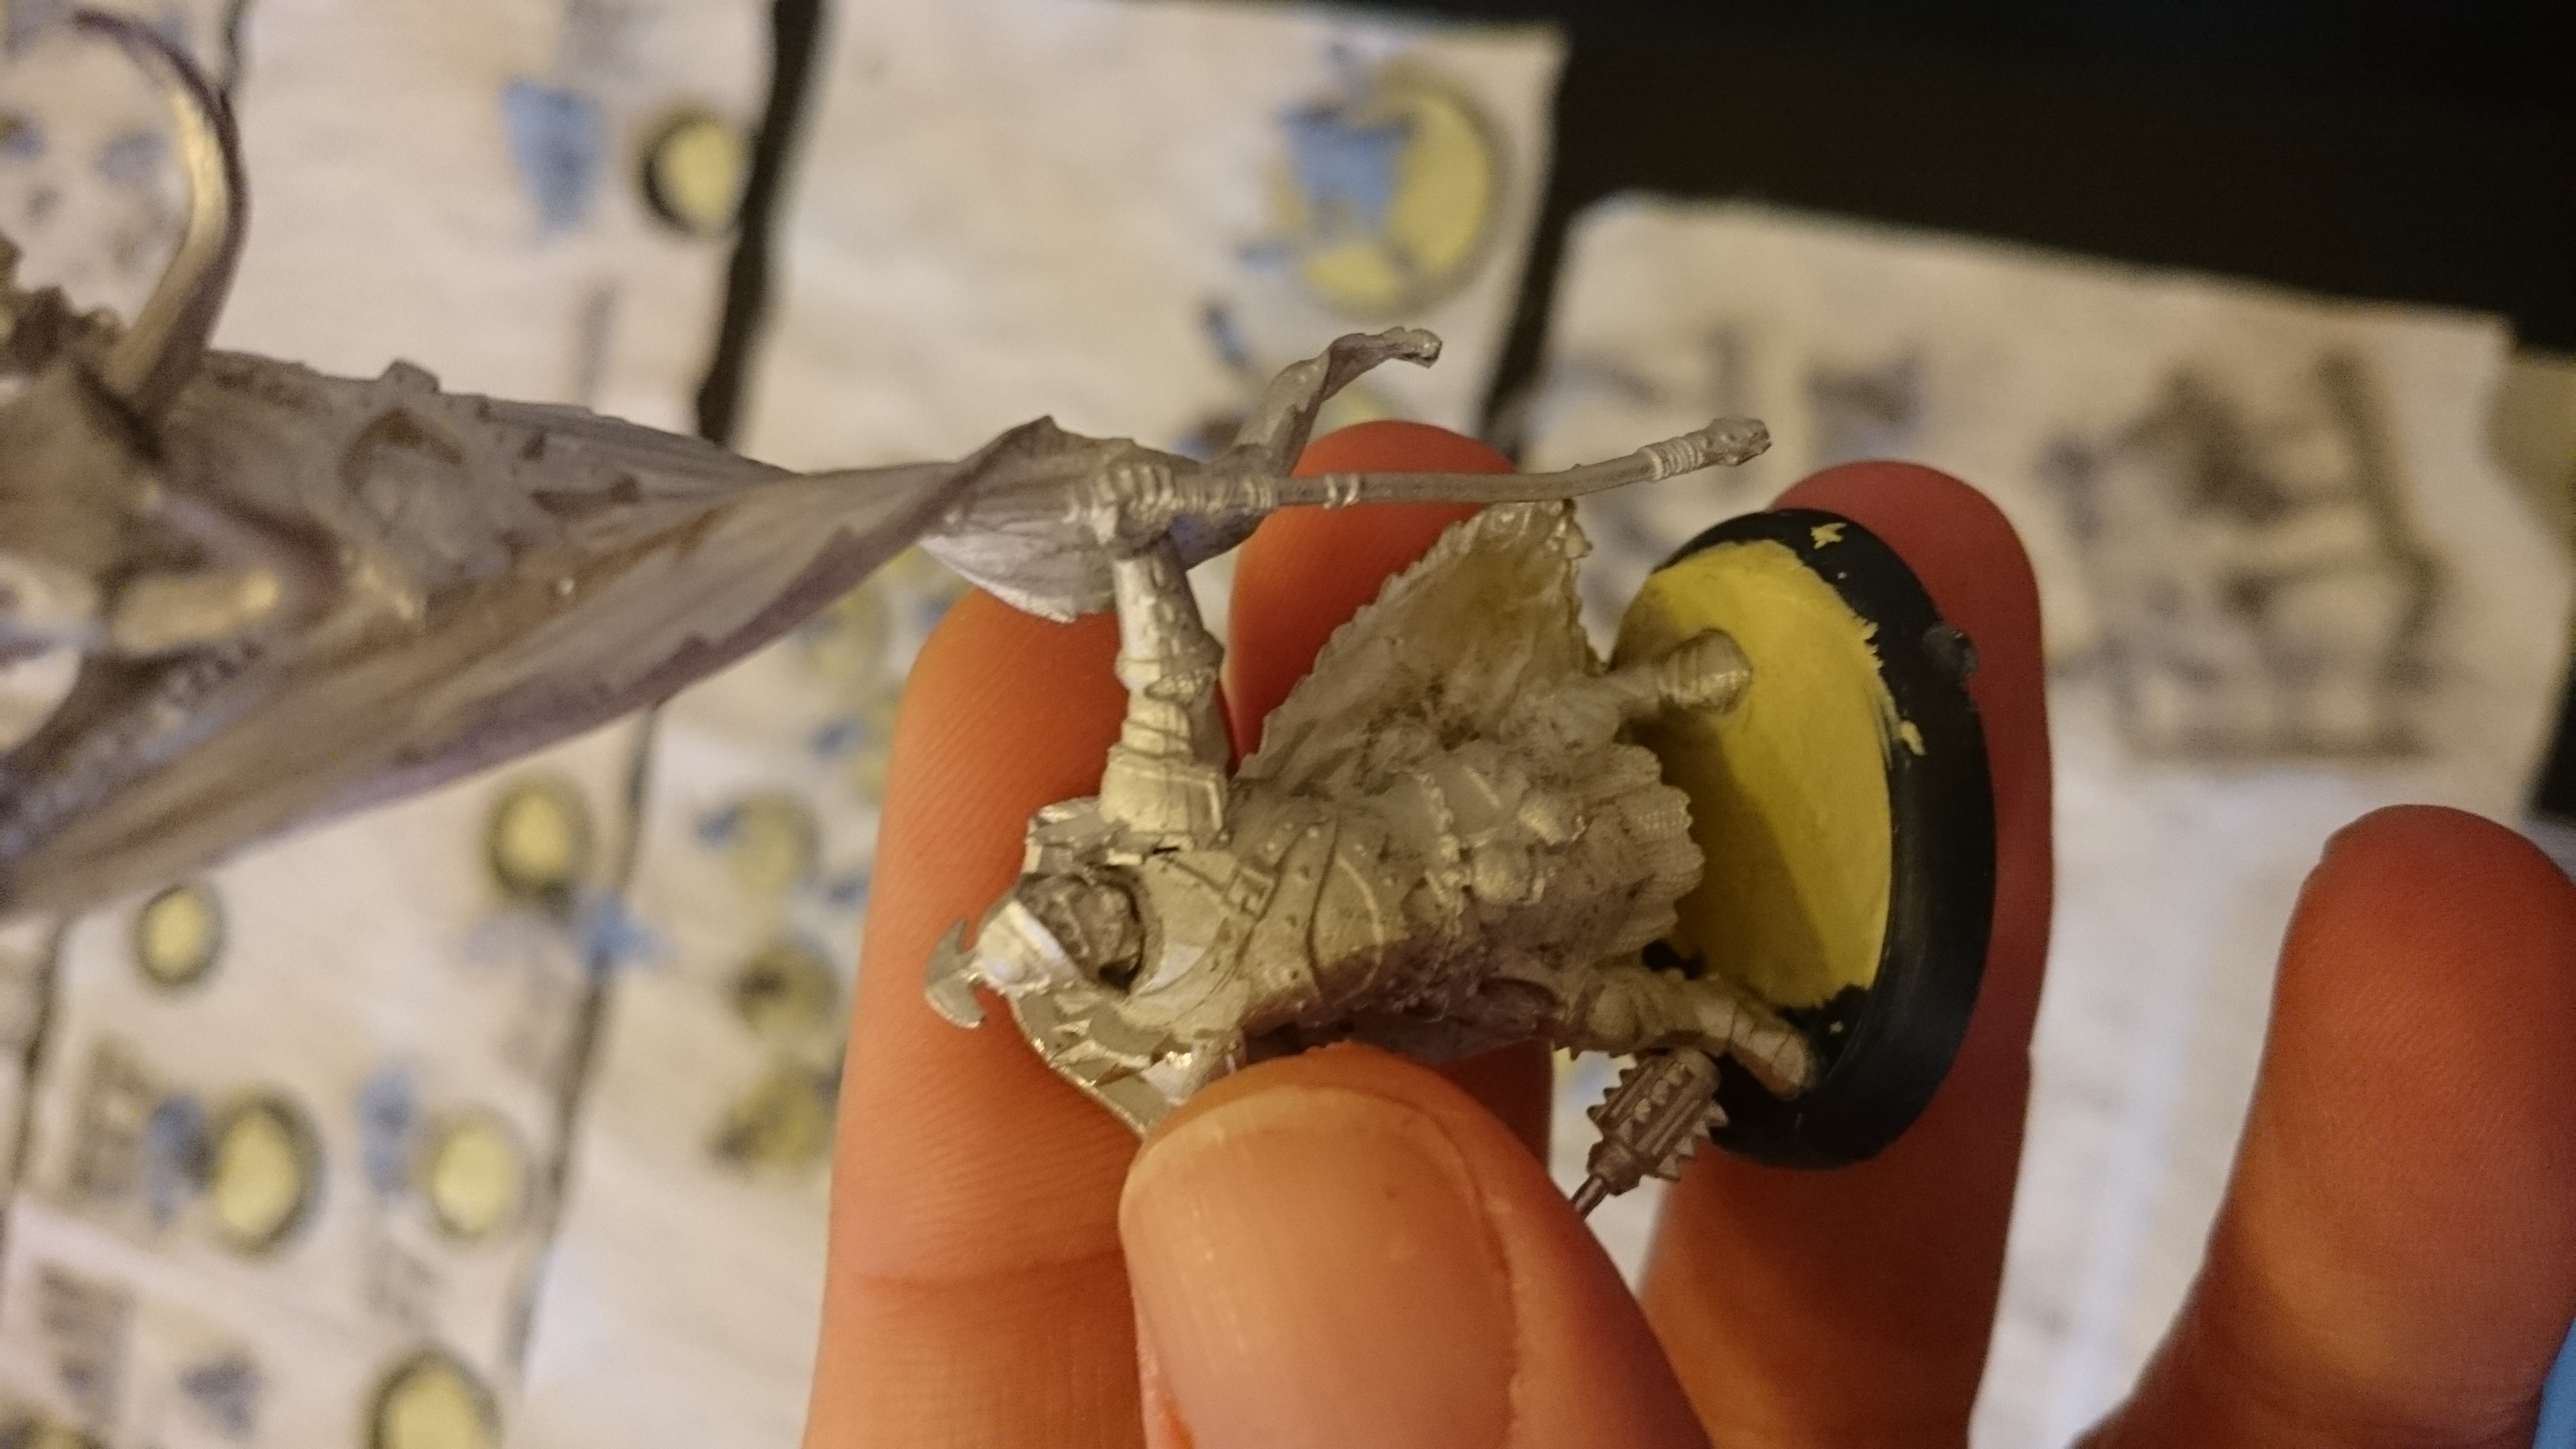
Scruba dub dub
Hullo humans!
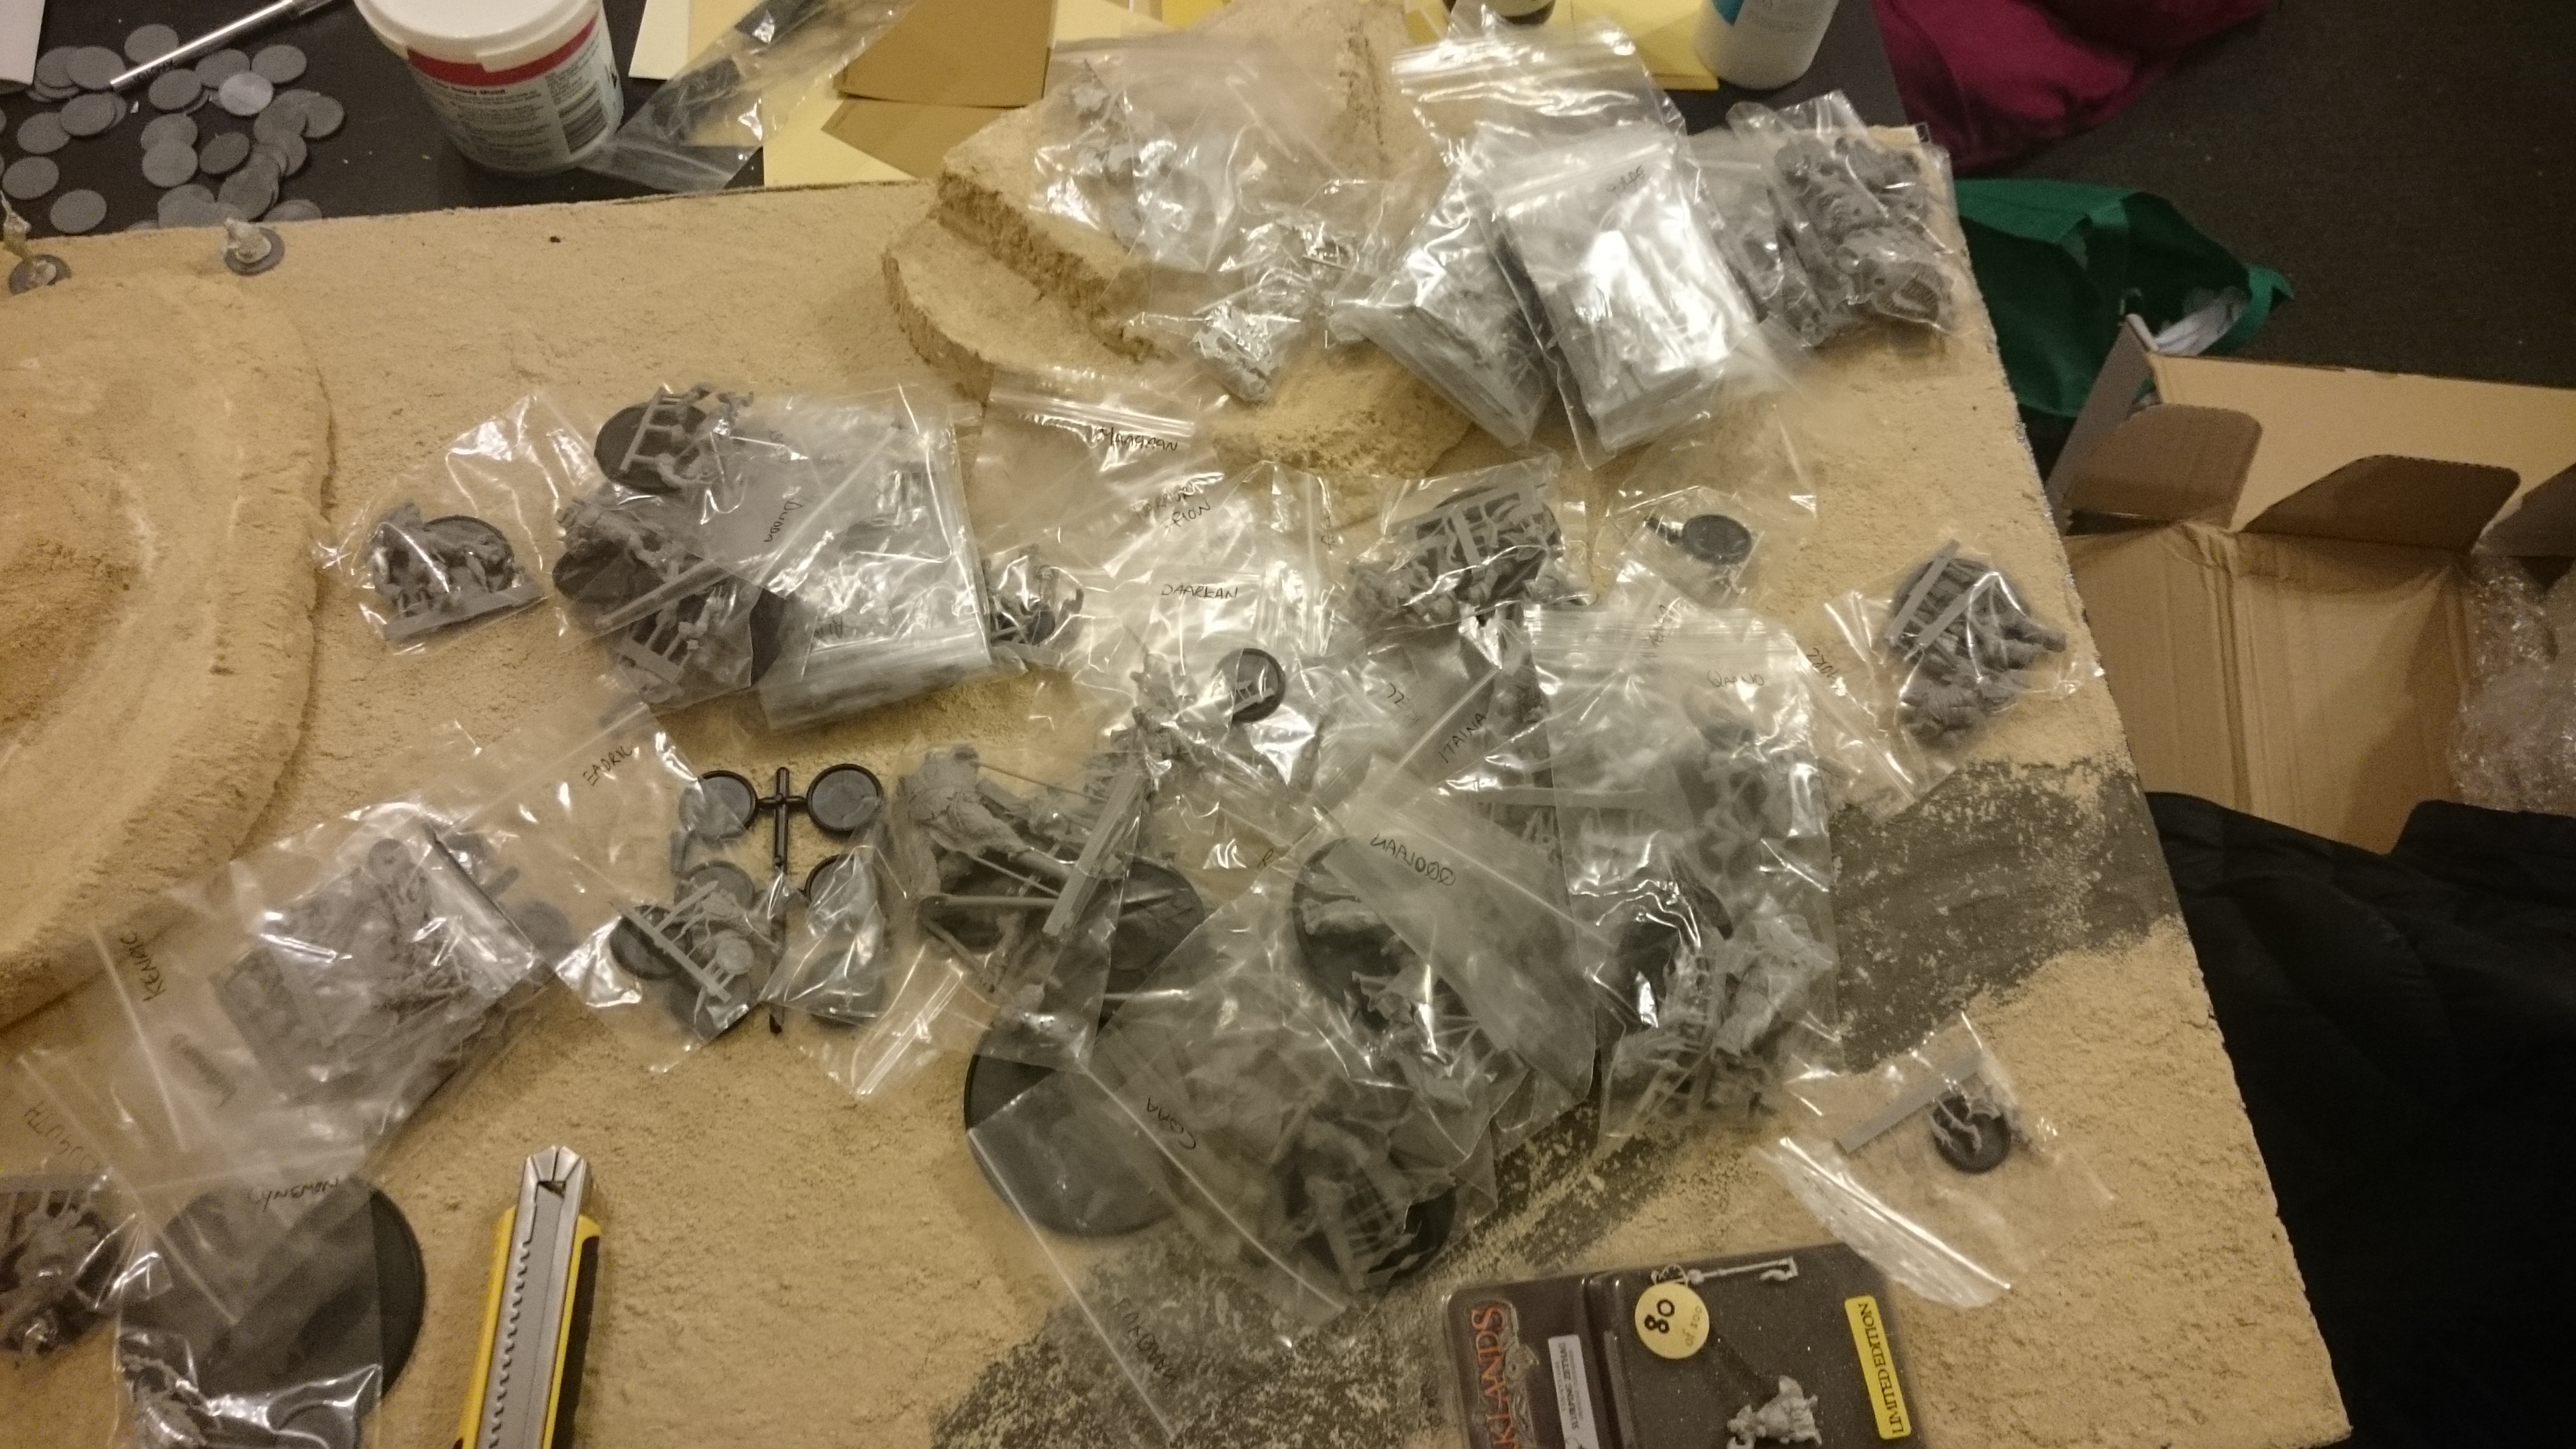
The next step for these happy little Ysians is a warm soapy bath. Anyone familiar with resin knows its a good idea to give them a wash before painting to remove any remaining mould release.
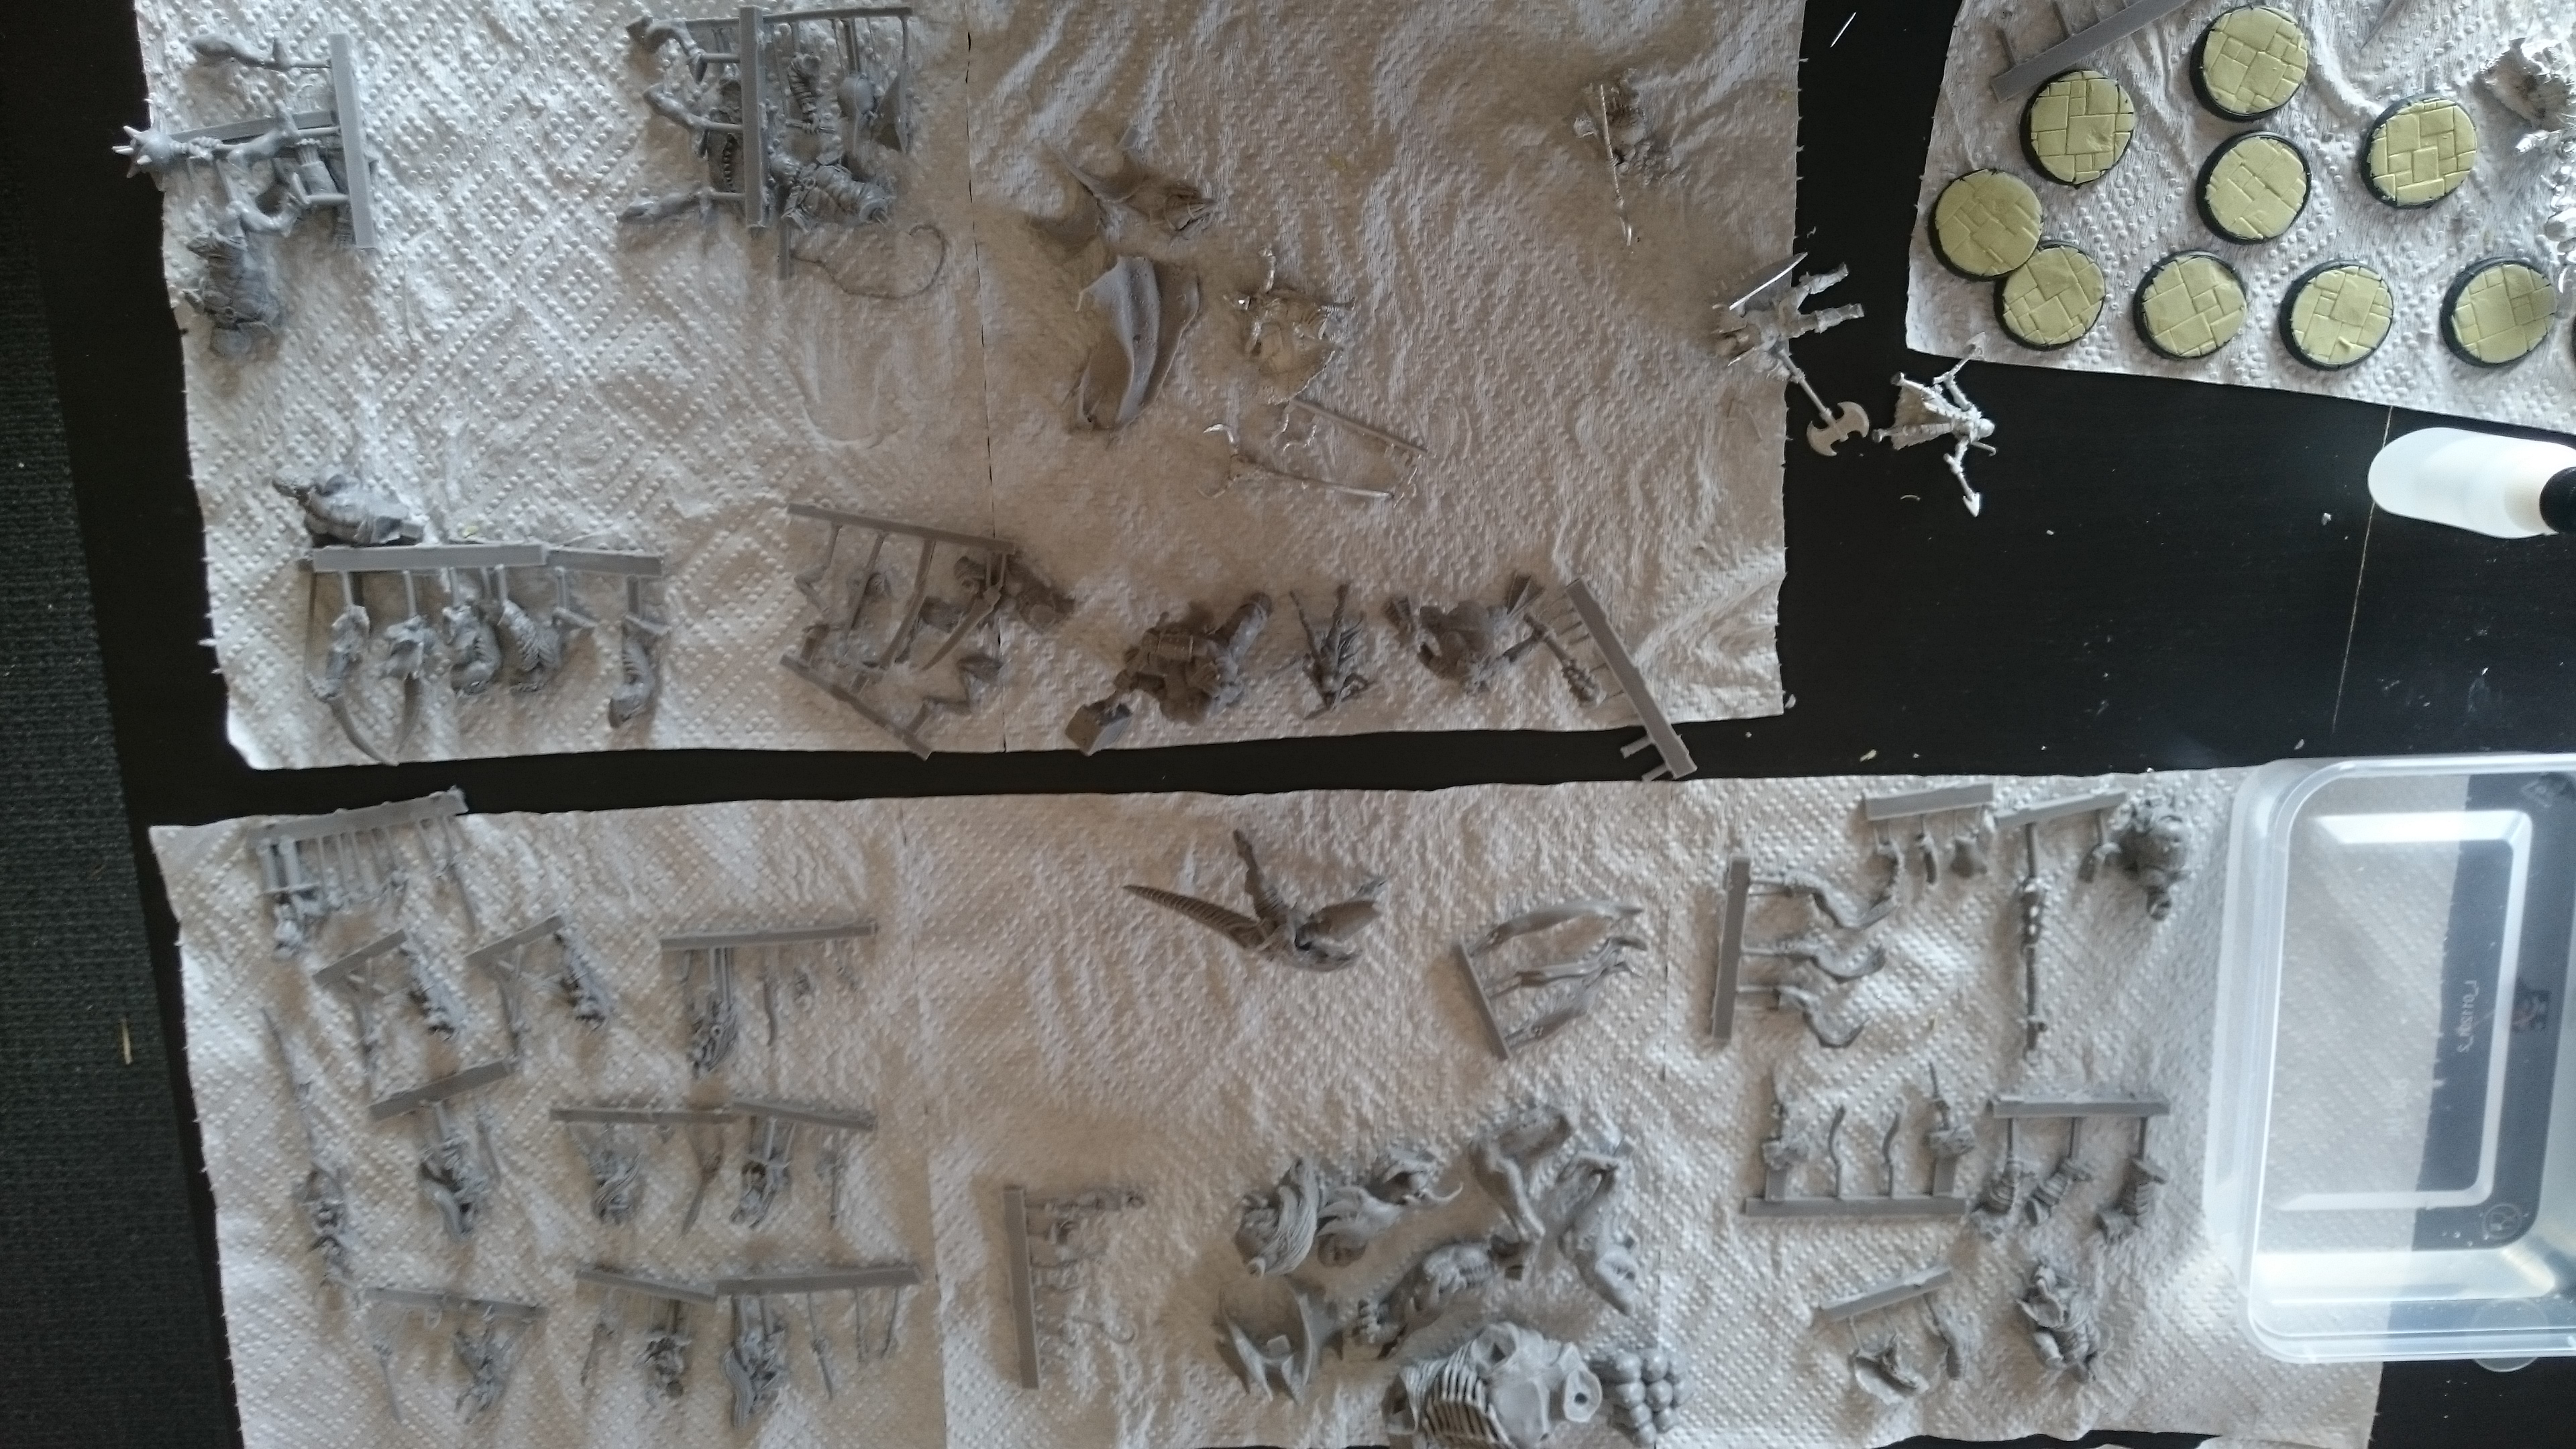
You might notice some non Ysian models here or there. Some will be for the Fomoraic (due after the Ysians) and my cuz’s Anglecyn force.
Once they are all dry assembly begins!
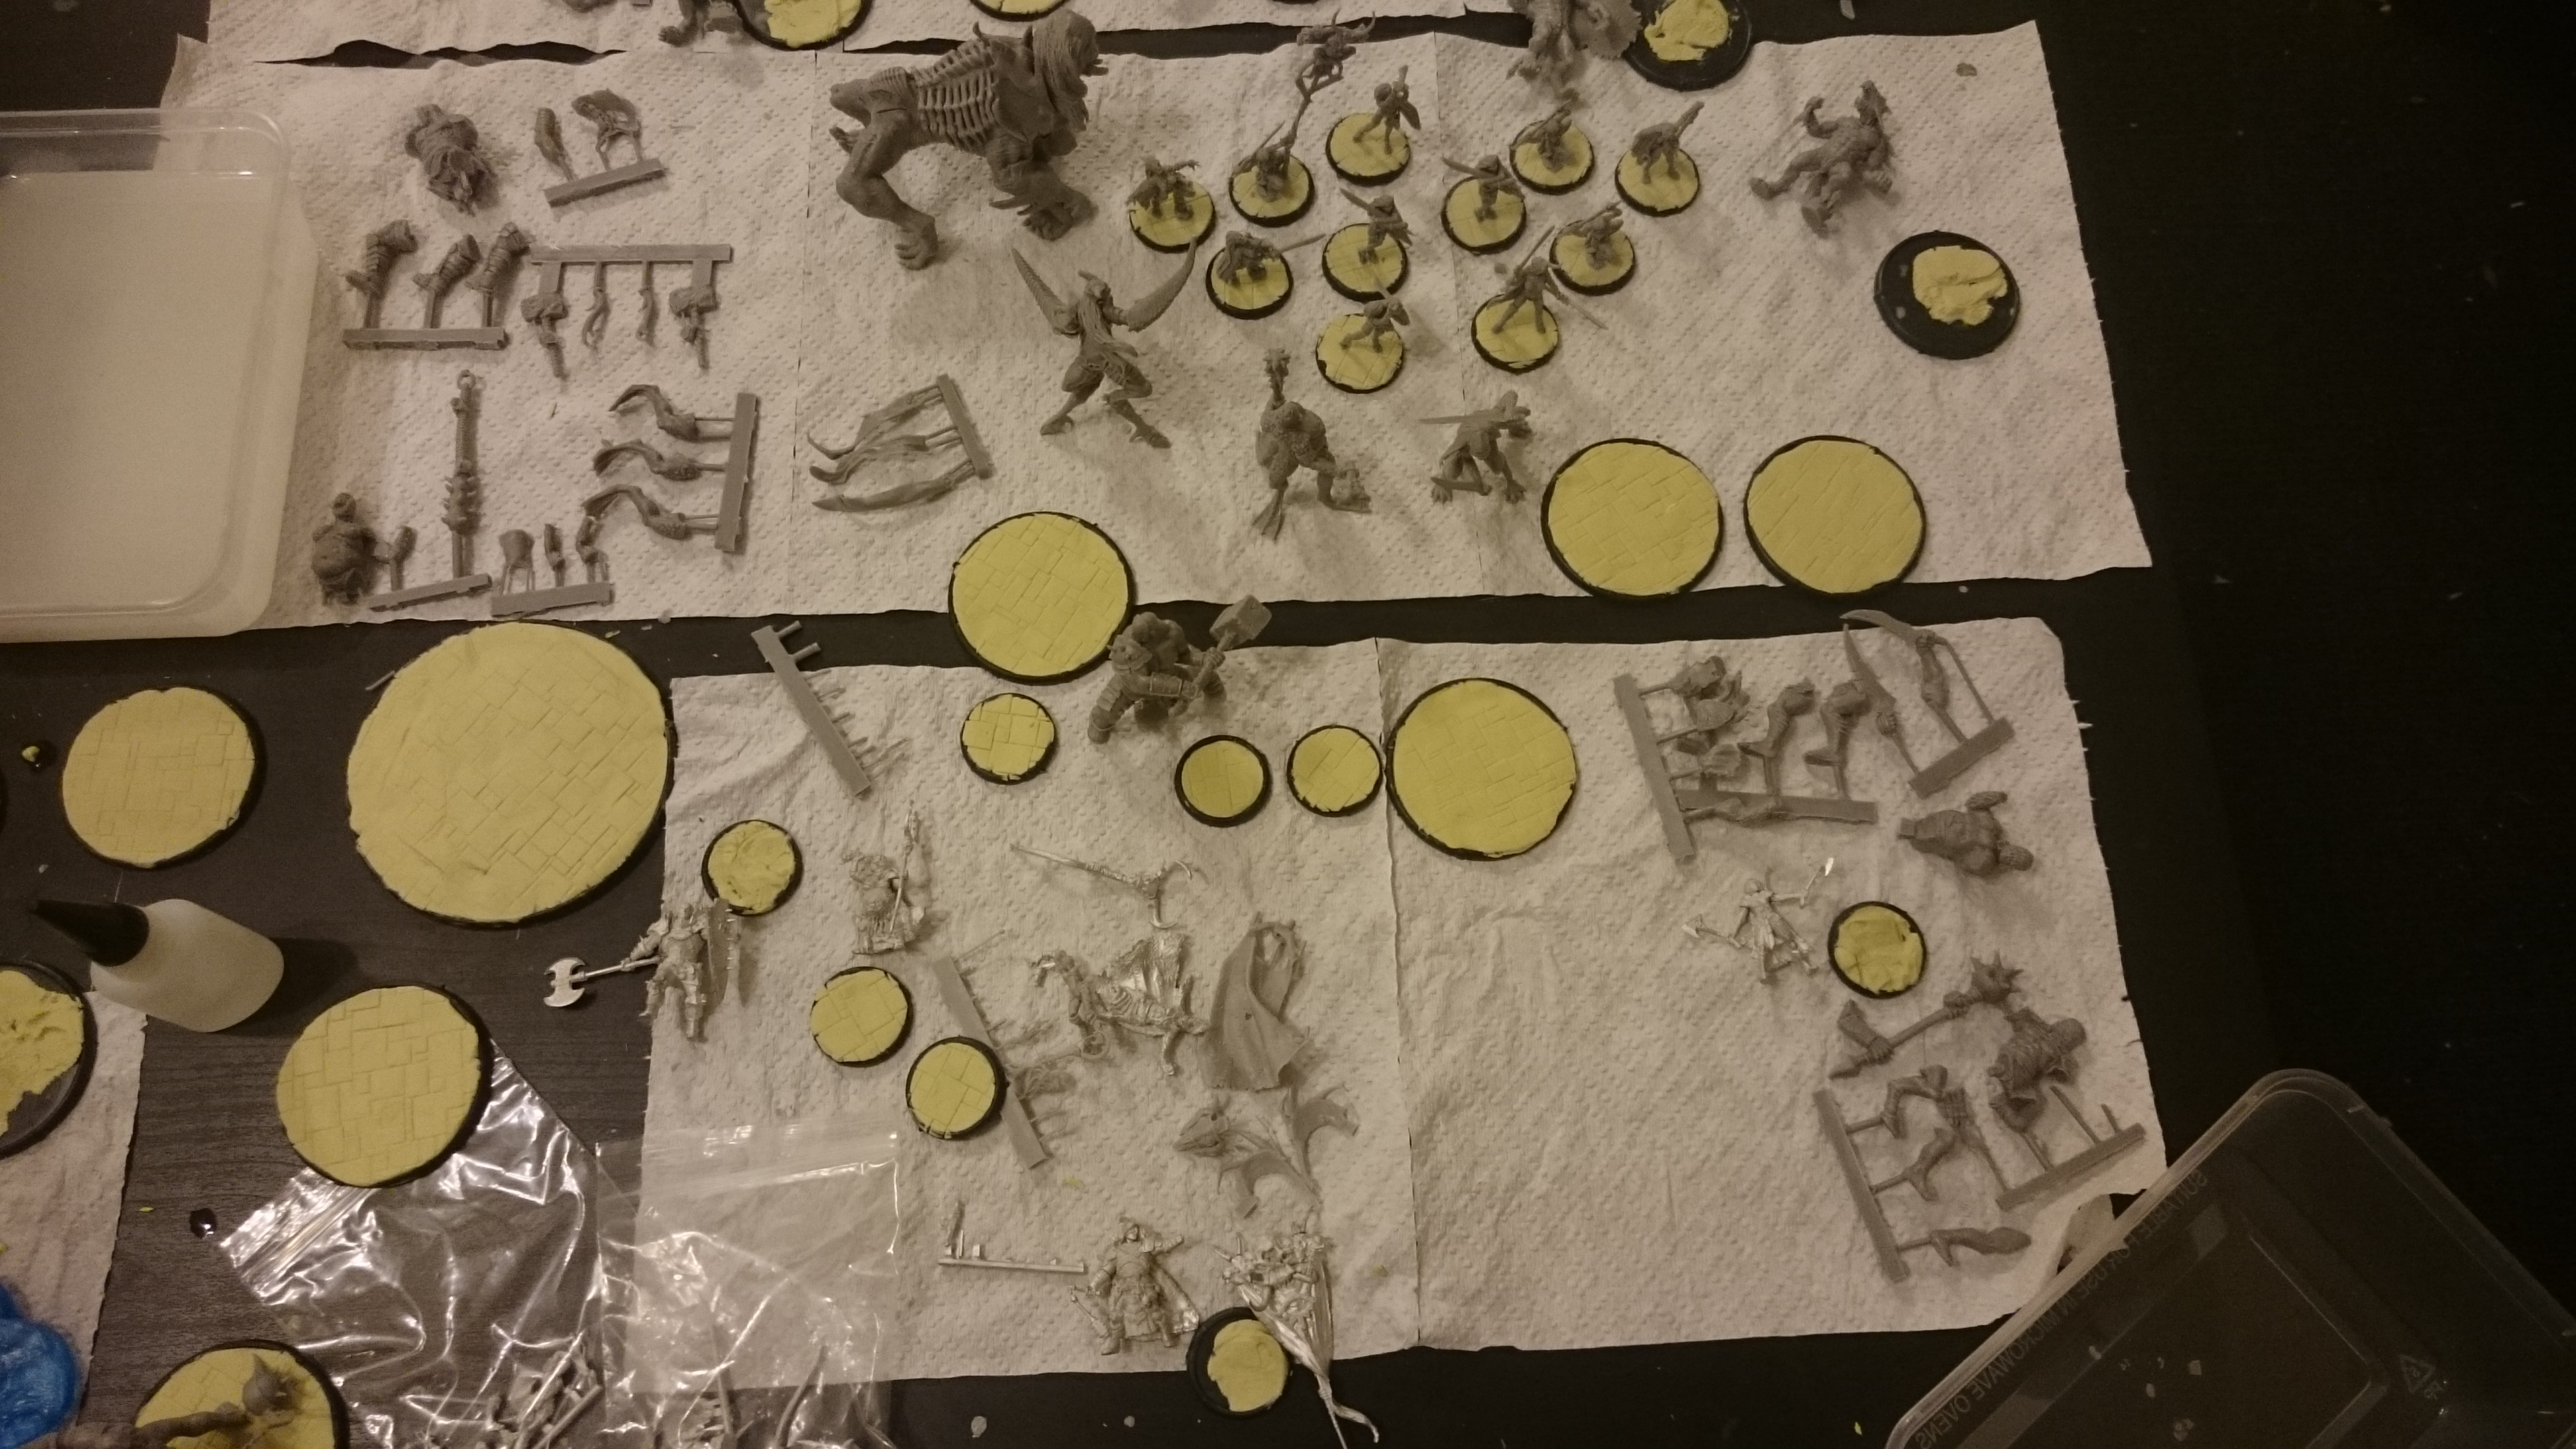
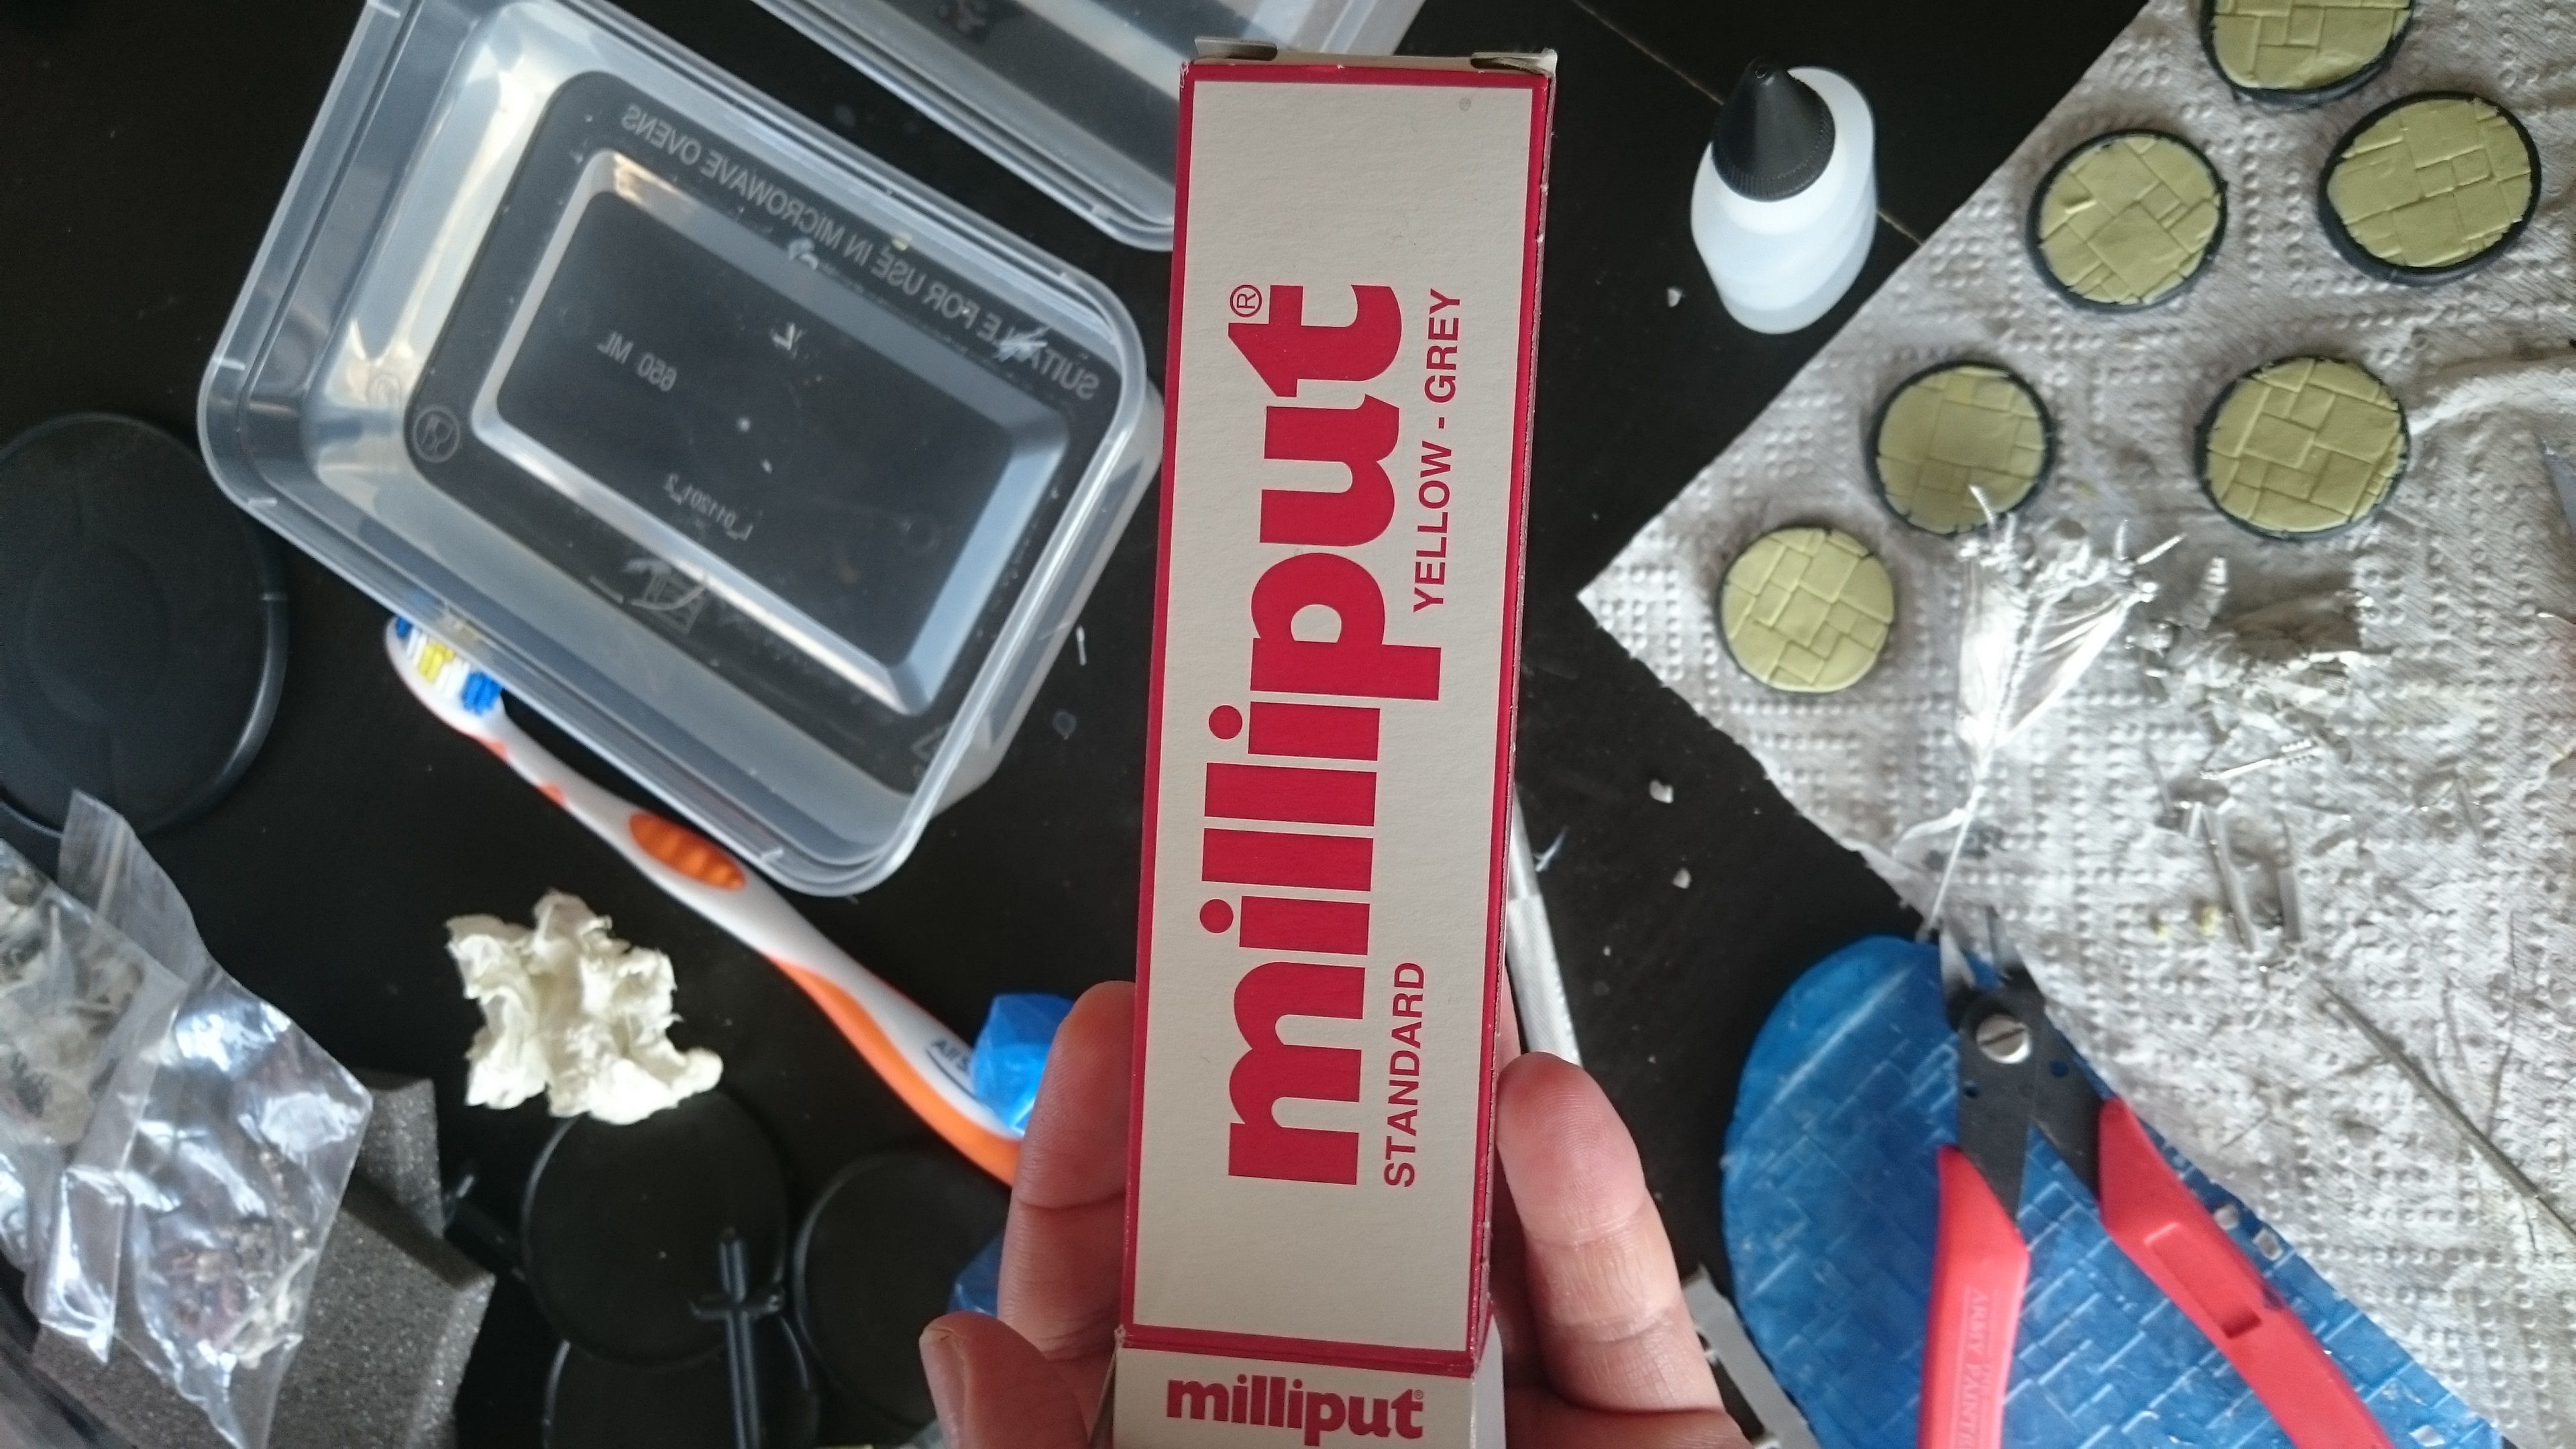
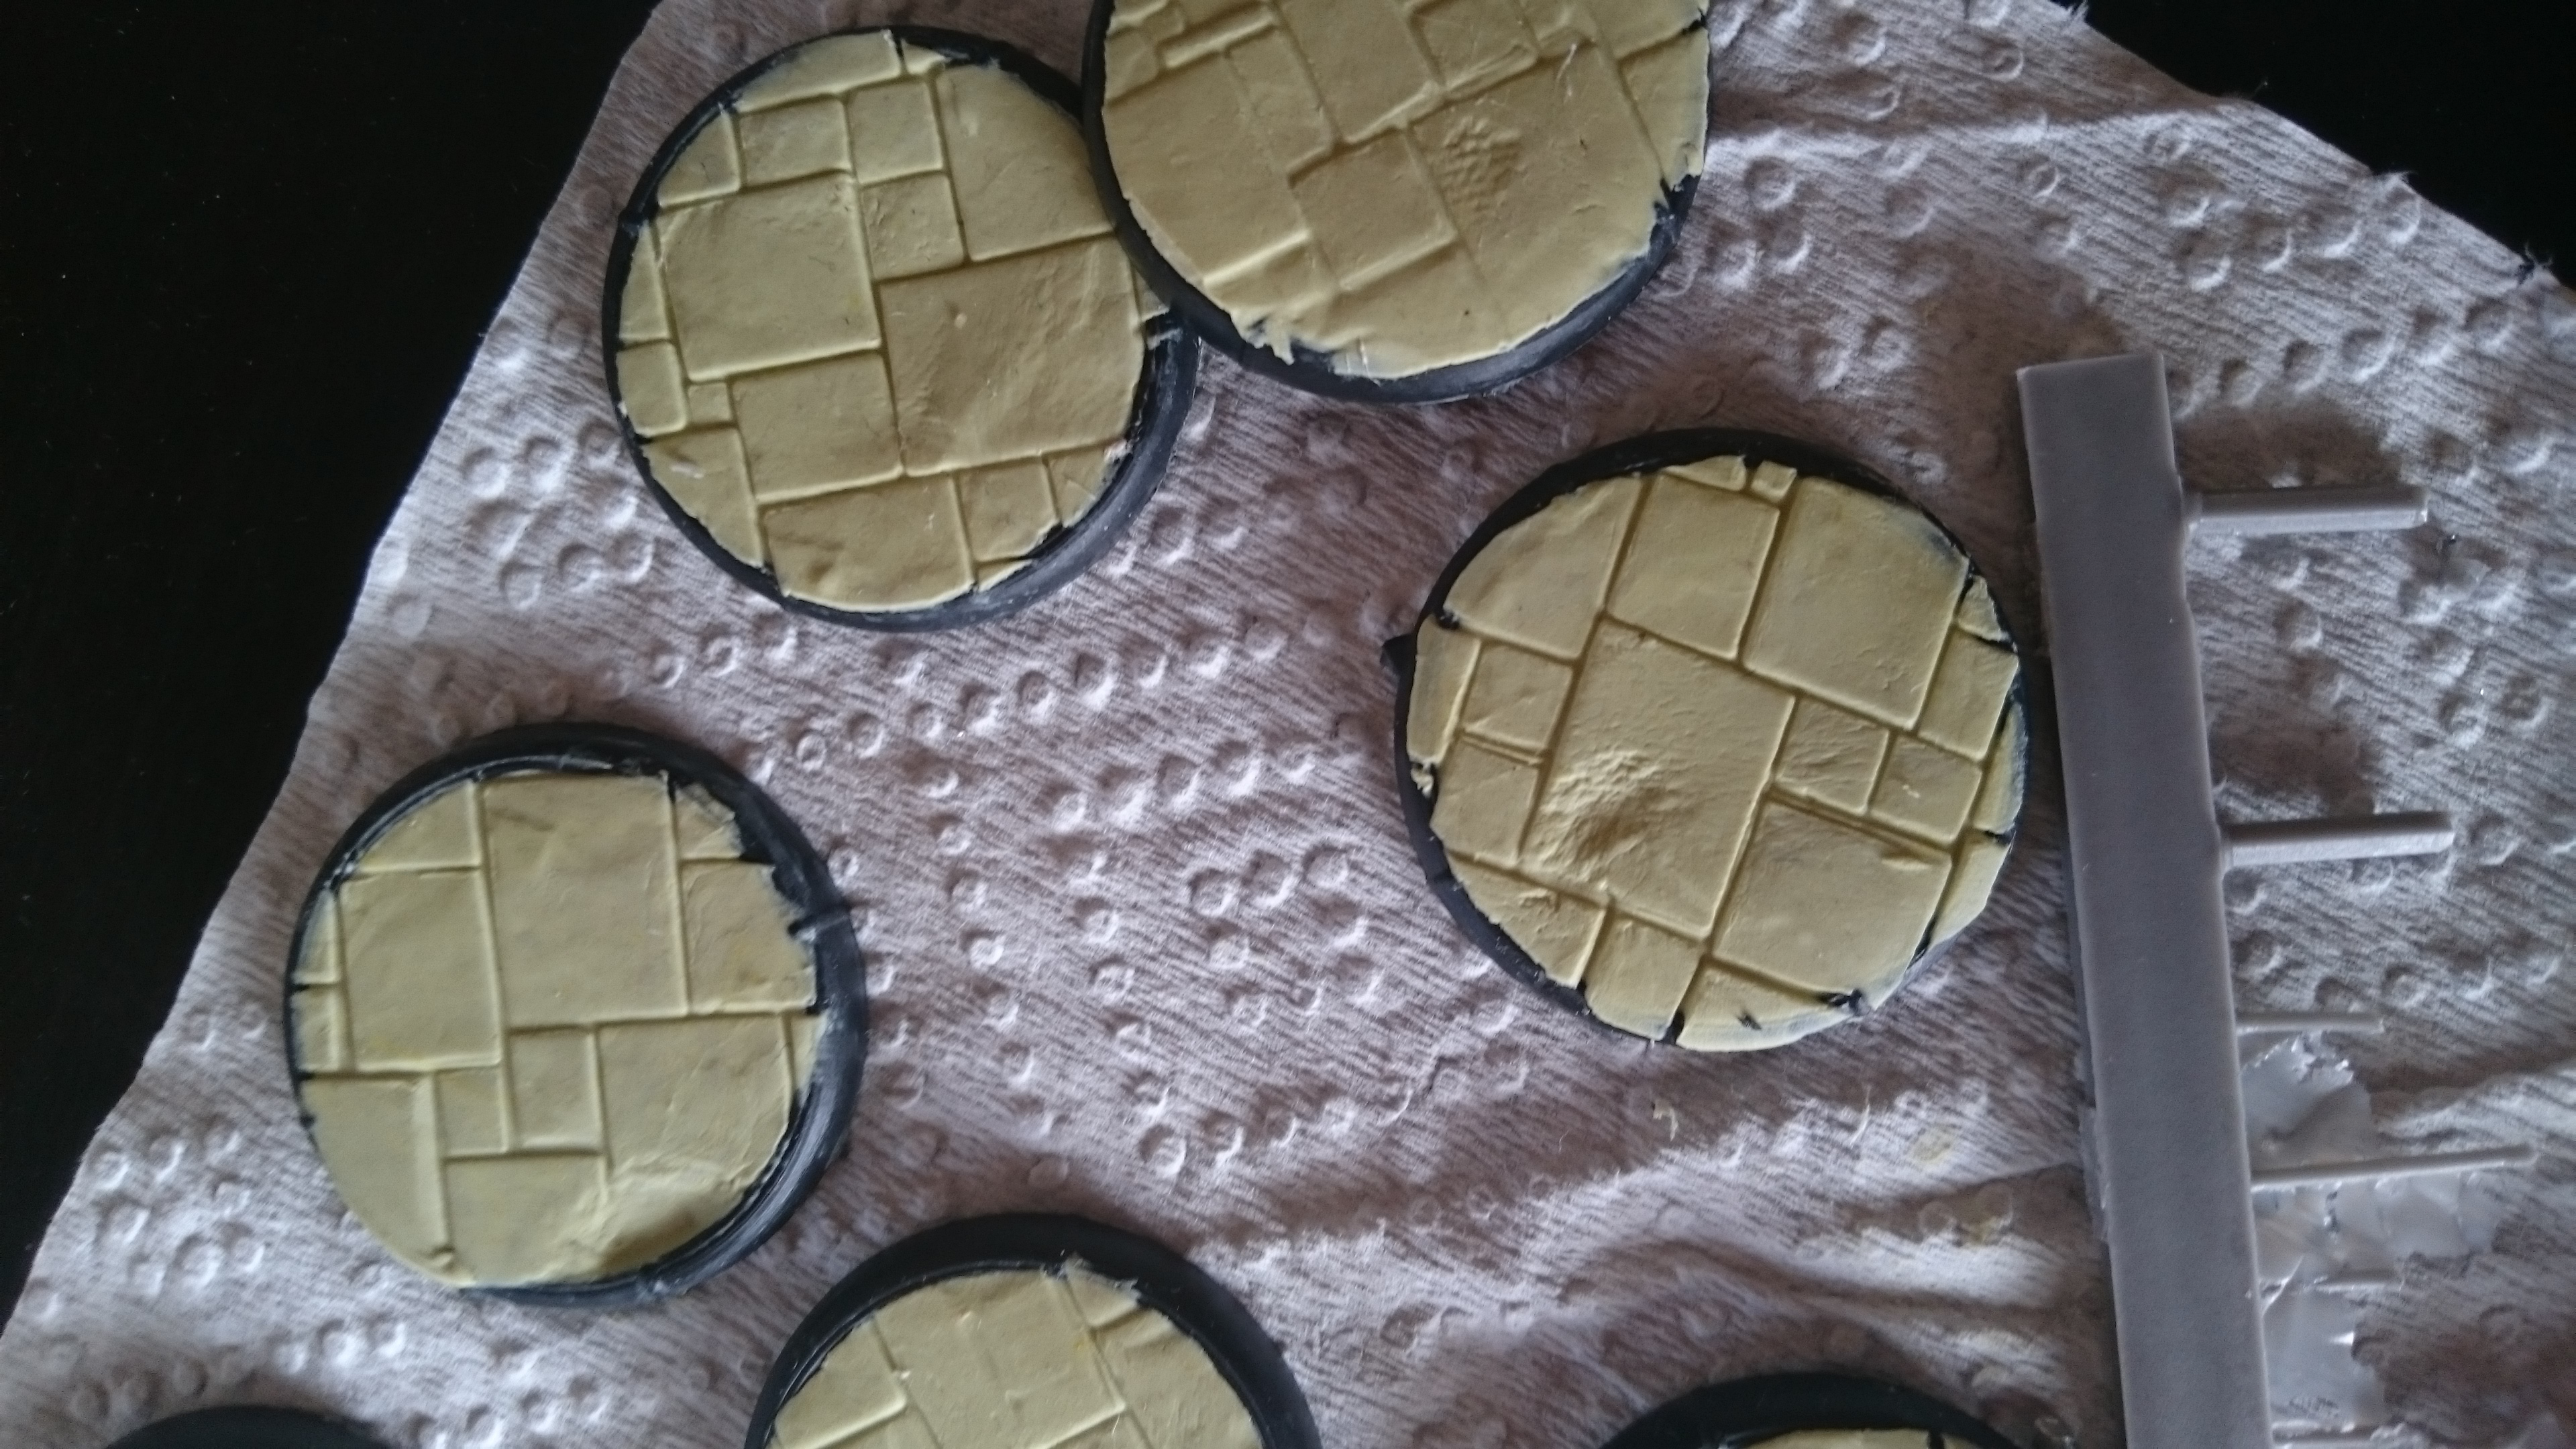
I also started making the bases. I did this by smooshing and smoothing out milliput on the base.
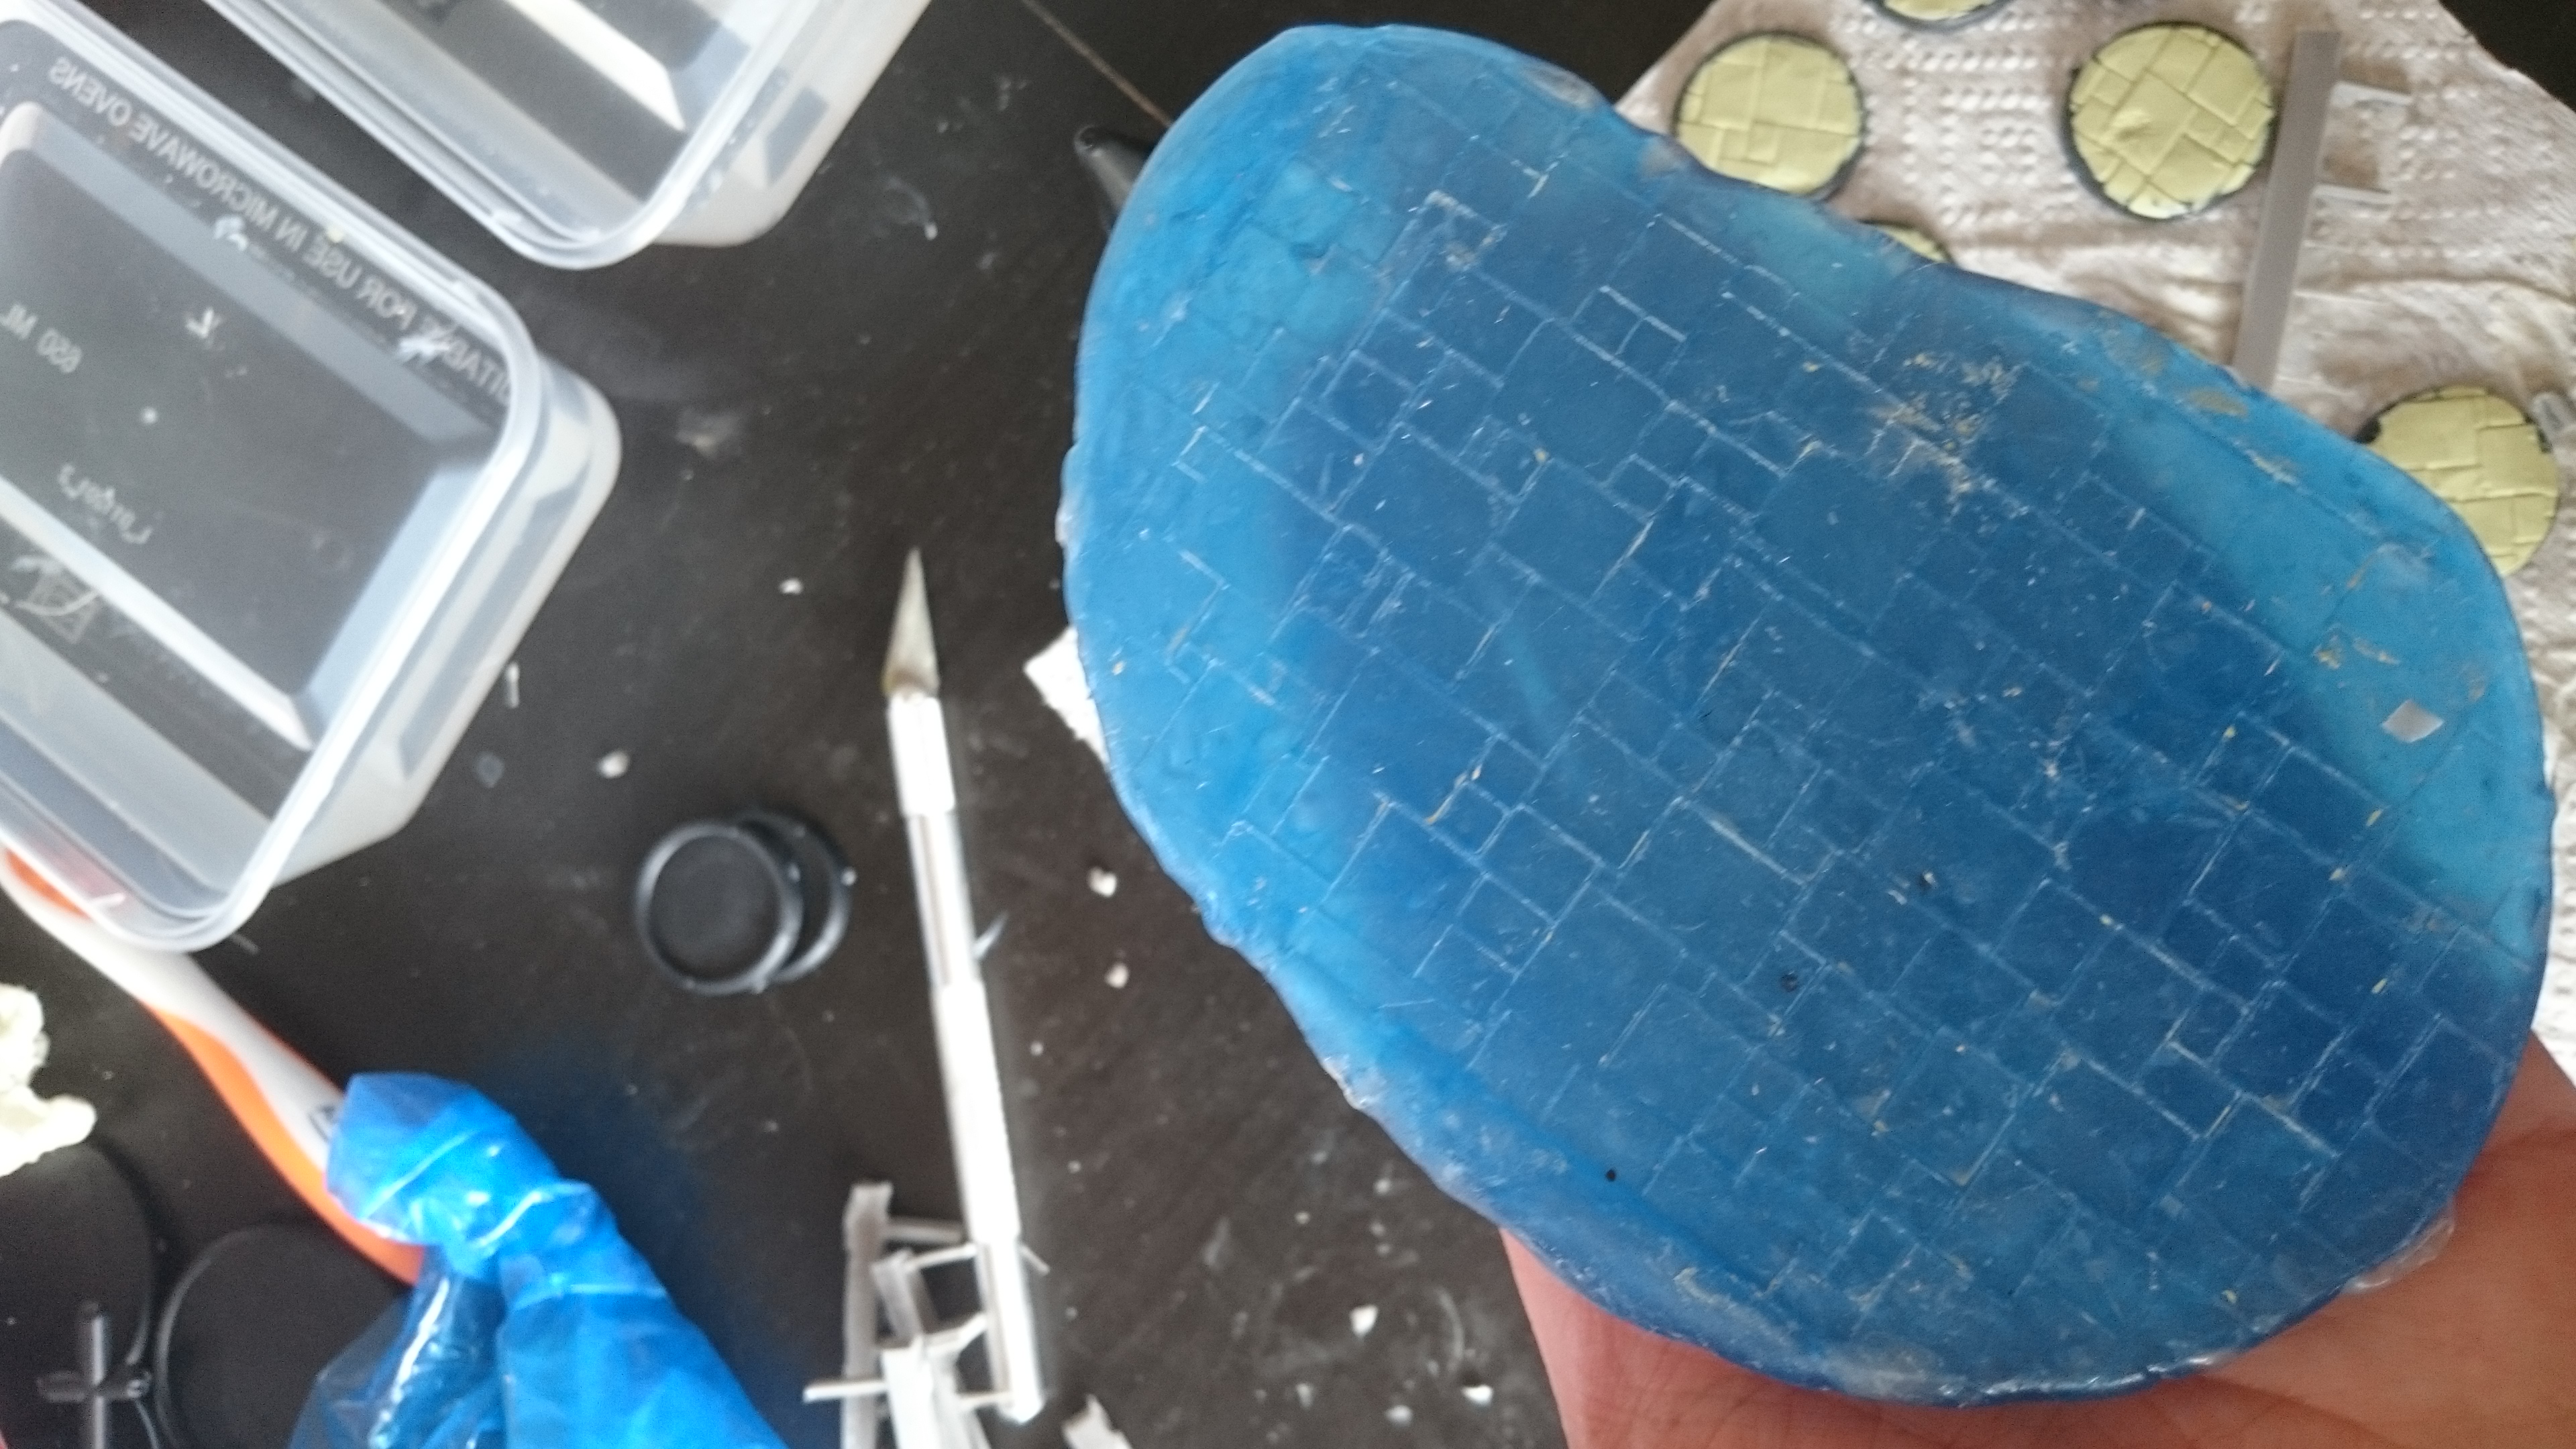
Then using a mould of flagstones (made using blue stuff and a railway hobby texture sheet) I wet the milliput and the mould, press the mould onto the putty and remove. Instant base!
More coming soon!
And so it begins!
Hello all! Allow me to take you on a journey of resin and metal, of superglue, milliput and greenstuff, of using your phone as a torch to find the tiny arm you dropped on the floor.
This project will follow the creation of my first Darklands force, the degenerate Ysians.
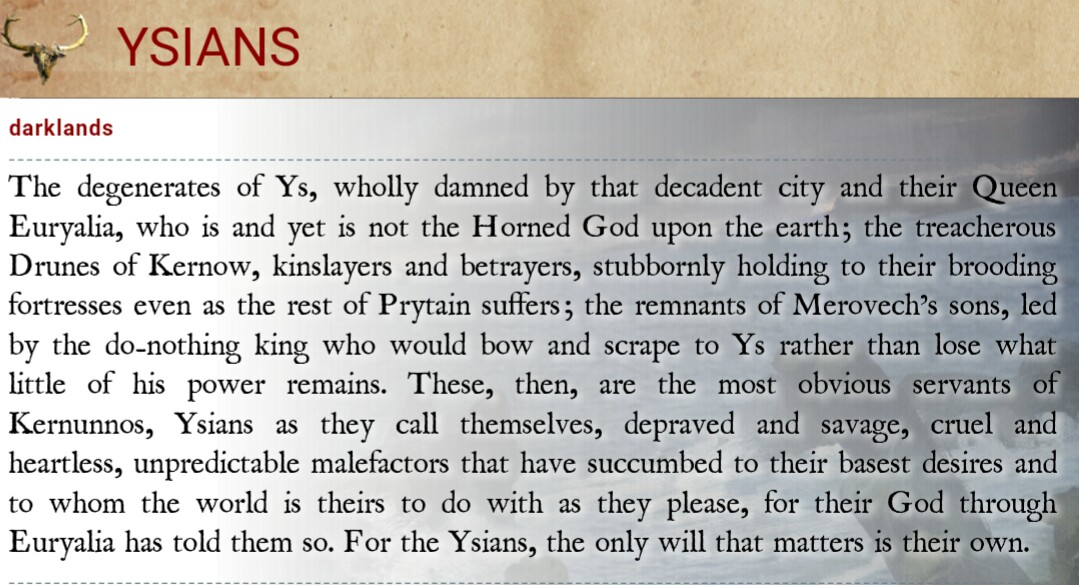
Now, who are these Ysians and what is darklands? Well I am glad you asked people in my head.
And here is a look at the road ahead!