









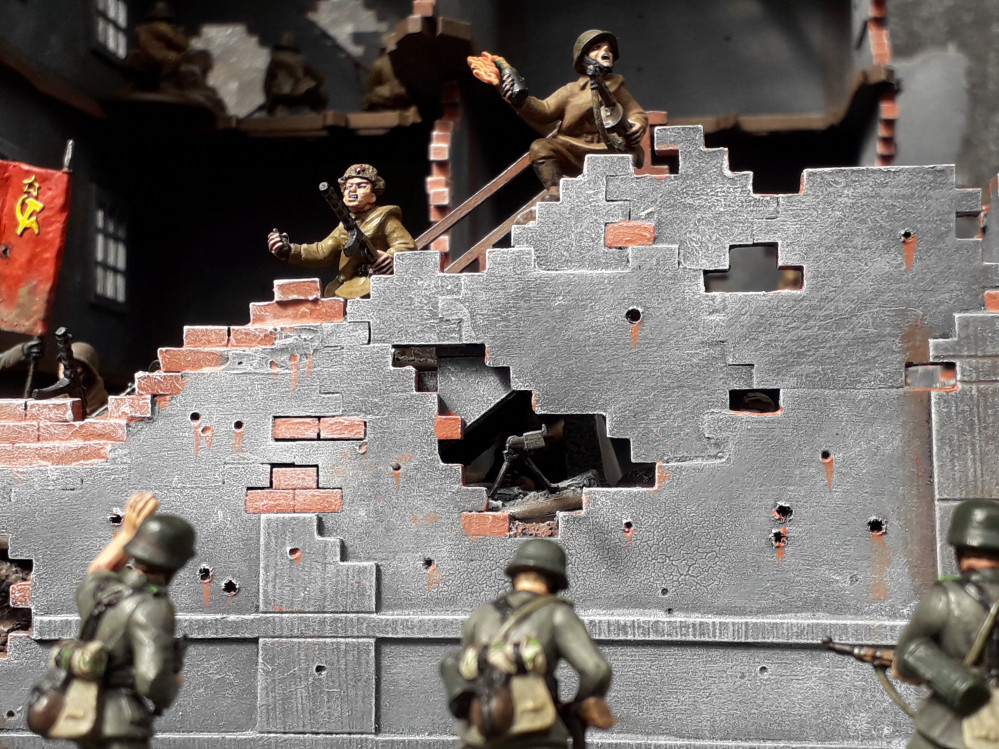
STALINGRAD Bolt Action Mega Battle!



Recommendations: 7867
About the Project
Inspired by the Ontabletop.com 'Spring Clean Challenge' I have dusted off my Soviet Army for Bolt Action, which is 'Stalingrad themed'. I have dug out half painted and many still boxed kits and blister packs to start/re-start and hopefully finish the ridiculous amount of Soviet's, German's and Scenery that has been stuck in gamers limbo for years. I particularly look forward to getting a German army up an running to challenge my Soviet's, and to base the elements on real units (such as the 100th Jager Division). I also need to get scenery to theme the board built and finished. No Stalingrad battle (let alone a MEGA BATTLE [which Stalingrad very much was!]) would look right without a mass of smashed grey buildings, and a ruined concrete and brick wasteland. It's ambitious, but I have a LOT of unpainted miniatures and scenery that is crying out to get done, and the end result will (God willing?) be achievable and great fun for my gaming group and I. Like many gamers we all have a favourite battle that we would like to have masses of models and scenery to play with our mates. In those terms. this is my Waterloo (in a gaming bucket list way, rather than my ultimate personal downfall!),
Related Game: Bolt Action
Related Company: Warlord Games
Related Genre: Historical
Related Contest: Spring Clean Hobby Challenge 2023
This Project is Active
modelling loose bricks and brick work.
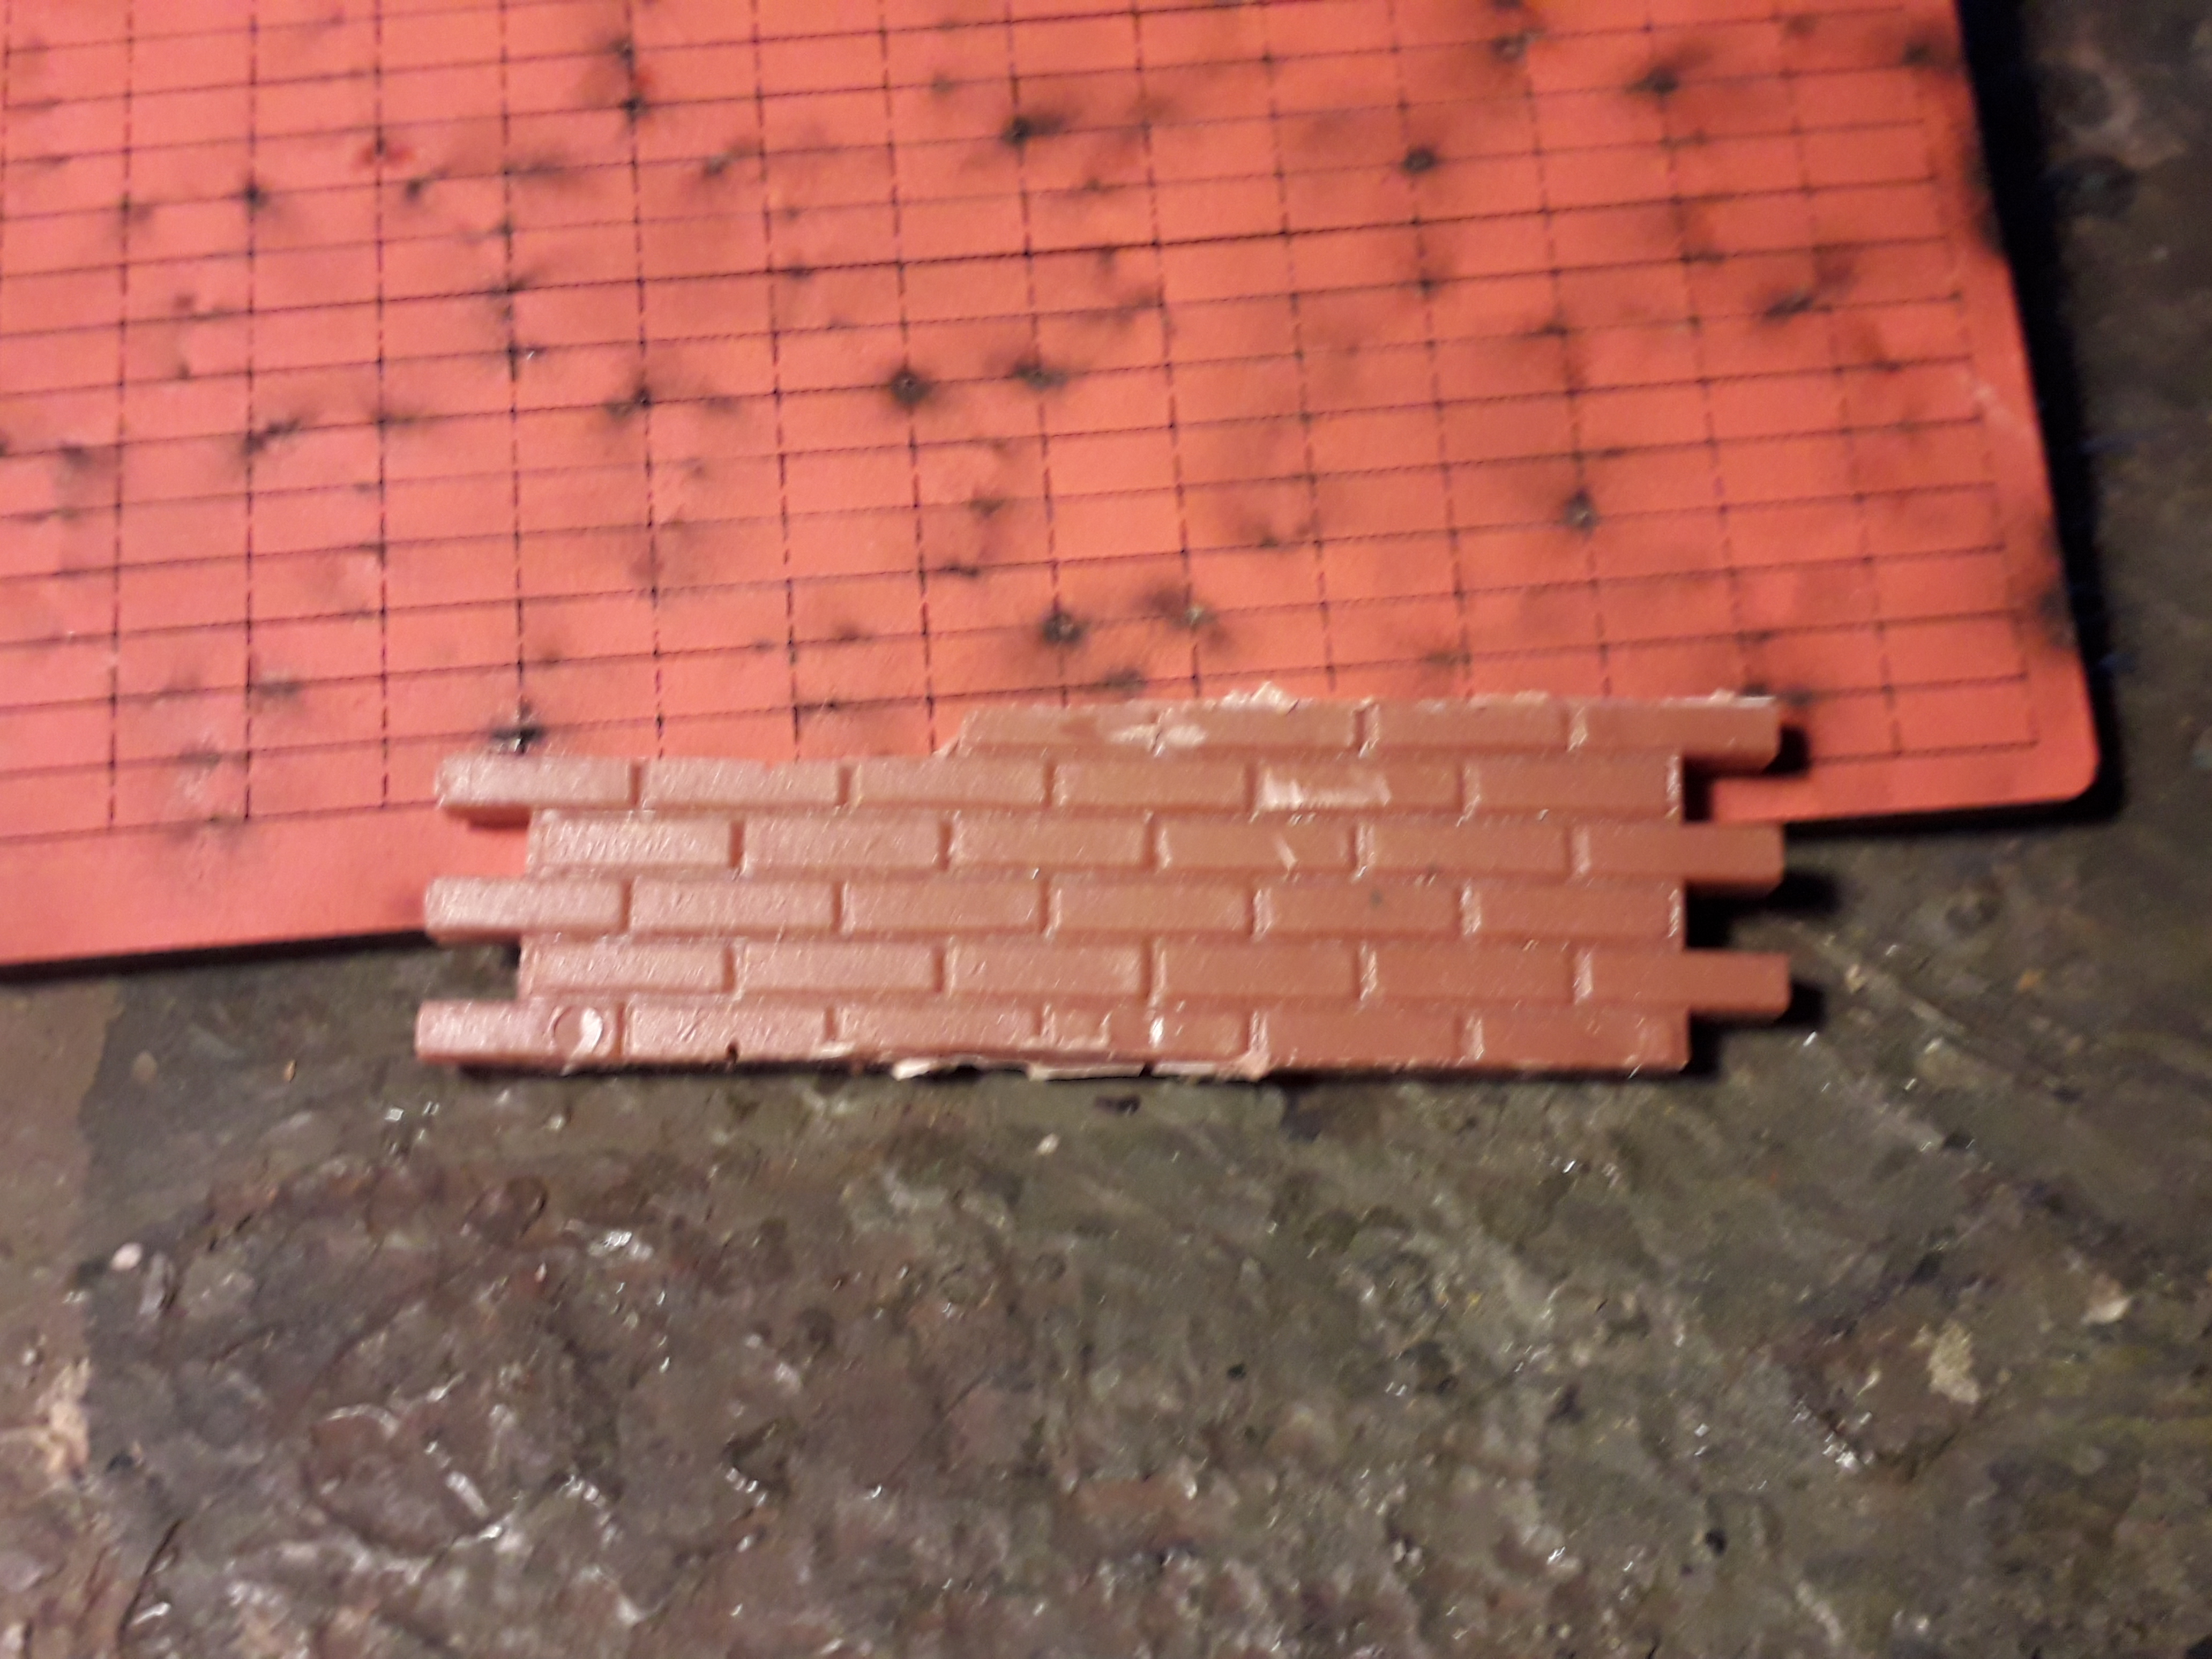 Tamiya Brick Wall Set cut down fragment of bricks with 4Ground Lazer Cut HDF Brick Set.
Another new and useful product to the market that saves a LOT of time is 4Grounds brick set. Previously I had been individually cutting out bricks from Tamiya’s wall set. Tis took lots of time and was messy with lots of time spent carving away melted plastic spoil from the cutting process.
The 4Ground bricks can be separated individually much more quickly, with minimal trimming using a scalpel. Also, complete sections can be cut, and carefully glued in place as curved brick work, which would take ages with my previous method.
hey make a great addition to rubble on bases and scenery, and can further augment brick buildings with further courses, or precarious loose bricks jutting out at odd angles.
In short, this is a seriously useful, adaptable and time saving product.


My Kick Arse Trip To 4Ground!
This has been on my “Gamers Radar” for some time, and thank God I am now recovered enough (after being seriously ill from Covid 19 in March 2020) to get down and visit.
These chaps do a great range of HDF scenery, and an impressively large amount of it is tailor made for Stalingrad. Lots of other pieces completely appropriate or adaptable for my project, and have been already featured.
I was first made aware of these chaps through Beast’s of War/Ontabletop.com and bought a load of their scenery through Wayland games. In fact I believe that I cleared out Wayland’s entire stock at one point.
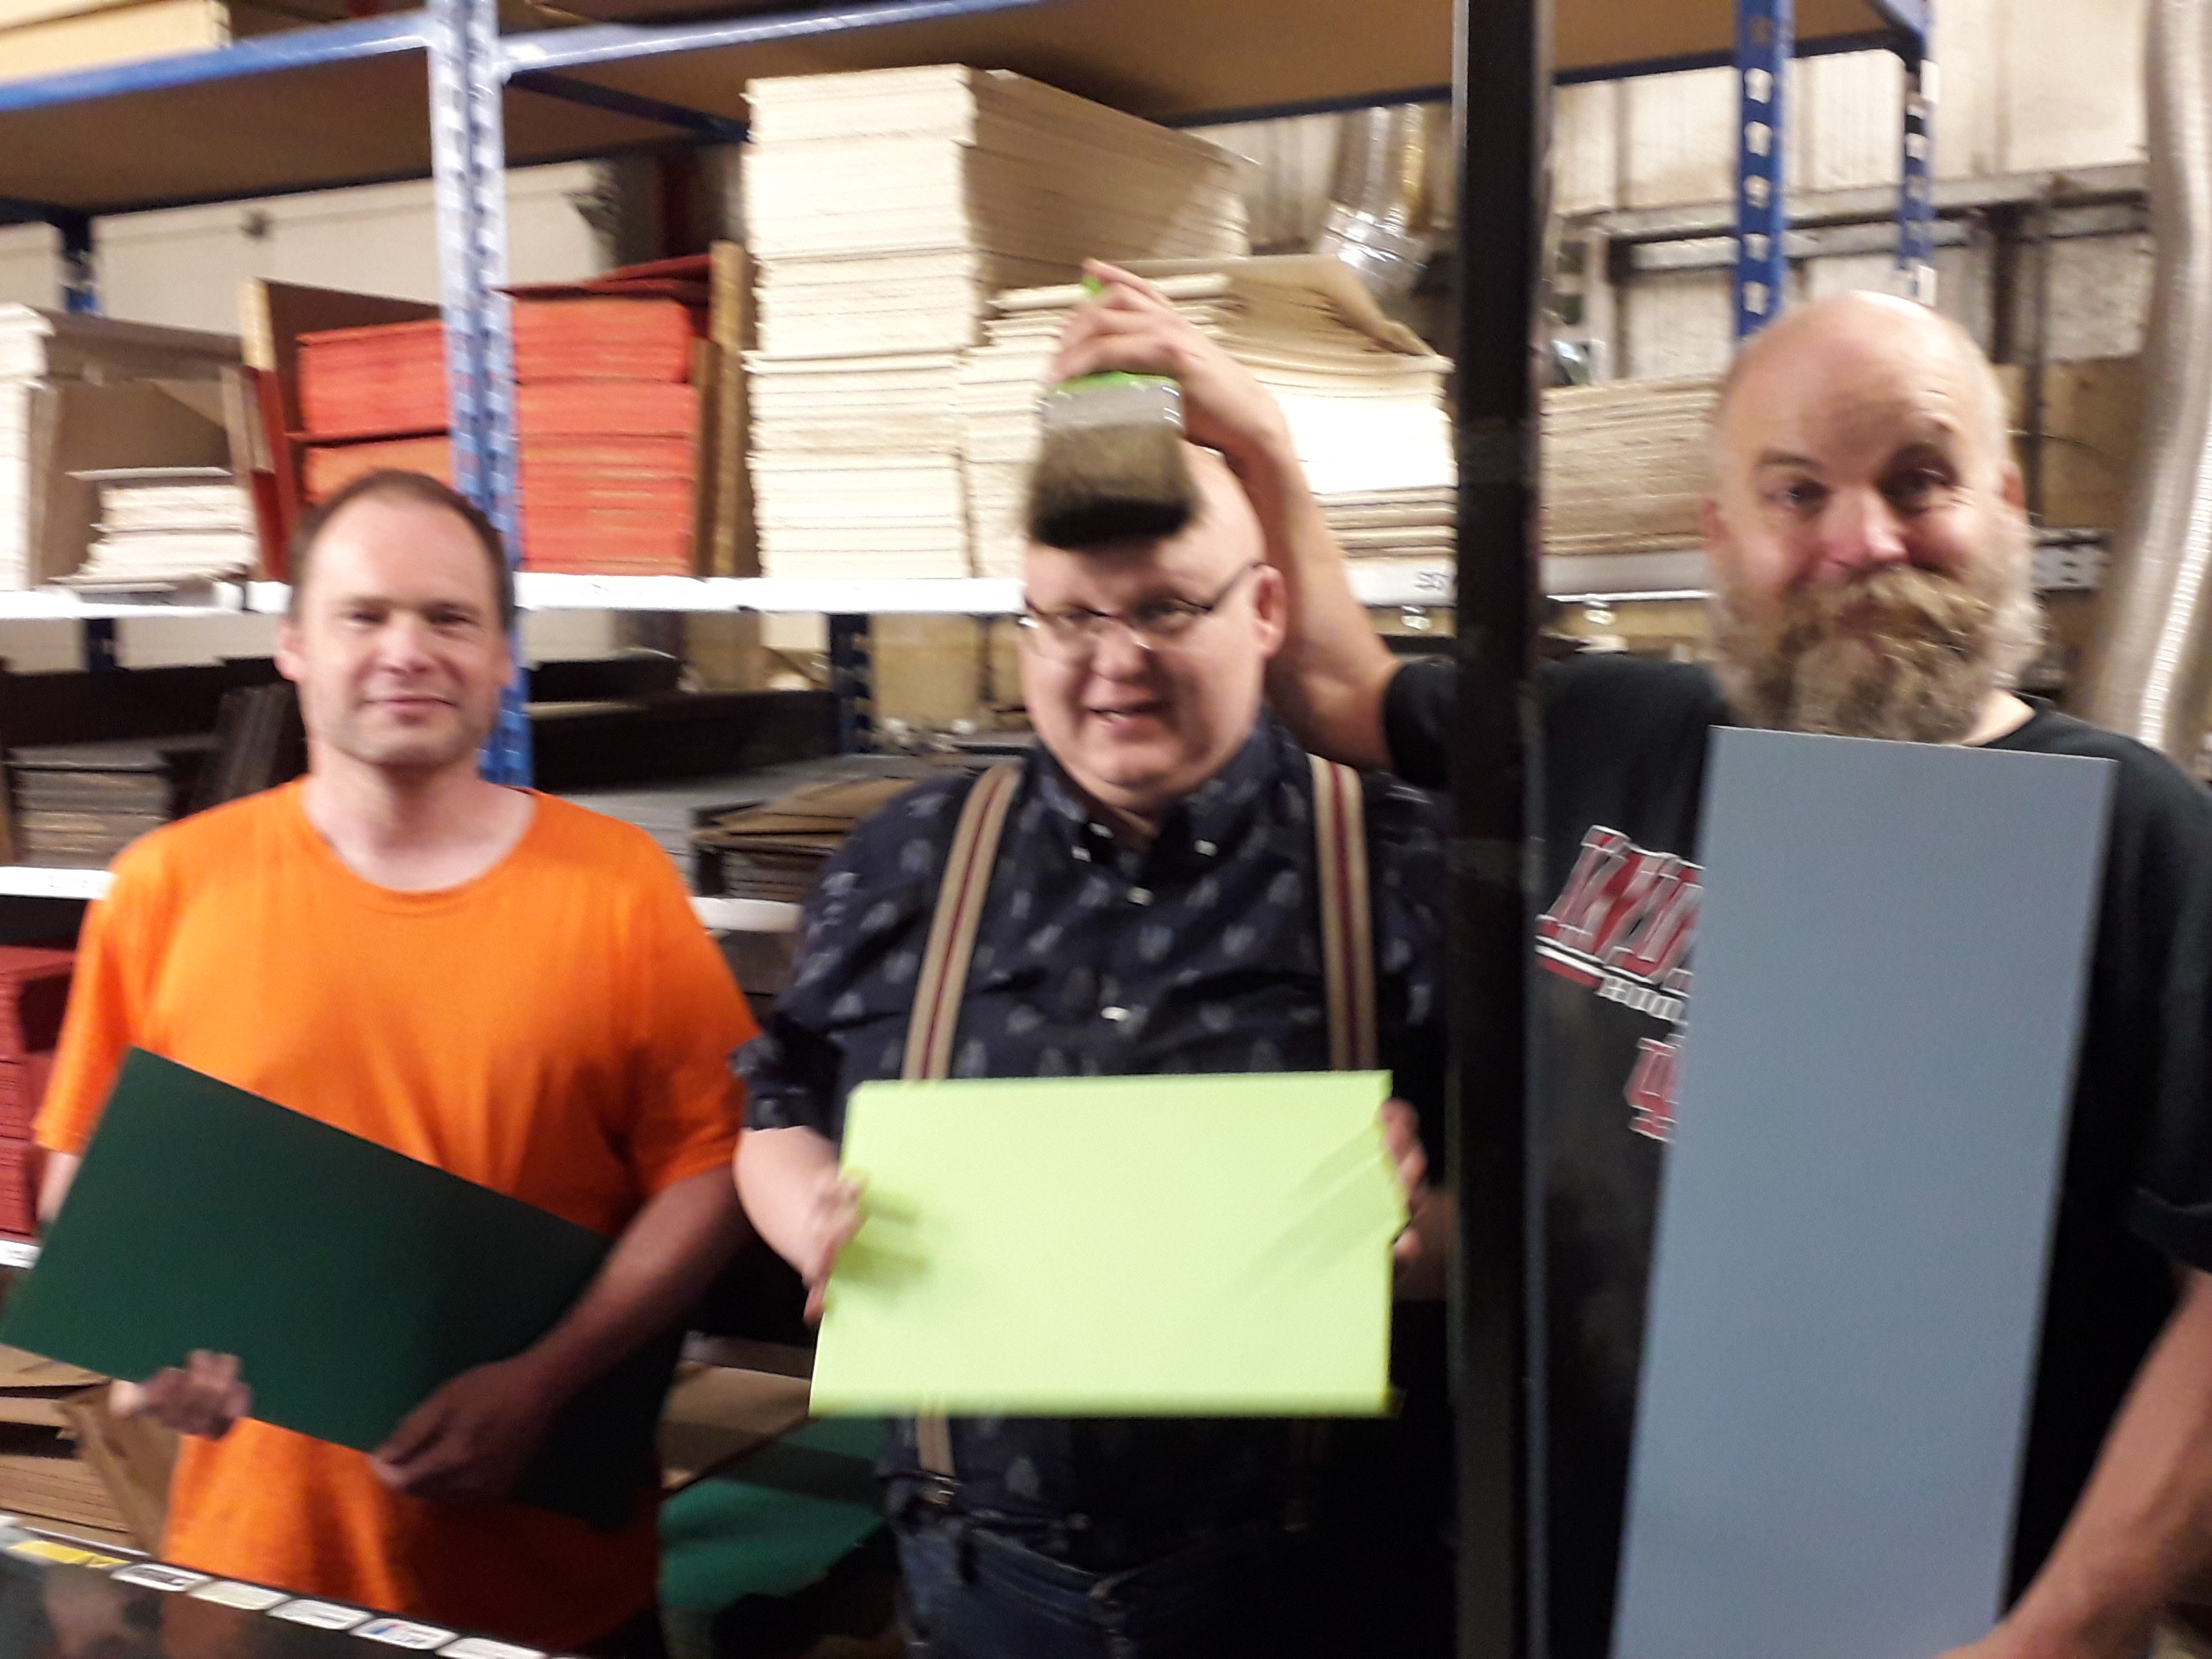
It was great to meet Big Ben Creswell and Cad properly (I met them briefly whilst they were filming with Justin at the On Table Top Visitor Center in Coleraine). They invited me down for a tour of their ‘Factorum Facilities’, which are impressive, but have several seriously impressive revamps and additions (more on that later).
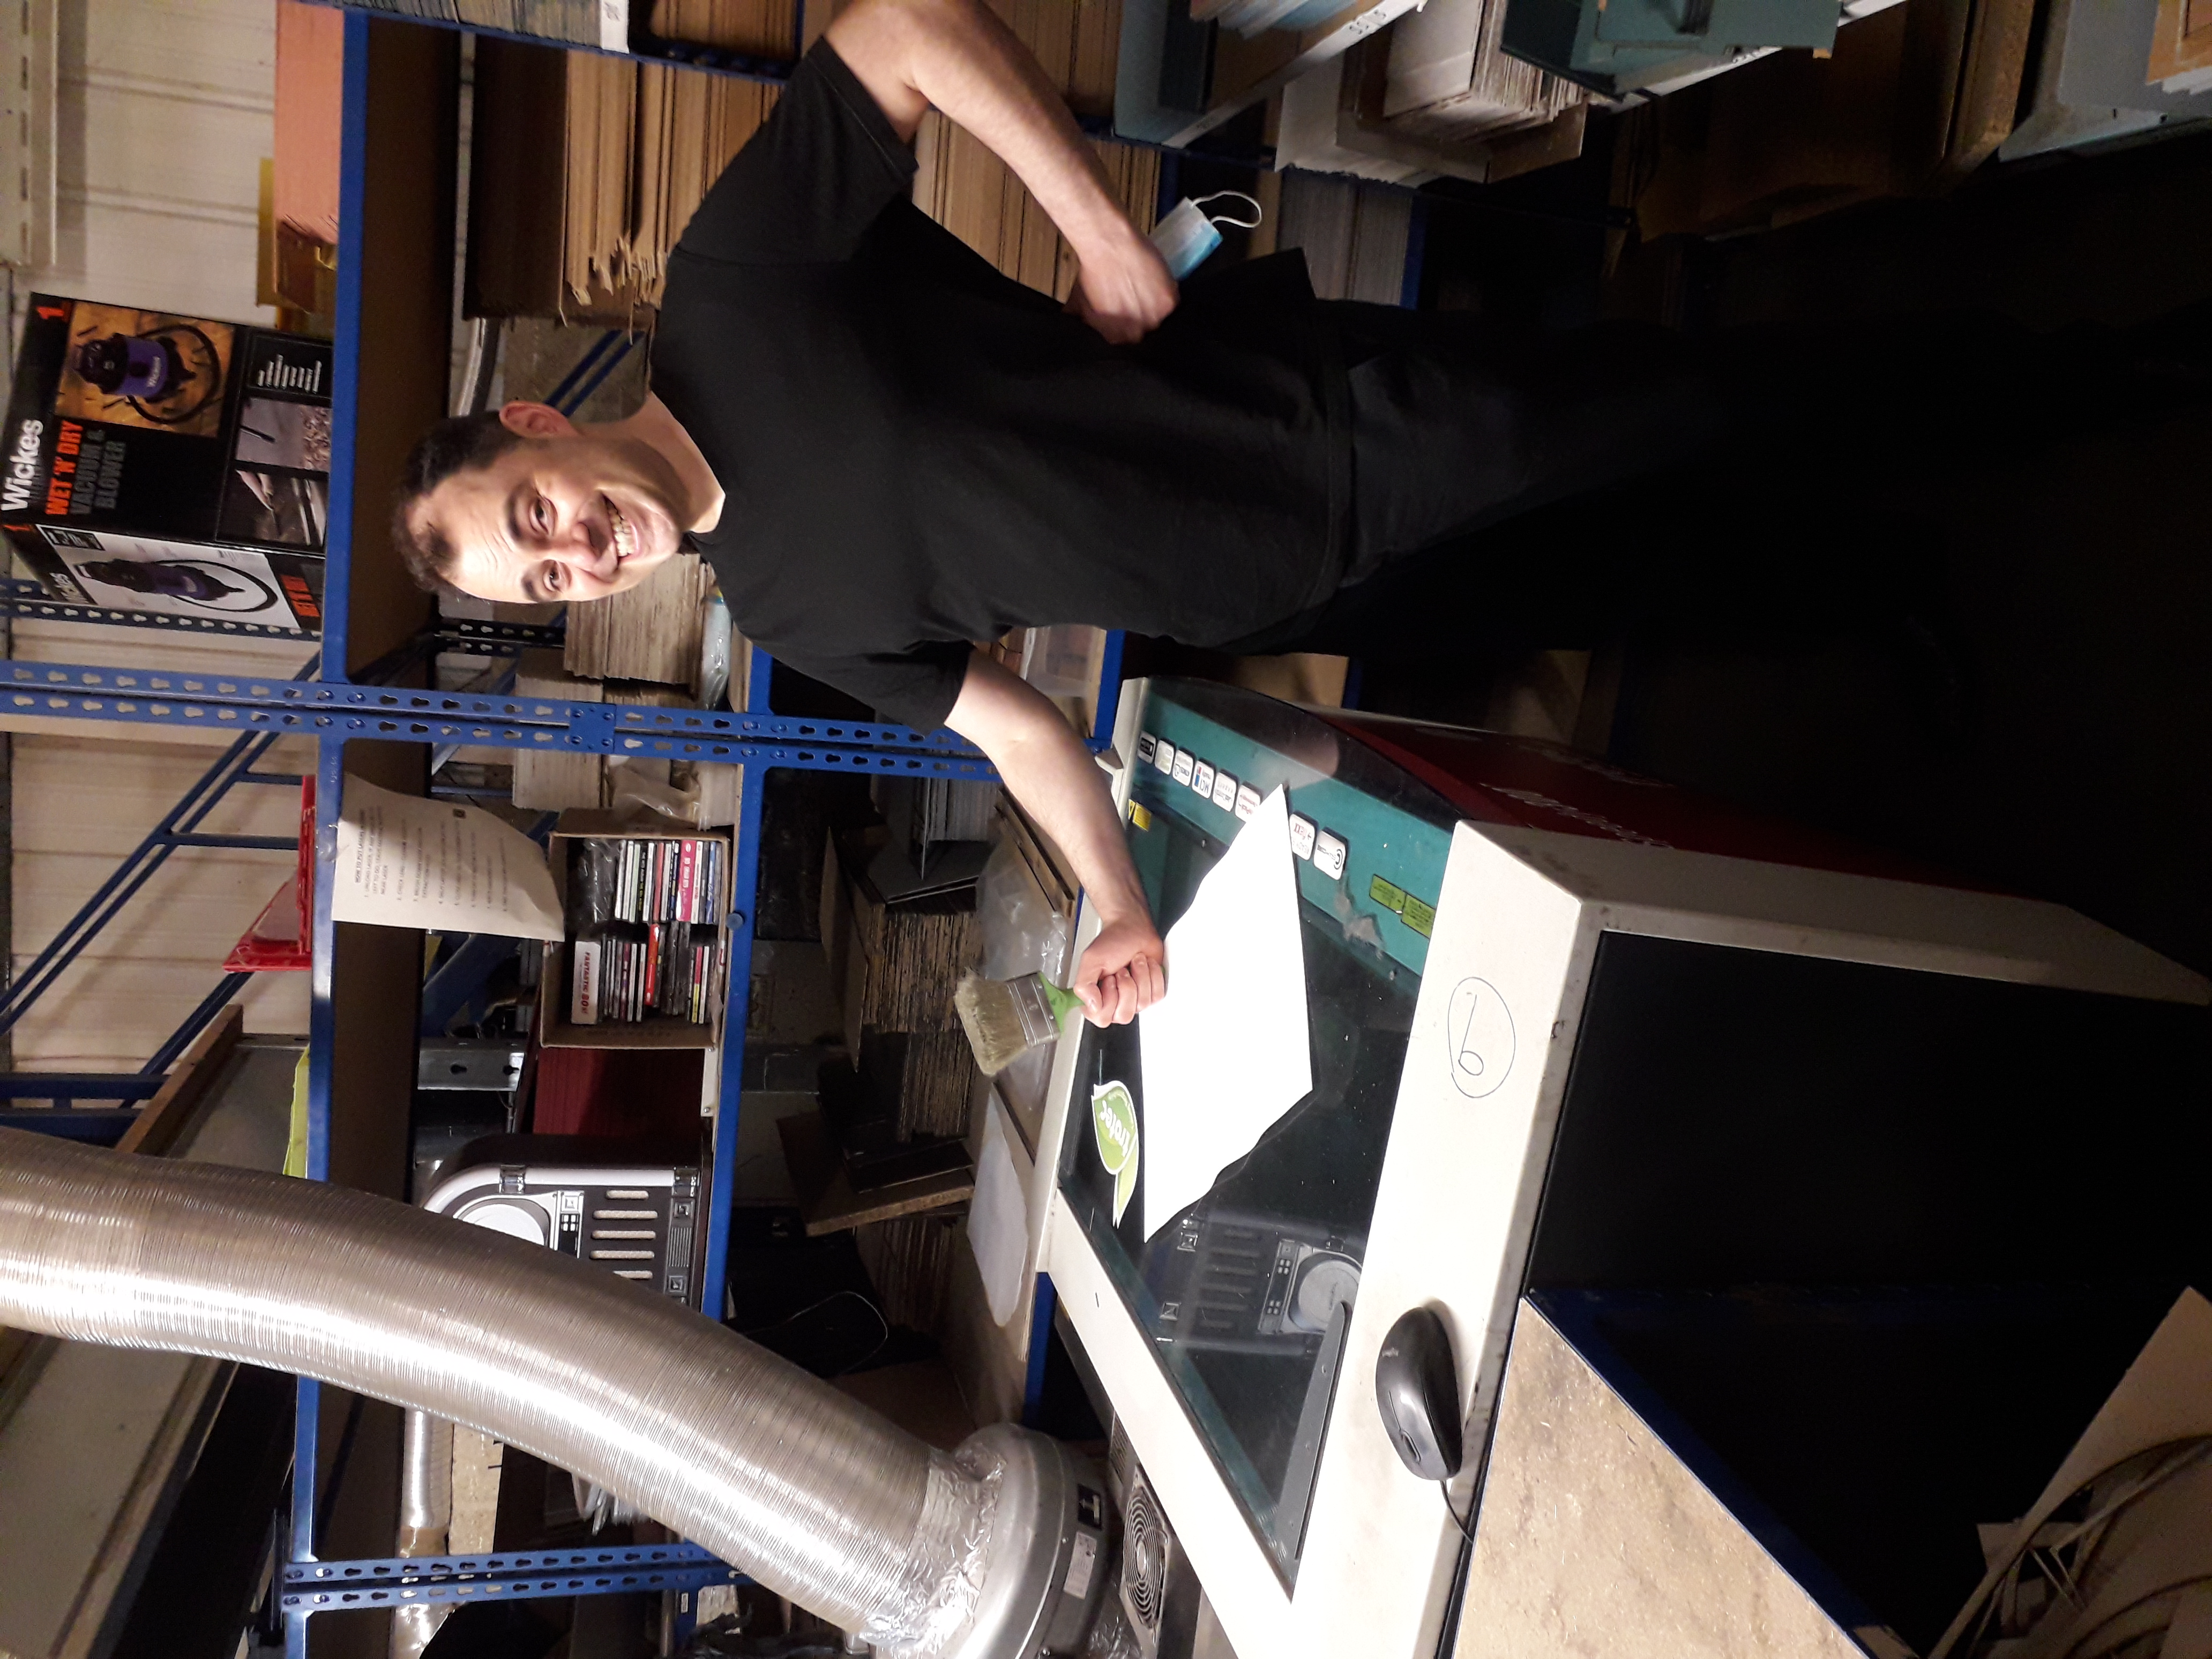
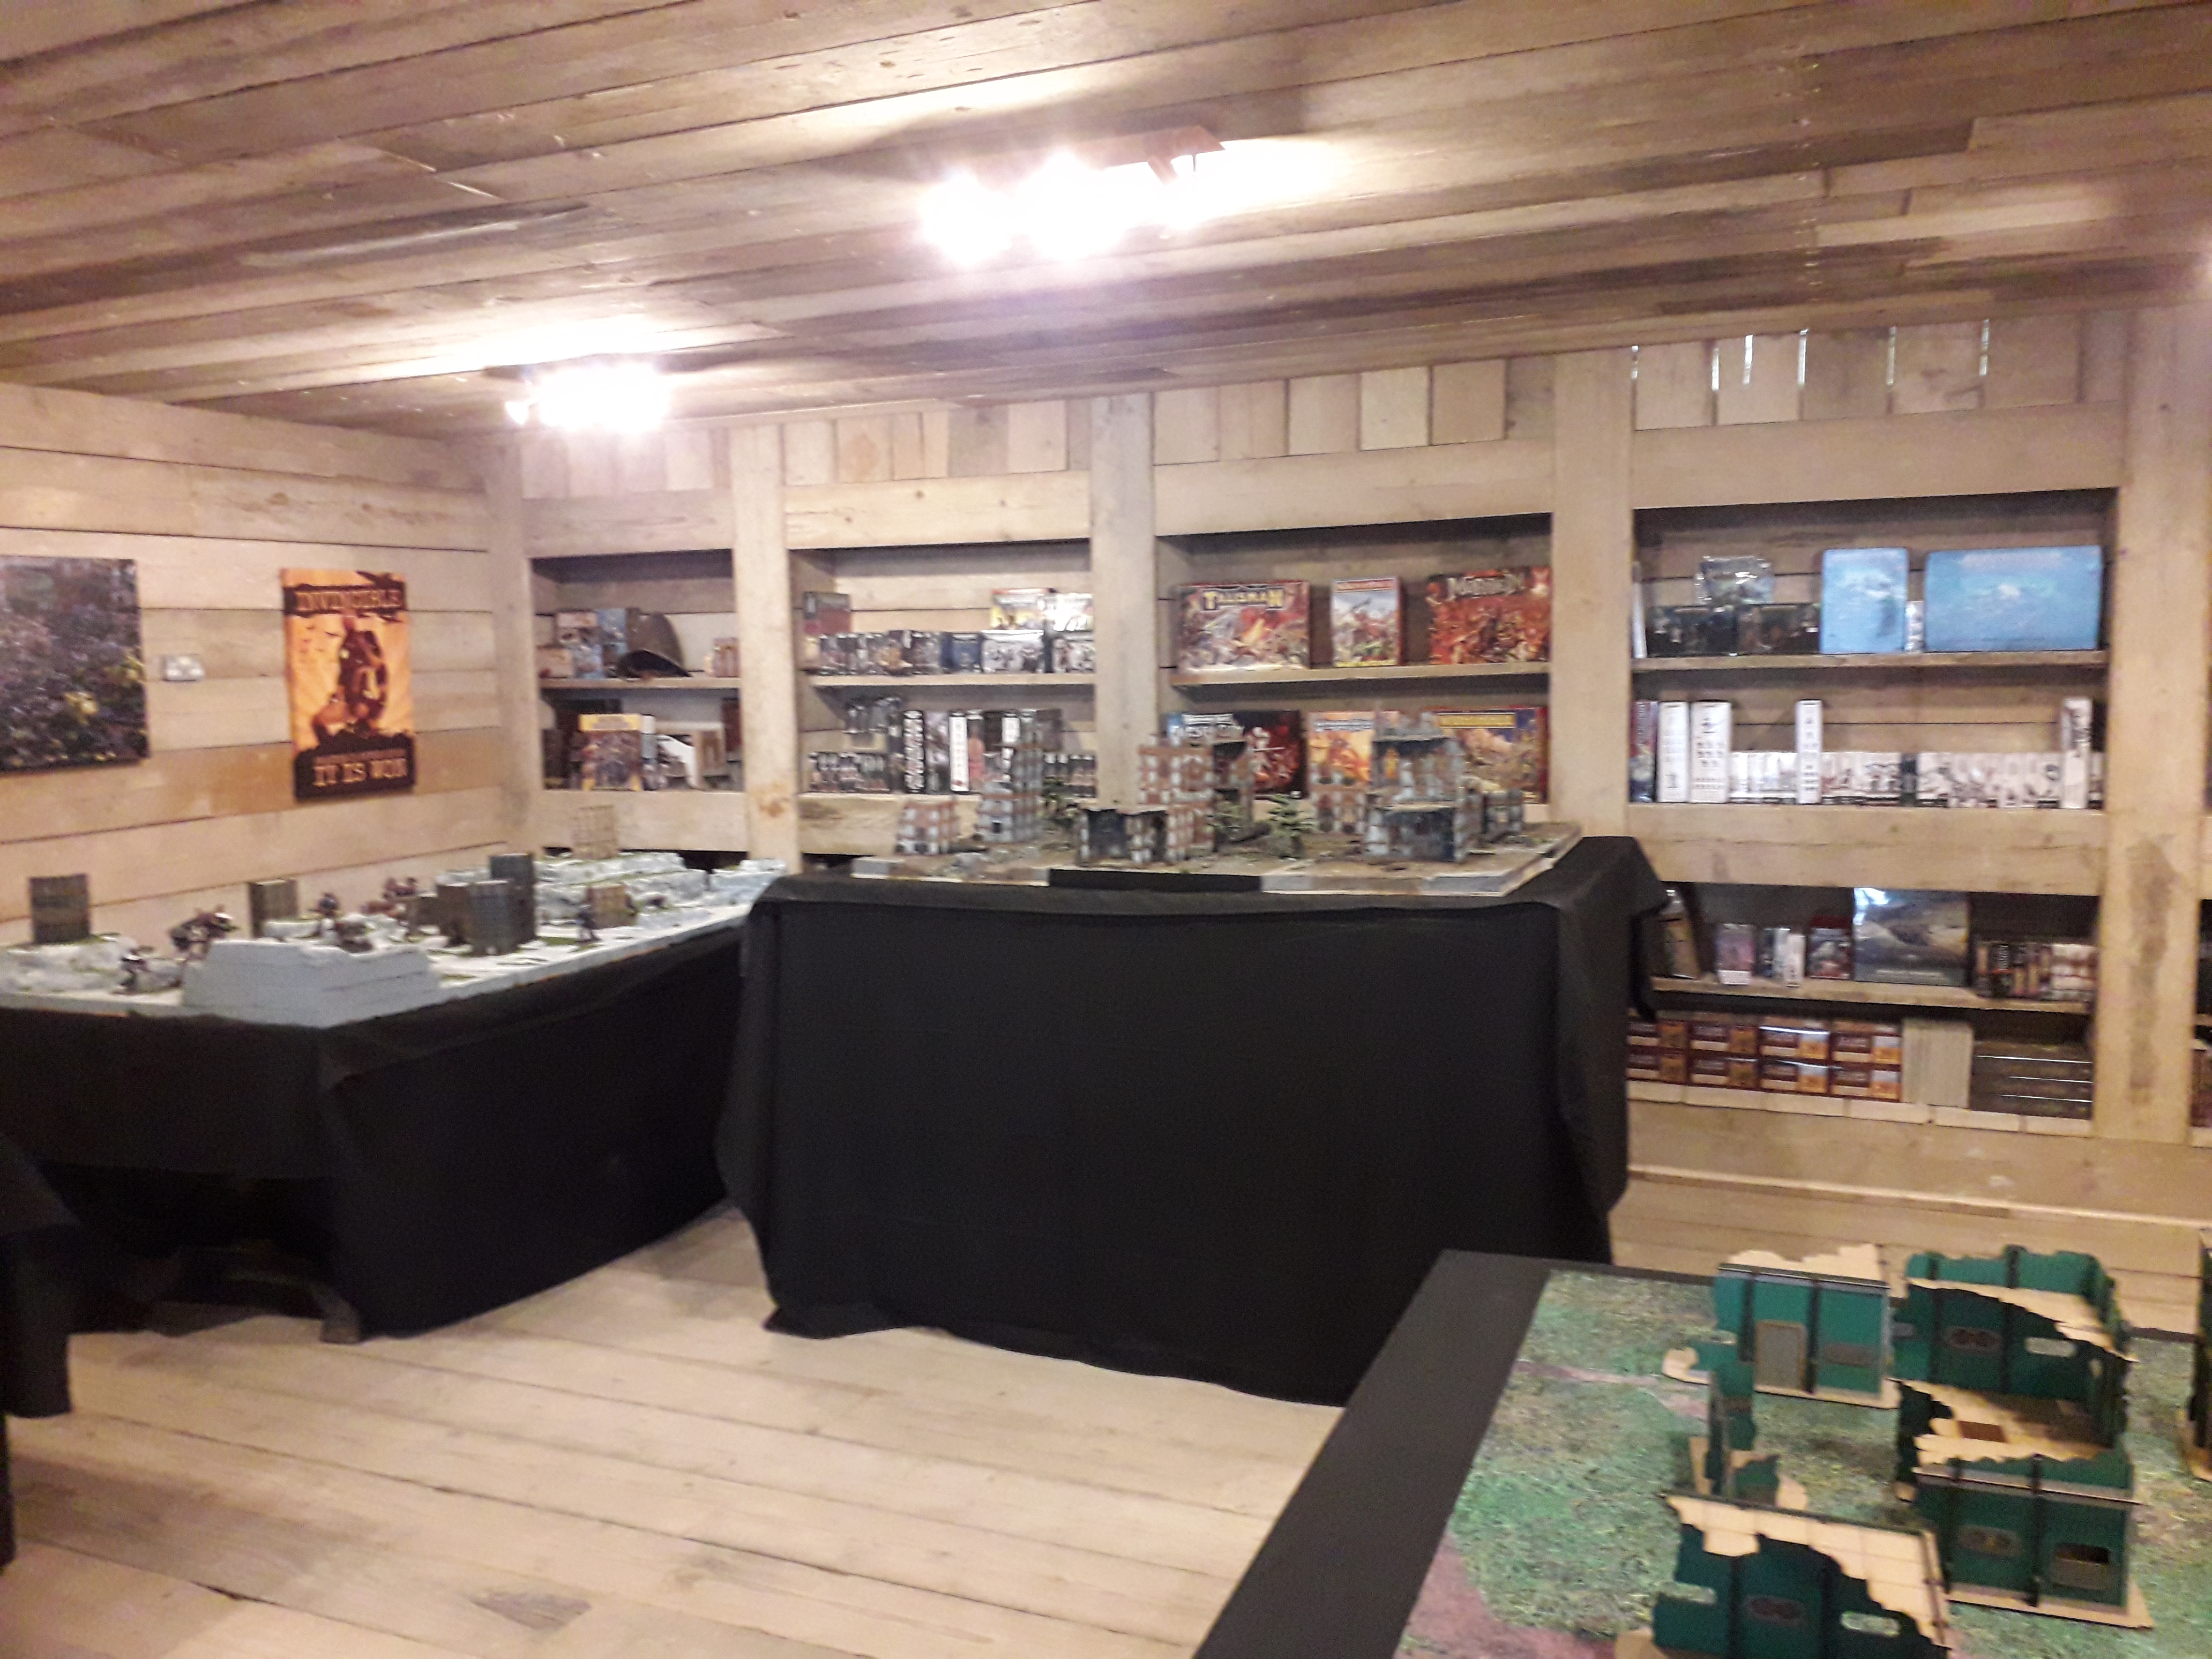
I have not been this excited since I went to Toys R Us as an 10 year old with £50 in 1989, and yes, I came away with er, 1 or 2 new acquisitions! Many of which are hopefully going to be featured in this project.
Adding Strength to models Bonding Resin to Resin Components with Super Glue.
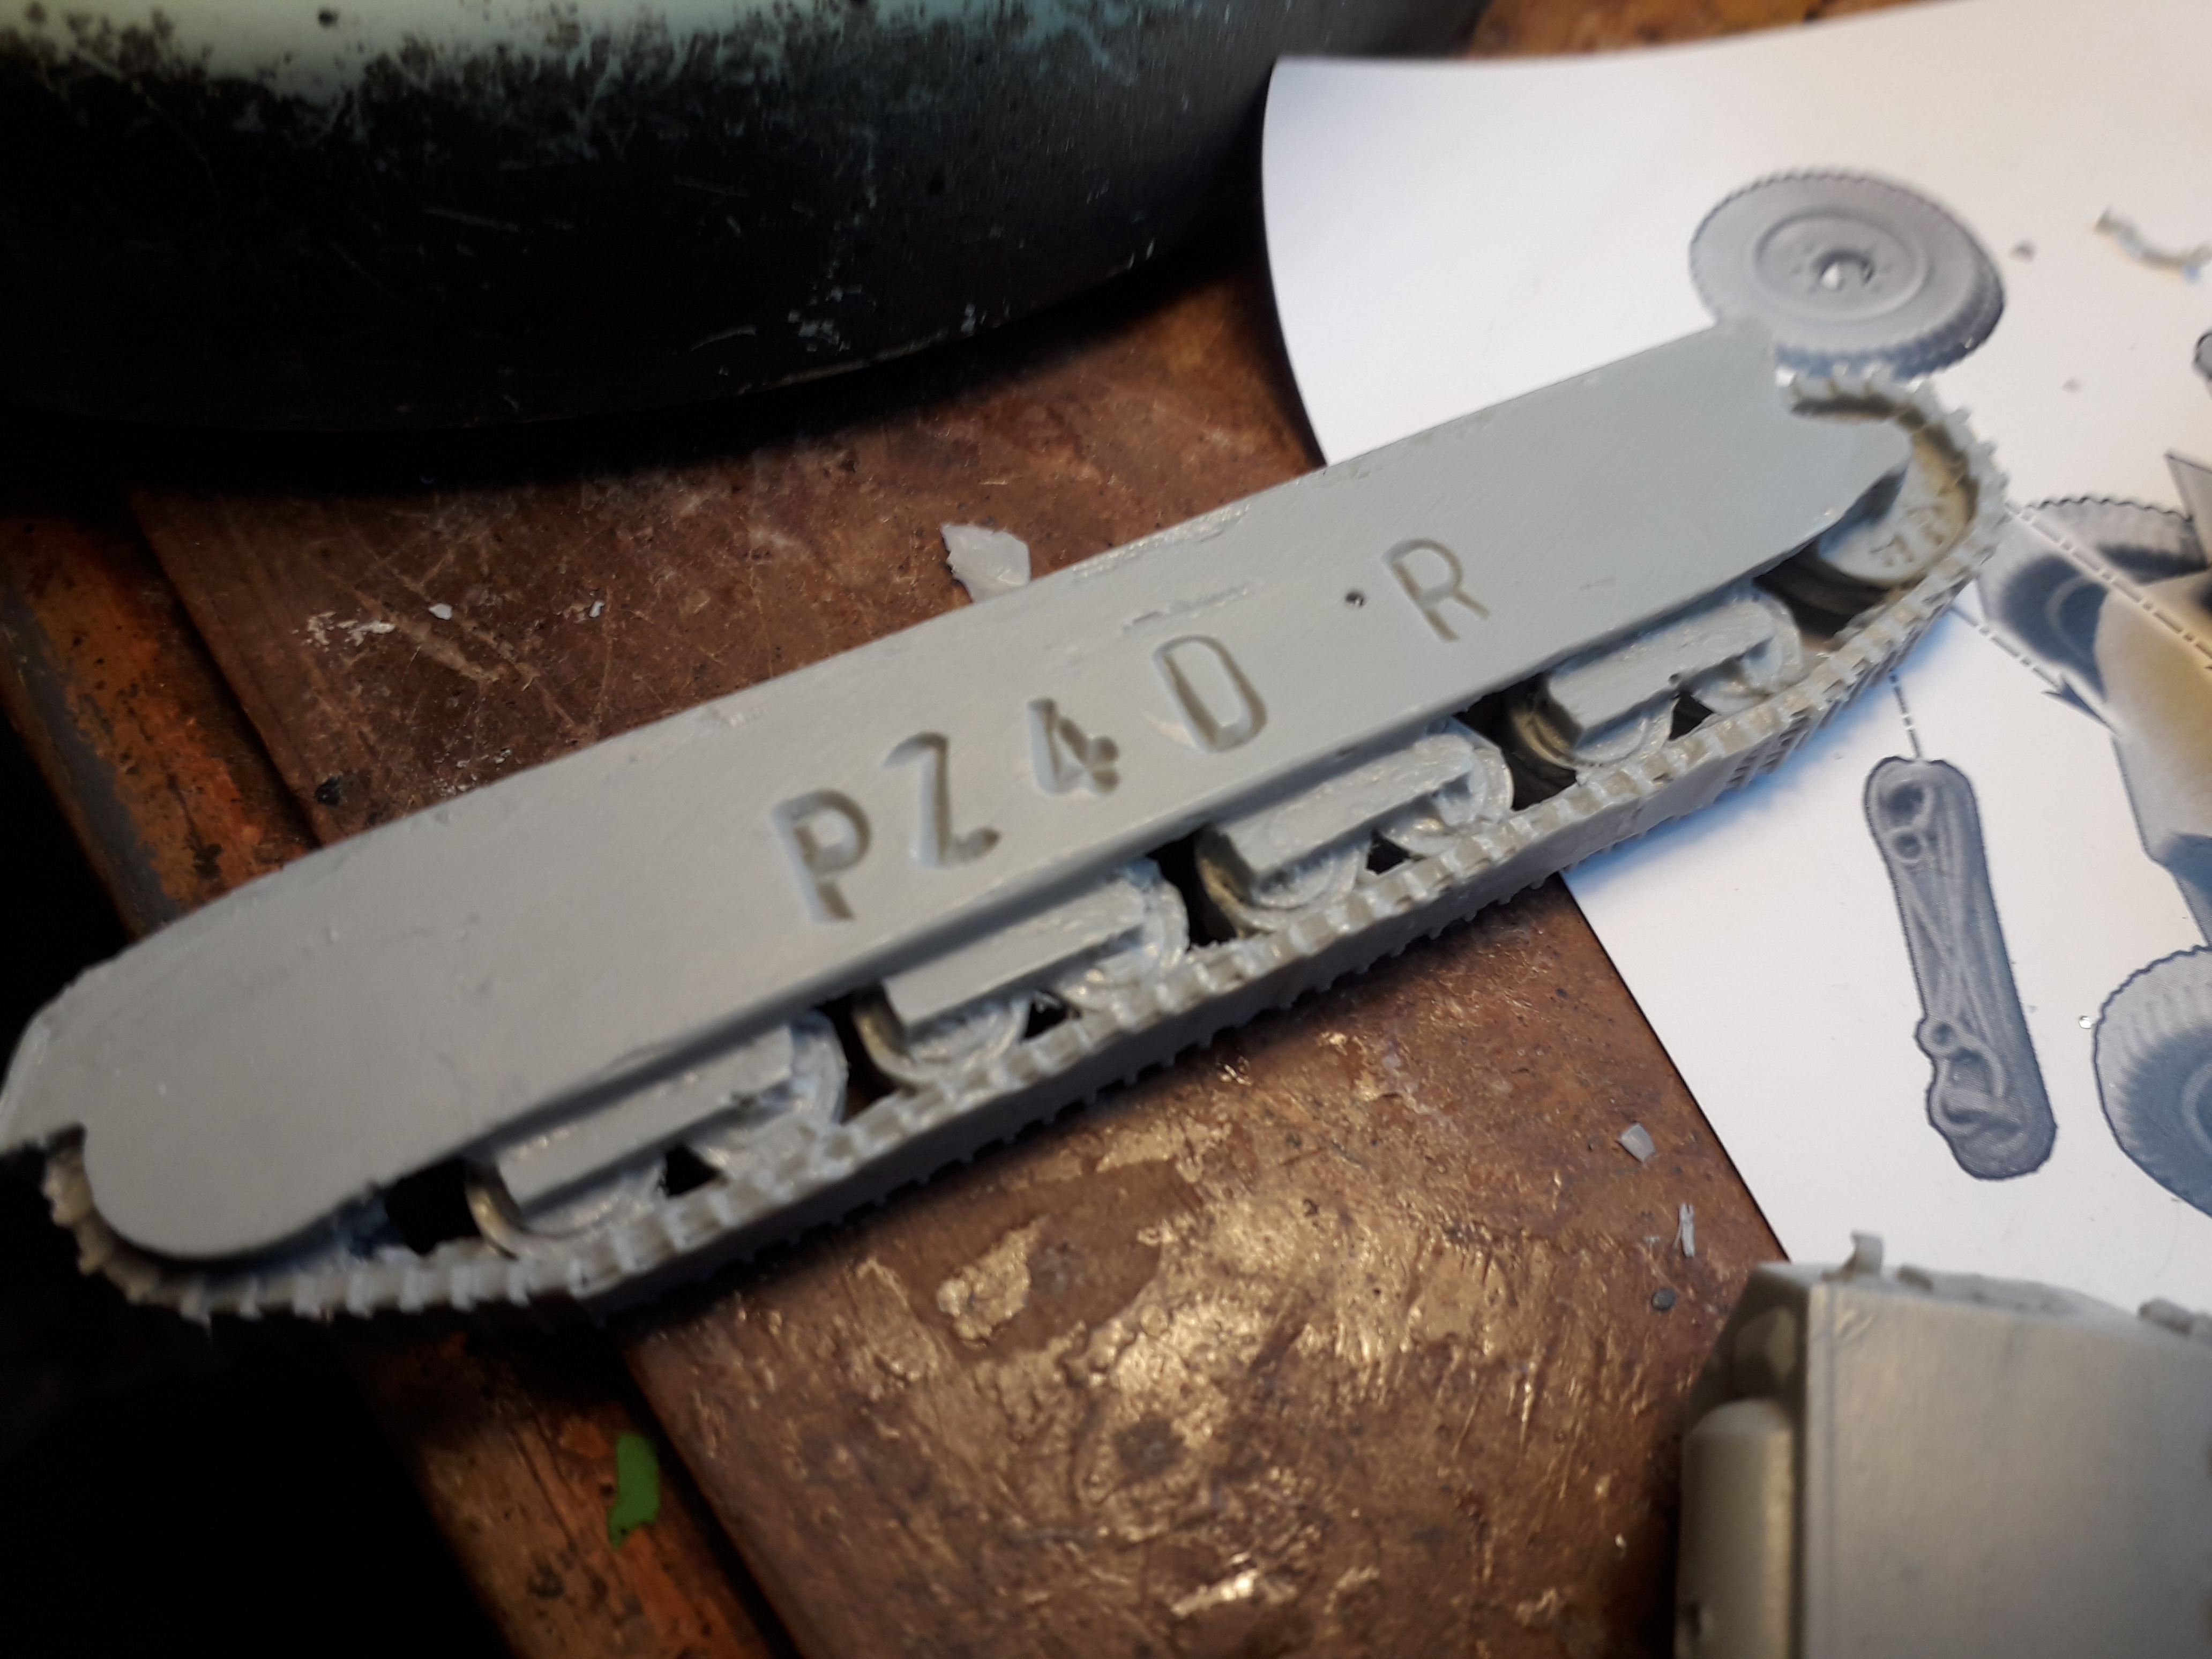
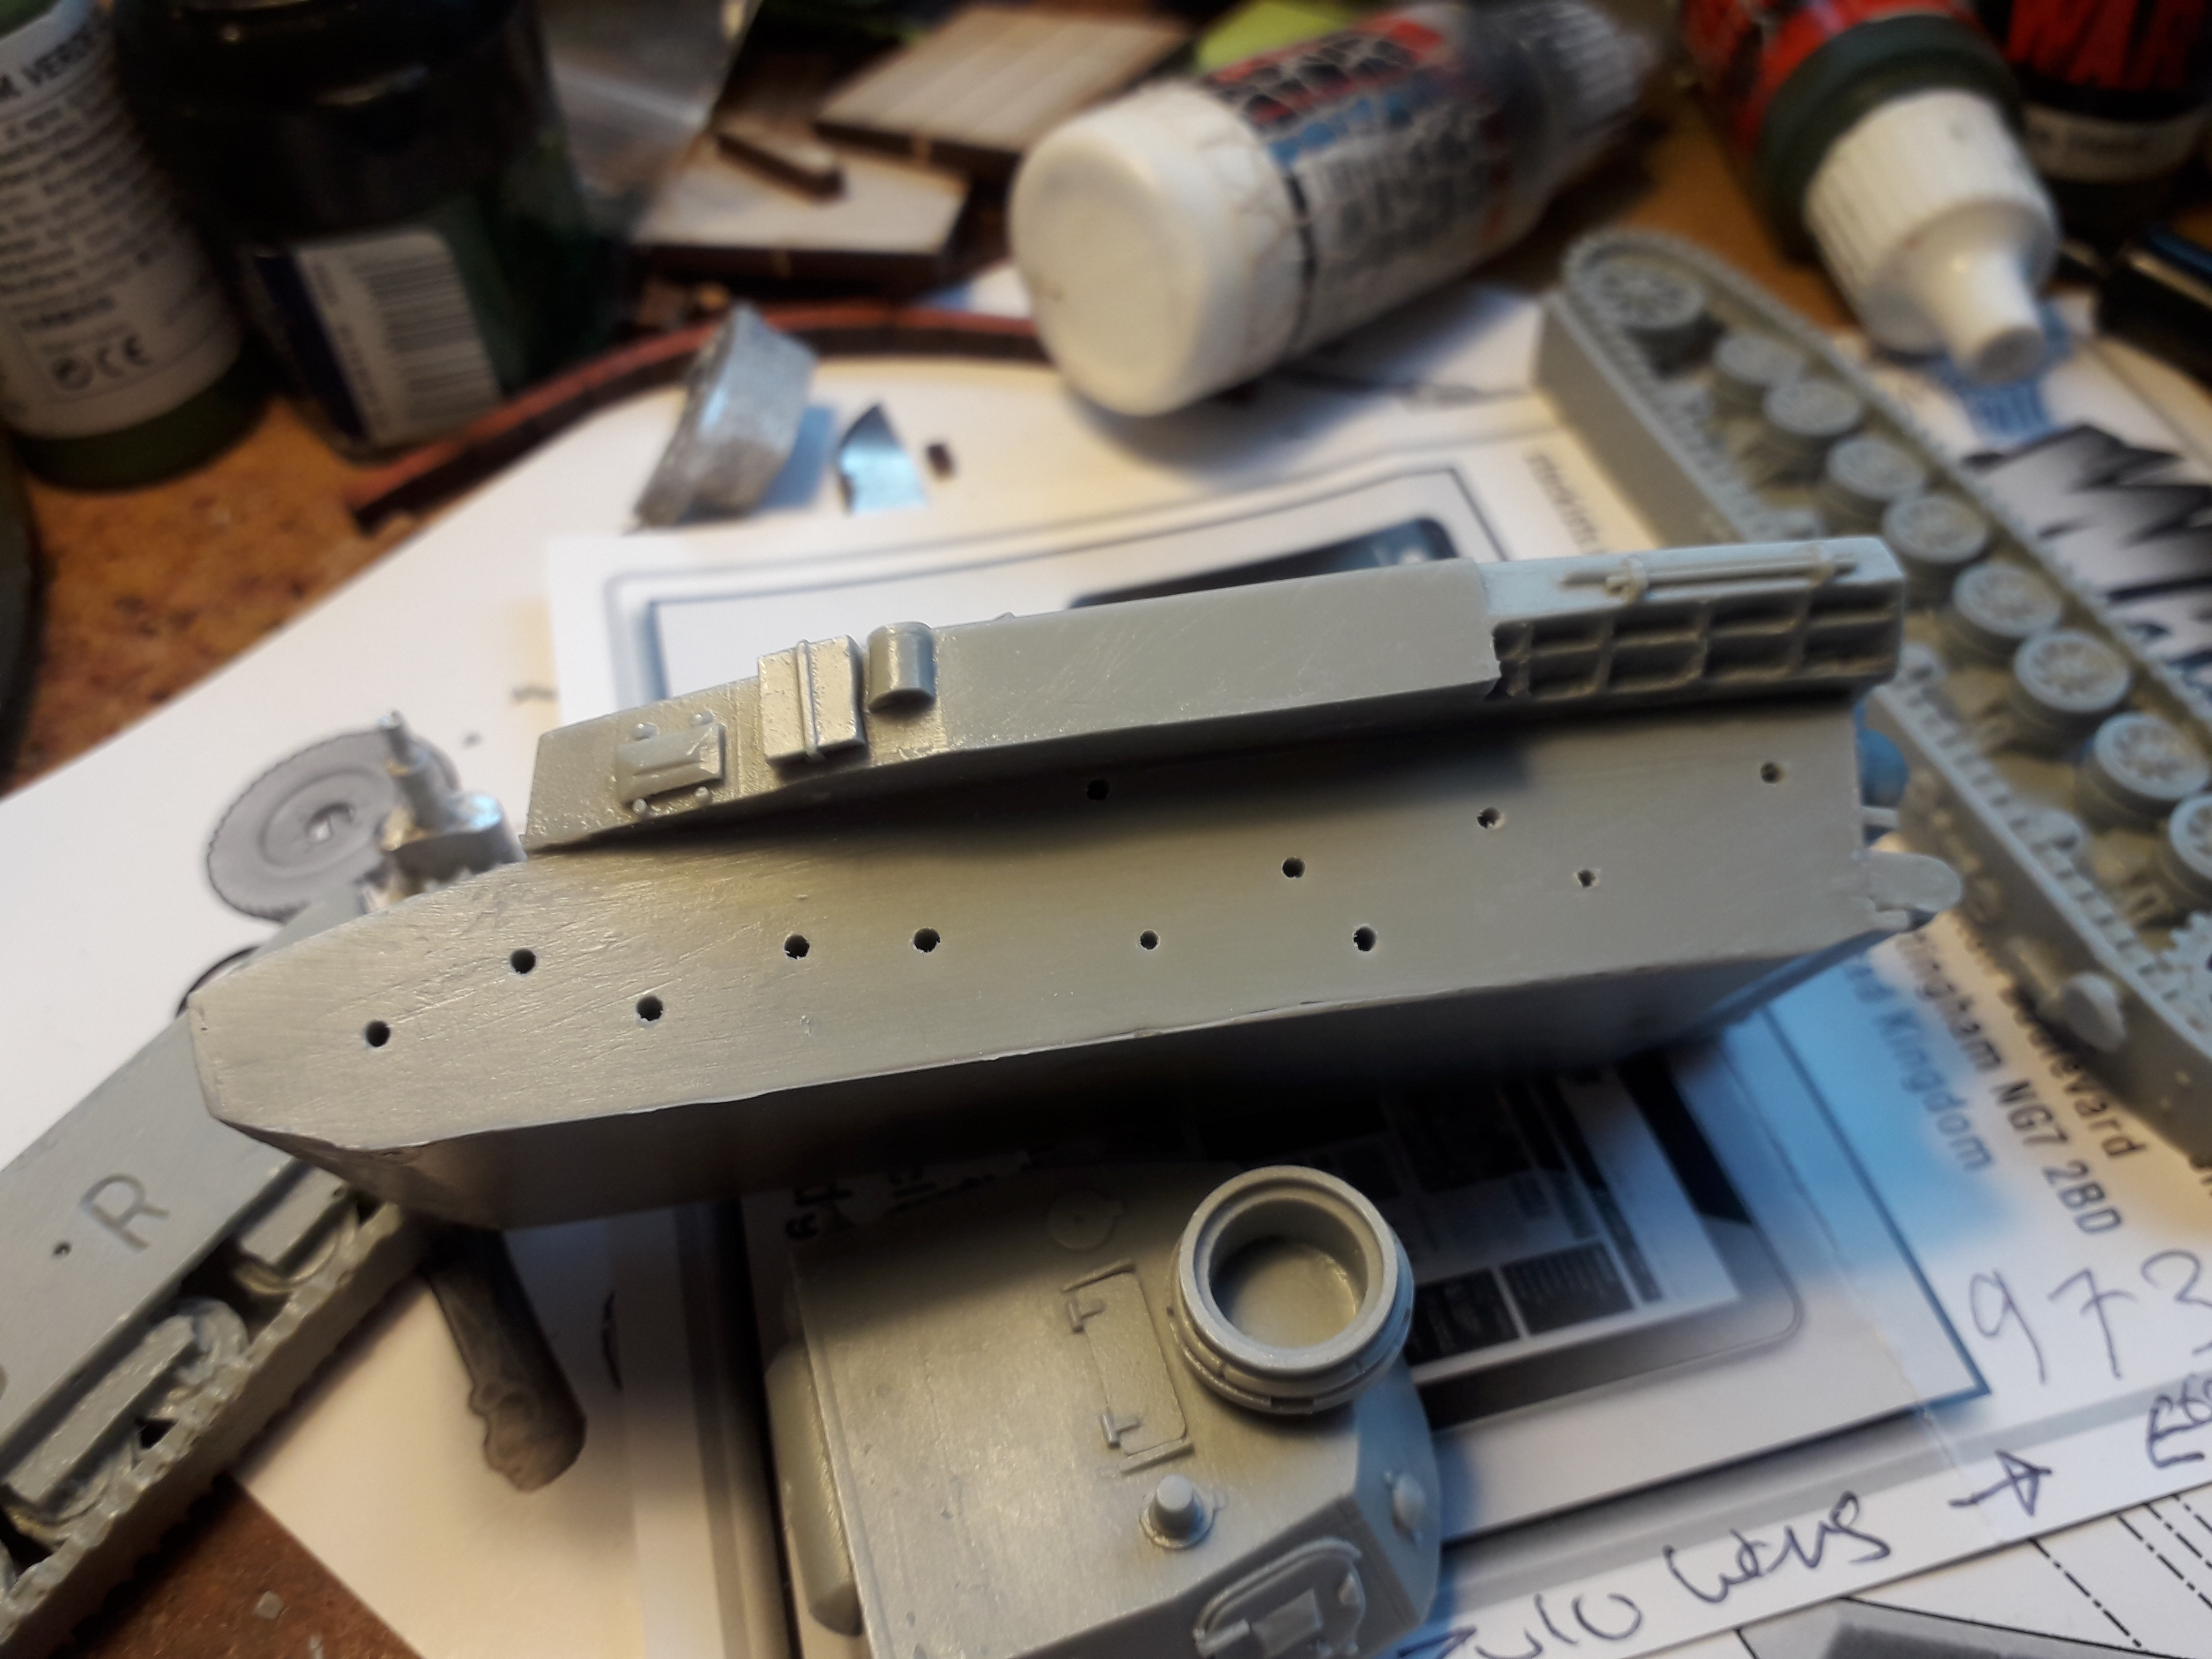
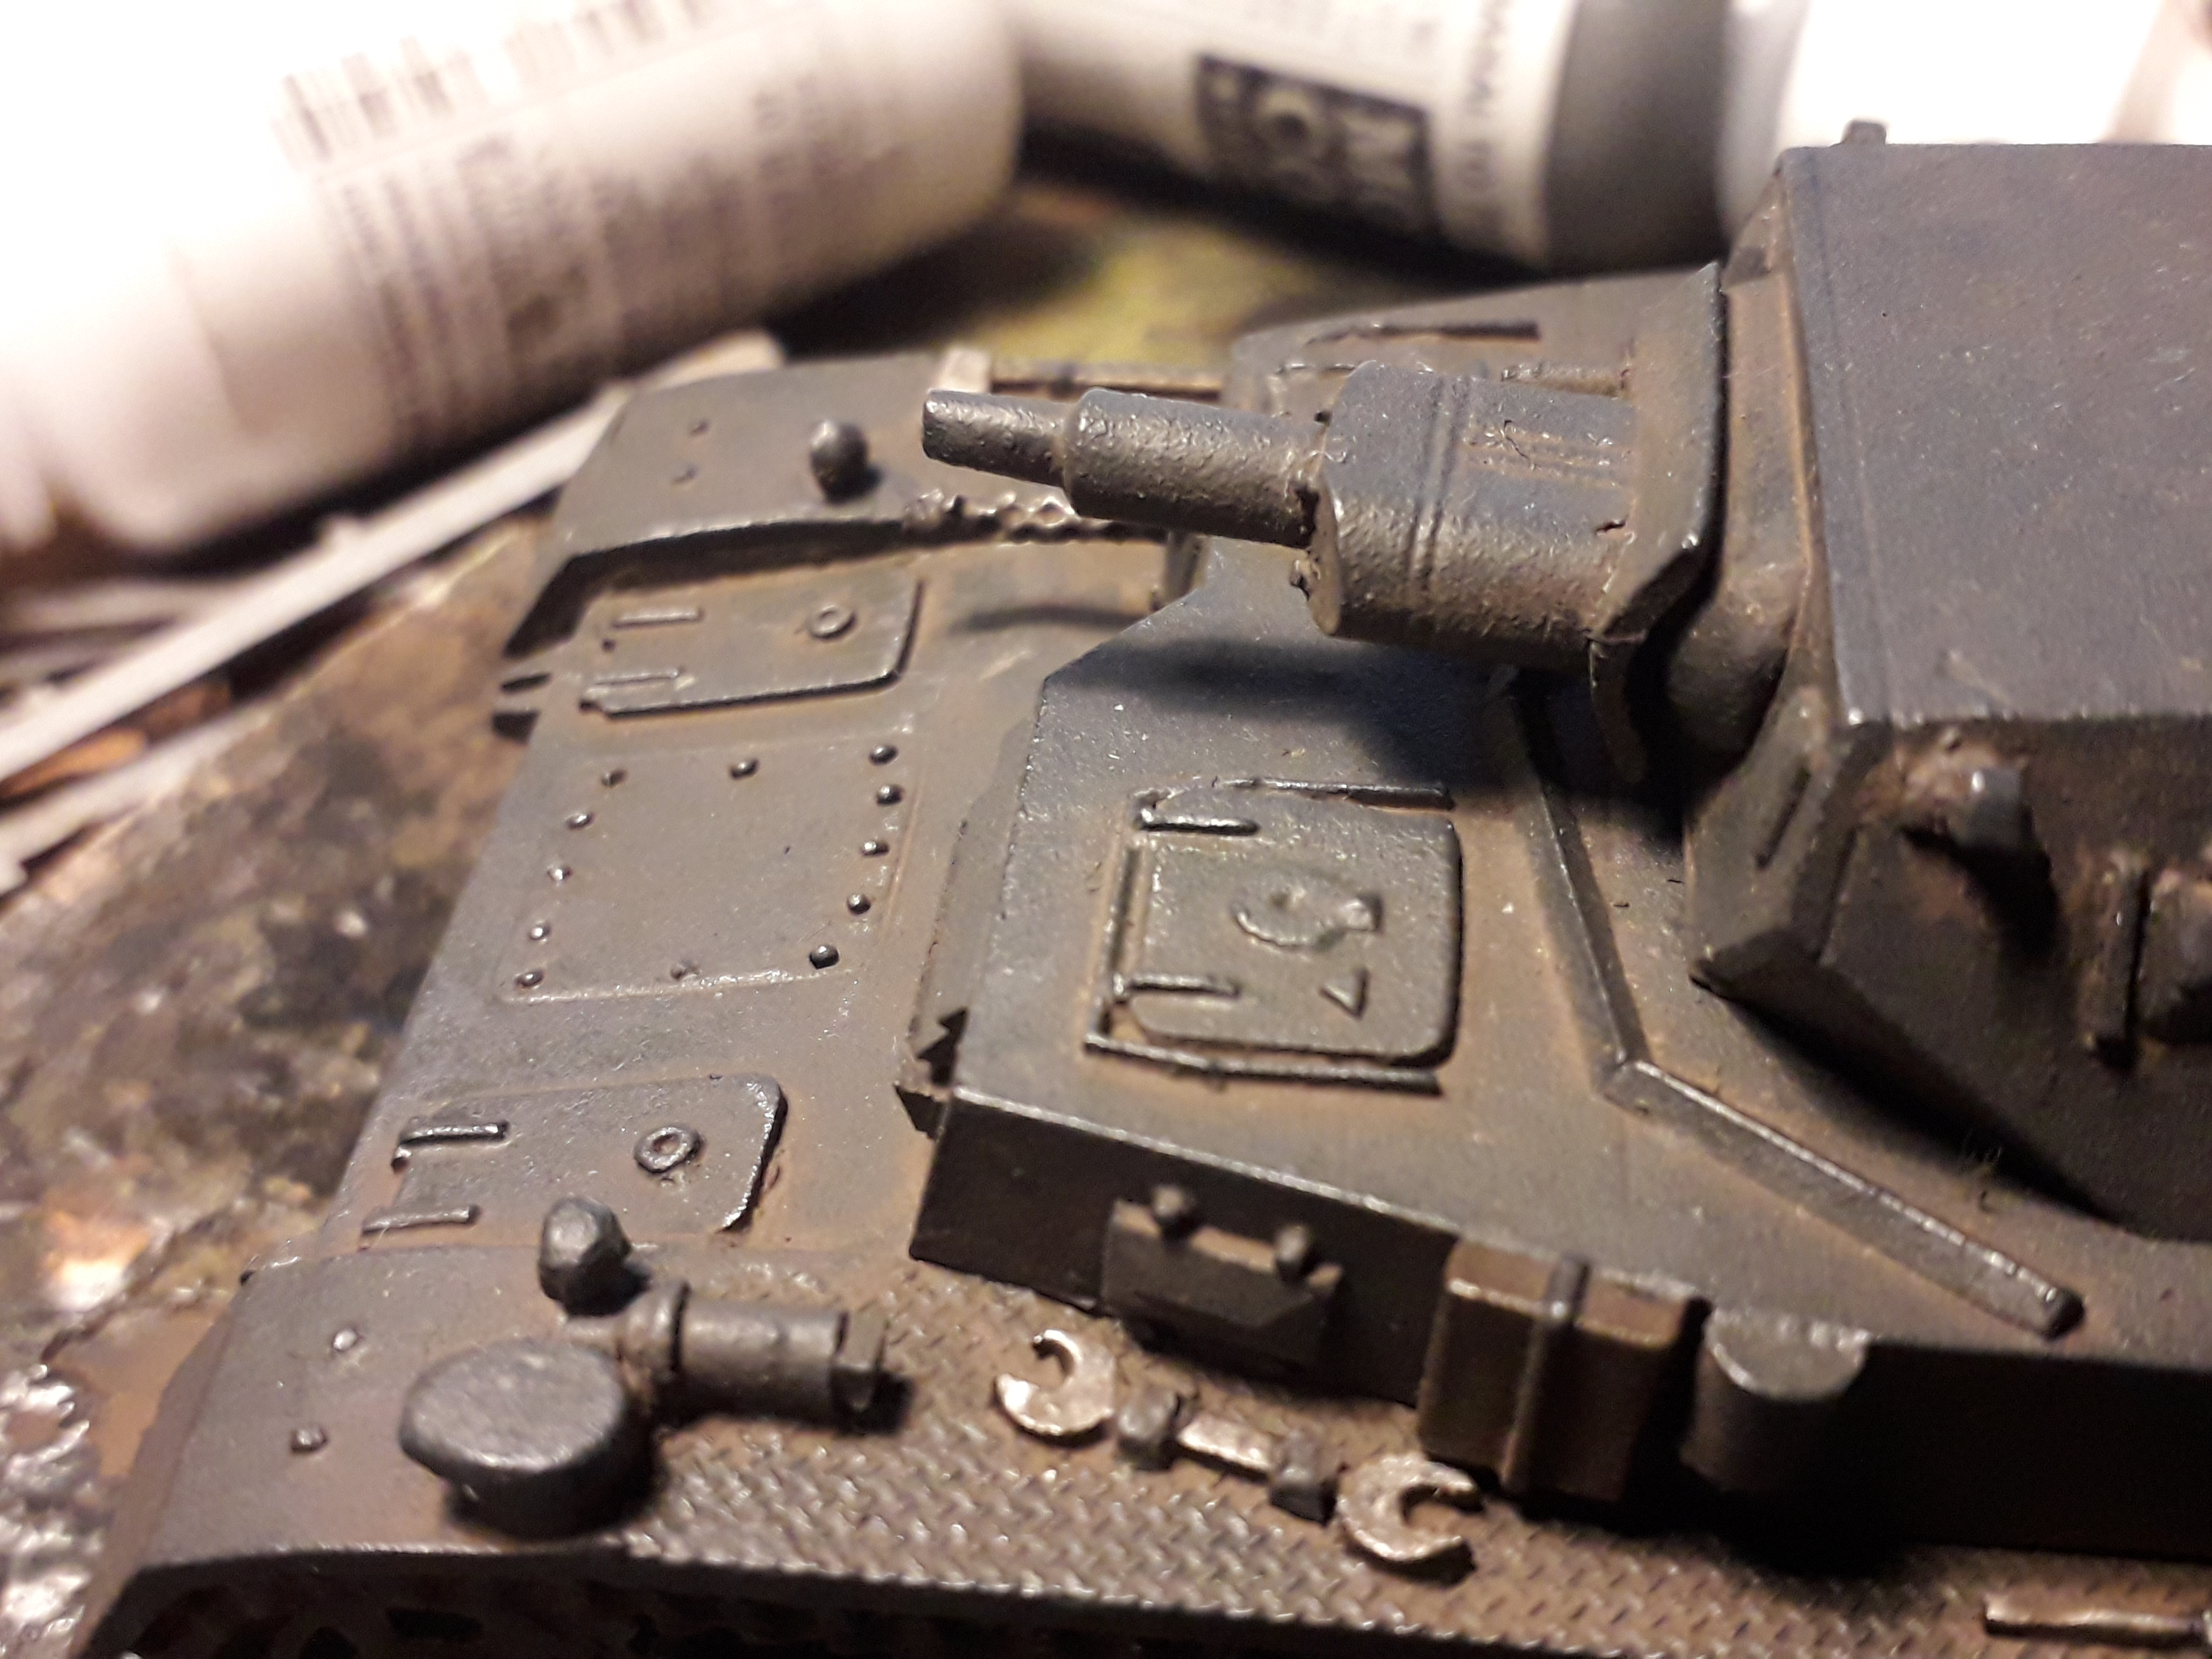
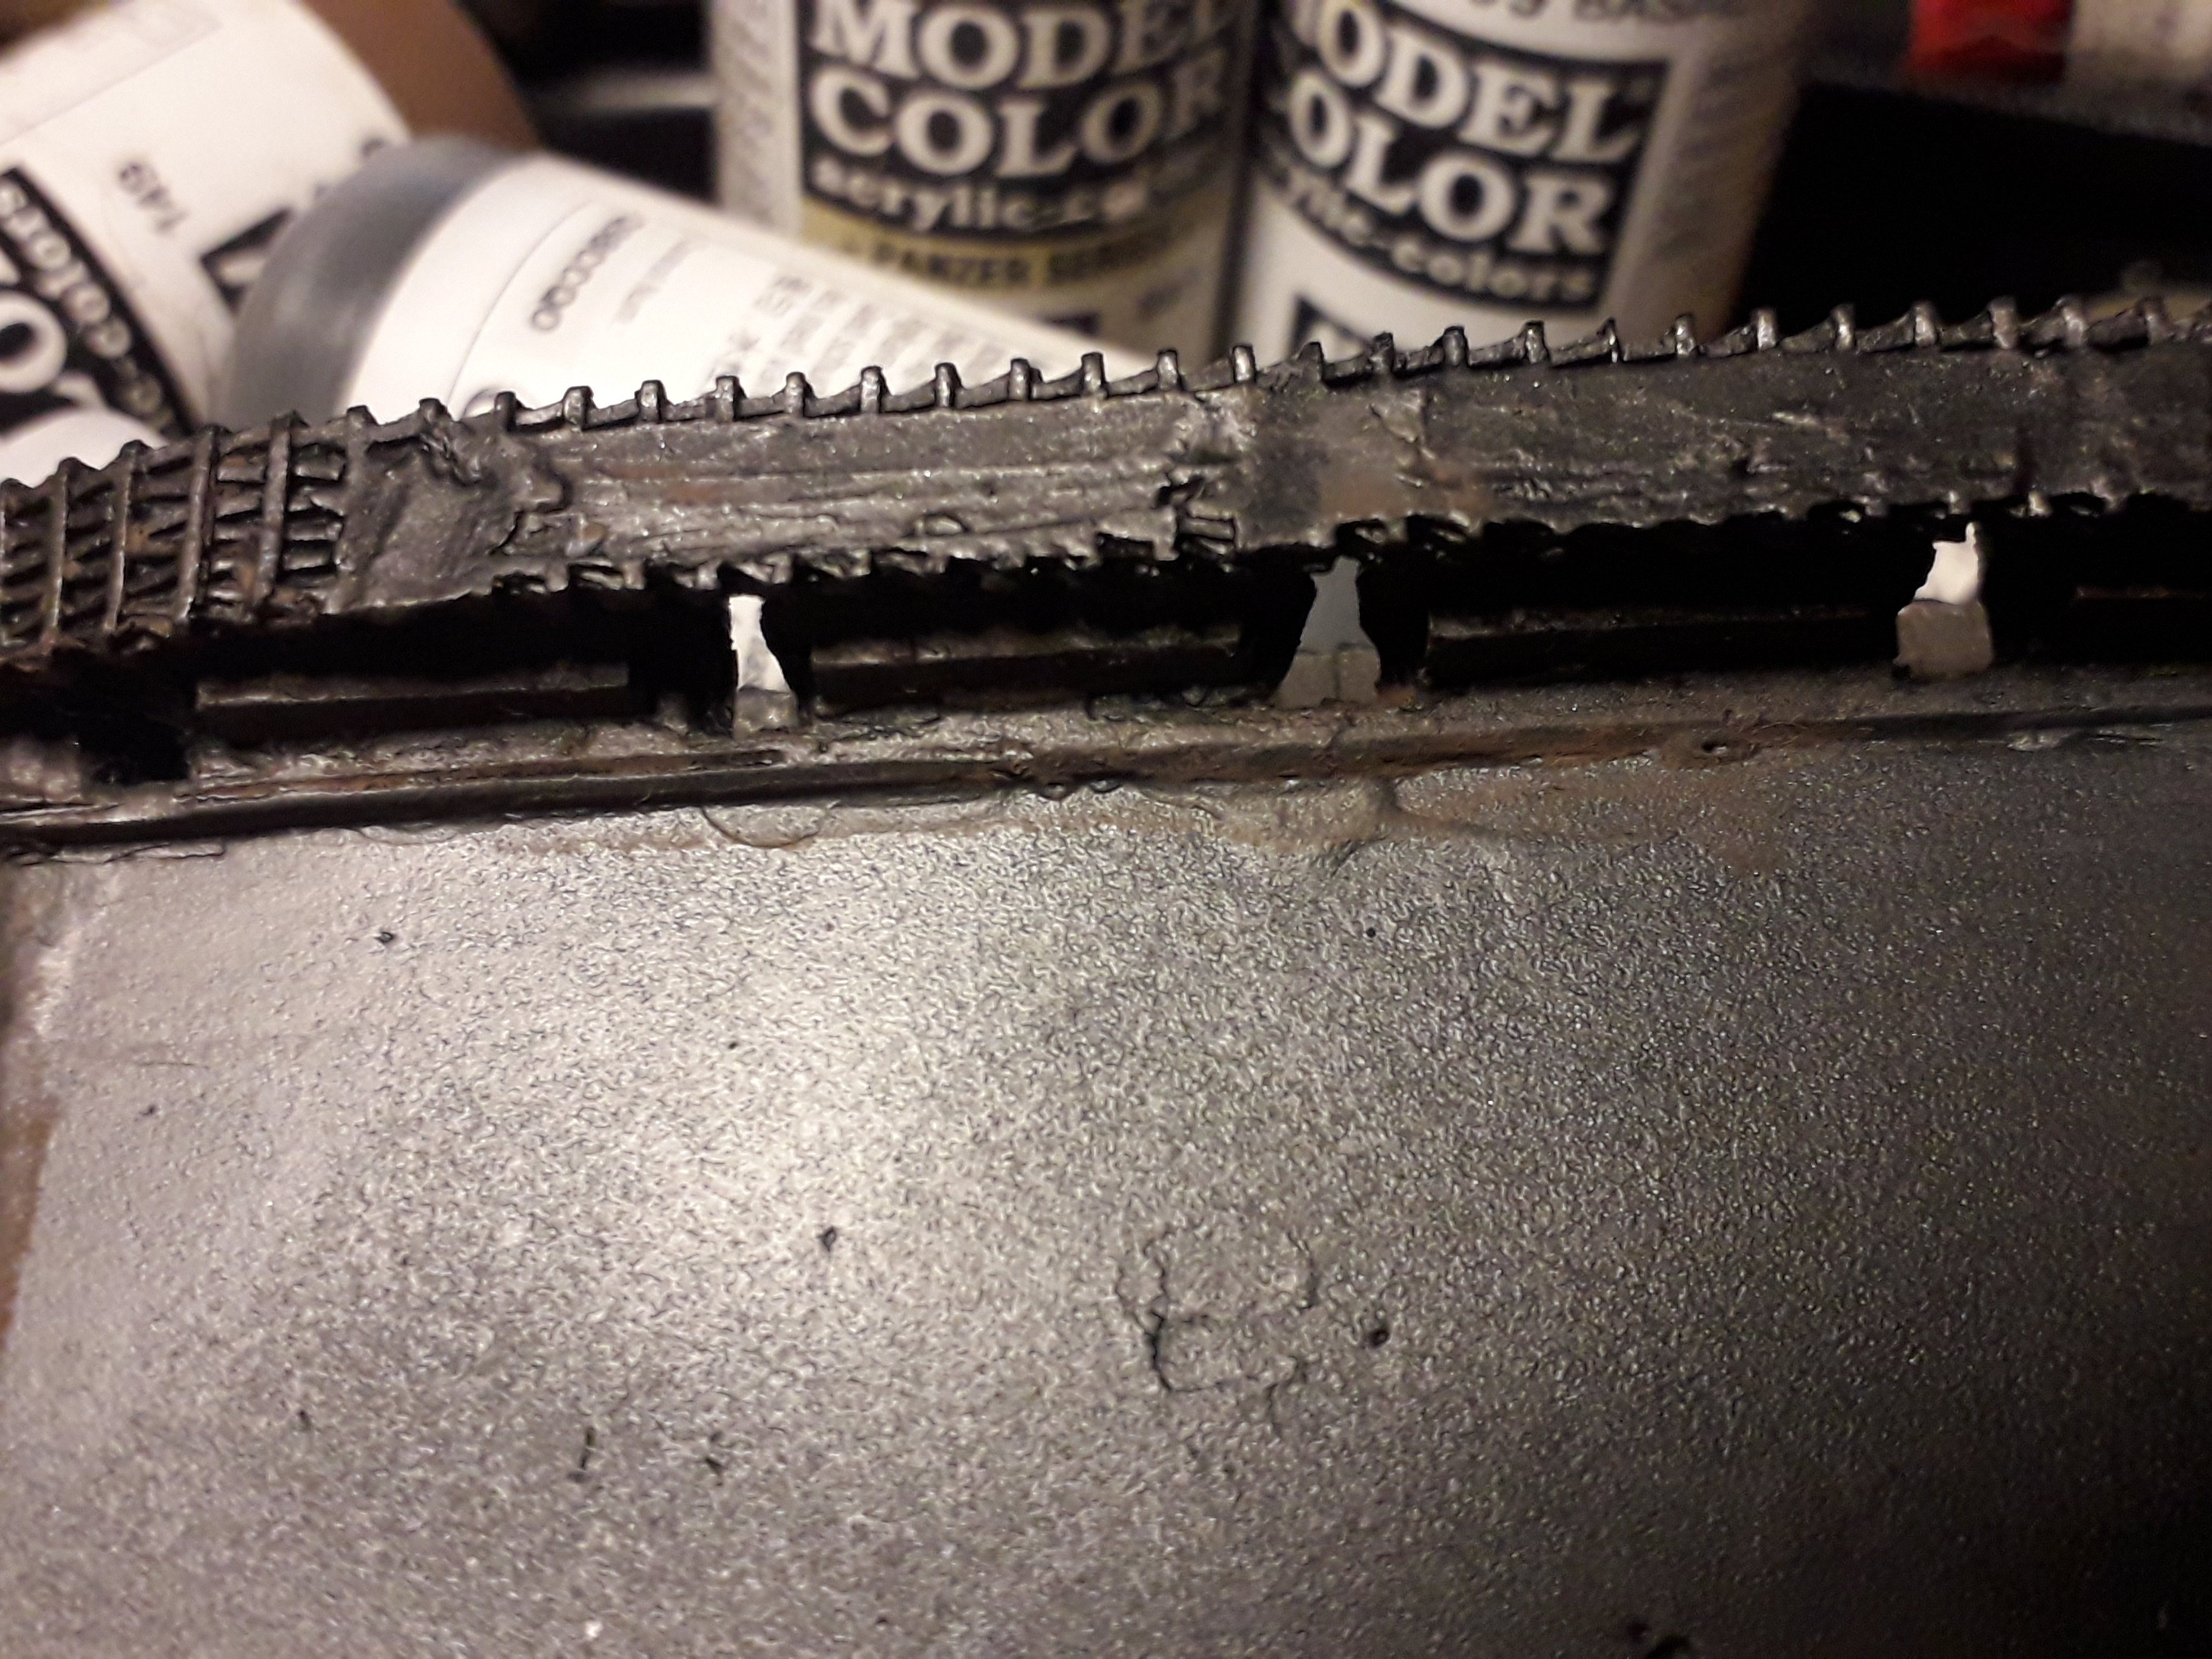
Super Gluing to flat pieces of resin together is very much a different prospect than gluing 2 pieces of hard plastic with polystyrene cement, which fuses them chemically. Polystyrene cement is not suitable for gluing plastic resin pieces together.
In this particular case, the tracks are to shallow for me to drill into, and I cannot use my usual technique of reinforced rodding to pin the pieces together. I have drilled the holes in the chassis to allow them to fill with excess super glue, creating a much tighter grip when dry. Some super glue will do a similar job on the tracks where the concave writing is.
I have used an Hair dryer on the tracks before gluing, to make the tracks fit the chassis as tightly as possible.
Use of Scalpel Blades.

Before we go any further, this product is bloody sharp and used for surgical operations! I would not recommend under any circumstance to the under 16’s, and only ever with an adult with a box of plasters and a car with route planner to A and E present!
In terms of reliability of product quality, Swann and Morton are the finest blades that I am aware of on the market. I used the curved variants in a size 10. They are superb for pin point precision.
Be aware that they will lose sharpness very quickly when working with white metal miniature. Also they have a sell by date stamped, as they will loose sharpness over time, but generally speaking this is really for Surgeons and vets. The foil packaging is air tight, and generally they will be fine for modelling if still sealed.
They are perfect for cutting through plastic, resin, white metal and wood, leaving a clean flat cut, where clippers will not. This clean, flat cut is perfect when fitting components together flushly, or leaving a flat surface for holes to be drilled for pinning.
I always use the blade on the manufacturers recommended handle when cutting.
Old blunt blades can be used to accurately move super glue around on miniatures bases, before applying basing material.

Choosing the right Super Glue.
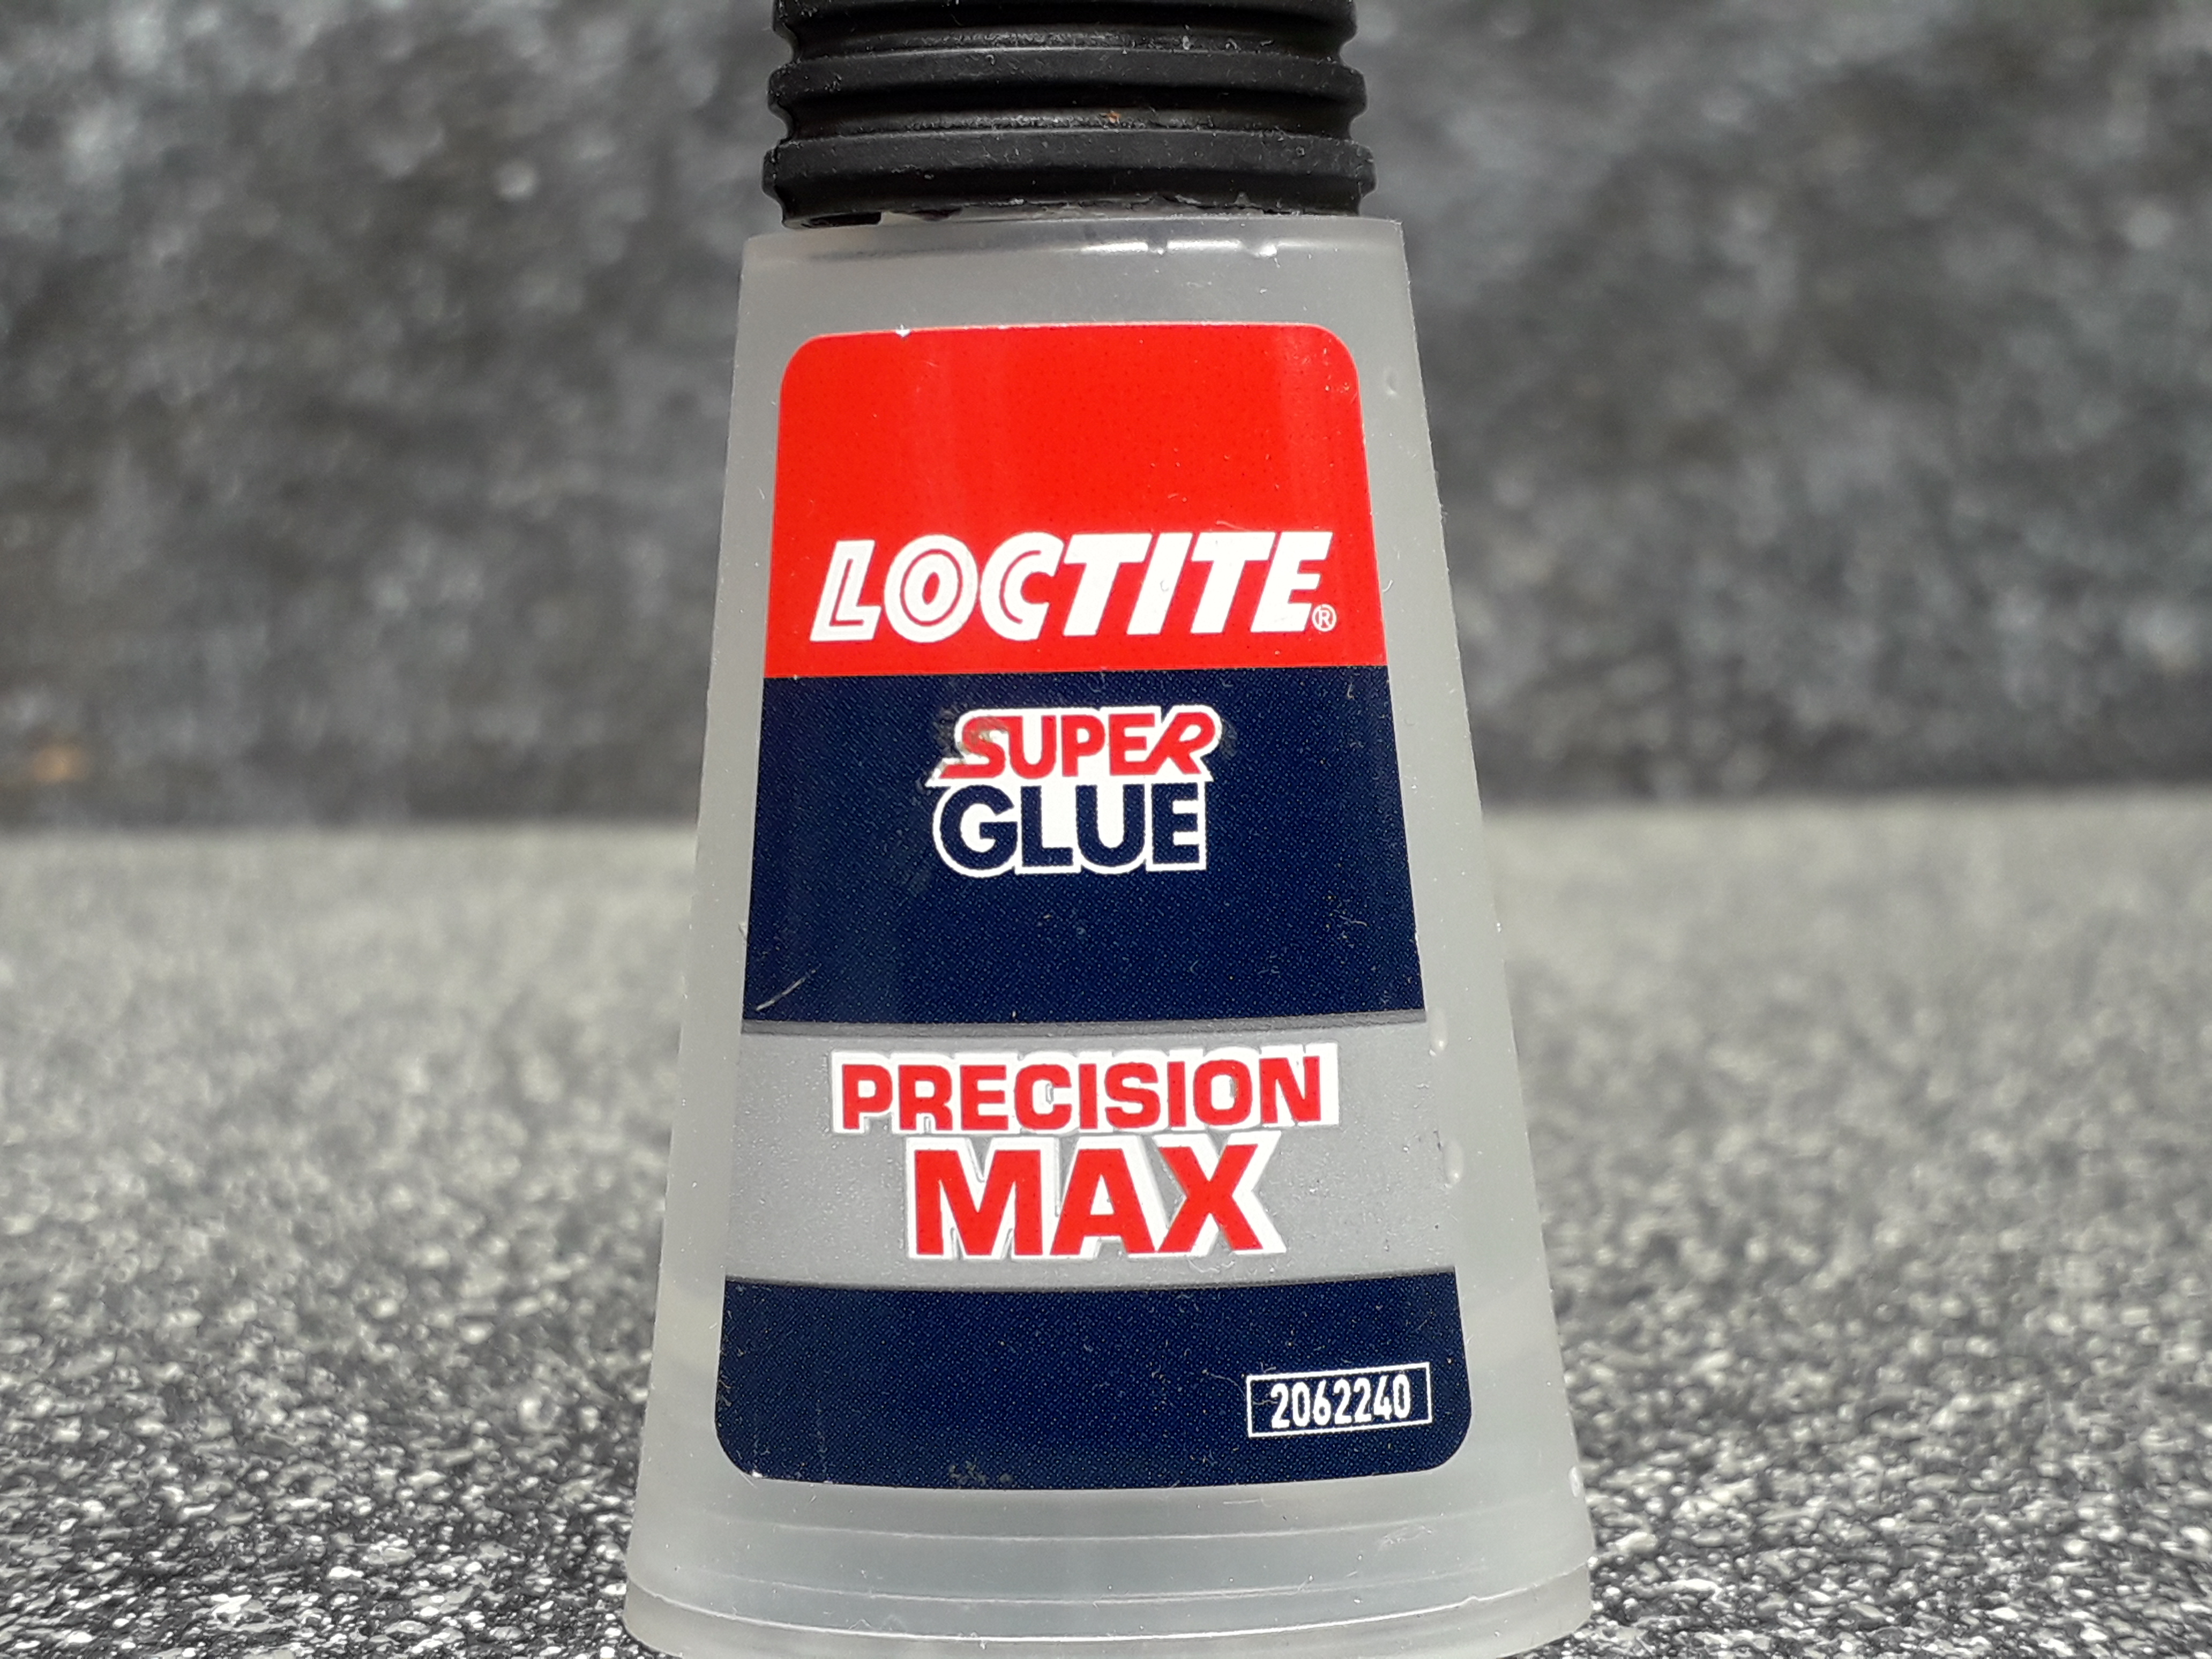
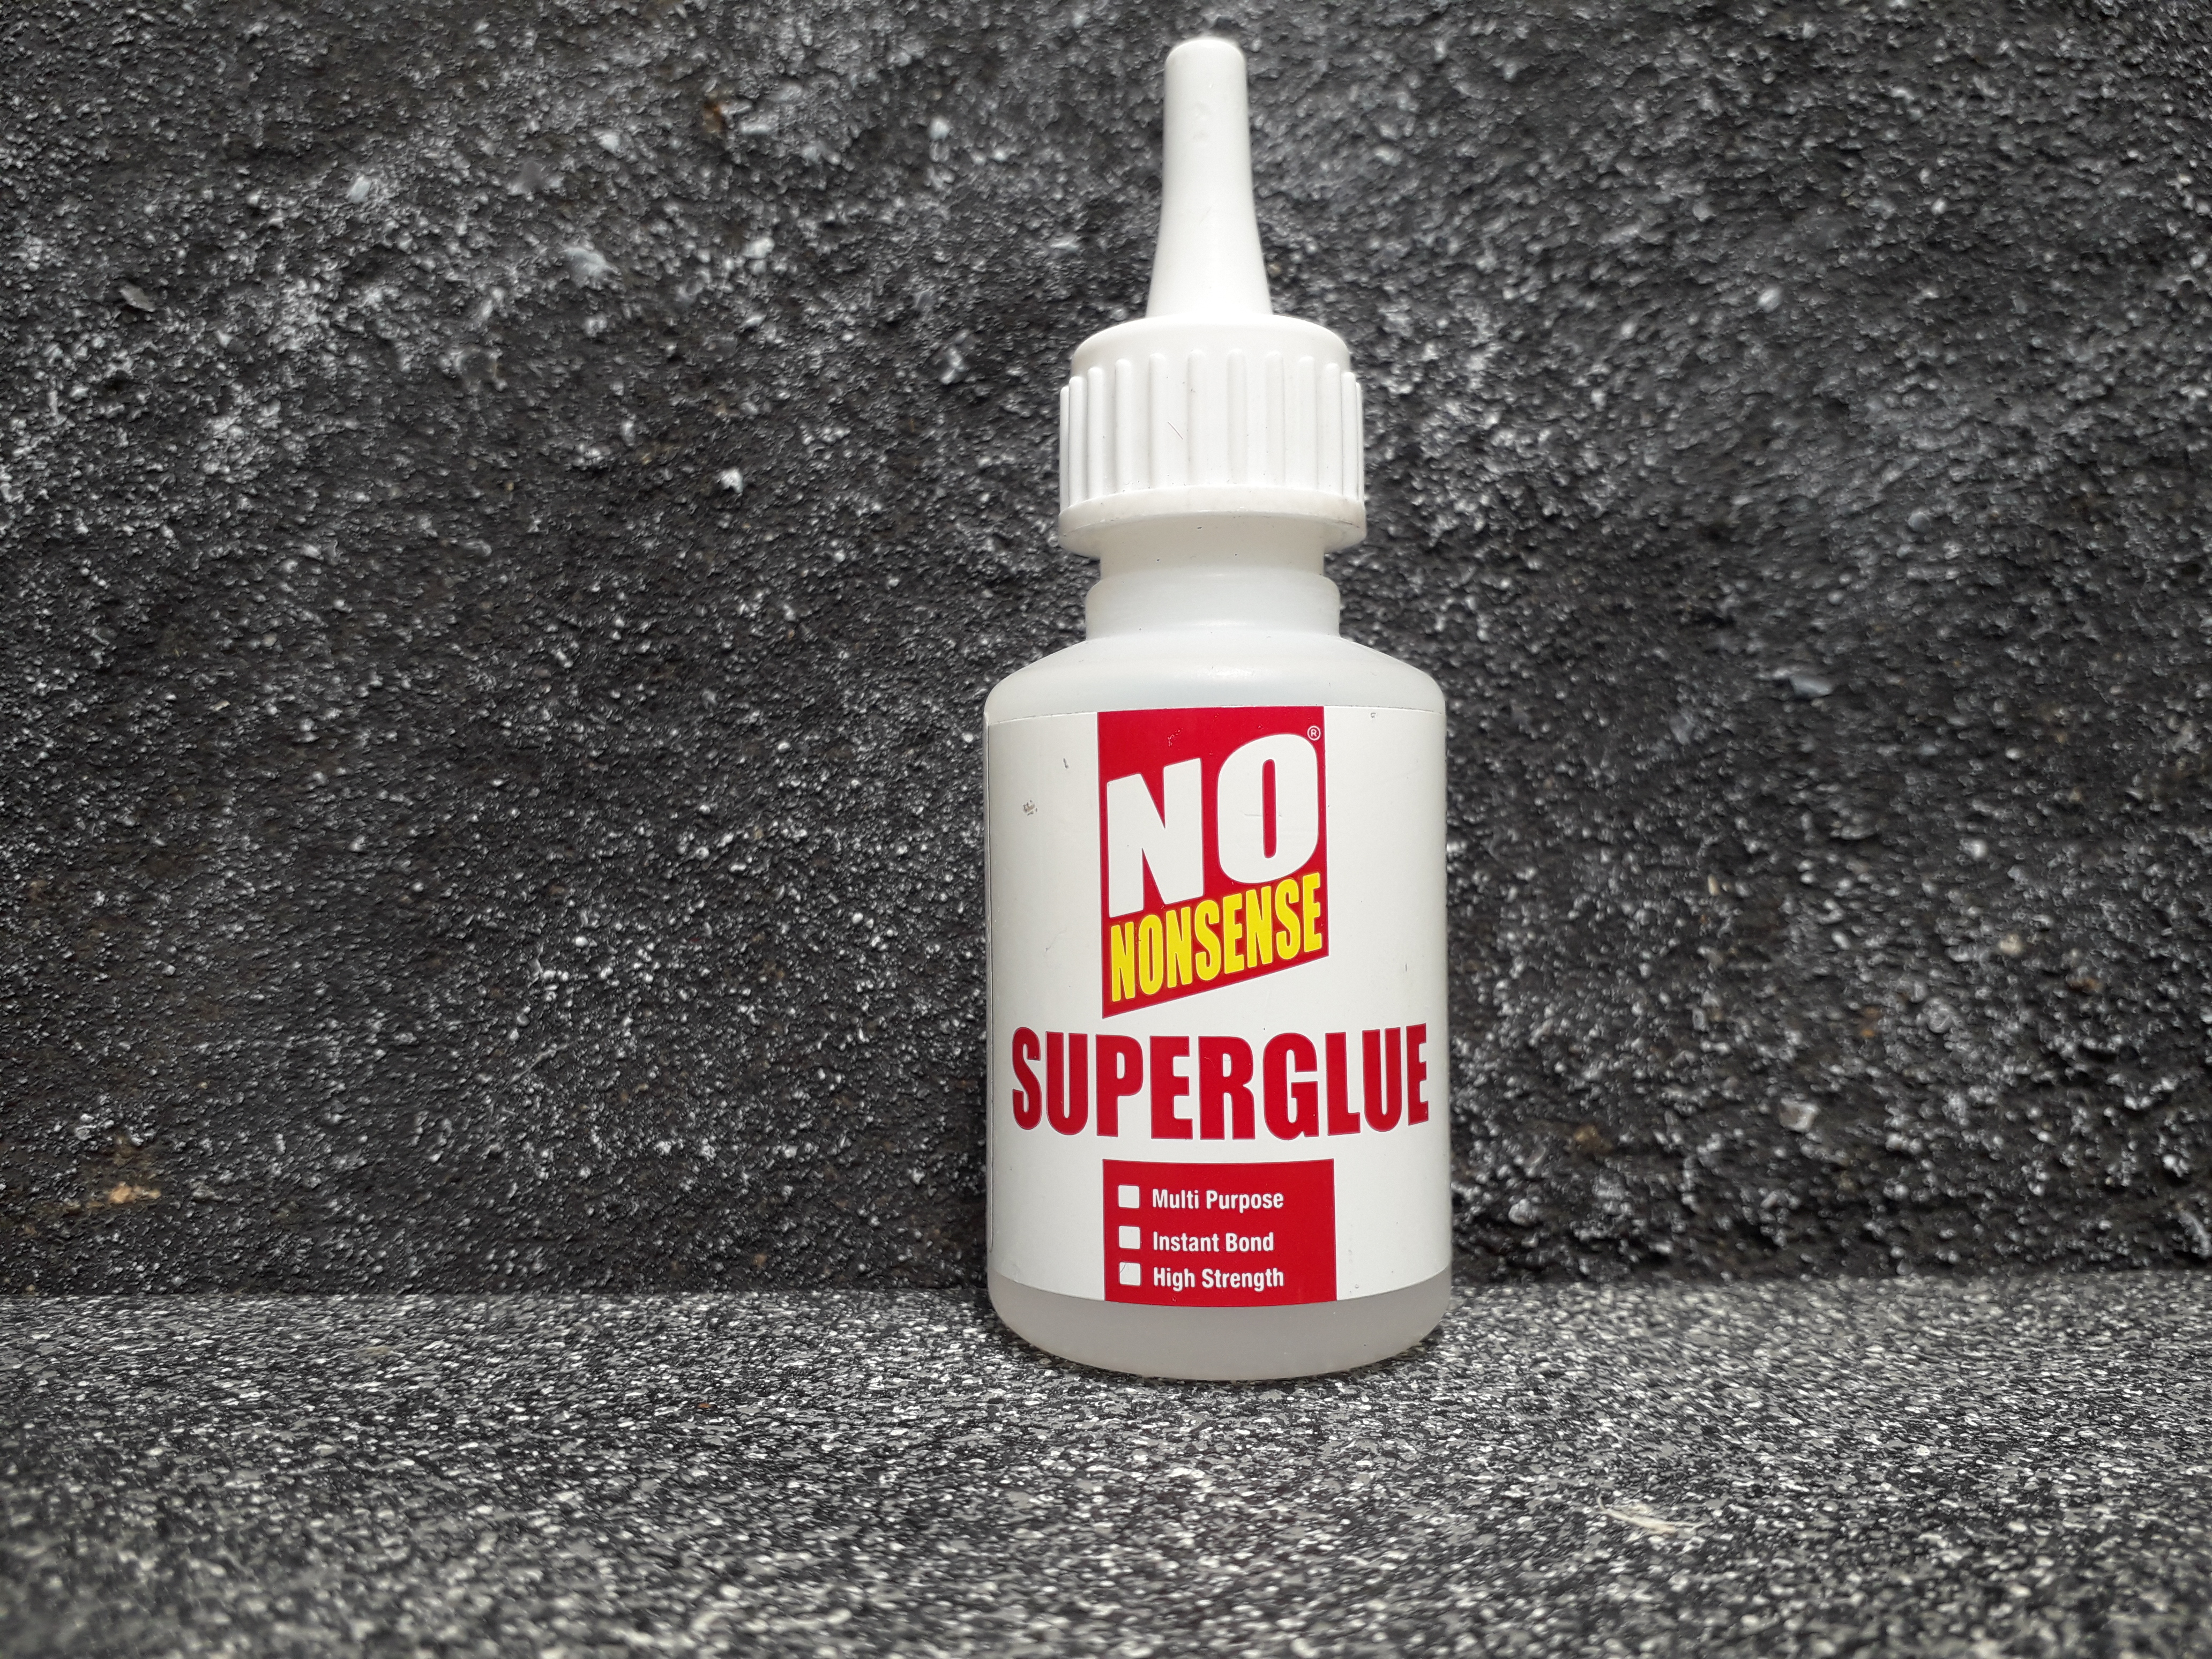
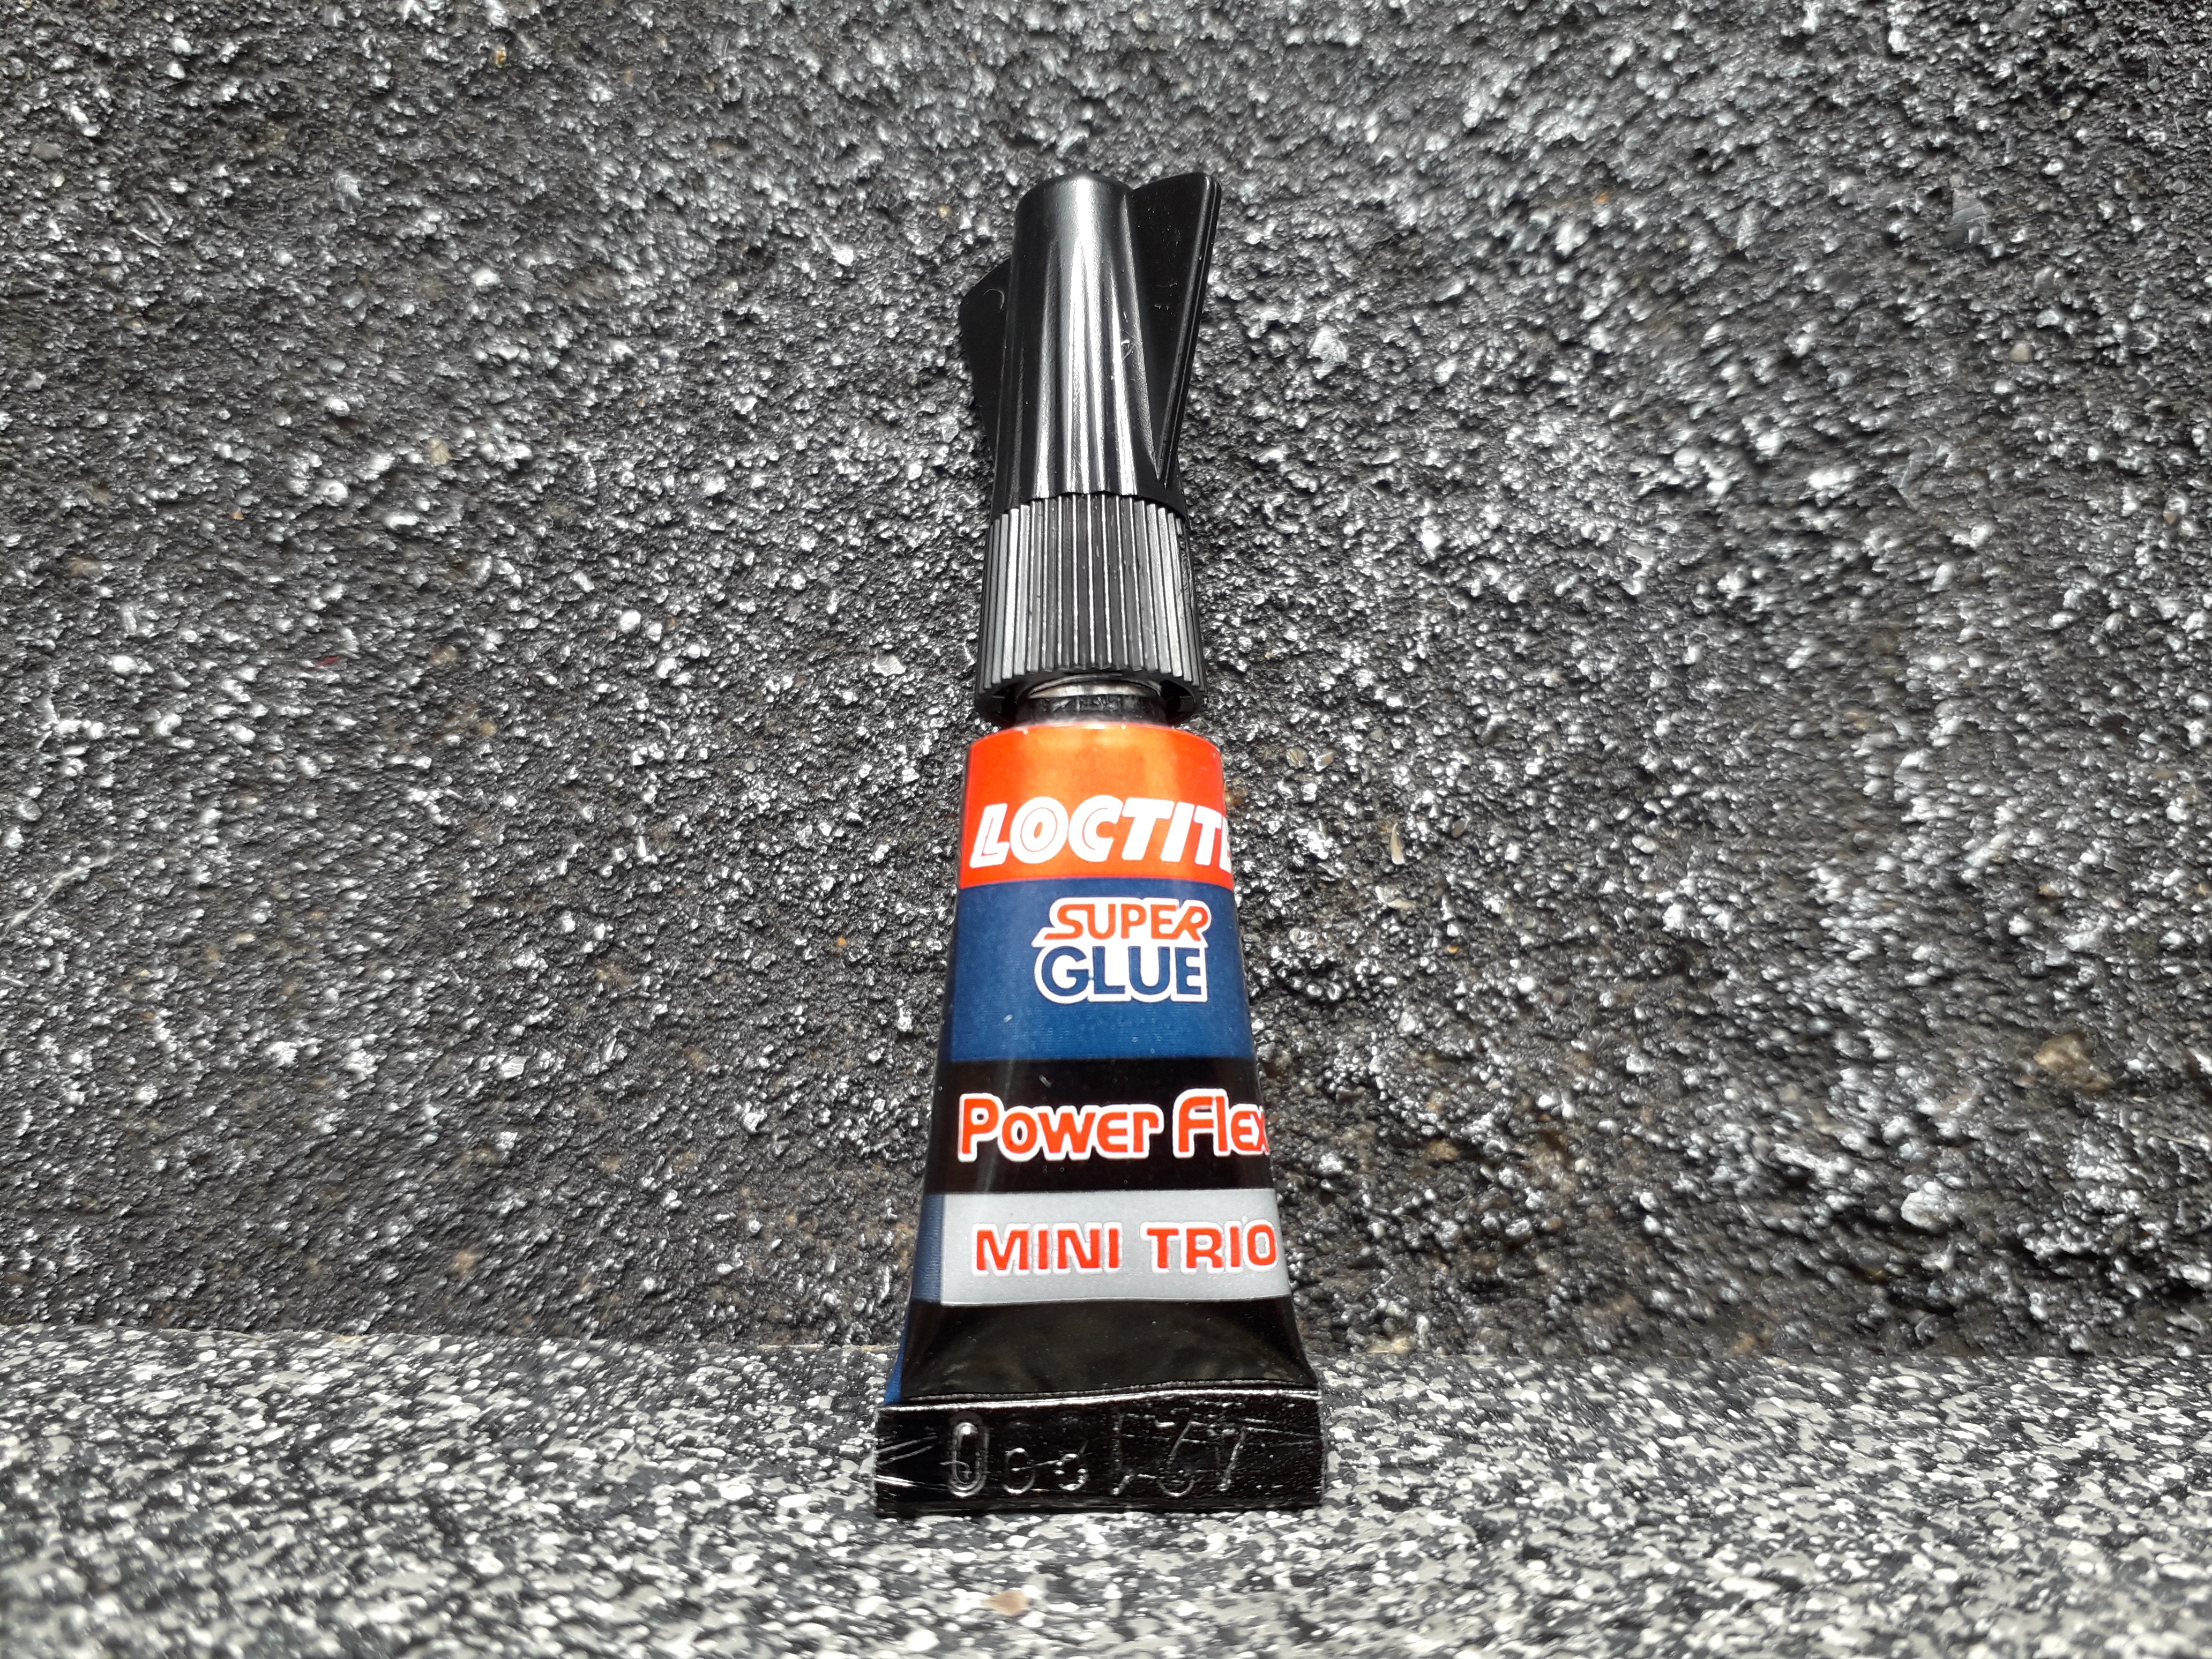
The correct quality and type of Super Glue can make a MASSIVE difference to the outcome of a modelling project. It is key that you select not just the right quality product, but the right type of product.
Super Glues come in a variety of consistencies. I would recommend products at the poles of this scale.
‘Loctite precision MAX’ is ultra thin, and about as liquid as Super Glue gets. The shape of the bottle is ideas for applying it direct to miniatures, or for small details on vehicle or building kits. I would also recommend it’s use as an ‘activator glue’ in setting in place building elements that are being glued together with slow curing glues such as PVA.
‘No Nonsense, Super Glue’ is in my opinion as liquid and as good a quality as ‘Locktite MAX’, but is much cheaper, however the bottle shape prevents precise application. I use this super glue on large areas requiring lots of glue, but less precision. Great for big bits of scenery, basing and large resin vehicle components. Can be manipulated where it needs to be with cocktail sticks, off cuts, bent card and knackered scalpel blades.
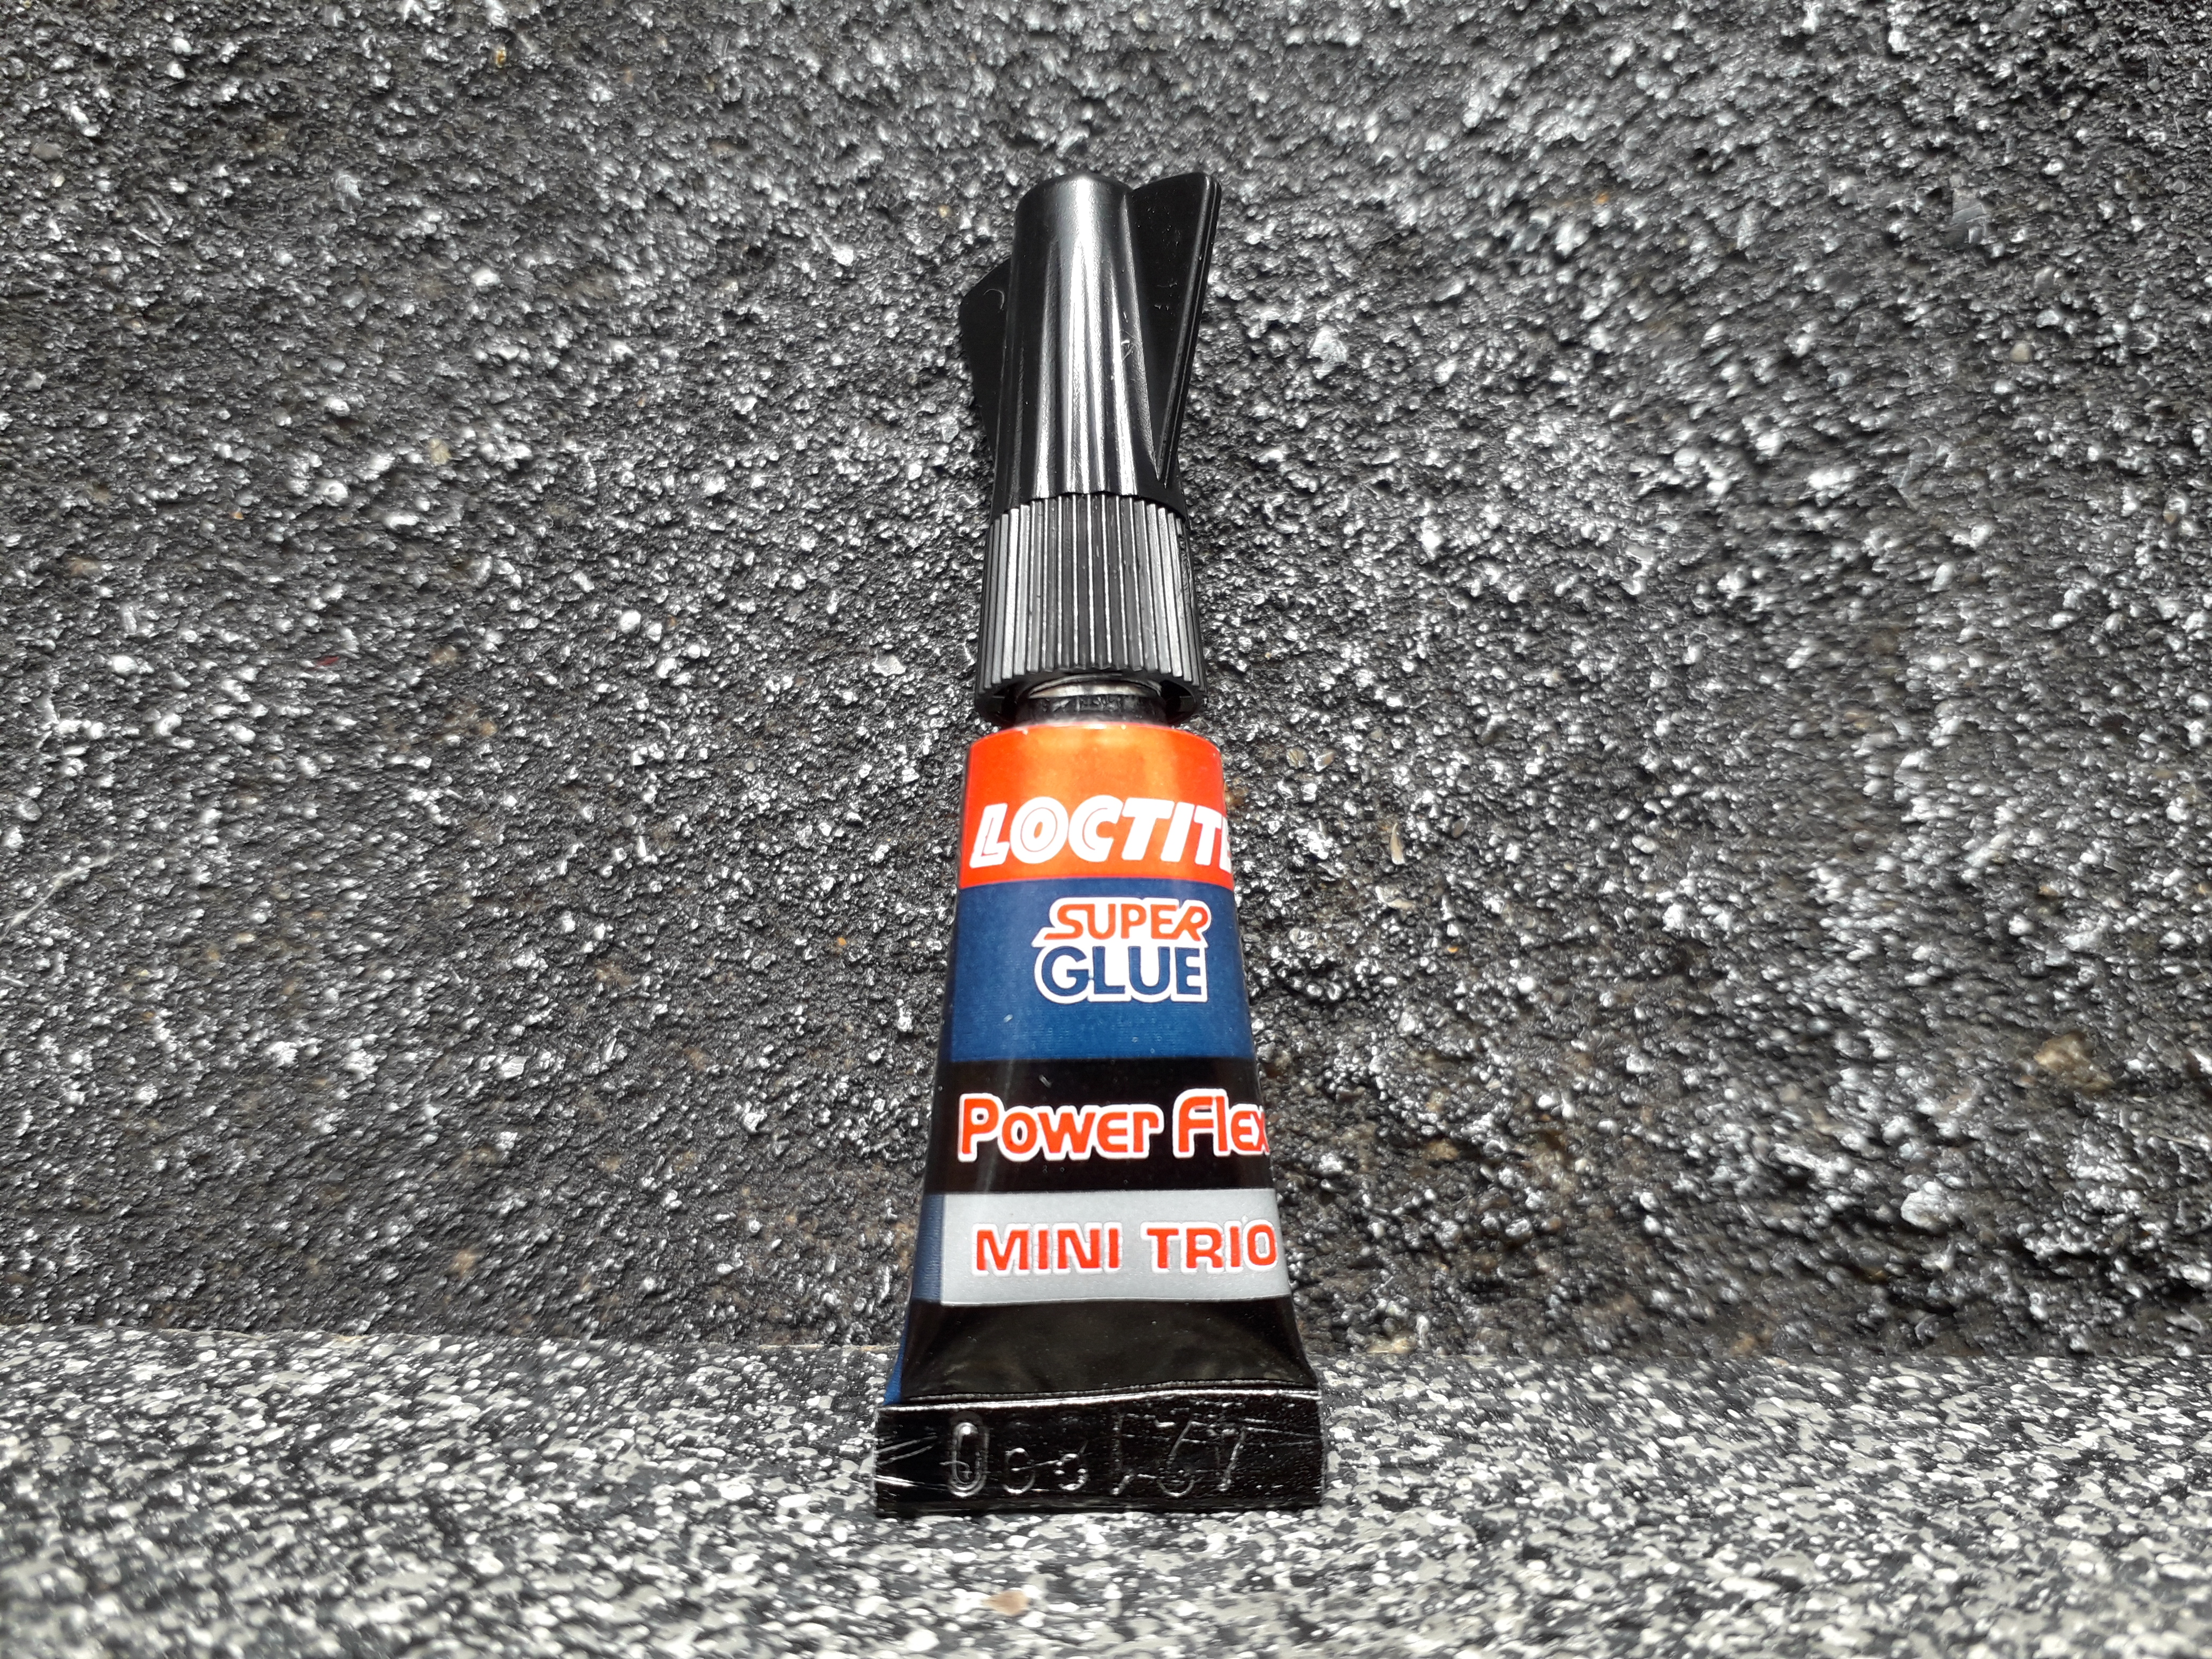
‘Loctite Super Glue Power Fix’ and other Super Glue ‘Gels’. This is thick and gloopy, and unsurprisingly a gel. It will give you a few seconds to align the objects that you are gluing together, which can be critical in making the difference between lopsided gluing, and perfect alignment.
Applying Exterior Details to HDF Buildings.
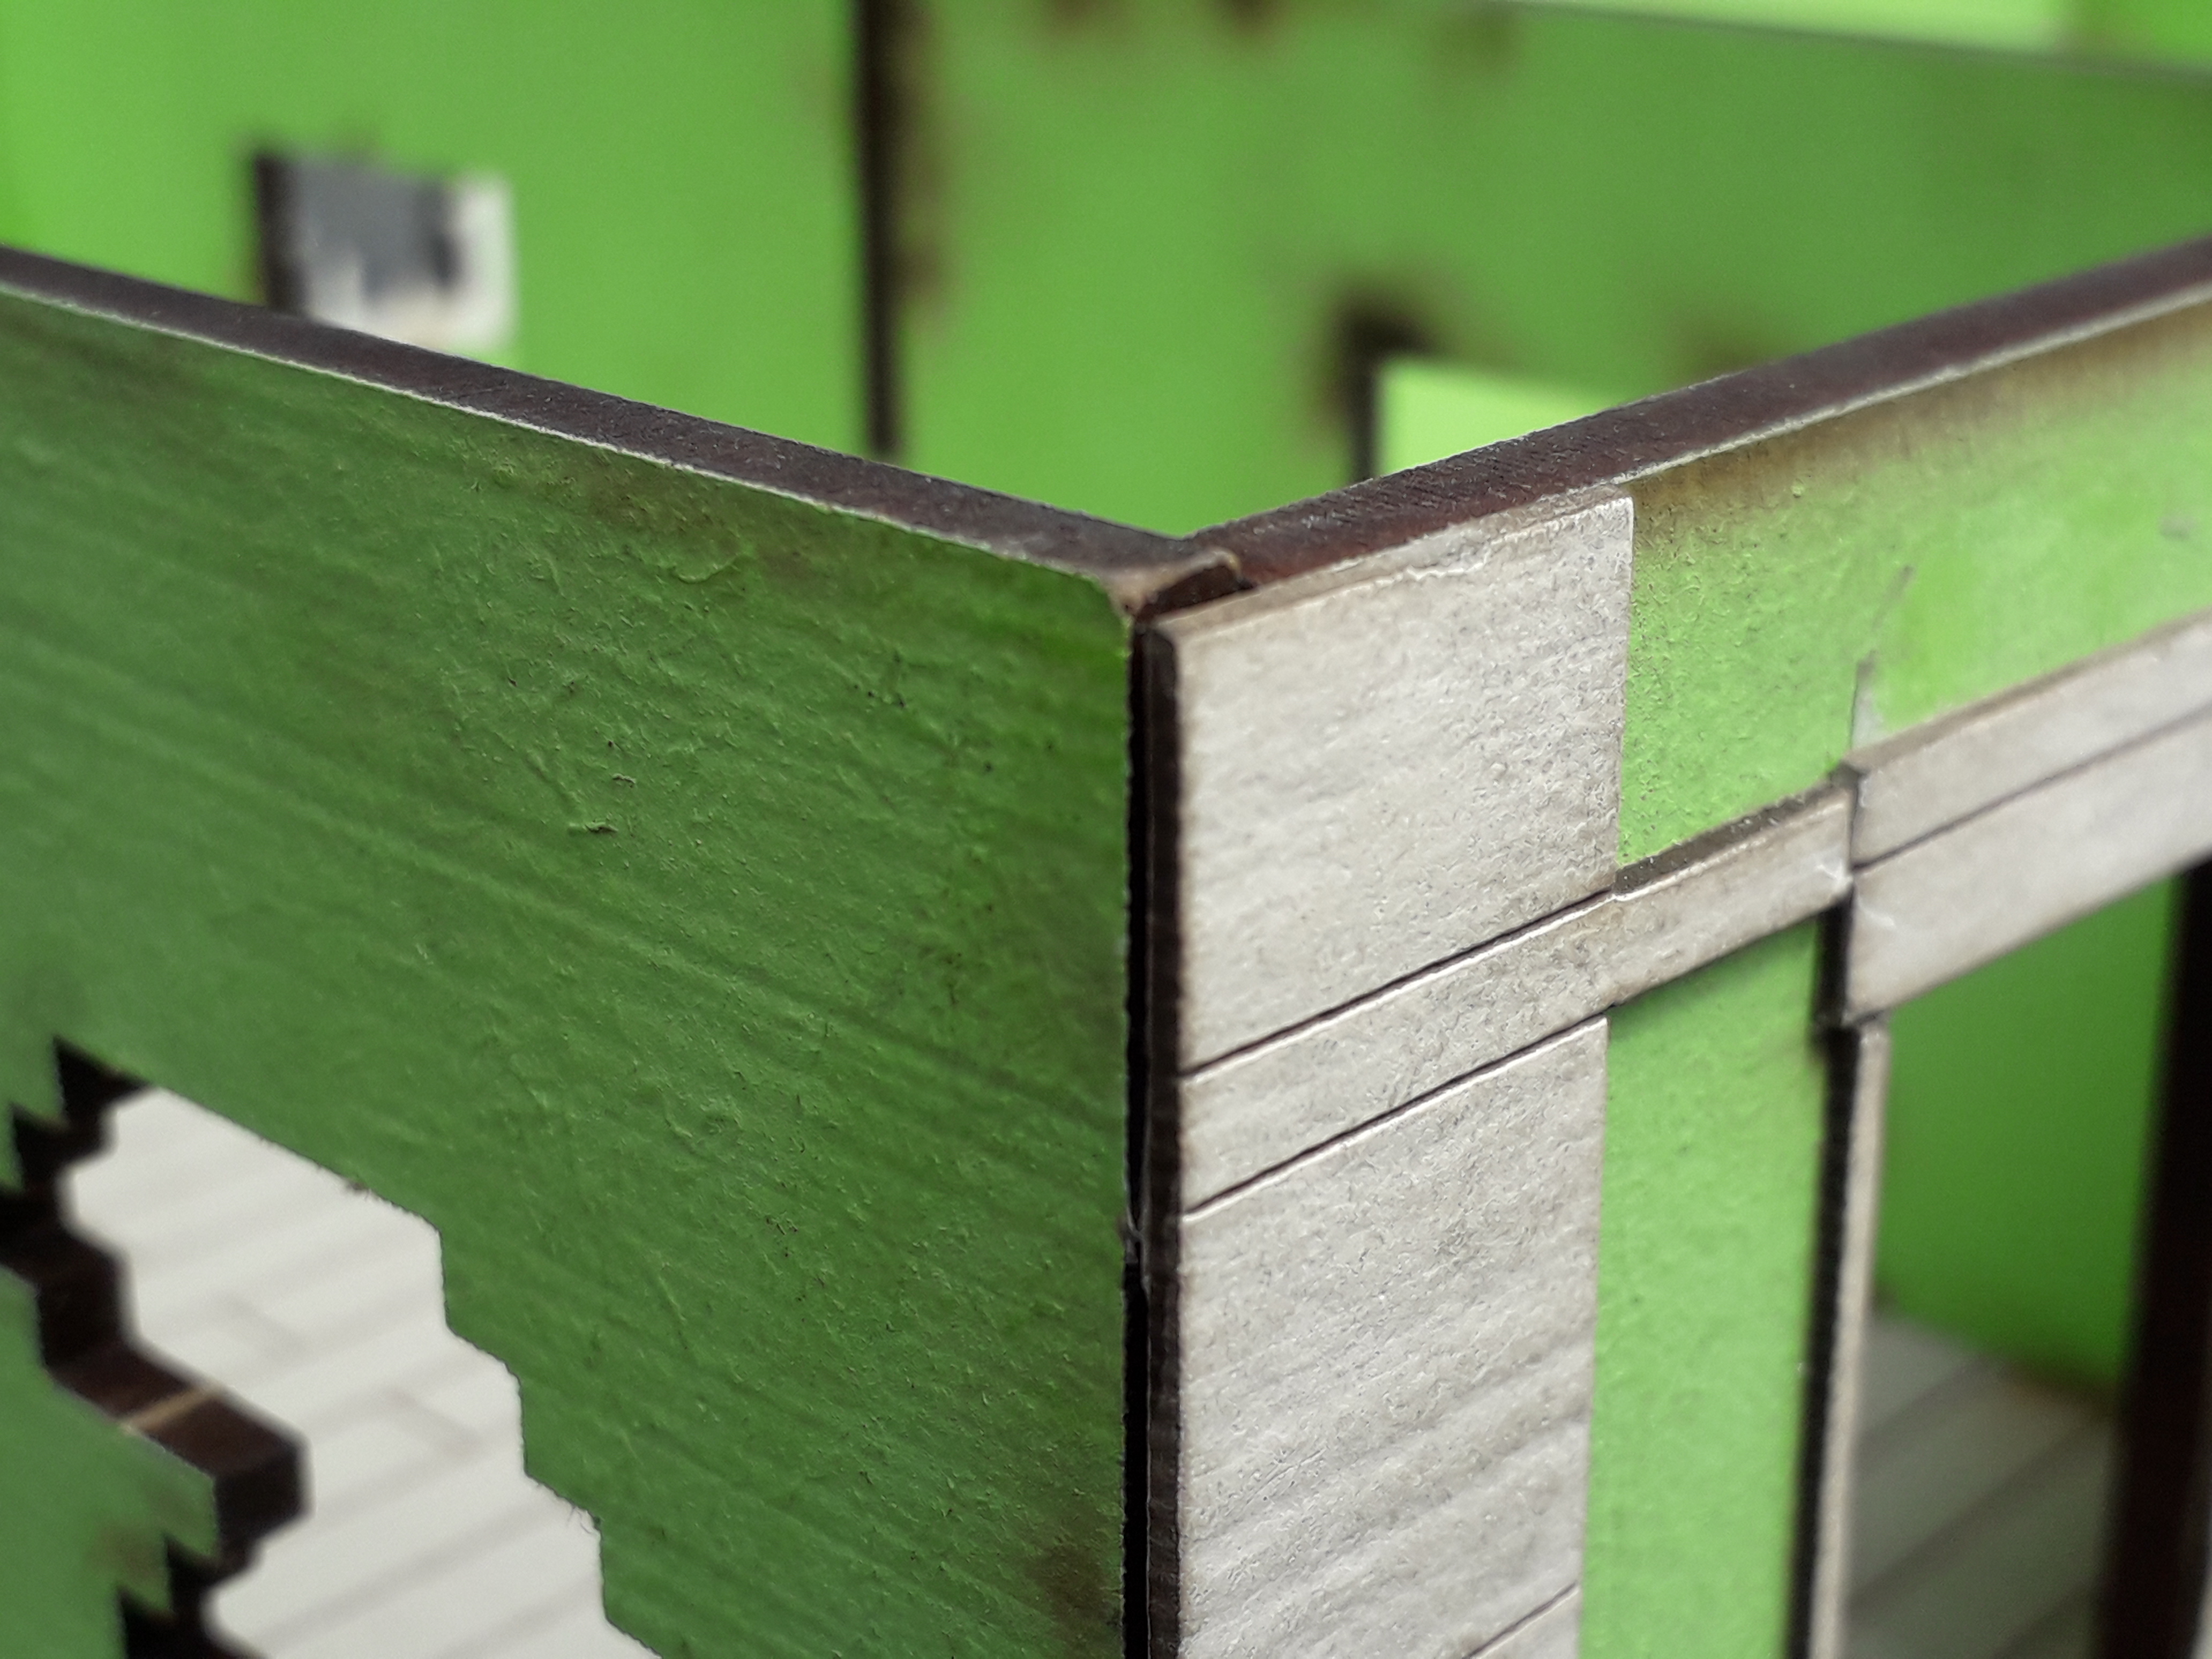
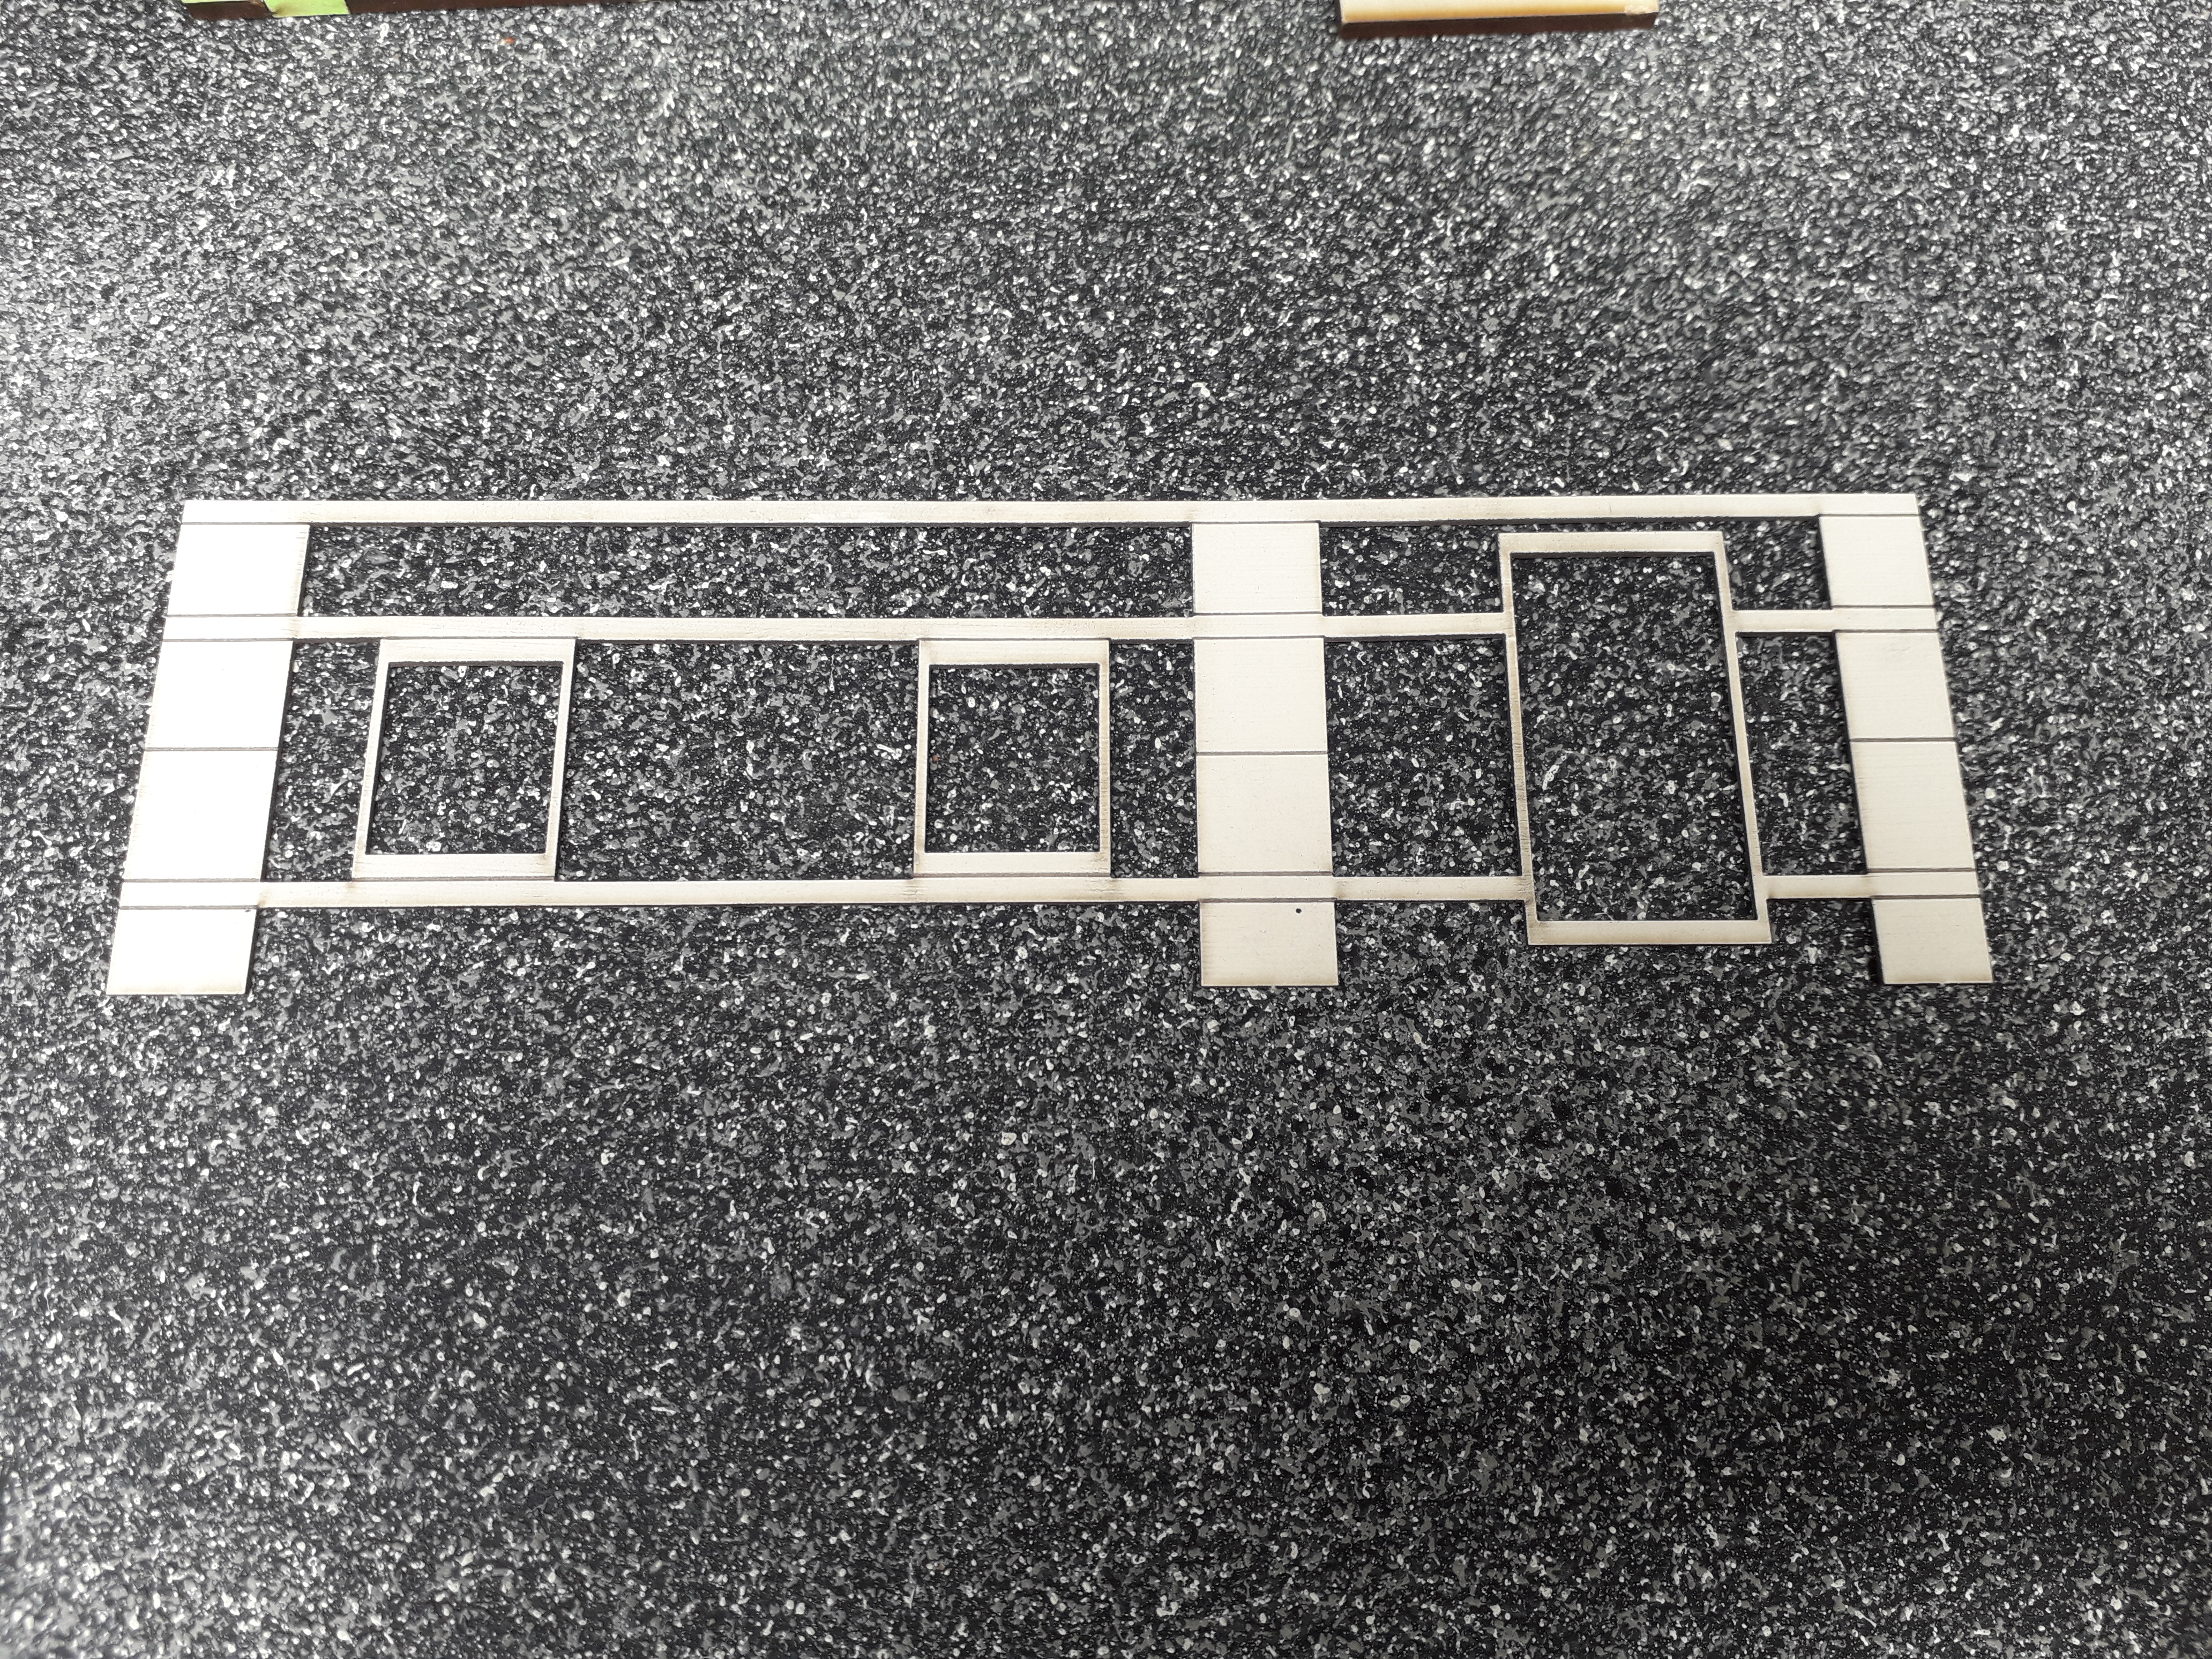
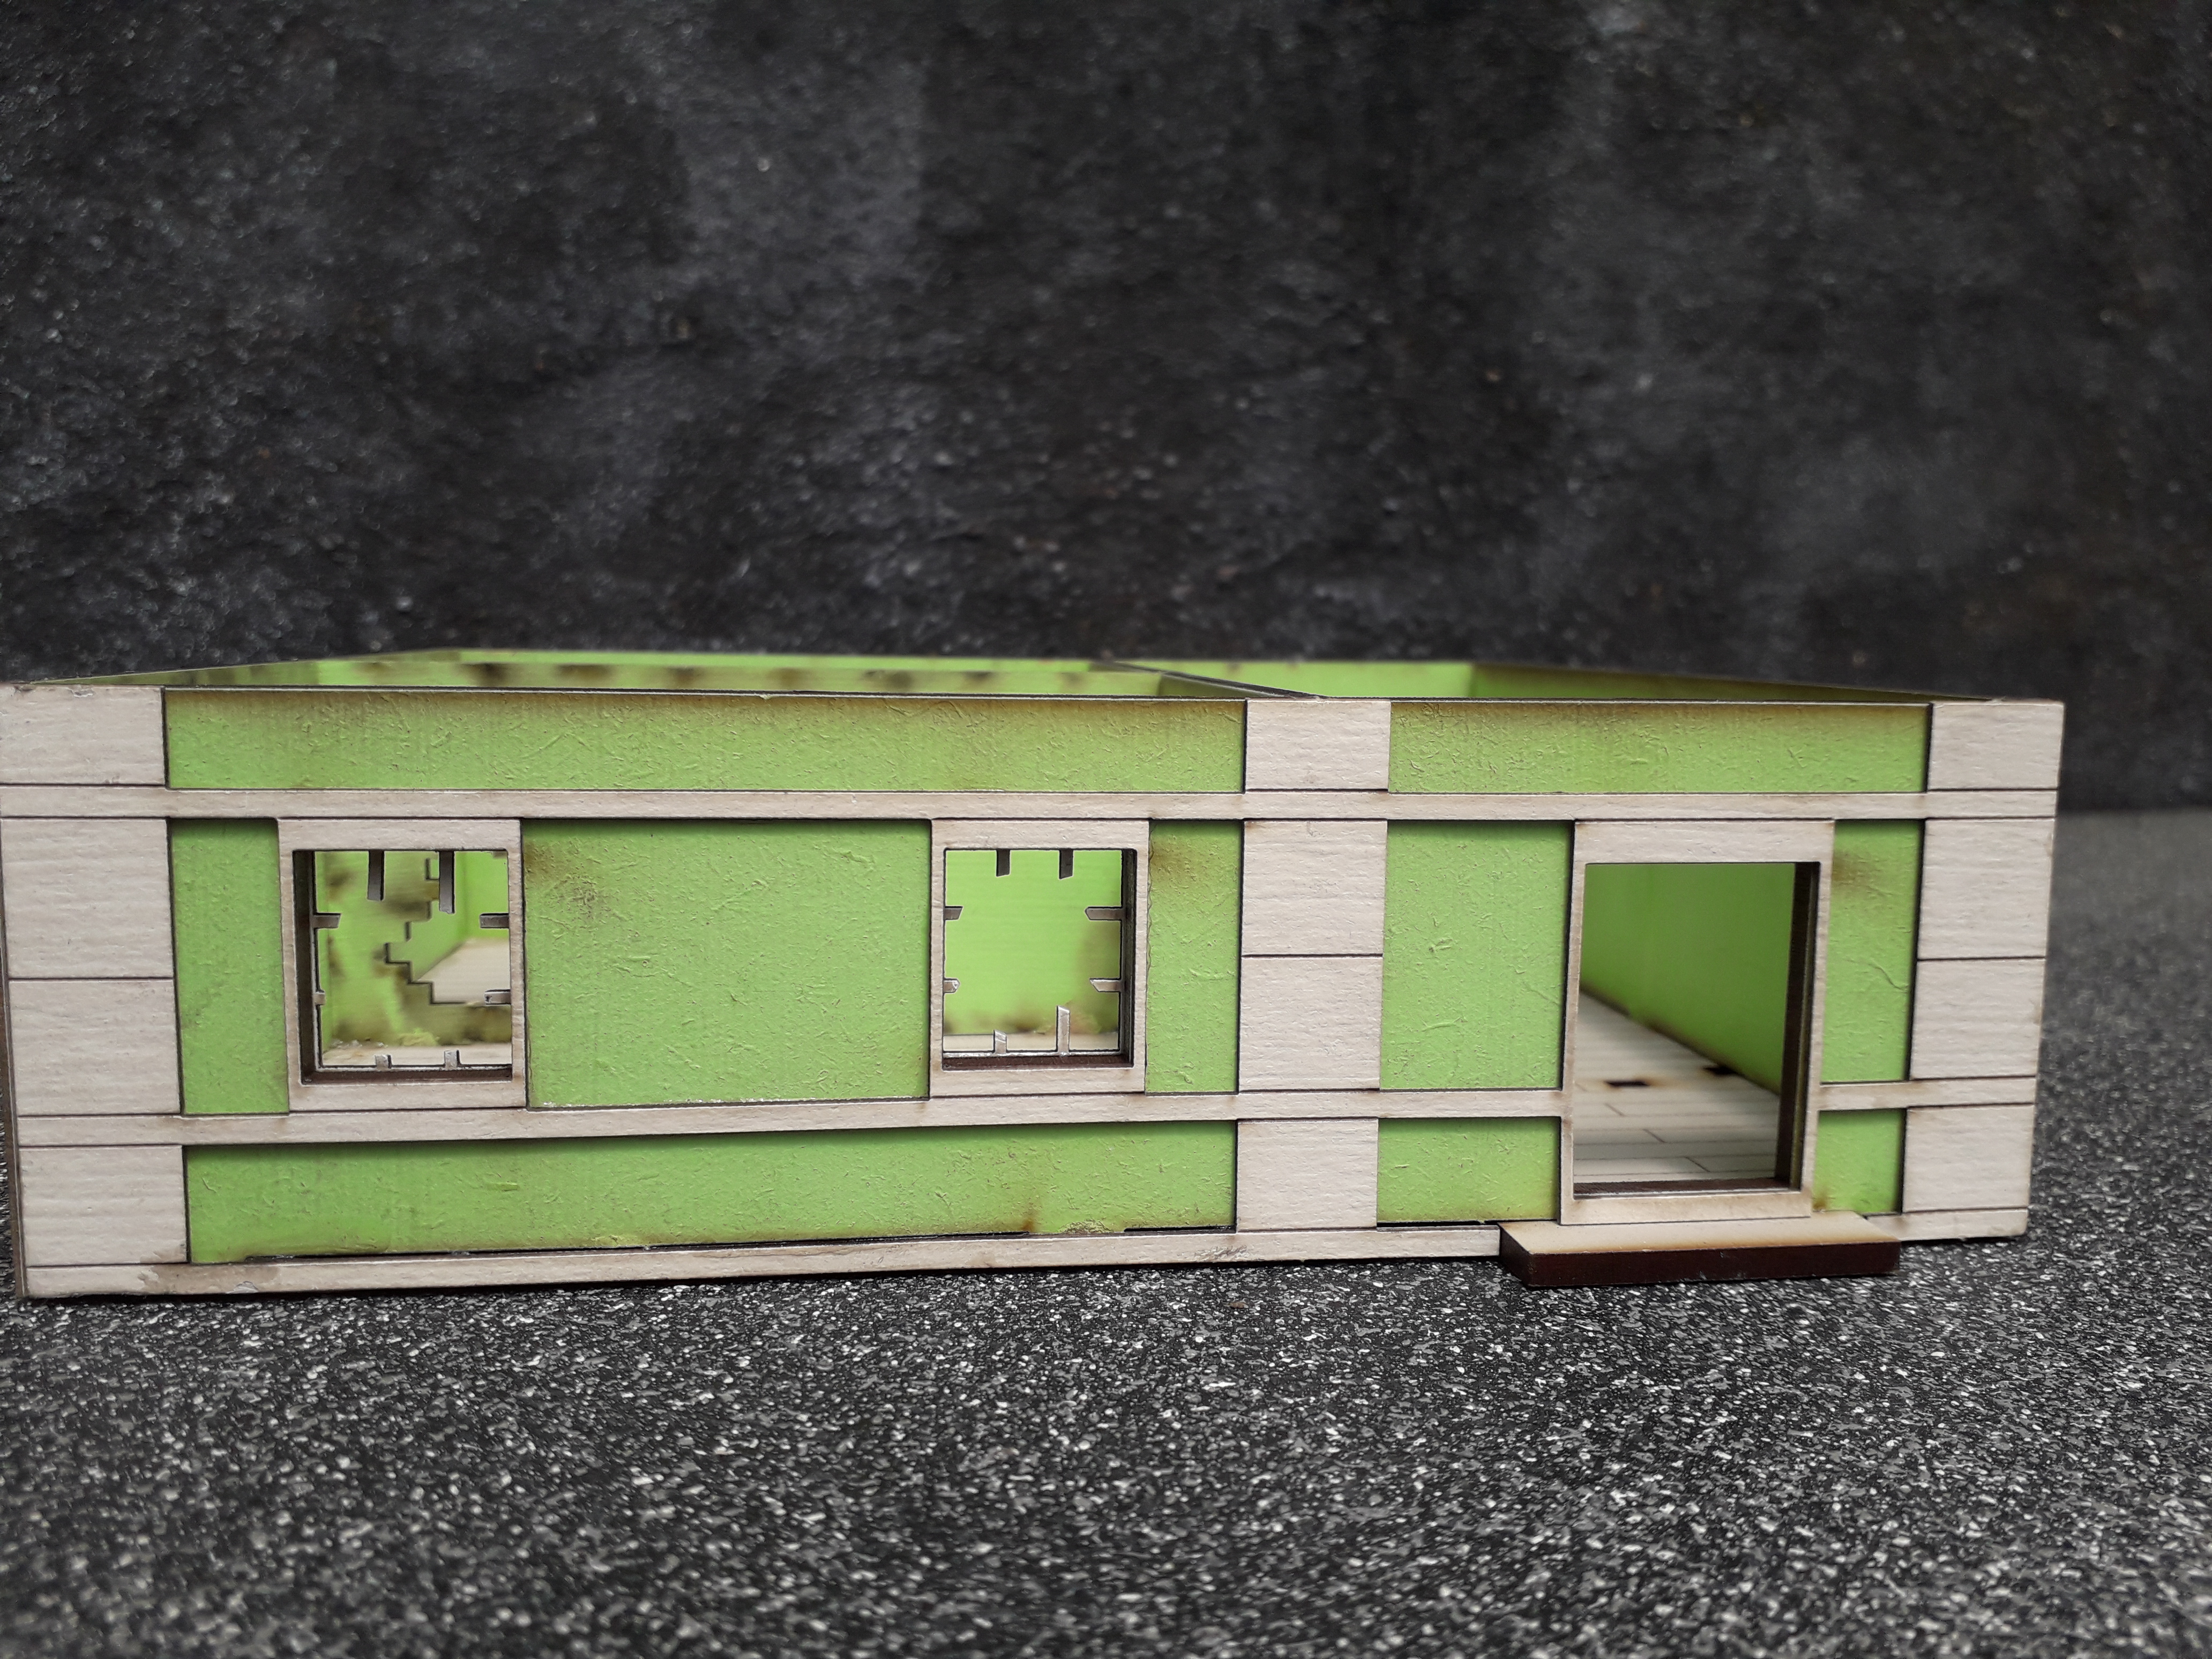
Higher quality HDF kits come with applique details to give the impression of stone work, moulding and depict building elements such as lintels. These really enhance the appearance both aesthetically and in terms of realism.
A key consideration is the choice of glue to fix the details in place. I would personally recommend ‘Super Glue Gel’ if time is of the essence and only if you are an experienced or brave hobbyist. This will give you few seconds to position the detail to the surface, and get the detail precisely aligned to the building surface.
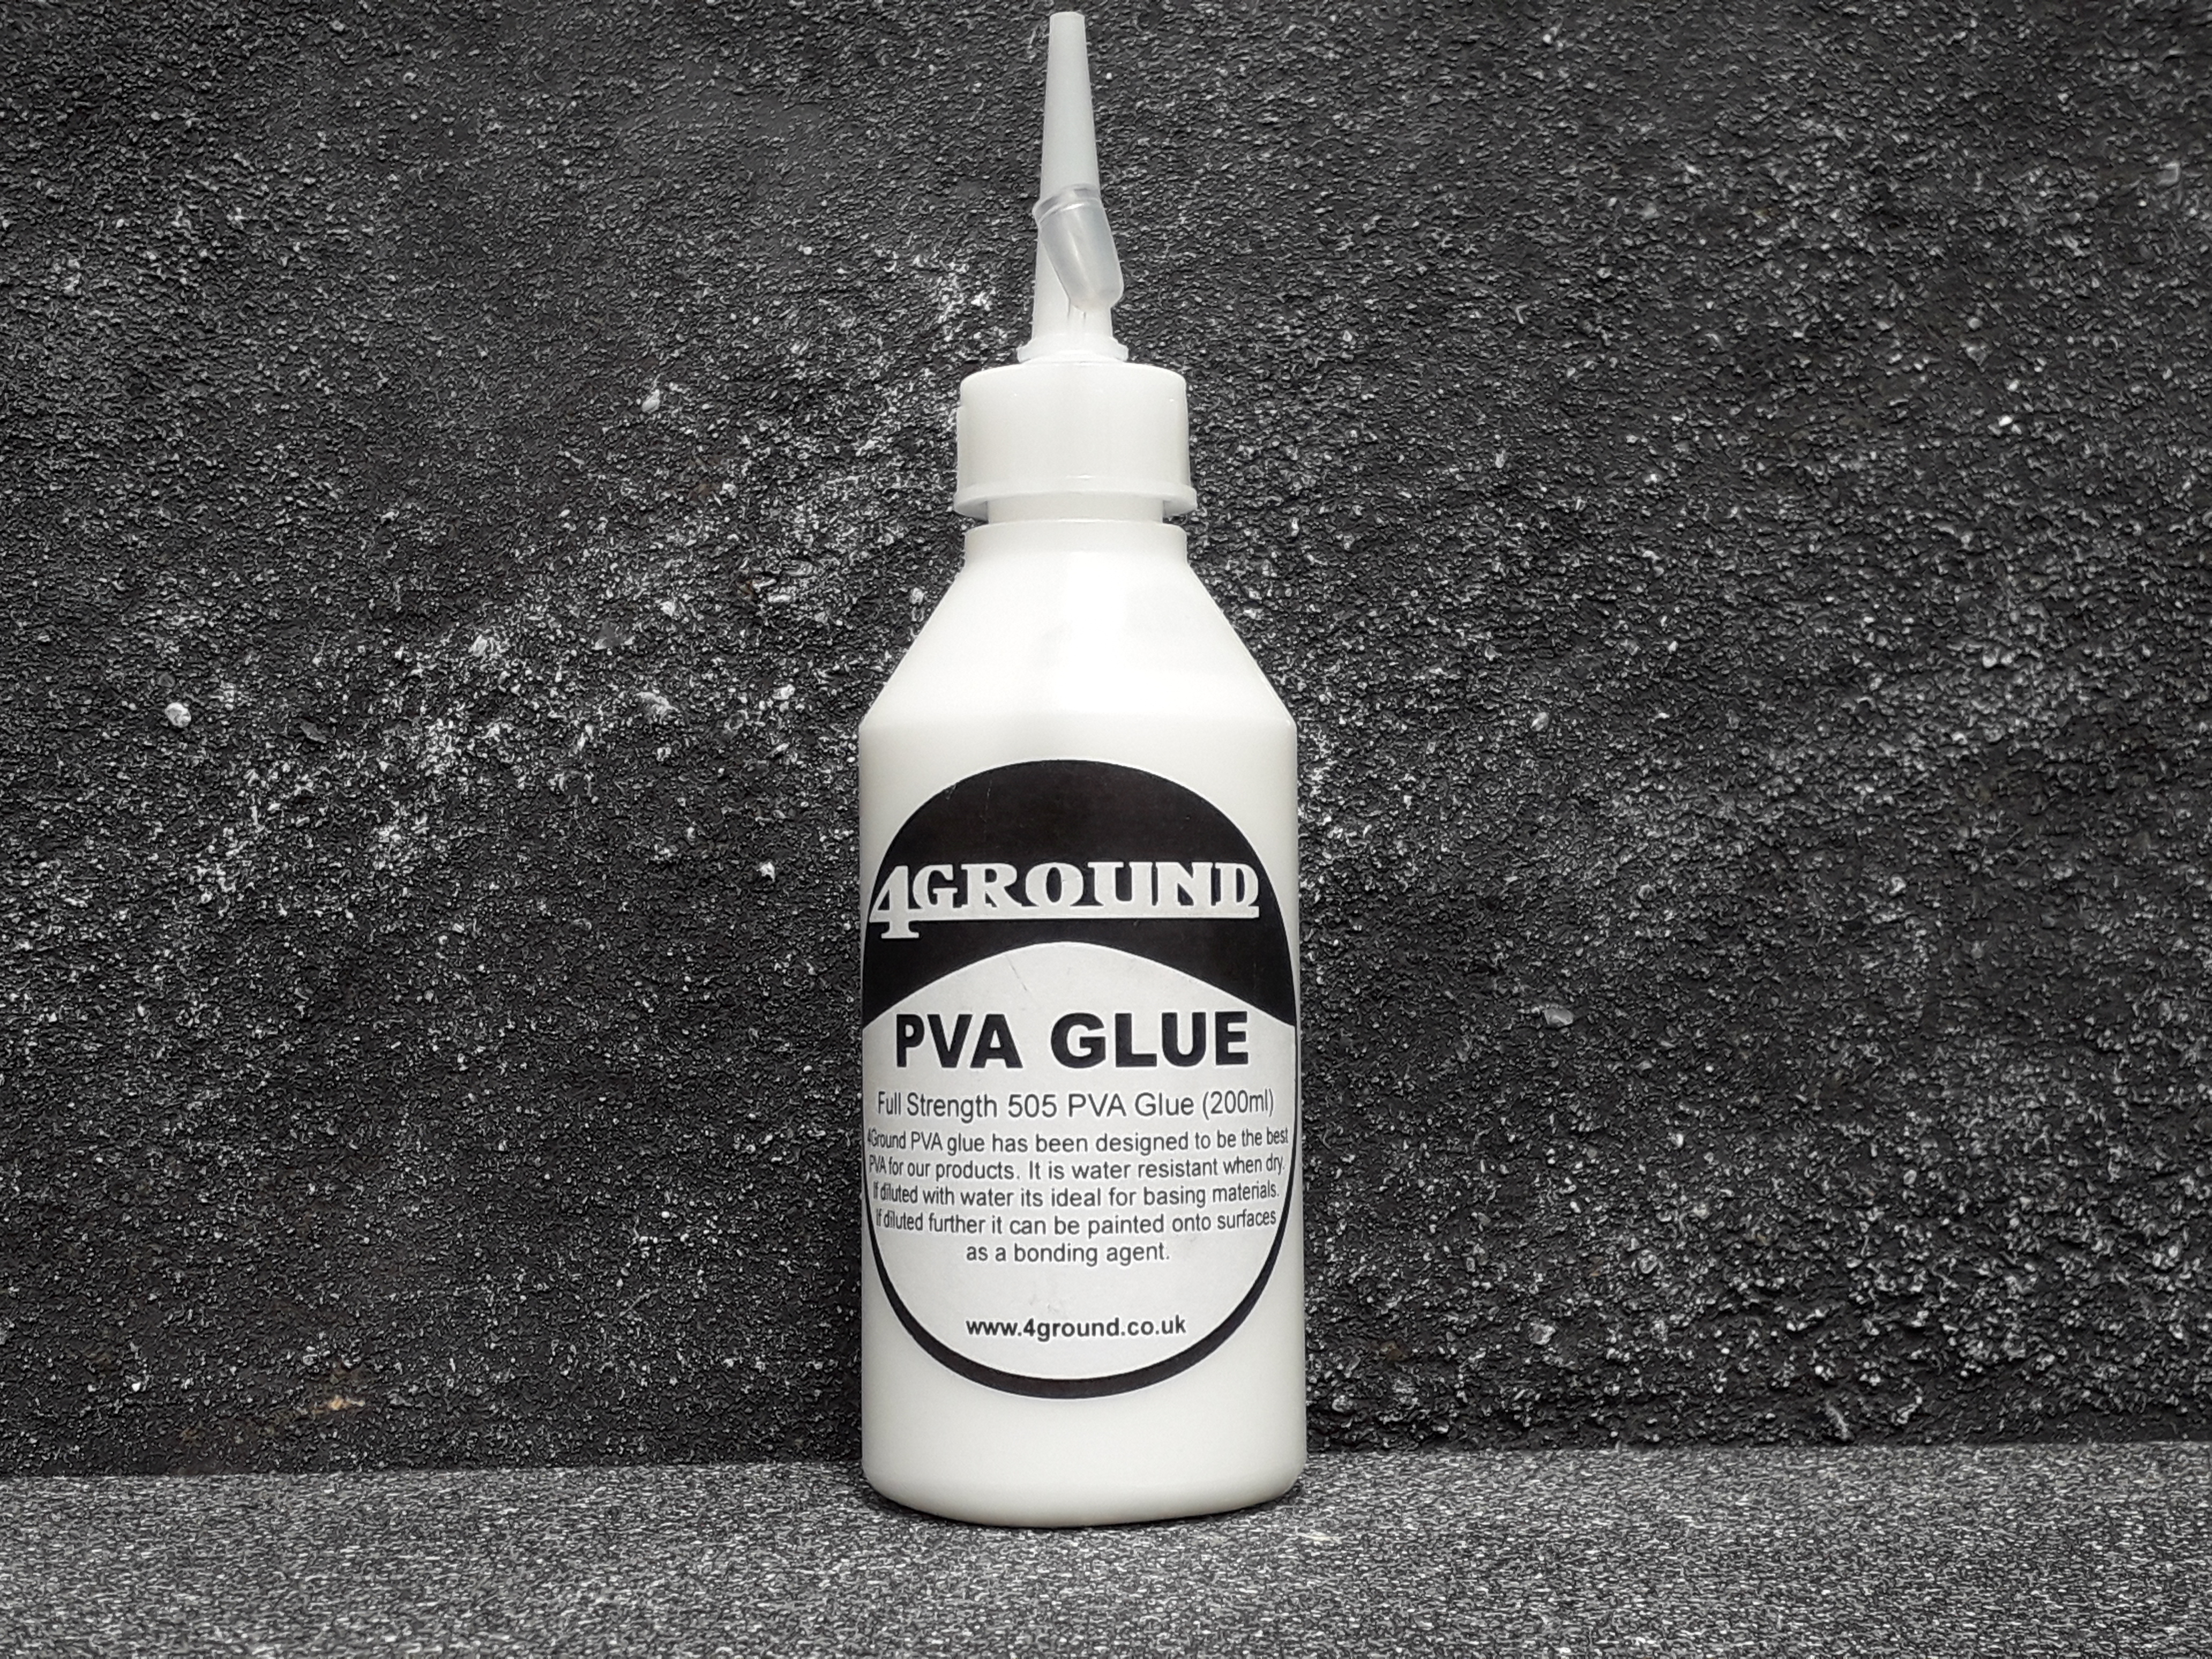
For larger pieces of batches PVA glue can be utilised for the absolutely the most secure fix possible. It needs to be applied uniformly across the surface as thinly as possible, with care to avoid pooling or lines. The two pieces need to be held together firmly during the curing process. This can be done with clamps, clothes pegs or even elastic bands. Areas of excess can easily be wiped away with a dry sponge.
Super Glue Activator Spray.
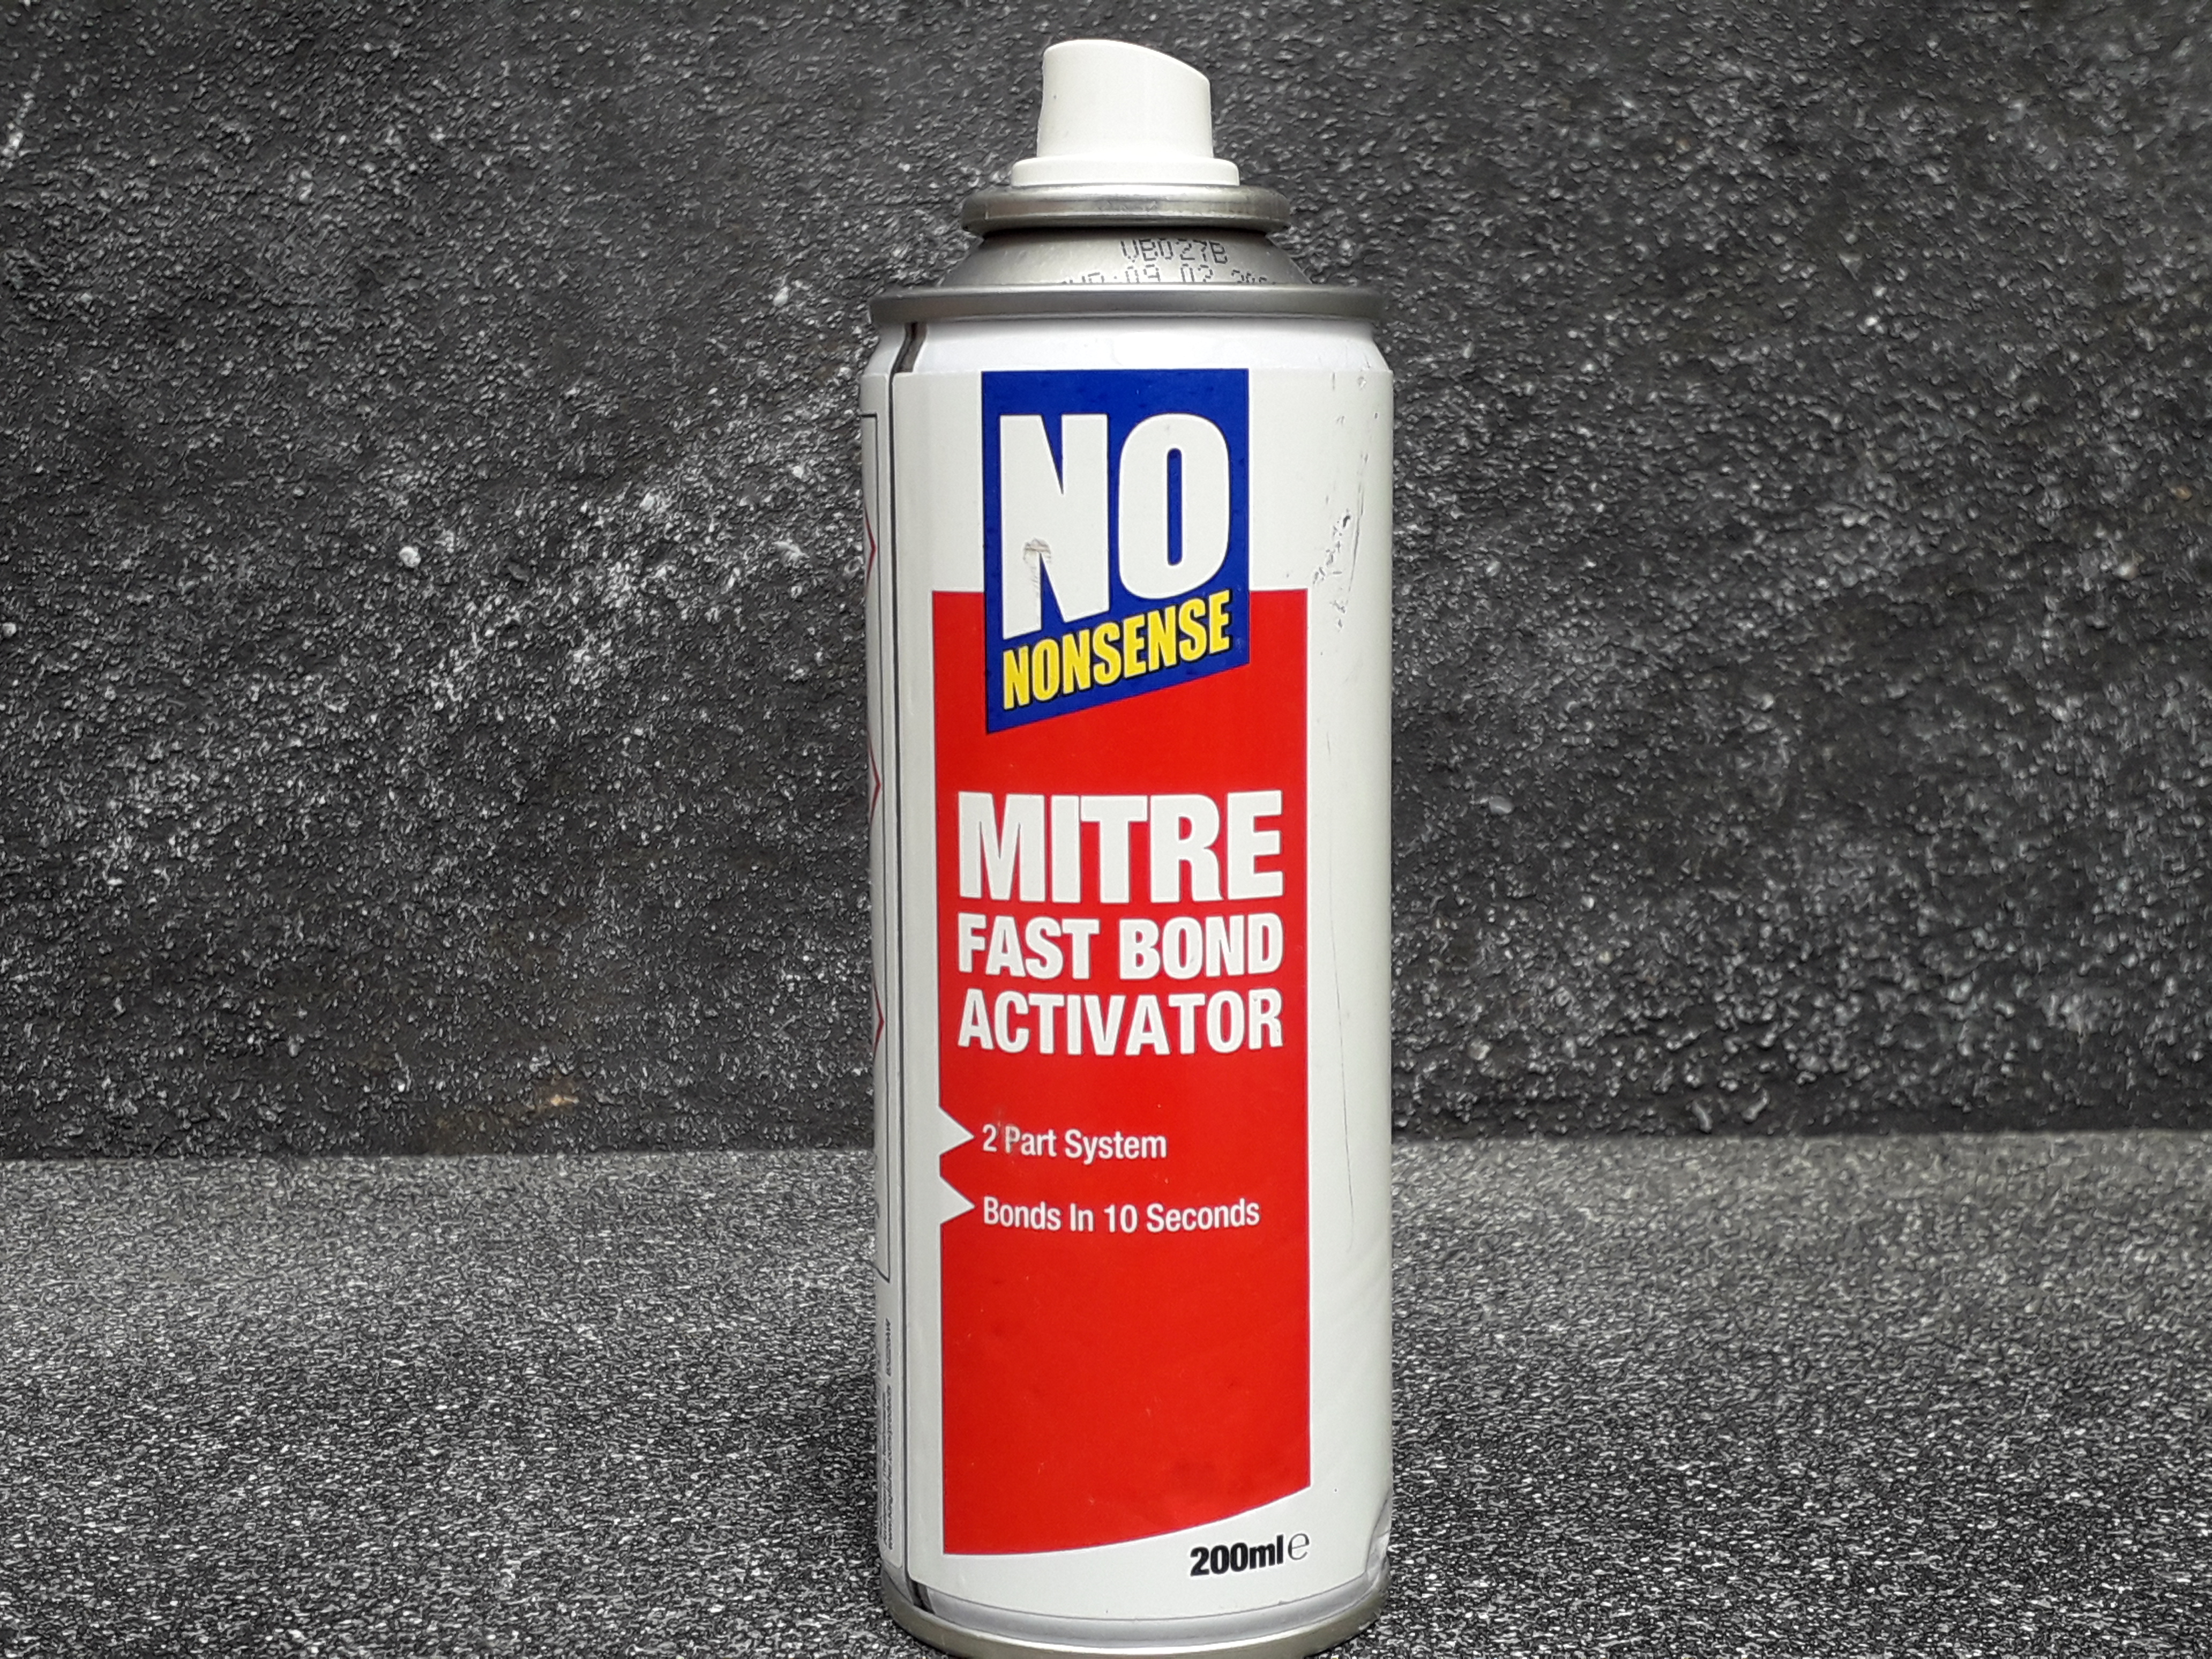
When tis came out, it was one of those ‘Hobby Game Changer’ moments for me. It was up there with Citadel Spray cans to undercoat my models, or the air brush in how it positively effected my hobby. It is now an essential that I would not wish to Hobby without.
Equally with vehicles and tricky larger buildings with a lot of glue going down as minute minor details. Getting super glue set near instantly (some times it can stay wet for surprising amounts of time) means that you can be precise and quick. I remember particularly when I was a beginner various problems caused by super glue not curing on delicate metal models.
I would strongly advise using a mask and spraying outside.
Gap filling with HDF Building kits.
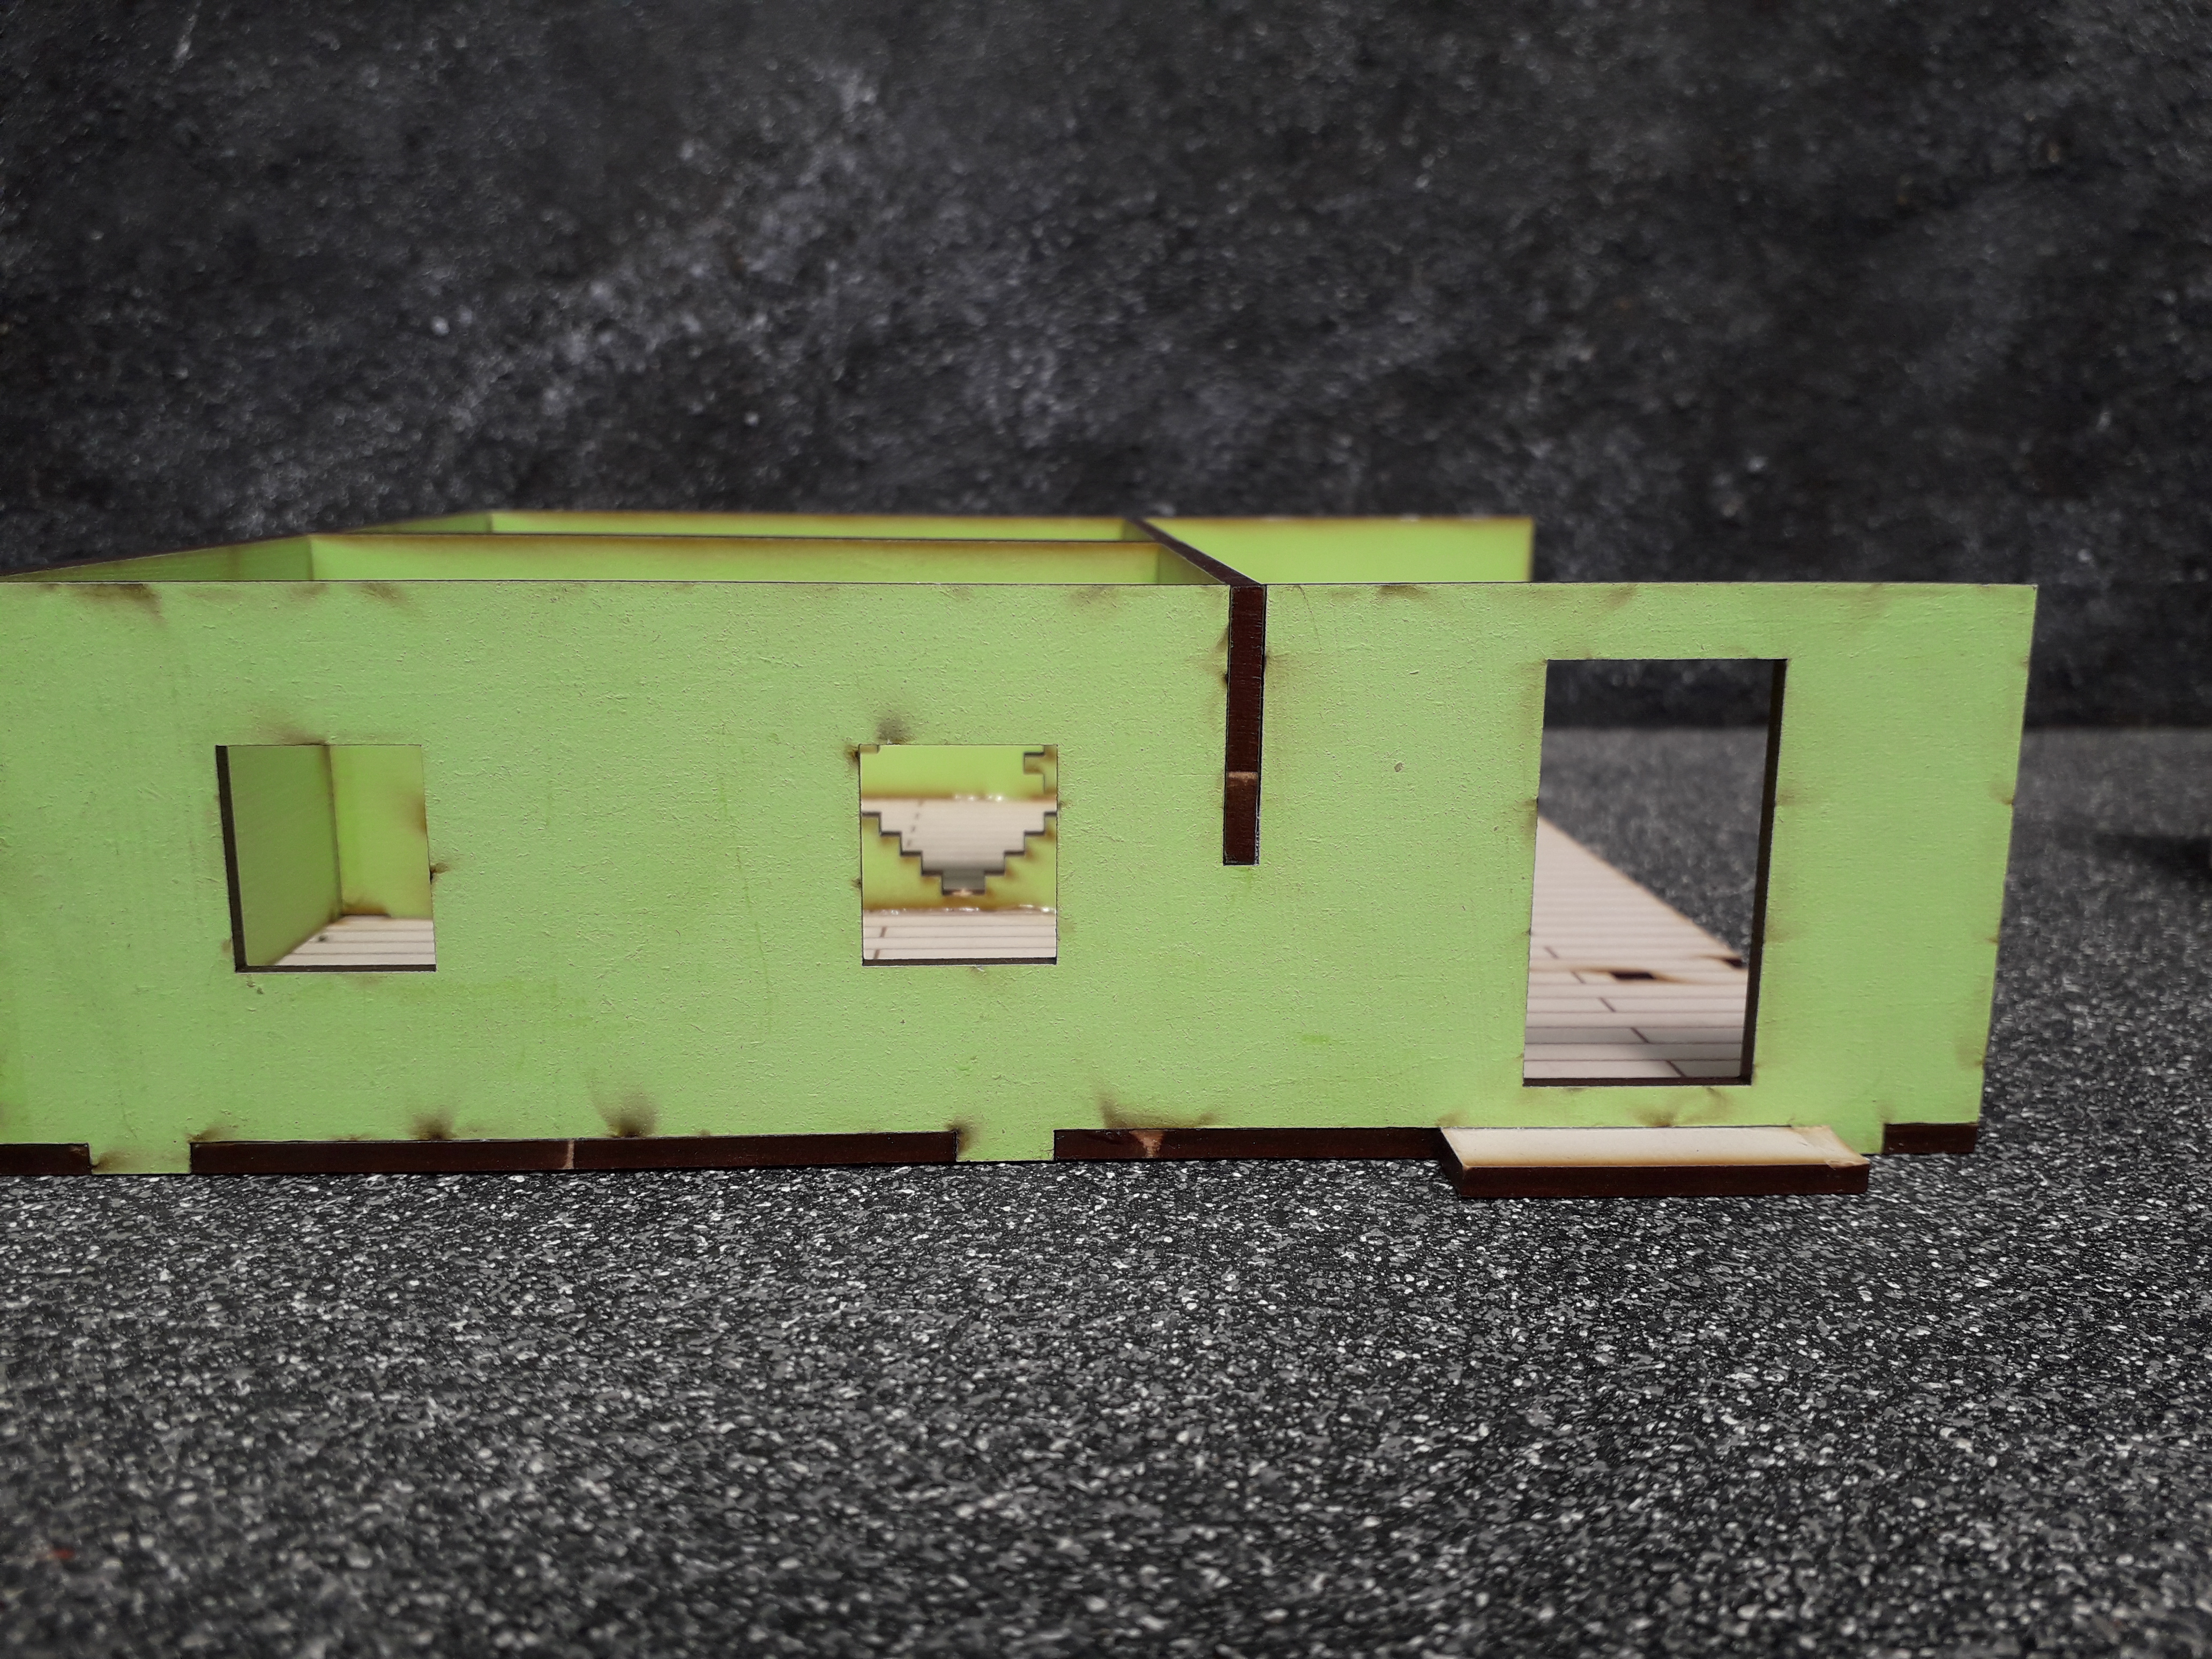
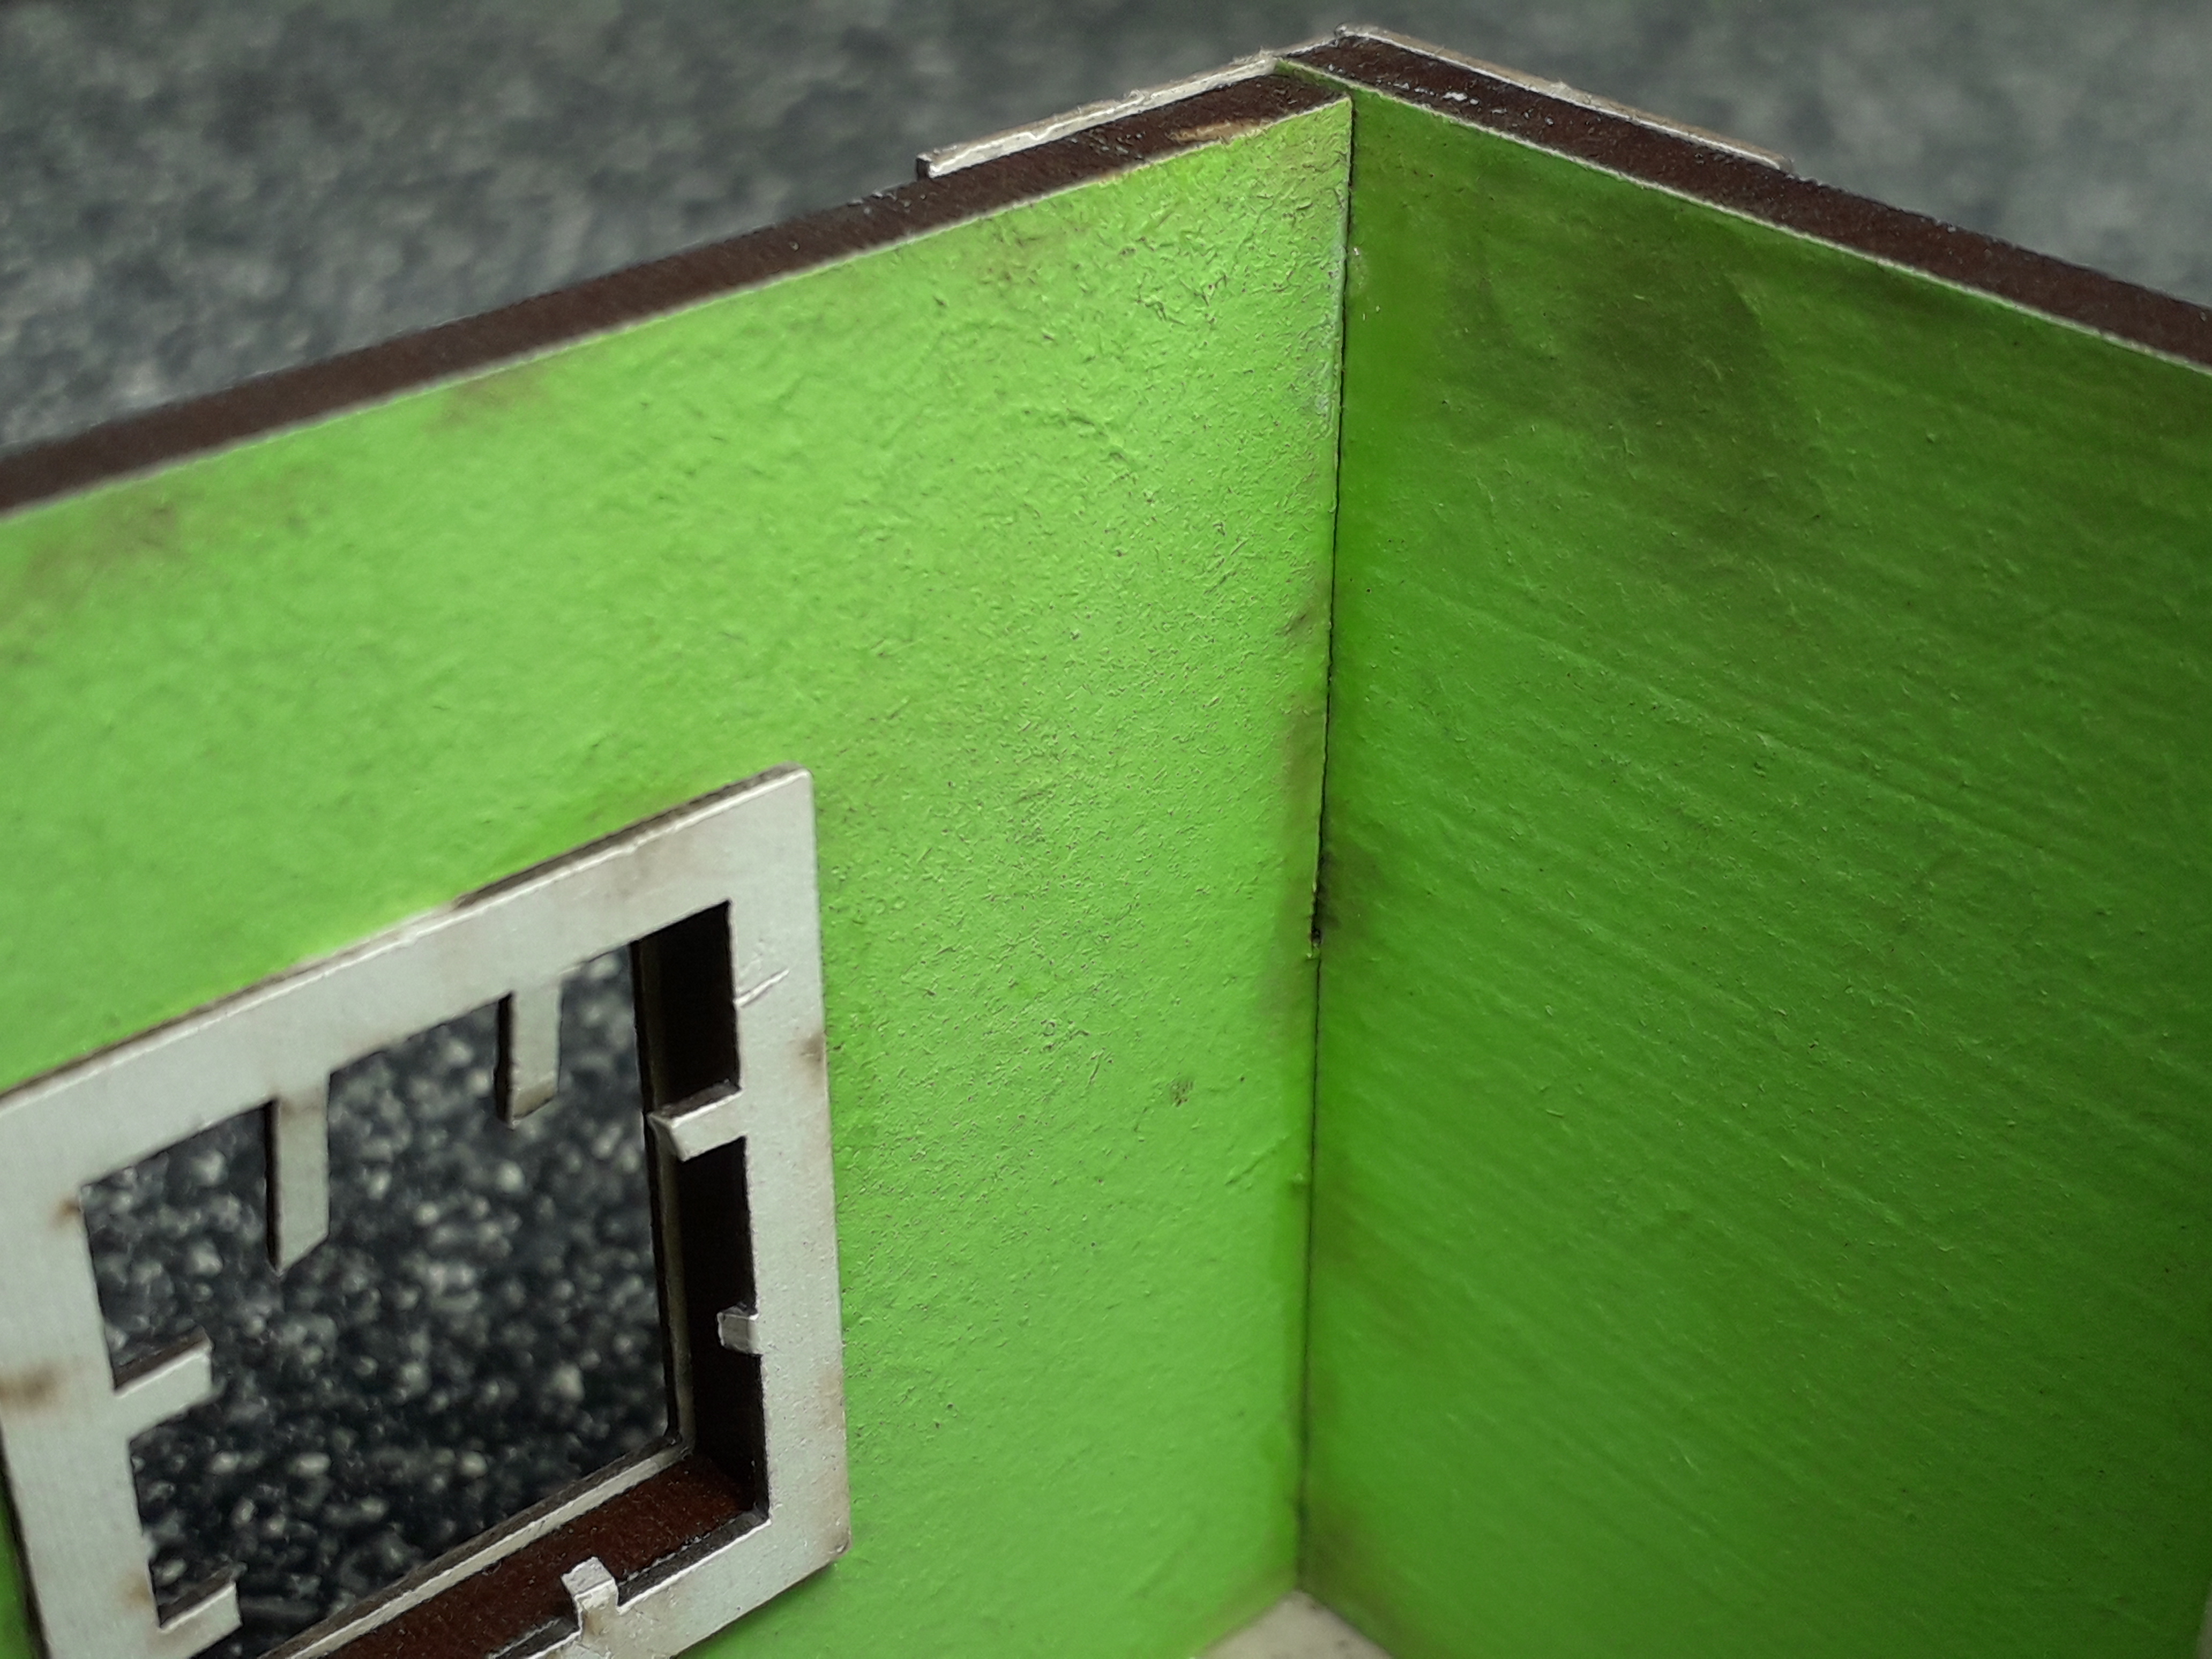 In the top of the corner there is a minute gap.
It is not uncommon to have small gaps in even the highest quality kits. This is true for a range of materials in this hobby including plastic, resin, metal and HDF.
I have been using ‘No Nonsense Fine Surface Filler’ from screw fix. This material does the job perfectly, with no discernible shrinkage. It’s cheap and of an easily workable consistency. You can even speed up it’s drying time with an hair dryer.
Crucially, it will also take spray paint primer with no problem.
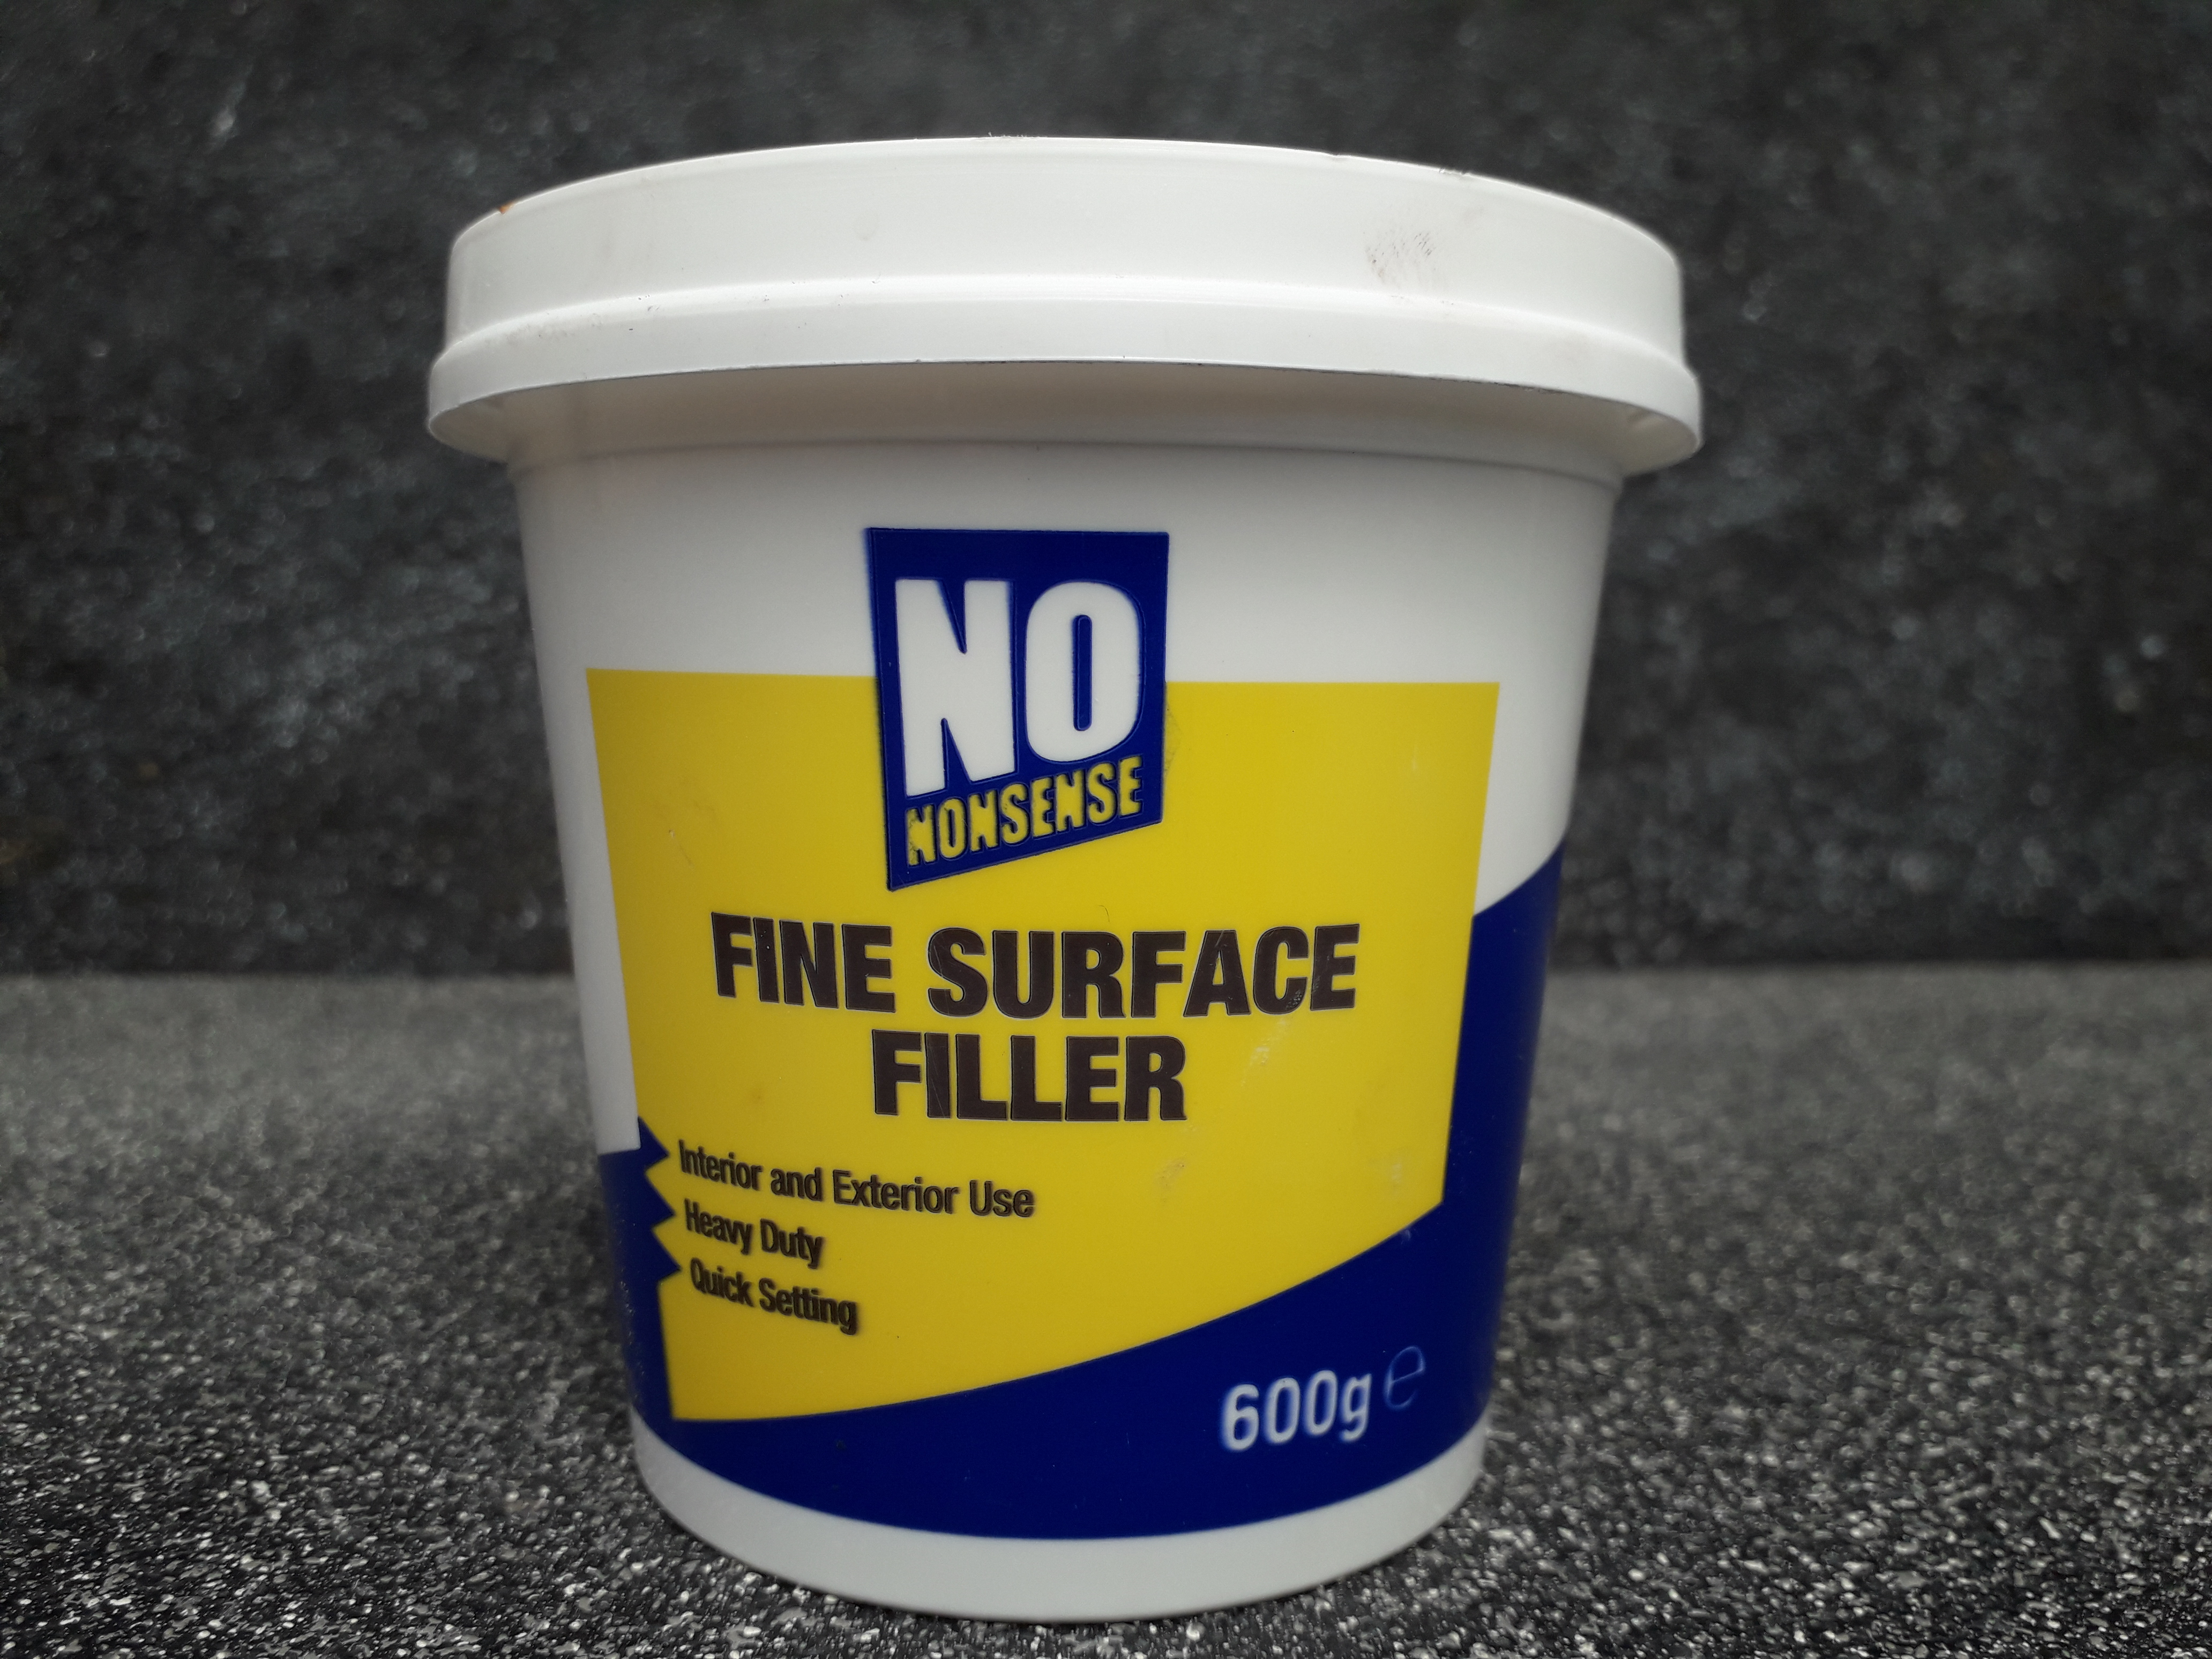
Applying it in small neat amounts with a spade shaped sculpting tool means that there is less waste, and mess to clean up afterwards. Always try to leave the filled in area as clean as possible before it dries.
If you no need to sand it, I would recommend ‘Wet Dry’ Sand paper.
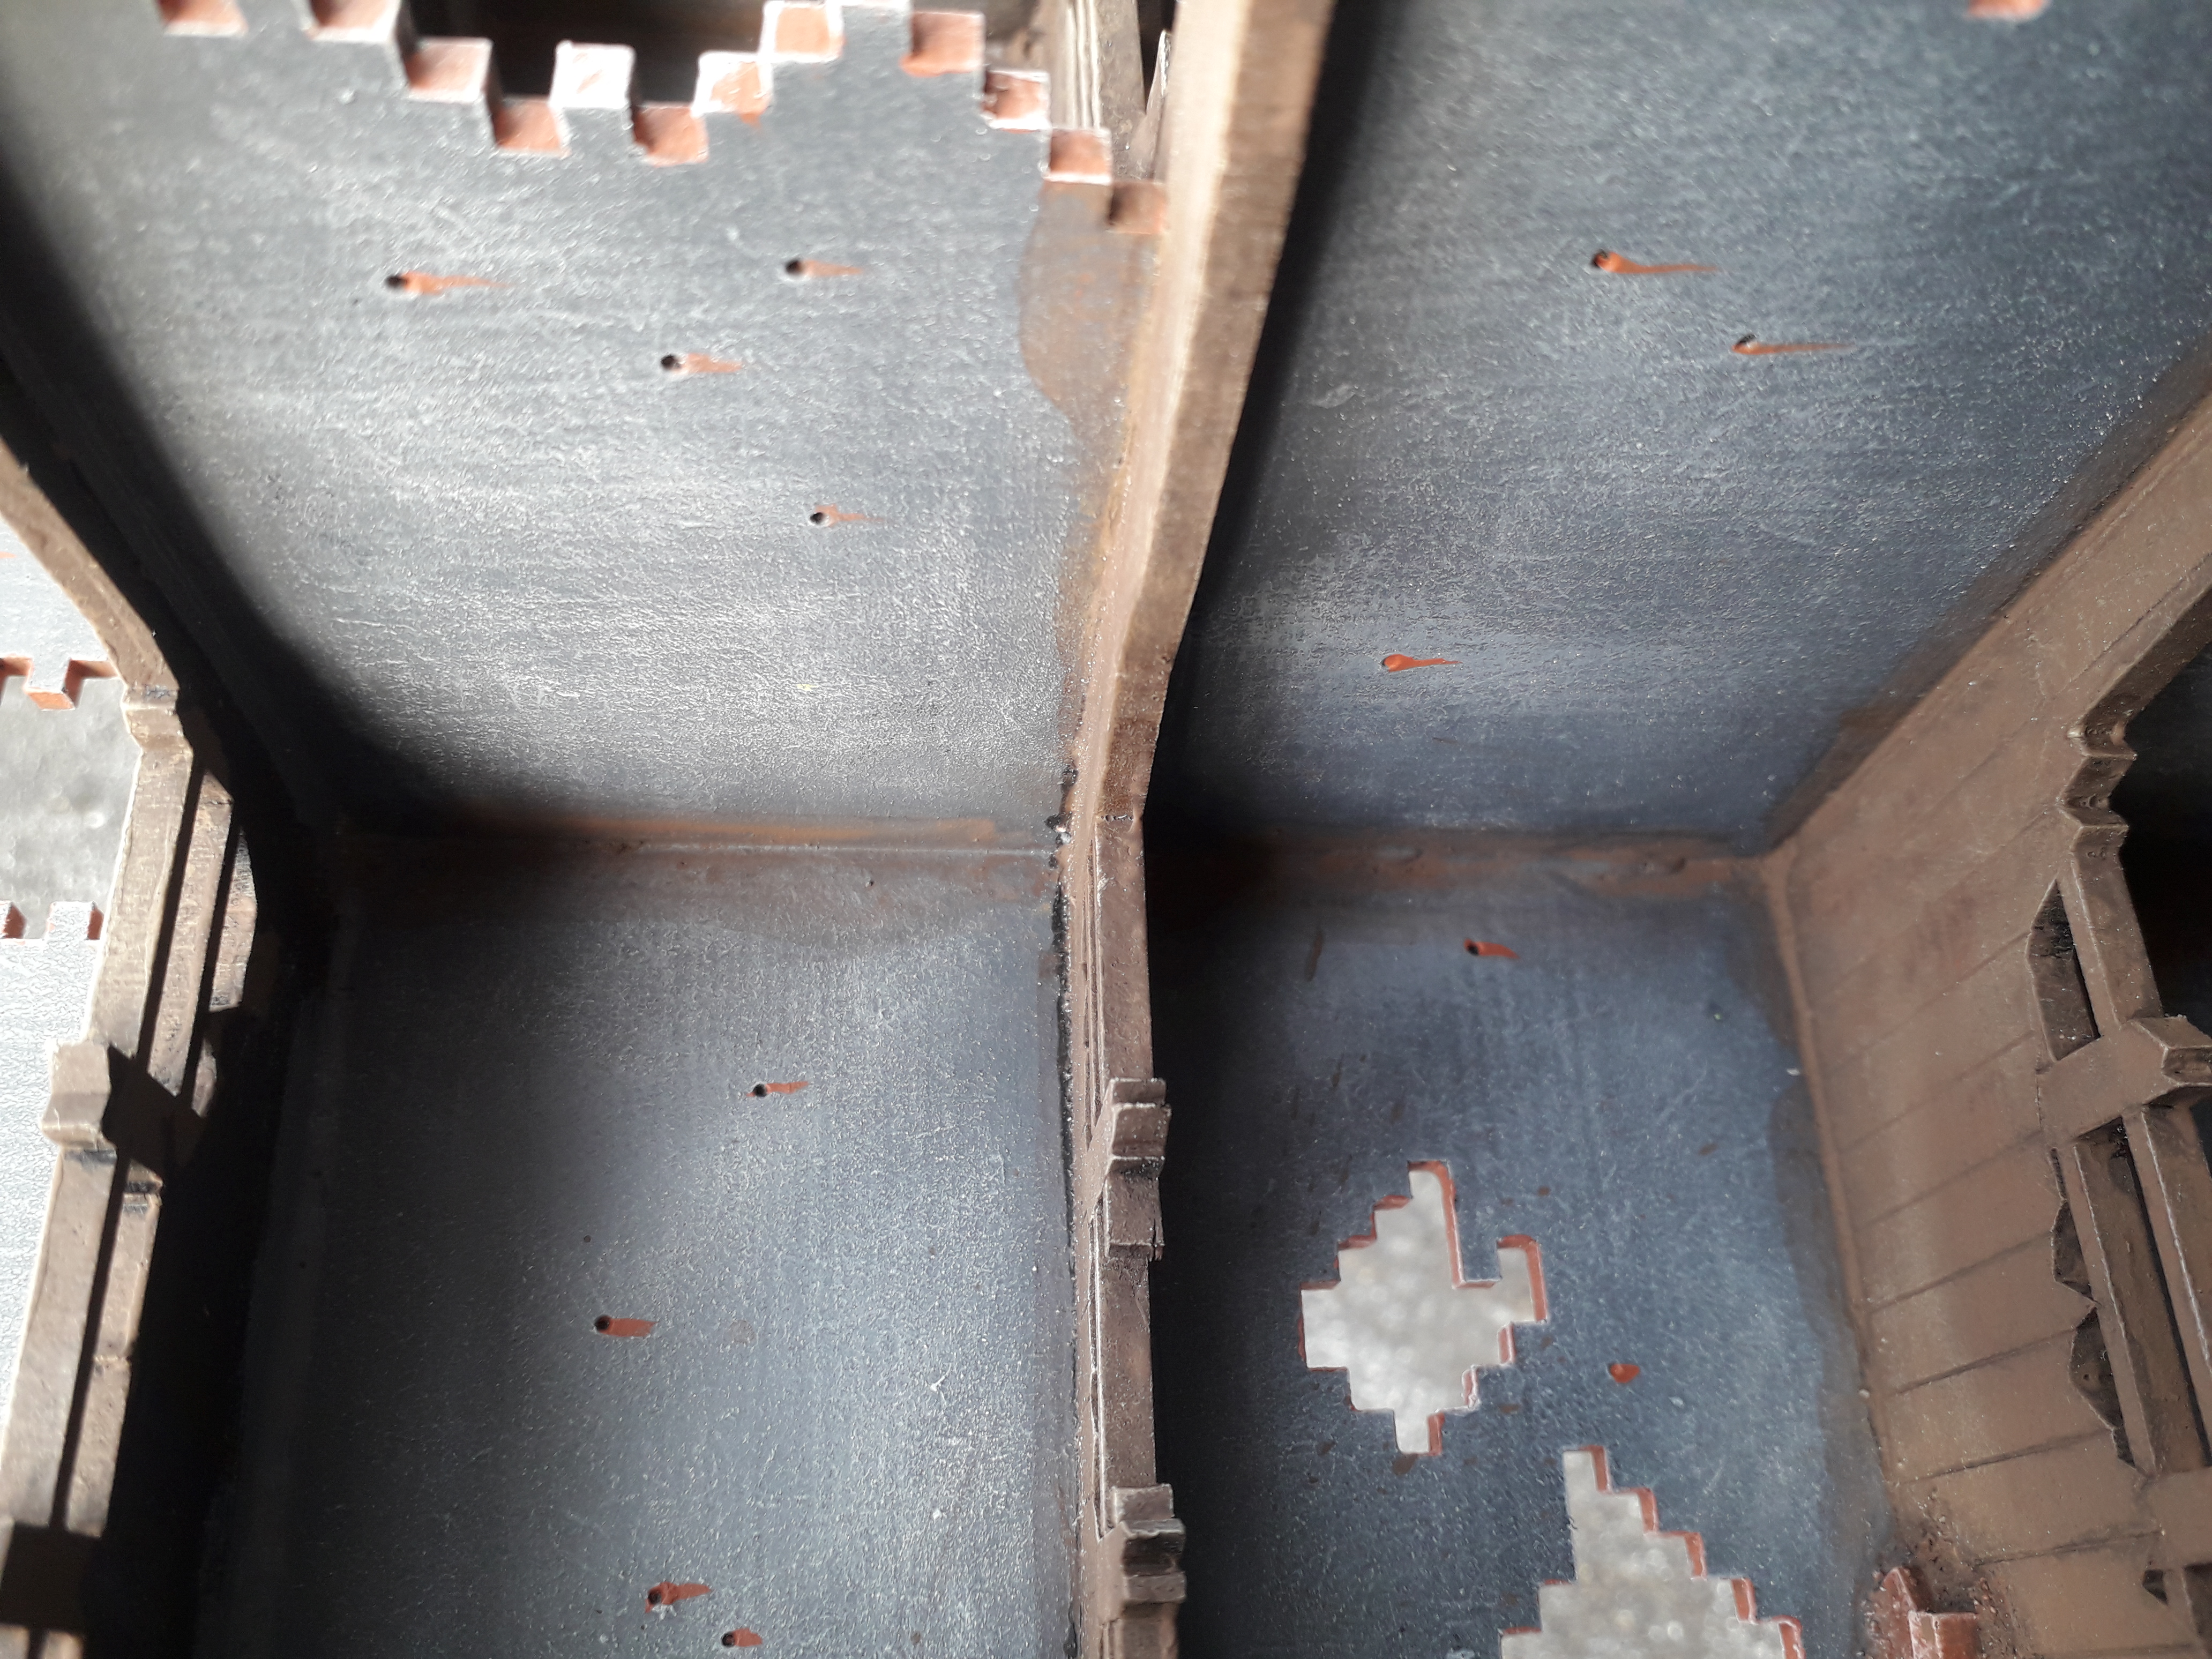 Finished interior with filled-in cracks after painting.