









STALINGRAD Bolt Action Mega Battle!



Recommendations: 7867
About the Project
Inspired by the Ontabletop.com 'Spring Clean Challenge' I have dusted off my Soviet Army for Bolt Action, which is 'Stalingrad themed'. I have dug out half painted and many still boxed kits and blister packs to start/re-start and hopefully finish the ridiculous amount of Soviet's, German's and Scenery that has been stuck in gamers limbo for years. I particularly look forward to getting a German army up an running to challenge my Soviet's, and to base the elements on real units (such as the 100th Jager Division). I also need to get scenery to theme the board built and finished. No Stalingrad battle (let alone a MEGA BATTLE [which Stalingrad very much was!]) would look right without a mass of smashed grey buildings, and a ruined concrete and brick wasteland. It's ambitious, but I have a LOT of unpainted miniatures and scenery that is crying out to get done, and the end result will (God willing?) be achievable and great fun for my gaming group and I. Like many gamers we all have a favourite battle that we would like to have masses of models and scenery to play with our mates. In those terms. this is my Waterloo (in a gaming bucket list way, rather than my ultimate personal downfall!),
Related Game: Bolt Action
Related Company: Warlord Games
Related Genre: Historical
Related Contest: Spring Clean Hobby Challenge 2023
This Project is Active
Eliminate Drying Times with........ an HAIR DRYER!
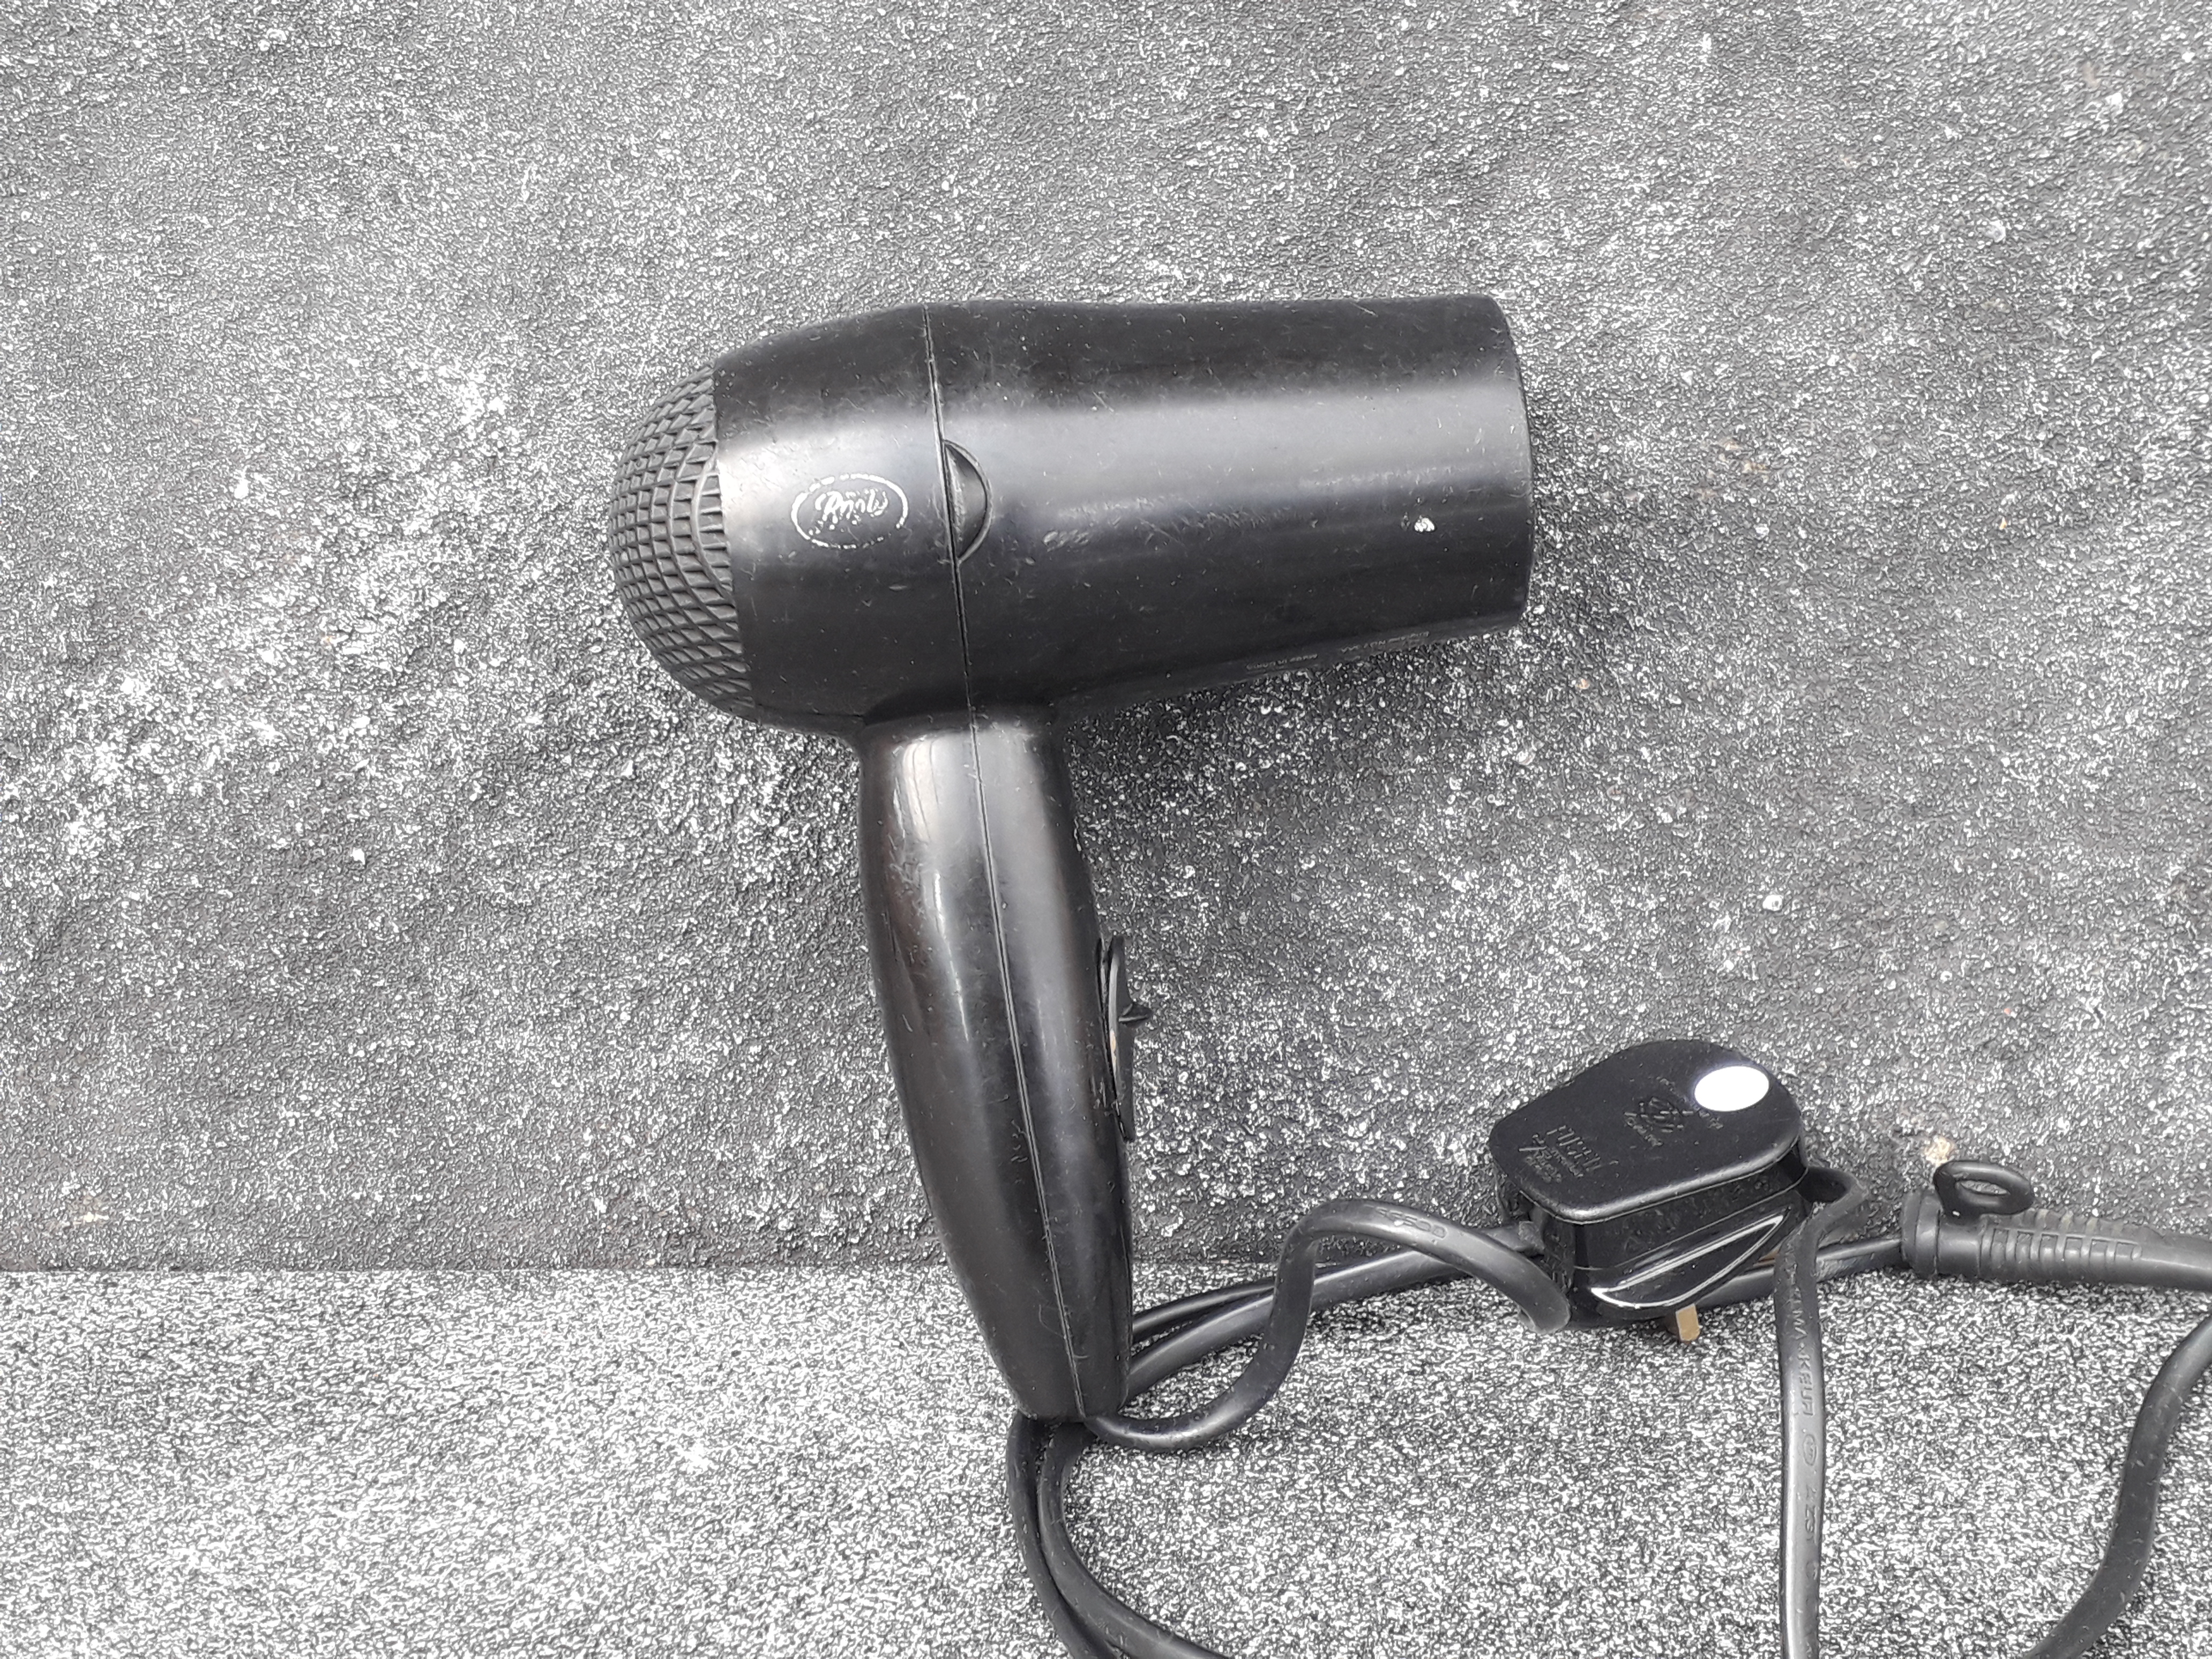 The Boots Classic has never let me down!
I have been using a succession of 3 hair dryers over more than 30 years to dry paint on miniatures. For me this is quite an obvious one, but every now and then I stumble across someone who waits for each layer of paint to dry, rather than instantly after a quick blast of hot air (I am referring to the hair dryer, not day time TV!).
It can also be used to warm up out of shape resin component opposed to dunking in hot water. This has the added bonus that areas of the resin model or component can be shielded from the hair dryer blast, allowing the heat to effect a specific area. This method is so much more accurate than the ‘dunking in hot water method’, which would effect the entire model. Which could cause further issues as other areas then got bent out of shape.
I would express a serious concern with drying rattle can and air brushed models, be very careful with short, sharp bursts from at least 1 foot away.
Also, resin parts or models can become soft and loose their shape if over heated. Brief bursts of air is all they will need.
I would recommend that washes are allowed to dry naturally.
A warning on Pin Vice Drill Bits!
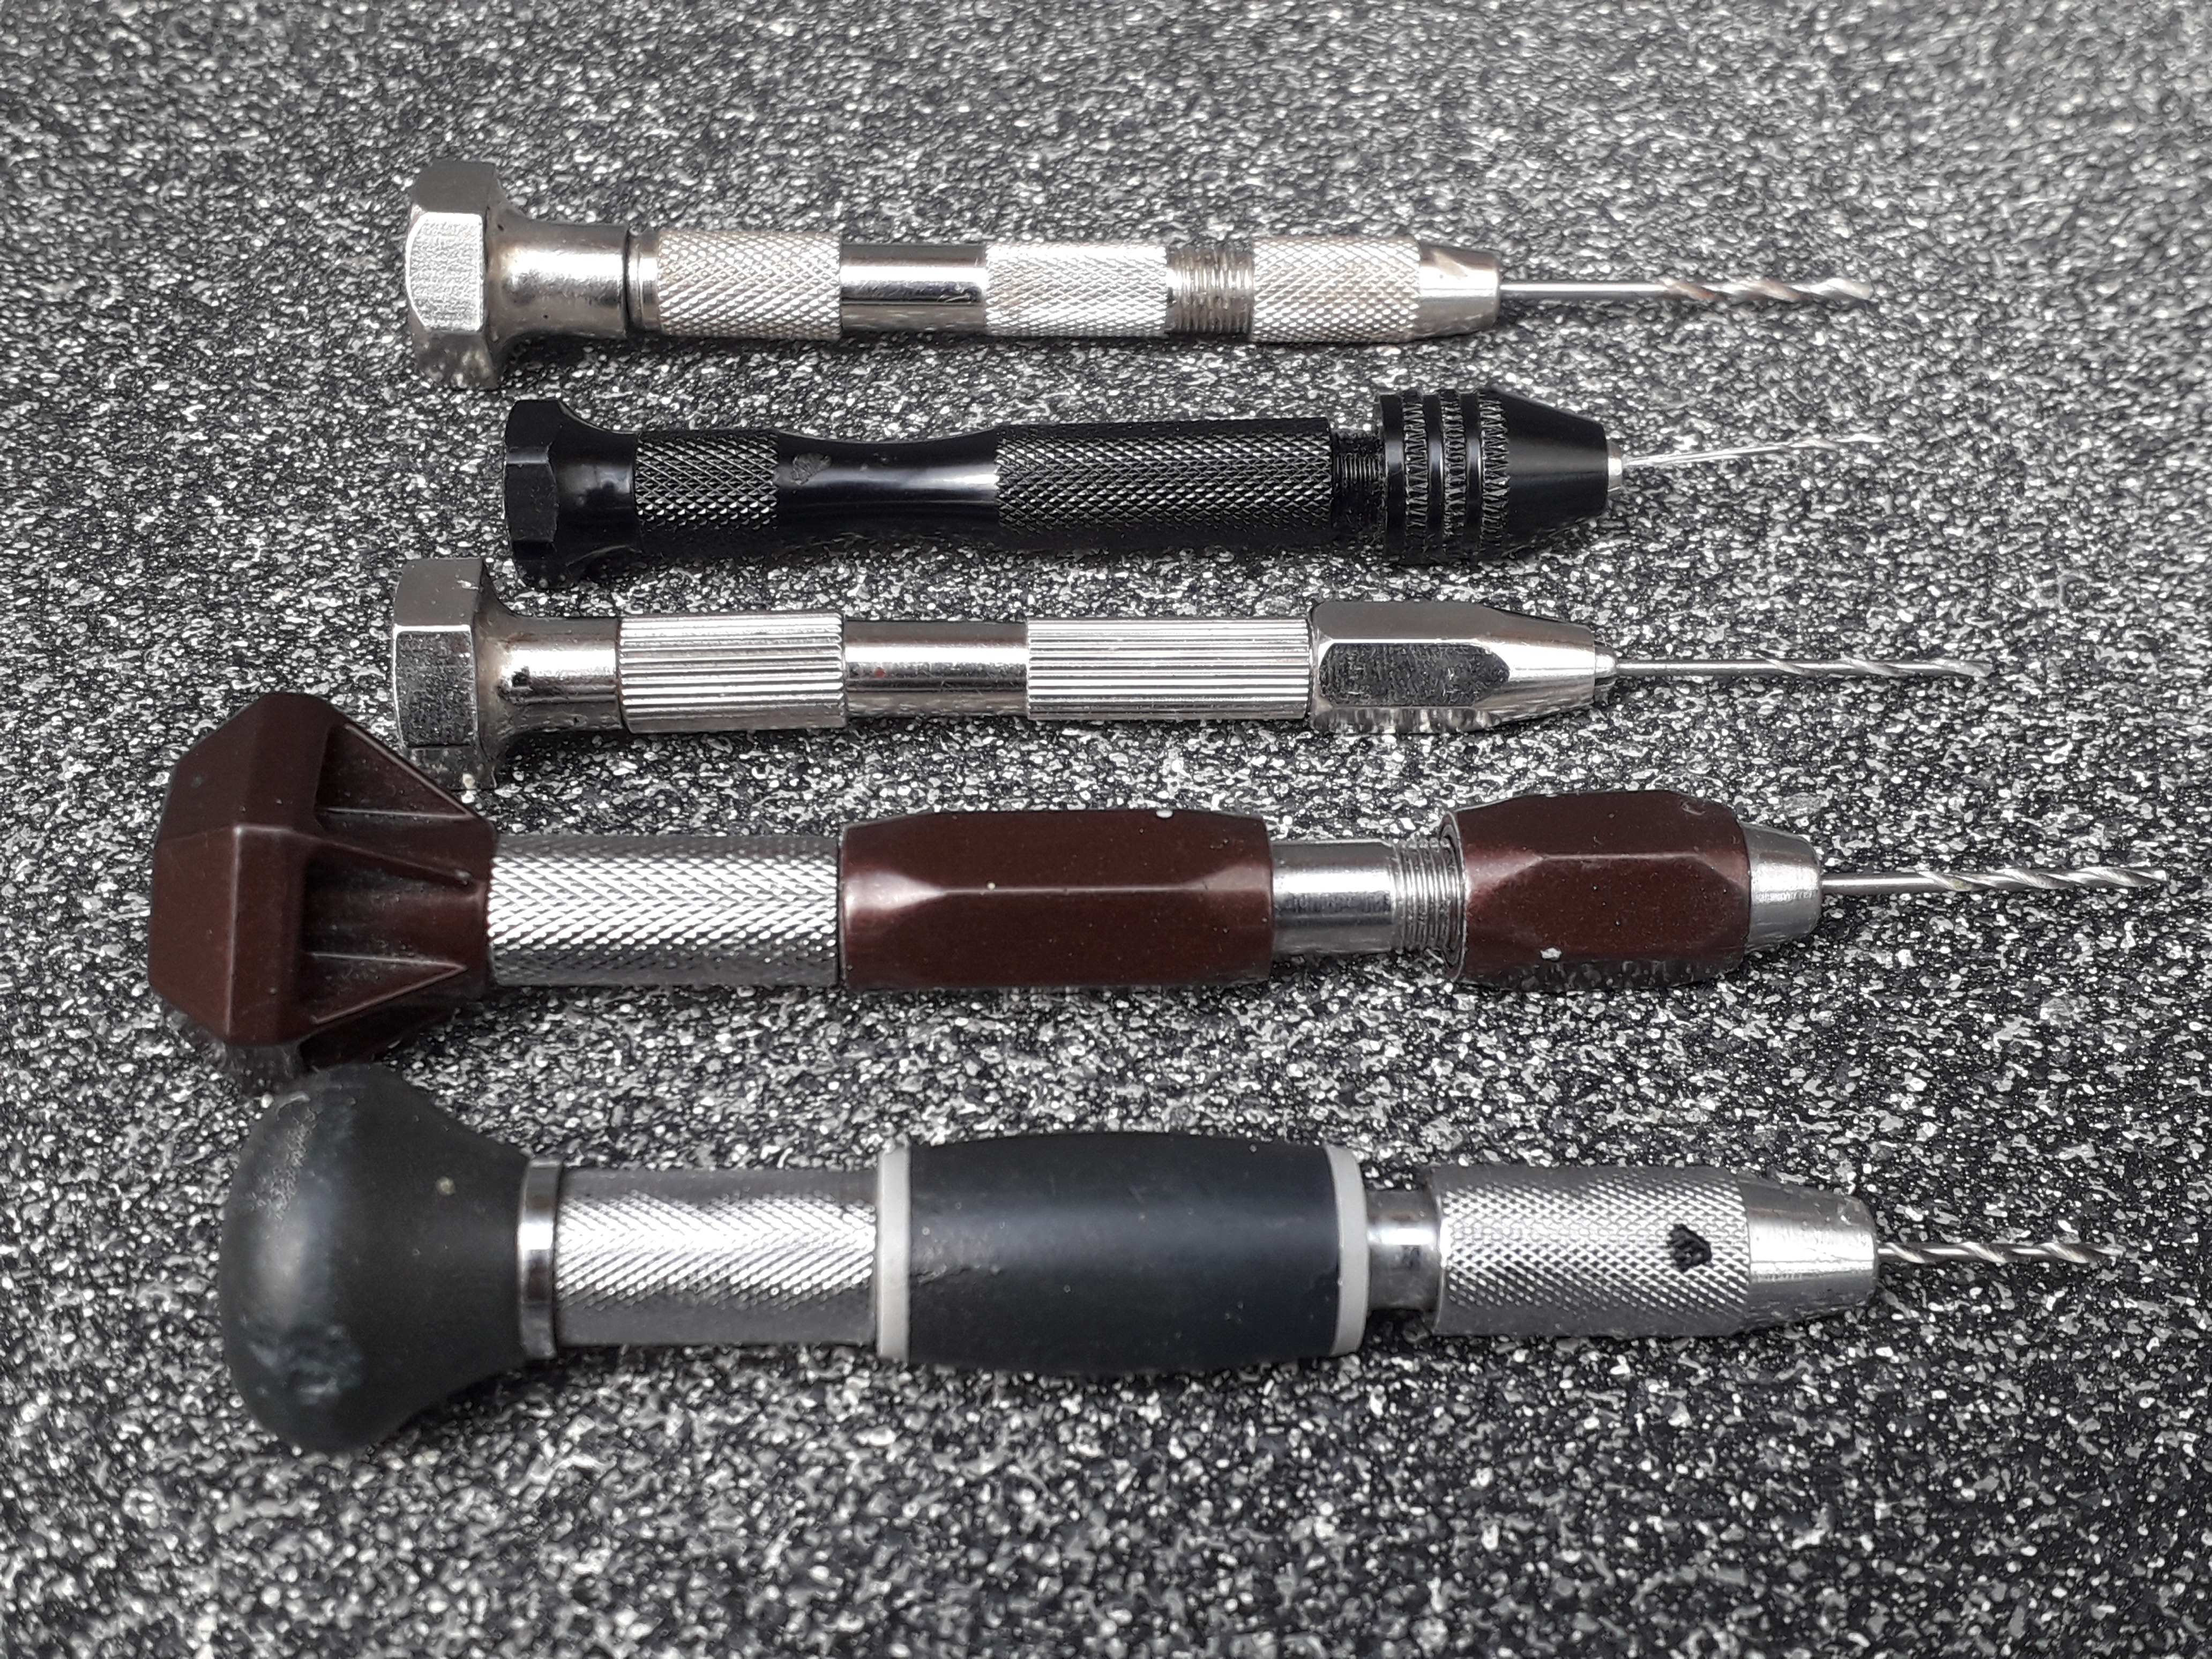
A reasonable range of pin vices are available for drilling minute holes in miniatures and scenery, however, they are not made equal.
Games Workshop have always sold excellent examples that are comfortable to use, and critically do not unscrew and disassemble whilst in use.
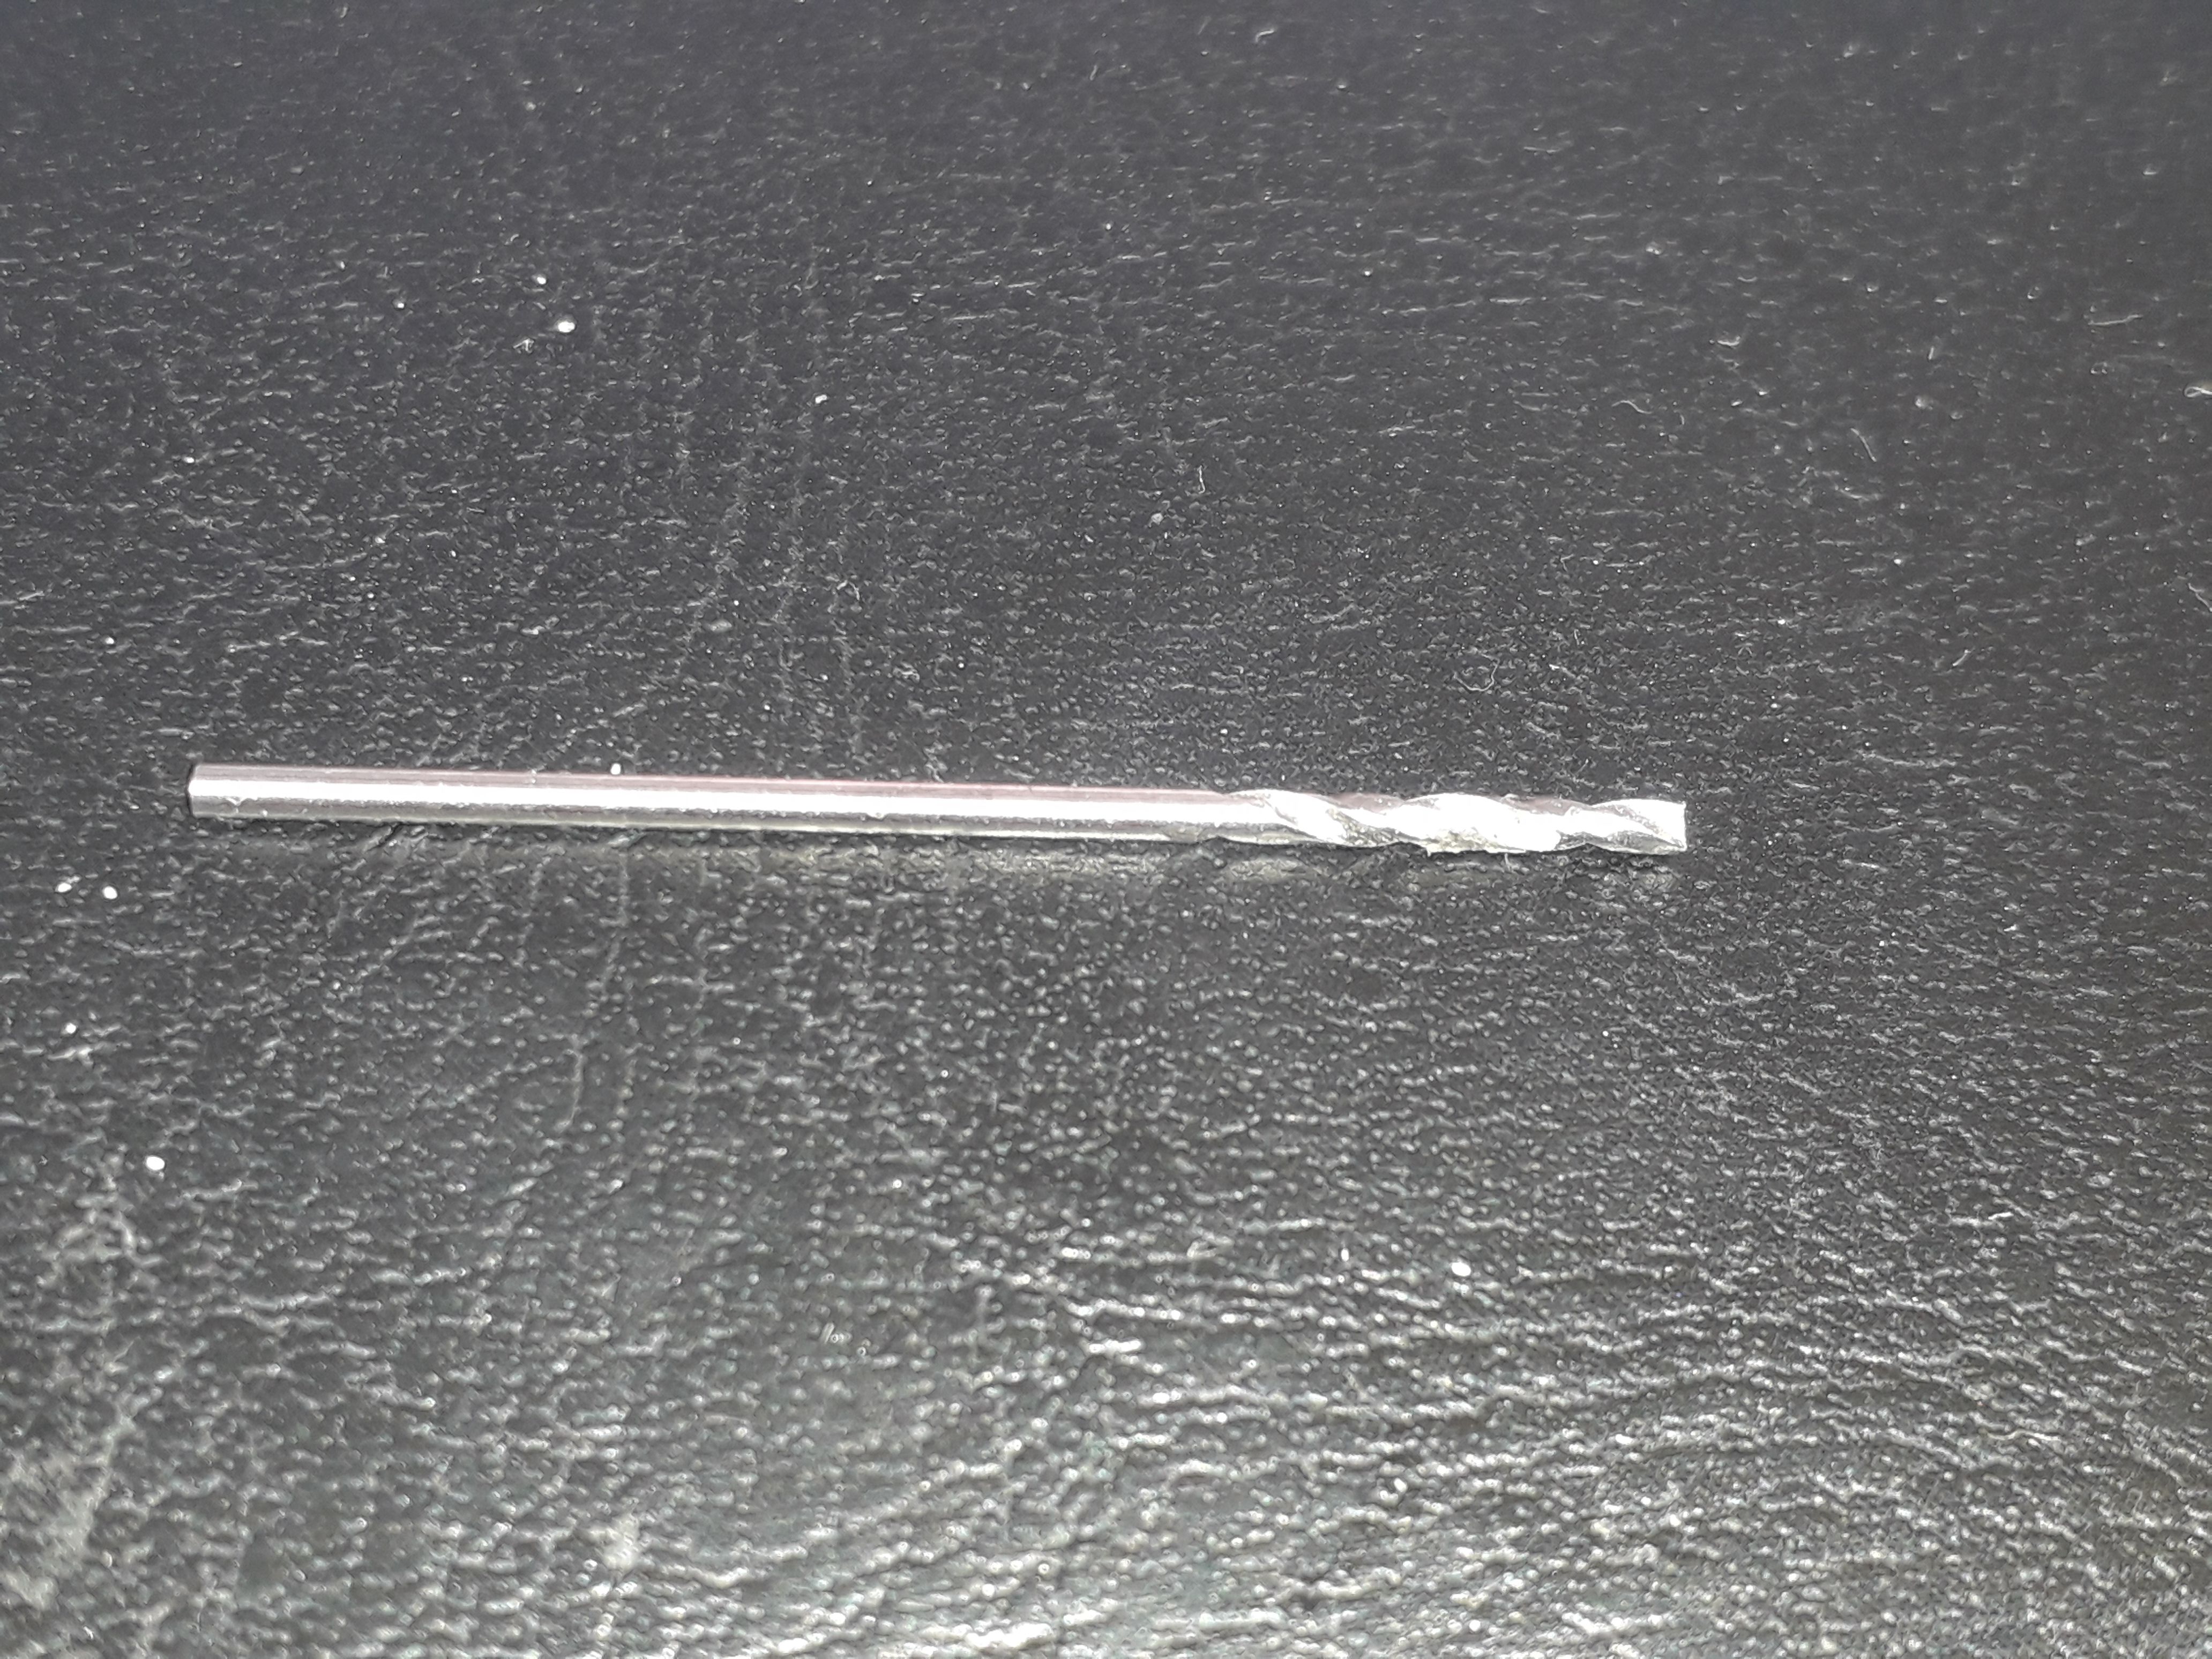
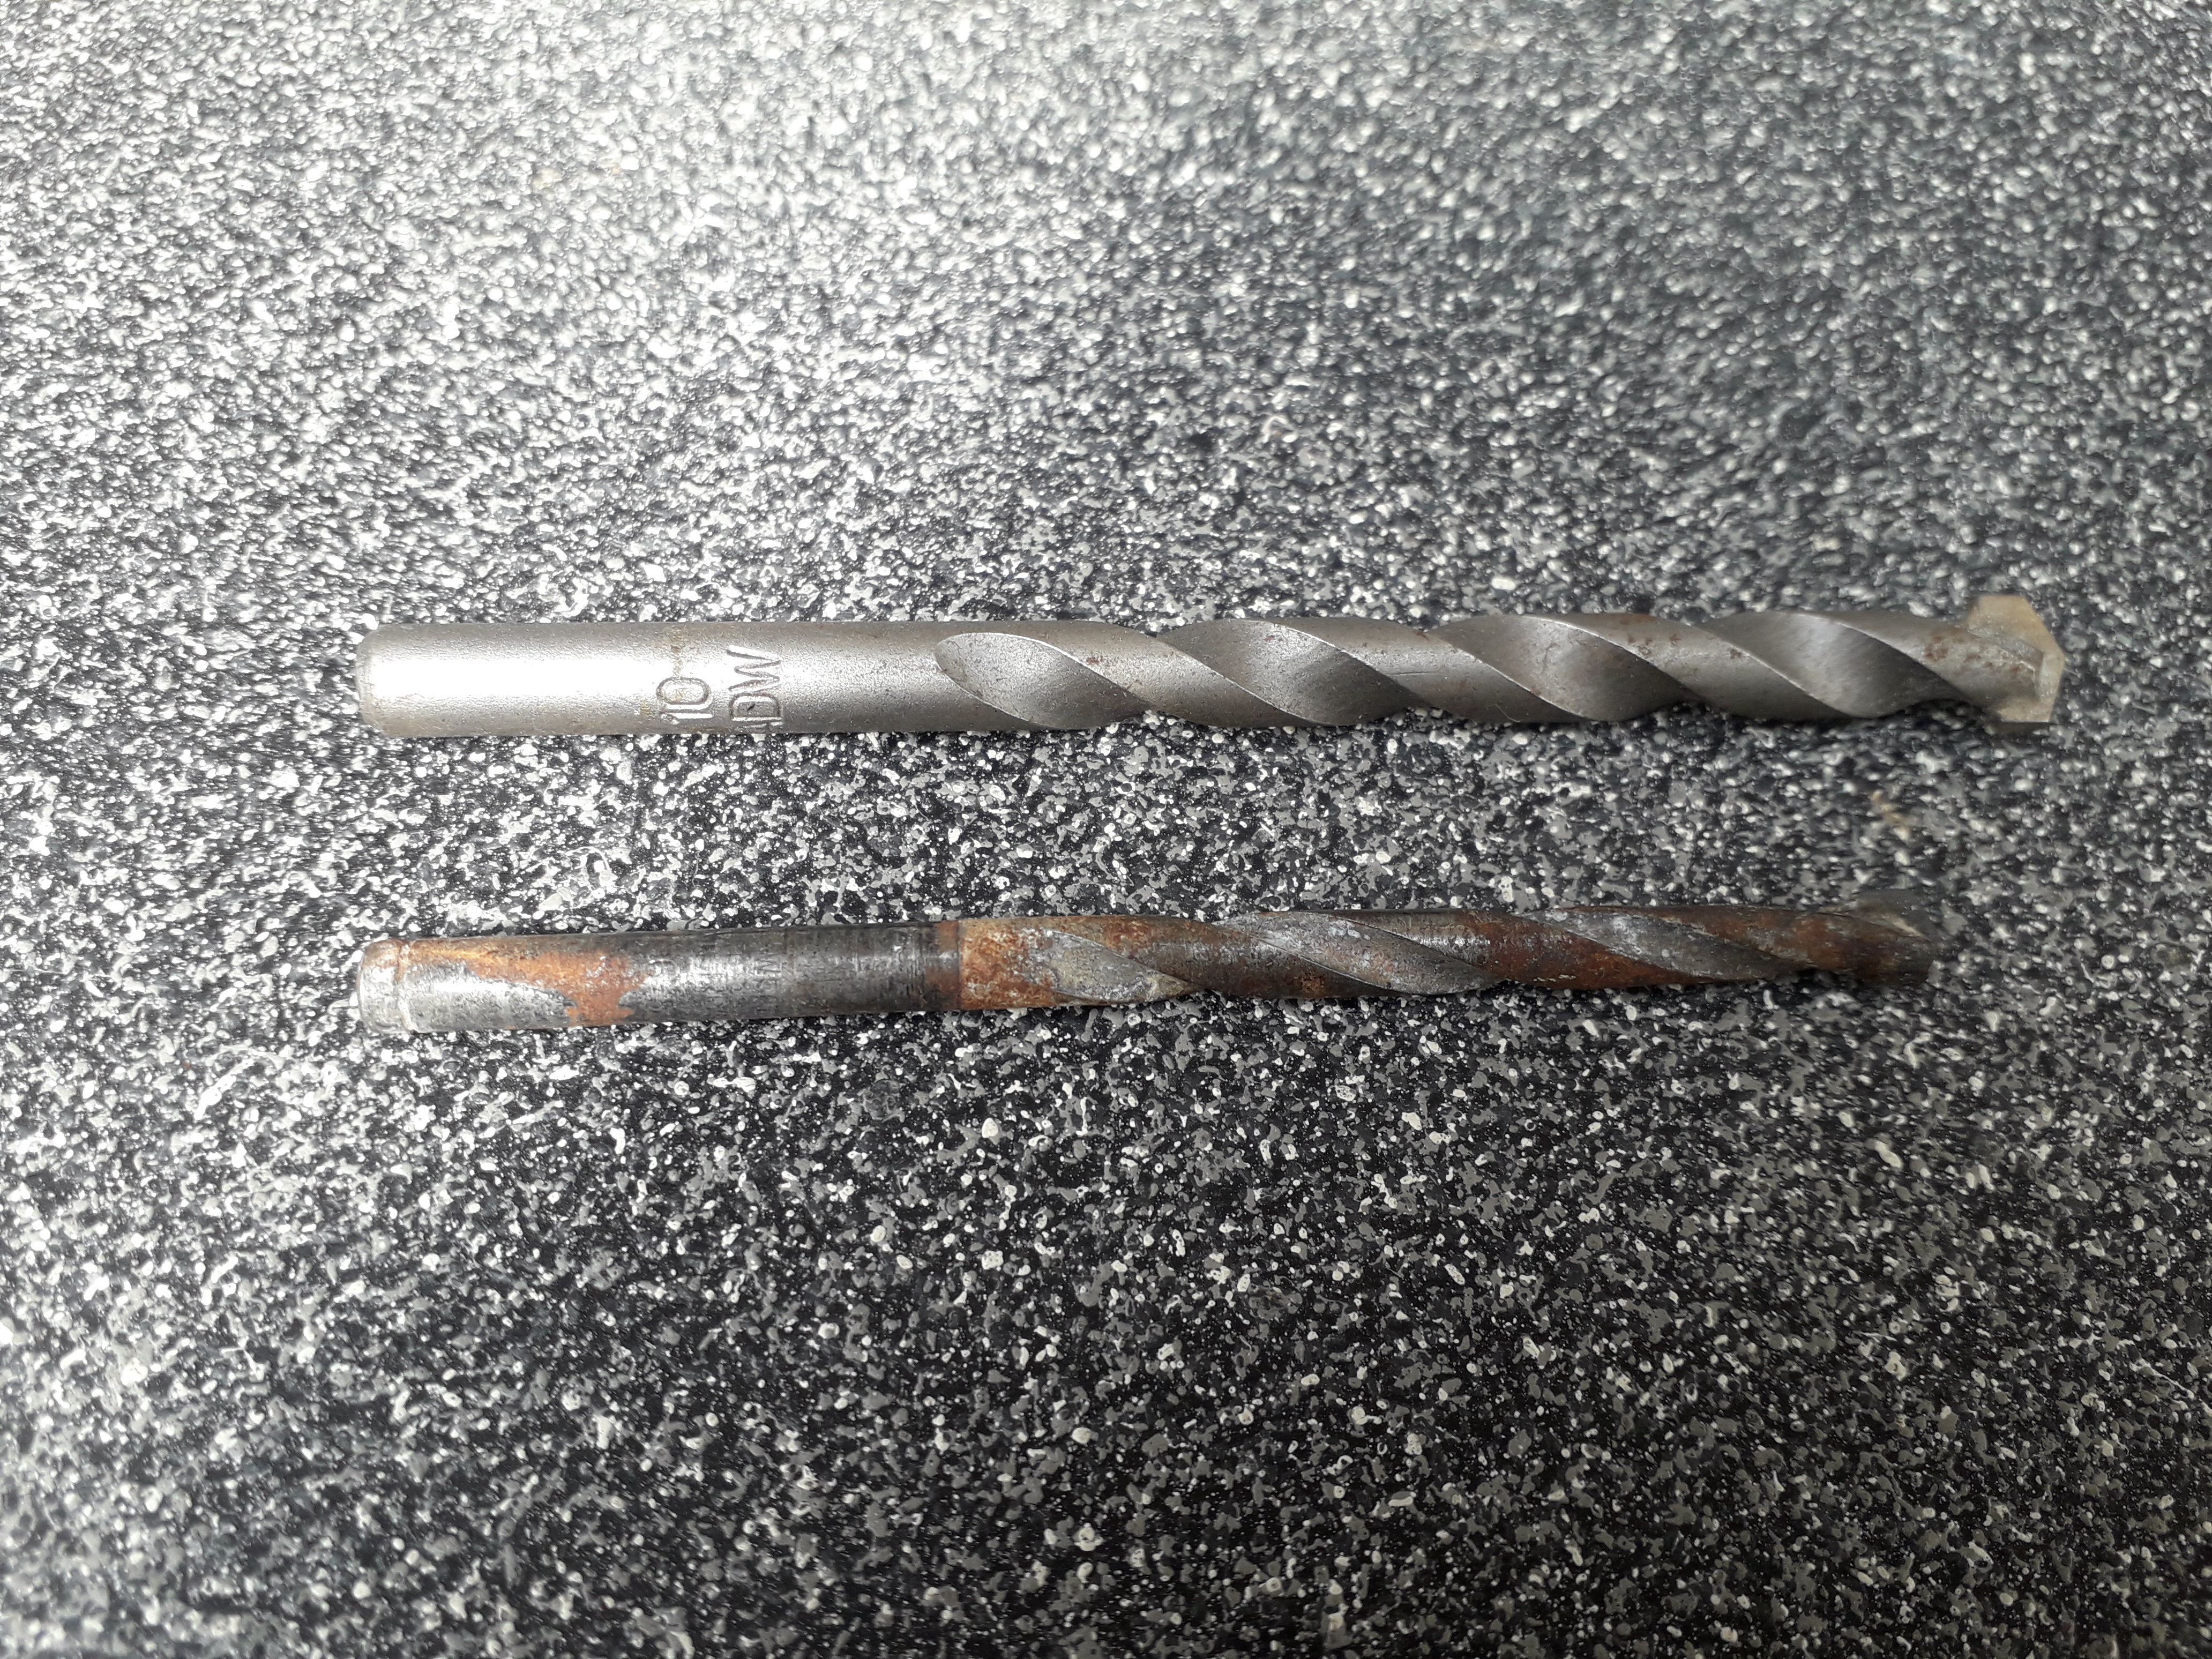
I would also advice on checking drill bits before use. They should have a pointed business end, a bit like a fat needle, (or regular sized drill bits) to keep them in place as they drill an hole. Unfortunately bad examples are available which like the following image, are flat and consequently useless.
A superb tool when used properly, and by a manufacturer with suitable quality standards.
Magnetising Tank Turrets.
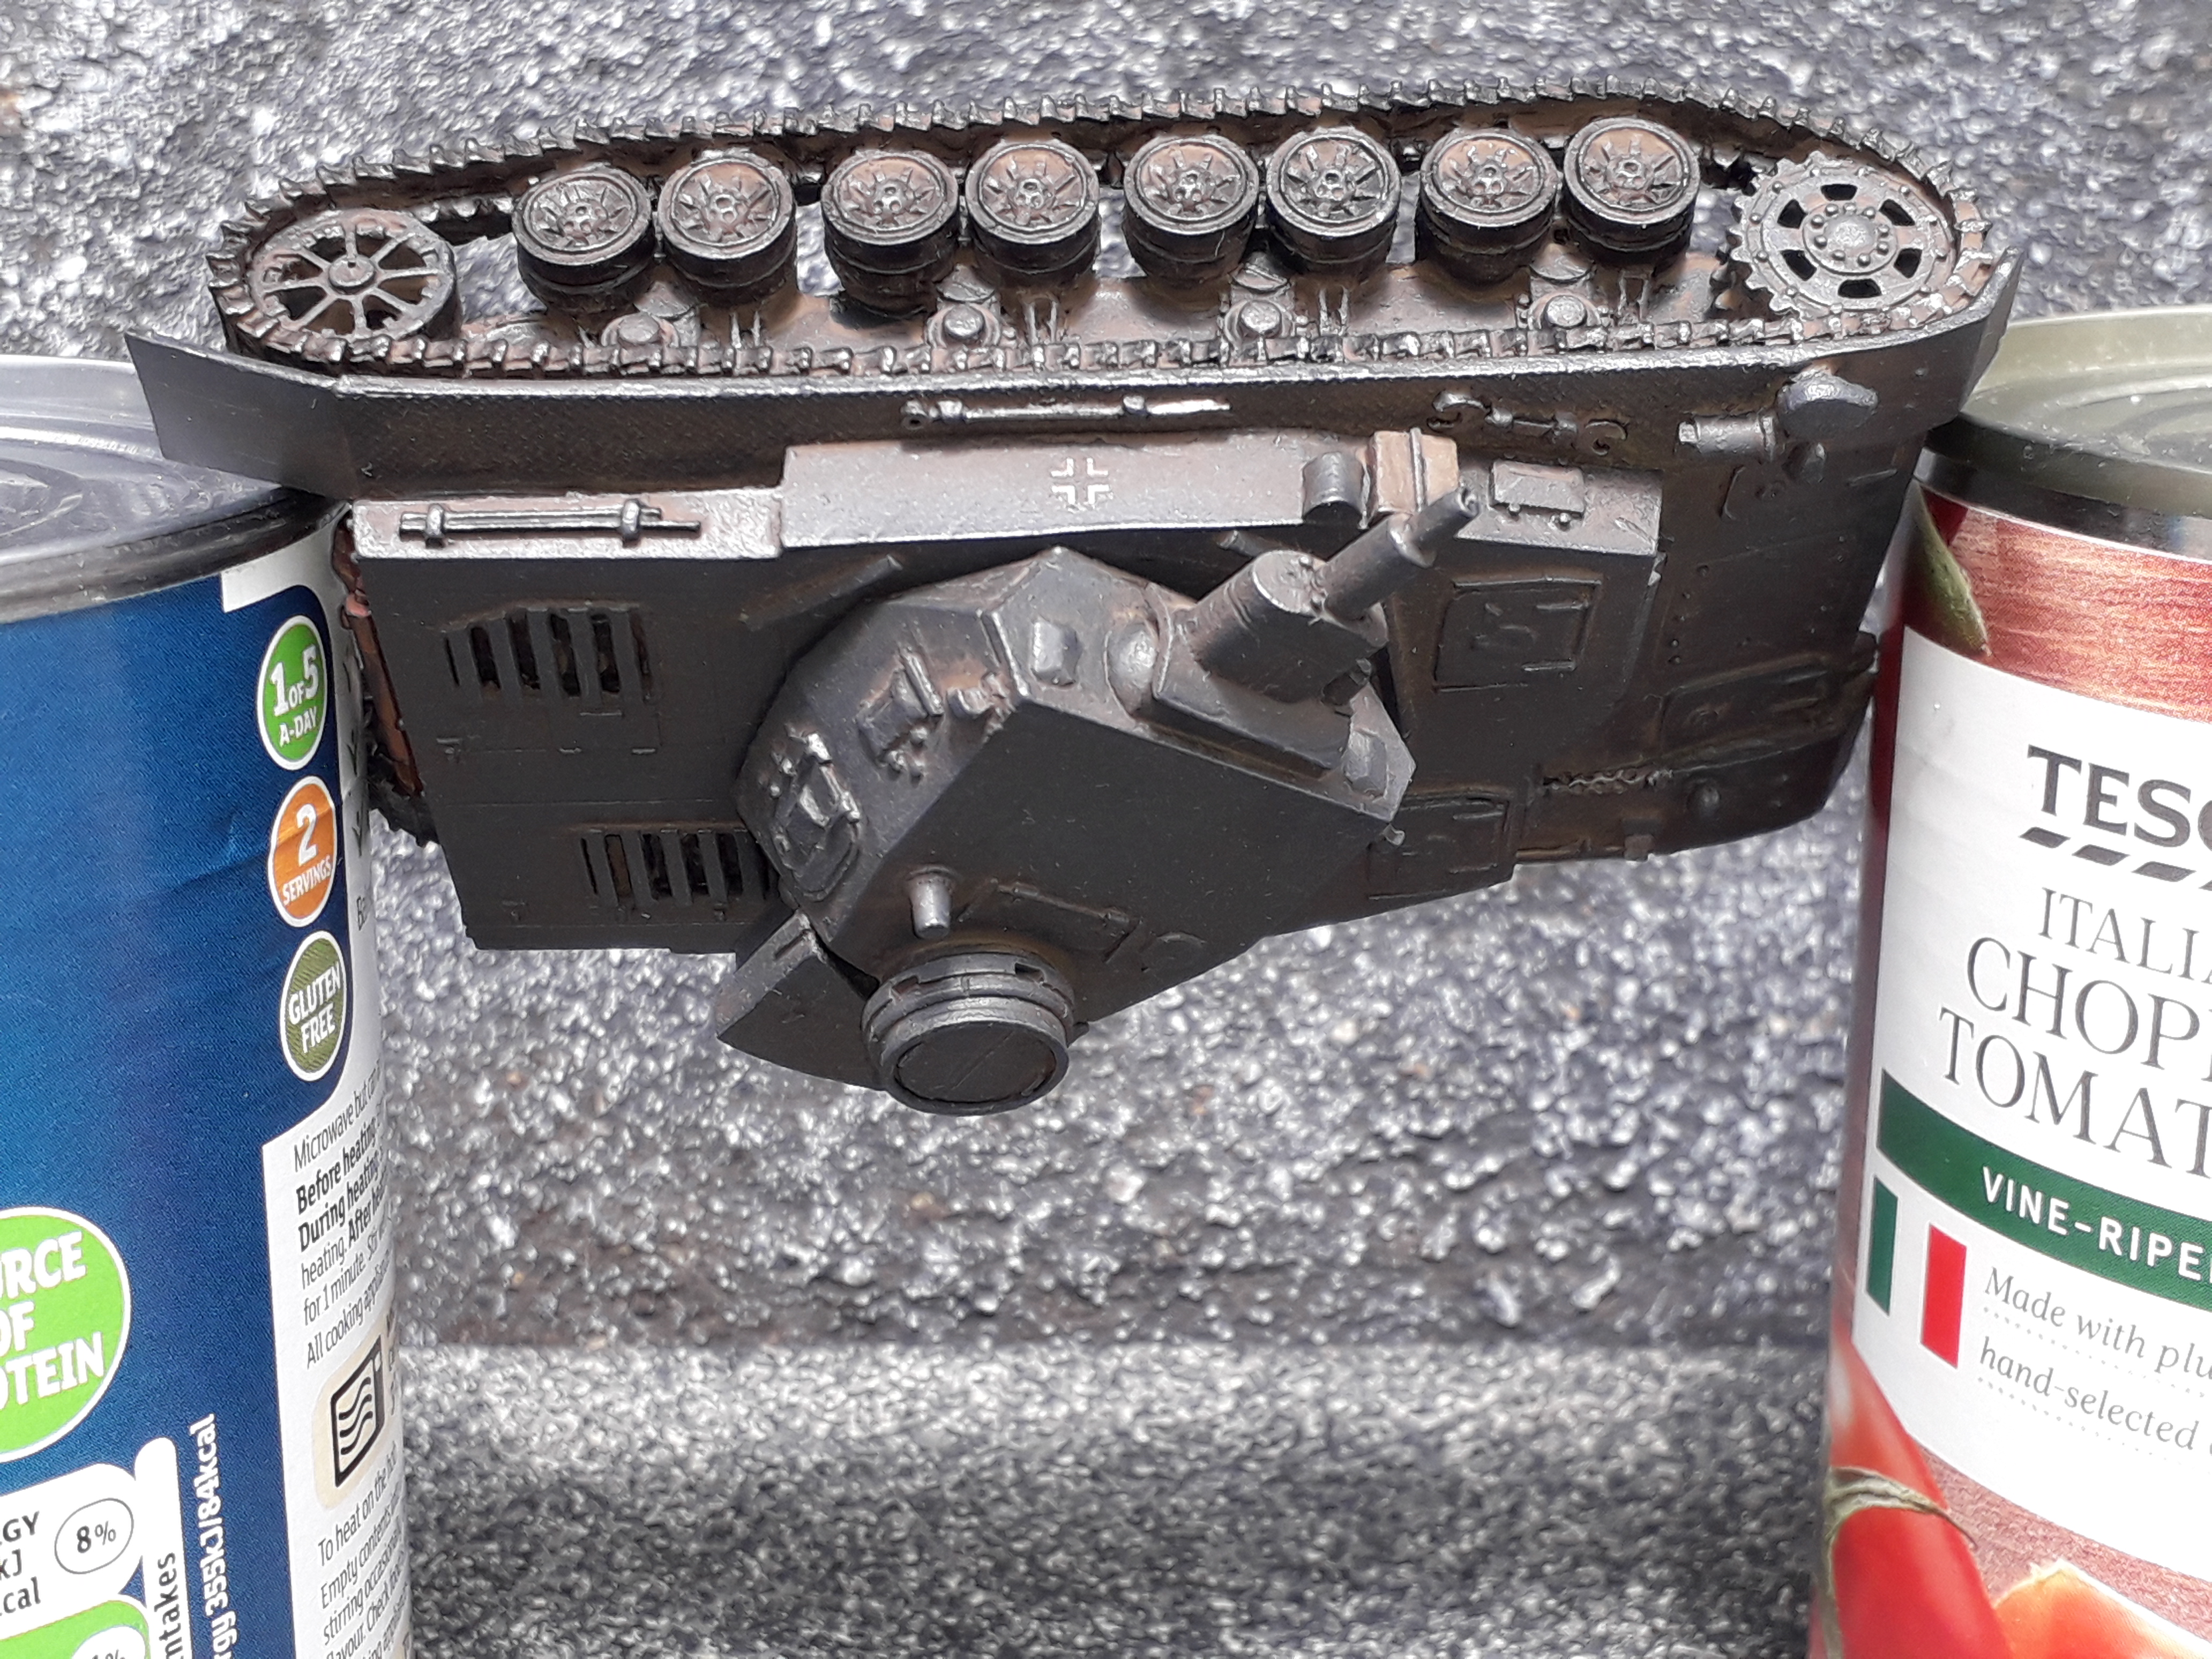 This has to be the first time that I have photographed a model, suspended upside down my two tin cans!
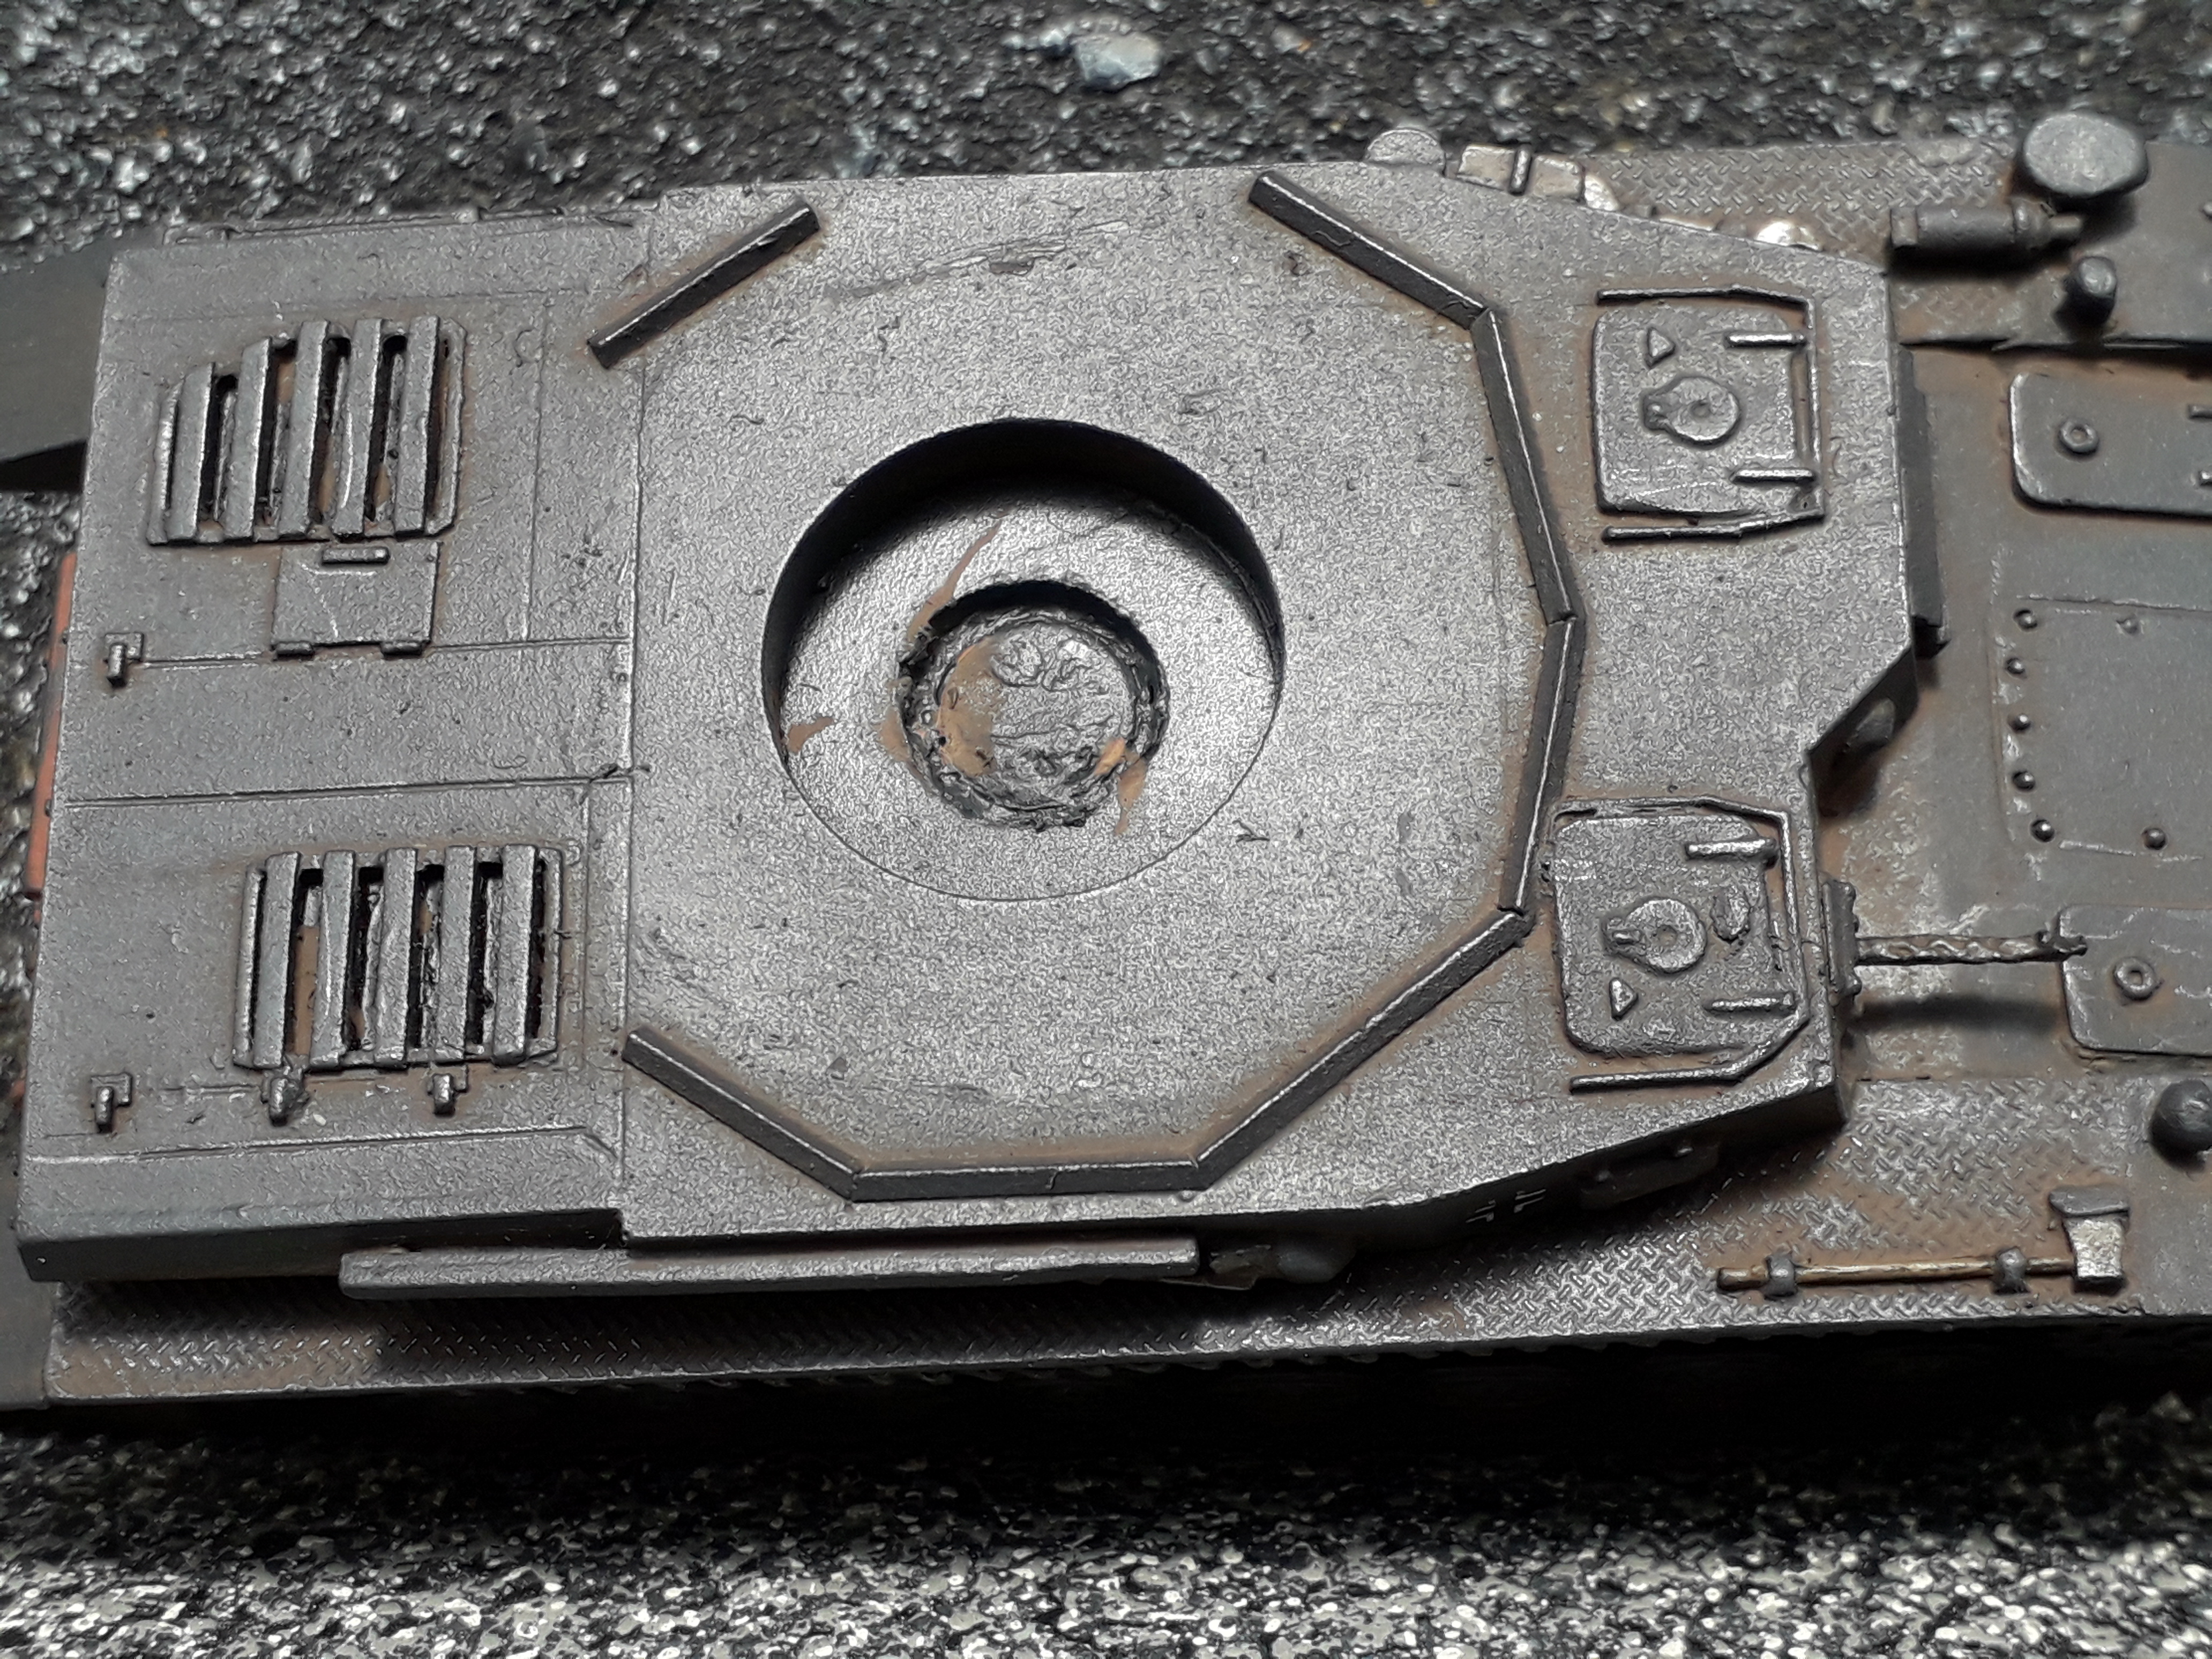
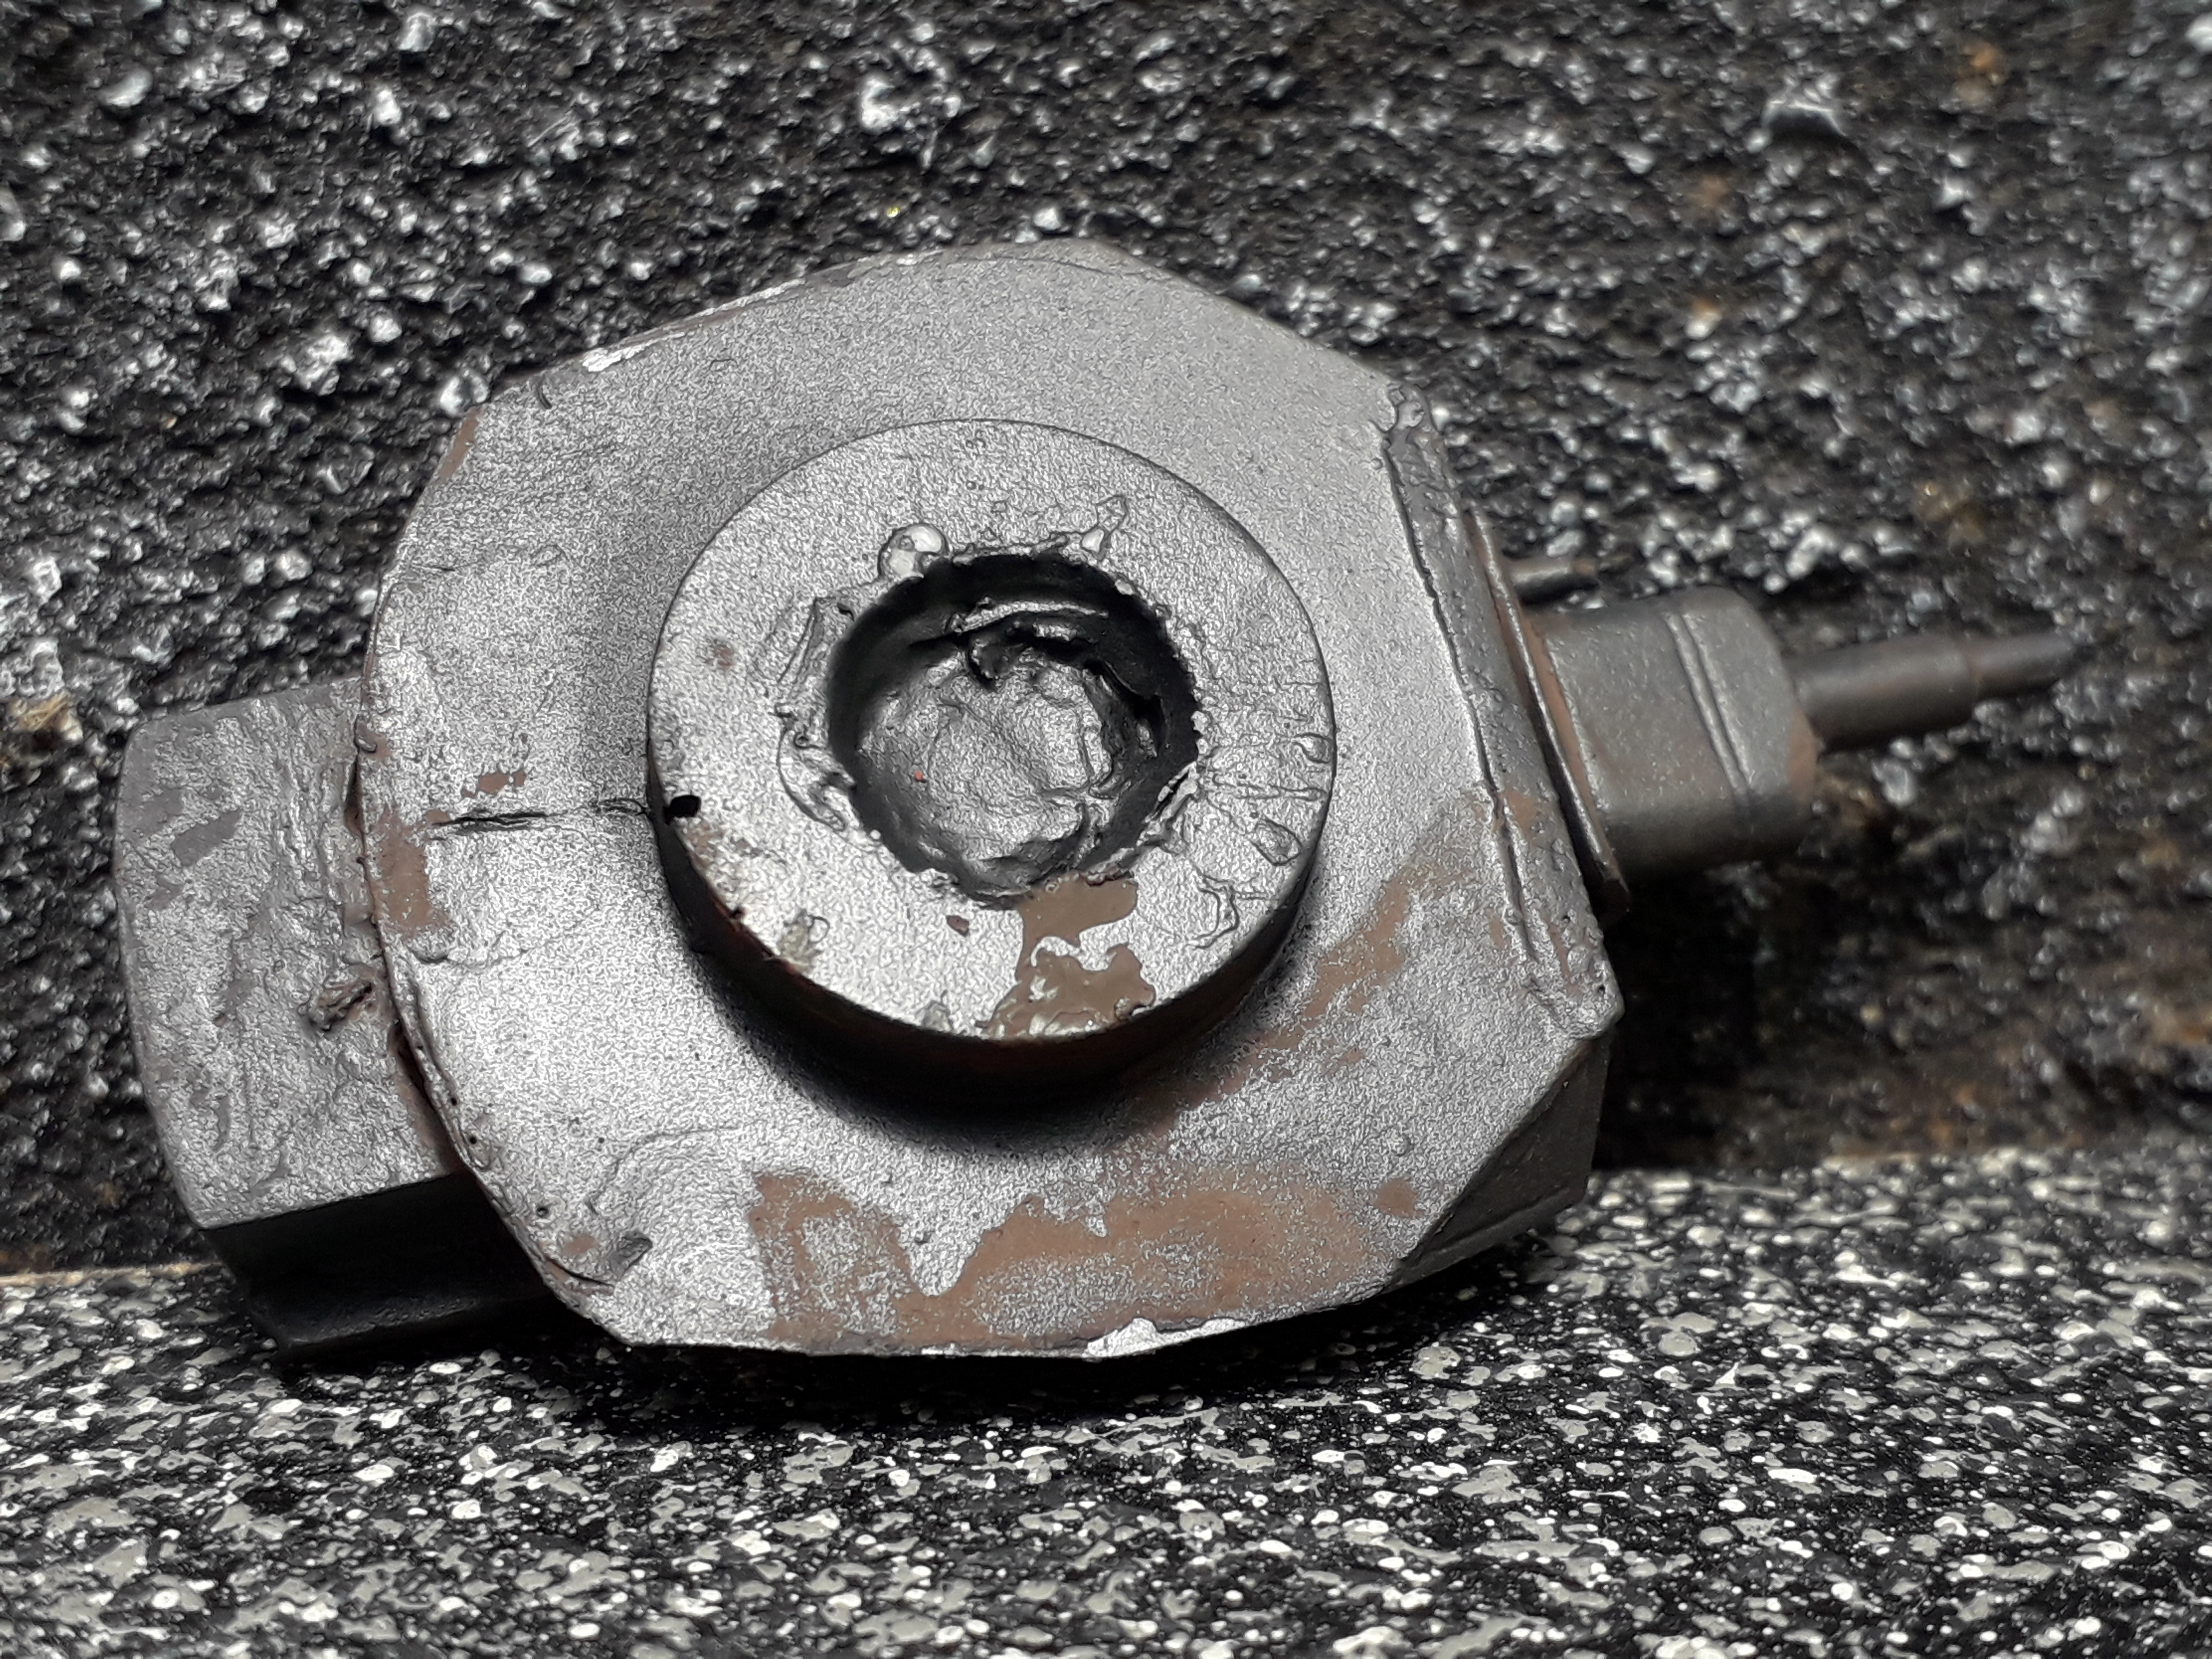
With Resin and Resin/Metal vehicles with a turret (like Warlord’s Panzer IV Ausf D above) it is a sensible strategy to us magnets to secure the turret with just enough strength so that it can rotate left to right, and to keep it from falling of when held upside down. This will secure it during travel and prevent accidental dropping of a fragile turret by gamers who aren’t familiar with the model, my often over excited 6 year old nephew, and sausage fingered gaming mates (Cousin Olly!).
I recommend Neodymium circular magnets, which I but of eBay. Always try them out for strength before gluing in place. I often use a deeper and stronger magnet in the main body of the tank, with another magnet of identical diameter, but less depth in the turret.
It is important that the pull of the magnets is not too strong, as this will produce too tight a grip which will grind the paint off when the turret is turned. I wish someone had told me this before I first tried using magnets.
To start of the drilling I would recommend using a pin vice (hand held mini drill) to drill a minute pilot hole in the turret and tank chassis (see below). Then use an electric drill to add a larger sized hole, and then an even larger hole with a large drill bit. This will allow for accuracy. Trust me, it is really worth doing. I then secured the magnets in place with super glue.
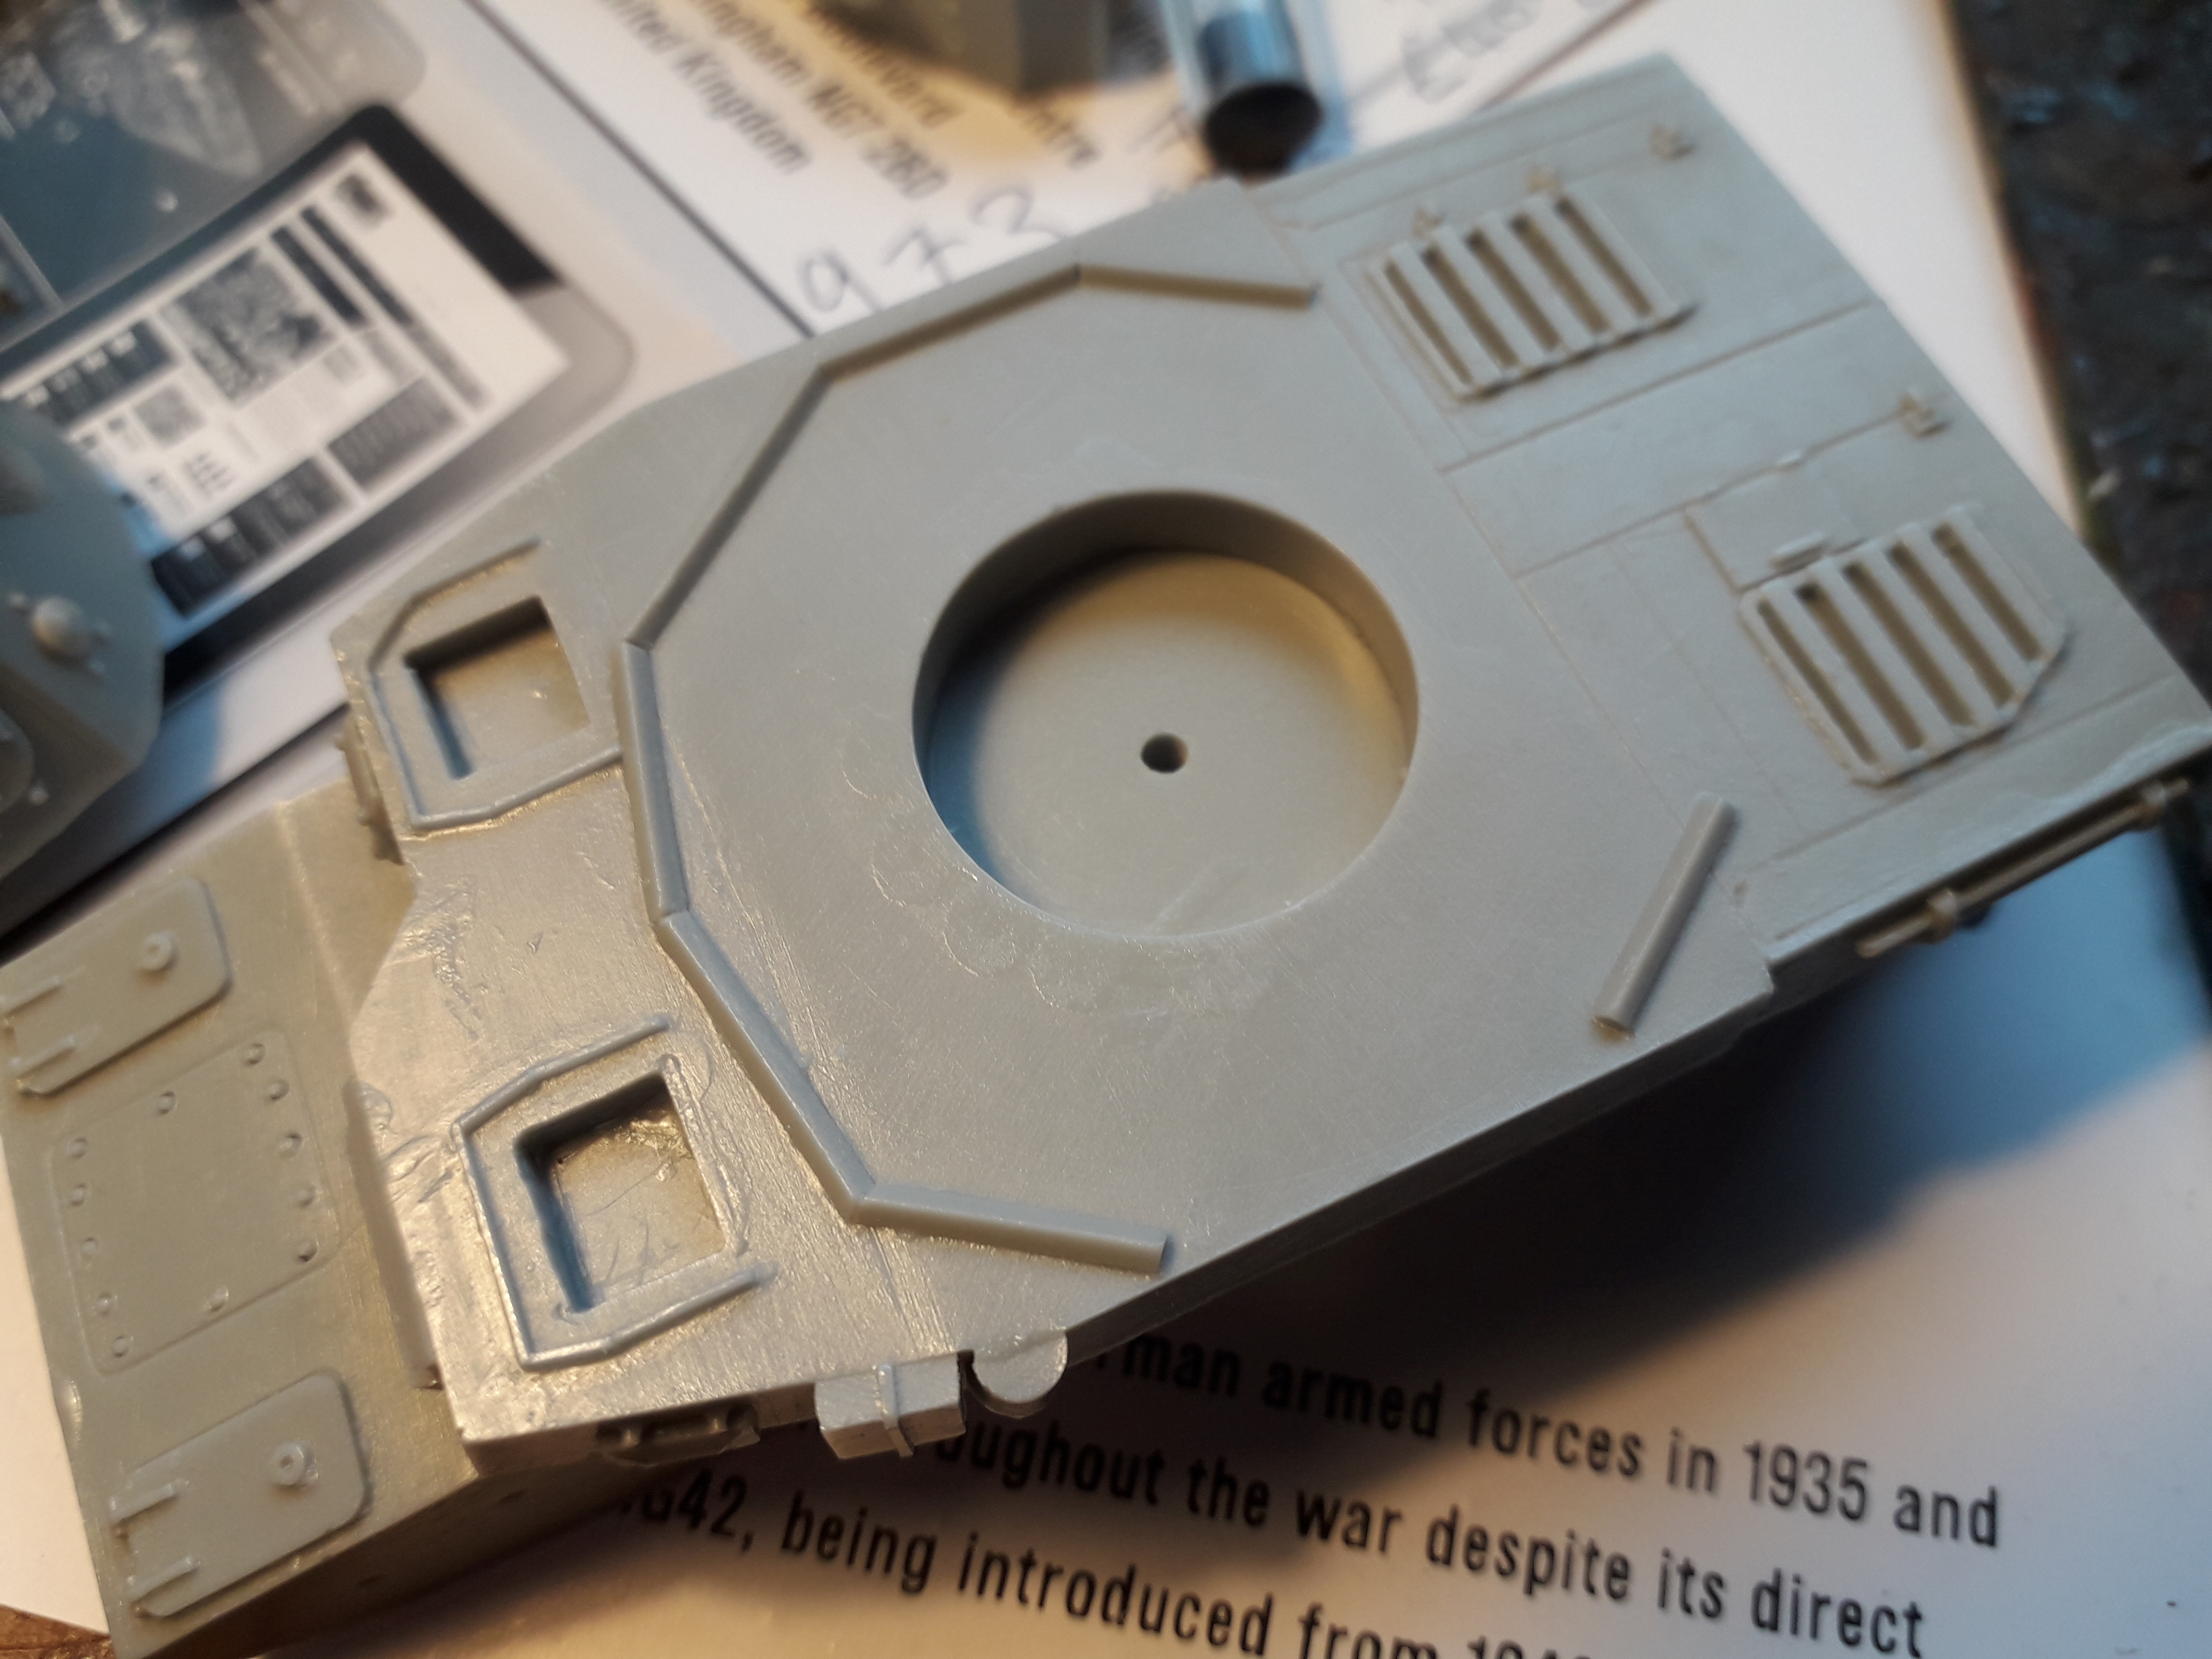 Pilot Hole drilled in Tank Chassis using a pin vice.
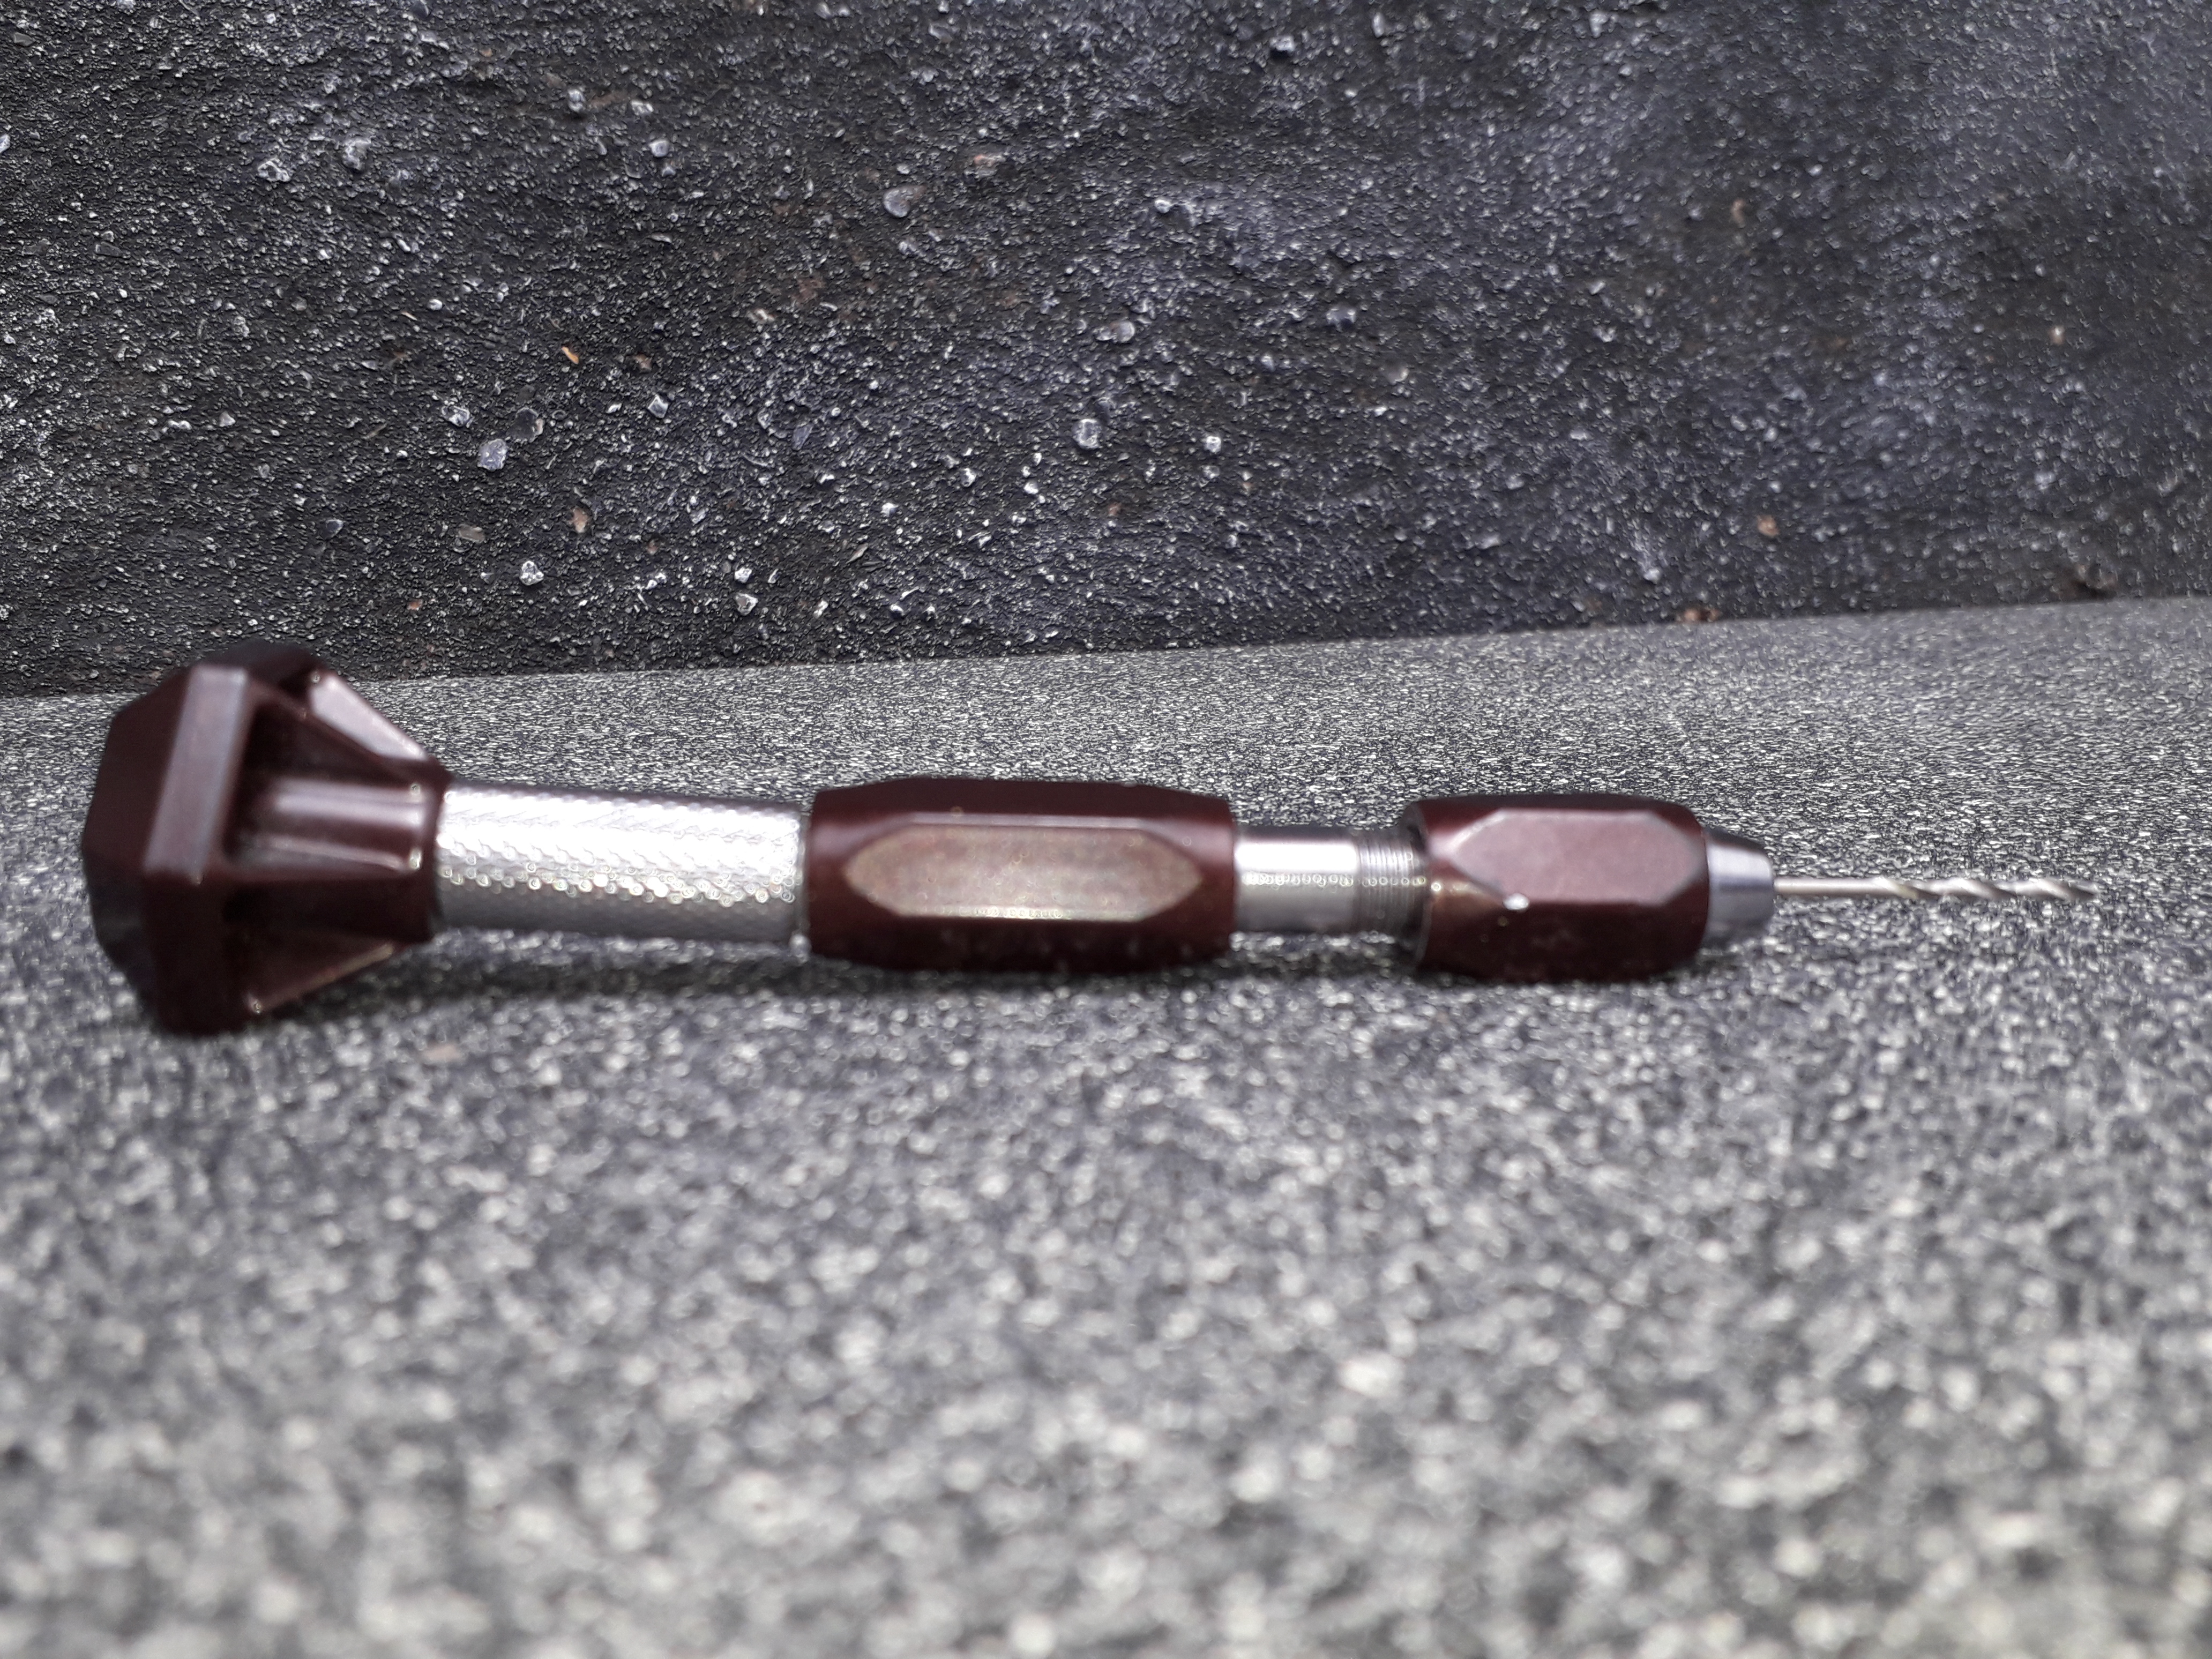 Pin Vice by Games Workshop.
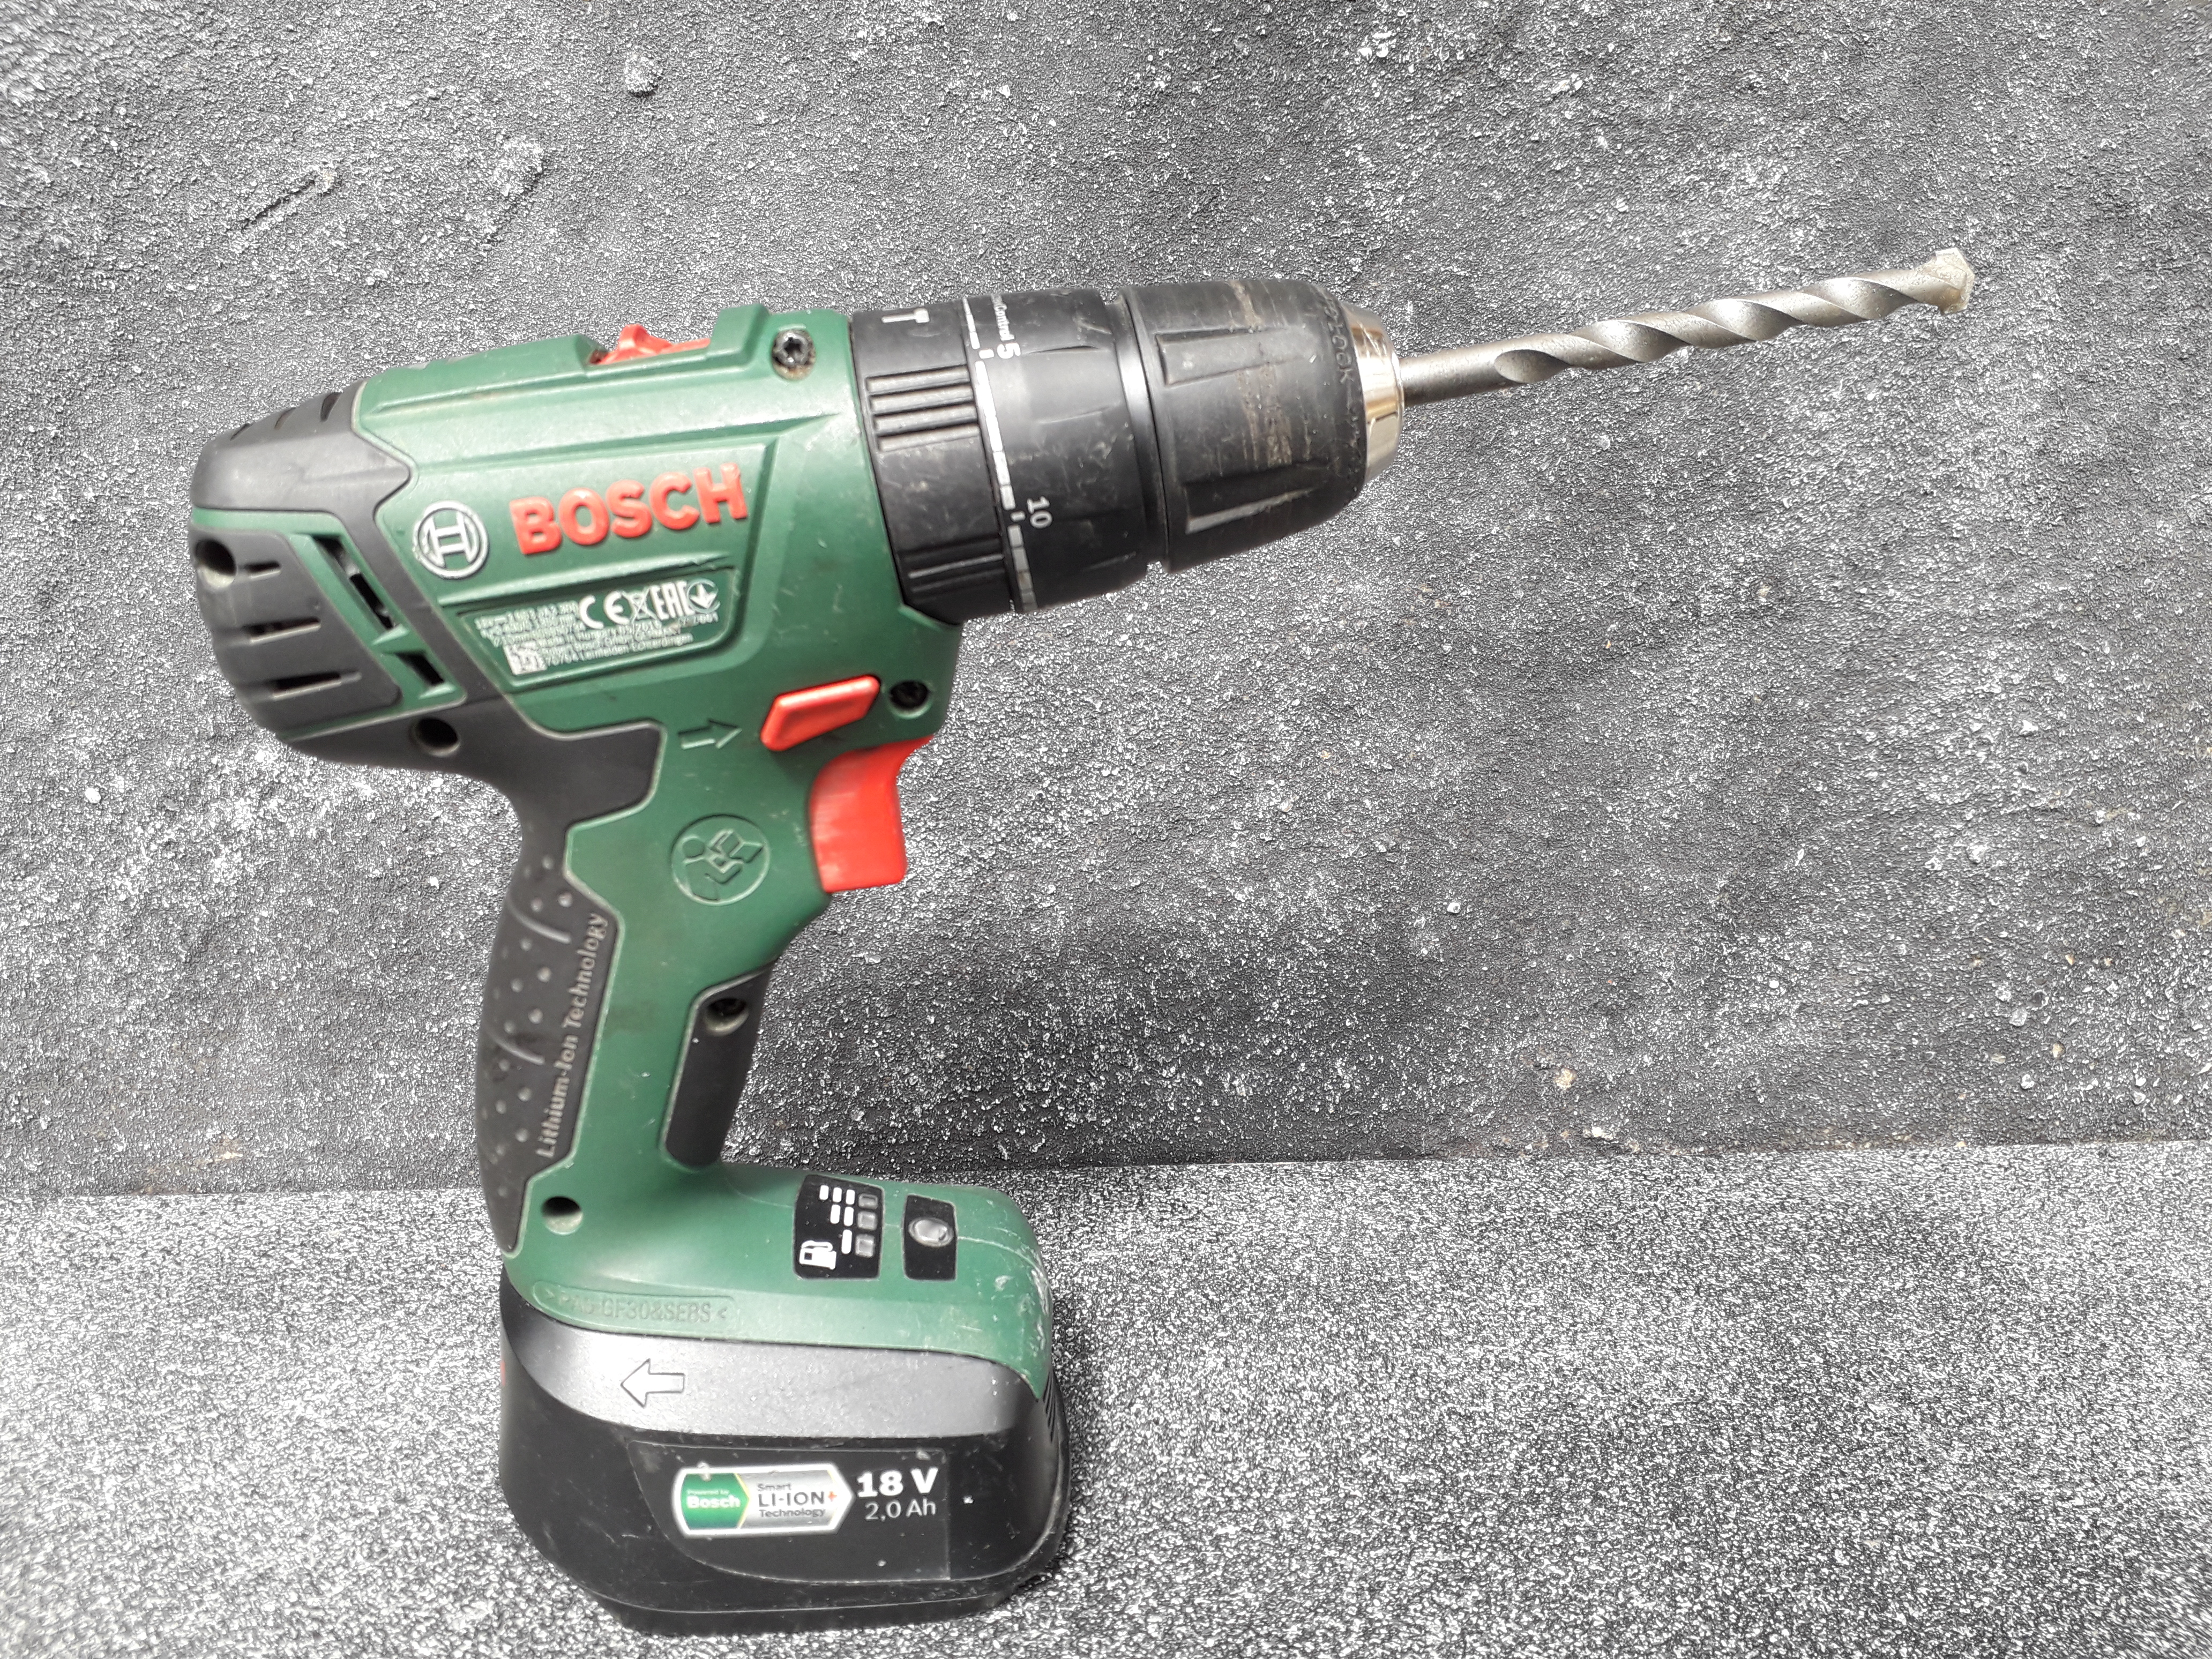
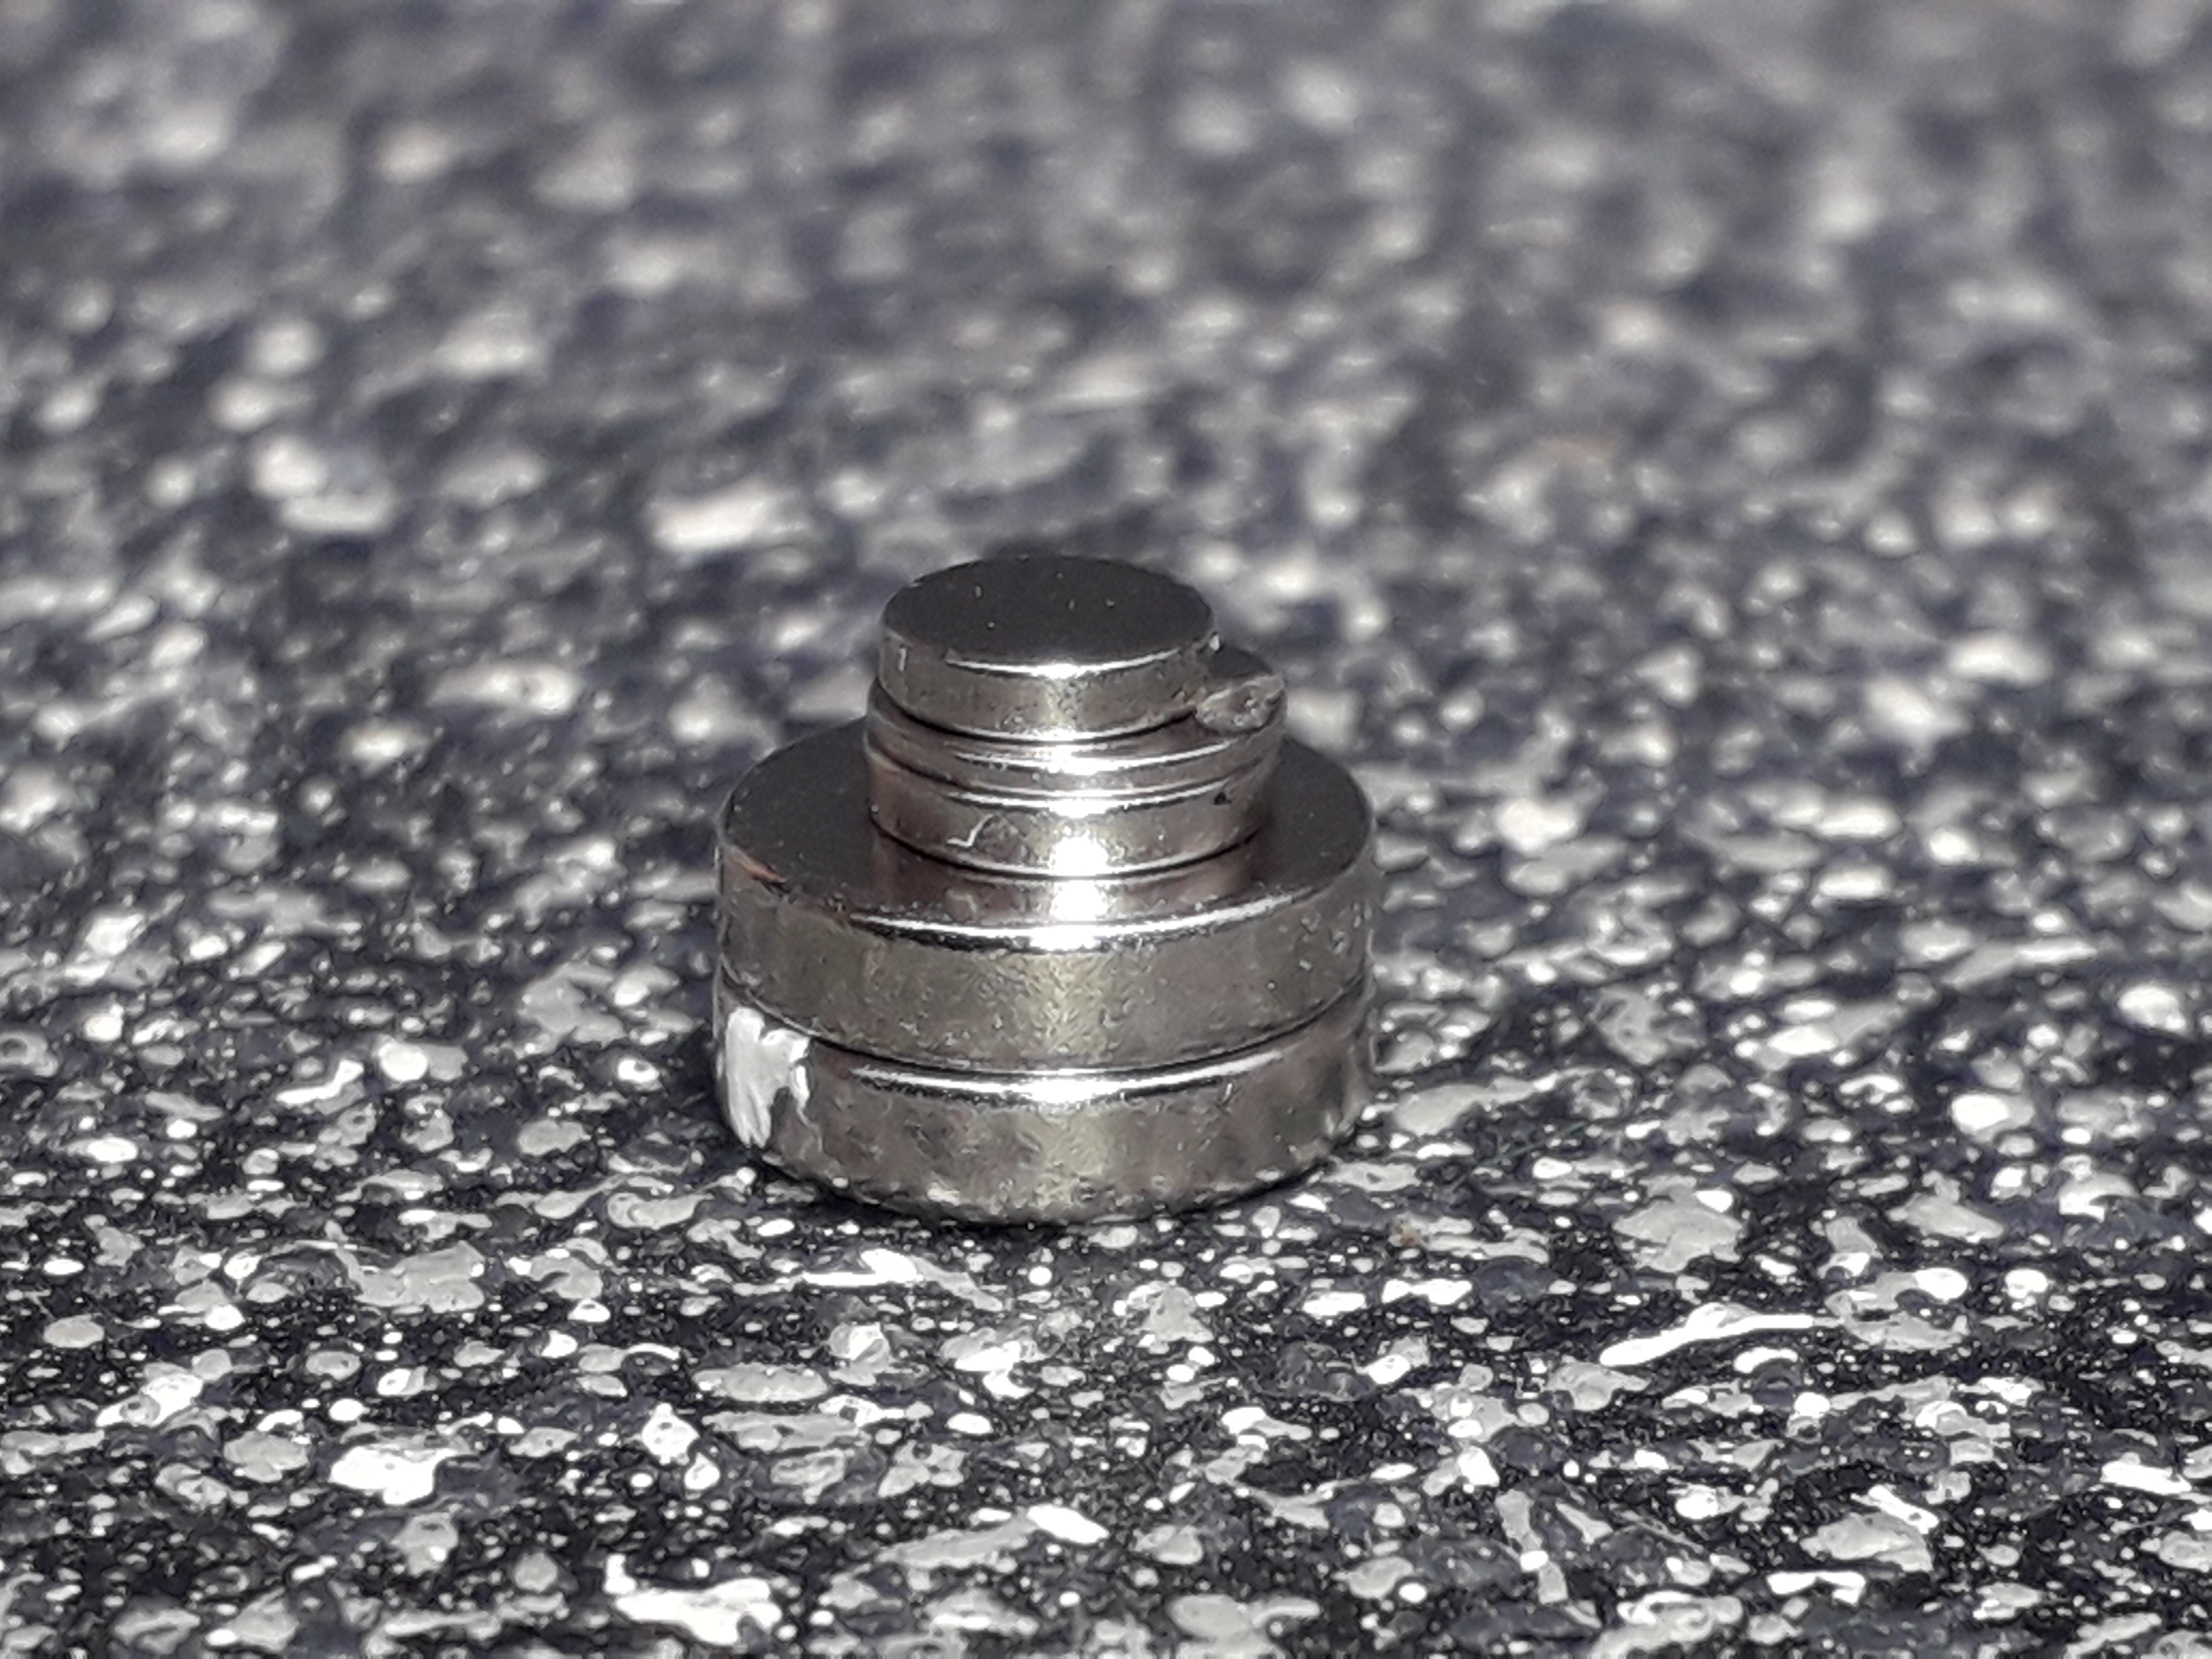 A range of Neodymium Magnets.
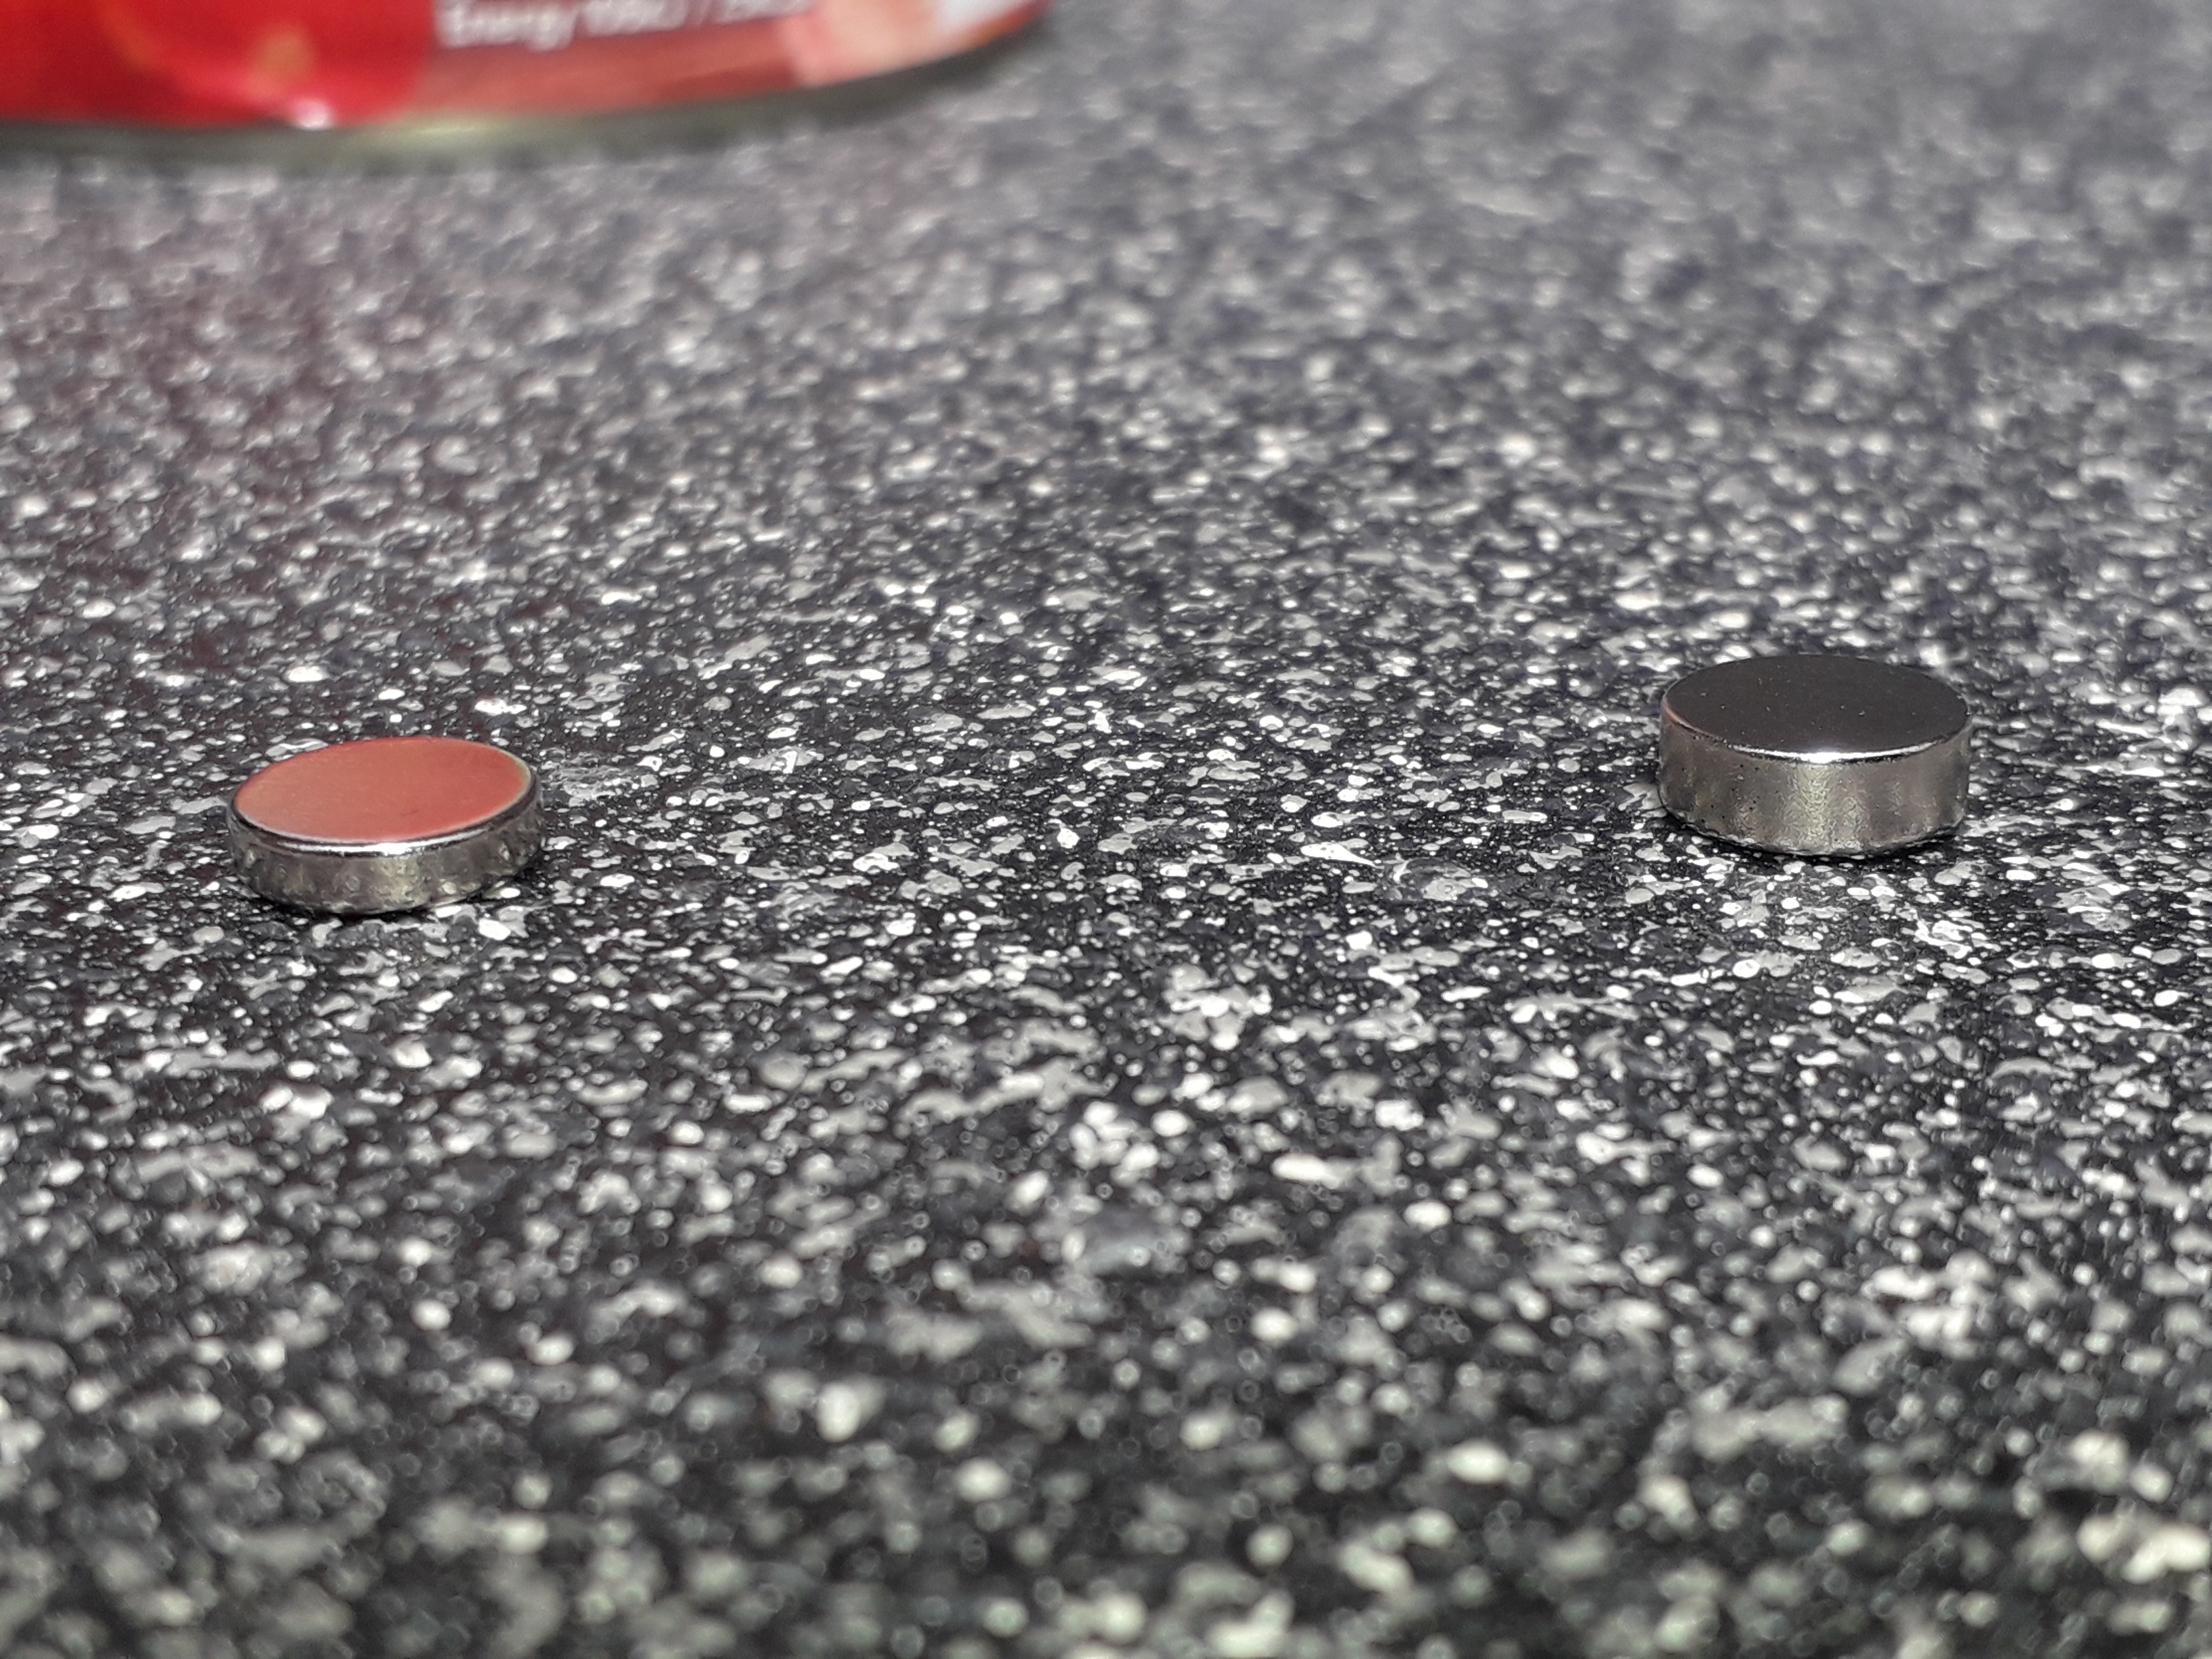 Smaller magnet on the left for the tank Turret, and larger Magnet on the Right for the Tank Chassis.
Making Battle Damage for Buildings.
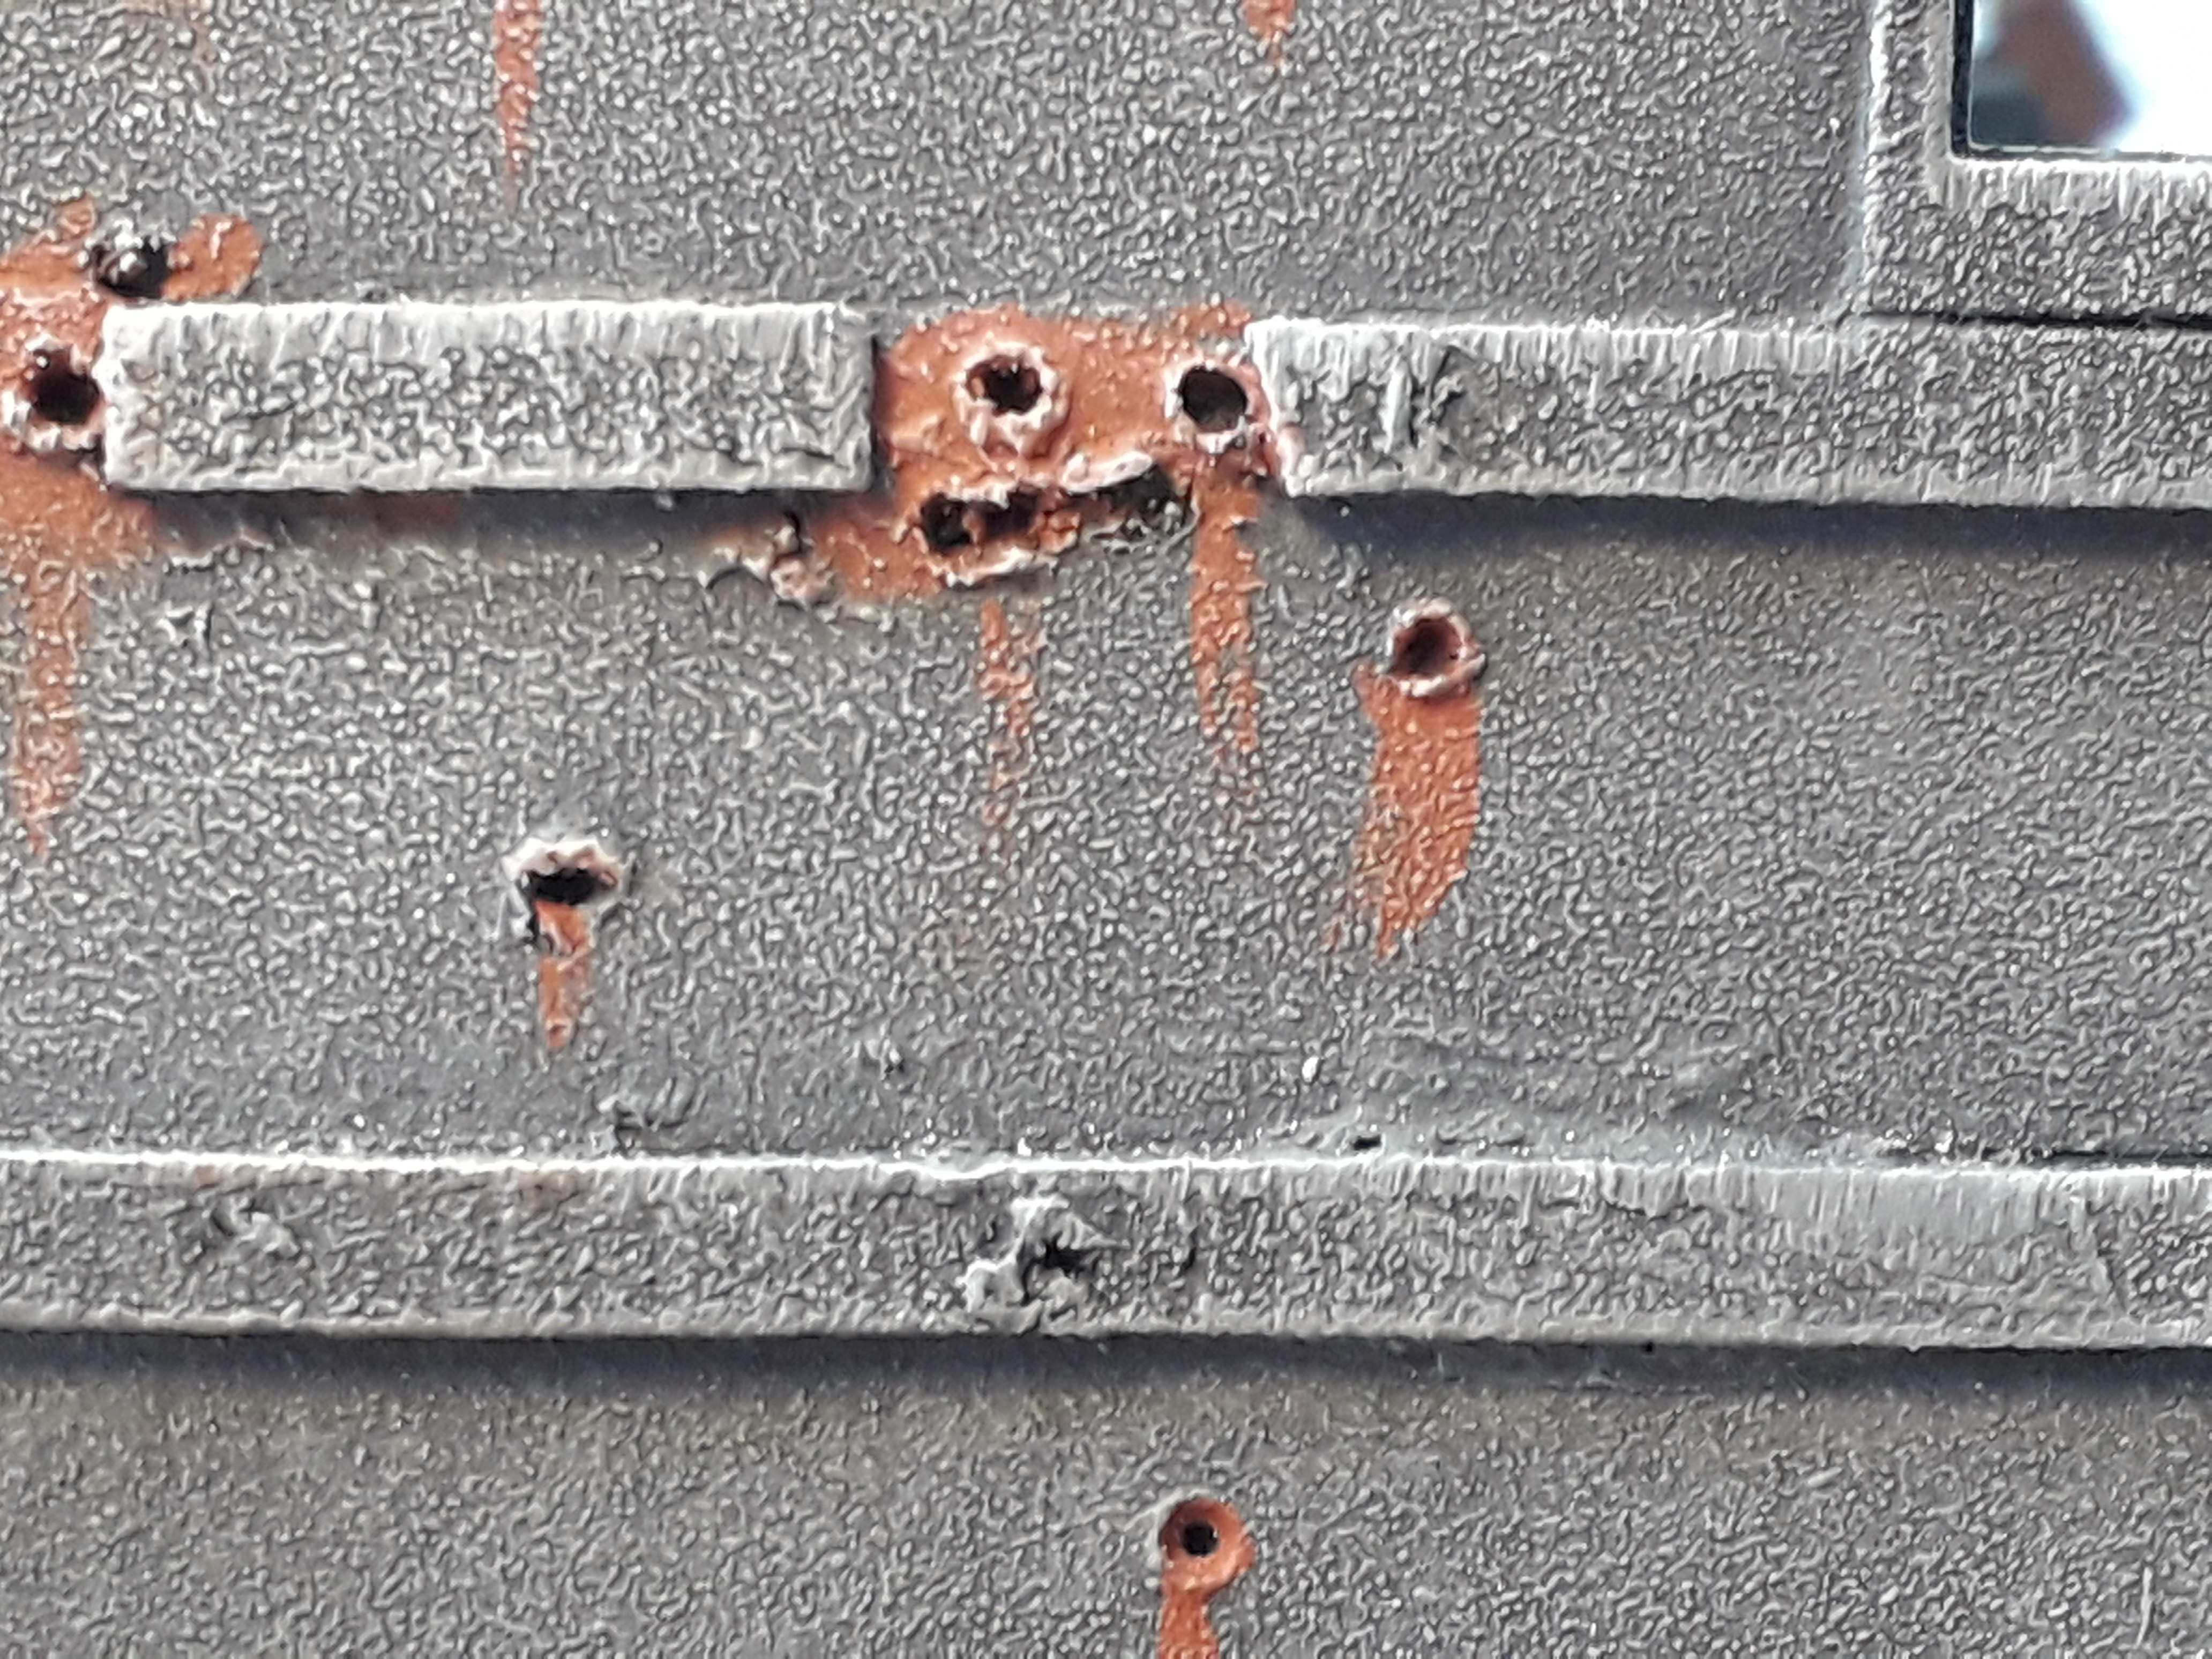
To round out existing bullet holes in some of the kits, or add further bullet holes I would suggest using an ‘angled needle point’ for creating suitably sized and shaped bullet holes.
The tool I use is great quality and by Citadel, who for some unfathomable reason appear to have dropped it from their product line.
Apply it with a light amount of pressure and twist. It’s a quick, easy and very effective way of creating some convincing detail to enhance your model buildings.
I have cut away part of the building exterior details before applying the bullet holes, this is to give the impression that the stonework/render has been actually blown away. The more accurate details that you can add to a model building to fool the eye, the more of a convincing image it will present to the viewer.


Pavlov's House End Block (Damaged) Populated!
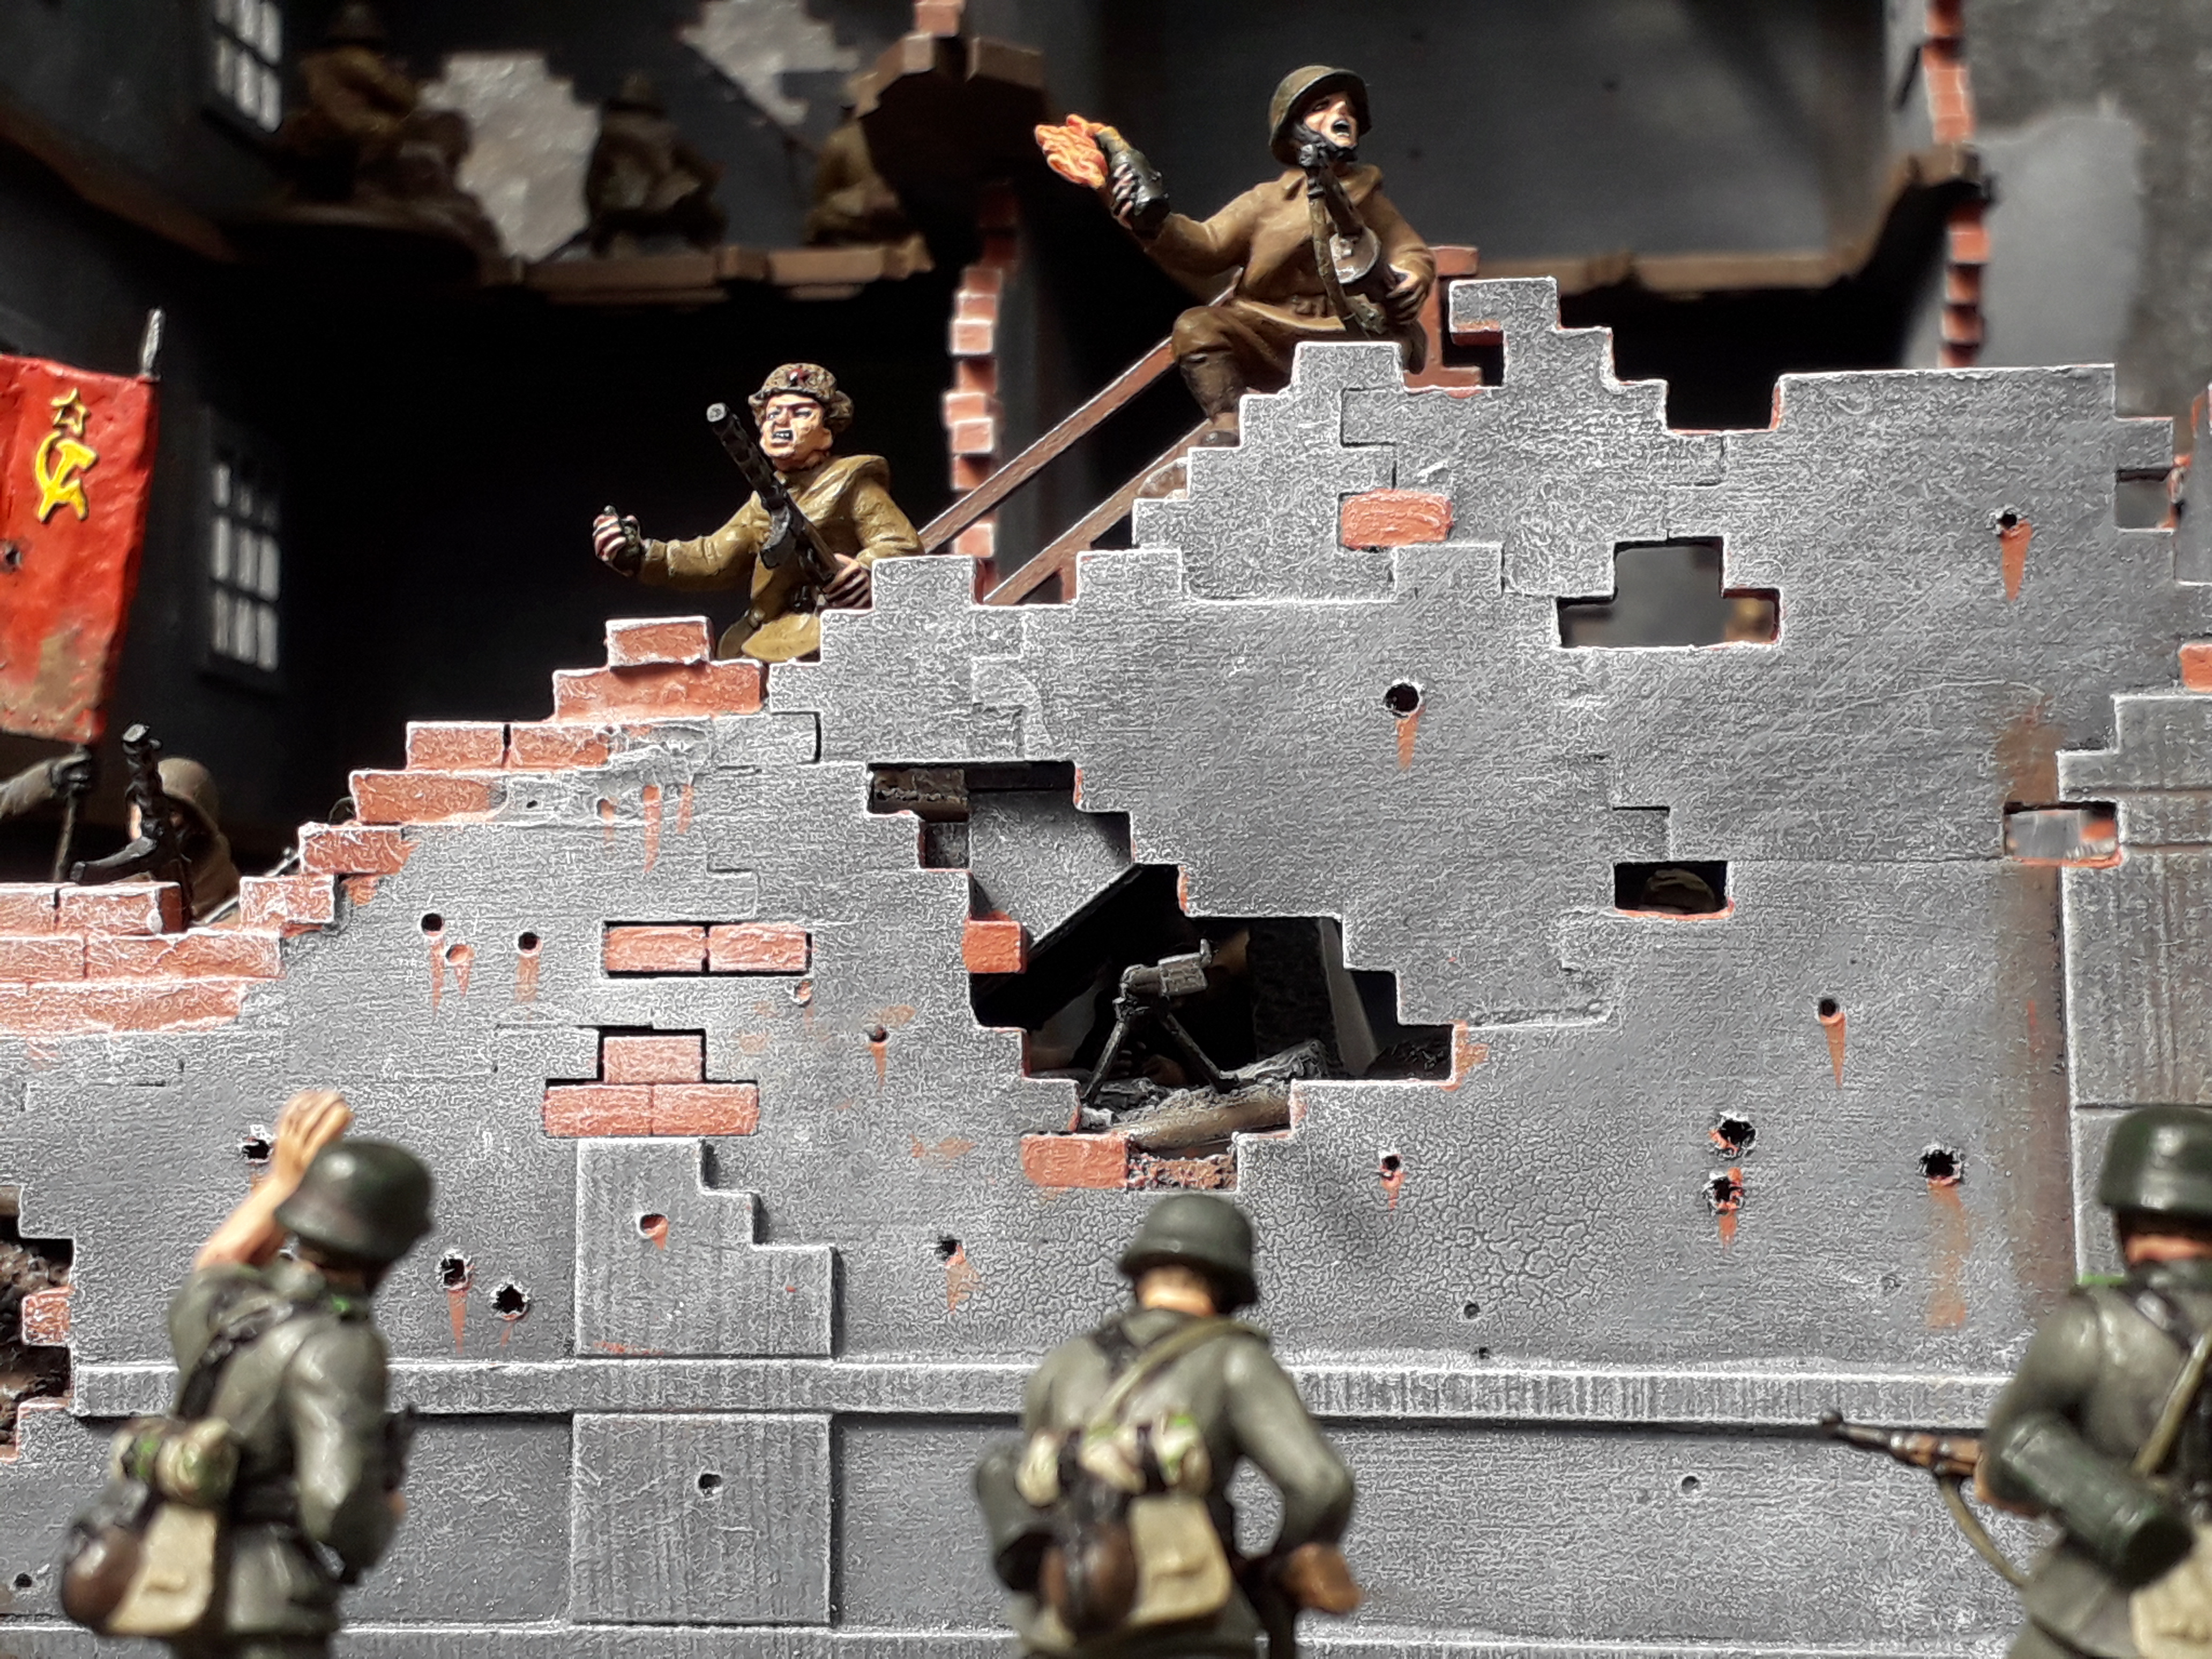
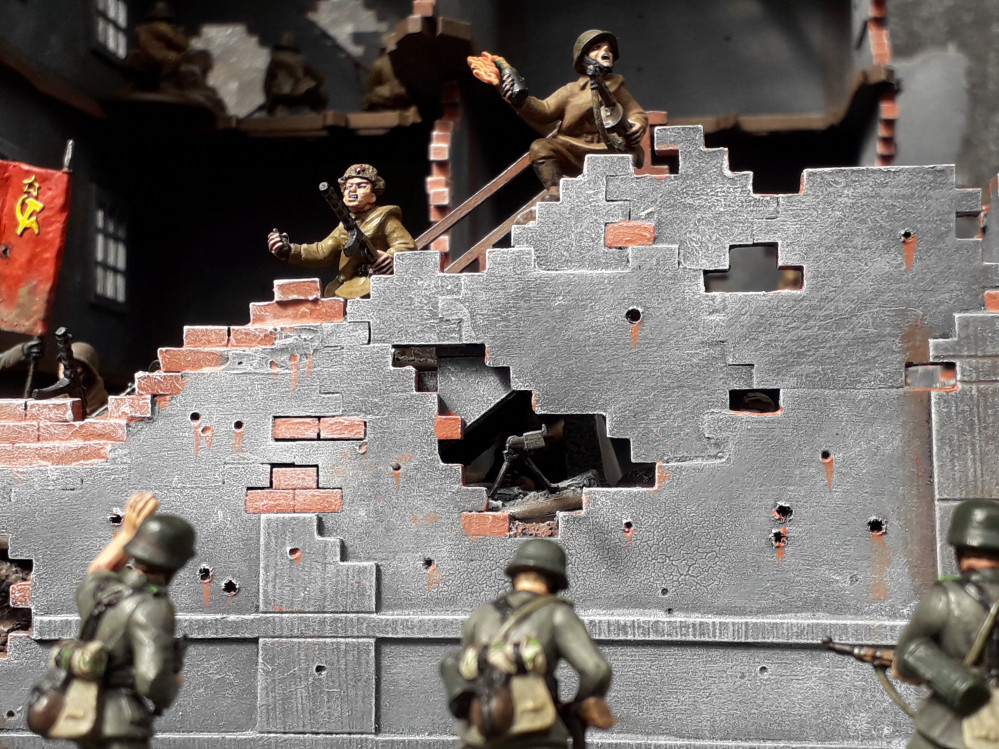
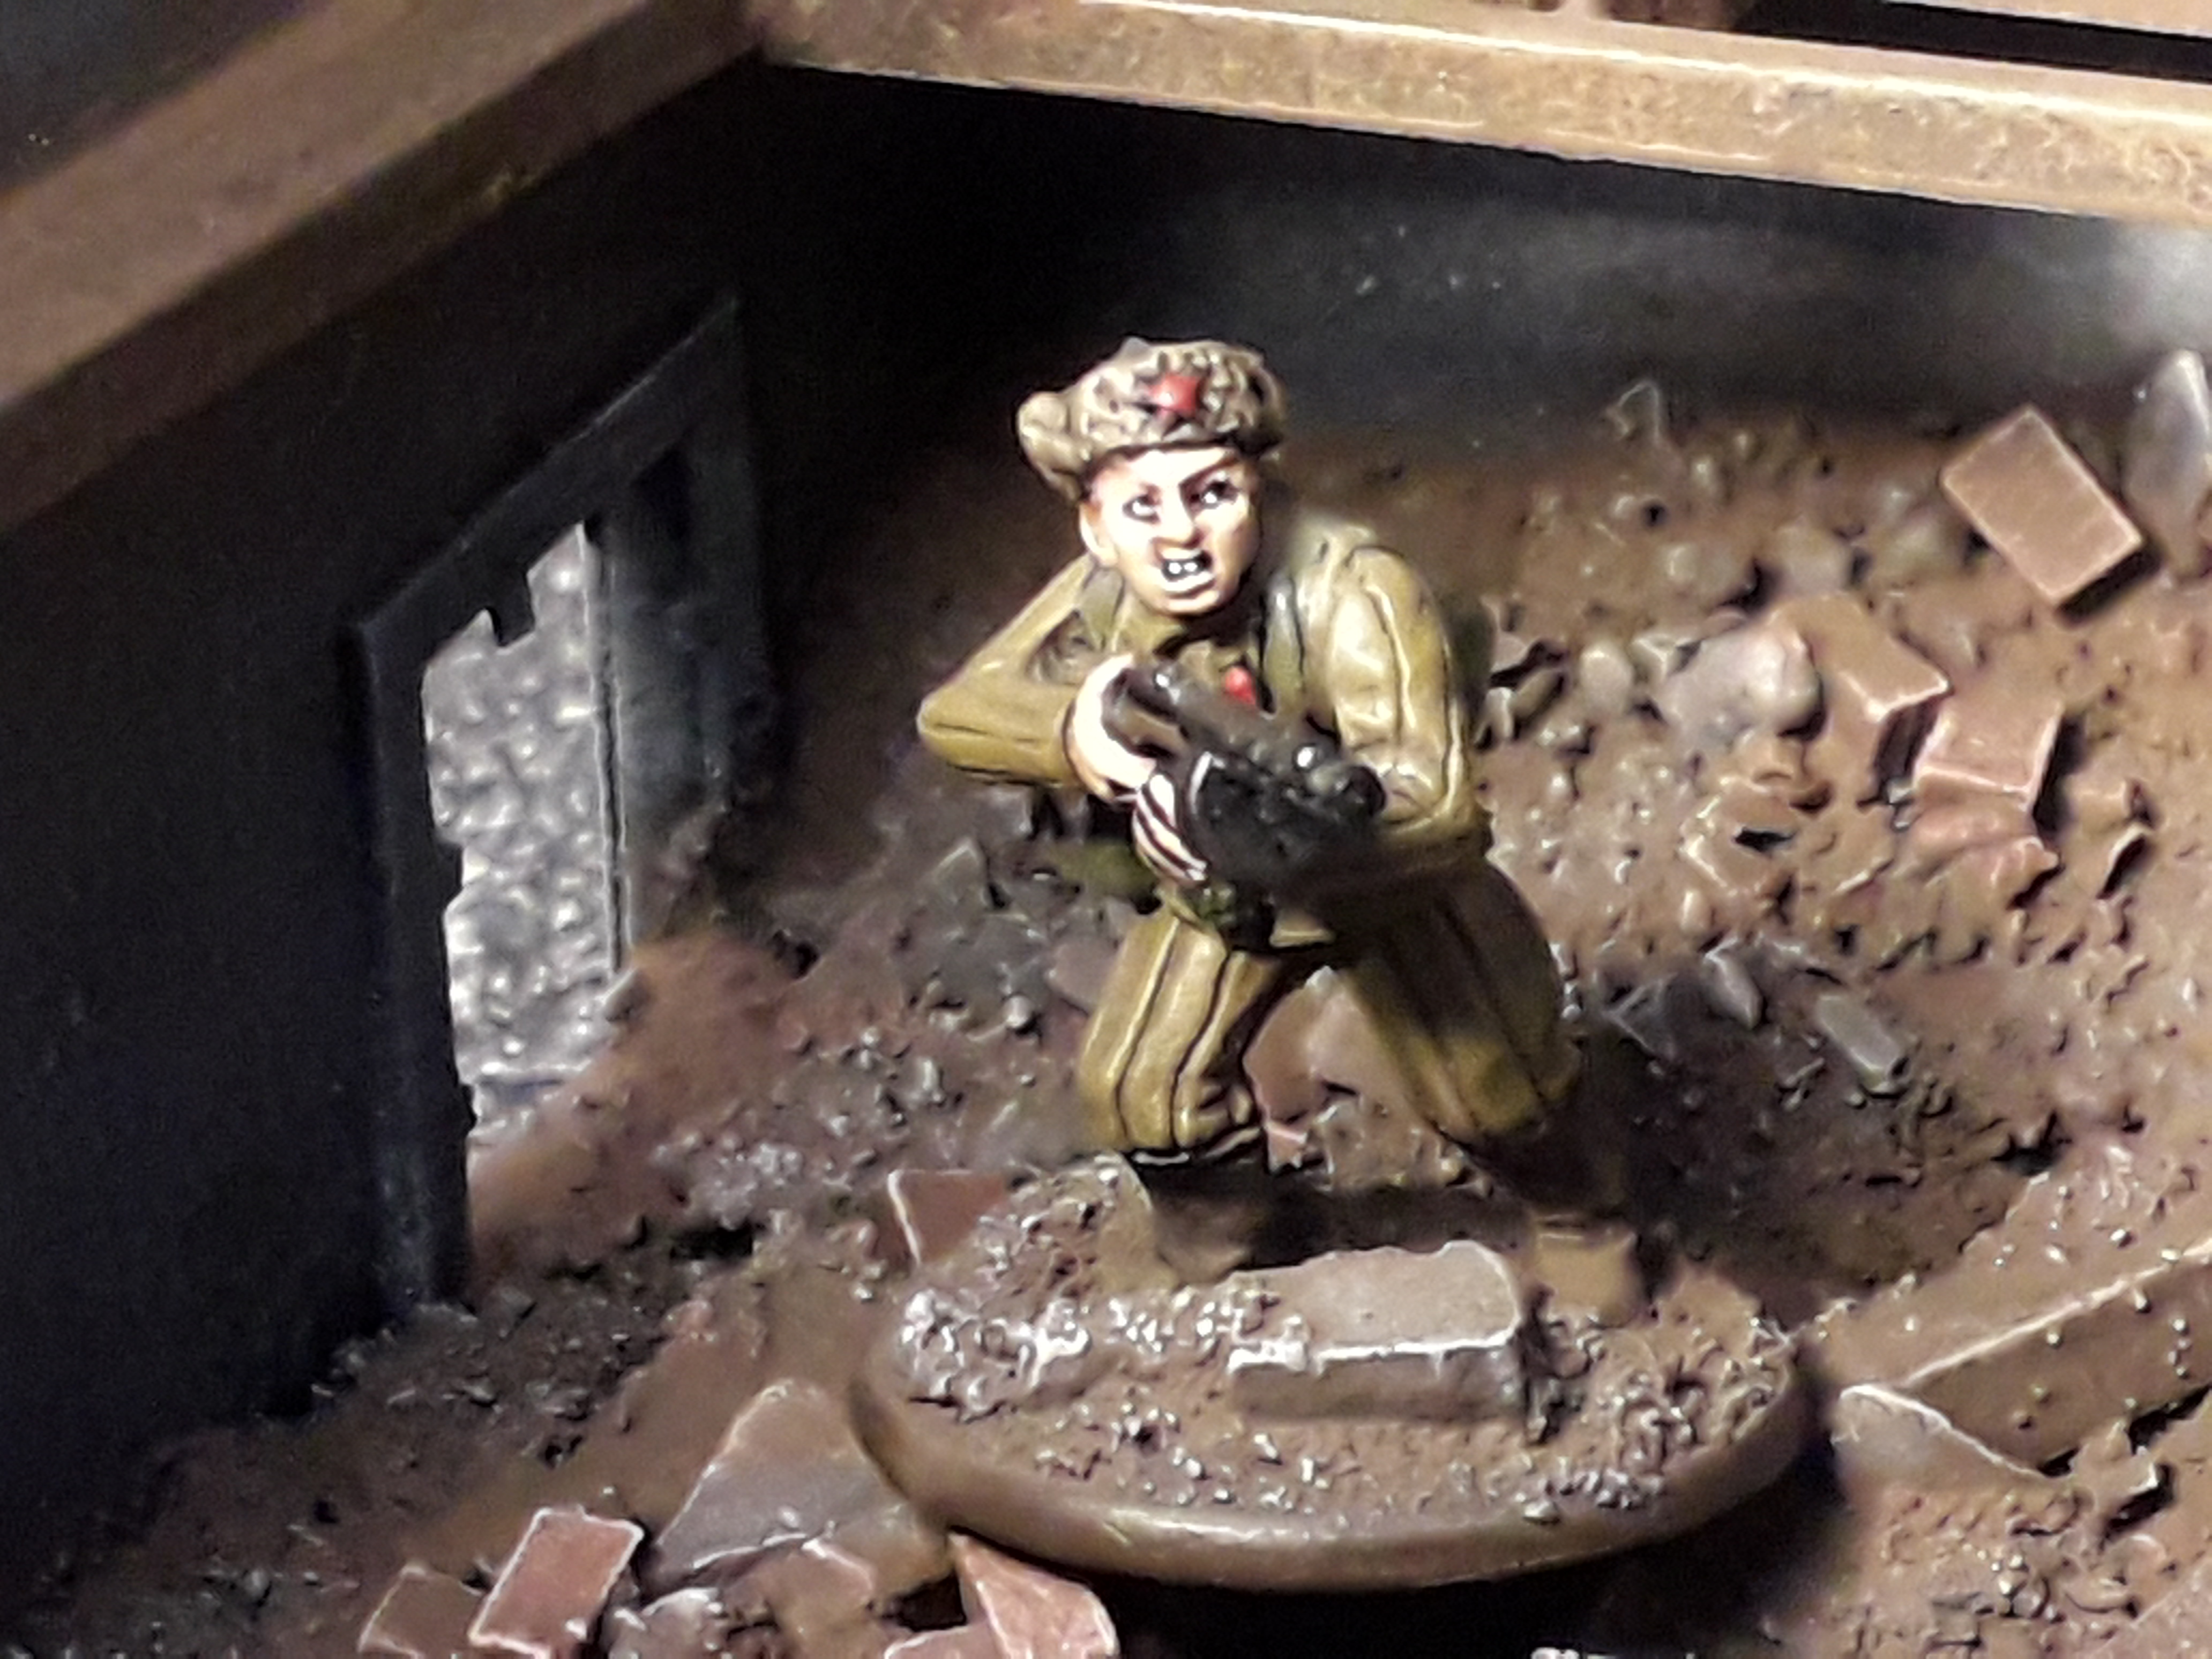
Having completed a not insignificant piece…well, er, actually if I am honest, what I am hoping is the Star of my Scenery Show. I could not resist getting some figures out to check that my efforts to make the piece “miniature placement friendly” (I have just made that expression up! For short “MIPLACLY”, if enough of us use this expression, we can get it into the Oxford Dictionary).
Musings aside, 20 minutes happily arranging miniature was surprisingly fun, until my Old School Mate Laurie turned up and “Forced Me to go down the Pub”!
In conclusion, I am really pleased with this model, the extra details give it a satisfying weigh and stability on the table top. And critically, the infantry miniature fit on all the levels (I have extended much of the upper floors to allow weapons teams to be placed) and the colour scheme on the miniatures bases matches the scenery exactly.
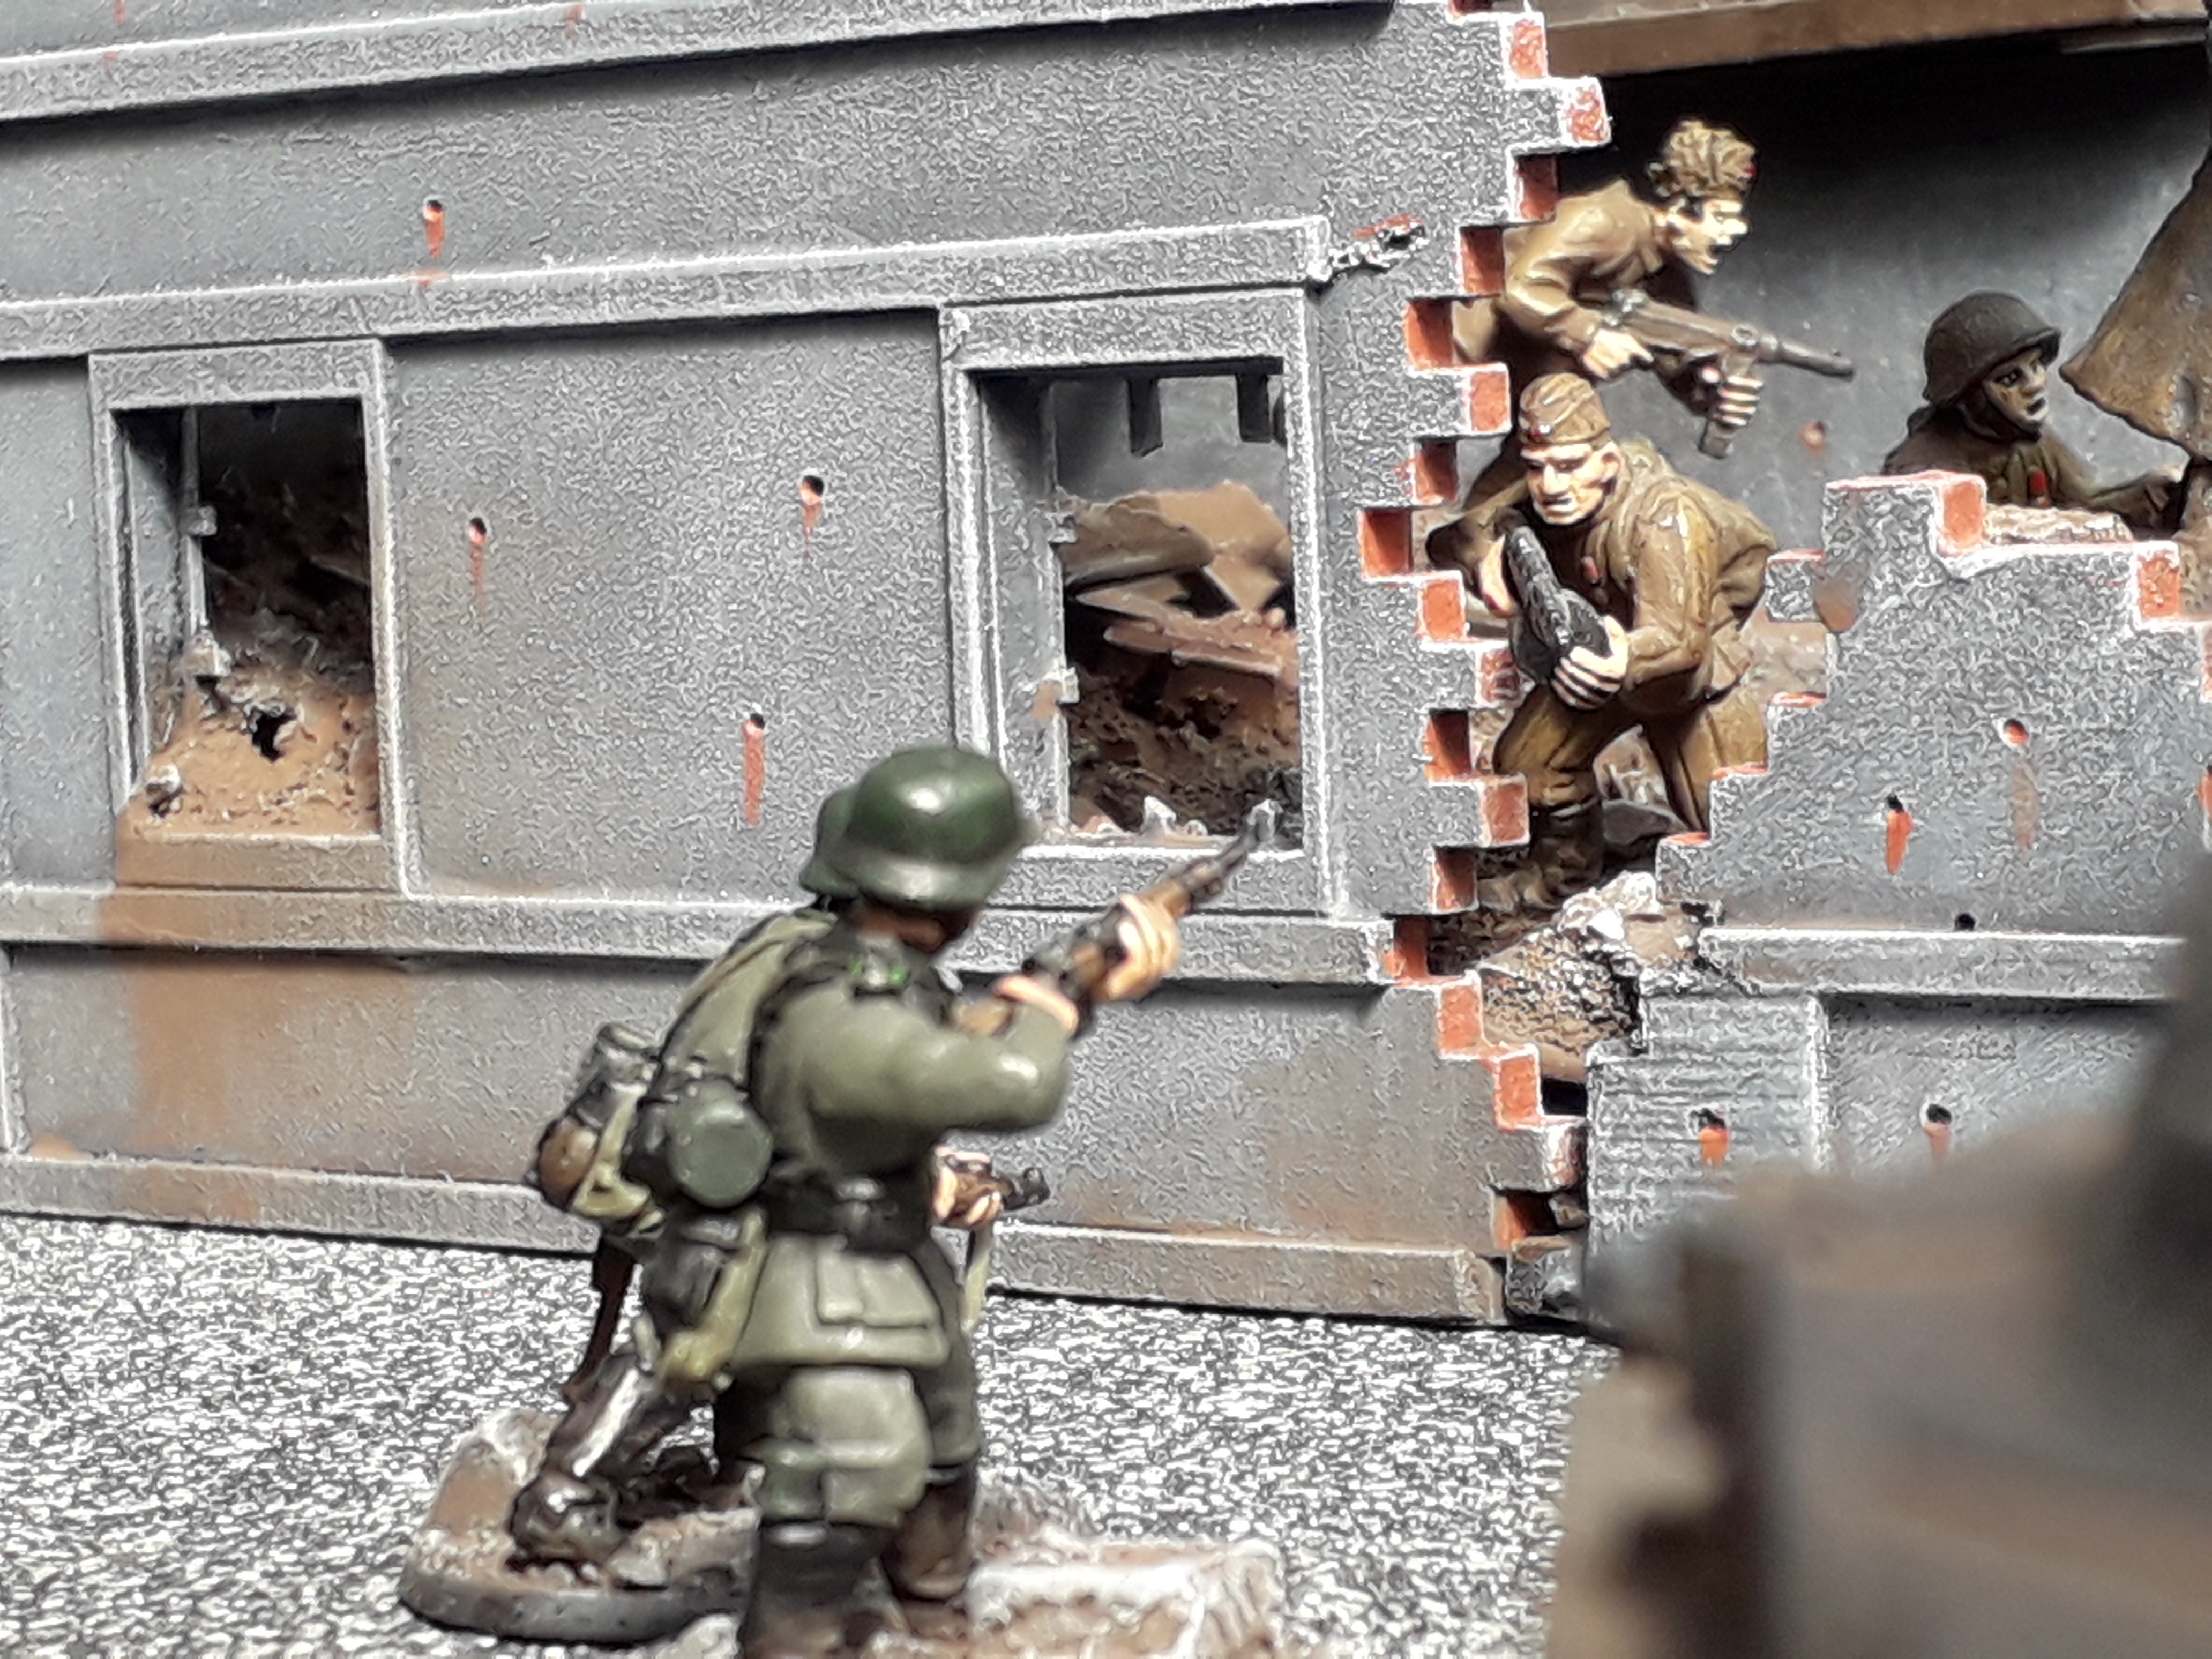
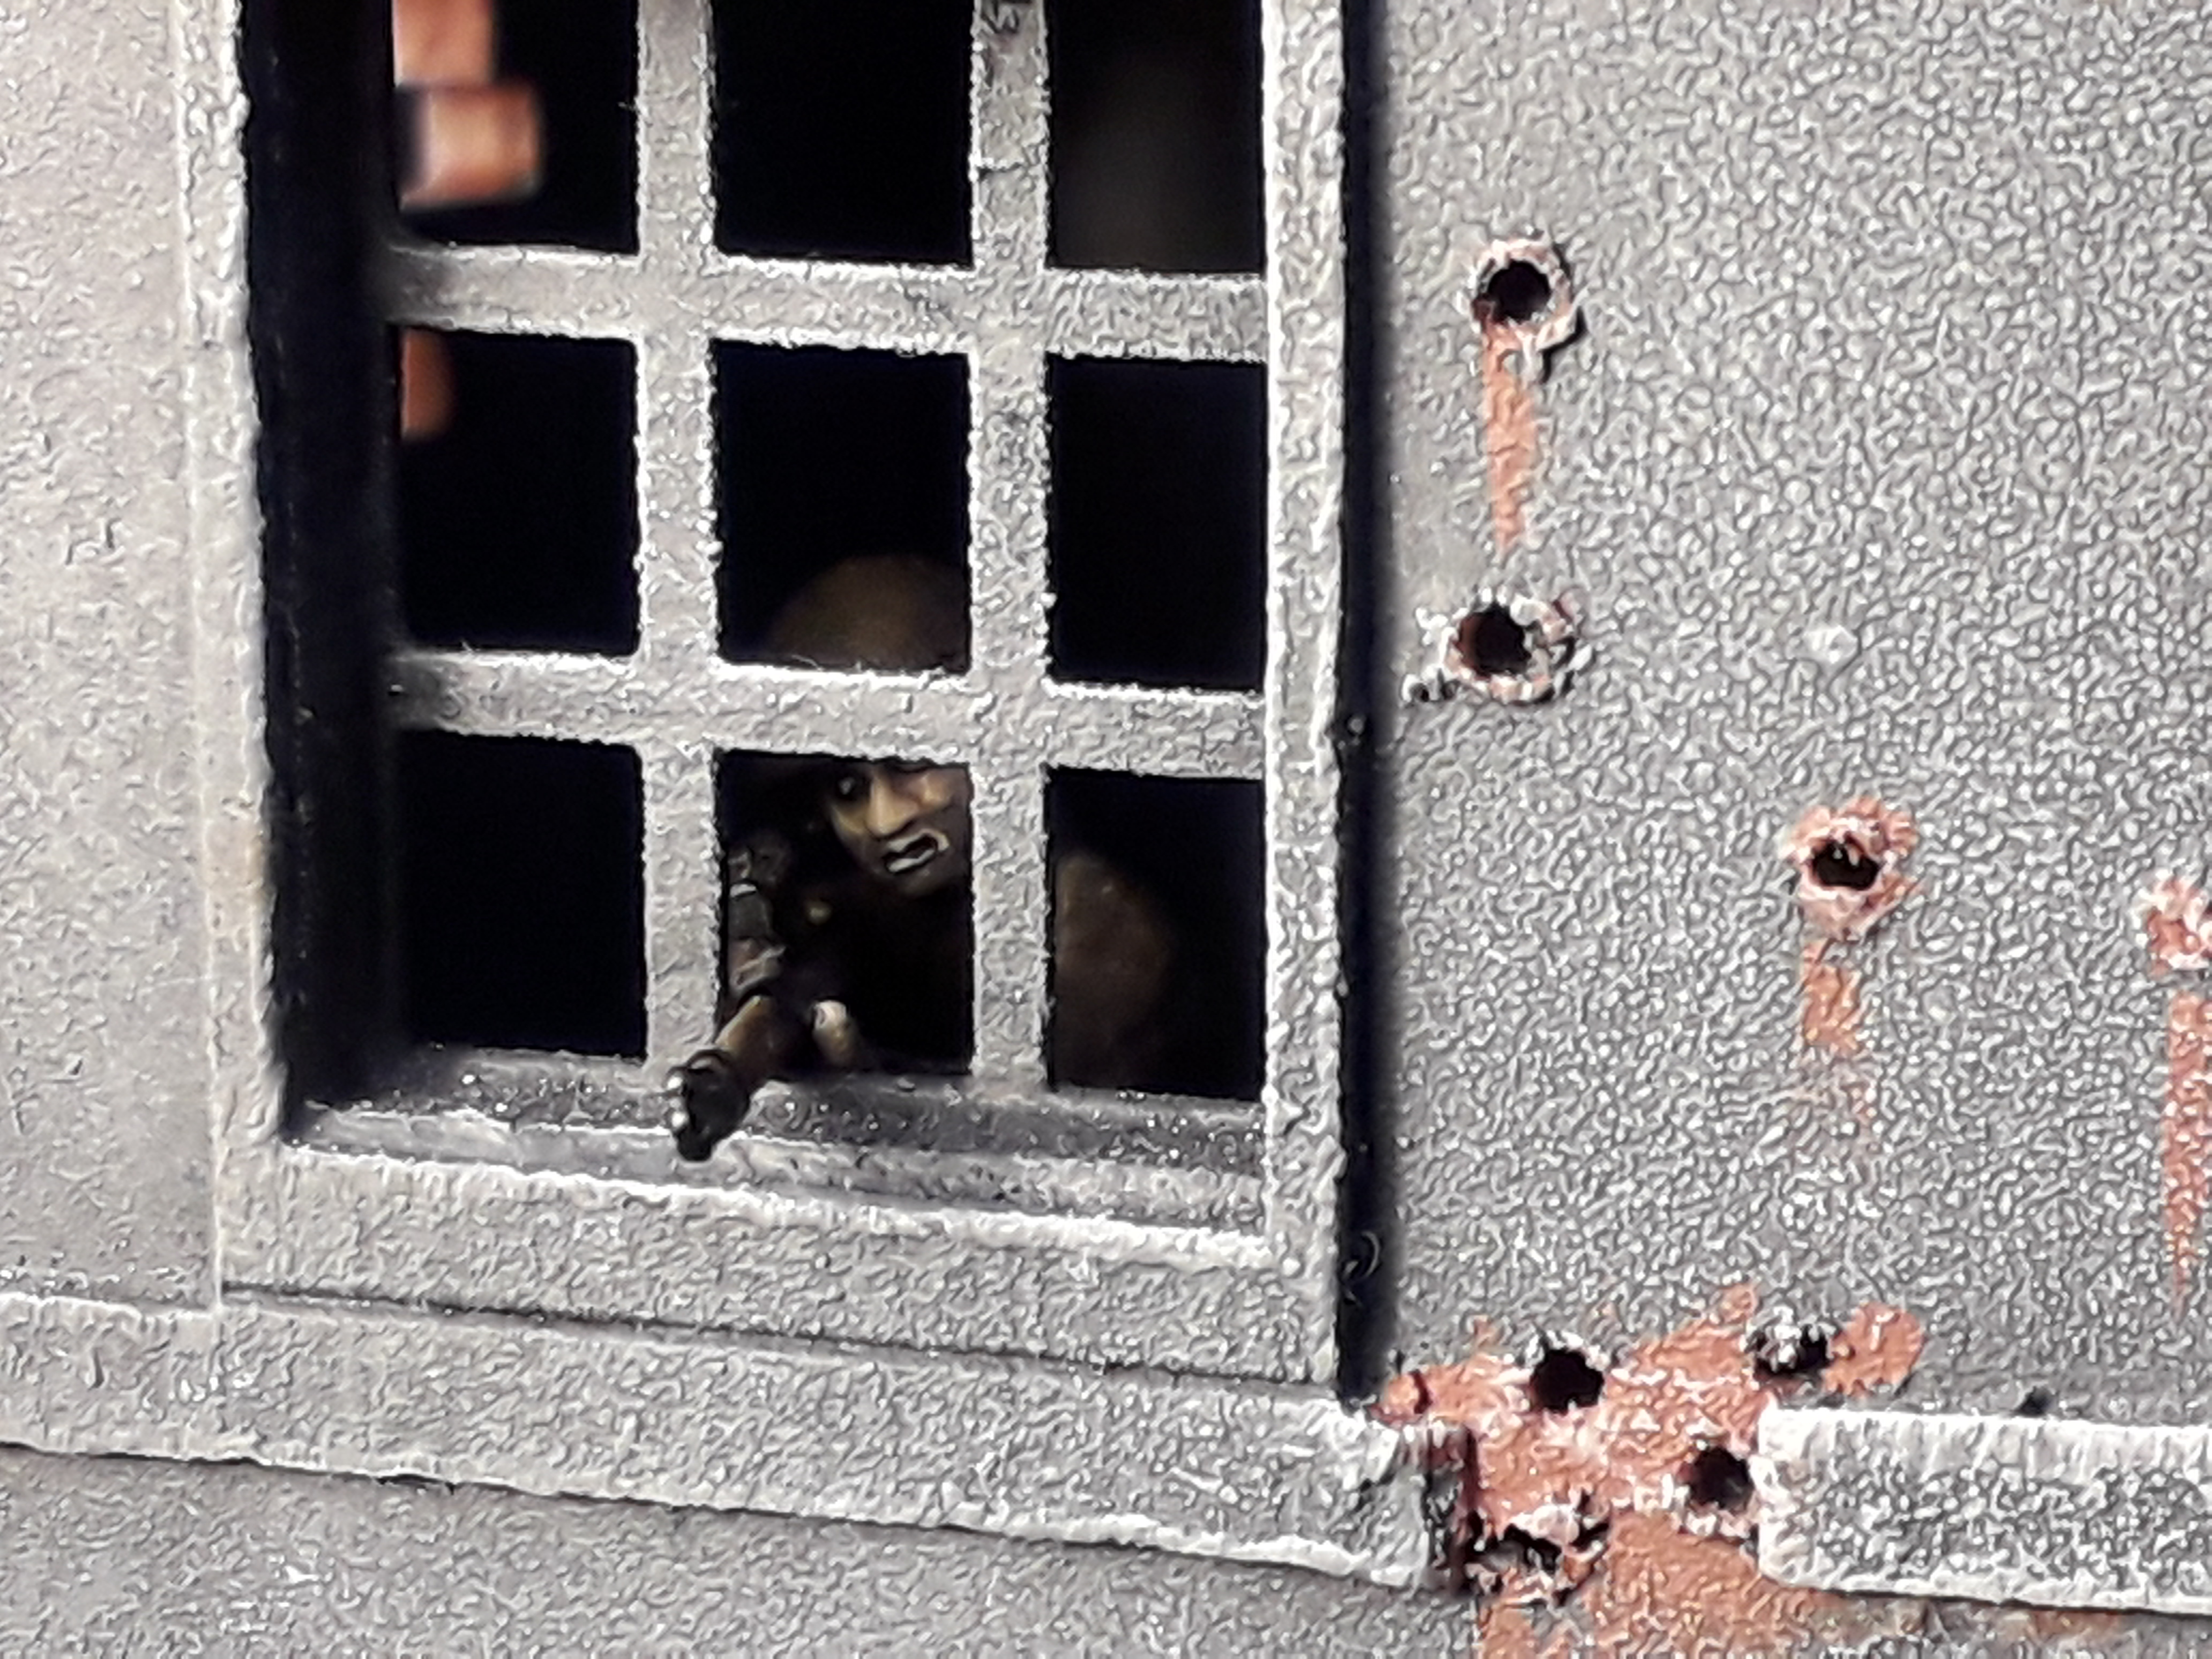 Pavlov's House provided a great vantage point for Soviet snipers to wreak havoc on the Germans!
Pavlov's House End Block (Damaged) Interior finishes!...?
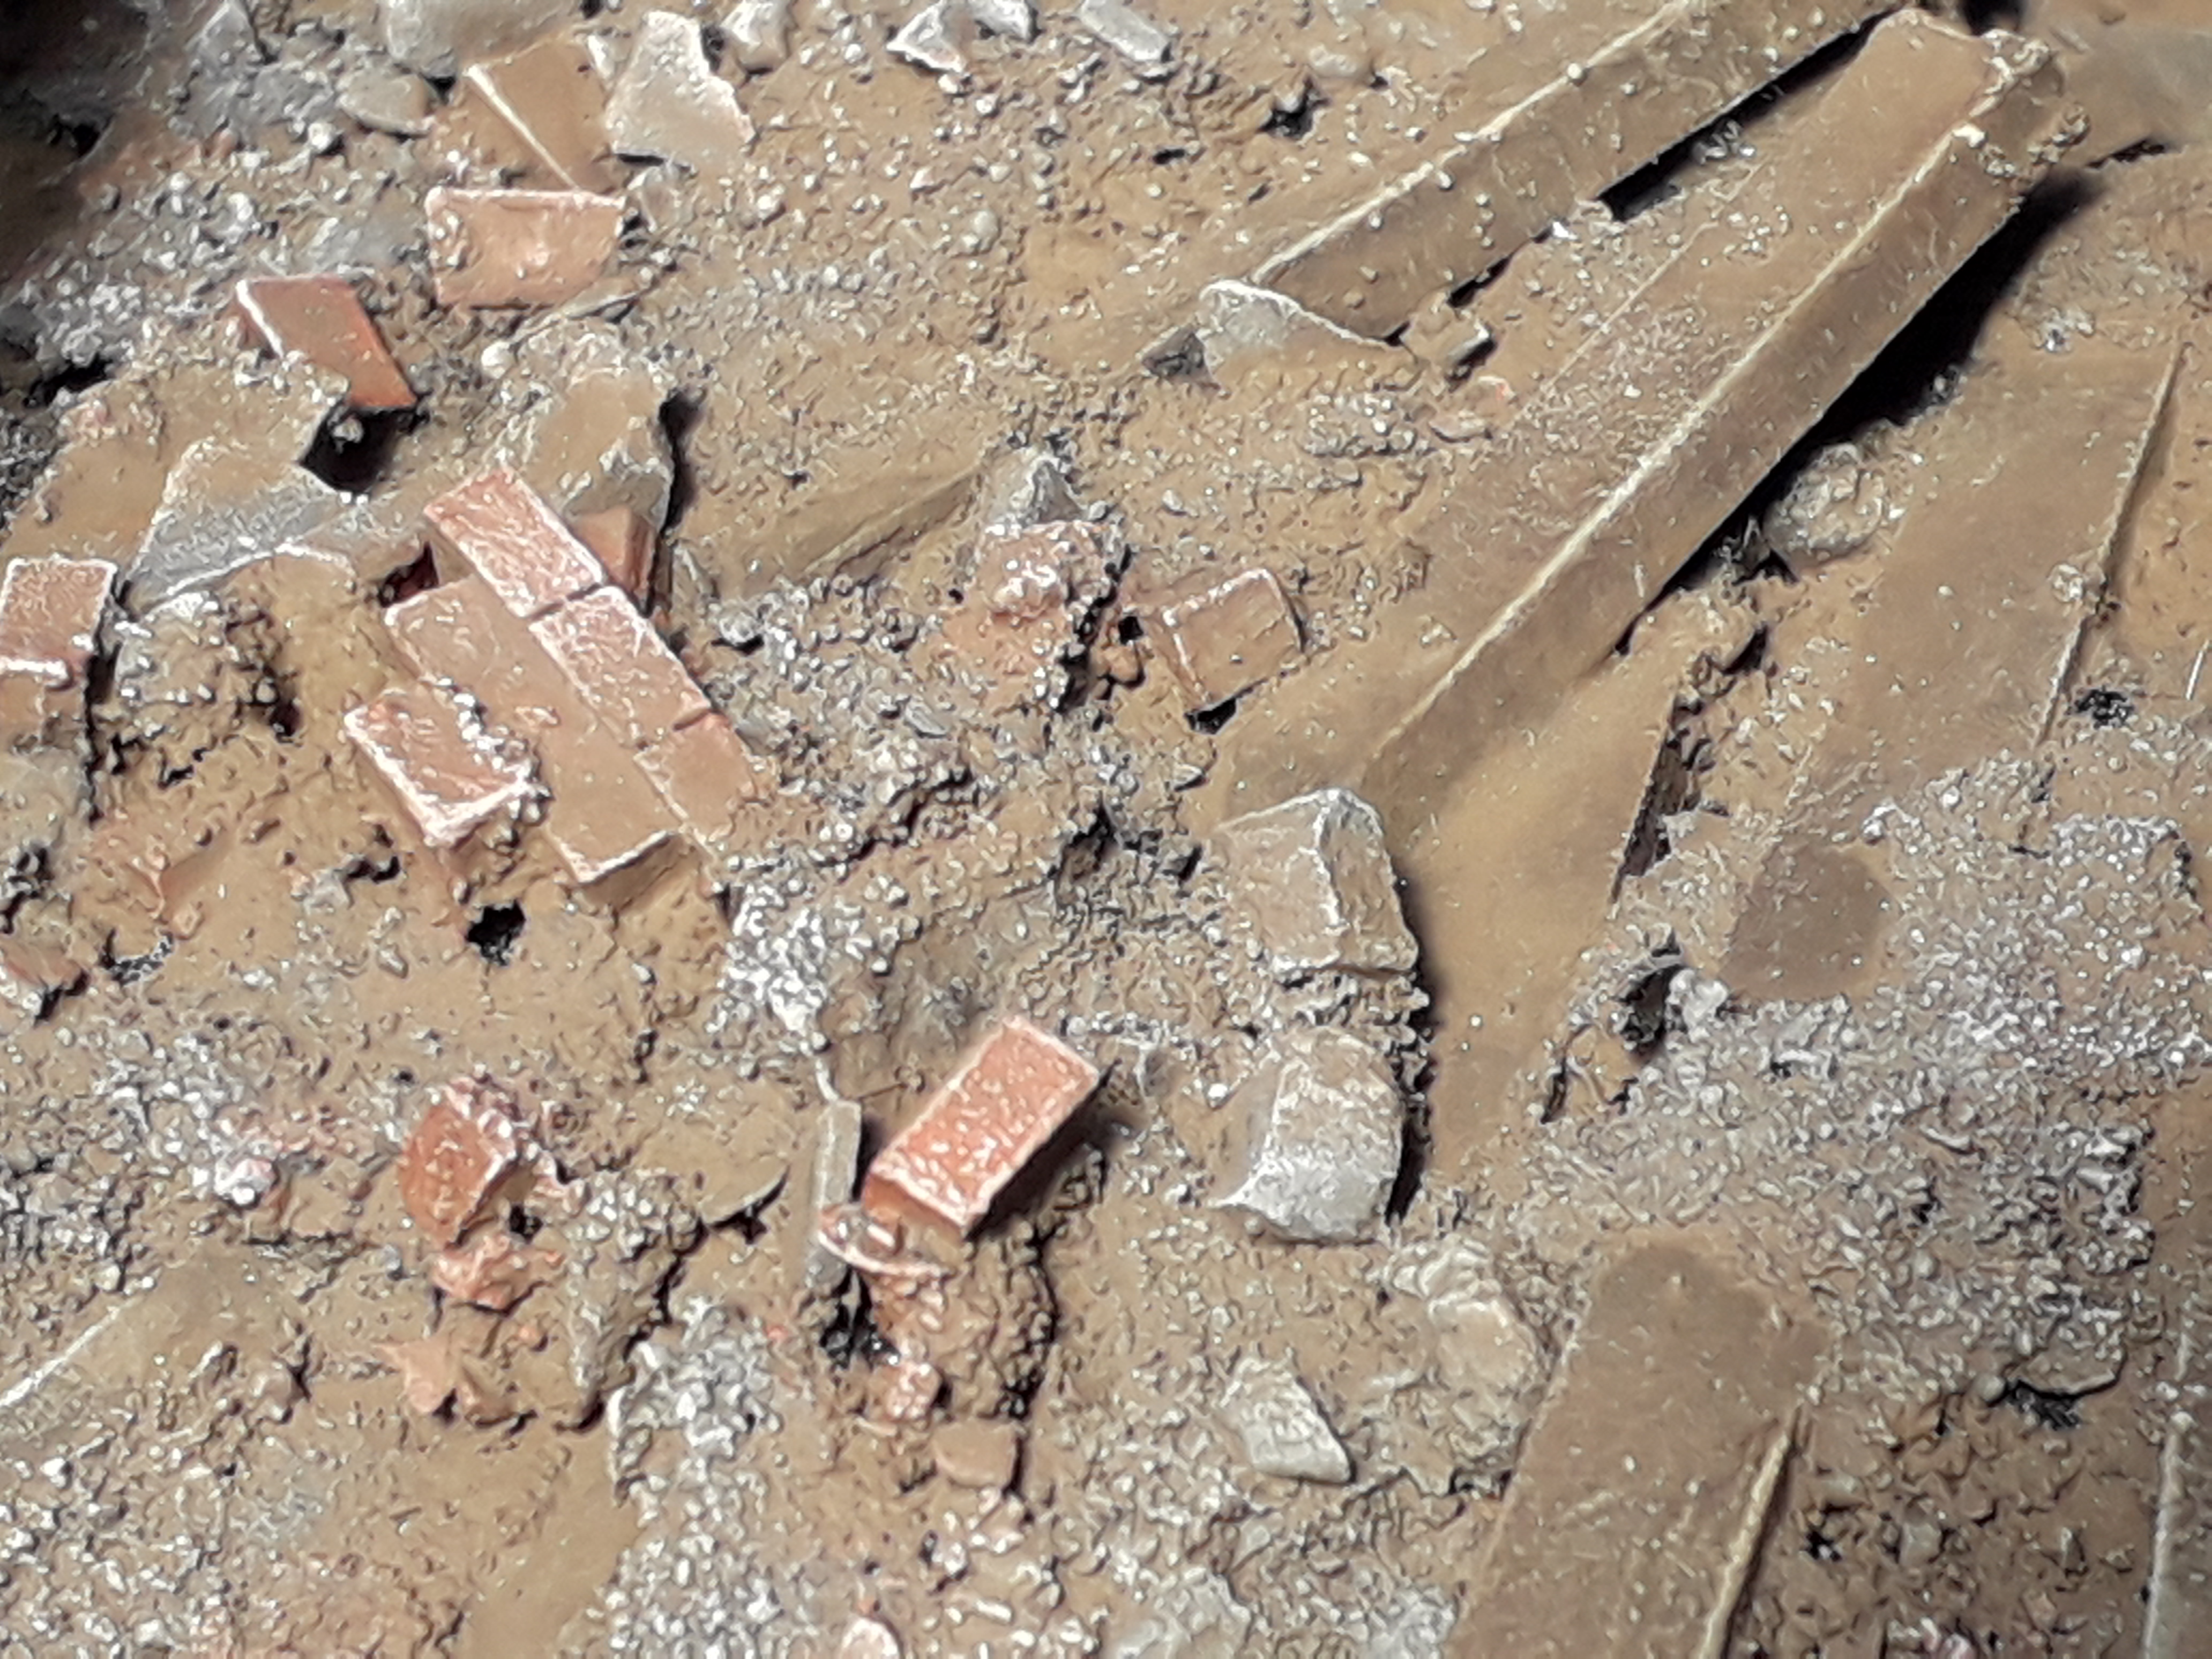
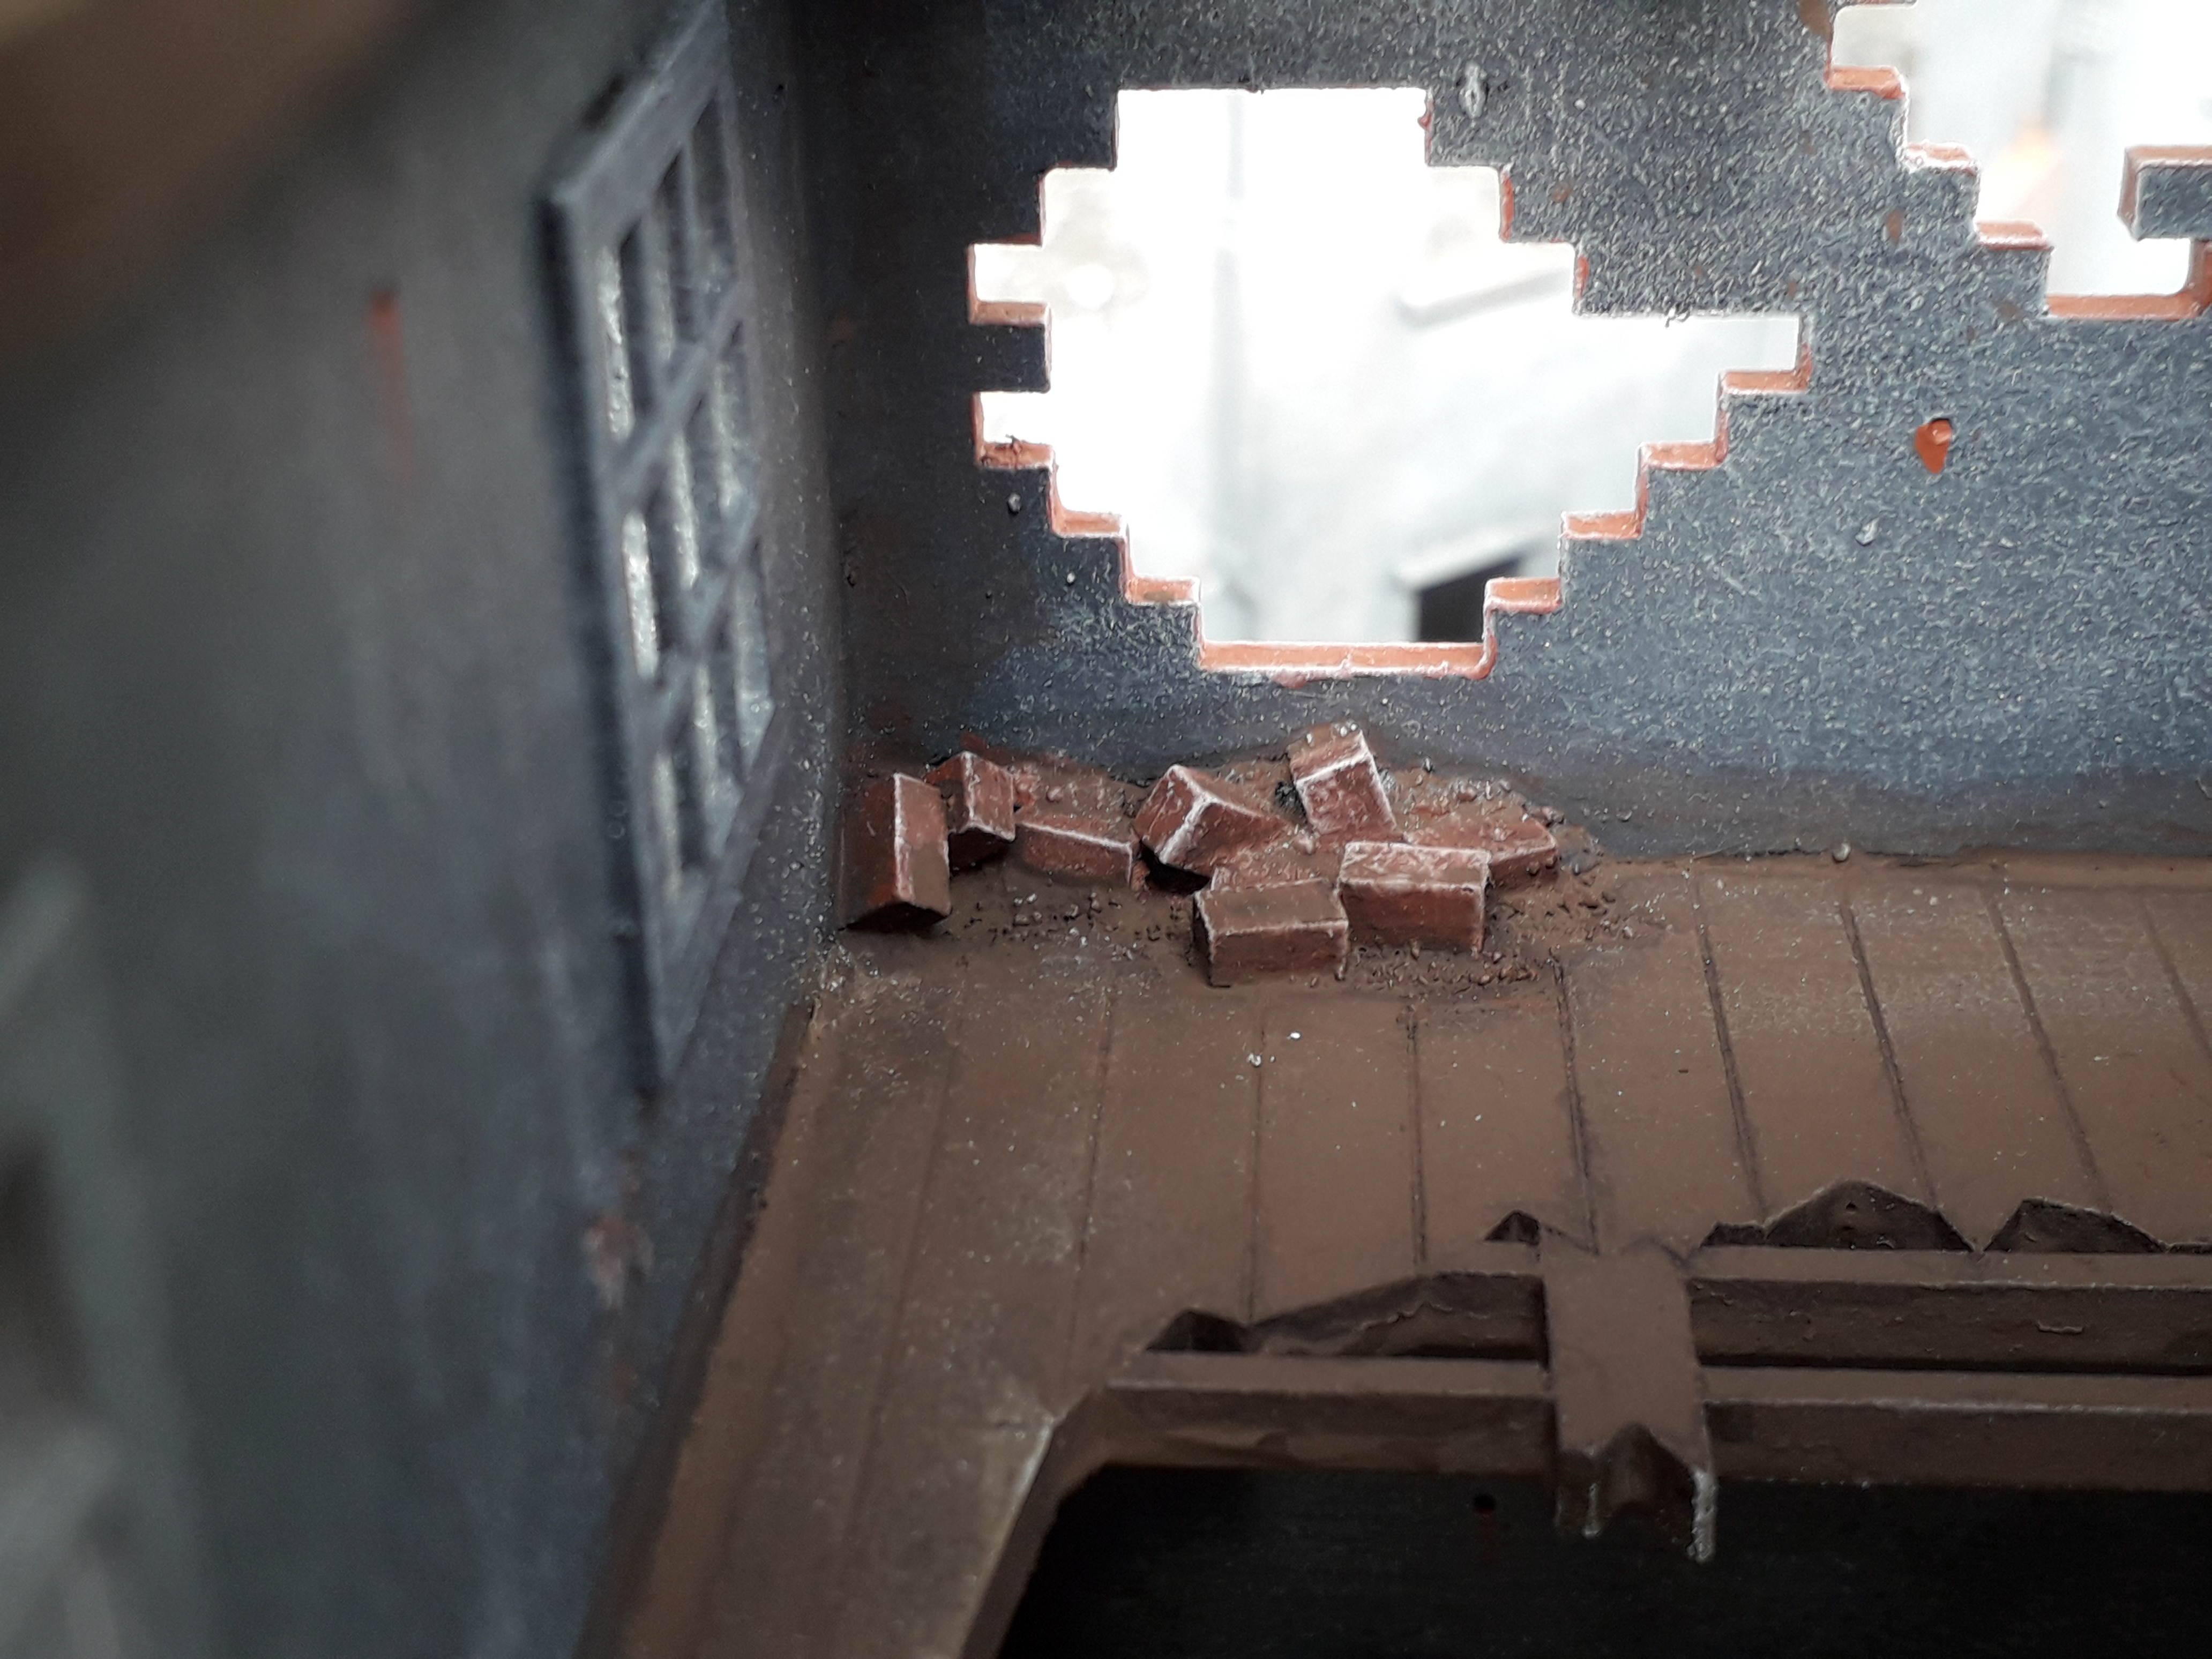
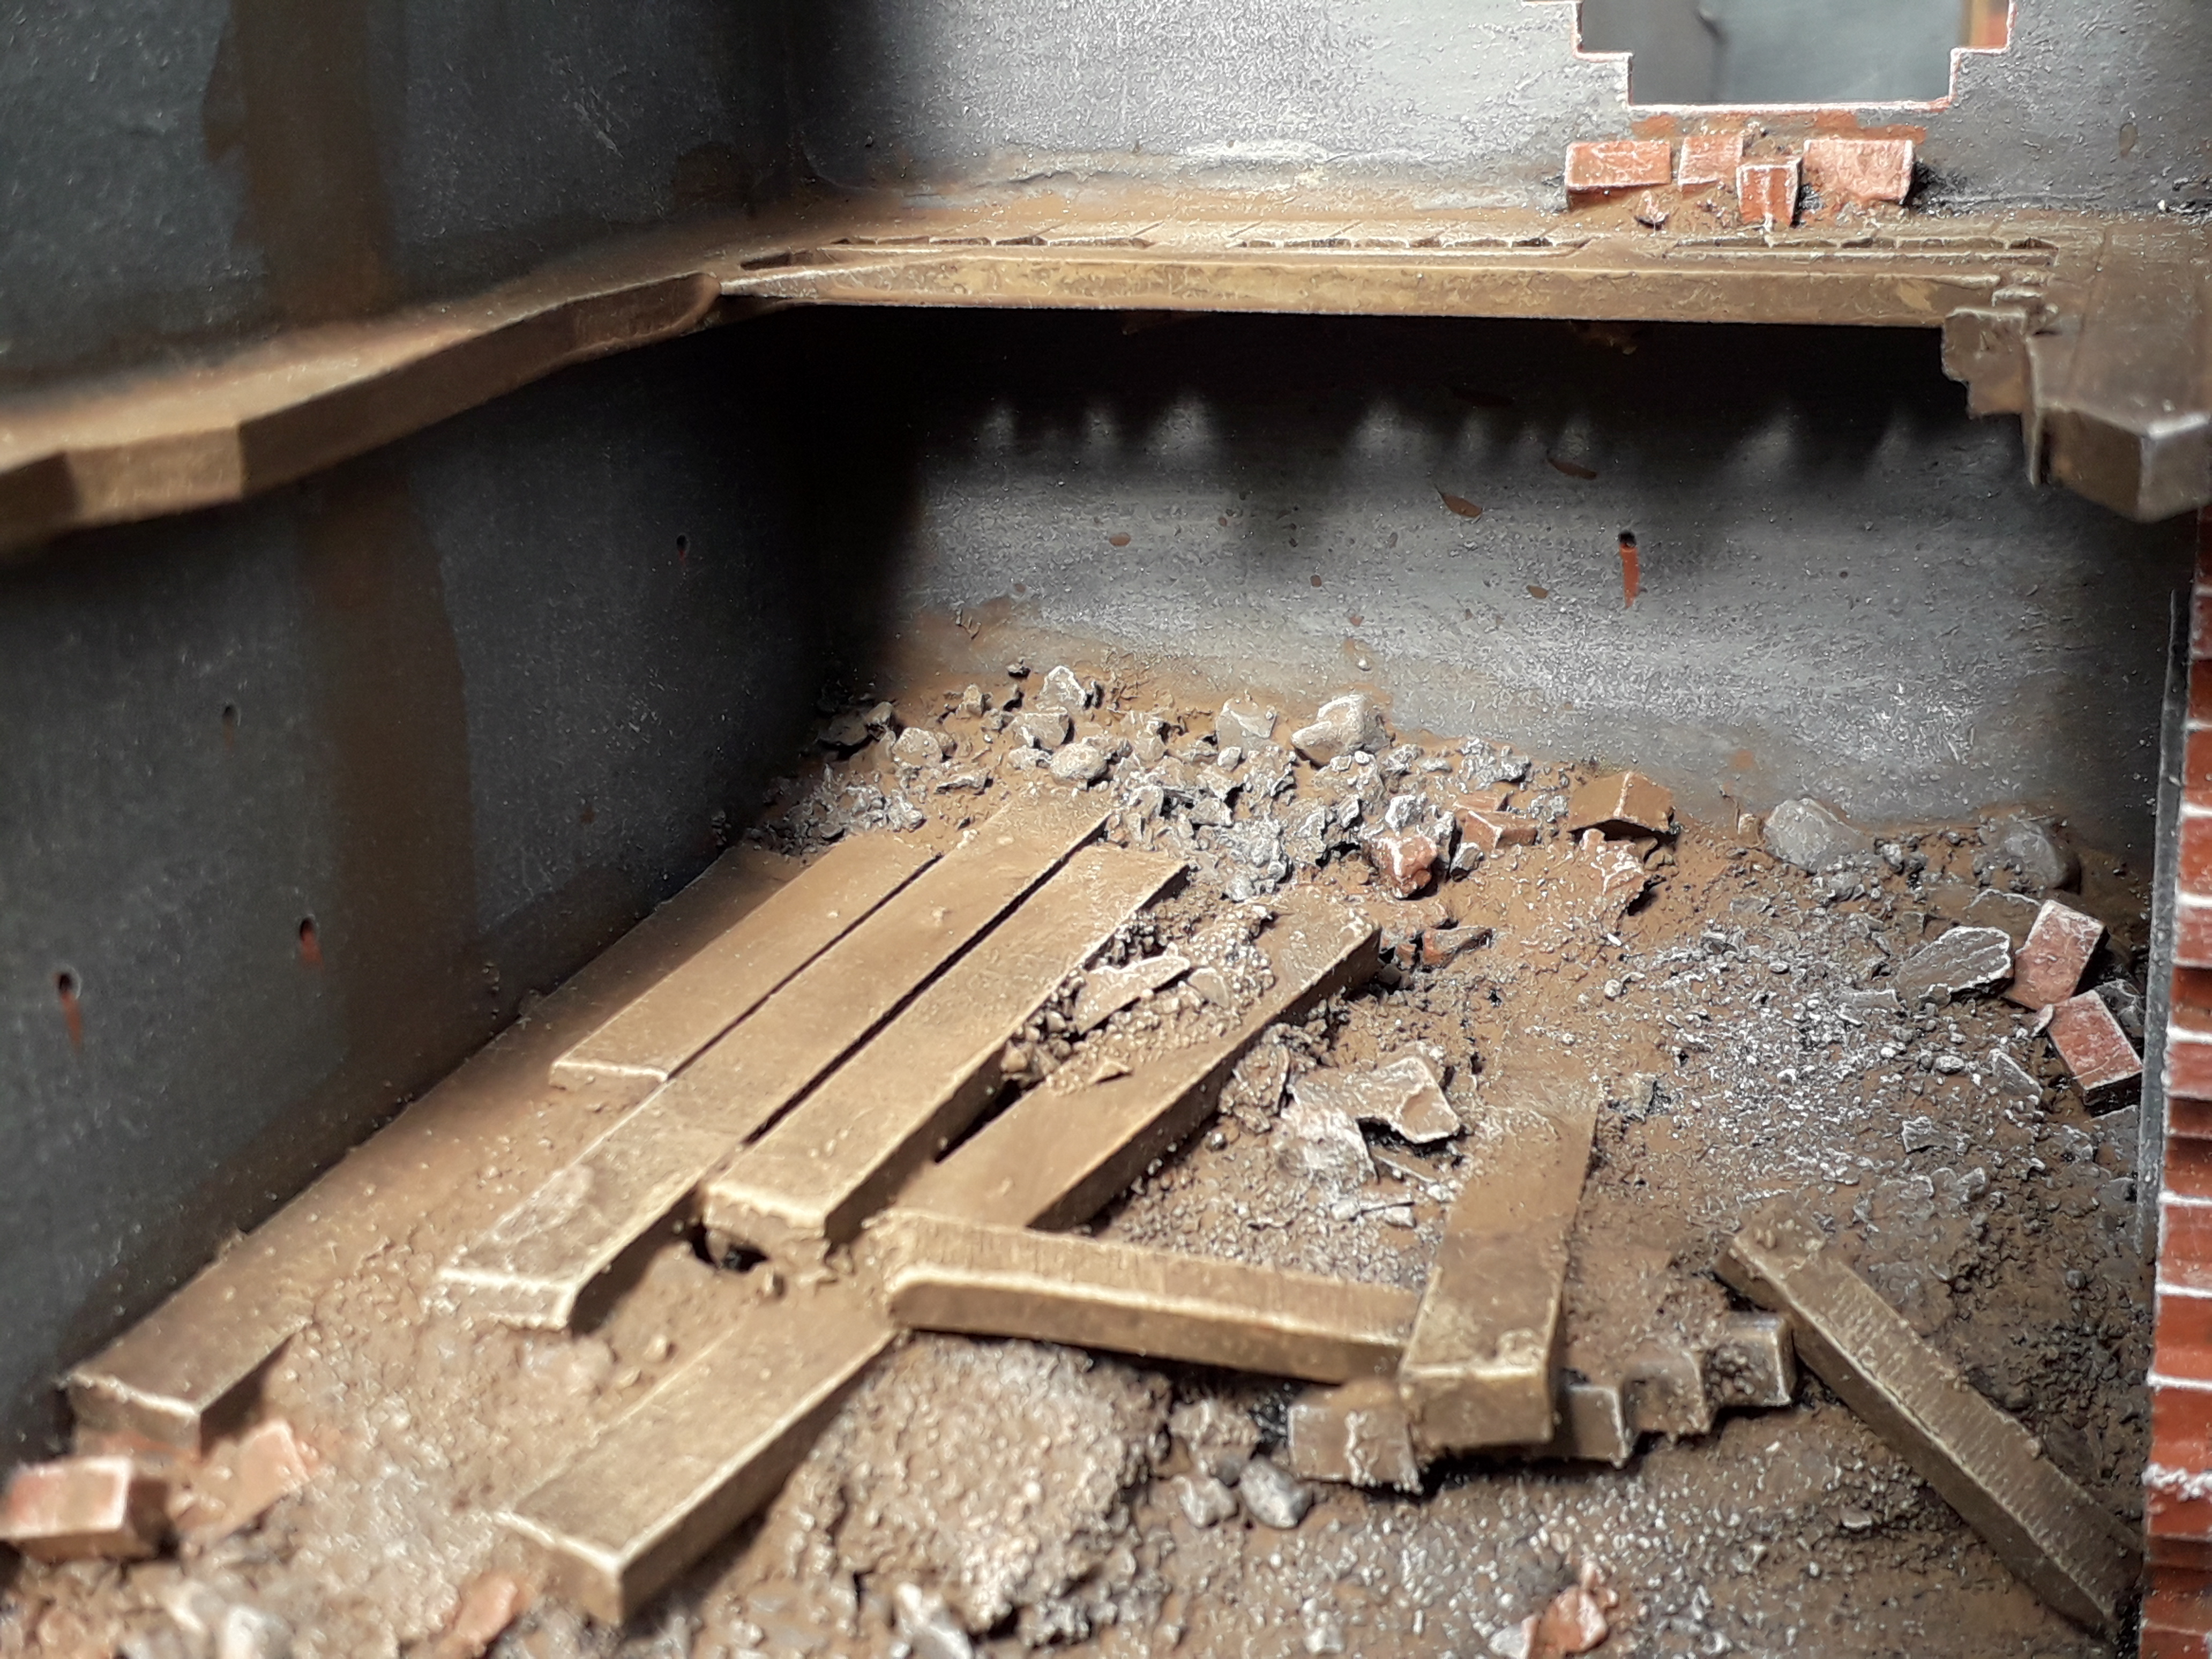
Adding rubble, damage and dirt to this model was a key part in the bombed out “skeletal cityscape” that I wanted to achieve. To do this I have added extra rubble, bullet holes and dirt.
I used a Citadel sculpting tool to add the bullet holes and painted the exposed brickwork Vallejo ‘Red Leather’ .
I have used a wash made from Forge World’s sadly OOP ‘Dry Mud’ pigment powder to add grime to the rubble and wooden floor boards.
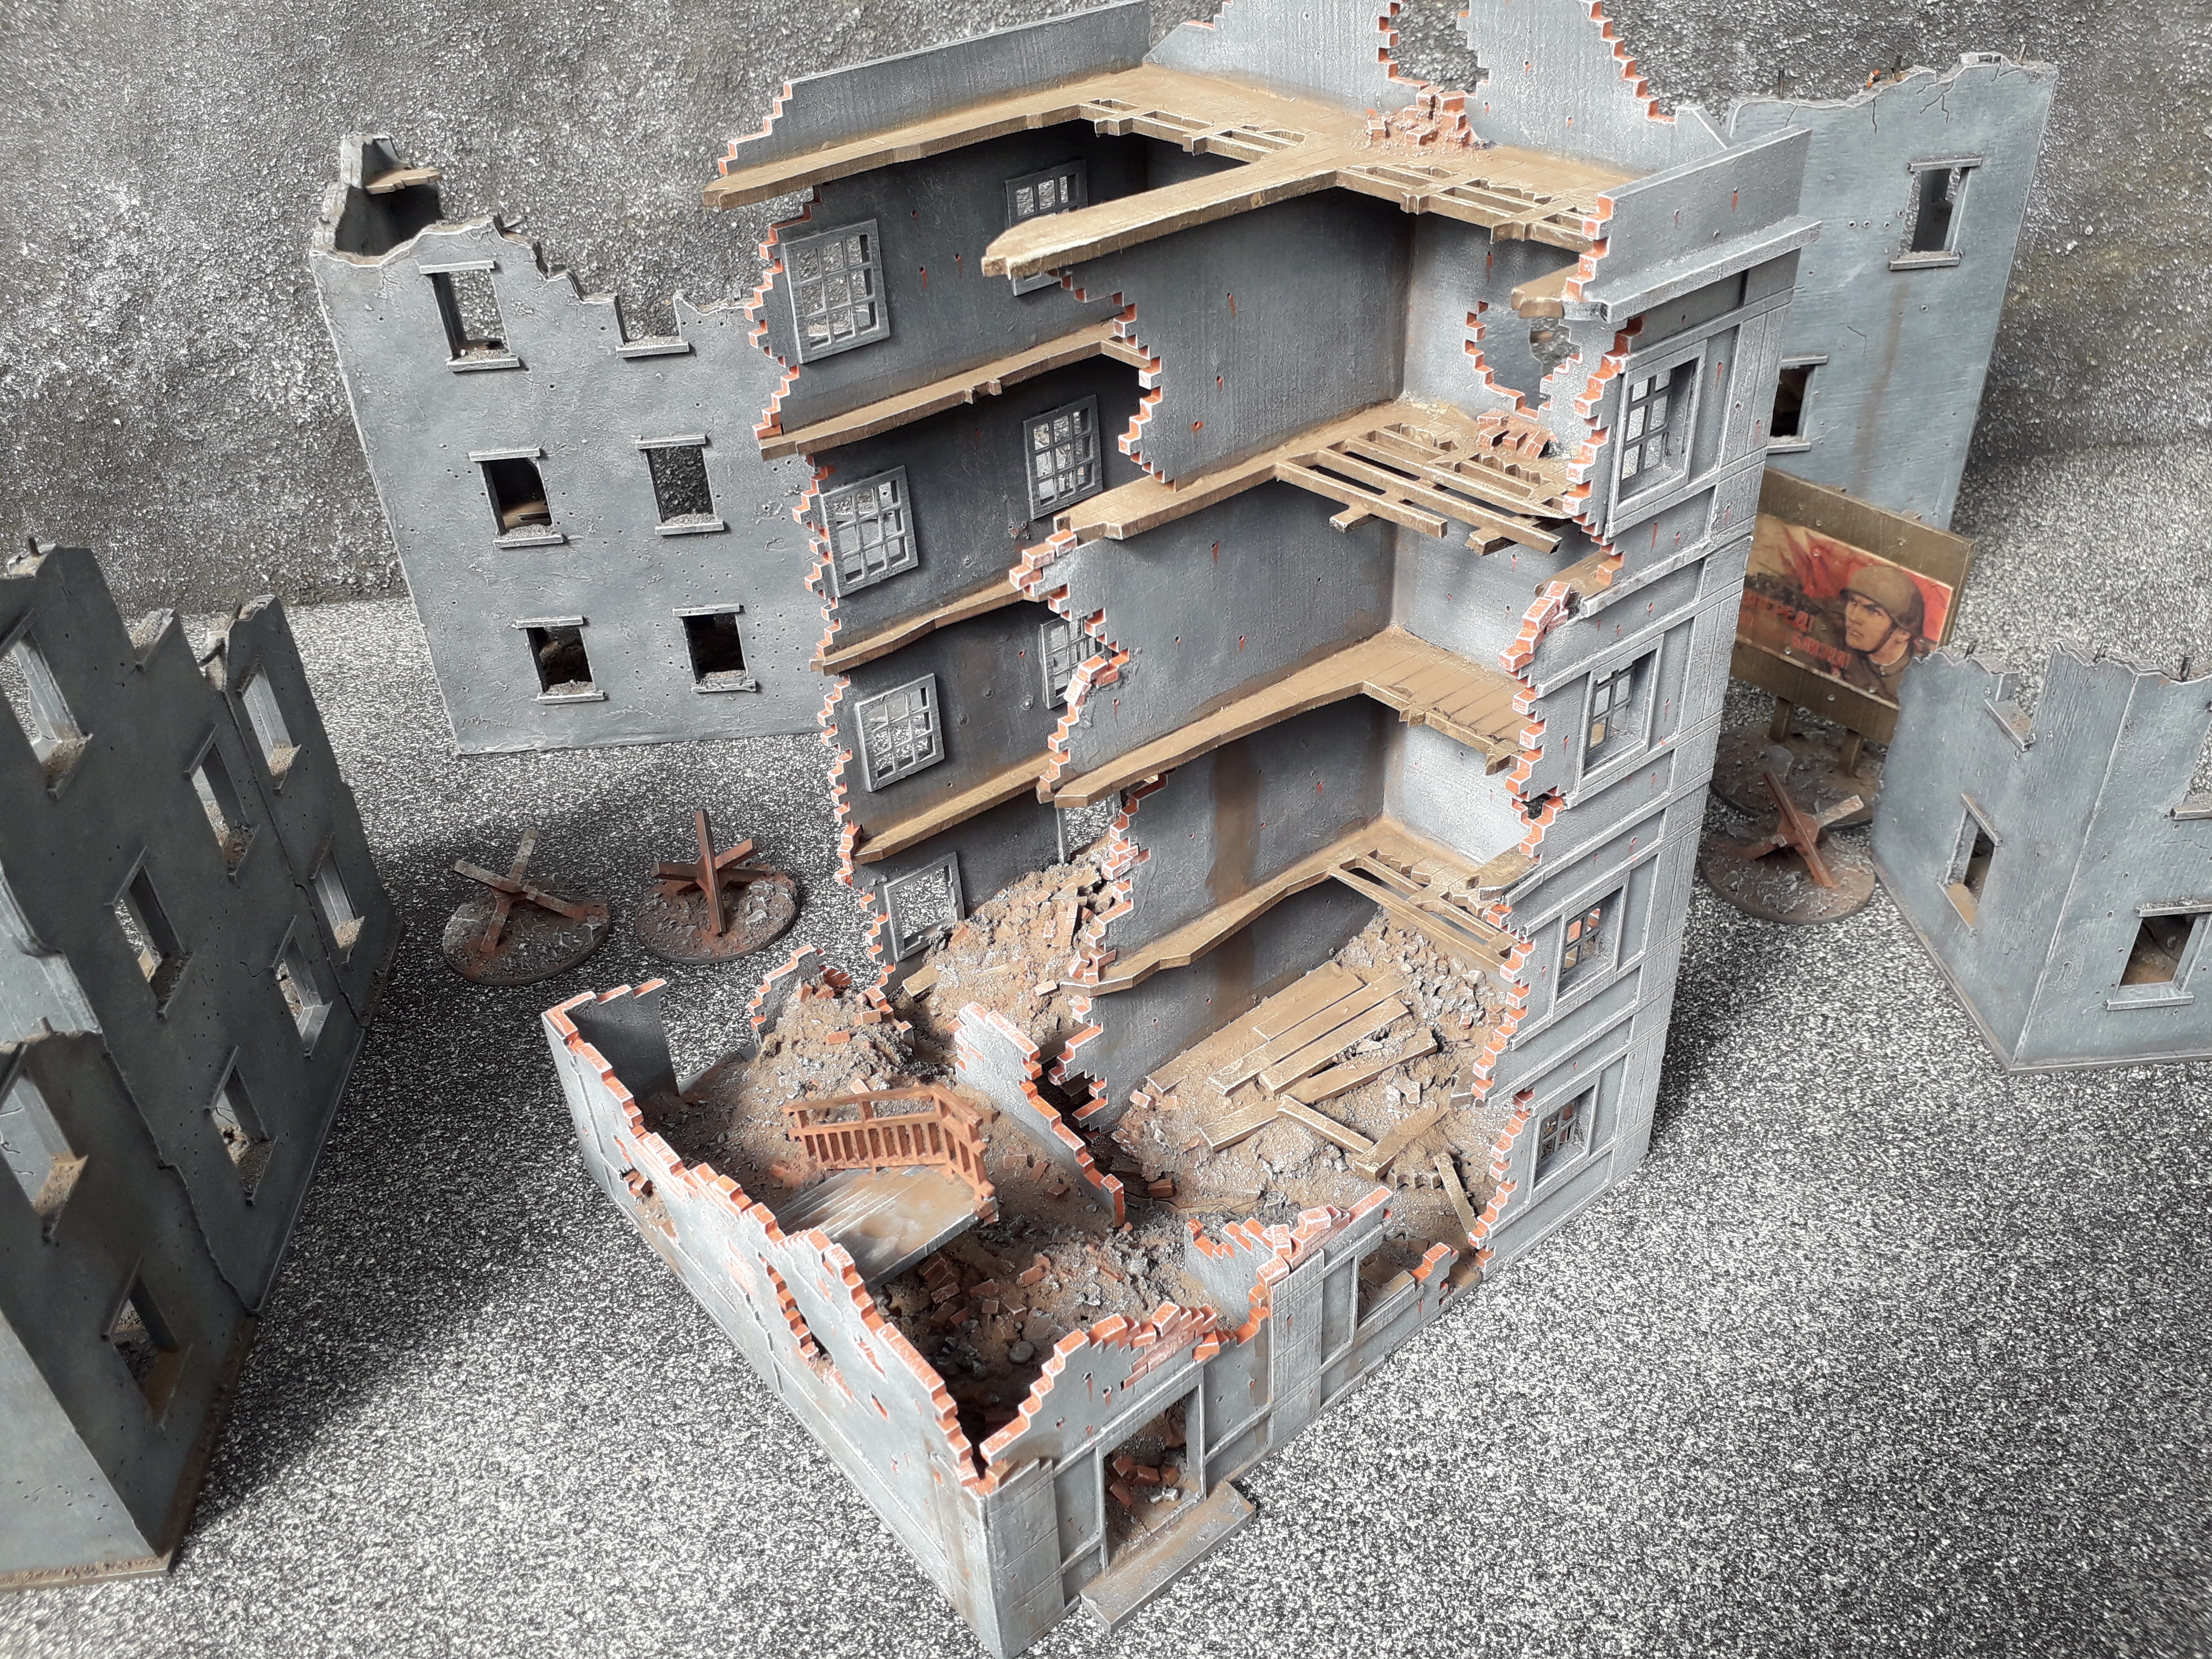
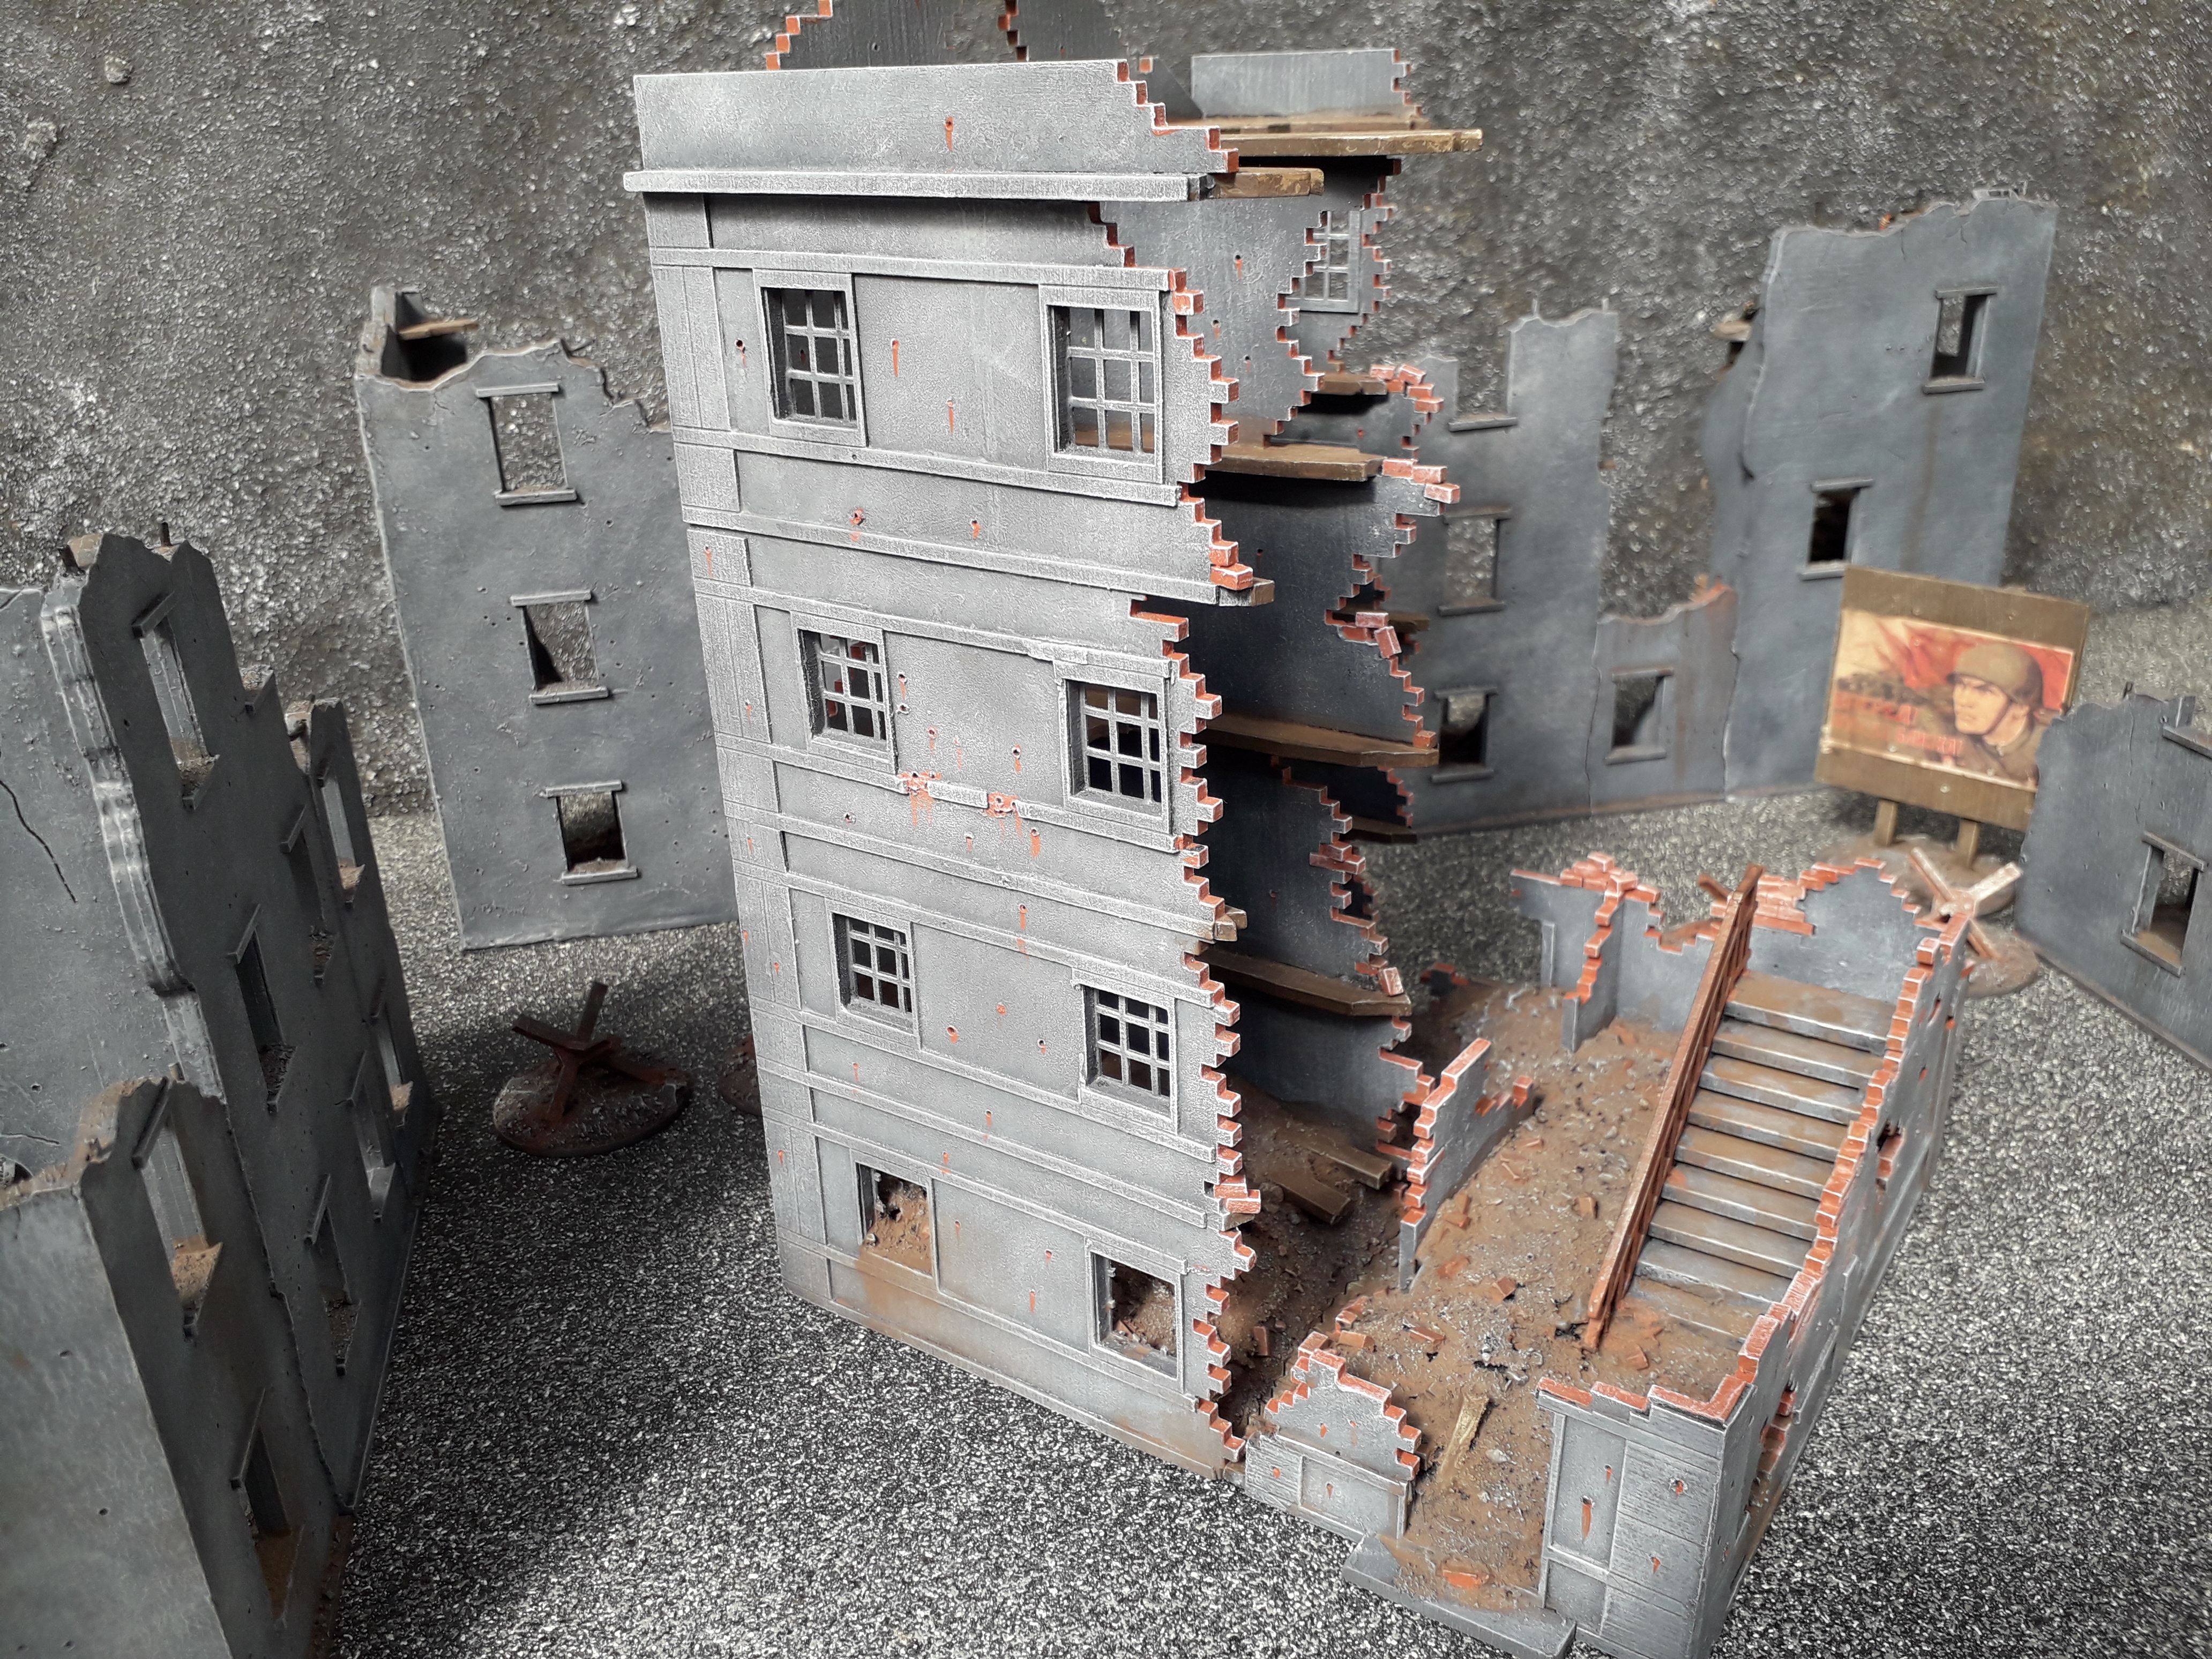
Pavlov's House End Block (Damaged) Done, it's Bloody Done and I am so HAPPY!
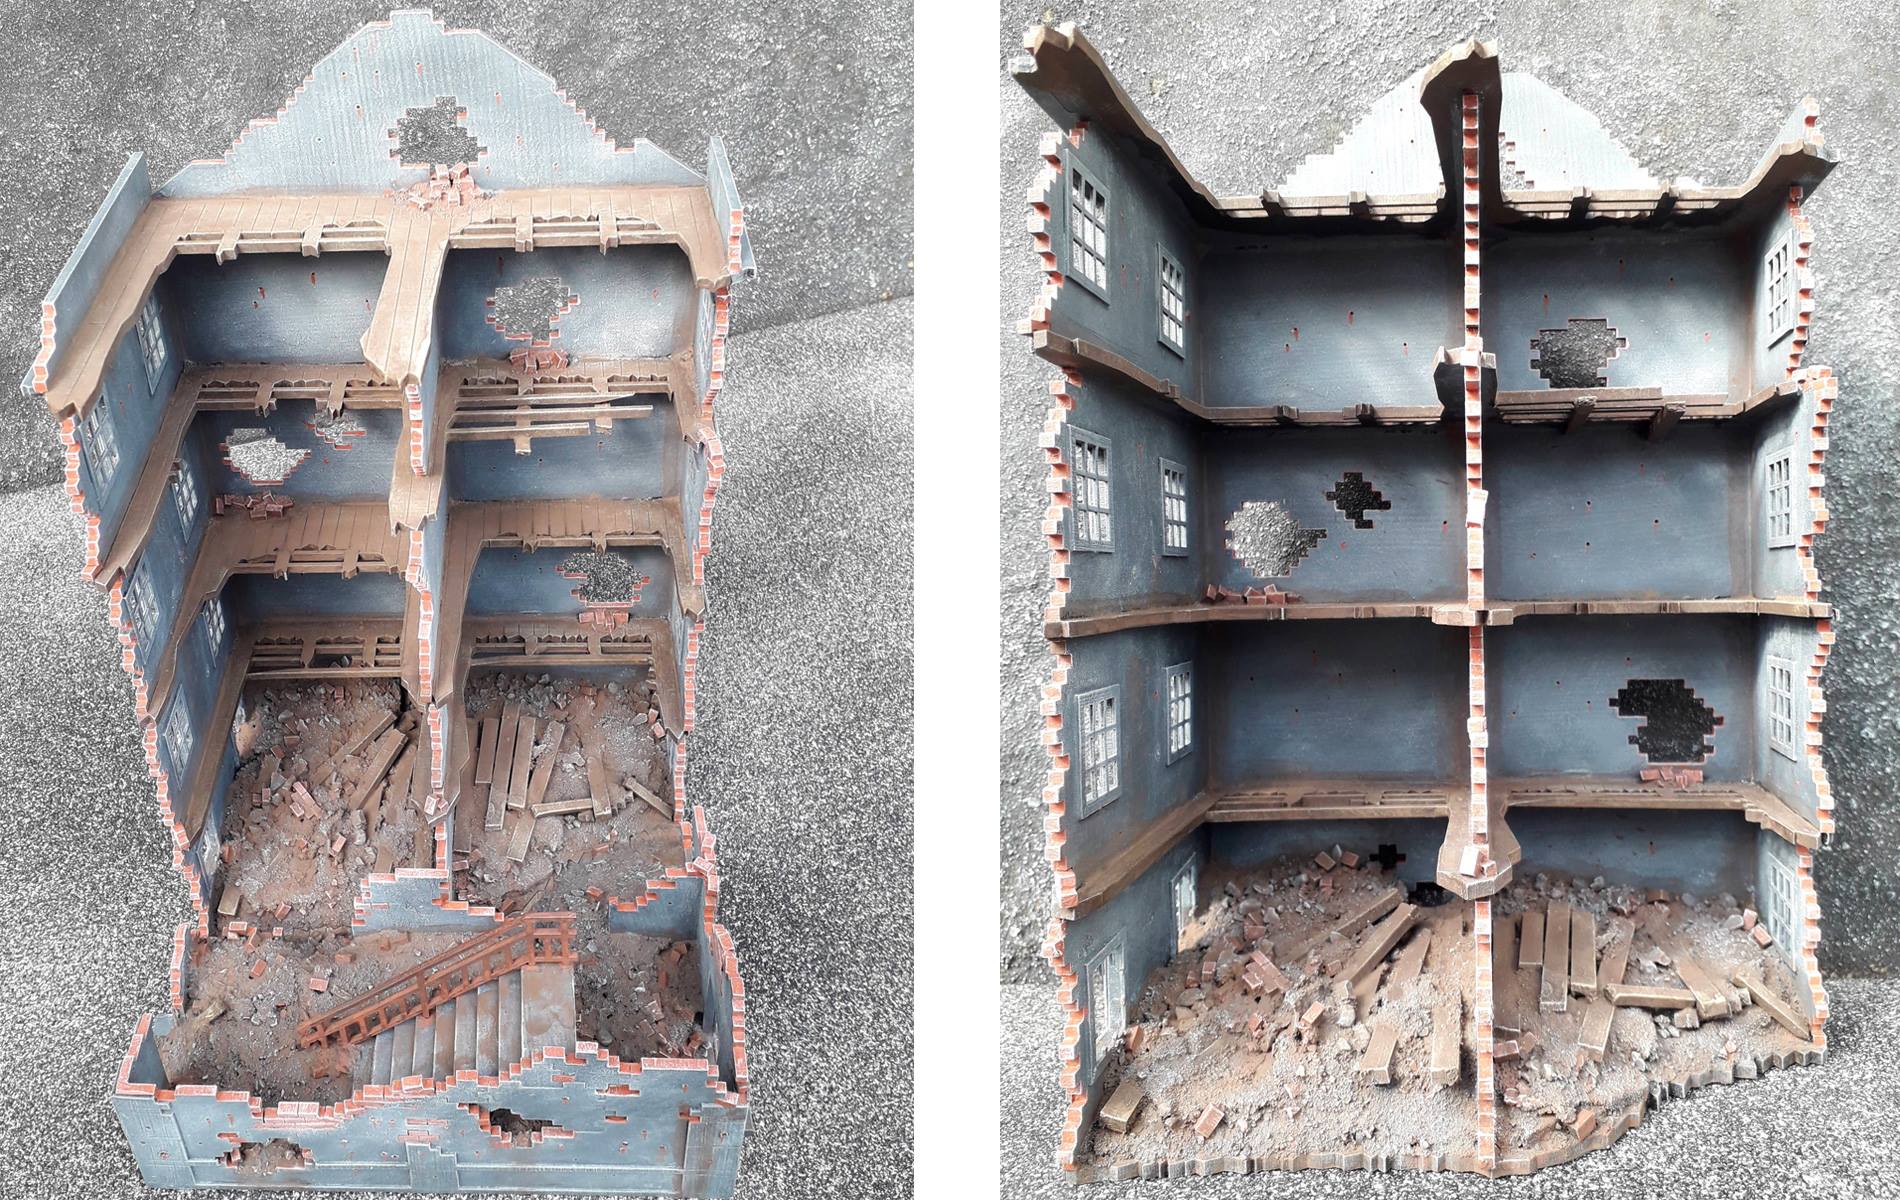
This was a LOT of work, but I enjoyed every minute and got through a lot of great Youtube videos from some very diverse sources ranging from science talks on red shift, Lindybeige on the ‘Calcutta light Infantry’ to the book or Revelation, which I dare say a lot of the real participants in the great battle of Stalingrad must have felt like it was the Apocalypse.
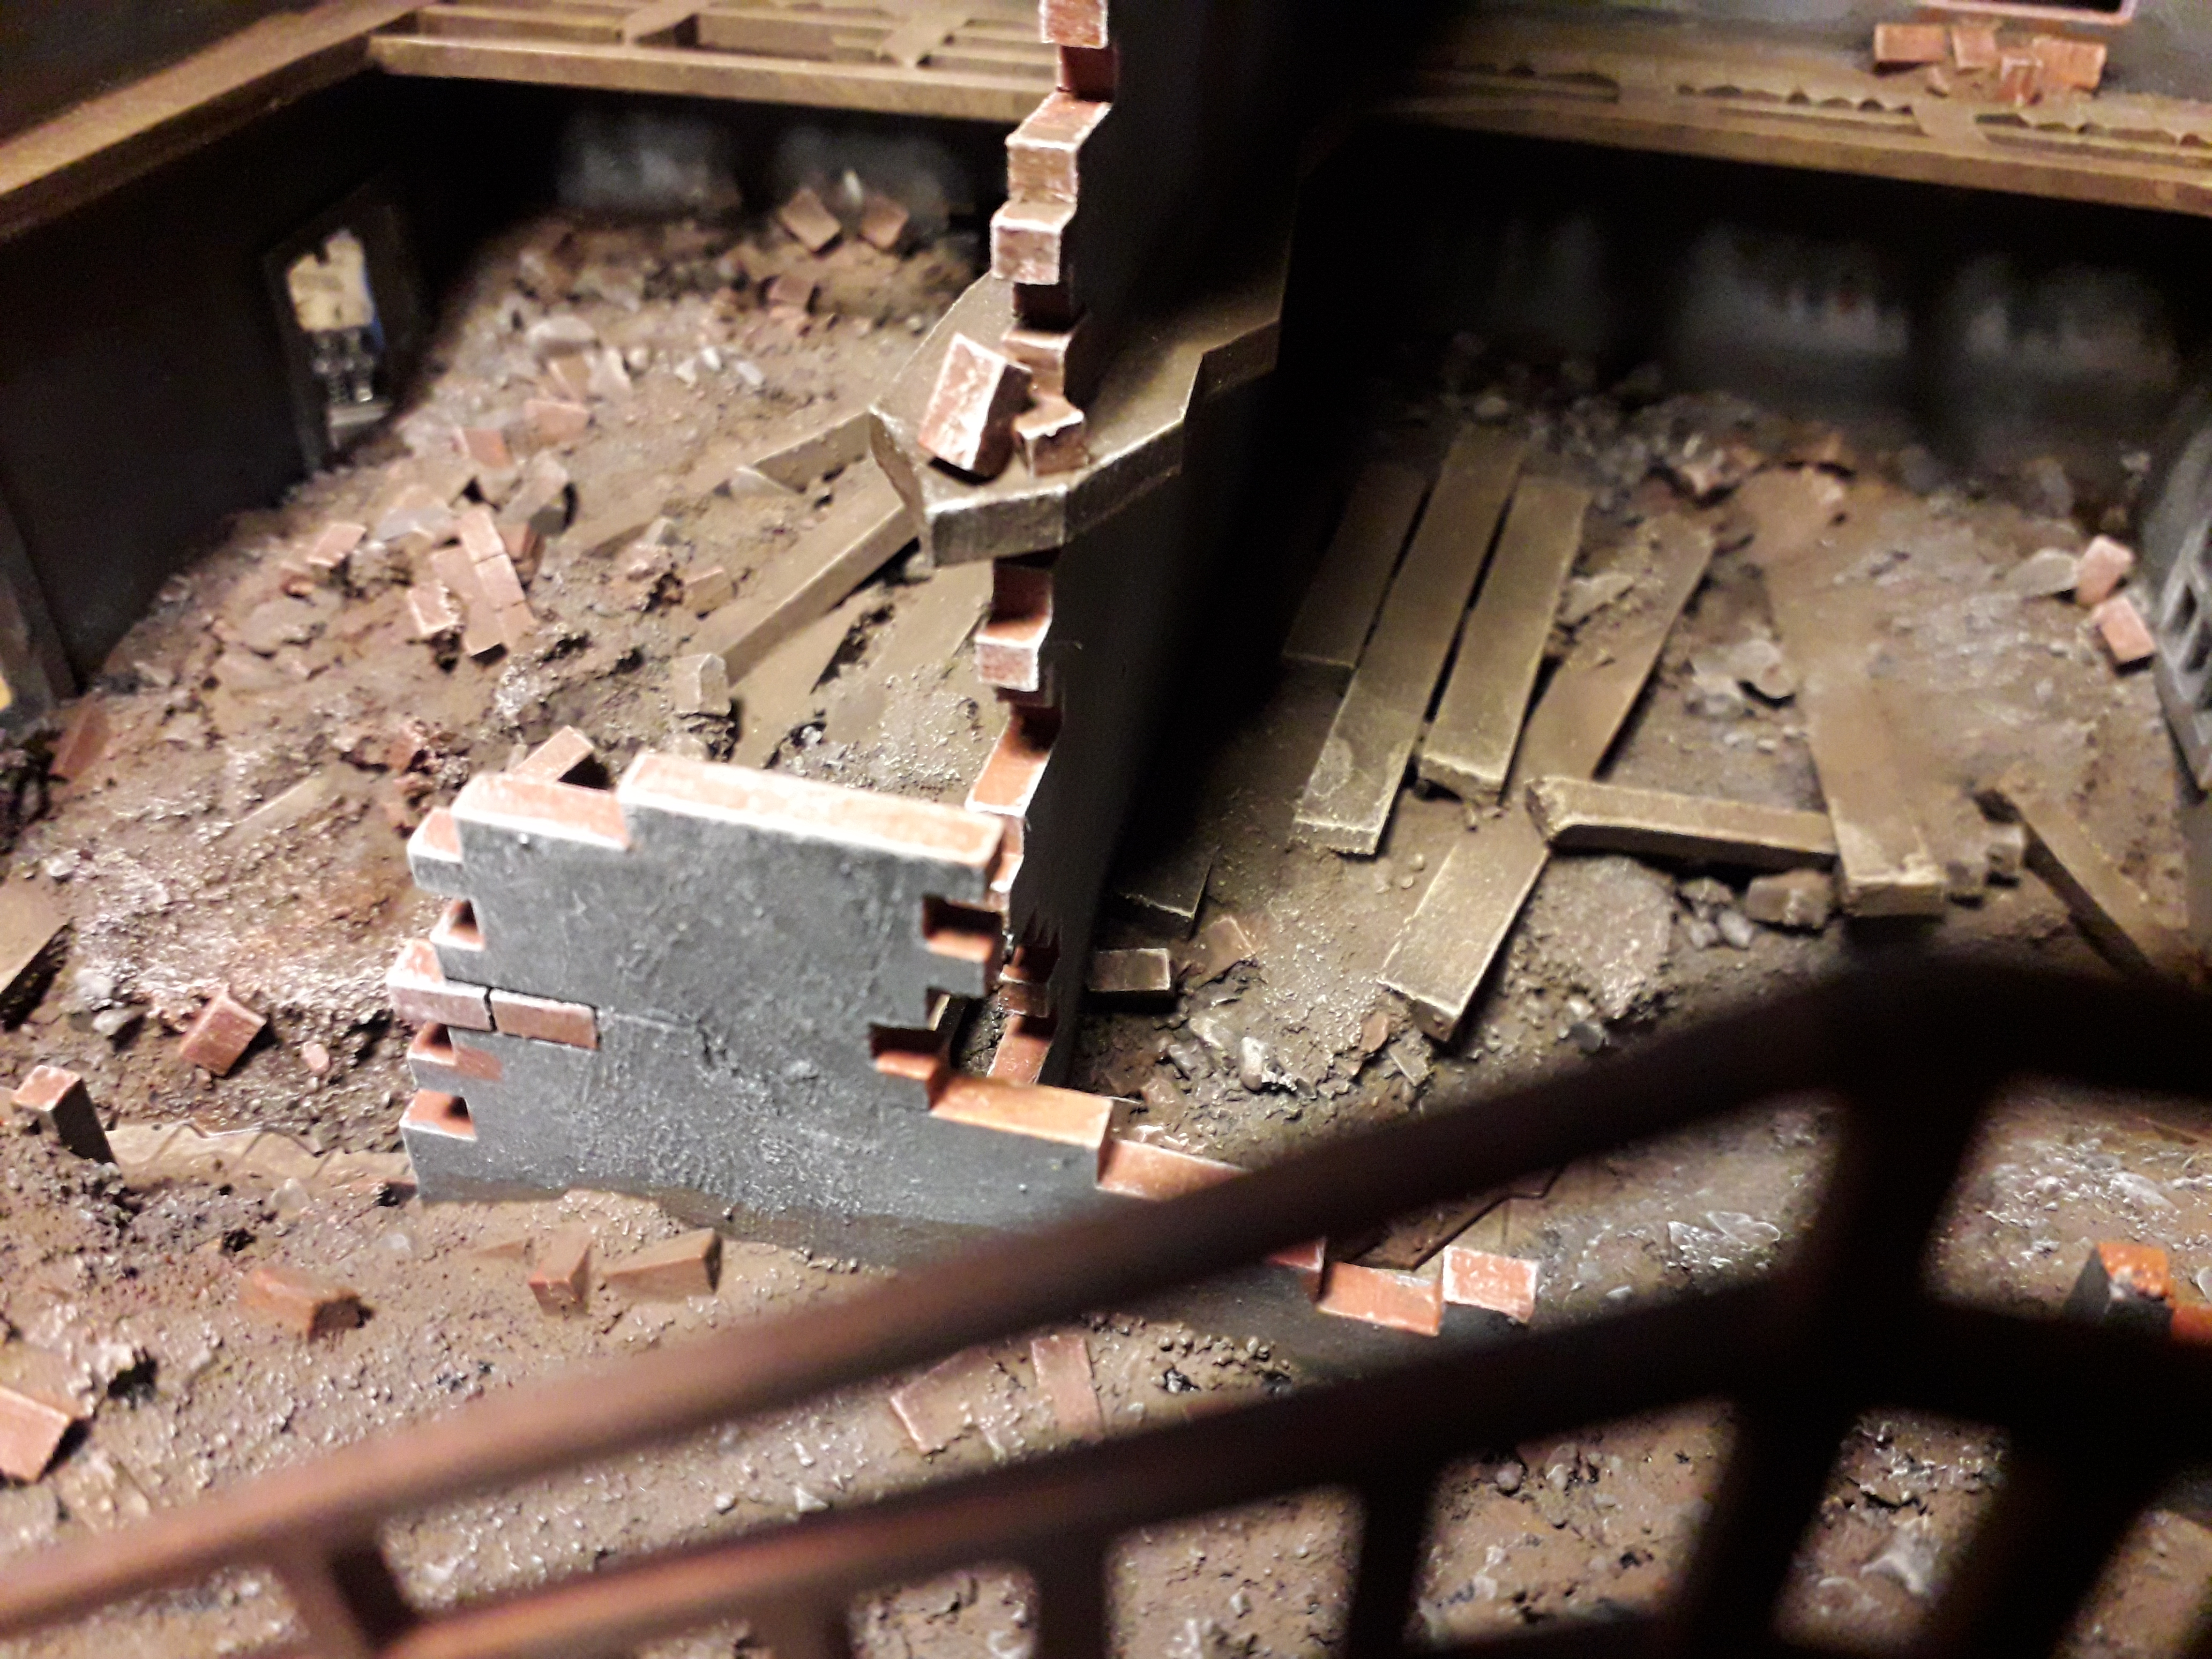
This is a great kit my plan was to paint it in a suitably Stalinesque Brutalist grey, to fit in with the look and feel of the rest of my buildings.
I can’t wait to get this on to the table top and try it out in an actual game! Which is something that I have not had for far too long.
Thanks to those clever chaps at 4Ground and Things in the Basement for making a gaming friendly kit, that I have had a great time putting my personal mark on. It was a lot of work, but now it’s done, I am really happy with it, and I know have a focus for the fighting in my Stalingrad Mega Battle!
Pavlov's House End Block (Damaged) In Progress.
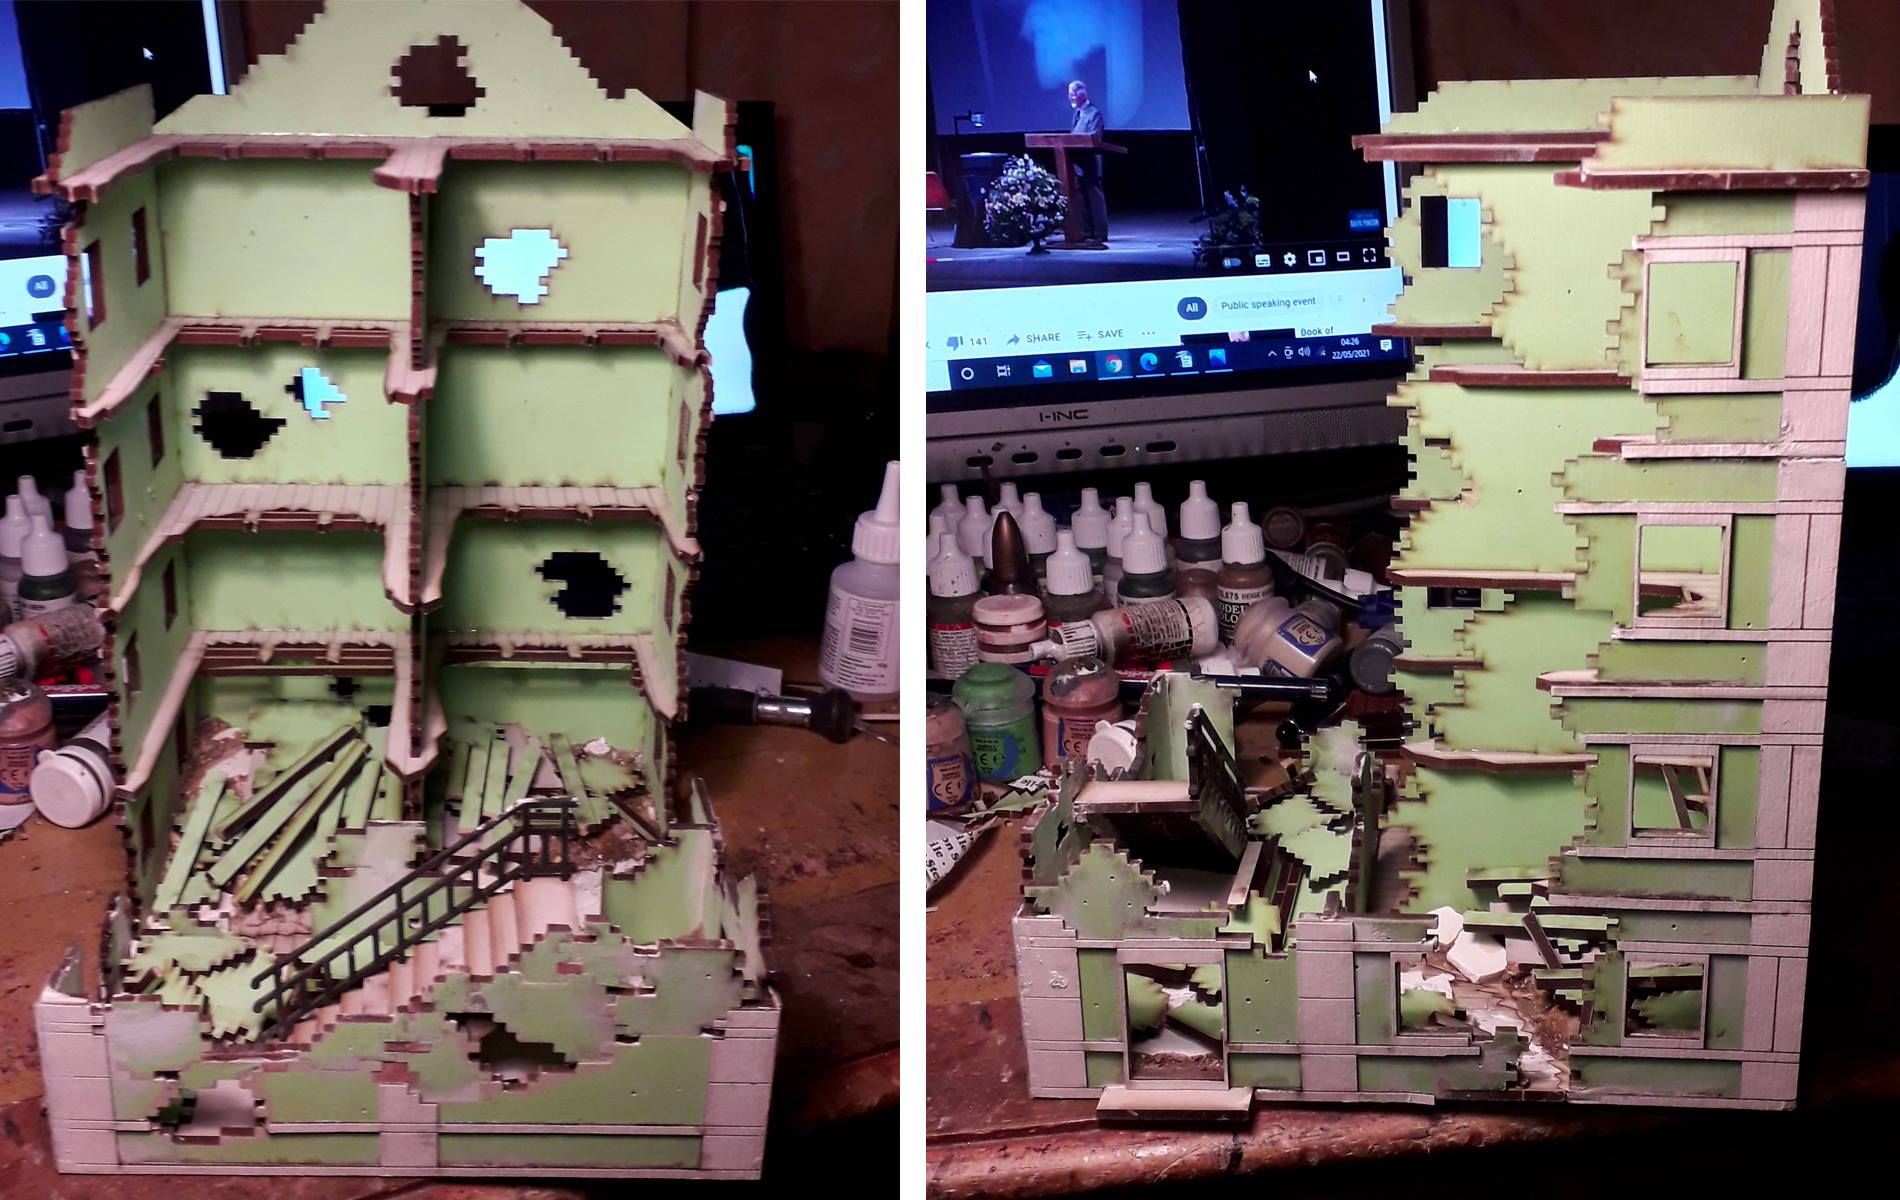
When I saw this model kit, I was blown away!
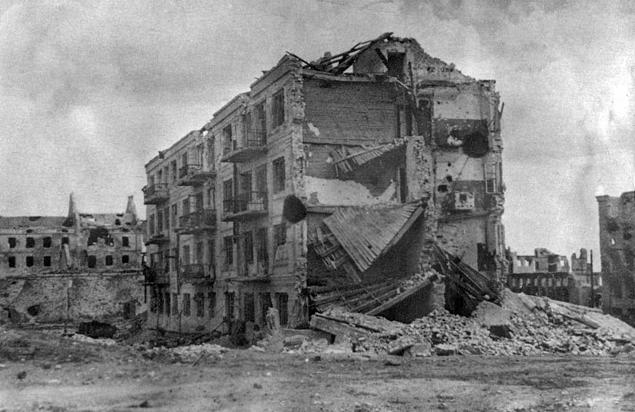
If there is anything that I would really love to have on the tabletop for Stalingrad, it’s Pavlov’s House. In many ways it’s the equivalent of the Alamo for the Russian people, and a great visual centre piece, and strategic focus for my Stalingrad Mega Battle.
I naturally felt that I wanted to get the best result that I possibly could from this impressive kit from 4Ground (https://www.4groundpublishing.co.uk/28mm-model-kits/28mm-world-at-waw/tftb-pavlovs-house-end-block-damaged), so I used sand, fragments and dust from plaster of paris, and offcuts from the 4Ground MDF sprues to model concrete an wood debris. I also used the extremely adaptable and helpful 4Ground brick sprues for bricks to further embellish the model with extra, precariously balanced bricks, barely hanging to the original gaps in the kits brick work, and to add further detail to the rubble.
I also laid out MDF offcuts in a manner that acknowledged the damage in the Wartime photograph, but allowed easy access and positioning of miniatures. I am happy with the balance that has been achieved.