Google Analytics is a powerful tool that tracks and analyzes website traffic for informed marketing decisions.
Service URL: policies.google.com (opens in a new window)
_gat
Used to monitor number of Google Analytics server requests when using Google Tag Manager
1 minute
_gid
ID used to identify users for 24 hours after last activity
24 hours
_ga_
ID used to identify users
2 years
_gali
Used by Google Analytics to determine which links on a page are being clicked
30 seconds
_ga
ID used to identify users
2 years
__utmx
Used to determine whether a user is included in an A / B or Multivariate test.
18 months
__utmv
Contains custom information set by the web developer via the _setCustomVar method in Google Analytics. This cookie is updated every time new data is sent to the Google Analytics server.
2 years after last activity
__utmz
Contains information about the traffic source or campaign that directed user to the website. The cookie is set when the GA.js javascript is loaded and updated when data is sent to the Google Anaytics server
6 months after last activity
__utmc
Used only with old Urchin versions of Google Analytics and not with GA.js. Was used to distinguish between new sessions and visits at the end of a session.
End of session (browser)
__utmb
Used to distinguish new sessions and visits. This cookie is set when the GA.js javascript library is loaded and there is no existing __utmb cookie. The cookie is updated every time data is sent to the Google Analytics server.
30 minutes after last activity
__utmt
Used to monitor number of Google Analytics server requests
10 minutes
__utma
ID used to identify users and sessions
2 years after last activity
_gac_
Contains information related to marketing campaigns of the user. These are shared with Google AdWords / Google Ads when the Google Ads and Google Analytics accounts are linked together.
90 days












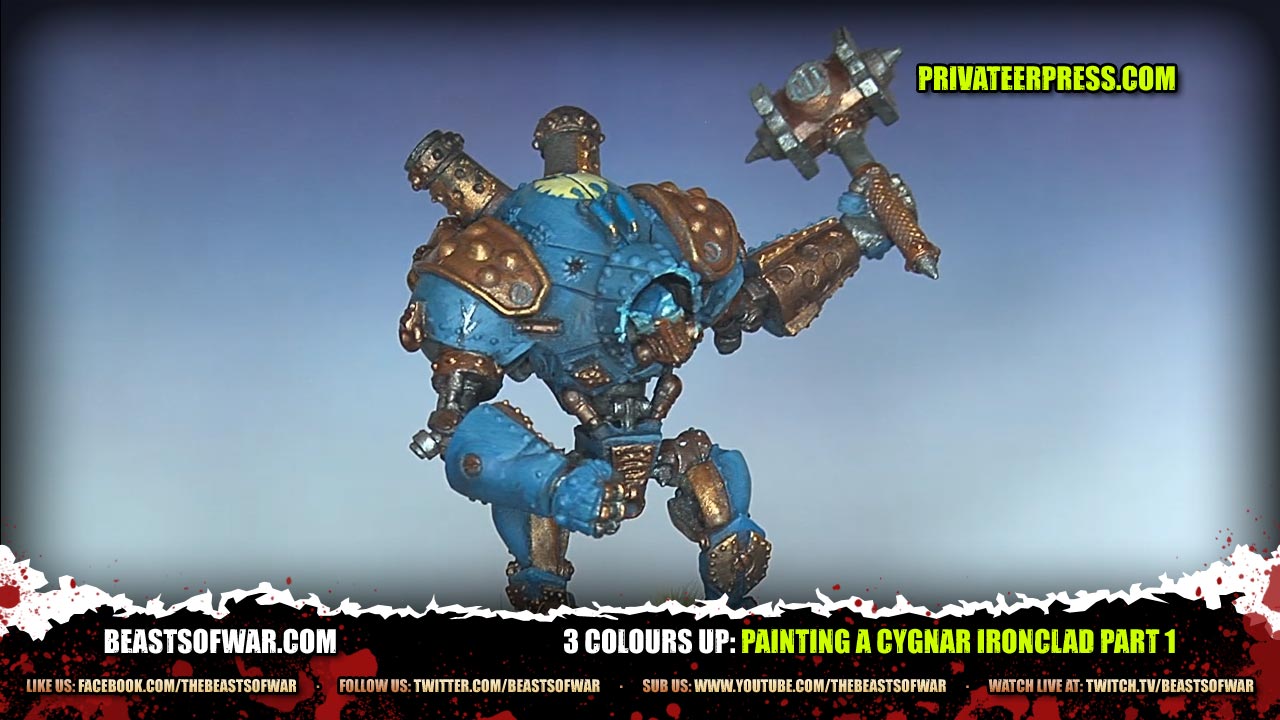






I haven’t watched any 3 Color Up videos before. Anyone care to explain in more detail Romain’s priming method?
we will have a video going out next week to explain it.
BoW Justin
@dignity I just saw that you guys just uploaded the priming video. Sadly it’s for Backstage members only. 🙁
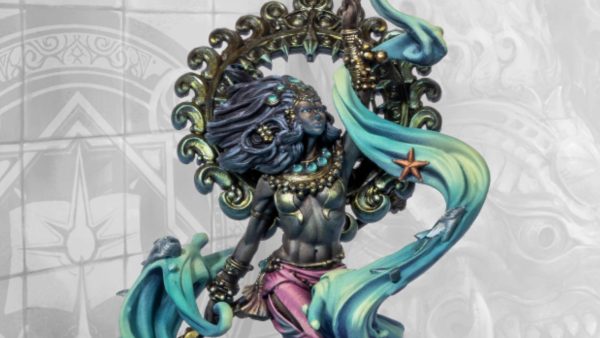
@wargamerlester well it’s not all that expensive, and it helps your painting no end i’m working on this at the min: http://www.kabukimodels.com/index.php?go=produkt&id=30
and after using Romain’s undercoat style its turning out to be one of the best things I’ve ever painted.
BoW Justin
Aye that is true, and highly annoying. But this method has been used many times before. I use it myself. Though they do sort of differ between painter its all the same principle.
Its a plain Black Primer is sprayed on first all over the model.
Then secondly from the direction of the light you spray a Grey Primer on, not as heavily this time as you still need the Black in some areas, it shoudl be short sprays that covers most of the areas facing the direction of light. Also when i do this I move the can around ina circular movement to lightly hit other areas not necesarily right in the light. So realy anything pointing downwards or directly to the opposite of the light should be black. Then the bits that shoudl be msotly grey are uward facing and facing directly towards the light.
Lastly get a White primer and spray lighter than the grey primer on the miniature mainly facing towards the light, and ofc other areas the same as the Grey primer. You want this coat to be quite light so it only realy hits onto the top parts/extremities of the model, so it doesn’t go too deep into the recesses.
Hope it helps 🙂
but as I said this is just my way, different painters ahve different methods.
The main reason for doing it this way as well is because it shows you which parts of the mini are hit by light more, and which have shadows. And the white gives a natural highlight, and the black gives a natural shadow. The grey is just to make more of a blend and transition into the shadwos and highlights, plus is a midtone to show where natural colour should be layed, as the light is not totaly getting there yet it is not a shadow because some light is getting there.
I hope all of that made sense haha 🙂
I believe it is a spray on mat finish…
Be that as it may The paint work is fantastic as per usual. I would like to see Romain’s base work sometime especially on the steam punk stuff. I bet it would be pretty creative…
For the Ironclad and from watching the yellow/golden Dreadnaught before, excellent tutorials, but I must ask, how do you decide on which bits are painted in metallic and which are painted with regular paints.
When attempting metal clad beastie like this, I usually have a hard time planning what should be in metals, if all should be metal and that sort of thing. Any advise would be quite helpful. With my many thanks, Romain!
P.S. a Mary Poppins Warmachine crossover sounds great fun and would surely be legendary!
Thank you so much !
I’m afraid I cannot help you on this one, however… It is a matter of taste and balance between the colours you want on your mini… usually, machinery and pistons are unpainted, unlike some platings, but that’s it.
I will do a video on colour harmony that might help, albeit indirectly.
nice tutorial thanks again. are you going to purchase a set of the gw eavy metal brushes if so will you do a review of them ?
I already did a review on those, it is available to backstagers… clicking on the “3 colours up” button will get you there !
so, as im a noob about this matter, whats the point in priming a mini black, white, or black and then white or the oposite? and also, consider doing some verdegris, that would surelly look great.(just my personal point of view)
Priming white lets all the colours pop through much brighter, priming black accentuates the shadows, priming black+grey+white as I did makes all the details stand out and pre-shades the miniature, so your work is immensely facilitated…
I explain it all in a future video.
As for the verdigris, this necessarily comes in at a later time during the painting process, as this is just a basecoat with no shading… This tutorial has been filmed in its entirety, even though it is cut up in several parts for the purpose of web-publication, as with most of my tutorials, so I can no longer alter what I have done on the mini… But there is, if I am not mistaken, some verdigris to come !
Stay tuned…
BoW Romain
oh ok. but if you paint several layers of paint, even differrent paint, whether you dont like the look, the primer ”abilities” still aplly? if so, i should get on buying me a grey and a white primerat once!
Unless you need heavy basecoating or change your mind more than once or twice about color, this probably won’t be an issue… You can always use the priming as a general guide. However, I would suggest you use thin, transparent layers of paint…
If you haven’t determined the majority of your colour scheme before painting, I also suggest you think about it a little more ! These things are planned, somewhat.
If you are displeased with your colour scheme and you’re well away in the painting process, you will want to strip the figure and start again from scratch instead of painting over it and drowning the details in too many coats.
Deciding on colours can be hard, but it gets easier with experience. You’ll get there !
thanks! im planning already , but i add some times too many layers. anyway ,thanks for your time replyiing !
Where’s the video?!
wow 9 years ago this was made, a great warjack.