






Underhive and Overbudget – One Man’s Descent into Necromunda




Recommendations: 3
About the Project
While I own the 90s Necromunda boxes, I have never properly delved into the game, despite being attracted by the diverse, dark and grimy environment. So when GW dangled the new shiny edition in front of my eyes, and against better financial sense, I delved head-firt into the game, which meant dumping absurd amount of money in getting all of the release boxes. SO I now had a project which probably would take months, years if, as I discovered, I had to create a decent environment for all my tiny gangers to fight in. Follow me as I delve into the underhive and find out if this game is, as I hope, the Mordheim of science fiction...
Related Game: Necromunda
Related Company: Games Workshop
Related Genre: Science Fiction
This Project is Active
Bases as Foundation
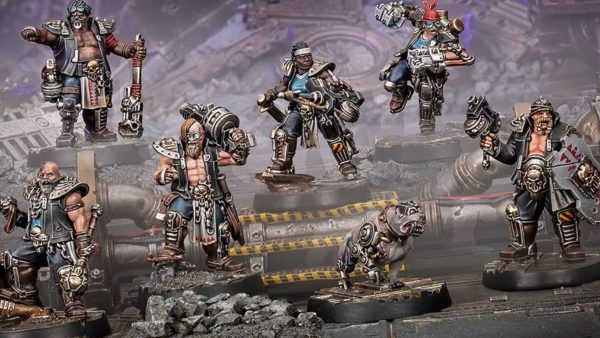
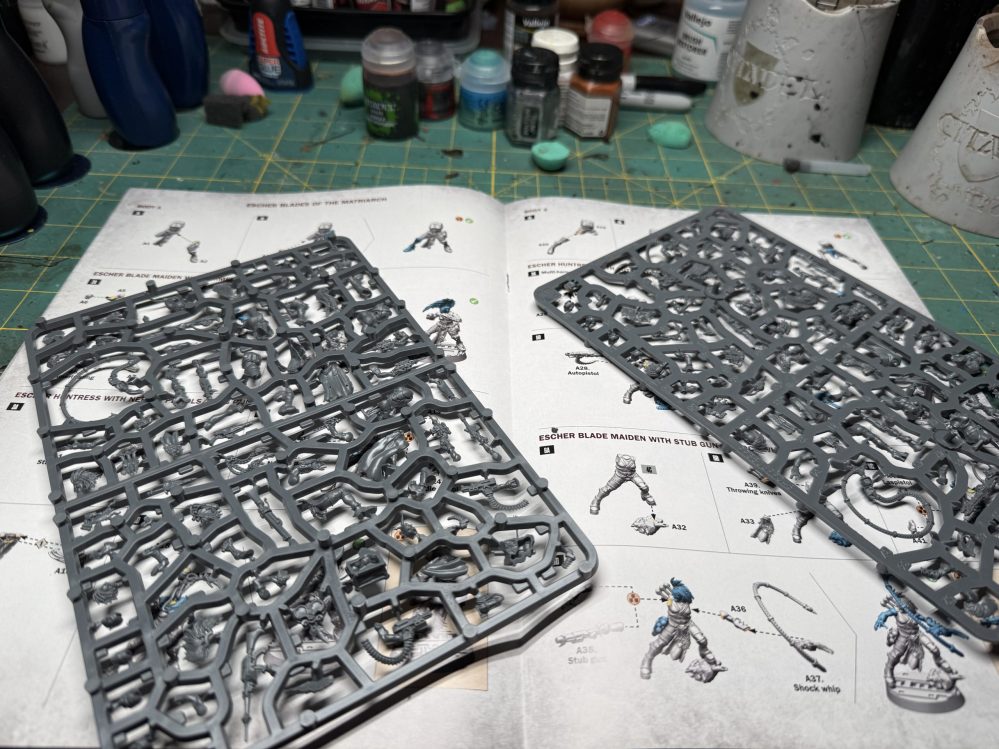
So, while my faithful Bambu Carbon is printing an entire world in pieces (more on that later in the project), I decided to assemble the core box (not a proper 2 player starter set BTW – again more on that later, well sooner than the terrain but still, later). Necromunda miniatures come with nice looking themed bases, which immediately brought up the question: should I paint these separately, instead of priming miniature and base as I usually do? The answer was indubitably ‘Yes’, and so should you, candidate hivers, if you do not want to paint details on a industrial bases while avoiding or being impaired by the miniature. I asked Google for help and came back with this excellent video by Paintbrush and Pike (go visit his channel even though I hate that he paints hazard stripes so much better than !!!!). I changed a few minor things (in particular the type of paint used as I considered bases as terrain and I usually reserve craft paints for such a job).
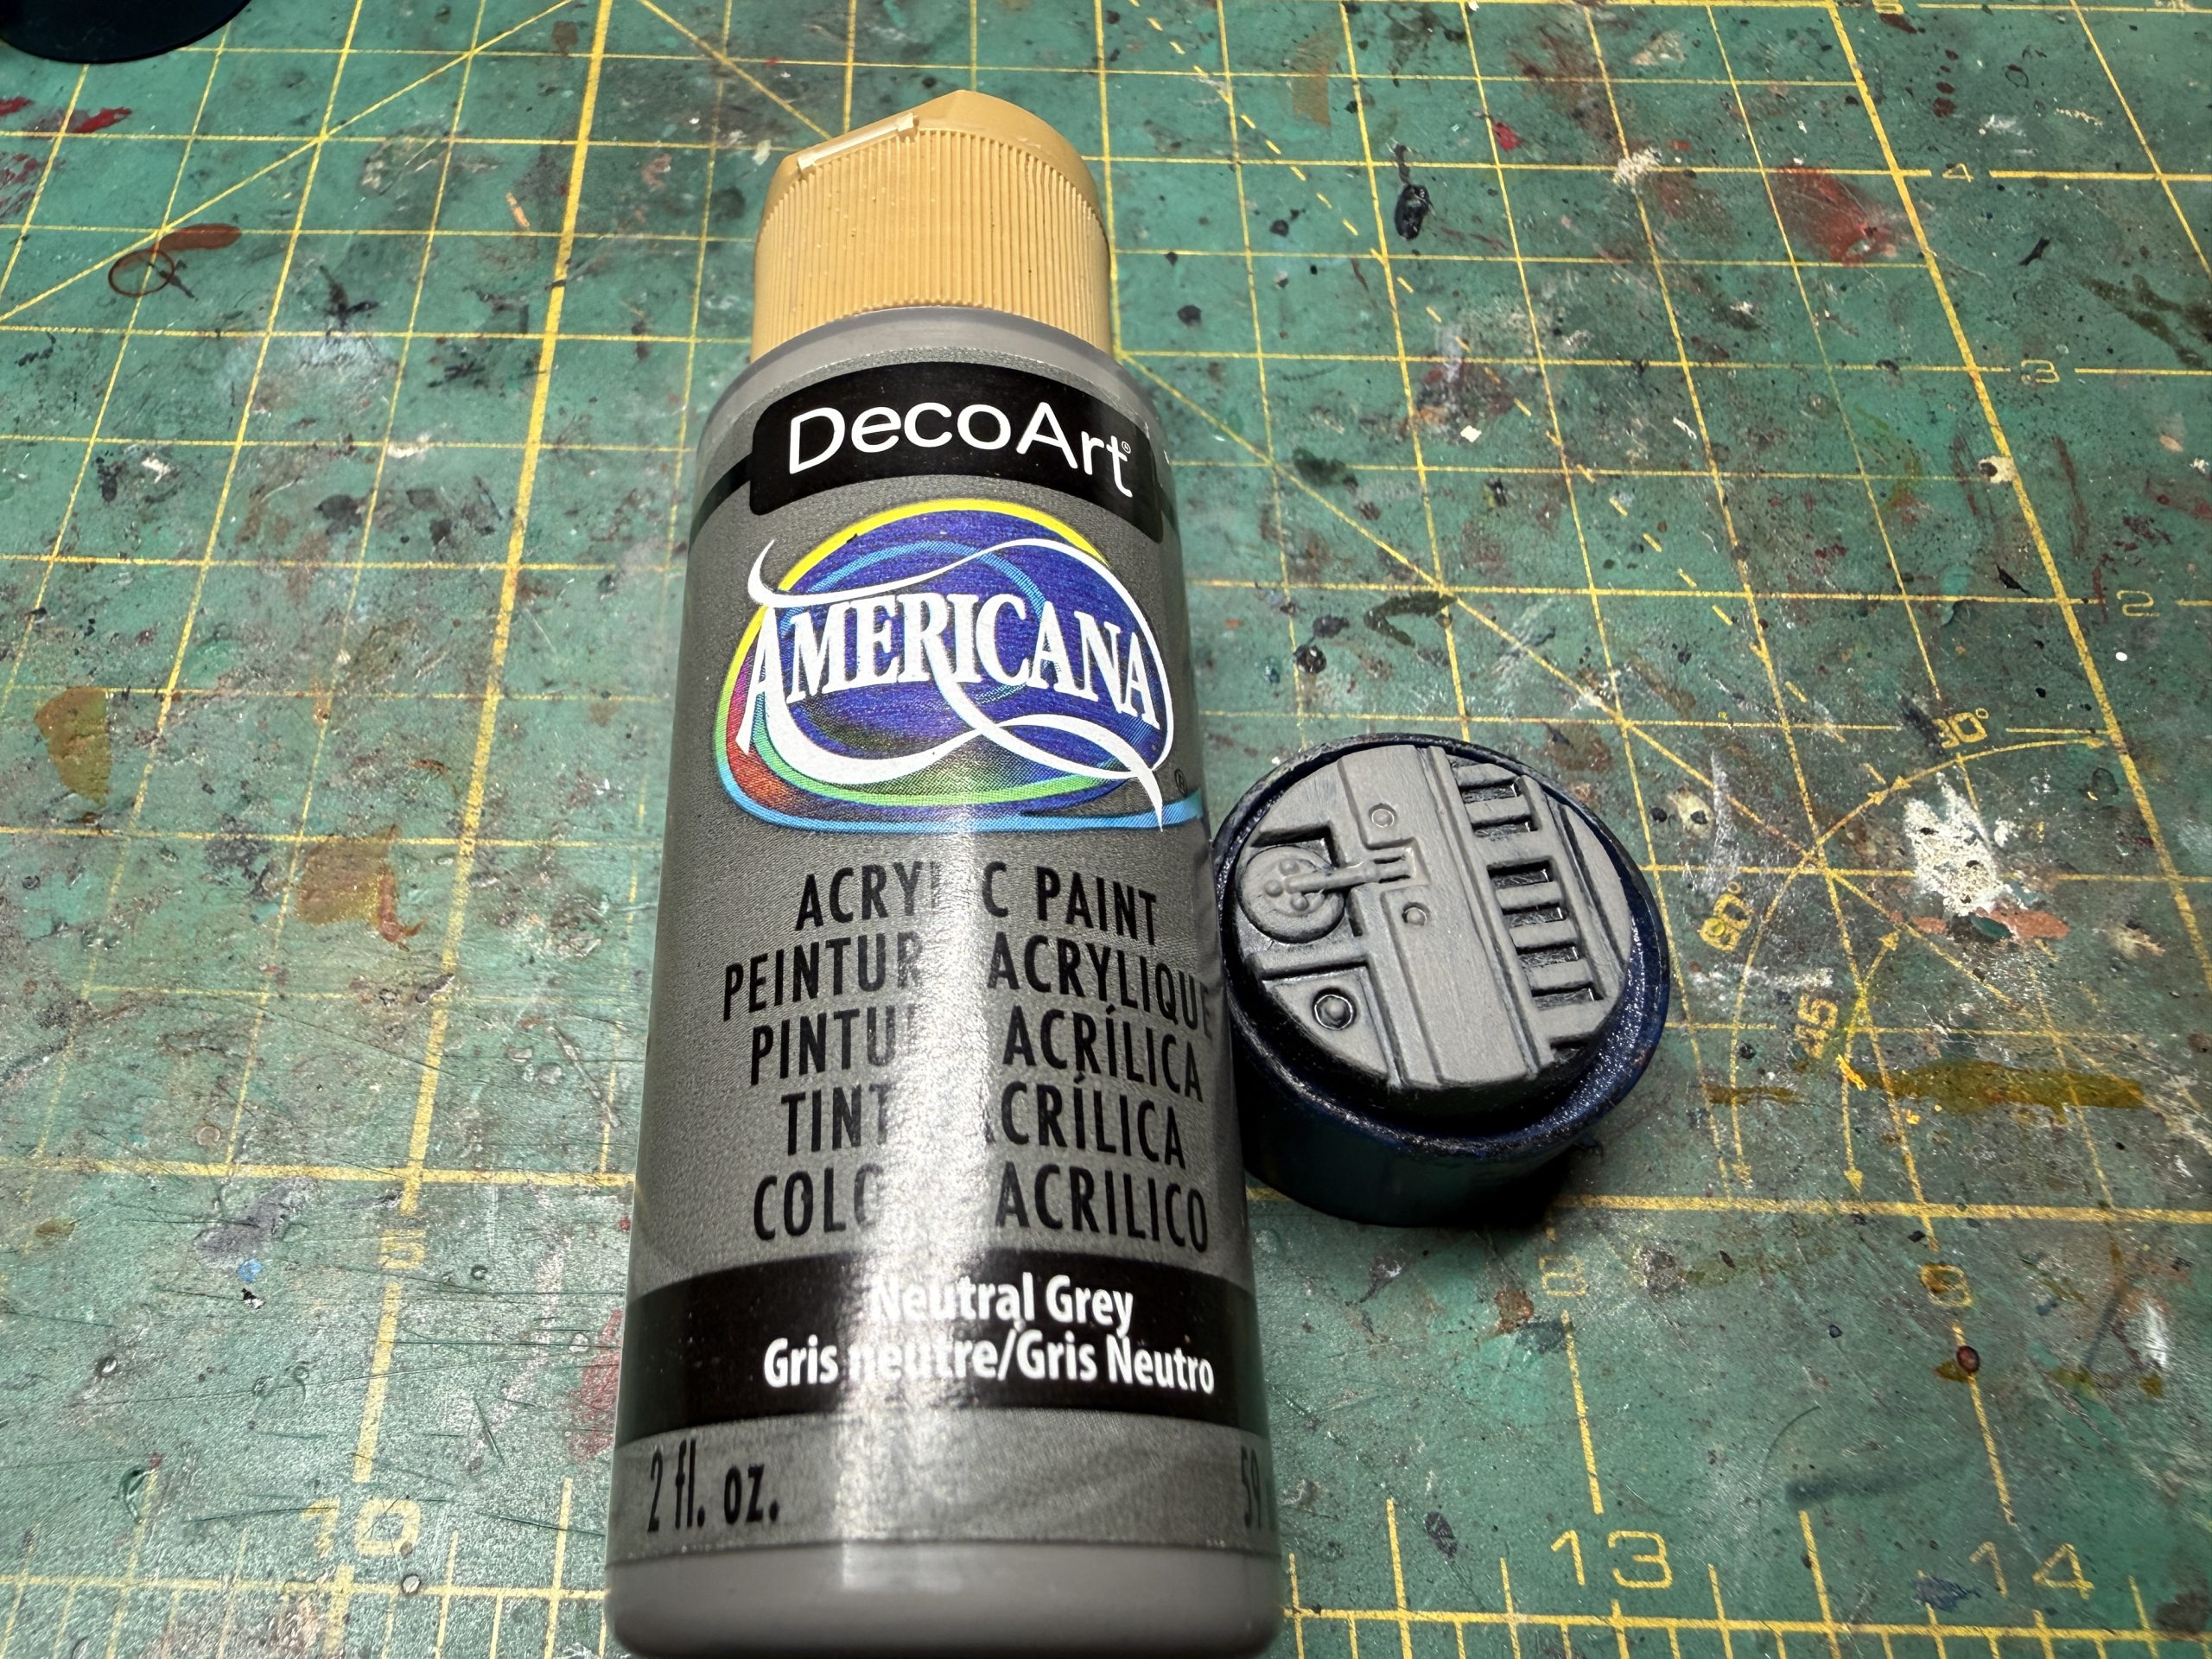 After priming the base black (i I like this for deeper shadows, apply a heavy dry brush of medium grey.
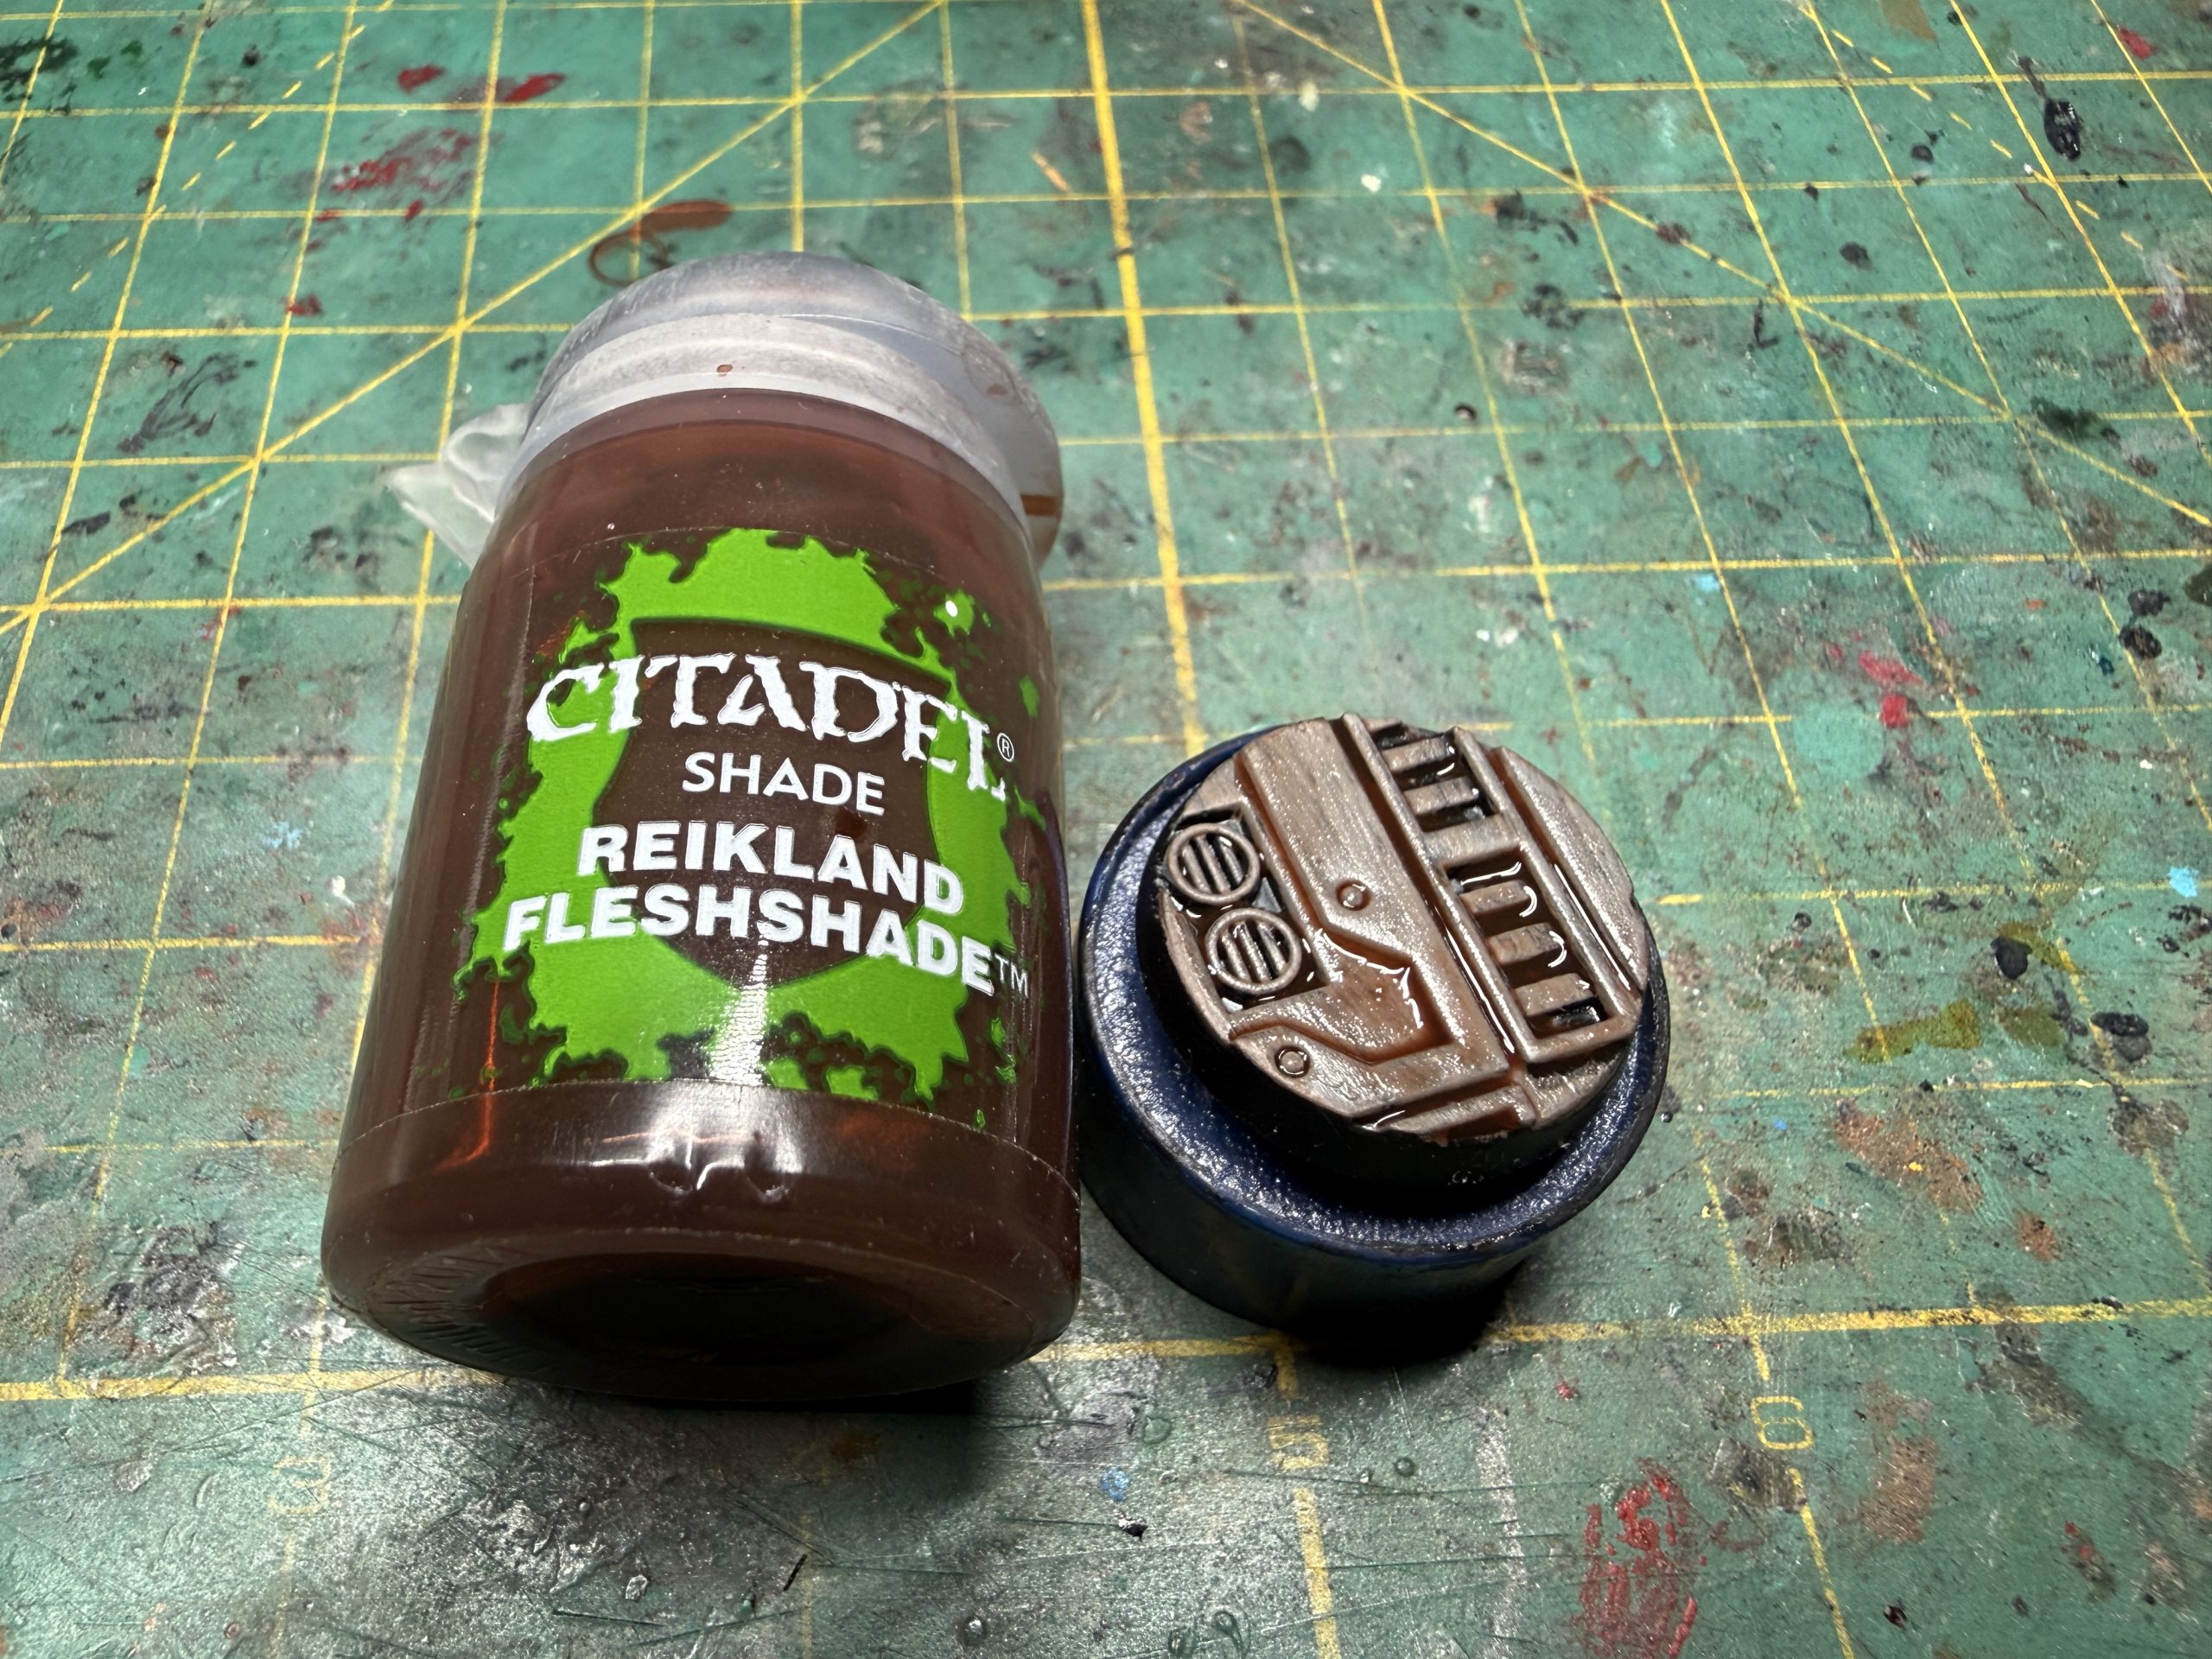 When the paint is dry (be patient), apply a wash of GW Reikland Fleshade and wipe pooling areas on the flat surfaces.
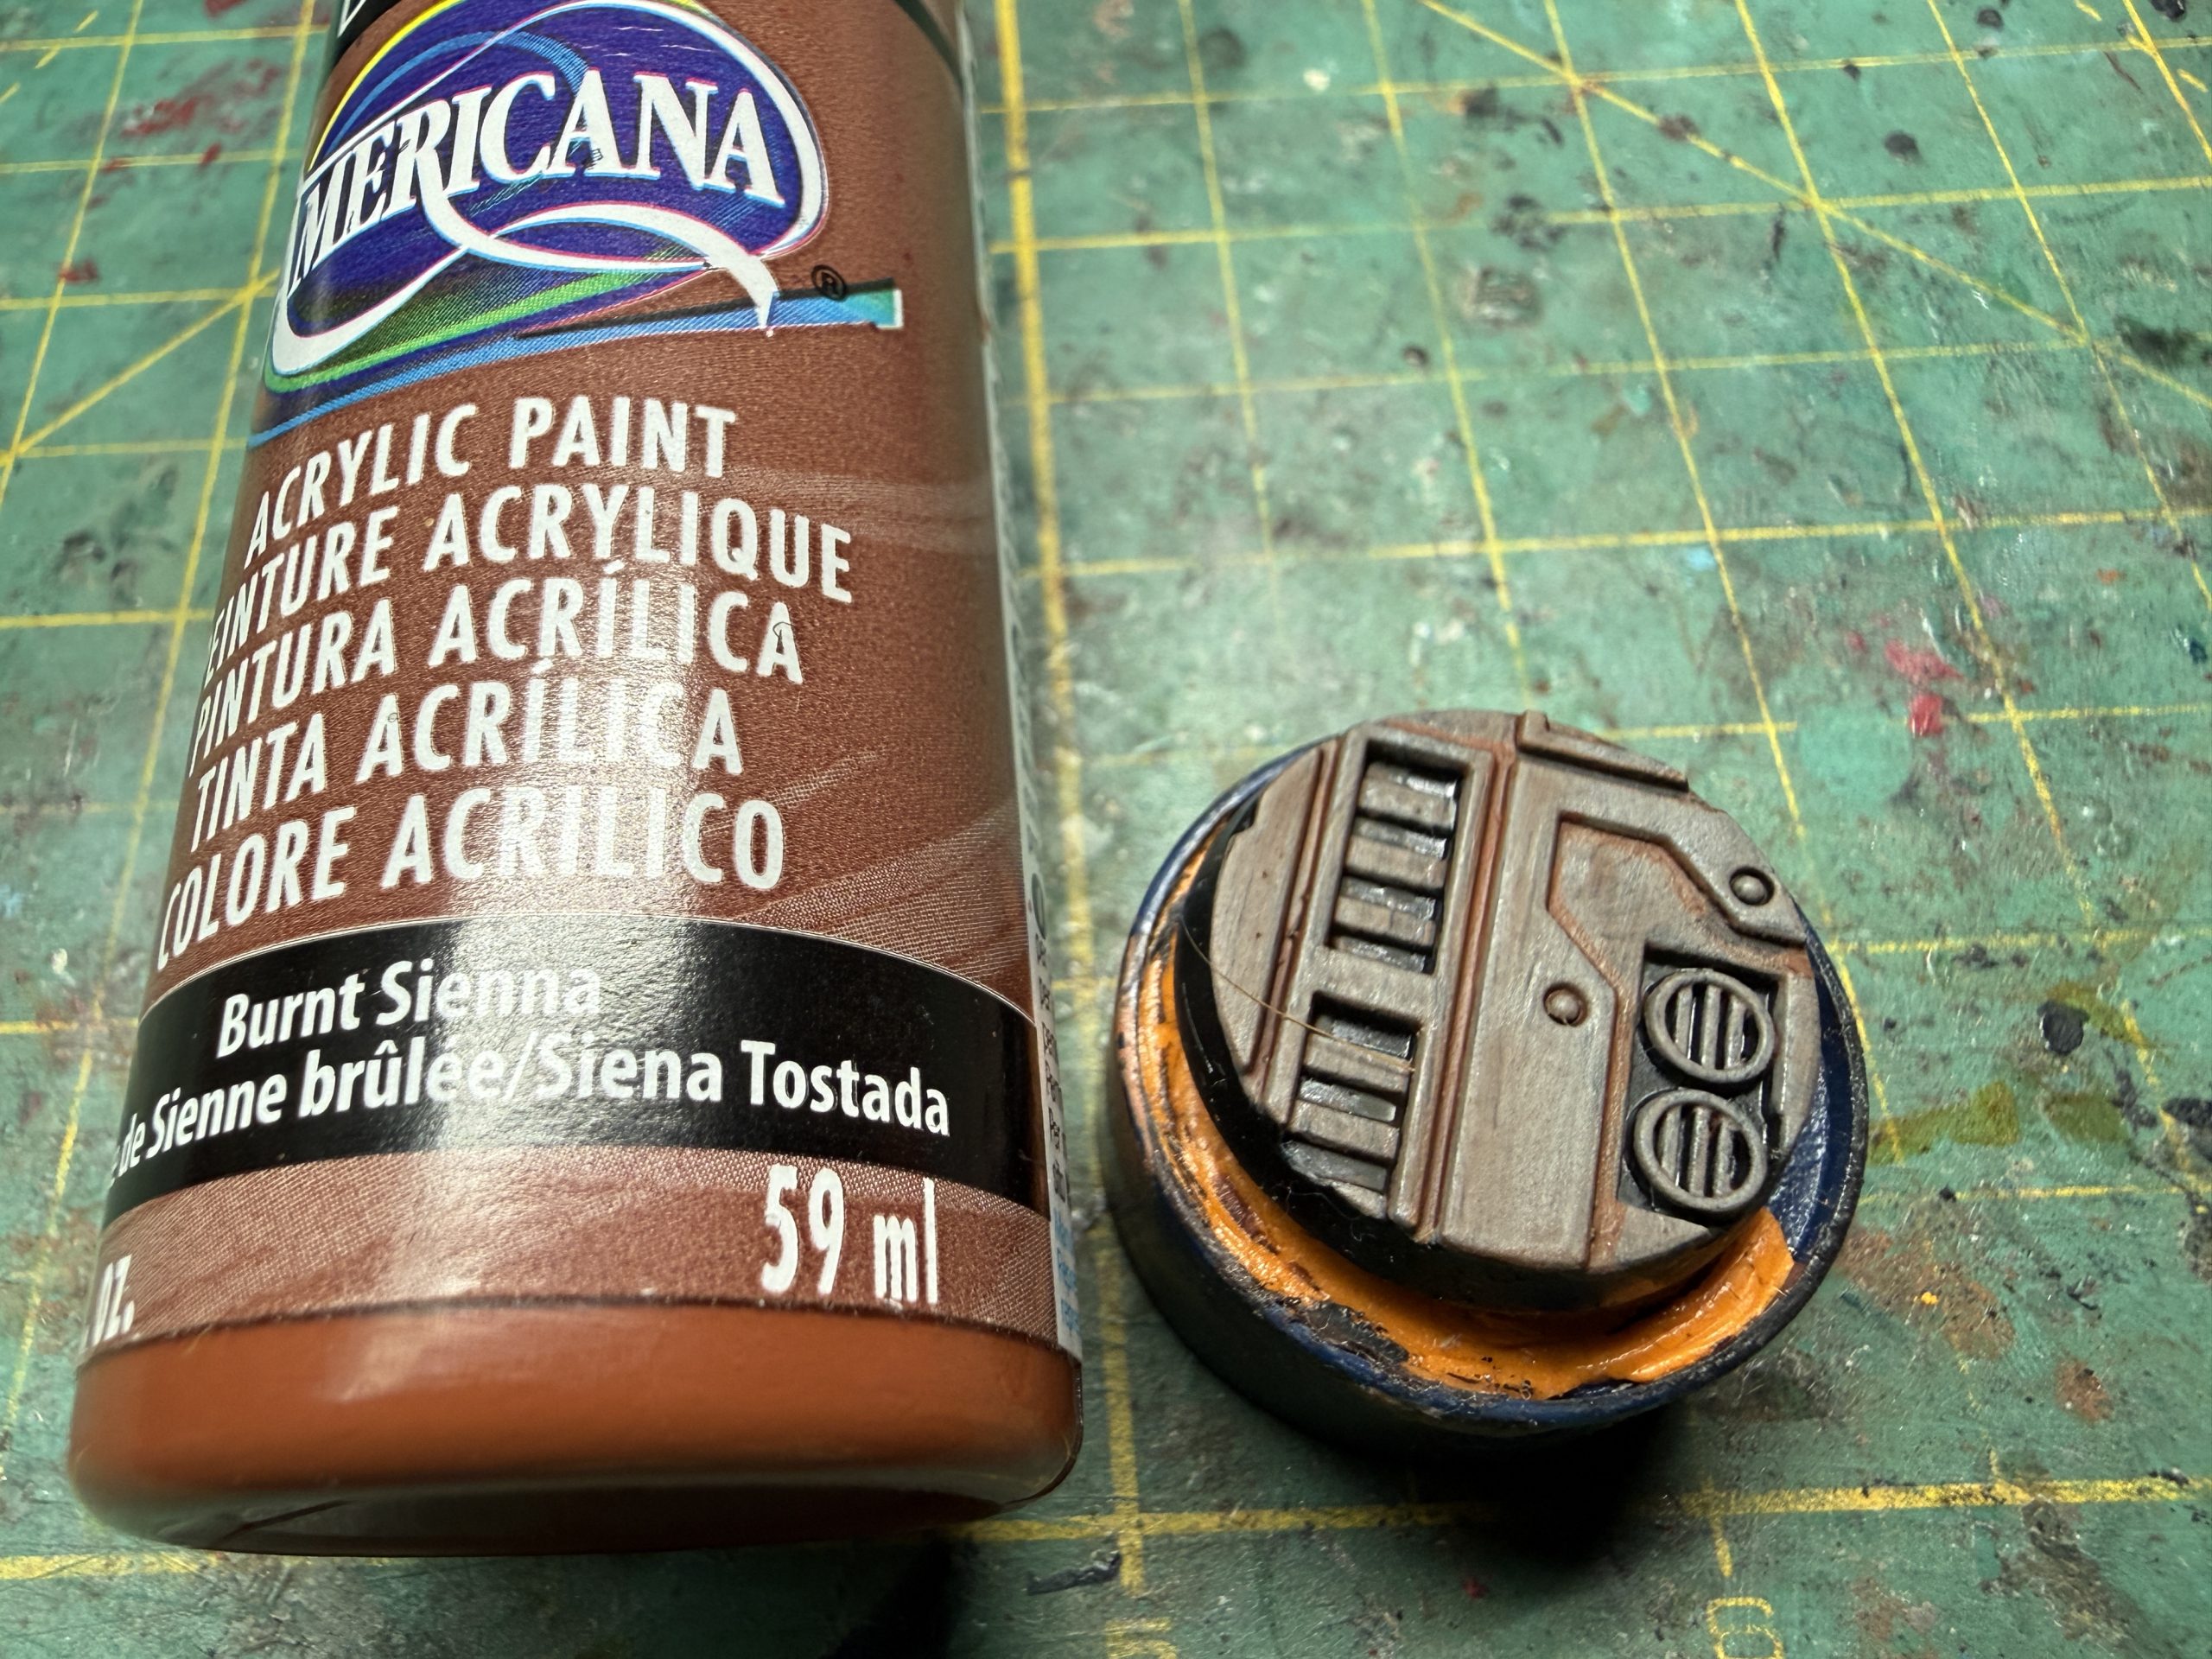 When the was is dry (again, be patient or you will make a mess), apply thin lines of Burnt Sienna between major elements of the base. It sounds harder than it is and is quite zen, plus it provides a rather kewl rust shadow to it all.
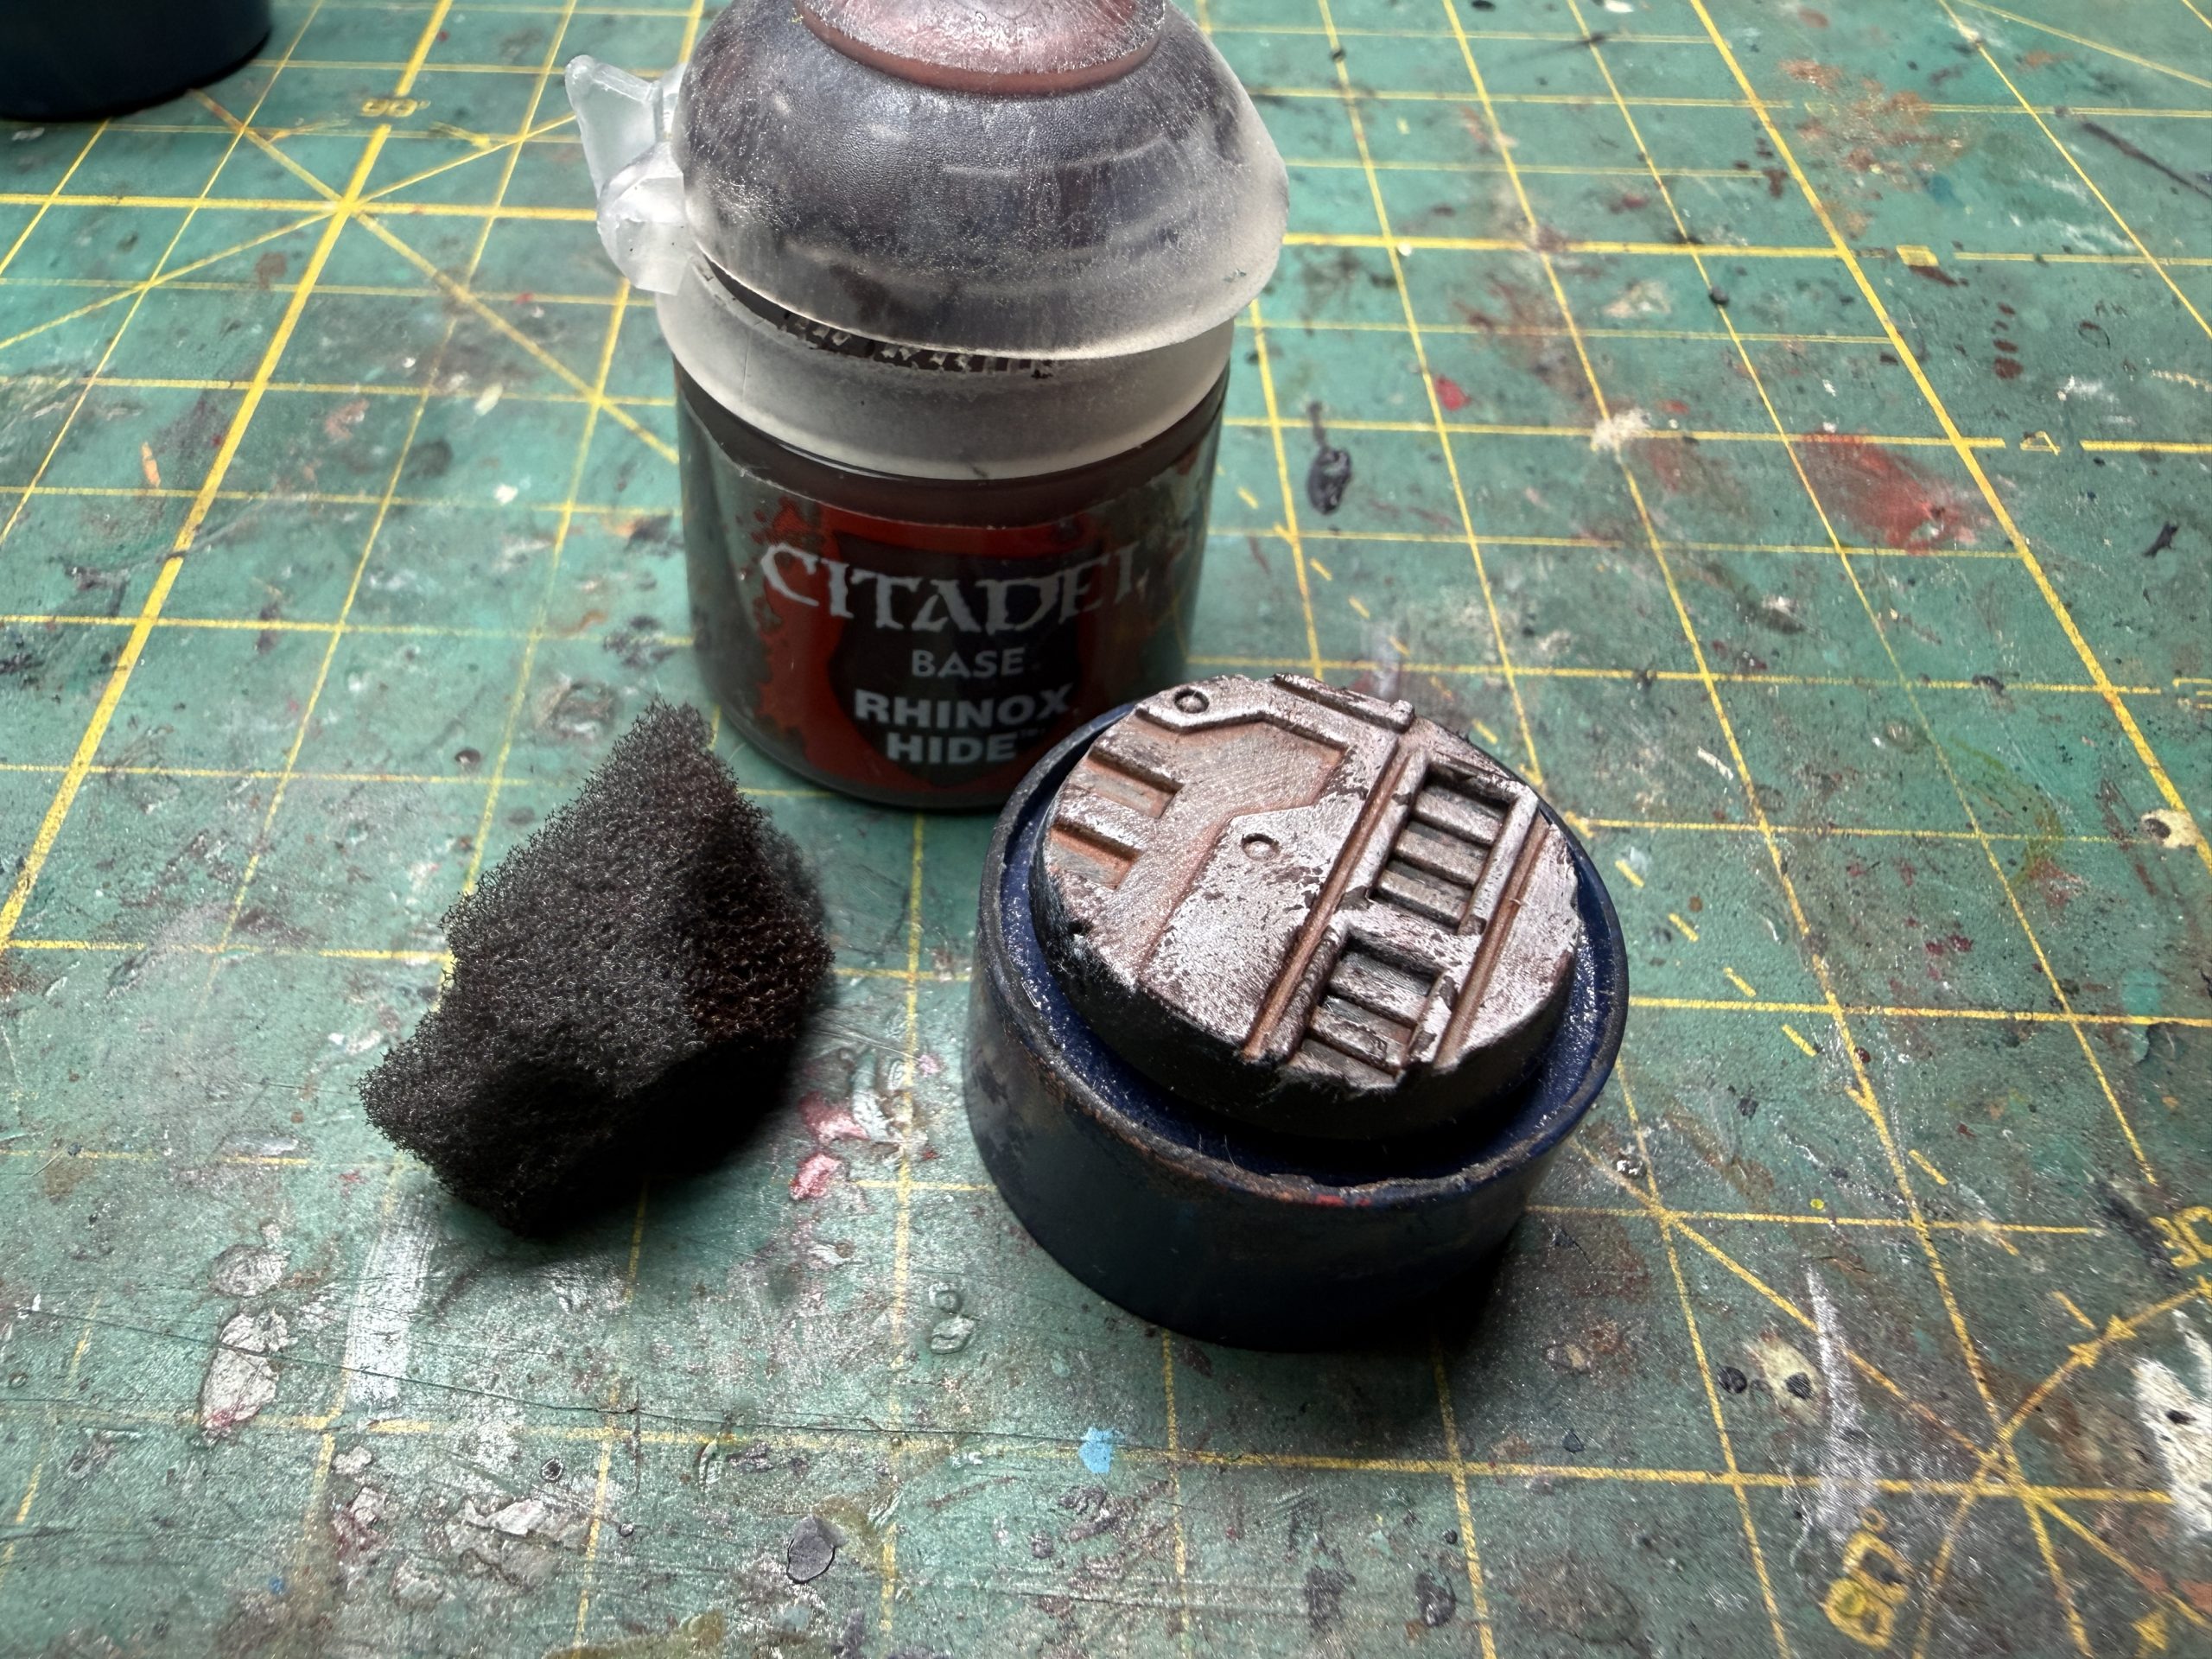 Dry brush the base with a light grey and then use a sponge to create dark marks around the edges. I used GW Rhinox Hide but will use carft Burn Umber moving forward.
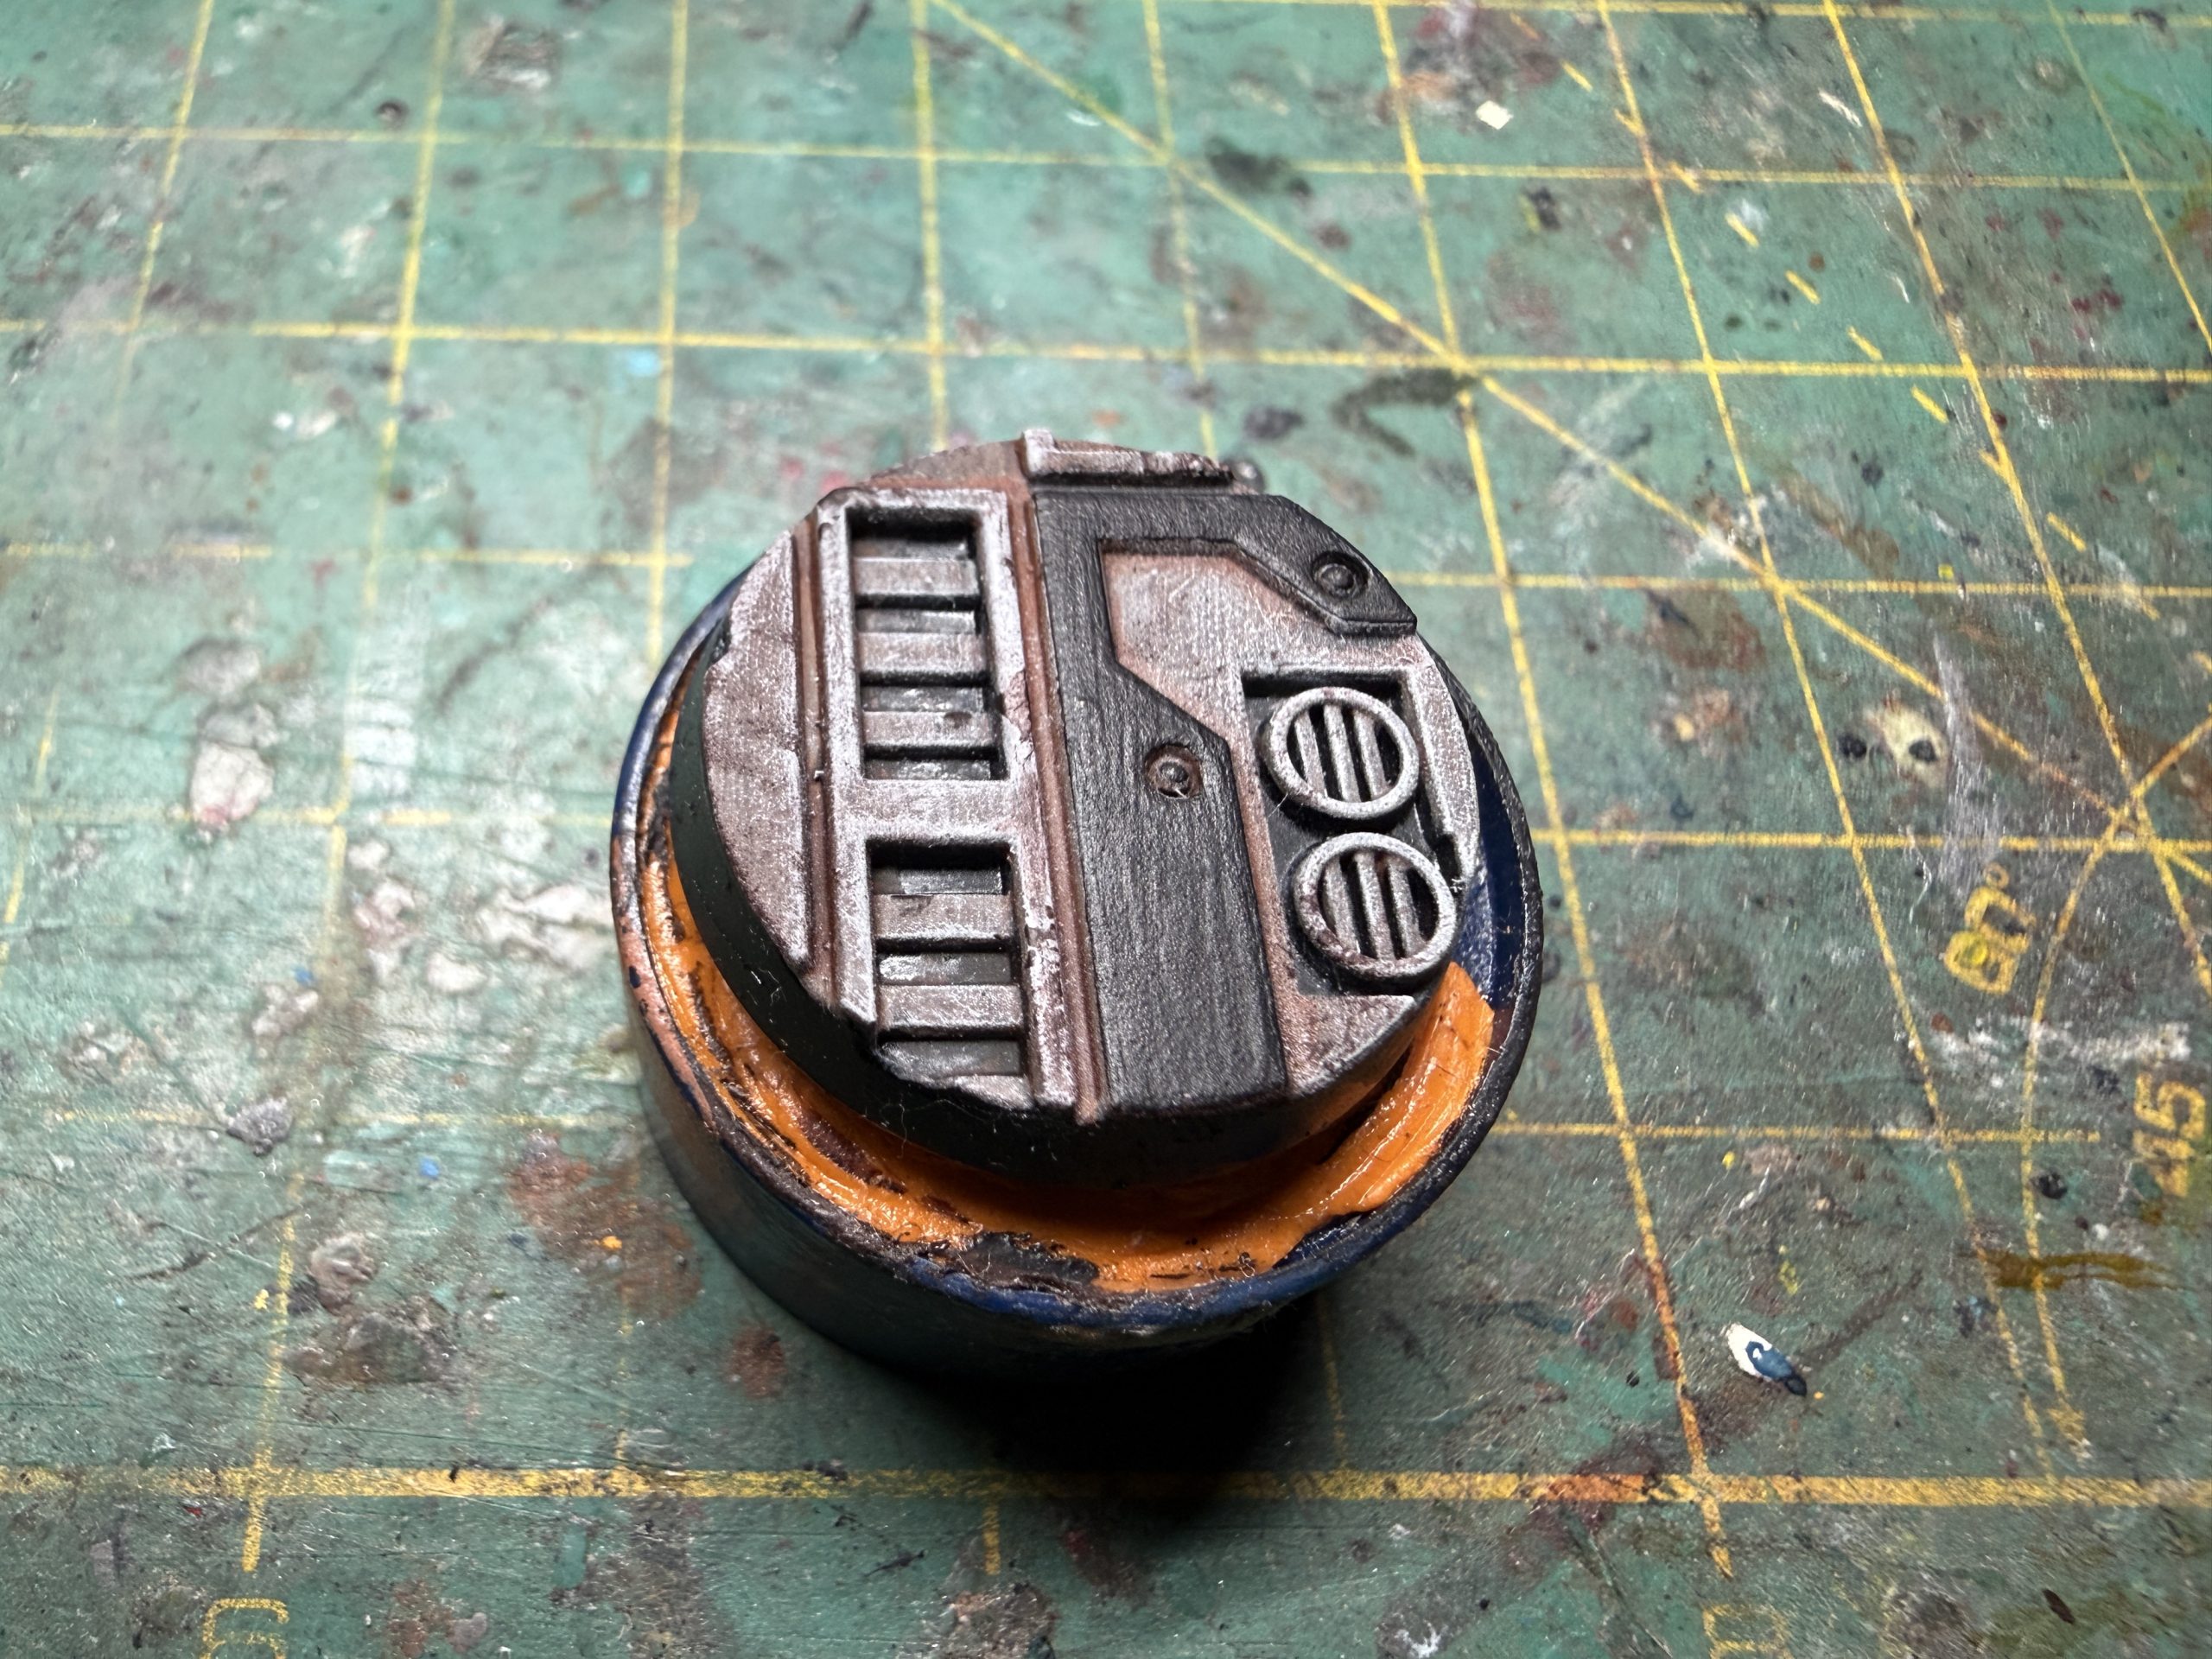 Paint the area black where you want the hazard stripes to be .
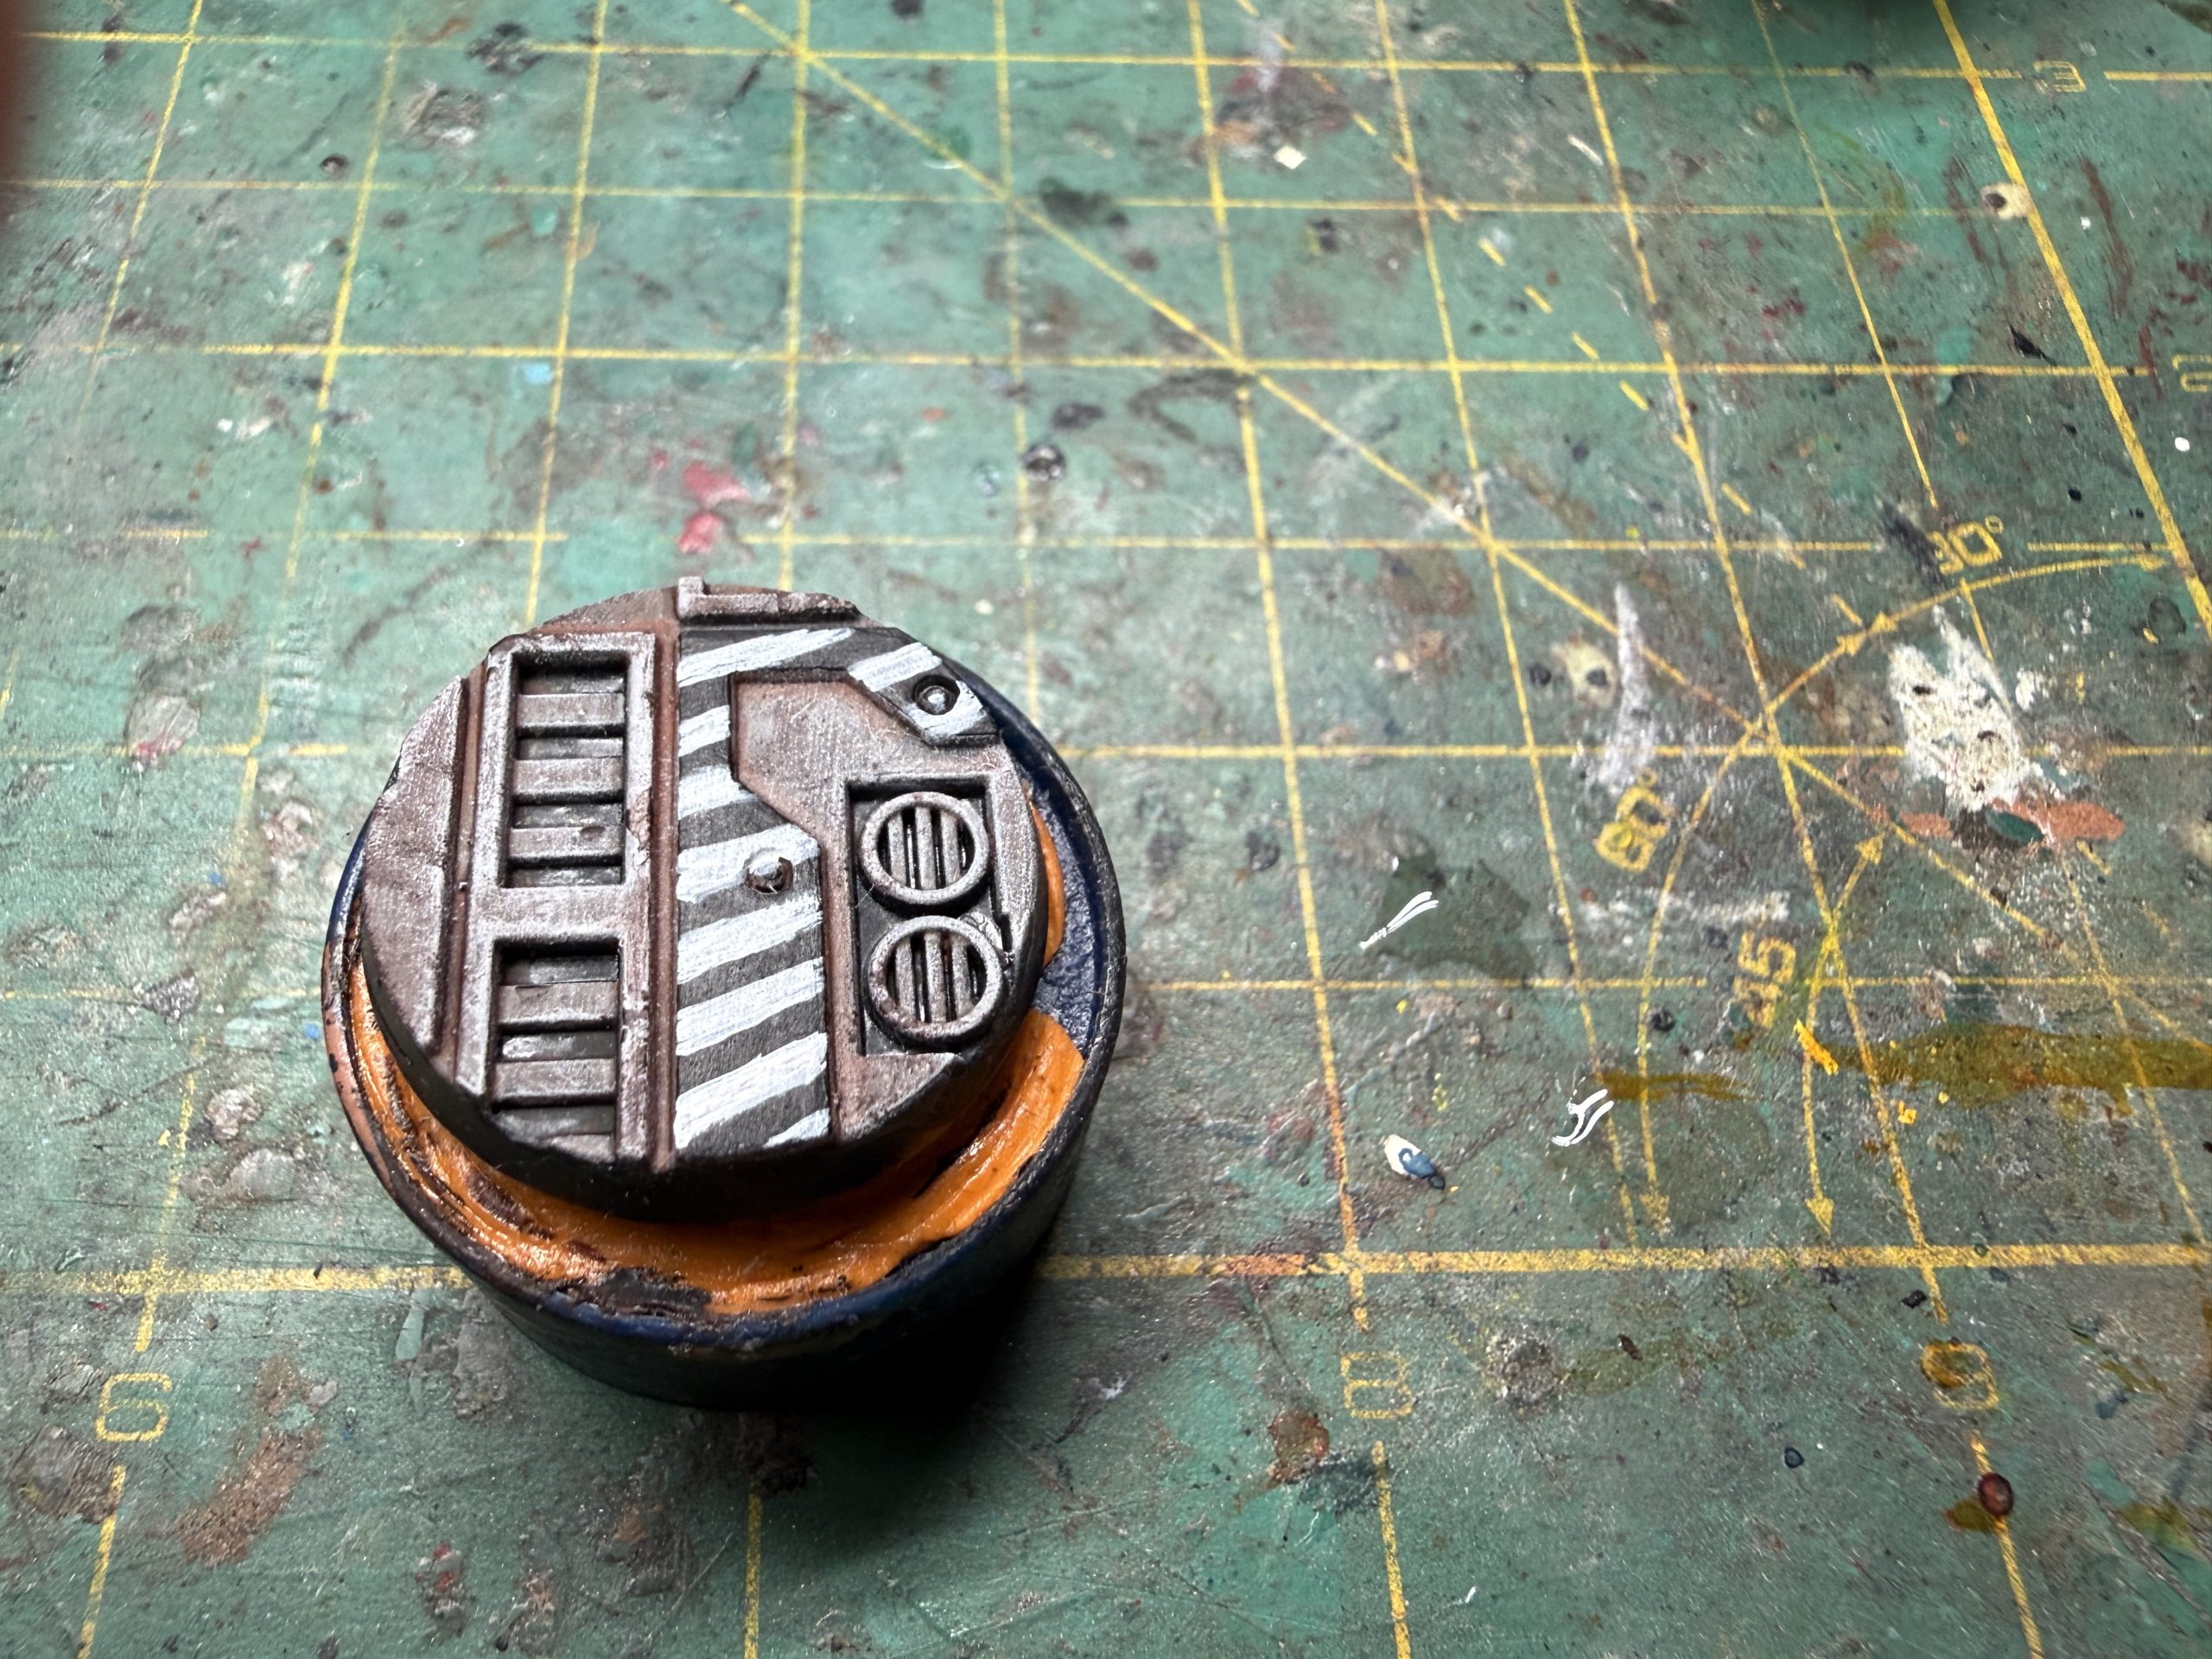 Paint the stripes white (I hope you have more talent to do so that I!)
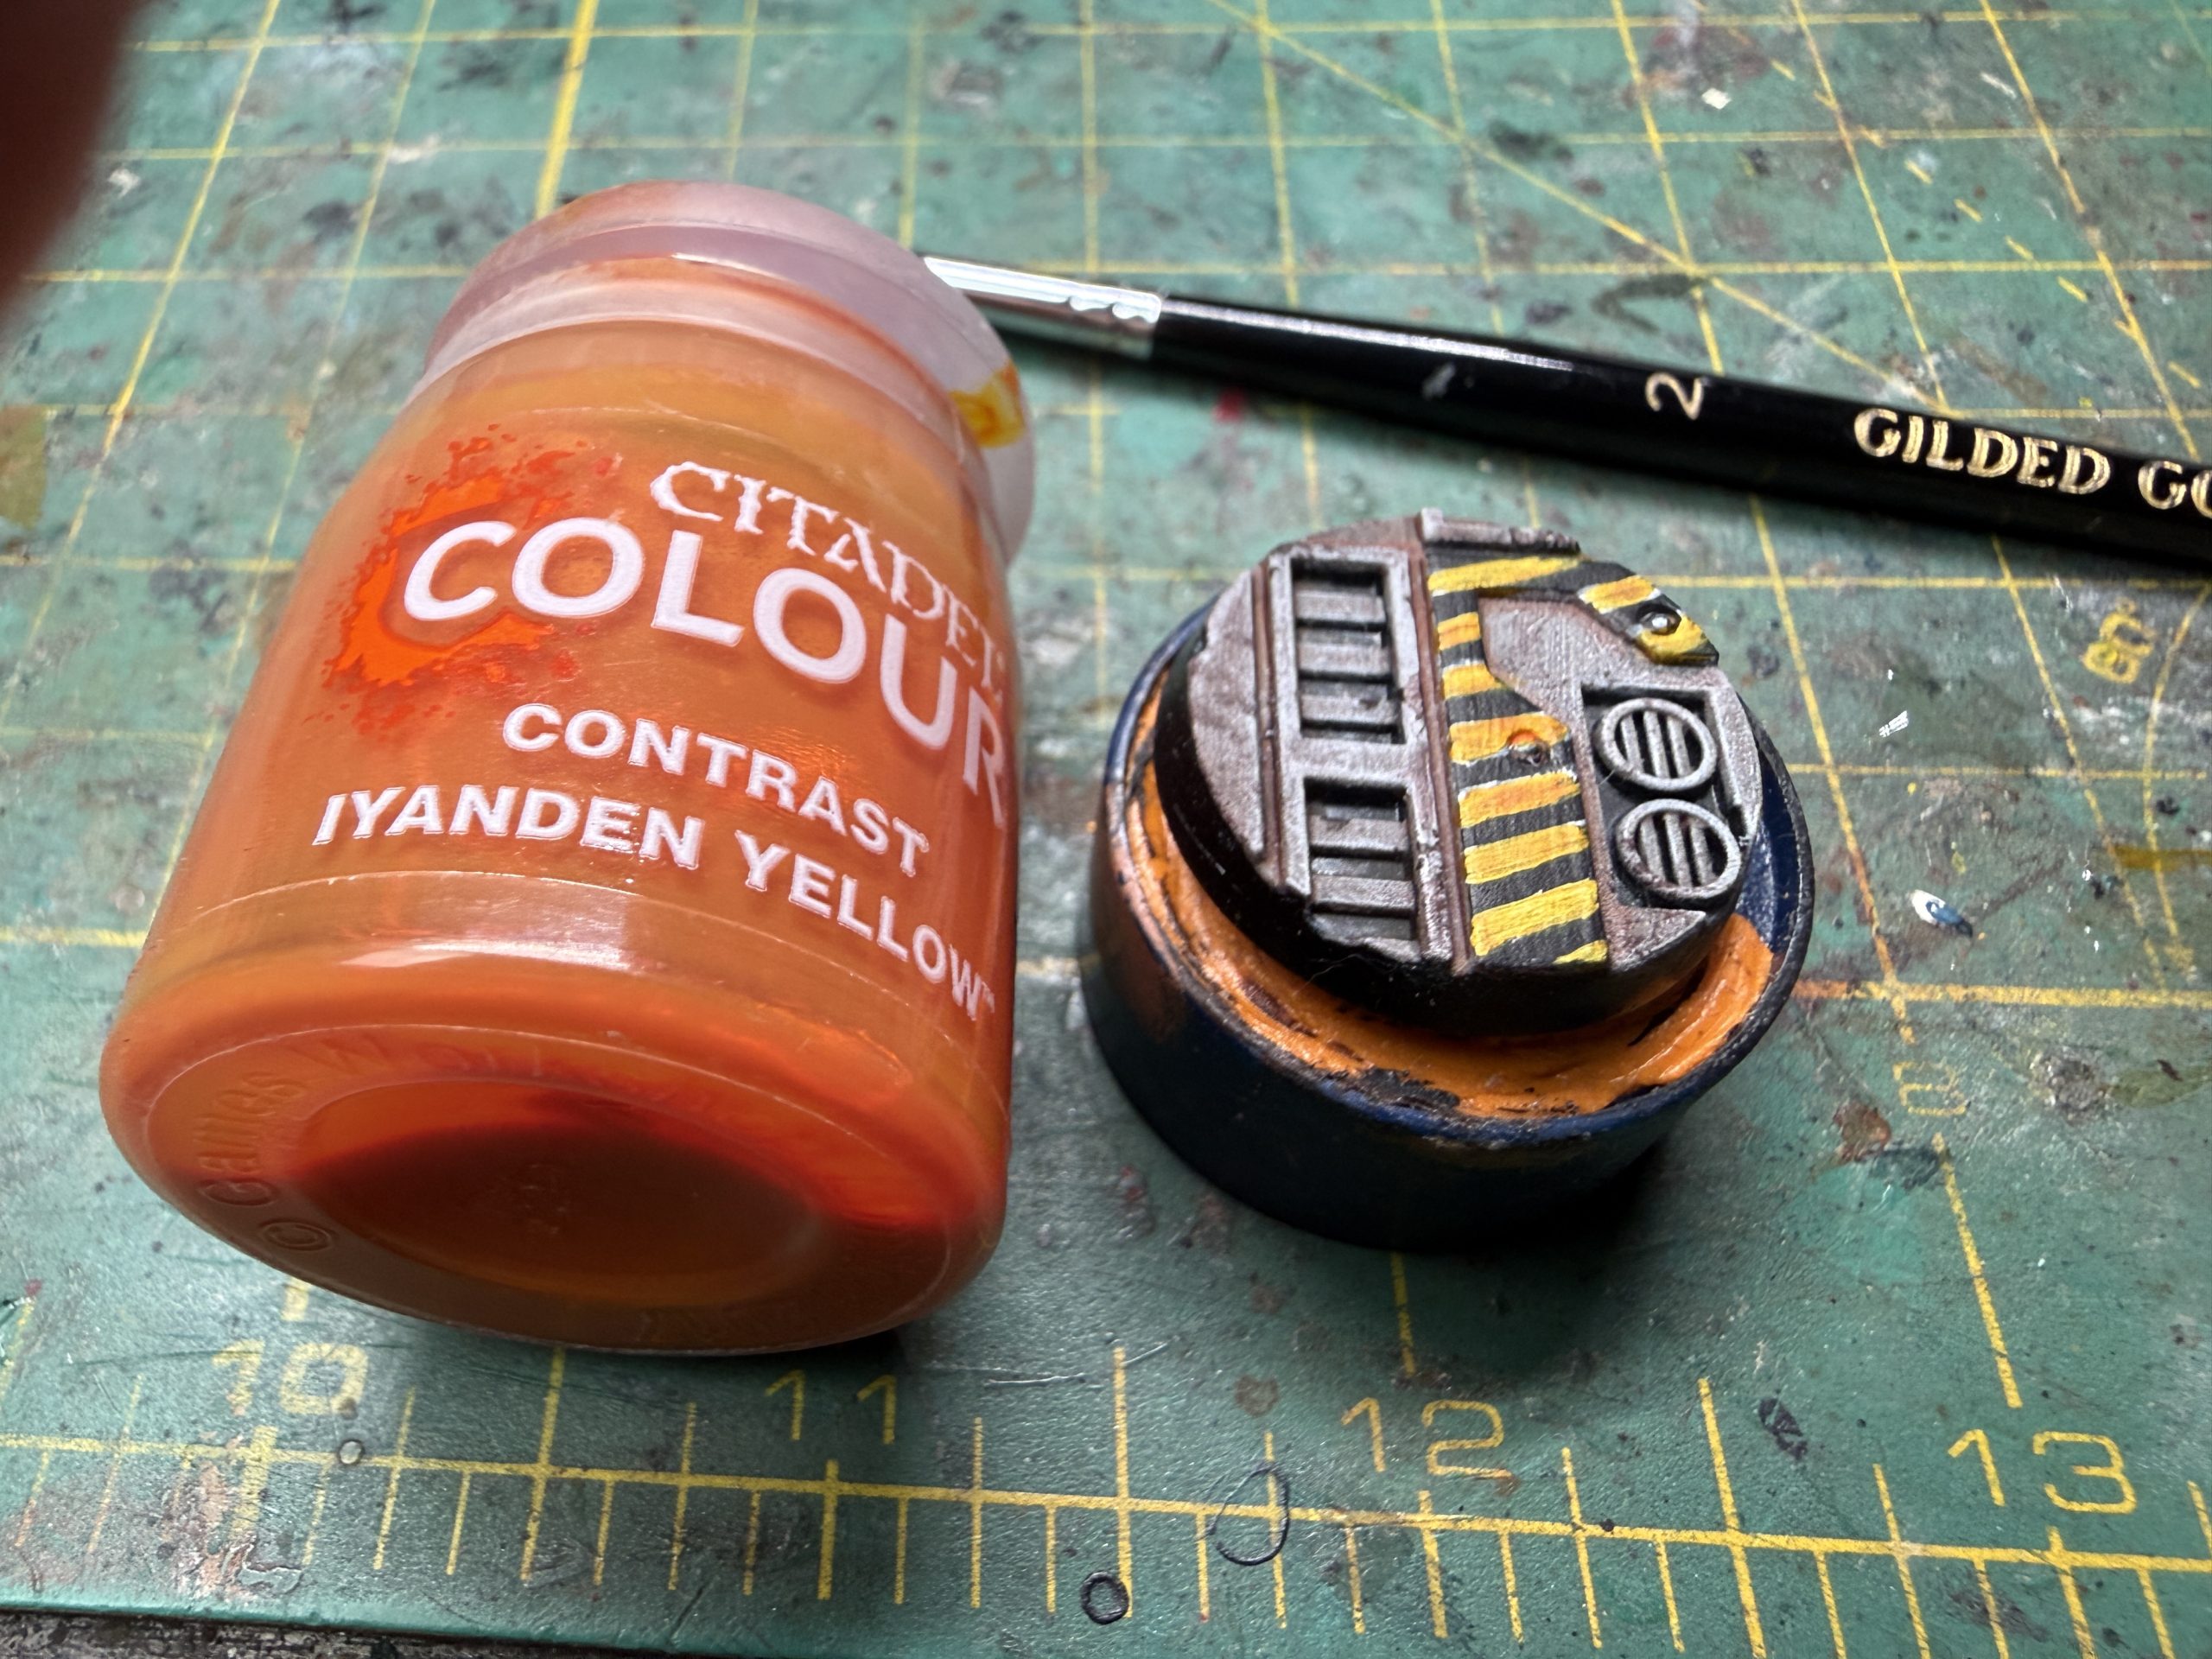 Use GW Iyanden Yellow to cover the white areas. Et voila, hazard stripes! Necromunda is so much safer thanks to you...
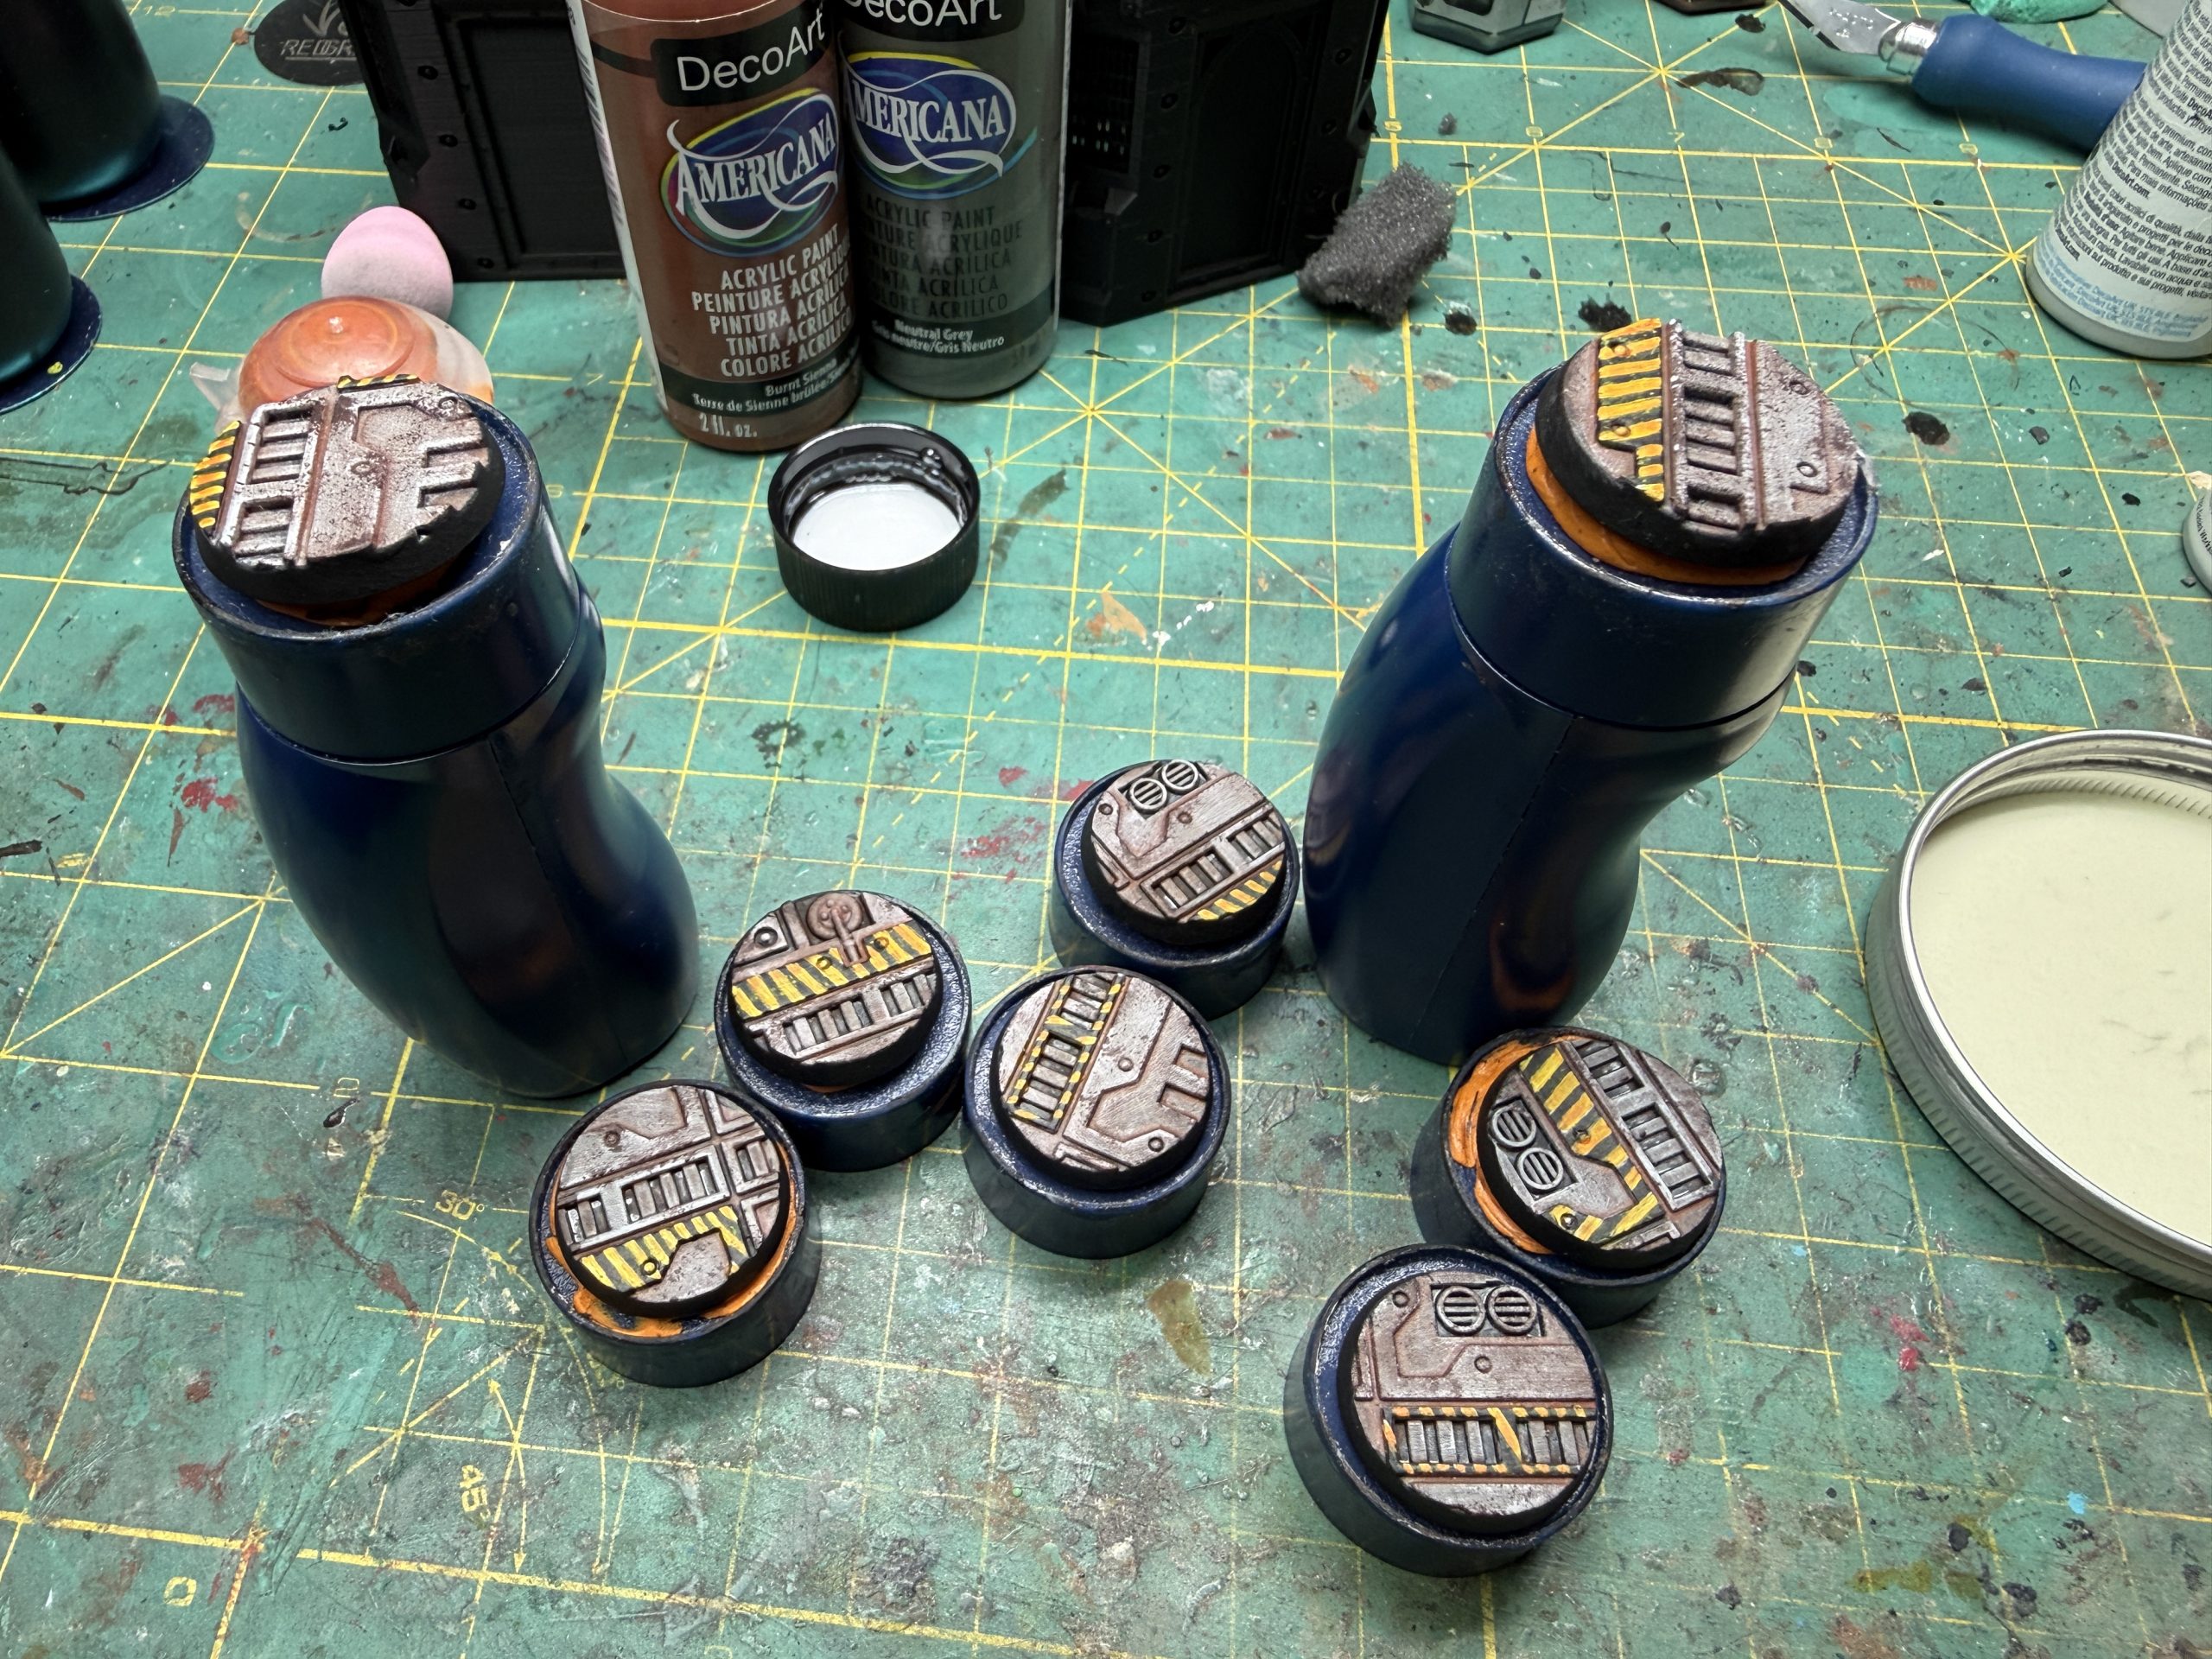 Escher bases complete...
You my add sponged yellow marks in the black of the hazard stripes (less is more) and do not forget to paint the rim of the base black. You are done for now, congratulations. WE will get back to the bases a little later to add a few details but this is 90% of it. Next the miniatures, ladies first… Escher

![Sneak About With Star Wars: Legion’s Guerilla Troopers & More [UPDATED]](https://images.beastsofwar.com/2026/09/g-troops-star-wars-cover-600-338.jpg)