

Hobby exploits 2020 and onward



Recommendations: 2486
About the Project
Note on change of the title (09.01.2021): I guess it is quite self-explanatory. Since some people apparently follow this project and may be interested in following it forward, I decided to keep it alive for the time being. Original description: I intend this project to be chronicle of my hobby progress throughout the year. I usually post photos of my painting on the forums, but I’ll probably add more pictures here with occasional recipe and maybe a battle report from time to time.
Related Game: Infinity
Related Company: Corvus Belli
Related Genre: Science Fiction
This Project is Active
VIP Executive
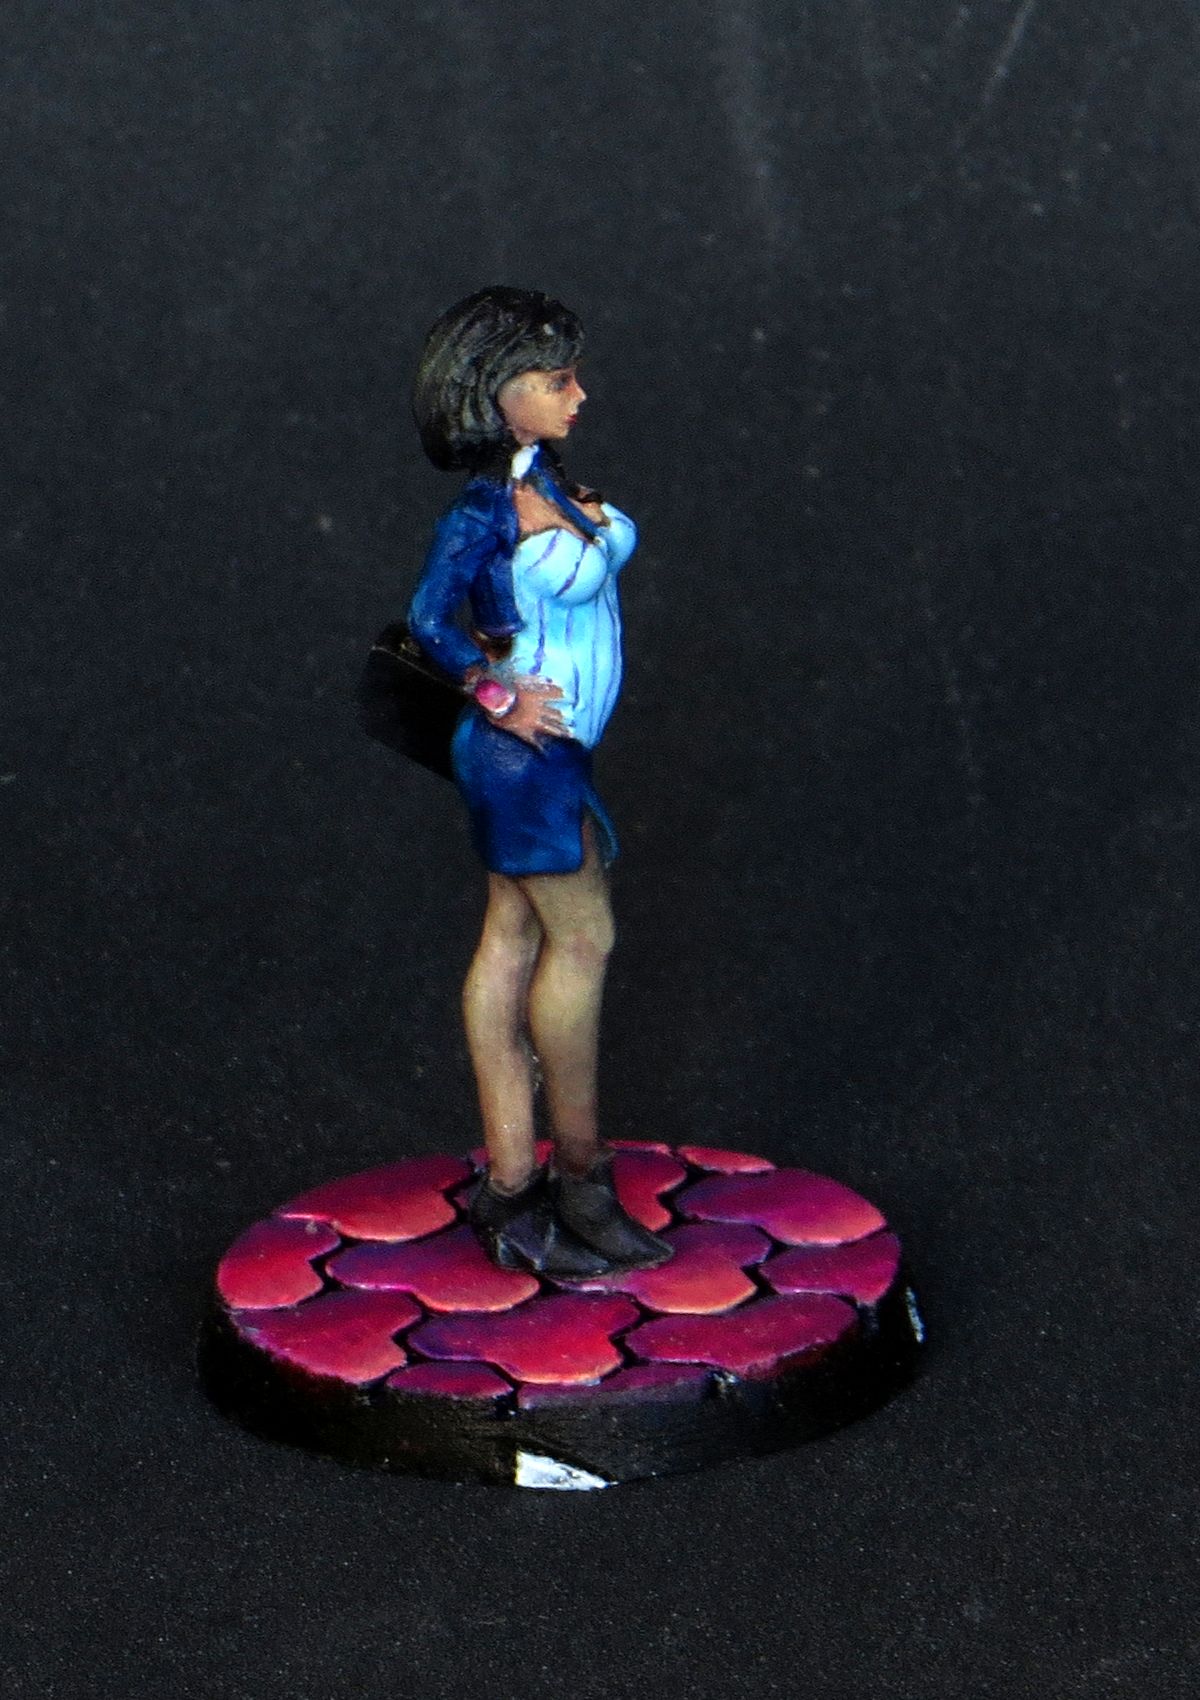
A second take on stockings, this time much more successful in my opinion.
According to fluff from Dire Foes mission, she isn’t particularly nice person. I tried to give her rather diabolic face to sell that trait of her personality. I call it success, however, I probably gave her too light eye colour.

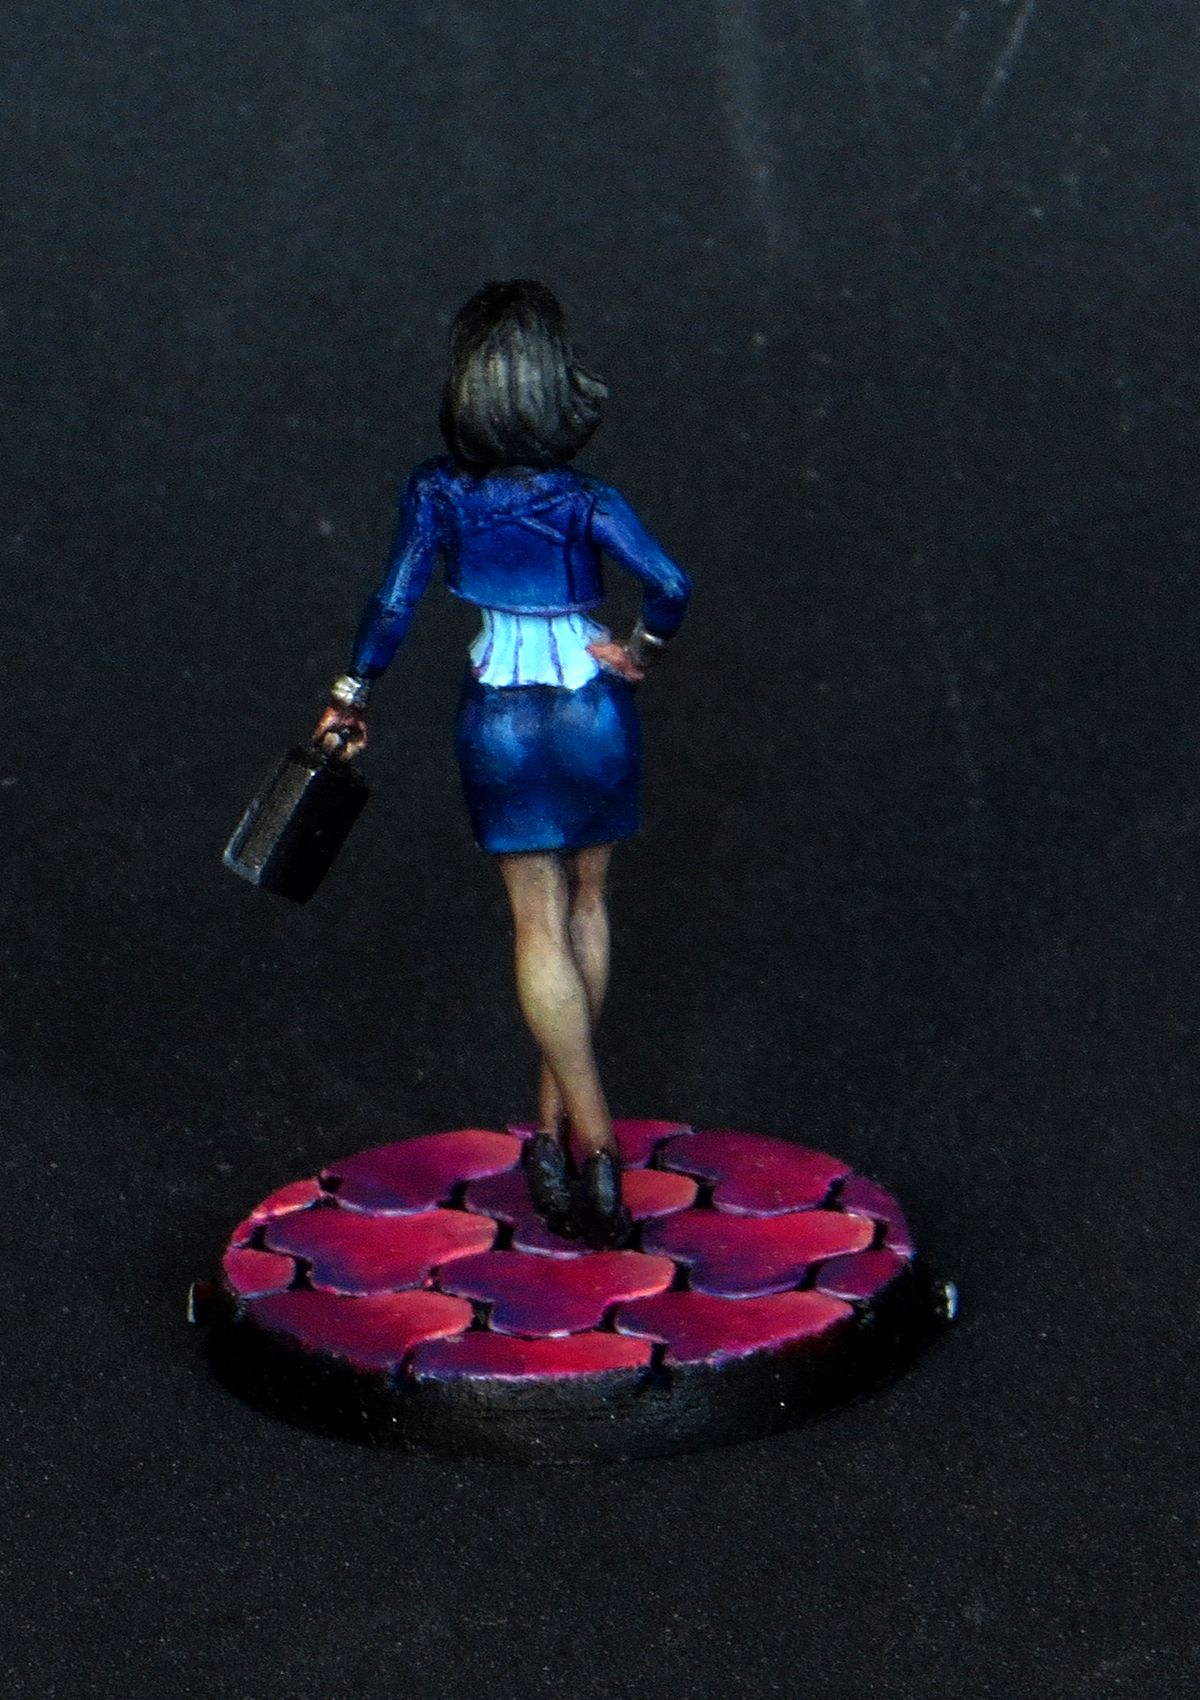
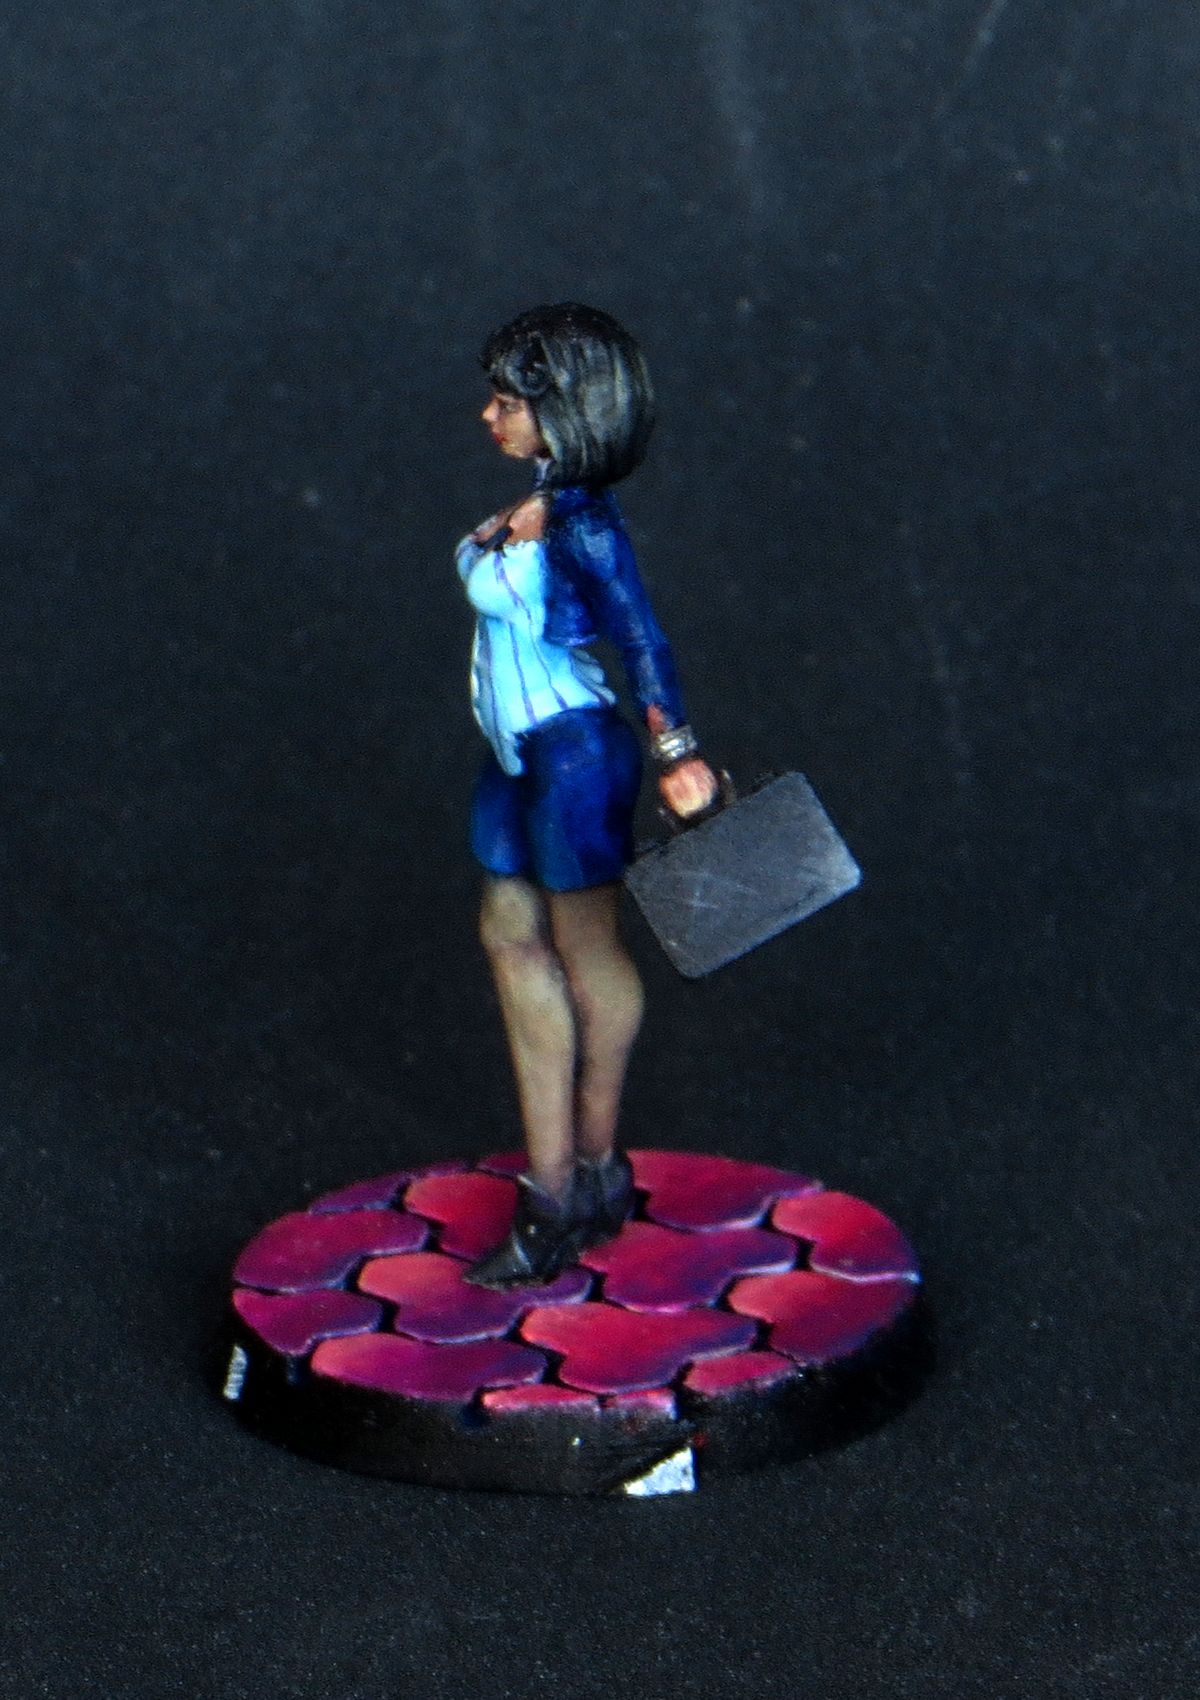
A faction starter
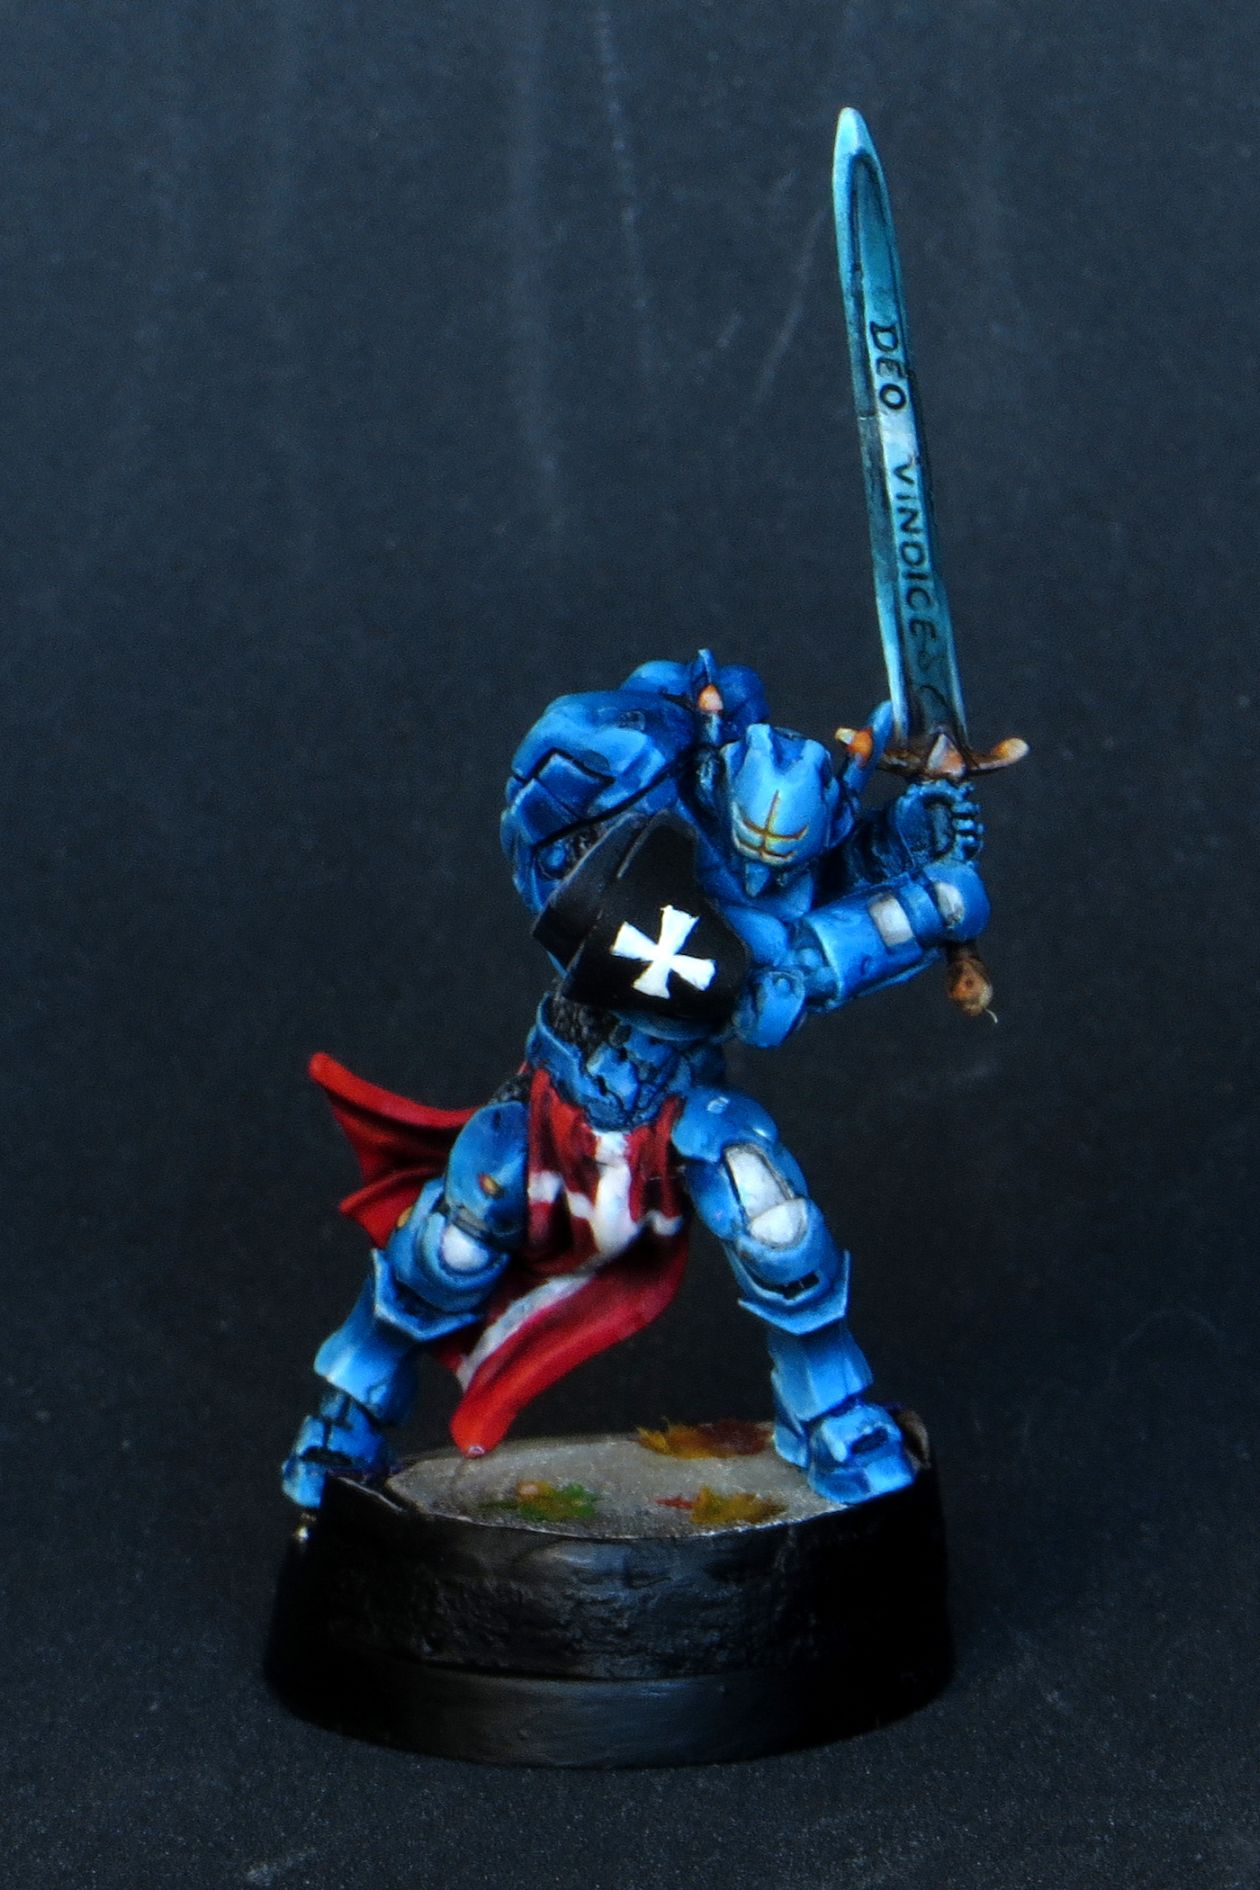
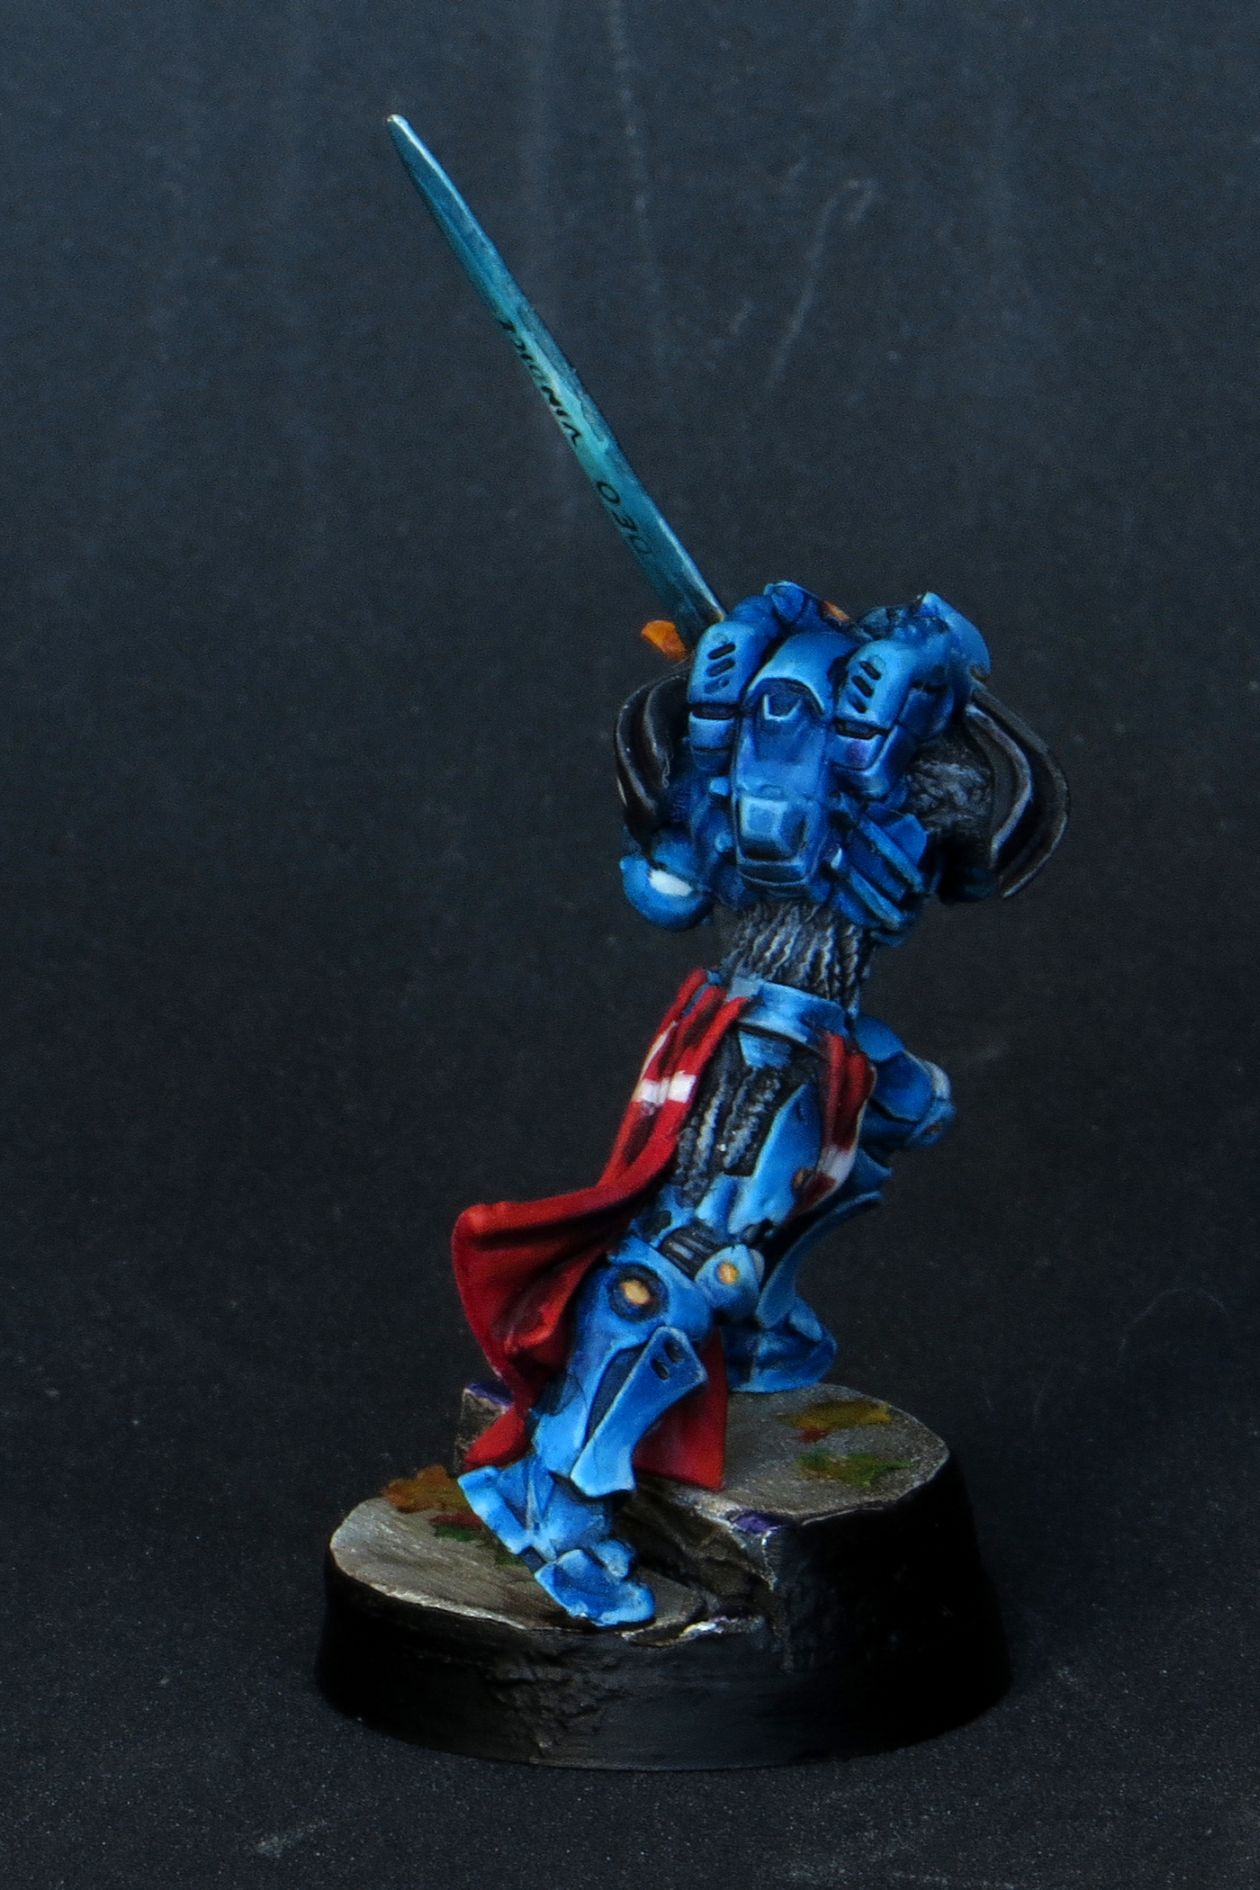
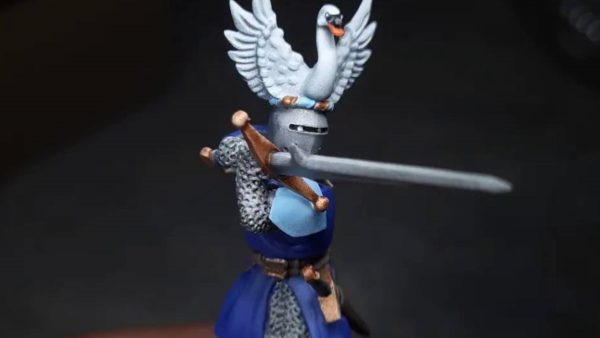
While I was never fan of PanO, some of their designs, especially new knights is just insanely good. I loved this guy since his premiere as part of Operation Ice Storm back in late 2014, I bought him in 2018 as part of my new Knights army when CB offered 300 pts army pack for that faction.
Of course, since the pack was offered before changes in their roster I also bought a starter to grab some fusiliers… Now with advent of Operation Koldstrom I suddenly find myself in uncomfortable position of an owner of PanO army…
I painted him to fit Knights Hospitalers force from the box.
BTW, I tried hard to achieve passable results on the freehands on this one, I’m not entirely happy with them, but they shall pass.
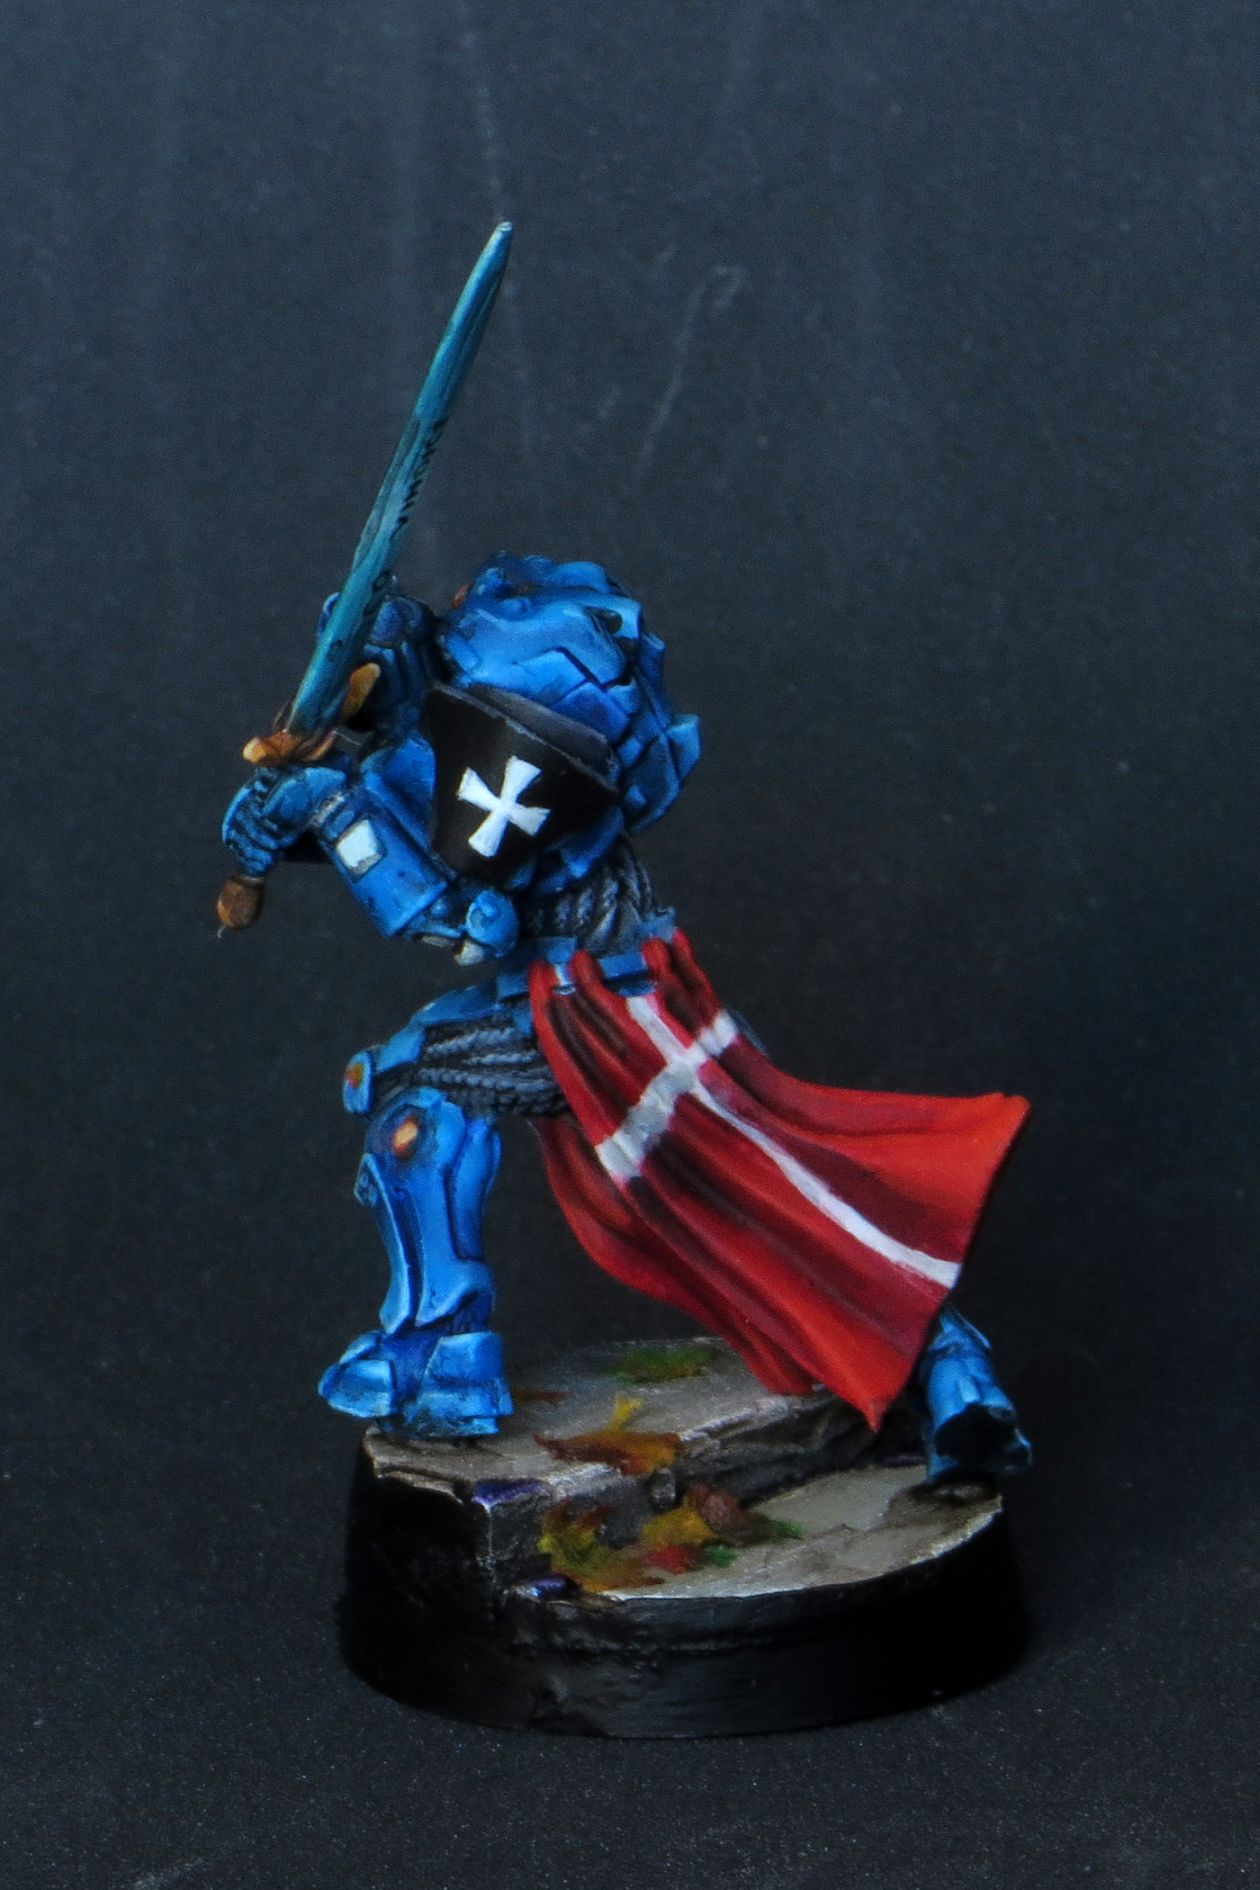

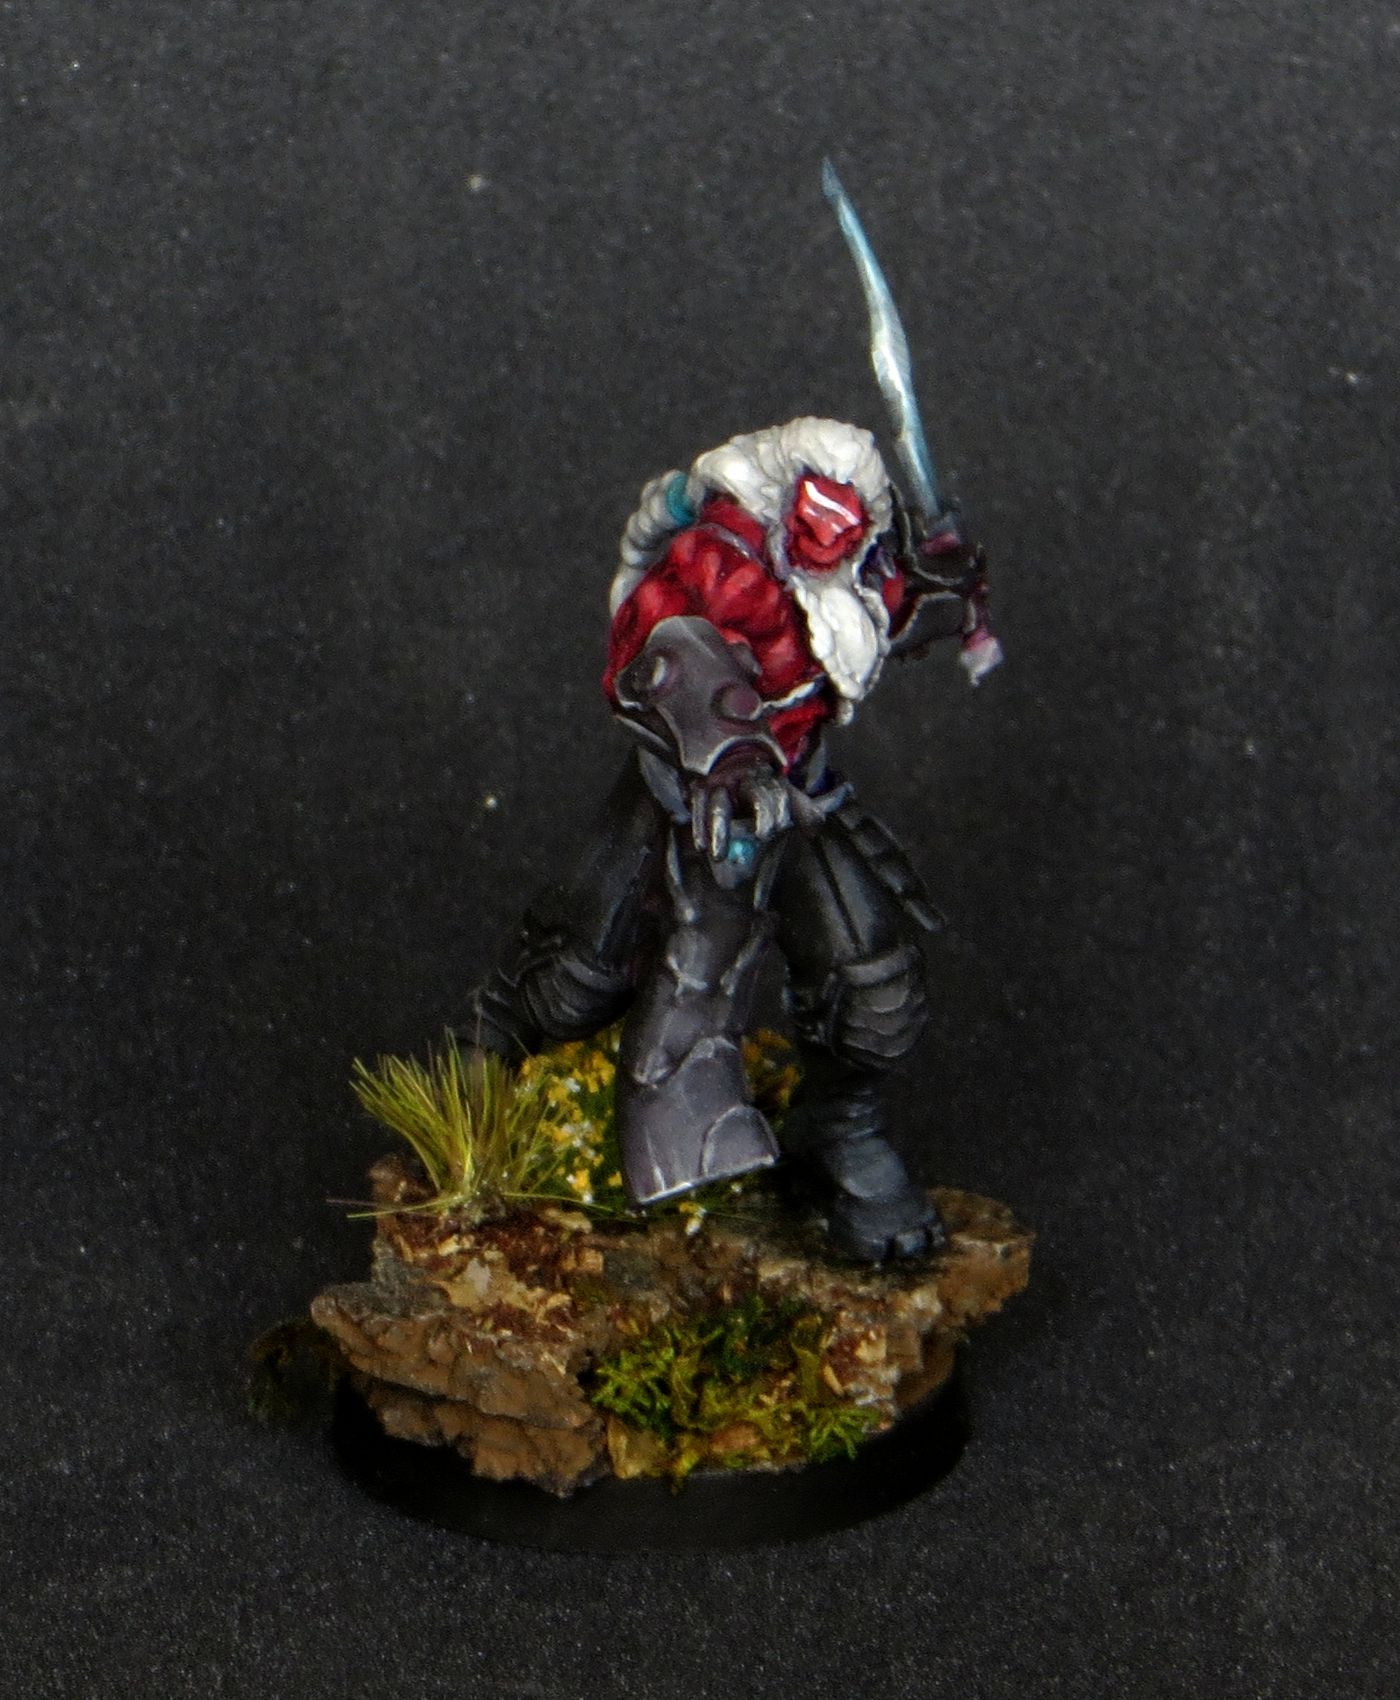
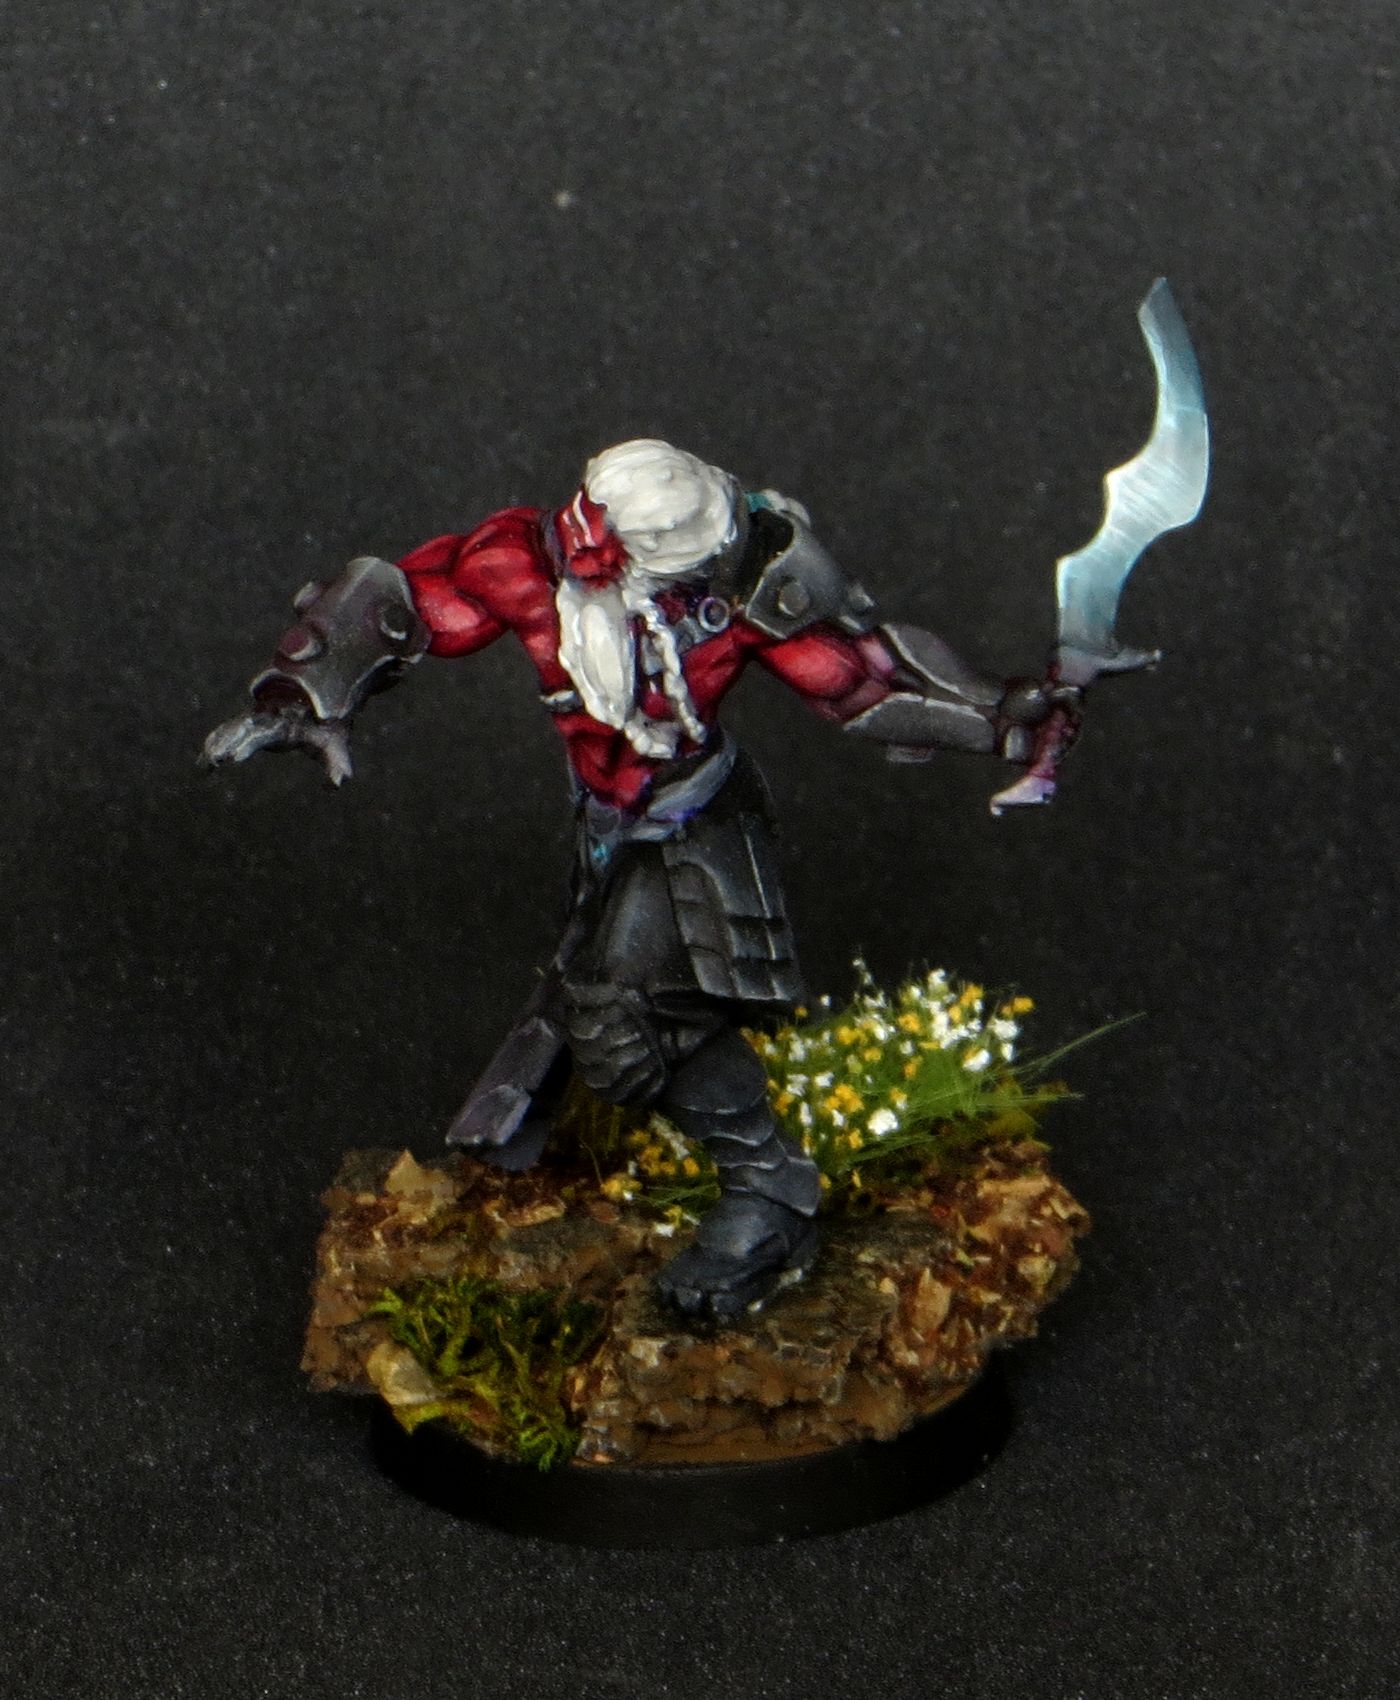
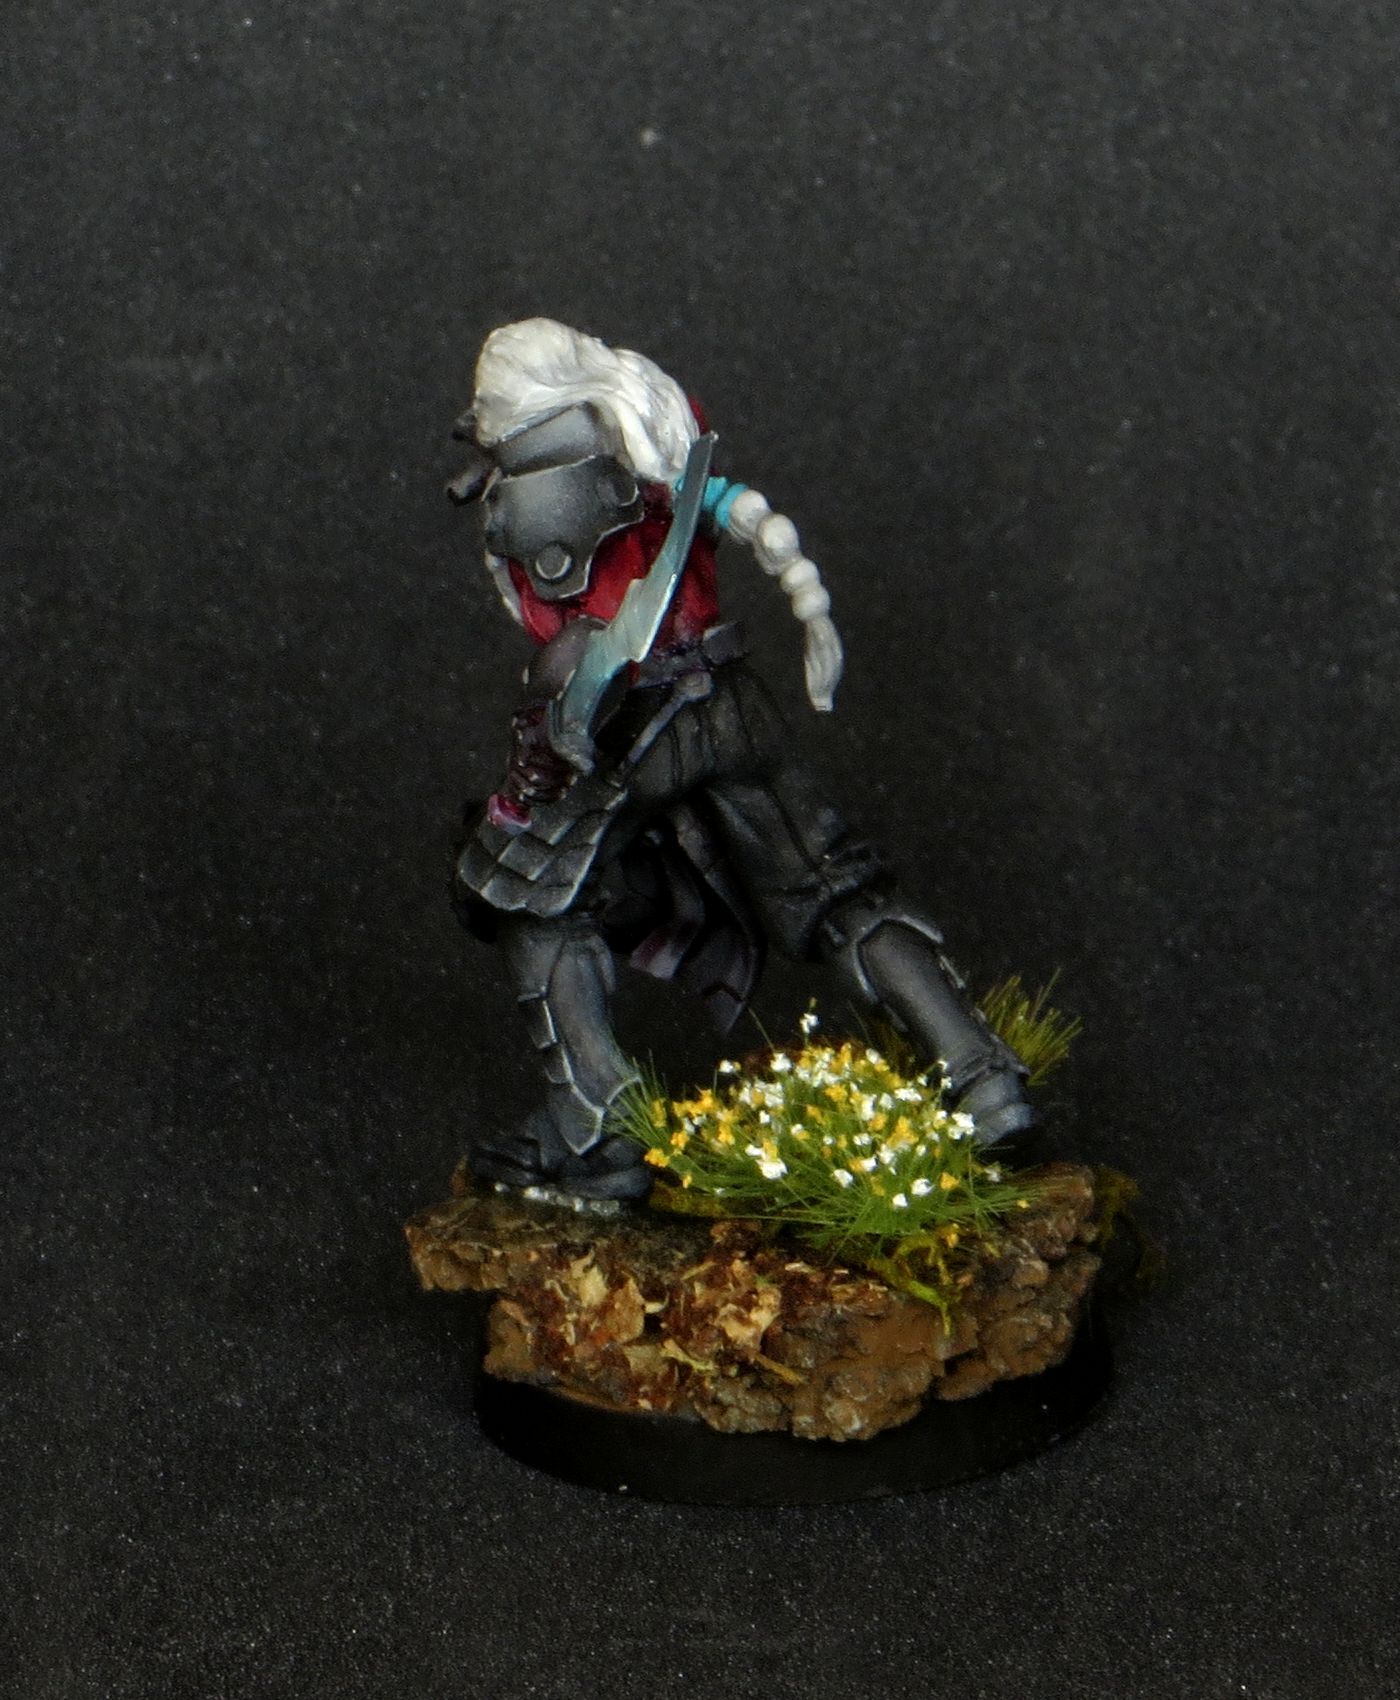
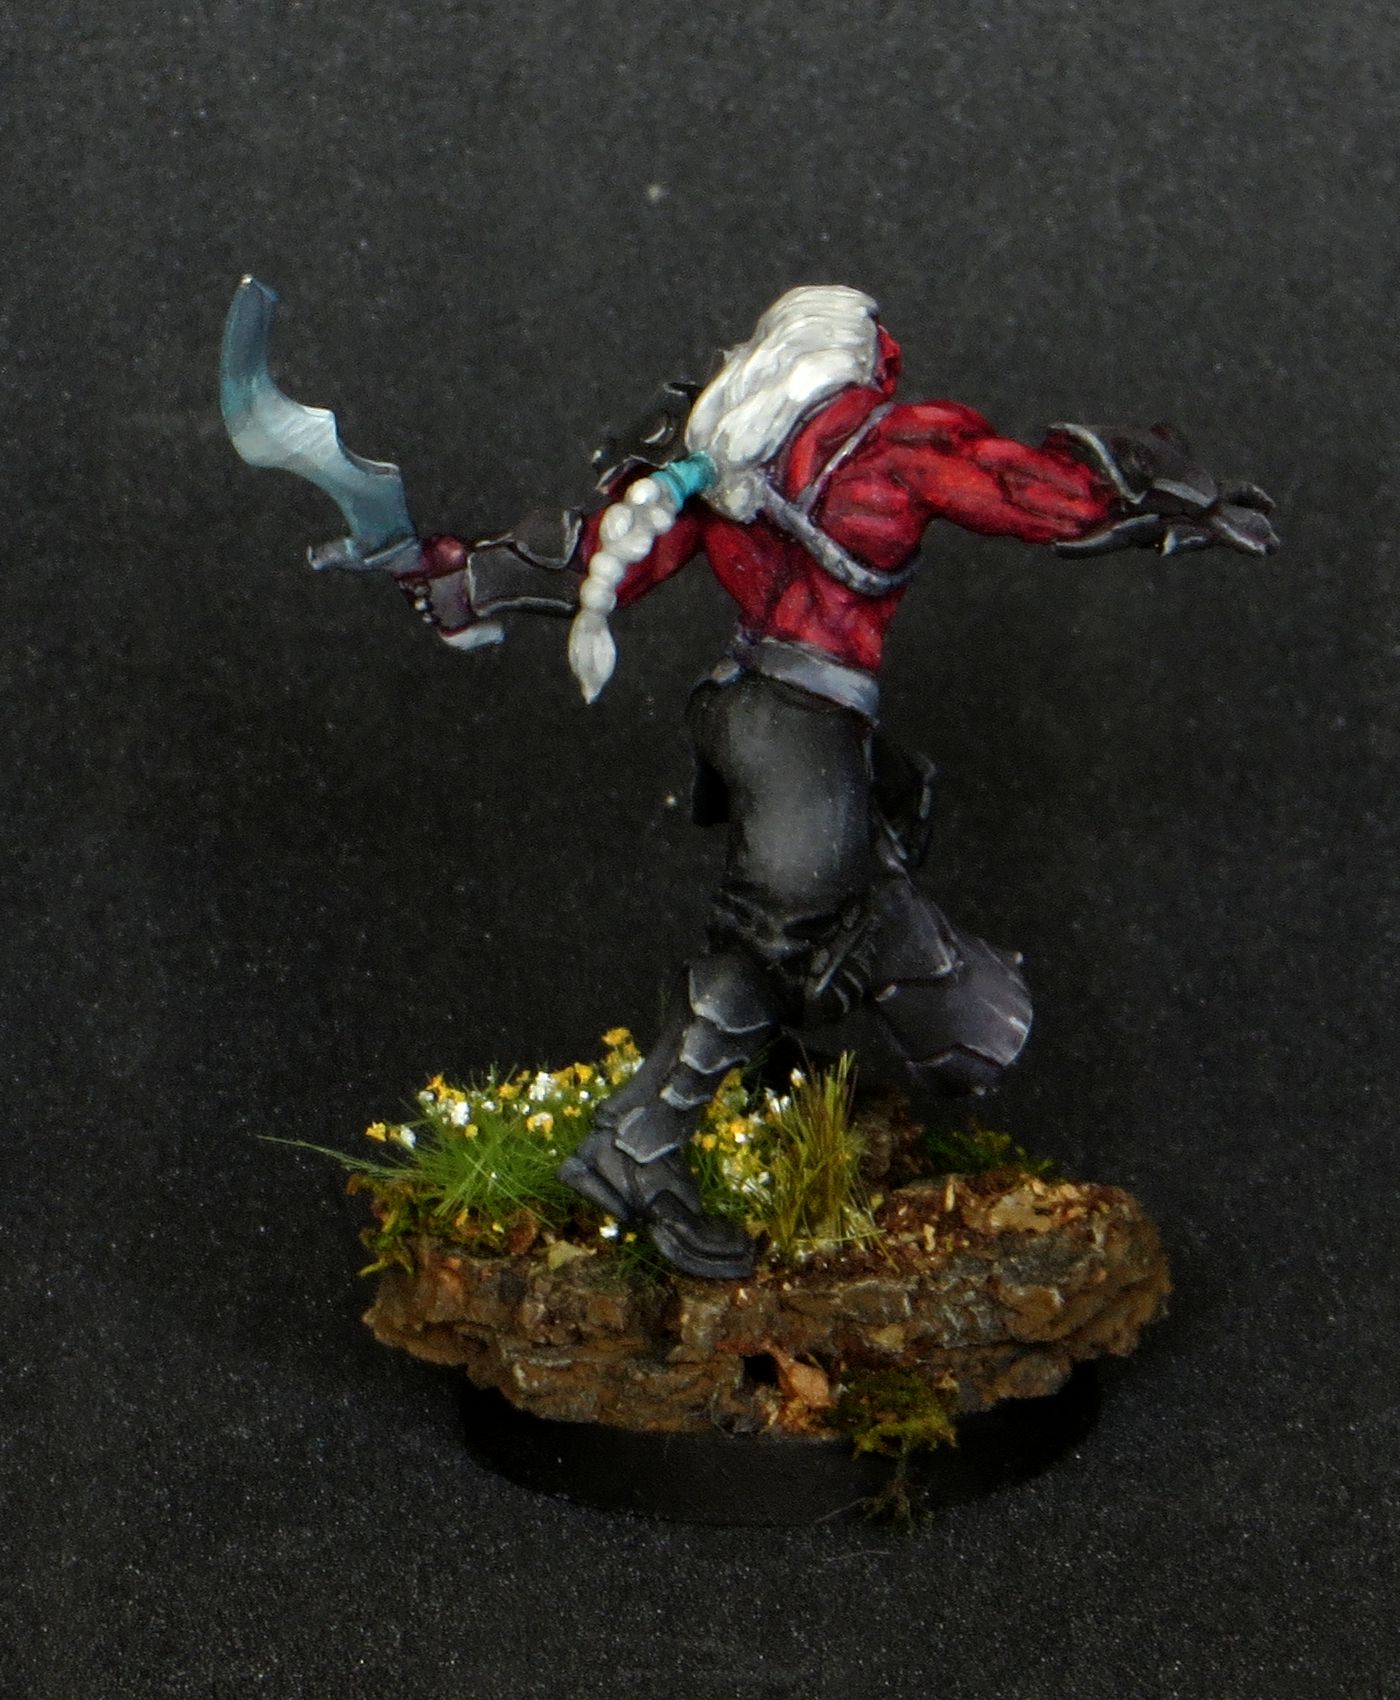
Zhēnchá, Armored Reconnaissance Regiment (Hacker)
This dude is one of my favourite minis in whole rage right now. He looks as he really means business and in game he is truly quite deadly for the opponent. Gameplay I’d rather prefer the SMG/DEP loadout but design-wise, only this one. One surprising thing is the paintjob on official photos, it’s really poor considering the standard set by AG.
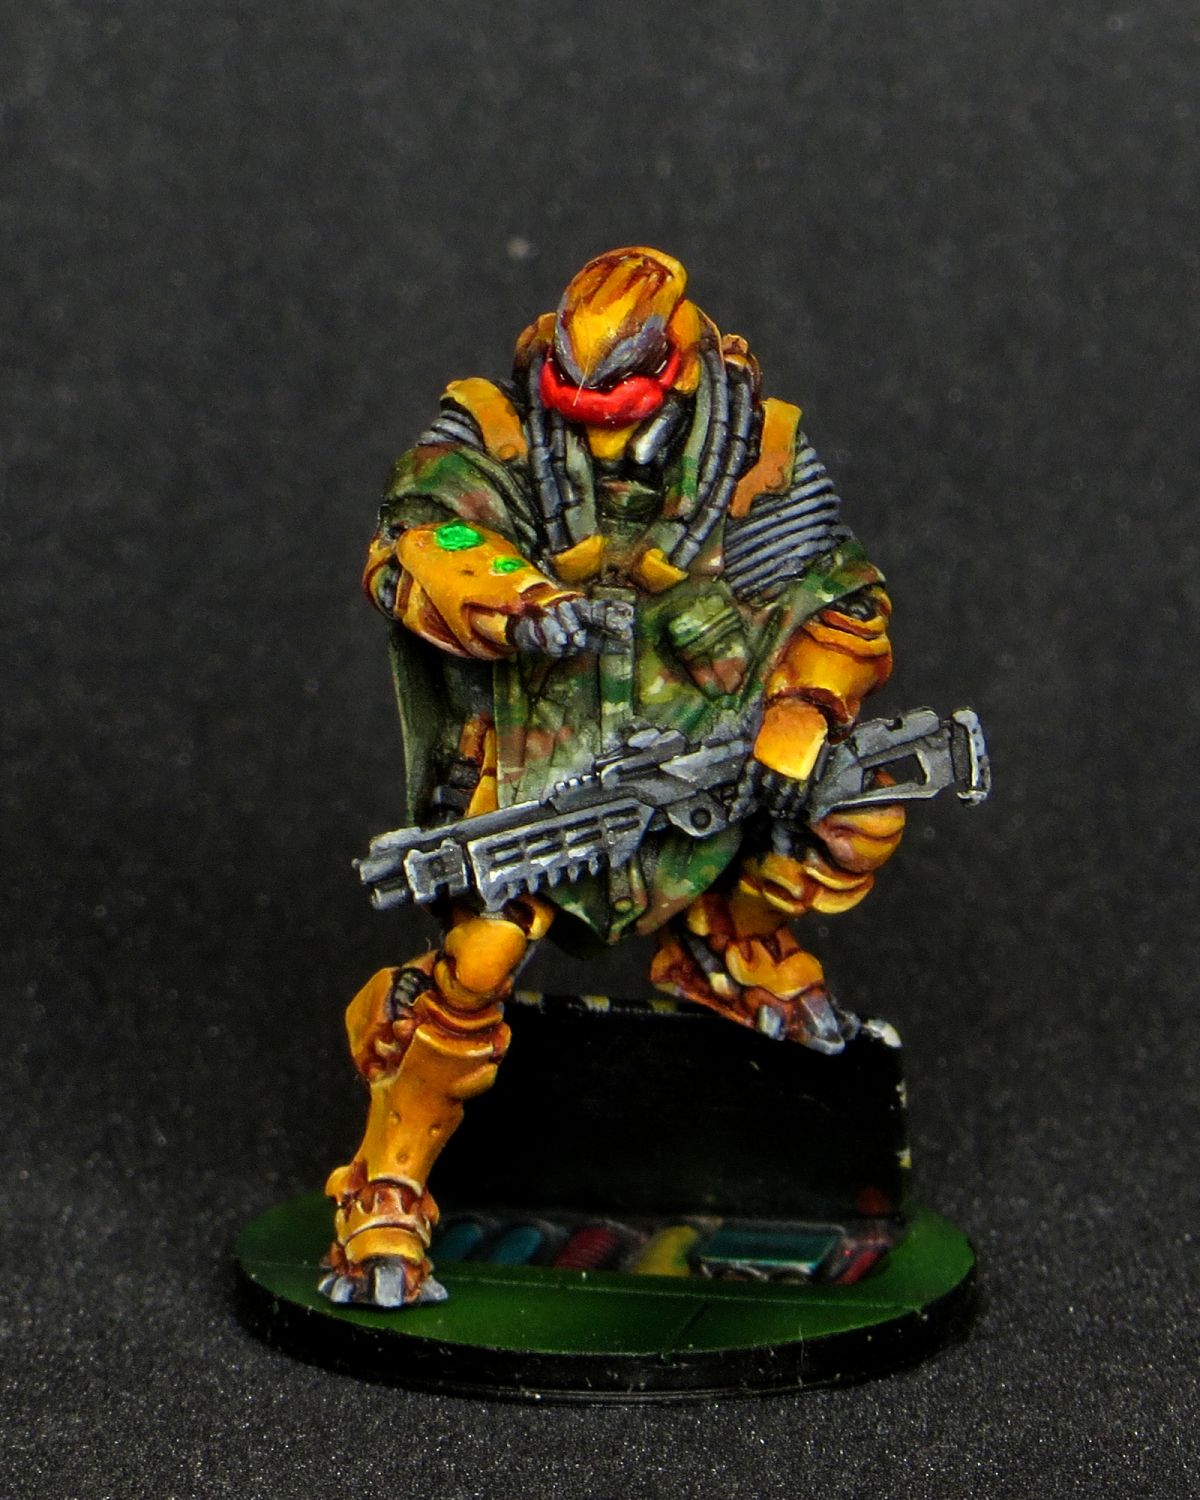
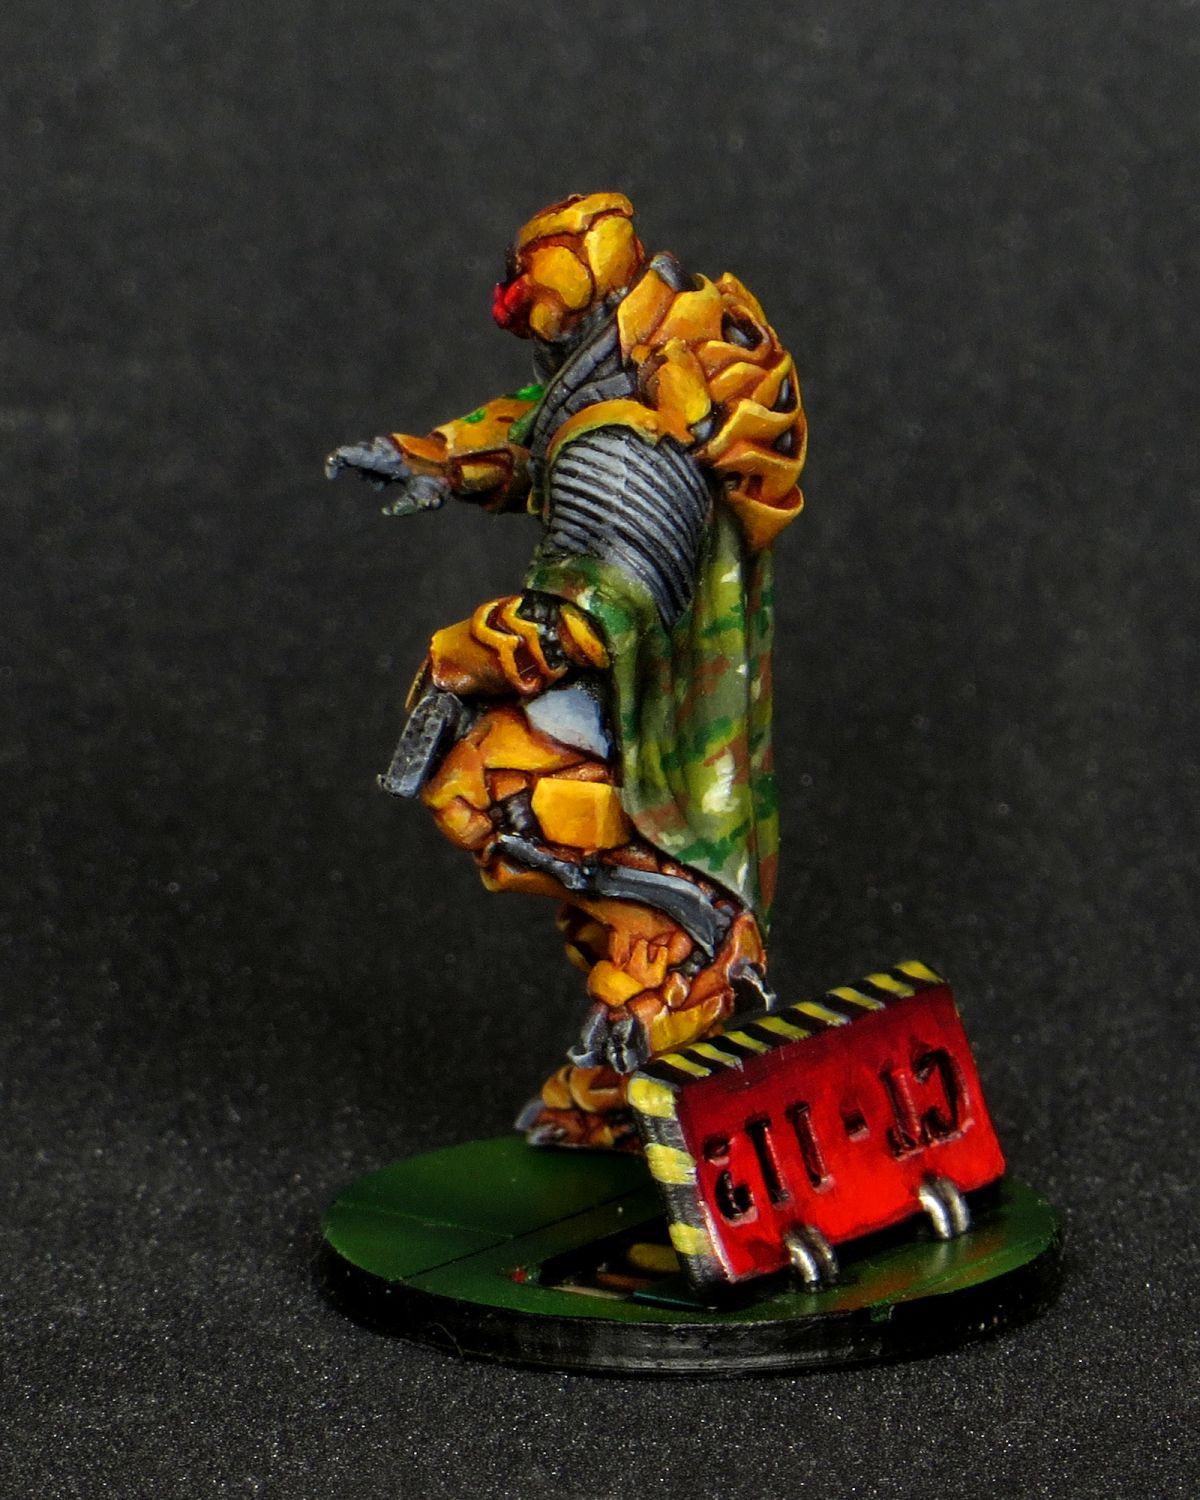
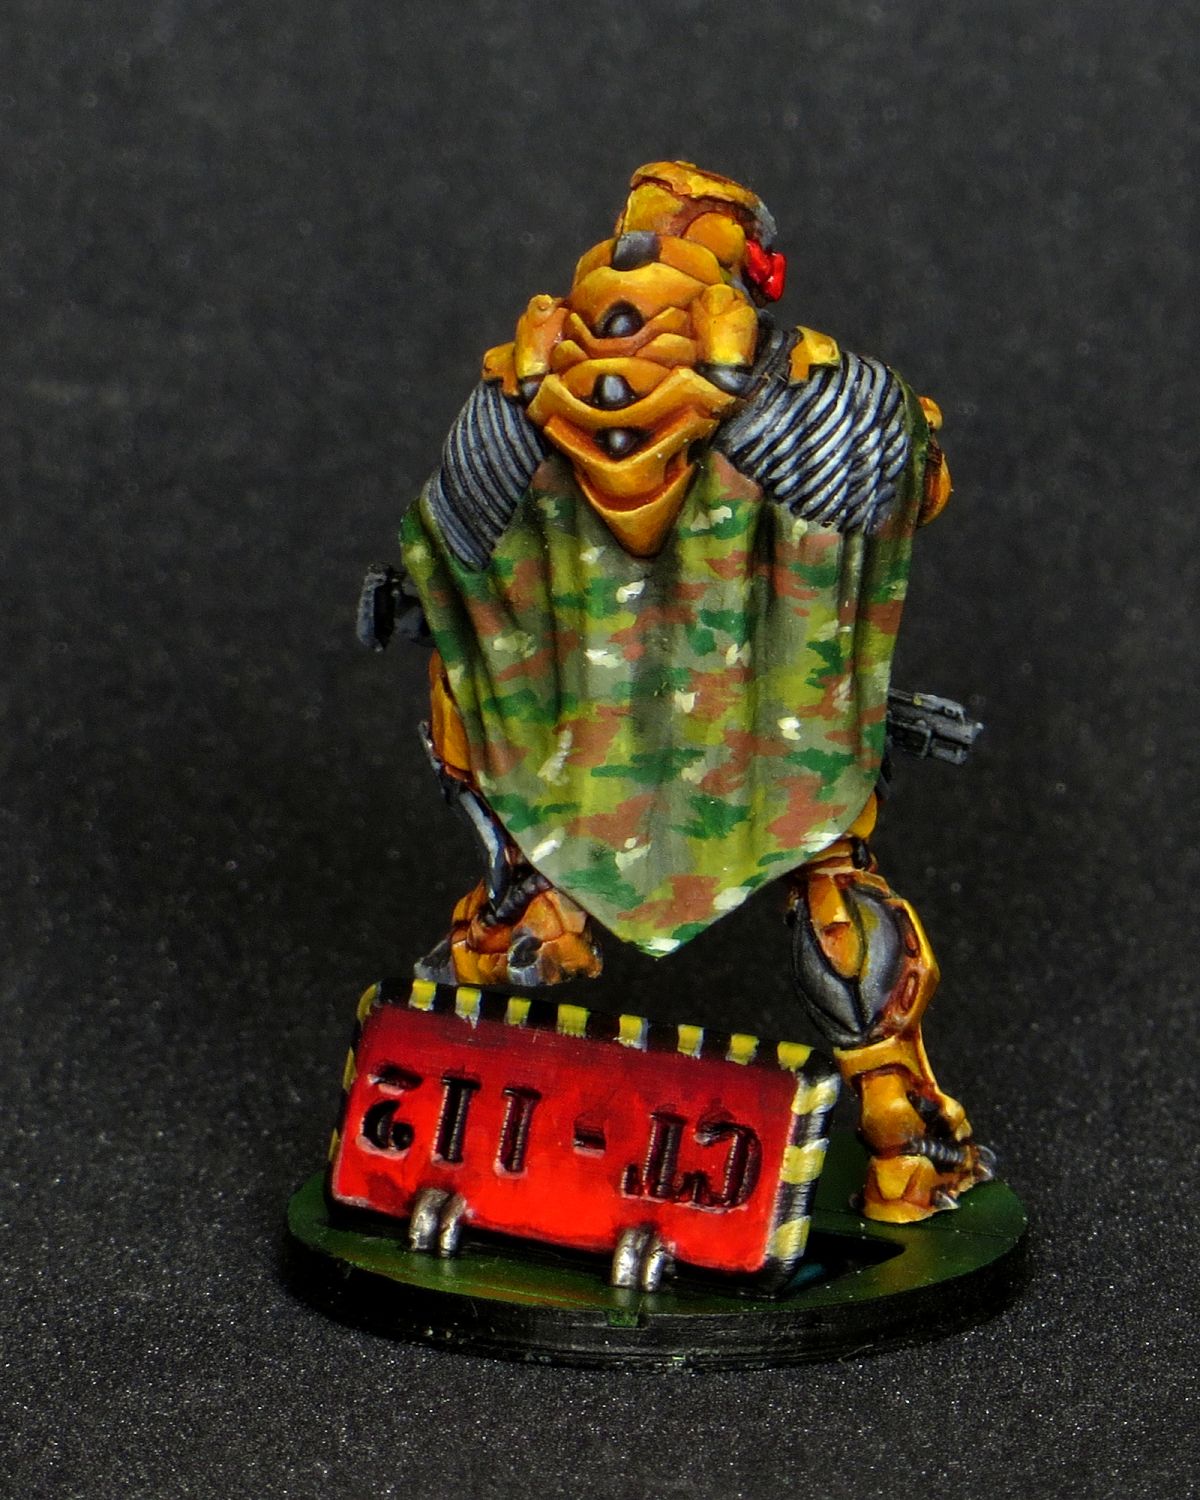

Easy, fast and colourful (bases) PART 1
This tutorial is a kind of response to Golden Button recieved on March 29.
Some time ago I got inspired by the Kicstarter which was advertising full colour, ready to play bases for cheap. While idea behind them is cool, they used technology which is not available to me (and probably most of gamers around the world), also I didn’t want to wait for the bases several months, I needed them now. I found a mosaic design to be particularly interesting and suiting minis which I was planning to paint at that time (vacation in Lisbon were probably important factor in that decision as well).
I examined the bases closer and came to mind that at the scale of 28 mm miniatures, creating crevasses between tiles is pointless, they will be either invisible or look stupidly wide. Those realizations lead me to one of technics I sometimes use on my terrain pieces. It is something between decoupage and waterslide decals. I learnt it from one of Doctor Faustus of Doctor Faustus Painting Clinic on YouTube.
This is step by step instruction to use it:
1. Choose your pattern/picture. Simply google for pictures of whatever you want to have on your base. Azulejos tiles, Persian carpets, prtraits of the 80′ TV stars etc.
The other way to go is to scan patterns or generaly pictures from magazines or let say your gaming mat to produce bases looking as they were piece of it. You can also take photos of whatever you find around and transfer it to the base or terrain, or vehicle…
2. Process the image. To receive good crisp results you need to crank up colours of the image and contrast, otherwise final result will be blurry and washed out. In the end it depends on the printer you use so you need to experiment a bit (I turned contrast up by 60-70% and lowered brightness by 10-15% on below example). I used GIMP to process my images, but actually pretty much any photo processing software will do.
Of course you also need to scale desired image so it is visible on the base, and arrange reoccurring patterns and spread it over printable surface of the page.
To that end I used free piece of software called Inkscape.
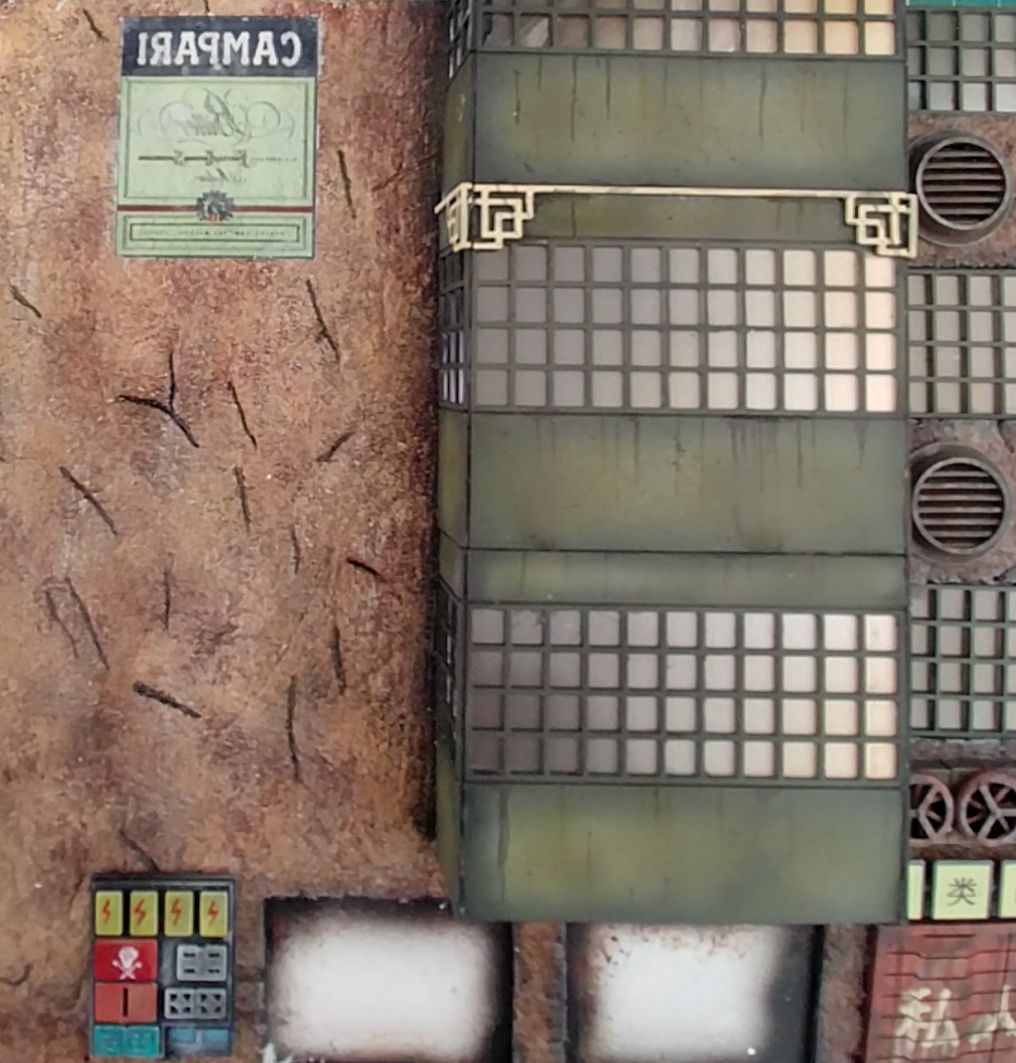
One last important note: THE PATTERN/PICTURE WILL BE TRANSFERRED IN MIRROR IMAGE! So if you have any directional patterns (like letters) don’t forget to process your image accordingly look at last photo in this tutorial).
3. Print. This is a bit tricky. I had to use highest setting (resolution and colour intensity wise) of my printer, but again your mileage may vary depending on your machine. Bellow you can see how intense my printout was (and couple of project entries back you’ll find washed out bases printed on normal settings).
Use good quality (the less fibres the better) paper, but don’t use glossy or photo paper, they won’t work.
3. Glue. The main secret of the process. ModPdge produces ‘Photo Transfer Medium’. This is kind of water resistant gel glue which according to their own YouTube channel may be used even to transfer photos on t-shirts and alike. But of course I used it on the bases. You need to remember to apply quite thick layer (I did it over the base not paper) covering whole surface so that nothing is visible from beneath. And of course then, stick it to the paper as shown in the photo.
This glue gives white base in contrast to regular ModPodge which is transparent (but otherwise may be used the same way).
5.
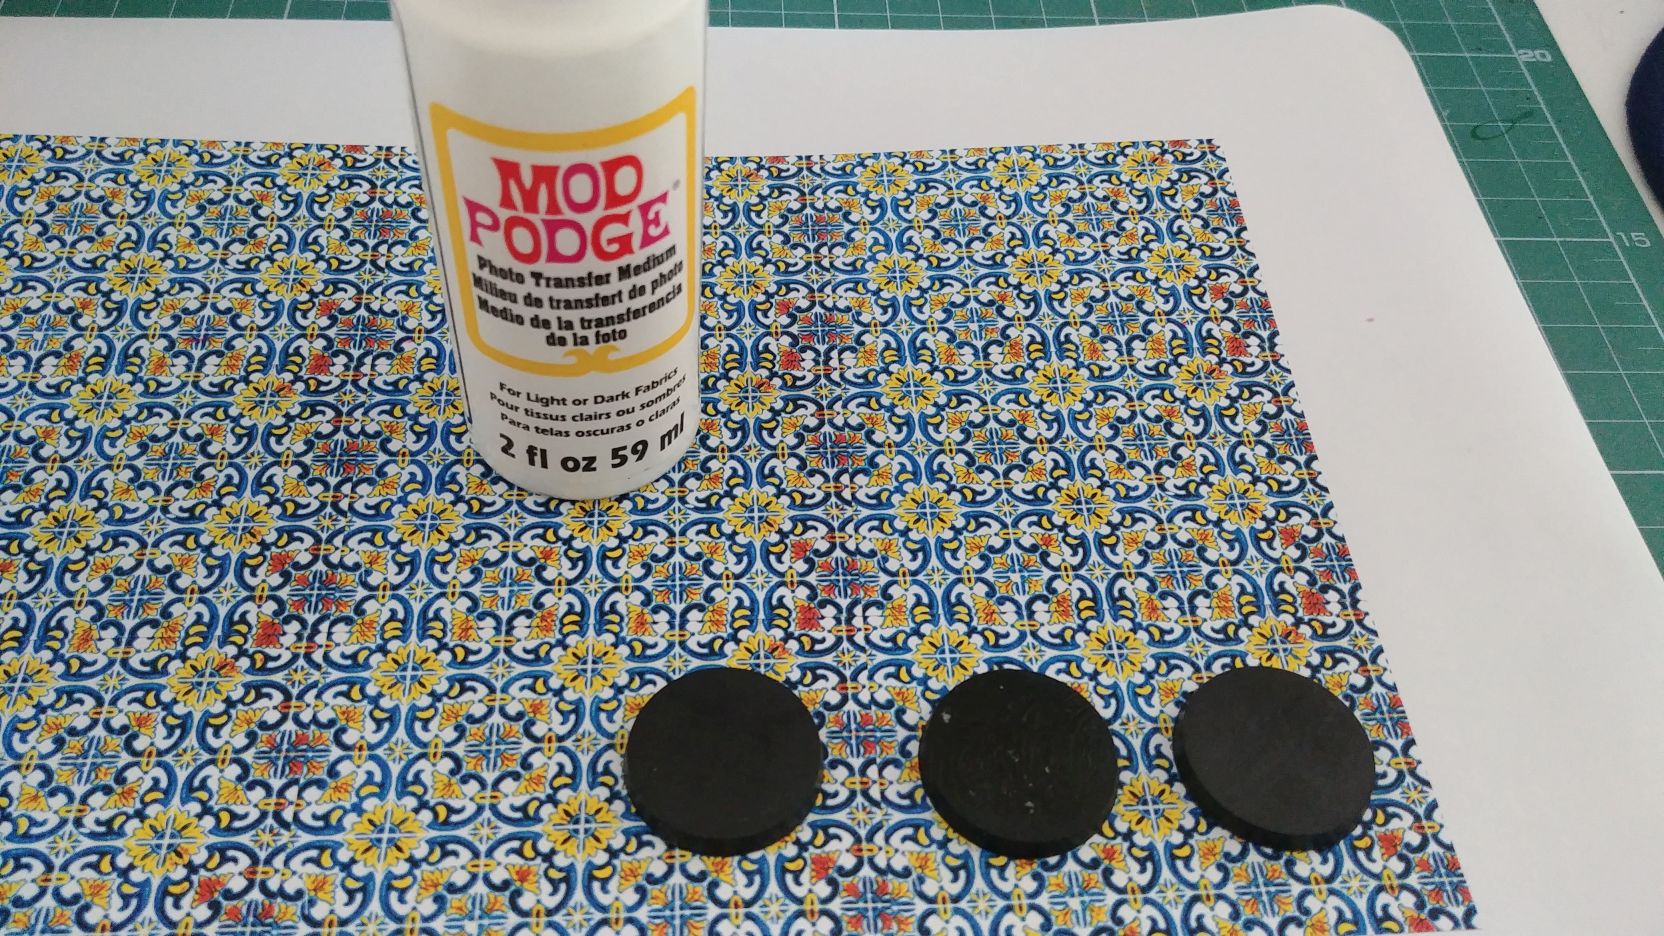
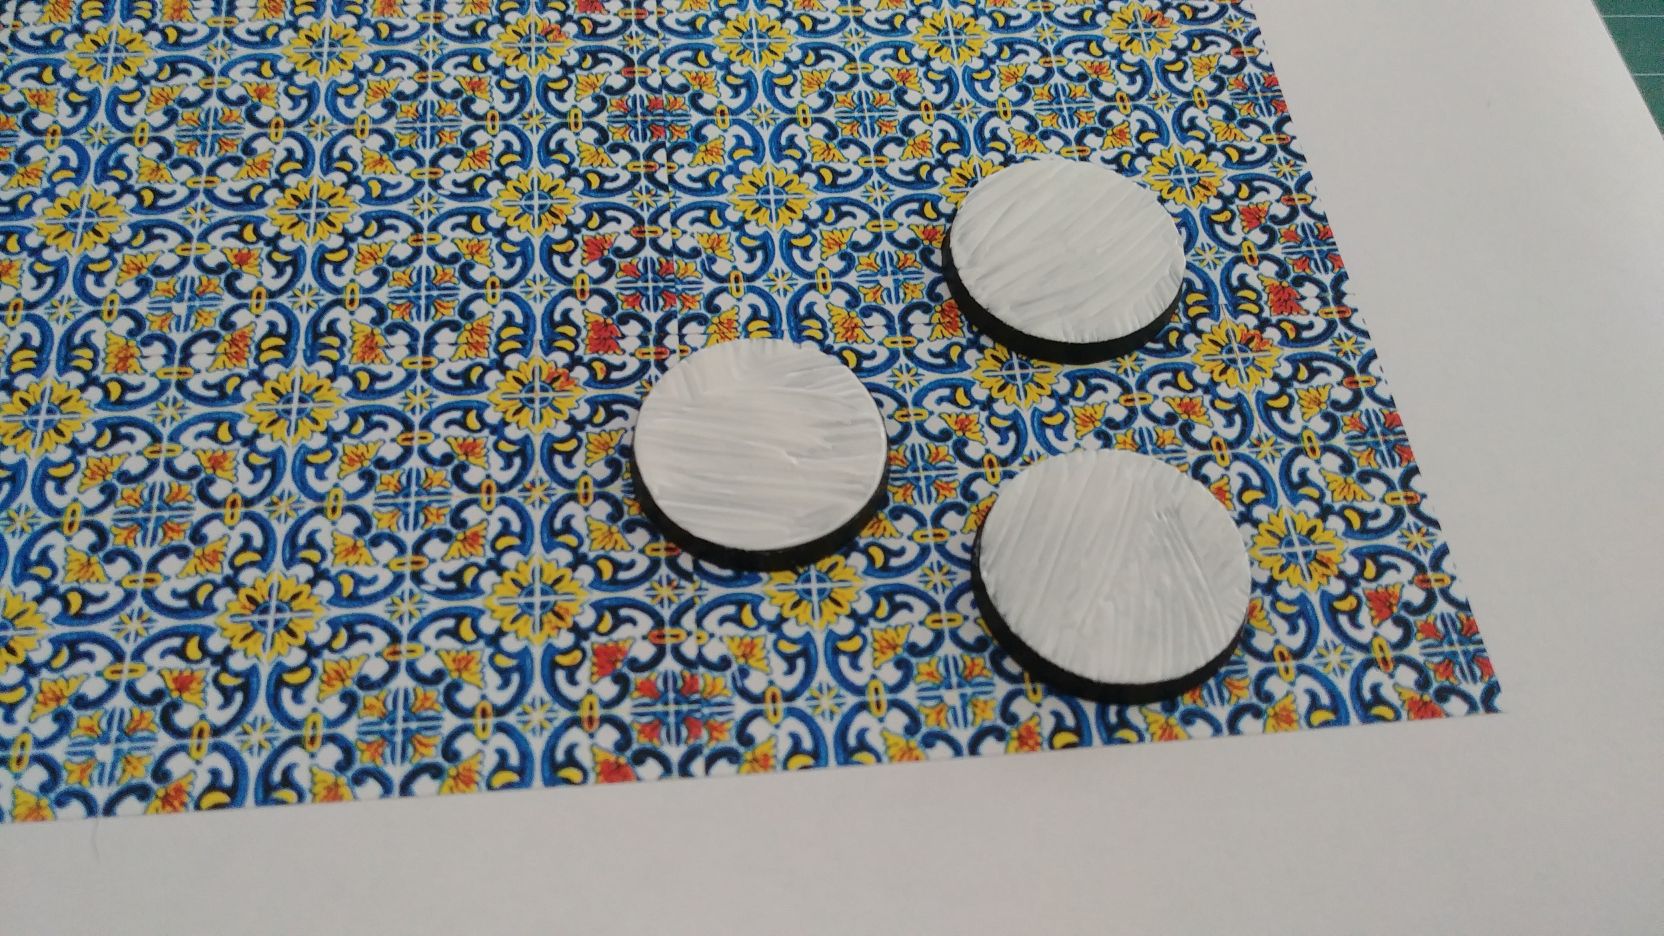
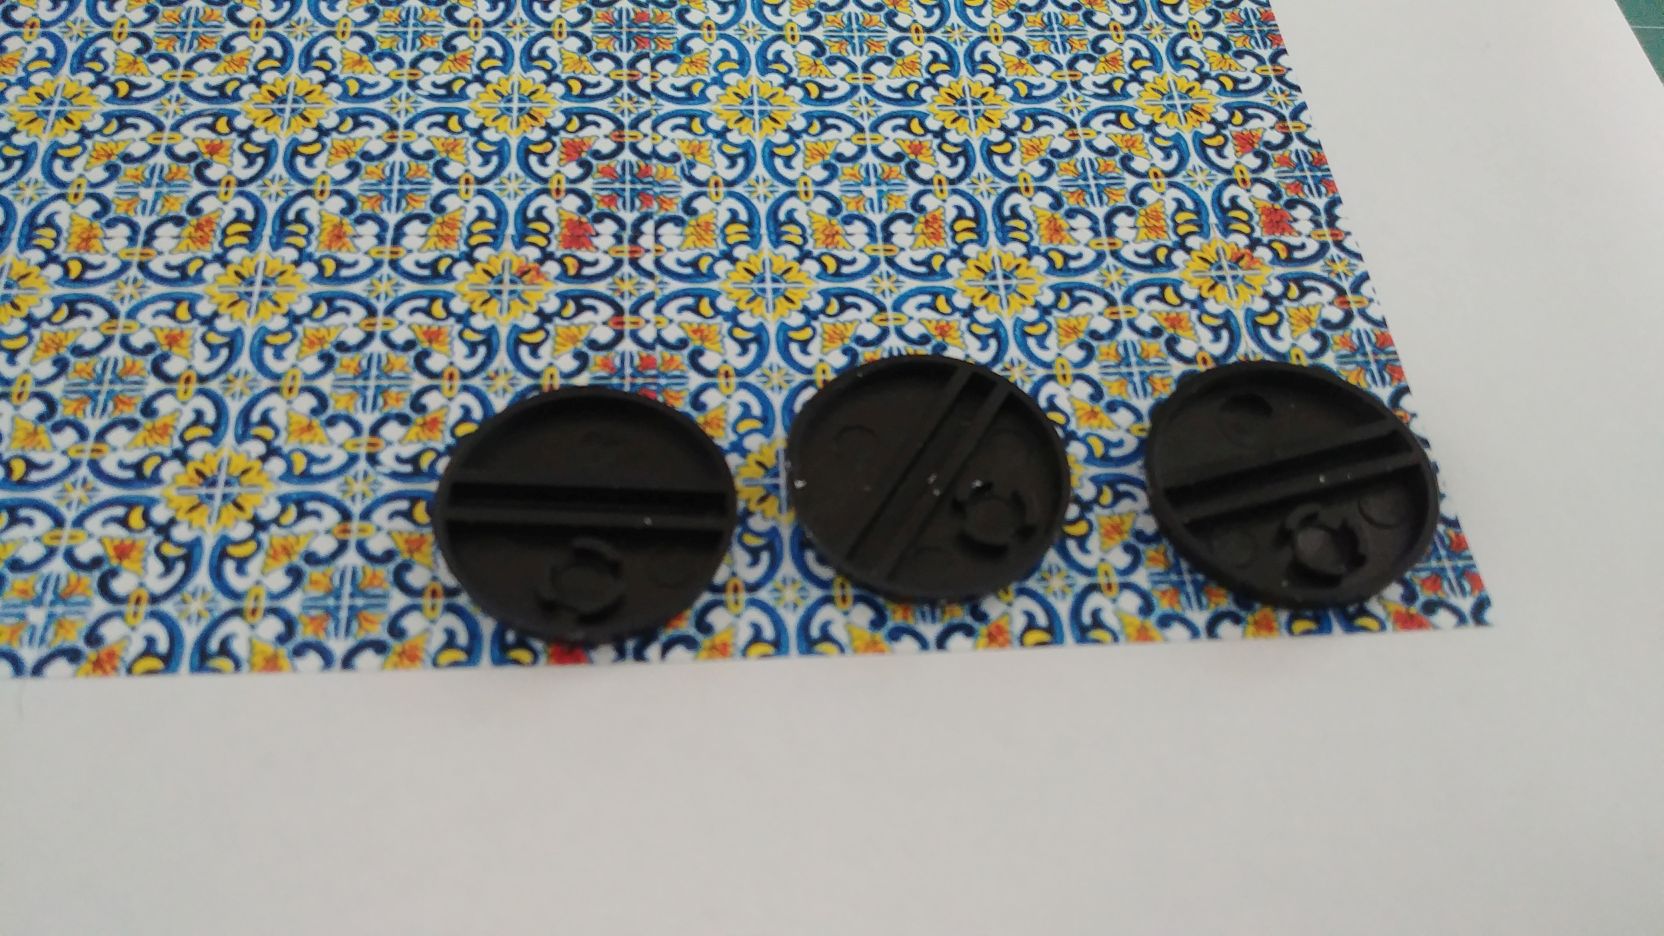
4. Dry. It is extremely important to let it dry thoroughly. I left my bases for 12-15 hours in my humid climate. It proved to be sufficient.
Further steps are described in the post bellow due to restrictions on number of photos.
Easy, fast and colourful (bases) PART 2
Continued from newer post above due to restriction on number of pictures.
6. Cut I used hobby knife to cut out rough shapes and then needle file to achieve final shape.

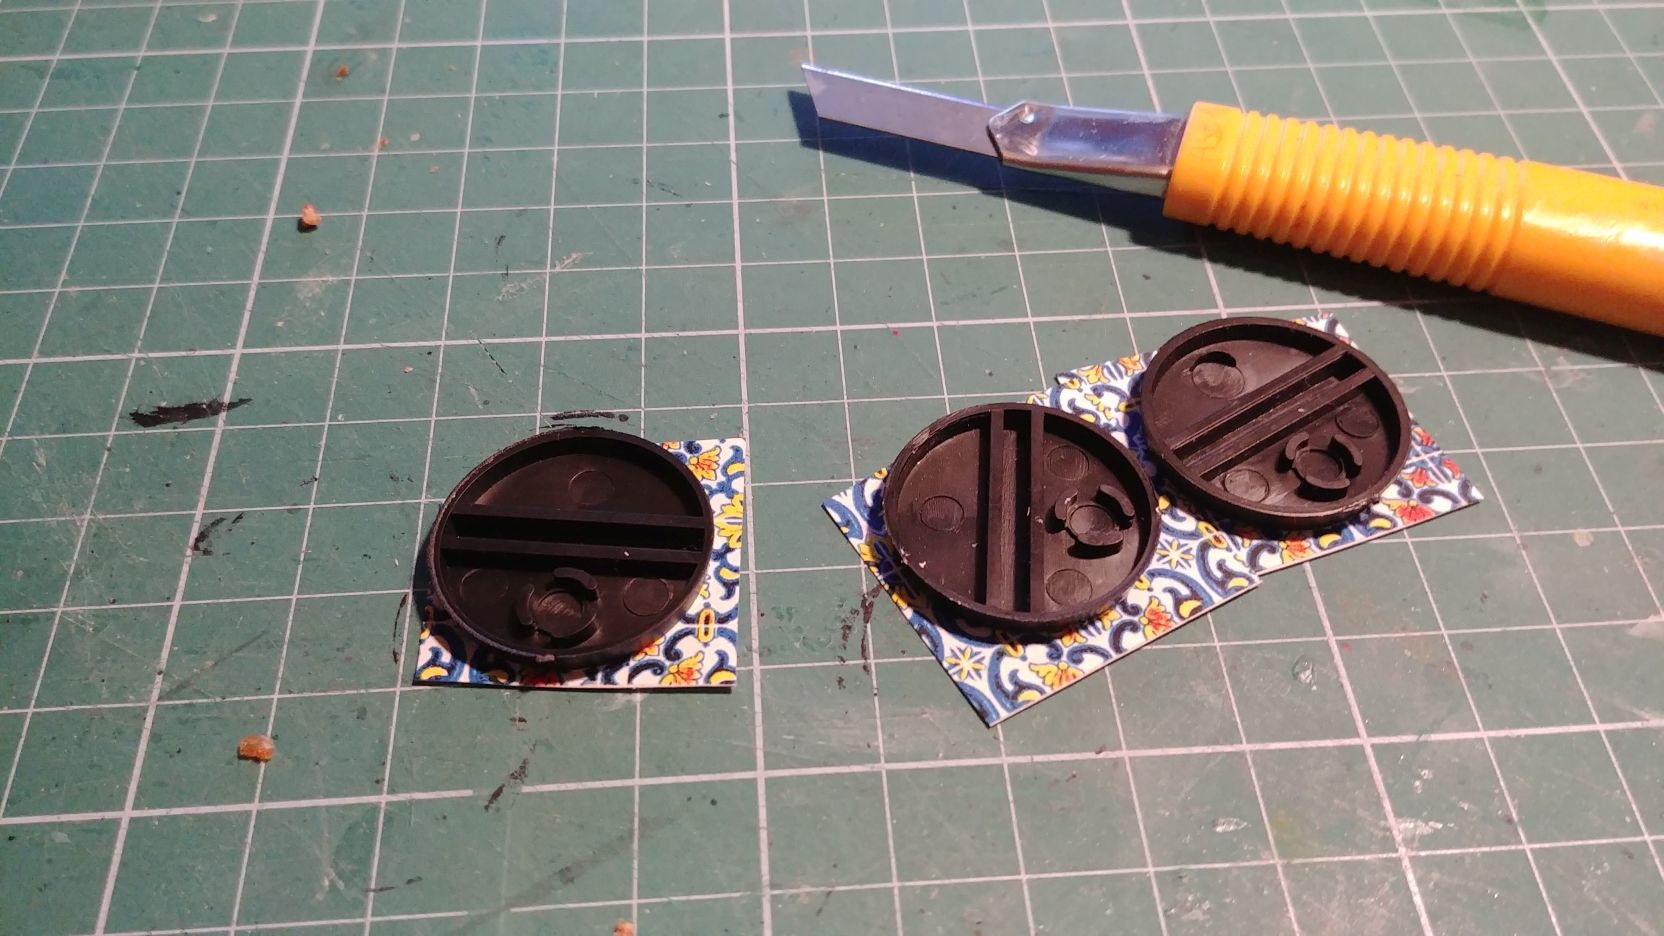
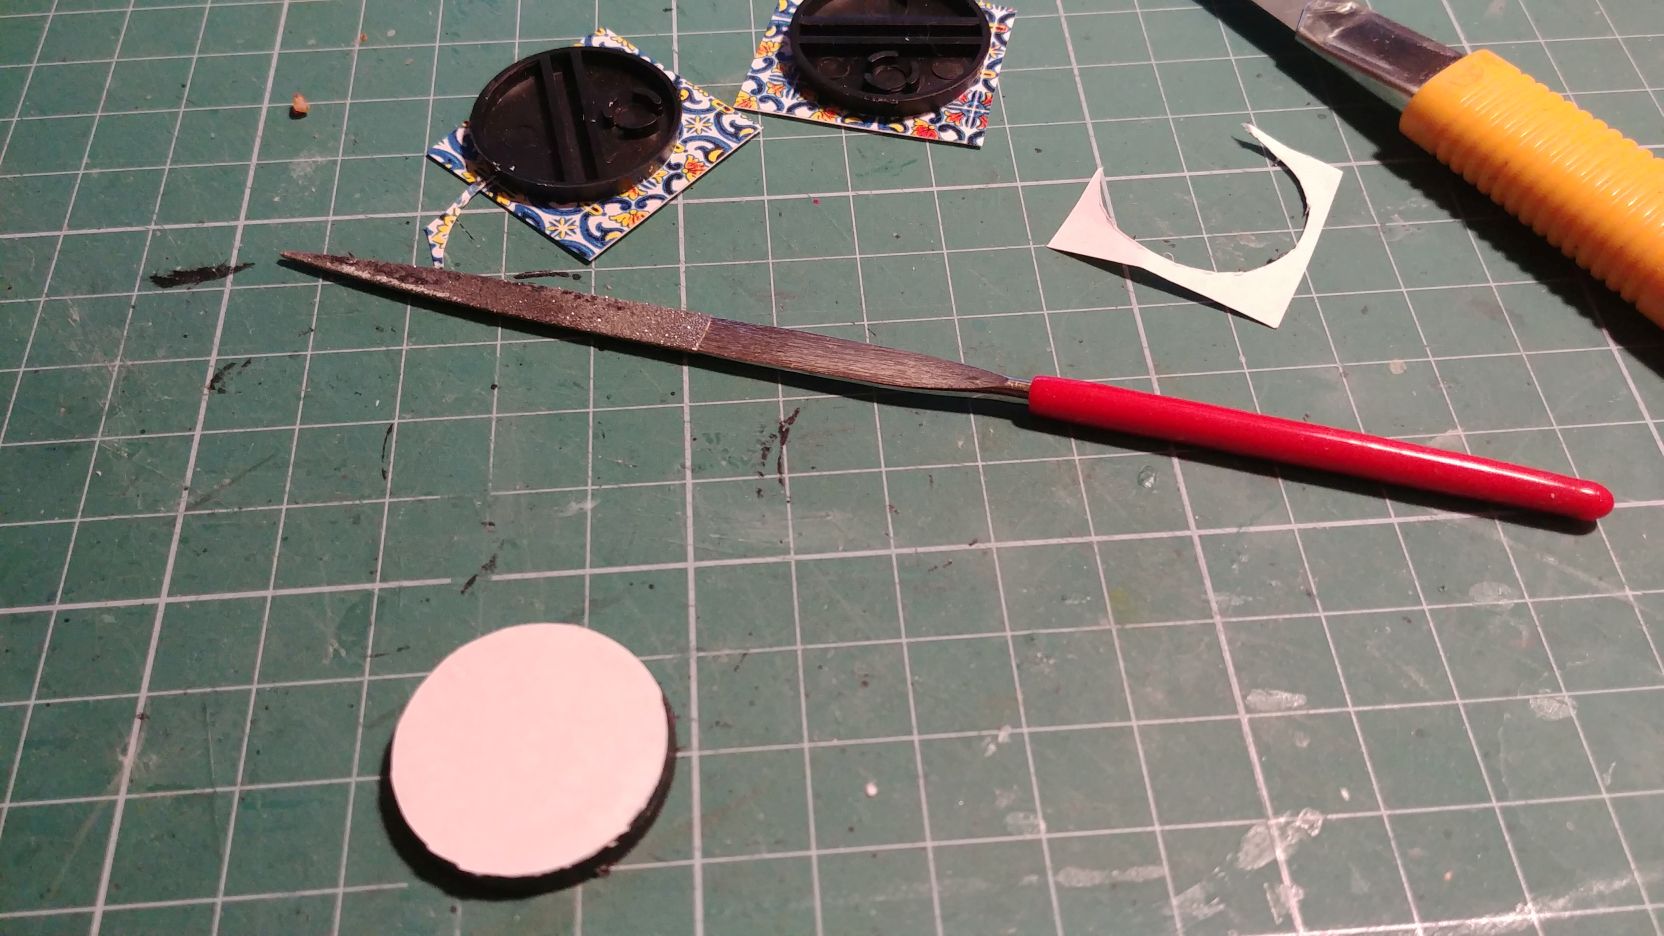
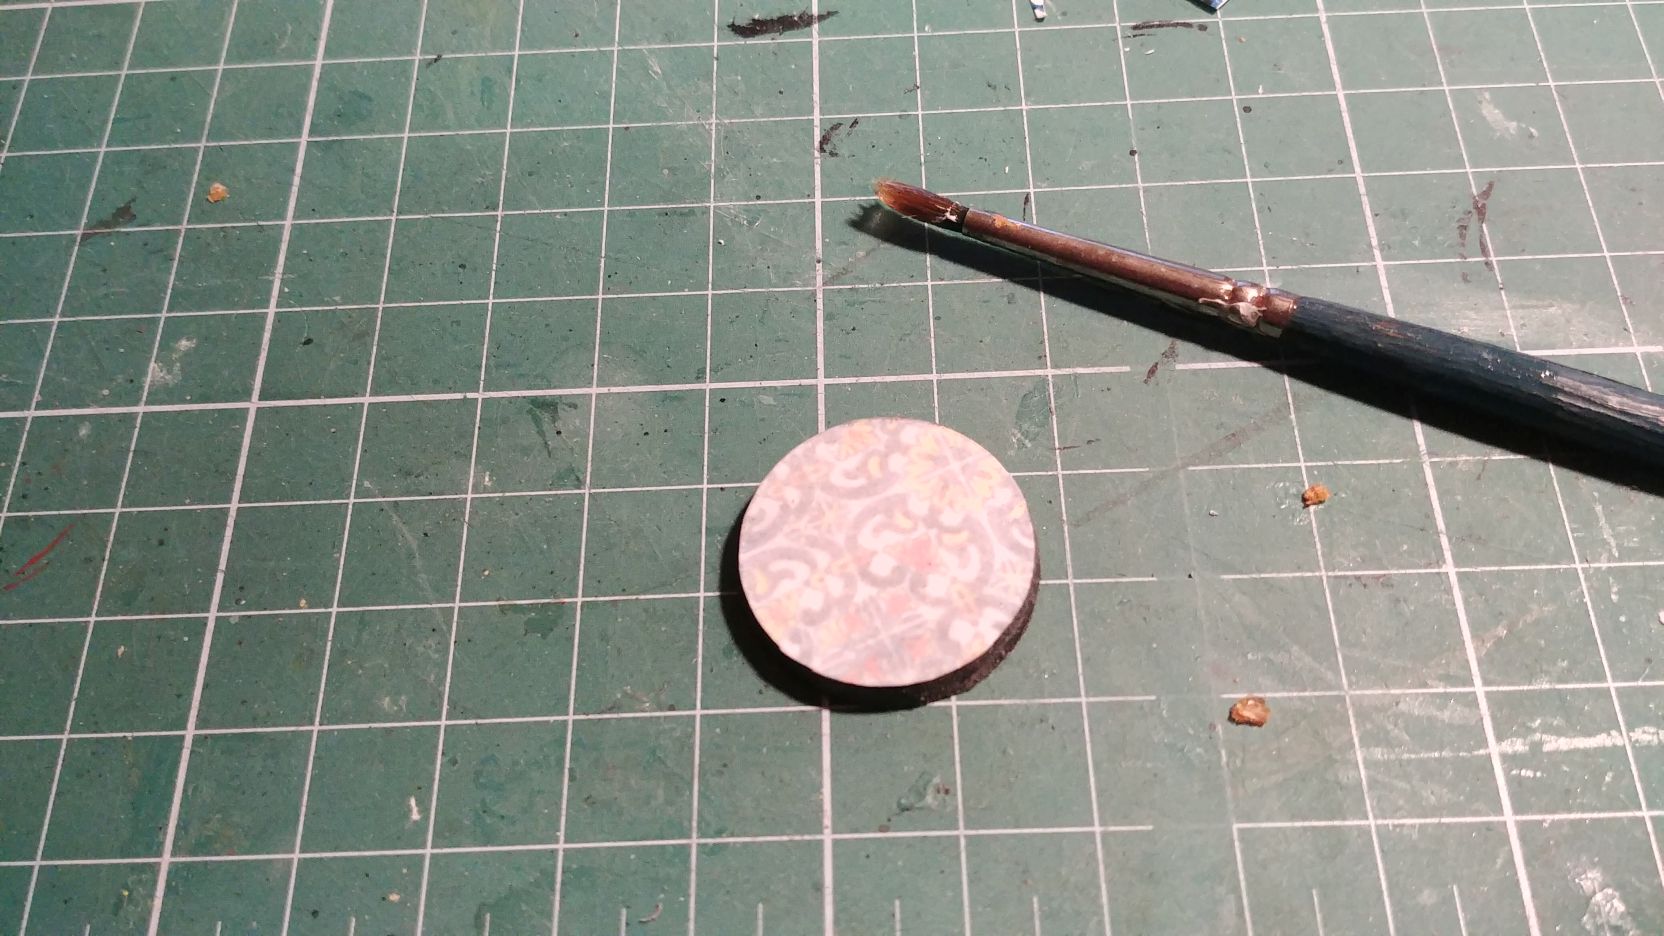
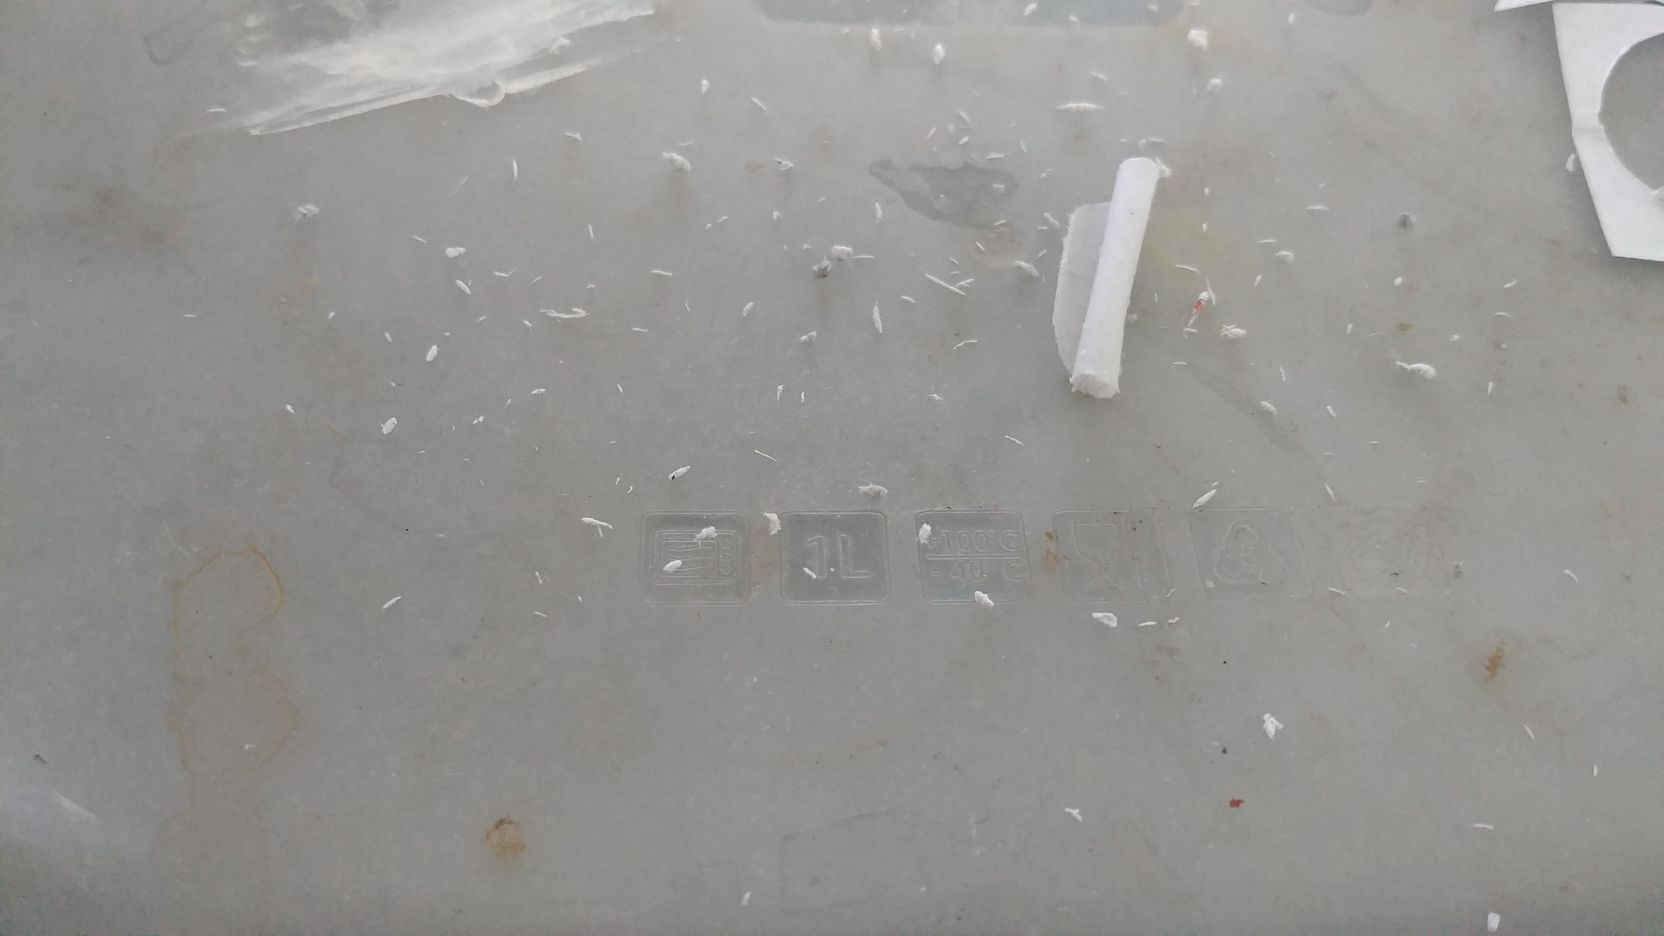
7. Rub top layer off. Now you need to peel off unwanted layer of paper. To do that you need to wet it (I used brush and tap water) and then simply rub of top layer. It won’t be ideal after one peel and don’t try to make it perfect right away because you’ll destroy the print. Instead, dry the base and after it is completely dry moist your thumb and rub again (moist, not wet). Repeat the operation until you’re happy with the result, but remember that the transfer is fragile, use caution and be delicate (this requires a bit of practice).

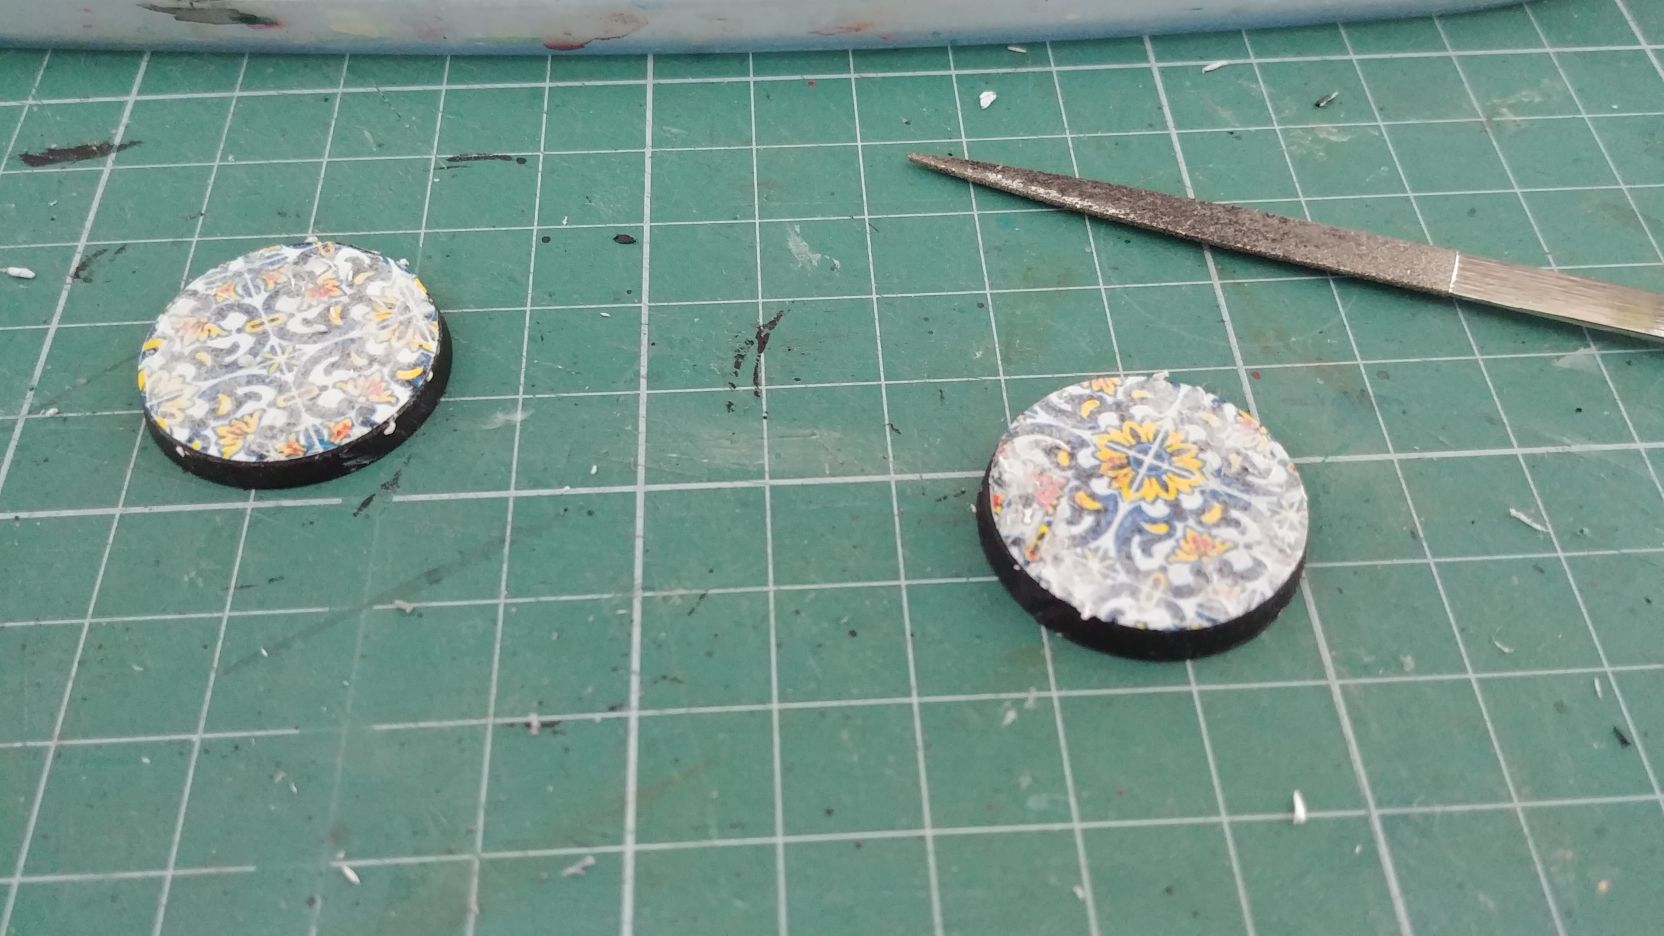
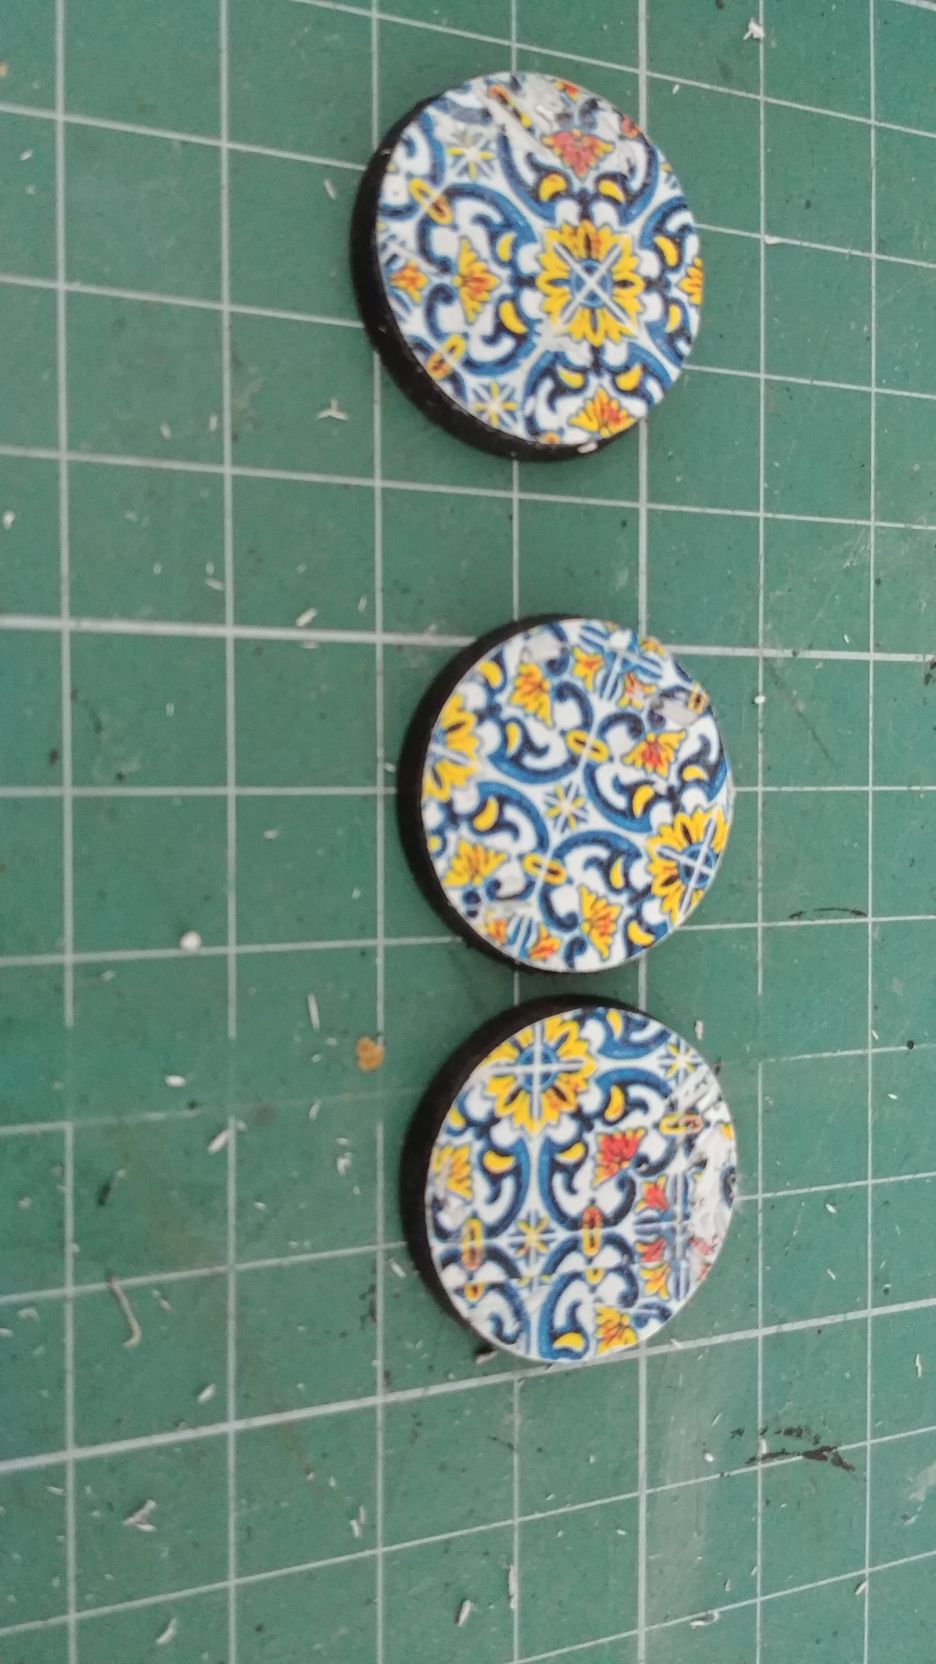
8. Finish. To finish my bases I used transparent glossy ModPodge, it fitted my theme, but on other occasions I also used mat varnish and it worked as good as ModPodge.

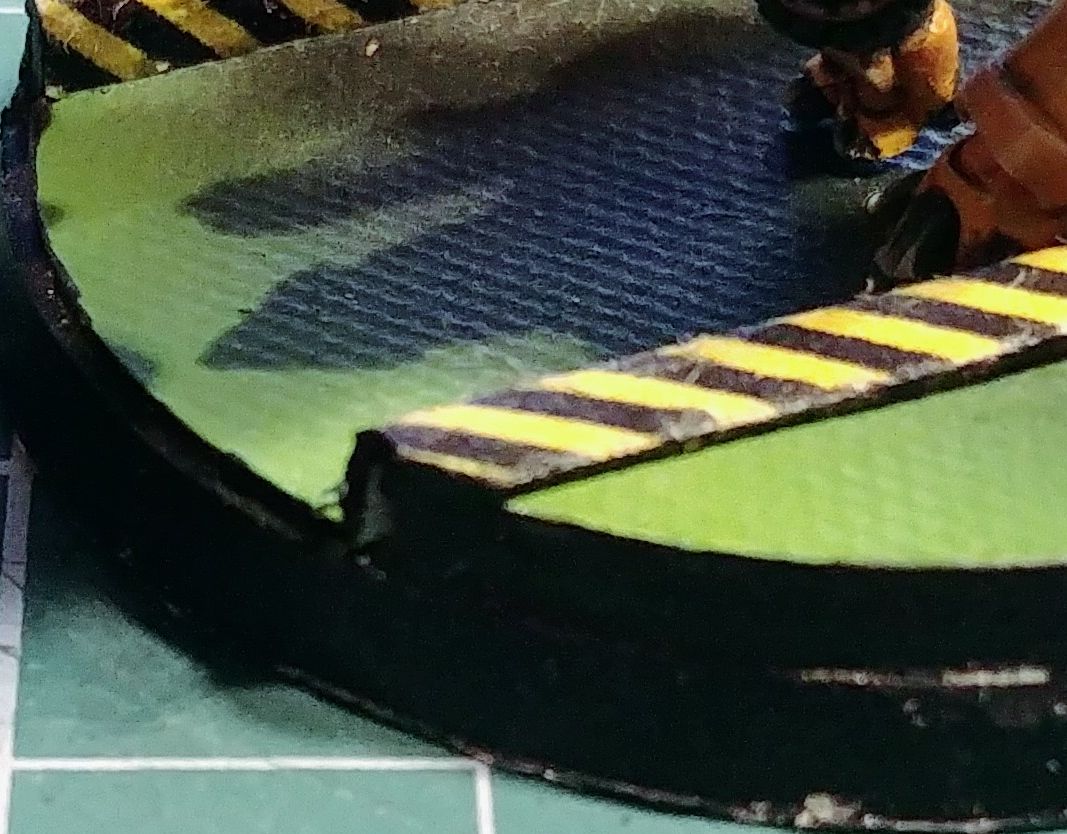
Other uses. Above example is very simple base, but the method can also be used in other applications. You could easily use it to create 2,5D bases (or walls, or floors) applying such transfers to previously cut pieces of HIPS or whatever else.
I also used it on some terrains and diorama. Examples bellow. It has its limitations, and doesn’t compare to waterslide decals if you’d want to use it on actual miniature, but on the other hand it is much cheaper than decals and has white background which is very hard to achieve on home printed decals.
Time for something bigger
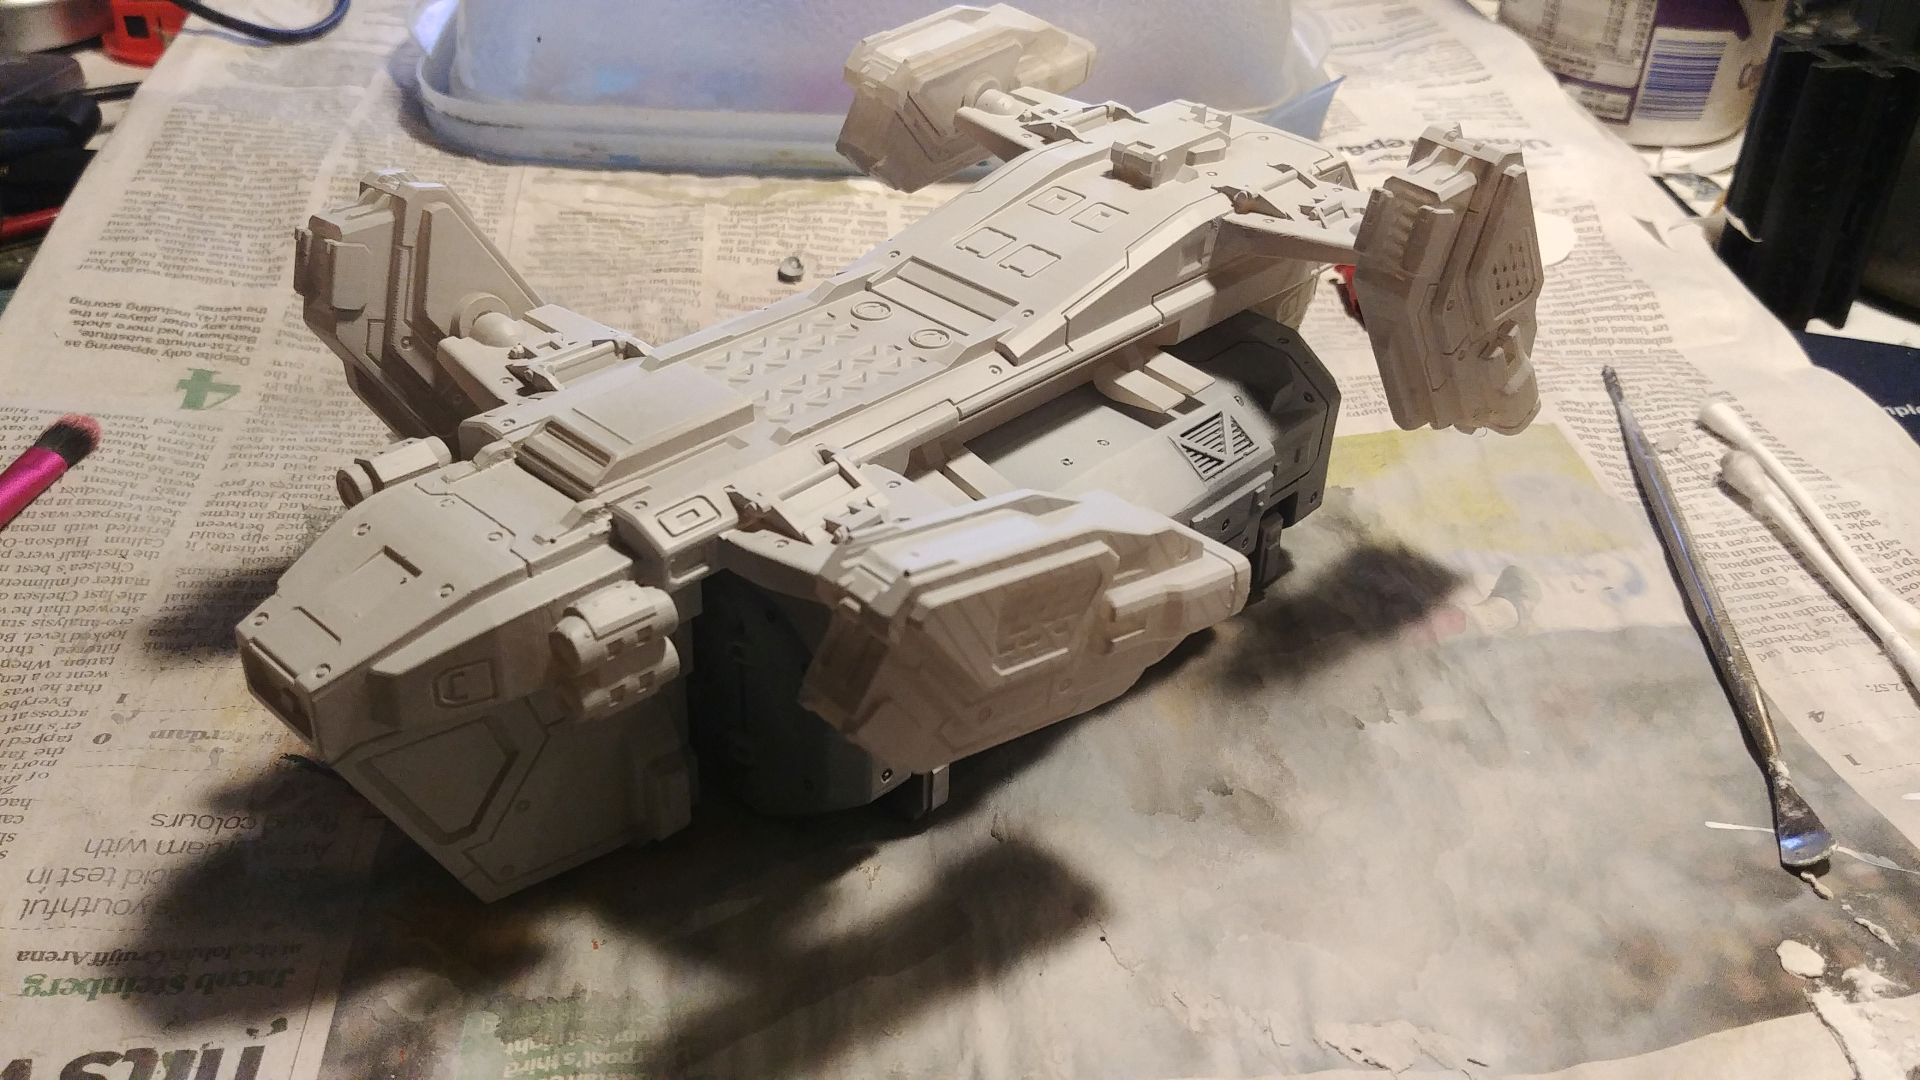
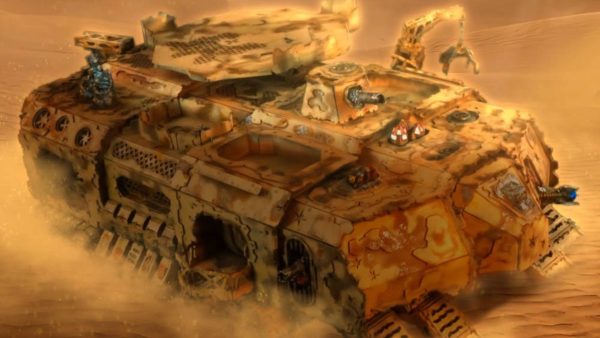
Yesterday I started a bigger project. This is Hercules, a craft from latest AW kicstarter (same as the recent drone). I printed all the parts on Elegoo Mars and covered with Vallejo’s light grey polyurethane primer. This needs couple of days to properly set, so next steps will come no earlier than next week.
The real A-Team!
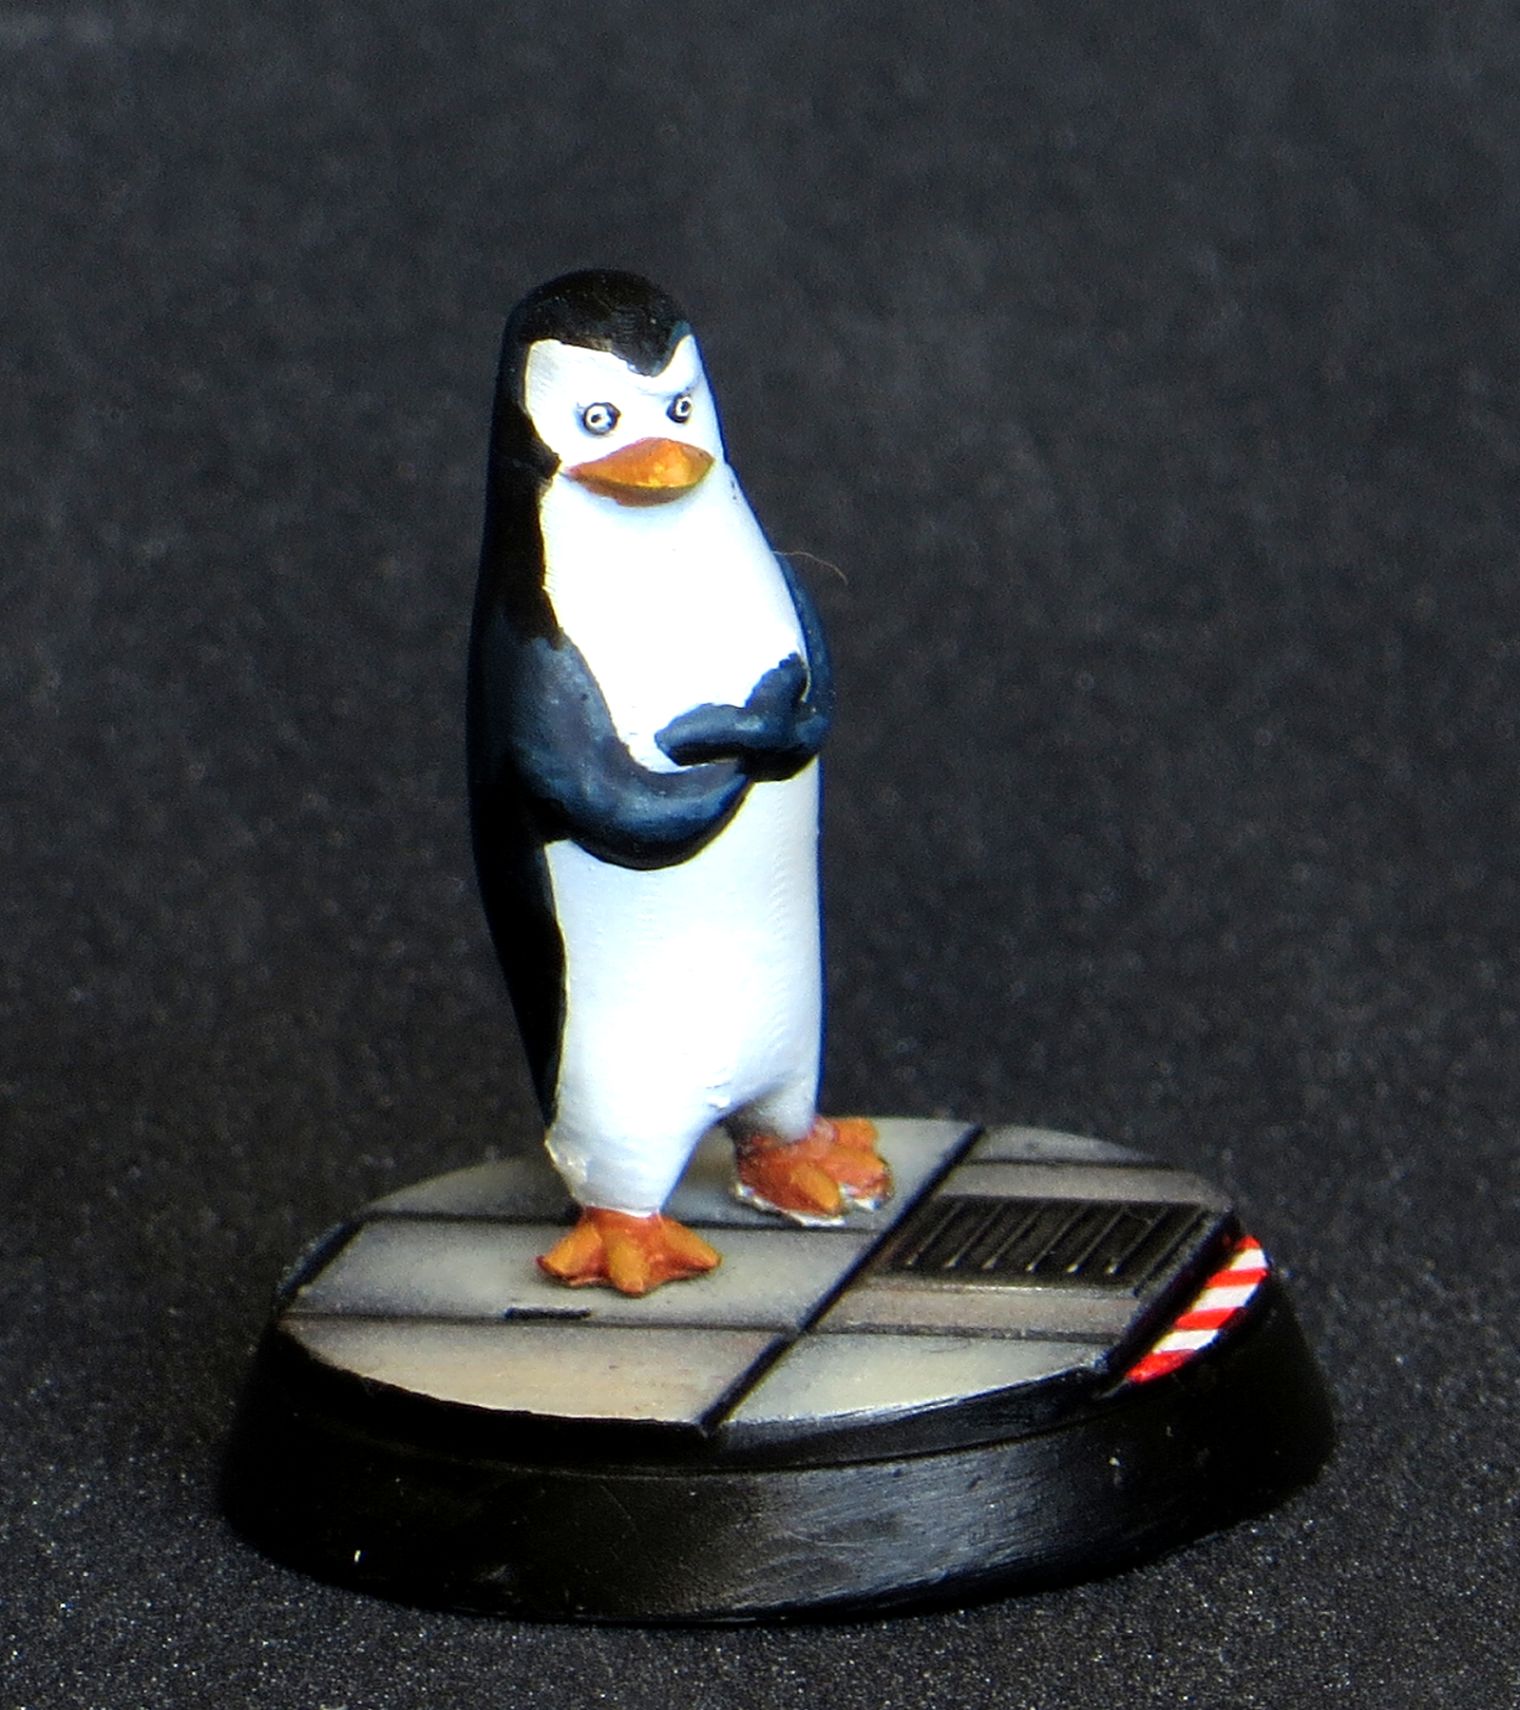
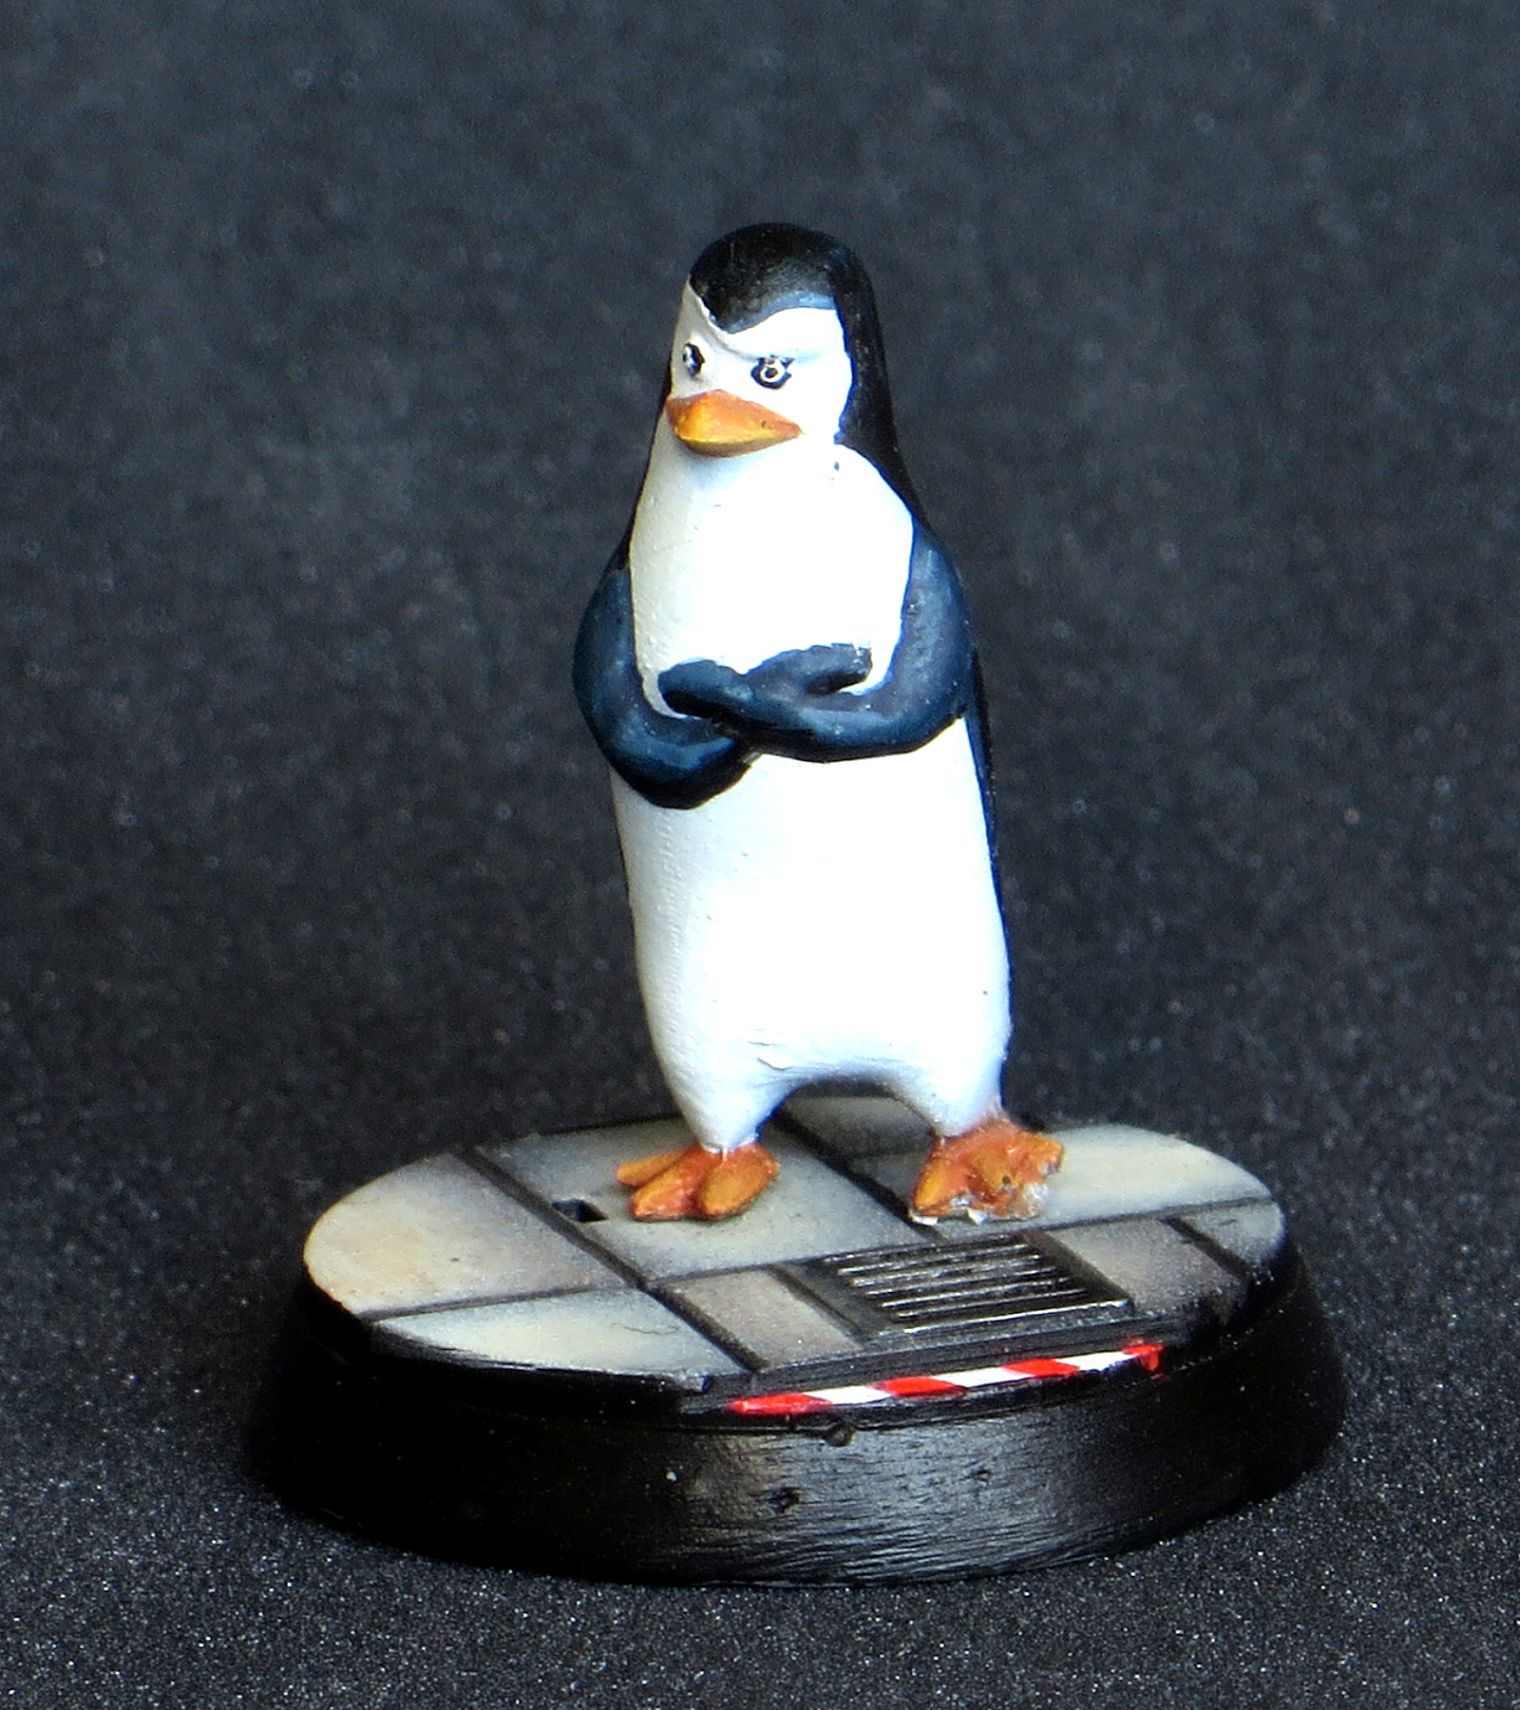
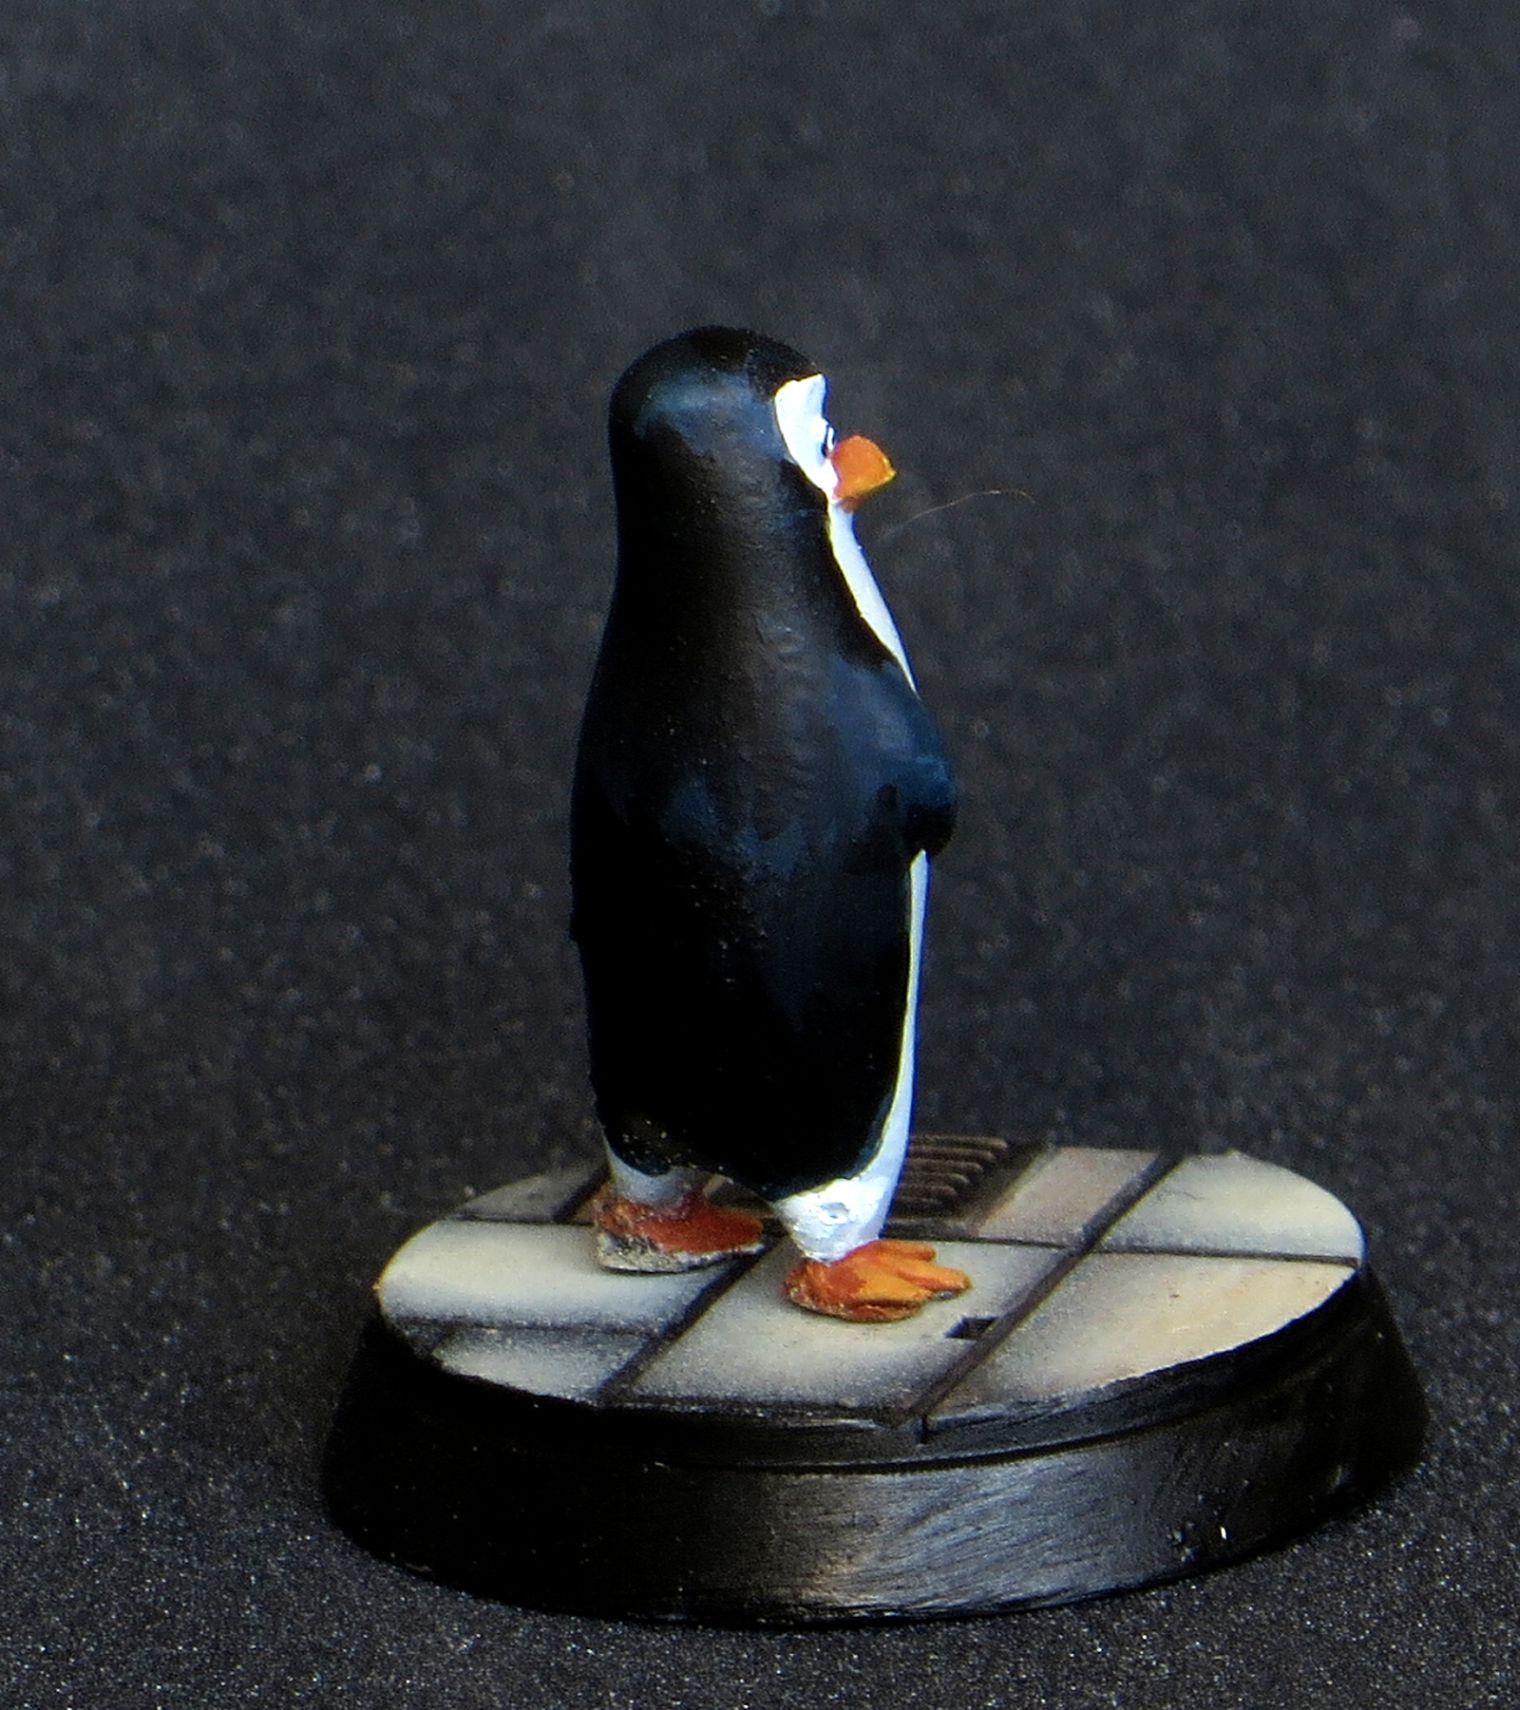
Meet crucial member of the most hilarious bunch in cartoon history, Kowalski the Penguin (presumably from Madagascar). I 3d printed all gang, and will paint the rest soon. I may sometime use them as mad-traps in Infinity as more and more YJ profiles get that perimeter weapon option, or just put those sweet birds on my shelf.

![Sneak About With Star Wars: Legion’s Guerilla Troopers & More [UPDATED]](https://images.beastsofwar.com/2026/09/g-troops-star-wars-cover-600-338.jpg)