






Let’s make Epic Great again



Recommendations: 277
About the Project
Here is a little project for my journey to NetEpic Palladium.
Related Game: Warhammer 40,000
Related Genre: Science Fiction
This Project is Active
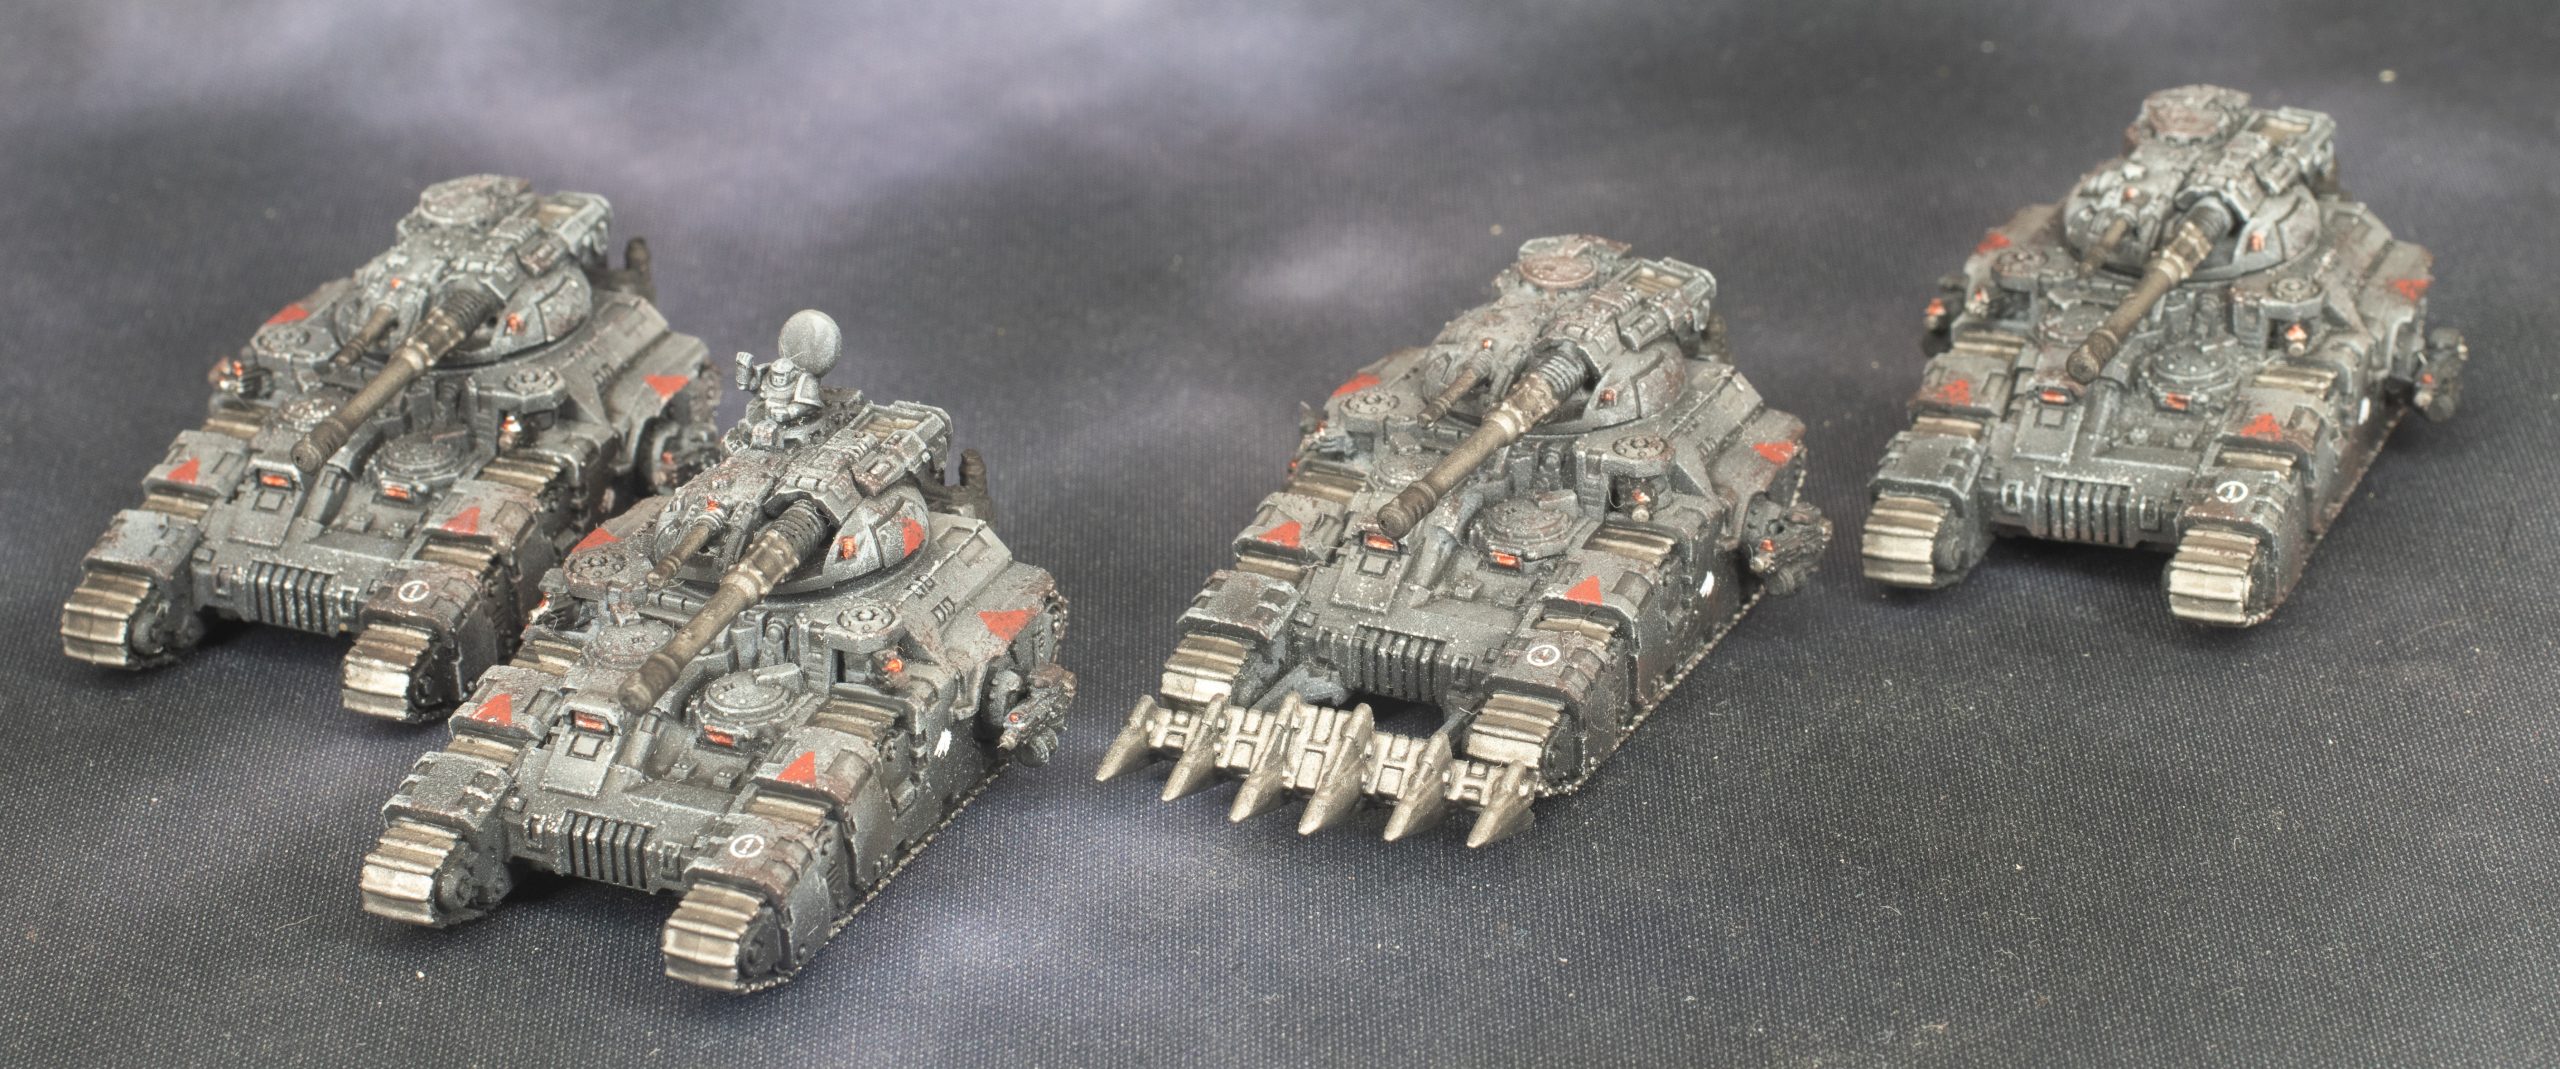
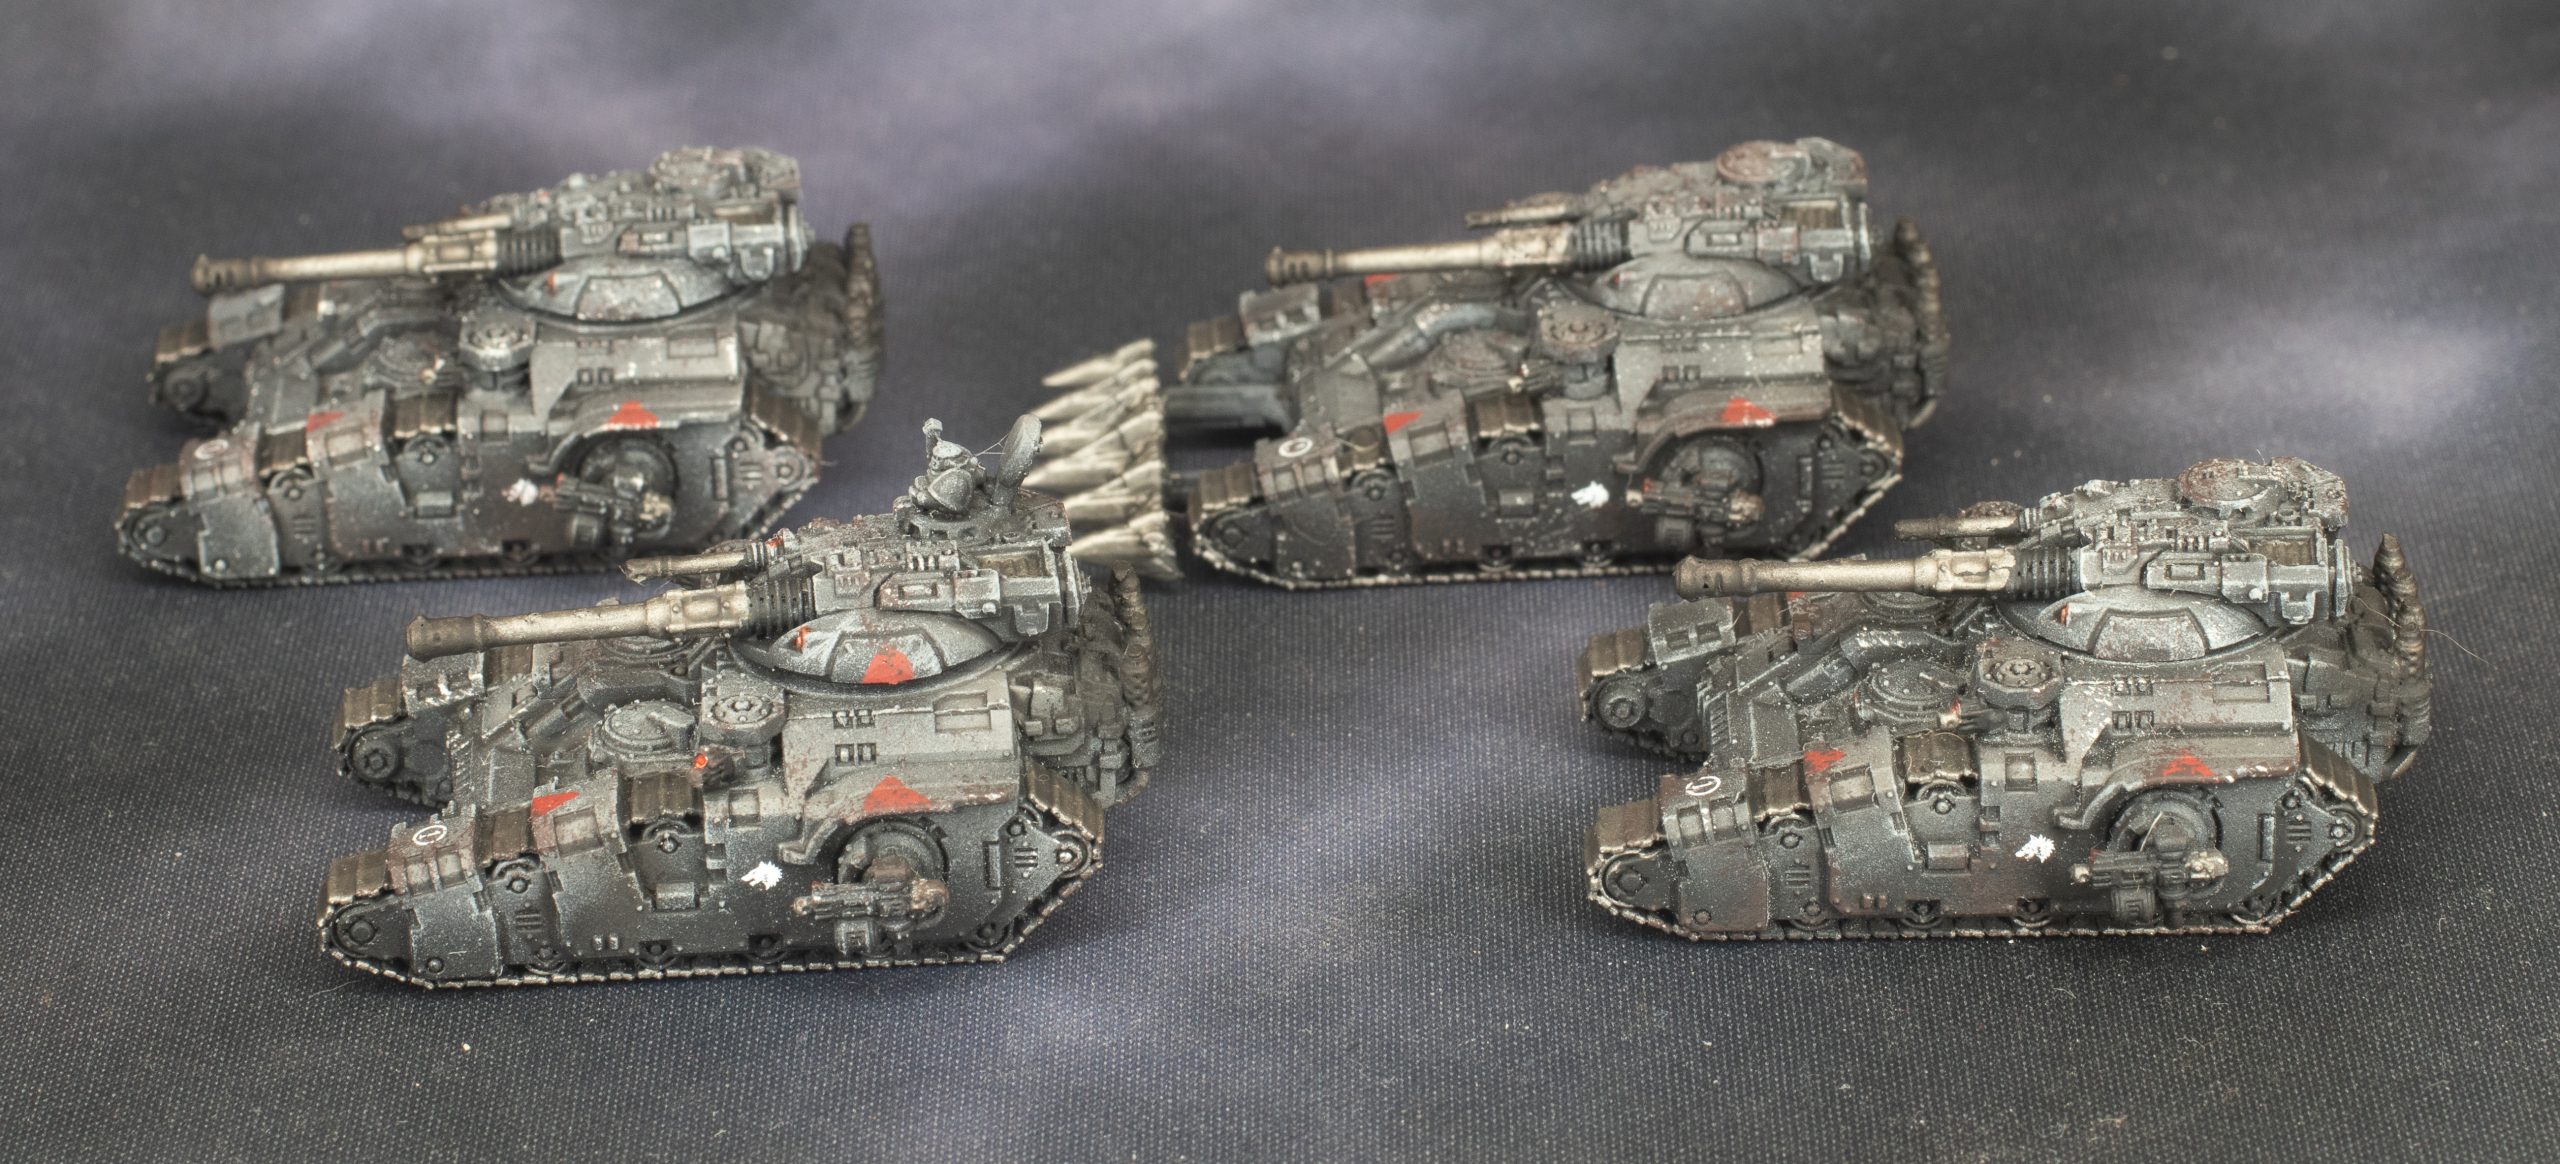
Here comes the heavy tanks....
So I had to do some kratos so I could have a legal Space Marine tank company. here they are!
For the next vehicules I will switch the order of painting to make it better:
black undercoat
The army painter Matt Grey Zenith Highlight
GW Contrast Basilicum grey mixed 50/50 with medium overall wash
Black on futur metal (and bolt gun bodies)
GW administratum grey light drybrush
Leadbkecher on metal parts (guns, tracks, exhausts)
nuln oil wash on metal parts
Mephiston red for logo
Gloss varnish (17 psi)
Decals
gloss varnish on decals (with a paint brush it works well for detail work)
Rhinox hide drybrush/stippling for weathering
runefang steel drybrush stippling for weathering
black pigments (gun ends and exhausts)
overall matt varnish (17 psi)
Vallejo Metal color Chrome for lenses
Tamiya clear RED X27 on Chrome based lenses
it will make the lenses pop more and the bolters on the vehicules will look better for…. 0 additional work in reality.
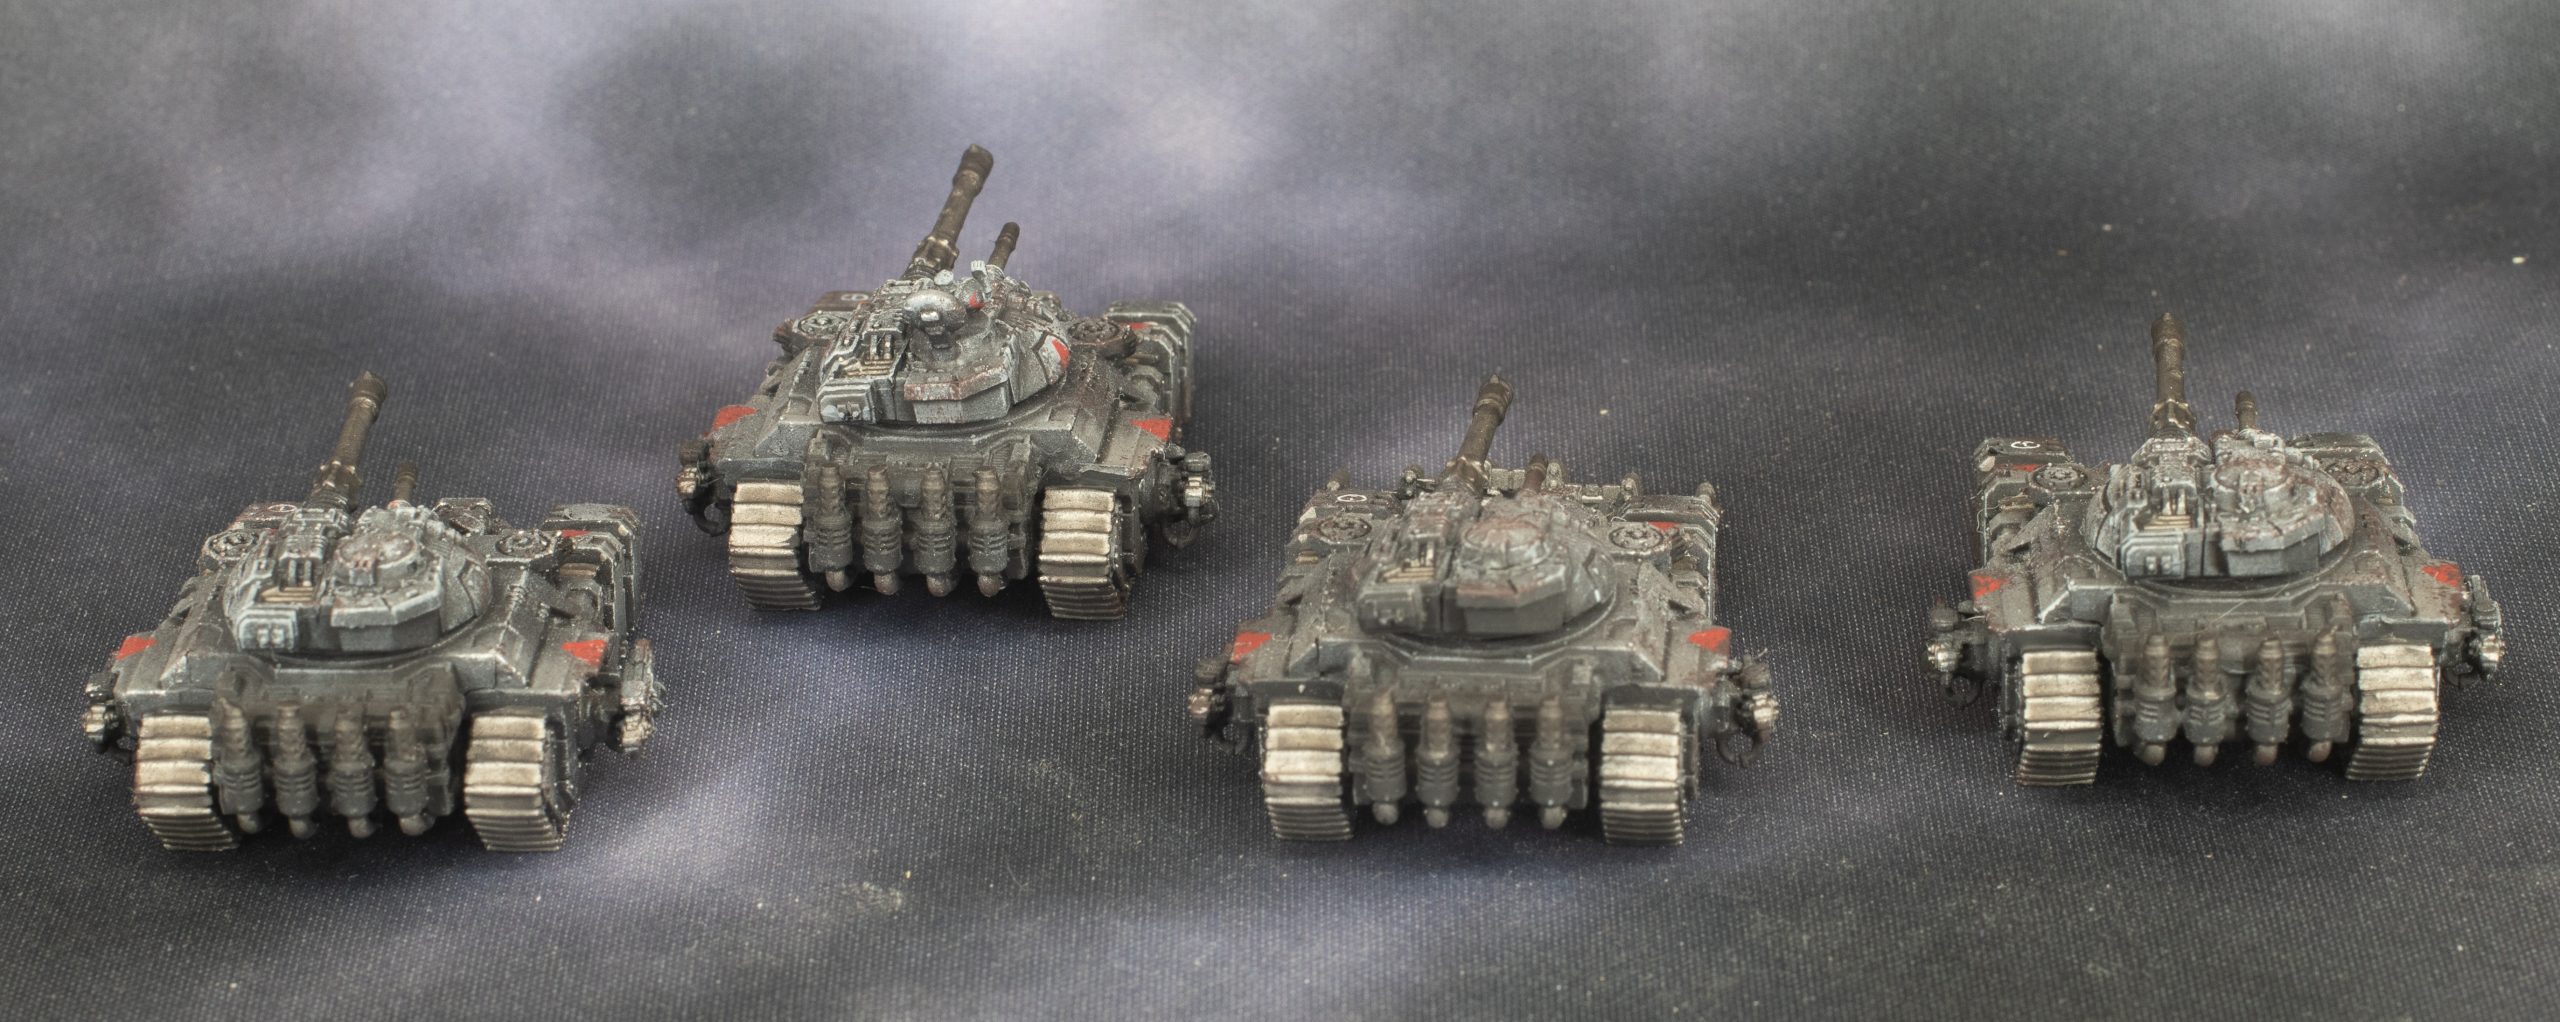 Even if we don't see Lloyd much lately, here is a Lloyd shot ;)
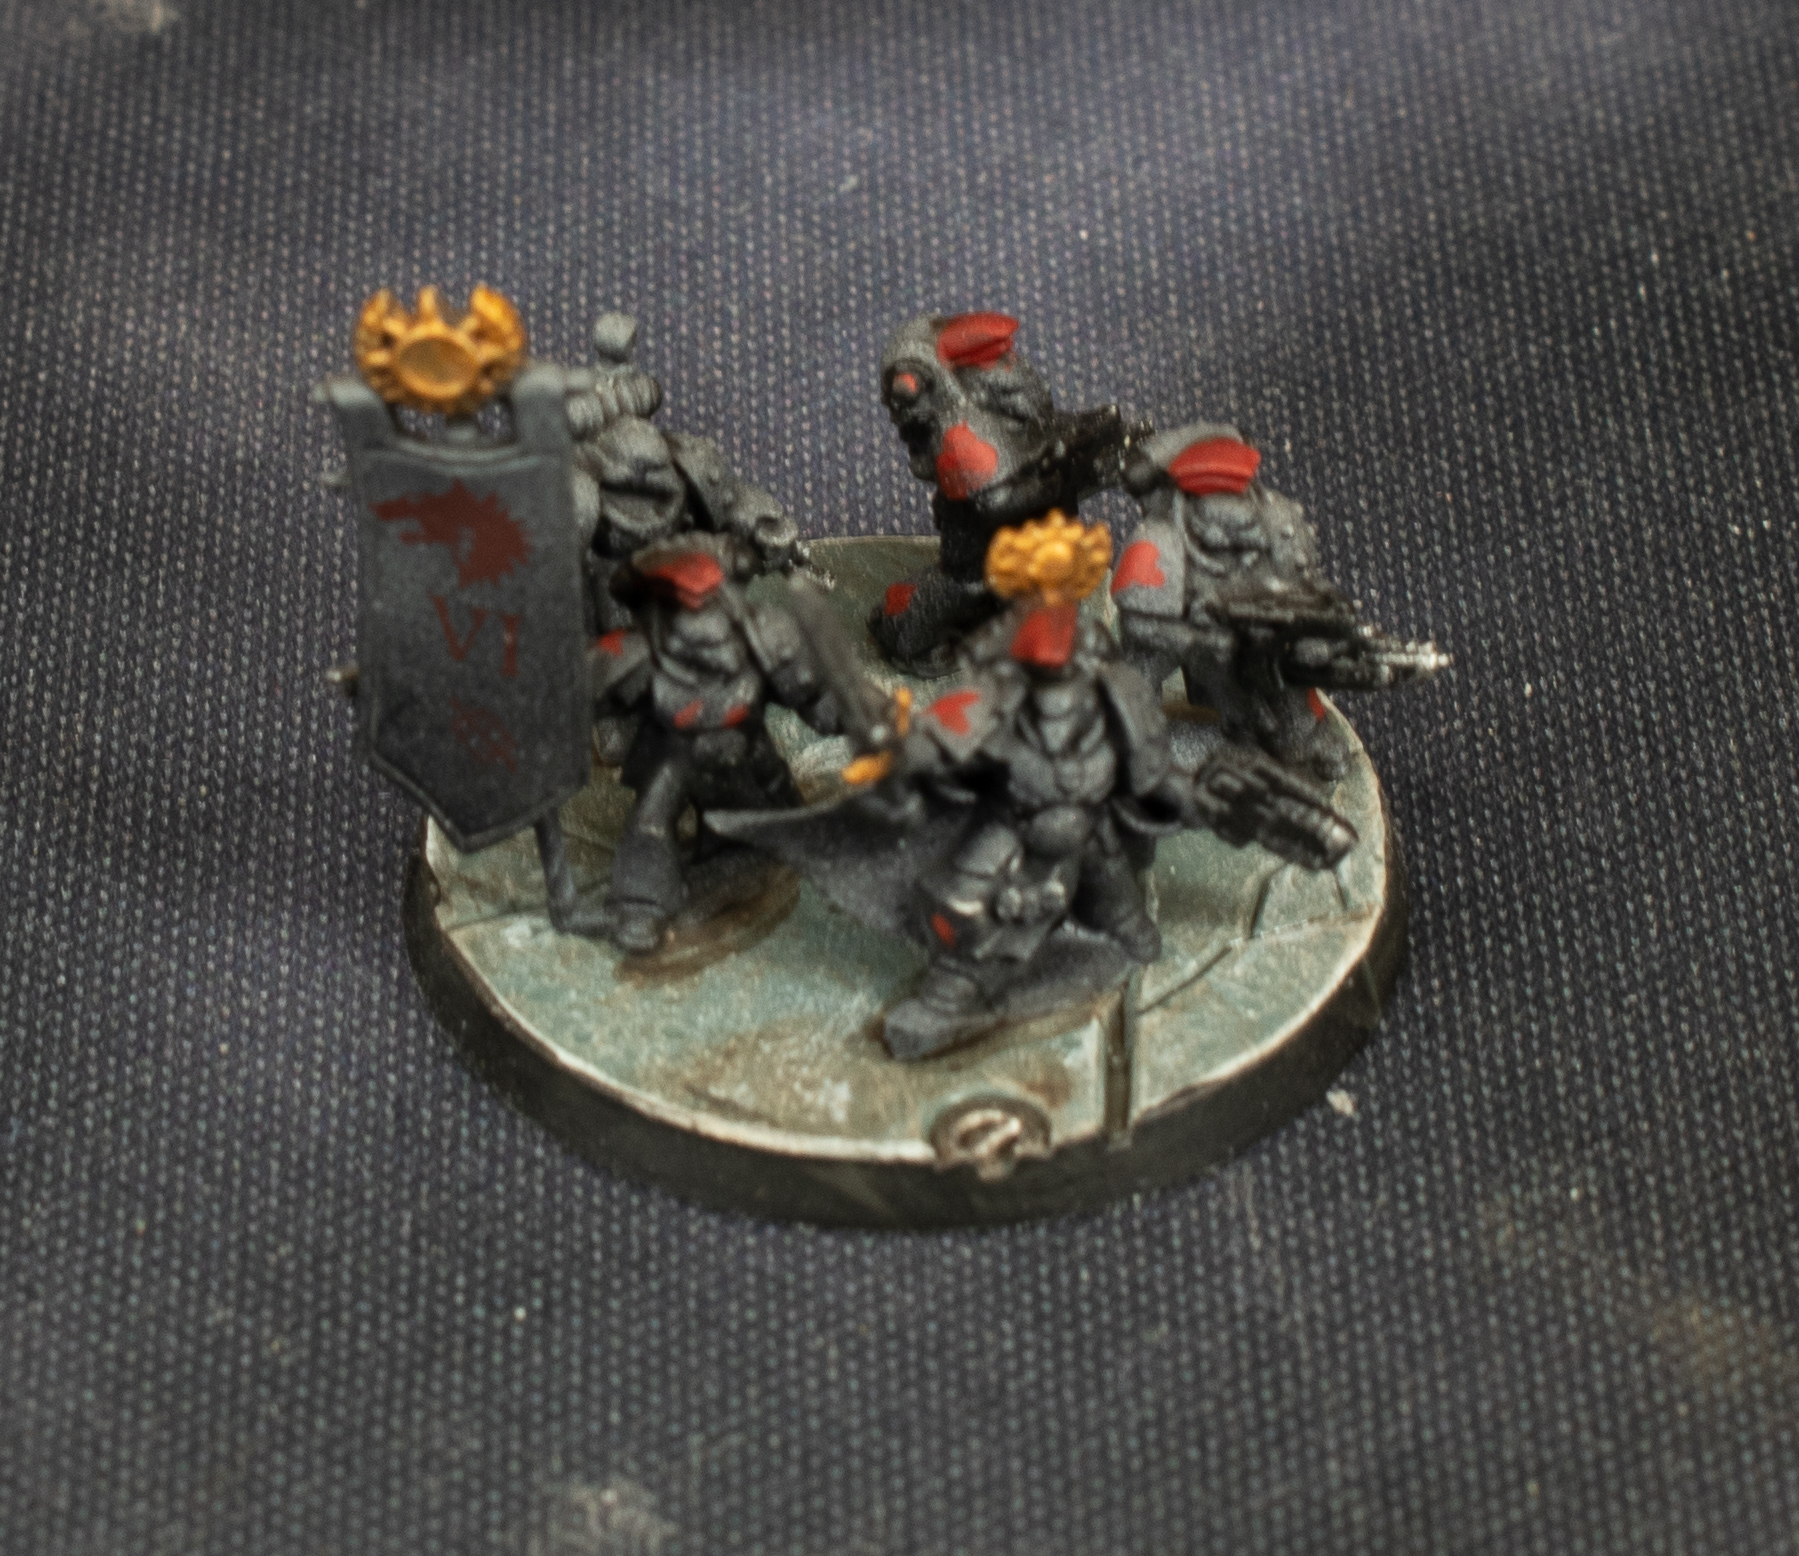
The Demi company command! And a demi company picture
So here is my command, not most happy with it, the decals are a bit too dark and don’t really pop on the banner. but well if I want I can always redo a command, for you have way too many of these models on the sprews.
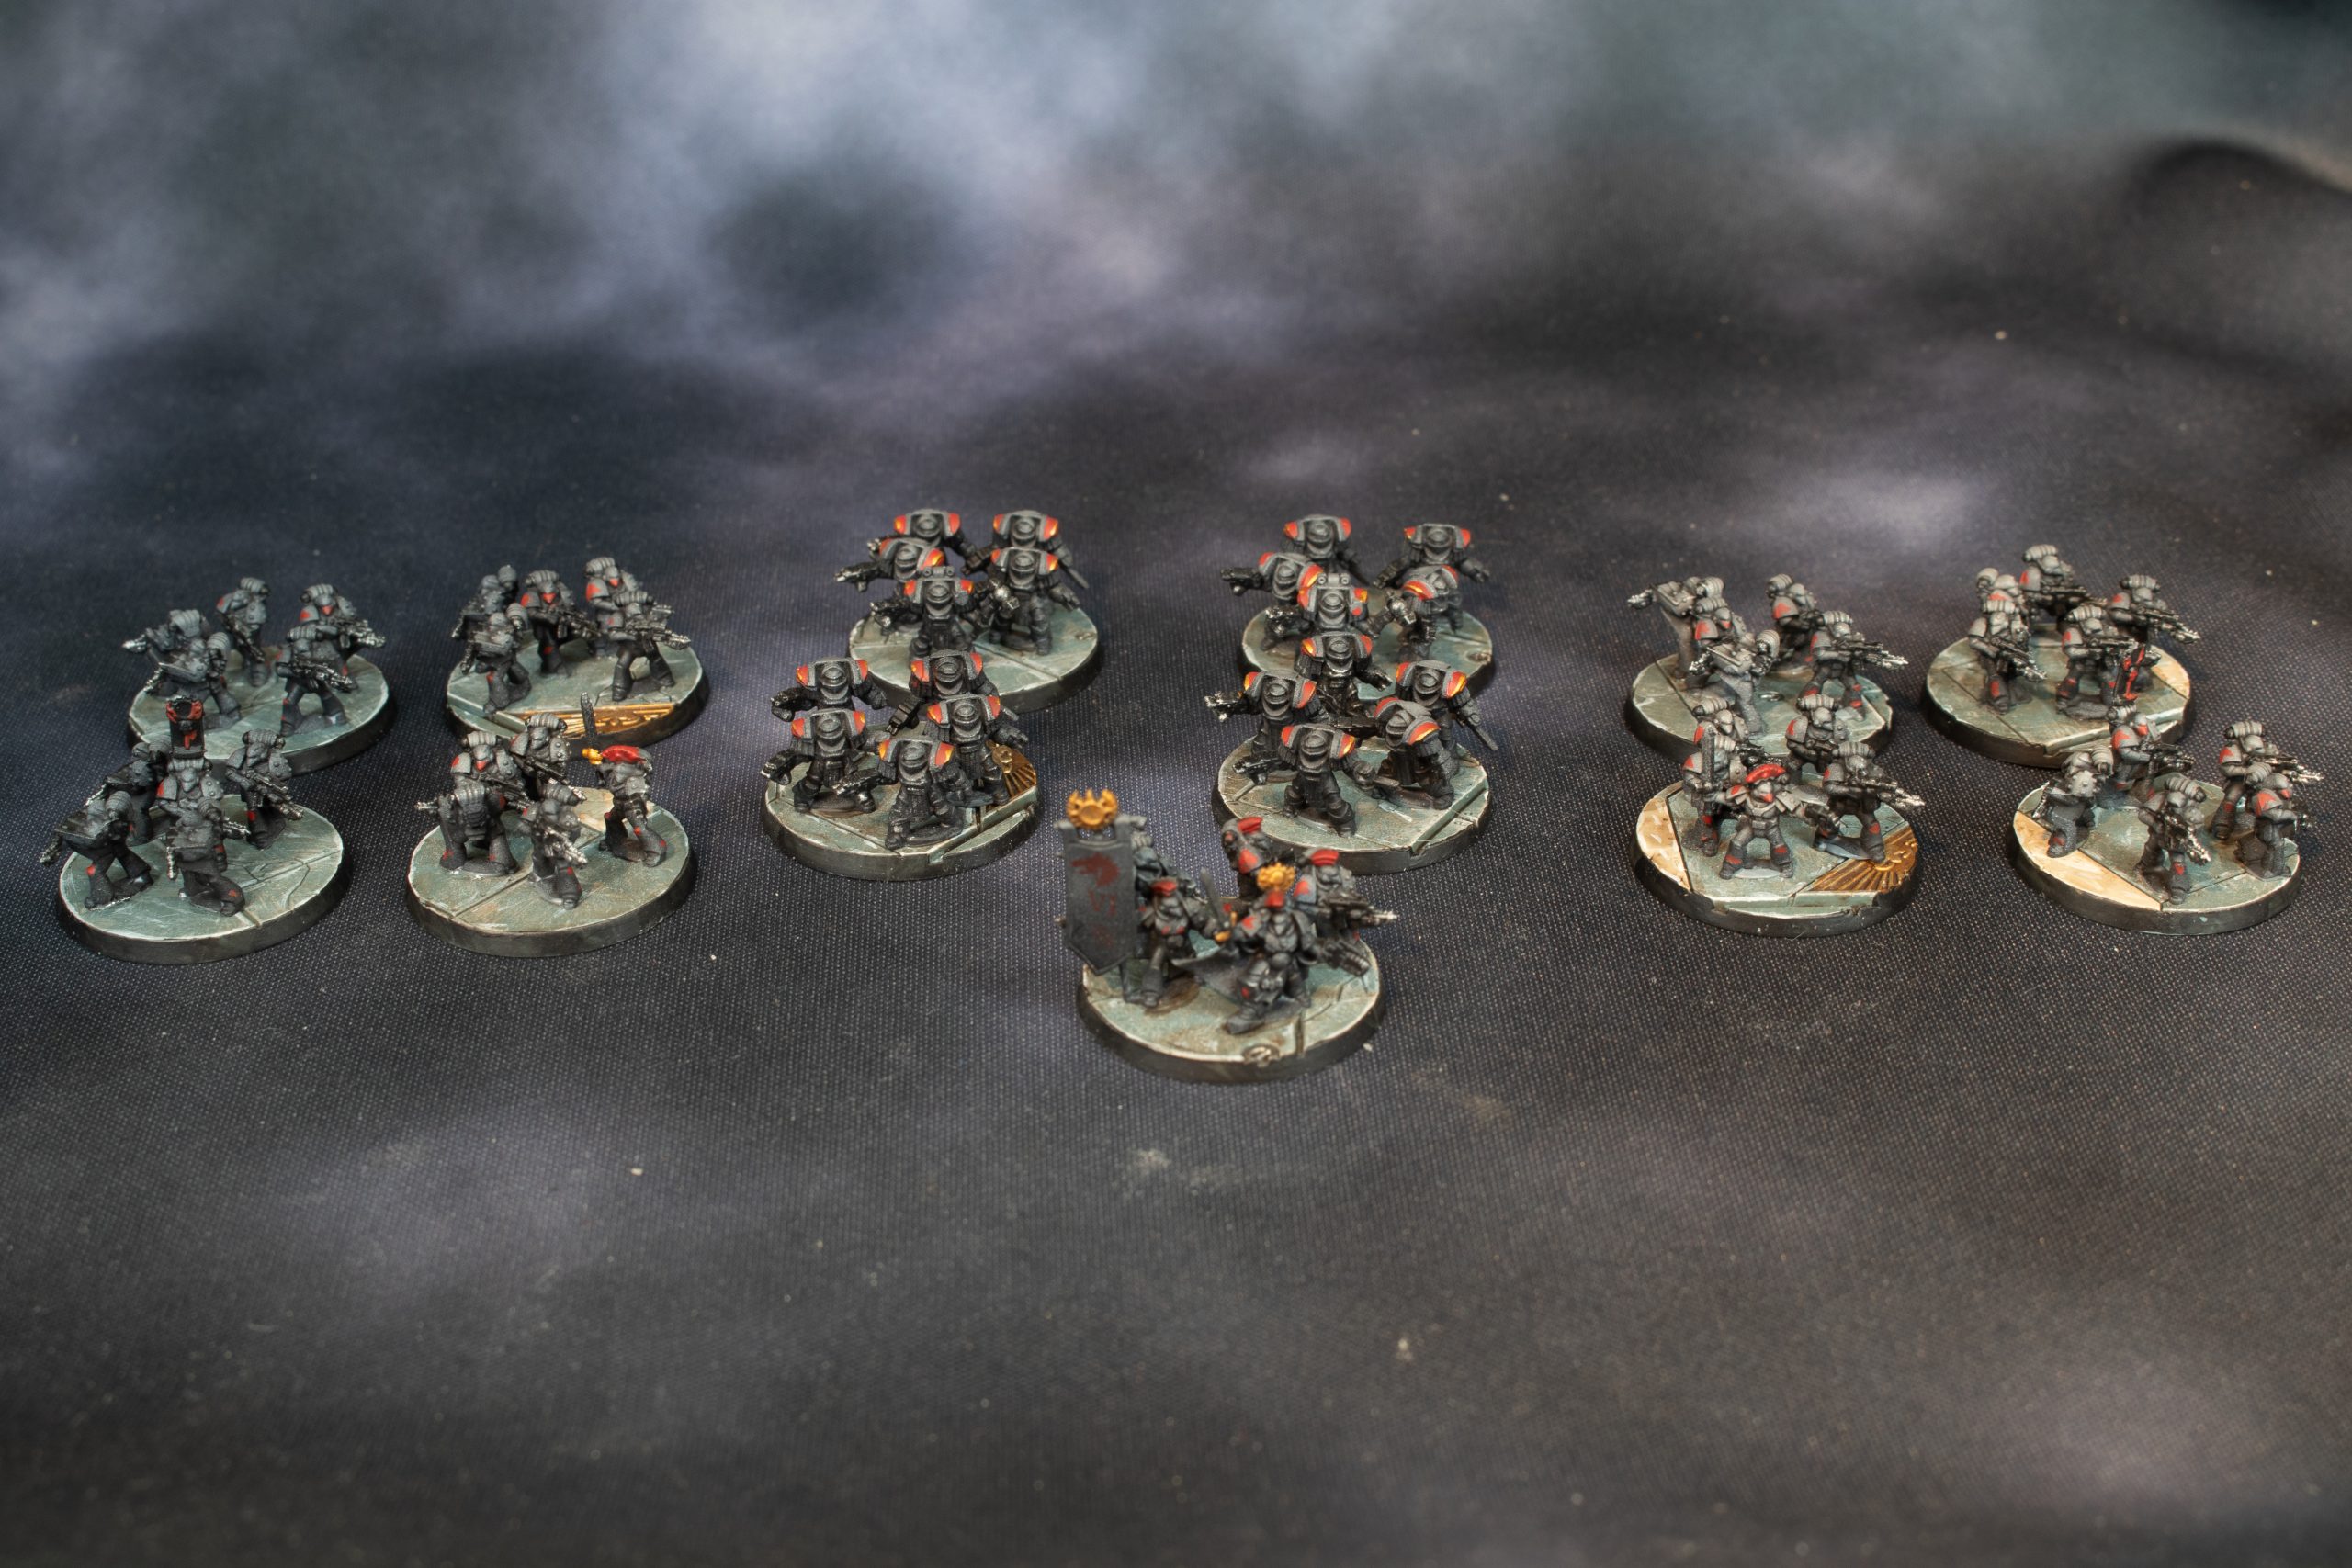
And a picture of the whole demi company. No transport just the basic HQ, two troops and one support.
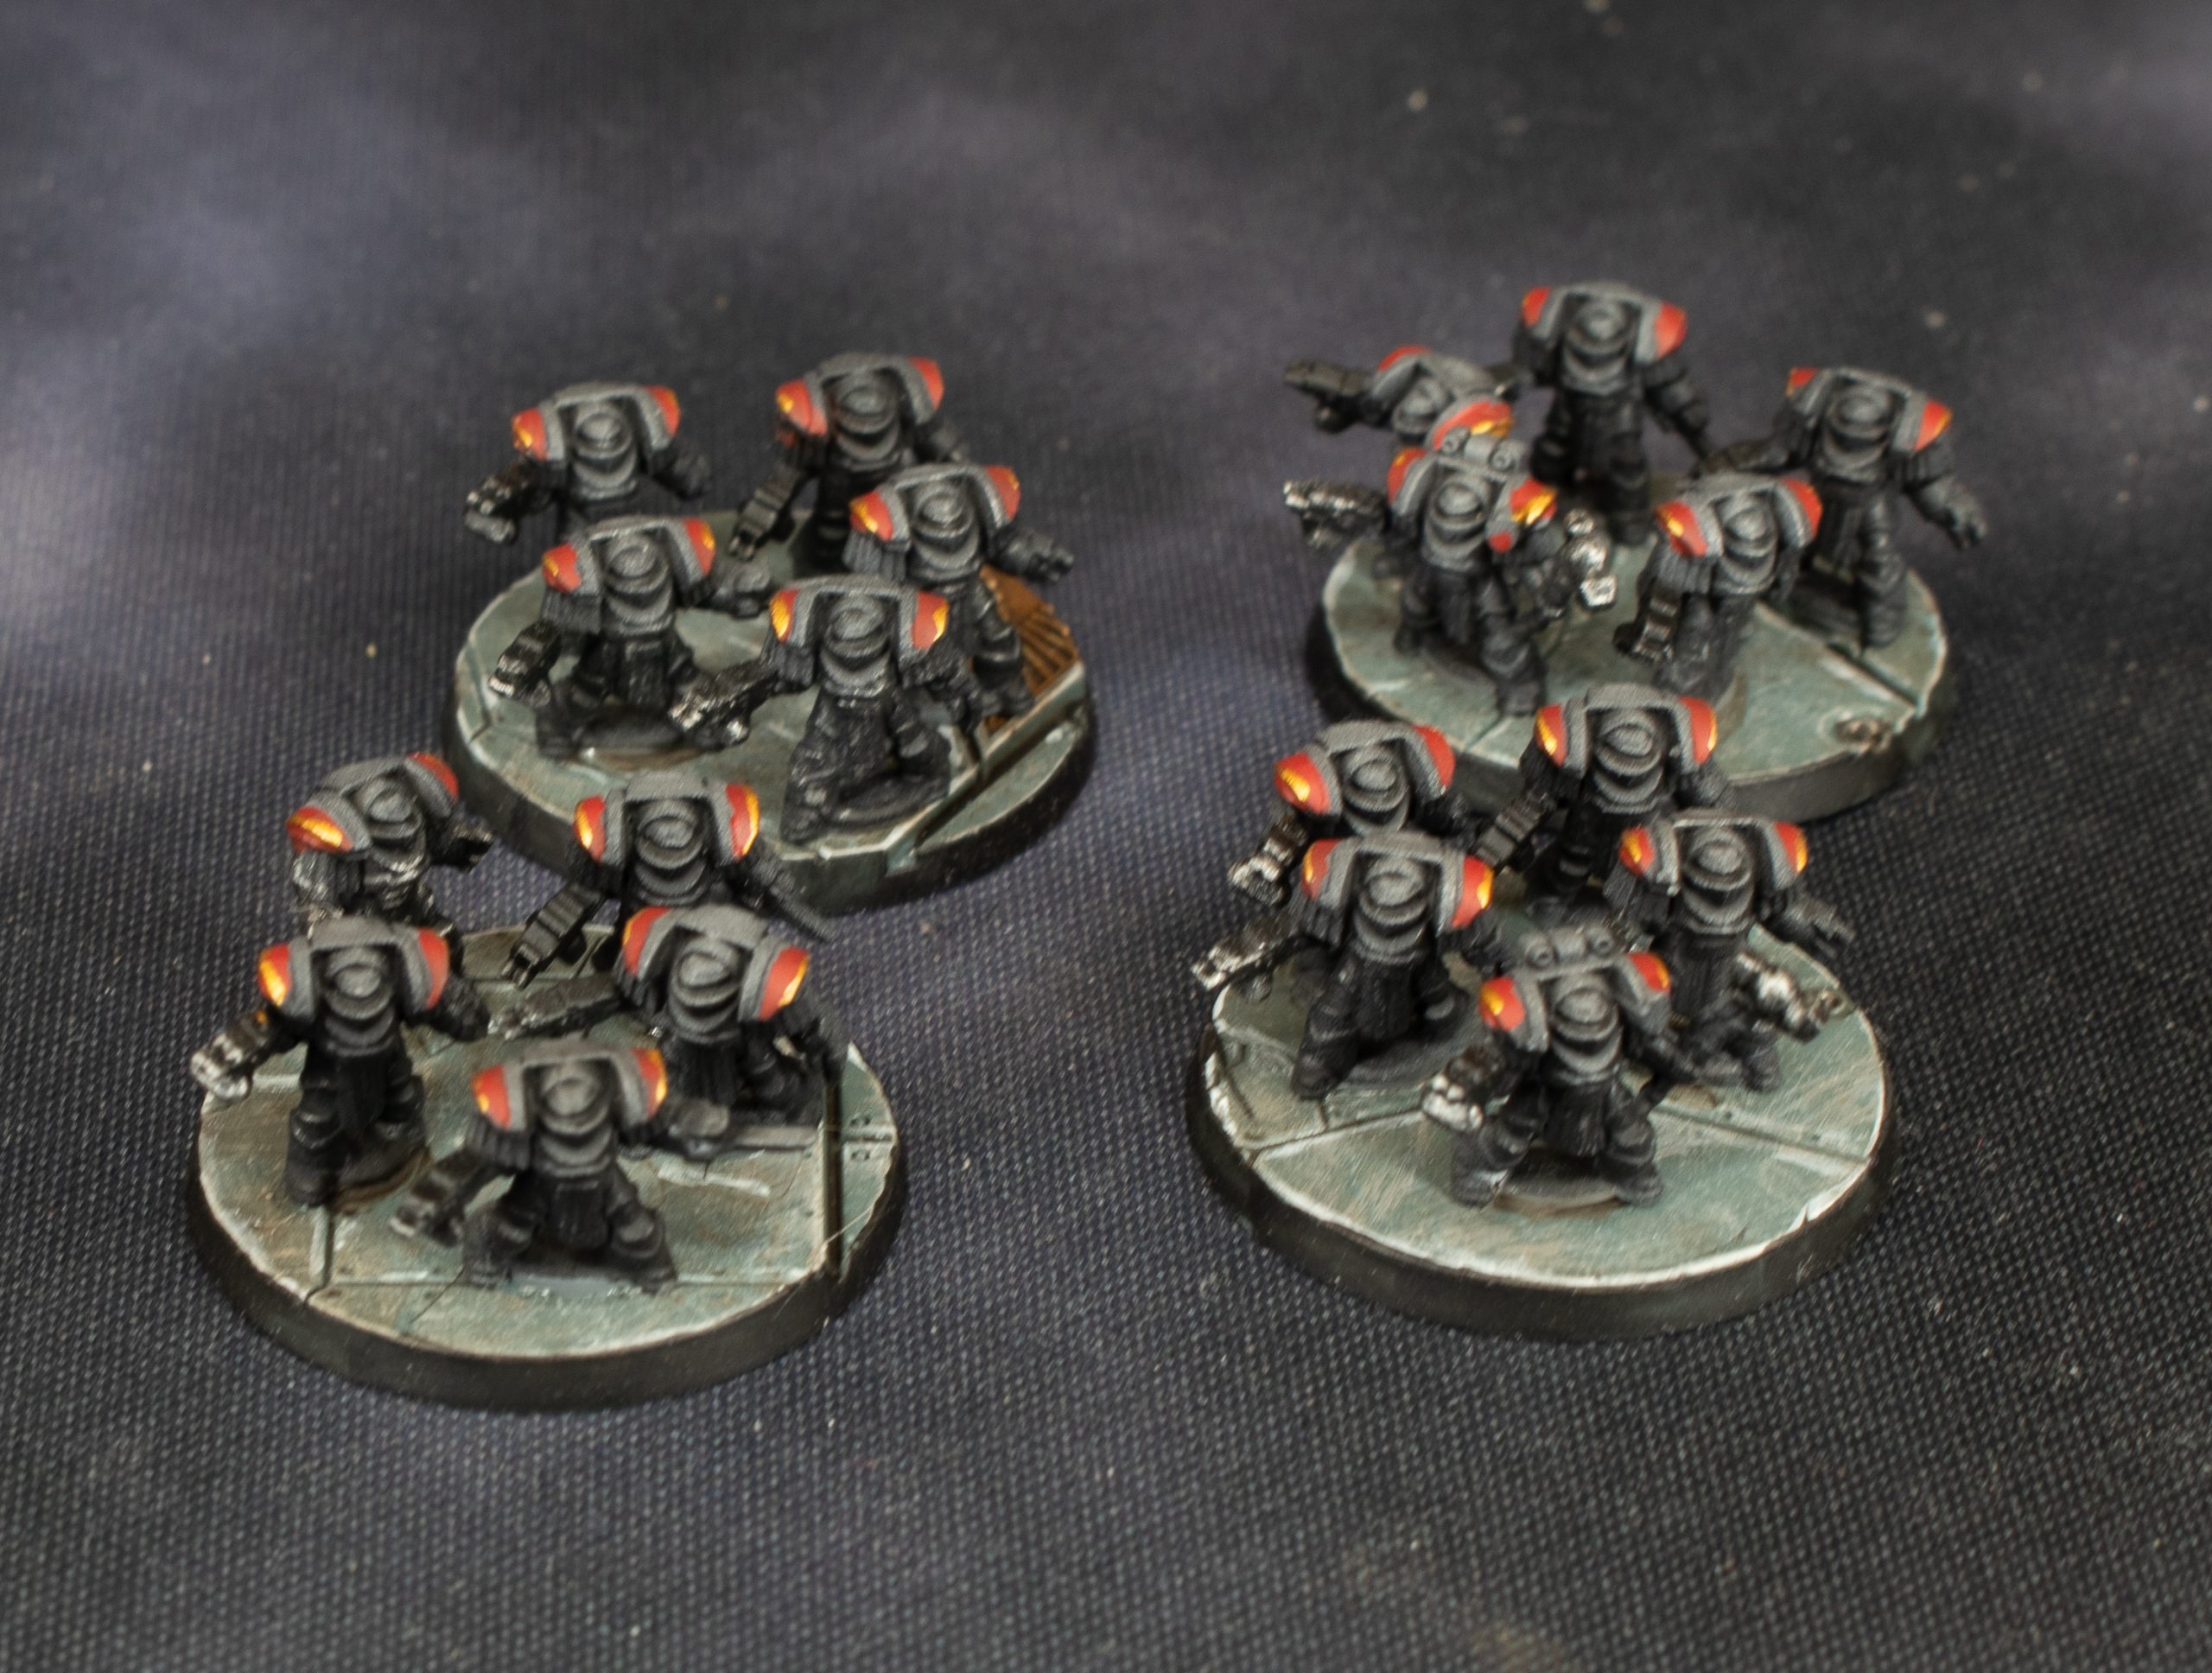
Here comes the terminators
Just finished today these terminators. quite happy with it. the shoulder pads are in GW Mephiston red
the gold is GW Retributor Armor
And the rest is the same as the standard infantry.
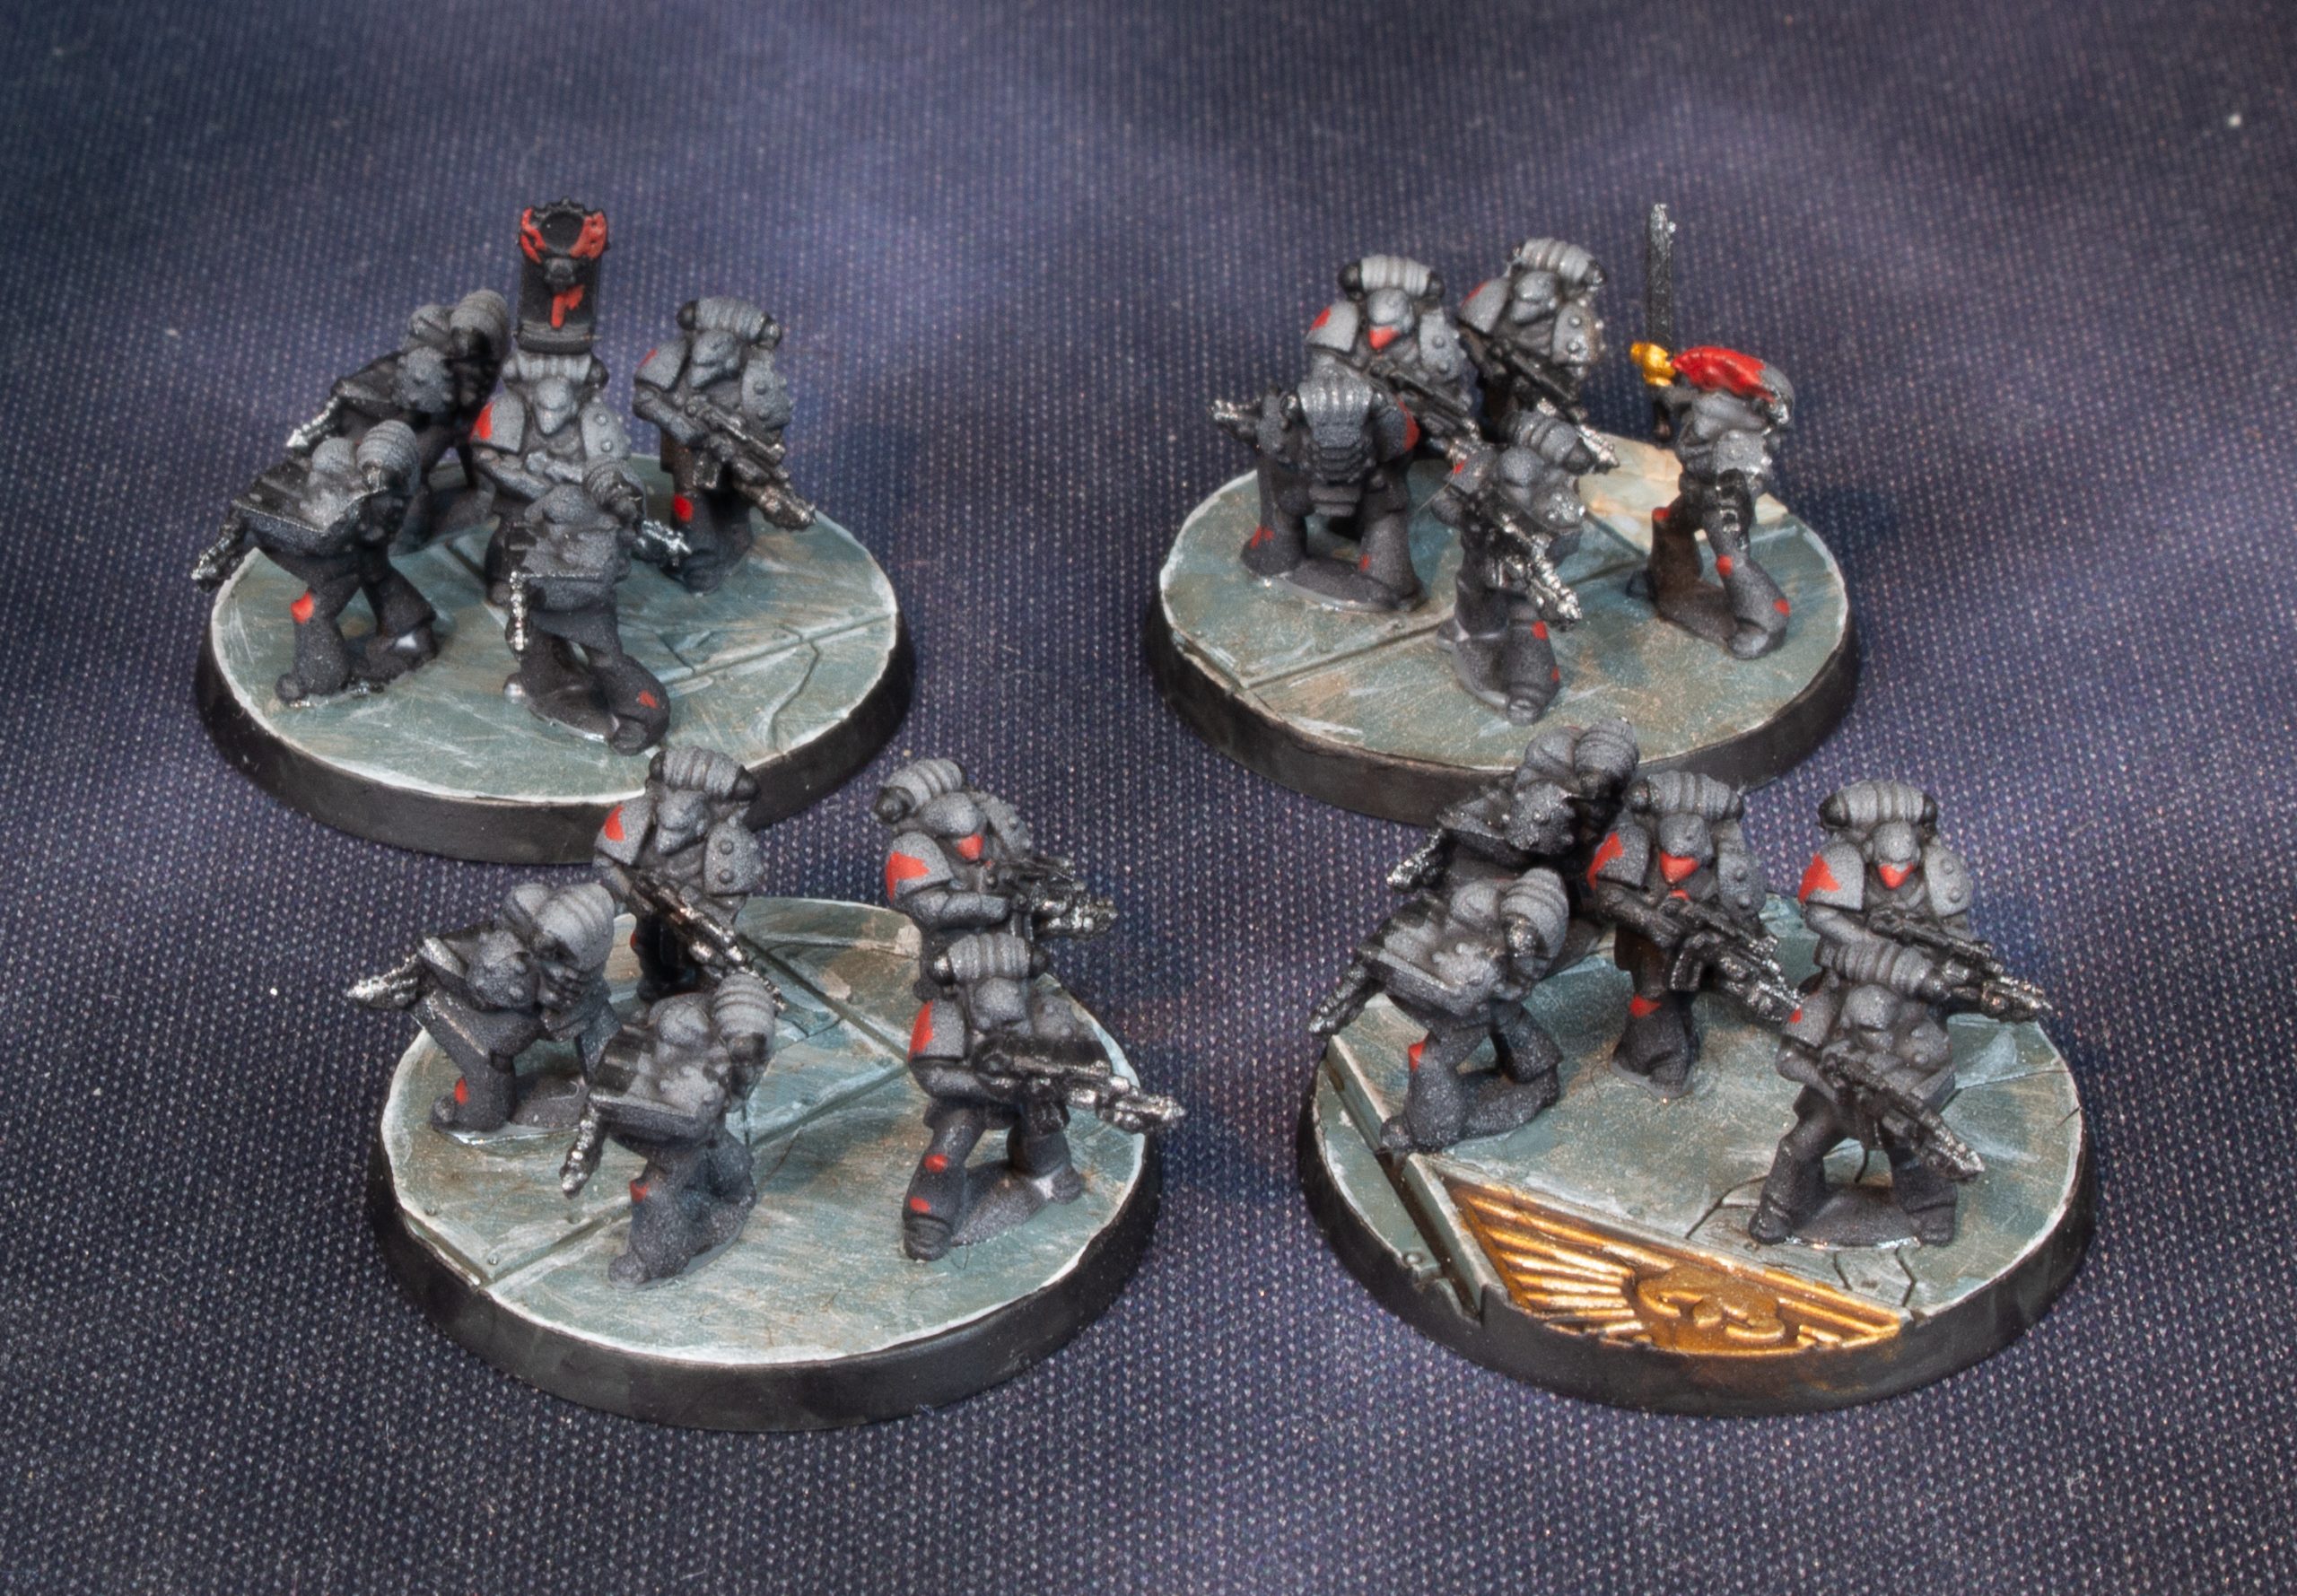
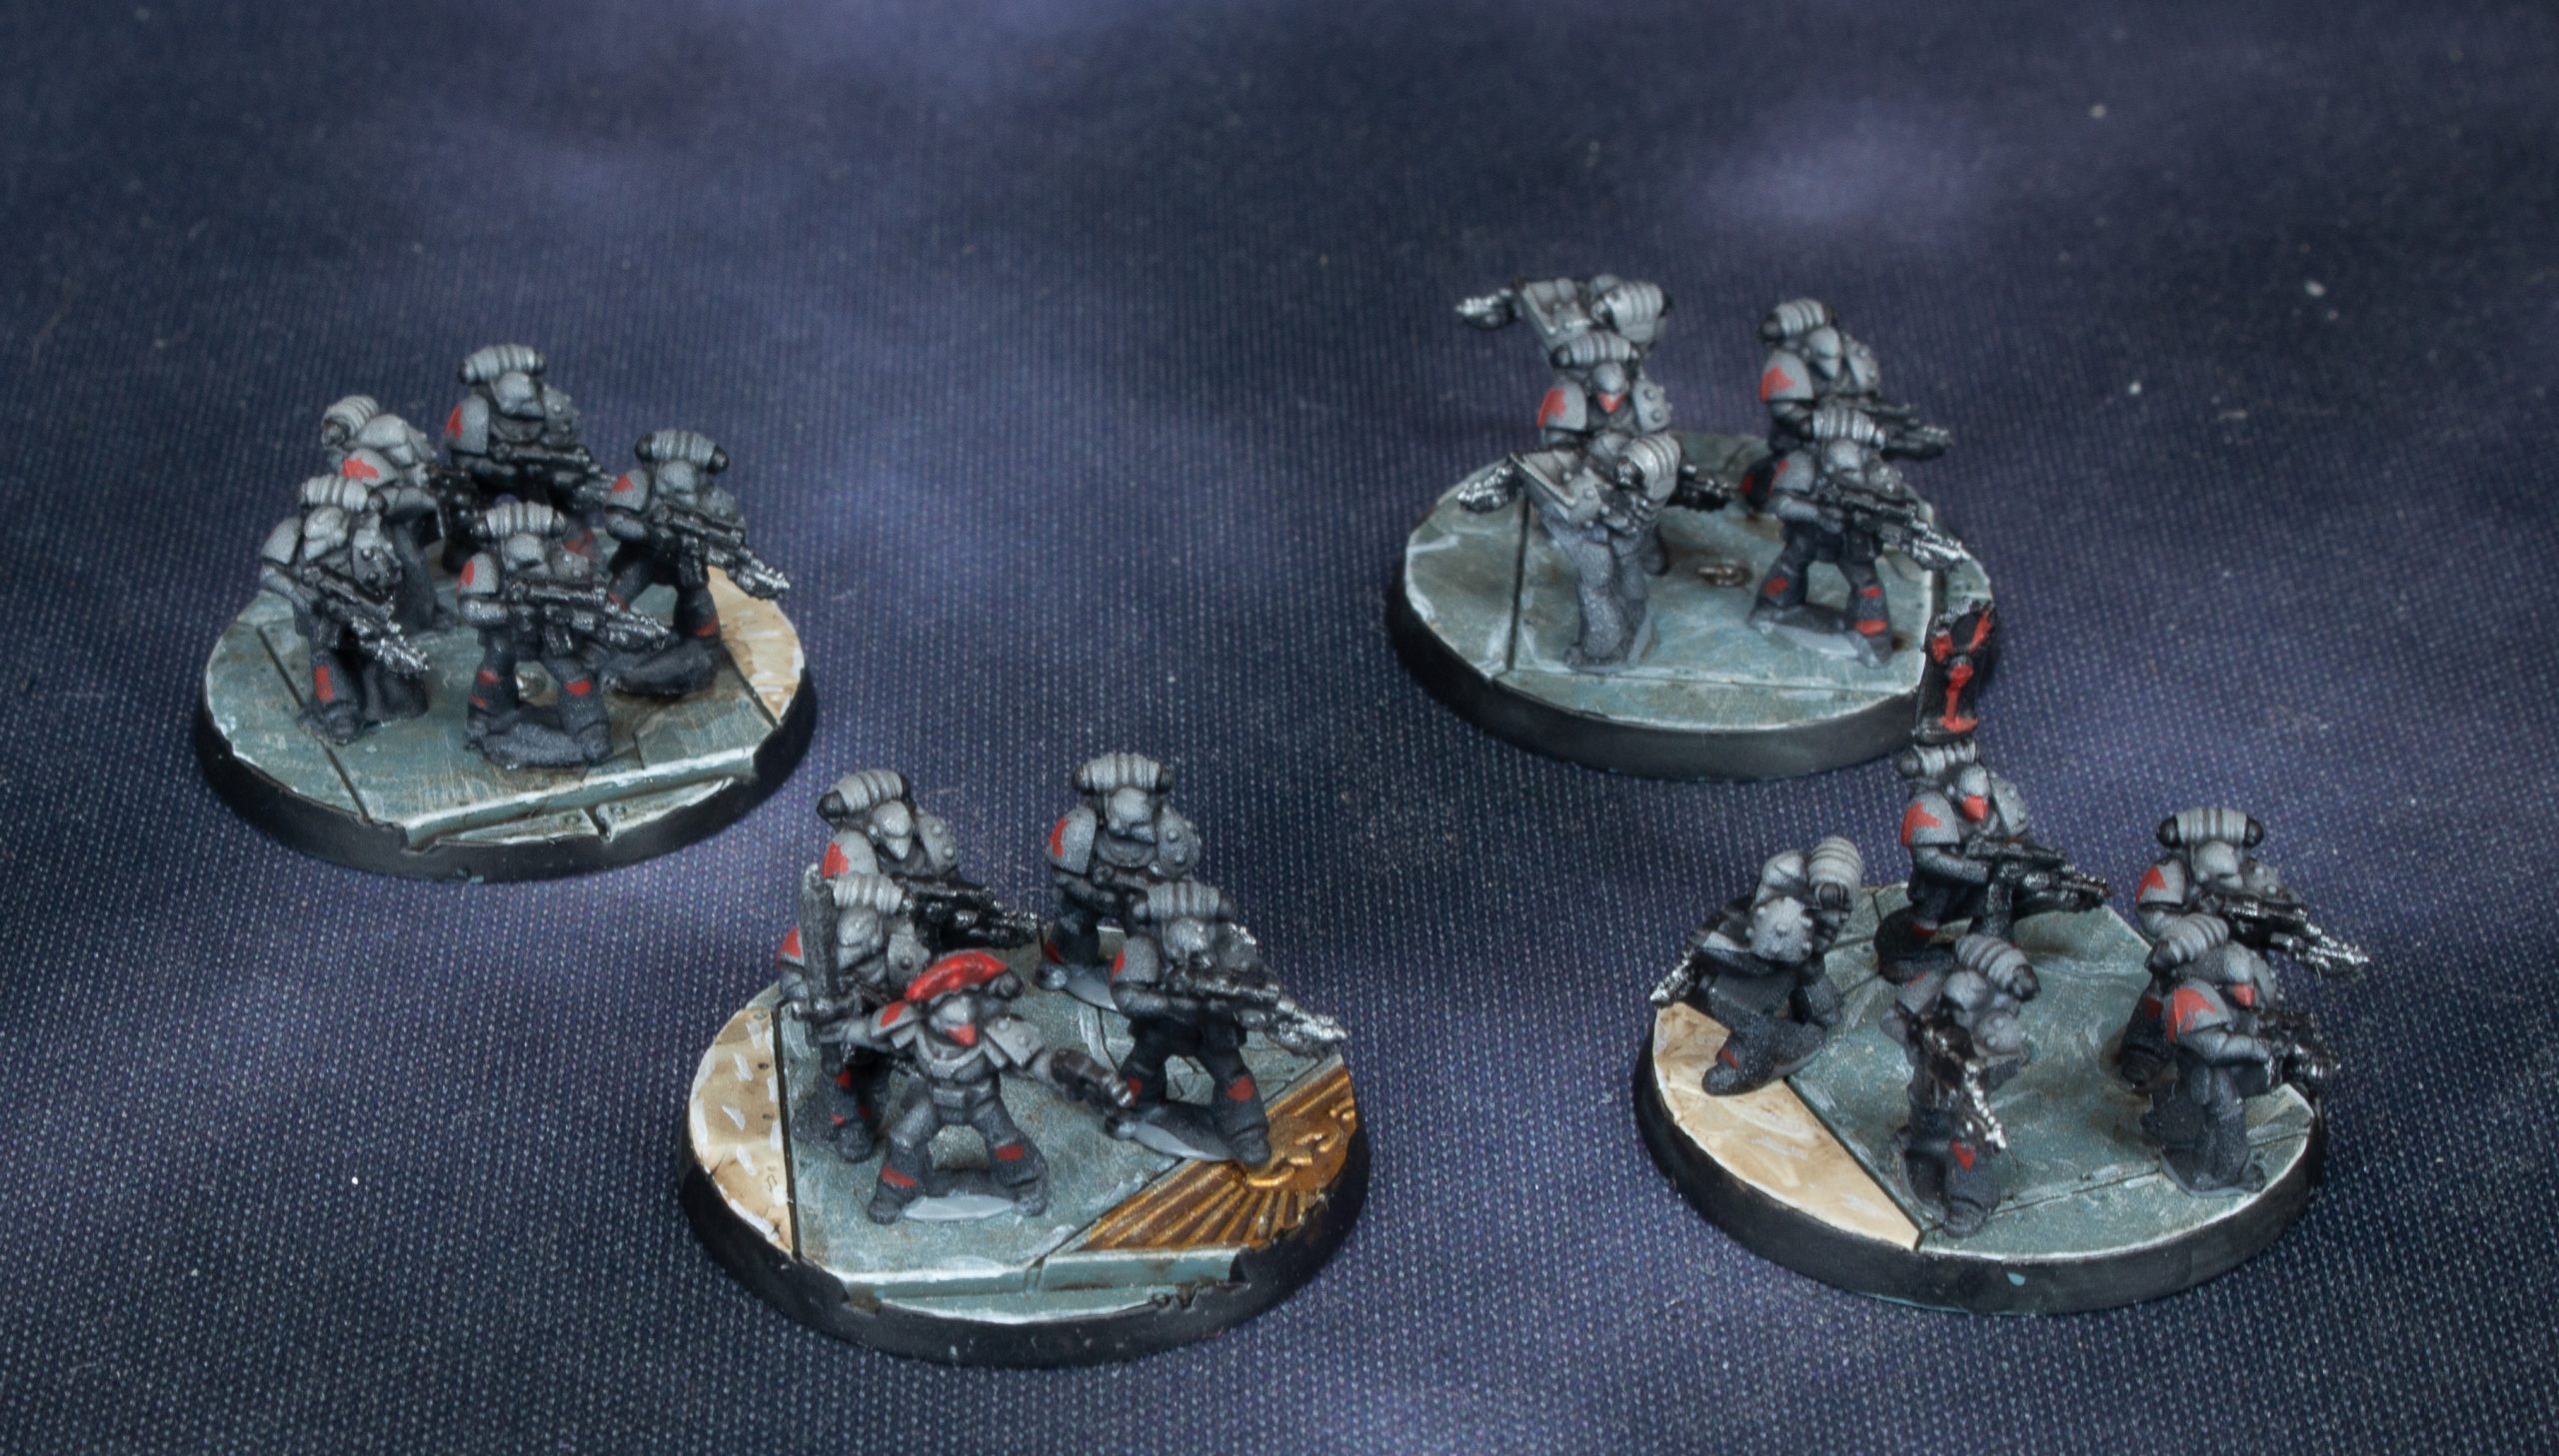
Here comes the Infantry!
Finally finished my first infantry bases!
Honnor to the Space Wolves!
The Sons of Russ win the day
And here is the guide:
Black Undercoat
Army Painter Matt Grey heavy zenith highlight done with the airbrush
50/50 GW Contrast Basilicum Grey and Medium overall wash
GW contrast Black Legion for bolt guns and Back pack manifolds
Iron hand steel very light drybrush aiming mainly on the bolt gun but catching a bit the rest of the minis
Tidy up misshaps on the boltgun if required with GW contrast Black Legion
Mephiston red for markings and legion marking.
For the crest of the officer I did apply an Agrax Earthsade wash on the Mephiston red and then a highlight of mephiston red on some spots.
Then glue them on the bases. and use agrax earthshade if the glue leave naughty marks on your lovely bases.
This is heavily inspired by
Now I just need to do more of them, many more
It's all about that Base that base
It took me a long time to find an idea of how to paint Legion Imperialis bases…. but I found that:
Mechanicus Standard Grey
Administratum Grey drybrush
Ulthean Grey drybrush
wraithbone for highlight zones
retributor gold for golden eagle
Leadbelcher for grates
agrax heartshade all over
wait 30ish seconds
Then dab with paper towel
(makes it uneven and interesting)
Highlight:
white with a touch of wraithbone on wraithbone part
Ulthean Grey highlight on tiles
liberator gold over the retributor gold
Iron Hands Steel for metal highlight
black for the rim
And BIM!
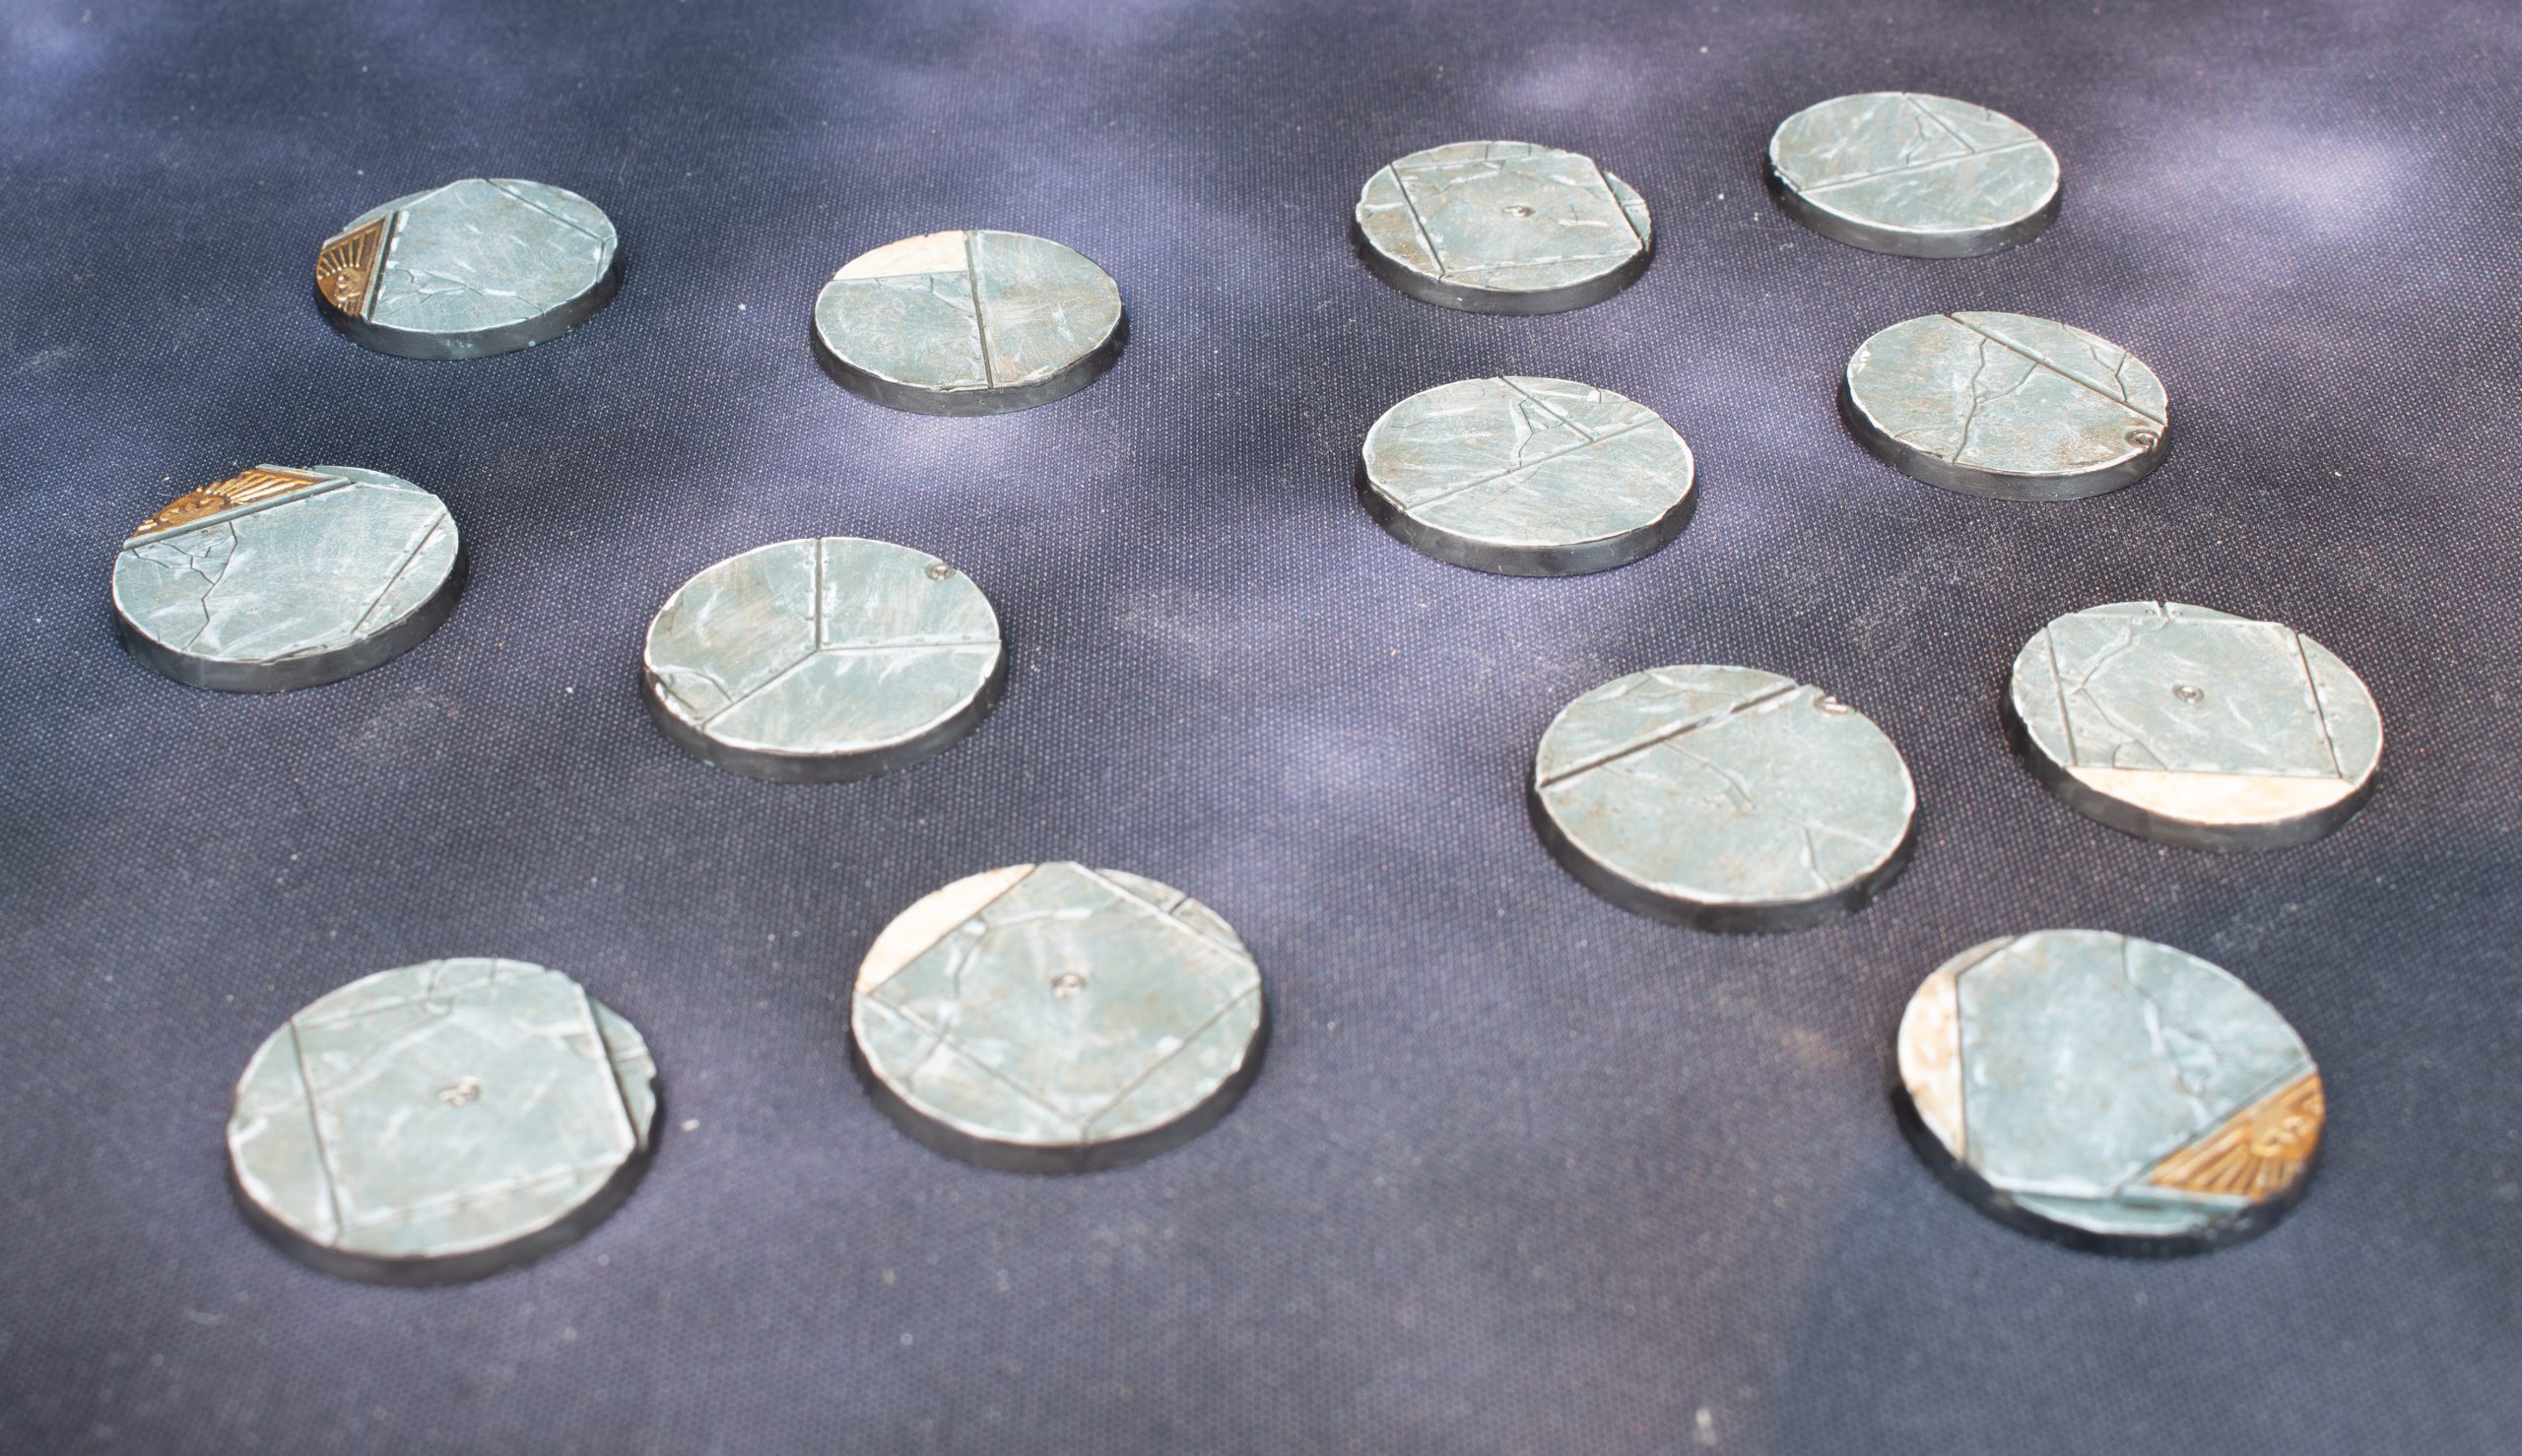
Now I need to paint the infantry to go on them 😛
Traitors family picture.
Also thought it’d be nice to have a picture of the whole traitor force. So here you are. So itching to put some more tanks in to fill it up 😛
(those units need to be 4 each plus an HQ tank…. but more of that for later)
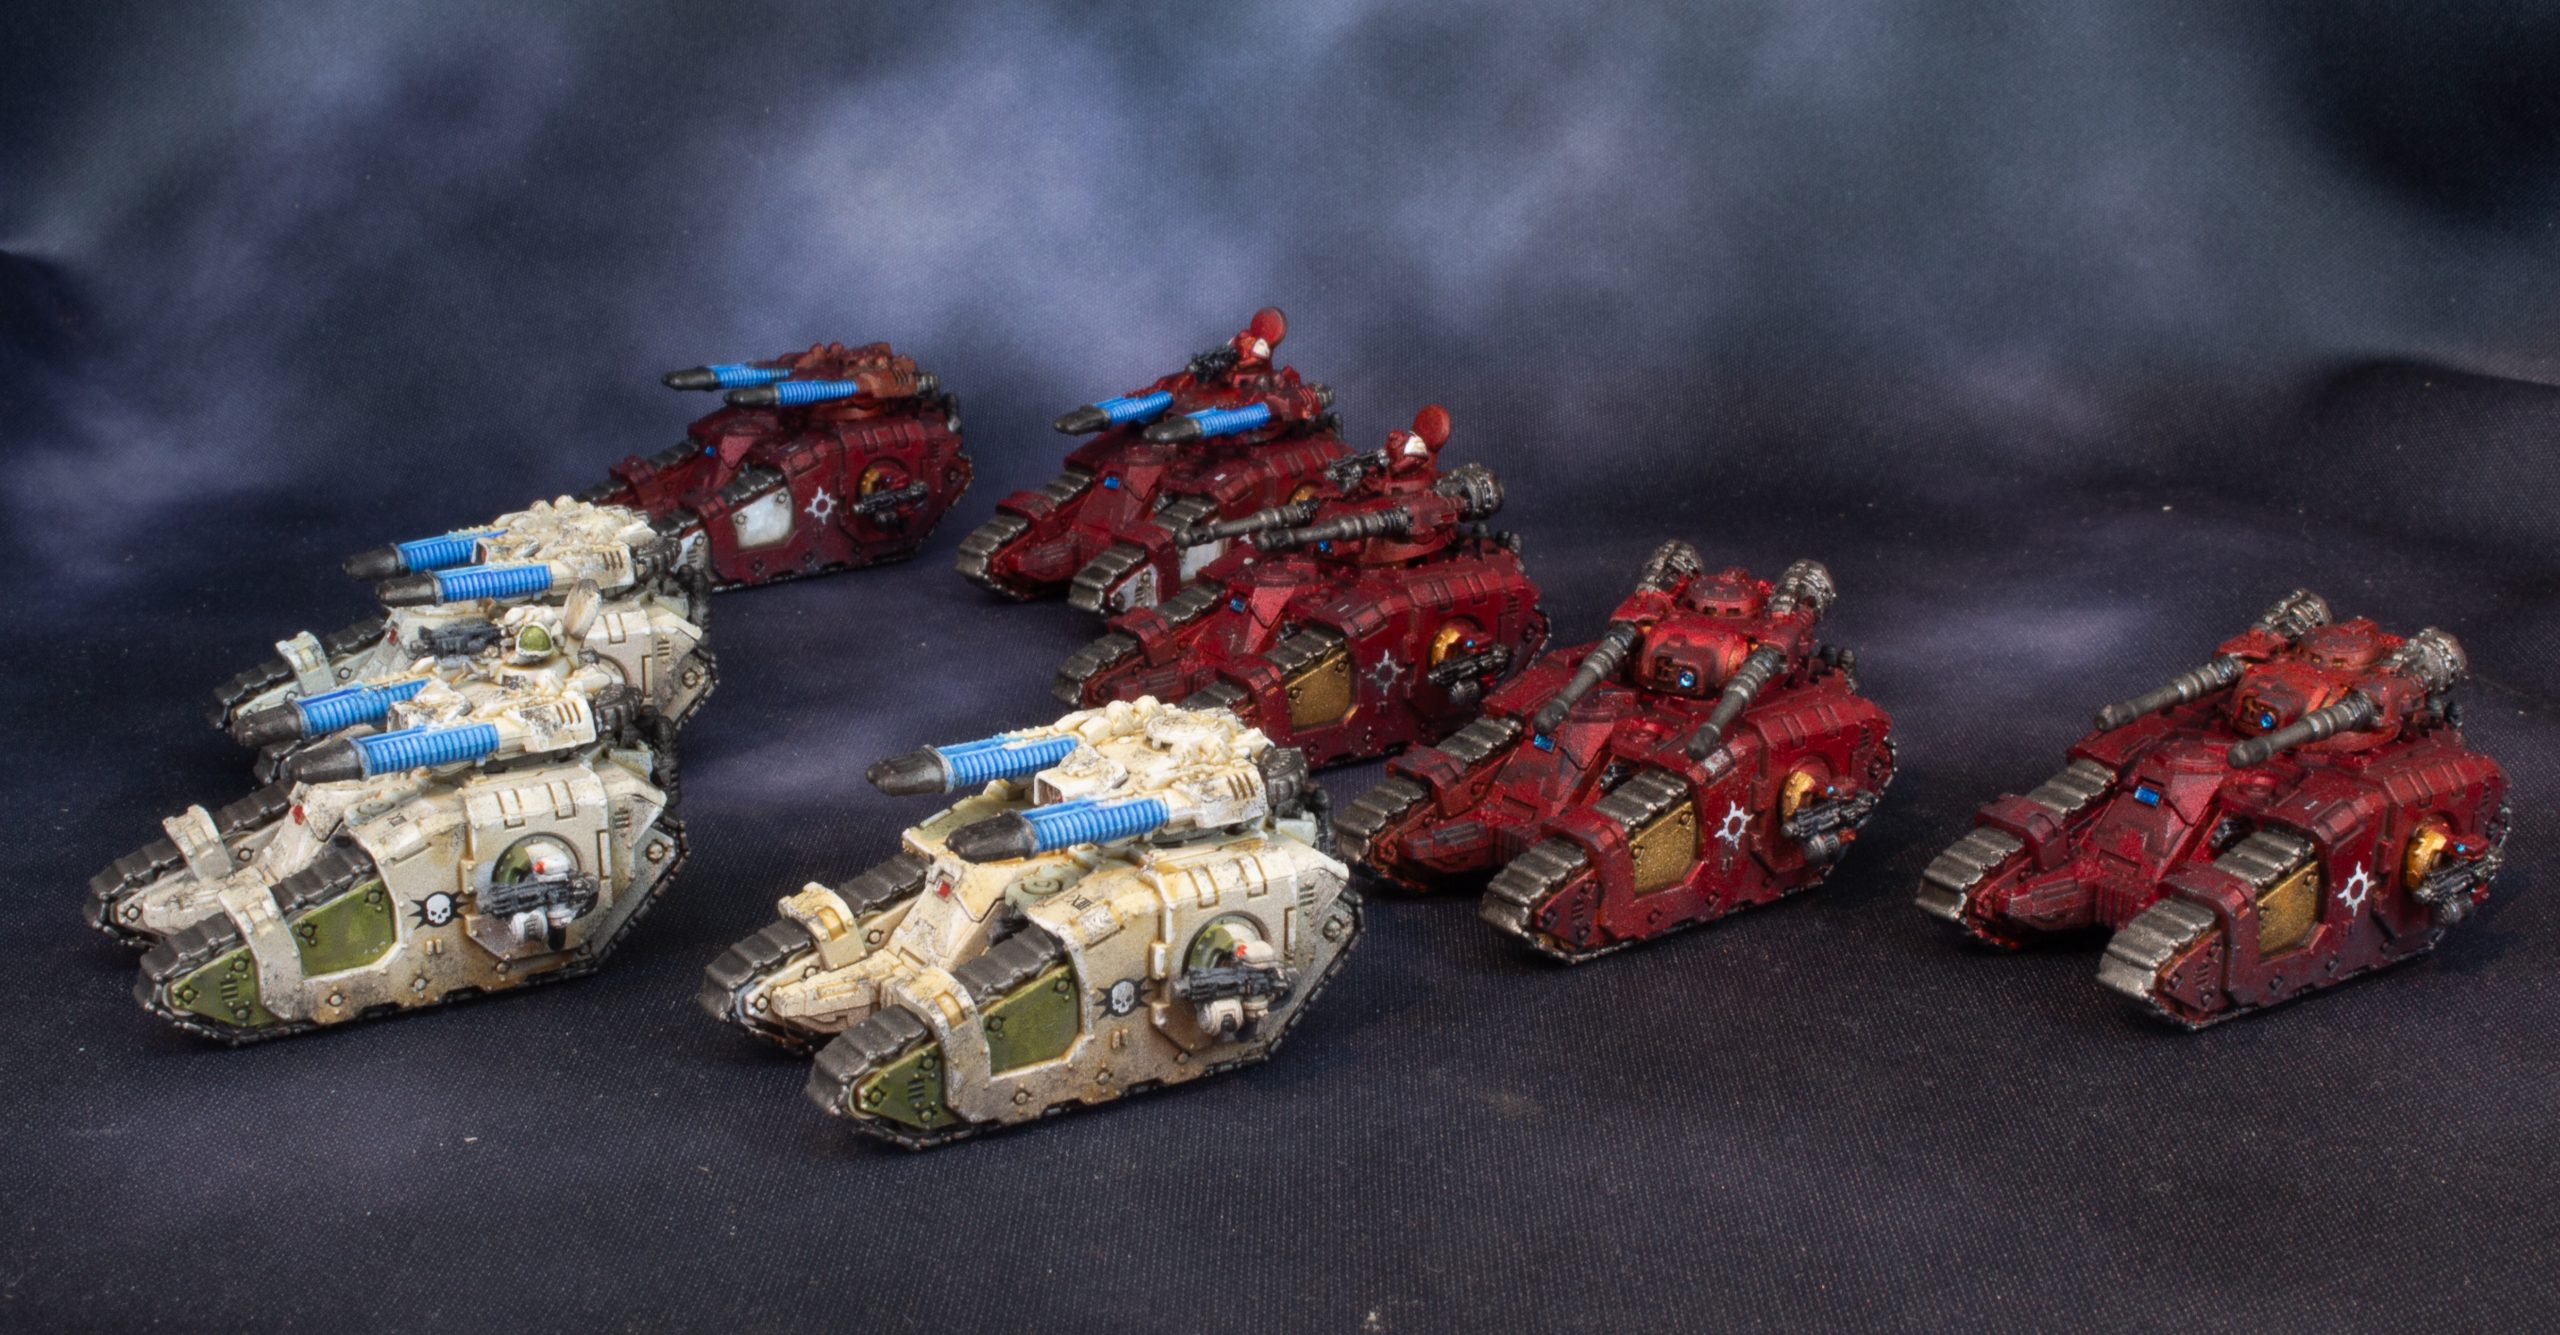
Space Wolves!
Well let’s be honnest, the only reason I looked into painting thousand sons was to create targets for my space wolves…. here they are! The armoured Rout!
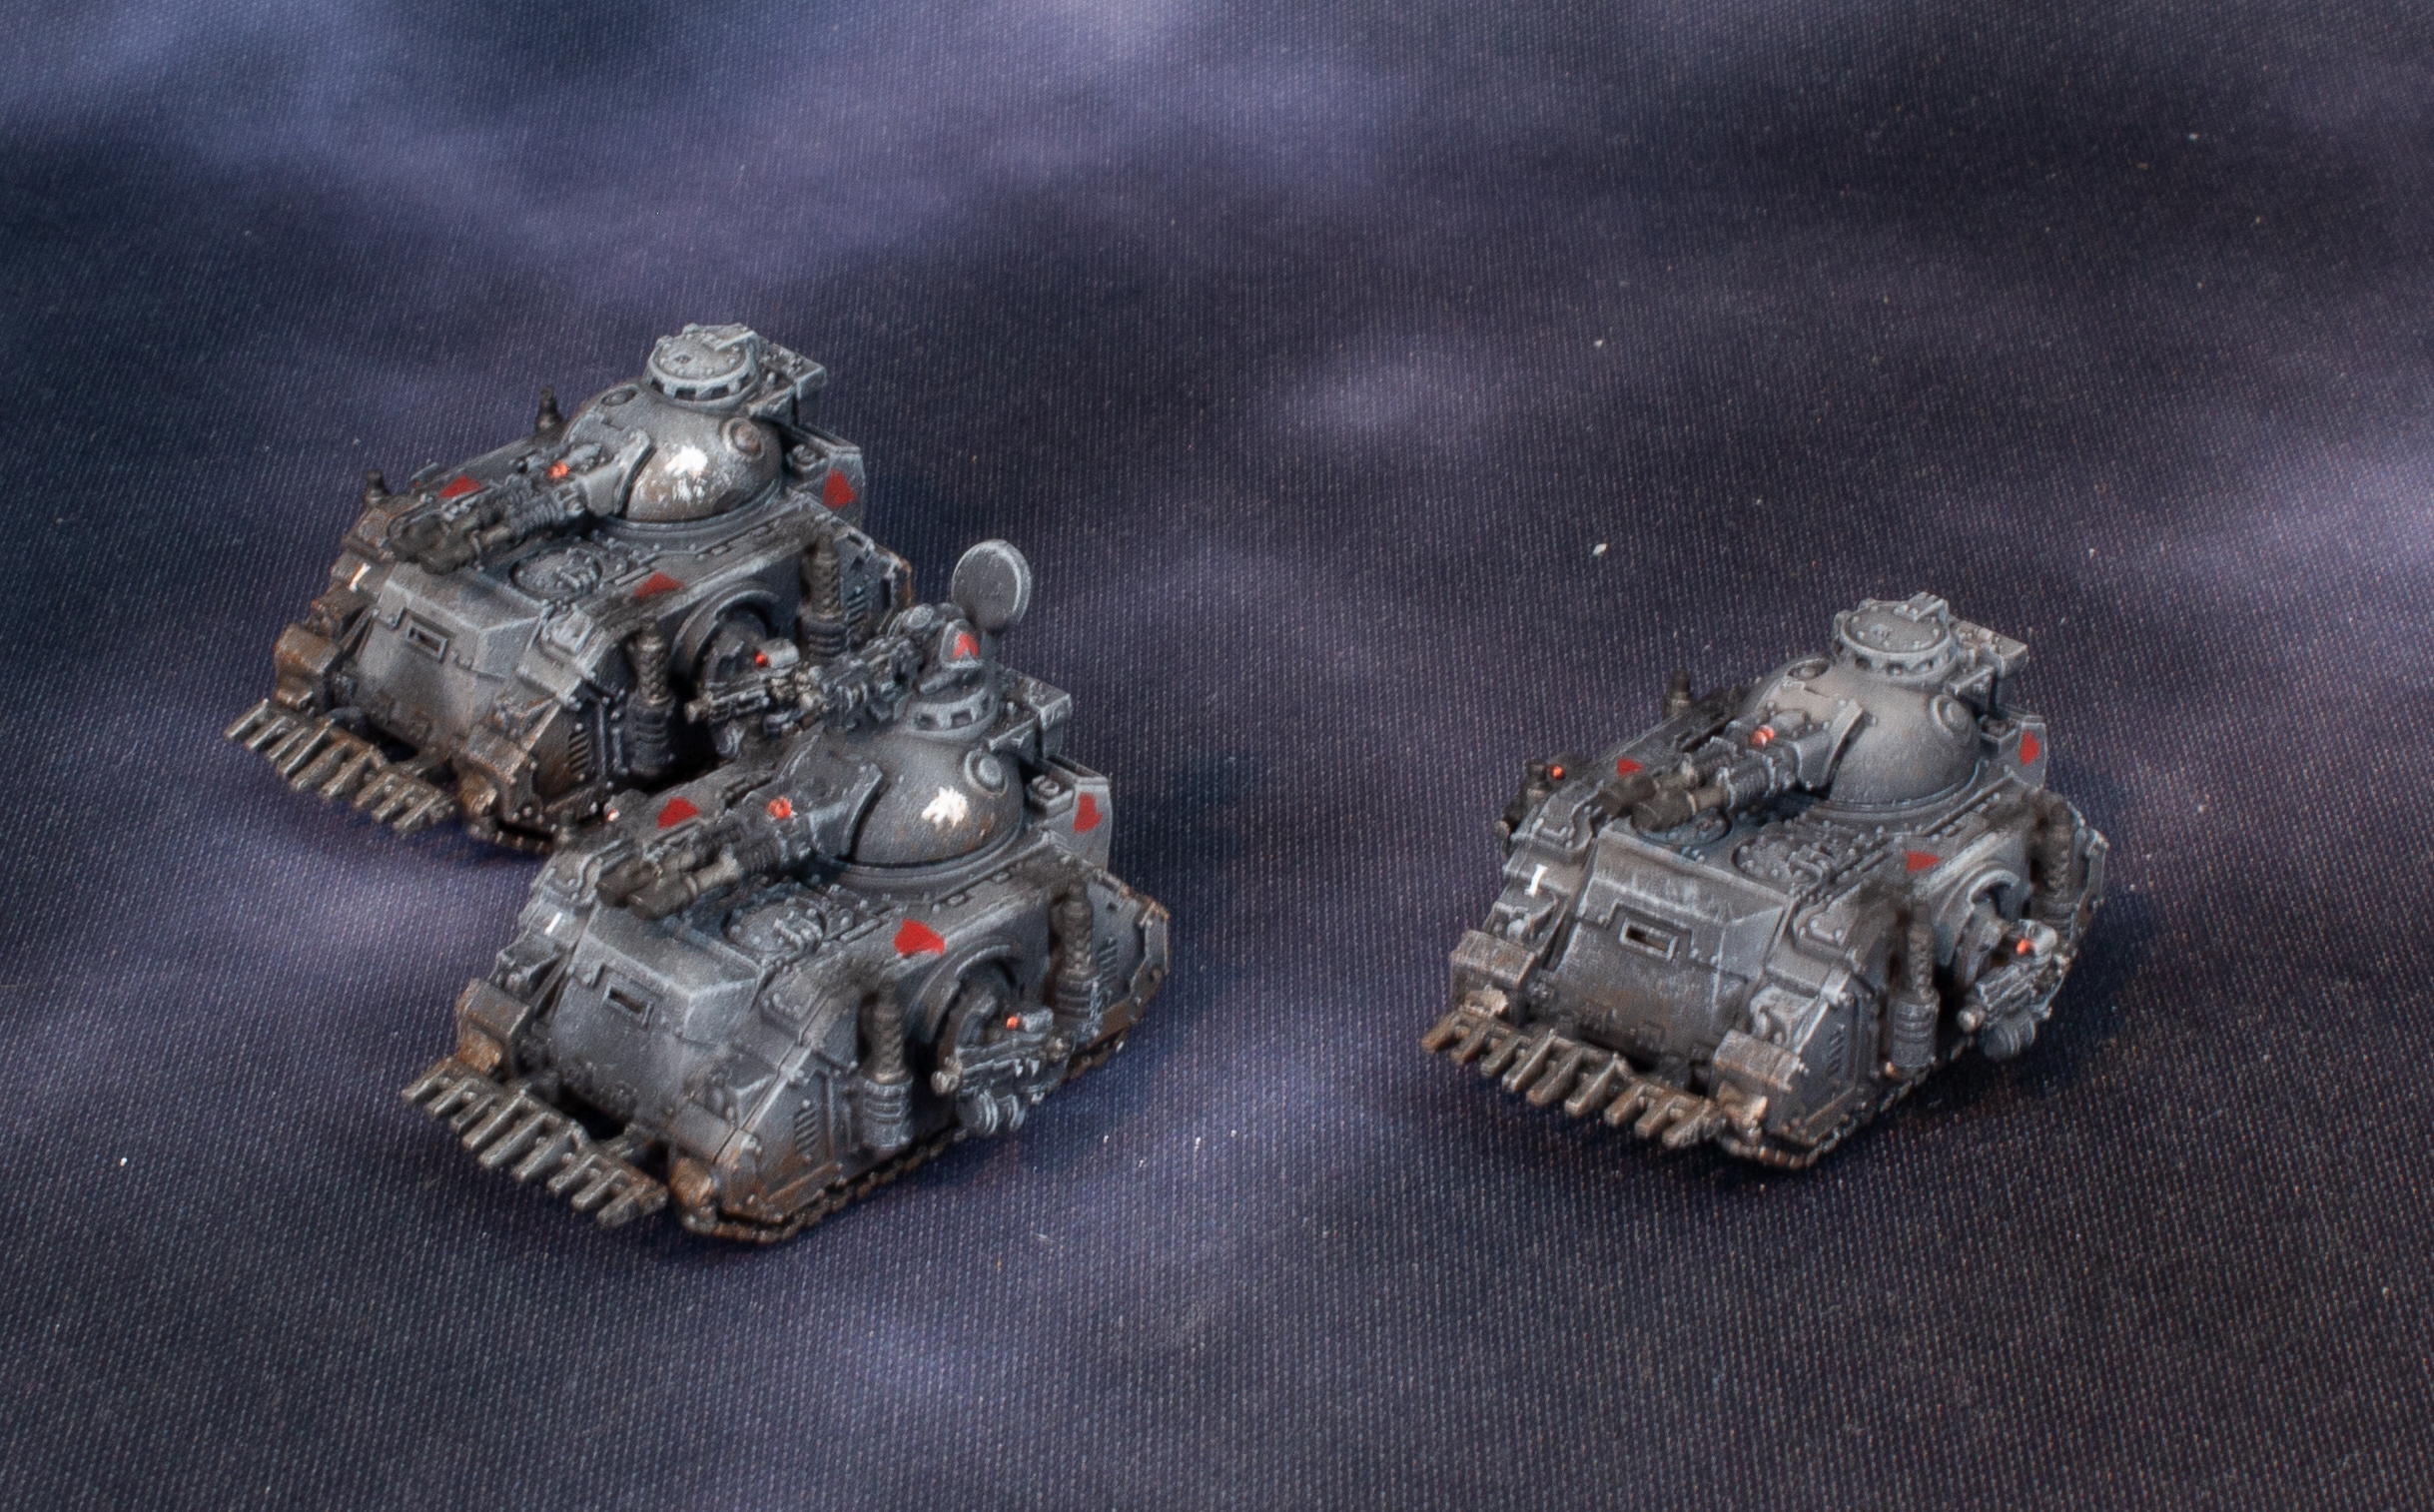 First Squadron
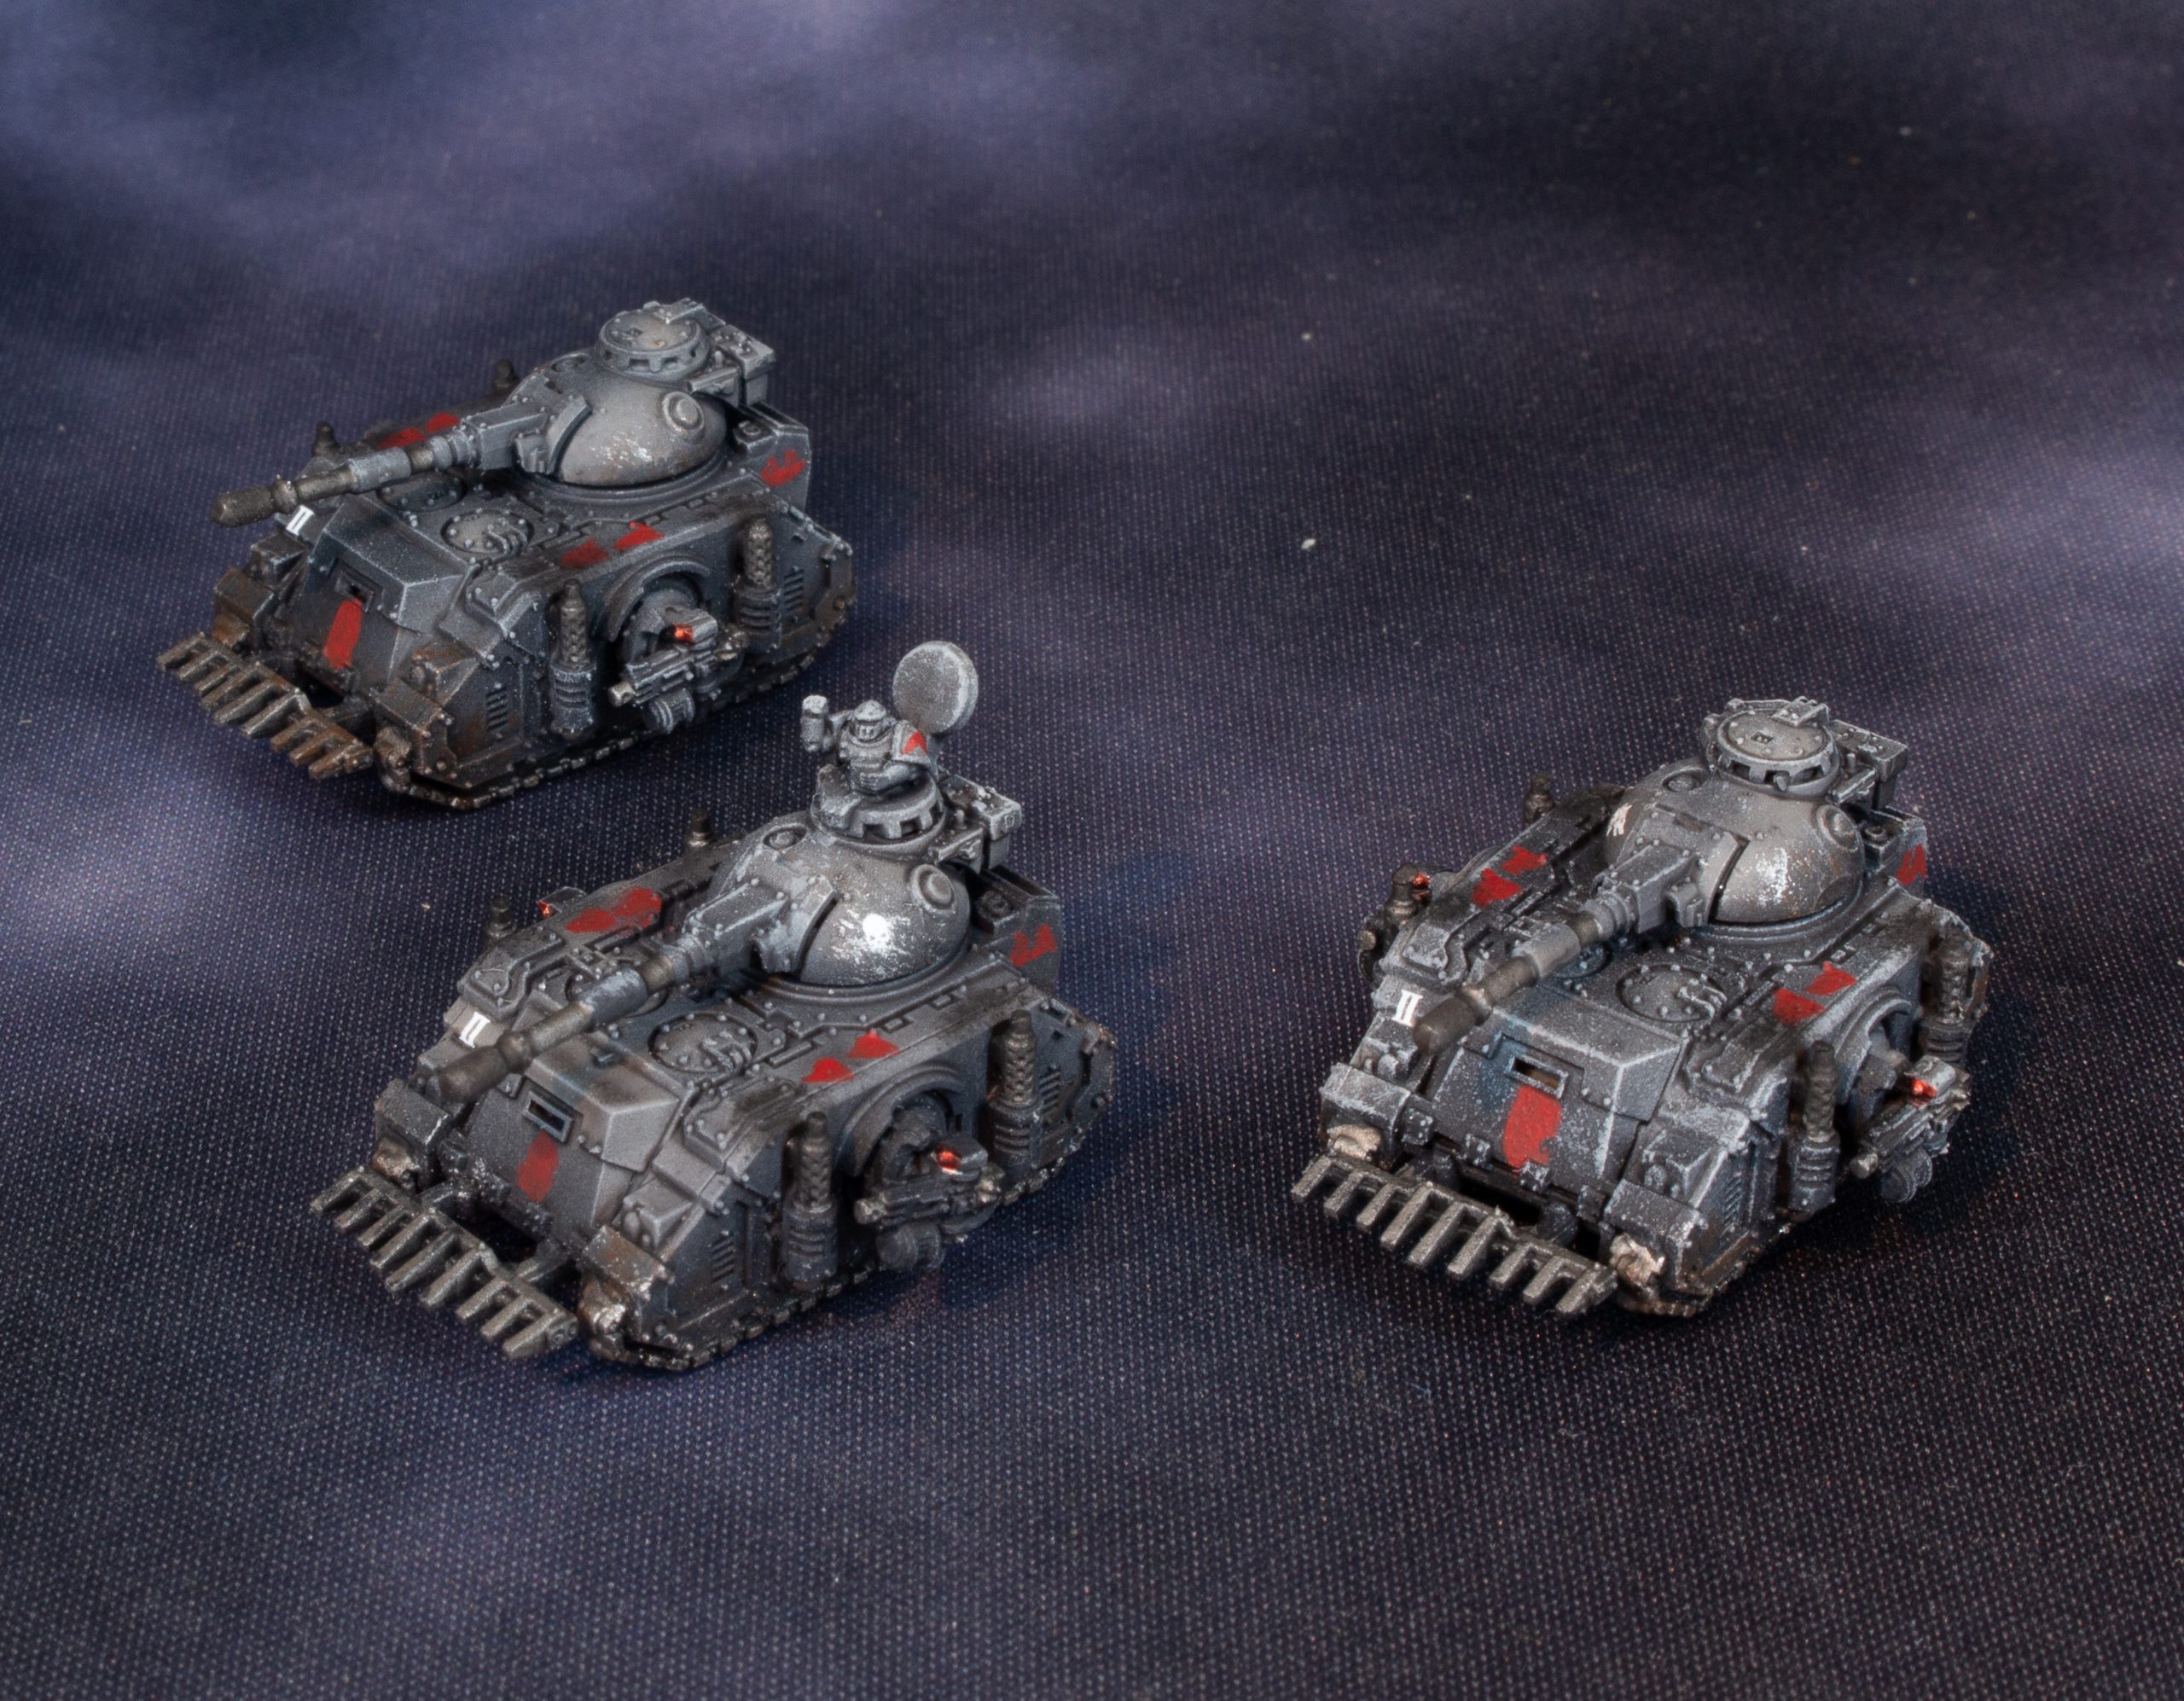 Second Squardon
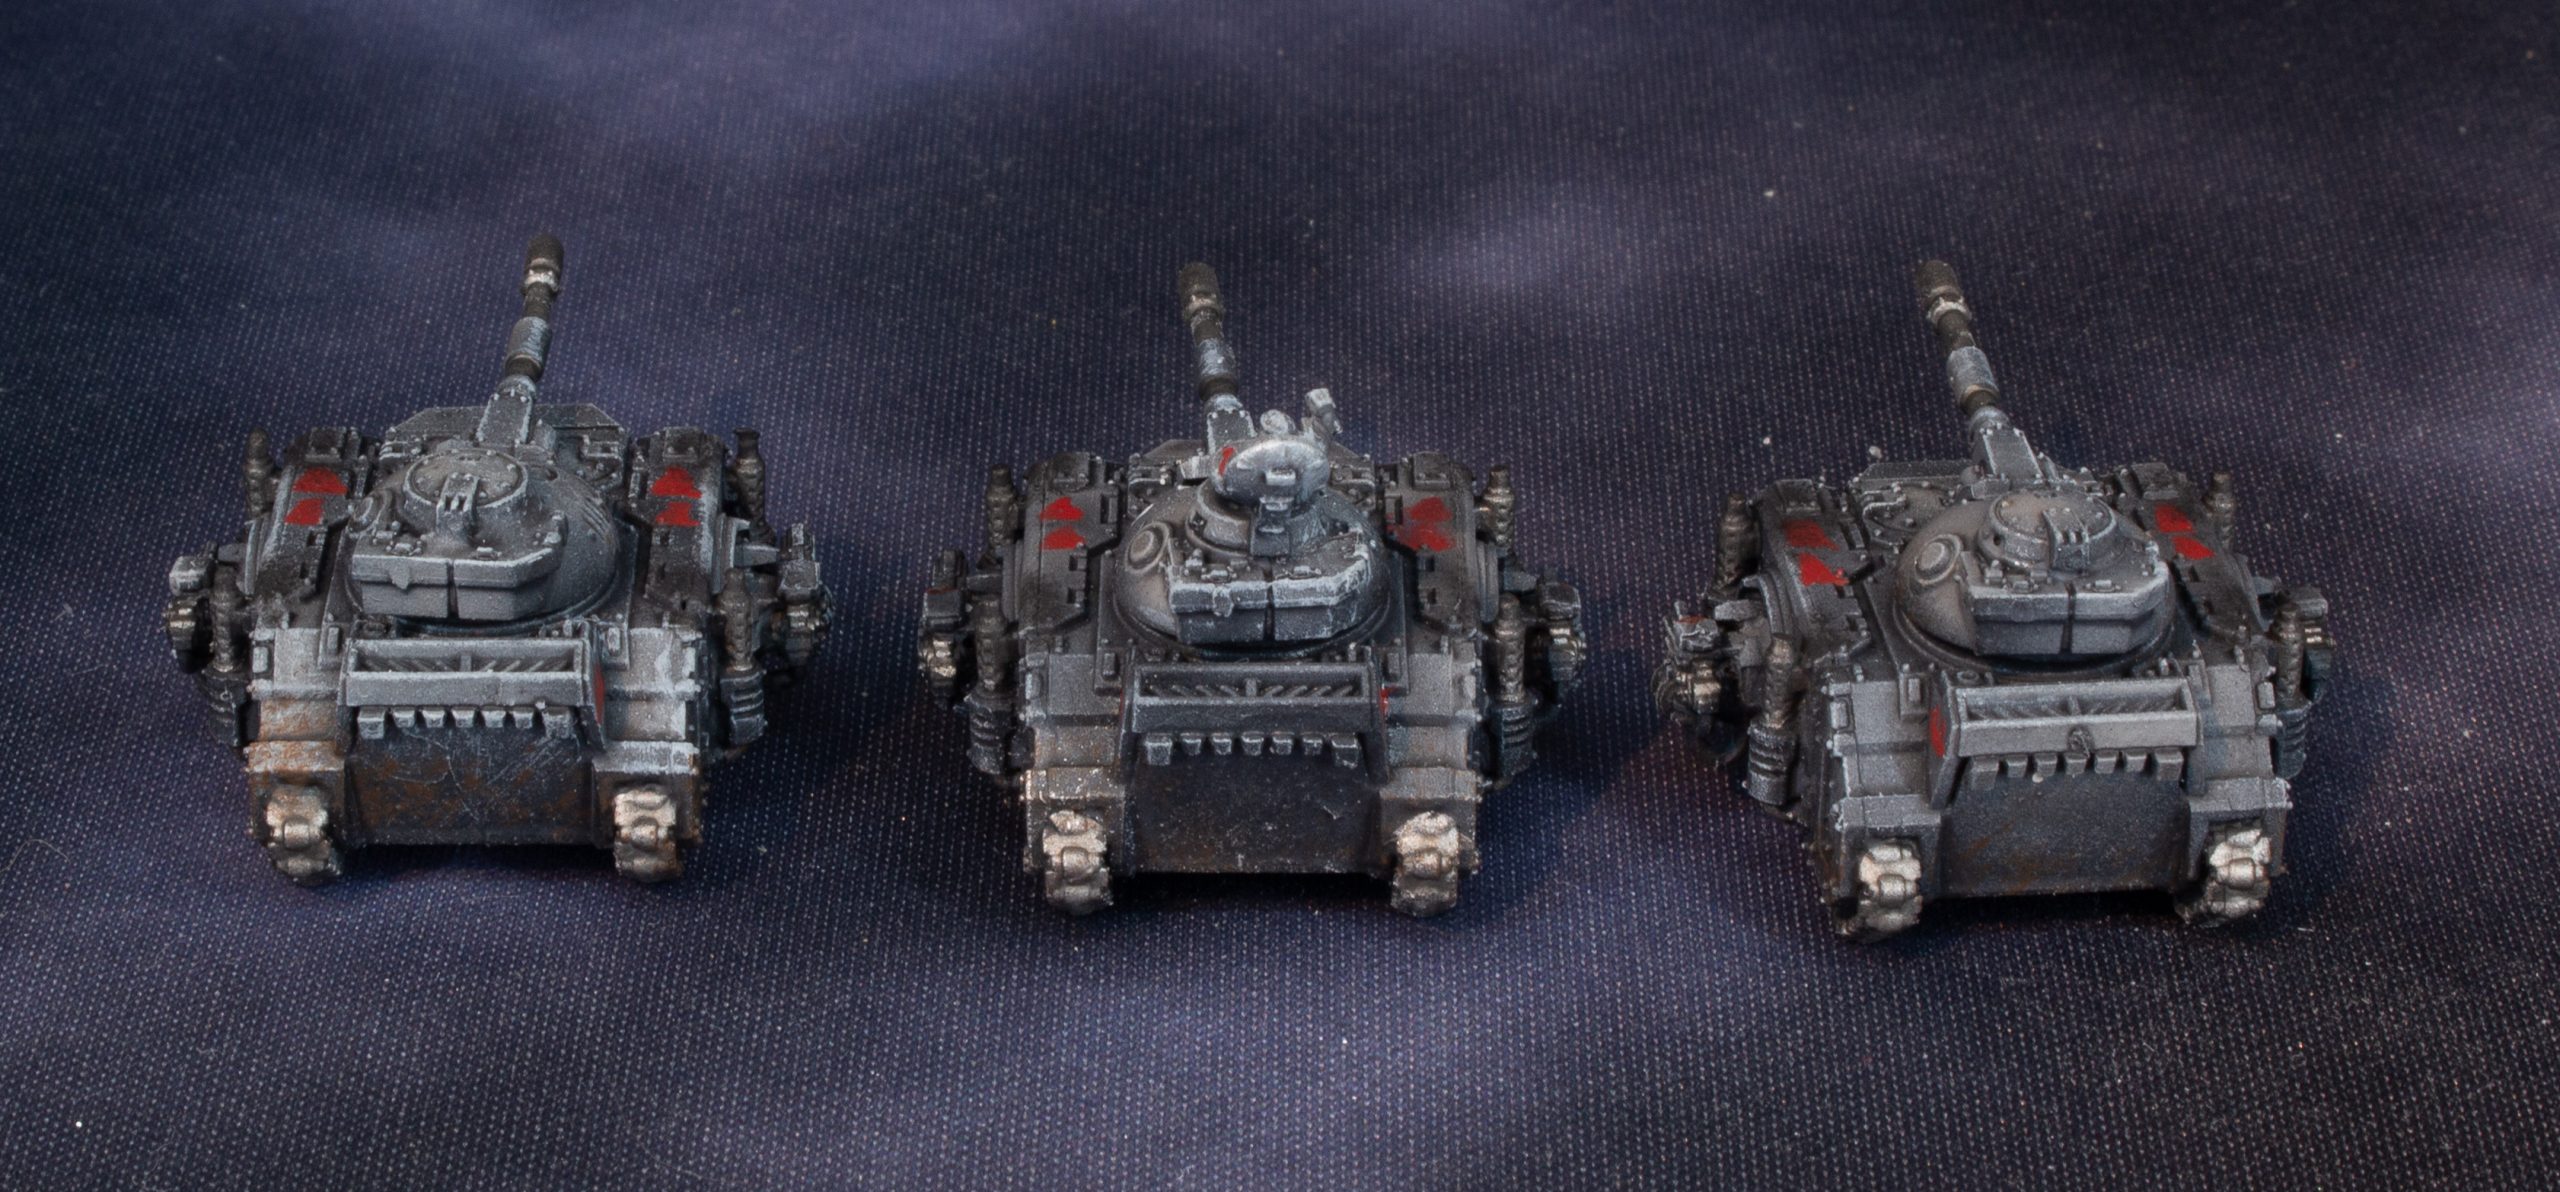 Random Lloyd shot;)
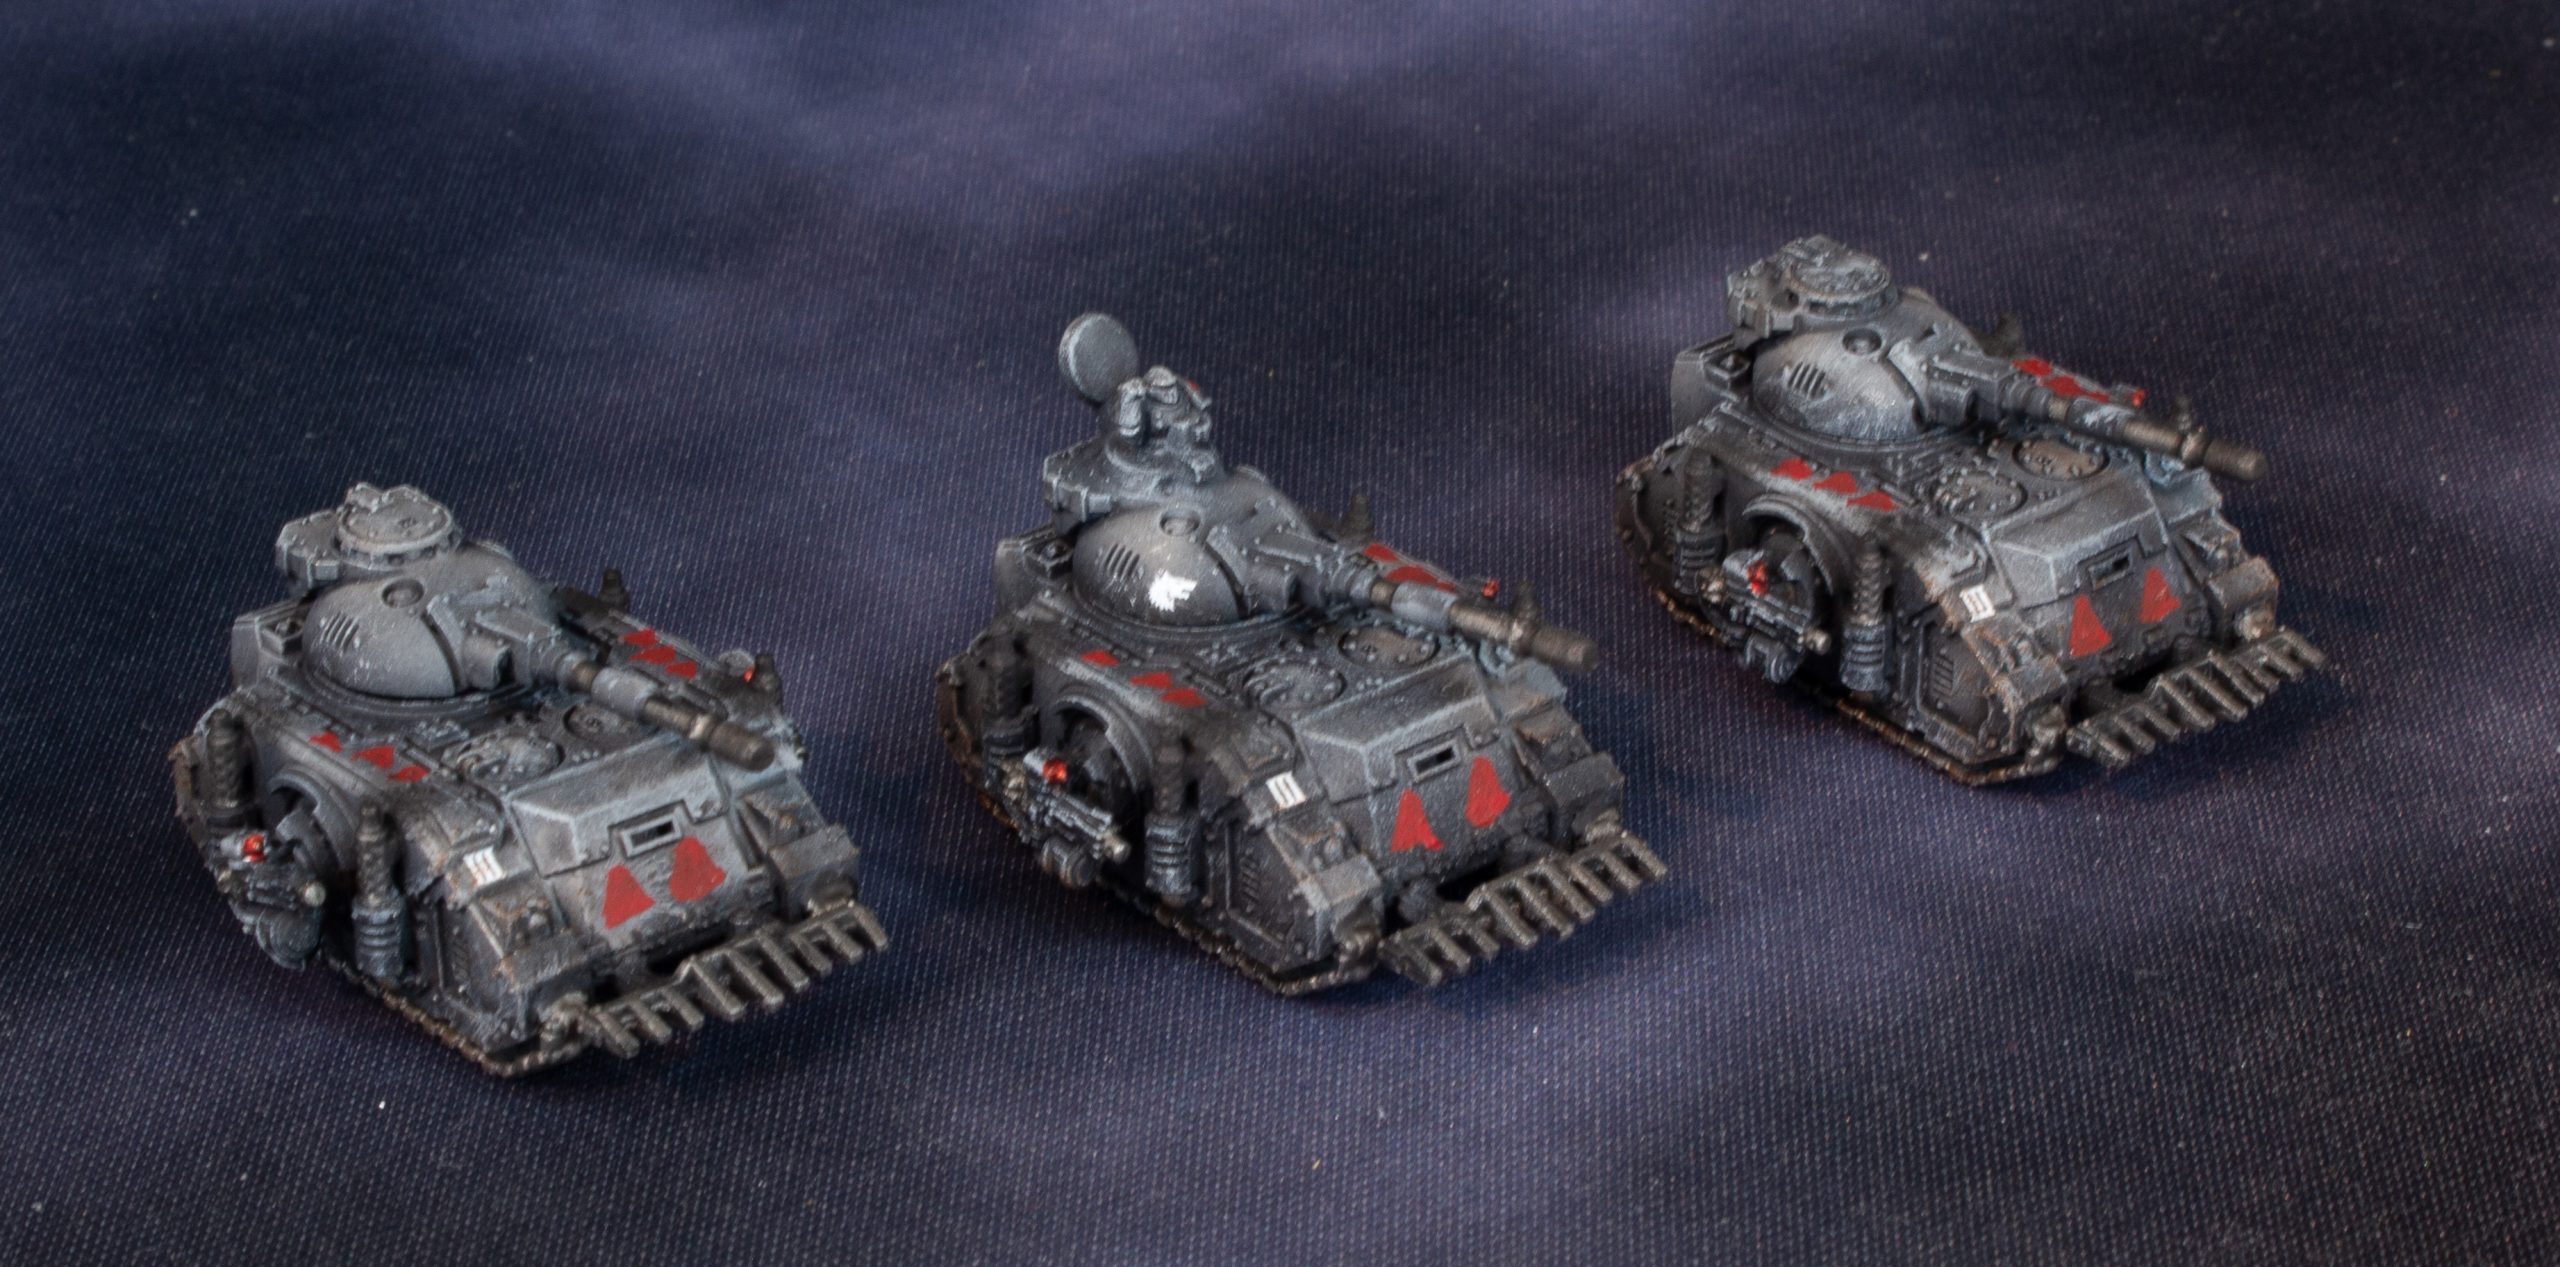 Third Squadron
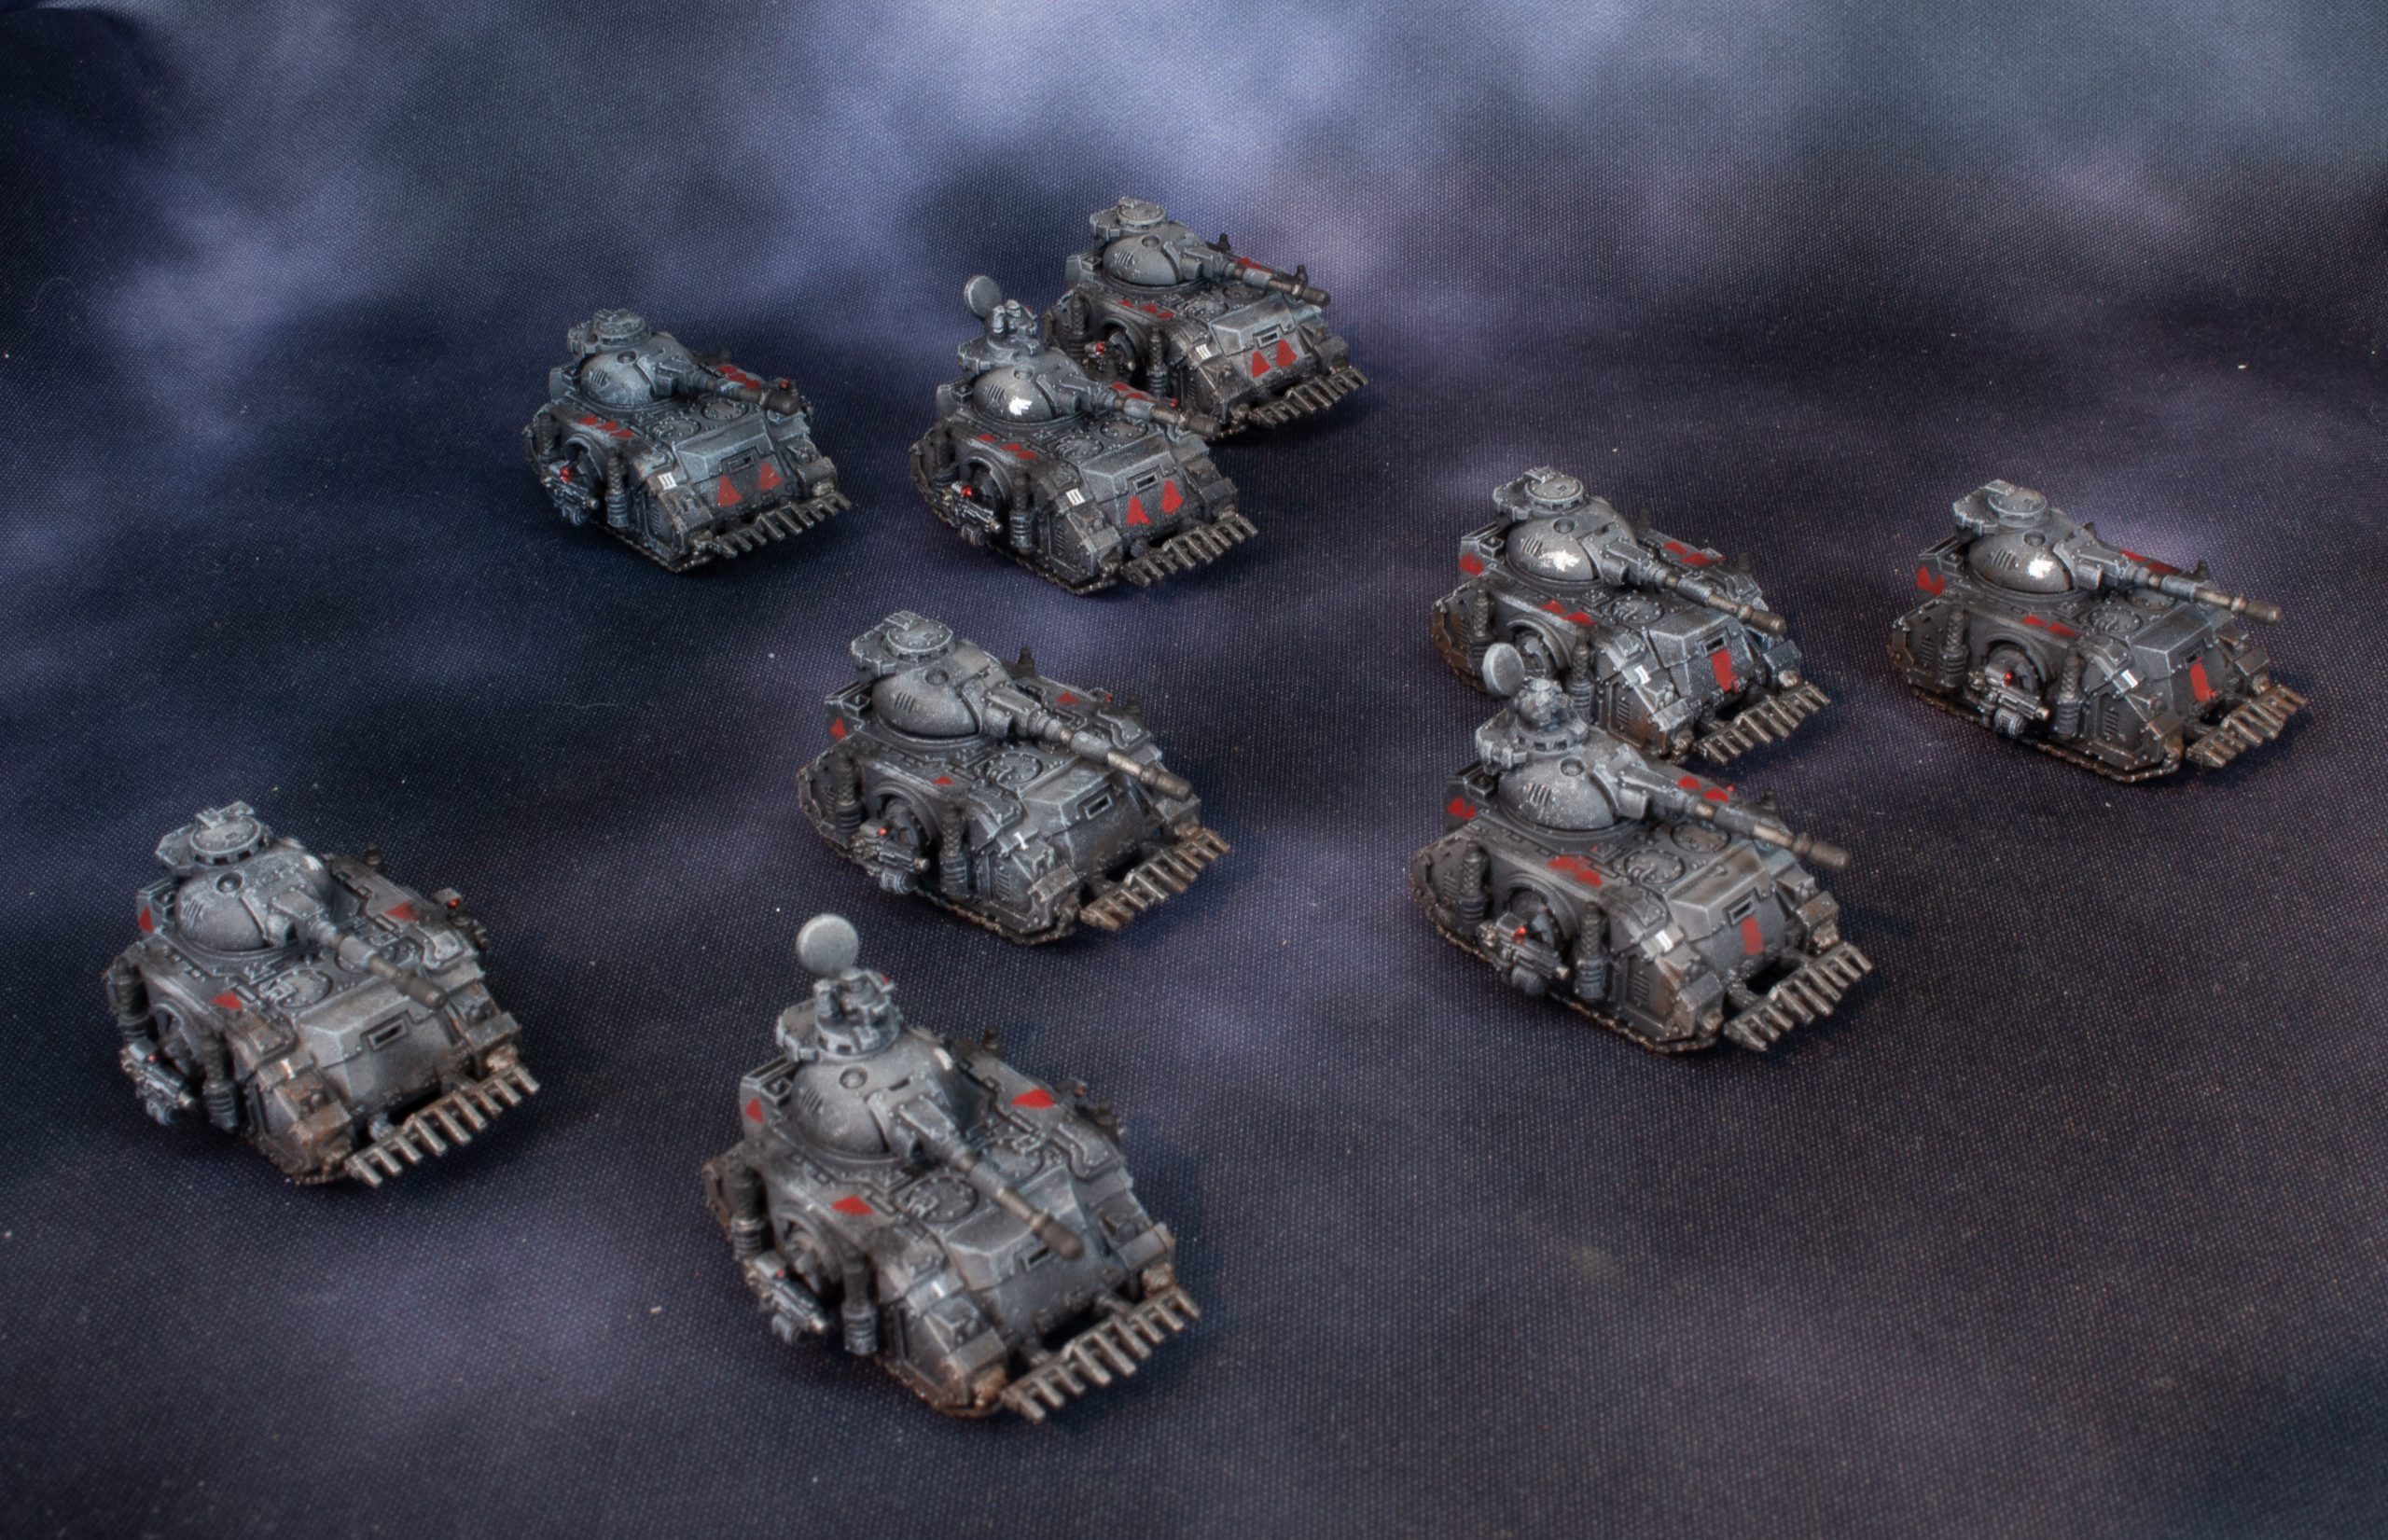 All the Predators!
Here is the painting guide:
black undercoat
The army painter Matt Grey Zenith Highlight
GW Contrast Basilicum grey mixed 50/50 with medium overall wash
GW administratum grey light drybrush
Black on futur metal
Leadbkecher on metal parts (guns, tracks, exhausts)
nuln oil wash on metal parts
Mephiston red for logo
Gloss varnish (17 psi)
Decals
gloss varnish on decals (with a paint brush it works well for detail work)
Rhinox hide drybrush/stippling for weathering
runefang steel drybrush stippling for weathering
Vallejo Metal color Chrome for lenses
Tamiya clear RED X27 on Chrome based lenses
black pigments (gun ends and exhausts)
overall matt varnish (17 psi)

![Sneak About With Star Wars: Legion’s Guerilla Troopers & More [UPDATED]](https://images.beastsofwar.com/2026/09/g-troops-star-wars-cover-600-338.jpg)