






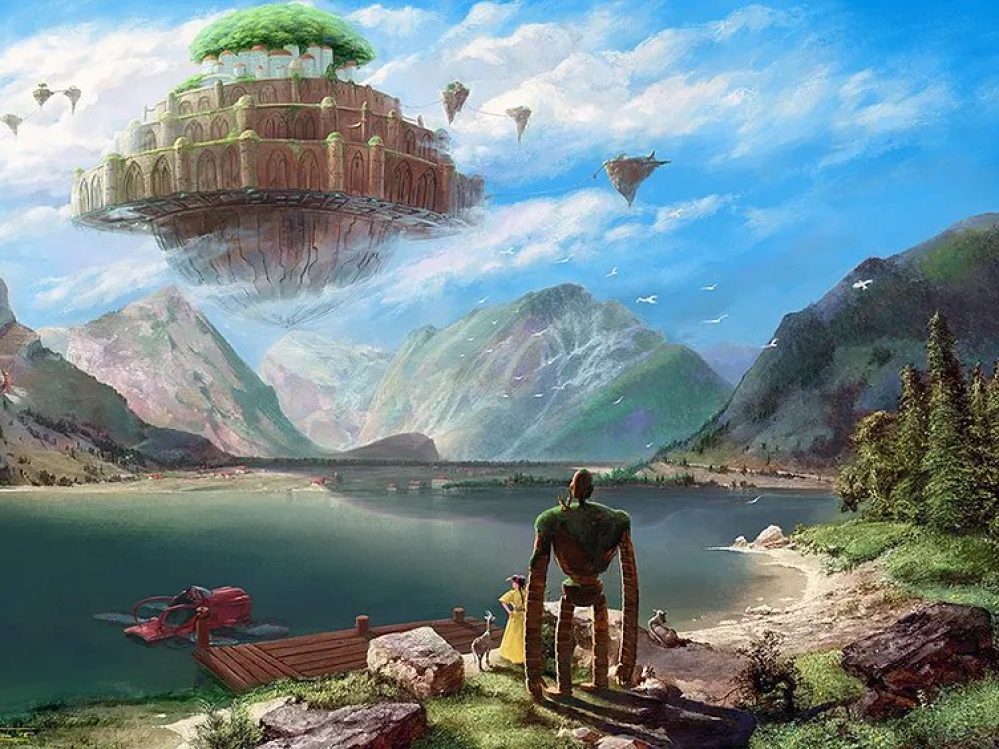
Laputa - Castle In TheSky



Last Steps
Hi everyone,
The next step is to paint up the figures. I remember I painted these models with my Badger airbrush. Then I went in with a brush and added some details to the girl’s face and added several enamel washes.
Back then, I did not use oils, I wish I could turn back the hand of time and repaint them in oils. It would have made my life so much easier.
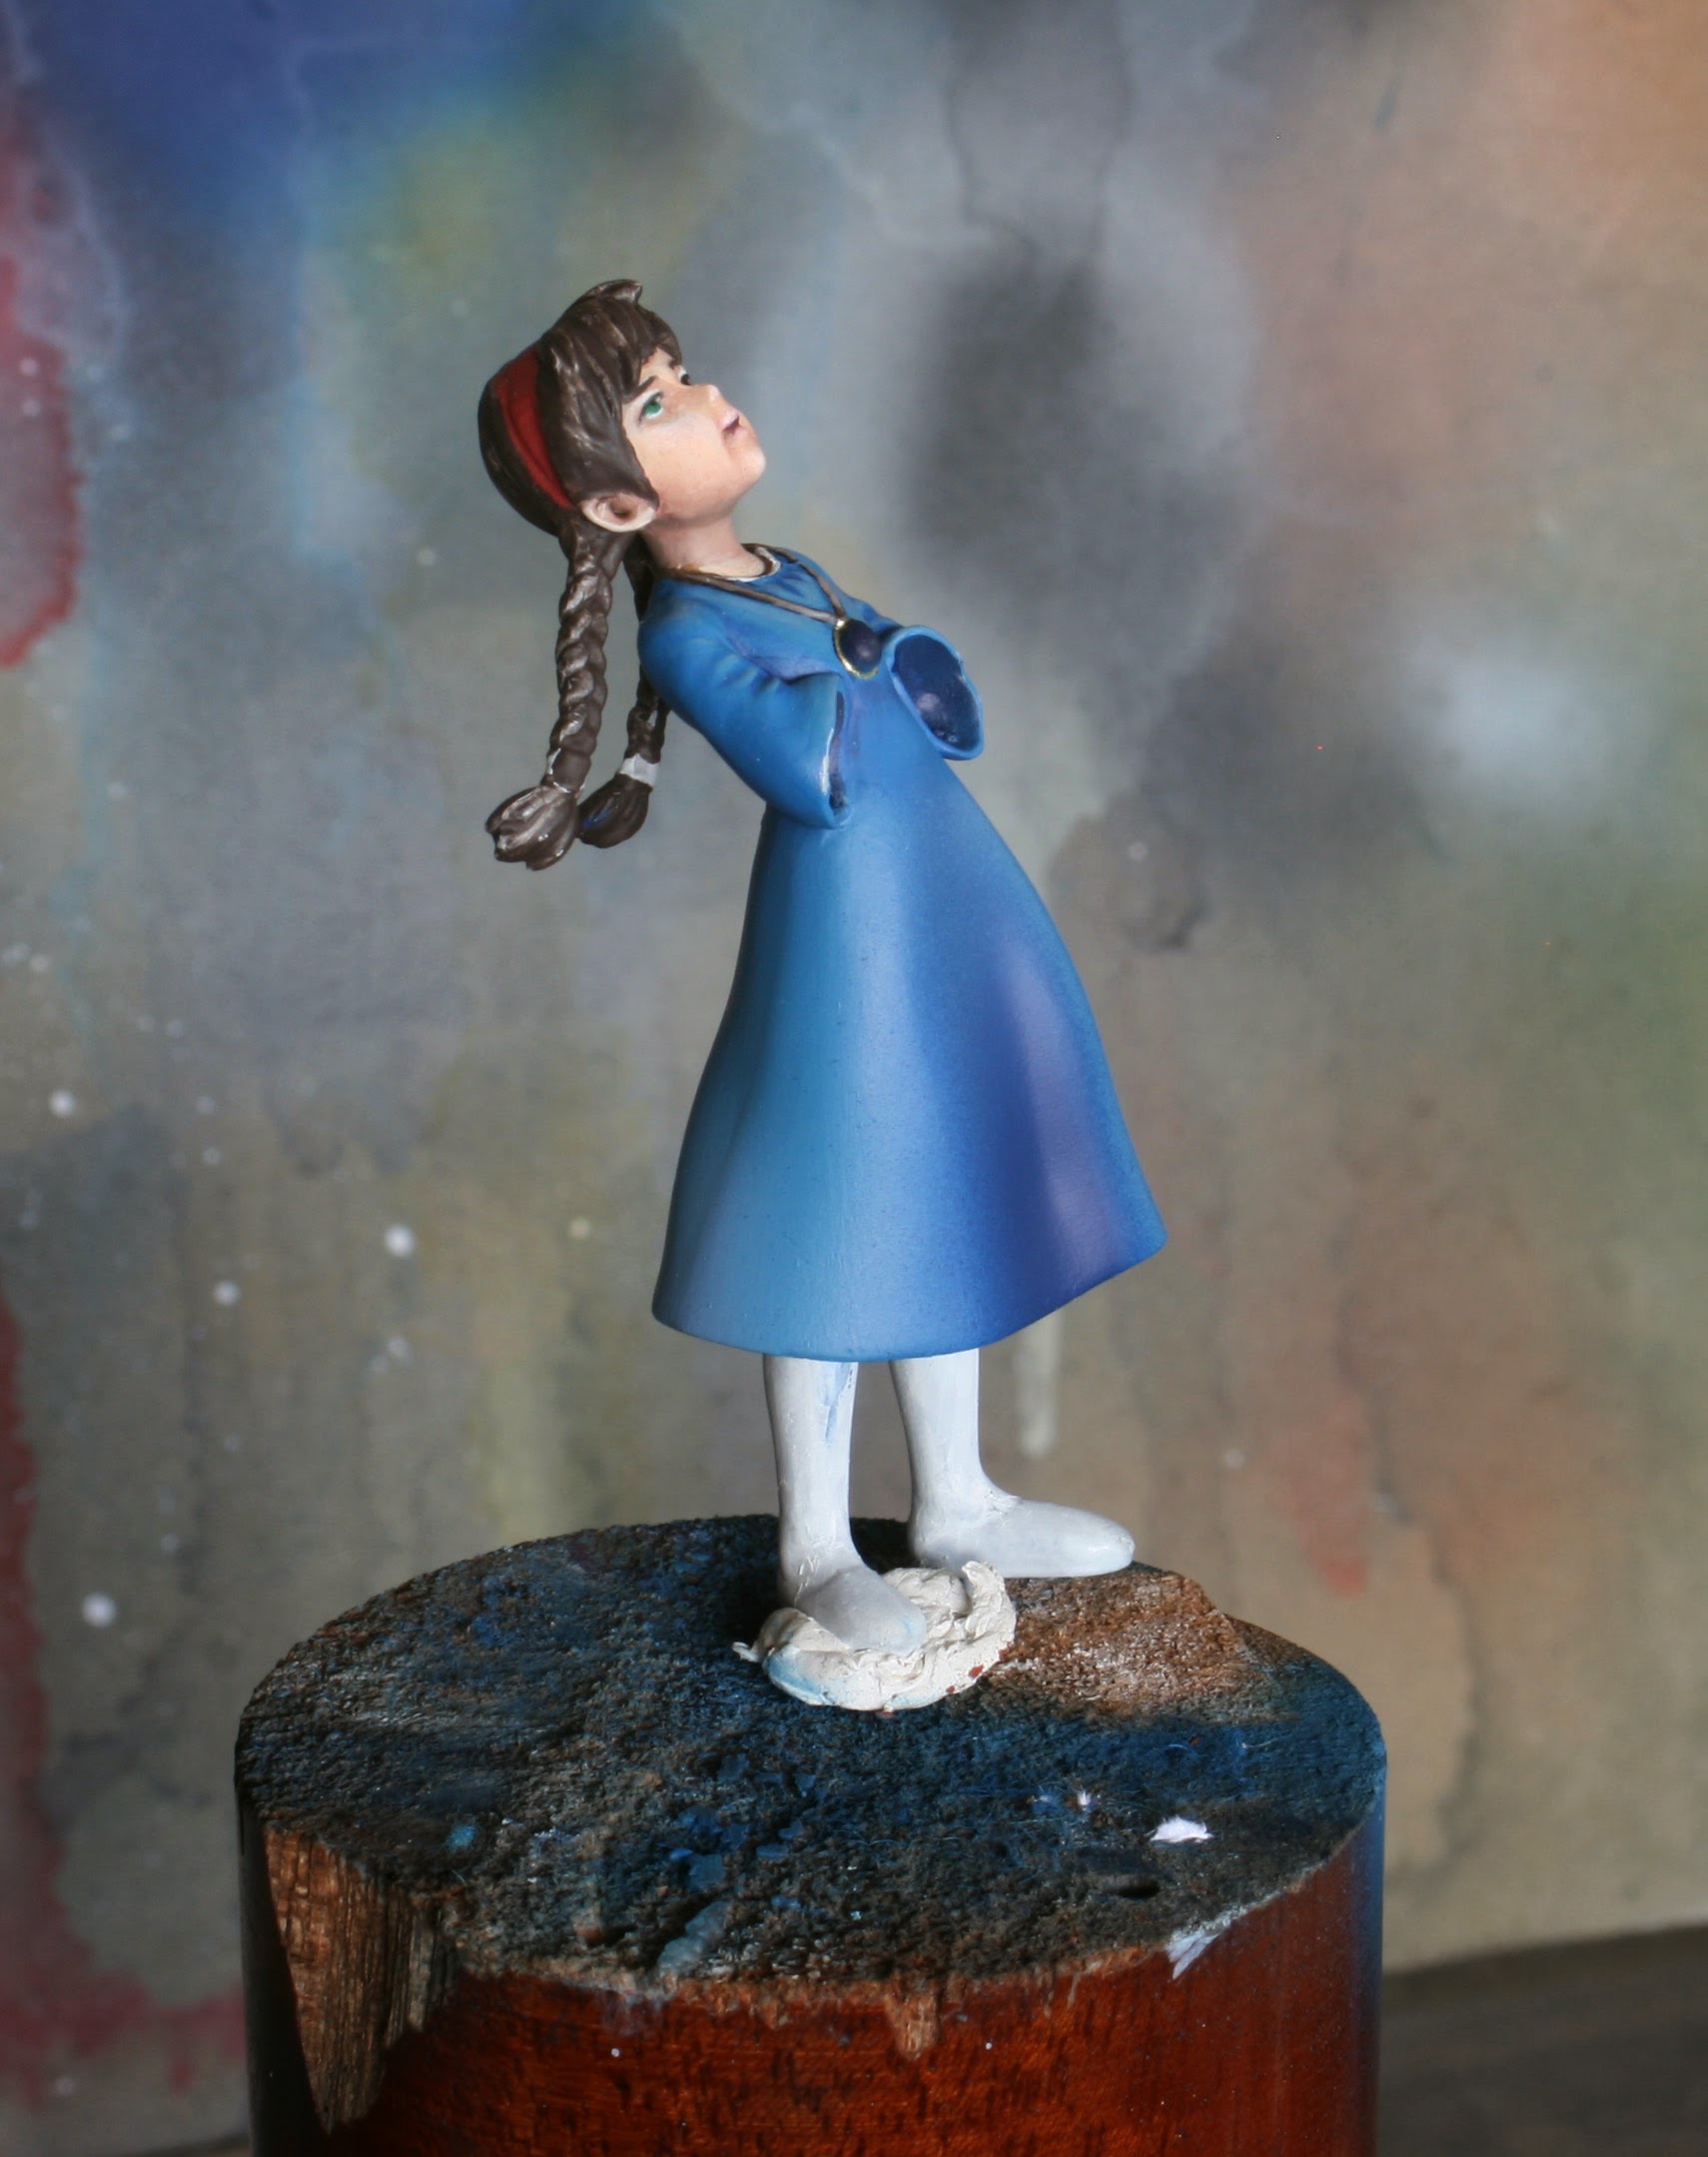
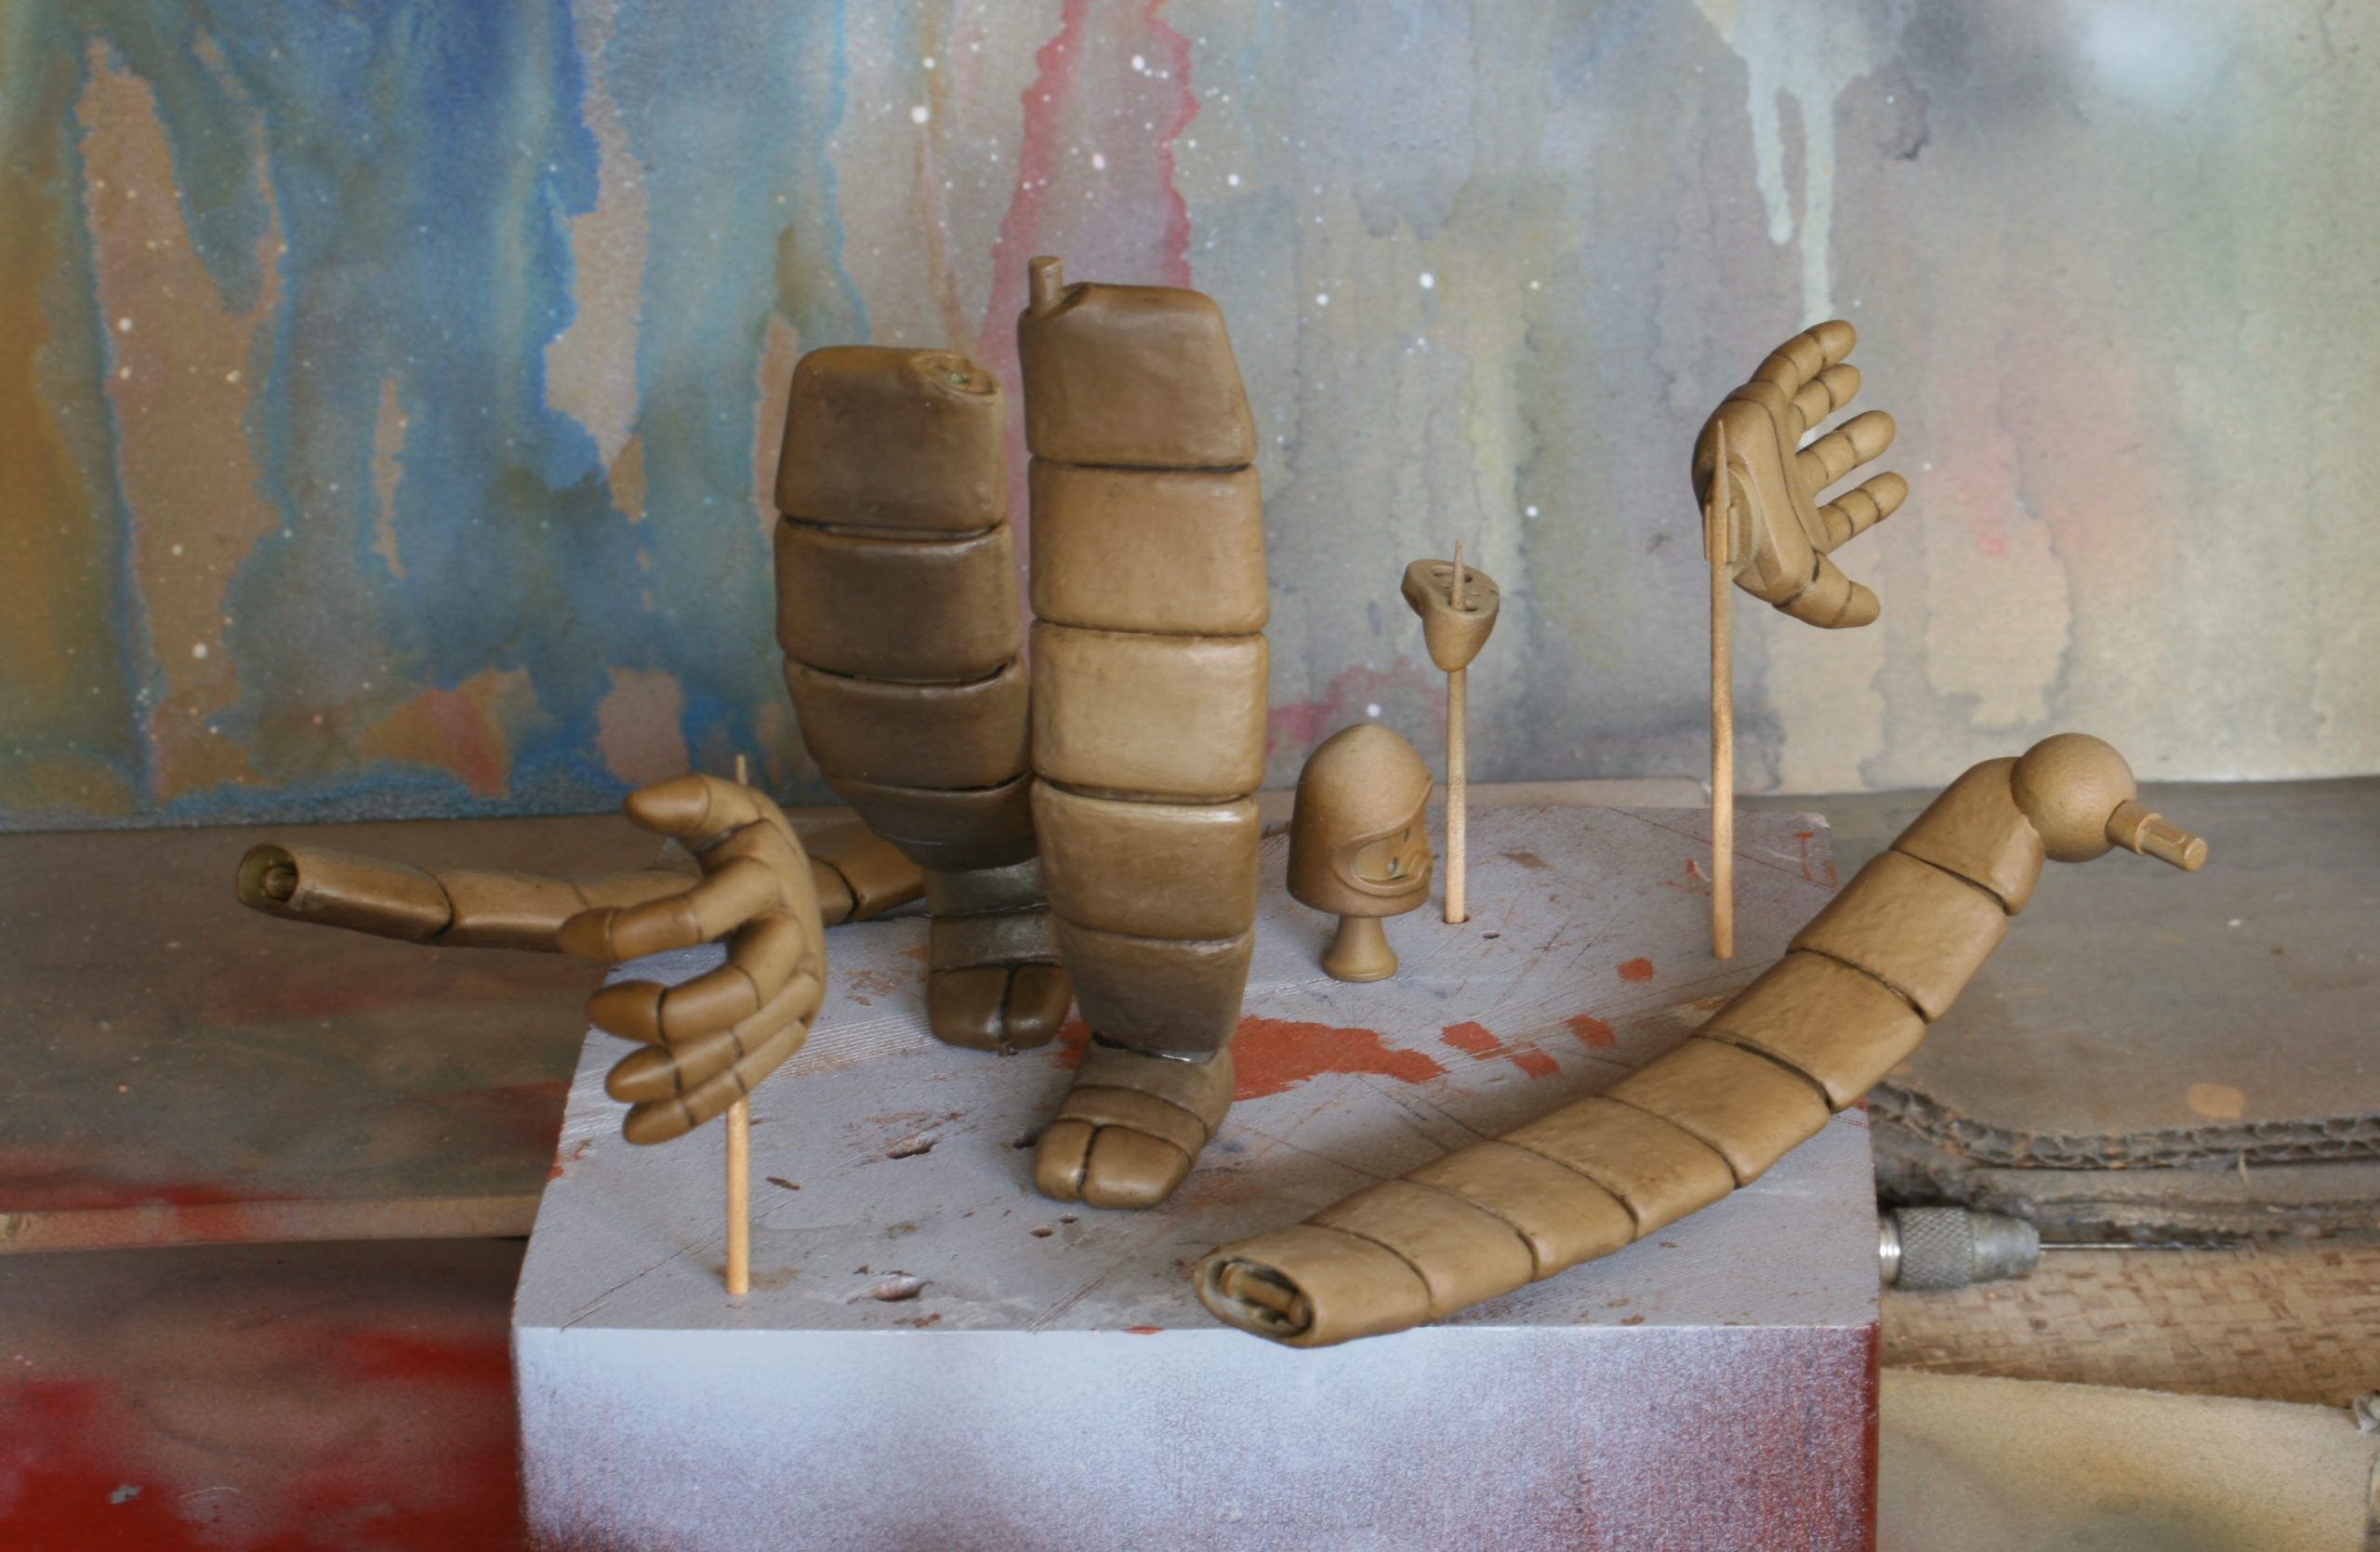
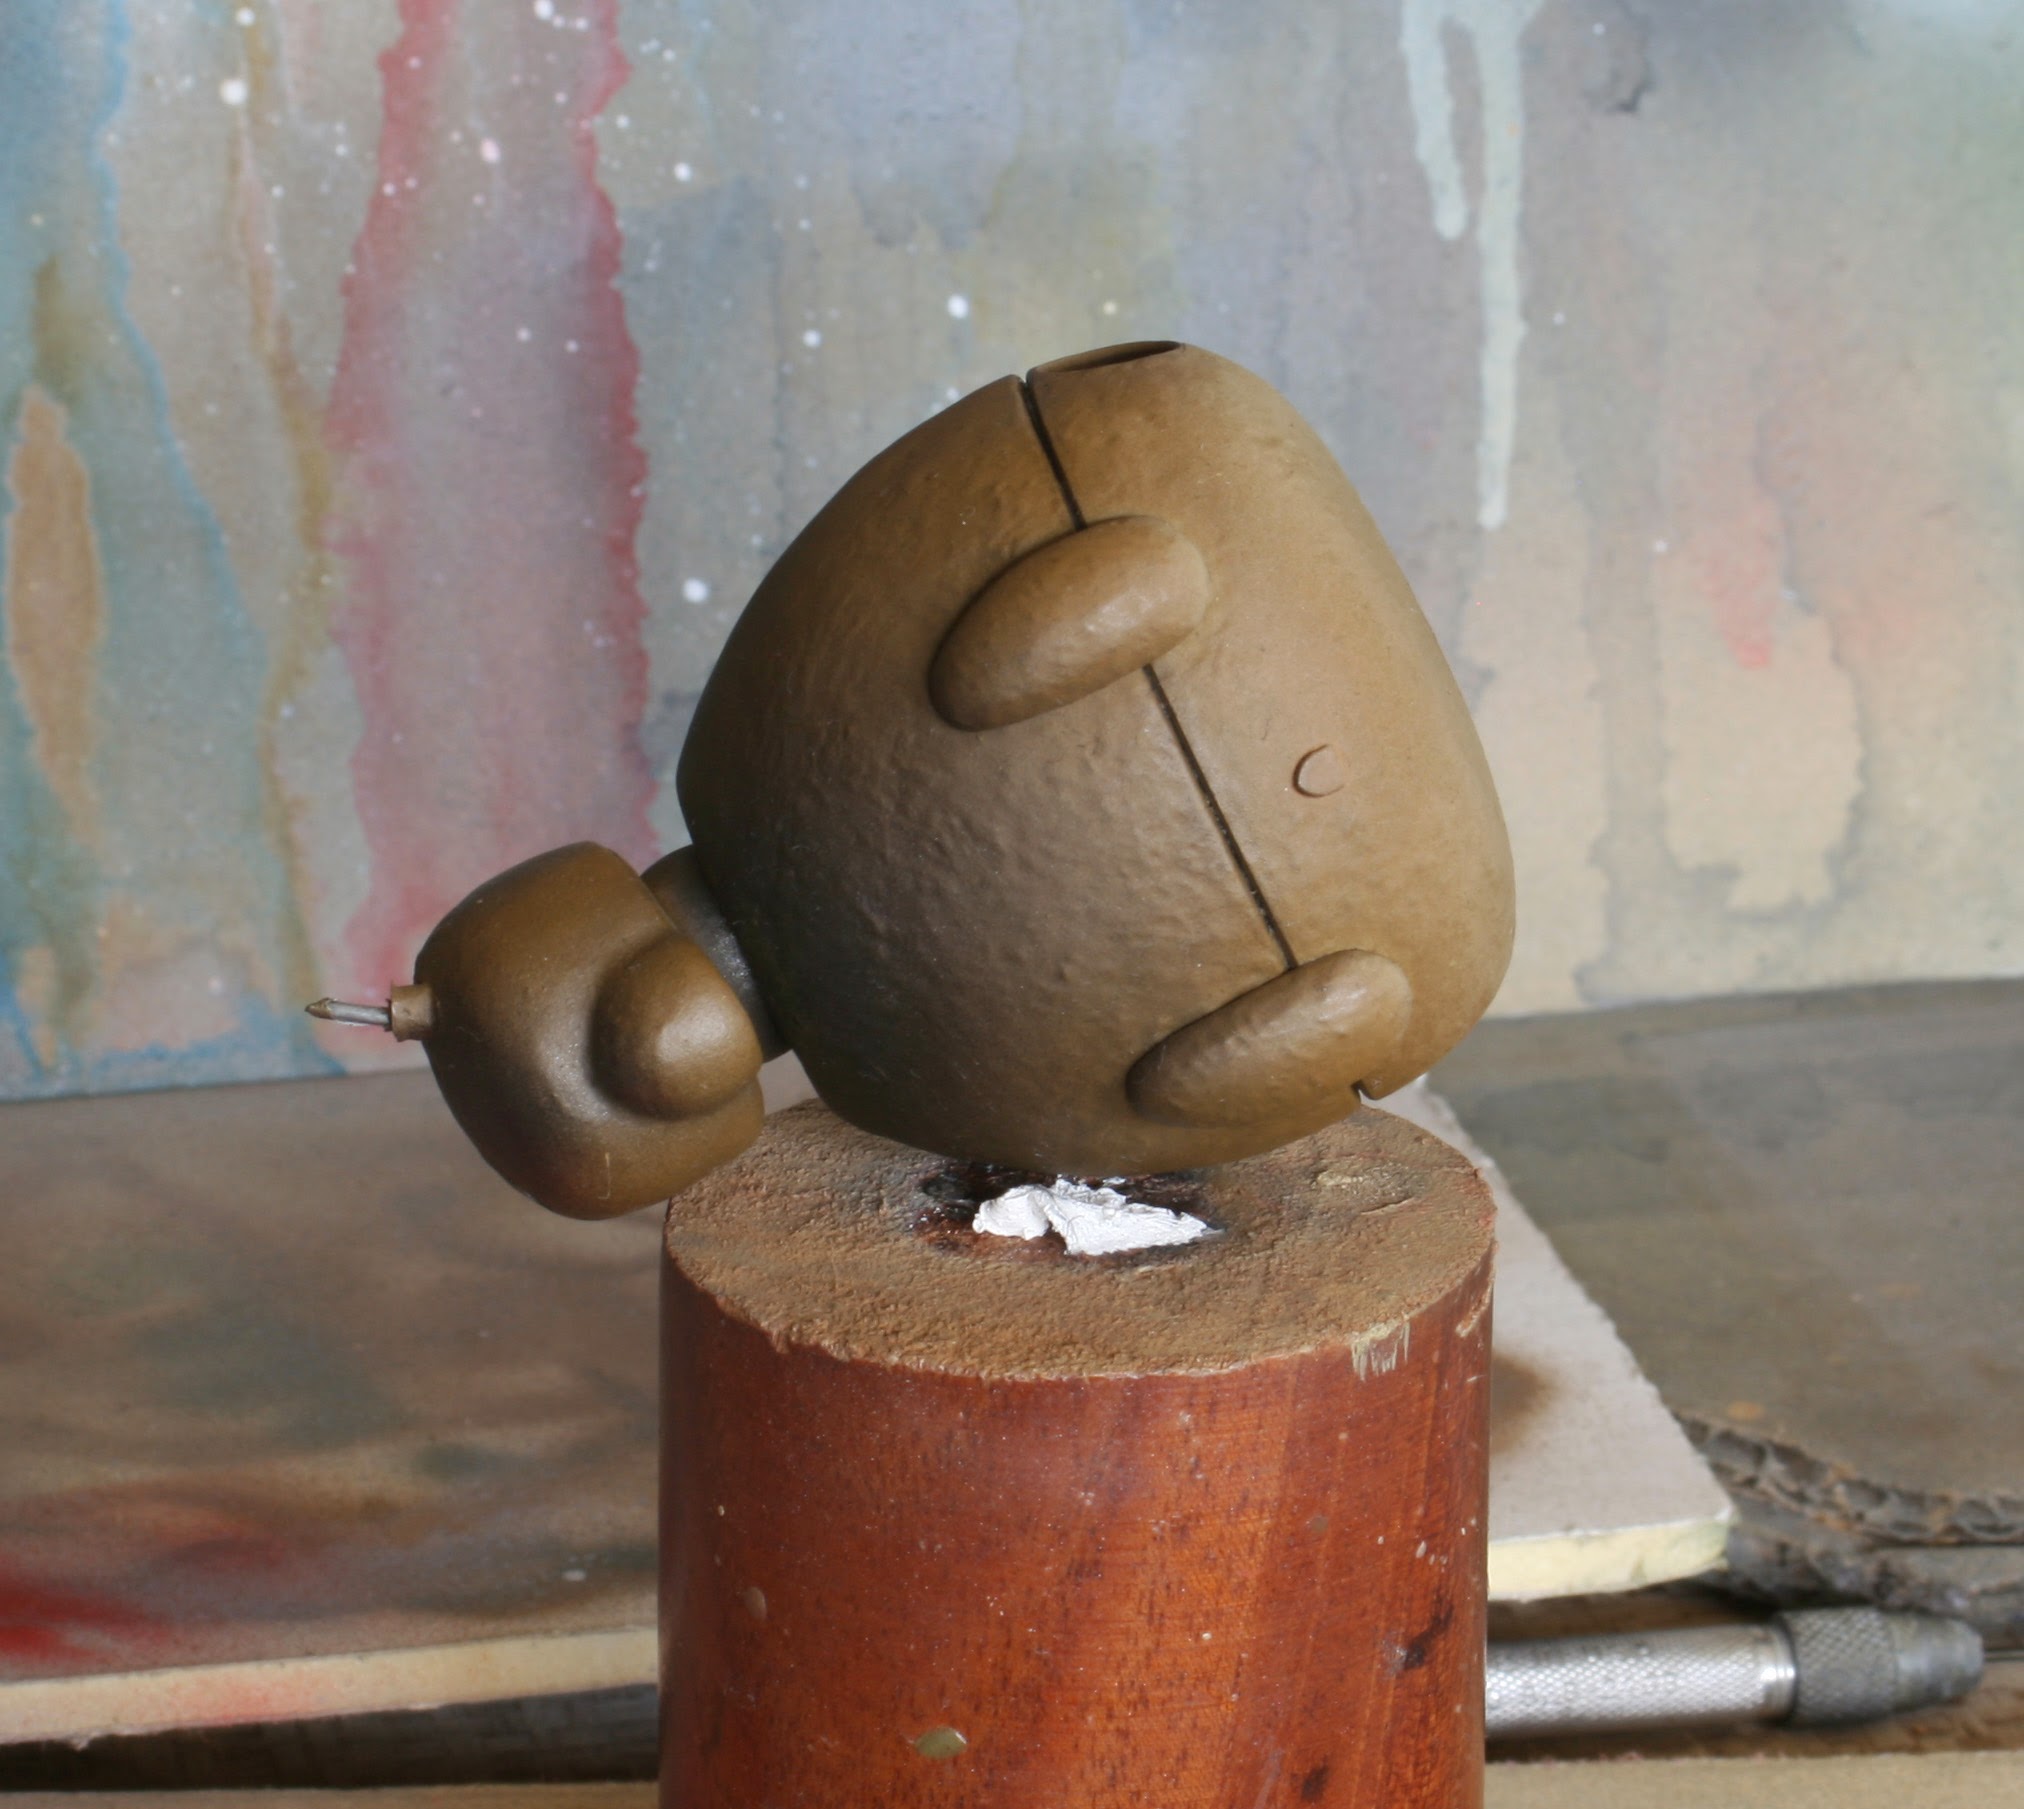
It the next part of this post I would like to show the process of making the stone water-way through pictures. These pictures were in another file, otherwise, I would have posted them in the previous post. I found them later when I was going through all the old pictures I took. Please don’t ask me why I put them in another file! I could not tell you if my life depended on it.
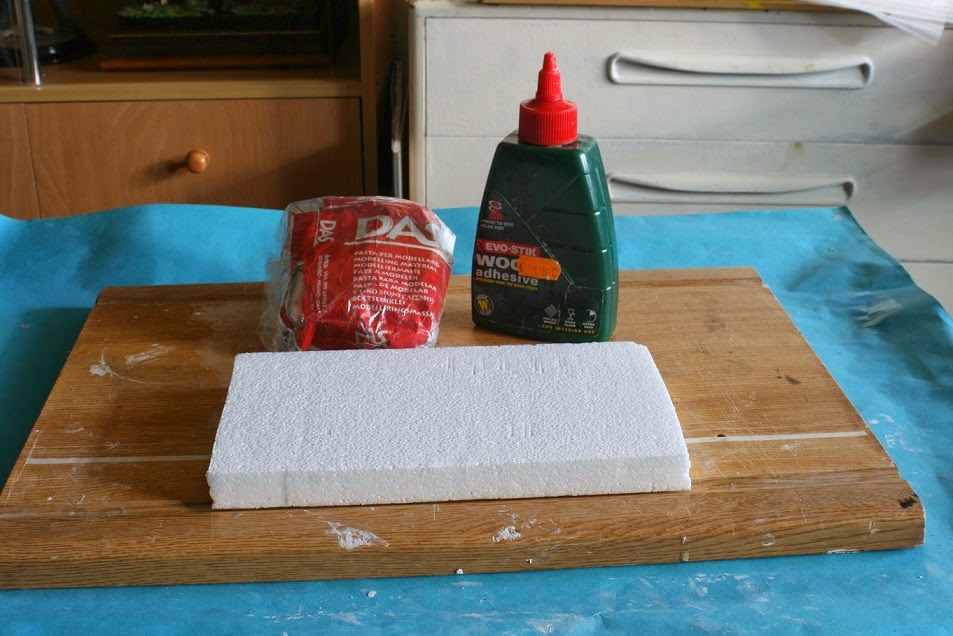 The basic materials - polystyrene, PVA glue, and air drying clay.
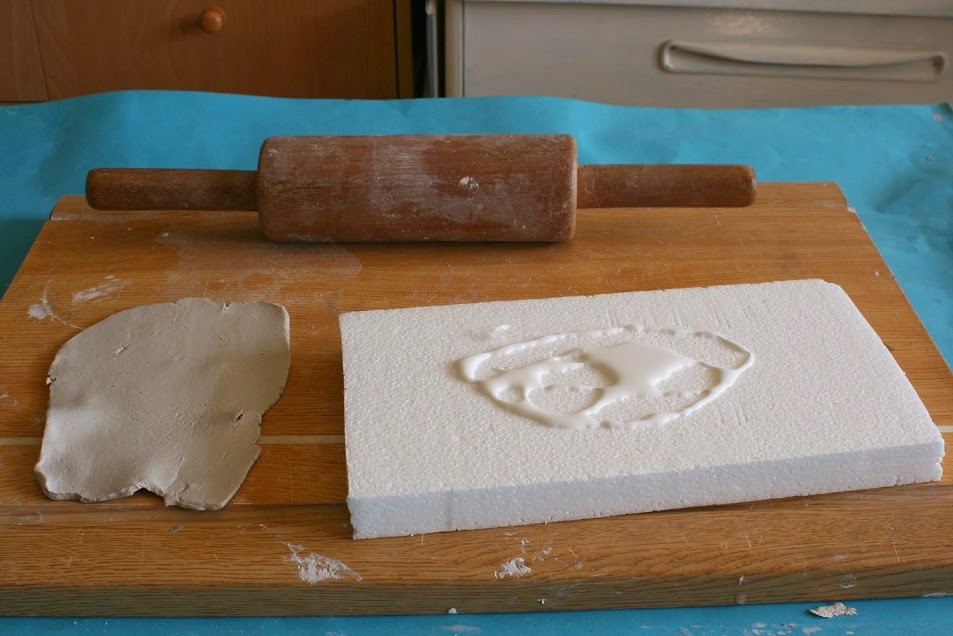 Rolling out the clay into a thin layer and gluing it on to the polystyrene.
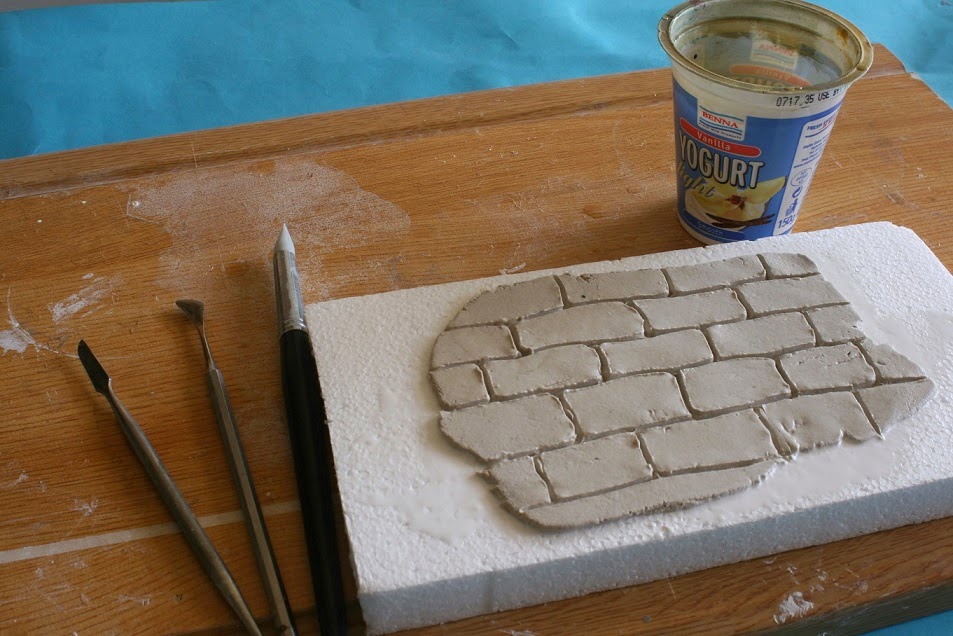 While still wet, cut in the shape of the bricks into the wall.
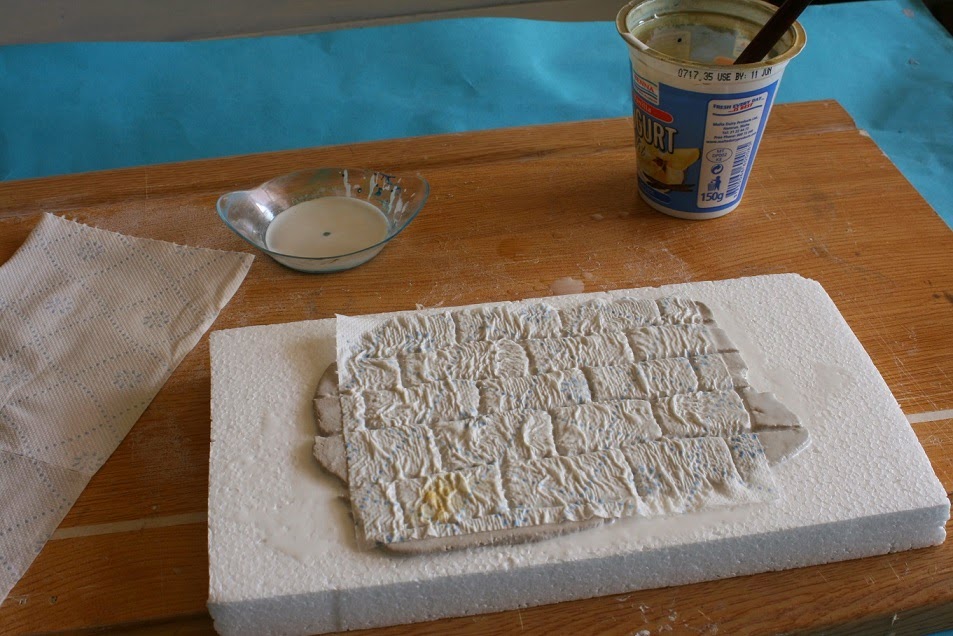 The last step is to wet the bricks with diluted PVA glue and place tissue over it. Use an old brush to push and fit the tissue into the brick's crevices. Use more diluted on top of the tissue if necessary. This should give you a nice stoney tecture when dry.
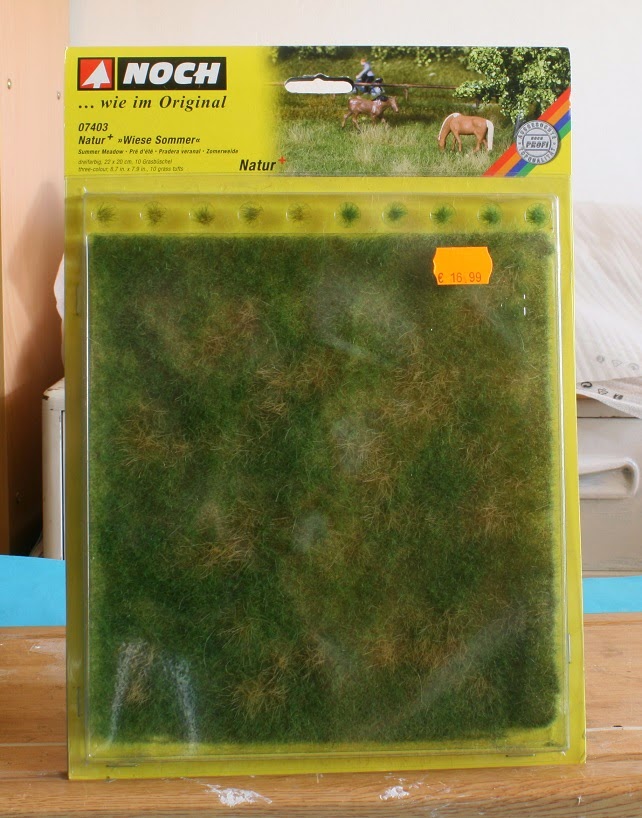 This is the material I used for the garden floor.
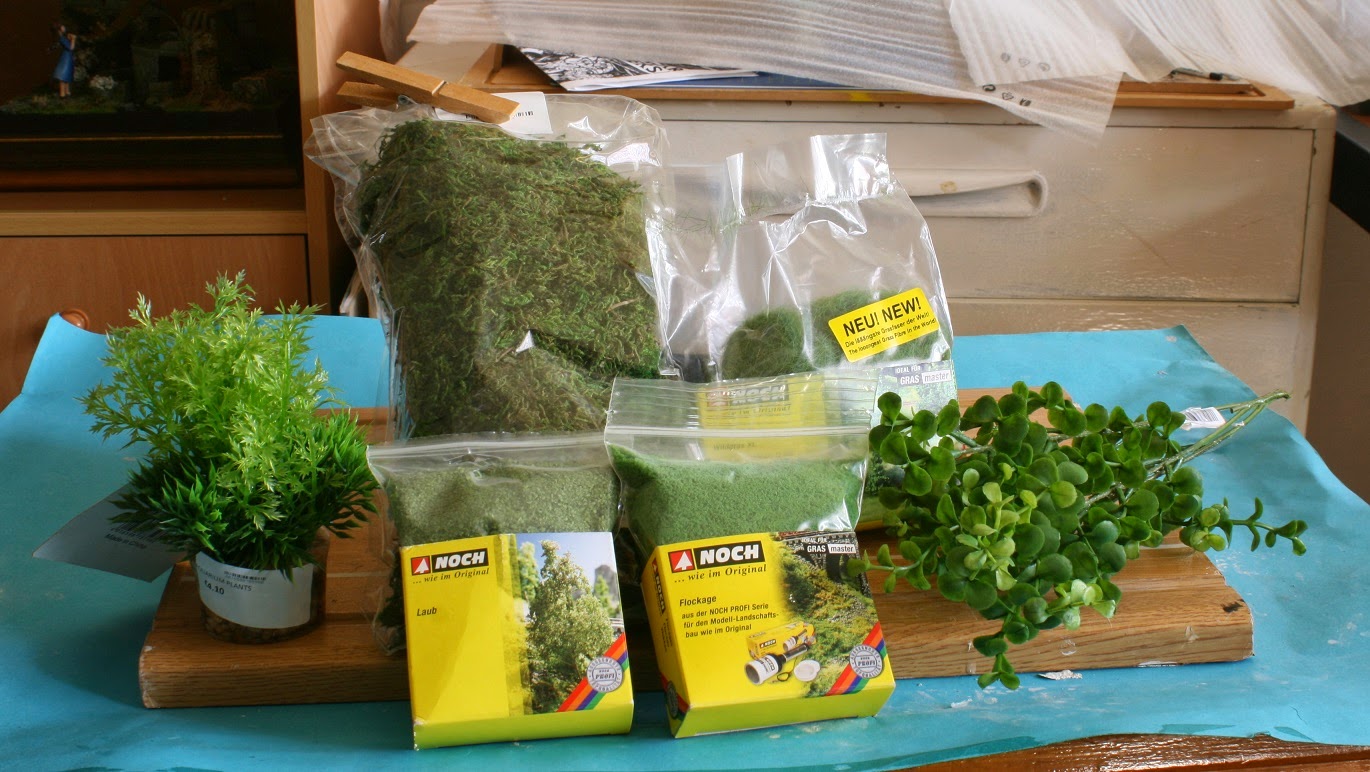 Other materials I used for the vegetation.
Well that covers everything. On Sunday, when I have some time in the morning, I will post the final pictures of the finished diorama, and bring this little nostalgia project to an end.
Stay safe and have fun.
NR.



![Sneak About With Star Wars: Legion’s Guerilla Troopers & More [UPDATED]](https://images.beastsofwar.com/2026/09/g-troops-star-wars-cover-600-338.jpg)