


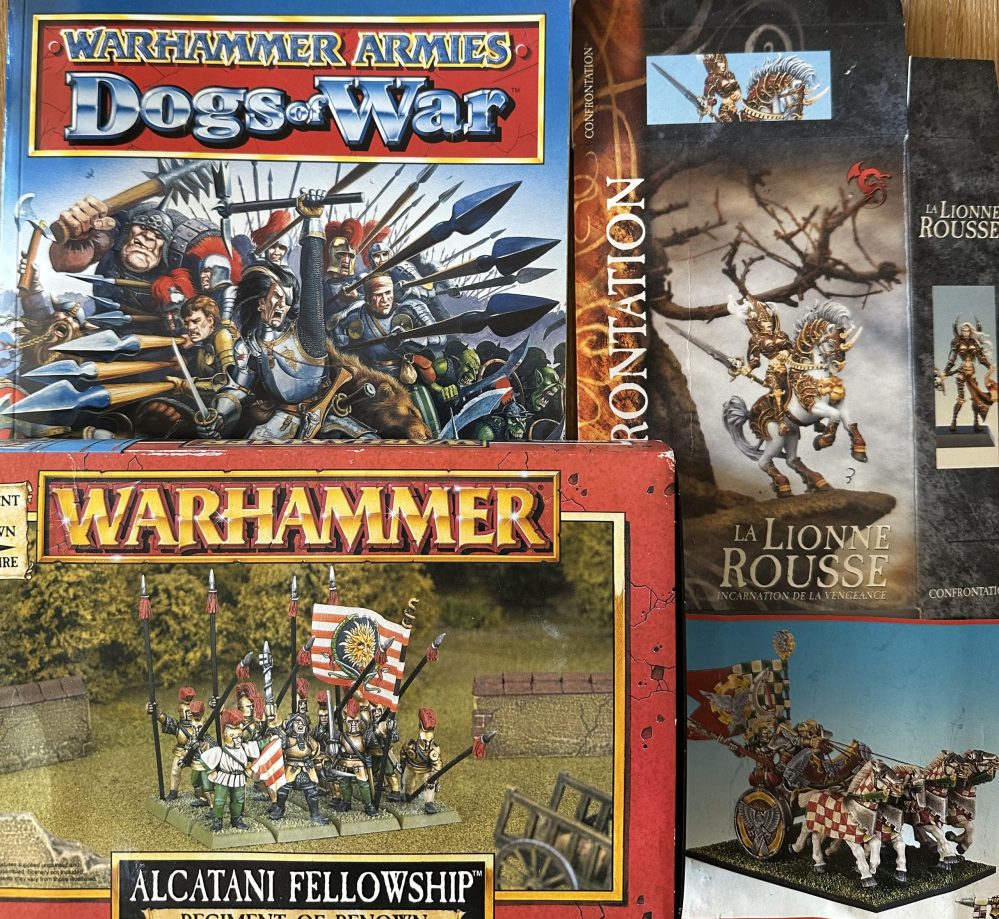
The Dogs - Spring Clean Challenge 2026


Alcatani Fellowship and how to make a paper banner look right
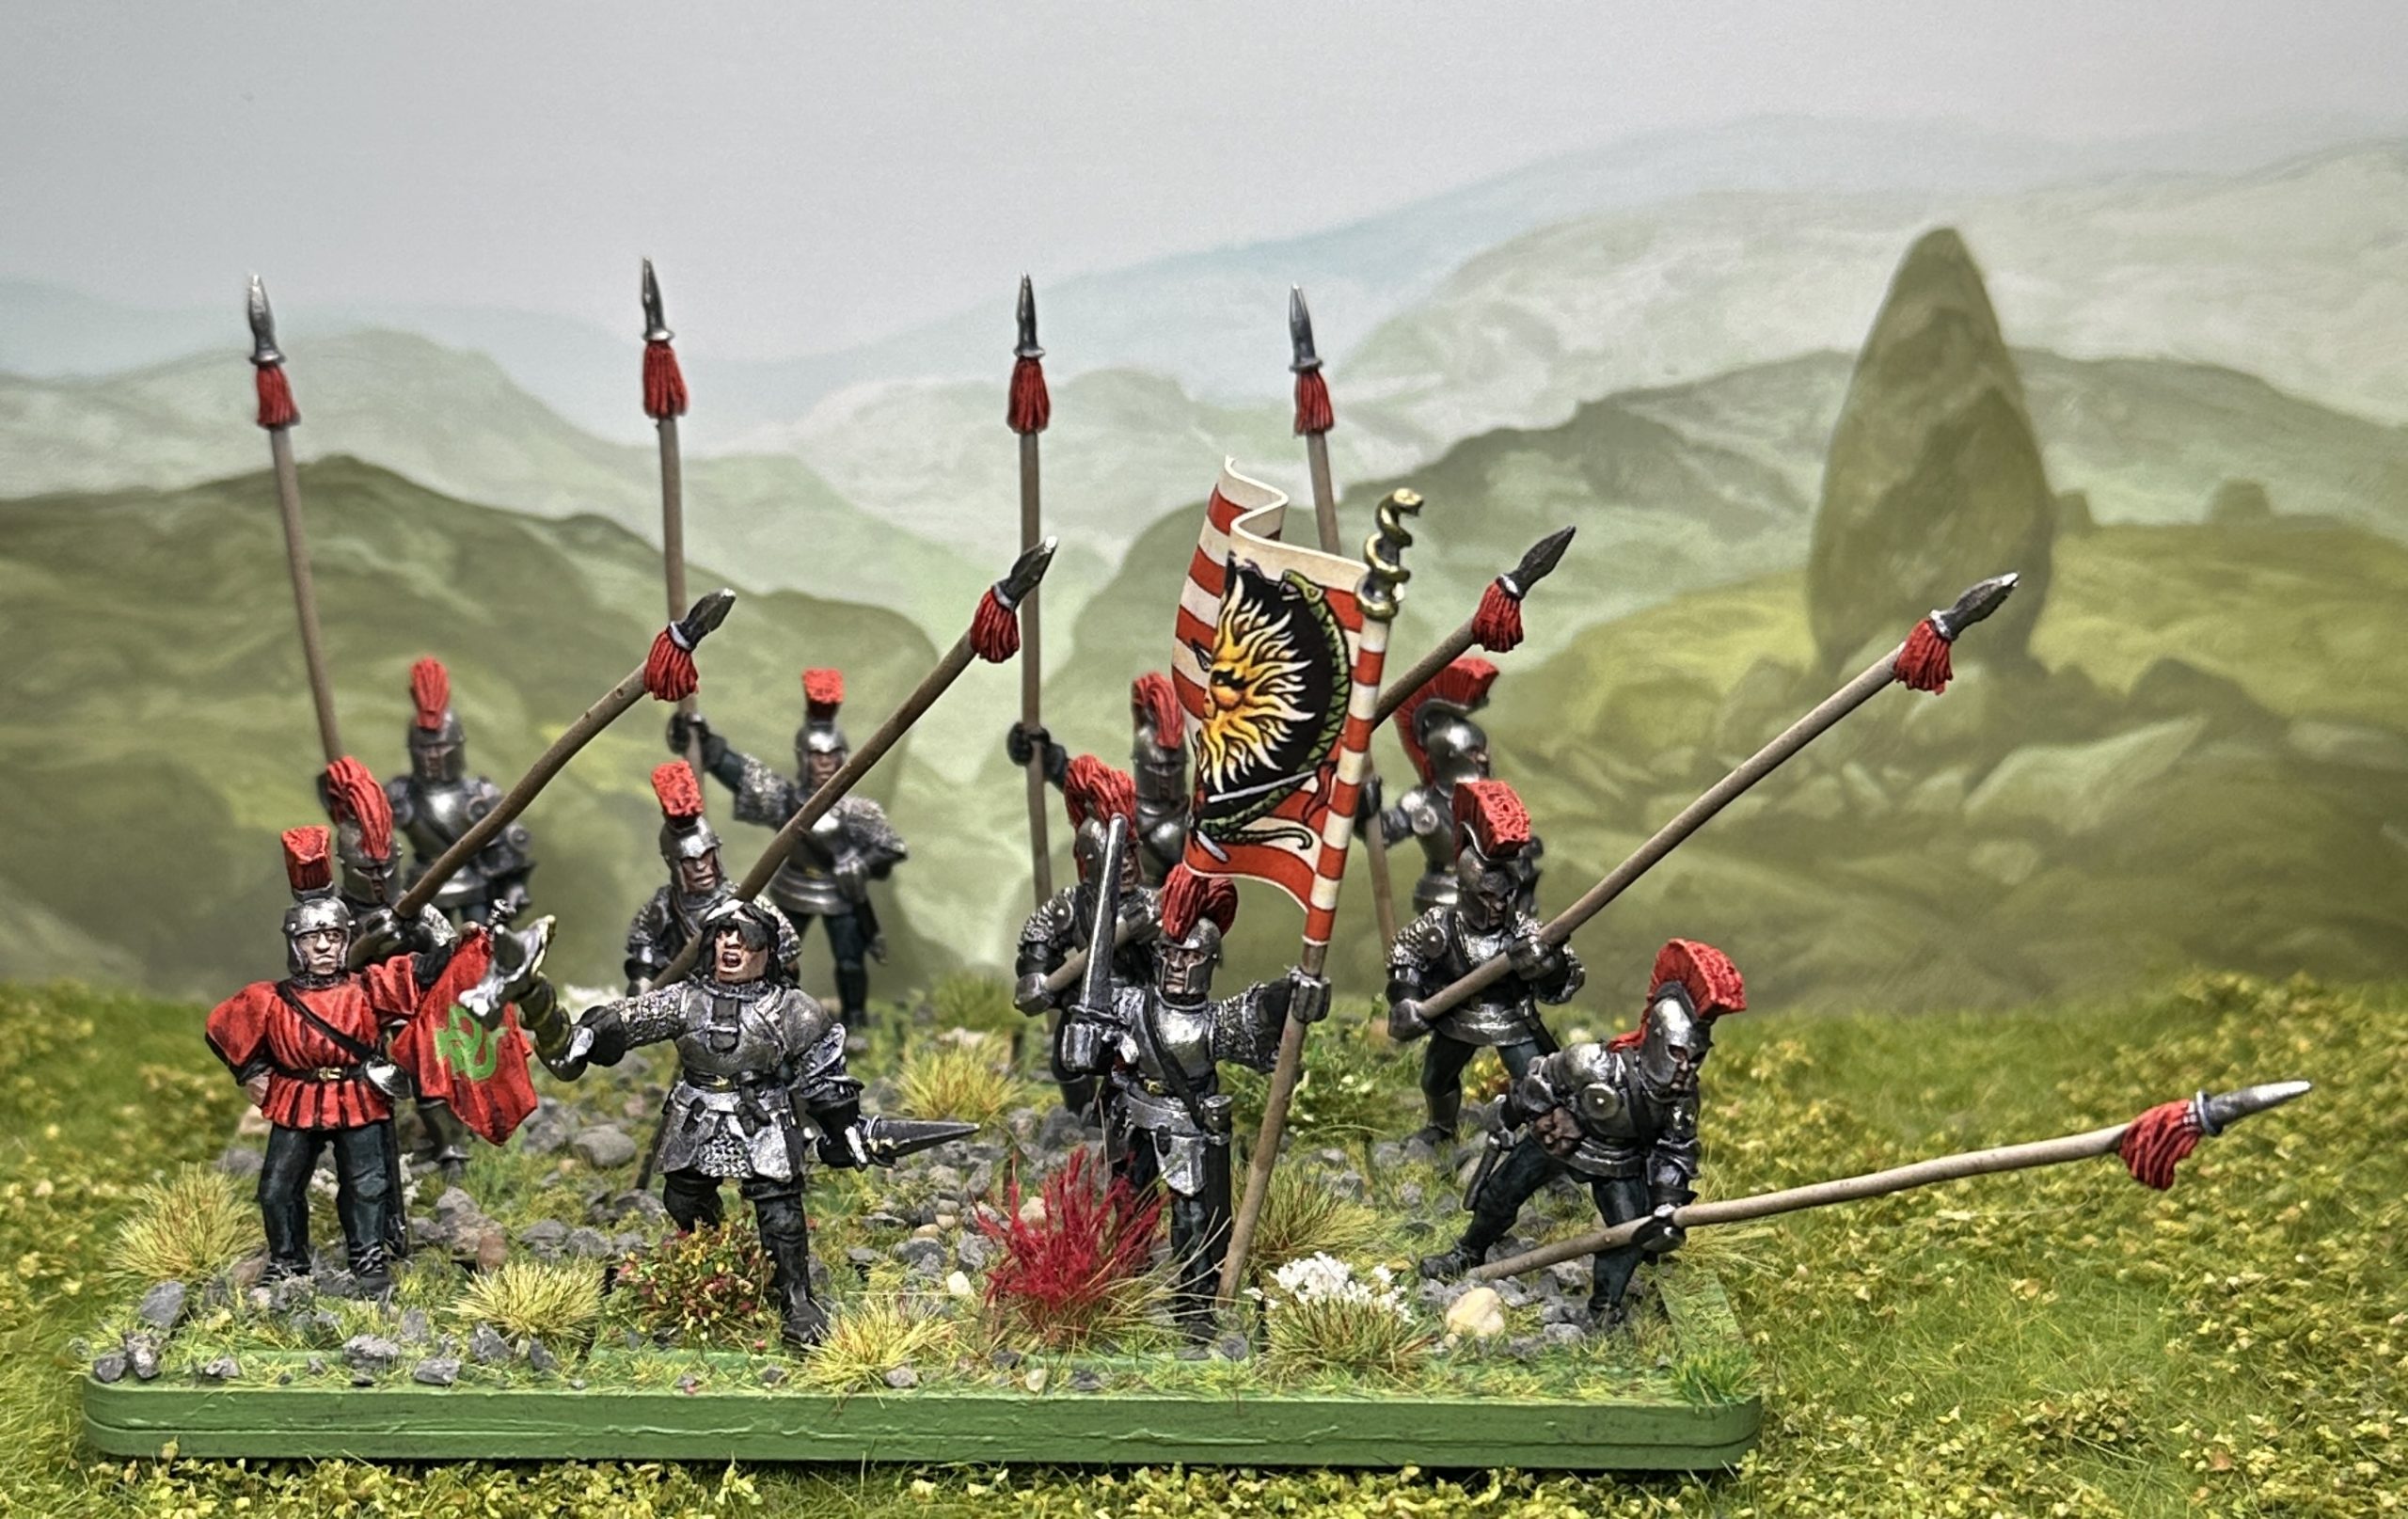
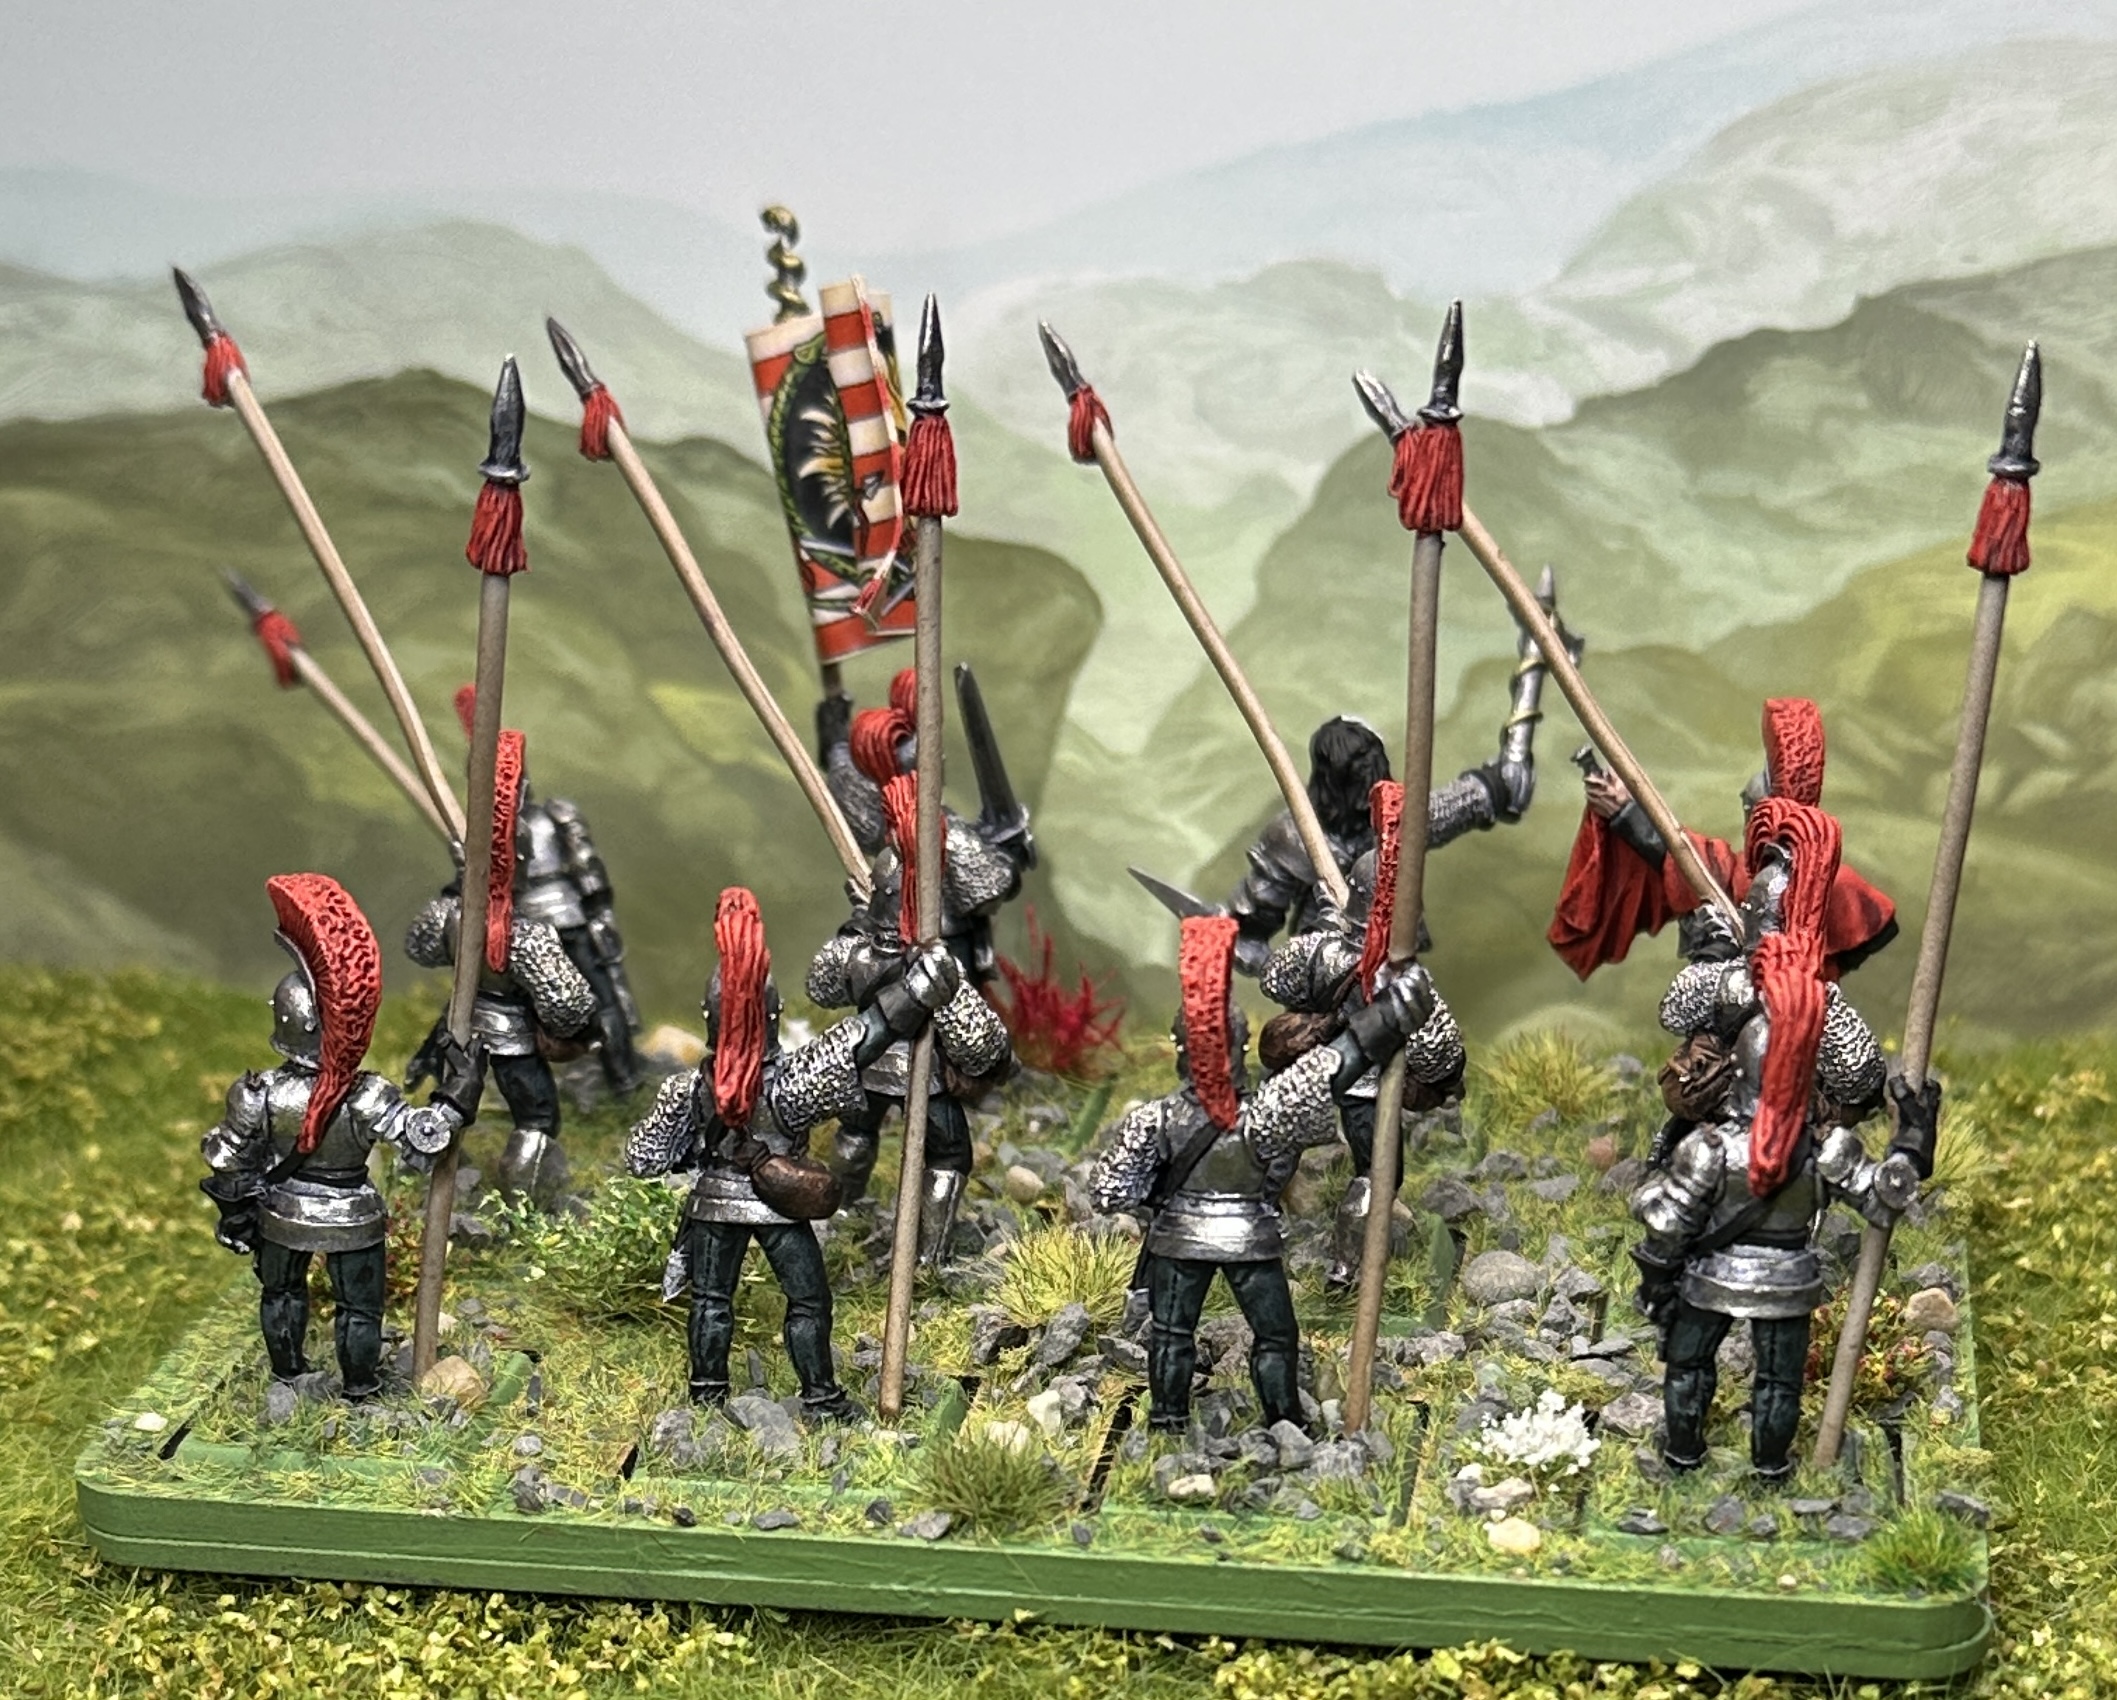
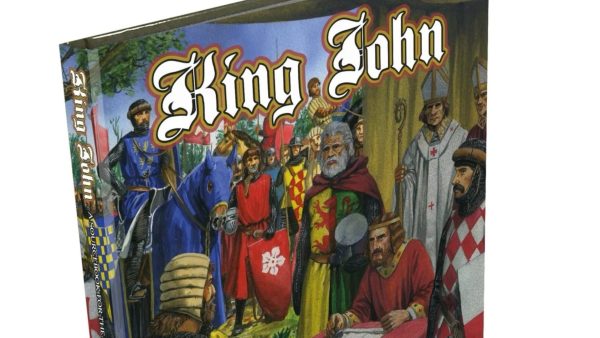
I bought a box of these for my birthday. They were my favourite of the units from the Dogs of War release. Clearly the Perrys wanted some Italian Wars miniatures and sculped a whole range of Tileans. I’m very happy to have a unit to add to the army.
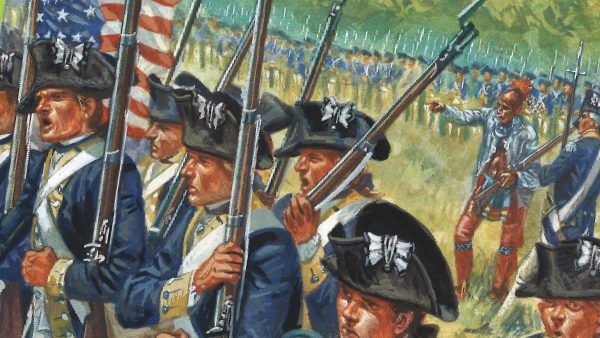
They feature in the middle of the Dogs of War cover art:

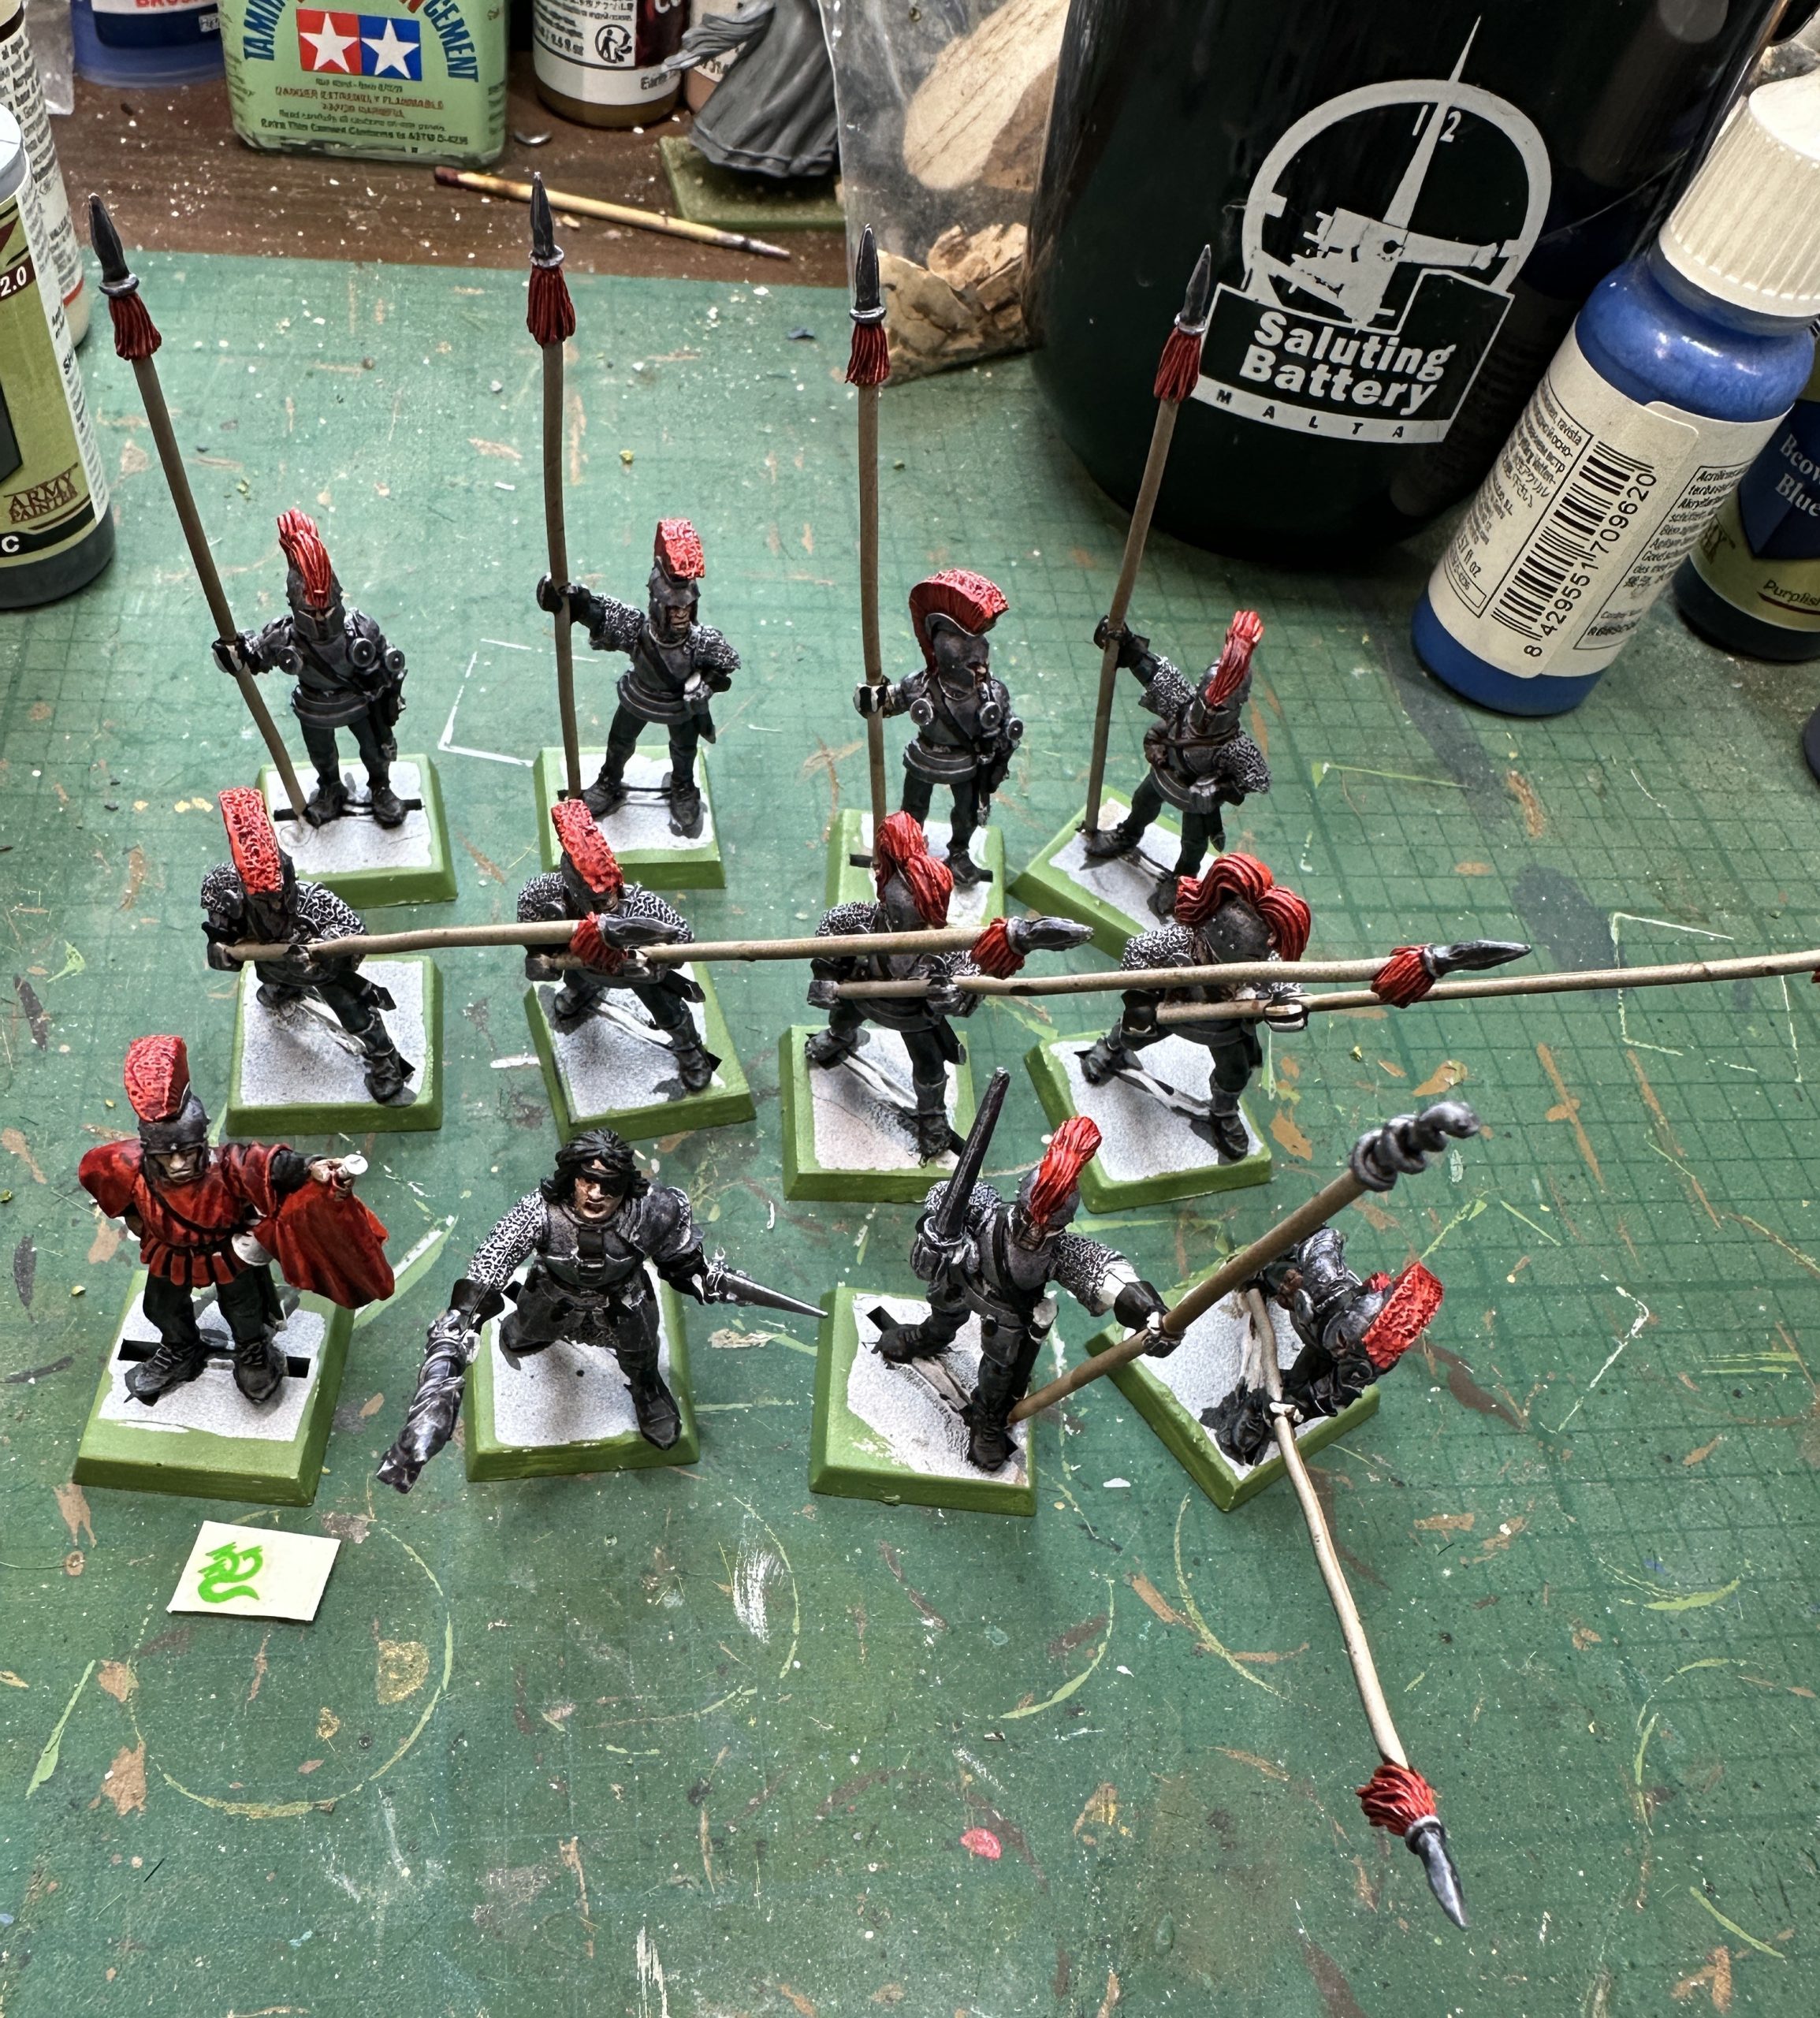
The central figure is Roderigo Delmonte. I like the way he is shown, despite not looking exactly like the miniature. I’ll try and make sure I get my paintwork to look like this. The unit have dark clothes and red crests. I’ve chosen to go with steel armour.
Base colours were all AP Speedpaints:
Armour: Broadsword Silver
Skin: 50/50 Blend of Crusader Skin and Warrior Skin
Shoes and leather details: Grim Black
Hose and doublet arms: Turnbull Turquoise
Pike shafts: Bony Matter
Crests, pike tufts and trumpeter tabbard: Blood Red
Pouches and bags: Satchel Brown
Then outside for a coat of Mr Hobby Super Clear matt. This is an important step with Speedpaints. They have a slight sheen and under my painting lights reflect a lot. They also have a slight peculiarity in that they seem to dry in an odd way that reveals spots of the undercoat again. These are very hard to see unless the surface is a flat matt. This happens every time I paint a lot of minis with Speedpaints. You can be sure you have fully covered an area but when dry there will be a tiny dot of undercoat showing through. So a matt varnish at this stage is good.
You can see an old Alpha Legion symbol transfer that I’ve picked out for the trumpet banner. Roderigo’s arms feature snakes so this seemed apt.
Next I did the banner. These images show the process.
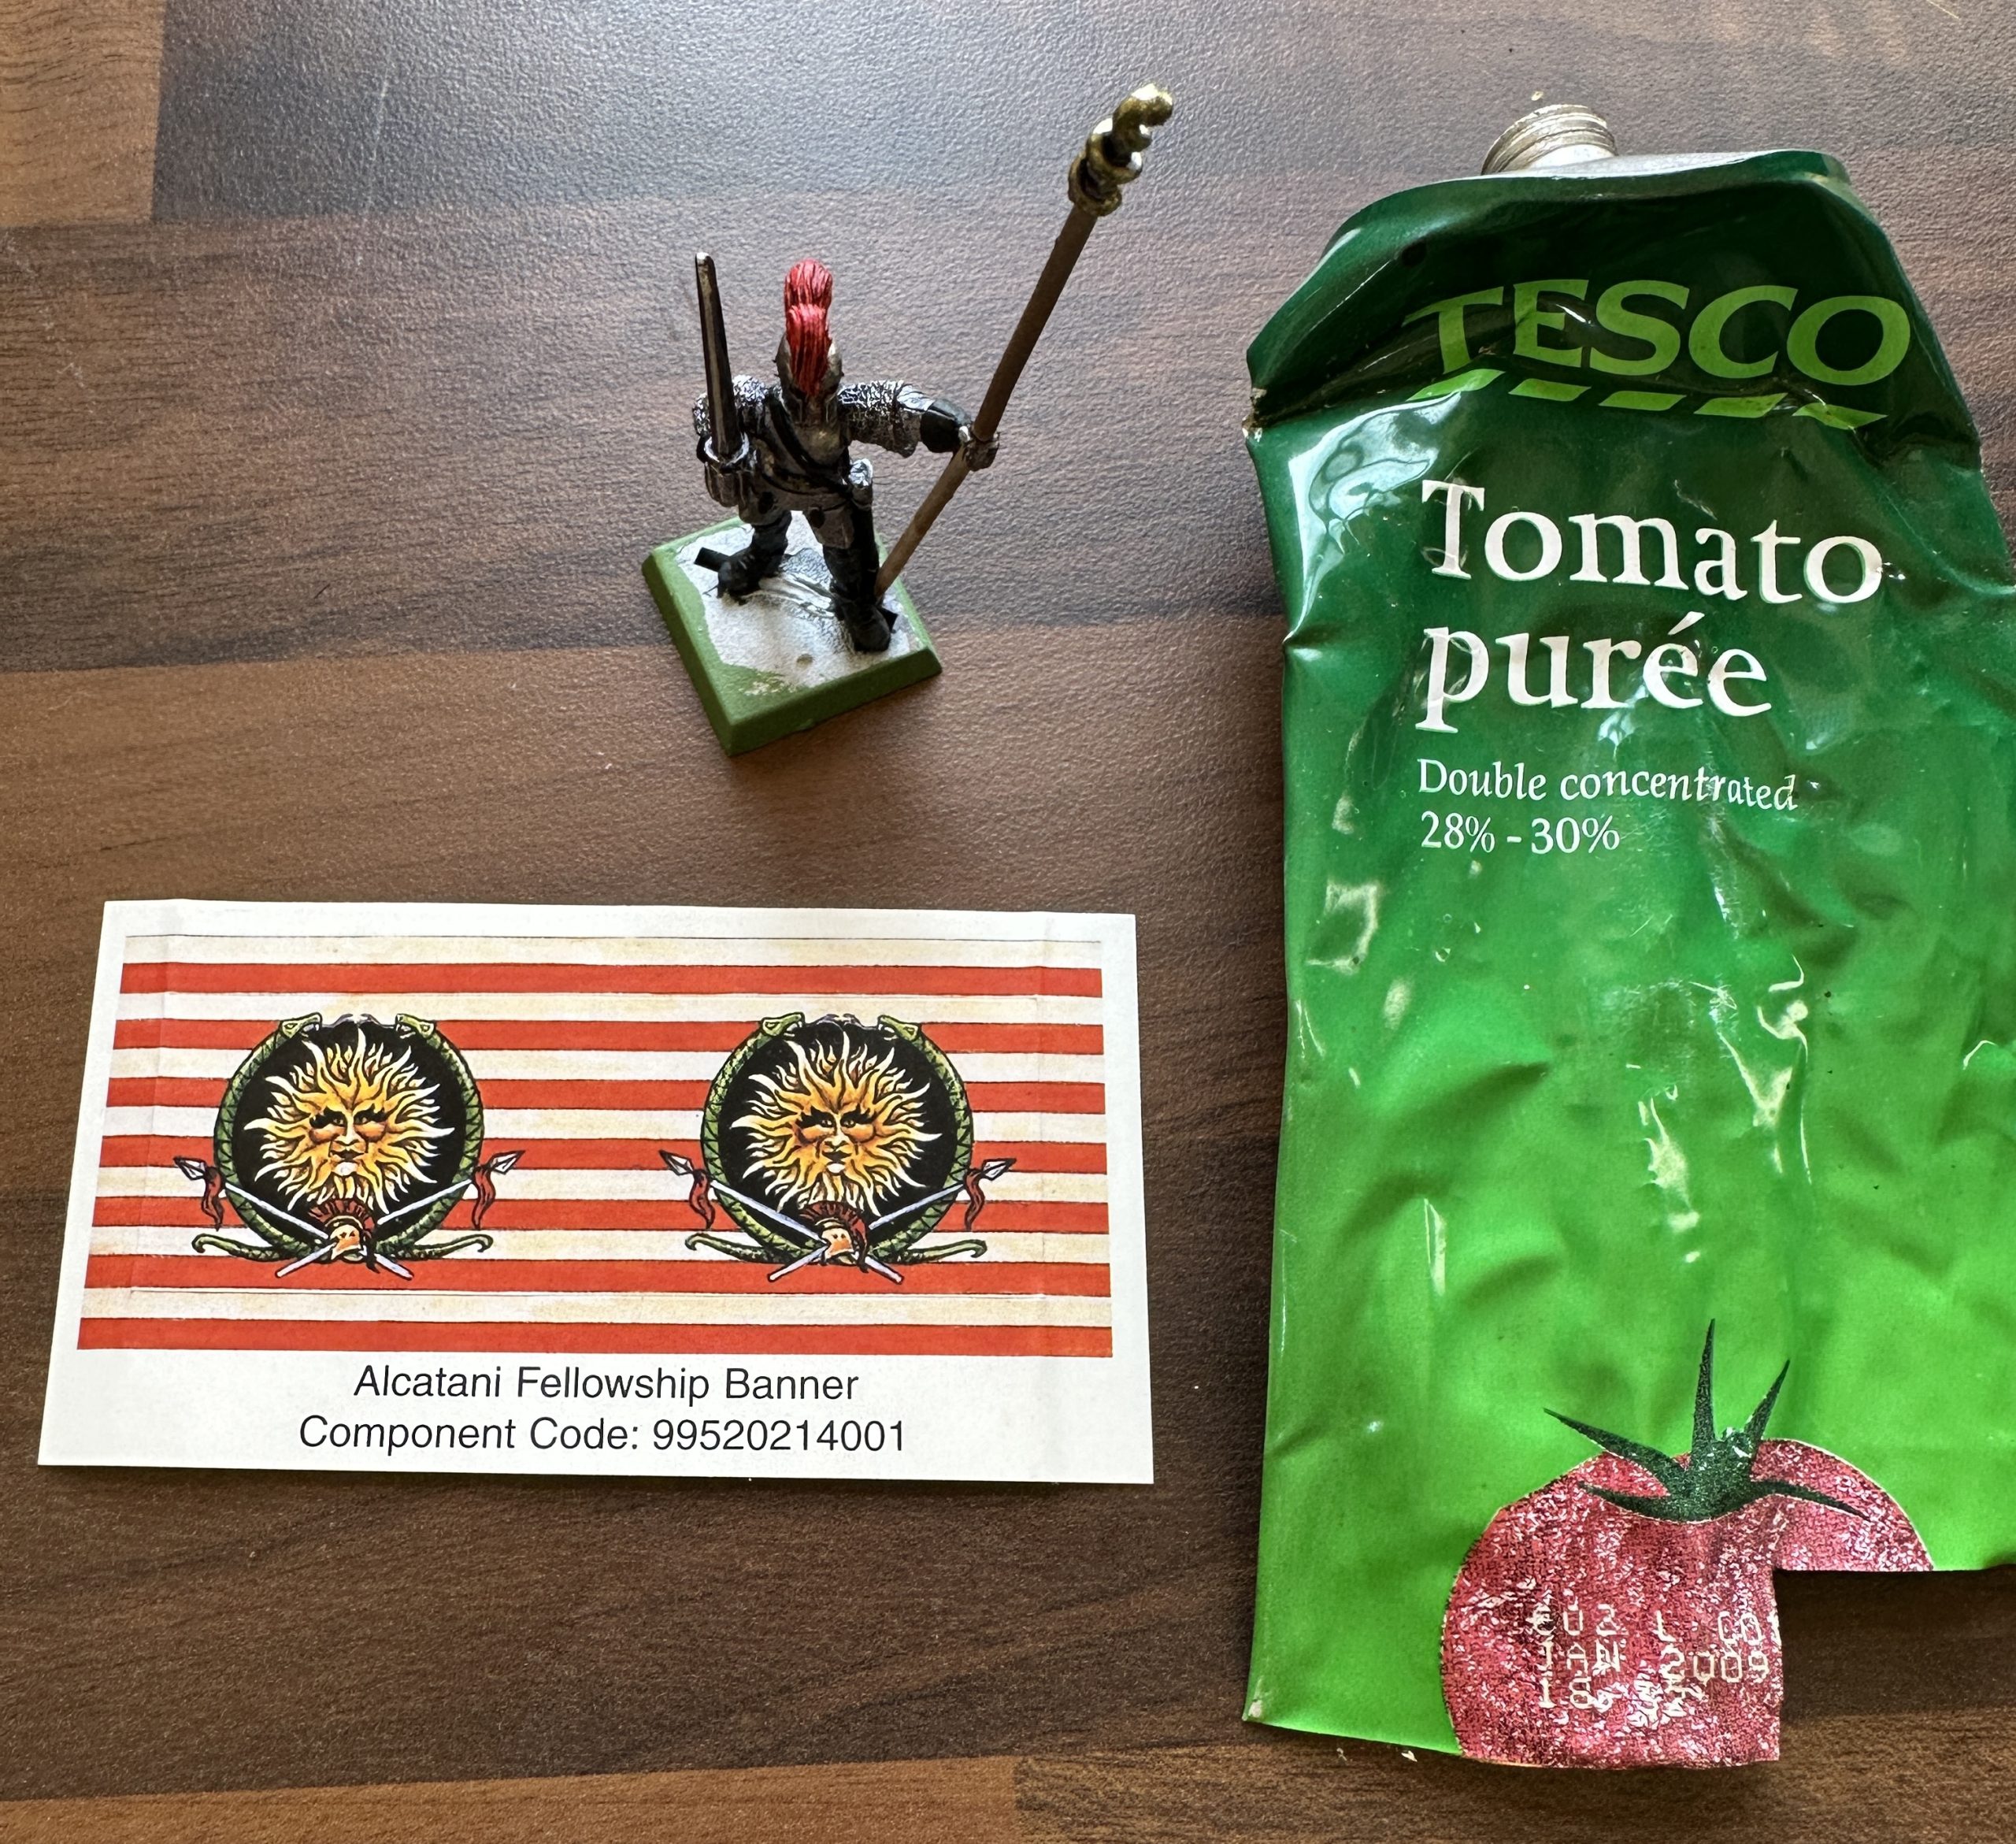
- The pre-printed banner is a self adhesive sticker. I also need some metal foil. The tomato paste tube is one of the few remaining sources for this since toothpaste moved to plastic tubes. The foil is the perfect thickness for a banner. I’m adding a single layer of foil between the two sides.
- There is a pre-cut middle part on the sheet which is much bigger than the flag pole. I cut the top off along the pre-cut line to help with the next step.
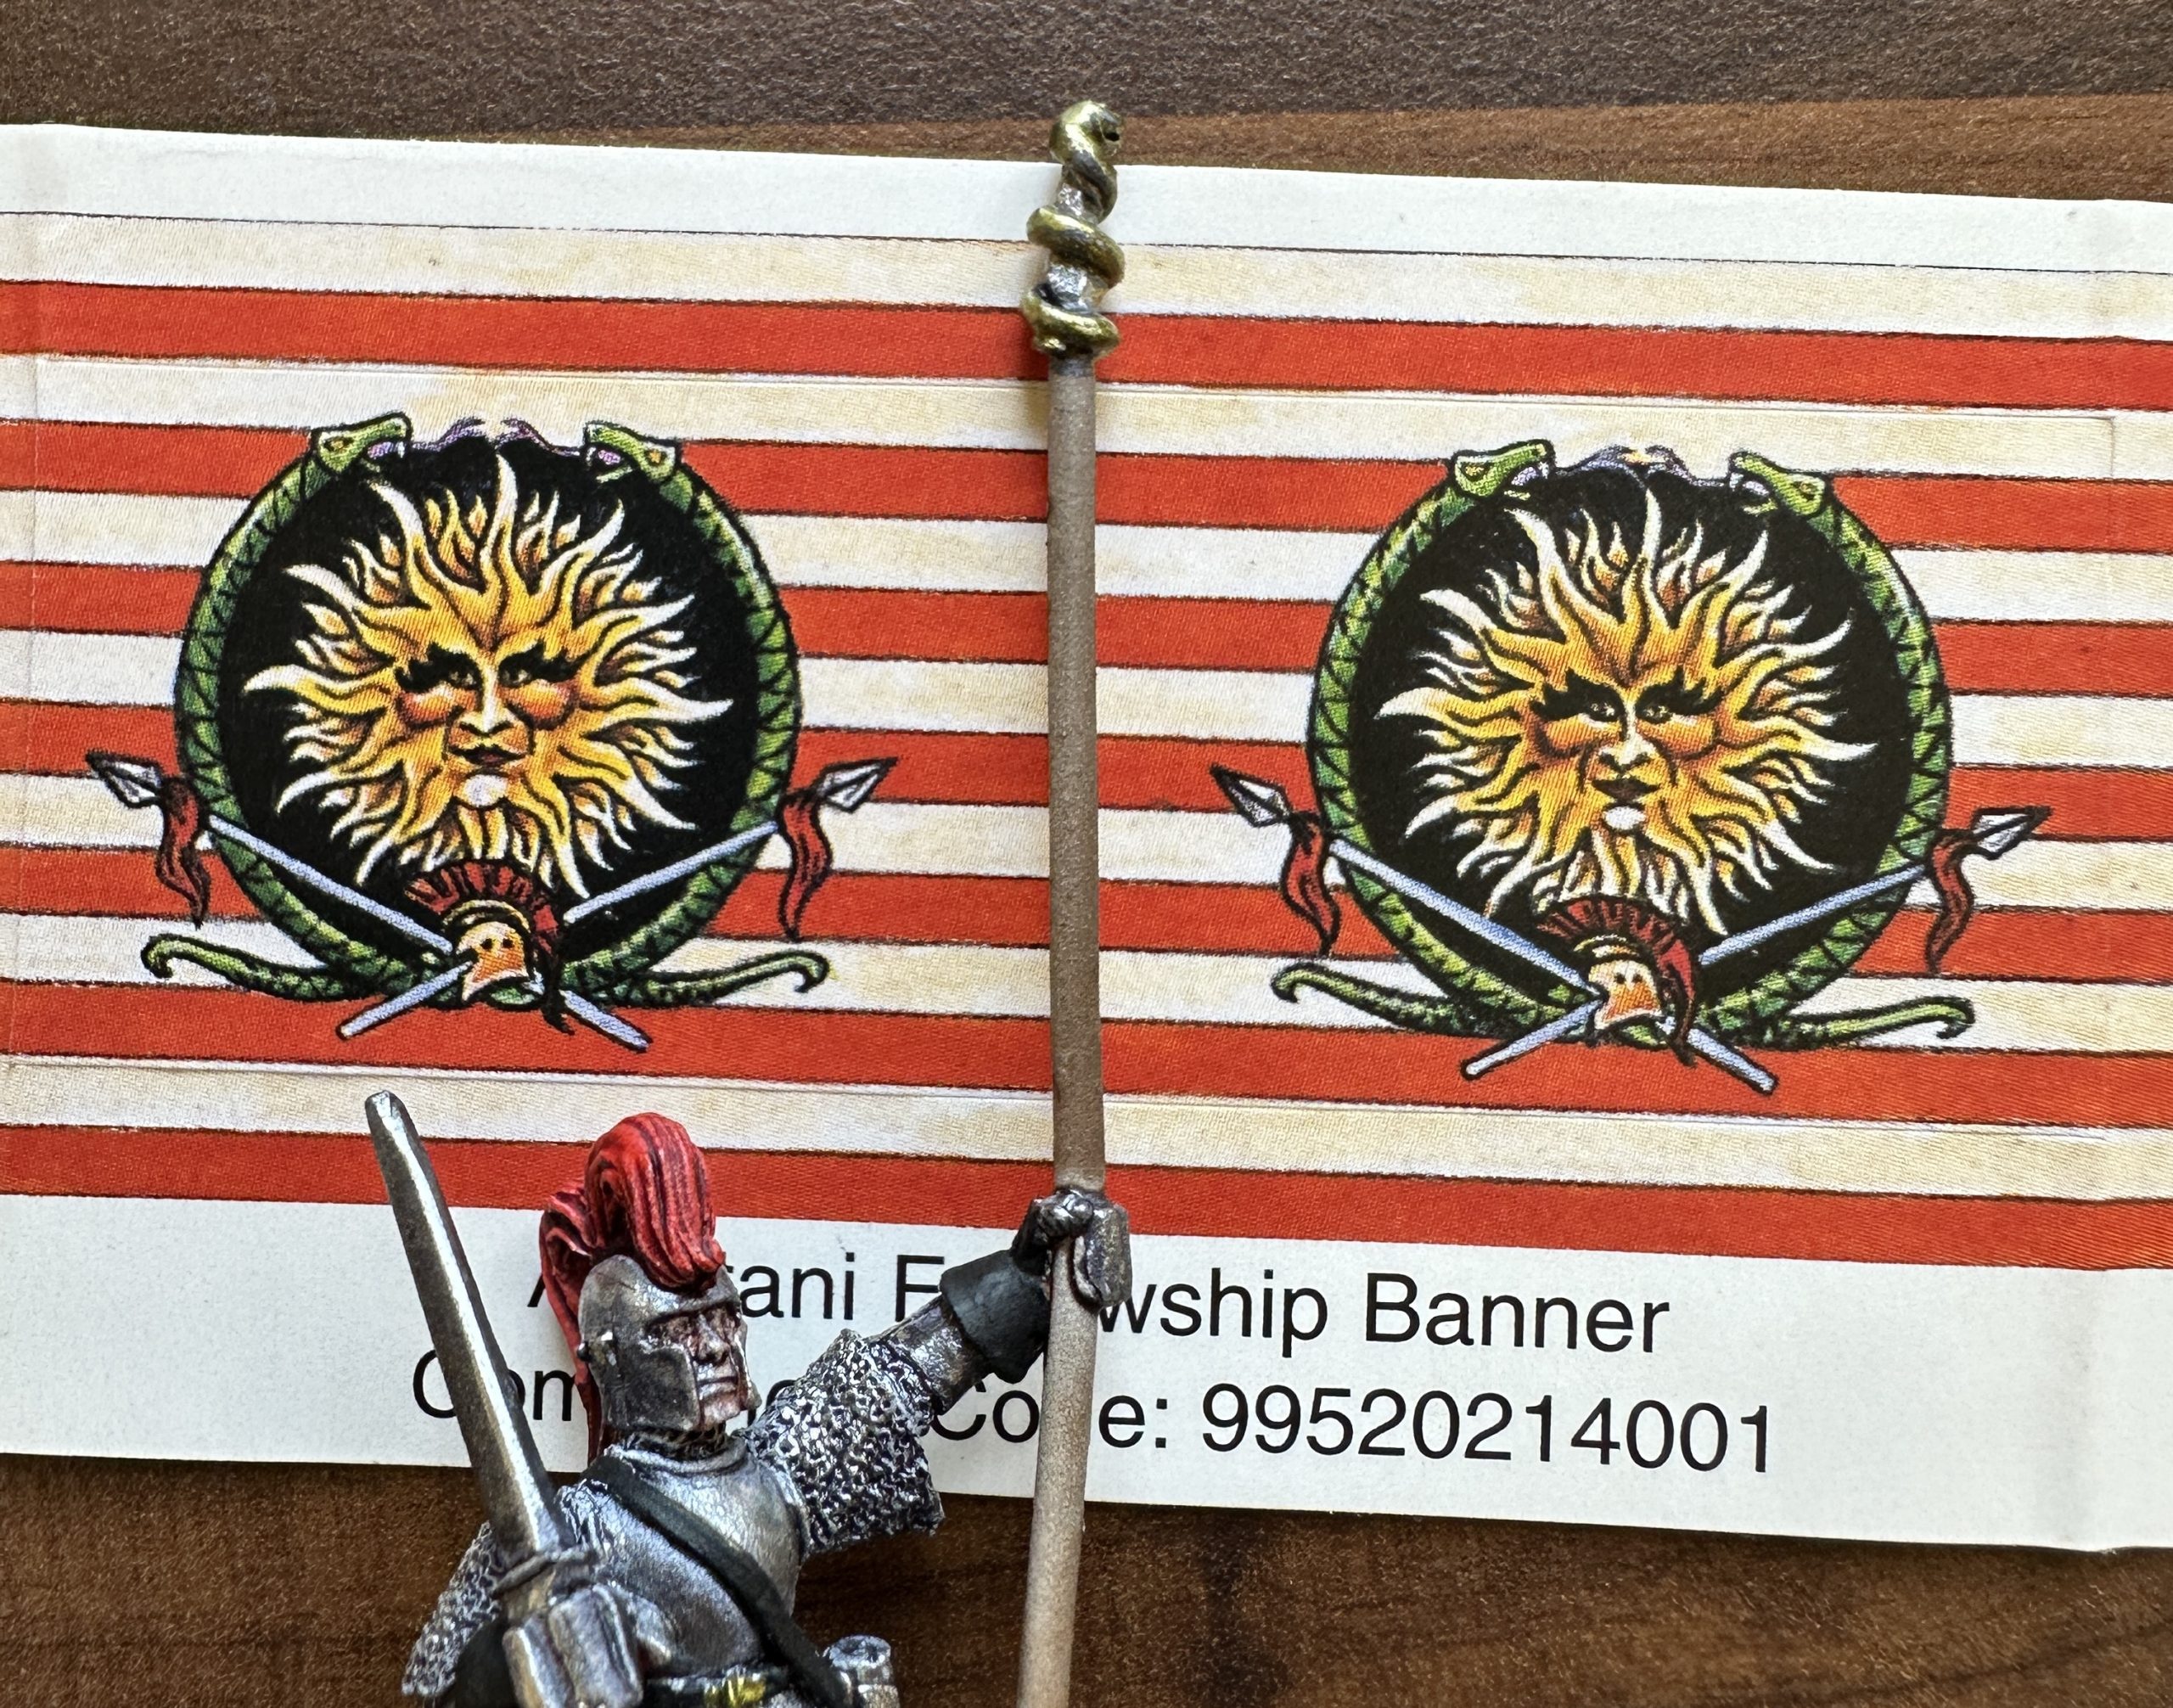
- I bend the flag around the pole and wrap it tight to work out how much foil I need. I don’t want the foil to overlap onto the pole, the flag won’t be tight enough and the foil edge will show underneath. I press down on the wrapped section around the pole so it keeps the shape and I can see where the foil needs to go.
- I cut a piece of foil slightly larger than the flag half and flatten it by rubbing the barrel of a pencil over the foil on a flat surface. Remove the backing paper and glue the flag half onto the foil. You can see I’ve lined the edge of the foil up with the edge of the bend that goes around the flag pole. This flag is very old so I added a bit of PVA to help it bond. Then cut off the excess foil.
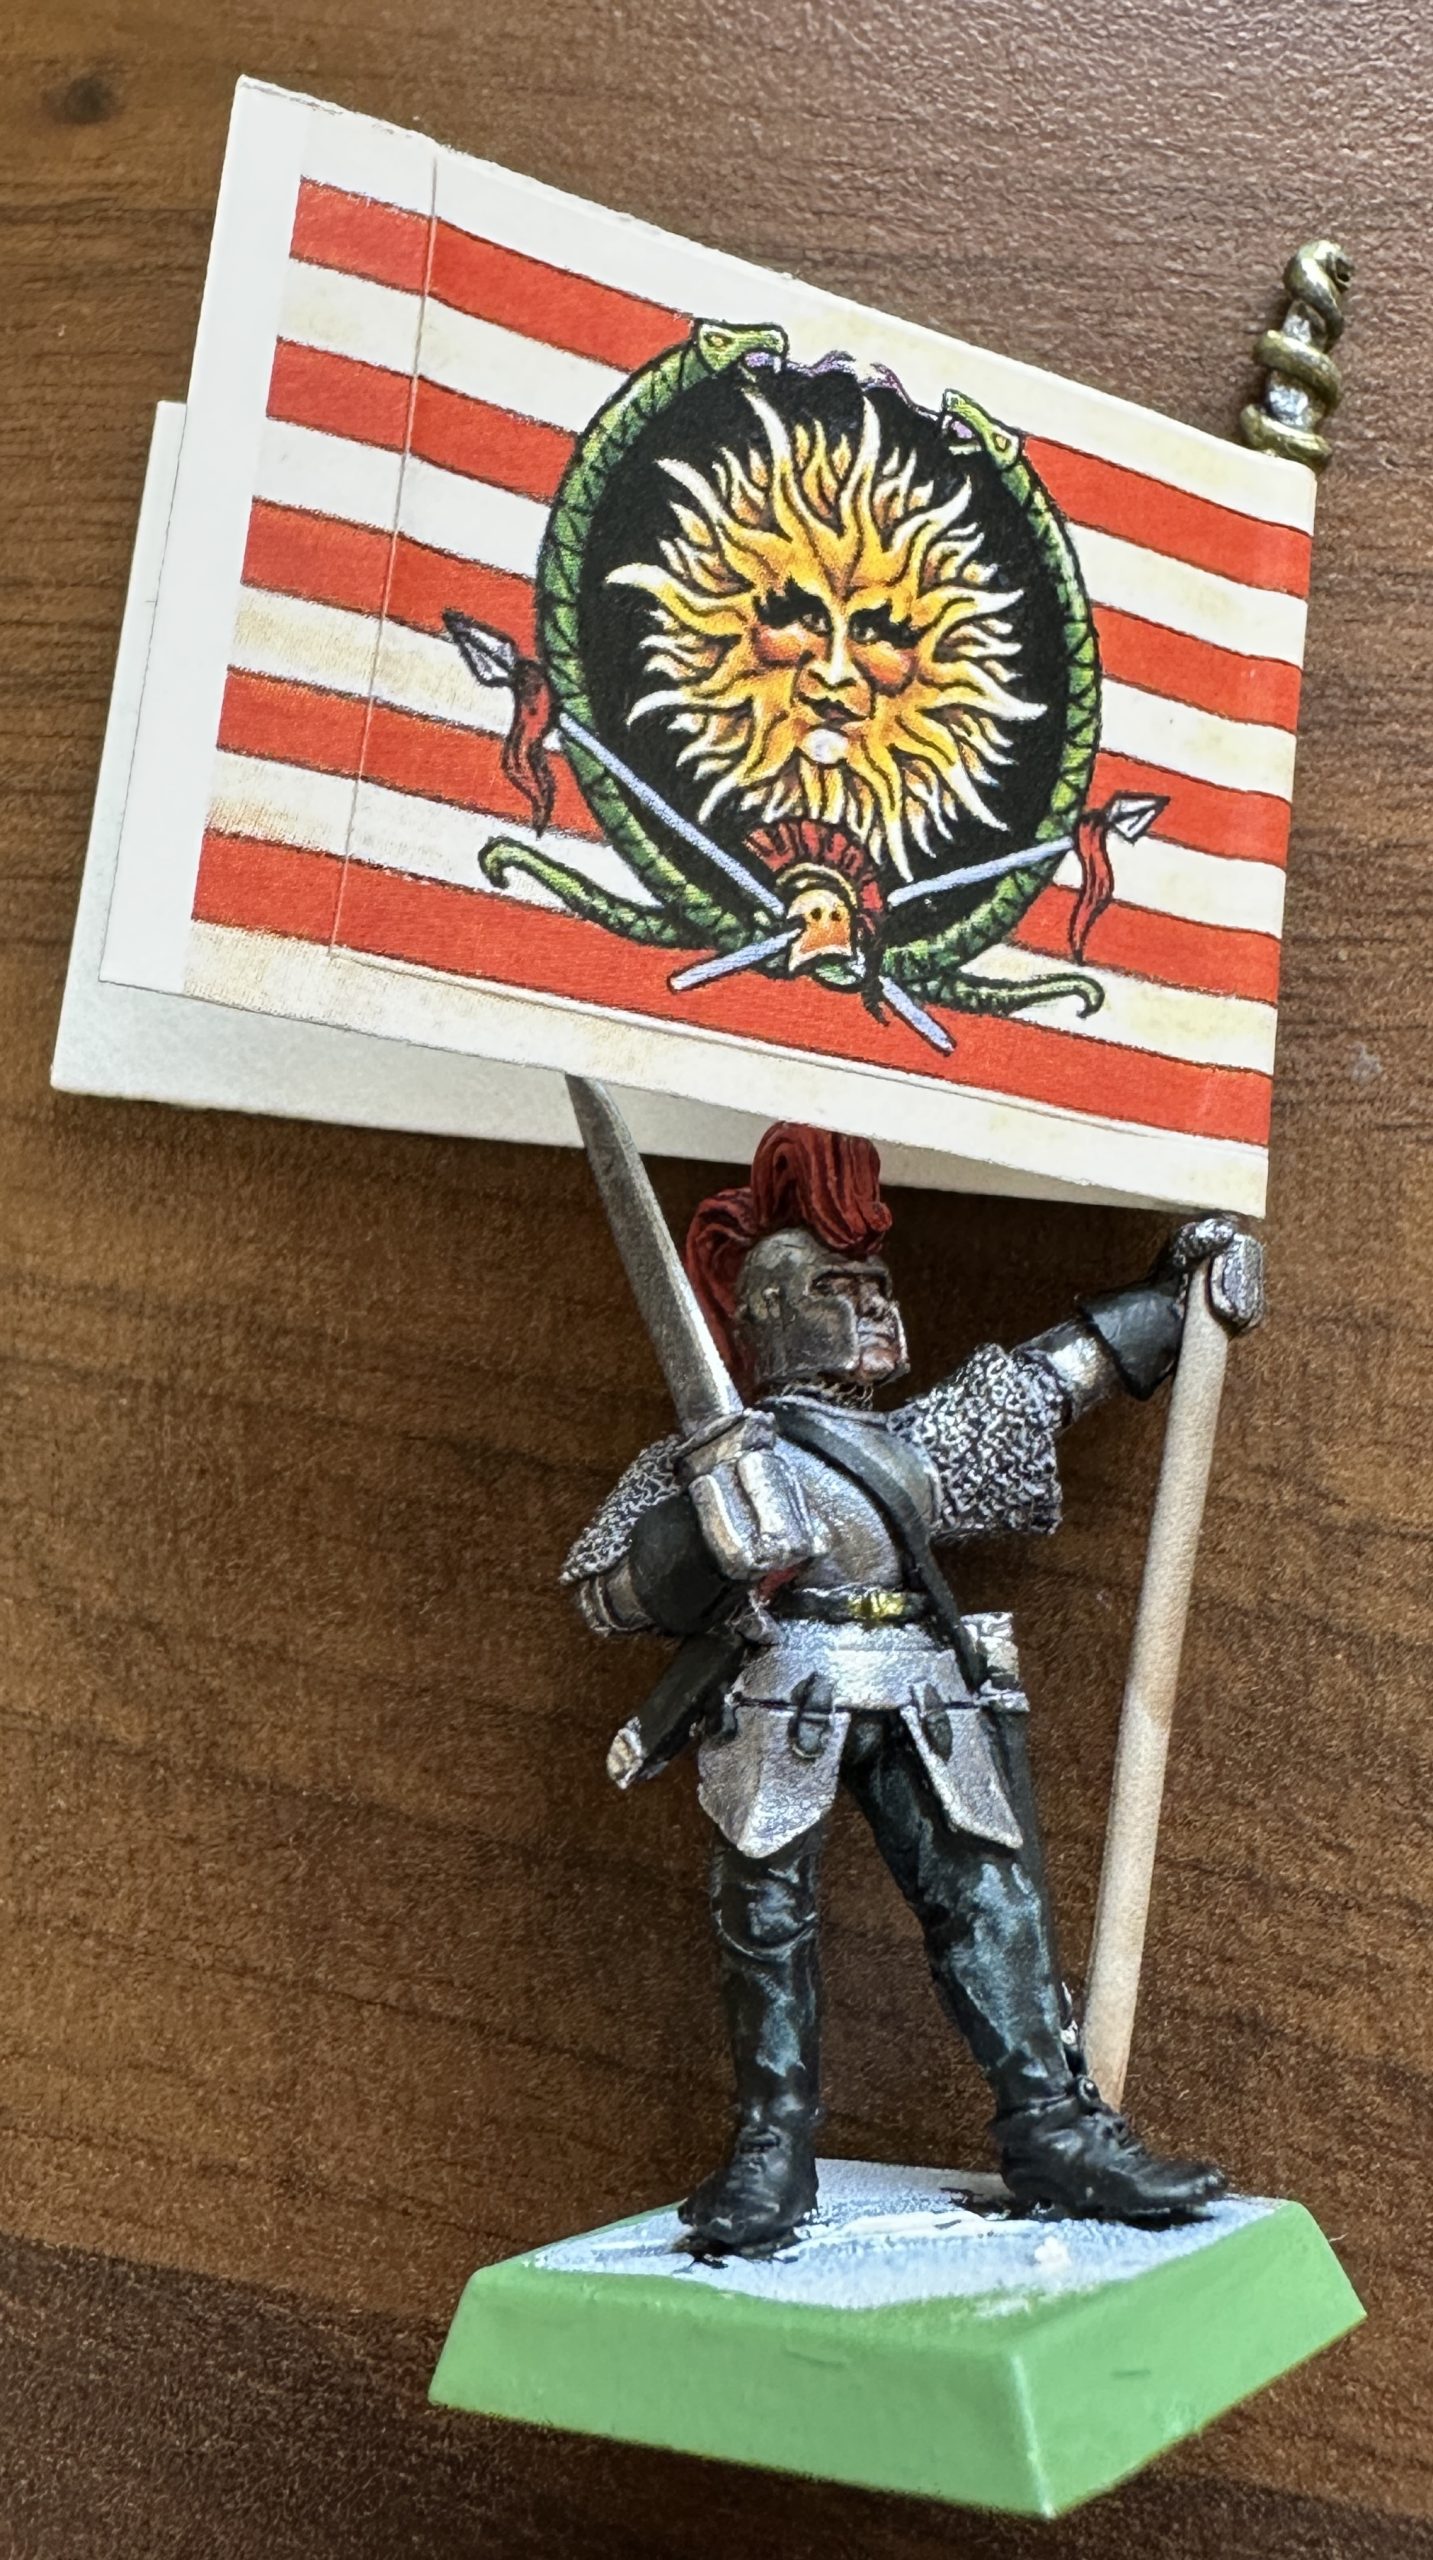
- Wrap it around the flagpole and with a bit of extra PVA we’ve got a flag, foil, flag sandwich attached to the pole.
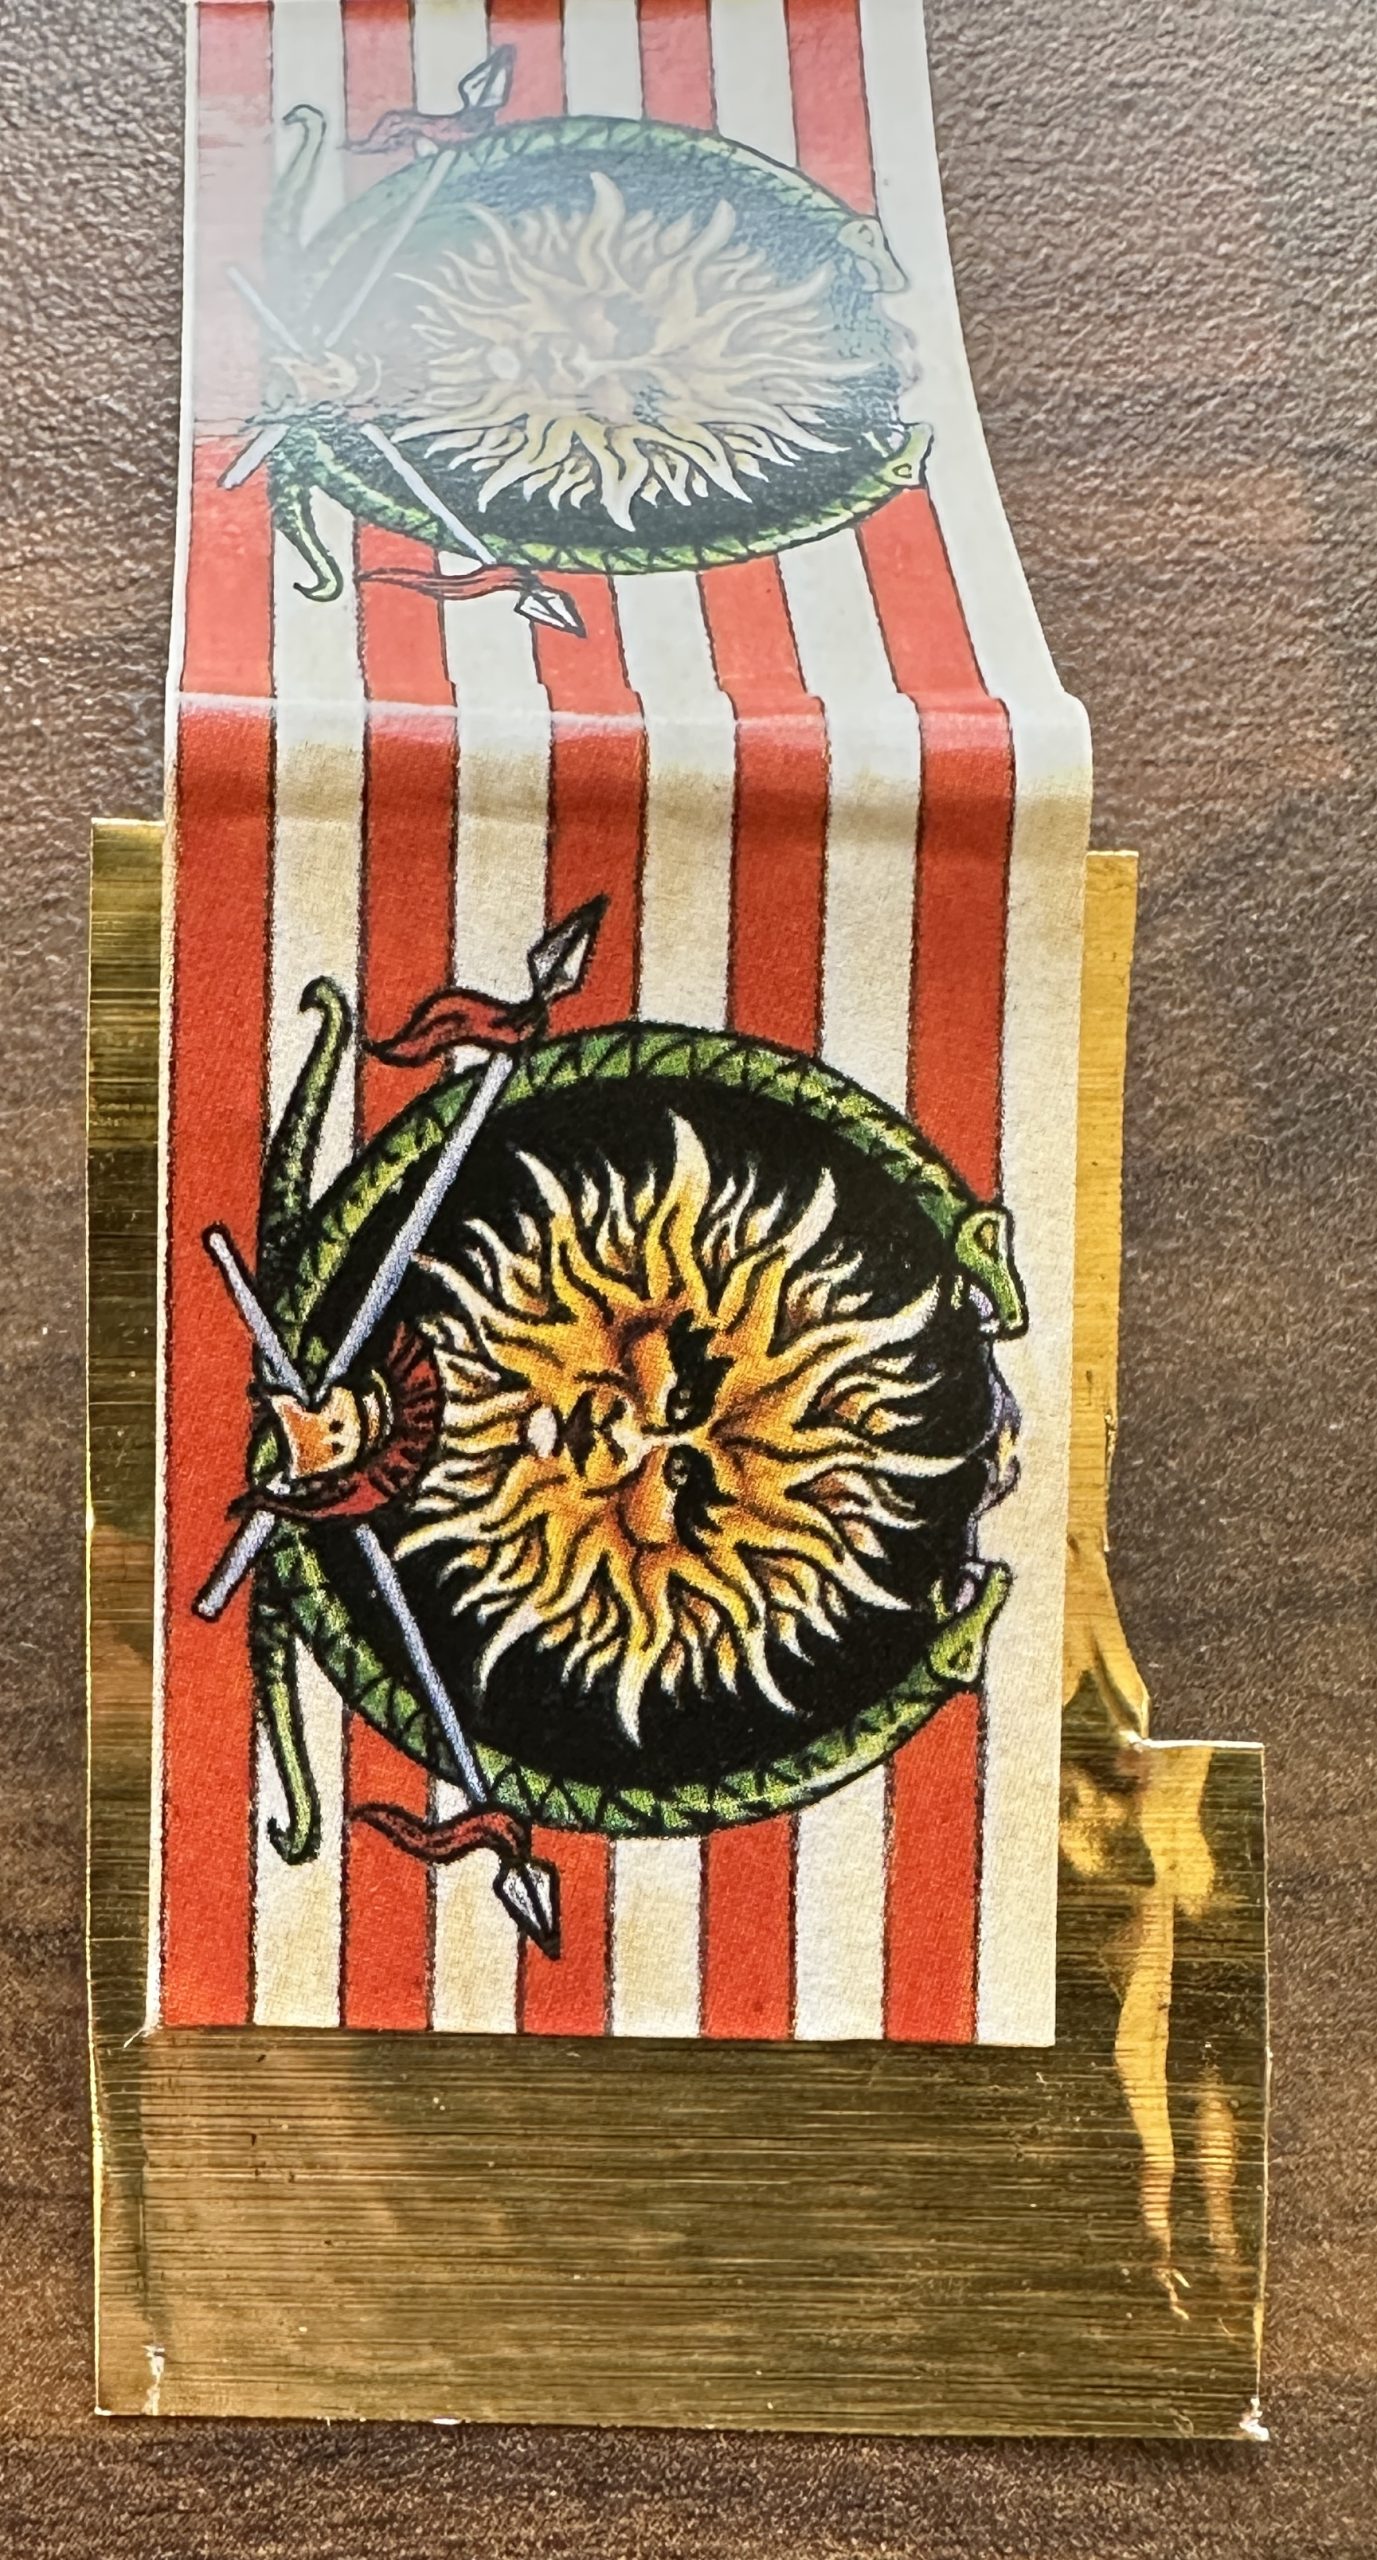
- Once the PVA was dry I painted in the edges of the flag. You can see the foil so you need to cover it up and the cut flag edges are white and need painting anyway. Once this dries you can shape the flag. As the foil is in there it will hold bends perfectly. If it were just the paper it wouldn’t and you’d risk it creasing if you worked on it too much. With the foil it holds a beautifully rippled shape easily.
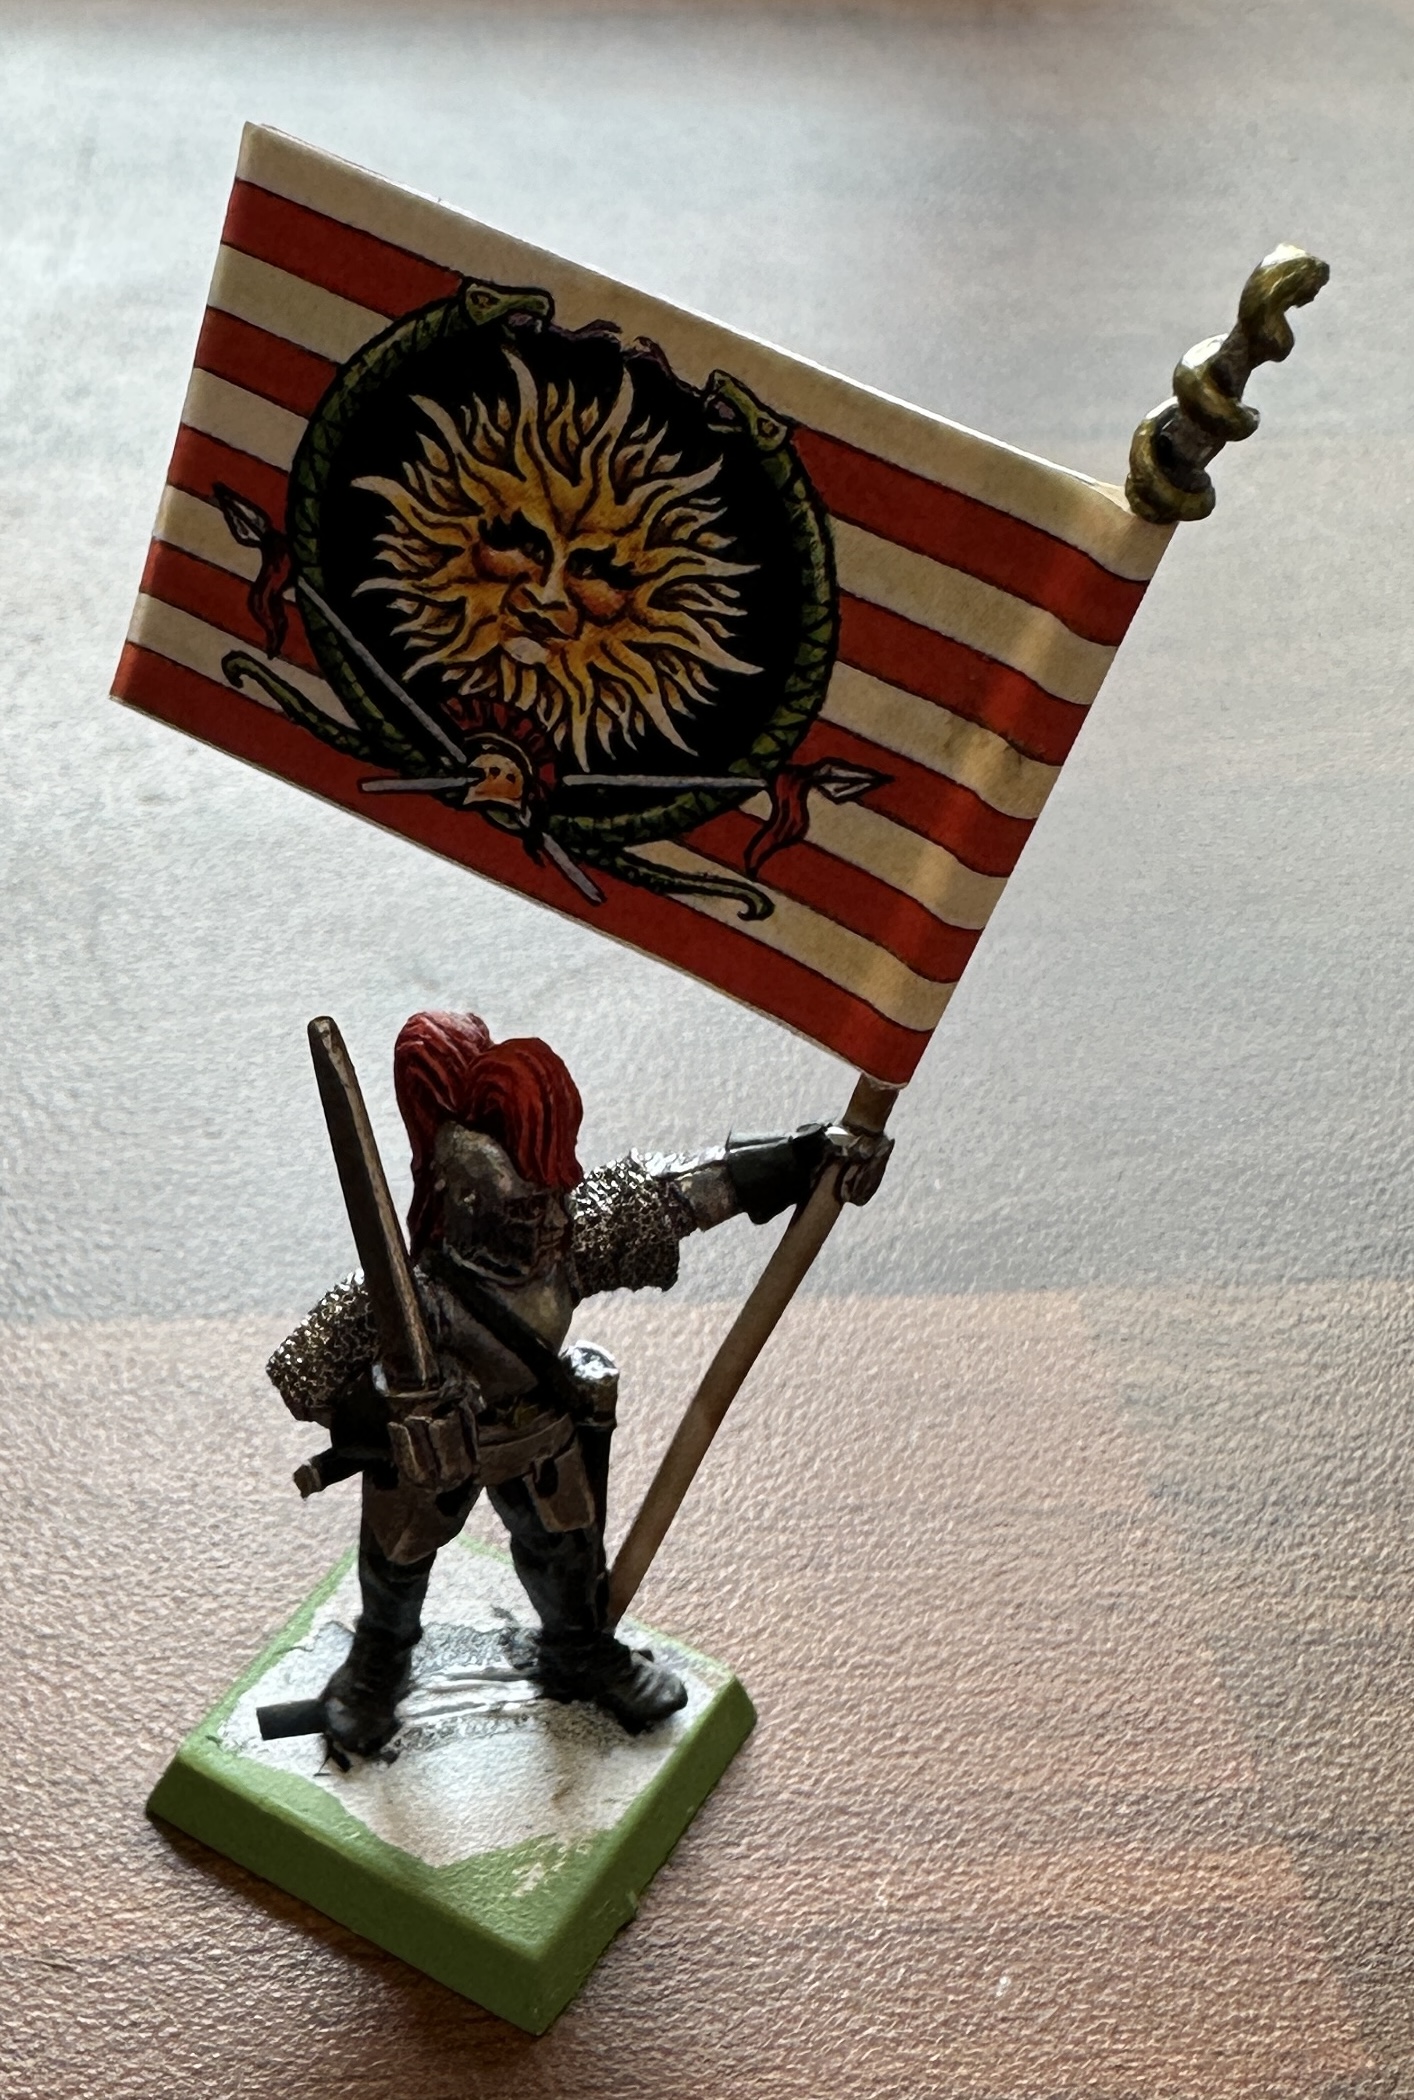
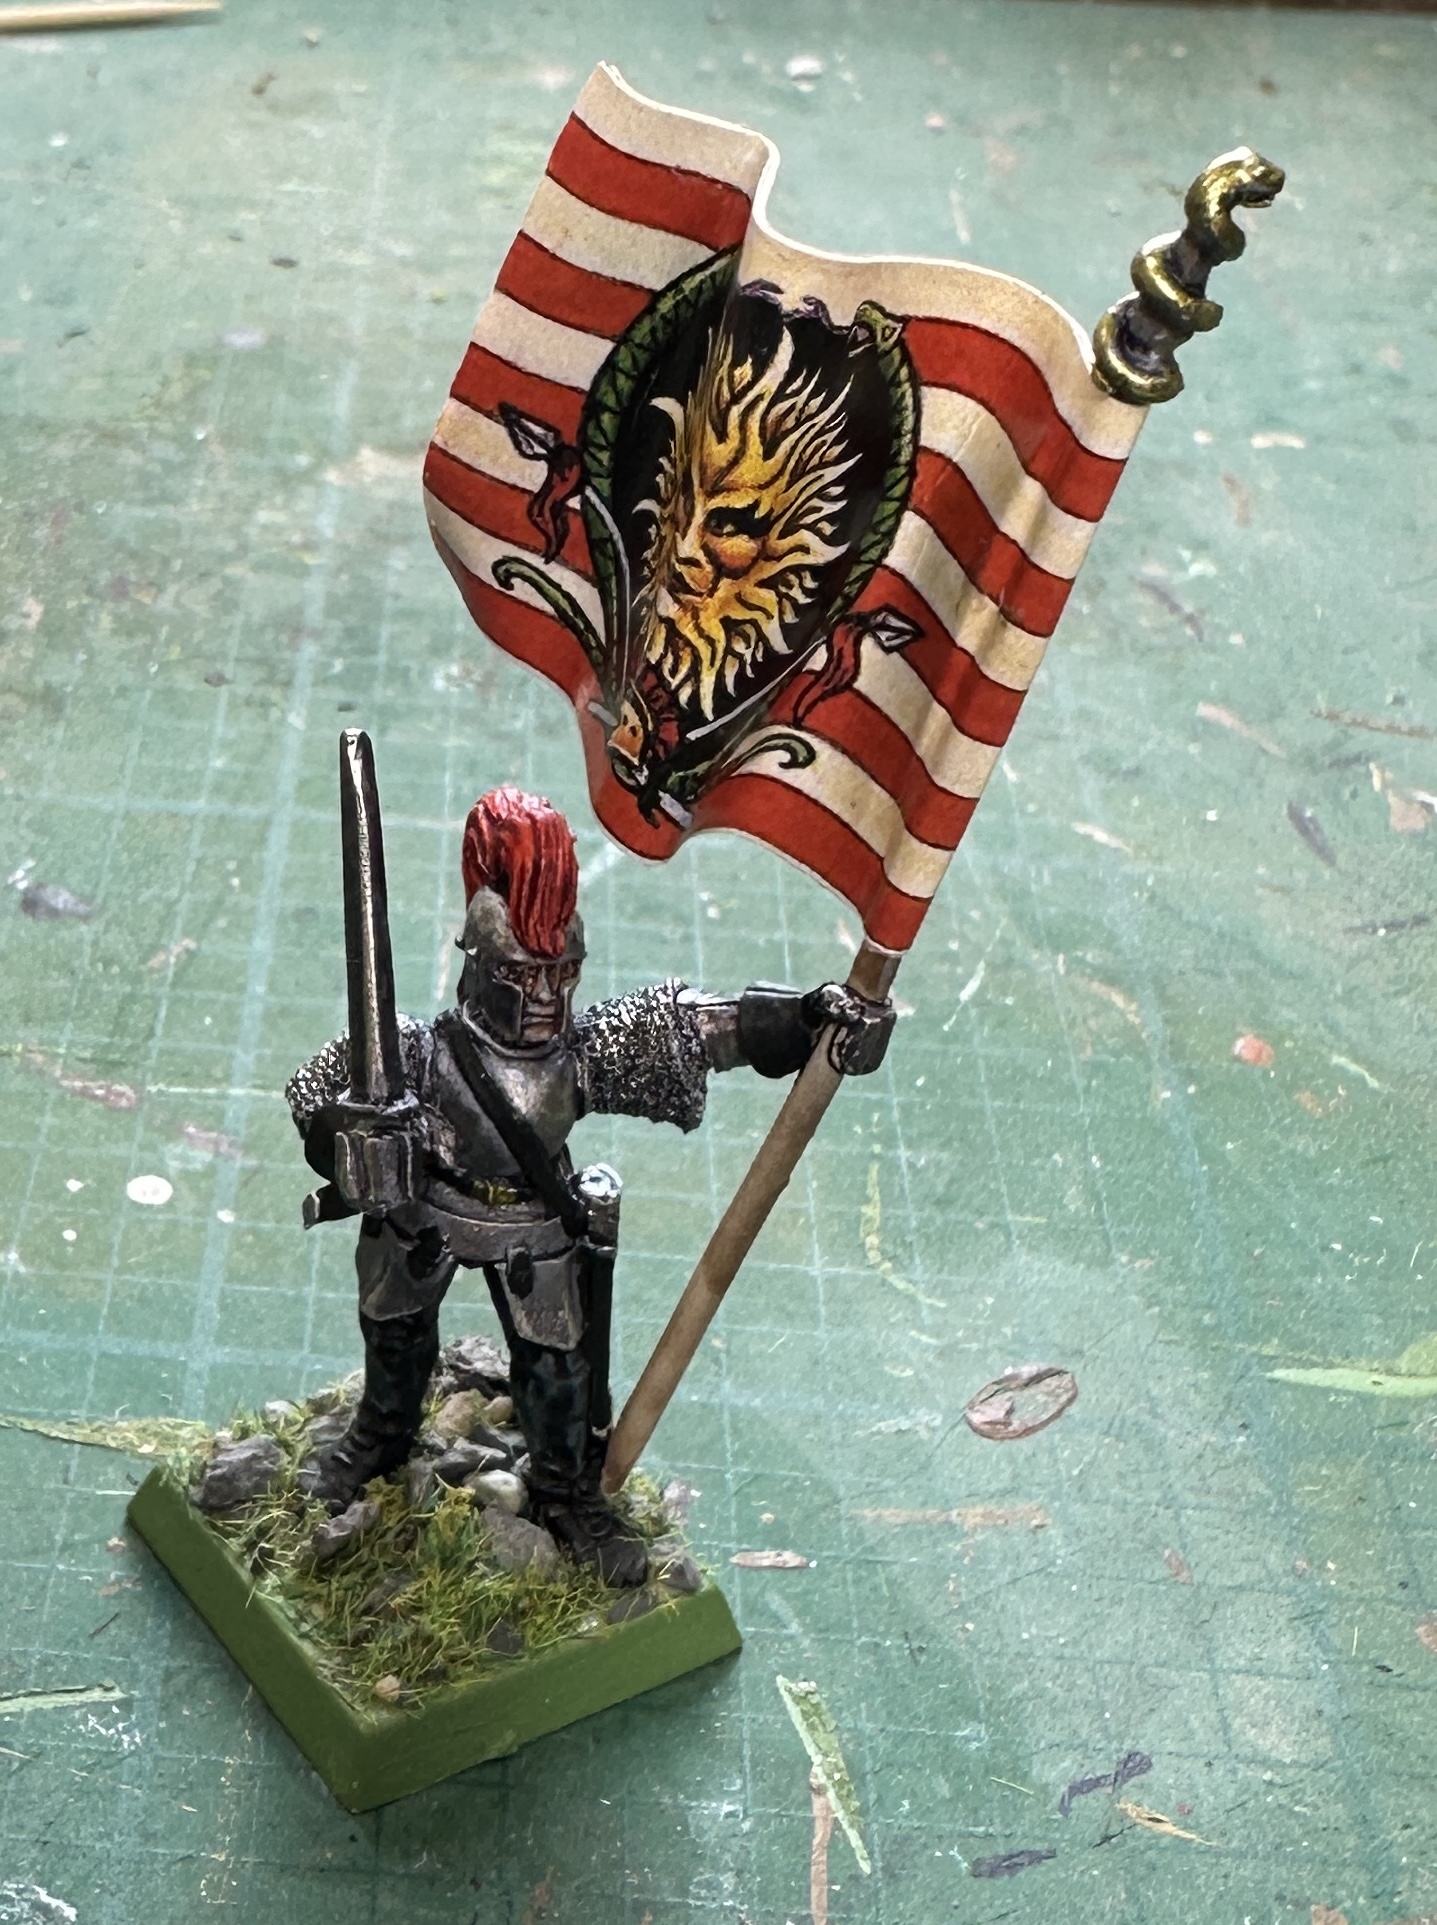
The highlights to the steel and red were added in the way I’ve described before. Darkstar Baroque followed by Vallejo Metal Pale Burnt Metal for the steel and AP Vermilion acrylic for the red parts.
The metal snake details on Roderigo’s hammer and the banner top were painted first with Aztec Gold and then Darkstar Victorian Gold. Both of these have a green tone. There was a very small top highlight of Vallejo Metal Gold added to give a glint to the top edges.
A final bit of detailing on Roderigo. Murder Scene thinned for the inside of his mouth. White acrylic on his teeth and I also added the white streak in his hair that the artwork has. White acrylic, then shaded with Blinding Light and re-highlighted with White acrylic.
Done: