






Redvers and Son have a Baronial Kerfuffle



Recommendations: 17
About the Project
A small step into medieval battles
Related Game: The Barons' War
Related Company: Wargames Atlantic
Related Genre: Historical
This Project is Active
Archers
I’ve finally started to finish off some of the little fighting men. Terrain is all well and good but we all know that it’s the antagonists that we’re most interested in.
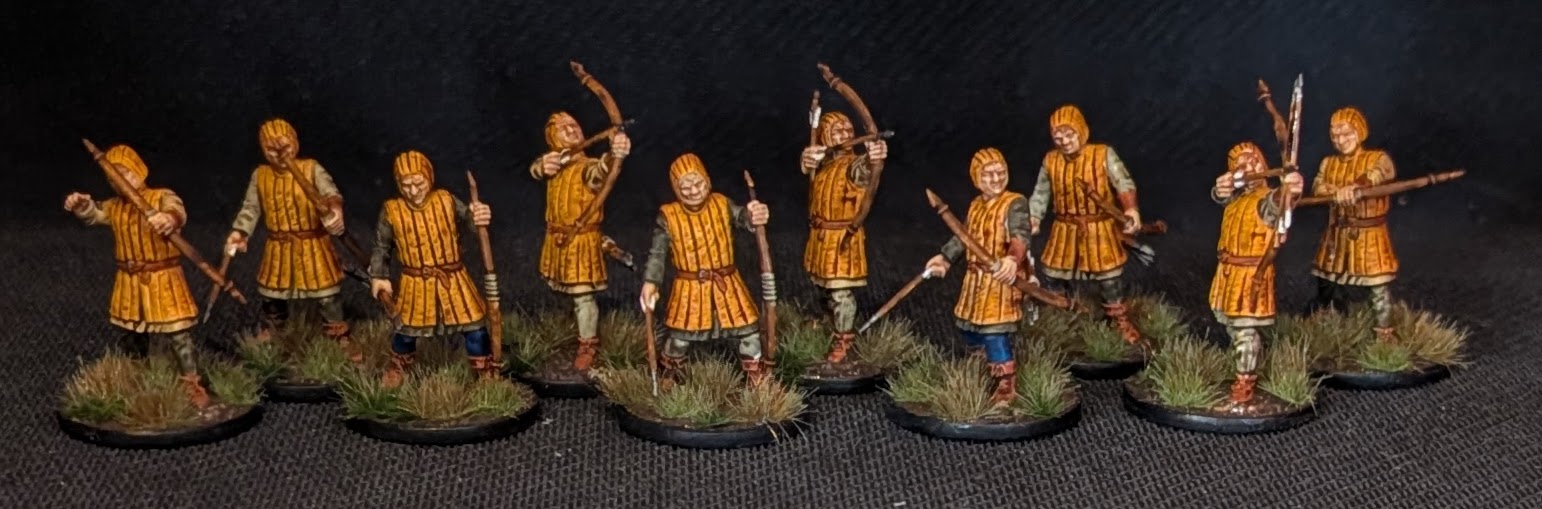
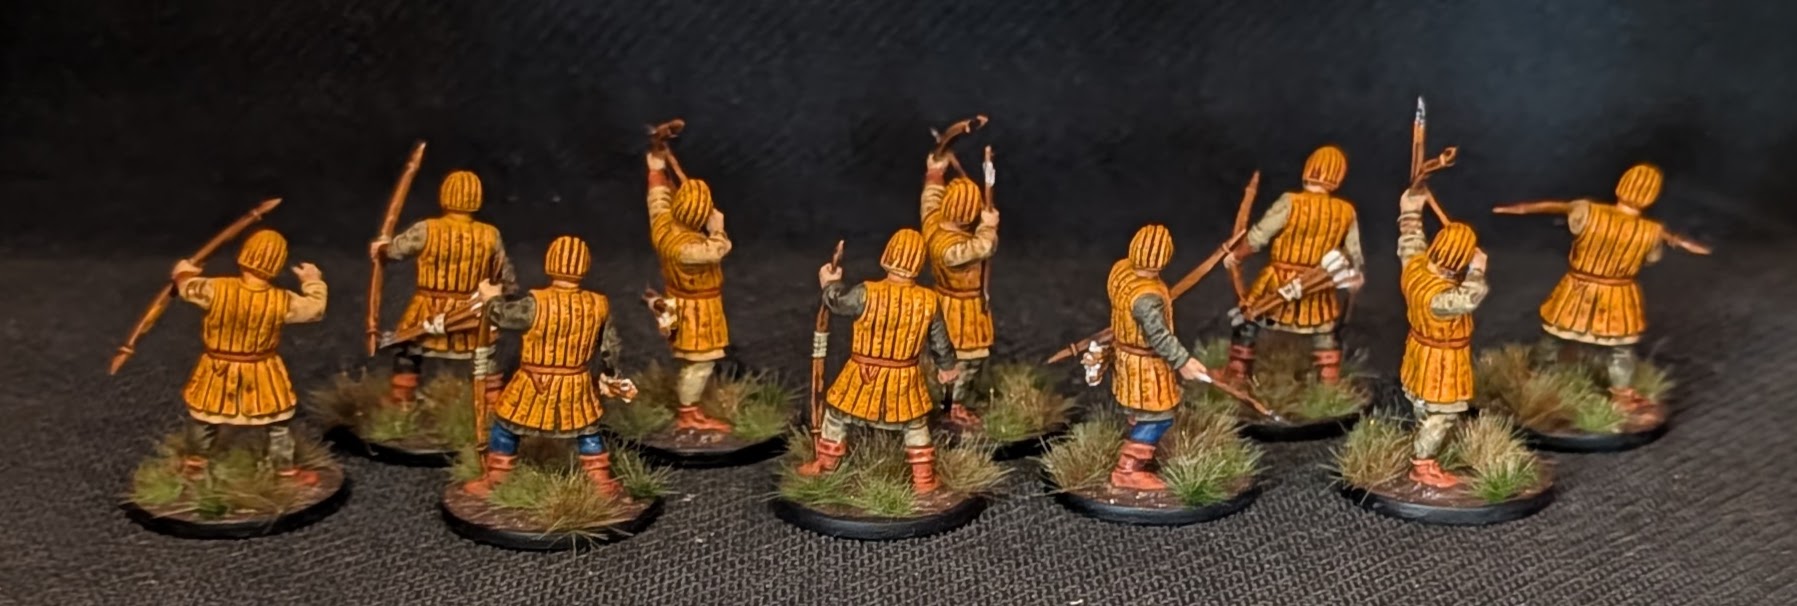
First off the painting line are 10 archers. These chaps are clearly posh peasants, or at least peasants whose Lord wants to give them a little bit on battlefield longevity, as they all have padded armour. I’m opting for speed to get these painted rather than a fantastic paint job, so simplicity was key here. With this in mind, the padded armour got a base coat of scrofulous brown with a wash over the top. I’ve then used various speed paints for the other bits of clothing sticking out. This gives a degree of individuality while still looking like a unit for the purposes of tabletop identification.
Skin was a flat flesh with a flesh wash over the top. Wooden bows were flat earth applied very unevenly and then given a strong tone wash that I ‘dab’ on, this seems to give some variation in the shading of the wood.
Otherwise the bits like belts, arrow fletching, metal etc was added at the end after the shading to look ‘cleaner’ and provide a little bit of highlight.
 Enemy view
 Commander's view
Objectives and more terrain
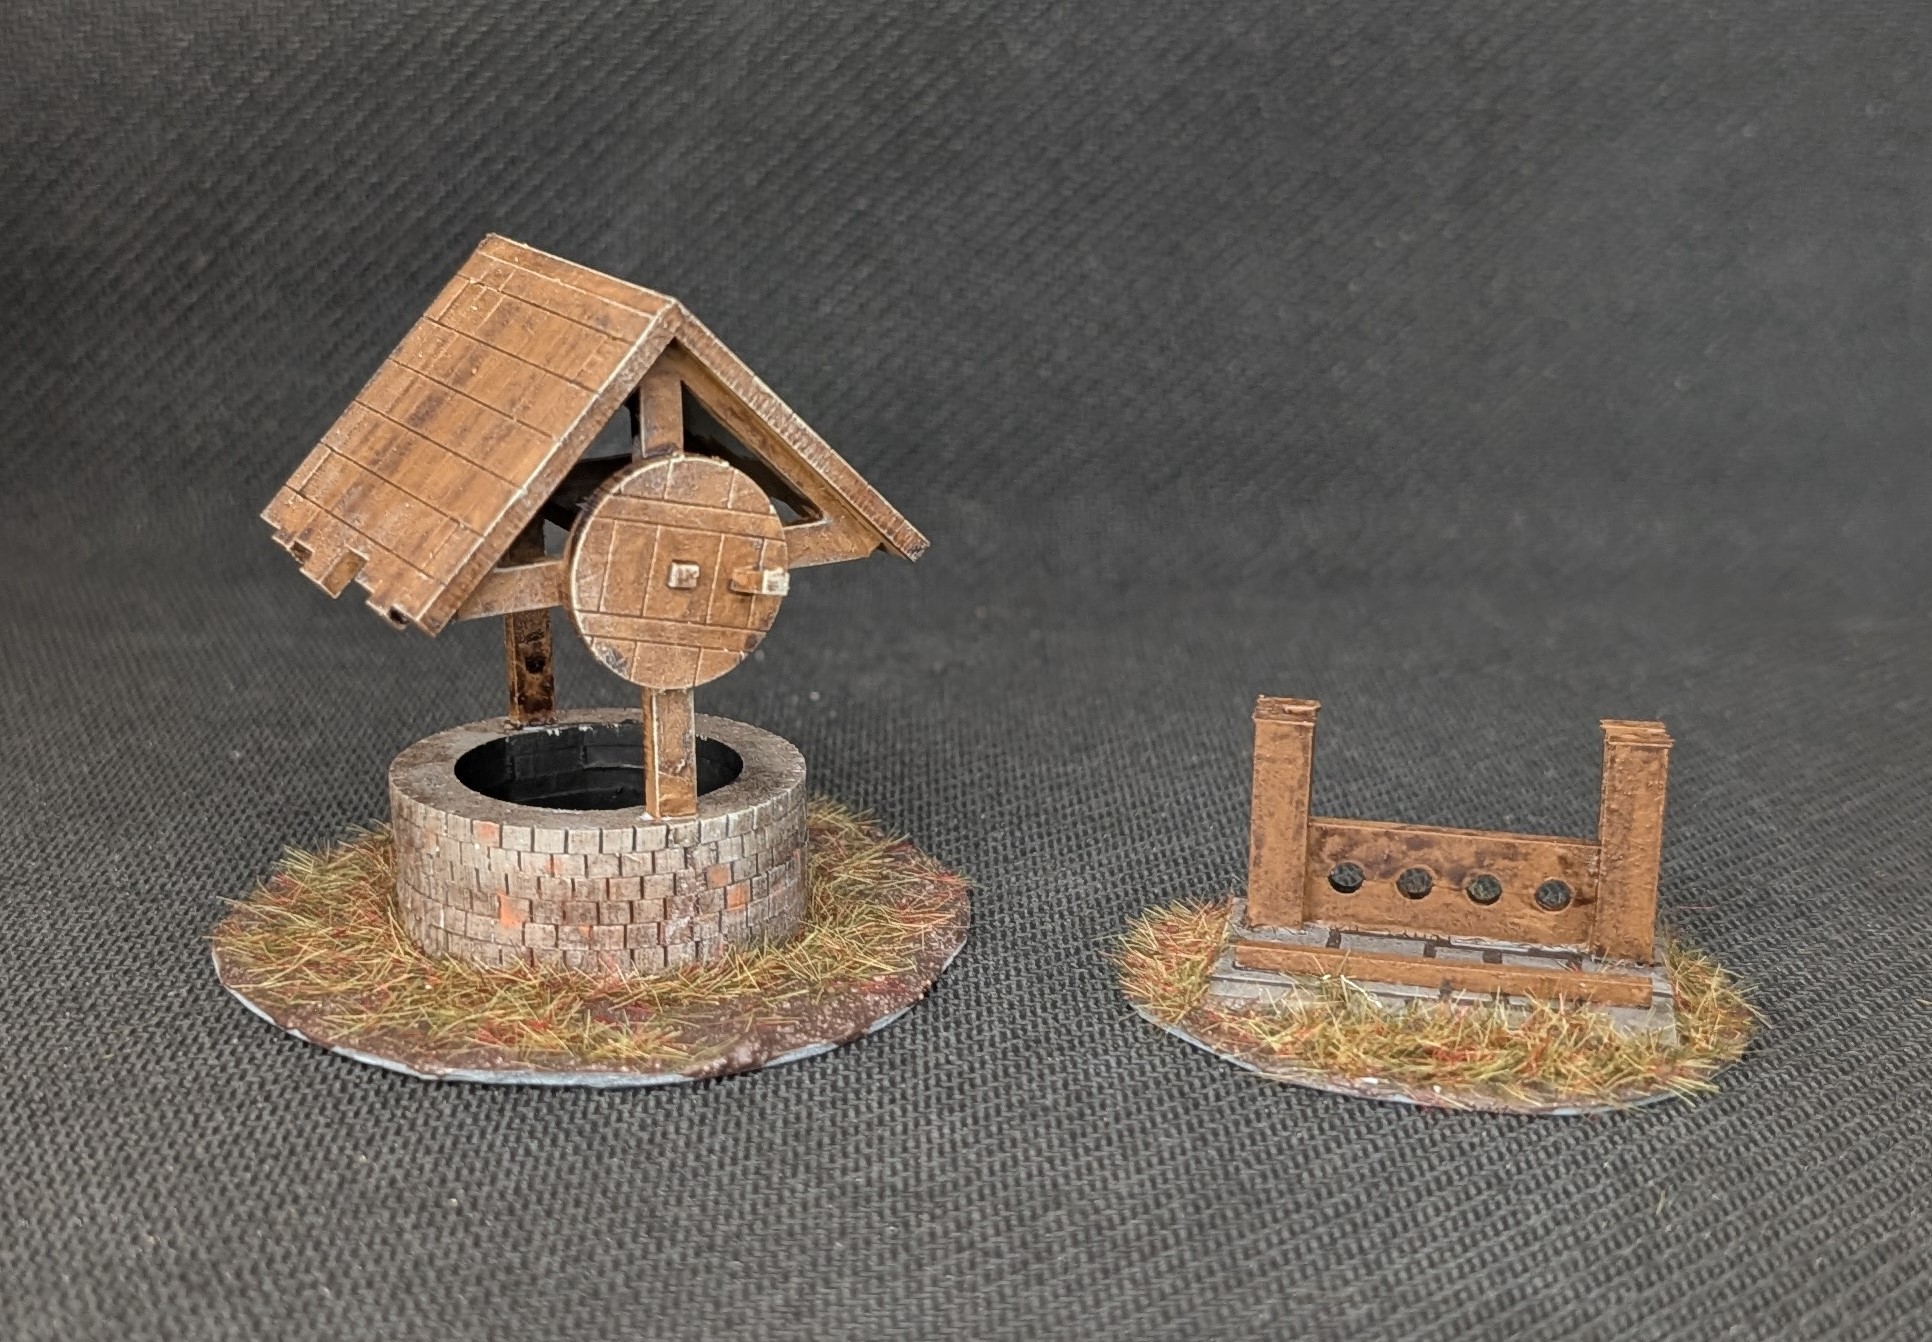
Managed to do some flocking over the weekend and finished off some MDF terrain pieces. This was all quickly painted with flat earth and a wash over the top. Light dry brush finishes it off. The stone of the well was just Luftwaffe grey given a wash. Before the wash went down, I dabbed some powders over it to look like stone discolouration and/or lichen.
The Barons War starter set comes with some barricades and market stalls. I’ve not started the market stalls yet but the barricades are finished. These were mostly painted with speed paints and given a dry brush. Anything to get them completed quickly.
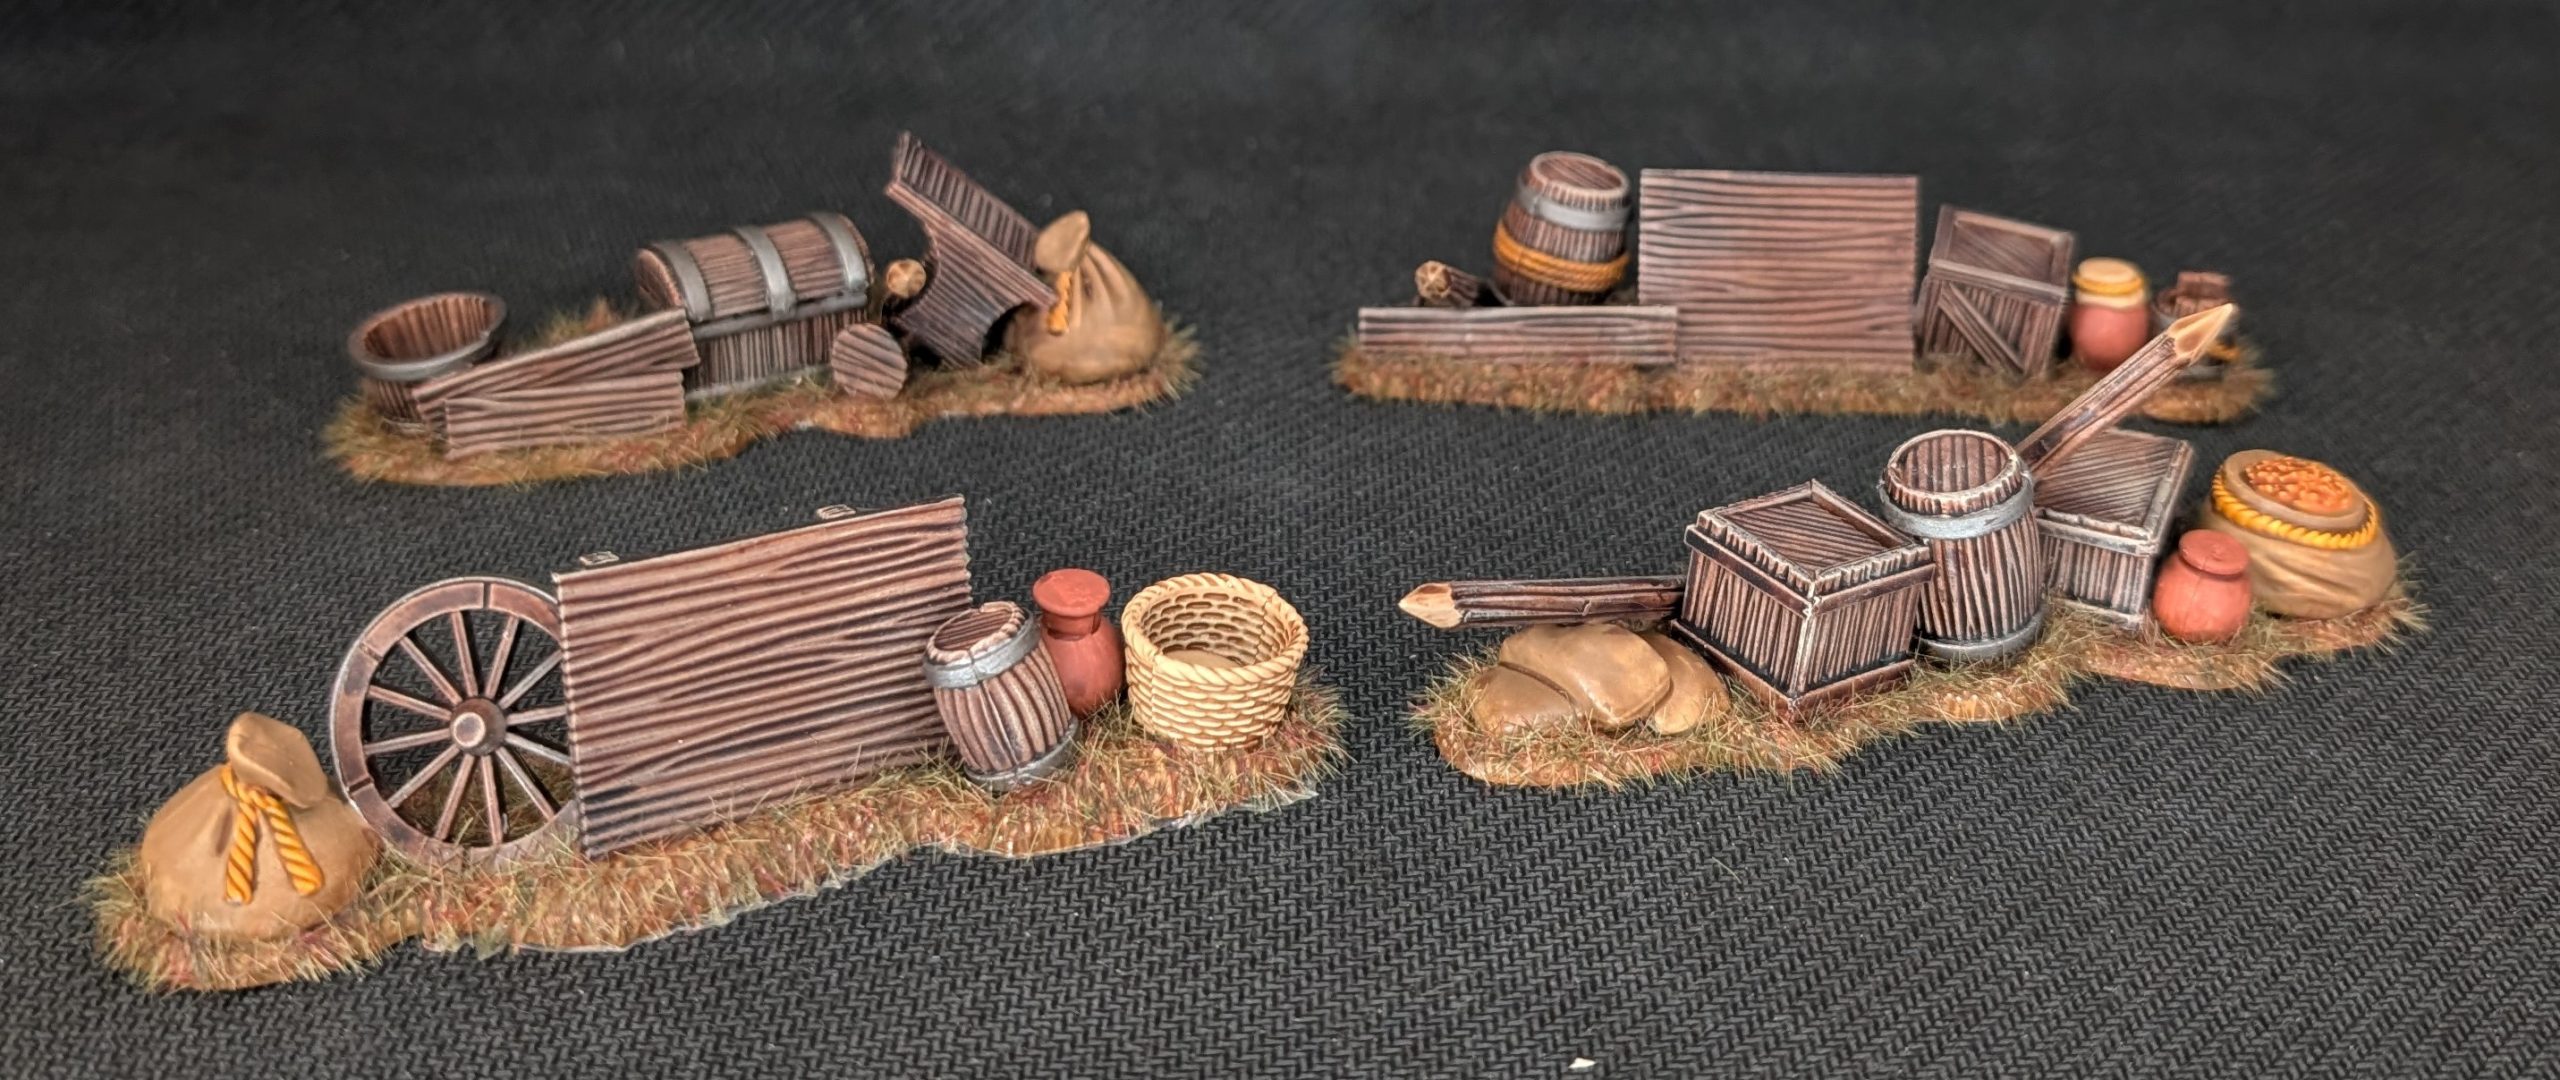 Plastic barricades
Finally, I need some objective markers. I picked up a sprue of loot and treasure (I think it’s a Victrix sprue) for making these. Mostly painted with speed paints and metallics. It was them just a case of arranging them over 6 bases that I cut from plasticard covered in acrylic mud paste.
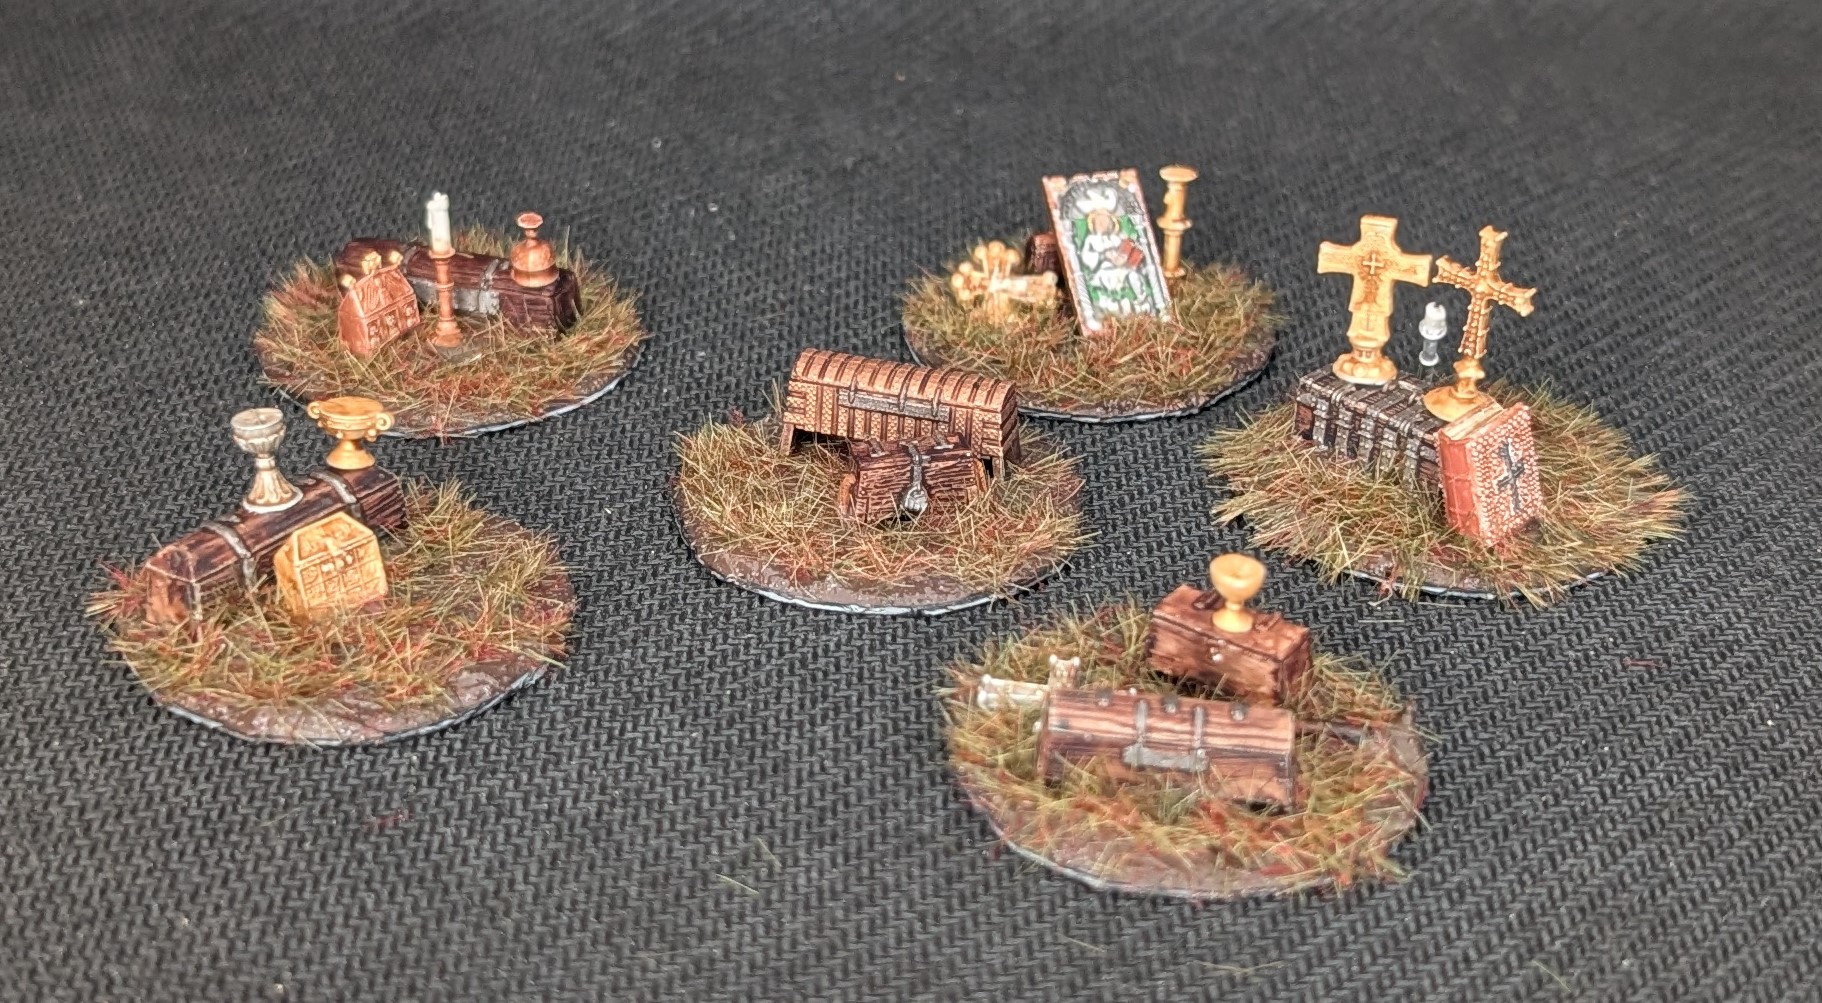 Loot
LootA house
So I have started painted the little fighting men and there’s a batch ready for basing but that’s a garage job as the flock gets everywhere. I’ve not really had time to go out there and do this but as they’re close to finishing, we should finish them in the next few weeks.
I have been able to finish a house. This is a nice plastic kit that comes in 7 parts, a base, 4 walls and two bits for the roof. My approach to terrain is quick and ‘good enough’ as no one is going to be paying too much attention to the terrain once the little men get on the table.
The roof is scrofulous brown given a heavy wash and then heavily dry brushed with Iraqi sand. The walls started with bleached bone, were given a wash and then I’ve sponged bleached bone back over the top. The wood is just a wood speed paint with a light dry brush. I tried to put some weathering around the lower portion of the walls and a bit of streaking but I’d already spray varnished it by this point and the weathering wasn’t really adhering properly, so I gave up. It achieves the ‘good enough’ level.
And yes, the inside, which is detailed with some shelves and wood paneling is painted as well. As is the stone floor.
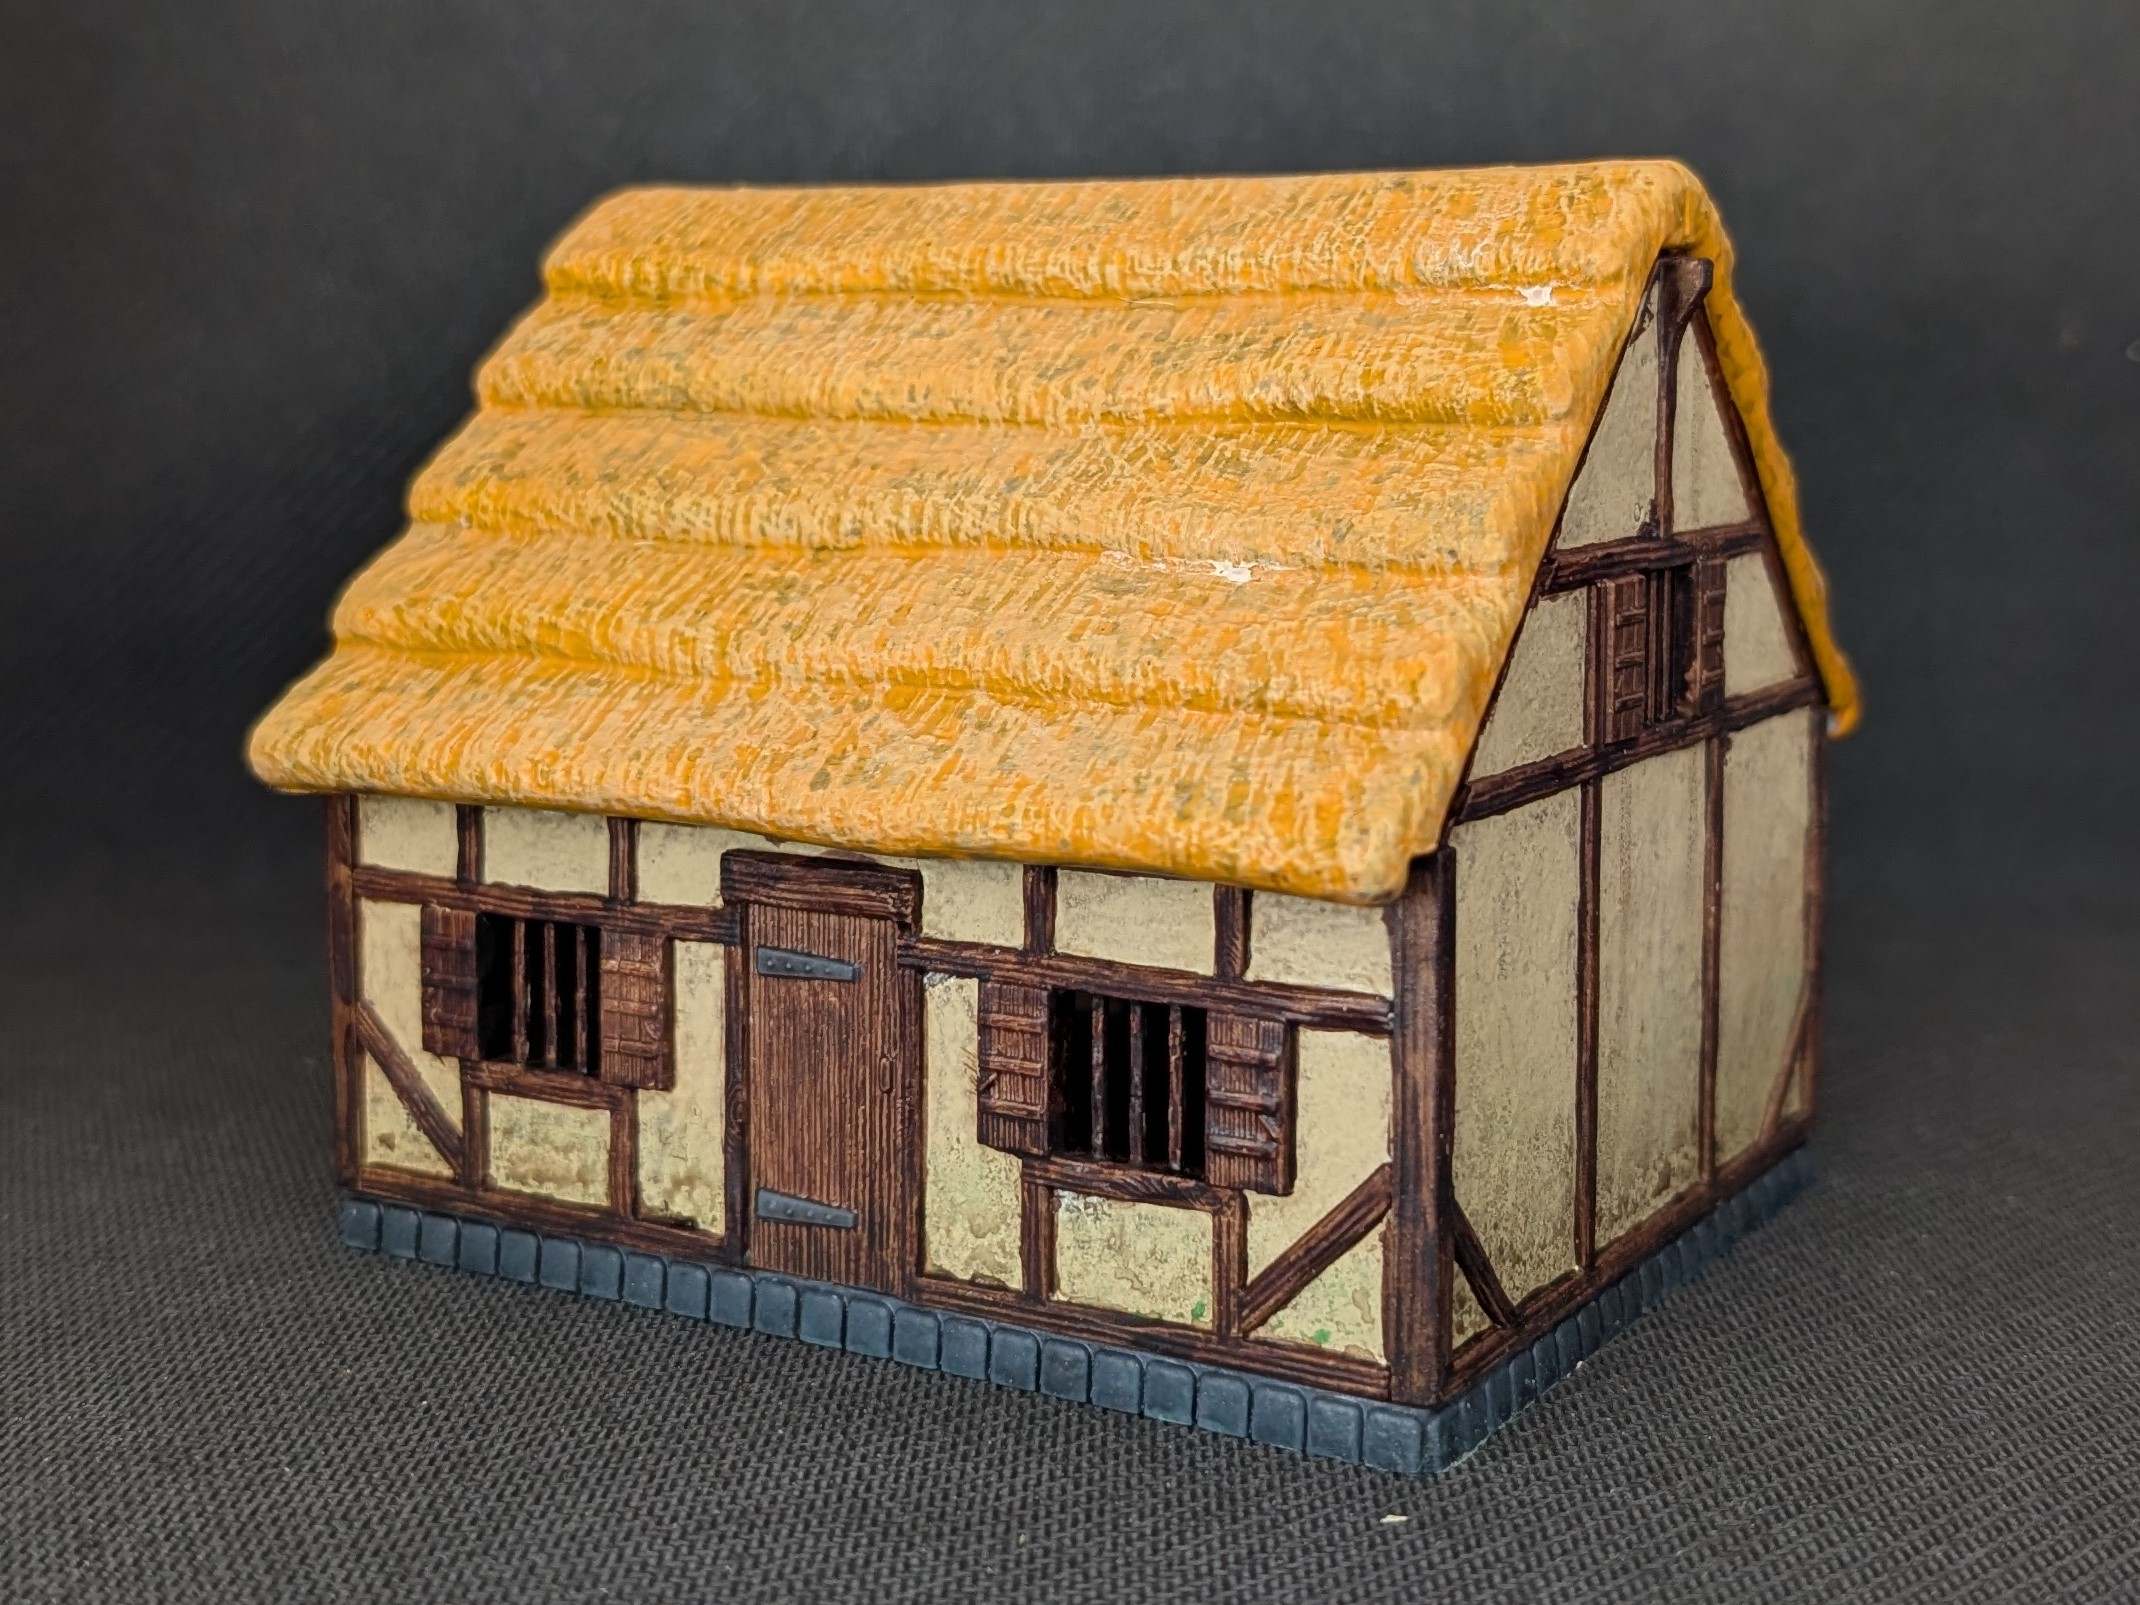
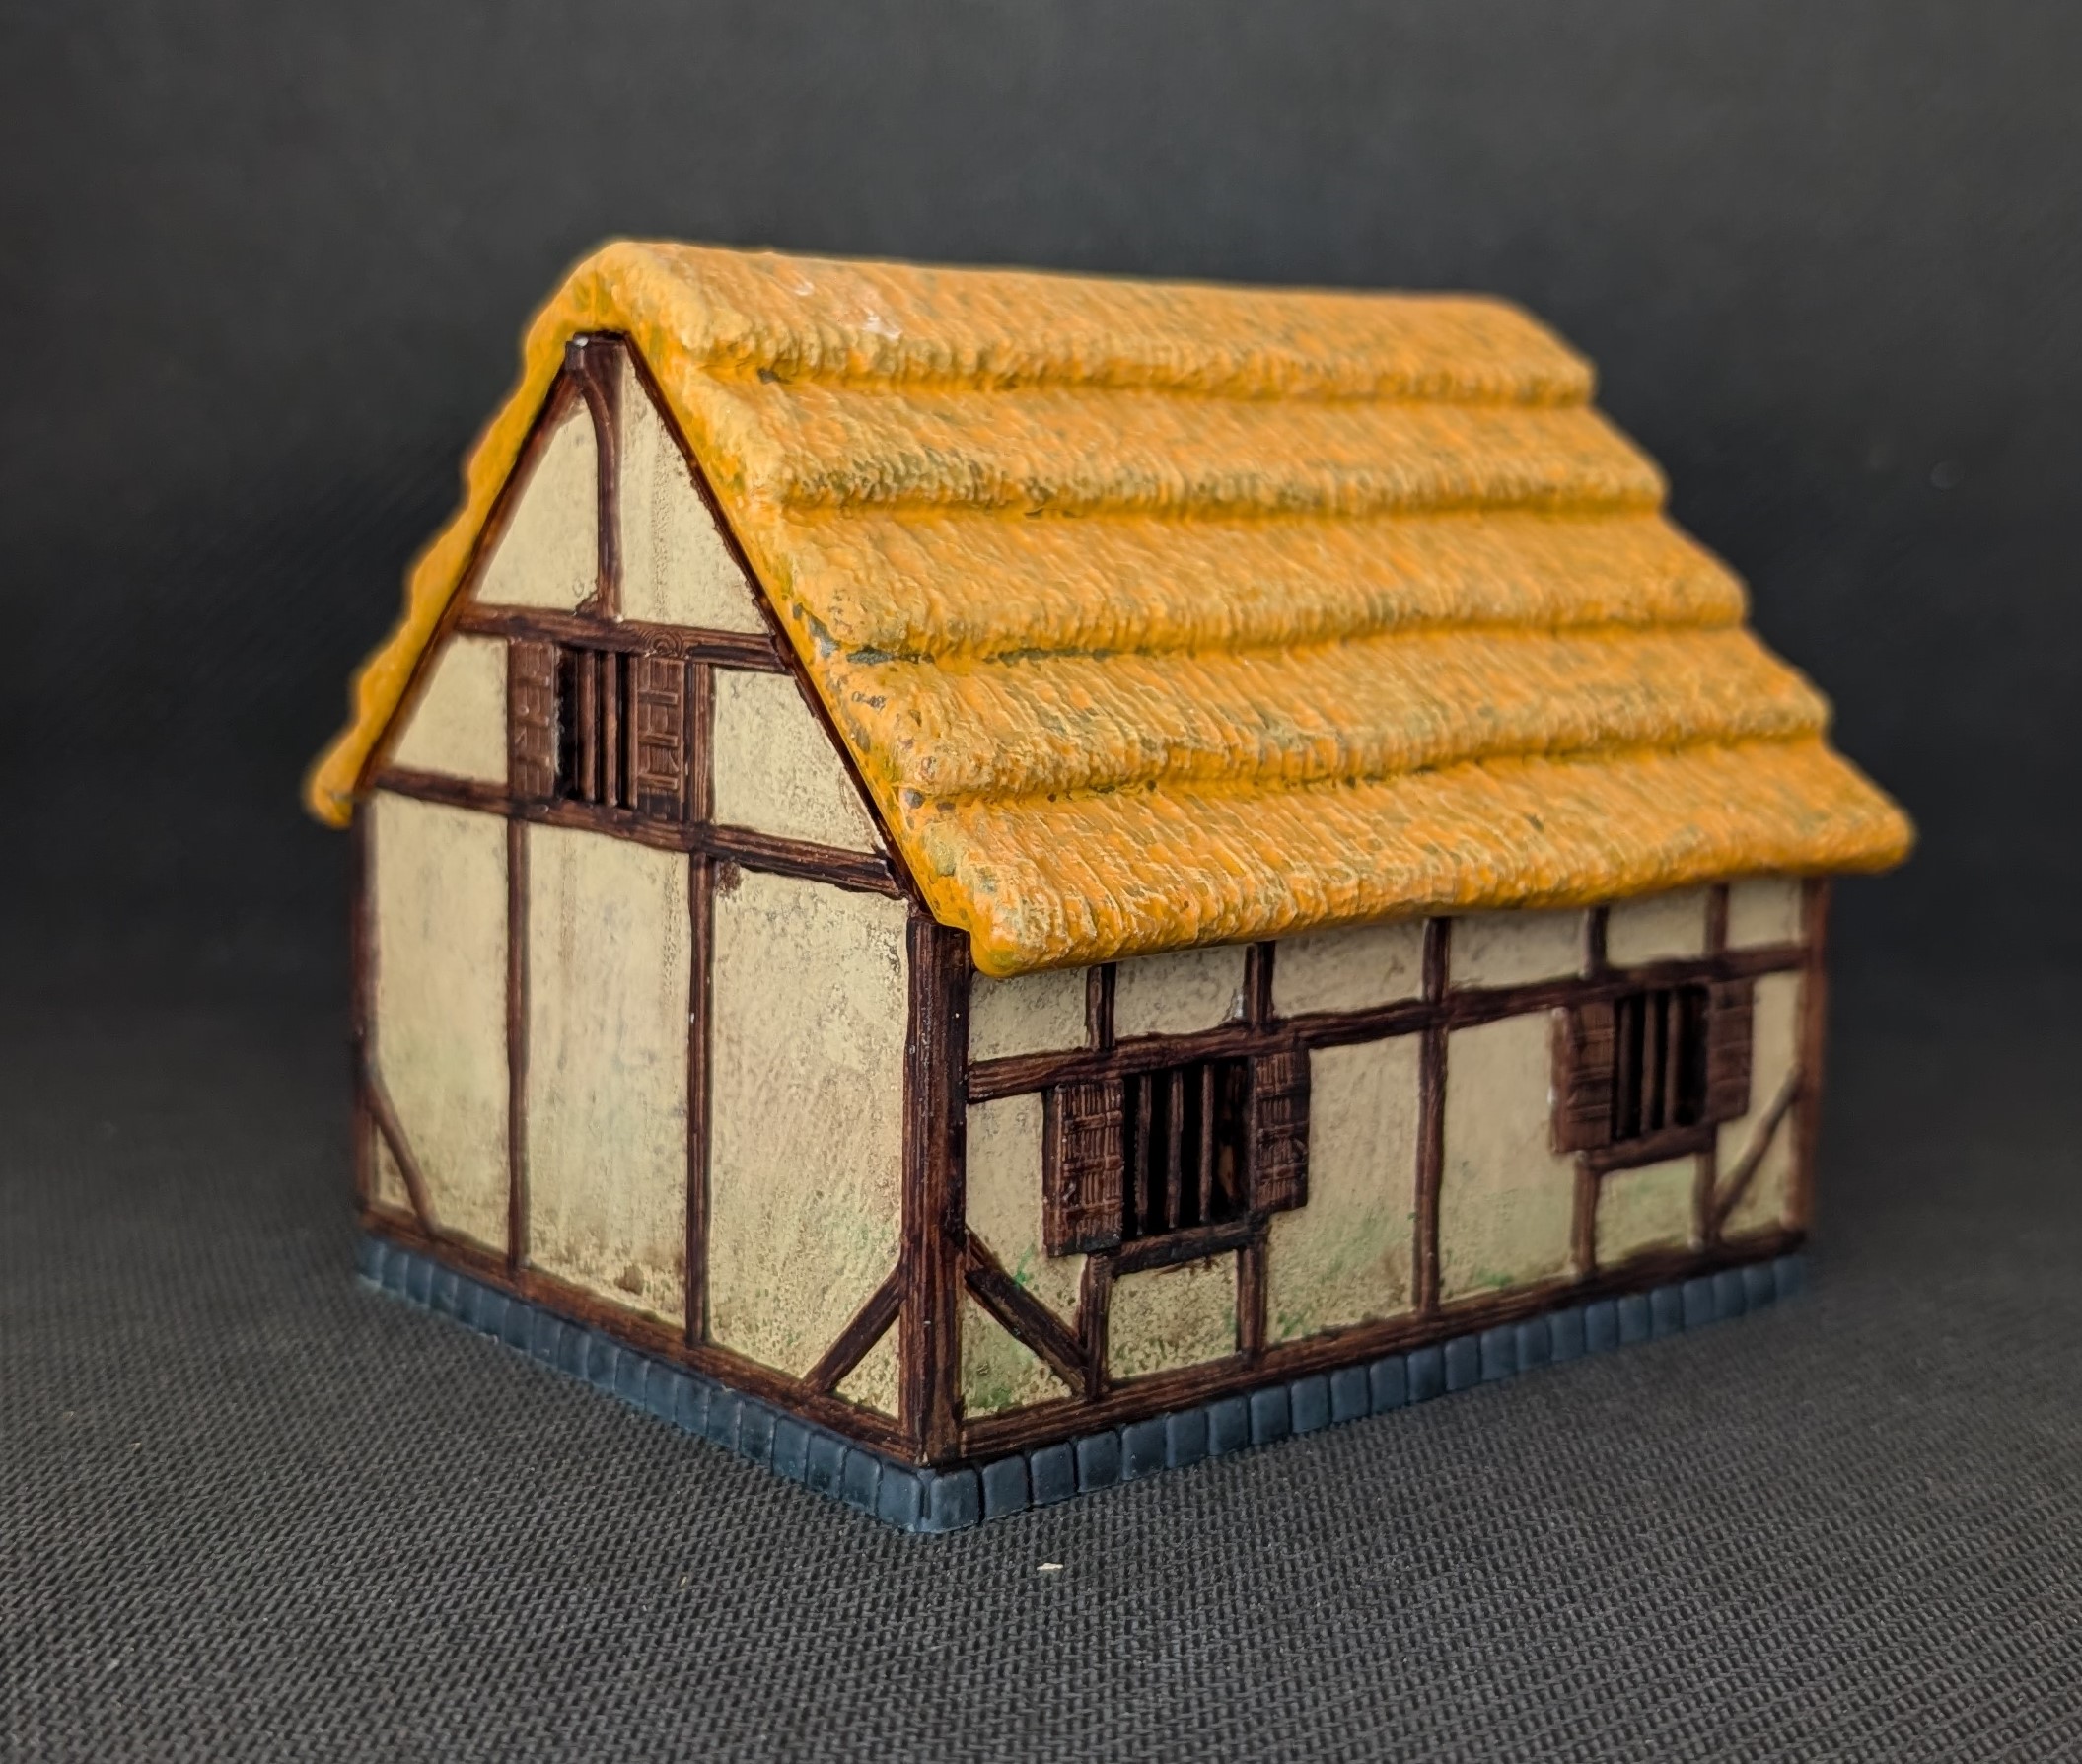 Lloyd shot
Terrain
I don’t like starting things before I’ve really thought them through. Some might call this procrastination, and they’d probably be right, but I also like to think that this is about getting it right from the outset. I’m therefore finding the big pile of unpainted tiny fighting soldiers a little daunting and I’n not sure yet how to go about painting them. So to put things off a little longer, I’ve turned to some of the terrain.
I find terrain easier as I find that just getting some paint on it makes a world of different to the immersion of a game but no-one spends ages looking in detail at it. So you can get away with a much rougher paint job and hence I can apply less thought to it.
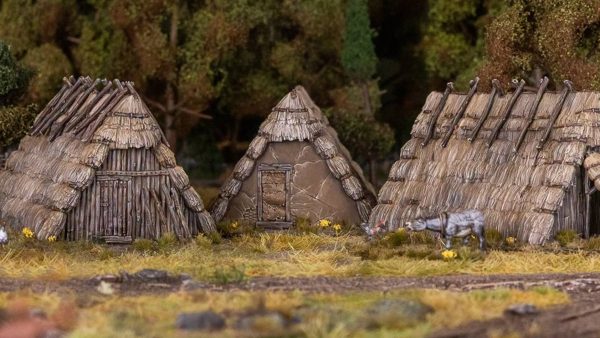
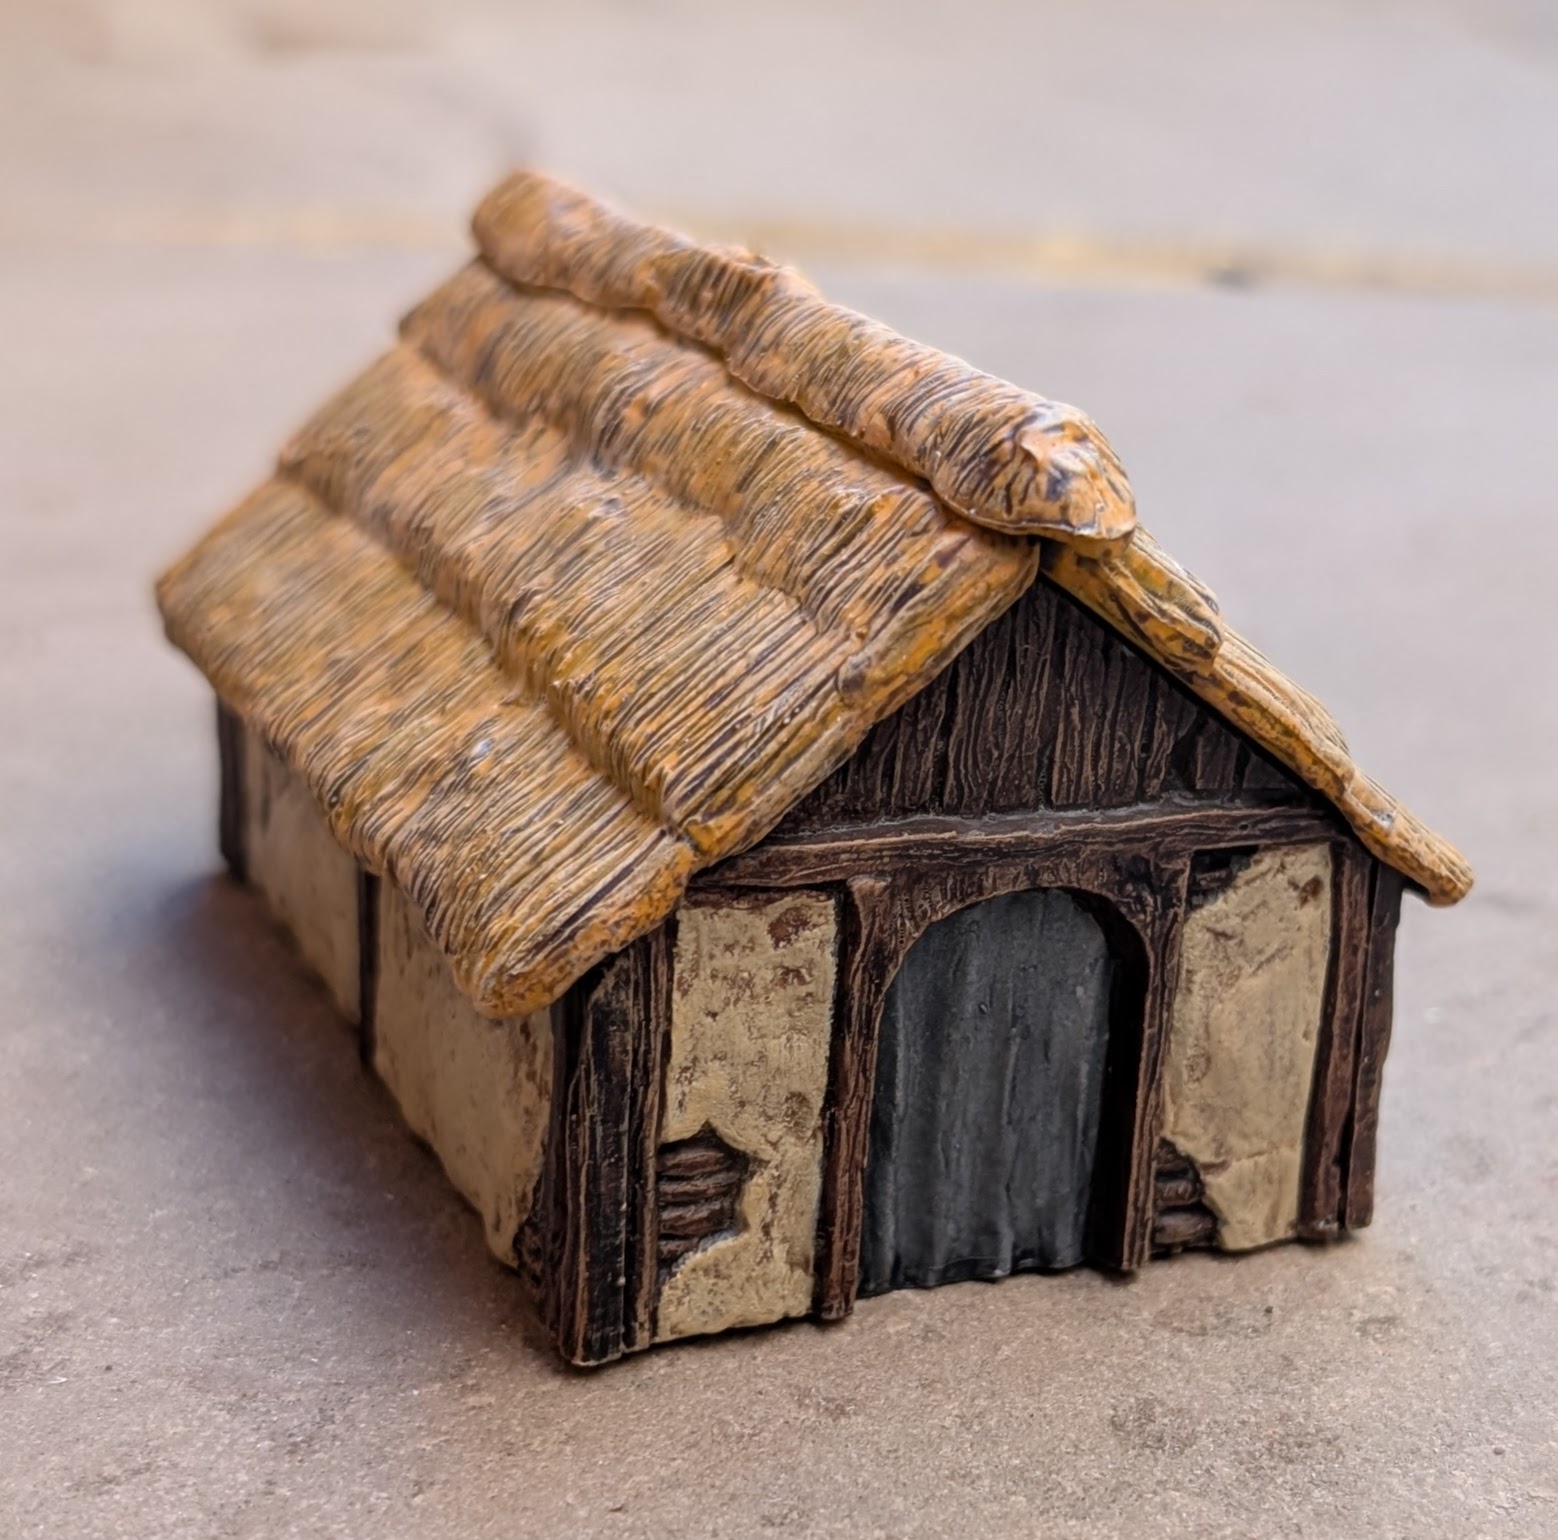
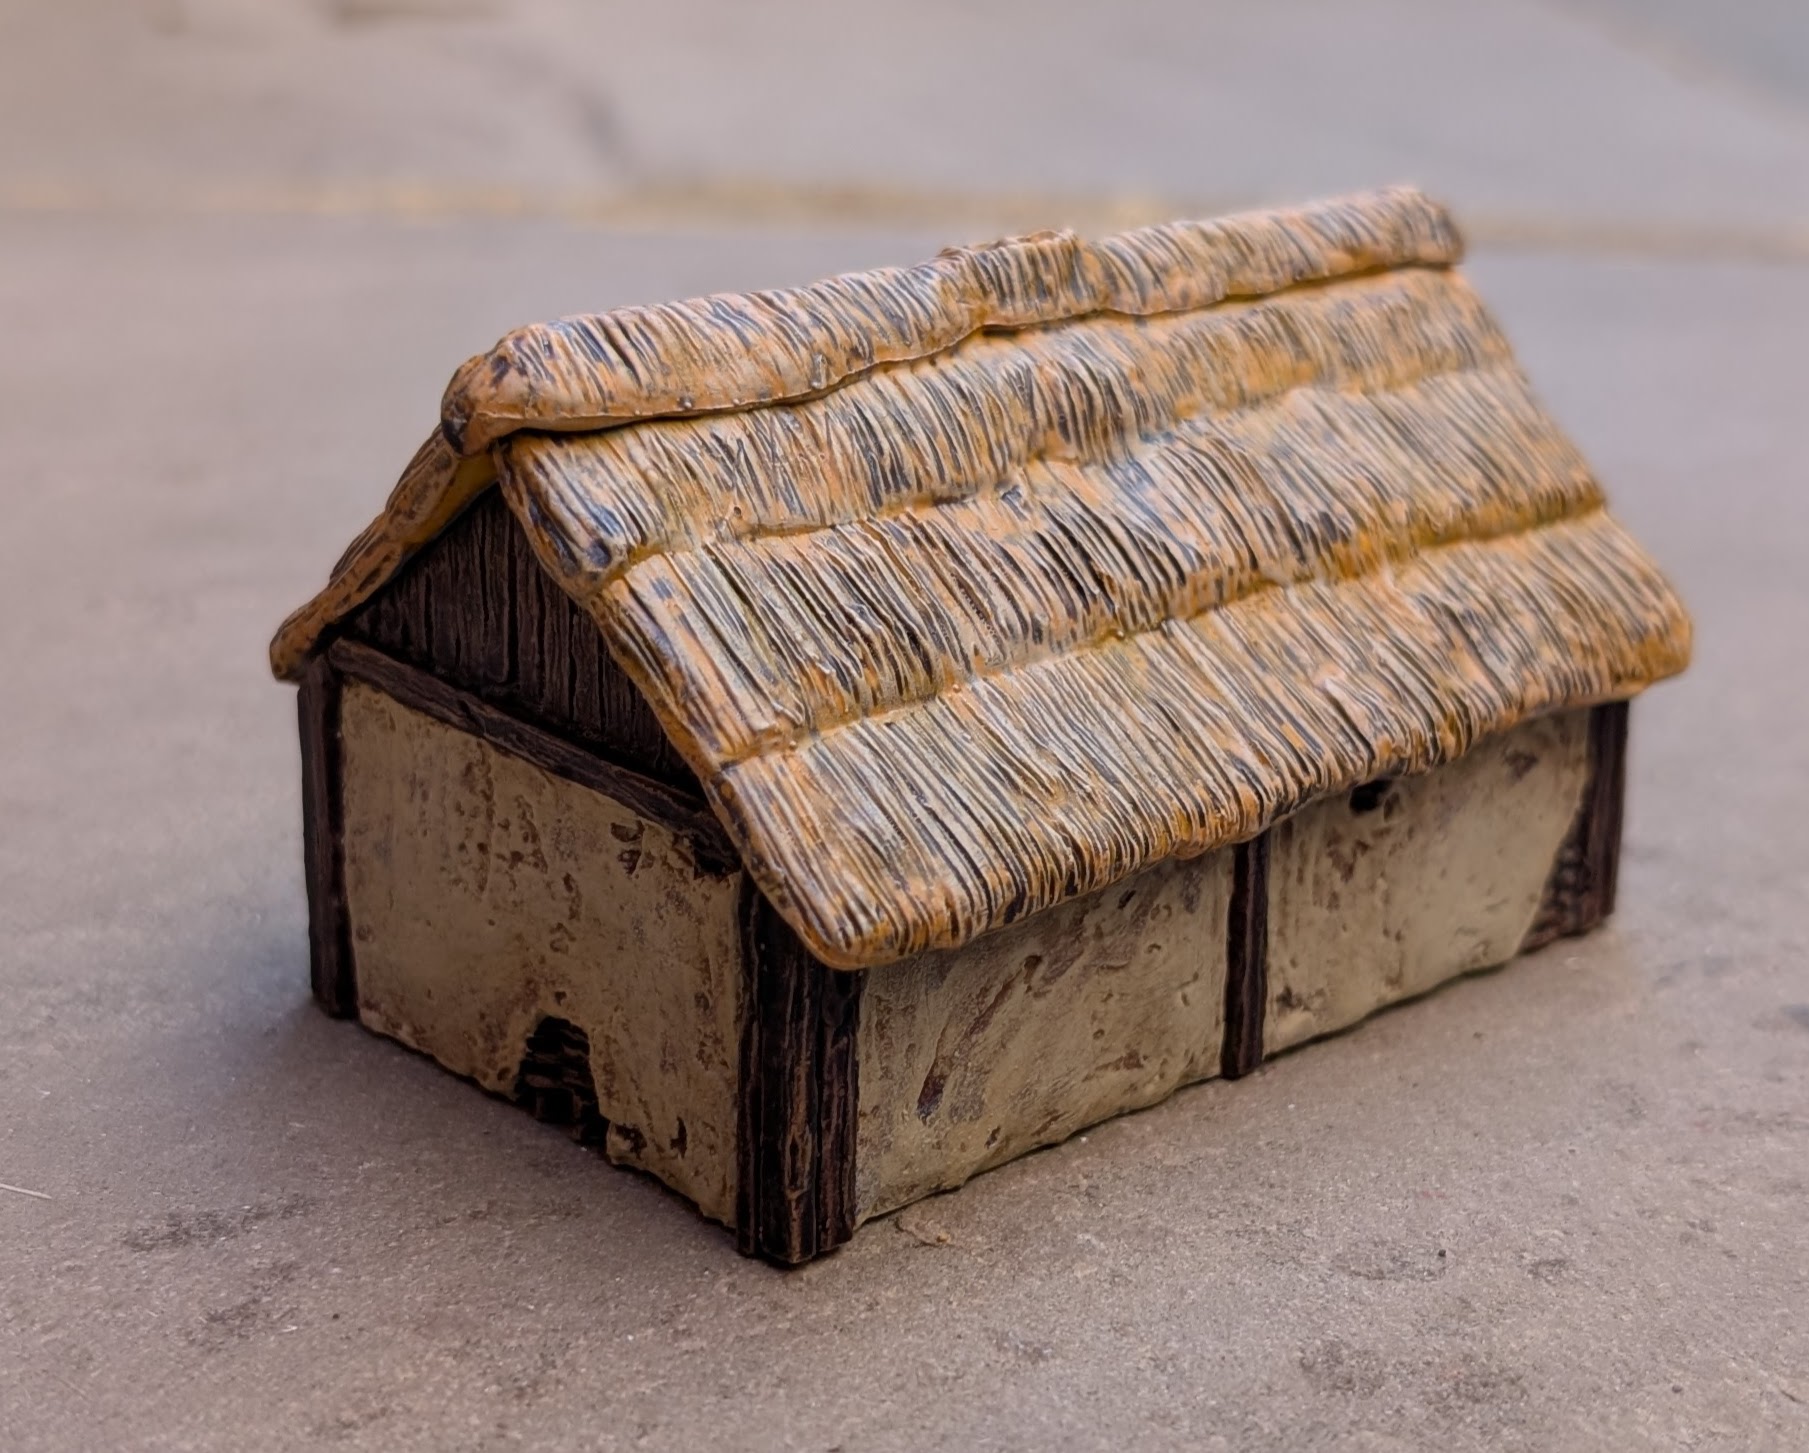
With that in mind, I started on two of the plastic out buildings that I bought. First up, the wattle and daub building got a hardened wood speed paint for the wood areas with a light dry brush of bleached bone. The daub areas got a base of bleached bone, a heavy strong tone wash slapped liberally all over it. Once dry, I sponged on bleached bone again and called it done.
The thatch roof was scrofulous brown base with a dark tone wash. I’ve then given it a heavy dry brush of Iraqi sand.
The curtain door was just a moss green speed paint.
Looks good enough.
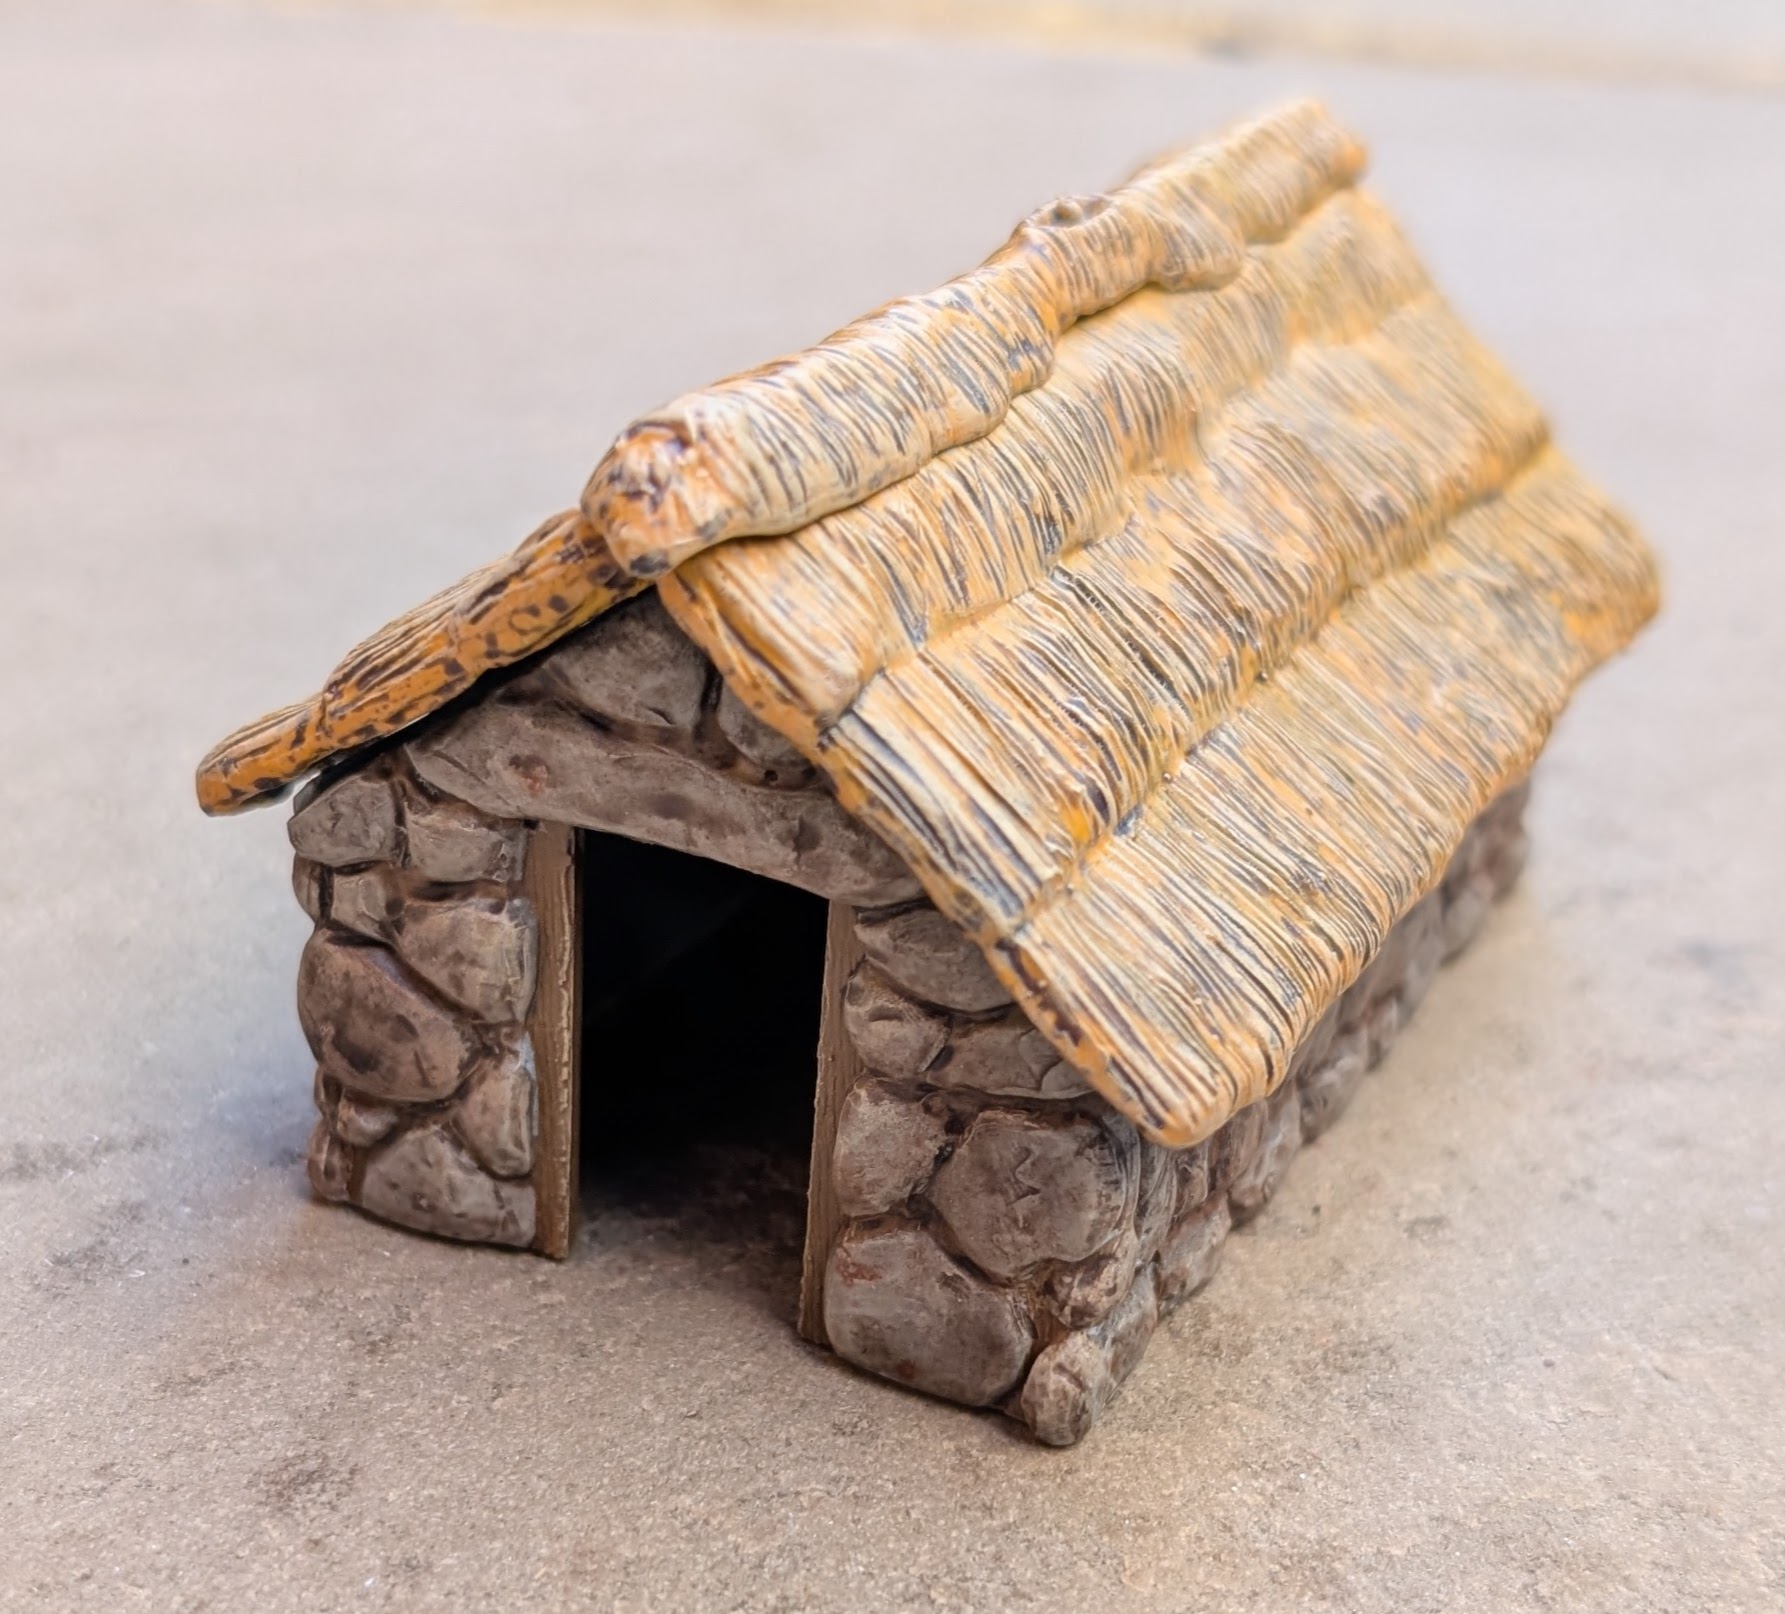
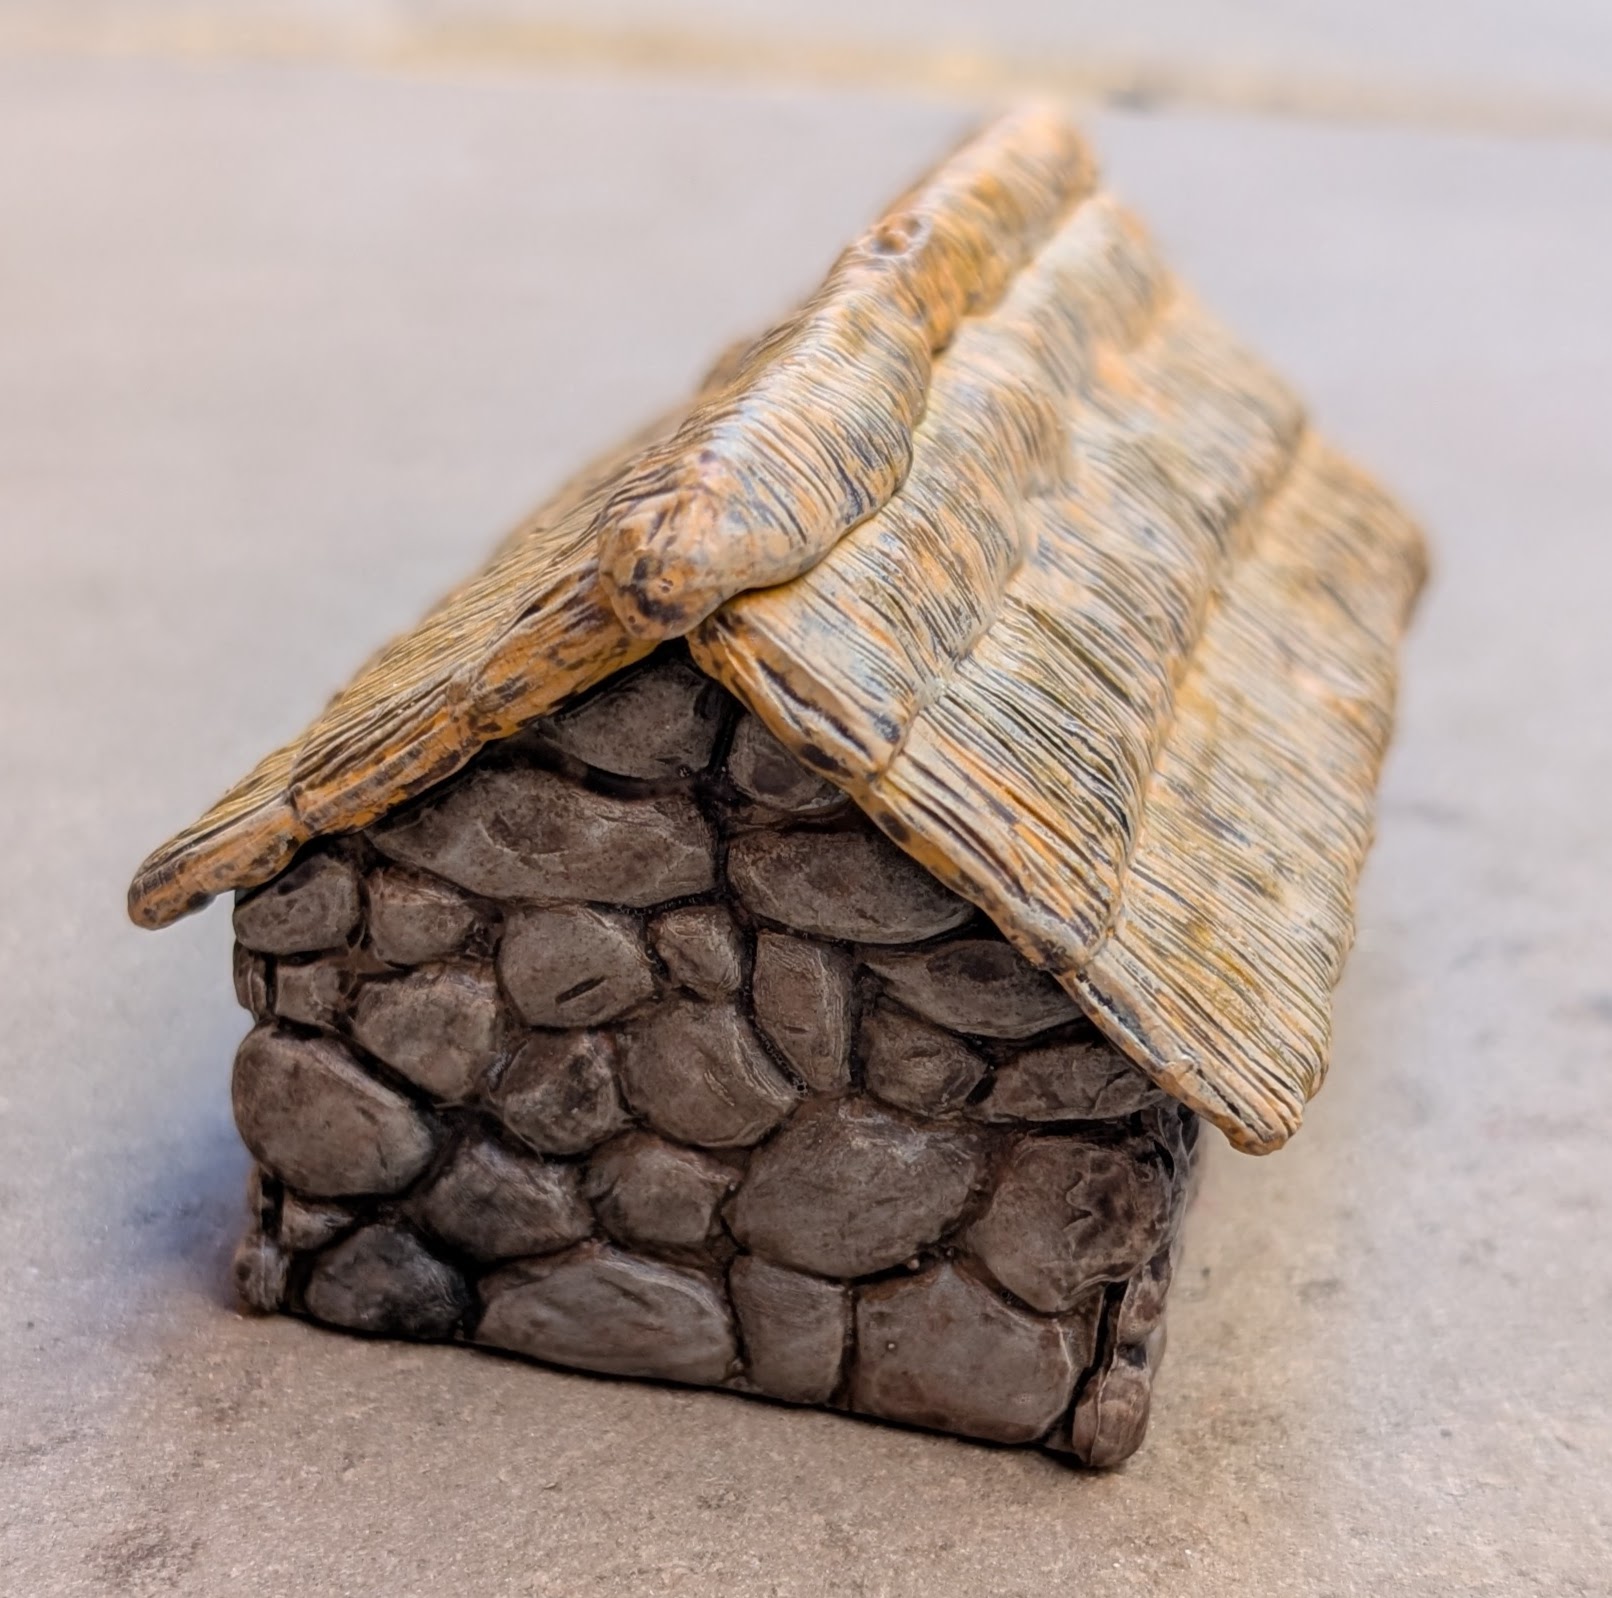
The stone outbuilding used the same approach for the thatch roof. The stone areas I’ve primed grey and then painted the ‘mortar’ flat earth. A quick light grey dry brush to bring out the highlight areas before adding some pigment powders in areas. I’ve then slapped a strong tone wash over everything and job done.
I also had some plastic fences. I doubt that this is how they built medieval fences but as I had them and I had the hardened wood speed paint out, I decide to knock these out as well.
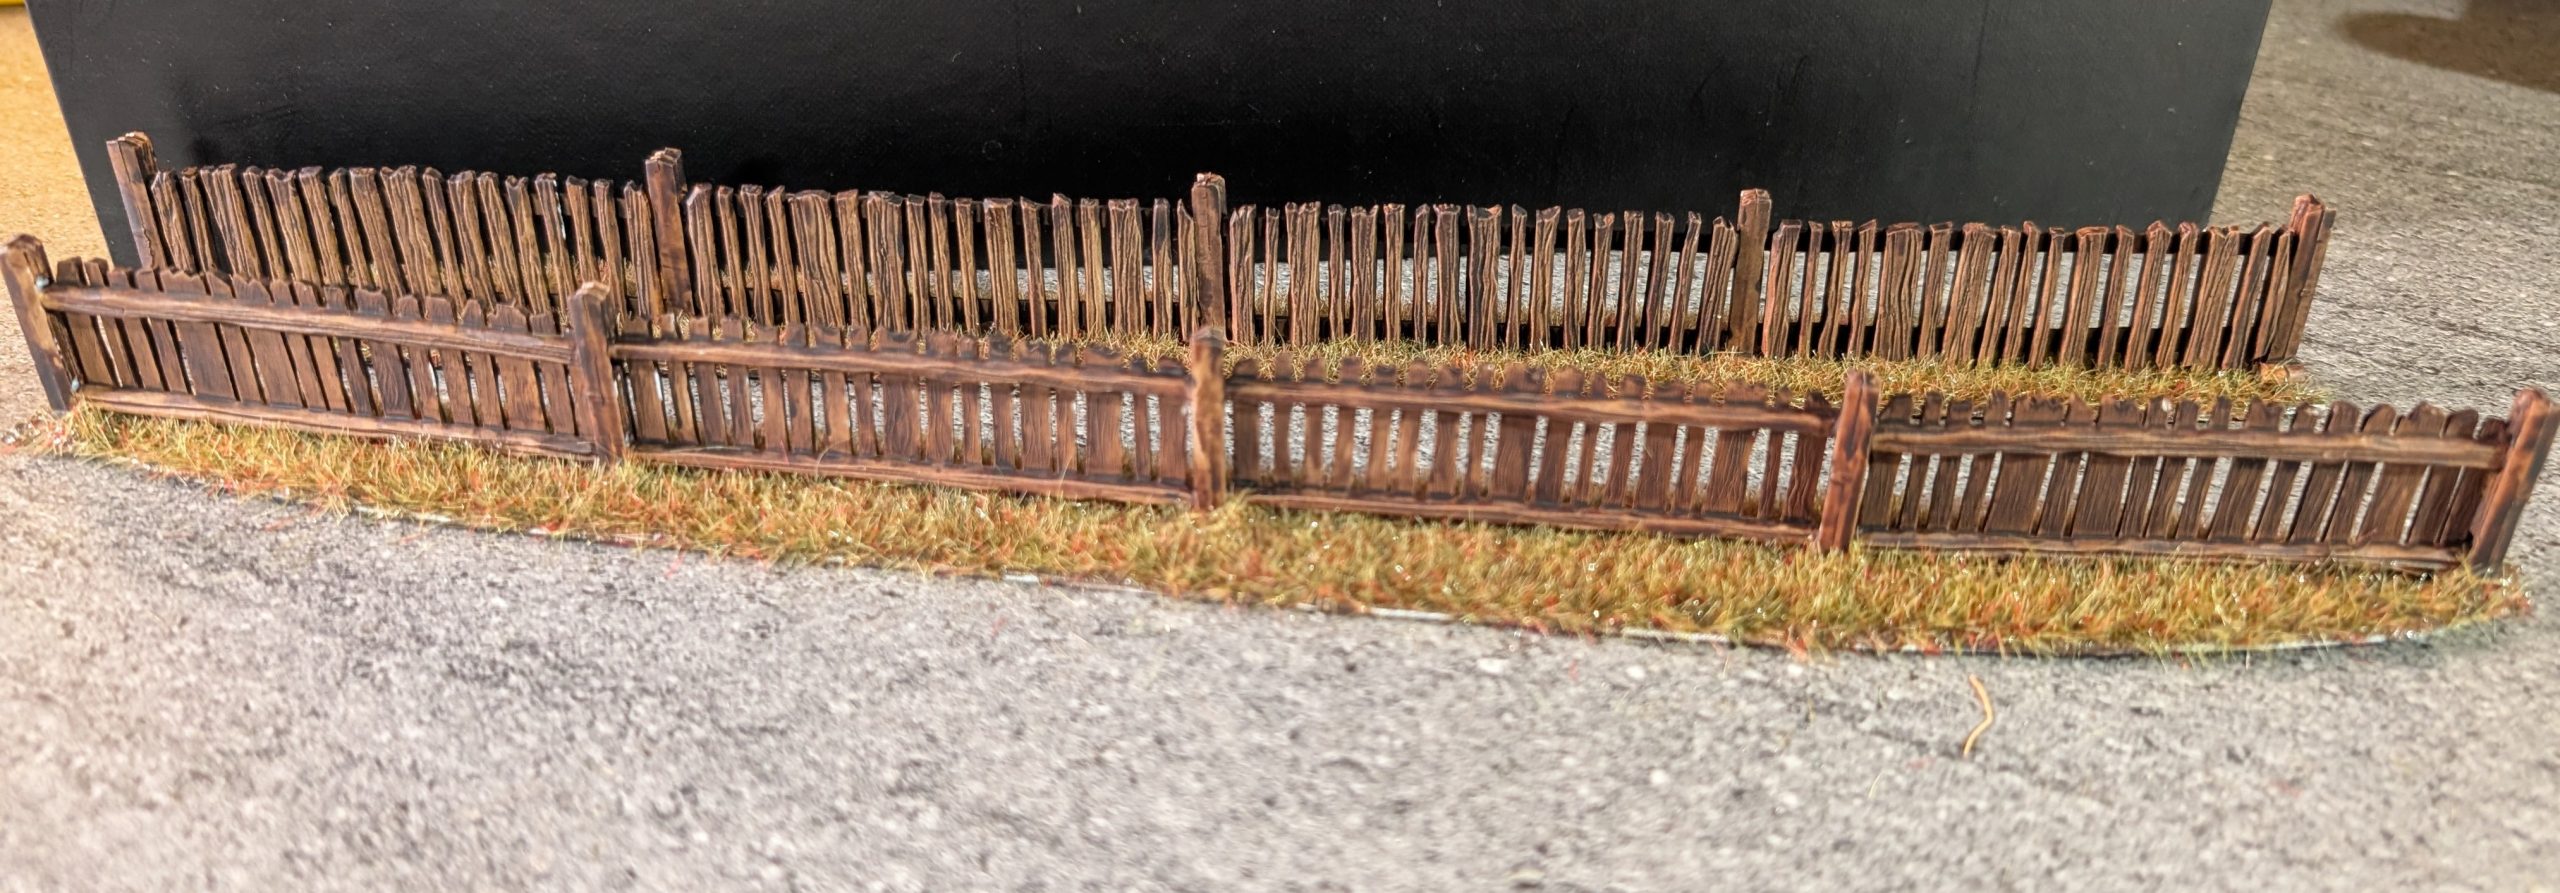 A couple of boring fences
Battle Report
With the models all built, why wait for them to be painted before you have a game? To get to grips with the rules, my son and I played out the introductory scenario included in the starter set. But first, here’s a quick run down of our warbands,
For myself, I have
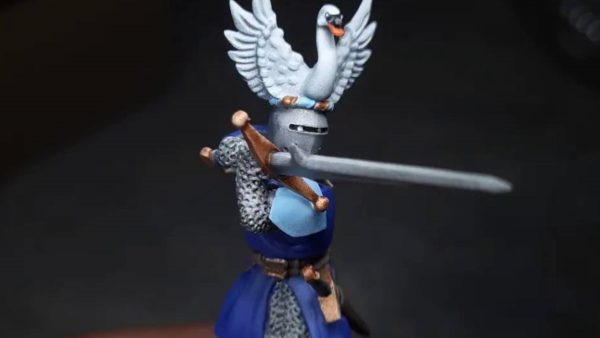
William de Warenne (more on why I’ve picked him later) as my retinue leader. William is leading a unit of 5 knights equipped with maces and a bannerman.
6 Serjeants armed with bill hooks
6 peasant levy armed with double handed weapons
6 Marksmen Crossbowmen
My son had
An unnamed lord leading a unit of 5 knights with a pennant, priest and musician.
5 Bowmen
9 Peasant levy
4 Serjeants with spear and shield
5 Bowmen
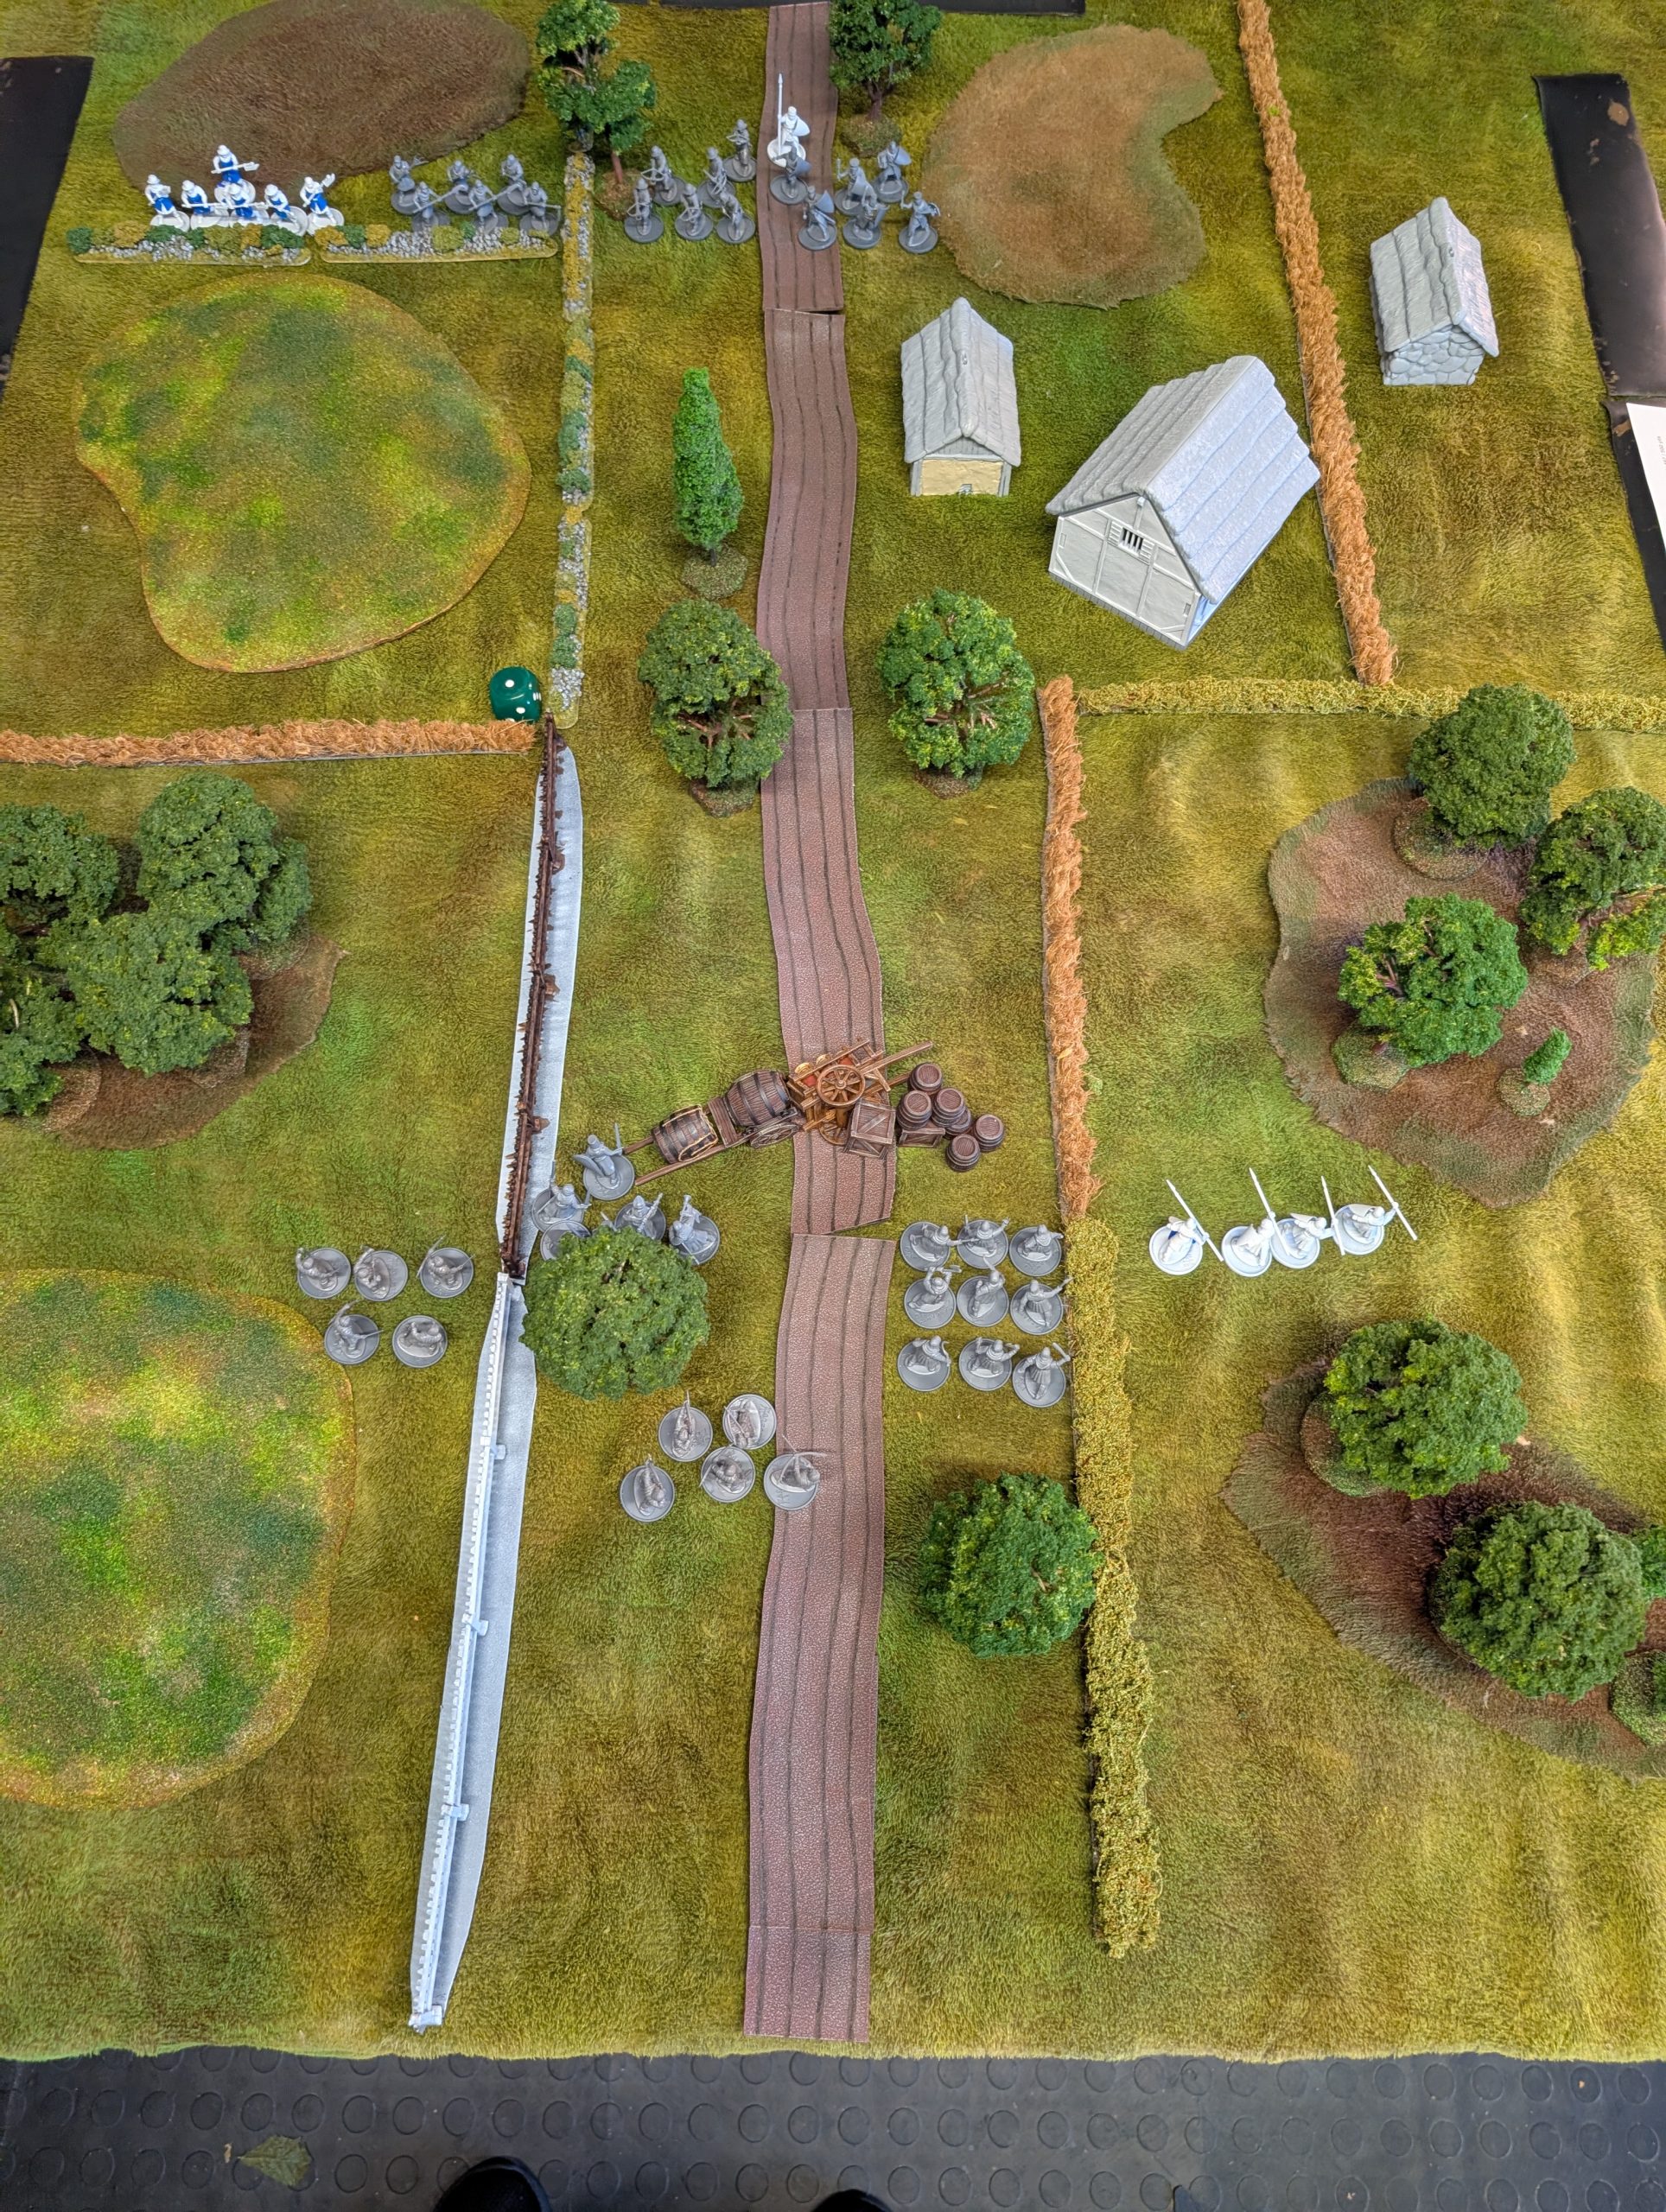
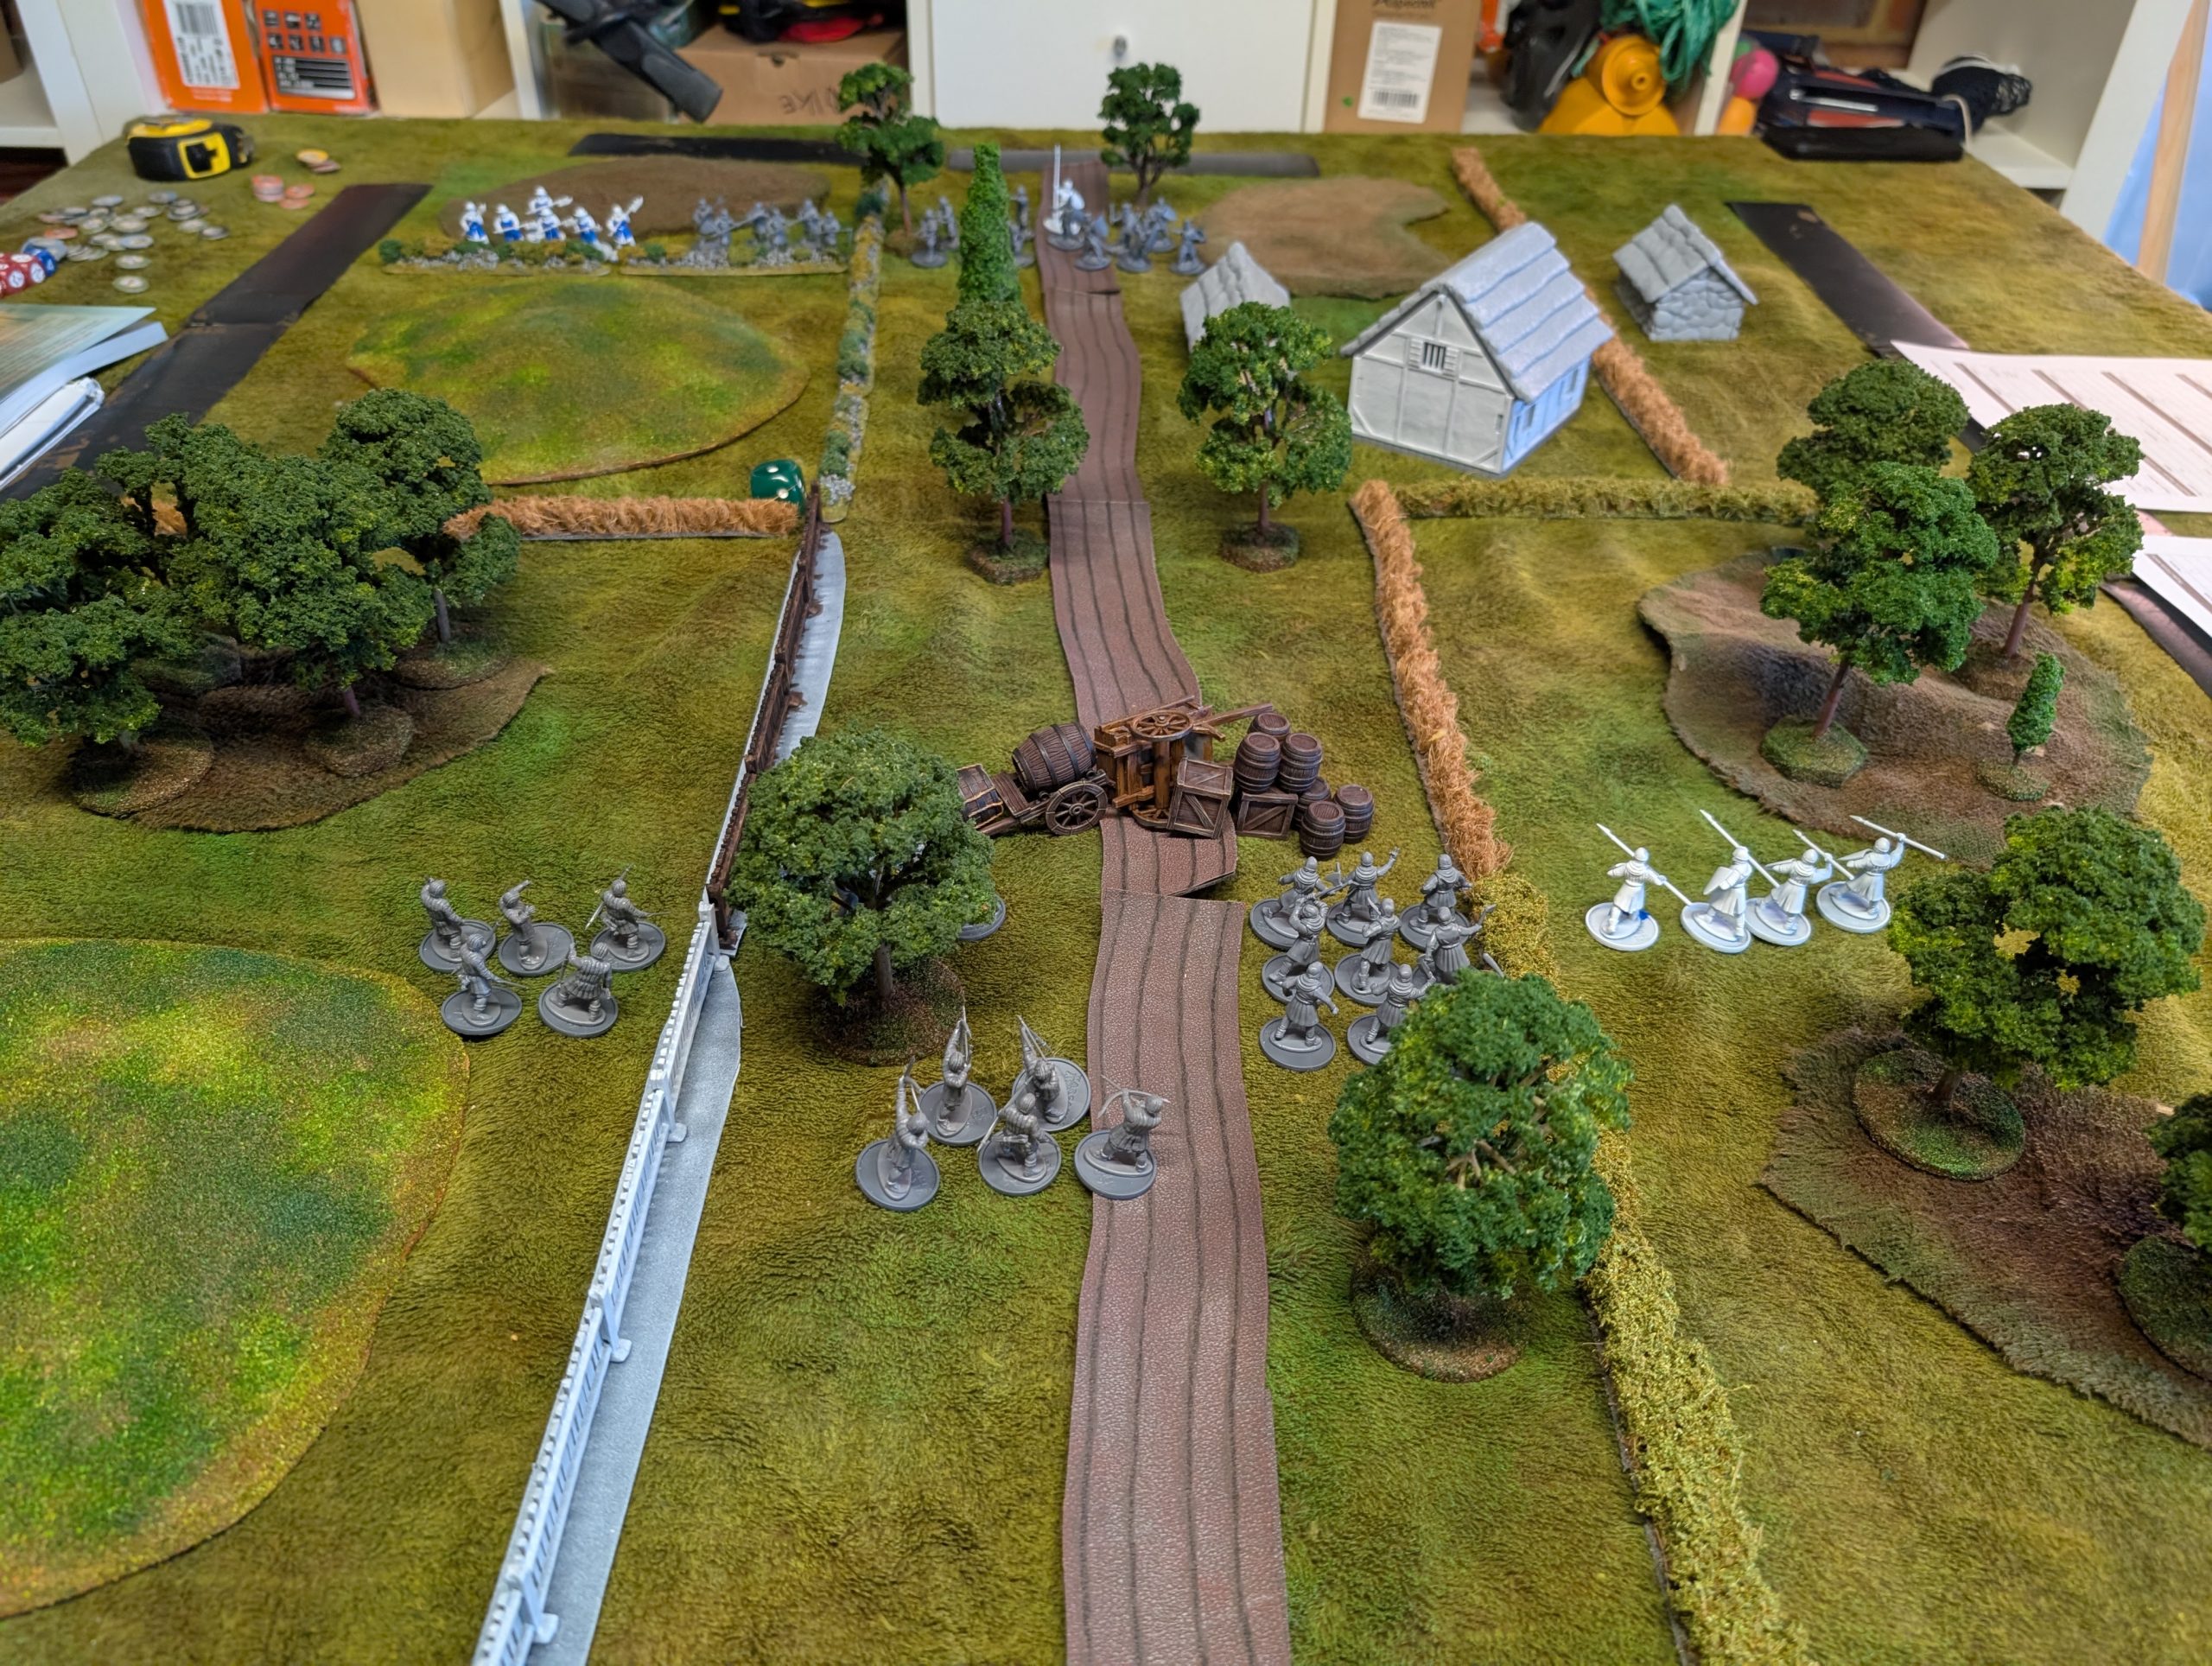
The scenario is an ambush along a wooded road. A barricade is set up 12” on from one edge and my son gets to deploy up to this barricade. I deploy at the other end of the table. I have 5 turns to get as many of my models off the far table edge as possible. I add up all of the points I get off and if this is greater than the points of the models killed by my son, then I win, otherwise my son wins. Simple.
Turn 1
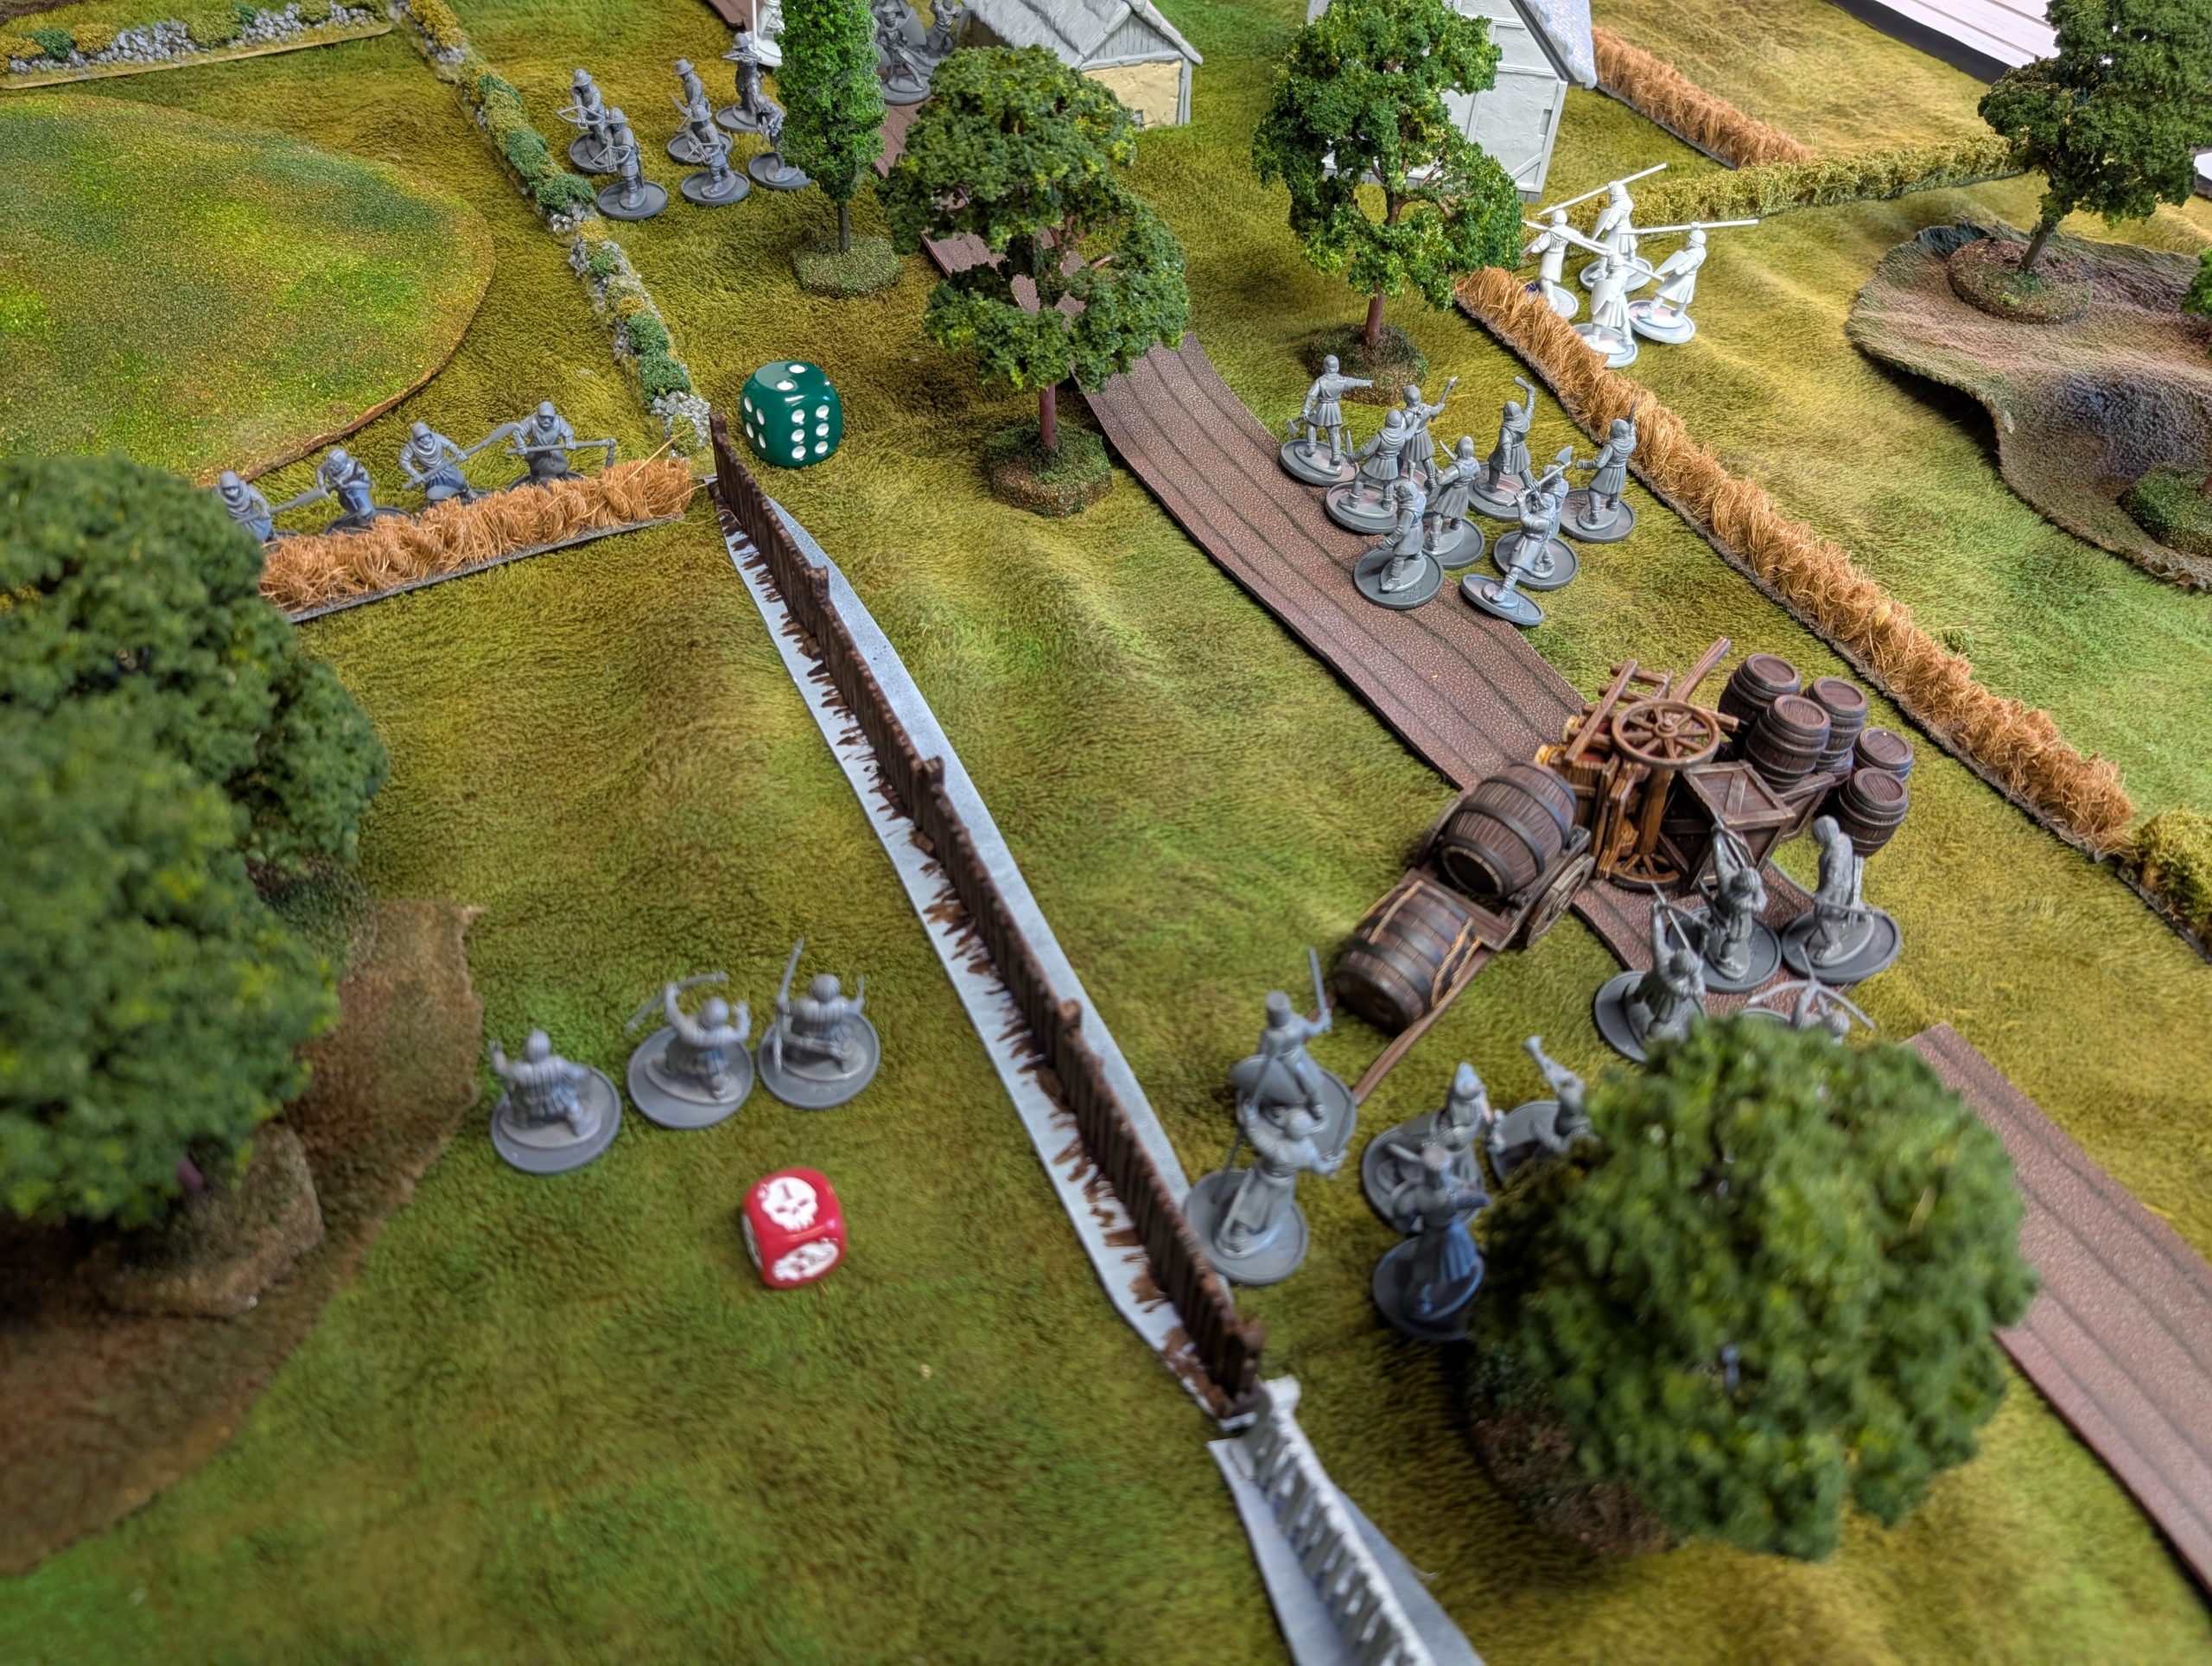
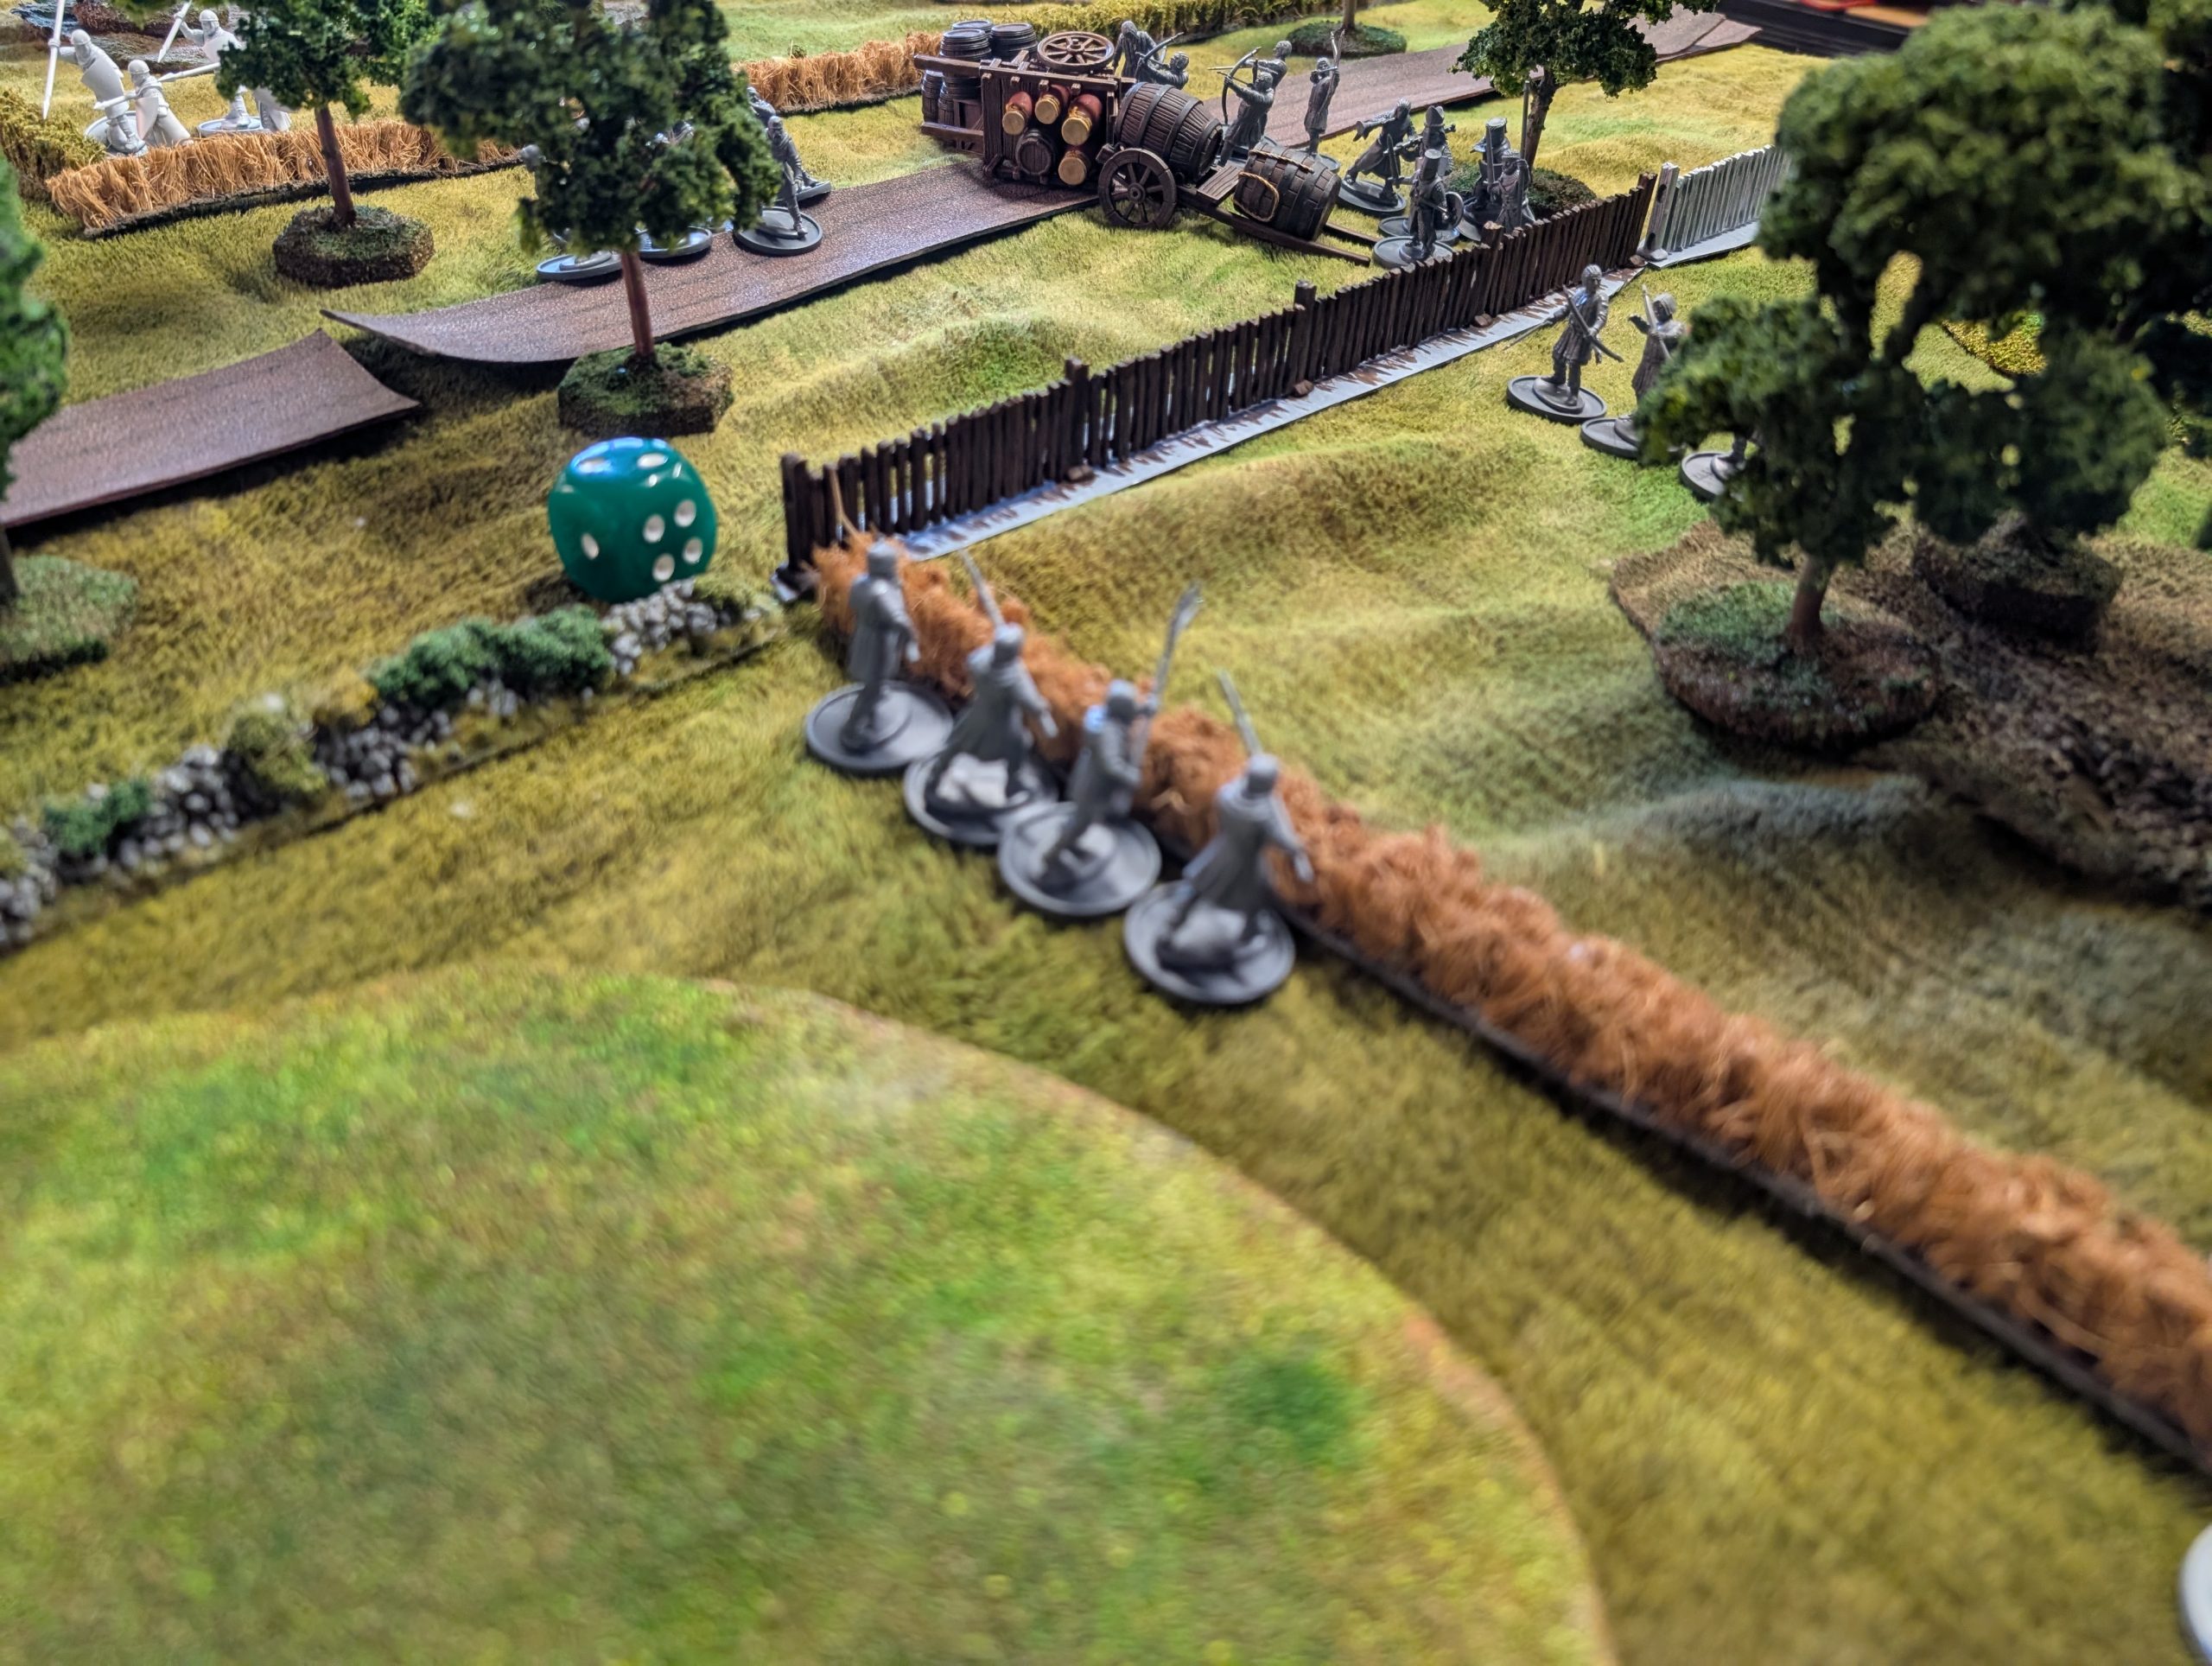
I advance my serjeants up my right flank at a run. My thinking is to either sneak them past or create a flank attack to draw defenders away from the barricade. My son gets his archers to loose a volley of arrows and my line and this results in the death of one of my serjeants. First blood to my son. He is then able to use his commander to issue a command to the bowmen to fire at my levy, which kills a poor peasant.
I did get my crossbows to fire back but did no damage but otherwise, I advanced my units up the board, trying to make use of cover where available.
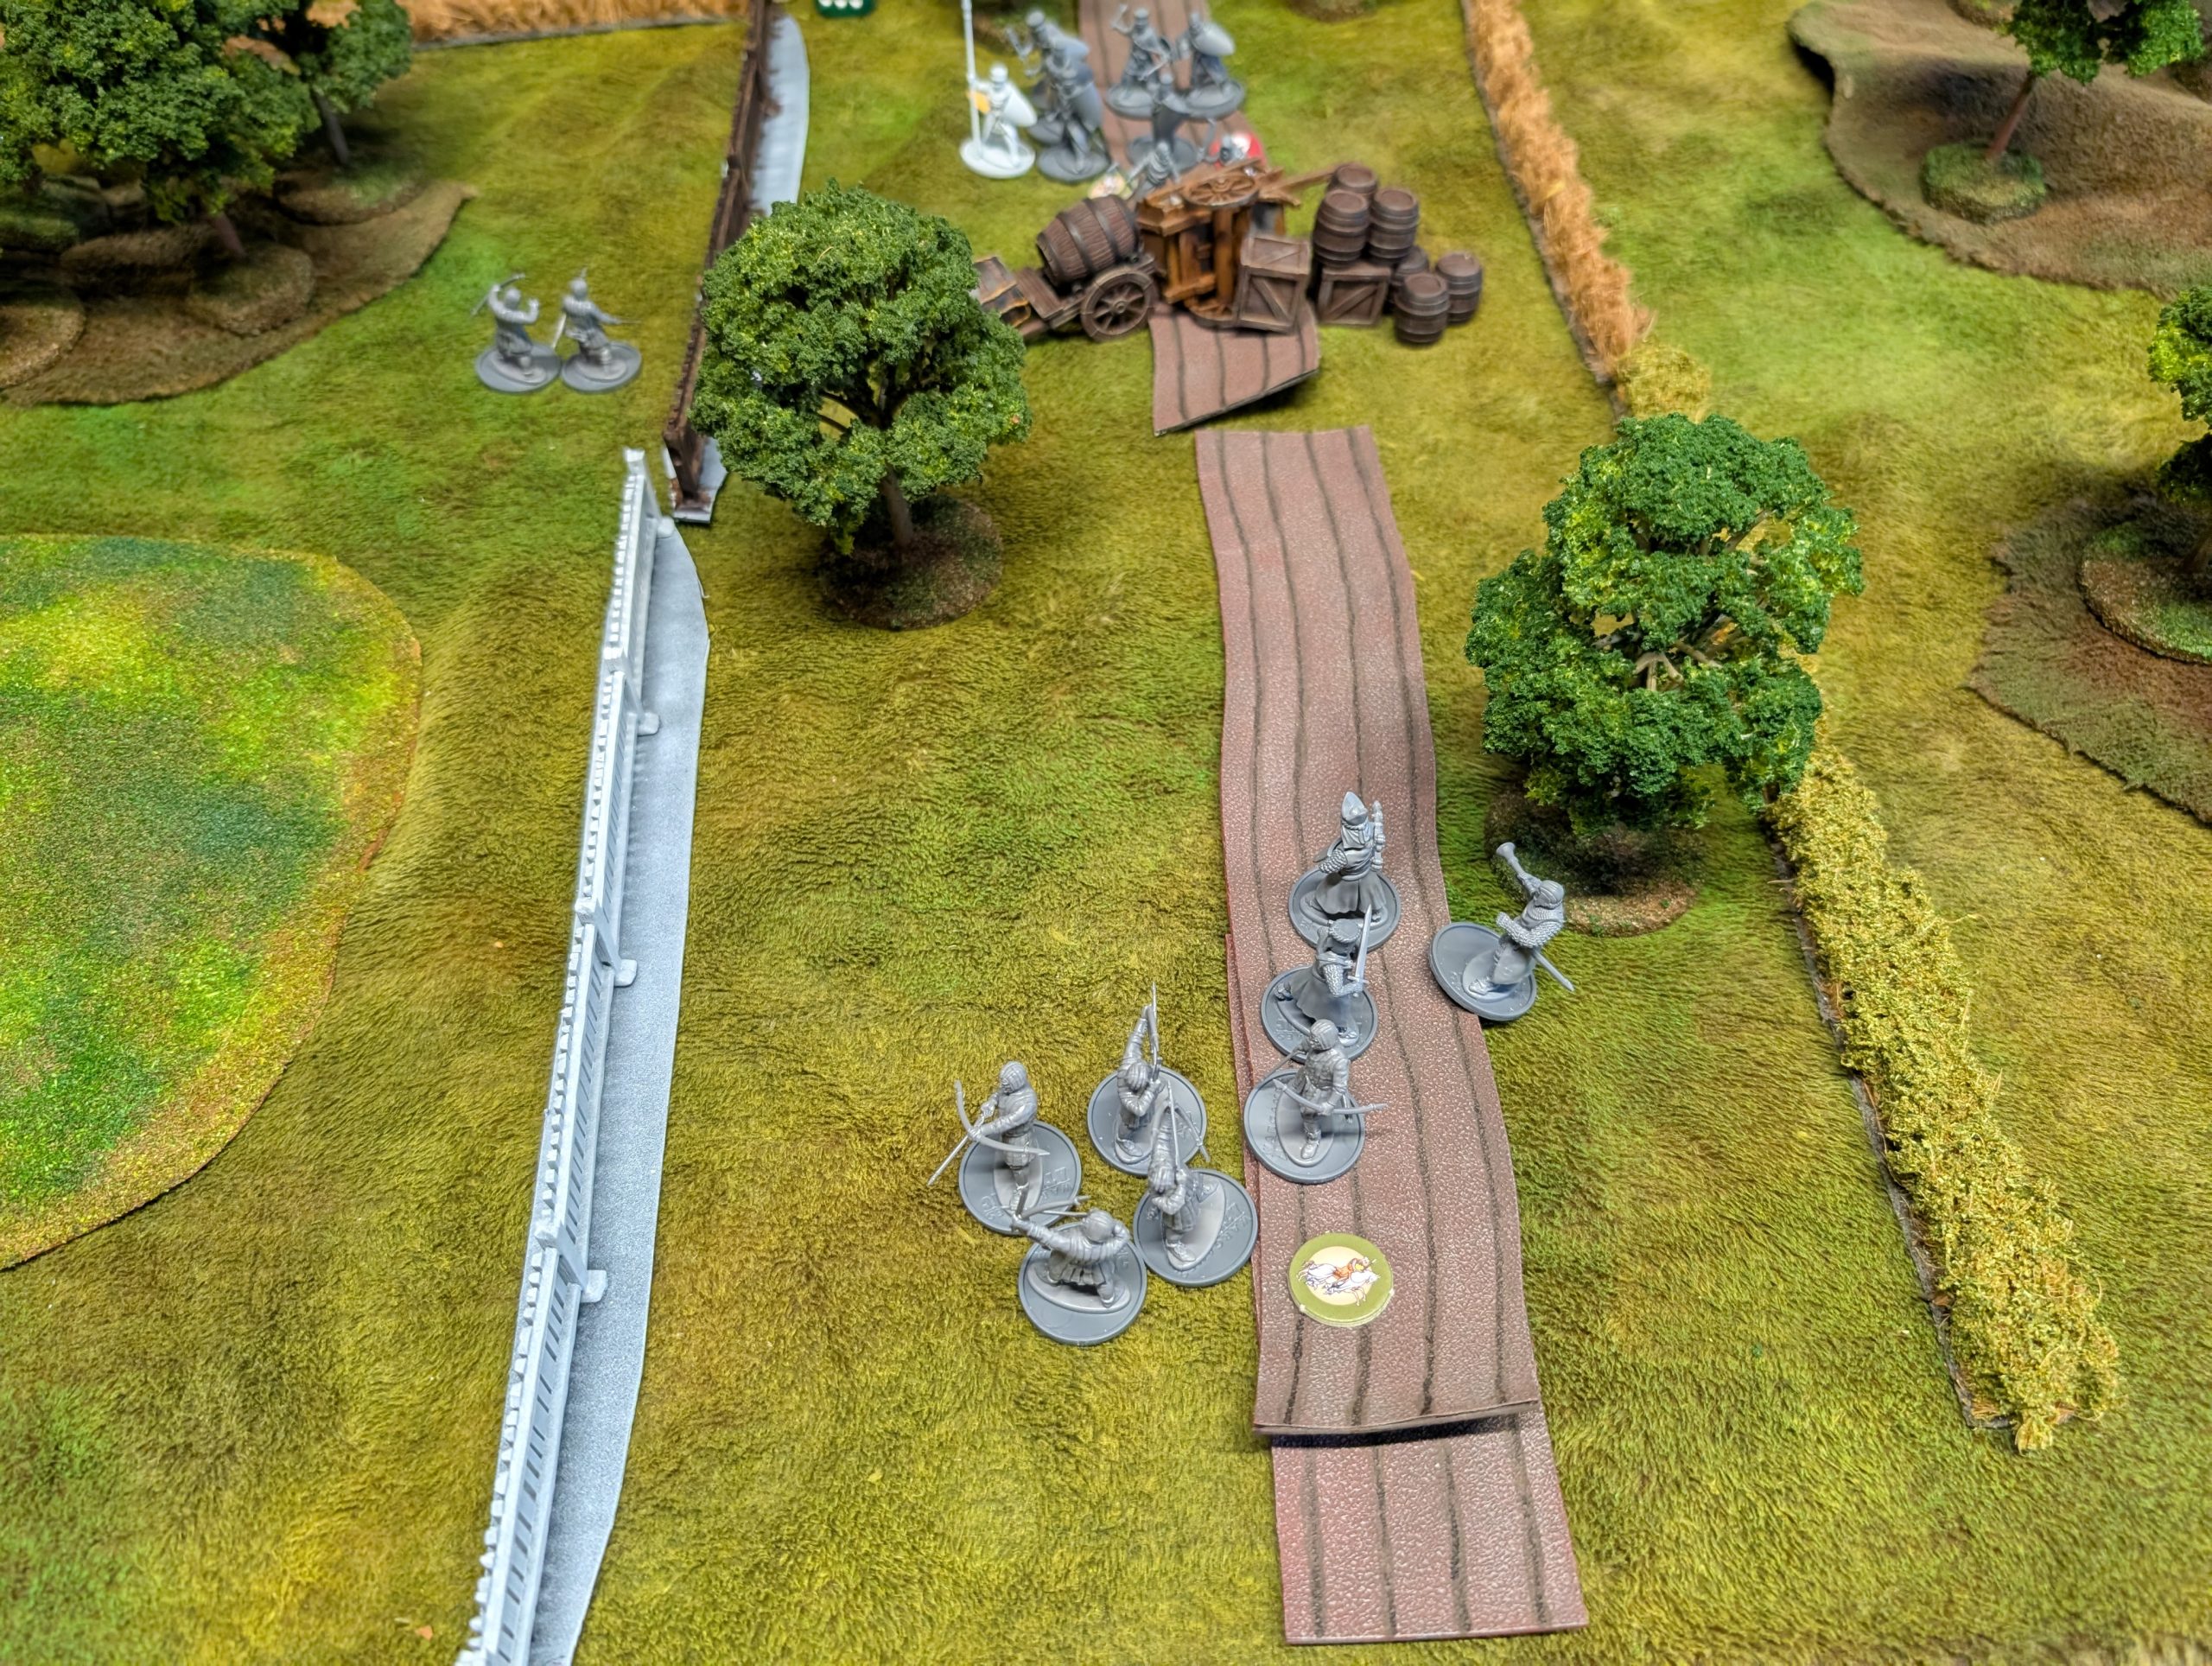
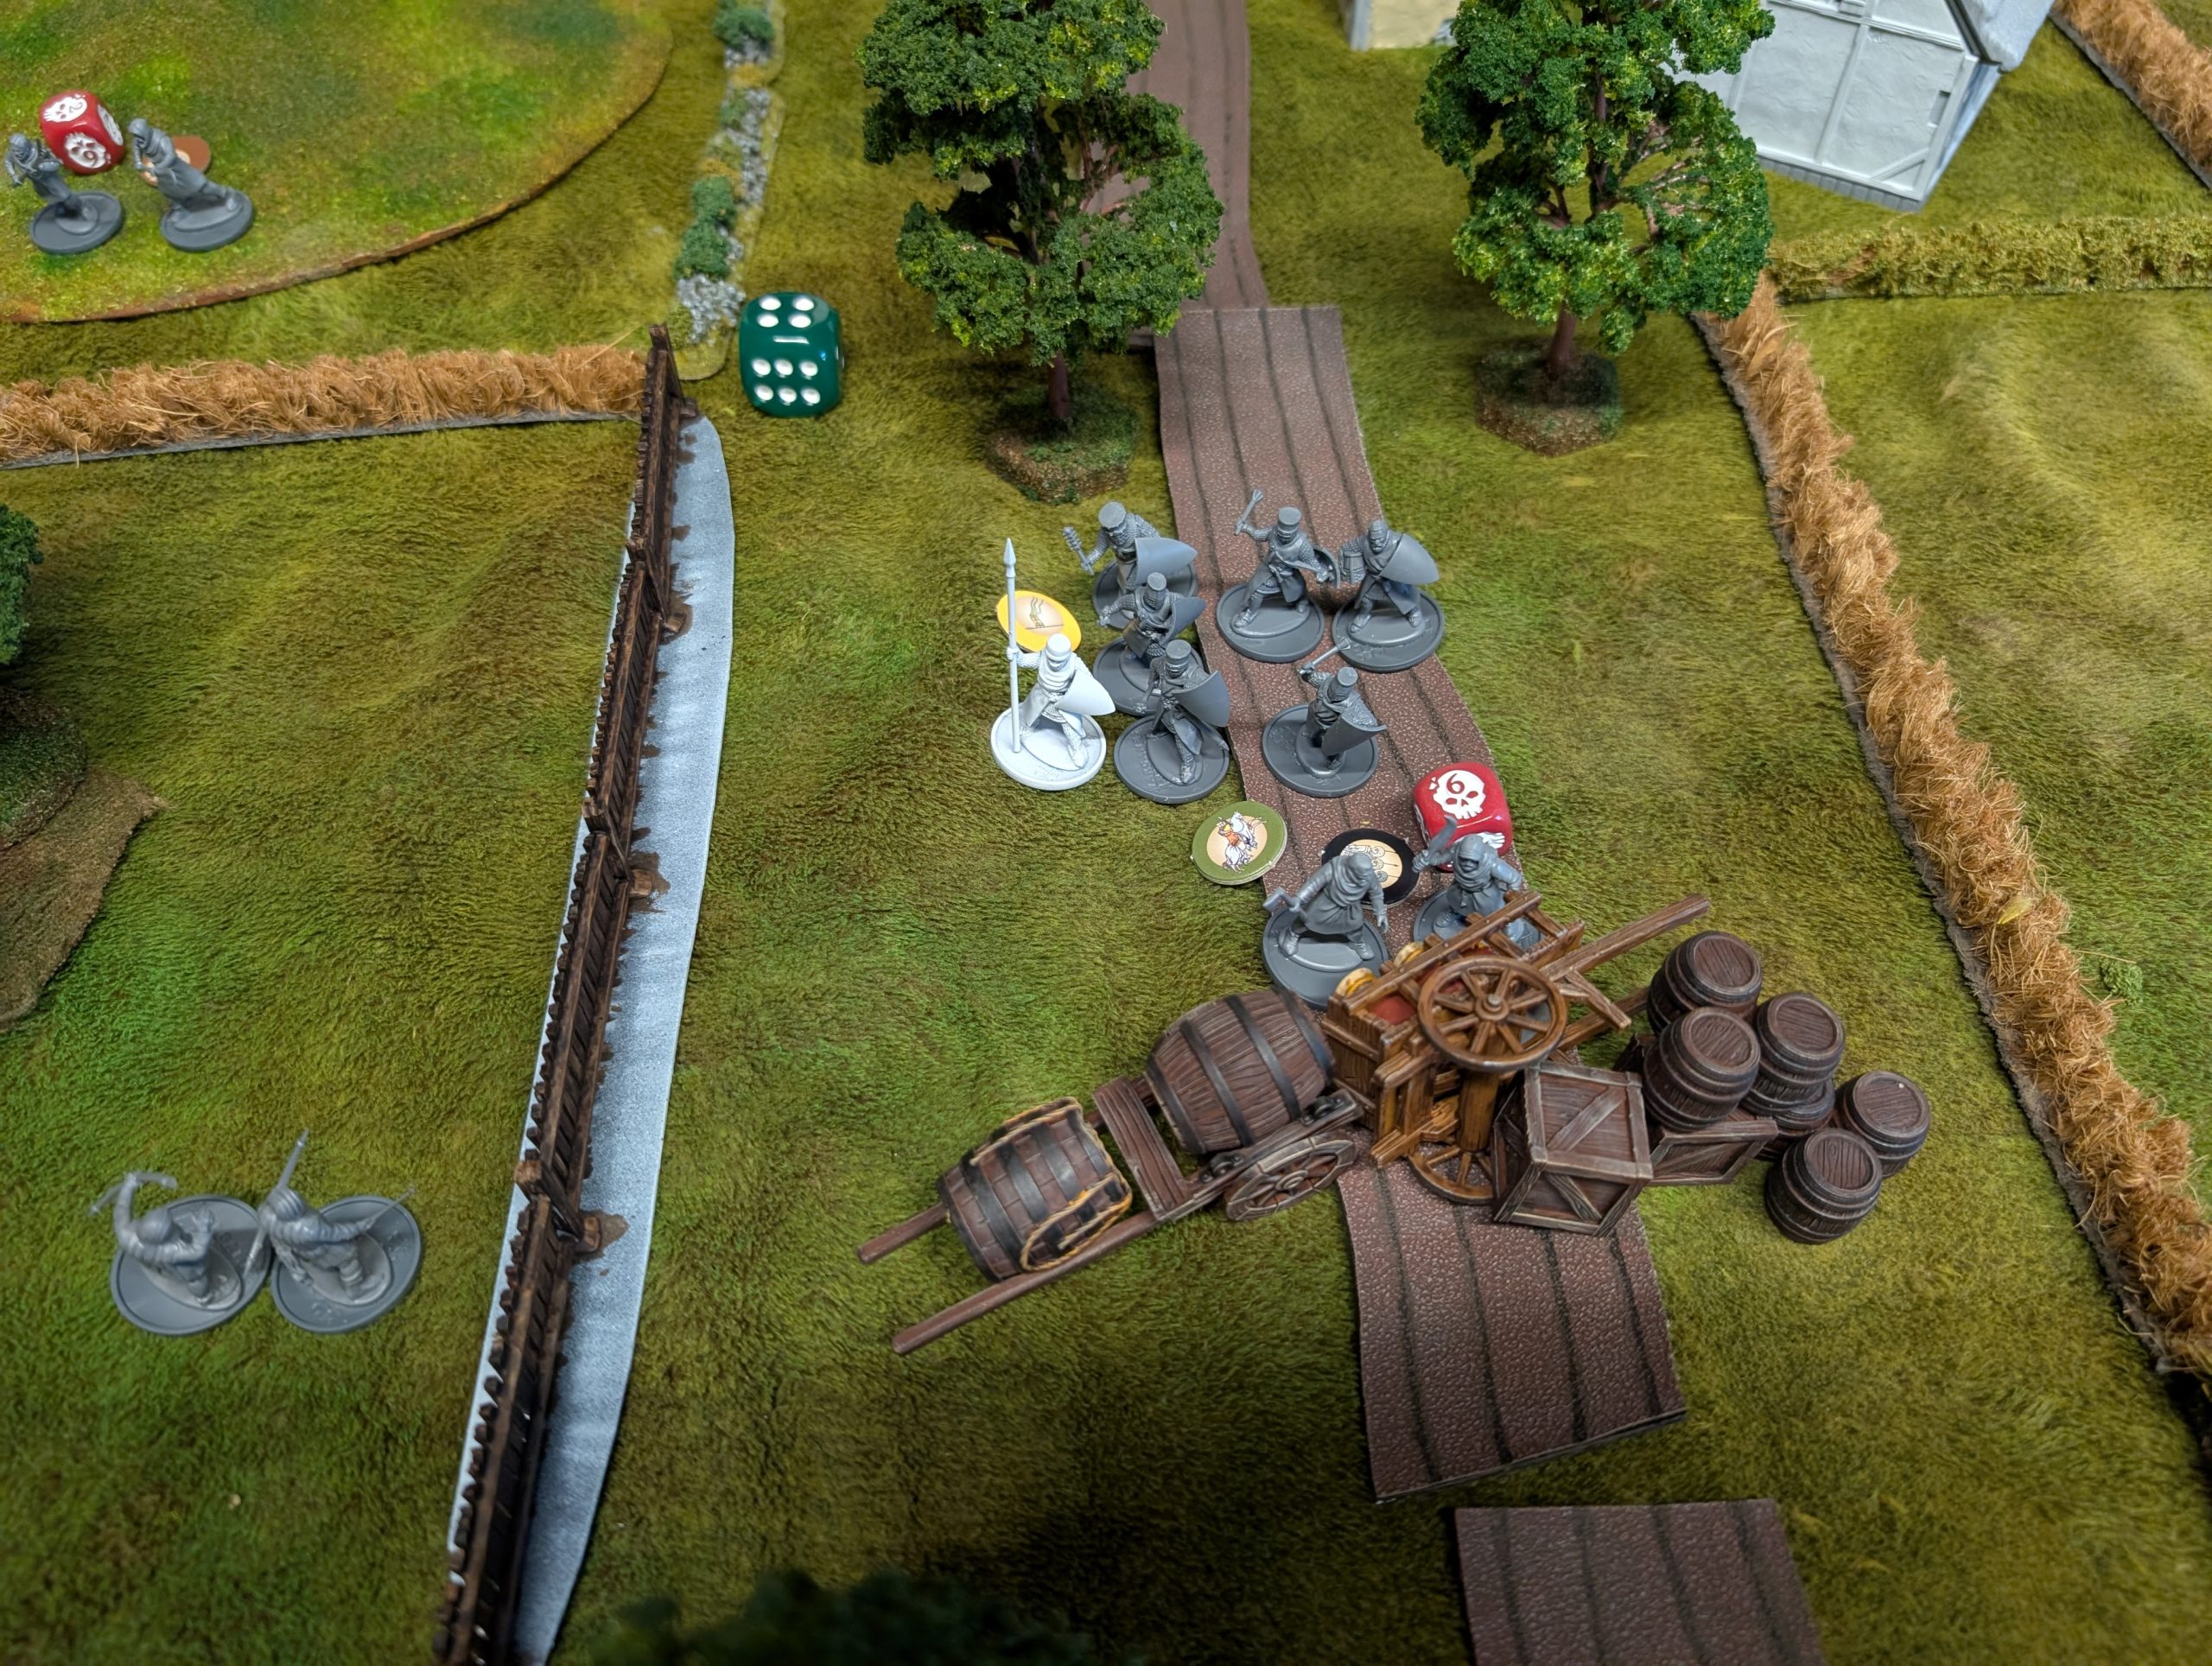
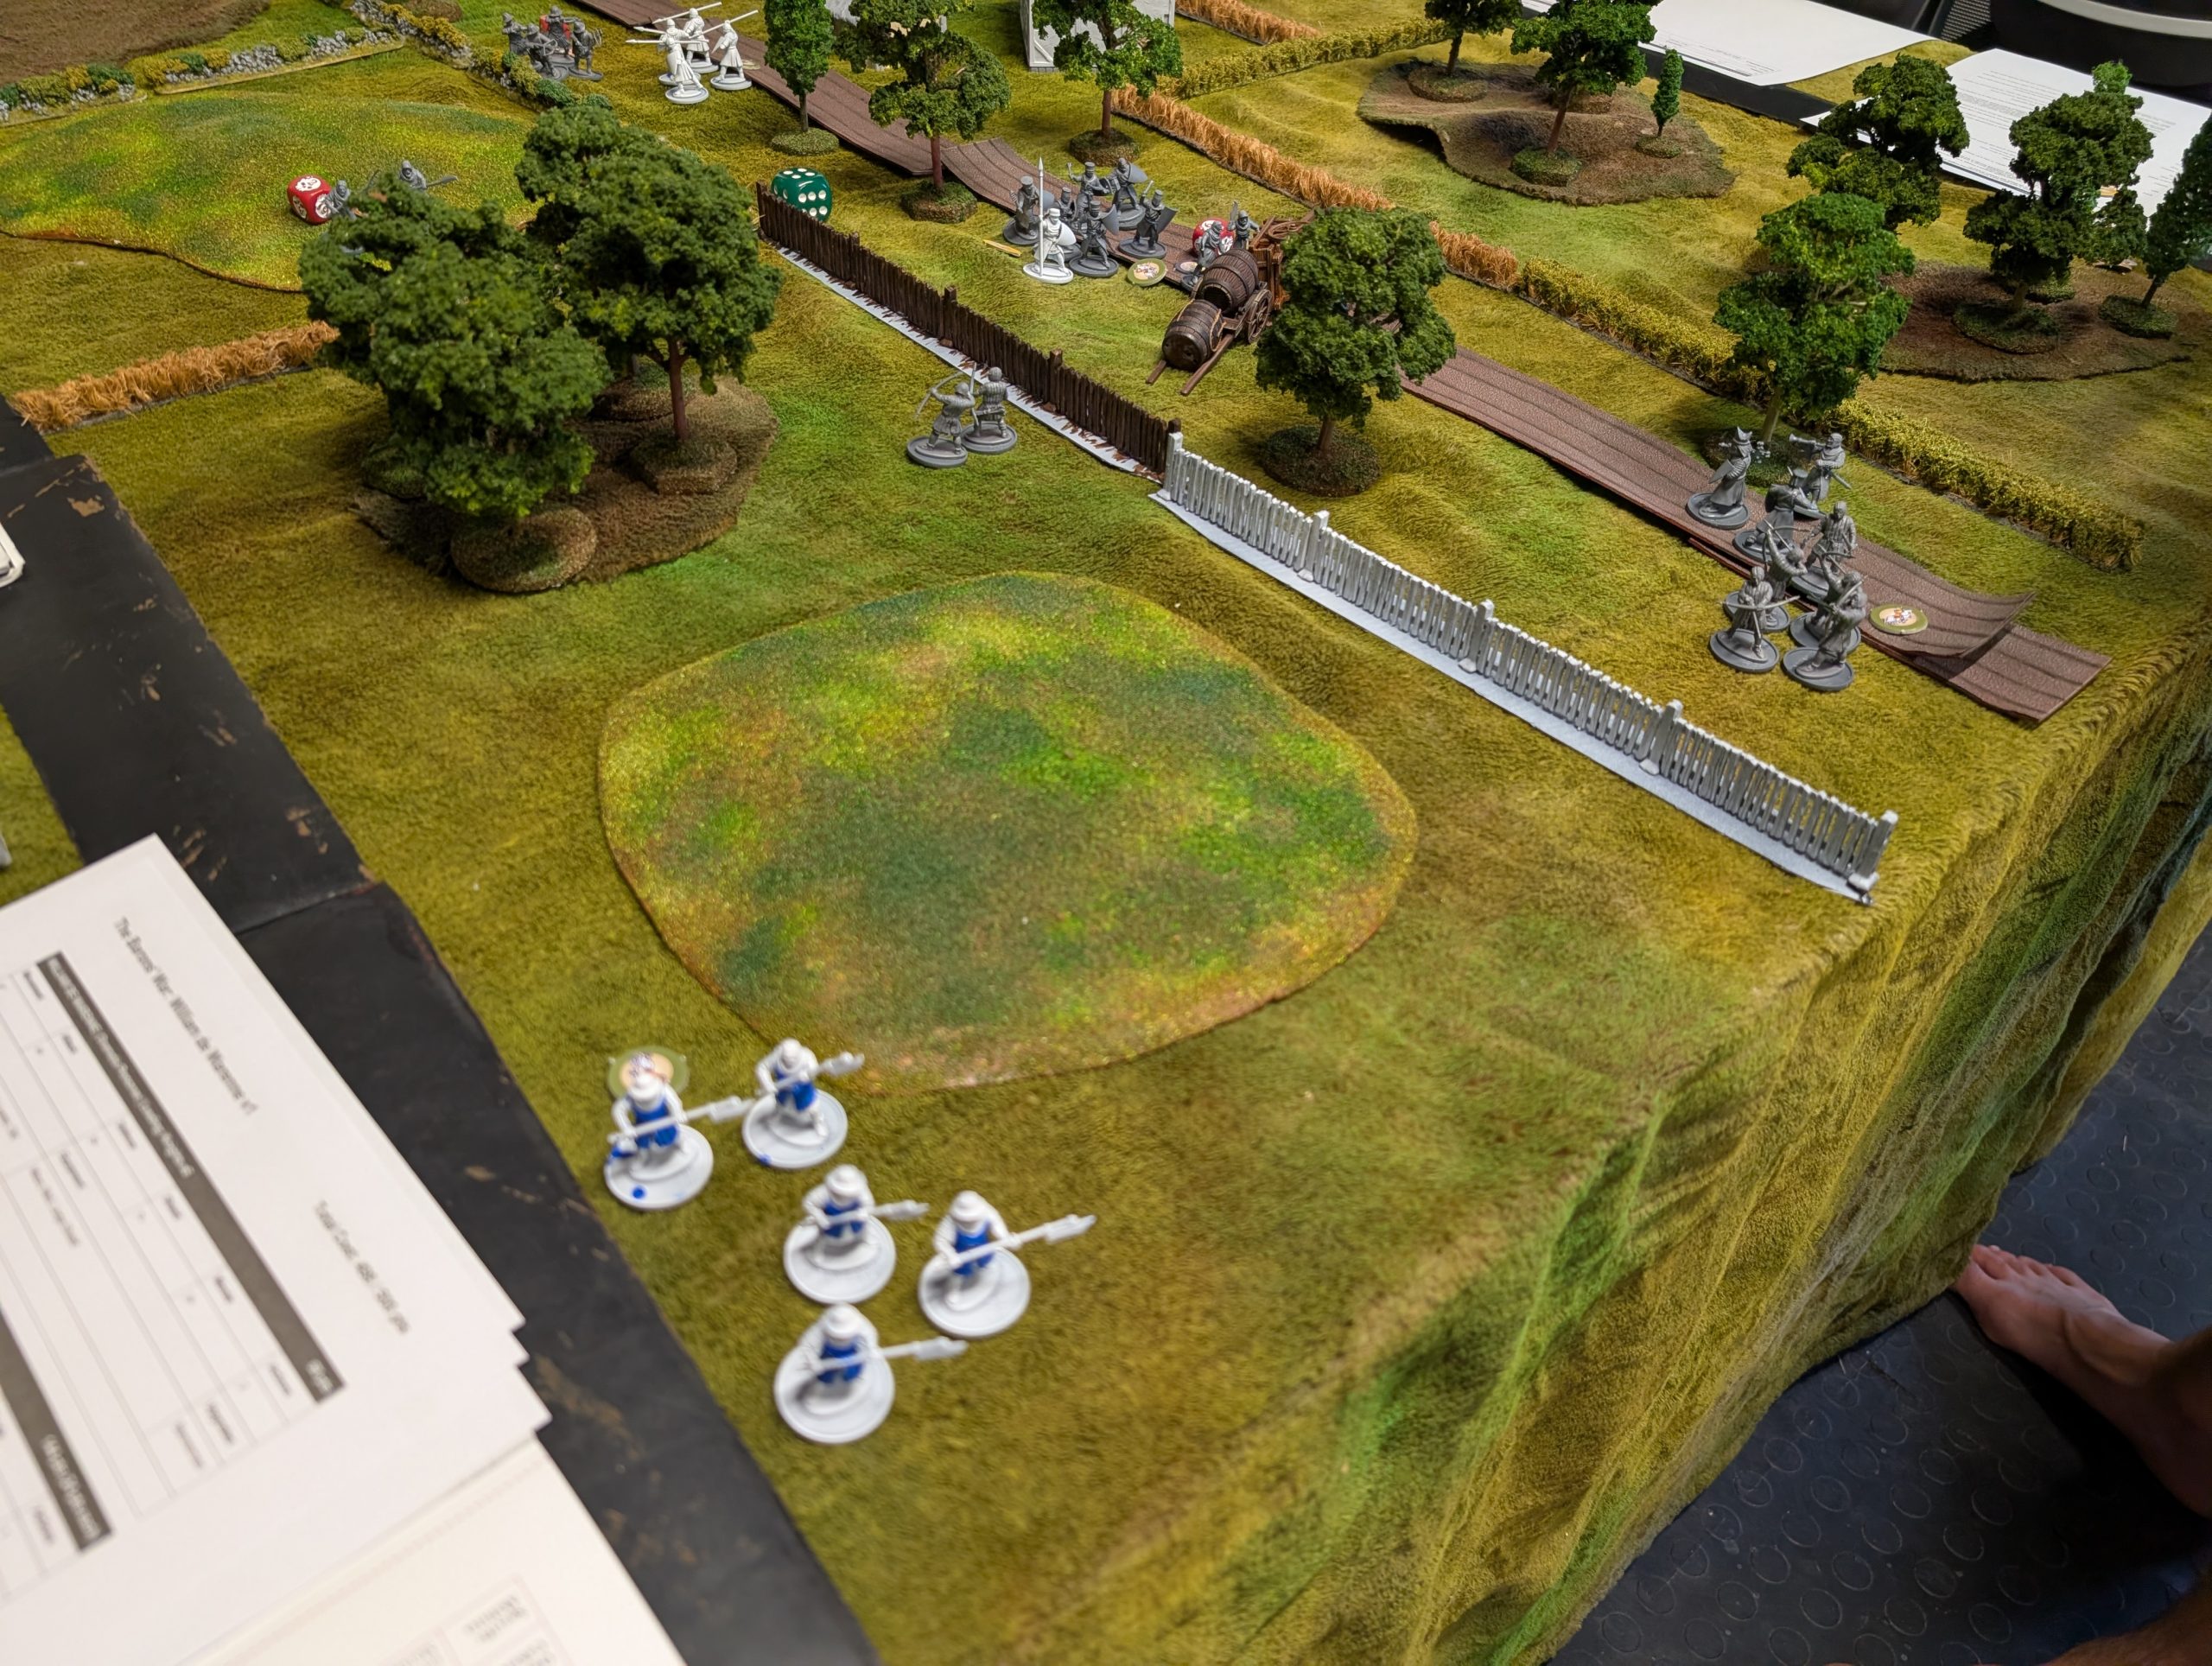
Below we have the initial set up and some turn 1 action shots. If the serjeants with bill hooks are blurred, it’s because they are running.
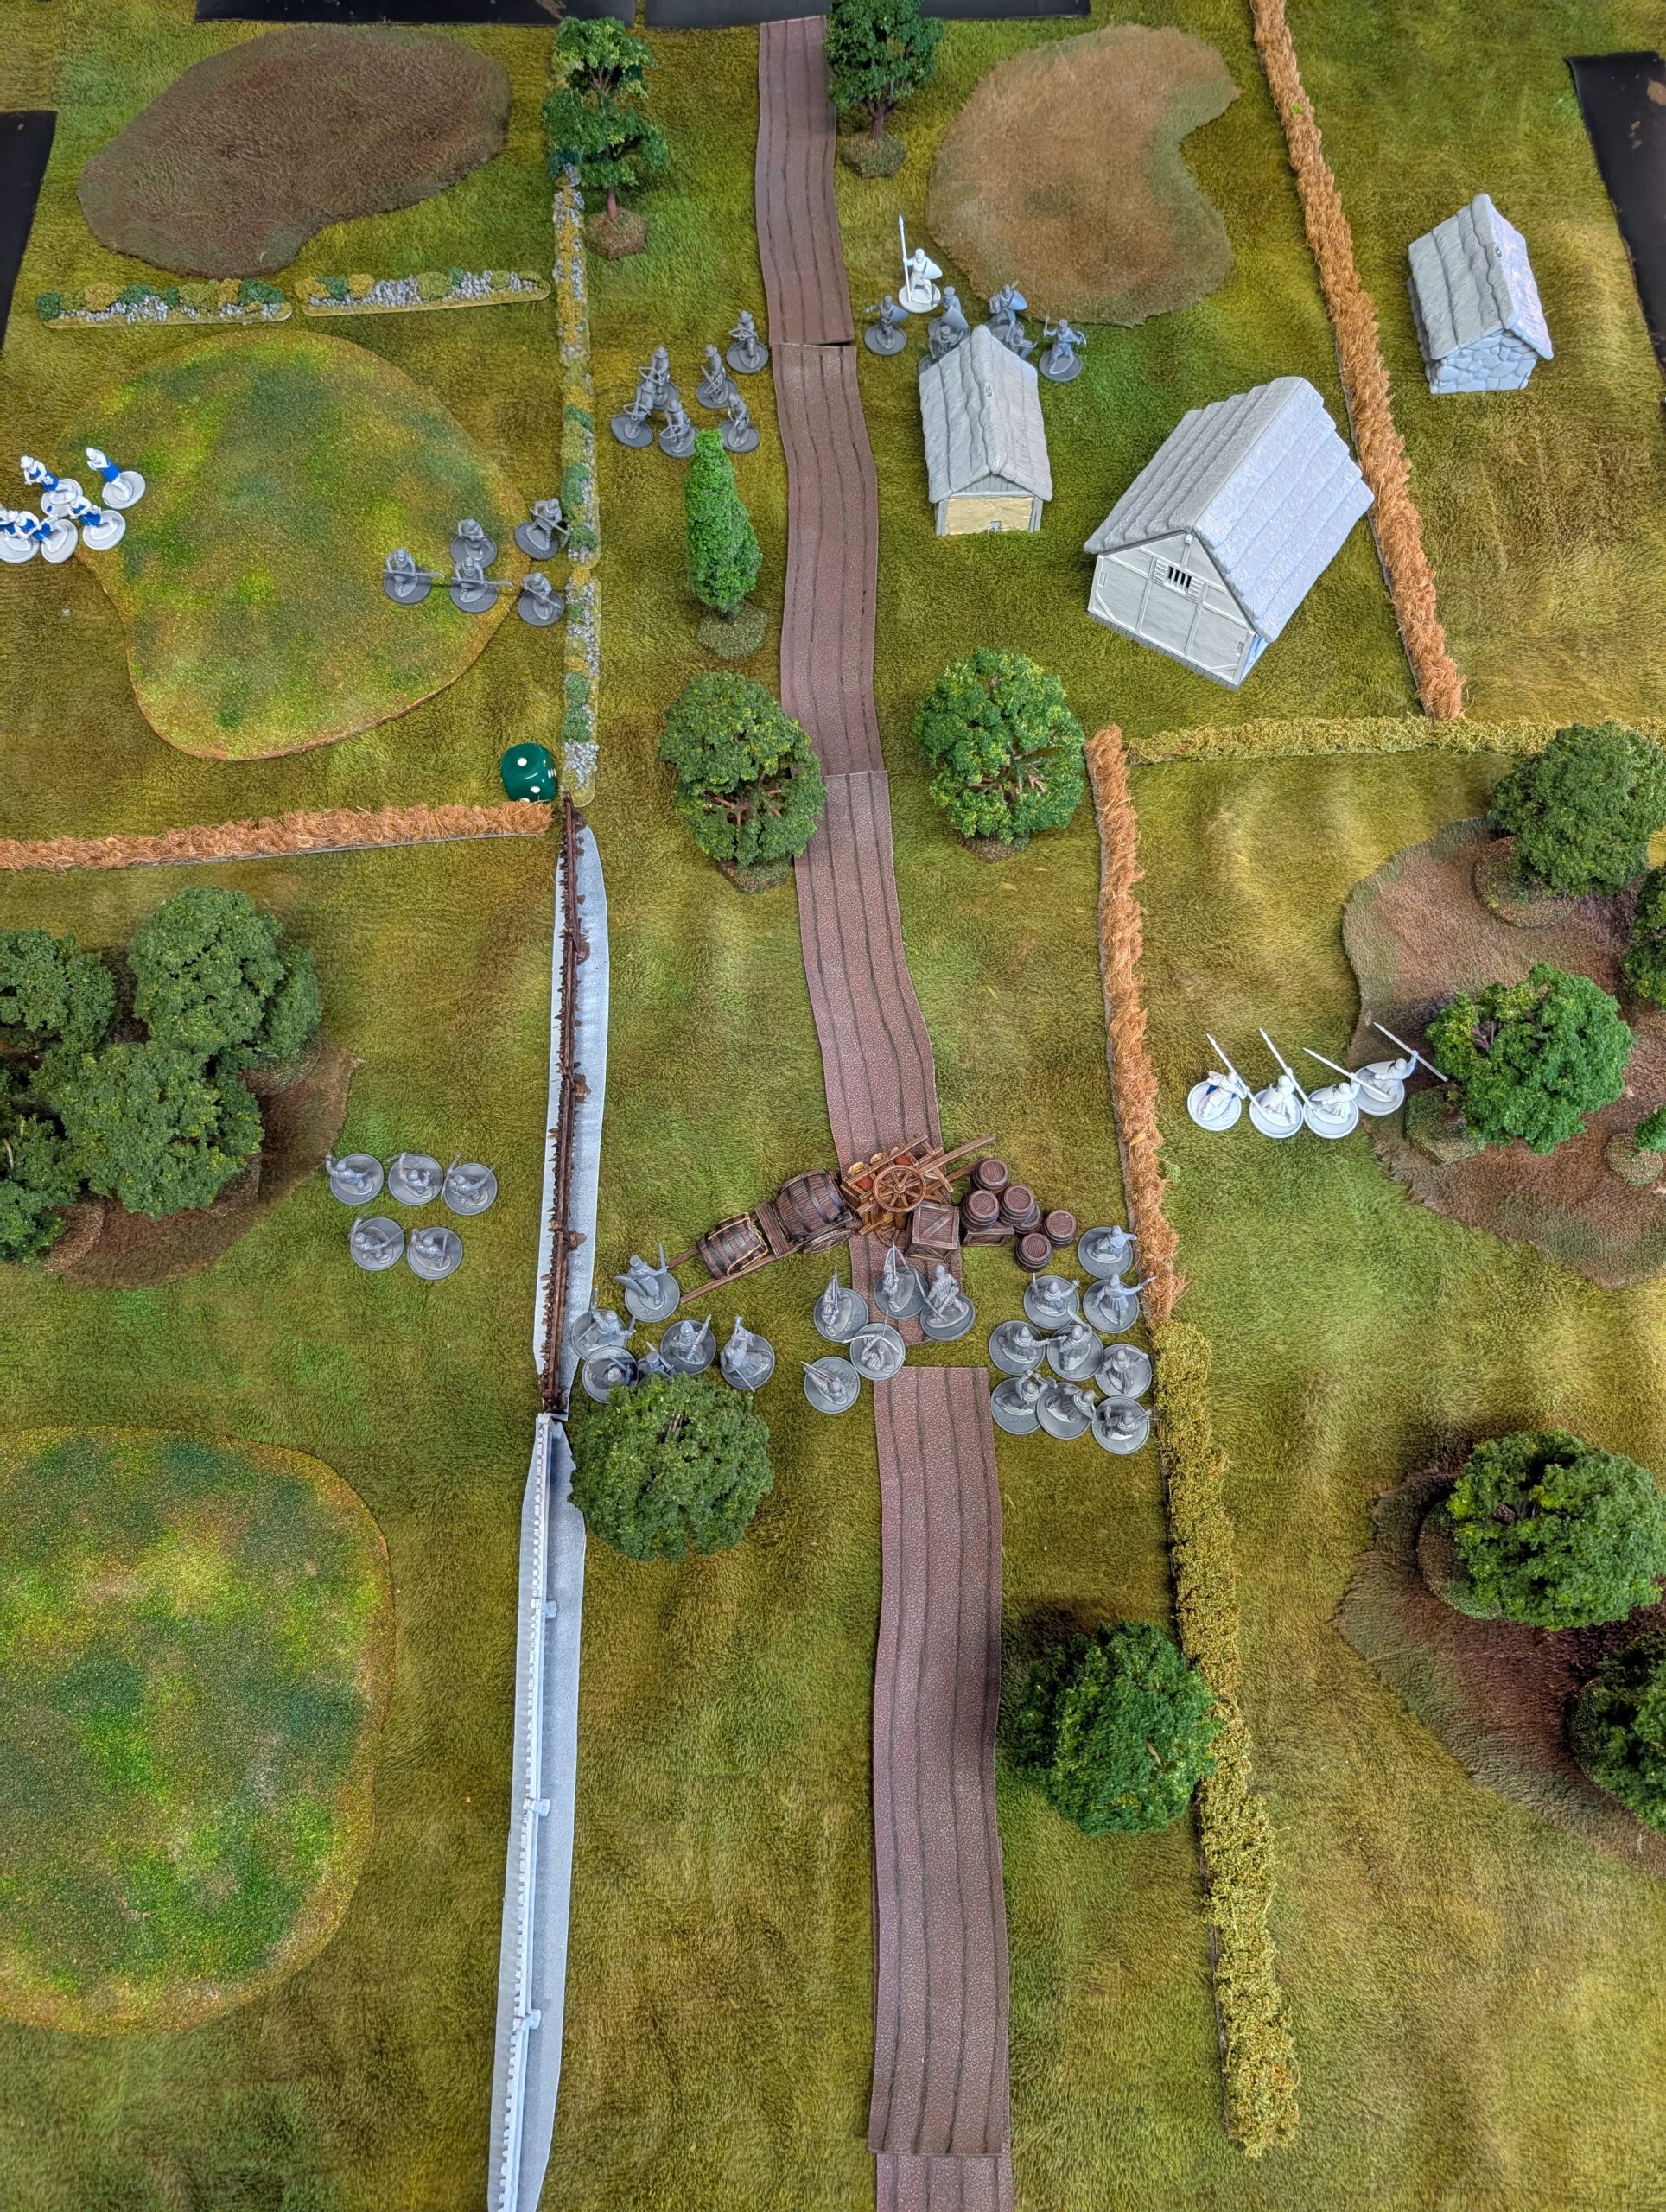
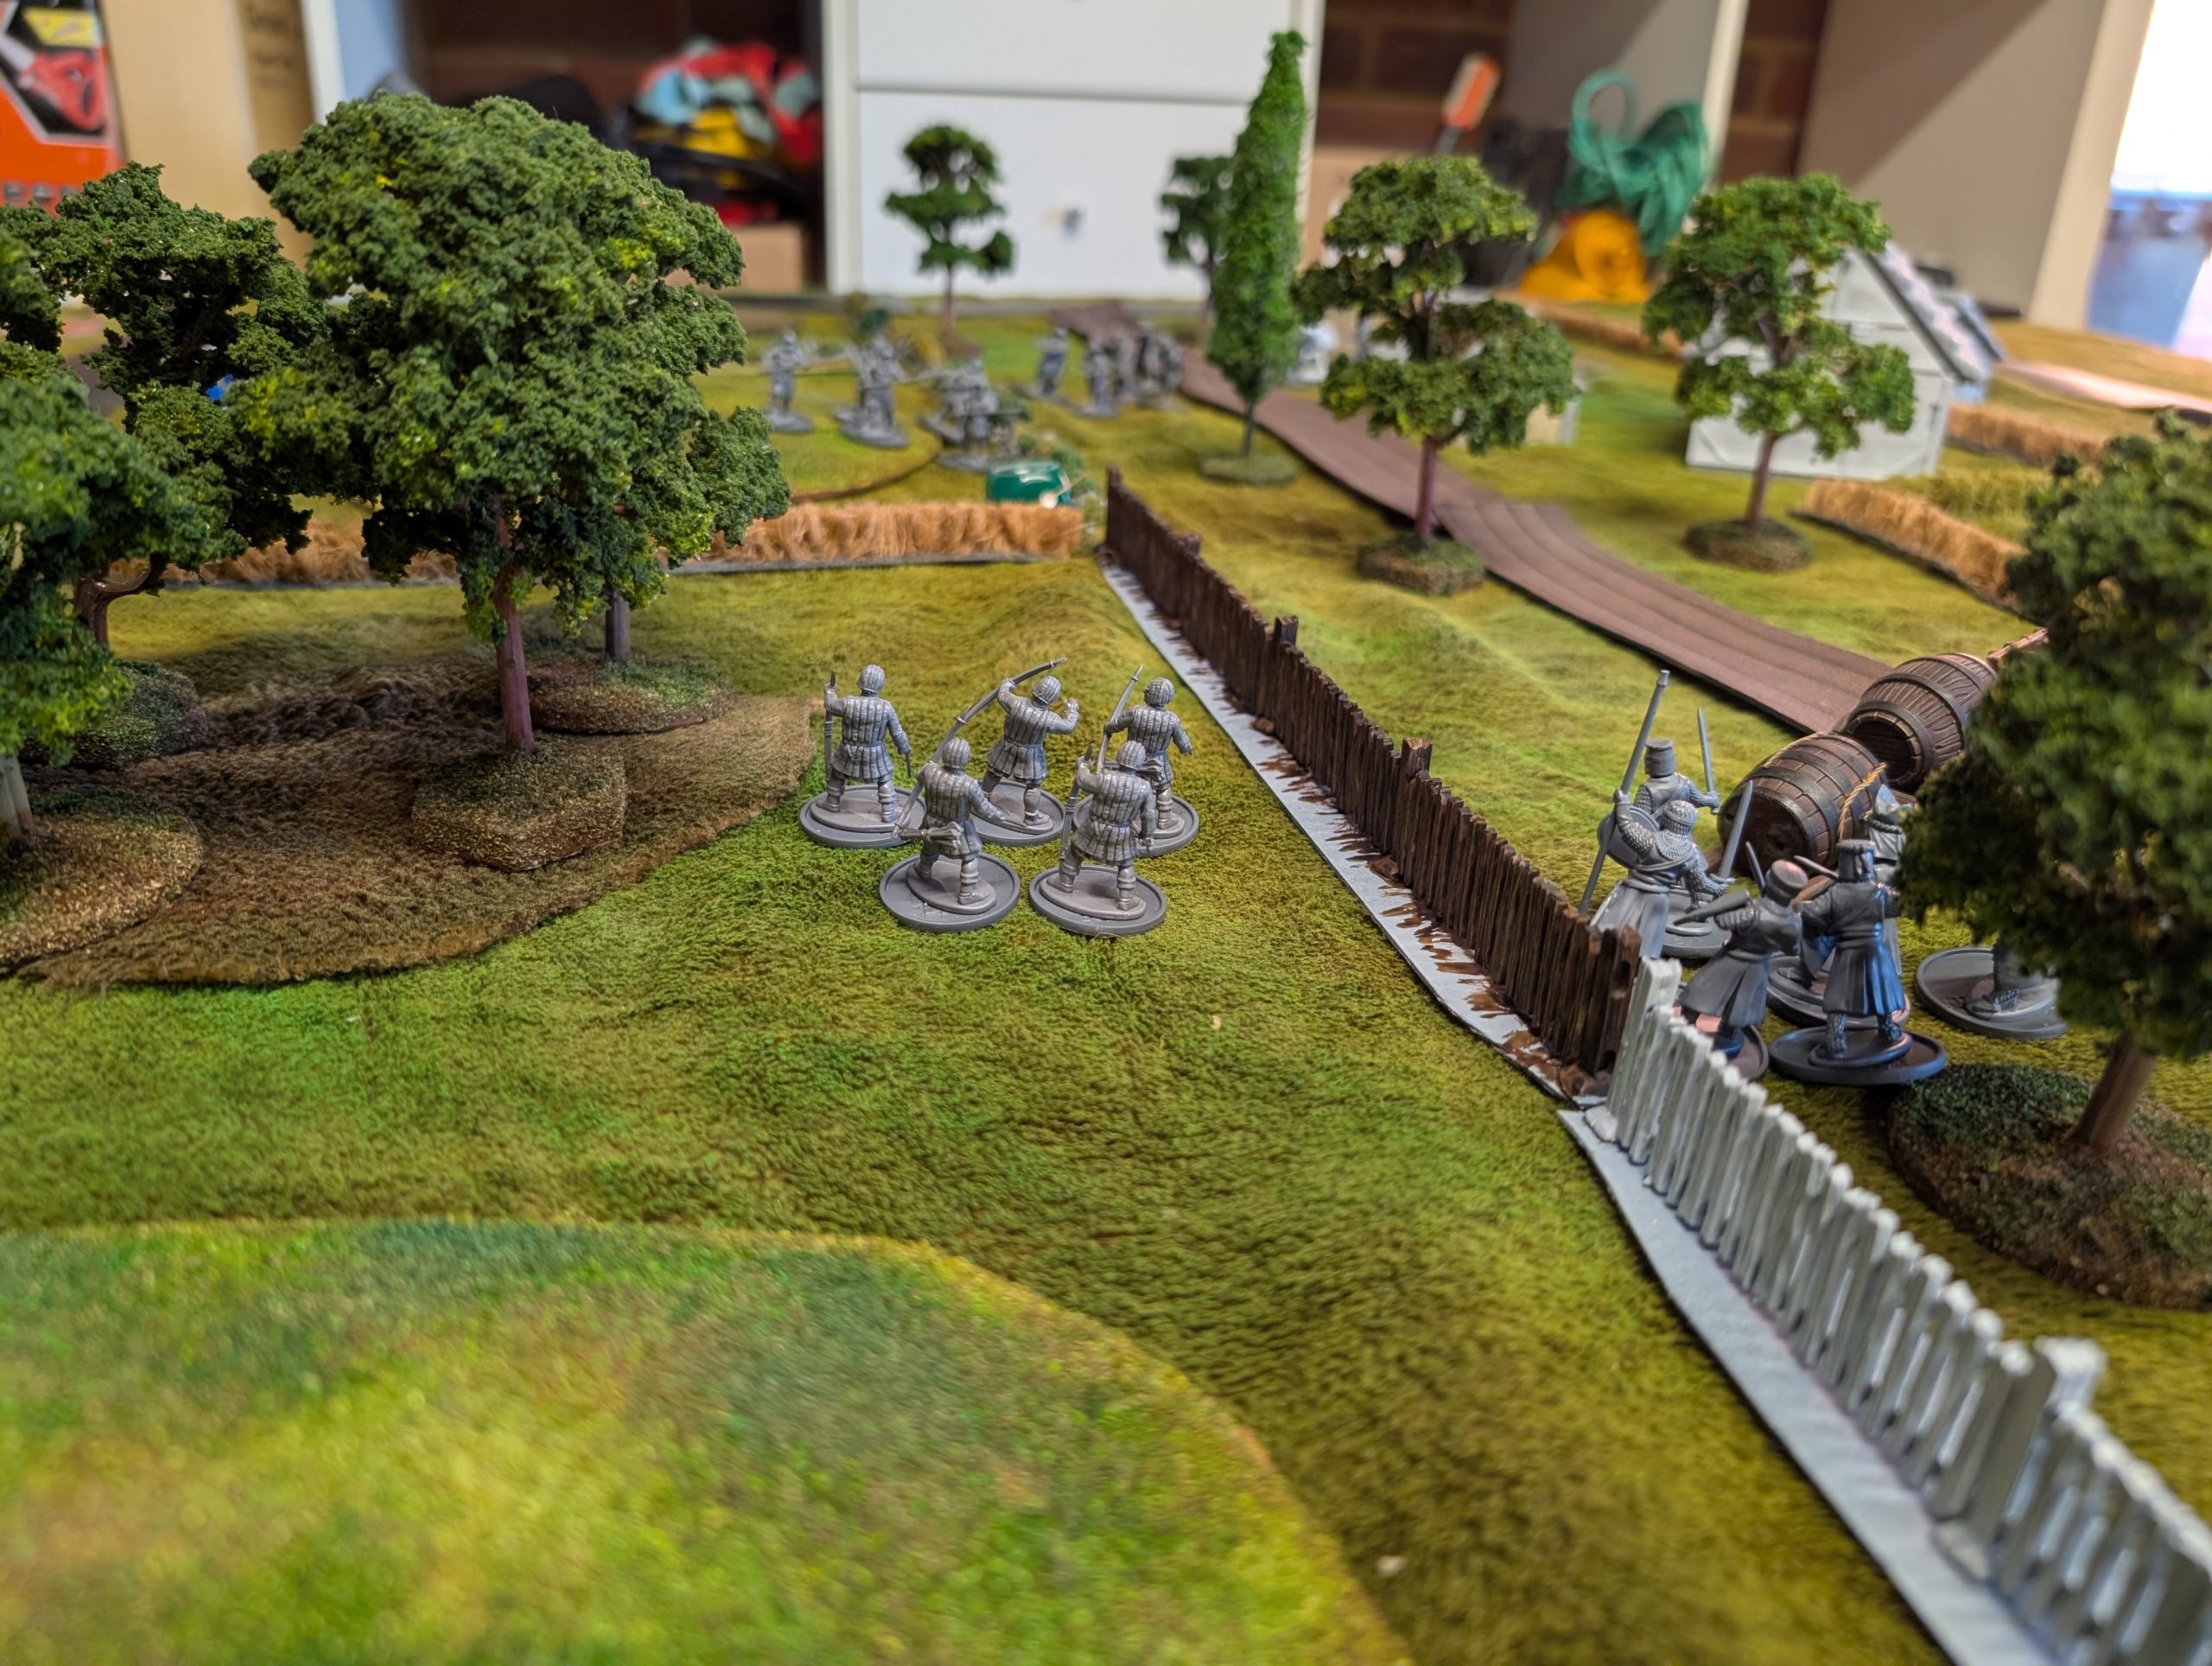
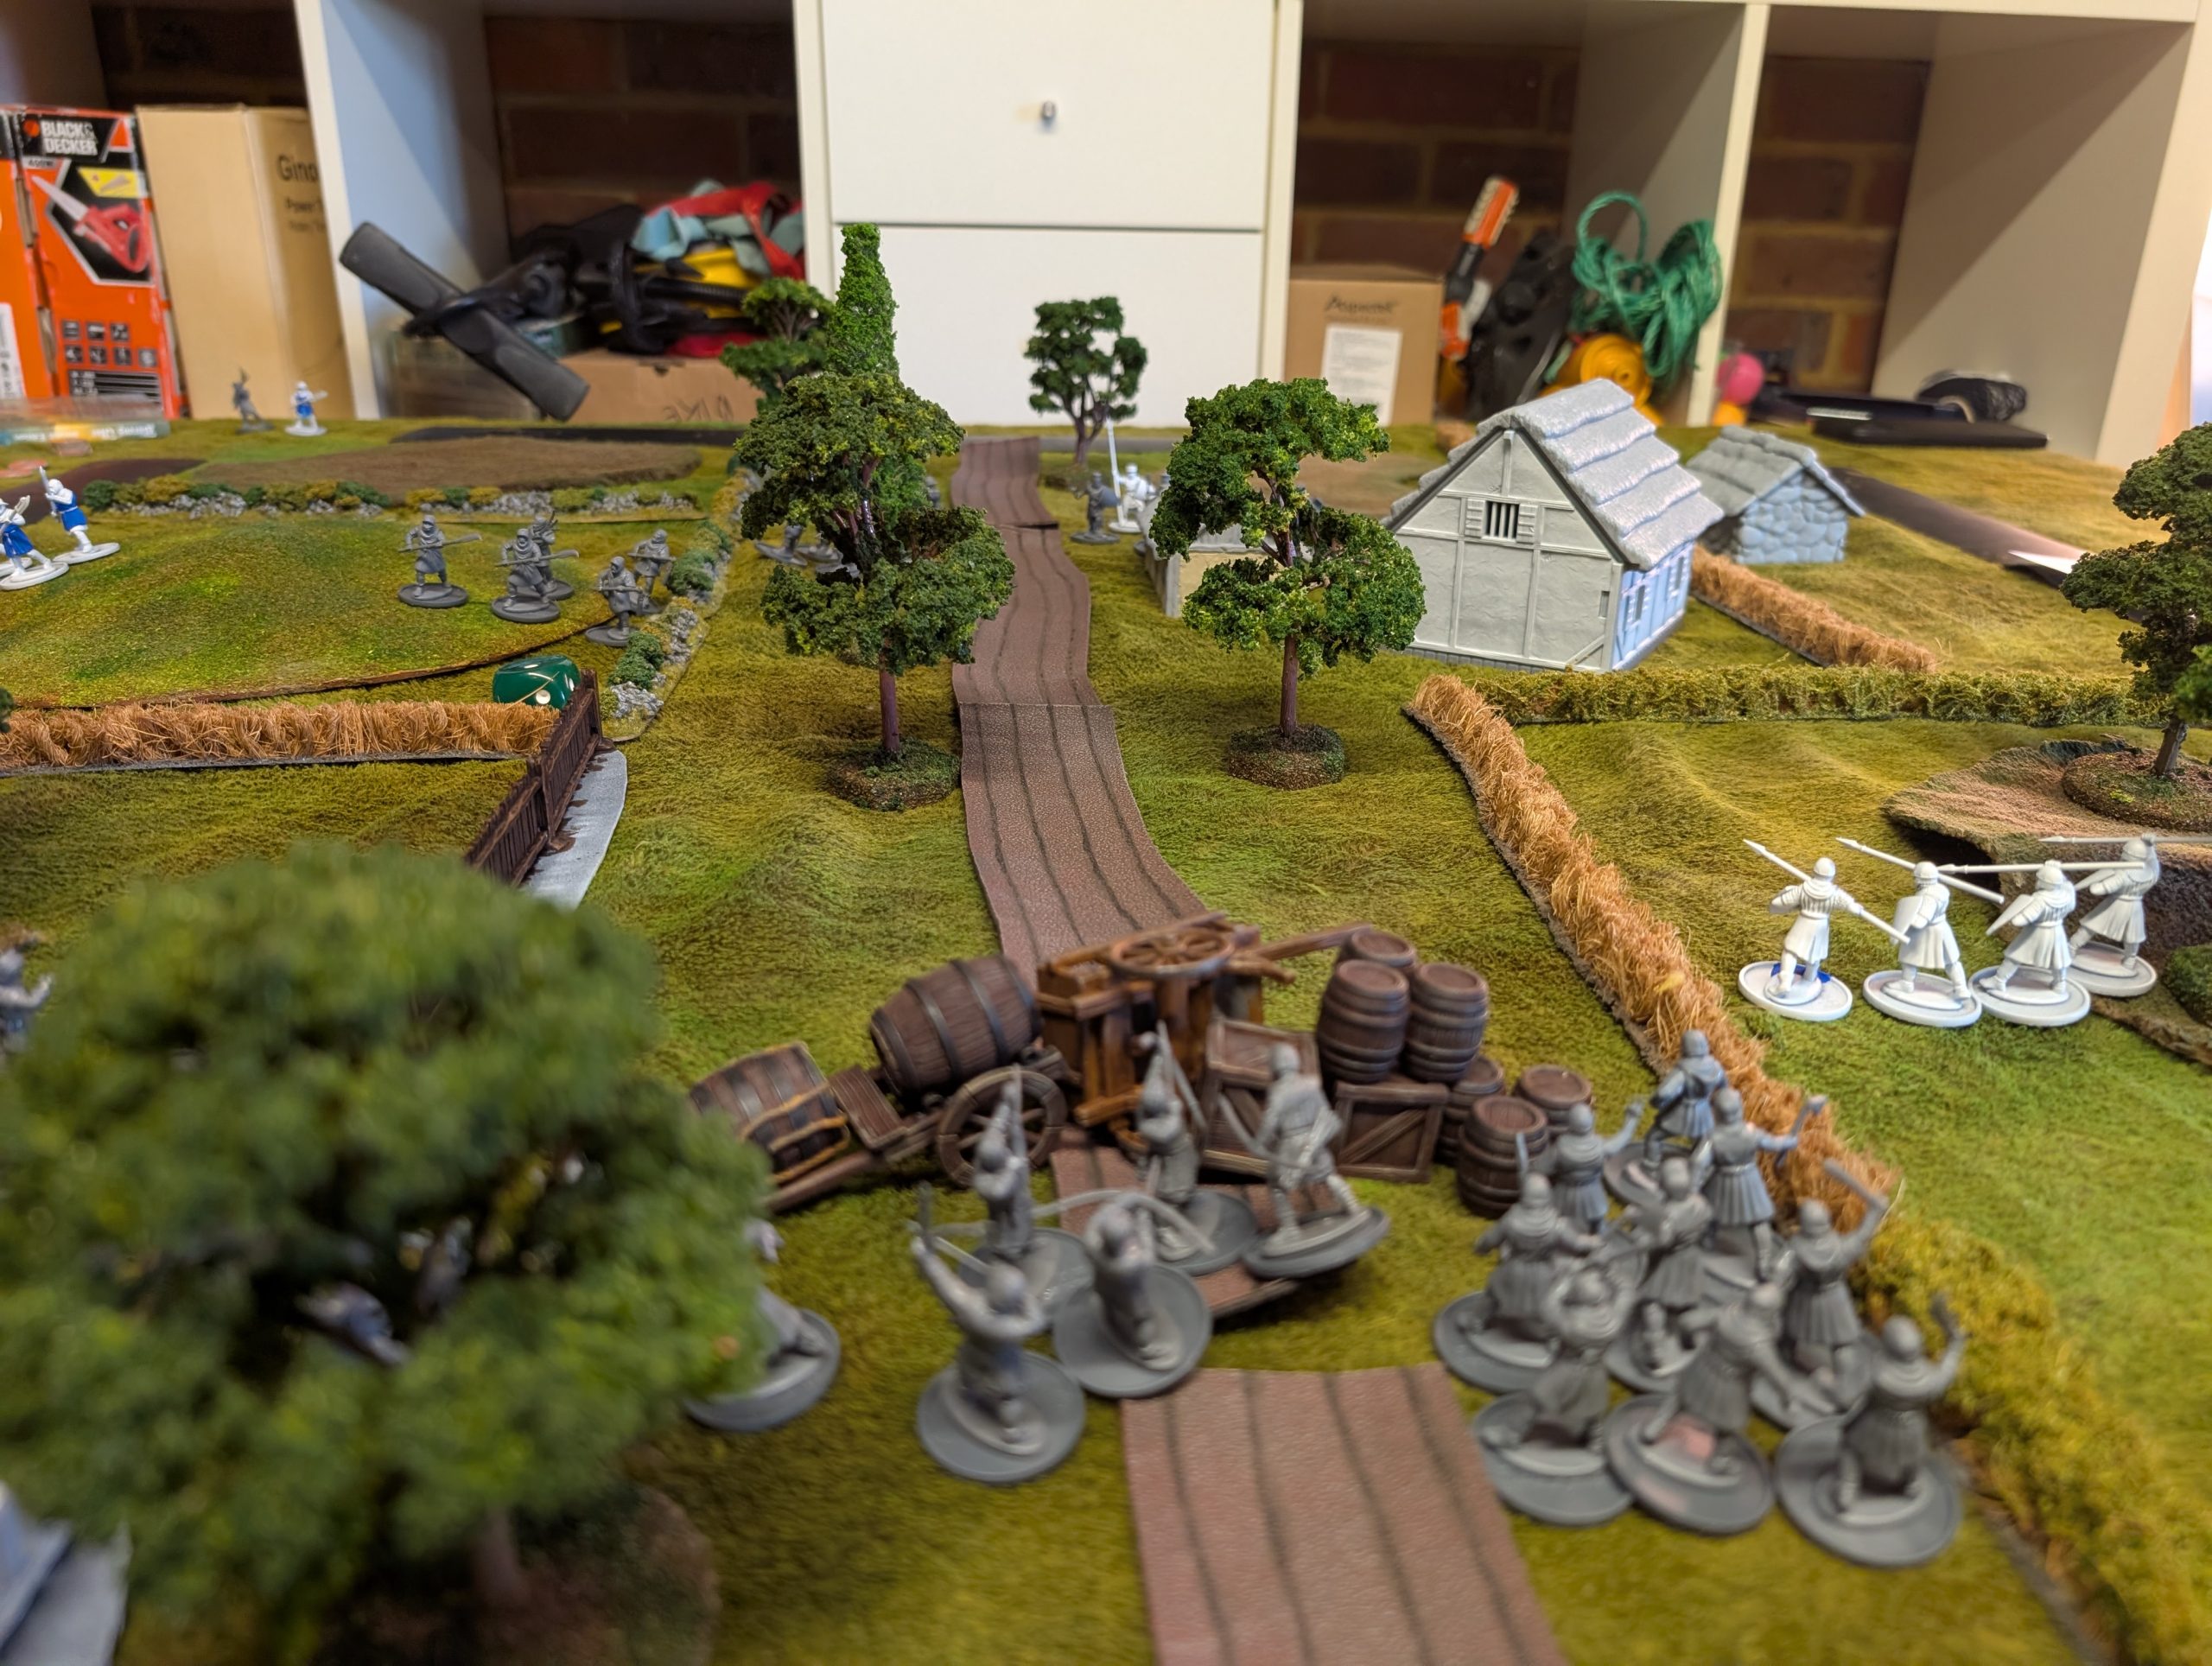
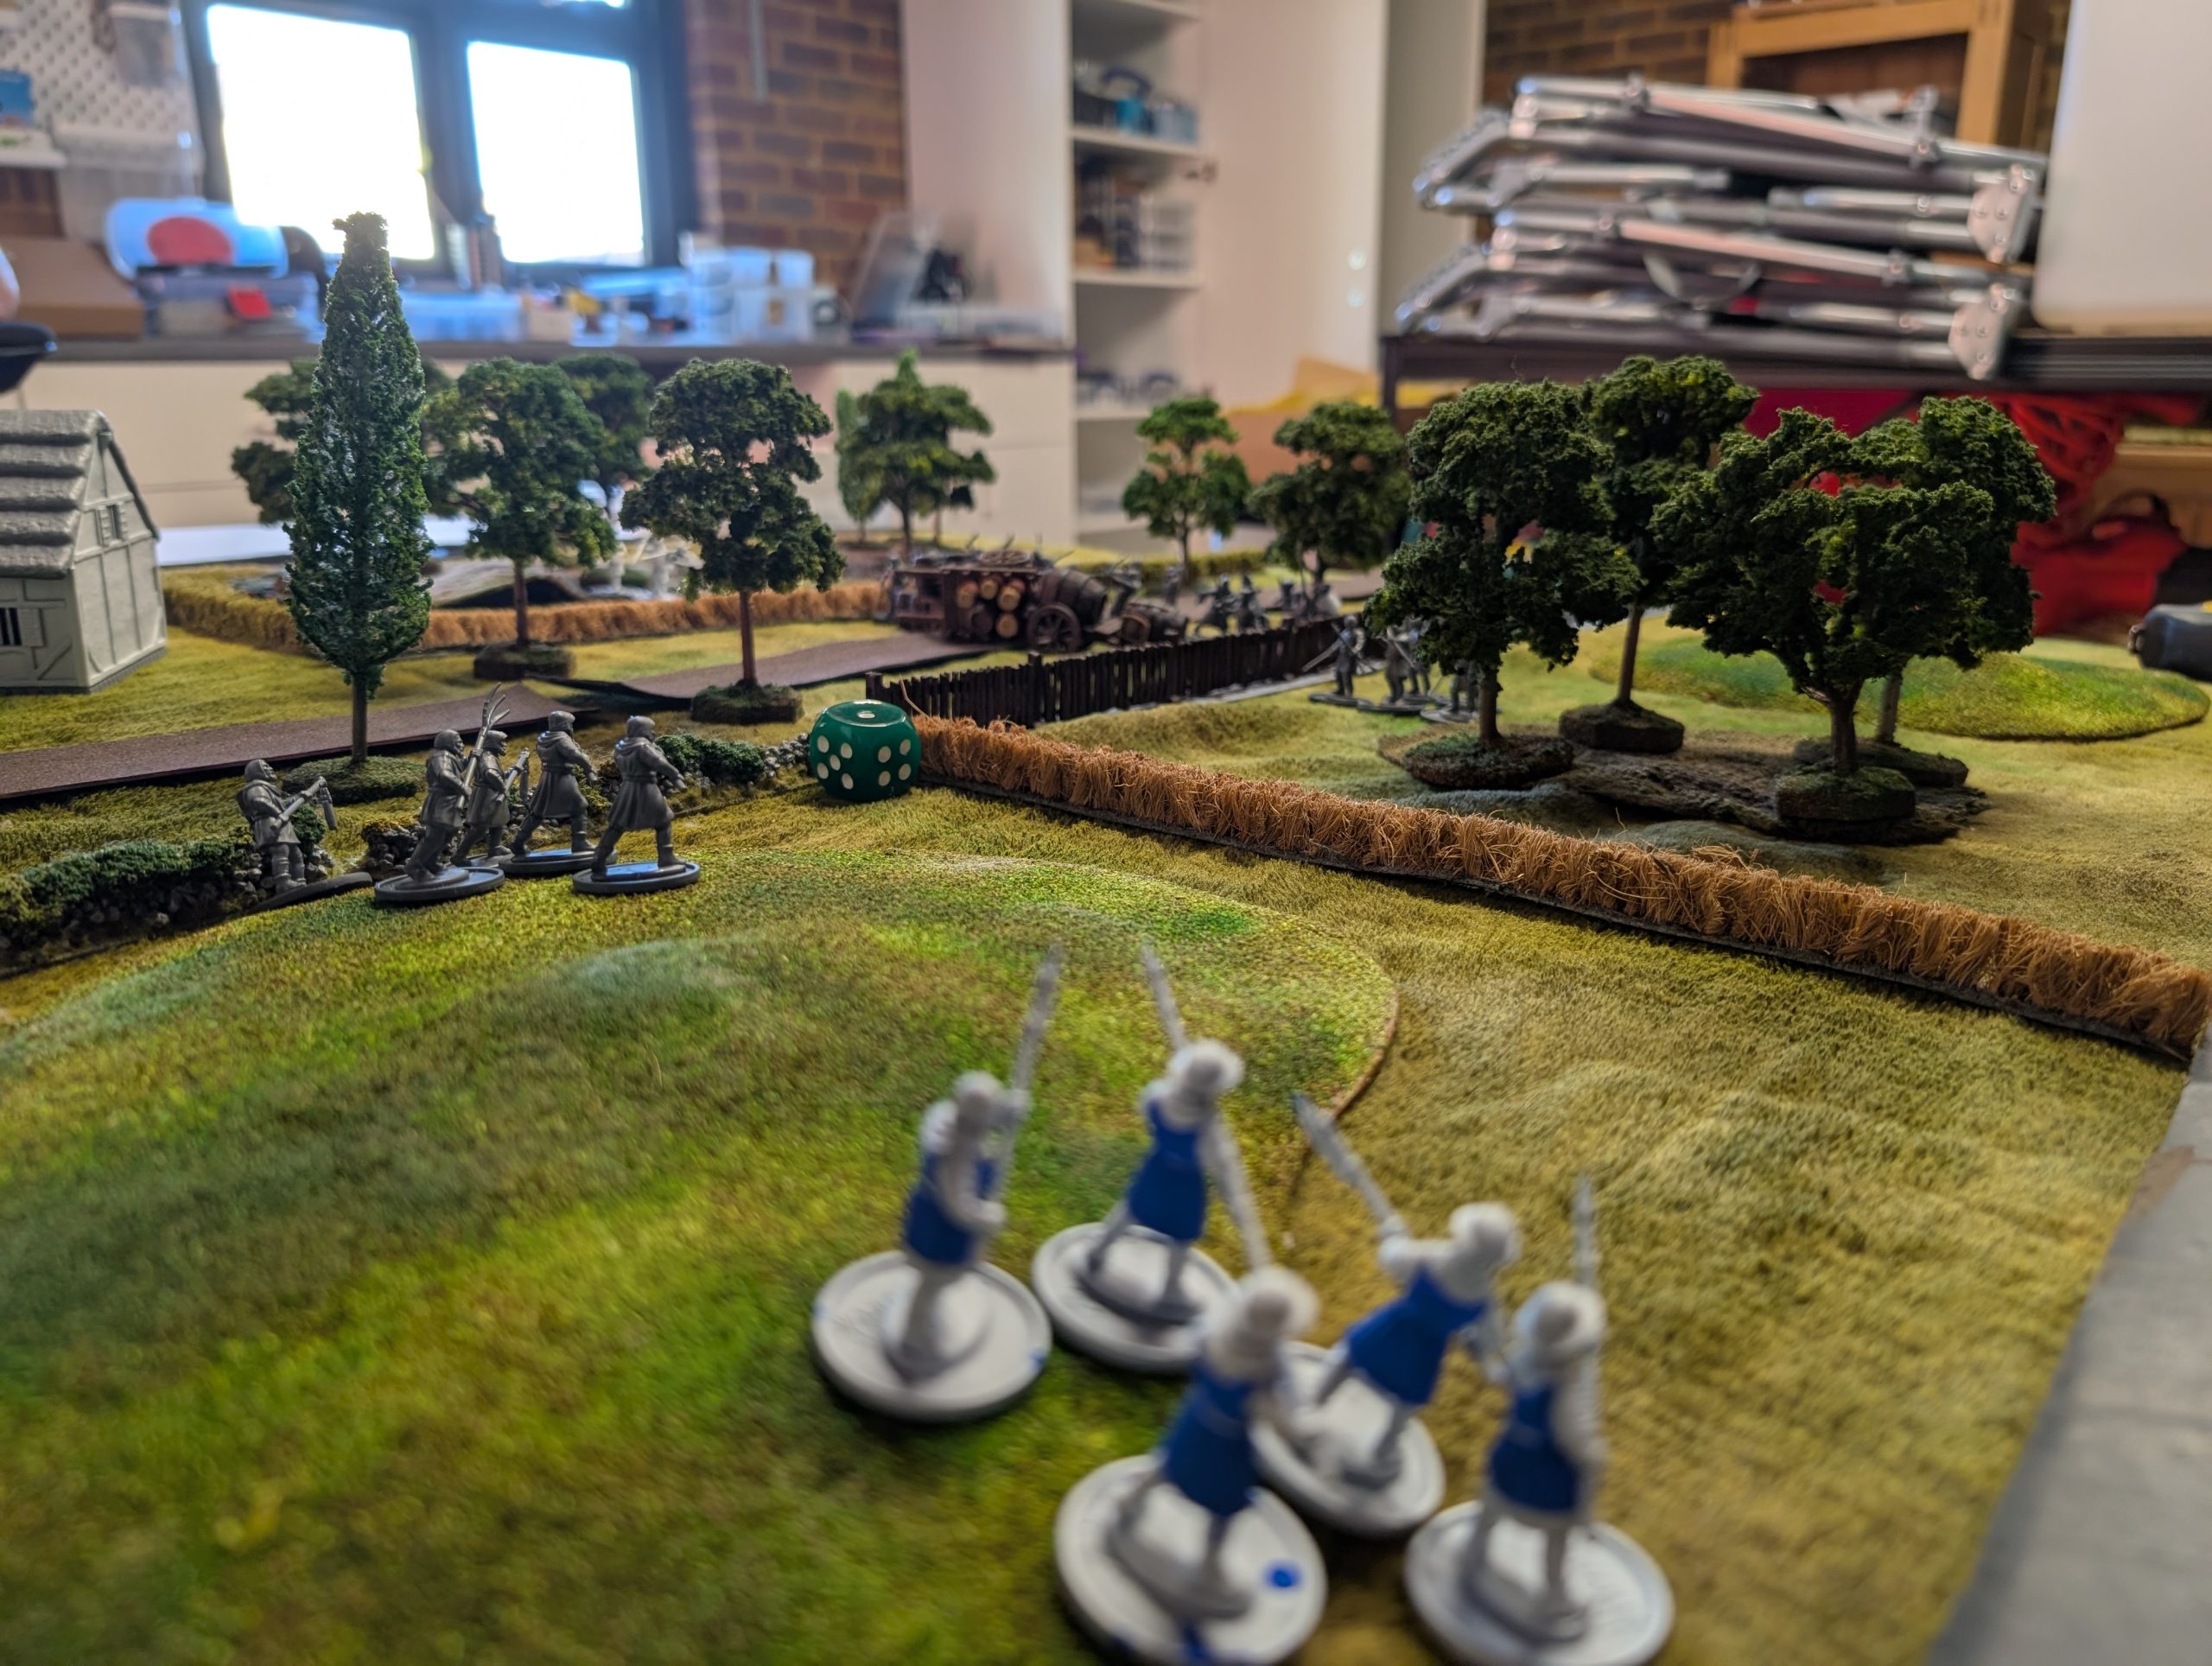
Turn 2
I got the initiative on this round and wasted no time in getting my crossbows to fire at my son’s bowmen to try to limit the damage they can cause from range. My crossbow men were on target this time, bringing down 2 peasants with bows. Encouraged by this success, William de Warenne used a command to get the crossbows to fire again, this time at my son’s command unit. One of the bolts flies true and takes down one of the knights.
My son tried firing back with his bows, but failed to cause any damage.
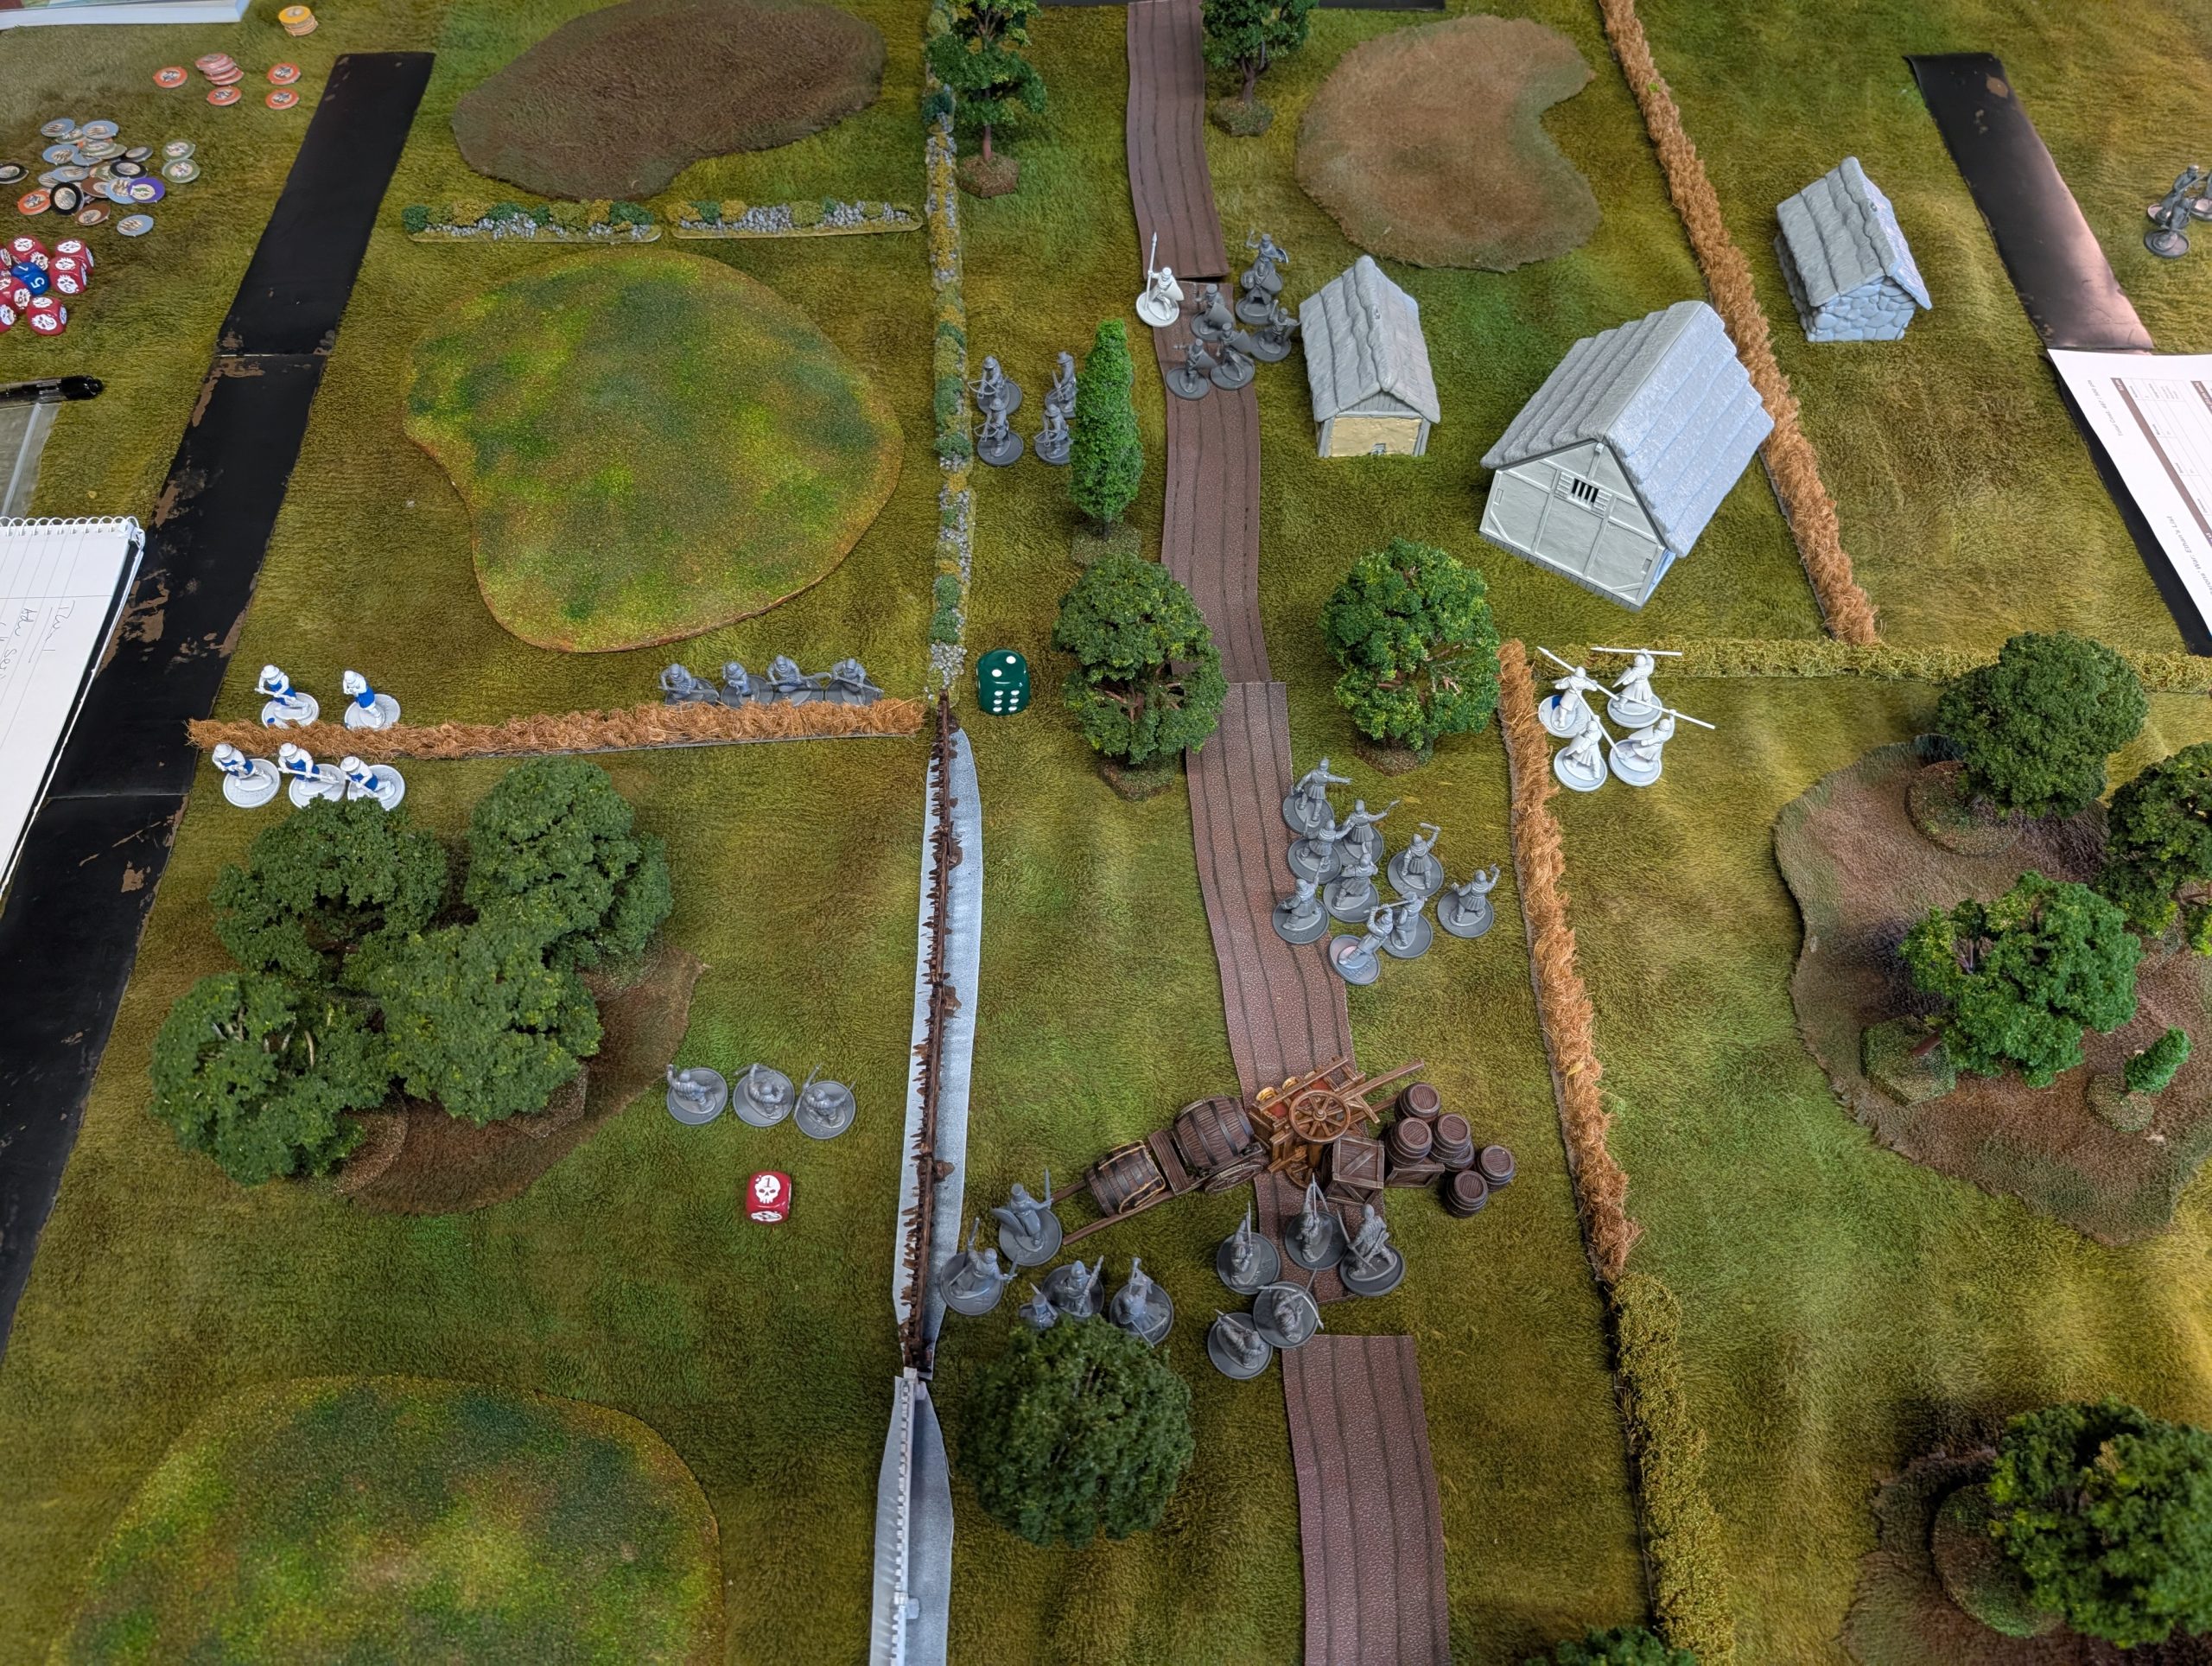
Turn 3
I again got the initiative and decided to charge my levy into my son’s small unit of bowmen. My thinking here was either to break his unit or at least stop them shooting again this turn. The clash results in a dead levy and a dead bowman, but my levy has to fall back and begins to rout. But the bait was taken as my son then fires his bows at my peasants rather than my more valuable units and I lose another peasant.
On my right, my serjeants continue their run up the board and in the centre, William and his knights continue to advance, making use of the cover where available. My crossbows, who have clearly got their eye in now, fire again at my son’s command unit and this sends two more knights to the ground – that’s a big blow to my son’s command unit.
Annoyed, my son decides to charge his peasant levy into my crossbows, which sadly results in two of my crossbowmen going down but my plucky crossbowmen fight back and kill two peasants. This forces my son’s peasants to fall back and they are out in the open.
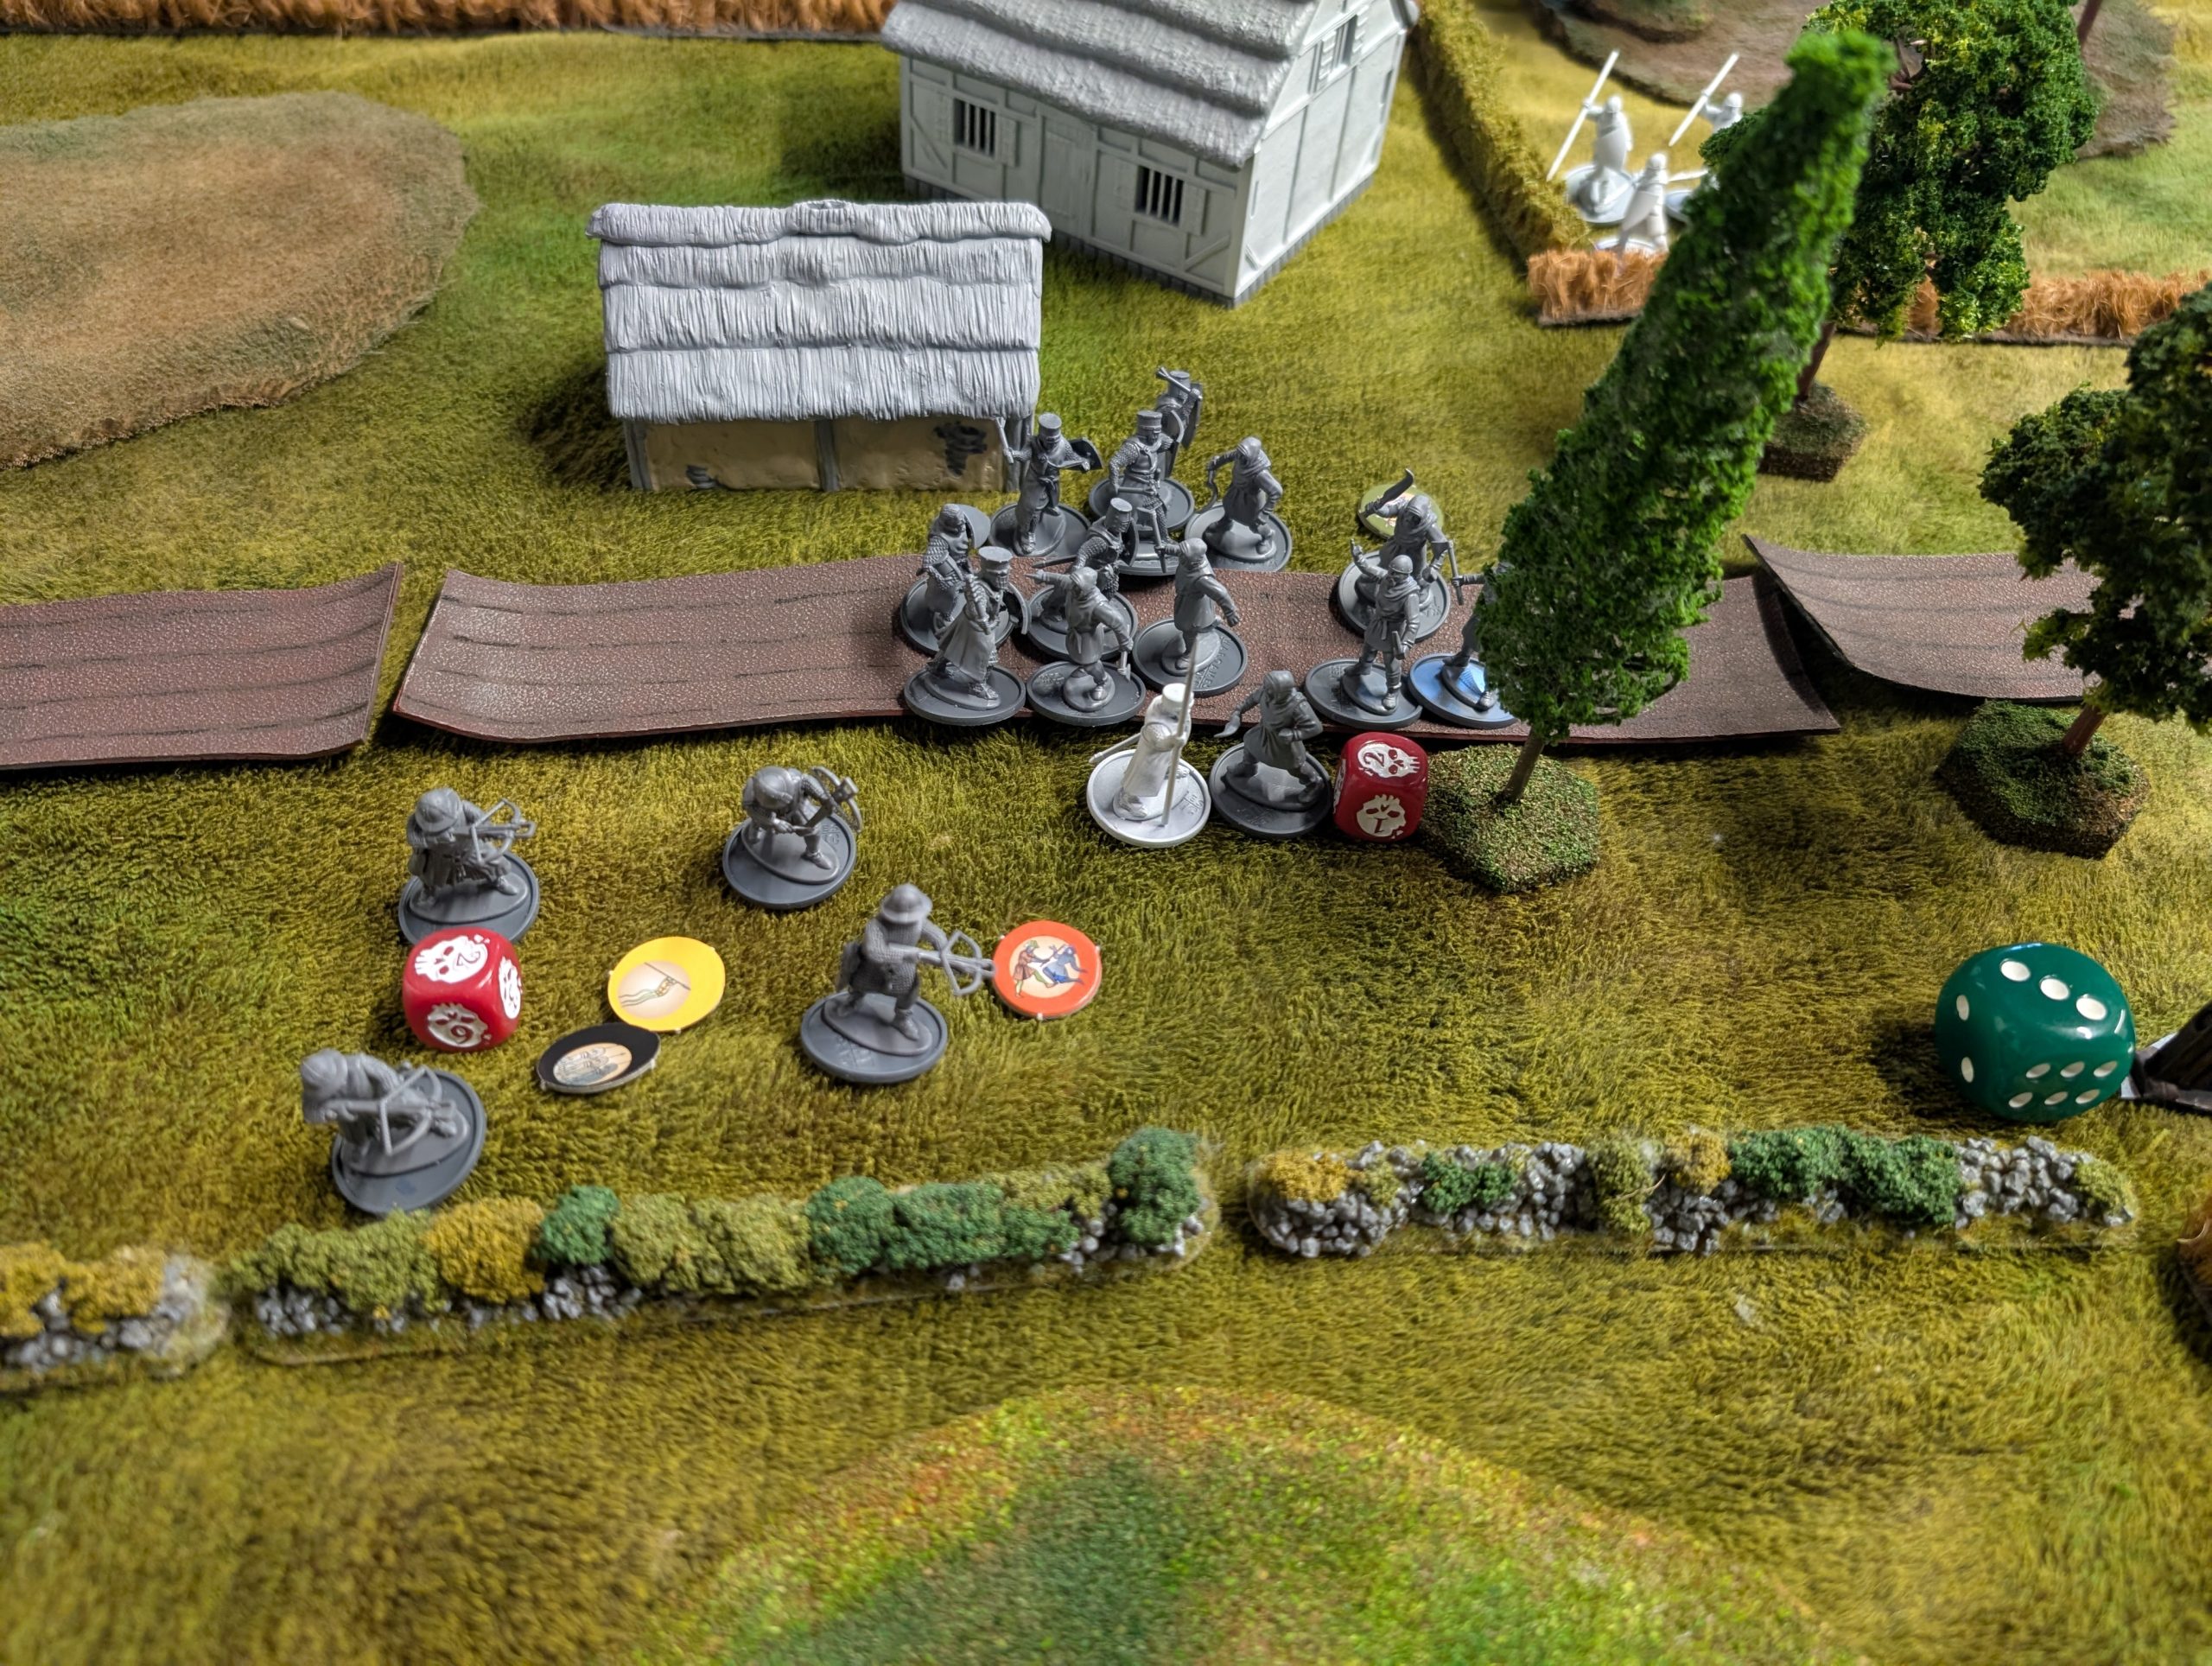
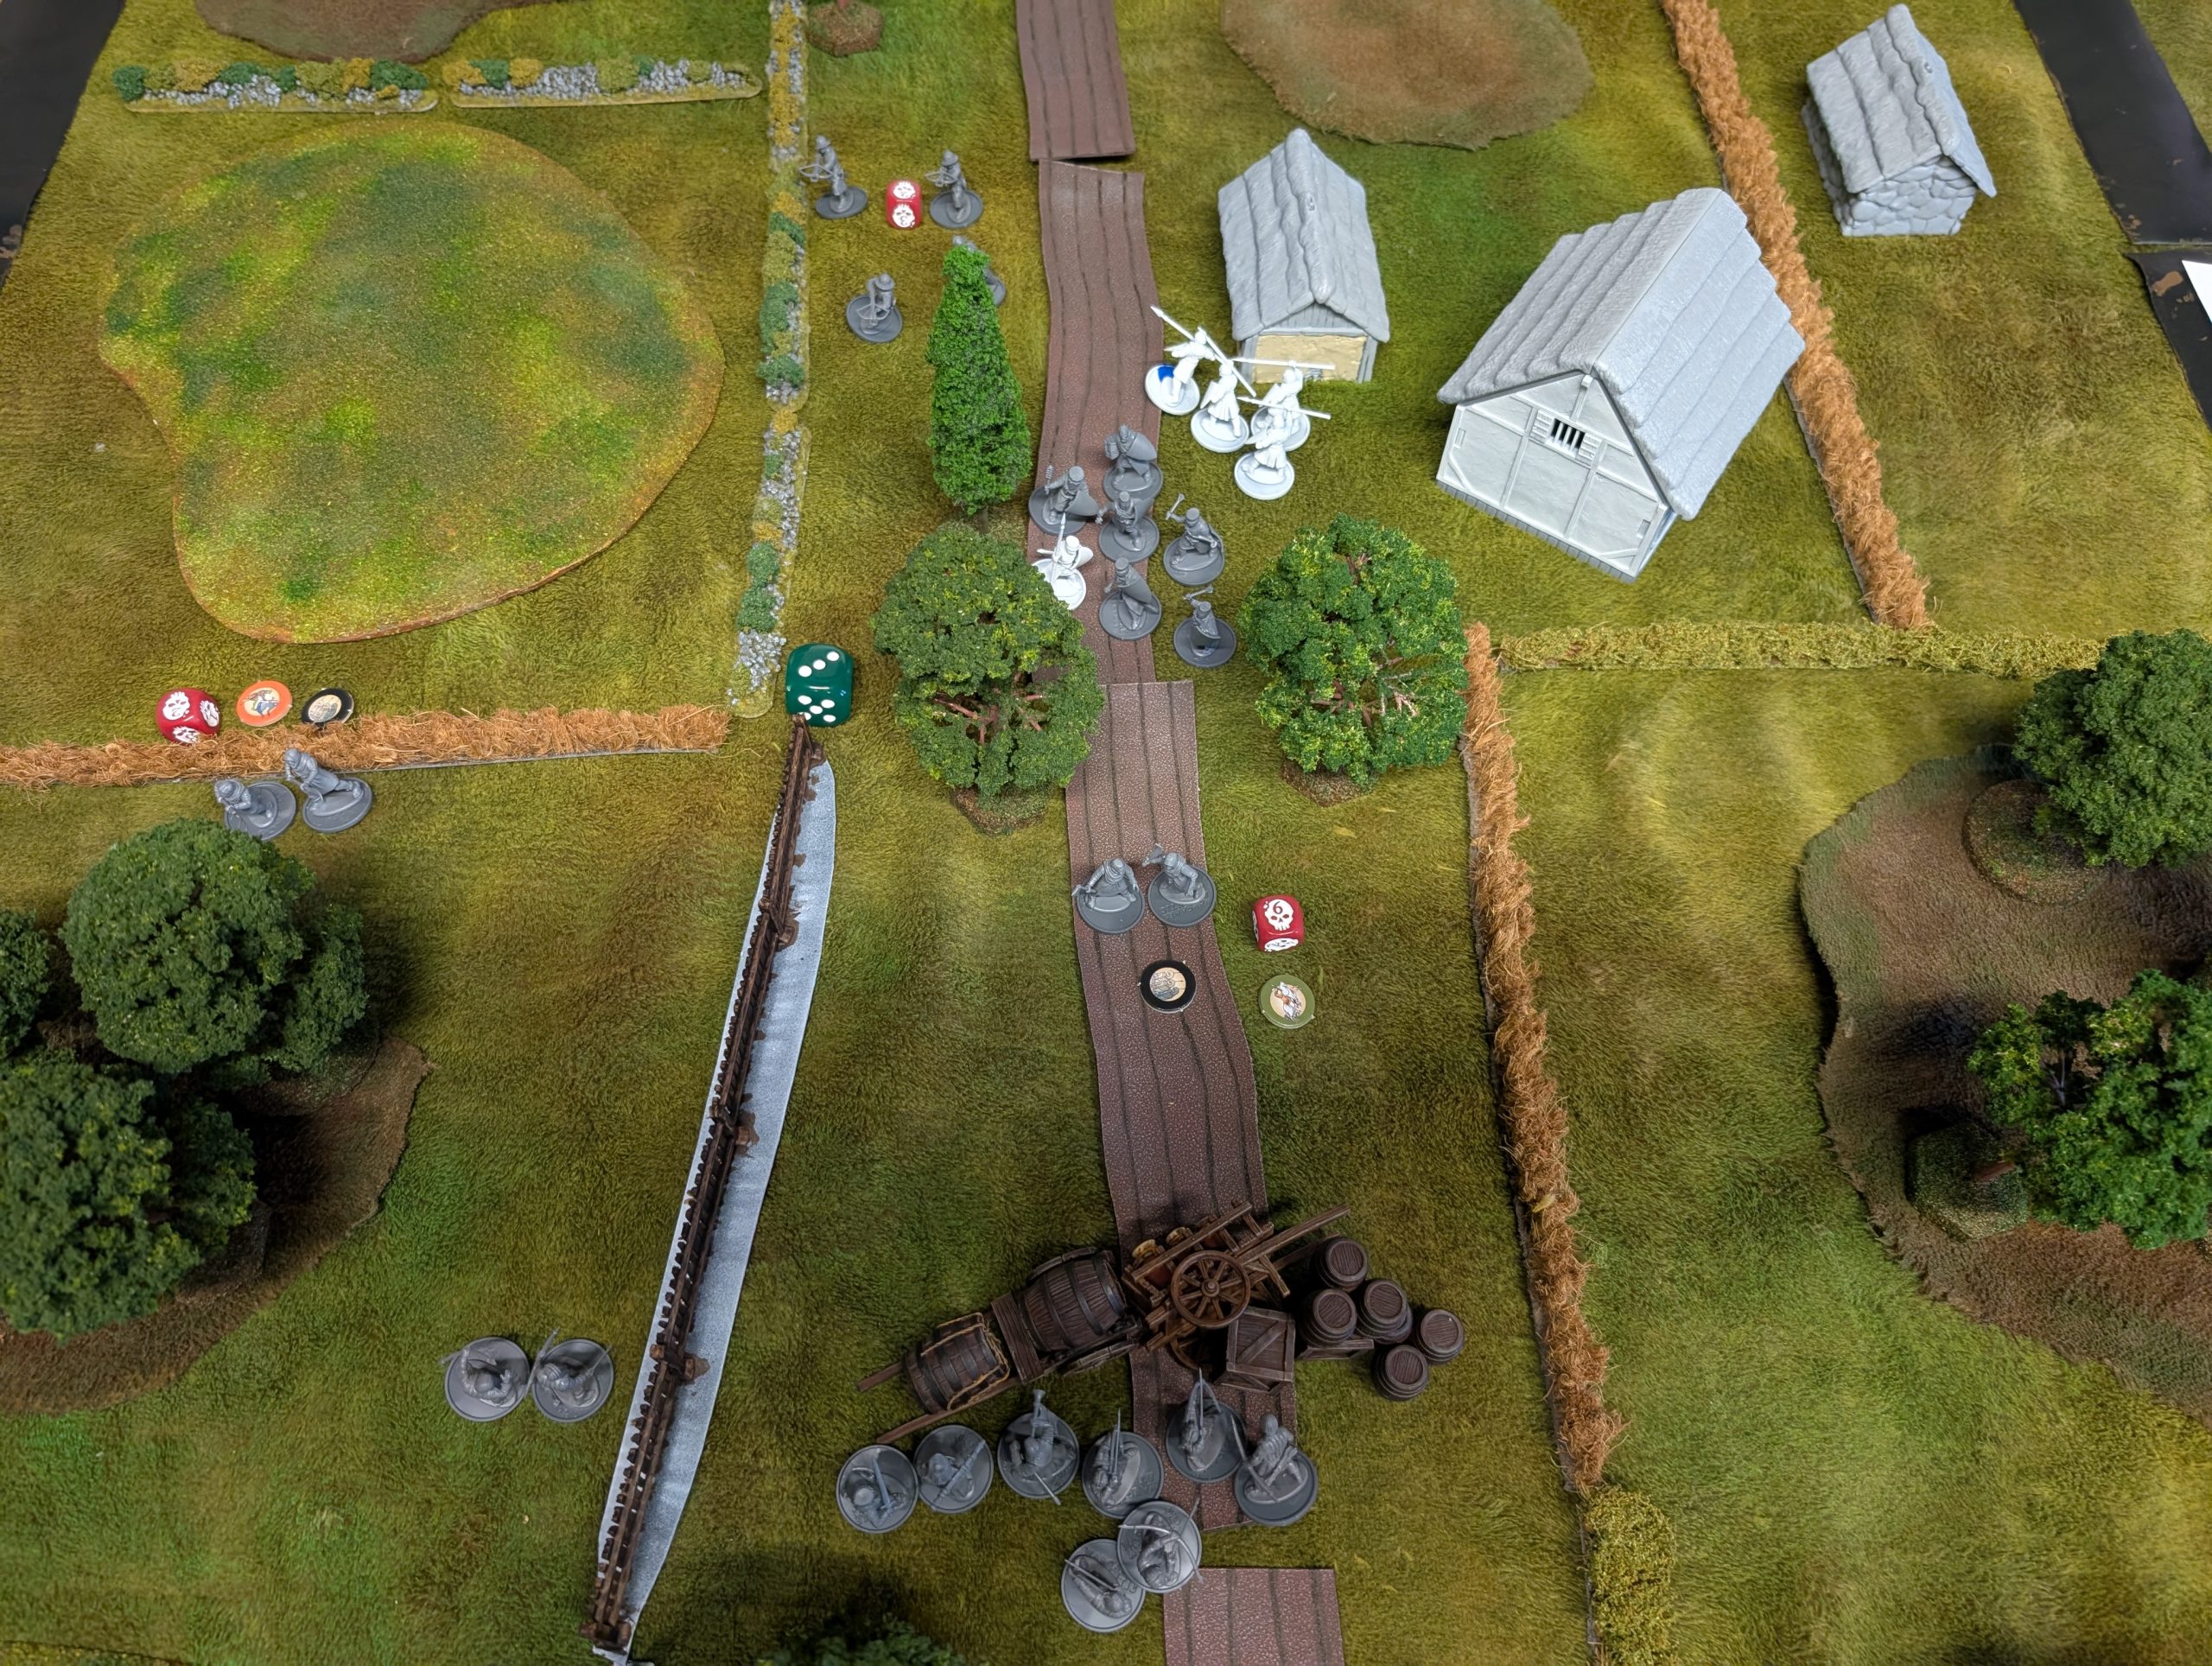
William de Warenne spots his moment for glory and, with my son’s peasant levy exposed and tired after their fight with my crossbows, William charges in. It’s an unfair fight, with veteran knights against green peasant levy and William himself batters two peasants to death with his trust mace while the rest of the knights account for 3 more. What’s left of the peasants turn and run.
Below we have William’s battle with the peasants and their resulting rout.
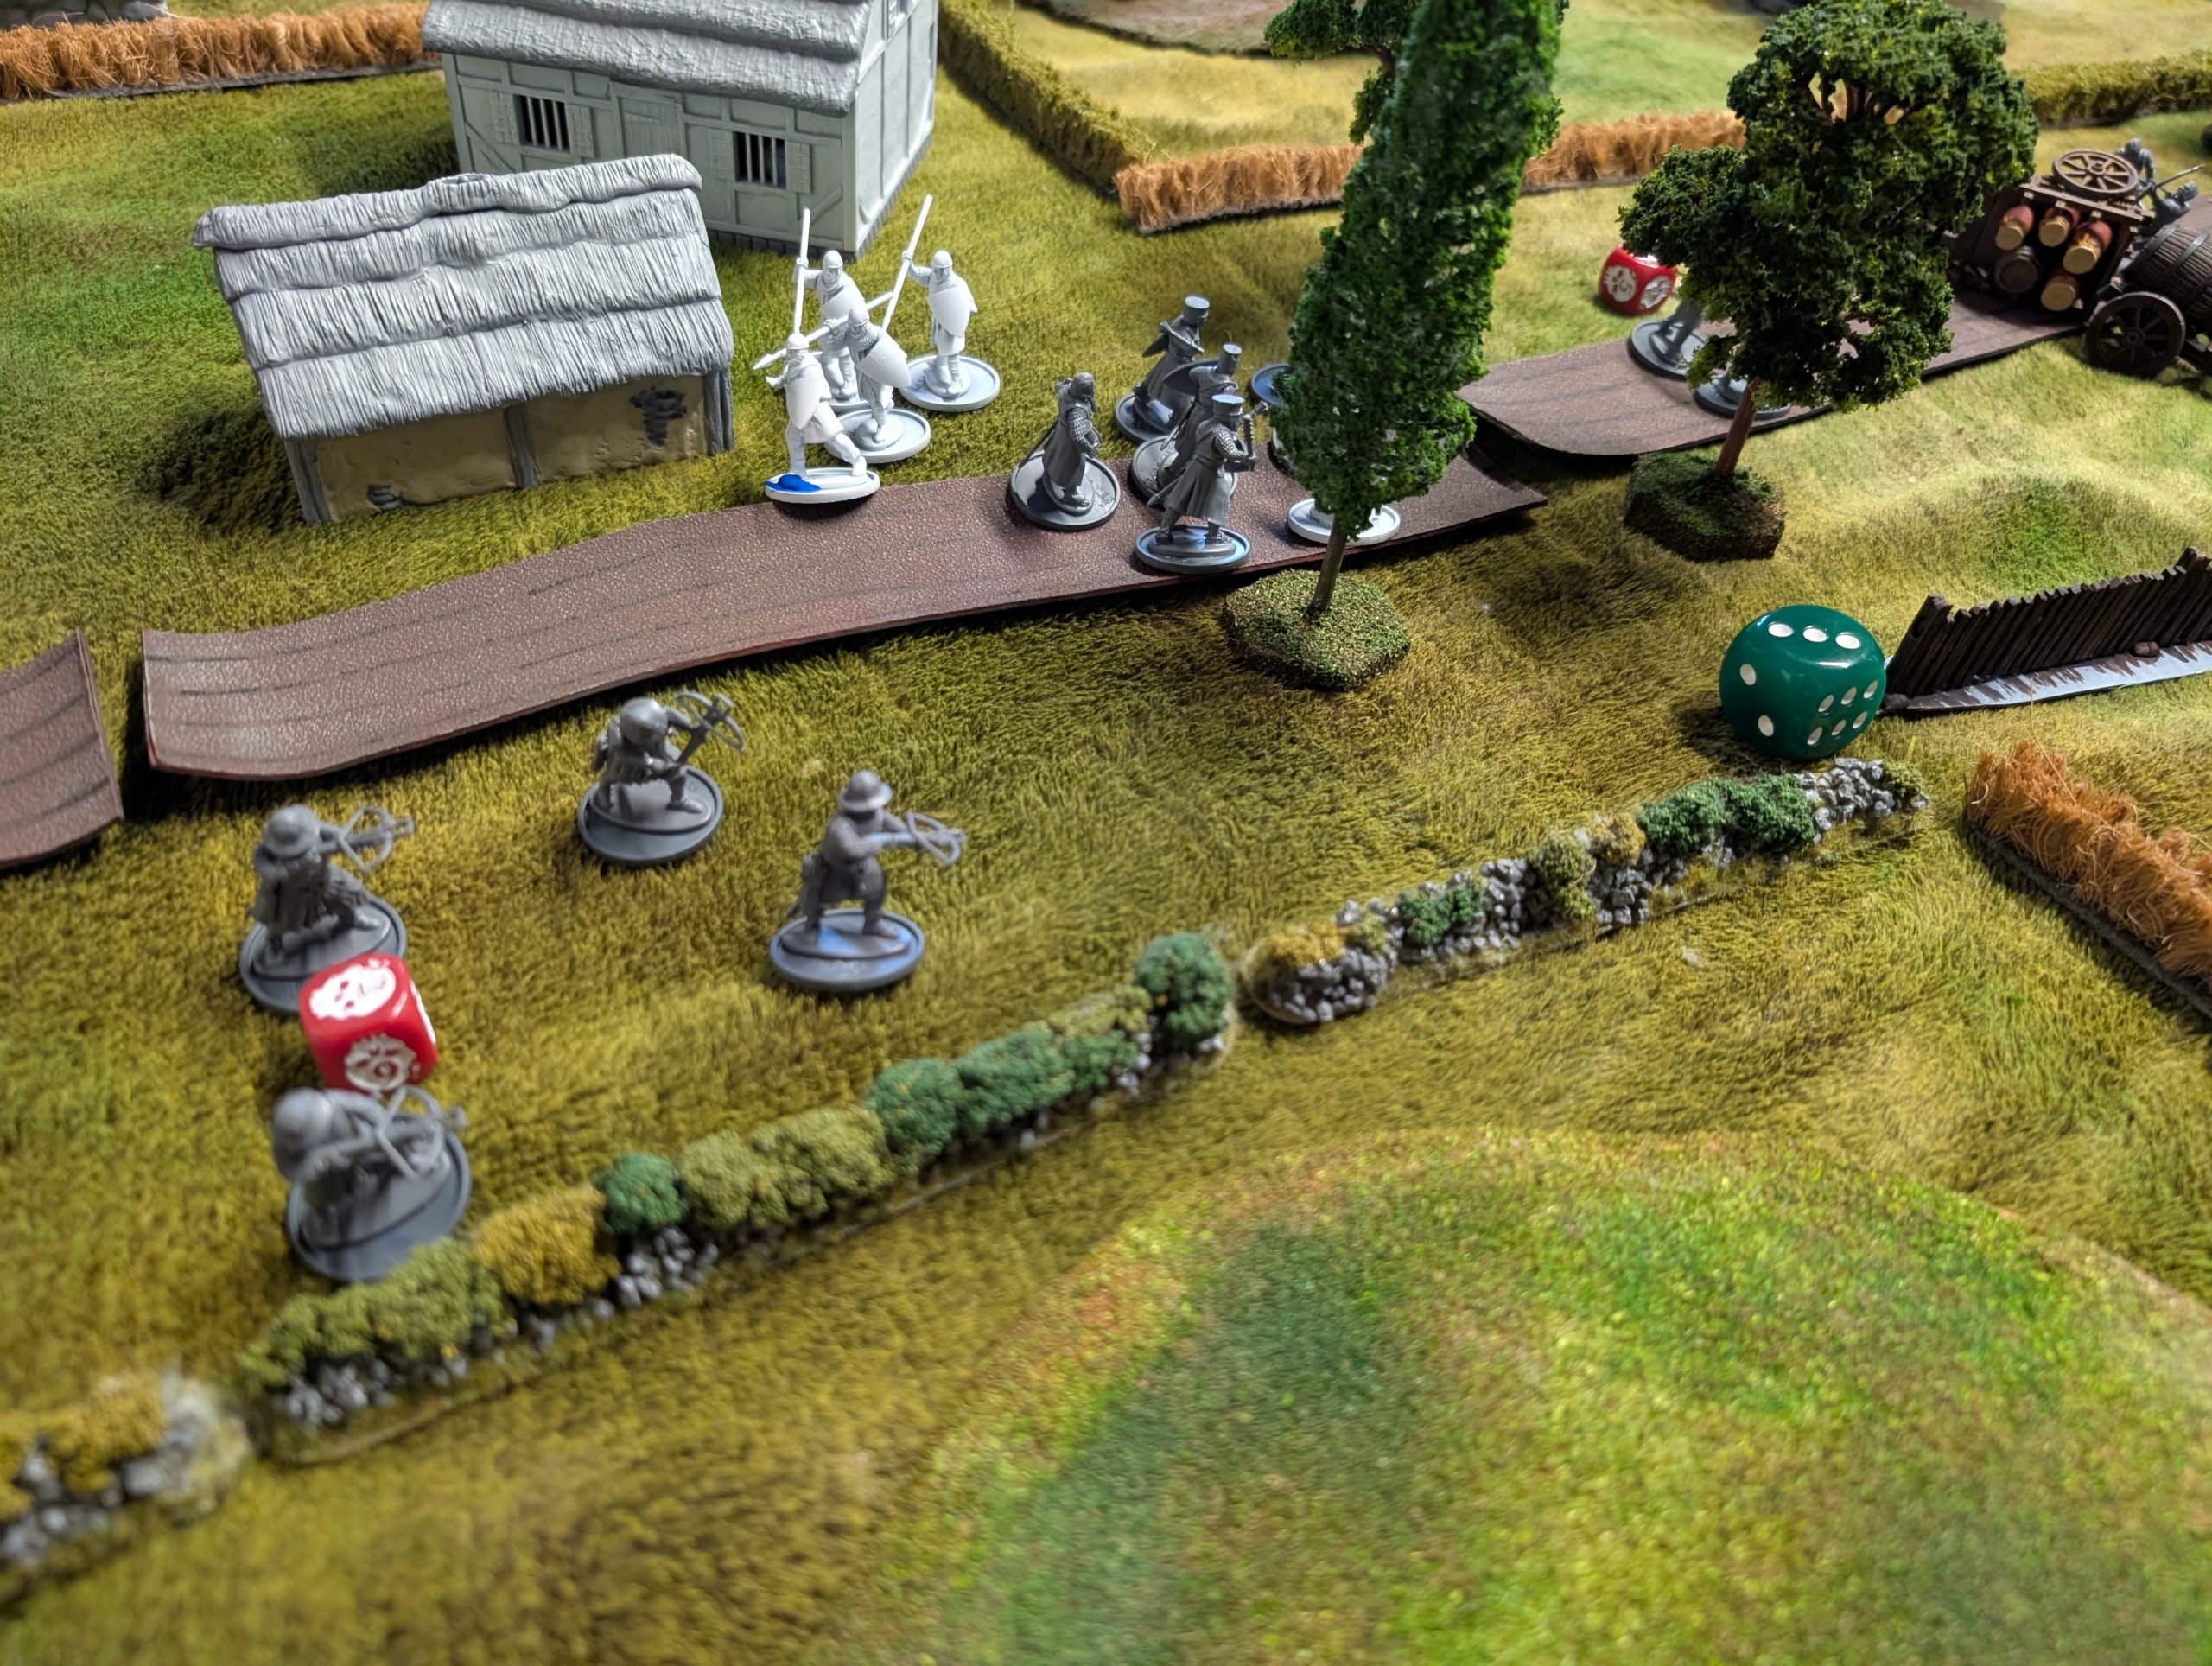
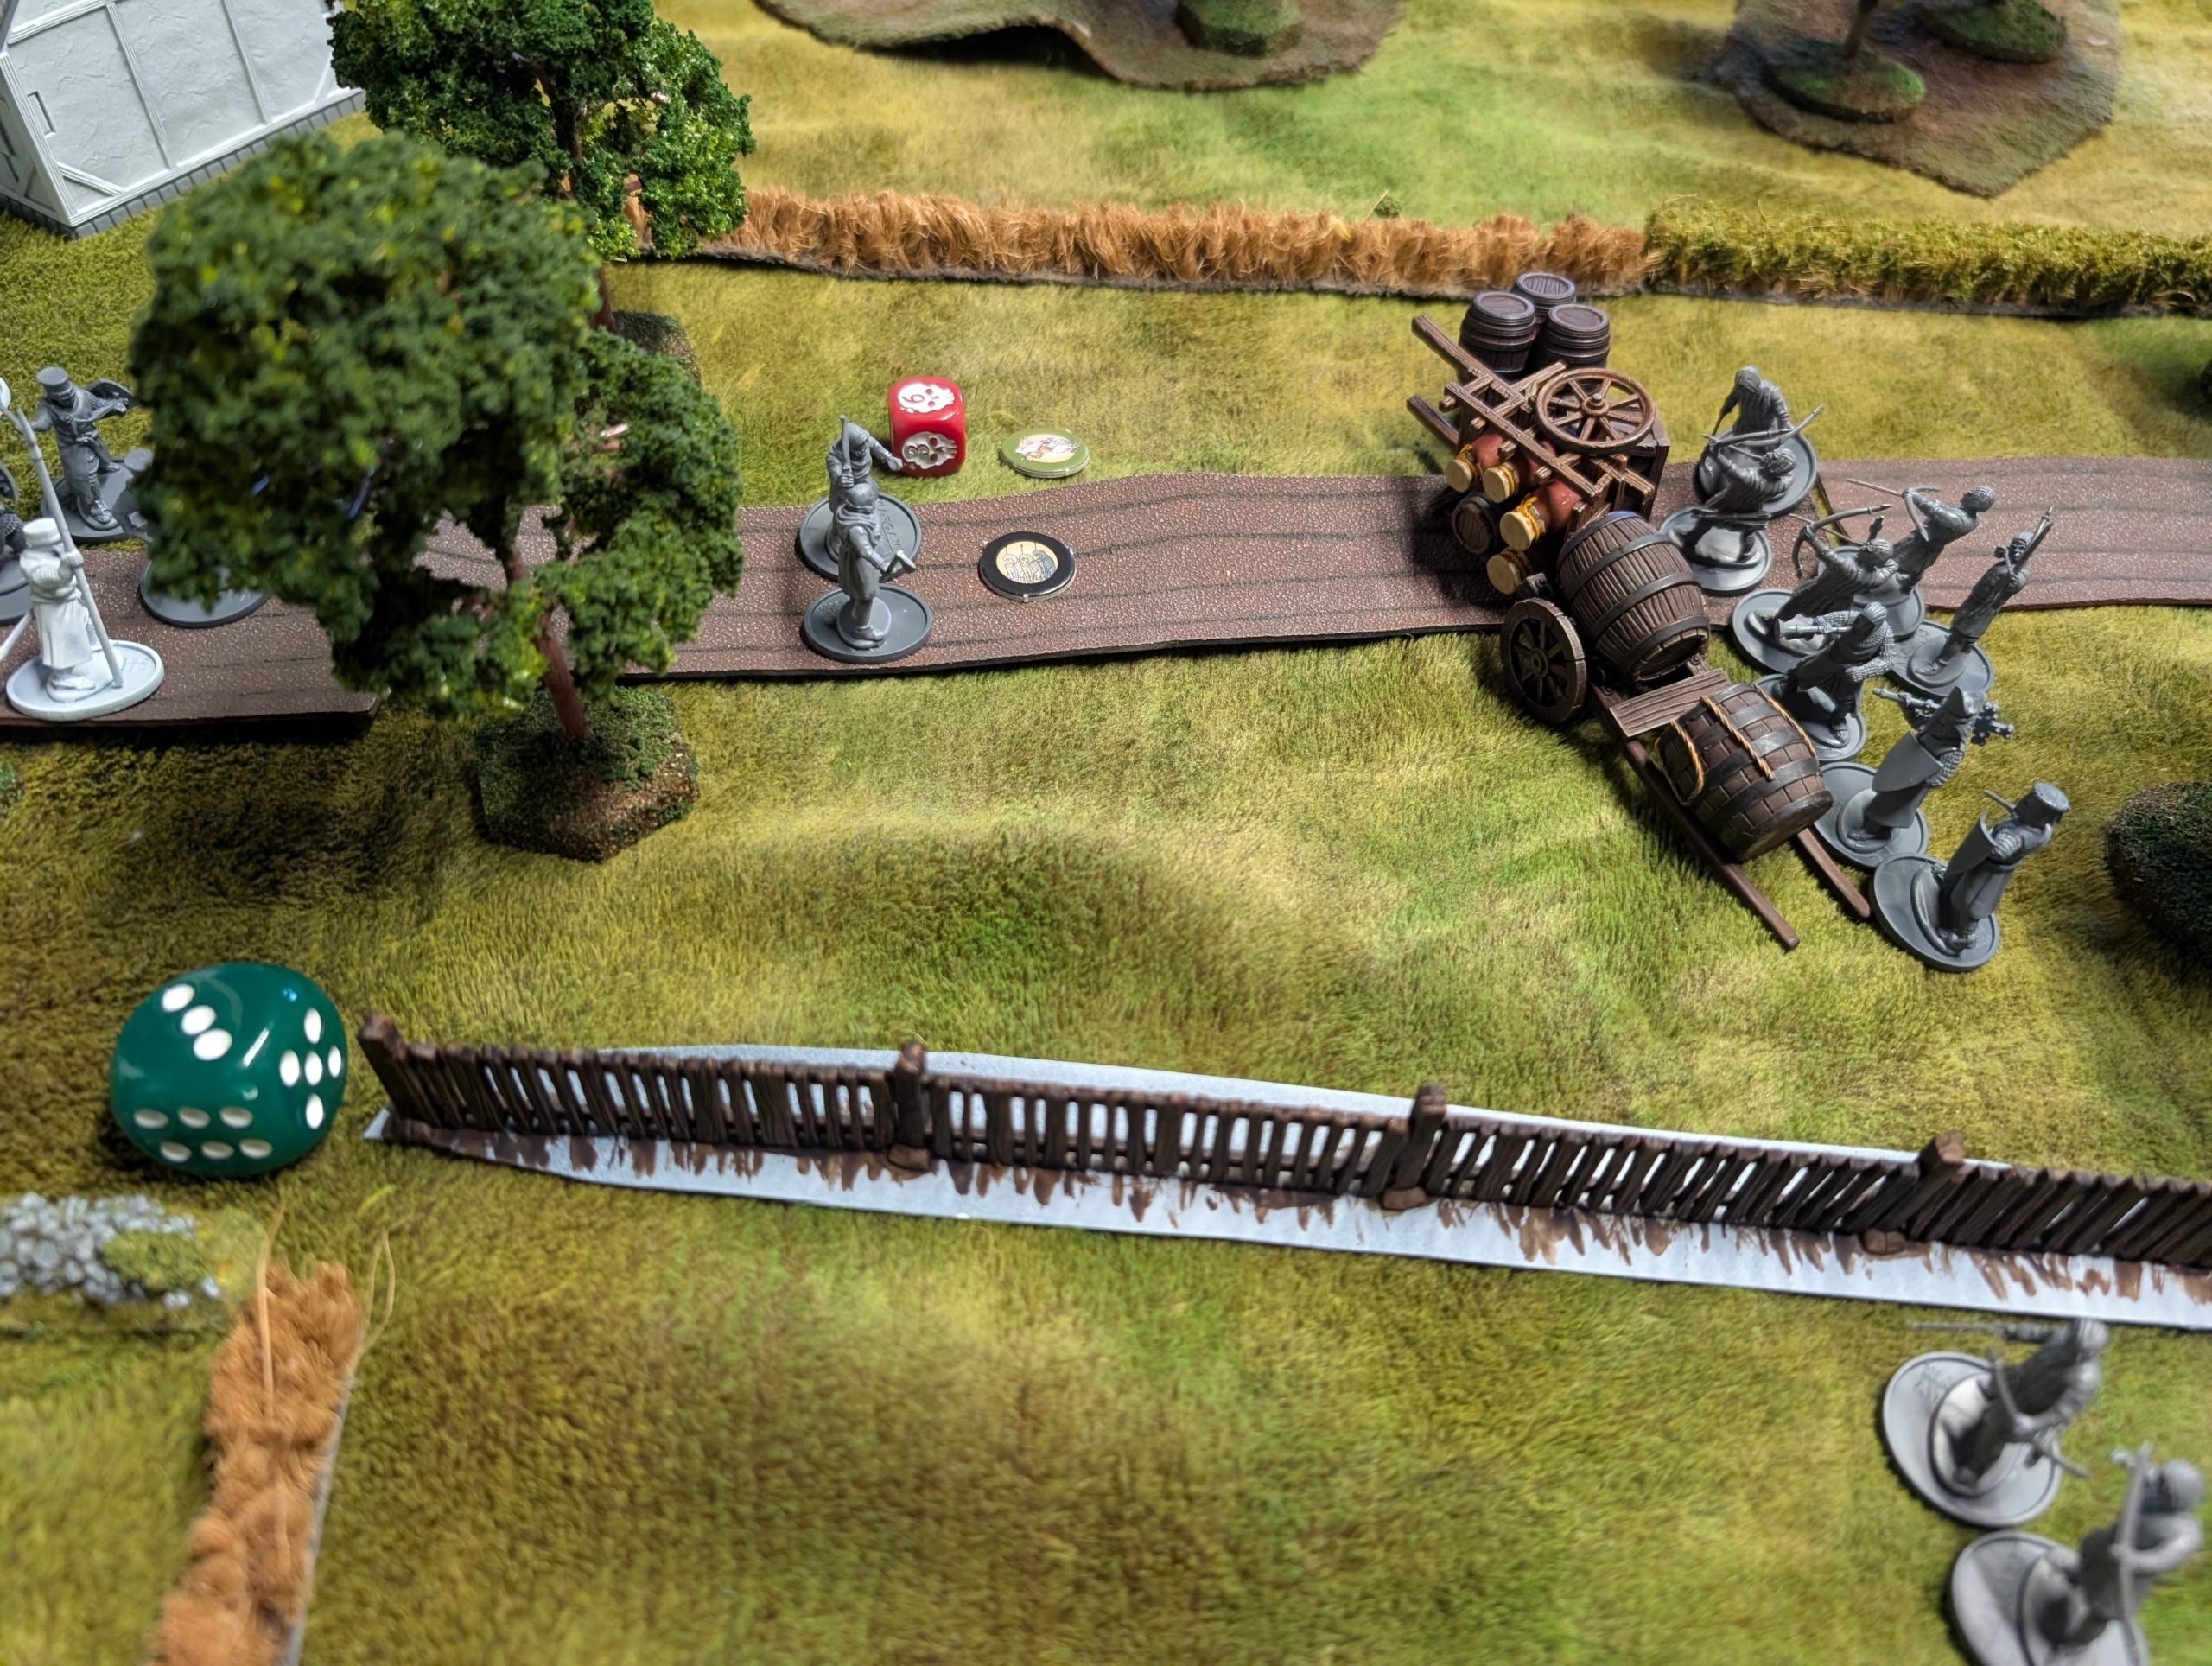
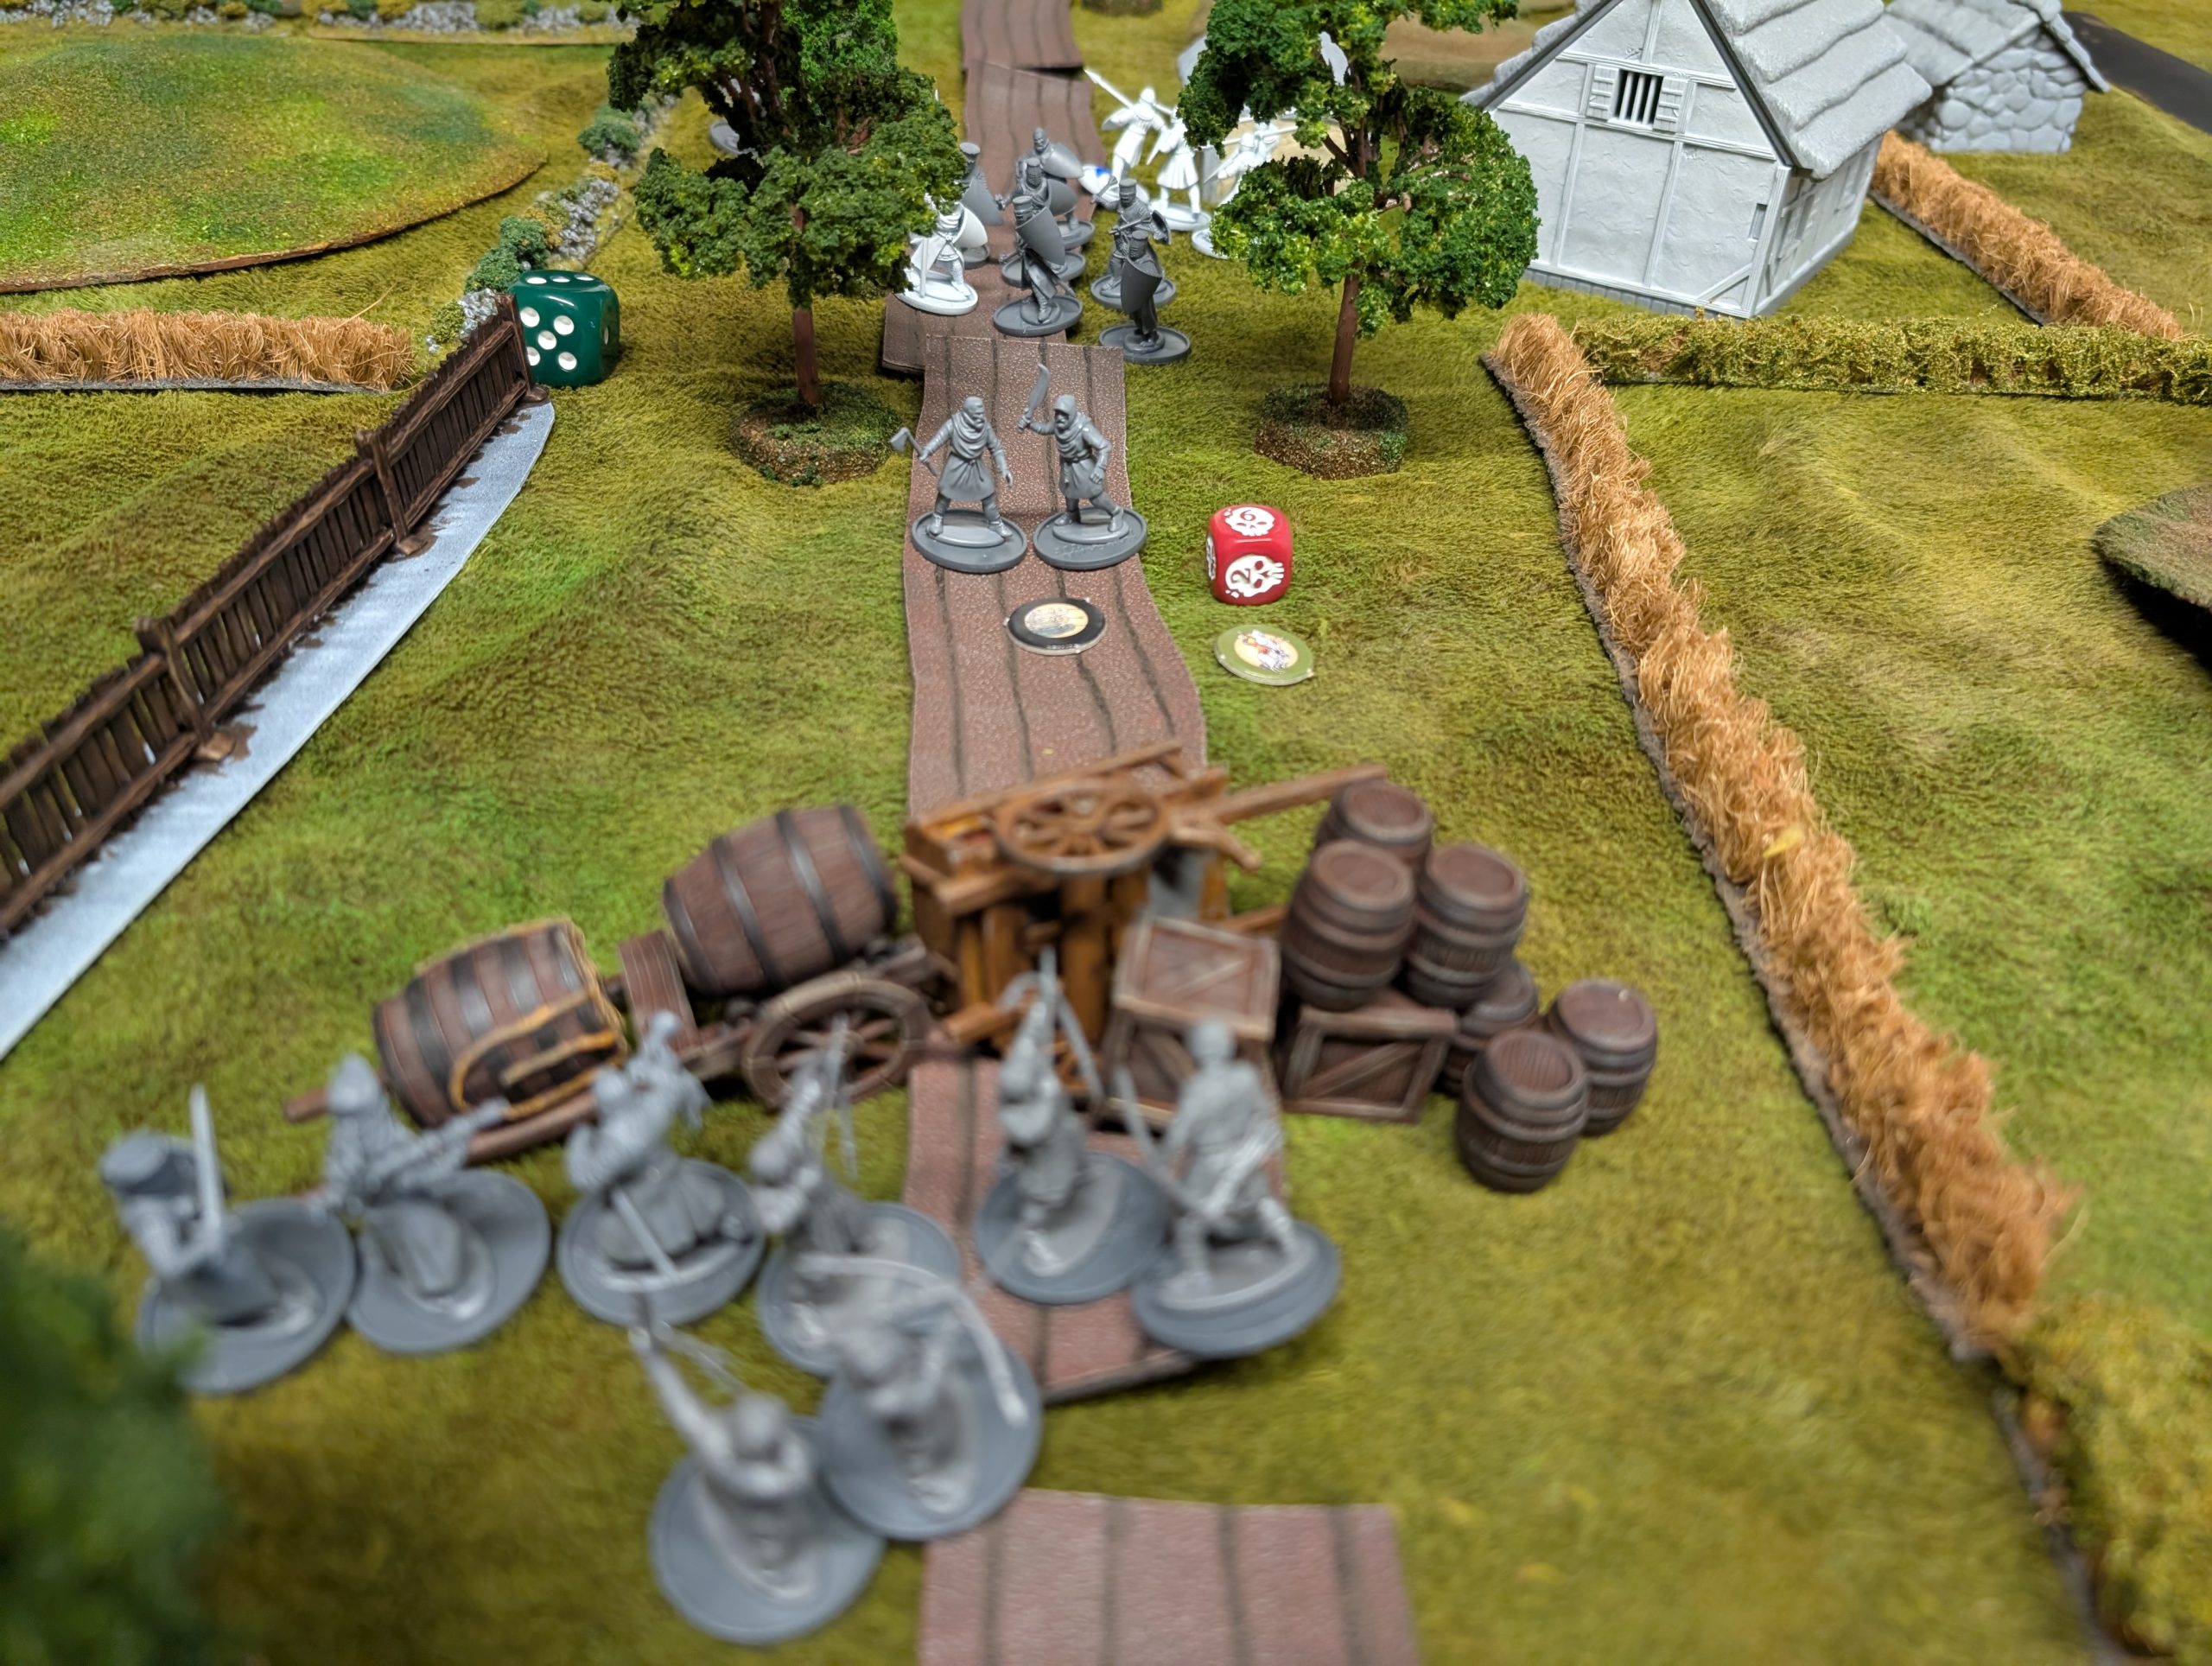
Turn 4
Maybe a little flustered with their encounter with the peasants but my crossbows lose their aim and fire wildly, missing everything. For their efforts, they get charged by my son’s spearmen but they bravely fight them off, forcing the spearmen to fall back.
My athletic serjeants continue their run up the flank, with their aim now clearly on getting off the board as I realise that nothing else on the table will get there in time. The serjeants run behind the hill and hence are out of sight of my son’s bows but he realises what I’m trying to do and pulls his bowmen back to get one last shot off on the final turn.
I advance the rest of my forces forward at a run to try to close the gap.
Below we see William continue his march up the middle of the table and the serjeants almost at the finish line
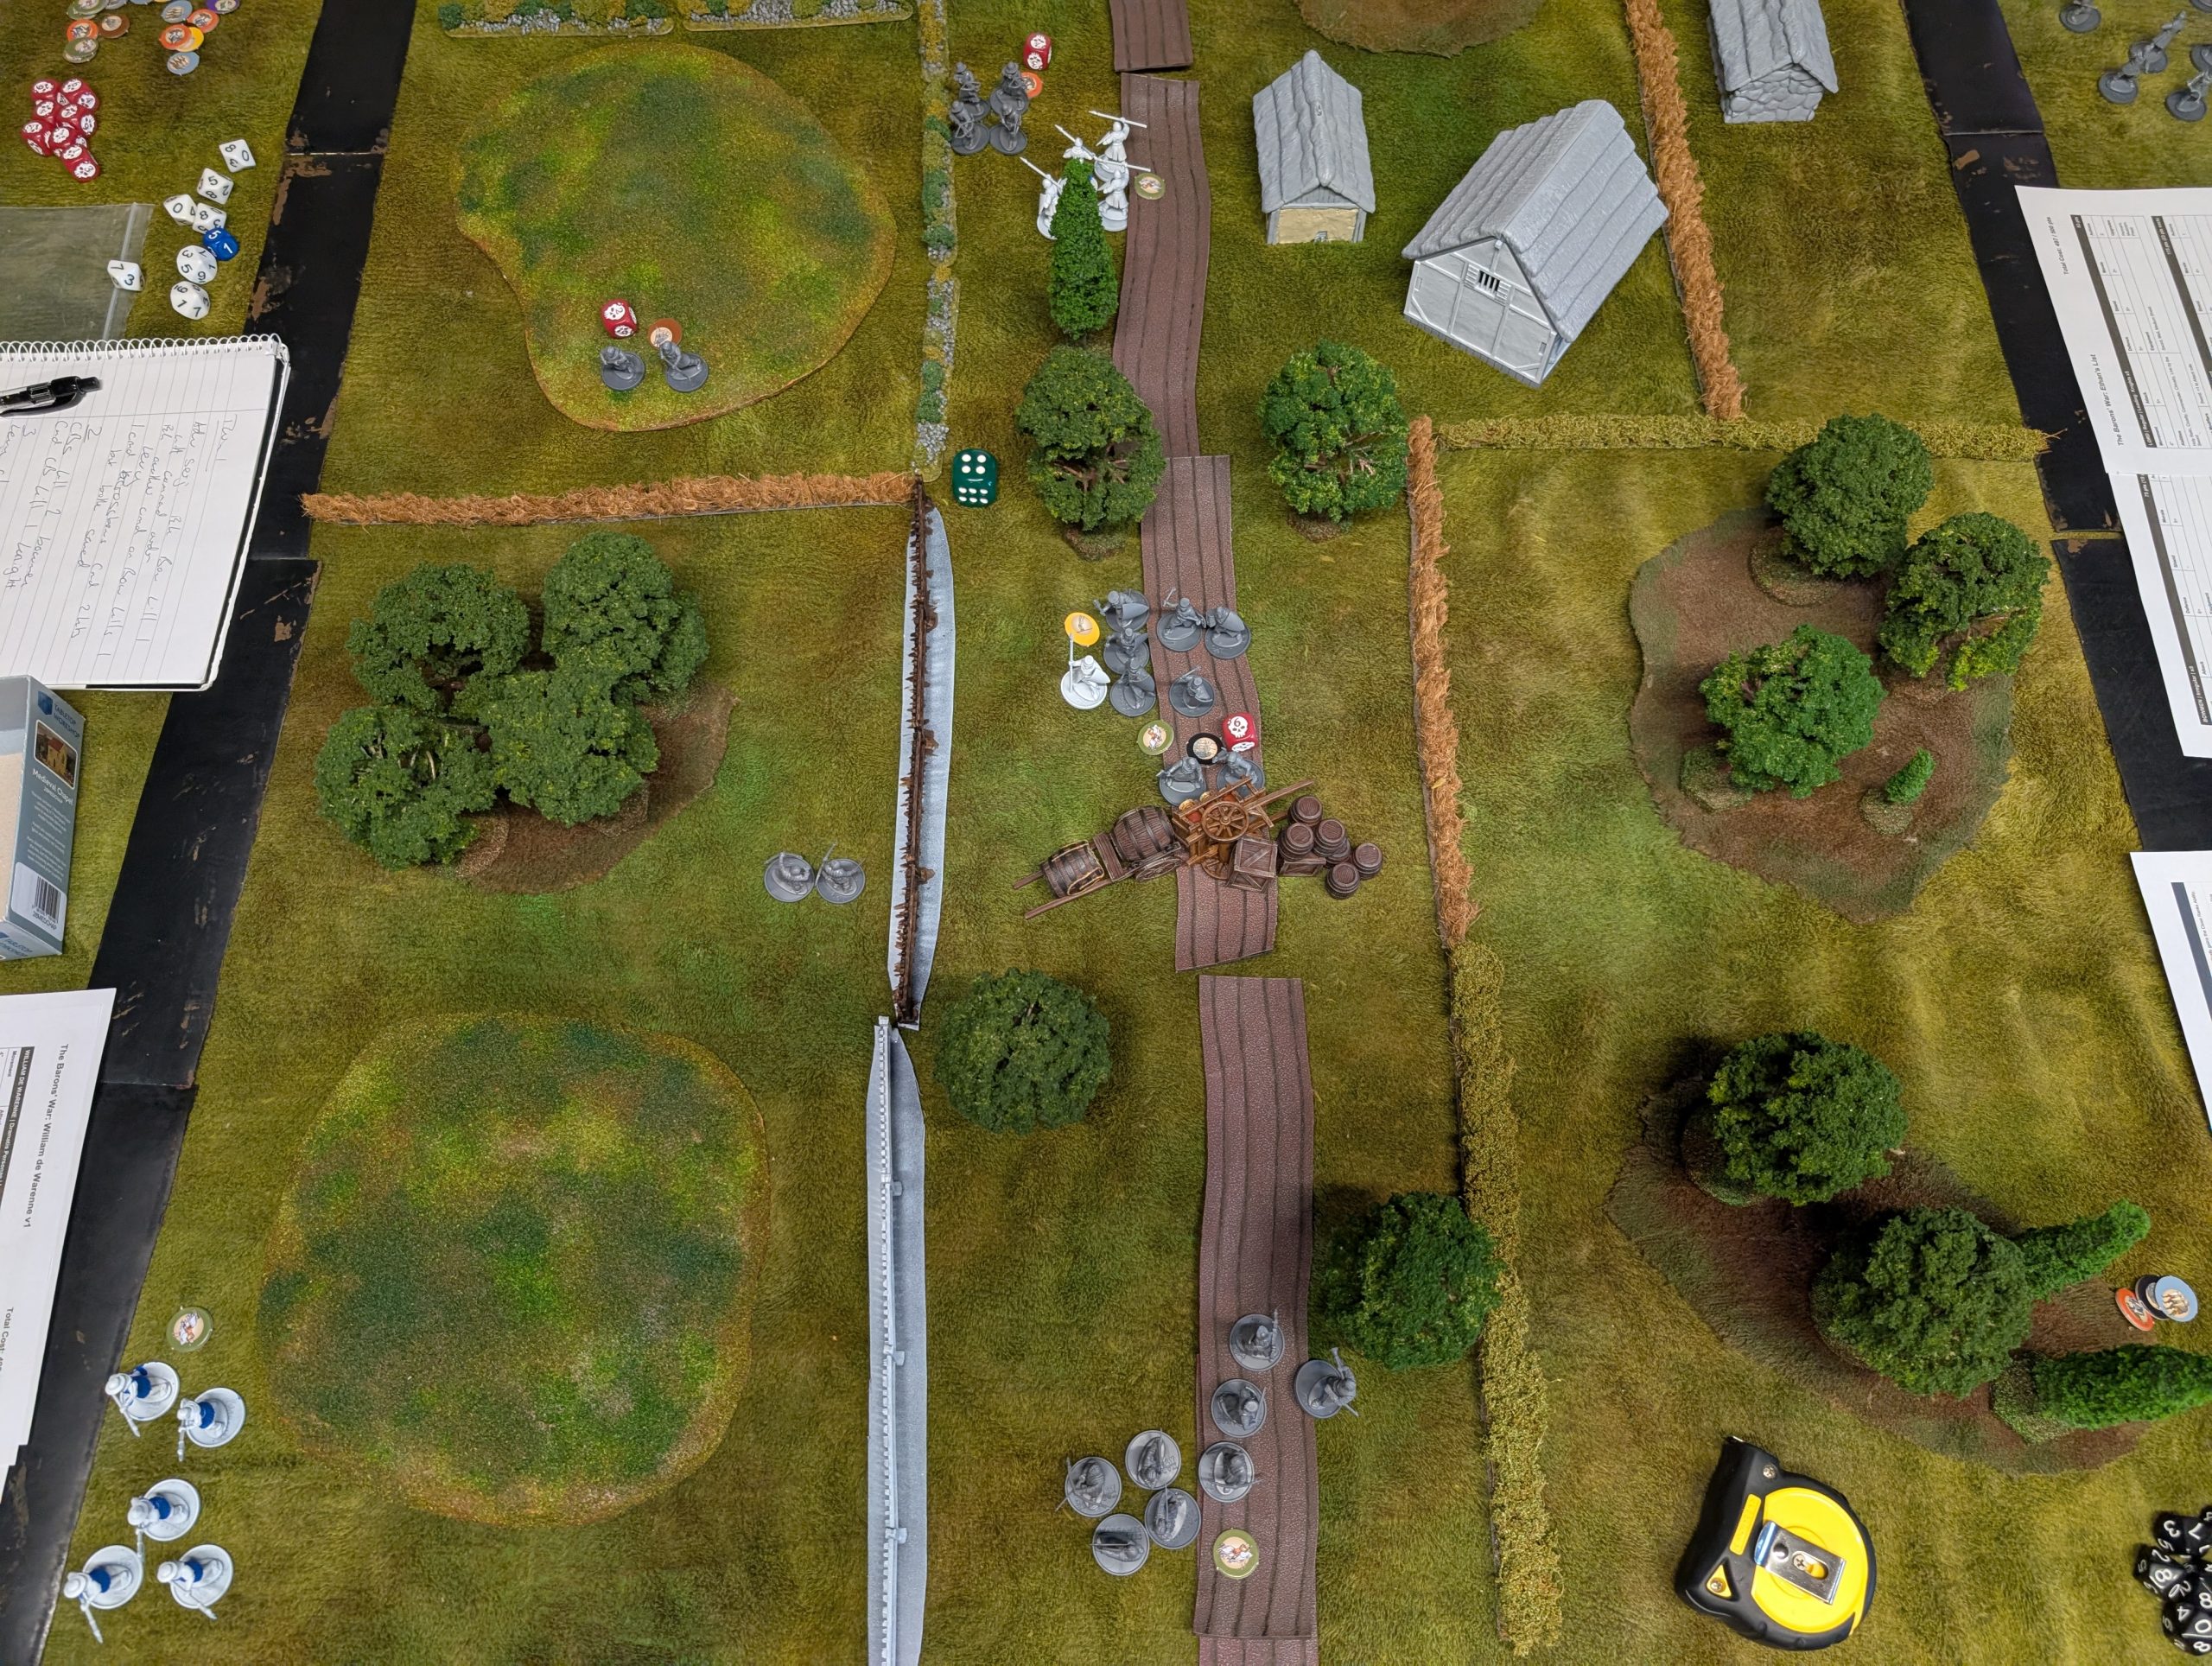
Turn 5
My son gets the initiative this turn and he immediately gets his bowmen to fire on my serjeants. It’s a heart in mouth moment but he misses everything and my serjeants sprint off the board on my next activation – so that’s points in the bag for me.
My son now needs to get kills to try to beat my score and so he charges his spearmen back into my crossbowmen. This is heart in mouth time again and one of the spearmen gets lucky and stabs a crossbowmen. I have to fall back out of combat.
As a final effort, my son charges what’s left of his bowmen into William but the thick mail and shields sees off this attack.
At the end of the game, my son is convinced that he lost. I scored 100 points by getting my serjeants off of the battlefield but after a count up of my casualties, my son has killed 117 points, so he wins. The crossbowman he killed in the last turn was worth 19 points and swung it for him!
Overall, we had fun and Barons War is a quick and easy game to play. We forgot a lot of rules and got things wrong but who doesn’t. I would pick an issue with the scenario and the board layout (we laid it out exactly as in the scenario, including table size etc.) Winning for the ambushed player is quite hard. The distance between the edge of my deployment zone and the table edge to escape from was a minimum of 36”. Knights can only move 4” (or run at 8”), so it’s quite hard to get them off the board unless you avoid all combat, which for a wargame seems a little counter intuitive. But we’ll be back for another game soon.
Terrain
I realised that while I have dirt roads, trees and hills, I don’t have a lot of 28mm medieval terrain. So I bought some of that as well.
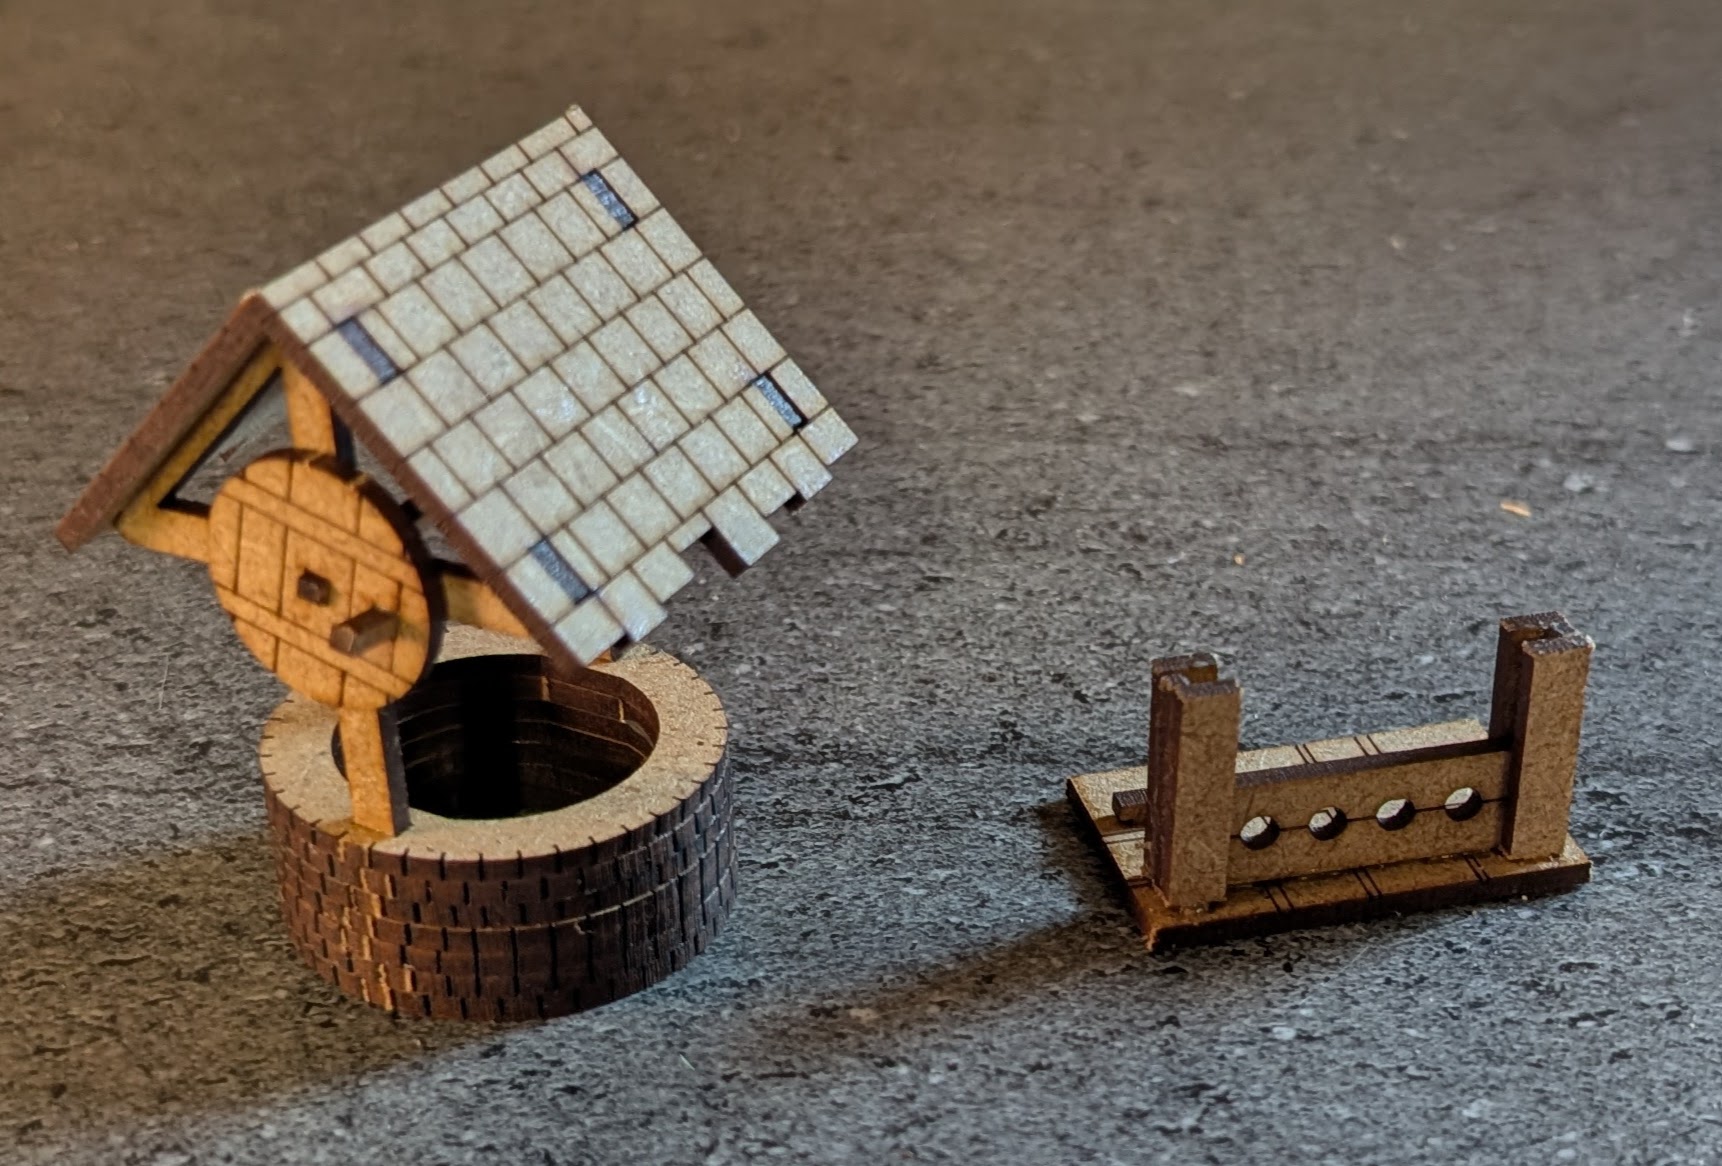 A well and set of stocks
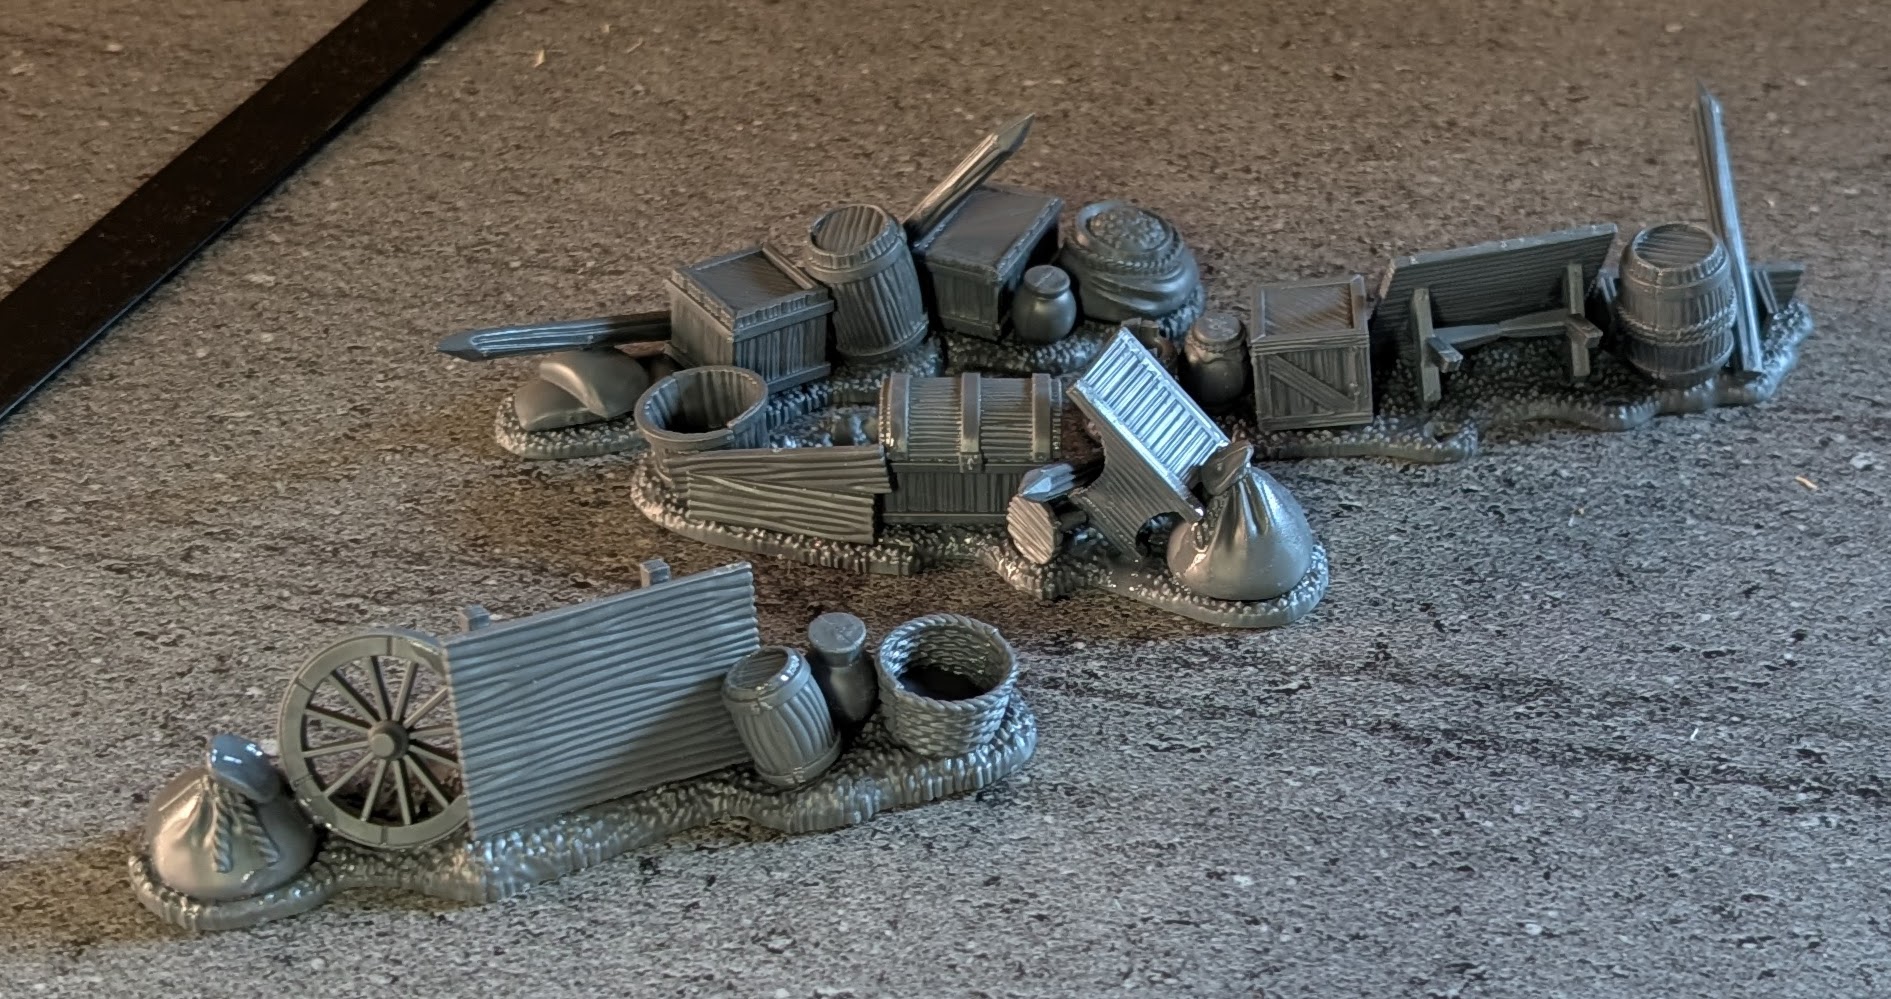 The barricades that came in the starter box
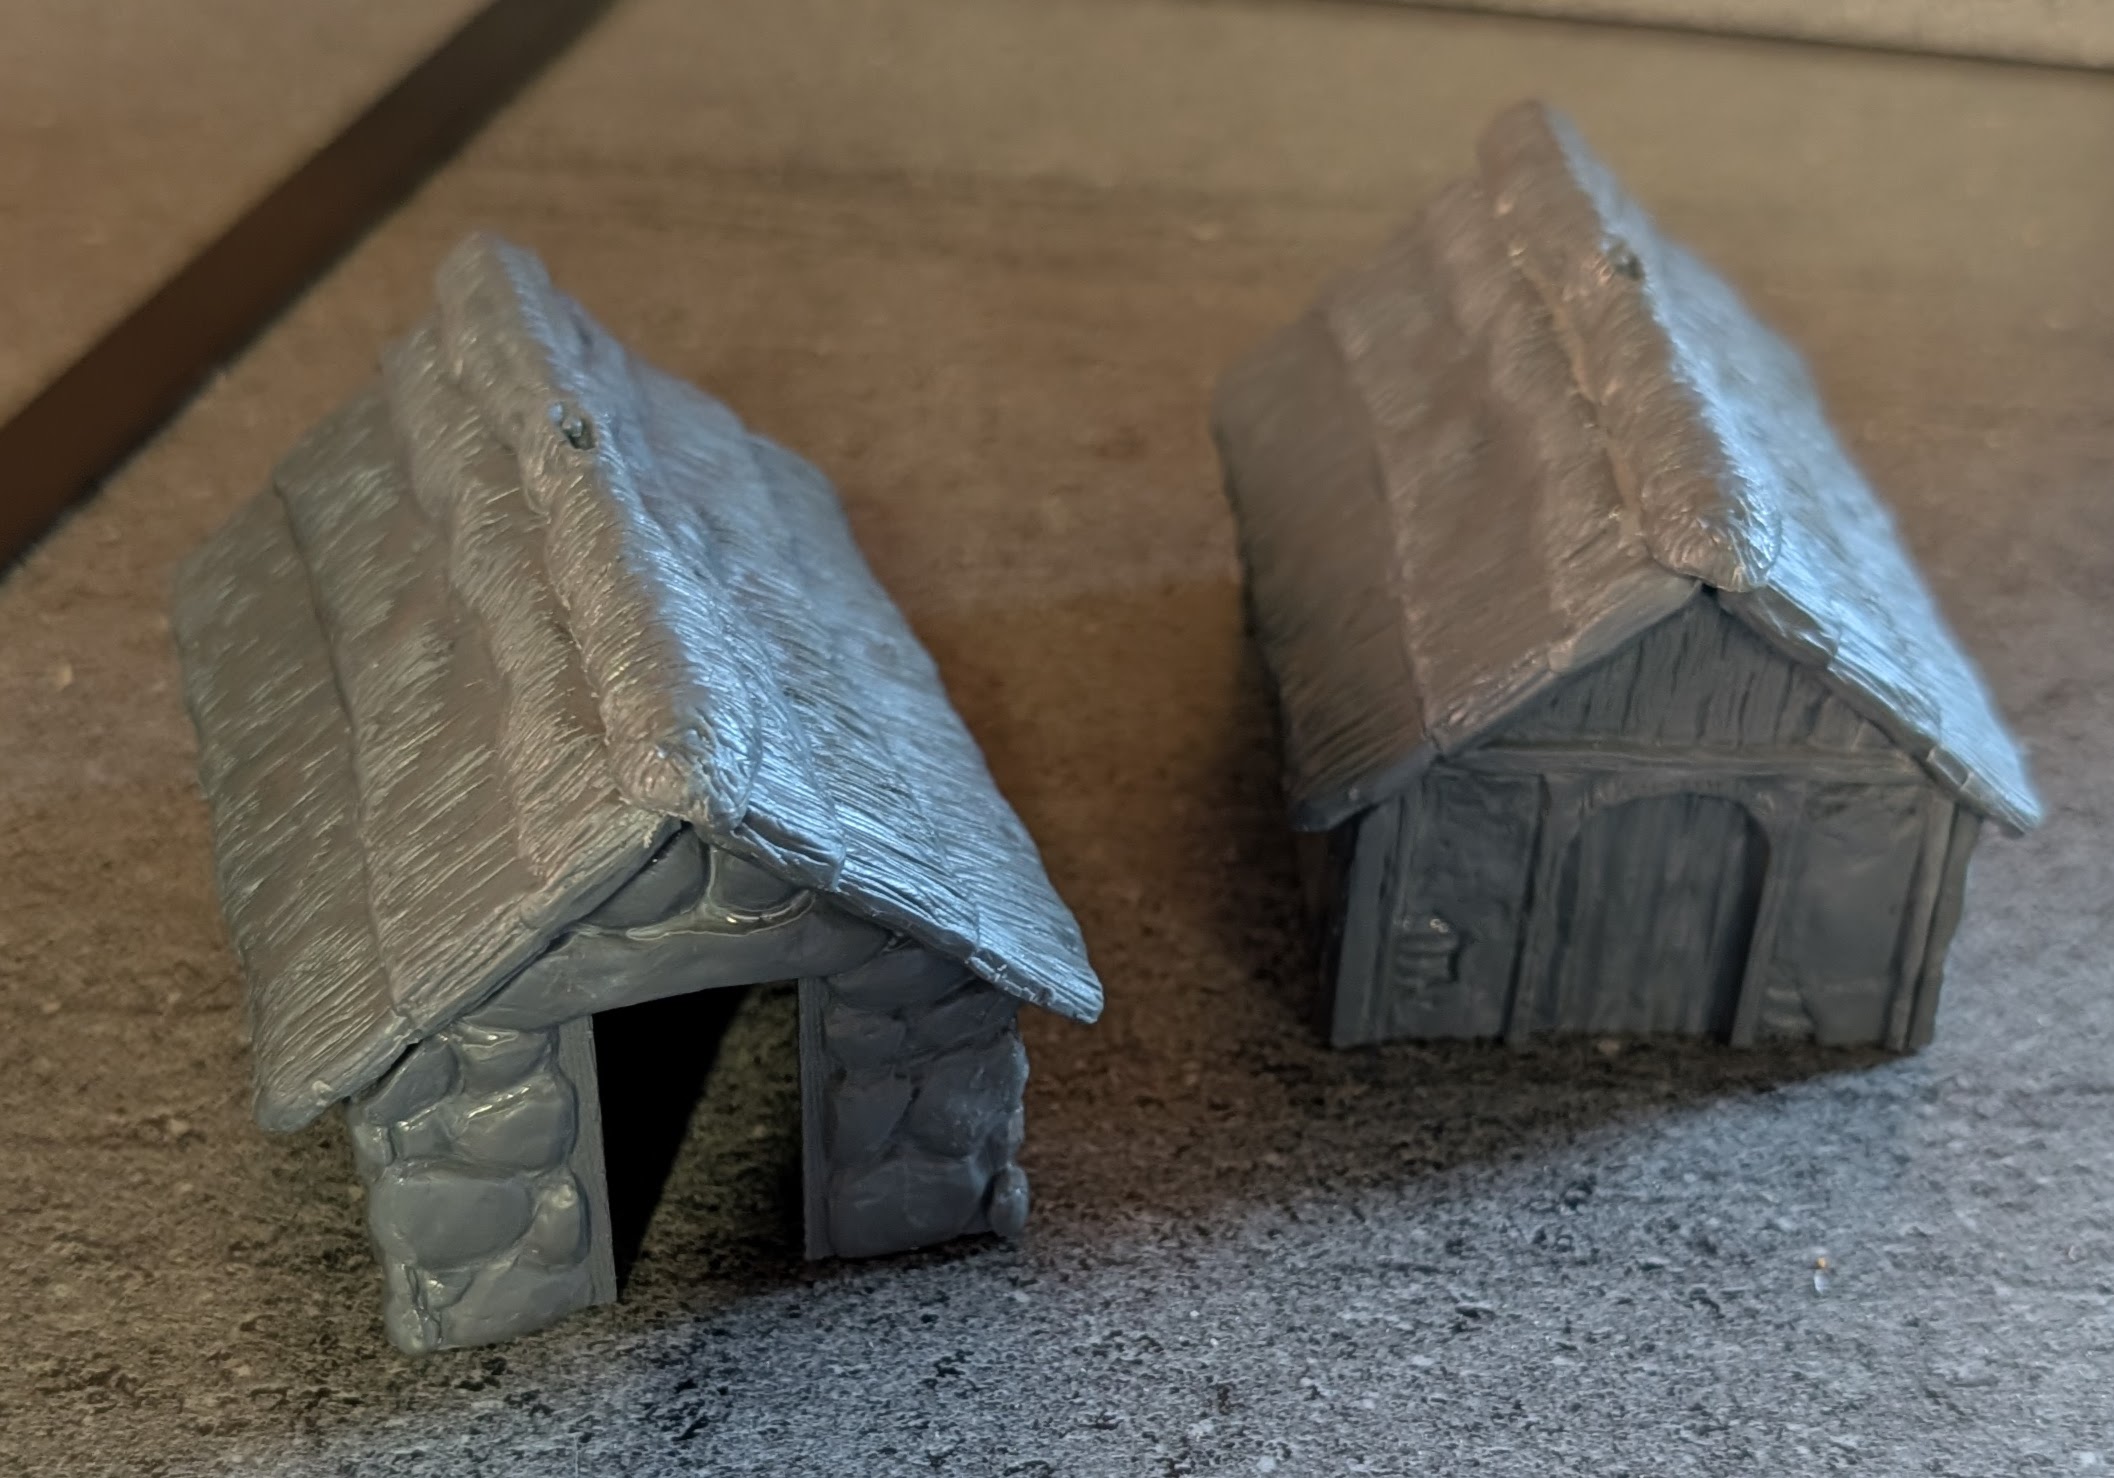 A couple of small farm buildings
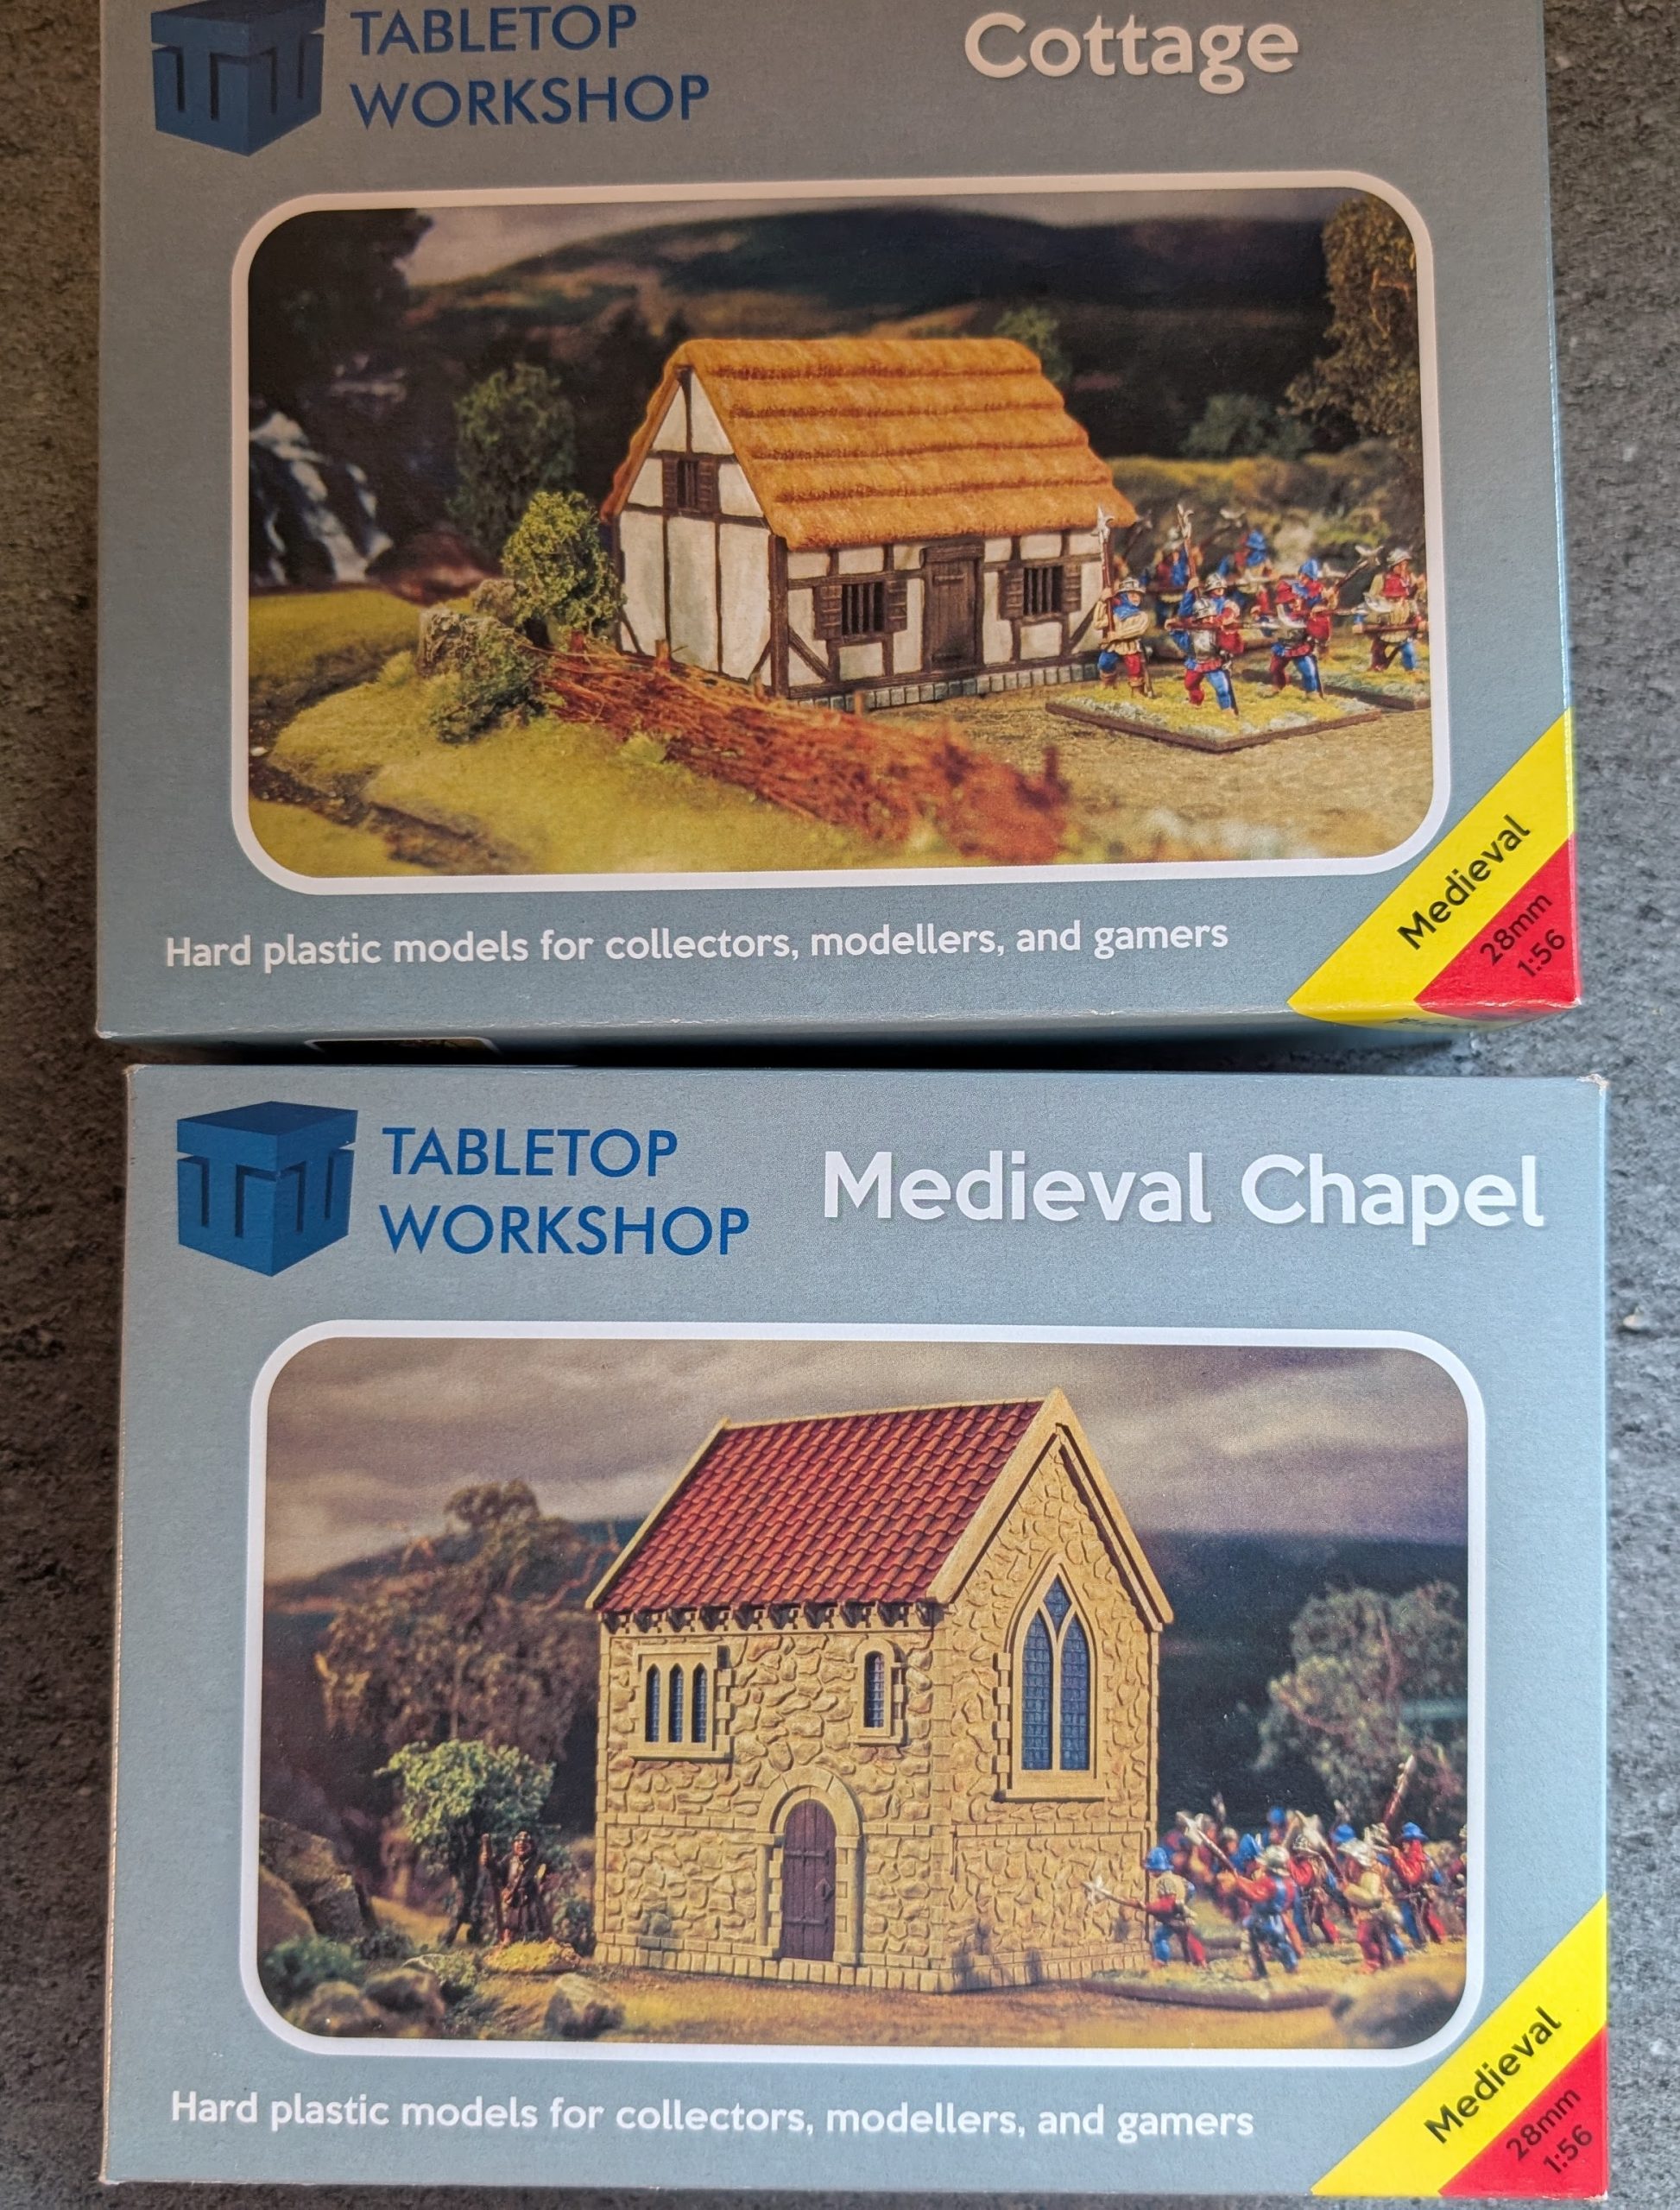 A house and a small chapel
With everything bought, I now need to get painting
The knights
Let’s be honest, this is the real reason to do medieval, lots of colourful knights. We have,
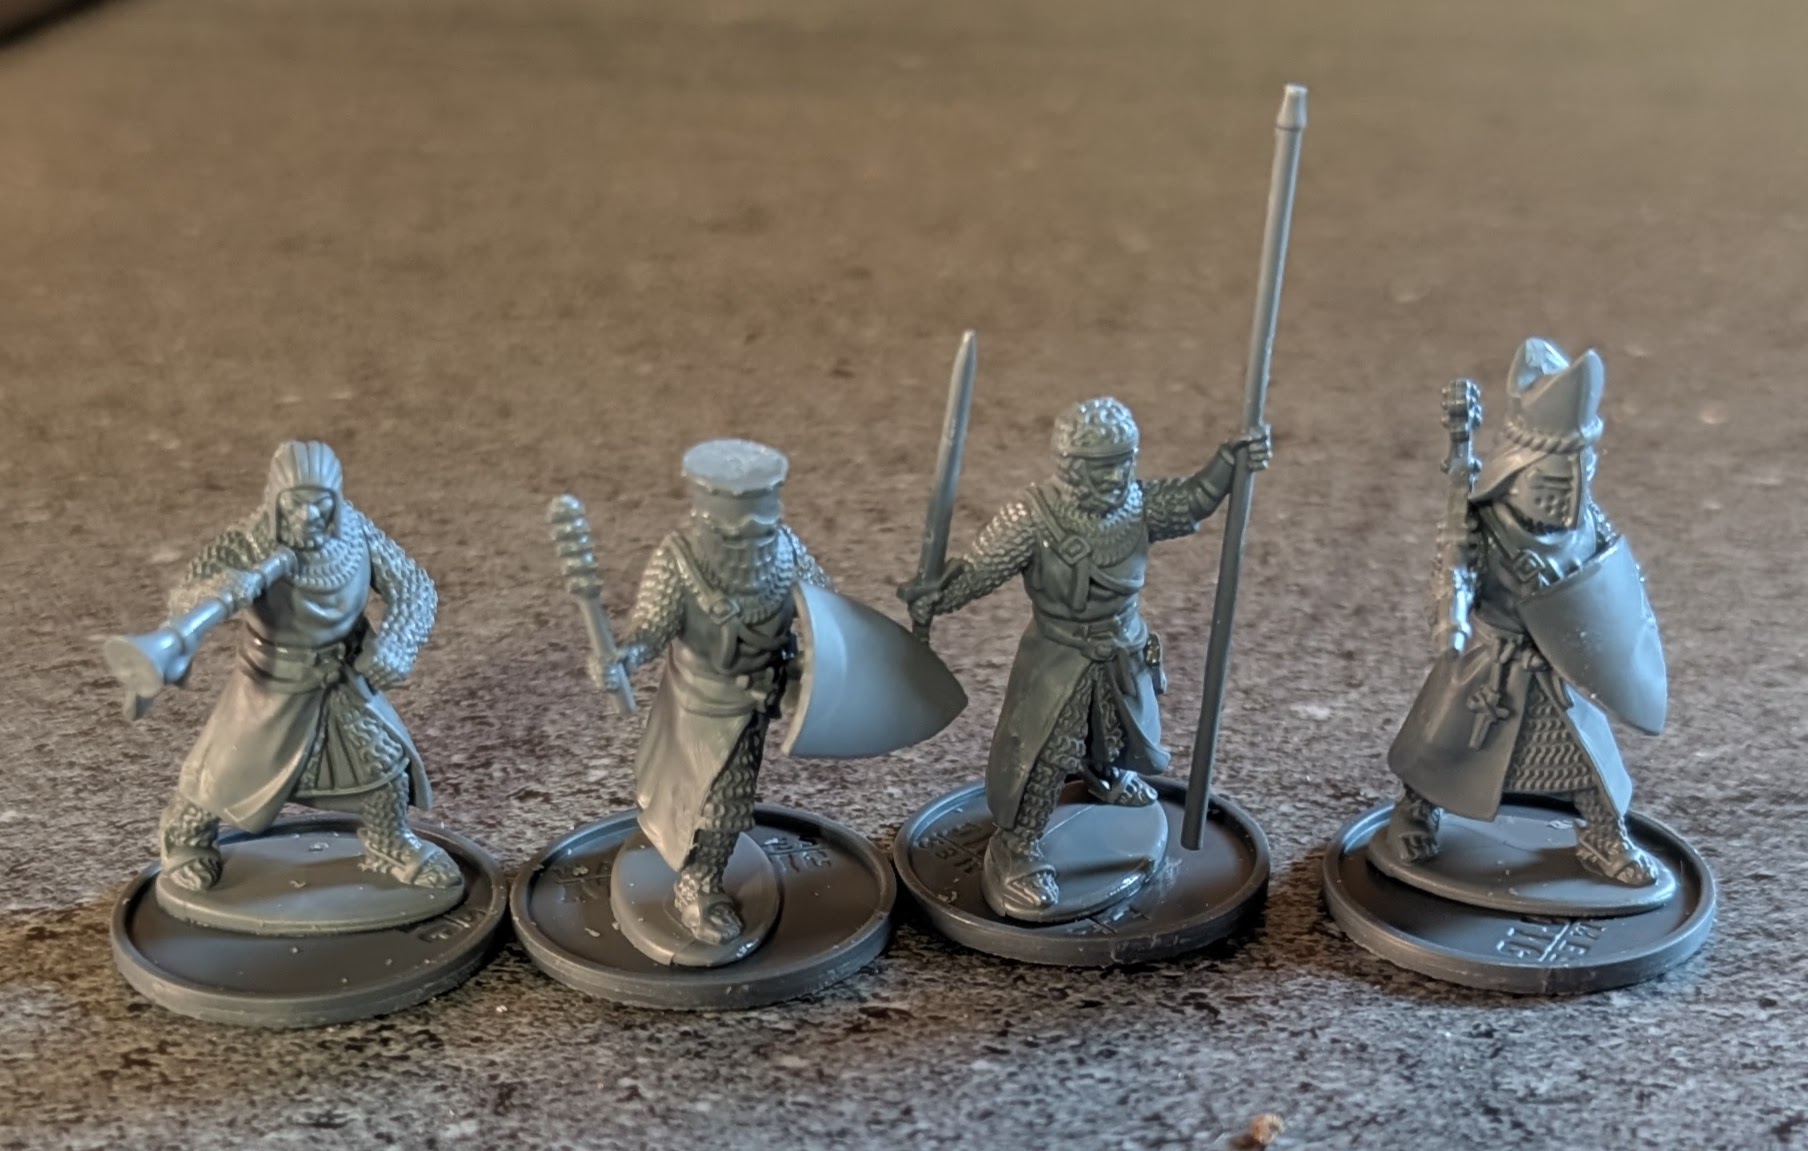 A lovely command group including a bishop
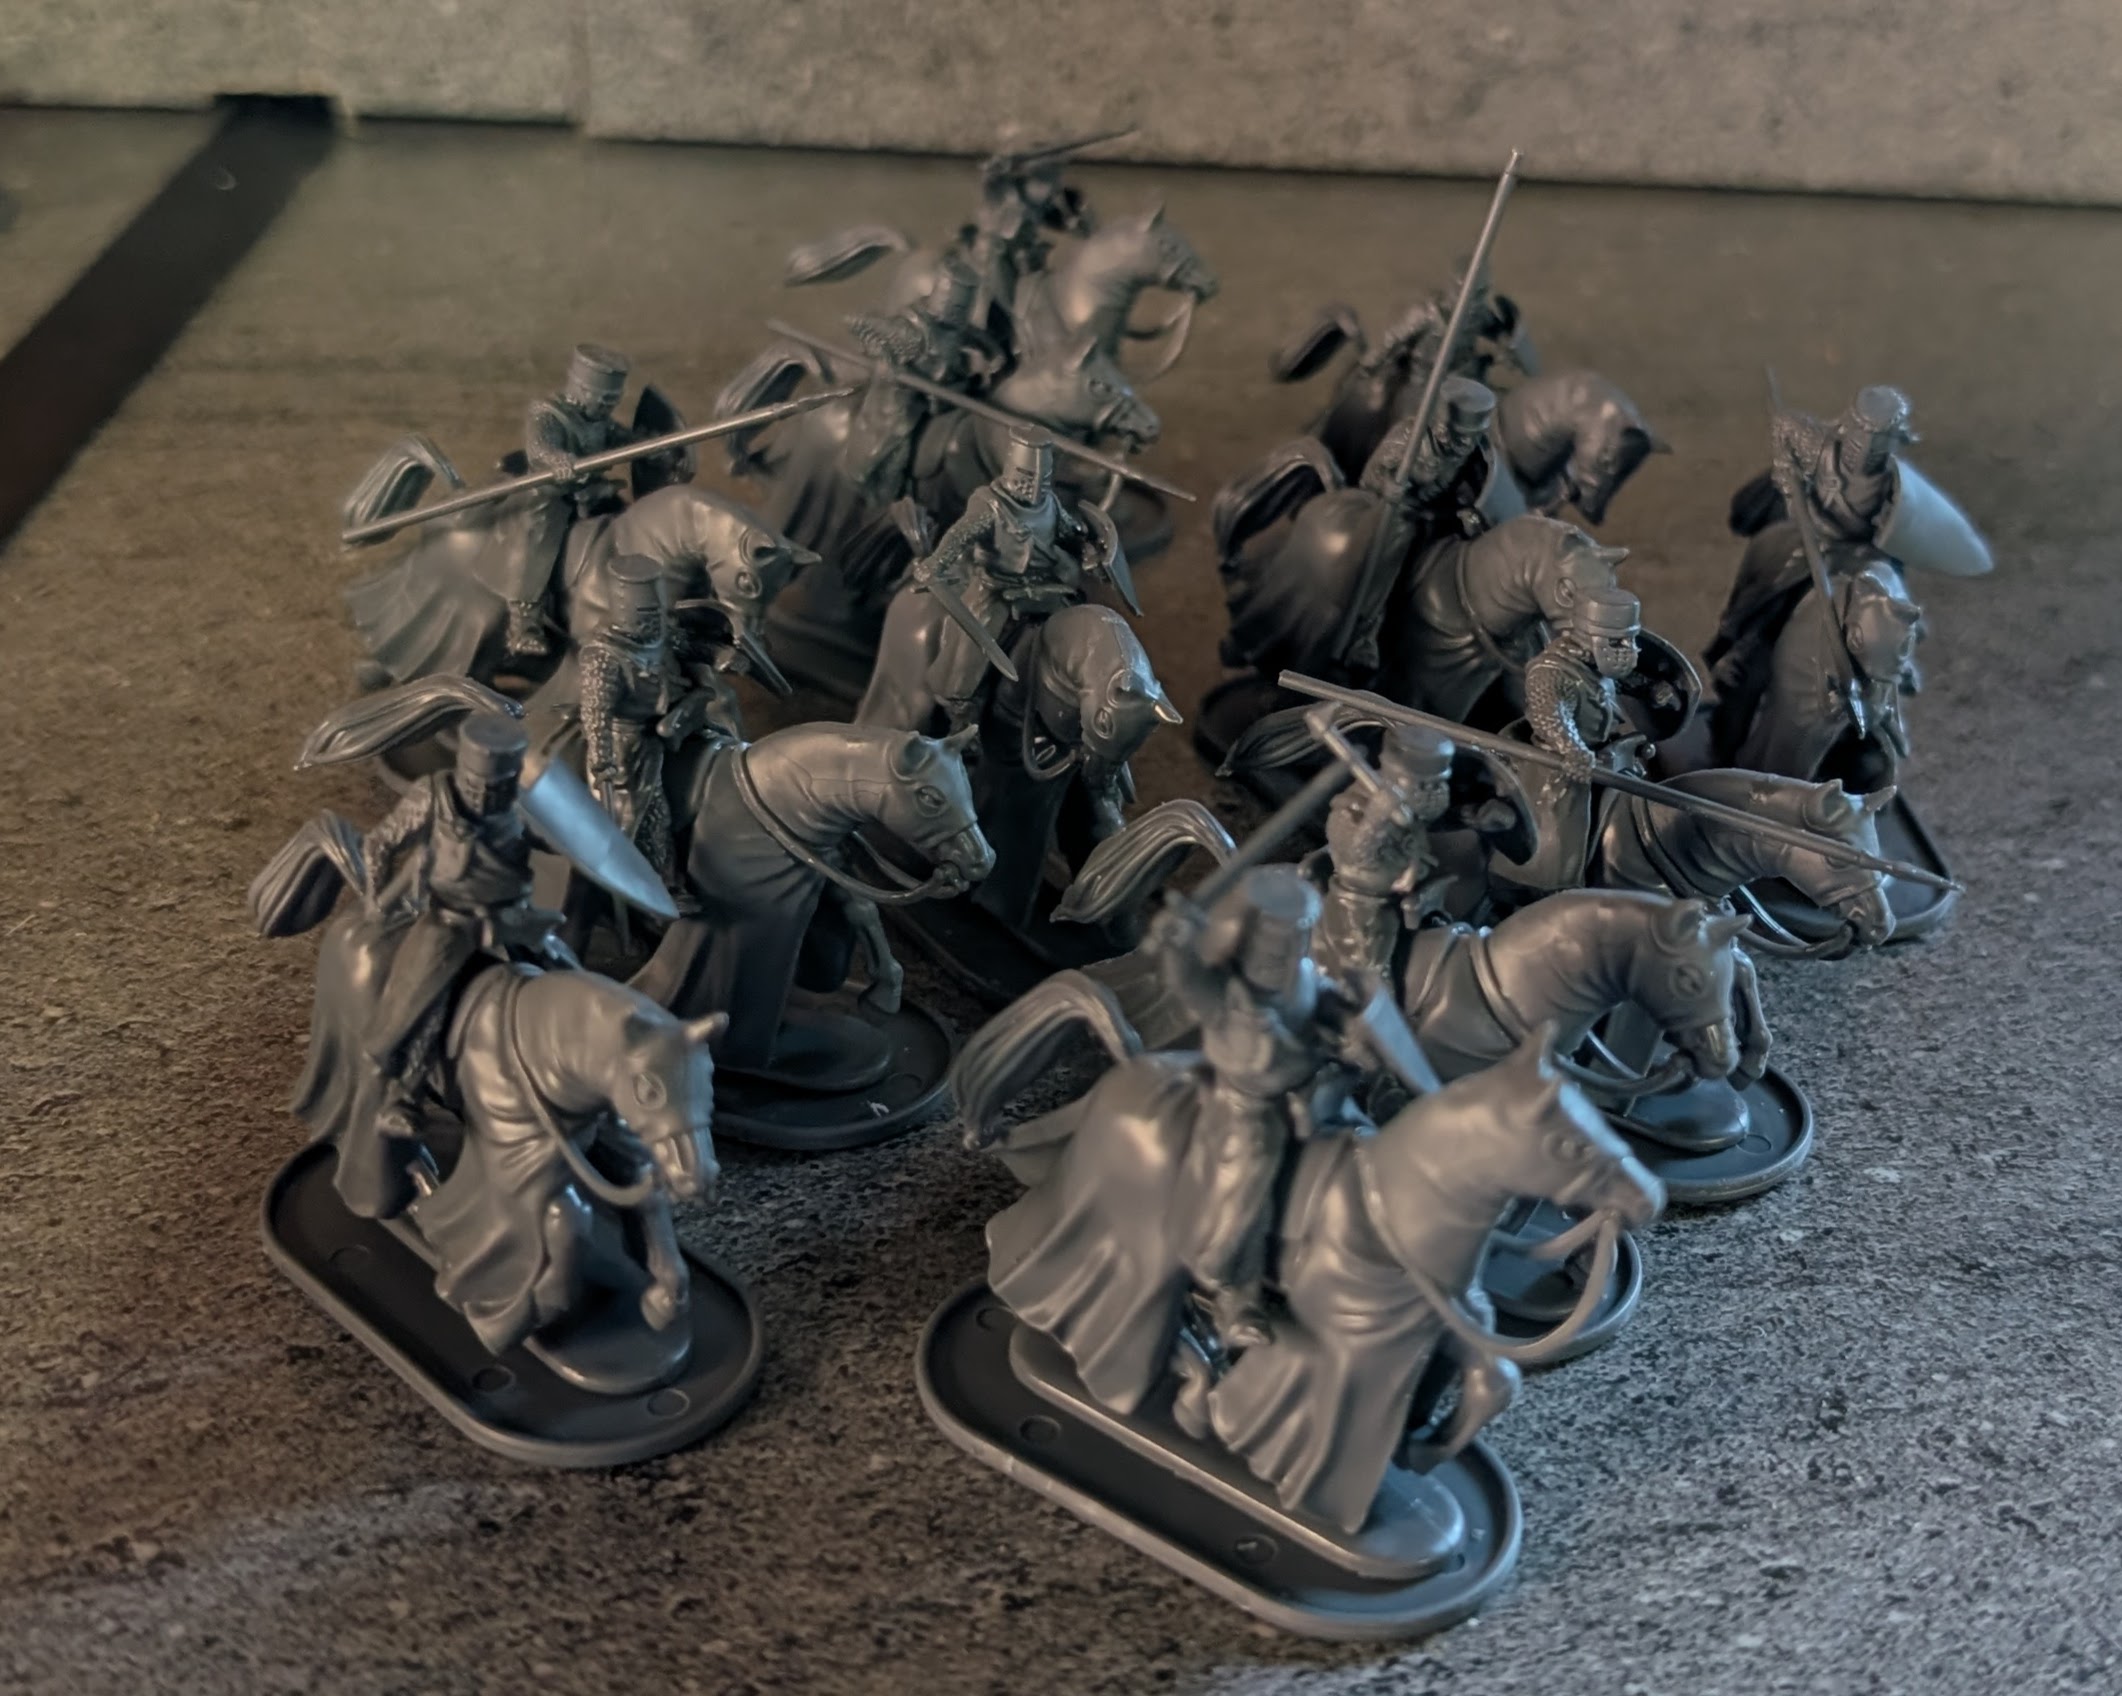 Some mounted knights, variously armed with lances and swords
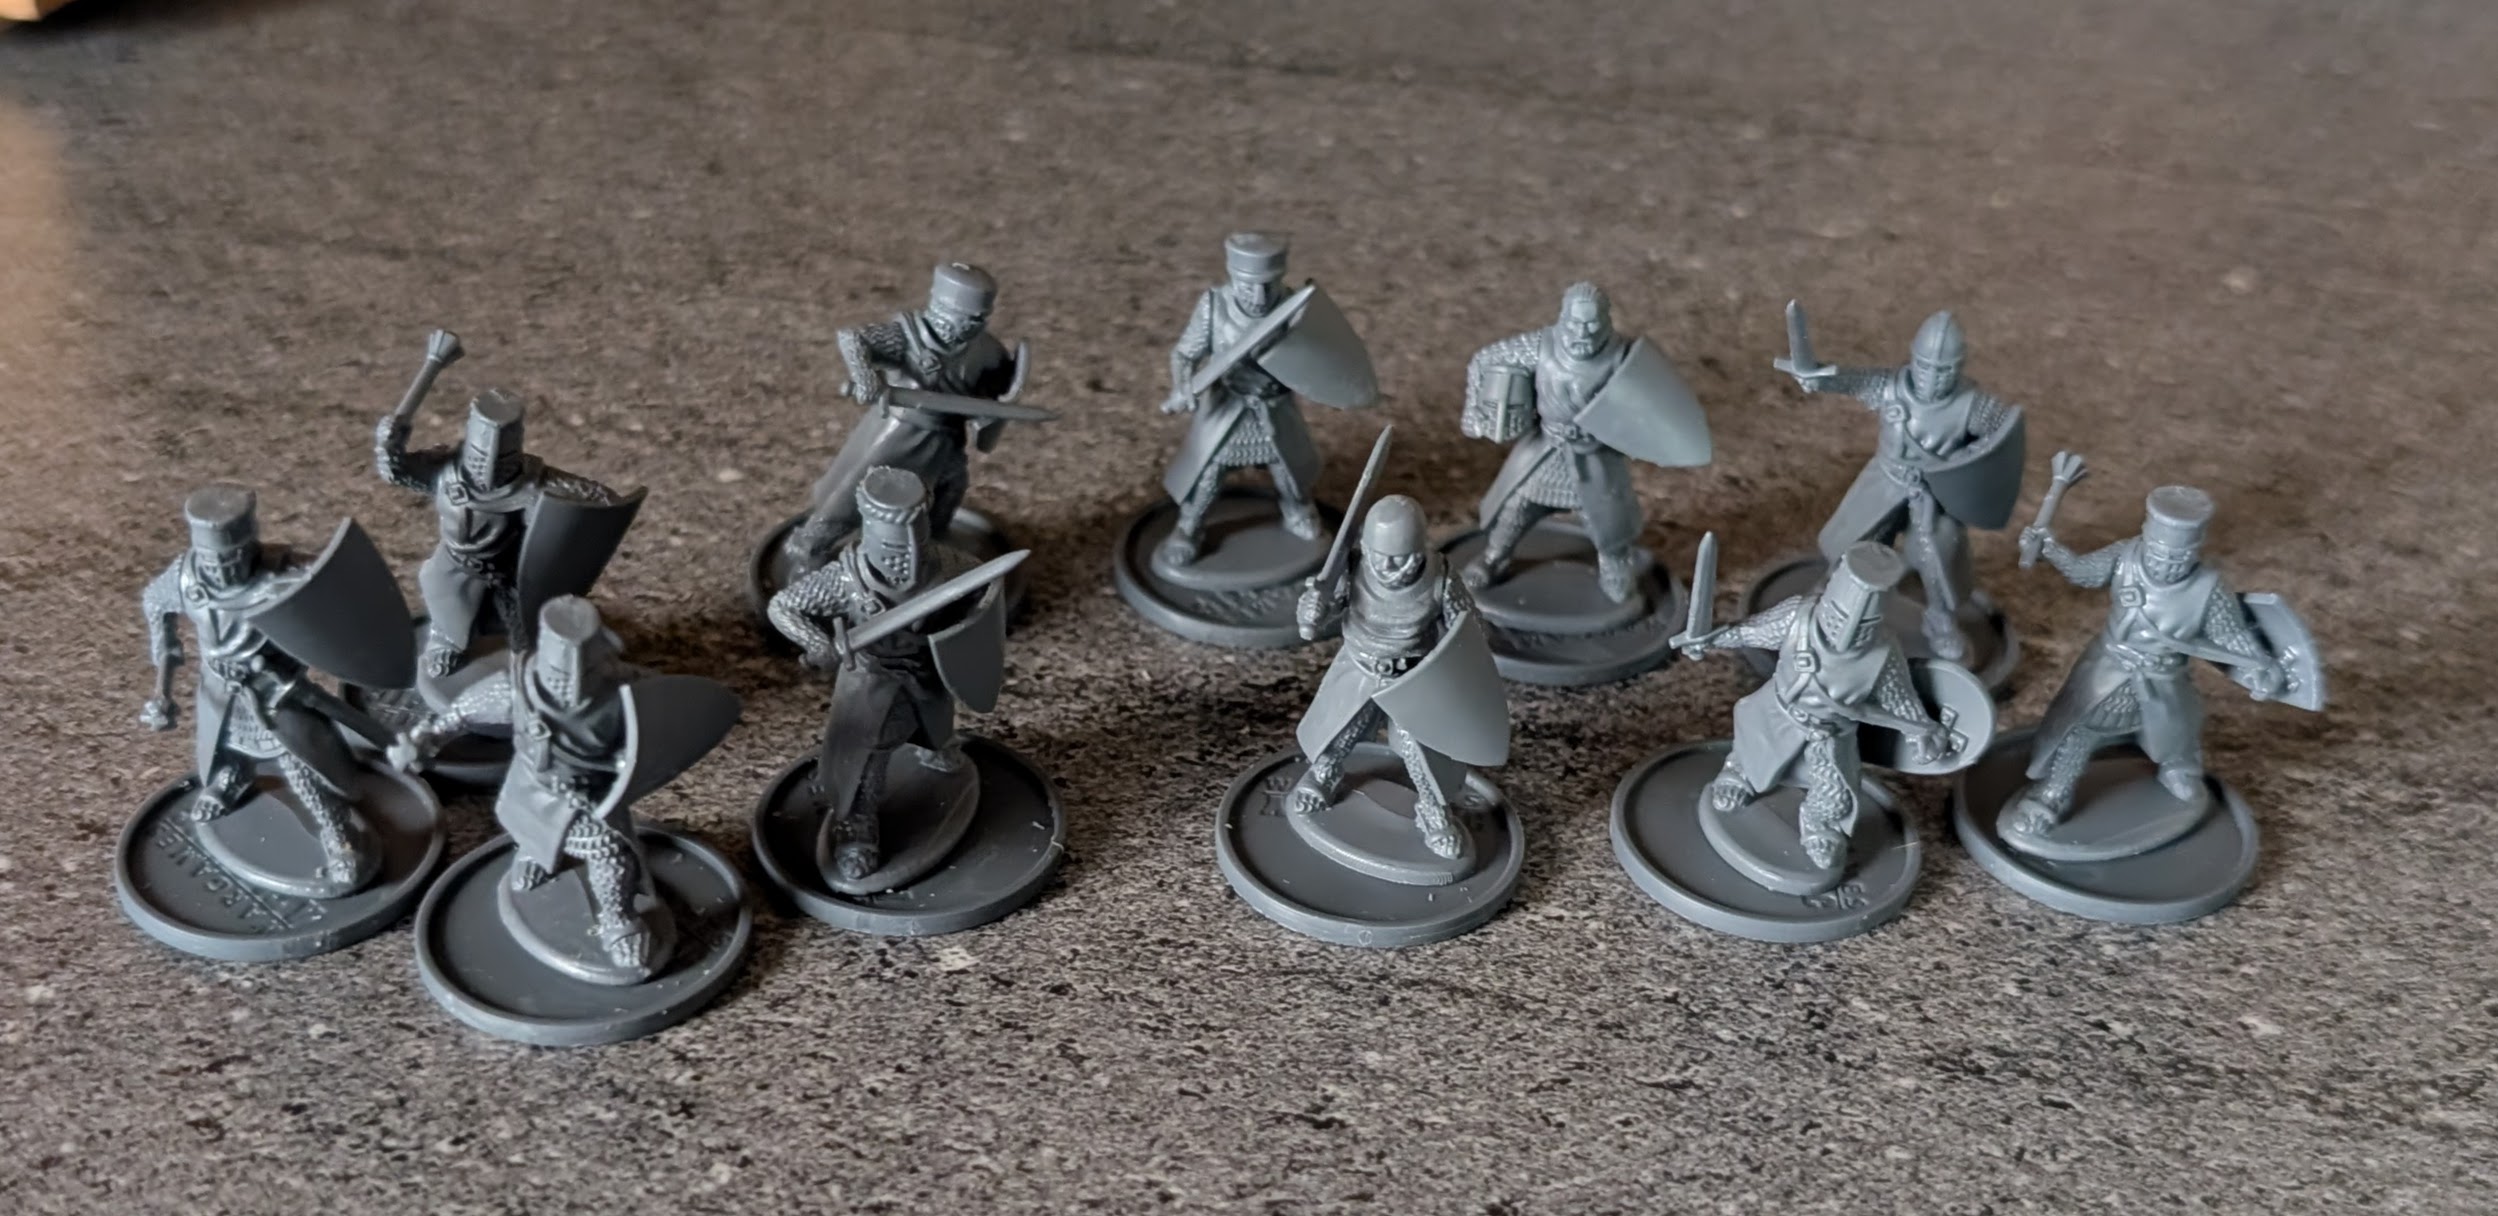 Knights who have lost their horses armed with either swords or maces
The Serjeants
To add a little backbone to the lowly peasants, I’ve got some serjeants armed with,
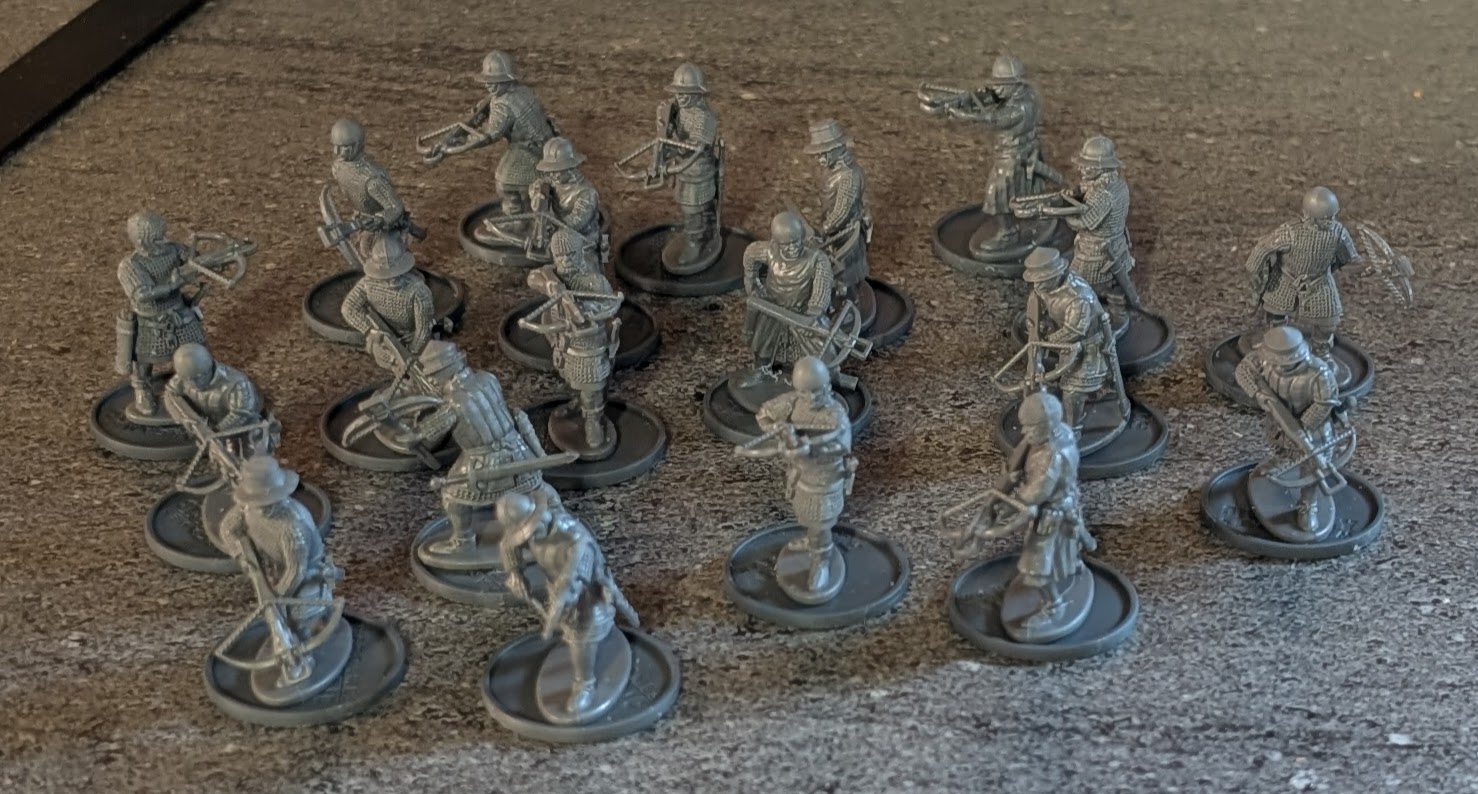 Crossbows. Lots of crossbows
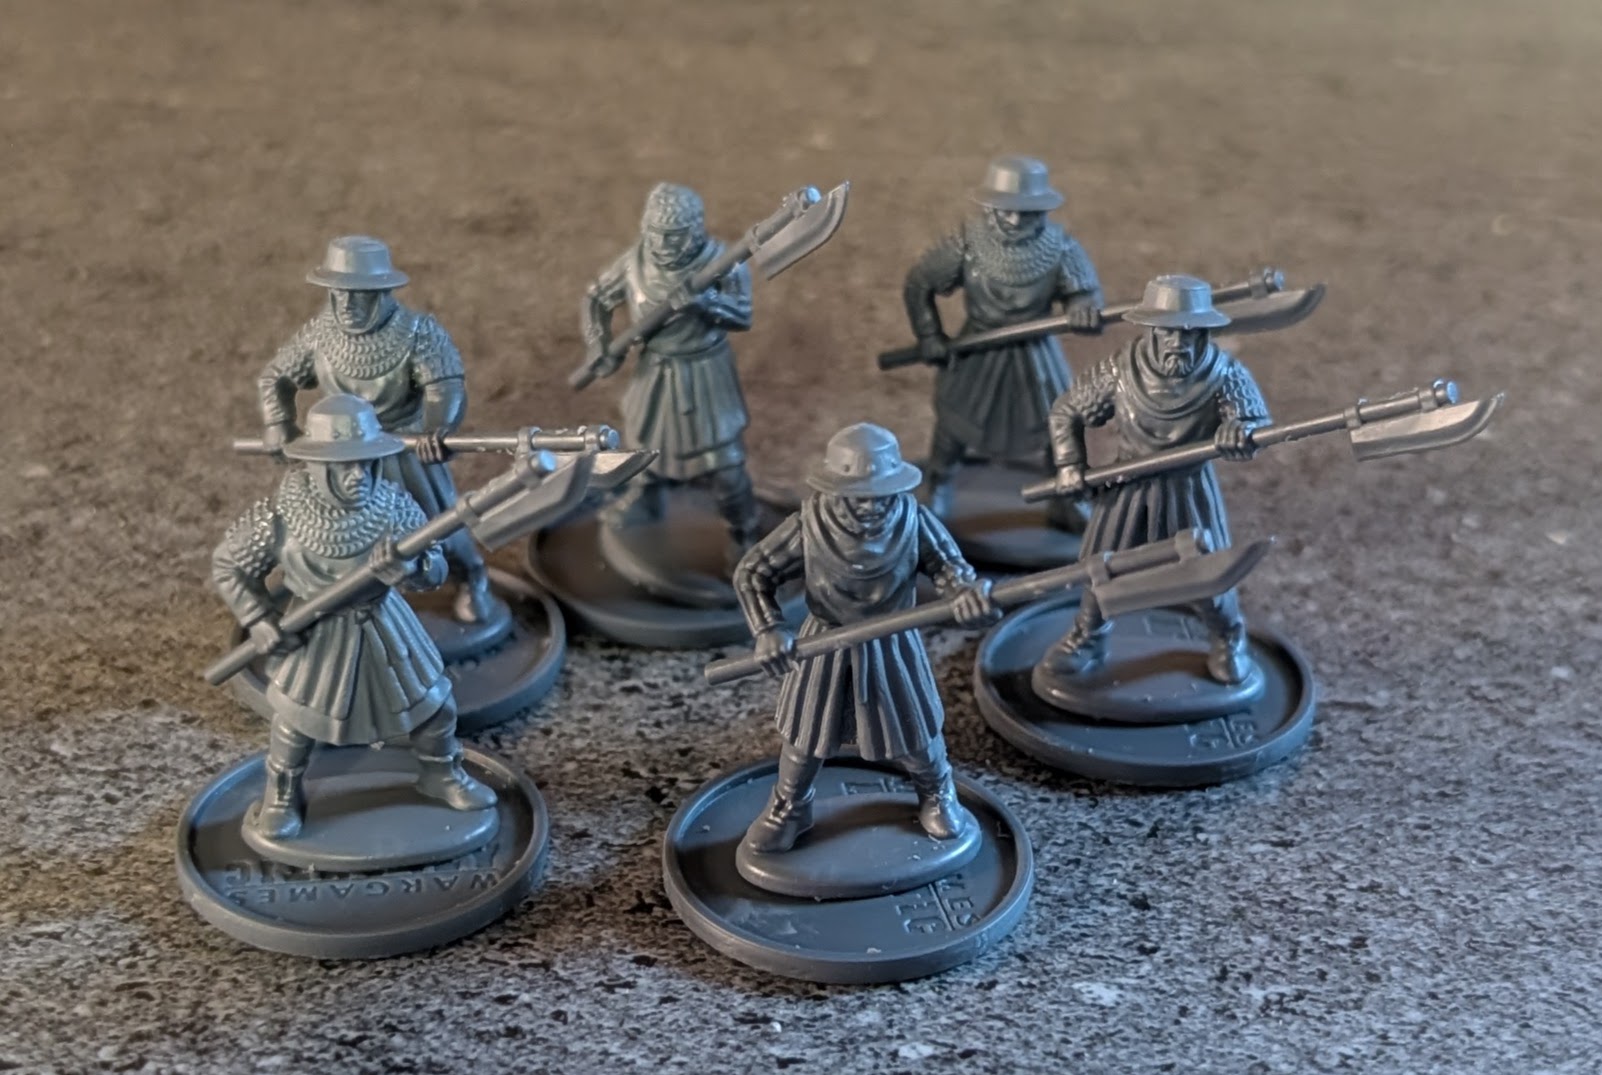 Pointy sticks that can also do choppy, hacky death as well as pointy death
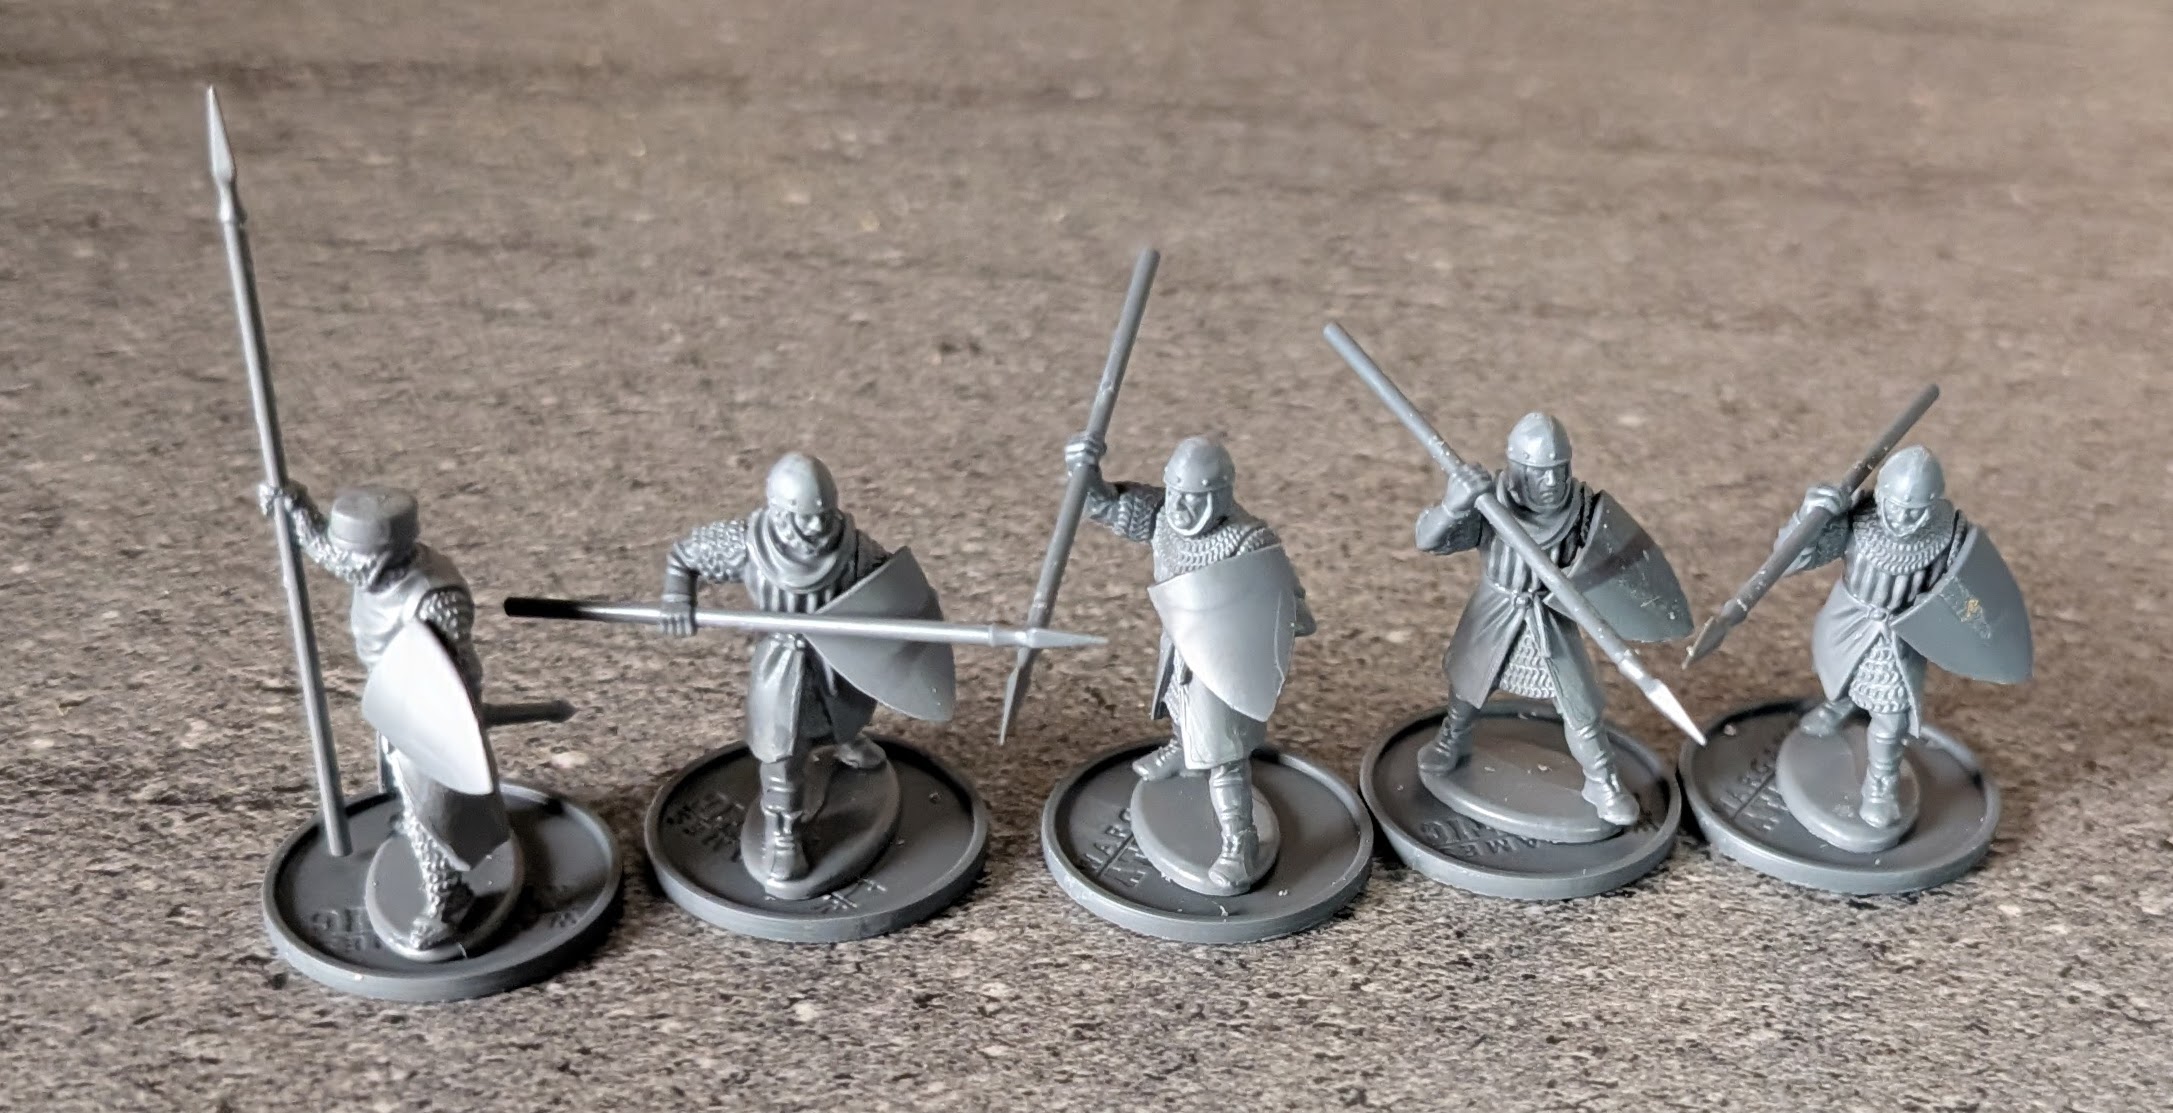 Pointy sticks, but as these fellas are better than the peasants, they get a shield as well
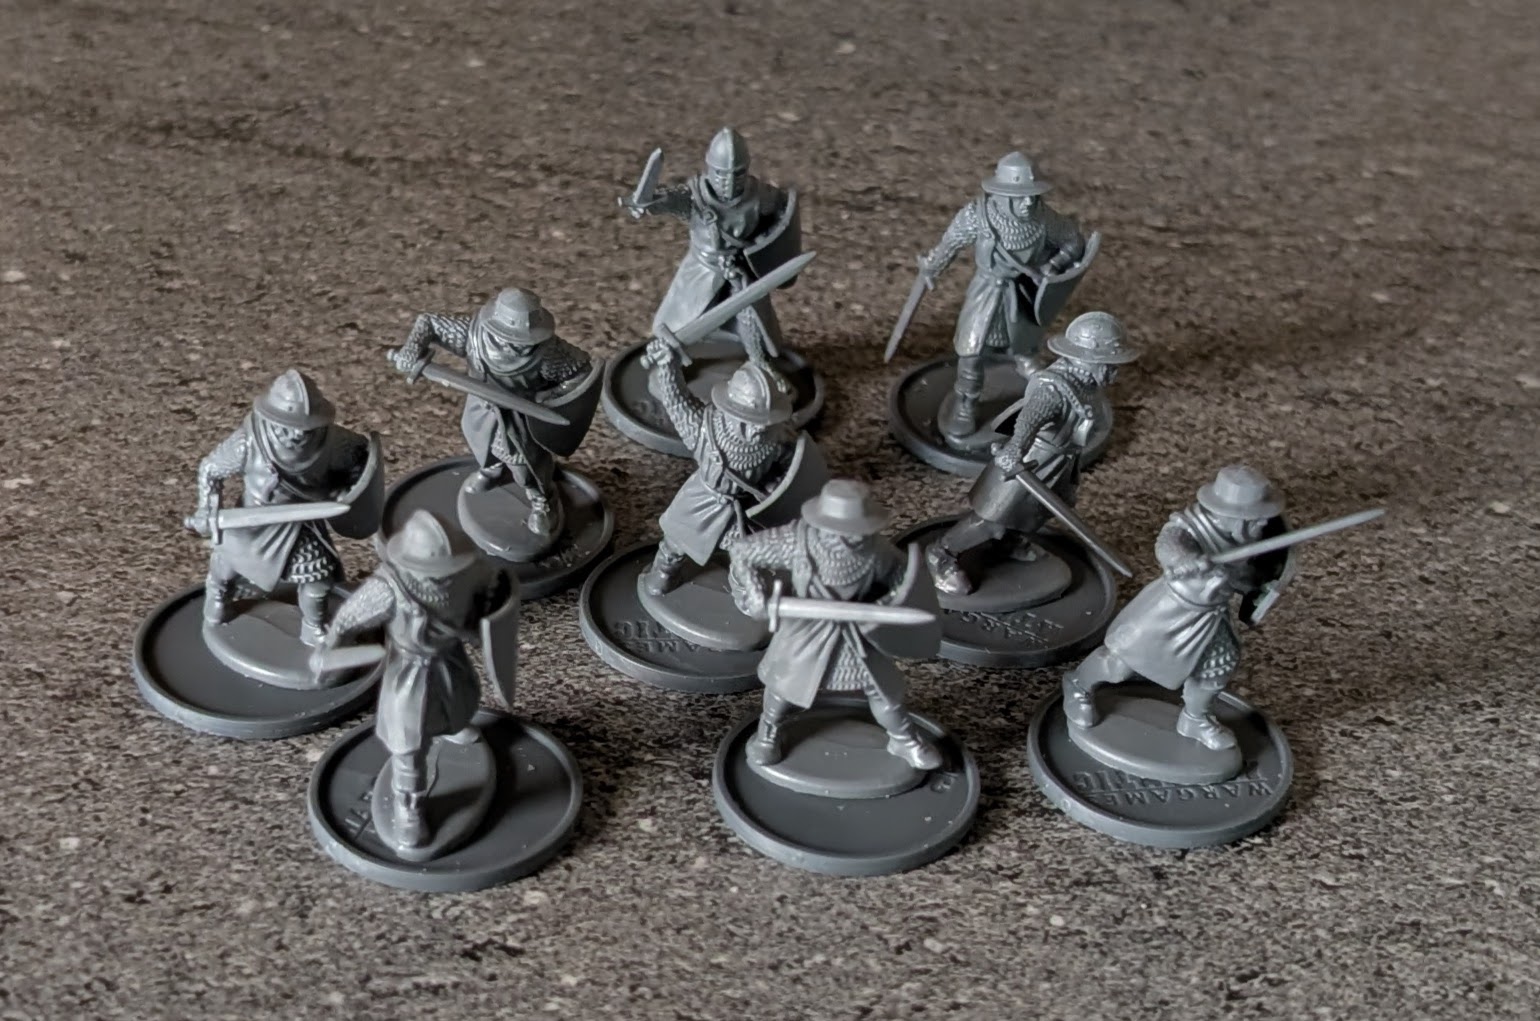 Boring old swords

![Battle It Out In The Early War With New Flames Of War Set [Updated]](https://images.beastsofwar.com/2026/10/fow-barbarossa-cover-600-338.jpg)