







When Doom Came To Minas Tirith




Recommendations: 128
About the Project
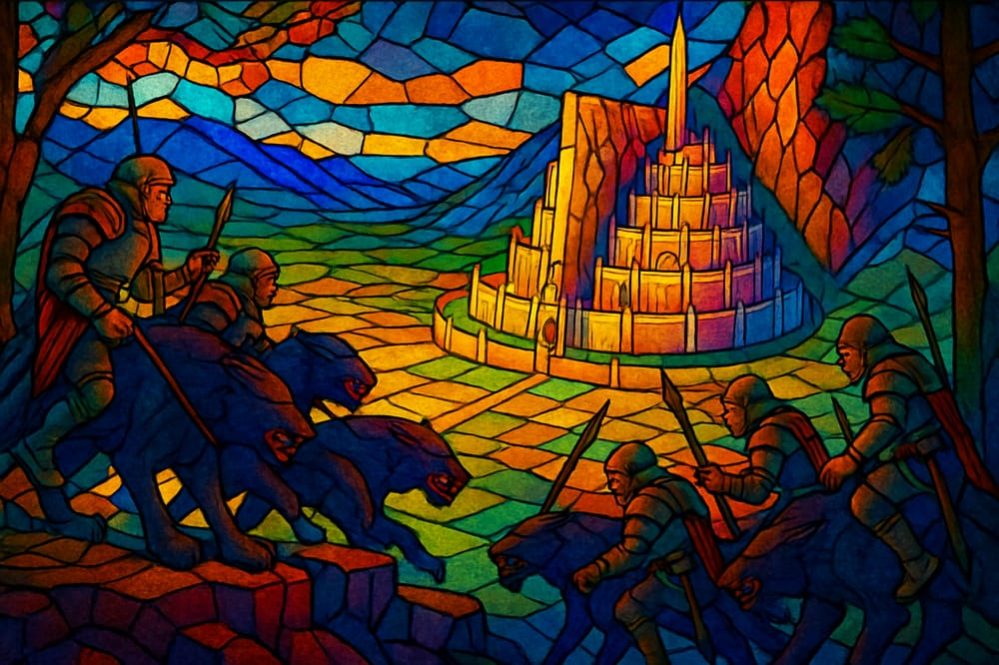
This is a project I have wanted to do for a few months now. I have taken so long to start because I wanted to finish a couple of projects before starting this one. This is essentially an exercise in basic 'forced perspective'. The idea was actually placed in my mind by our own @sundancer! There was a review of some 10mm miniatures and Sundancer could not help himself and cracked a silly joke about how far away the miniatures were - I know, I know! Nonetheless, I immediately thought of an old idiom my grandpa used to say, 'there’s a pony under that pile of shit.' And that is how the seed of an idea was planted in my mind. The scene depicts the day before 'The Battle of the Pelennor Fields,' as the orcs finally see their coveted prize - the splendid White City of Gondor. This will be the biggest diorama I have ever made in size and number of miniatures involved. Hopefully it wont be the worst.
Related Game: Middle-Earth Strategy Battle Game
Related Company: North Star Military Figures
Related Genre: Fantasy
This Project is Completed
The Project Begins
Hi everyone,
This is a new diorama that I am starting, where I try my hand at forced (or false) perspective. This is also the biggest diorama I have ever done in size and number of miniatures involved. As I have written in the brief to the side, the idea for this project was actually planted in my head by @sundancer when he made a wisecrack about 10mm miniatures being far away.
Before I even started working on the diorama, I looked for the models to use. I strictly wanted to use miniatures and models that are not made by Games Workshop. The miniatures are from Northstar, Grenadier, Lucid Eye and a few 3D printed miniatures (including the city of Minas Tirith).
In this first post, I built up the basic structure of the layout with polystyrene, air-dry clay and some actual rocks. I then add some figures to show what I am trying to achieve.
I will let the pictures tell the rest.


 A selection of non-GW miniatures.
 A mock-up of what I am trying to achieve. There will be more miniatures and probably in differnt places.
That is all for now. With my next post, I will try to finish the modelling of the mountains behind the city of Minas Tirith.
Until then, stay safe and have fun,
NR.
More Work On The Base
Hi everyone,
After some feedback online and from some fellow modellers at my club, I decided to do some modifications to the base to insure that the city becomes more prevalent when viewed from the front. This is the great thing with critique and feedback – if you are mature enough to take it – it makes you stop and think.
I raised the city slightly and widened the gap between the ridges in the forefront. This does help a lot. I then went on to build the relief of the mountains in the backdrop.
I did the mountains with air-drying clay like Das, Primo or Plus. Personally, Plus is my favourite brand. The company that makes Plus are specialized in clay products and I think the quality difference is there.
I have also started work on the miniatures. I mentioned in the brief that the miniatures are all non-GW. I was looking through my collection and found a 80’s Ogre model from GW’s defunct Citadel Range and I decided to use it in this project. From where I stand it is a Citadel model and therefore not technically GW. I could also be classified and called a hypocrite for this, but I will bear the moniker with pride!
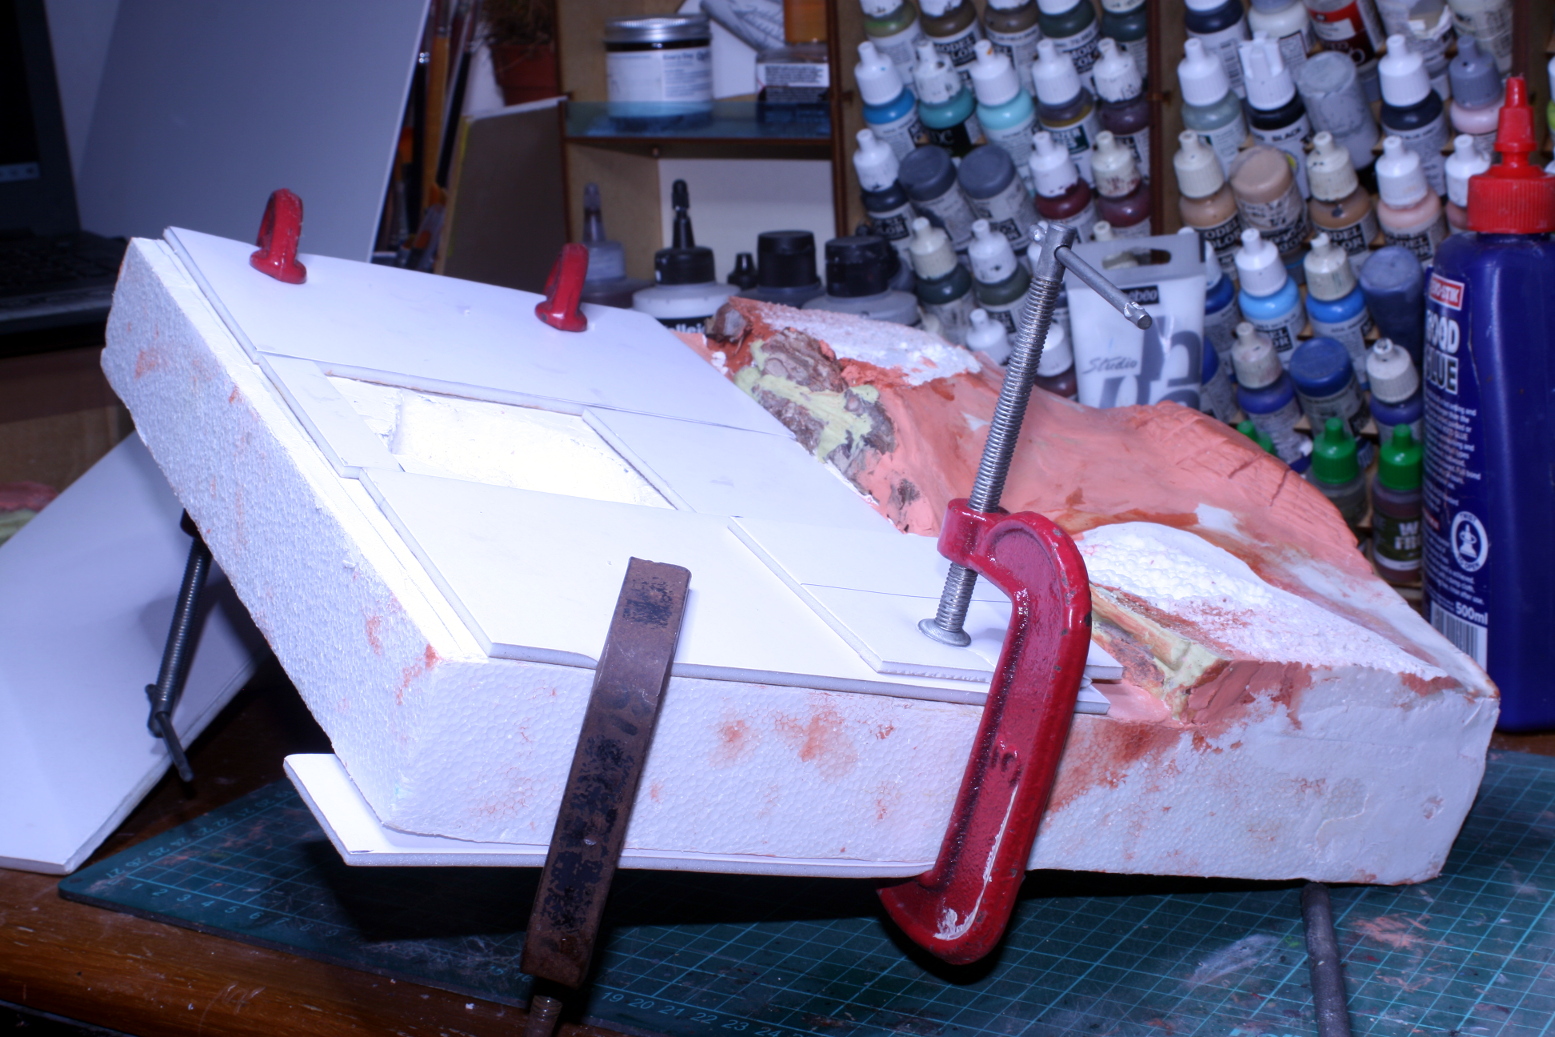 Added mounting board to raise the city.
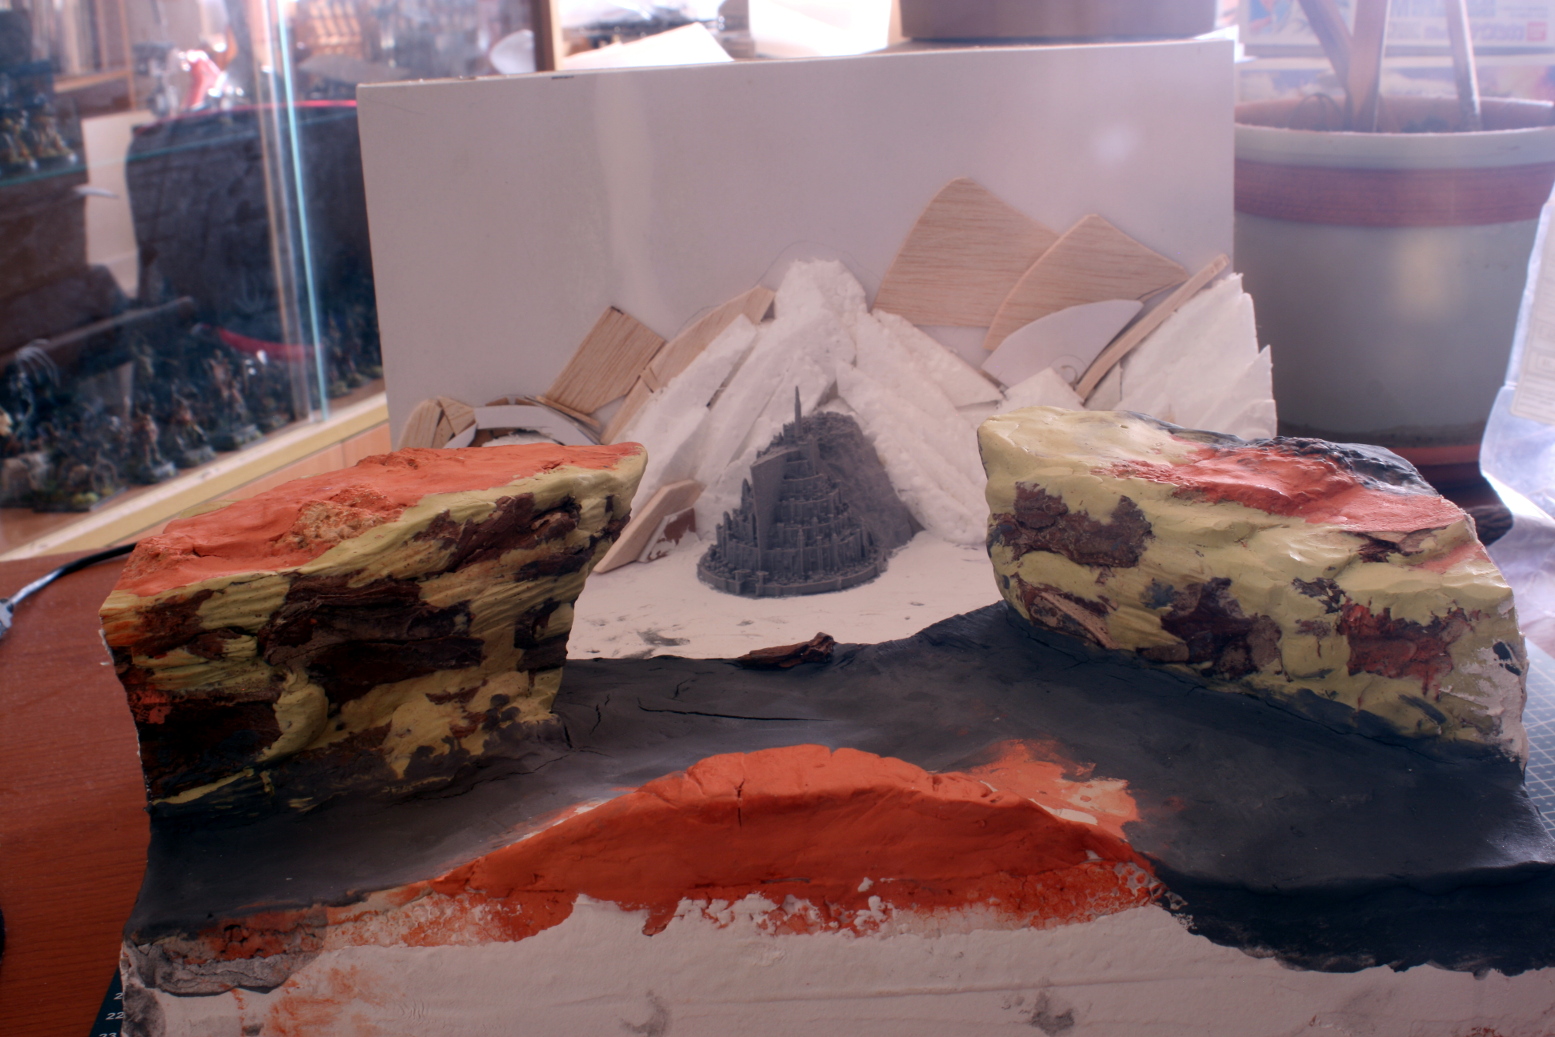 I widened the gap between the front ridges and prepared the base of the mountain relief.
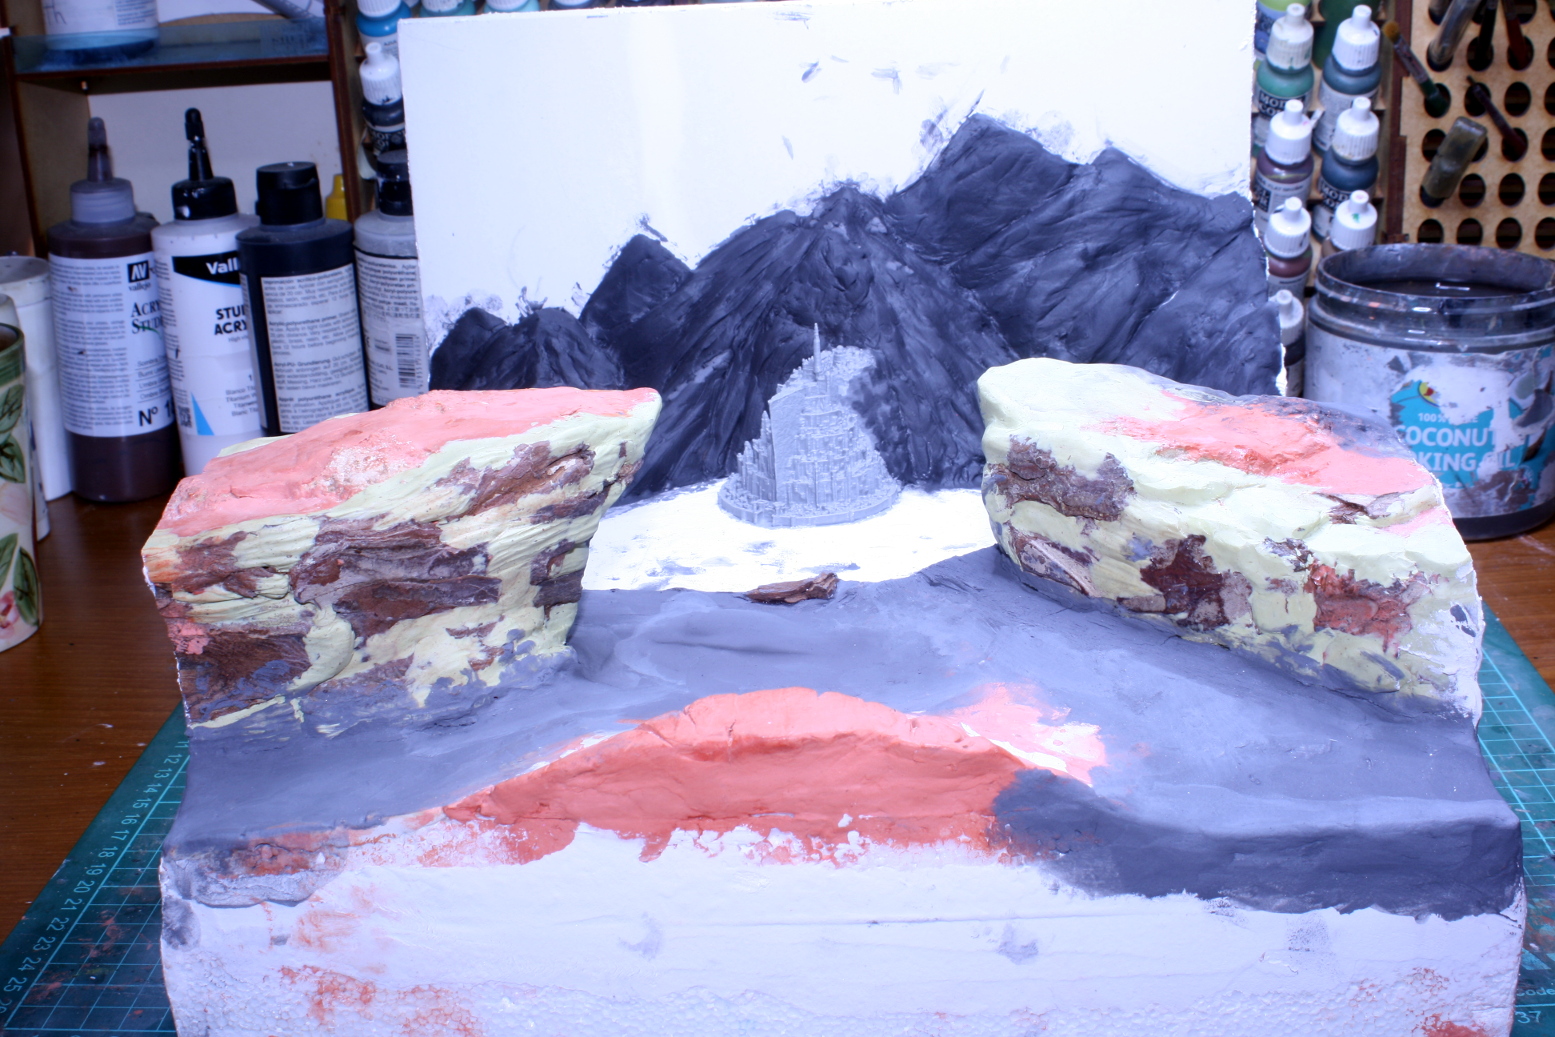 Used air-drying clay for the mountain range relief.
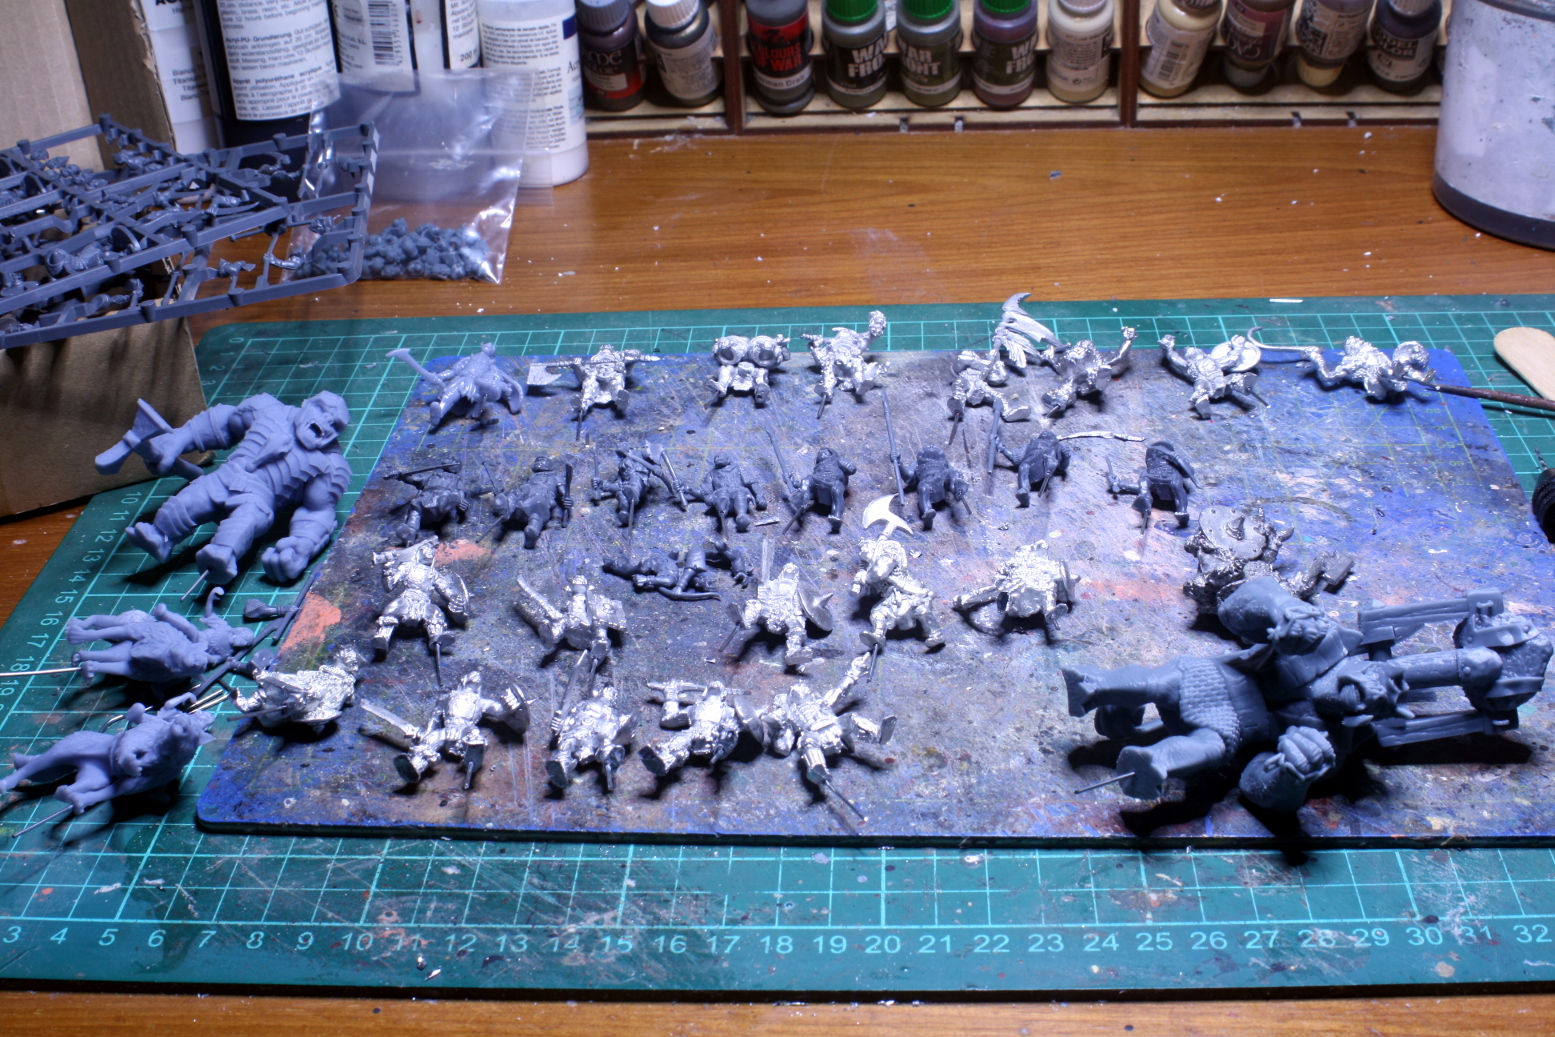 Preparing miniatures for painting.
That is all for now. If the clay dries quickly, I will patch up the cracks and paint it, otherwise I will continue to work on the miniatures.
Until next time, stay safe and have fun.
NR.
Deciding Where The Miniatures Go.
Hi everyone,
I spent the time I had deciding where the miniatures will go, and modifying the terrain to accommodate the figures. Since the clay has dried and all the cracking has come out, I went back in and sealed the cracks with putty or more clay.
I decided not to add more figures, but left the amount as I had originally decided after some feedback and comments I received. Thank you for the constructive critique.
Now that the figures are all in place and fitted in, I can continue with the work on the base.
Until next time,
NR.
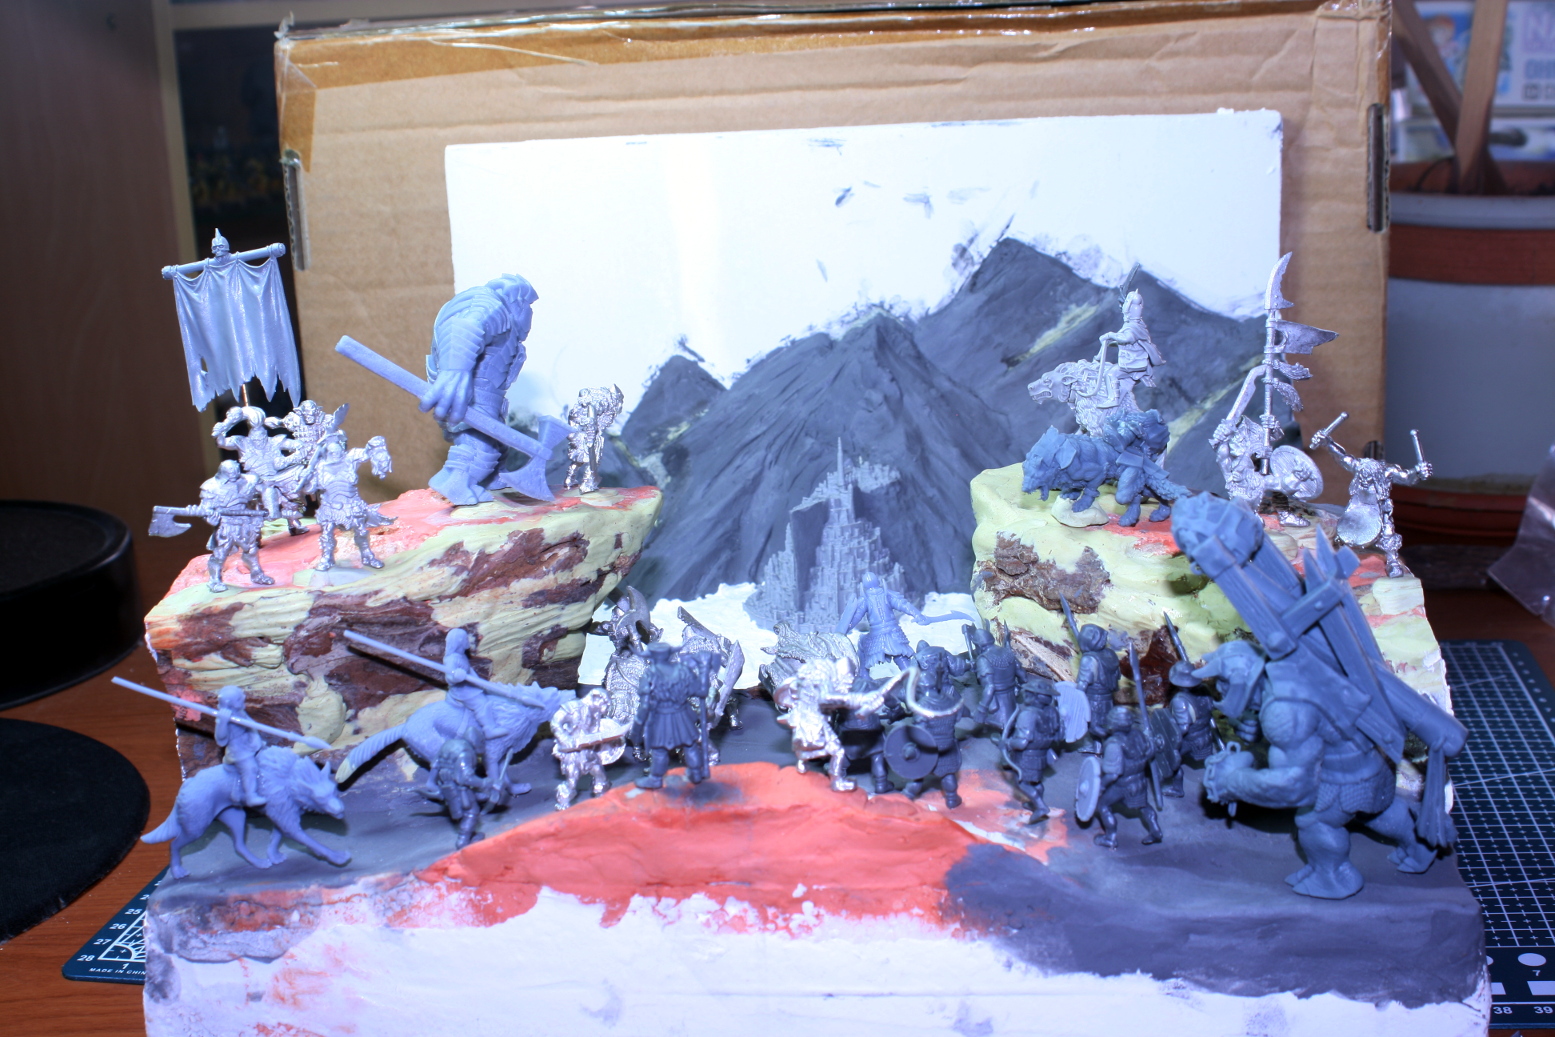
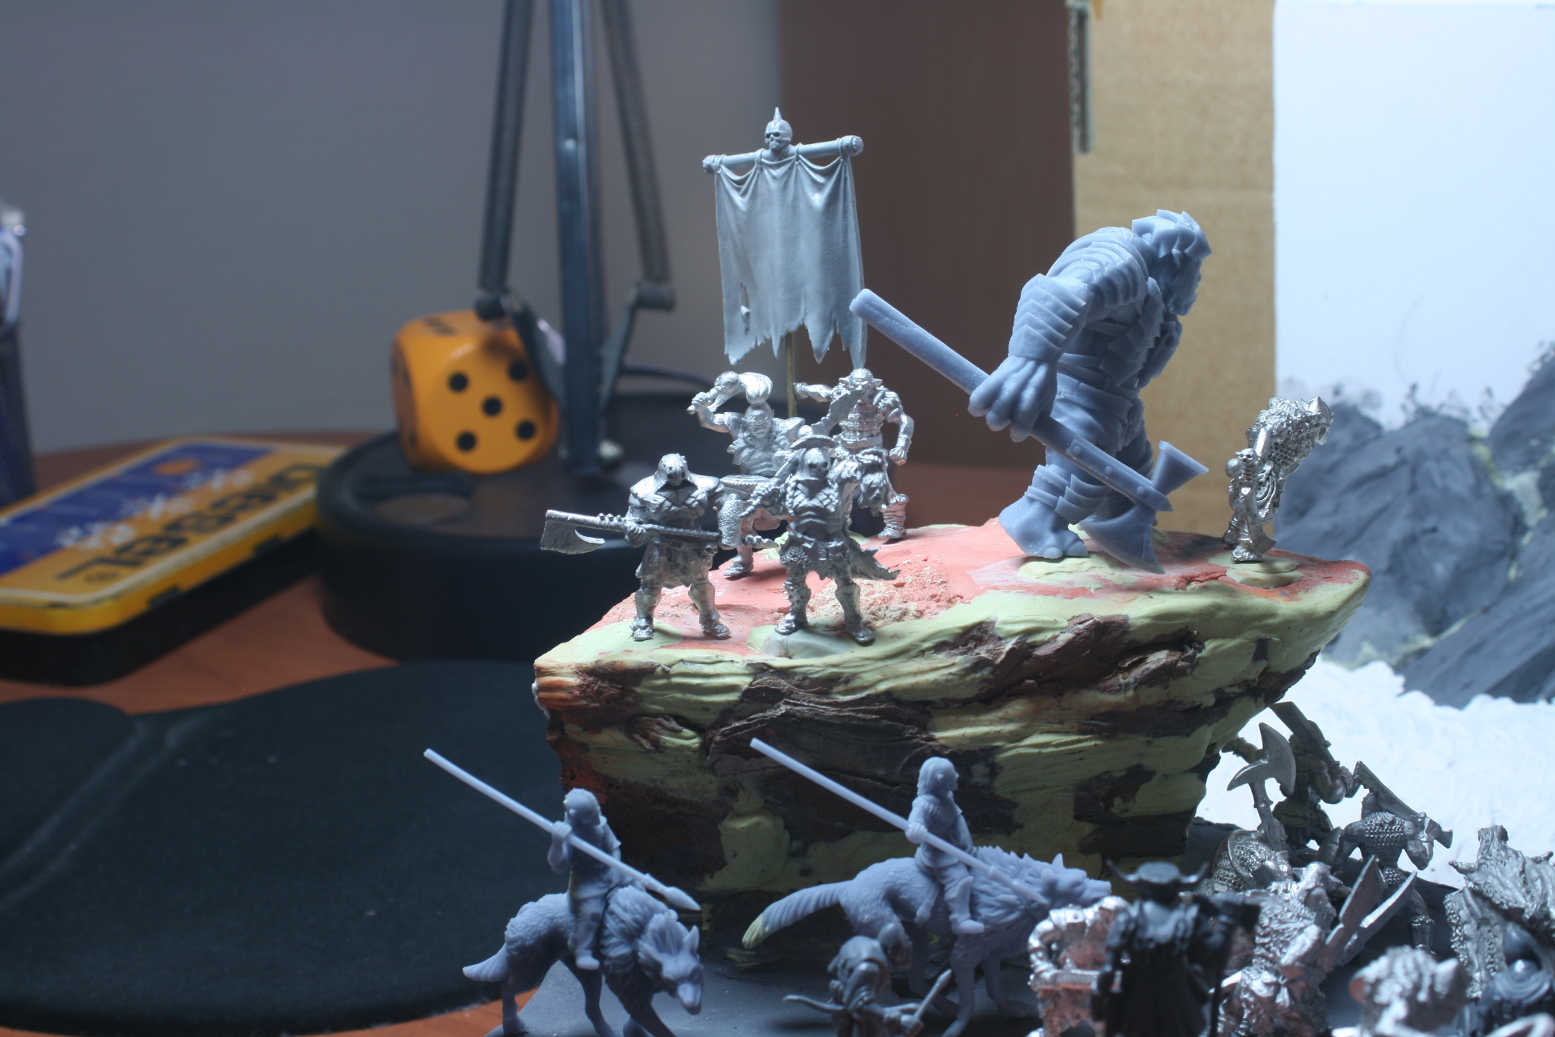
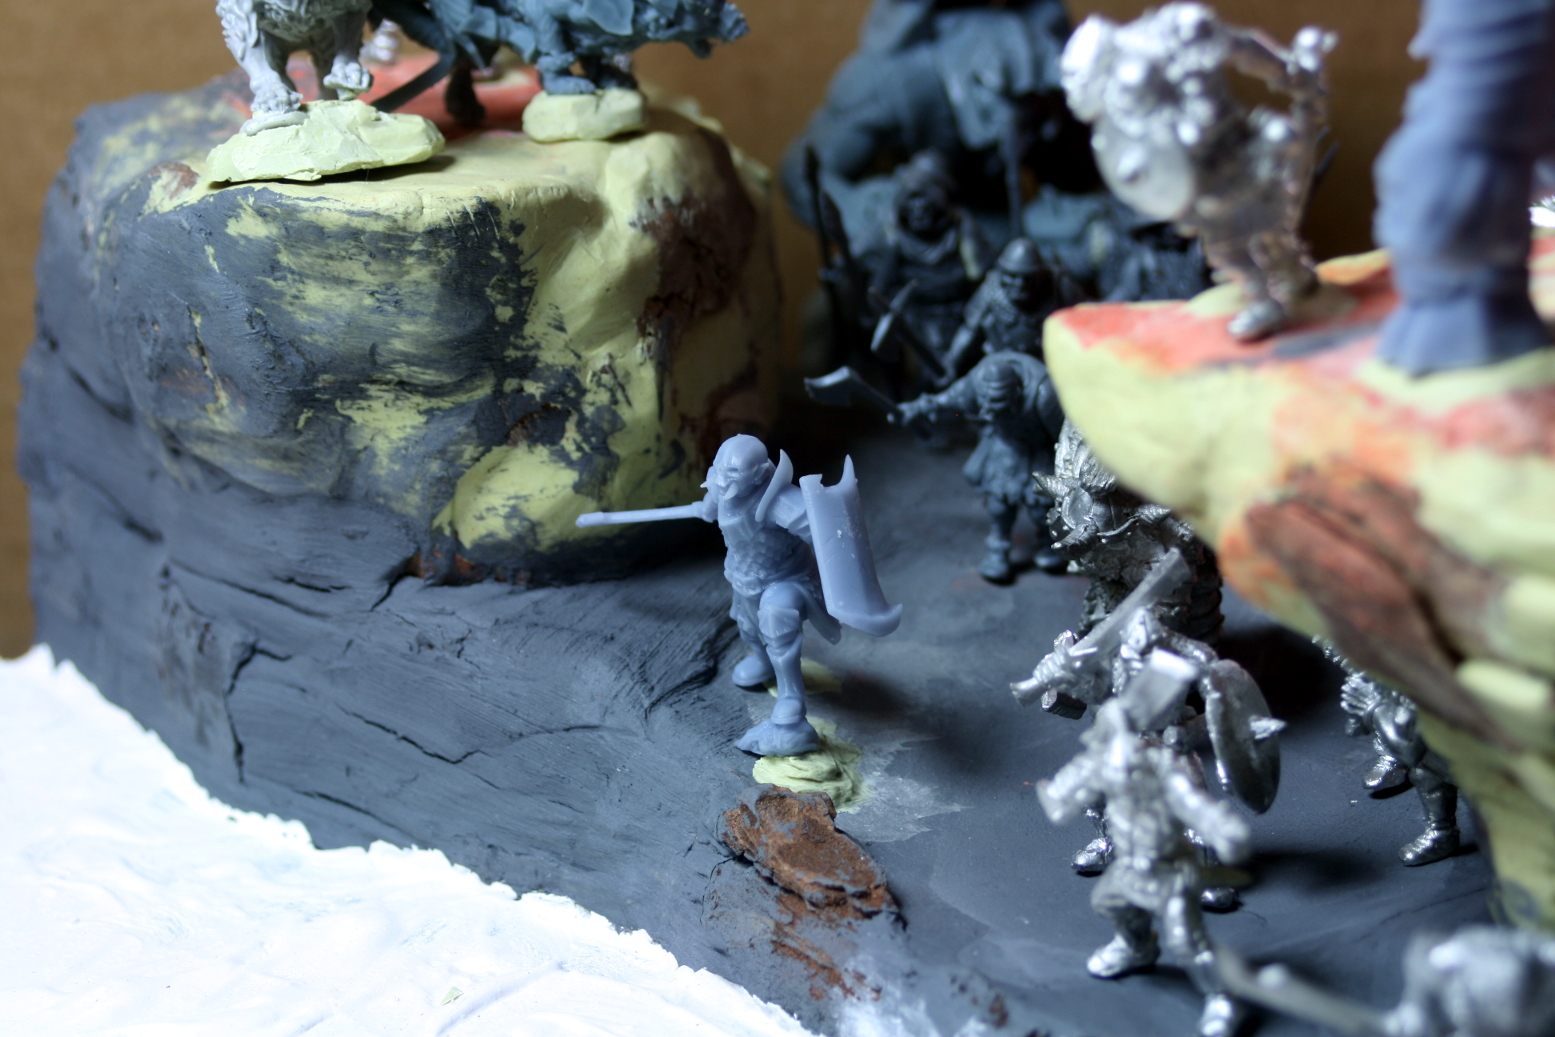
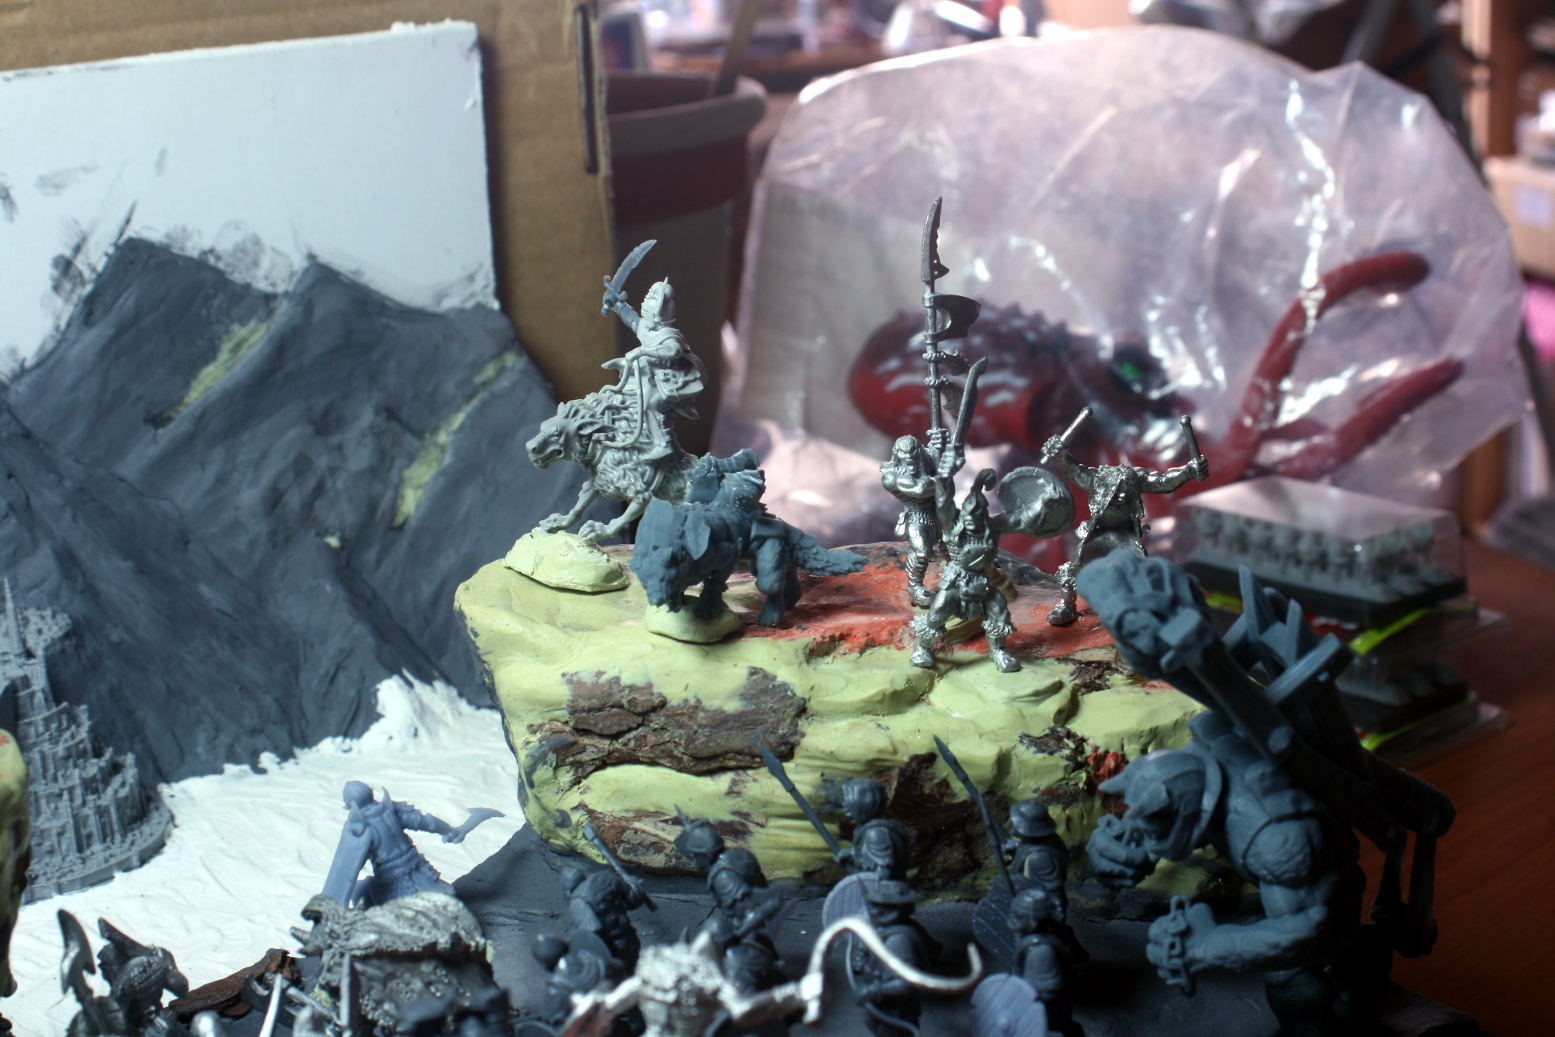
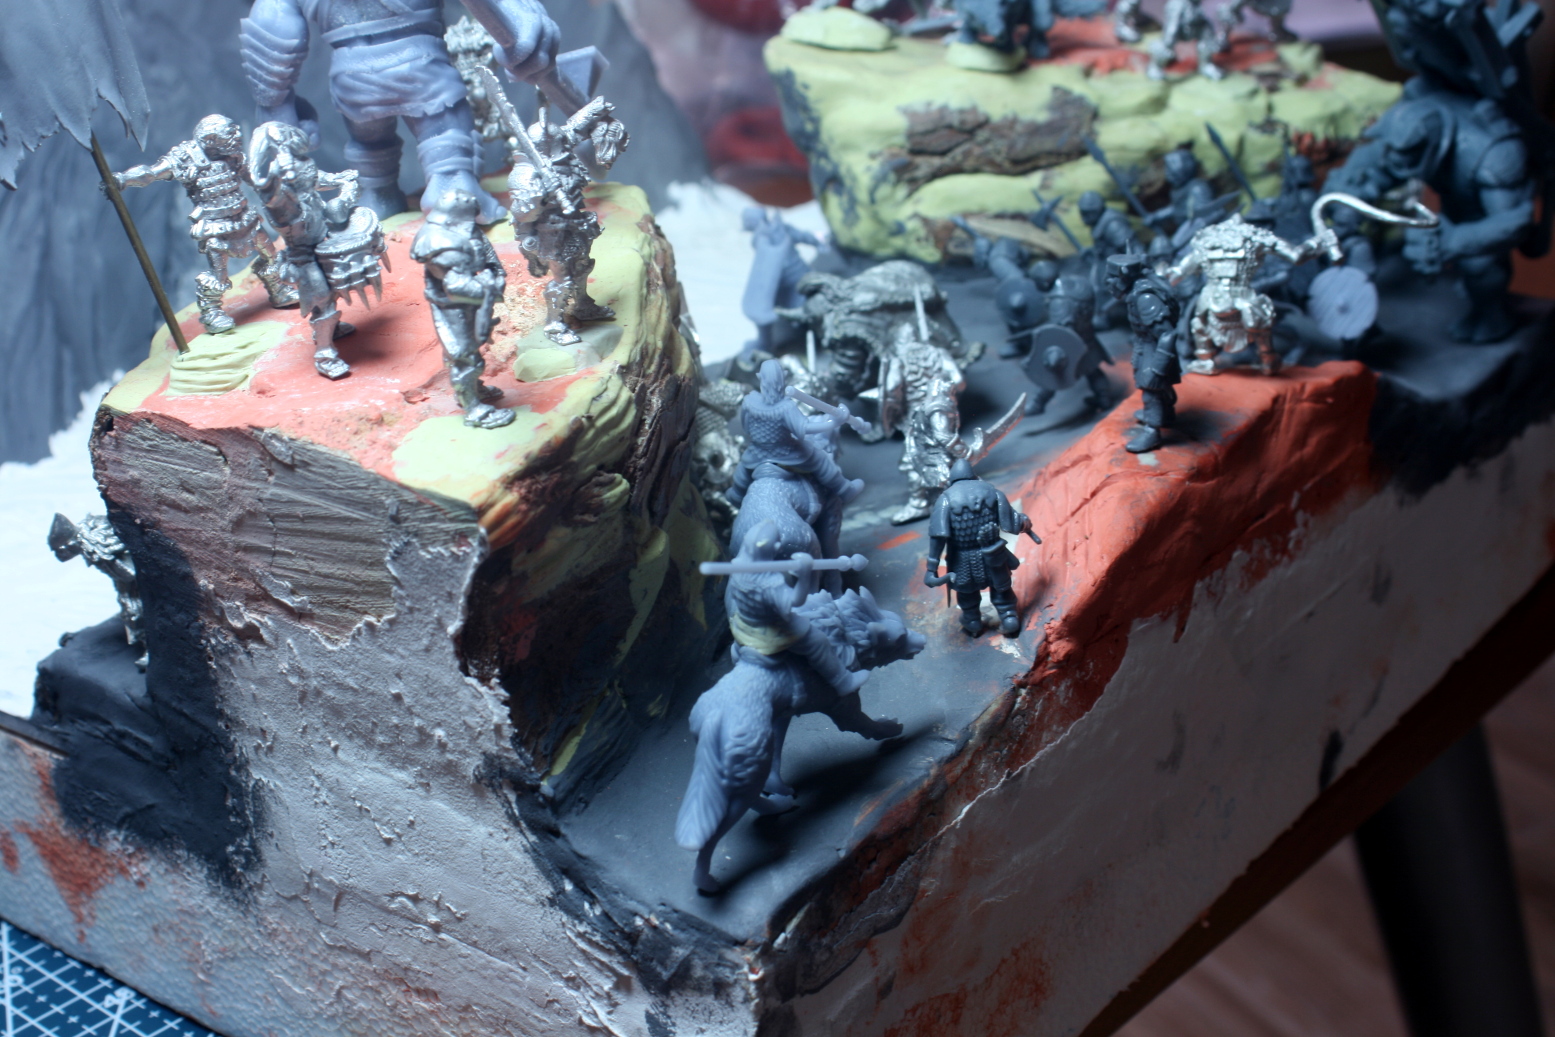
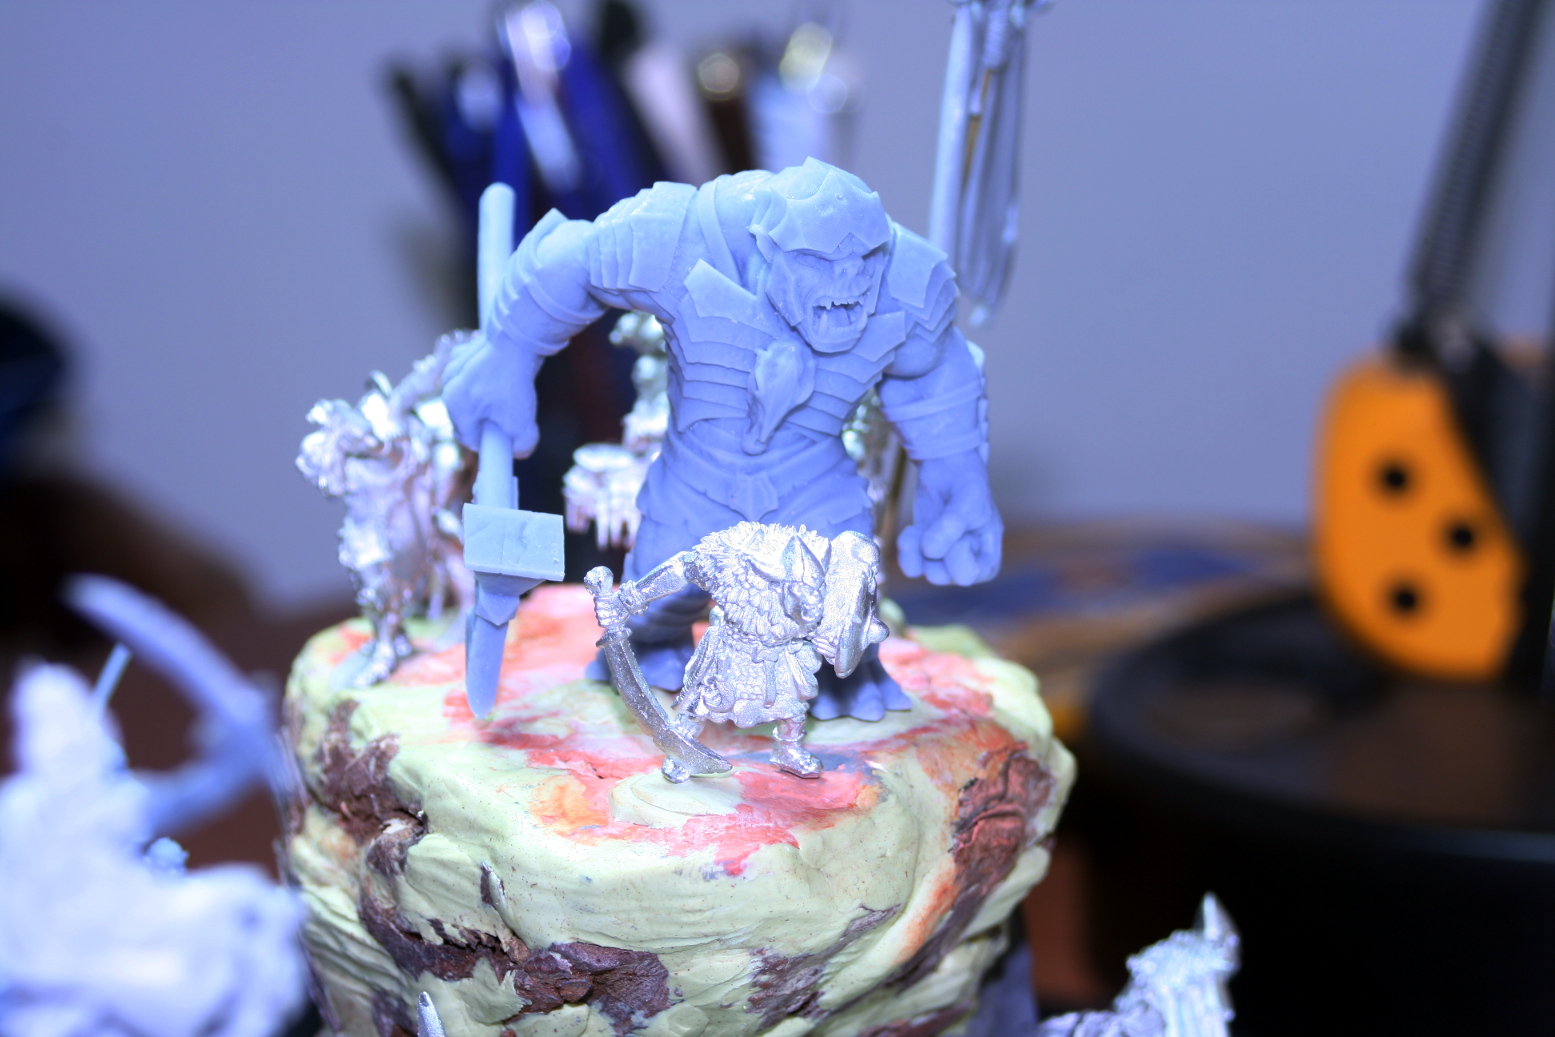
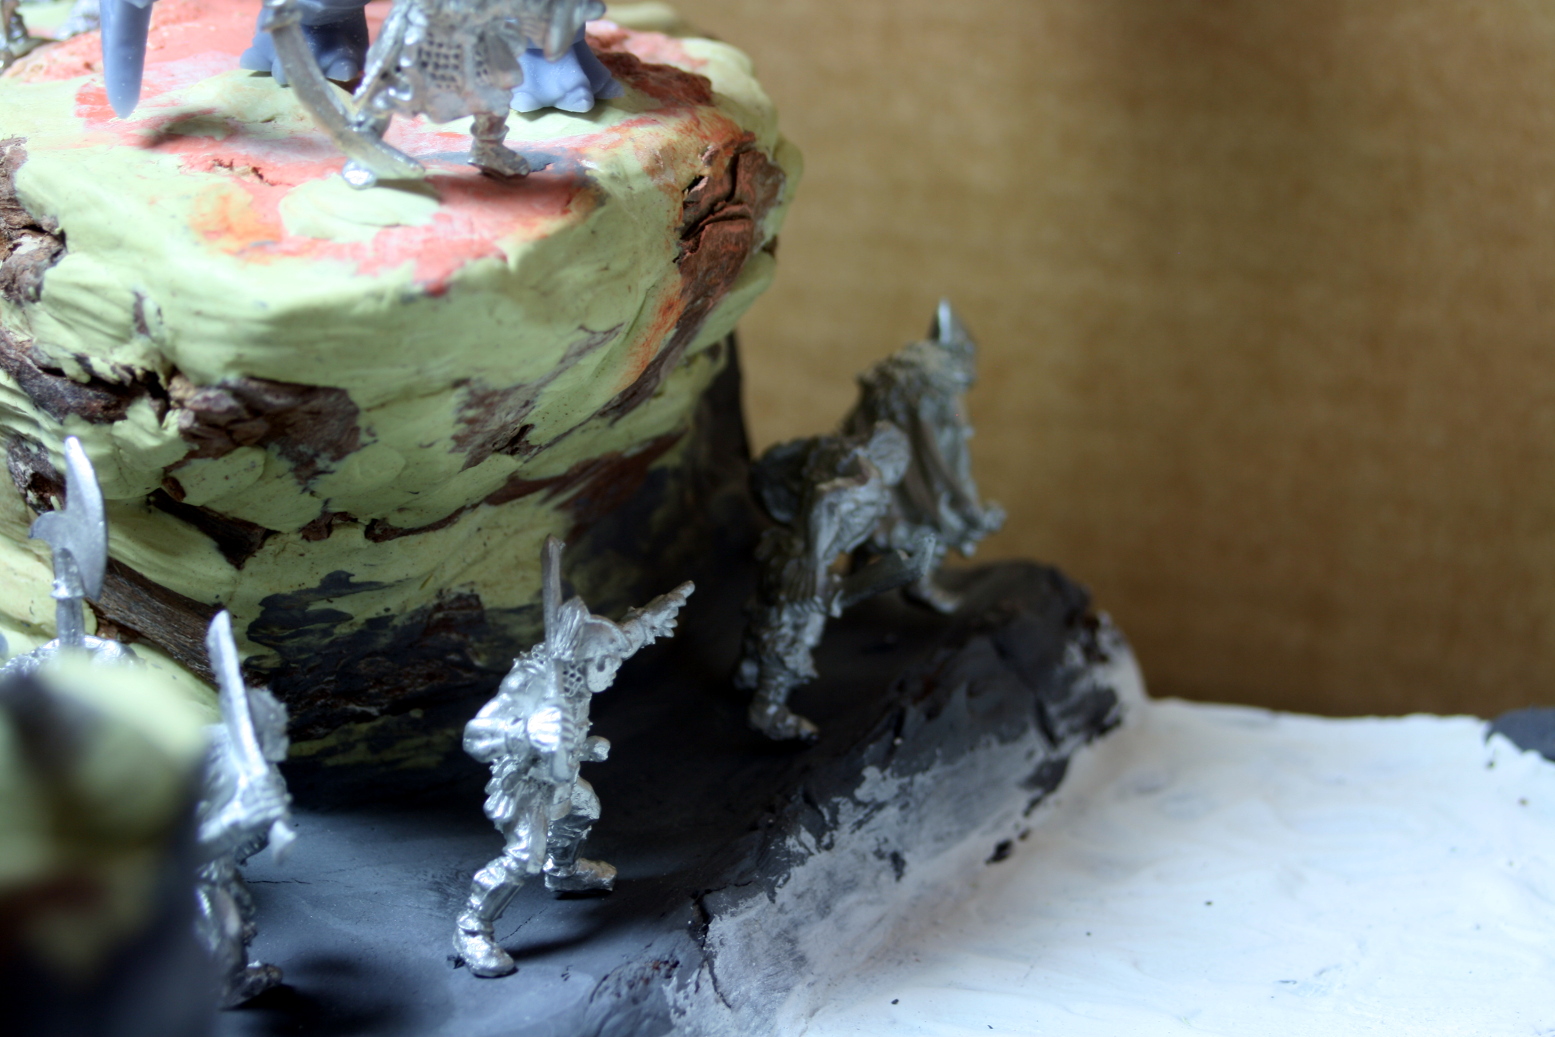
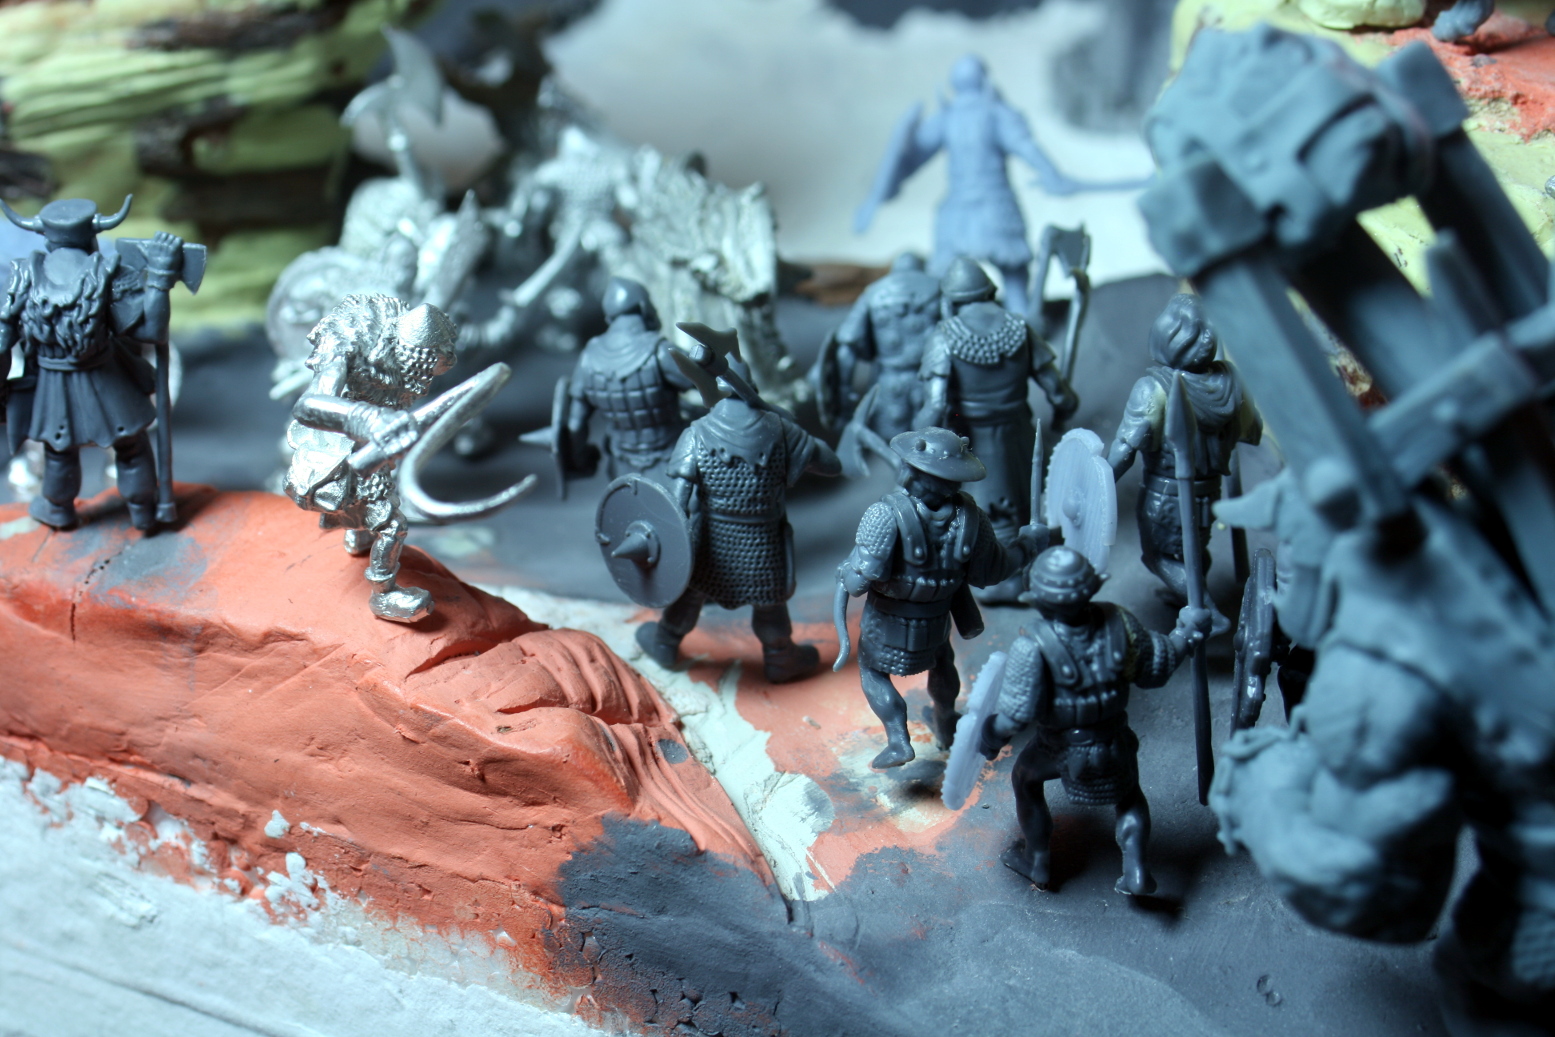
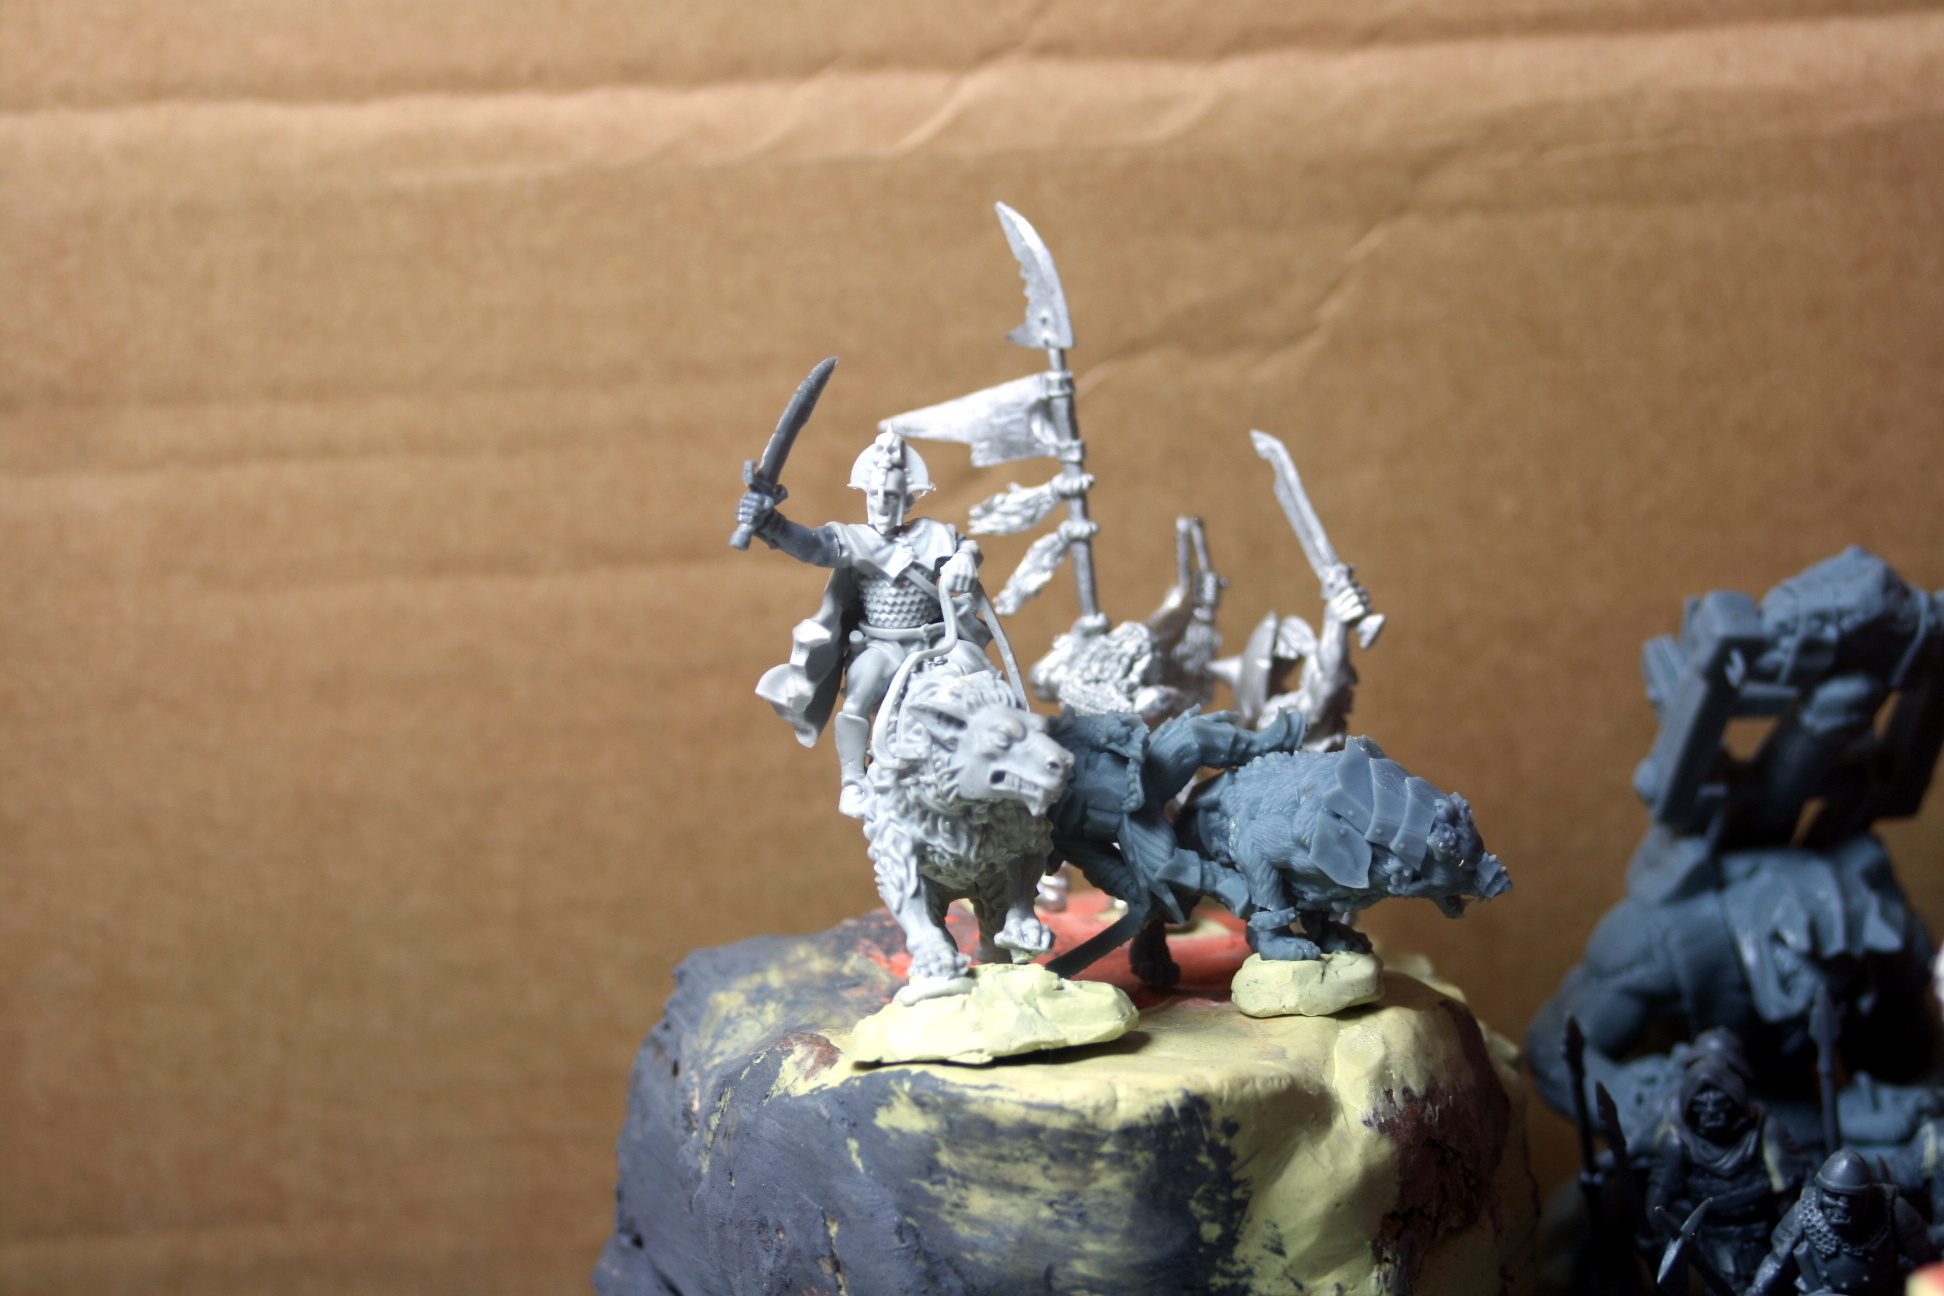
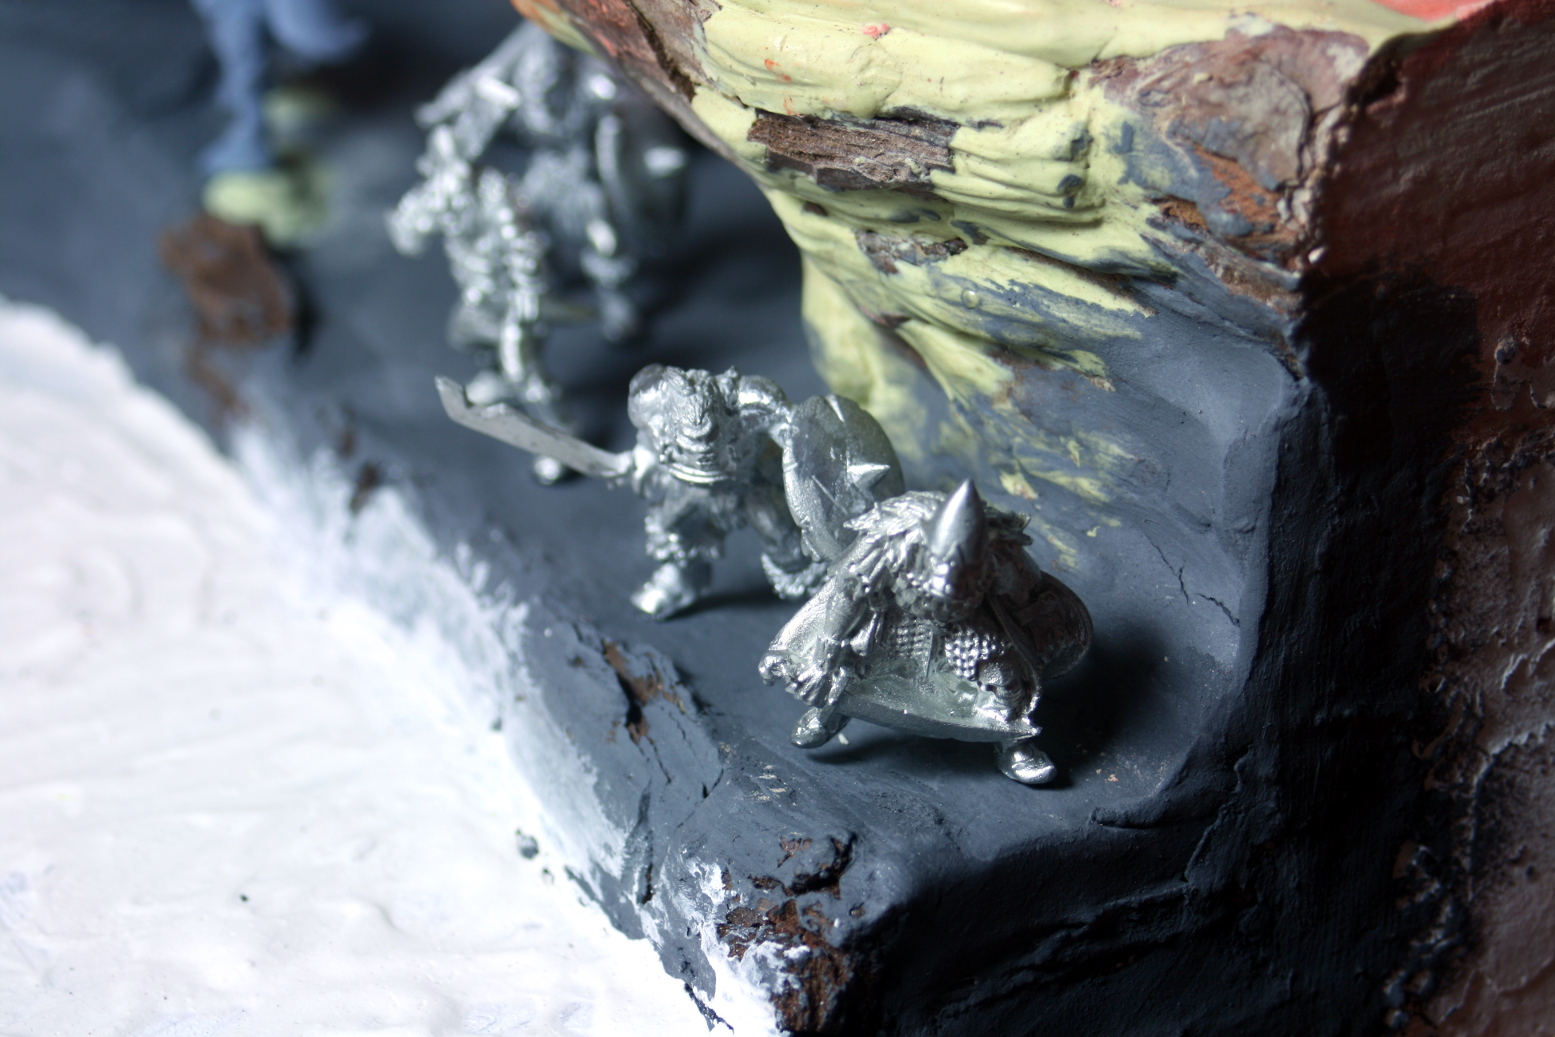
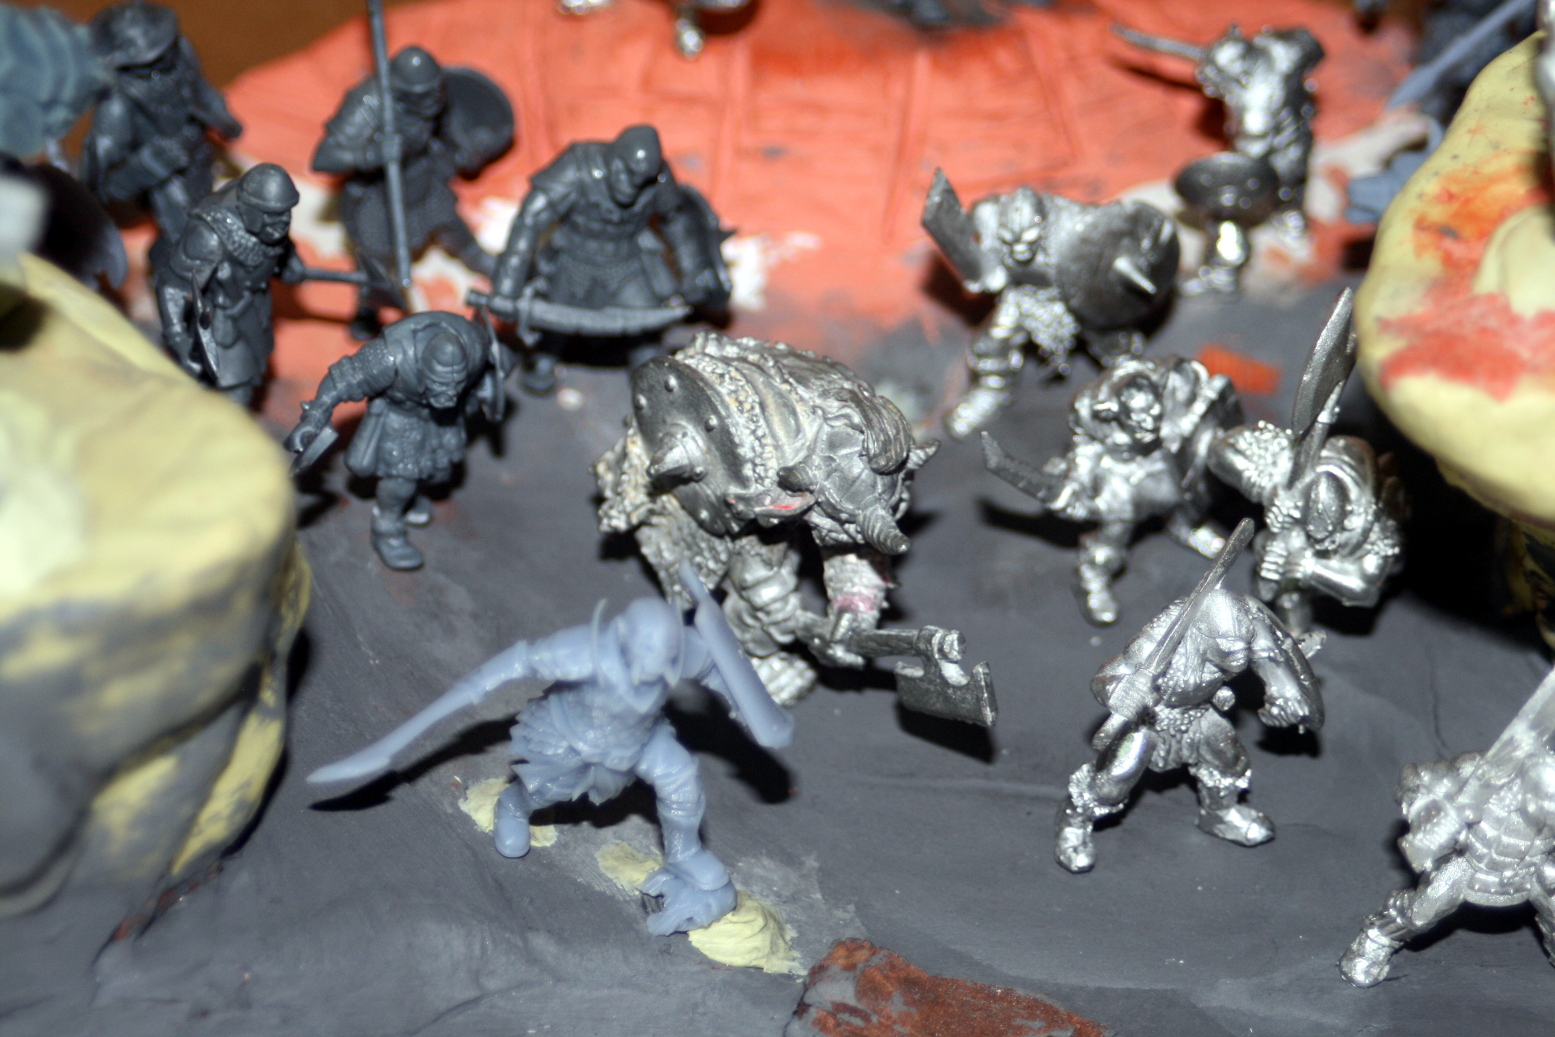 The small ogre is an old Citadel model I bought when it came out.
Some More Work On the Display
Hi everyone,
I have finally come back to this diorama after 4 months of upheaval at work. At first, it seemed like I did not know where to start. That tends to happen when you leave a project for so long.
Nonetheless, after some deliberation, I re-mapped a path forward. The most important issue at hand was finding a way to add some detail to the Pelennor Fields, between Minas Tirth and the mountain ledge where the orcs are marching down.
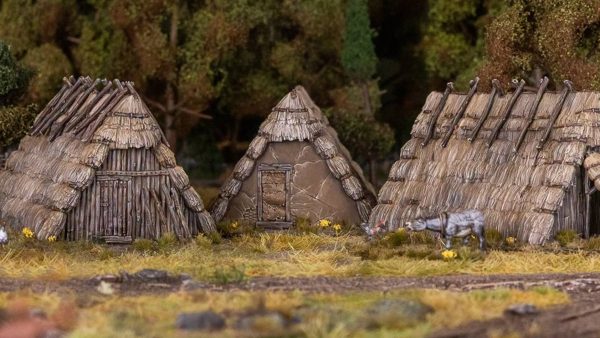
I resolved this by adding impressions of fields, roads and a Hamlet or two. I think this type of detail gives the scene more interest and emphasizes the distance of the Orcs vis-a vis the city.
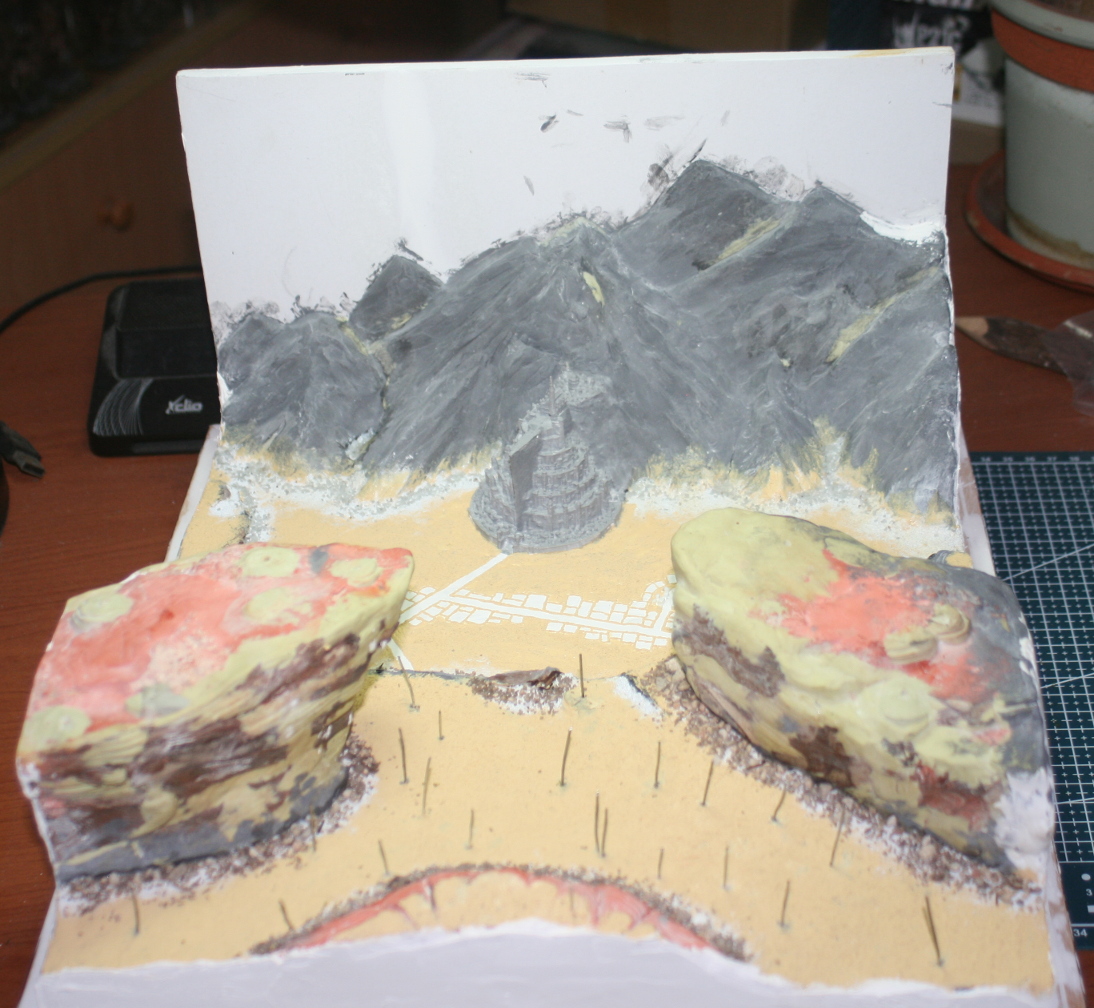 Adding detail in perspective.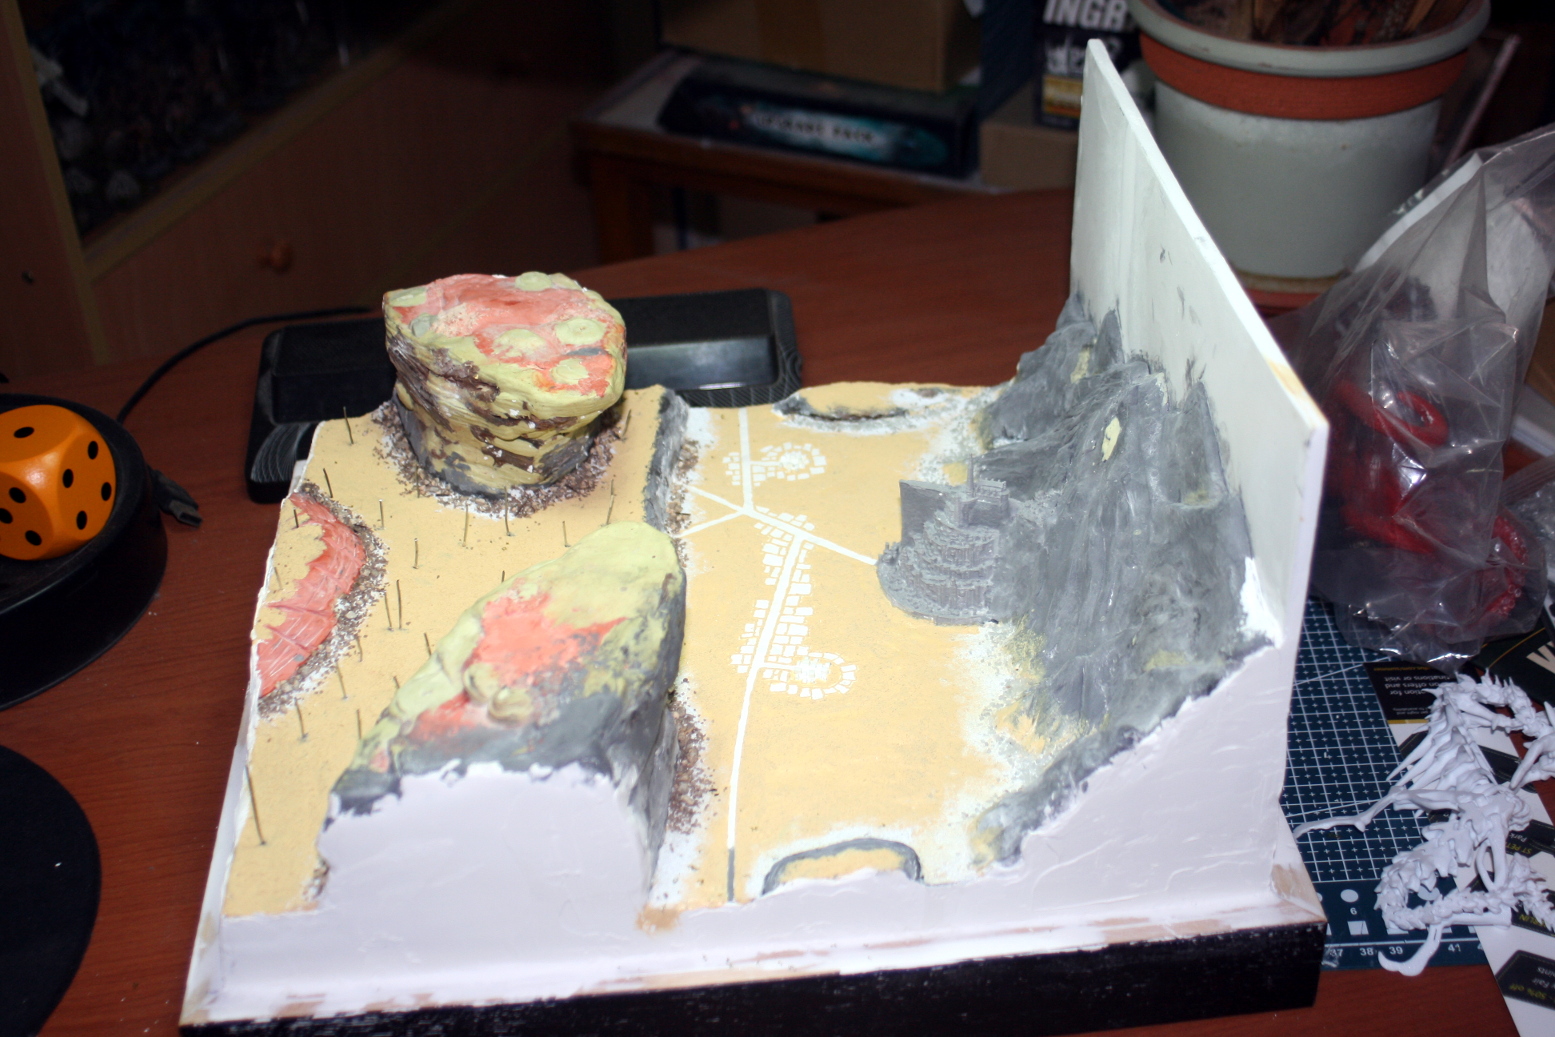
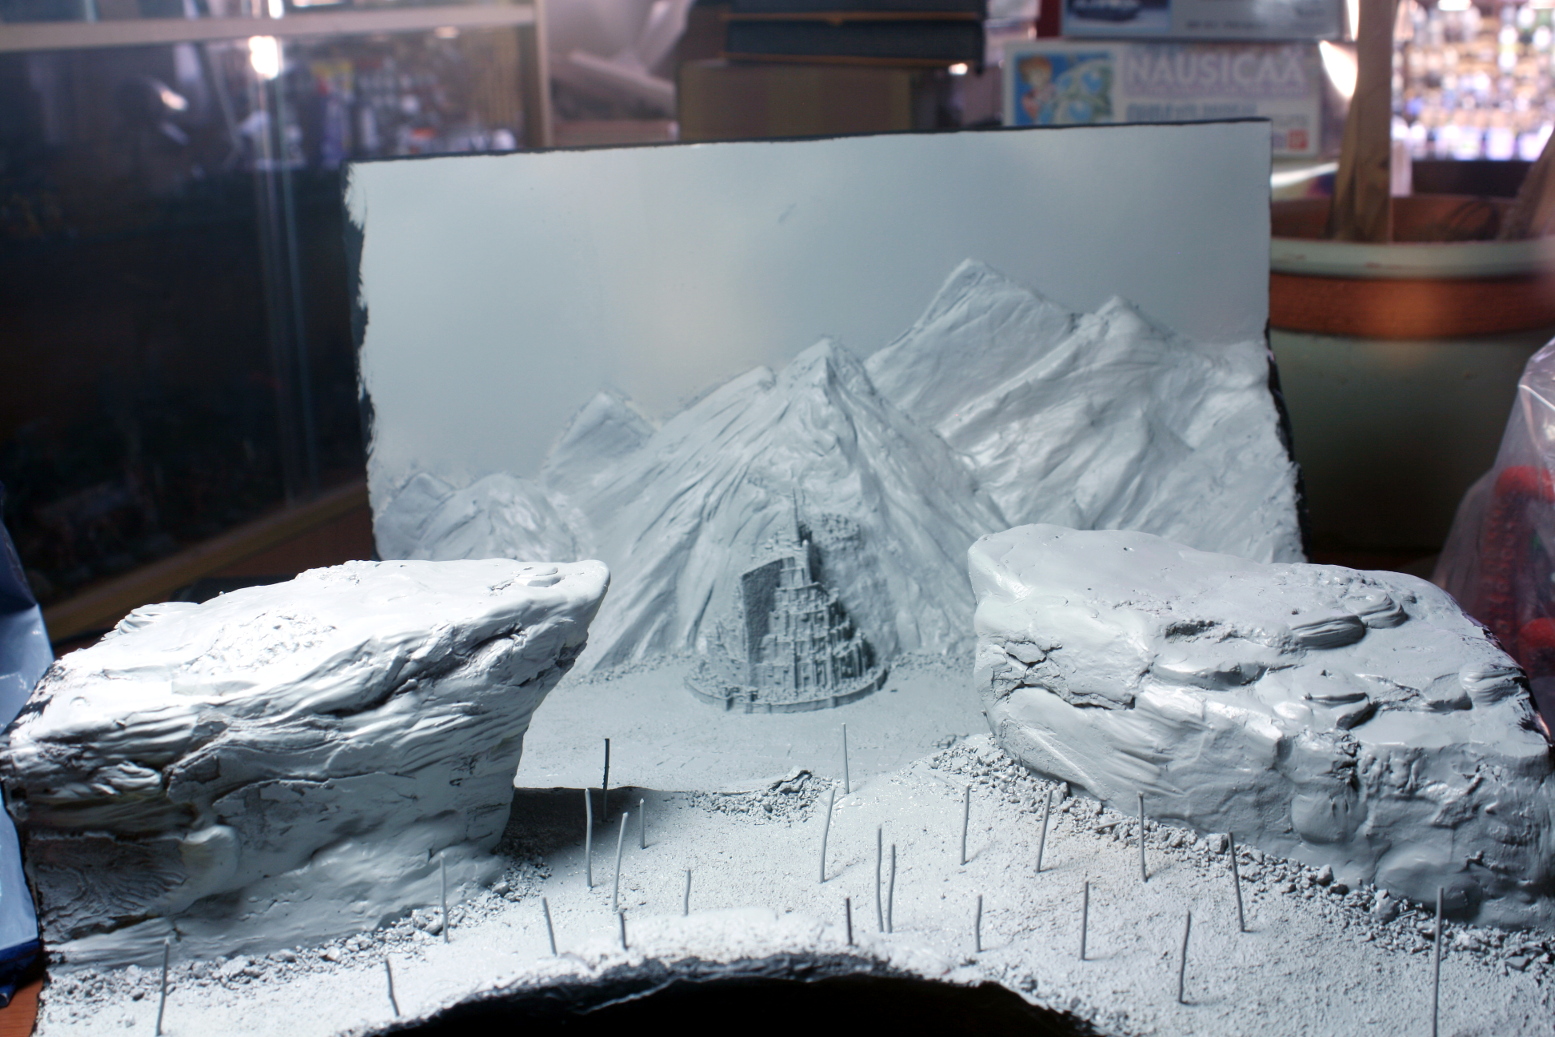 Preparing to add colour by giving the scene a good undercoat.
That is all for now, but I have started painting up the circa twenty miniatures that are going into the forefront.
So until then, have fun and stay safe.
NR
Painting The Fisrt Batch Of Miniatures
Hi everyone,
So, while I am researching the best way to paint the scenery, I started painting up the miniatures.
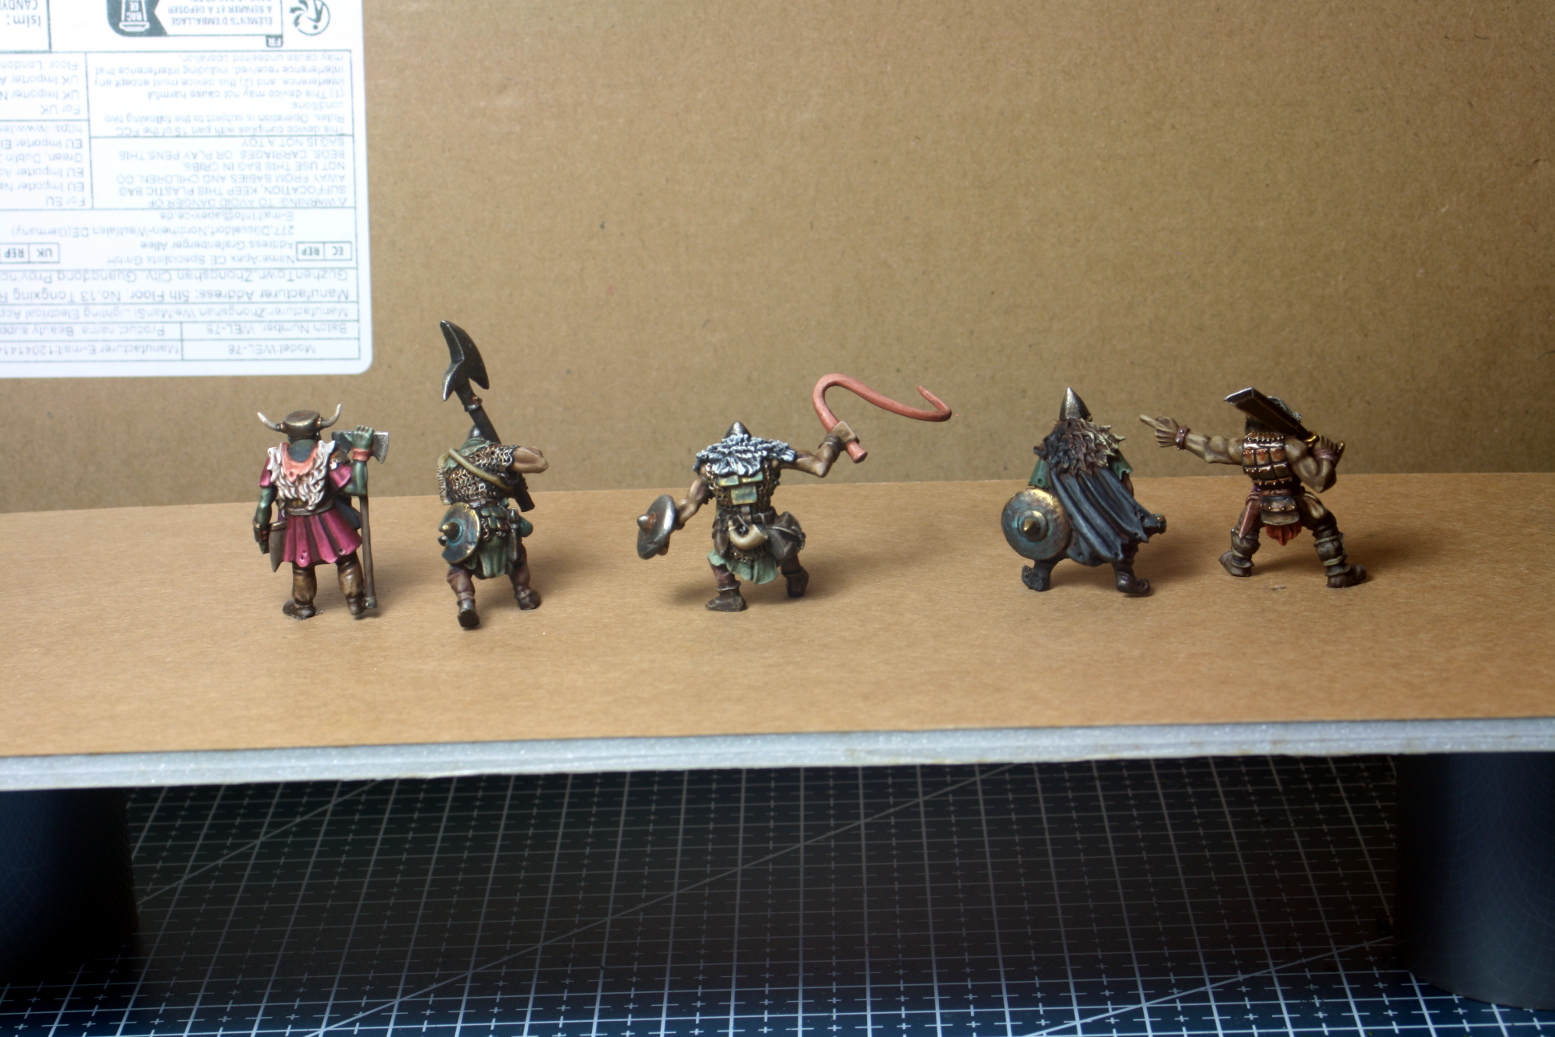
Overall, I wanted to keep them as dark as possible without looking too dull. The intention is not to draw the eye of the observer away from the white citadel of Minas Tirith. By toning down the highlight, but keeping the detail, I think I can achieve this.
The models where painting in acrylics and rendered in oils. I also opted not to paint all the models in NMM. NMM tends to be very bright, while true metallic can be toned down and dirtied naturally.
These figures are the miniatures marching down the hill.
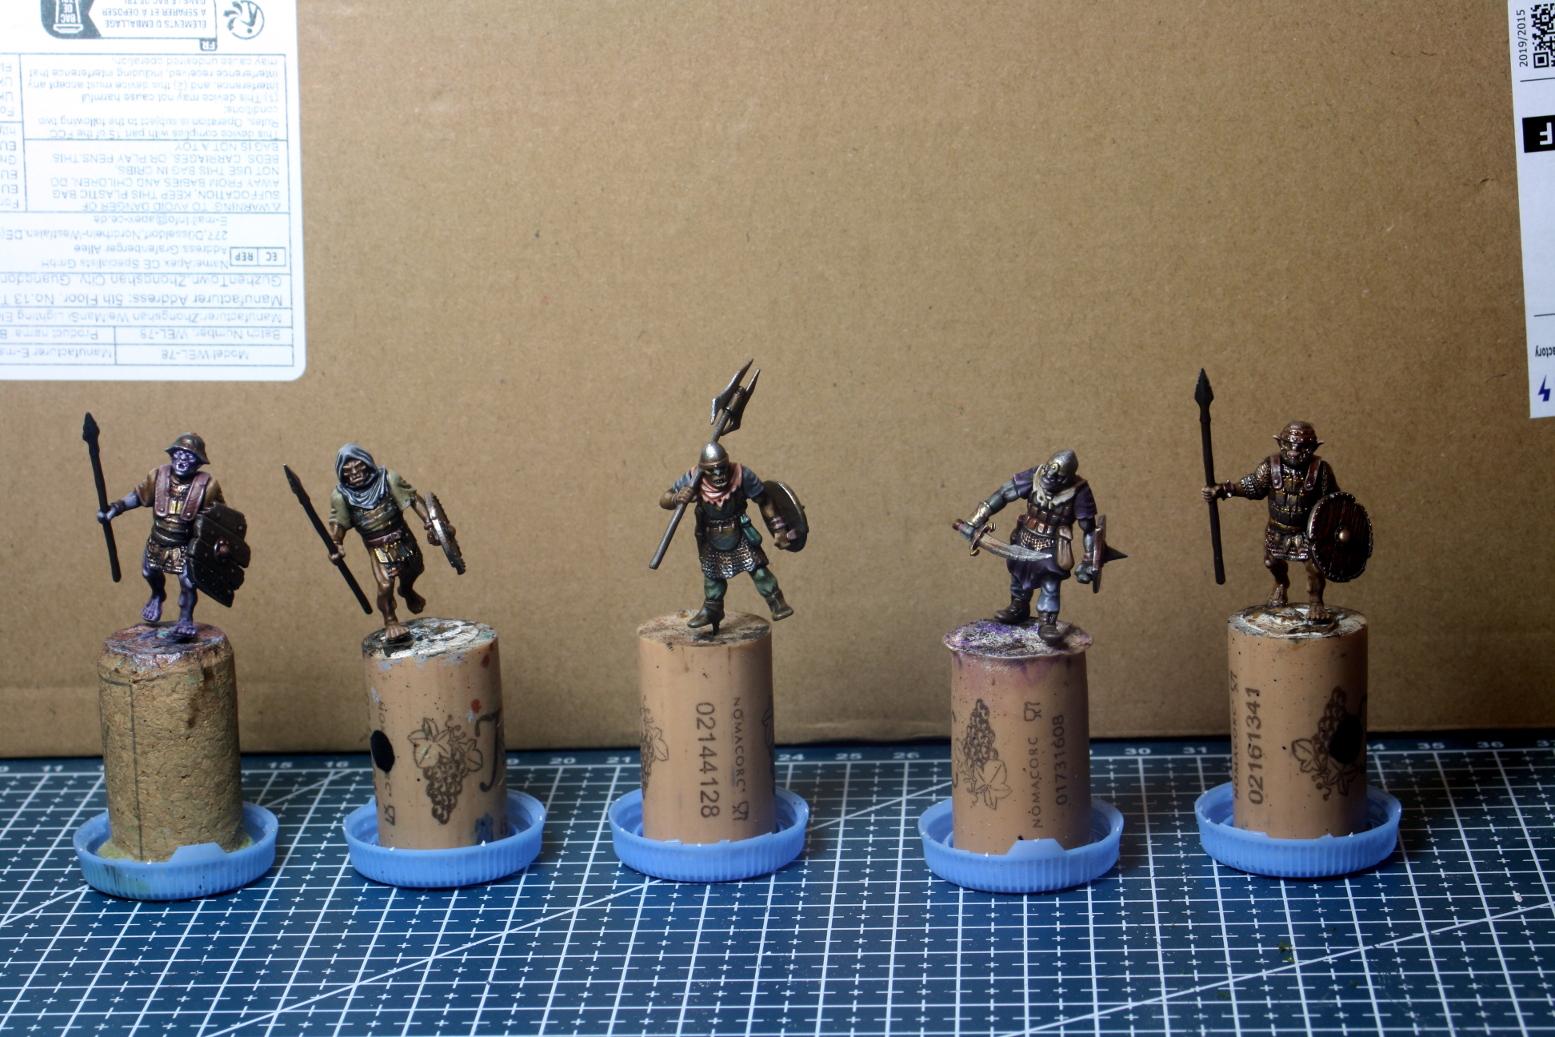
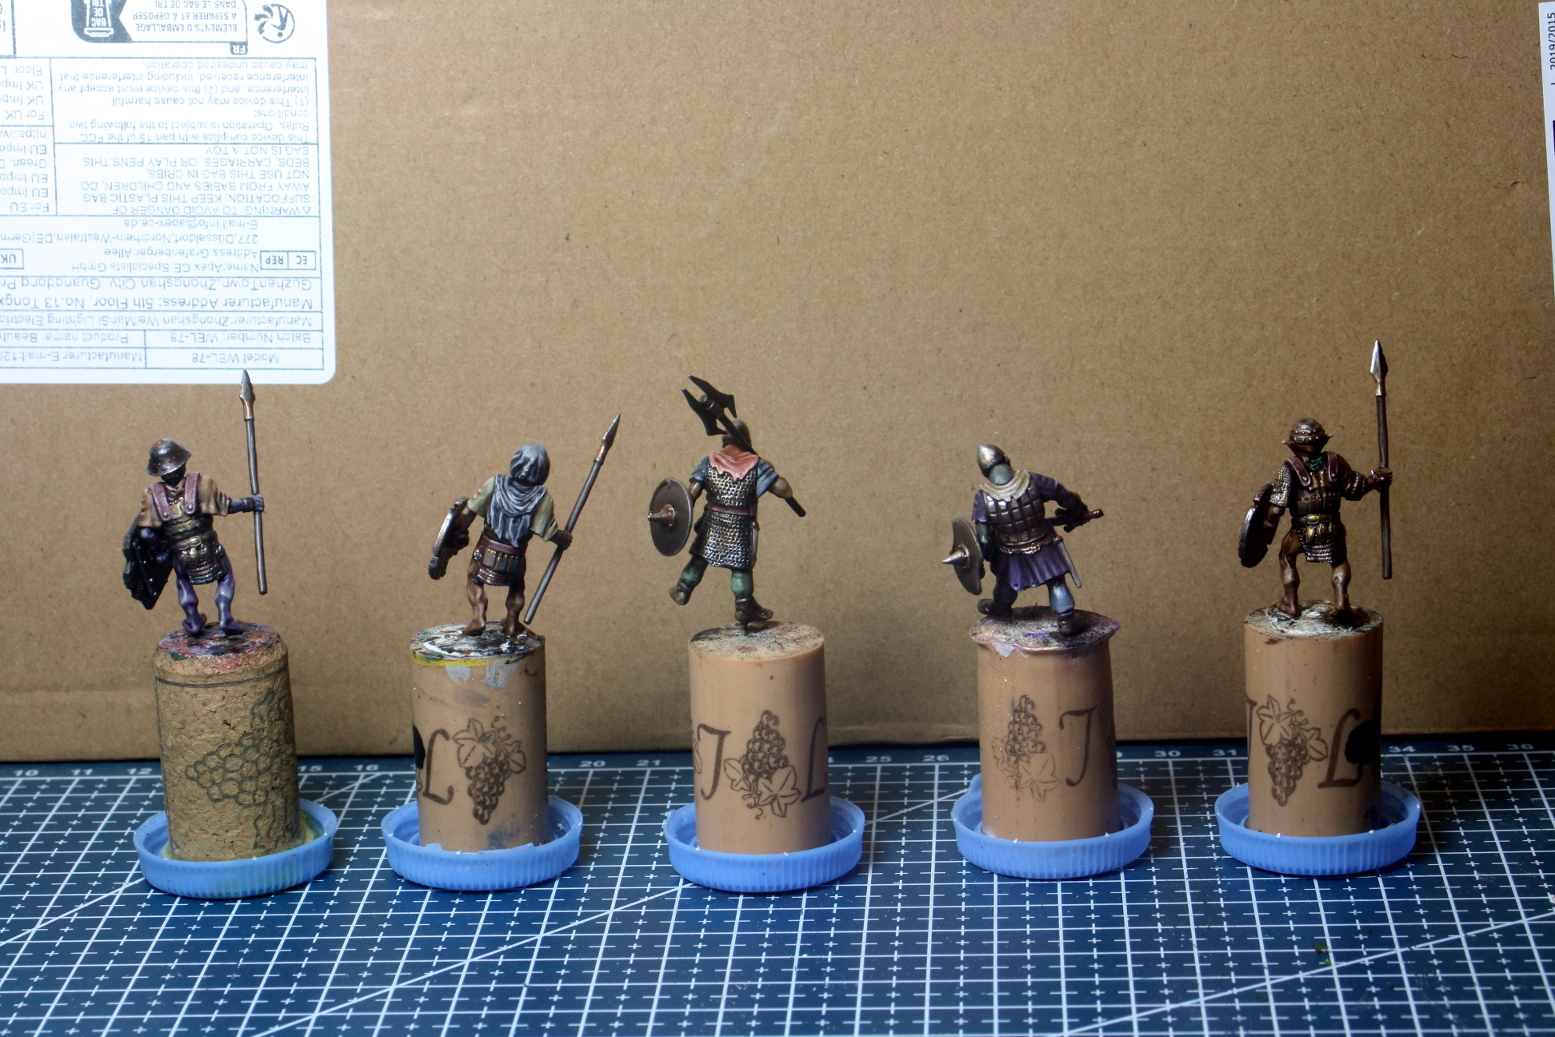
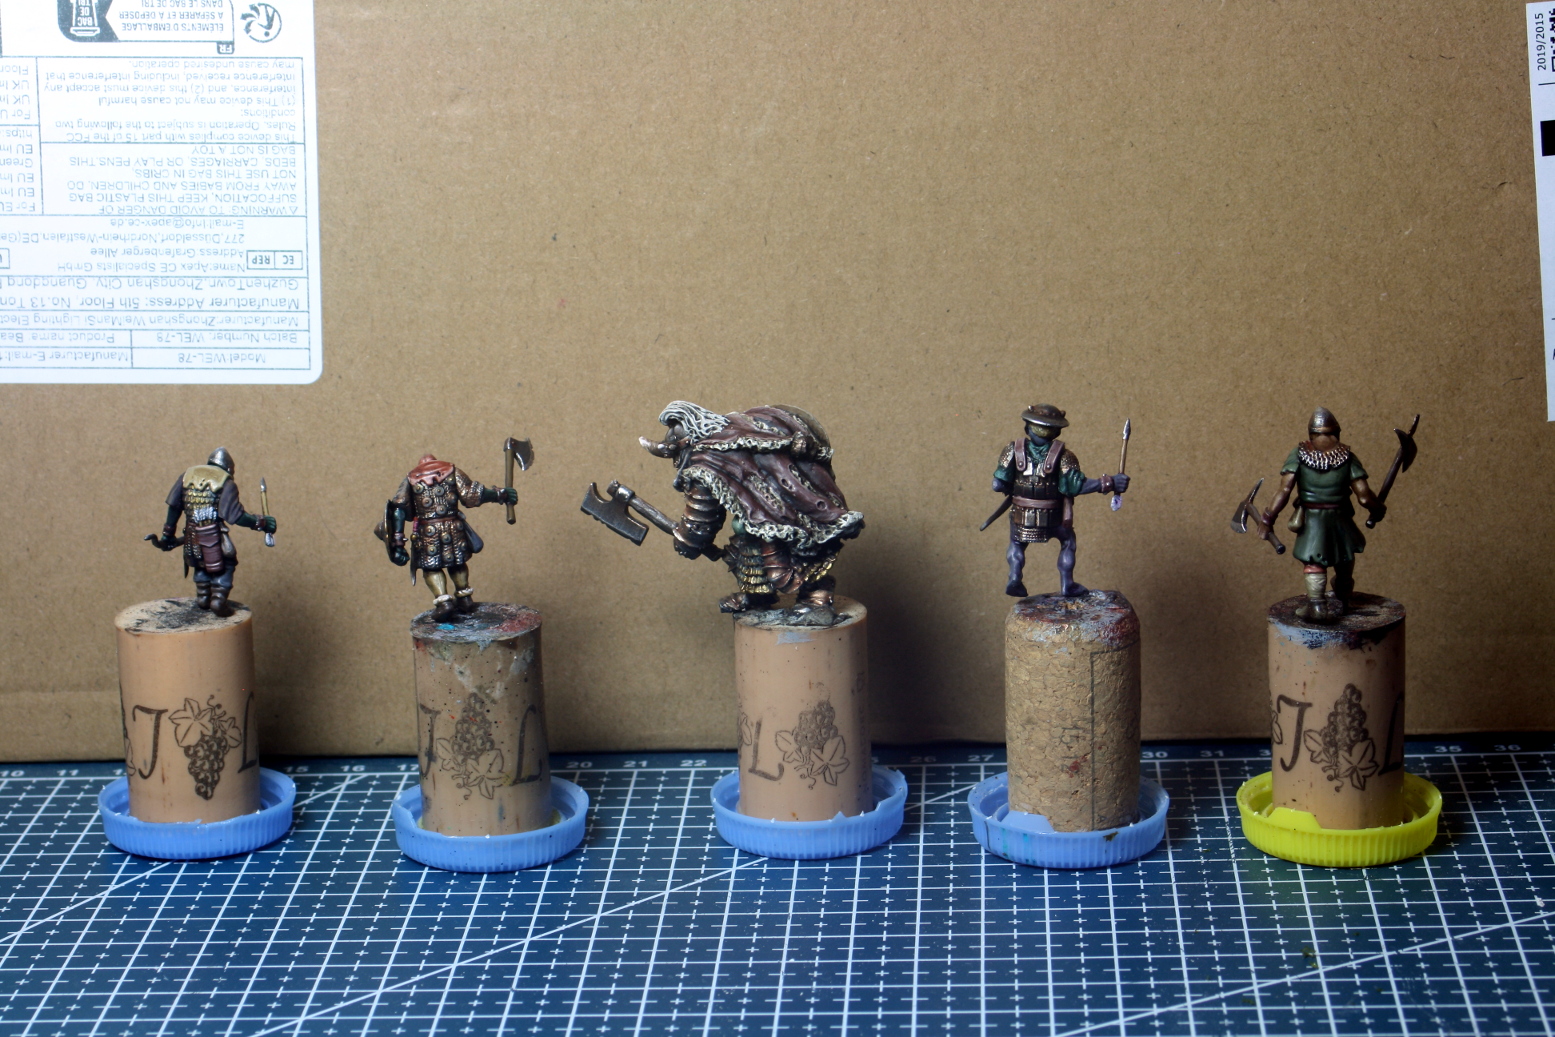
In the next post I will continue with the second batch of miniatures. Until next time, stay safe and have fun,=.
NR
Painting The Second Batch Of Miniatures
Hi everyone,
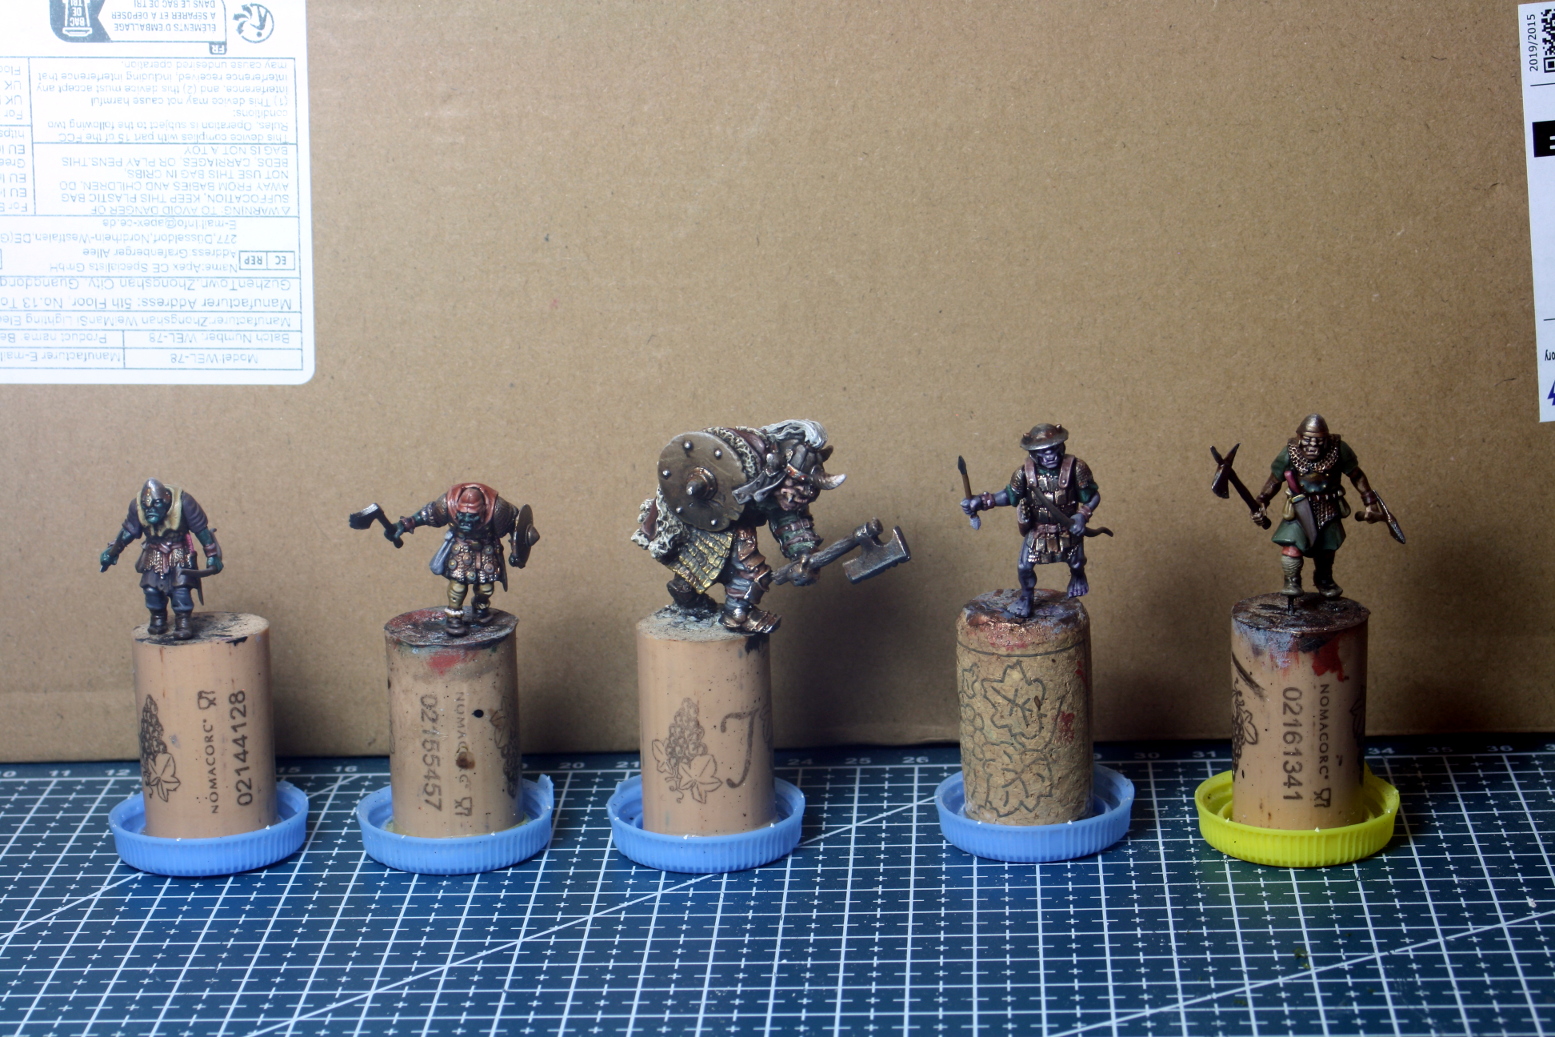
Some more miniatures painted up.
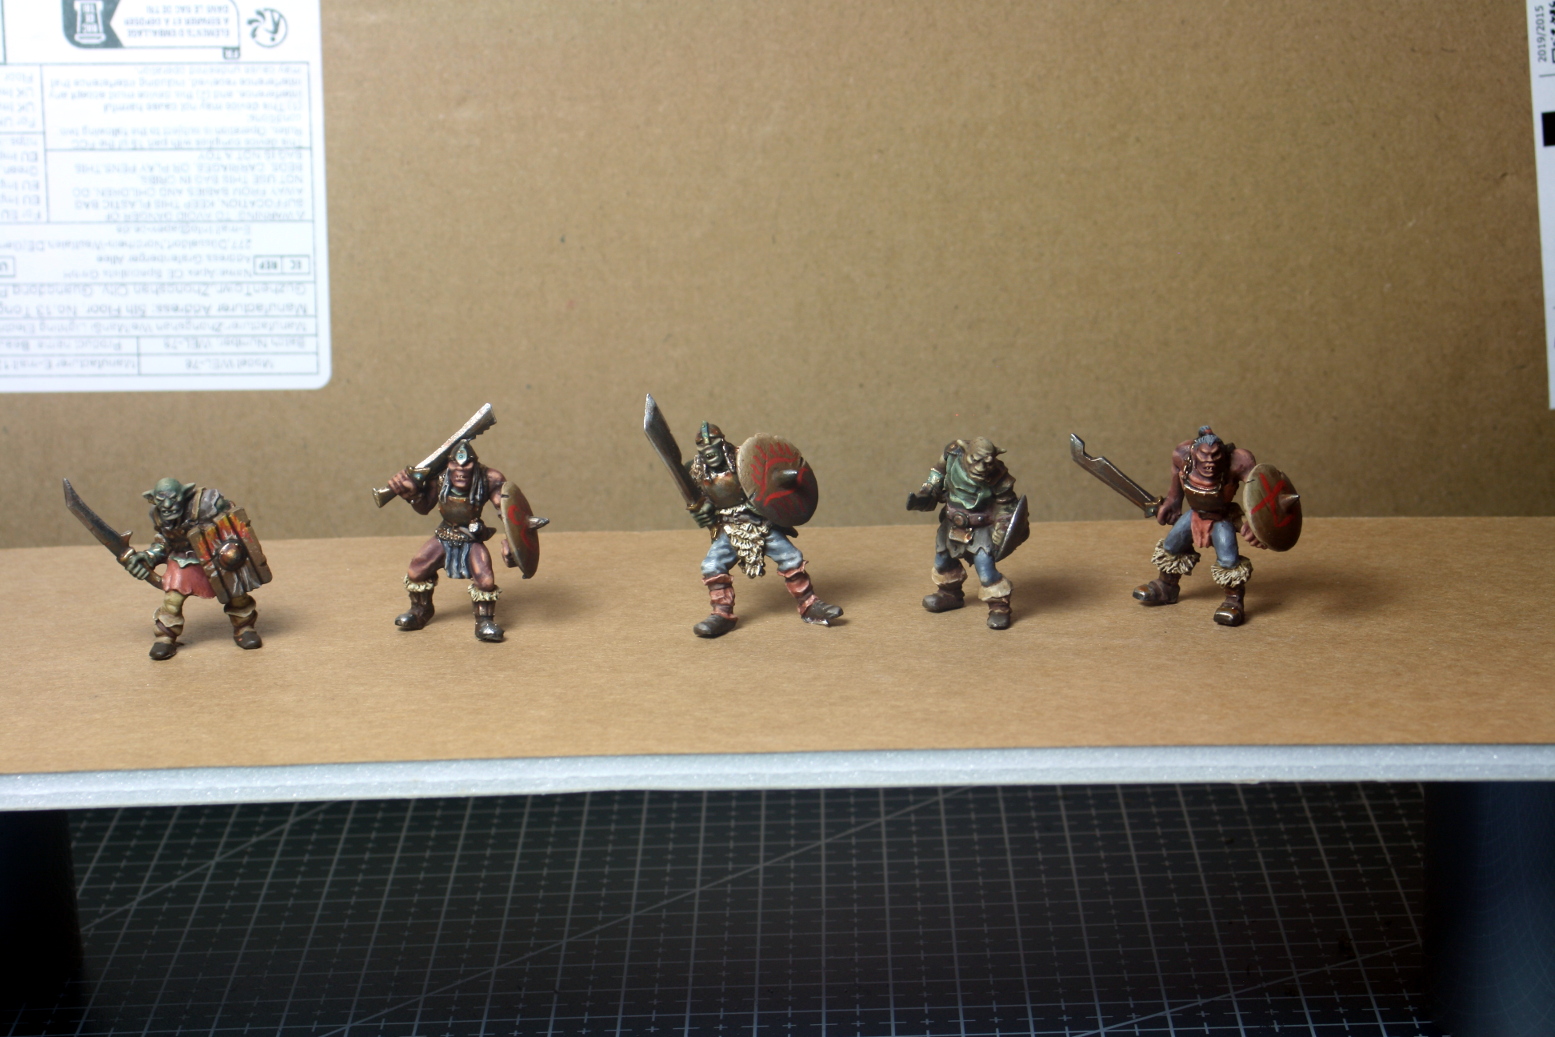
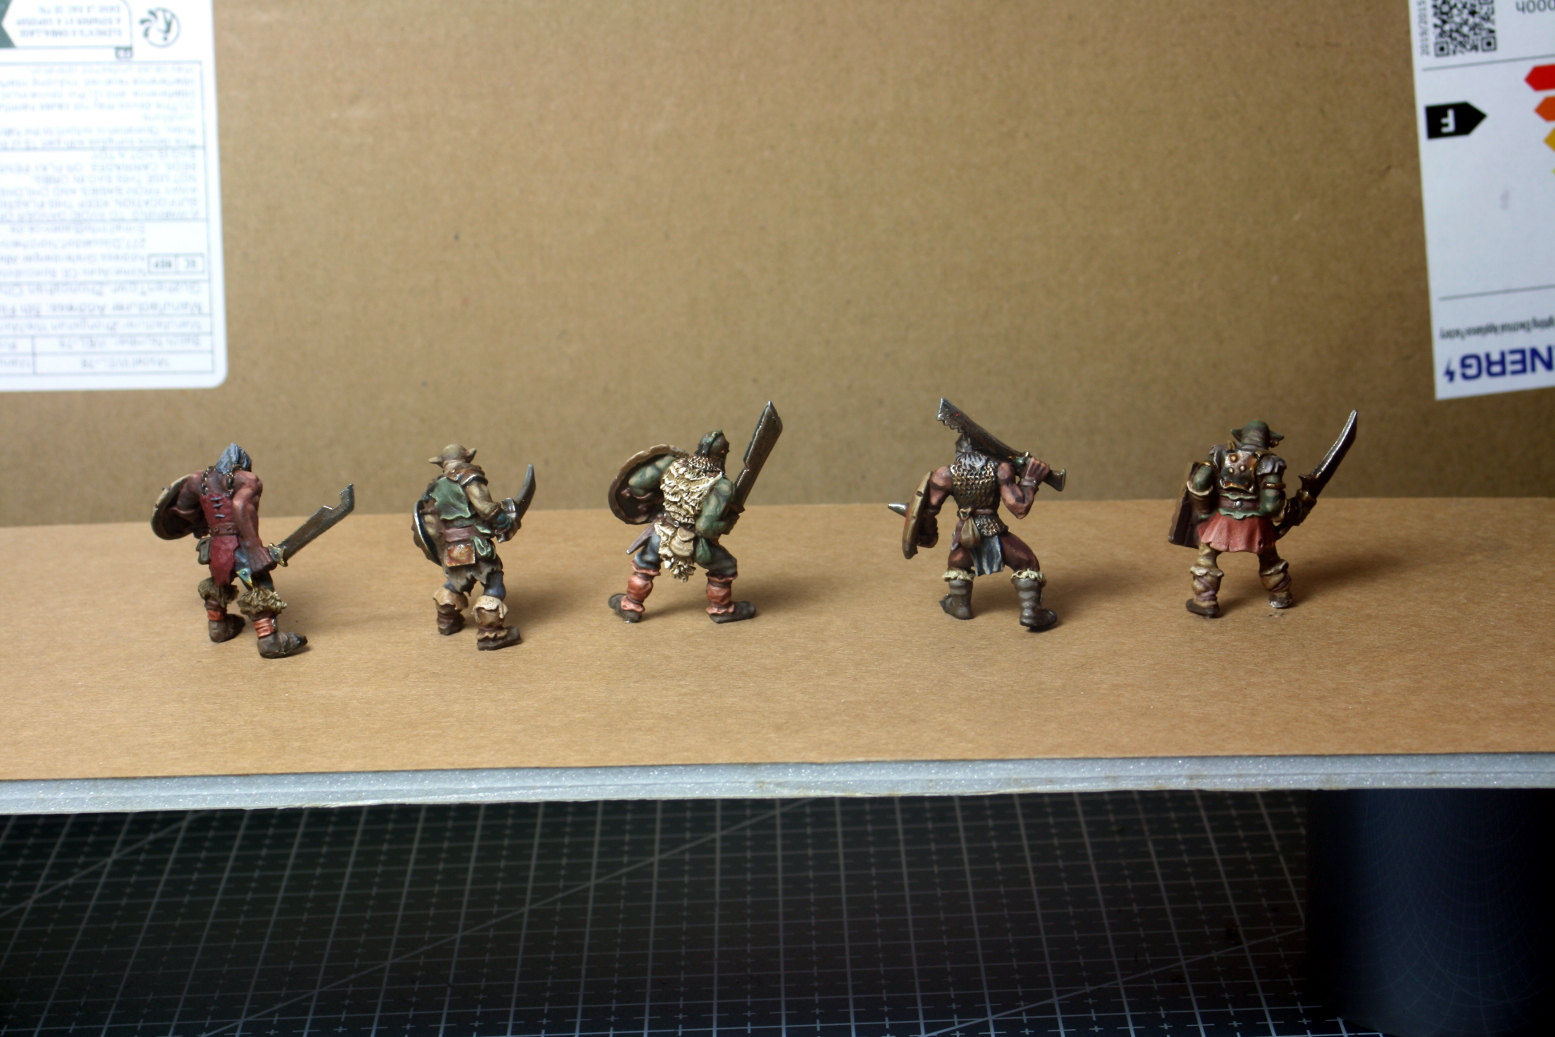
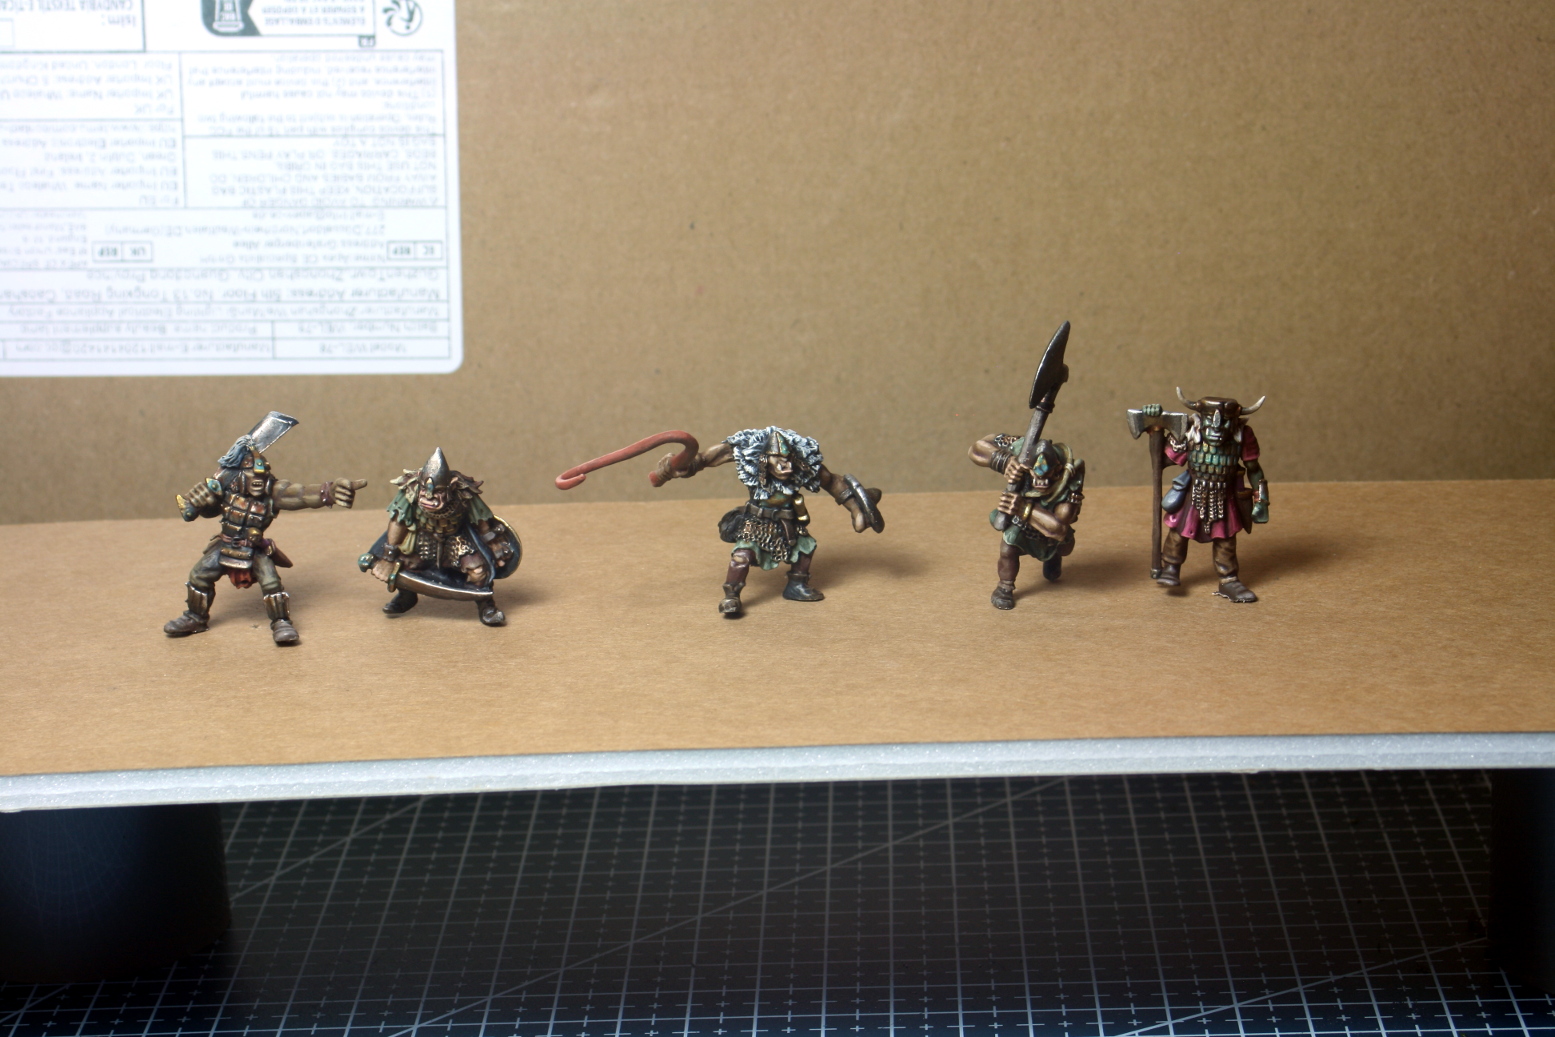
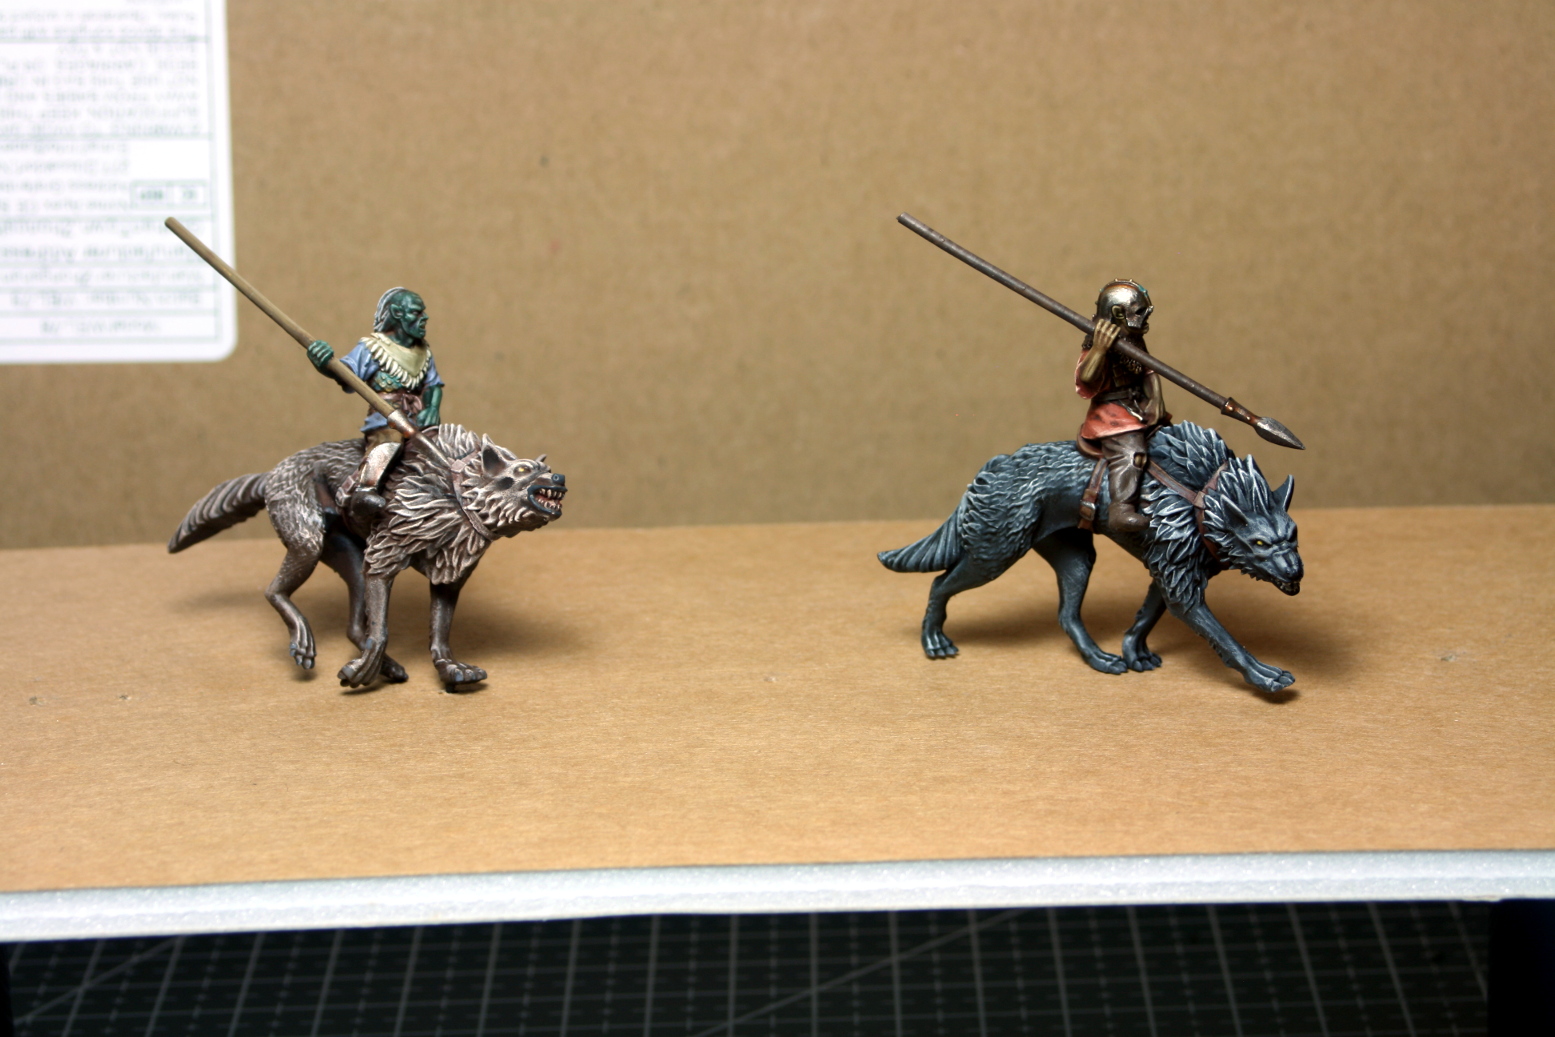
Next week it is one of the ogres.
Until then, stay safe and have fun.
NR
Painting The First Troll
Hi everyone,
I started one of the two trolls in the diorama. This is the troll carrying the stone-thrower. I ordered this on Etsy and it is a beautiful print. Unfortunately, when it arrived, the chains were all broken.
Therefore I had to replace them with some metal chains I bought off Temu. They were rather flat, so I added two layers of PVA glue to stabilize and thicken the chains.
I decided to paint this in acrylics, but with hindsight, next time I will go with oils with a model this size – because oils make things easier and faster.
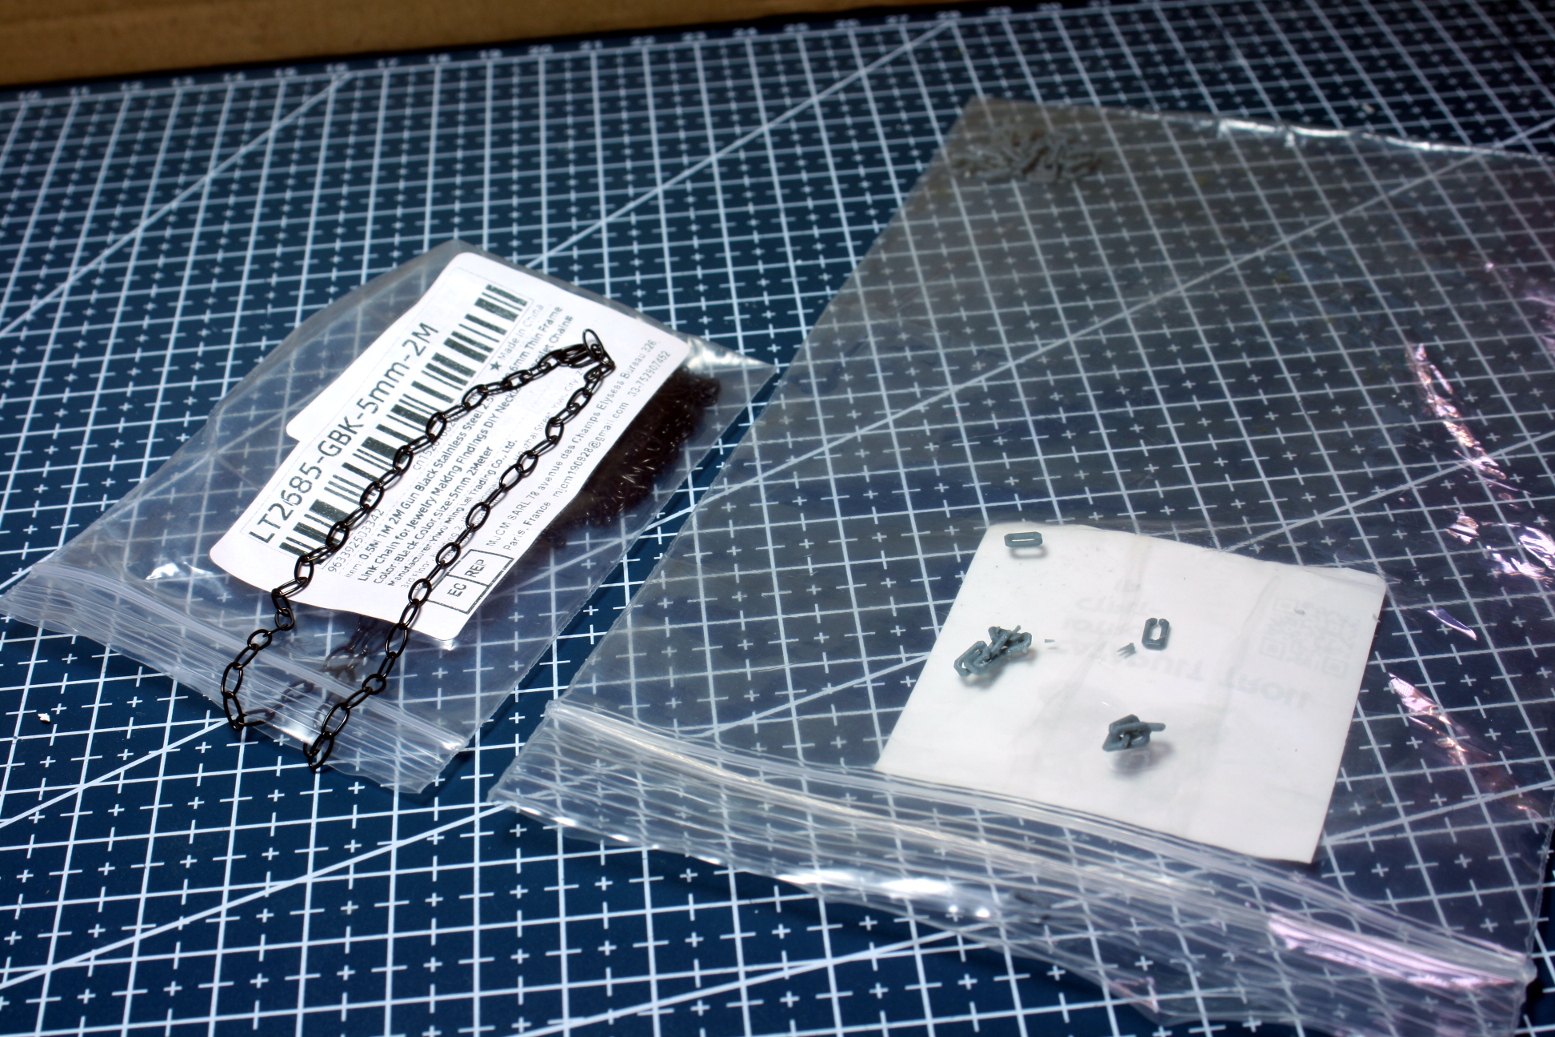 A new metal chain to replace the broken printed one.
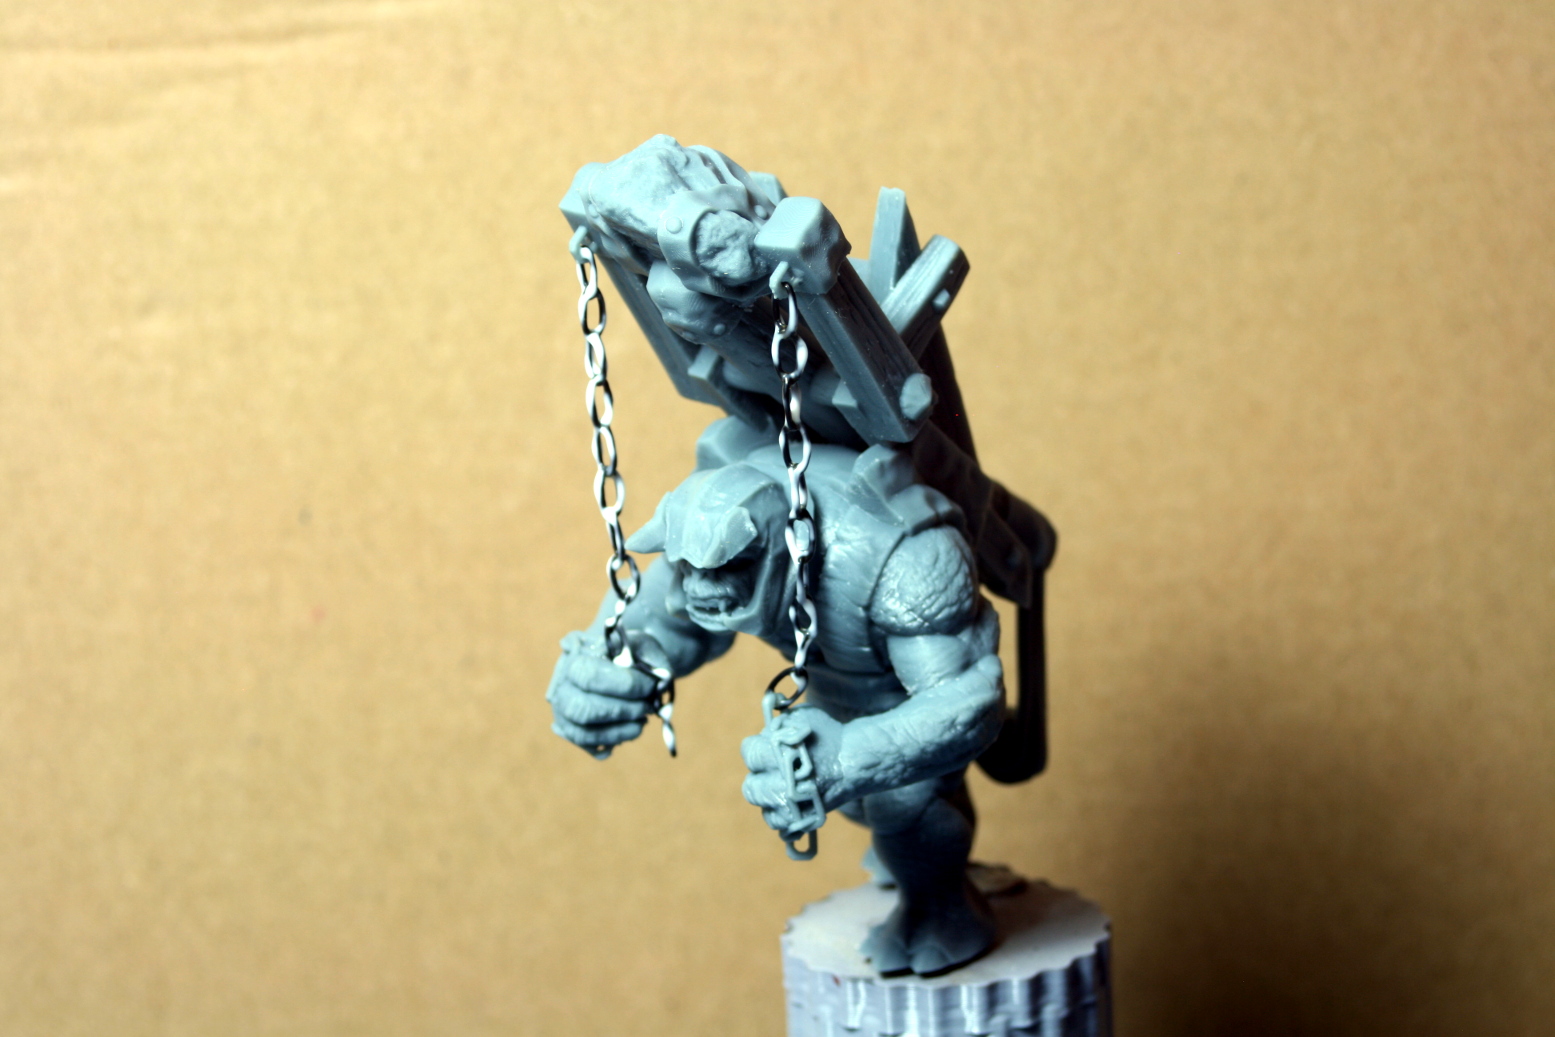 I attached the new chain and added PVA glue to stabilize and thicken.
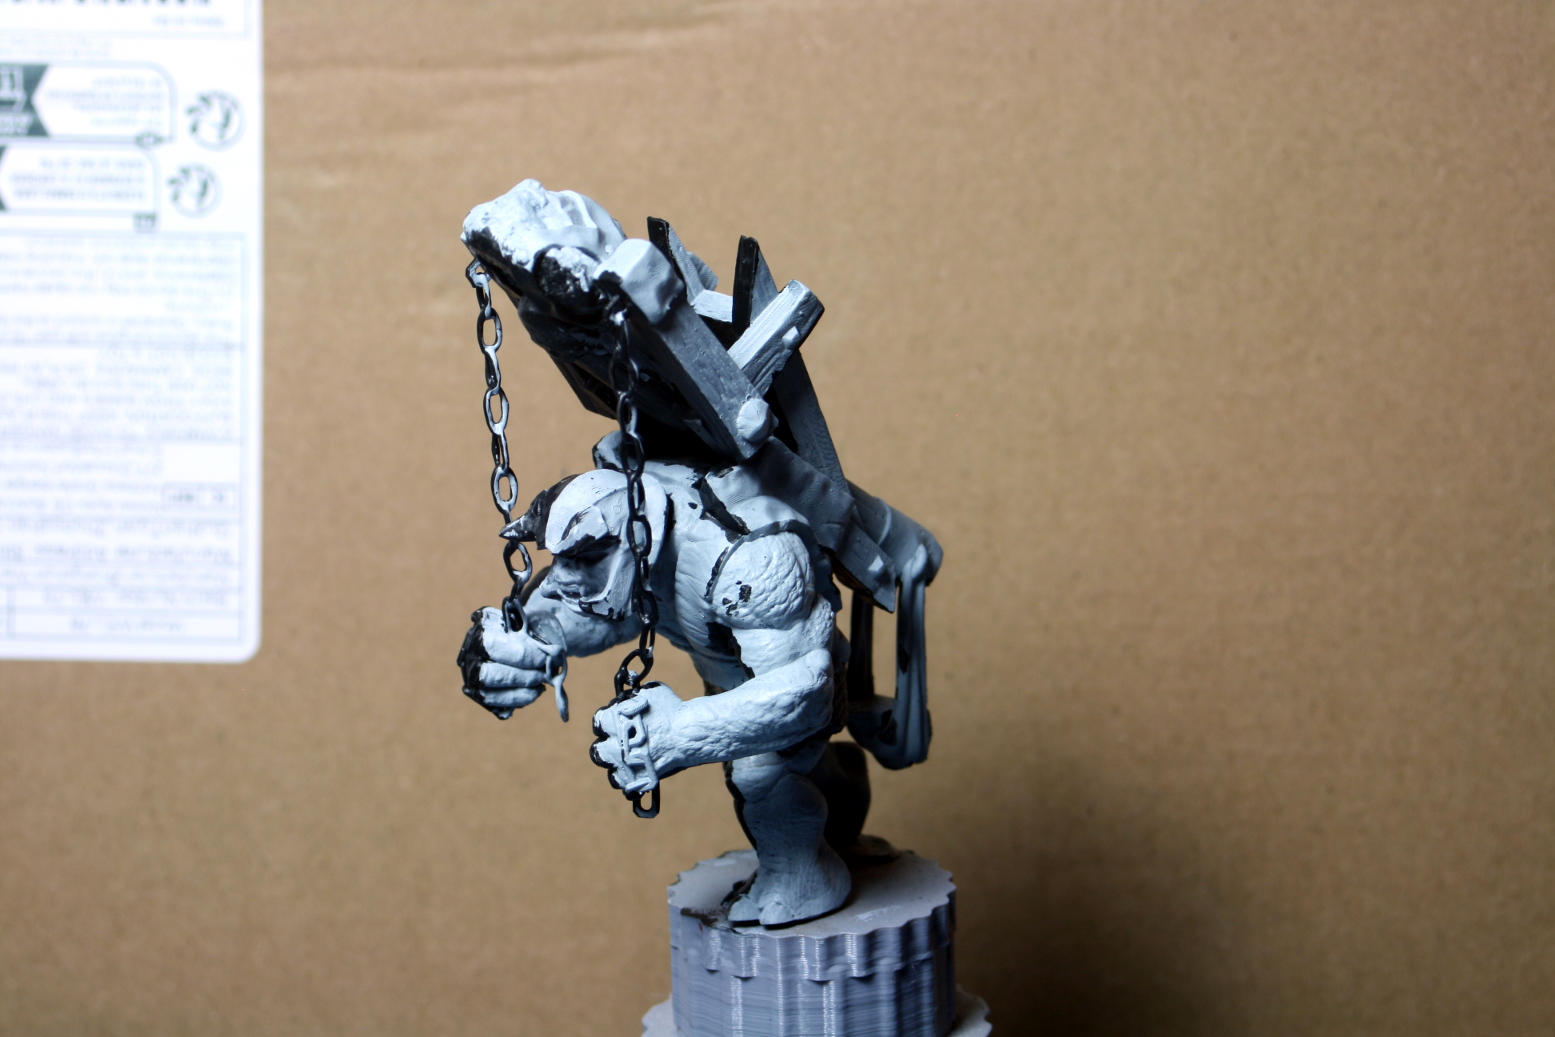 Priming the model with a value approach.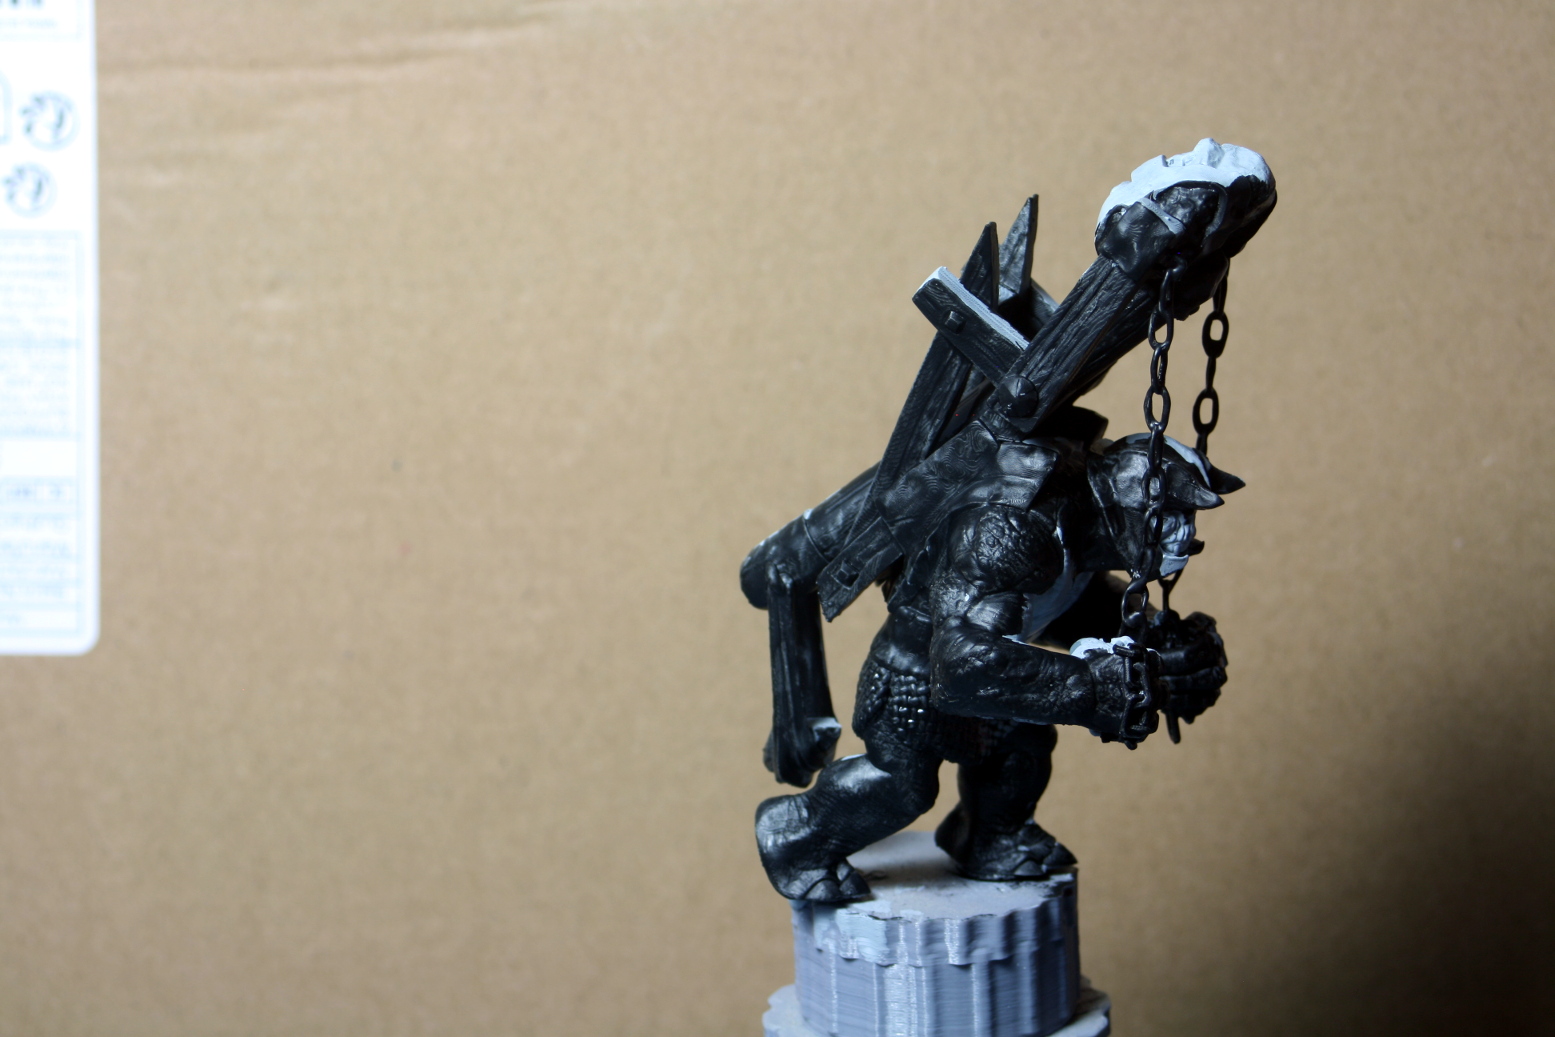
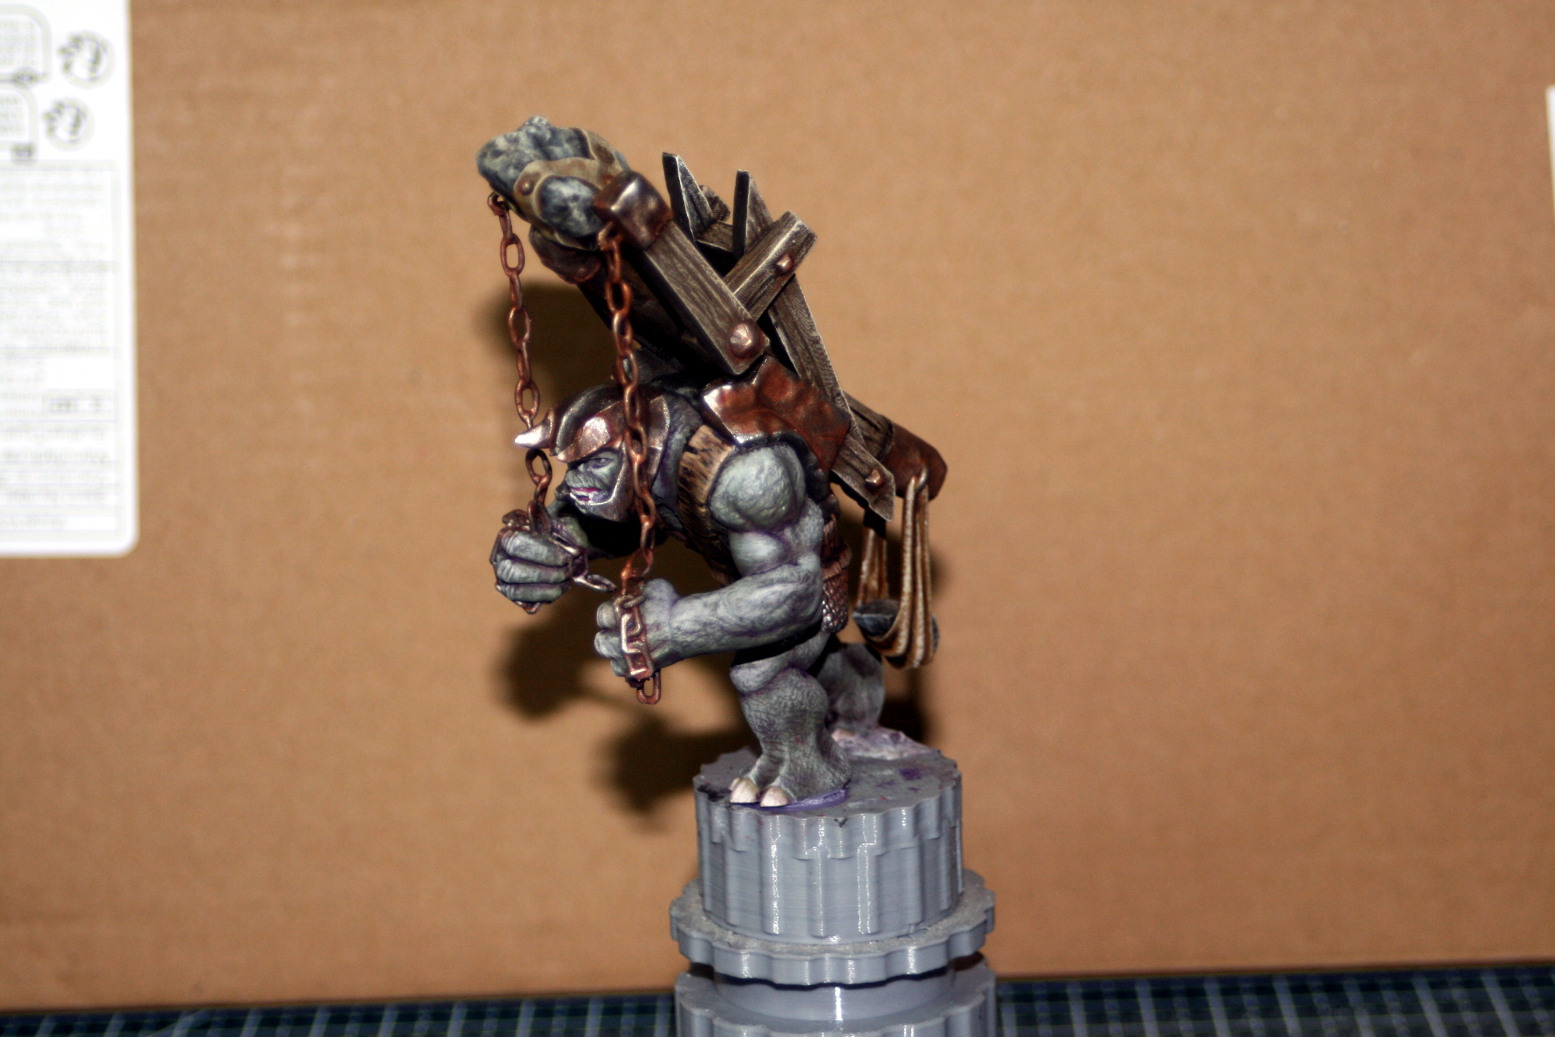 The finished model in acrylics.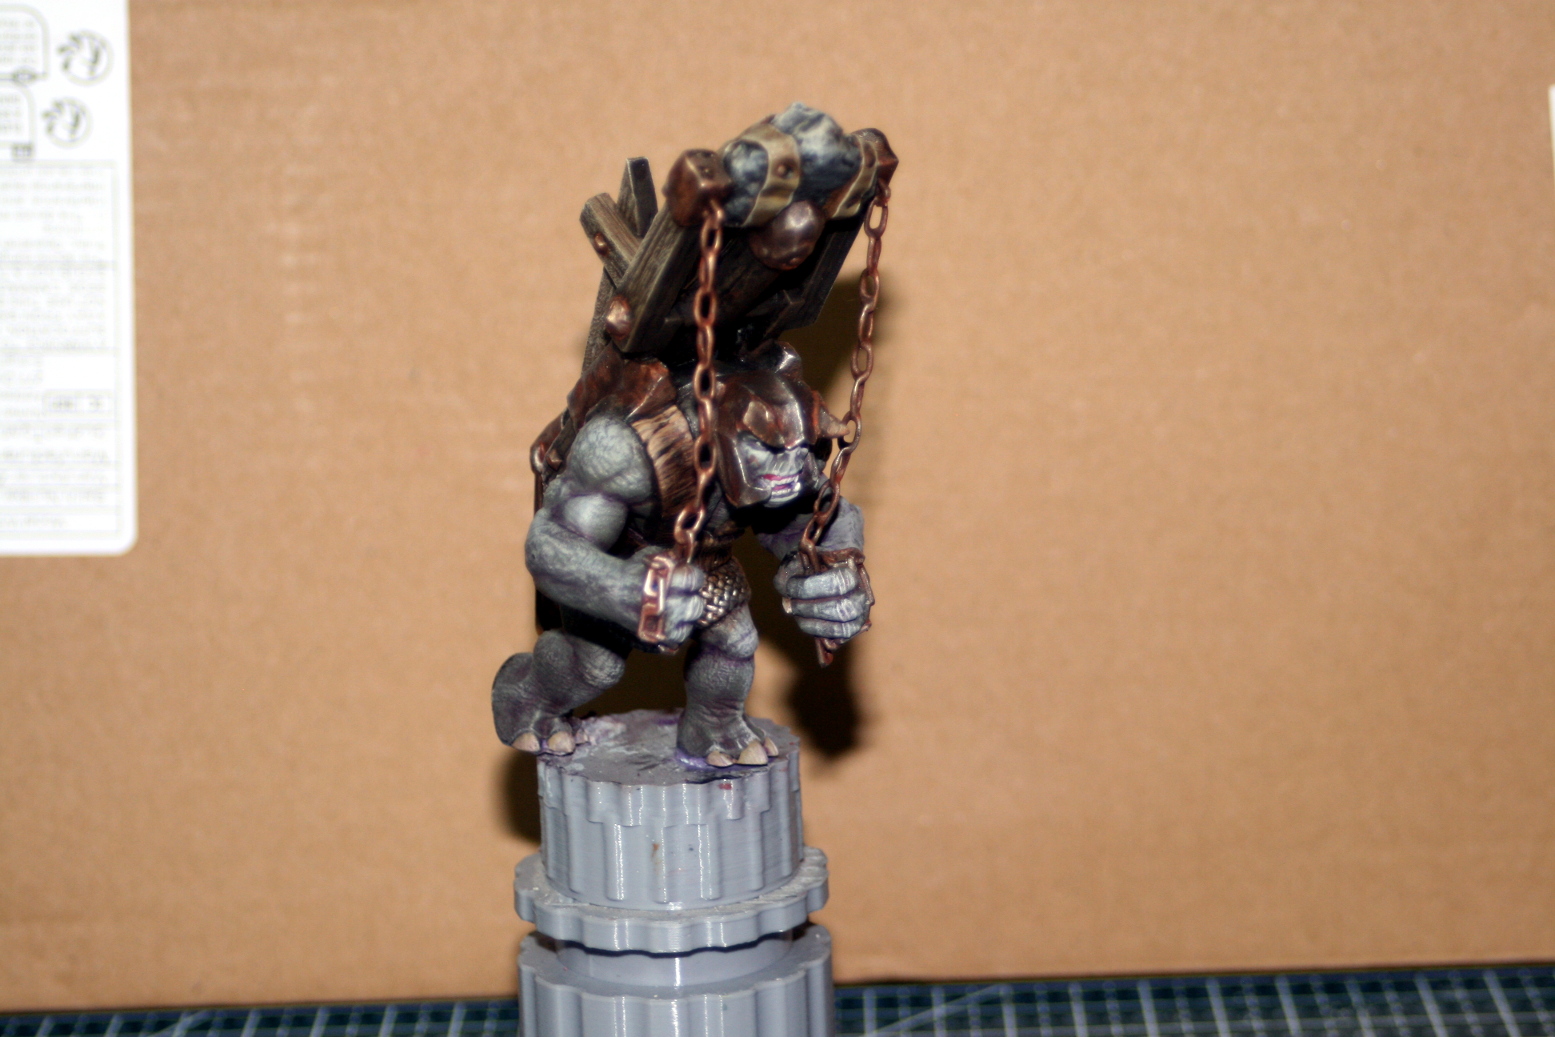
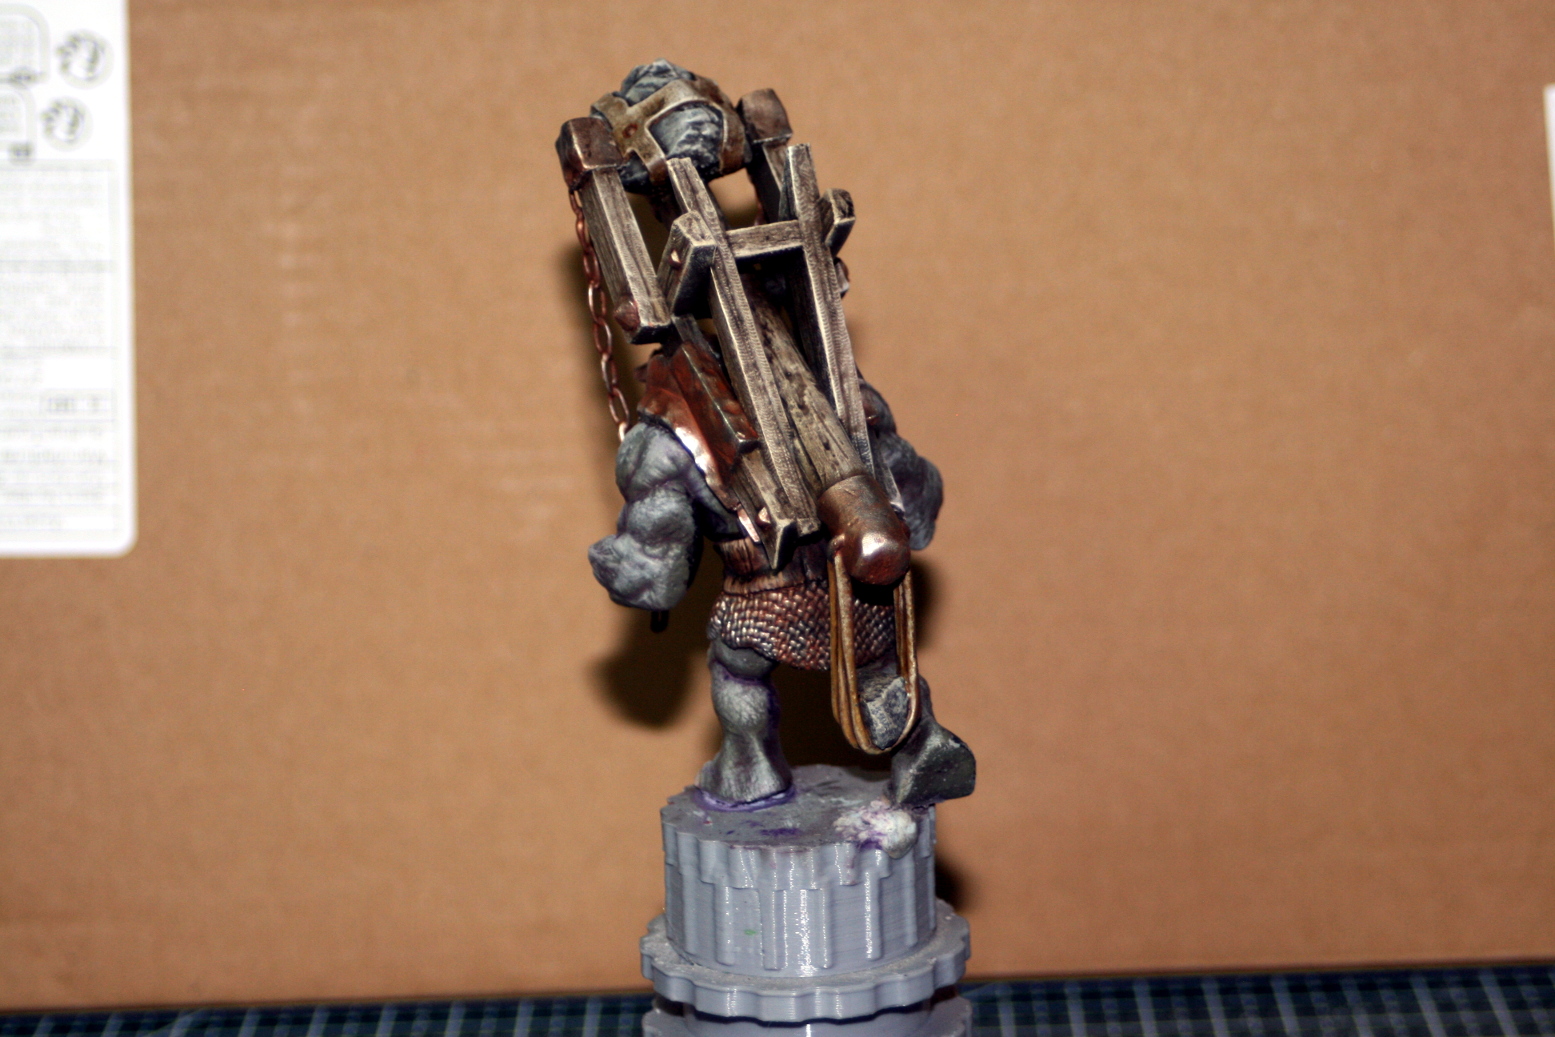
That is all for now. next week I will have finished some of the leaders. I ha e also started painting the scene, but it is more difficult that it first appears.
Until next time, stay safe and have fun.
NR.
Painting The Background
Hi everyone,
I have finally painted the backdrop of this diorama. It was very important to get this as good as I possible could, since the whole story hinges on it. In the end you will be the judge of that.
It was painted up in oils, using just primary colours, as well as white, burnt sienna and umber. I went with this approach to make it more interesting tonally – at least that is what all the landscape painters said on Youtube (including Bob Ross). Believe me I watched many videos before attempting to paint this.
Minas Tirith, the white city, was painted to read as white, but it is mostly shades of grey, with the top section only being pure white.
The pictures I took are a bit muted, but that was the best I could manage.
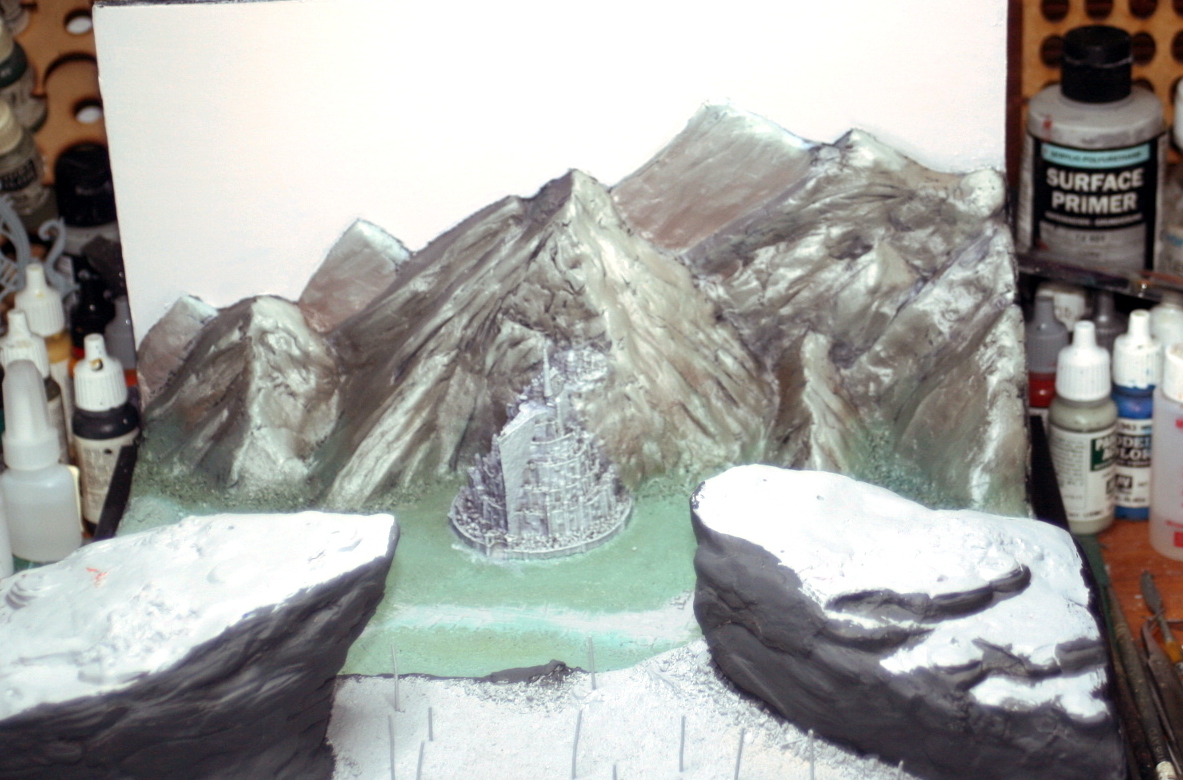 The basic colours painted up.
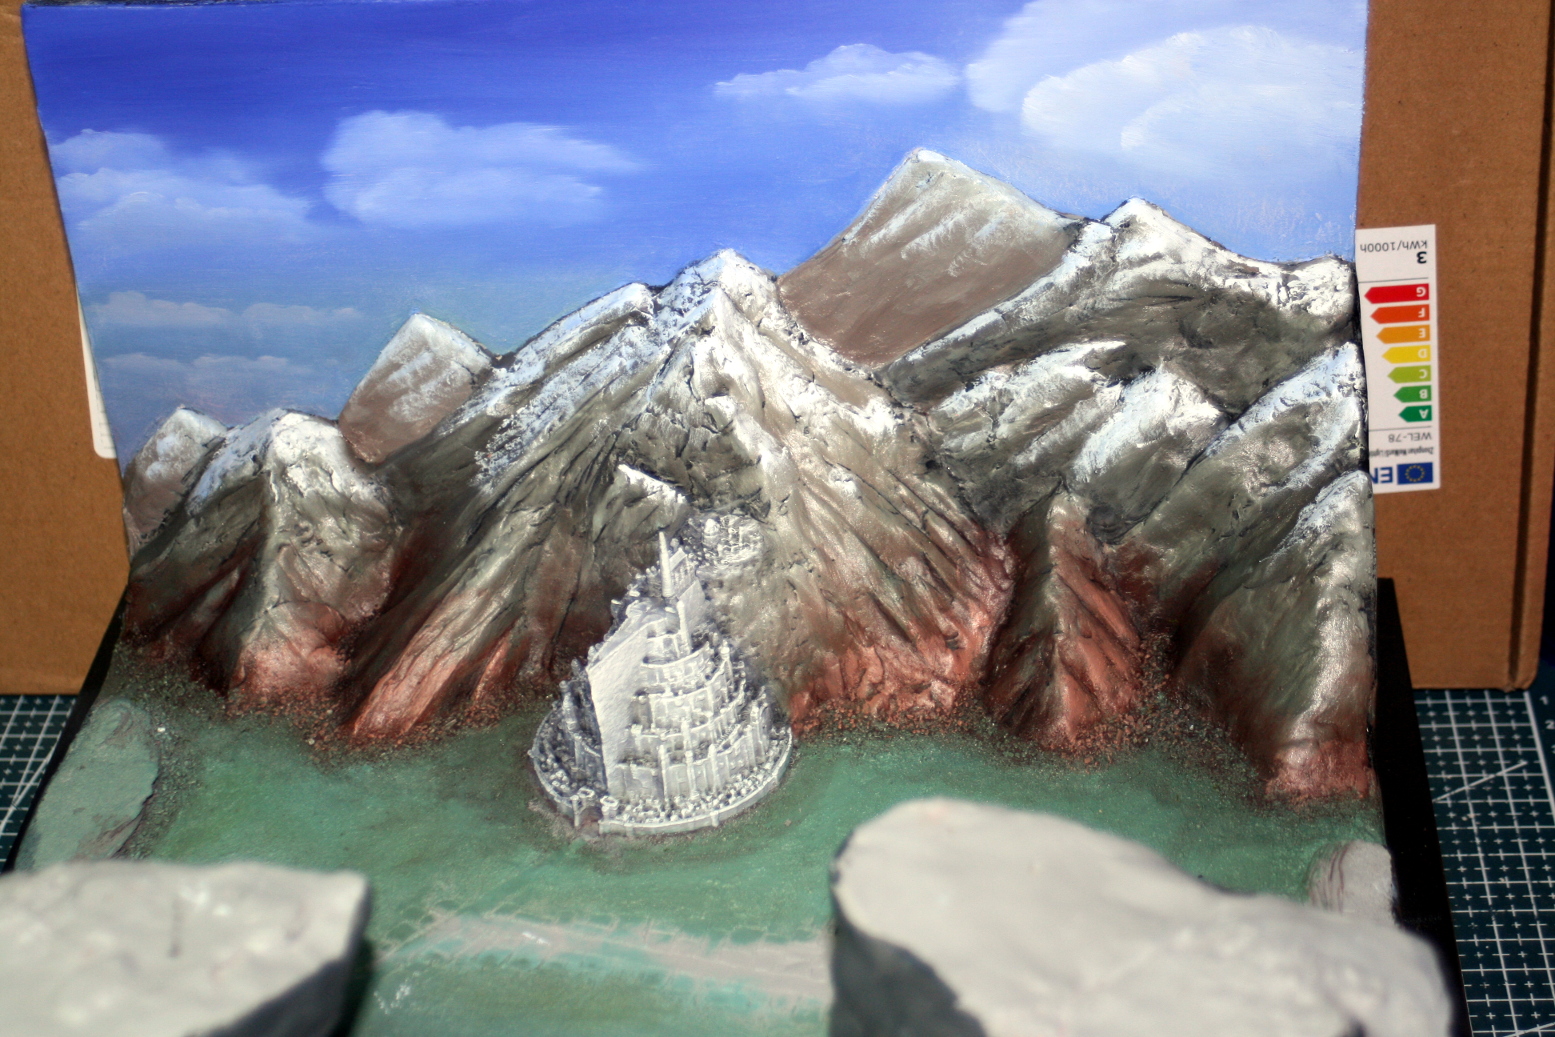 Adding detail, saturation and hopefully interest.
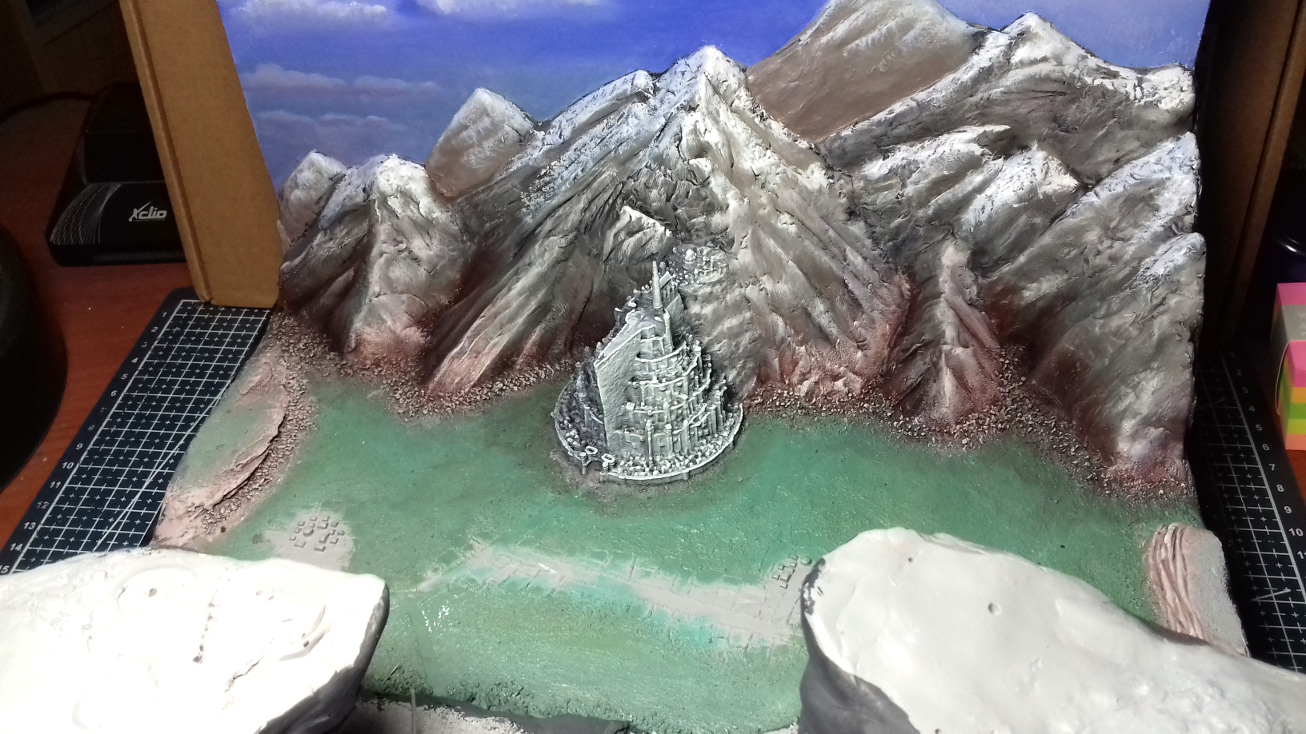 Muting down the colours, and emphasing the highlights.
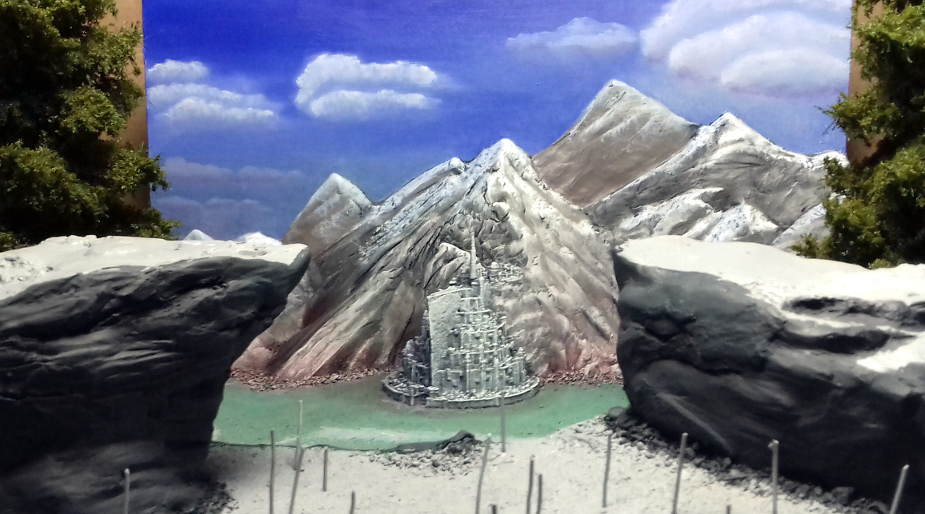 The view from the orc perspective.
Now that the backdrop is done, the foreground is next, but first I need to finish painting the miniatures and finalize their position again – because I have changed a few things. This means re-drilling some holes and filling up others.
Until next time, stay safe and have fun.
NR.

![Battle It Out In The Early War With New Flames Of War Set [Updated]](https://images.beastsofwar.com/2026/10/fow-barbarossa-cover-600-338.jpg)