







Jumping Into Kill Team – Hive Storm




Recommendations: 13
About the Project
After selling (almost) all I had acquired for the original Kill Team, due to my dislike to the previous ruleset, I bought the new edition in late 2025 and finally decided to jump in, motivated that I was by my younger son embracing of WH 40K. While I have no intention of ever building a 40K army, the lore appeals to me, as it has since the early 80s when i was chatting with the original design team at Games Day. I also love skirmish games, both because the space needed to paly them is quite more reduced than larger army games and also because I can paint a few miniatures and start playing. Also, the amount of care I spend on each member of the squad/team/crew can be greater than that spent upon one of the myriad of an army unit. This project documents my reentry (my entry really) into Kill Team, from painting the terrain to painting the units and playing for the first time. I hope it will inspire you to do the same...
Related Game: Warhammer 40,000: Kill Team
Related Company: Games Workshop
Related Genre: Science Fiction
This Project is Active
Tempestus Aquilon
I decided to paint the Tempestus Aquilon first, adopting essentially the box art as, after experimenting with se3verl other schemes, it appealed to me most. I got inspiration from the WH Paint app, modified to my taste. Here is a reference of the paints used:
Fatigues: Incubus Darkness (GW) Wash: Coelia Greenshade )GW) Highlights: Kabalite Green (GW) > Sybarite Green (GW)
Armor: Caliban Green (GW) Highlight: Straken Green (GW)
Armor Decoration: Runelord Brass(GW) Highlight: Stormhost Silver (GW)
Boots: Rhinox Hide(GW) Wash: Agrax Heartshade (GW)
Straps: Doombull Brown (GW) Wash: Agrax Eartshade Hightight: Tuskgor Furr (GW)
Dagger/Dagger Sheath/Gloves: Black Highlight: Grey
Grenades: Textured grenade: Militarum Green (GW)
Smooth grenade: Basilicarum Grey with yellow/red band
The Tempestus Aquilons were quite fun to paint and full of a myriad of details so characteristic of GW models. I chose not to add unit identification as I could not come up with a decent symbol/marking and may do so in the future.
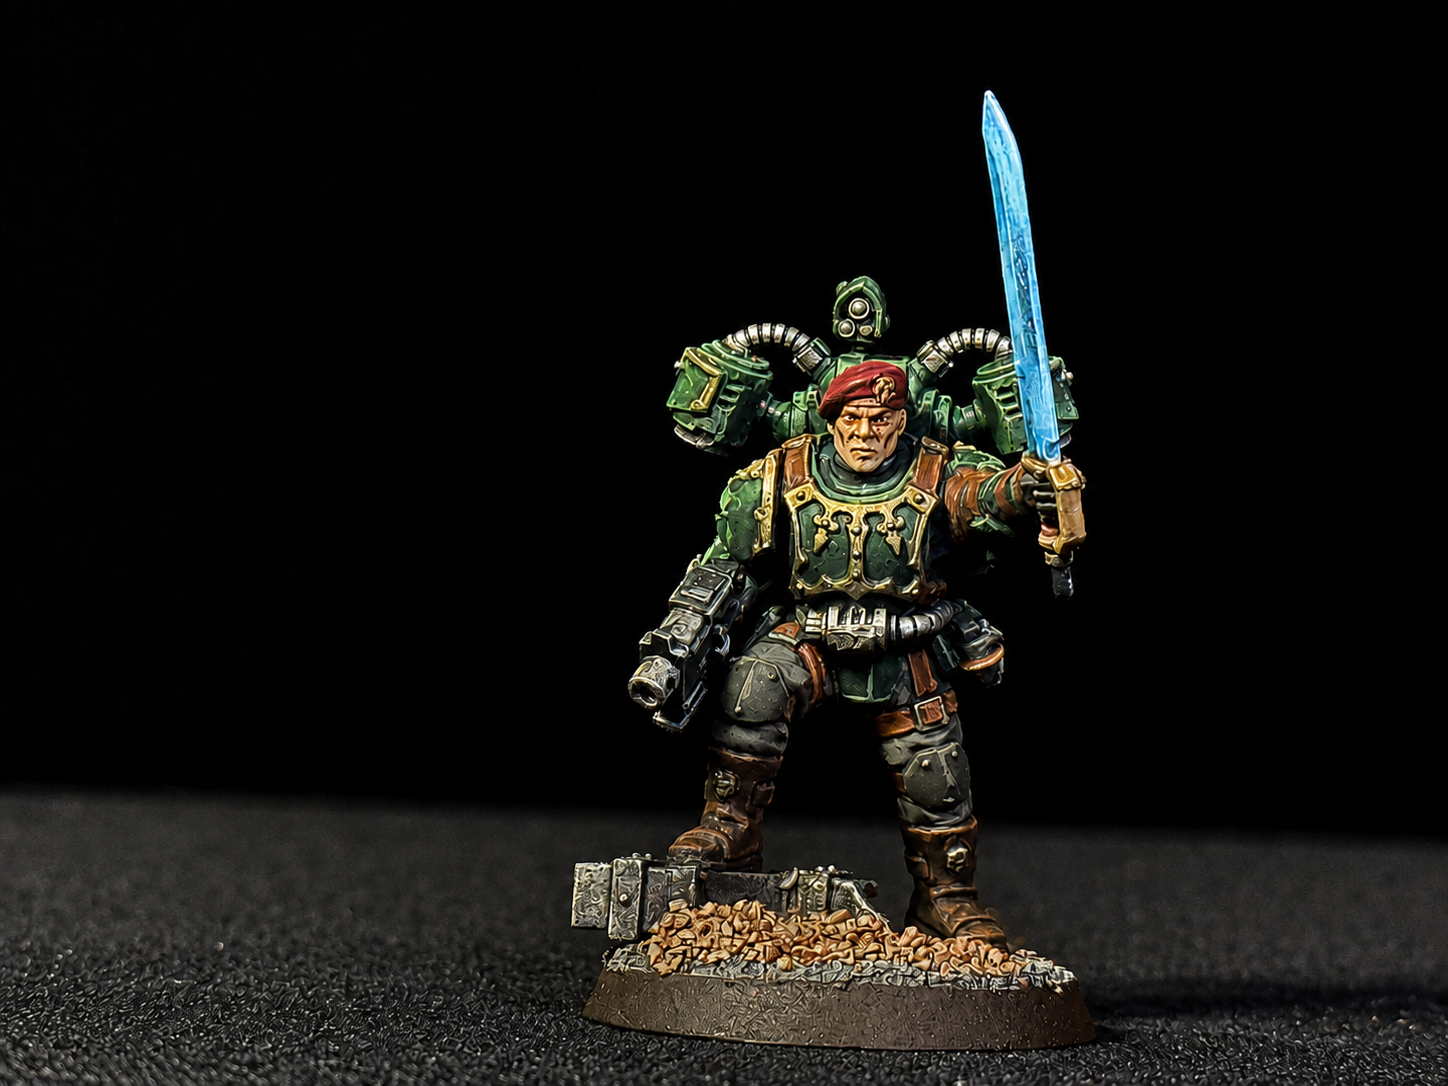 Tempestor
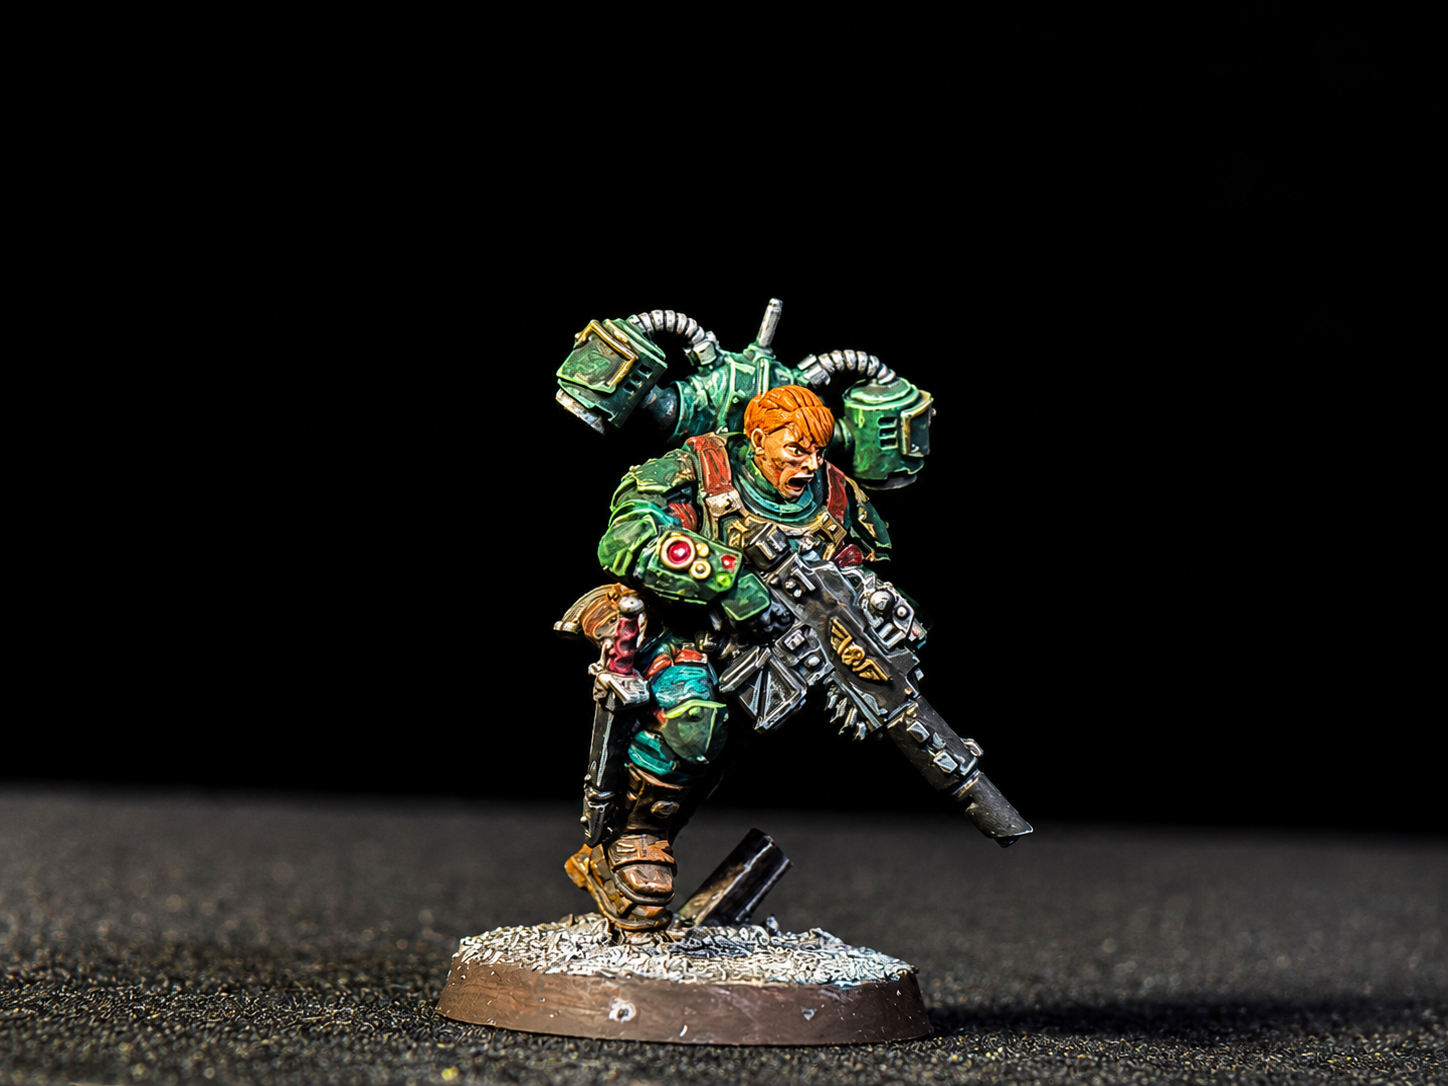 Trooper
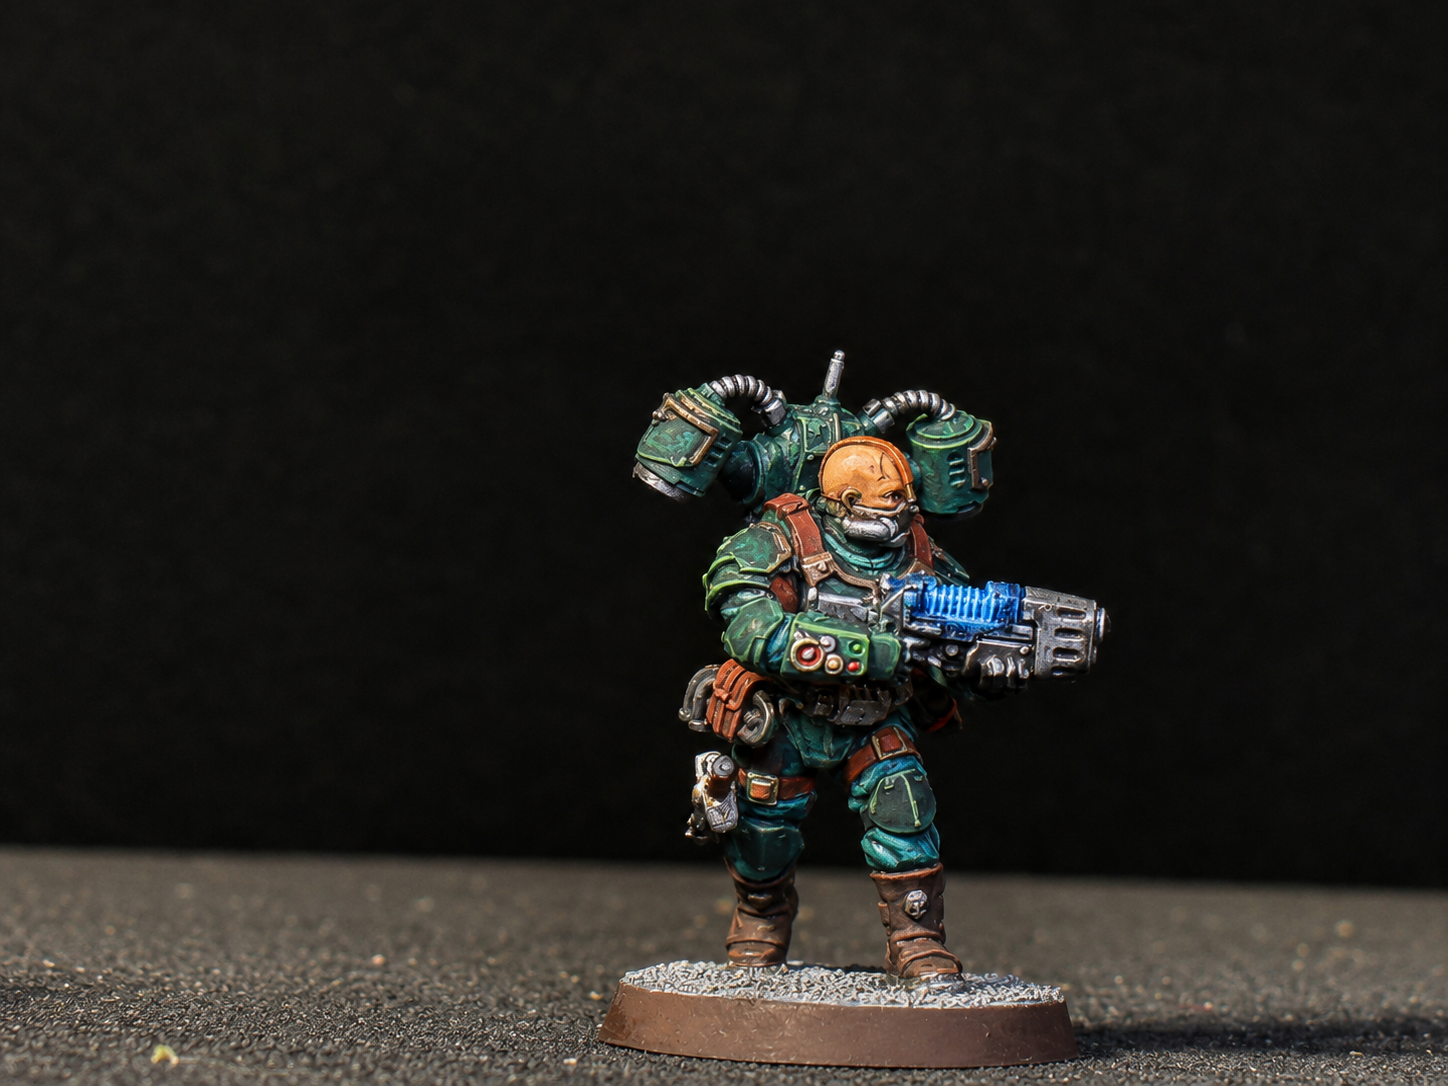 Gunner - Plasma Carbine
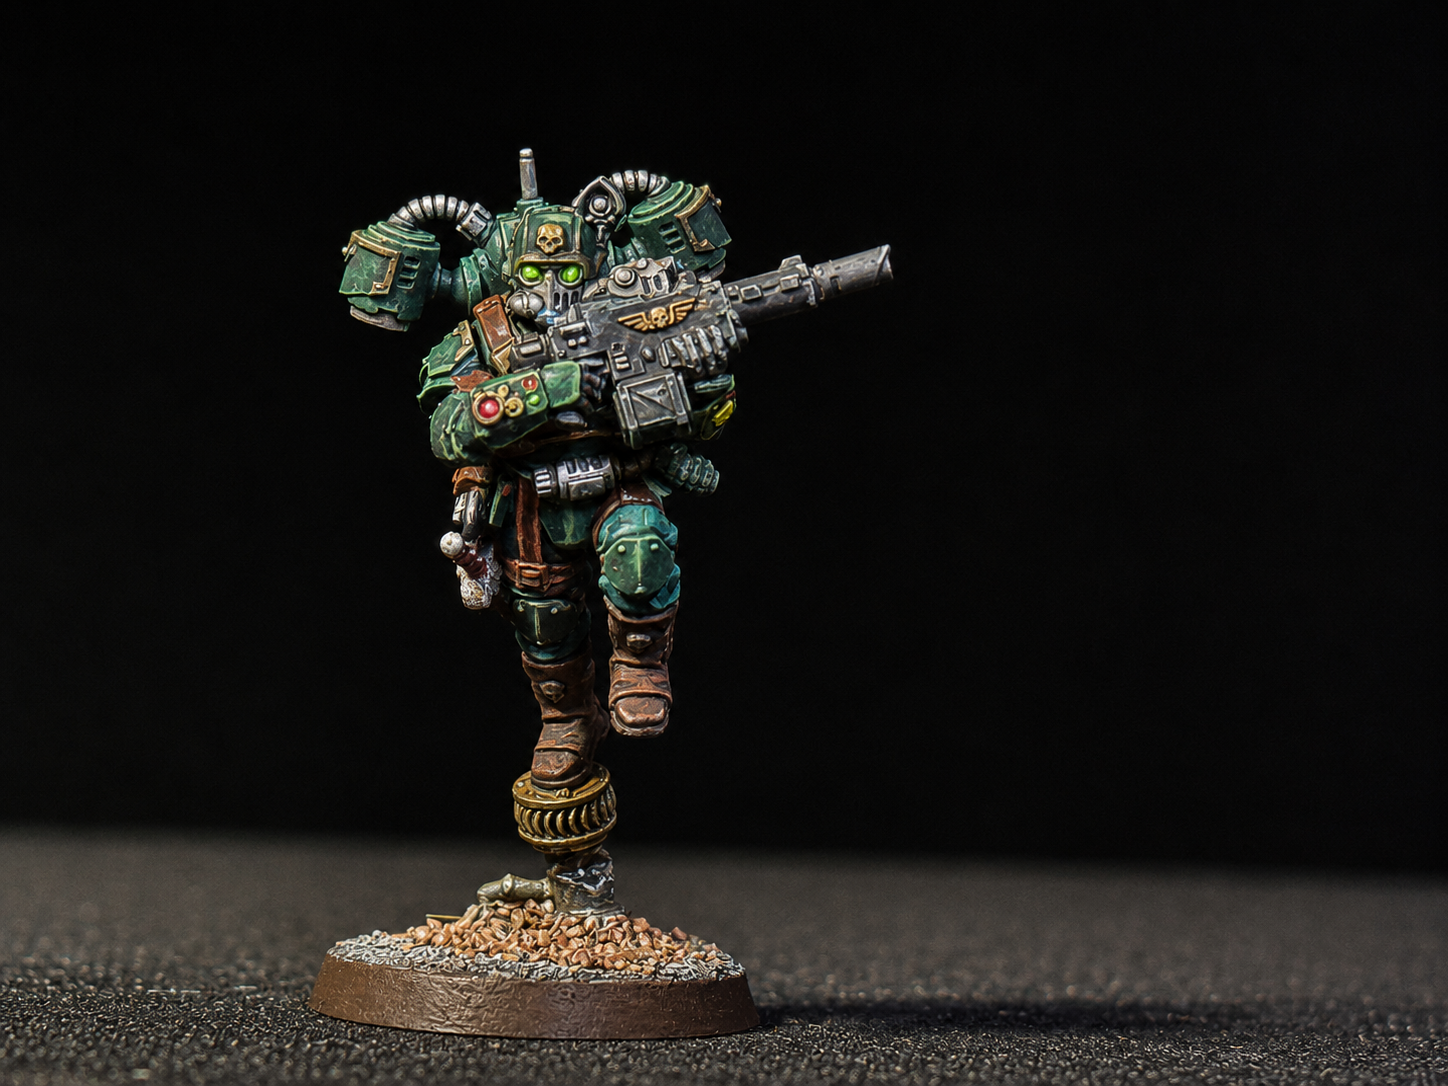 Trooper
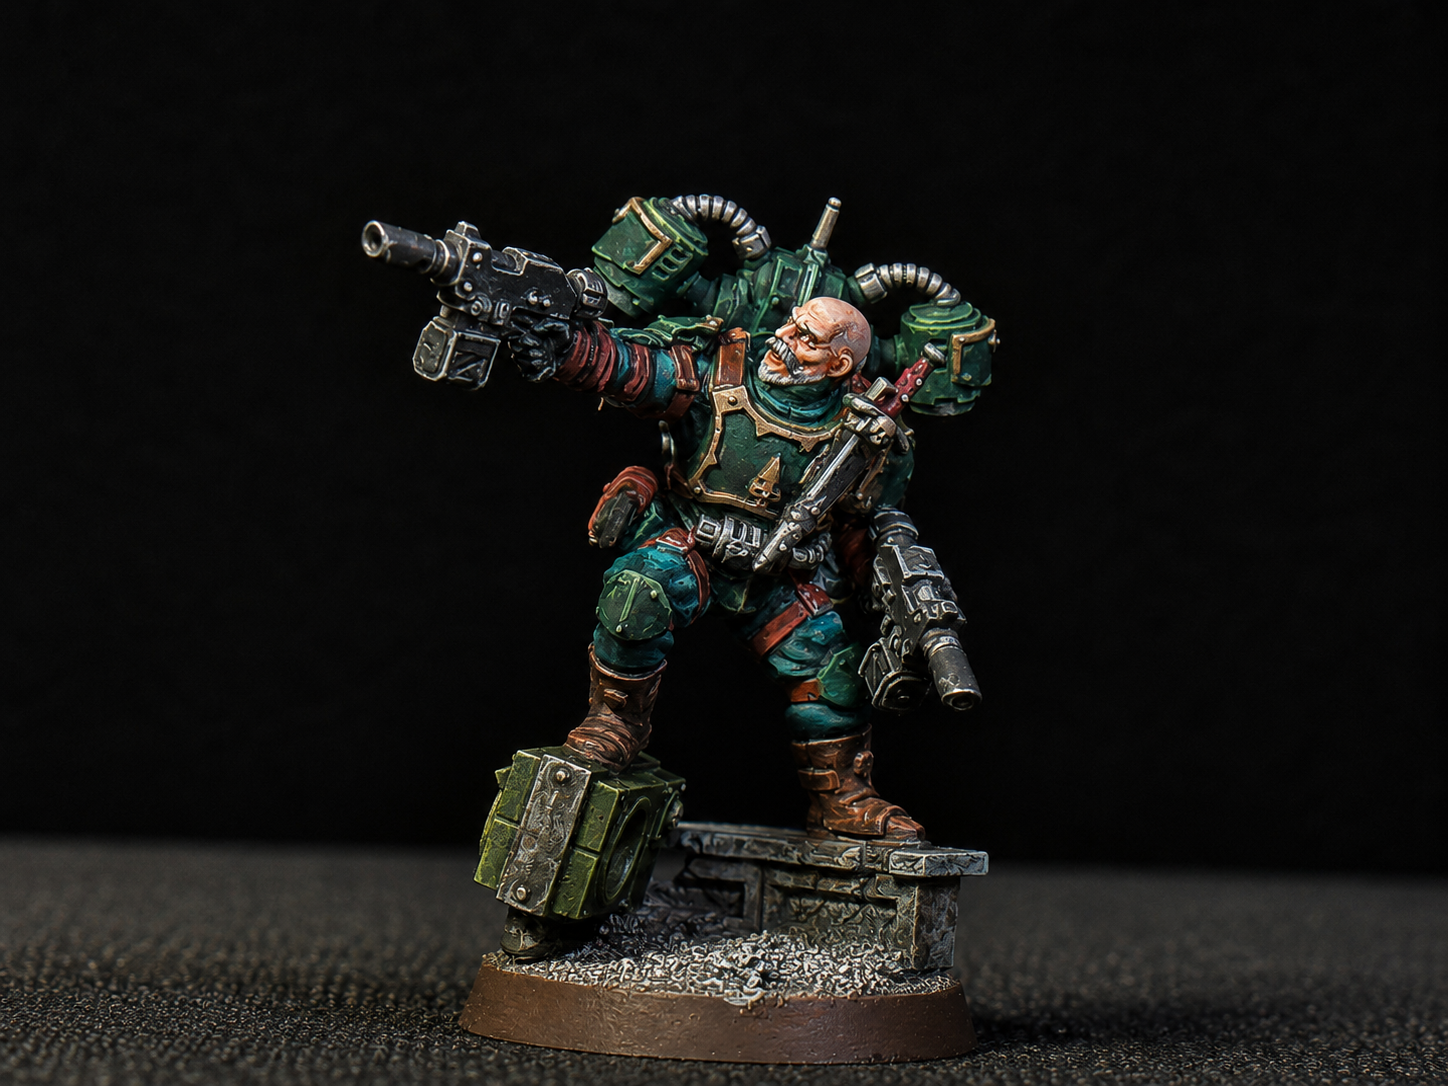 Gunfighter - Hotshot Laspistols
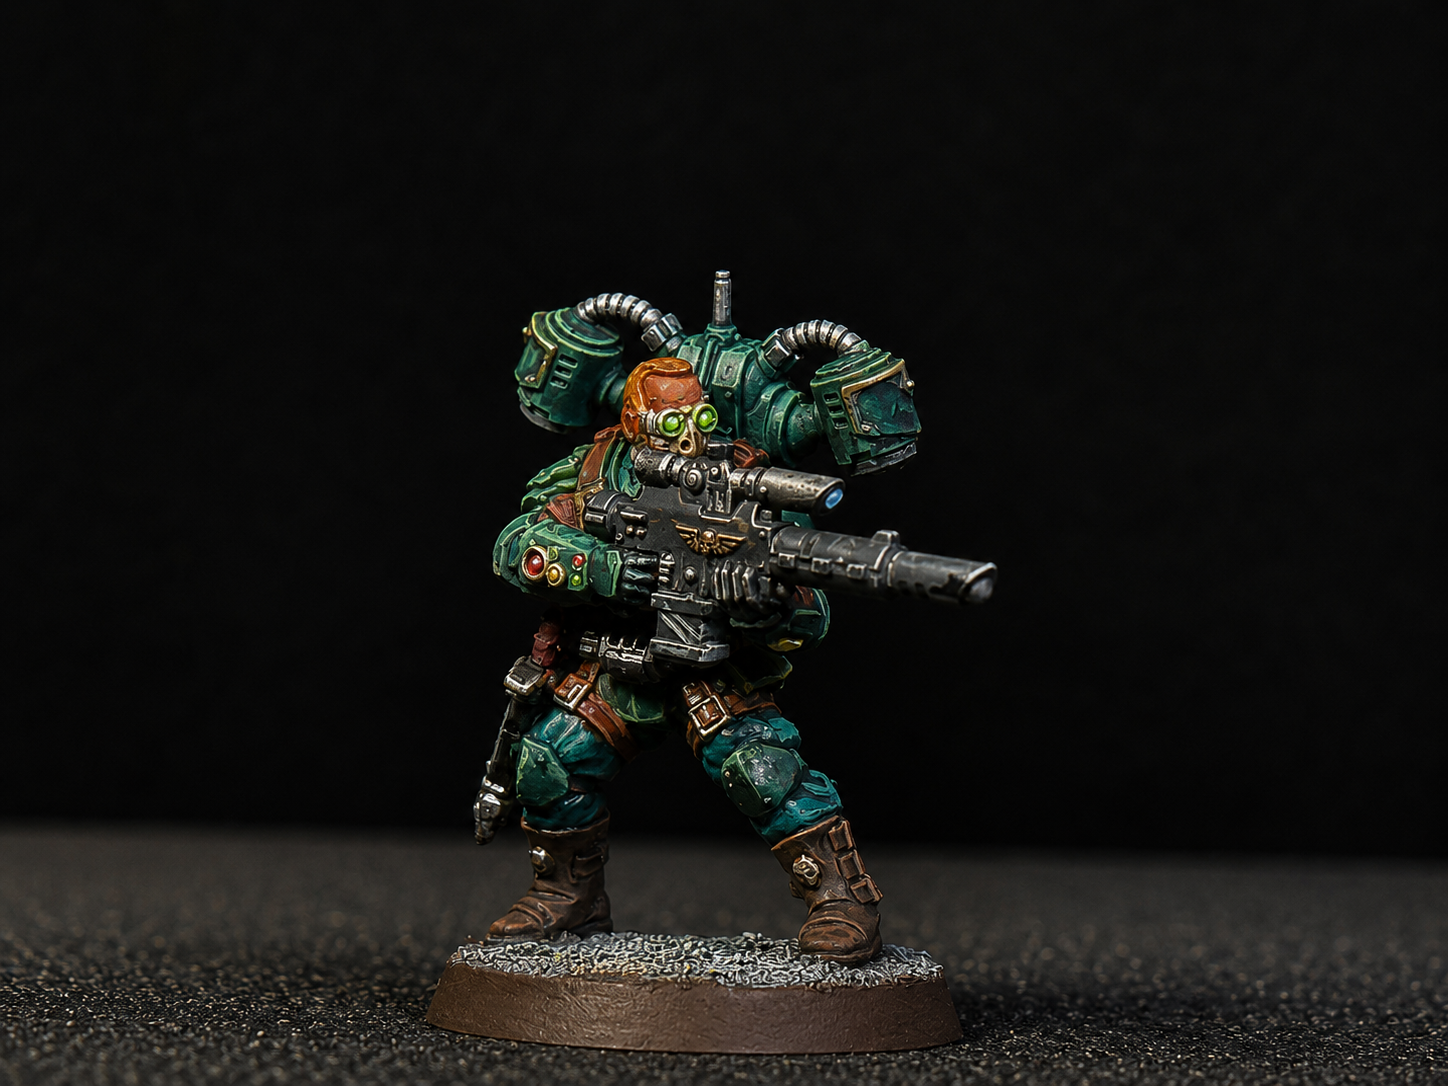 Marksman - Hotshot Long Las
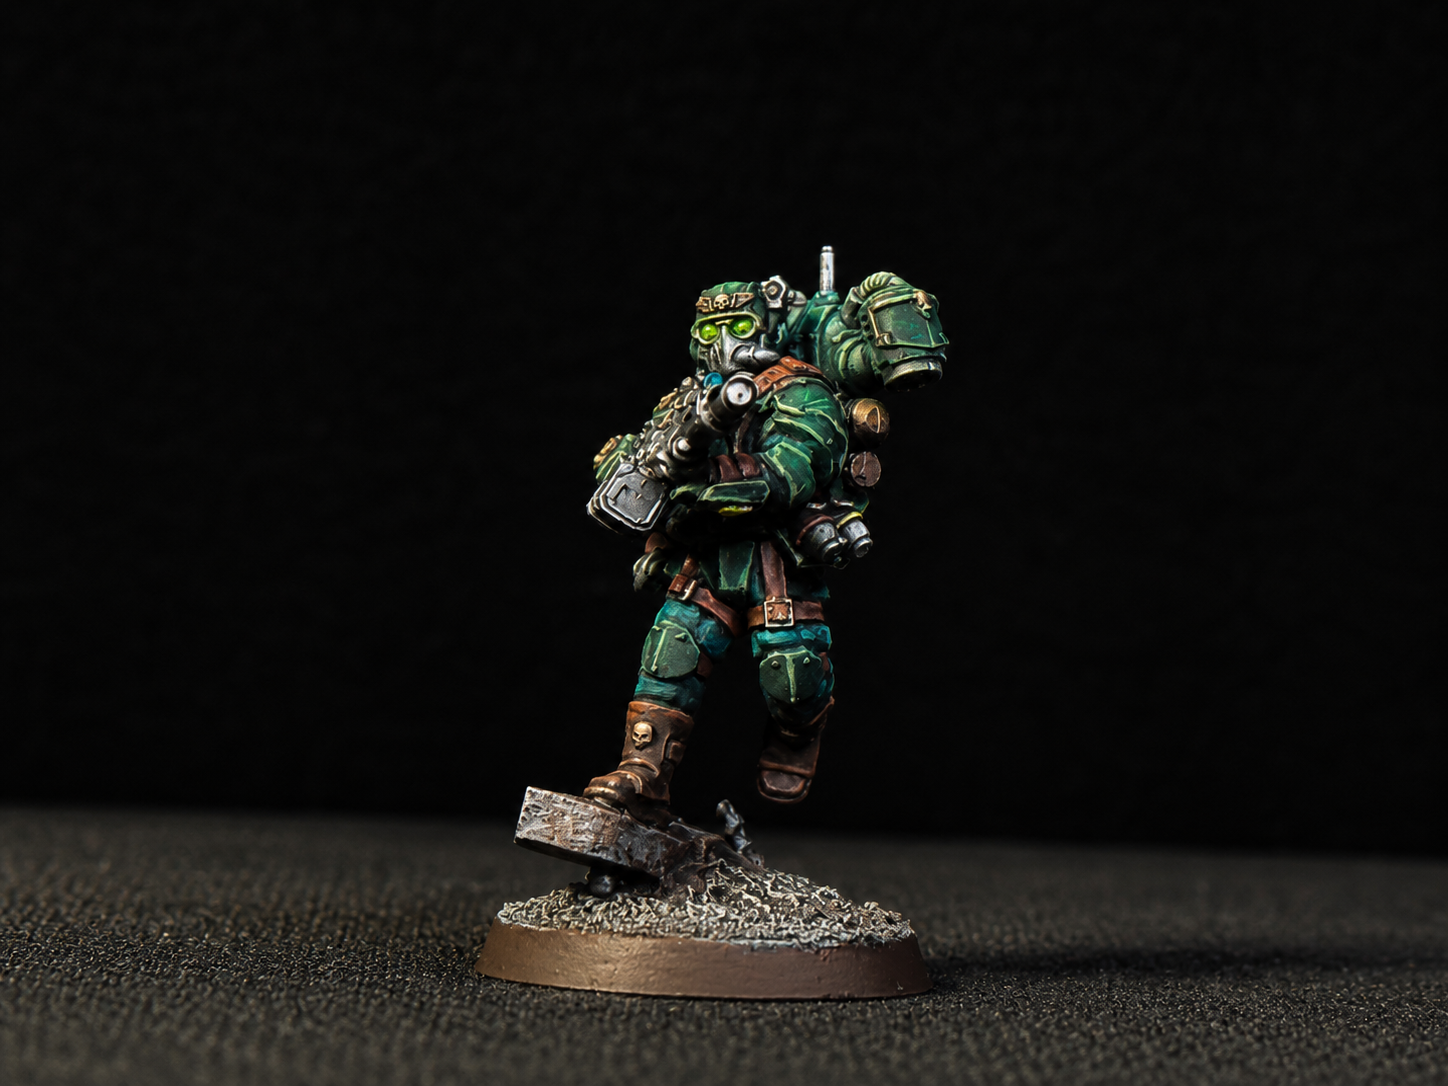 Trooper
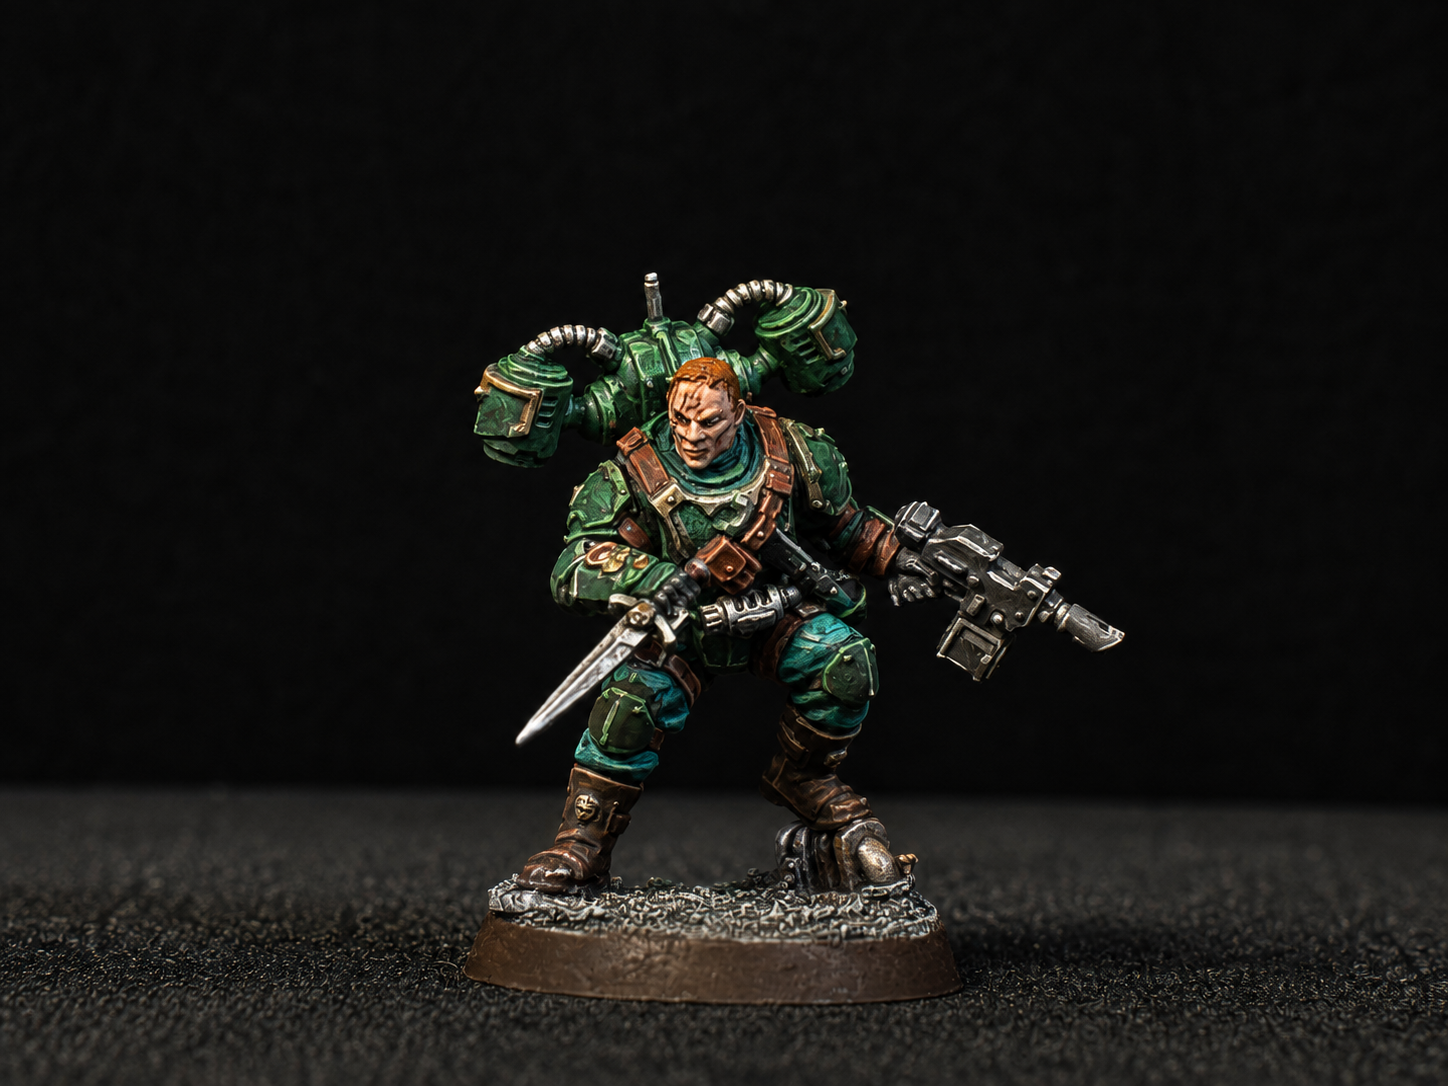 Precursor - Dagger/Hotshot Laspistol
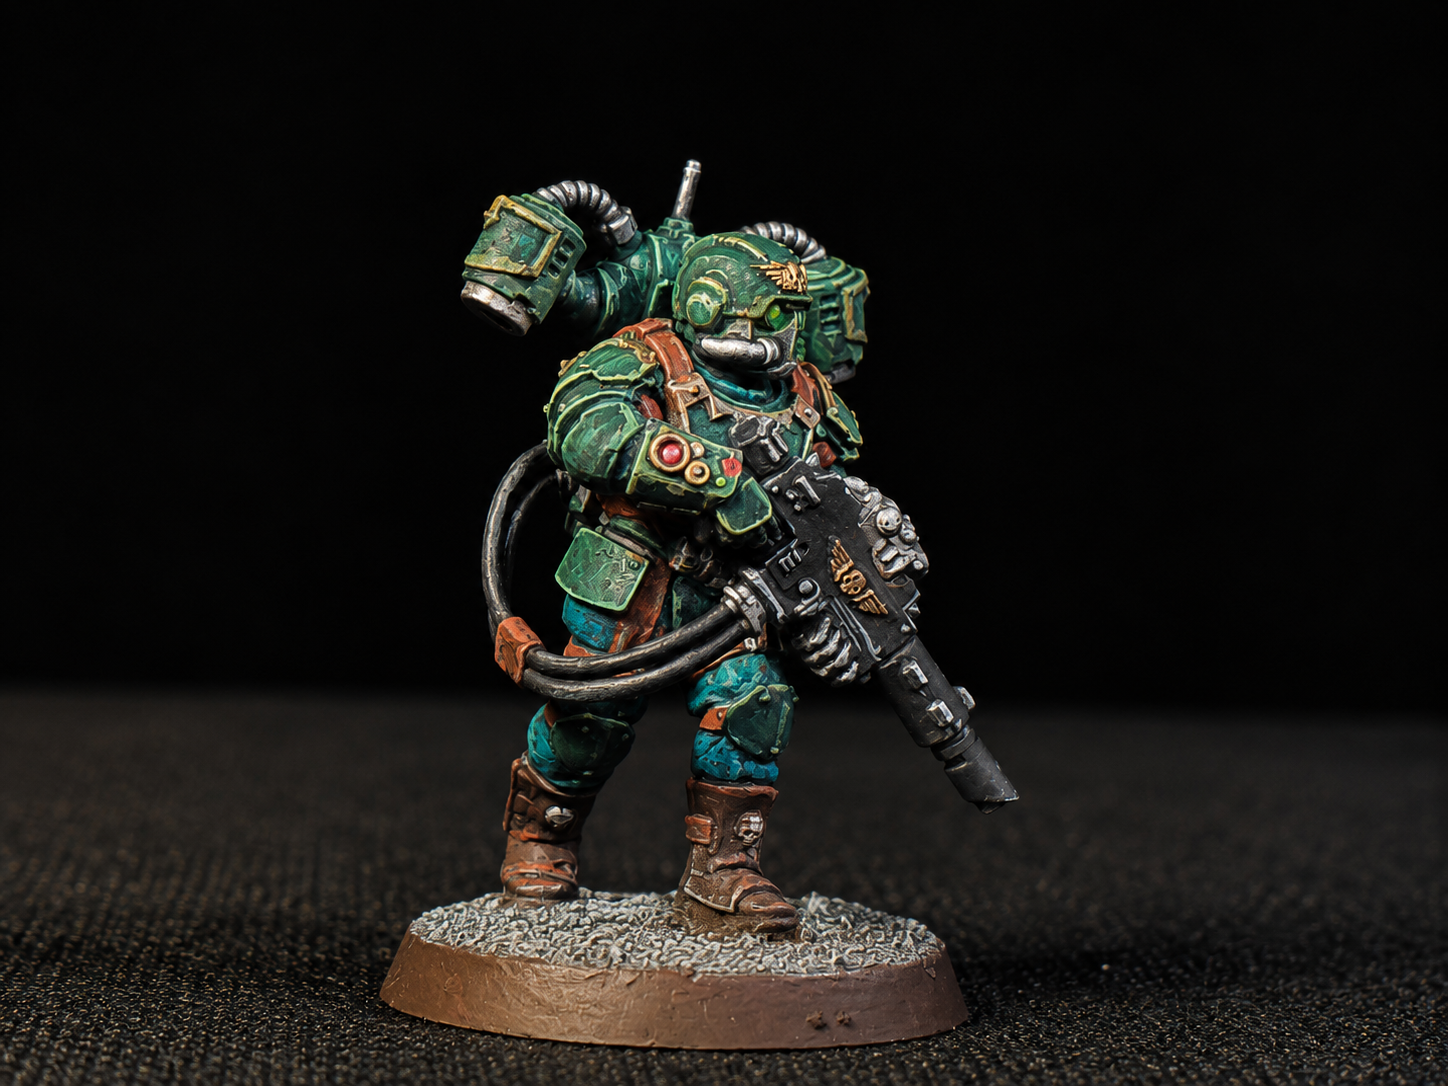 Trooper - Hot Shot Lascarbine
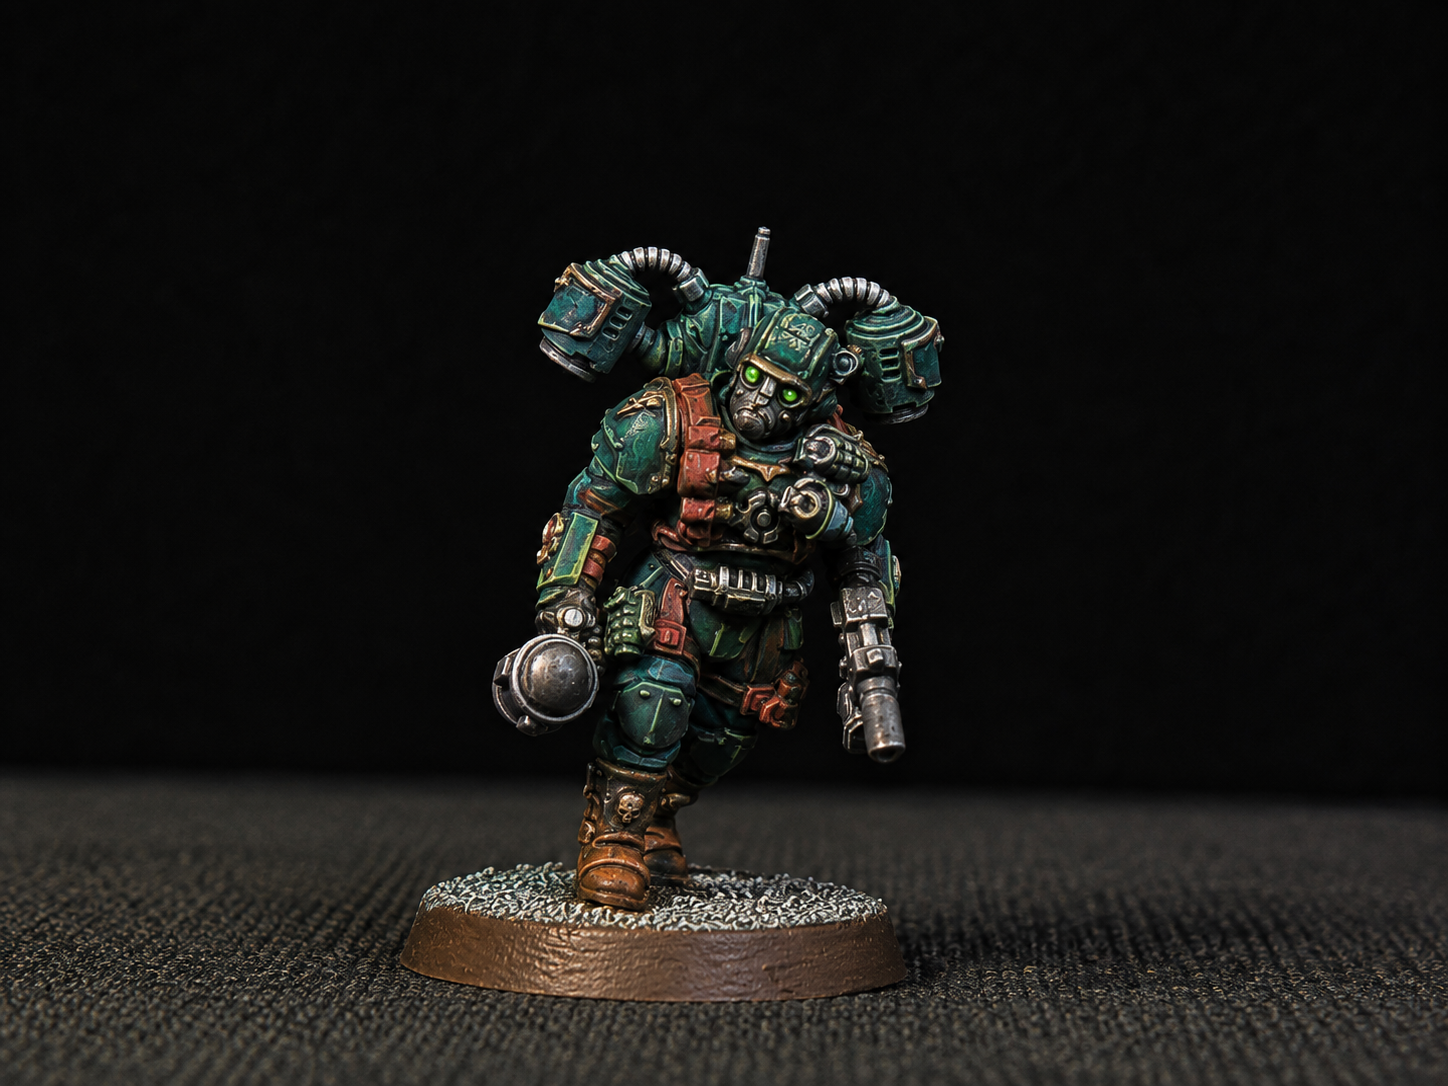 Grenadier - Melta Bomb/Hotshot Laspistol
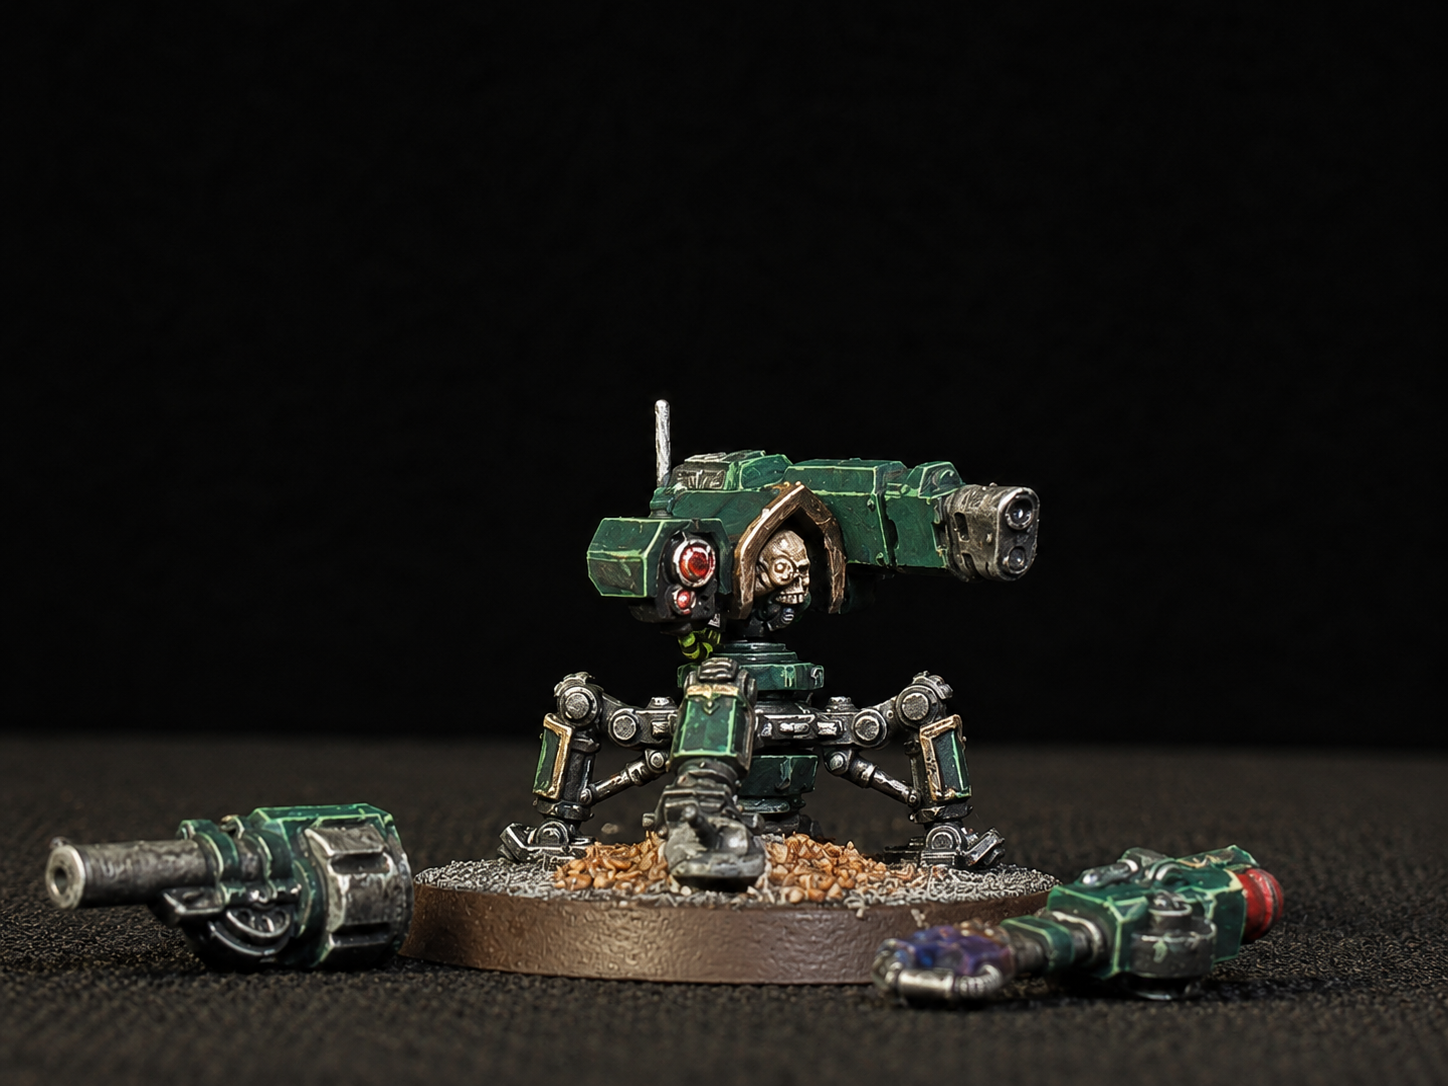 Servo Sentry - I could not choose a weapon so I magnetized them all :)
What Overgrown Zone Volkus Look Like
As you followed my hobbying steps in the previous project entry, I strongly suggest you watch the aforementioned Alex video as he offers some excellent advice that extend beyond what I documented in this project.
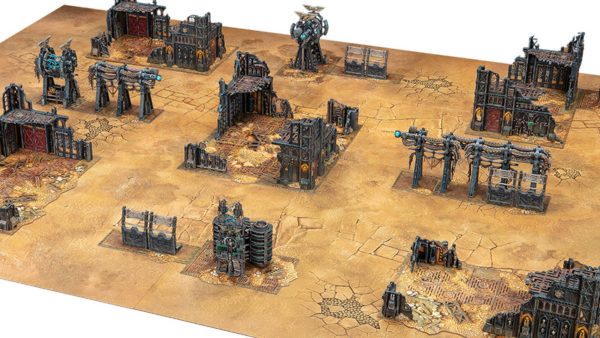
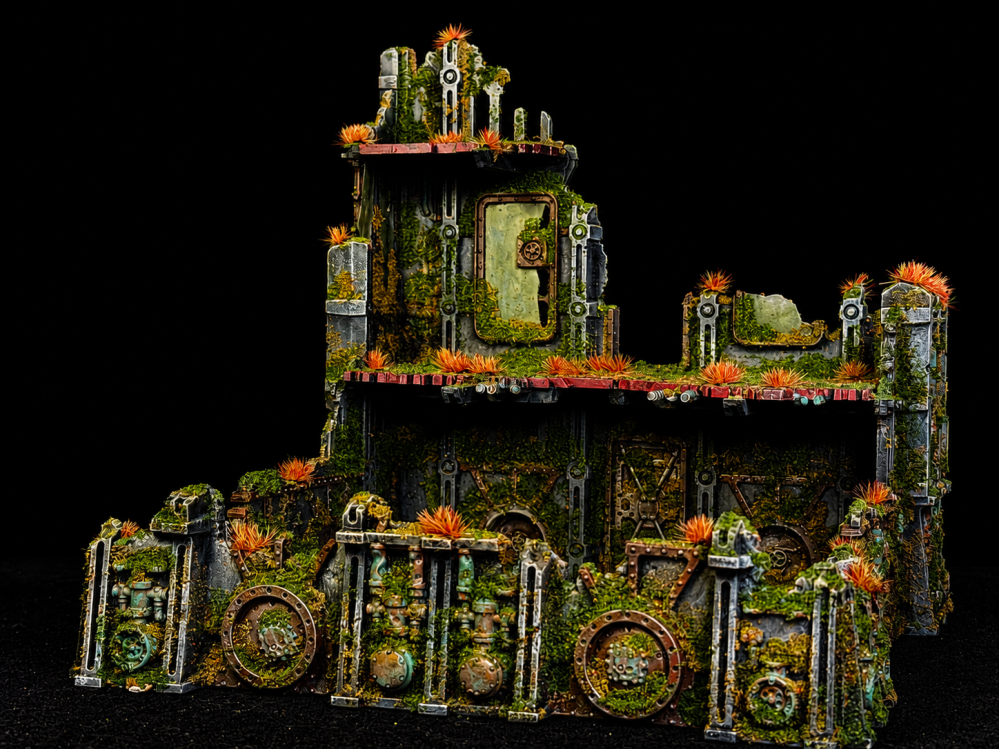
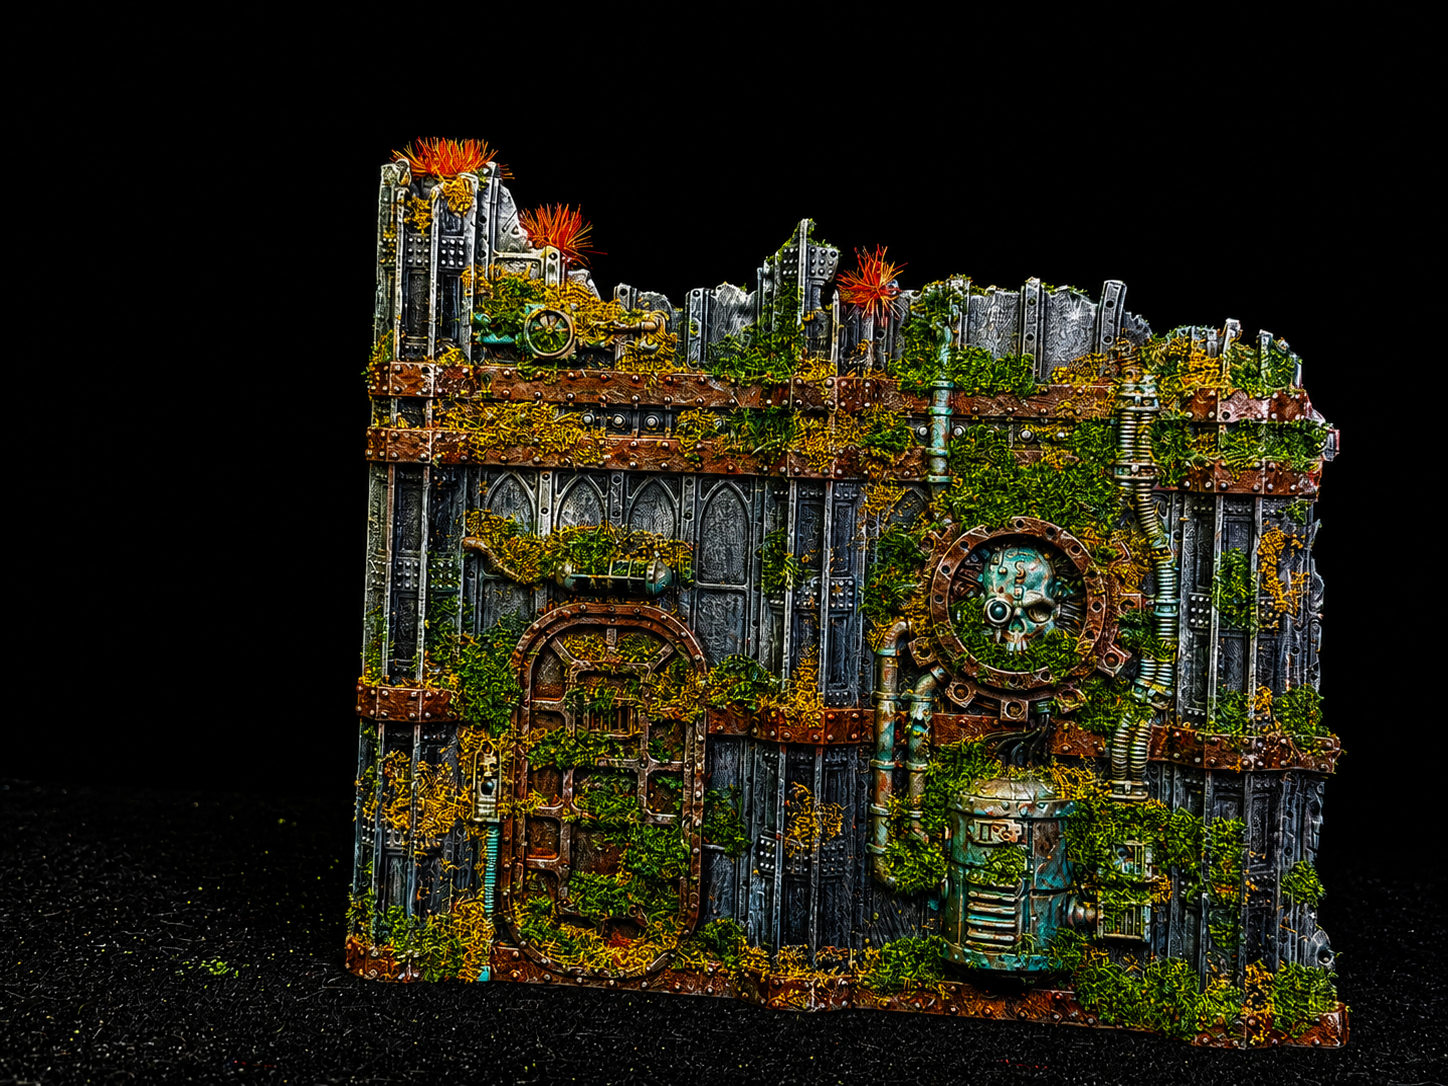
Here is what my ruins look like…
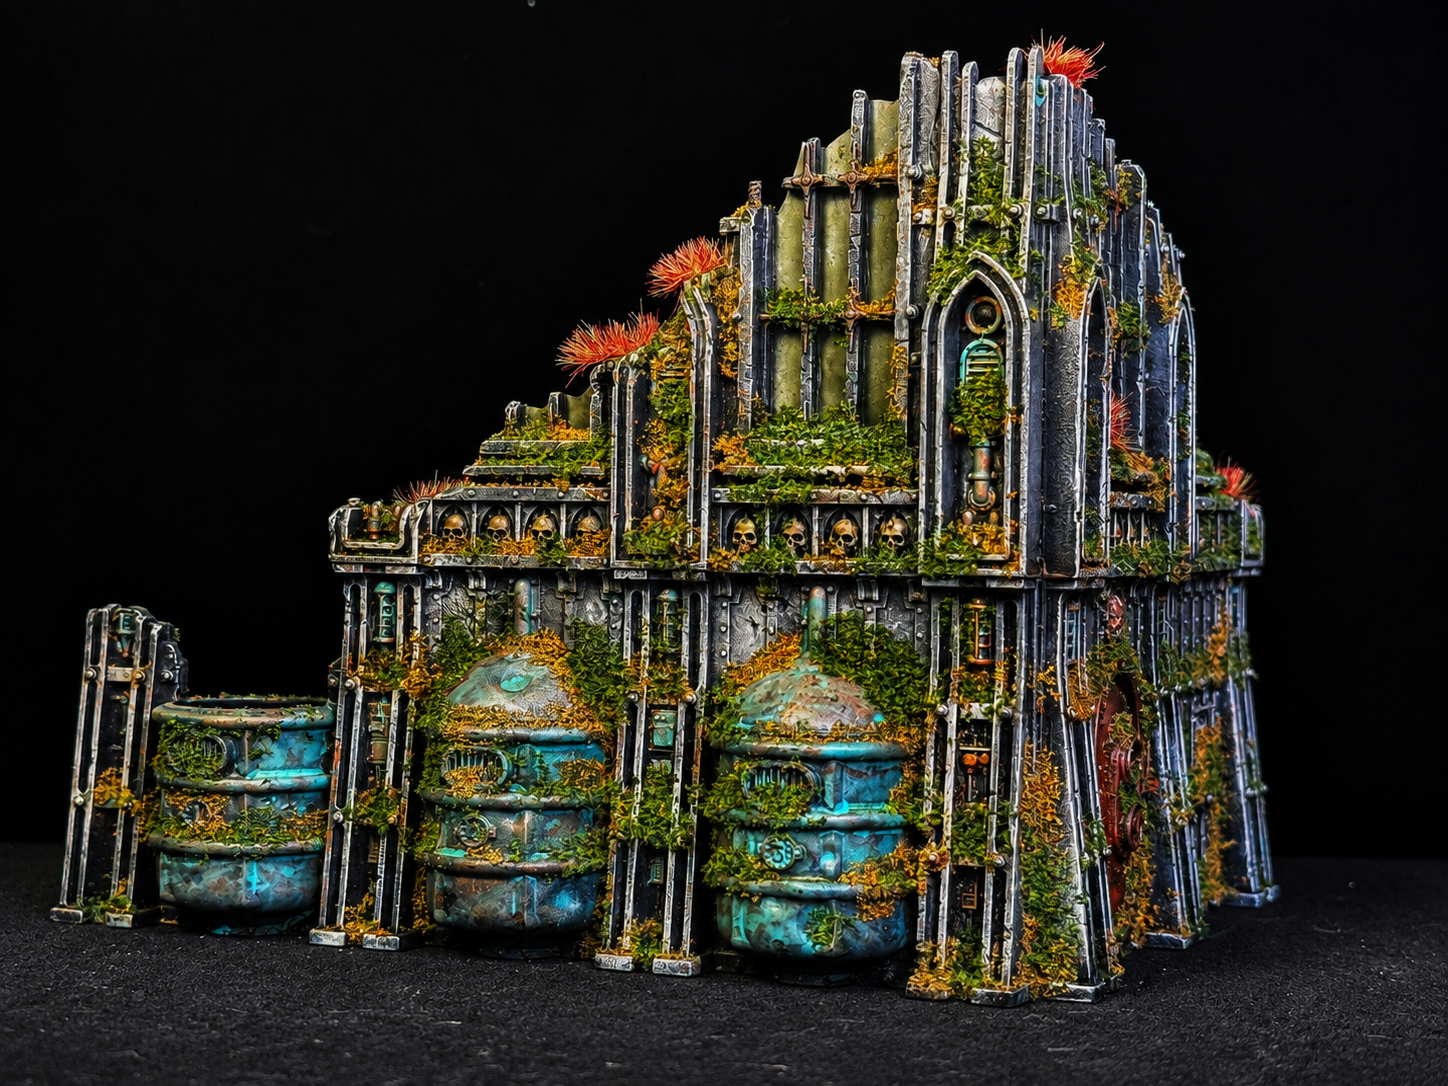
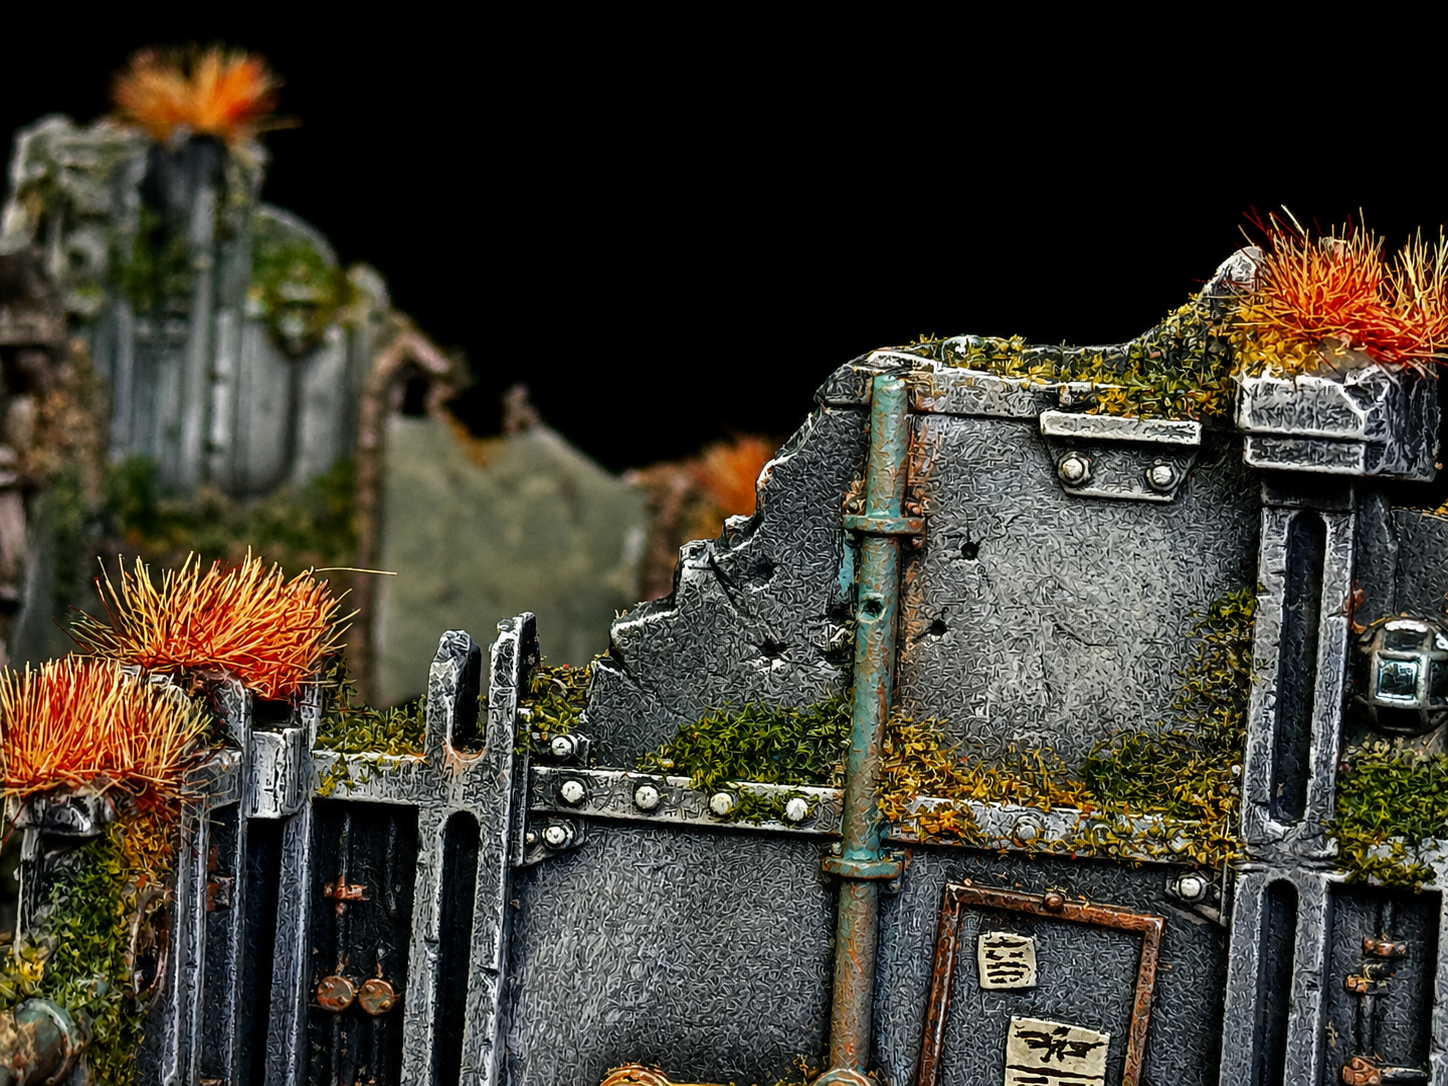
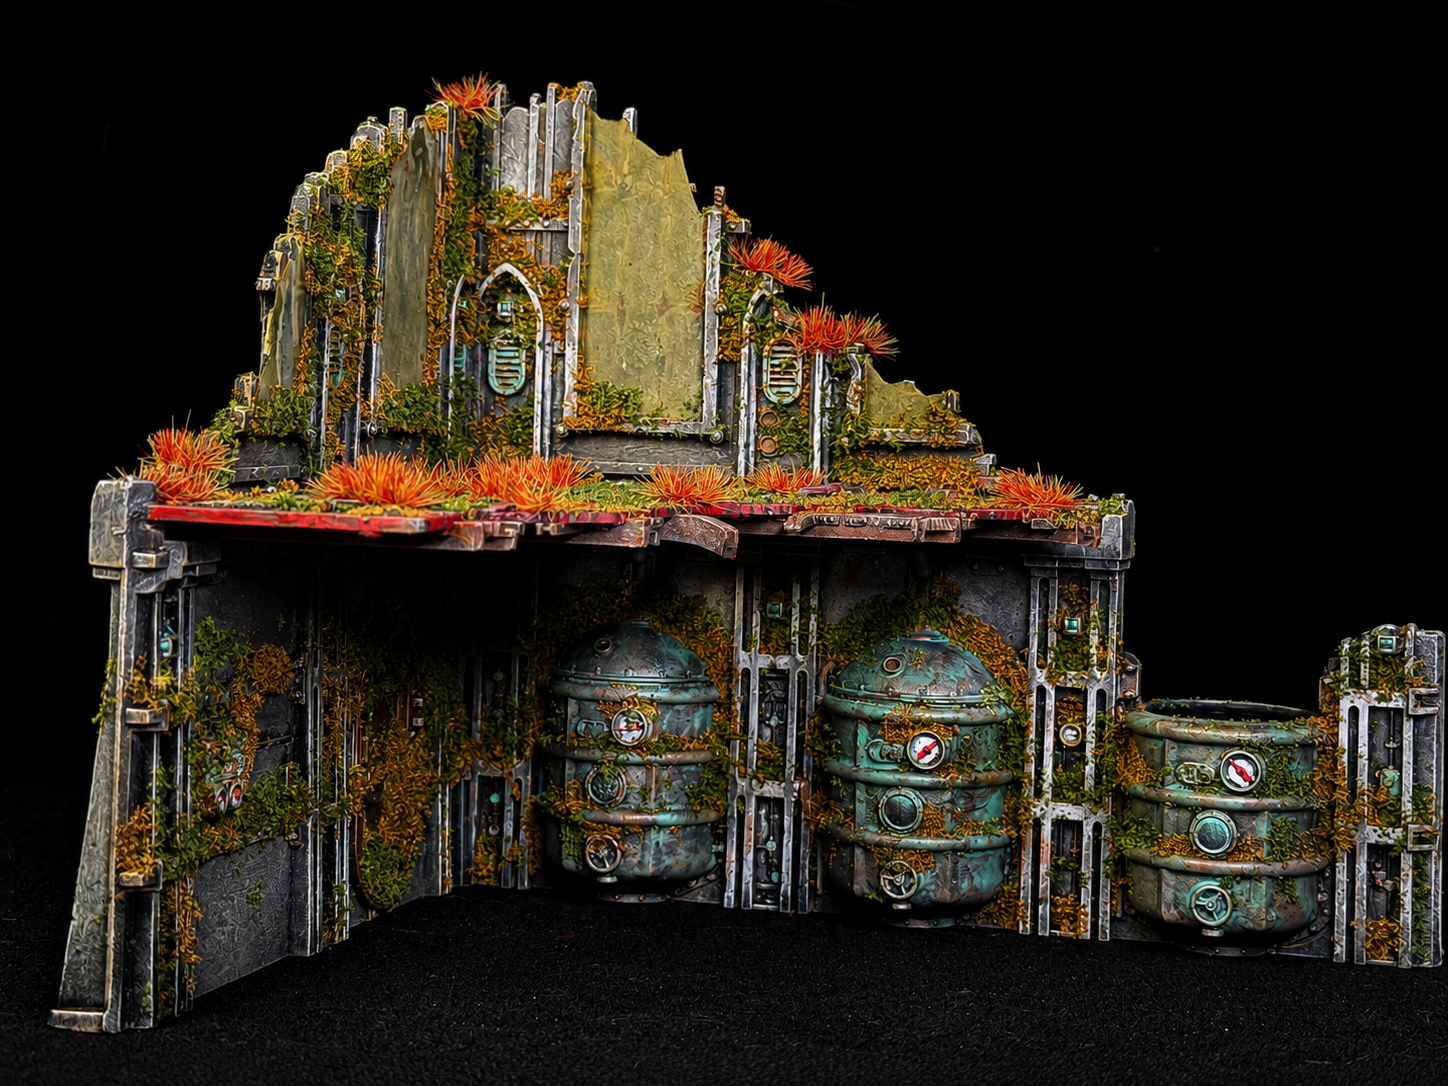 Note tht I added yellow tuft from Huge Miniatures as the color complements the tone of the ruins.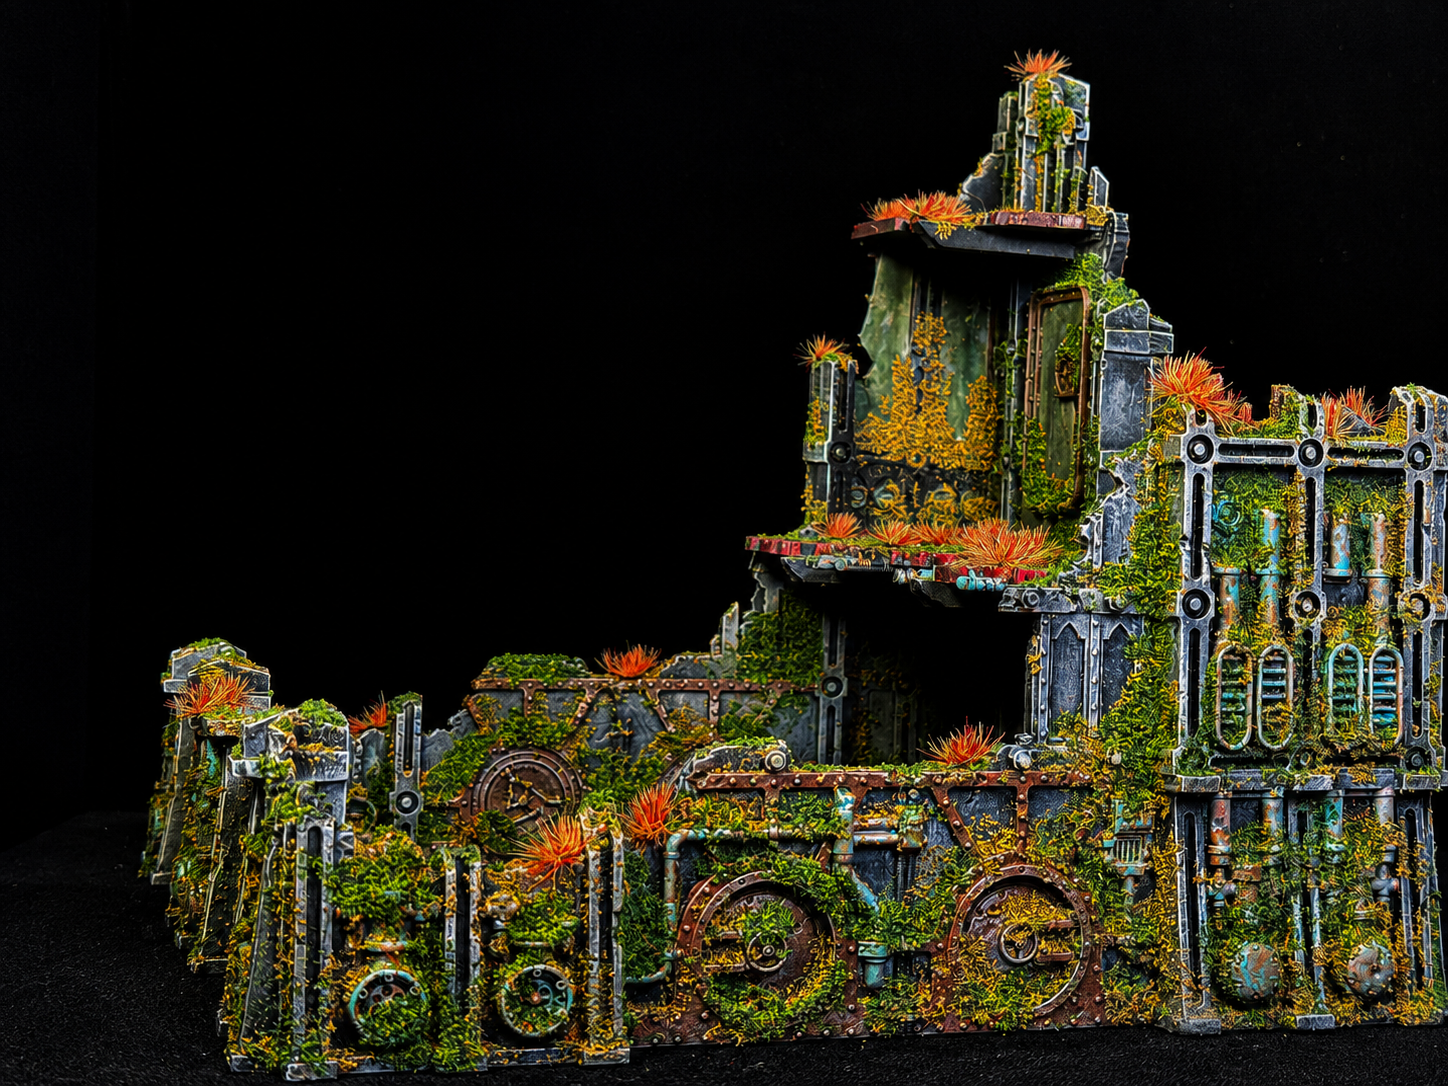
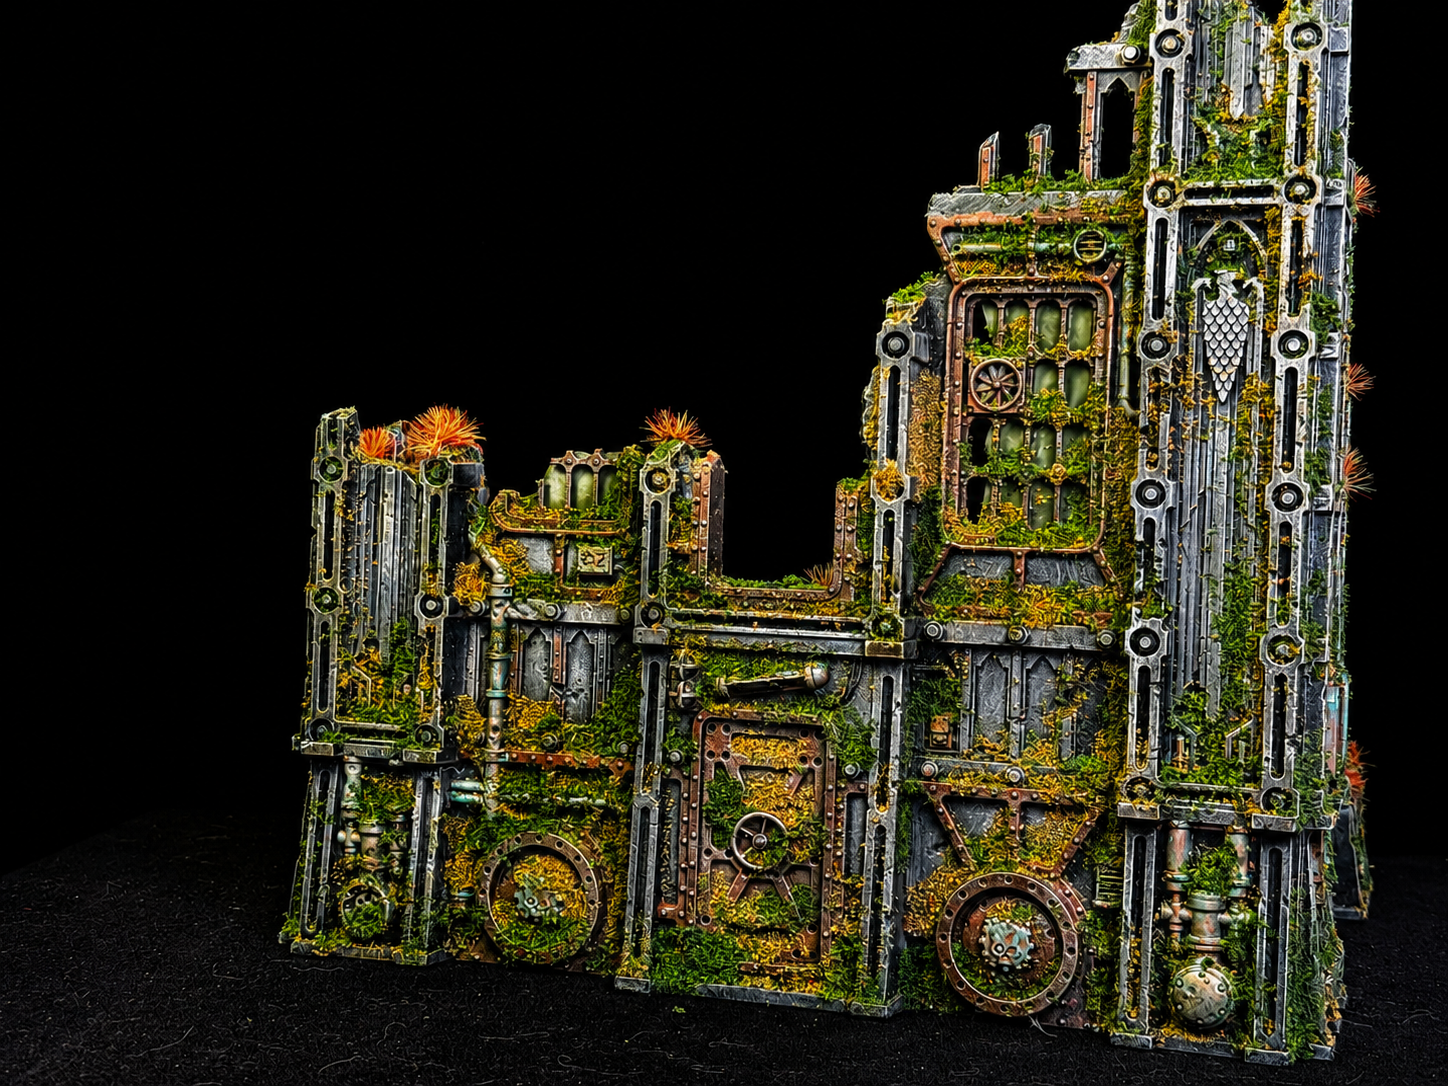
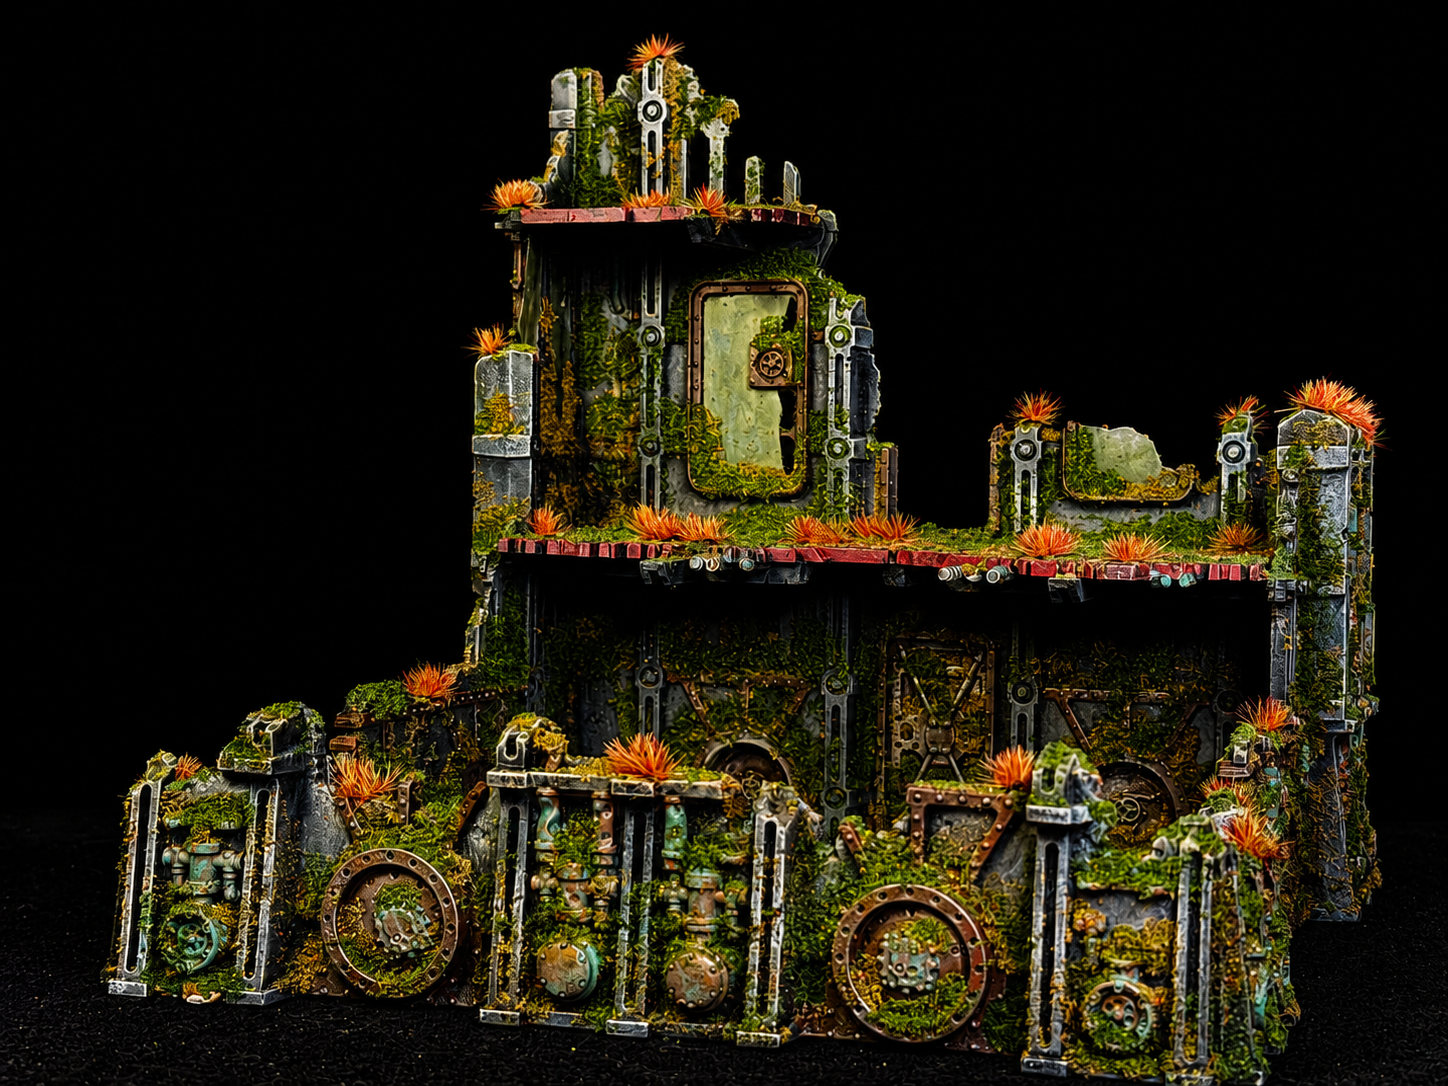 Notice how the broken windows imperfections and edges were camouflaged by adding flock. I think they are worth the effort and look quite rad!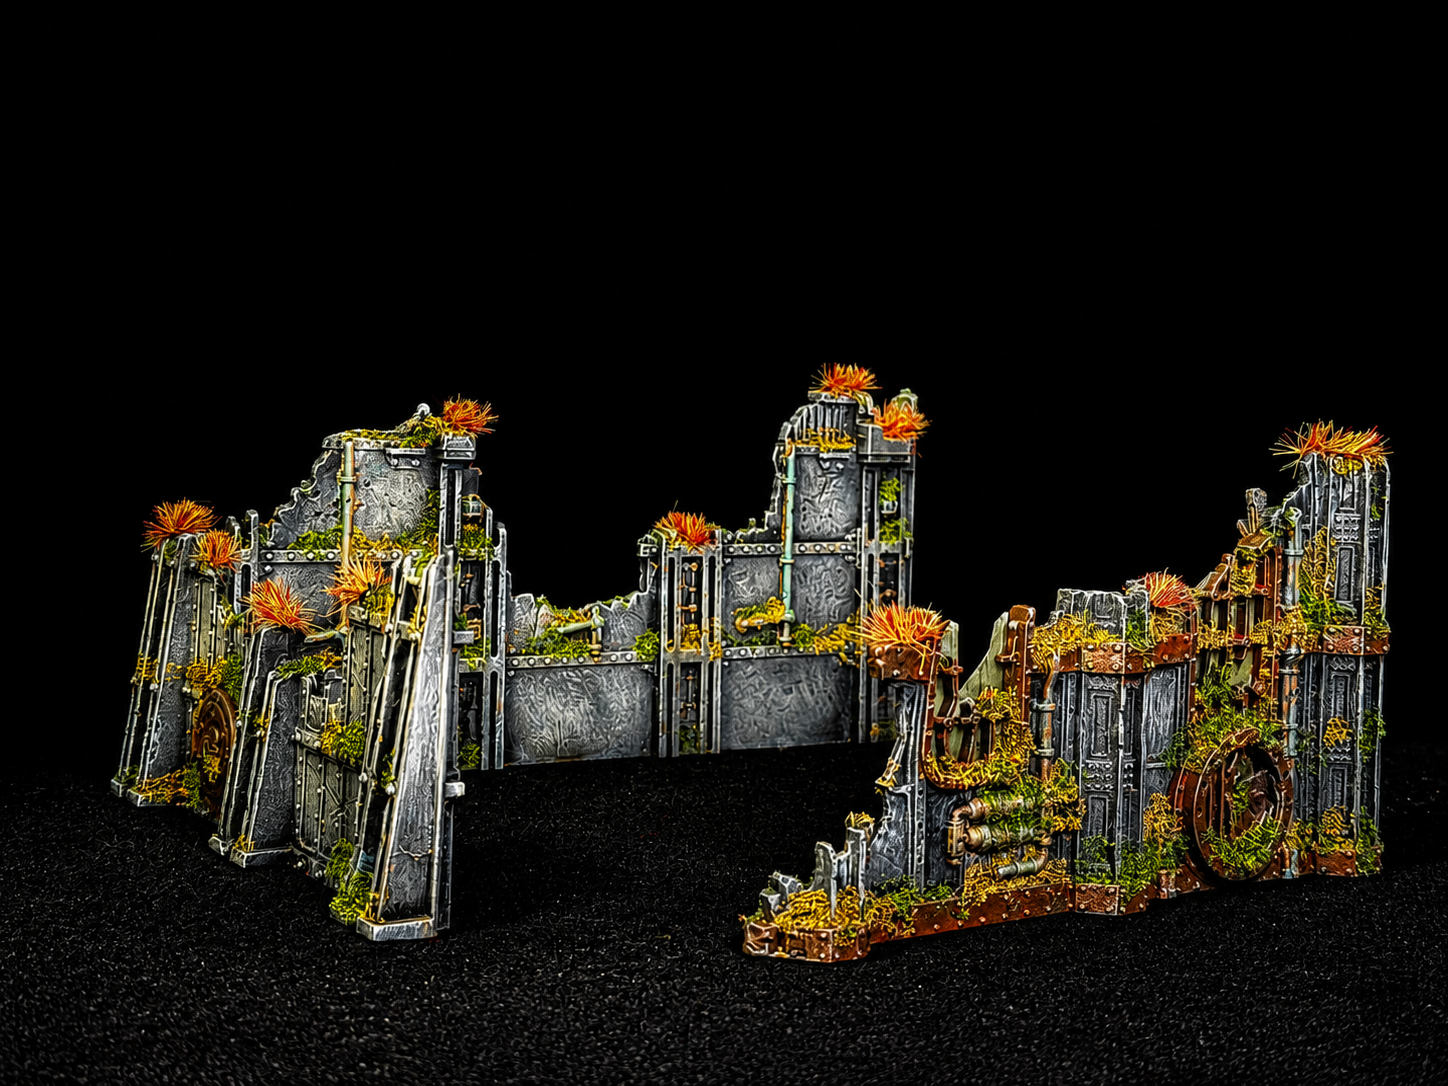
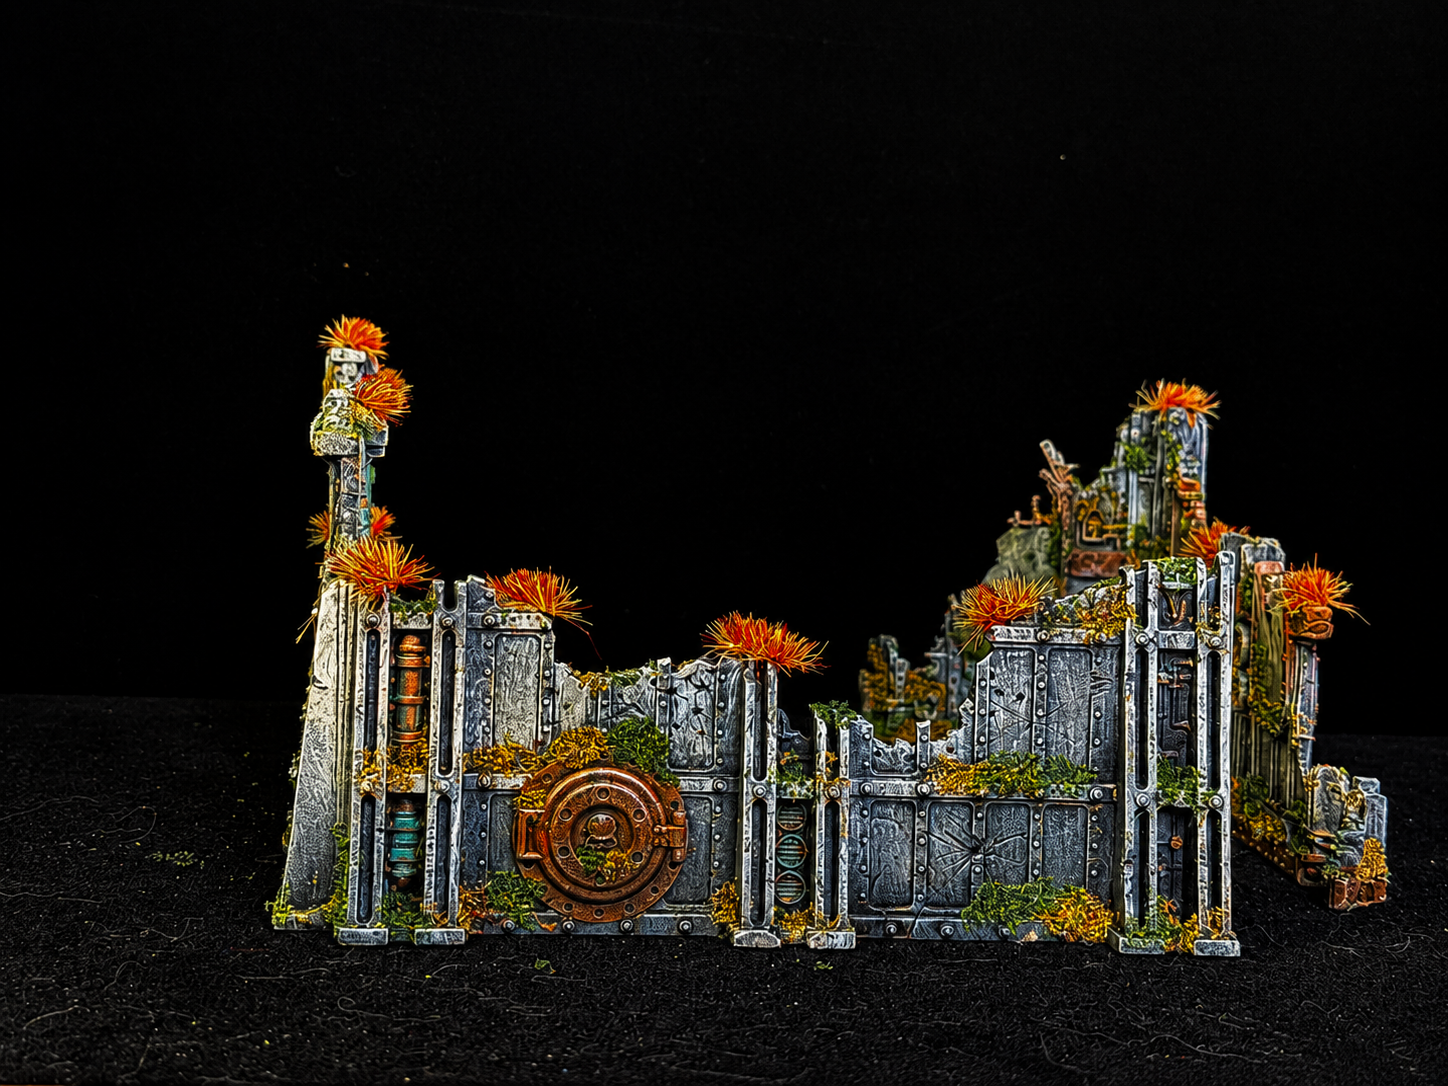
 Make sure you apply the tufts at various levels on the ruin so as to create some diversity.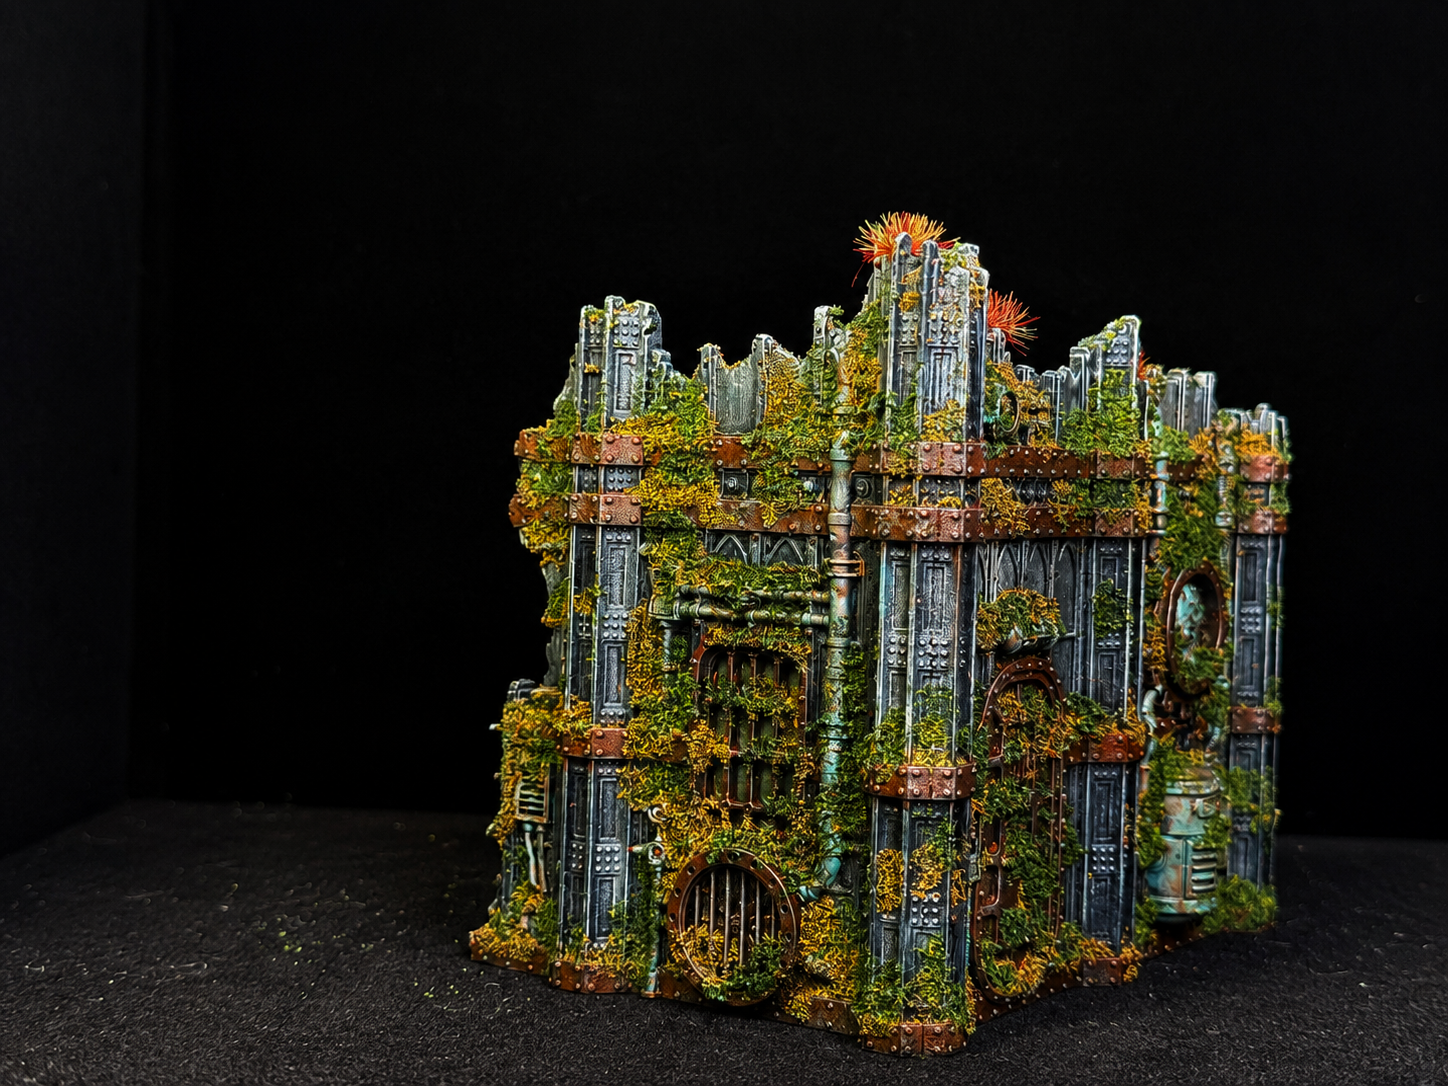
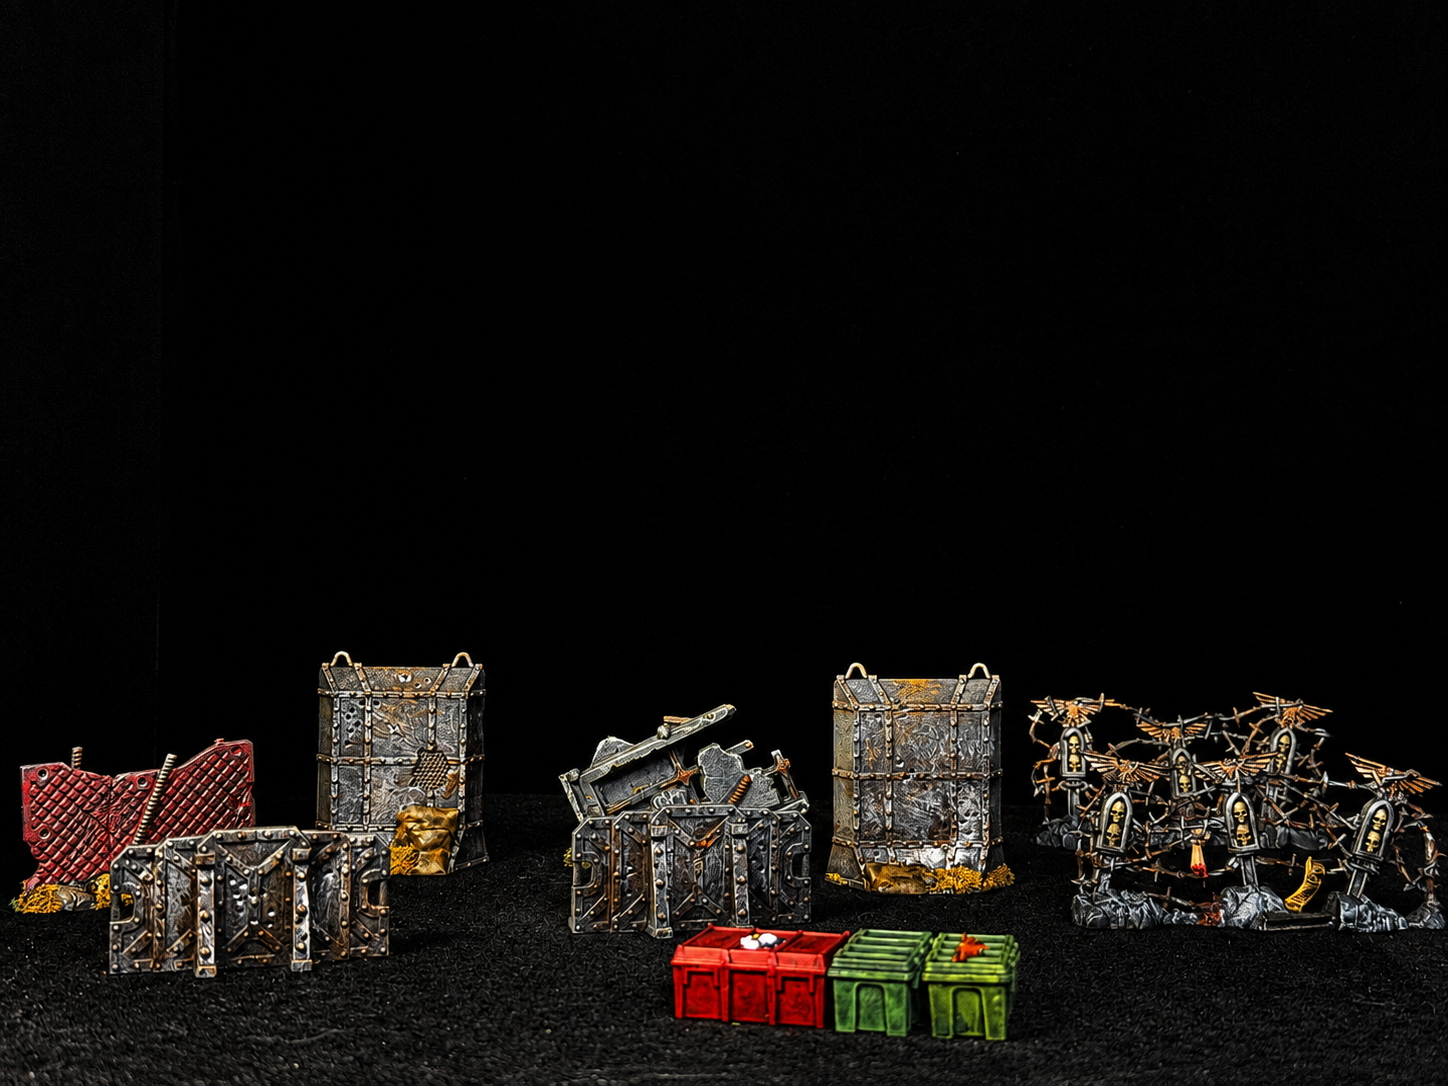 Do not forget to paint the scatter terrain as it will add a lot to the look of your table. The pieces included in Hive Storm are very detailed and interesting.
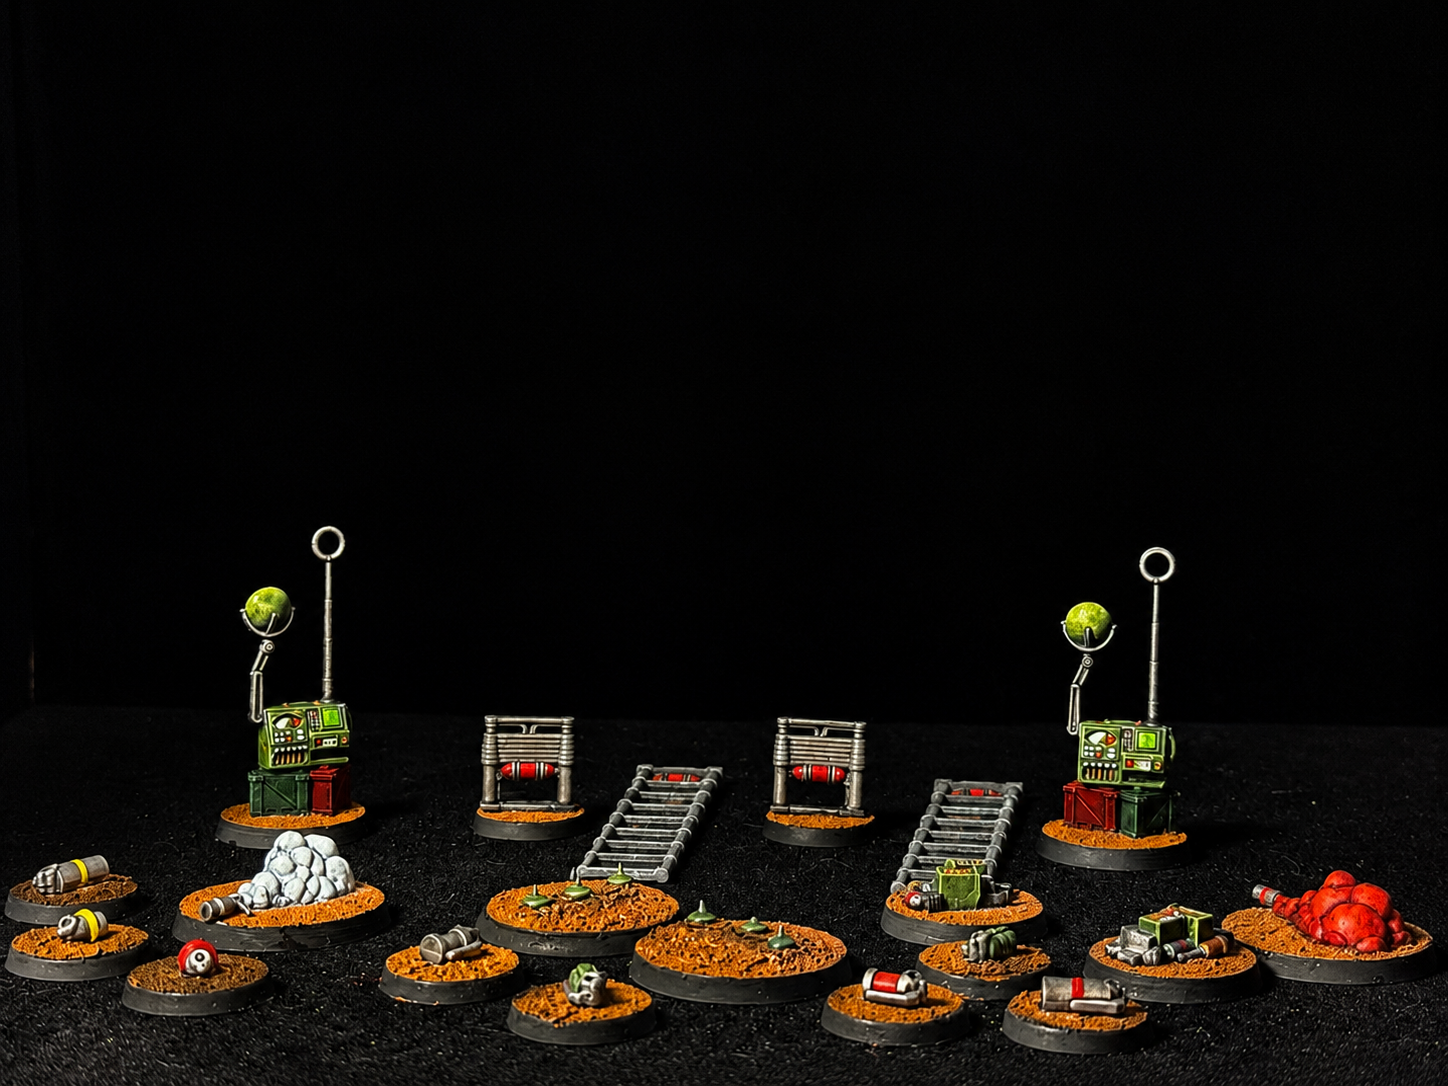 I decided to base my tokens as I felt that many of them were very small and thus likely to 'vanish'. Also, i prefer tokens to have a base as it makes them easier to identify and manipulate.
Painting Zone Volkus as an Overgrown Ruin
Hive Storm is set in Zone Volkus and in particular in the vicinity of a huge planet size gun which renders the area around it inhabitable, partially dur to the seismic effect of it firing but also because of the pollution the gun inflict upon the land. Alex Paints overgrown terrain video ( https://www.youtube.com/watch?v=Z3tF3_CB1Fk ) greatly inspired me to give these ruins and abandoned and overgrown aspect that I feel would serve the environment well and also allows me to use it in future more jungle focused areas of the many worlds I like to play in. I remember painting the original Kill Team terrain and had no desire to produce yet another set of bare imperial ruins. I let plants regain their dominion upon the wreckage of human civilization.
What I offer here is my interpretation of Alex’s approach and I hope it will be helpful in guiding you to weather this nice set of ruins.
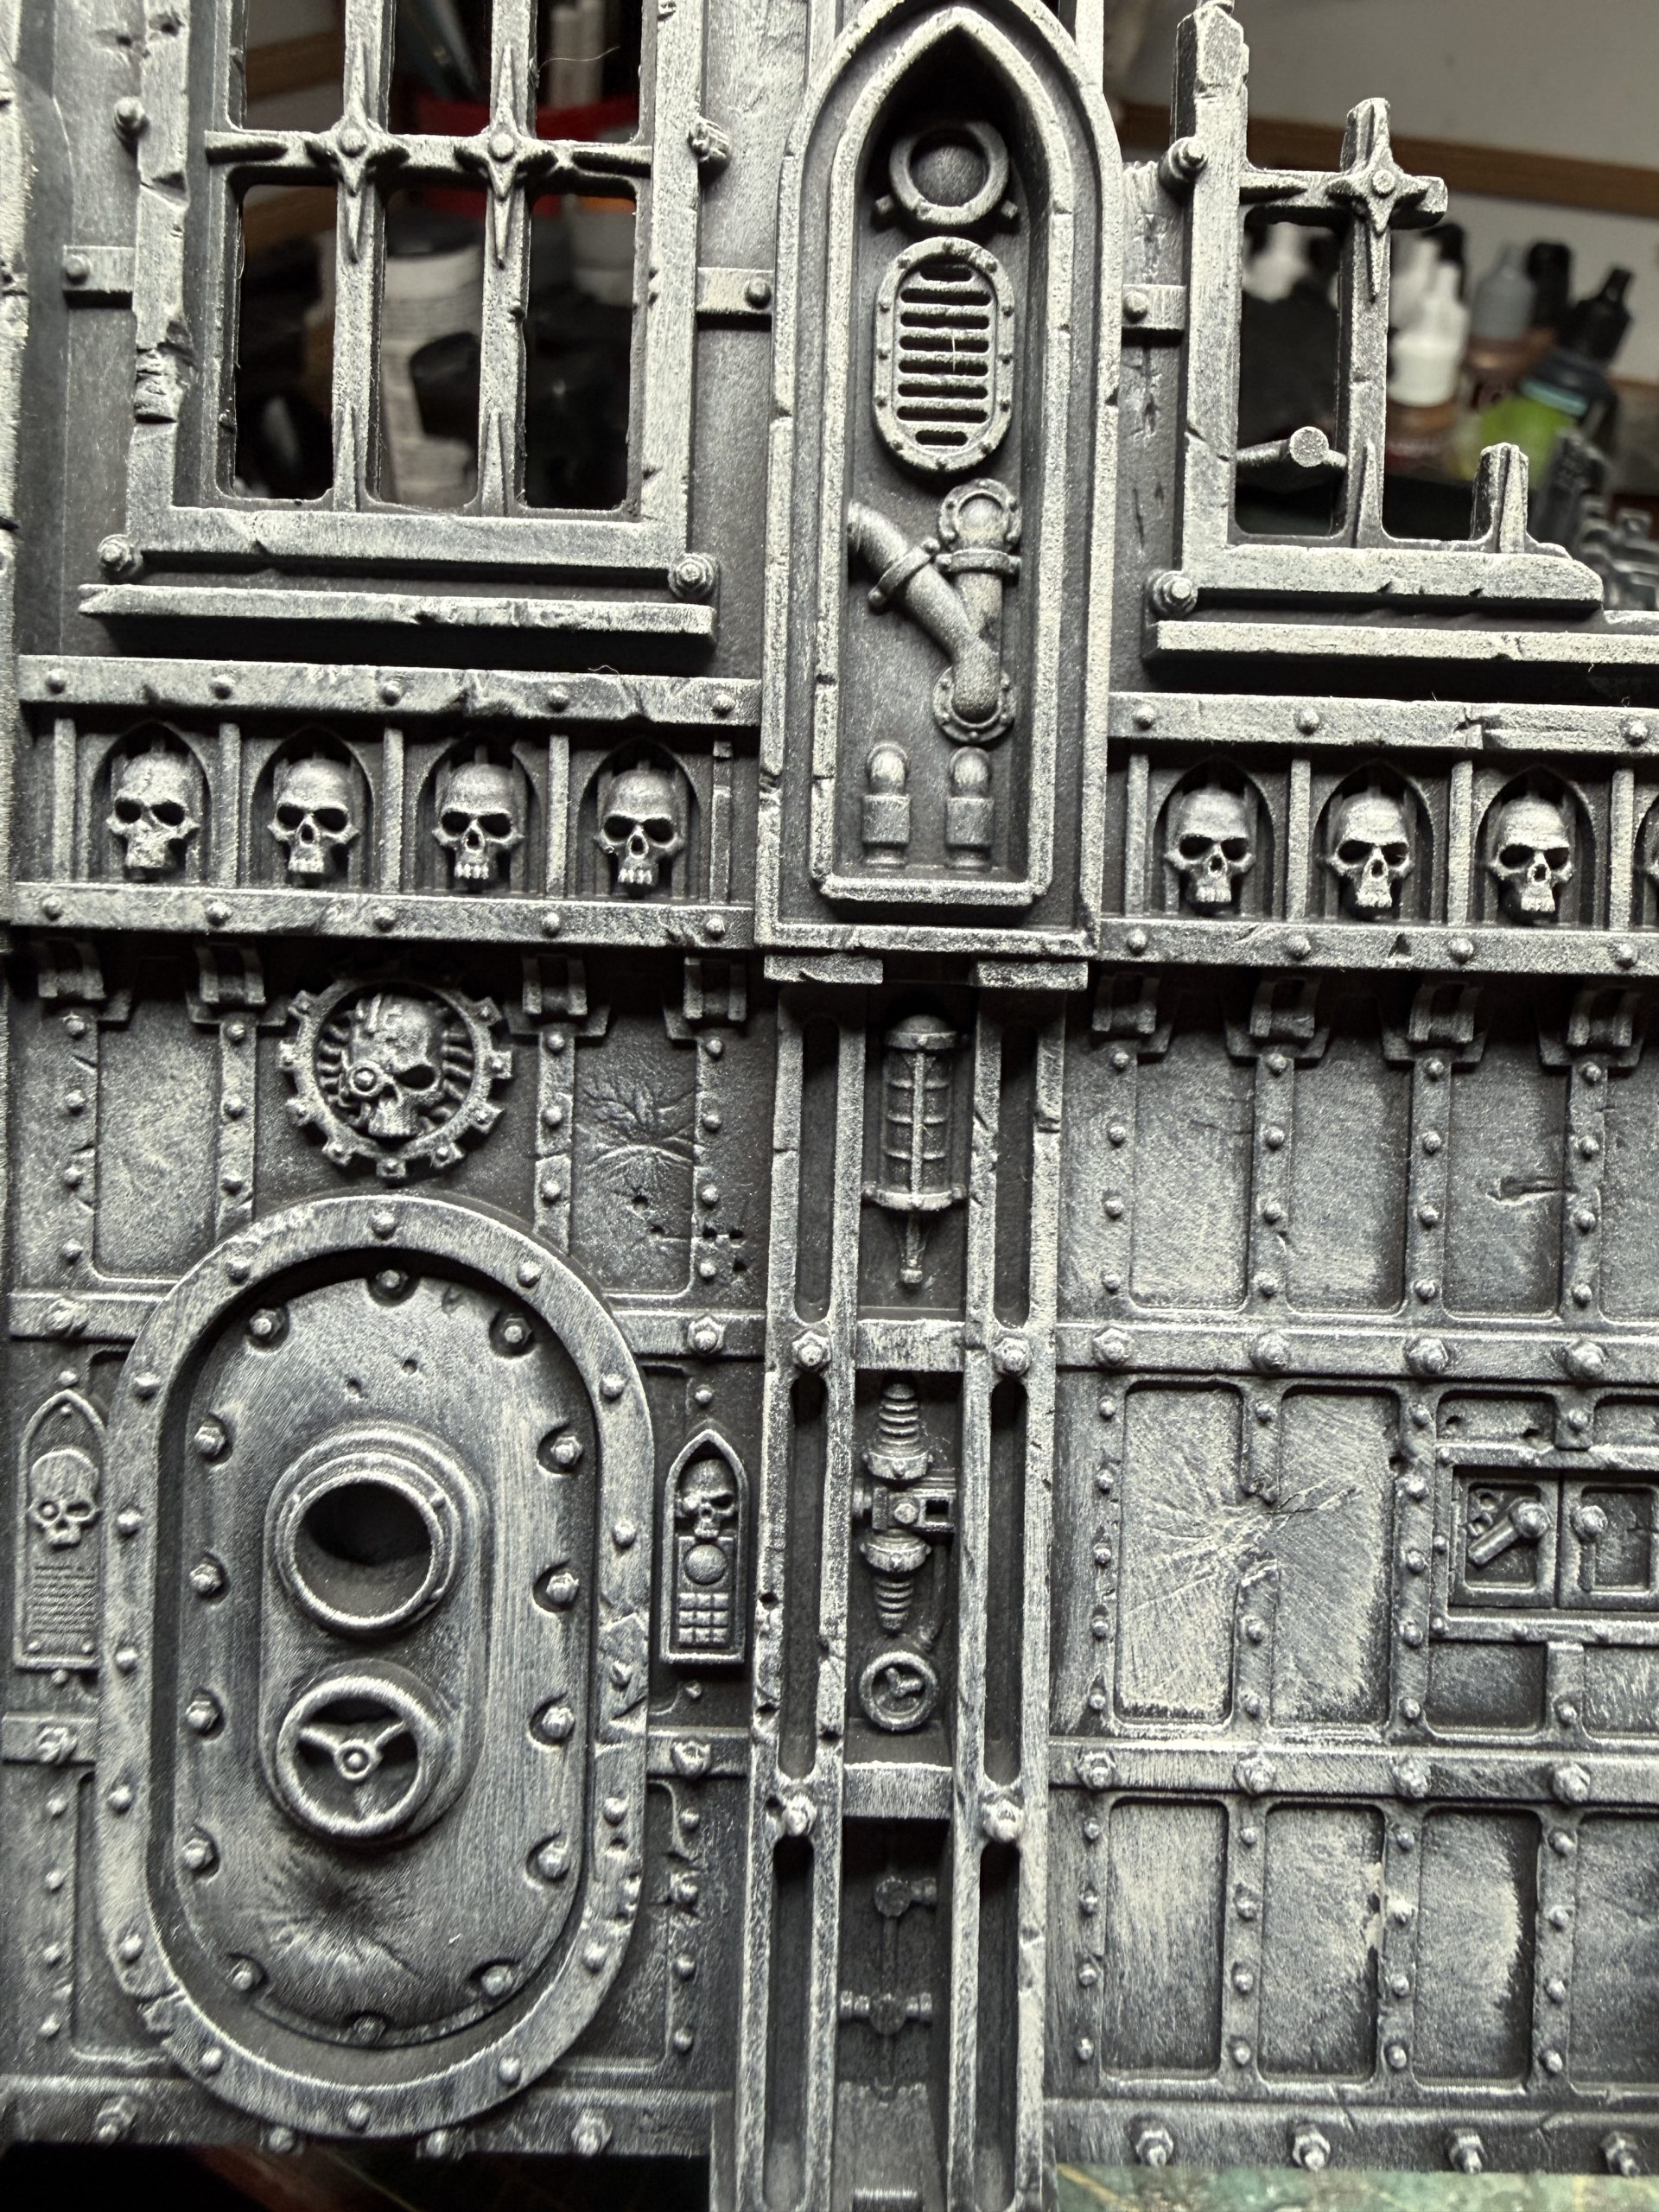 First prime your entire set with flat black, then apply two dry brush layers, one of medium/dark grey, the second of light grey, which should be applied with a lighter touch and upon the areas most exposed to light.
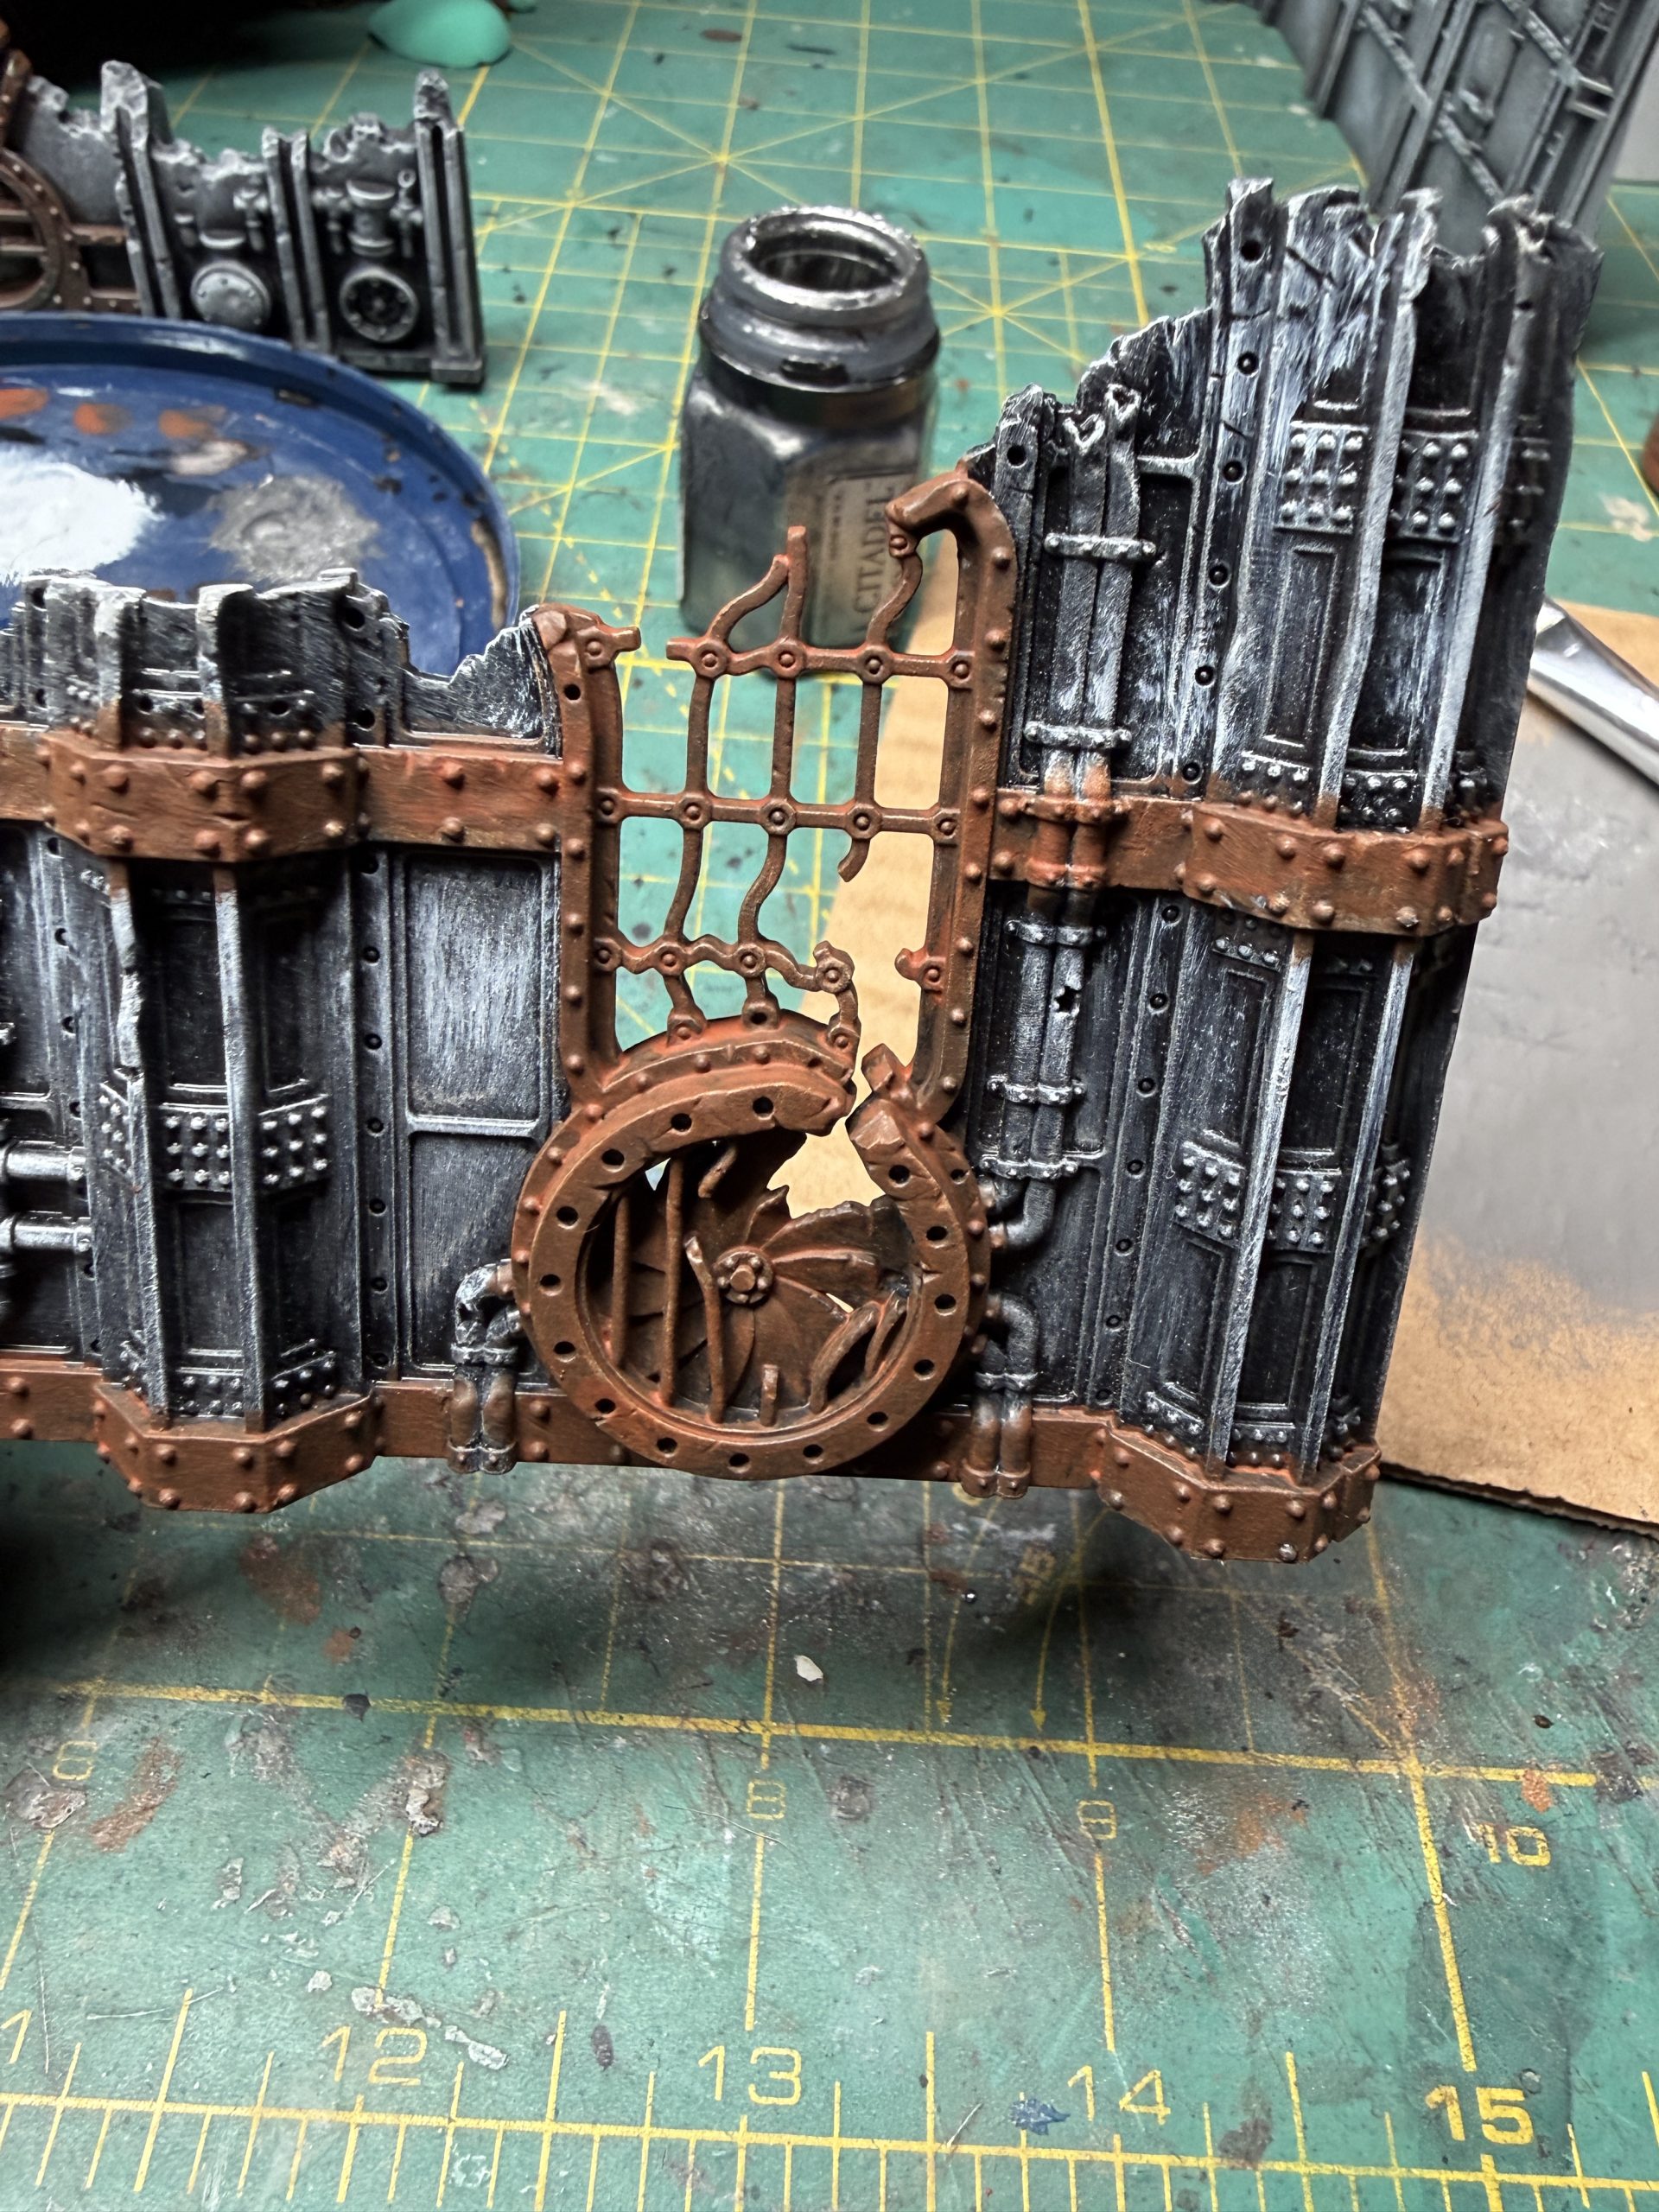 You then choose some accent of the terrain tht you will want to portray as rusted metal and apply one layer of brunt umber (use craft paint as hobby paint are far too pricy for this), followed by a dry brush of raw siena.
 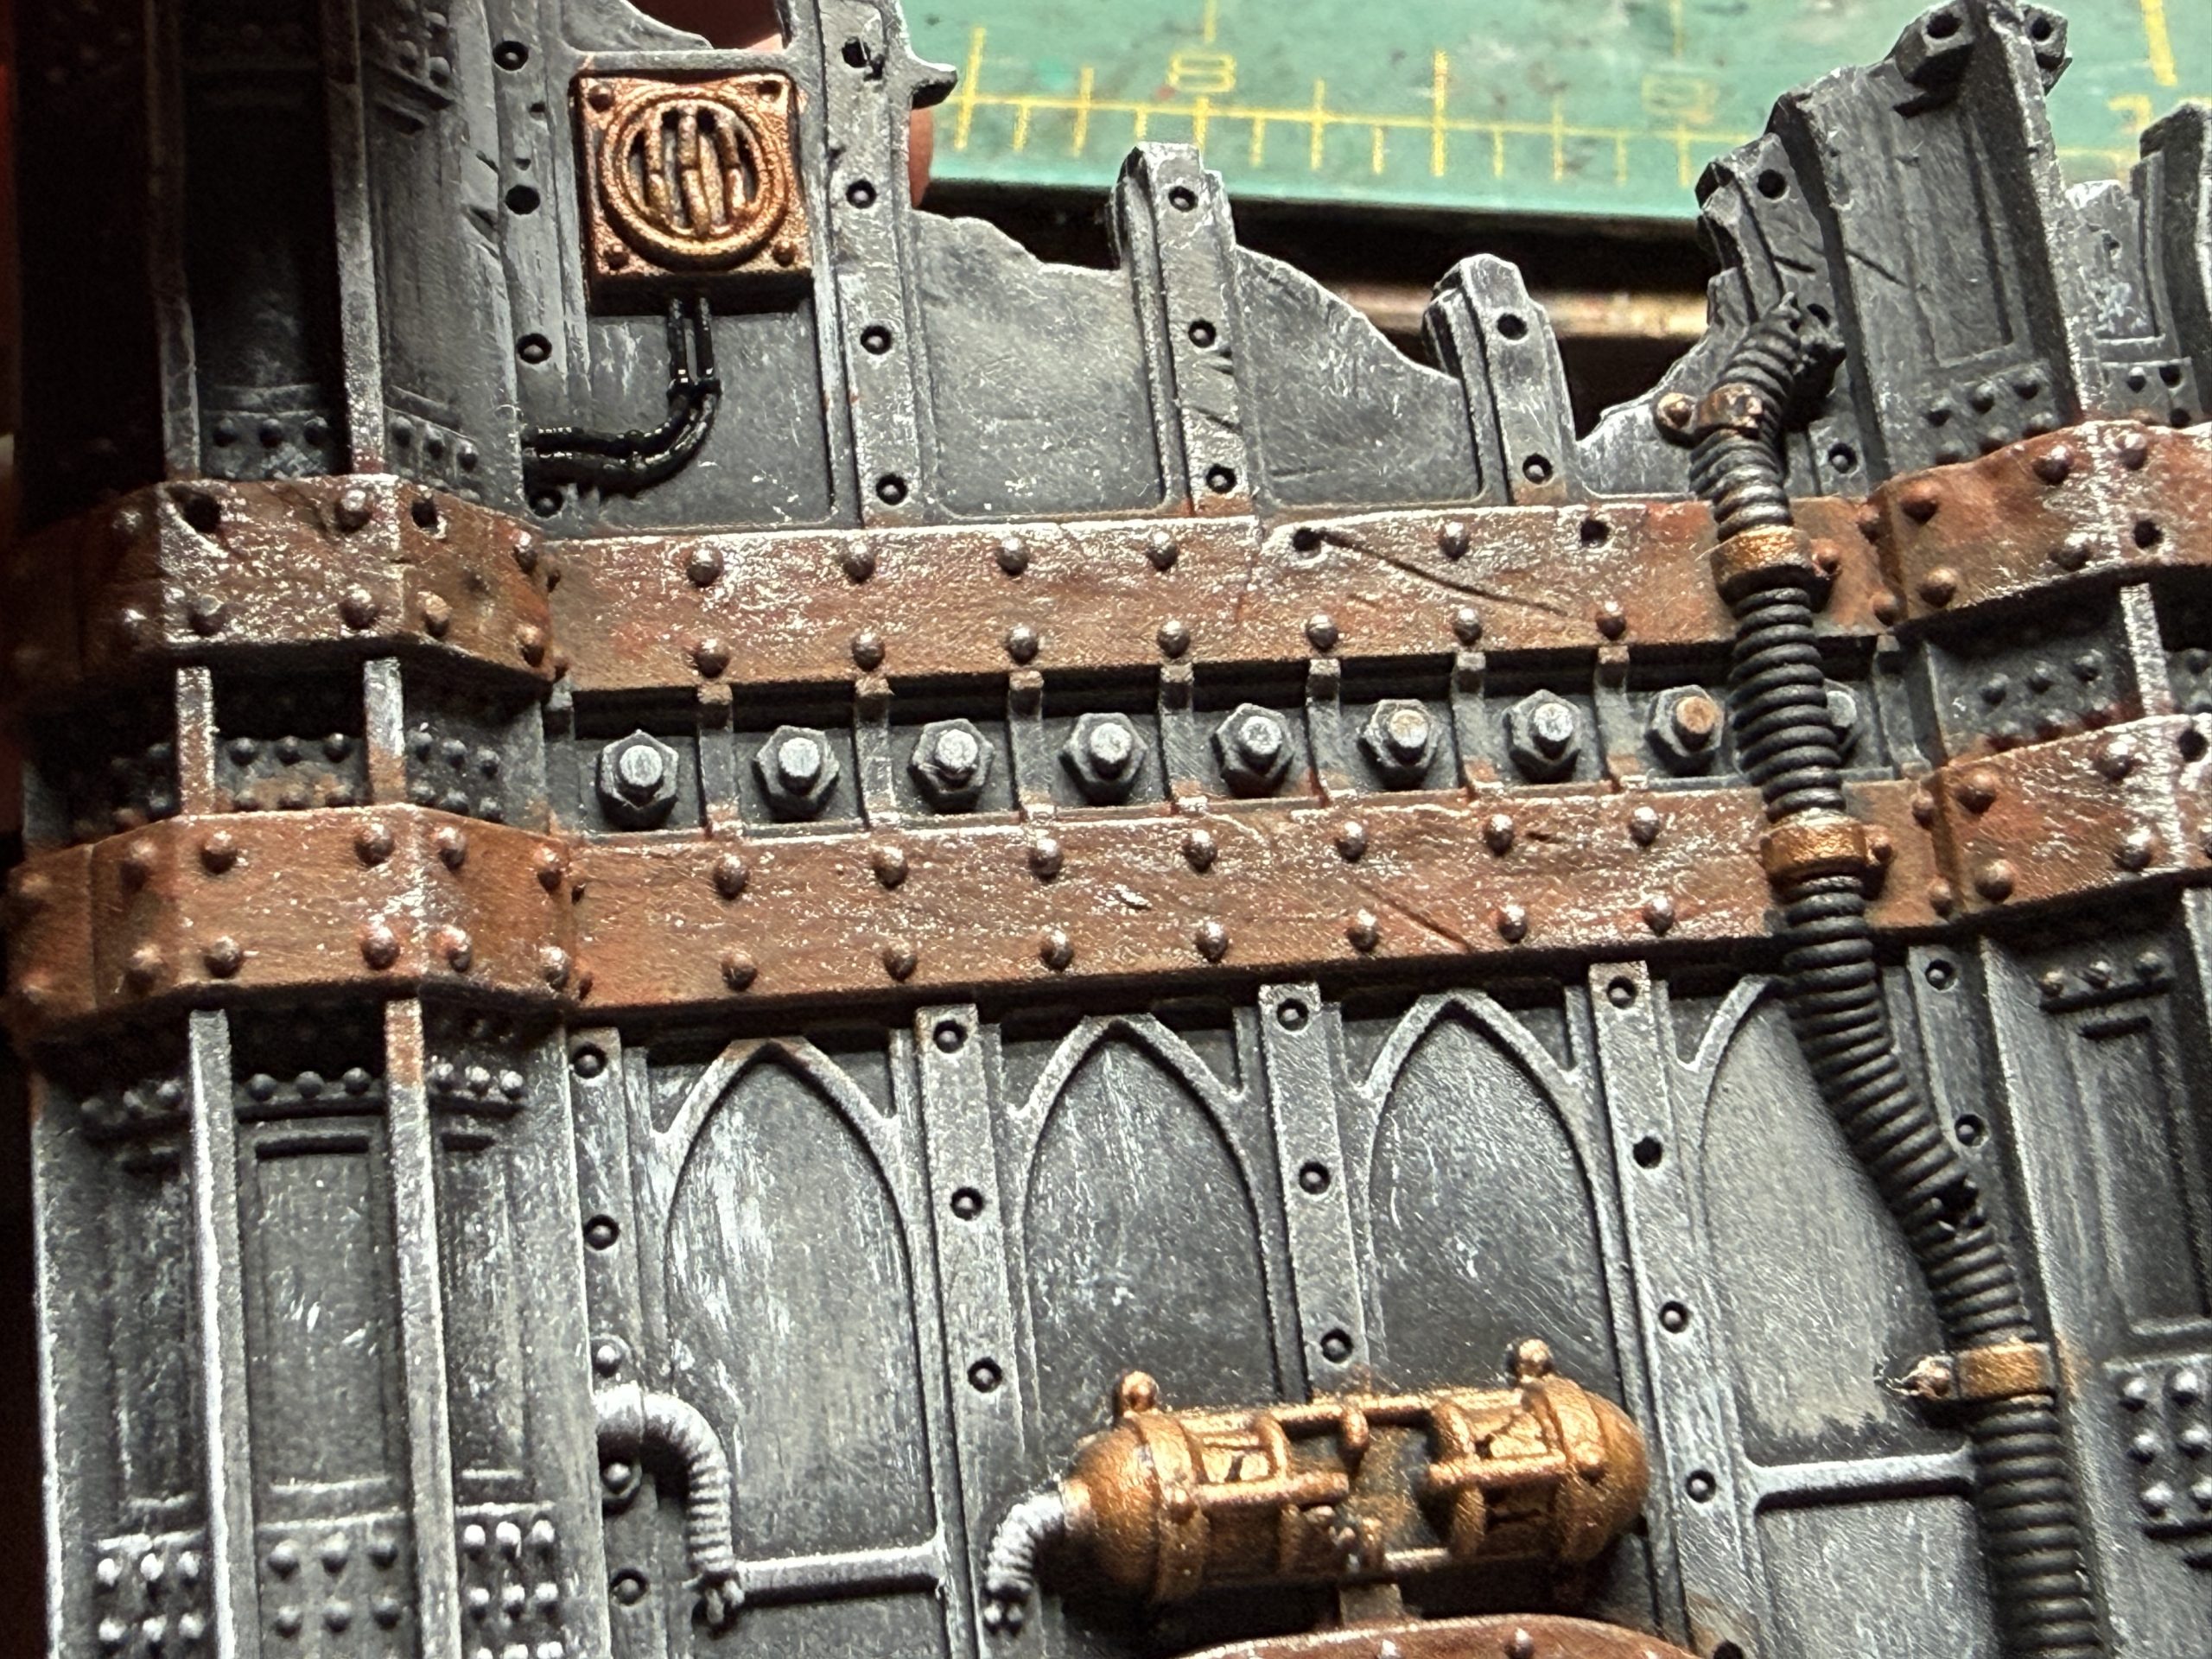 When dry, drybrush these brown areas with medium metallic paint, being careful no to overdo it.
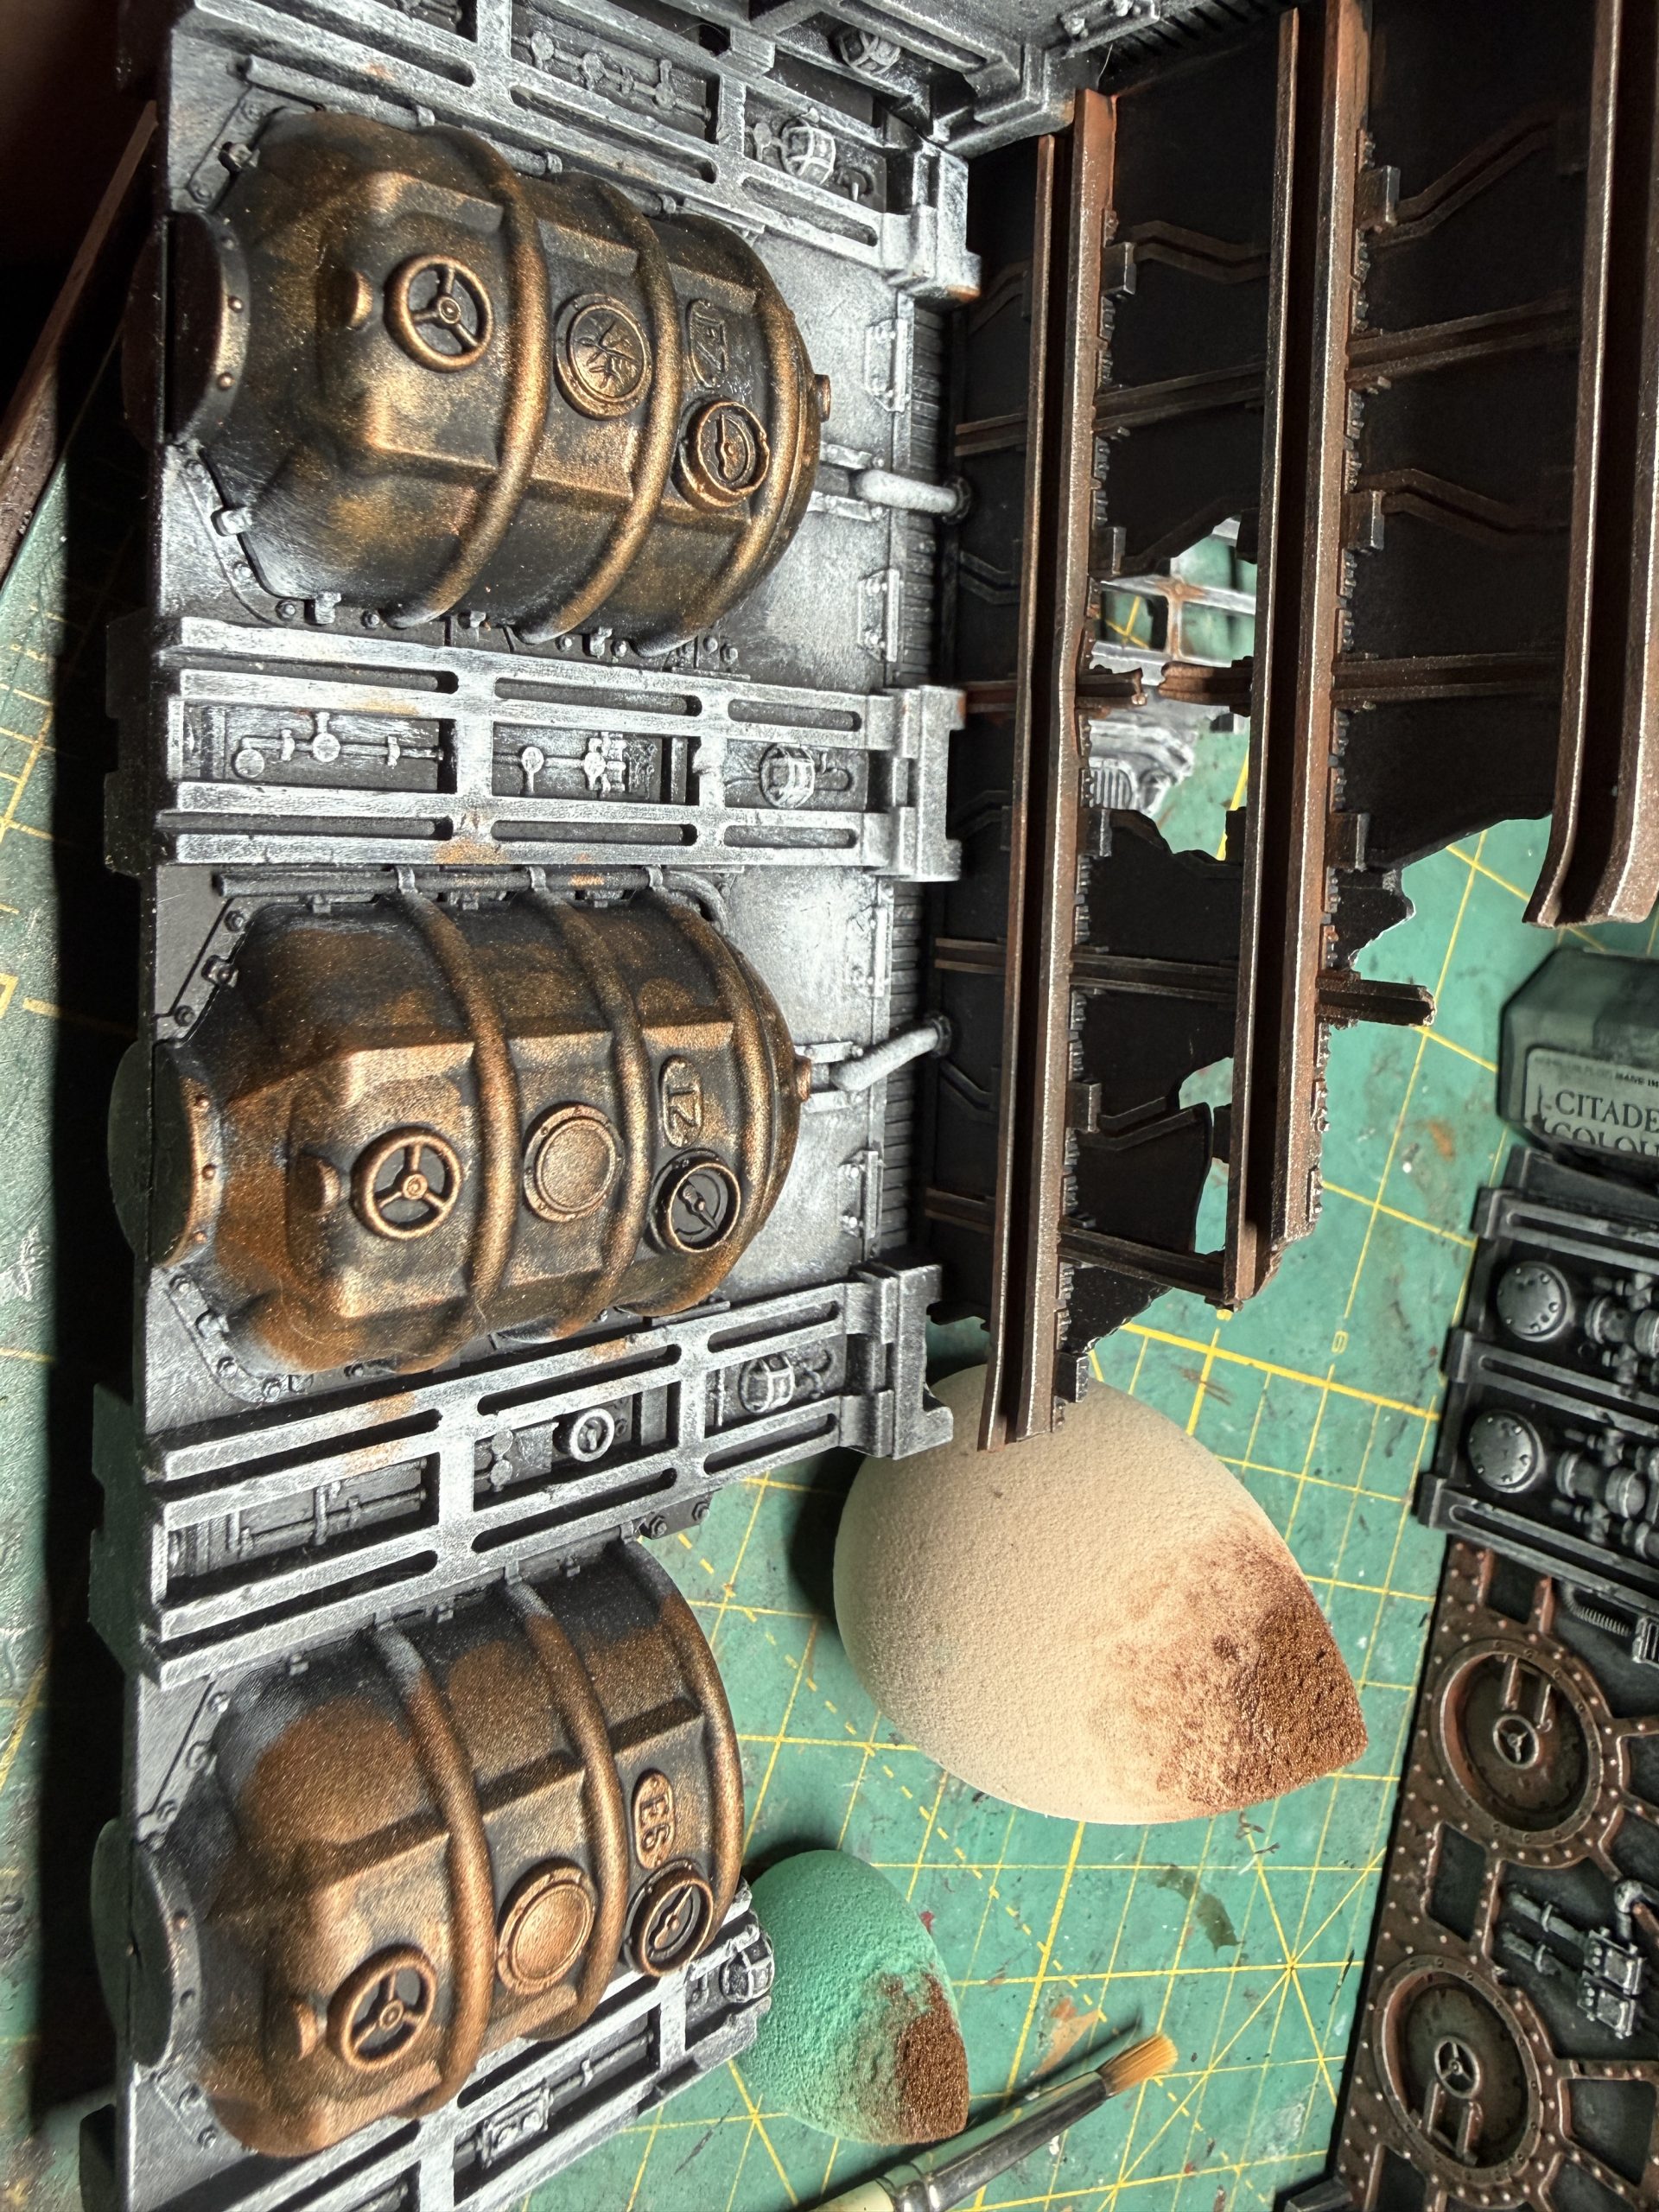 Next you will select other part of the ruins to be painted brass and apply the paint with either a medium brush or a sponge, like I did here for the tanks. I used Brass Scorpion from GW. Other good aras to be painted brass color are pipes and lamps.
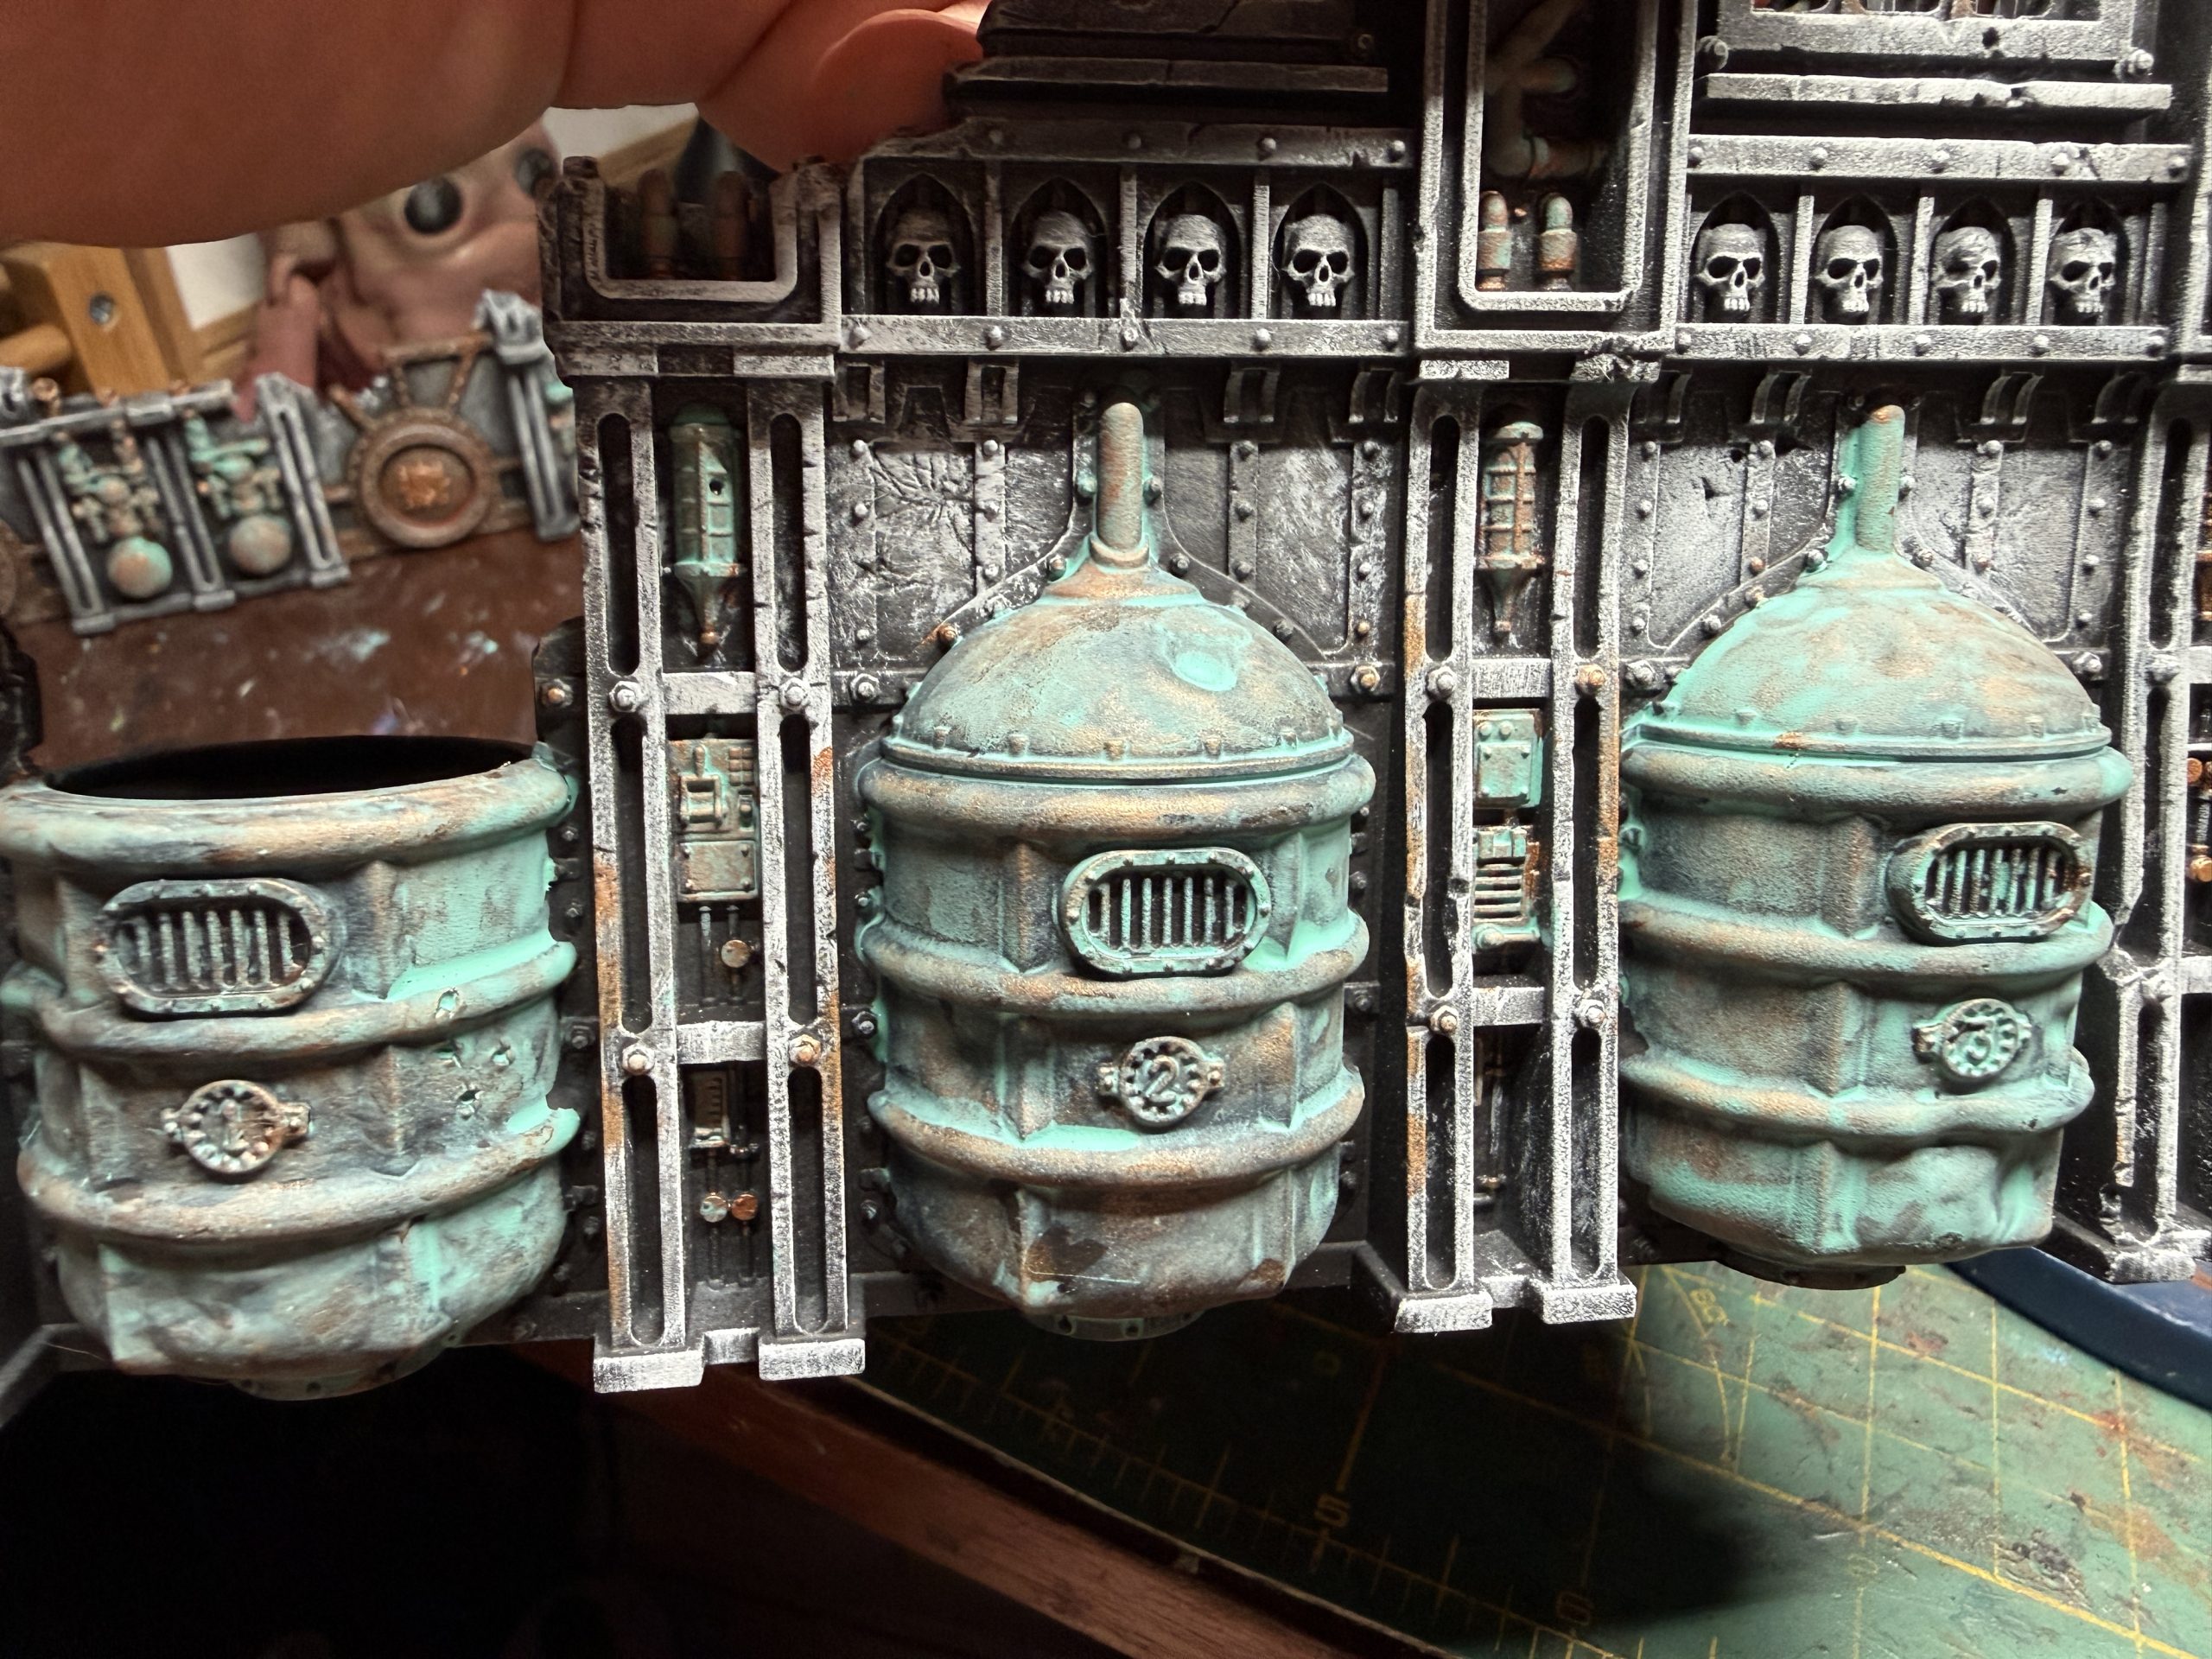 You may then apply a corrosion effect to the brass areas. Remember, these parts have been subjected to corrosion, liquids of various acidity and other environmental factors for a long time. I used GW Nihilak Oxide
 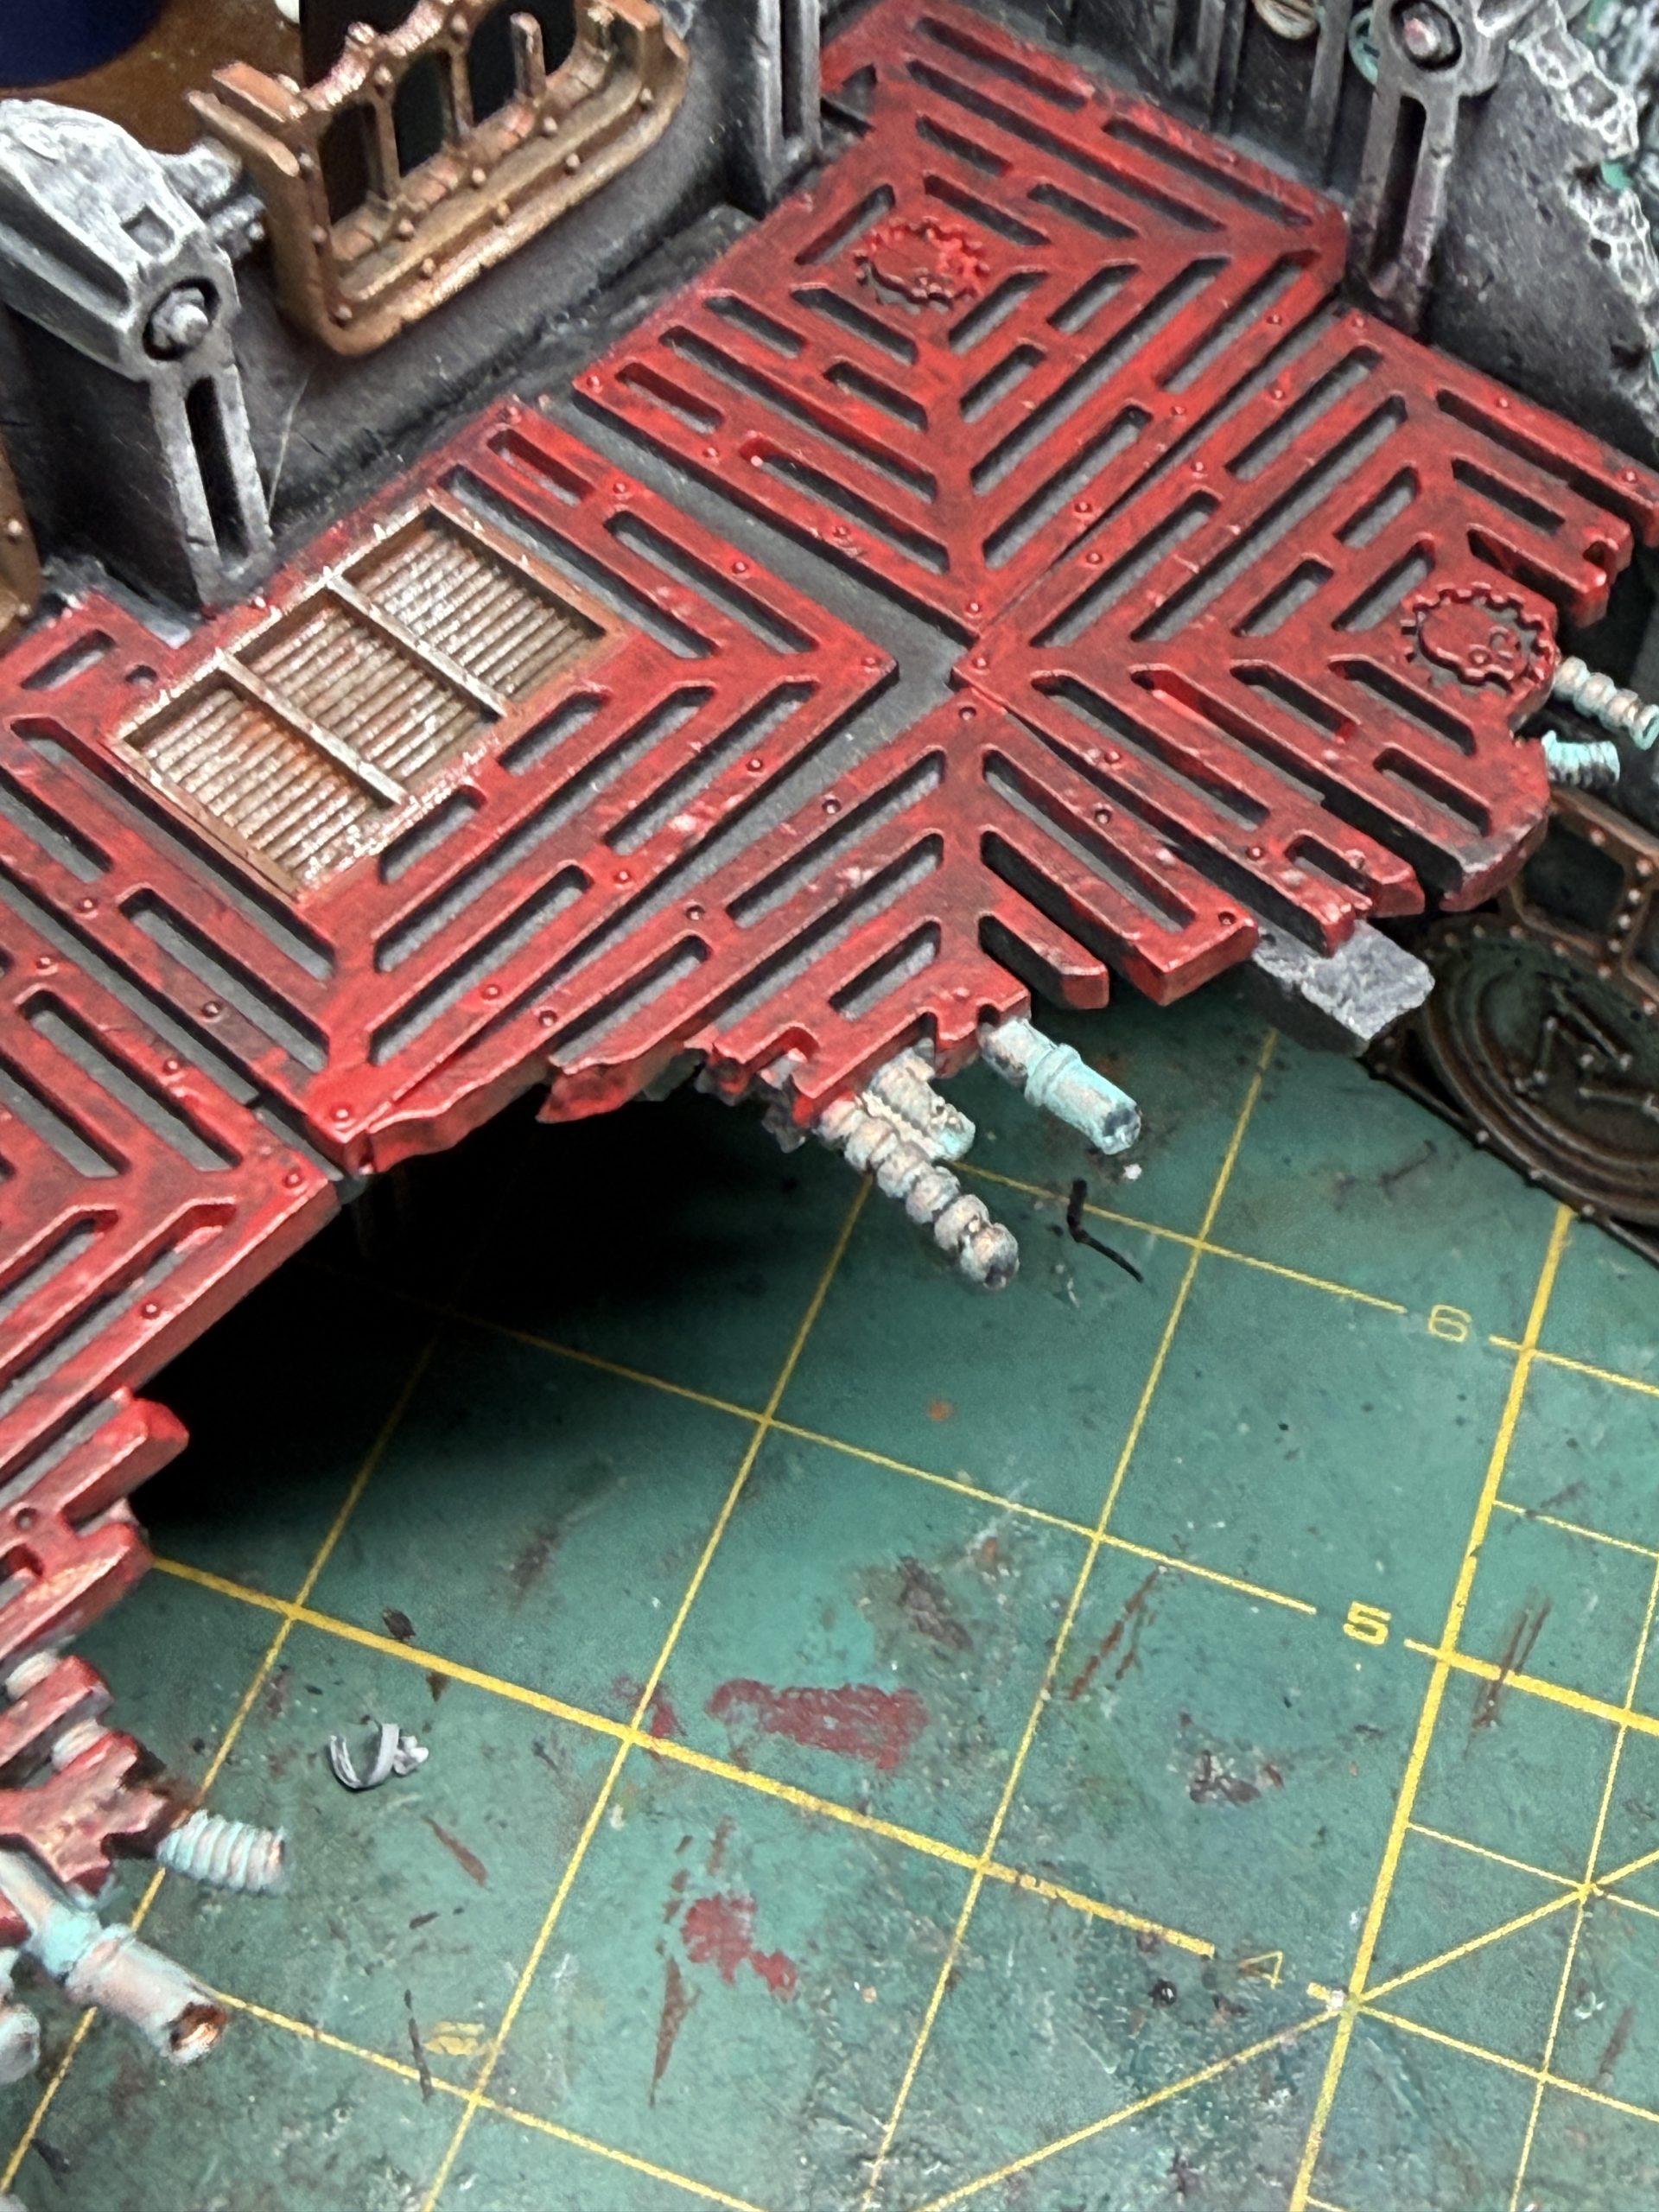 Next, select a color for the floors. I went with the reference video suggested red but it is entirely your choice. Just pick something that will contract with teh rest of teh terrain. While you are at it, paint the details of the floor tiles. I chose not to paint the underside of the floors to save time and because I could not be bothered...
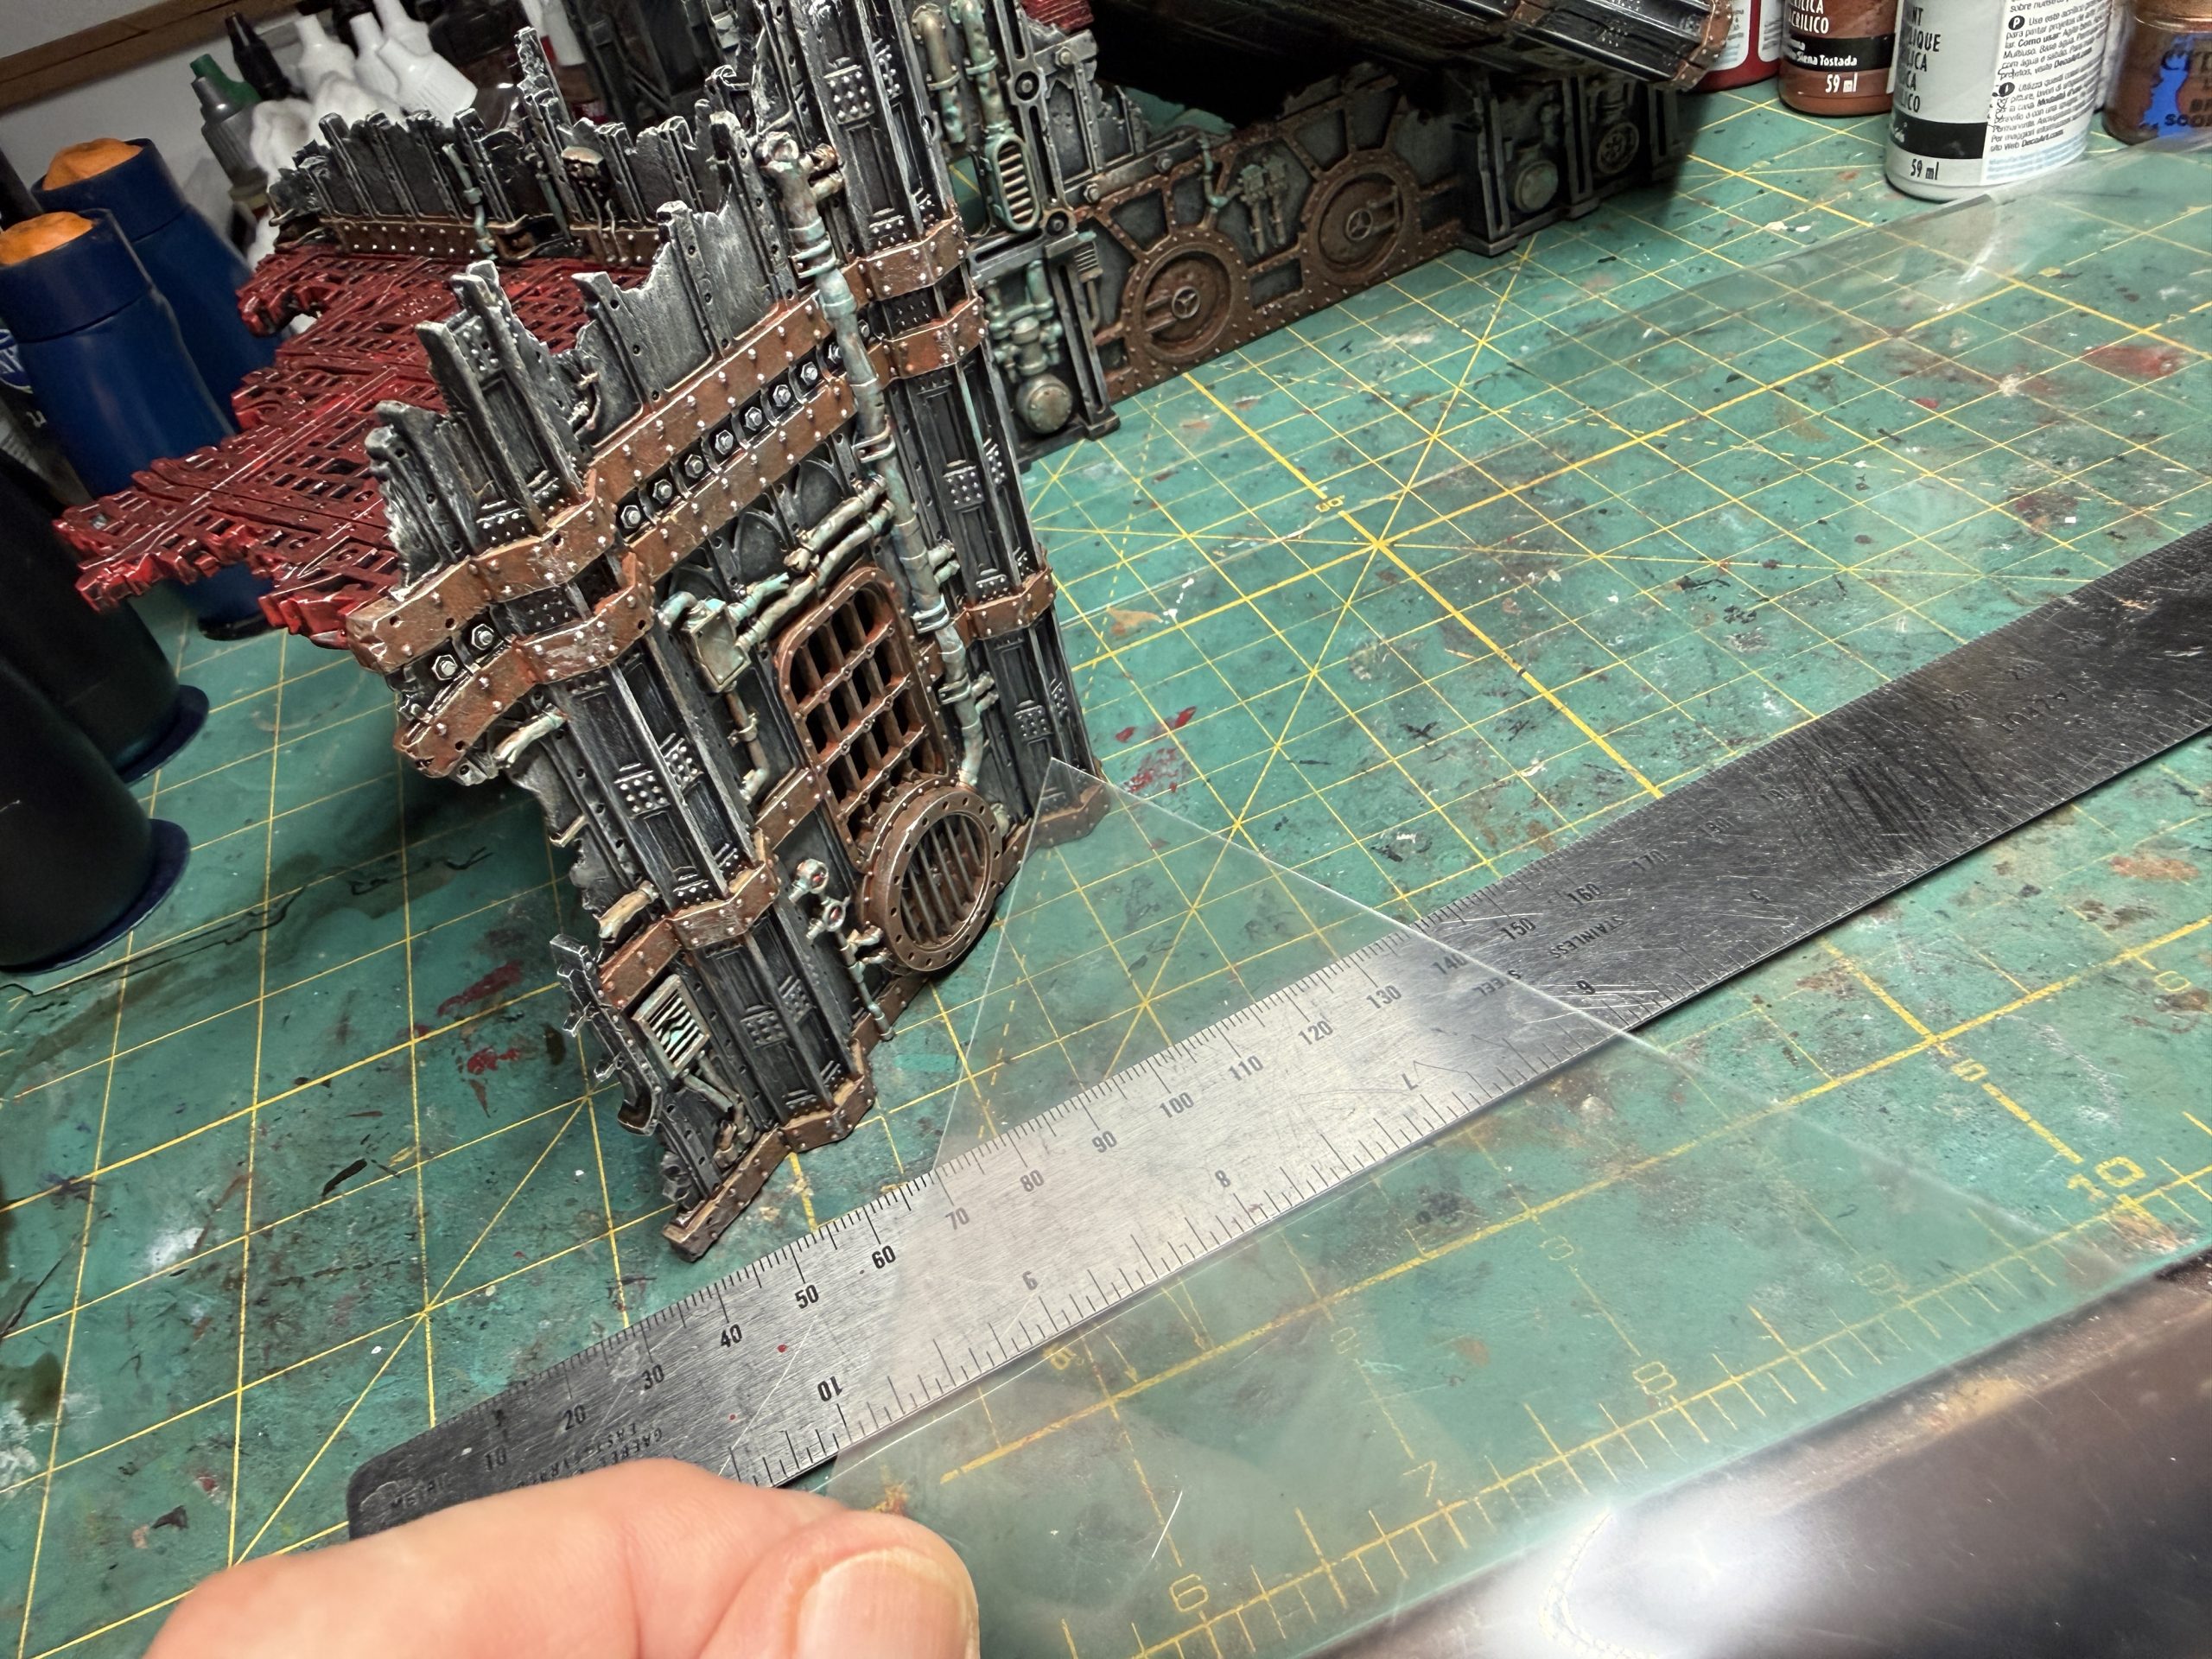 This part is really optional but I loved Alex's addition of broken windows to the terrain. Just pick some old blister or acrylic sheet and cut windows to size for the different areas of the ruins. You may then glue them on the inside of the frames (do not worry, we will hide the seams in the next steps).This may be a bit tedious but it will payoff in the end...
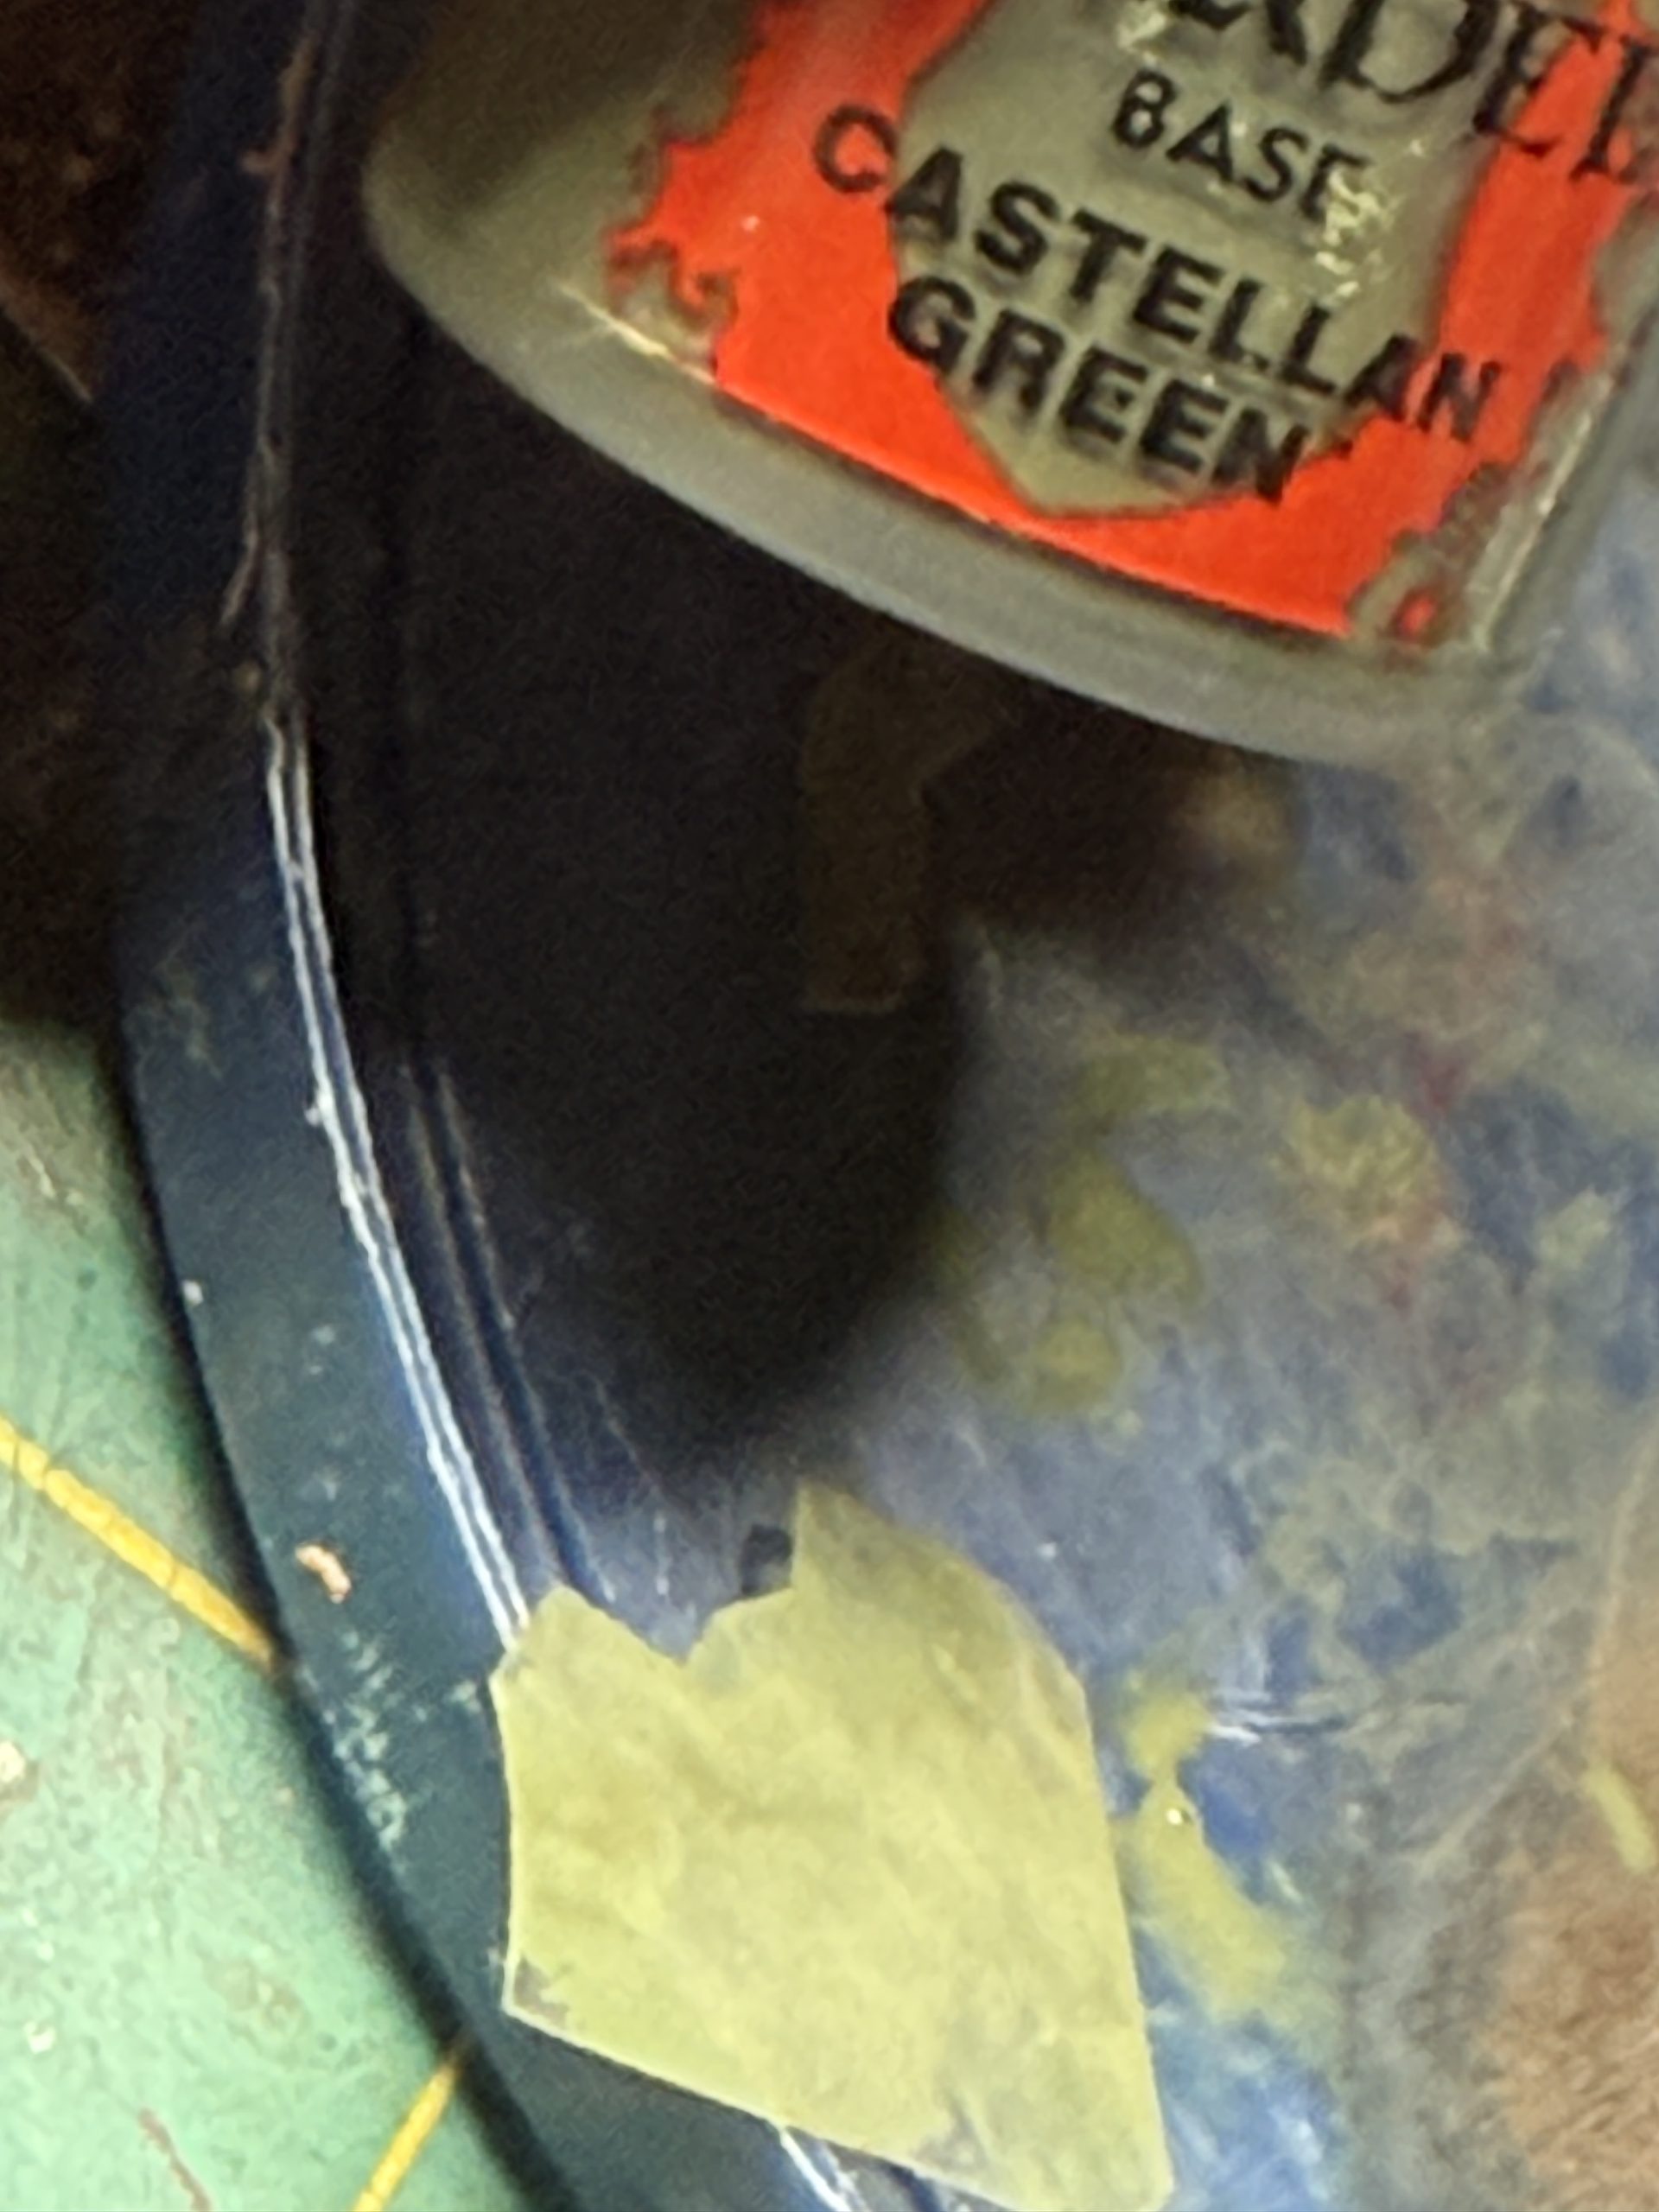 Add grime to the windows by applying green, brown, gray paint to them in a smudged pattern.
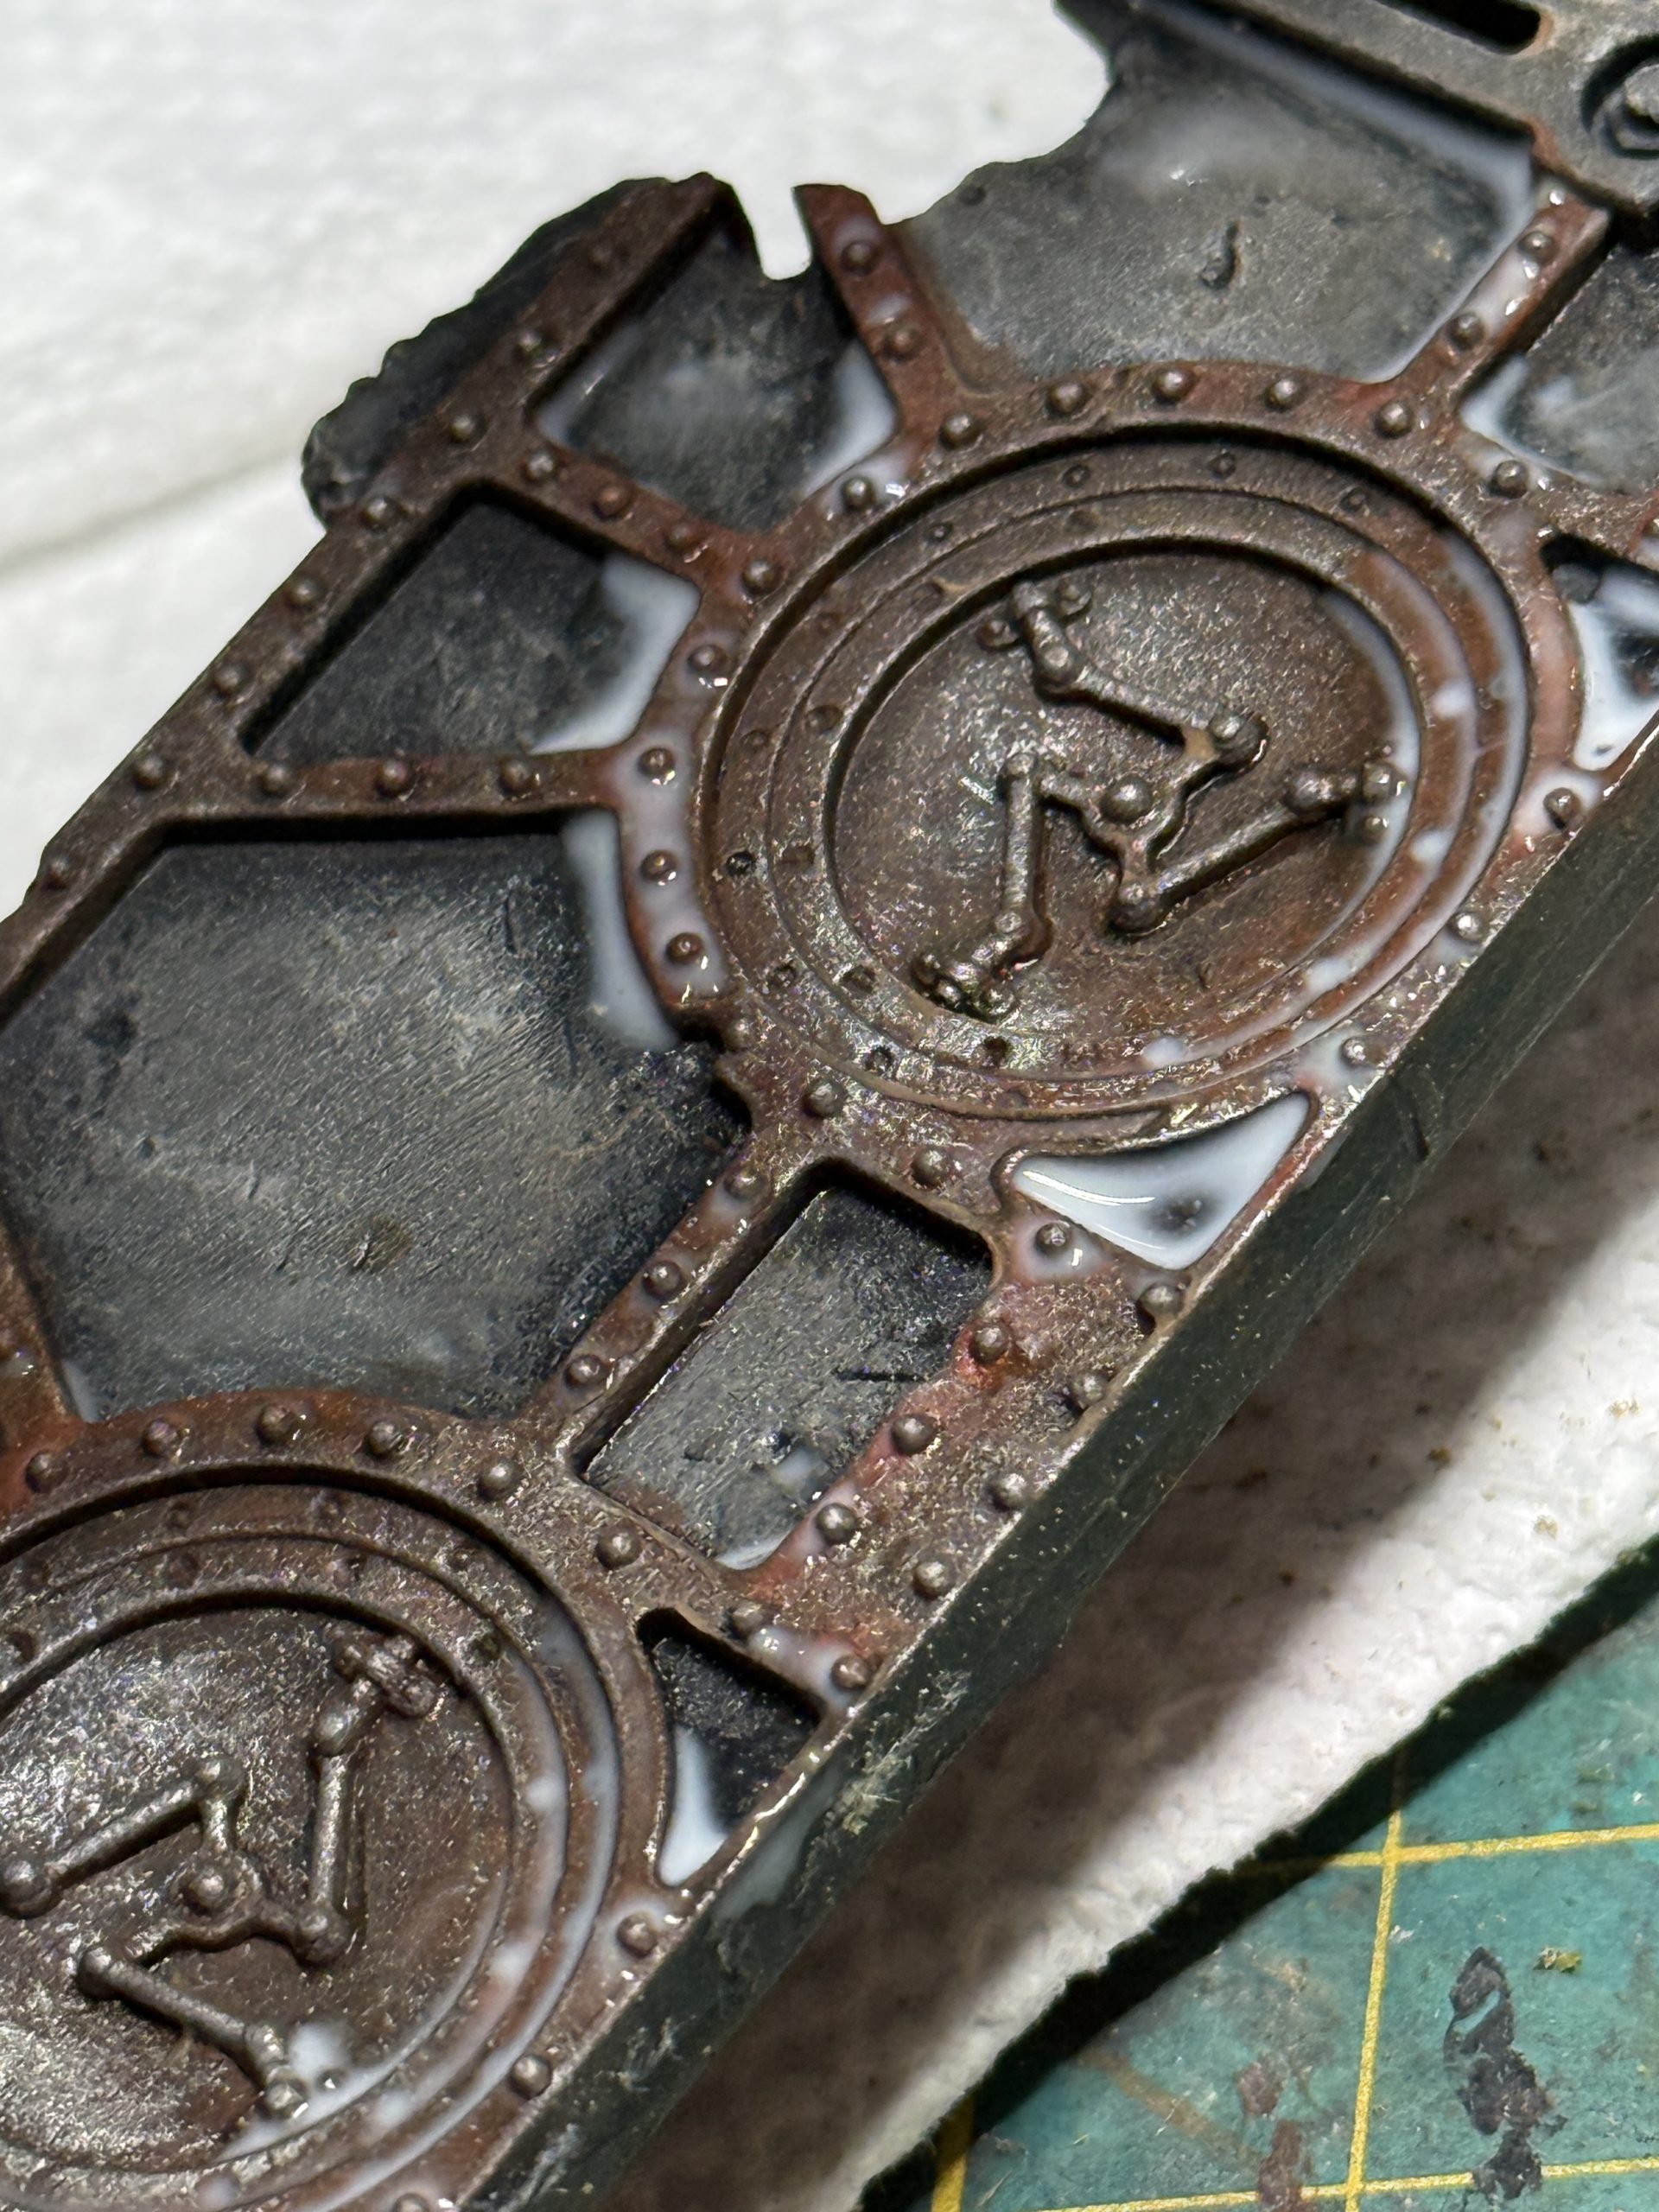 Drench the entire set of ruins in a brown wash. I highly suggest you make your own as it will be far cheaper than hobby washes. Look on YouTube for your favorite formula...I am showing here a wall to wich the wash was applied and which was prepped with white glue in prevision of the next step.
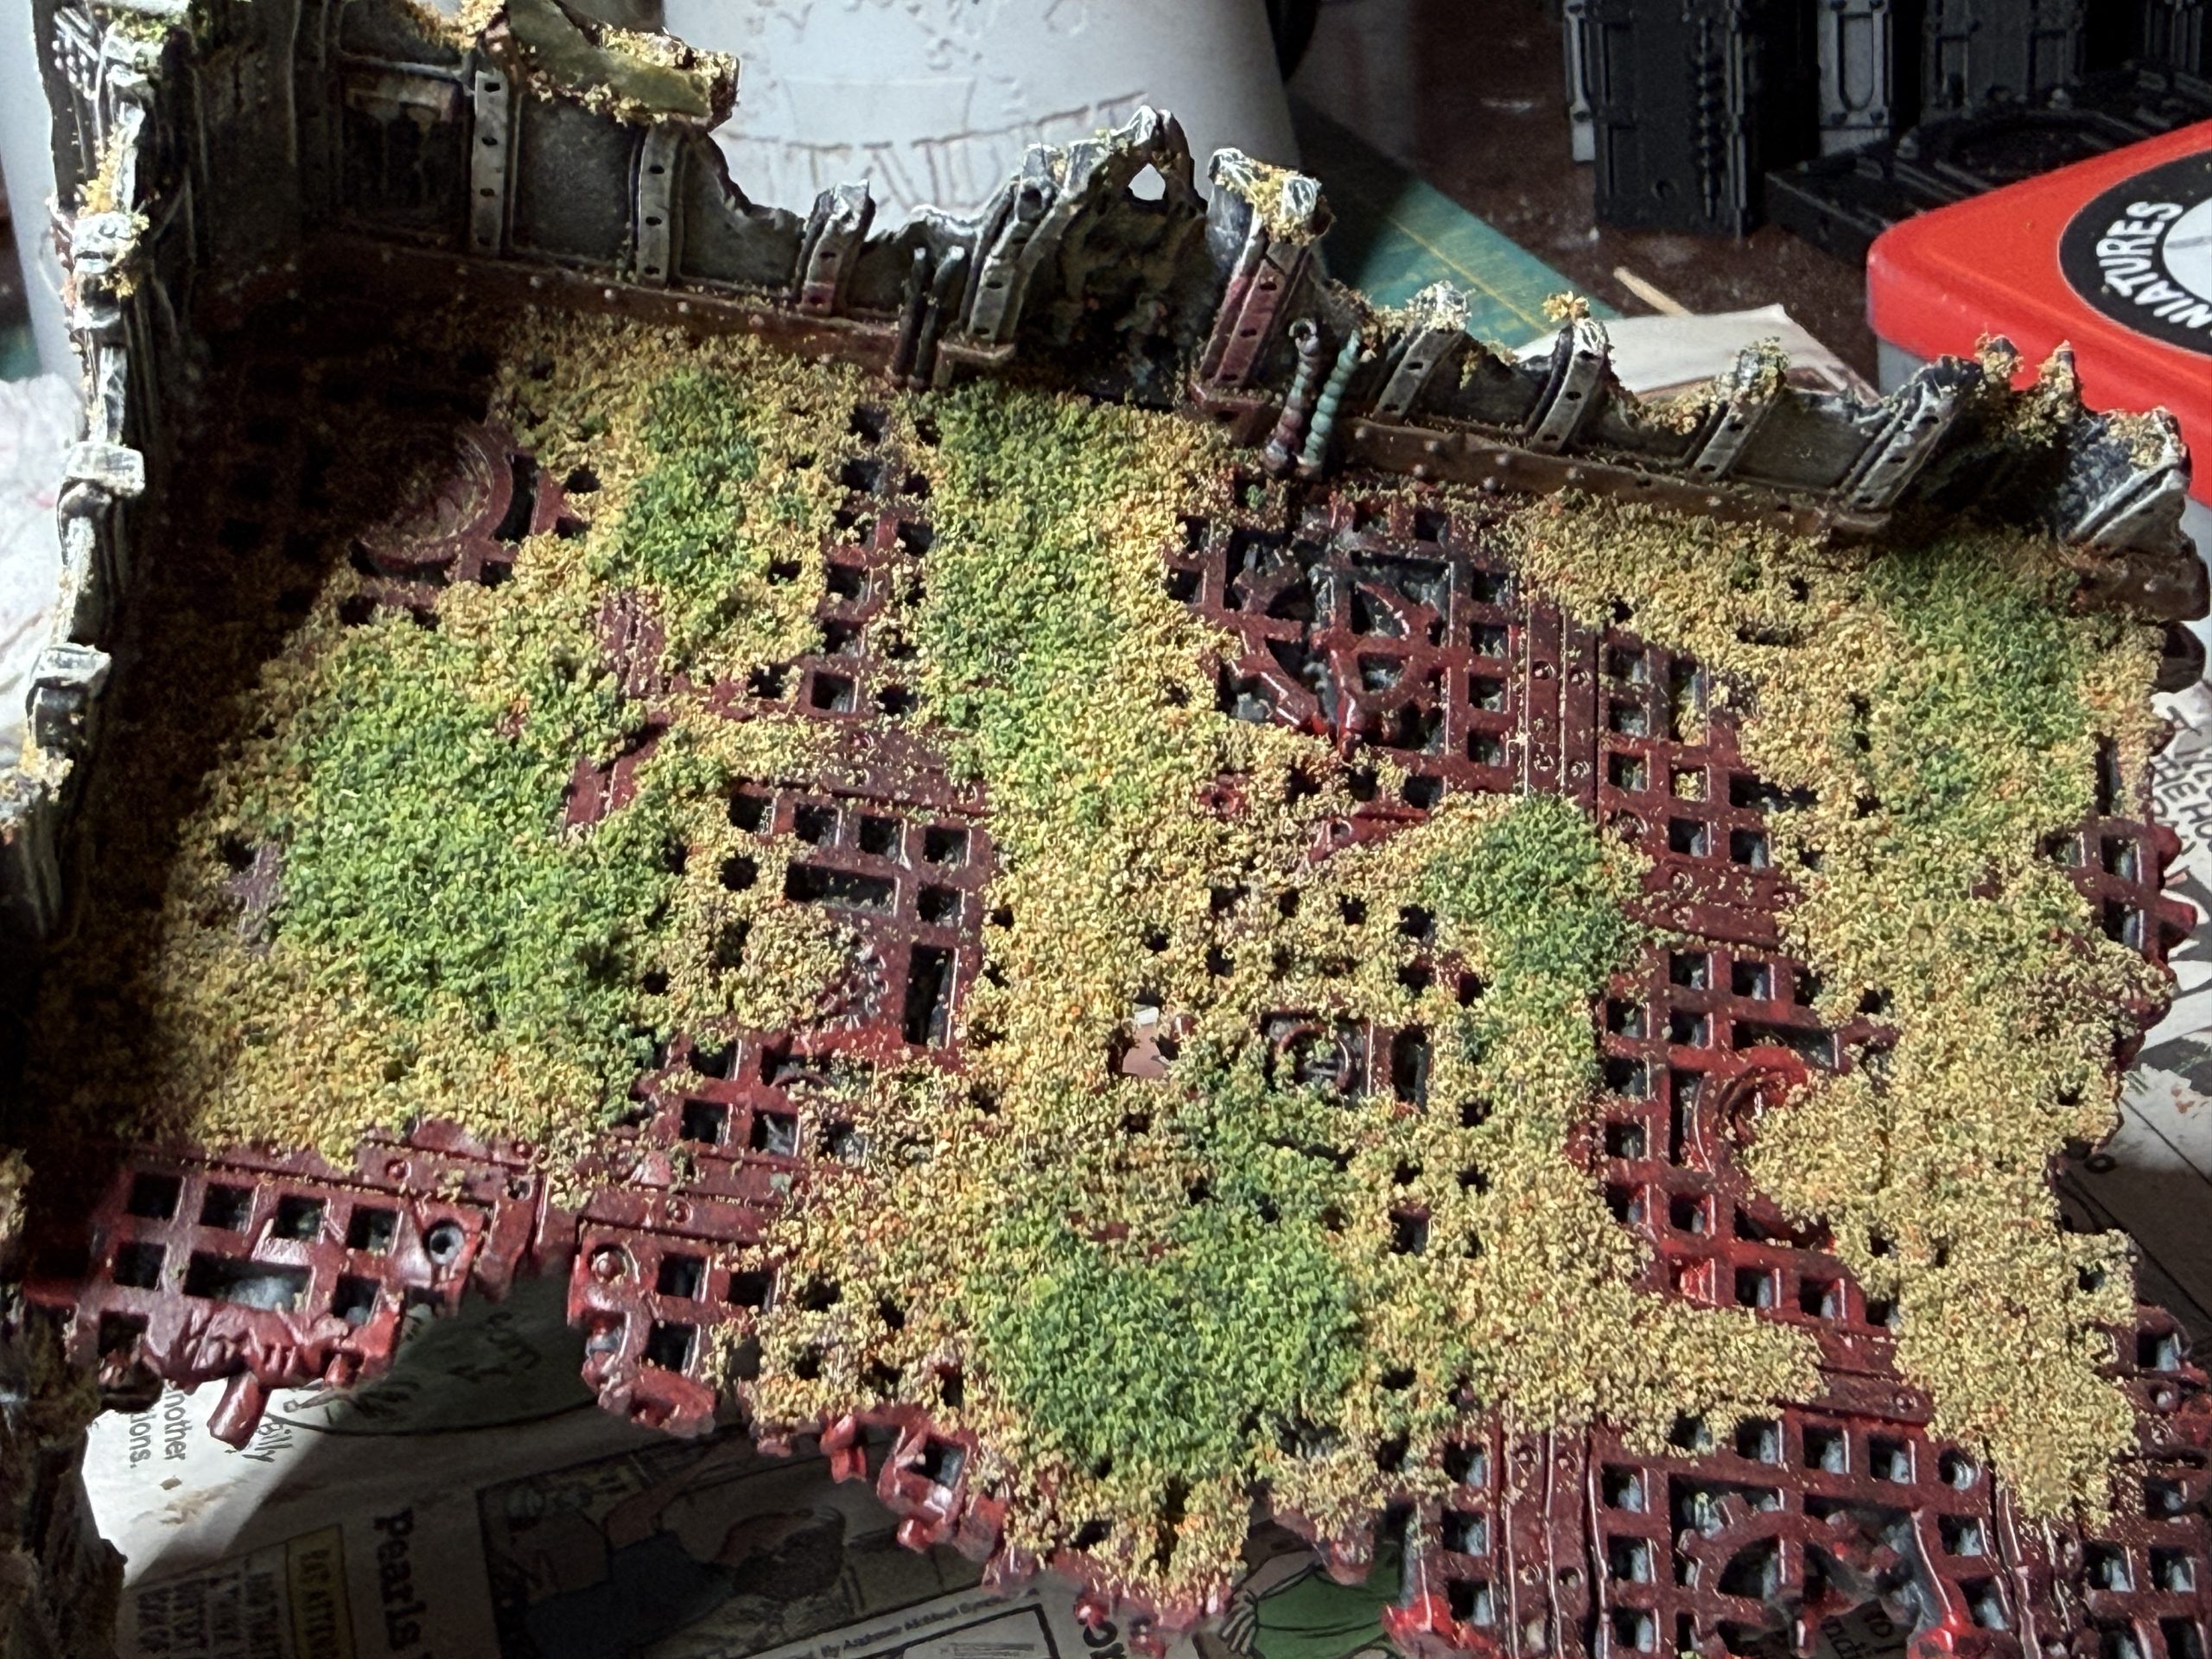 Next, once the wash if dry, select two separate colors of flock (one darker than the other but fitting harmoniously with is) and apply if to the ruins with white glue. Vegetations grows in cravasses, over the walls, on the floors, and is slowly but surely gaining controls of the ruins. Have fun, go wild...
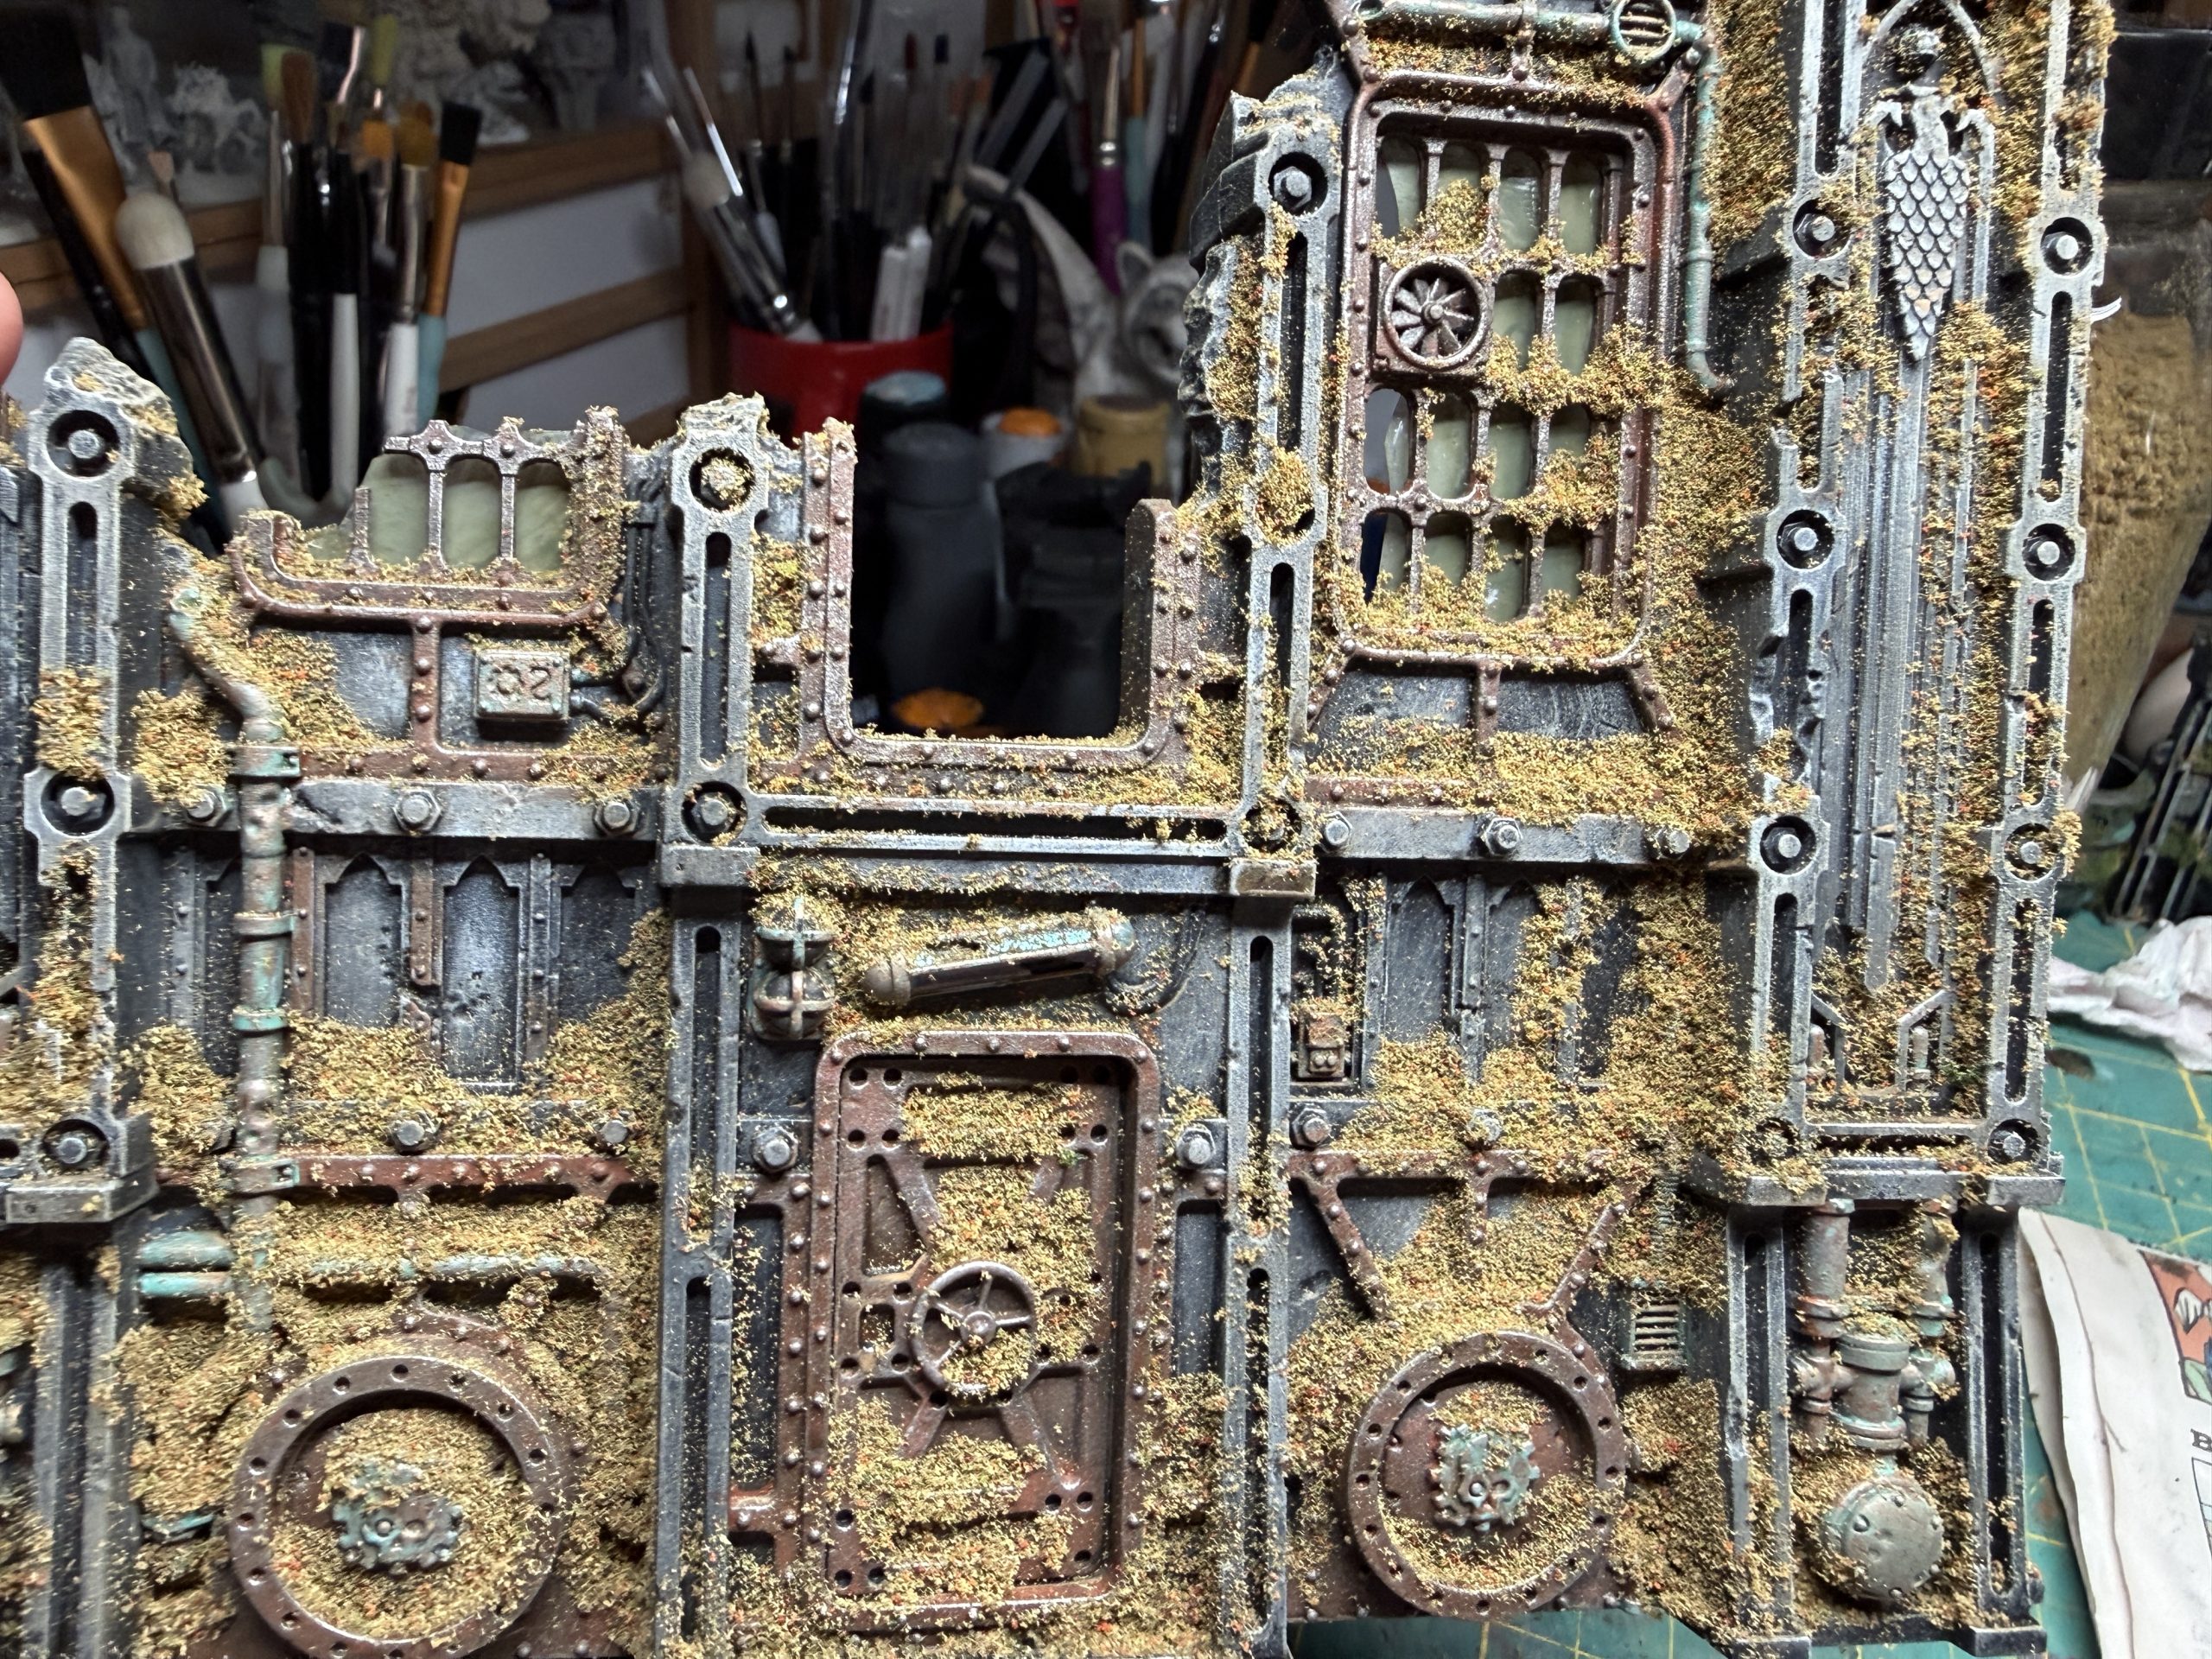 Once applied, the flock may seem a little too much. Just wait till it dries and gently brush it off with a large brush, collecting the residue to be used a a later time.


![Battle It Out In The Early War With New Flames Of War Set [Updated]](https://images.beastsofwar.com/2026/10/fow-barbarossa-cover-600-338.jpg)