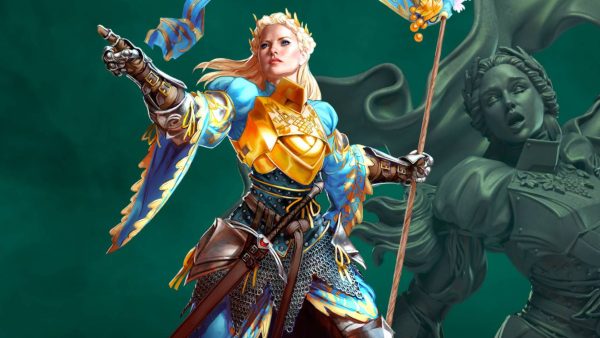


The Emperor Protects ~ Adepta Sororitas ~ A Sisters of Battle Project


Recommendations: 959
About the Project
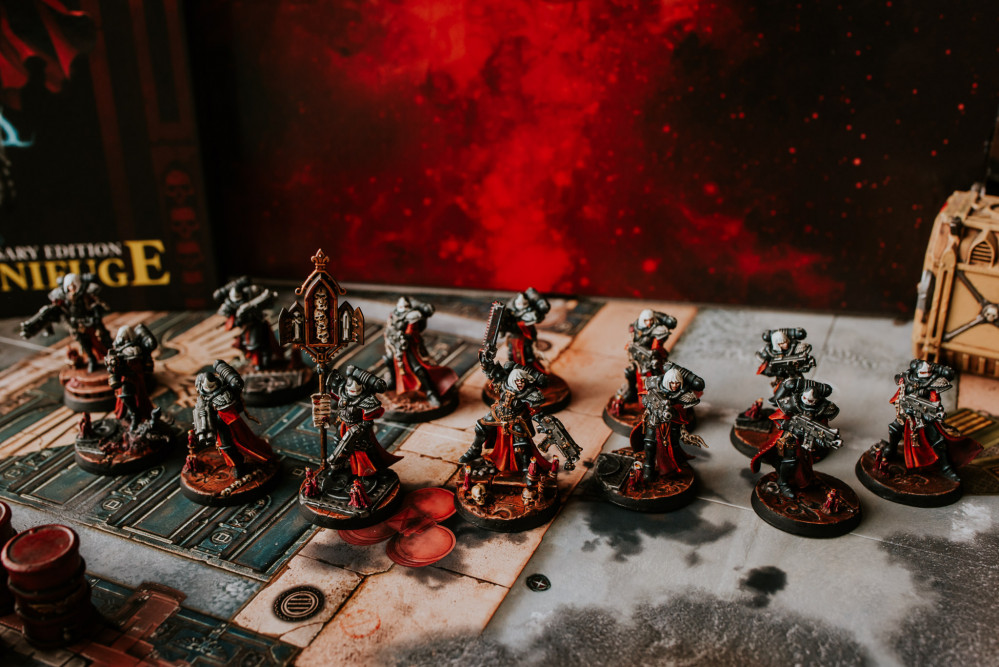
***** THE EMPEROR PROTECTS ***** I've been a backstage member since 2012 and have never shared anything I've made. (HOW VERY DARE I?) After being one of the lucky few to acquire the Sisters of Battle box I thought it would be cool to attempt to track my progress of putting this brand new army (for me) together before they are let loose upon the battlefield to unleash fire and faith upon the heretics. Original project goal achieved. Limited Edition Sisters of Battle Starter Box complete! Stay tuned for incoming pile of shame purging & painting. YES!
Related Game: Warhammer 40,000
Related Company: Games Workshop
Related Genre: Science Fiction
This Project is Active
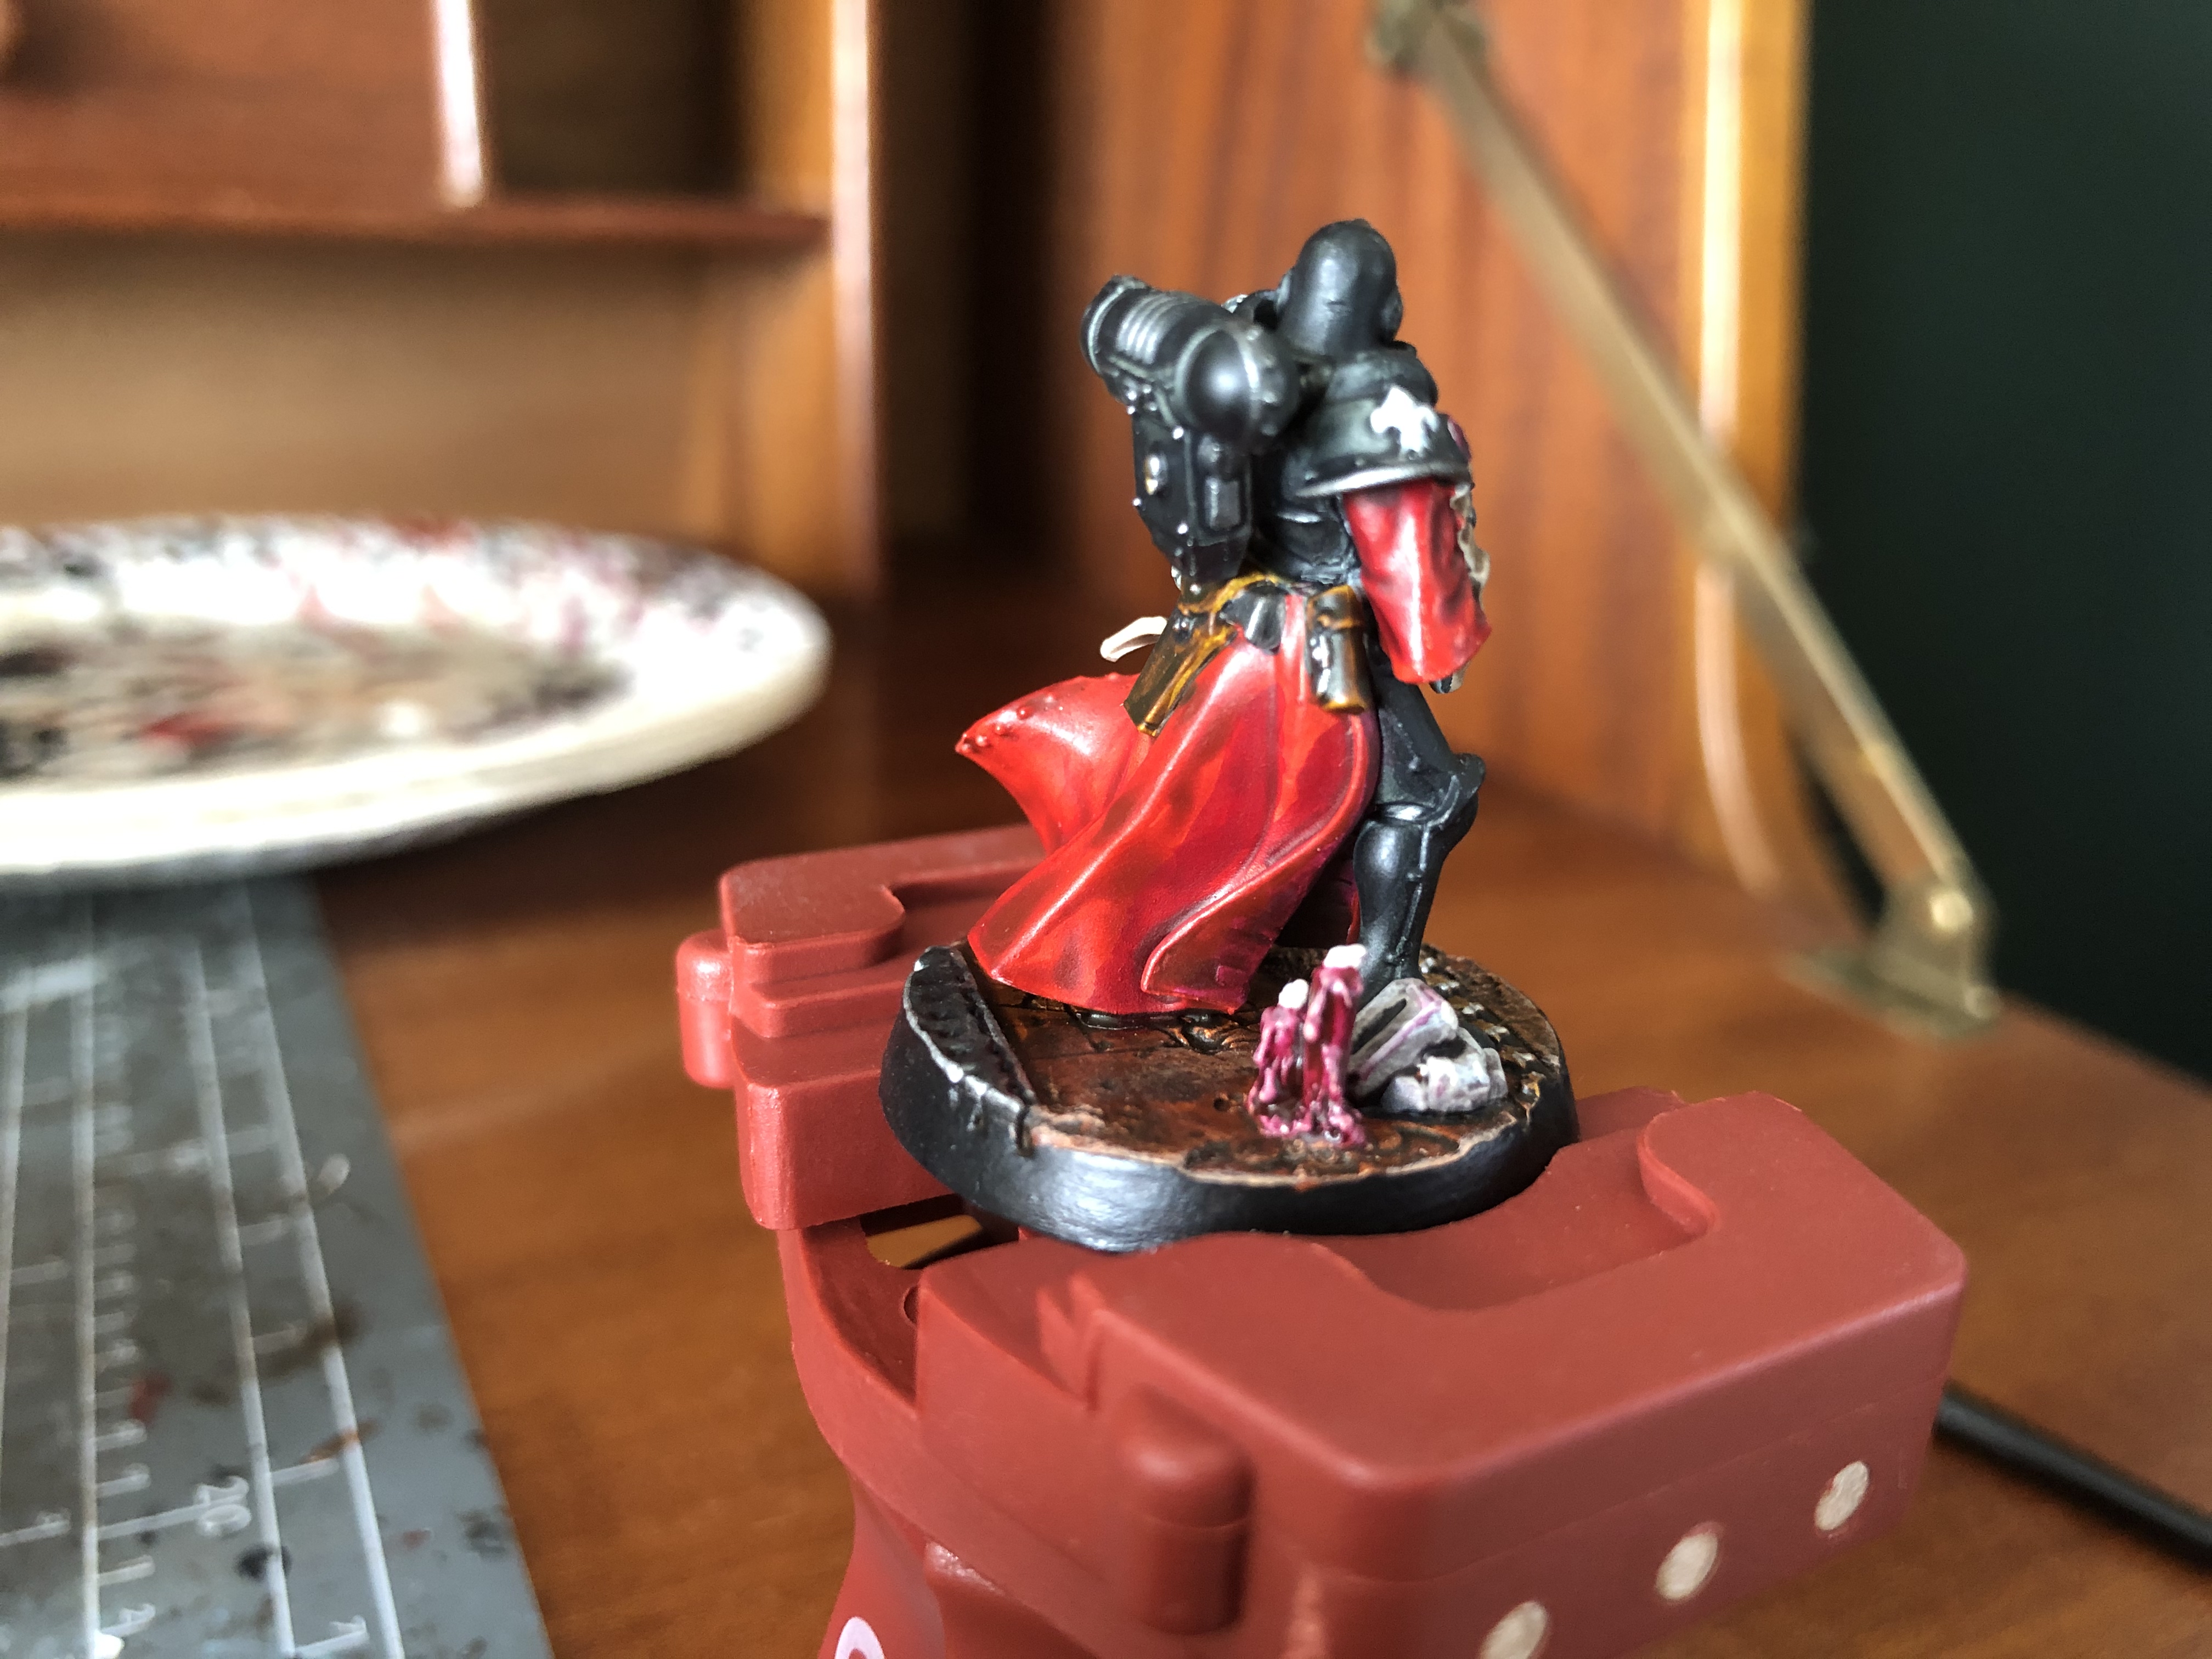
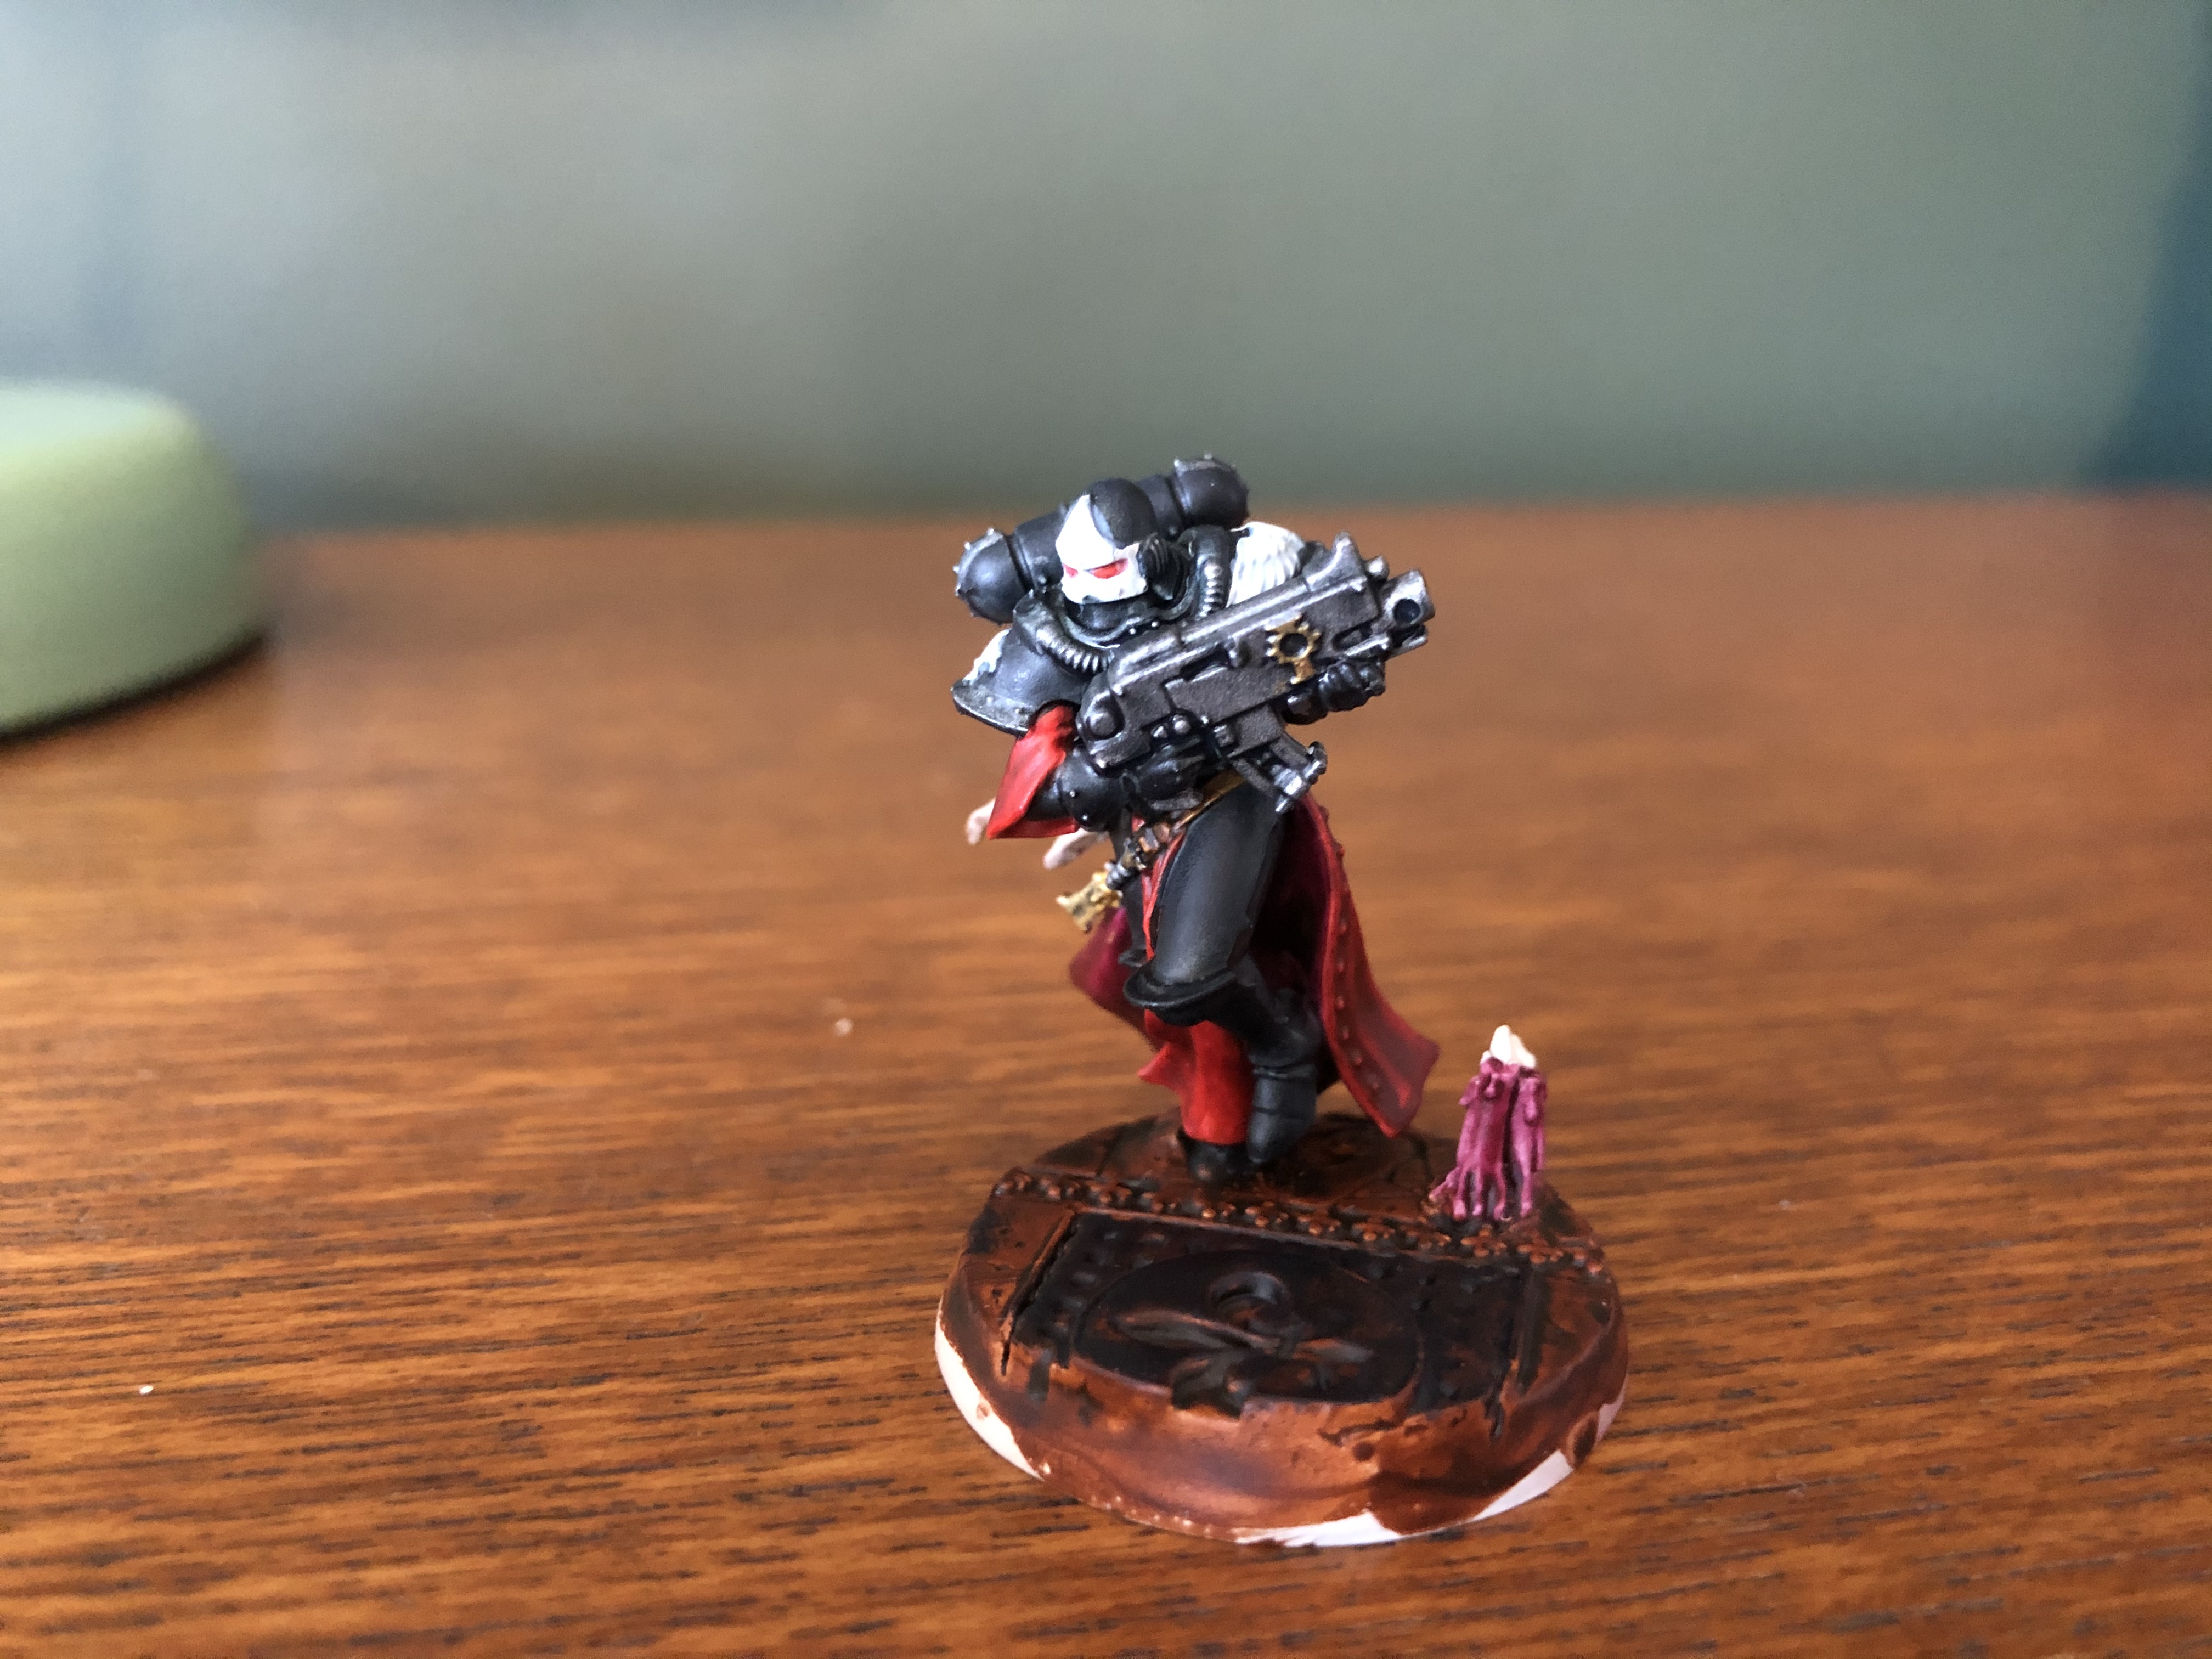
FOUR CANDLES! ~ PAINTING CANDLES
IT BURNS!
*****
Hey hey lovely people, I’m back with another post. This time I’m painting the candles on my Sisters of Battle. I have to be honest at first I was like “oh dear” at the sheer volume of candles I had attached to my bases but they are so easy & fun to paint. This post actually marks my bases as complete too. GET IN!
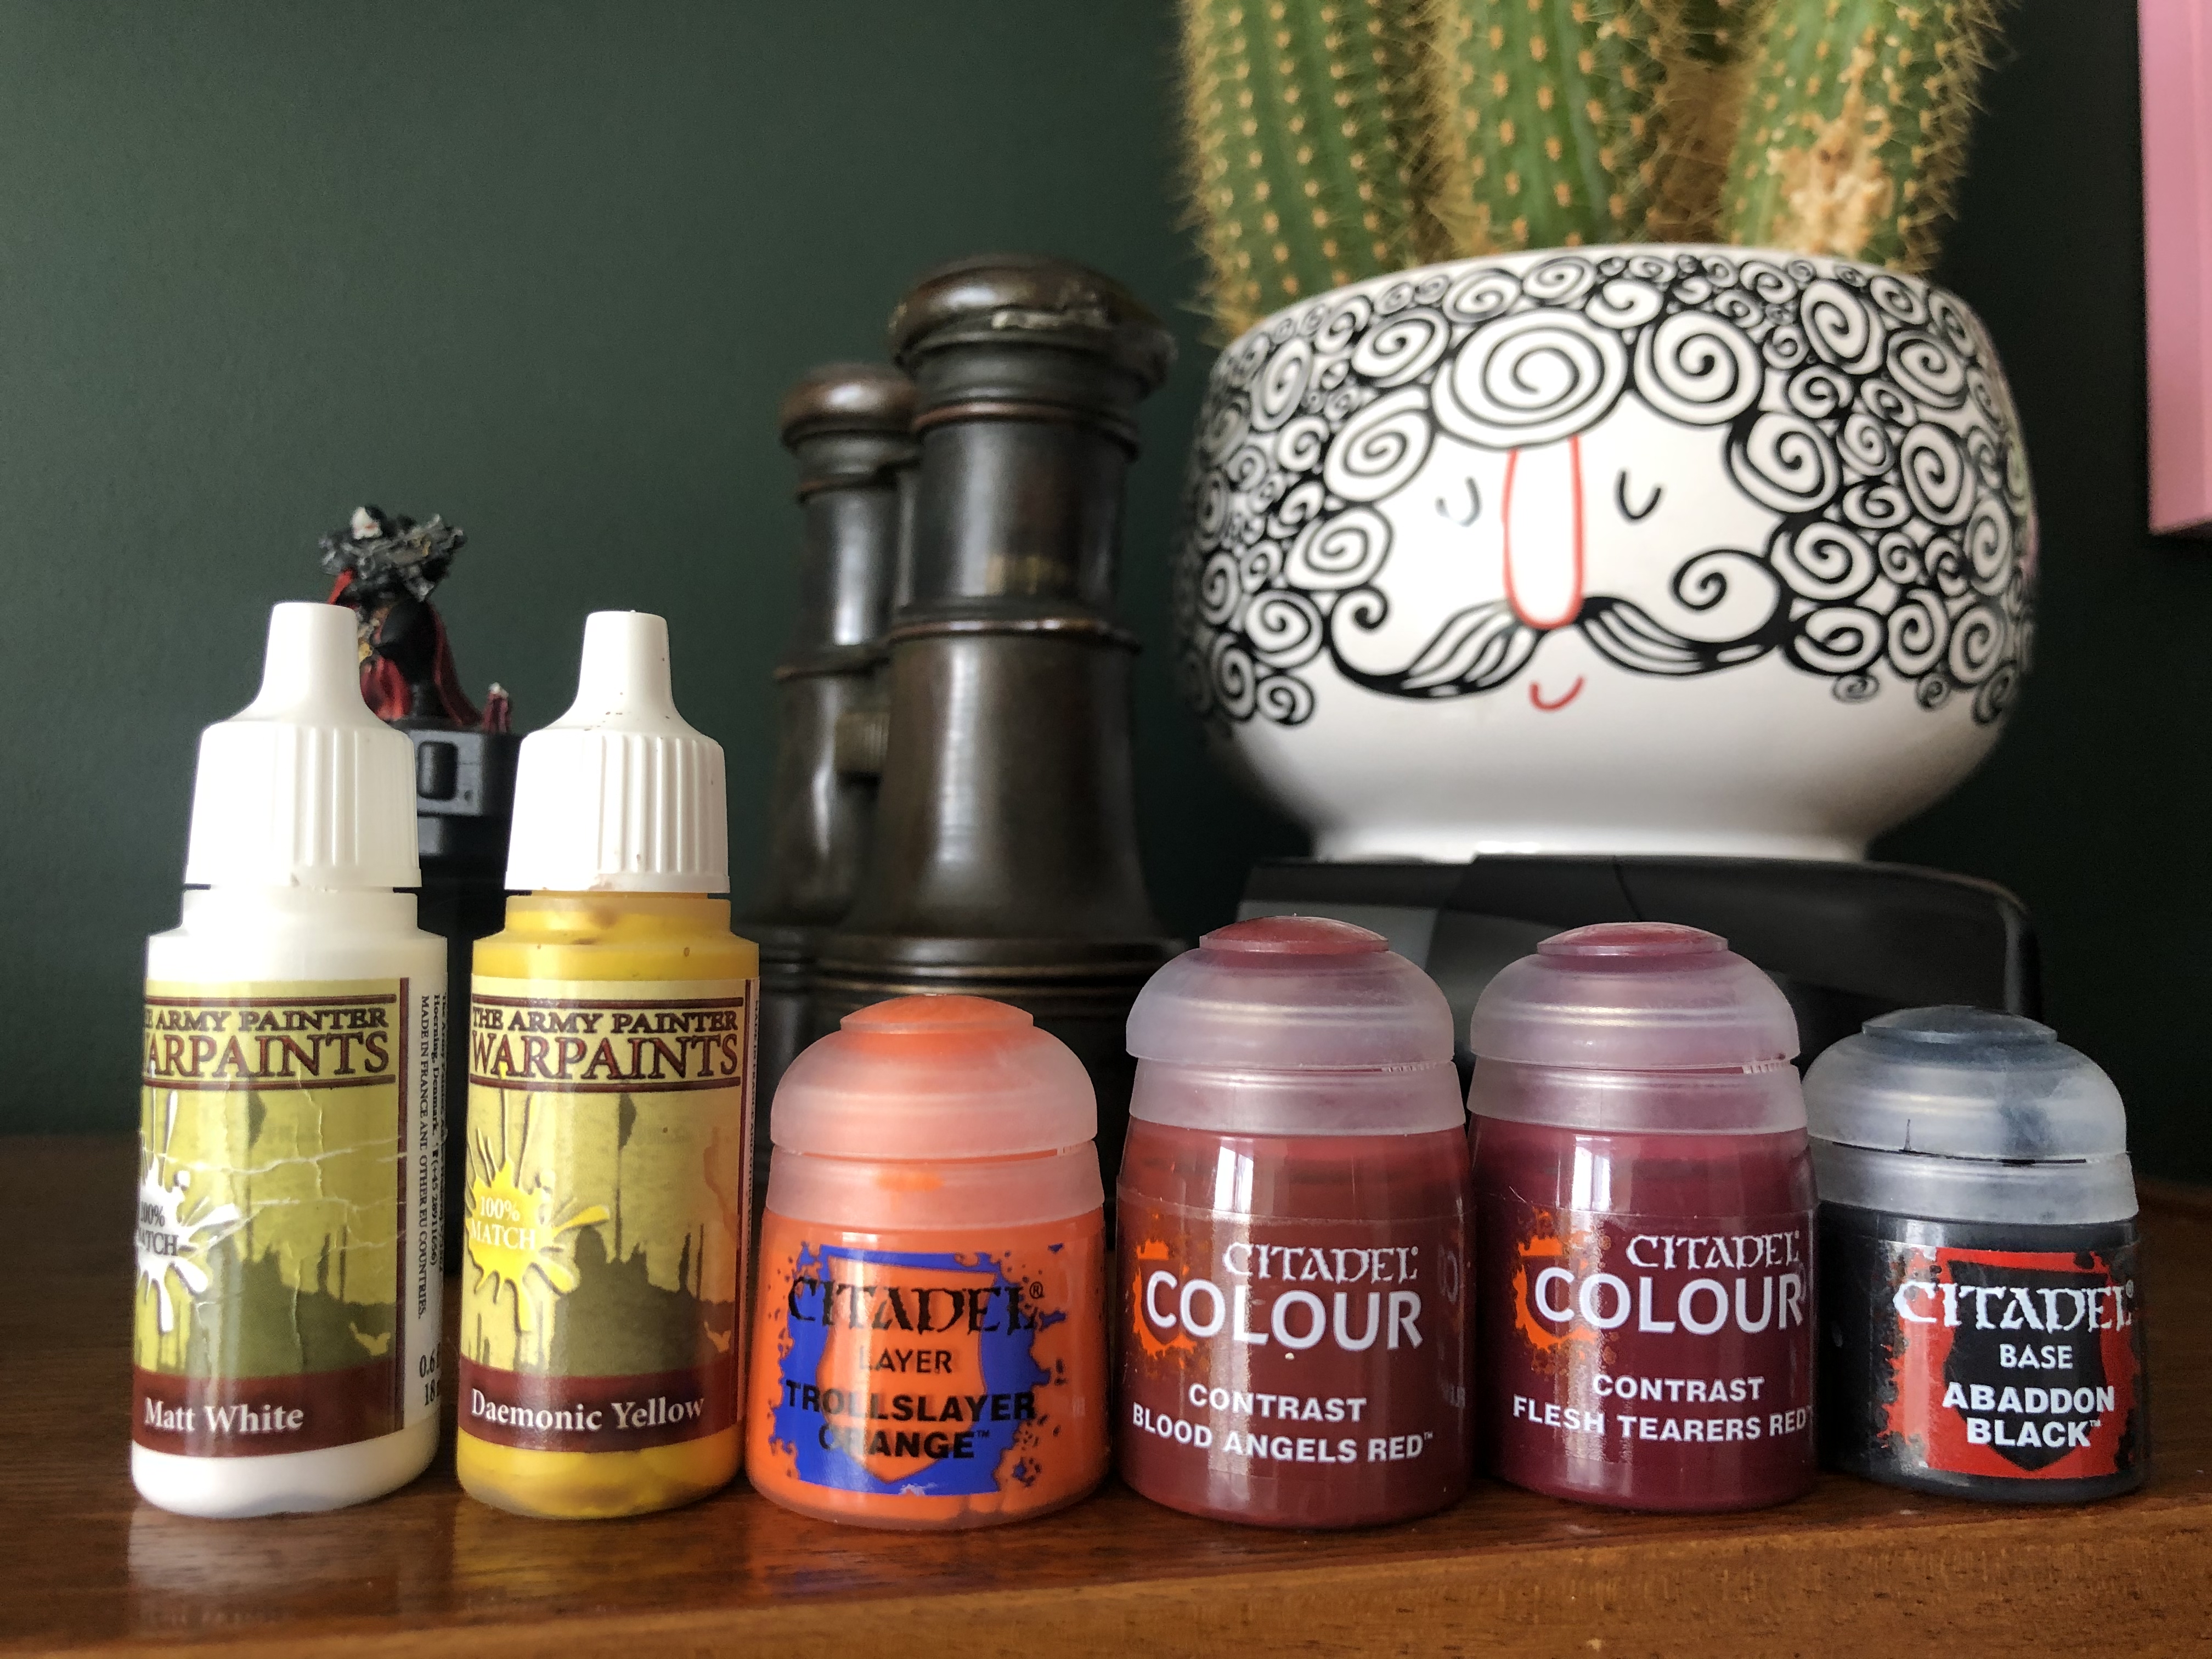
PAINT LIST
*****
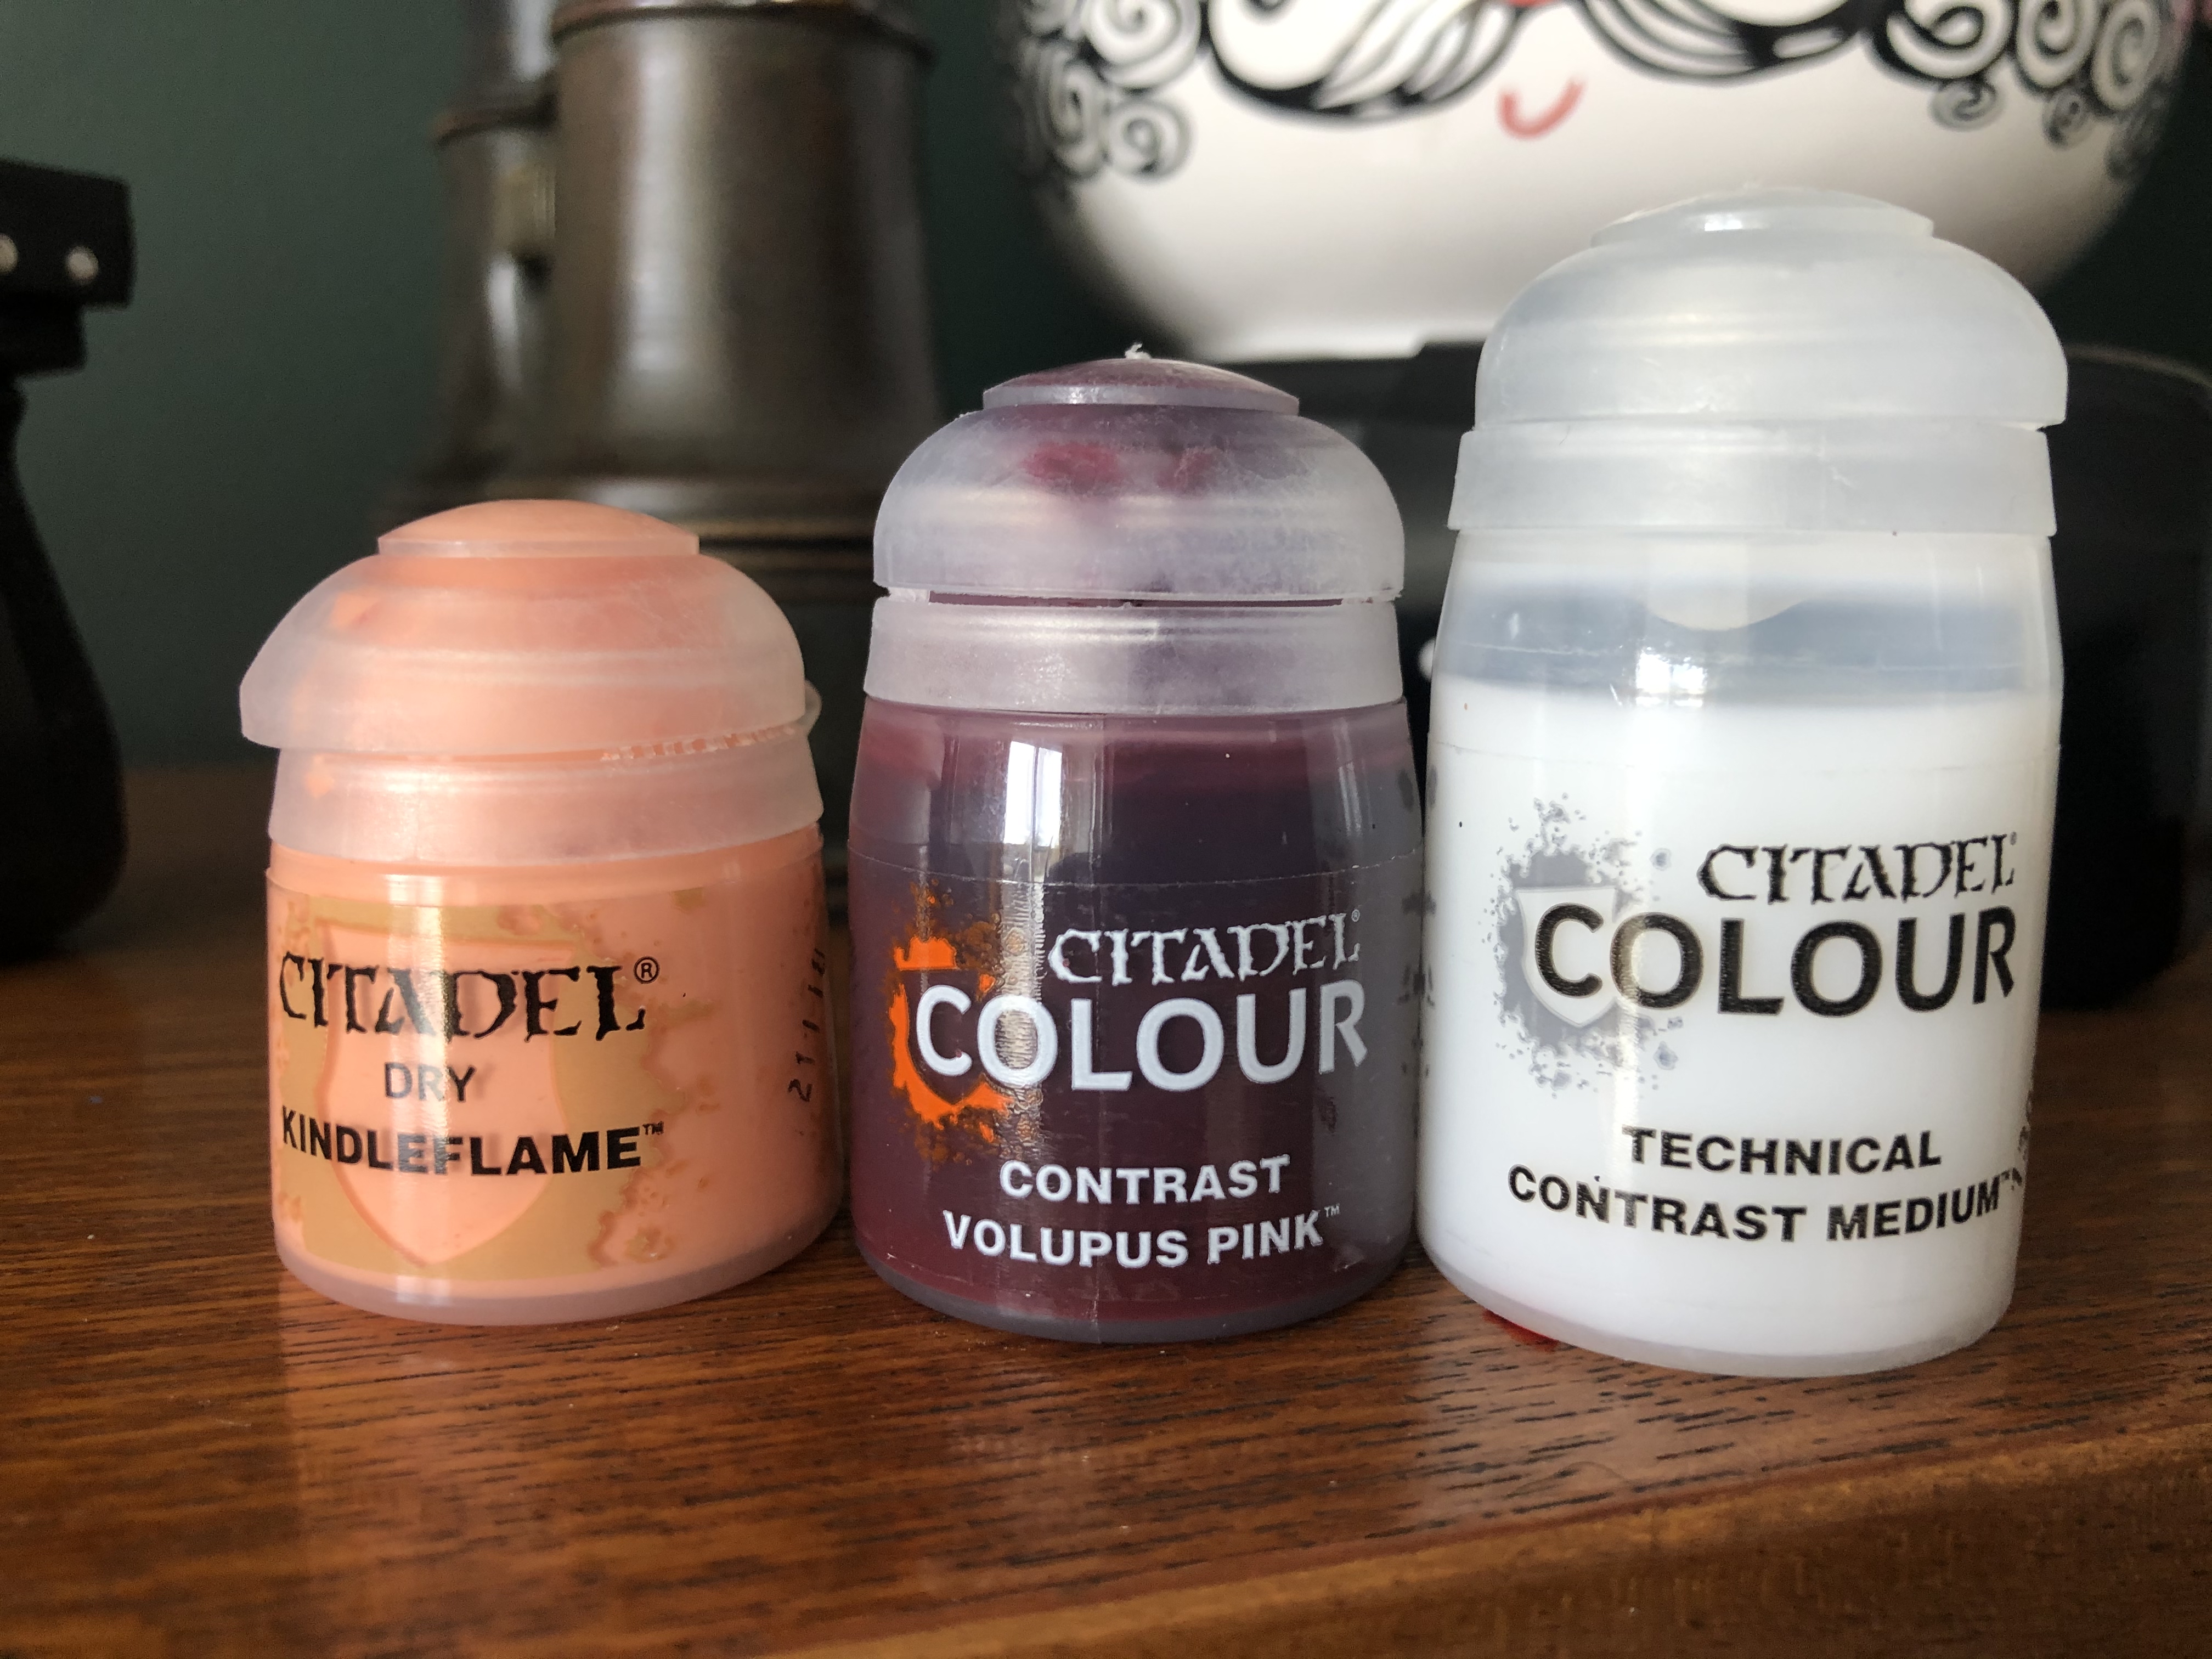
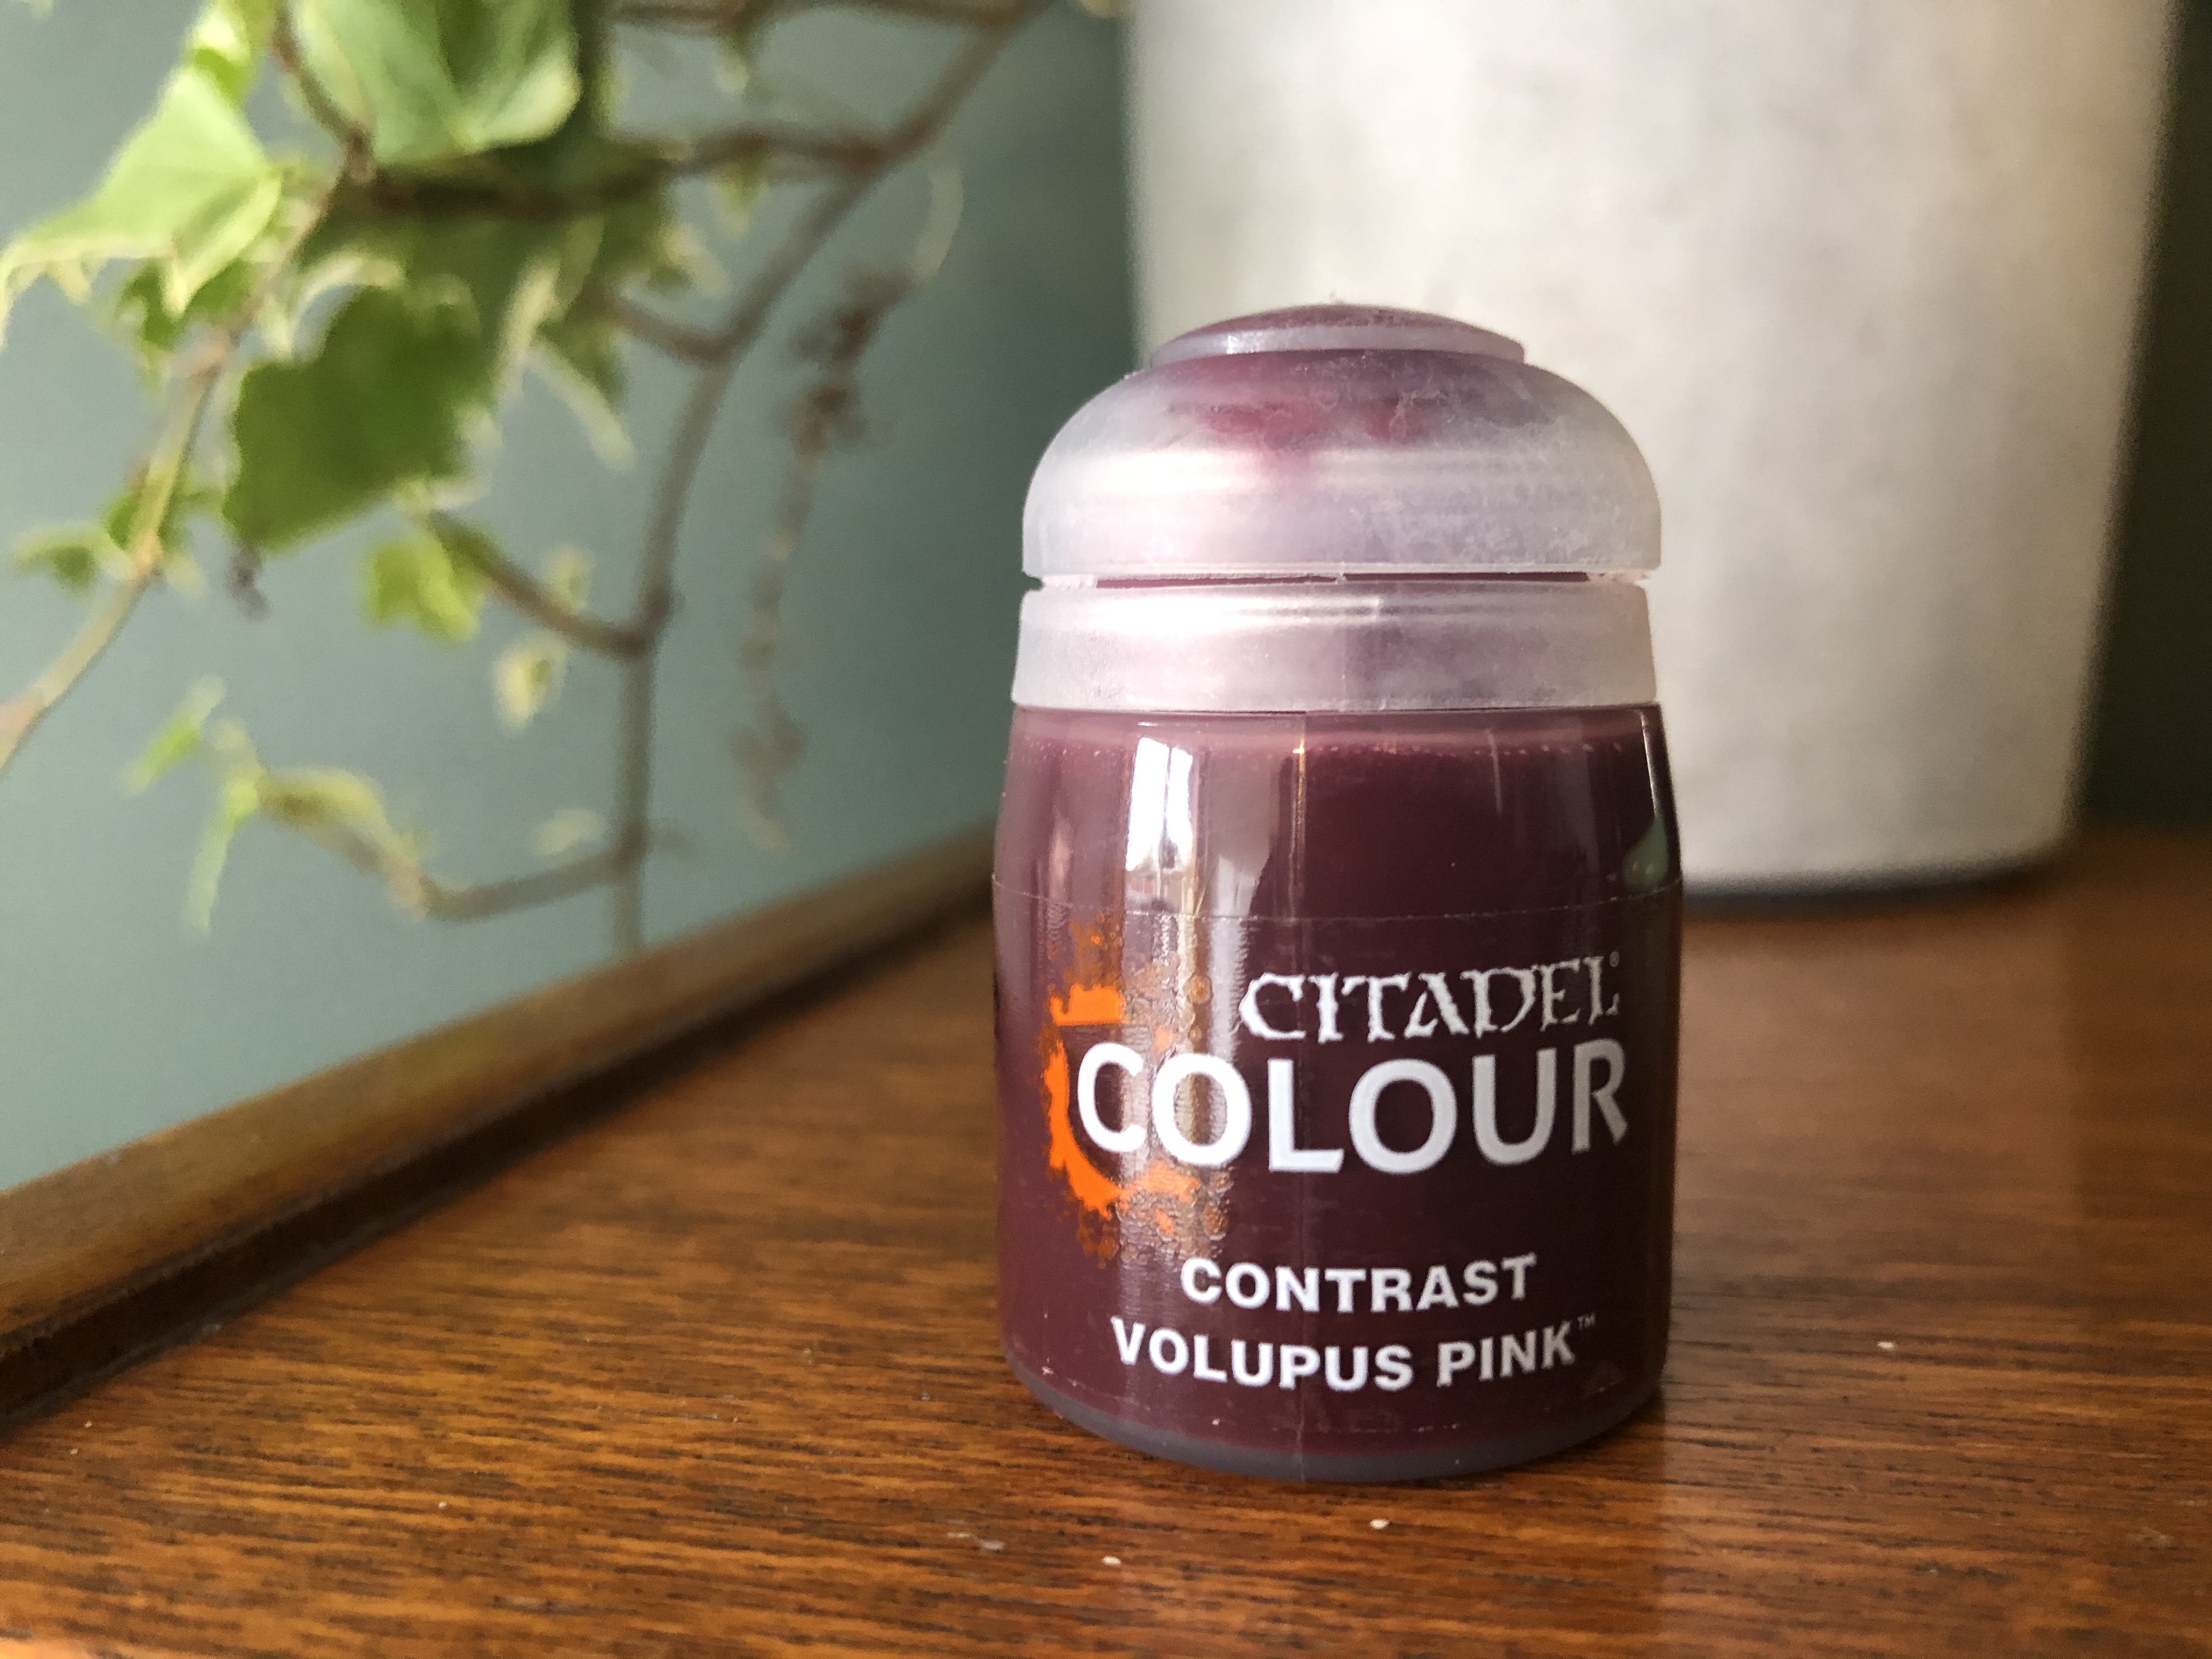
• DRY KINDLEFLAME
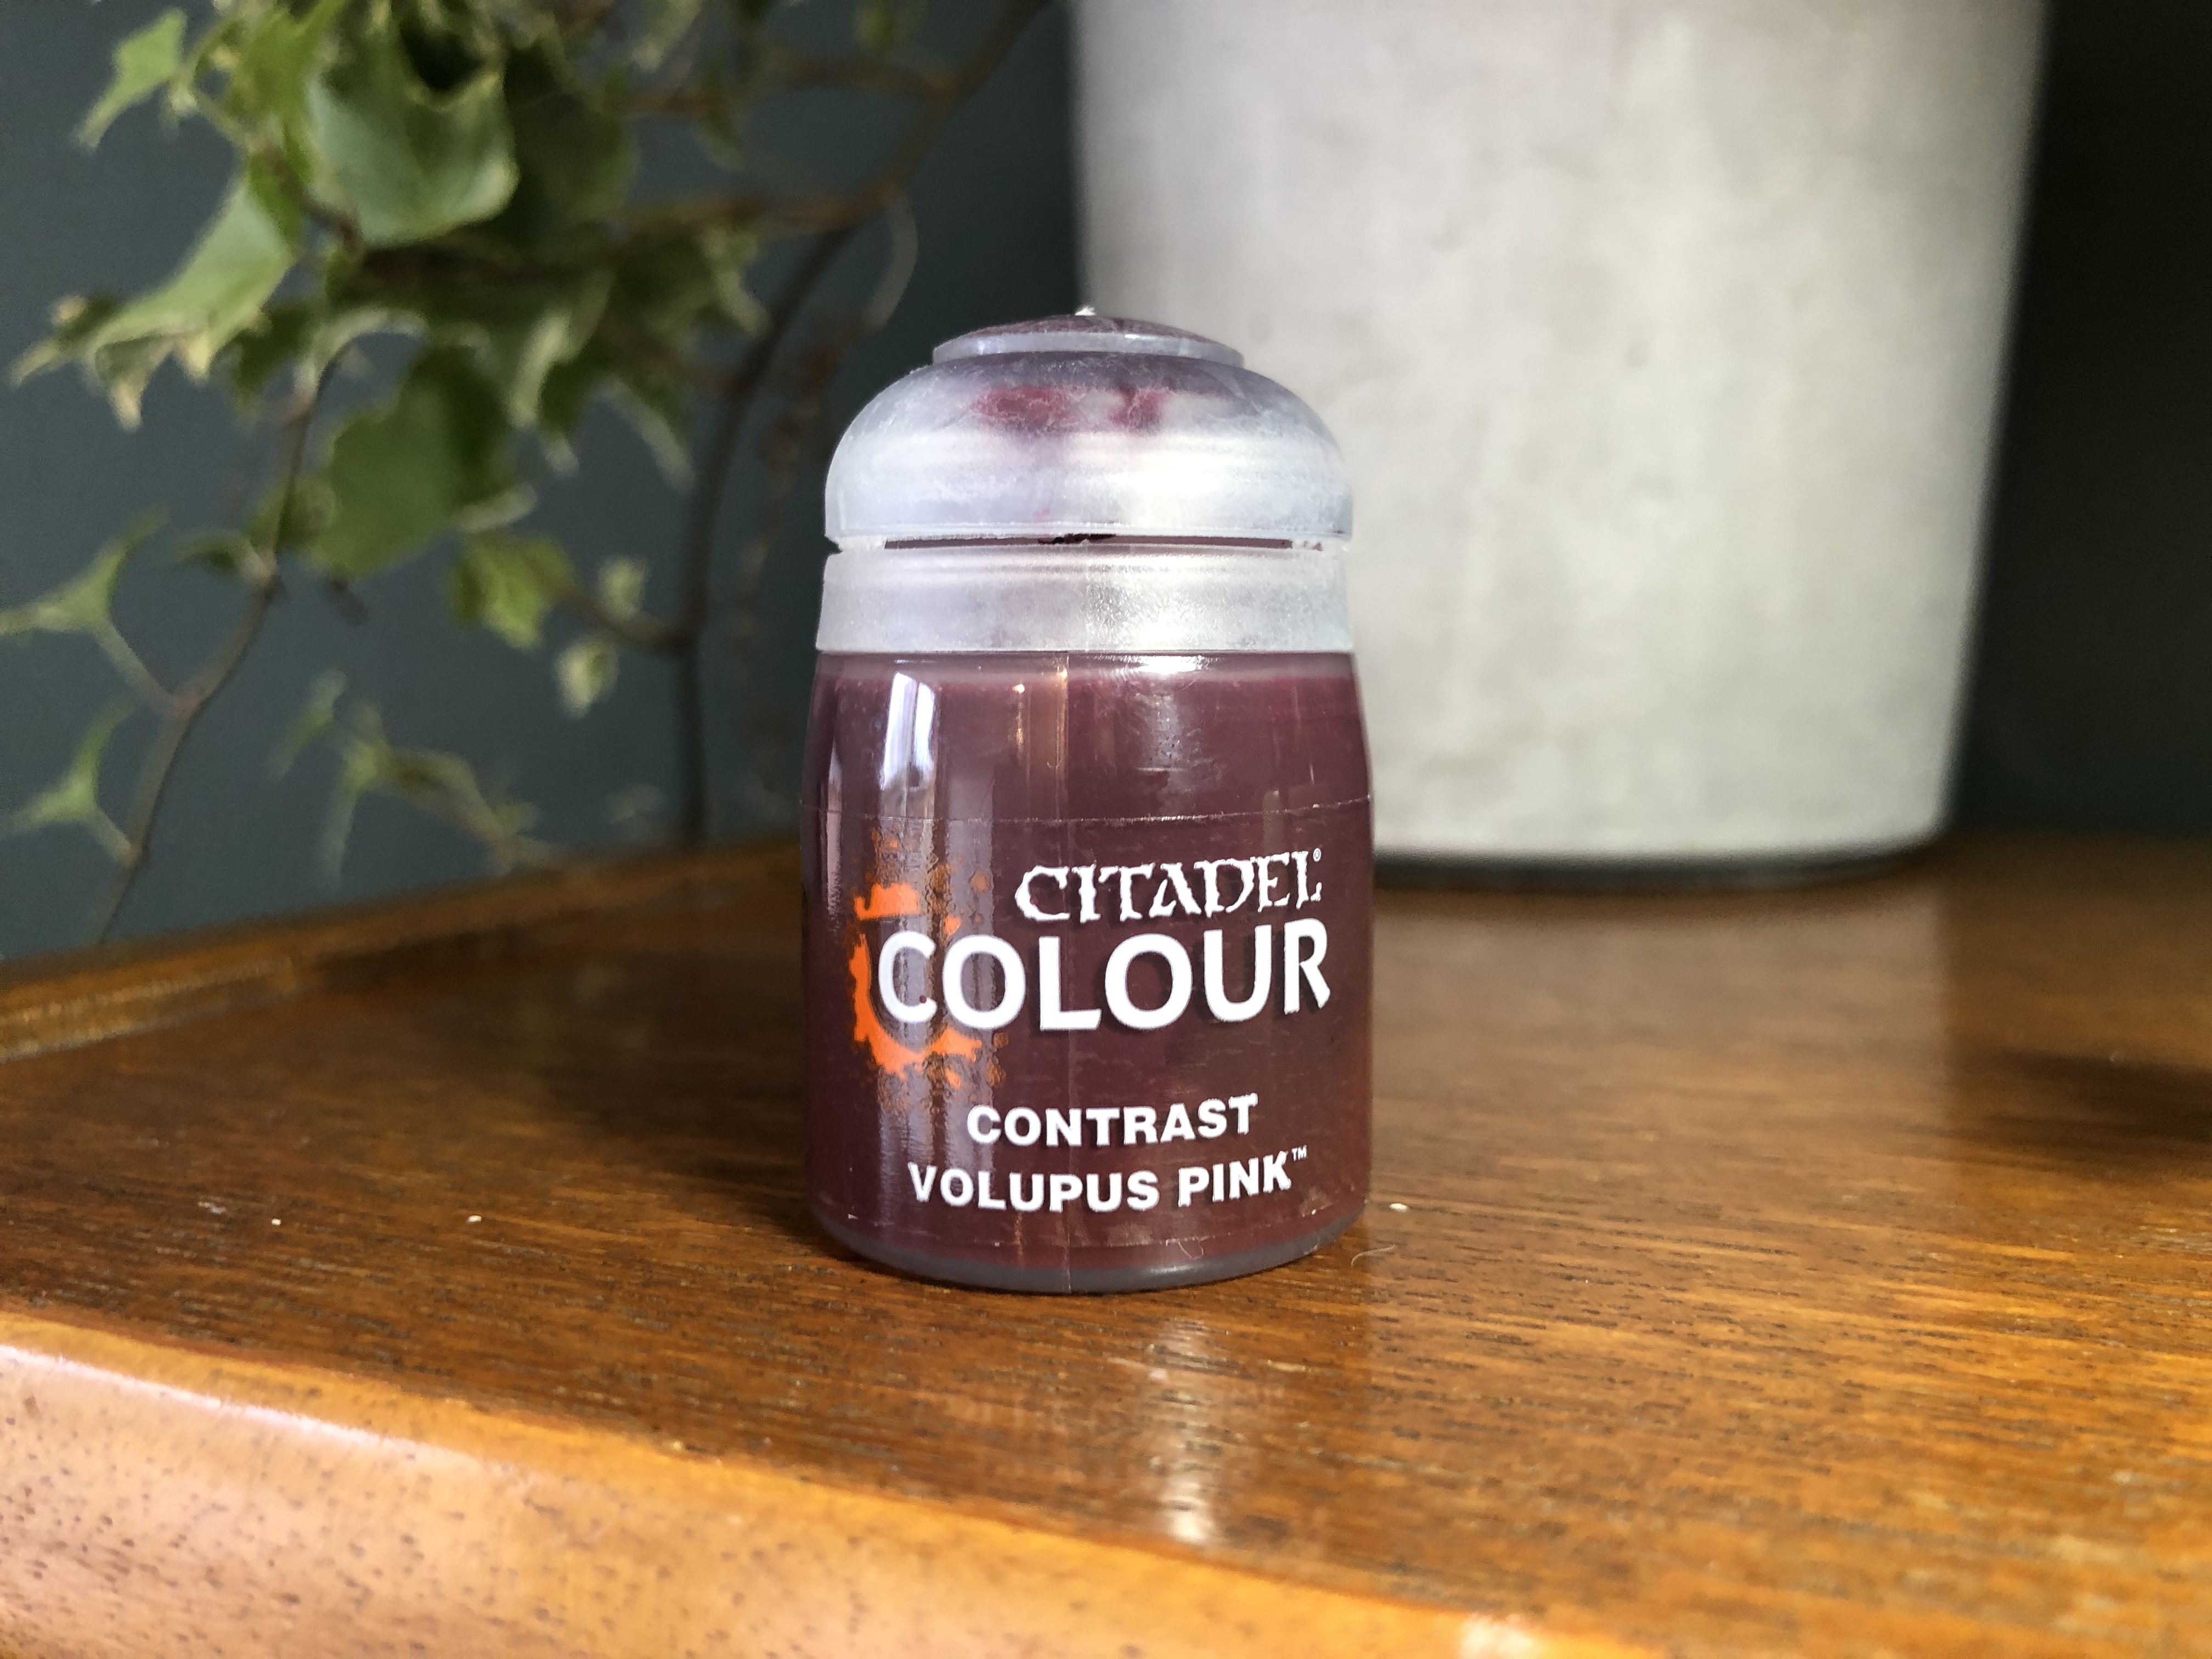
• CONTRAST VOLUPUS PINK
• CONTRAST MEDIUM
• ARMY PAINTER MATT WHITE
• ARMY PAINTER DAEMONIC YELLOW
• TROLLSLAYER ORANGE
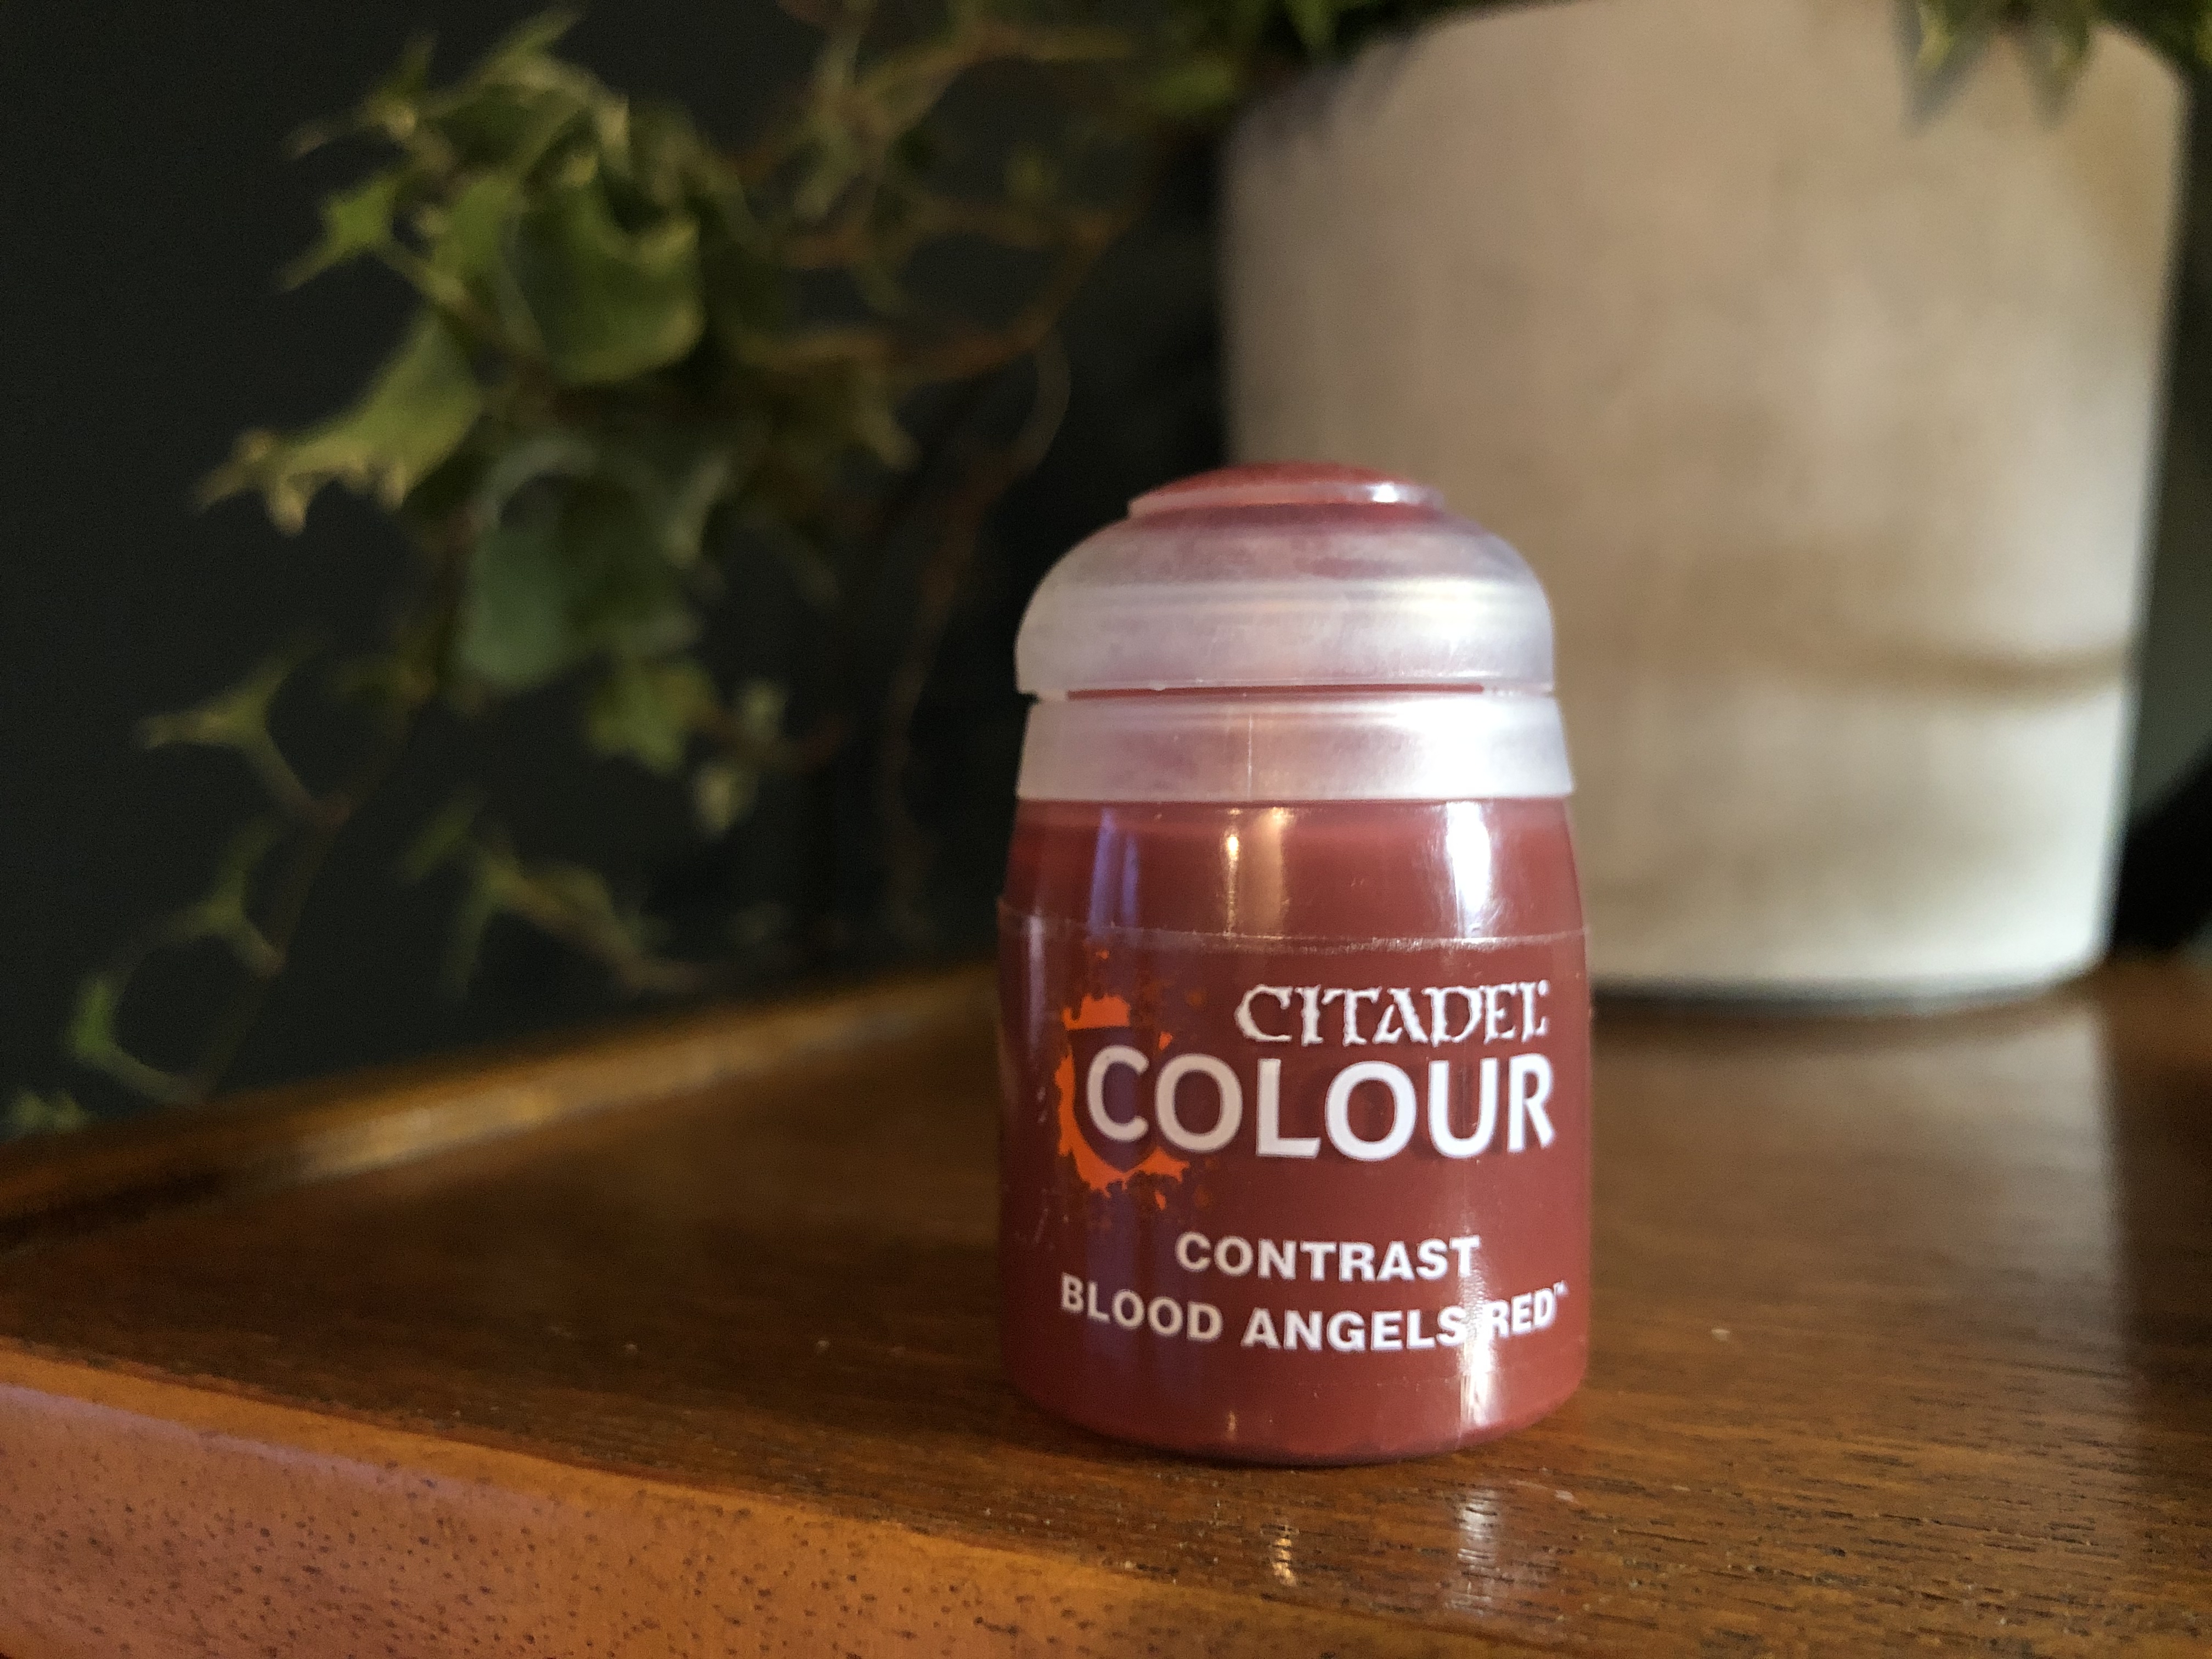
• CONTRAST BLOOD ANGELS RED
• CONTRAST FLESH TEARERS RED
• ABADON BLACK
WAX ON WAX OFF
*****
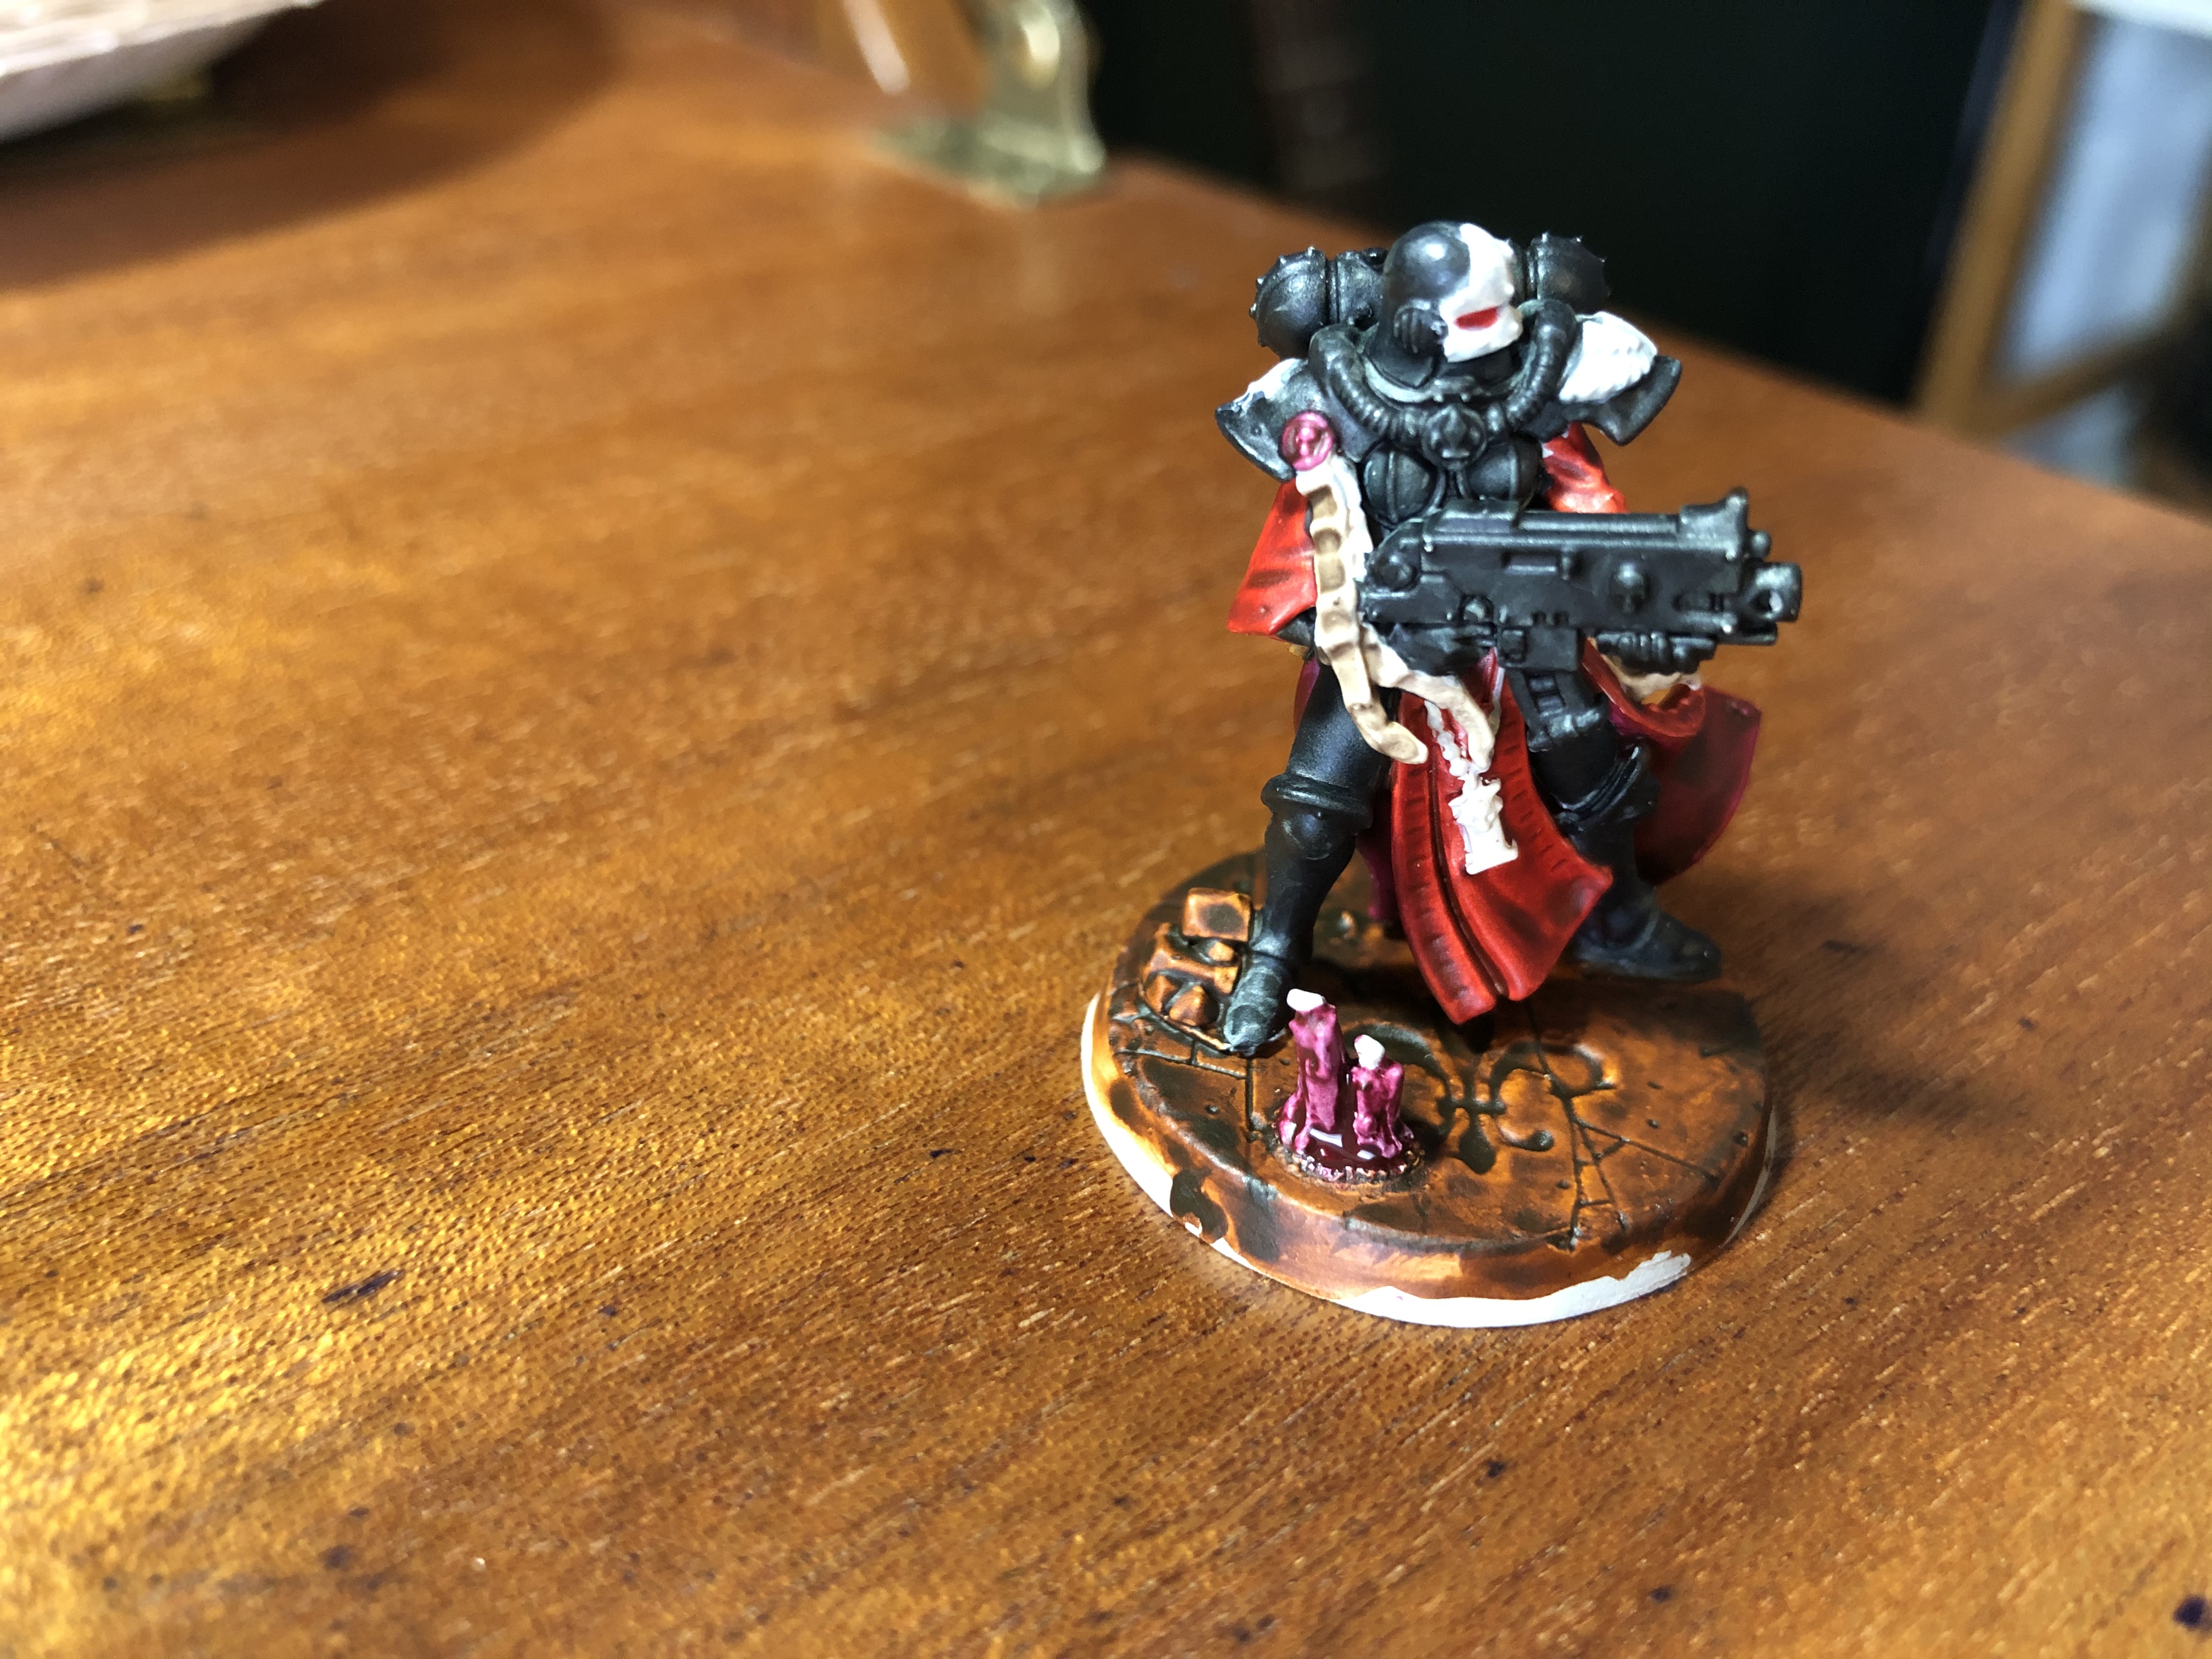
I began by by mixing Kindleflame with a bit of water (Yes I know it’s a dry paint lol) & added a highlight to the wax of the candles focusing on the drips & top portions of the candle body itself. I then mixed a 3 – 1 ratio of Contrast Volupus Pink with Contrast Medium & applied a glaze over the highlights to blend them in a little.


FLAMING HECK
*****
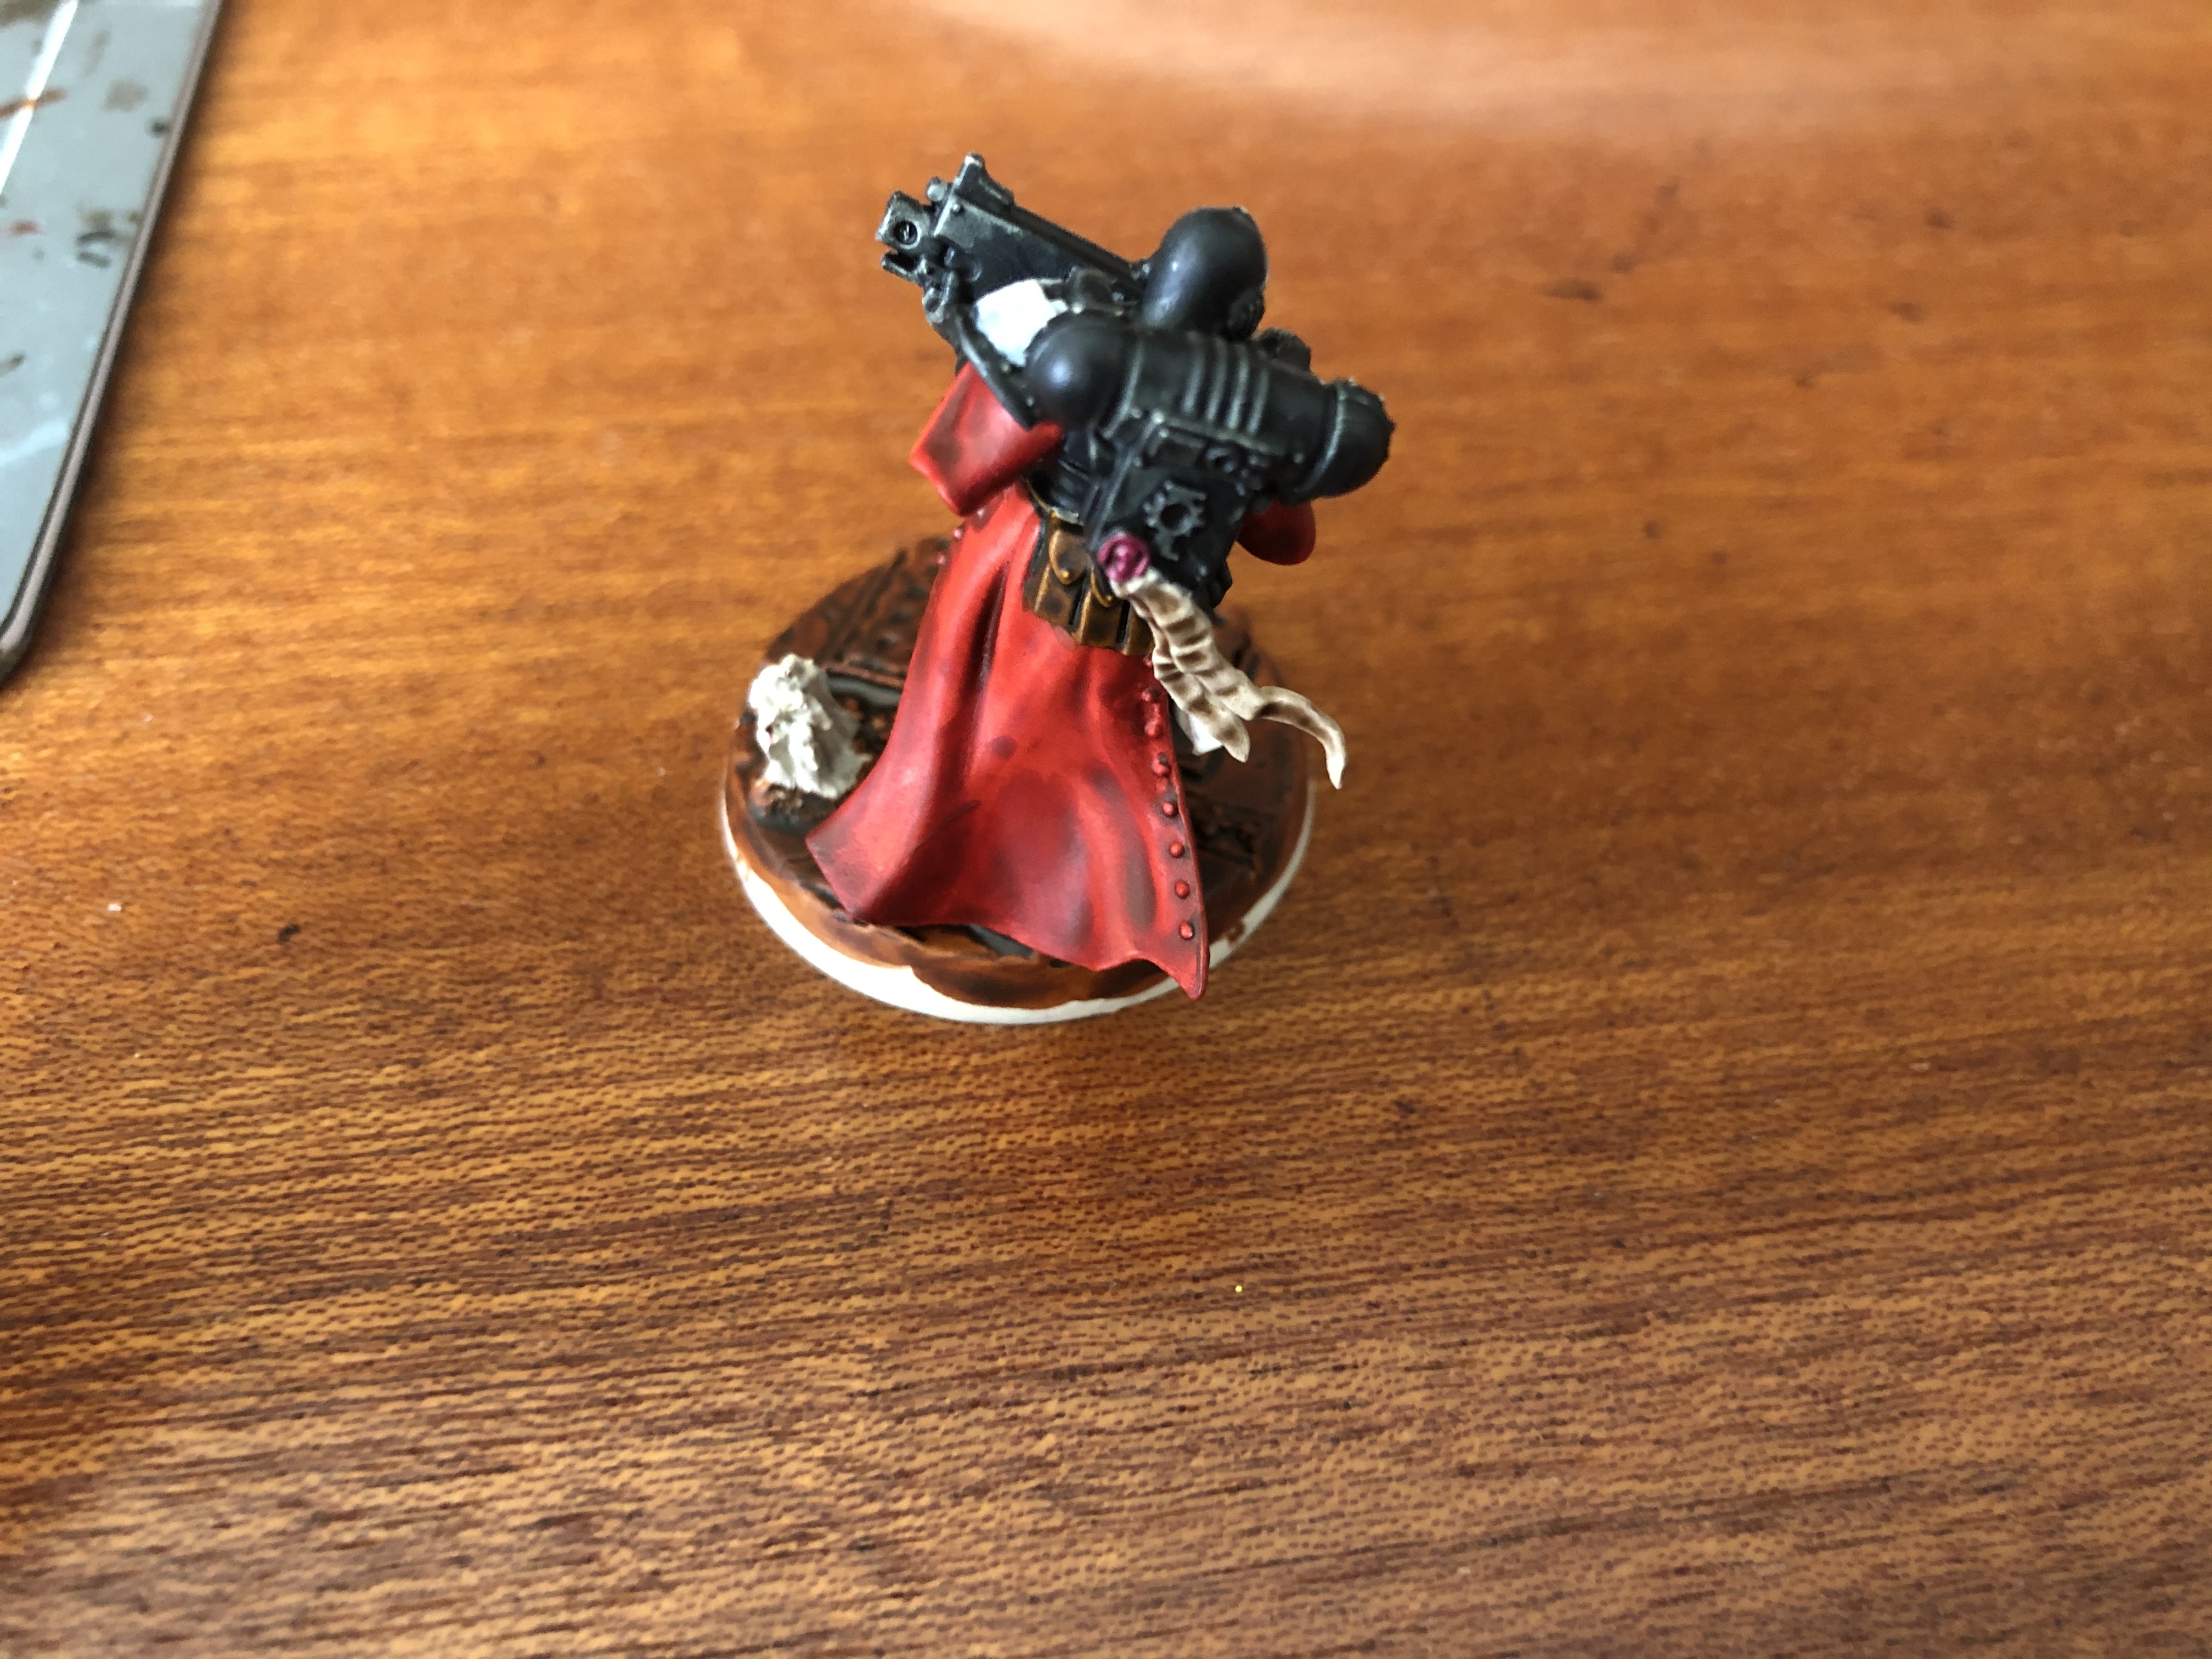
Time for the flames. I began with a single coat of Army Painter Matt White applied to all of the flames. Once this had dried I moved onto Army Painter Daemonic Yellow. I applied a coat to around three quarters of the flame leaving a little Matt white showing at the bottom. Again this time with Trollslayer Orange I added another layer towards the top of the flame leaving a little of the yellow showing. I then moved onto Contrast Blood Angels Red then Flesh Tearers Red each time leaving a little of the previous colour showing to give that nice layered effect. The finishing touch is a tiny dot of Abadon Black right on the point of the flames for that touch of black smoke. Boom! that’s it, enough candles to light an Elton John concert.
NEXT TIME
*****
With the bases complete it’s time to focus on the rest of the models. I’m not sure if I’m going to do the reds or the blacks first but I know you’ll all be on the edges of your seats in anticipation either way haha
See you on the next one.
Much Love
Eternity Gate
SETTING THE SCENE ~ PAINTING THE BASES
ALL ABOUT THAT BASE
*****
Hey guys it’s time for my big basing post where I add some more colour to the bases of my sisters. It took a little while admittedly to get to a result I was finally happy with but I got there in the end. It should make the rest of my army a lot quicker to complete (haha in theory)
PAINT LIST
*****
• DRY KINDLEFLAME
• CONTRAST GORE GRUNTA FUR
• CONTRAST BASILICANUM GREY
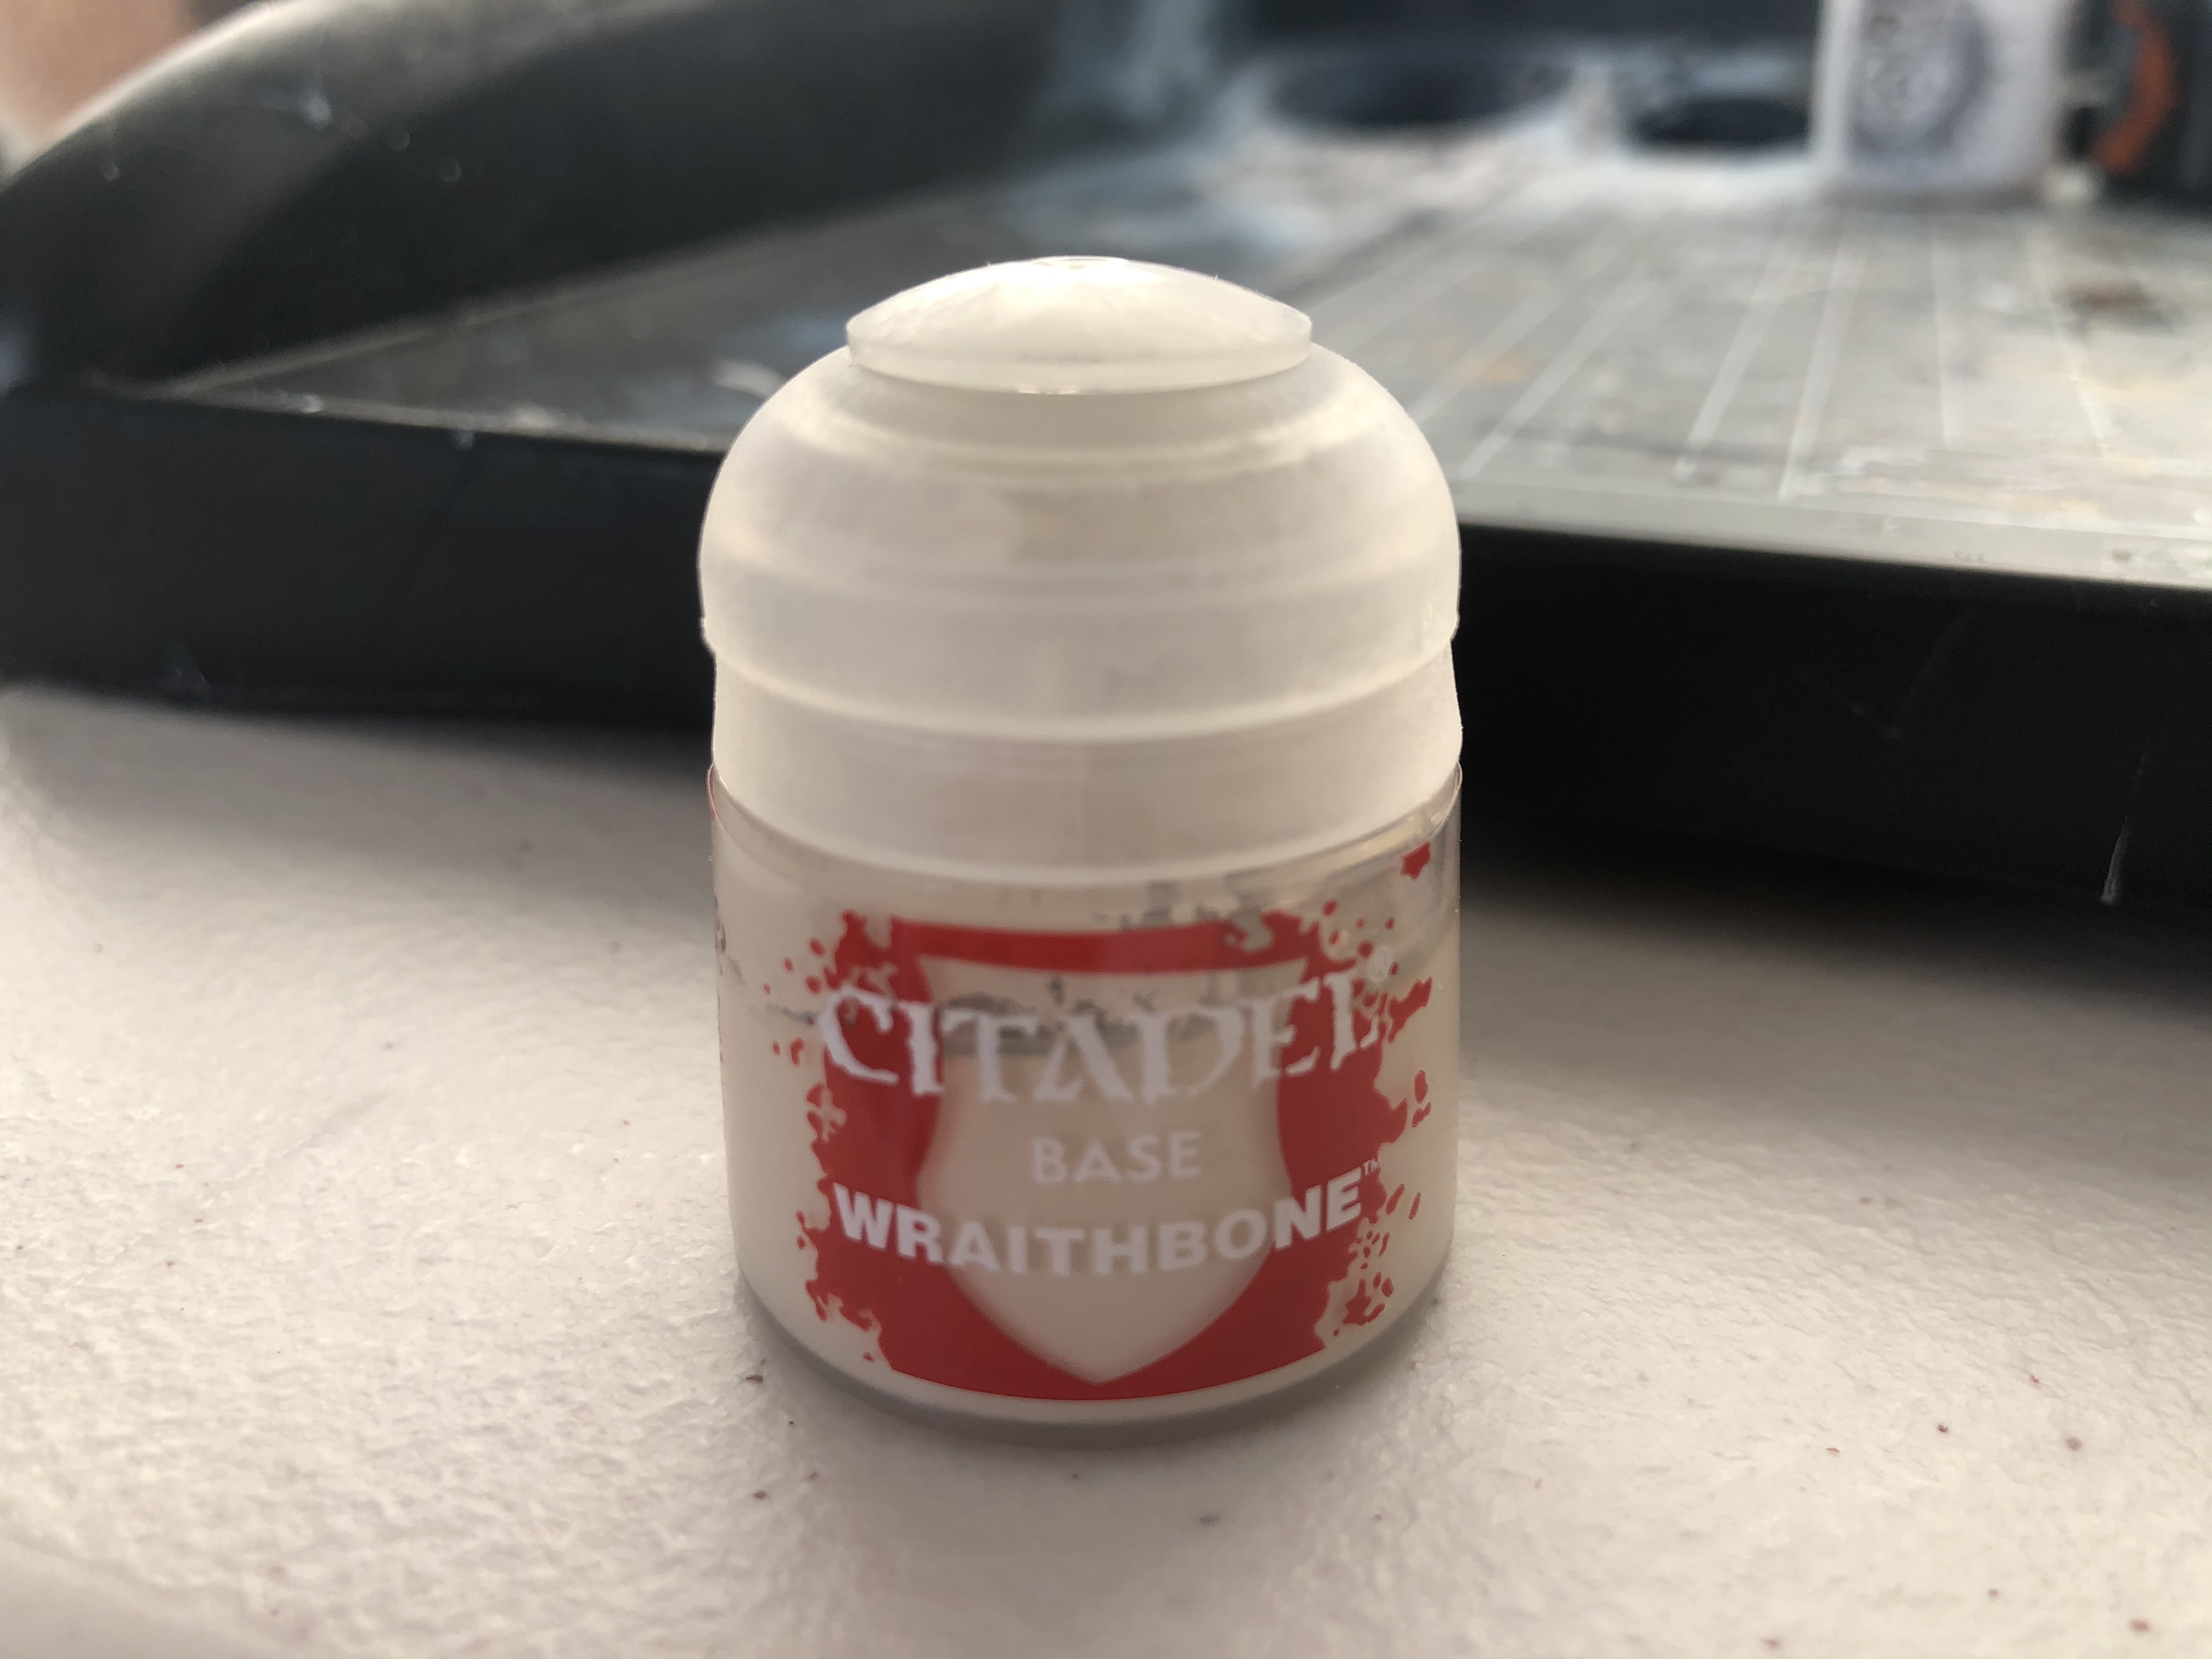
• WRAITHBONE
• CONTRAST MEDIUM
• LEADBELCHER
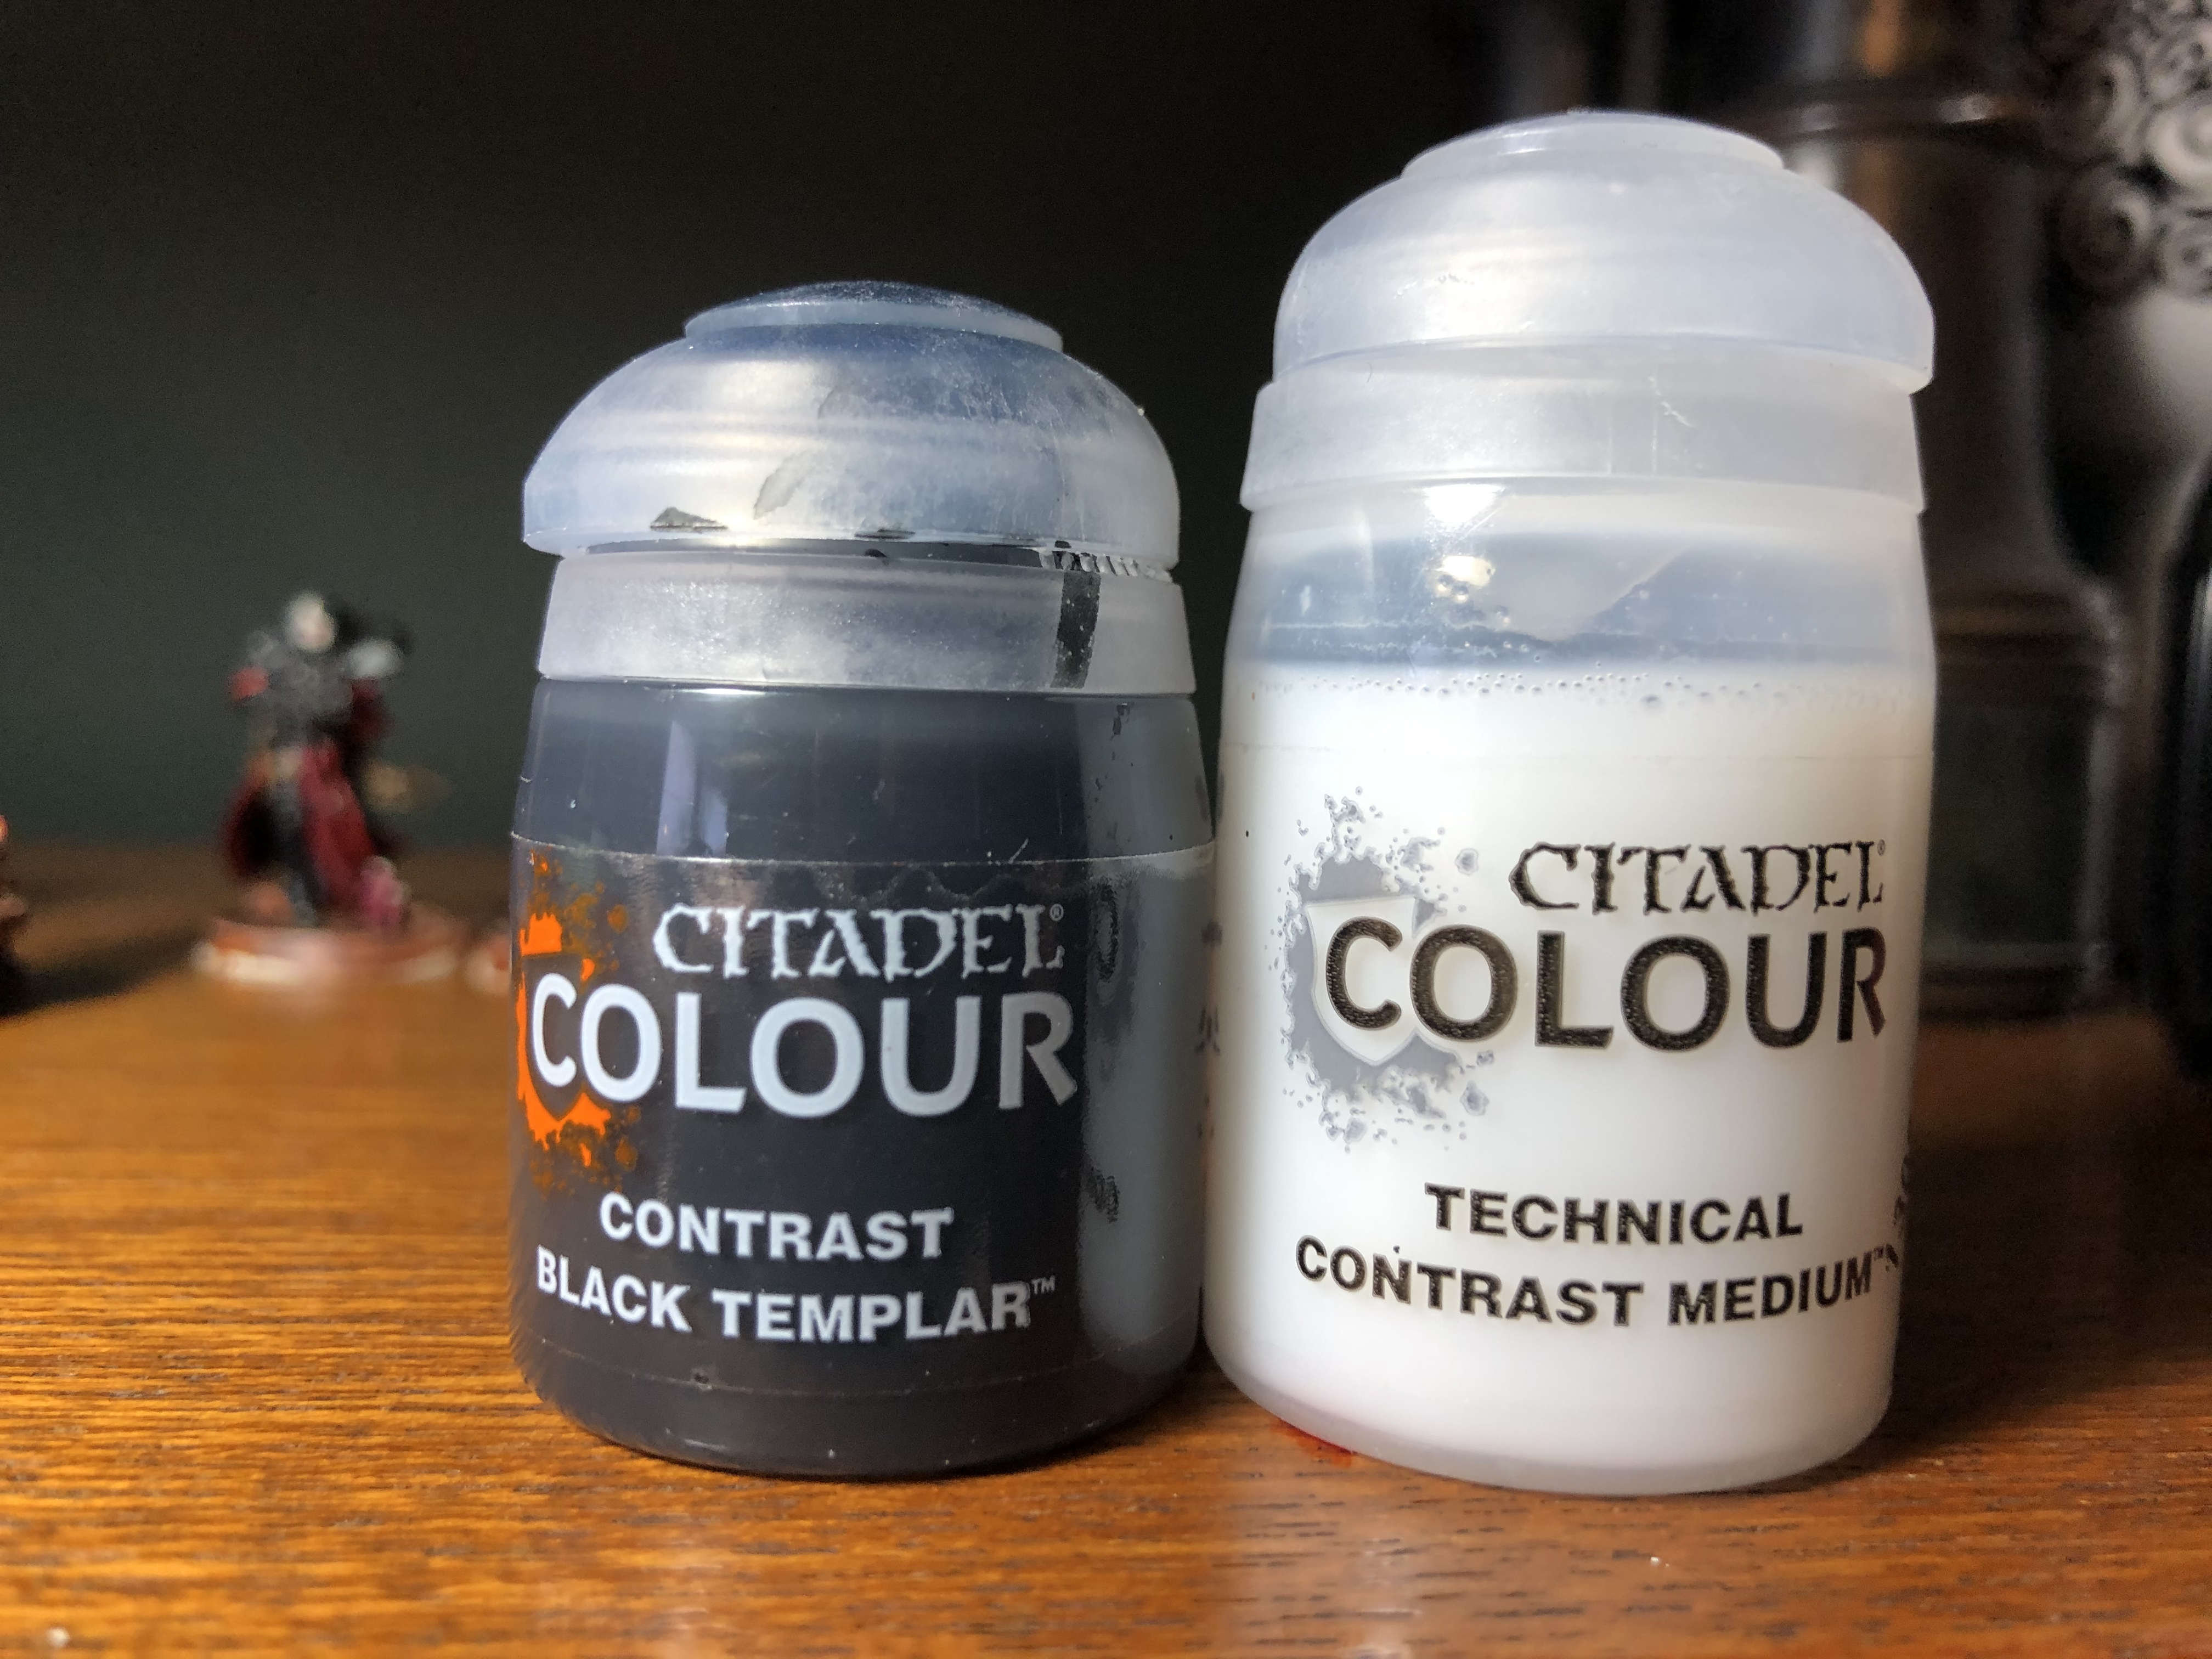
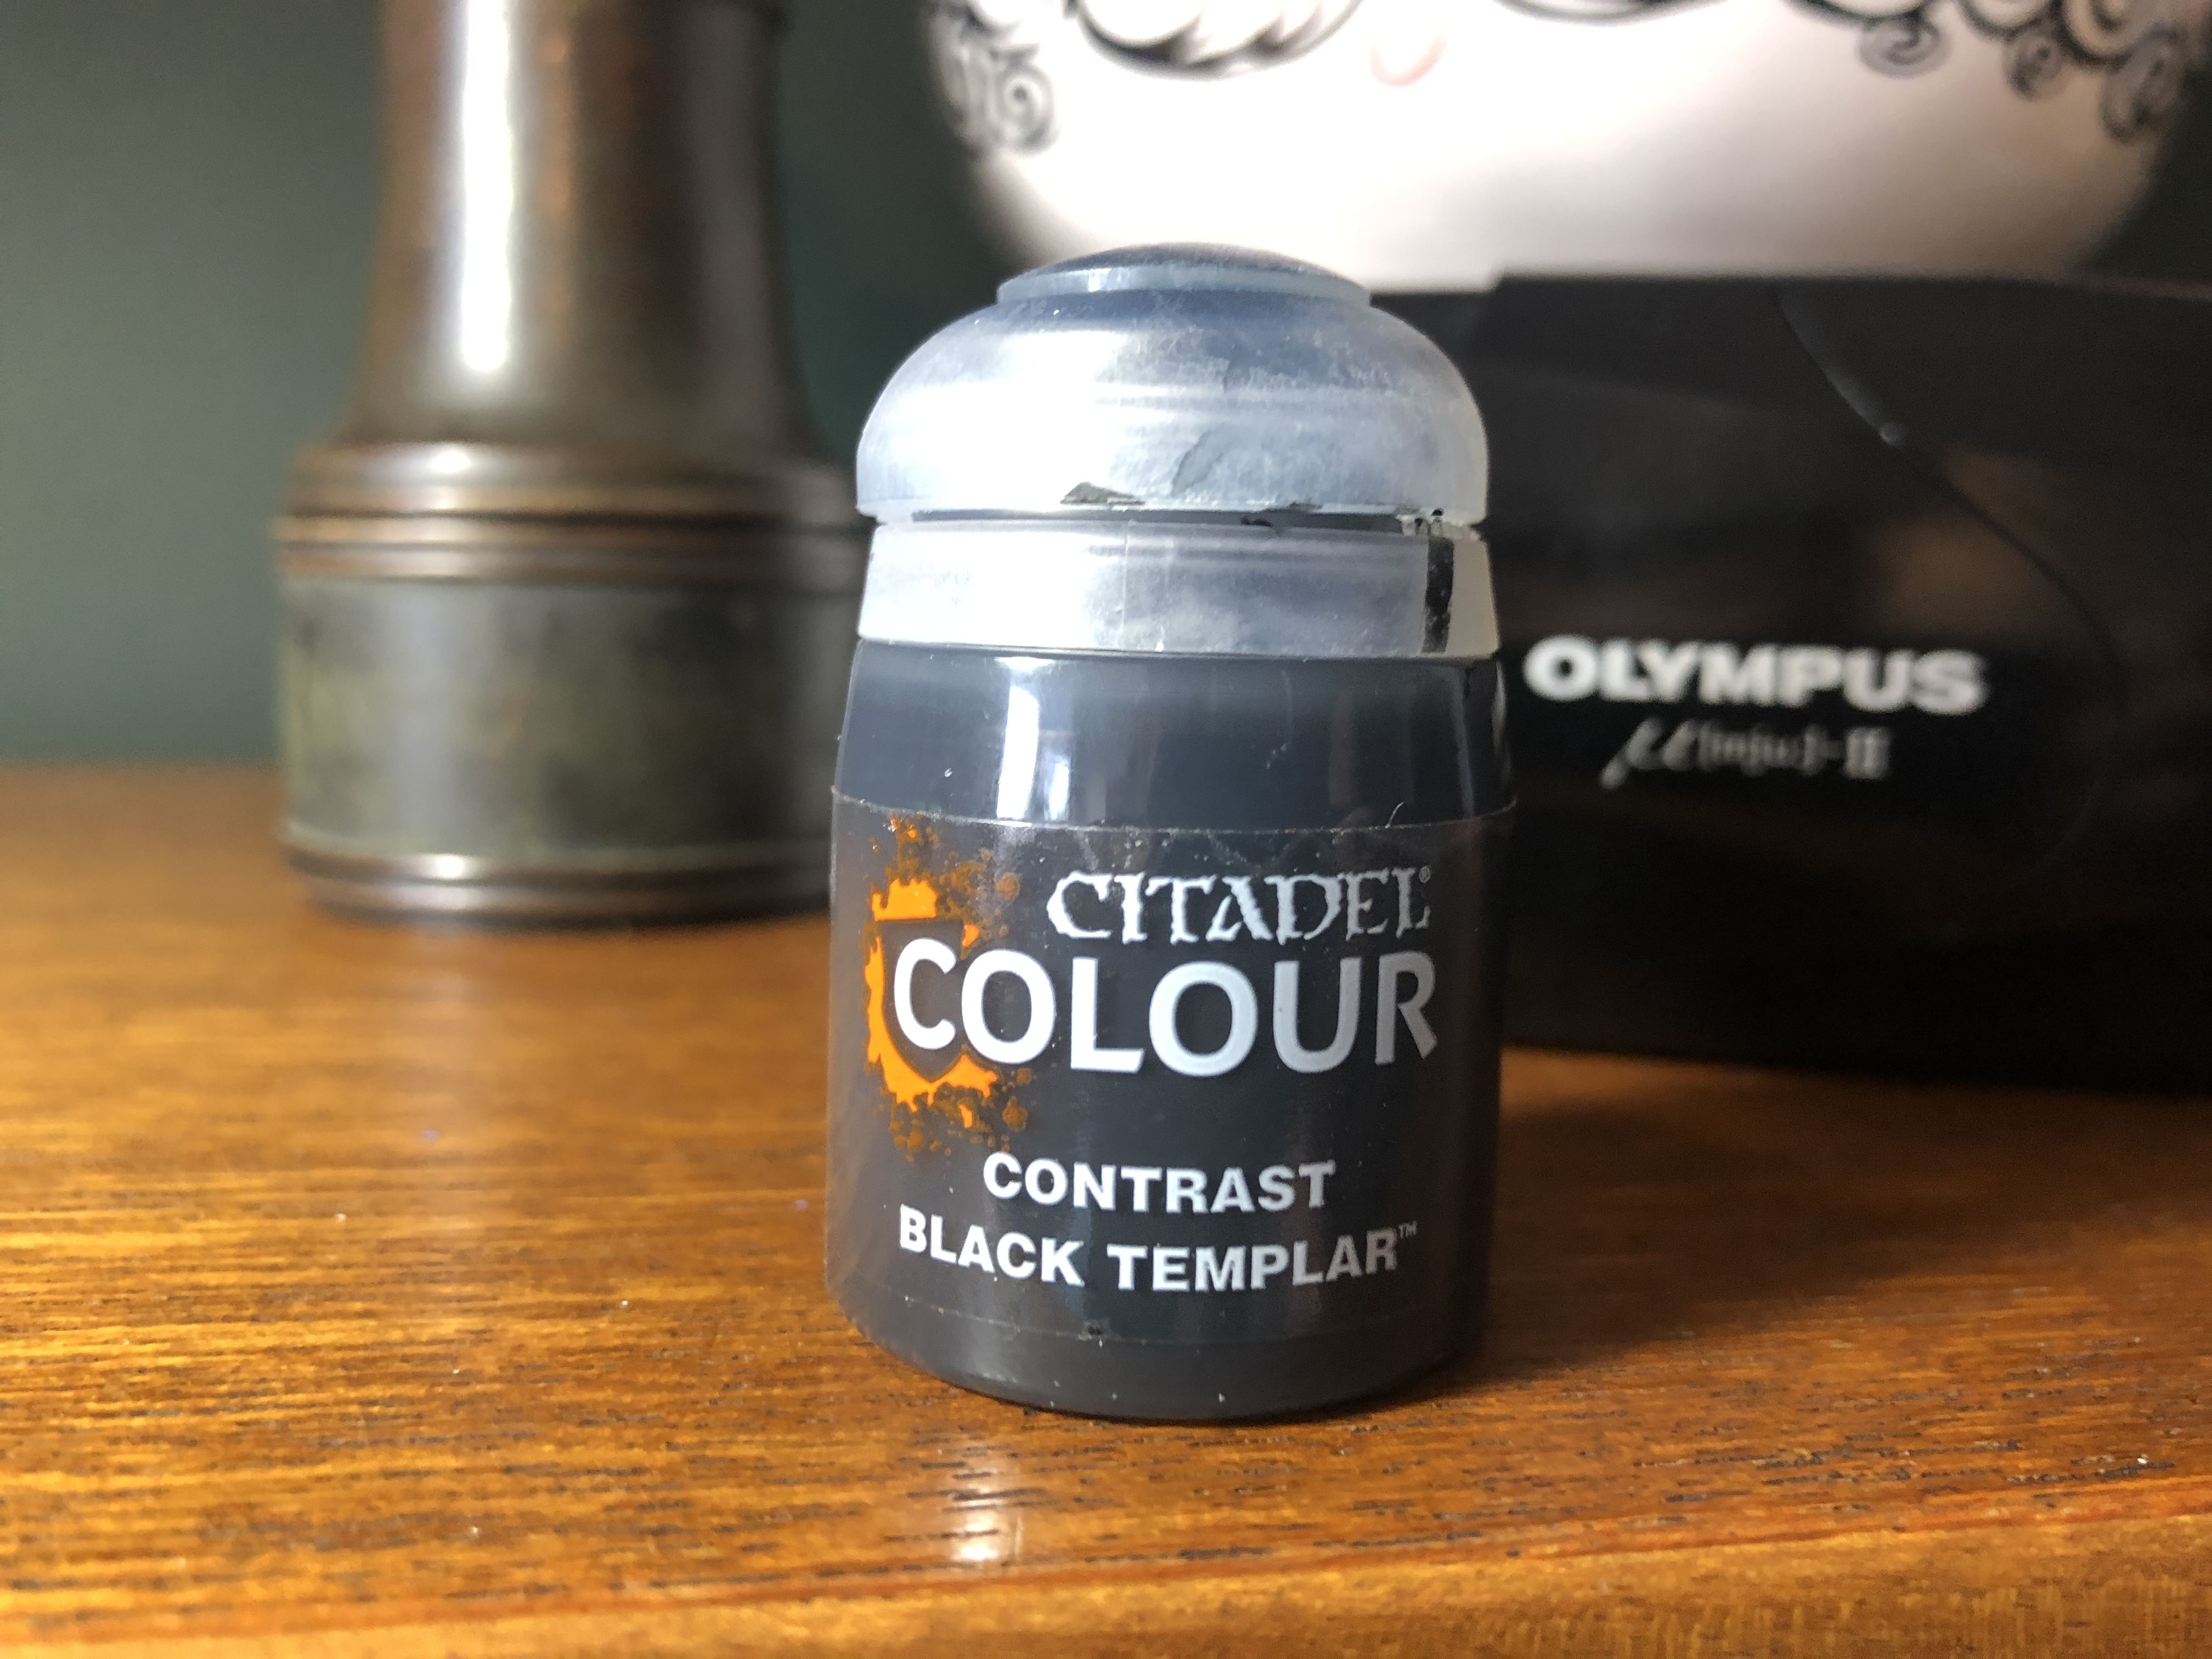
• CONTRAST BLACK TEMPLAR
• RETRIBUTOR ARMOUR
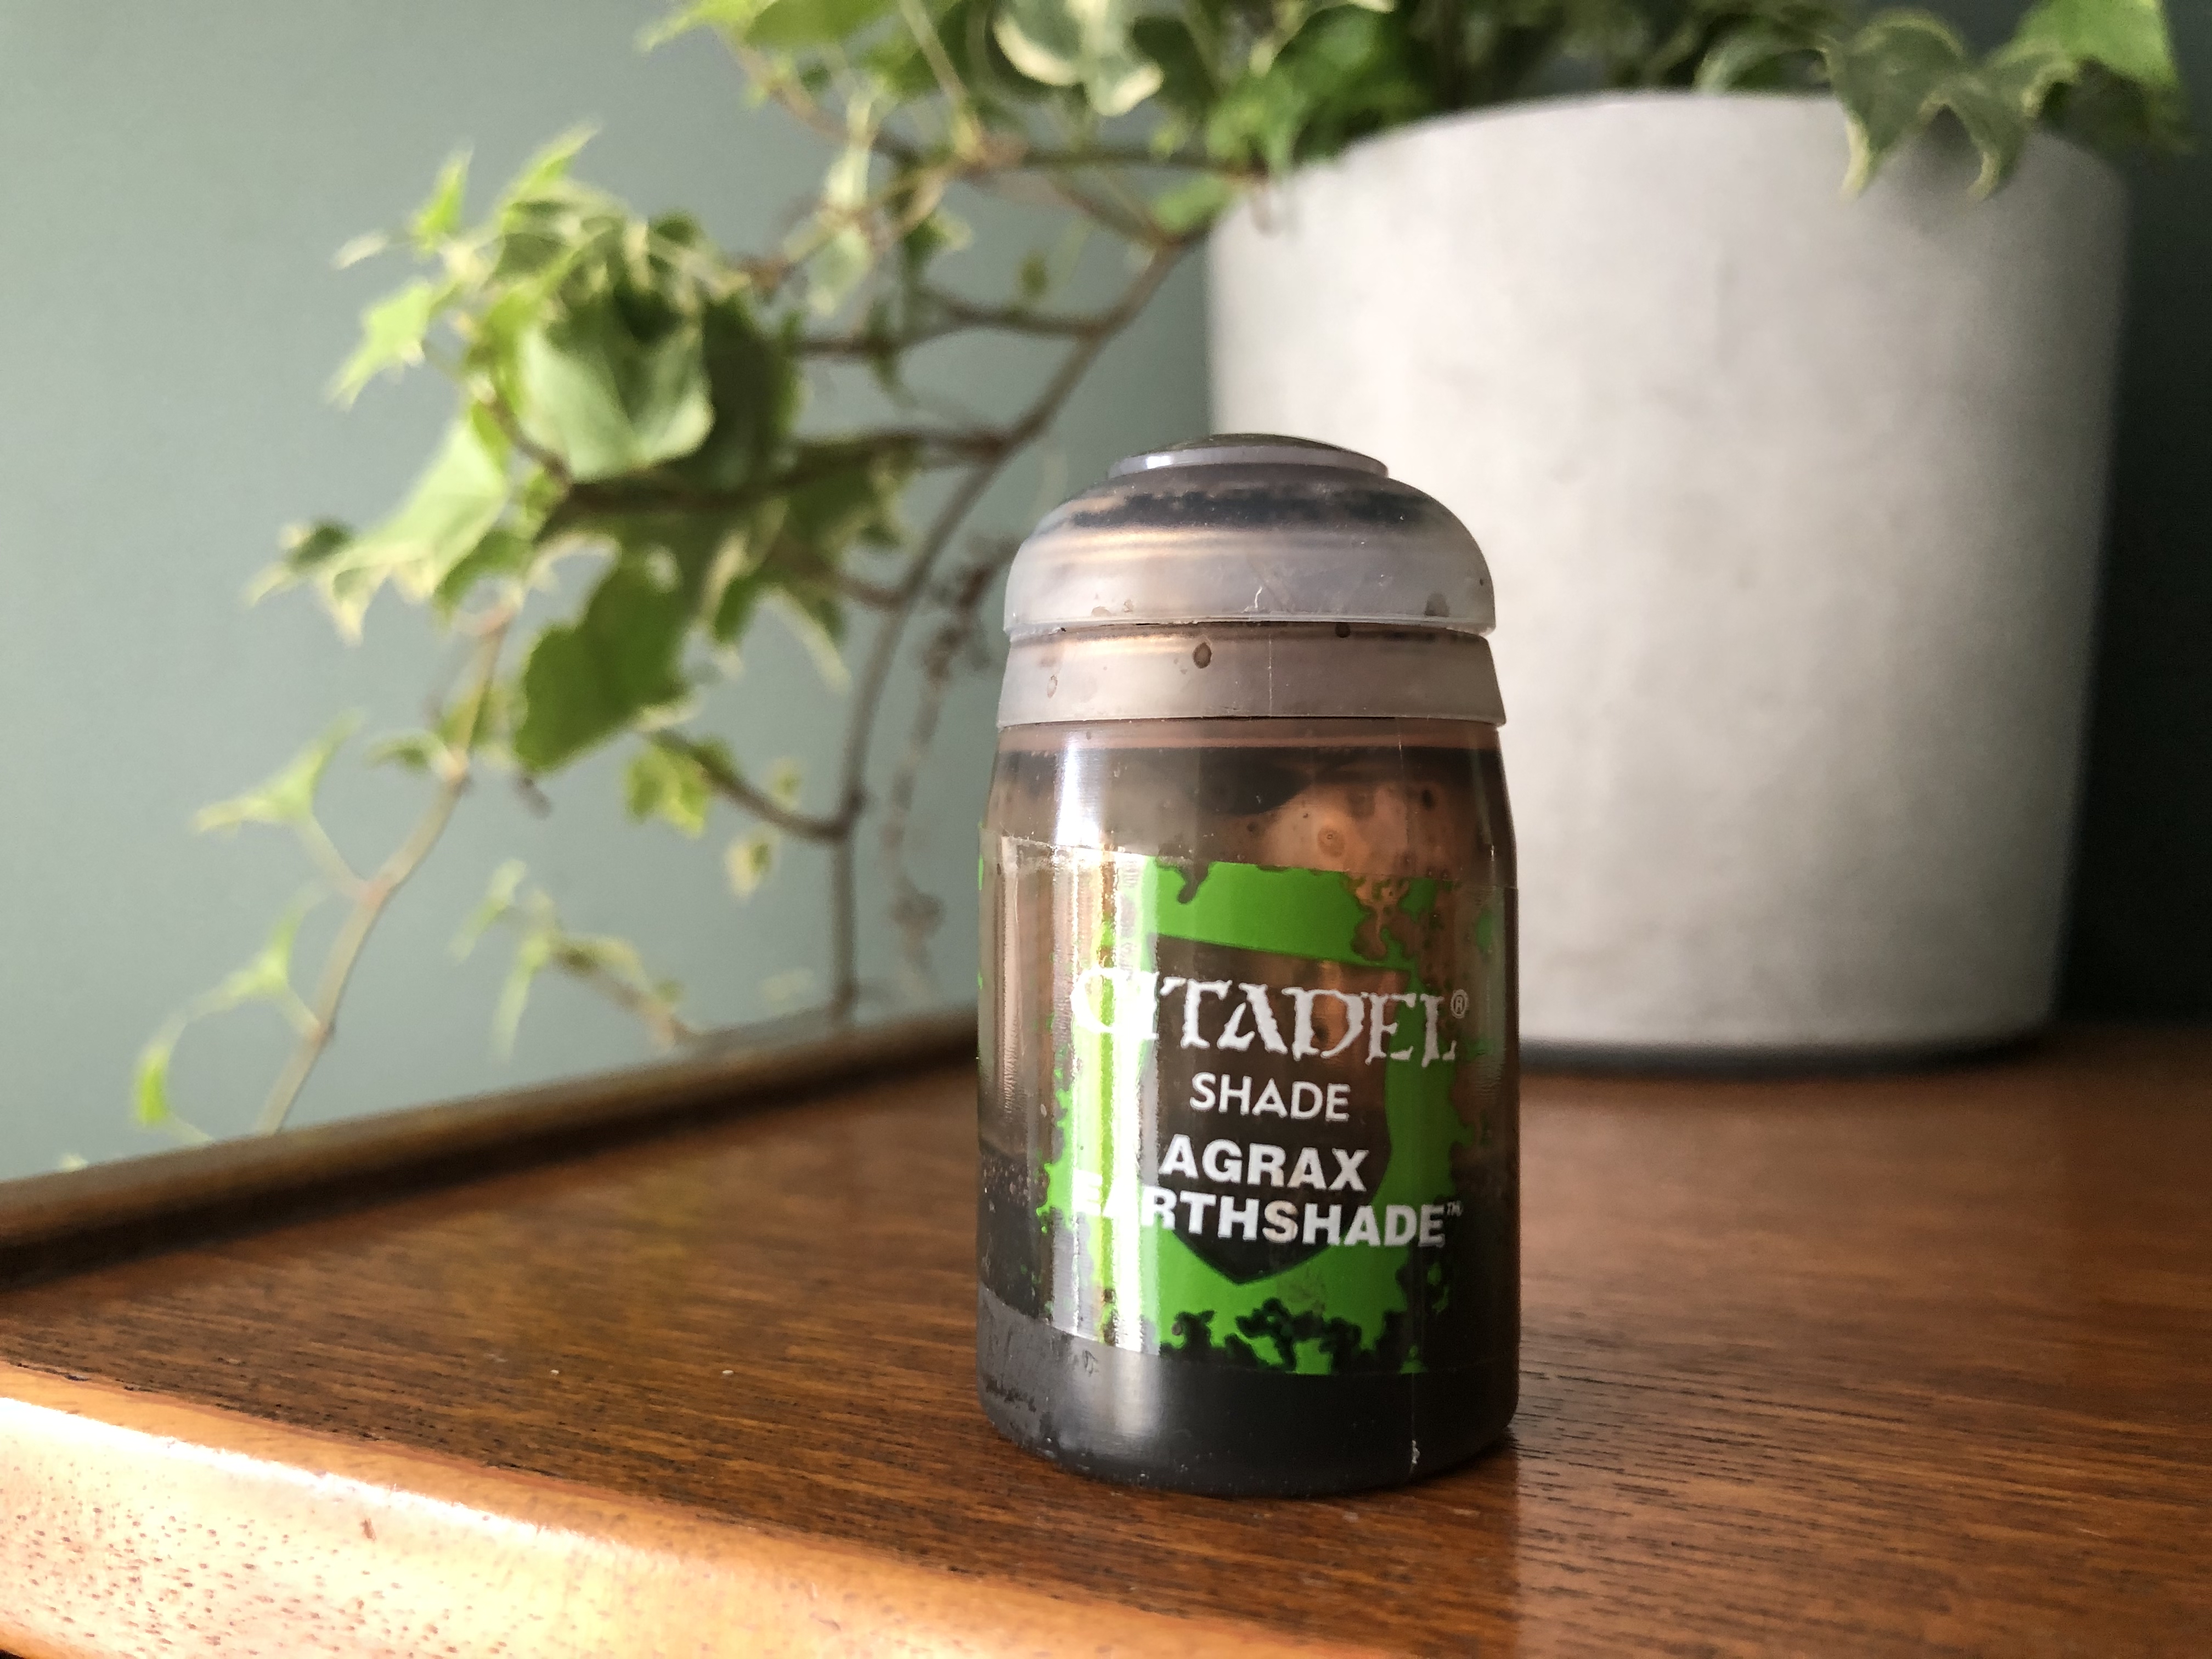
• AGRAX EARTHSHADE
• ARMY PAINTER SHINING SILVER


KINDLEFLAME & CONTRAST-GORE GRUNTA FUR
*****
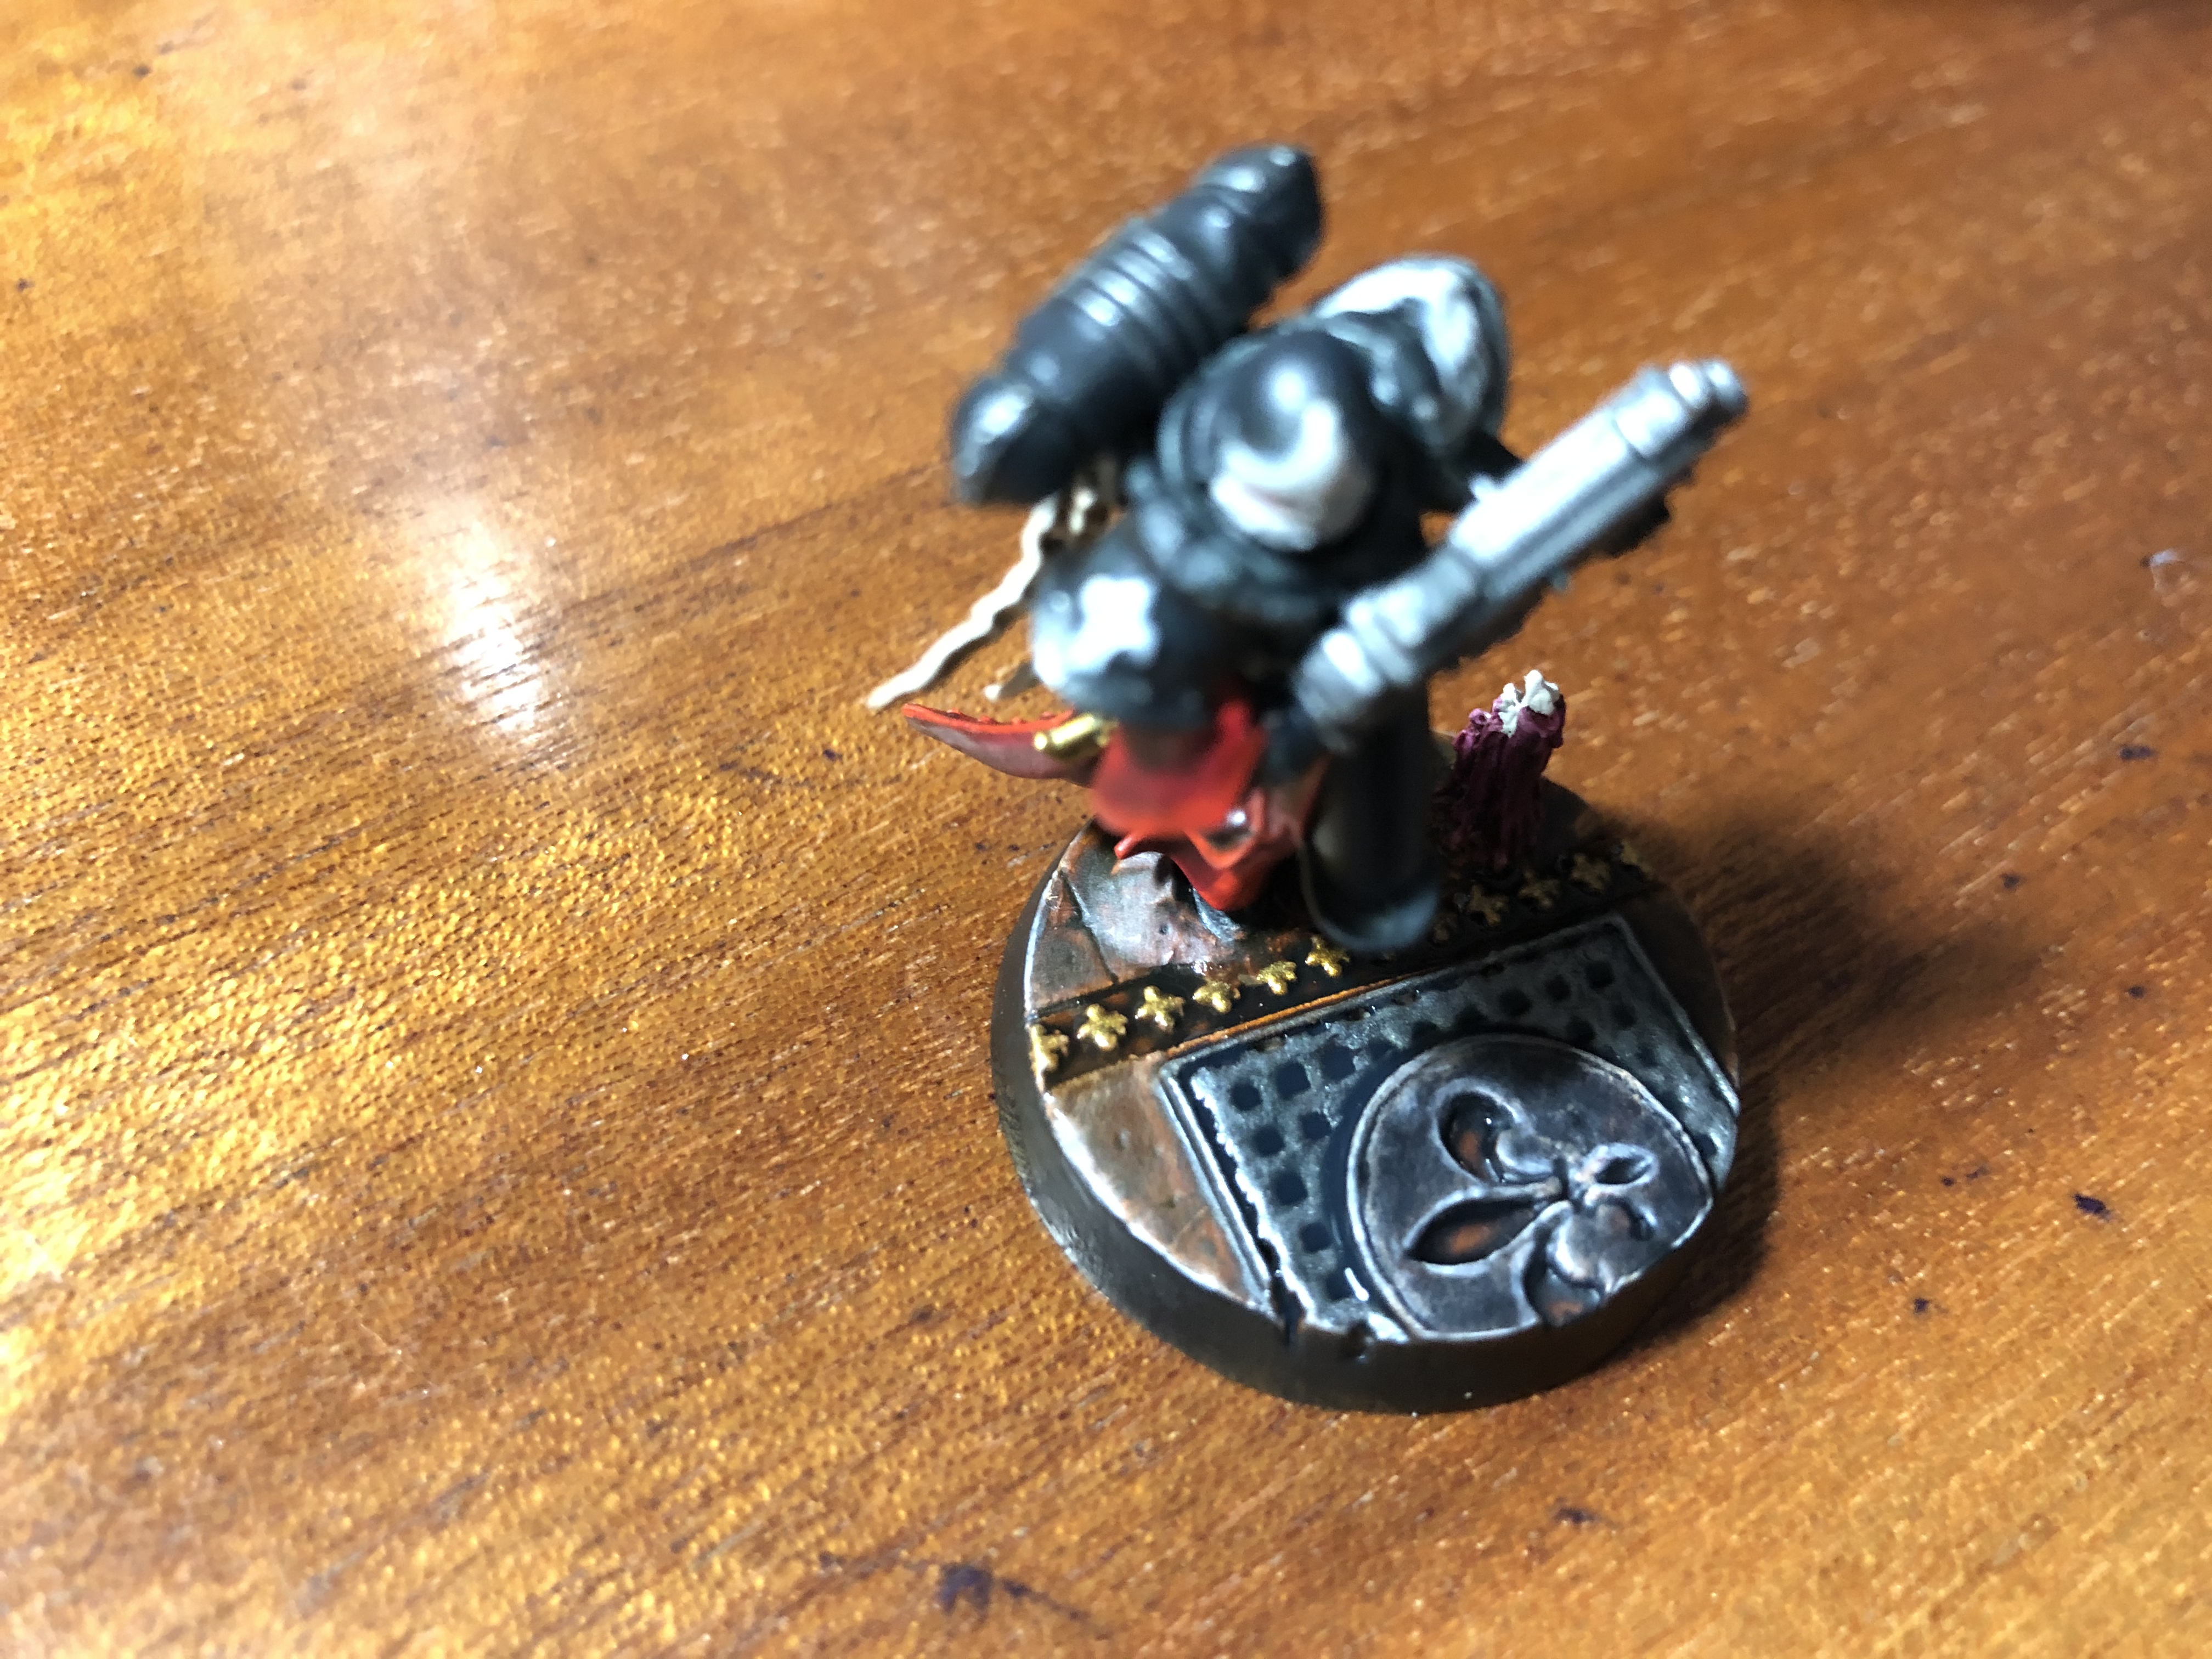
I began by applying a light edge drybrush of Kindleflame dry paint to the base. Taking care not to get any in the shadows. I then followed this up with a light coat of Gore-Grunta fur Contrast to blend those highlights back in.
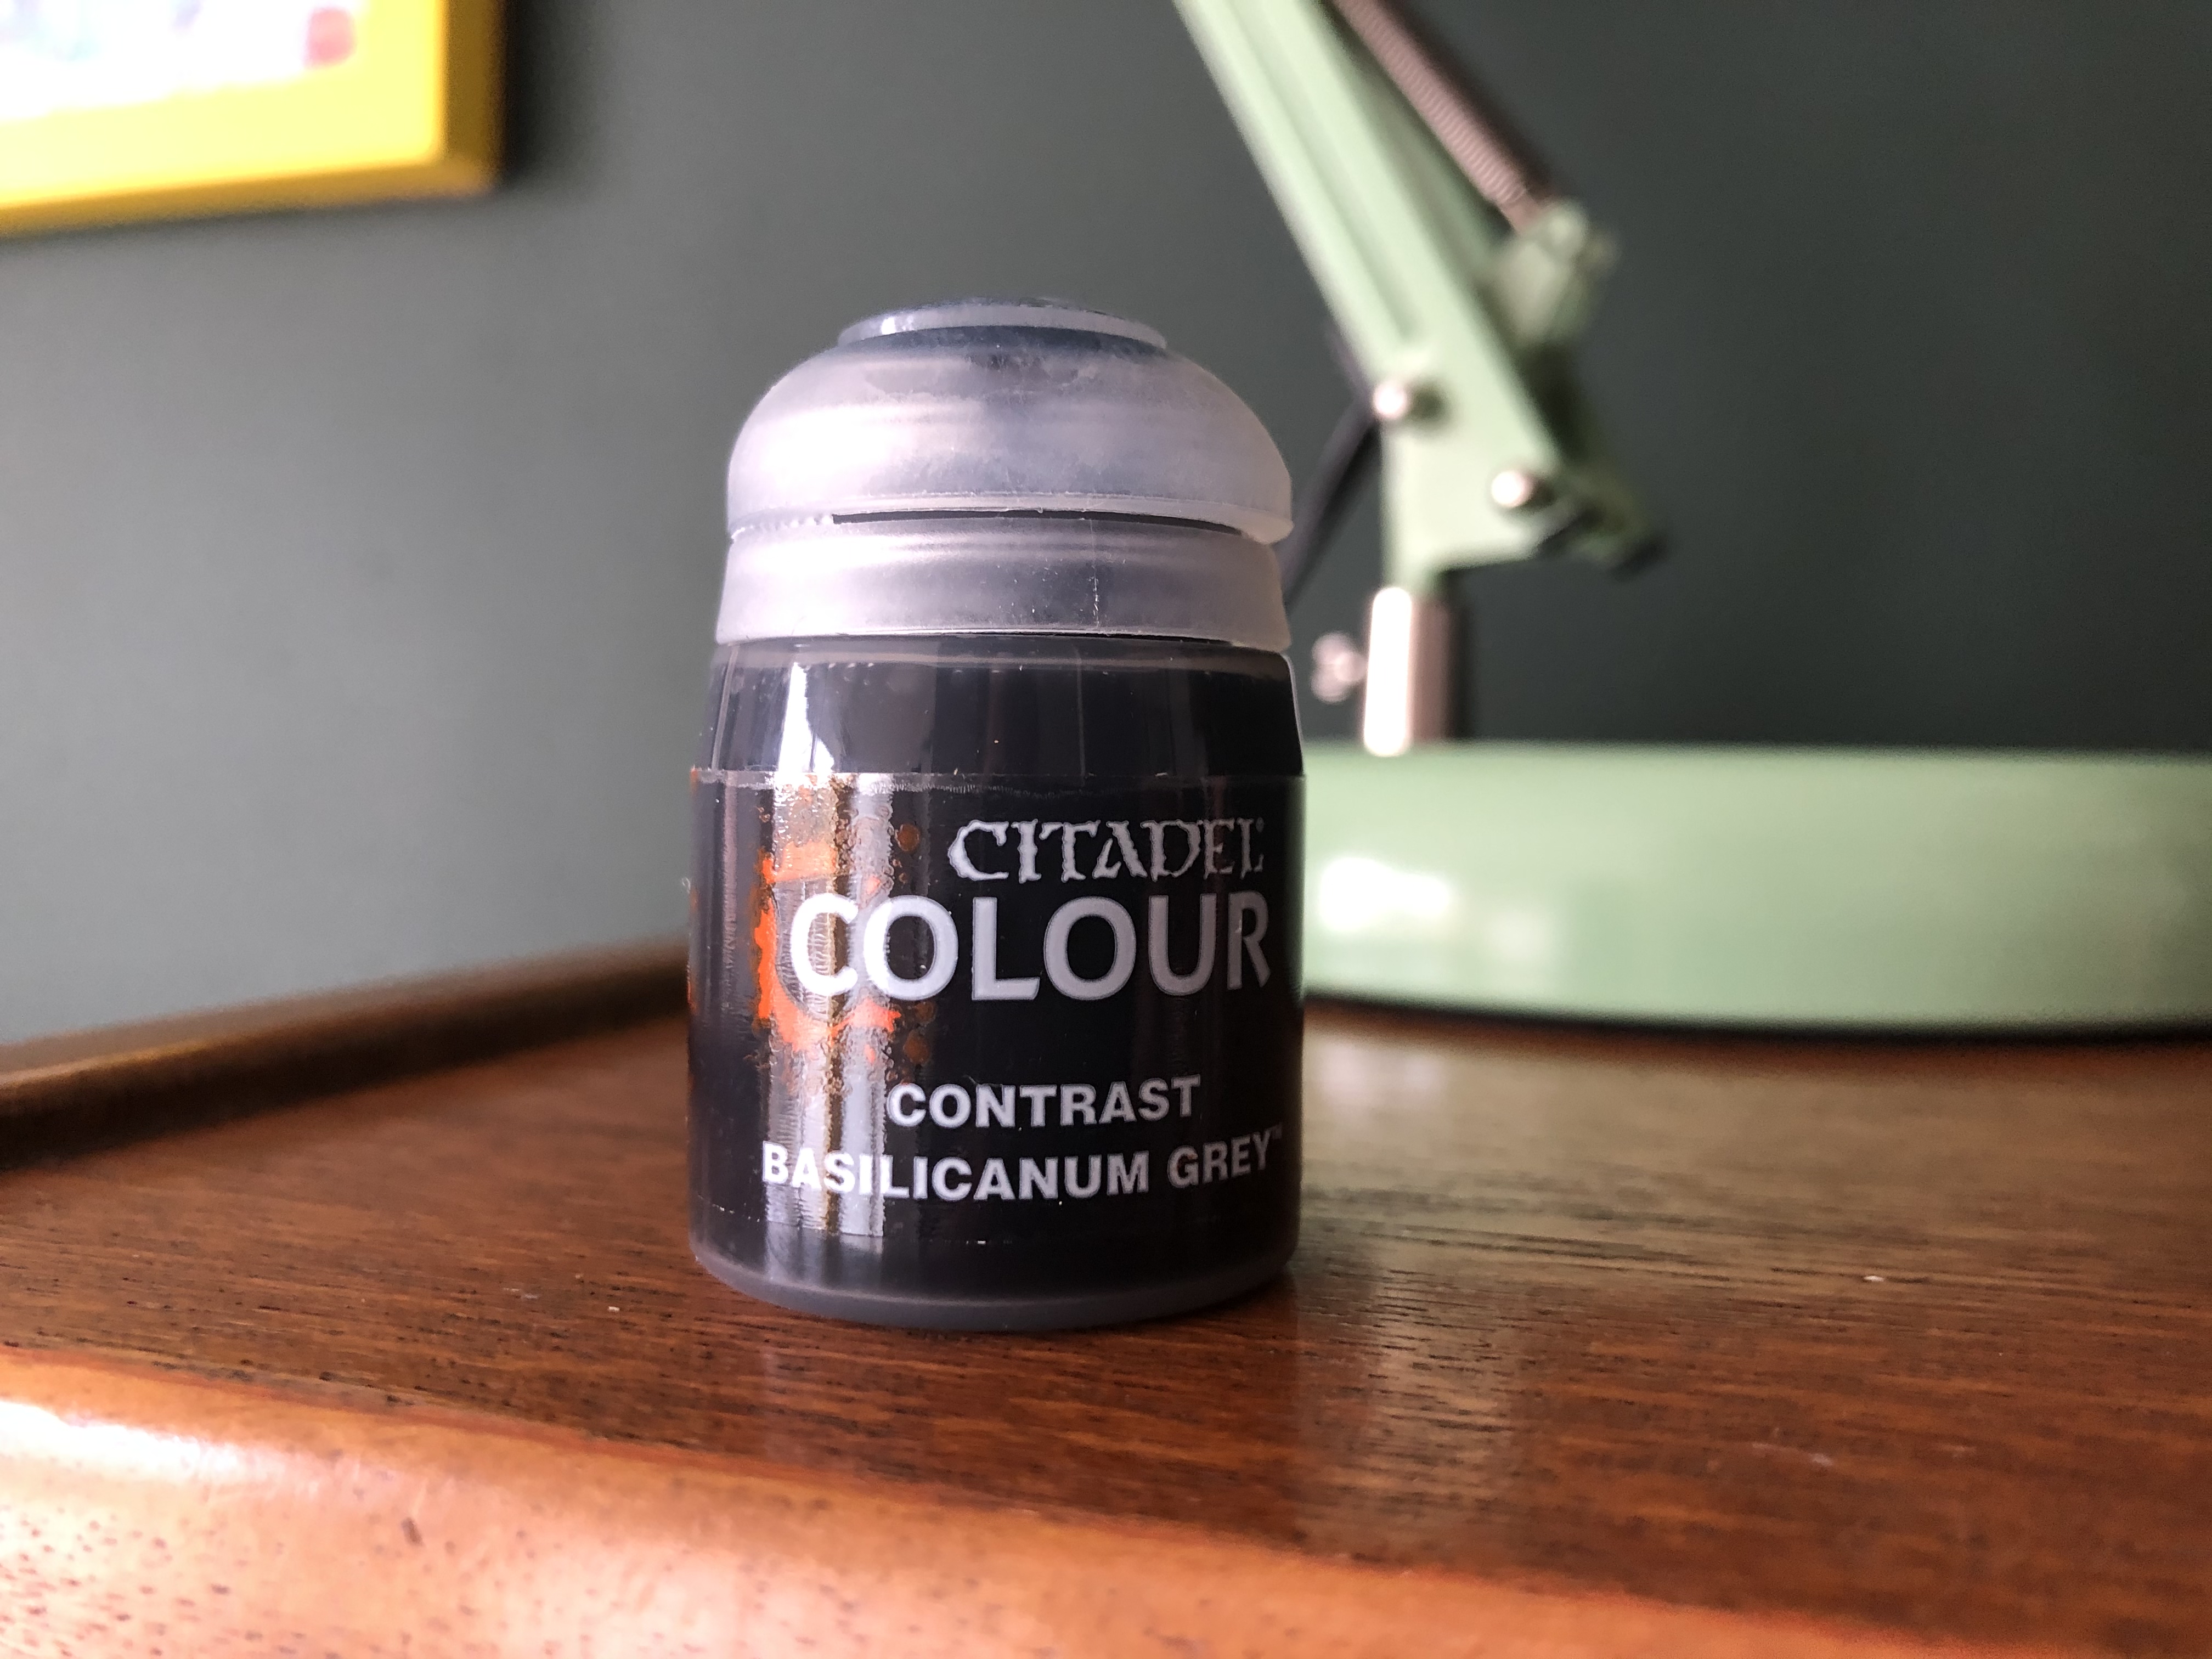
CONTRAST BASILICANUM GREY & WRAITHBONE
*****
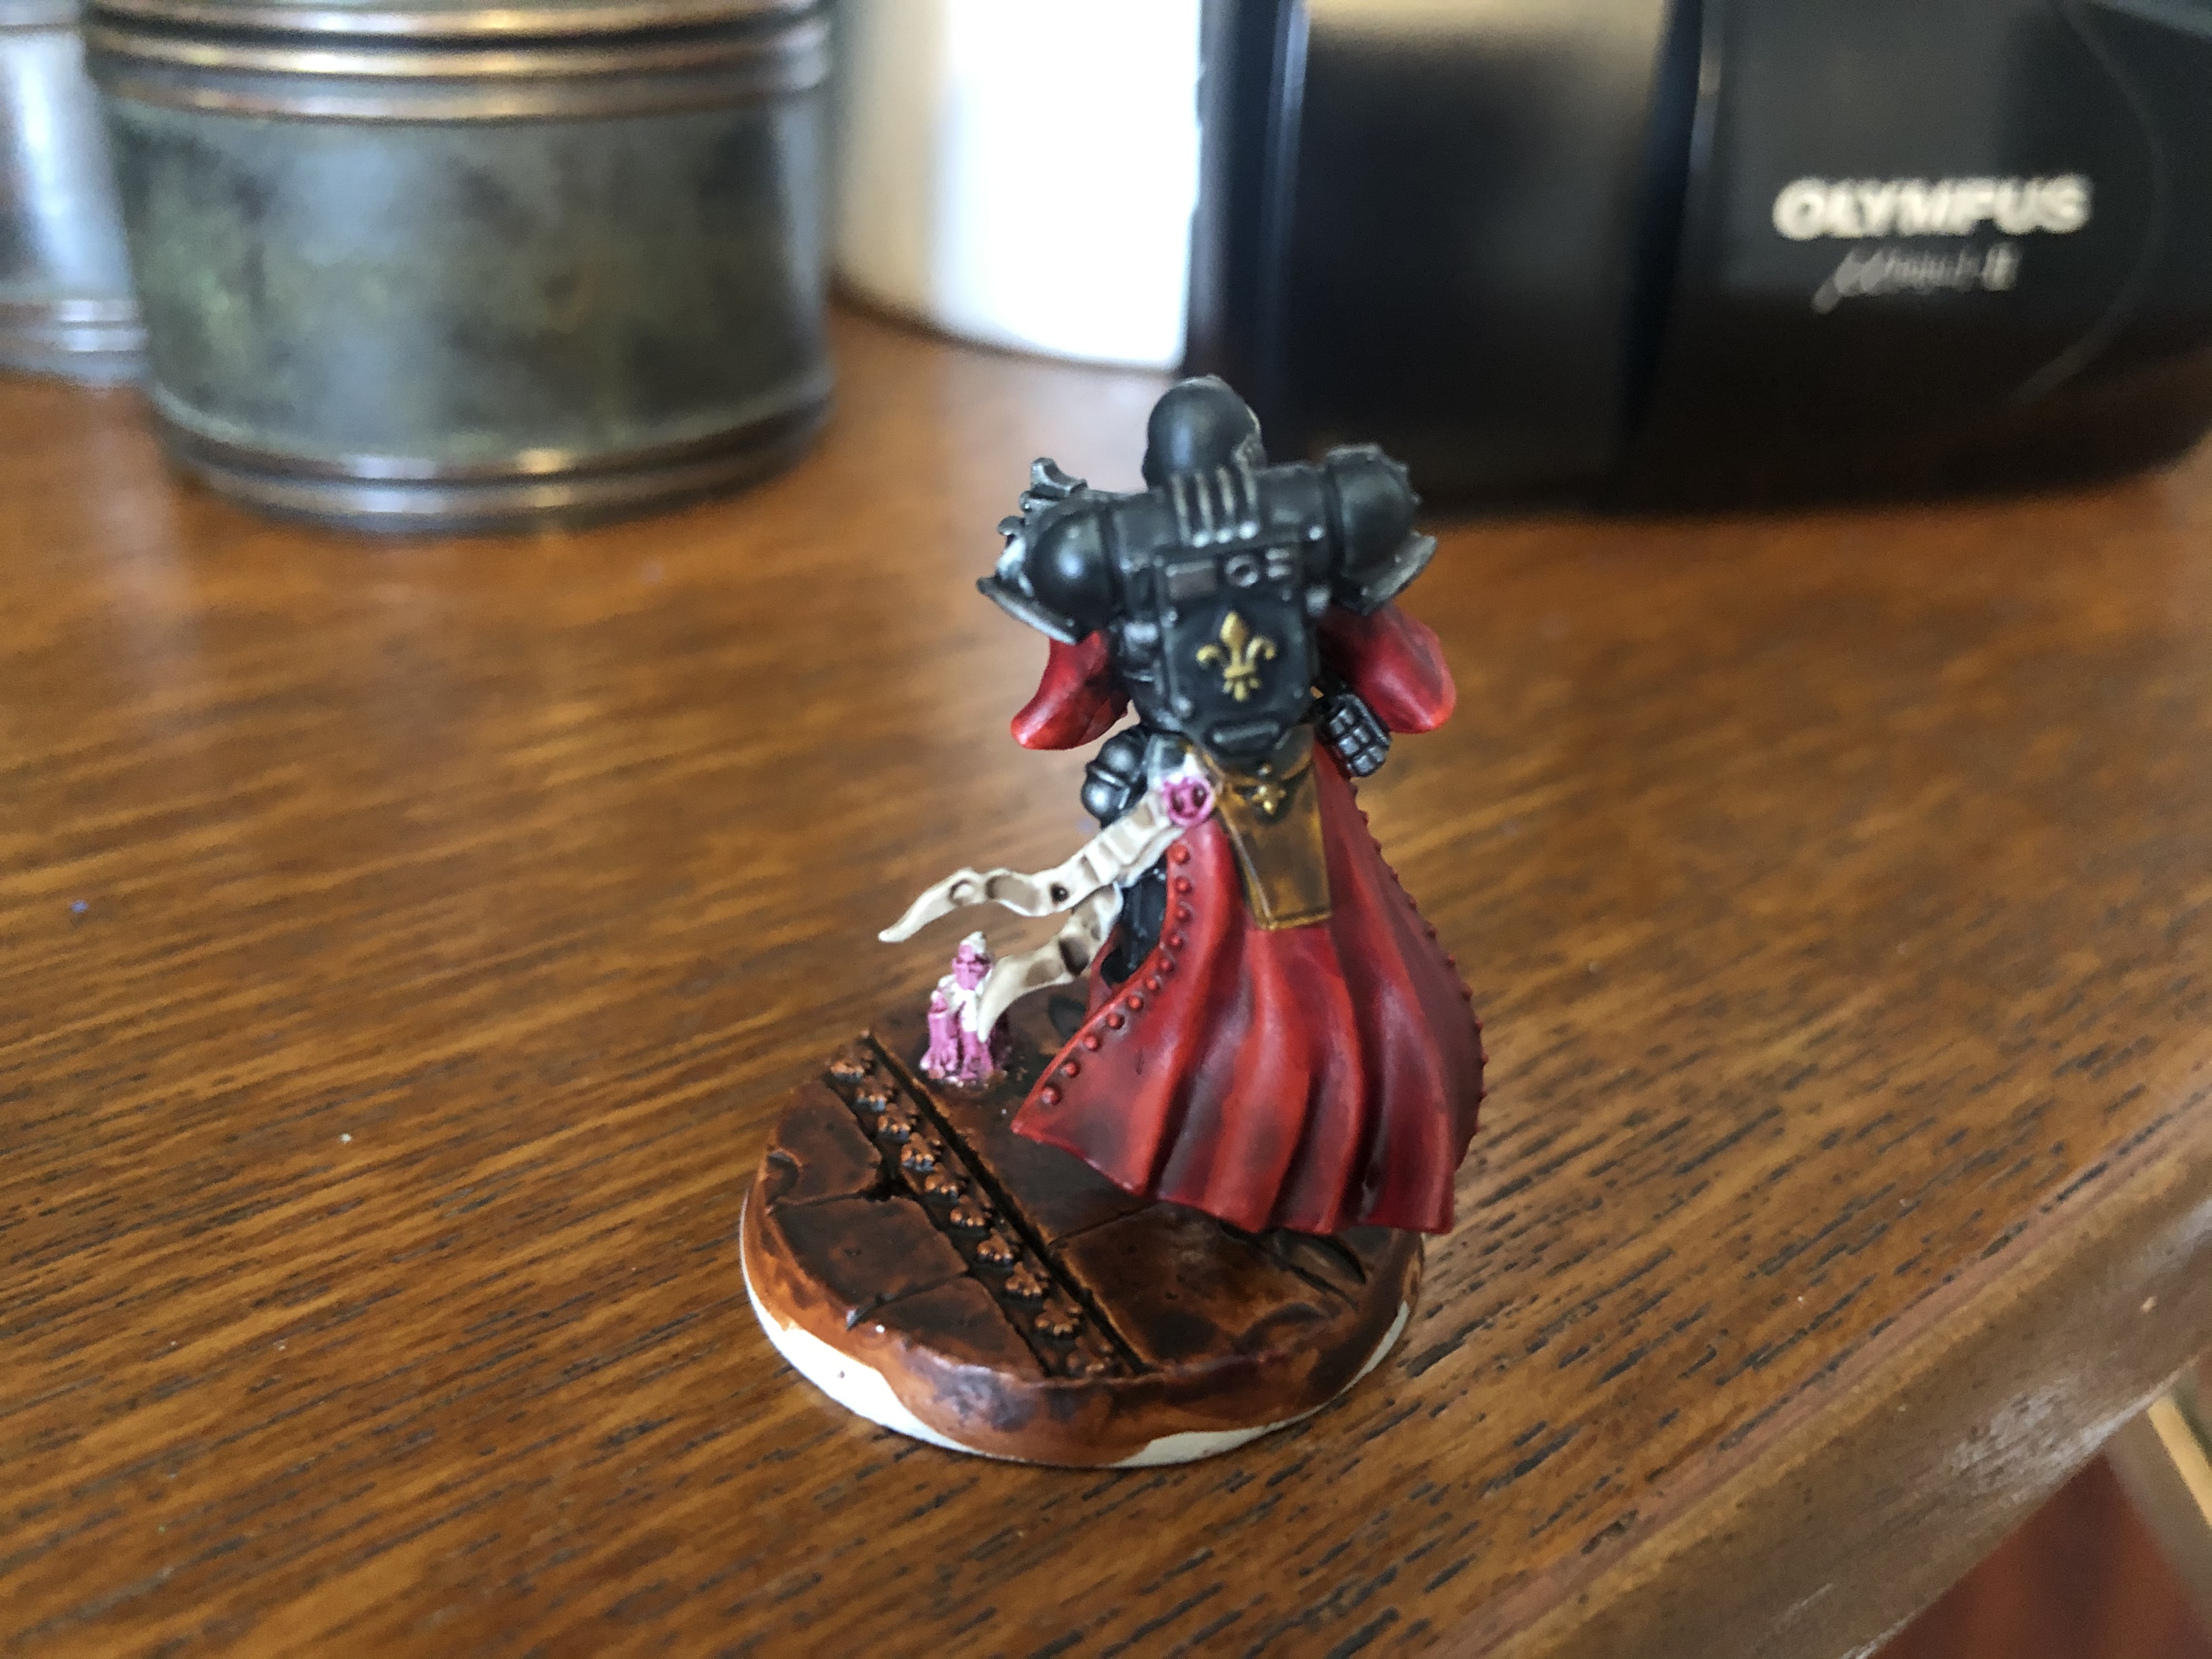
I then used a layer of Wraithbone to paint over the iconography on the base, rocks & metal elements followed by Basilicanum grey contrast. I then used Wraithbone to highlight both the Basillicanum grey & apply an edge highlight to the rest of the base.

SILVERS
*****
Following on from that I added a coat of Leadbelcher to all of the metal grids on the bases. Then hit it with a 3:1 wash of Contrast Black Templar & Contrast Medium to fill in those recesses.
GOLDS
*****
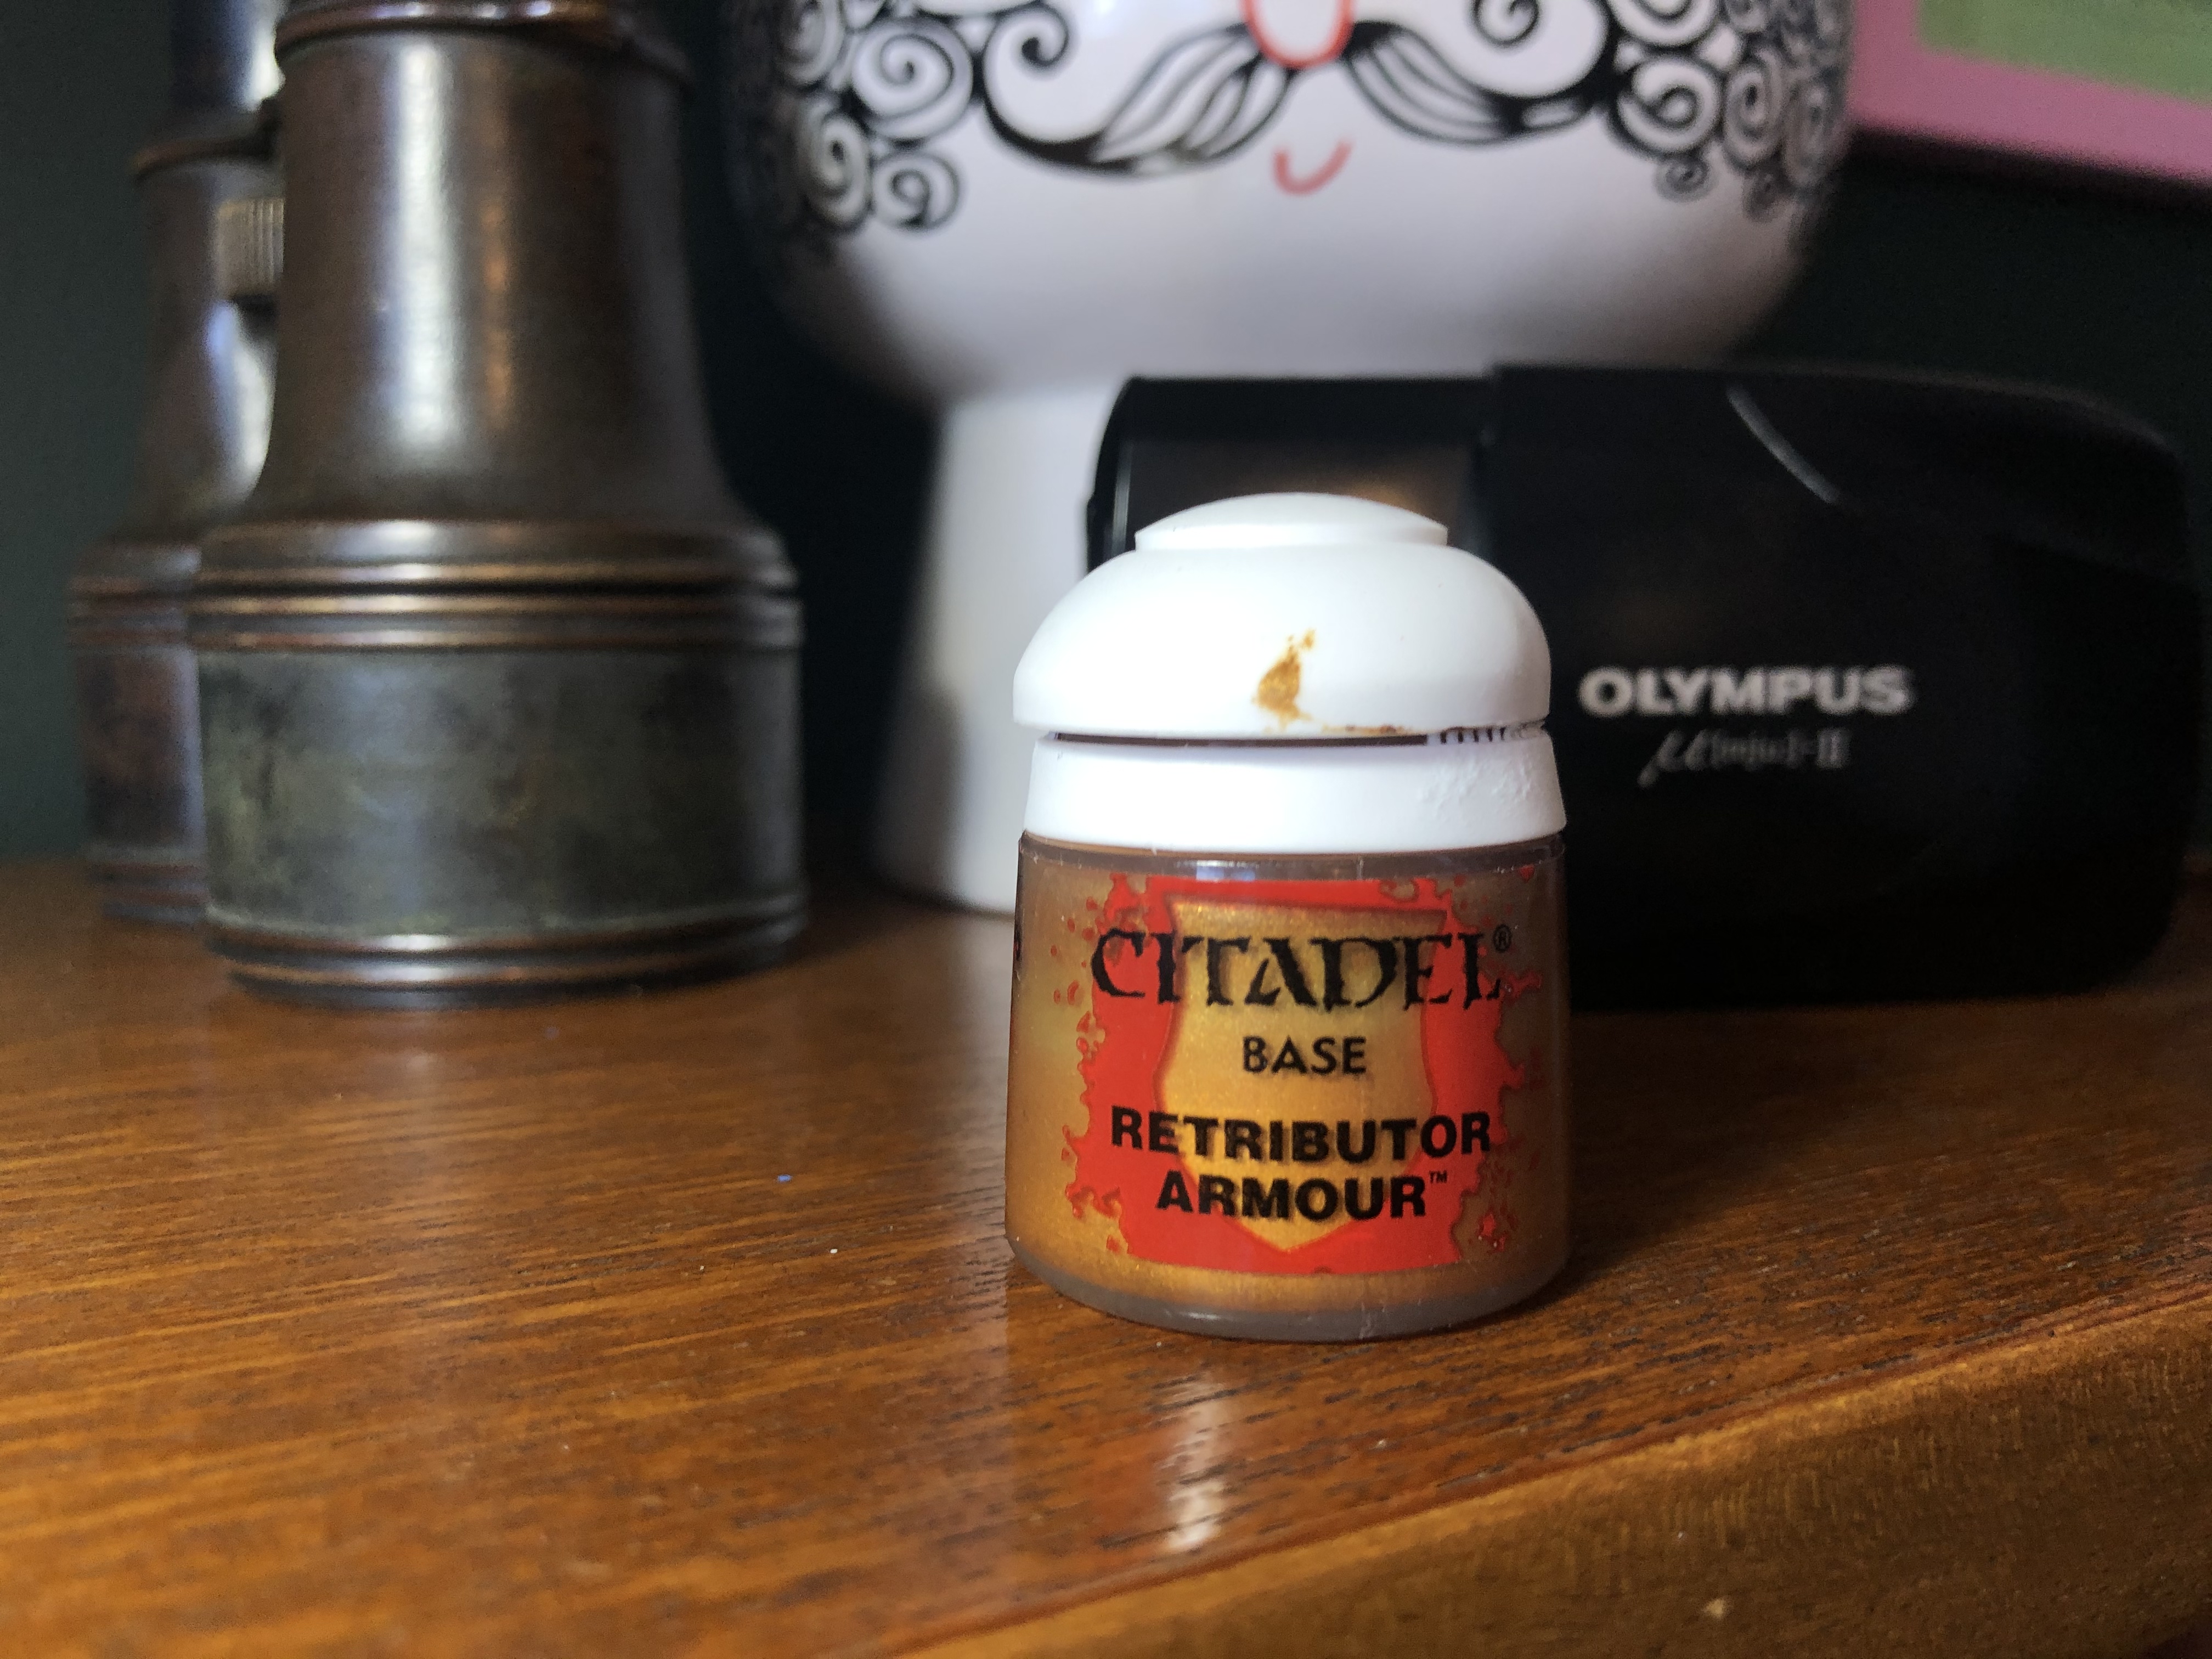
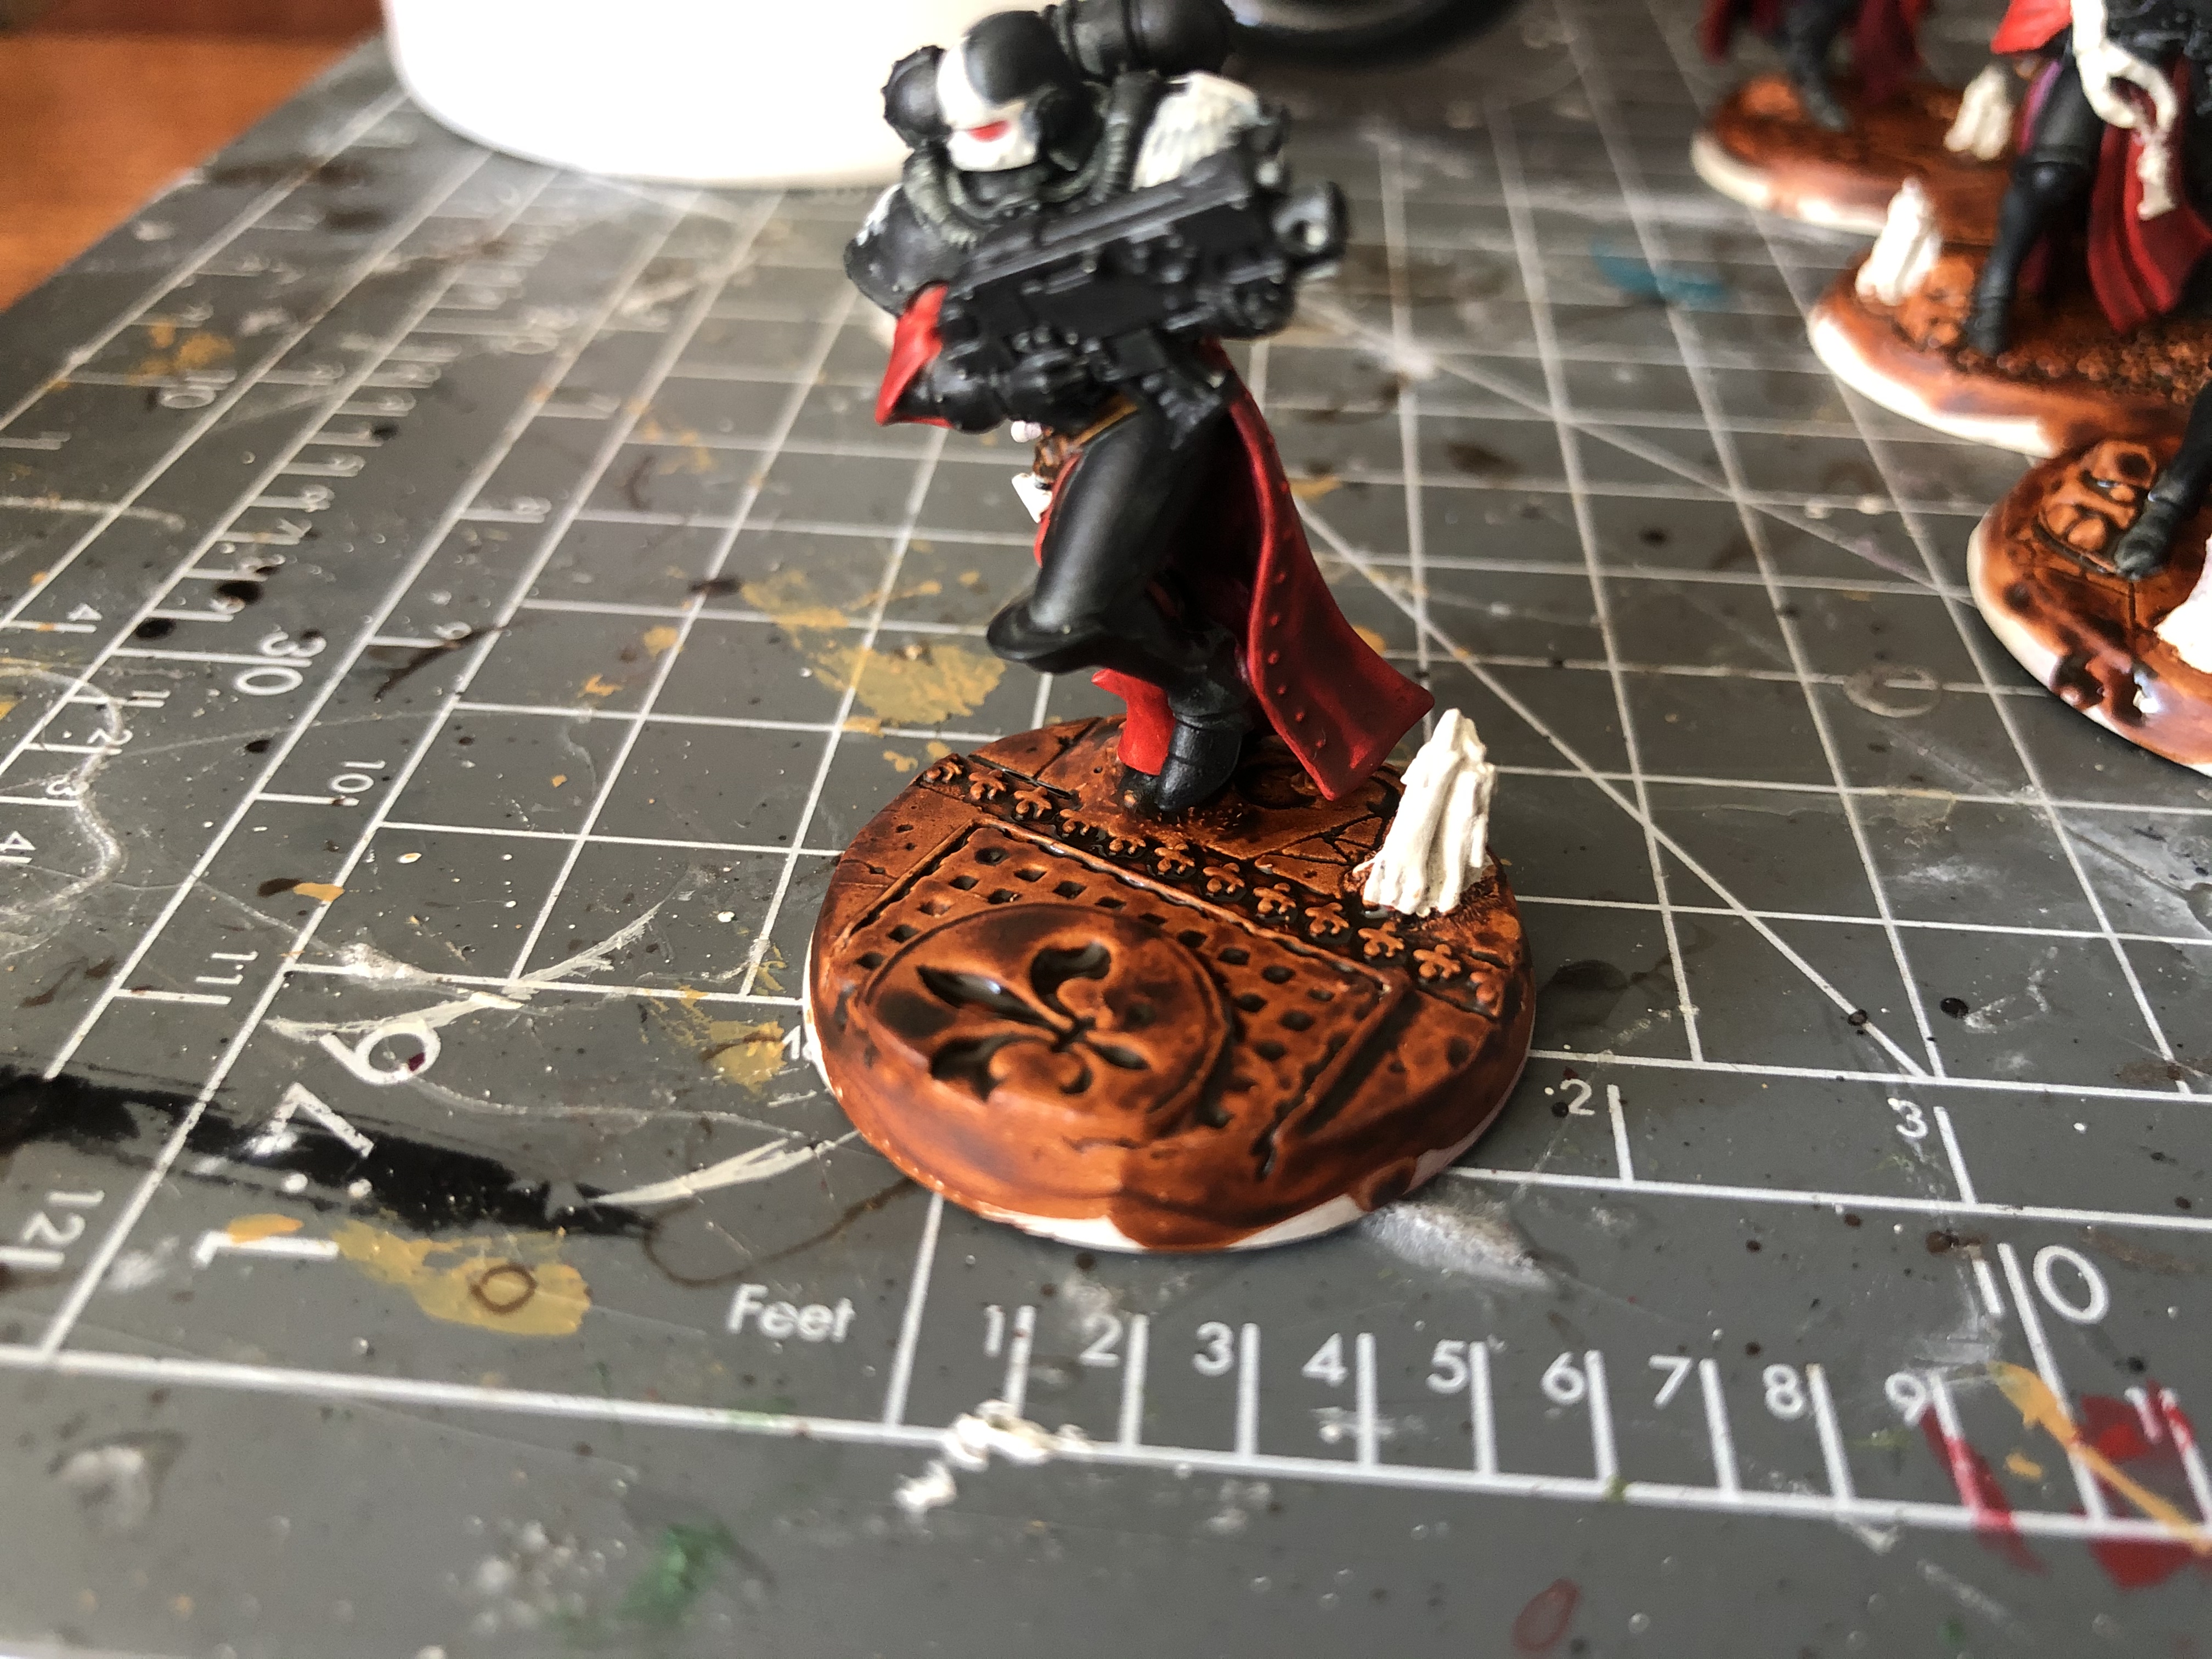
After that I painted all of the flueur de lis symbols Retributor armour followed by a wash of Agrax Earthshade. Finally I highlighted all the silvers & golds with an edge highlight of Shining Silver by Army Painter.
BASES FINALLY DONE
*****
I’m pretty chuffed with how these came out. In the next step I’ll be painting all of the candles on the miniatures. I also apologise for prematurely rimming (pun intended) my bases with abaddon black. Such a mighty action should only be taken last but I had to see how they tied together.
Hope you all enjoyed the update & I’ll see you on the next one.
Much Love
Eternity Gate
DON'T BE SHADY ~ A QUICK SHADING POST

SHADING
*****
Hey guys I thought I’d make myself post as I’ve had a lot of work on this week & hit a bit of a stumbling block with painting the bases on my sisters to match my test model. I’ll discuss that in the next one but in the meantime here’s a quick shading post where I go over the next step I took with my Sisters.
PAINT LIST
*****
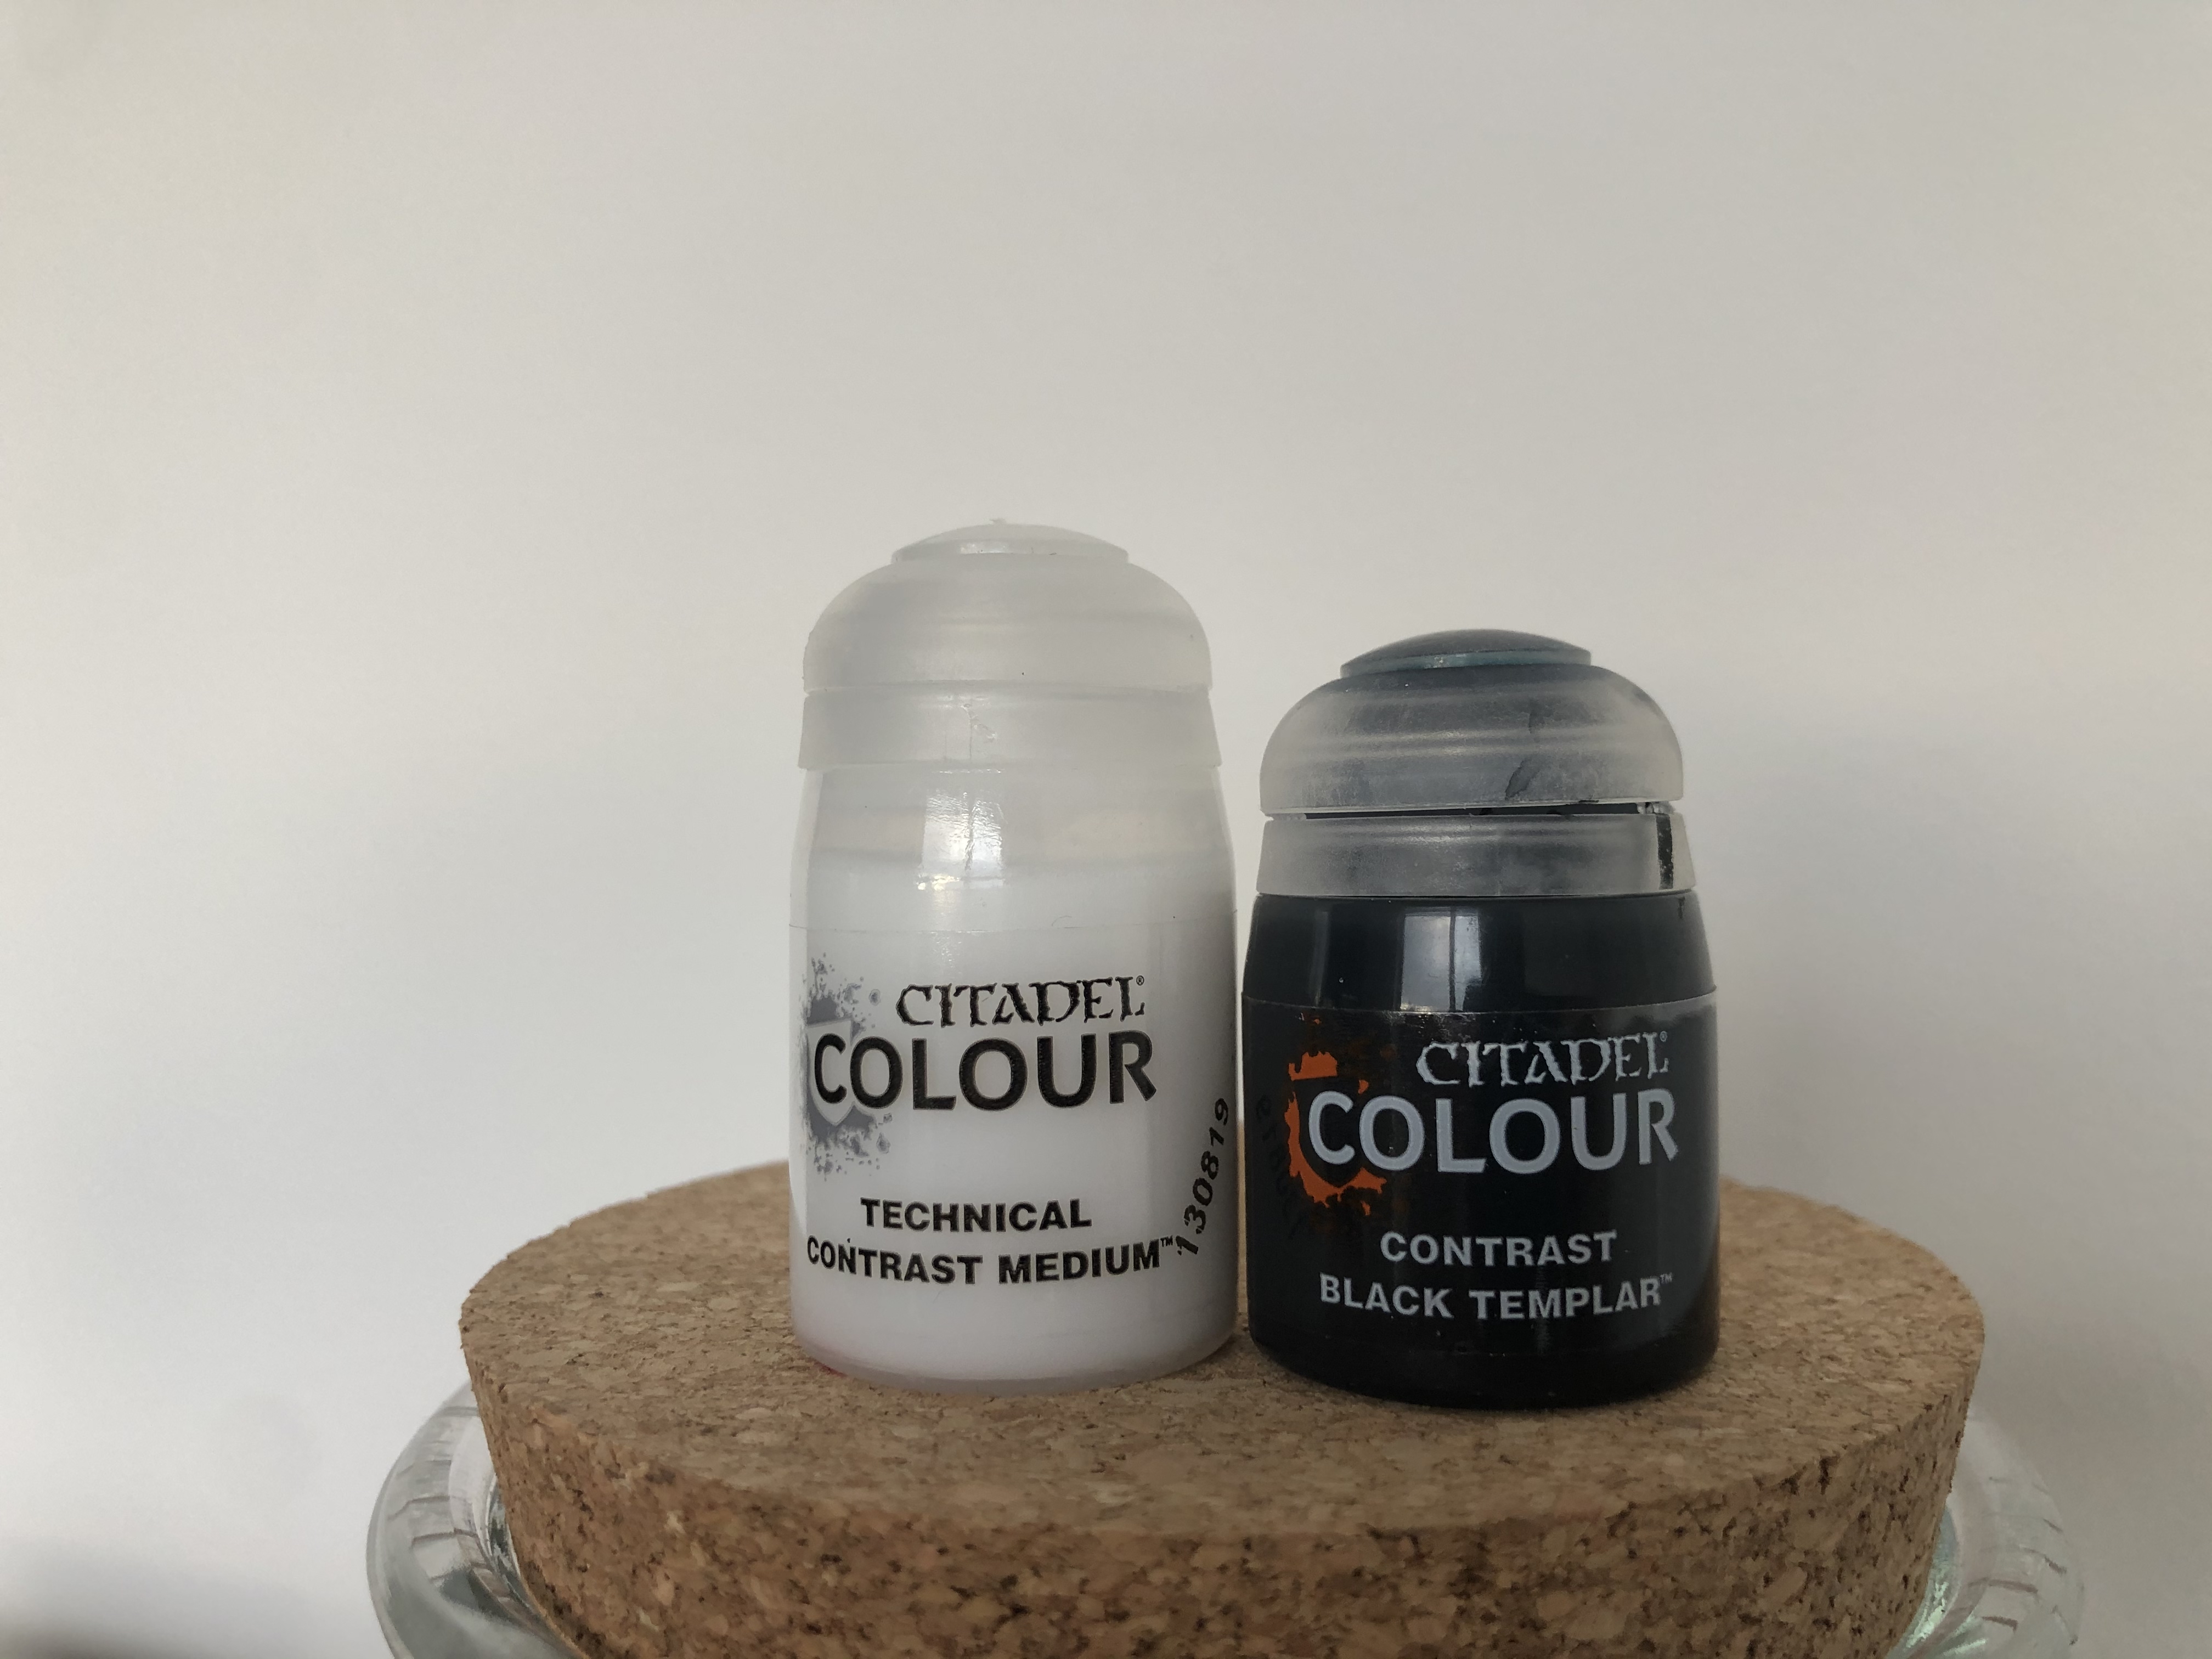
• CONTRAST BLACK TEMPLAR
• CONTRAST MEDIUM
• CONTRAST FLESH TEARERS RED
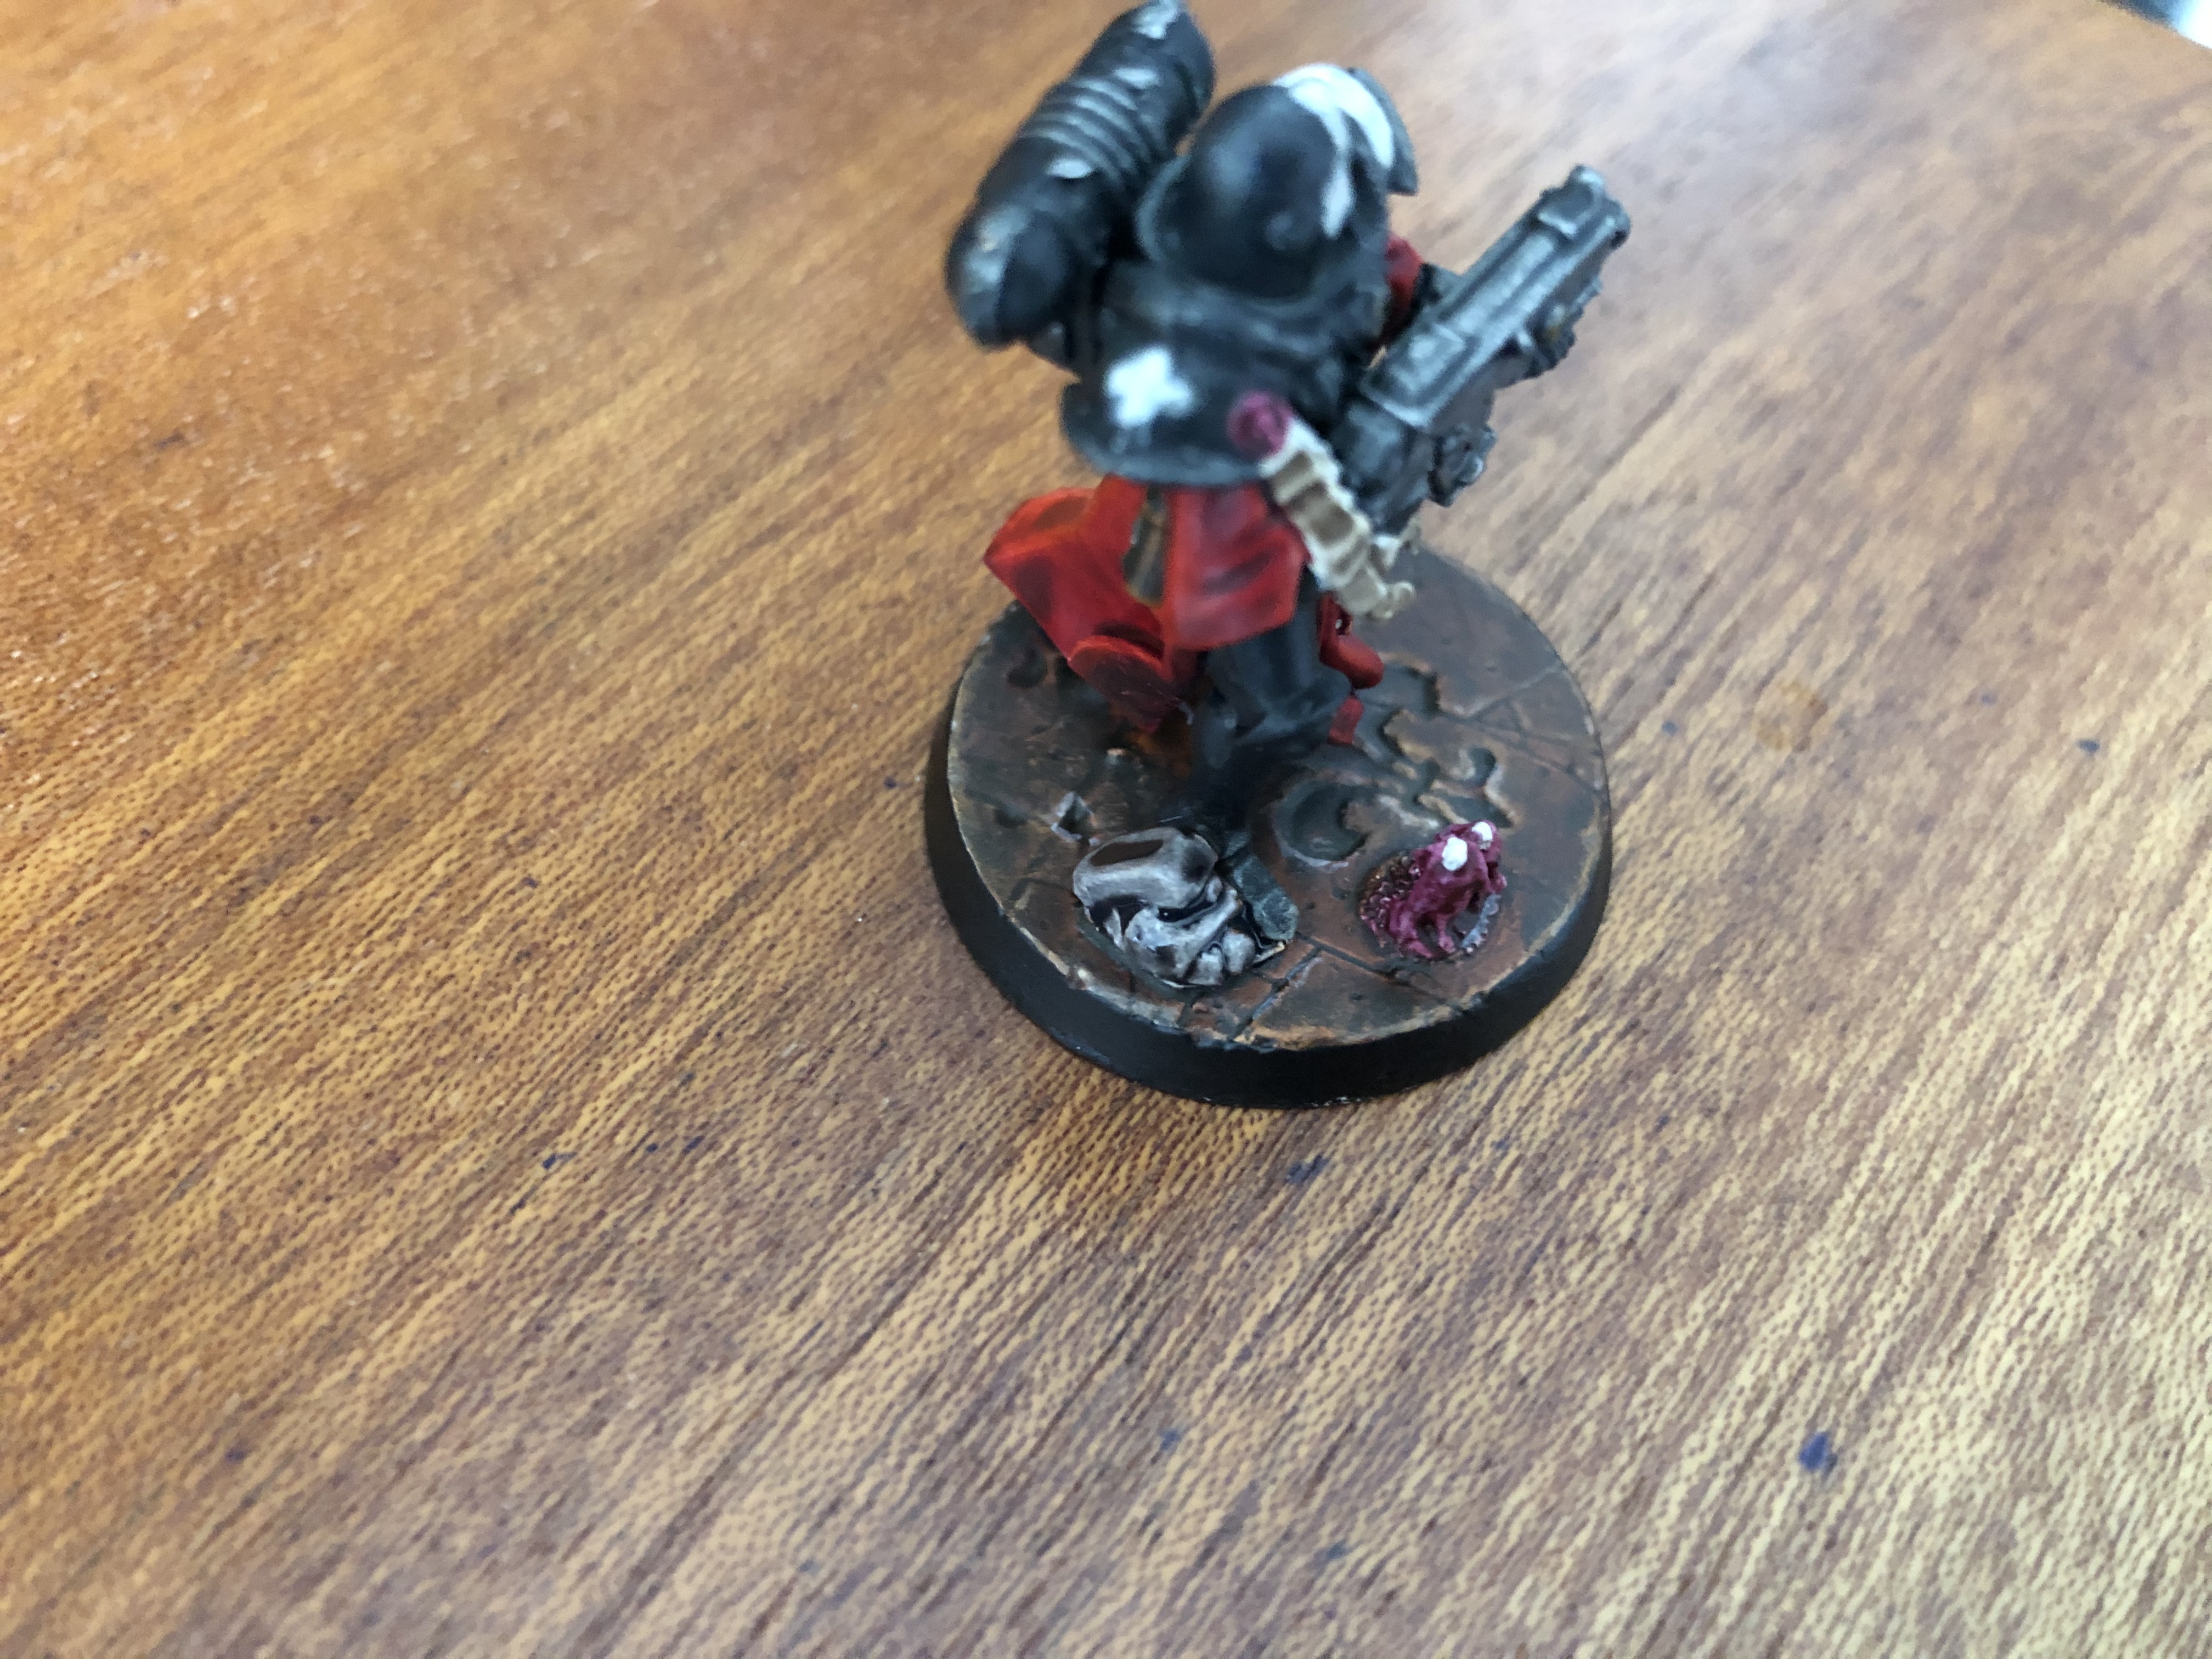
CONTRAST BLACK TEMPLAR
*****
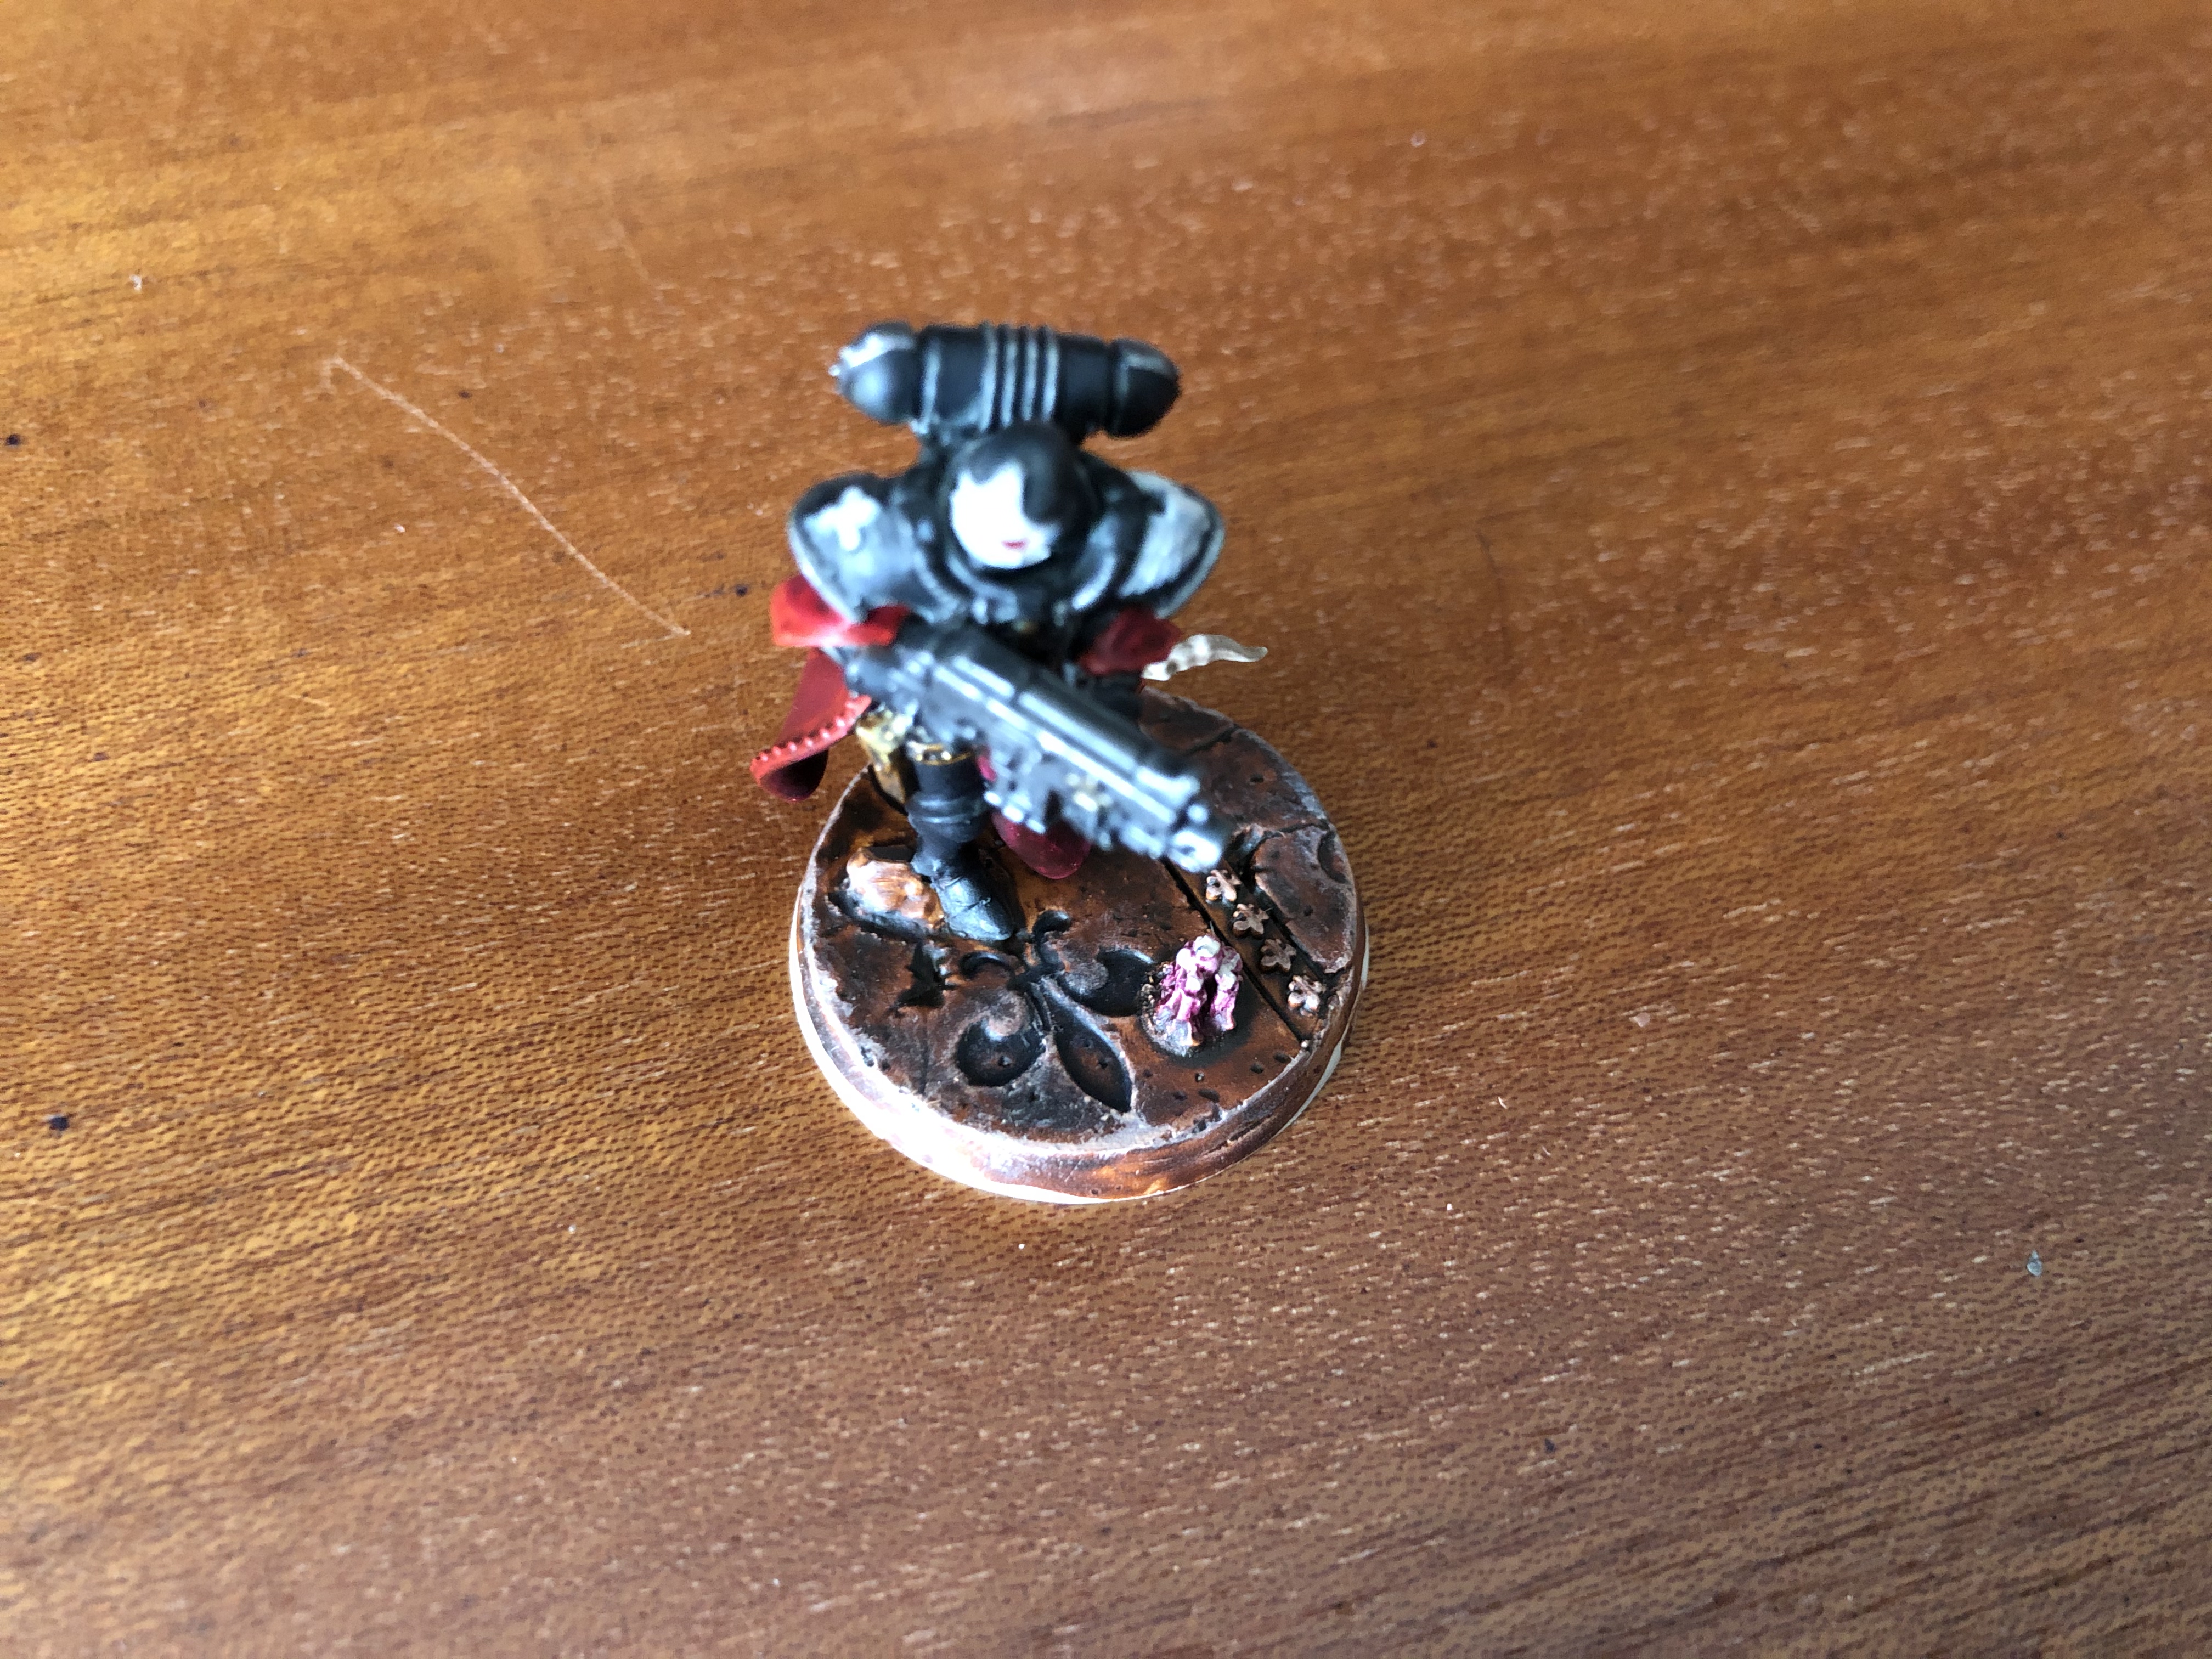
The first step I took with shading the model was using a 3:1 mix of Contrast Medium mixed with Black Templar Contrast & applying it to all of the metallics of the model. Including the bolt gun, corsetry, piping & all that good stuff. I absolutely love using Contrast in this method as it gives such a lovely grim dark muted matt feel.
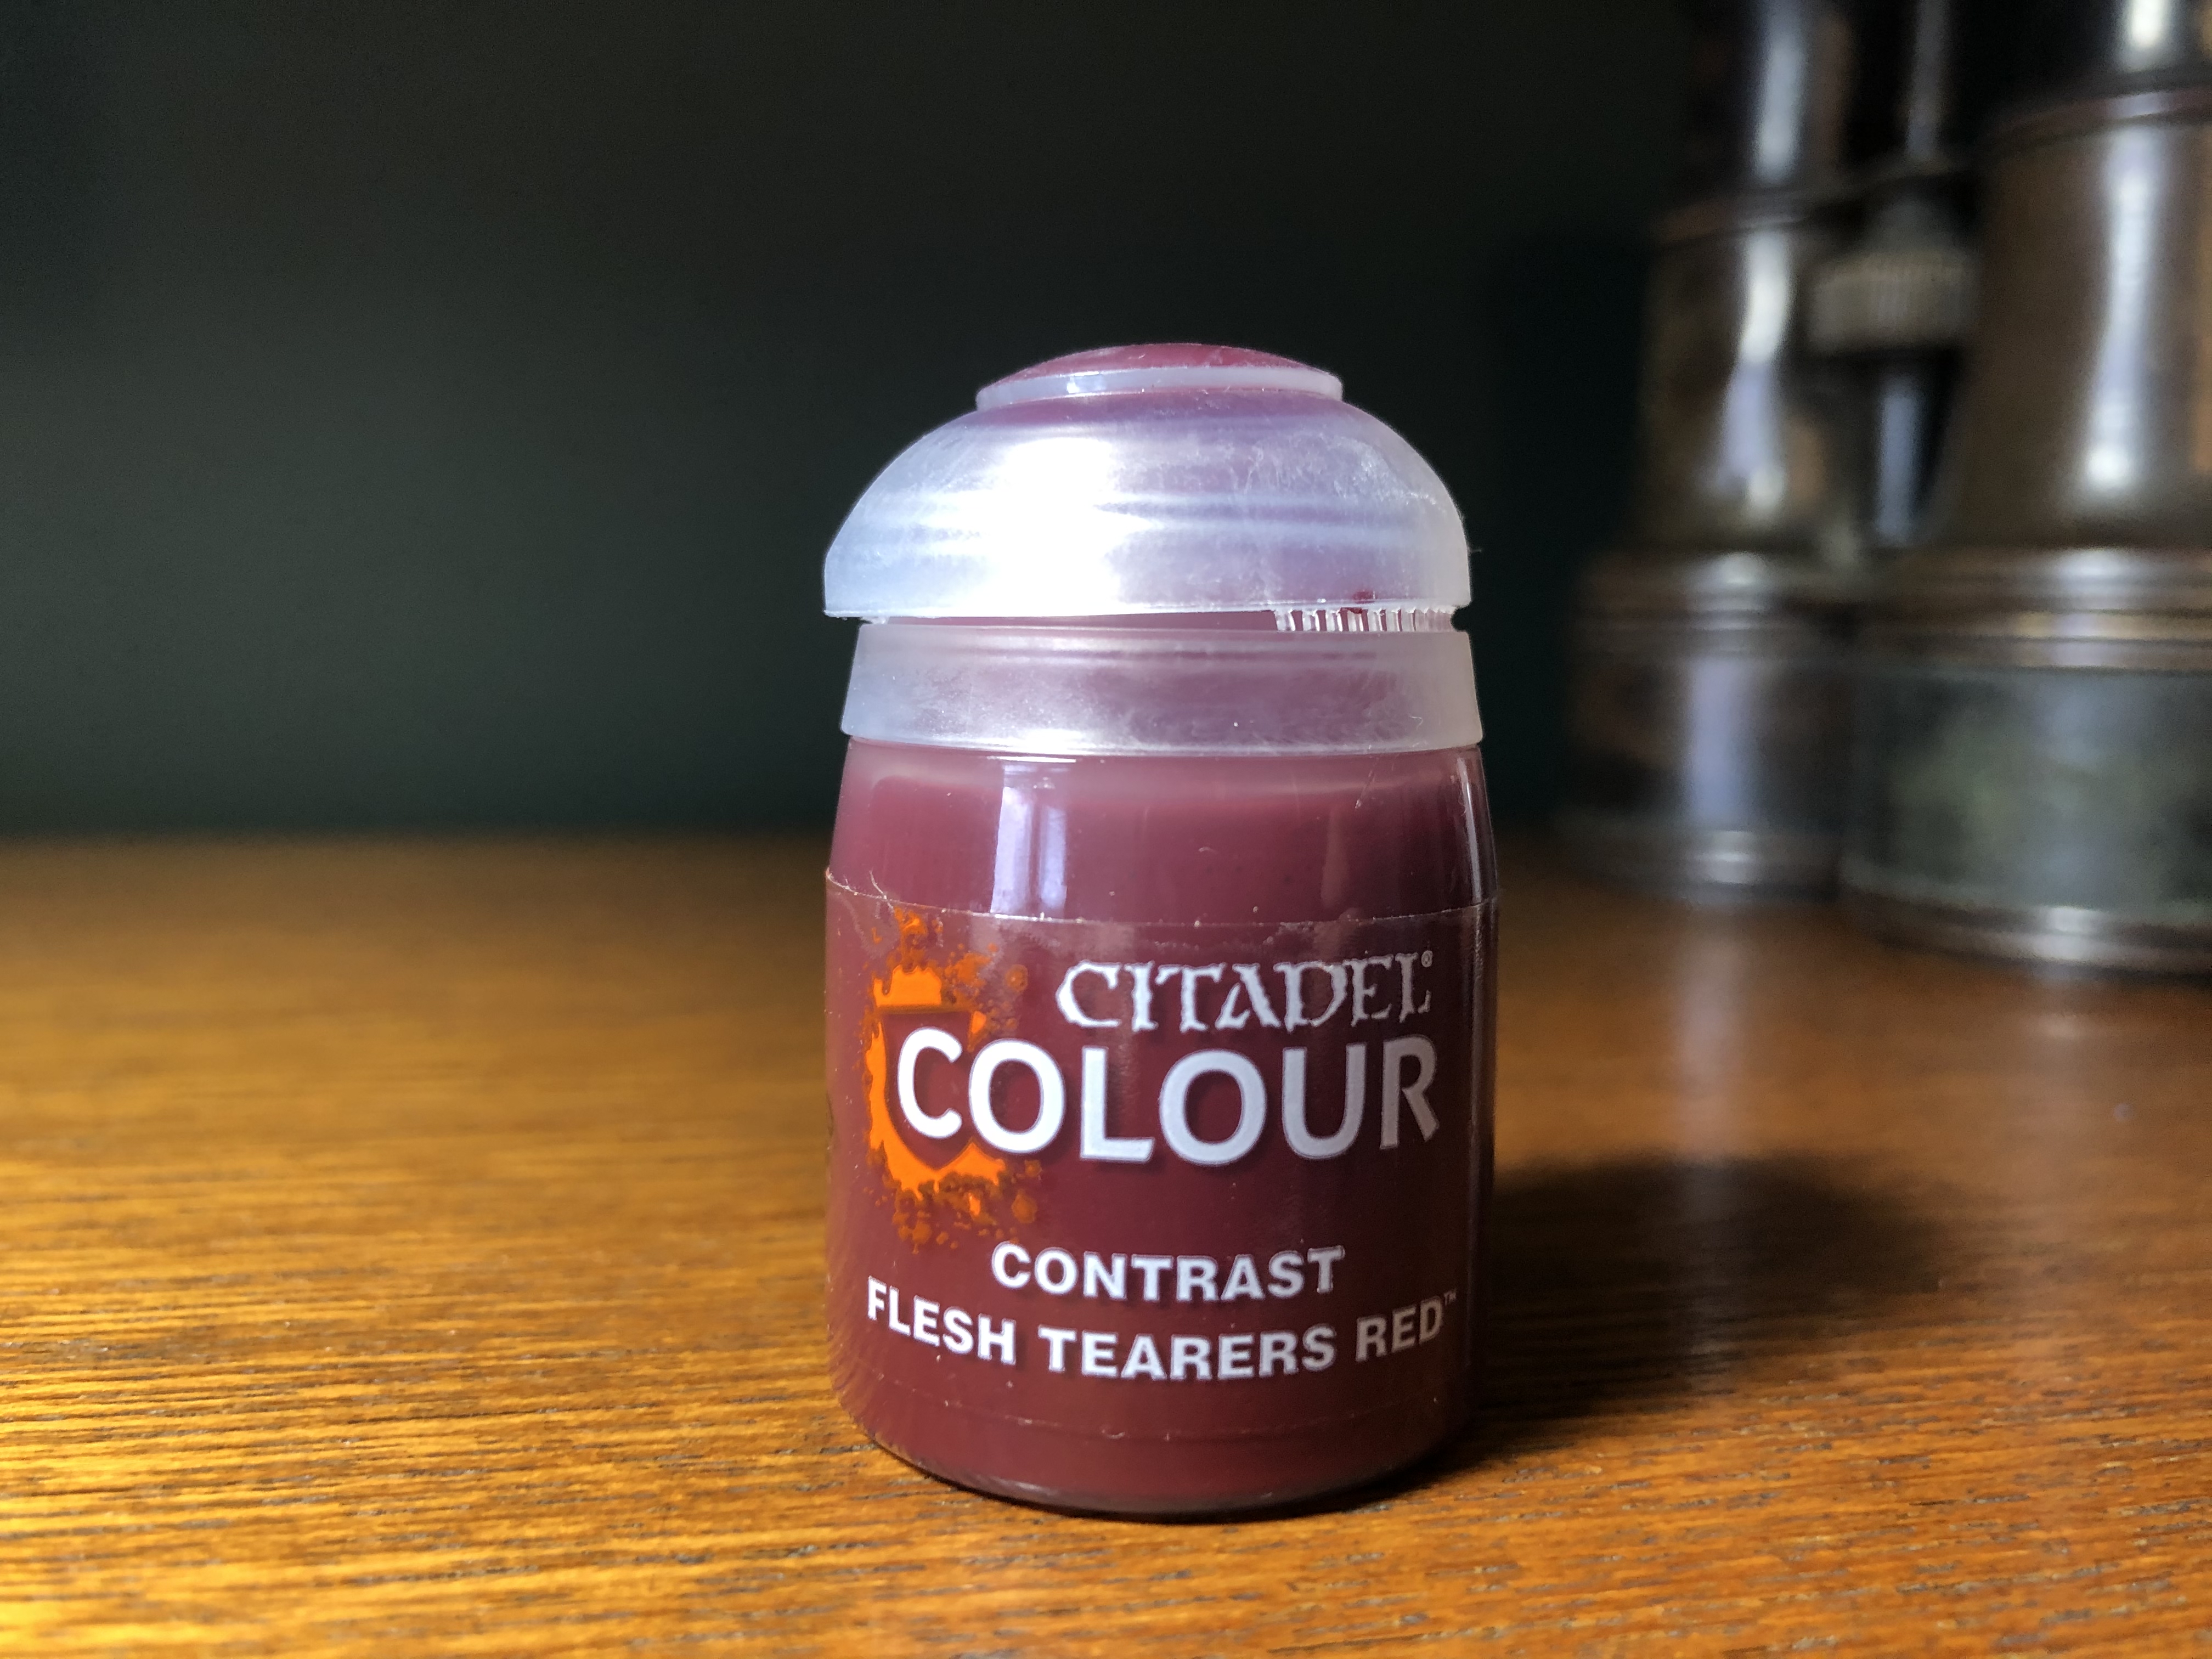
CONTRAST FLESH TEARERS RED
*****
The next step was to add flesh tearers red into the recesses of the cloaks focusing greater weight to the deepest folds of material.
I TOLD YOU IT WAS A QUICK ONE
*****
What a terrible update, but I promise there’s a big one to come discussing my approach to applying colours to the bases of my sisters. As I mentioned before, I hit a bit of a stumbling block figuring out how to paint them. But rejoice because I have just come out the other side & will return with an update of awesomeness very soon.
Much Love
Eternity Gate
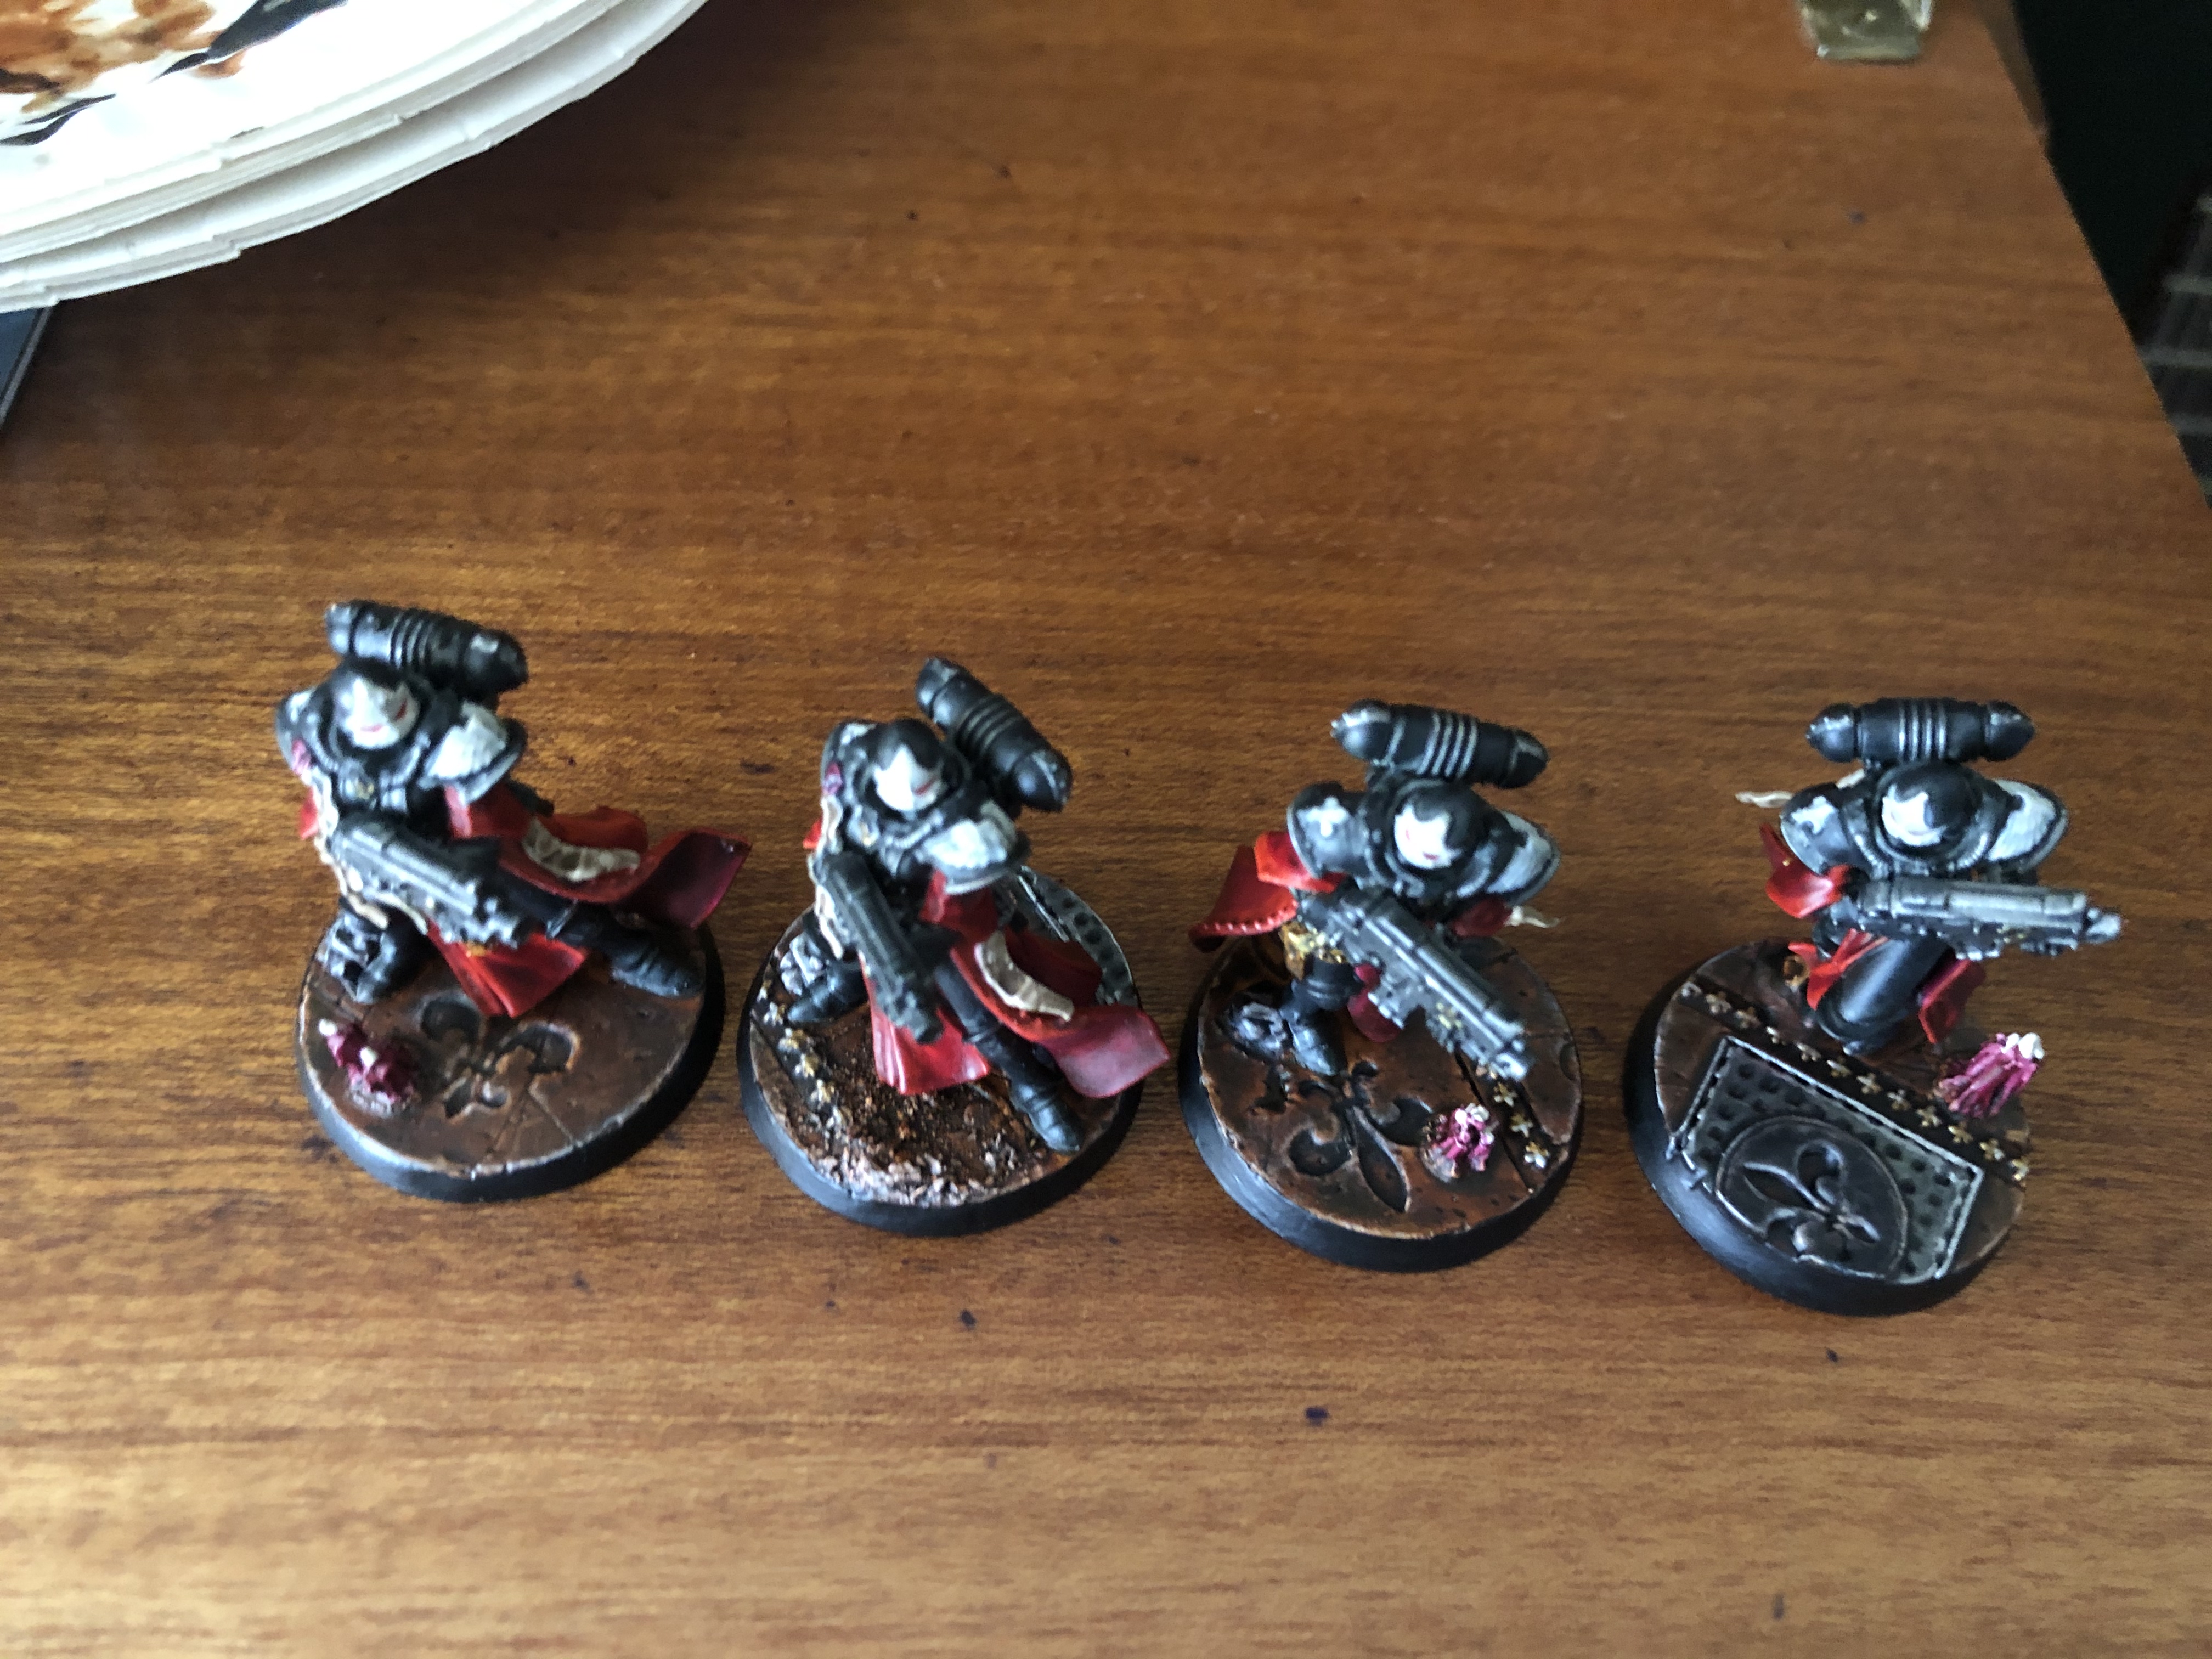
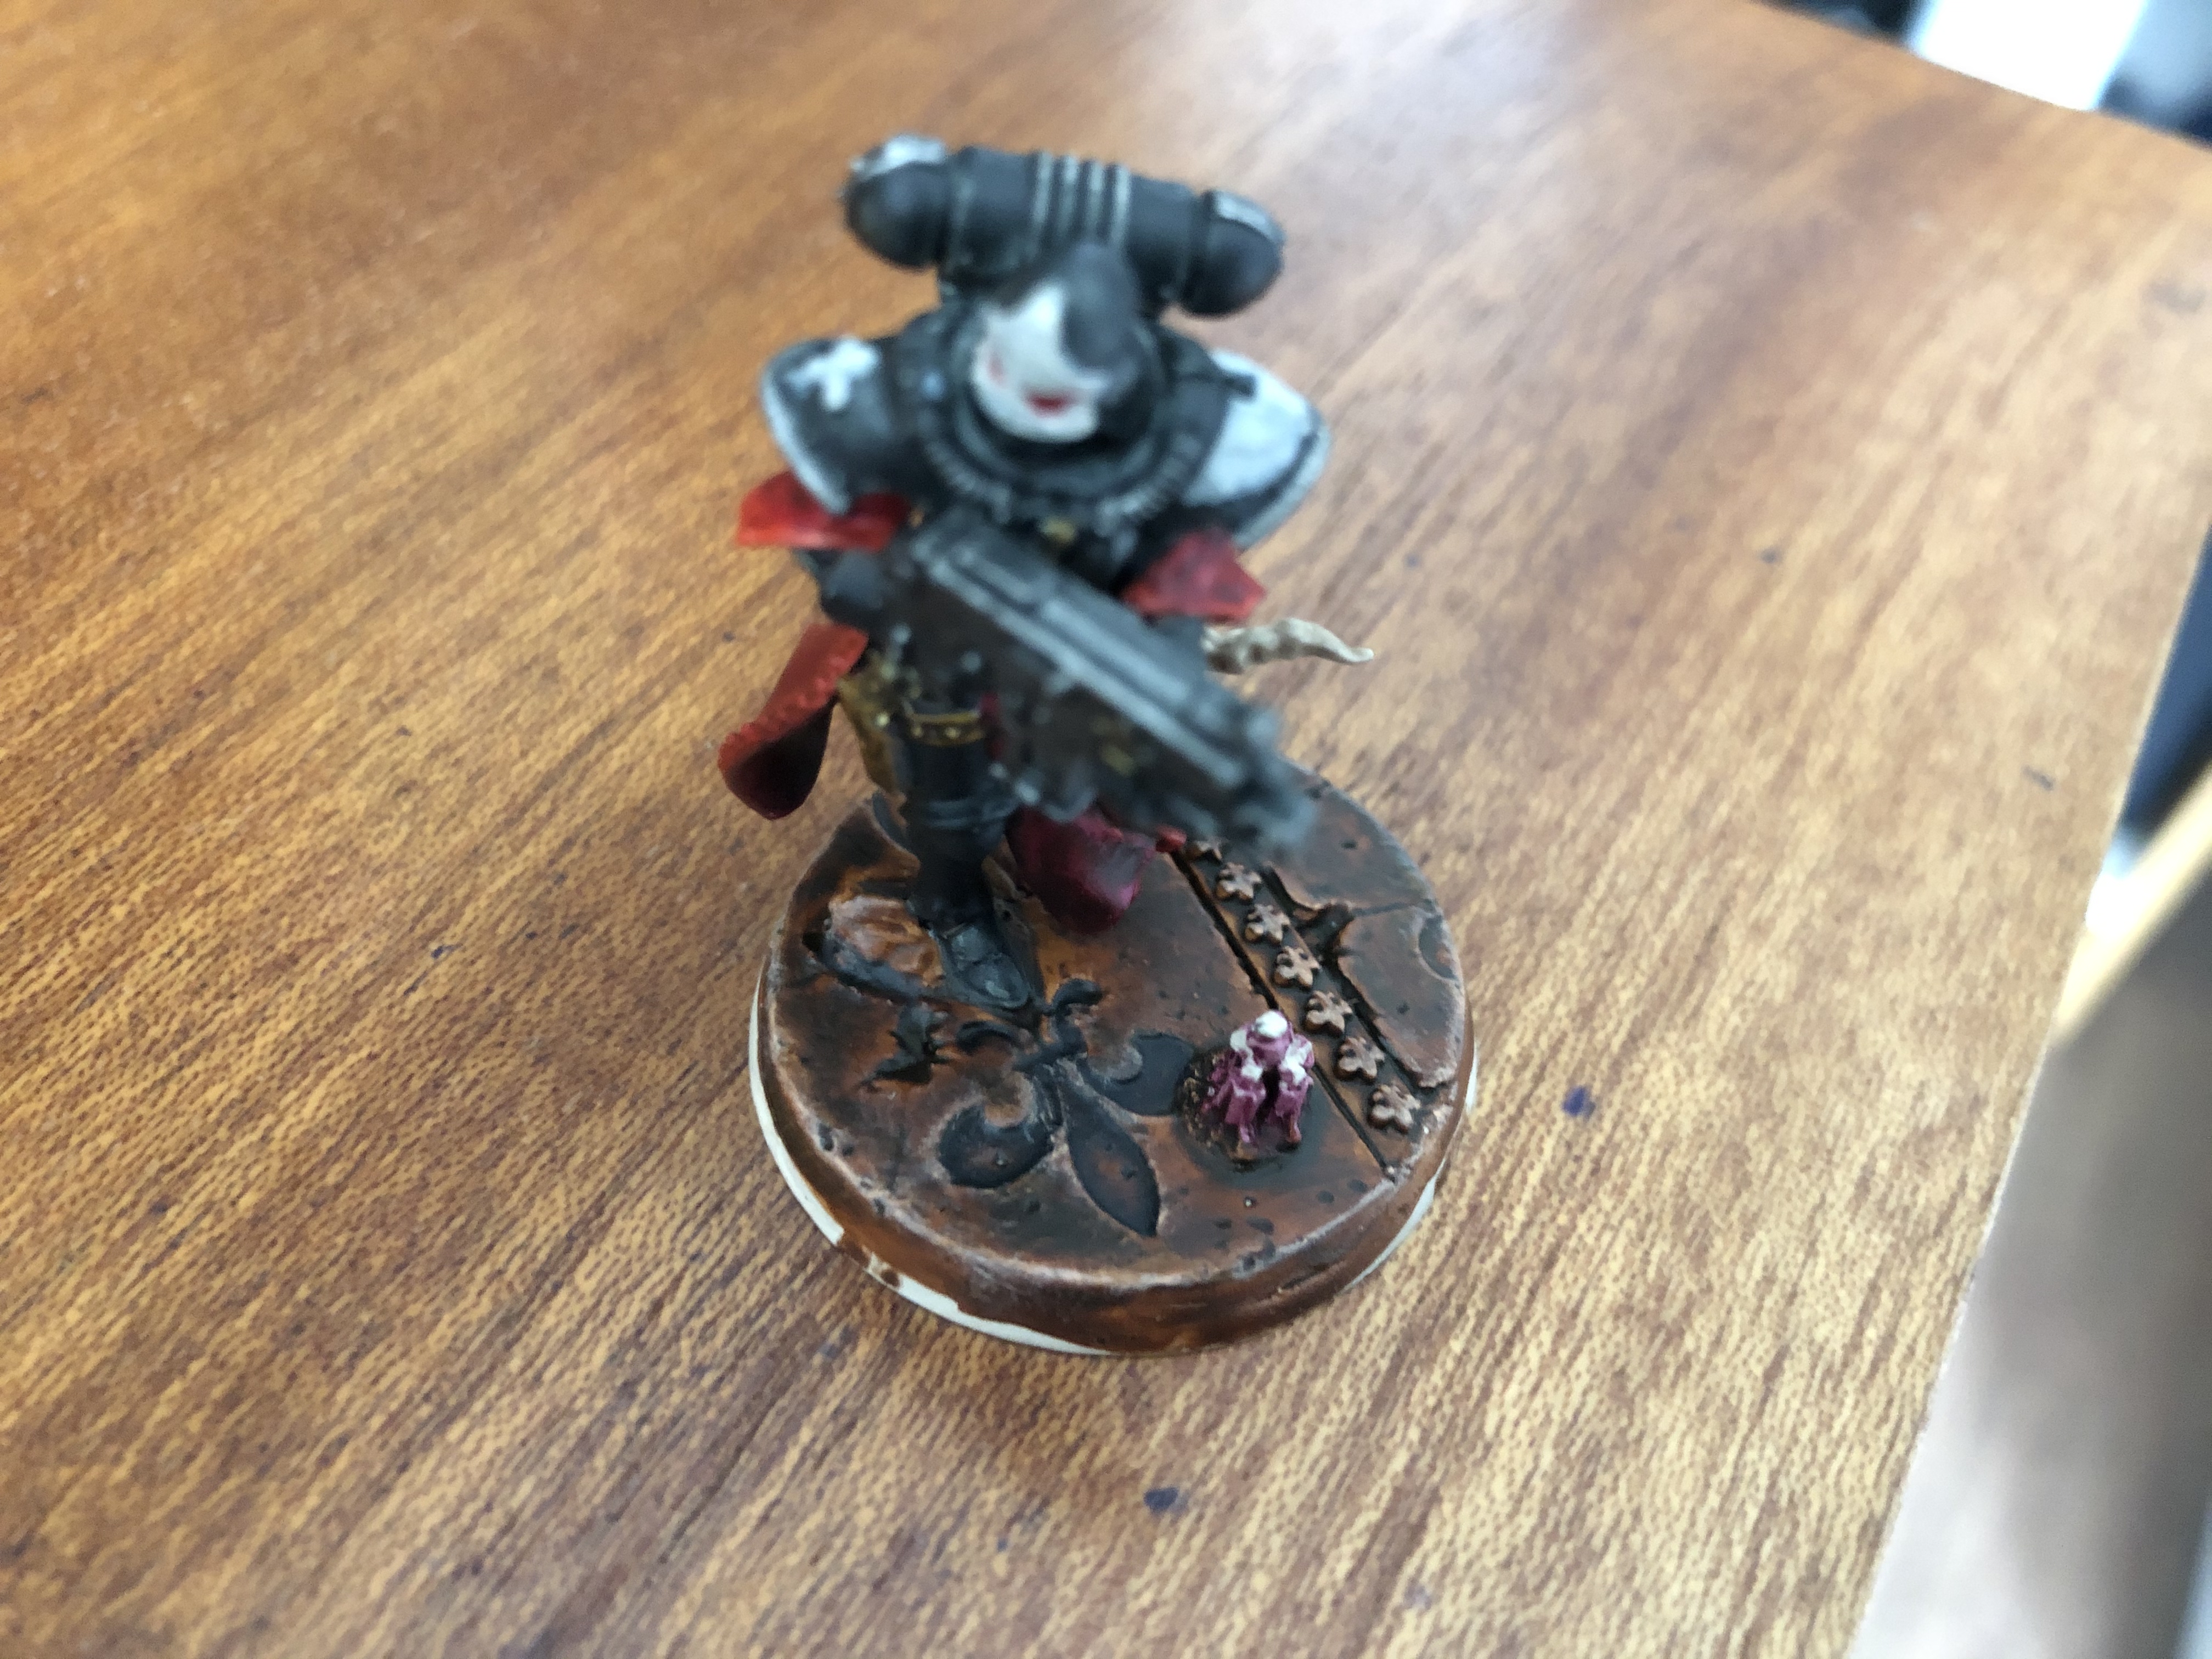
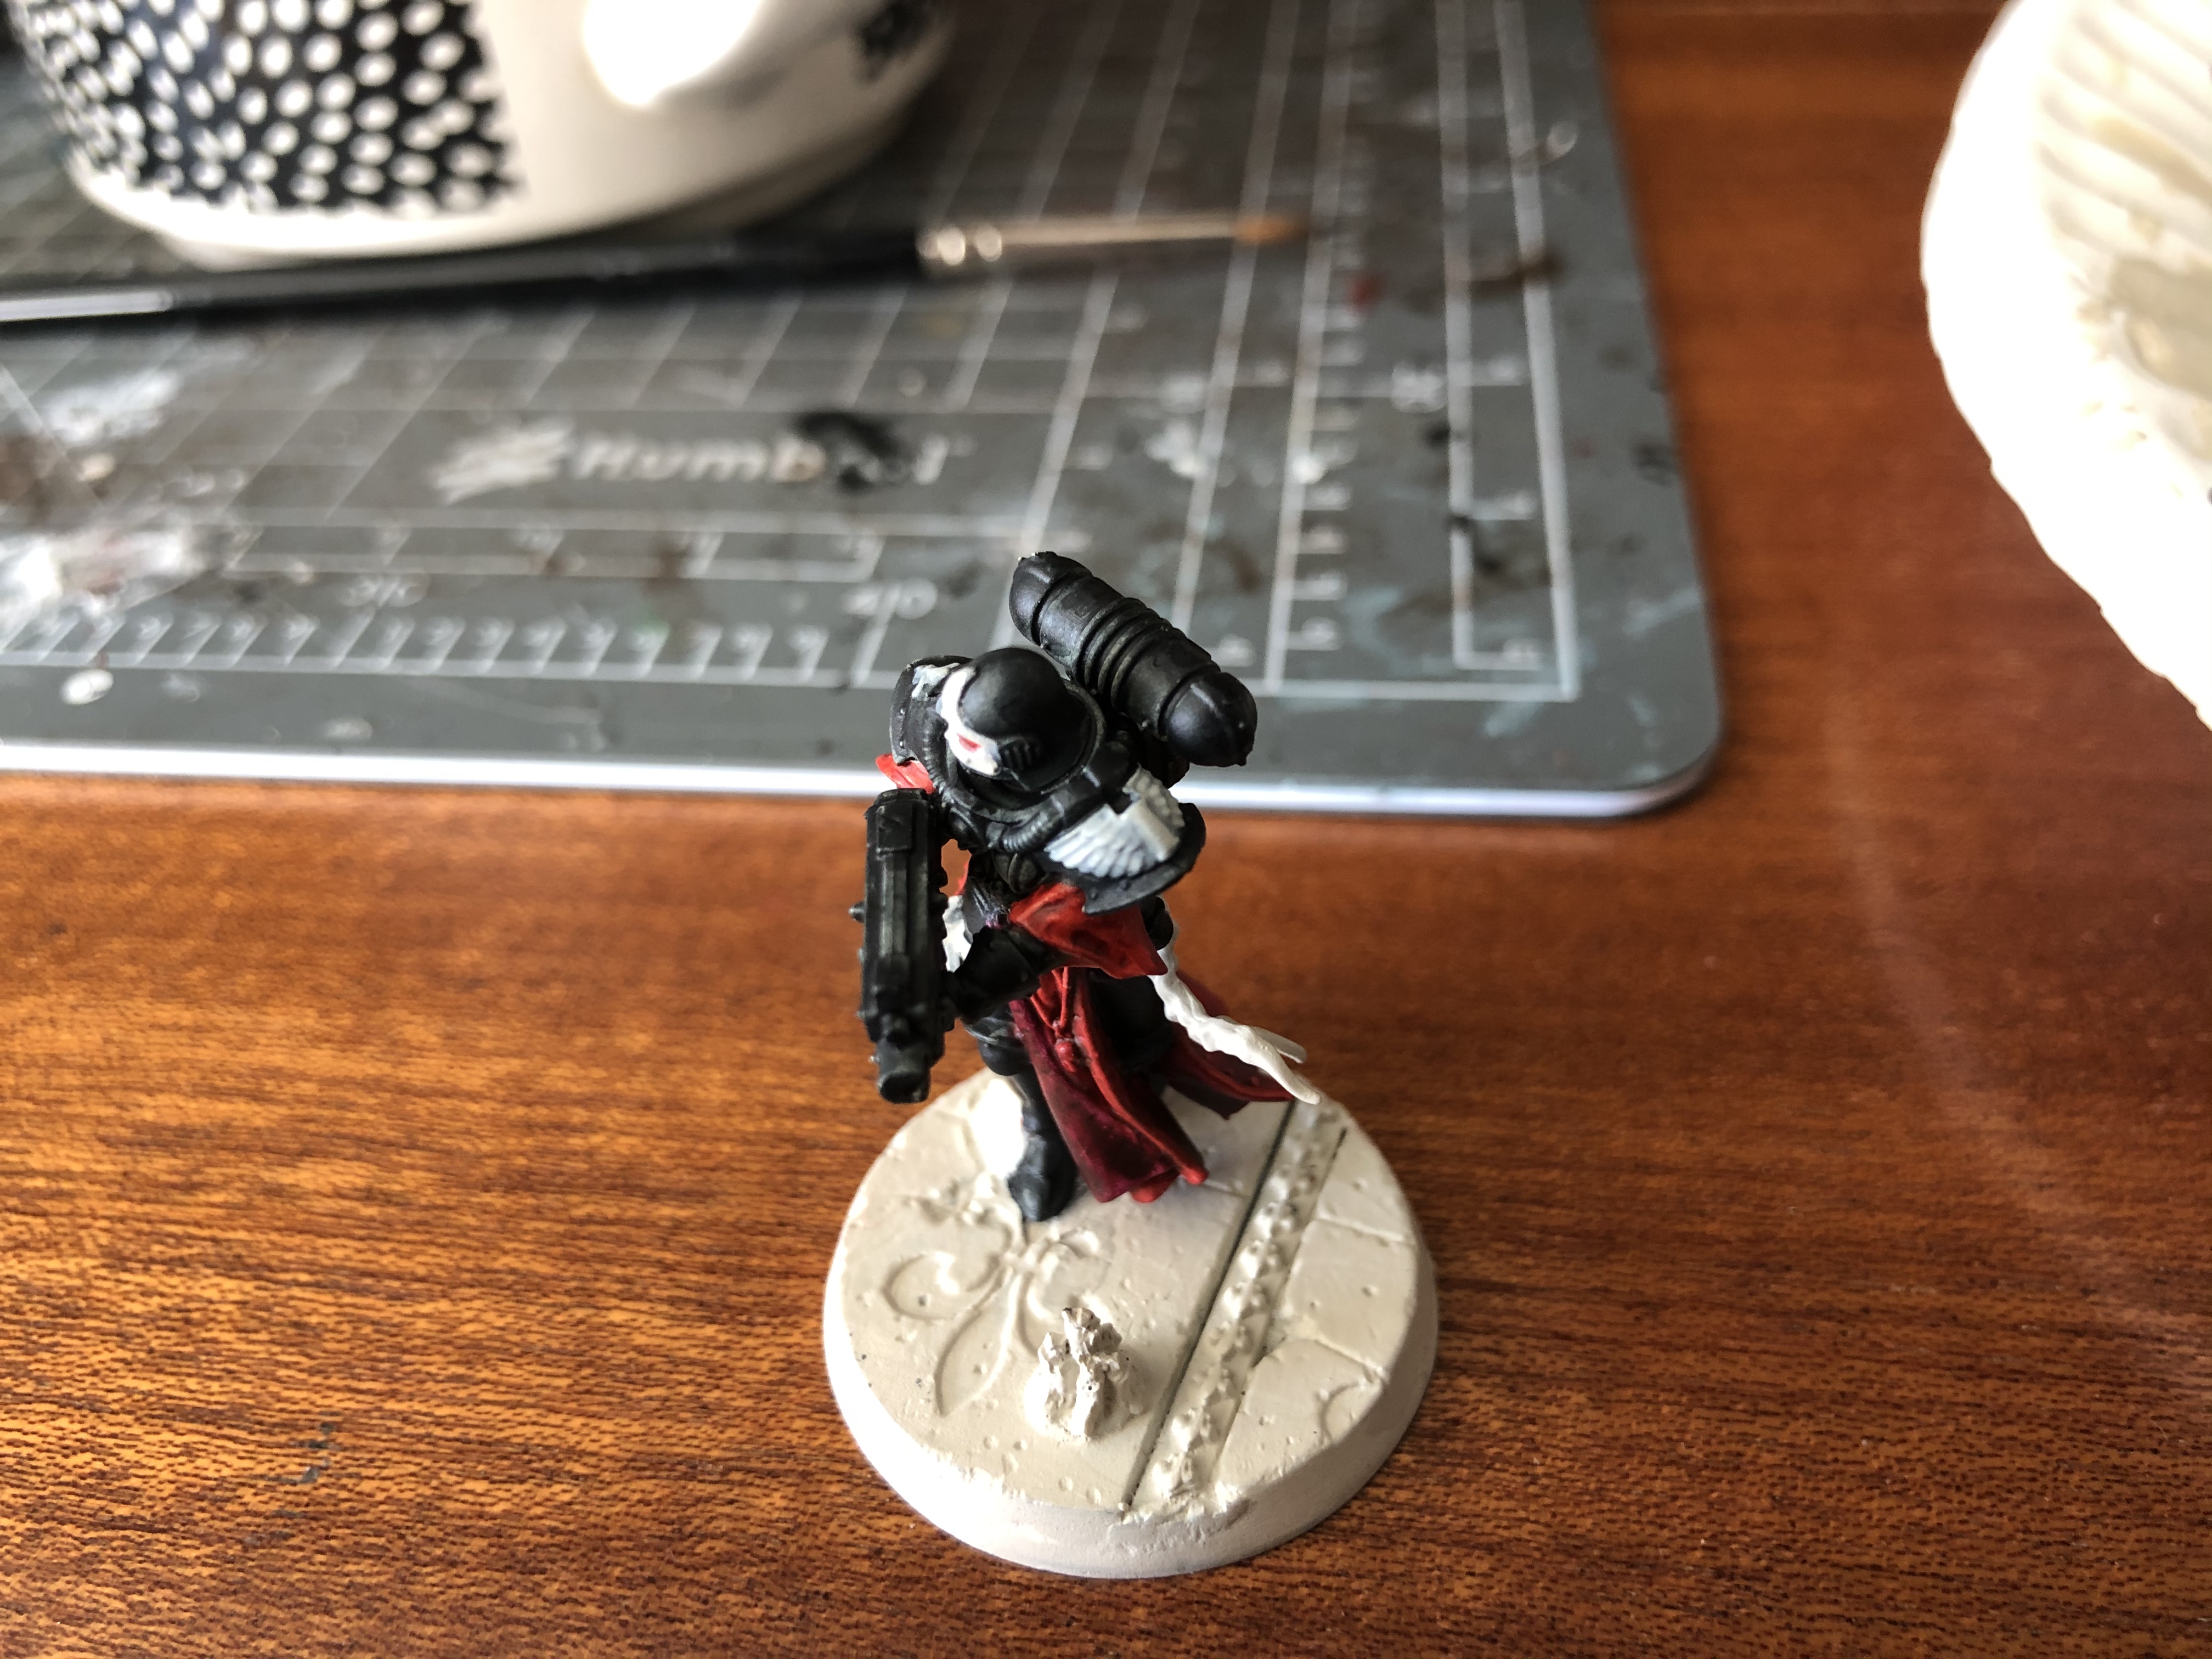
SISTERS ARE DOIN IT FOR THEMSELVES ~ BASE LAYERS PART 2
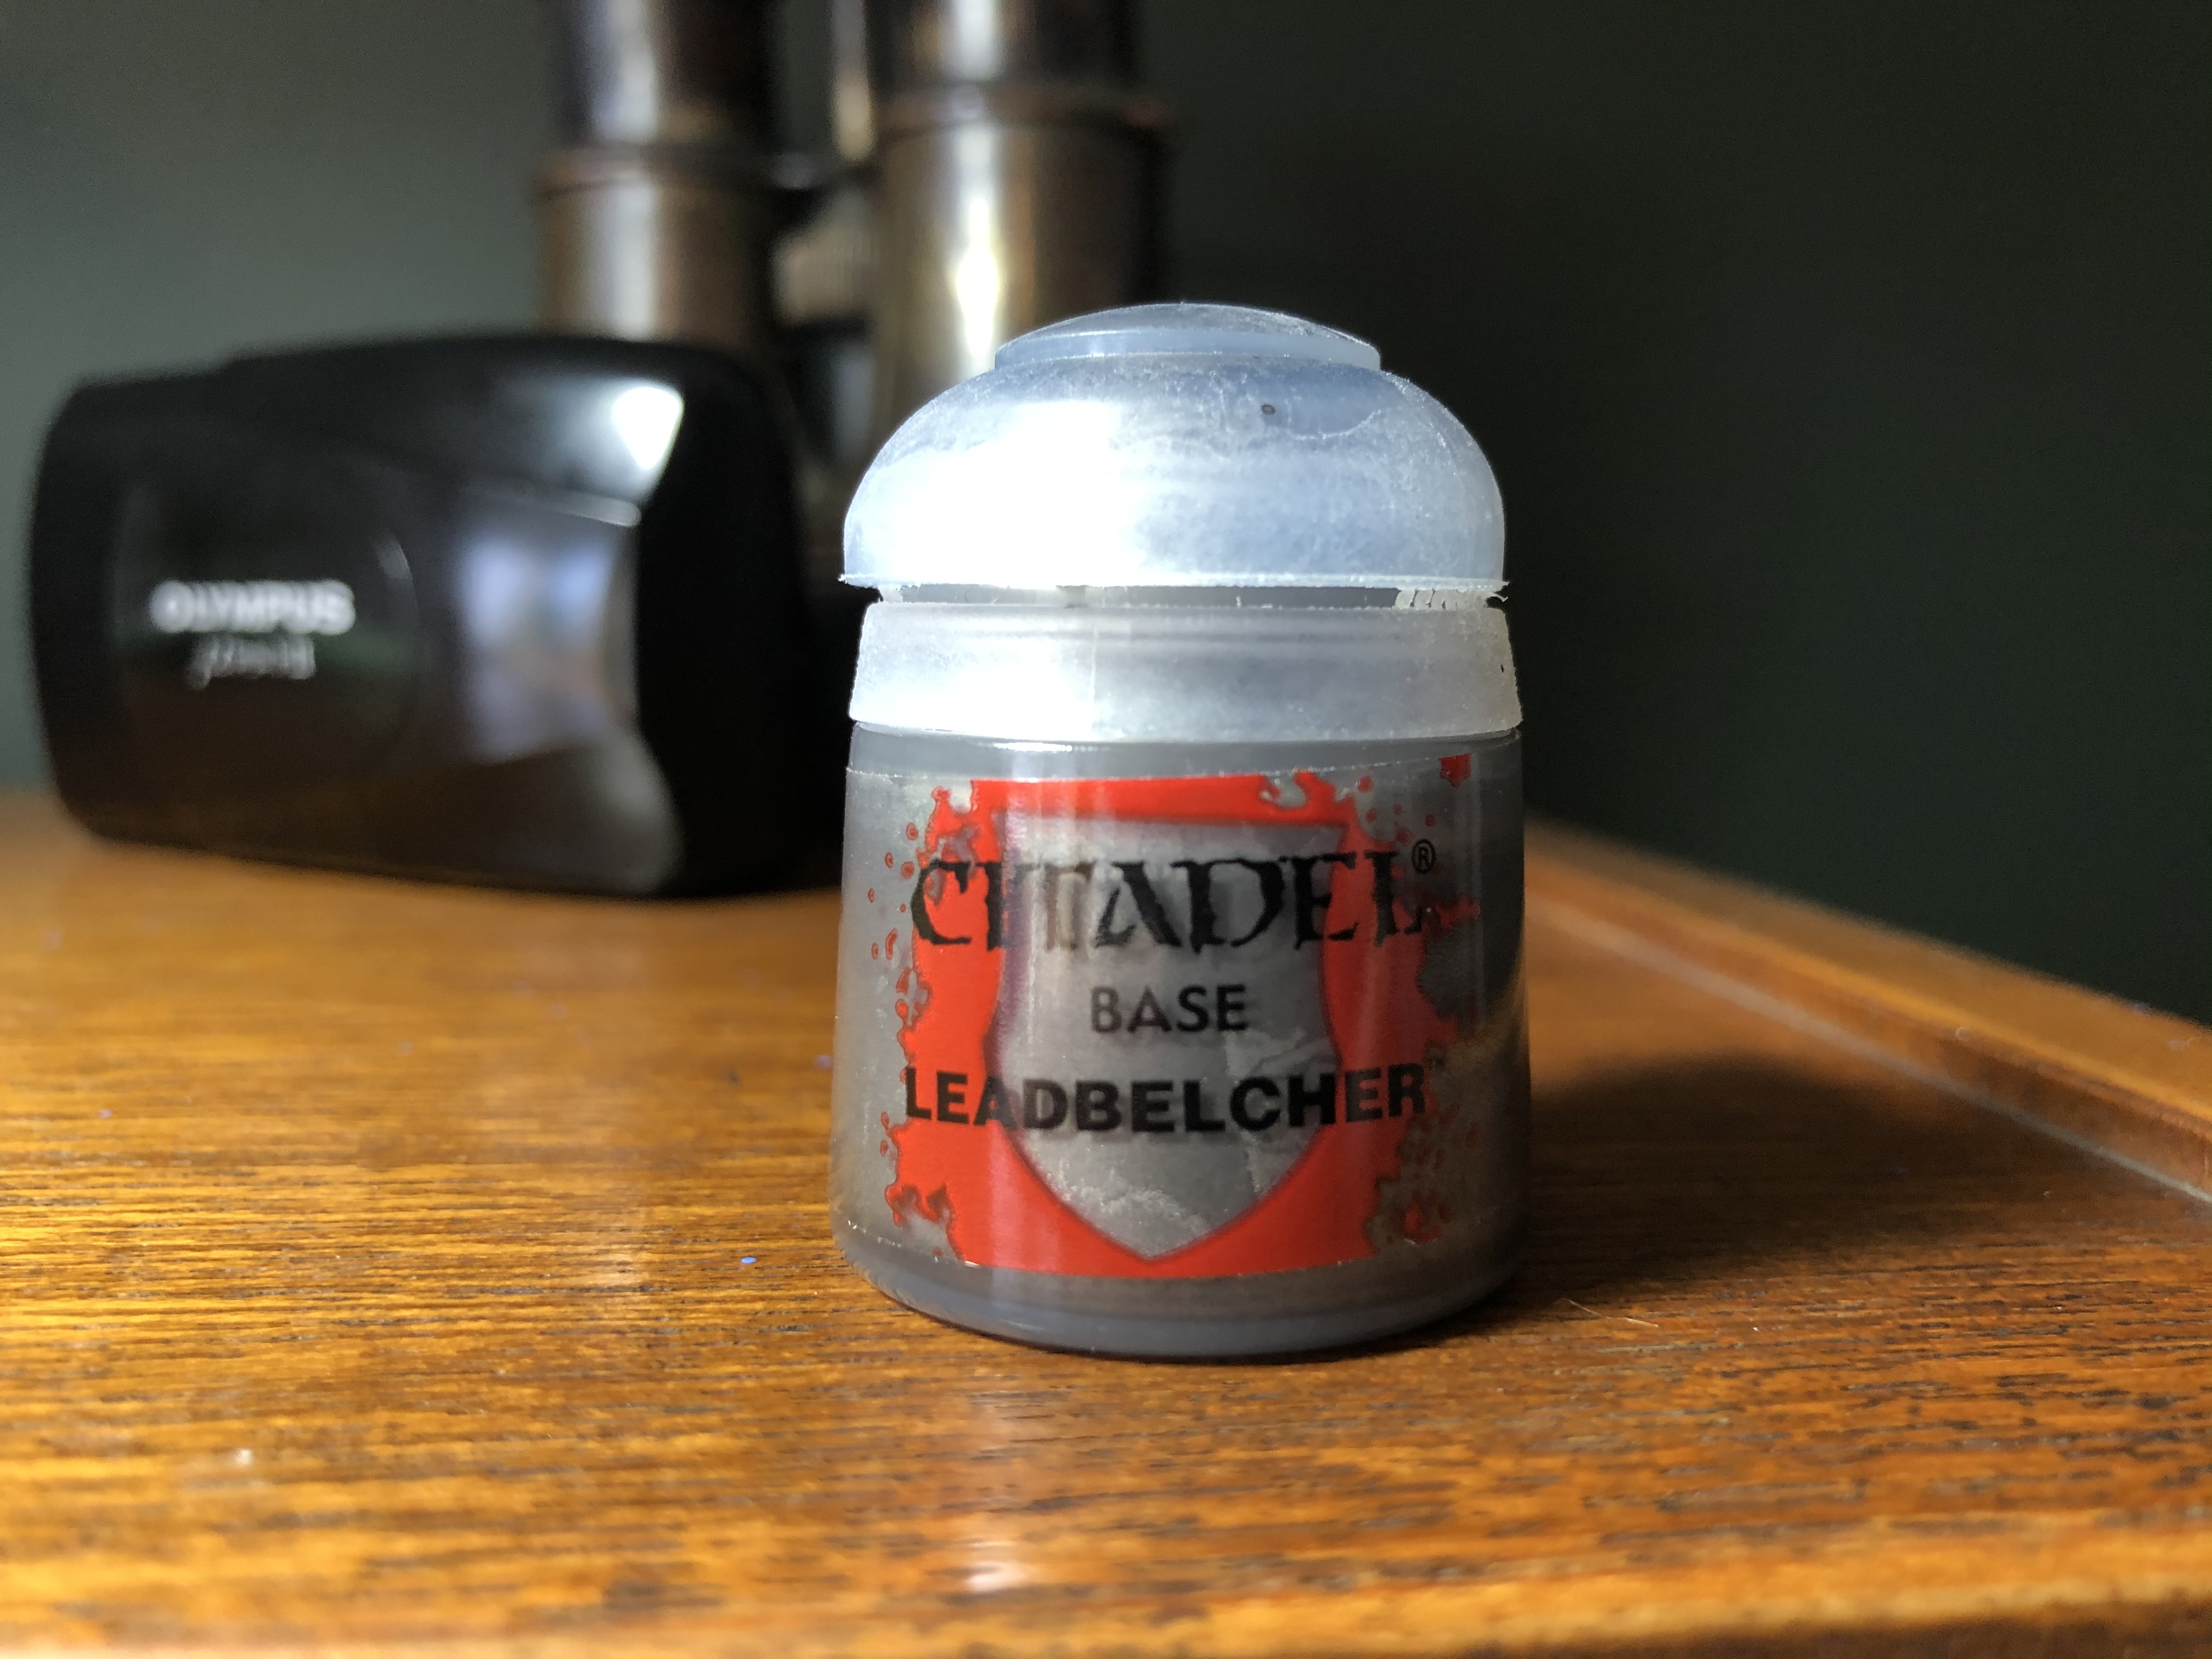

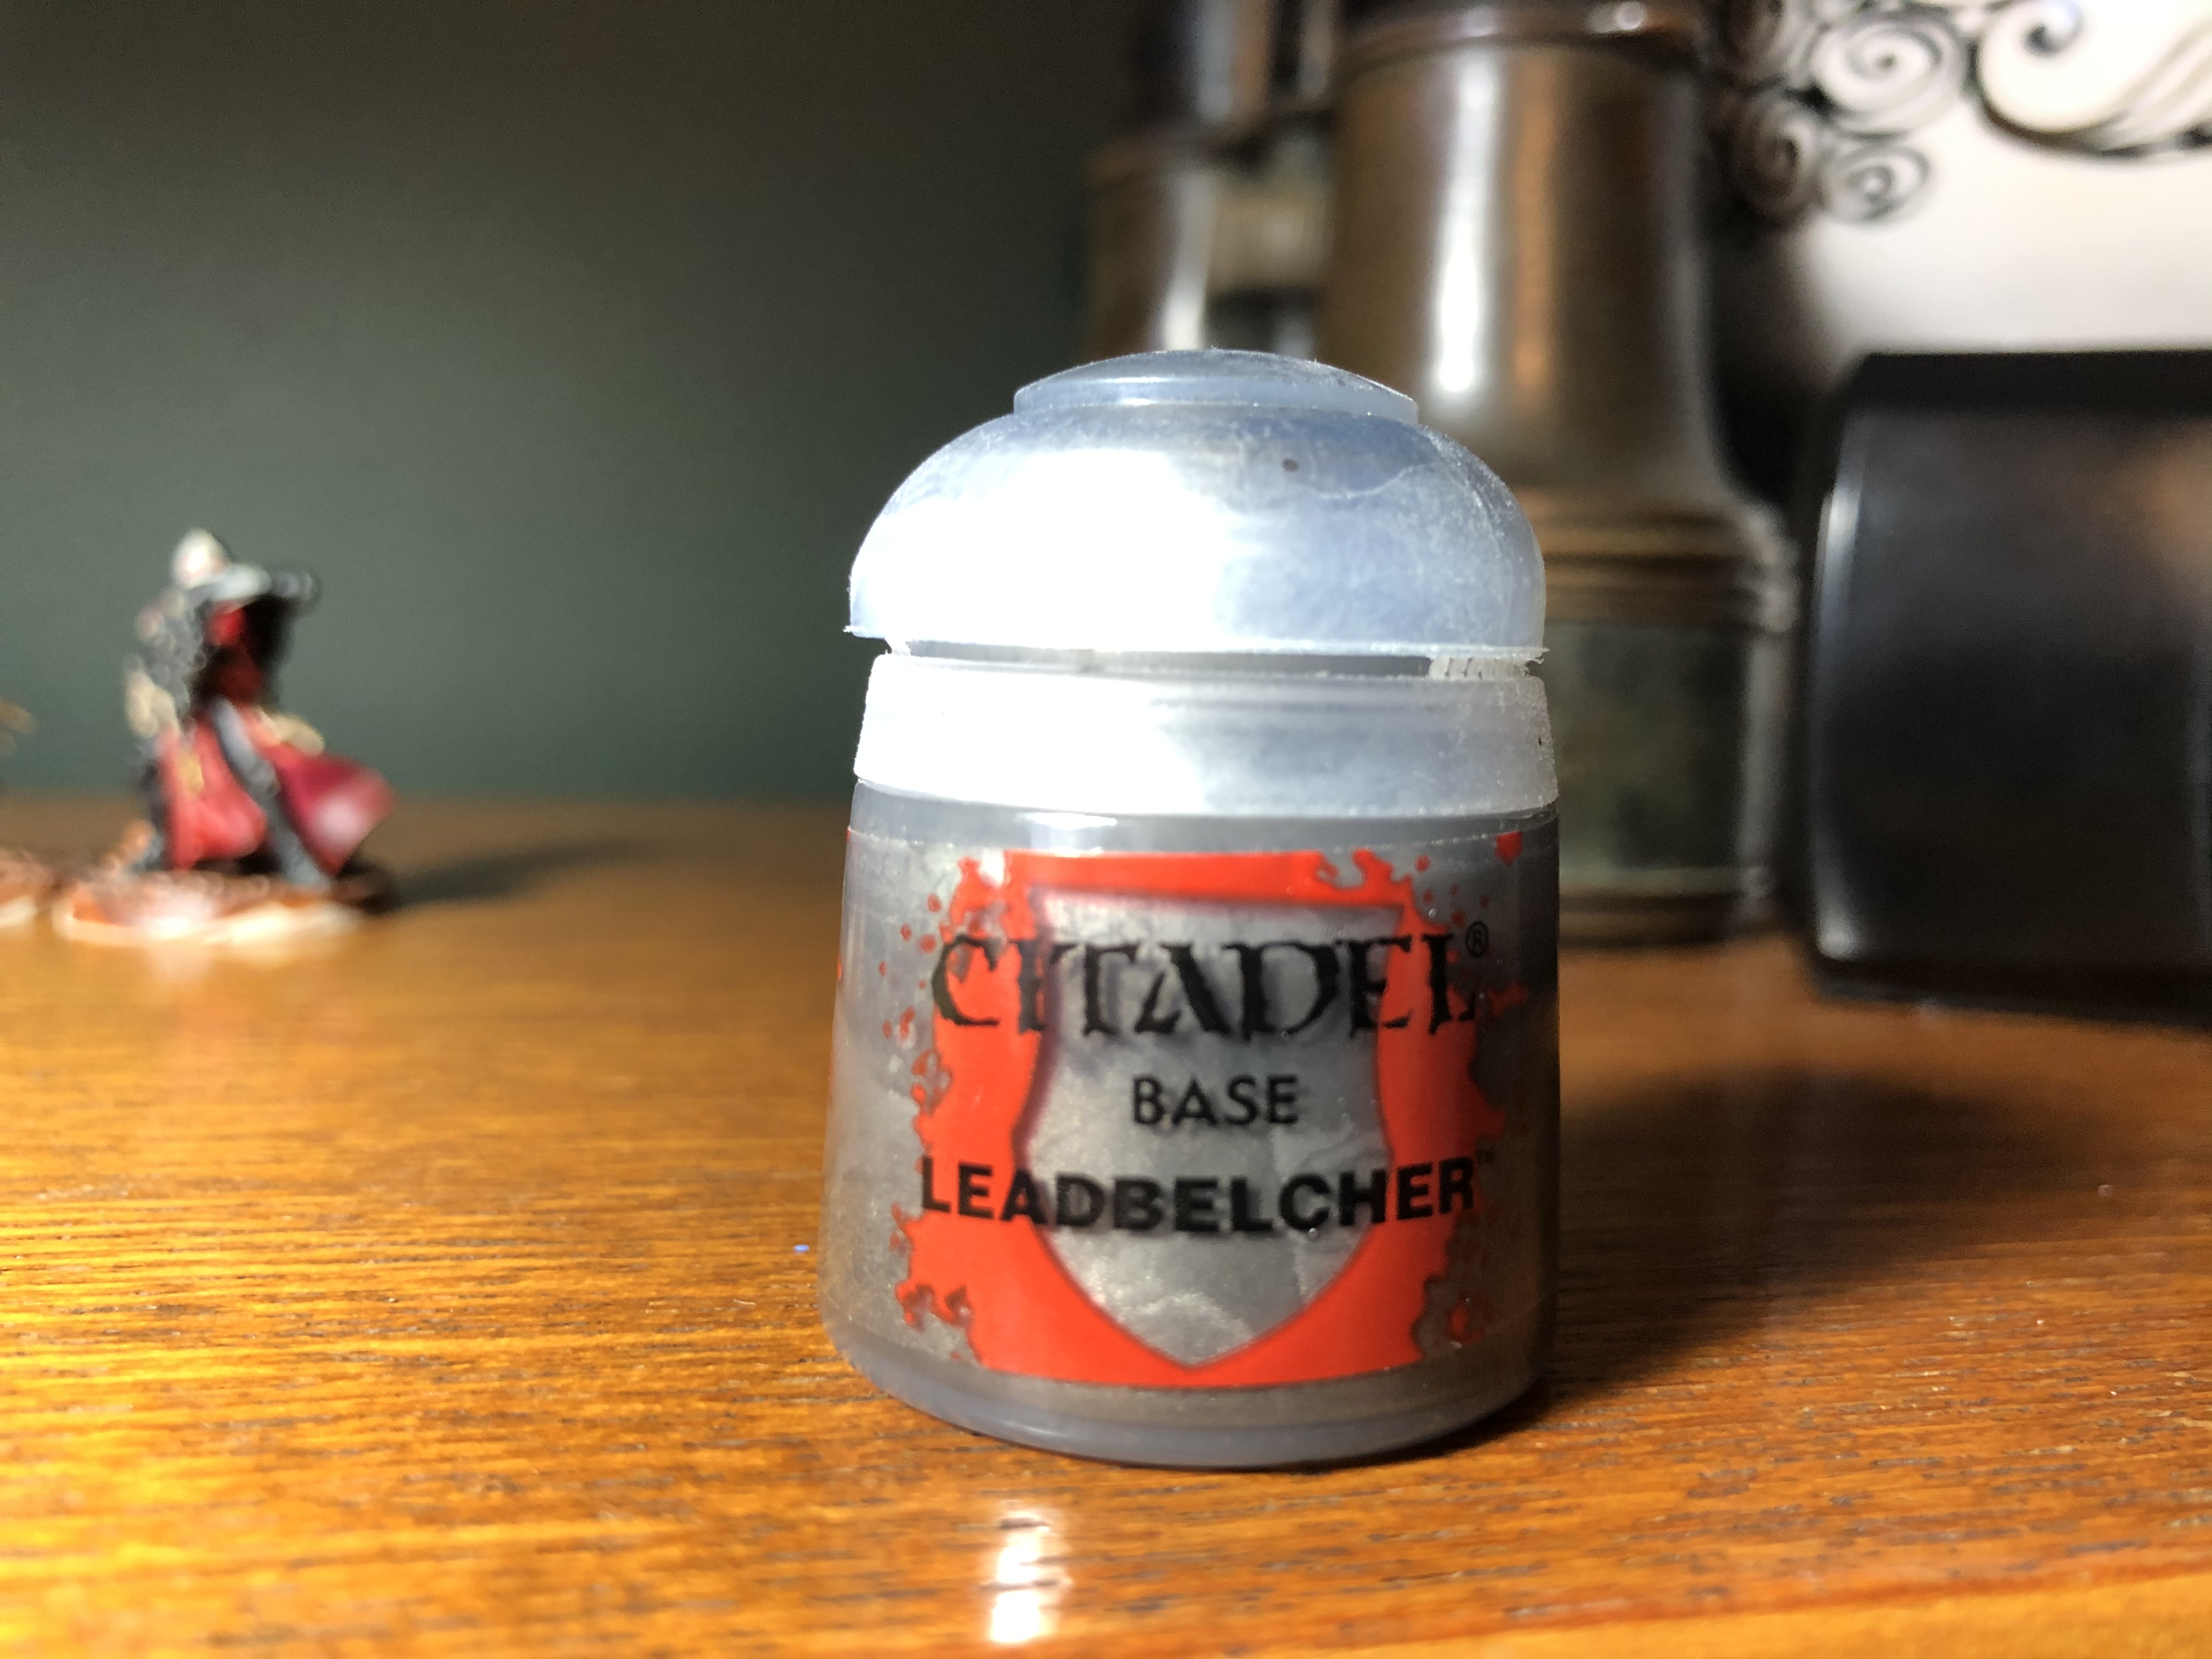
LEADBELCHER
*****
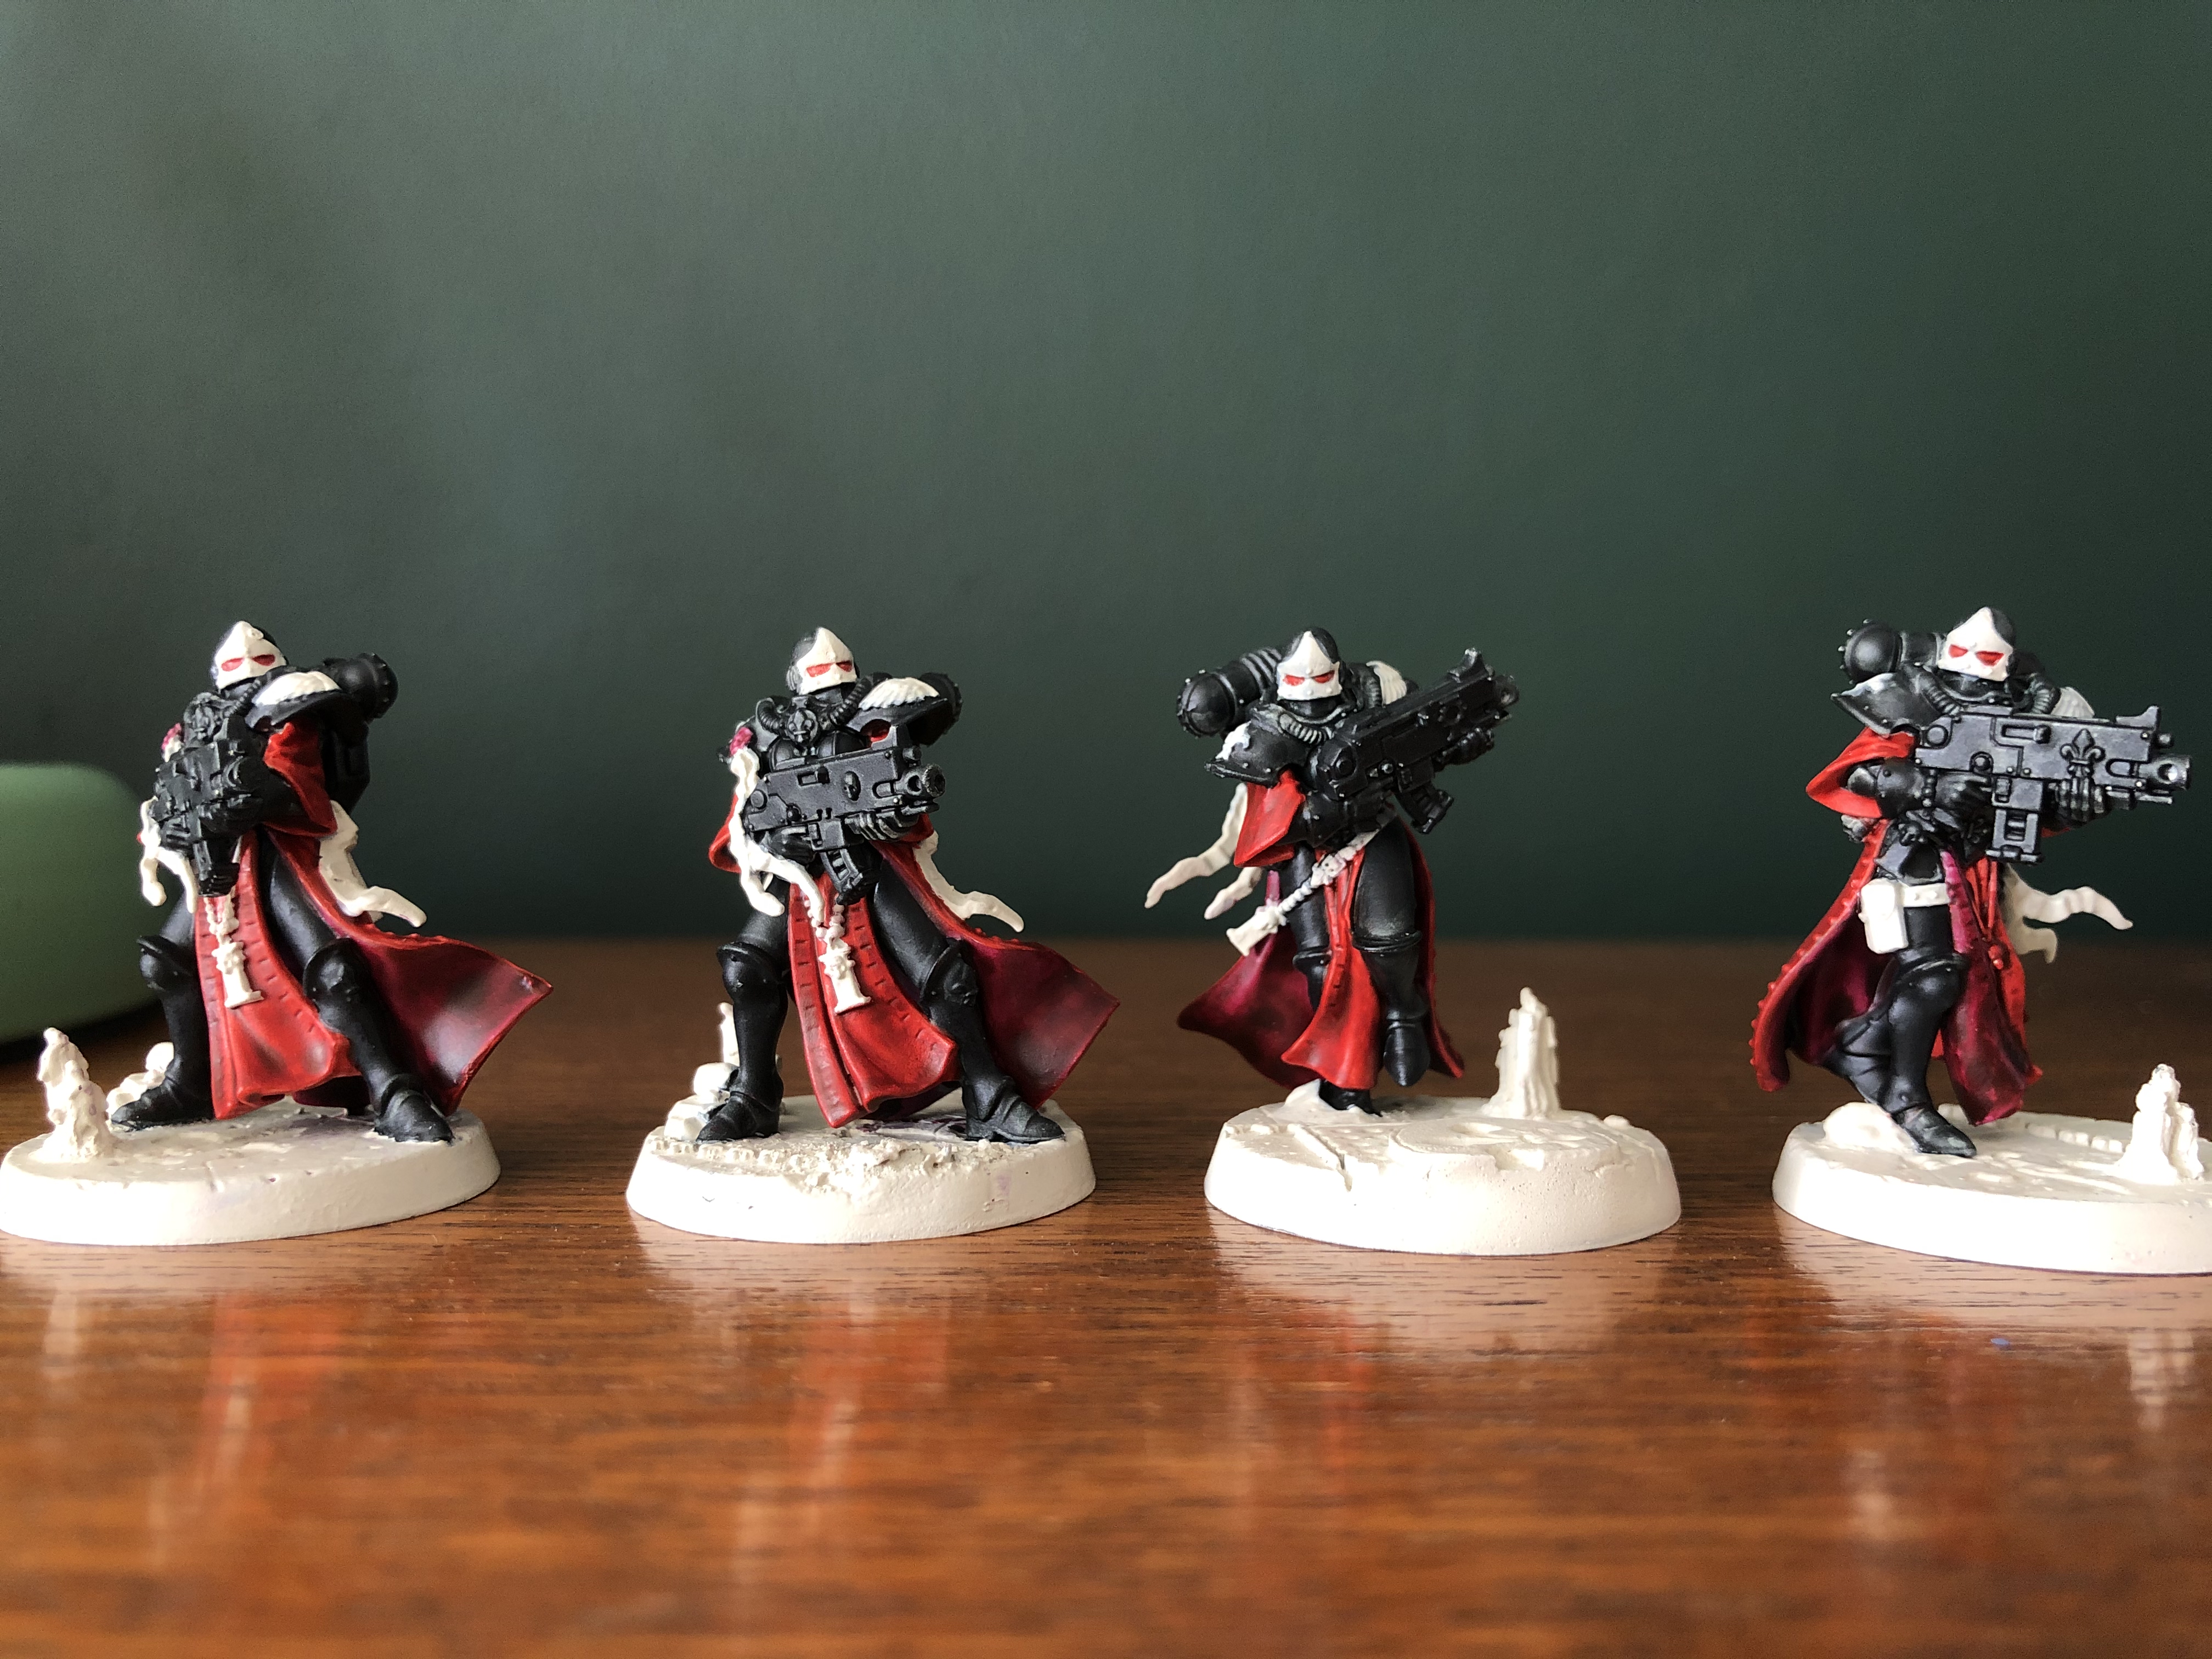
It’s time for those metallics YES! I applied a single coat of Leadbelcher to the bolt gun, corsetry & details around the model.

RETRIBUTOR ARMOUR & BLACK TEMPLAR
*****
I then applied a single layer of Retributor Armour to some of the insignia across all four models. Using Black Templar Contrast I finished off my base layers by applying a single coat onto the raised details of the bases. I thought this would break up the brown a bit like in the first test model I painted. This will of course be highlighted at a later stage.
WHAT’S NEXT?
*****
With all the base layers finally applied to my first four sisters the next updates will focus on highlighting & shading the models. I still can’t believe how awesome Contrast paints are for getting miniatures to this stage & I would happily field these ladies on the battlefield as is. But oh no we ain’t stopping there! You’ll also notice that there’s a heap of messy mistakes left from applying all this detail. Rather than tidying up now I’m going to do that alongside the shading & highlighting stages as it’s way easier. You’ll also find a lot of errors become naturally covered up during those steps. See you on the next one people. YES!
THE EMPEROR PROTECTS
Much Love
Eternity Gate
SISTERS ARE DOIN IT FOR THEMSELVES ~ BASE LAYERS PART 1

APPLYING THE FINAL BASE LAYERS
*****
This week I’ve found the time to apply all the remaining base layers to my first 4 sisters & they’re finally coming to life. This is the final stage before I begin shading & highlighting the miniatures. So let’s get started. Without further ado here’s this weeks paint list. Boom!
PAINT LIST
*****
• CONTRAST APOTHECARY WHITE
• CONTRAST SNAKEBITE LEATHER
• CONTRAST GORE GRUNTA FUR
• CONTRAST VOLUPUS PINK
• CONTRAST BLACK TEMPLAR
• AGRAX EARTHSHADE
• LEADBELCHER
• RETRIBUTOR ARMOUR
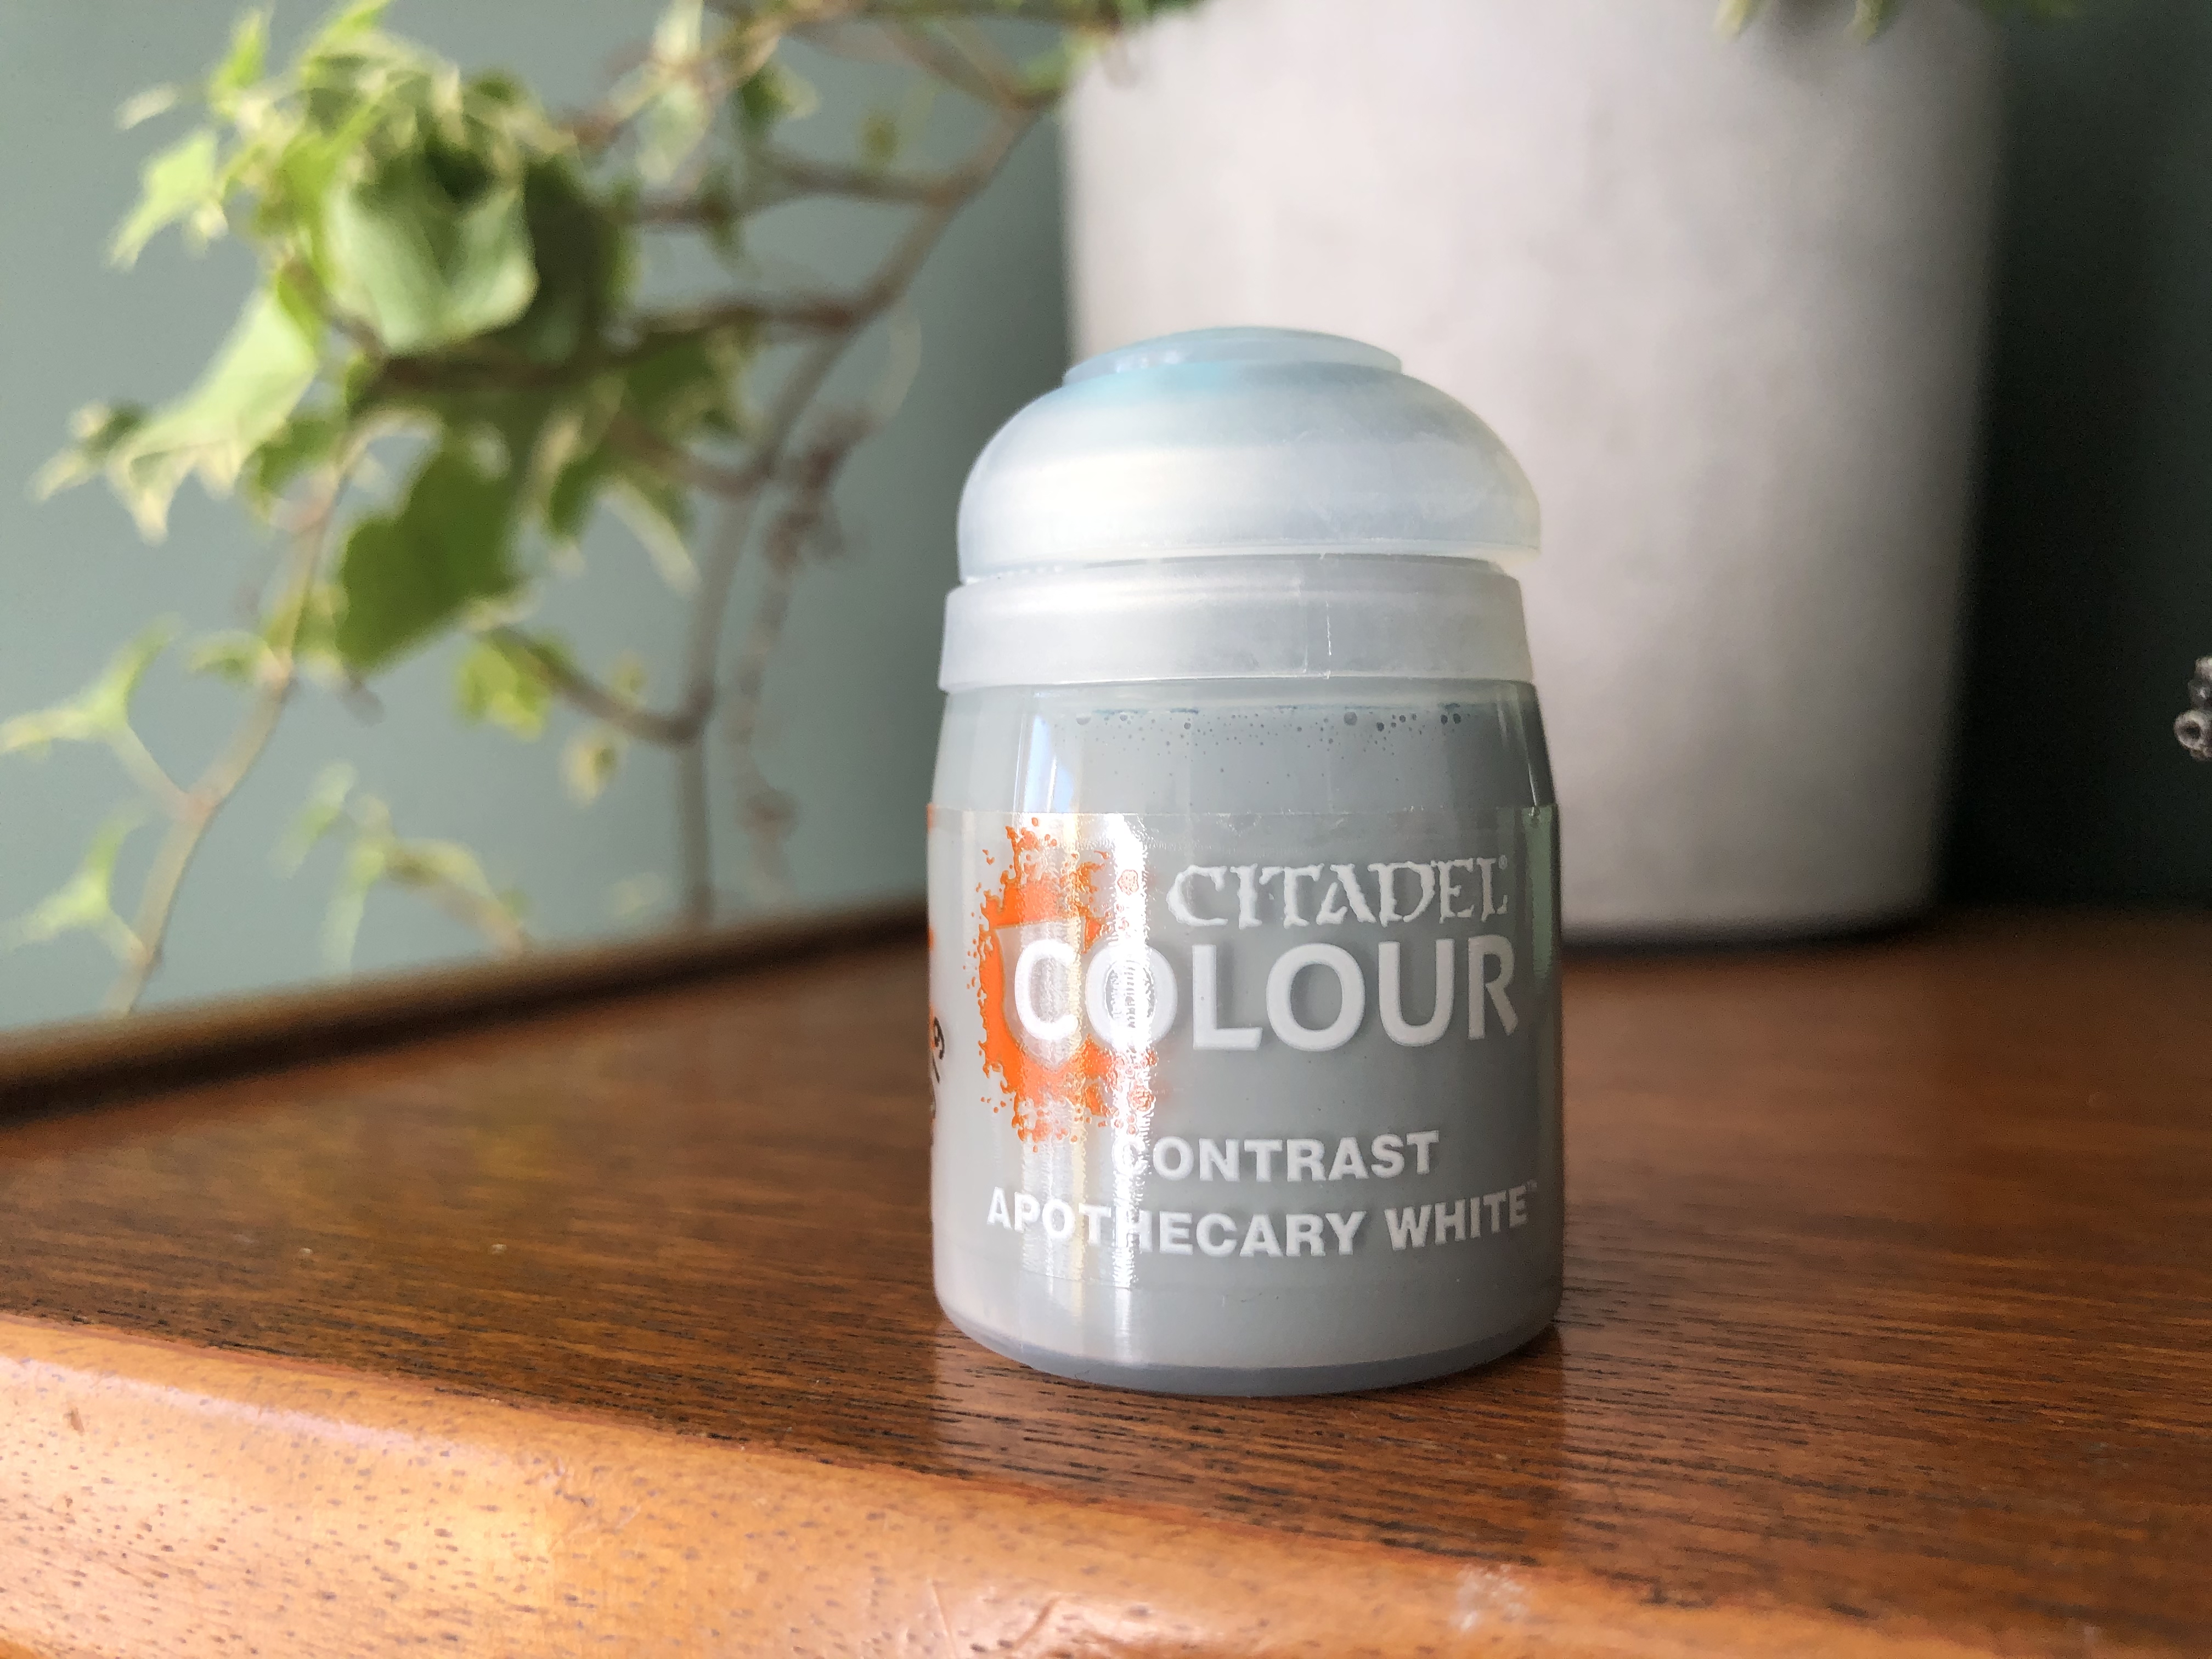
APOTHECARY WHITE
*****
I’ve not actually used this contrast paint before but really like the effect. There’s a good chance I might darken the shadows a little in the shading stage. But for now I applied Apothecary White Contrast to all of the white parts of the sisters including the front of the helmets & shoulder insignia.
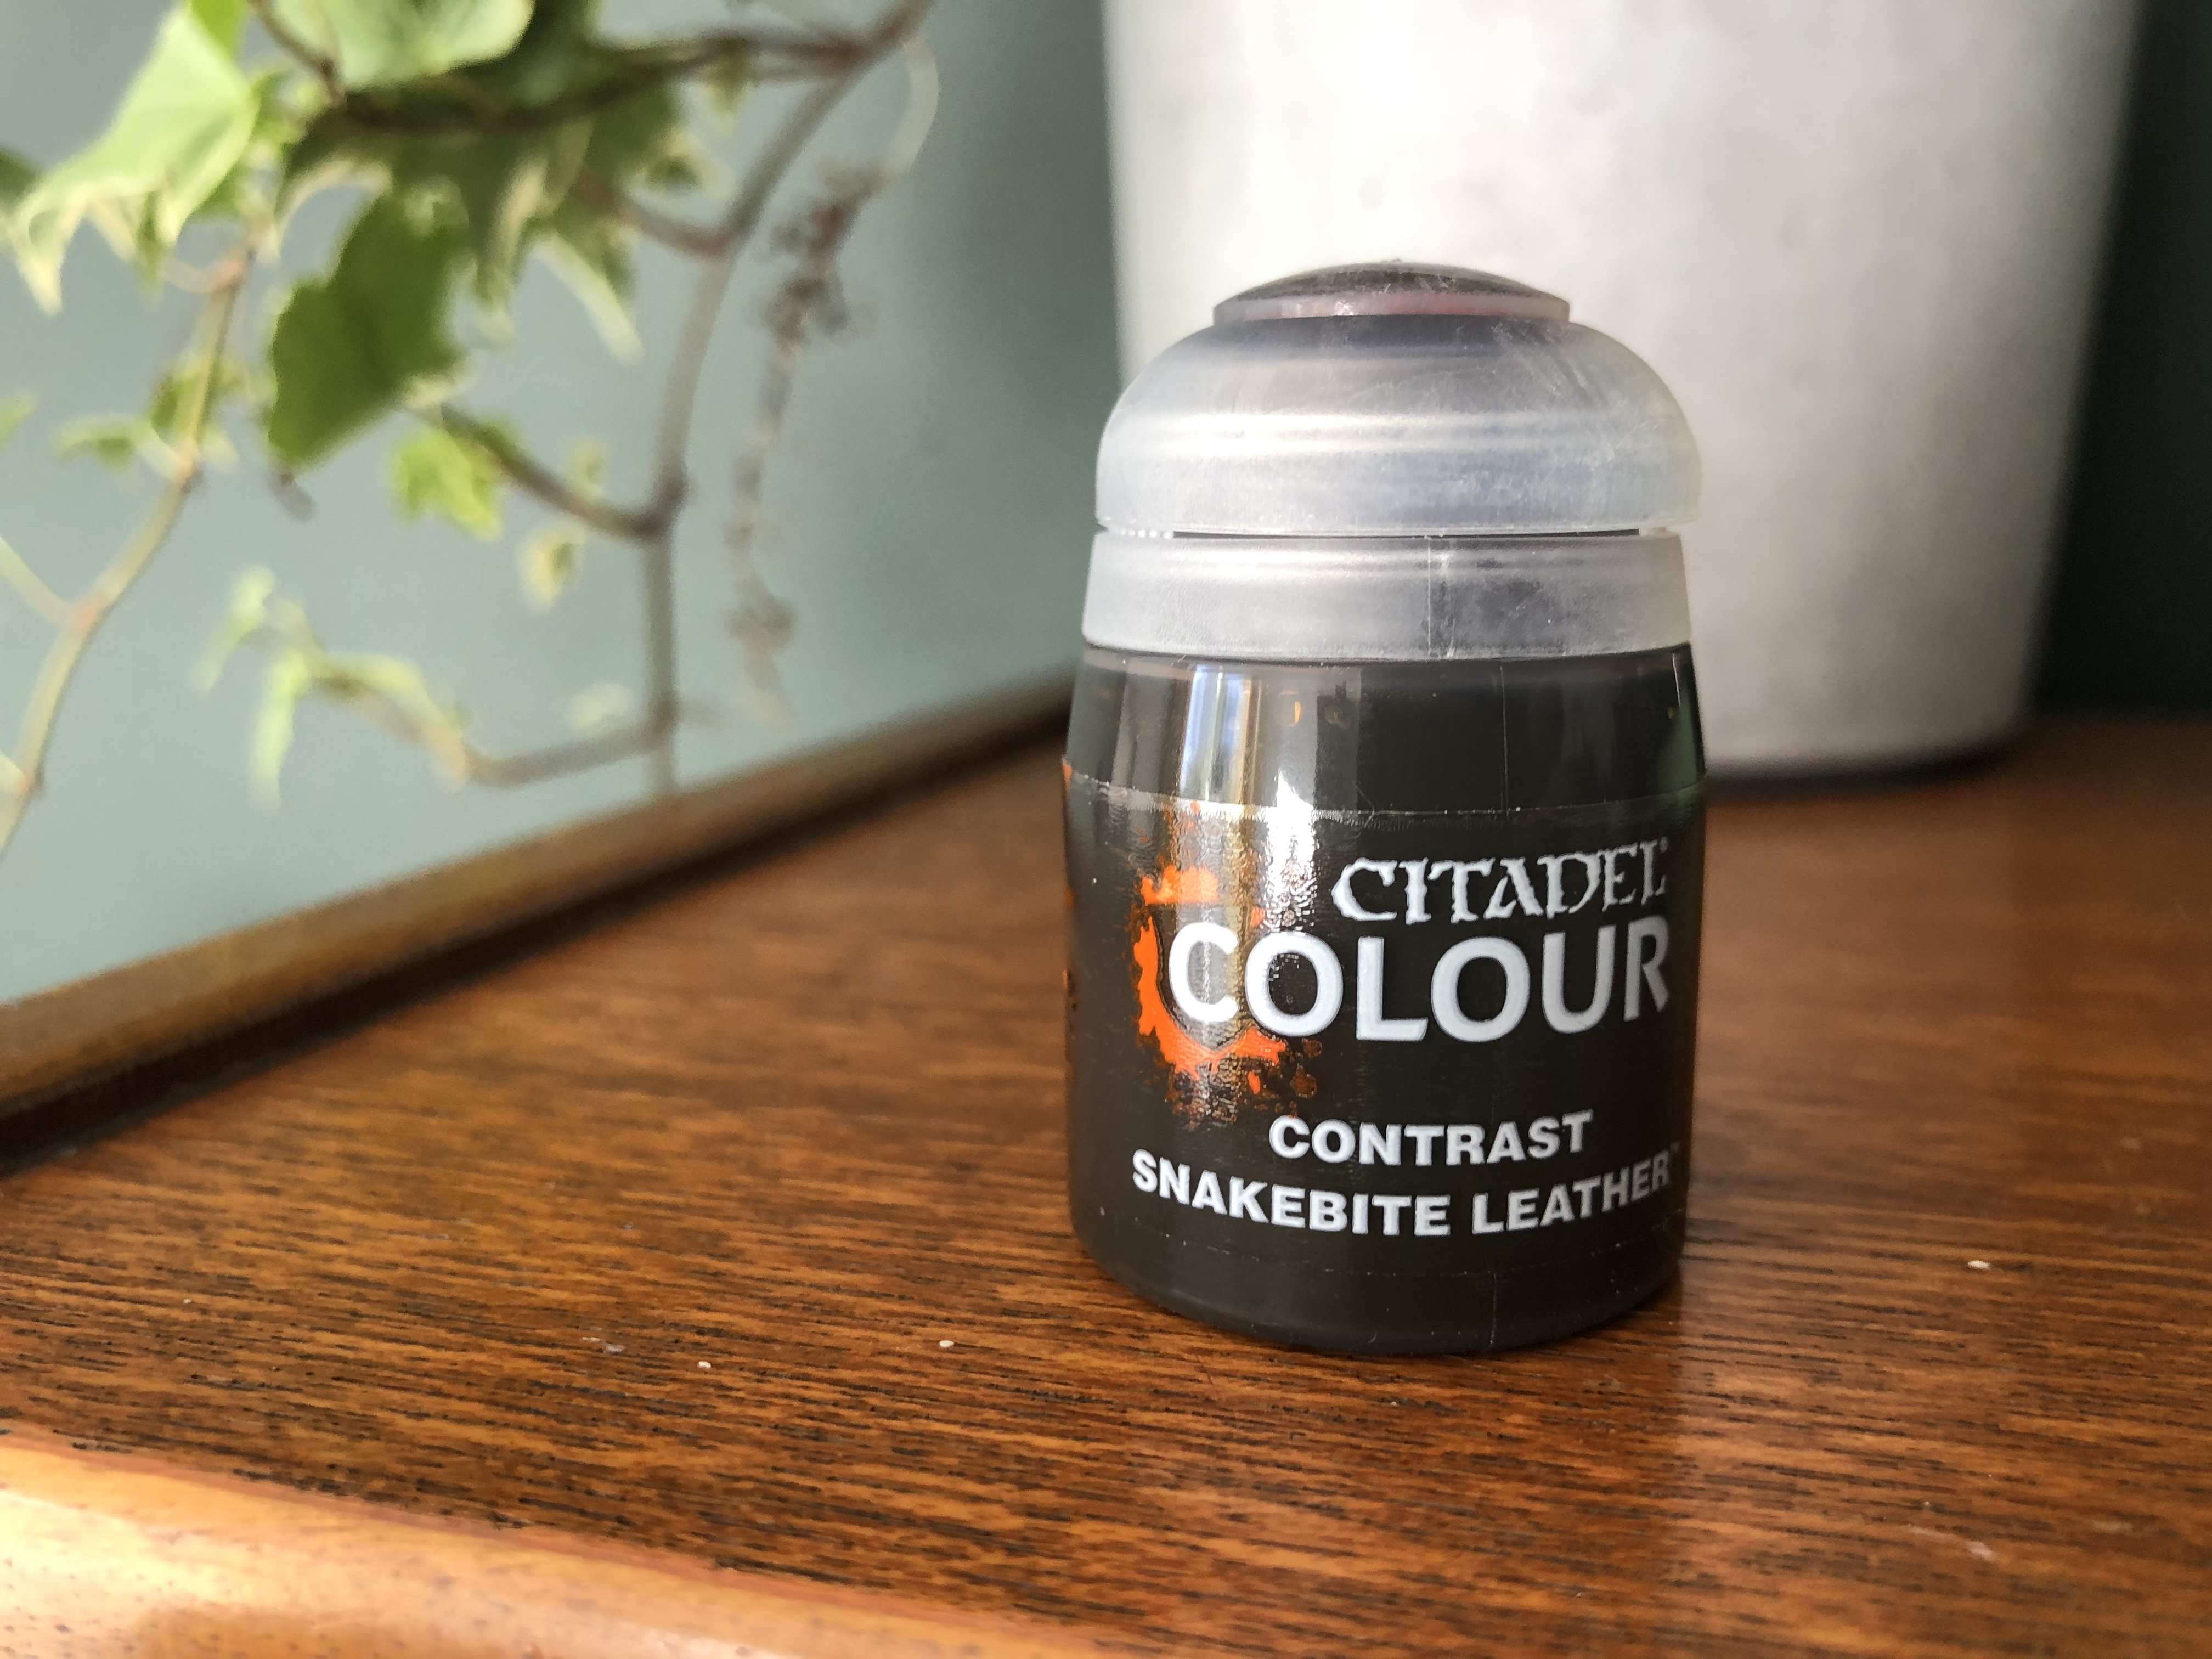

SNAKEBITE LEATHER
*****
I then went on to working on the leather elements of the models by applying two coats of Snakebite Leather Contrast to the leather straps & holsters. Make sure you wait for the previous layer to dry before moving onto applying the second coat. By the time I’d finished the fourth sister the first one I had worked on was dry so it speeded up the process.
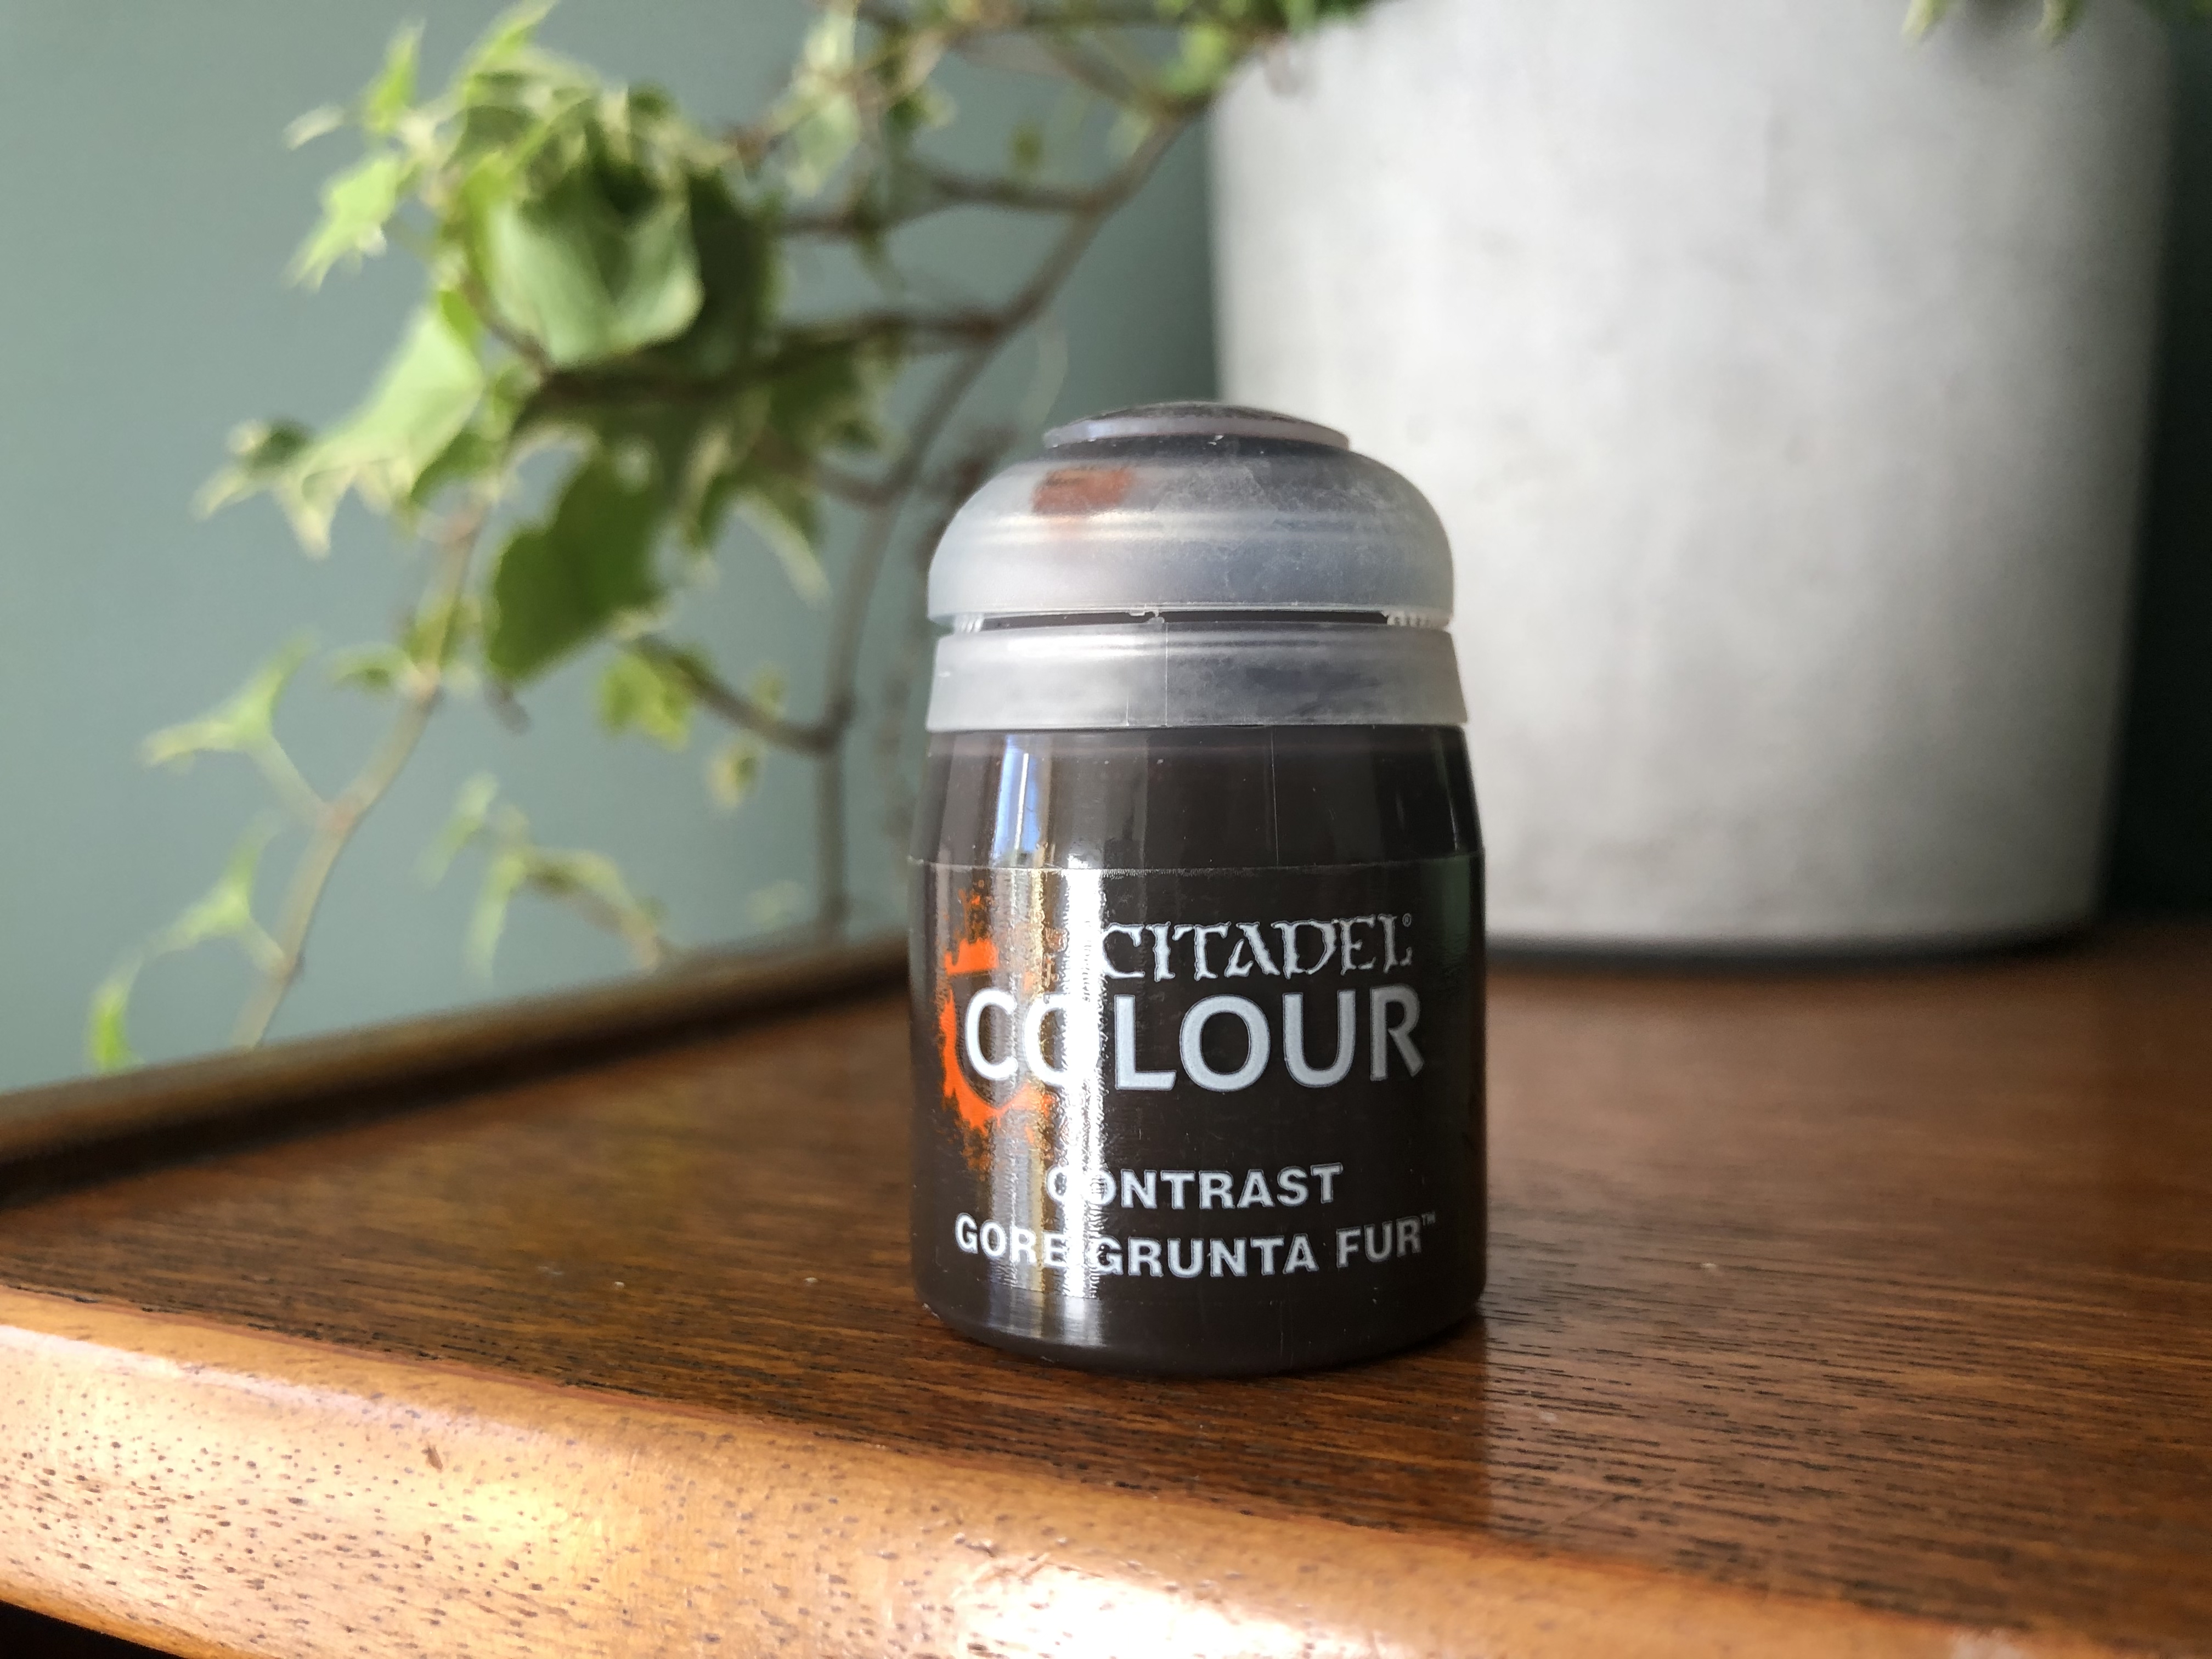
GORE GRUNTA FUR
*****
I then gave the lovely bases from unreal wargaming their first coat of awesomeness by applying Gore Grunta Fur Contrast paint. Just one thick coat like a badass. YES!
AGRAX EARTHSHADE
*****
Jeez! I think this is the first none contrast paint I’ve used so far apart from Wraithbone & that doesn’t count haha. I applied a single coat of Agrax Earthshade onto all the parchment parts of the purity seals across all four models. LOVE ME SOME AGRAX!
VOLUPUS PINK
*****
I then applied a single layer of Volupus Pink Contrast to all the candles on the bases been careful to leave the flames Wraithbone for later.
>>>> CONTINUED NEXT POST >>>>>
I'M SEEING RED
IT’S ALL IN THE CONTRAST
*****
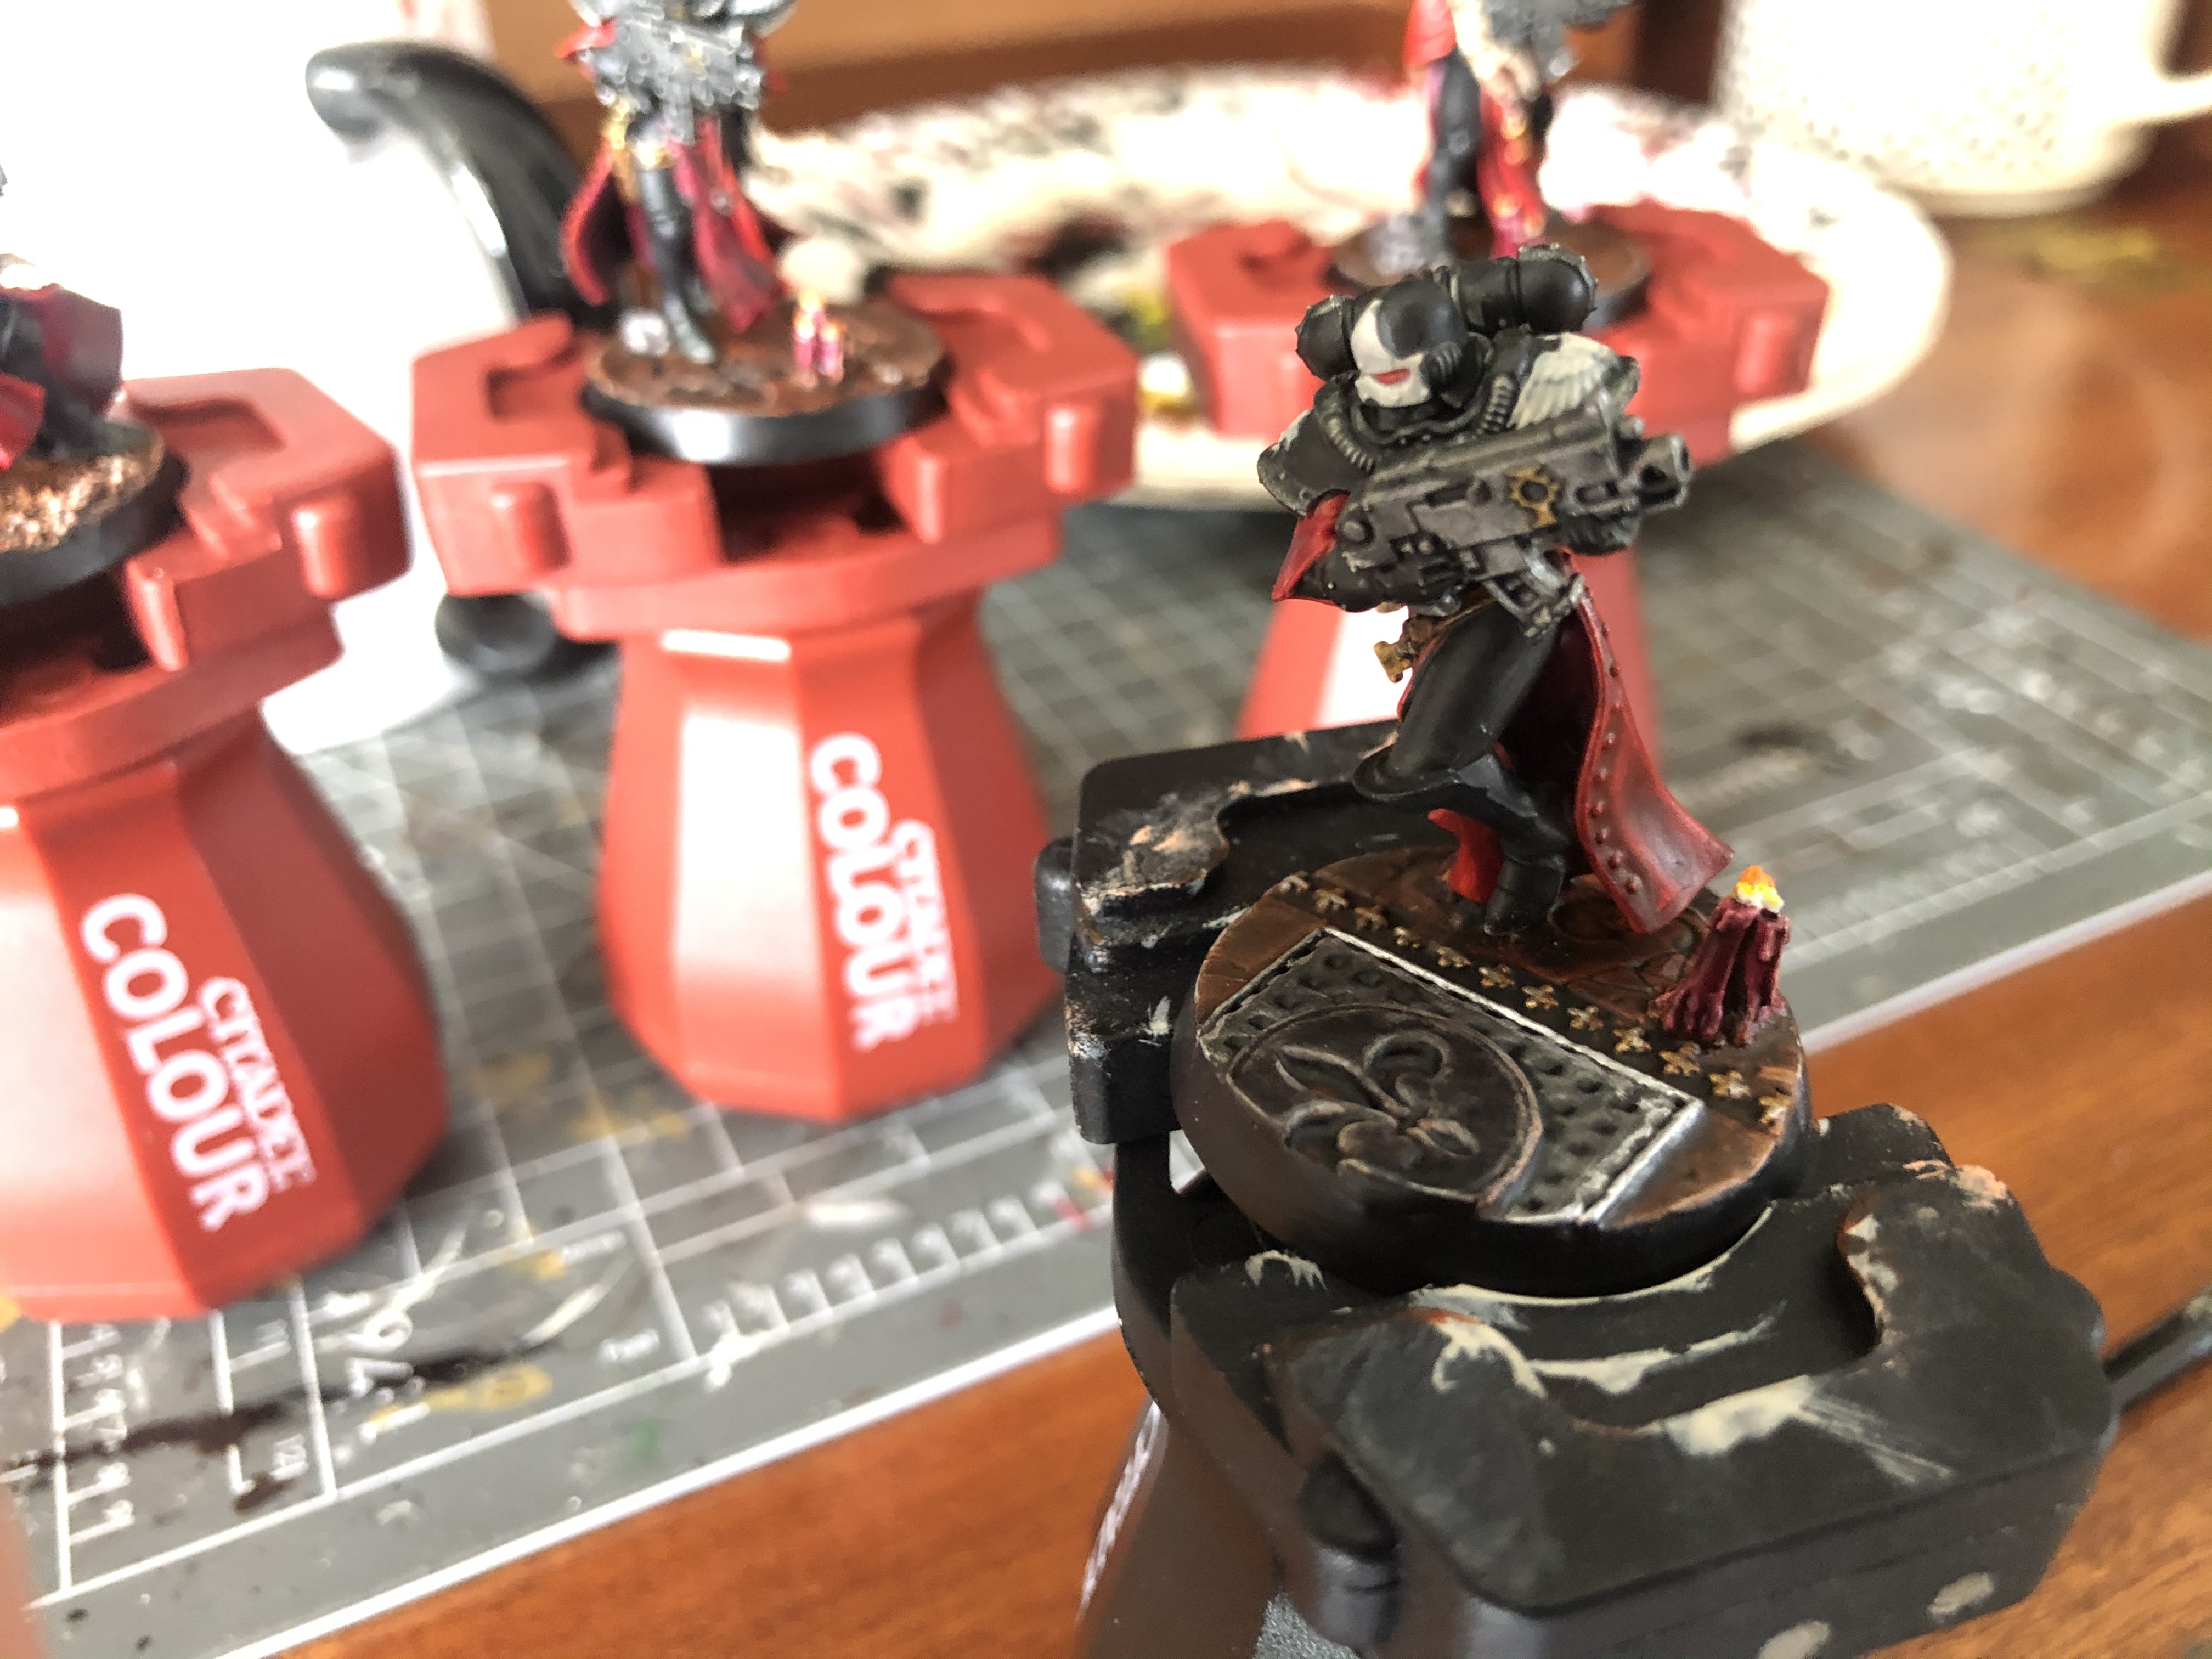
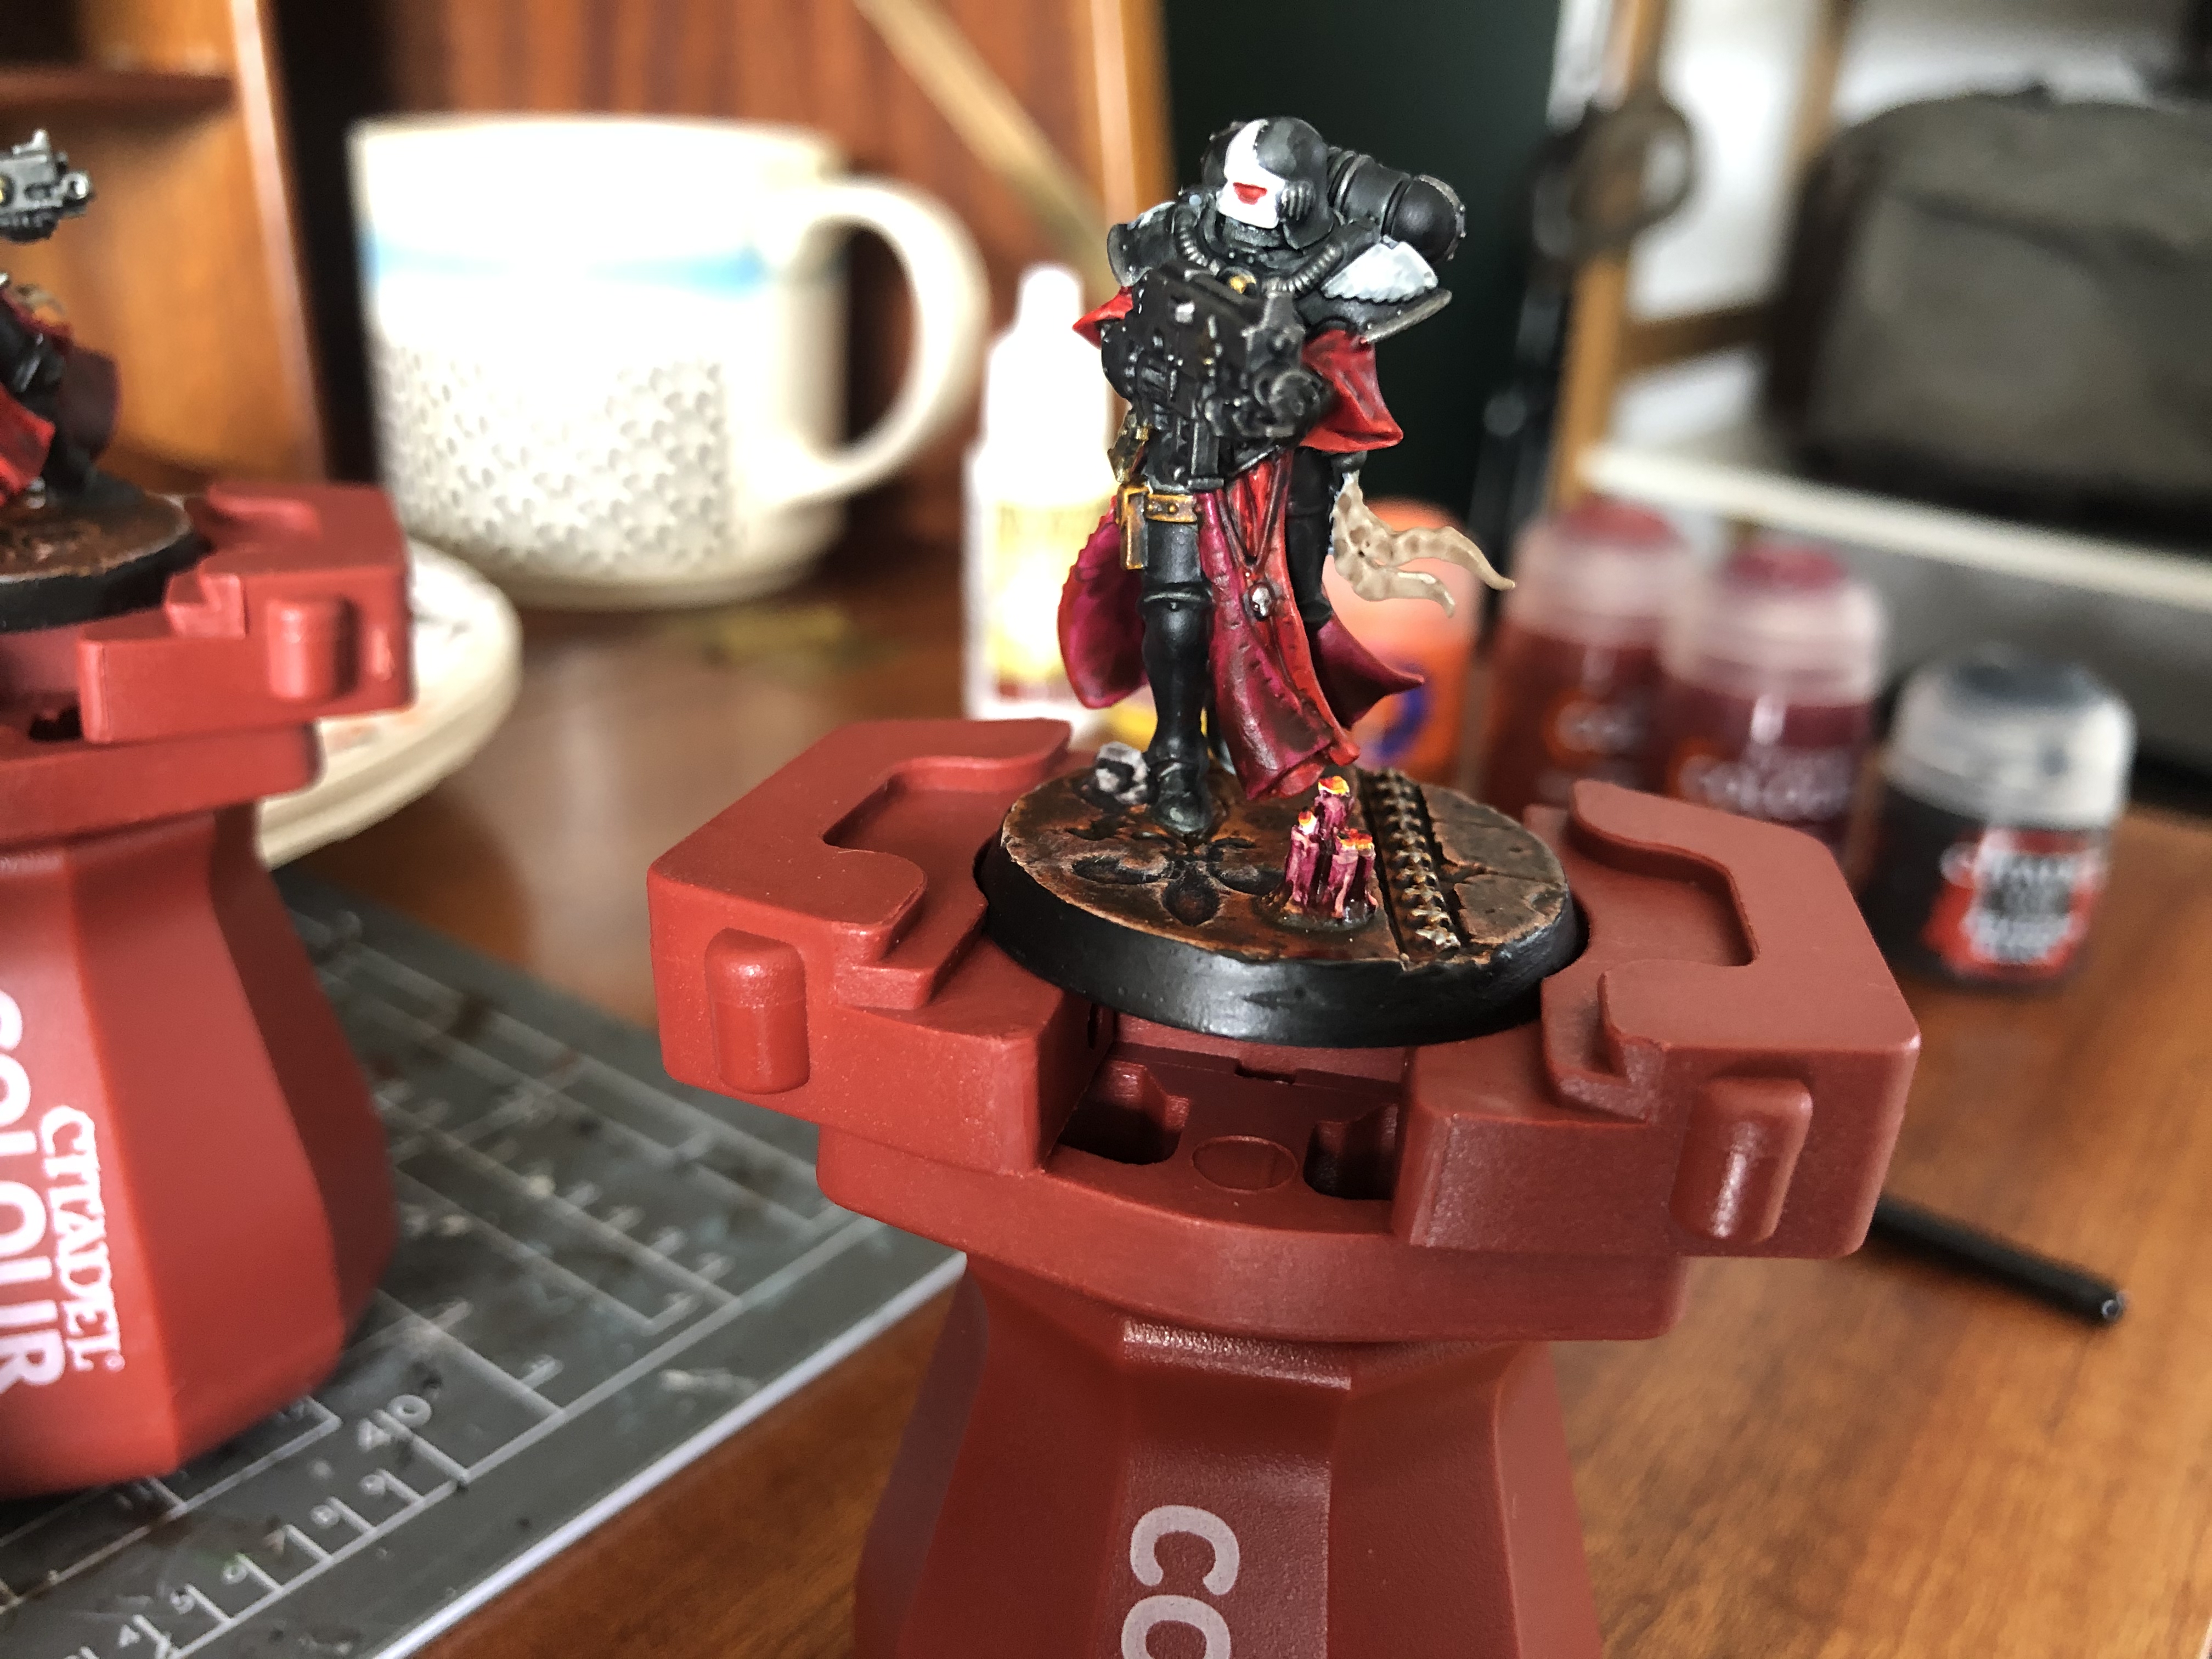
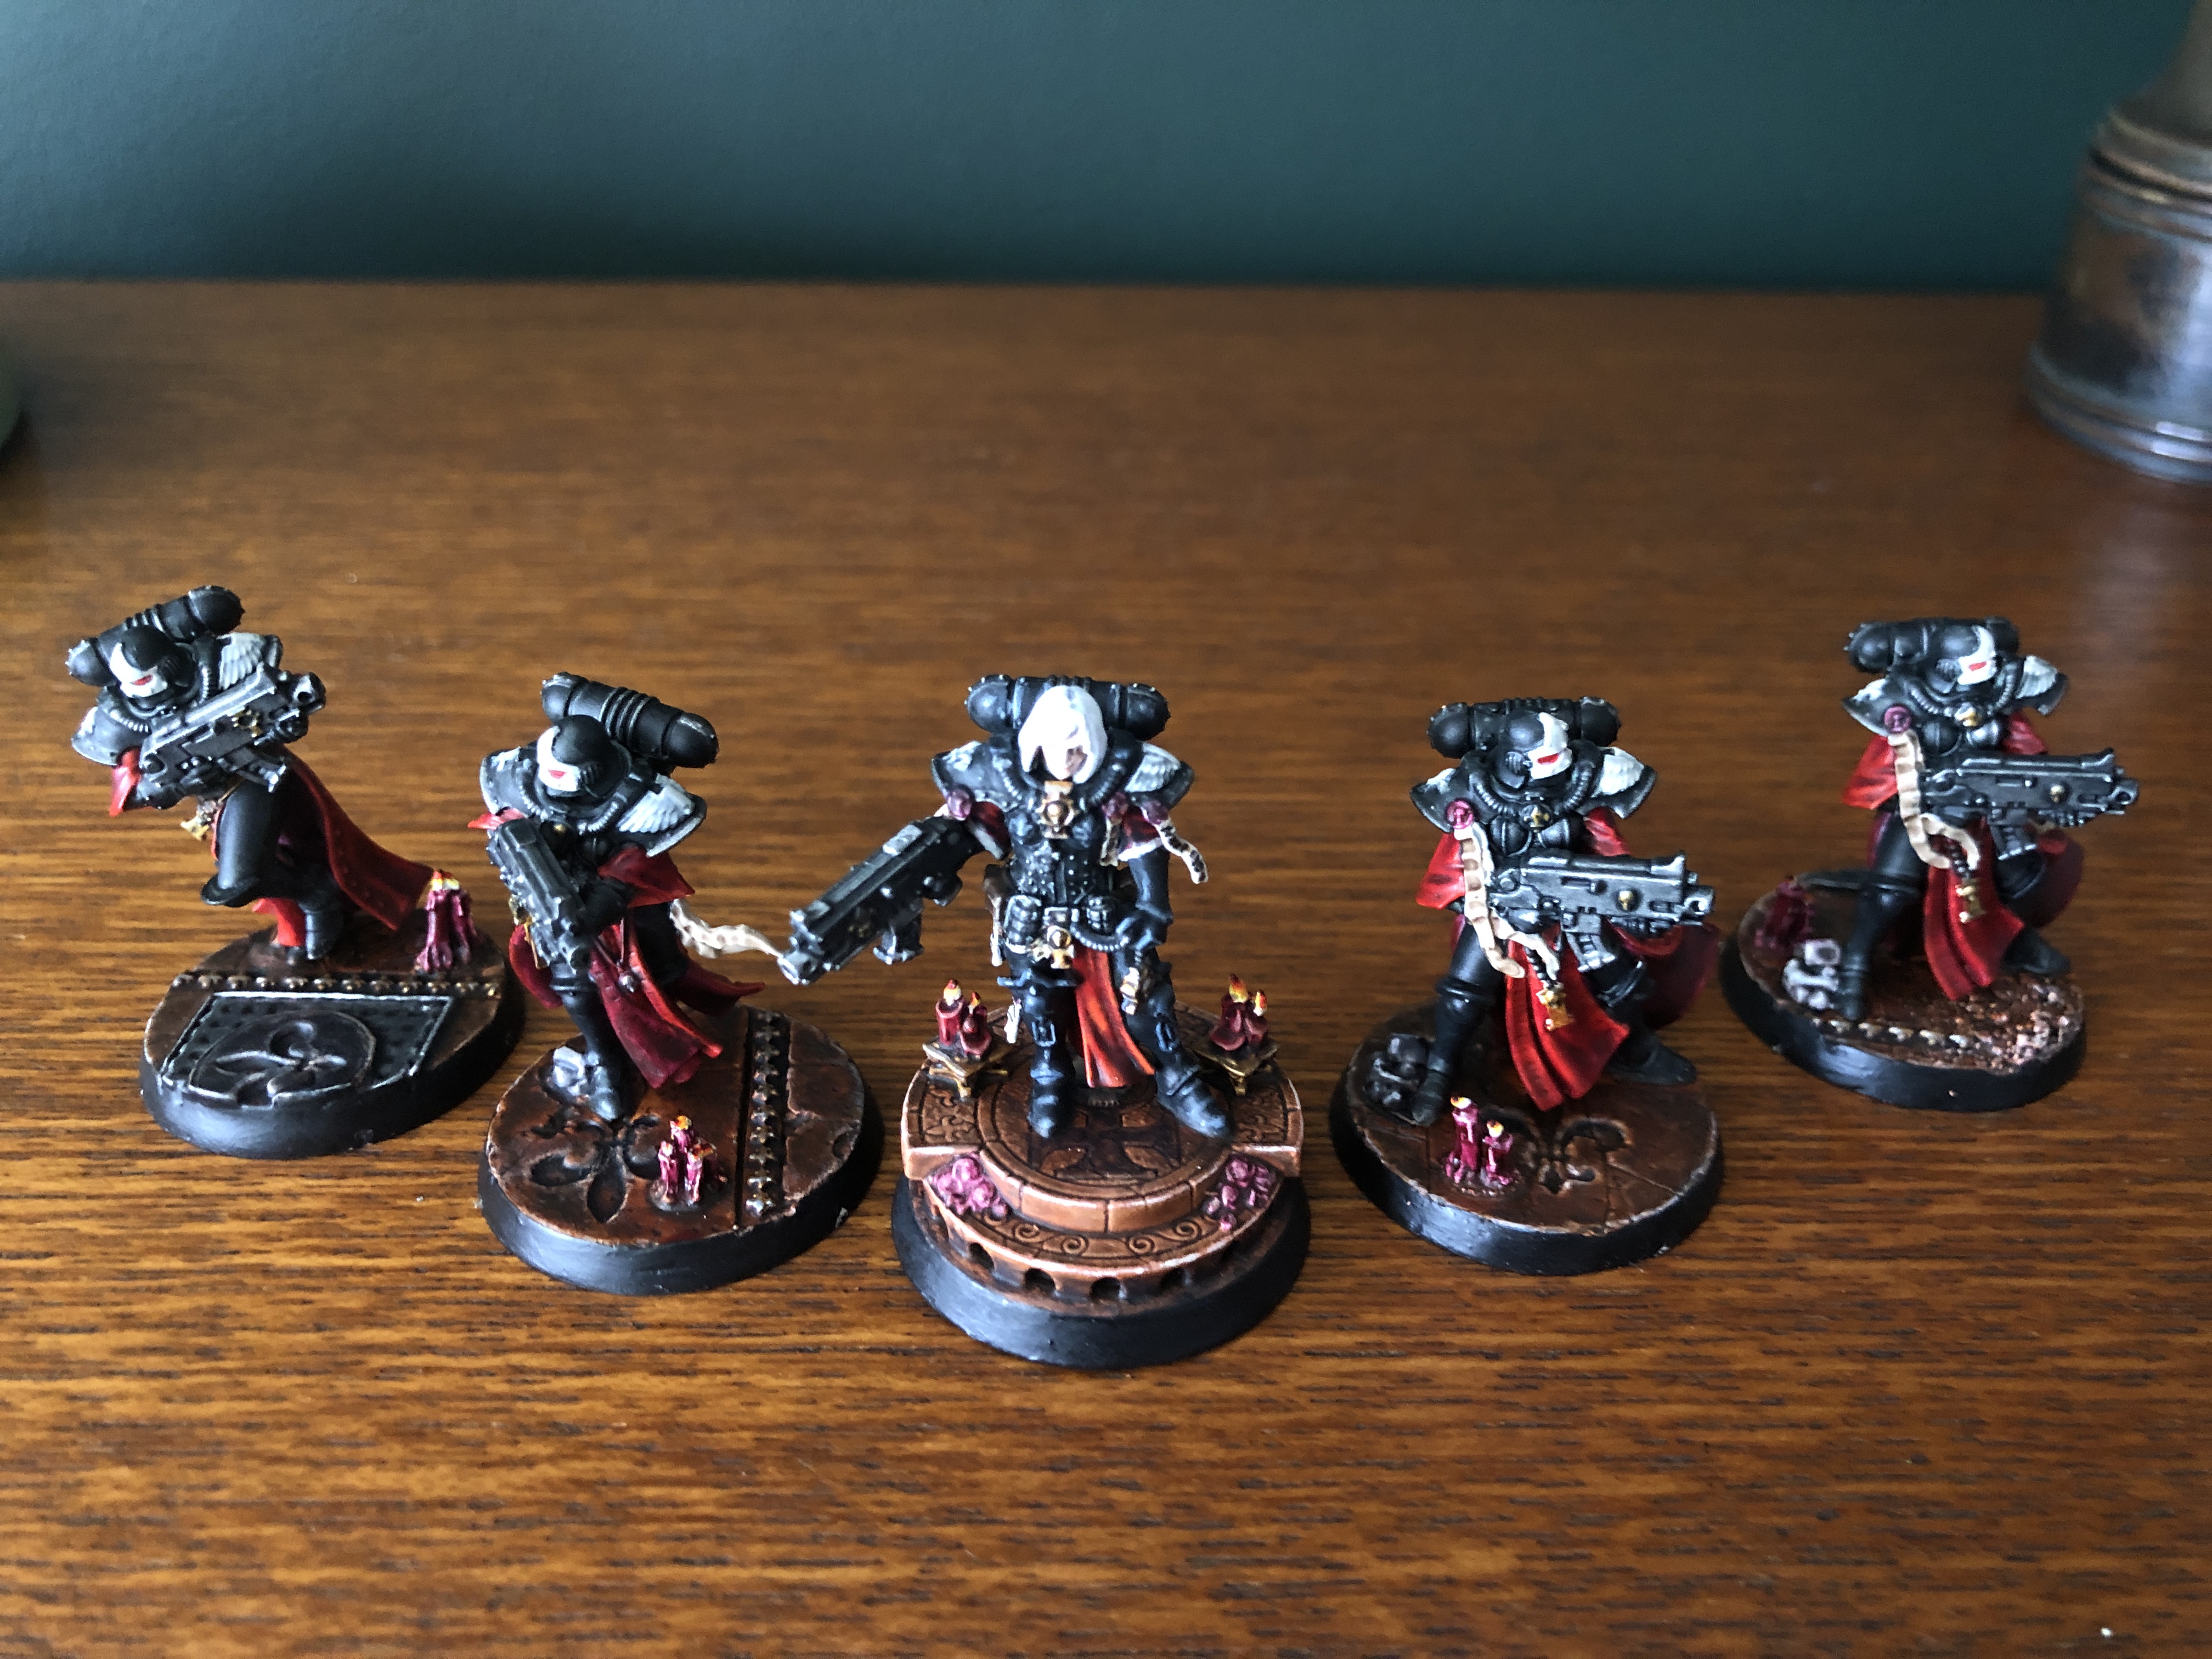
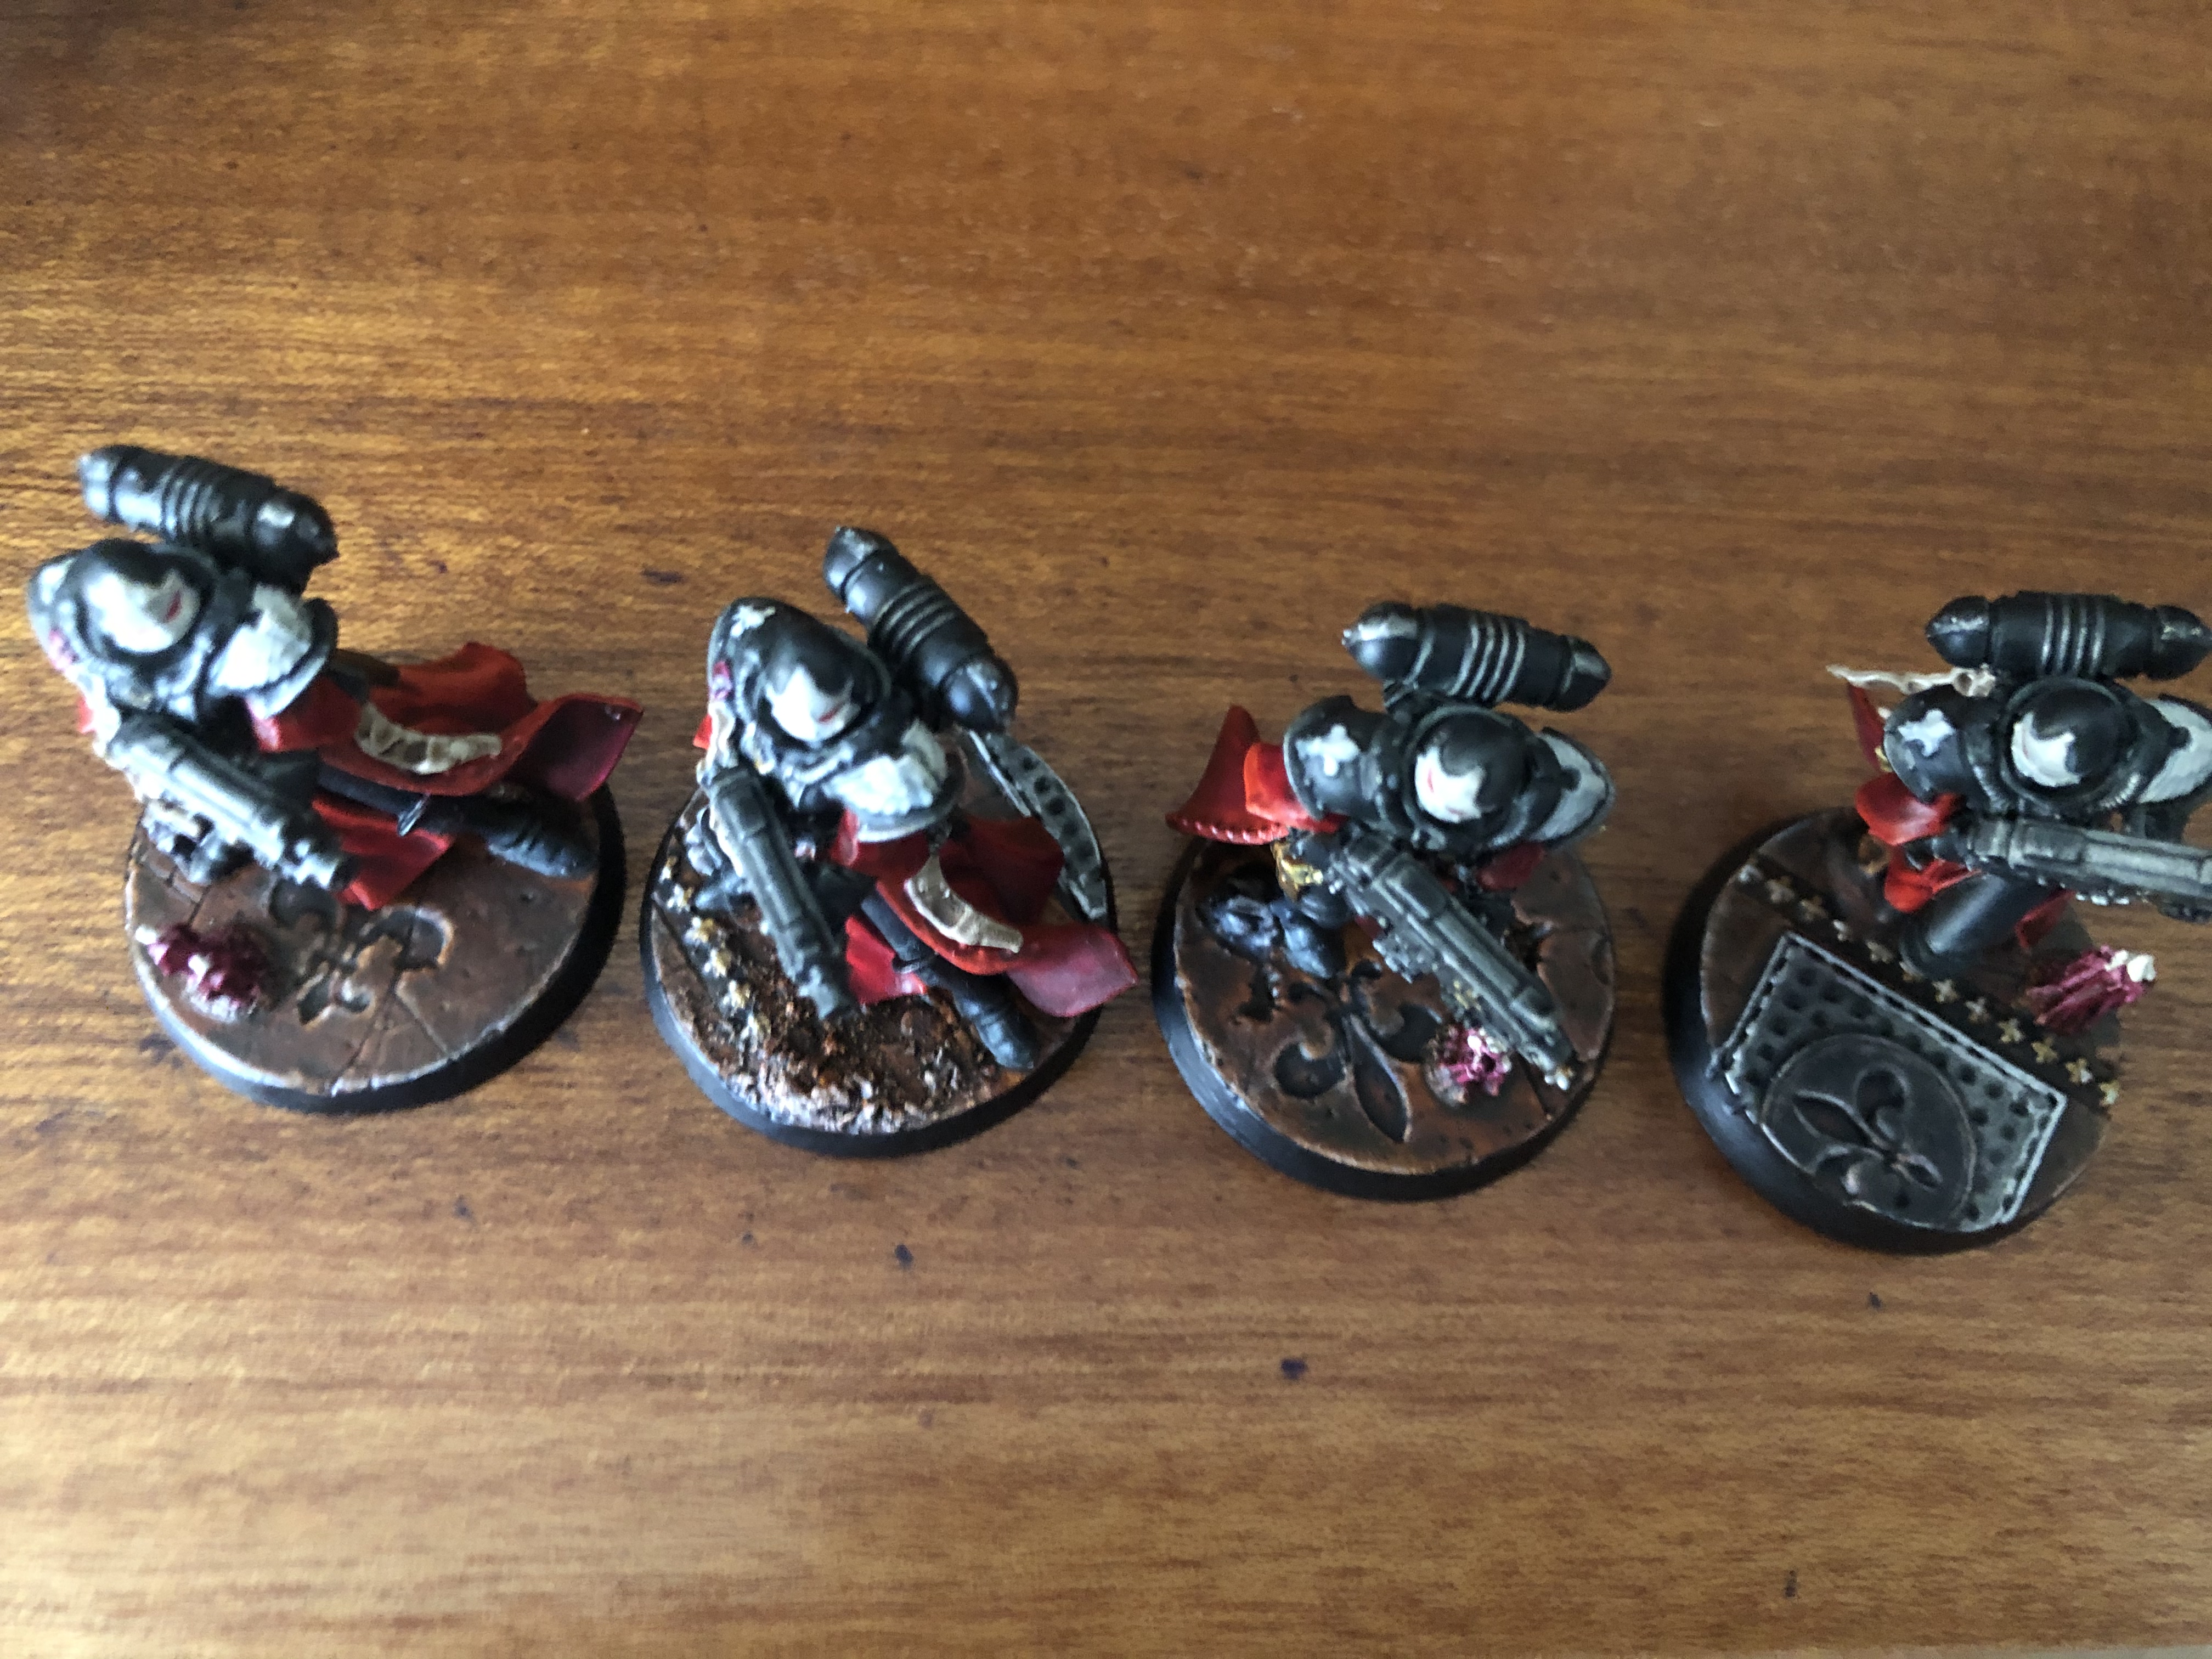
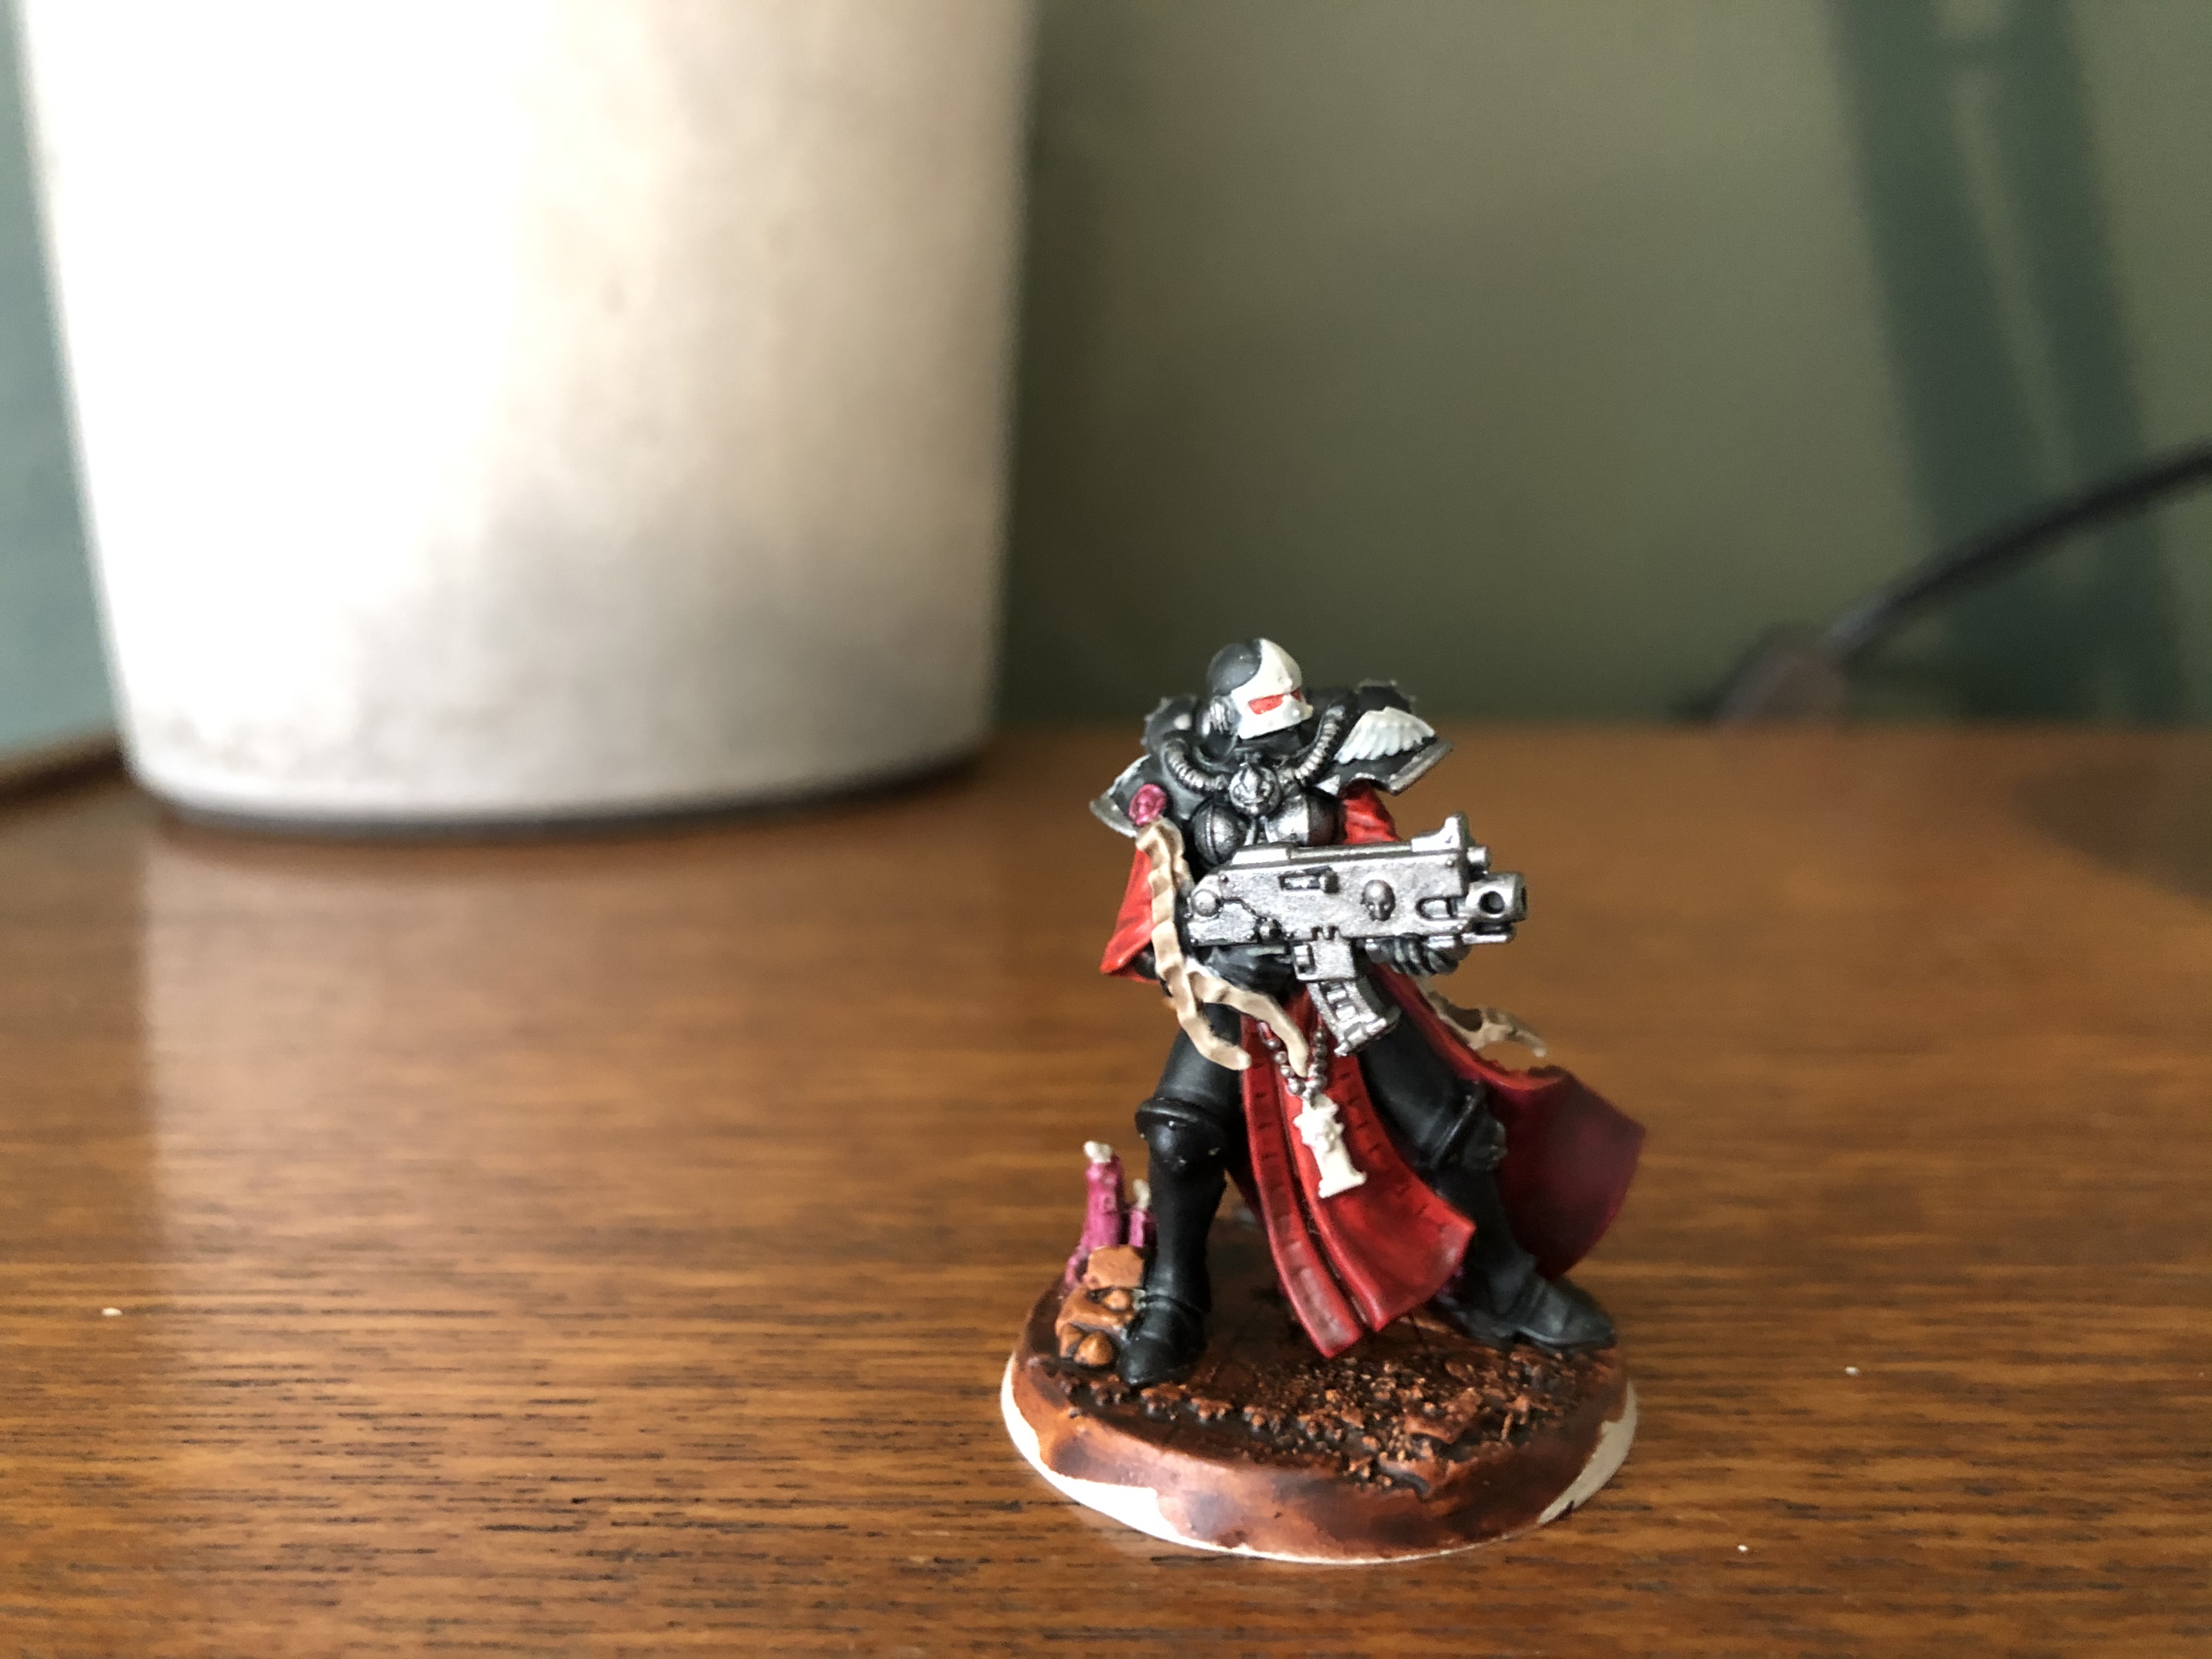
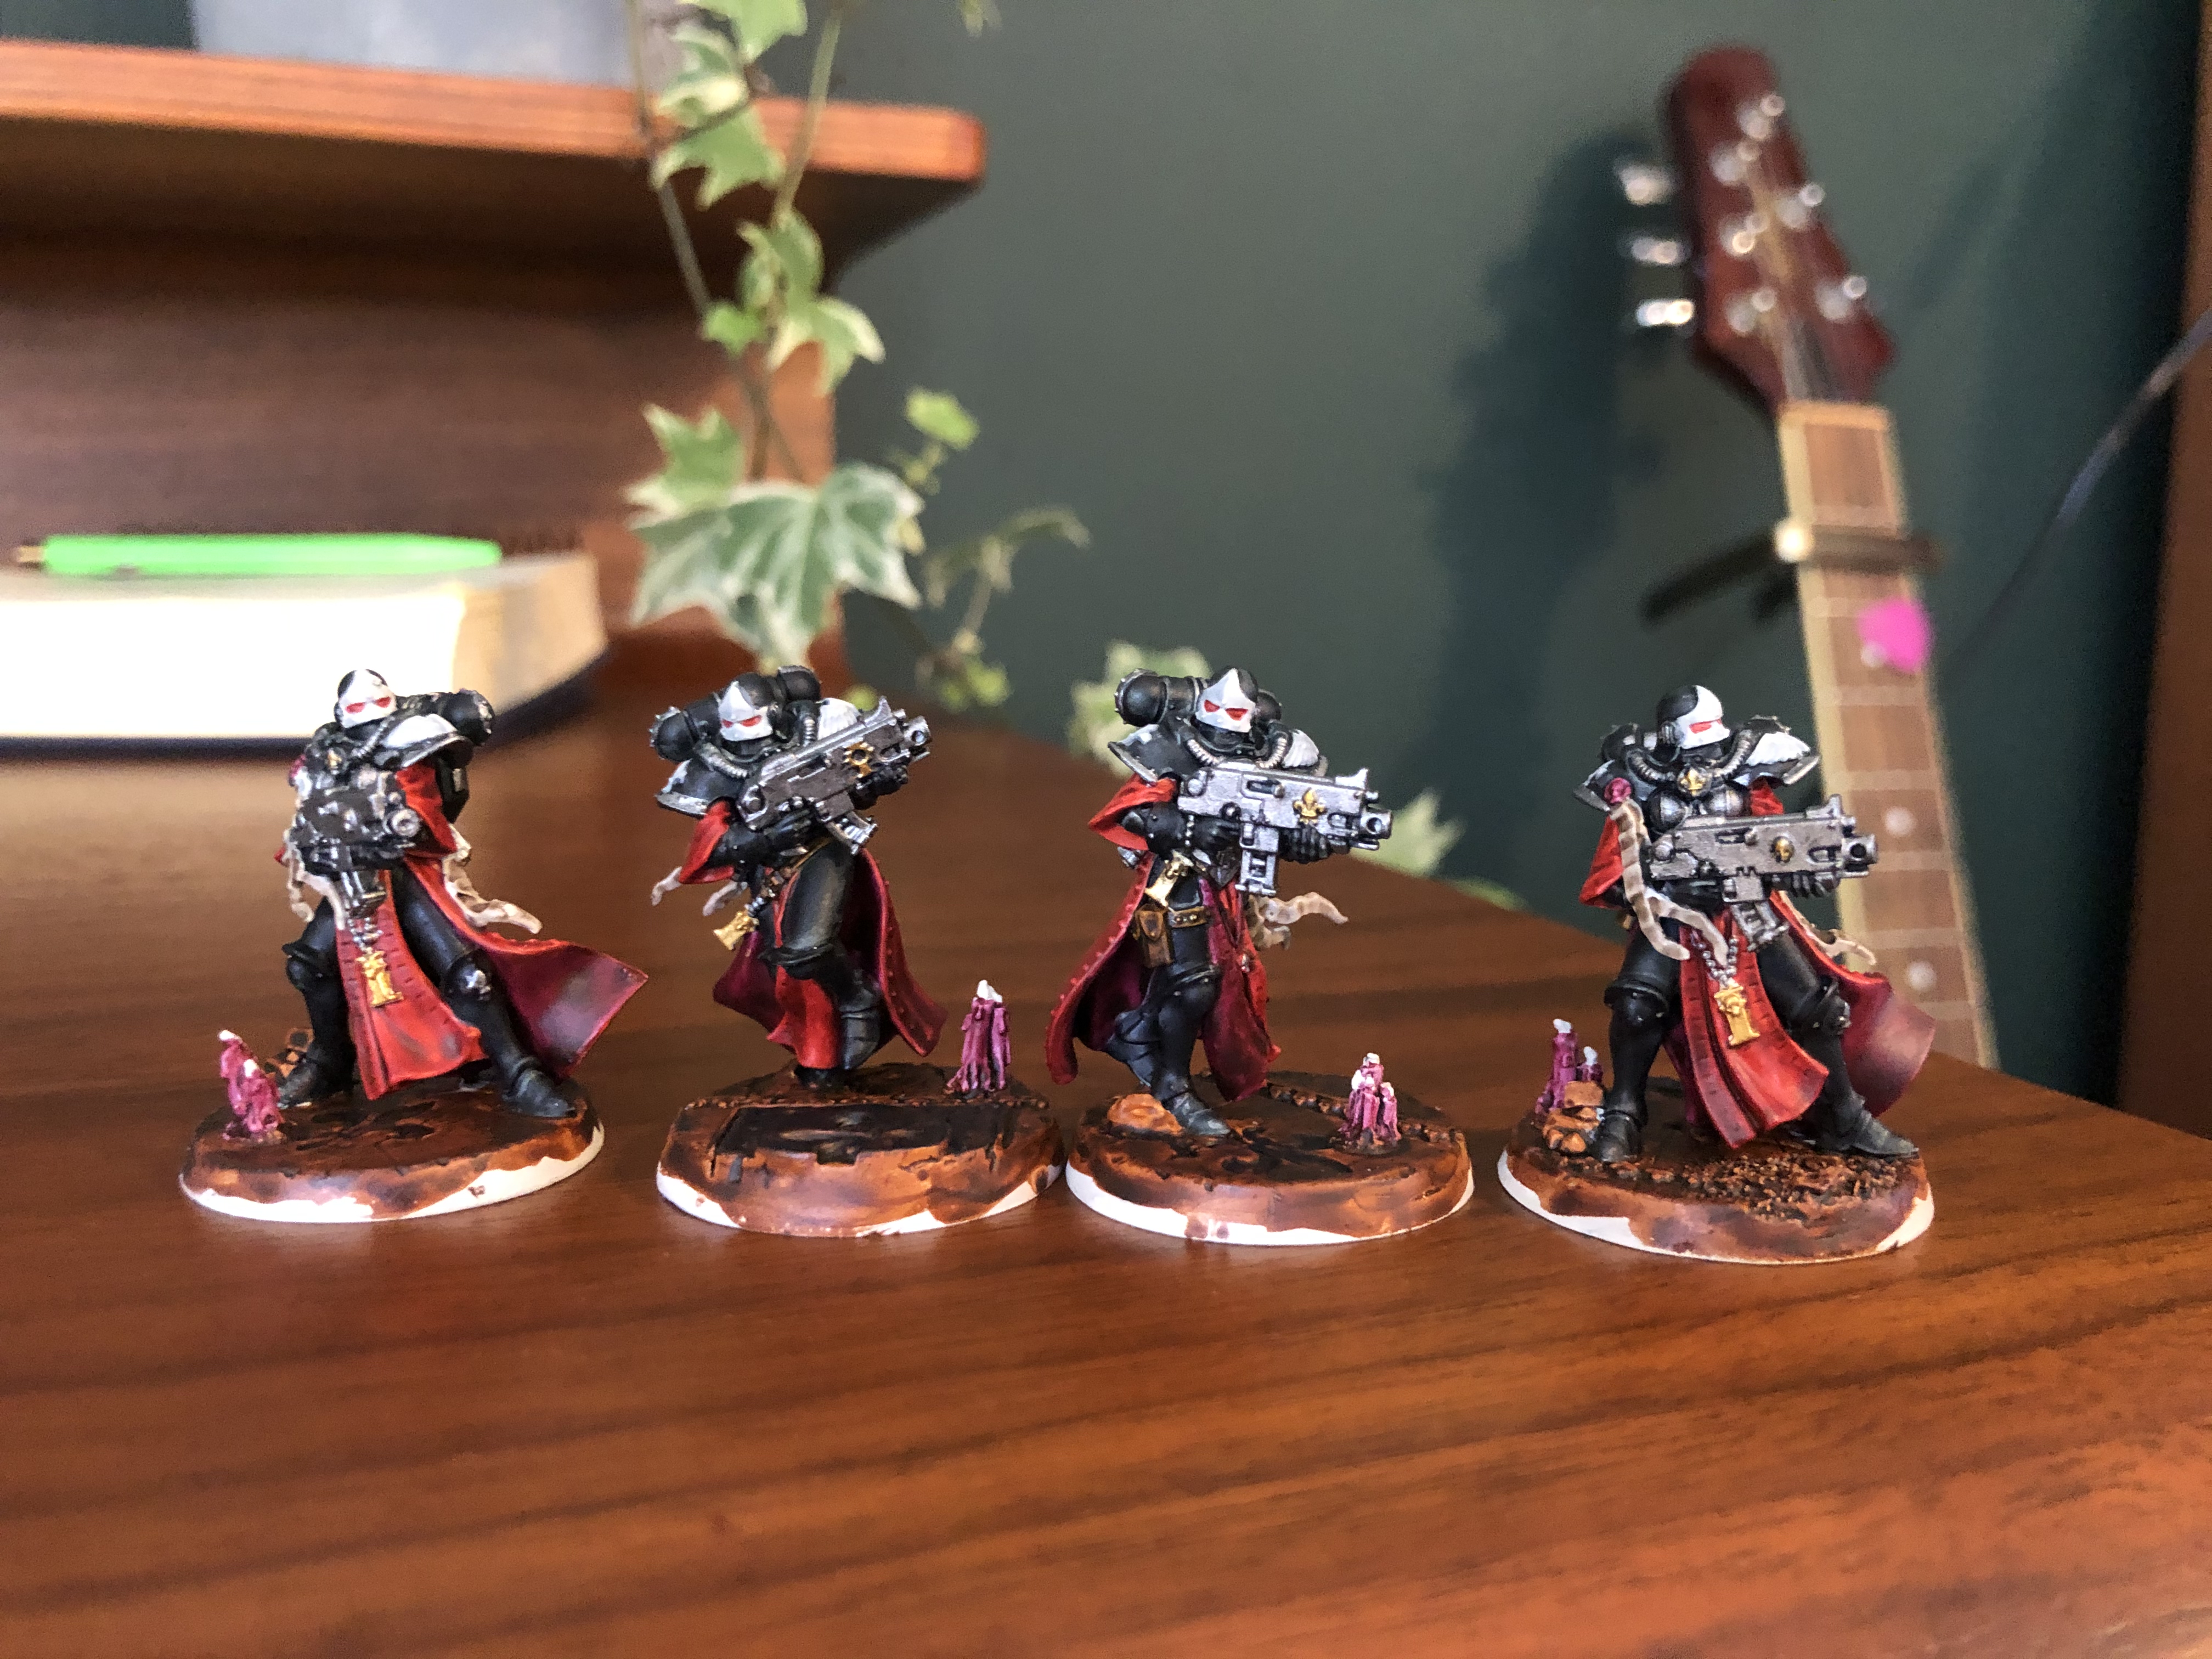
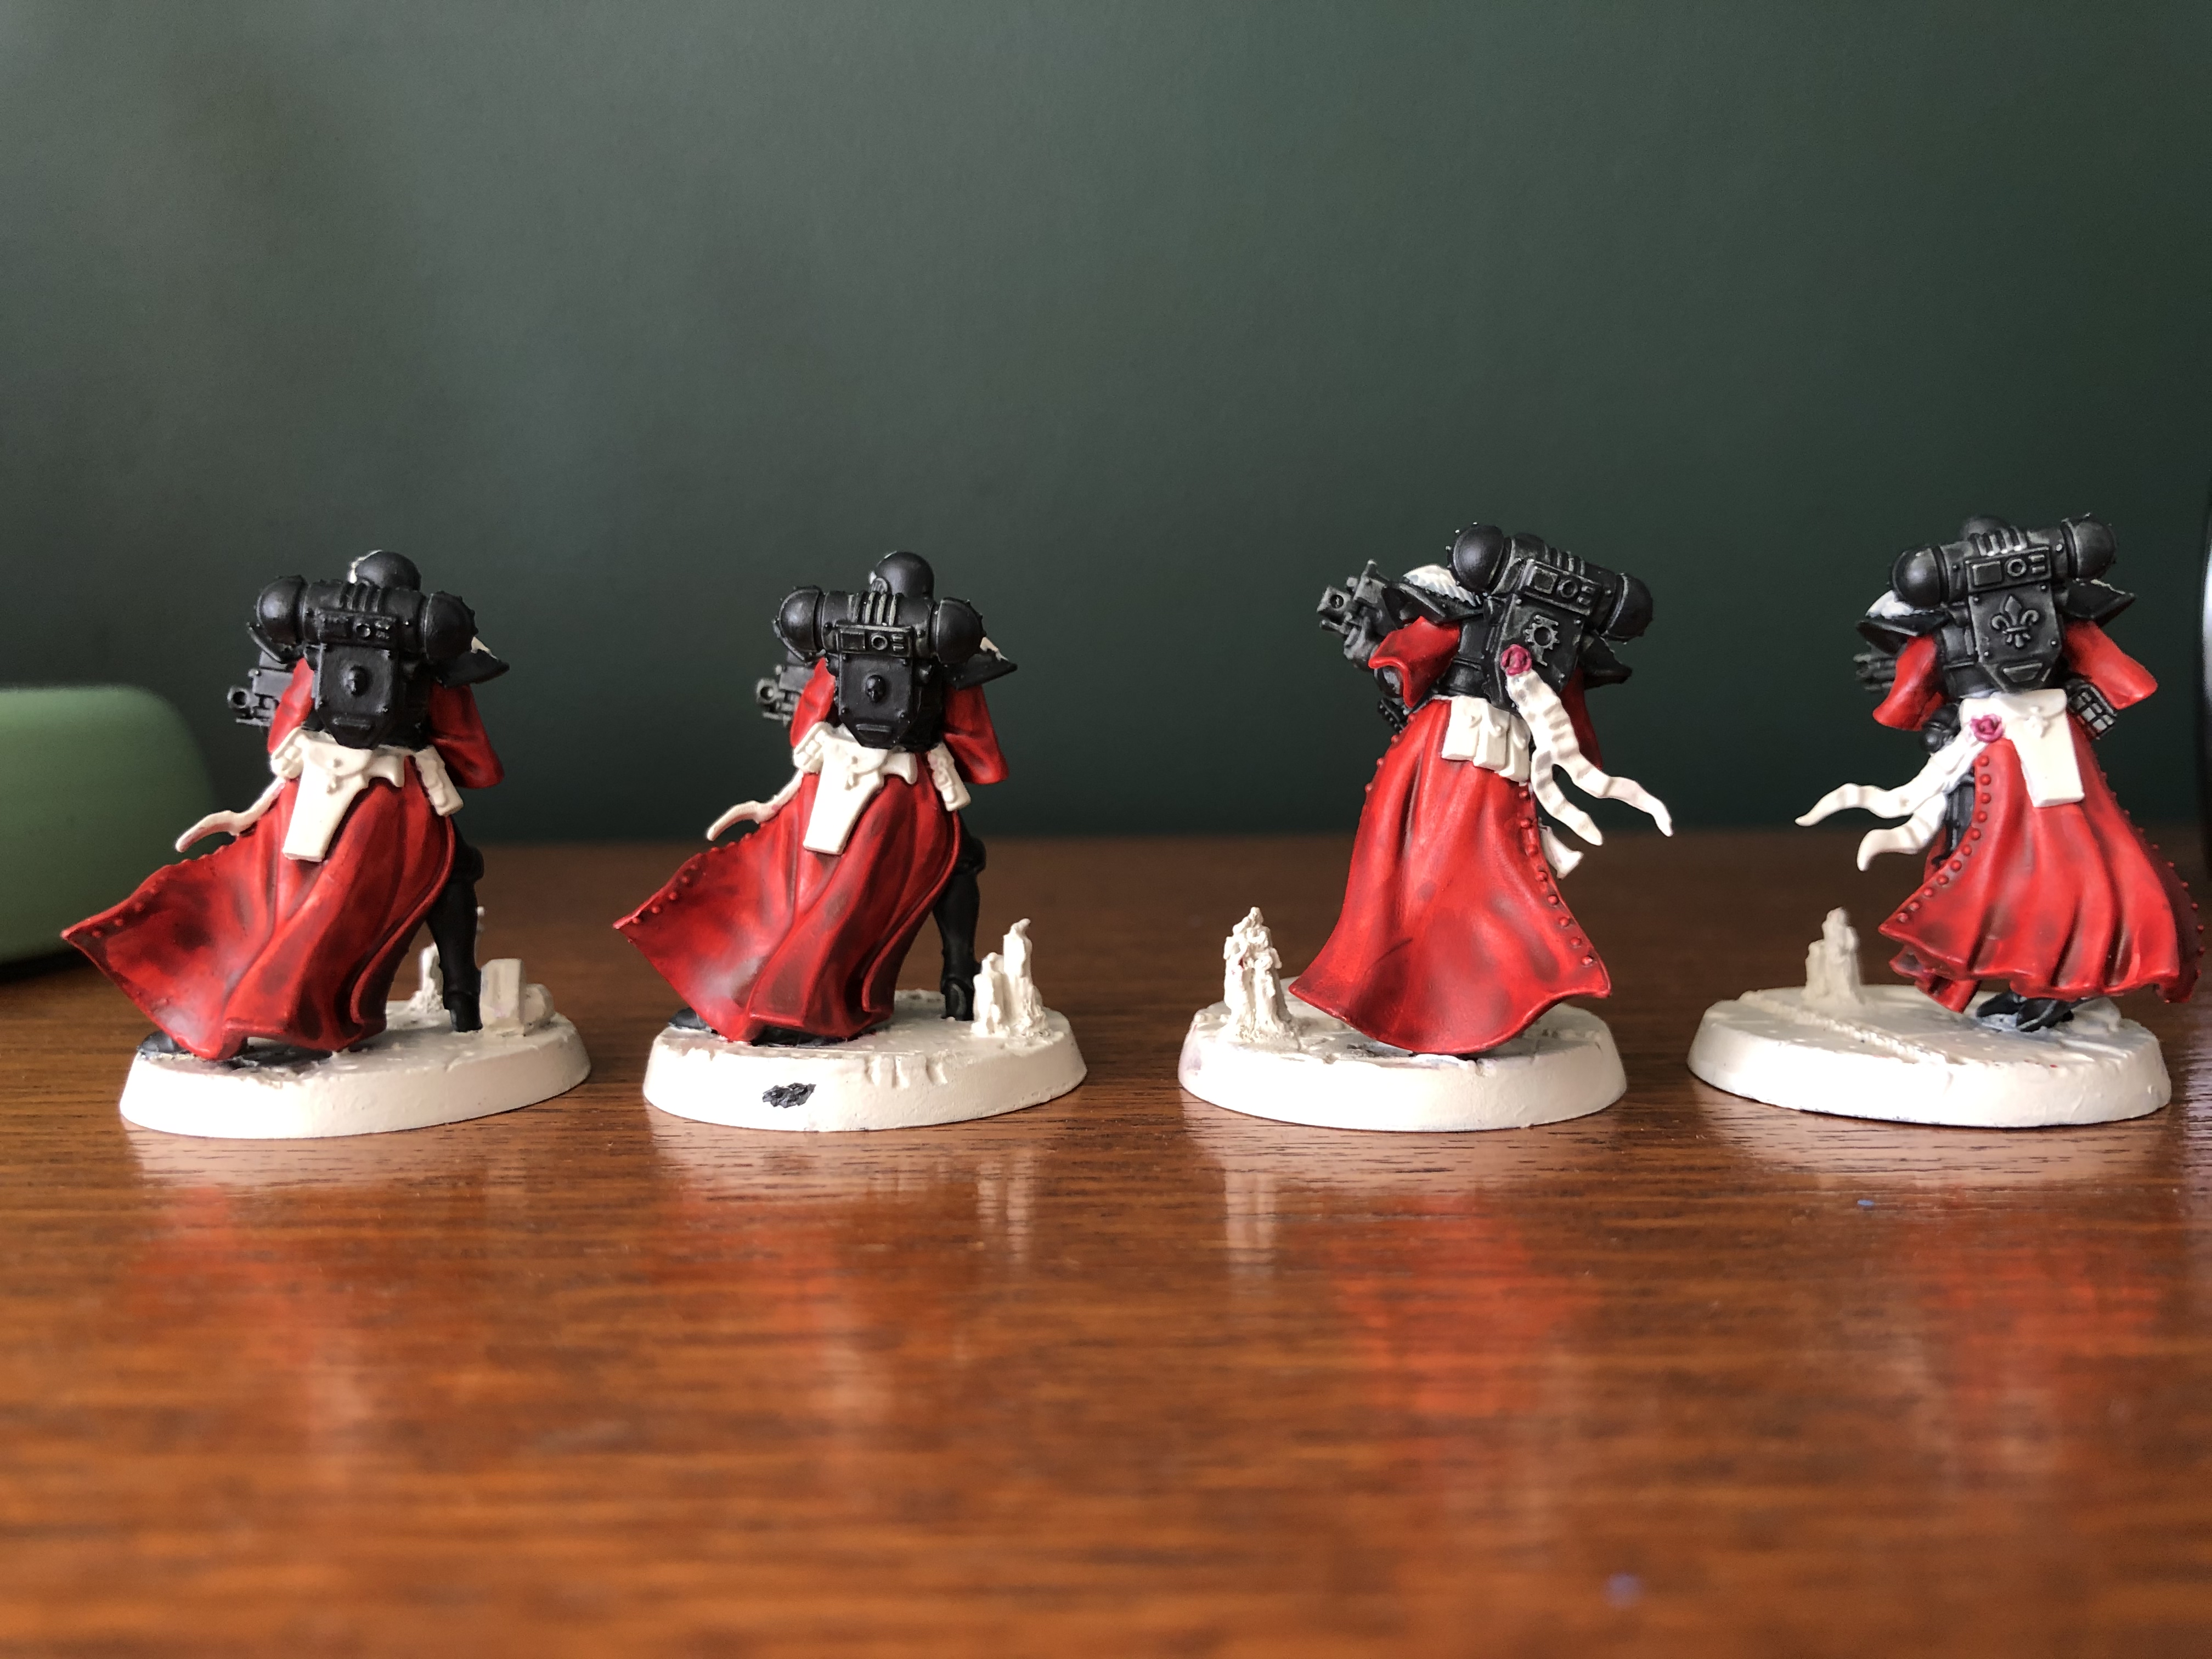
This week on & off I’ve added some proper colour to the first 4 sisters in my army. YES! In this instance it was all about applying the reds & the pinks to the material elements of each model along with the eye lenses & purity seals. These are just the base coats as I’m applying all the initial layers to the model first before highlighting & shading.
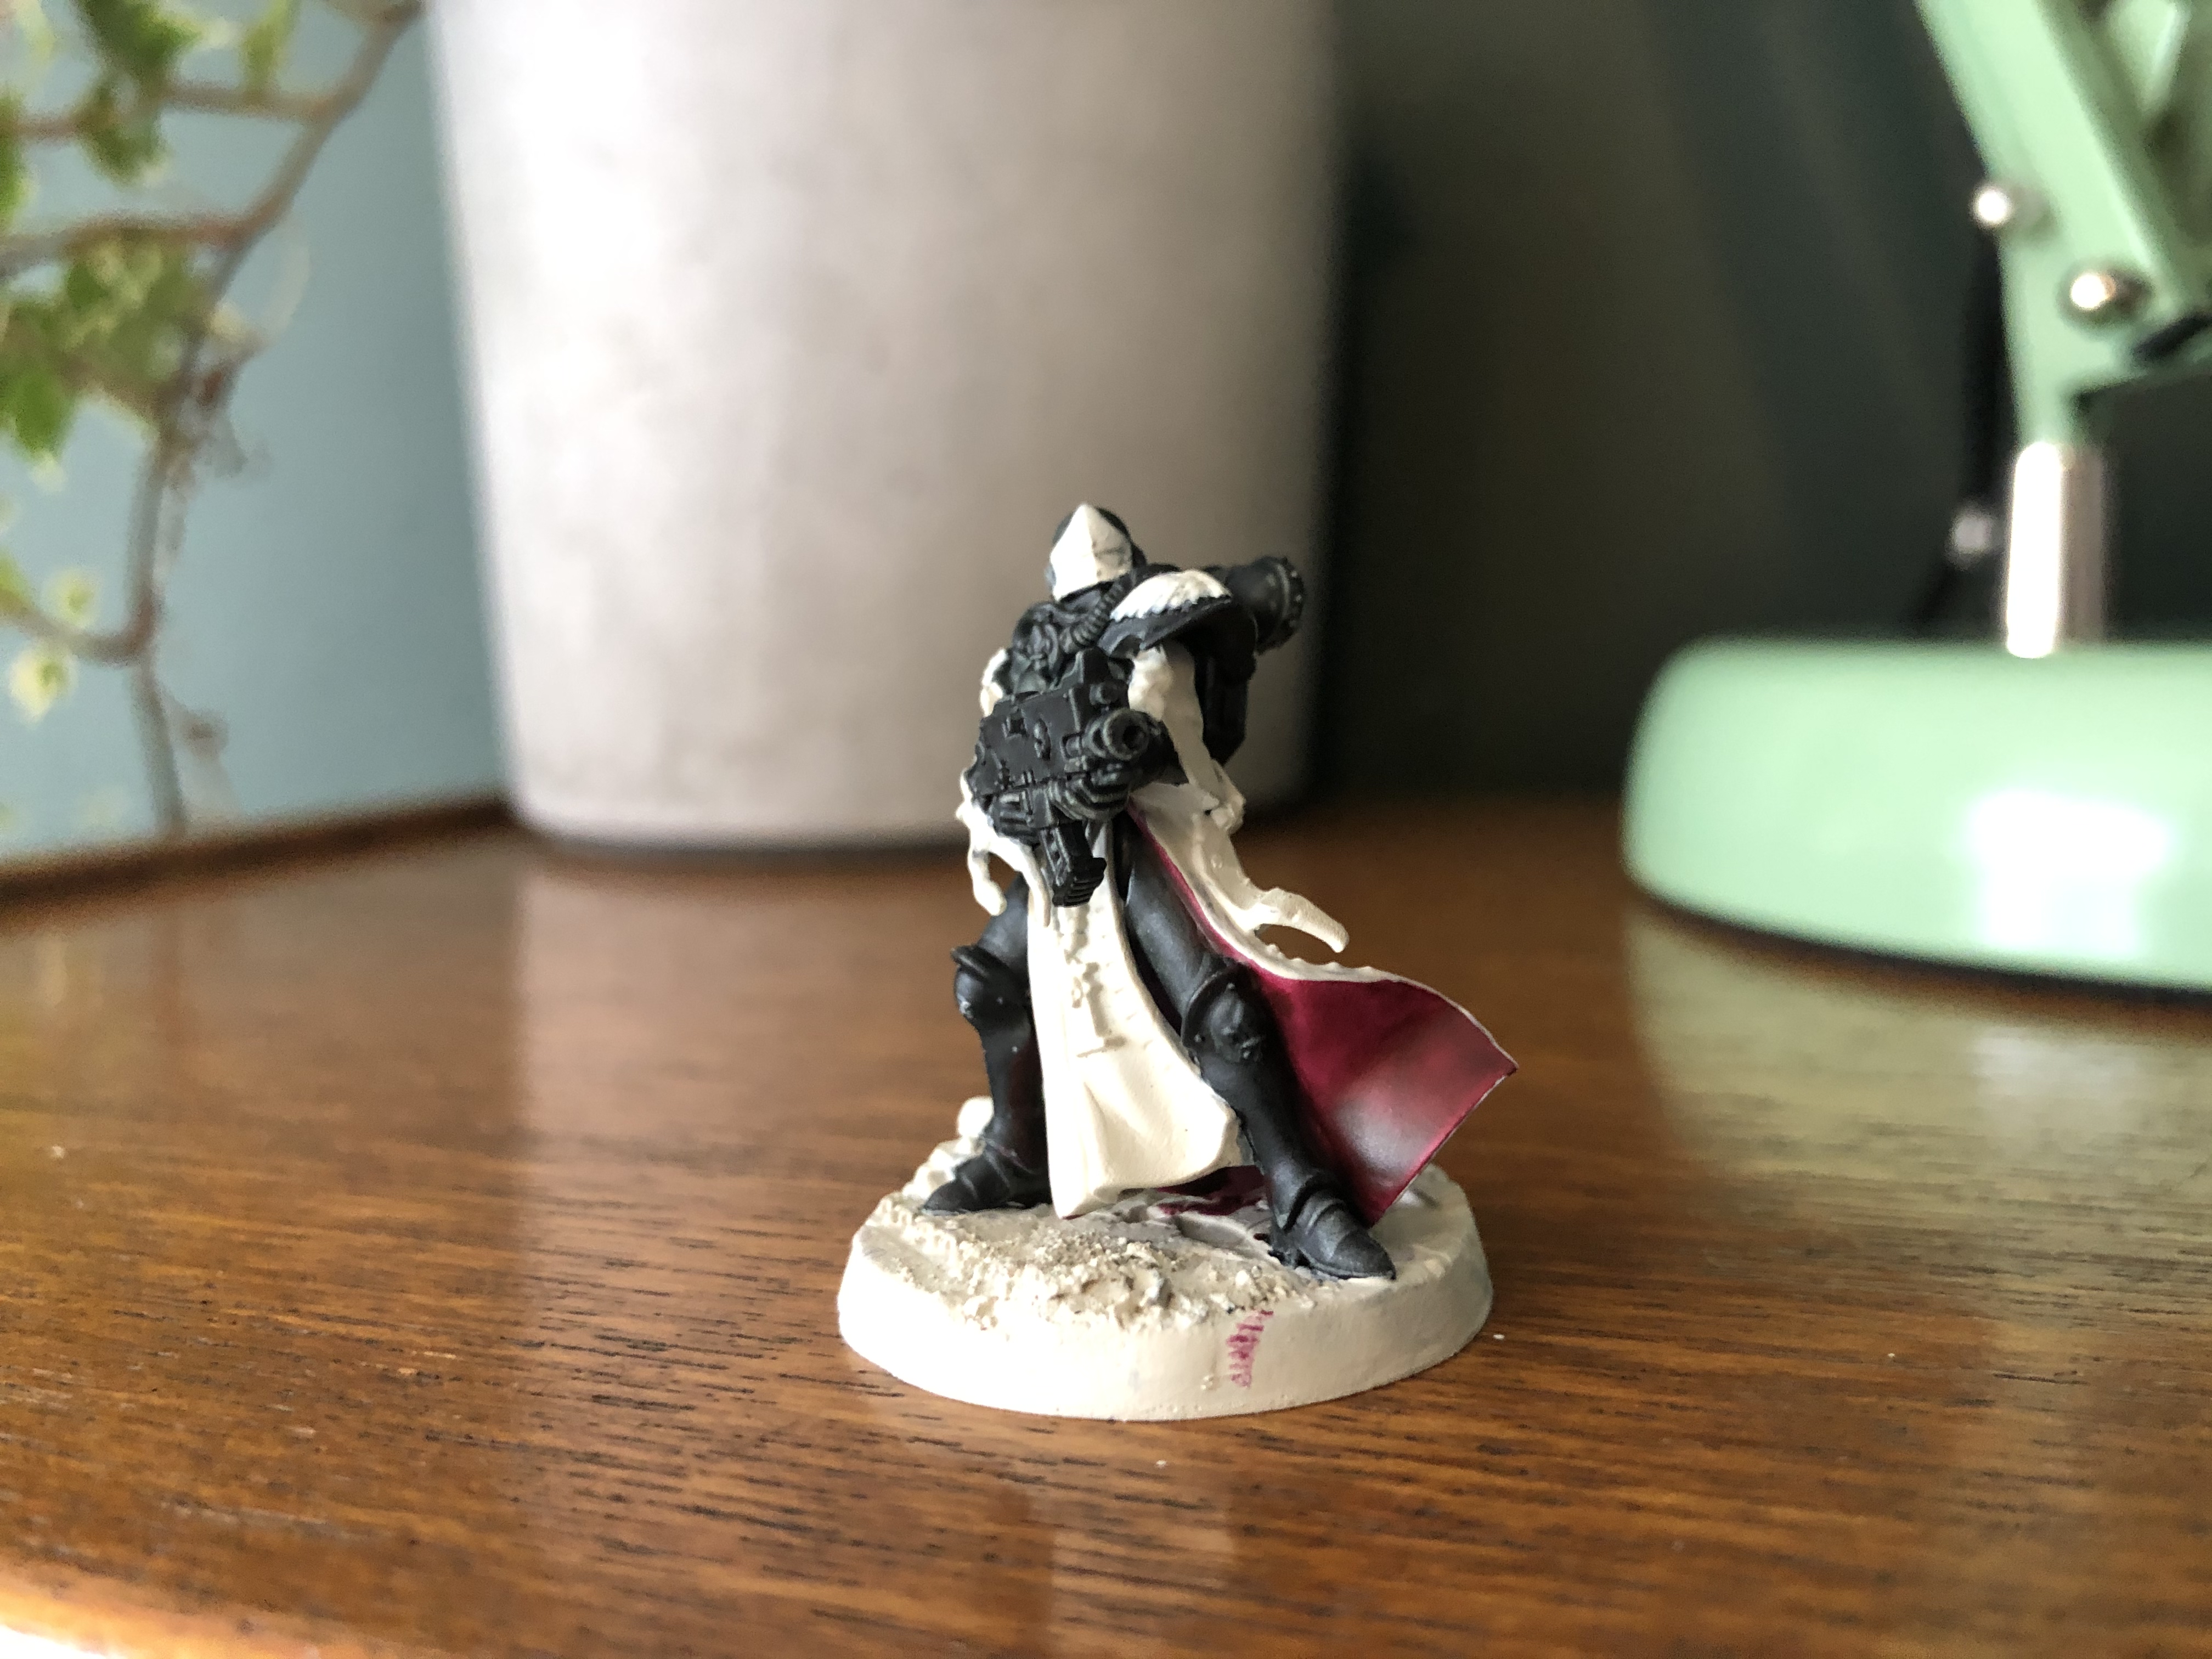
When I did my first test model there was actually no interior of the cloak showing so it was just a case of doing the whole thing red, but after realising these models had the inside showing in a lot of instances. I had to find a colour that contrasted nicely with the exterior reddish tone.
I did a couple of tests layering on top of the red before I got my colours down & I’m really happy with the initial results. Anyway here goes!
PAINT LIST
*****
• CONTRAST BLOOD ANGELS RED
• CONTRAST VOLUPUS PINK
• CONTRAST BLACK TEMPLAR
• WRAITHBONE
VOLUPUS PINK
*****
Jeez am I loving Contrast paints right now & I have to say Volupus Pink is fast becoming my favourite of them. I began painting the inside of each sisters cloak with between 2 & 3 layers of Volupus pink. I focused more layers towards the bottom of the cloaks & less towards the top which automatically gave this graduated almost blended look. After that I tidied up any excess pink using Wraithbone & Black Templar Contrast on the armour.
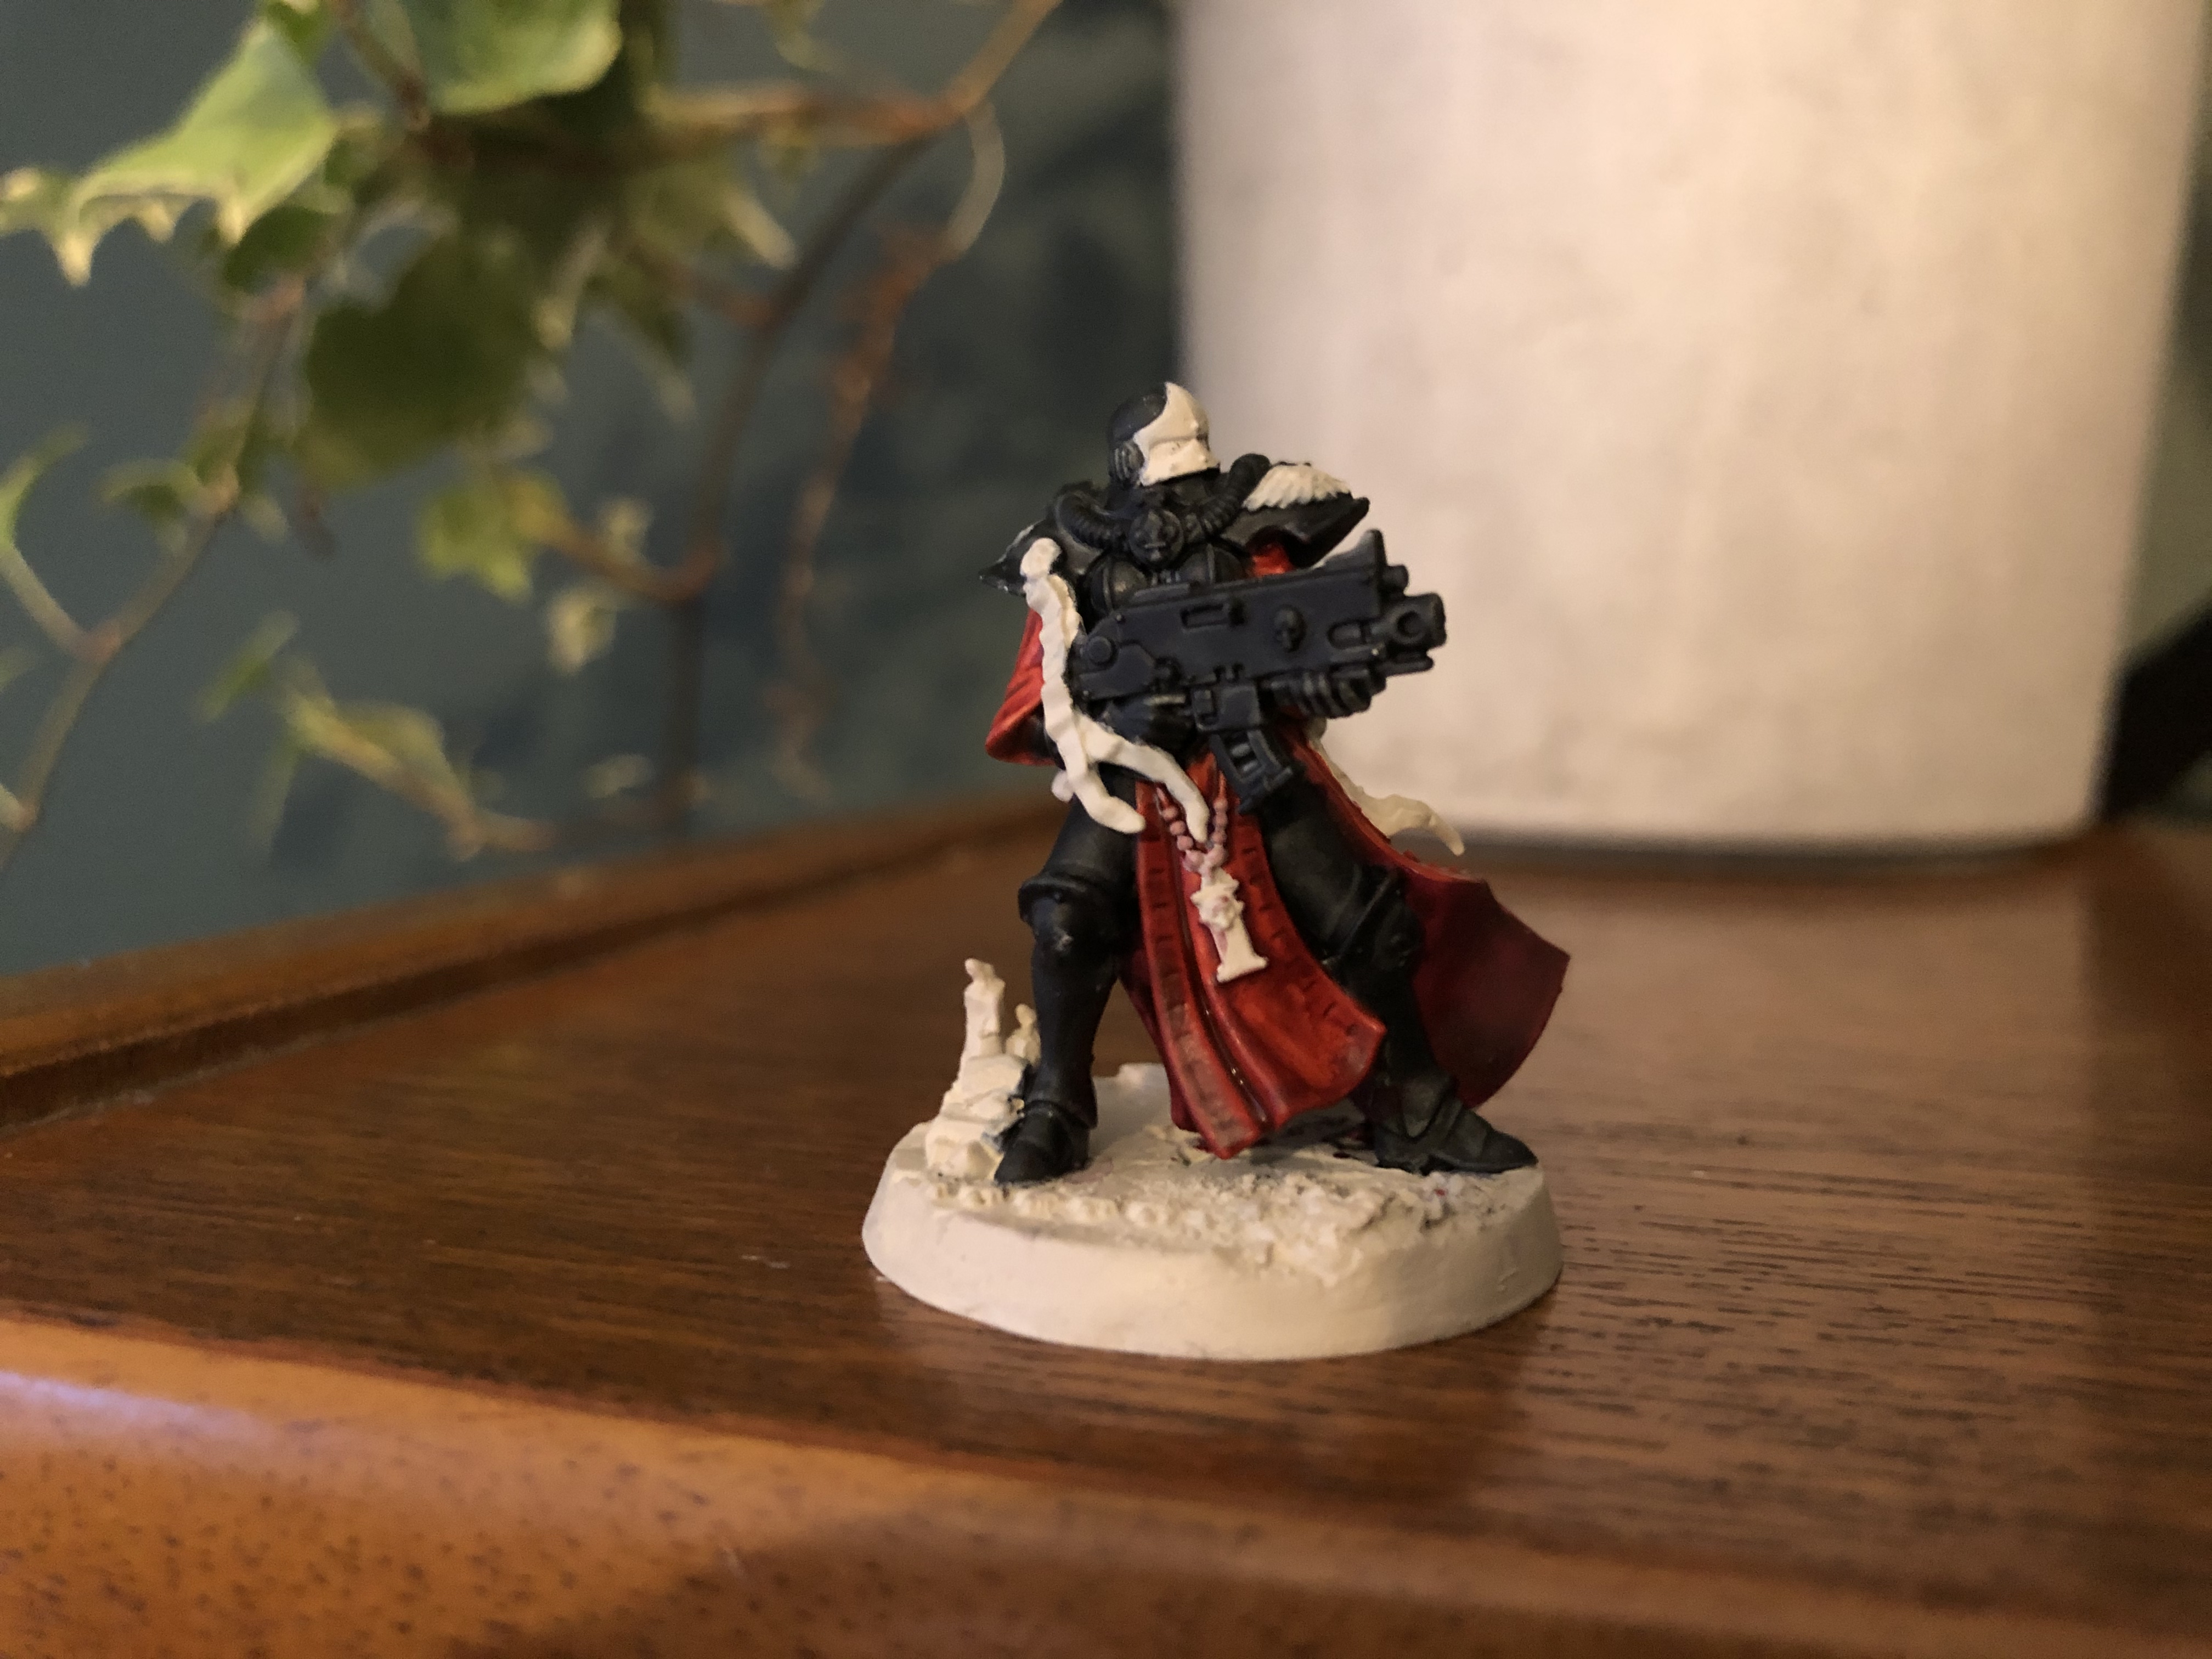
BLOOD ANGELS RED
*****
After that it was a case of adding 2 layers of Blood Angels Red contrast to the exterior of the material including the very edges of the cloaks. That unintentionally gave an even greater sense of blending between these two colours. Of course this will come through more when we get to the highlighting stage. At this point I also added a layer of Blood Angels Red contrast to the eye lenses & a layer of Volupus Pink contrast to the wax seals on the sisters.

FOUR COLOURS
*****
It’s amazing really how just 4 colours can transform these ladies into an almost table top ready state. But are we stopping there? Hell no we ain’t! Just remember to tidy up at the end after applying your reds using your base colours. In my case Wraithbone & Contrast Black Templar paints. I now have four ladies ready for the next colours to be applied.
In the next post I’ll be applying all the rest of the base coats to the sisters getting them ready for the highlighting & shading. Keep your eyes peeled for the next one.
Much Love
Eternity Gate
I’M BACK & PAINTING BEGINS AT LAST

NOT EVERYTHING IS BLACK & WHITE
*****
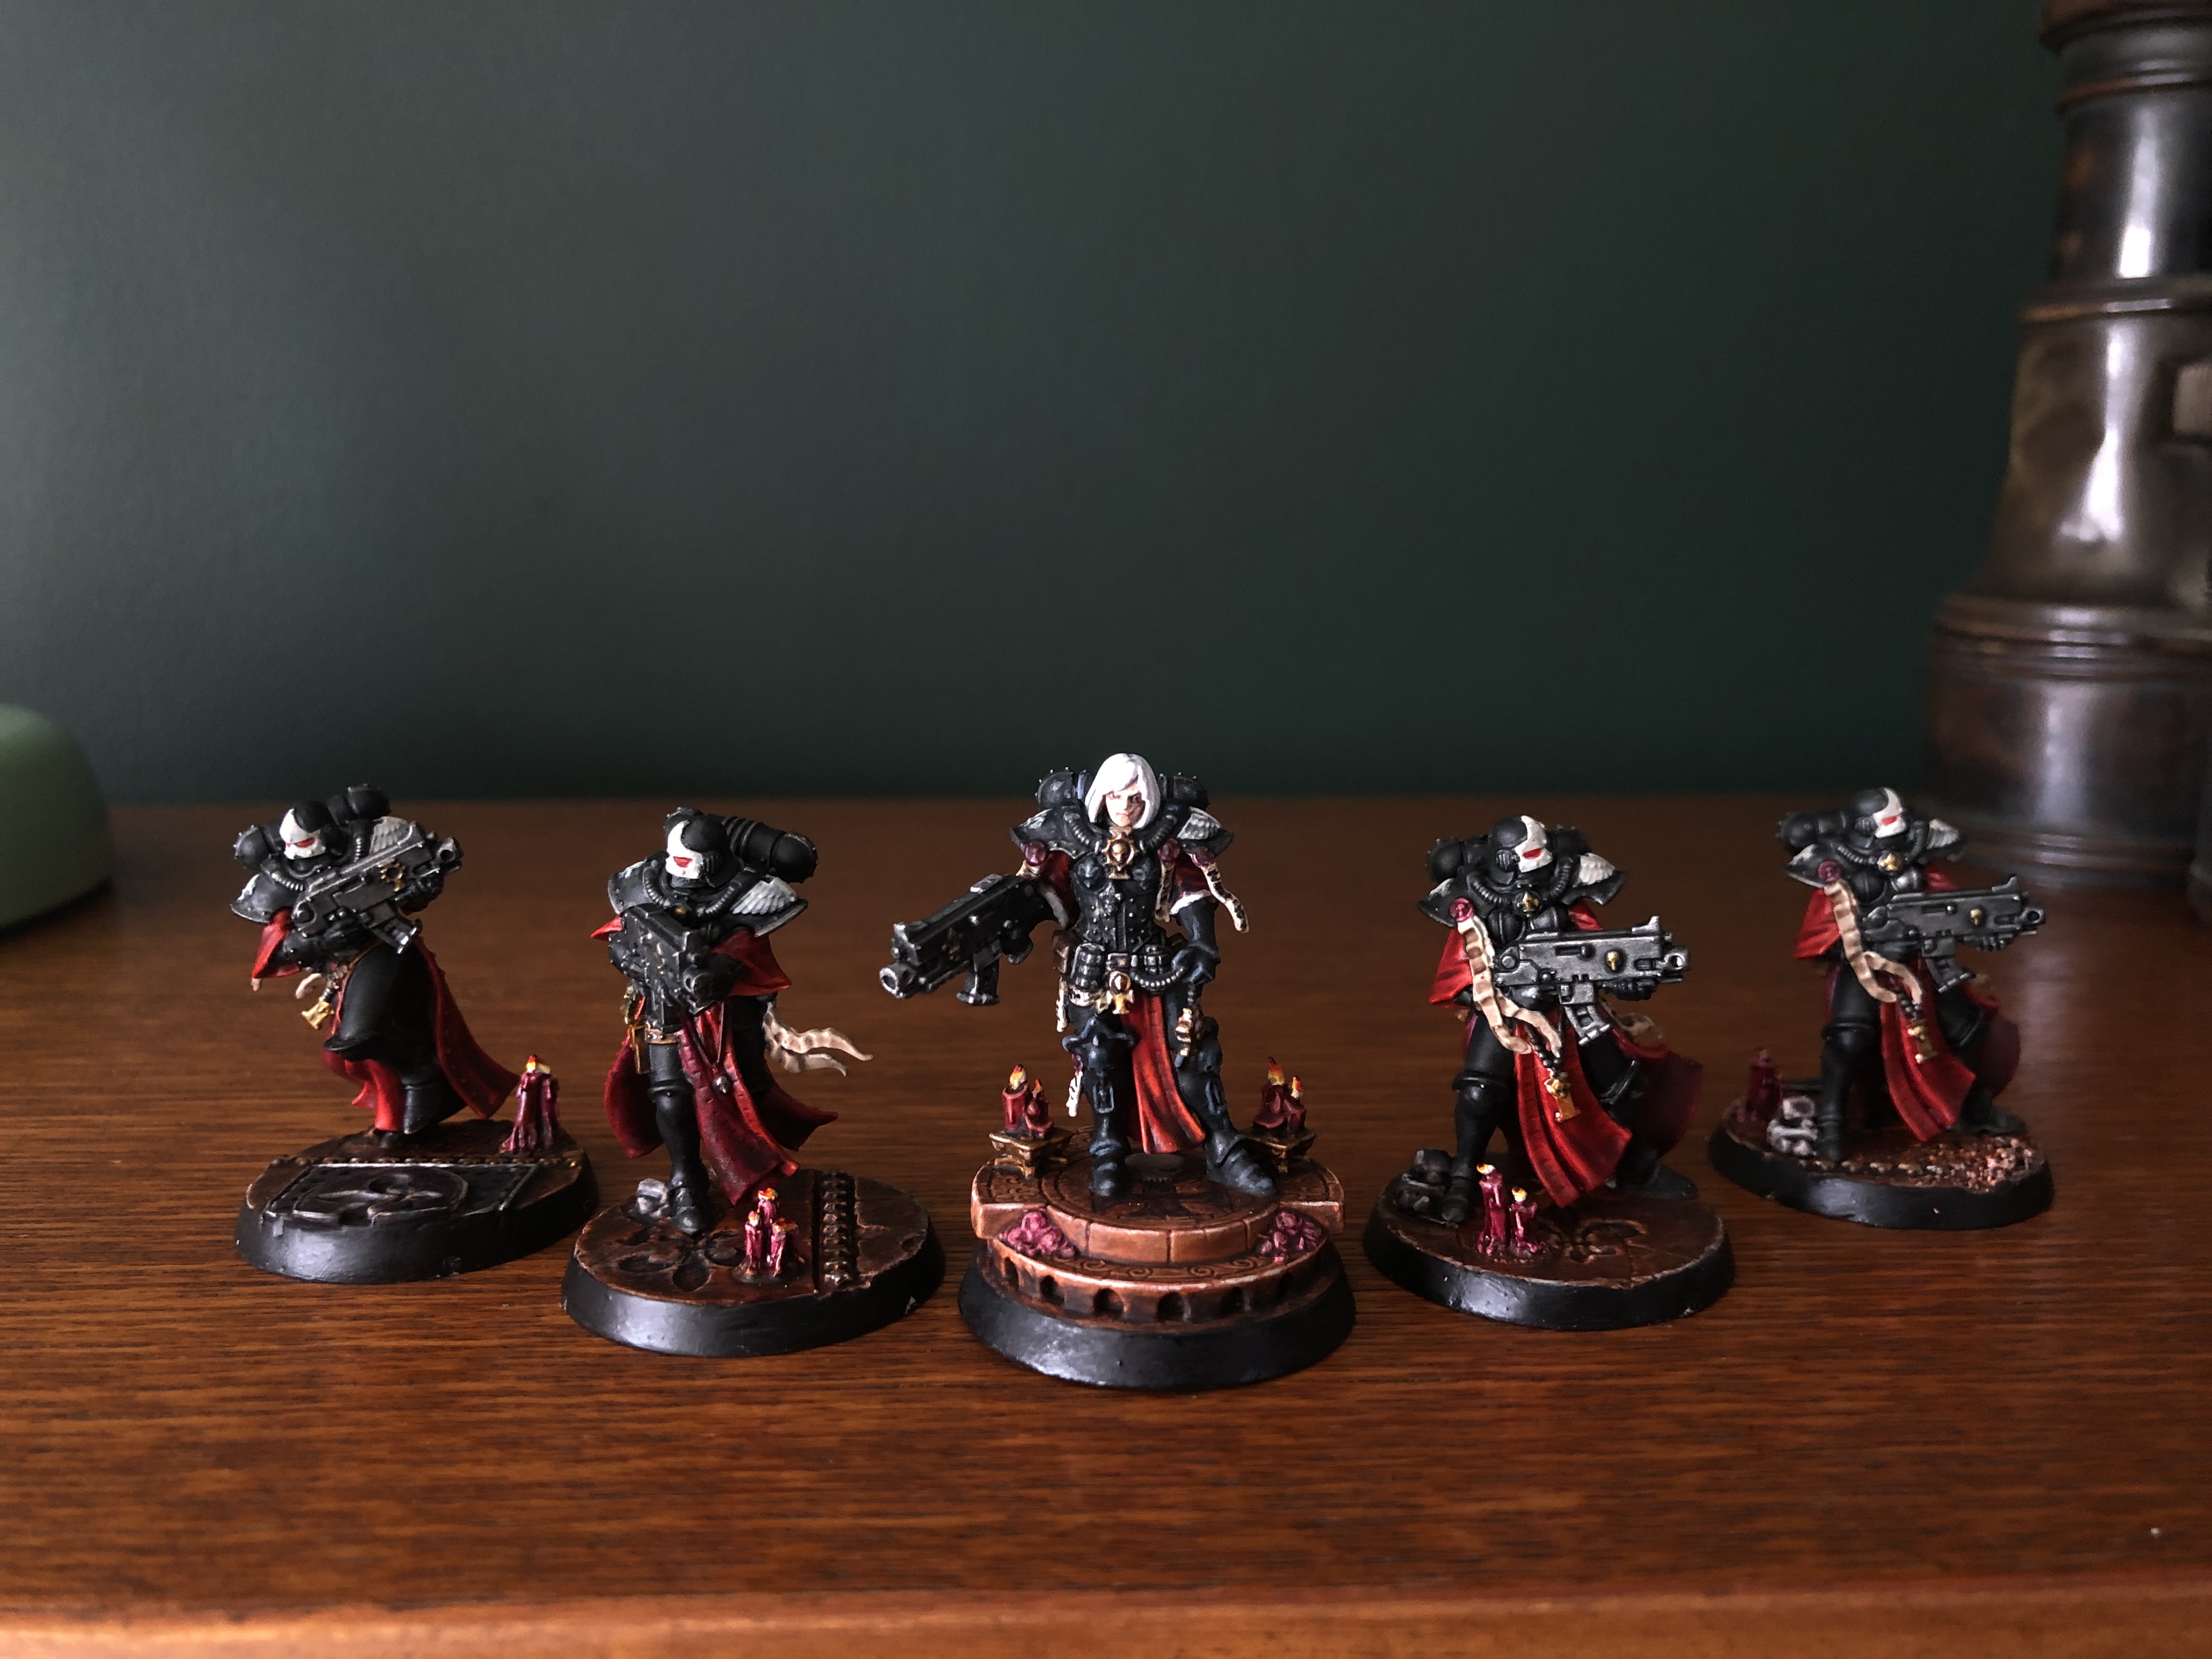
At last I’ve finally had time to sit down & put a little bit of colour (well kind of) onto the first 4 sisters. I’ve decided to go with 4 at a time batch painting to speed up the process. If I’m honest whenever I’ve done an army before I spend ages doing one model at a time & I never manage to finish an army so this seems like a good middle ground.
Due to work, updates won’t be as regular as I’d like but they will come eventually so keep your eyes peeled. At the beginning of each painting post I’ll include the list of paints I use within the intro.
PAINT LIST
*****
• WRAITHBONE
• CONTRAST MEDIUM
• CONTRAST BLACK TEMPLAR
DUST OFF PAINT ON
*****
Hey the above pics upside down for absolutely no reason. How weird ? After a base coat of wraith bone spray my models have been kicking about my office for a little while so I used a large crappy brush to give them a dust off & remove any stuff that might have settled on the surface.
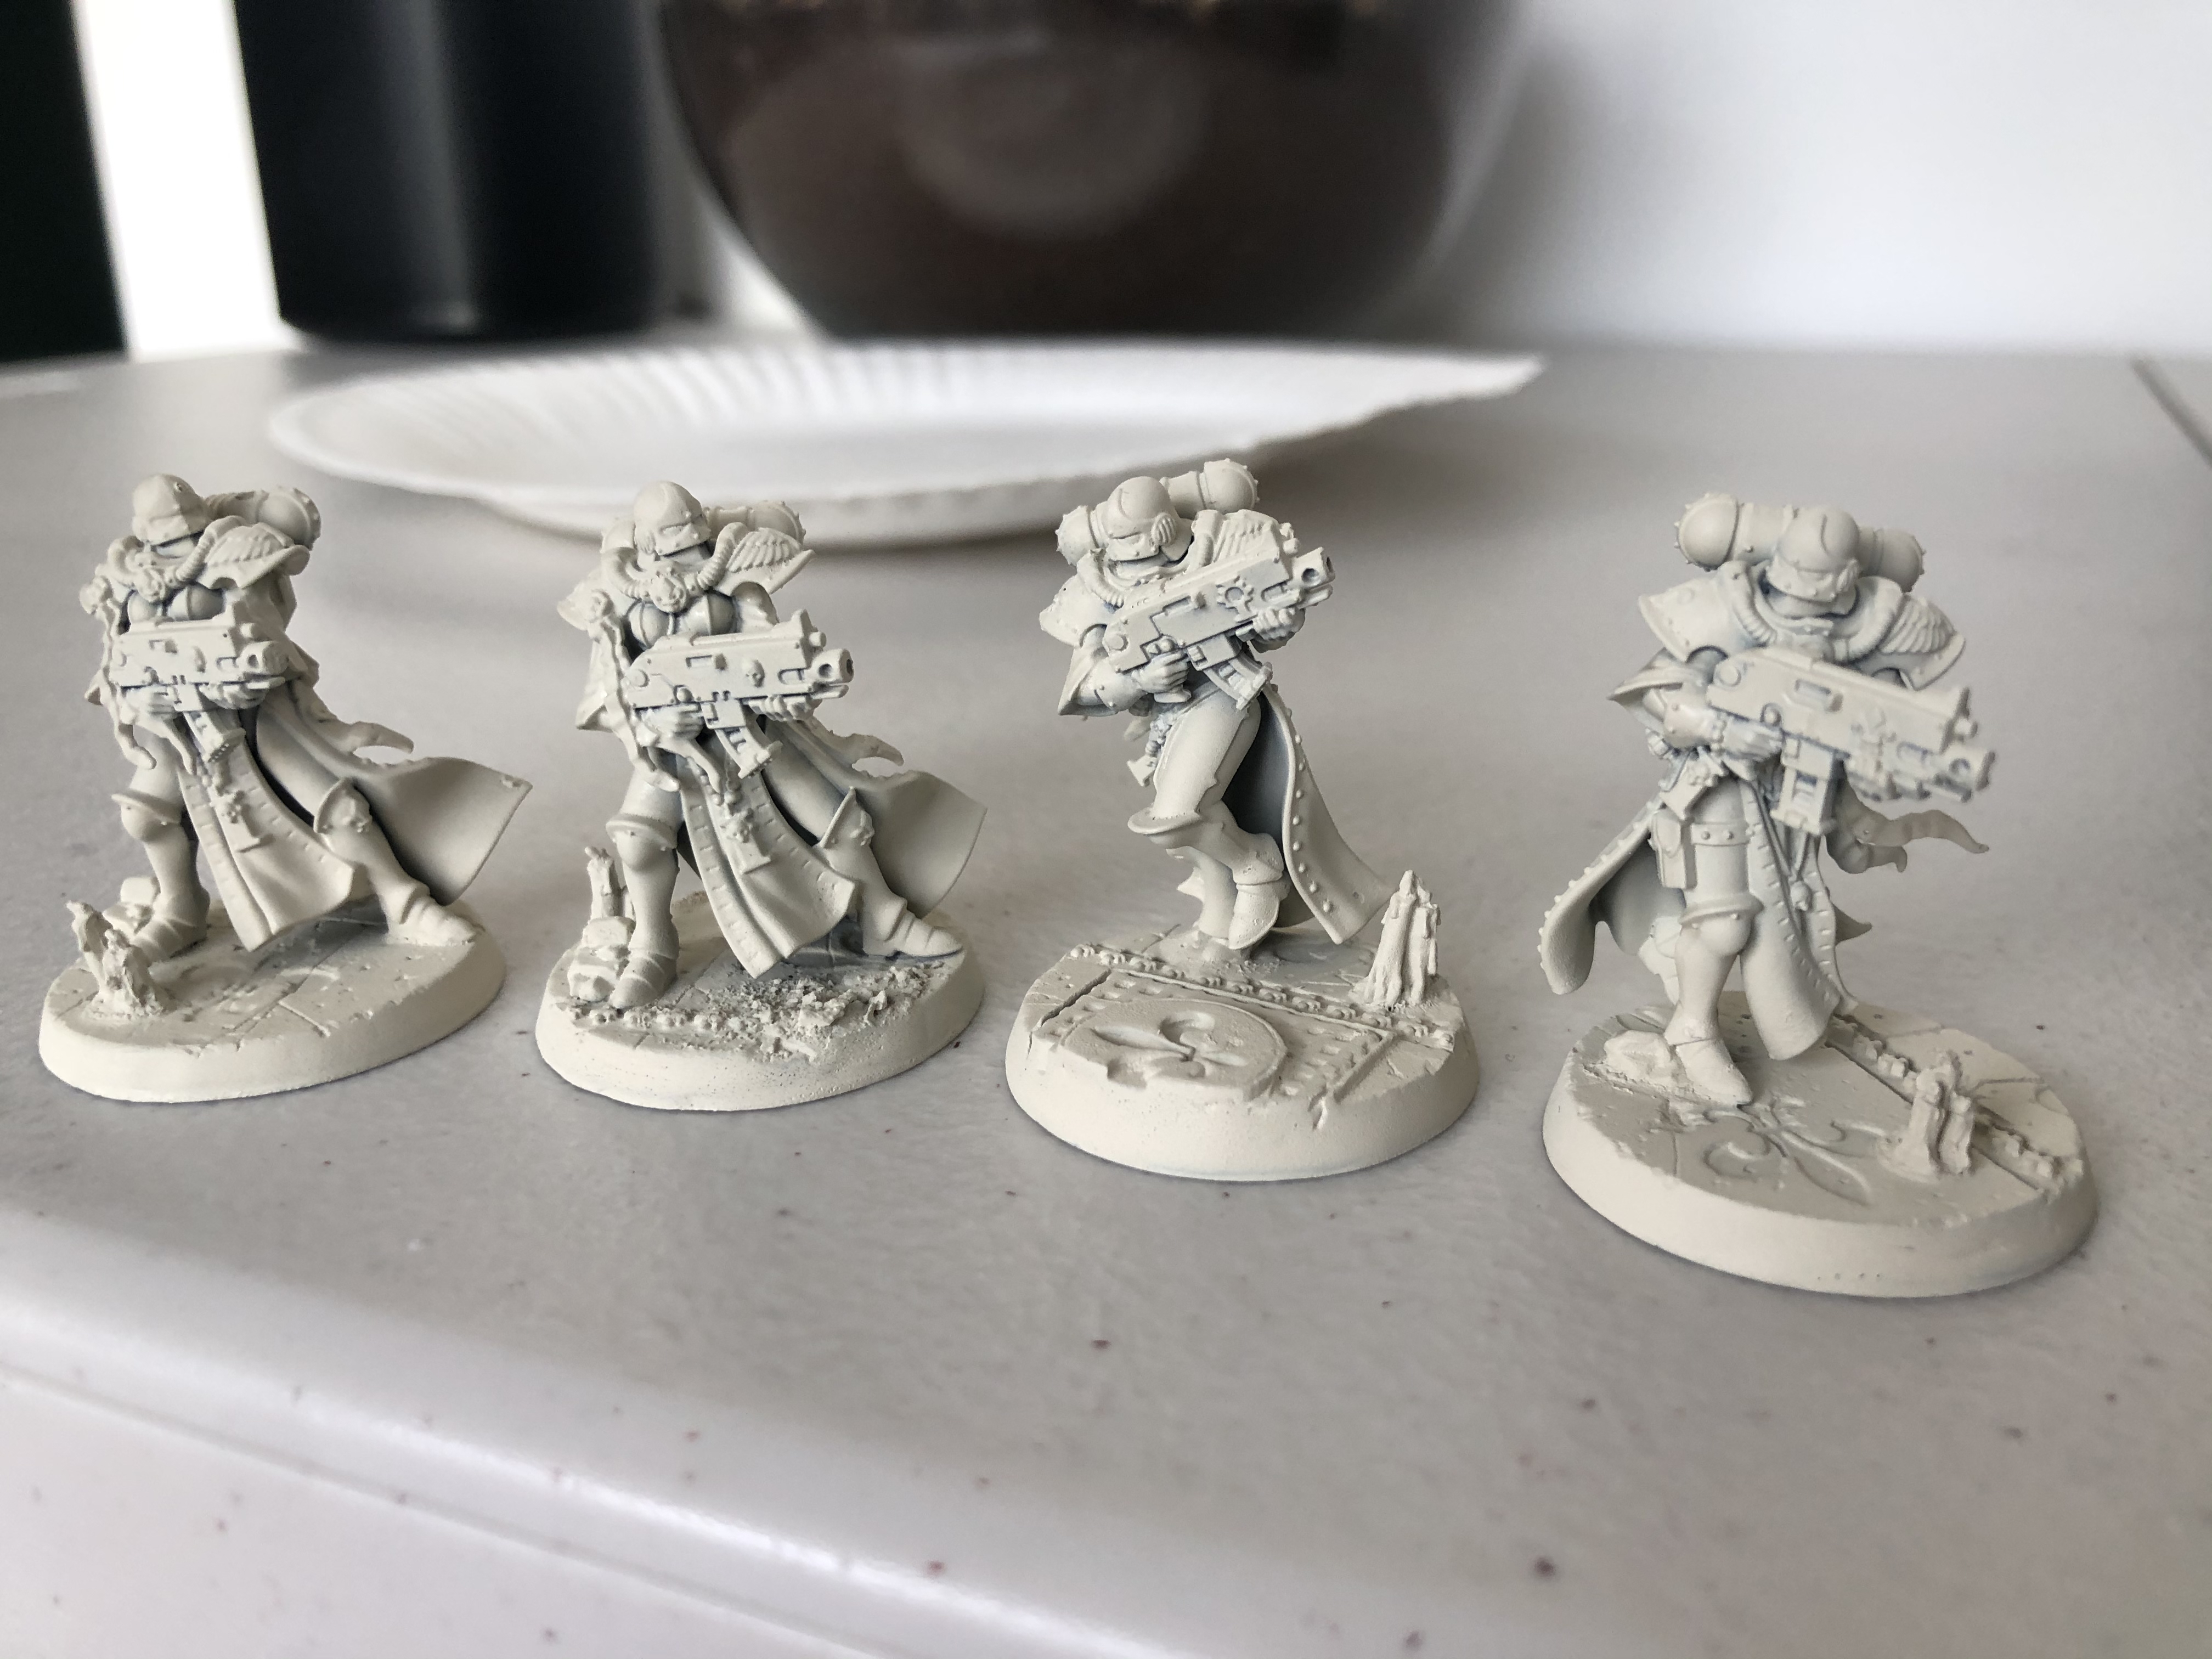
WRAITHBONE
*****
After their brush down I hit these guys with some wraith bone from the pot mixed with a little water to thin it down & painted over the bits I had missed.
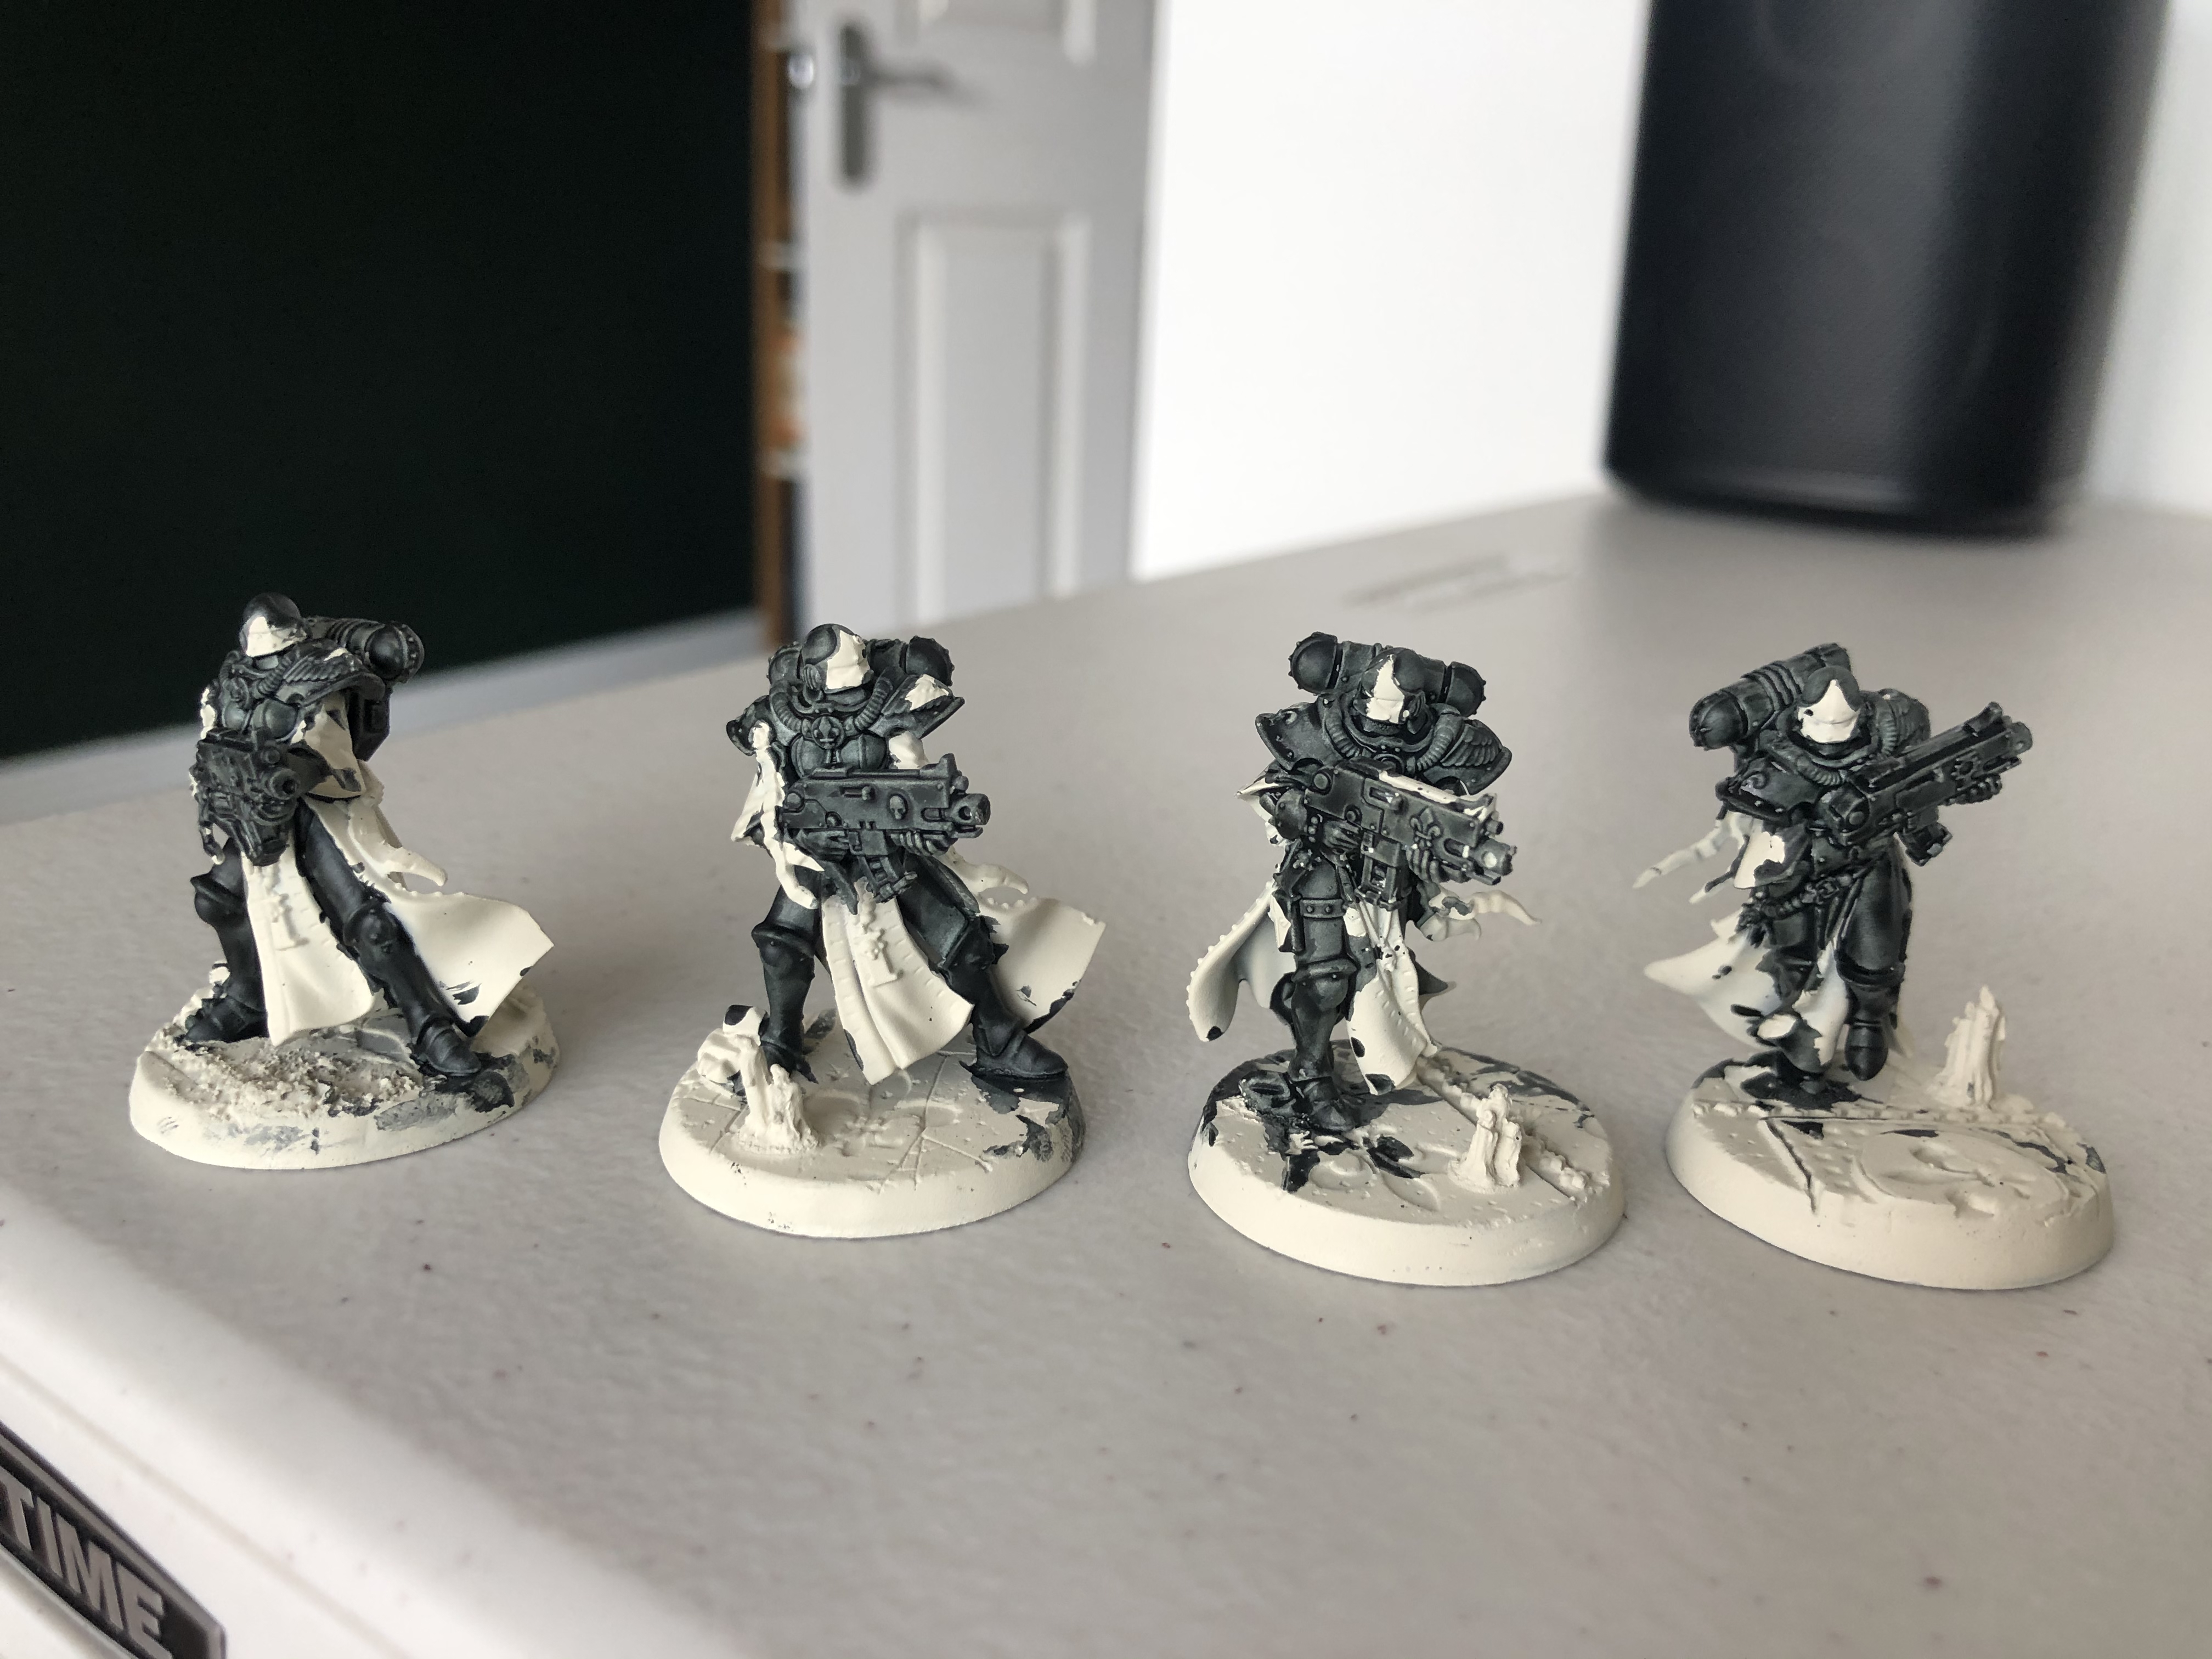
PAINTED BLACK
*****
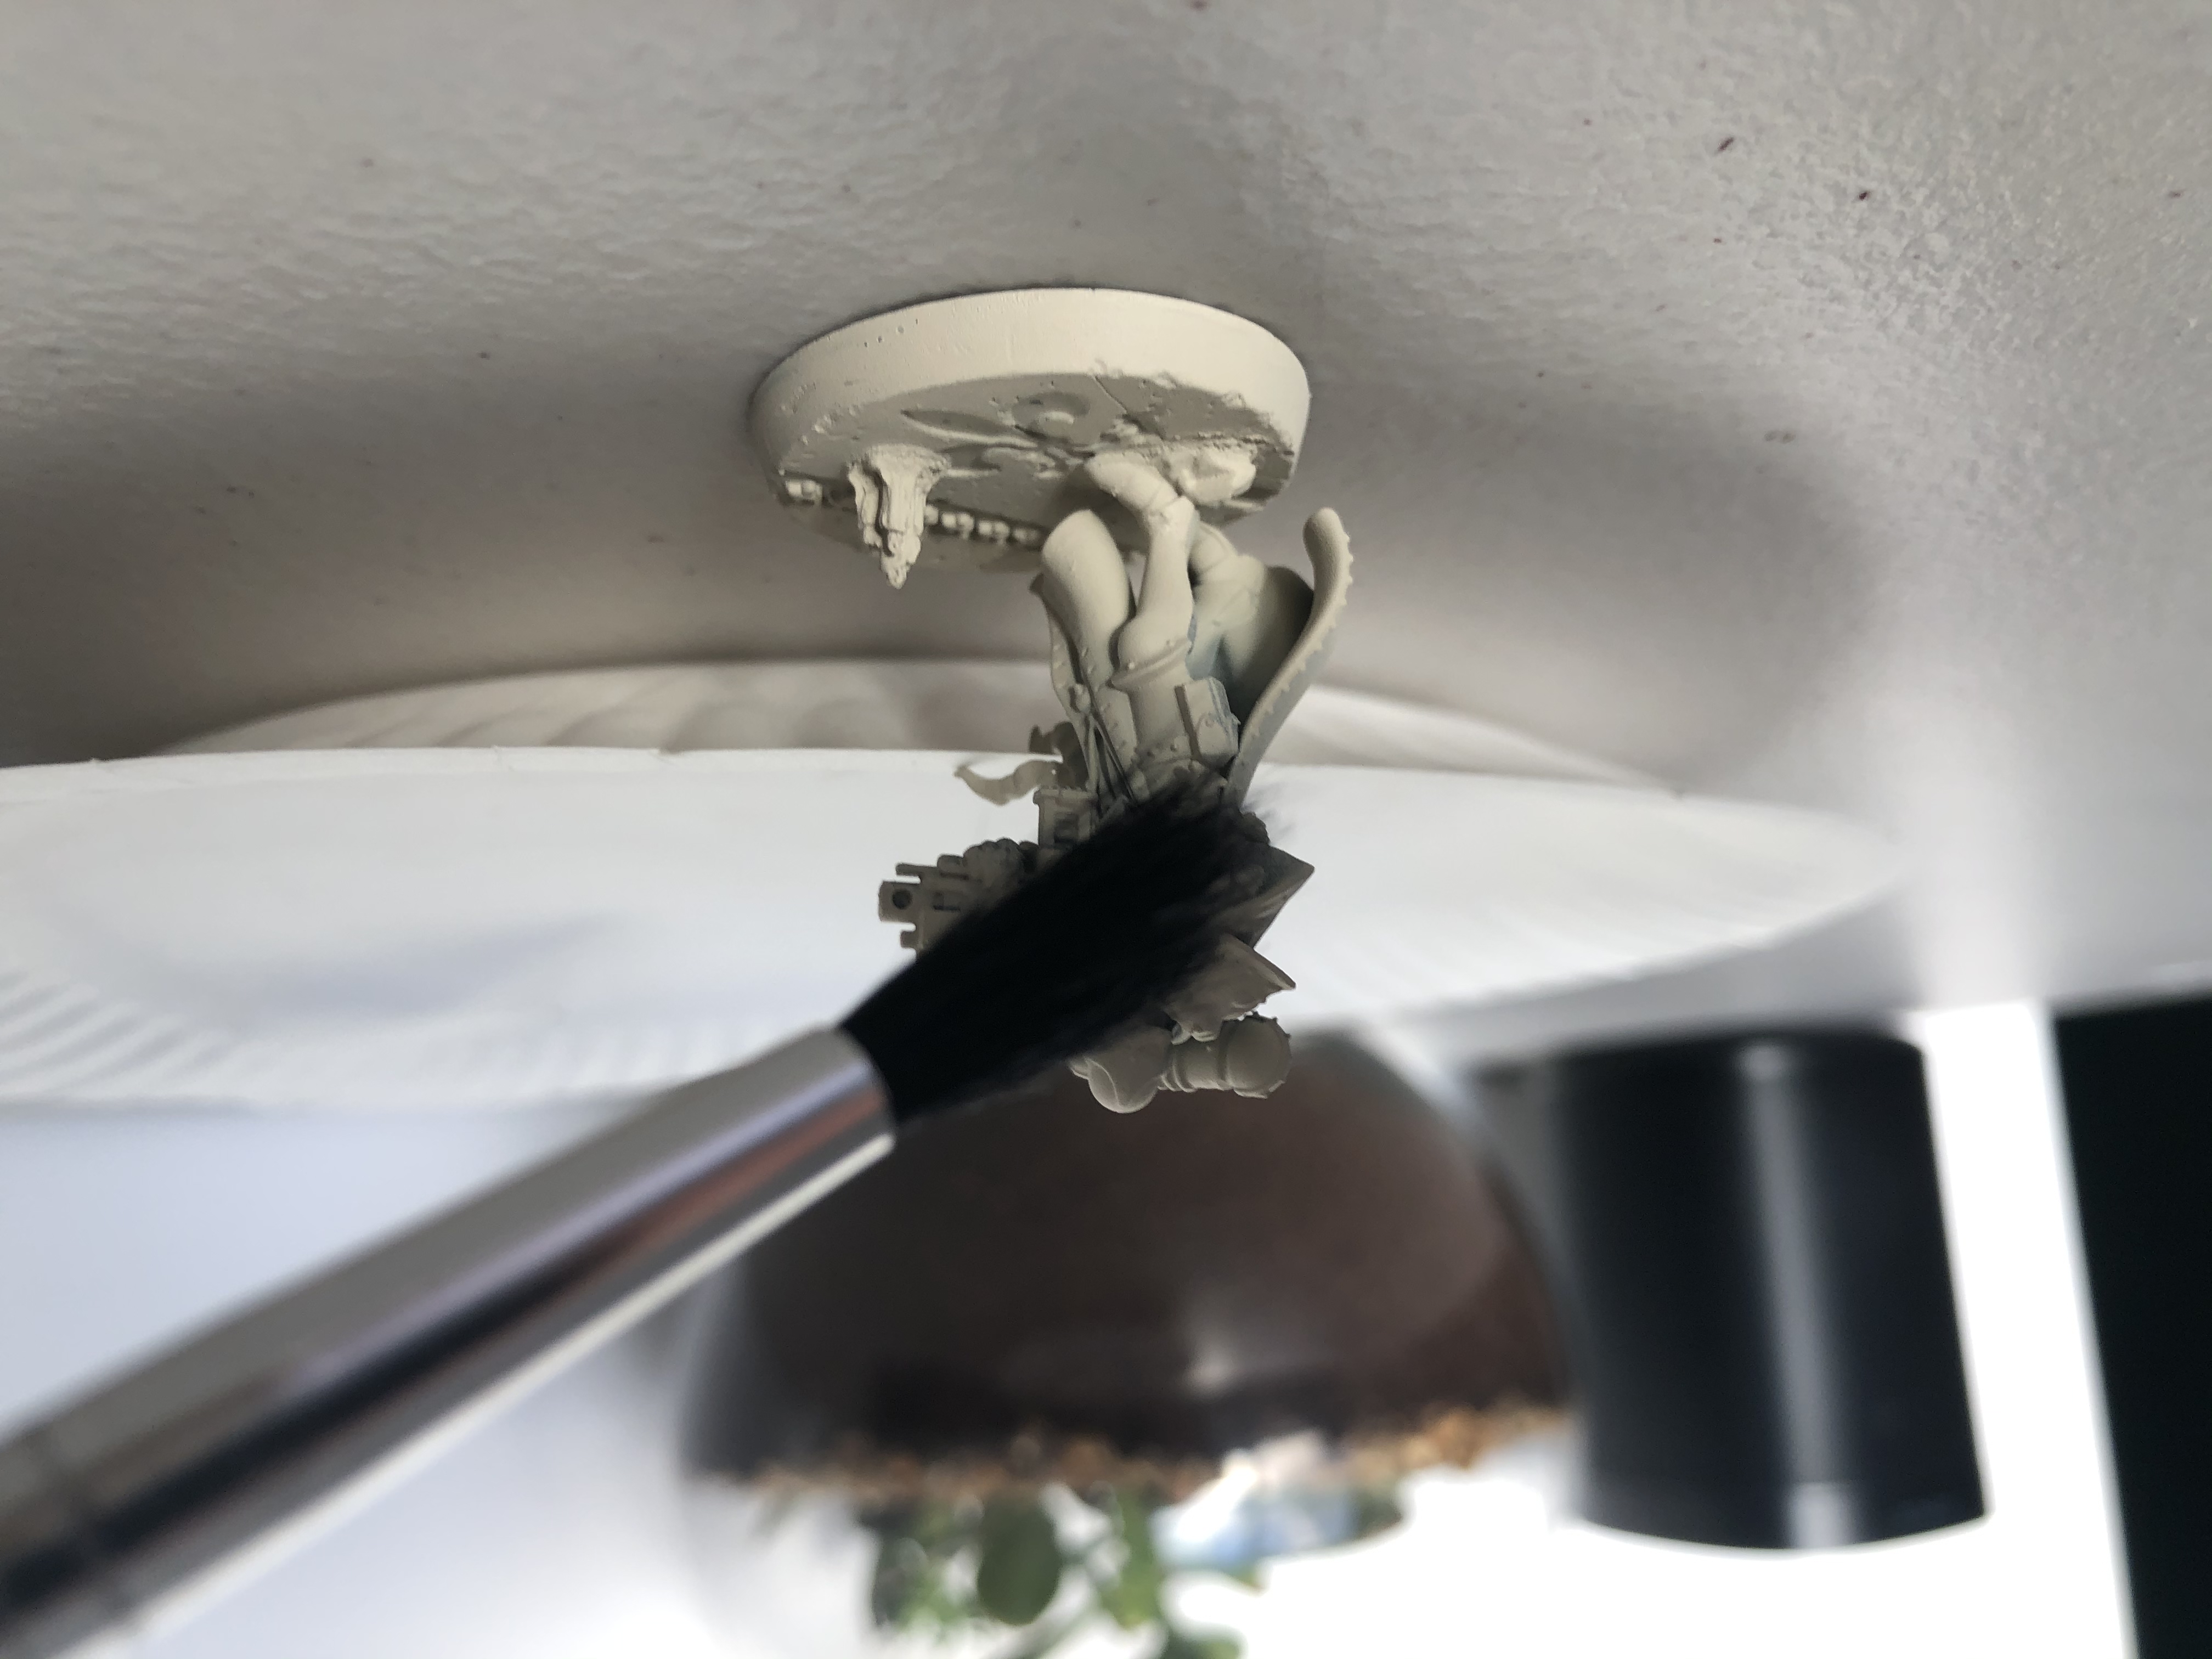
The first step & largest colour on the model is the black so using a little contrast medium mixed with contrast black templar I roughly painted all the armour, the bolt gun & half the stuff I didn’t want to be black. (Hey I’m not neat ok!)

TIDYING UP
*****
After the black I use wraith bone mixed with a little water again & applied a couple of coats onto all the bits that shouldn’t be black to tidy up. After this step I’ve got the perfect base to move onto the next stage which will be applying all the base colours to the models. Check back next time when we moved past black & white at last. YES!
Much Love
Eternity Gate
AT LAST THE SISTERHOOD ASSEMBLES
REPENT
*****
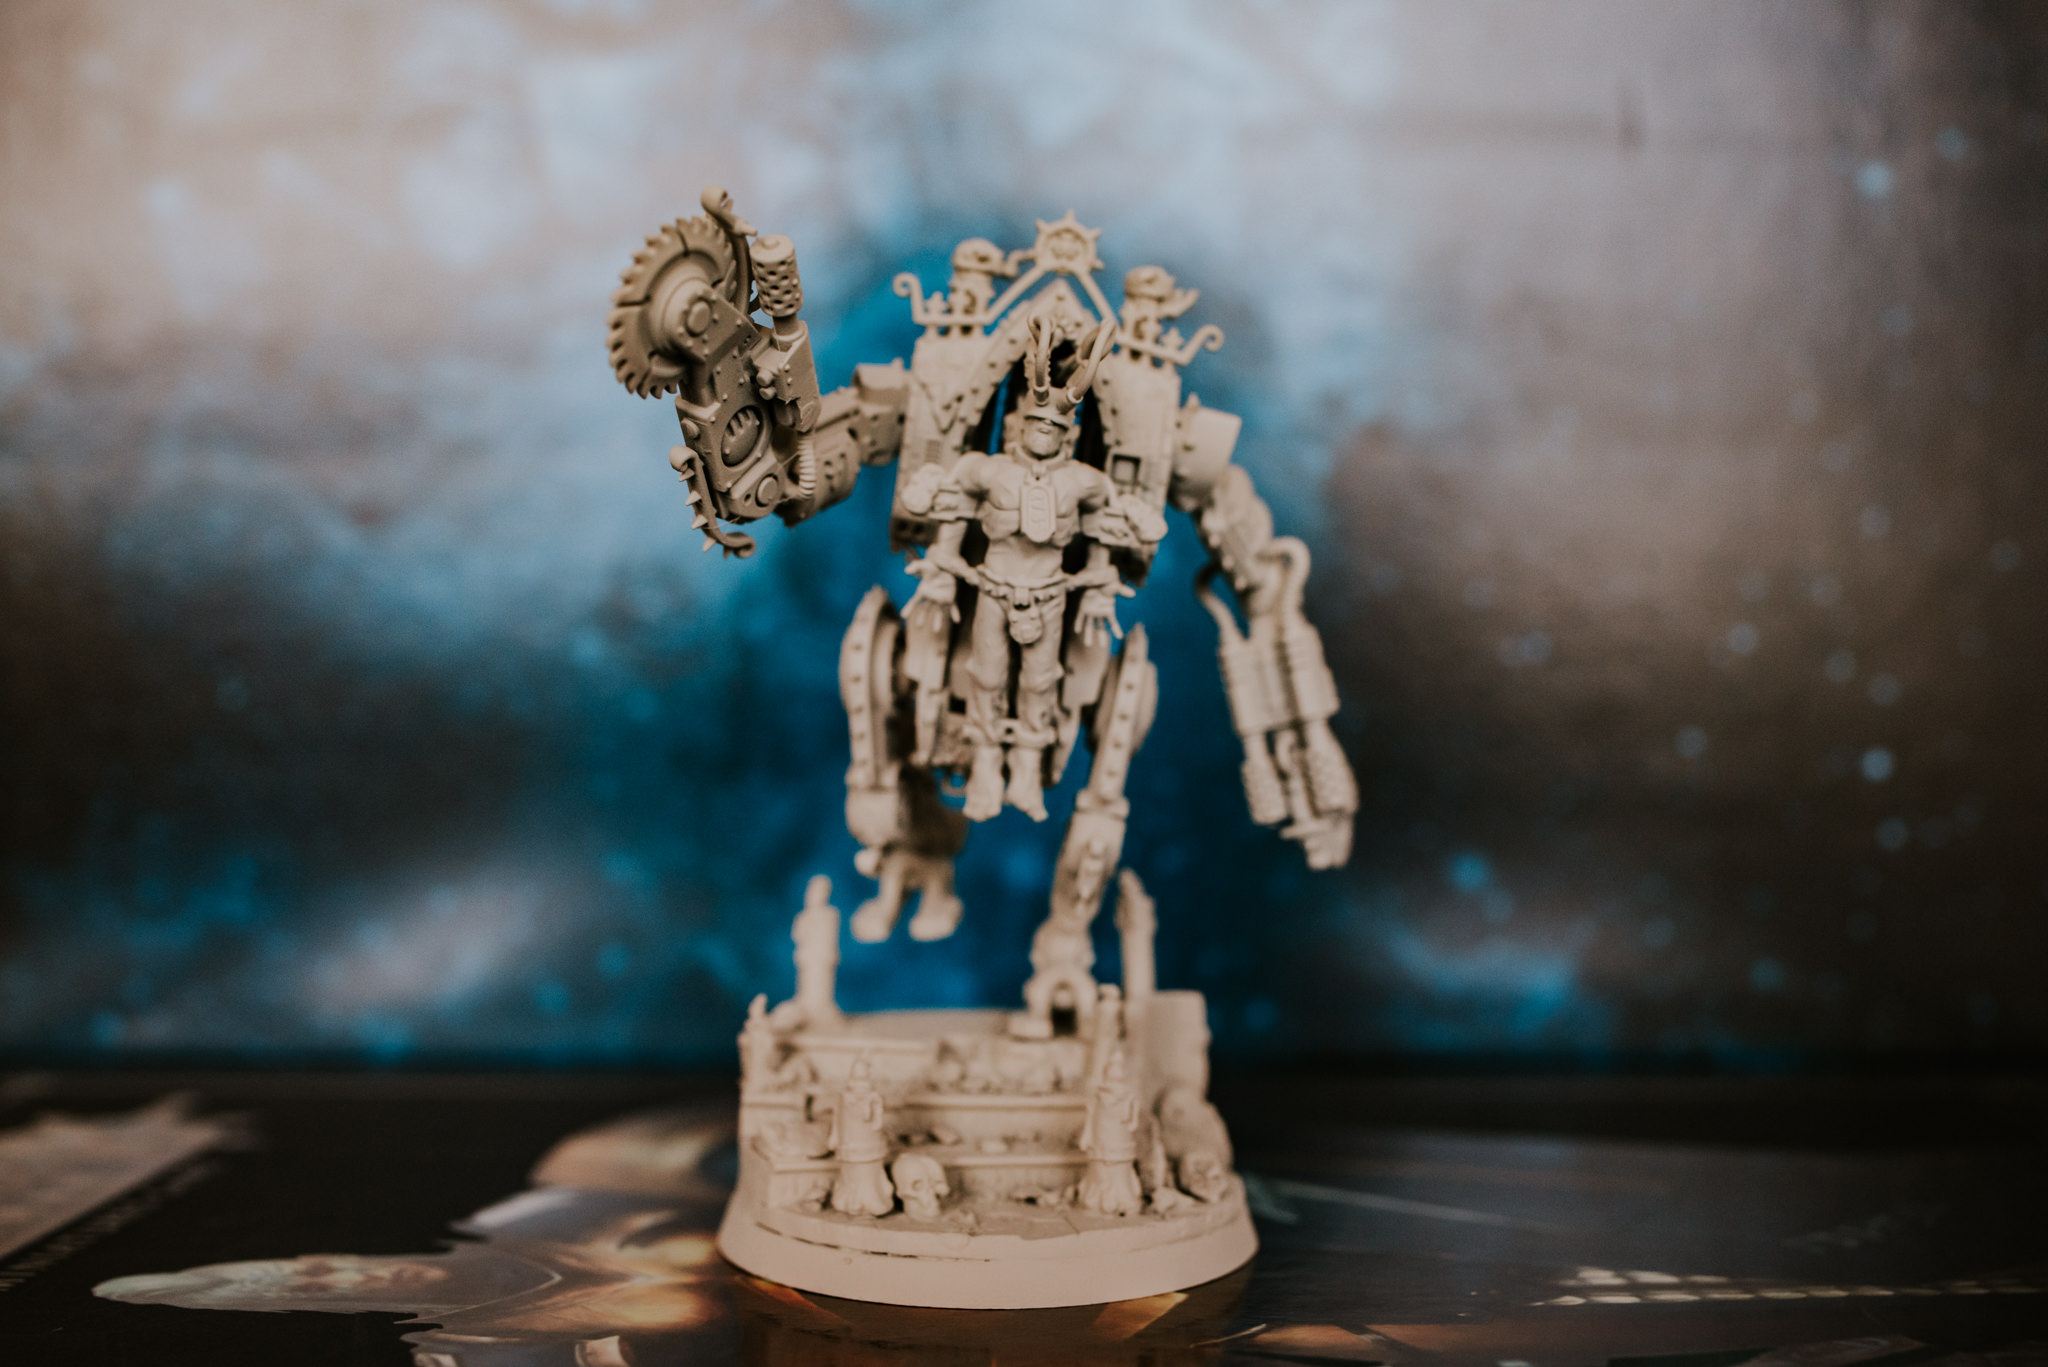
FINALLY!!! Everything is fully assembled & base coated at last & here is the final few models of goodness to round off the first stage of my Sororitas army. I’ll start with this beast, the Penitent engine. Who is about to knock all the candles over in the temple & fall down the emperors stairs, but with luck he will smite some heretics on the way.
As soon as I got this awesome base I knew I wanted to stagger candles on each level & add a couple more skulls so I did just that. I’m really pleased with how it turned out.

ARCO FLAGELLANTS
*****
Not pronounced flatulence like I keep enjoying calling them, these three gribbly boys were simple to assemble & I didn’t feel deserved any extra basing goodness. The emperors light does not shine on the heretic therefore they will have no candles for being the naughtiest of boys. Yes!
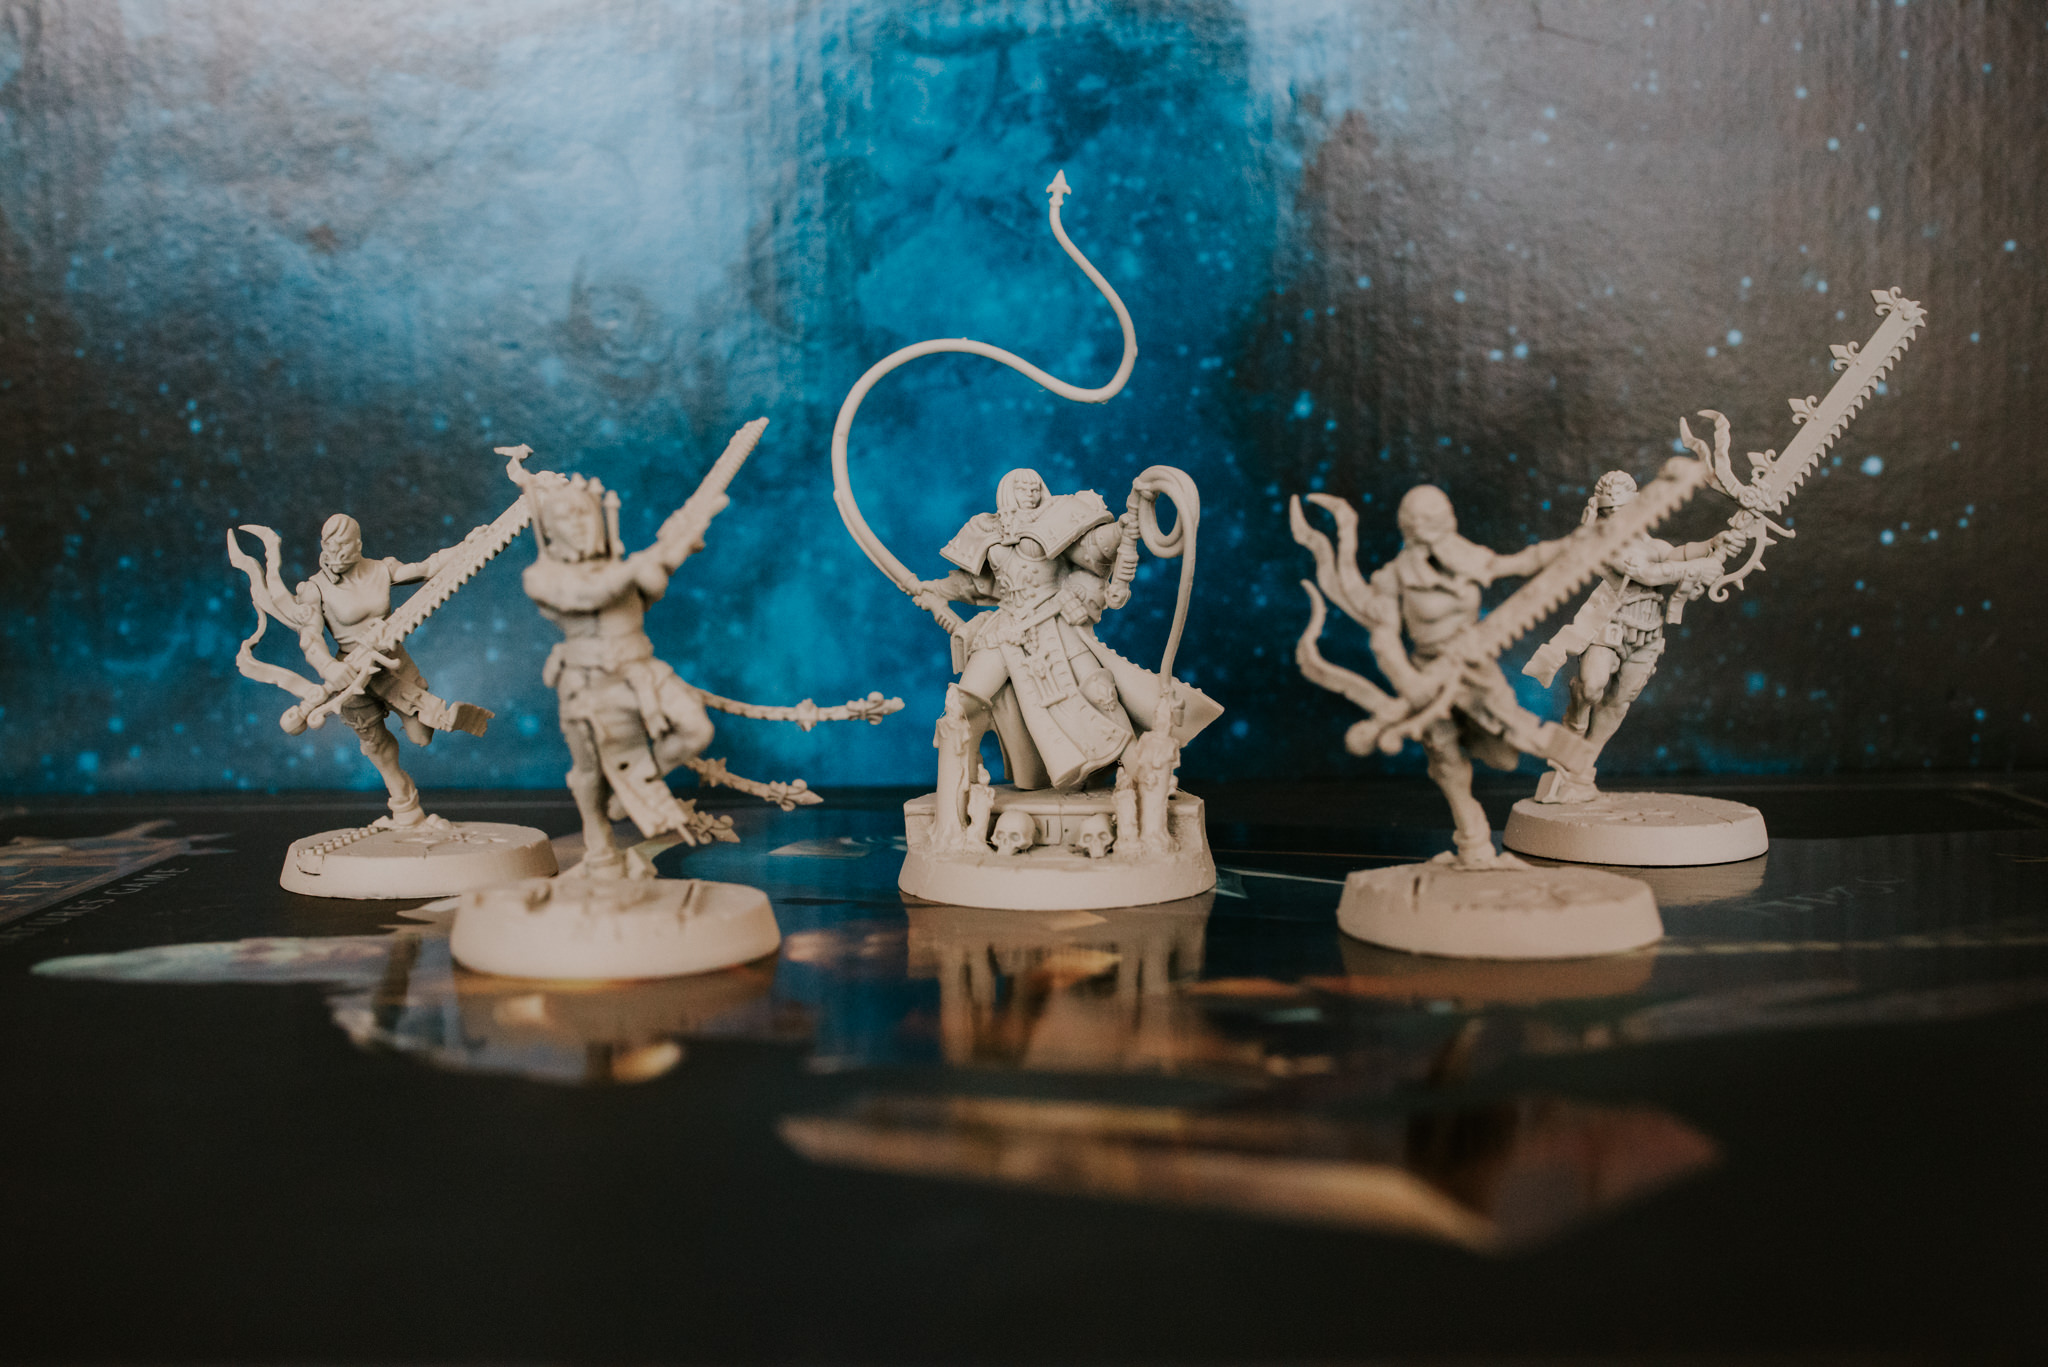

REPENTIA
*****
I’ve got to say I absolutely adore these models. I realise they got a bit of flack for being uber muscular on the weekender but to me they look bloody lovely. Plus how’s about that whip on the Superior. That lengthy bad boy is gonna snap off quicker thanI can say FOR THE EMPEROR! I added a couple of candles & skulls to her base but left them off the Repentia themselves. They will only receive the emperors basing extras after they atone for their misdeeds.
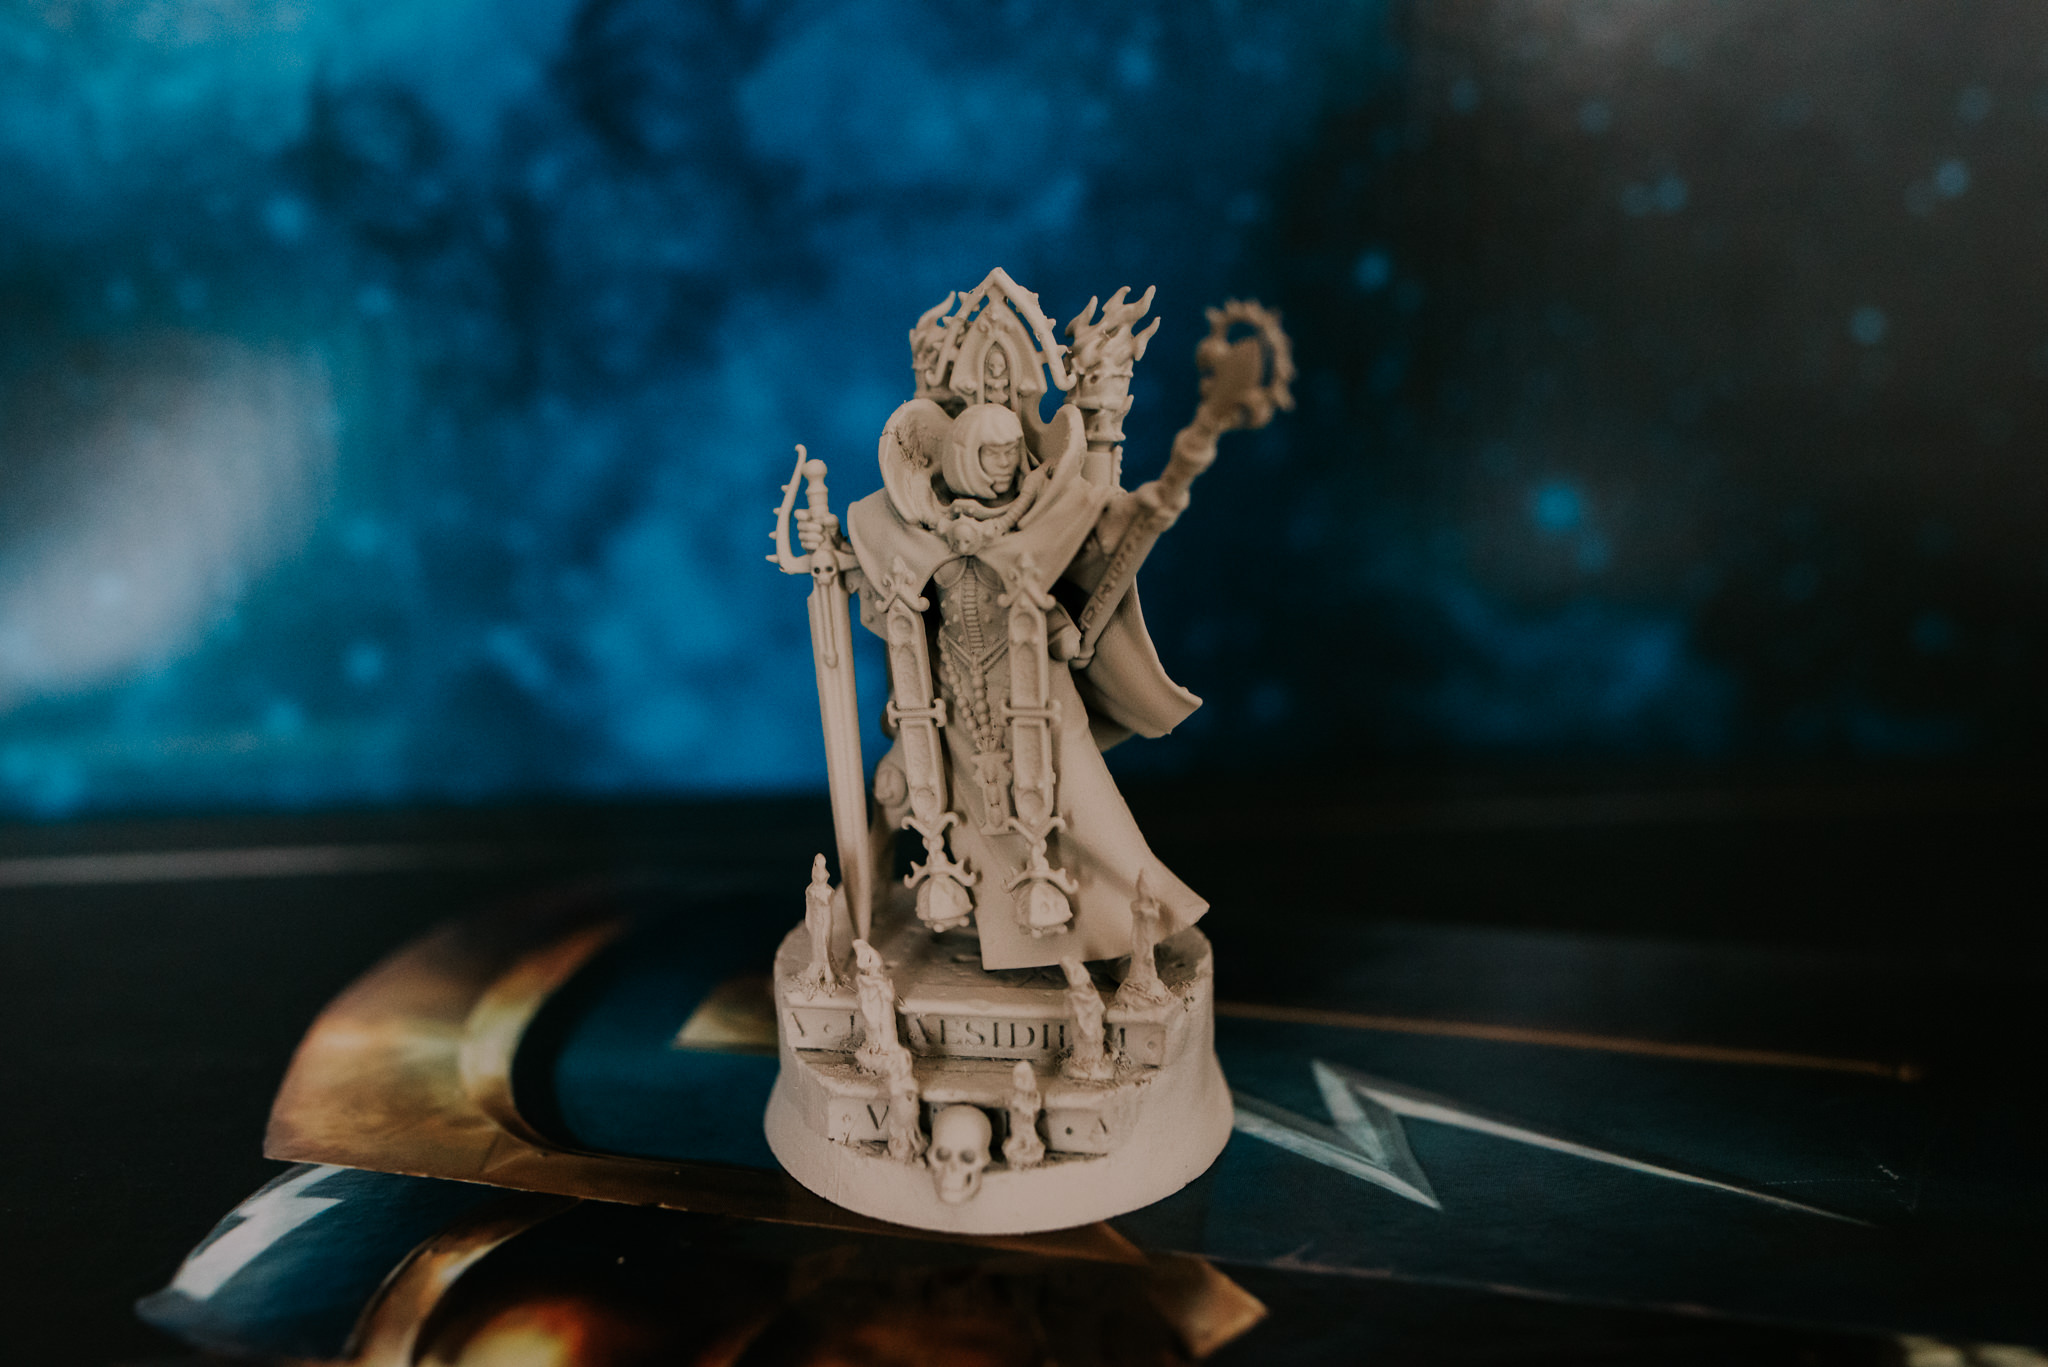
CANONESS
*****
Last but not least the Canoness. It was probably just me but wow was this model an absolute arse to put together. The giant collar & cloak had such big gaps they needed a London Underground warning over a telecom MIND THE GAP! So I made a mess of it by using a shit ton of superglue to fill them. It’s come out alright if a little messy but I’ll just cover it with paint & hope for the best. Hell I’m not that precious. As befits the holy leader of such a blessed force I added staggered candles & a skull on the bottom step to trip over the faithful in the emperors name. Yes!
I also chose against converting her as I loved the model. The only thing I did was a head swap as I wanted a younger Canoness. (HOW VERY DARE I) I also took the flaming backpack of awesomeness from the Repentia Mistress & stuck that on her instead. It just looked more impressive for a lady of her power.
That’s it! The entire contents of the starter set is built & primed & ready for me to take decades to paint them. Well I really hope not but this blog has definitely been a huge motivation in getting this far so quick. As with most of us life gets in the way & so I have limited time to hobby but I am determined to get this army finished & create something to be proud of.
At last the next post will more than likely be the first in my painting blogs. I will try & go through step by step how I bring these sisters to life to smite the Emperors foes.
I hope you guys are enjoying these posts as much as I am making them.
Oh & if I don’t make an update before then
Merry Bloody Christmas
Much Love
Eternity Gate