









A City worth fighting for?


Recommendations: 297
About the Project
March 2020: This turbulent year has been a busy one for me. Most days I've had less time and less motivation to hobby. I've done almost no hobby work this last twelve months. Almost none, but not entirely none. This started as a general scenery project, became a resurrection of a very old idea (which I later scrapped) and then morphed into a desire to get scenery on the table for a Frostgrave campaign. It'll be what gets me back into the hobby in 2021, I hope. April 2022: Ah damn, I didn't finish this yet. SCC!
Related Game: Frostgrave
Related Genre: Fantasy
Related Contest: Spring Clean Hobby Challenge (Old)
This Project is Active
14 Aug 22: Hitting the mats, round 2
Pleased with the result of the first mat, I wanted to make another. I also wanted to experiment a little by adding some built in detail that I hoped would still allow the mat to roll up nicely.
On writing the previous post, I realise that I’d actually forgotten the Knarb video until I went back to check my sources and inspiration. Reviewing it again now, while his mat has some great detail in it, it doesn’t roll nearly as tightly as Mel’s version. More compact storage is definitely my preferred outcome.
I’ve had some 1mm thick A4 size cork sheets in my stash for a while, I thought I’d give this a try on the new mat. It’s quite flexible and easy to cut, I figured it should be ok.
I cut the sheet into 30mm squares to represent tiles. This gave me plenty. Given the width of the sheet I also ended up with some half-wide pieces as well. All good for variation.
I set to work on the first layer of the mat. Caulk, paint, no sand. I was running out of paint too, so the first two batches were pale. the 3rd… well, you’ll see.
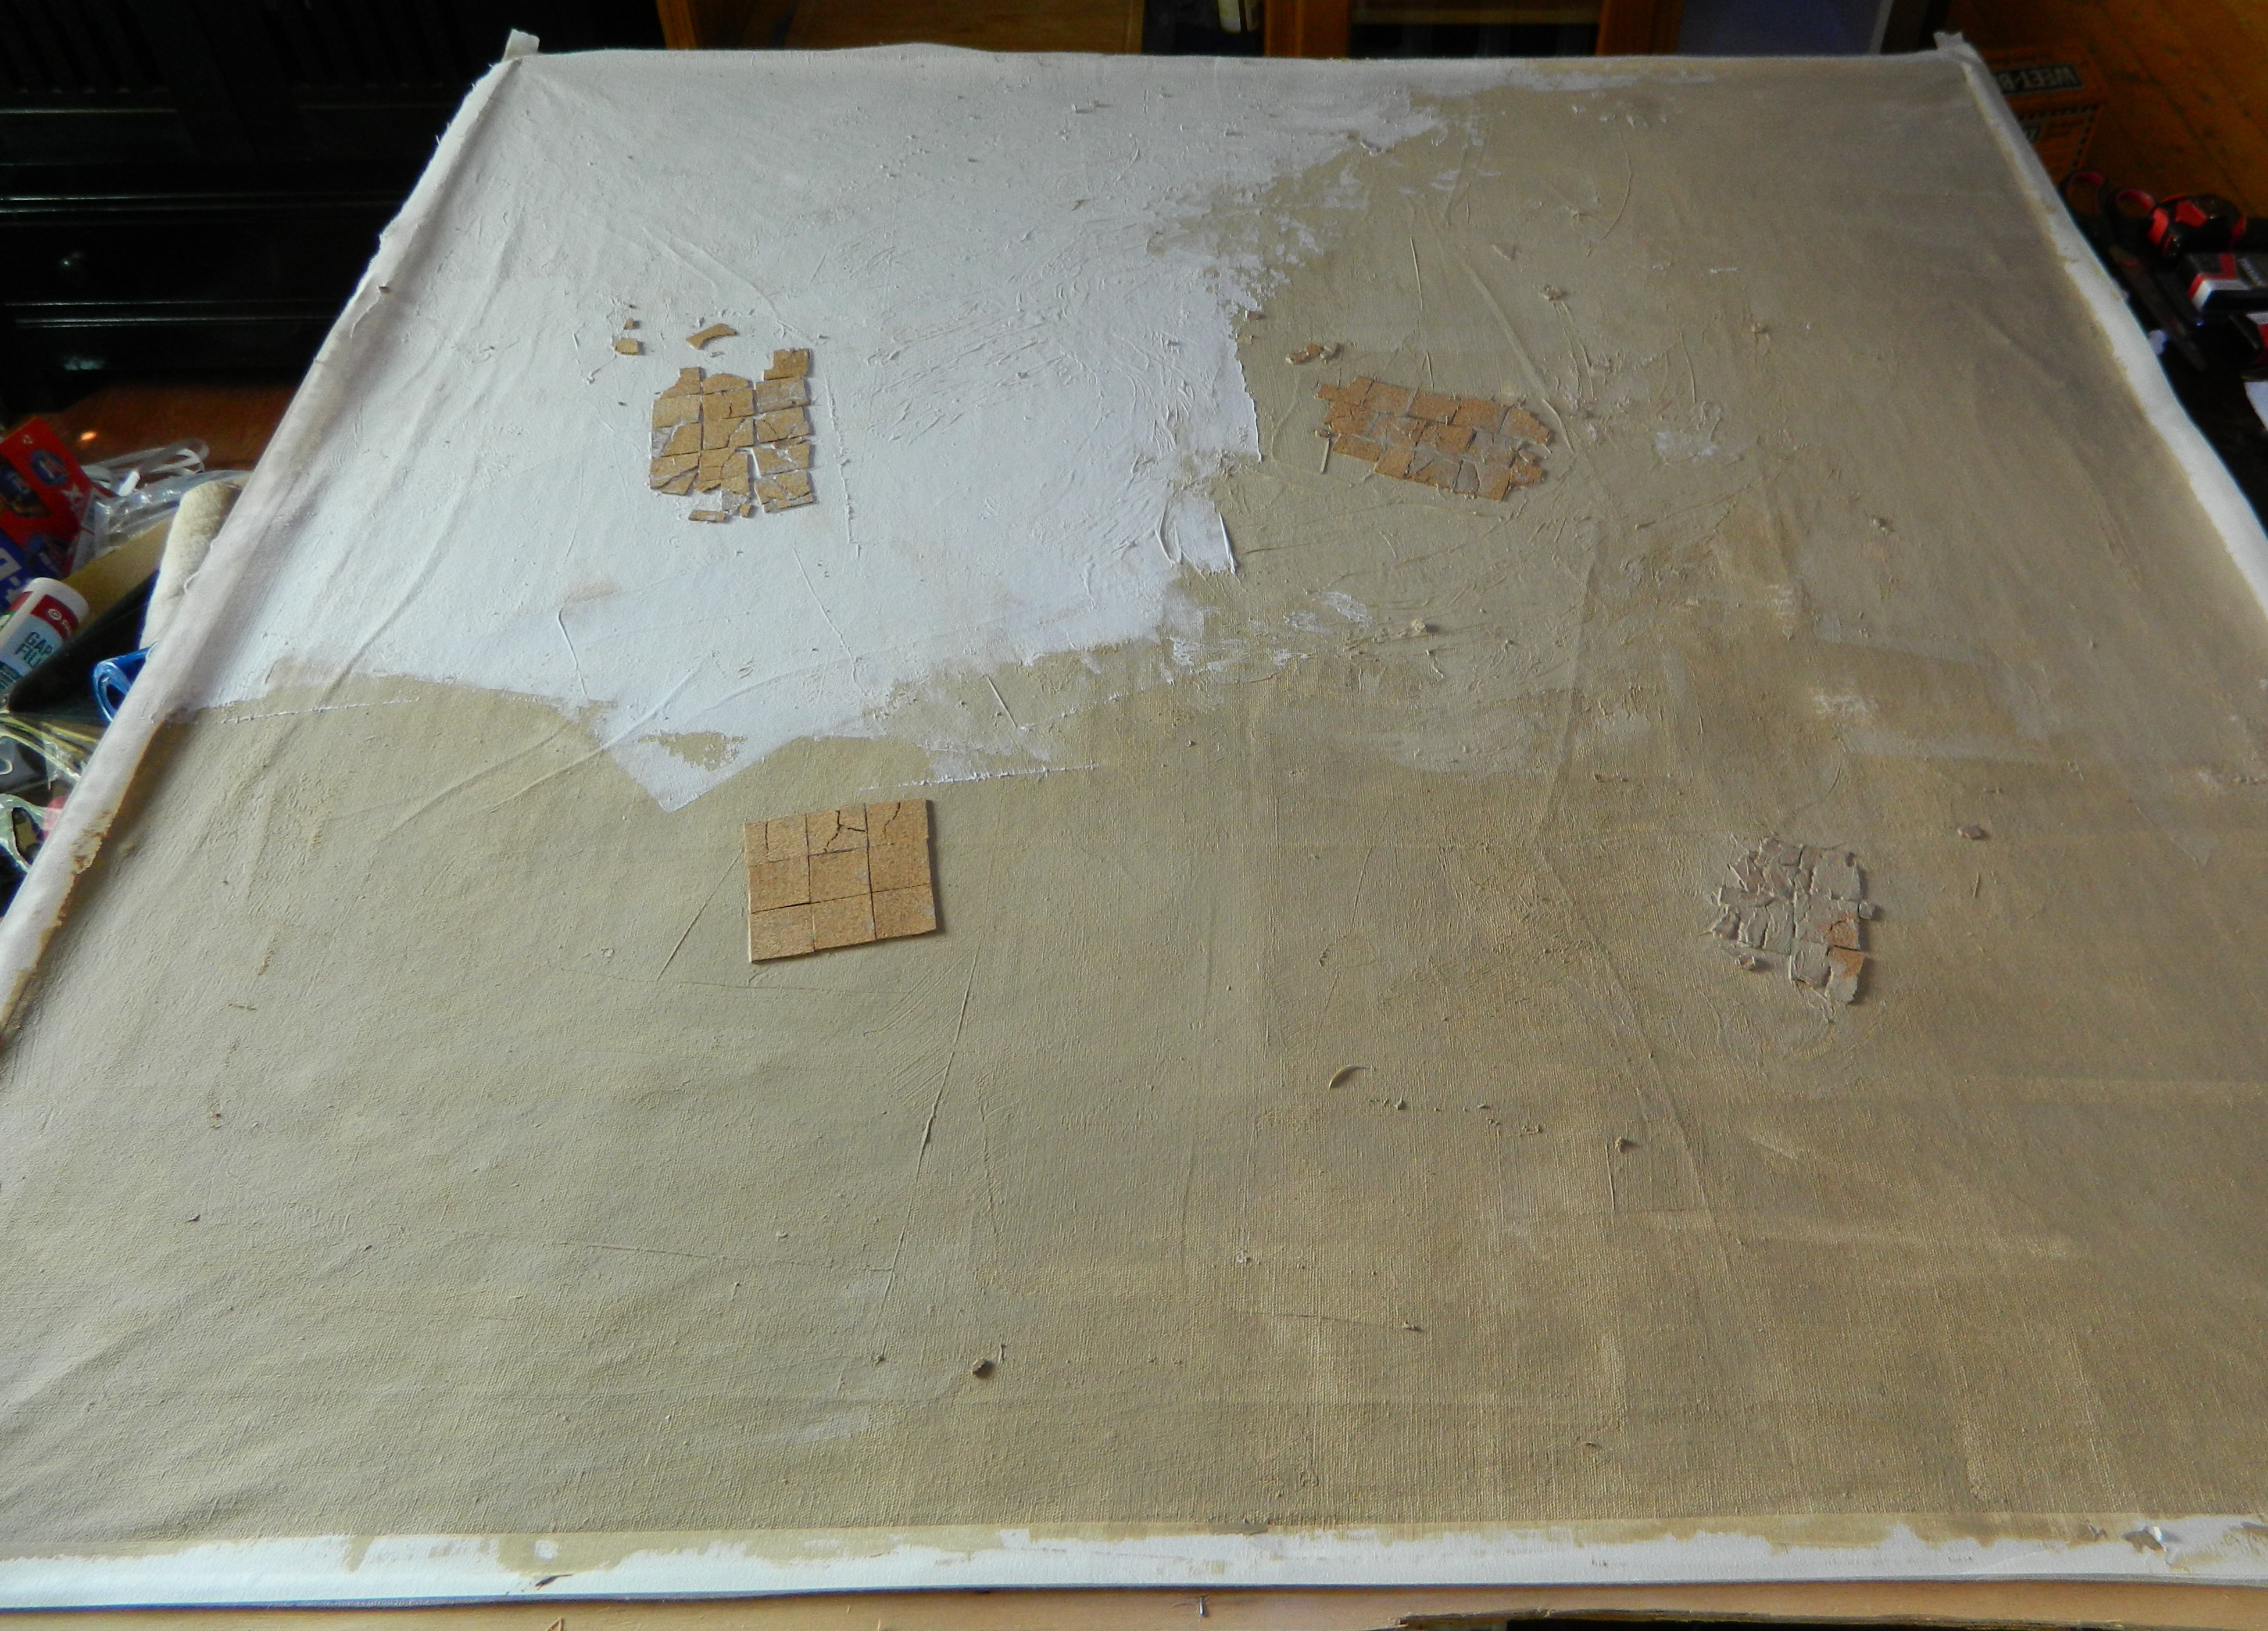 I worked anti-clockwise around the mat. You can probably see the three different batches of caulking by the differences in colour. The 3rd batch had no paint in it at all.
I worked from what is the bottom left corner of the picture, anti-clockwise around to the top left corner.
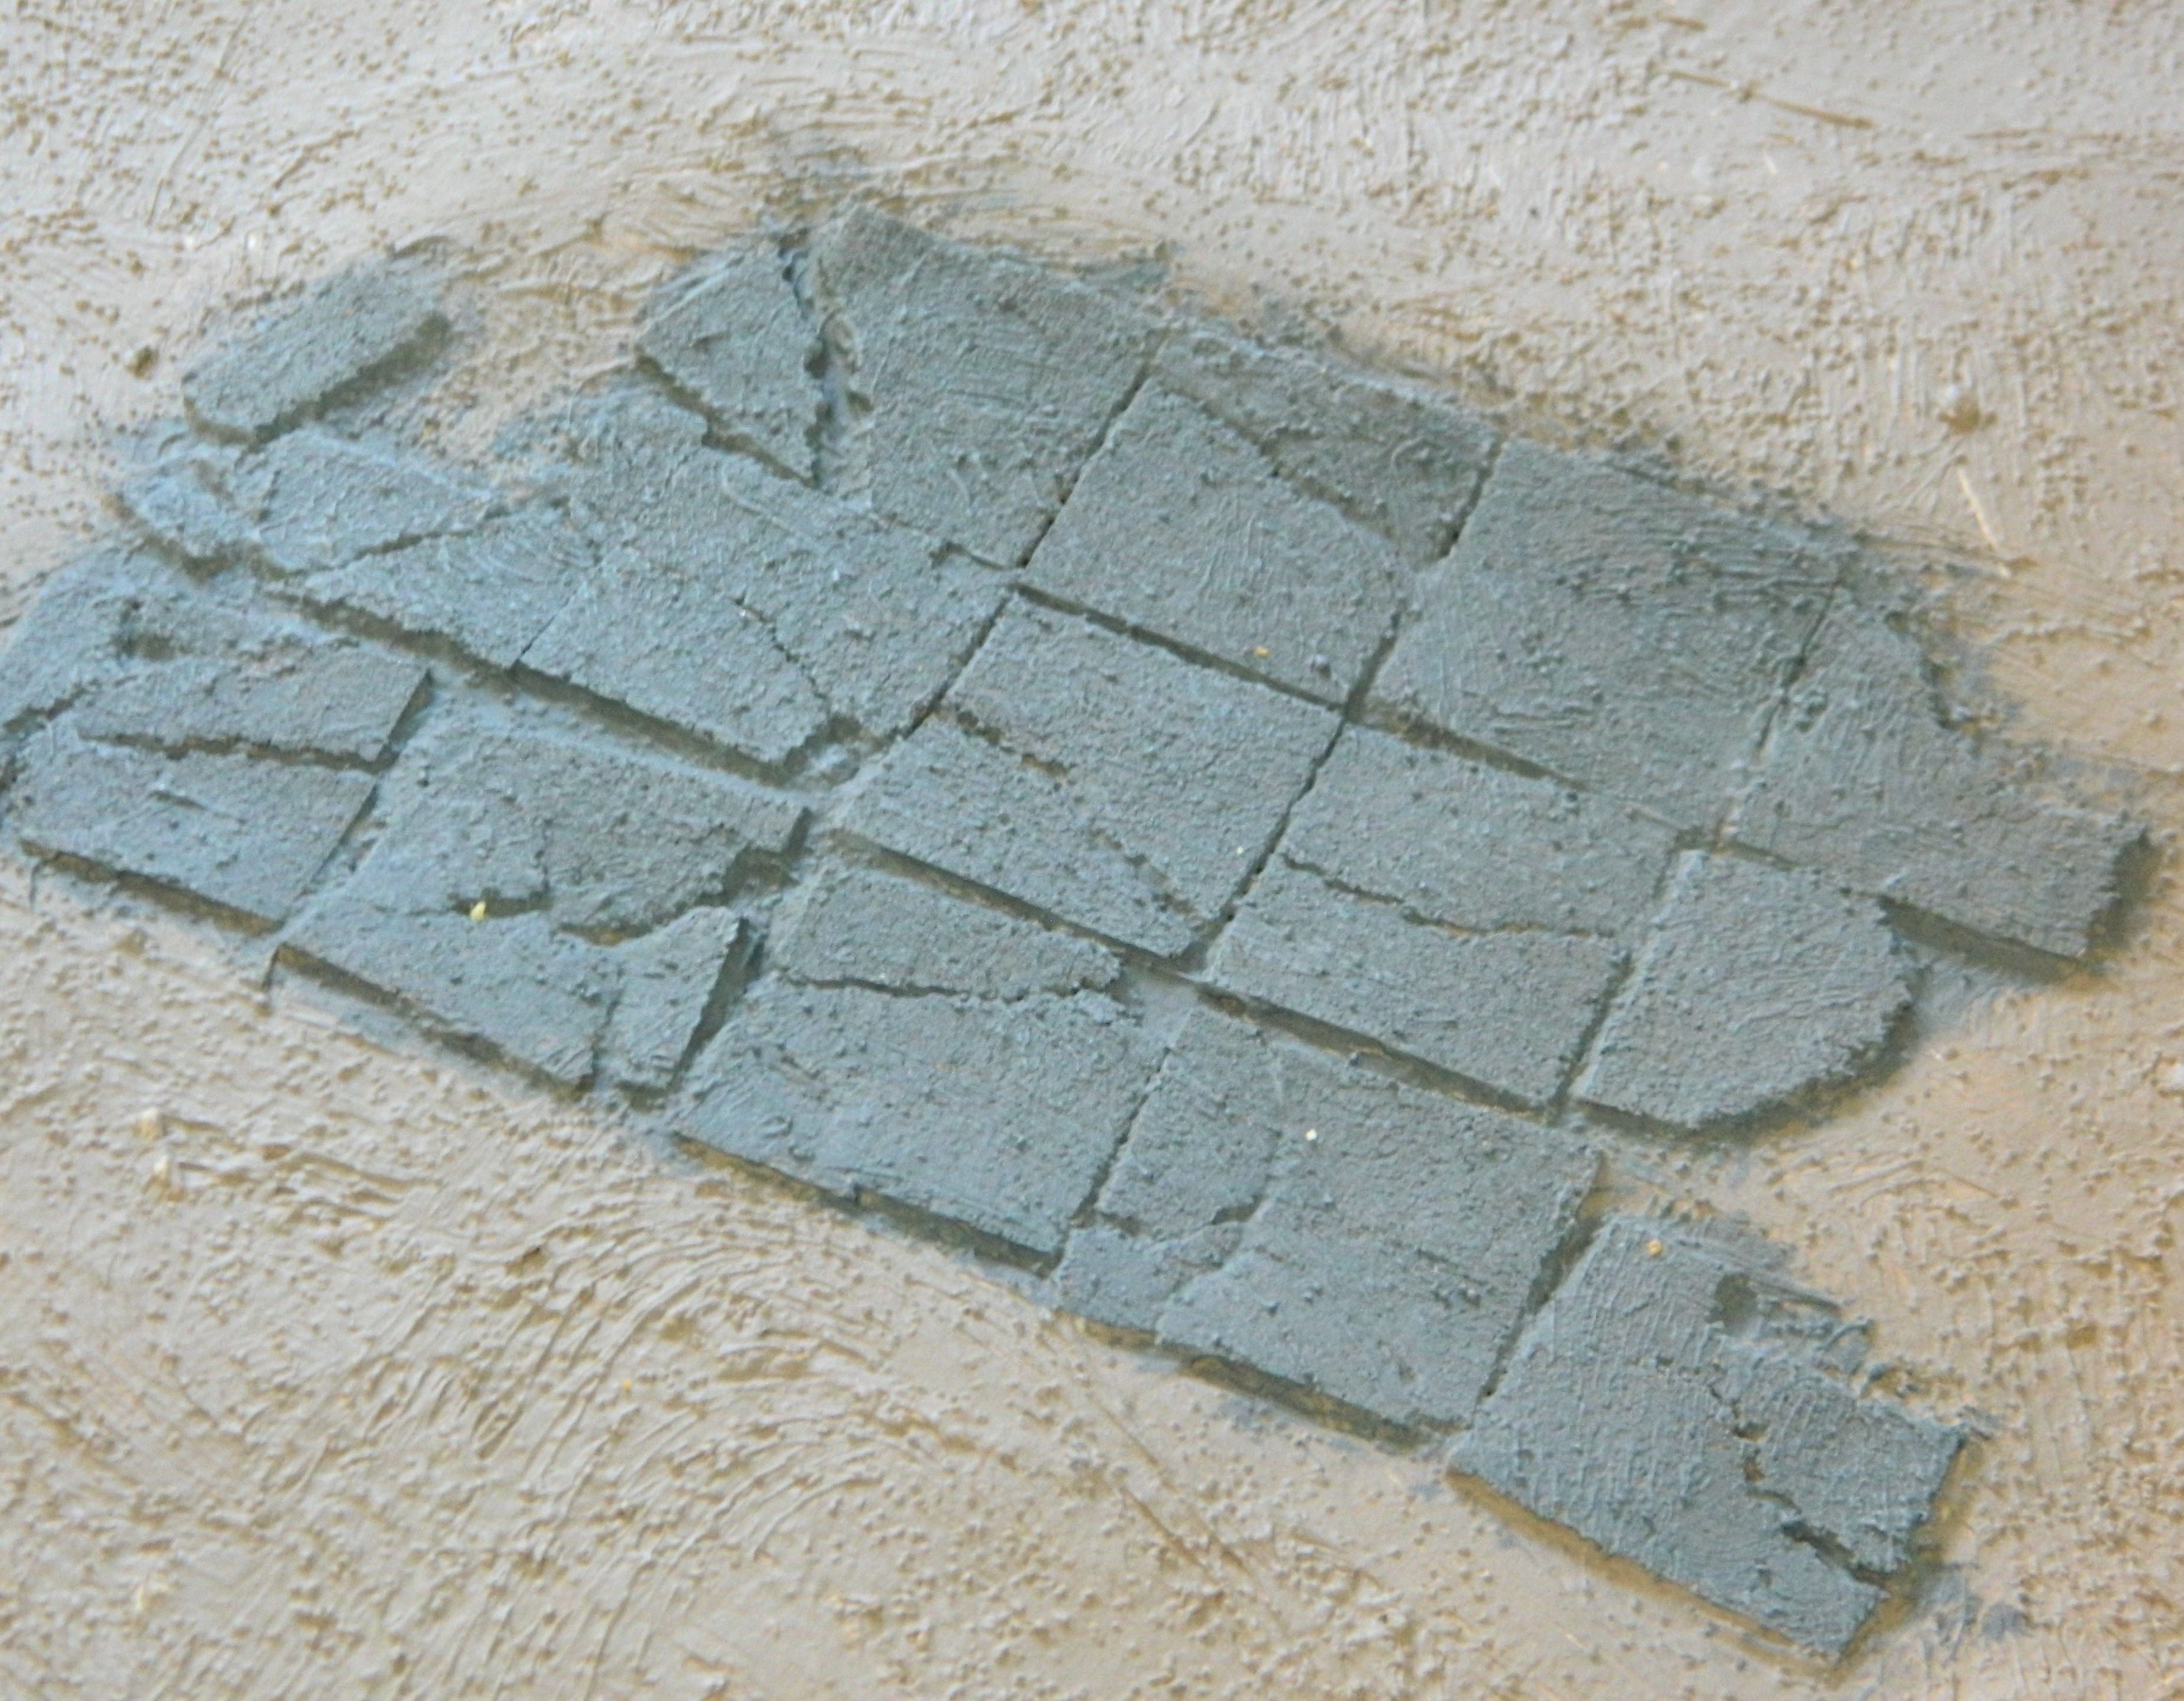
I put the caulk down (I use a wide paint scraper to spread it around) then while it was still wet, pressed the cork squares into it. The first 3×3 square was rather plain, just to test if it would stick and hold. I also started to tear the cork to create cracks in the pavers.
The second set on the bottom right, I was crushing multiple squares in hand. Then realised that I had to reassemble them puzzle-like. I wasn’t interested in doing that while the caulk was setting.
The third set on the top right I was more careful in distressing the cork, doing only one square at a time. I also used some of the rectangular pieces to add variety.
The fourth set top left, I was confident this was working, and just wanted to get it done.
 I thought about getting more paint before finishing this corner. But thendecided not to bother as I was going to put another layer on top of this that would cover it anyway...
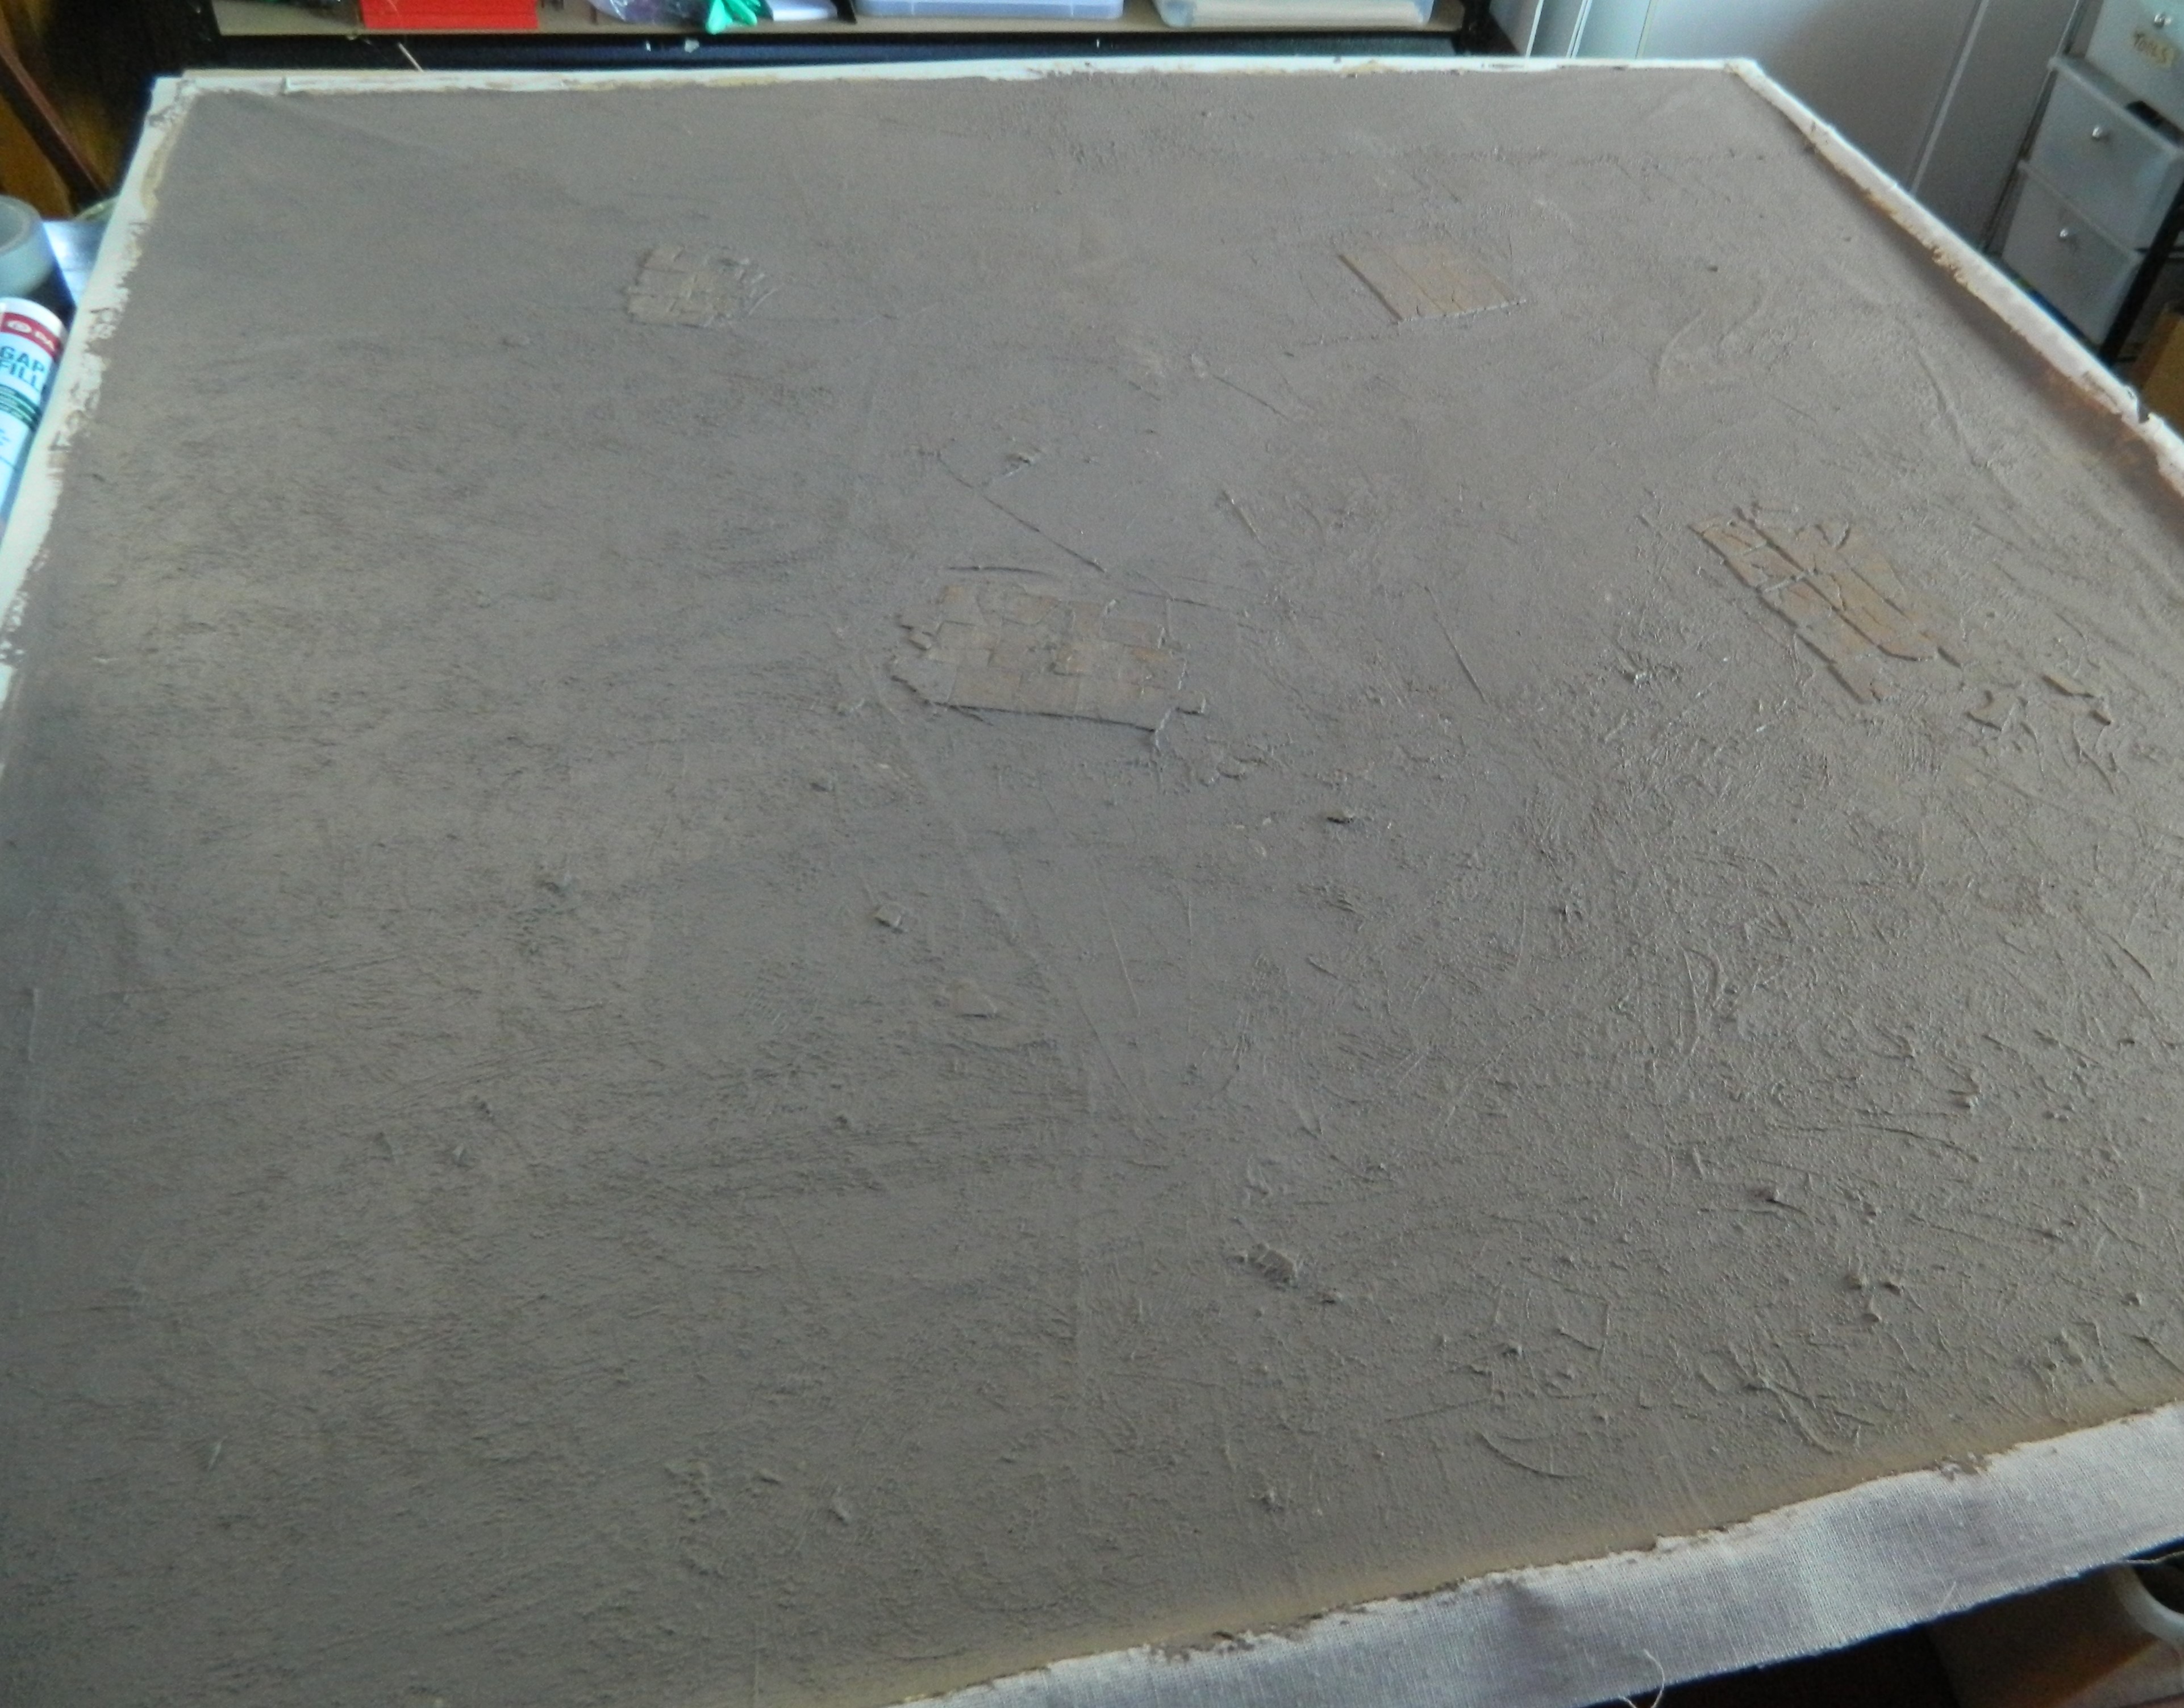 15 Aug 22: The second layer on top. Damn... I was going to paint the cork tiles before I put this layer down.
Yeah, I got caught up in the build and forgot that I was going to paint the cork then put the second layer on top. The plan being that it would weather the pavers into the ground.
Second layer: Caulk, paint, sand.

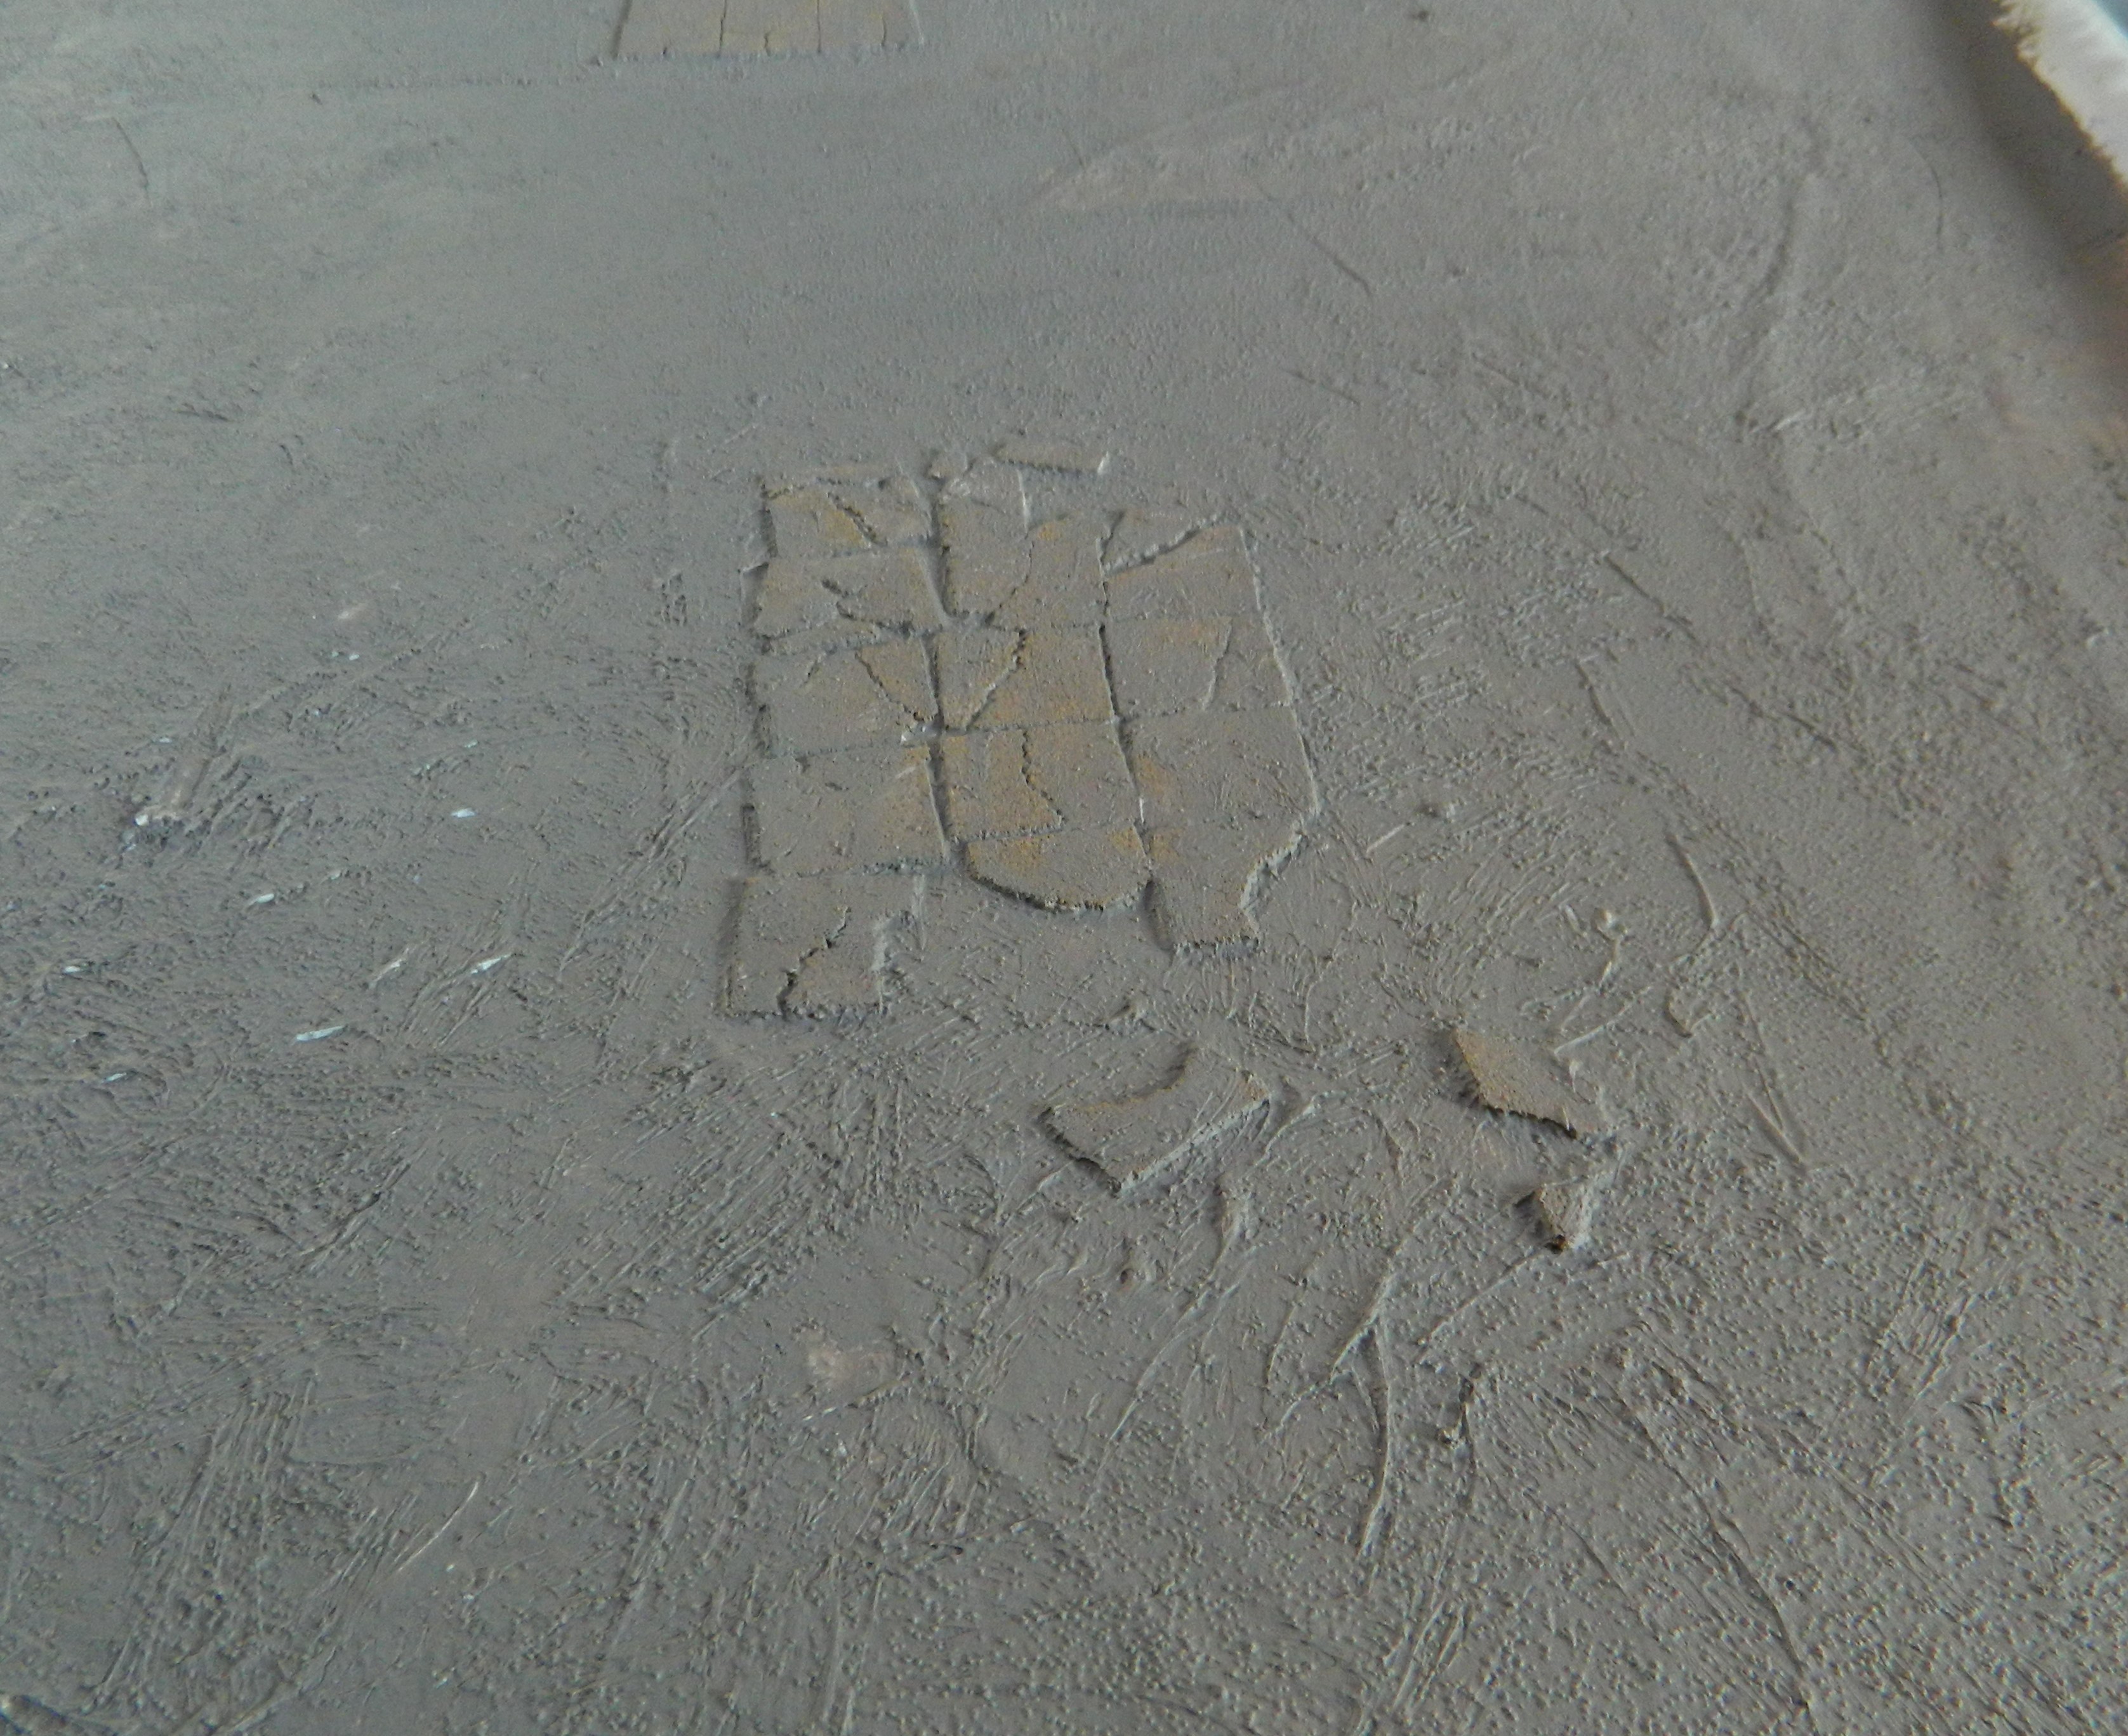
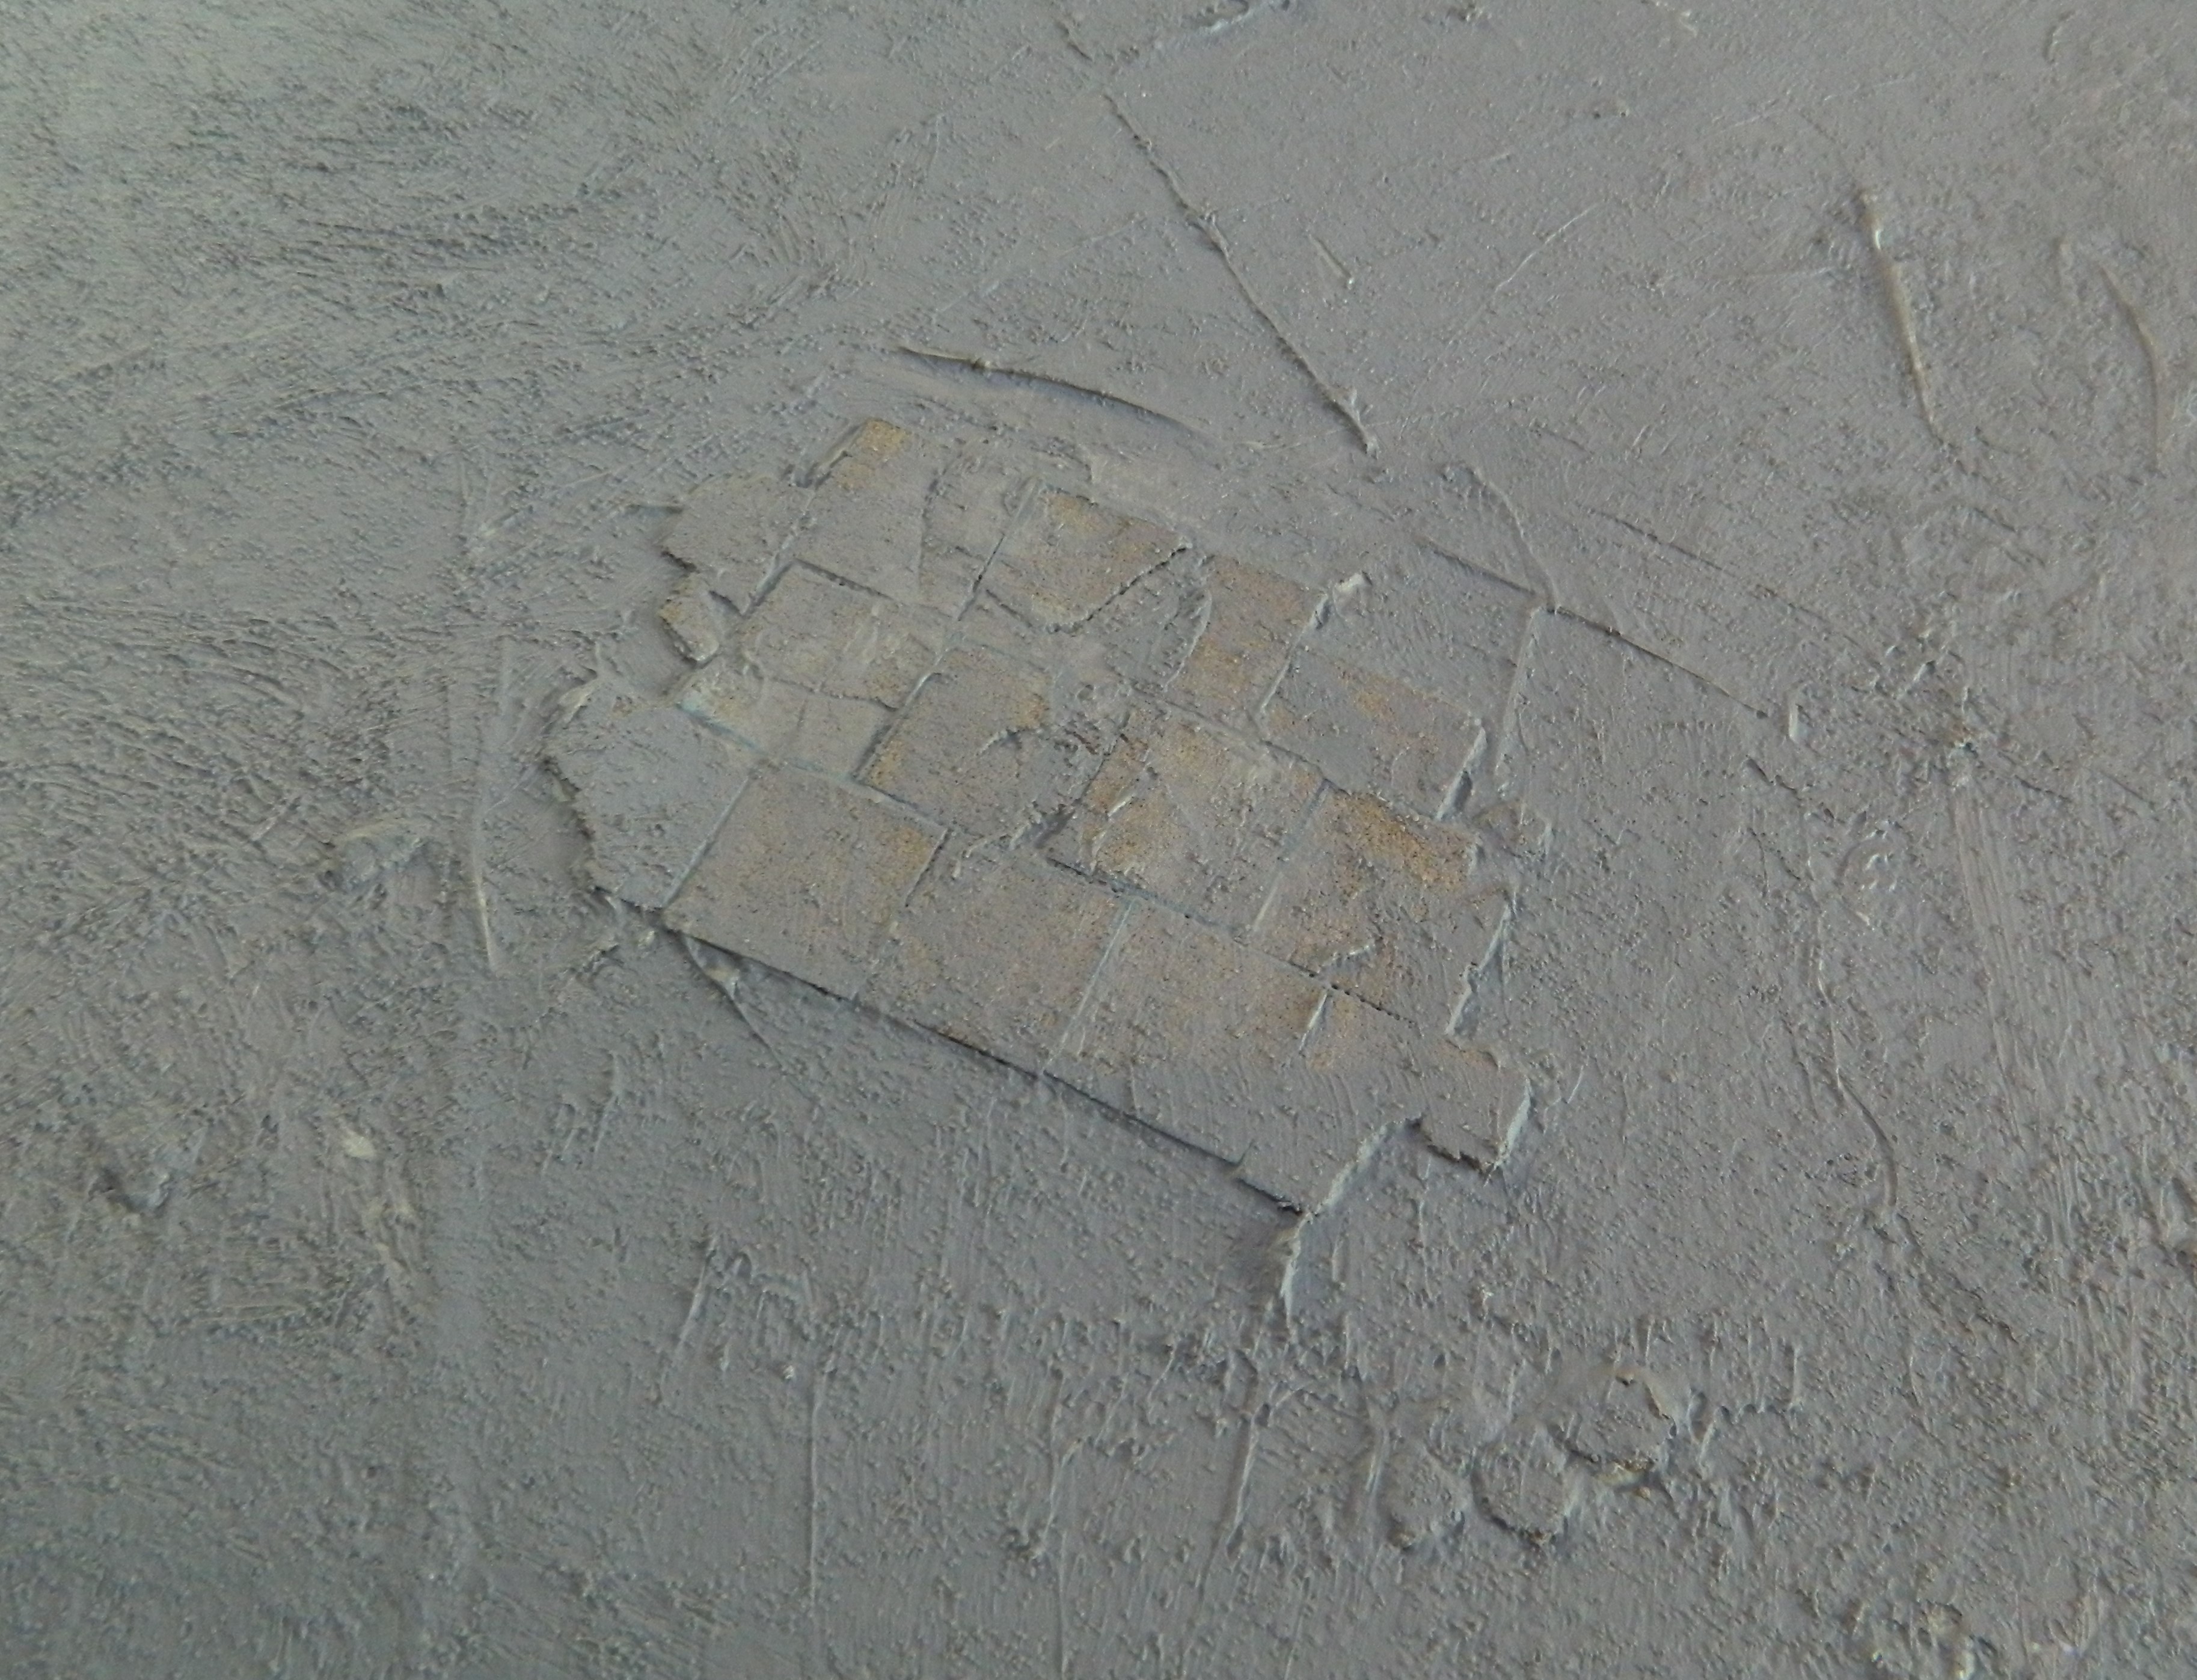
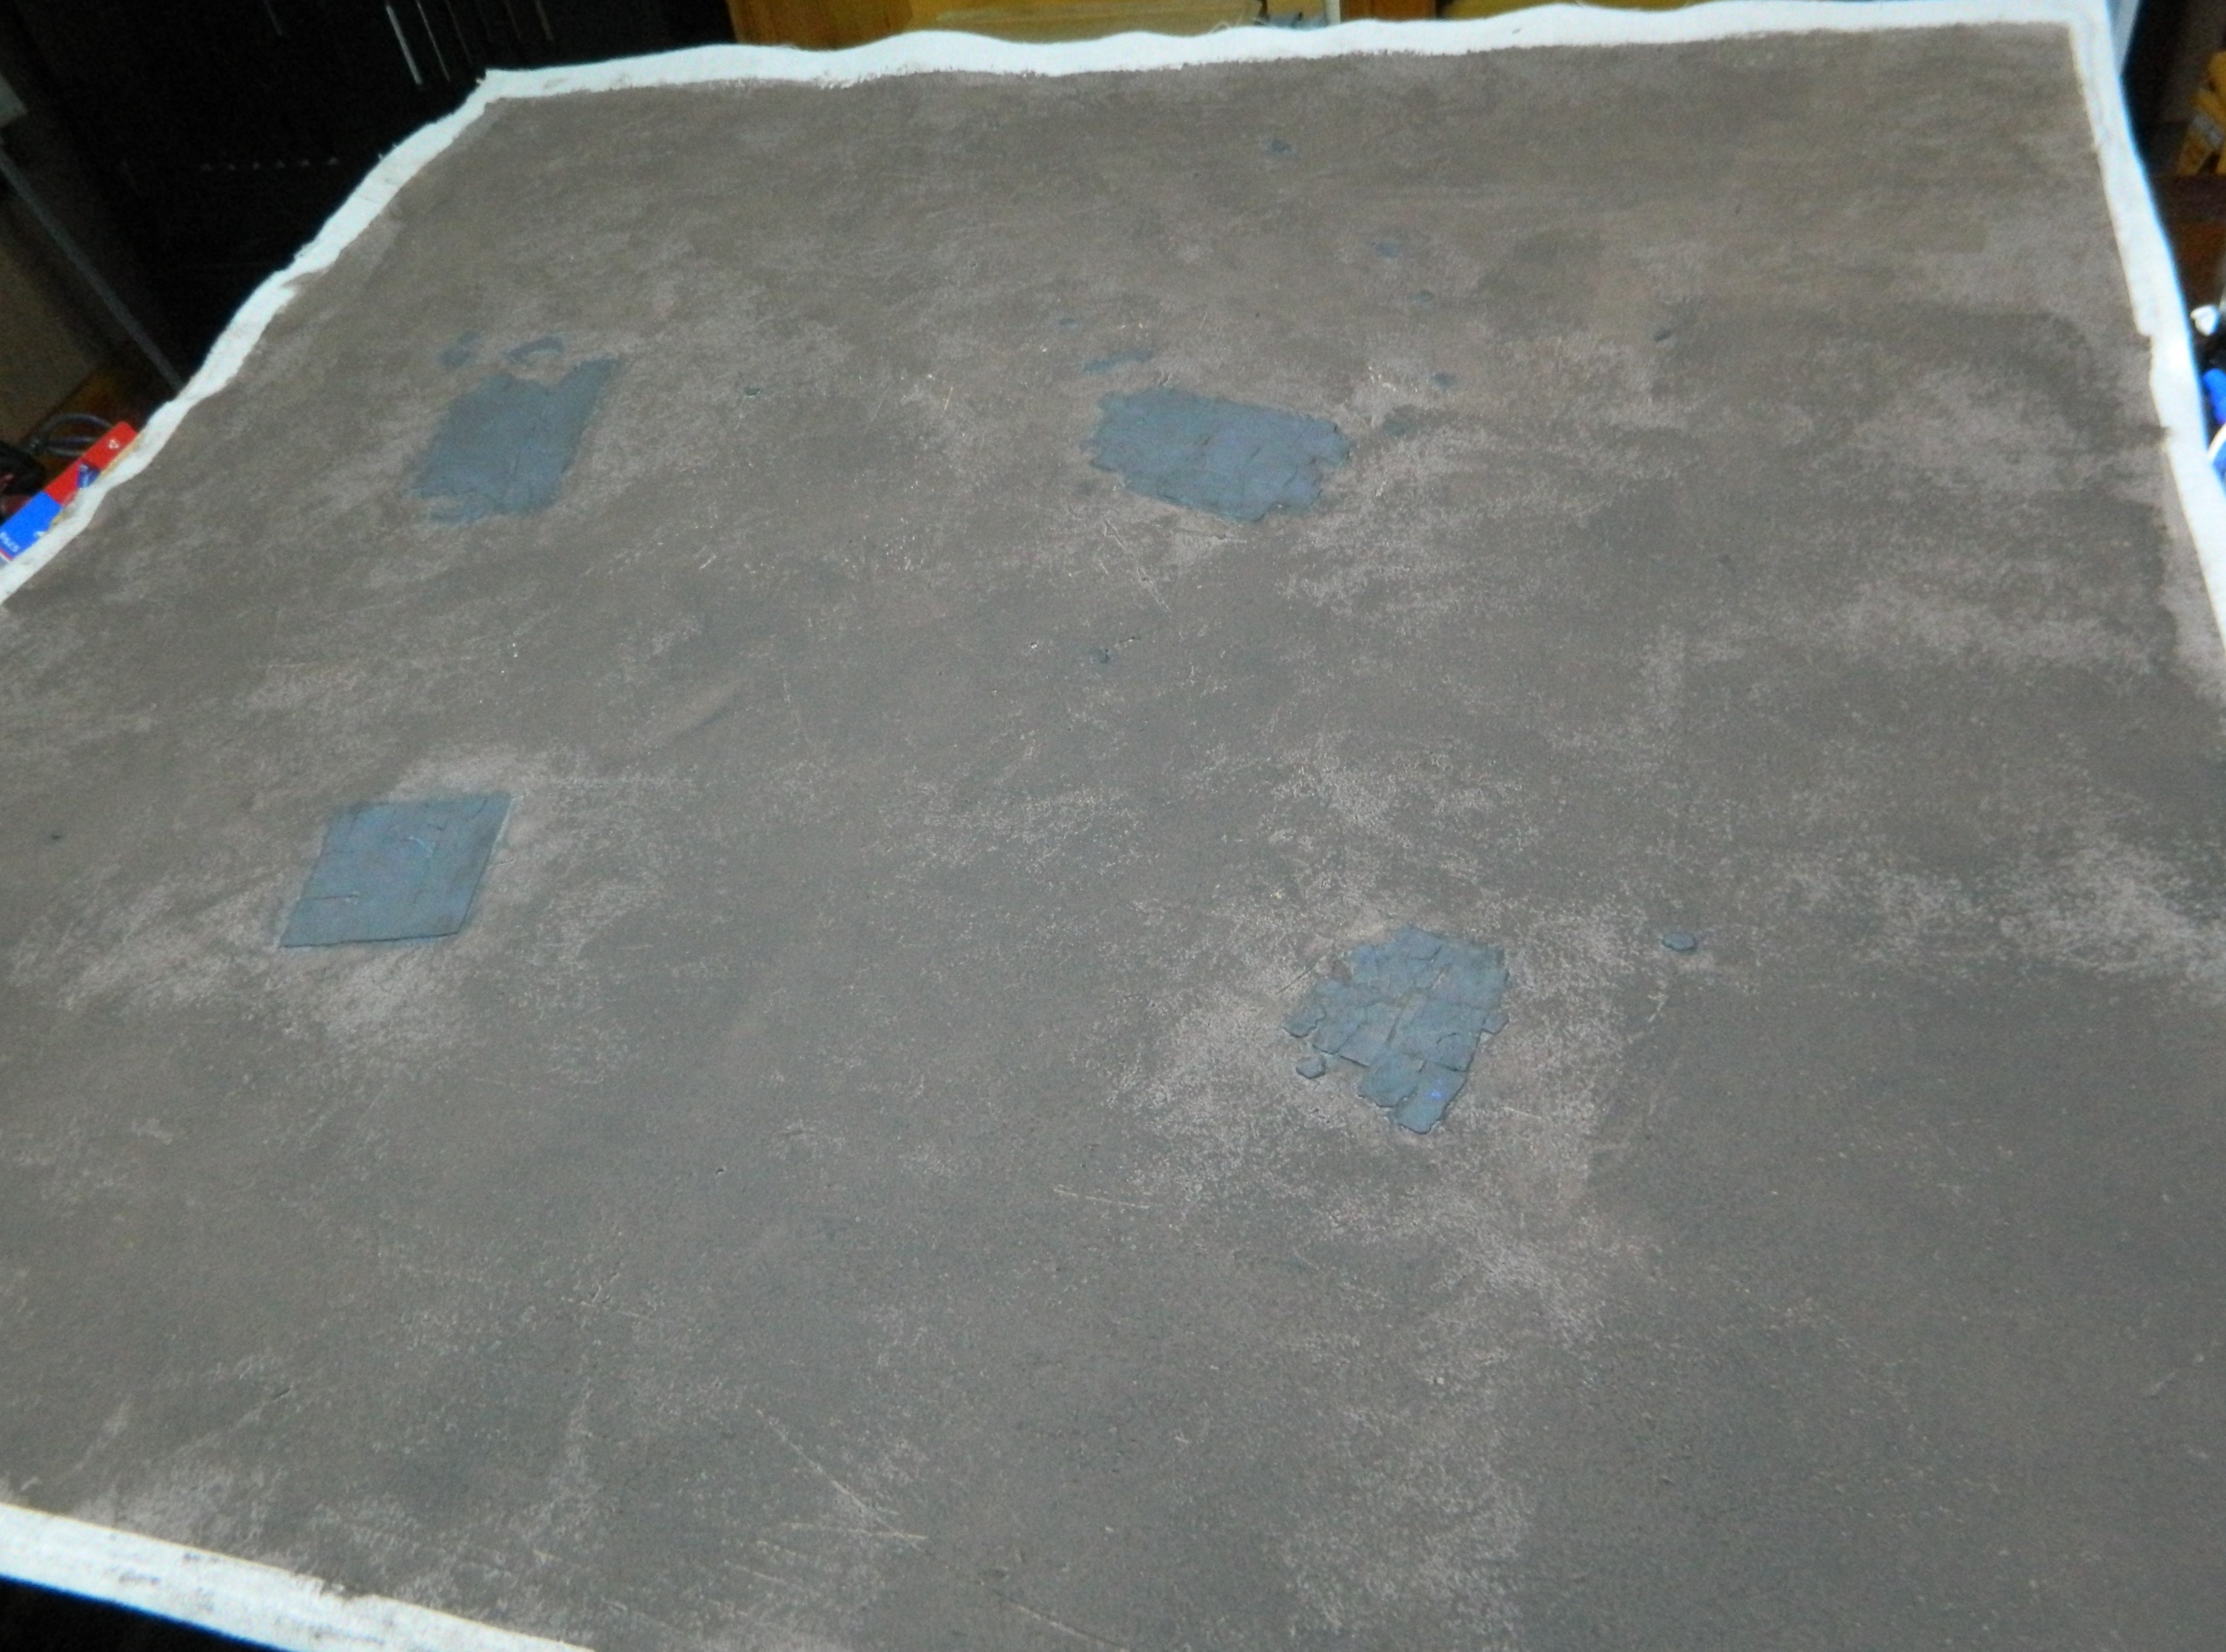
The second layer is on, and I’ve worked it into the gaps between the pavers. The caulk reacts well to water, so I could use that to smooth it off the pavers, work it into place. The next test would be the Roll test: would it roll up ok? Would the cork stay in place or would it peel off?
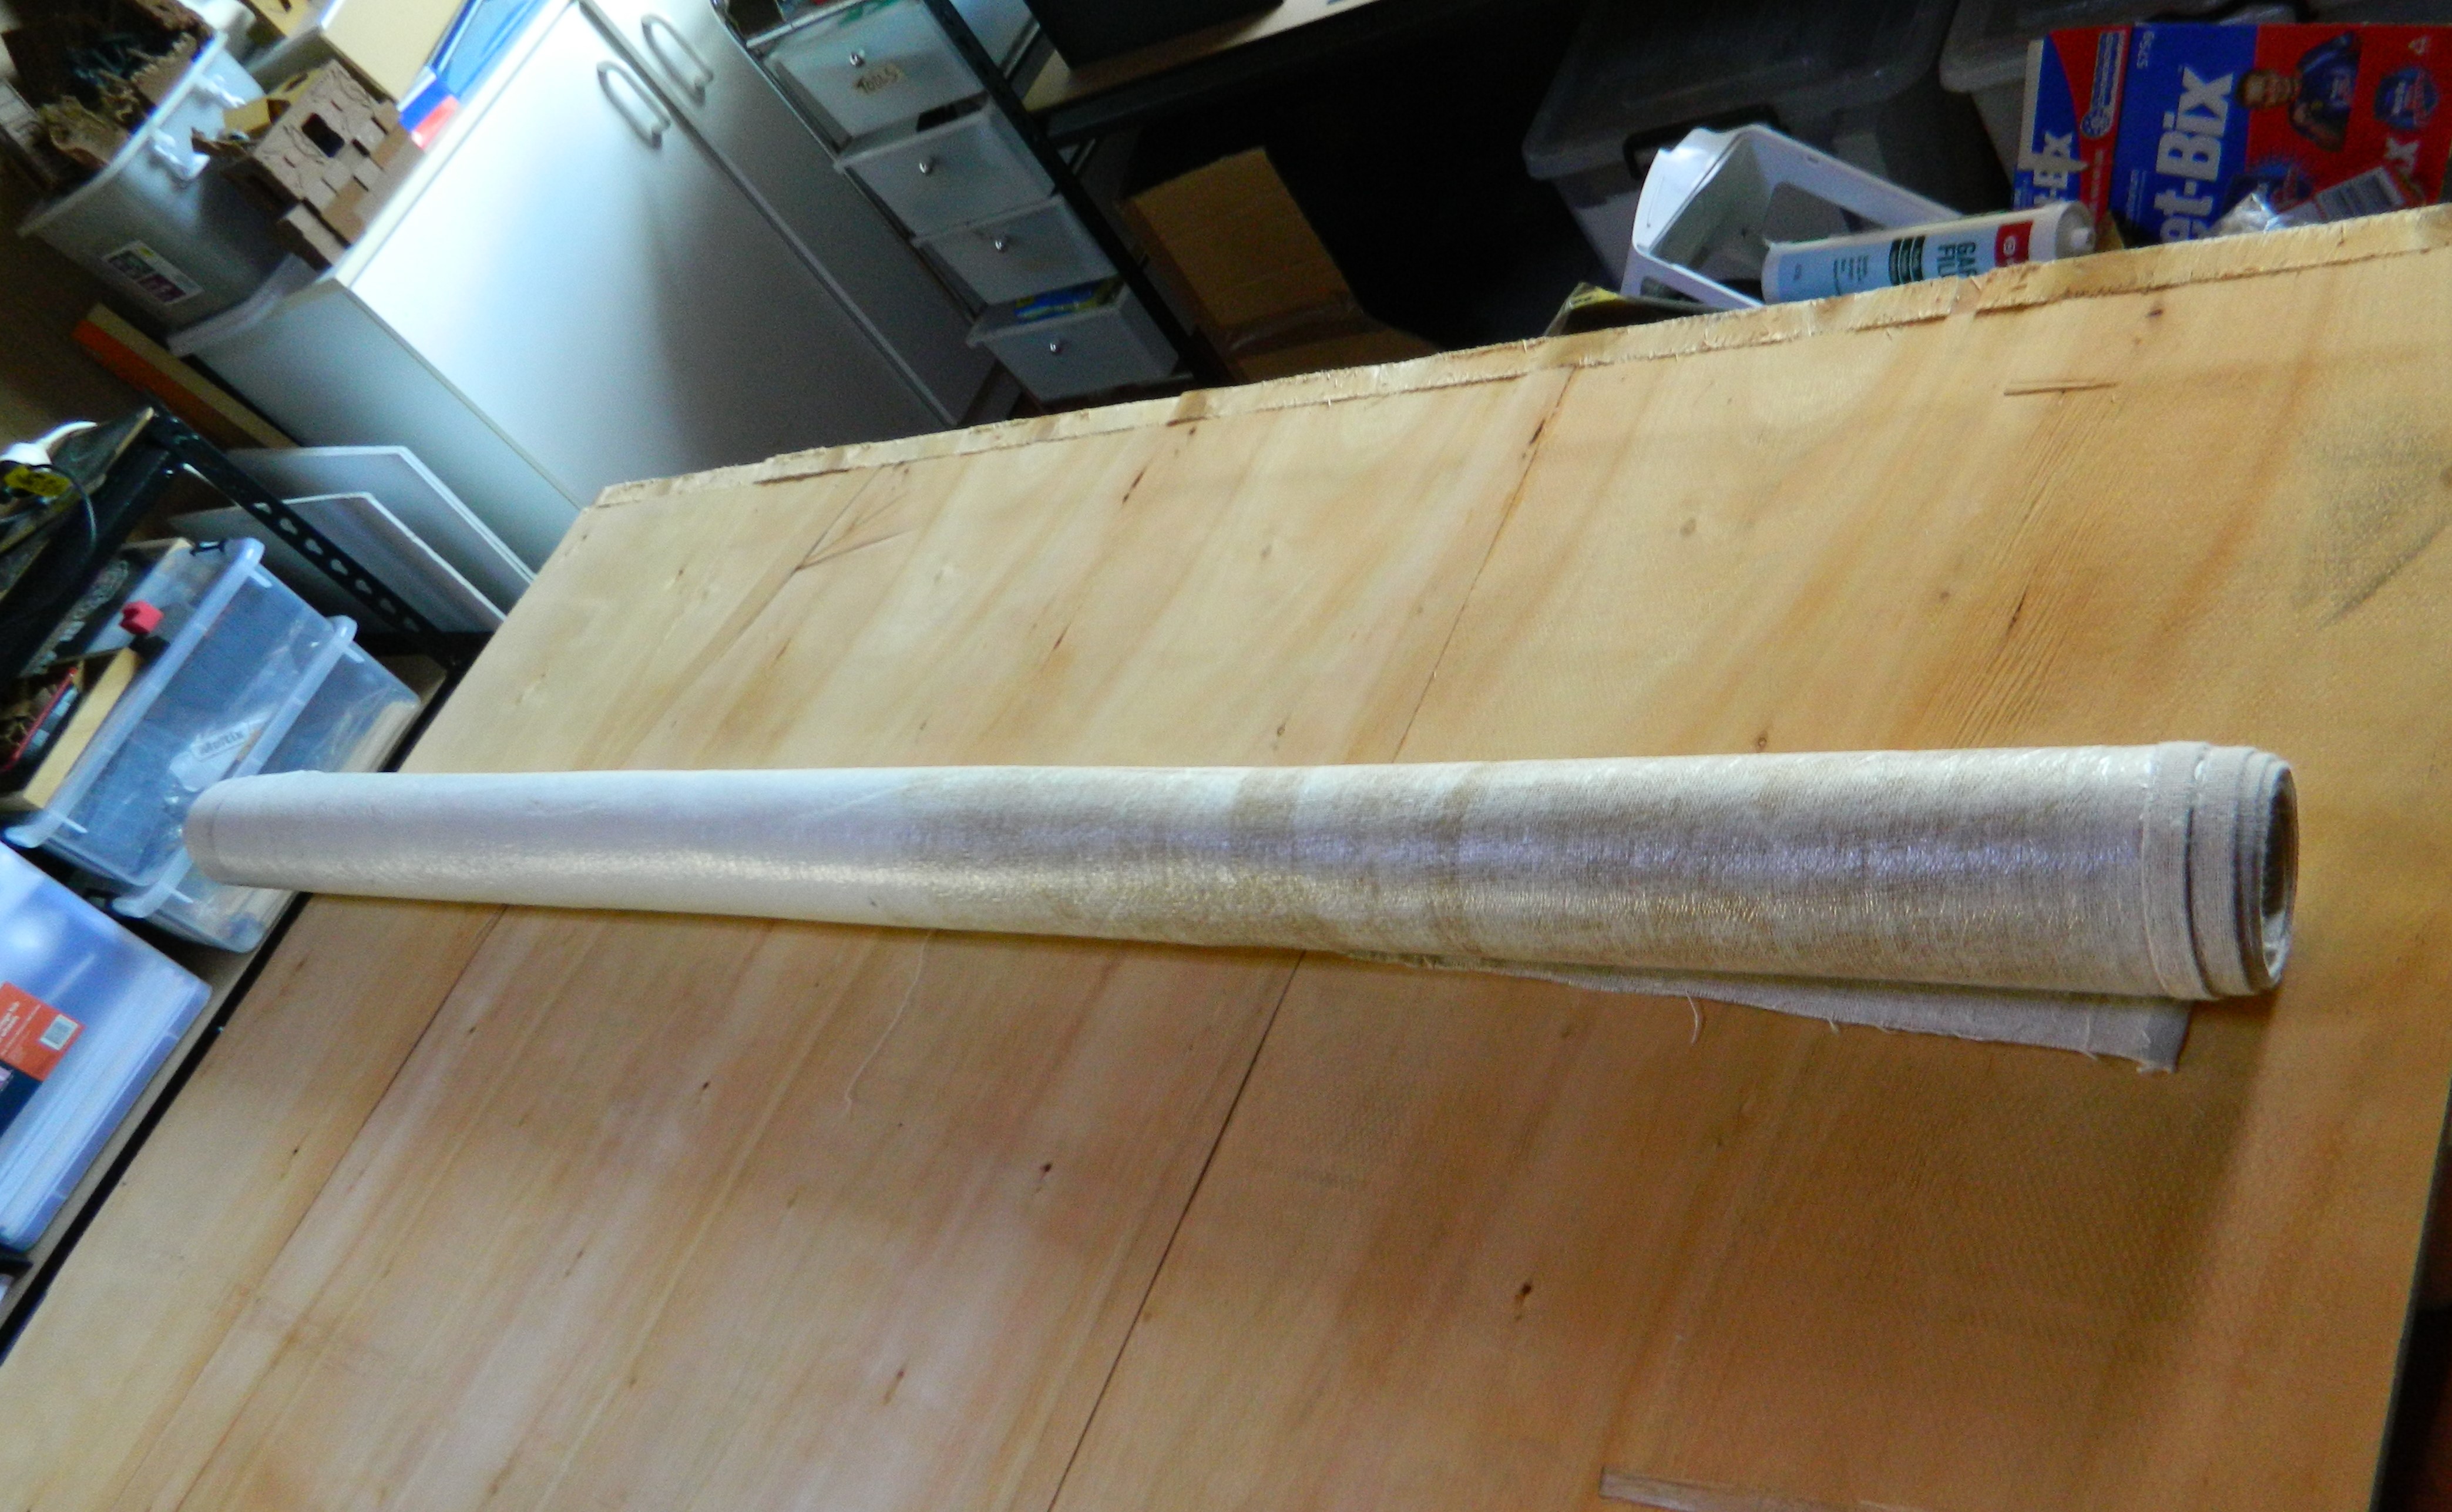 Rolled up nicely.
 5 Sep 22: It's working out.
It rolled up well, it unrolled well. The cork stayed. All is good!
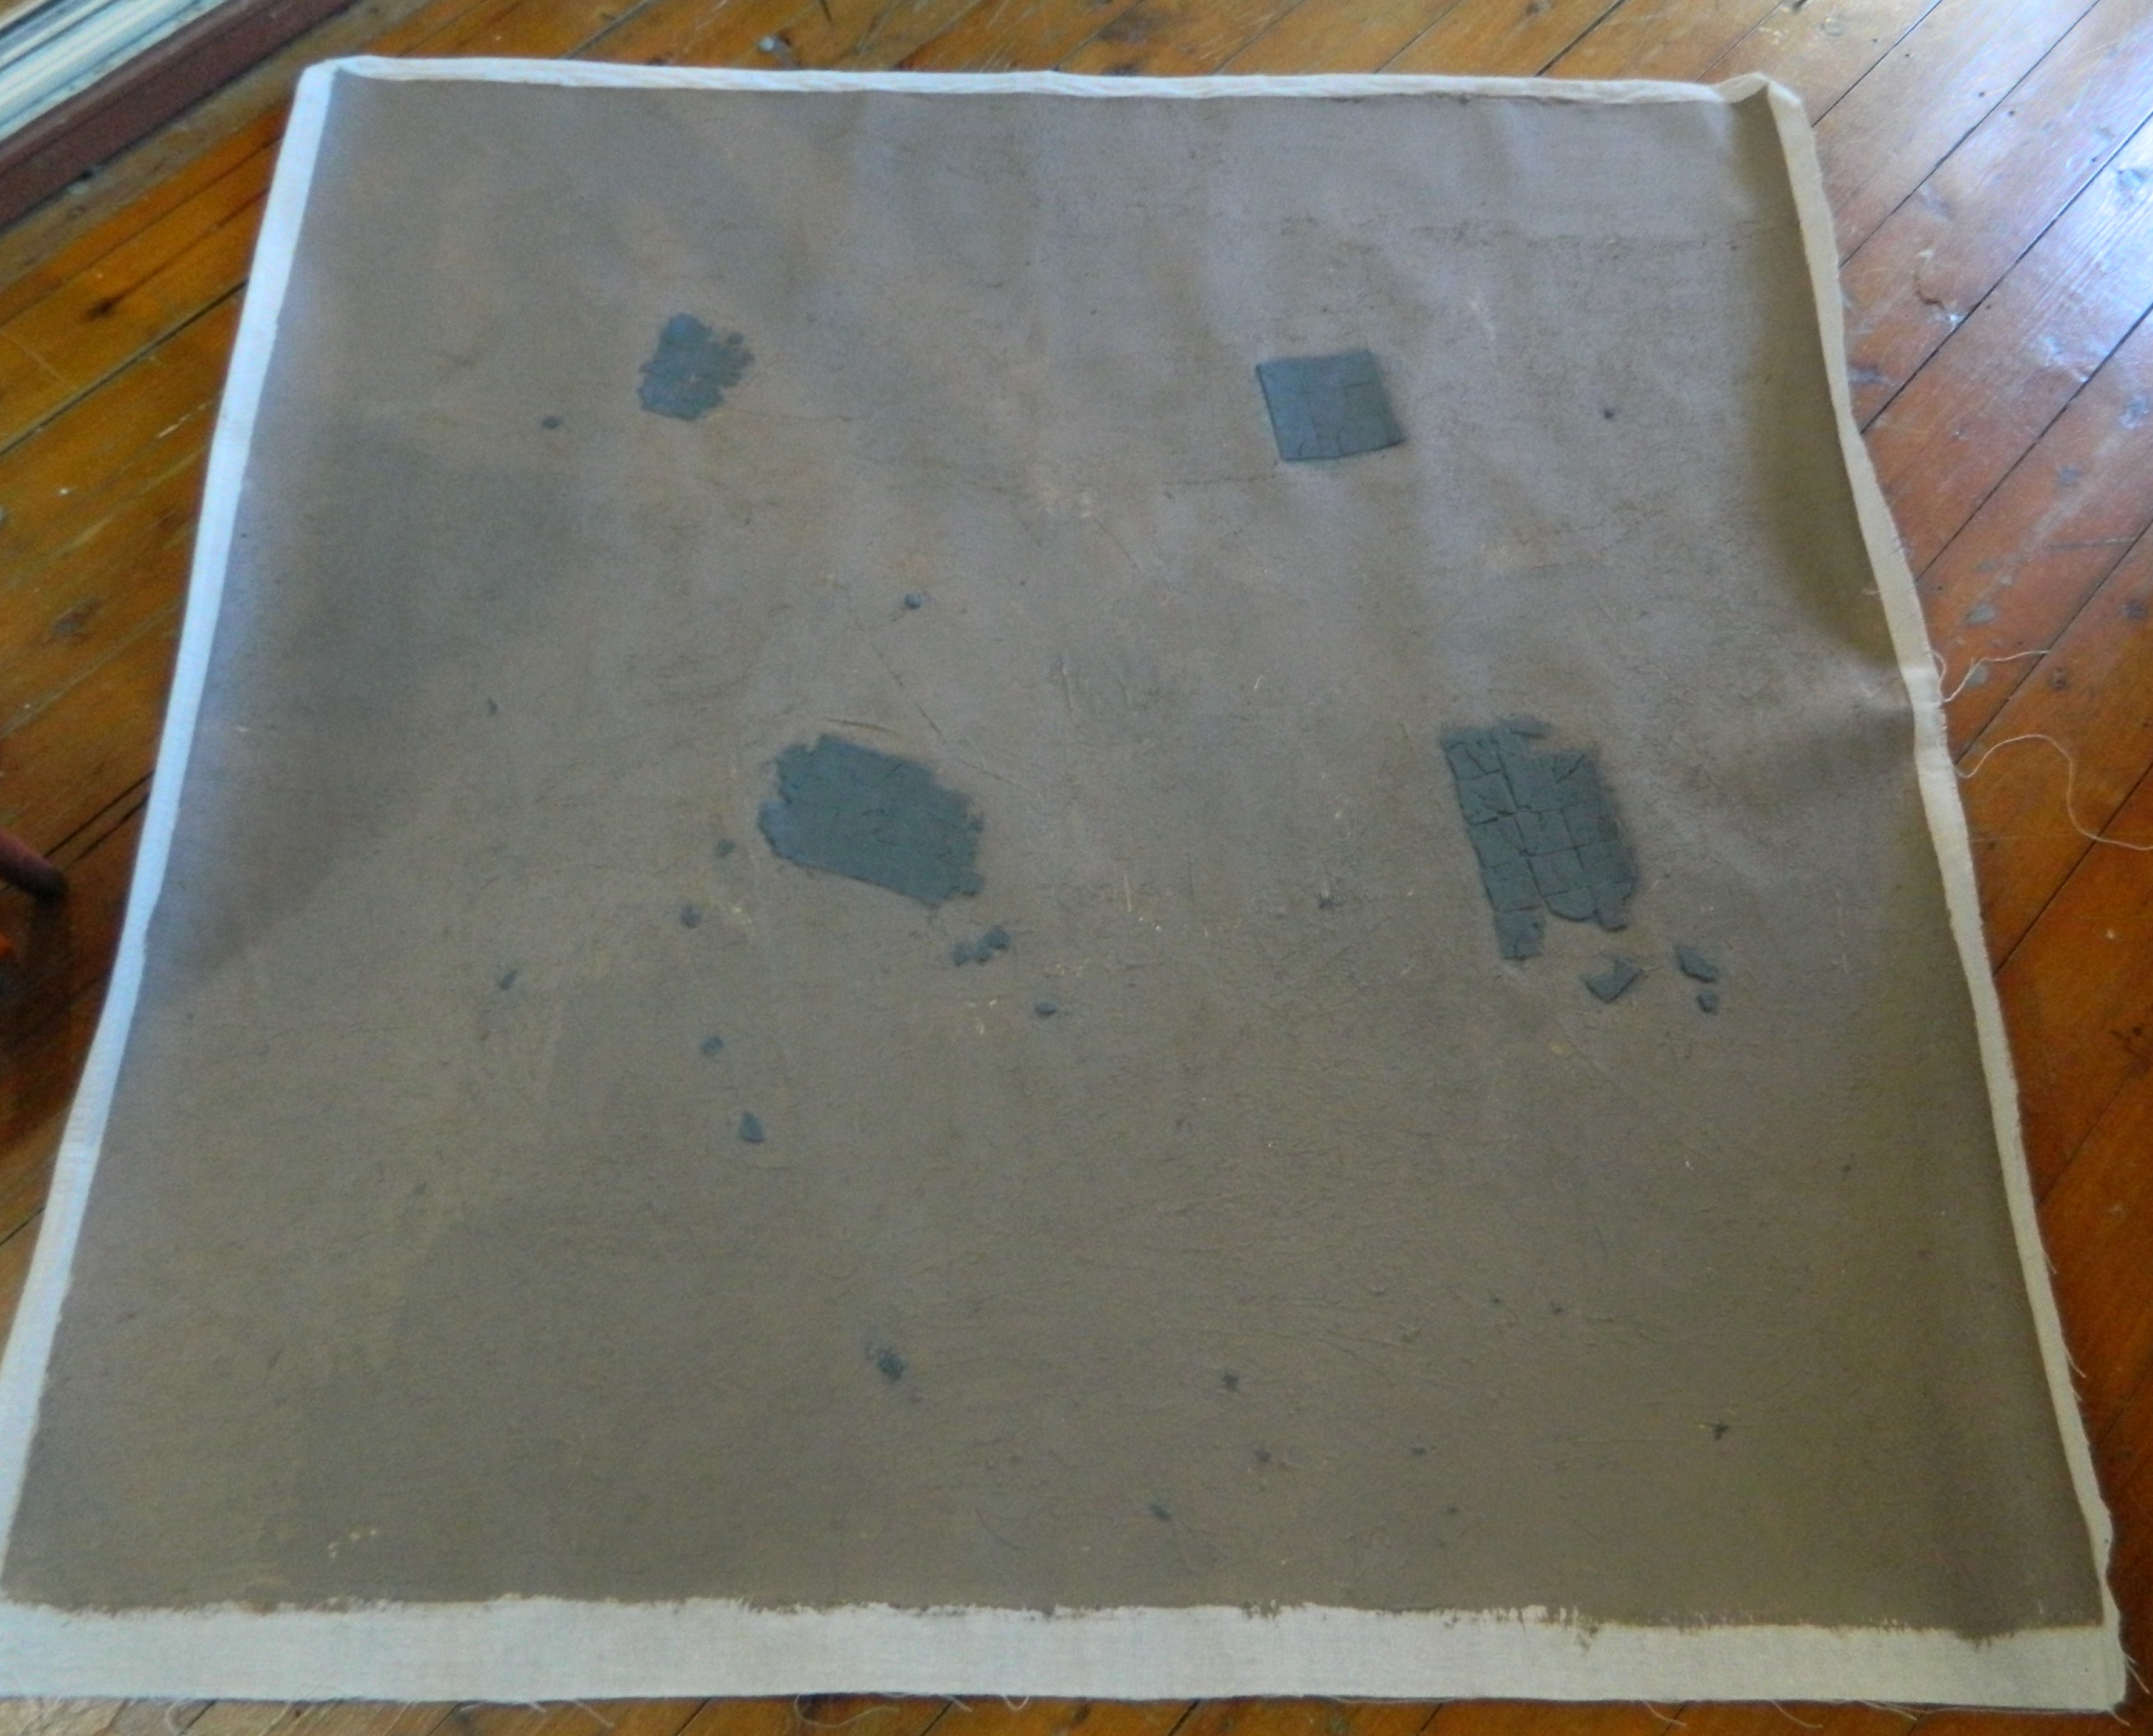
Since I’d forgotten to do it earlier, I painted the pavers using dollar store acrylic paint. They stood out too much now, and the ground wasn’t as dark as I would have liked.
8 Sep 22: I hit the whole mat with some slightly watered-down acrylic paint, mixed with a little PVA just to be sure it would stick. Applied all over with a paint roller. Again, using water to blend where I went over the pavers.


?? Mar 21: Getting grounded.
Sometime in late 2020 or early 2021 wargaming mats were on my mind. At some point I came around to these two videos:
A great video from Mel, and there are associated experiment videos delving into materials, layers etc.
An amazing looking board from Knarb. But to be honest, I can not be arsed doing all that with the flock.
In any case, I did a trial version. It has been seen previously in this project:


Following Mels’ guidance, it was crafted from a plastic-backed canvas paint drop sheet. Cut to about a 4′ square.
A single layer of caulk, mixed with sand and some paint went down. It took about three tubes of caulk to cover the whole surface. It sat like this for a fair while, but I’d always intended to put a second layer down.
14 Aug 22: Getting a-ground to it. ;-)
hahaha.
Anyway. I thought I’d put the second layer on now. Over this time I’ve rolled it, unrolled it, stored it. Used it as a tablecloth (for game nights…). No cracks, or other dramas. It unrolls well, with a little counter-rolling it lays flat.
I put a second layer of caulk over. It also included sand and paint. Looking at it afterwards, I didn’t need the sand in the first layer. But so far it hasn’t caused any issues other than being heavier. I went with a grey colour on this layer, having “ruined city” in mind.
 It could be generic ruined city, or moon surface?
 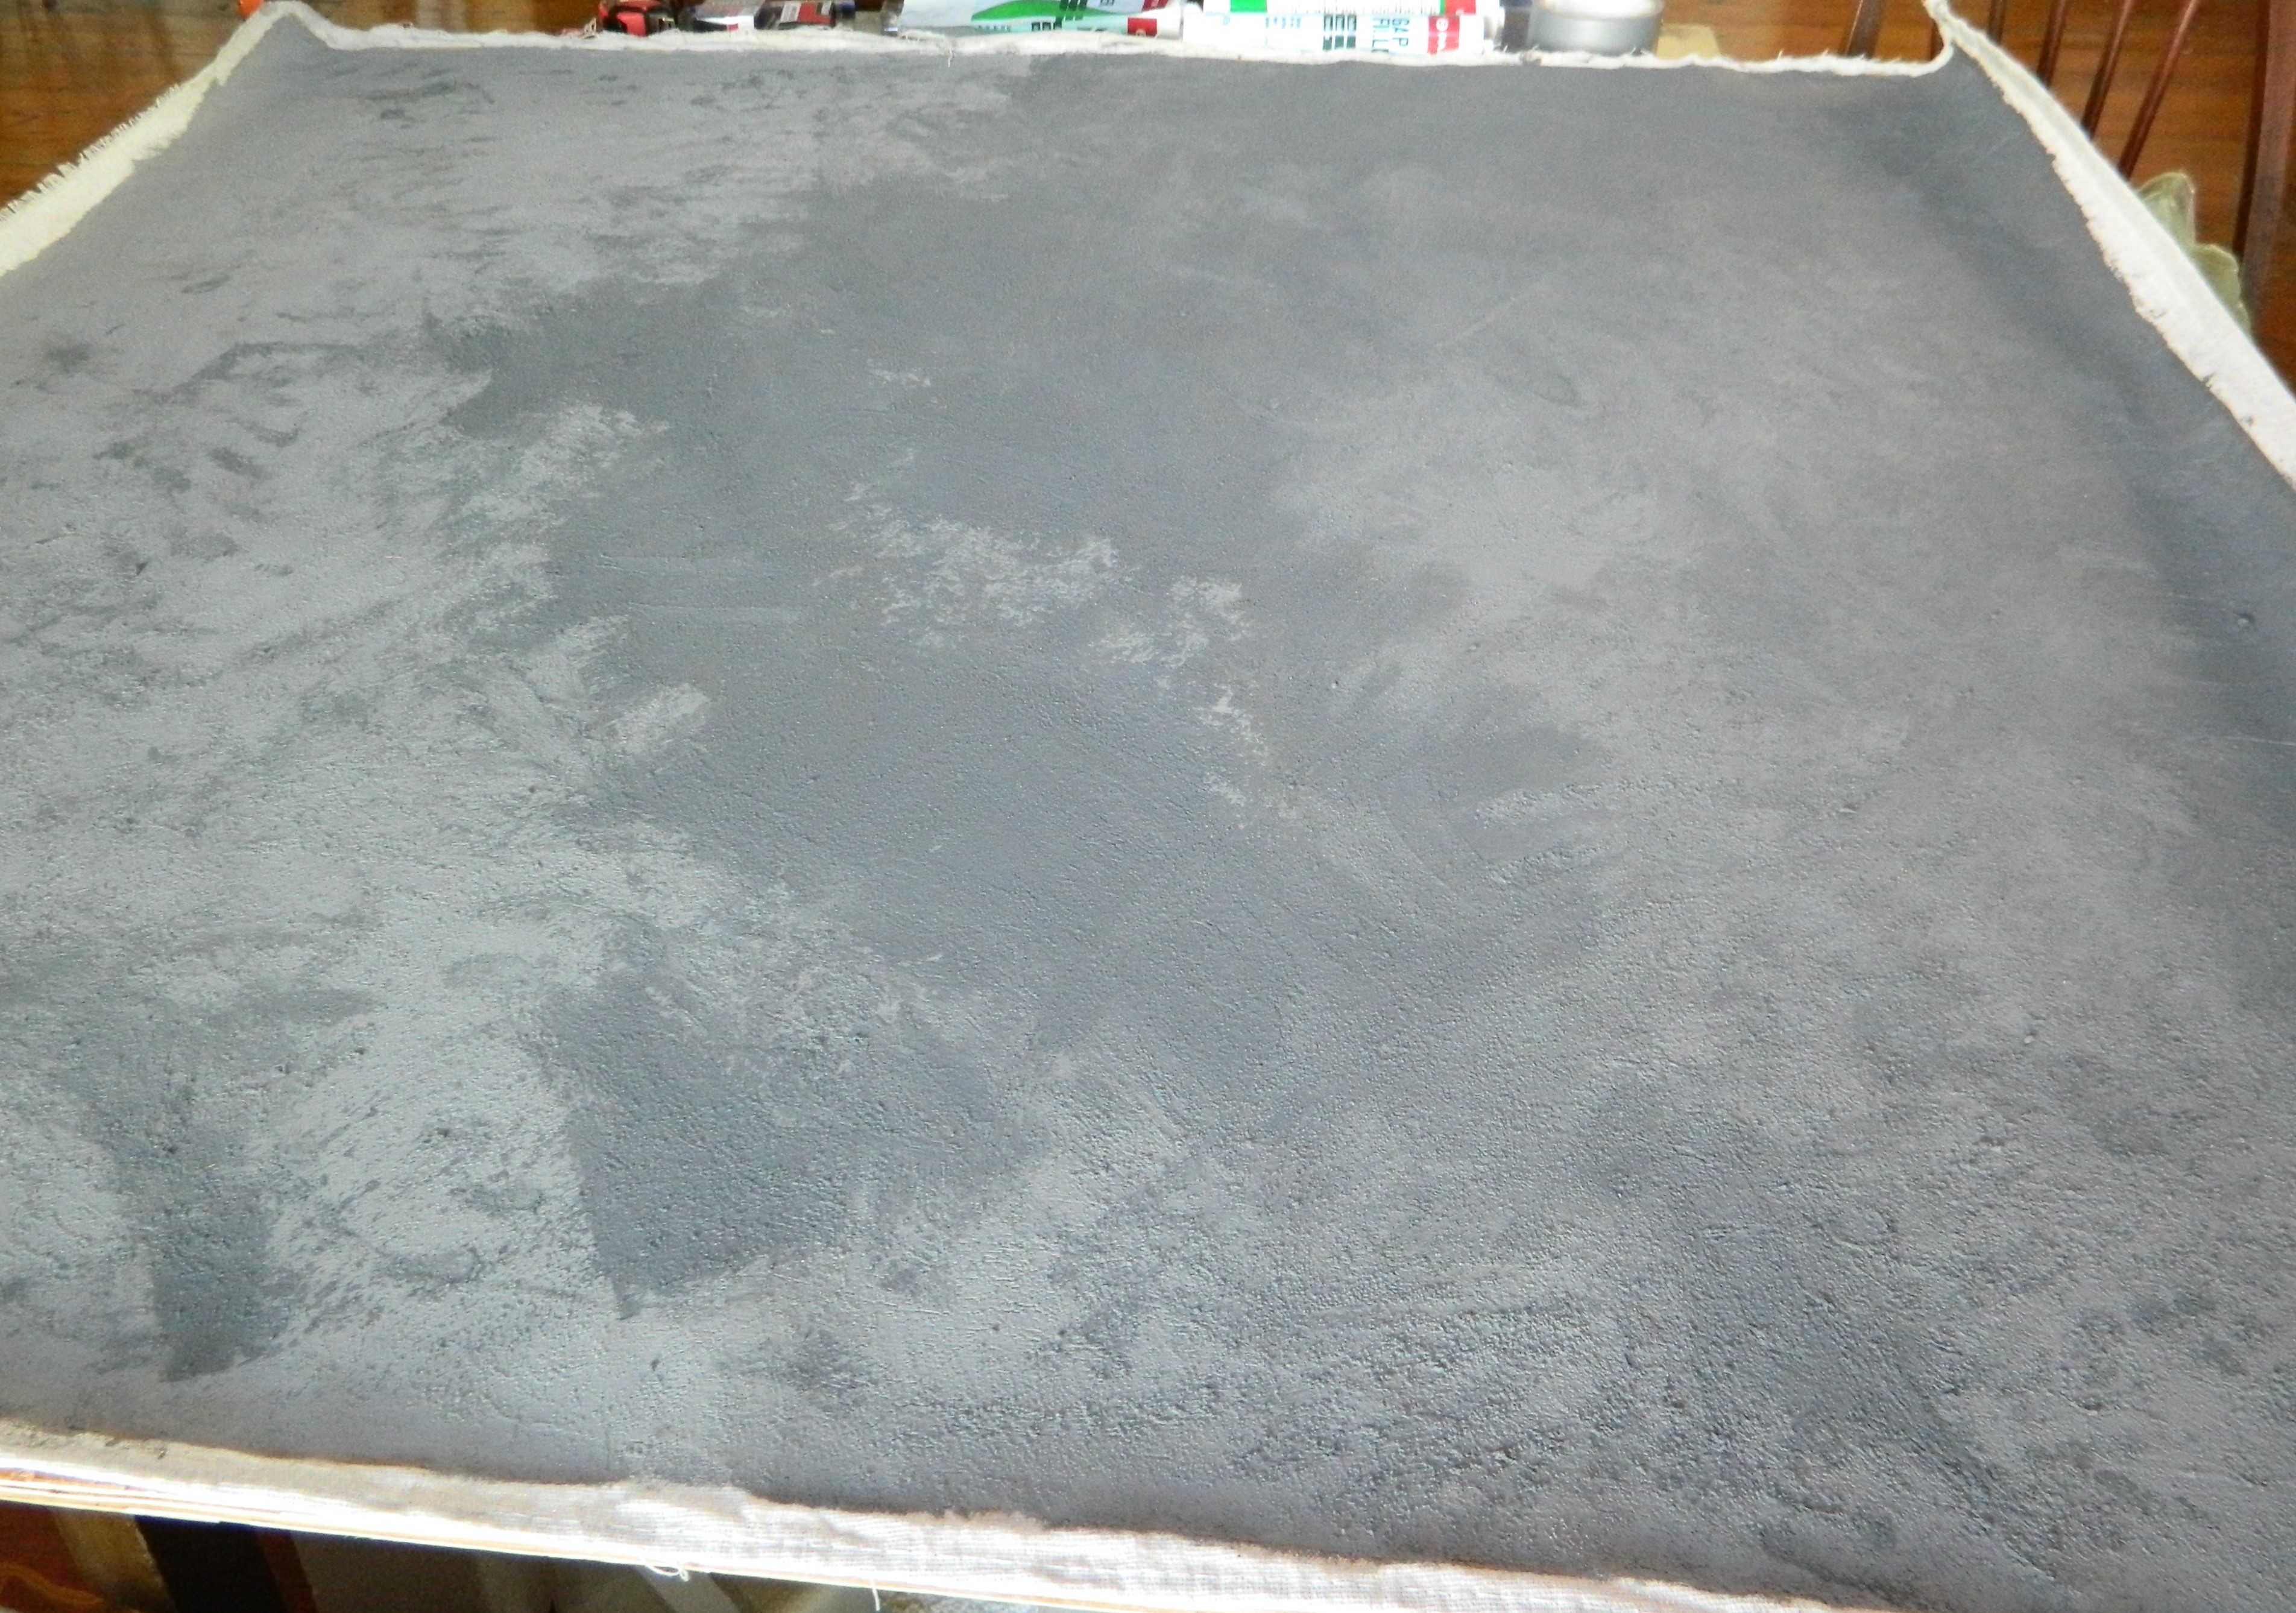 In the sunlight the colour is patchy, but I'm actually ok with this, once buildings are on, it won't really be noticeable.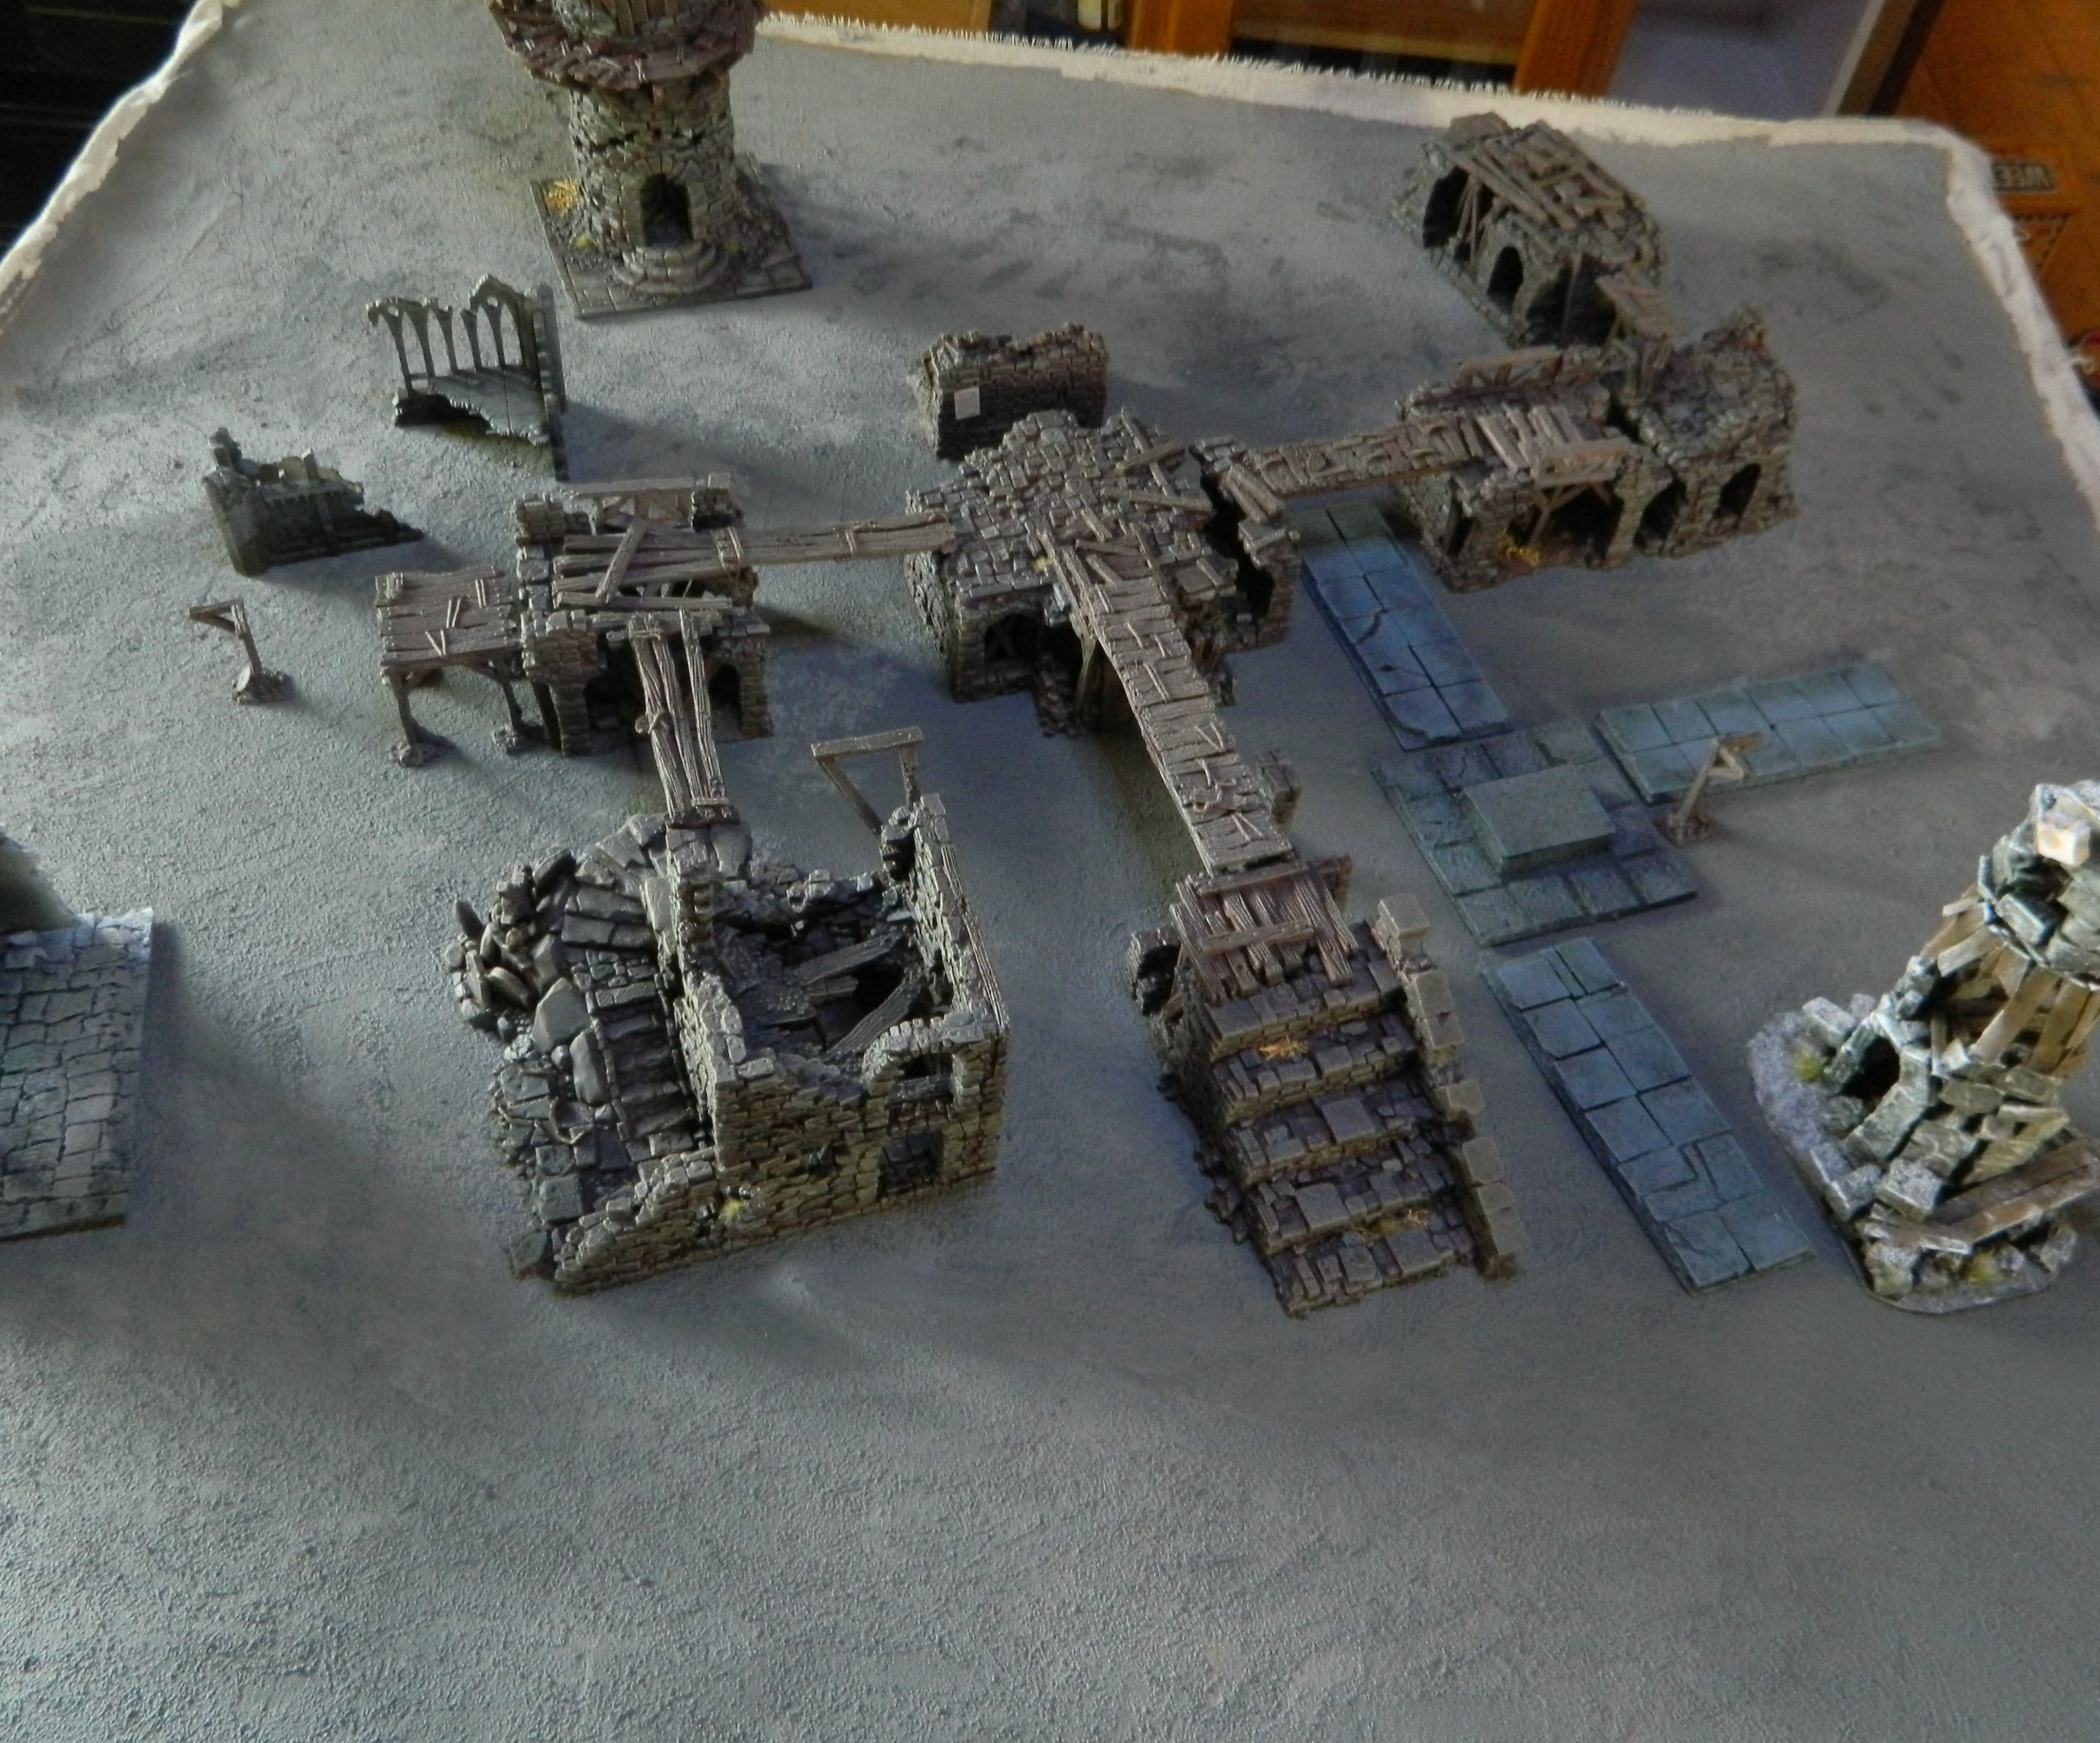
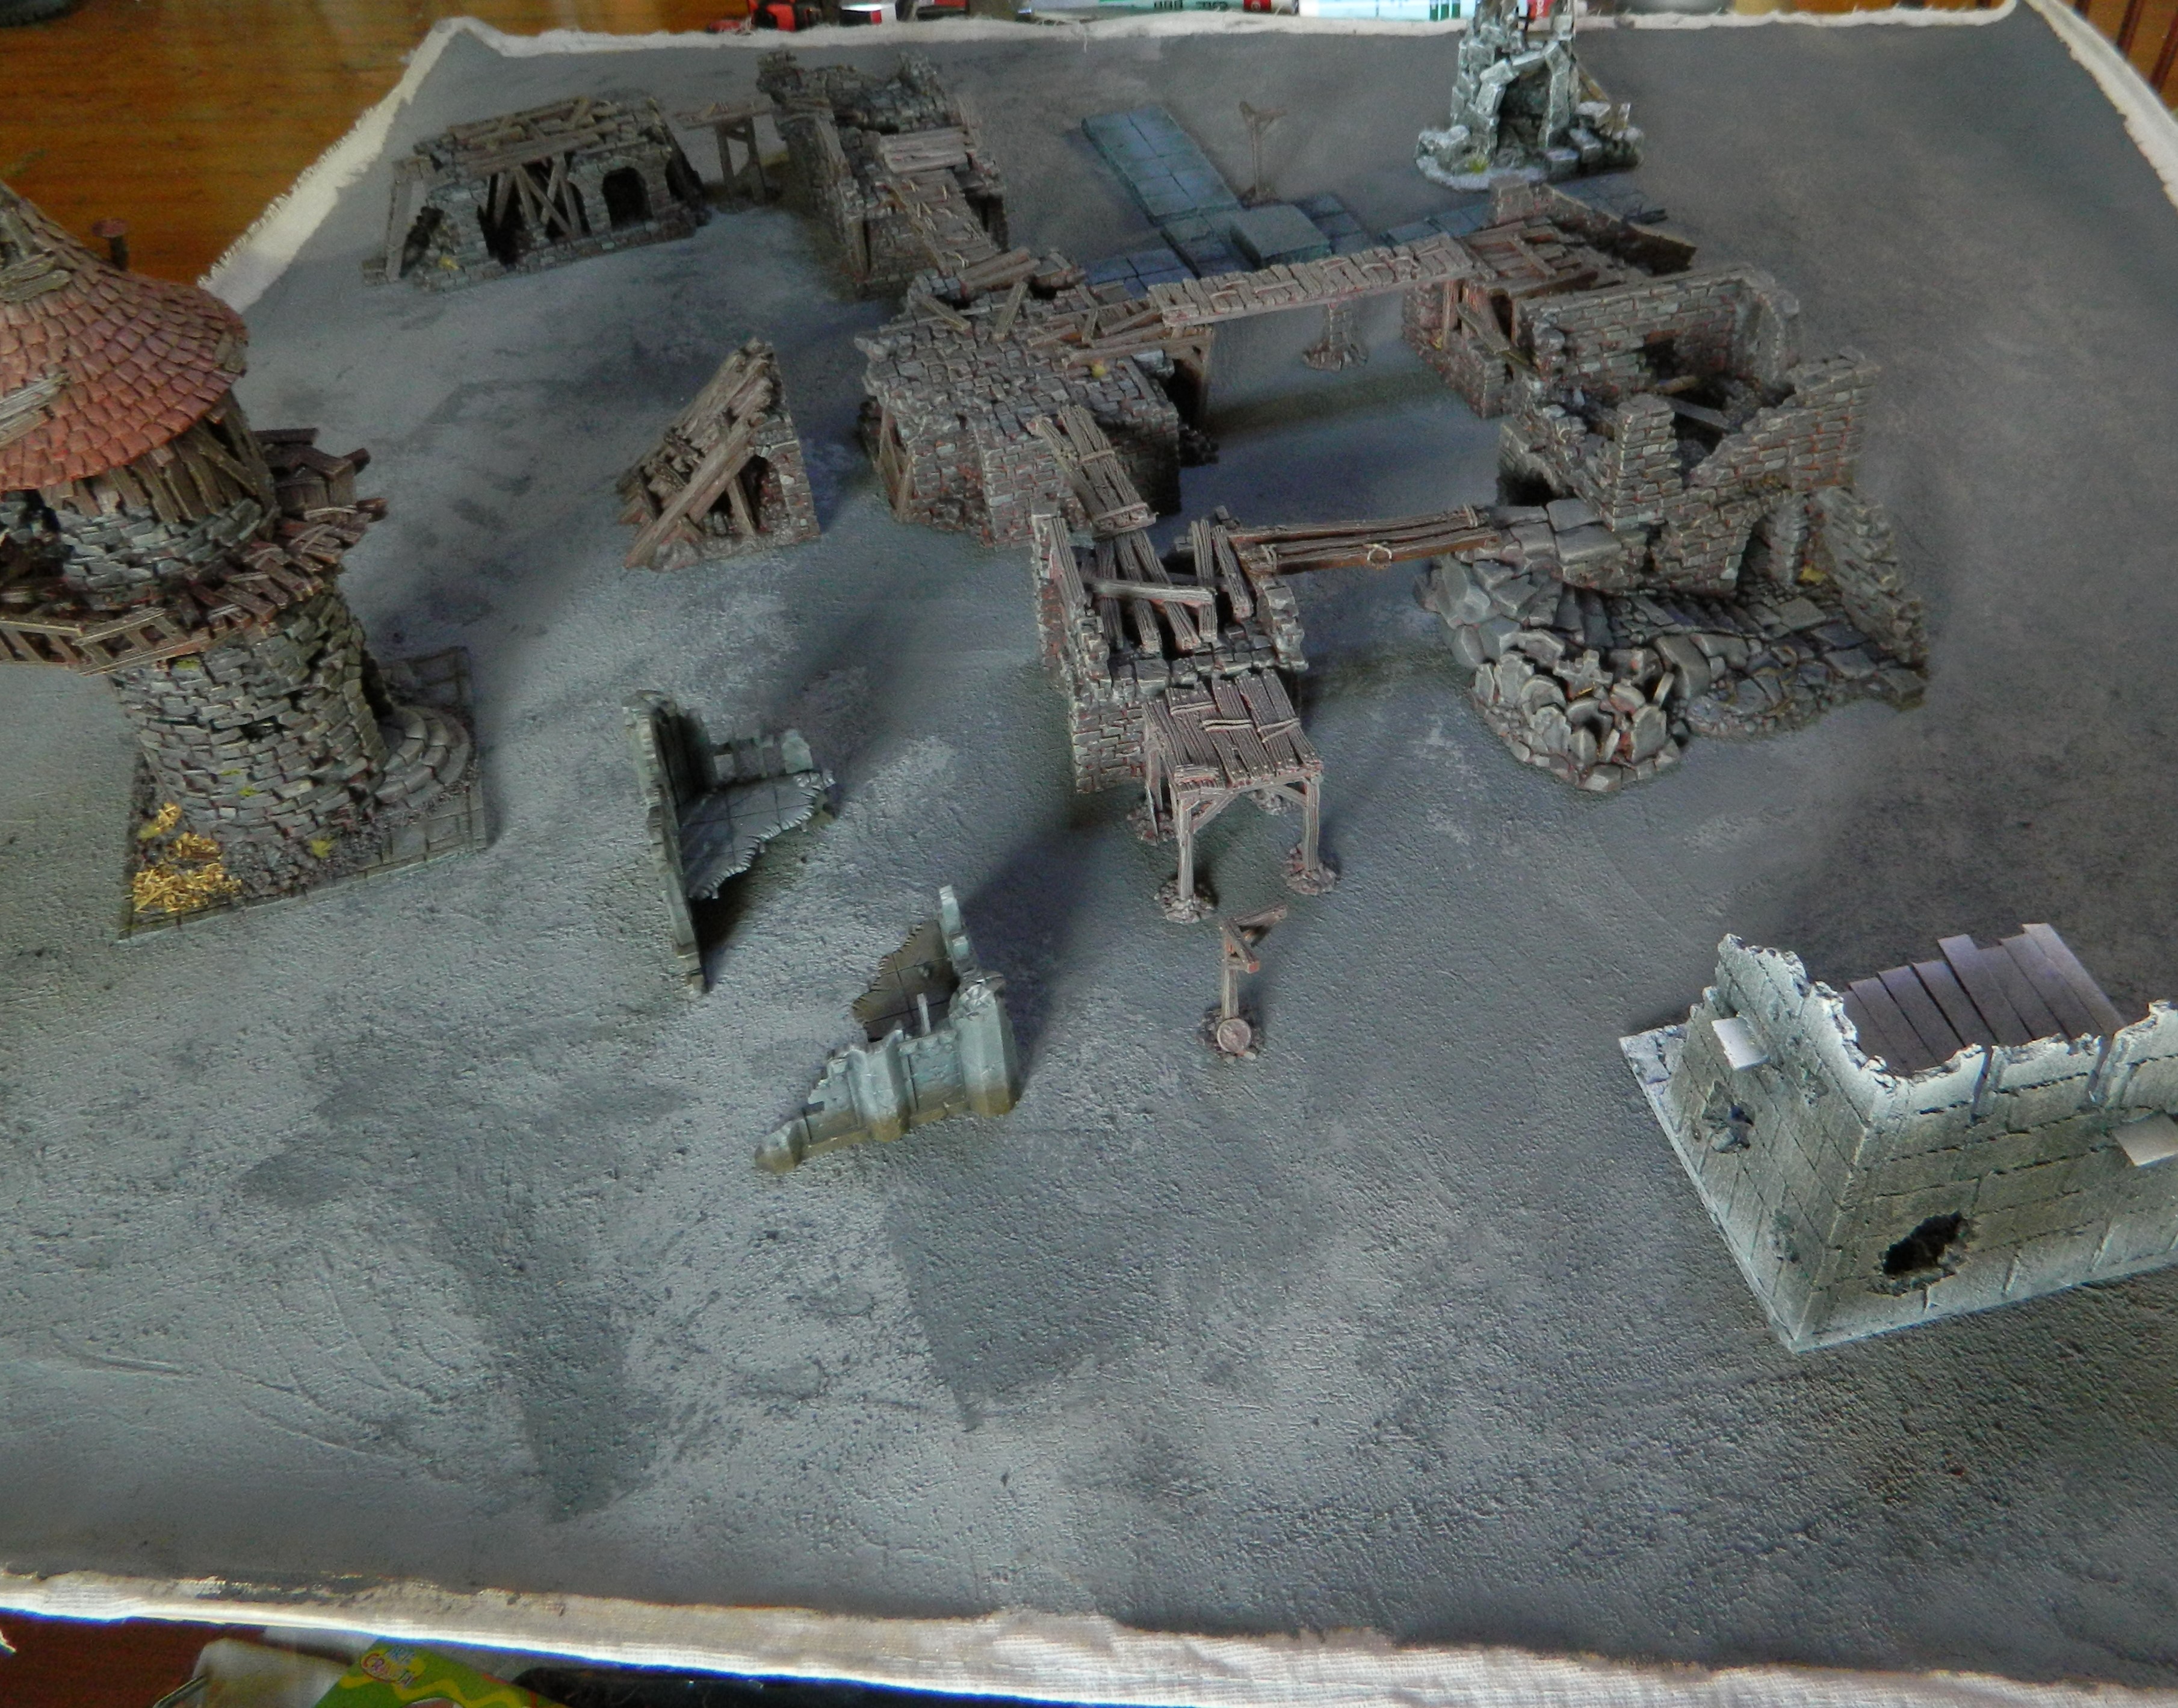
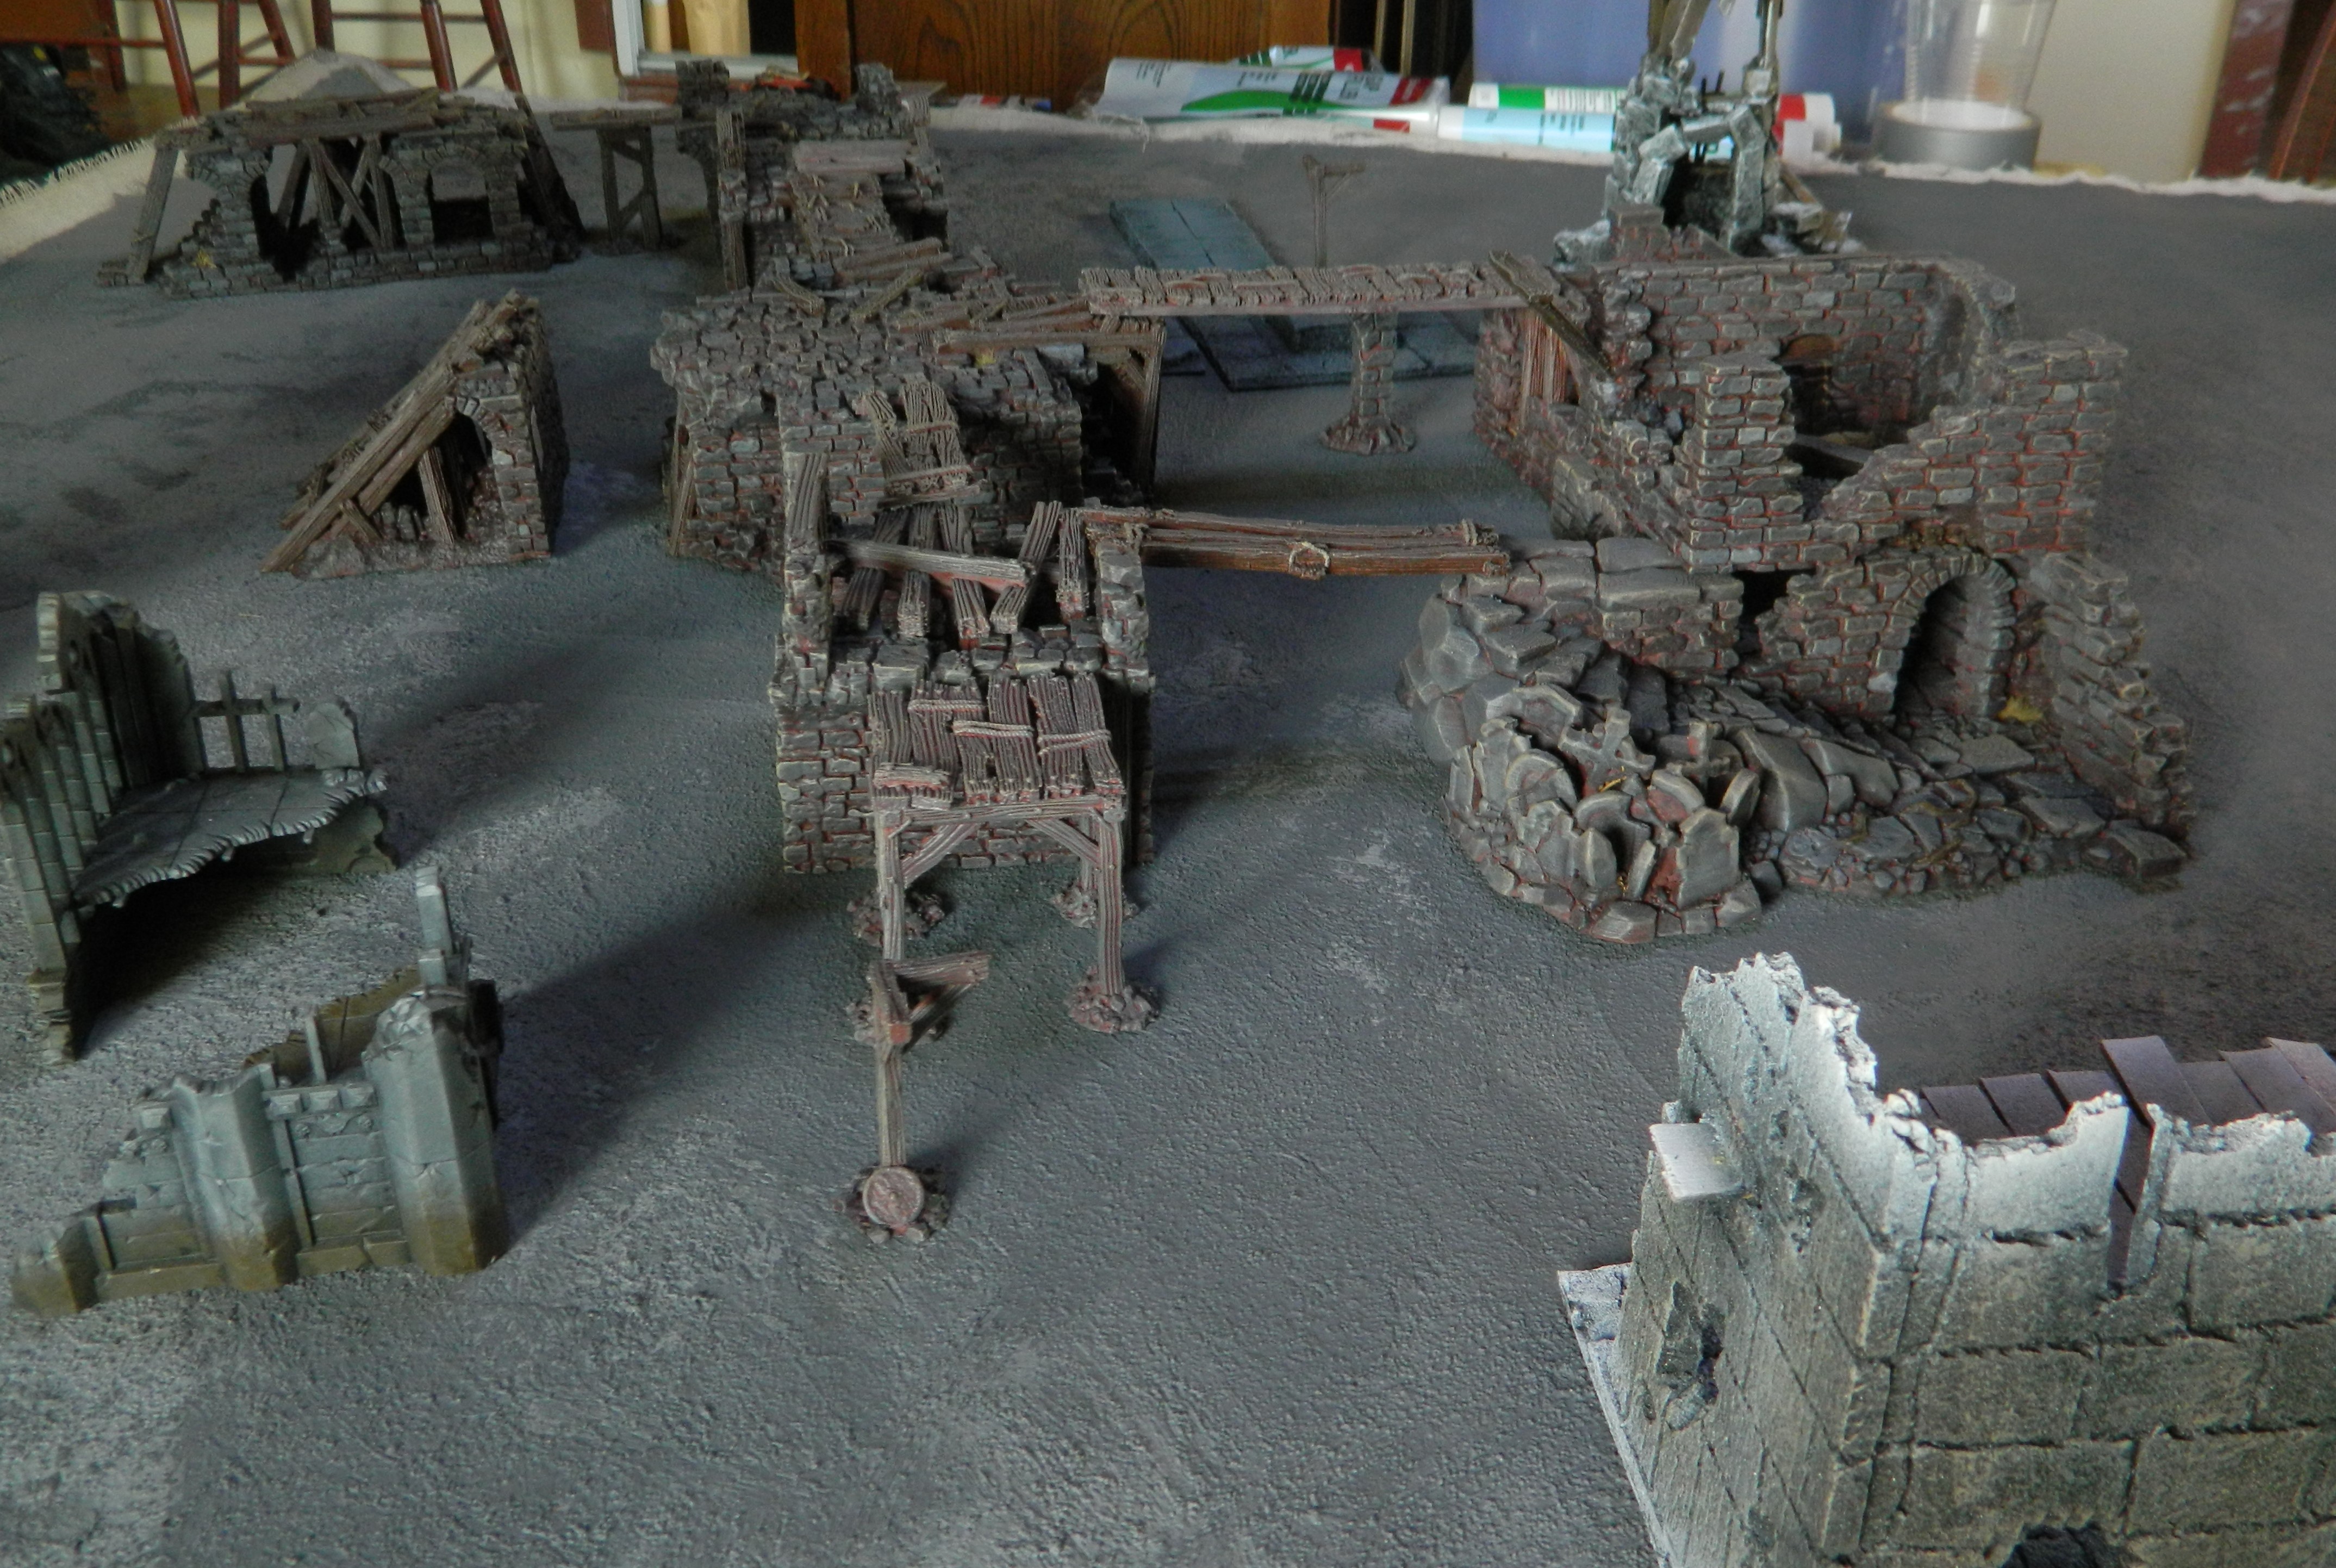
An excellent experiment. At the end of this I really decided that another was in order. There were a few other ideas that I wanted to try out as well.
20 Jun 22: A few more bits...
The project ground to a halt when I ran out of spray…
I “knew” that neither of my two local suppliers carried the AP range regularly. Then discovered the closest had recently changed ownership & management. Happily, they were able to order and supply within a couple of days! Back on.
Really there’s only a couple of pieces to finish in this batch. I just needed more spray to do the job.
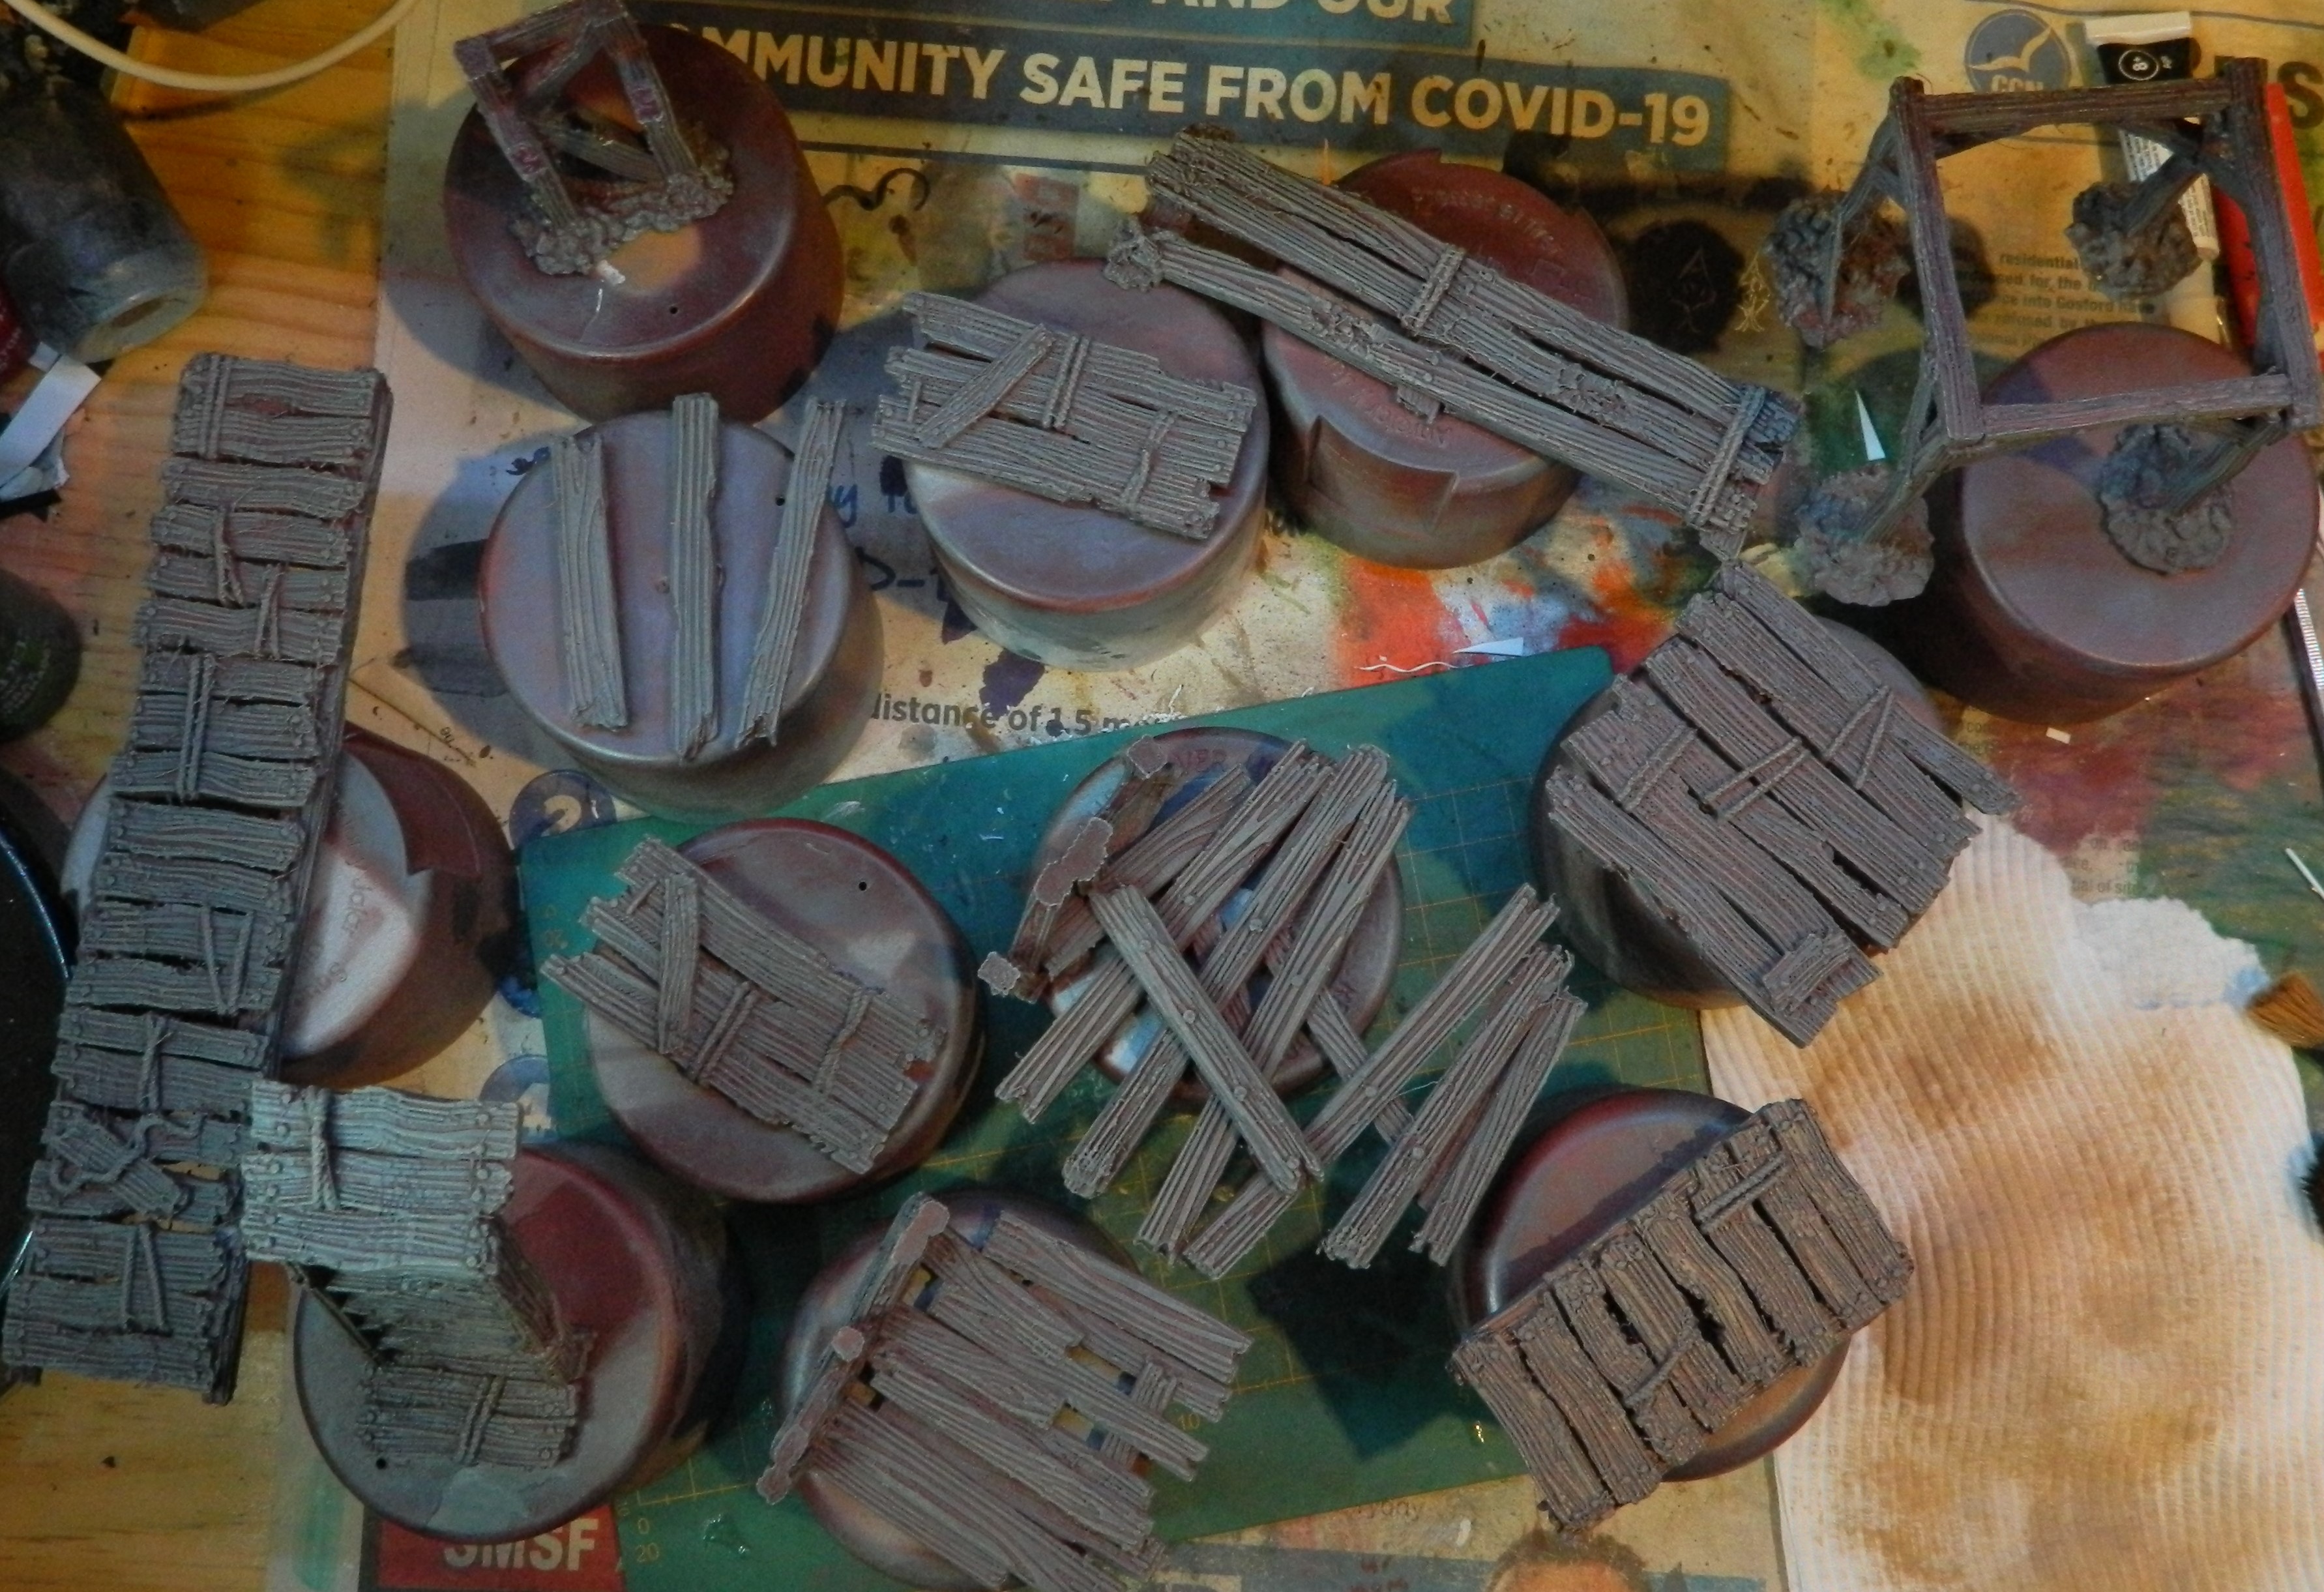 Thats it! That's all of it for this batch.
  These pieces are now complete. Painted using the same craft paints as previously.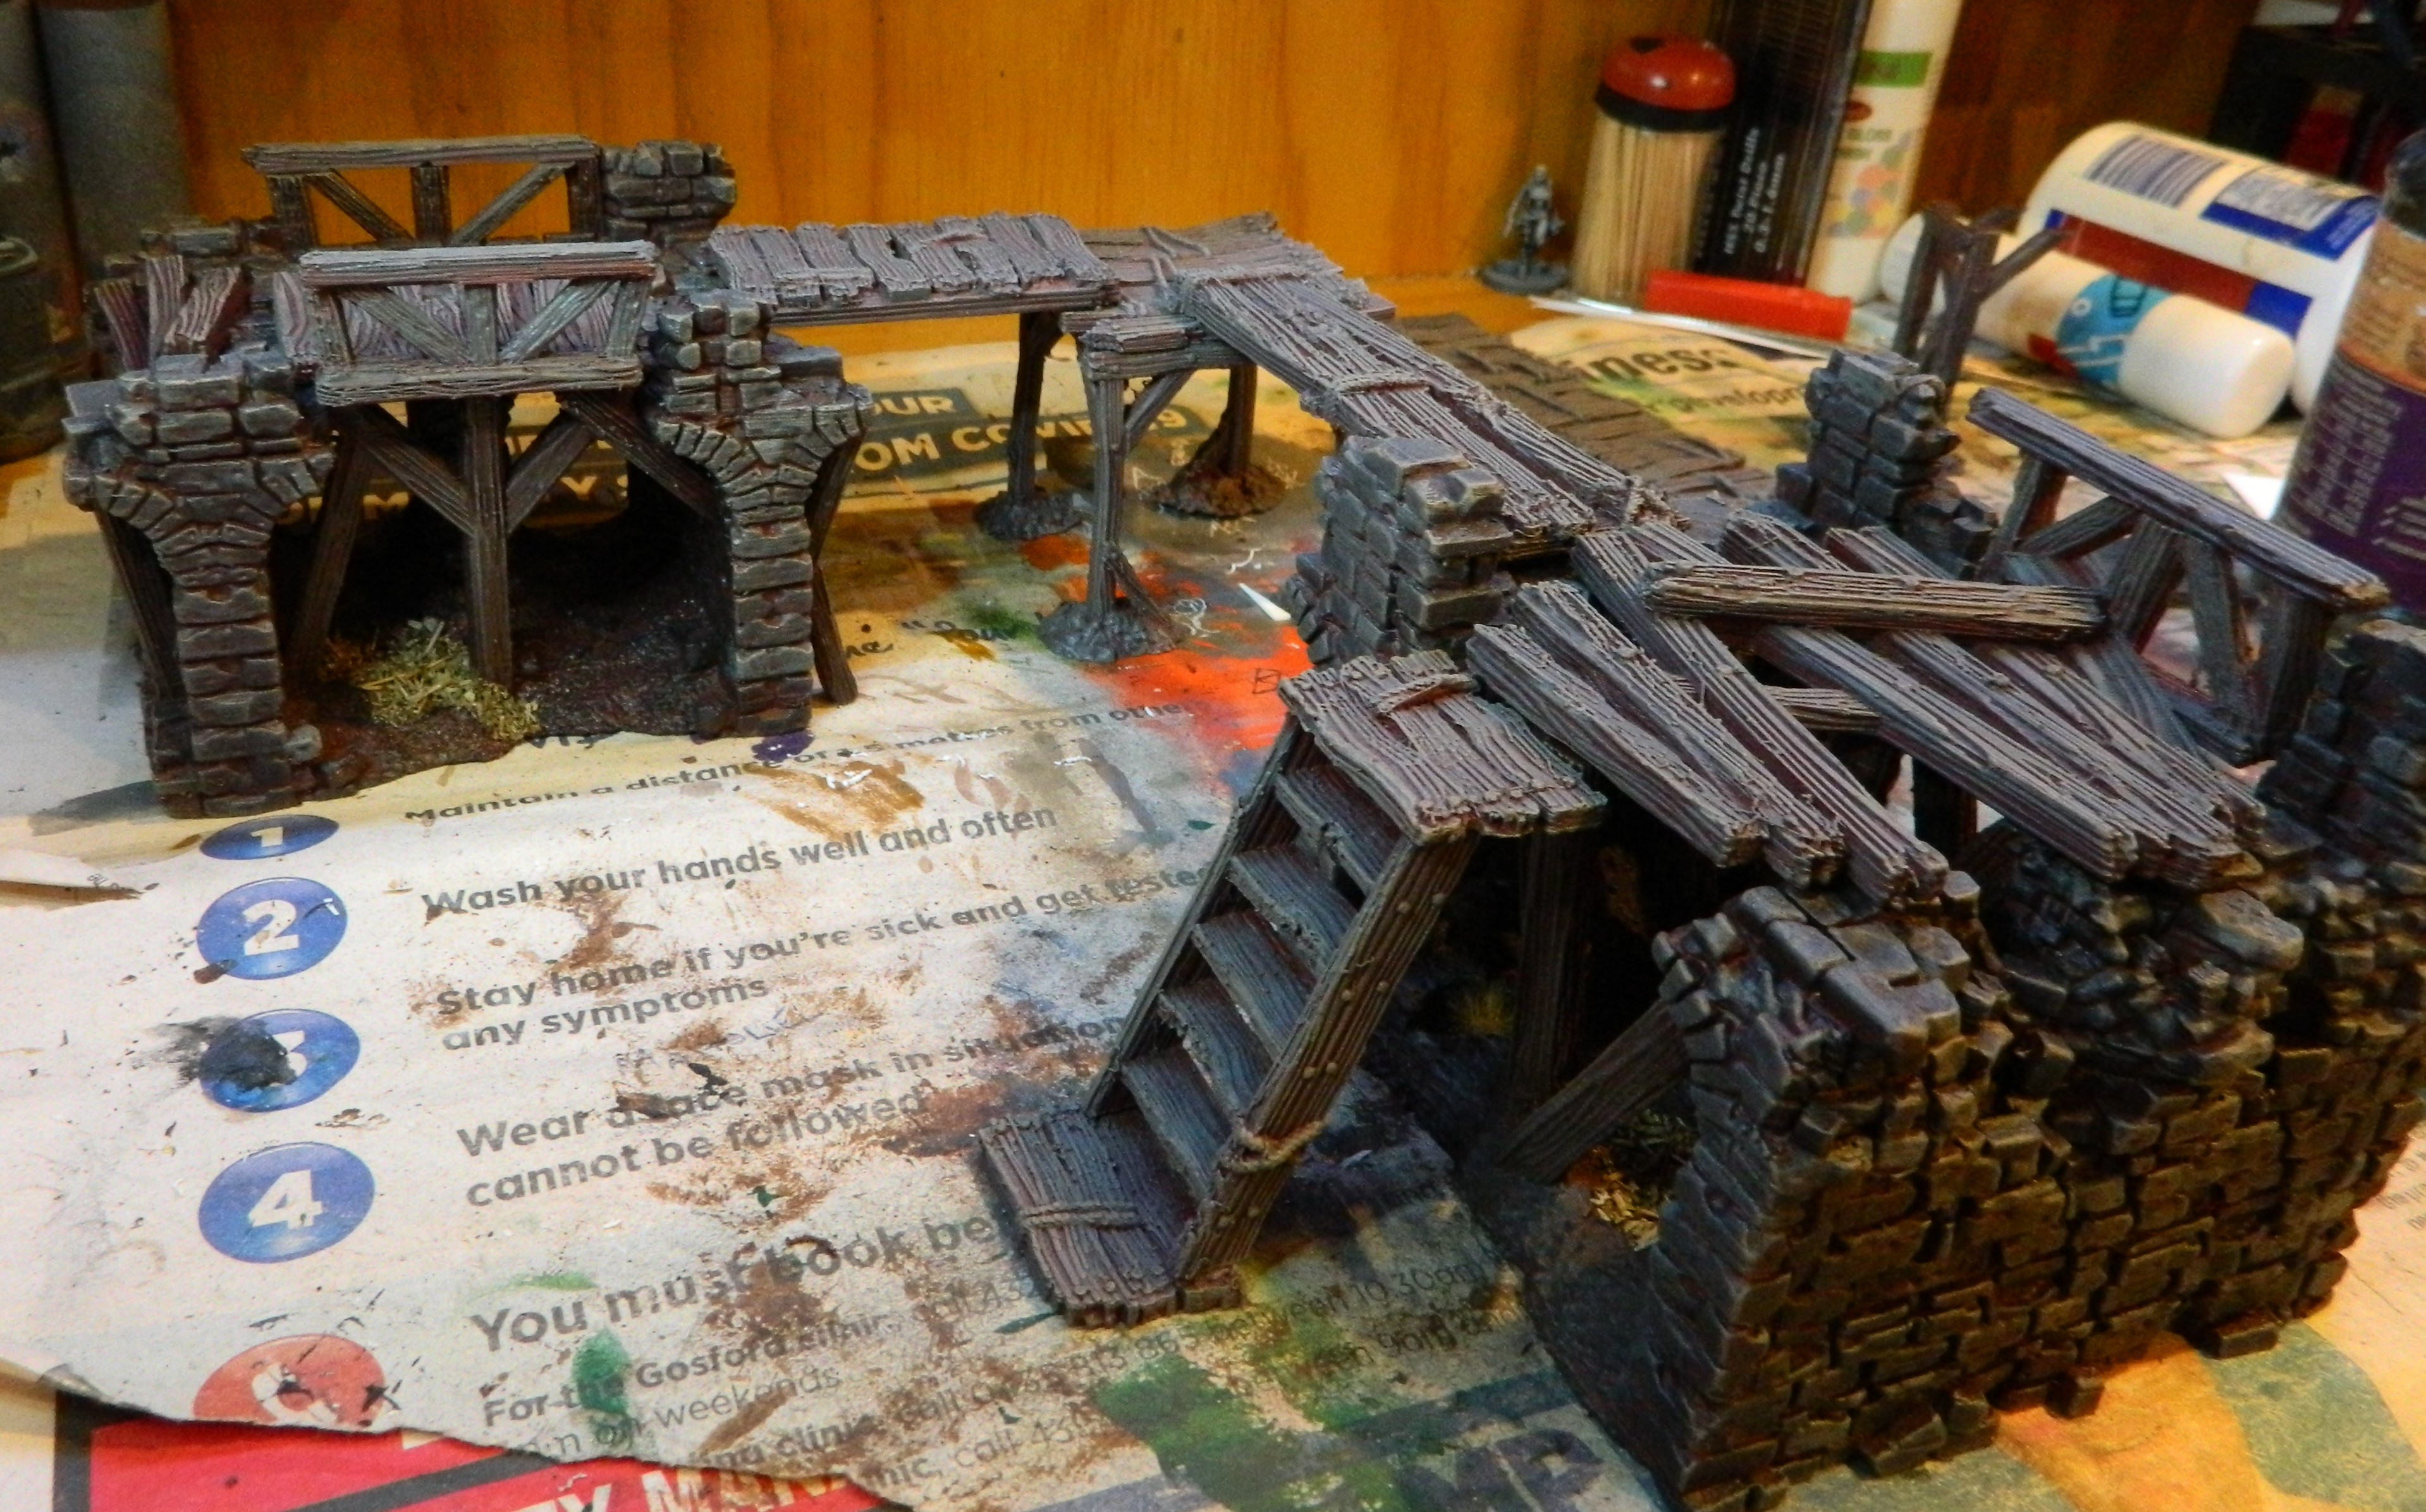
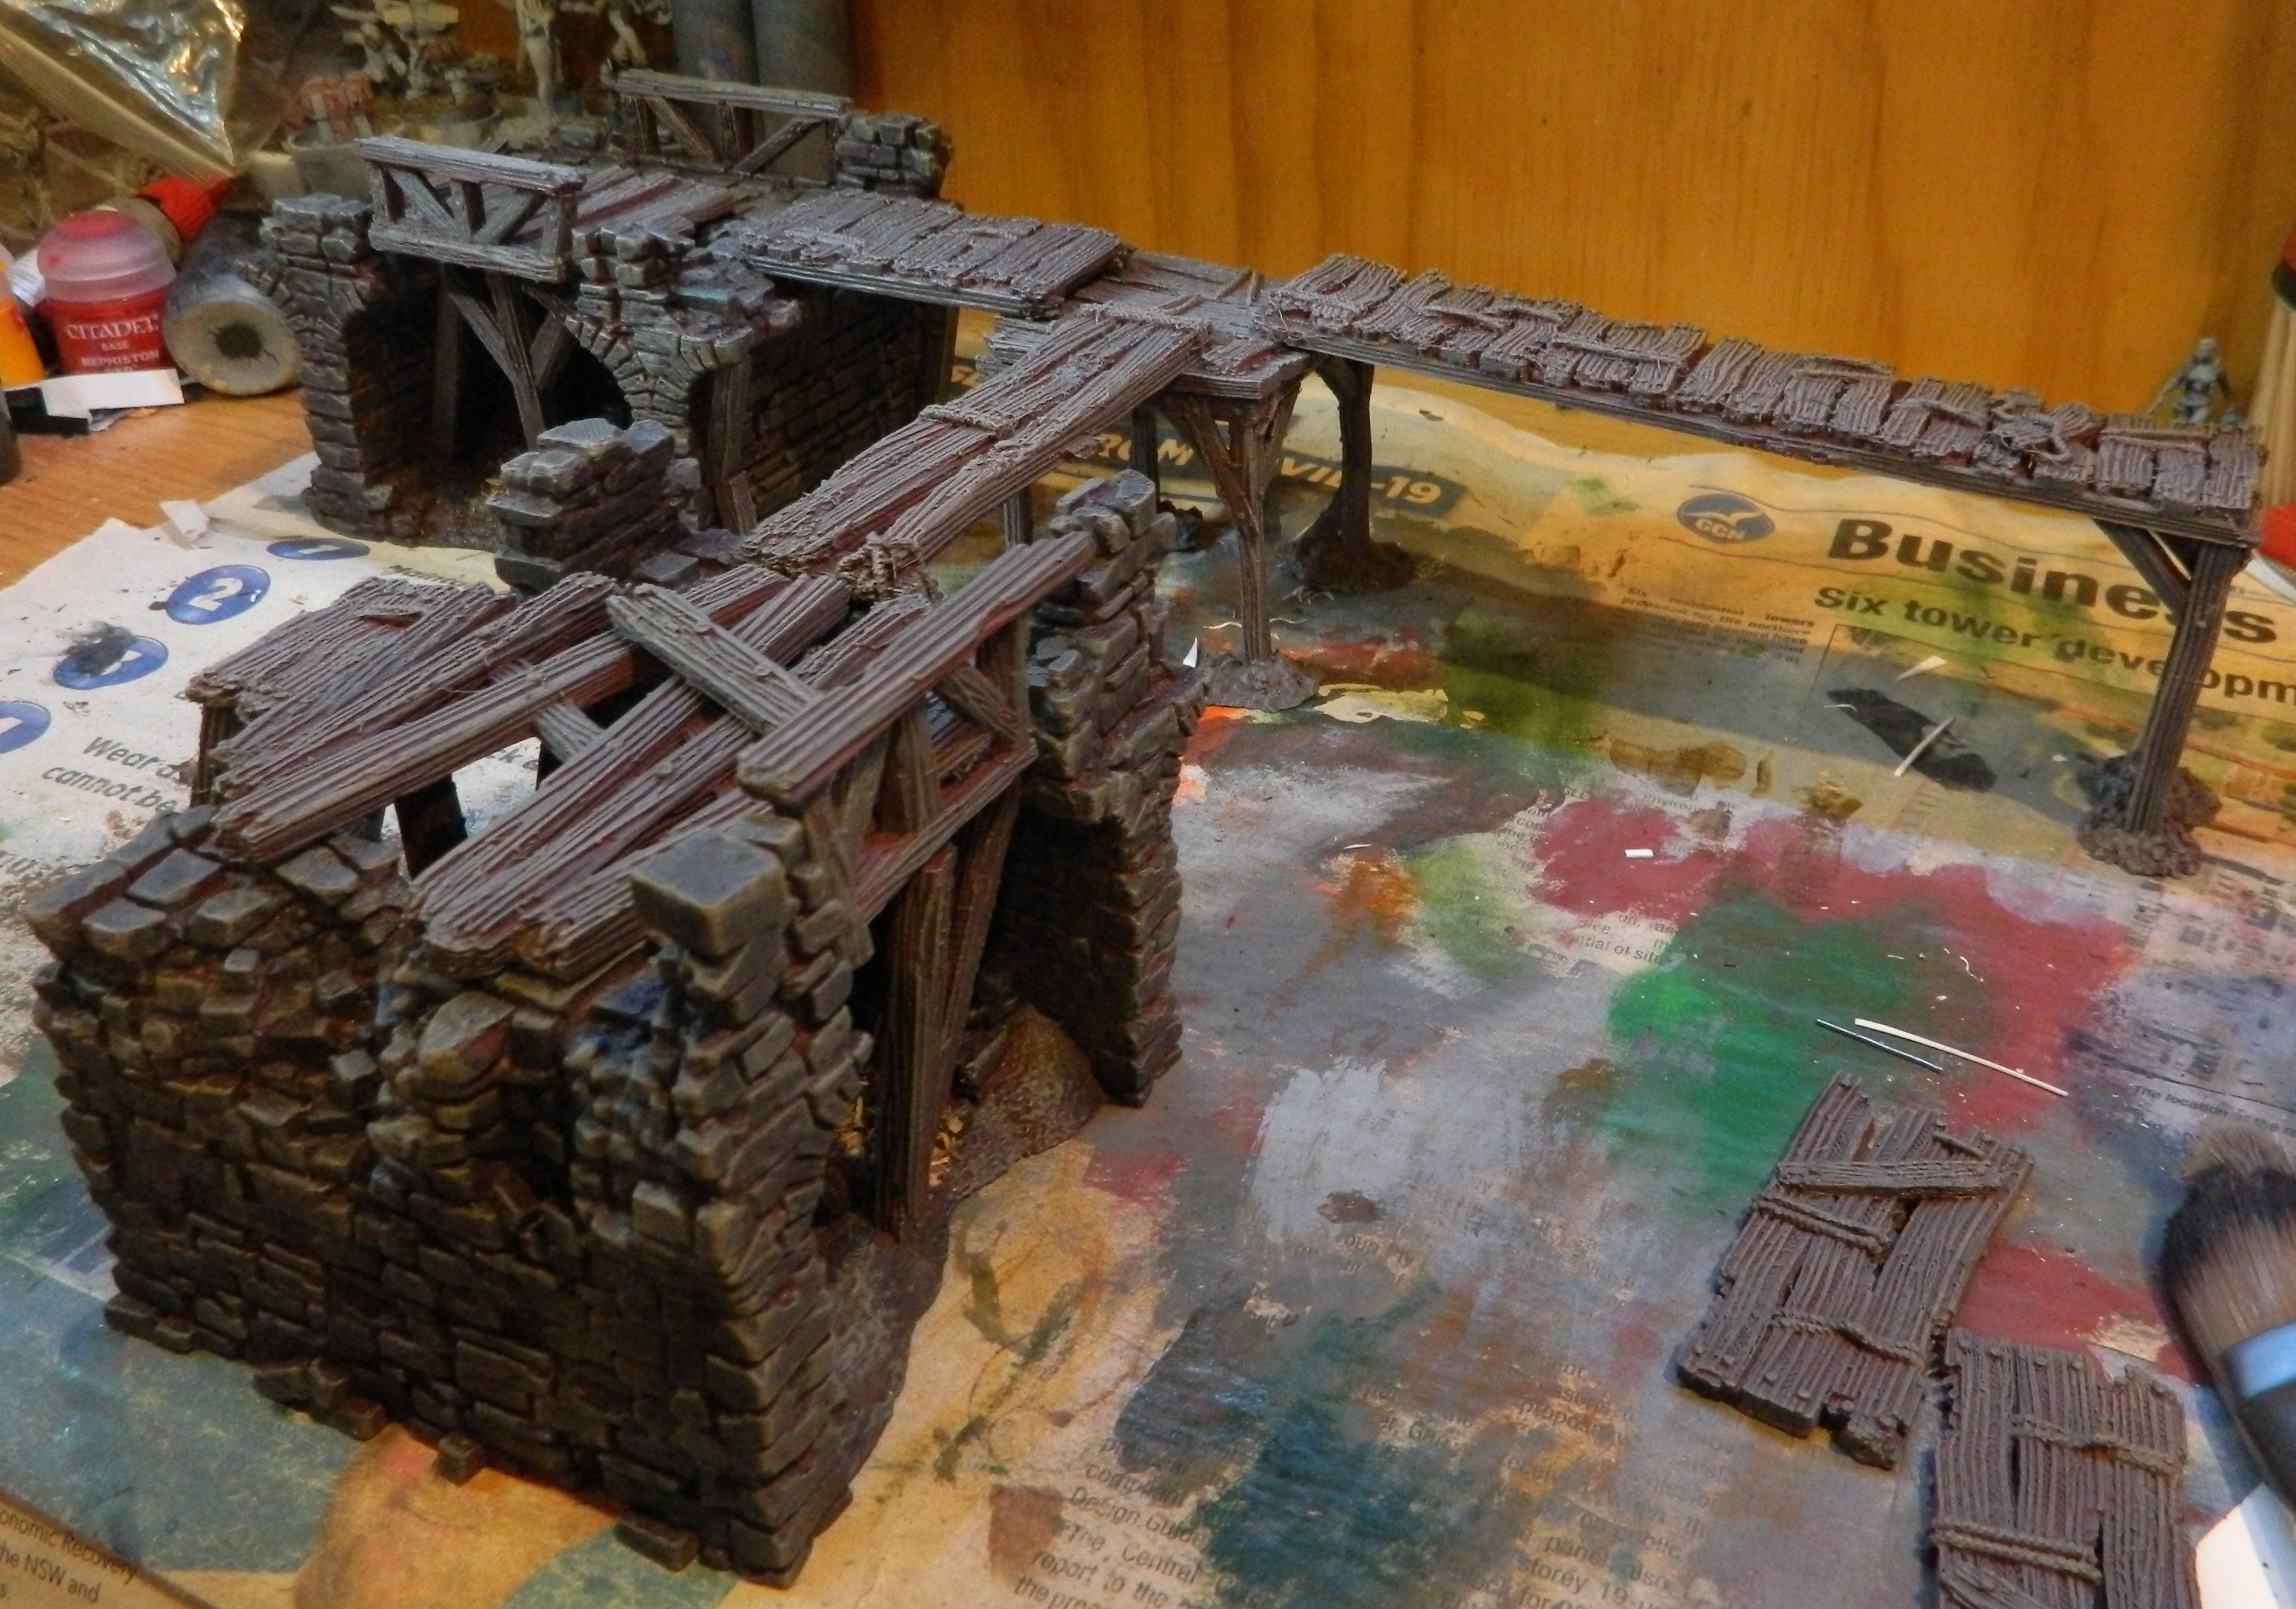
25 Apr 22: 2' of terrain.
 I had an extra day off last week, so spent a good chunk of it painting the base coat of this lot.
  It covers a 2' x 2' square well enough, especially once I add in the Terrain Crate stuff. Plenty more to go.
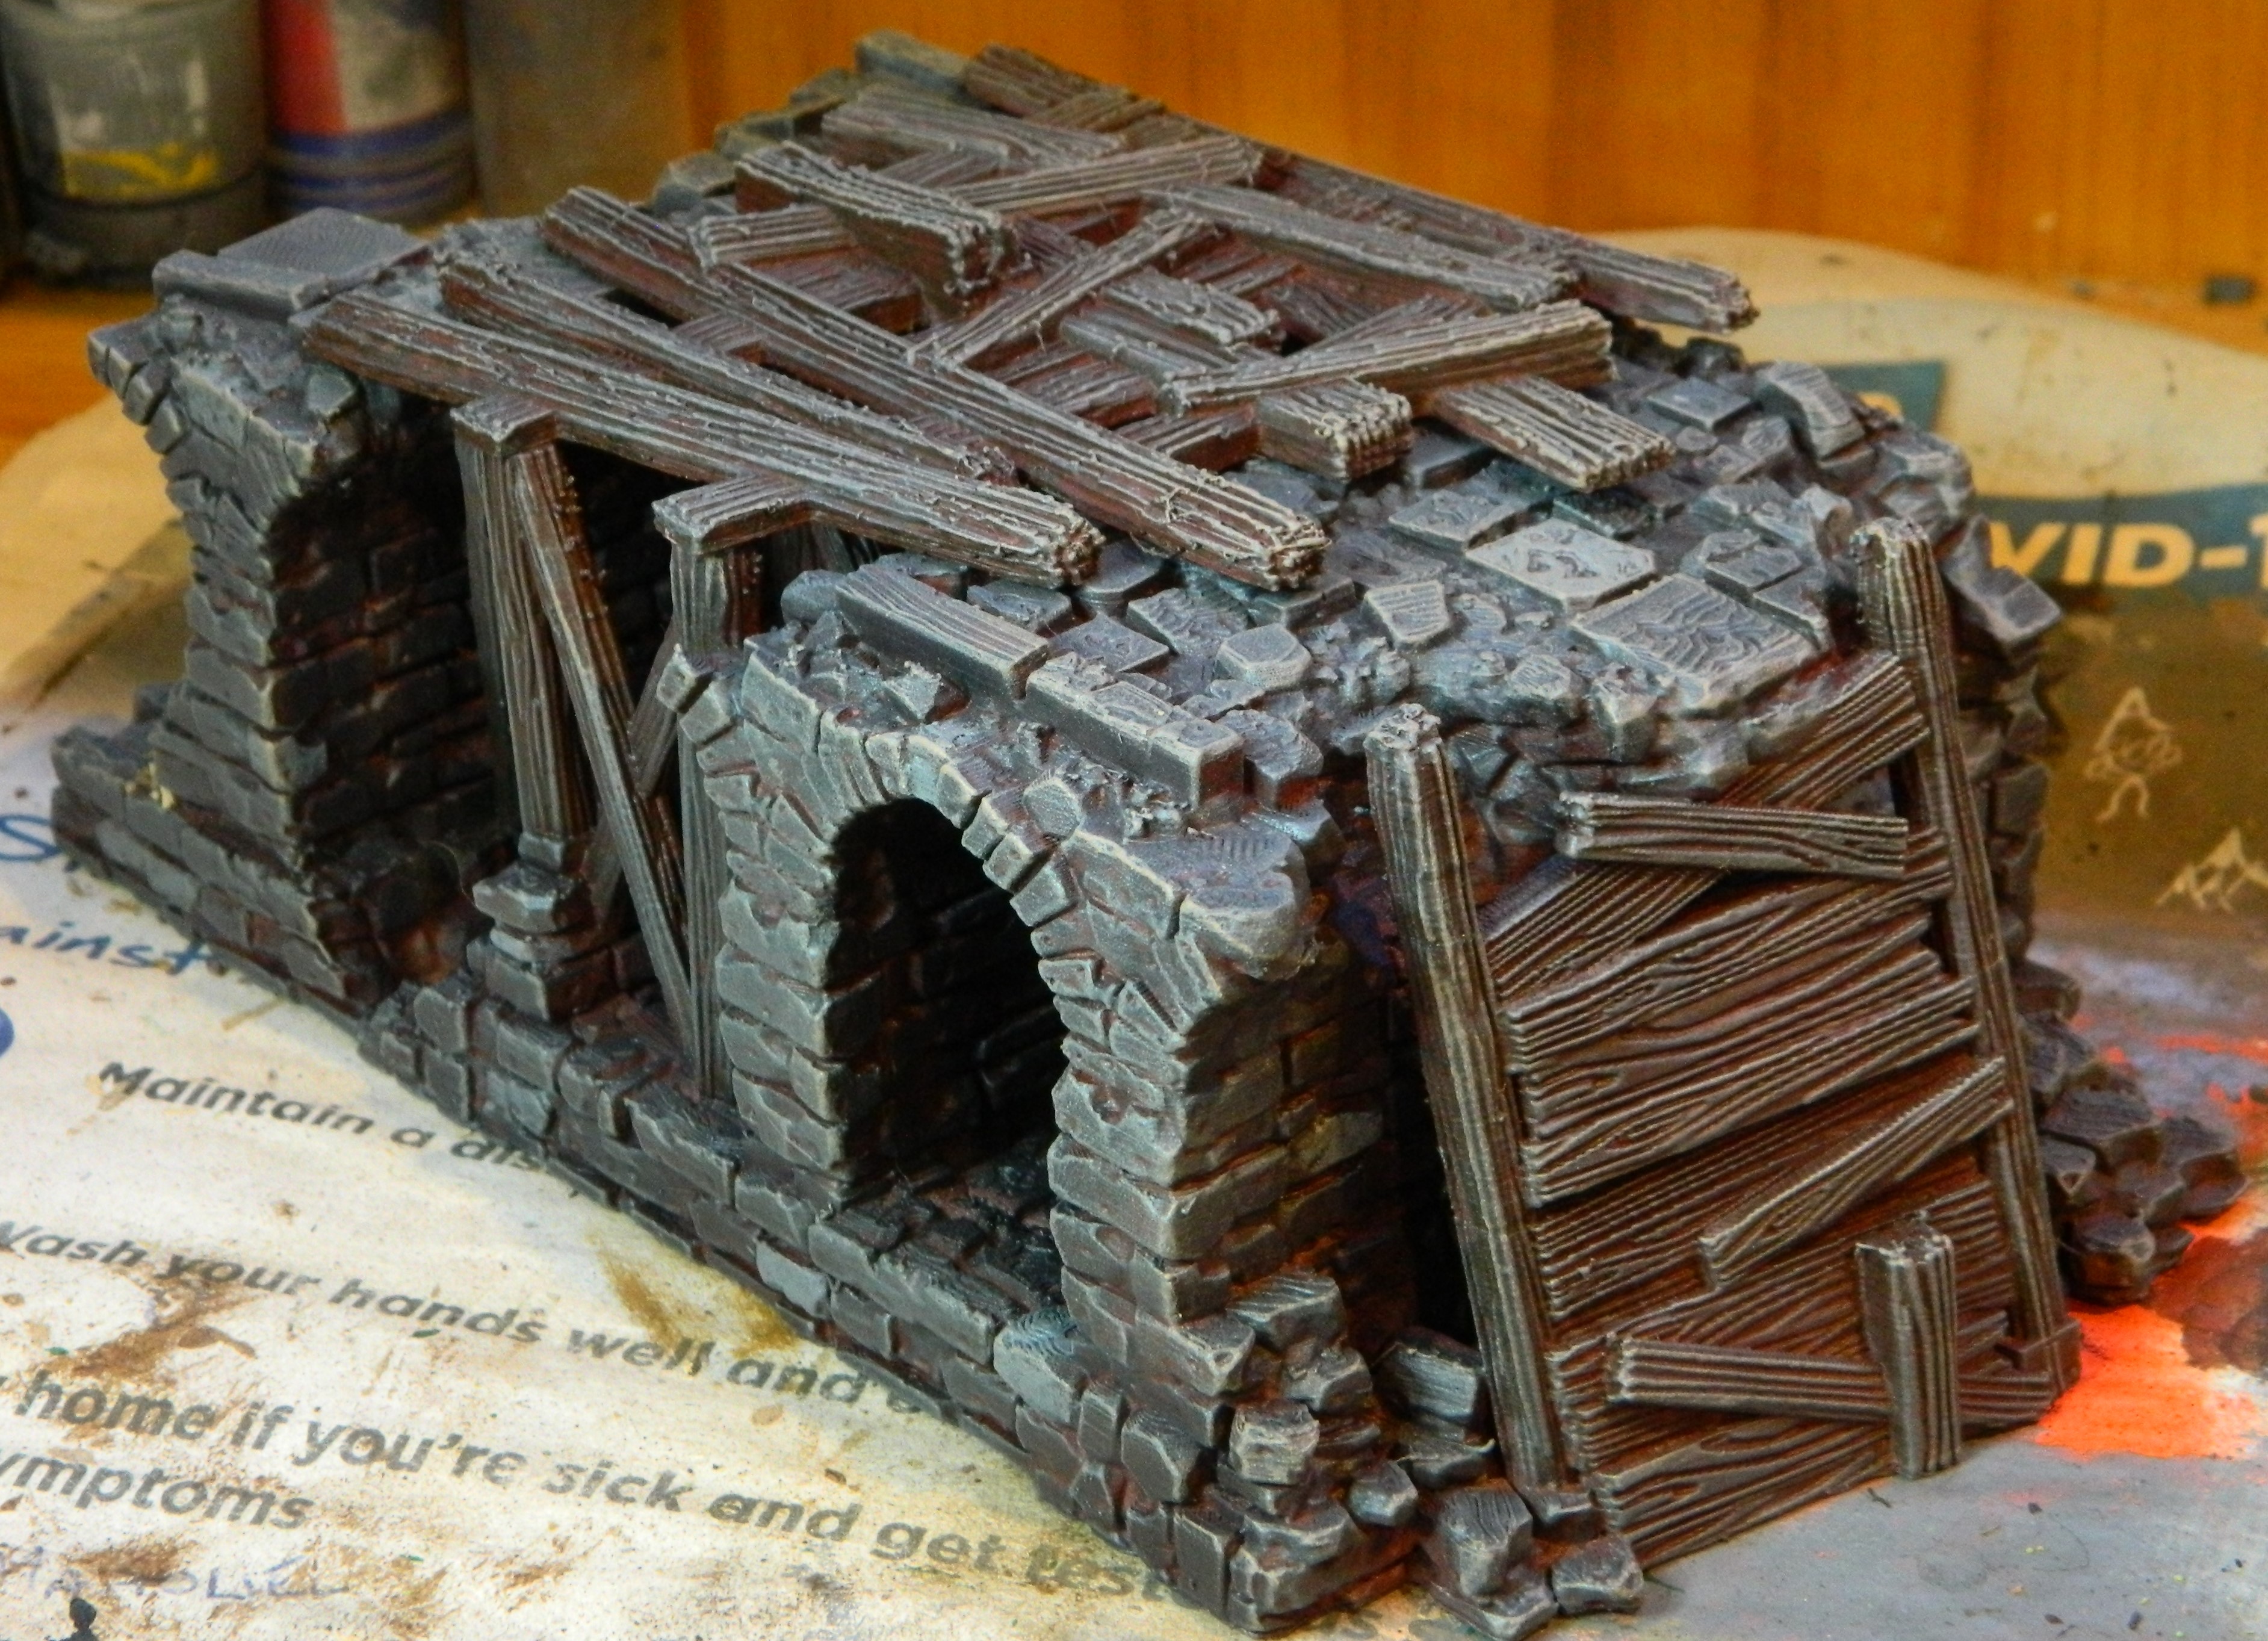


Raised walkways with ramps and stairs. Being modular than can easily be reconfigured or combined with other terrain pieces.
Most have arched tunnels running under, so it’ll allow minis to move through without necessarily having to climb over.
Apparently I haven’t printed the top of some of these. Better get onto that!

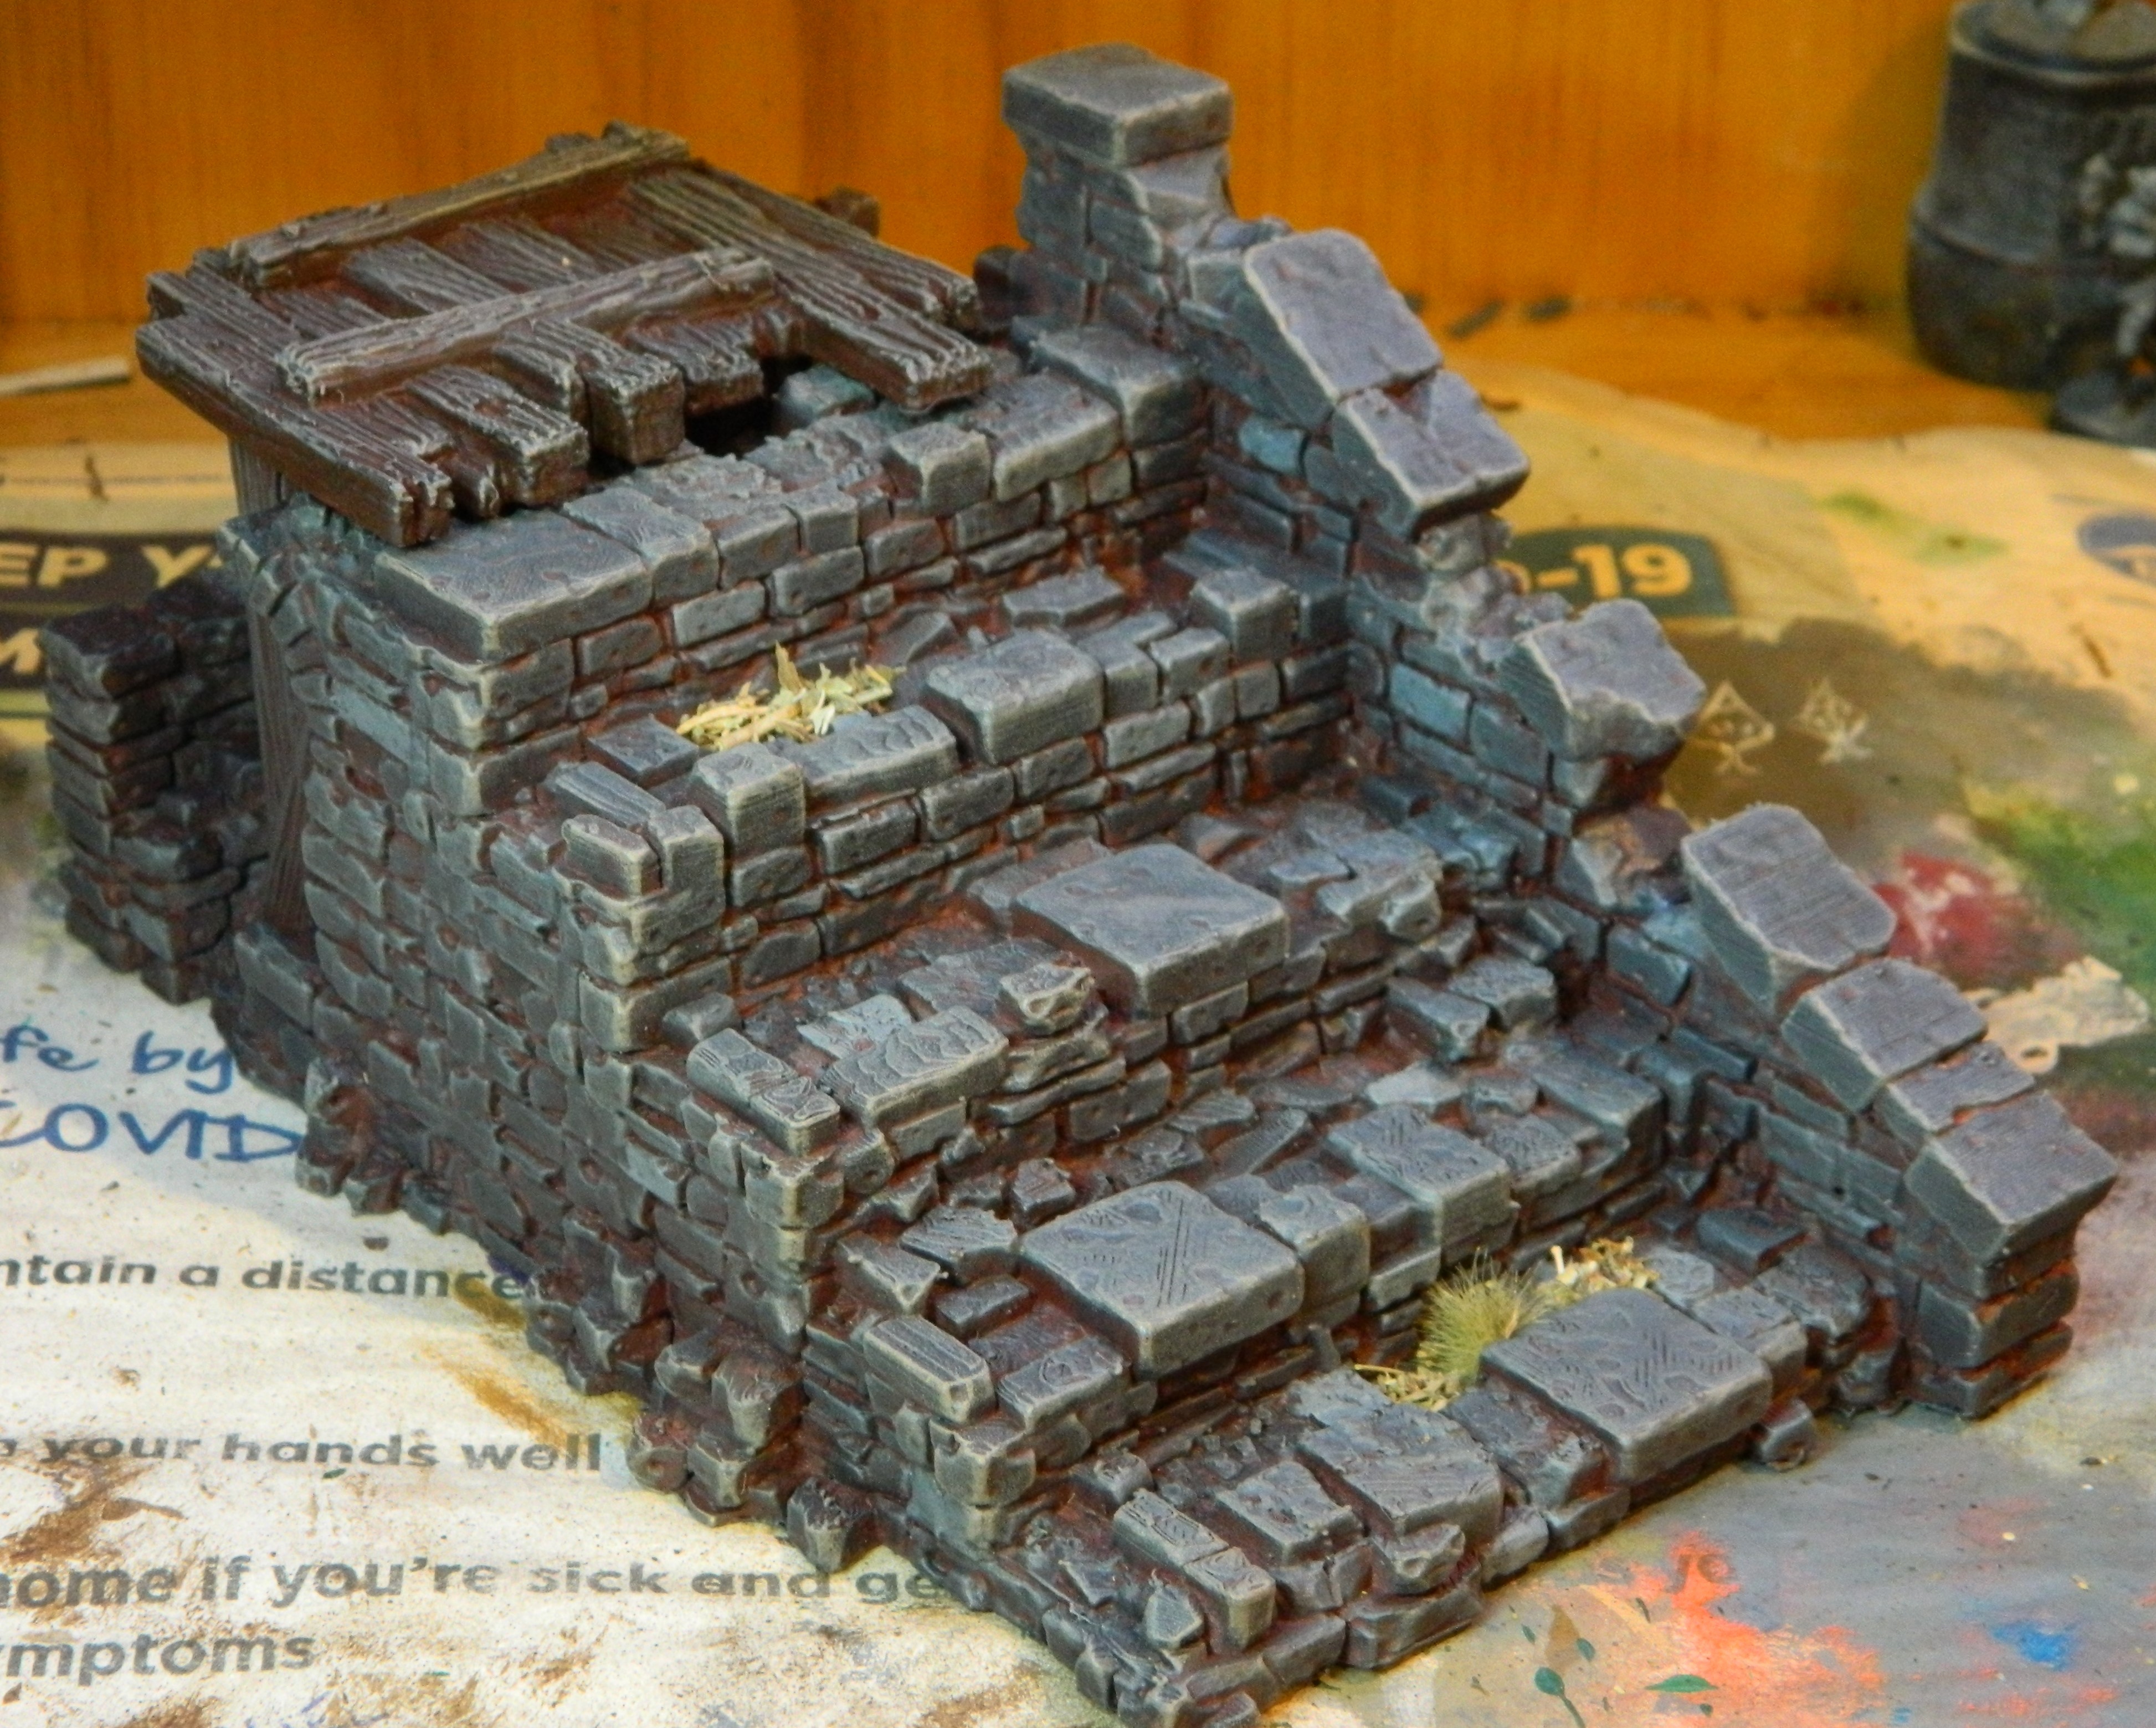
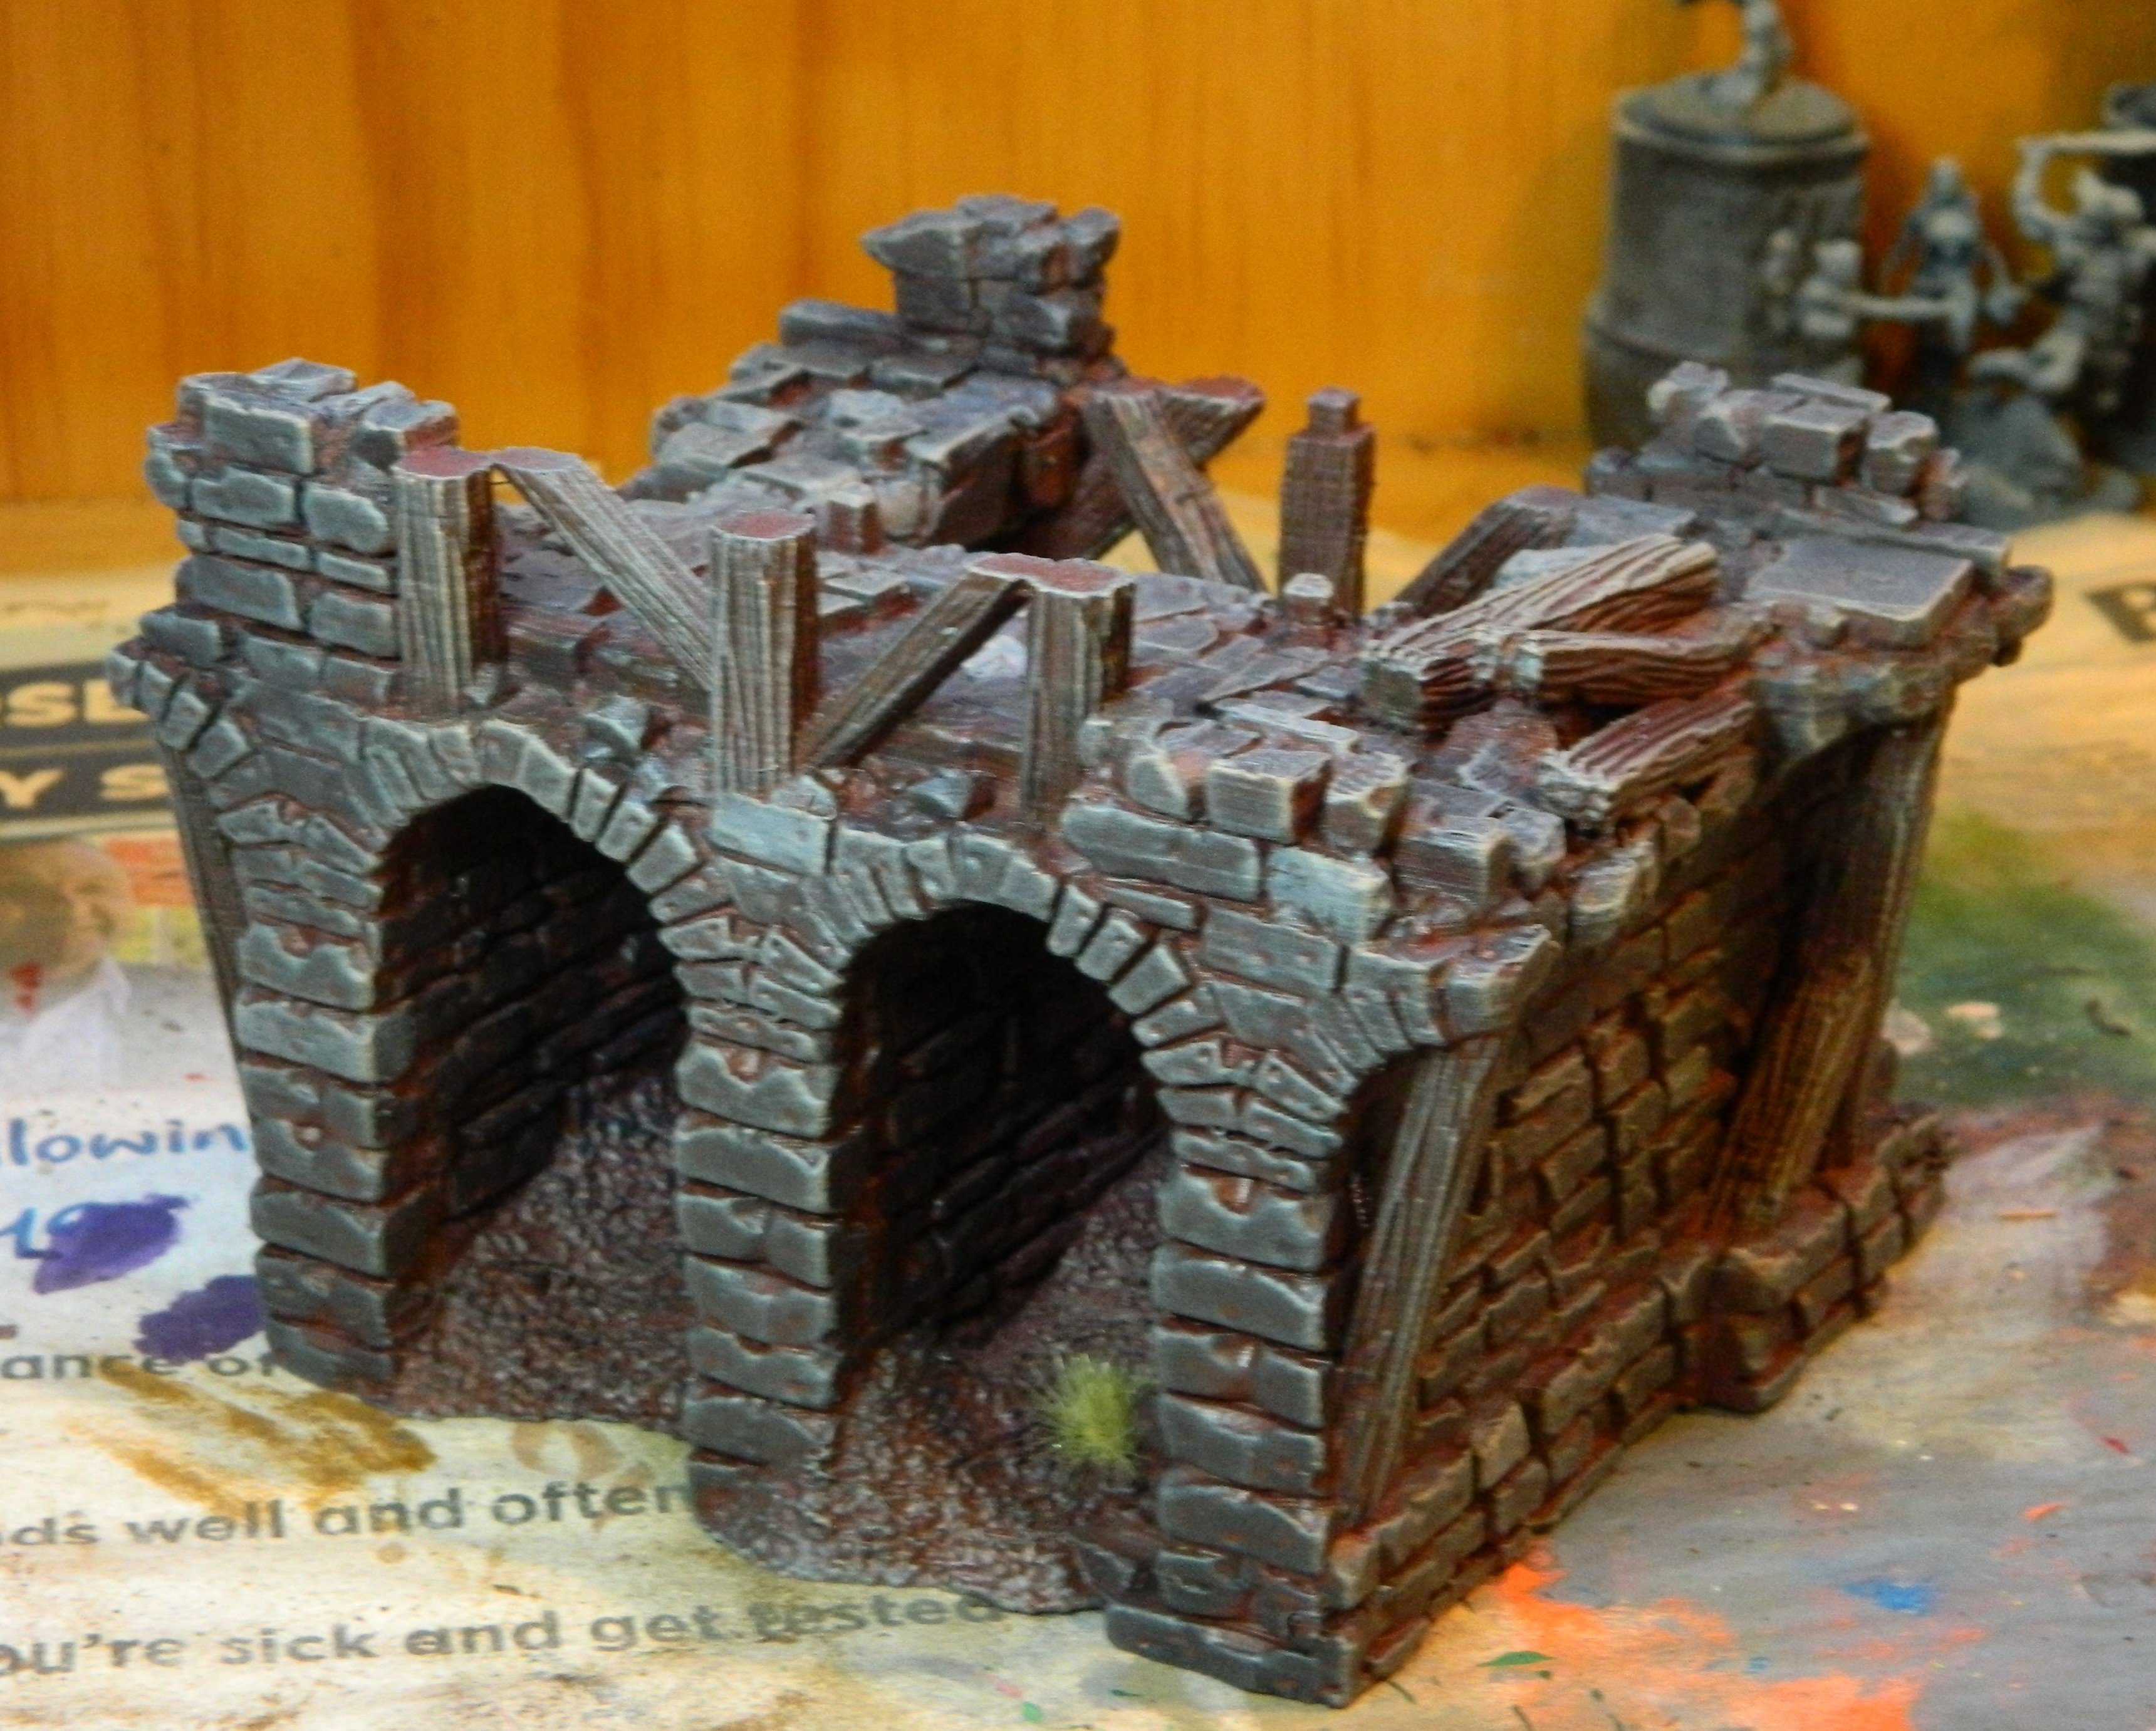

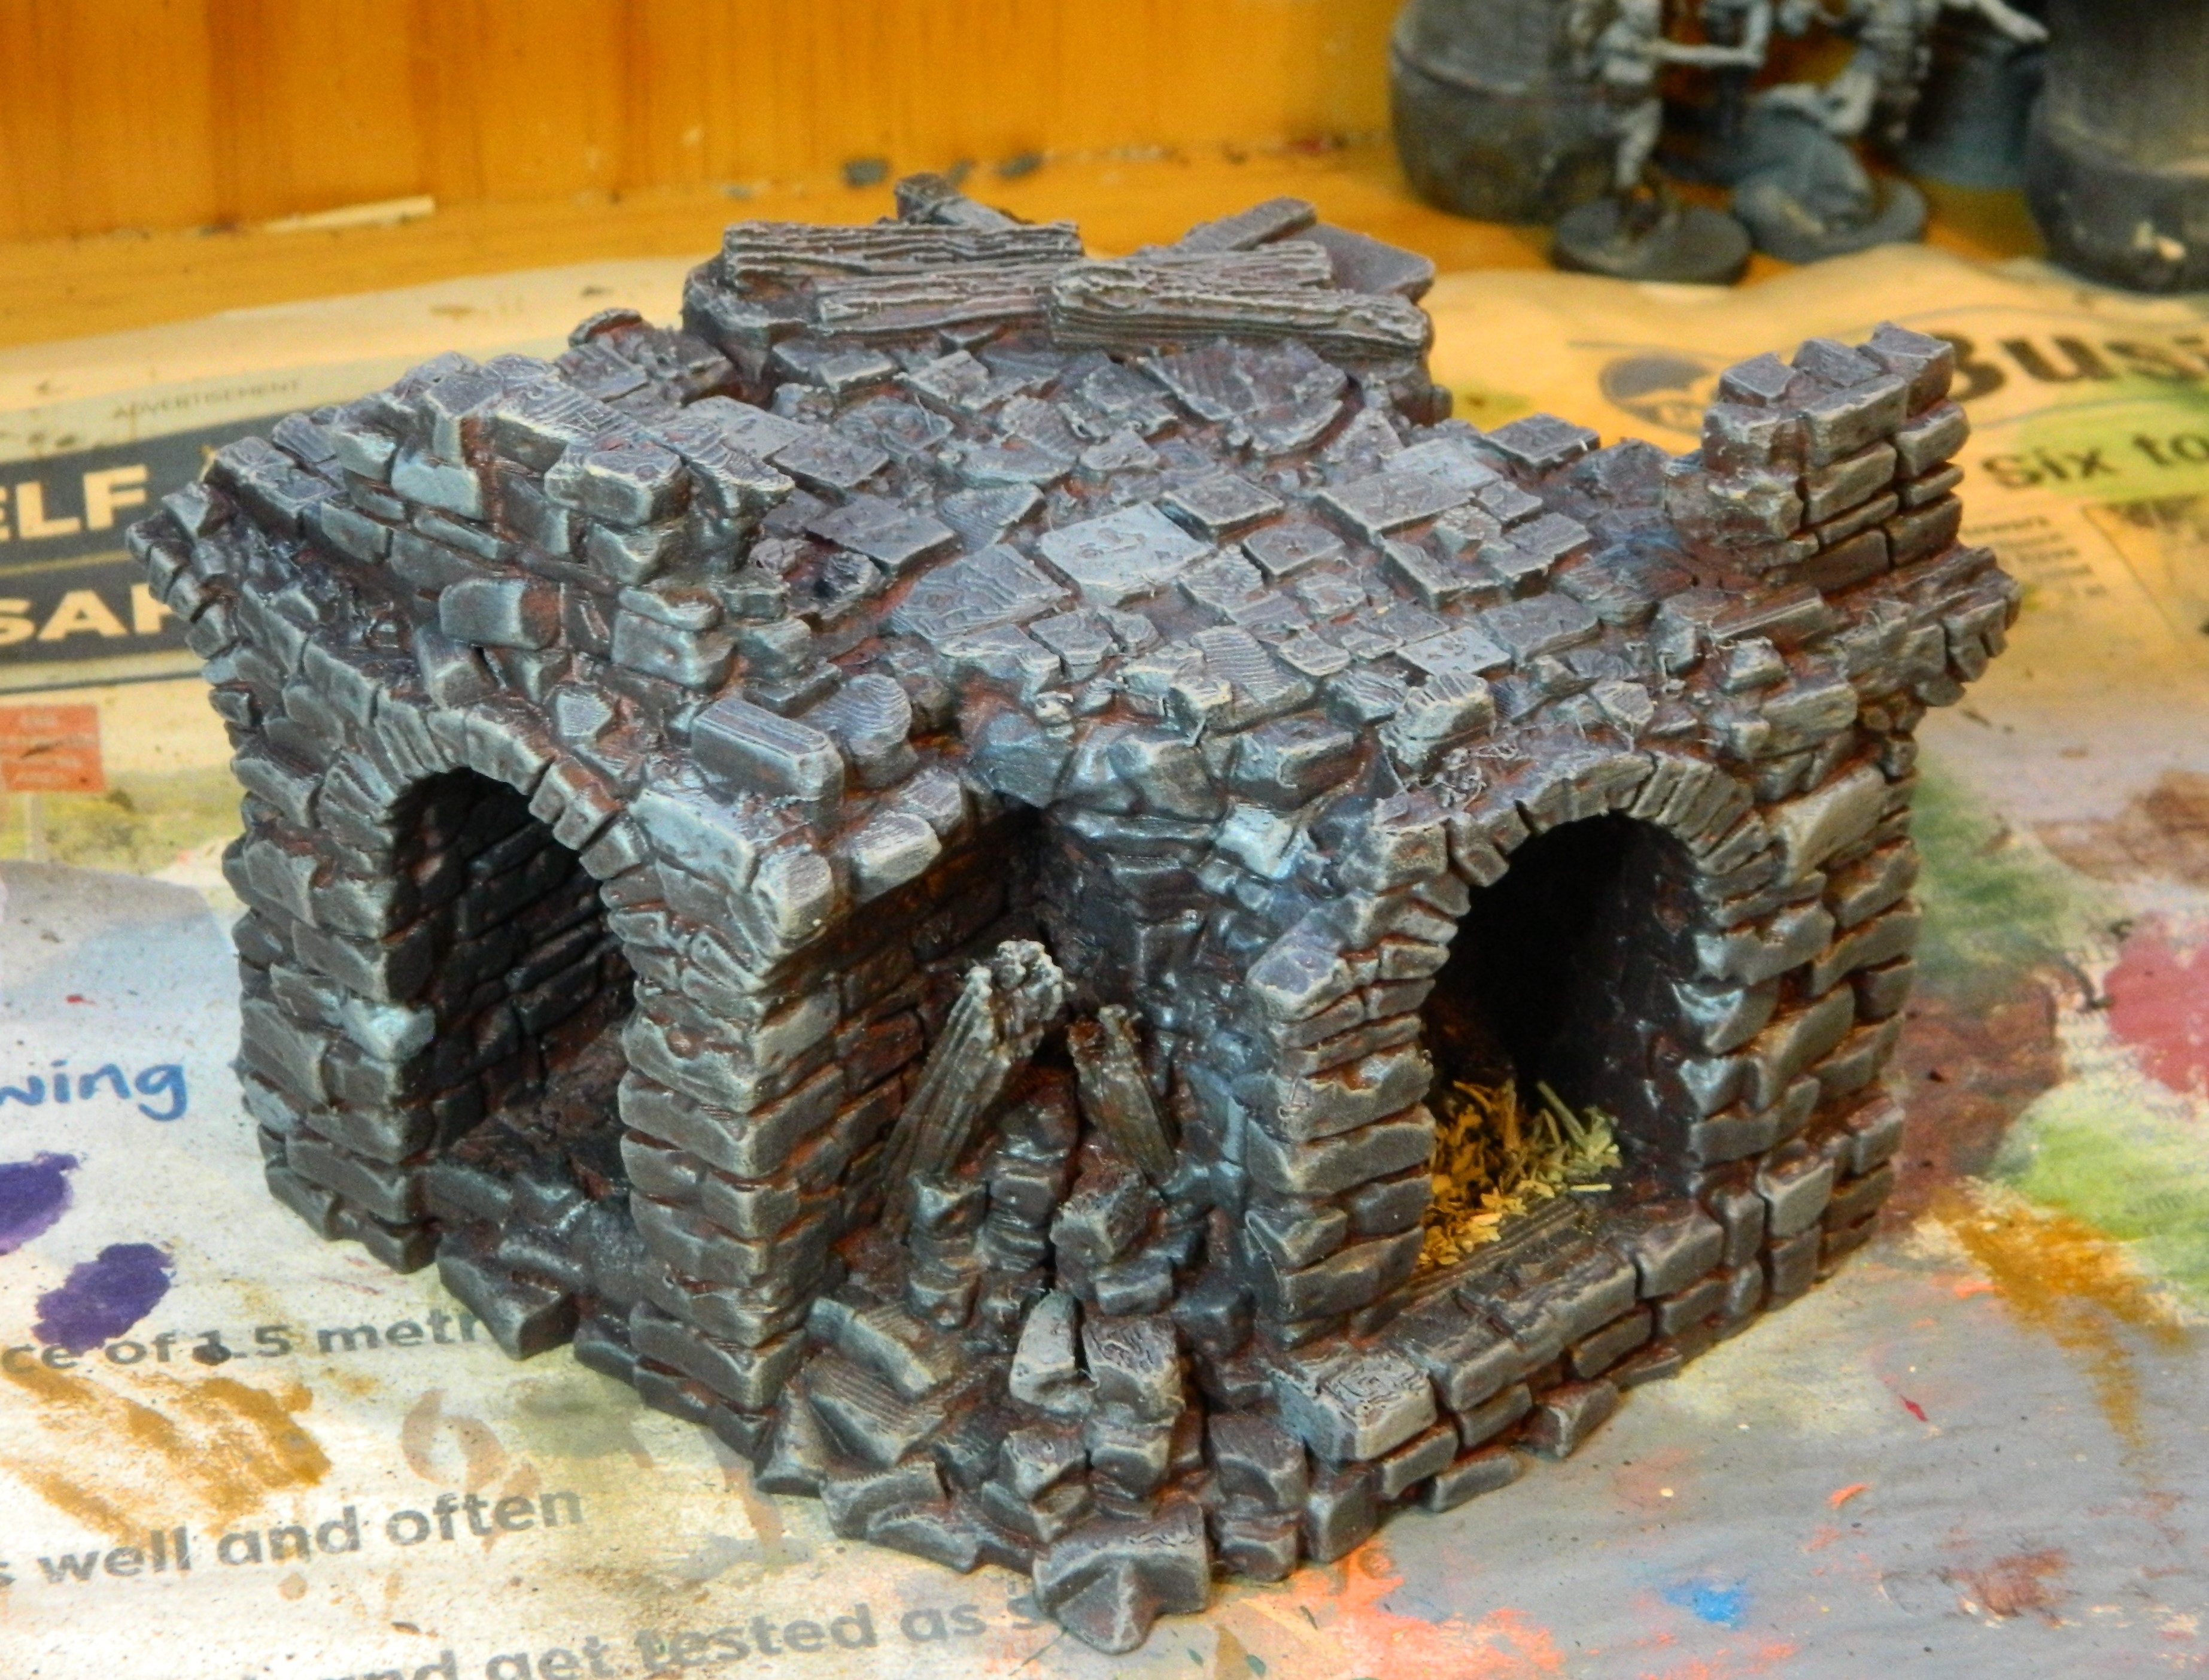


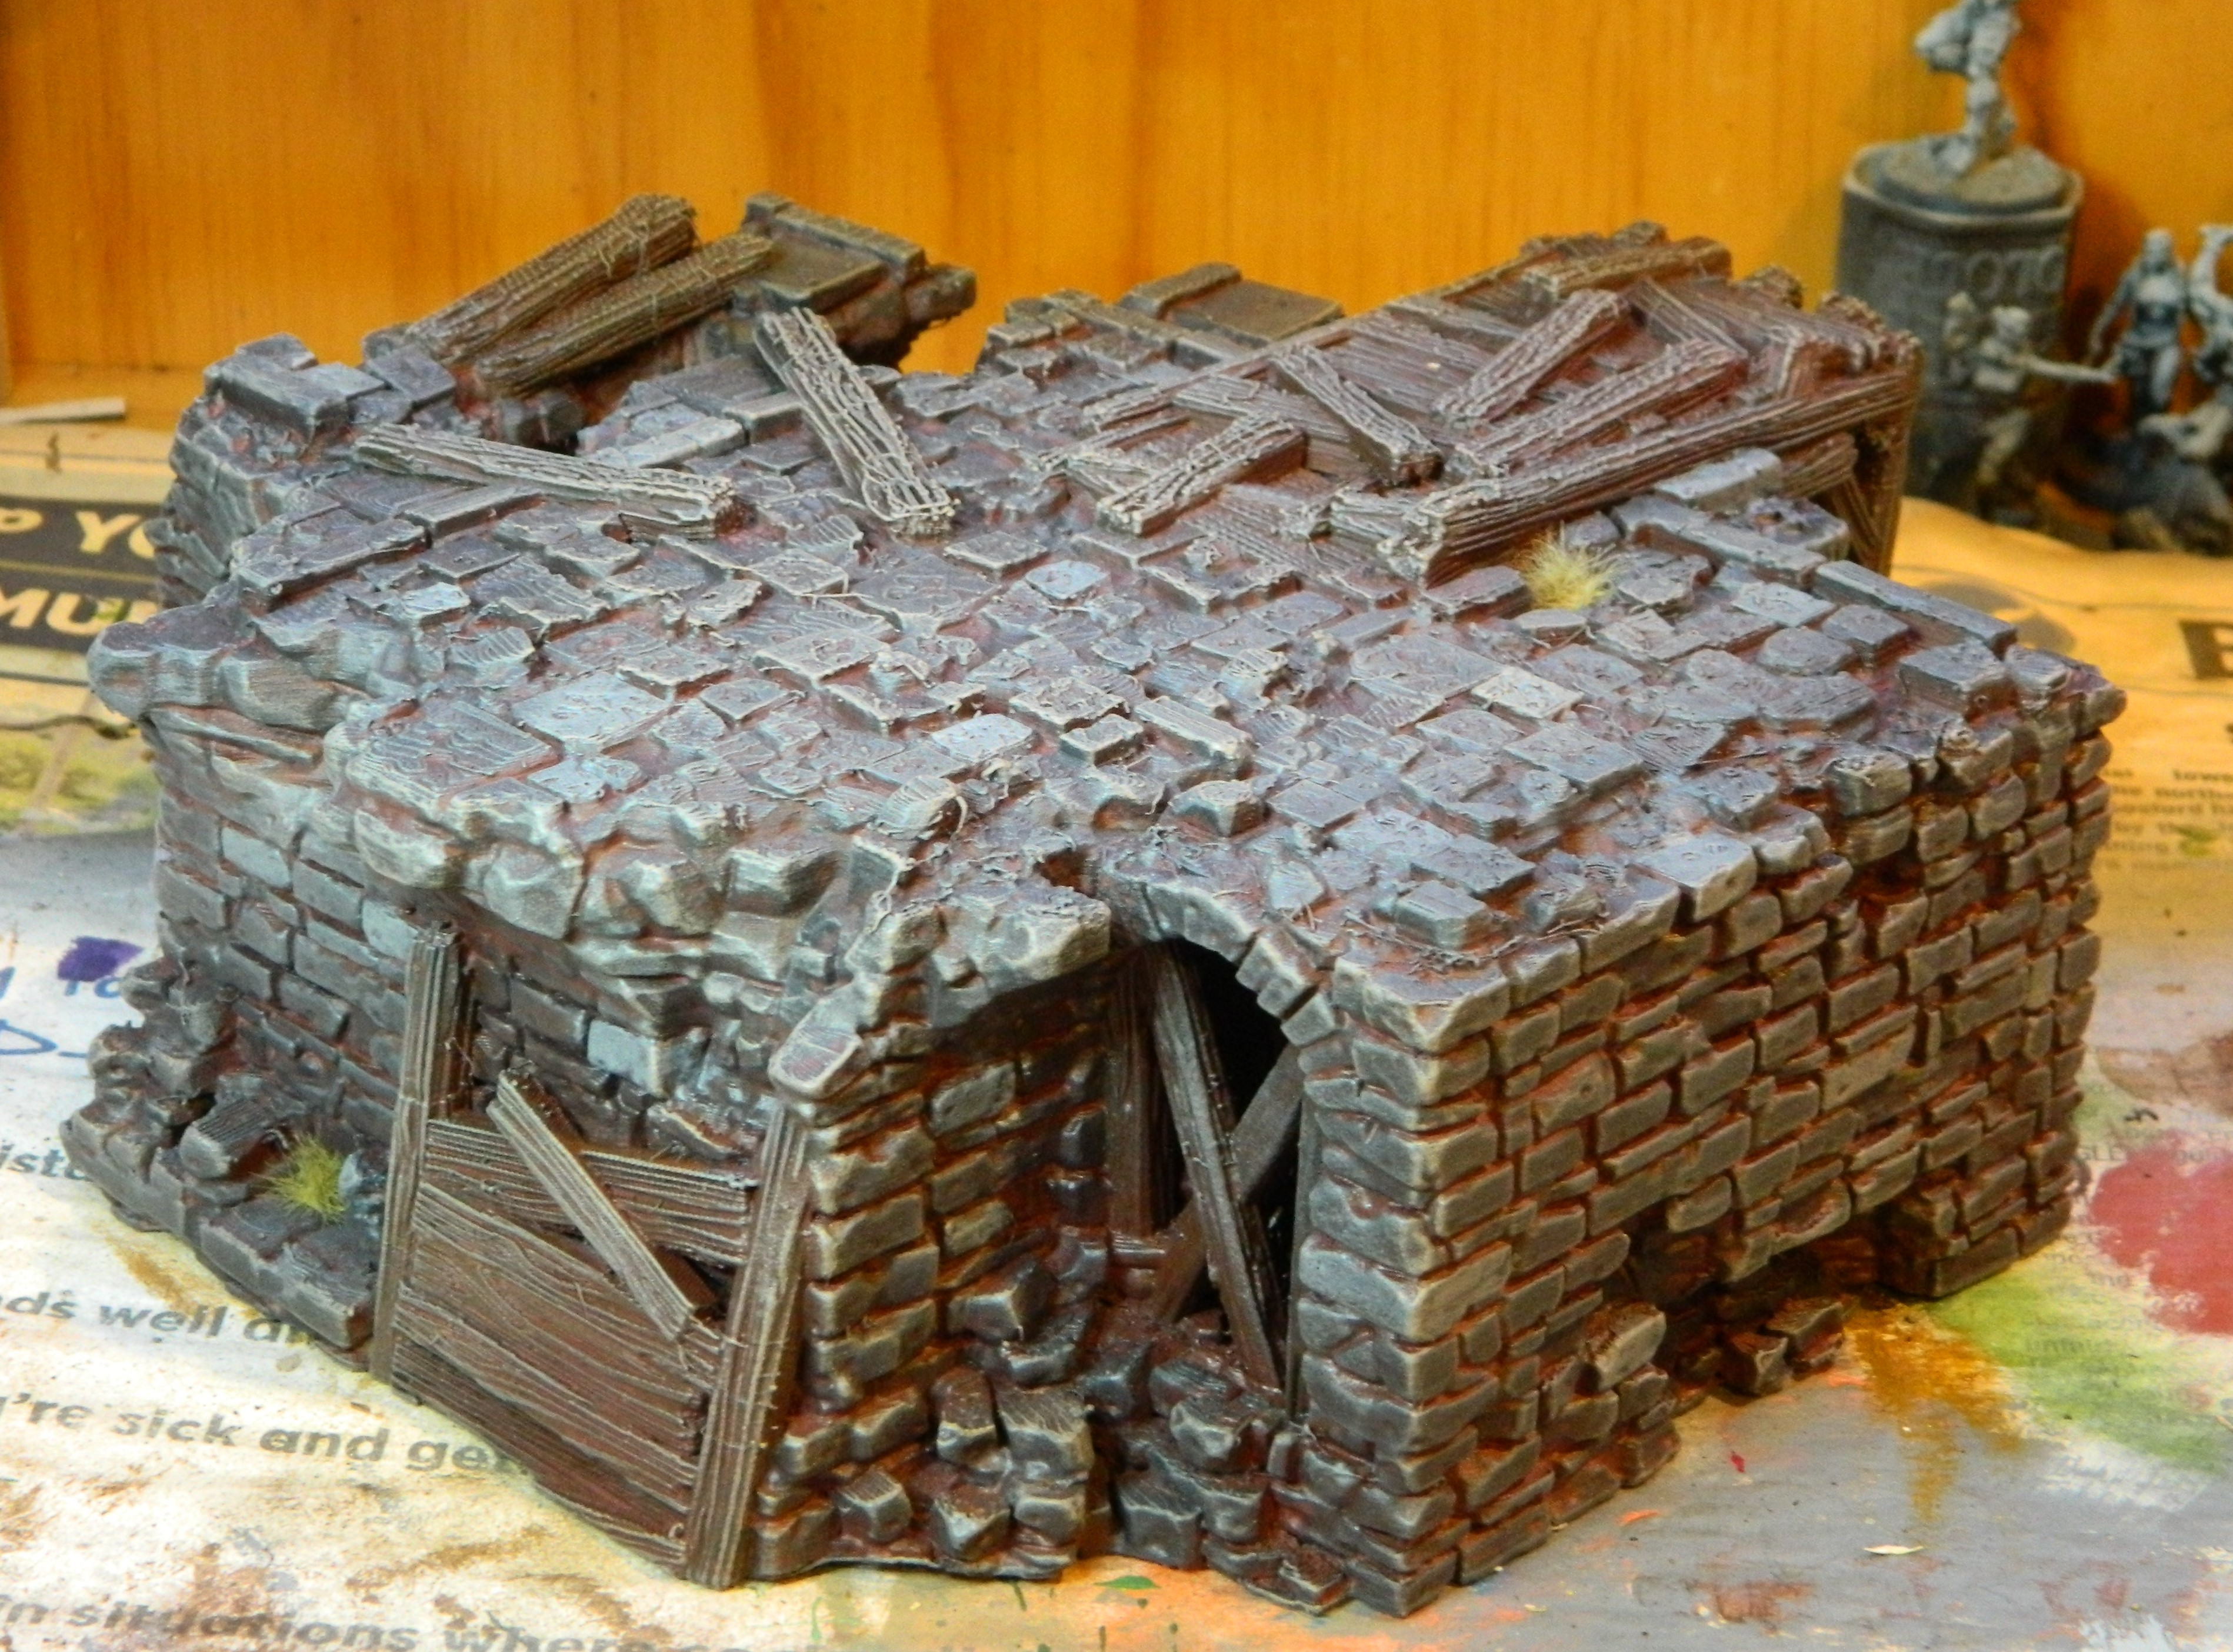
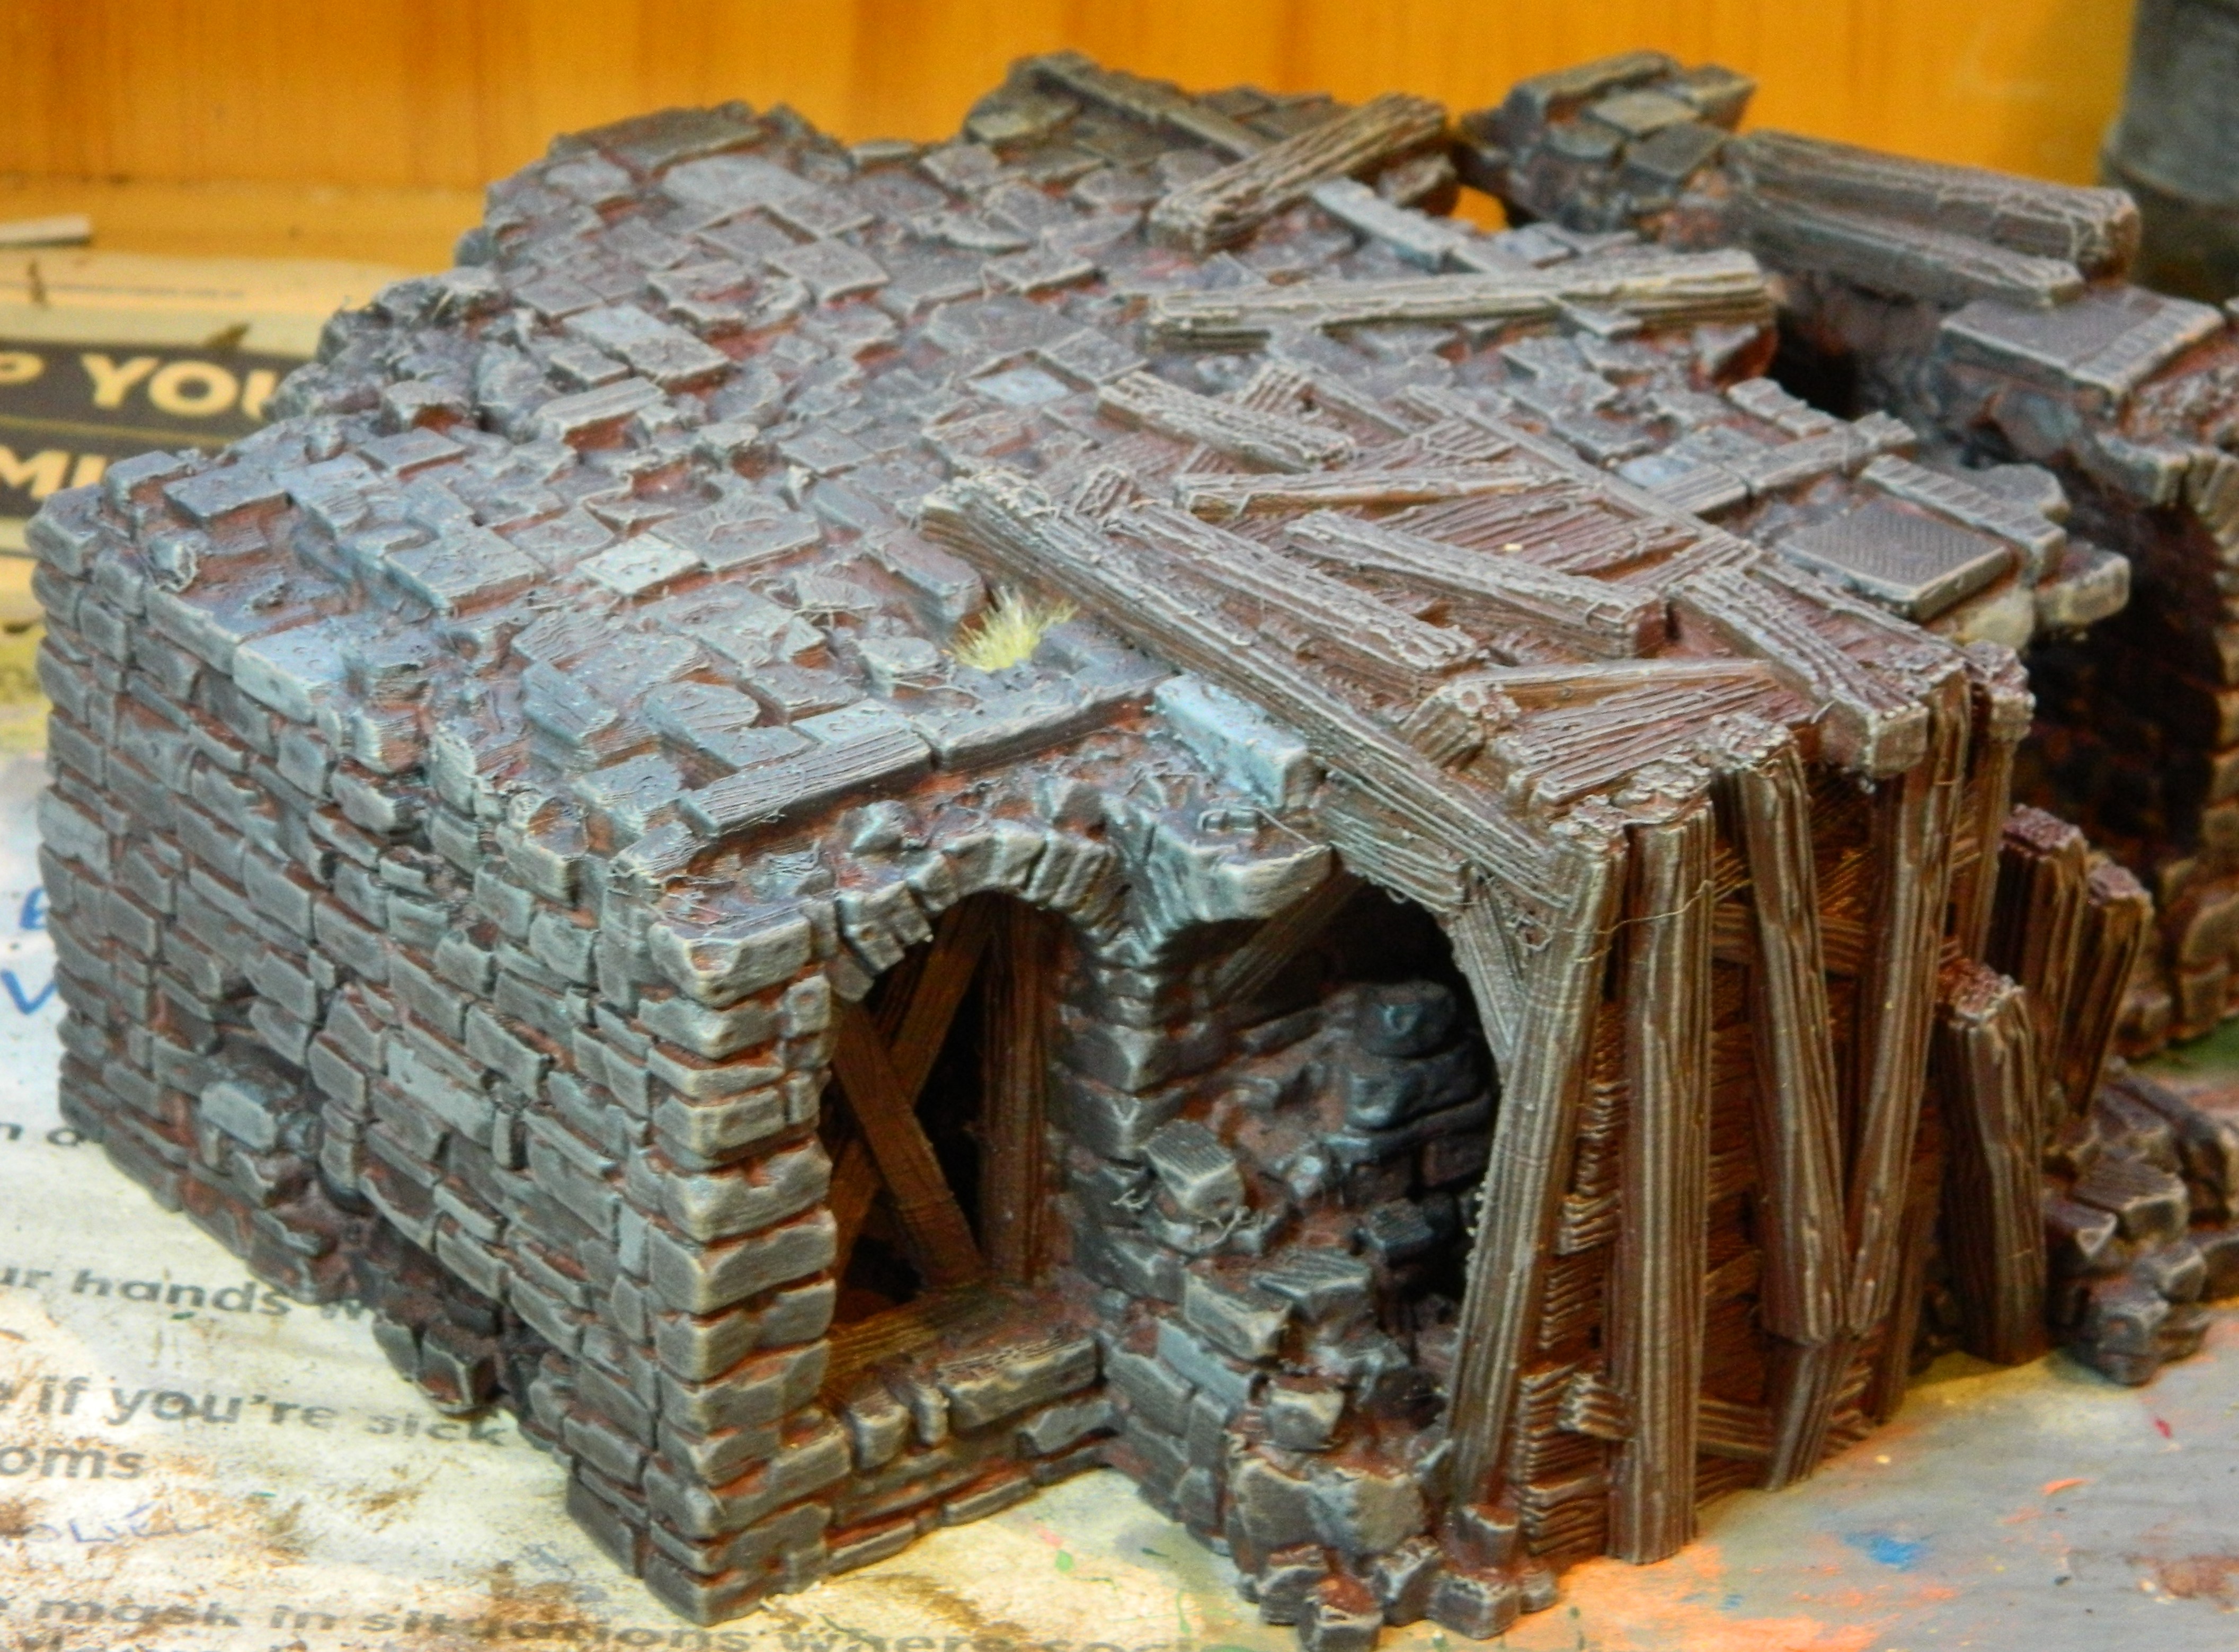

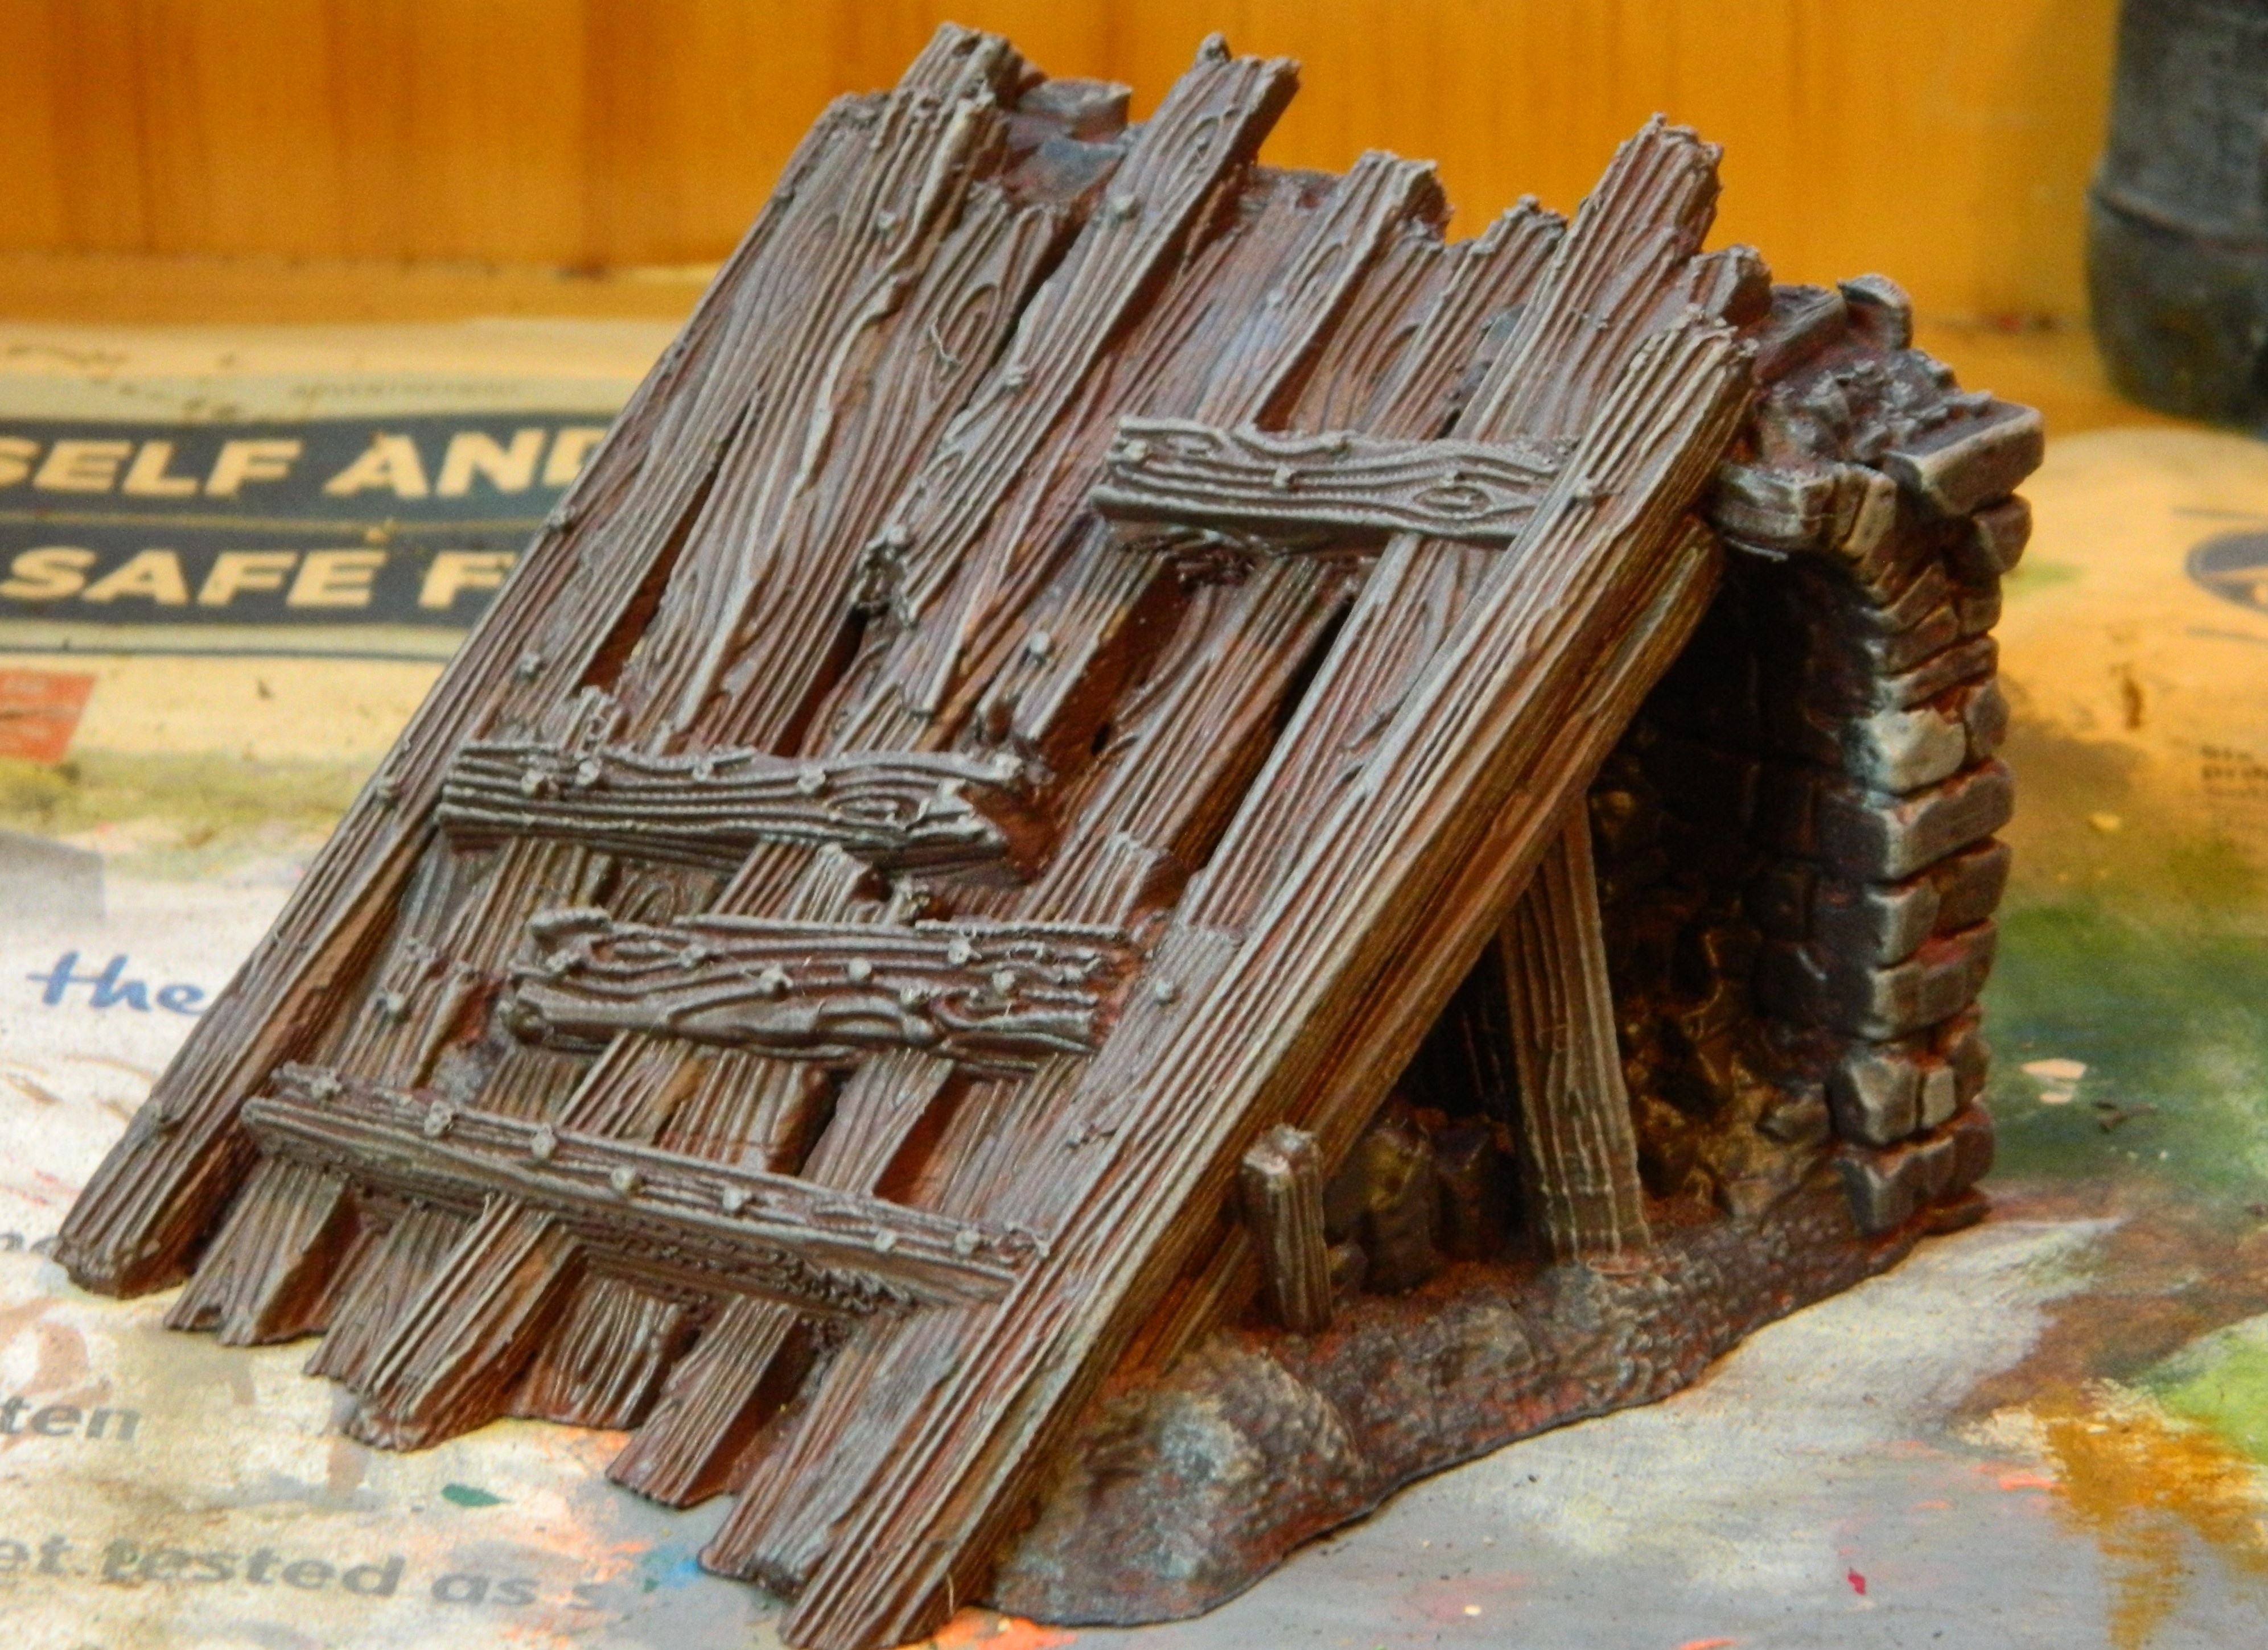

A four way walkway intersection and a ramp. The ramp’s supporting wall was just crying out for something, so I fished out a poster left over from the paper buildings. A quick bit of super glue, and done!
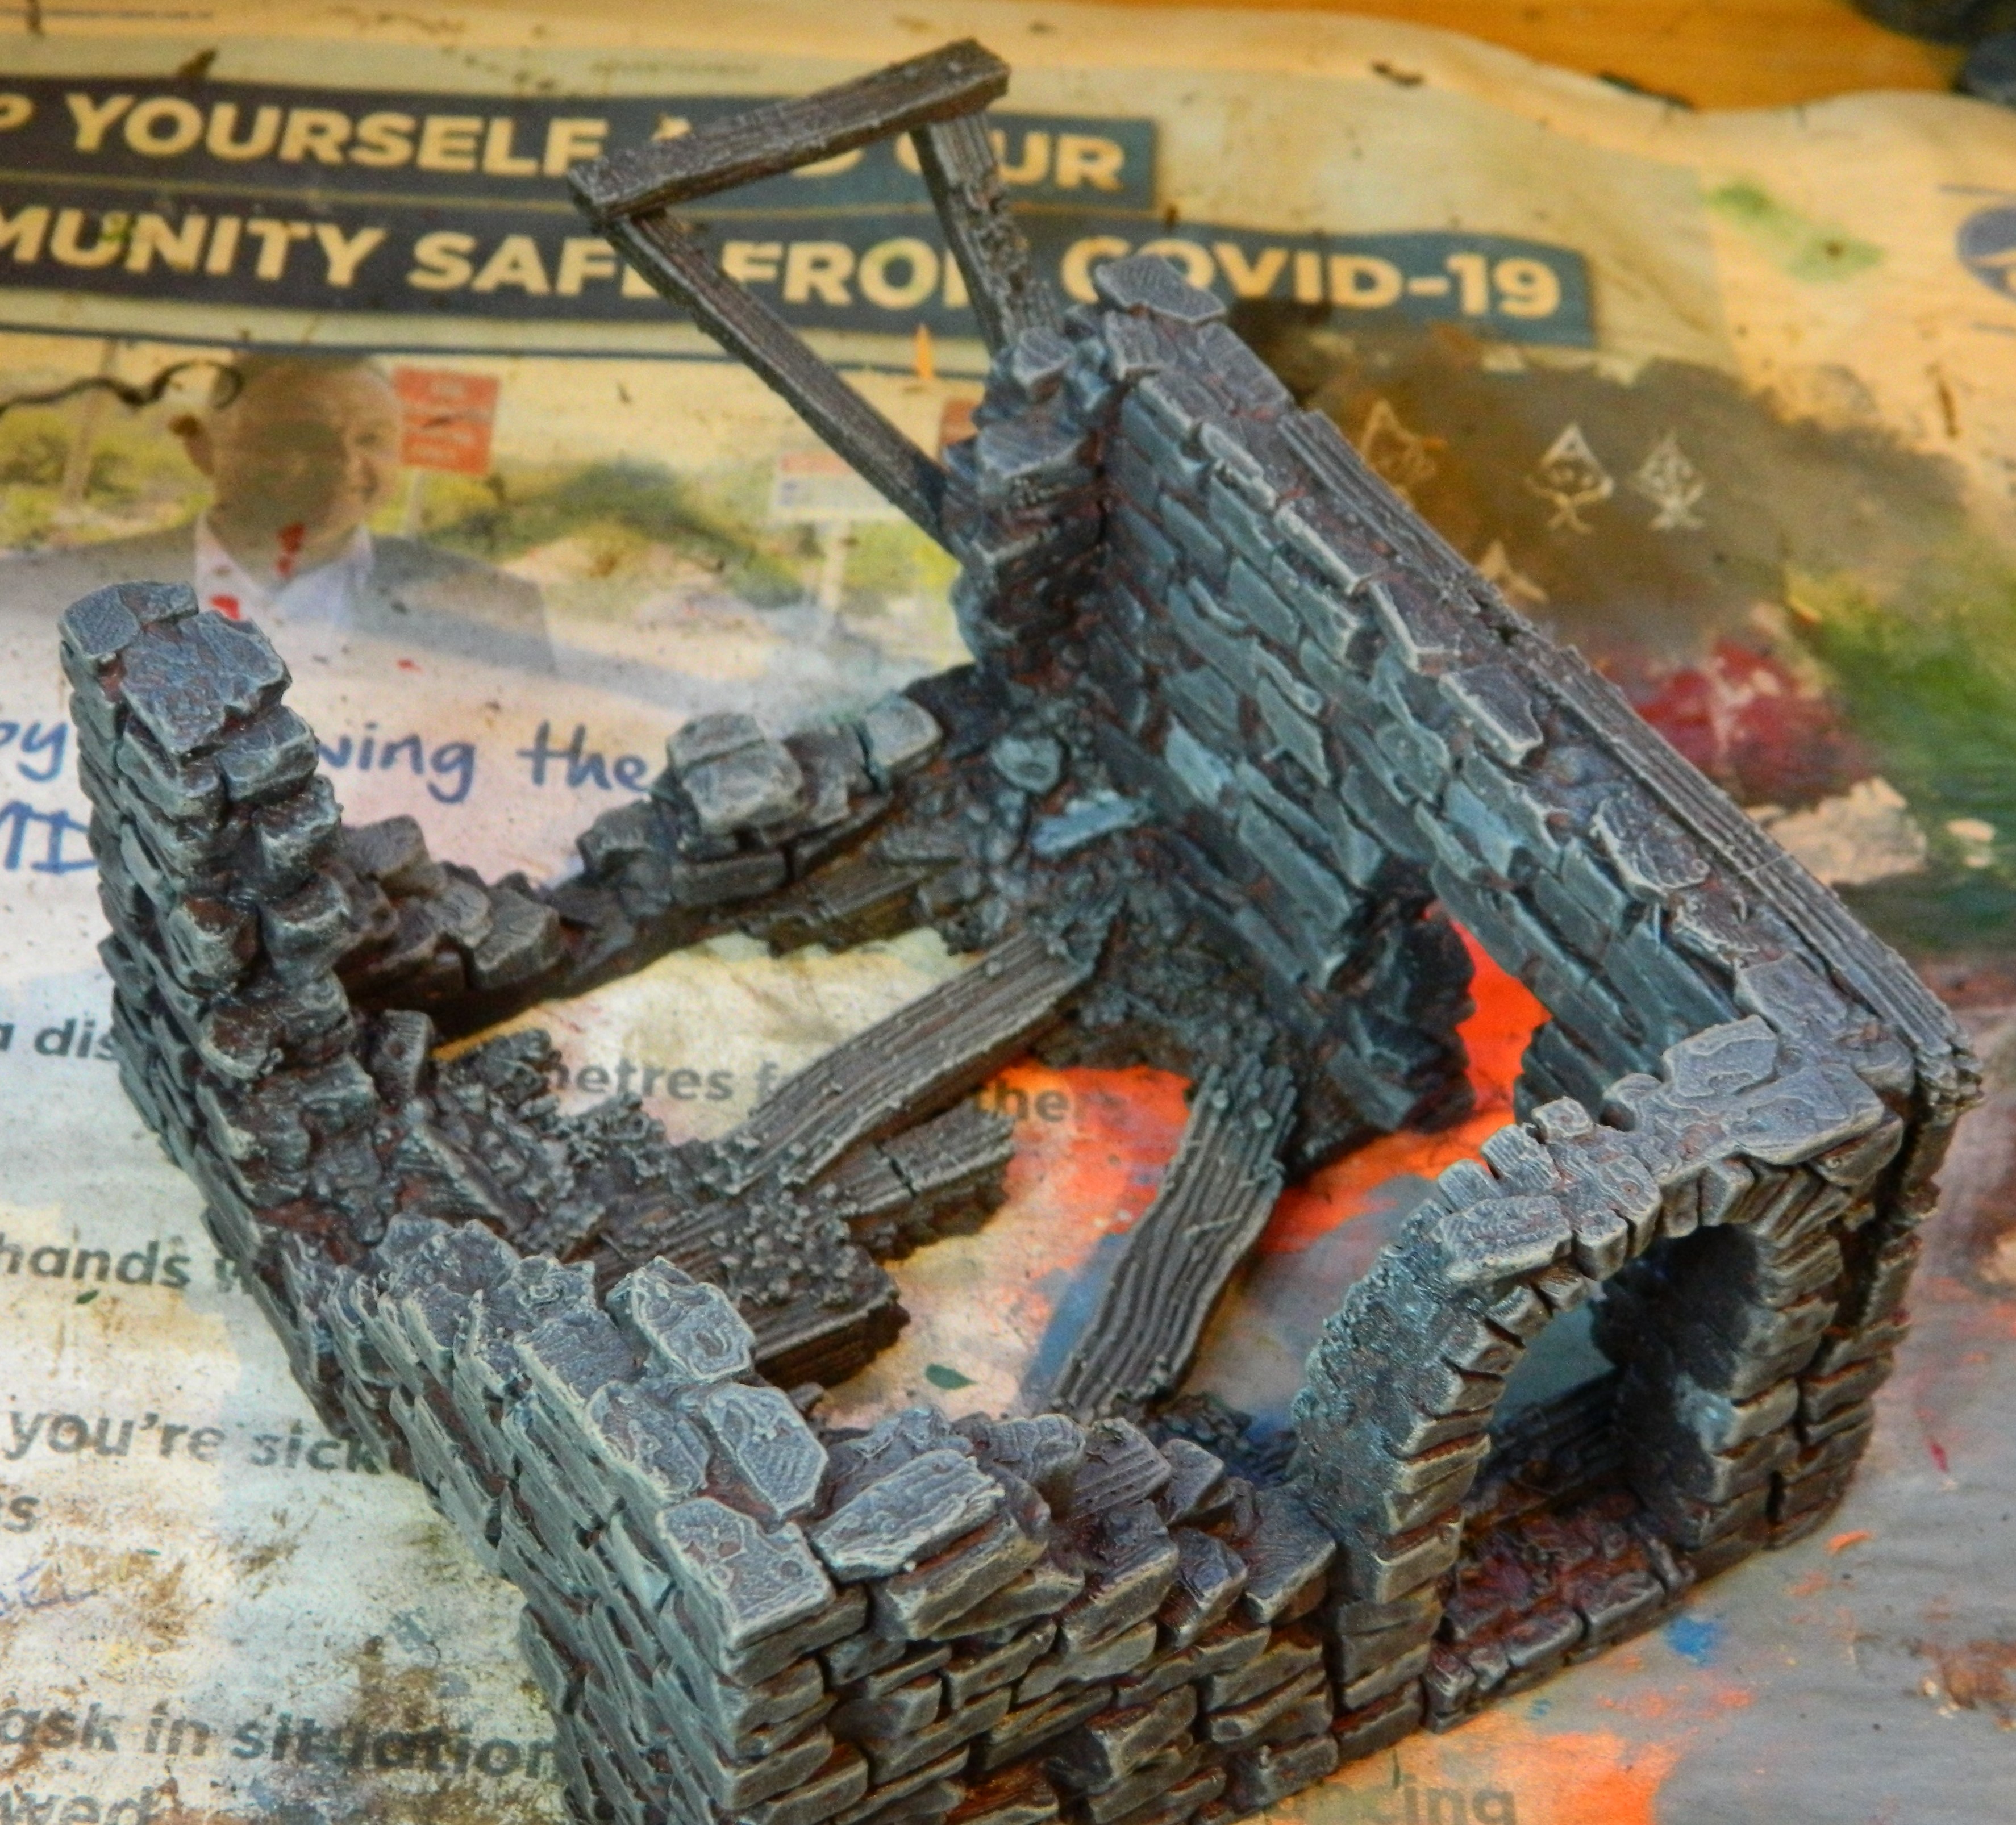
The next piece is a multi-layer building. I’ve only printed the brick components so far. There are rickety wooden levels to go above.
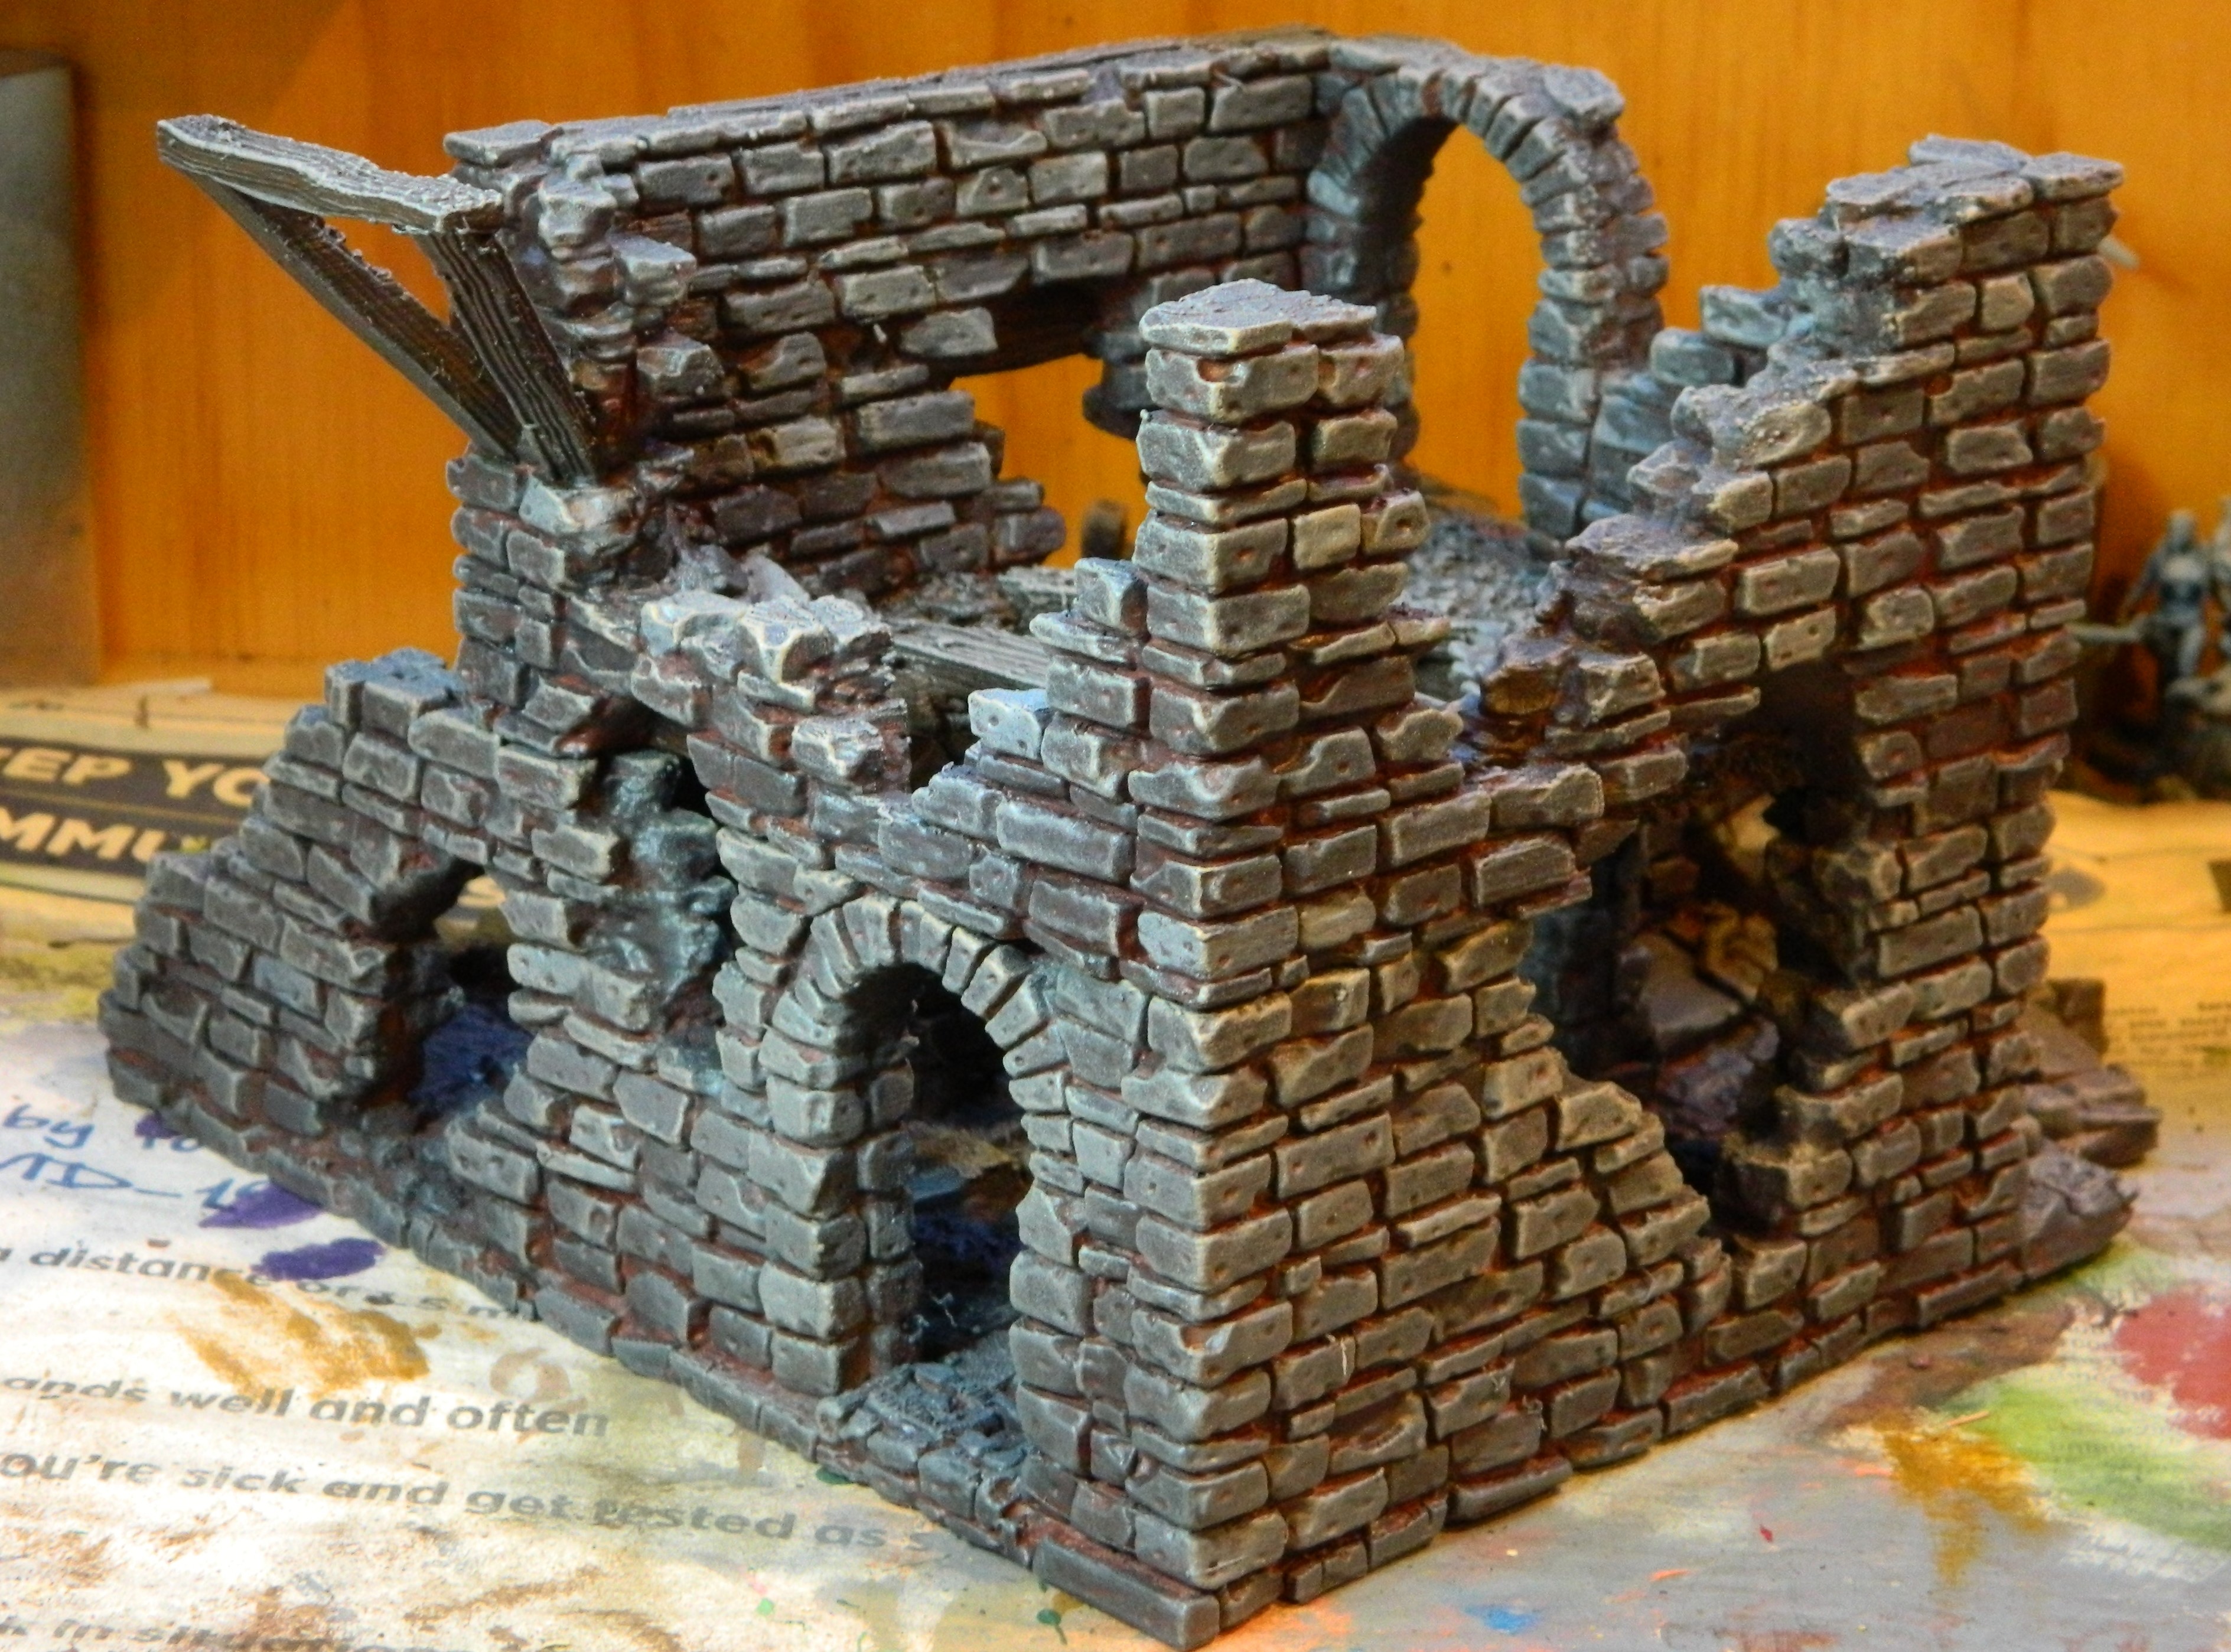
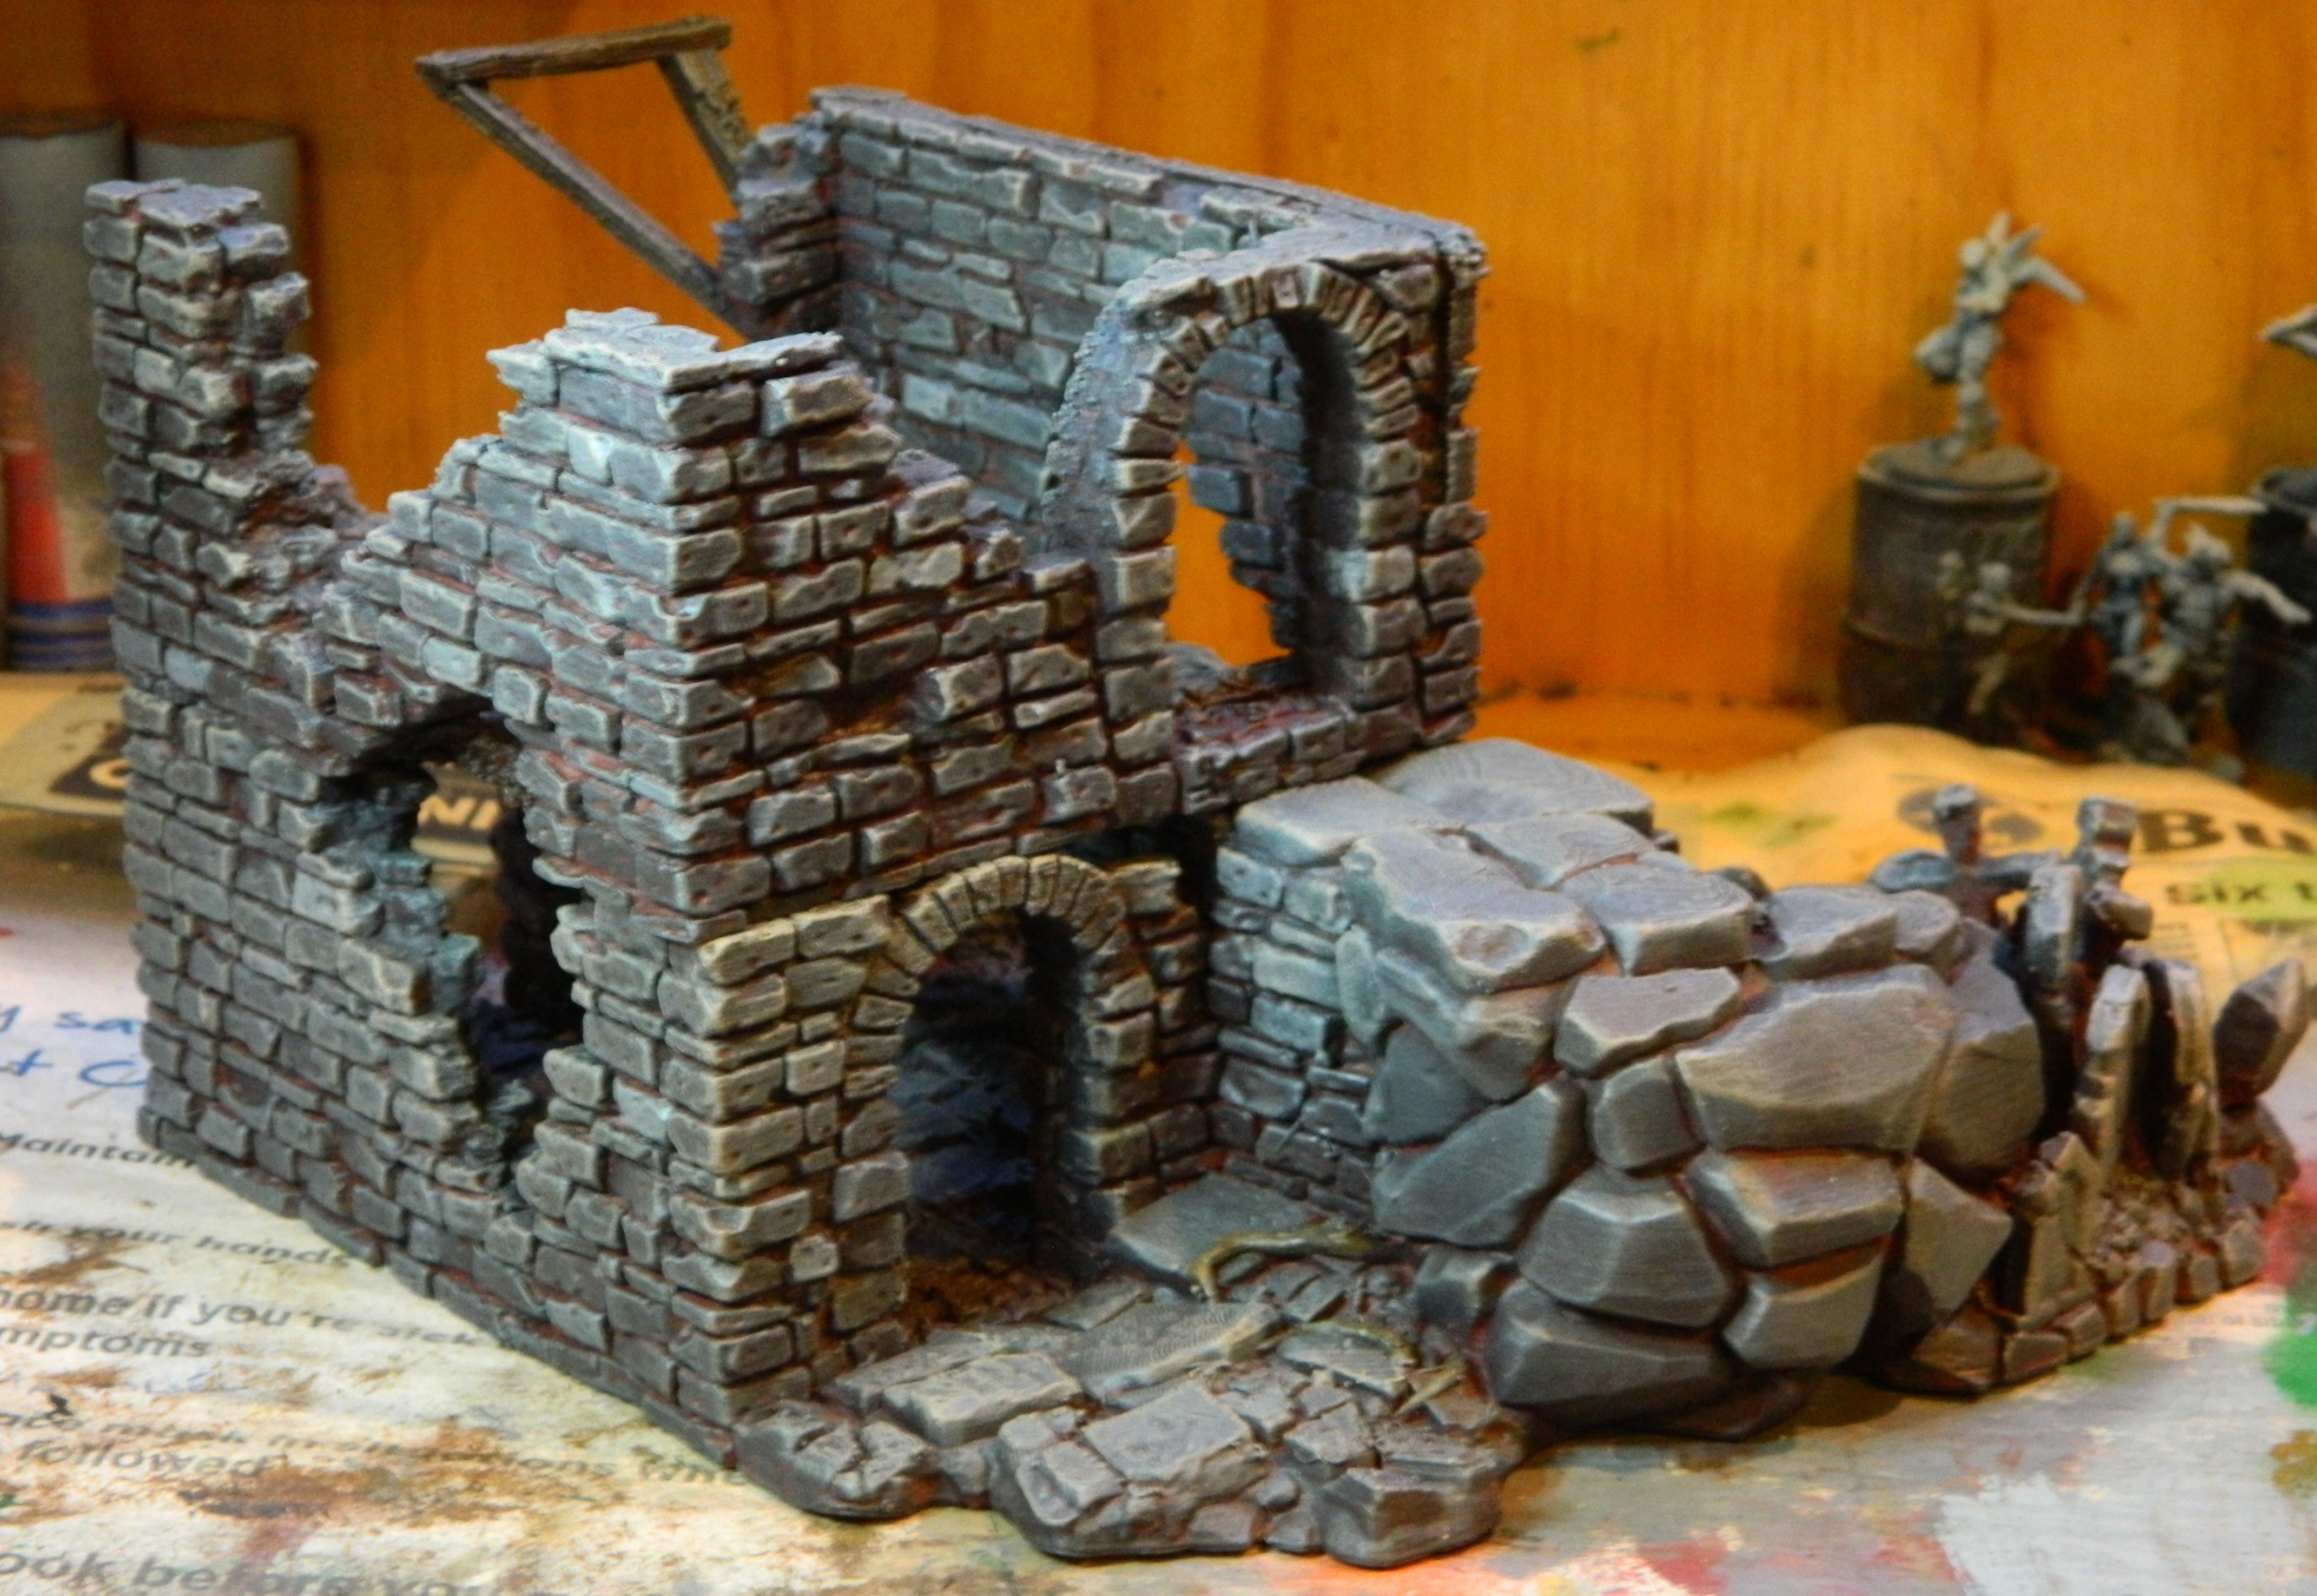

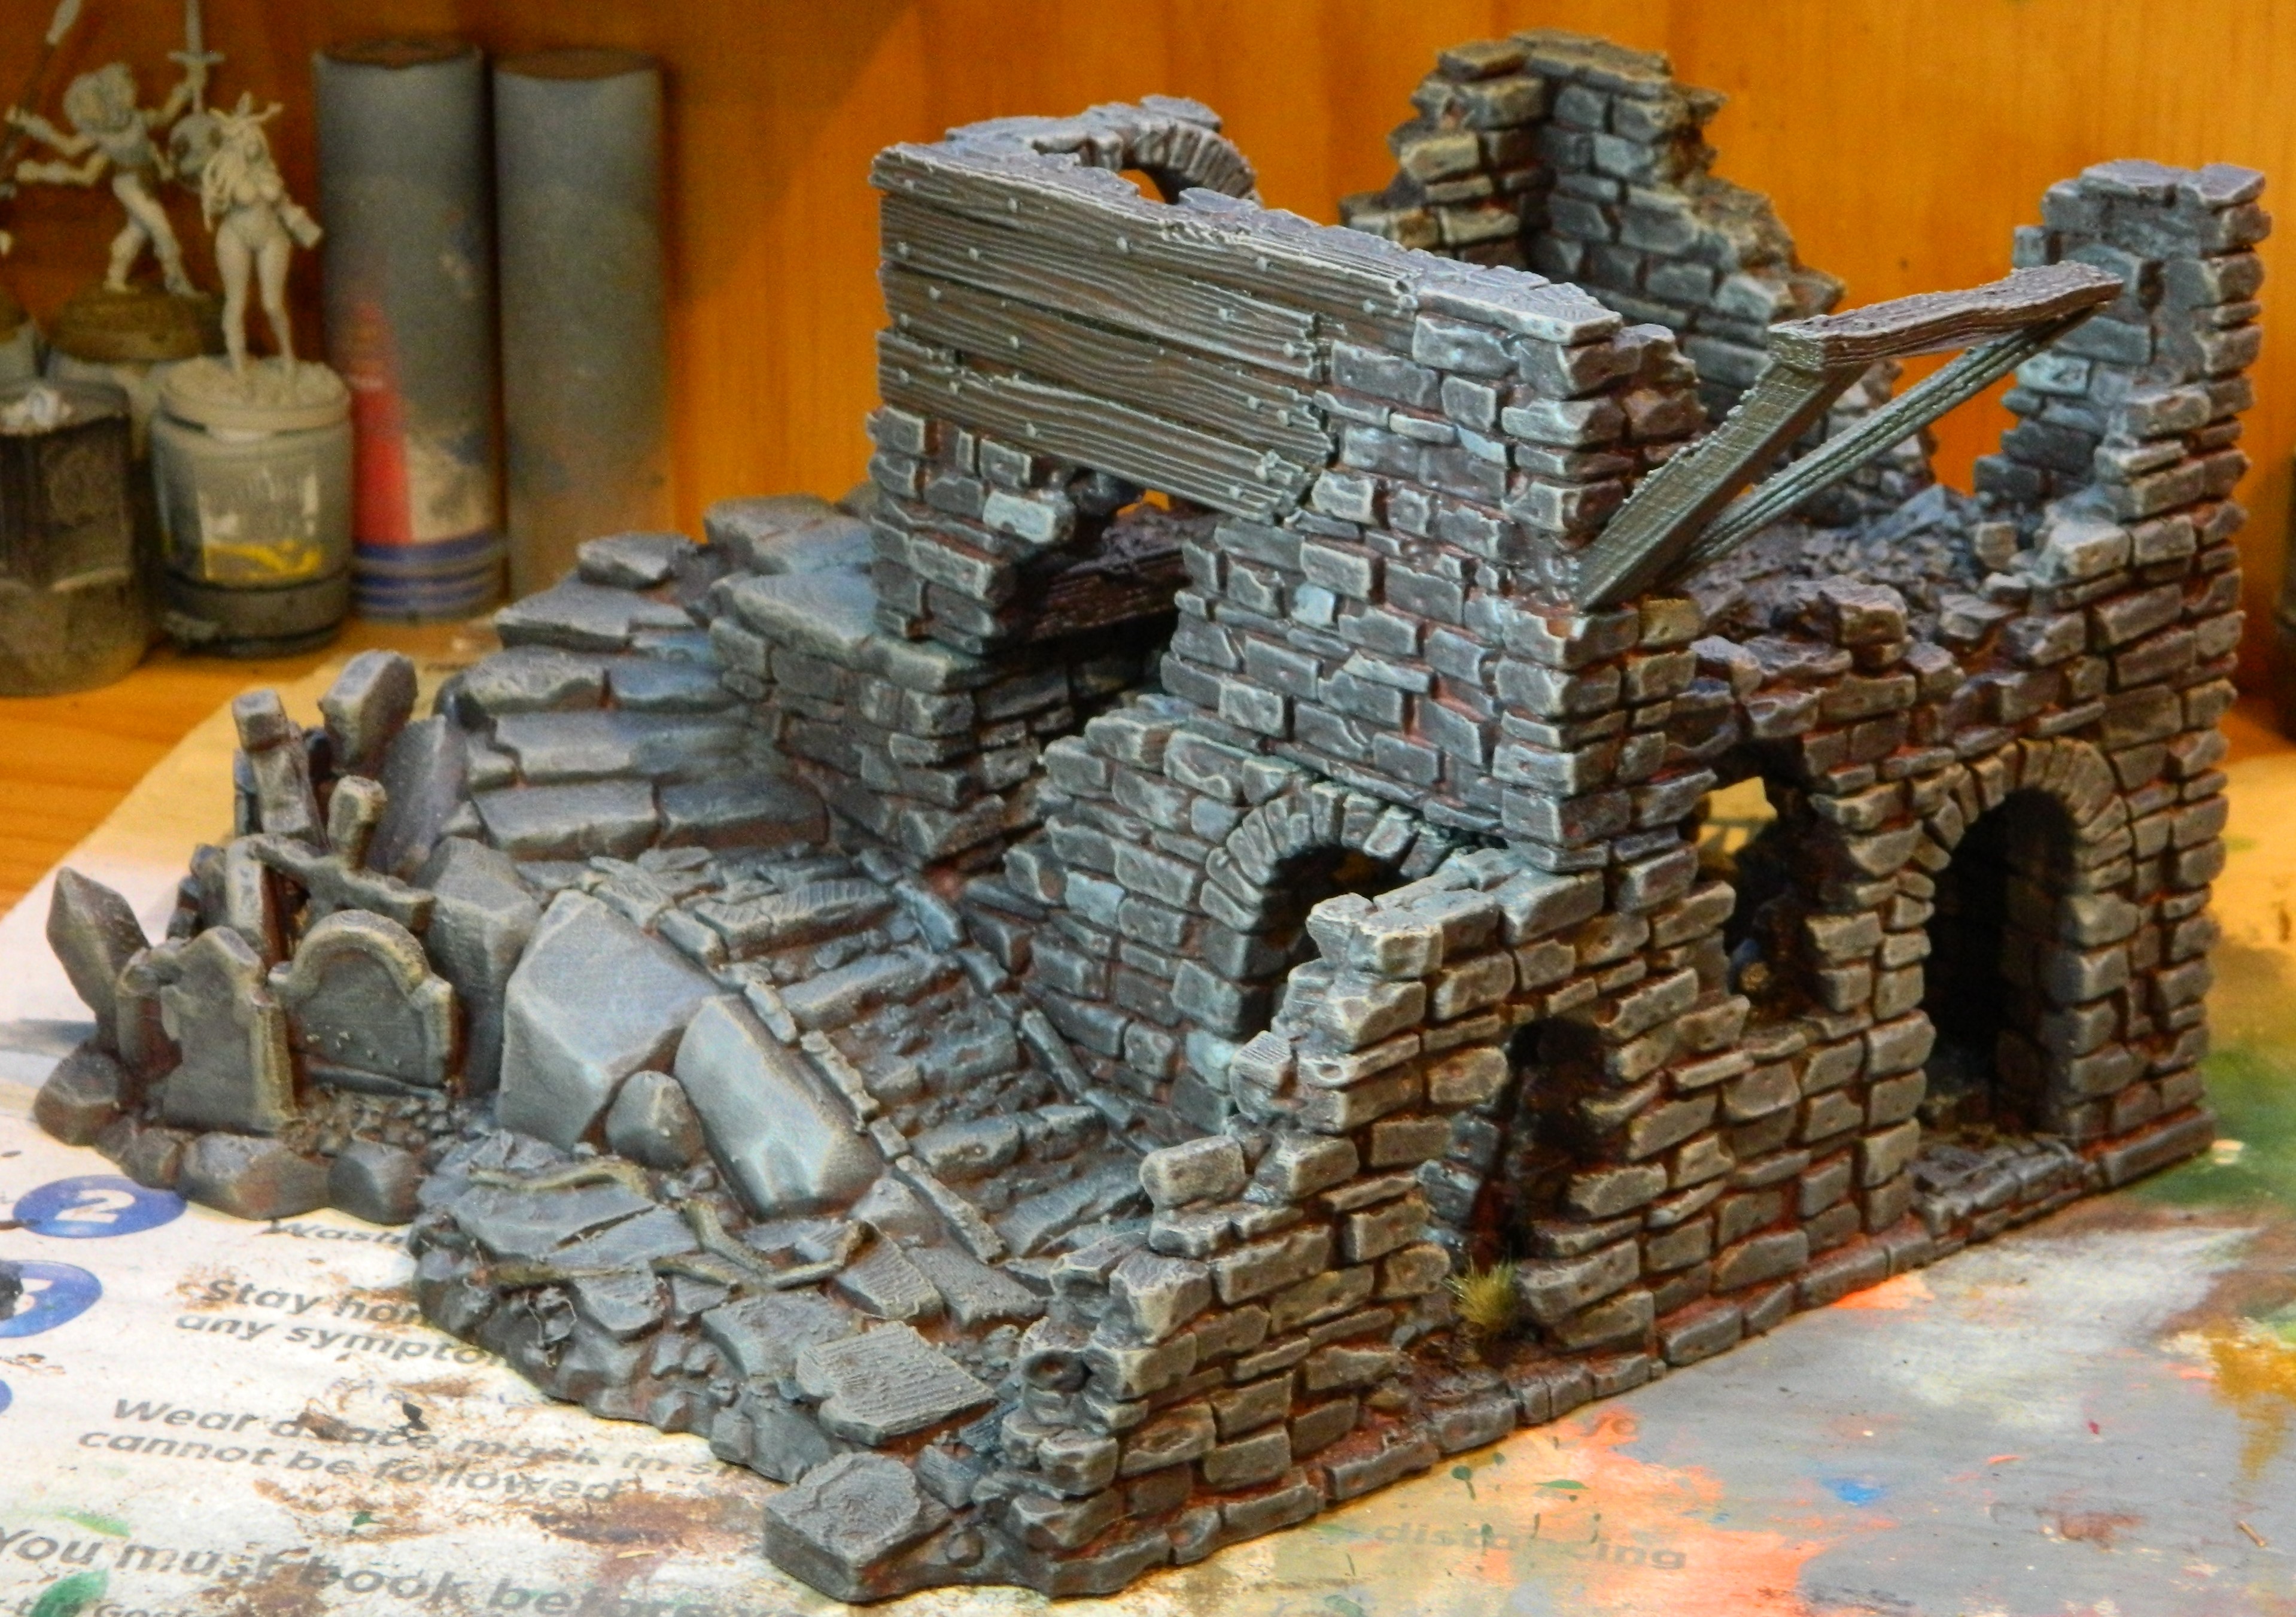
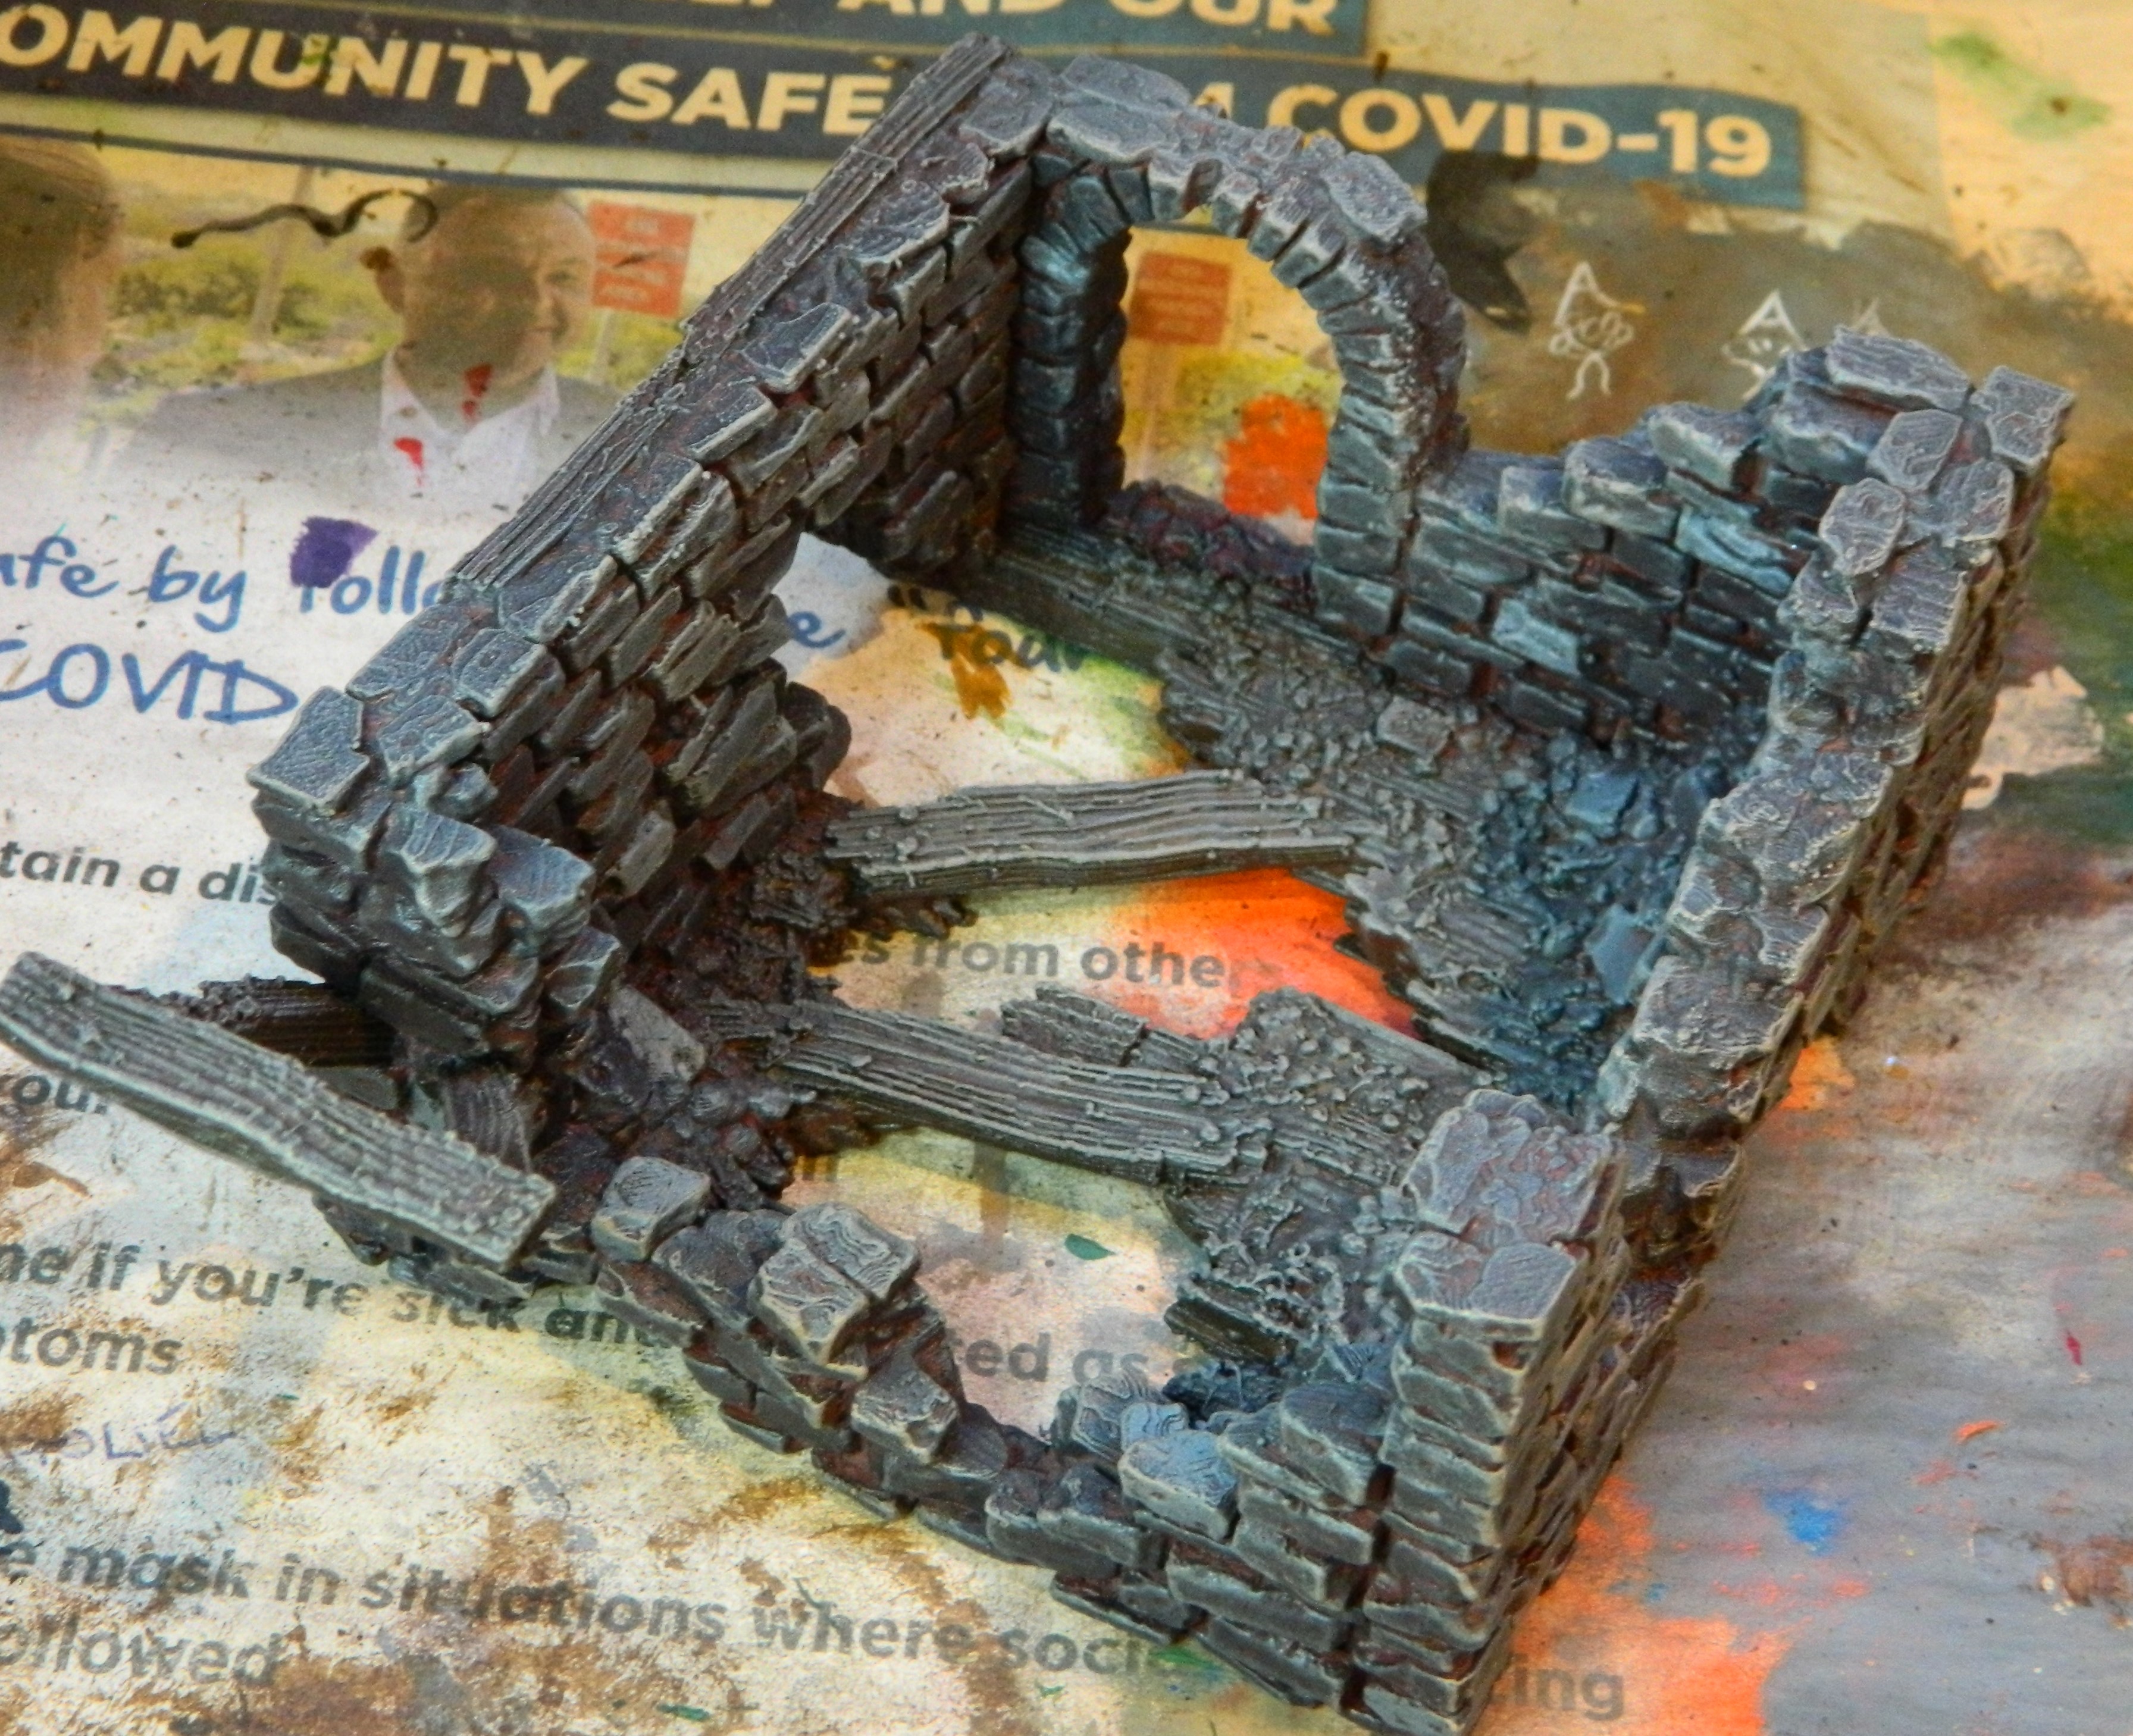

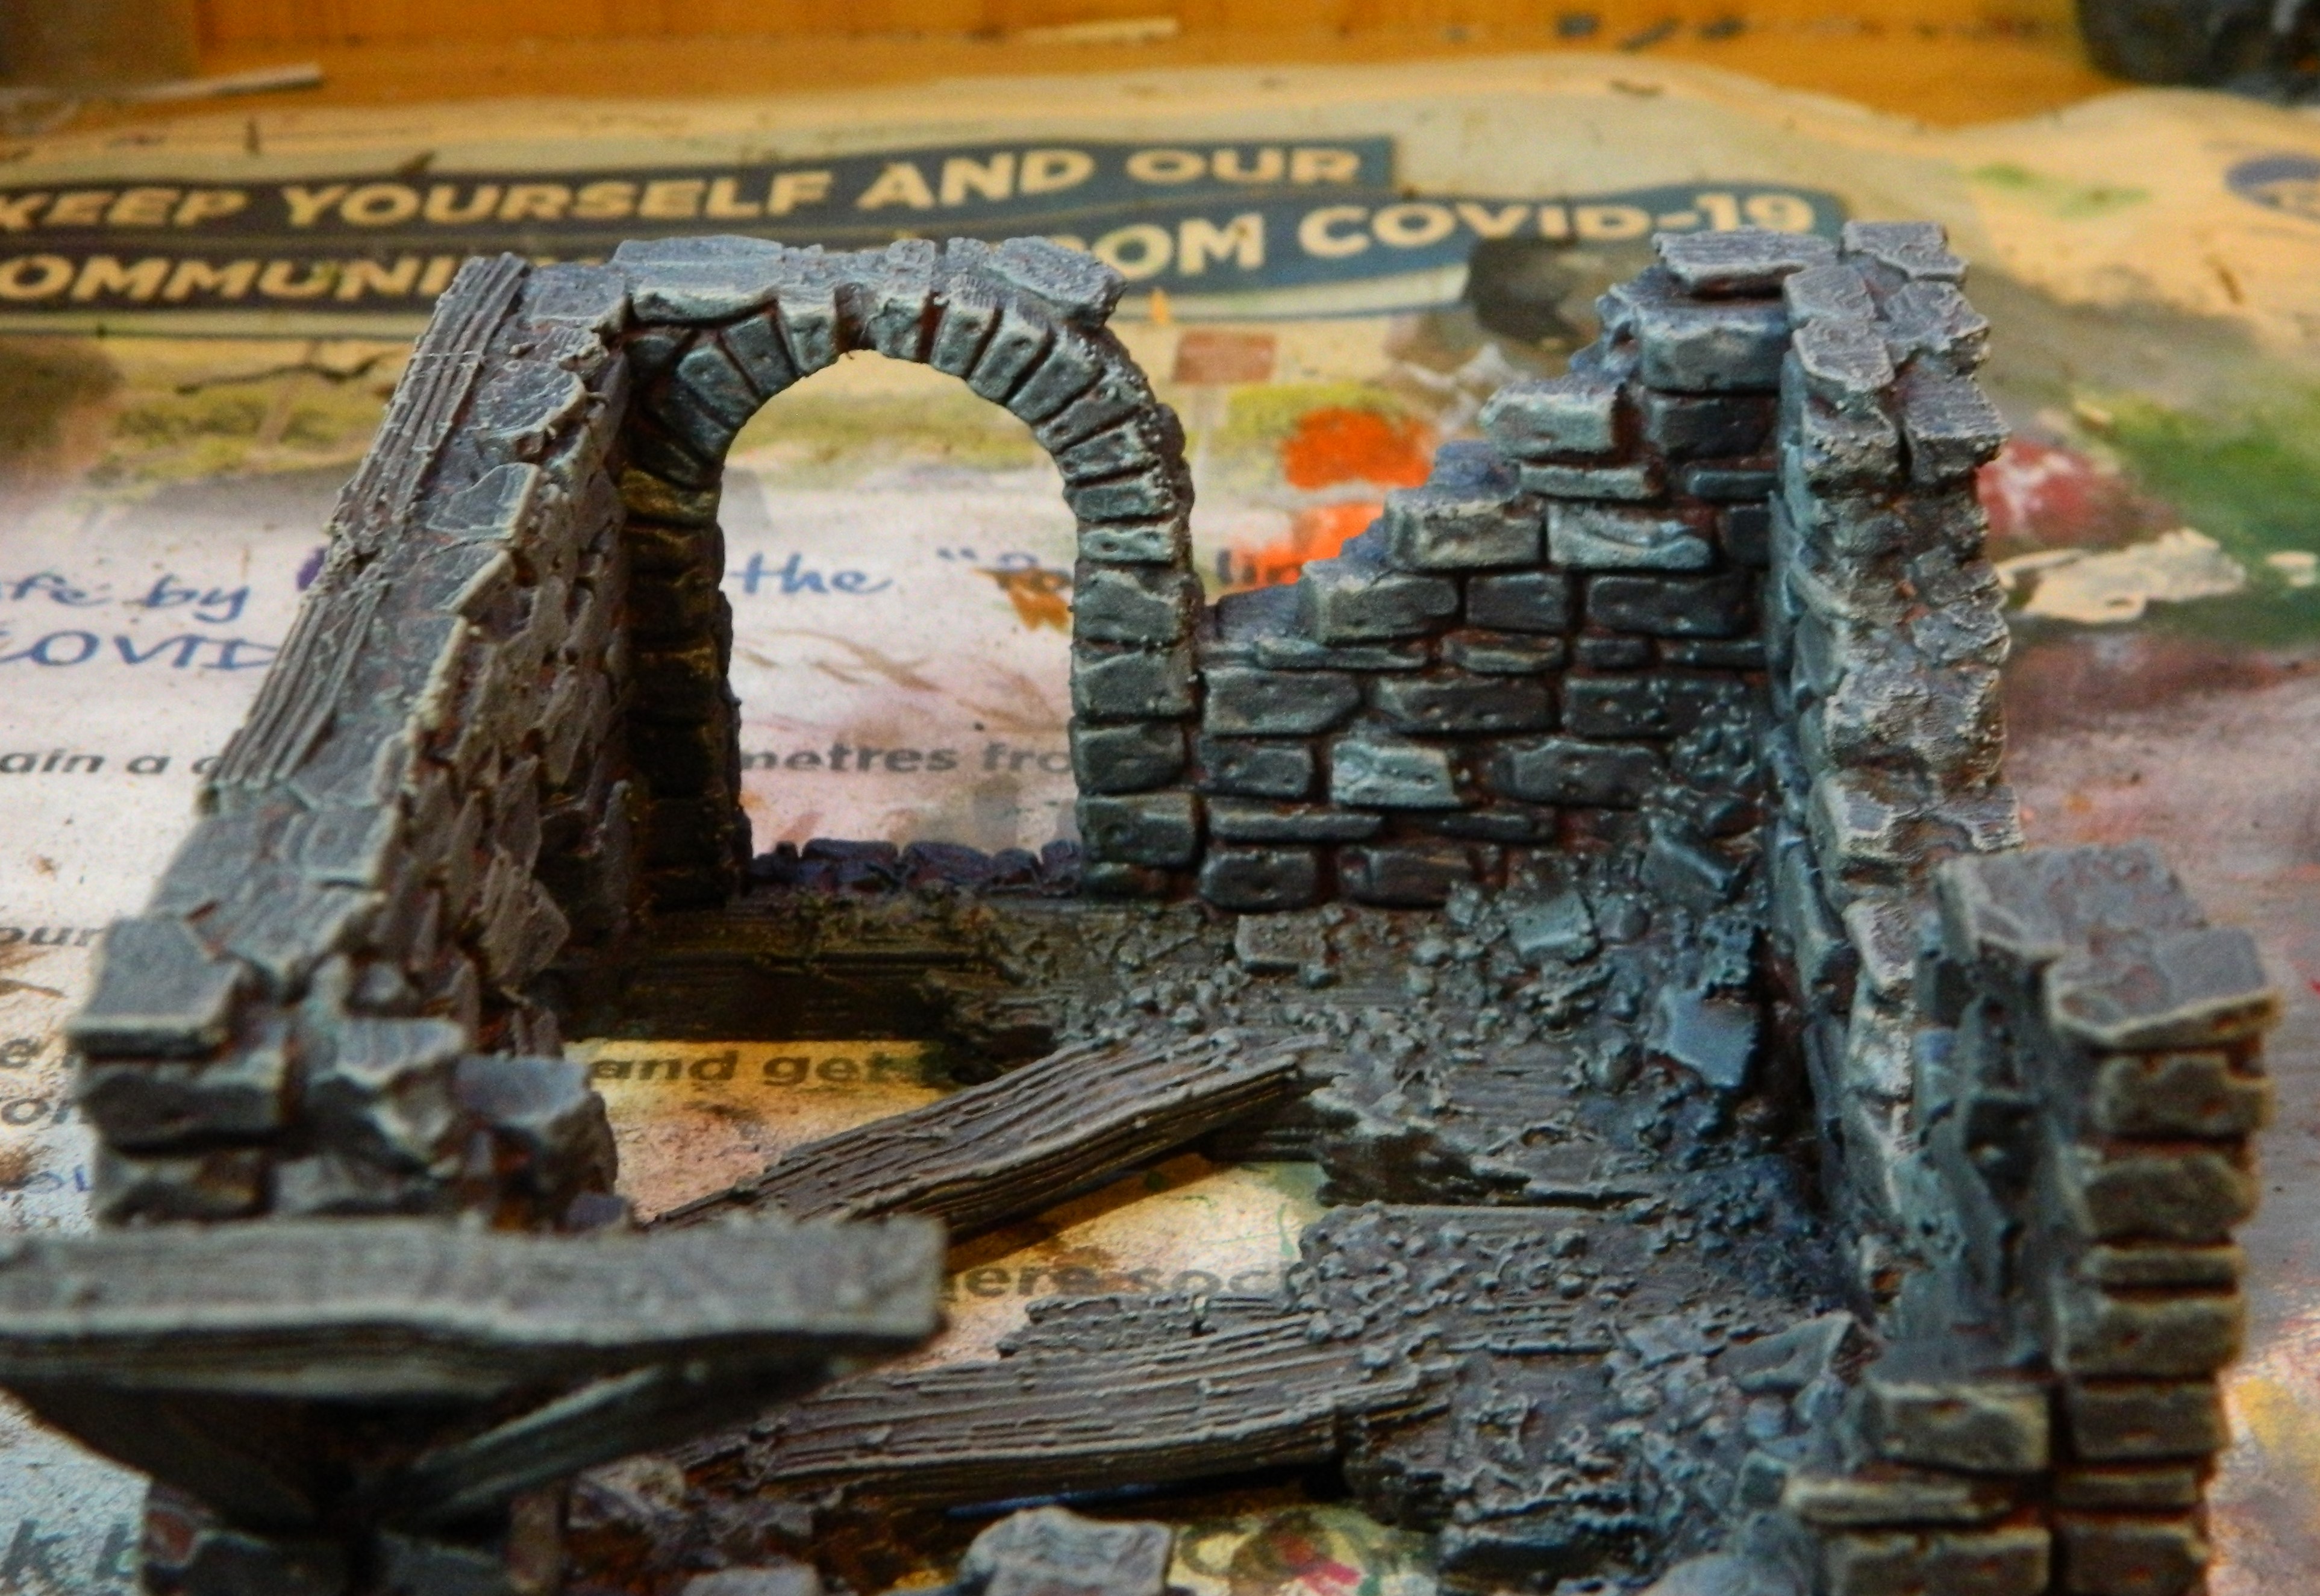

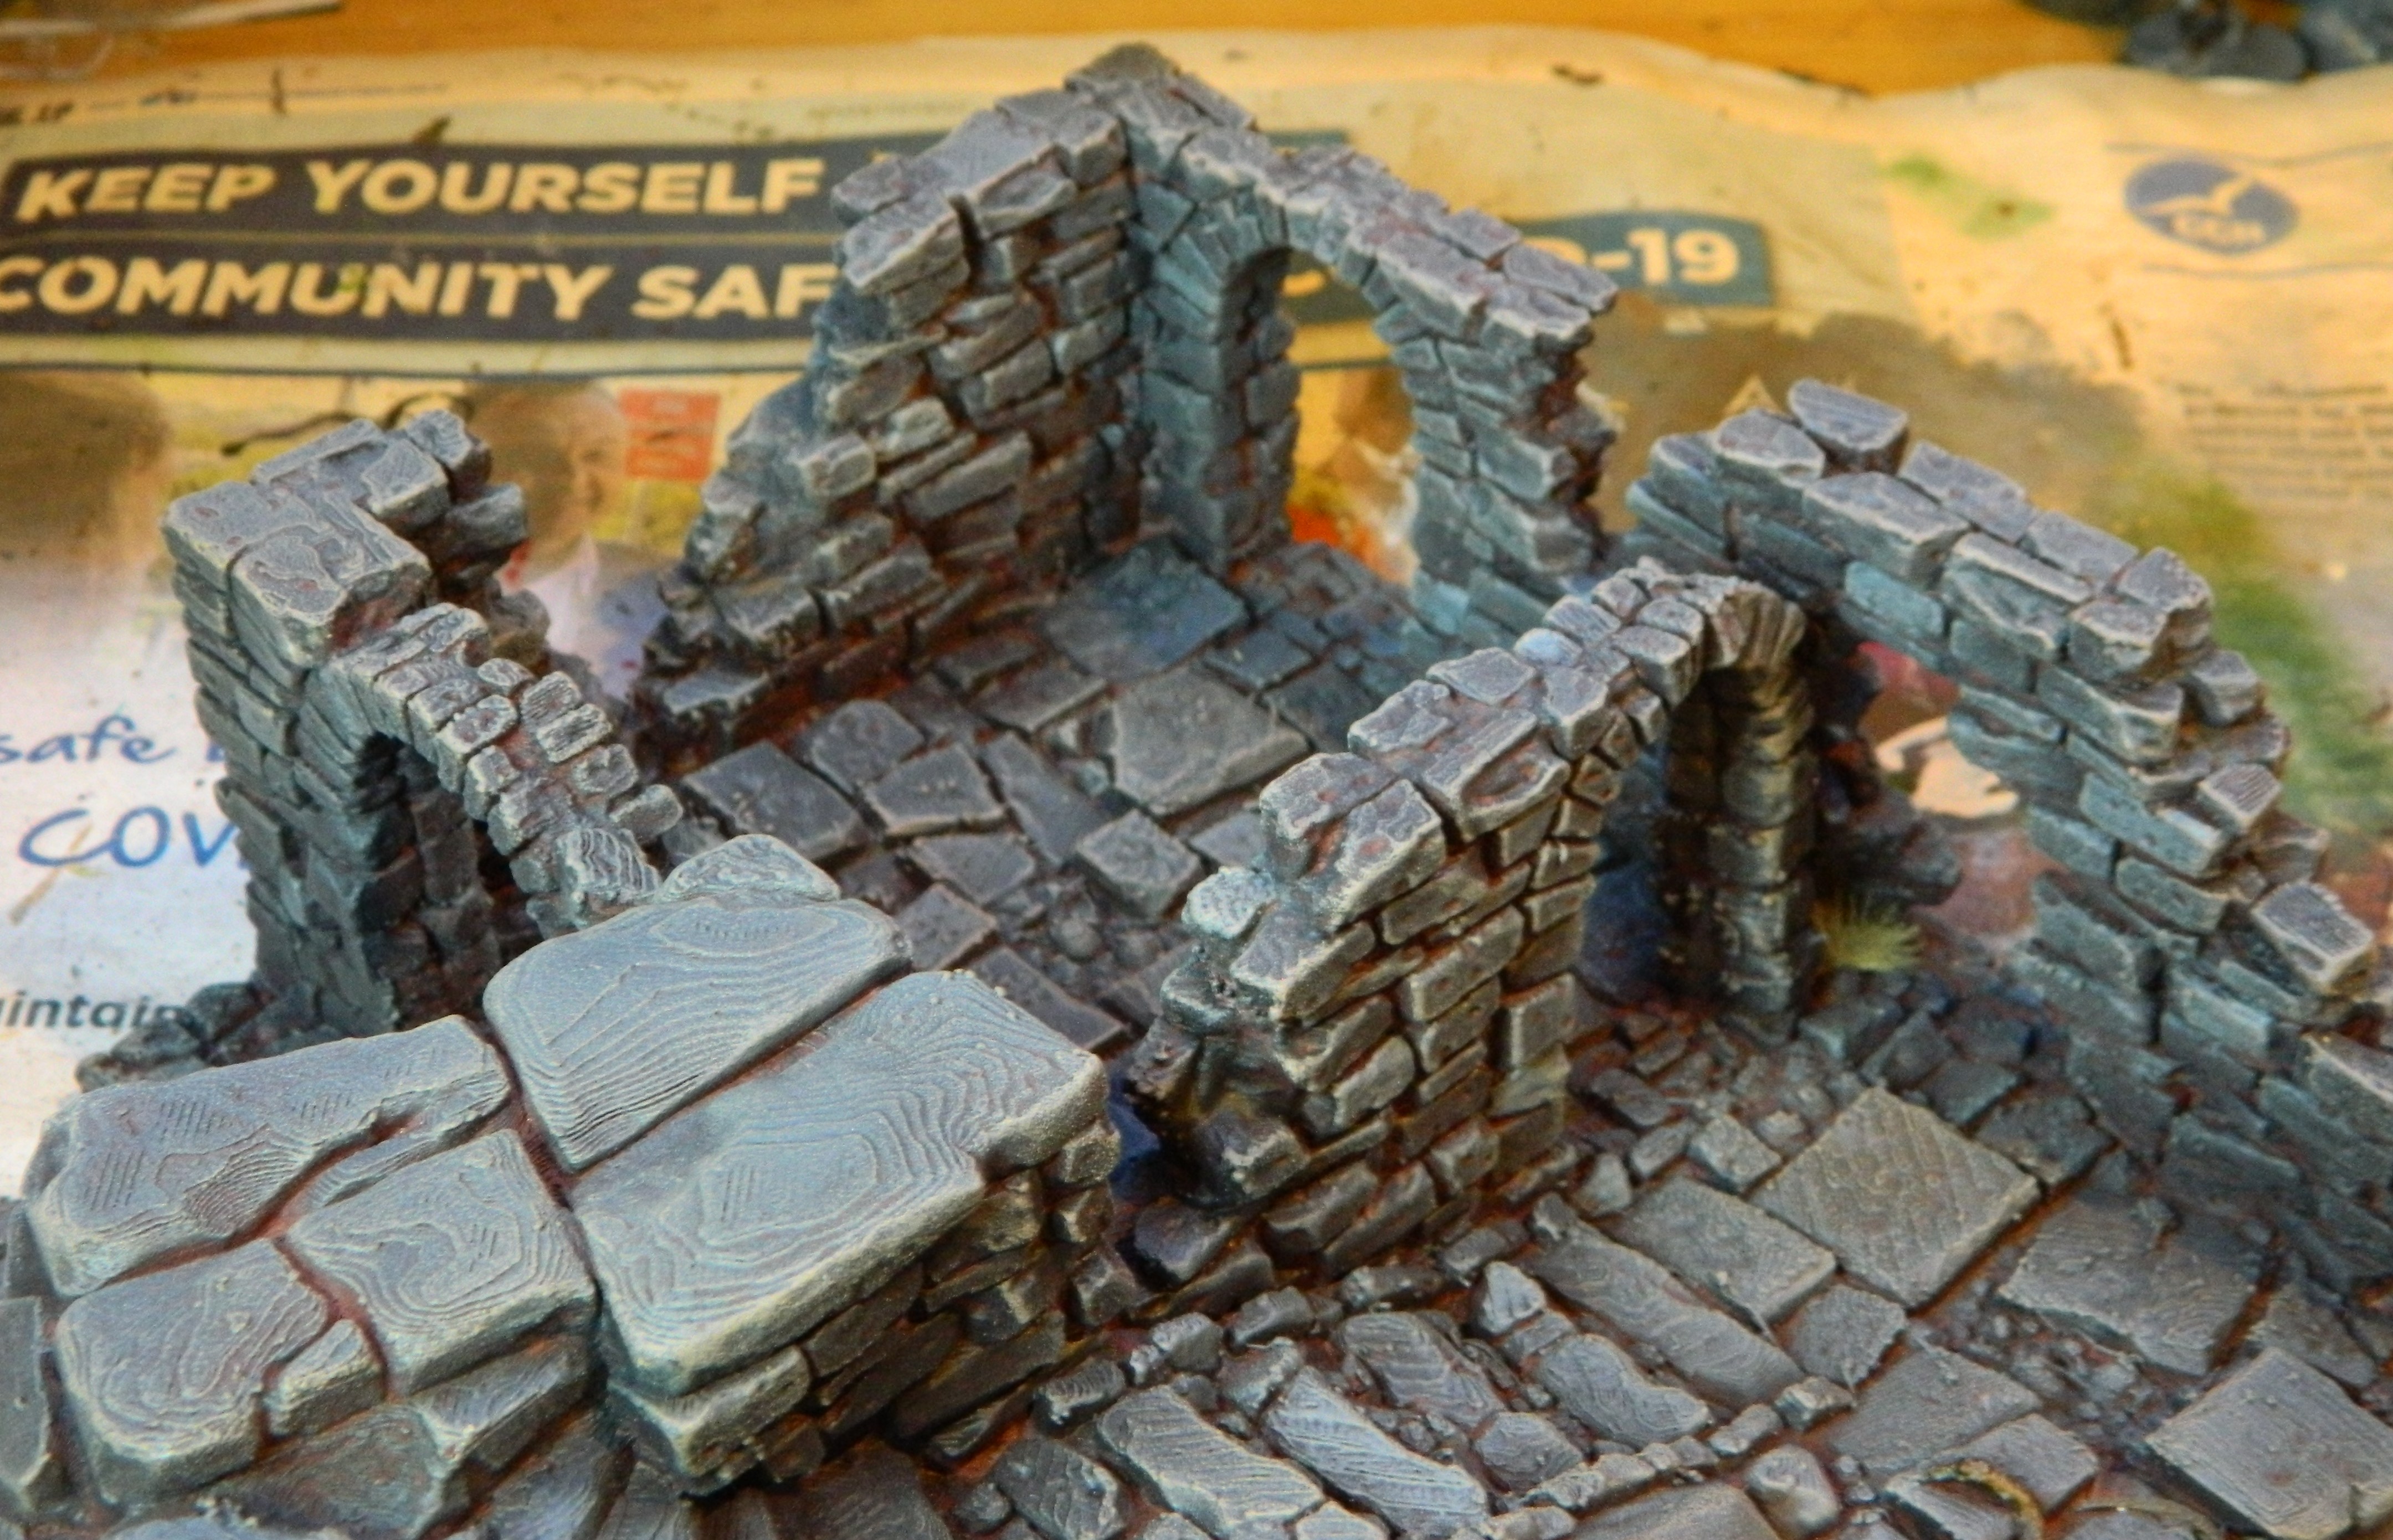 Inside the base
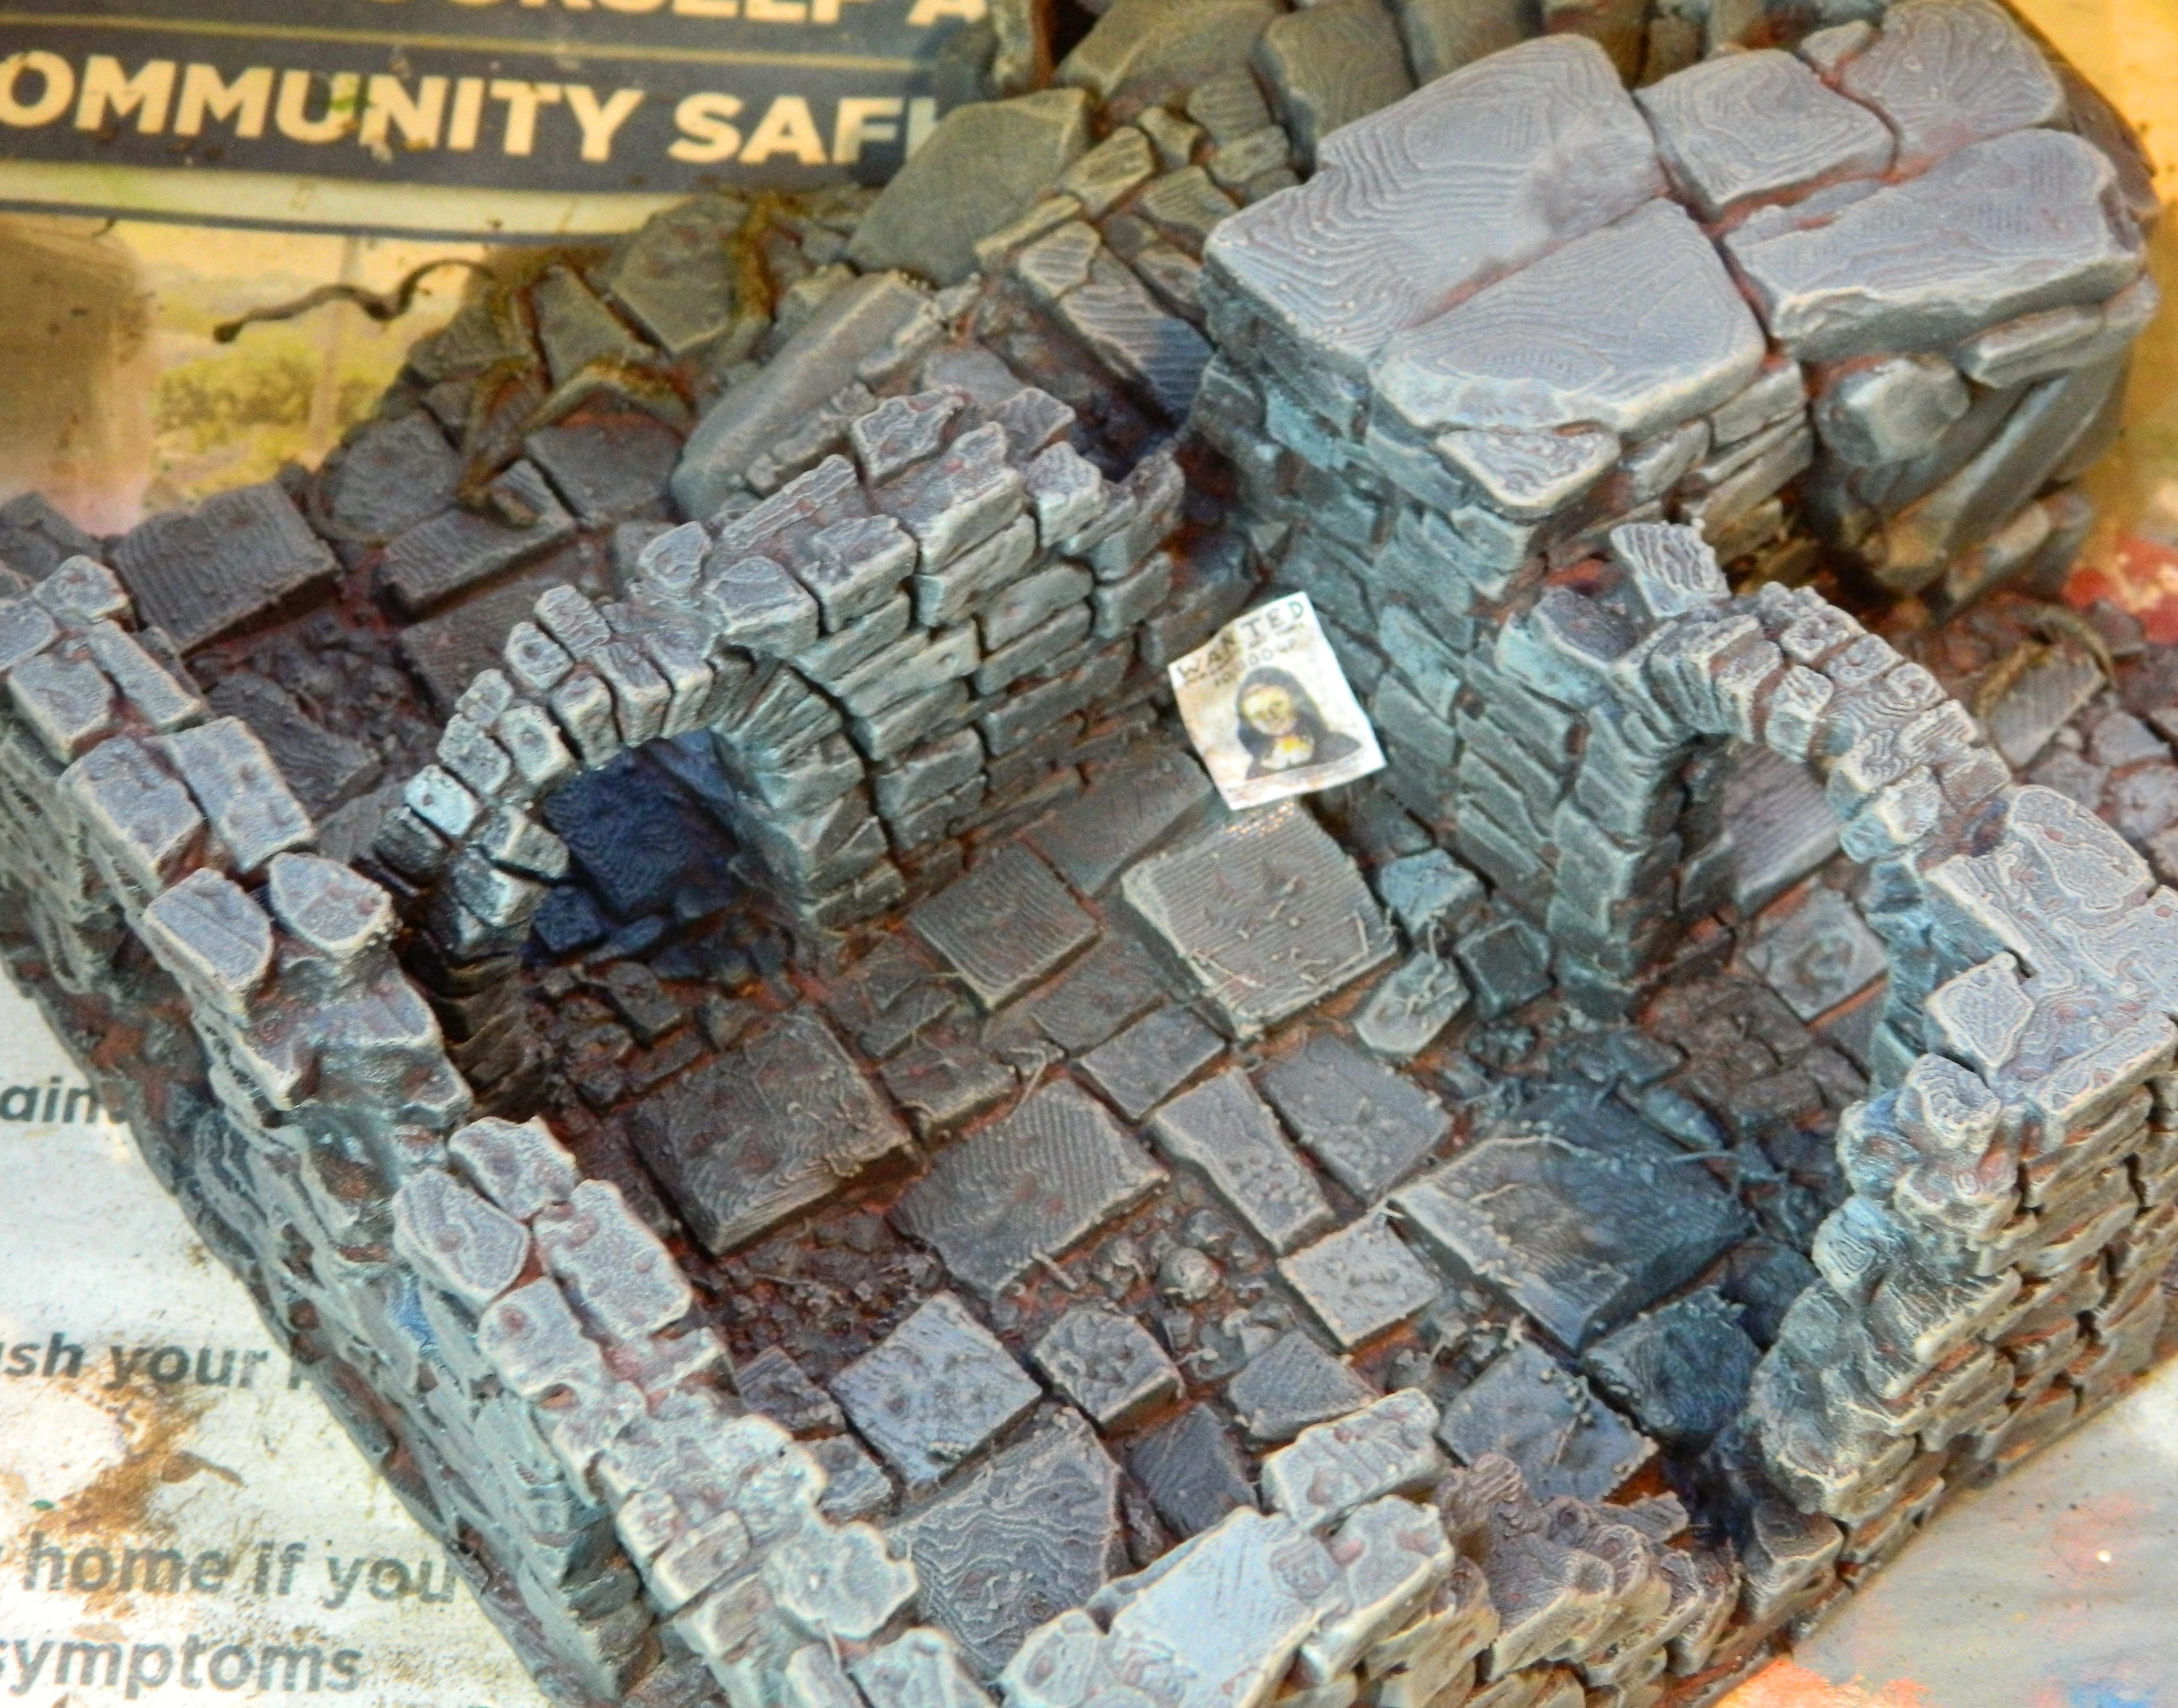 From another angle, with some litter in the corner.
 12 Apr 22: Ahh... What tower?
Well… that happened.
You know, the event. No people coming over, no Frostgrave. No impetus to prep terrain.
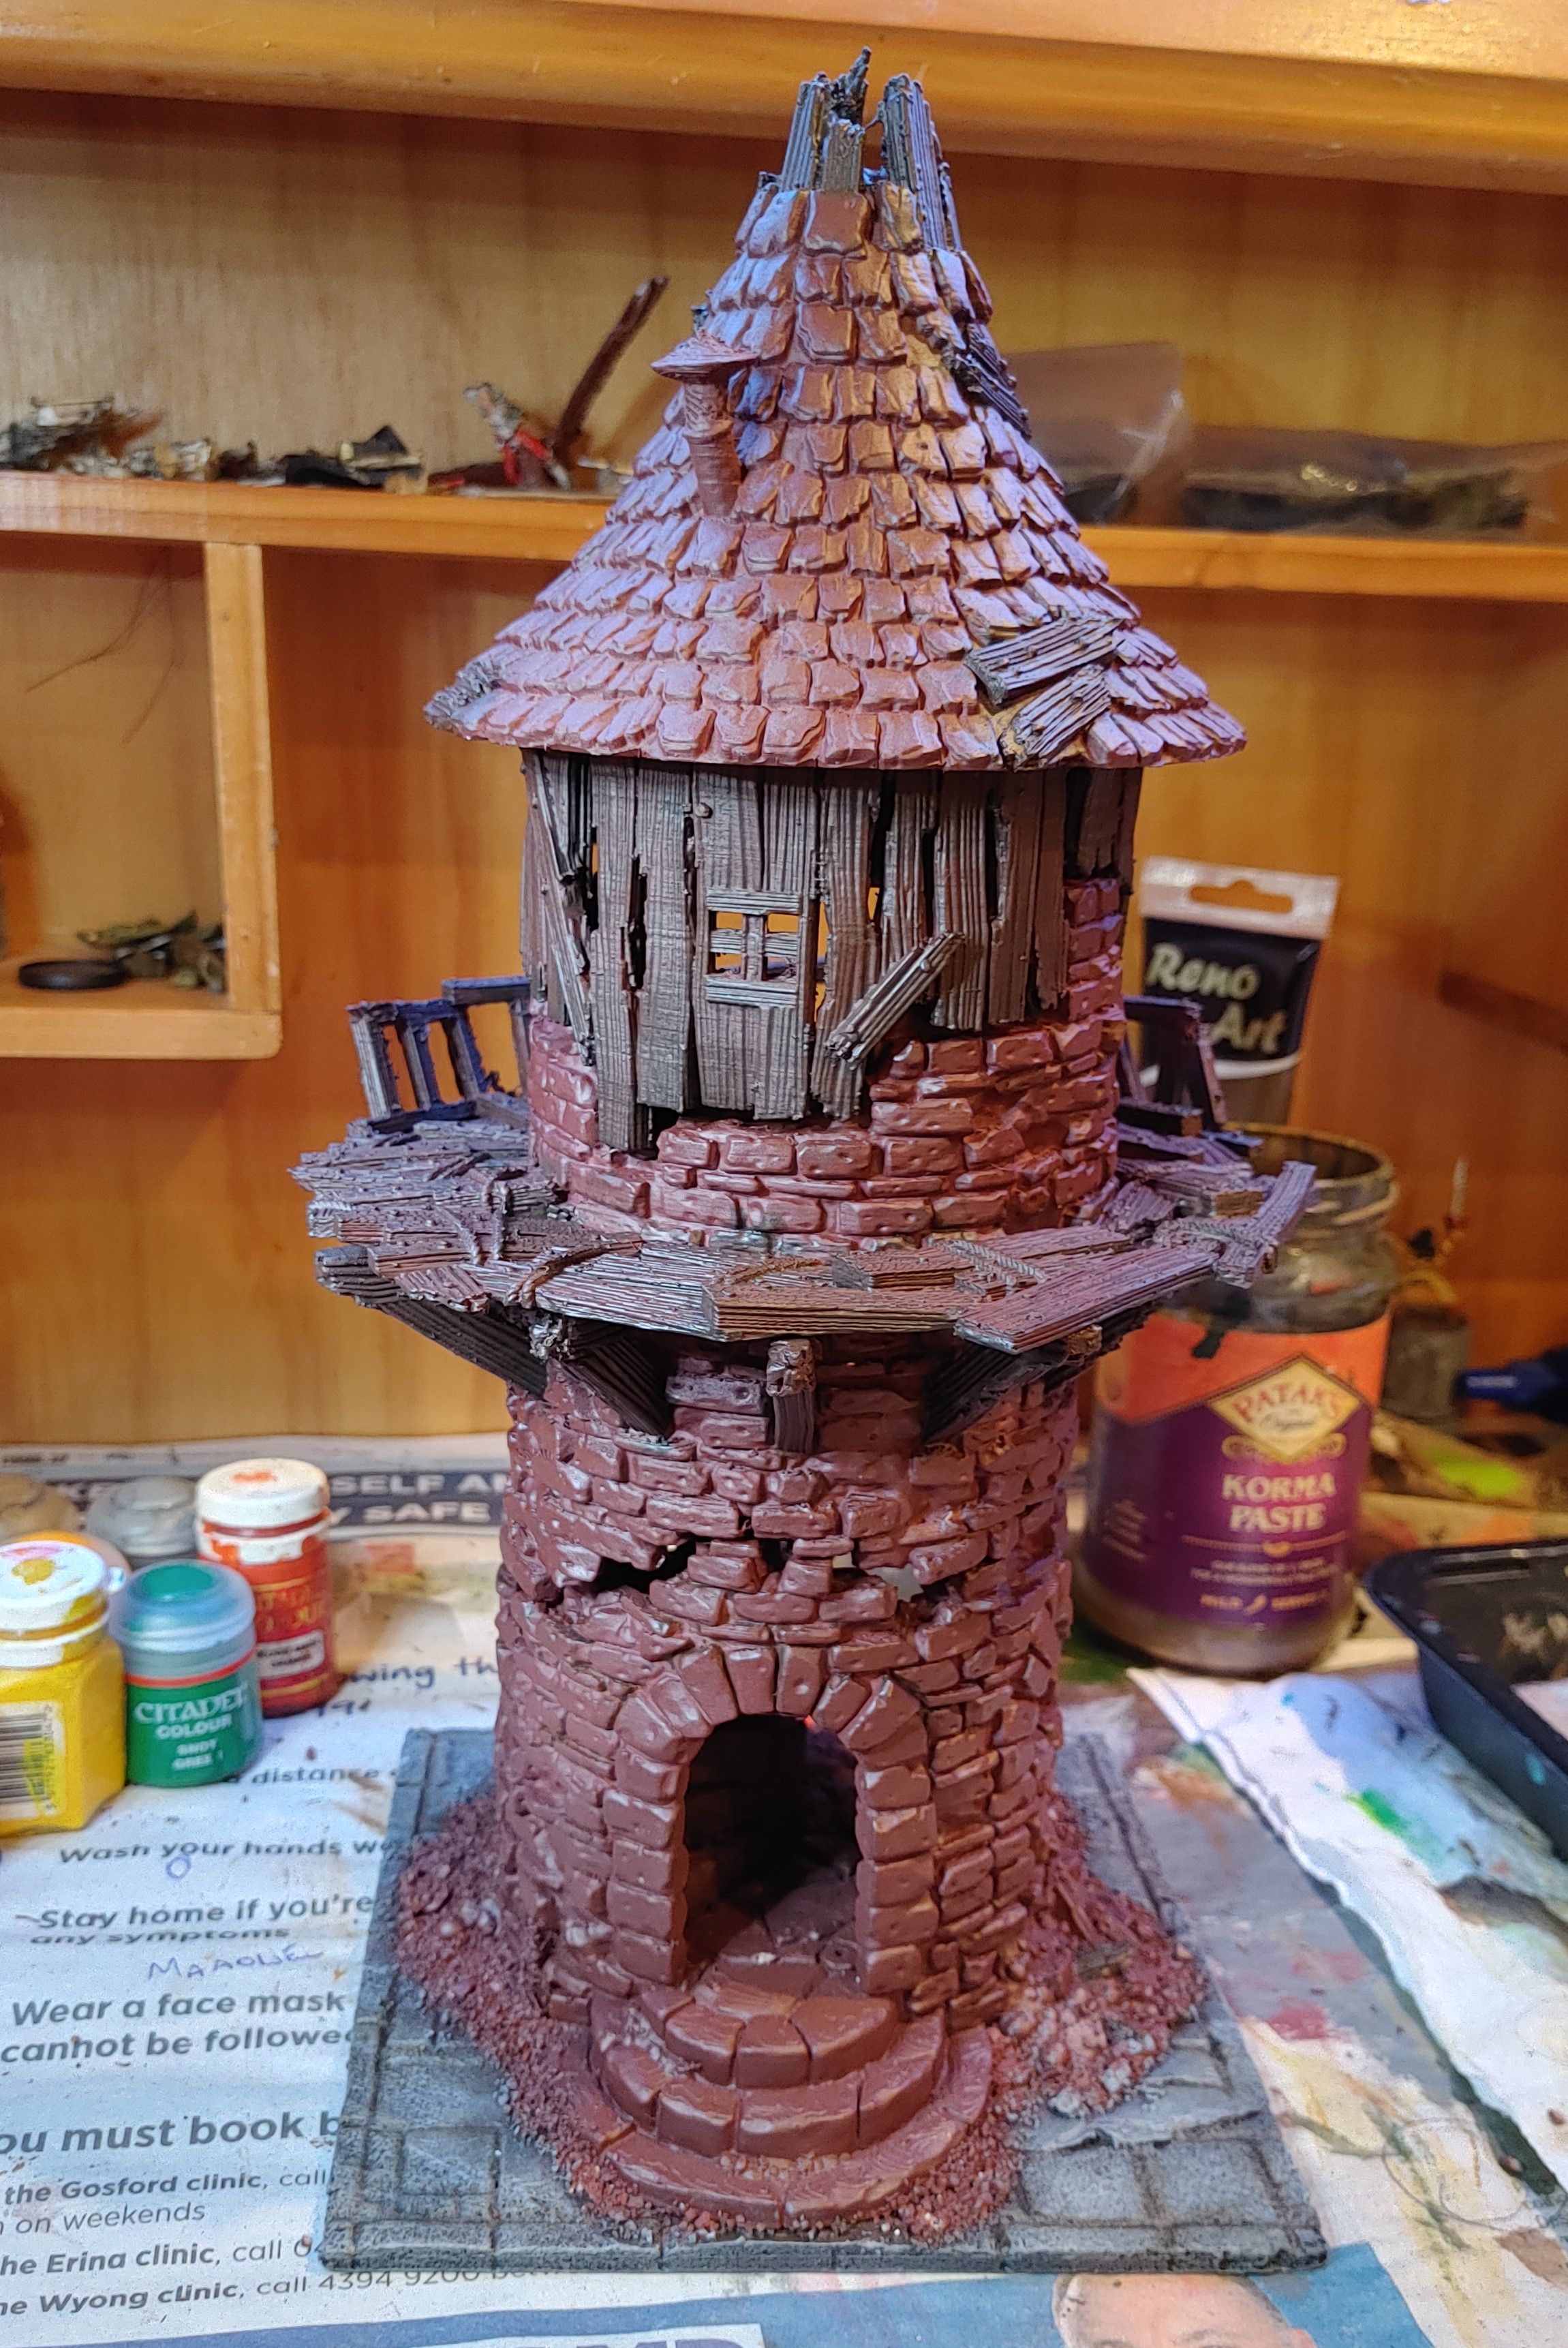
But I was doing a clean up and re-organisation of my hobby workspace. I’ve been feeling the itch to scratch build terrain. I realised as I was tidying and reorganising that I already had a backlog of terrain waiting to be done. This tower has been lurking over my painting desk since I put it up there to gather dust. I figure, time to get it done. A whole heap of it.
I got stuck in to paint. Seems like the painting guide I was referring to is gone… Oh well.
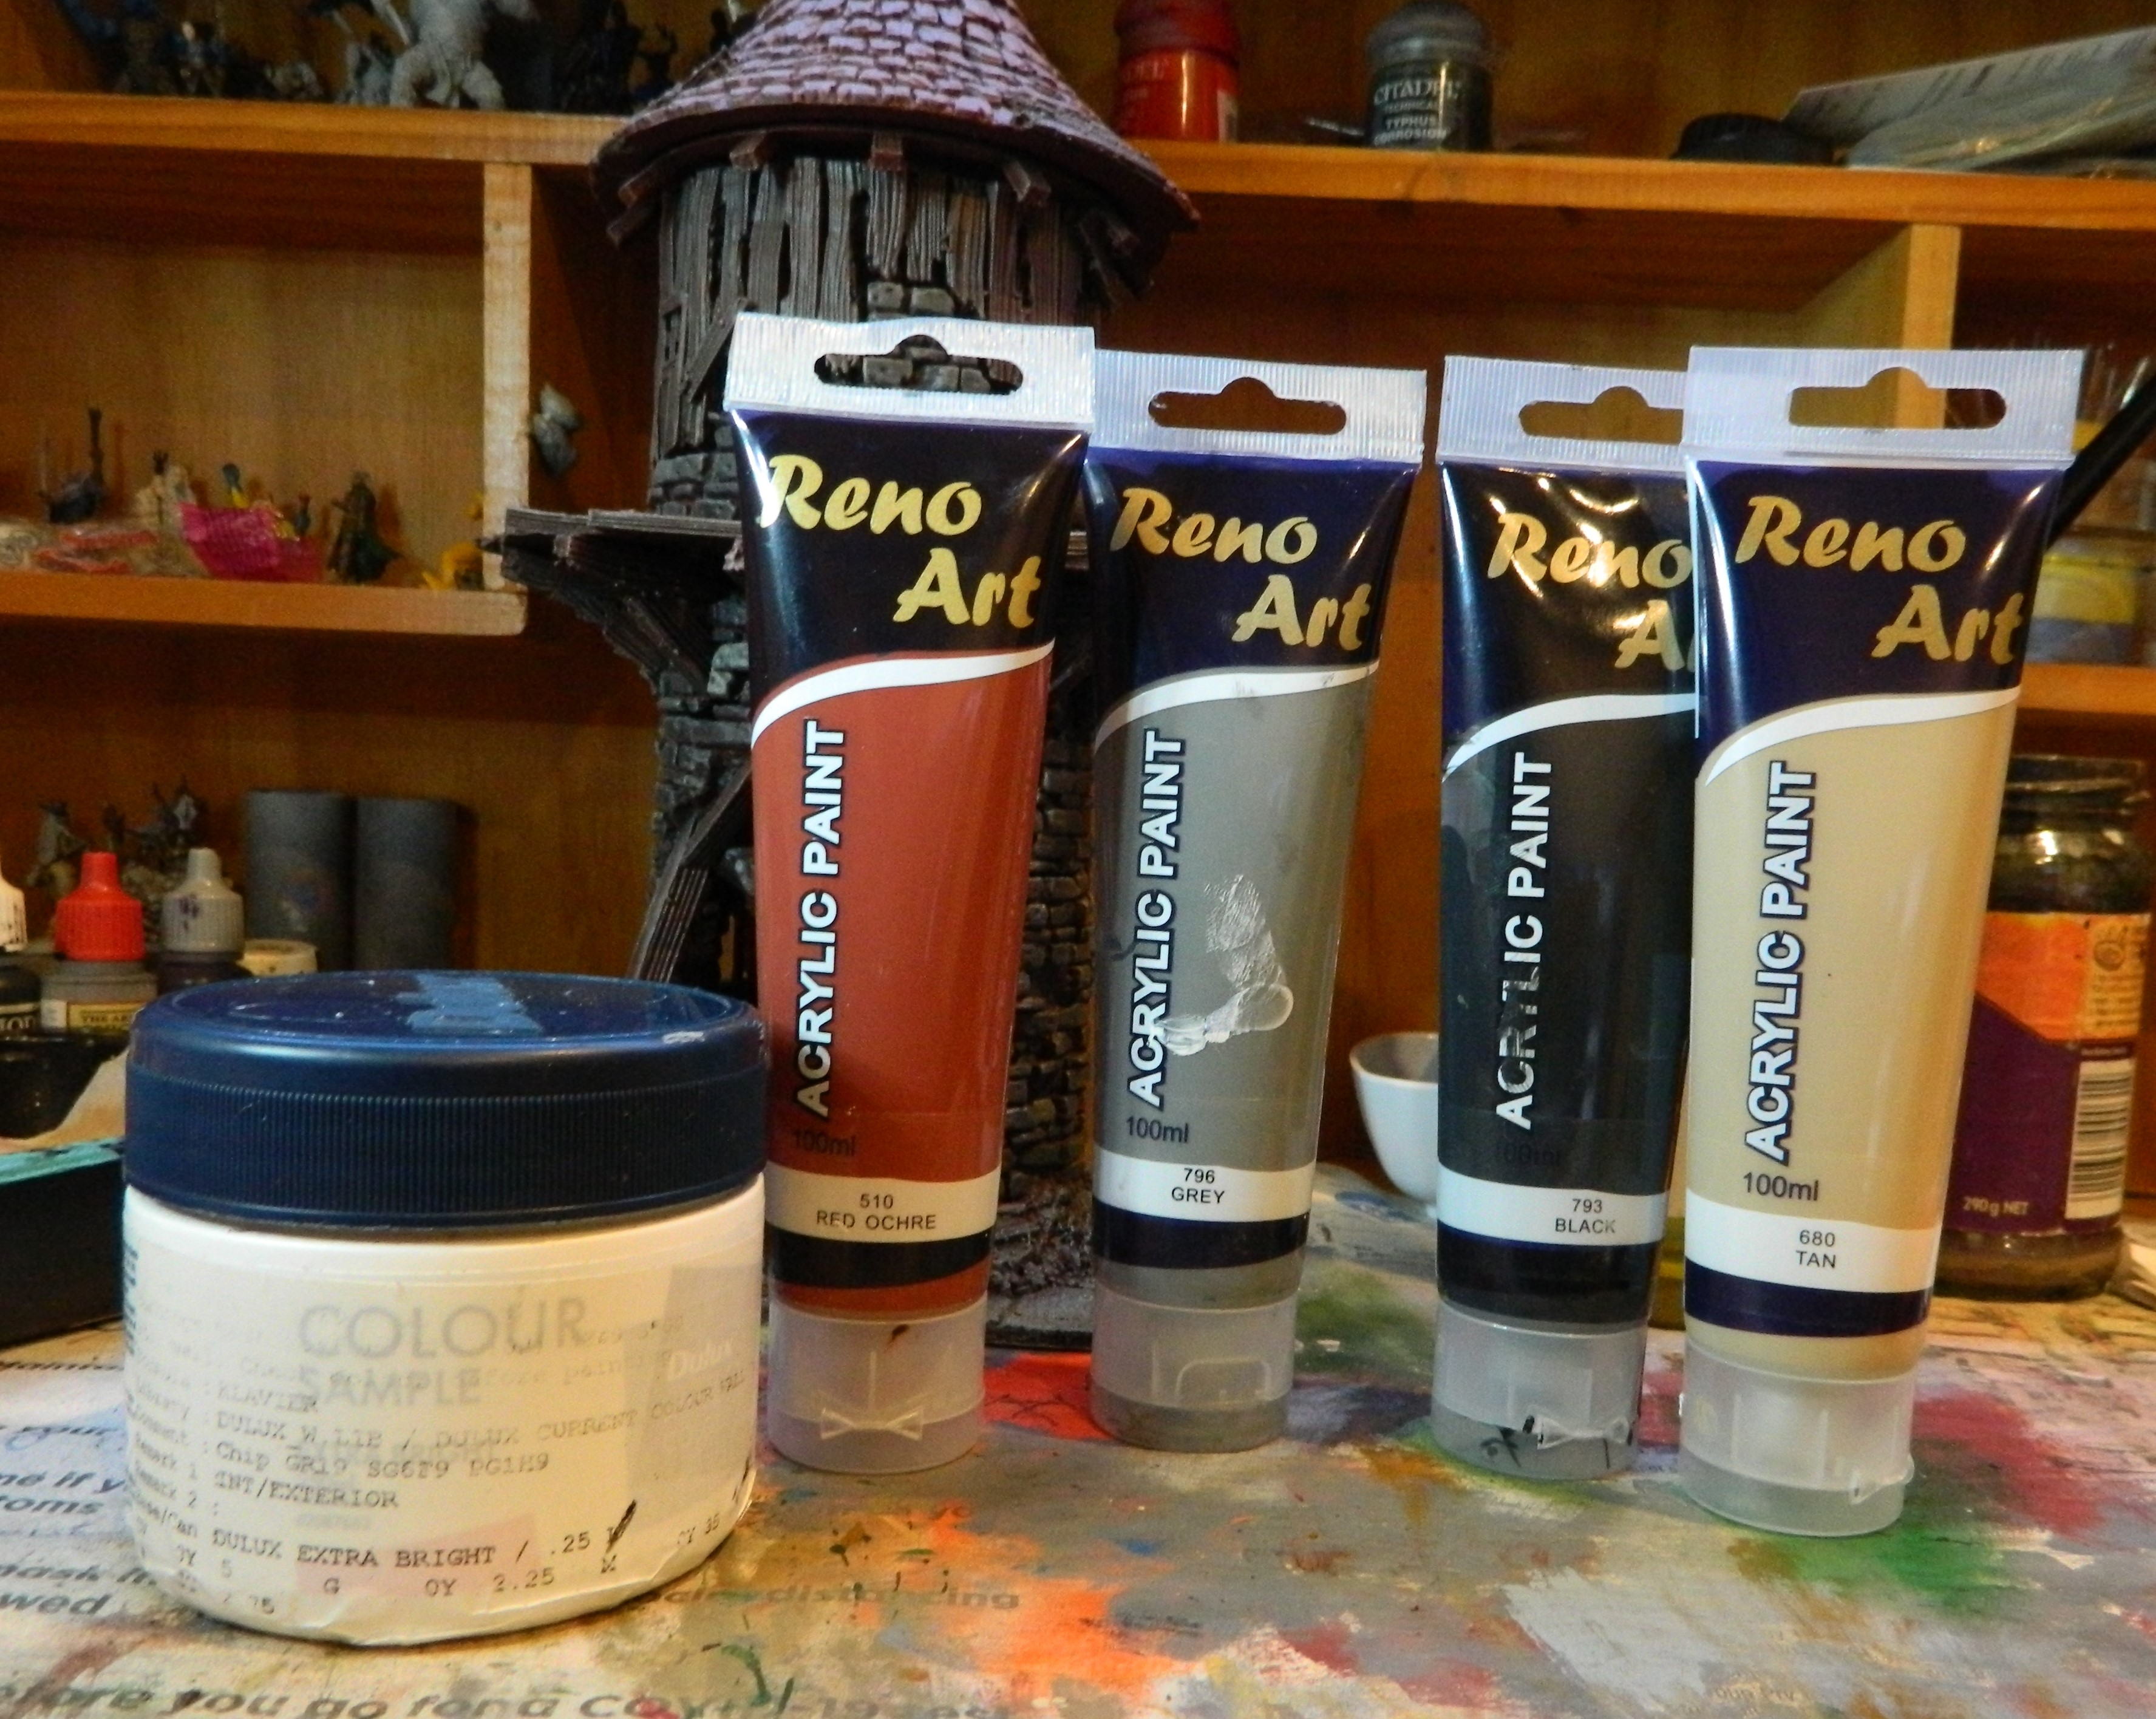 Paints used.
I went in with the dollar store craft acrylics.
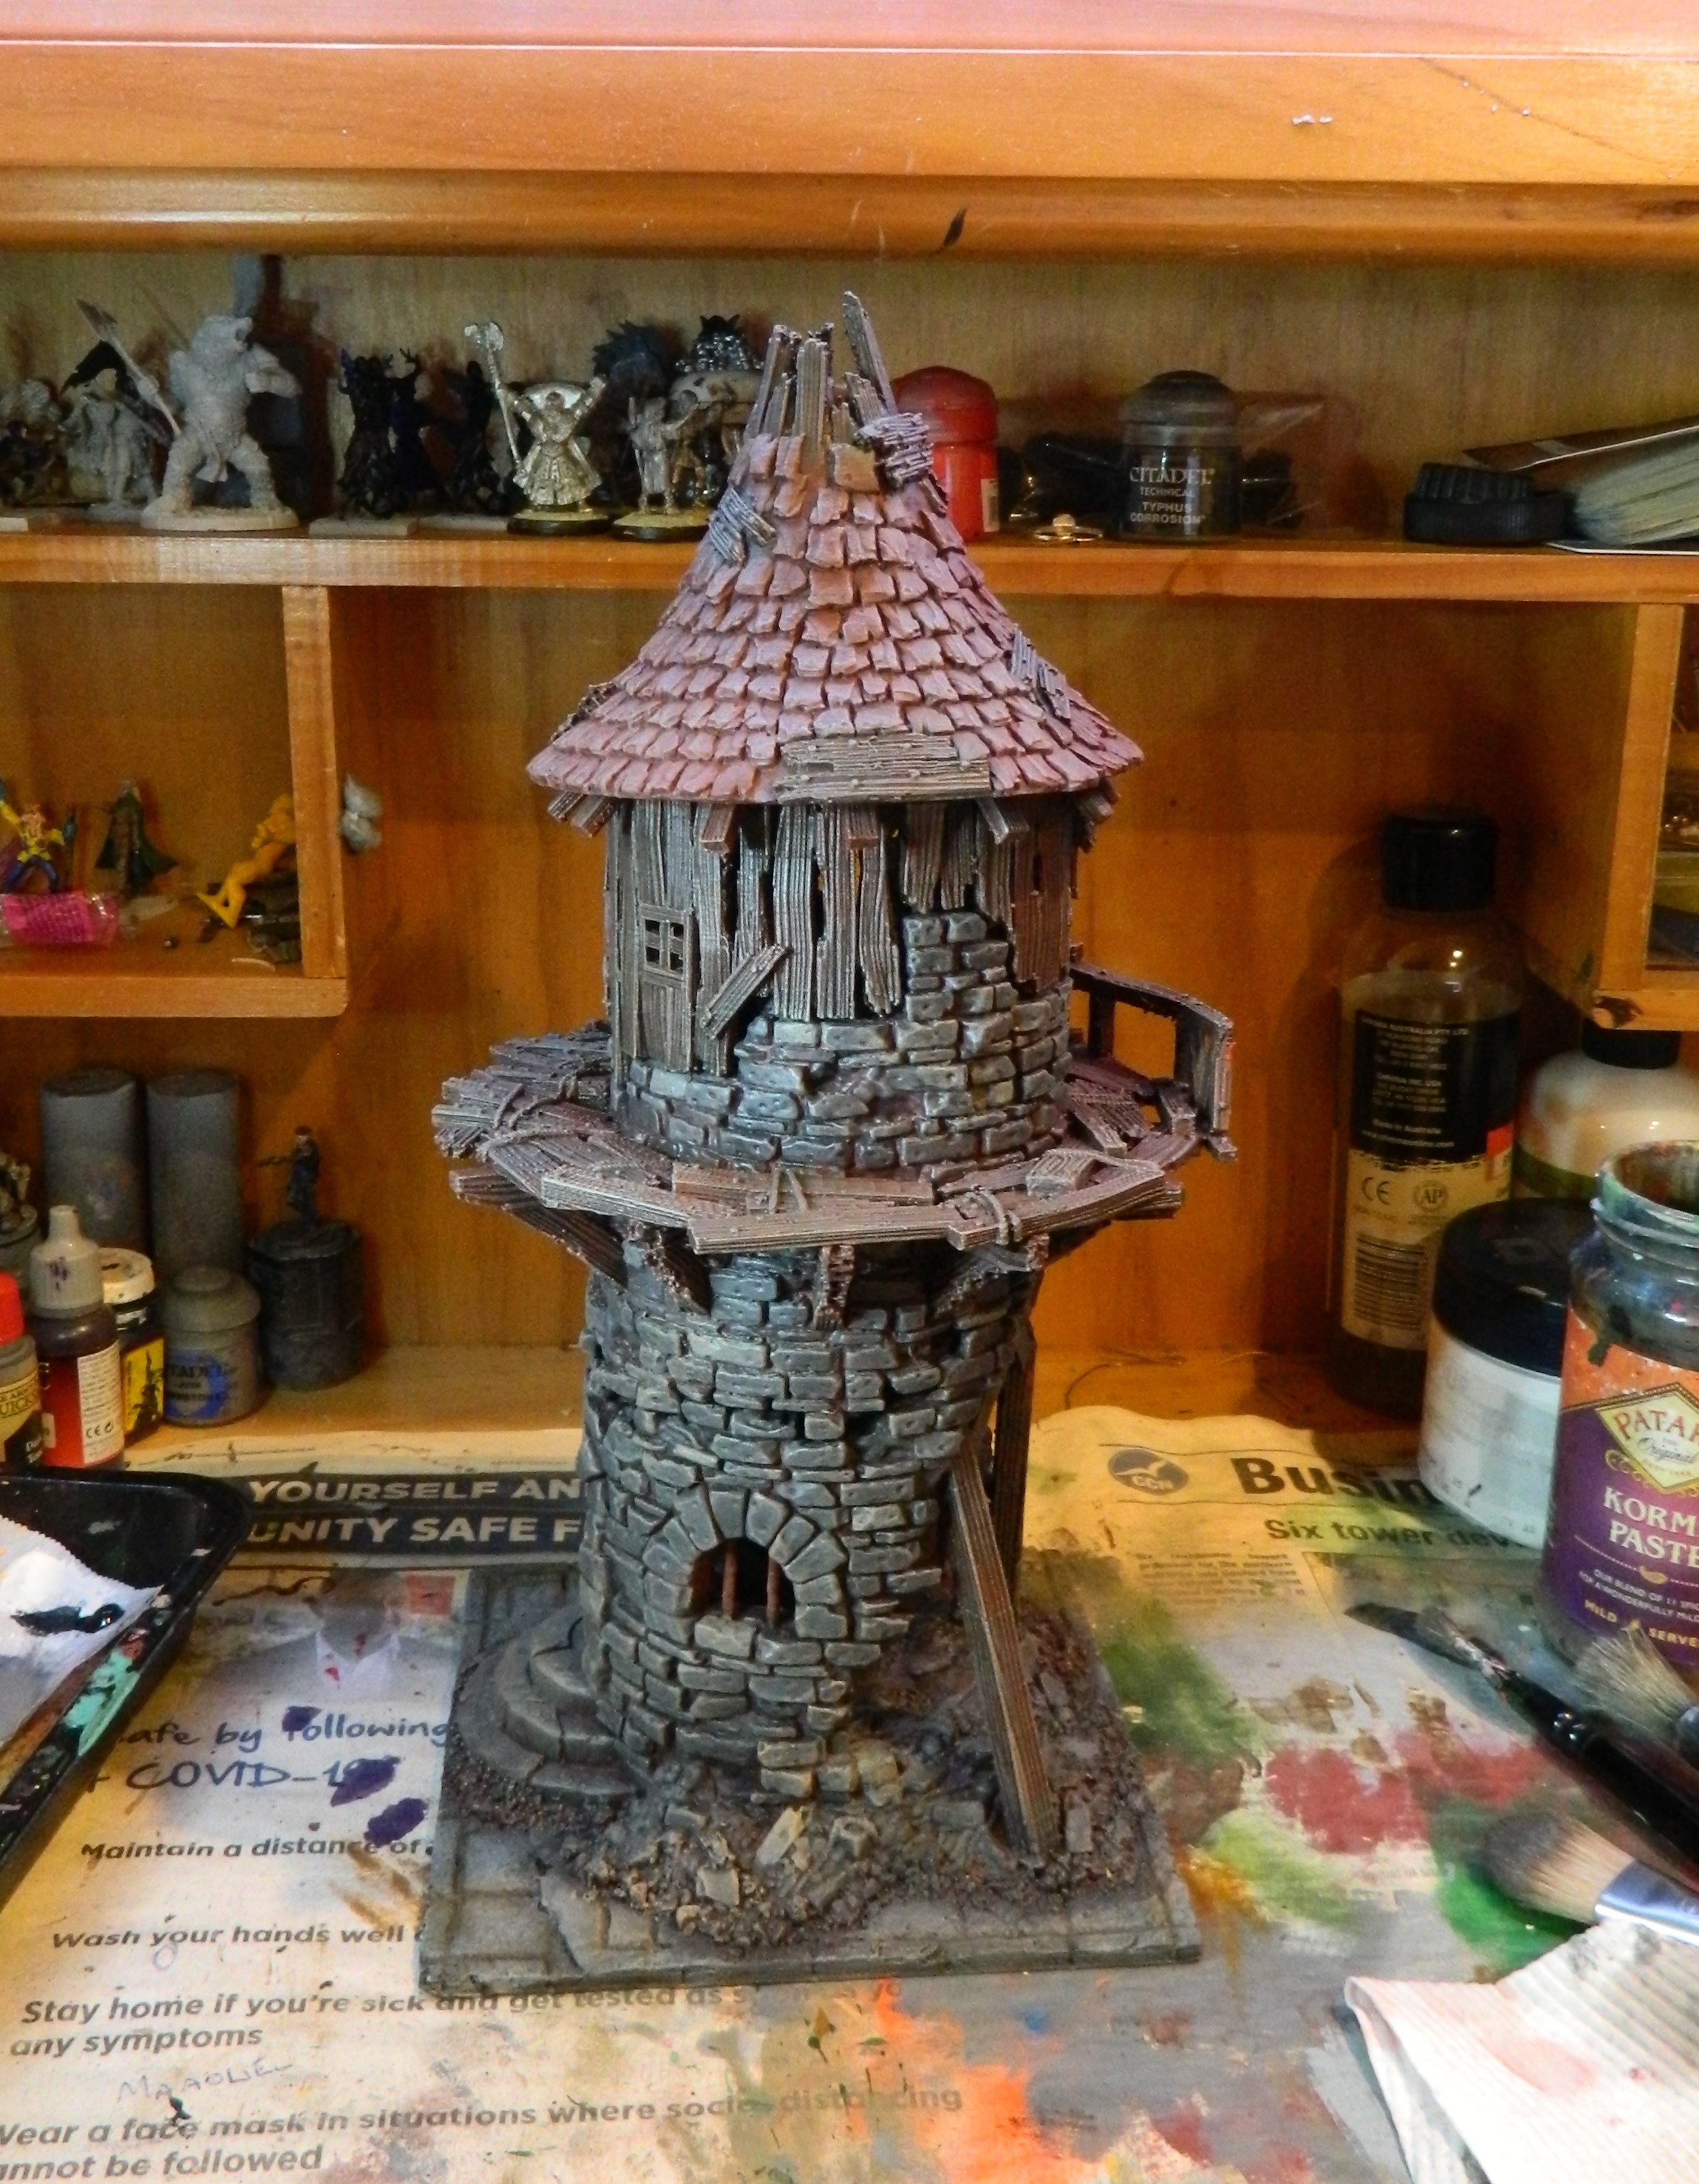
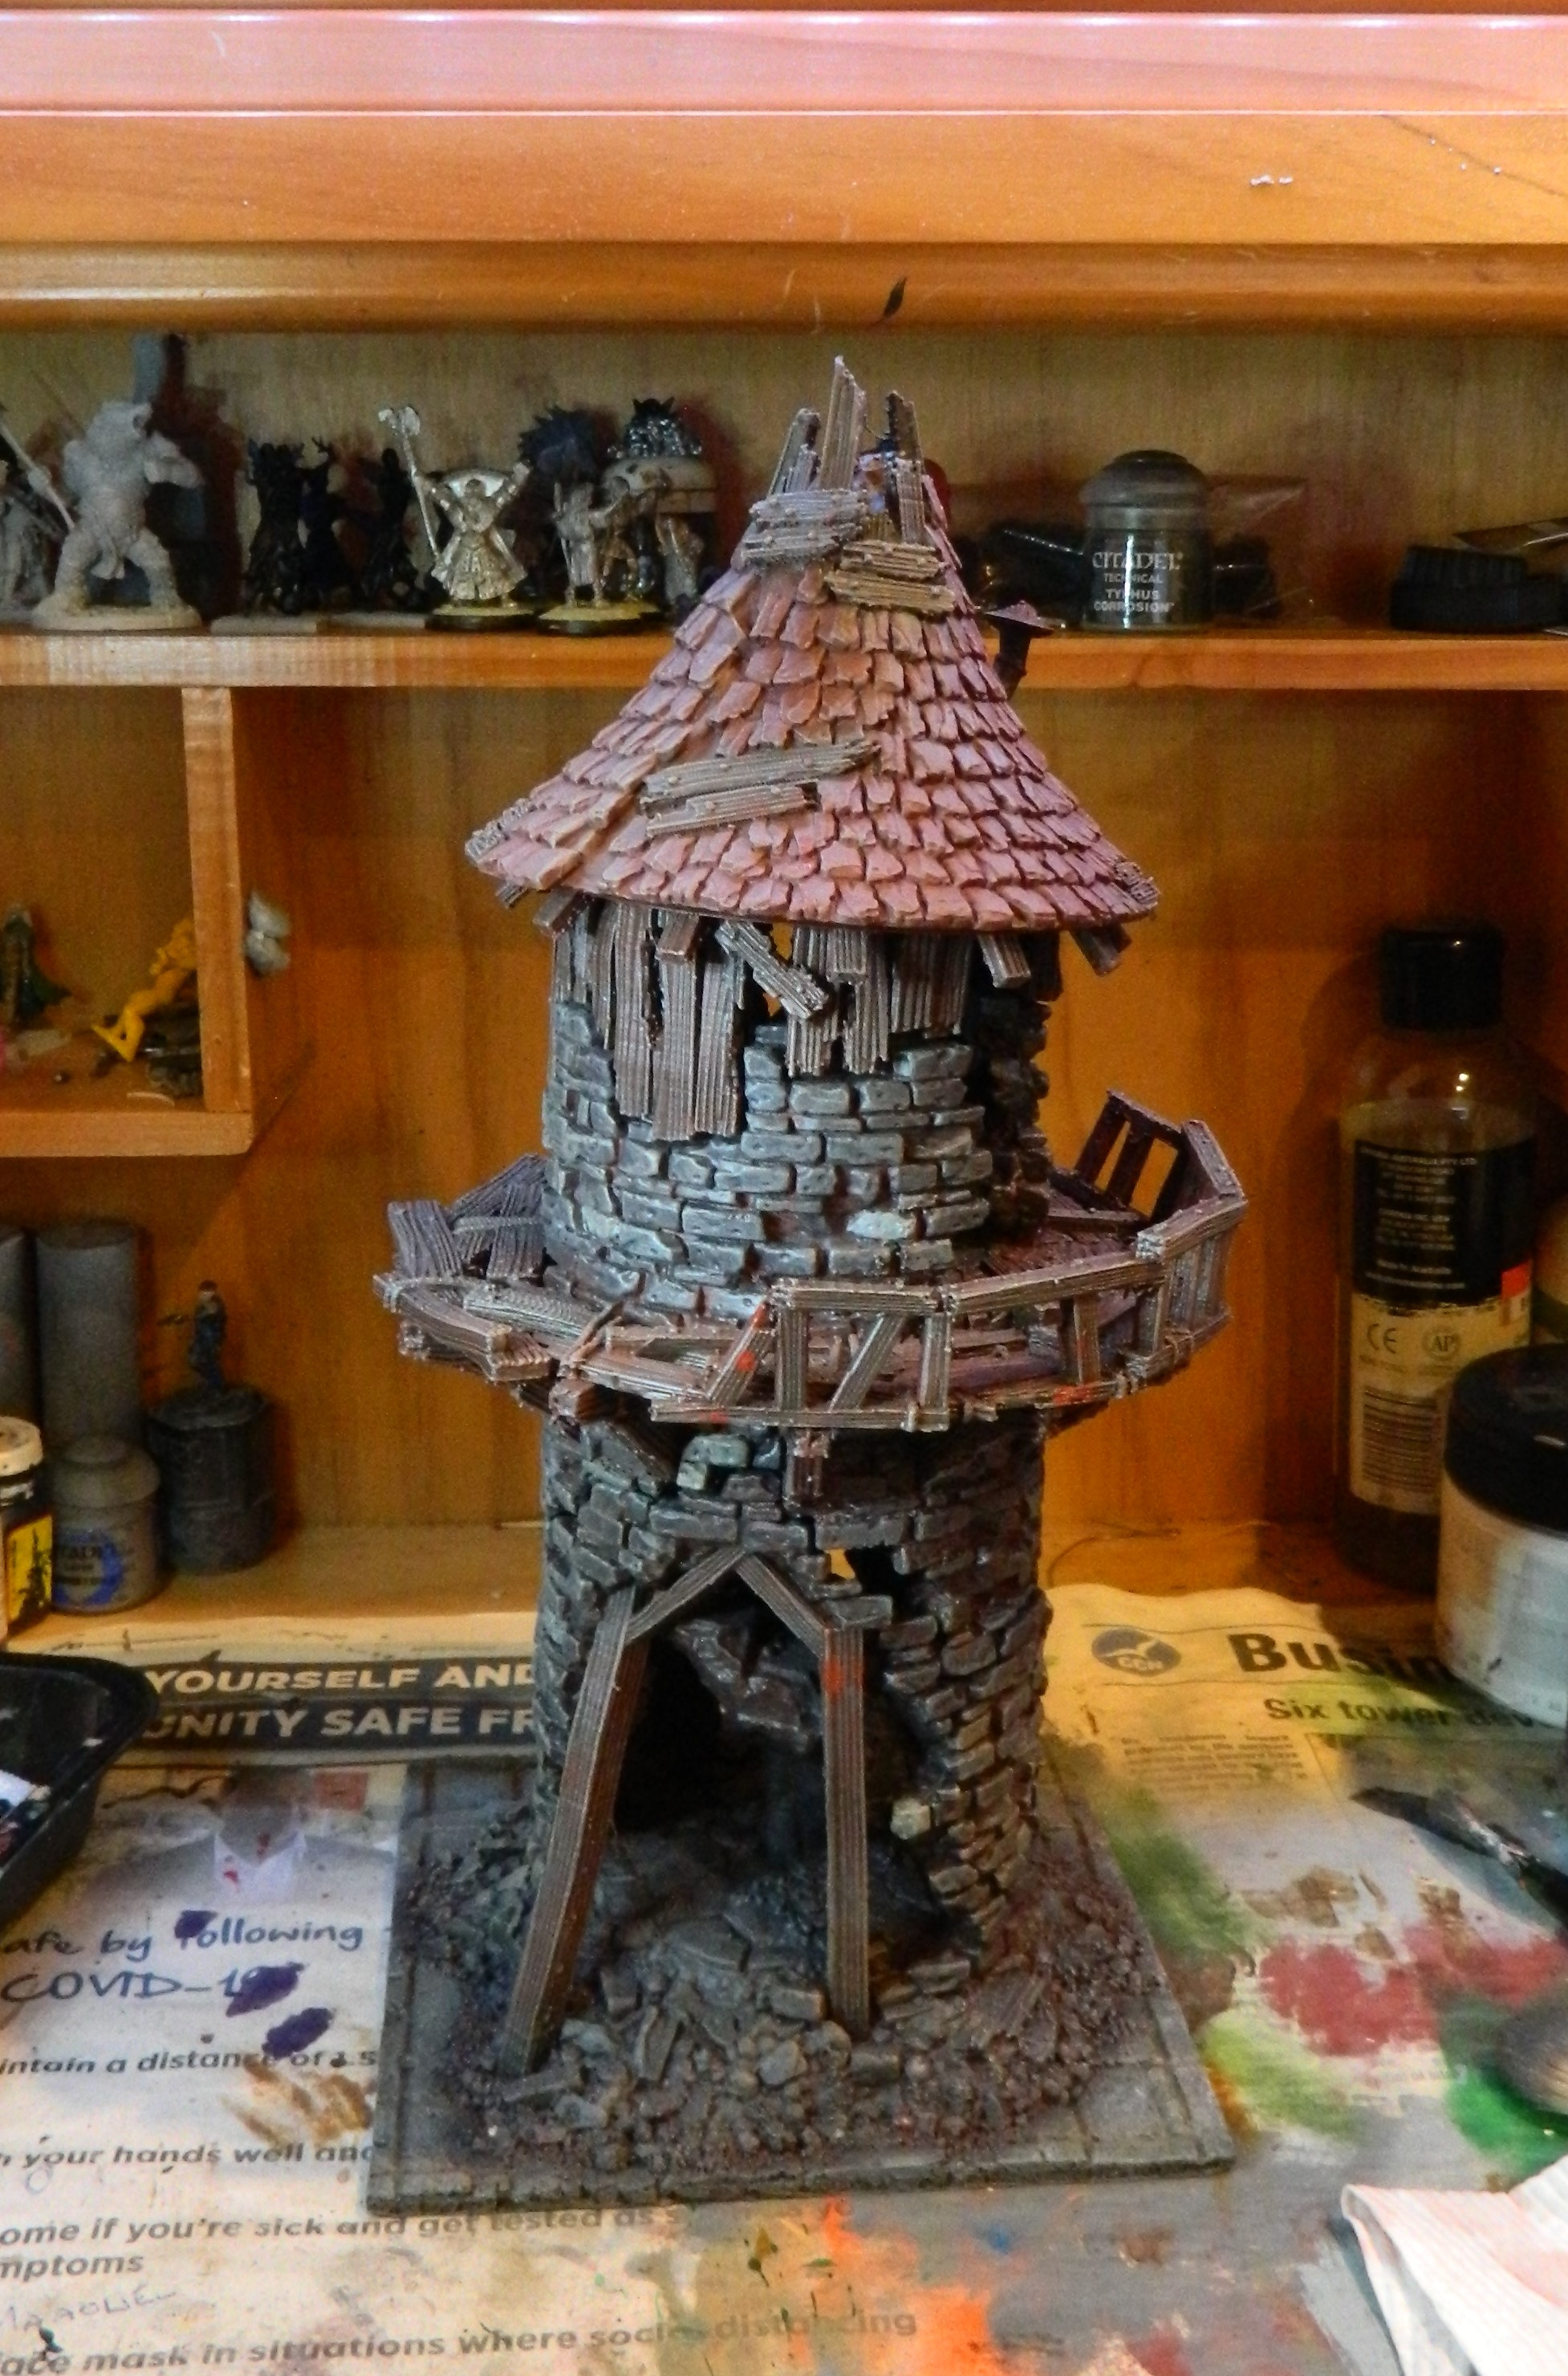
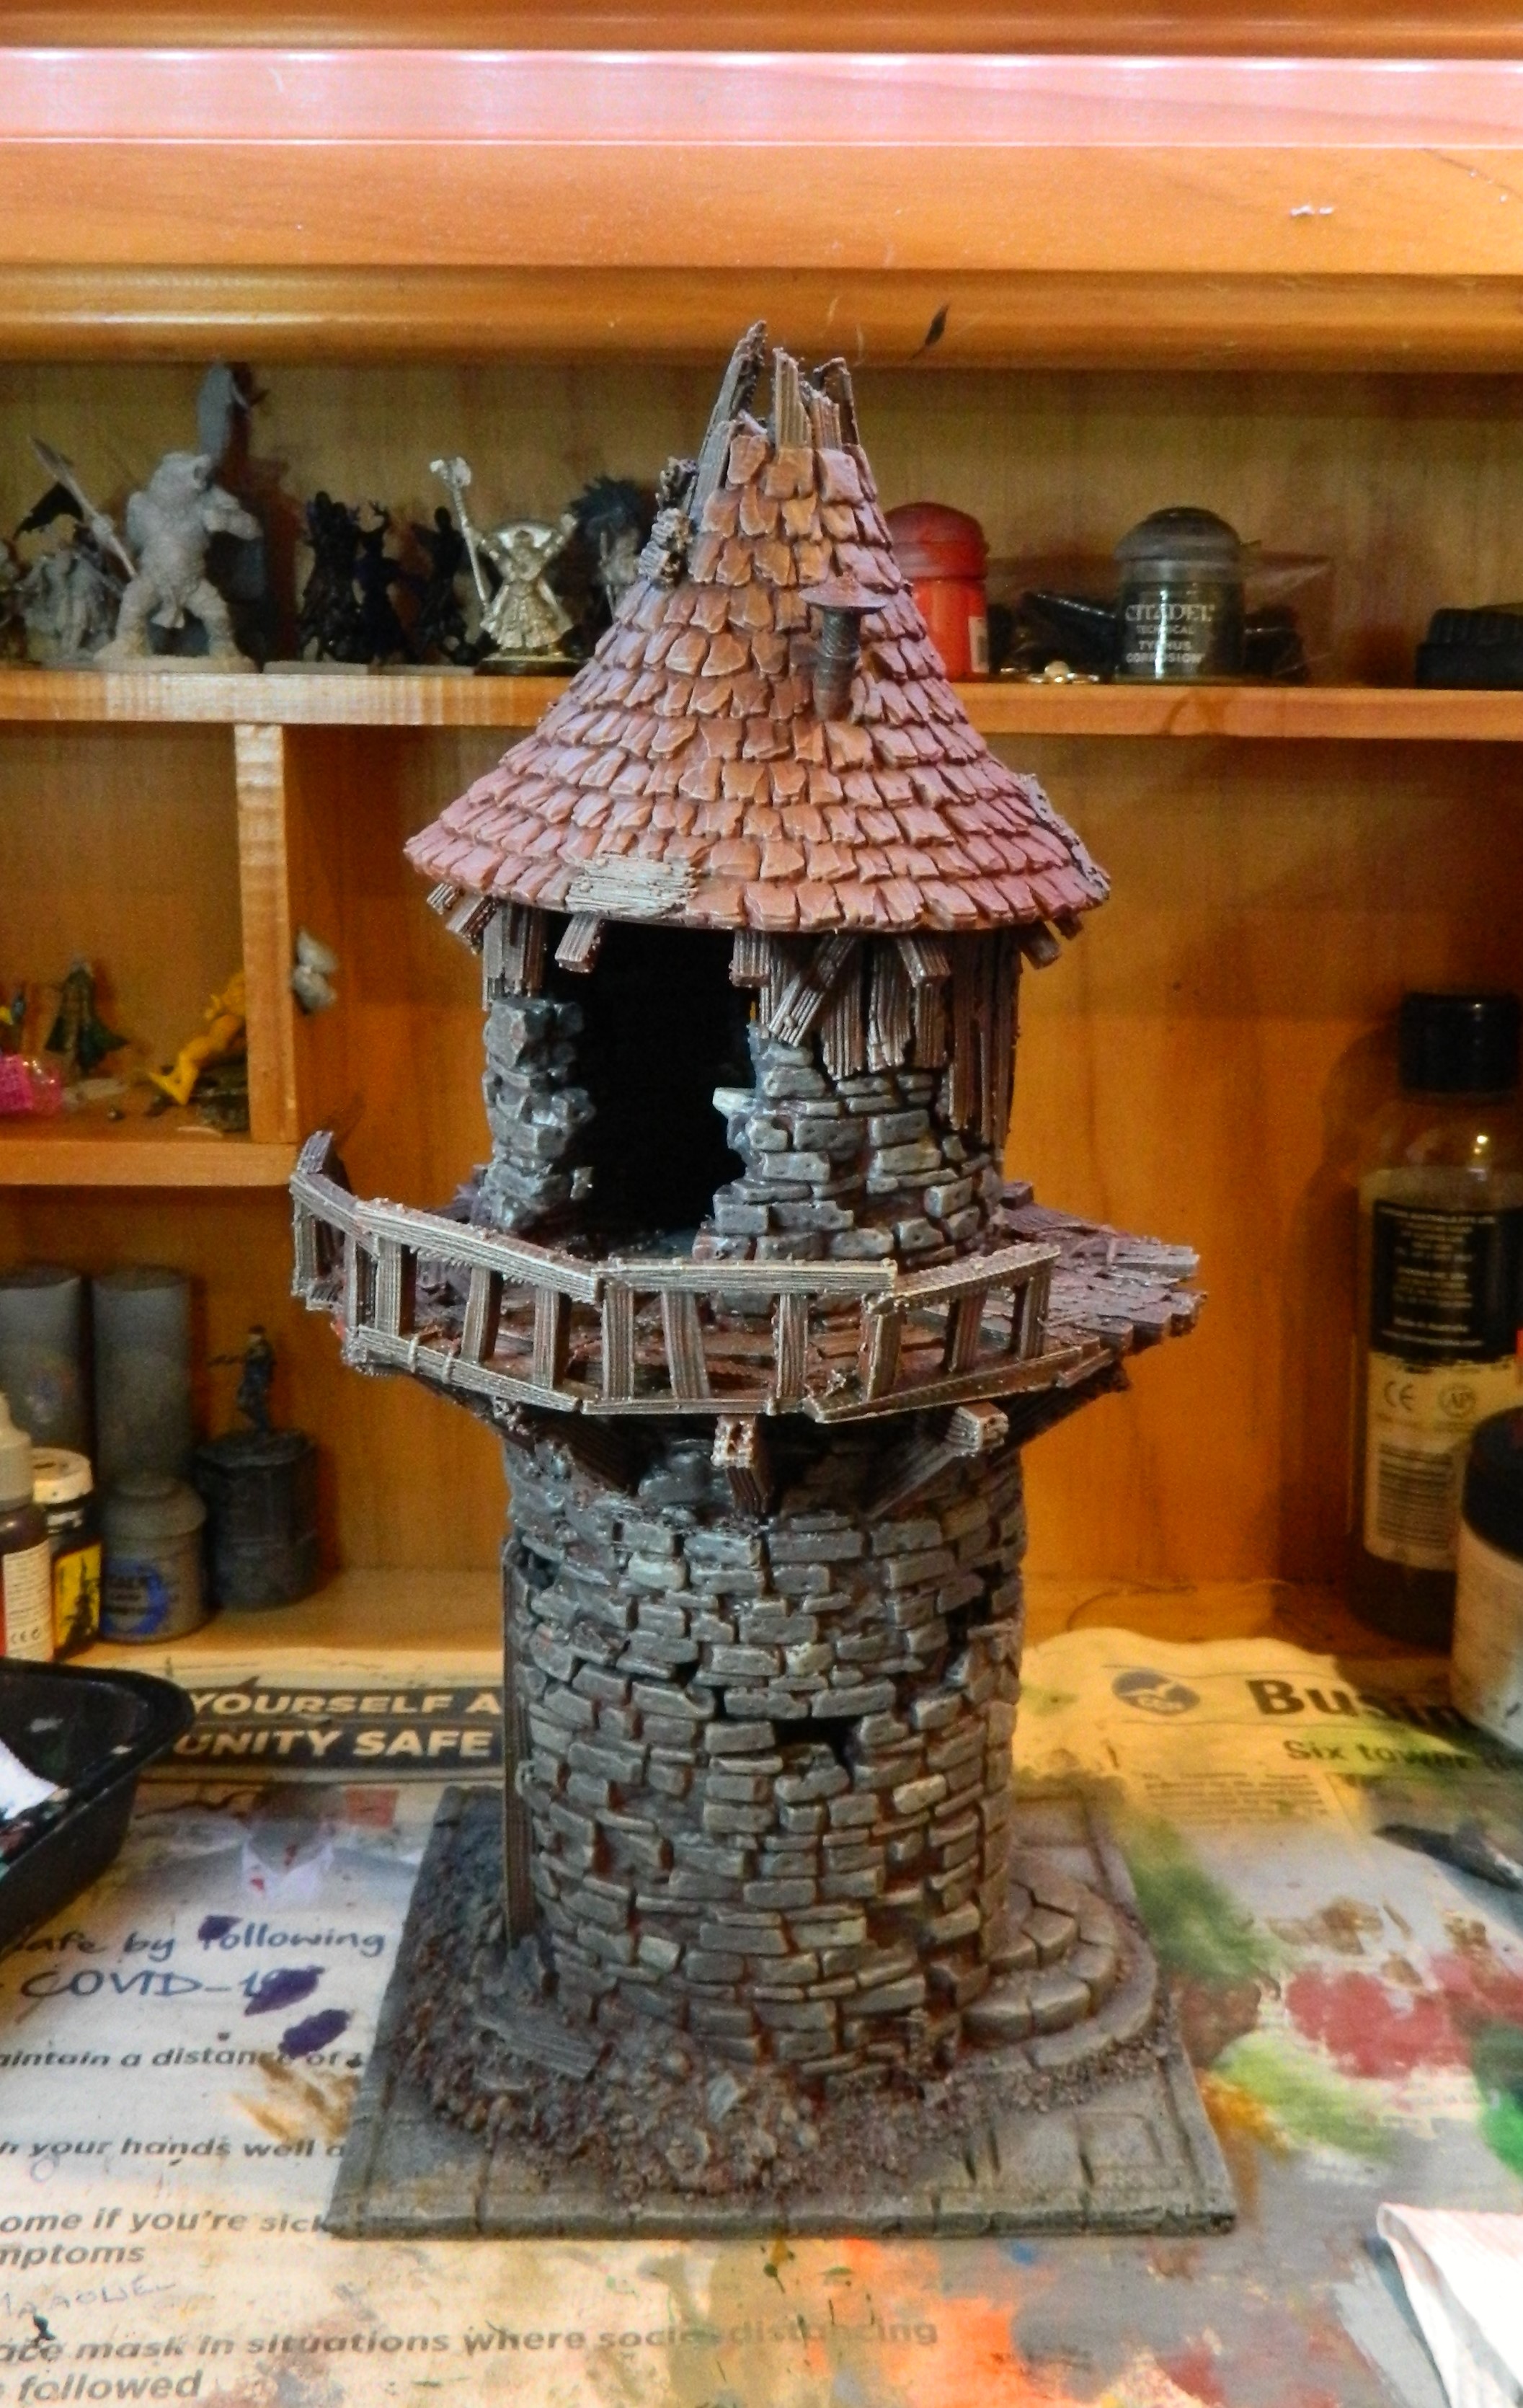
The walls:
- Drybrushed Grey
- Mix Grey + some white and pick out random bricks
- Lighter drybrush all over with Tan
Timber components:
- Light drybrush with grey
- Lighter drybrush with tan
Roof Tiles:
- Drybrush red ochre
- Light drybrush with tan
Smaller details:
- Ropes were picked out with tan.
- Bars in the window hit with red ochre for rusty iron bars
- black drybushed under the chimney top for soot



20 Apr 22: A little bit of greenery... and red-ery.
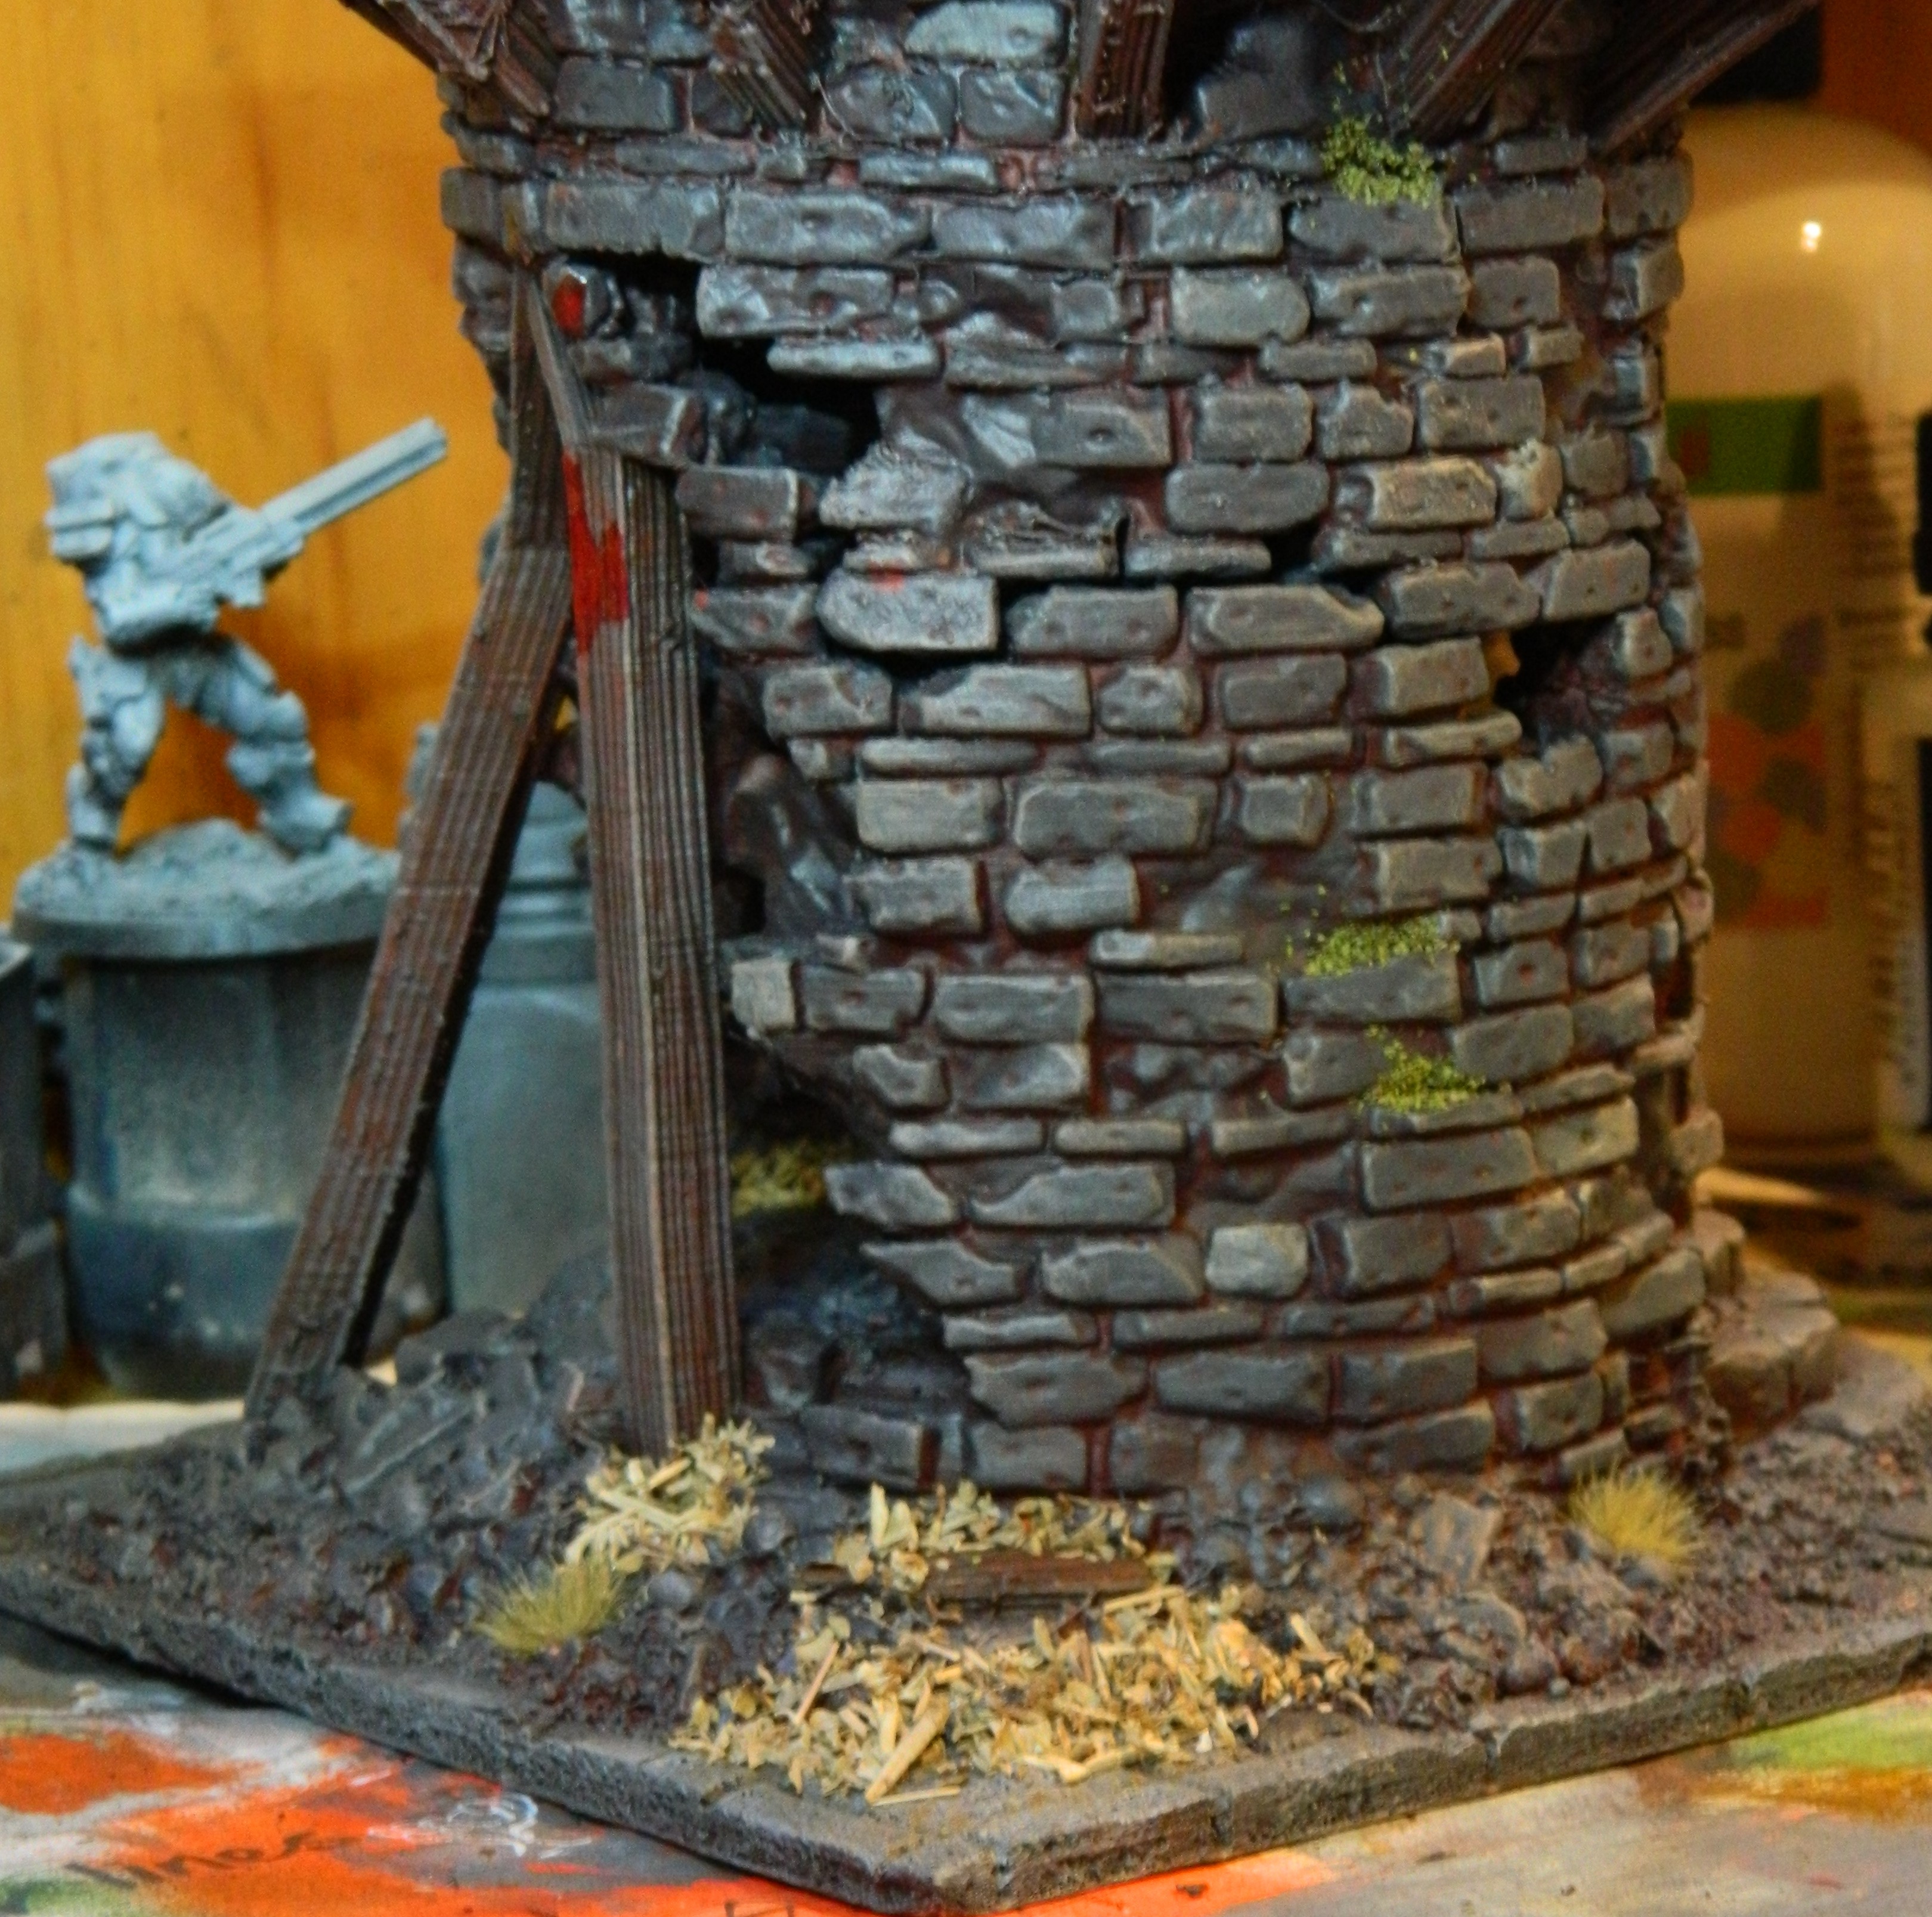 With some tufts, some flock and some mixed herbs, this drab grey-red tower shows it has some life in it.
 A few tufts placed around to show grass growing up through the cracks.
Some dried mixed herbs to indicate old dried out leaves gathered in piles.
Green flock for… moss? Not sure to be honest. It could look better if there was a mix of greens.
Also, a splash of red… I noticed that I’d got red ochre in places where I’d not intended. *facepalm* It stands out in the photos. Rather than try and repaint and match, I dabbed some of the Citadel Blood for the Blood God technical over it.
Not mistakes, happy accidents! Turn an error into an interesting detail.

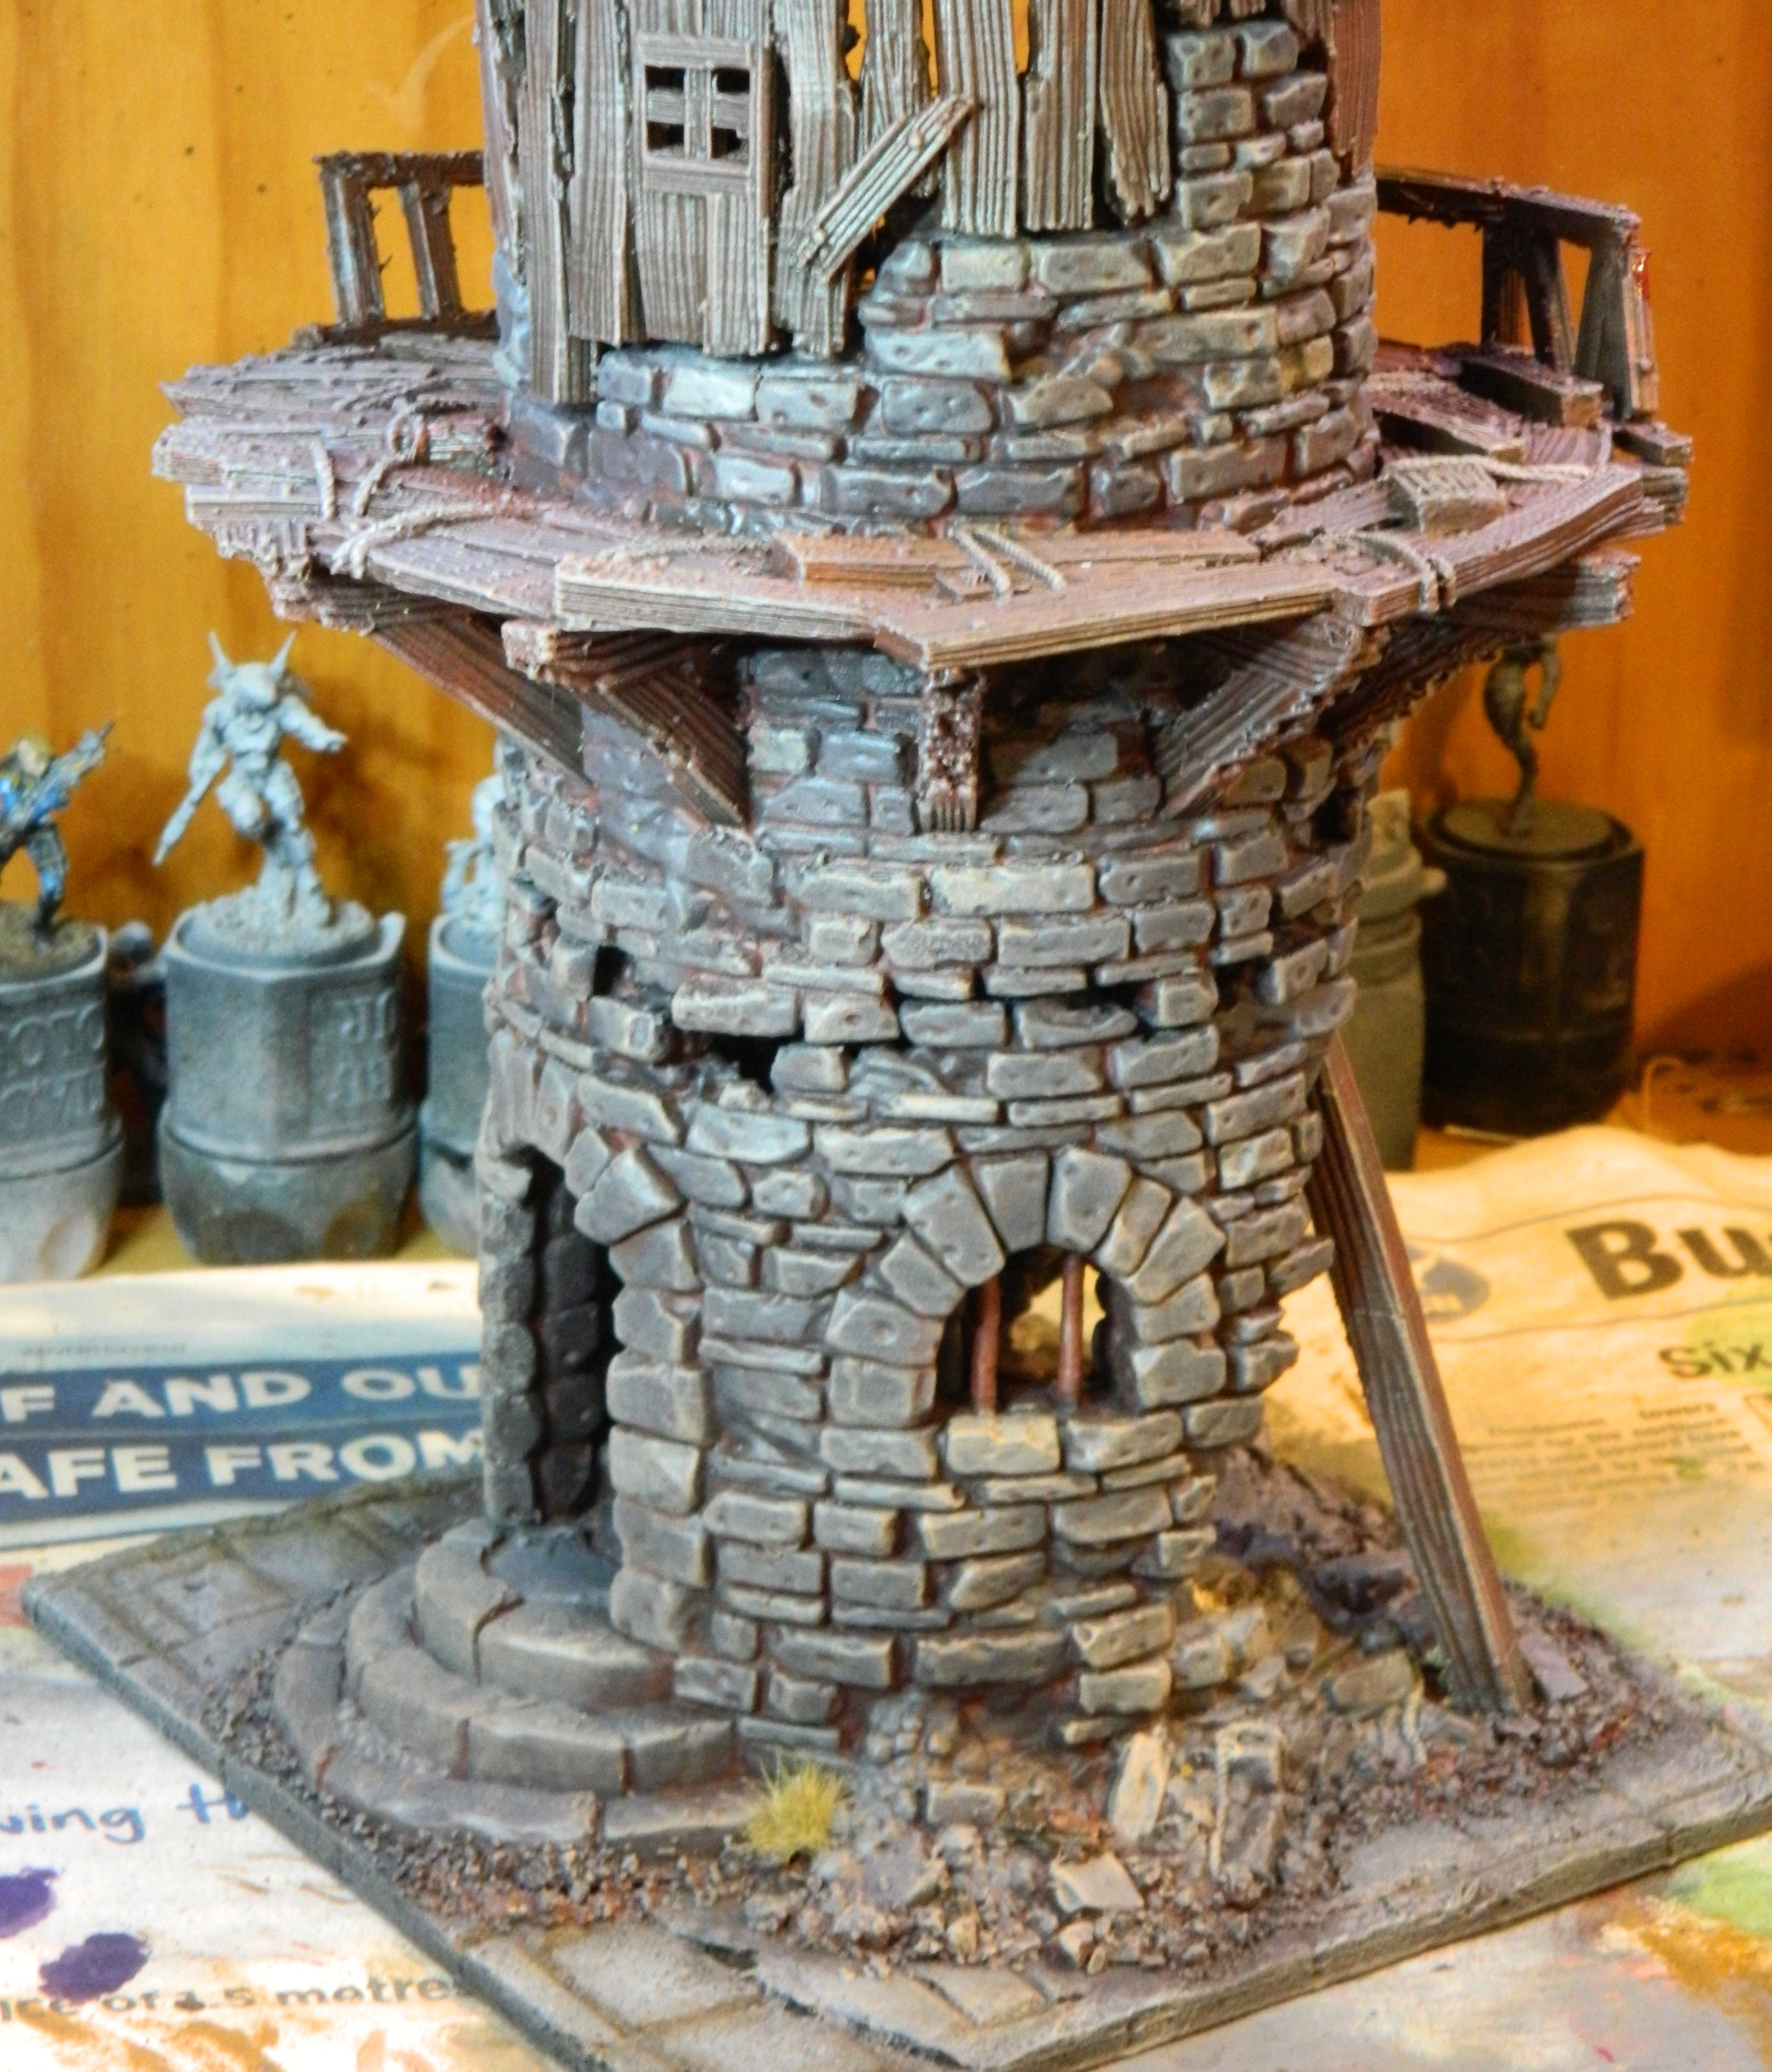
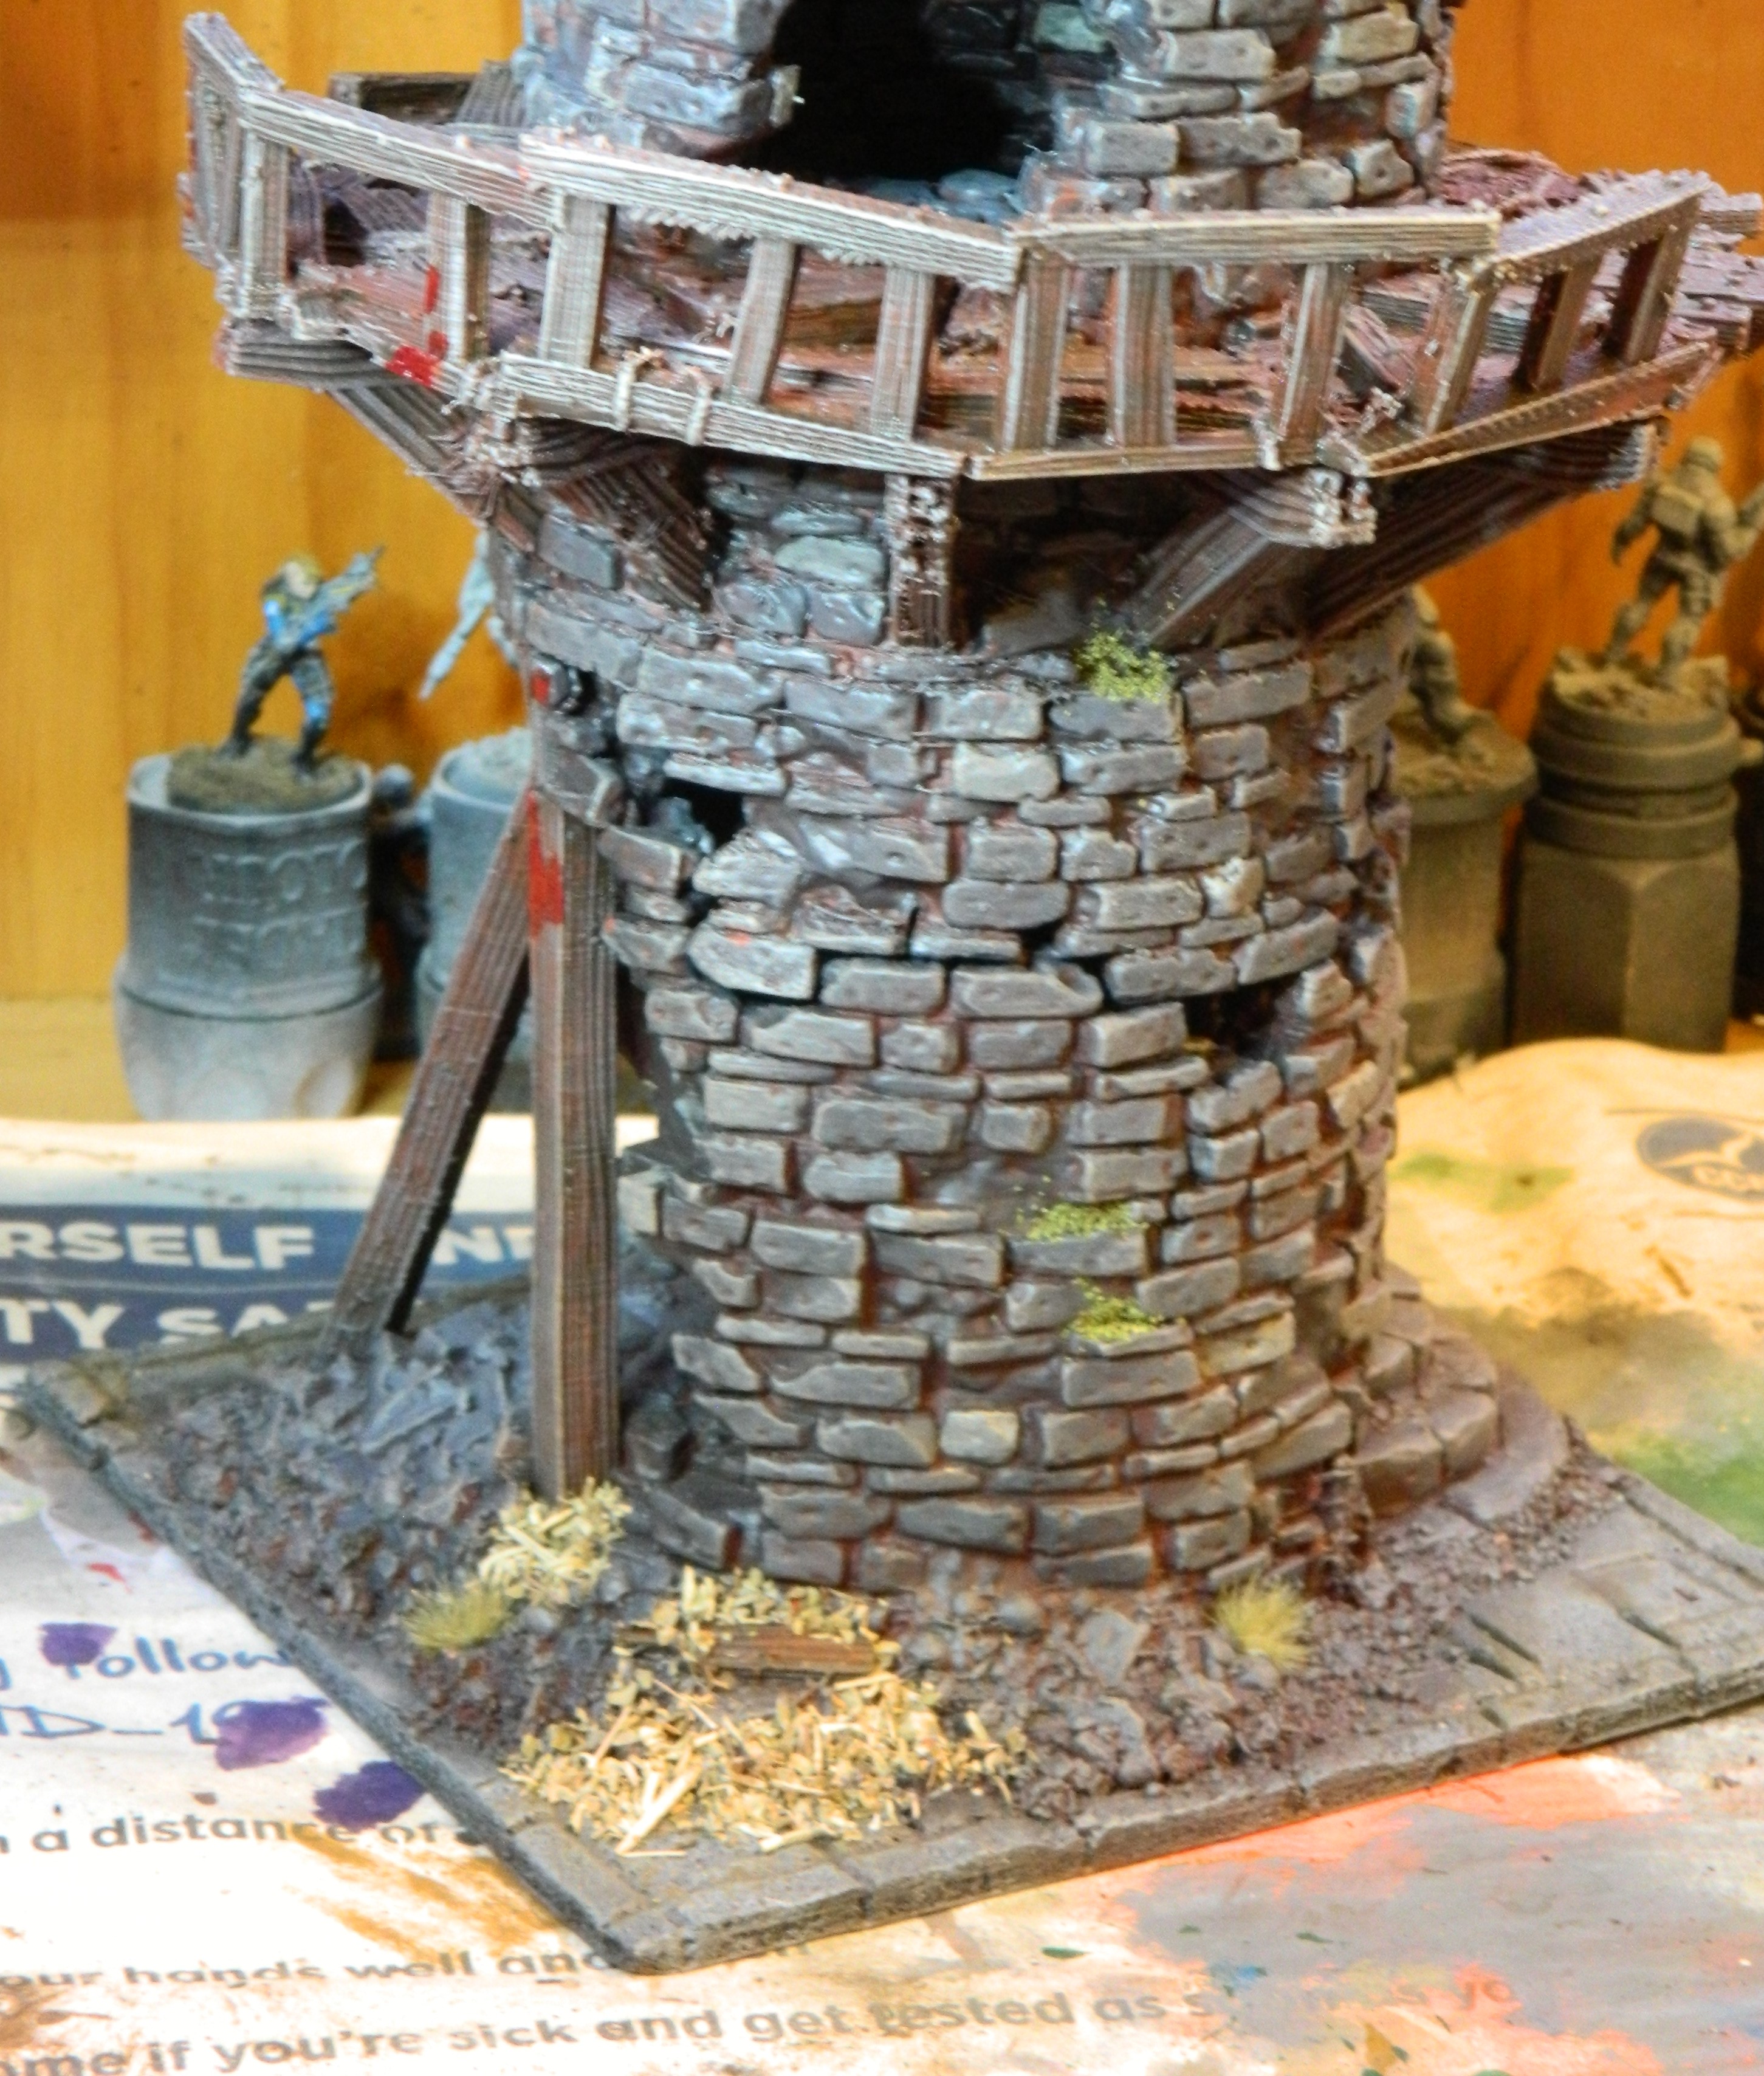
Looking at what else I could do…
Pick out all the nails in a rusty colour or technical…
Add more greenery…
Do a little more to cover some of the print errors I can still see…
Though I’ve got more pieces to get though, and have spent most of today getting the bulk work done.
17 Mar 21: Painting house
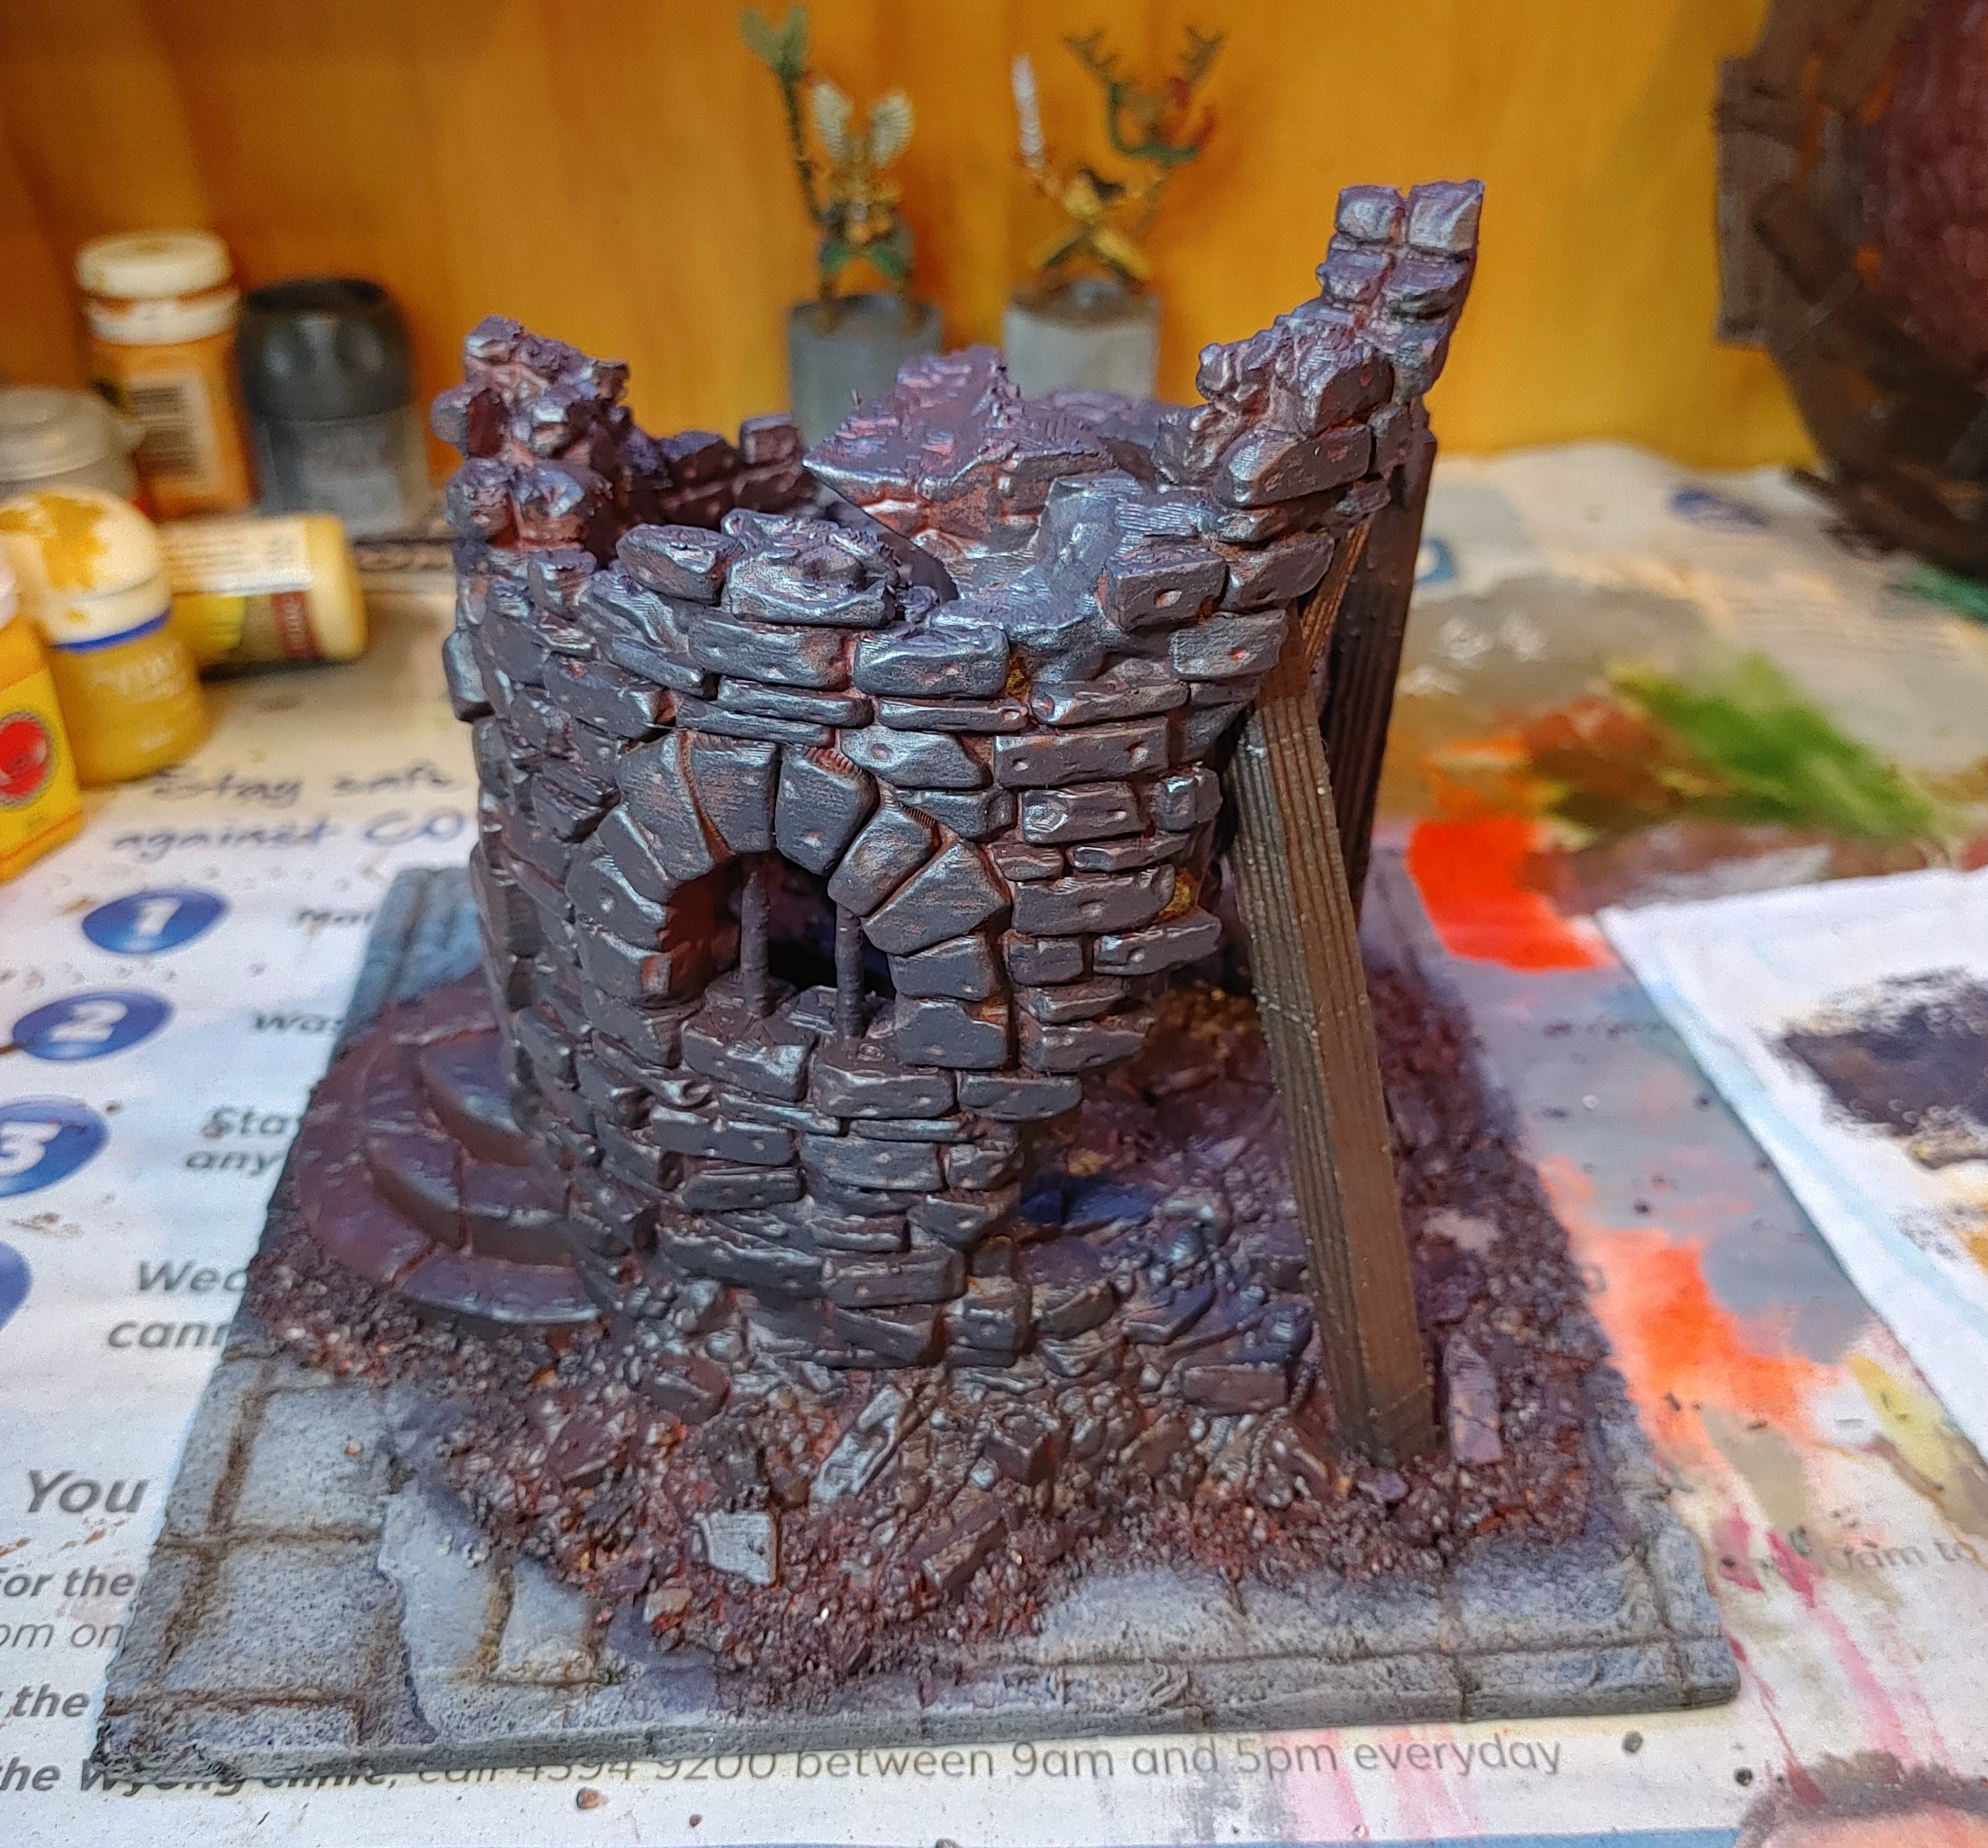
Taking a tip from Mel the Terrain Tutor, I thought I’d try house paint as an alternative for painting terrain. A little bit of an experiment for me I suppose…
I’m using Dulux Klavier for the next colour. A small sample pot only set me back about AU$5 and that much paint will probably do a good chunk of scenery. After a coat, applied as an overbrush, it looks like this:

 25 Mar 21: How much more terrain do I need? More. The answer is More.
 1 Mar 21: Building up!
The next phase of the city build is 3D printed buildings. I backed Printable Scenery’s most recent kickstarter, which was thick with ruined buildings. Perfect for Frostgrave 😉
My first building is printed, primed and base coated. But I felt that it needed a base. I’ve been reading through Mel Bose’s book, and wanted to take this opportunity to apply some of the knowledge.
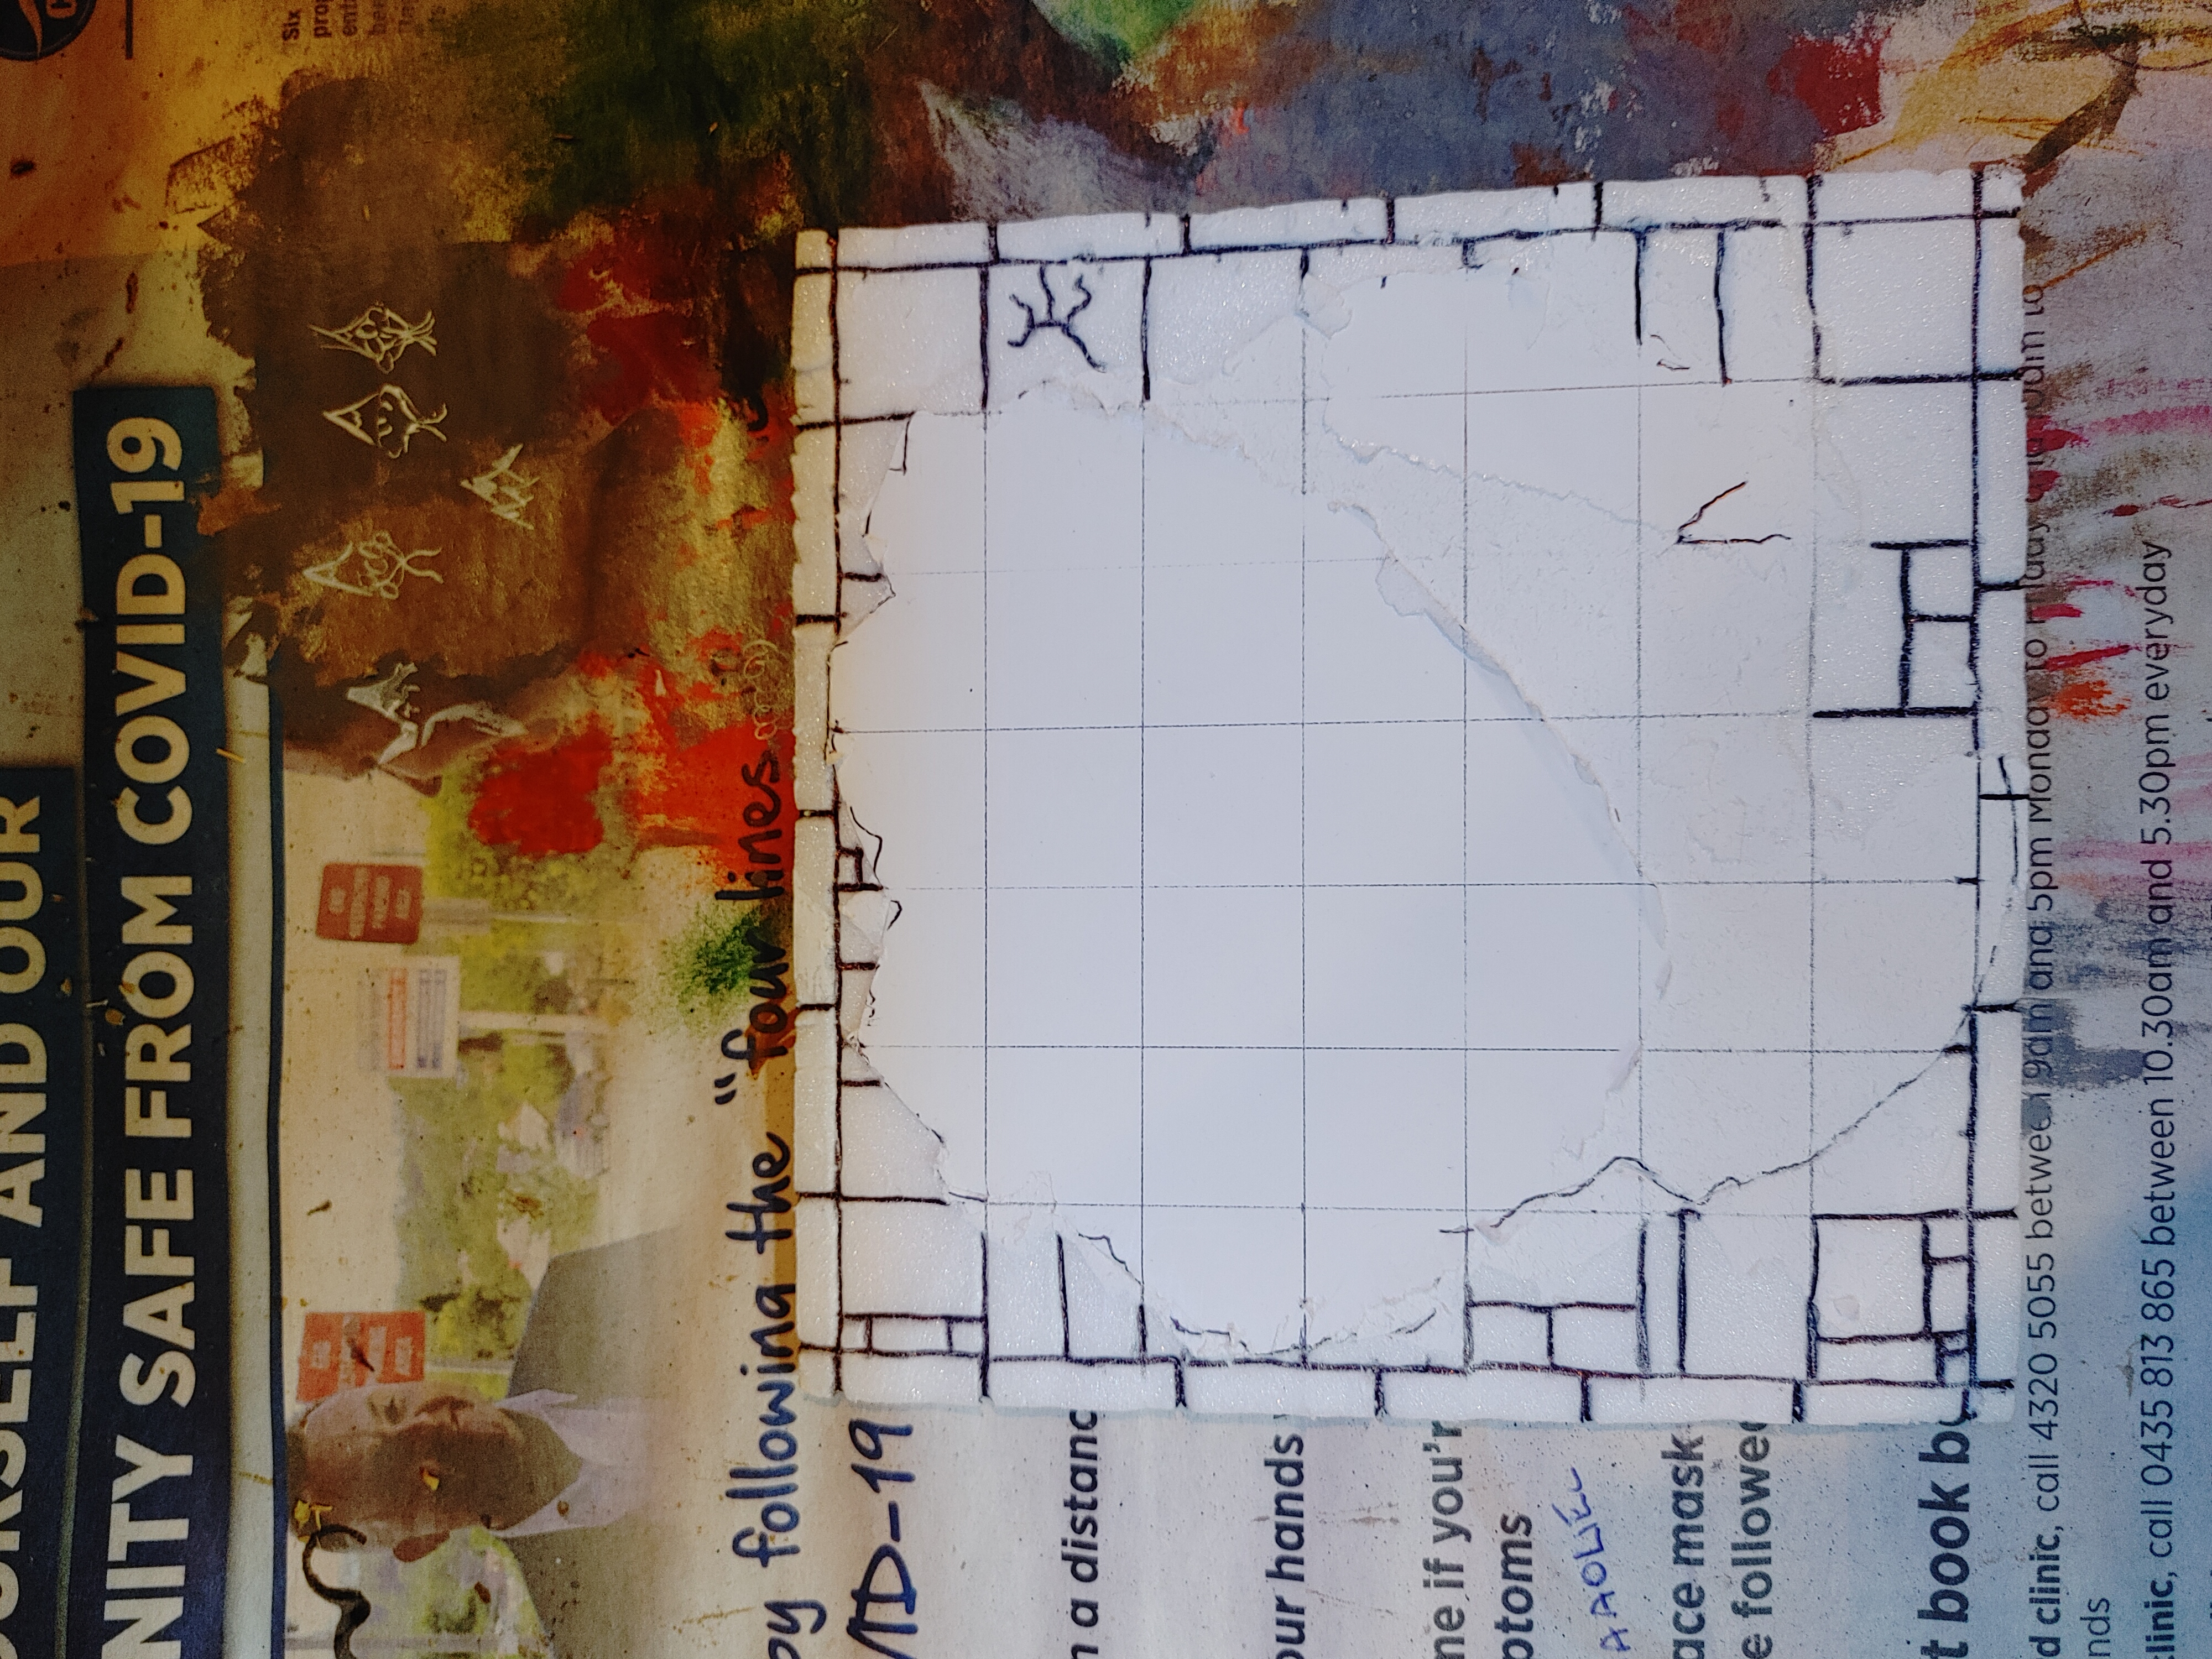 The base: foamboard, one paper side removed, brick texture drawn in with pen
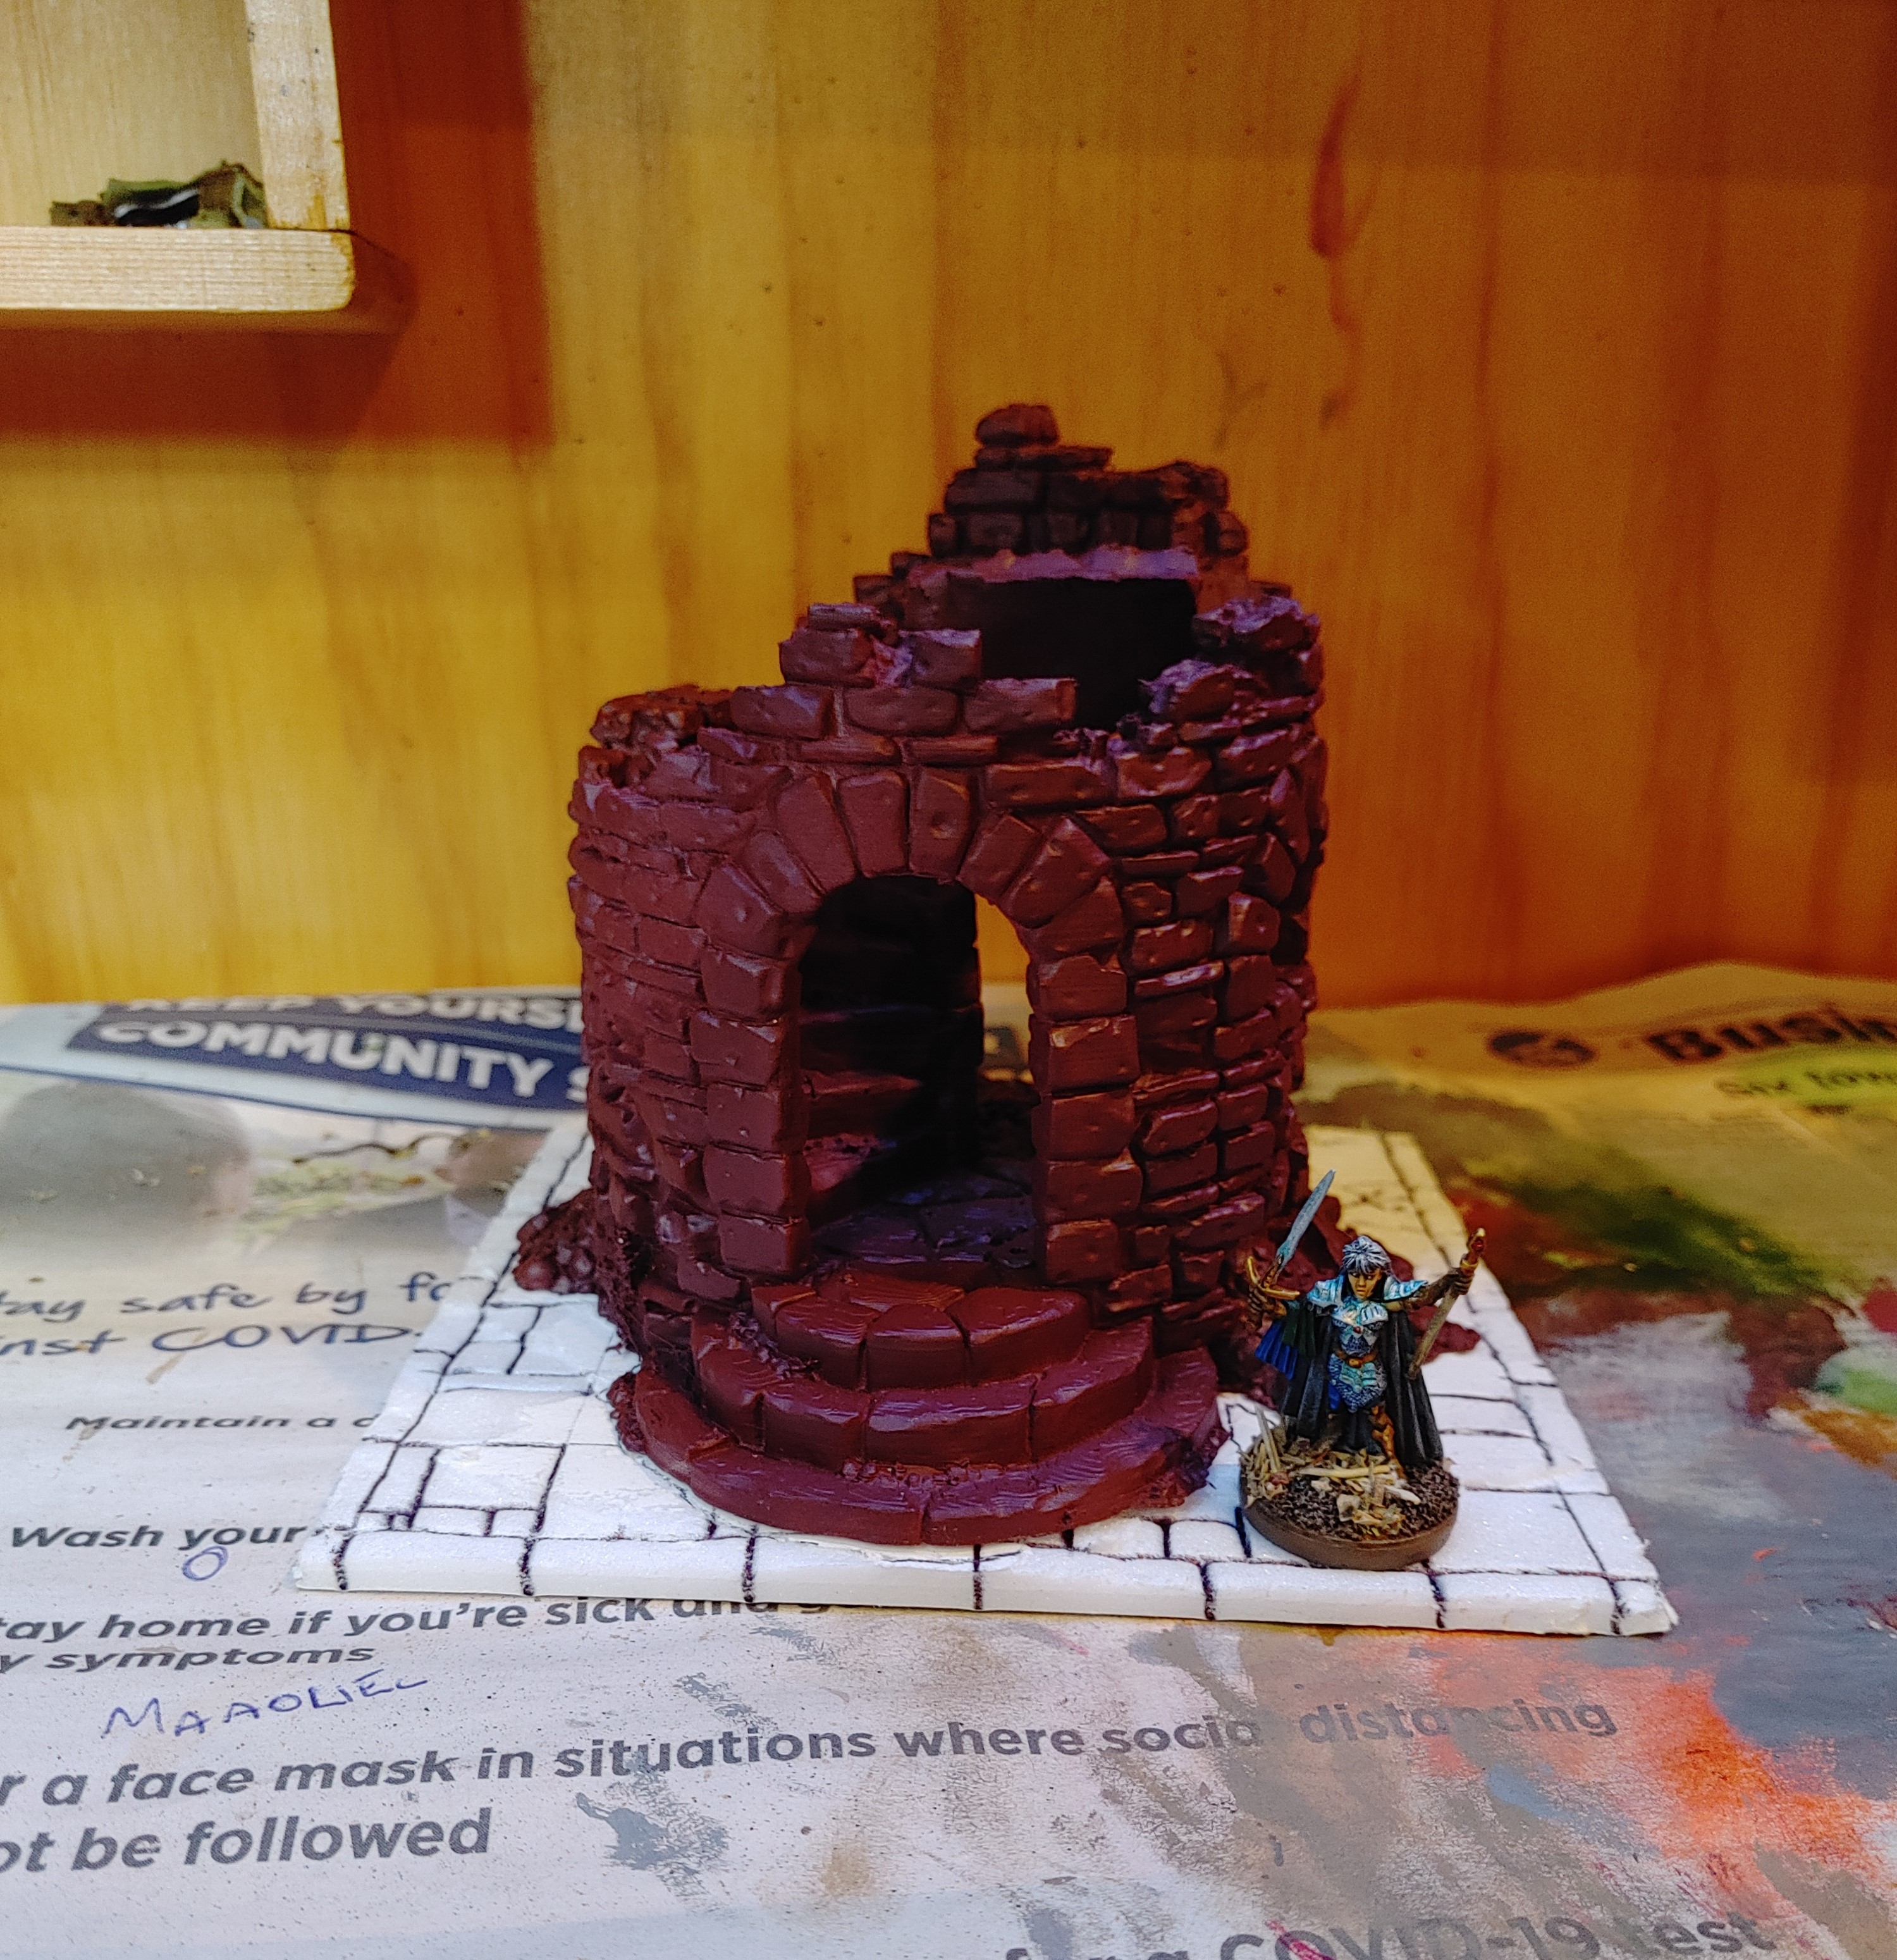
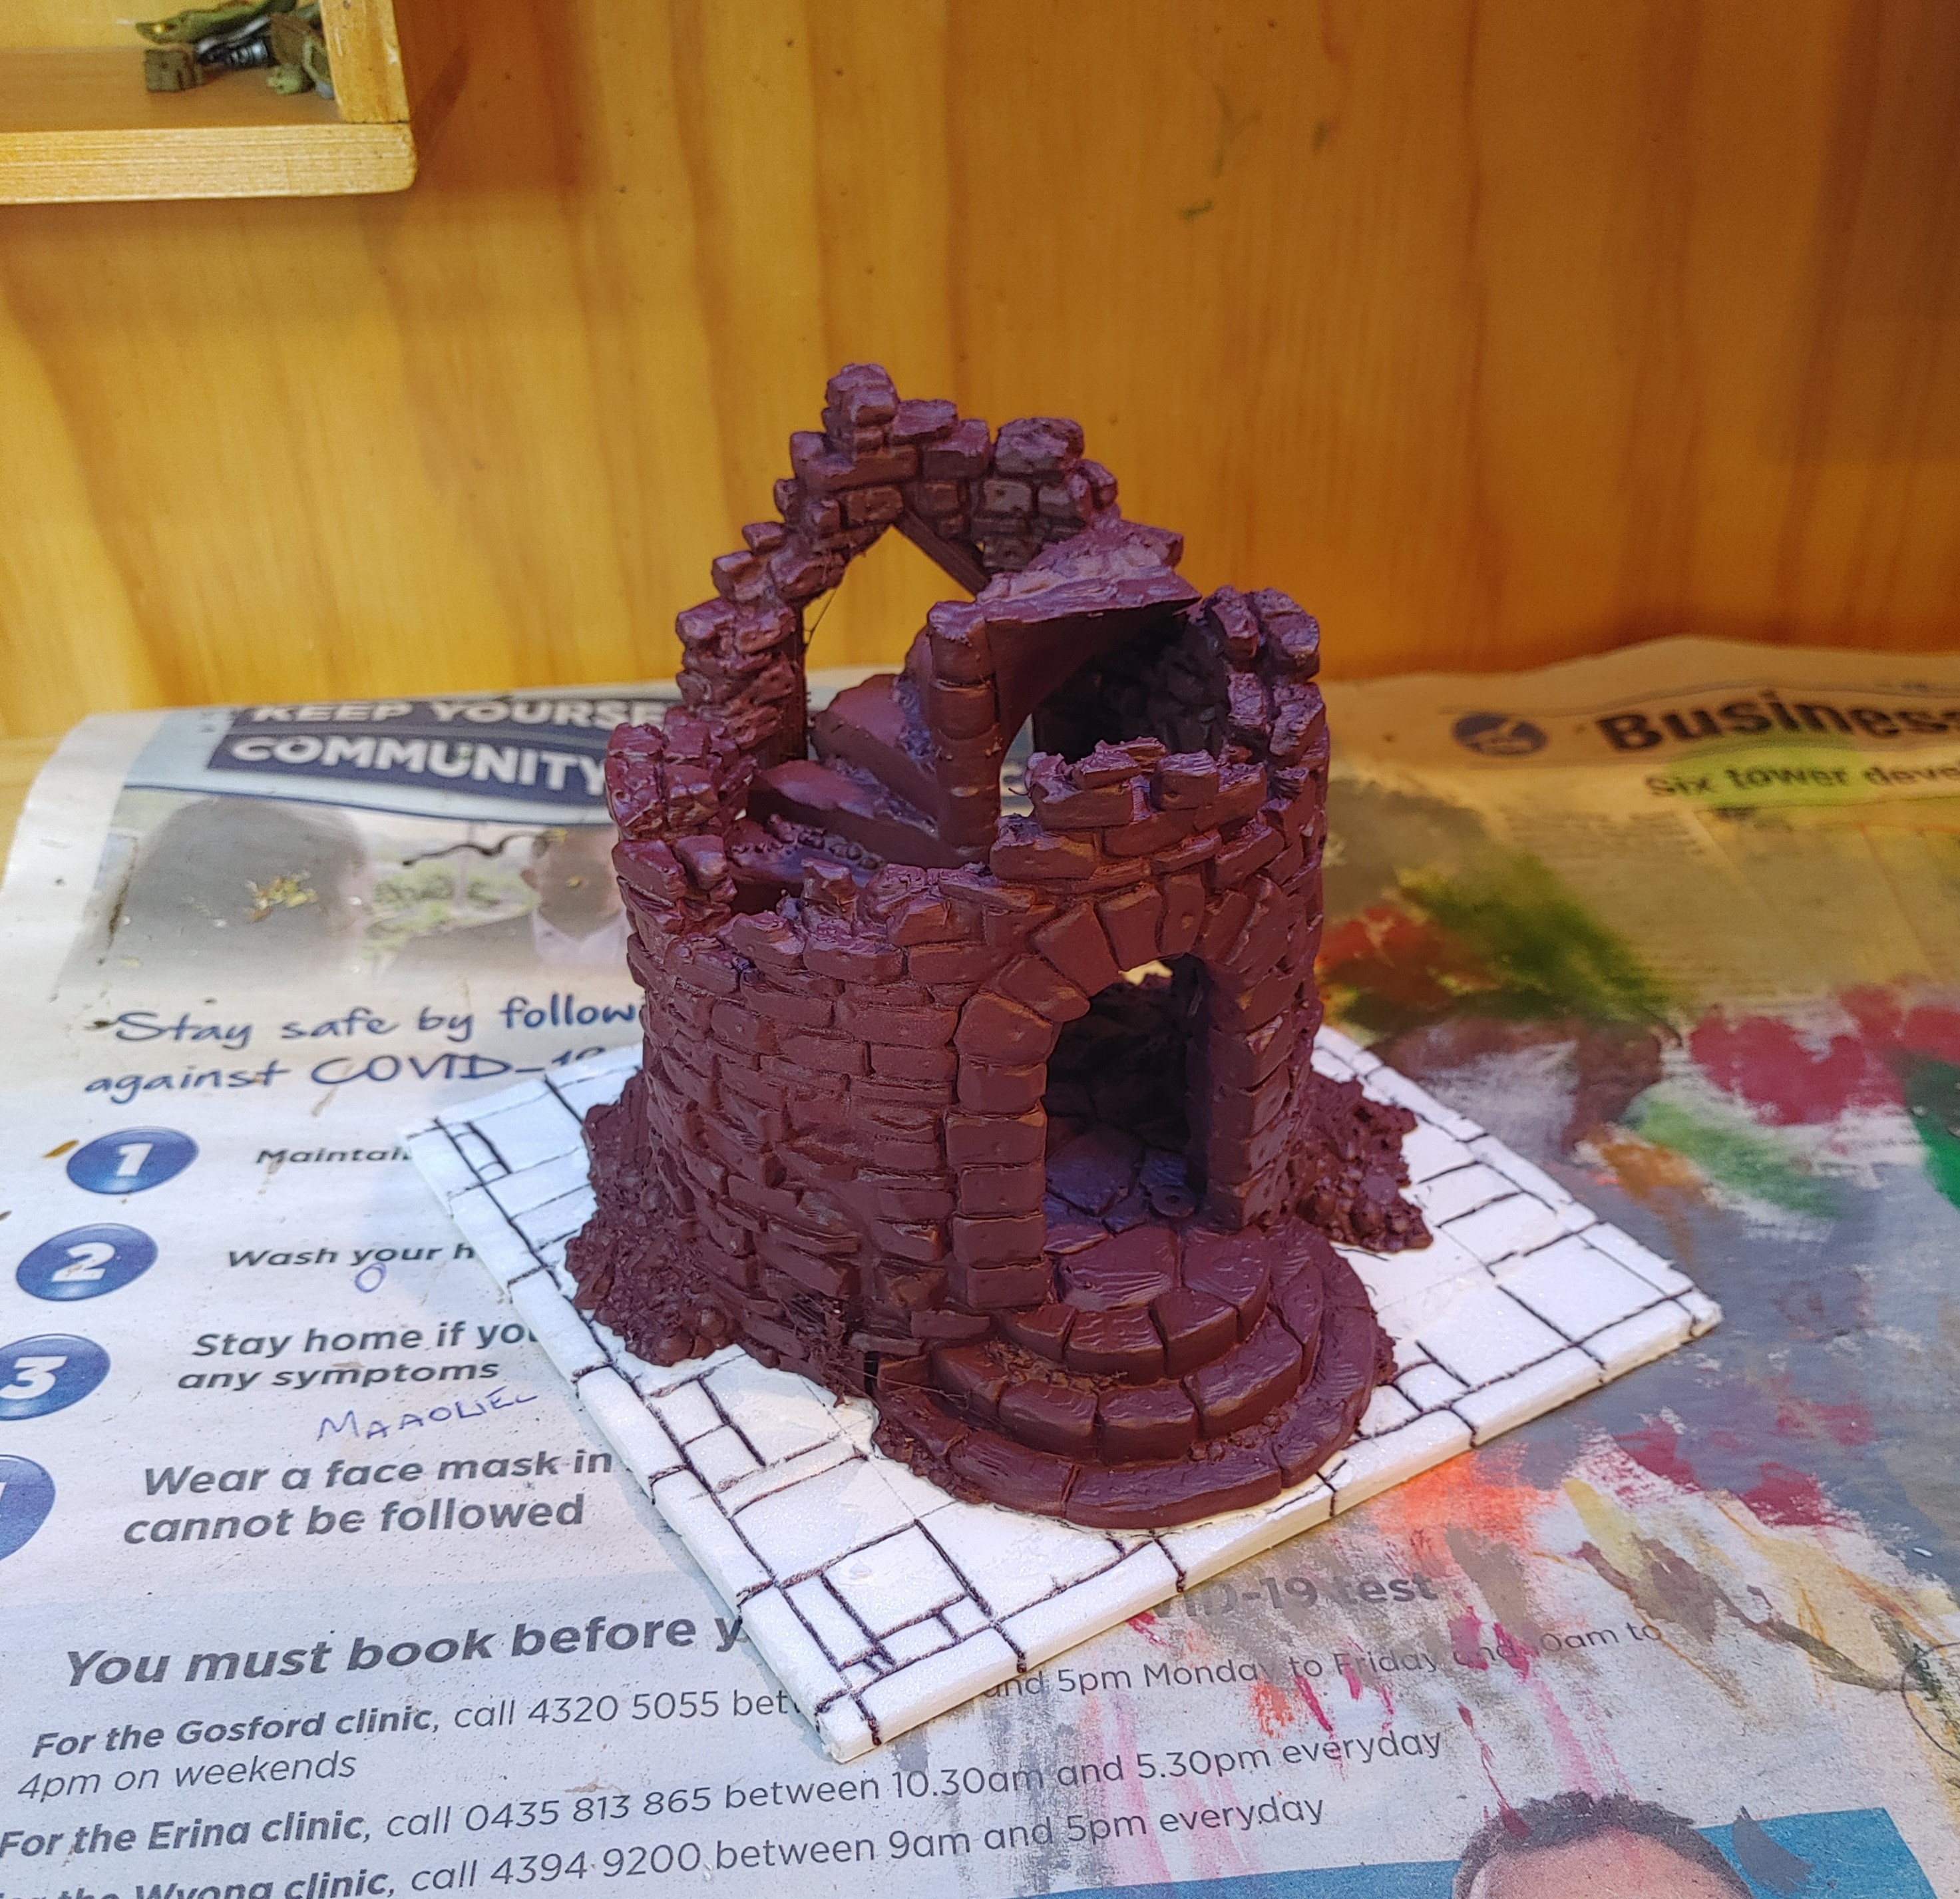 The Hermit's Tower. This is the base component. More tower coming soon!
Some notes on my process for the prepping the 3d print for painting:
After cleaning up any string/ errant filament etc. I’ve been hitting the piece with a car body filler/primer. This seems to adhere to the PLA+ that I’m using very well. It’s self-levelling so it goes to a nice smooth finish.
What I’ve been doing is hitting the model with a thicker coat than I’d ever use on another miniature or plastic model. It fills the print lines well enough that they are hard to see, especially at gaming distance, but not enough to obscure the detail I want to see. The Printable Scenery details are nice and chunky, so they take the extra primer/filler well.
Then I can go over with a colour primer, as I have done here.
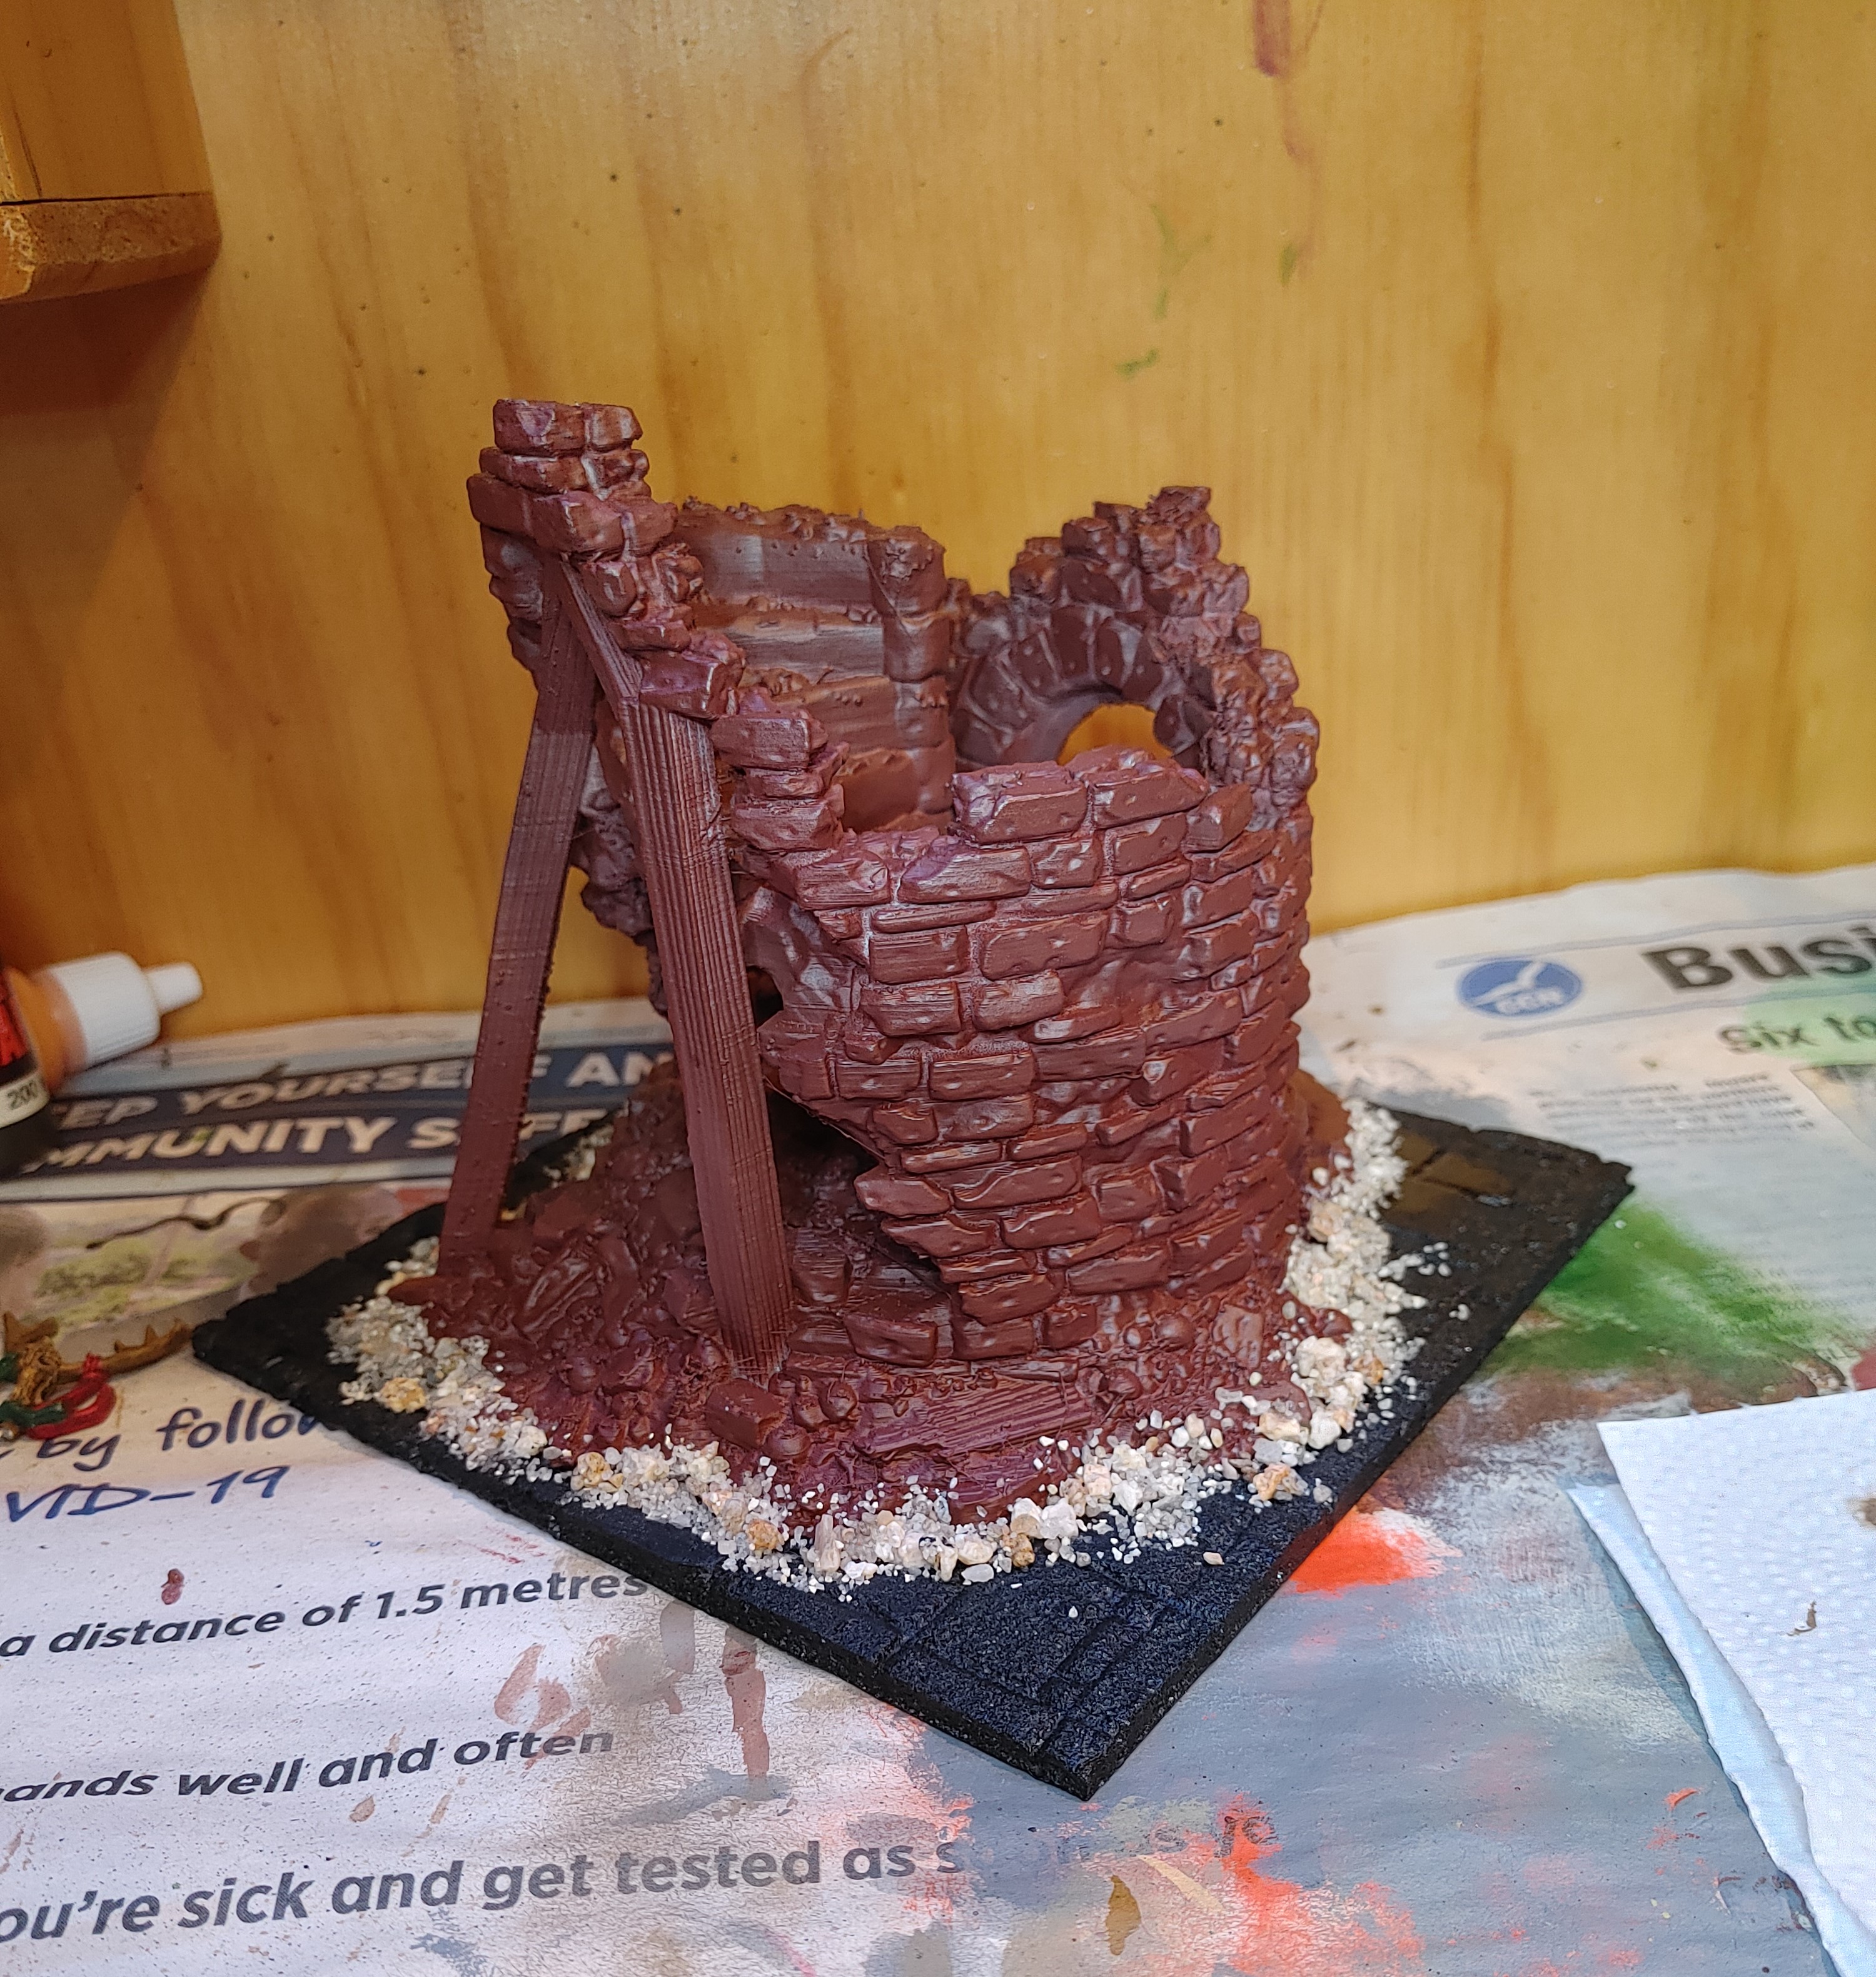 7 Apr 21: After priming and sealing the base board, I added extra grit and sand to blend the model into the base.
 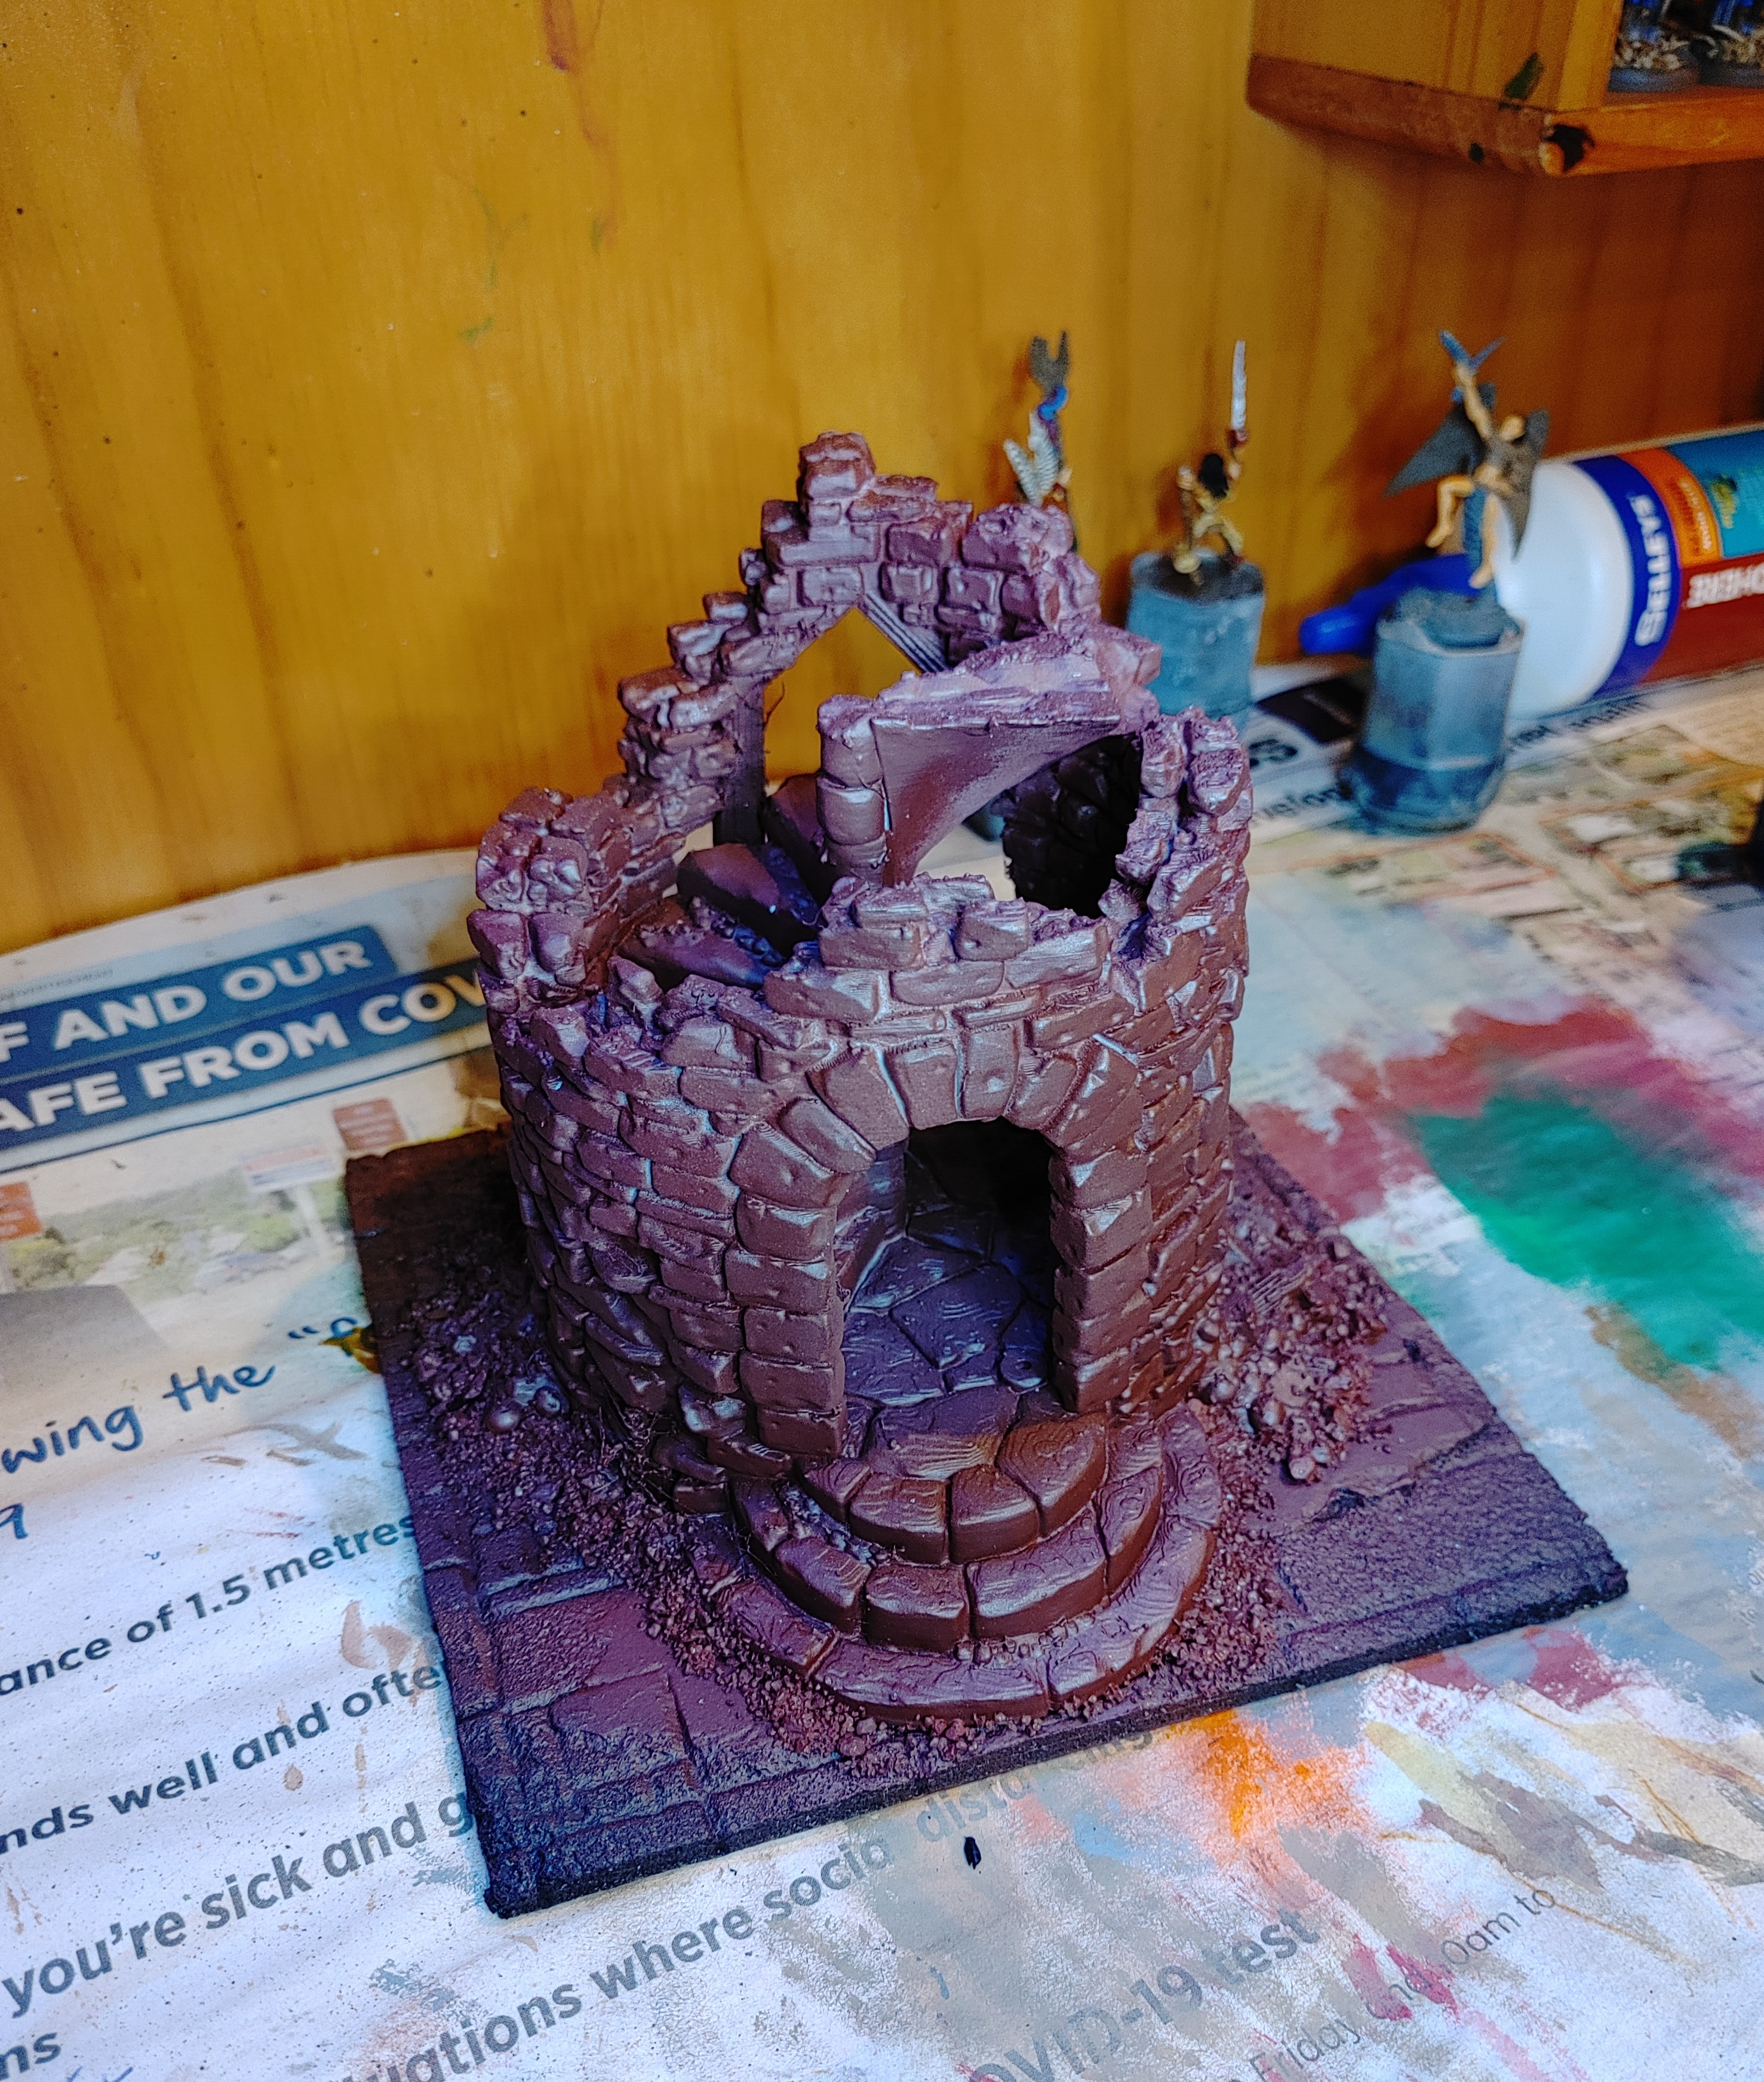 When I dry, I hit it with the Army Painter red-brown spray I was using.
 11 Mar 21: Laying down the pavers
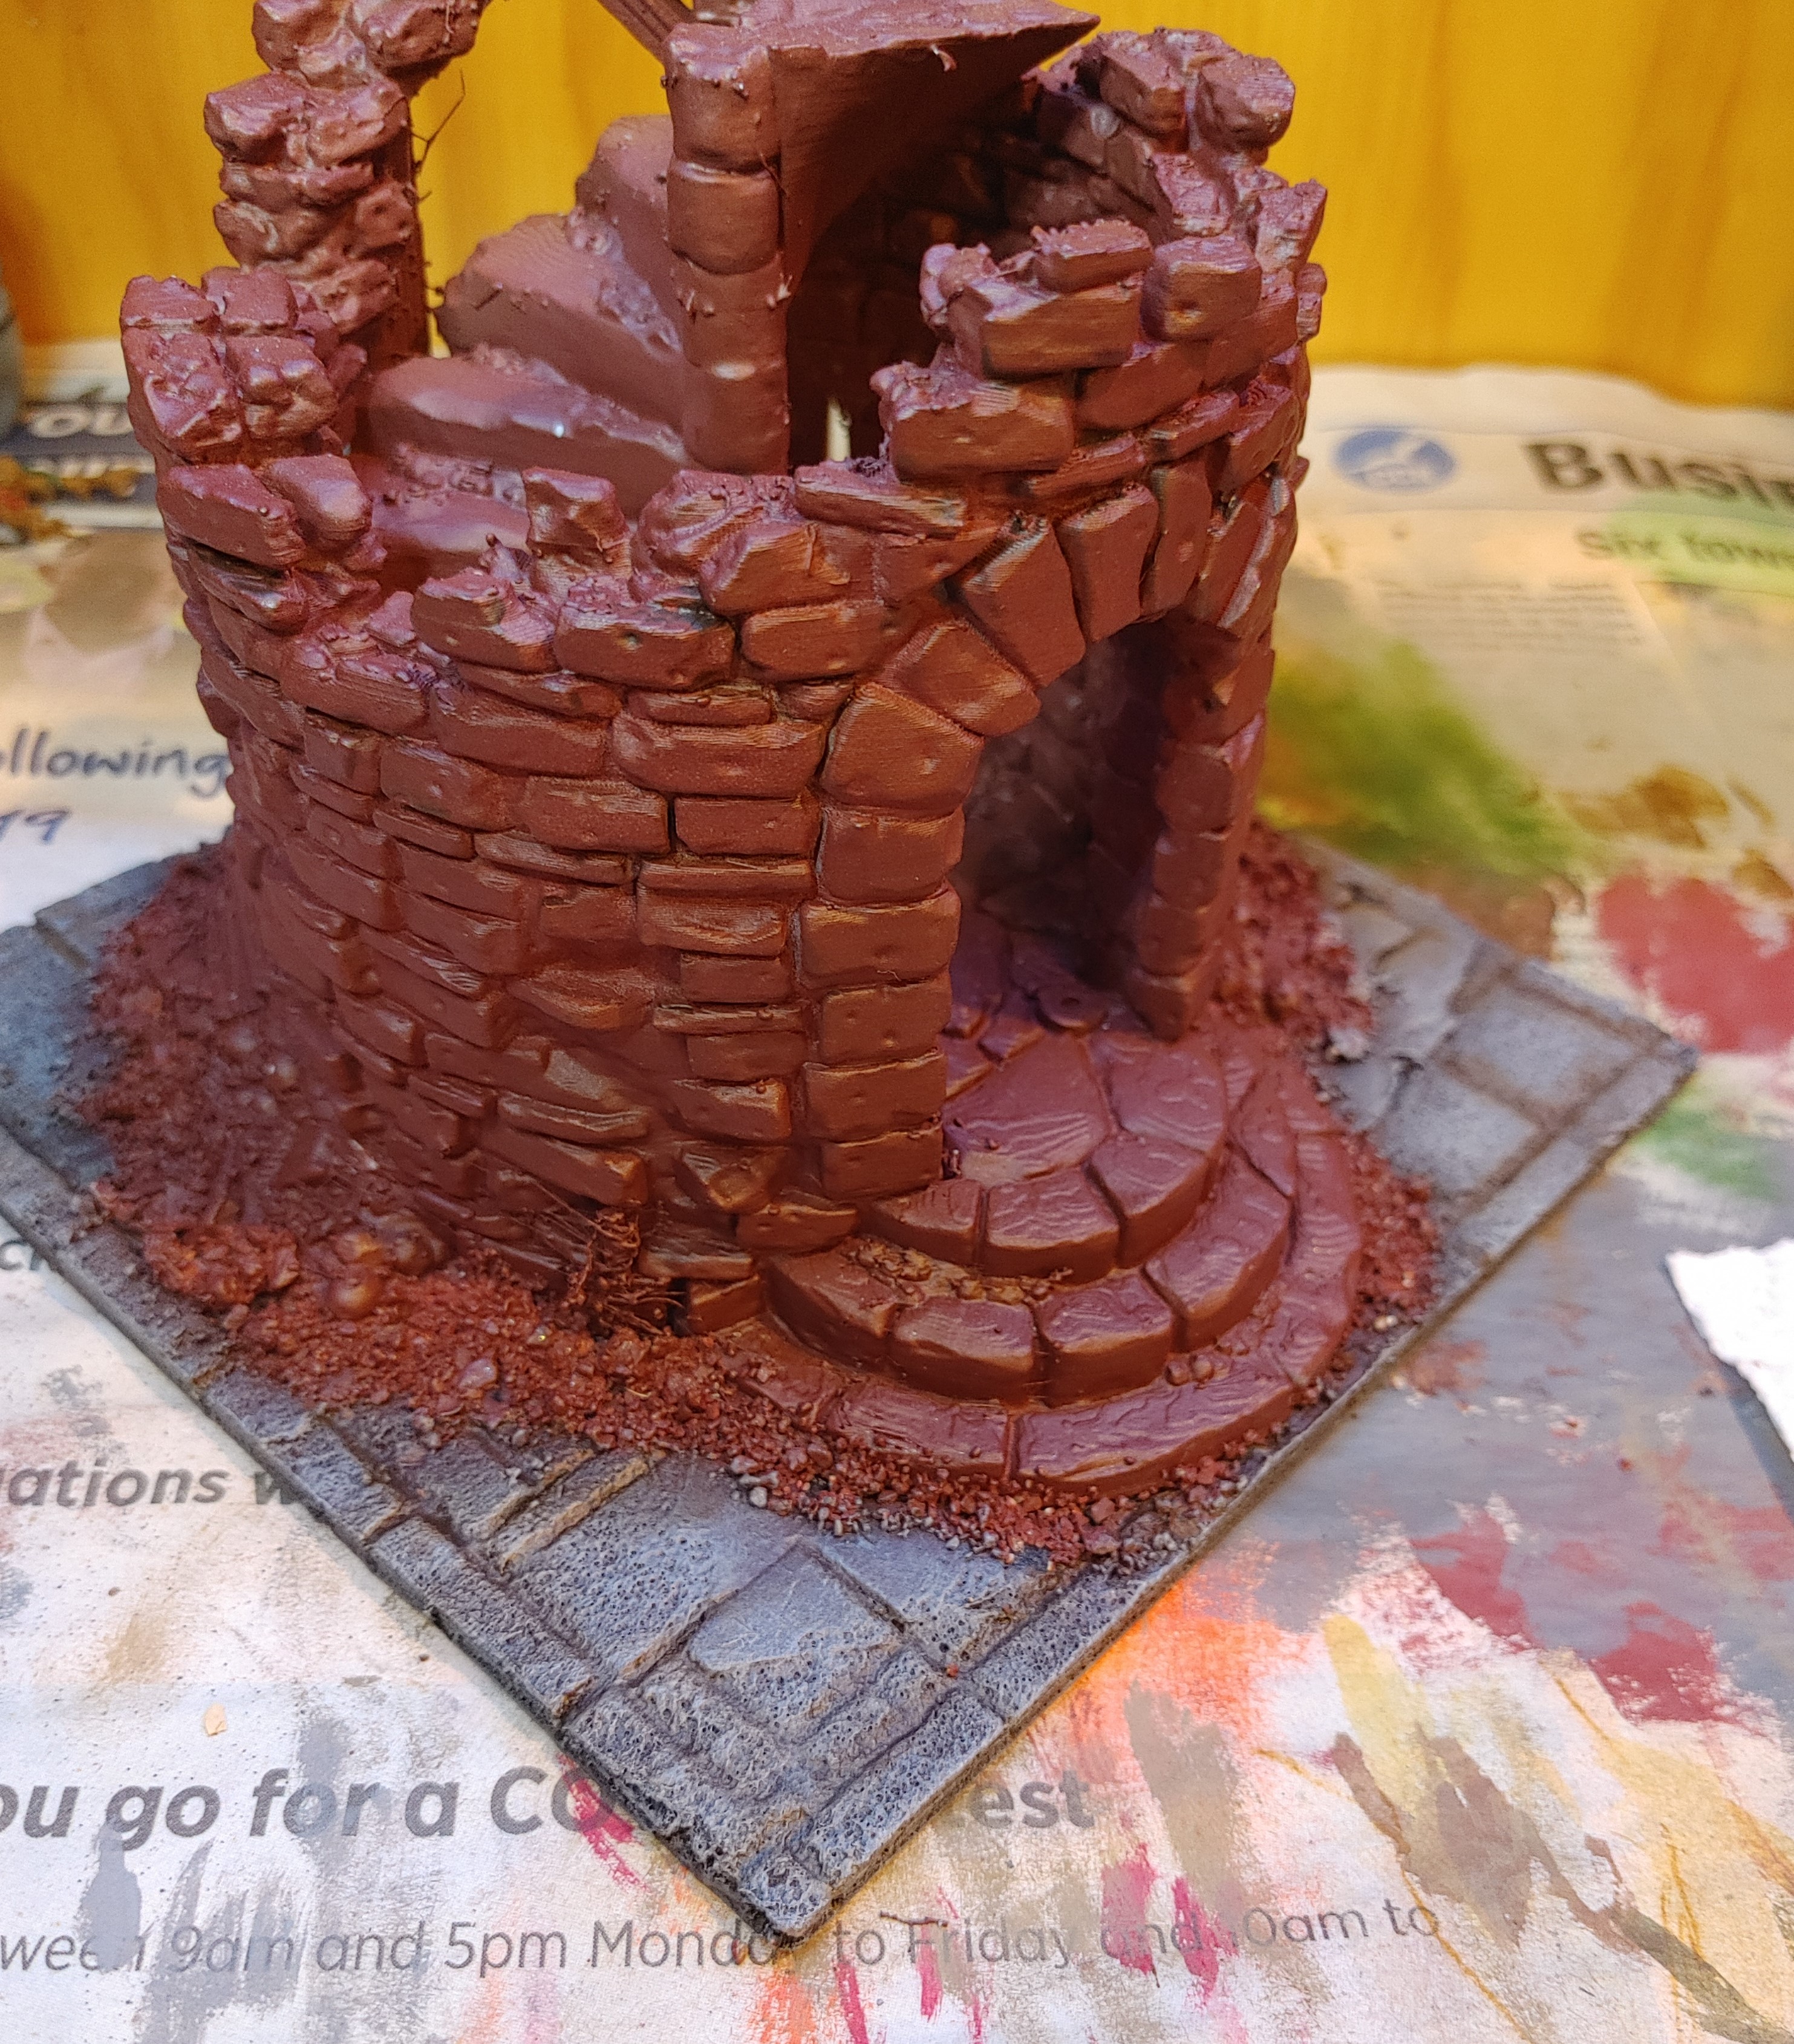
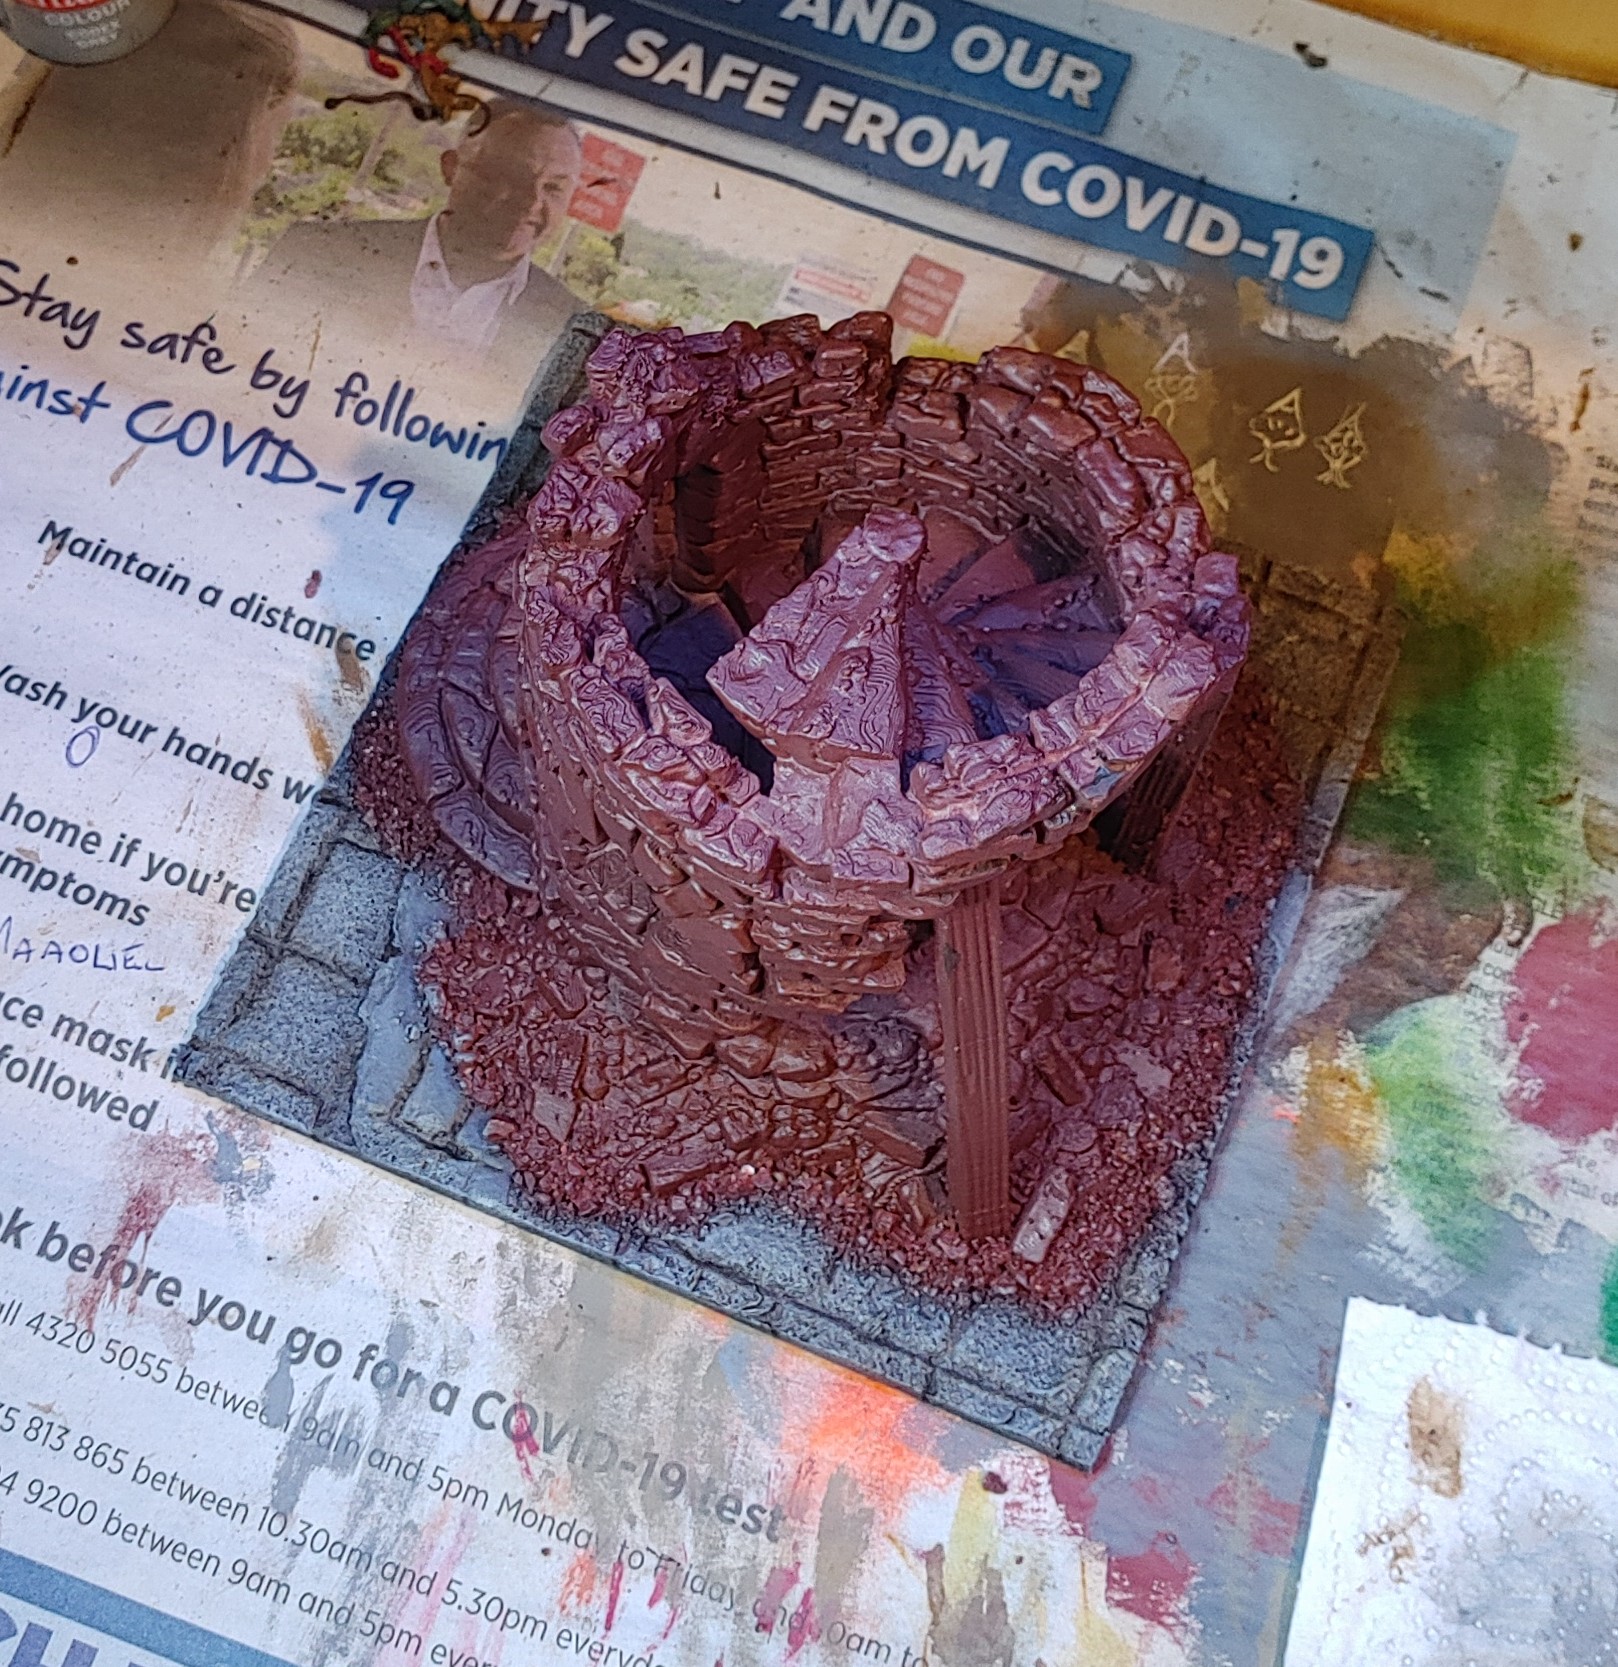
Using dollar store craft acrylics, I’ve put the colour on the pavers. Just using overbrush/drybrush for the pavers. Using brown acrylic thinned with water to paint the spaces between.
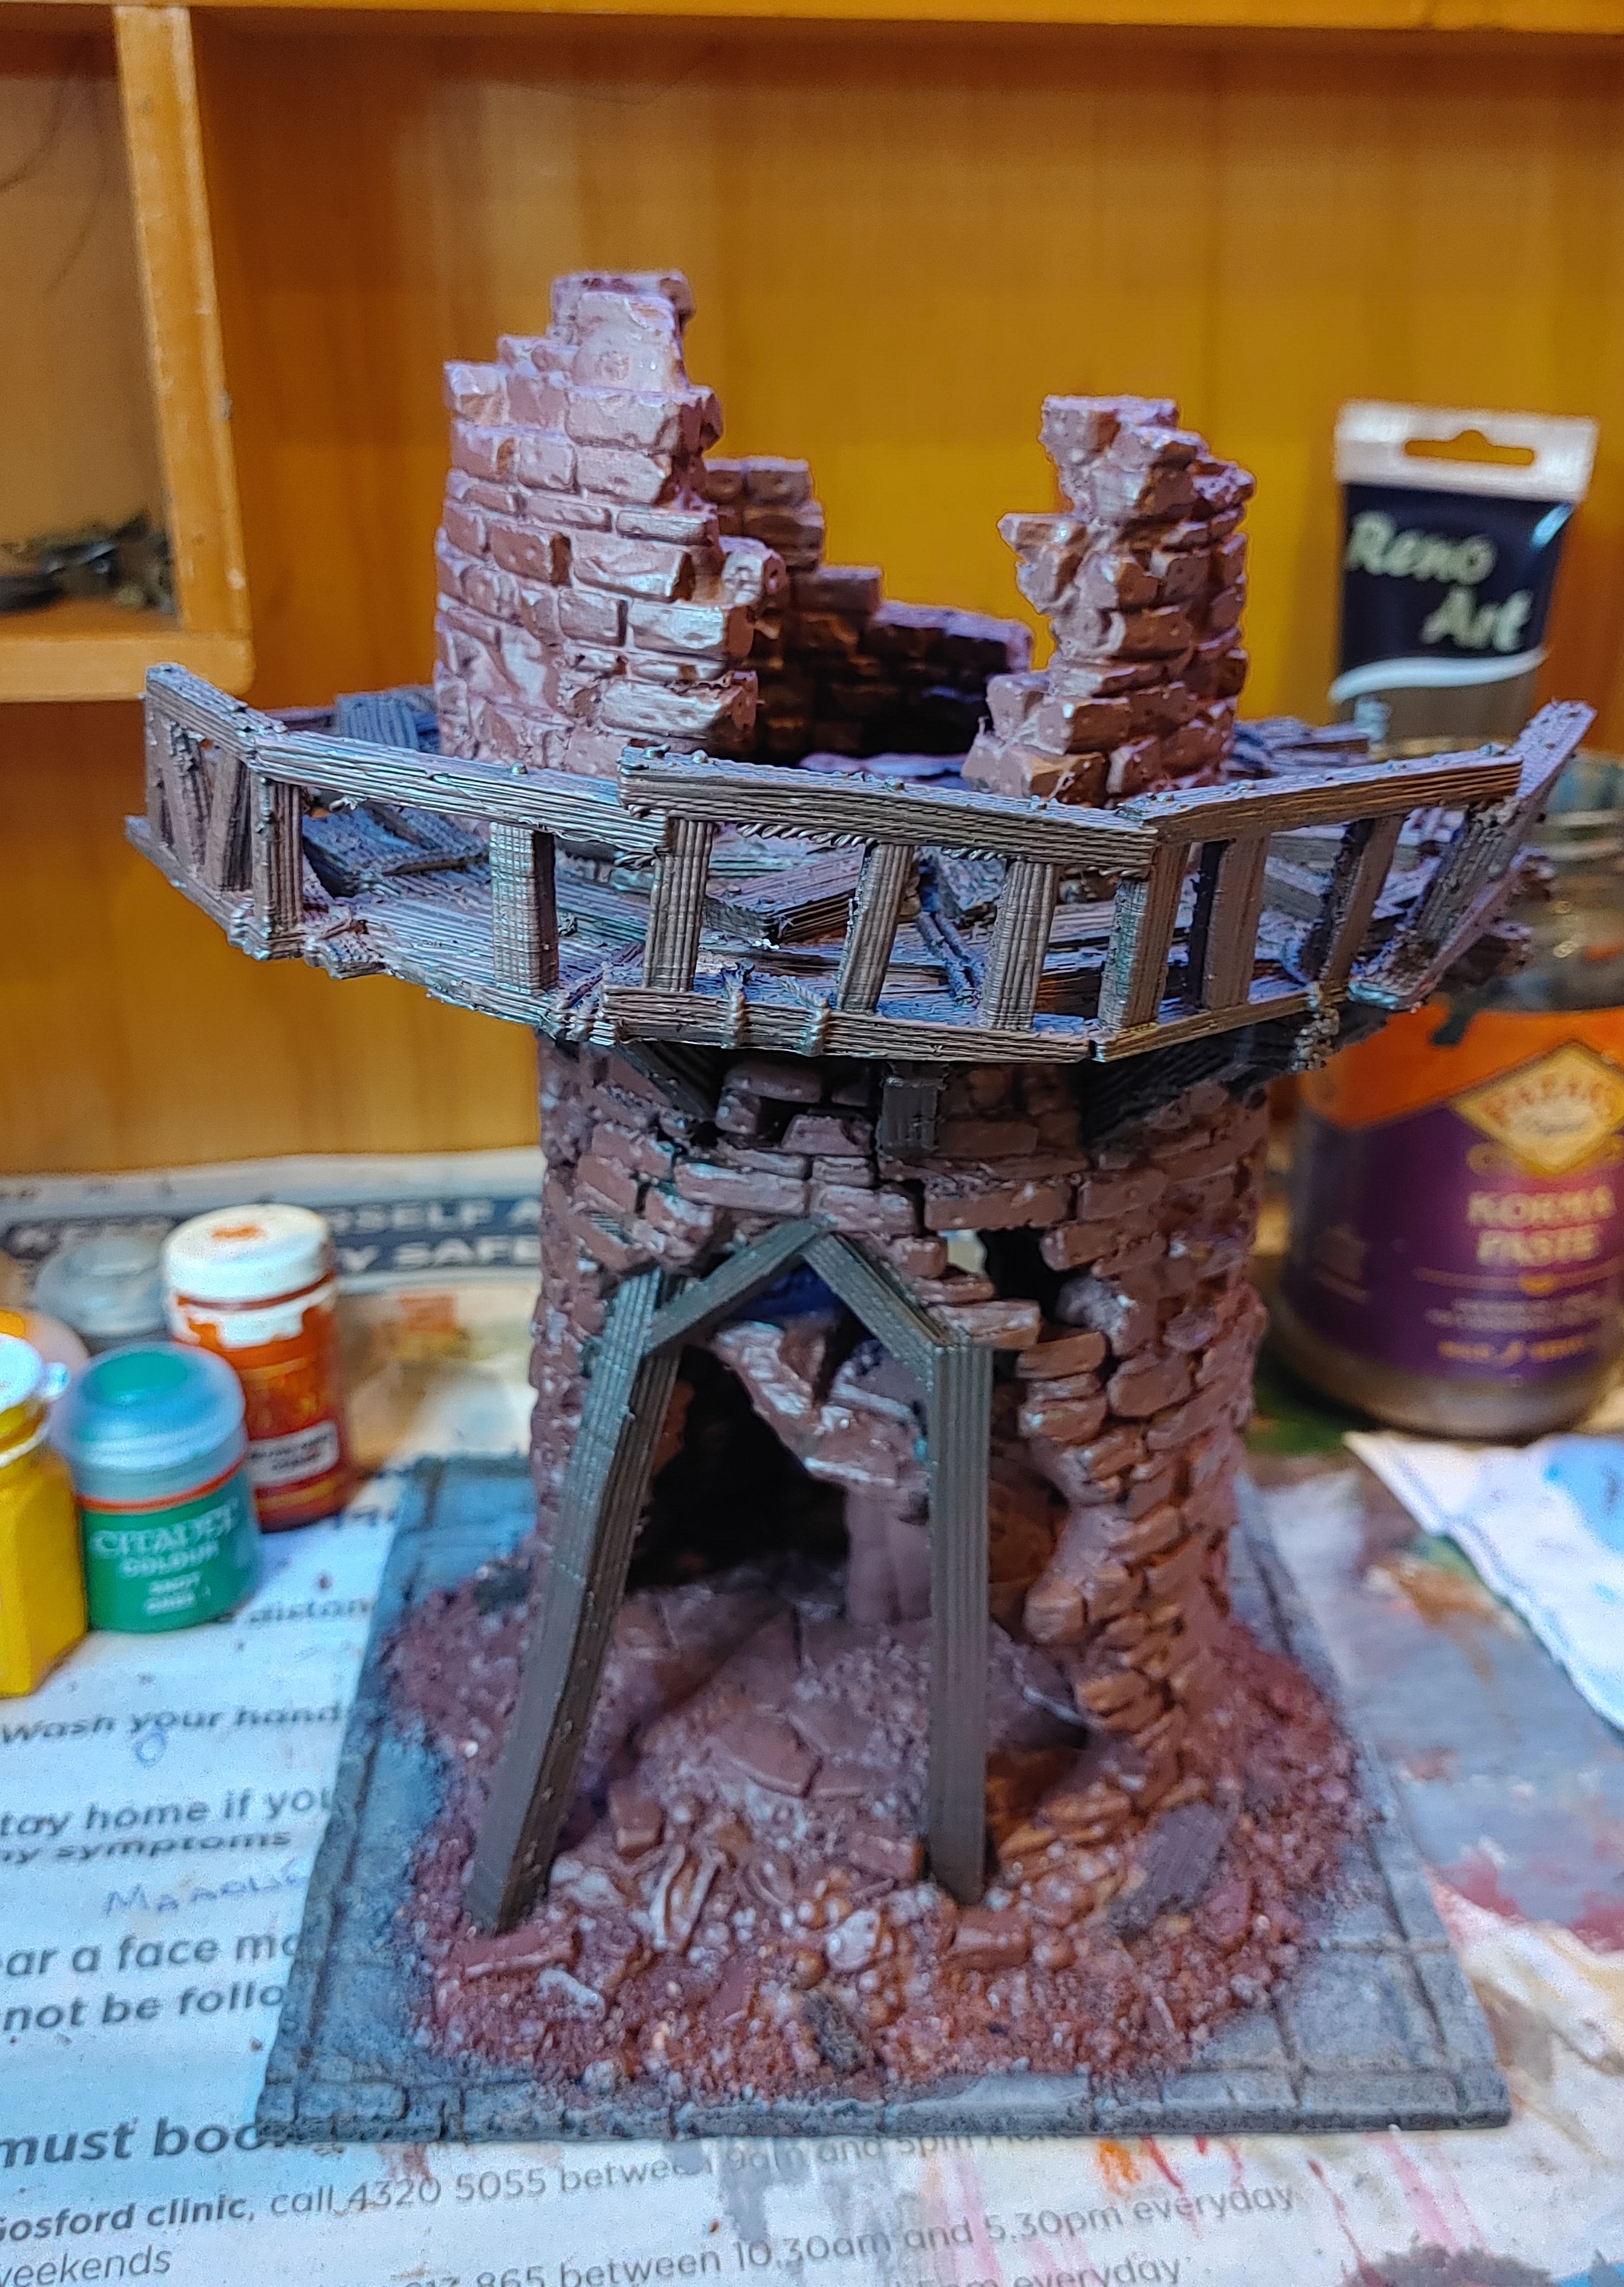
13 Mar 22: Timber components done, cheap acrylic used!
1 Feb 21: First batch of Terrain Crate almost done
The first batch is almost done at this point. I got so focused on just getting it done, I forgot to take progress photos… Mostly.

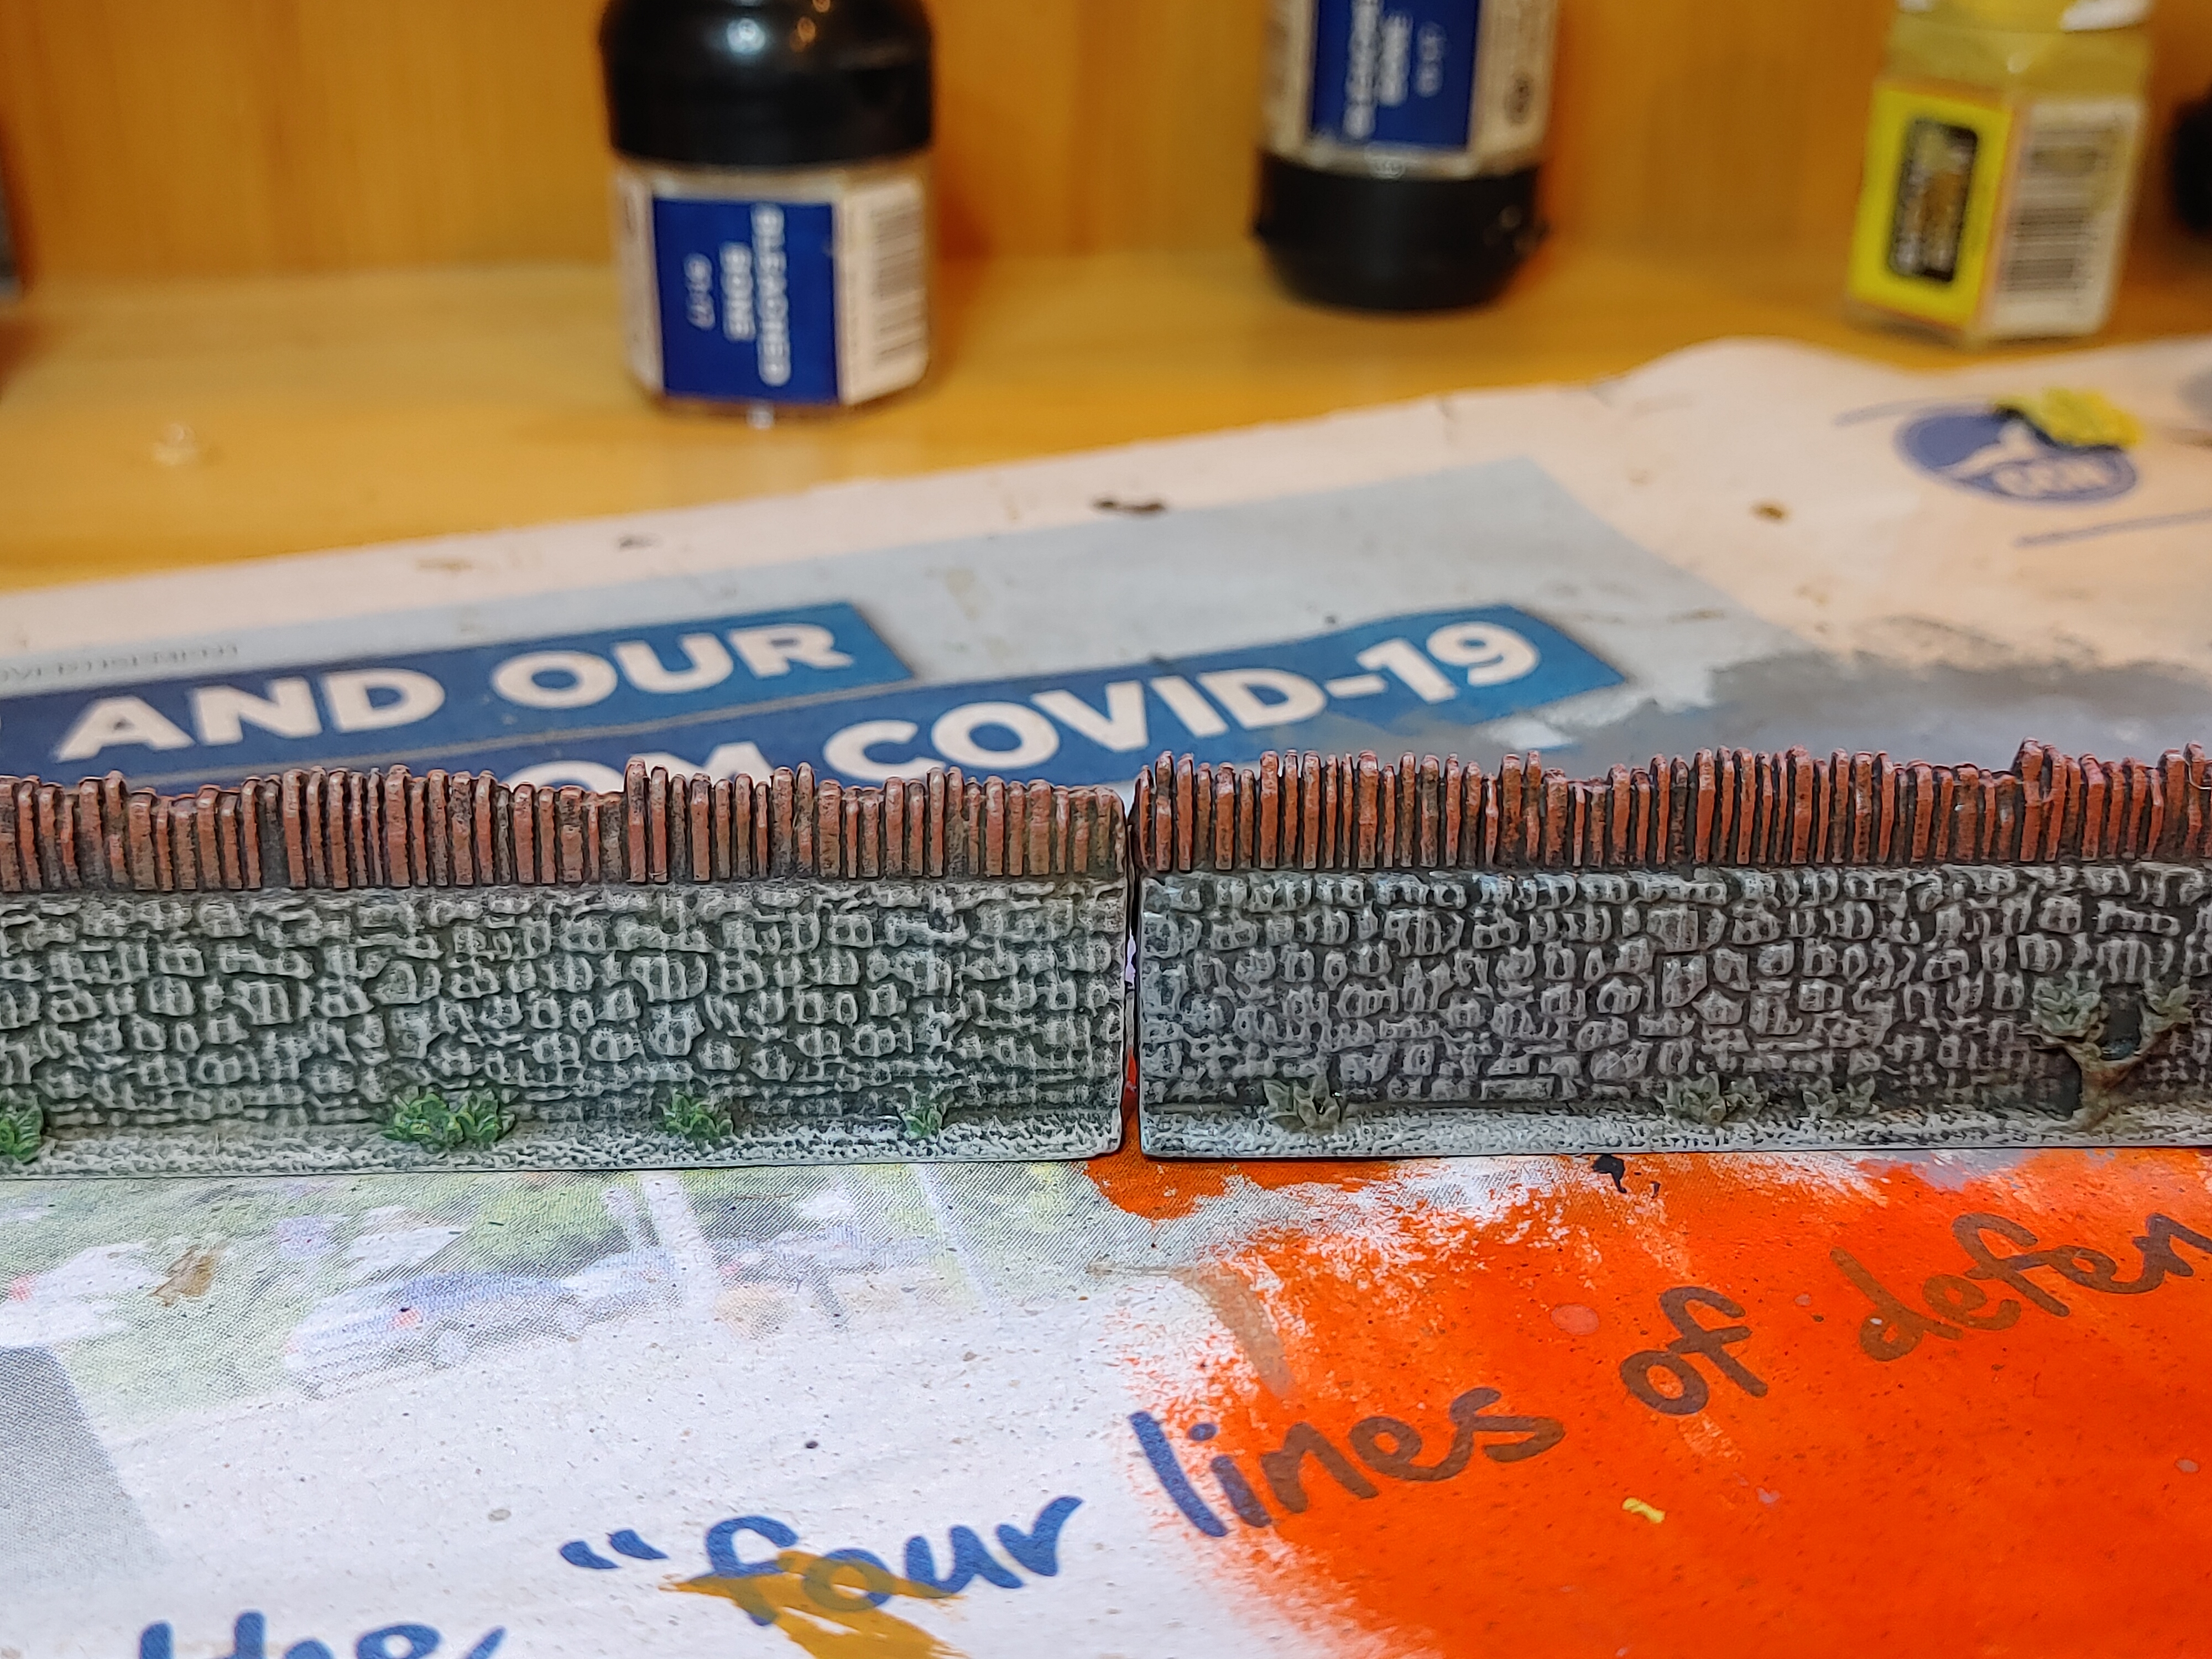
The tops of the walls have been painted as terracotta tiles. I mostly used old Citadel paints… I don’t what I’m go into to do when they eventually run out?
Then I went in and picked out the little details quickly. There are little weeds and bushes. As there are 3 sets of these walls, each set fort a different colour: a green, a brown and a beige.
9 Feb 21: Takin the city on the road
- It’s been a while but we finally got another game organised. This time Nick wanted to host as his place, as his girl wanted him to be close by (at this time she’s heavily pregnant, an any day kind of situation).
So I packed up the town and we set up at player game on his table. We played approx 3′ X 3′ each warband taking a corner. The scenario was the Haunted Houses.
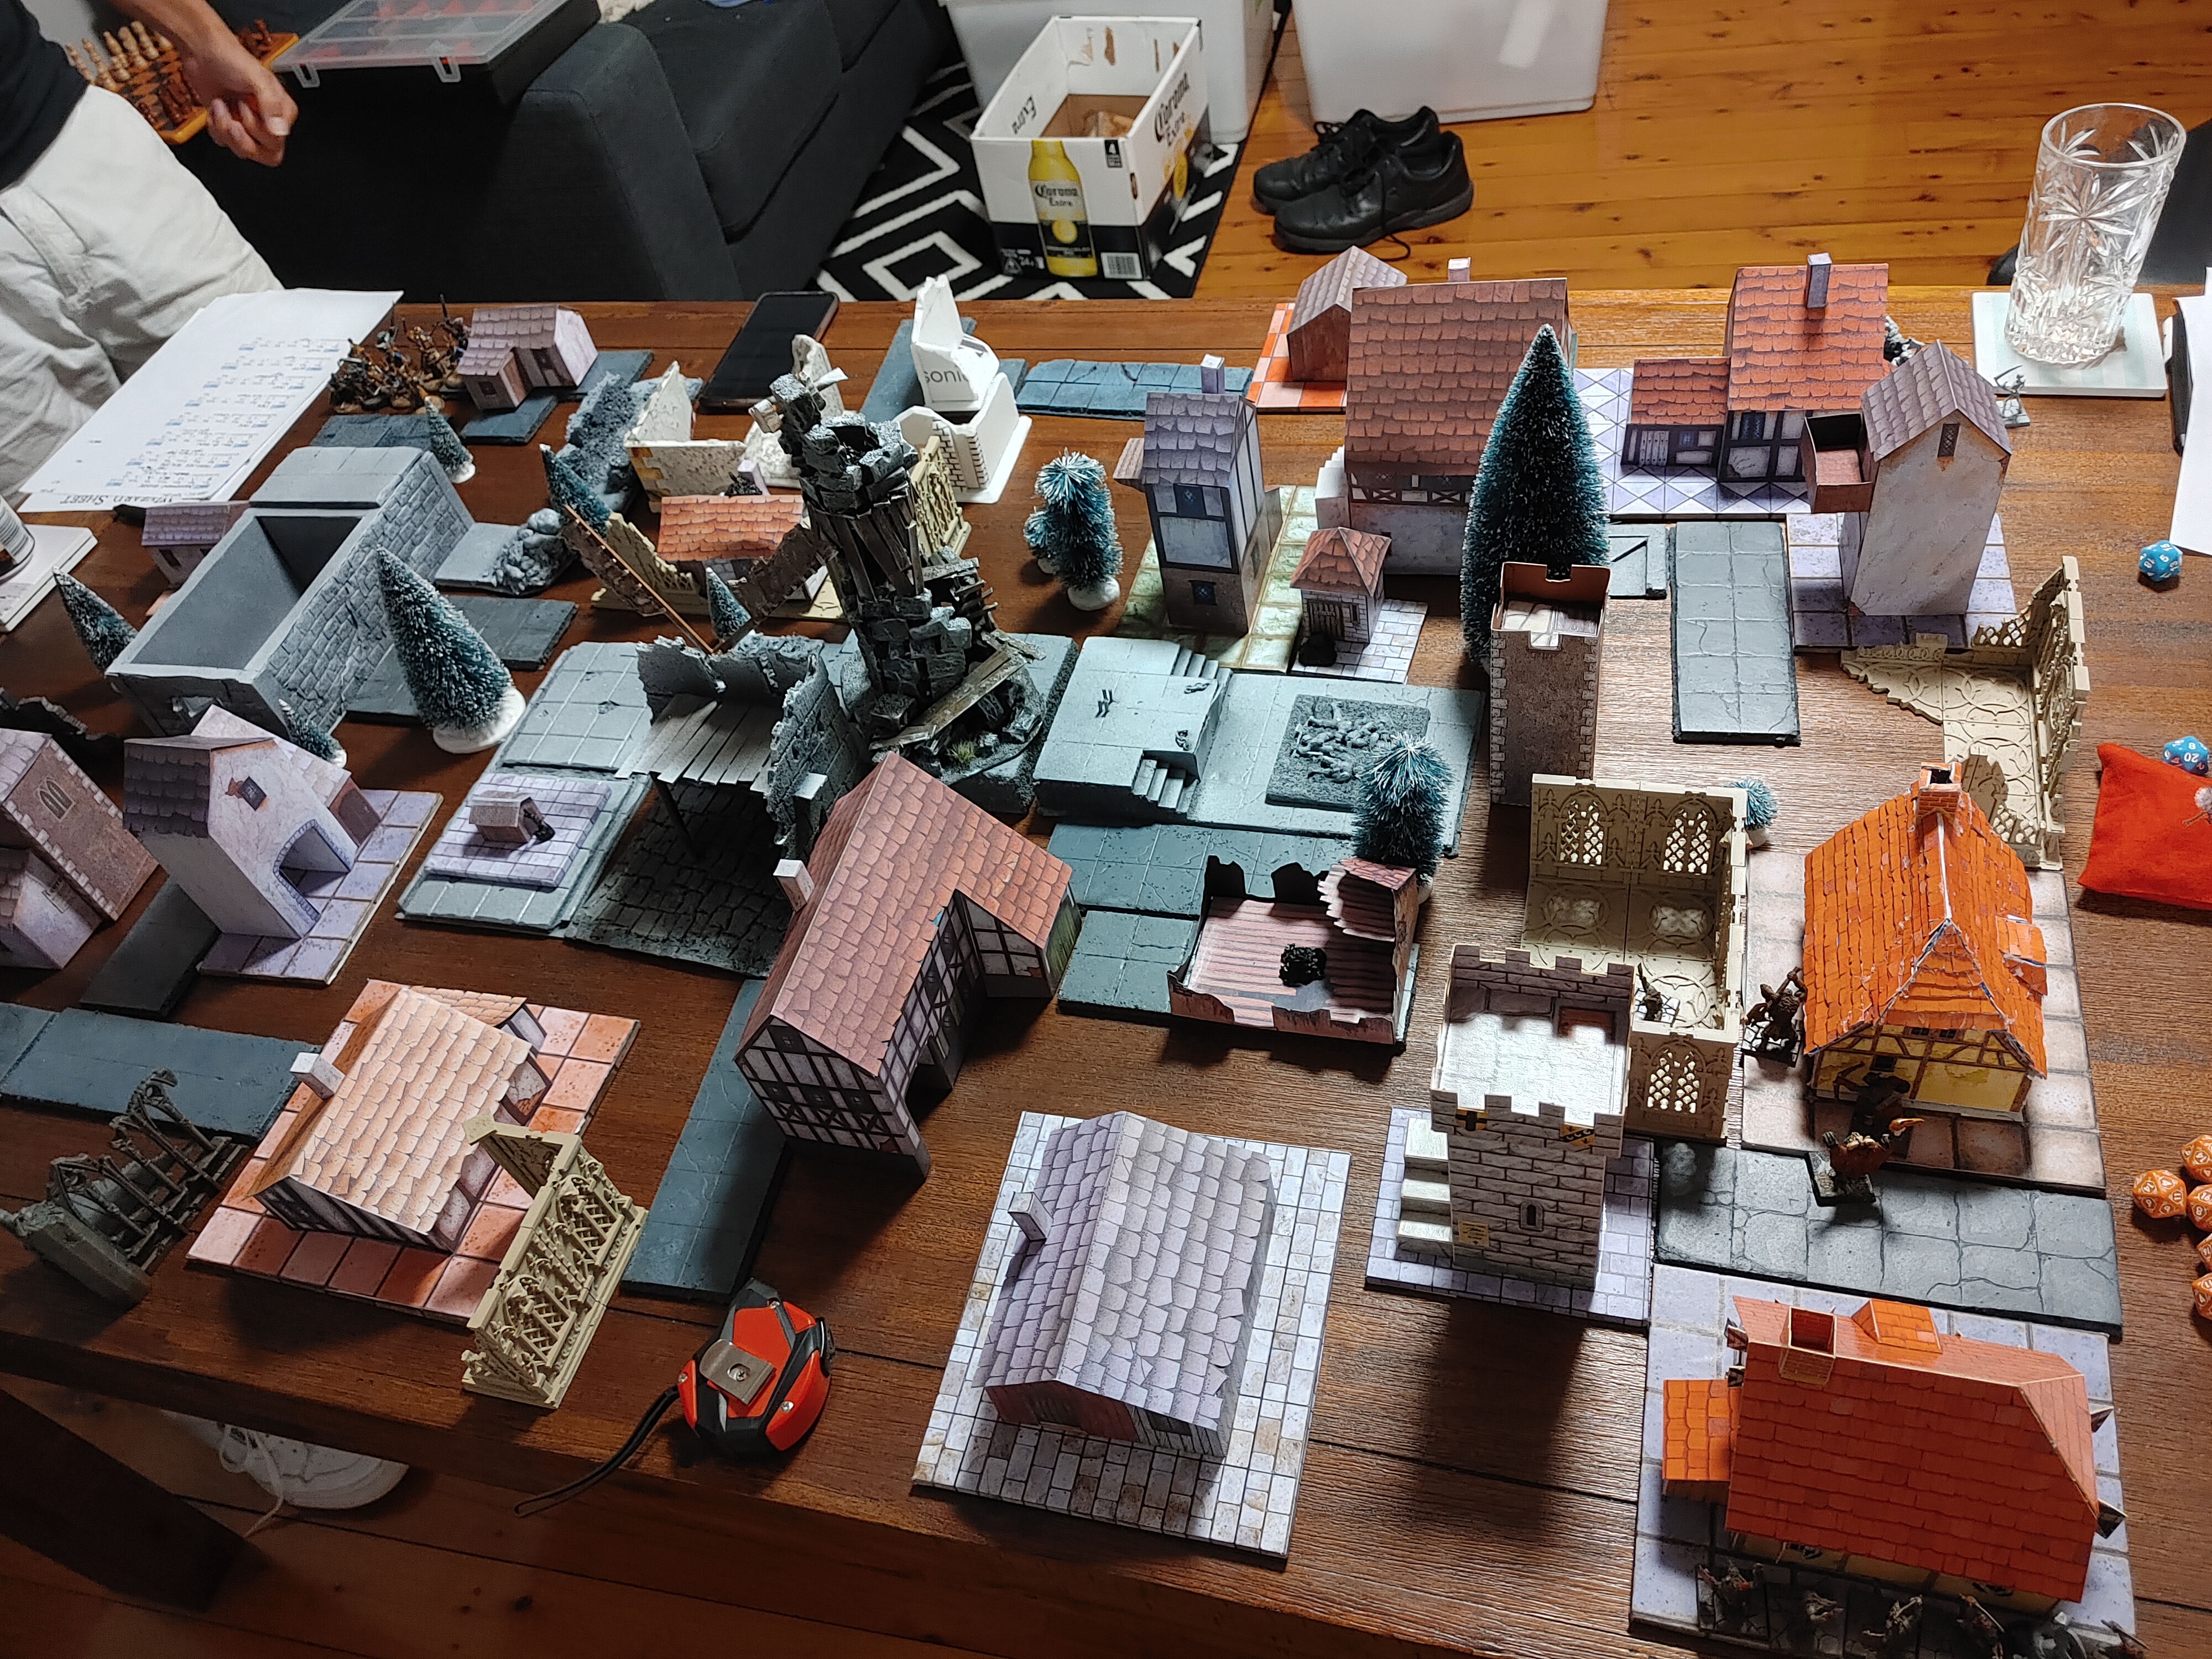 Tonight's location
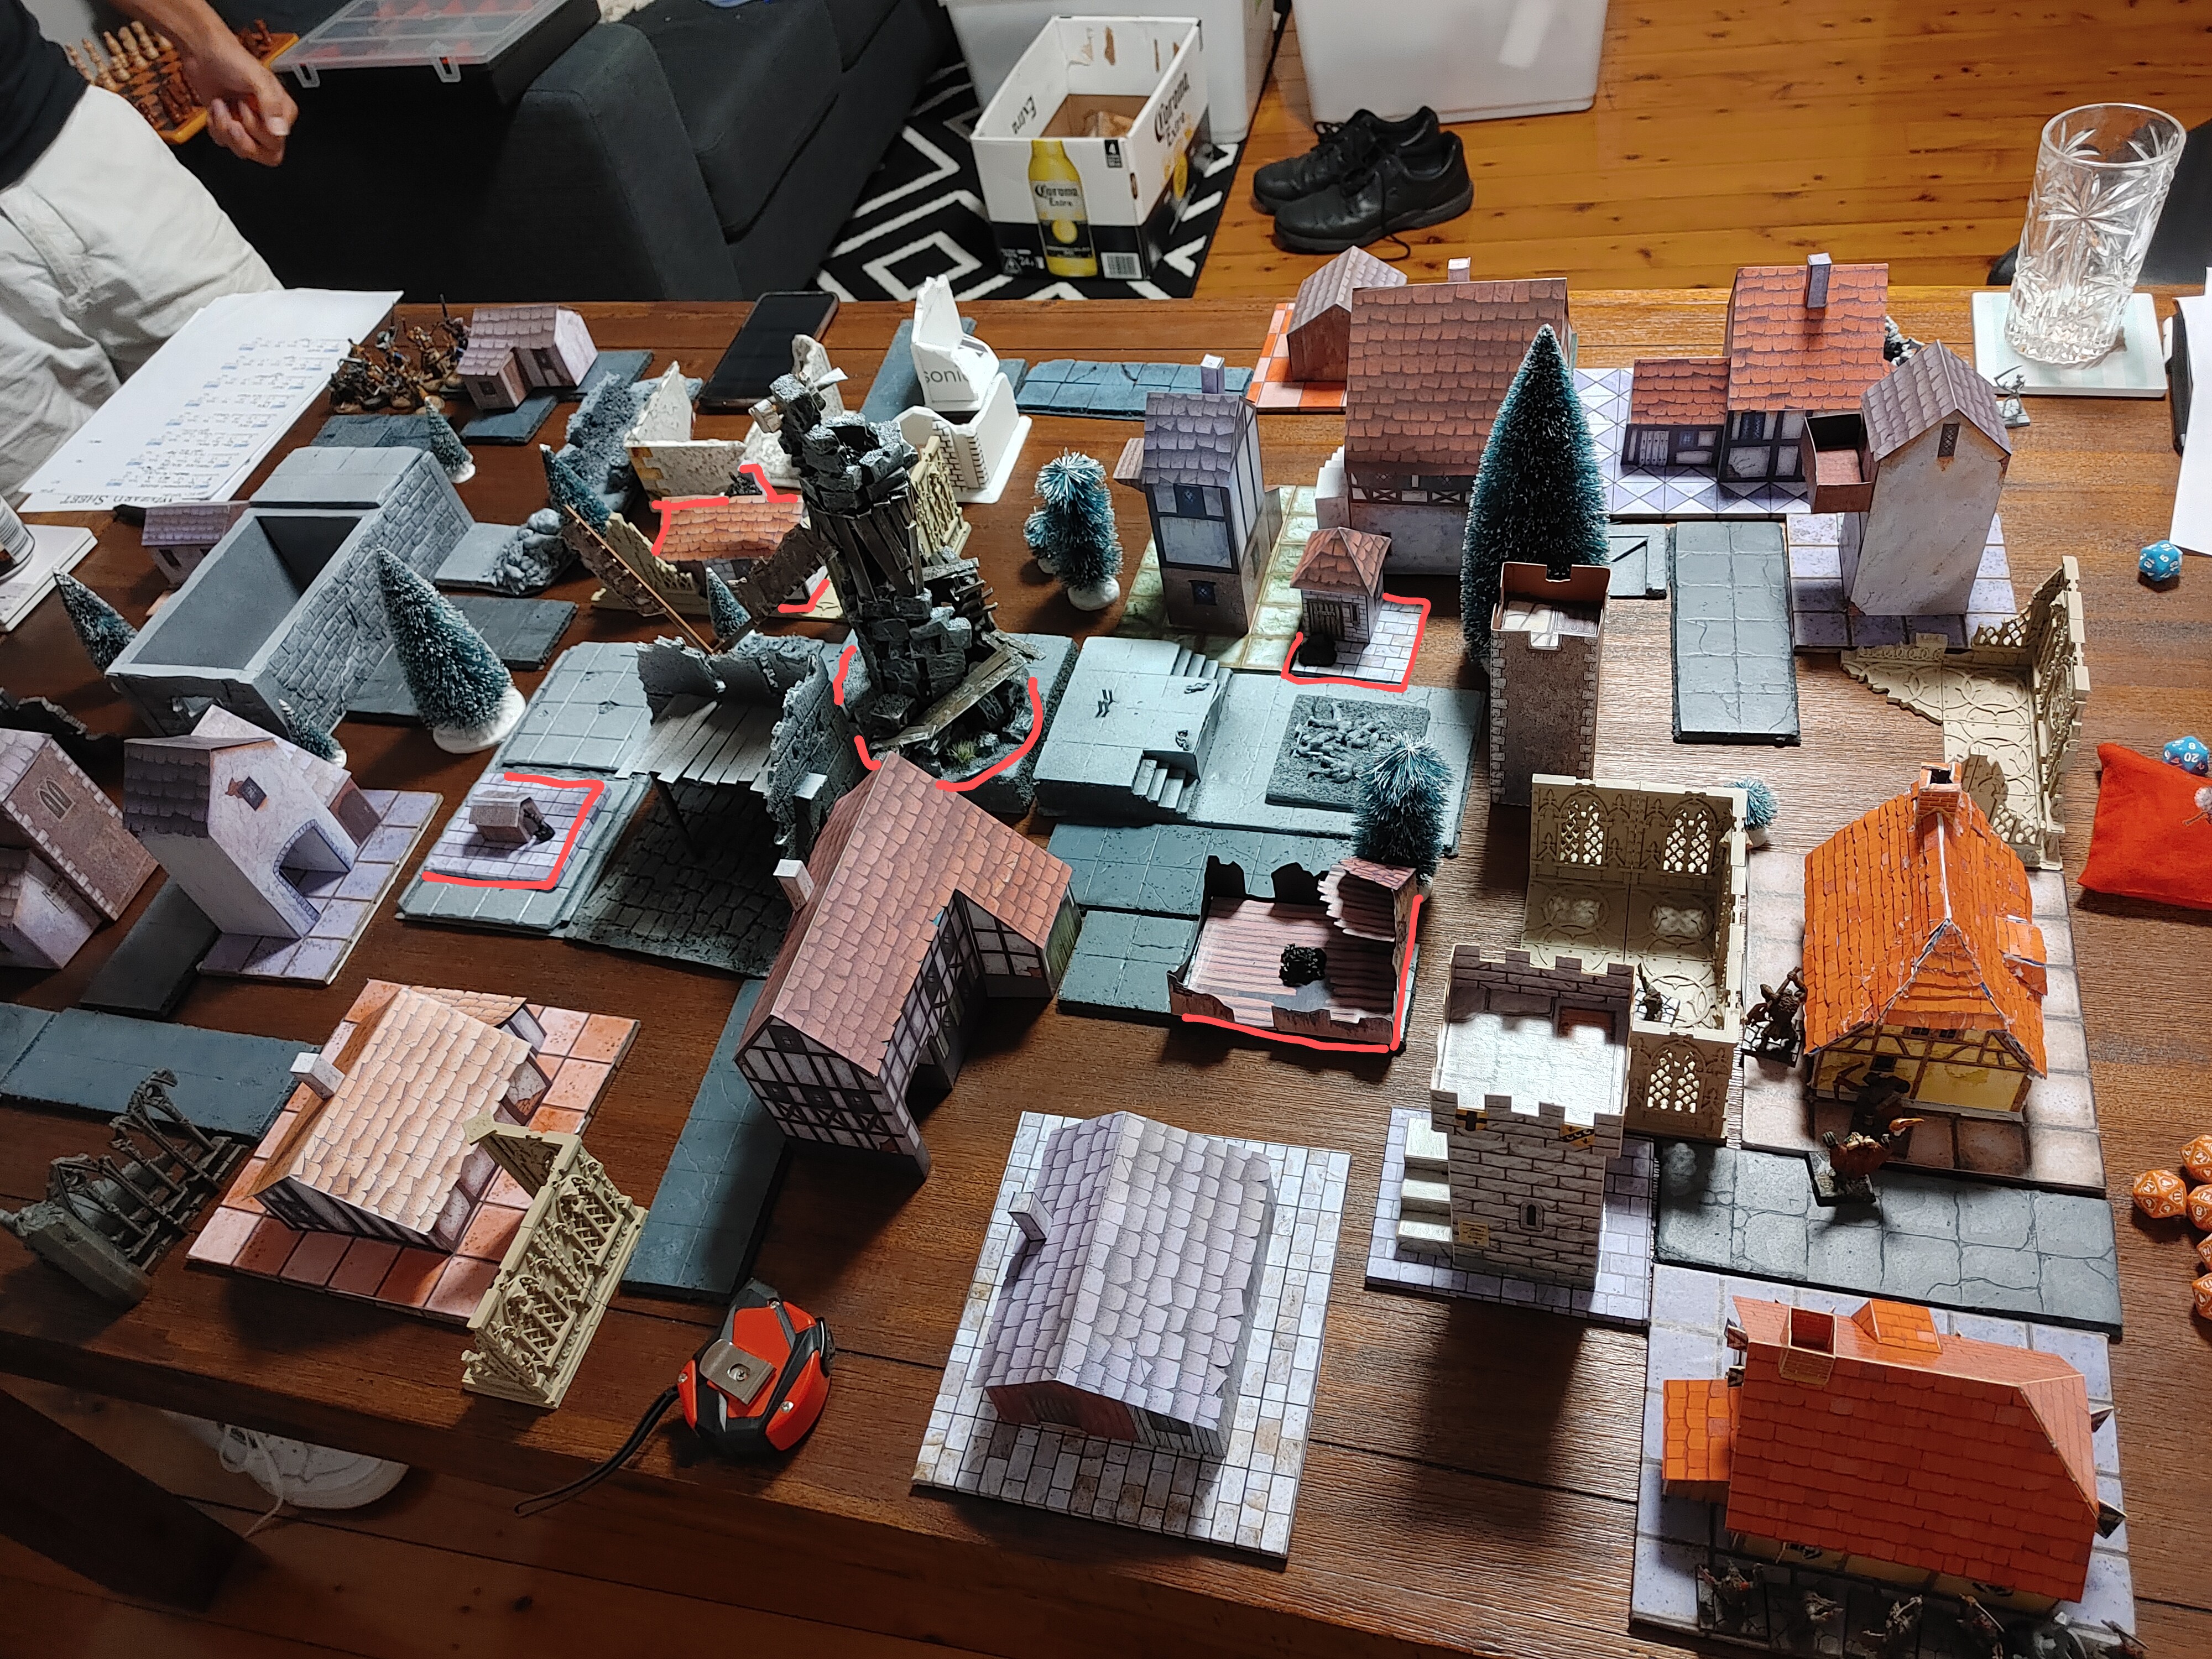 The five haunted houses marked in red
 My Wizard Grishna approaches a treasure, with Archer bodyguard
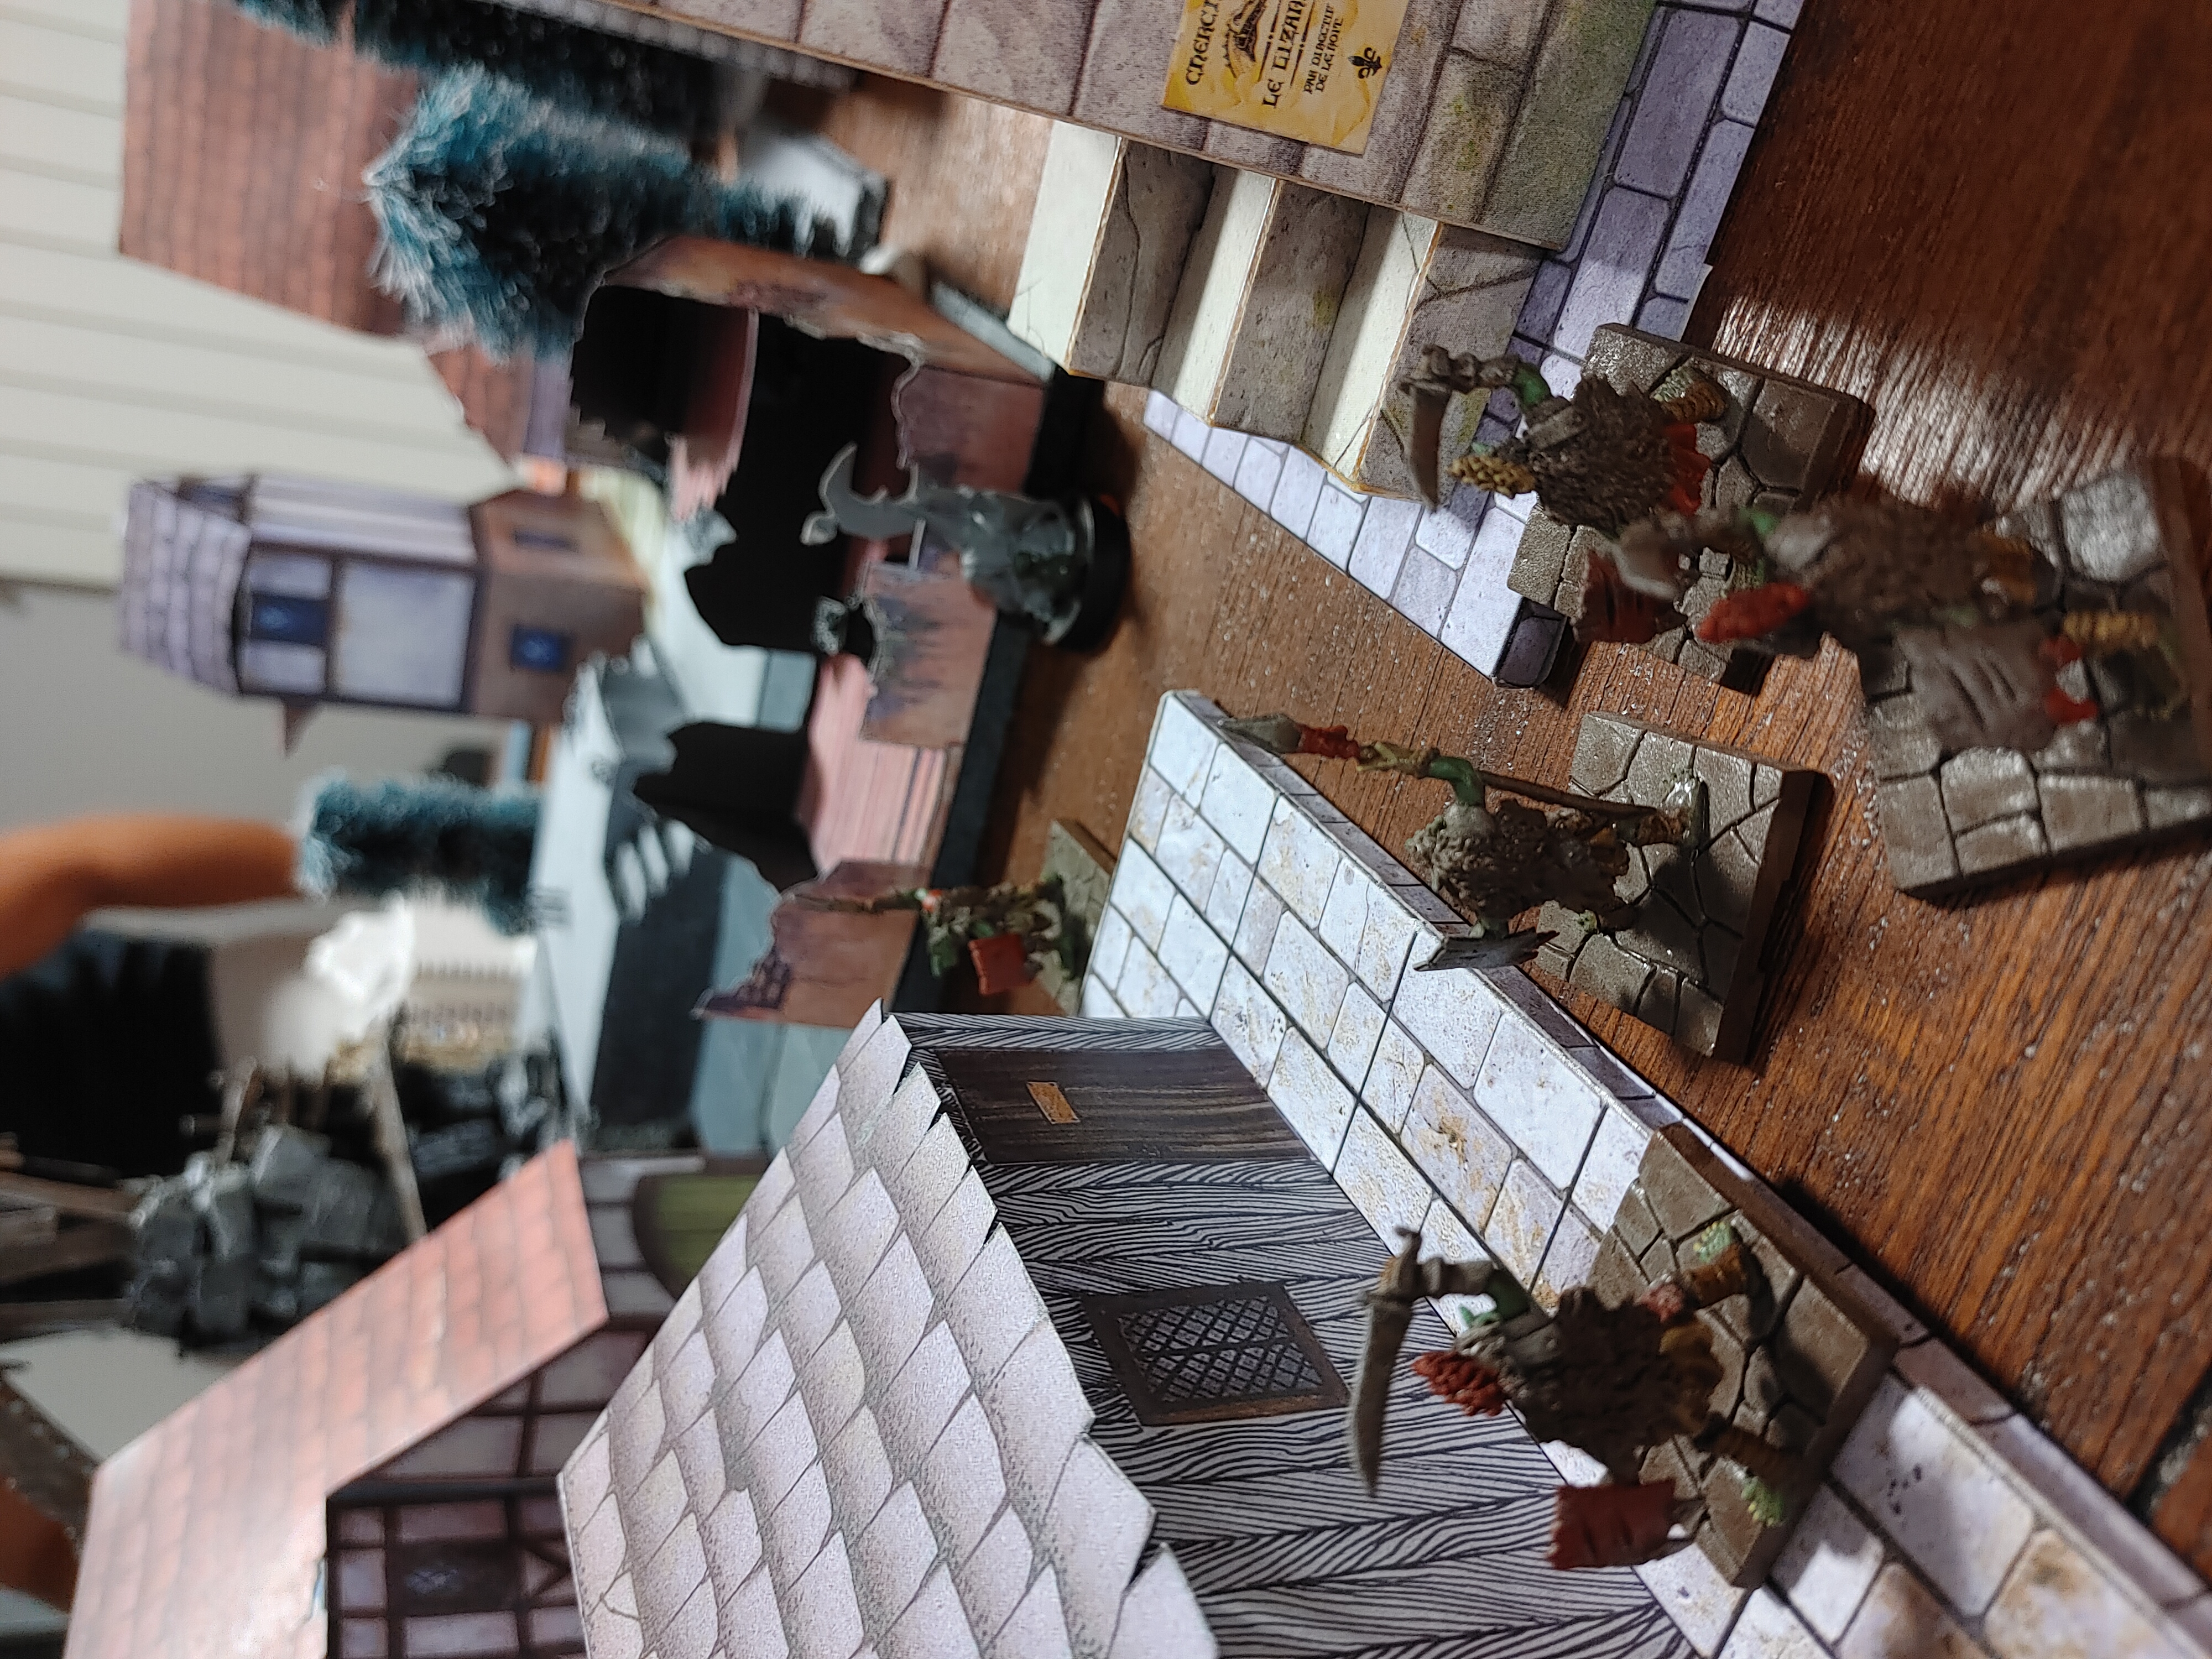 But my Goblin (by the ruined house) apprentice gets there first, supported by goblin Thugs and Thieves
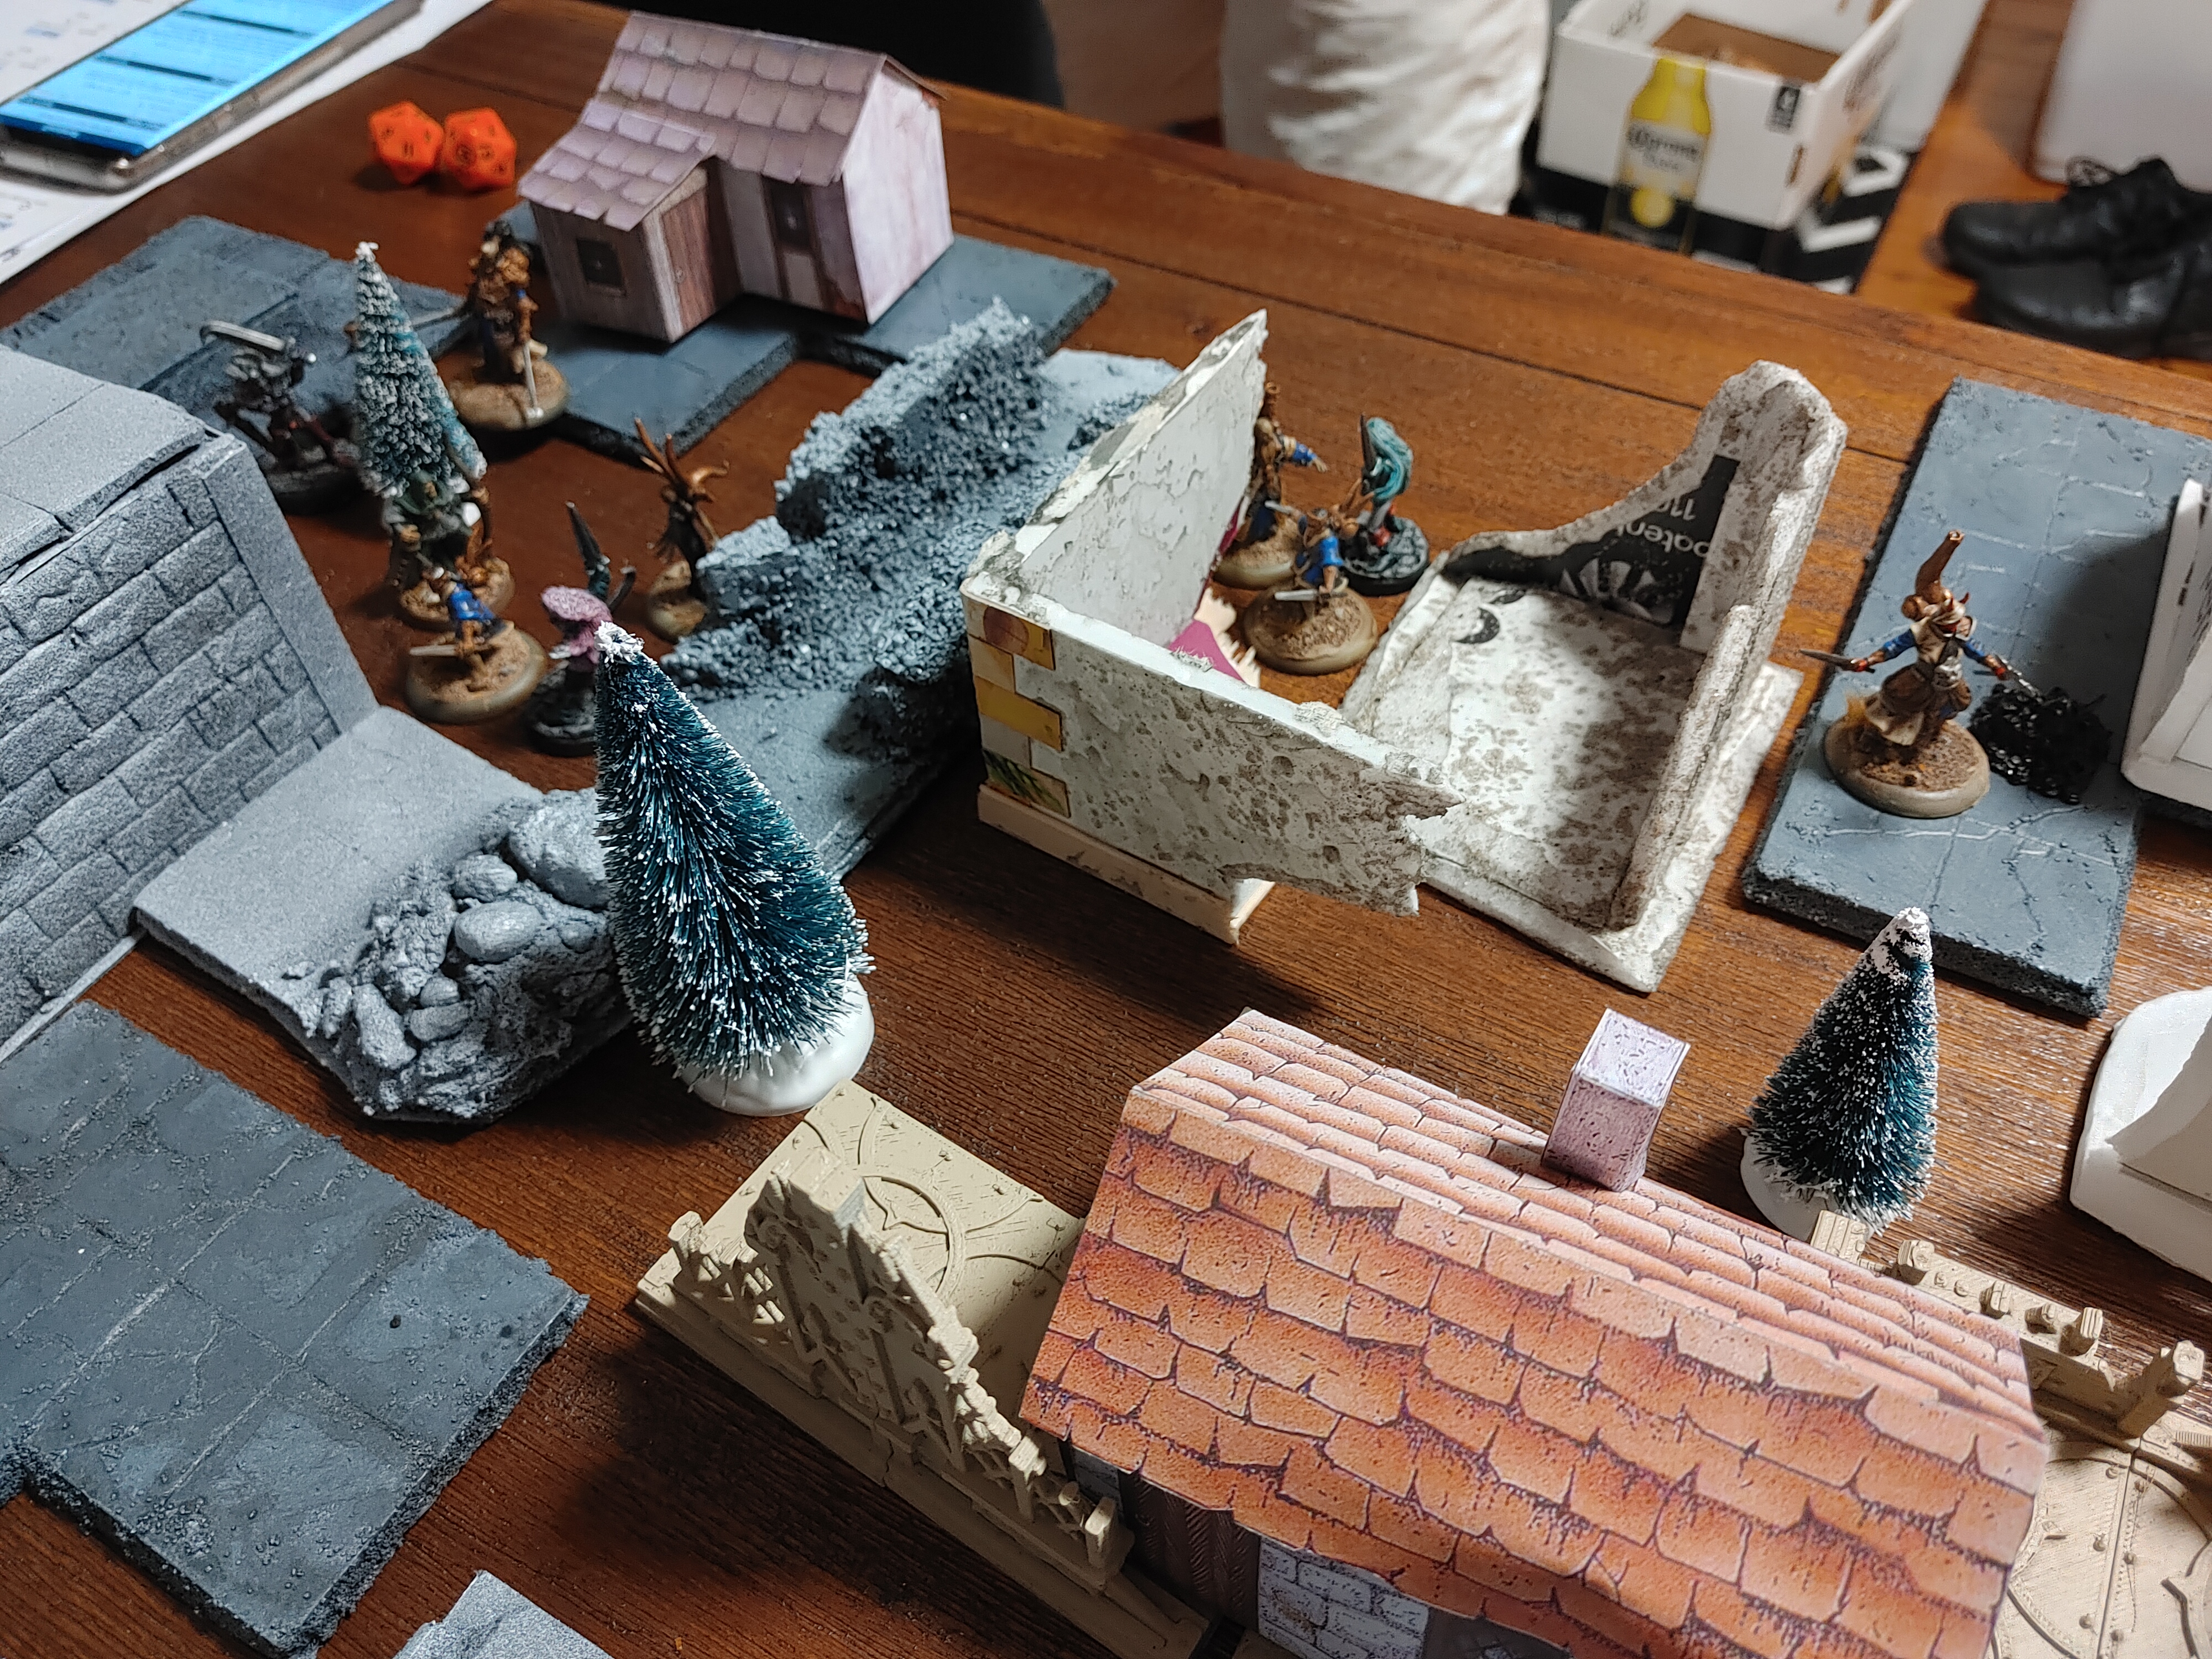 One of Nick's crew makes an escape with a piece of treasure, he found a ghoul, which other members of the band promptly took care of...
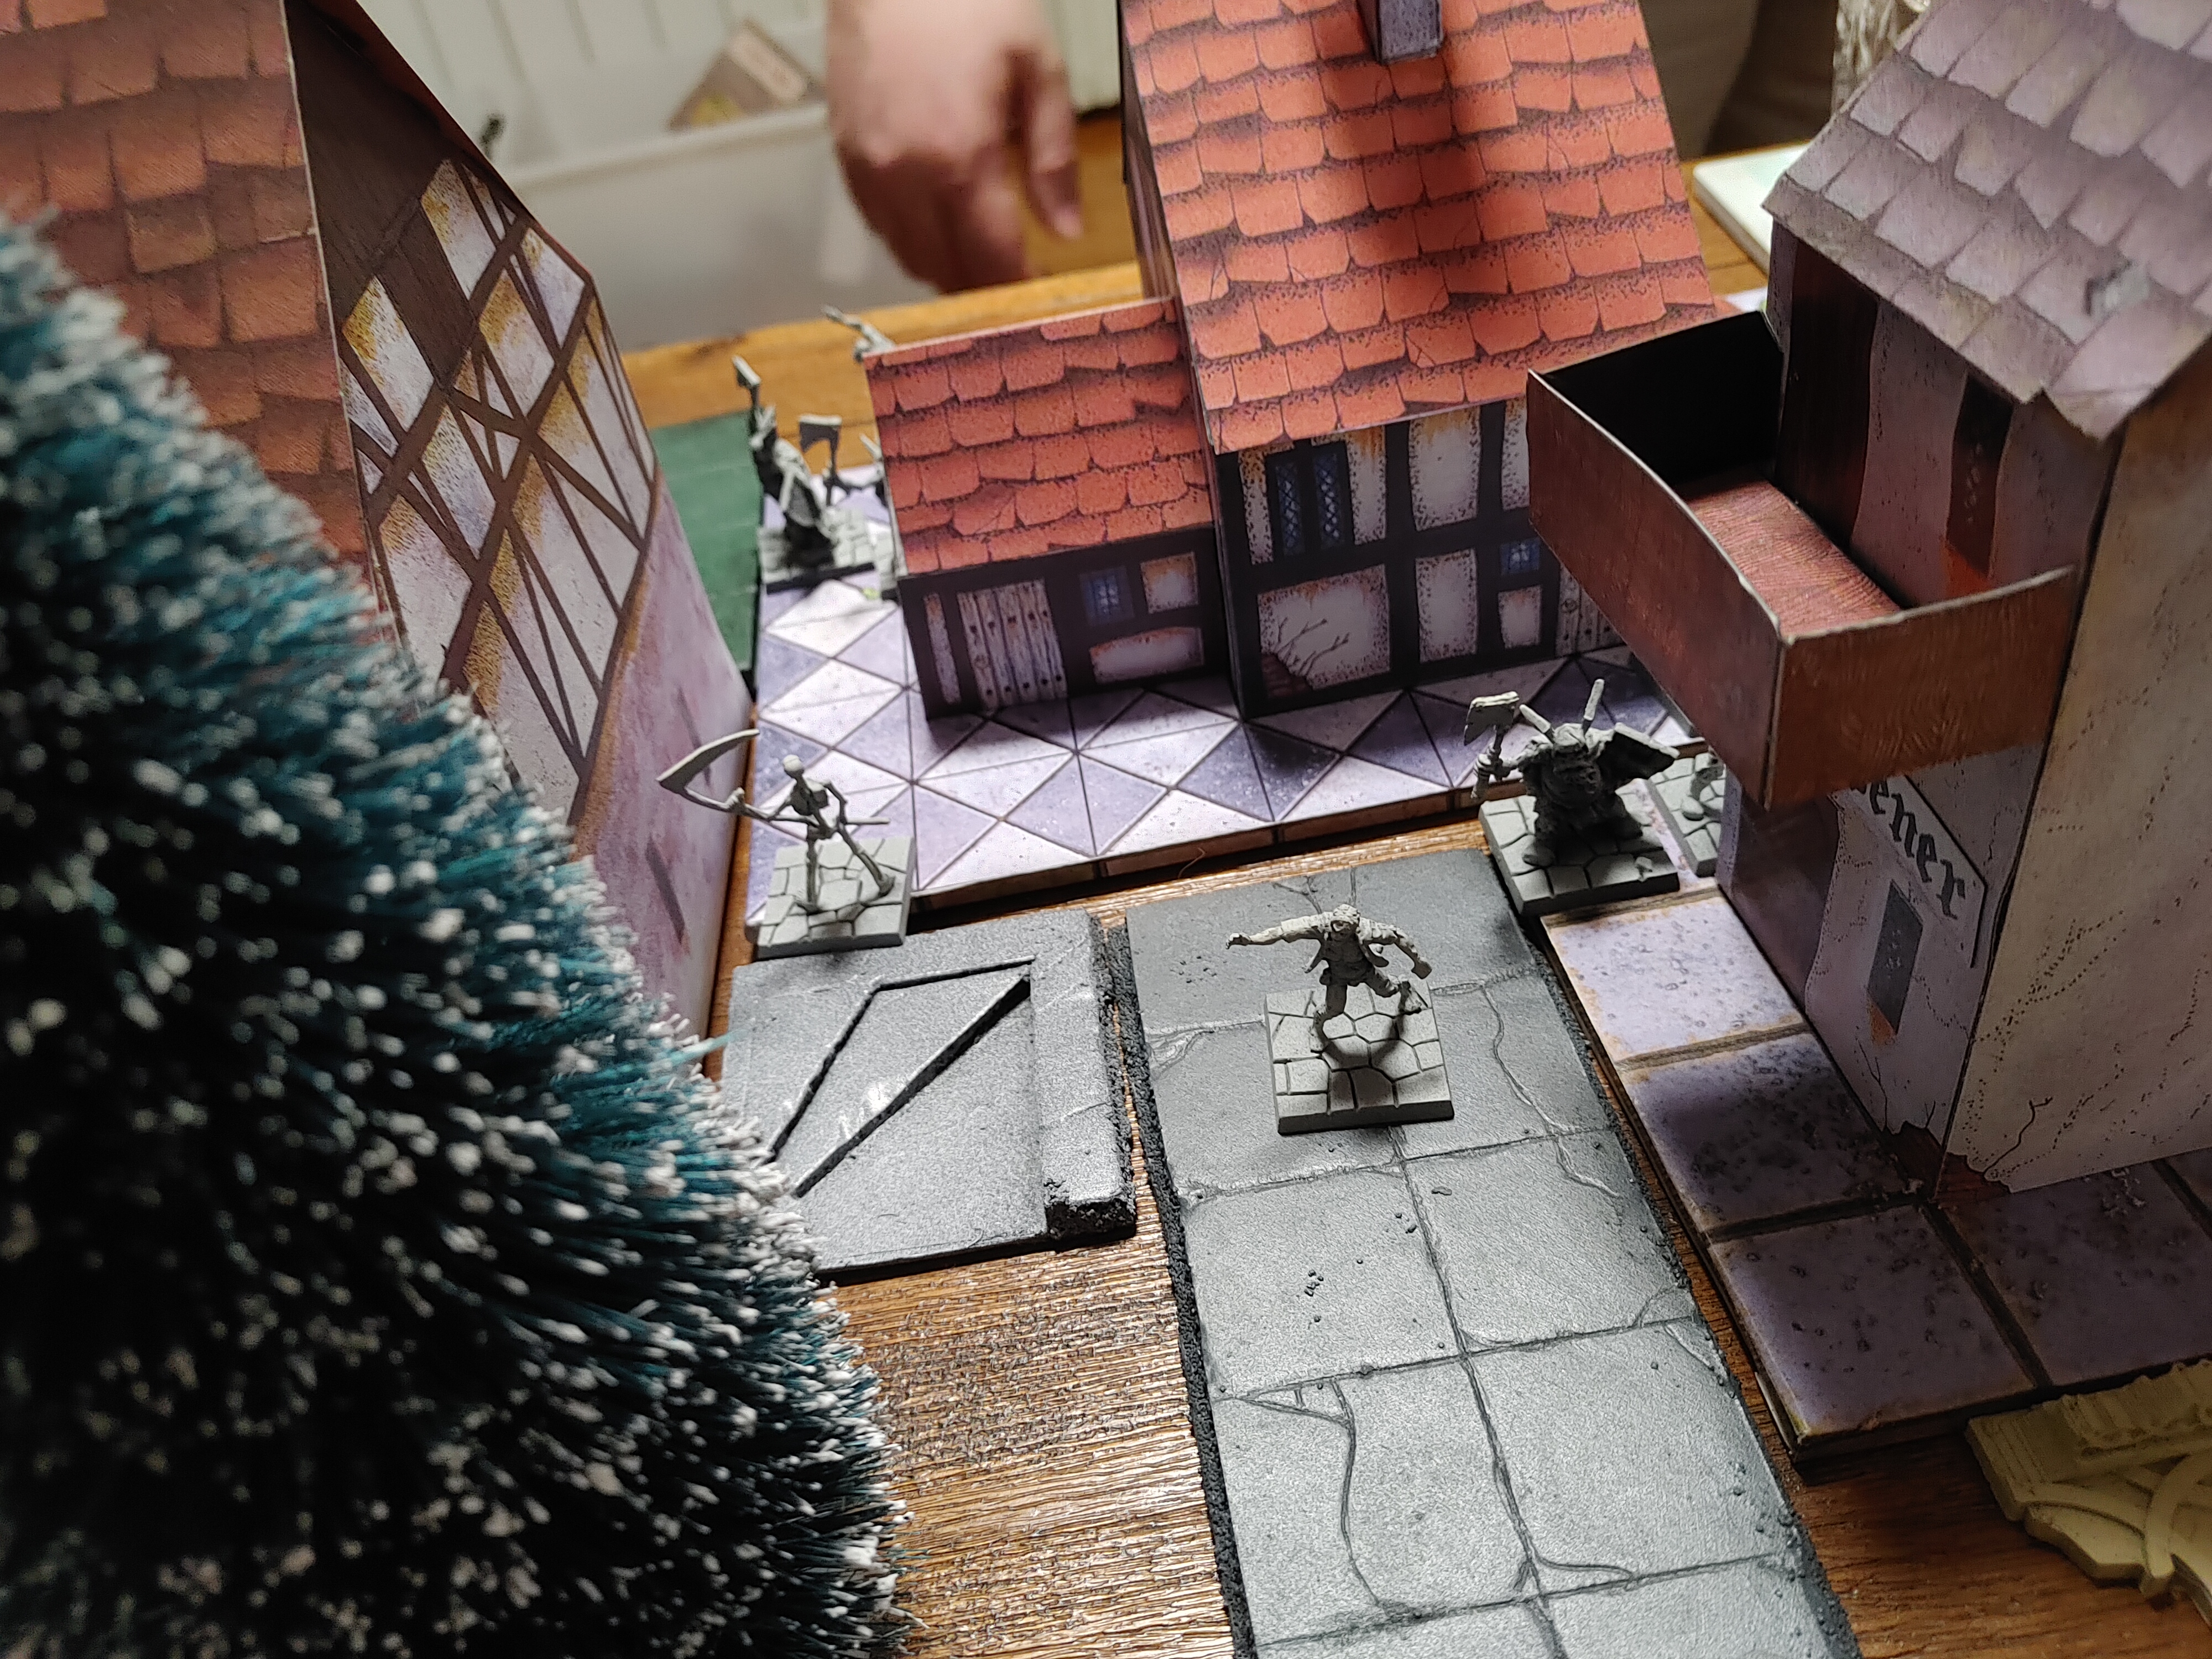 The minions of Ryan's Necromancer stalk the streets...
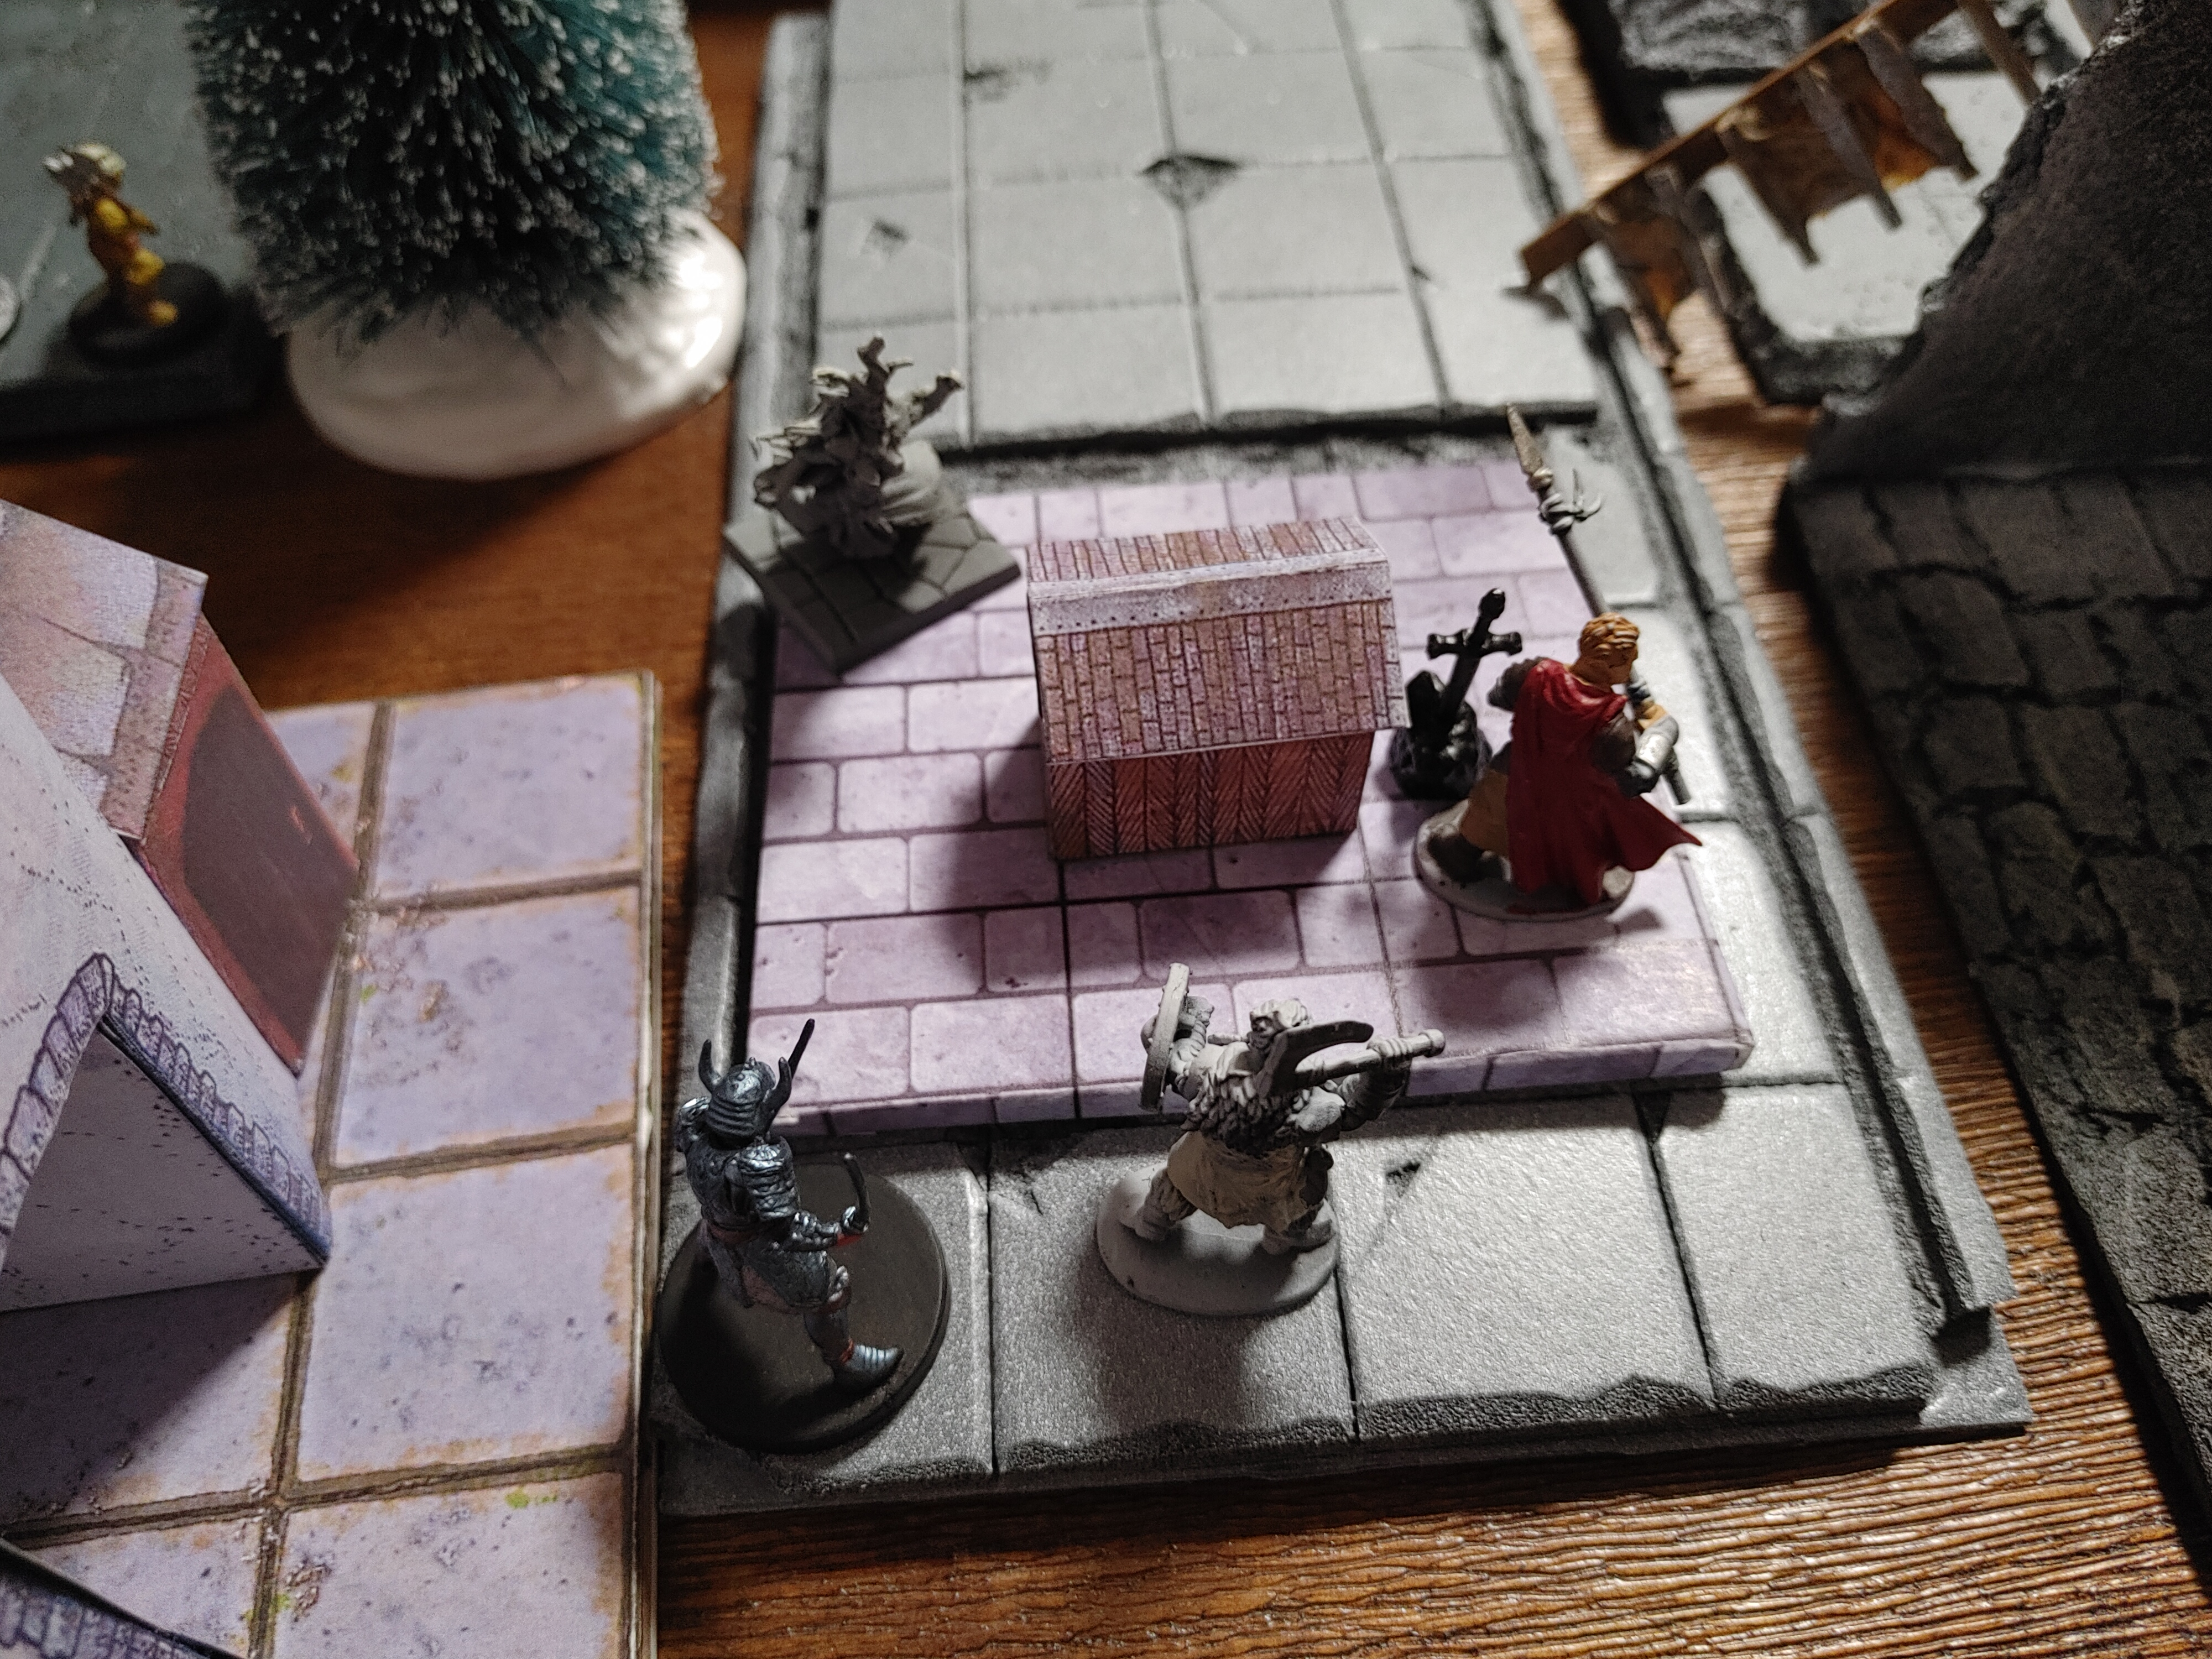 Steve's warband find's a treasure... and a Wraith. They promptly make all haste away!