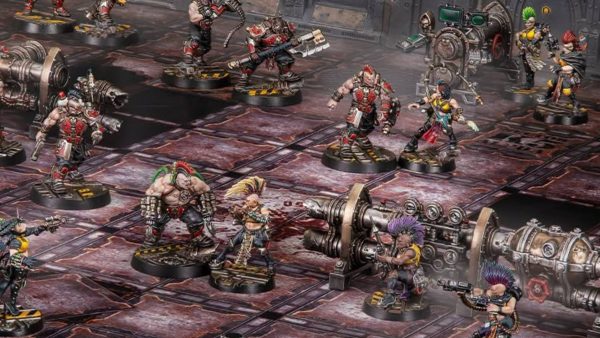


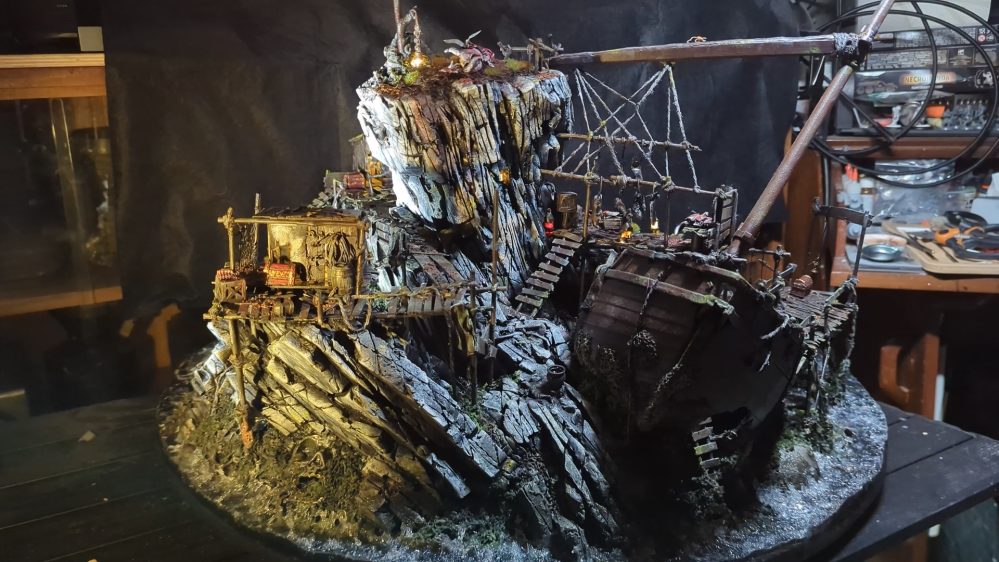
Washed UP, 1490 Doom diorama board #TerrainFest2025


Recommendations: 157
About the Project
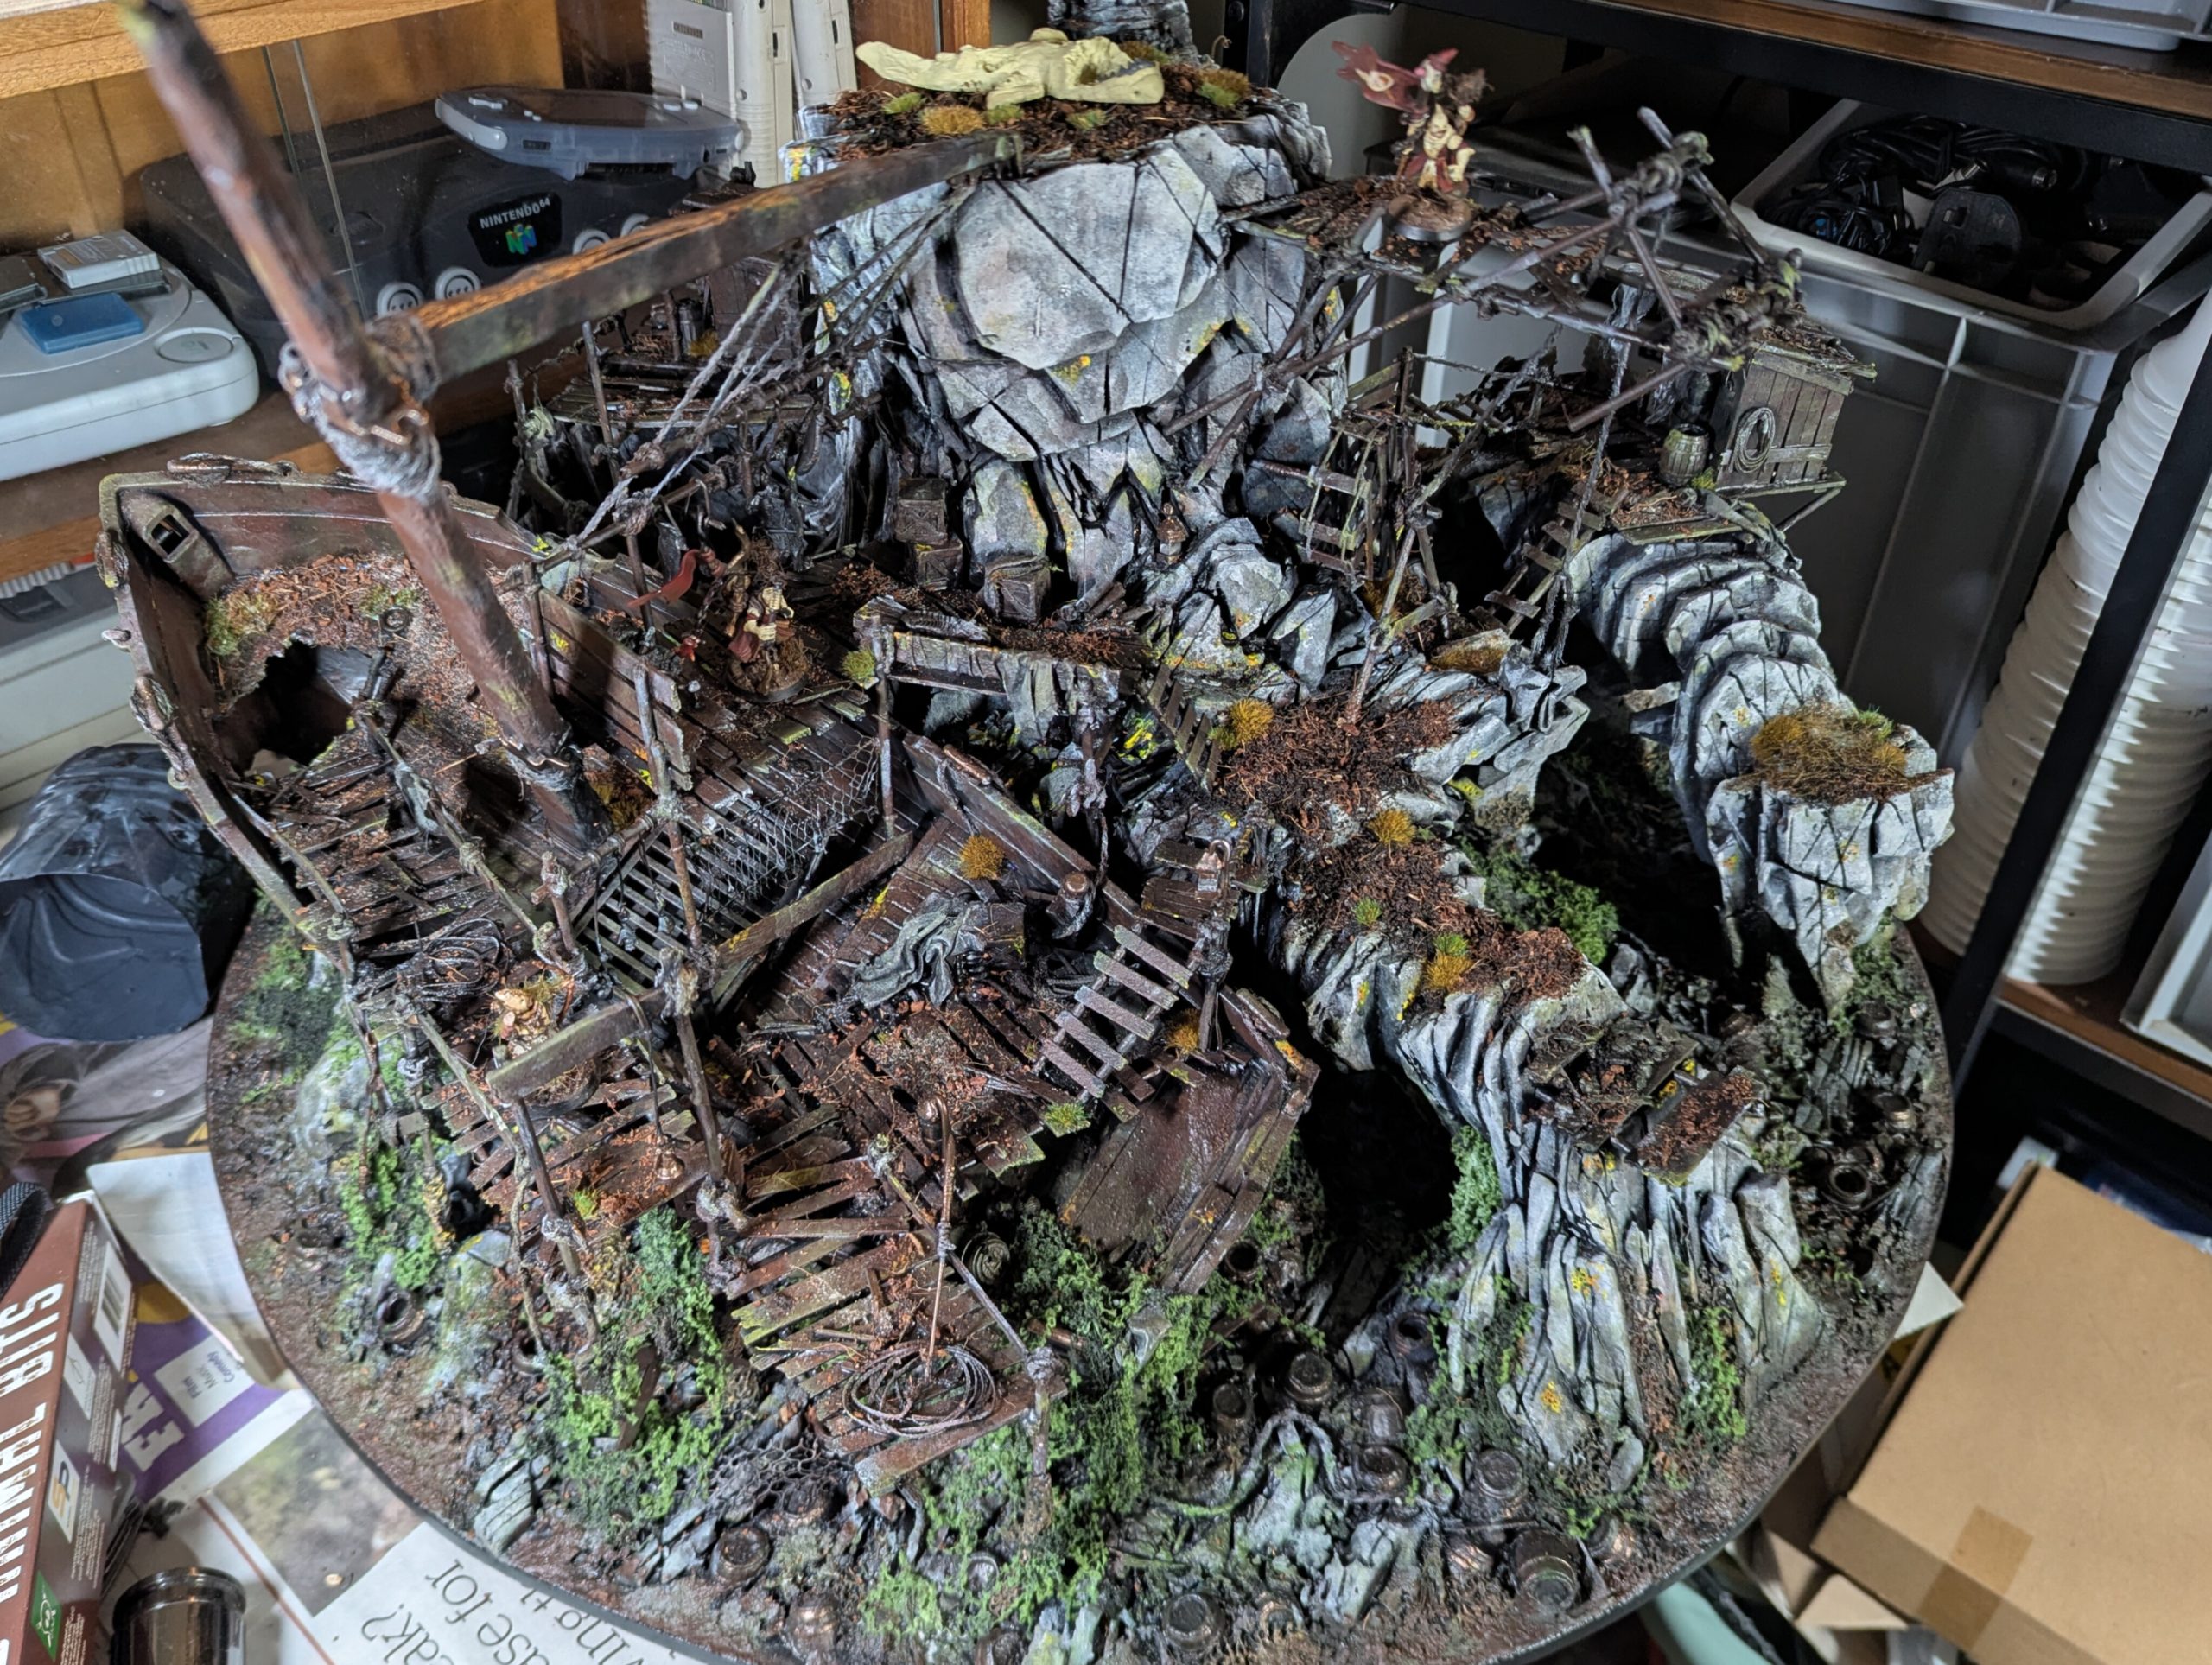
I found a bag of skulls when sorting a box of hobby materials. 2 tubes of superglue and several hours later I had the foundation for a costal settlement. Its primarily intended for 1490 Doom so has the characteristic round base but the dimensions also work well for Necropolis28.
Related Genre: Fantasy
Related Contest: TerrainFest 2025
This Project is Completed
What a difference a day makes
I primed with a quality acrylic primer using an airbrush then left it for 24 hours to cure. With only a few weeks left, I knew I needed a quick way to paint the entire piece. I turned to sponges, a small one for maximum texture, and cheap acrylic craft paint, the poor coverage allows colour of previous layers to bleed through plus its a large area to cover.
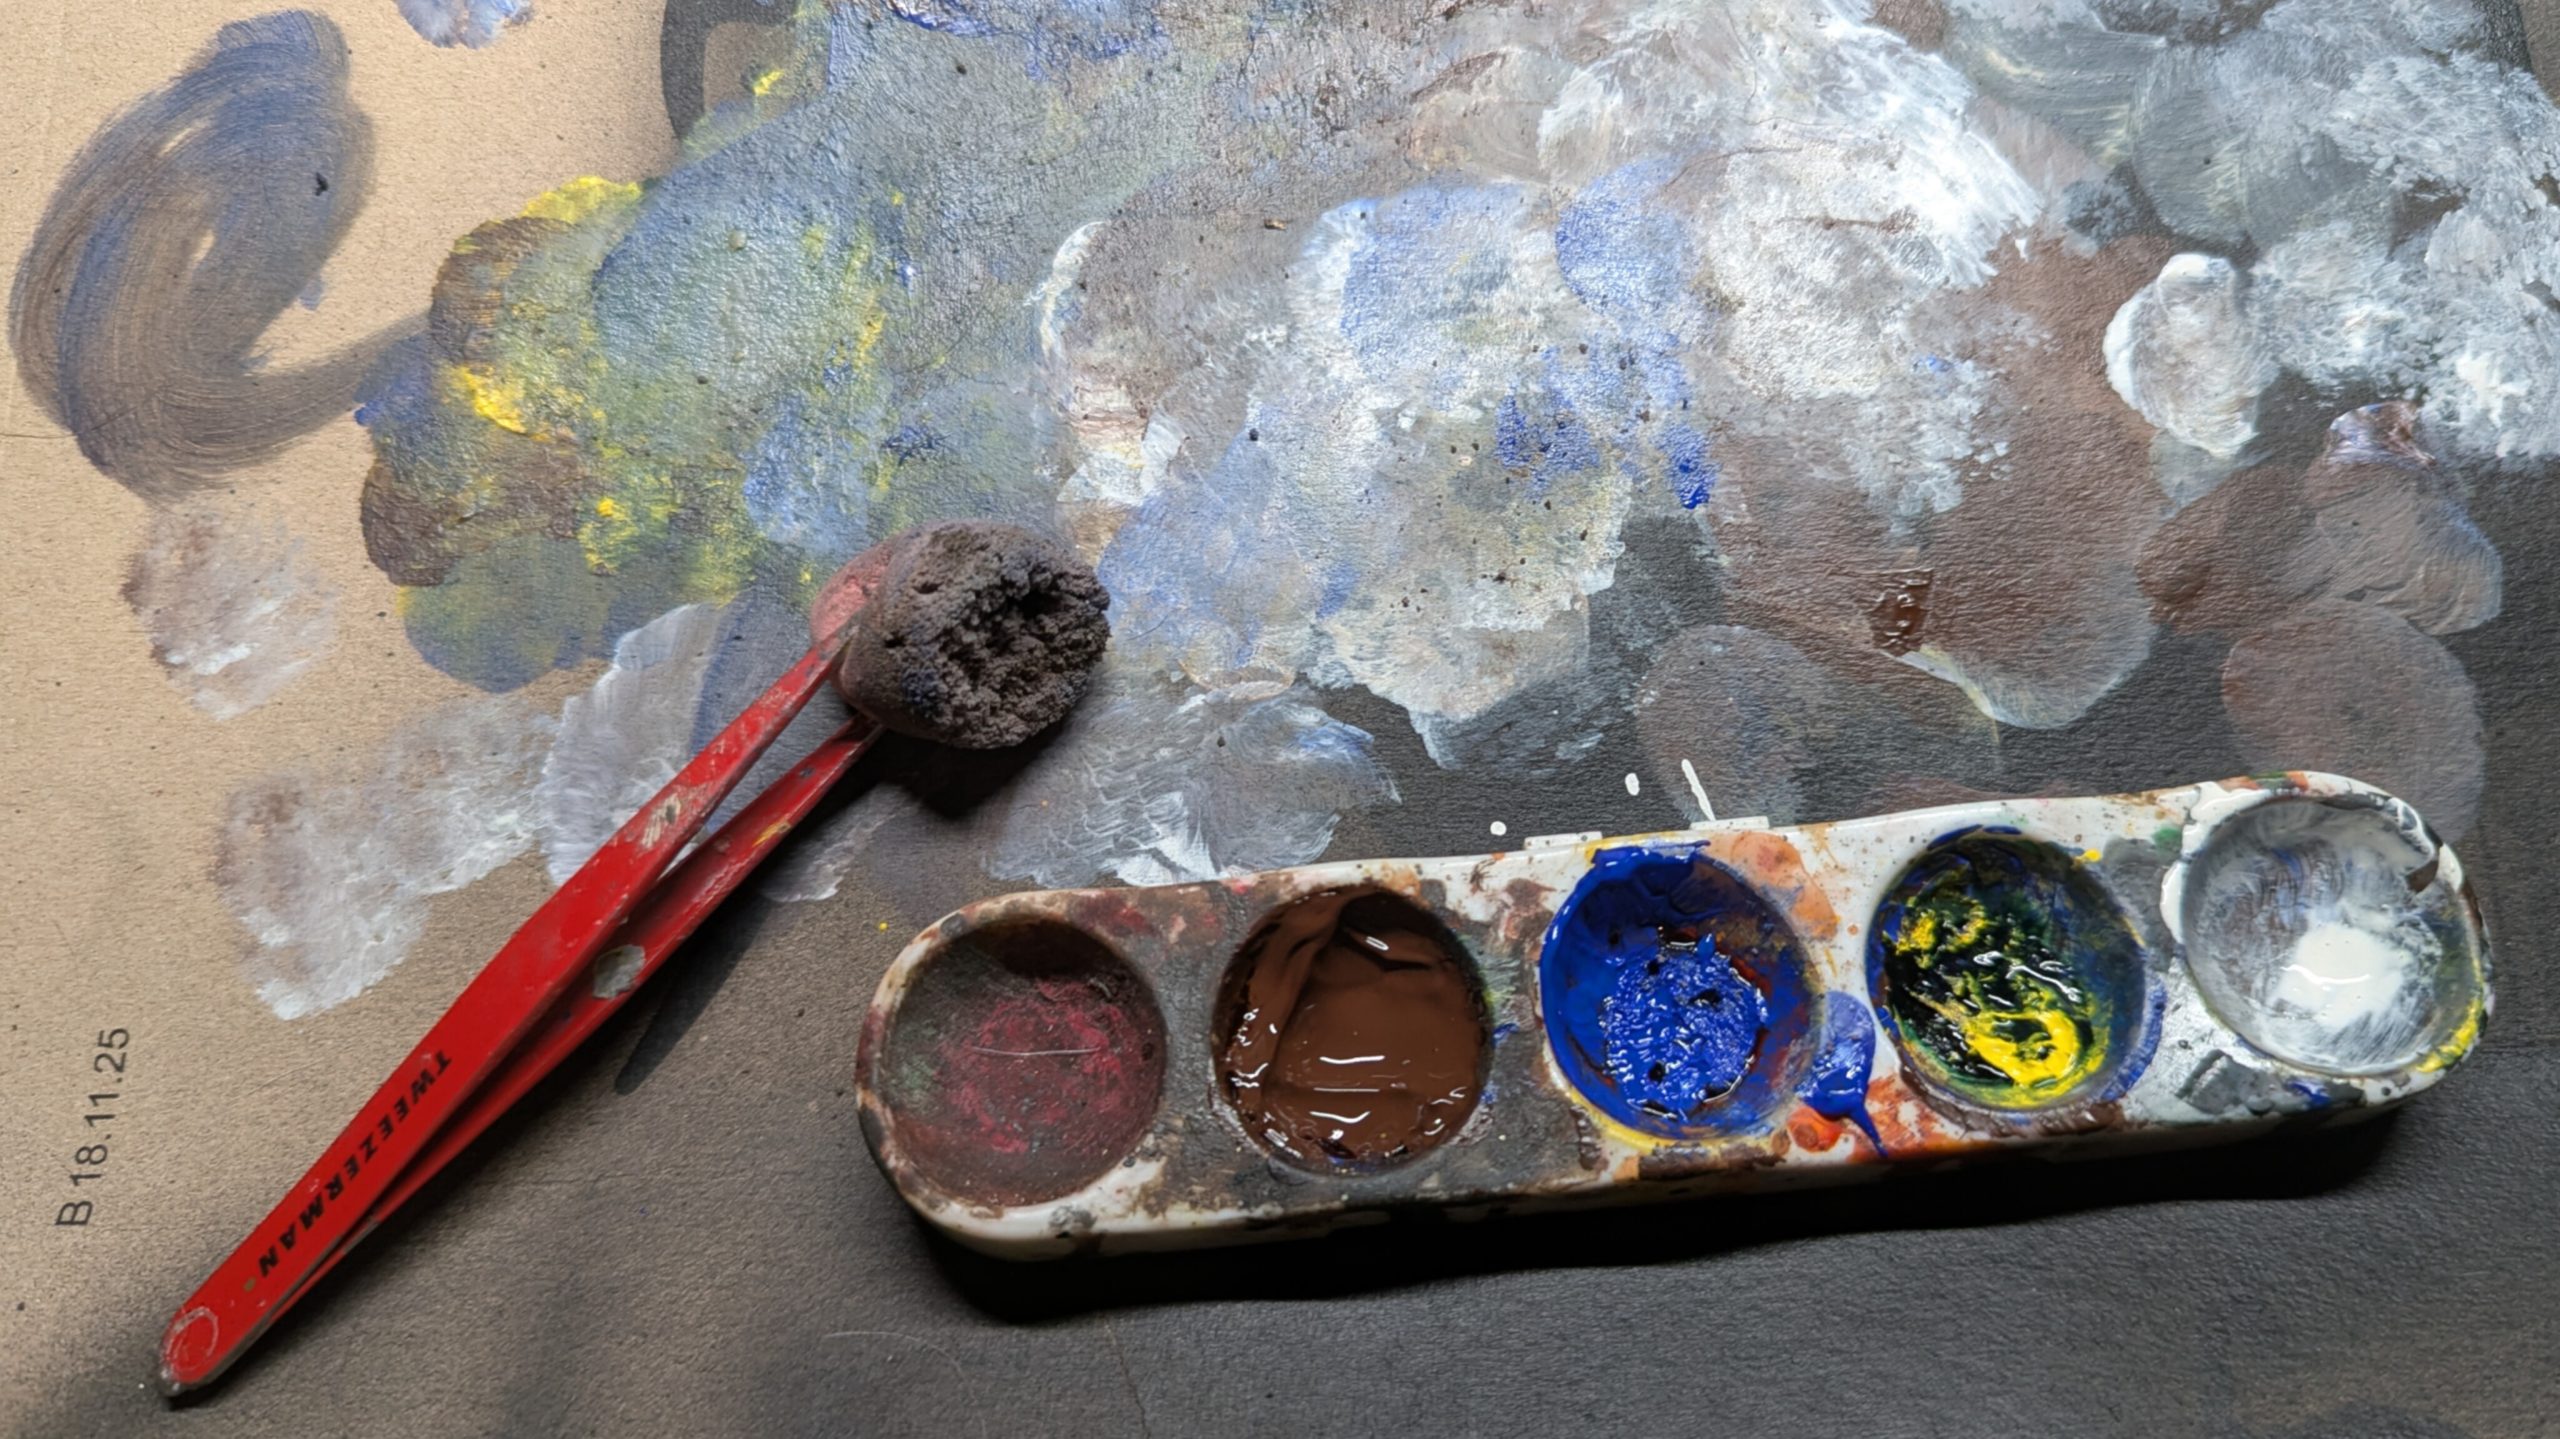
I began by splattering a random mix of brown, blue, and yellow across the whole surface, then brushed white onto the rock faces and brown onto the wood. For the rock, I increasingly focused on the edges with each successive layer to create gradients. The gloss of the cheap paint looks rough on the wood; I think this will be fixed with varnish, but it probably needs more work.
At this stage I’m not worried about accuracy. If a colour spills onto another surface, I blend it back in. I find the colour transition is almost imperceptible but gives the objects a grounded feel, emulating reflected light.
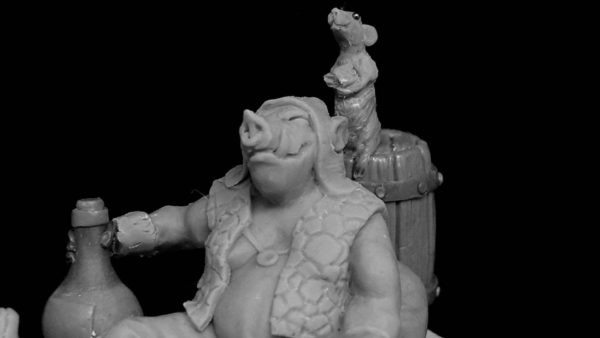
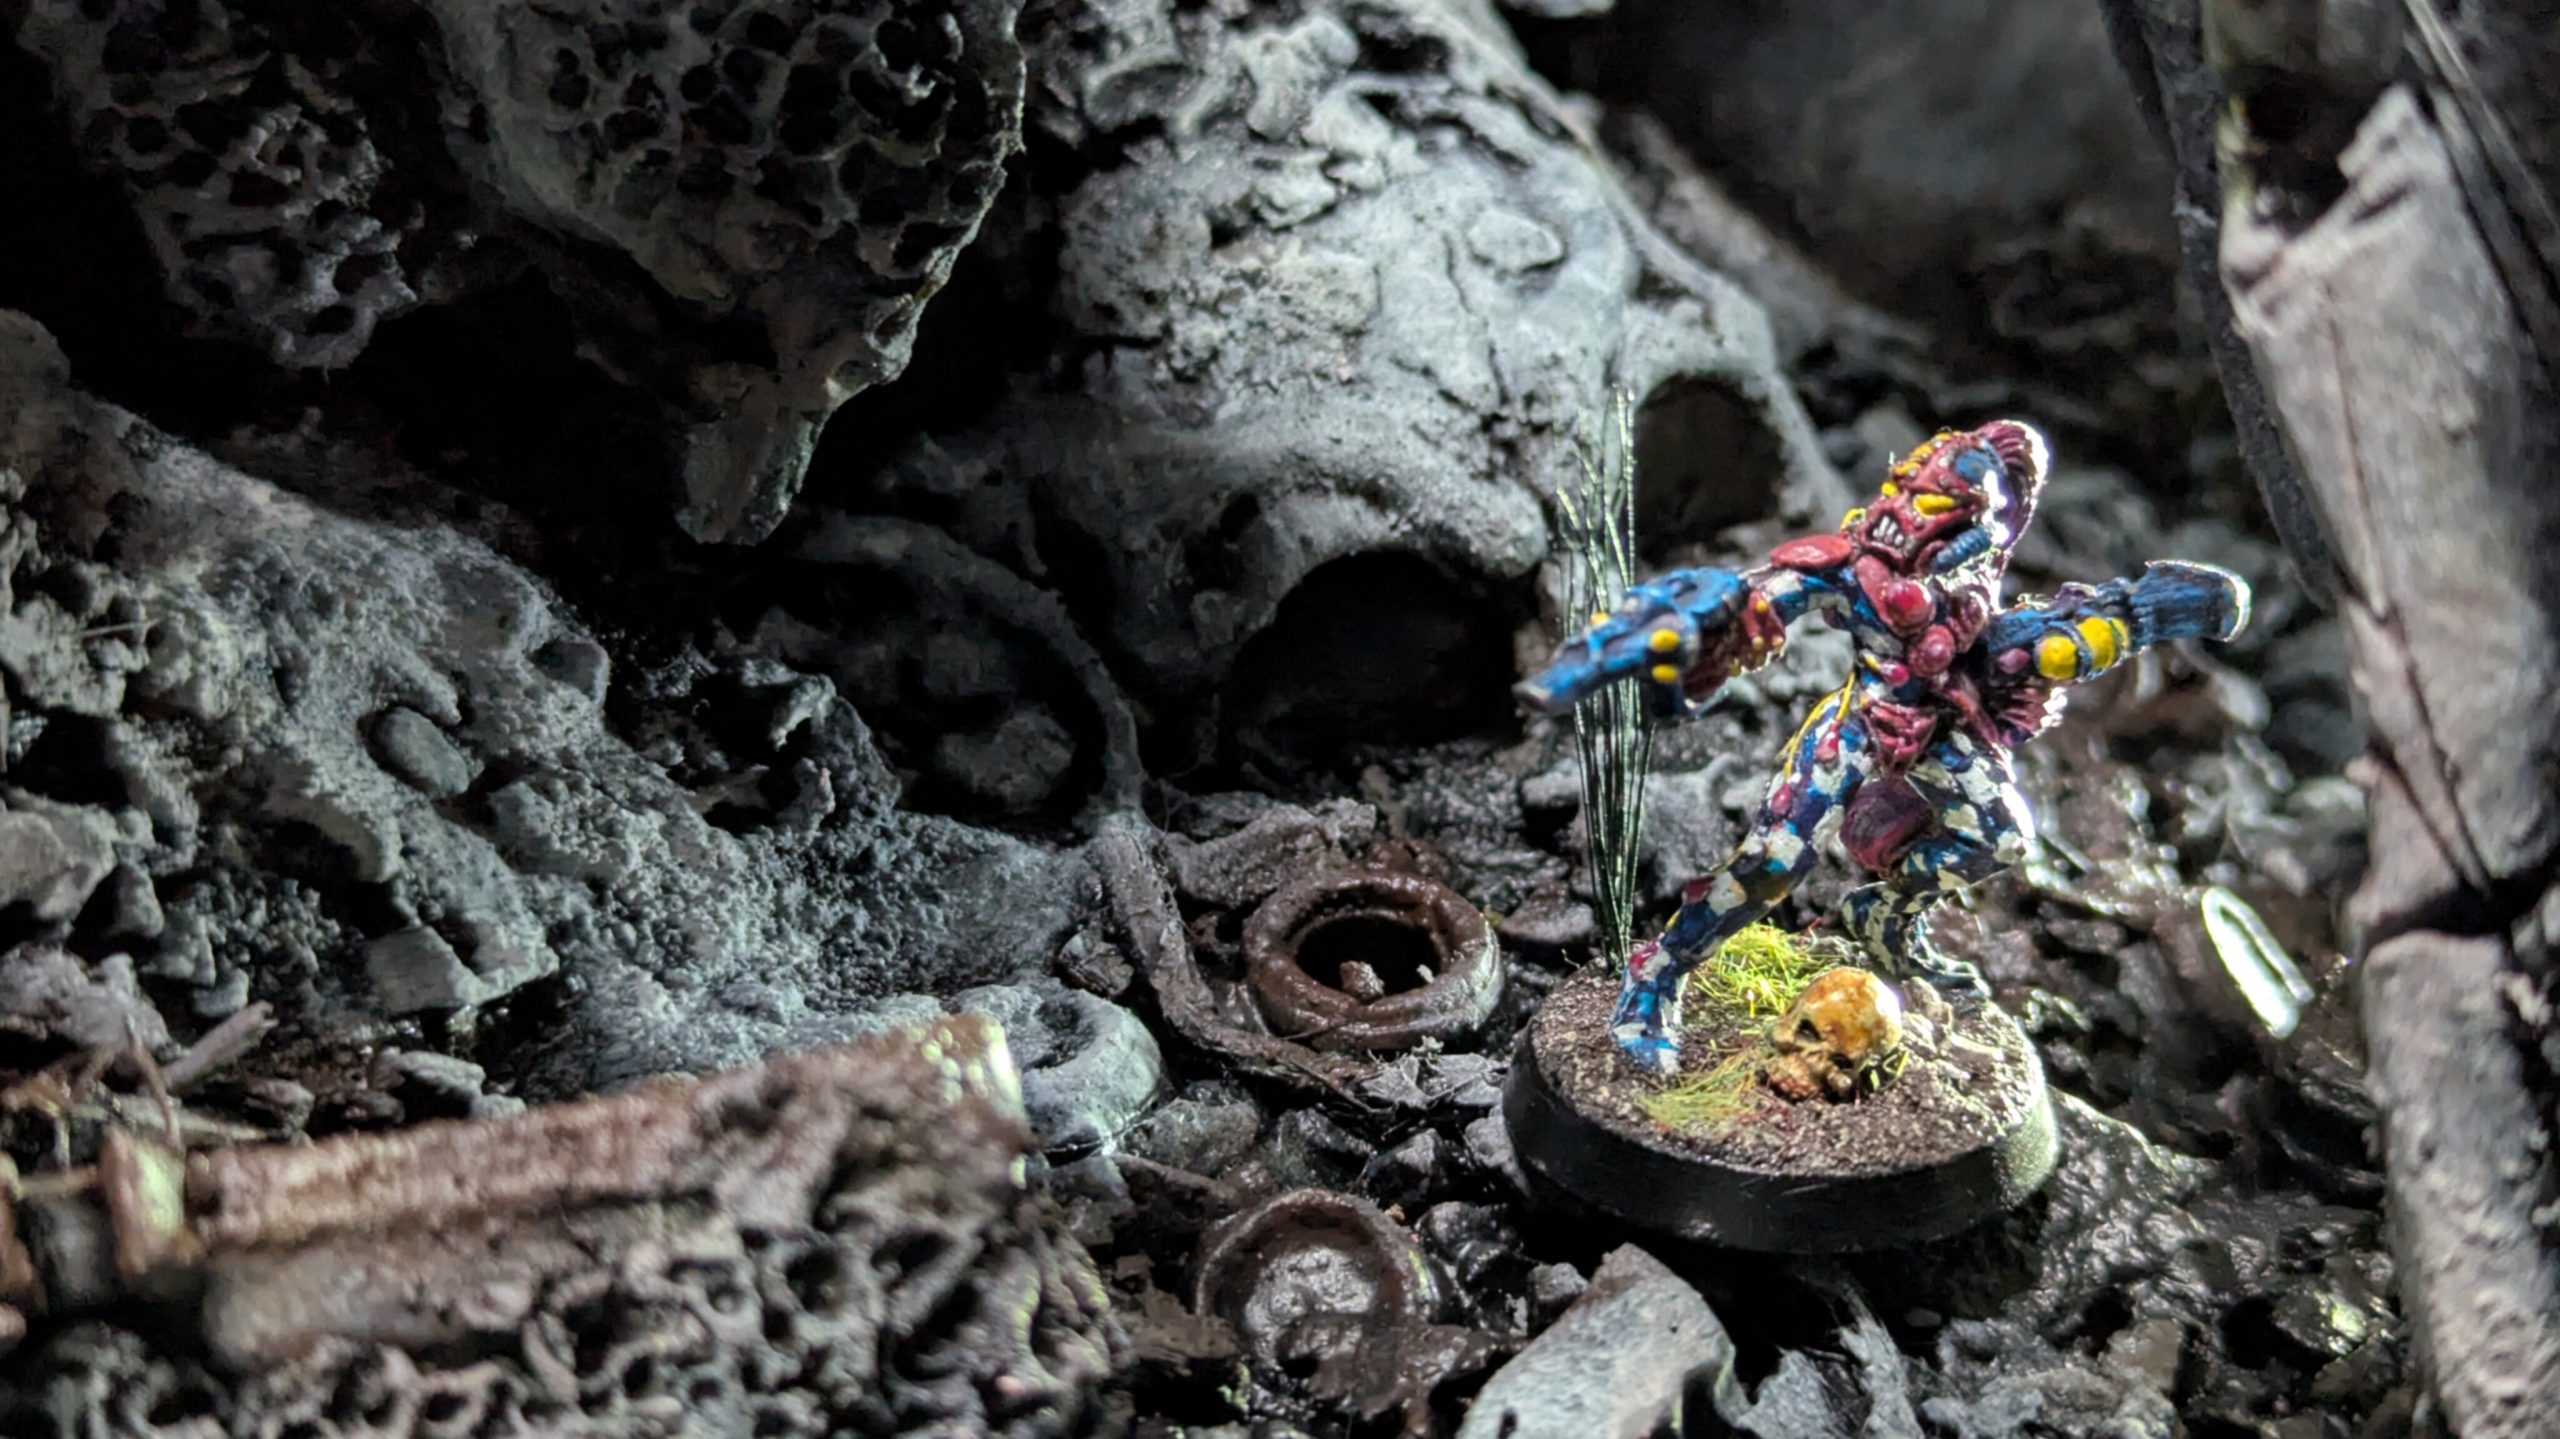
After the weeks of work building up the details the transformation over a few hours with some paint was very satisfying. With some strategic lighting, the final character is beginning to emerge. I took a few shots with some minis I had to hand.


A splash of colour
To introduce more colour and blend the rock and wood, I sponged greens and yellows to represent lichen and foliage. I then mixed several washes from acrylic ink and applied them in many light passes to deepen the shadows and blend the colour transitions.
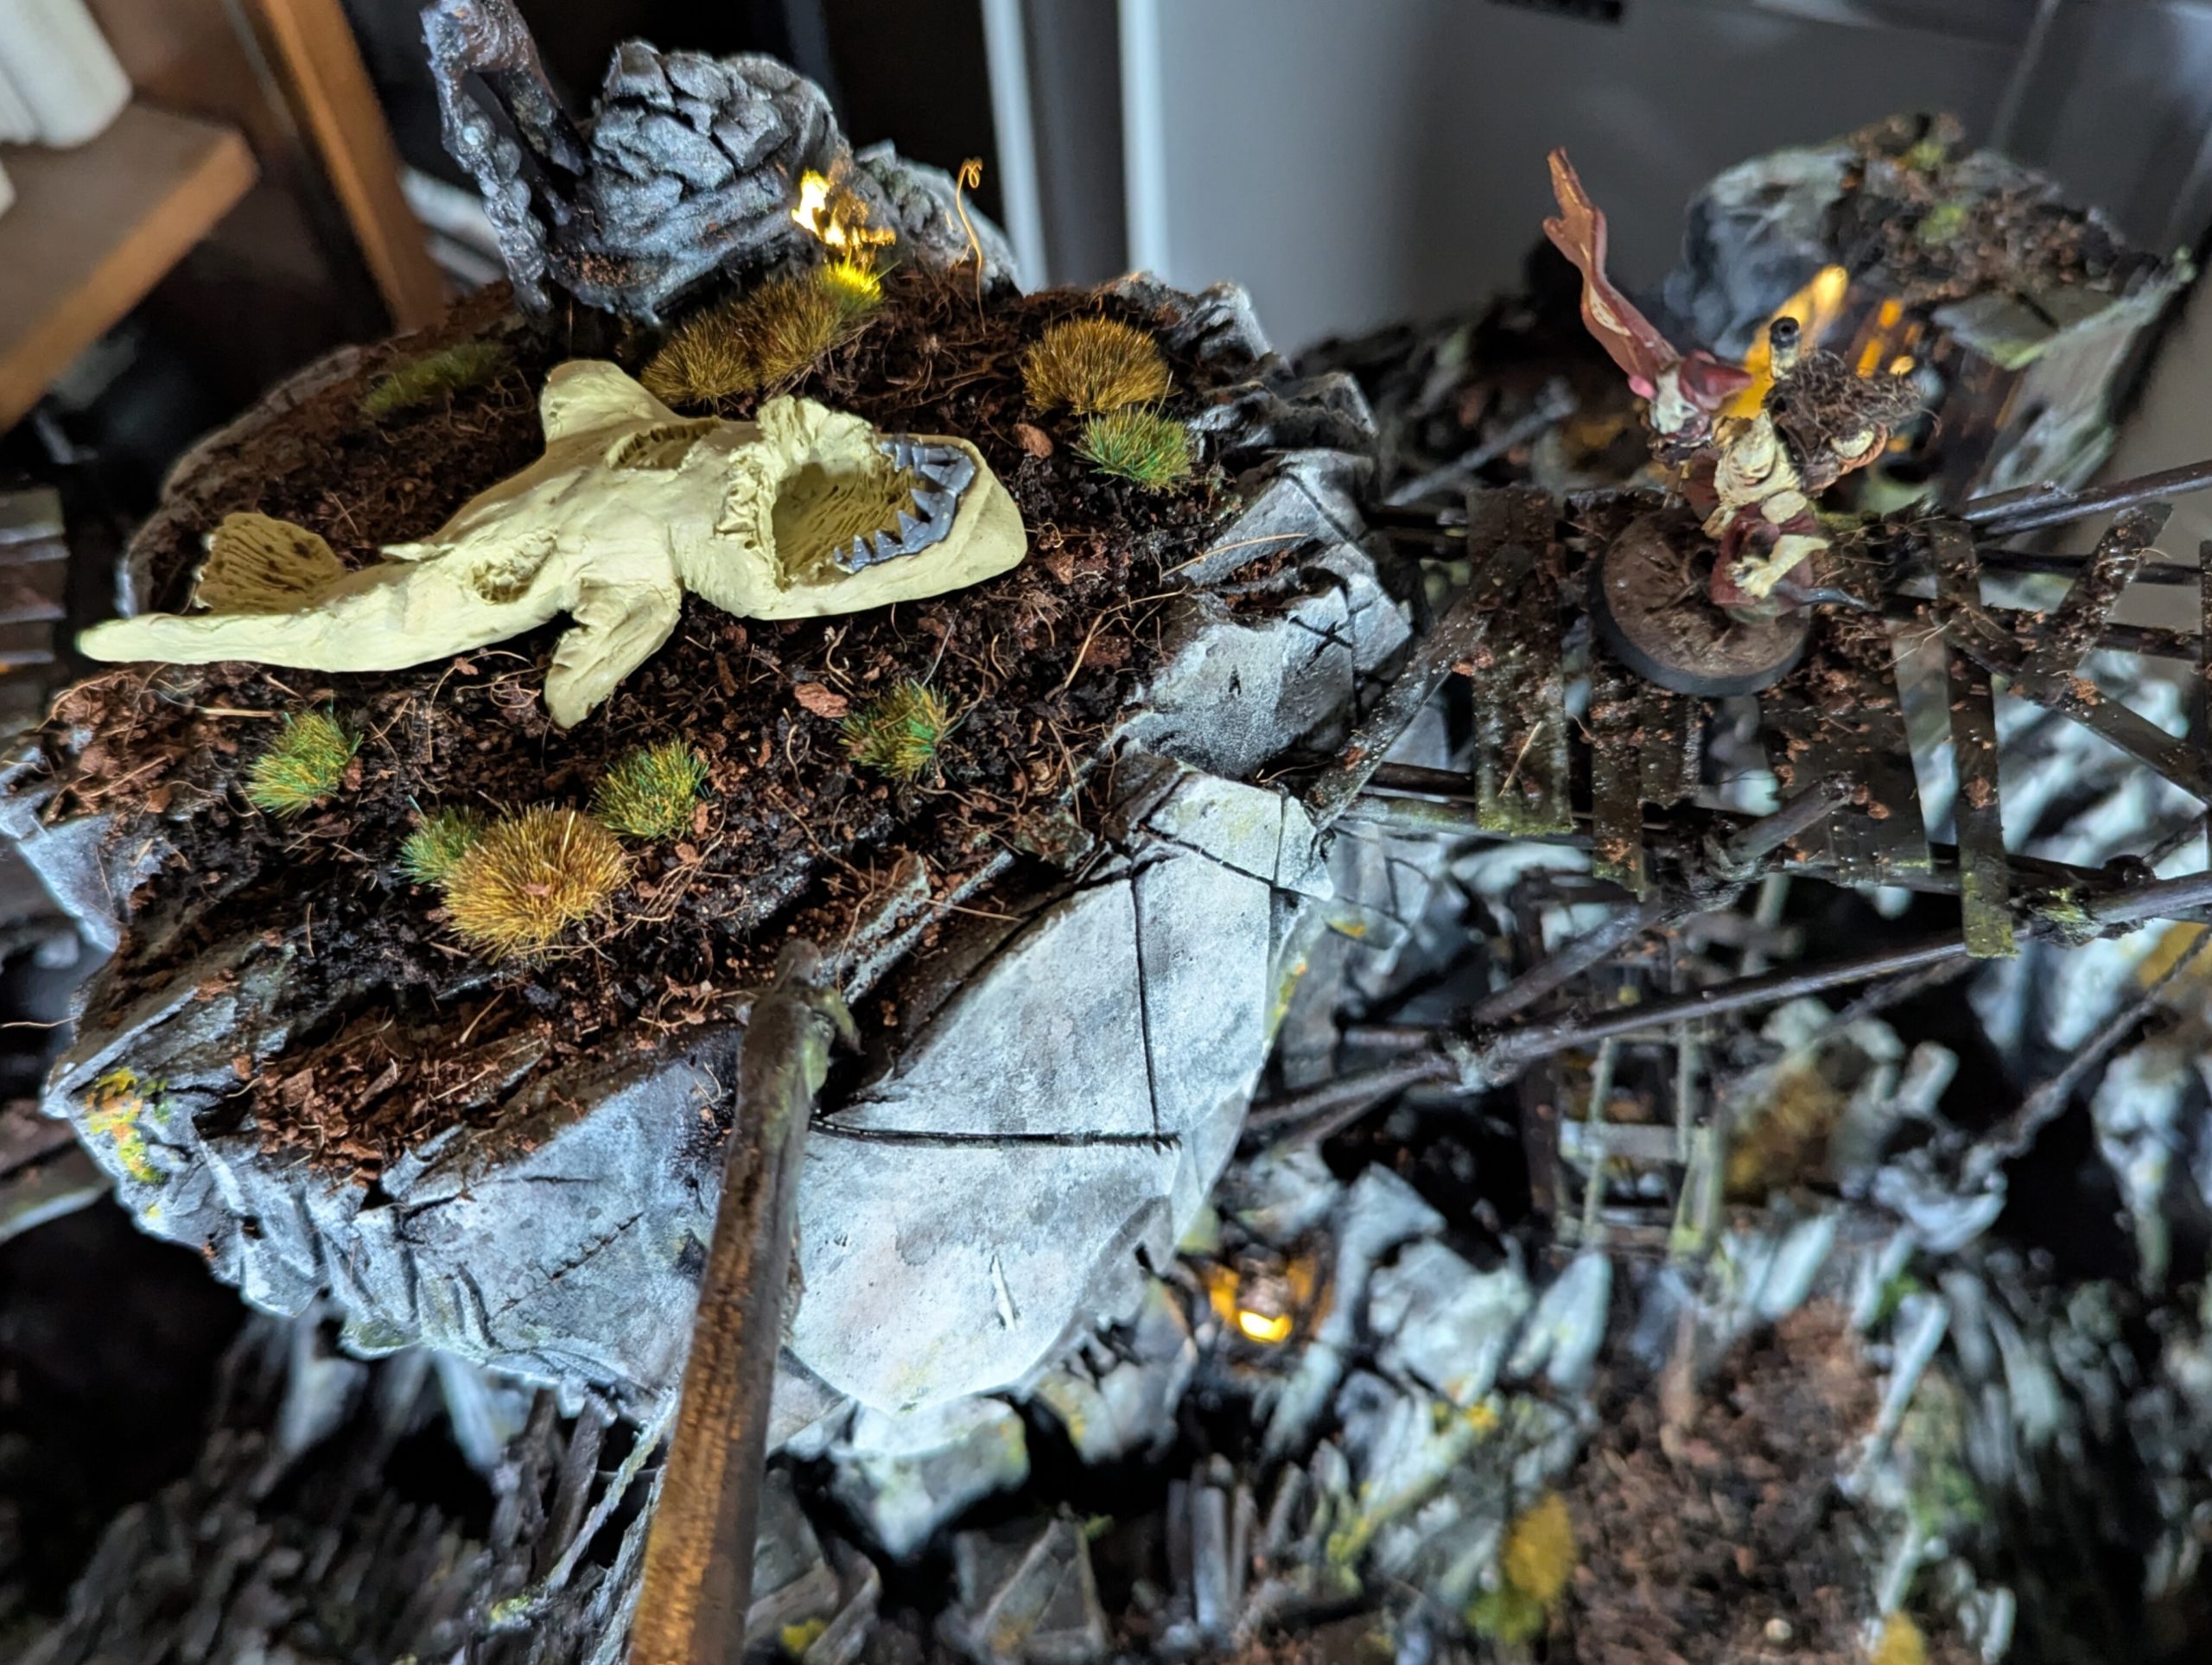
I wanted to include seaweed exposed by the low tide. After searching for the right material, I found a product sold as “fake moss” for florists. I used super‑glue to fix small lumps at the high‑tide line, then covered them in ballast glue. The weight of the ballast glue made the seaweed hang convincingly, but after 24 hours next to a dehumidifier it’s still wet, preventing me from moving on to the resin pour.
Filth
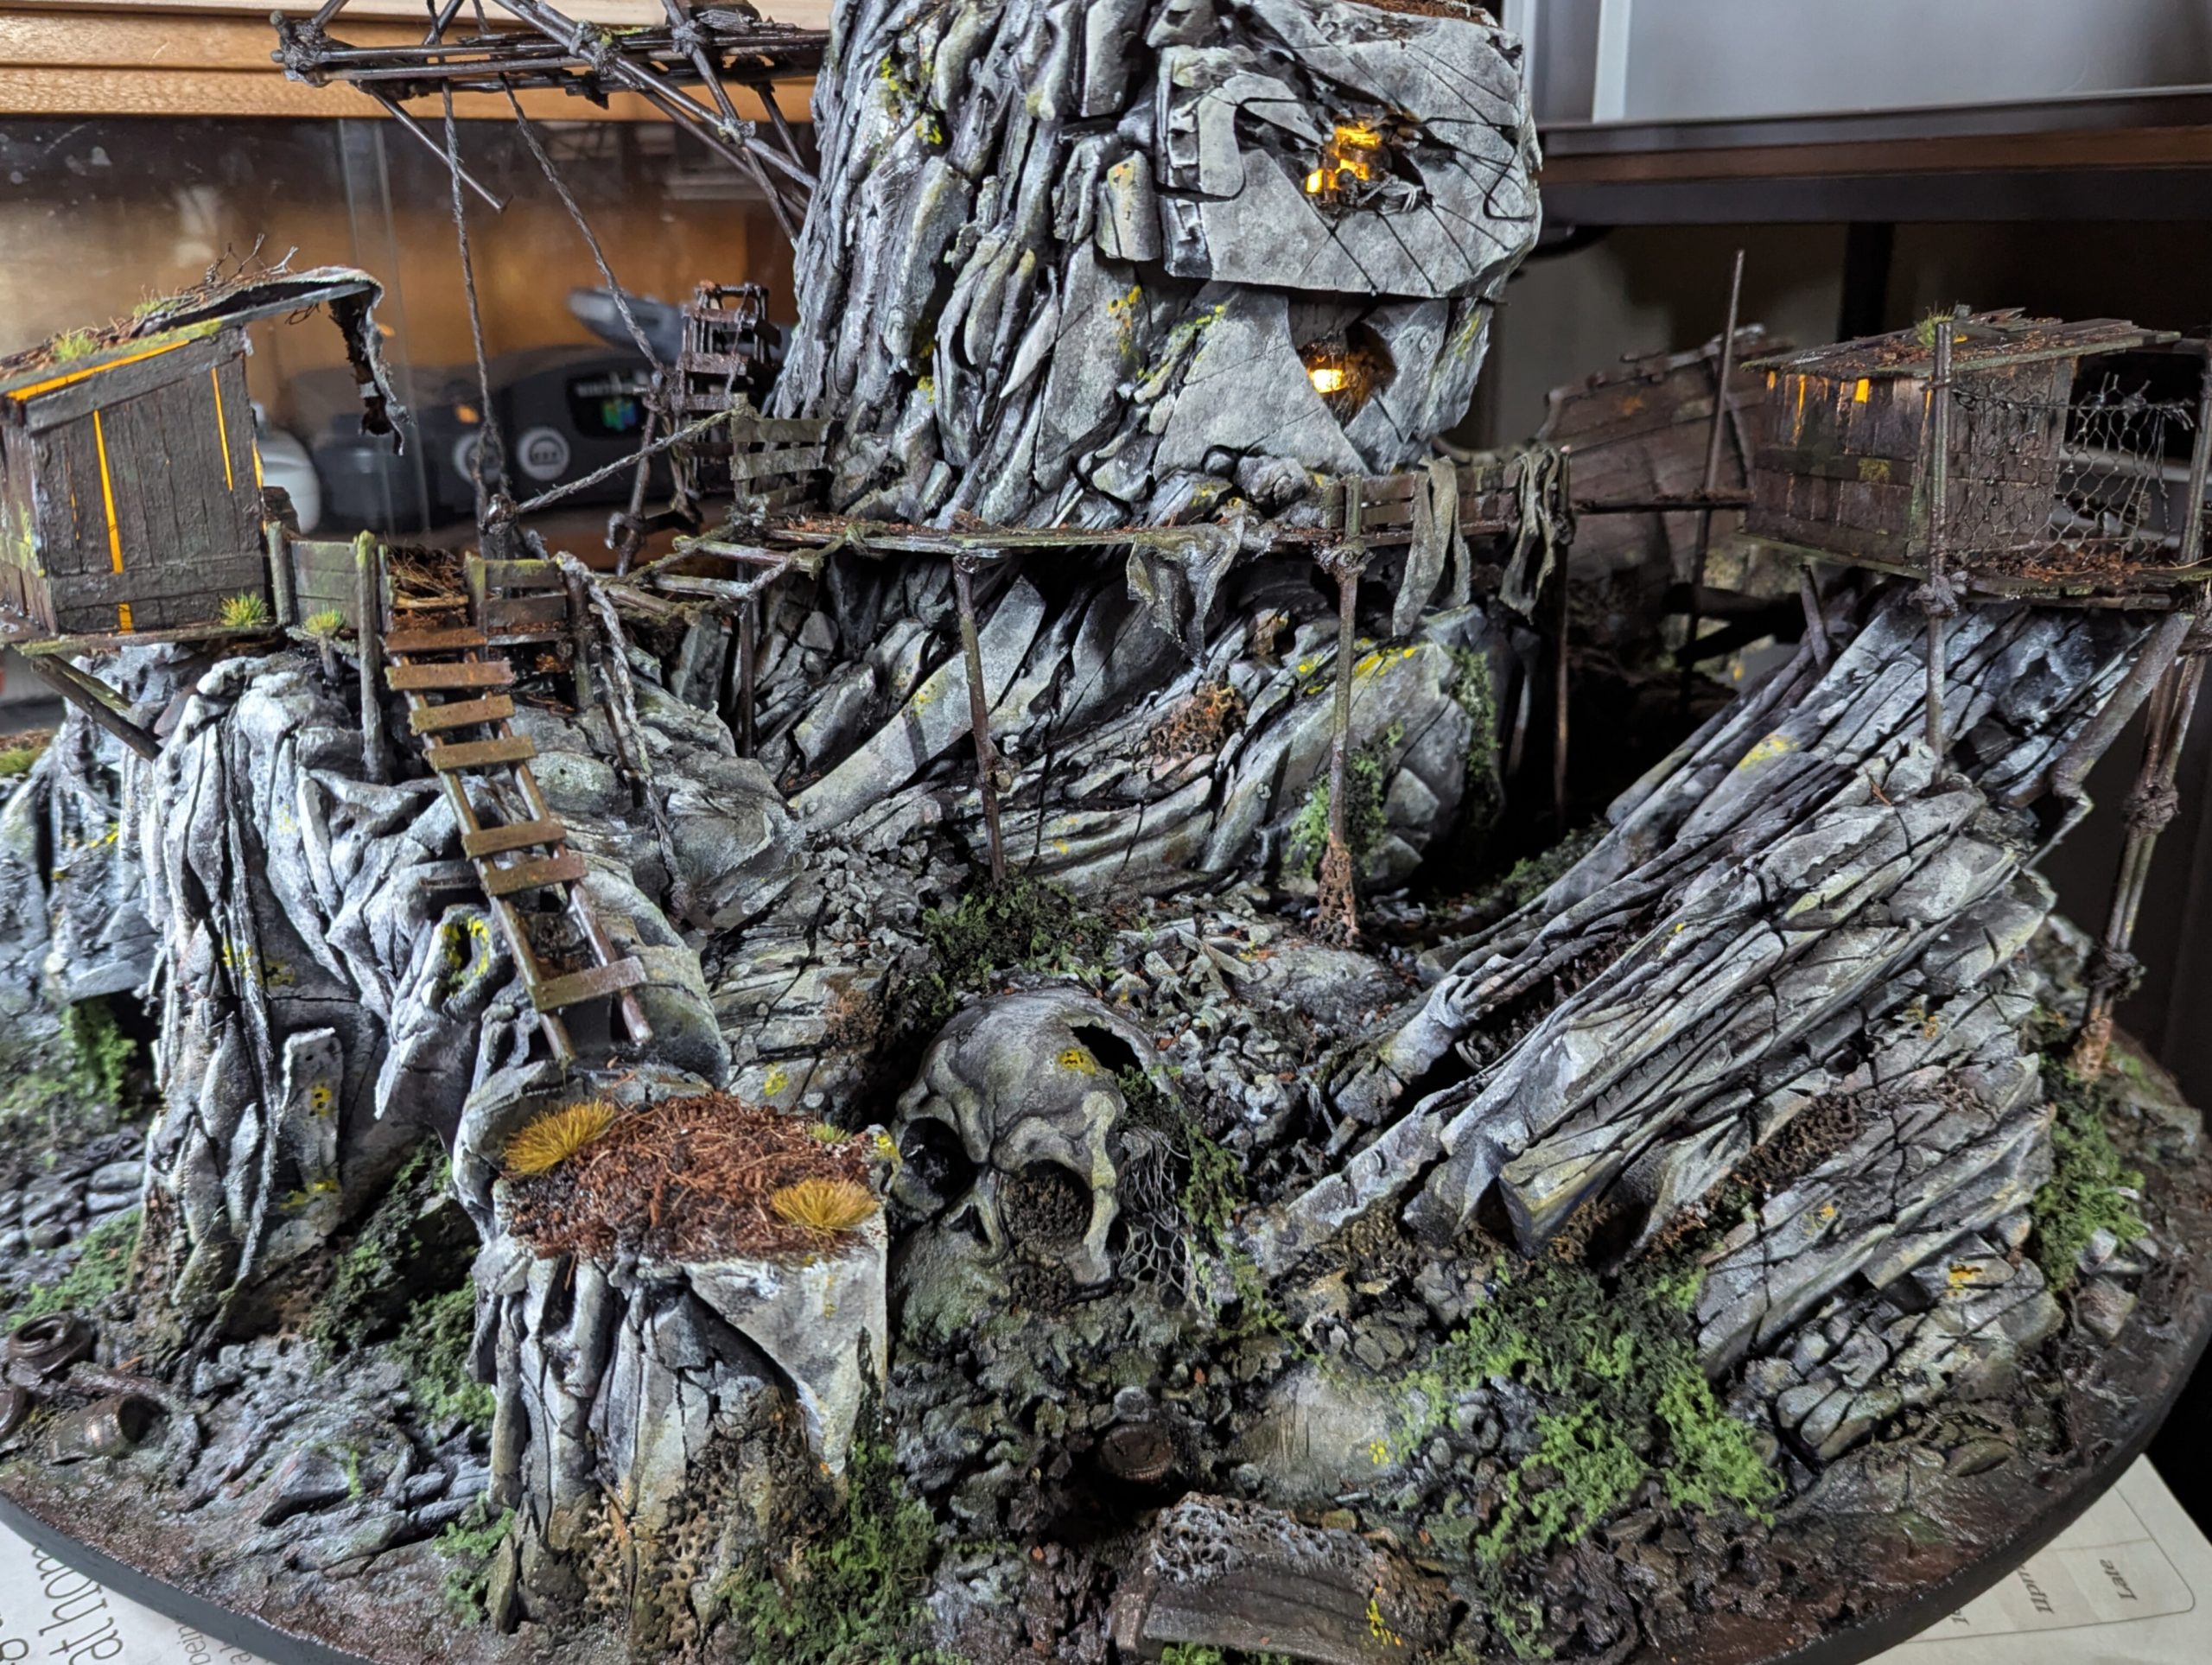
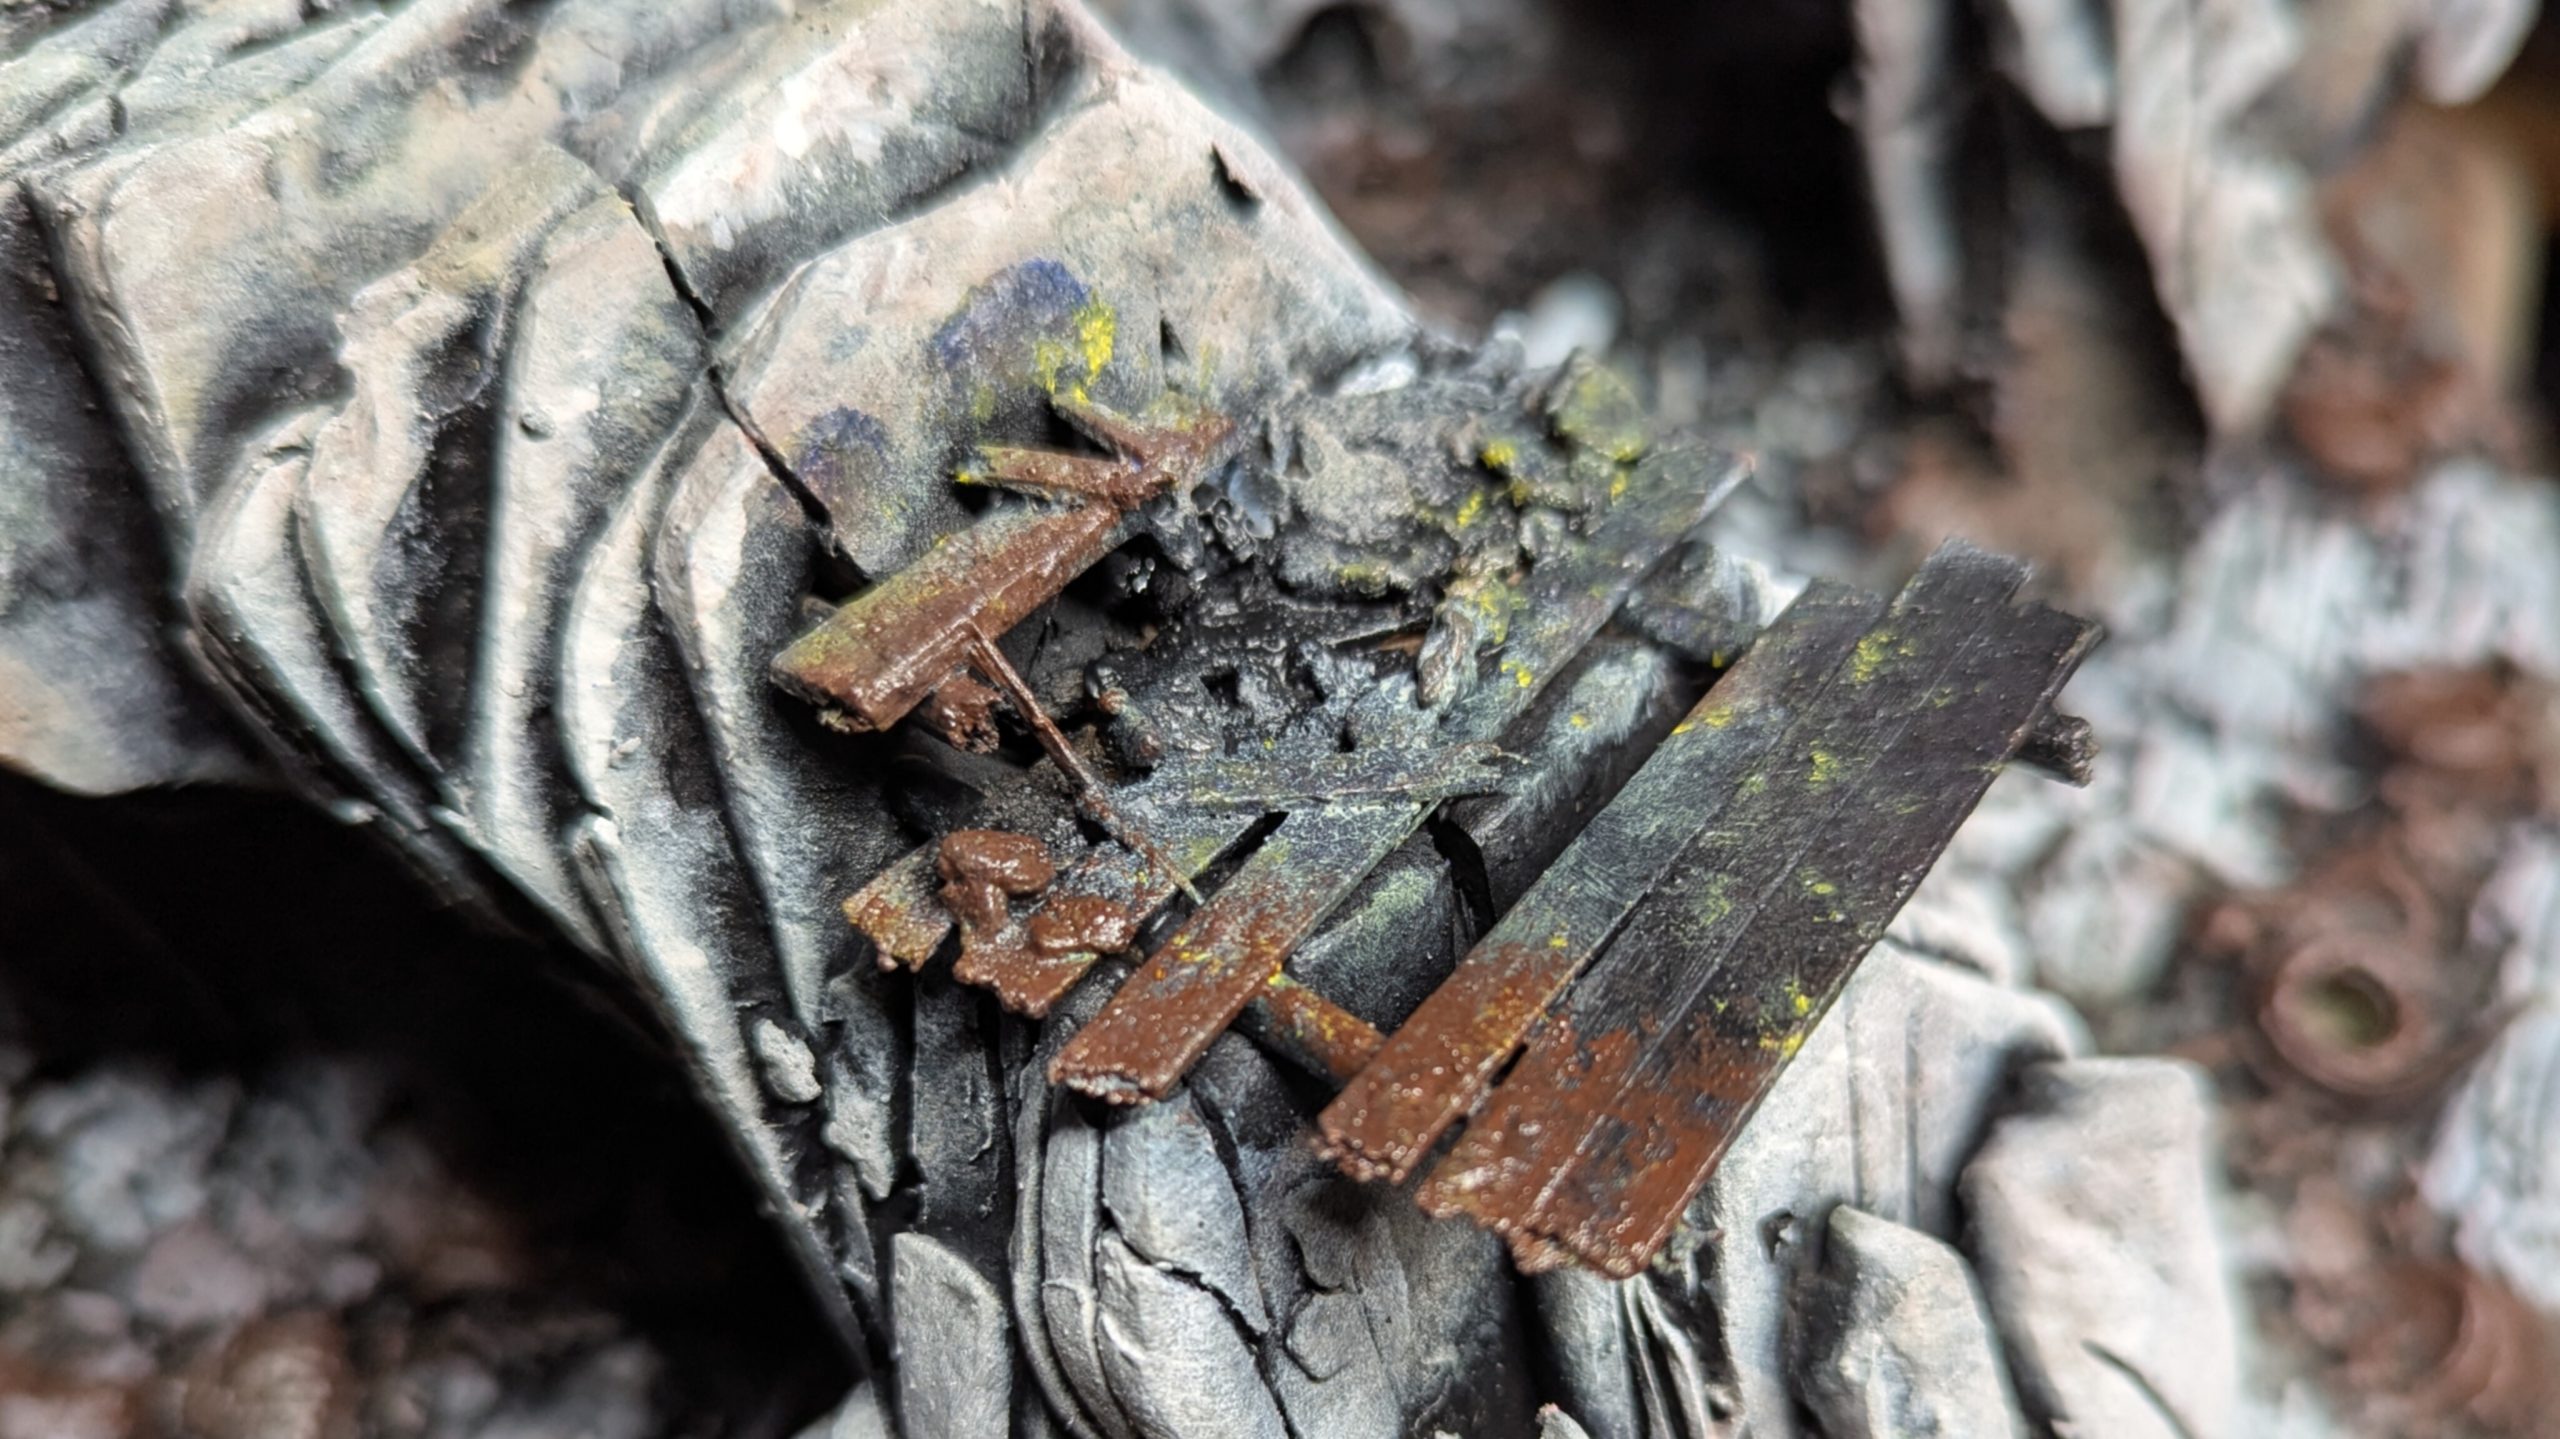
Layers of dirt built up over most surfaces and blended in with dark washes.
I’m not sure what the issue was, but I couldn’t generate enough charge from the flock box to get static grass to stick up, so I resorted to using tufts.
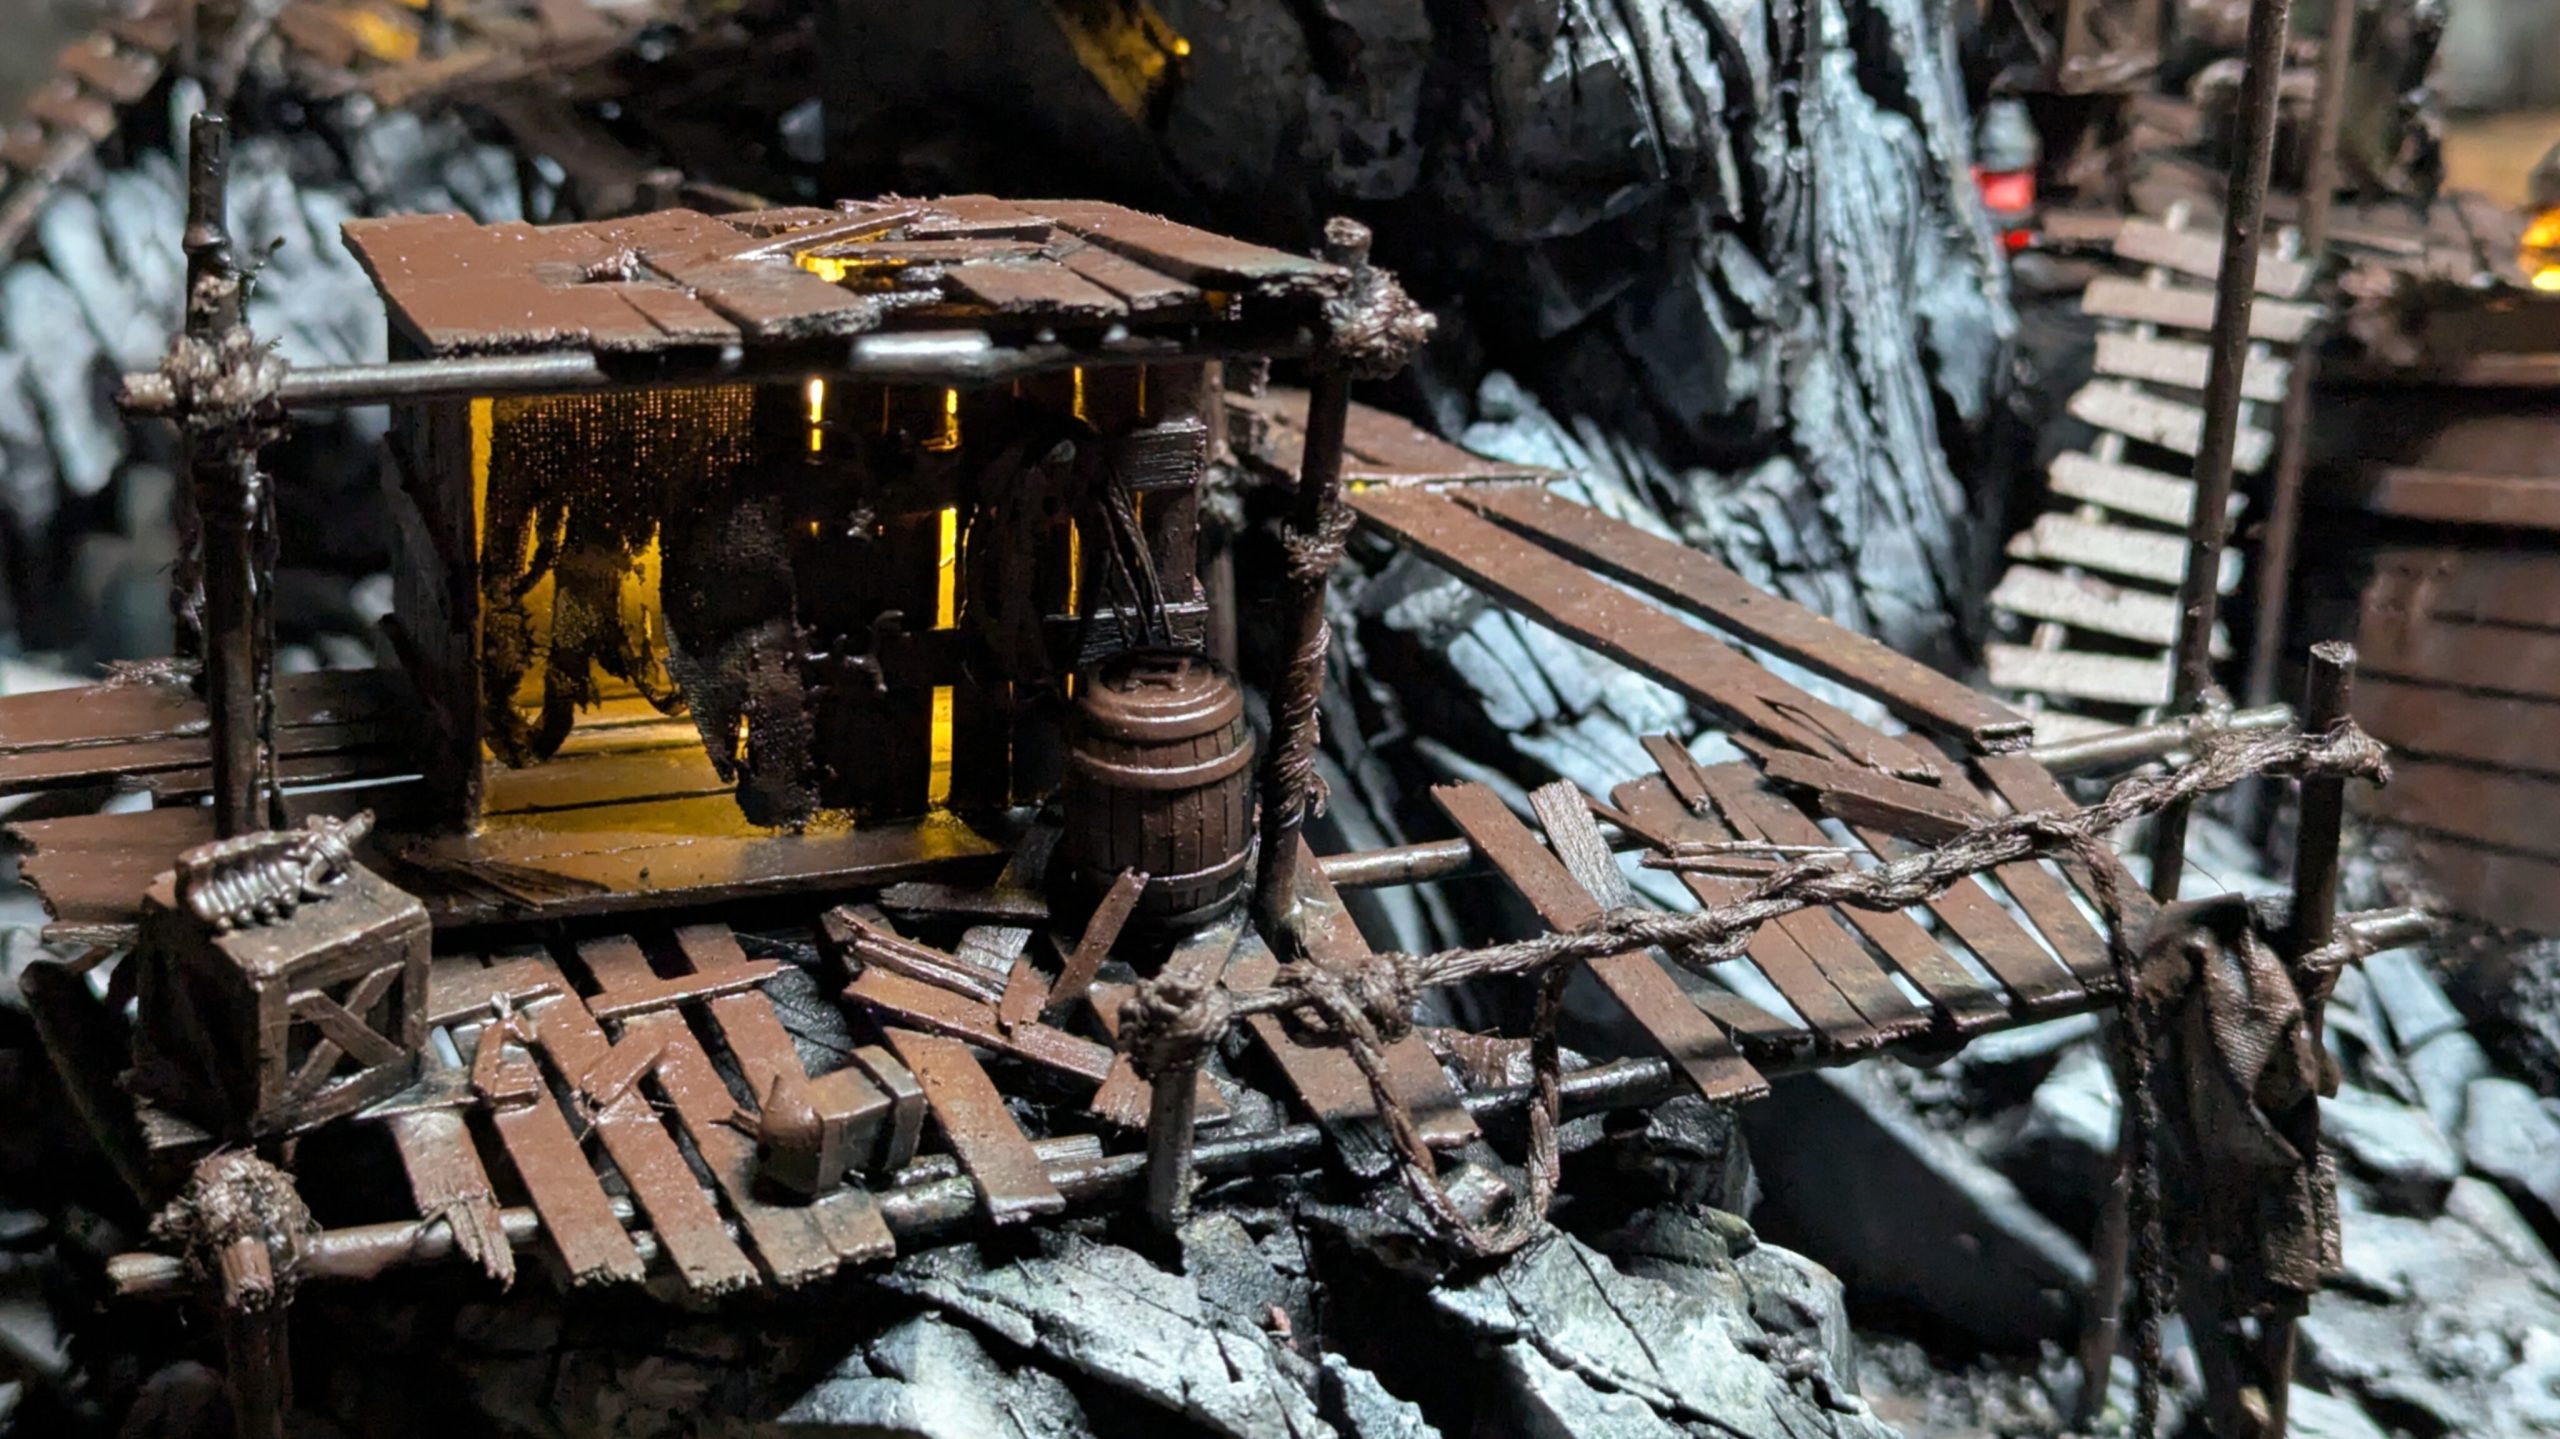
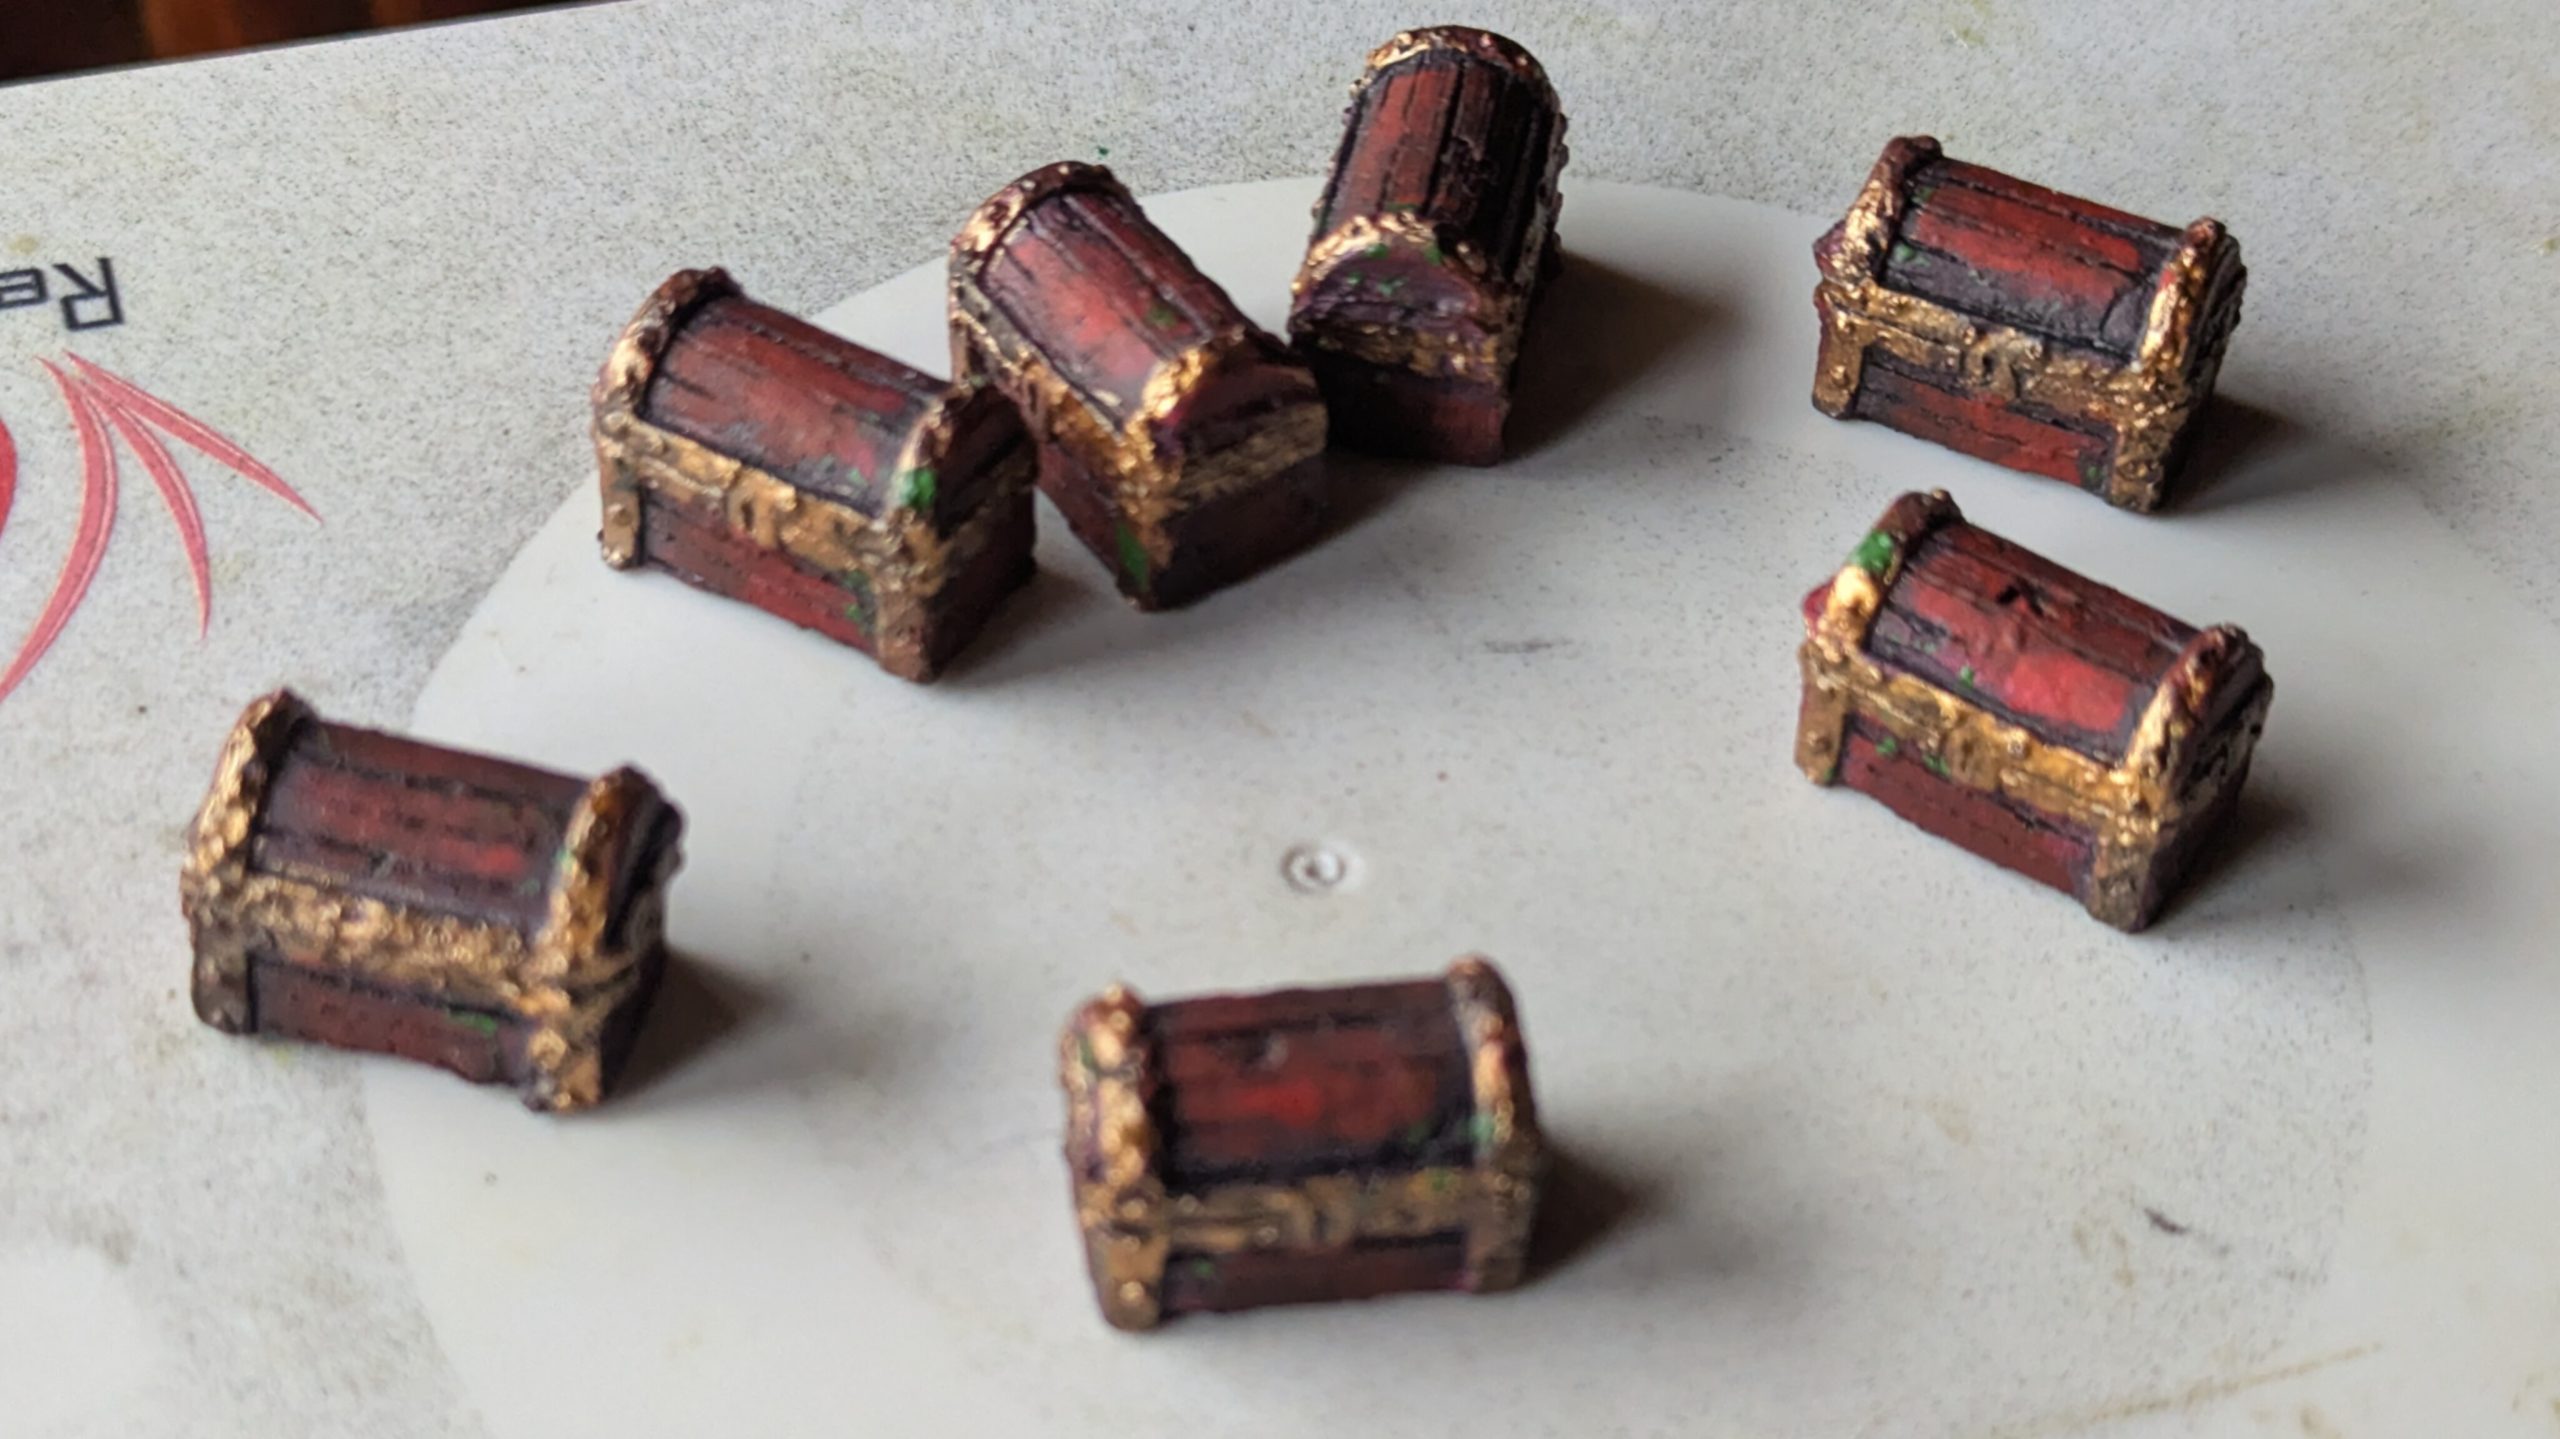
Casting loot markers
Recourse caches are a core component of 1490 Doom, so I wanted a thematic marker for them, the obvious choice being treasure chests.
I have a lovely sculpted chest that was gifted along with some miniatures, perfect for this purpose. I was very pleased with the result, so I thought I would share the method I use.
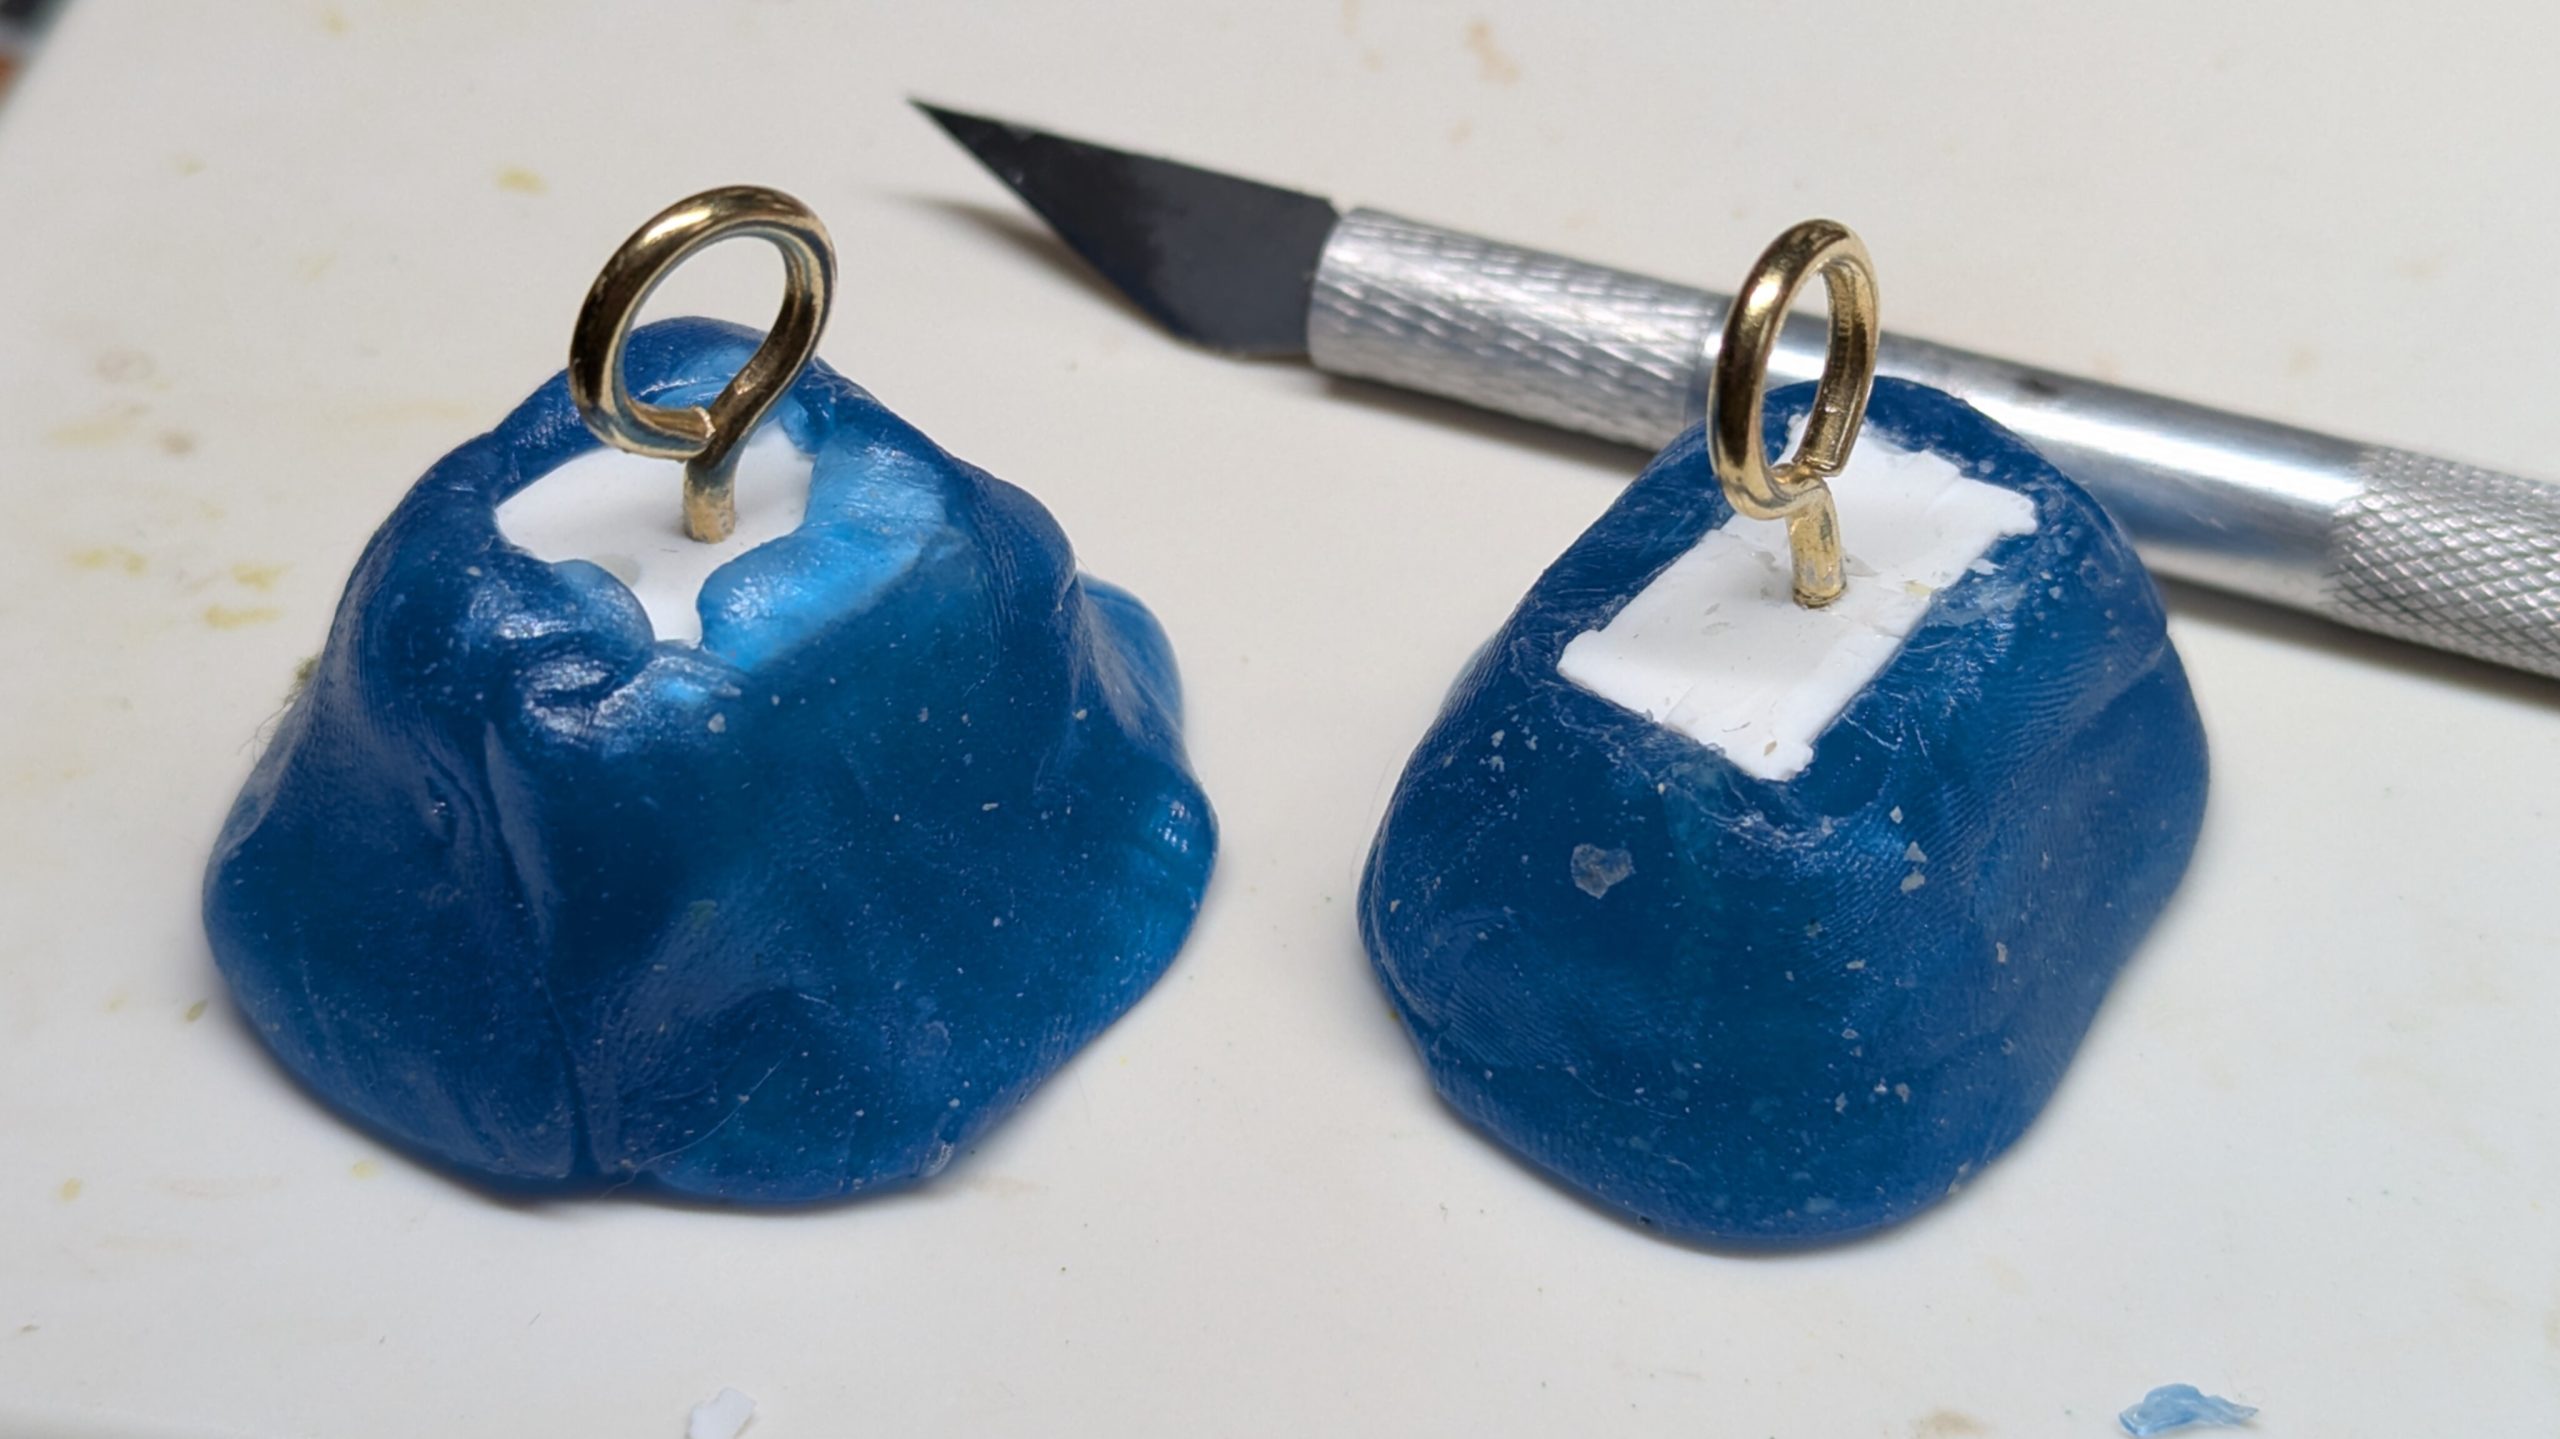
I love Oyumaru, it’s quick, clean, and with a little care holds up to multiple recasts.
Removing the parts without damaging the mold is the toughest part. I use small eyelet screws to create handles, pre‑drilling the holes to prevent damage to the piece.
When casting a full sculpt like this, I roll the Oyumaru into a ball and remove excess water, which can become trapped and distort details. I press the piece into the ball while continuously working the sides to keep them as snug as possible. I achieve the best results by wrapping the Oyumaru over the bottom of the piece and trimming the excess with a sharp blade once it’s cured.
To remove the part, thread a paintbrush handle through the eyelet and grip it with one hand while gently pushing the Oyumaru away with the other hand.
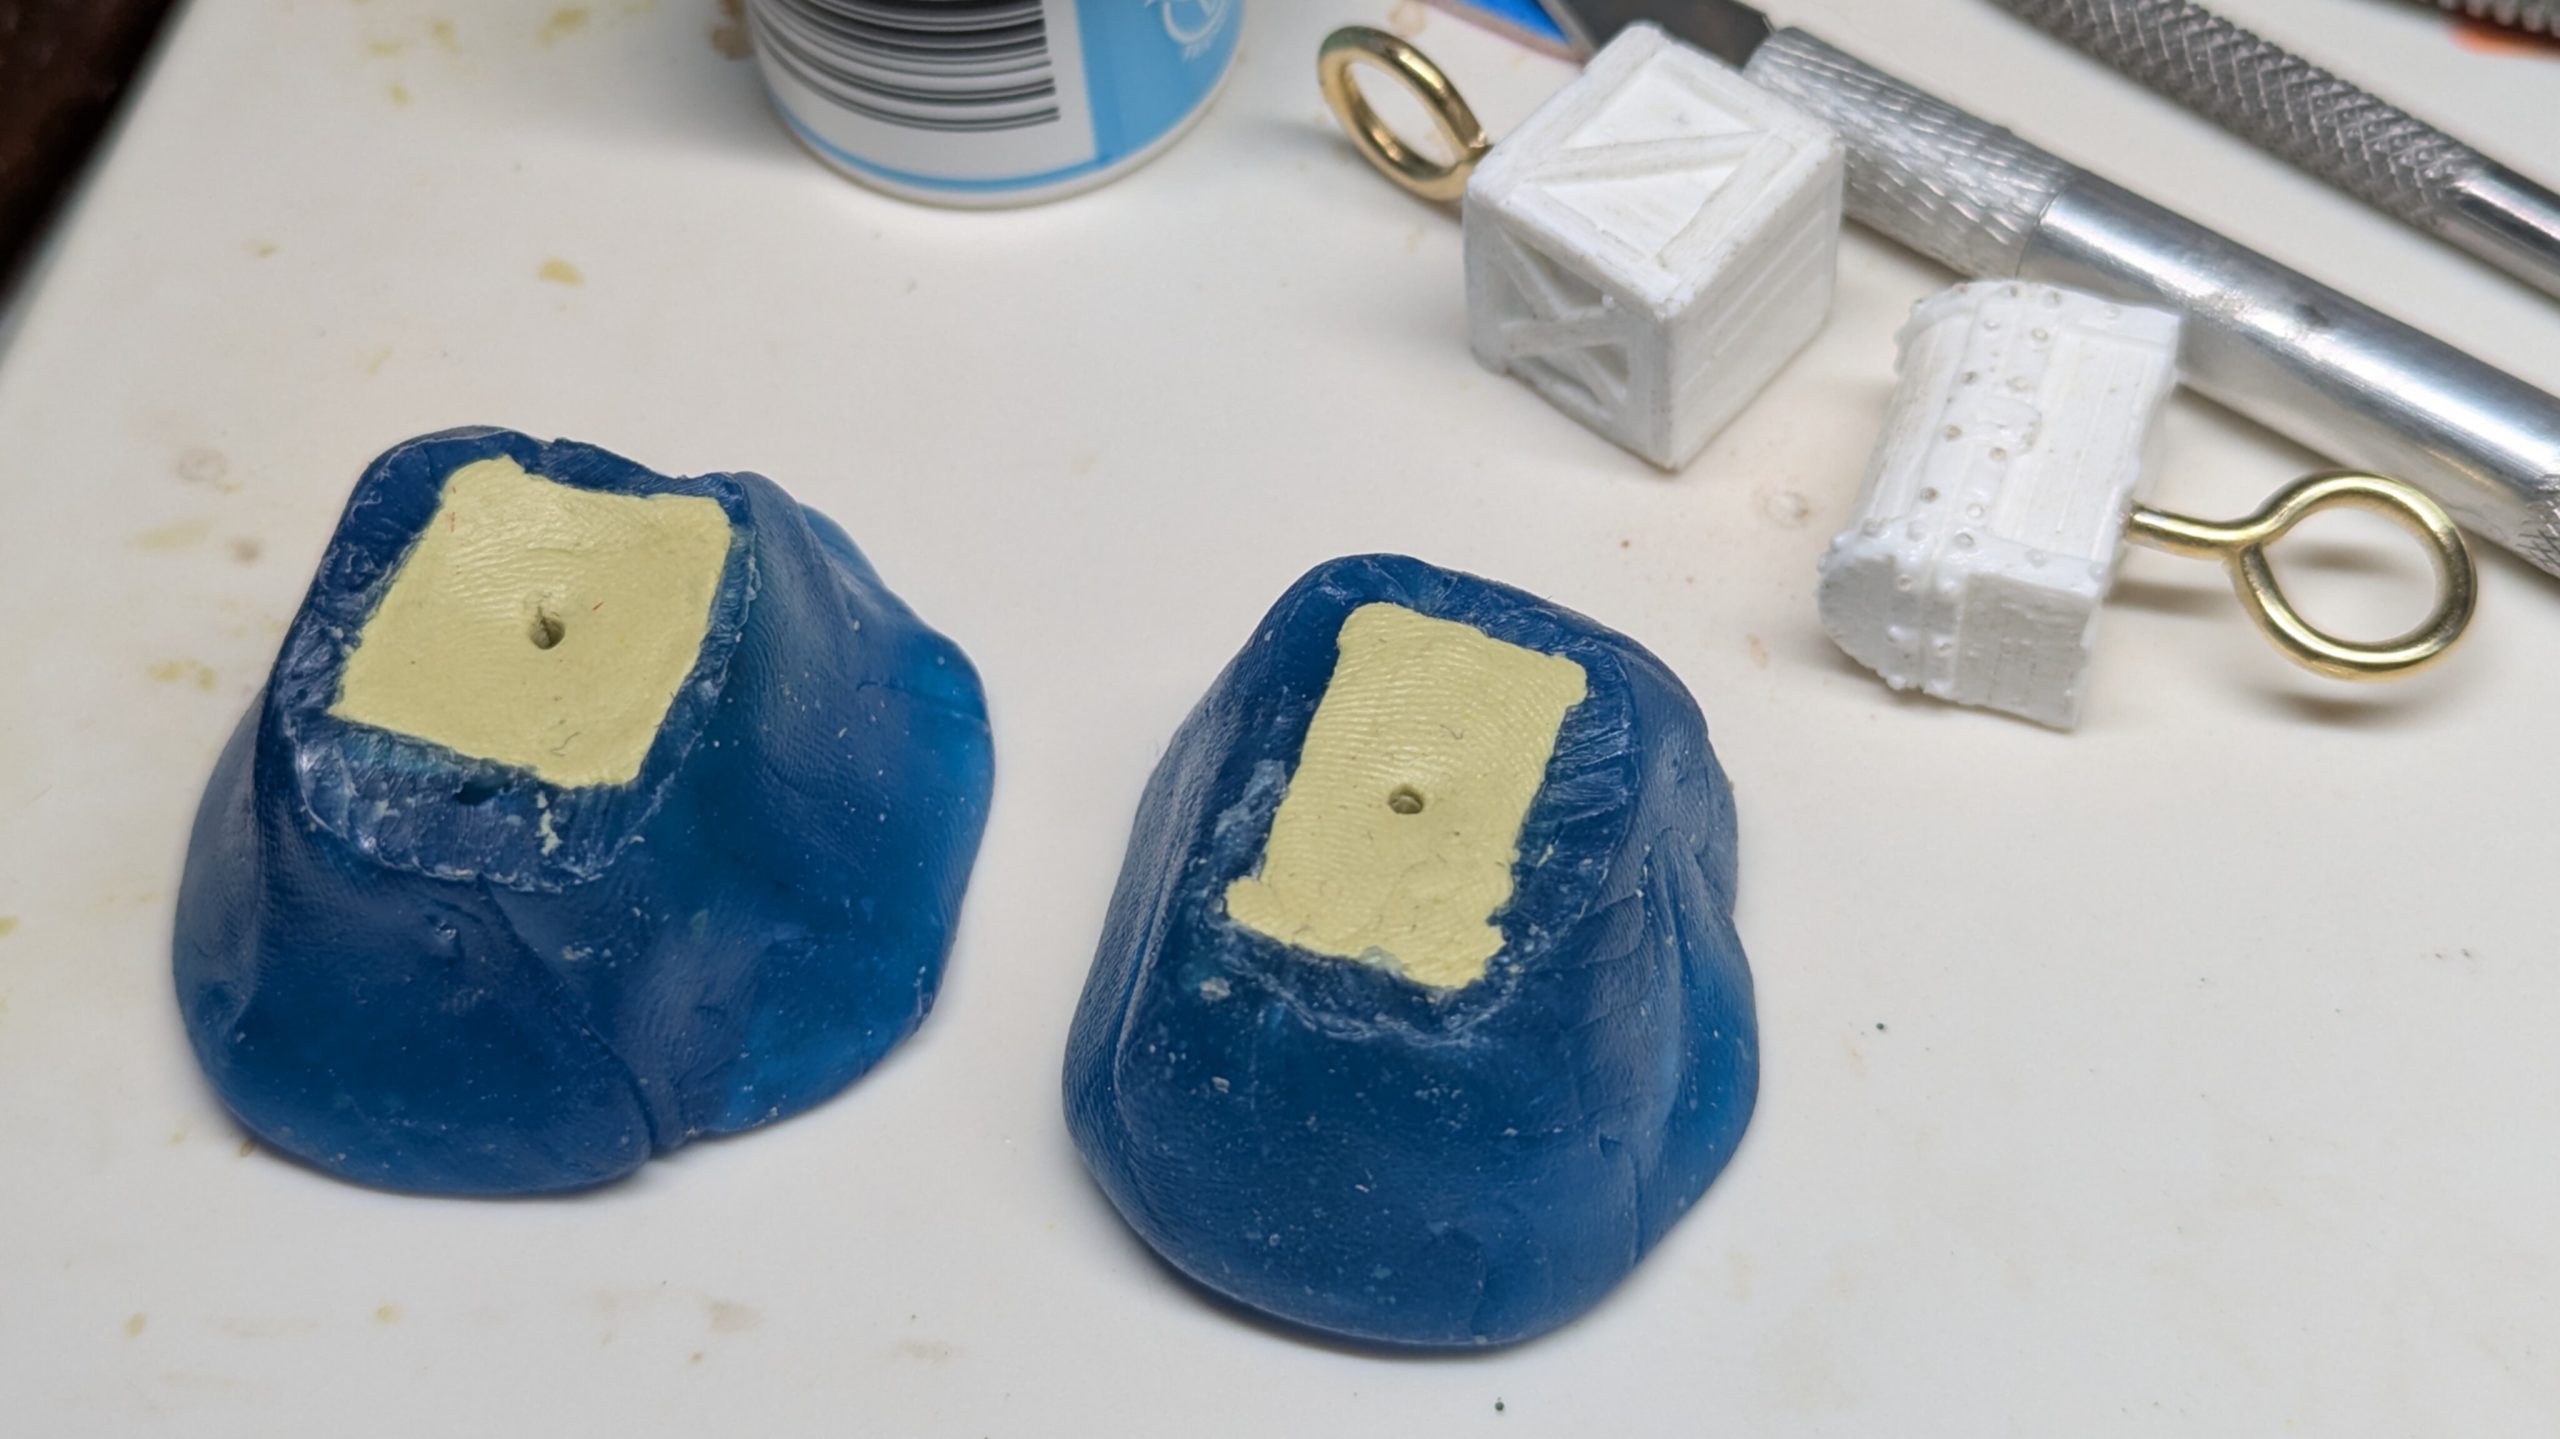
I generally use Milliput for larger casts. I apply very small lumps with enough water to create a thick slurry and work around the sides of the mould, pushing into all the details before back‑filling the remaining cavity. I slightly underfill the mould and push material to the sides, creating a shallow bowl; this helps the finished piece sit flush on uneven surfaces.
After 15-20 minutes, once the surface has begun to cure, I poke a hole for the eyelet screw. The hole needs to match the diameter of the screw’s shaft and be a little deeper than the eyelet will be inserted. Once completely cured (4–6 hours), the eyelet can be gently screwed into the hole, every few turns I back the eyelet back out to remove any dislodged material. If the hole diameter is correct, it won’t dislodge much material inside the hole, this is the trick to prevent cracking. Once I found an appropriate poking device with the correct diameter, in my case an awl, I haven’t had a single failure with this technique
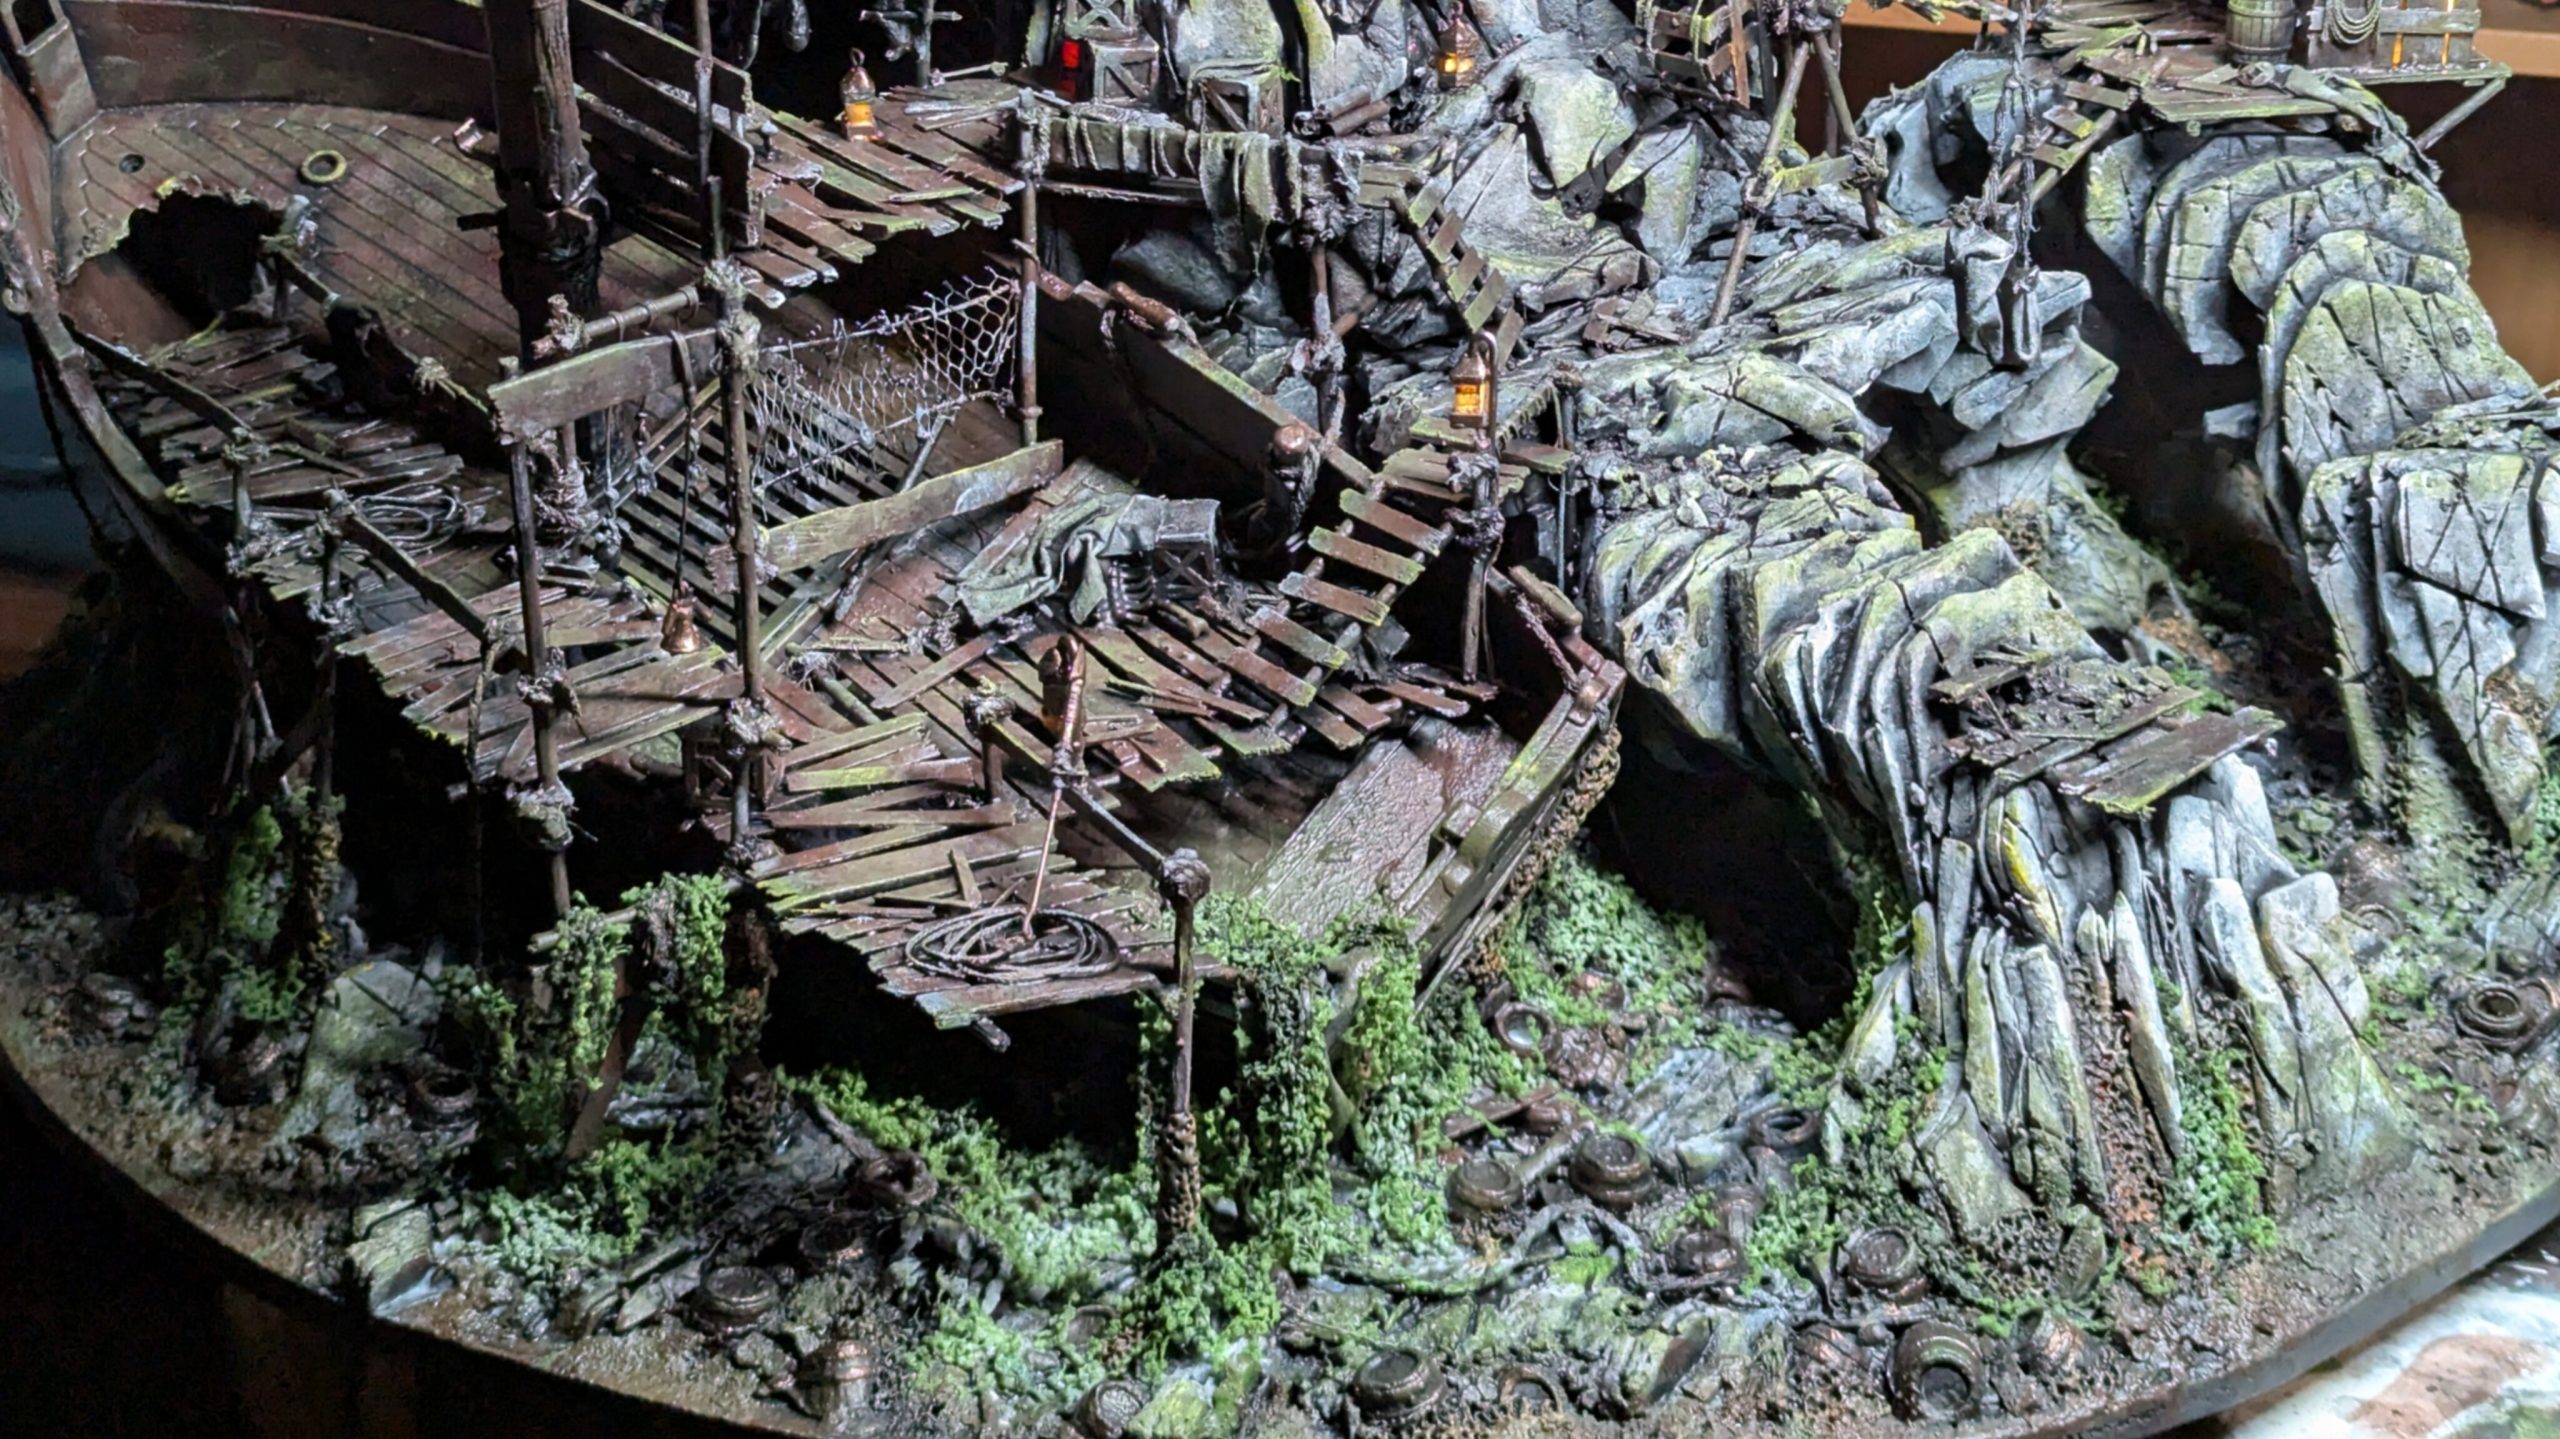
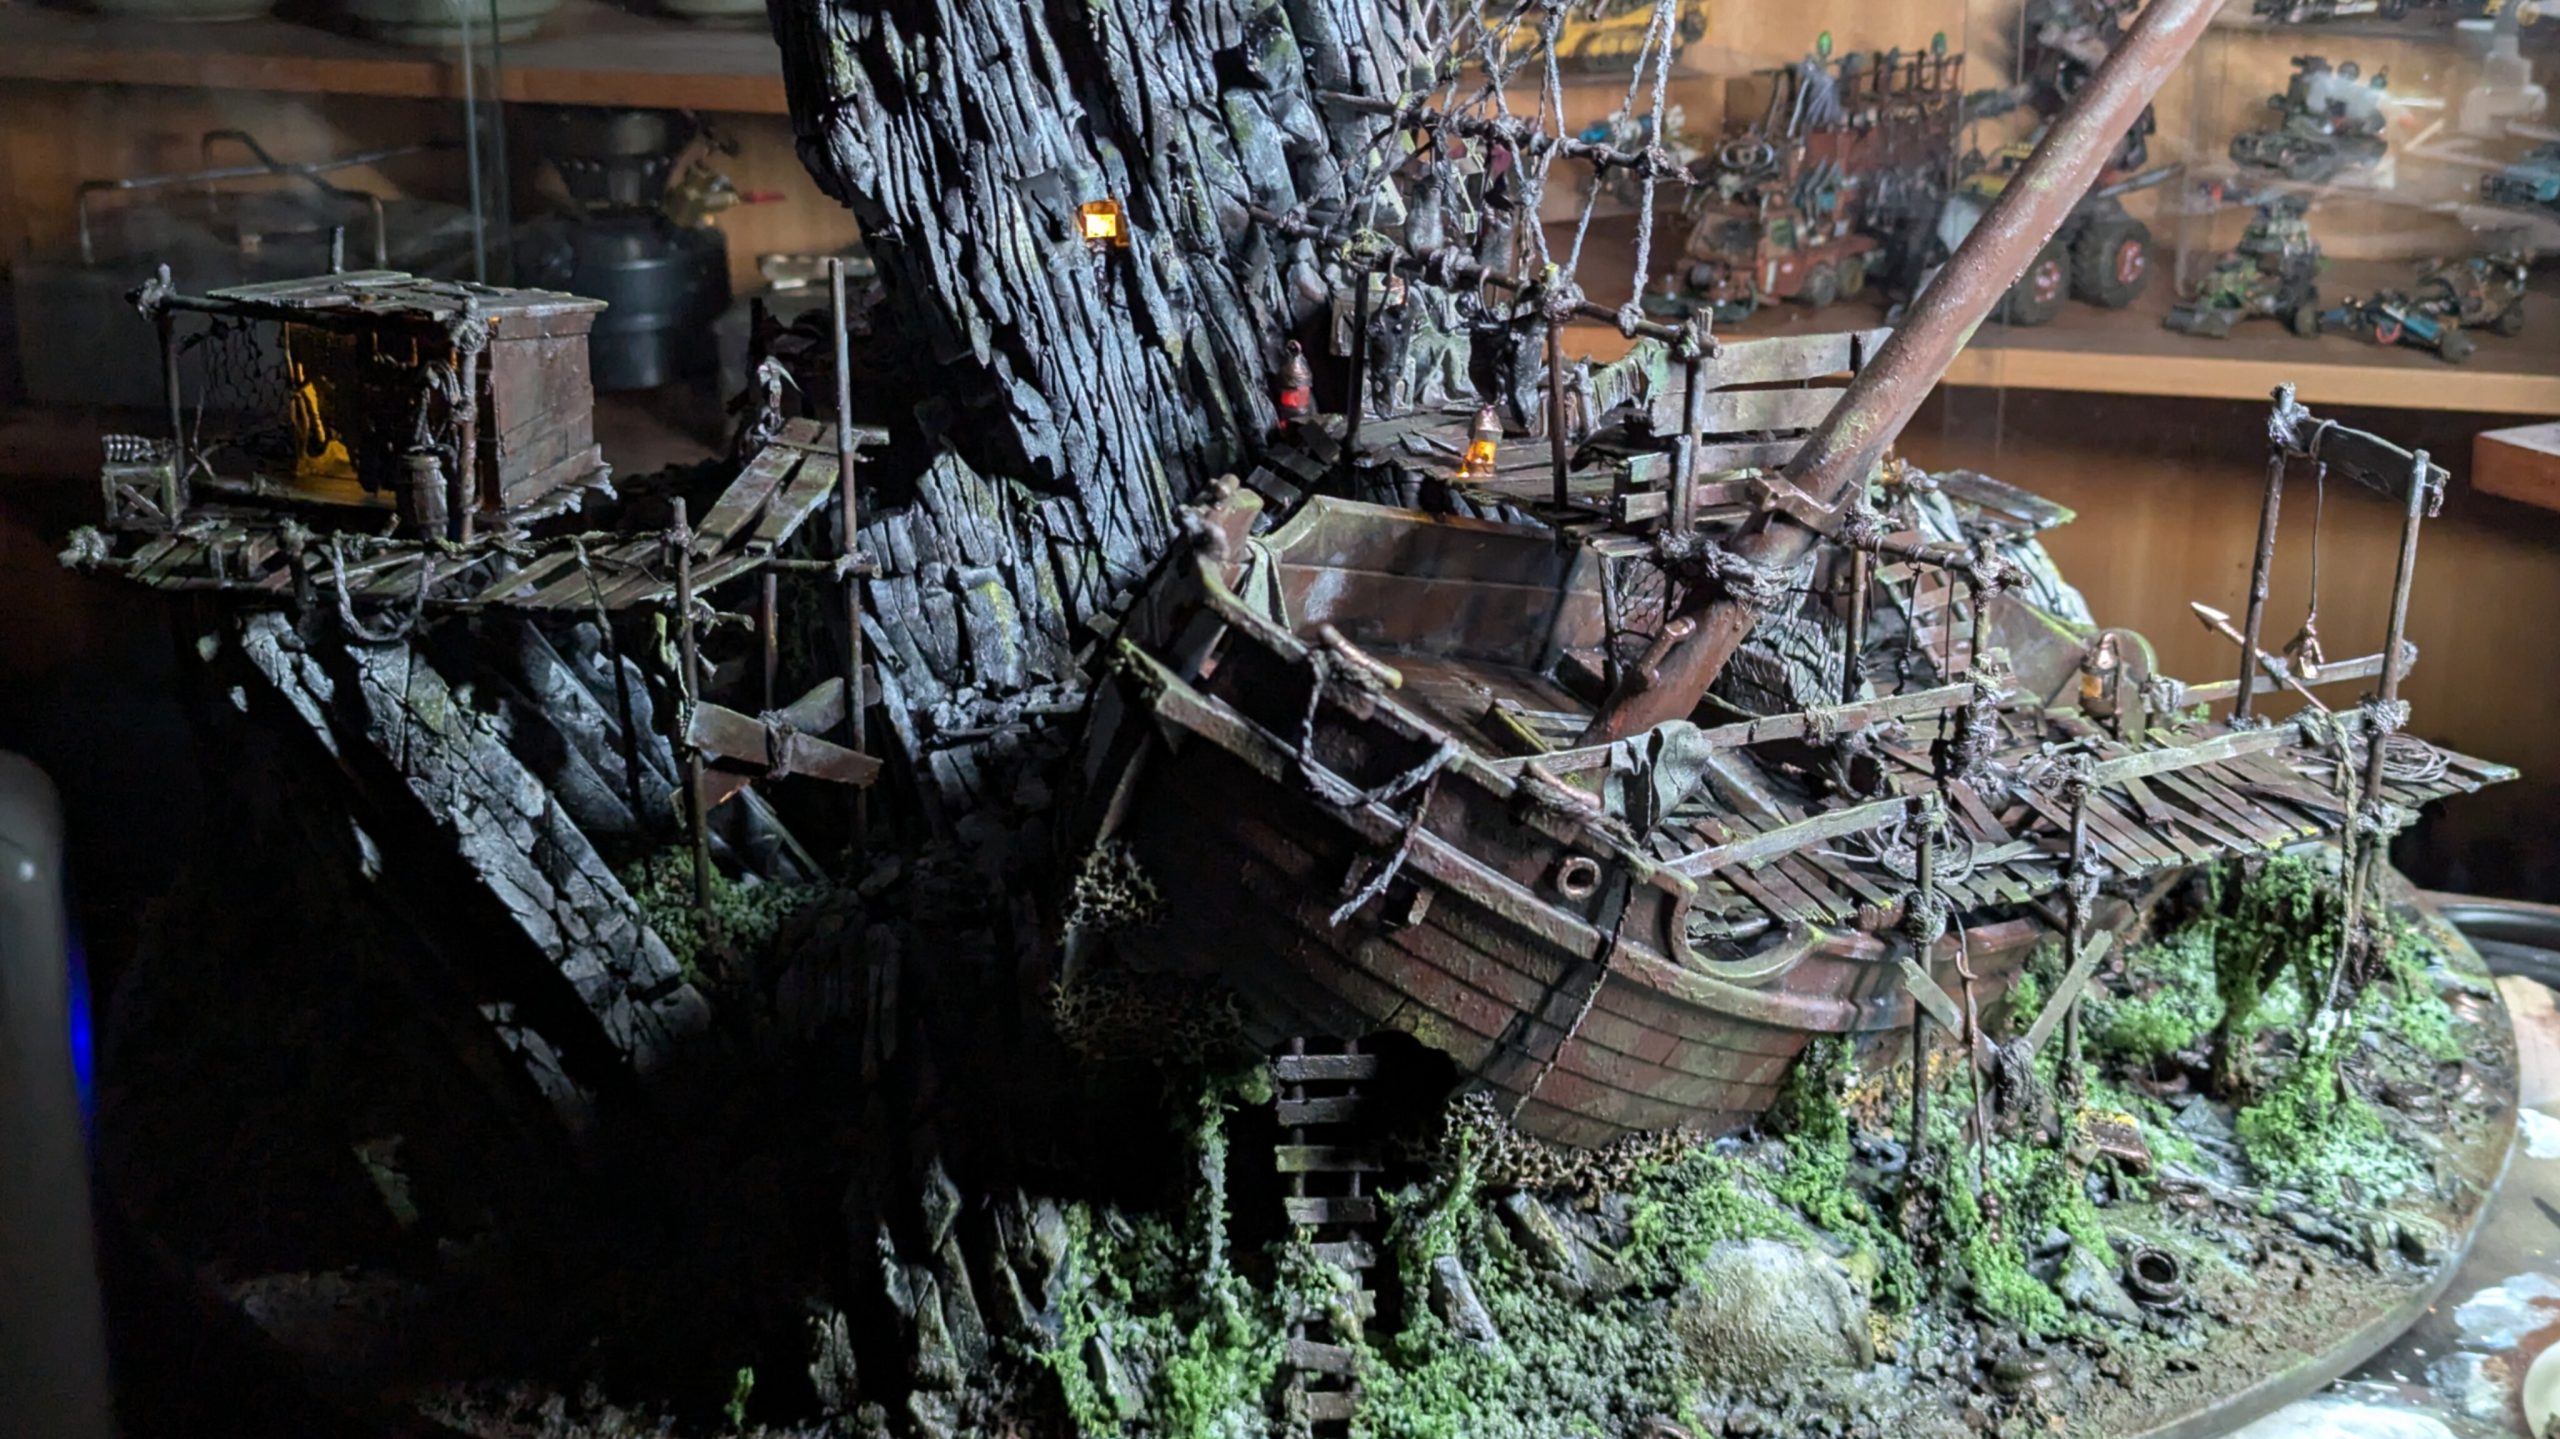
Washed UP
Time was getting short, so I didn’t document many of the final steps.
I used an airbrush to apply gloss varnish tinted with burnt umber acrylic dye around the lower 1–2 inches of the model (in line with the previously applied seaweed) to simulate the high‑tide line. About 500 g of UV resin was then layered with decreasing tints of black acrylic dye. I was working fast and only used resin tape to create the barrier around the perimeter of the board. While this worked, with no leaks, it resulted in an uneven surface. I knew this would happen, so I leaned into it to try and simulate choppy water.
The waves were built up using Sika Clear Fix Crystal, diluted with 99.99 % isopropyl alcohol and formed with a tongue depressor.
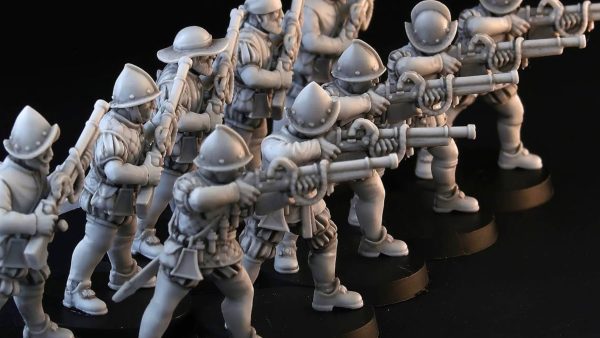
I purchased the Sorcerer’s Spoils box set from Wargames Atlantic for a future project. It arrived early, so a few bits from it were added along with a handful of other small details. These were the only elements I didn’t paint with sponges. Some hungry seagulls were the final, gruesome cherry on top.
This project is significantly larger than anything I have worked on to date. Getting the whole thing in frame was challenging; my black felt backdrop didn’t stand a chance.