






When Doom Came To Minas Tirith



Recommendations: 128
About the Project
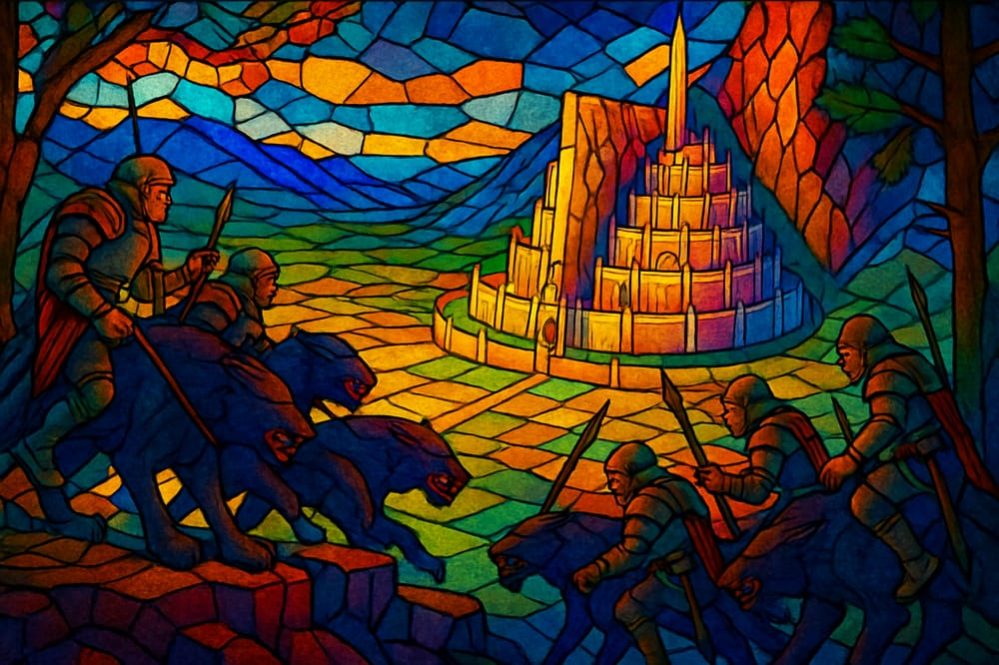
This is a project I have wanted to do for a few months now. I have taken so long to start because I wanted to finish a couple of projects before starting this one. This is essentially an exercise in basic 'forced perspective'. The idea was actually placed in my mind by our own @sundancer! There was a review of some 10mm miniatures and Sundancer could not help himself and cracked a silly joke about how far away the miniatures were - I know, I know! Nonetheless, I immediately thought of an old idiom my grandpa used to say, 'there’s a pony under that pile of shit.' And that is how the seed of an idea was planted in my mind. The scene depicts the day before 'The Battle of the Pelennor Fields,' as the orcs finally see their coveted prize - the splendid White City of Gondor. This will be the biggest diorama I have ever made in size and number of miniatures involved. Hopefully it wont be the worst.
Related Game: Middle-Earth Strategy Battle Game
Related Company: North Star Military Figures
Related Genre: Fantasy
This Project is Completed
A quick Update With Some Heroes
Hi everyone,
I have been working on this diorama about 25 minutes a day, and two to three hours over the weekend, and I have to say every bit does count. During this time I worked exclusively on the miniatures below.
These are the leaders that will be placed on top. I wanted them a bit less rusty with better looking armour. The leader on the wolf has black looking armour. I thought this would contrast well with the white city.
Other than that, this miniatures were all painted in acrylic with some rendering in oils.
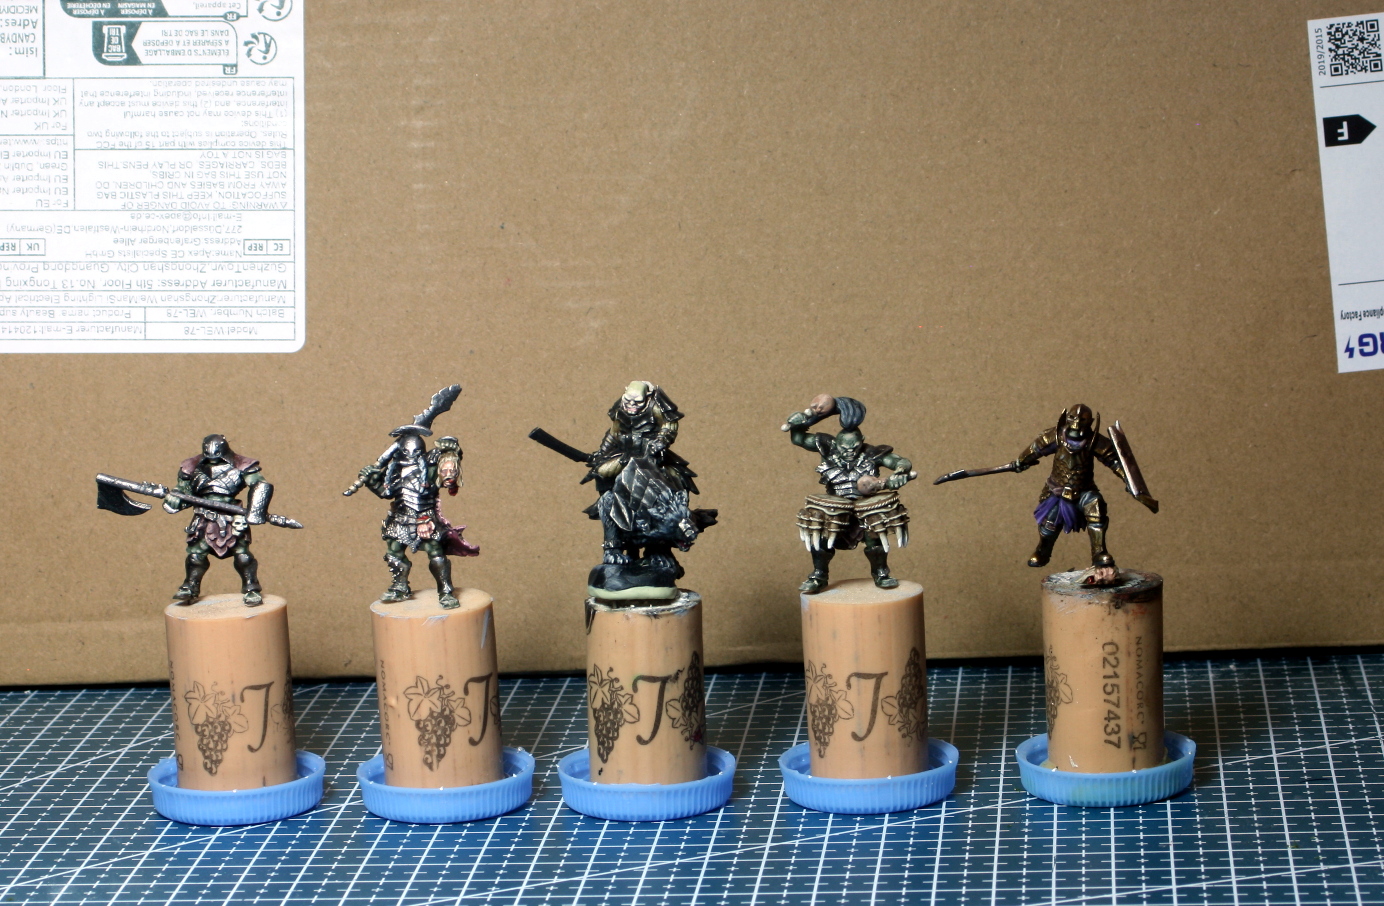
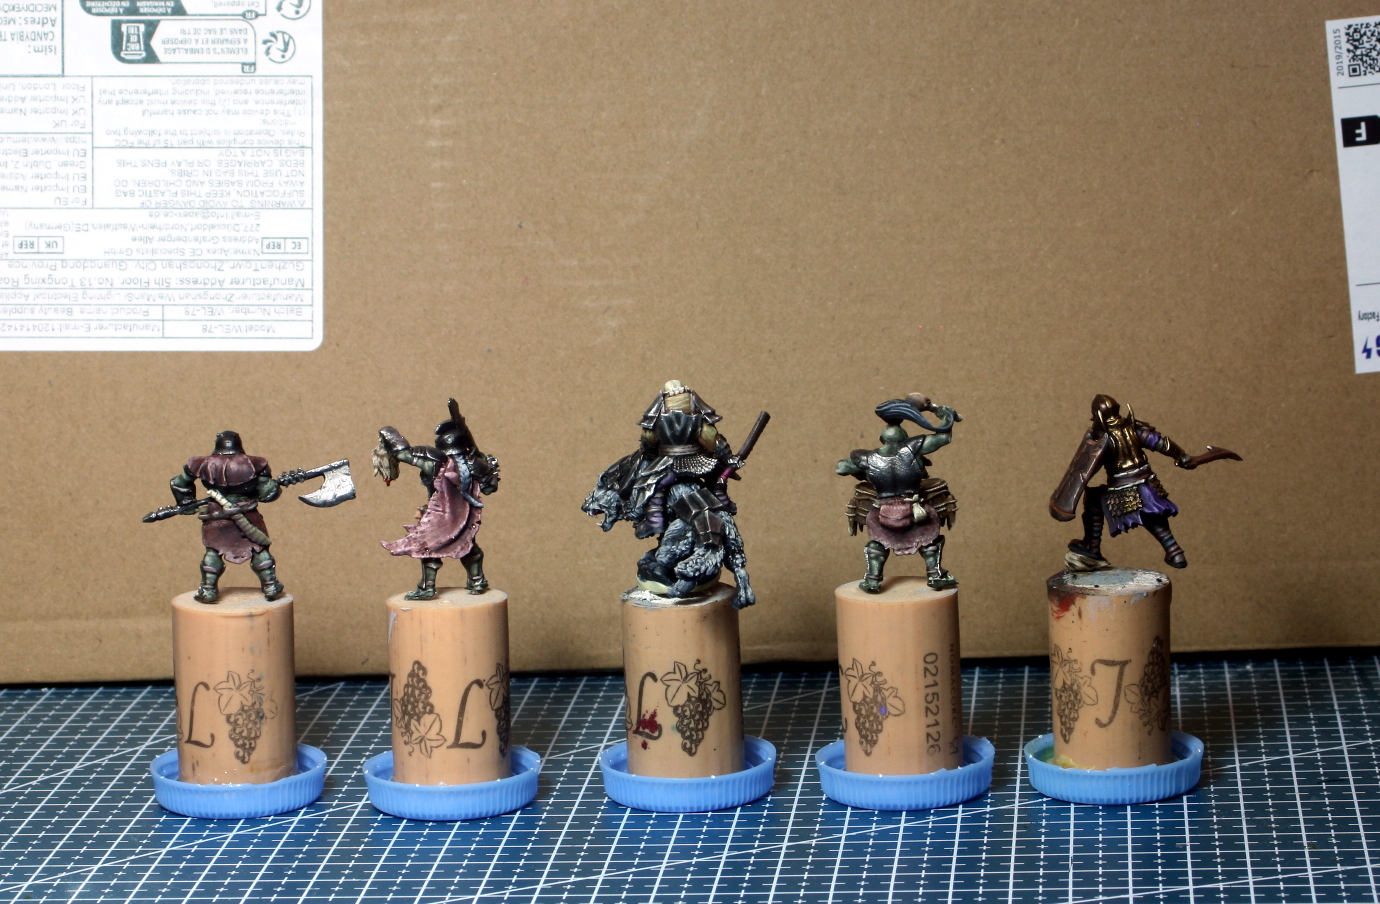
The next post will most probably be the top troll, since I have started him today. Otherwise, it will be the forefront terrain of the diorama.
Until then, stay safe and have fun.
NR.
The Work Progresses.
Hi everyone,
I have done some more work on the diorama’s foreground and middle-ground. I also have finished painting up all the miniatures for this project. Thirty-three in all.
I will let the pictures tell the story.
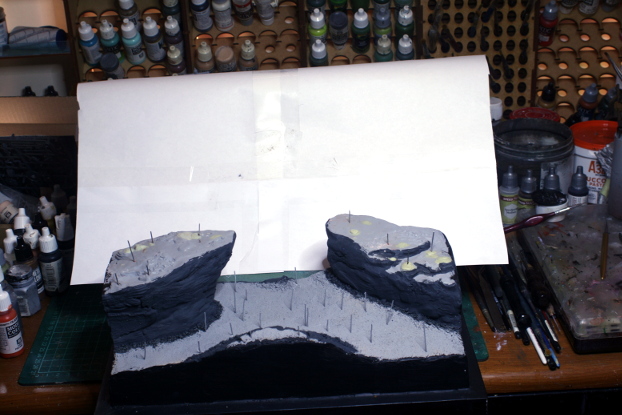 Getting ready to airbrush the base colours
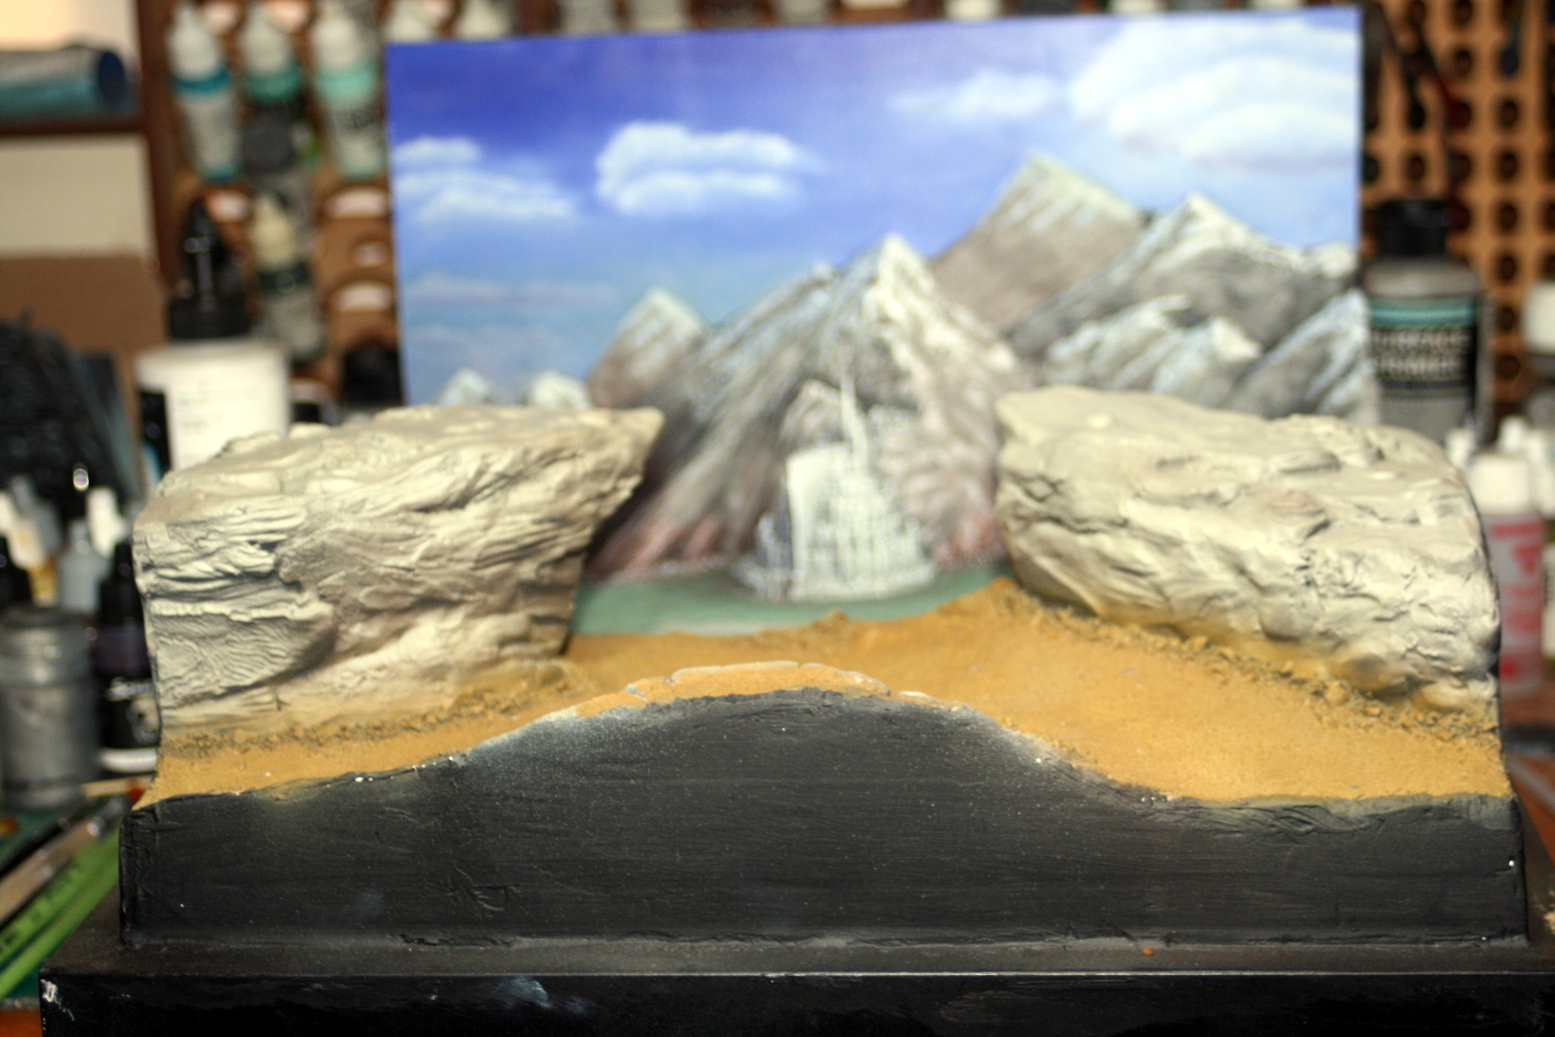 The base colours are in place.
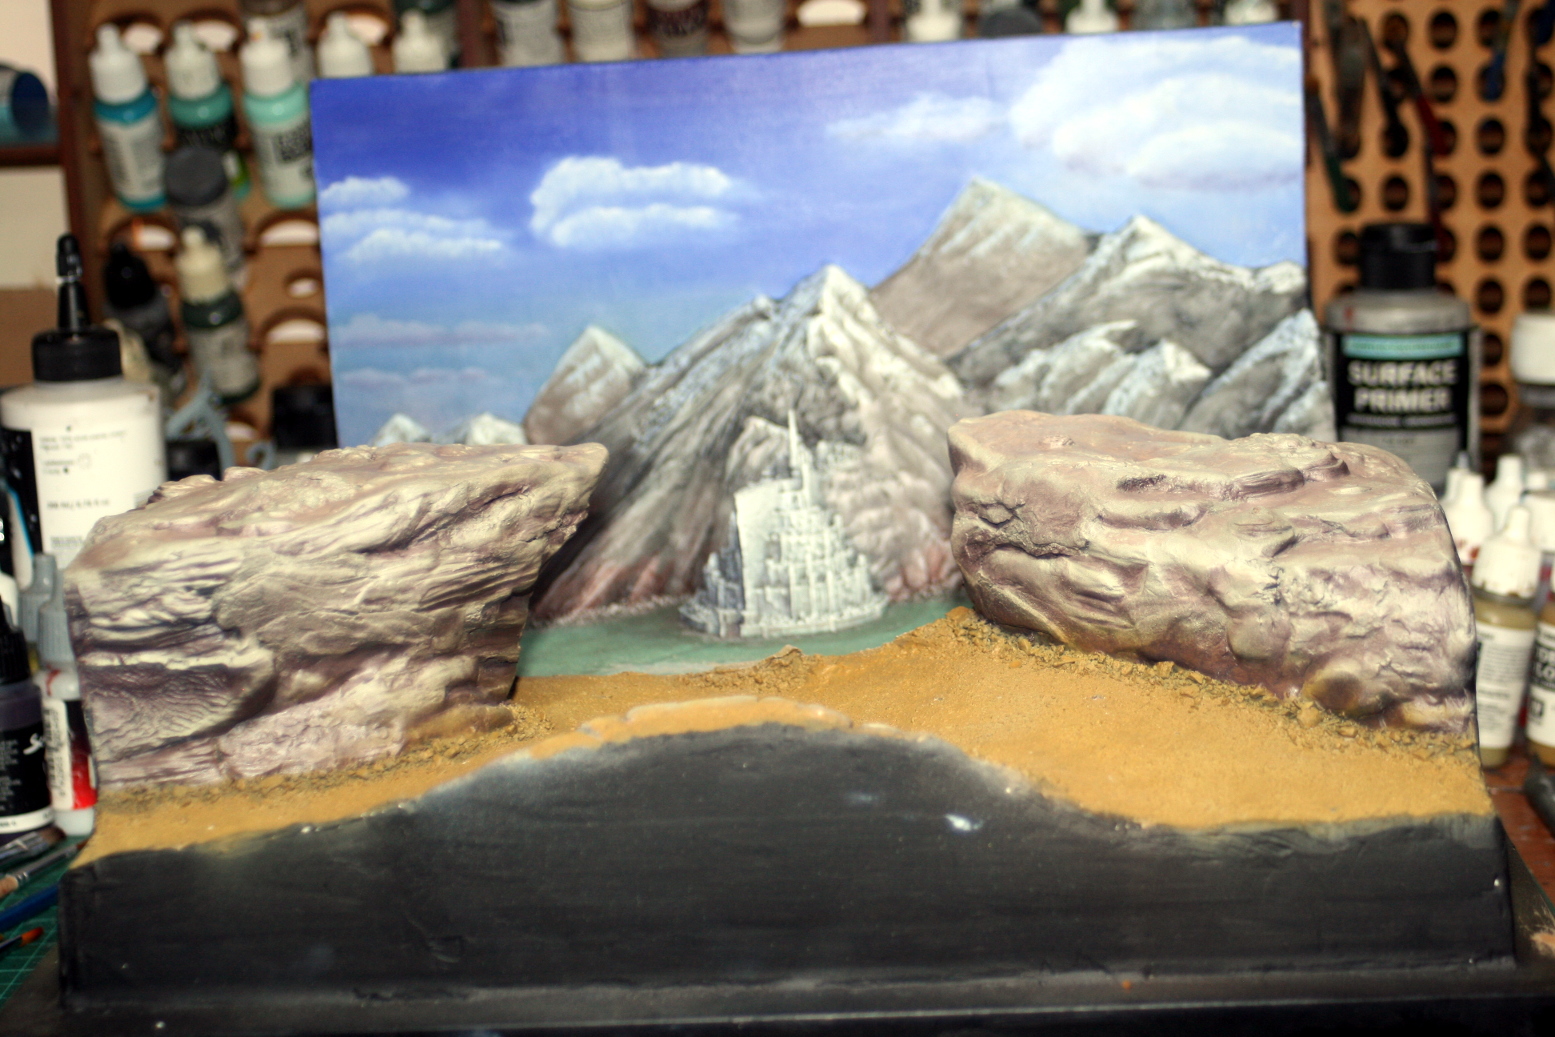 Adding mid-tones with oil paints - because it is easier and I don't hate myself!
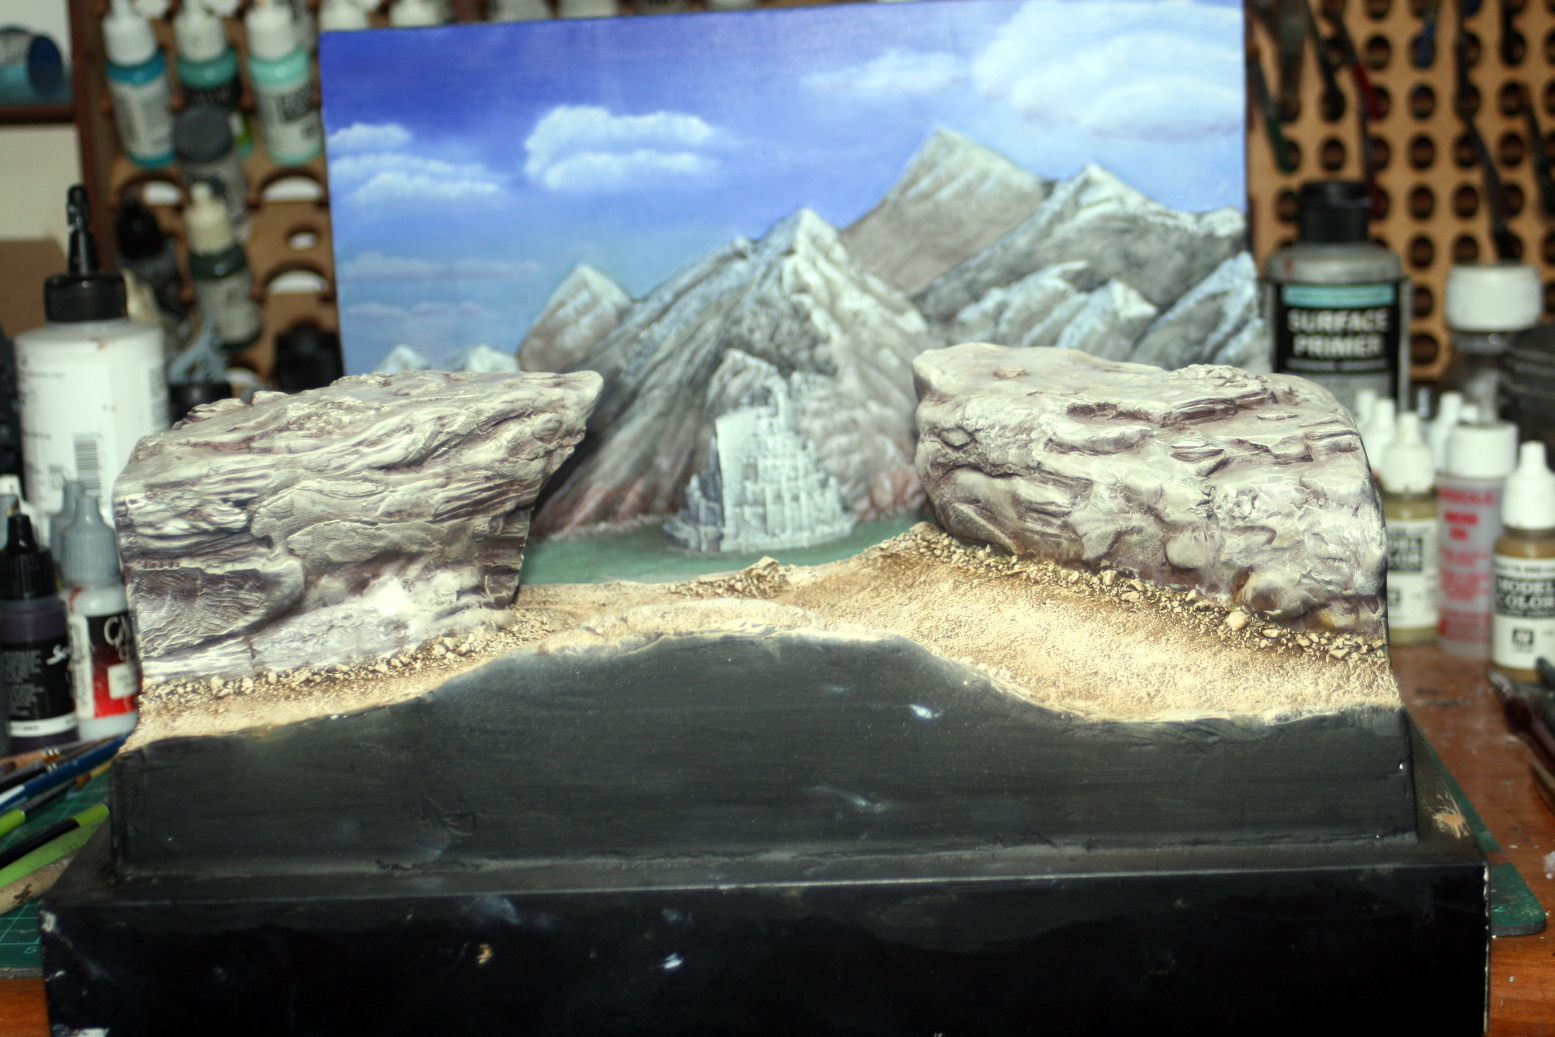 Painted in the ground work in oils as well, and left to dry for two days.
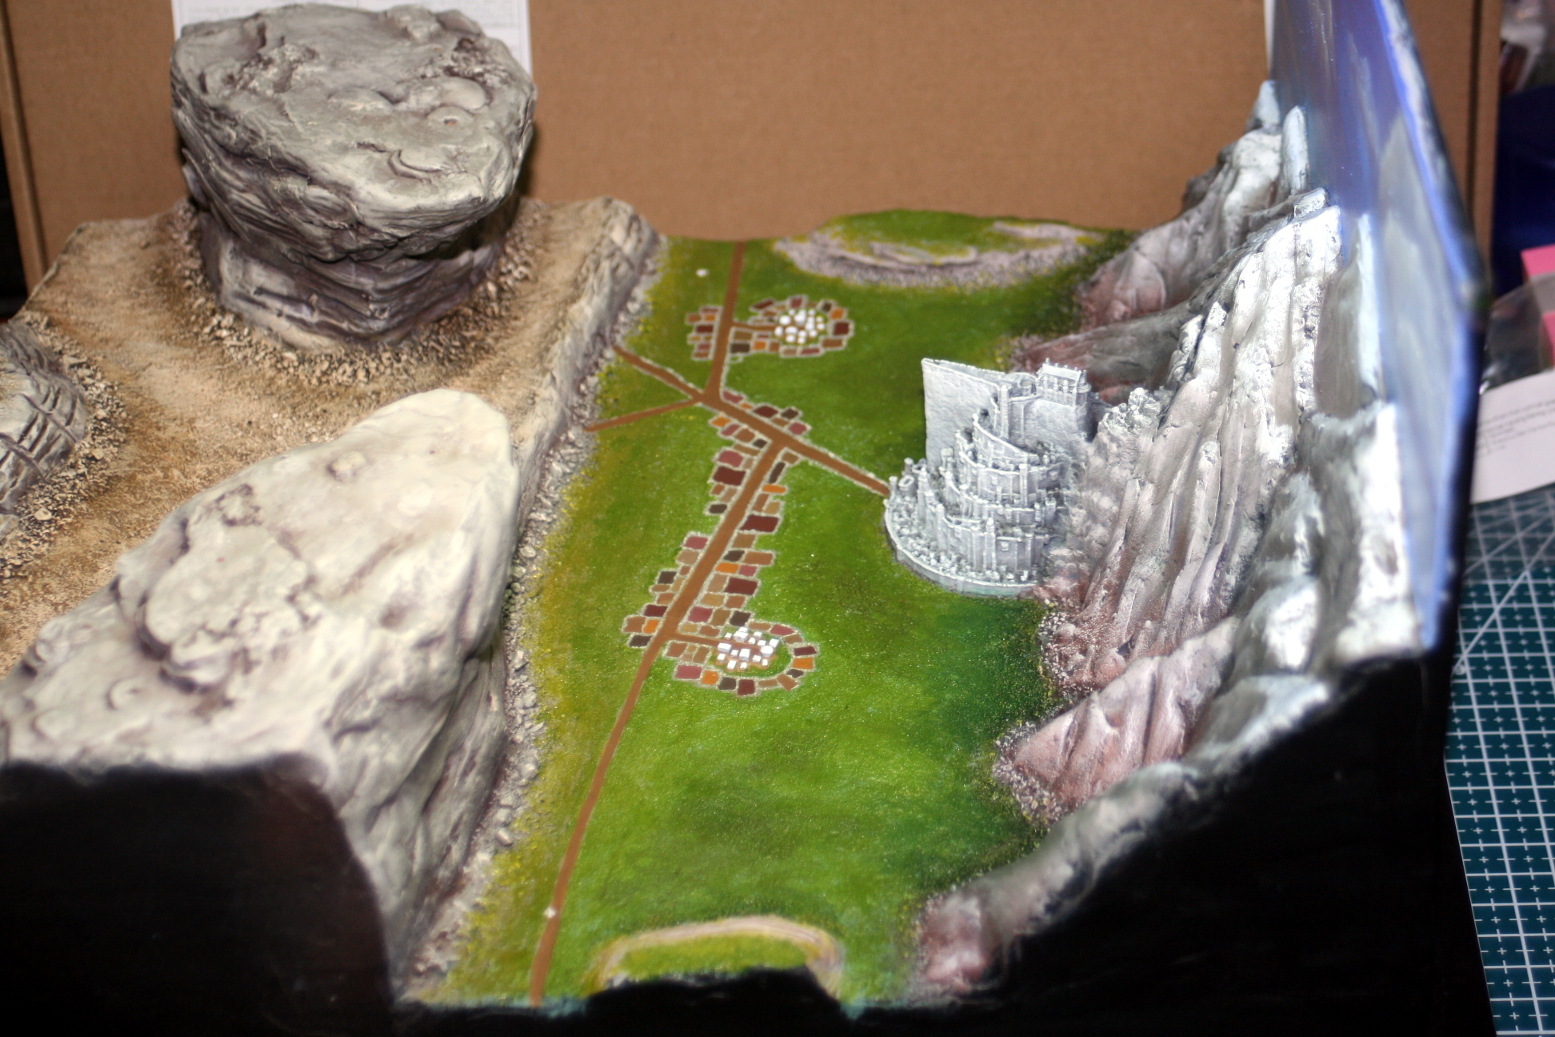 Painted up the base colours for the middle-ground.
 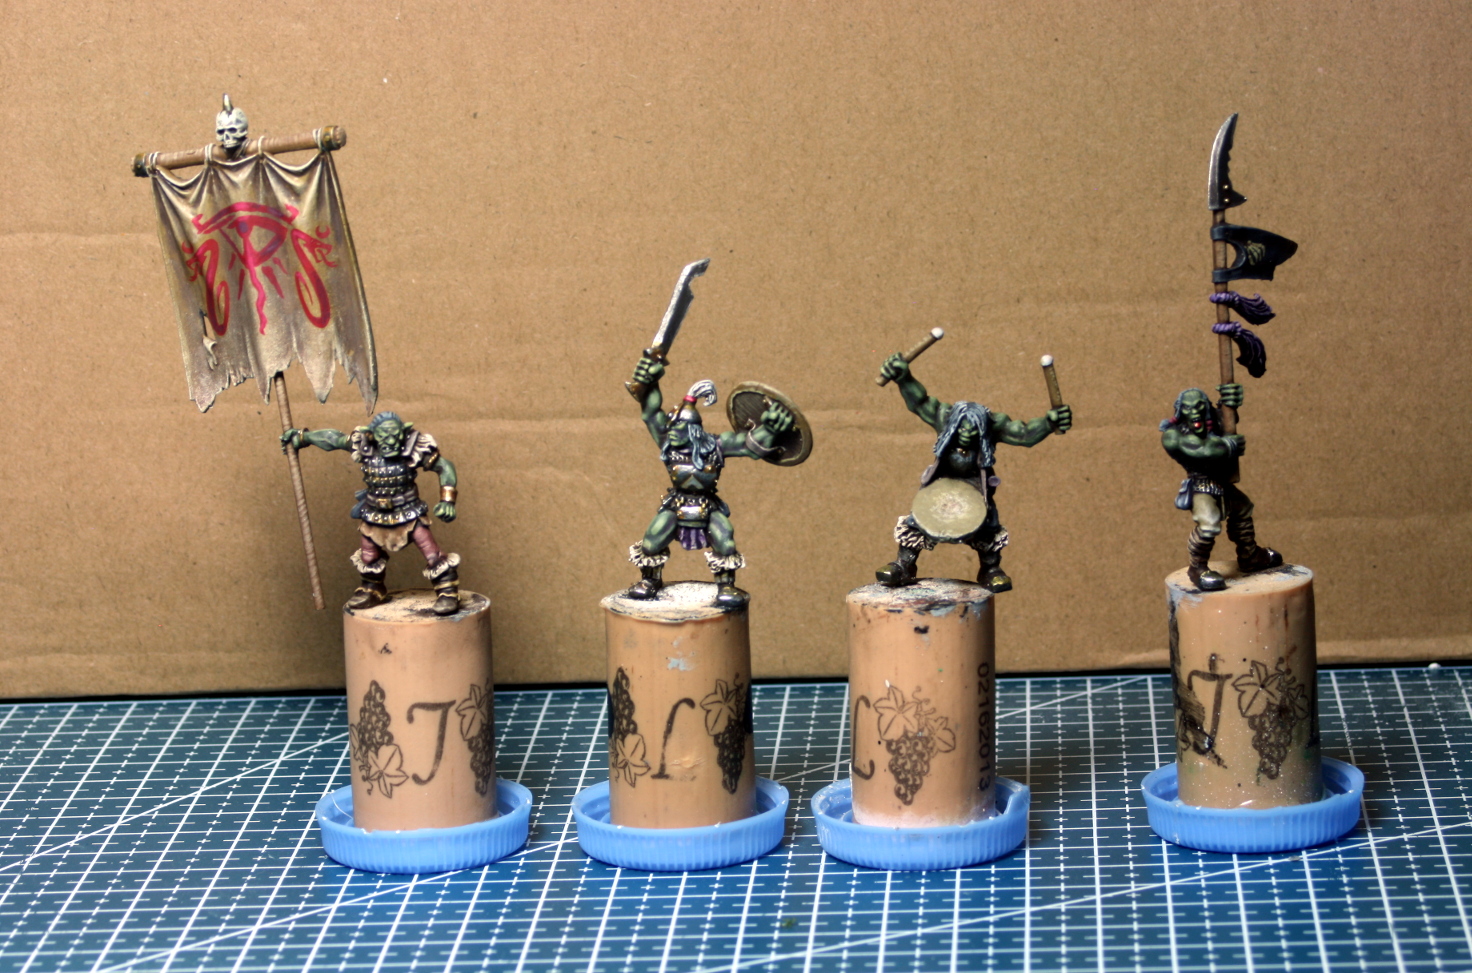 Last of the minitures are now painted up.
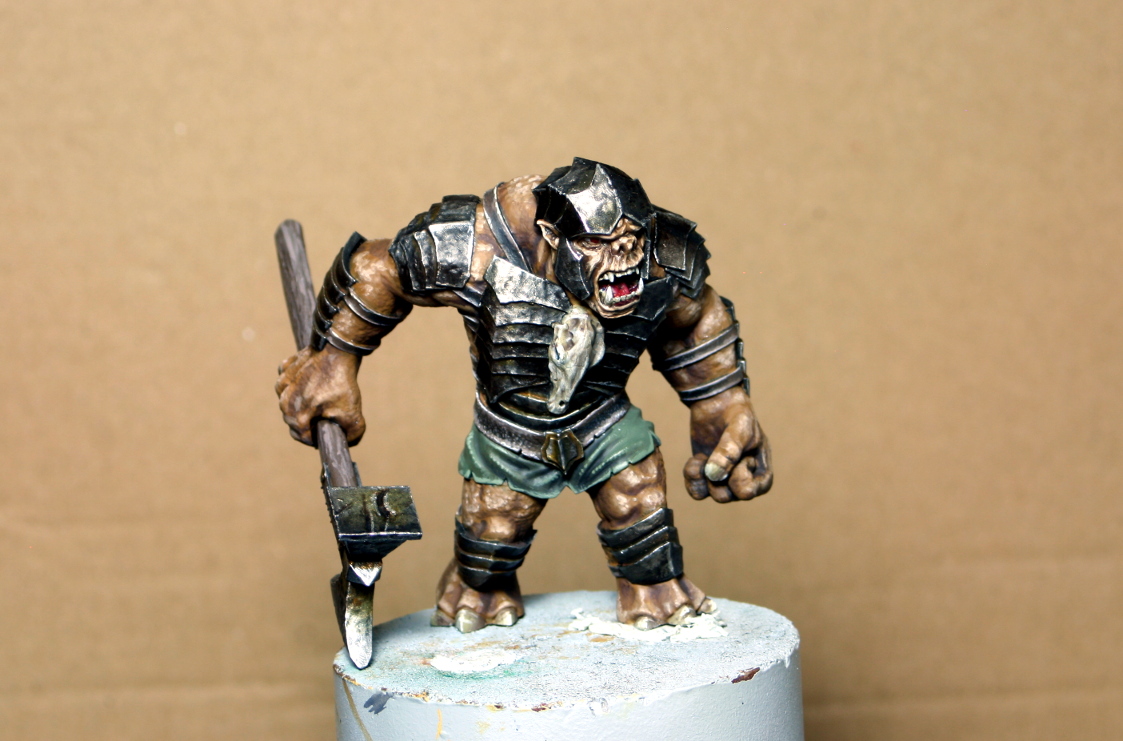 The second ogre is also ready. I thought the black armour would contrast nnicely with the white city.
 ![A Lloyd shot. By the way - where are the two Johnston brothers these days! Were they diposed by evil ursurpers [Ben & Gerry]!](https://images.beastsofwar.com/2026/08/79266879-IMG_7790.jpg) A Lloyd shot. By the way - where are the two Johnston brothers these days! Were they diposed by evil ursurpers [Ben & Gerry]!
A Lloyd shot. By the way - where are the two Johnston brothers these days! Were they diposed by evil ursurpers [Ben & Gerry]! The next step is to add more shadows and highlight to the foreground and middle-ground, and then add detail in the form of paint and vegetation. If all goes well I should have this wrapped up in abut two weeks – fingers crossed.
Until next time, stay safe and have fun.
NR
Shadows, Highlights and Details
Hi everyone,
Over the weekend, I worked on the shadows, highlights and details on the foreground and the middle-ground, and I am glad to say that the diorama is de facto finished.
All I have to do is wait two days for the oils to dry properly, and I can go ahead and place the miniatures in place. After which, I have to take pictures – the hardest part of all for me.
I will let the following pictures tell the story as usual.
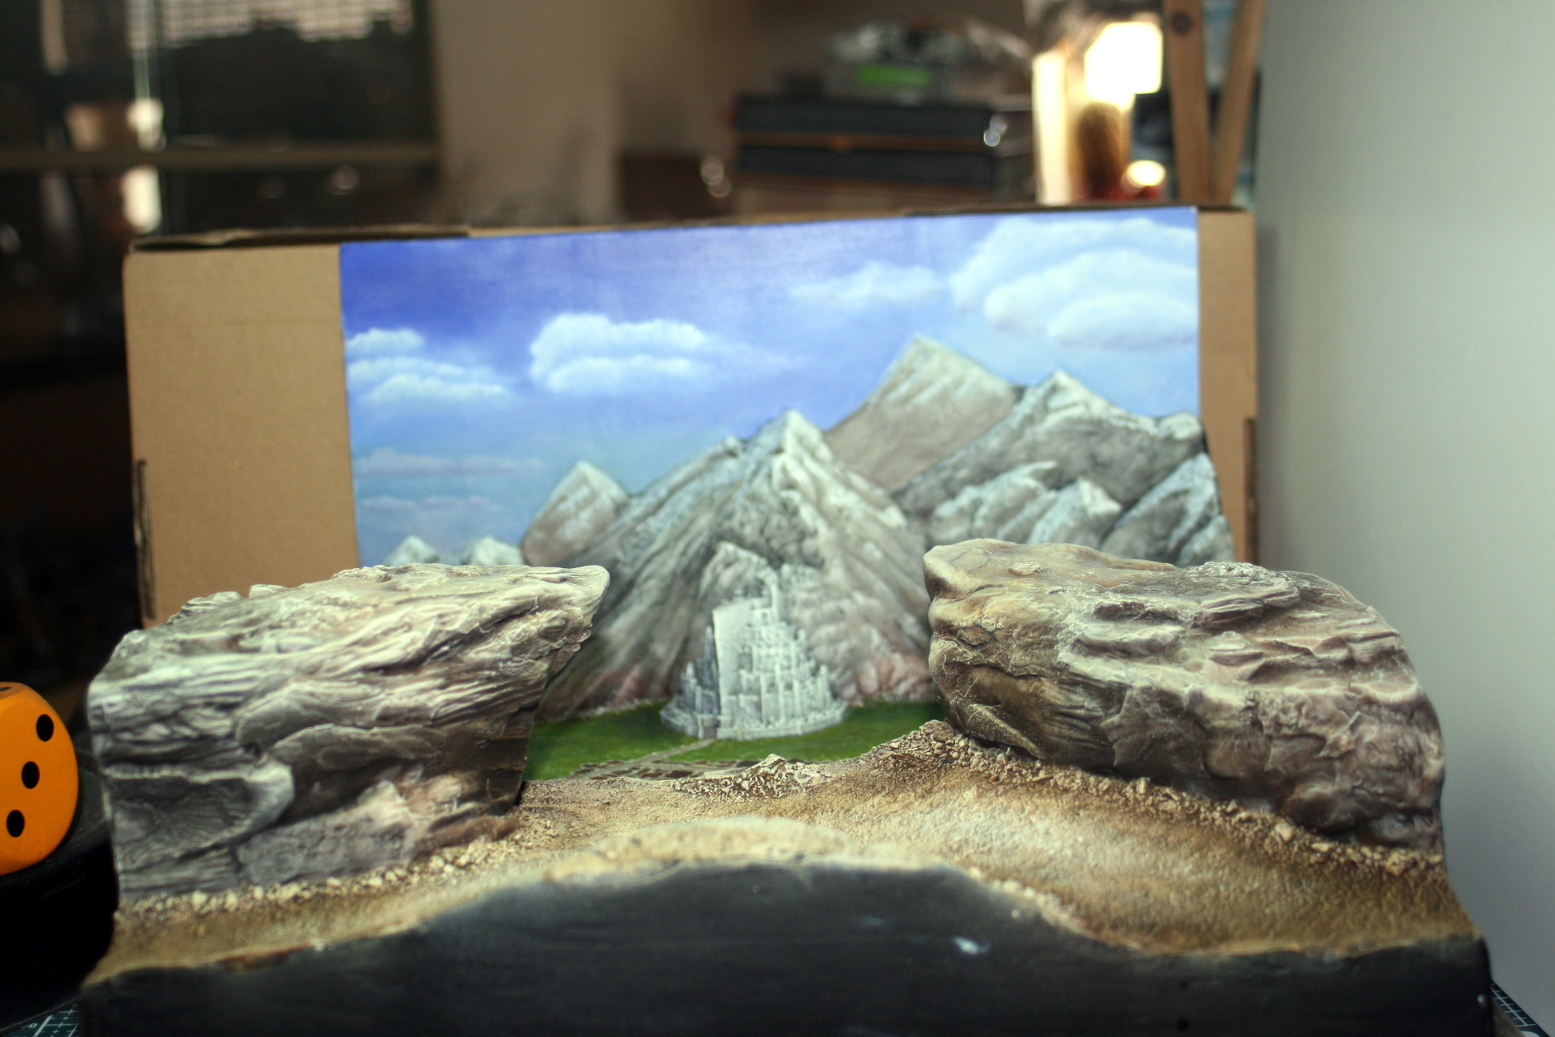 I added shadows and highlights to the foreground with oils paints - the two promontories and the pathway.
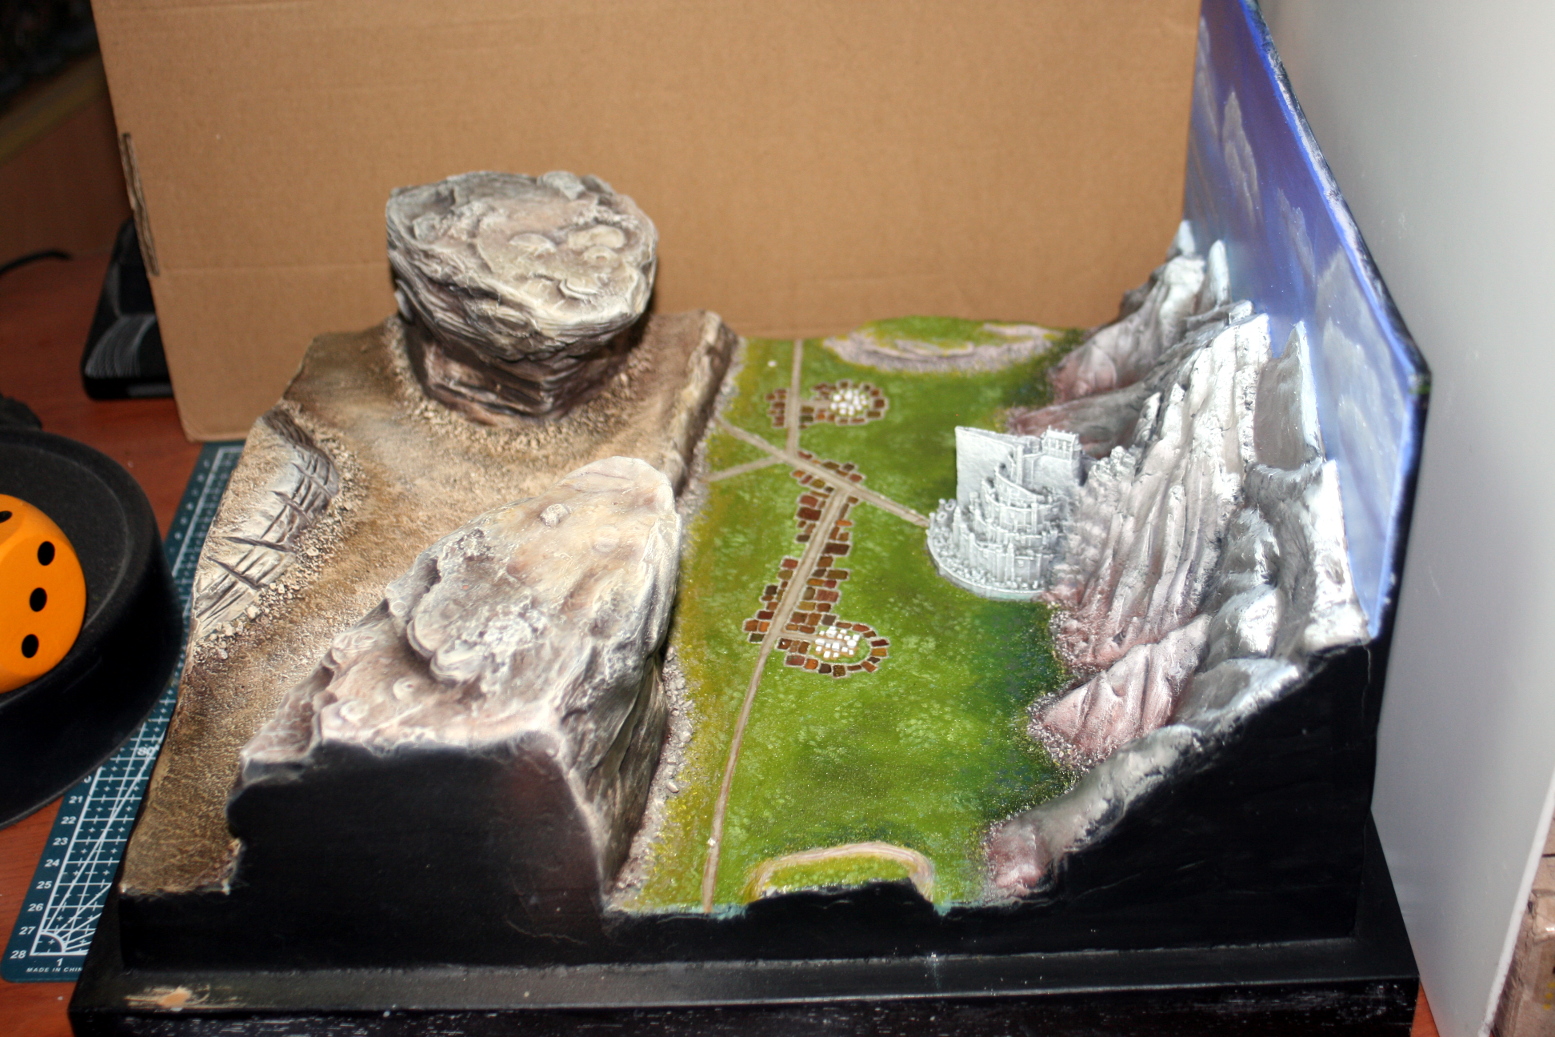 Added some shadows along the grass edging the mountains and some texture with paint.
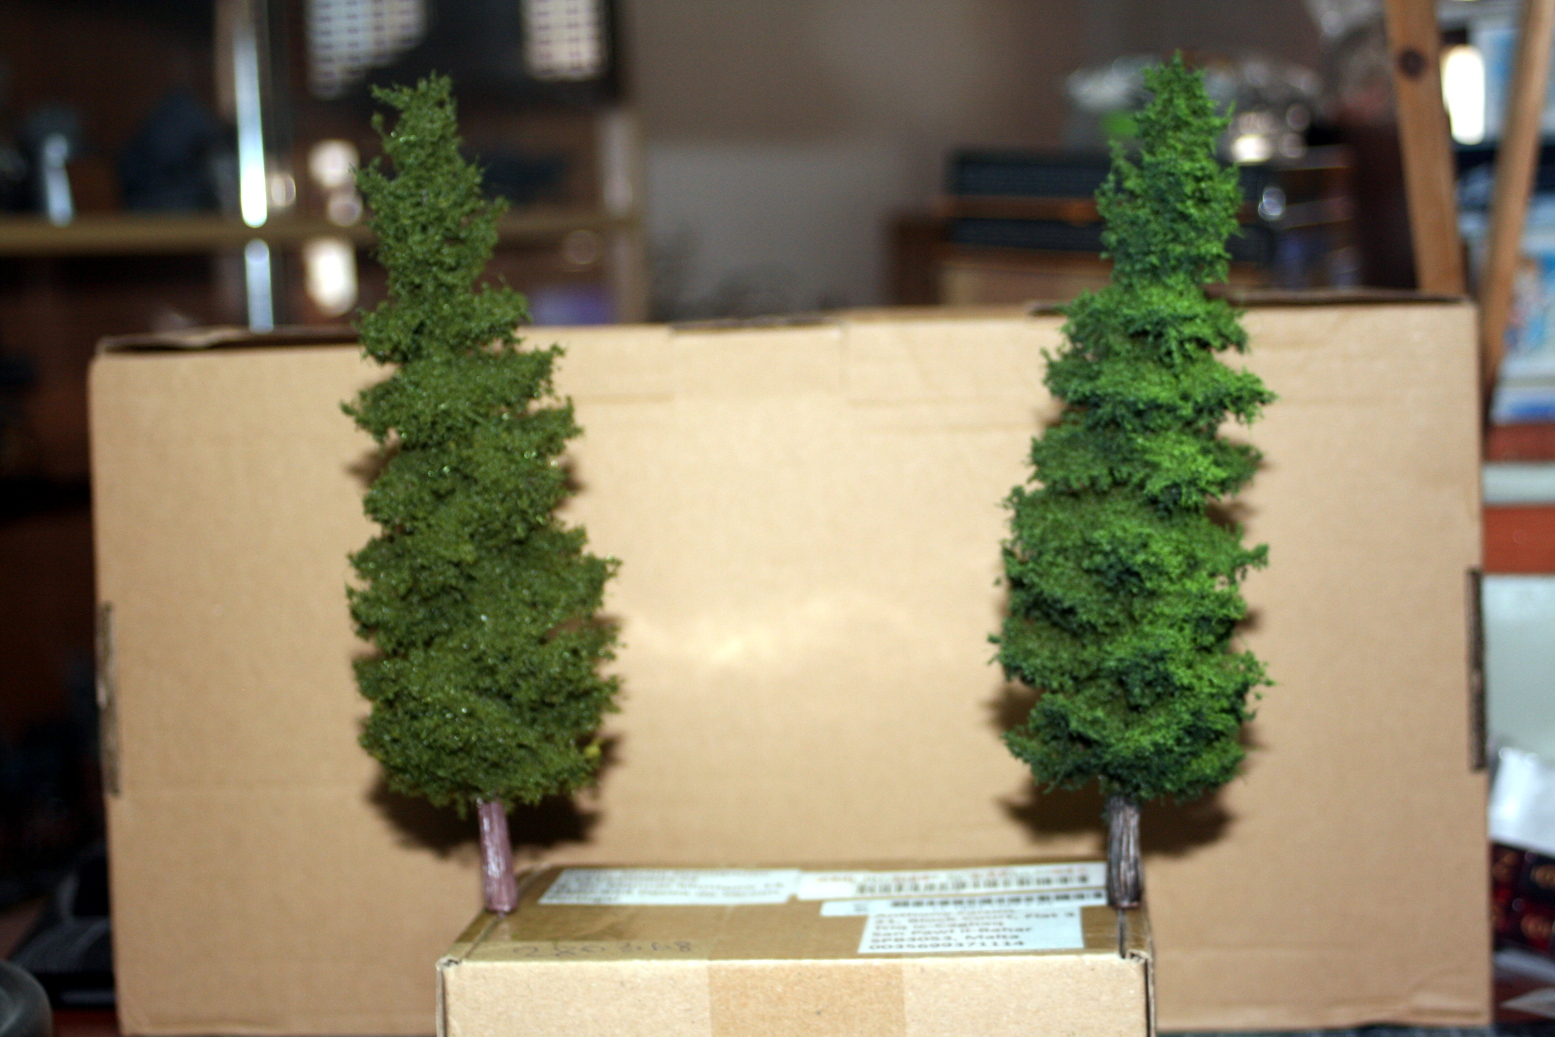 I decided to add two trees to either side of the diorama to help frame the composition better. The tree to the right has been highlighted a bit to give some interest.
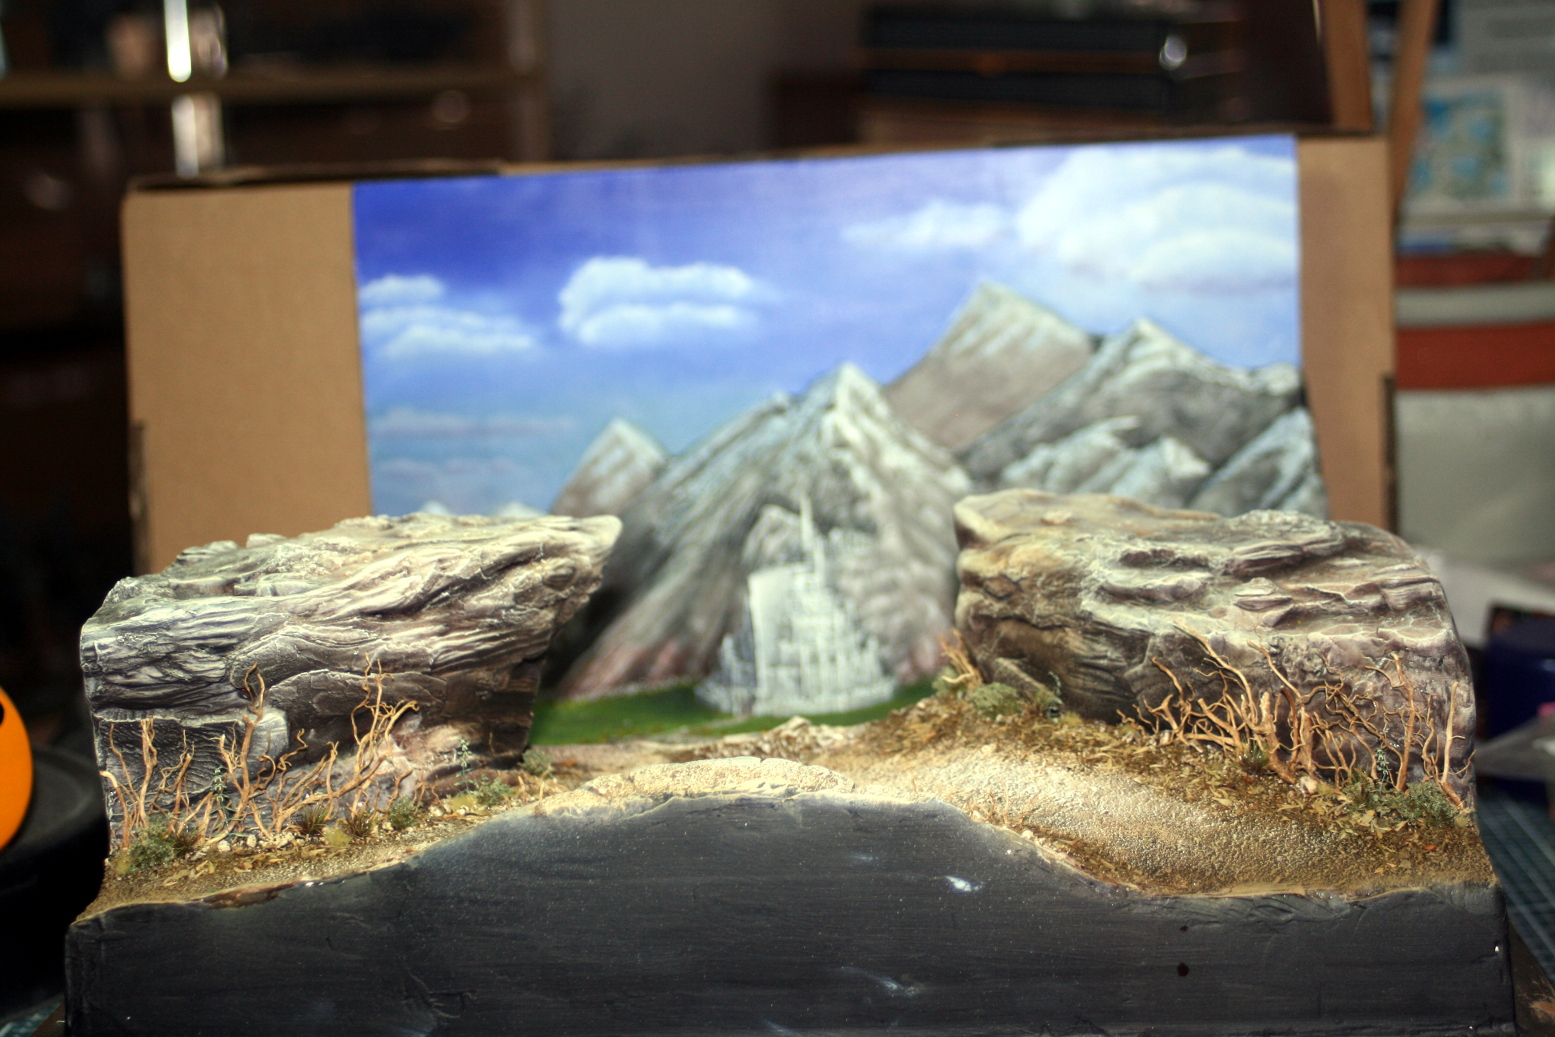 I added some vegetation to create more interest, but I kept it mute in colour, so it doesn't distract from the bright white city.
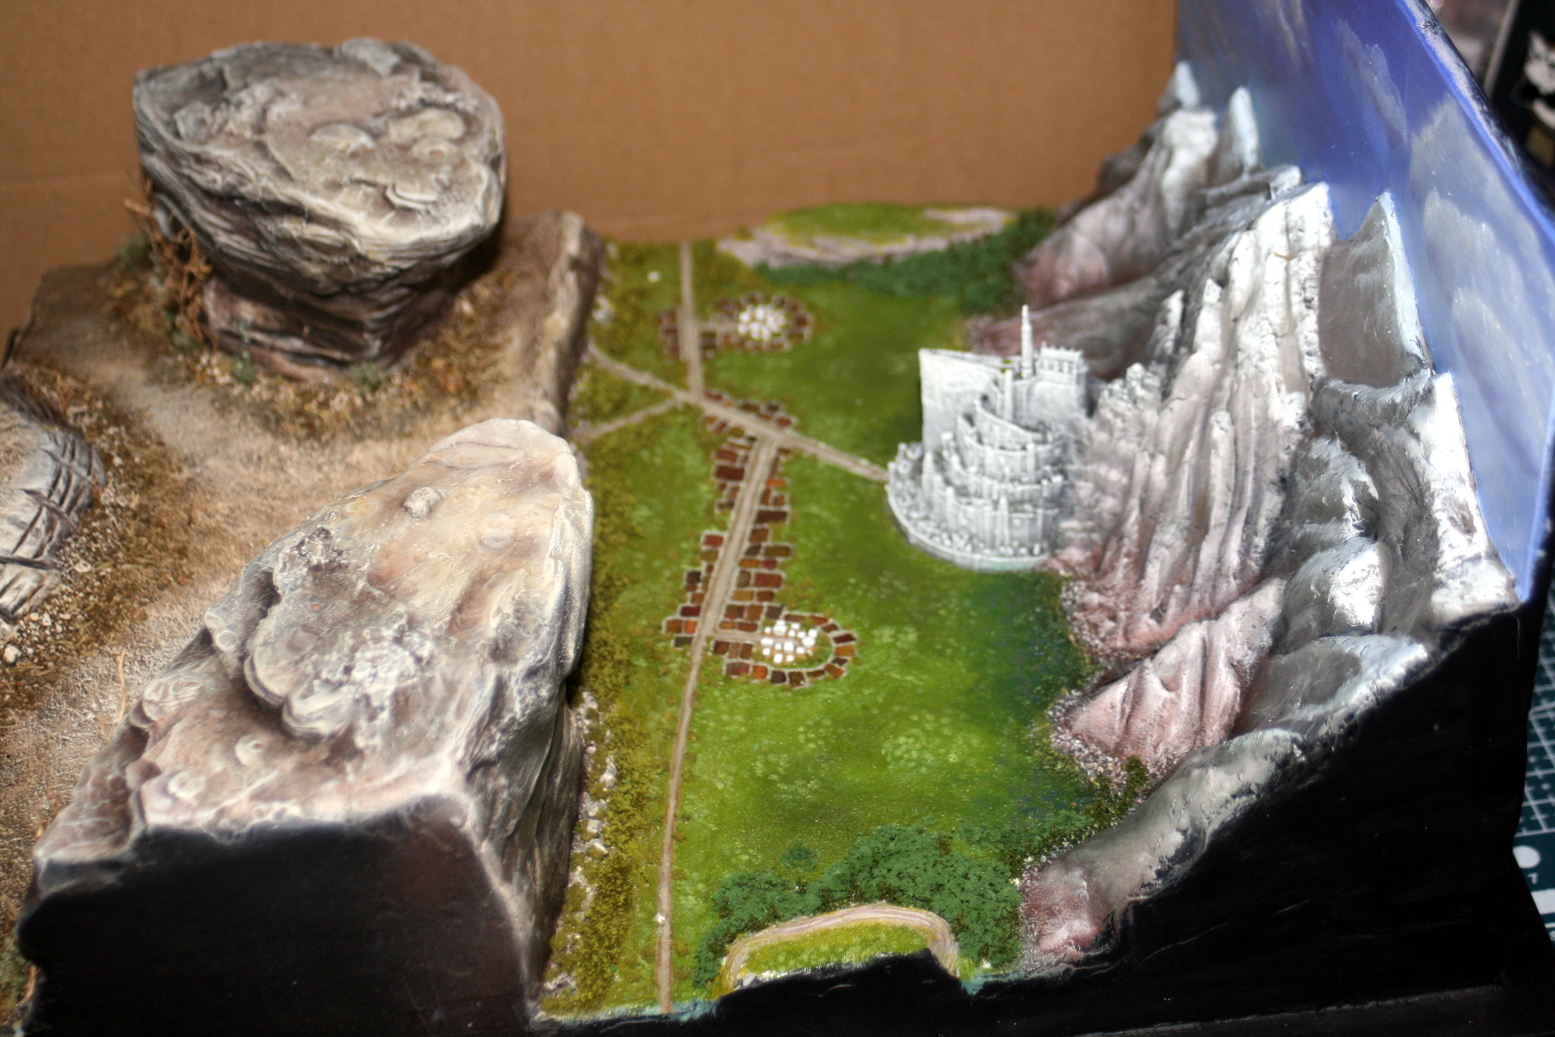 Finally, I gave the impression of trees and vegetation to the middle-ground using some types of flock. If you look closely I also place some fir trees along the mountain edges.
So the scene is set and the protagonists will be following shortly. Hopefully, by the end of the week – probably Sunday – I will bring this project to a close.
Until next time, stay safe and have fun.
NR.
Project Fisinished
Hi everyone,
This project in now finished. I managed to get a day off work and I took the opportunity to try and get some decent photos in. The results are mixed – and yes I suck at photography!
One thing I noticed, with all my photos, is the muting of the highlights. If anyone knows how to correct this let me know.
Another thing I noticed with my photography are the defects and mistakes that come out. The most glaring mistake was the black spot under the eye of the commander on the black armoured wolf on the right promontory. I swear I did not see it when painting. Luckily, it is not immediately apparent on casual viewing of the diorama – but I know it is there and it ruins the satisfaction for me.
There are other things, but I can sweep them under the mental rug so to speak.
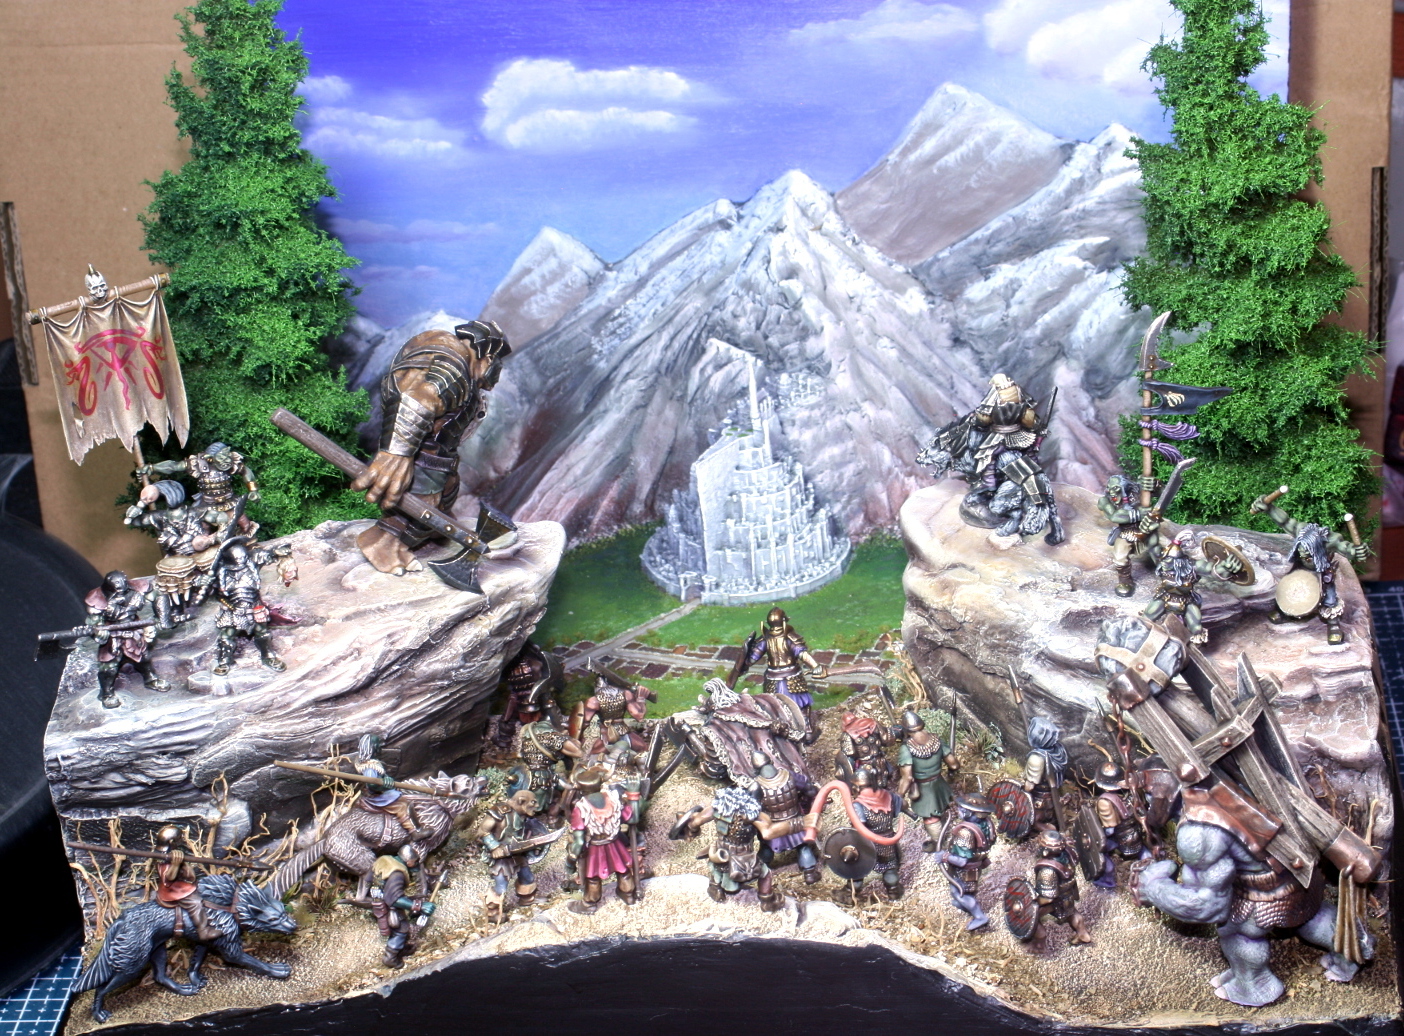 The diorama as seen by the viewer.
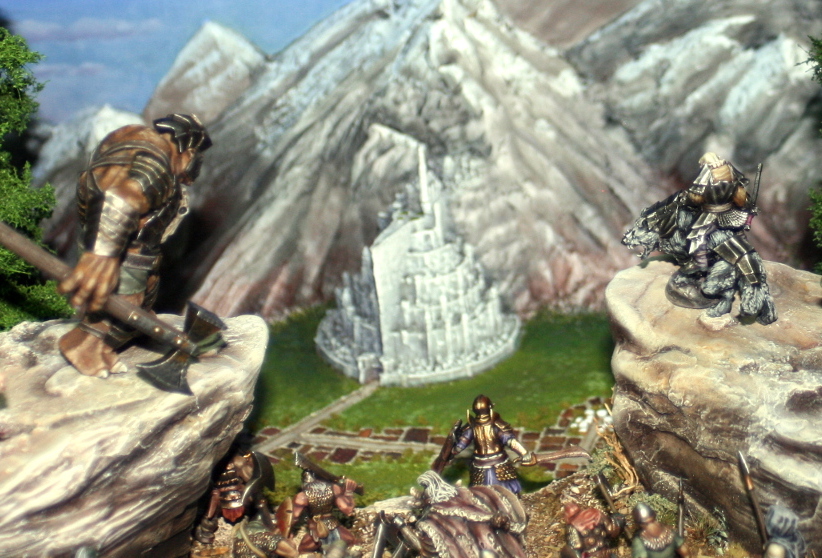 A close up on the central subject of the scene.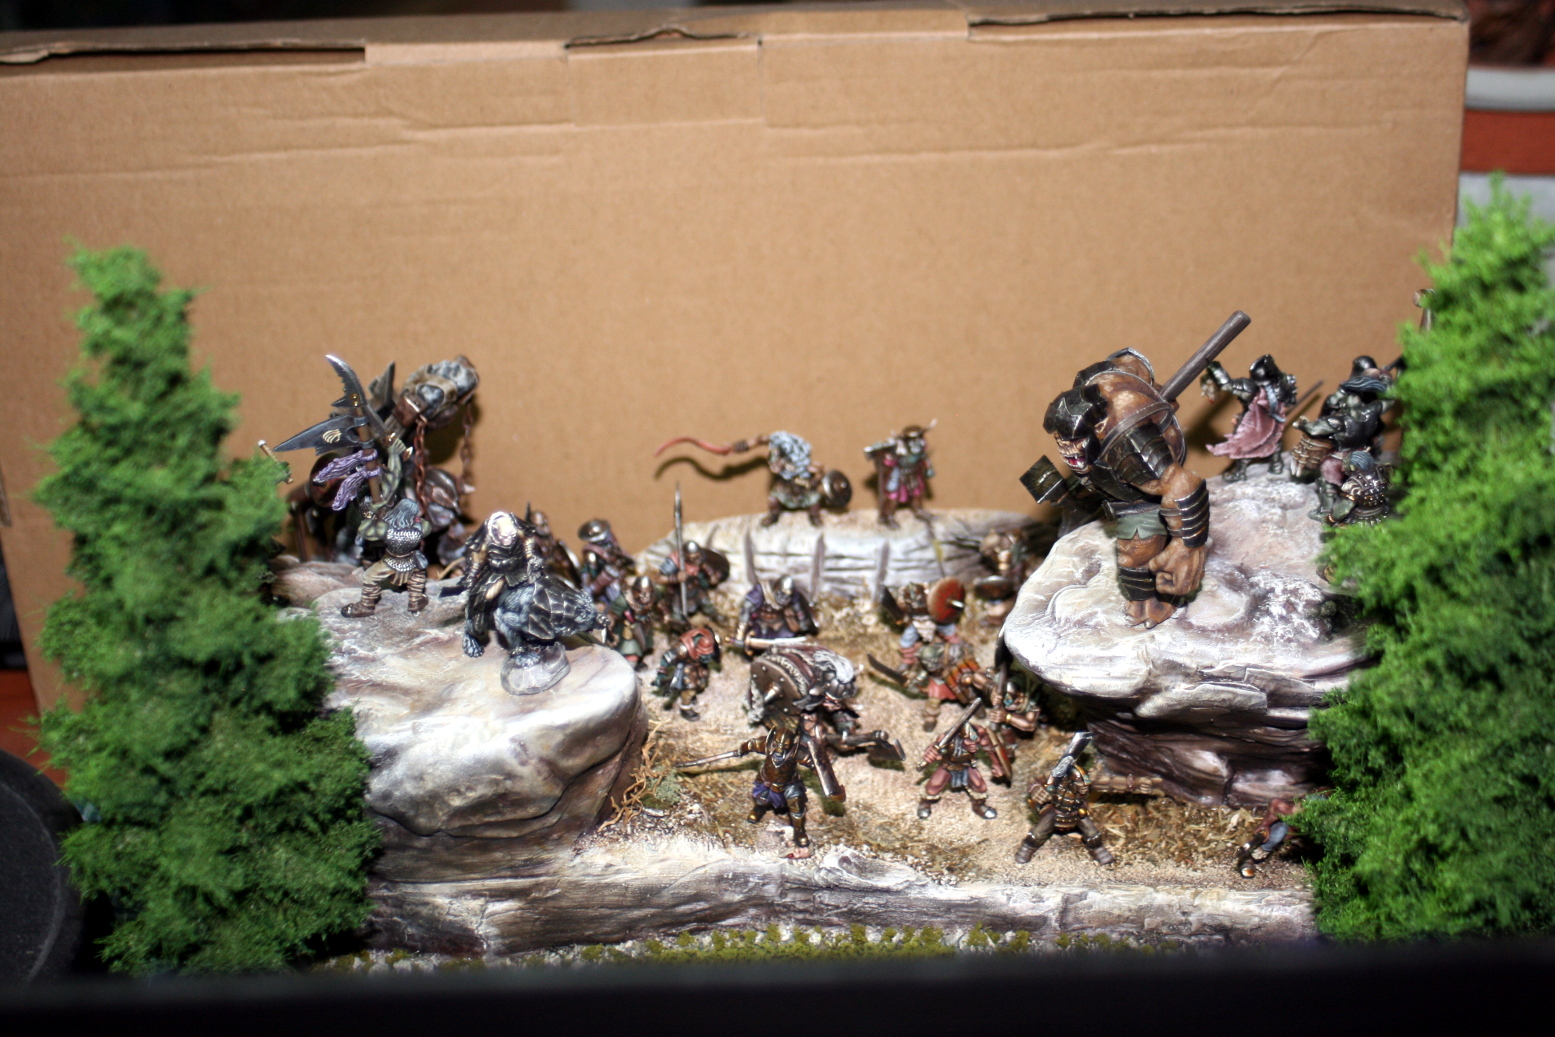
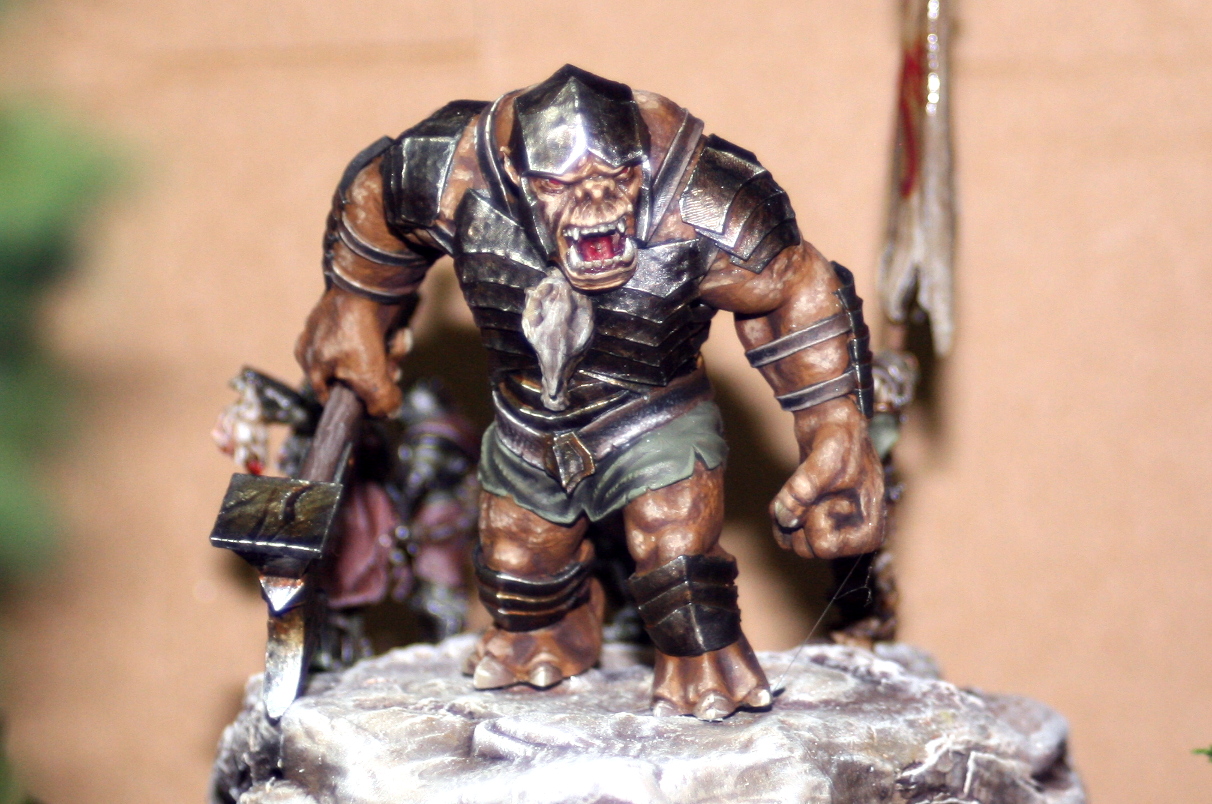
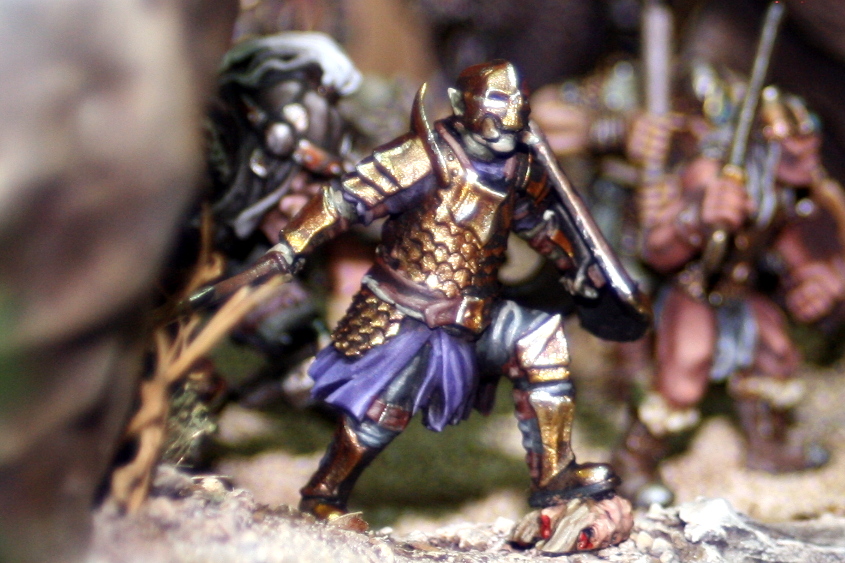
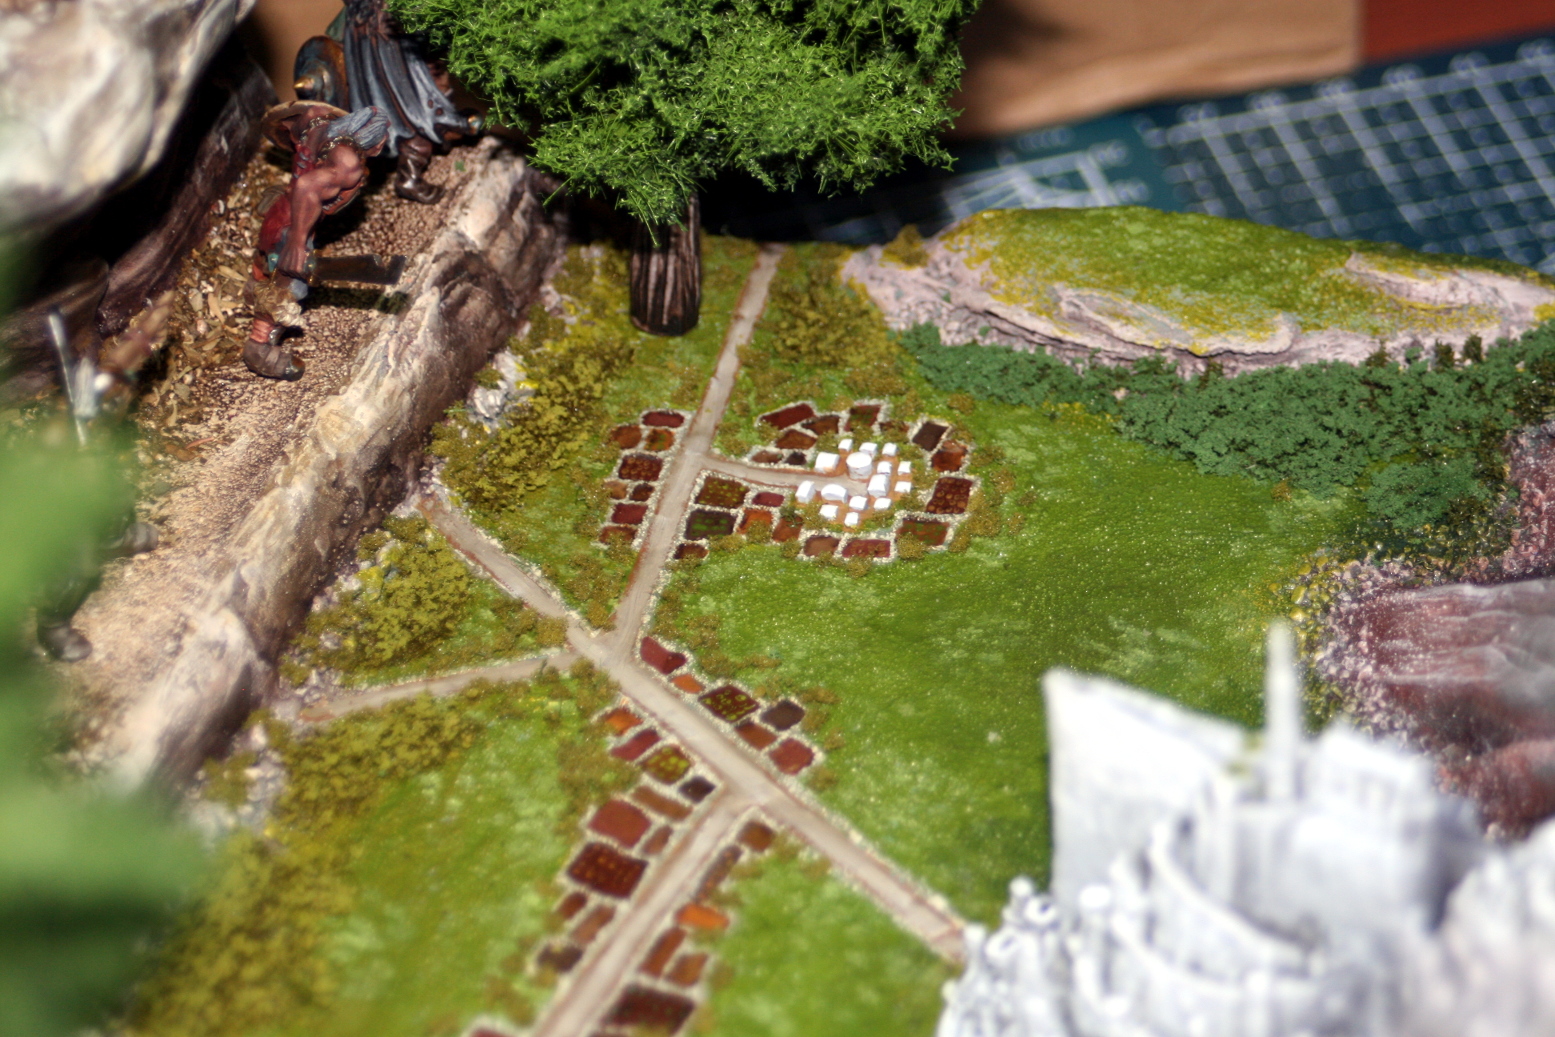
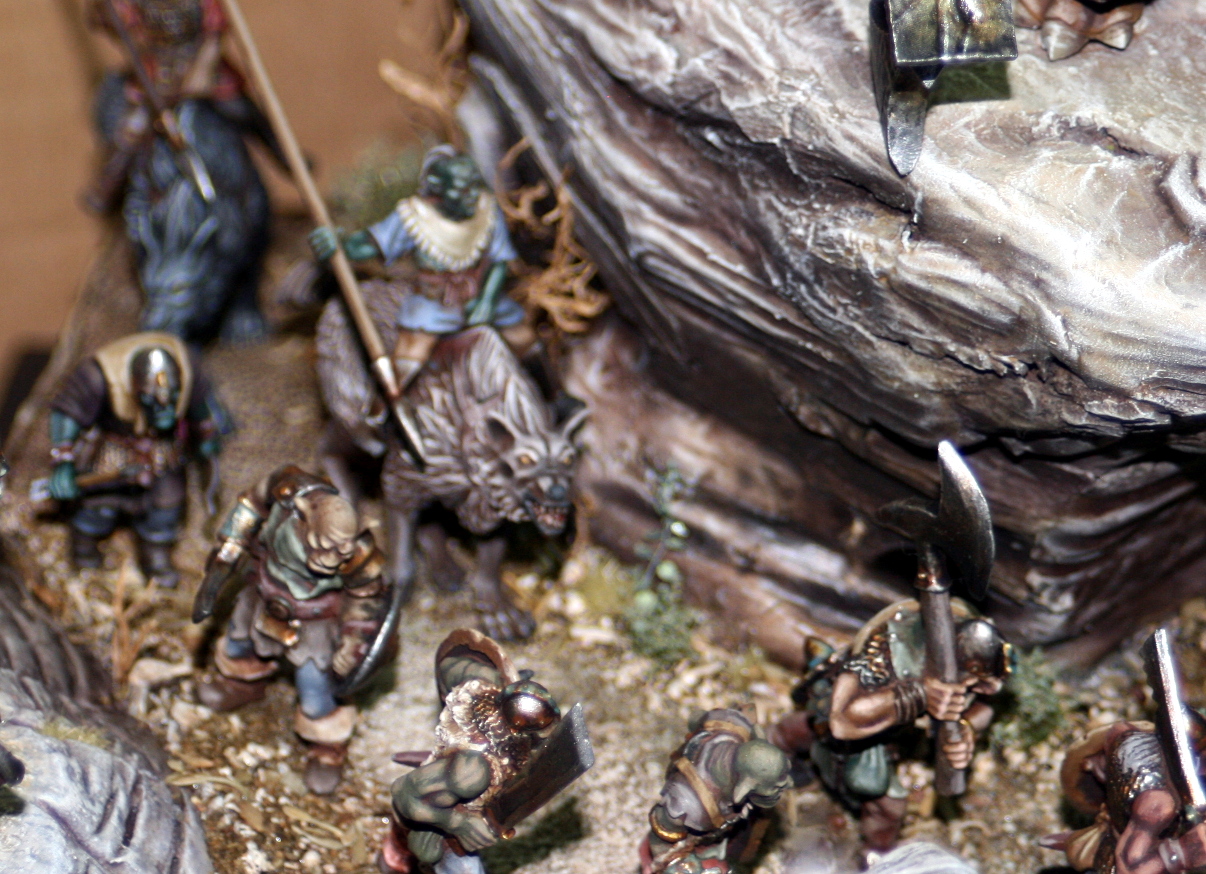
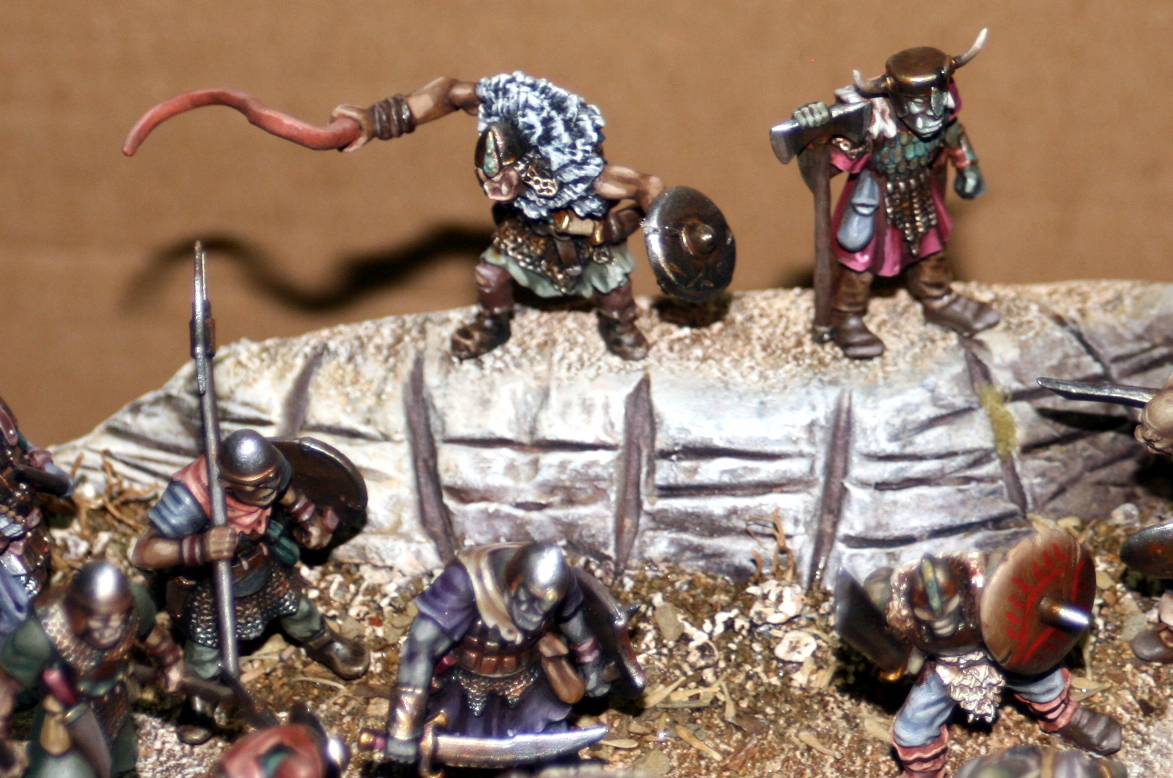
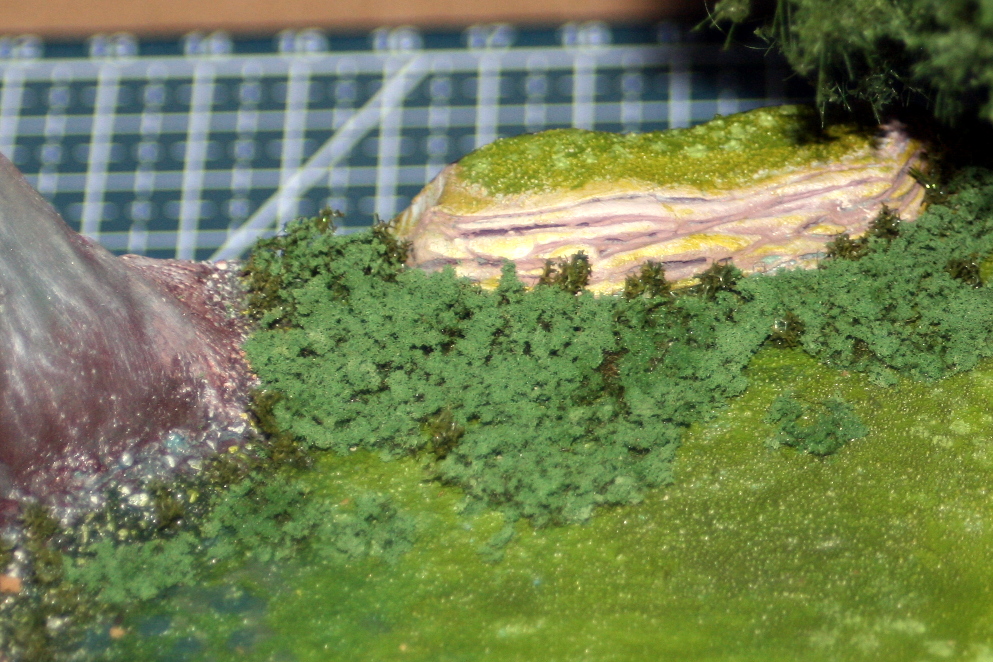
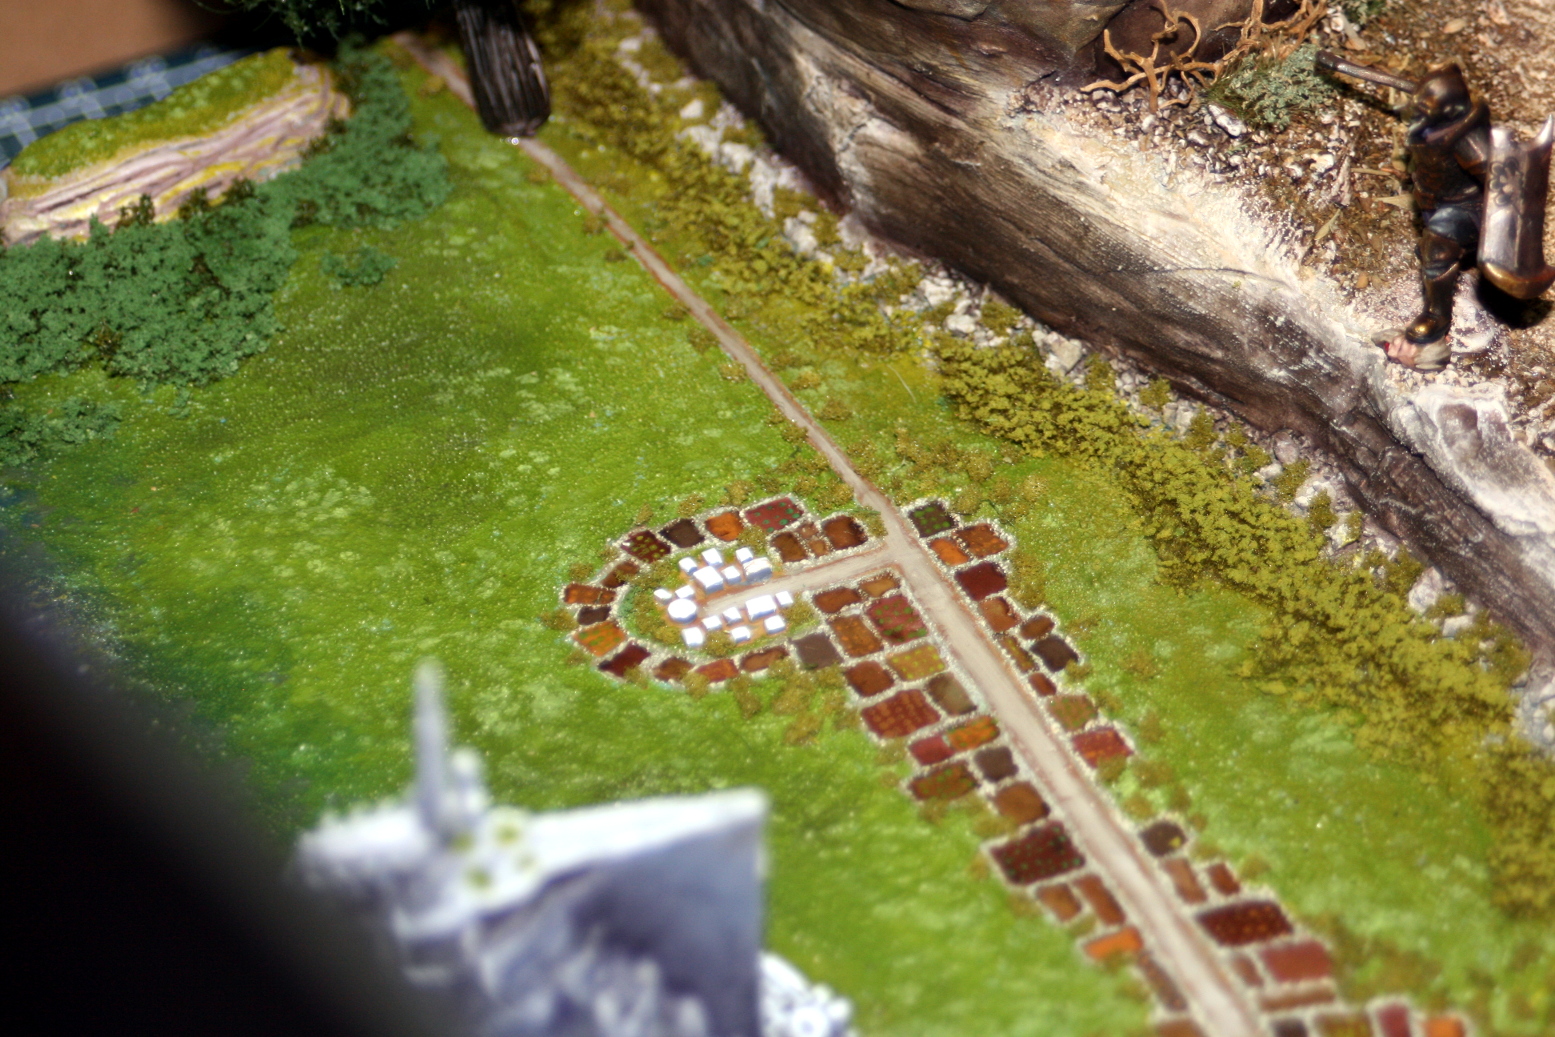
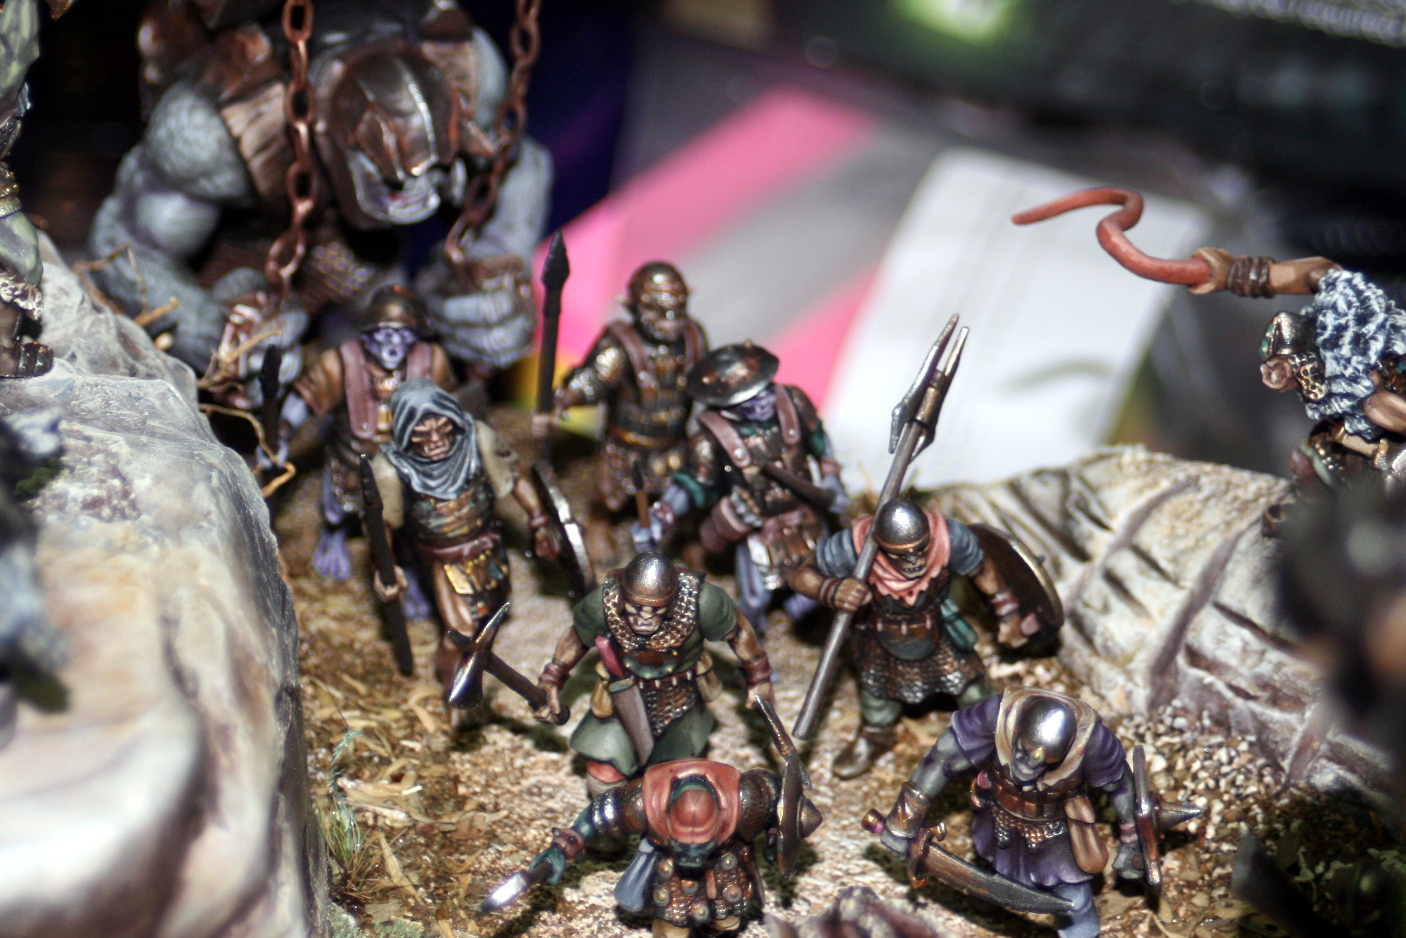
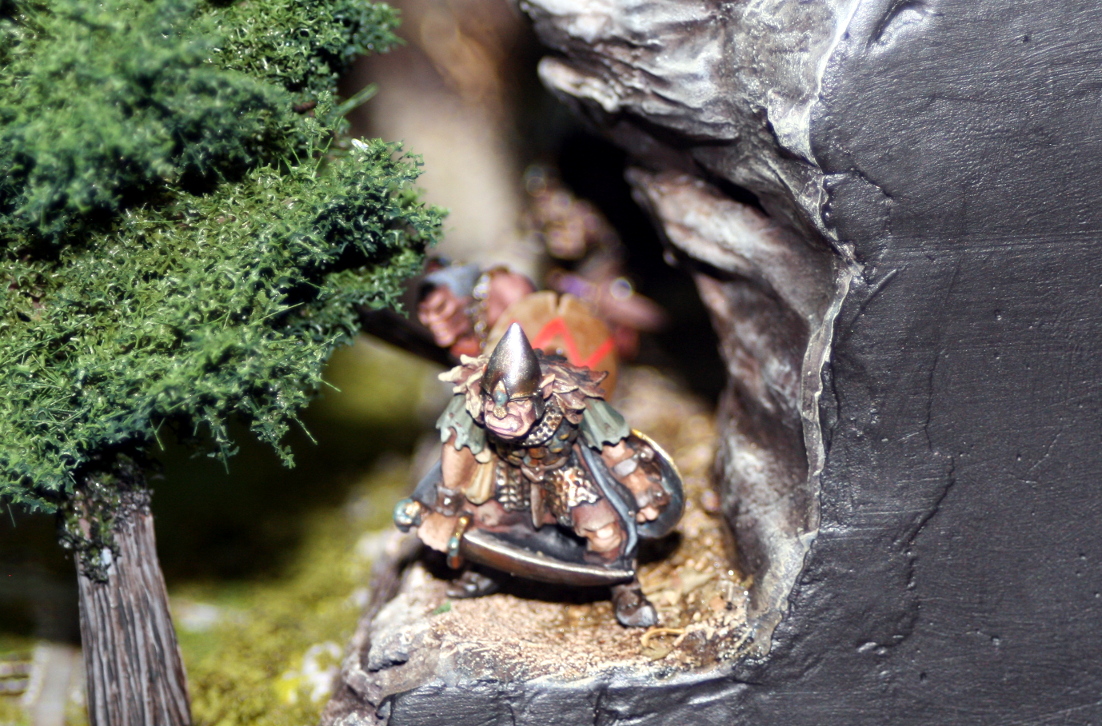
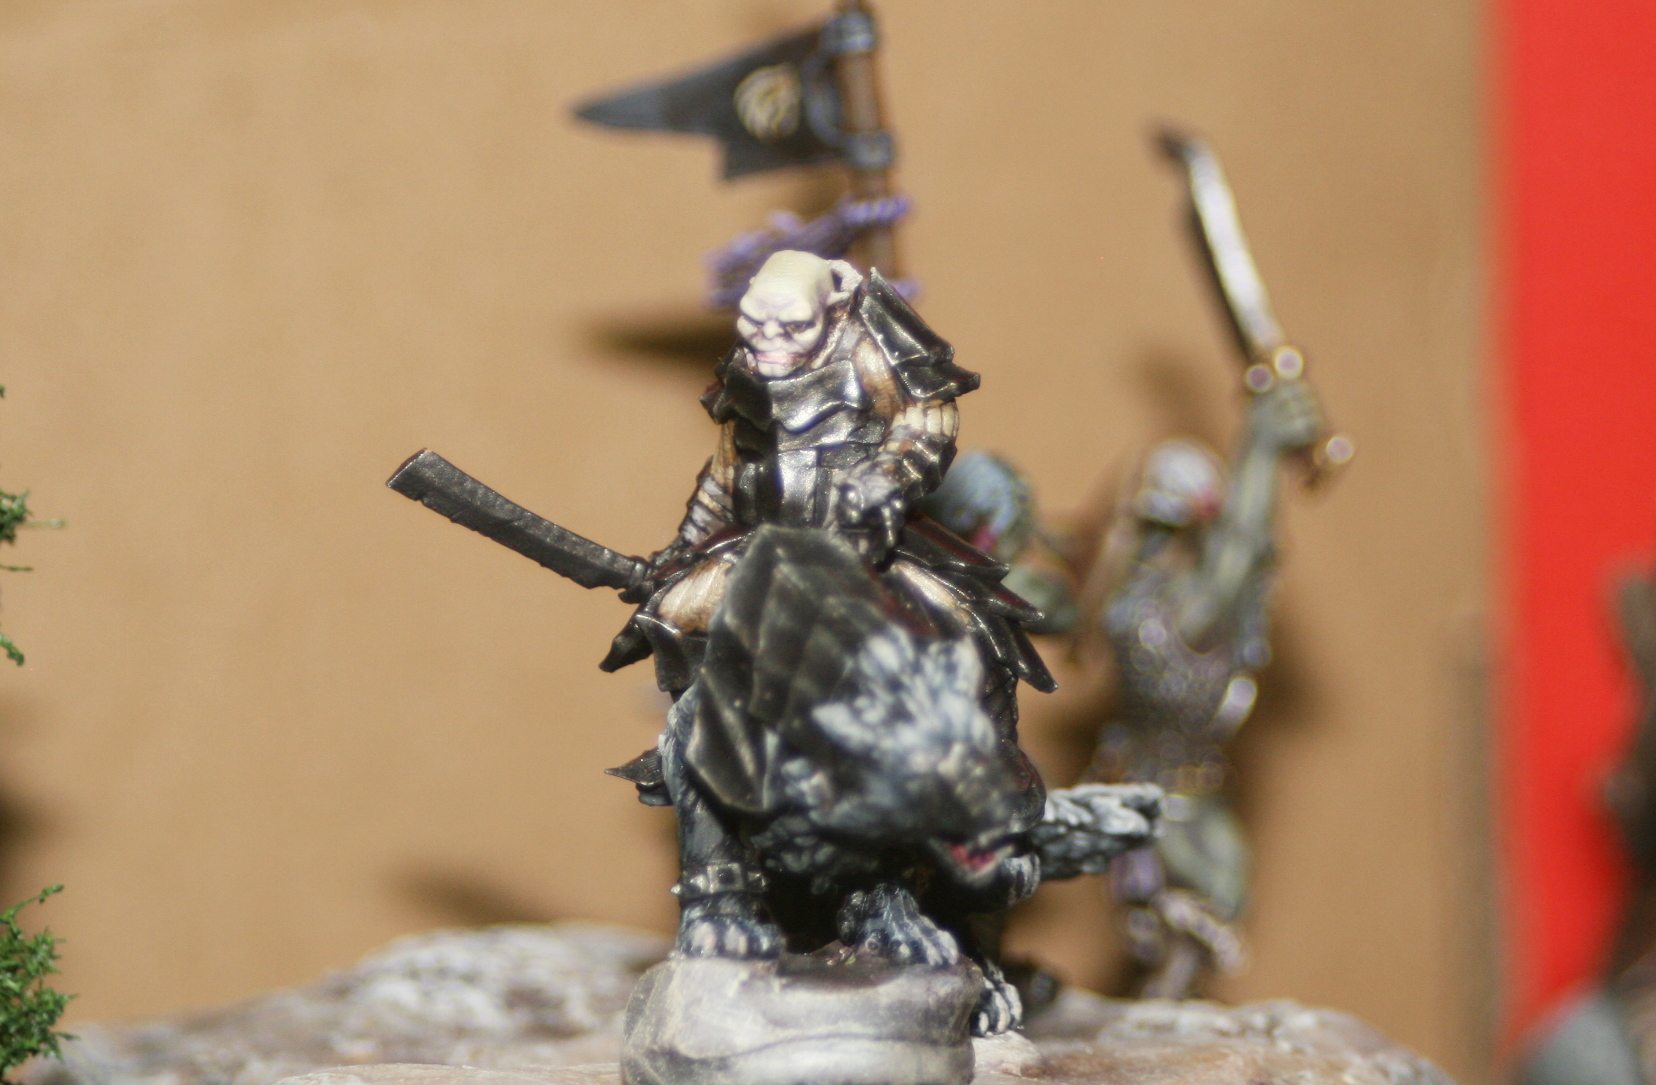
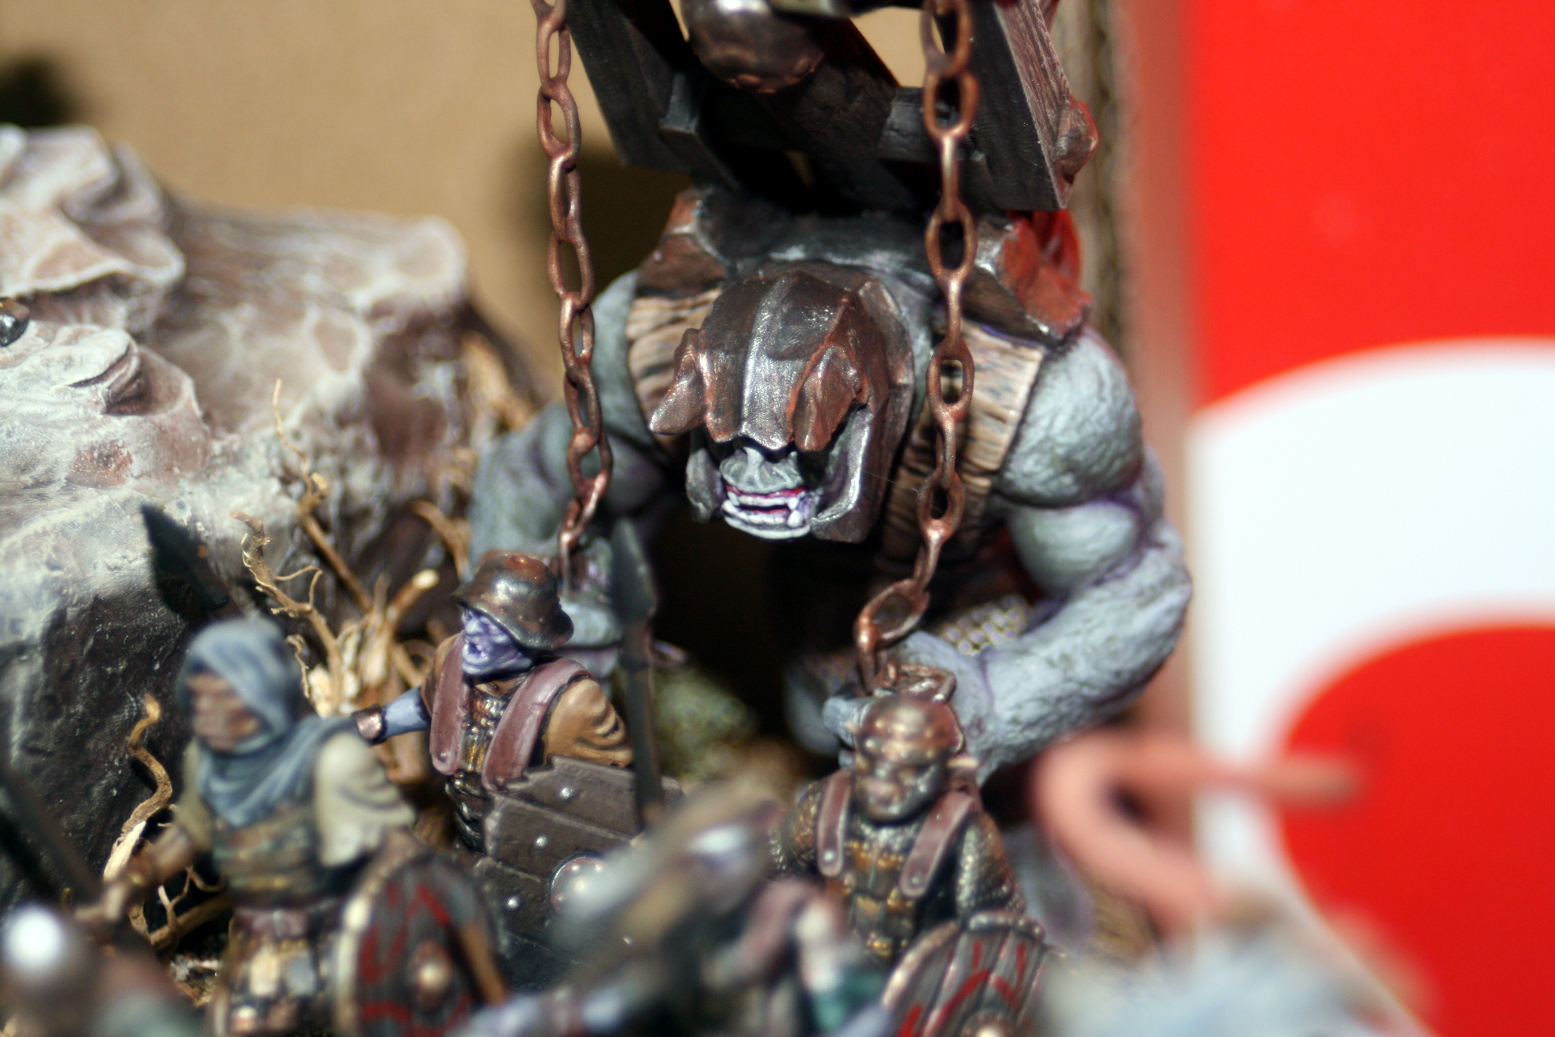
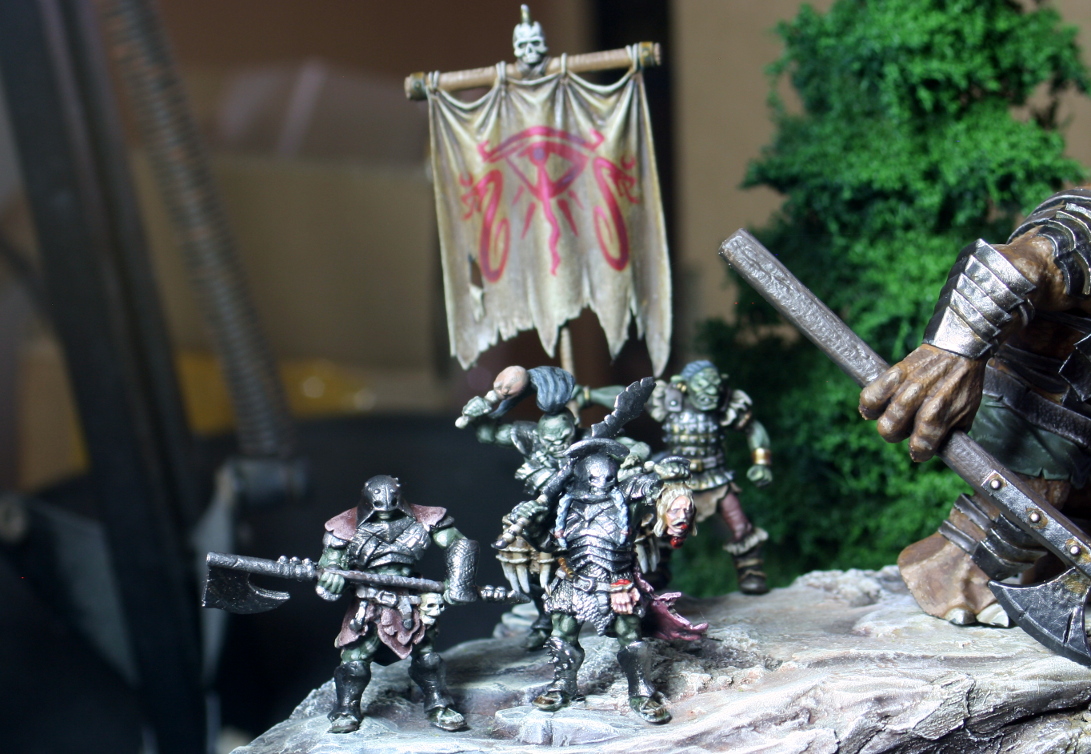
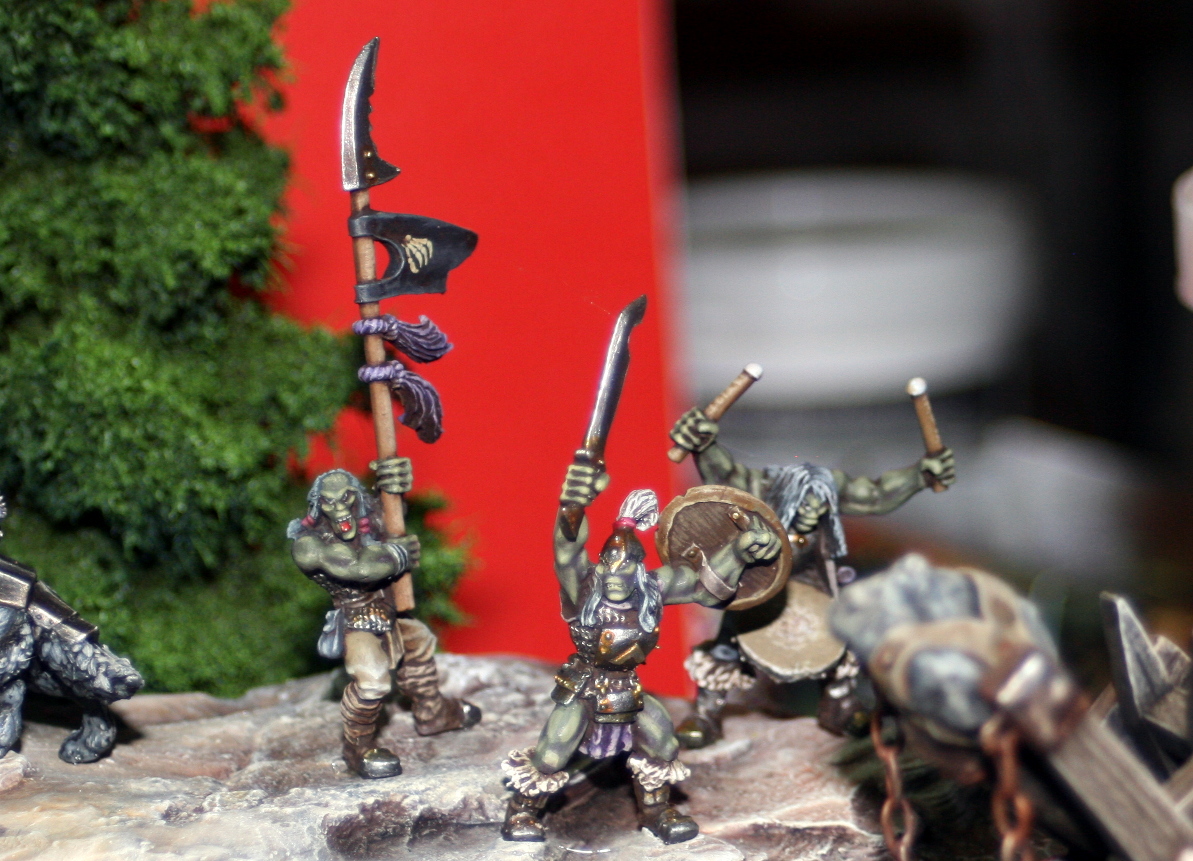
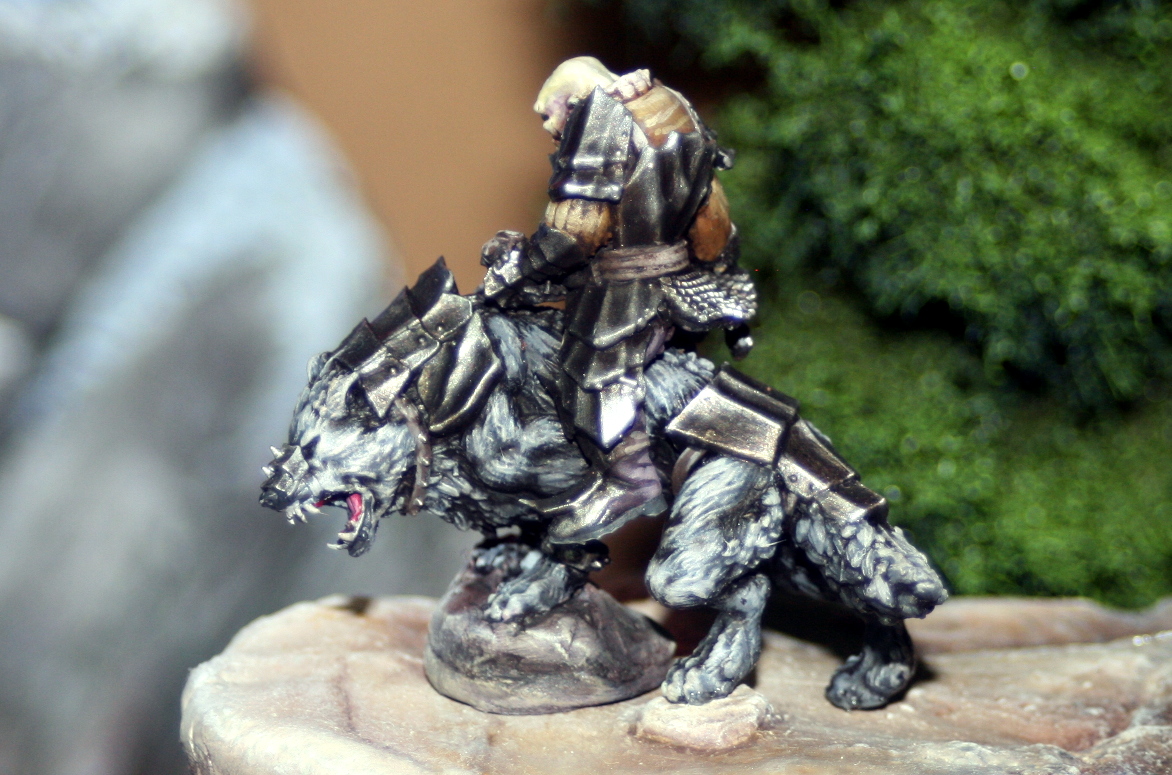
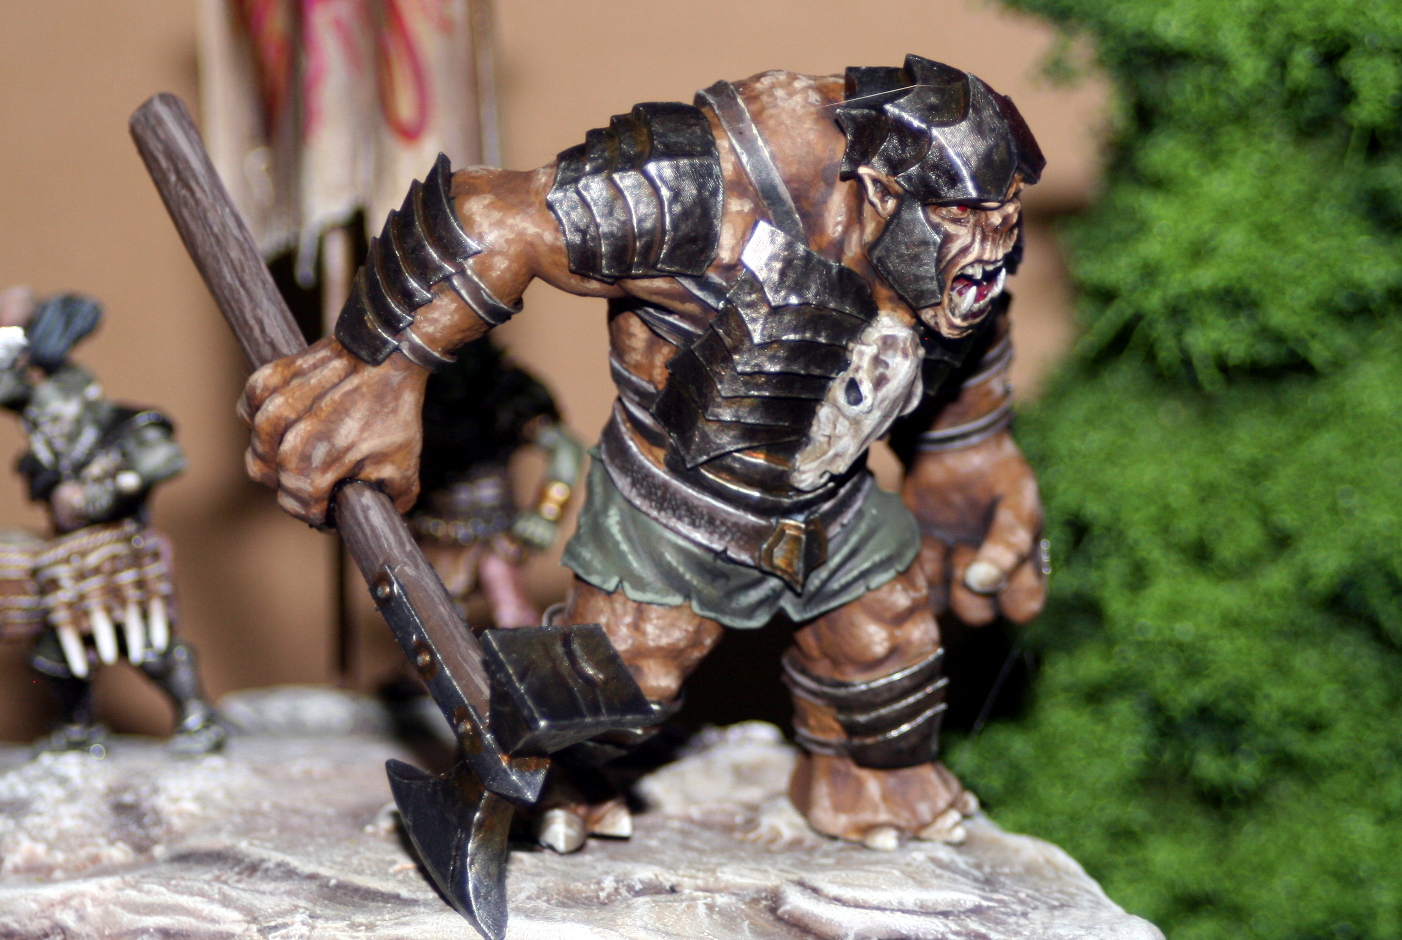
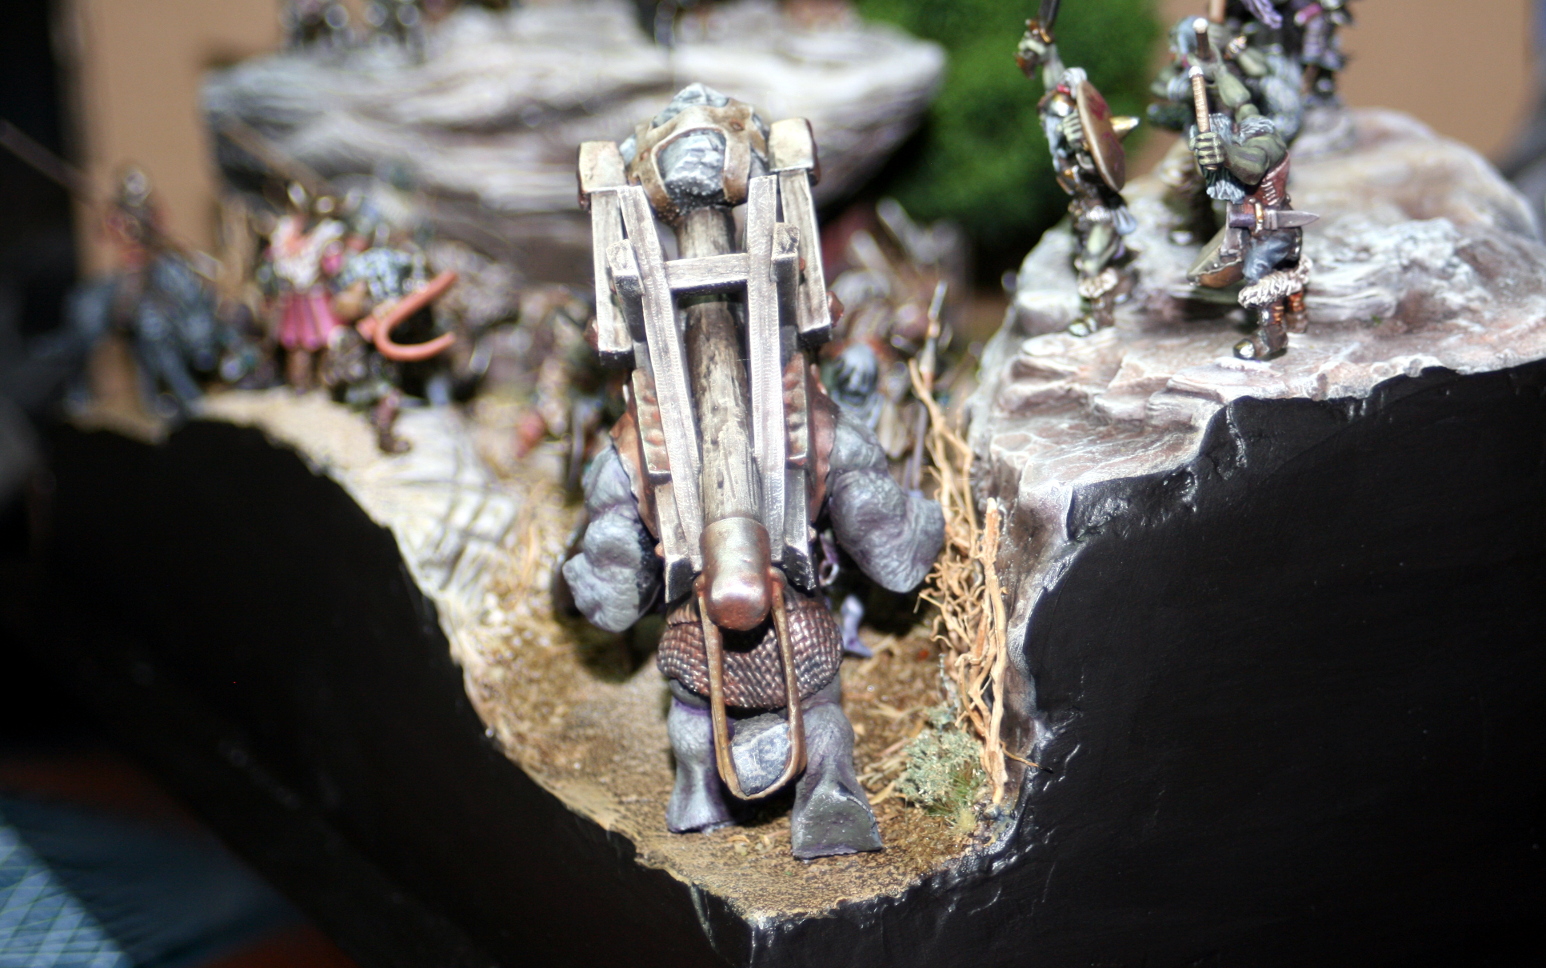
DELIBERATIONS WITH HINDSIGHT
Would I do things differently if I could go back and start all over? Maybe. Before I start any diorama, I spend a lot of time thinking on how I can tell the story in the most compact way possible, without detracting from the visuals.
One way I thought of, while building the scene, is by removing the right promontory (the one with the wolf rider commander) and moving Minas Tirith to the right corner. At the same time, reducing the width of the diorama by a third.
This approach would still keep the illusion of the forced perspective and reduce the size of the diorama, as well as the amount of miniatures. It would also change the angle of the viewer – maybe for the better?
Nonetheless, the angle I went for was the image that came to mind when I decided to build it. Also, I do like this angle, but I think the economics of space would have been better served if I went with the second route.
That is the price you pay for trying something new – you learn new things and you harbour fresh regrets.
In the end, the viewer will be the judge. To my next project!
Until next time, stay safe and have fun.
NR

![Battle It Out In The Early War With New Flames Of War Set [Updated]](https://images.beastsofwar.com/2026/10/fow-barbarossa-cover-600-338.jpg)