







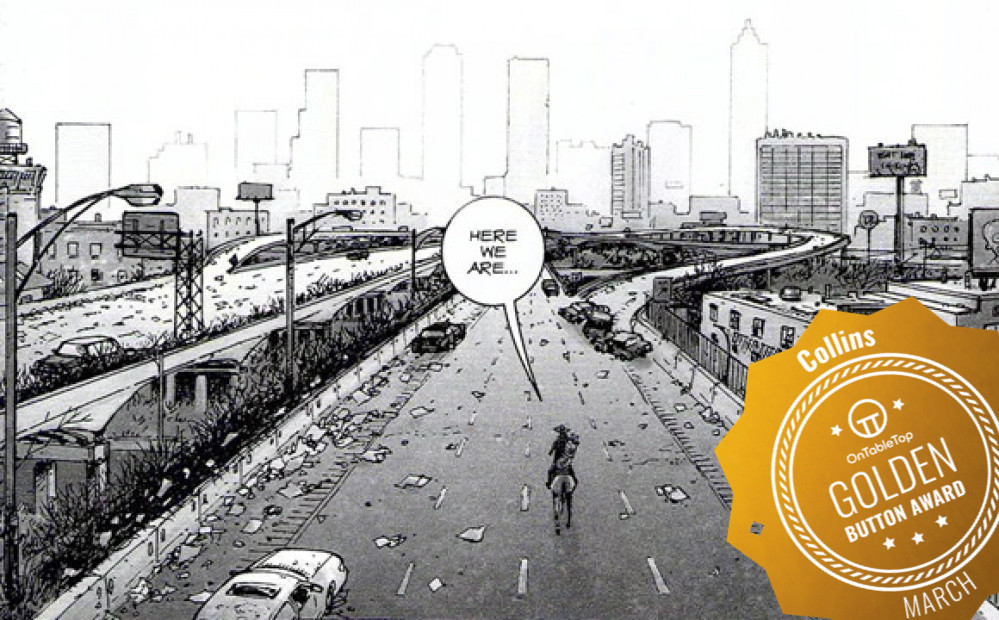
Collins builds the world of The Walking Dead



Recommendations: 1514
About the Project
In this project I will be building boards that are interesting and unique from The Walking Dead and using them in another project as I document my solo play through of Mantic Games The Walking Dead All Out War. I may take inspiration from the comics or the TV show, i'm not fussed for timelines etc and i'll be making my own story for Rick along the way. Enjoy this project is the building and prep project, go view my other one for the storyline (battle reports)
Related Game: The Walking Dead: All Out War
Related Company: Mantic Games
Related Genre: Pulp
Related Contest: Spring Clean Hobby Challenge 2026
This Project is Active
Bring greenery and interest
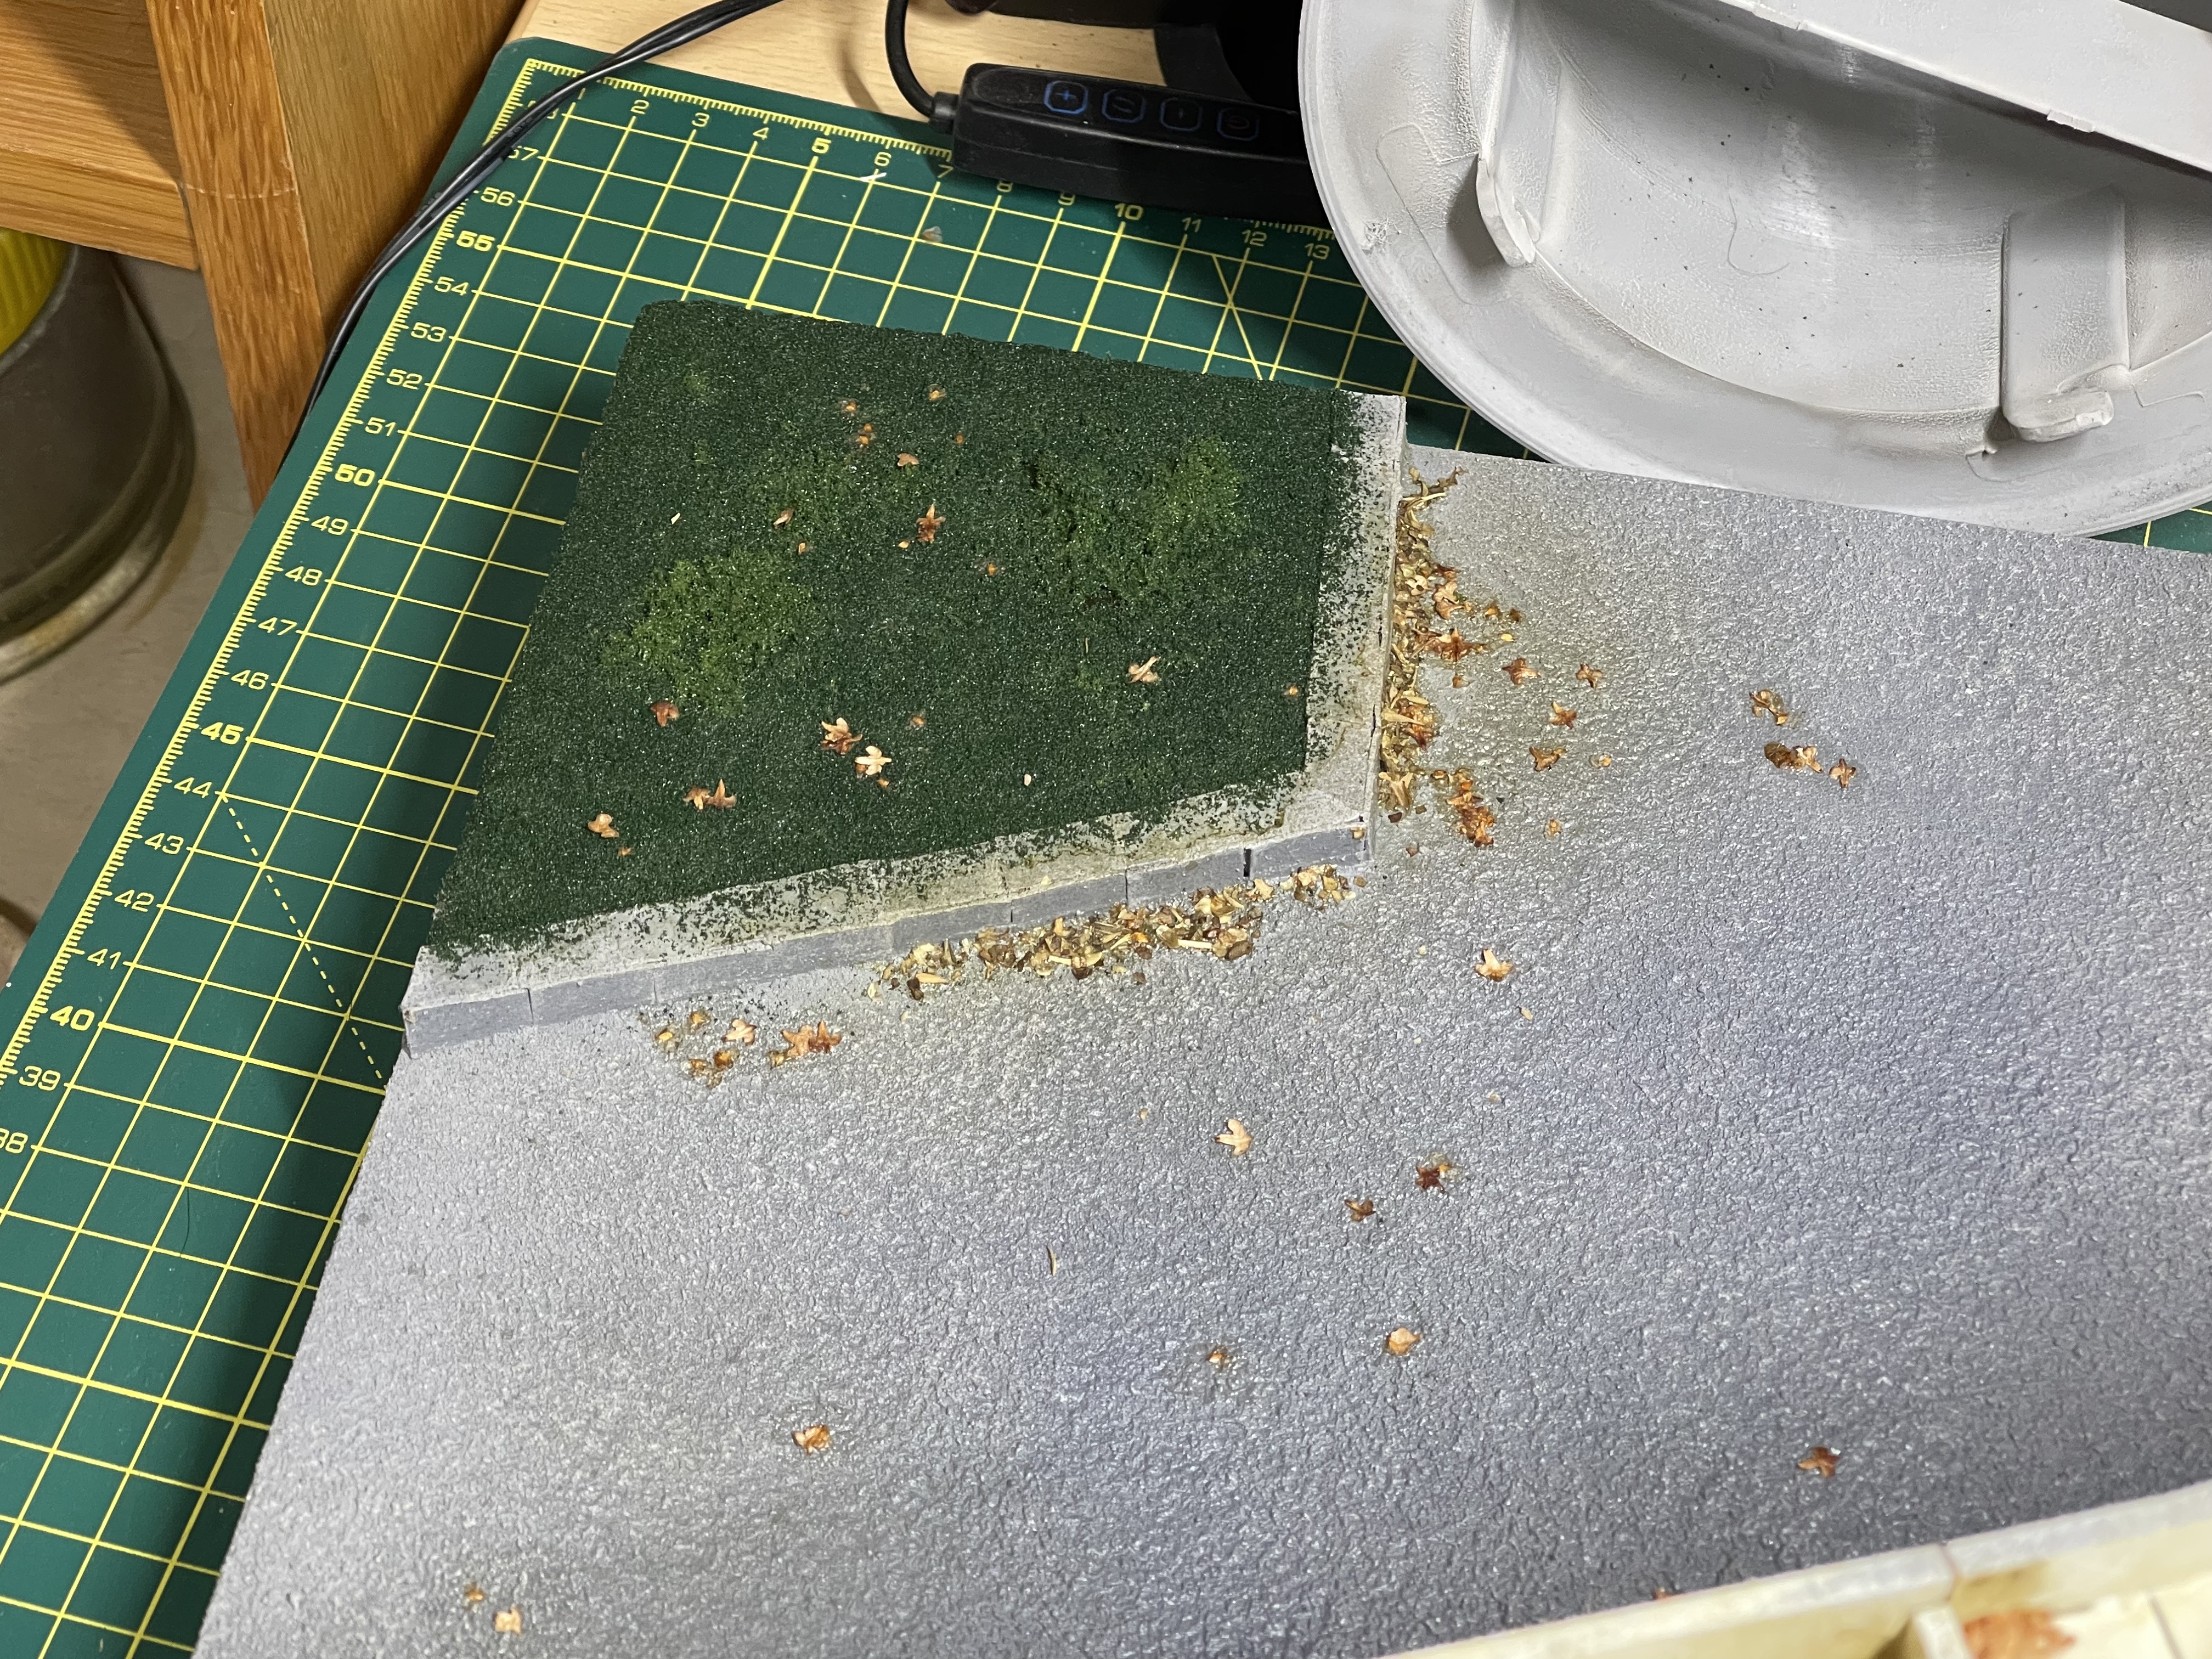 two types of foam flock for grass
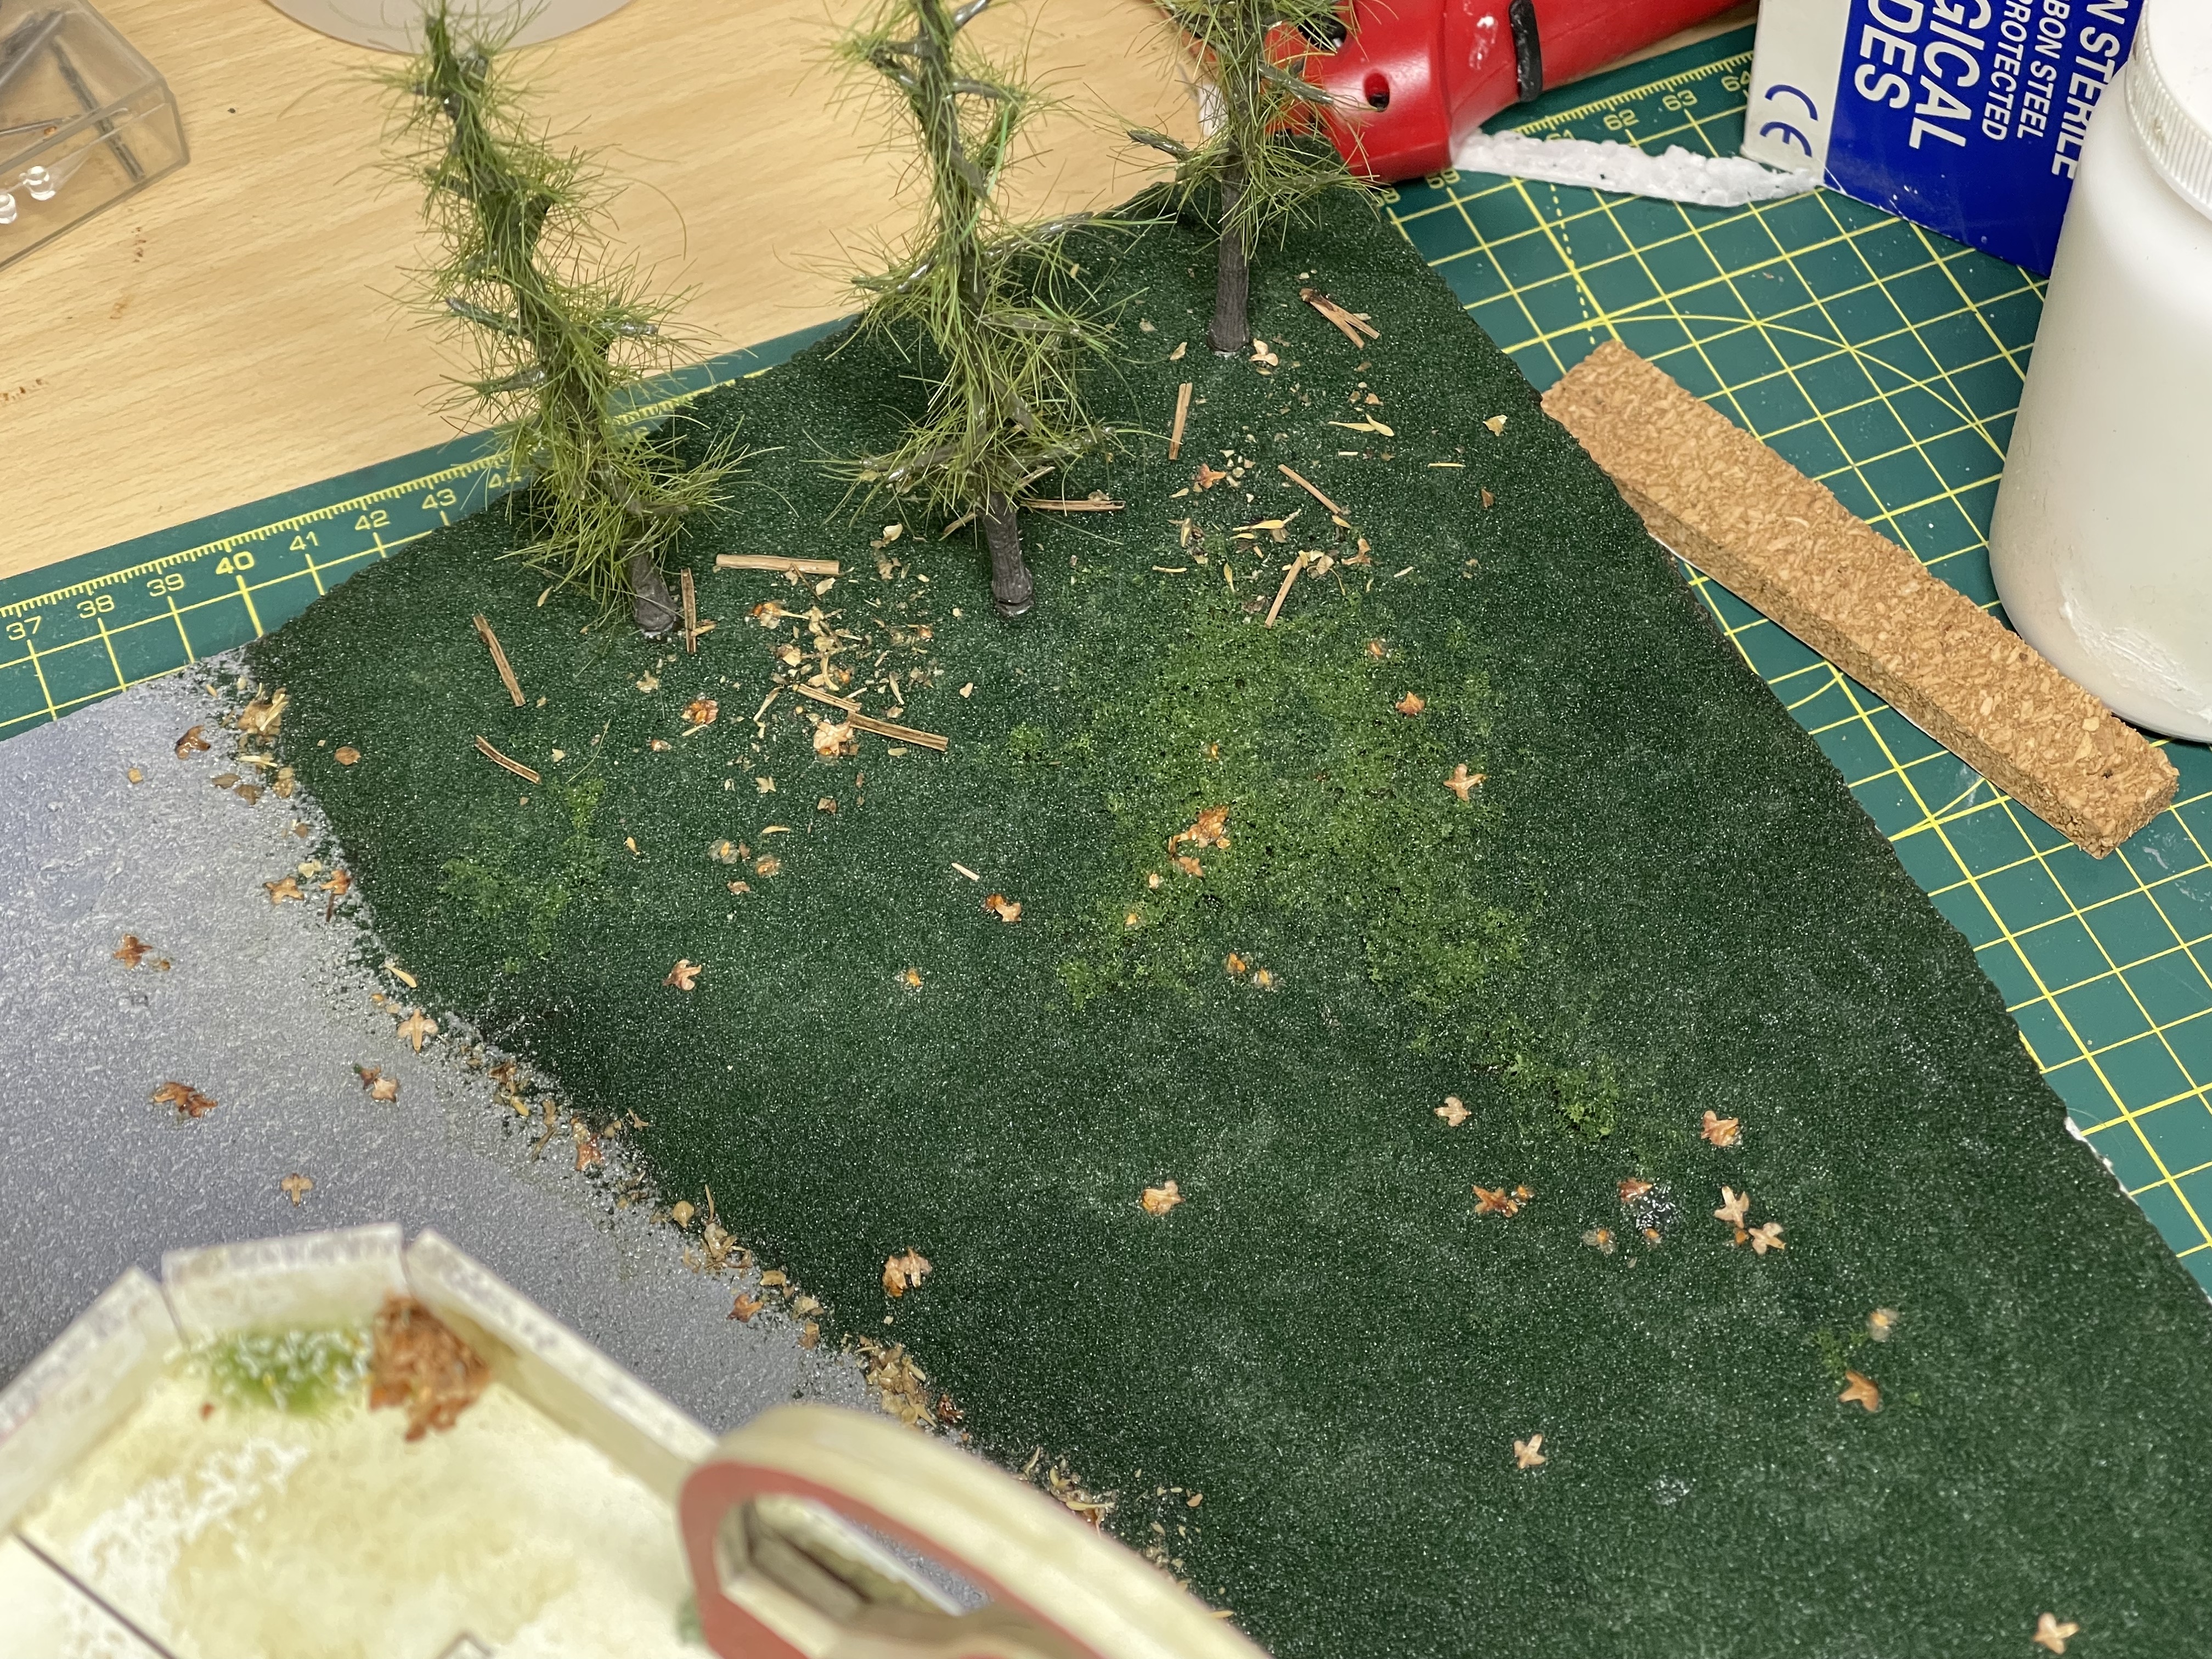 mixed herbs, birch seeds and broken up pine needles as the leaf litter
 its looking better! not right yet though not enough visual interest or Easter eggs
 the trees aren't finished yet, they'll get a post of their own when done.
On the brown base paint I laid down a layer of PVA which had corse turf and fine turf (woodland scenics) sprinkled over it randomly but making sure to cover as much of the brown as possible.
To get the leaf litter I sprinkled over birch seeds, selectively placed mixed herbs (mostly on the joins and the corners of paving stones) and crushed up dried pine needles.
To seal it all down I spray watered down PVA over it all after pre-wetting with IPA. Takes a fair while to dry but does dry rock hard.
Making something look old and abandoned

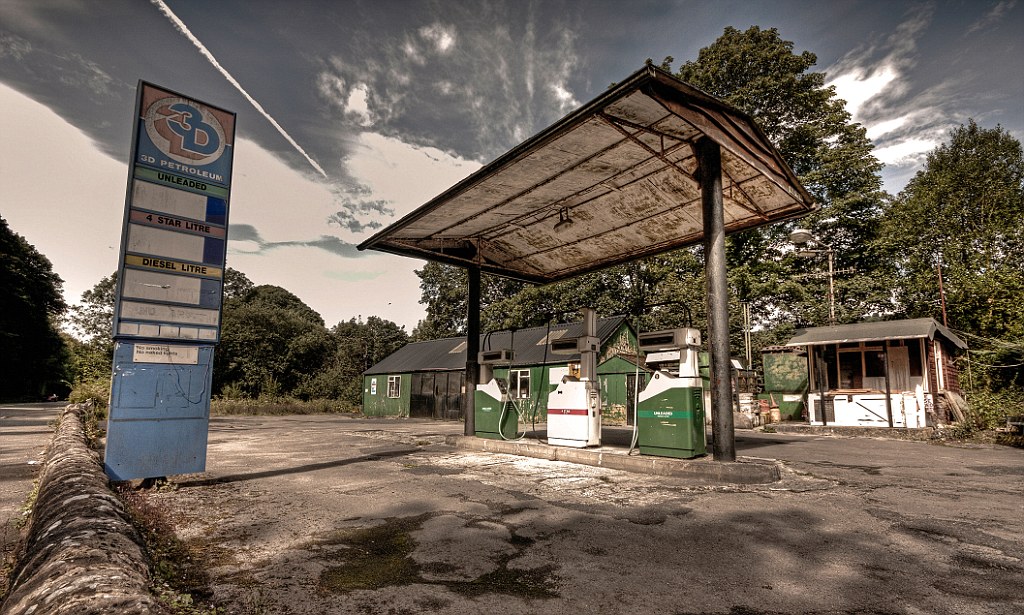
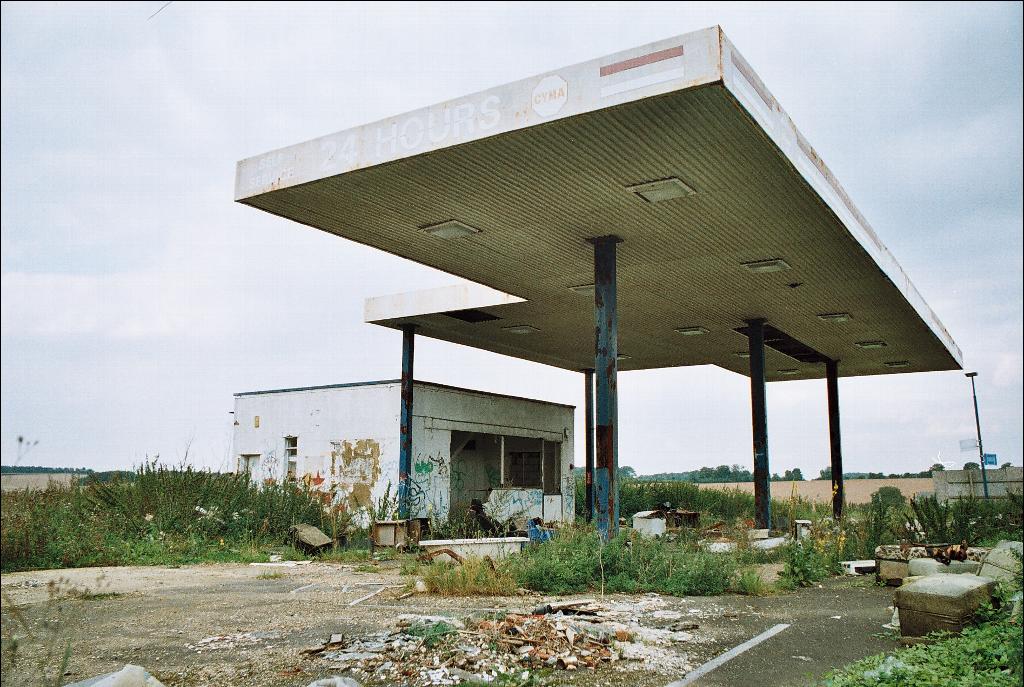
A few images of some run down or abandoned petrol stations, this gives you an idea of some over growth and the mess on the floor around the station in general which is key for the next weathering stage
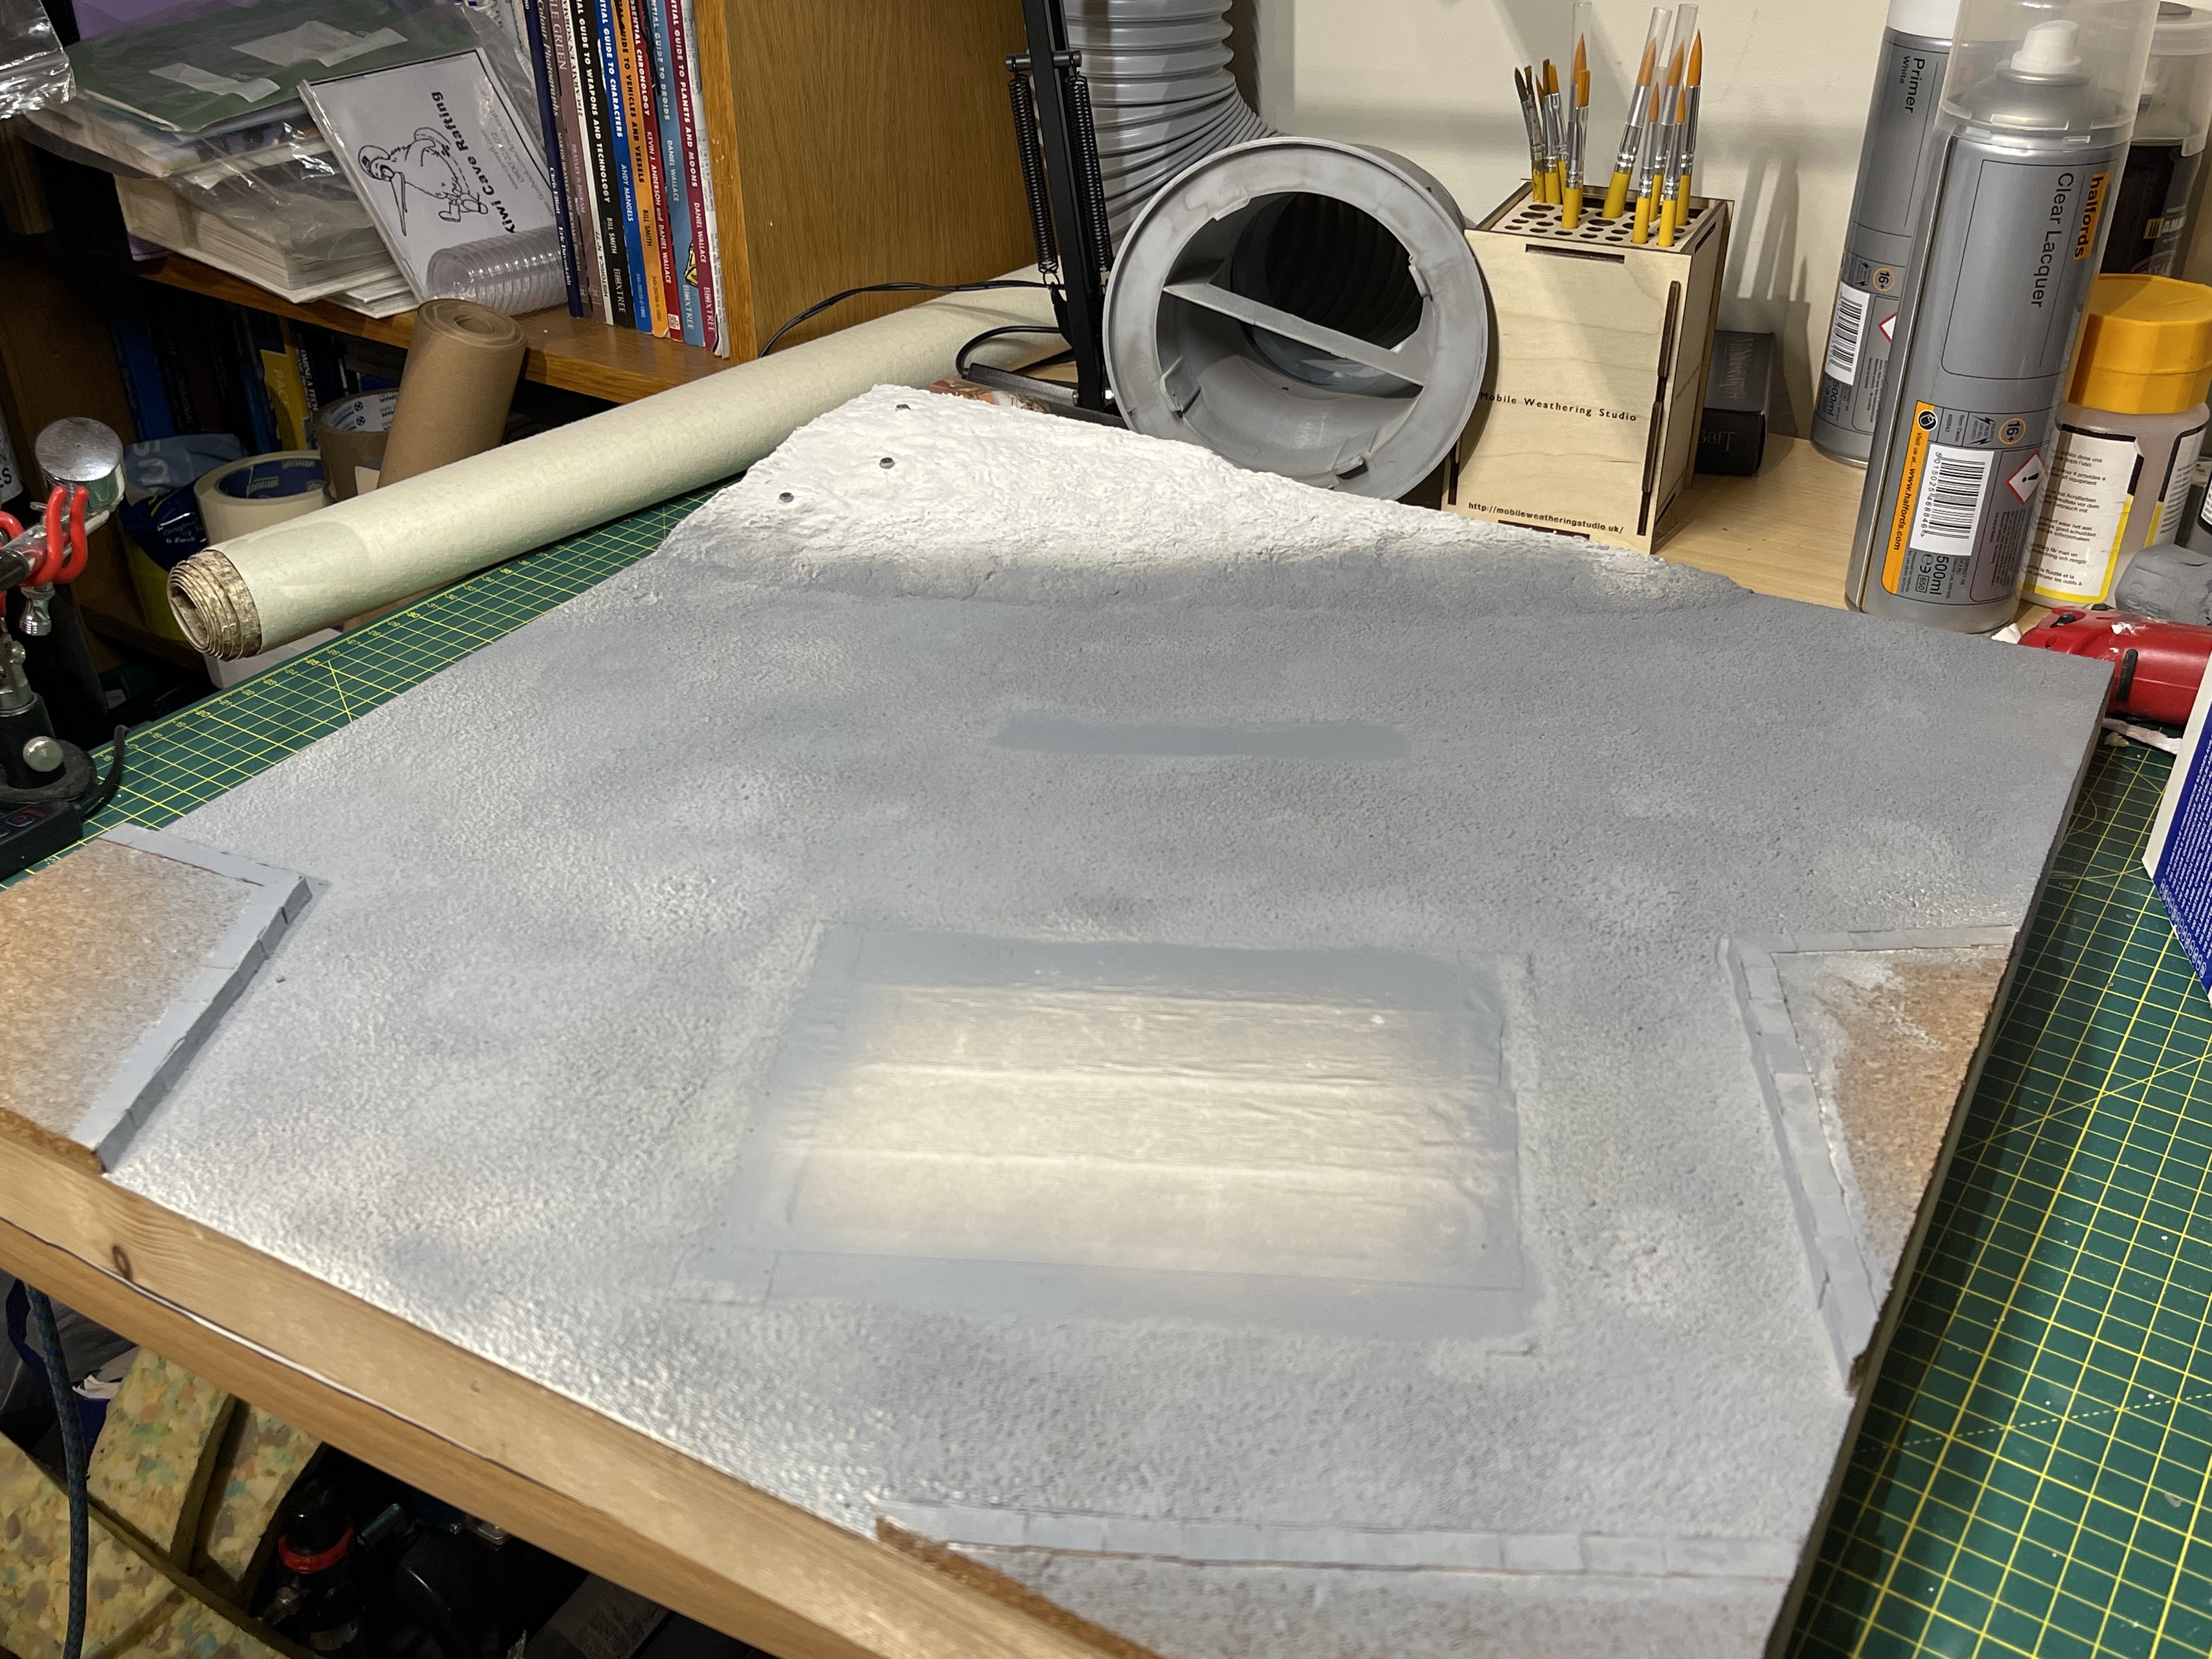 start with base grey primer
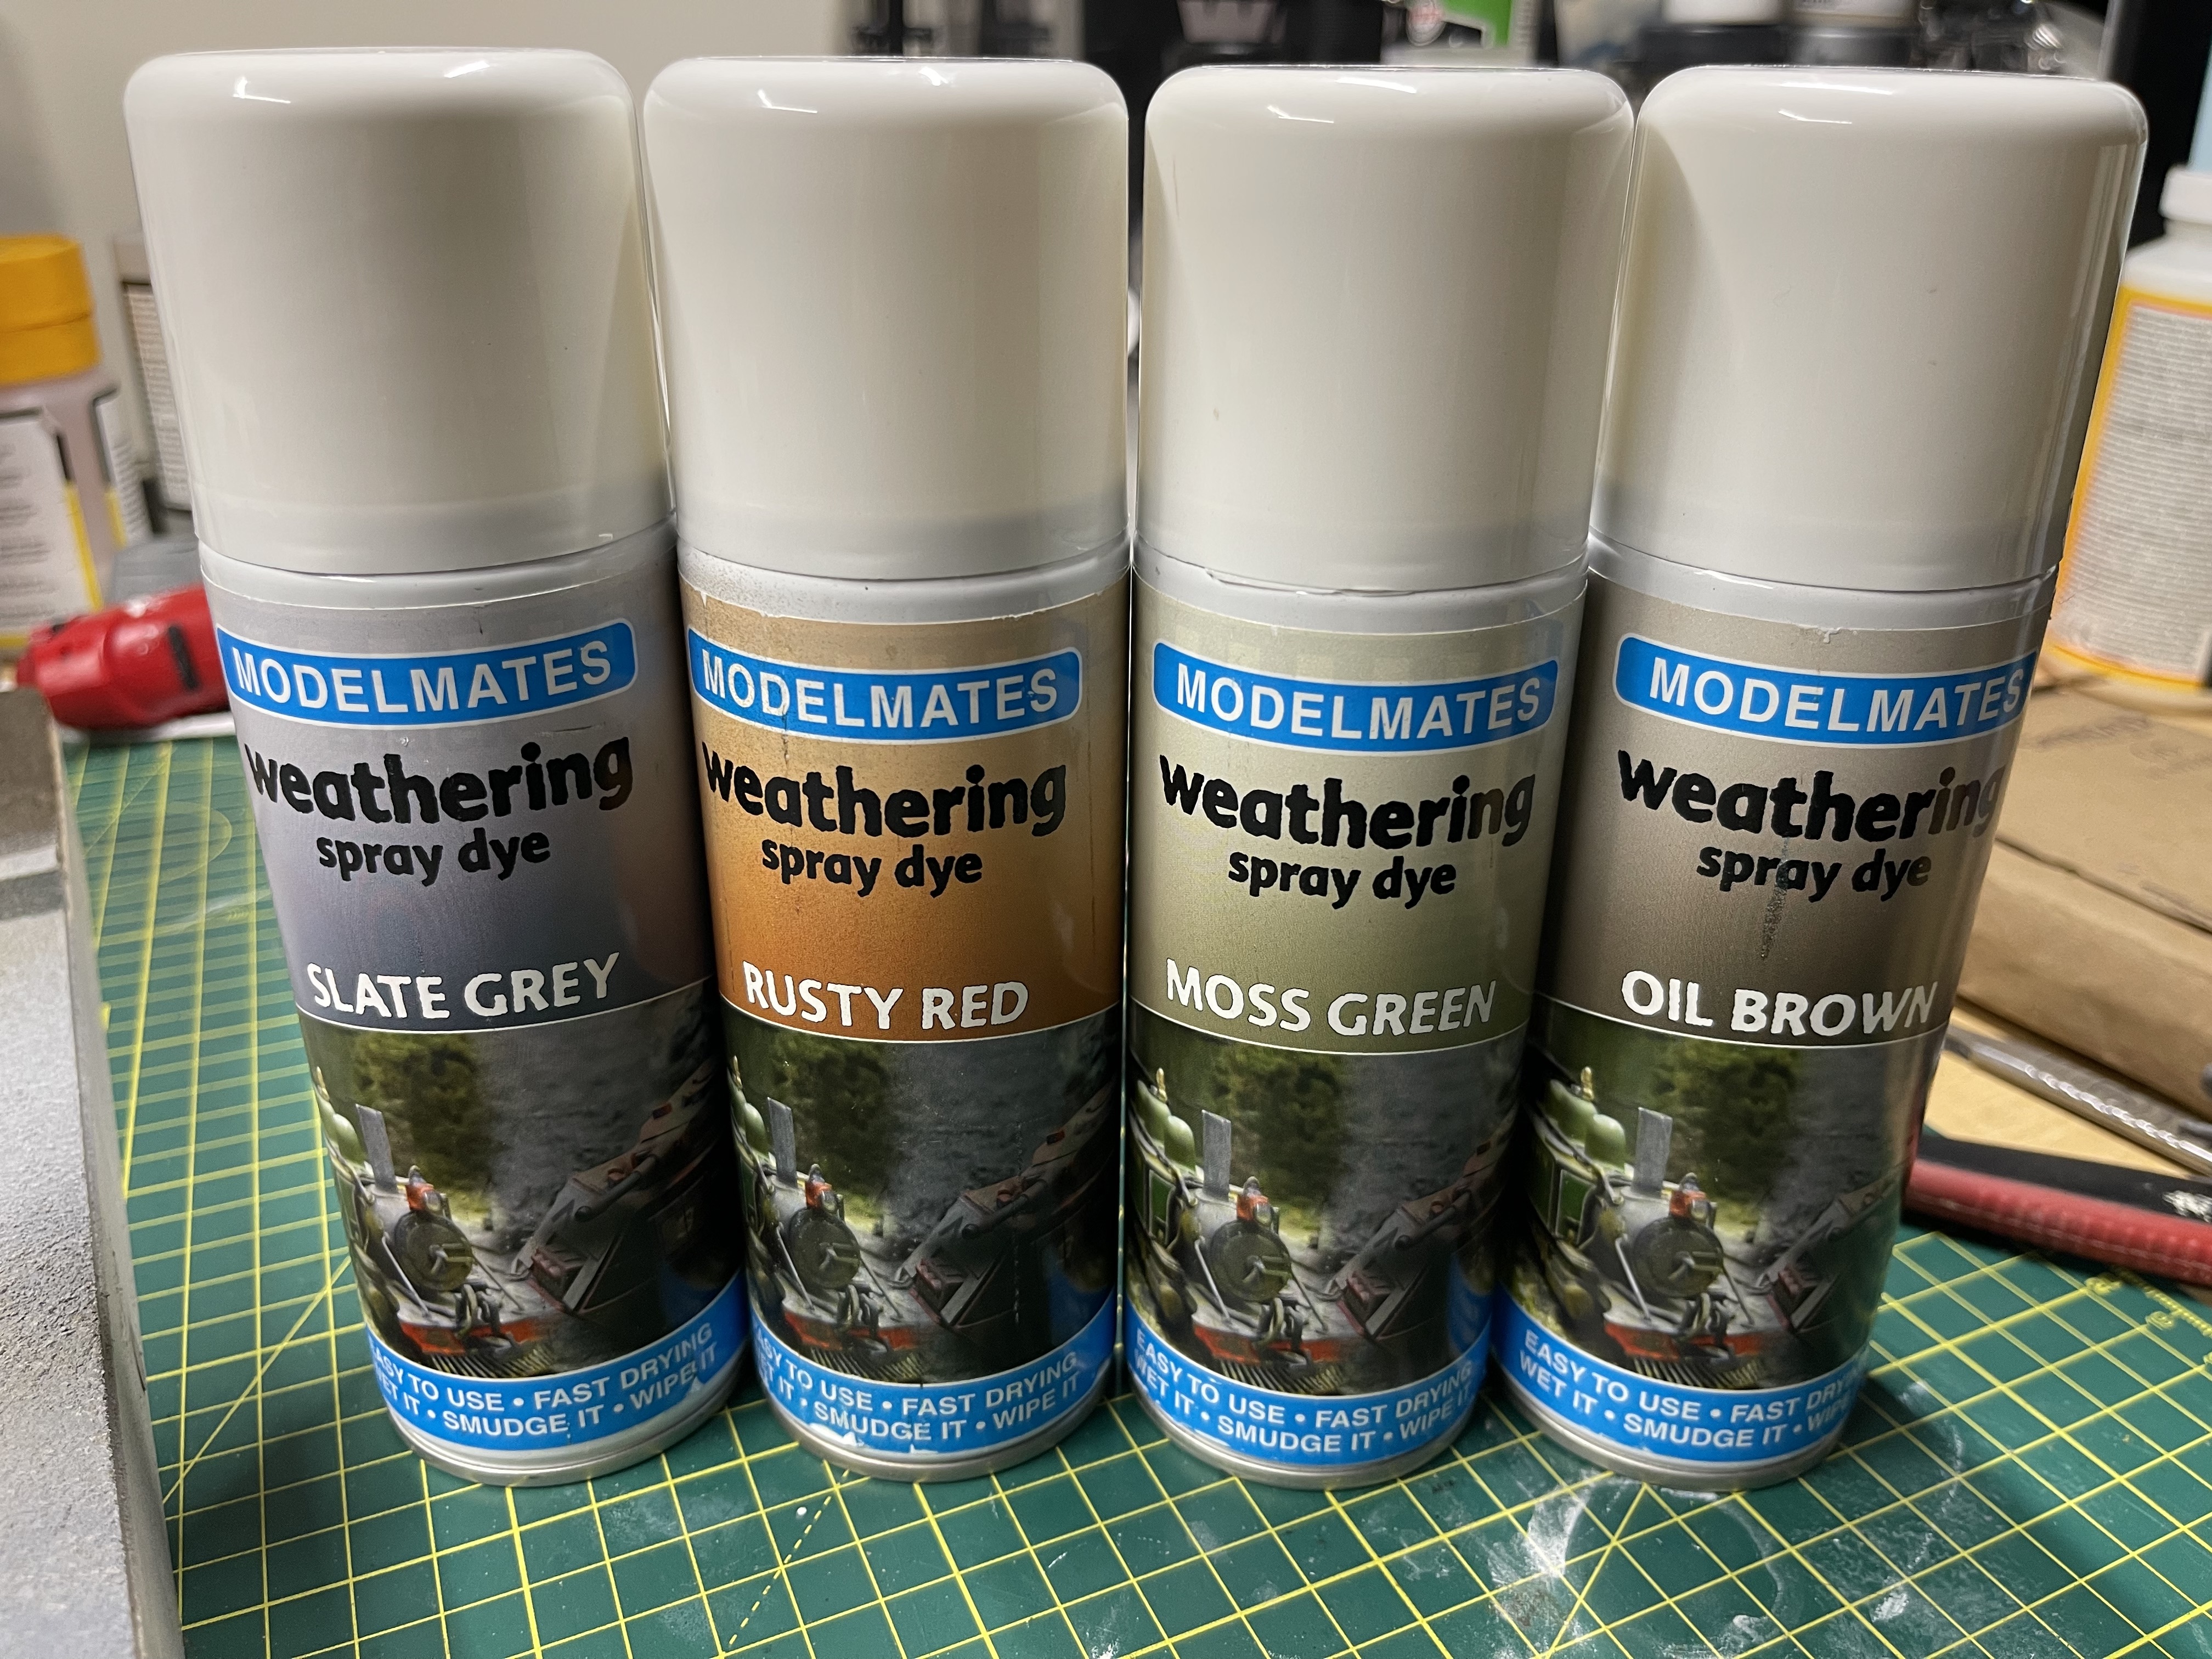 find 'dirty down weathering sprays' (Note the name change now)
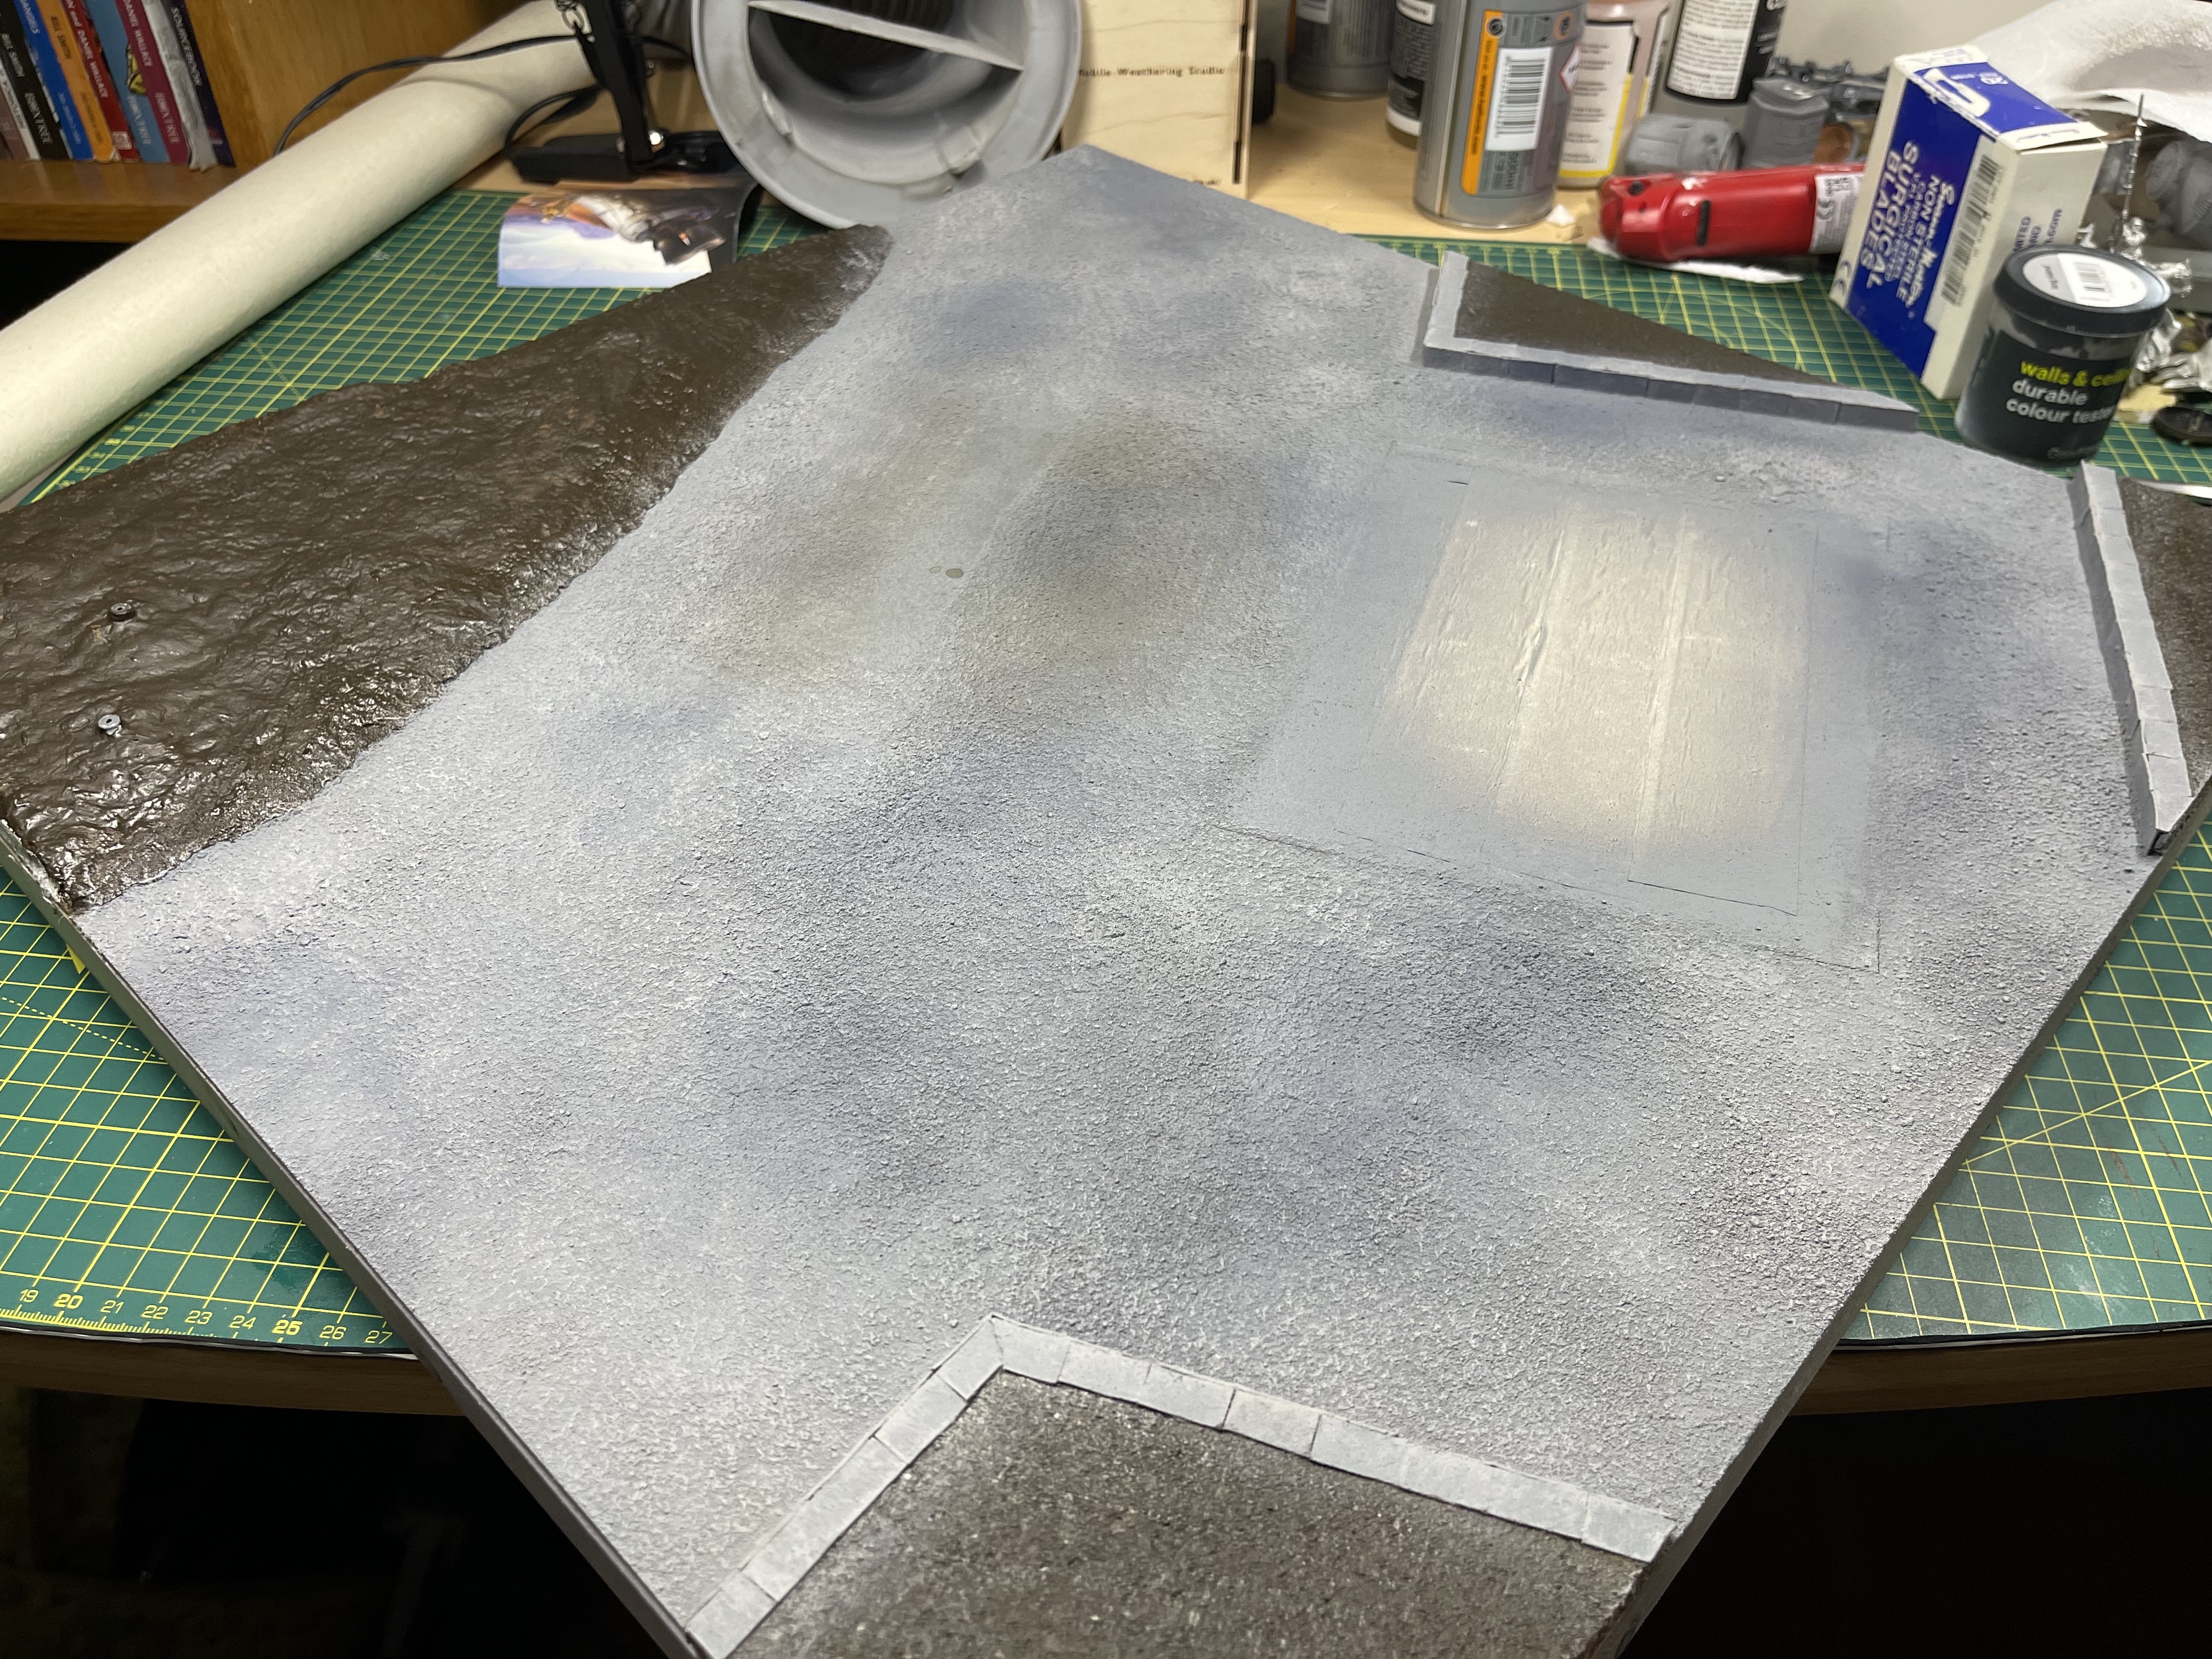 brown paint on the grassy bits (for mud), drybrush everything light grey and add oil marks near the petrol pumps
 moss green and slate grey around the area of the garage
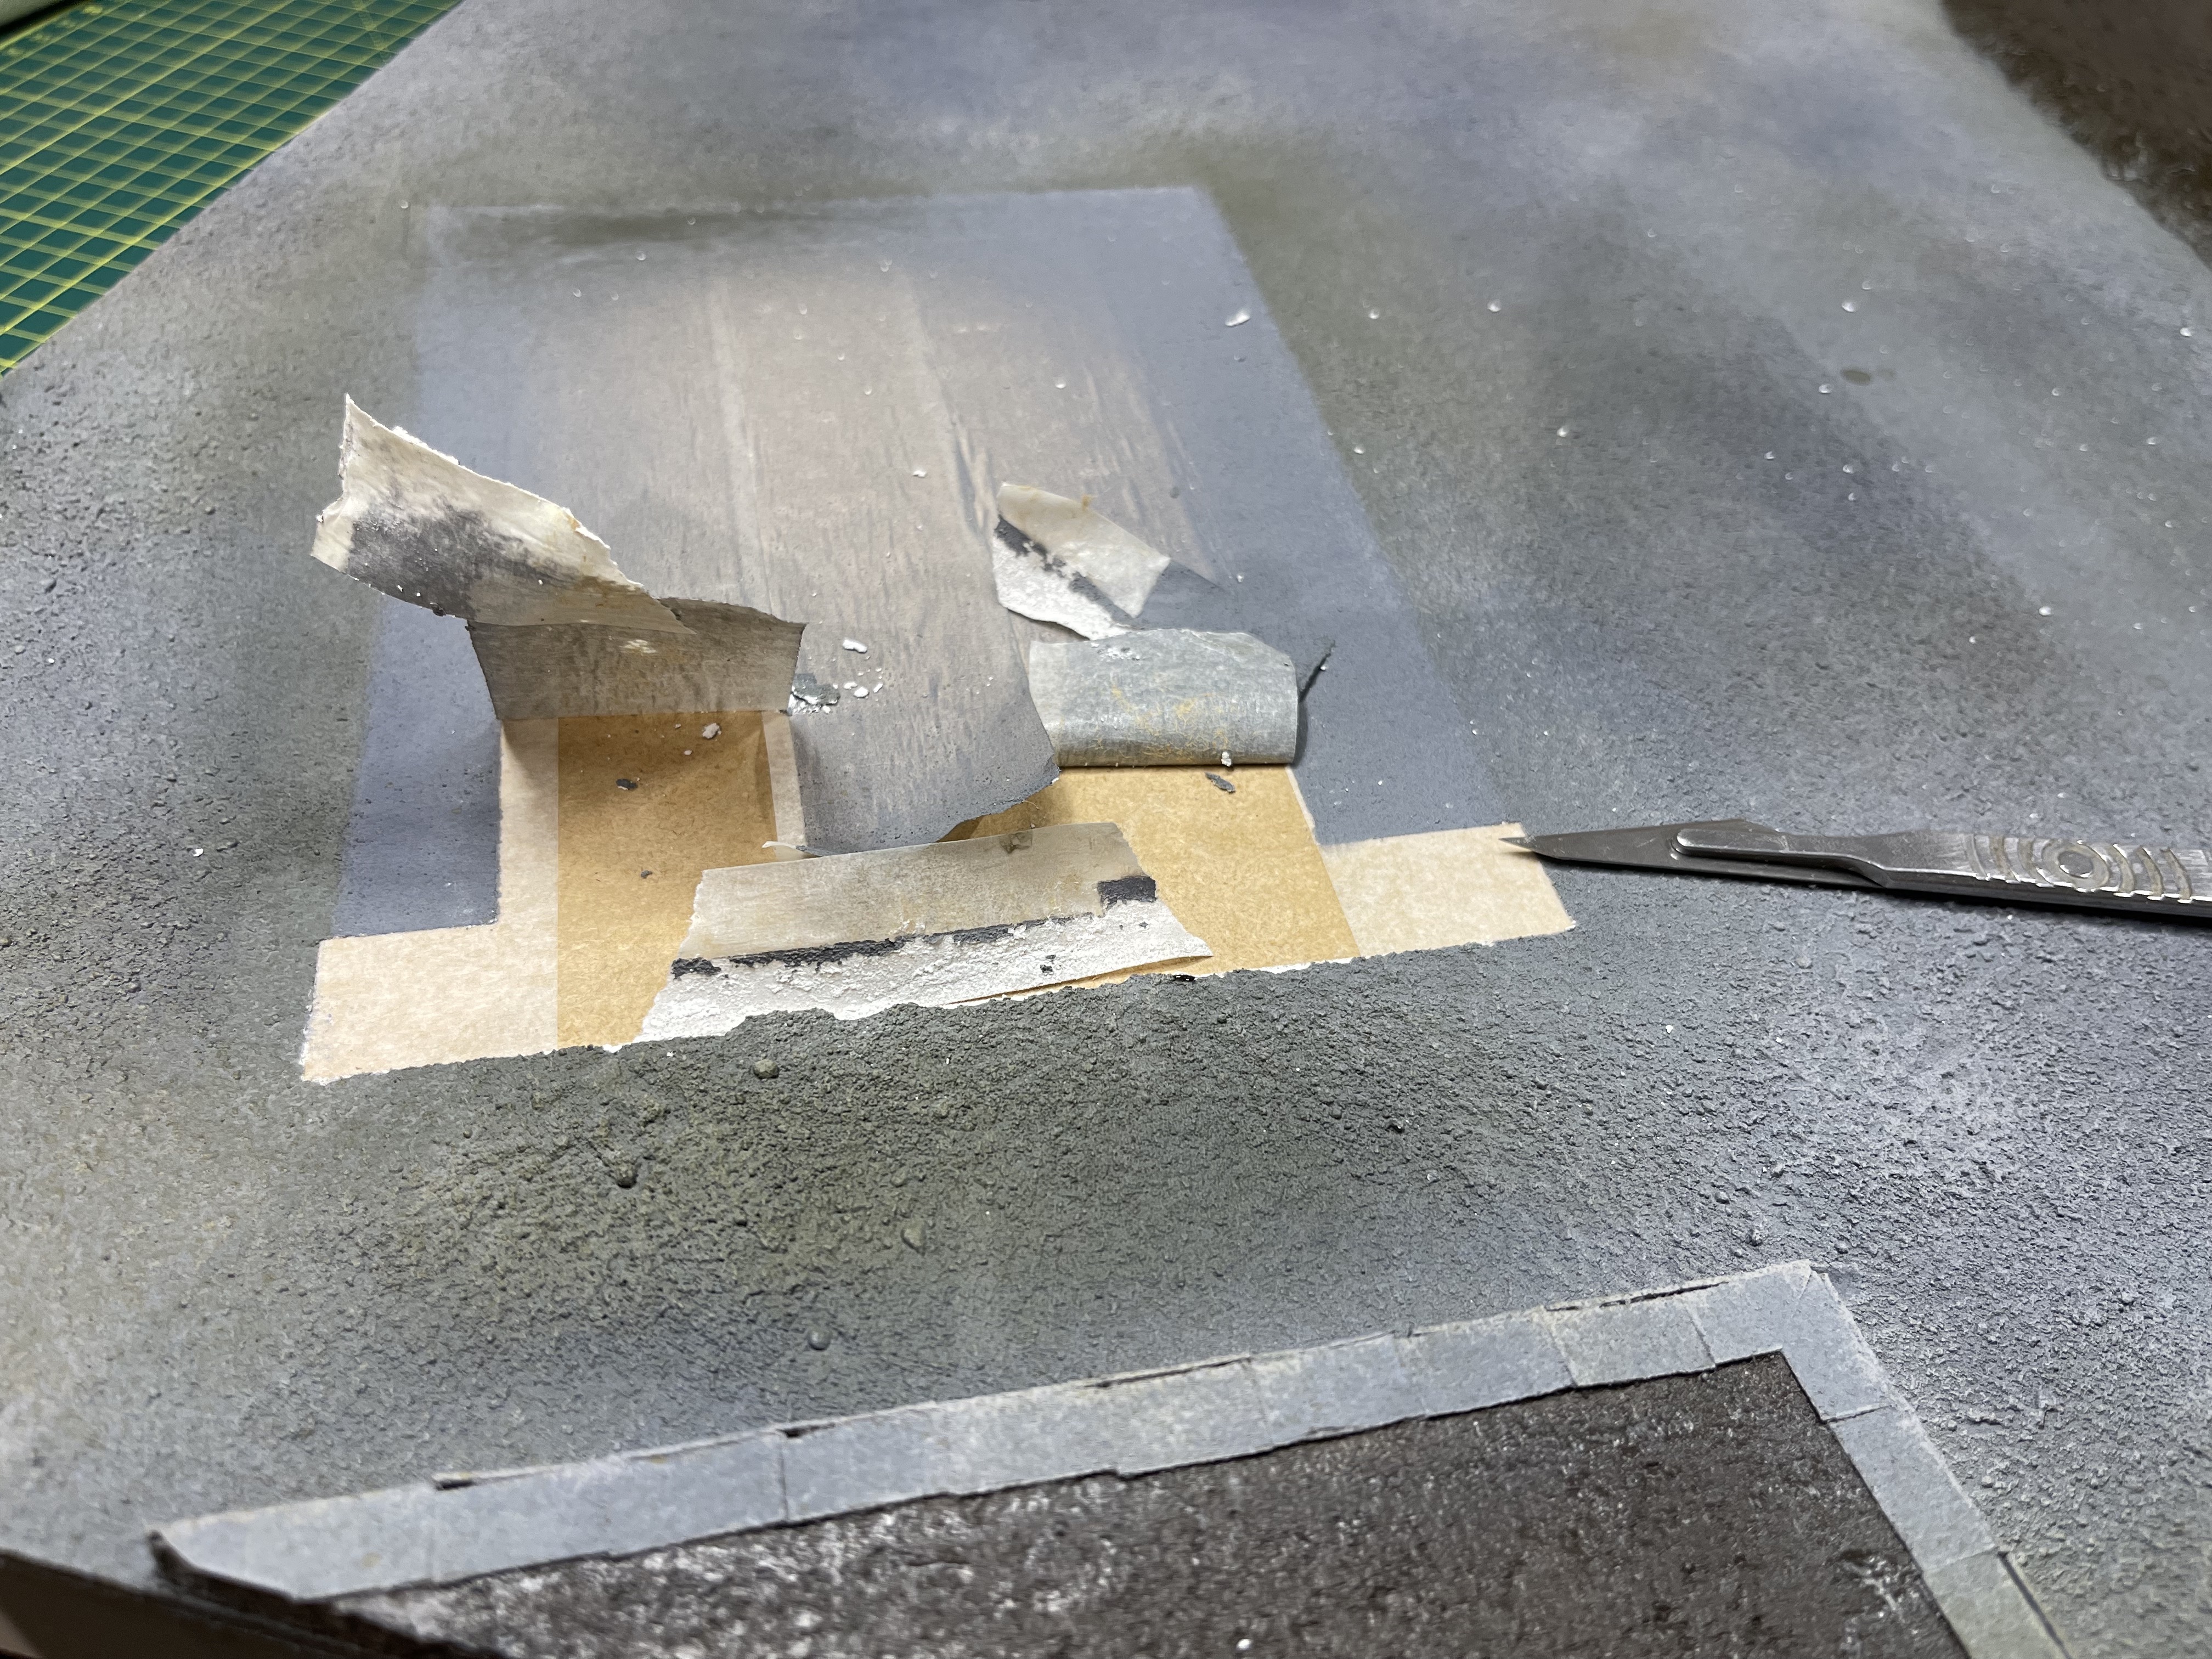 lift the tape and try not to ruin your tarmac
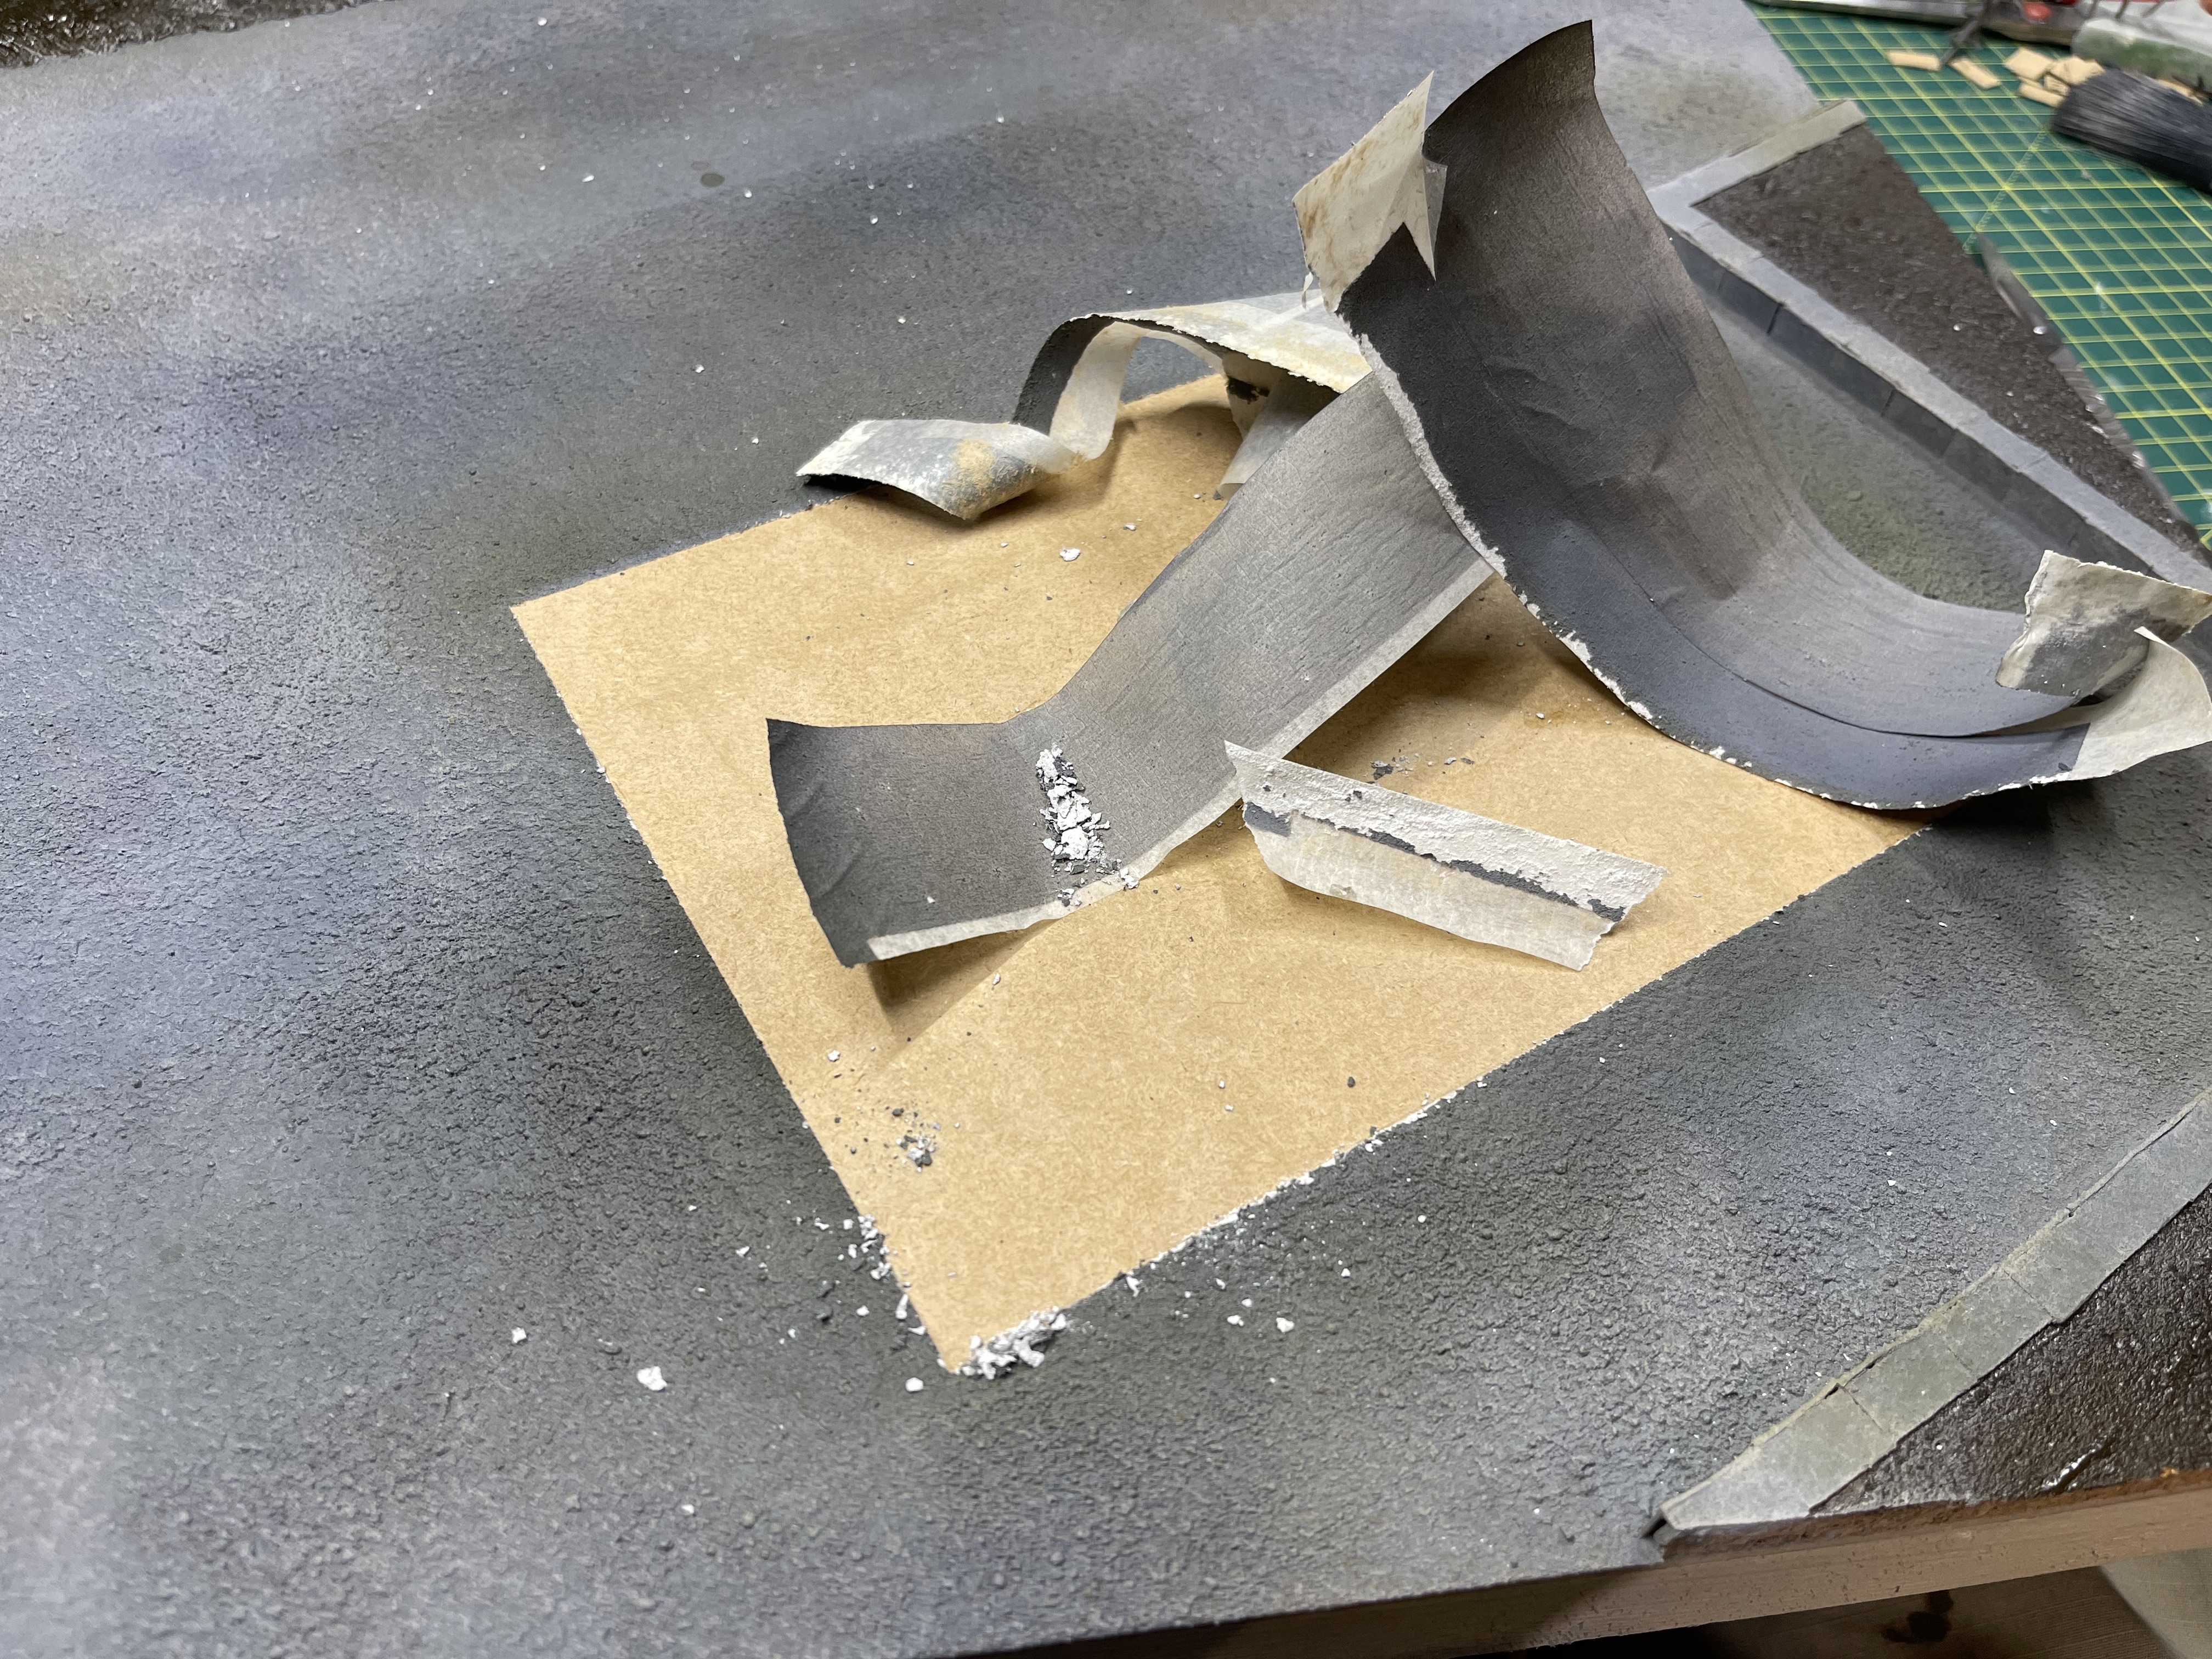 mostly damage free!
 glue down the petrol station
first up I dry brushed some light grey house paint onto the tile grout then I took some of the old spray cans I had in my collection from model mates (now trading as ‘dirty down’) which are basically fabric dyes in spray cans used for the film and theatre industry to quickly weather props etc. and used them to add interesting changes in colour etc. I finished this by adding a small amount of clear lacquer as im worried about later steps reactivating the dye and moving it around when I don’t want it to. I’ll de-shine it later using matt varnish.
When removing the masking tape its got to be done carefully so not to ruin the tile grout asphalt/tarmac. some thicker sections did pull up as you can see so I covered them back over with a bit more weathering spray.
The grassy areas were painted brown so that when I put that down it won’t matter is small areas are missed
The most important part....zombies
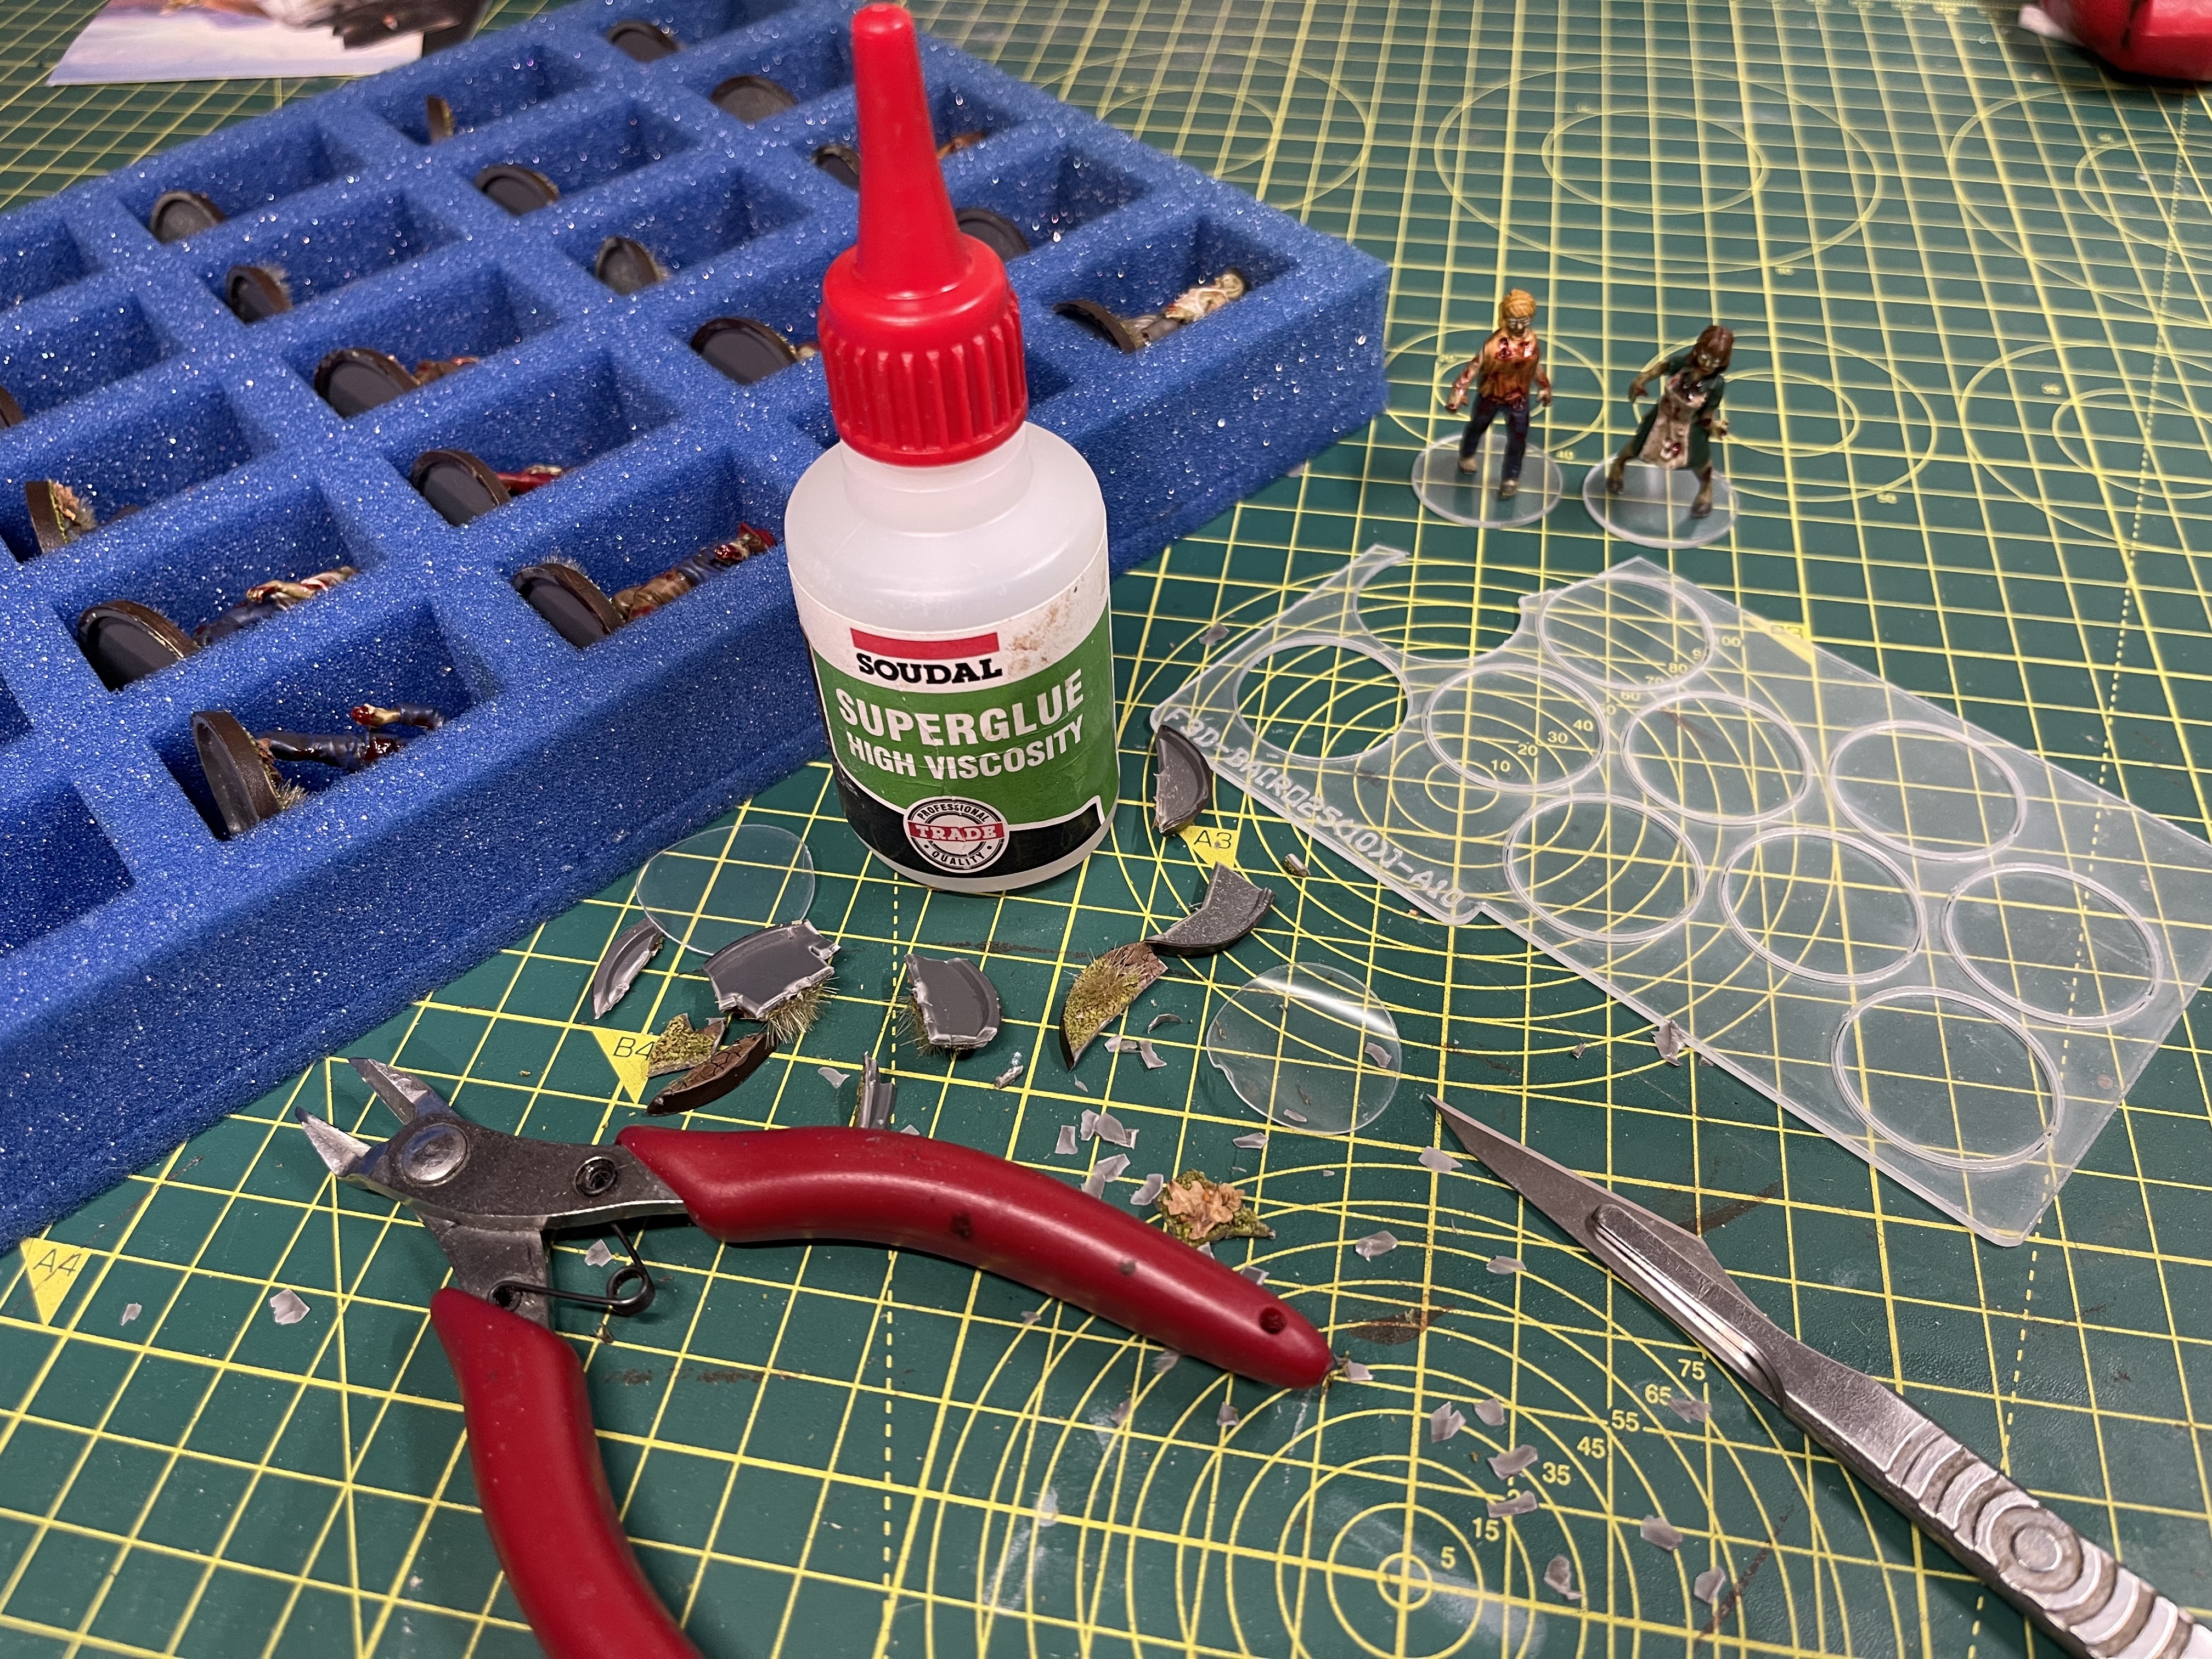
The most important part of the terrain element of this game is the living (or rather walking dead) element of it, the zombies, walkers, biters, freaks, whatever you wanna call them.
I painted 30 of these when the game came out using techniques of the time, namely base colours and army painter strong tone dip. the bases were done with crackle paste paint and green flocks and birch seeds. all very 2016.
I decided to bring a bit more life and change to these by clipping them all off their wargaming bases and putting them on clear acrylic bases (purchased from eBay fluid3dworkshop). this worked amazingly on my Imperial Assault models and also I’m hoping will allow the bases to disappear in the photography I have planned for this story board project.
Basic Ground Forms
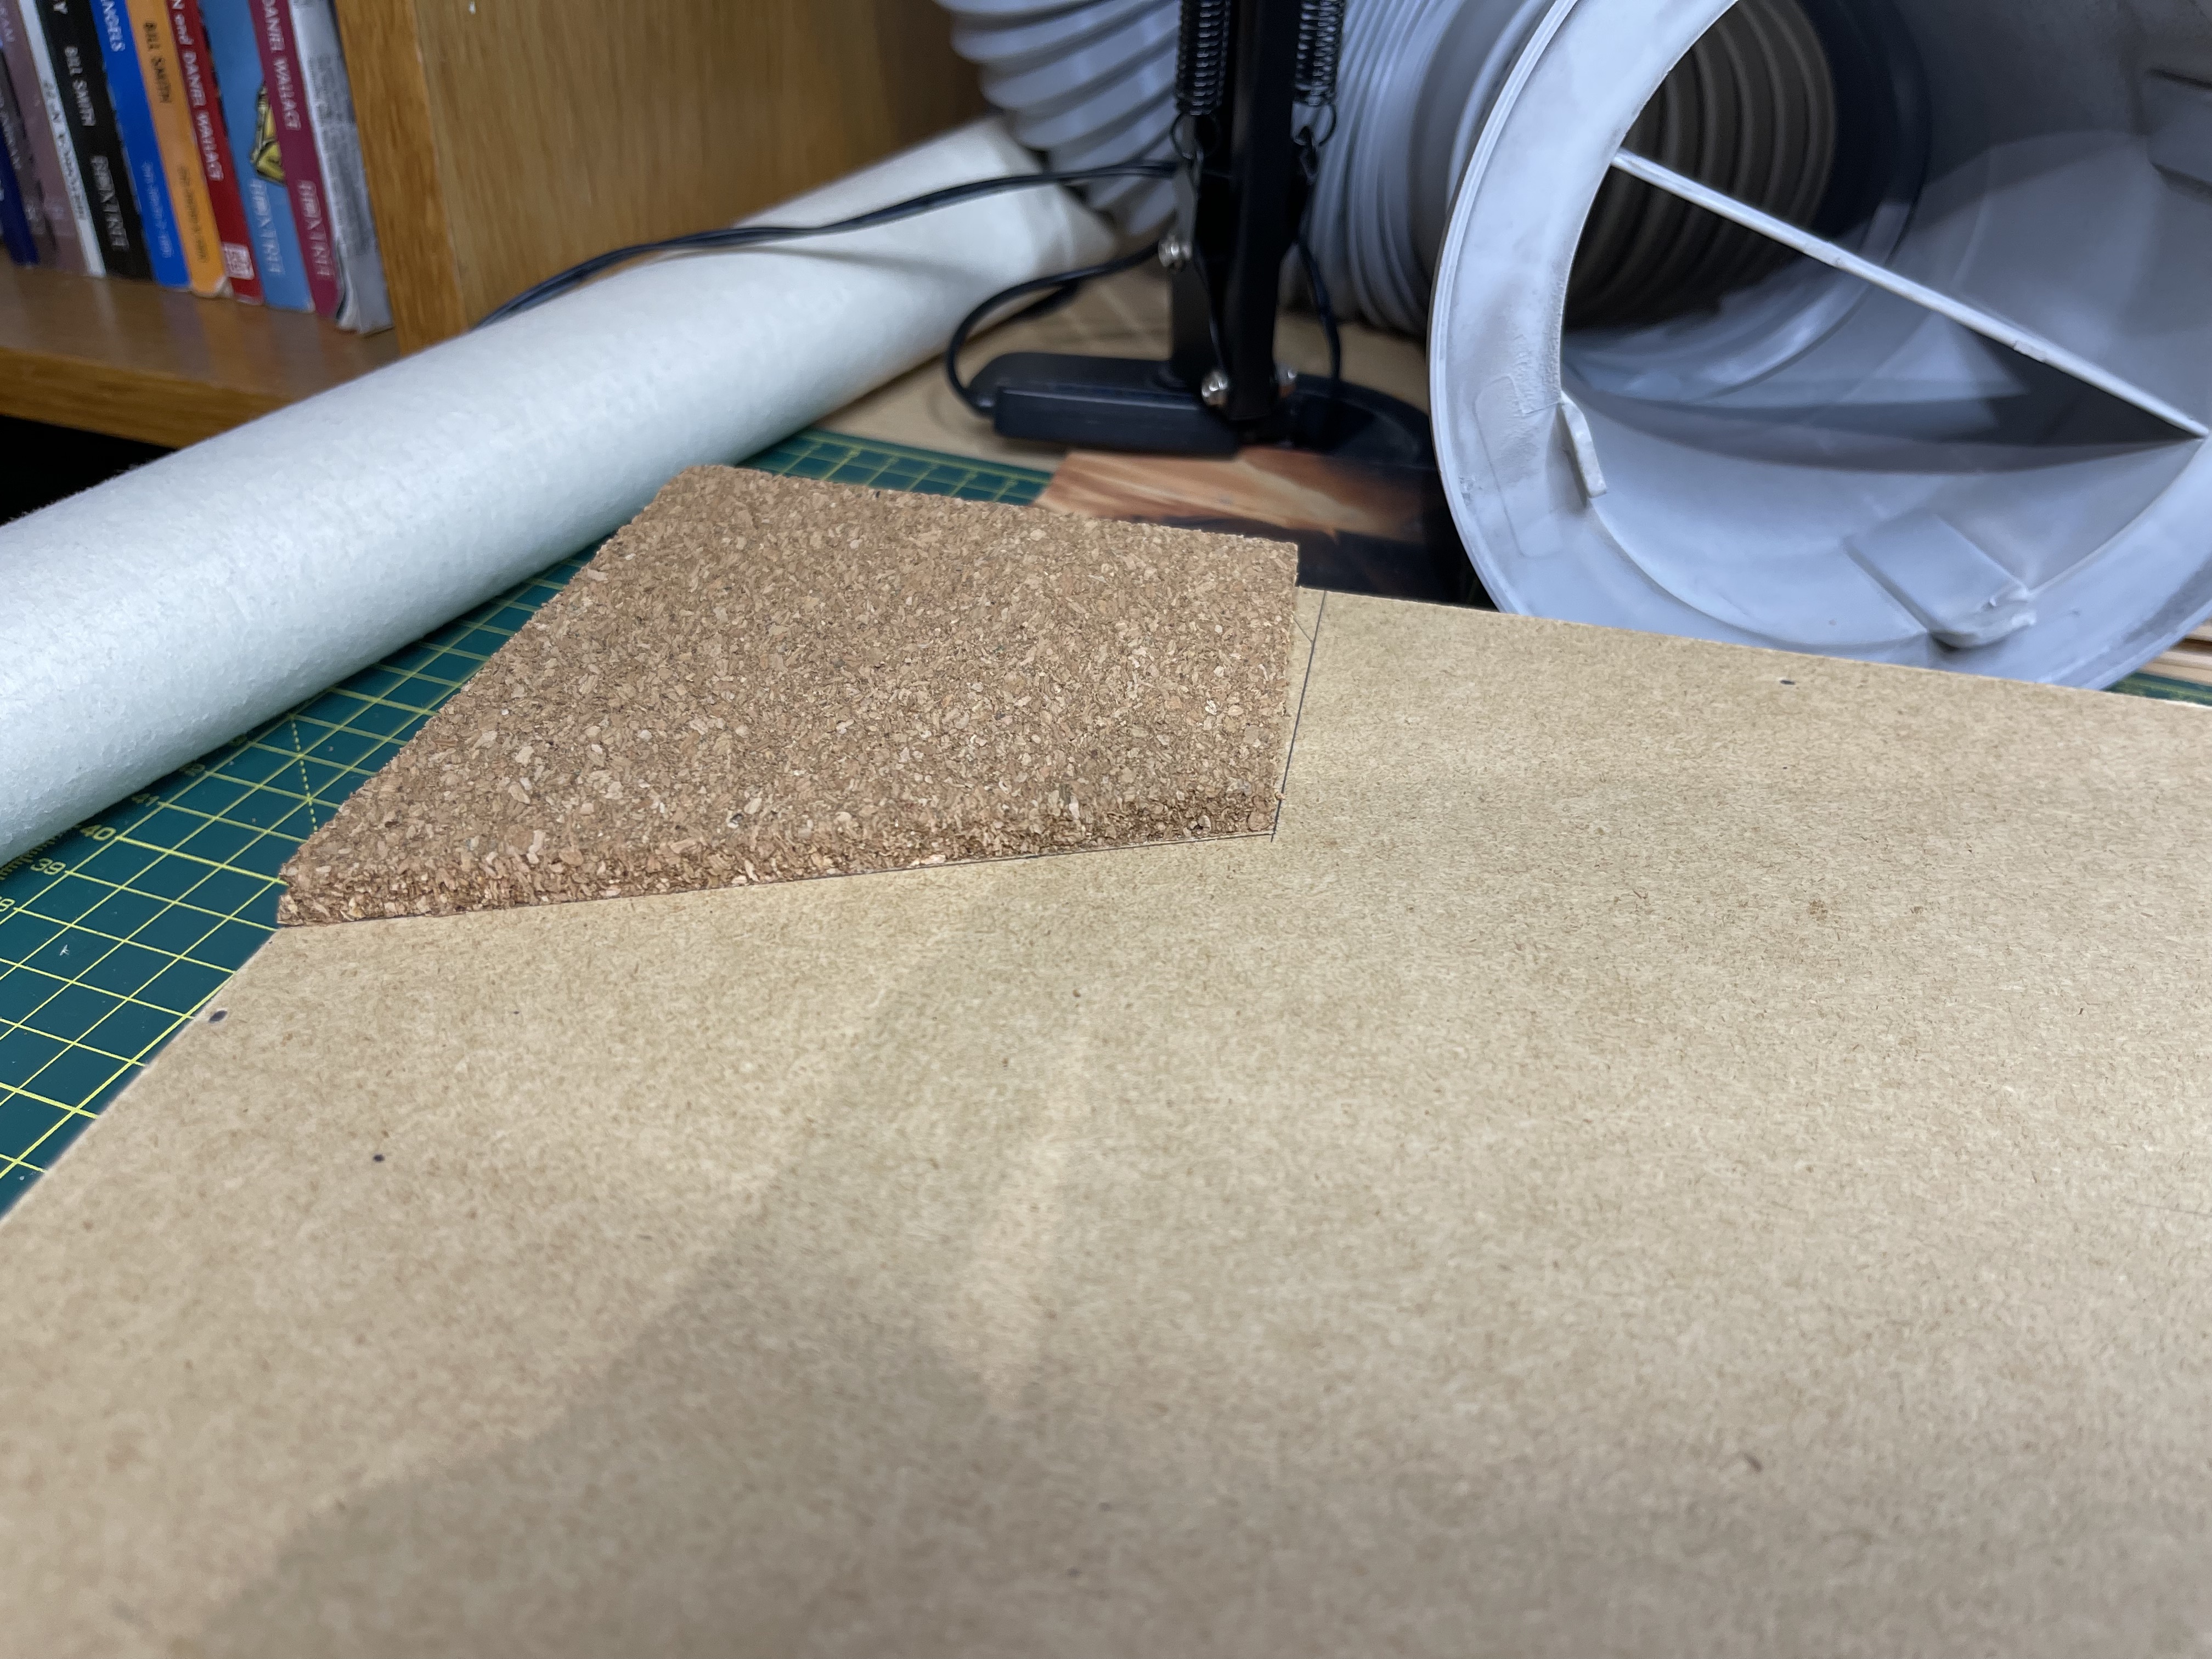 sticky backed cork board
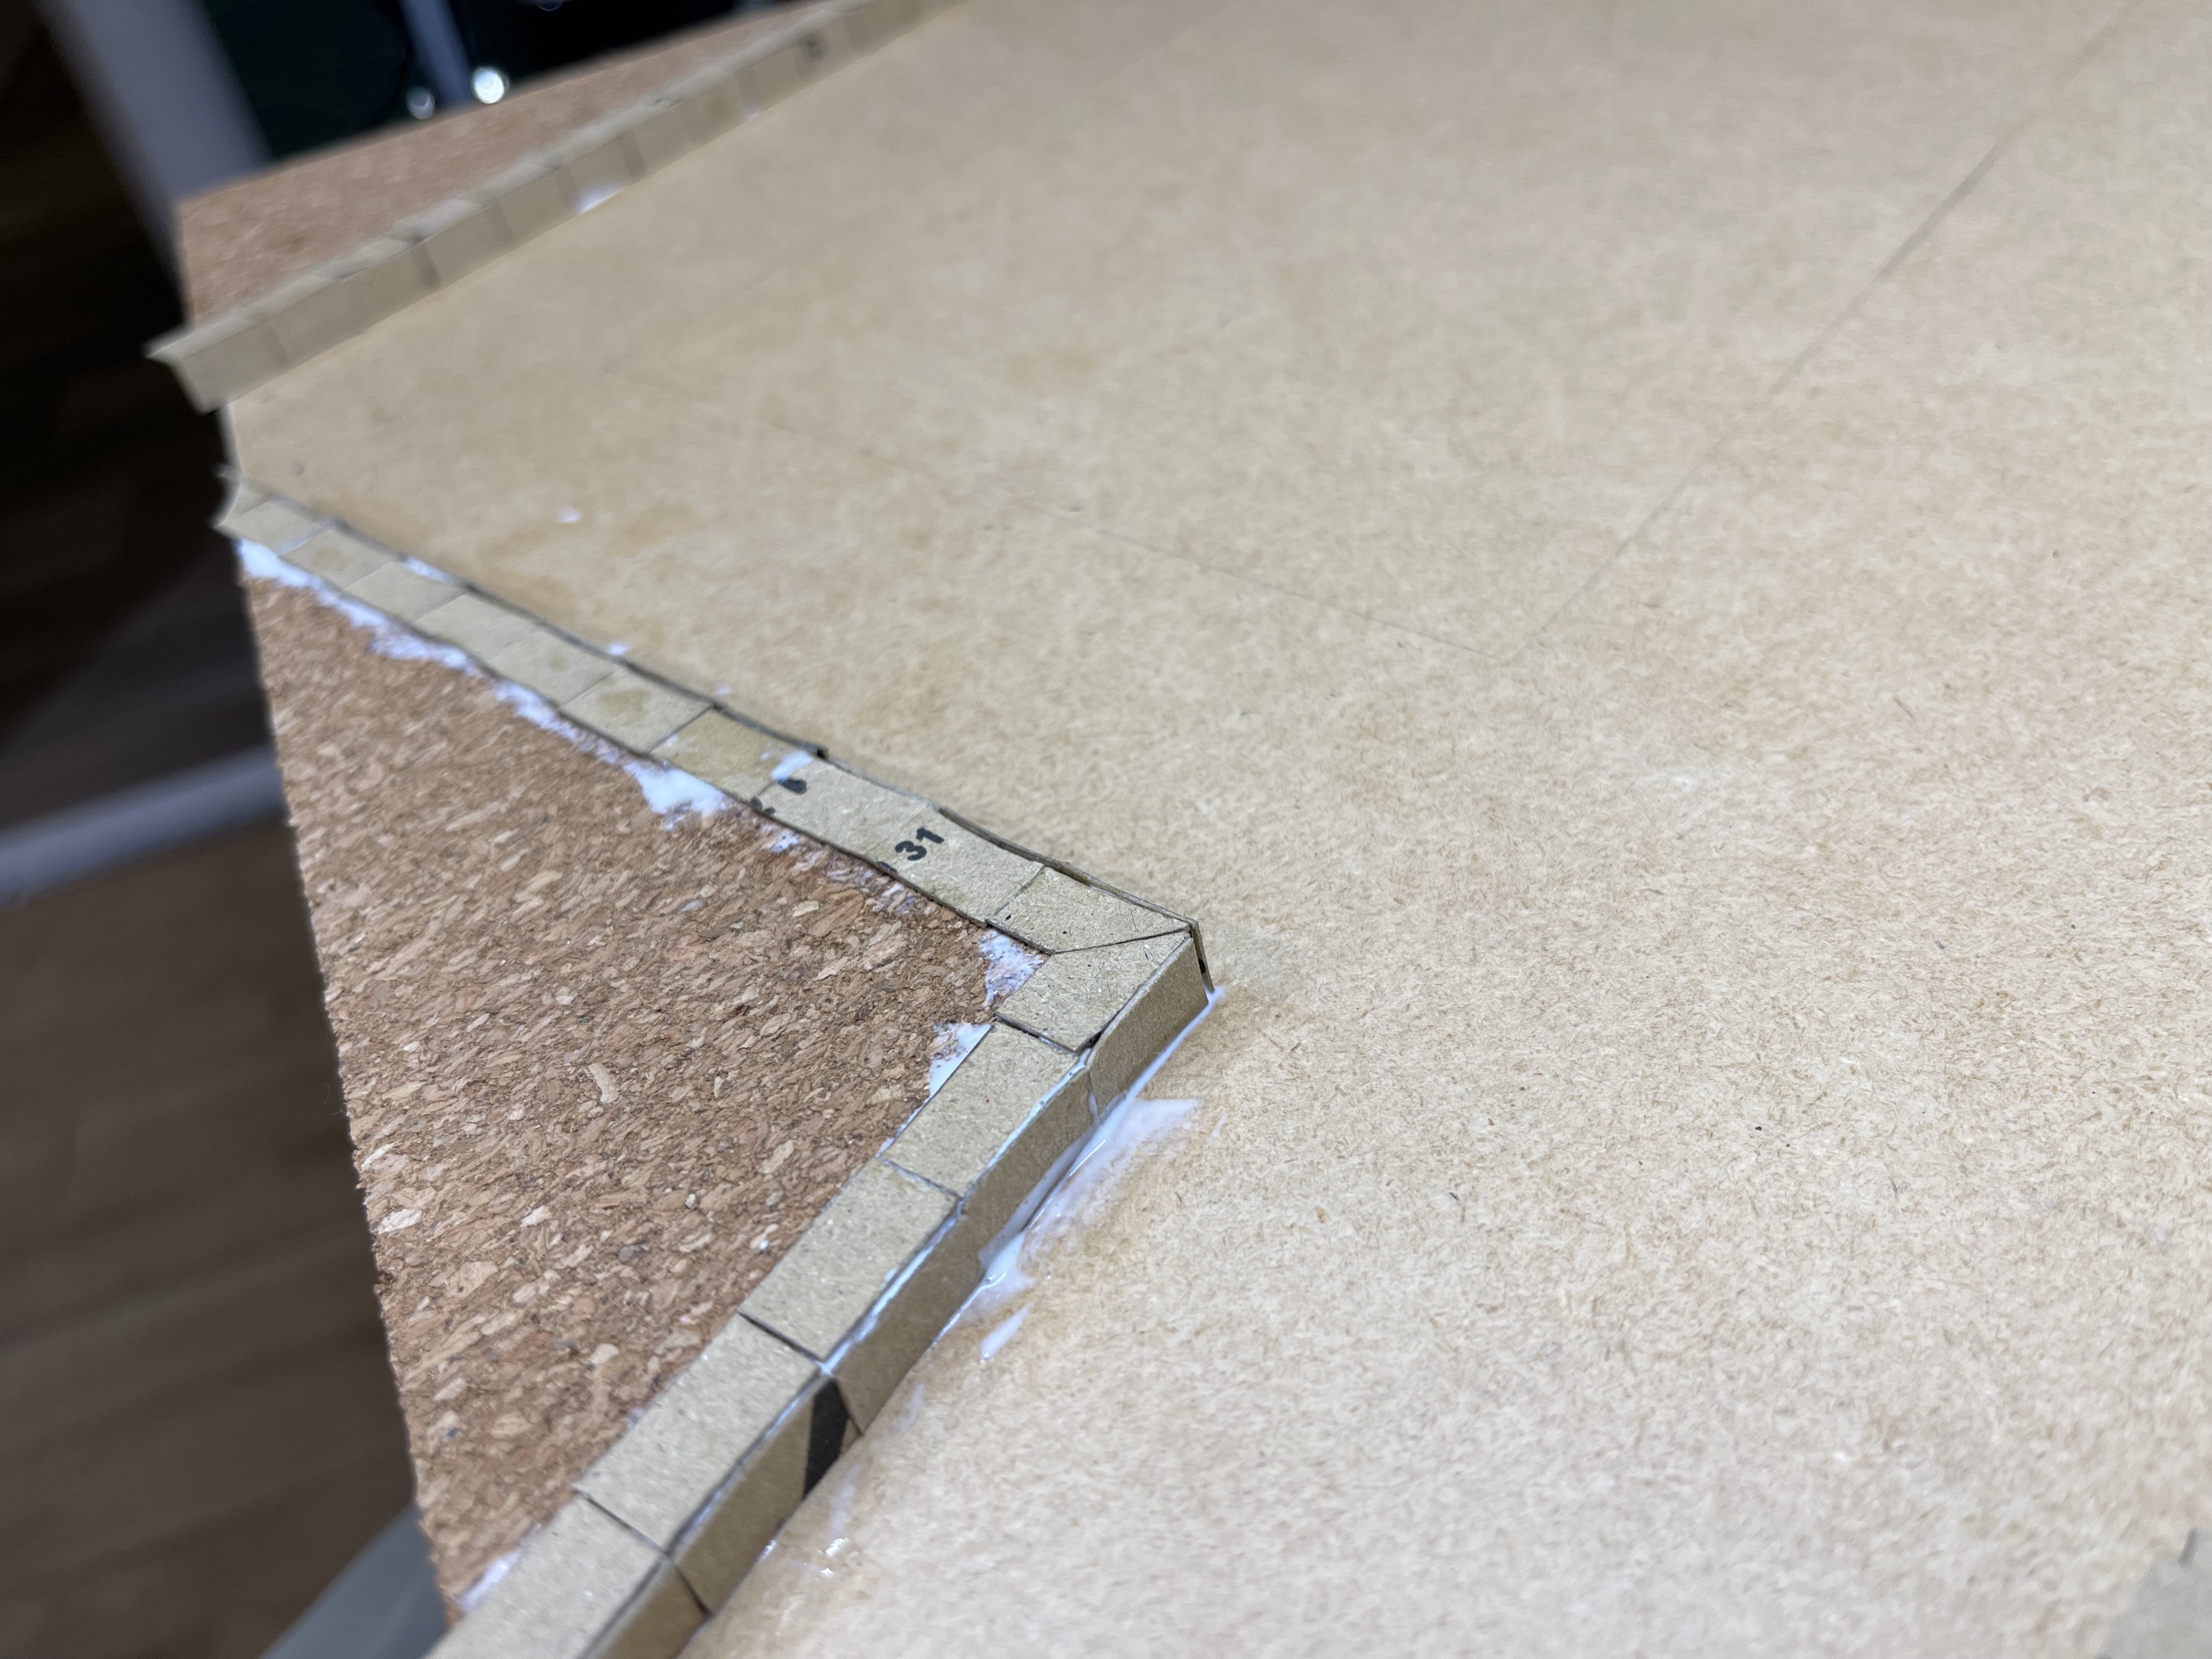 cardboard cut to 8mm x 15mm as curb stones
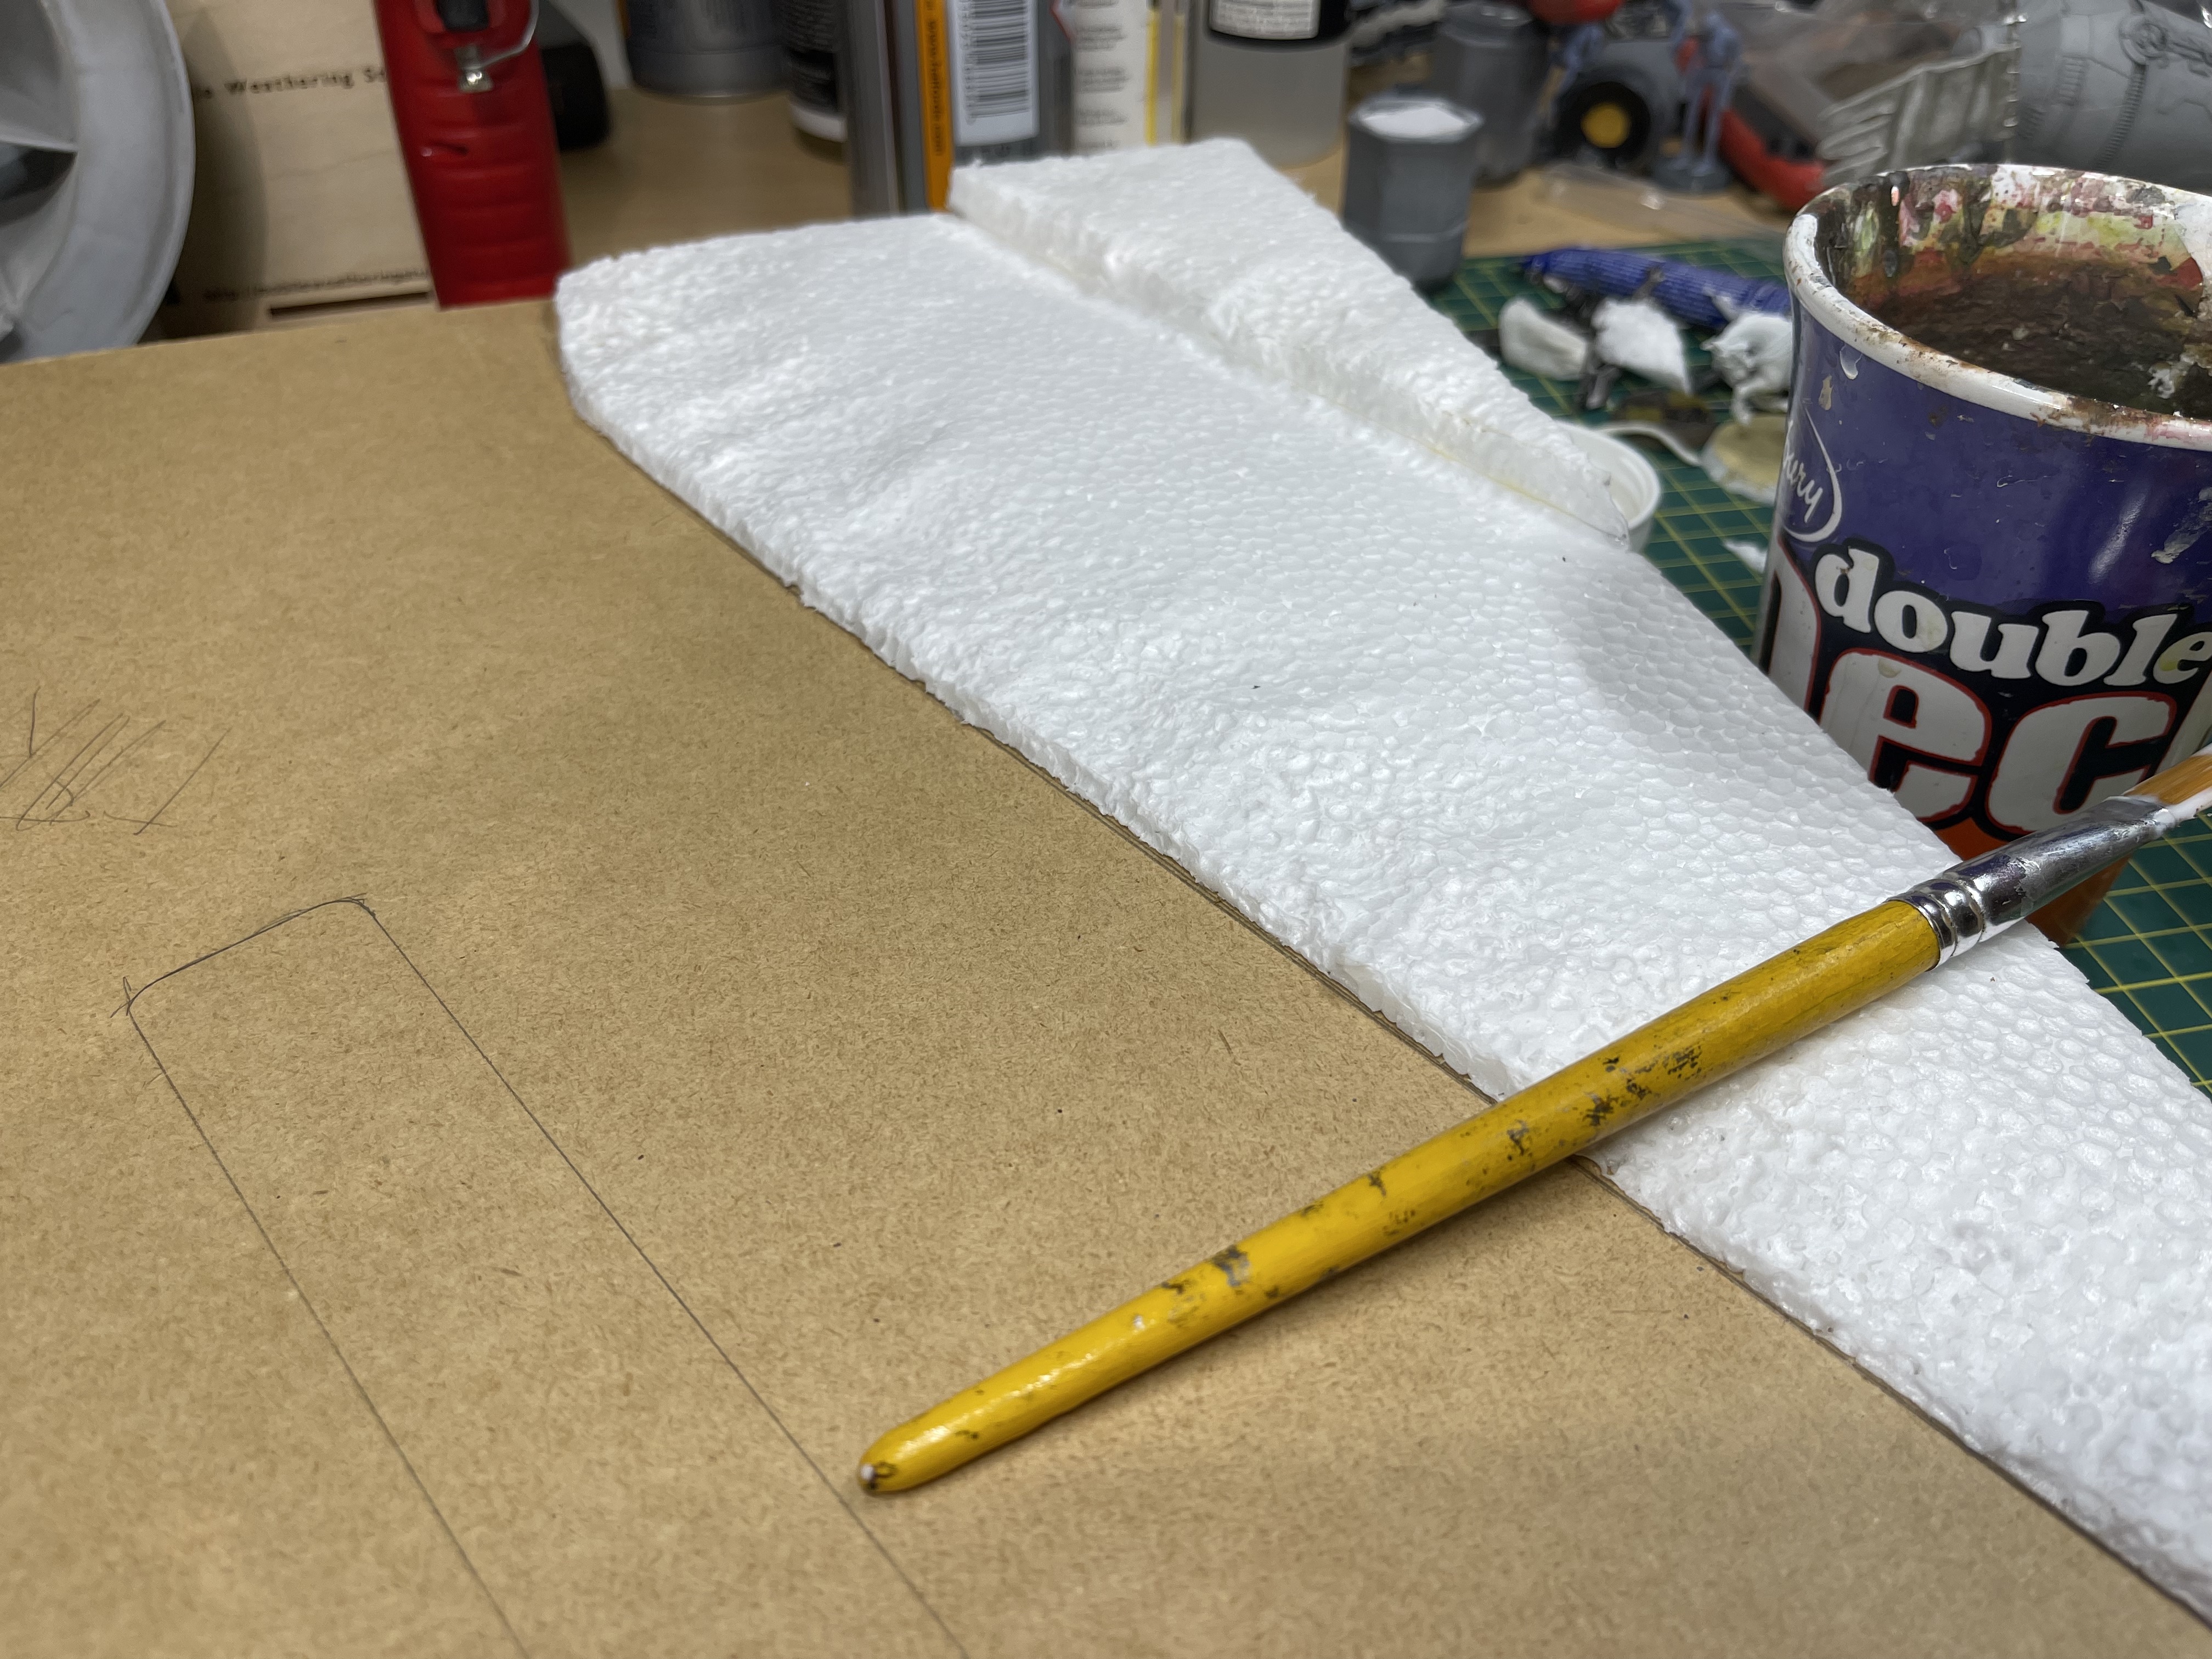 polystyrene expanded foam with gorilla glue for small hill
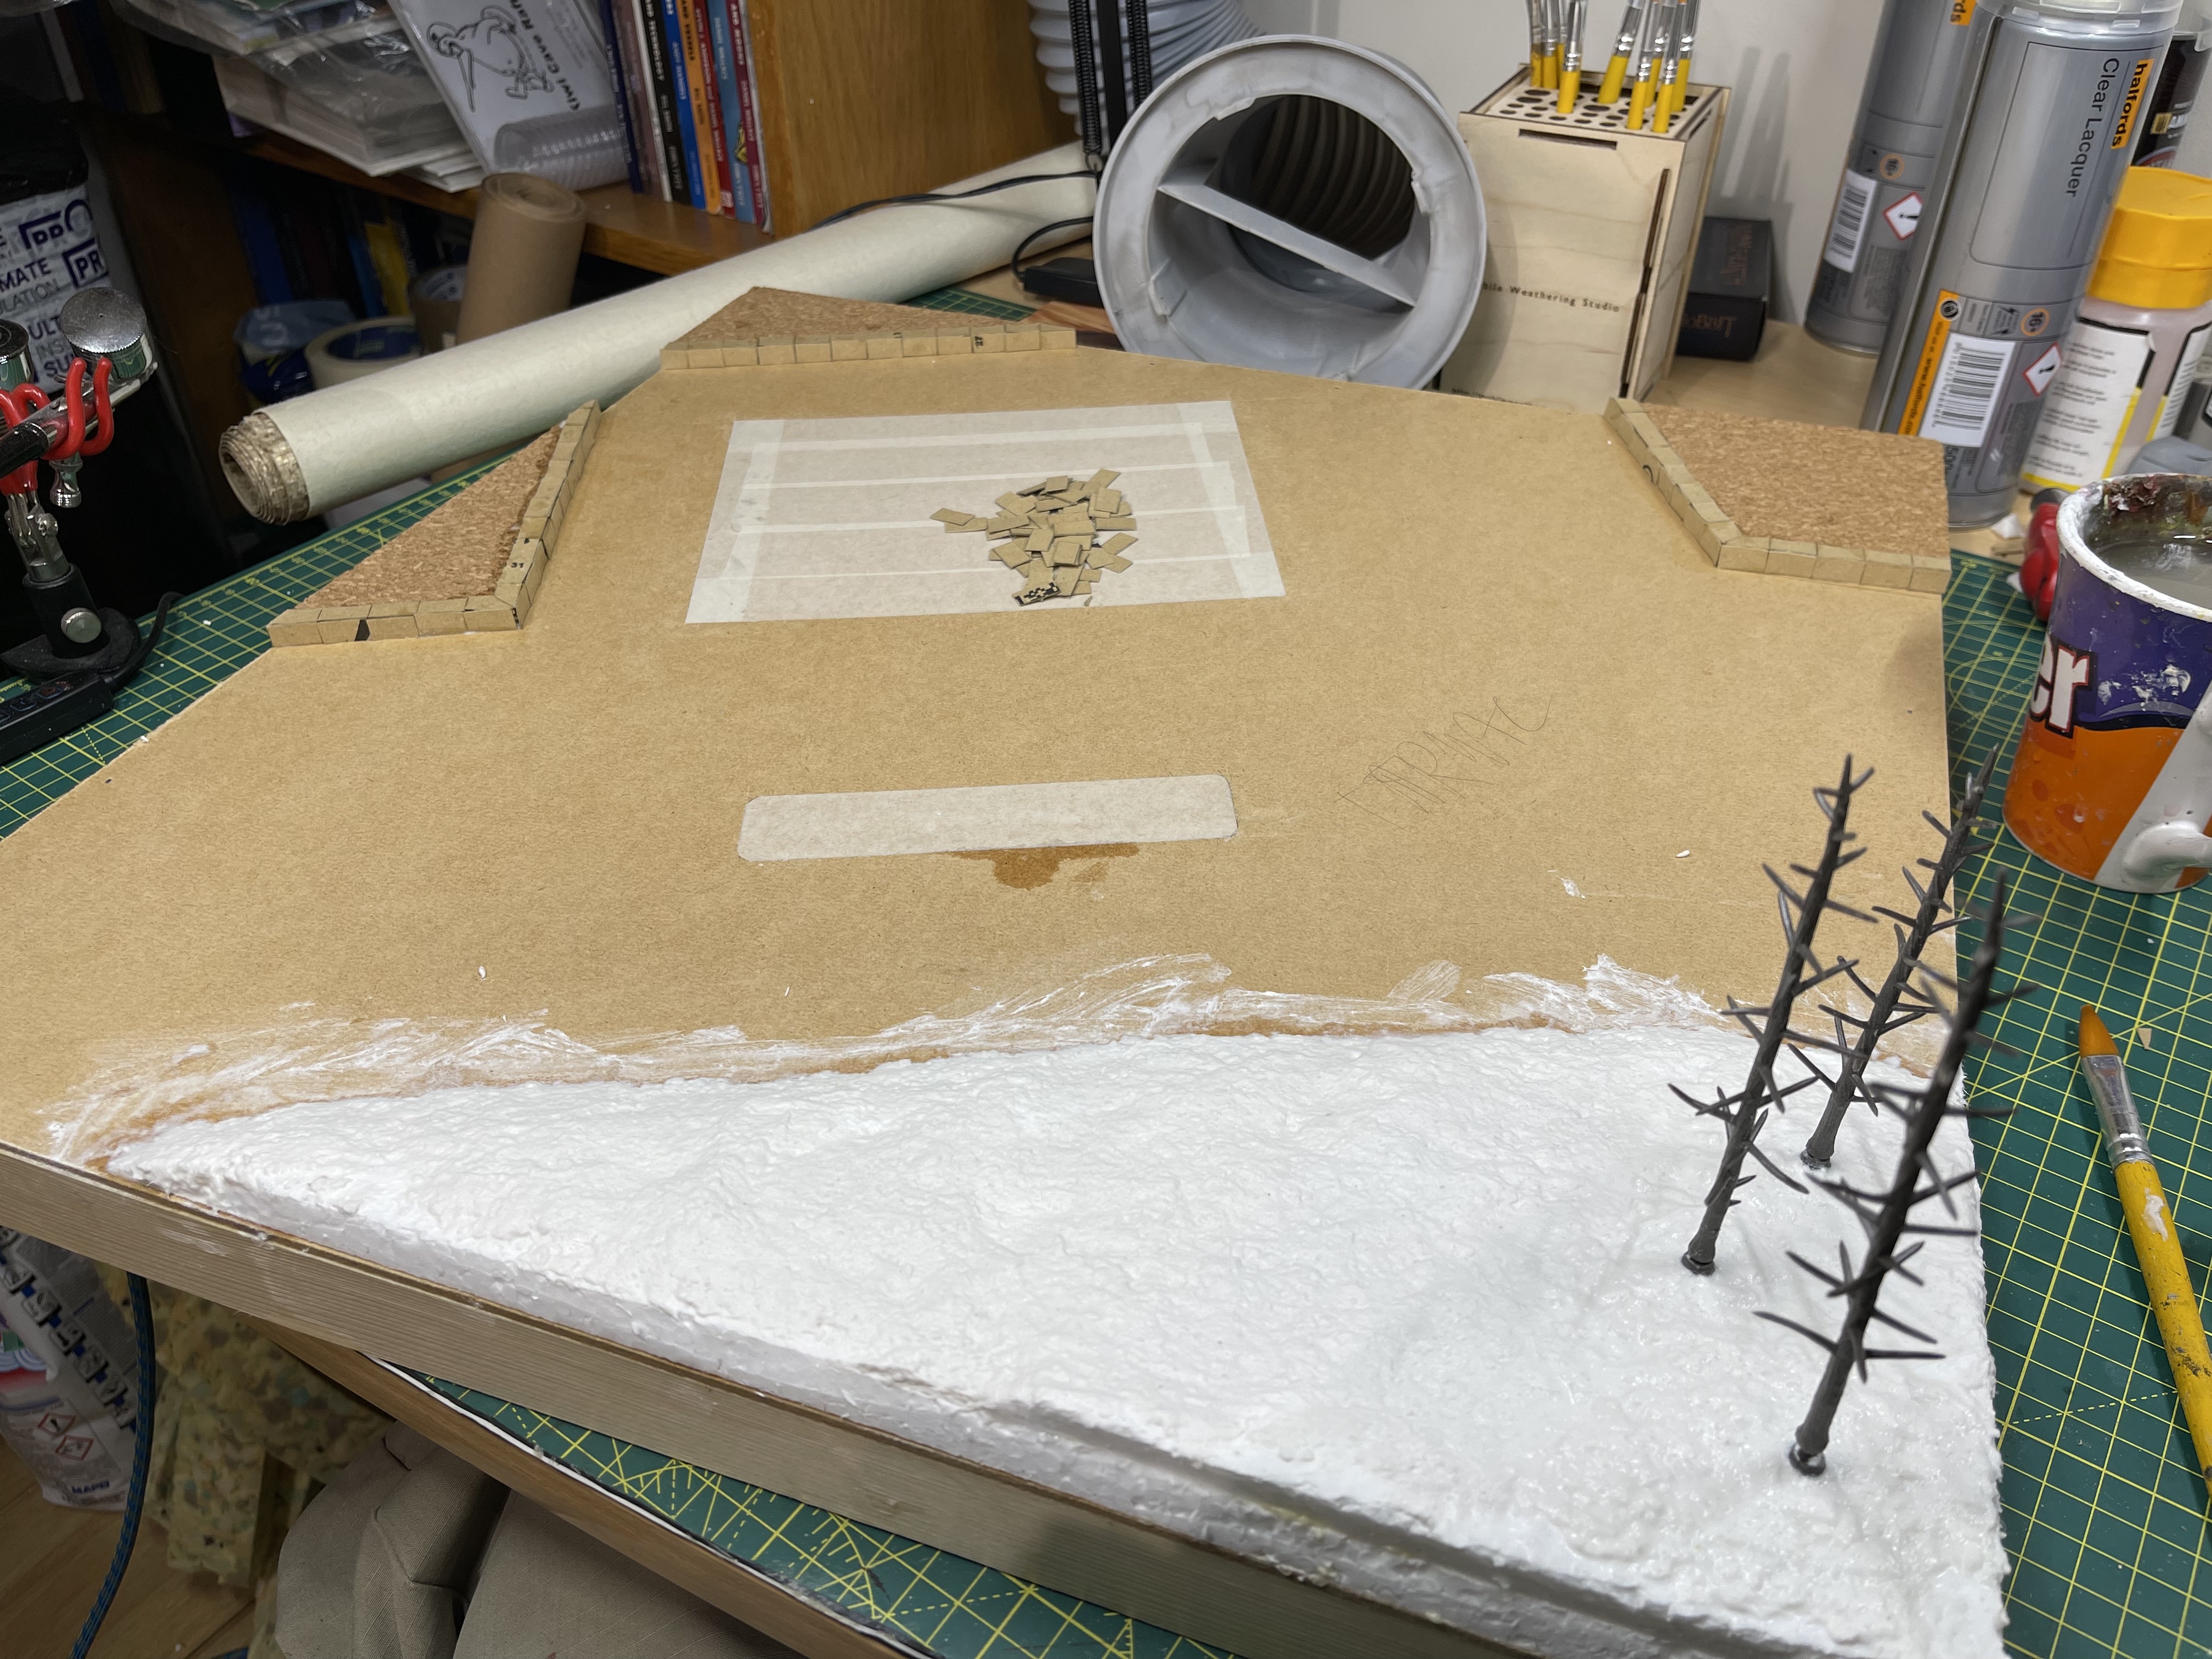 sculptamold to smooth out the hill and add woodland scenics tree armatures
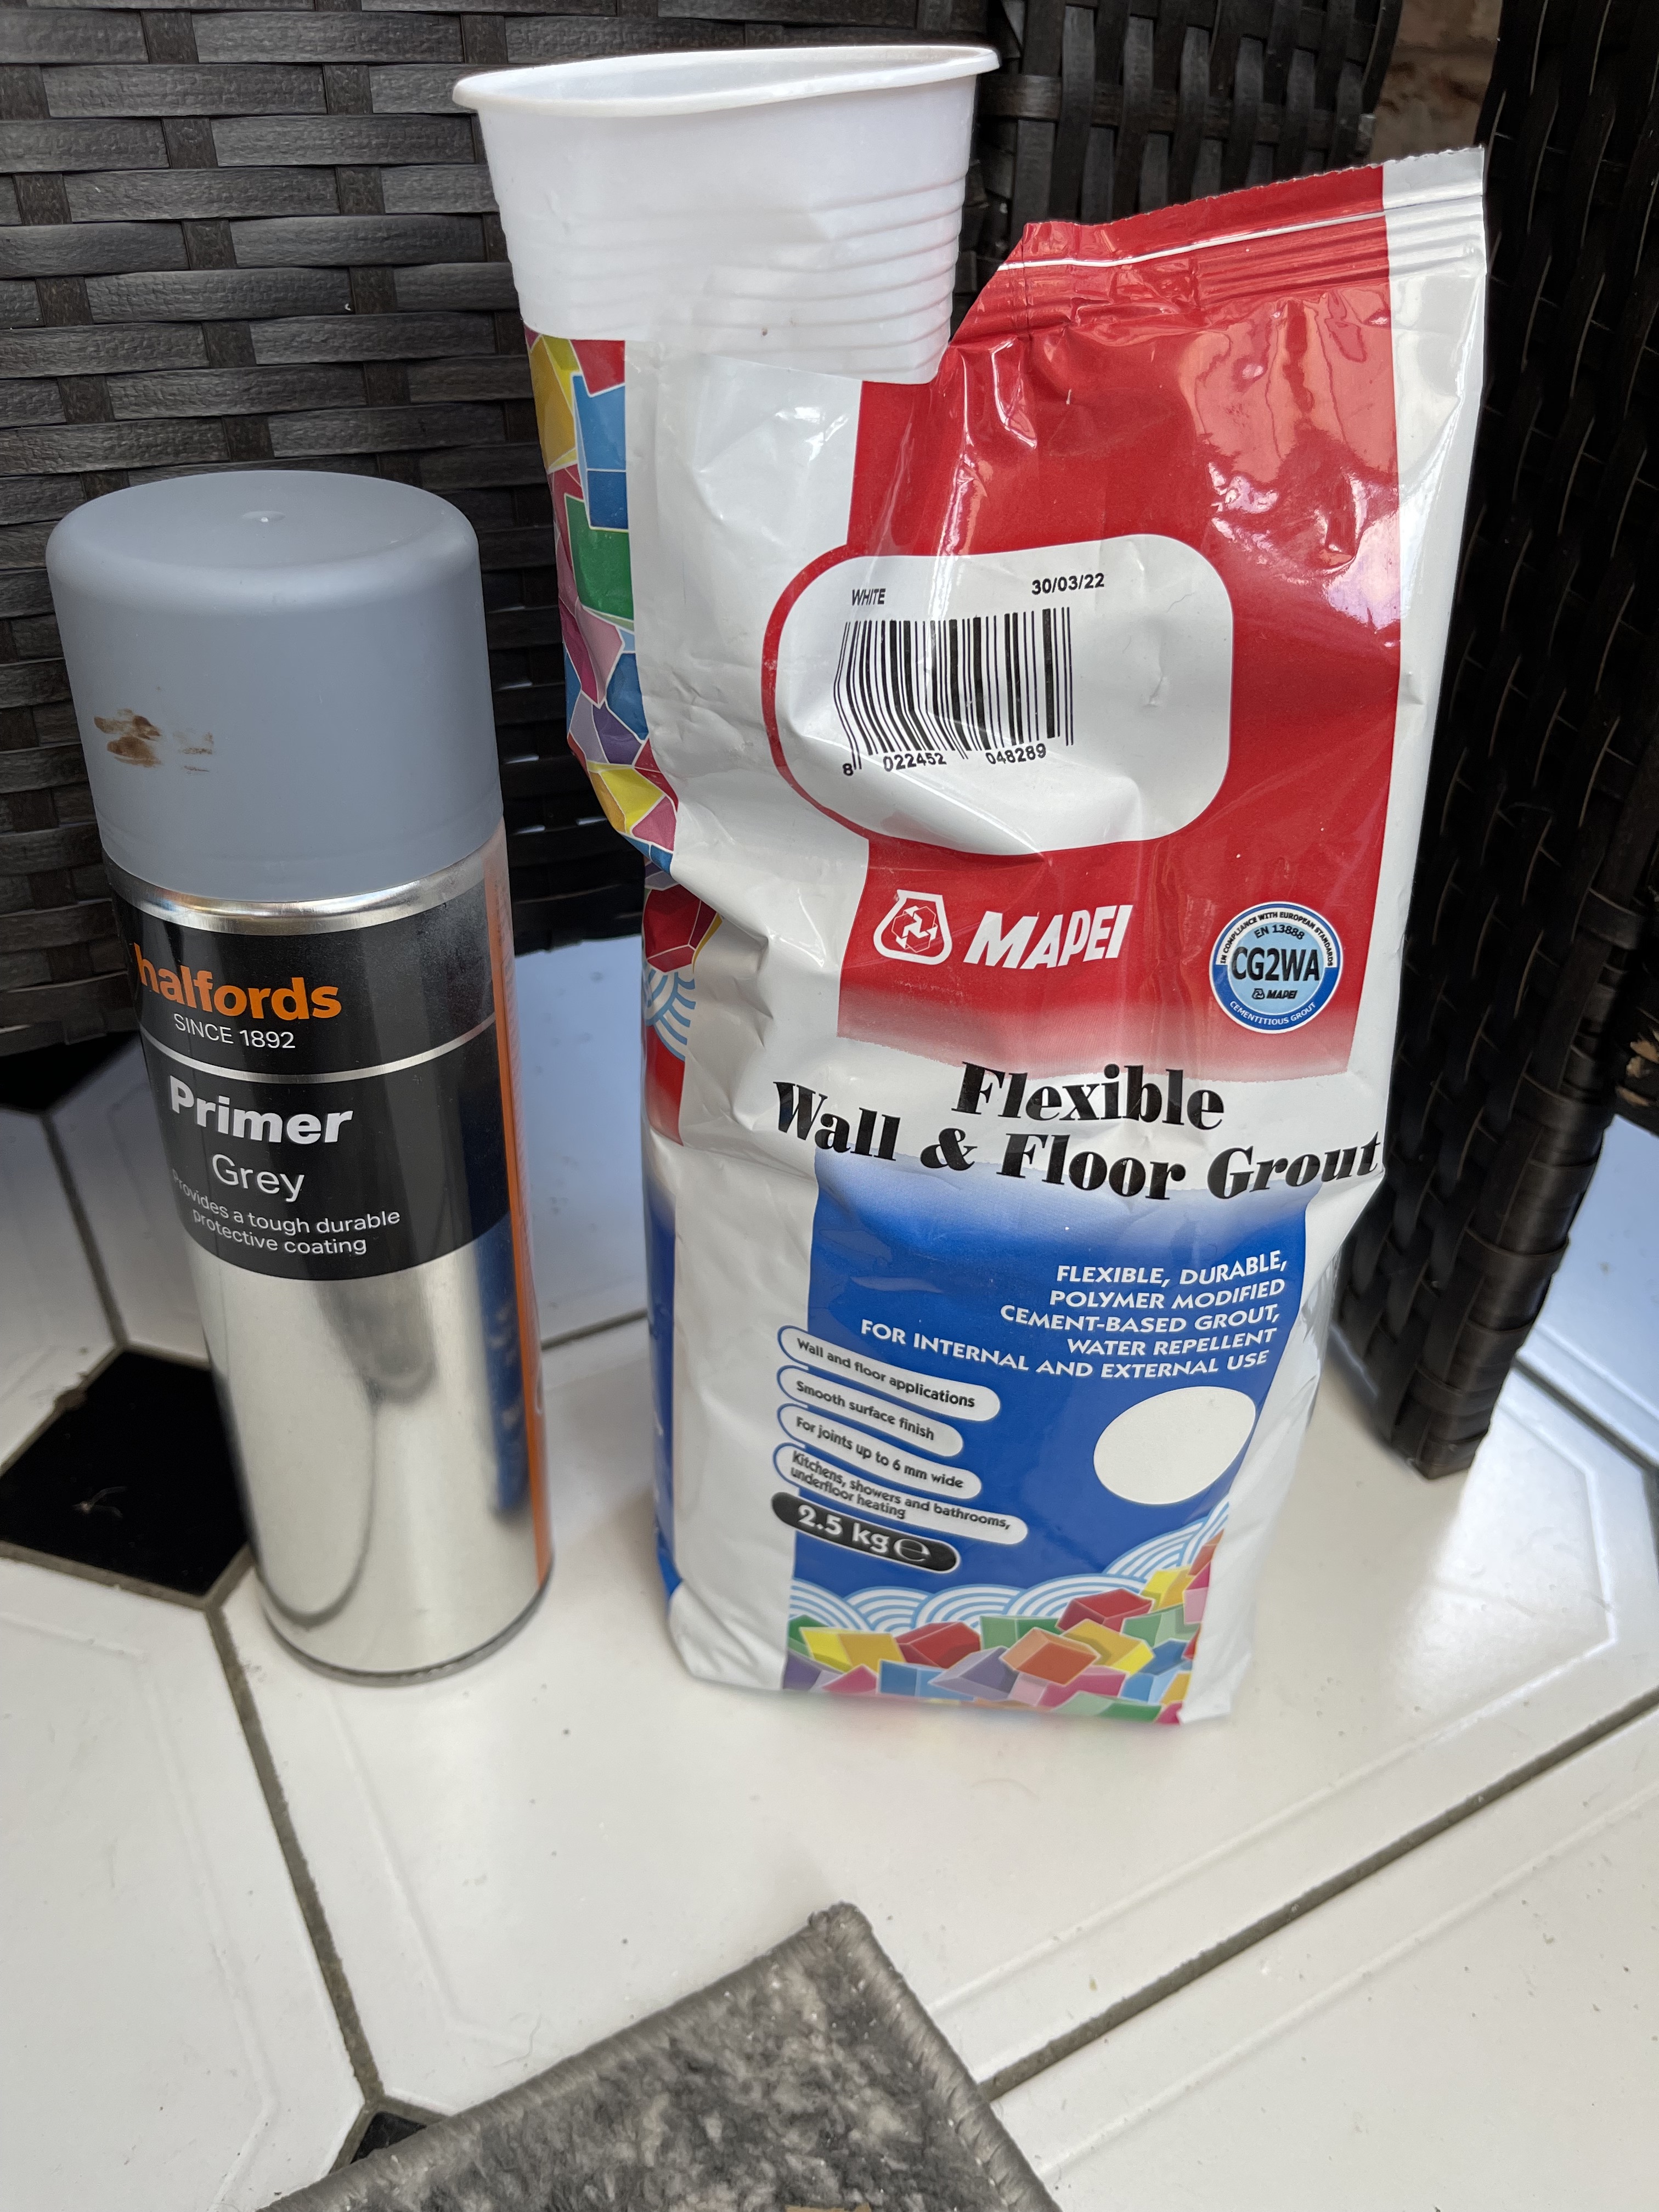 make tarmac using tile grout...grey is preferred but white is all I had
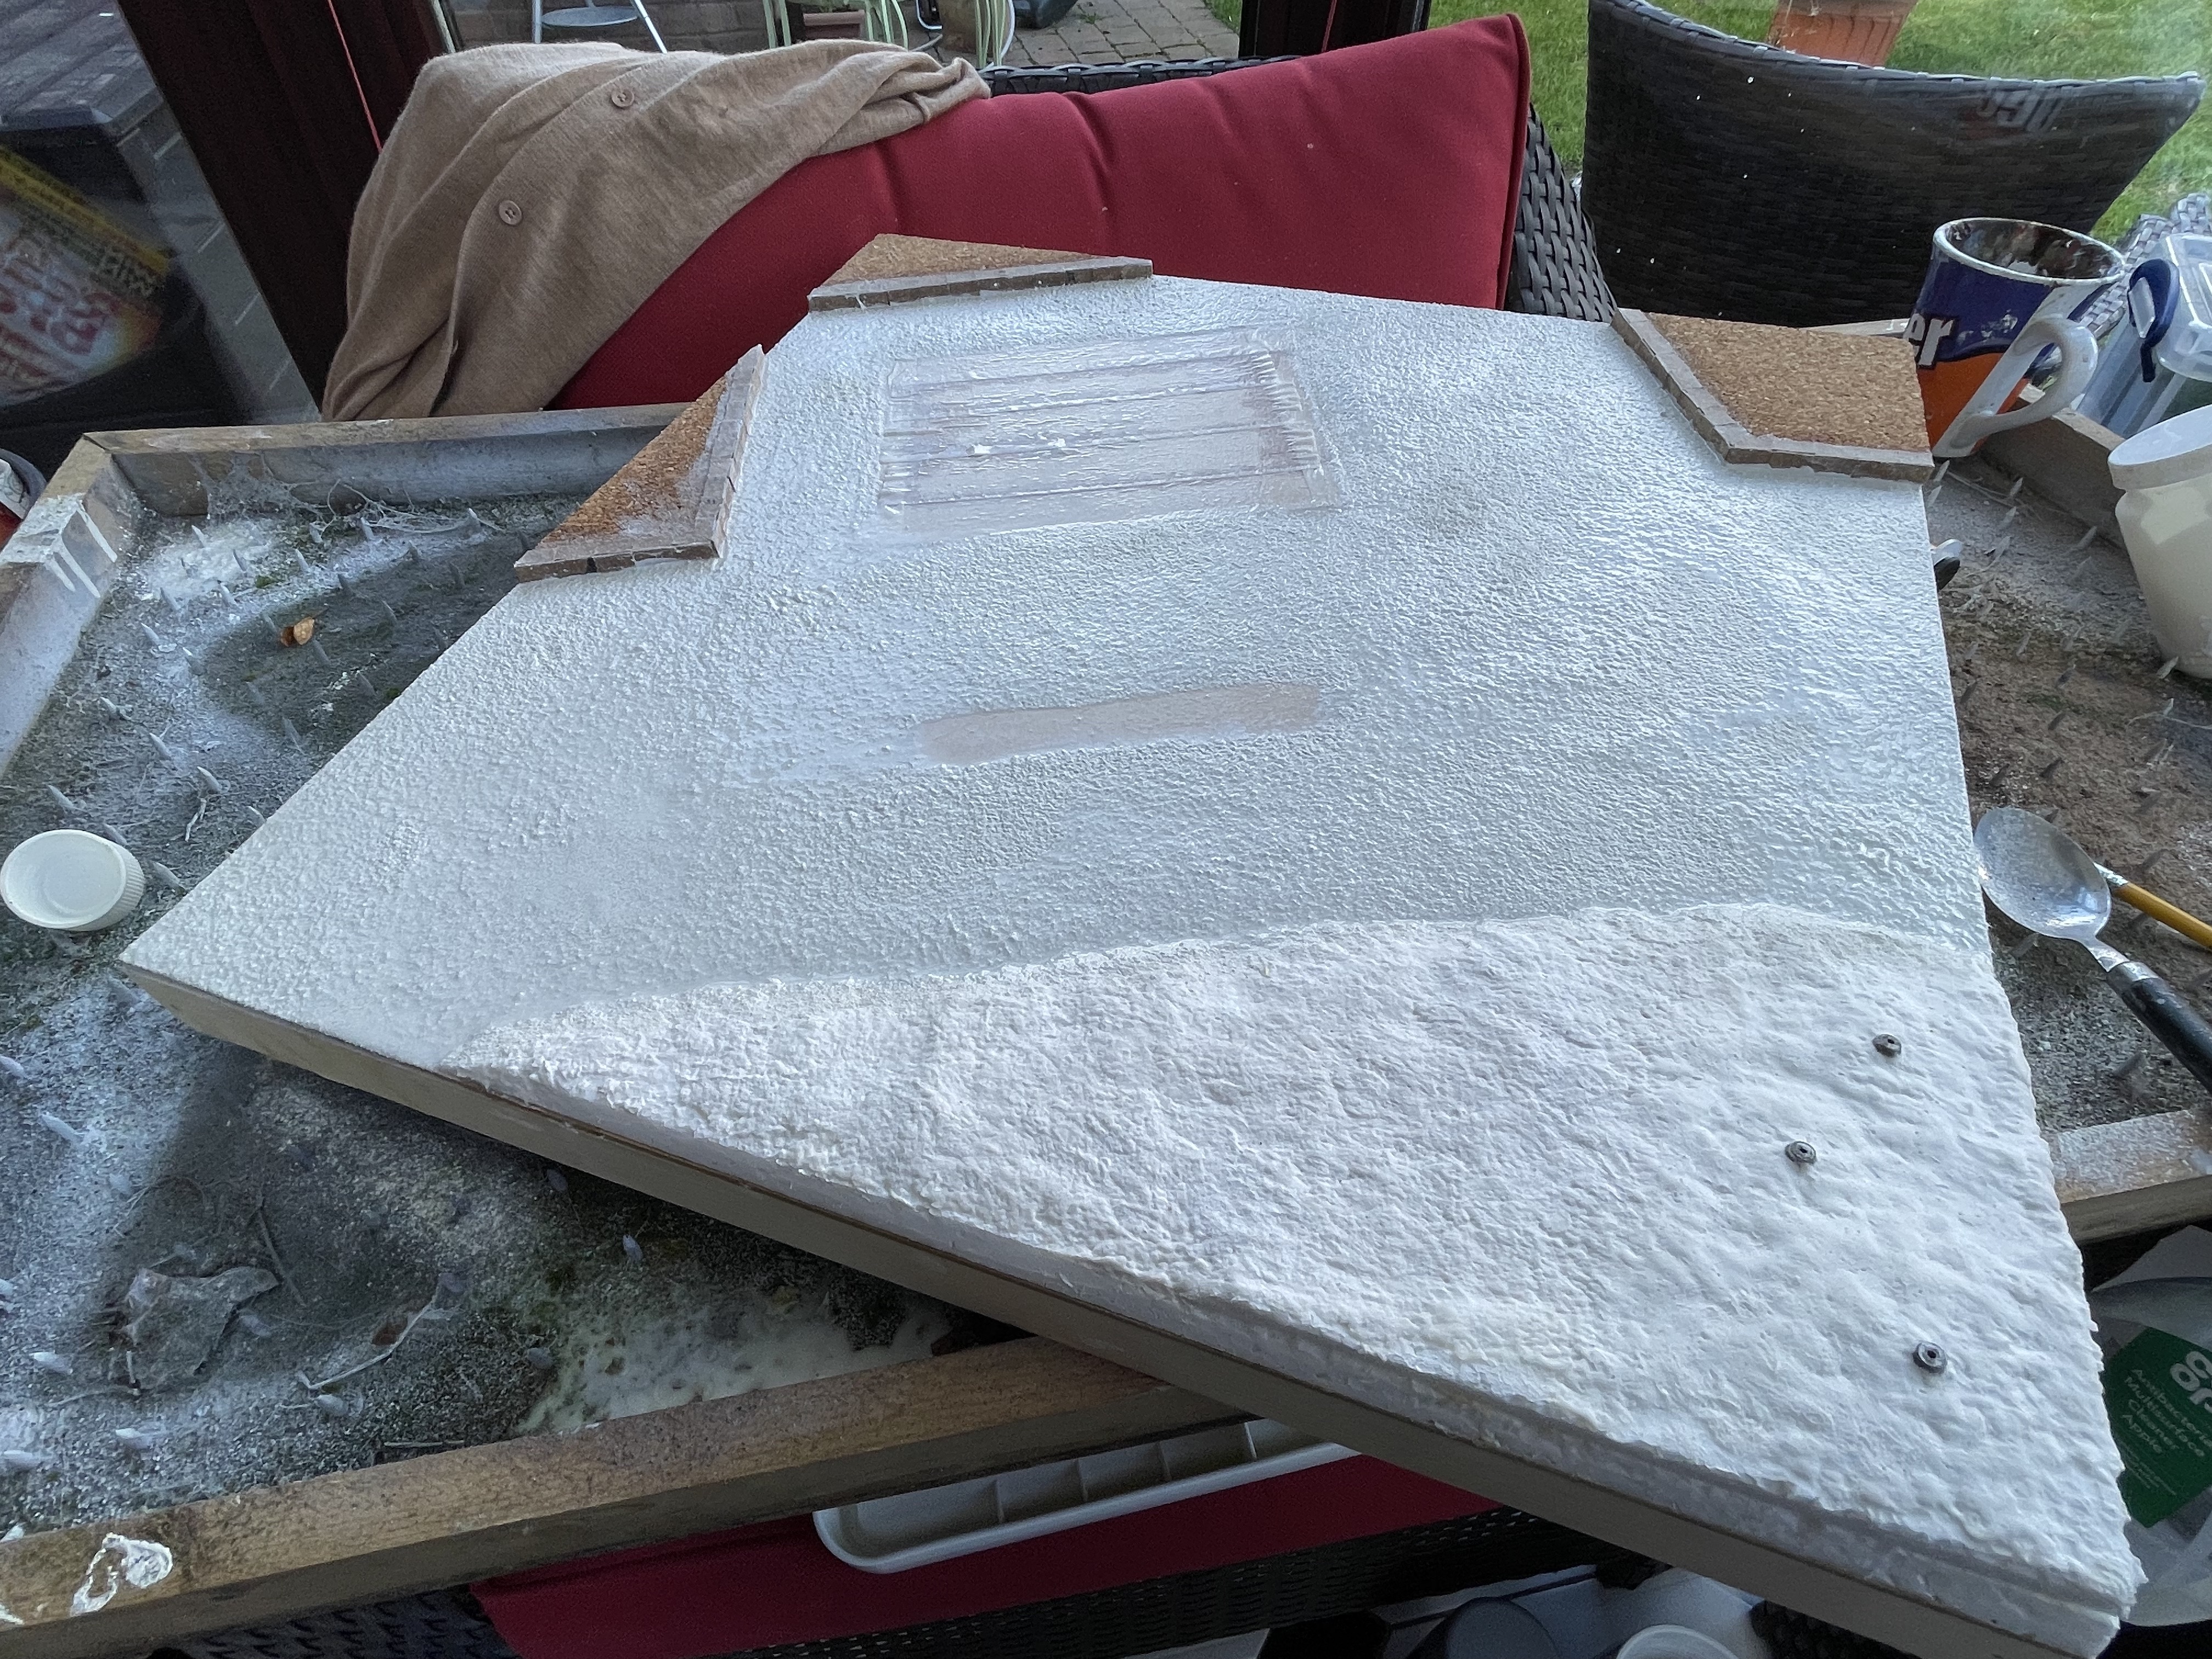 mask off the area the garage will be glued to
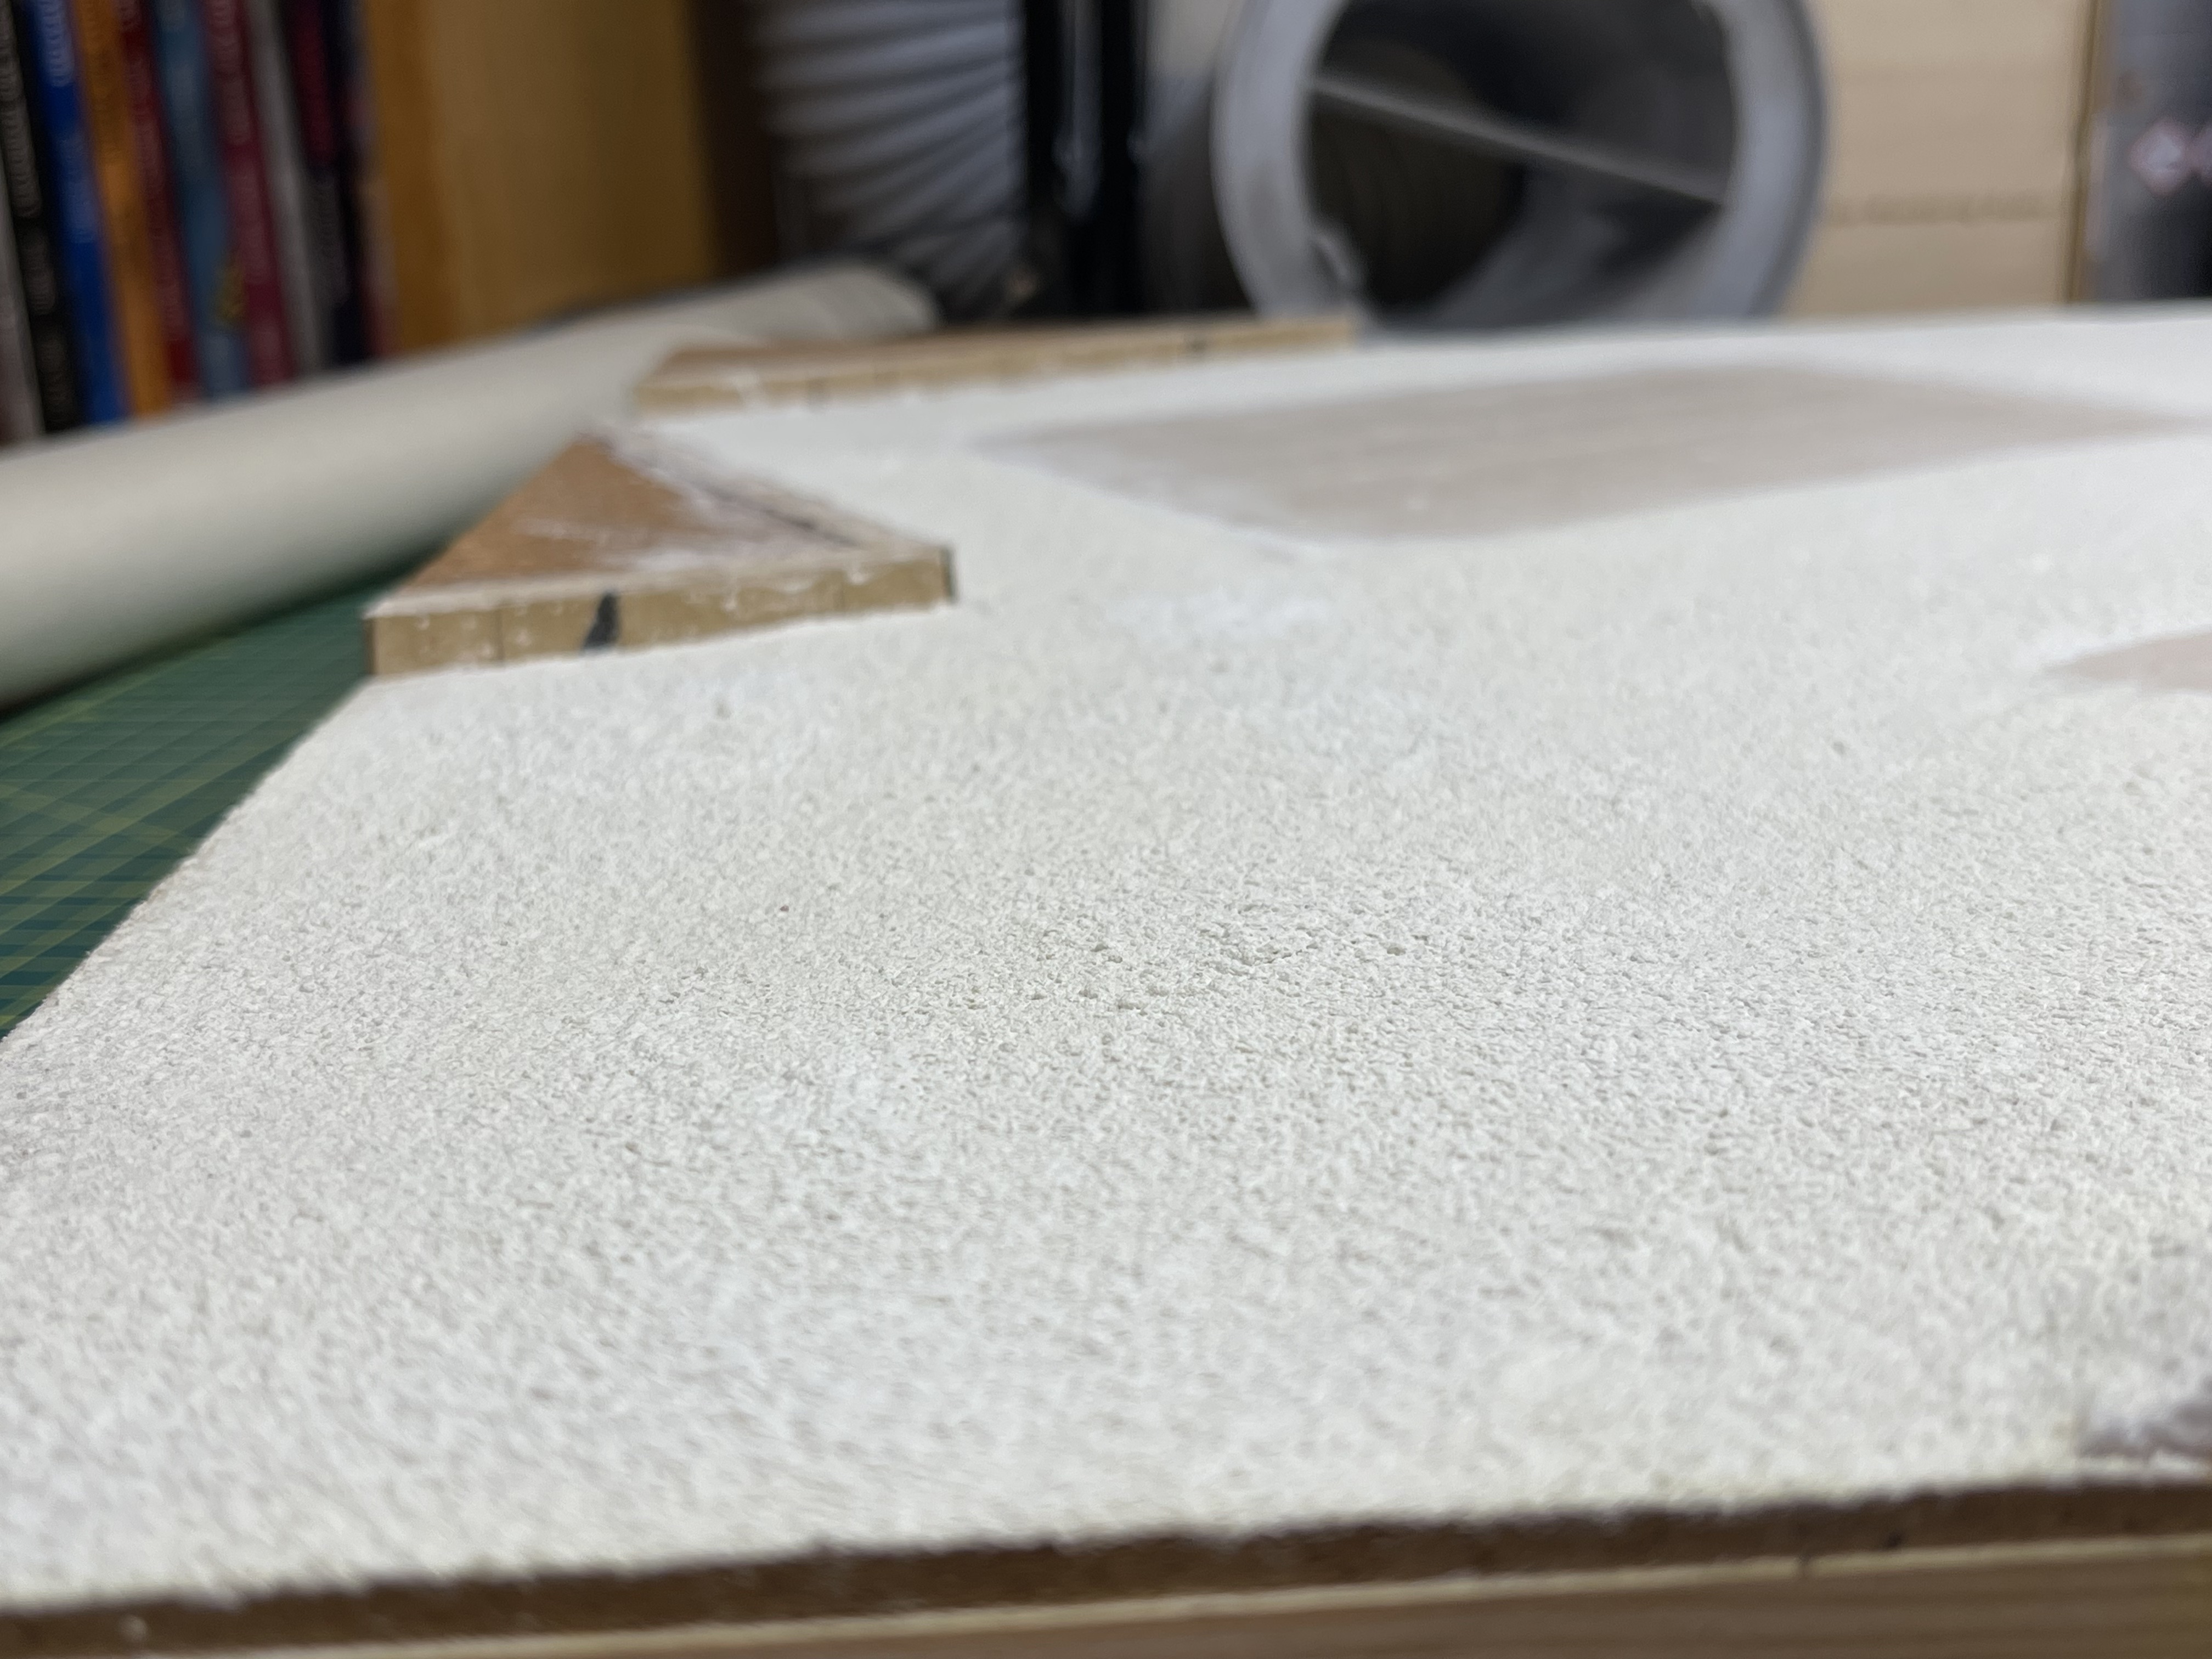 soak in PVA and water mix
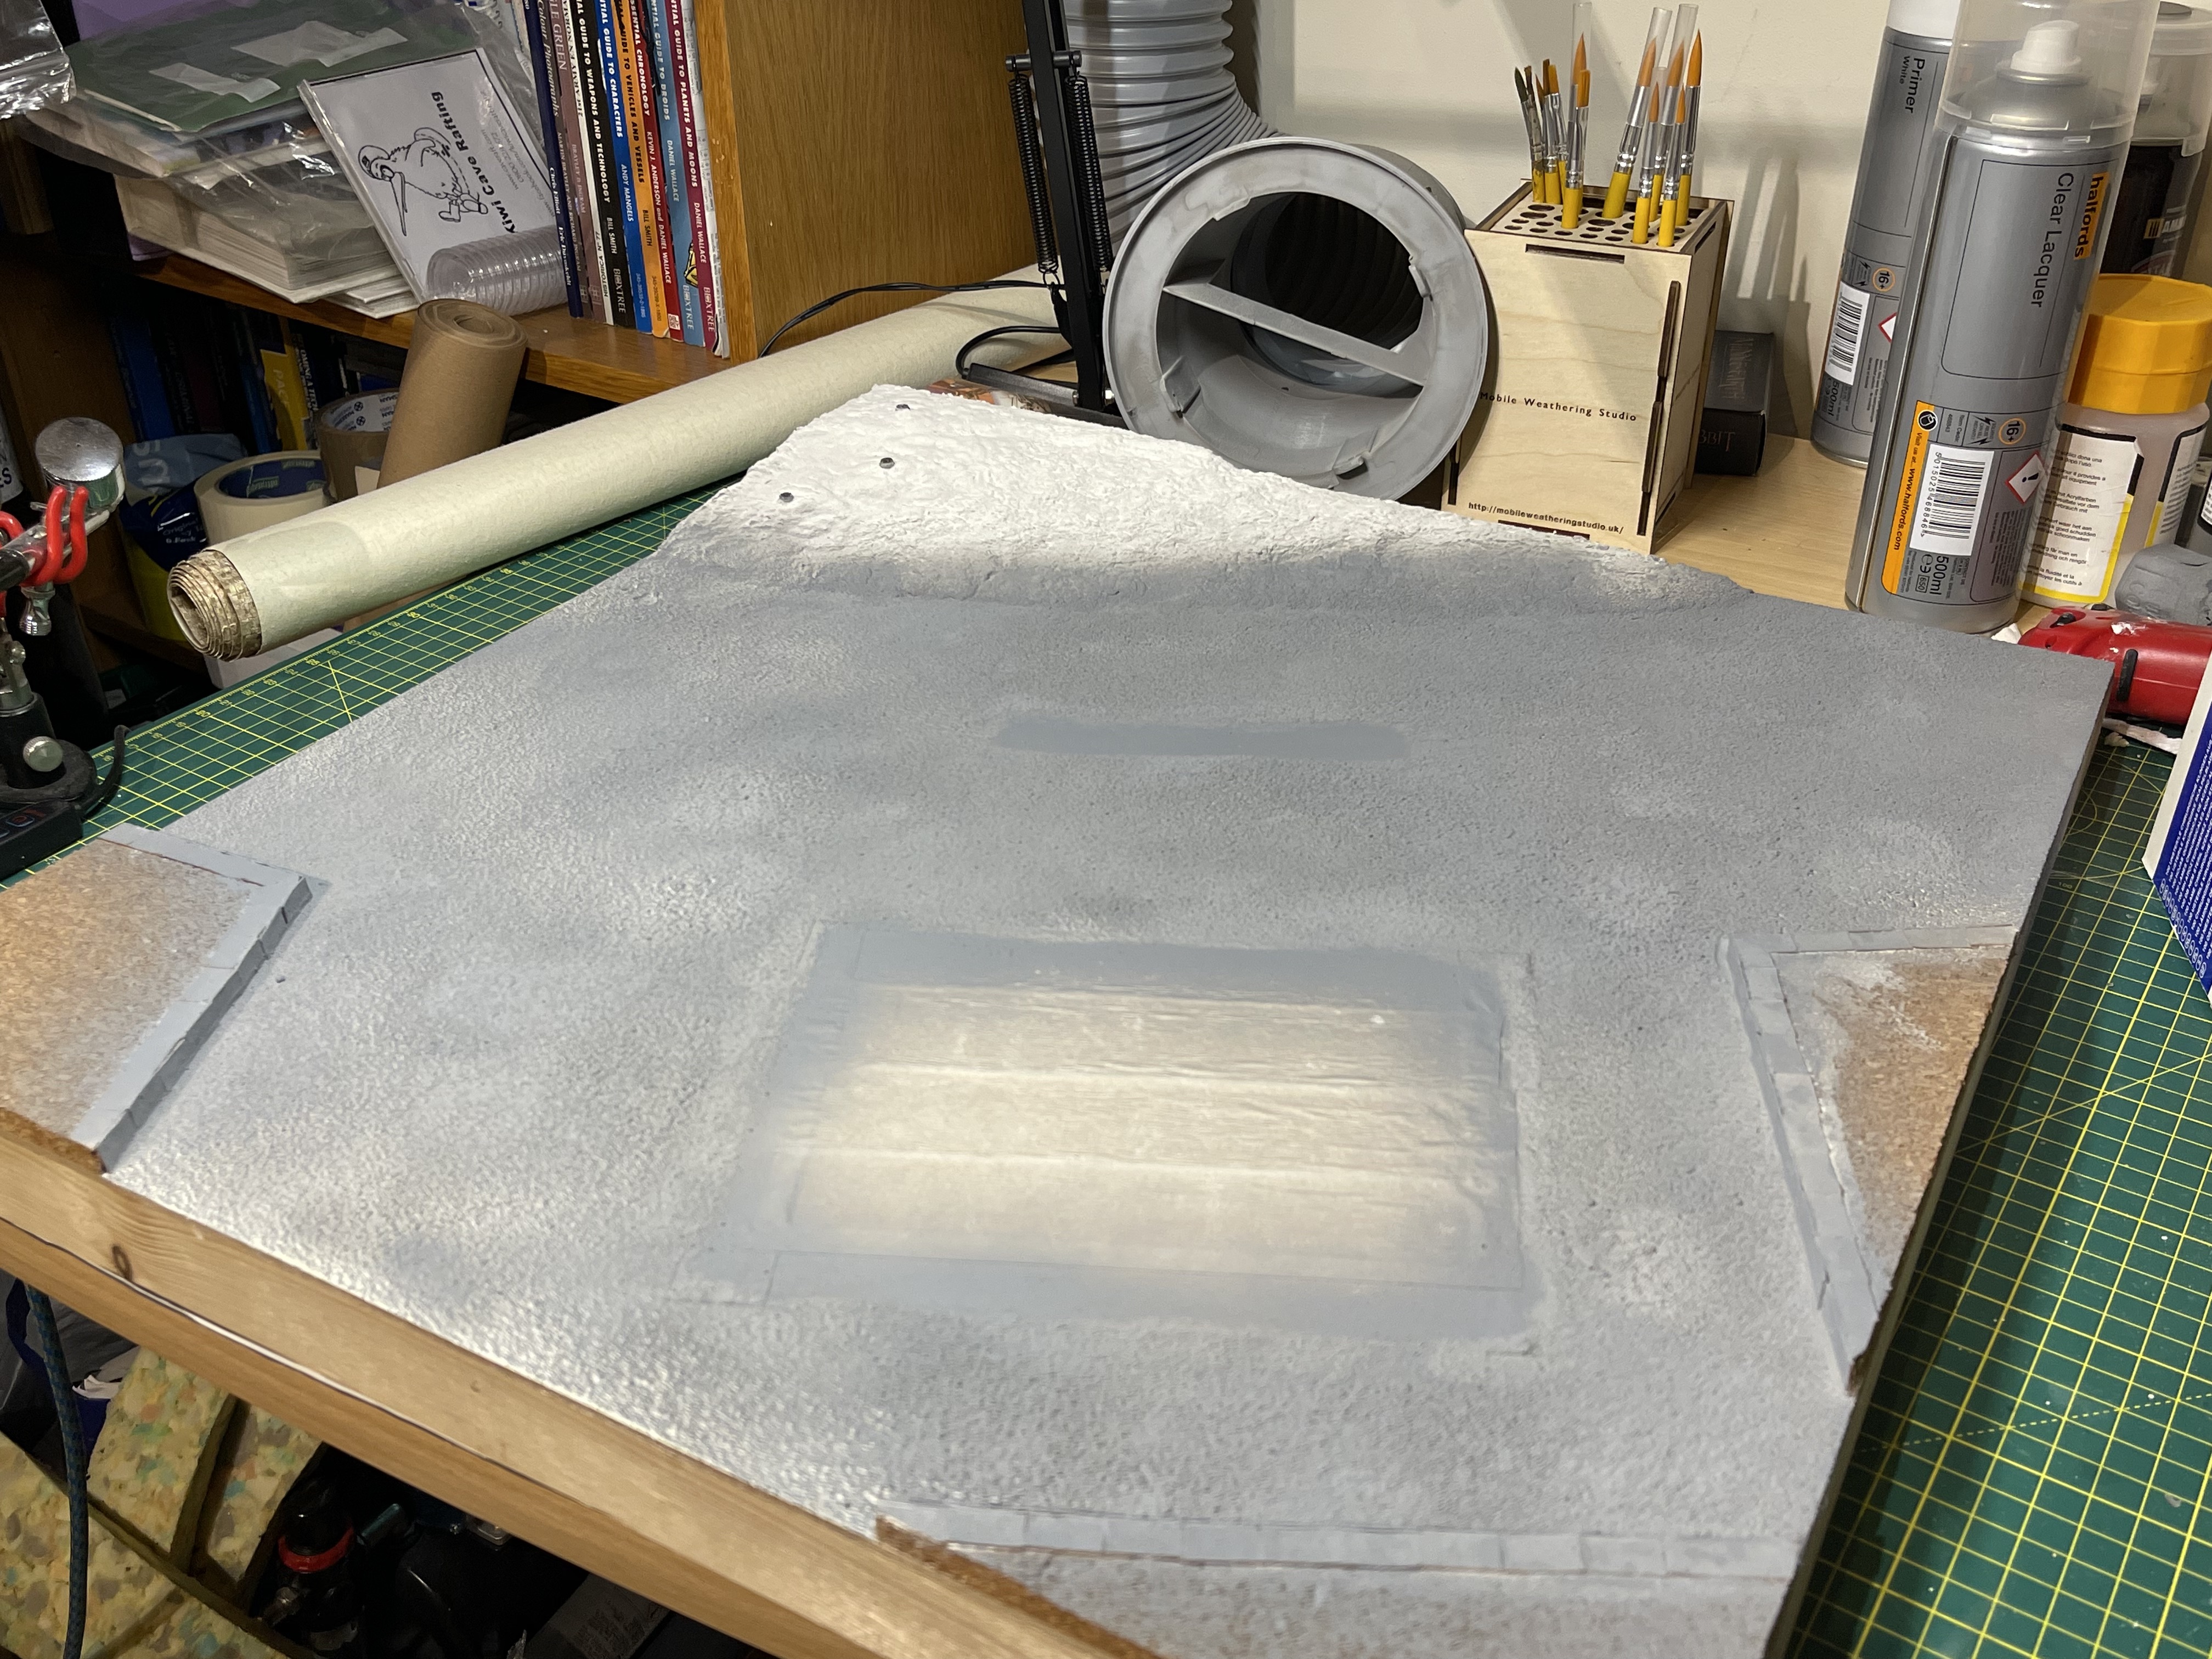 spray grey (but run out of grey primer!)
I started by trying to add some height and 3D elements to the flat board.
In the TV show we see Rick walk down a semi steep embankment, steep embankments in this game would make for unplayable areas simply because models would fall off them so I took some license and made it a gradual hill.
the base was expanded foam glued down with gorilla glue (brown expanding glue) and then I slapped a bit of sculptamold on it (for reference, sculptamold has a really long full curing time, more so than home made plaster and paper mix) to smooth it out and make a nice gentle gradient for play.
The other heights I utilised a cork board that had some double sided sticky tape/sheeting on the back of it already. That made for nice simple cuts and sticks for a bit of hight. I glued on some cut up cardboard for the curb stone effects on the edges to make it look like its meant to be there.
finally I sieved some tile grout over the area destined to be tarmac. I would have preferred to use grey but I didn’t have any and didn’t want to spend £9 on another bag for a small area so I used white left over from my bathroom and then primed it grey.
I masked off the area where the garage will sit however so that I can still have a wood to wood bond when this is all done and I’m onto the blending stage.
The centre point
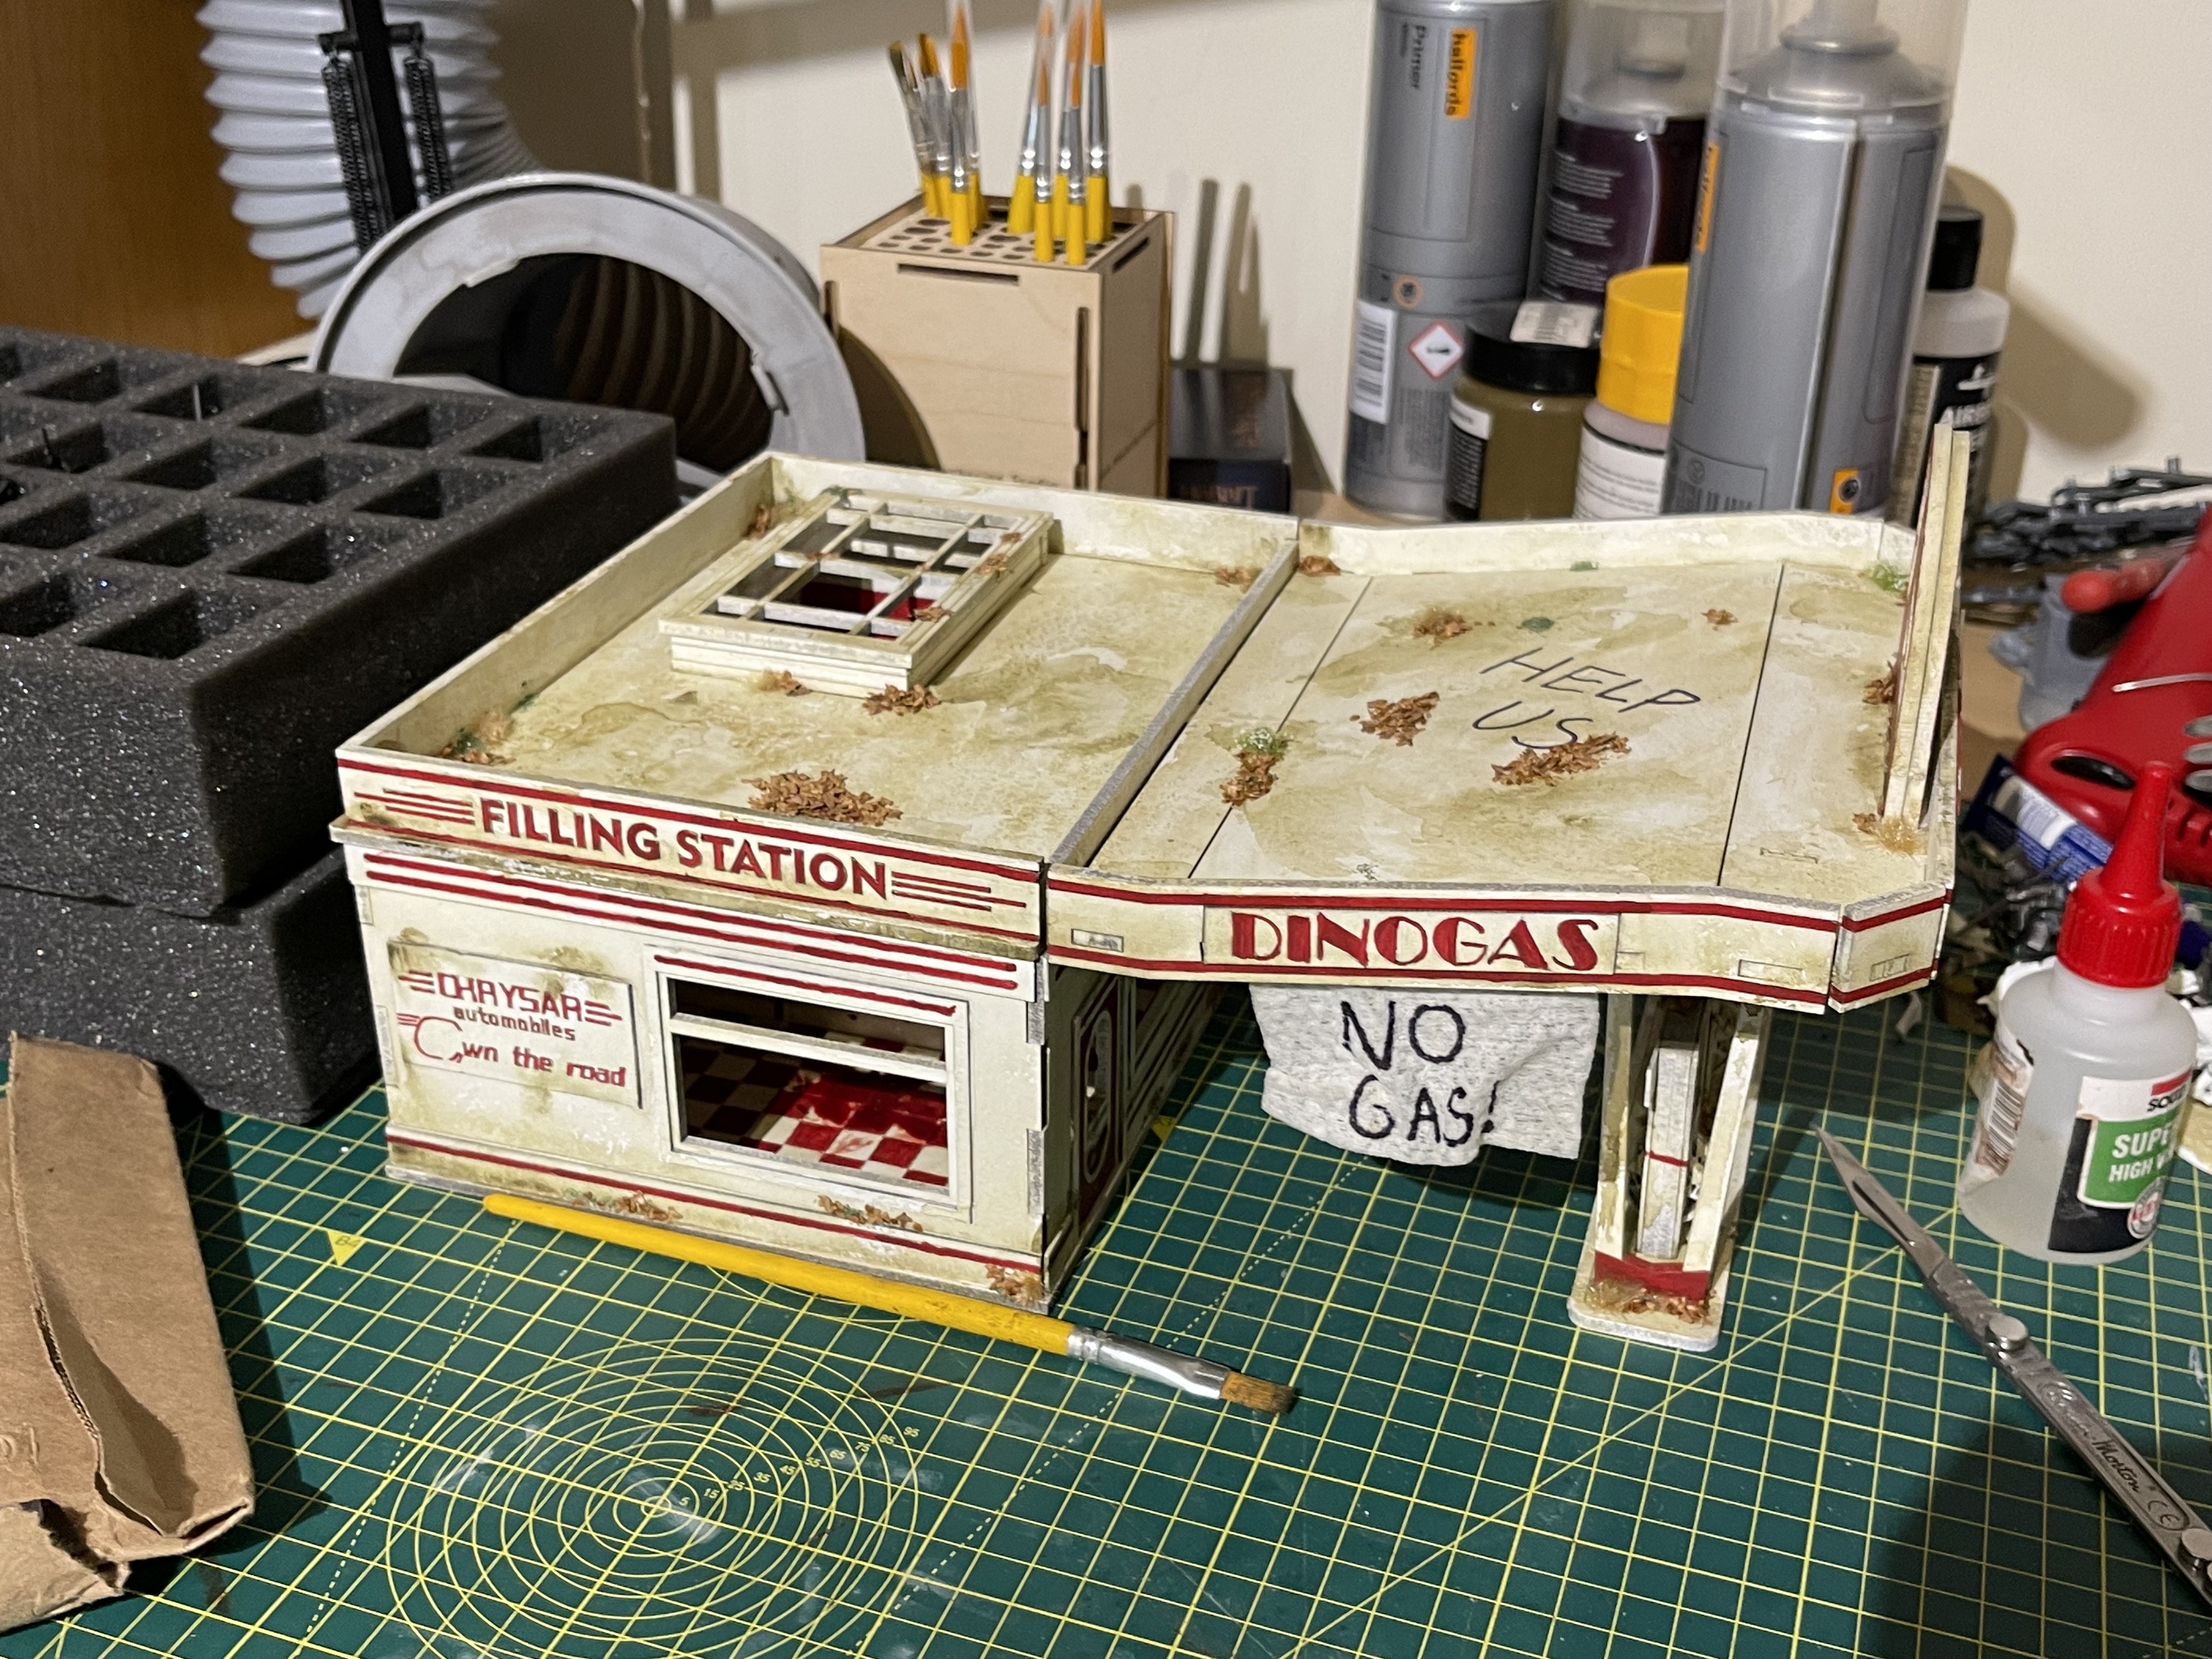
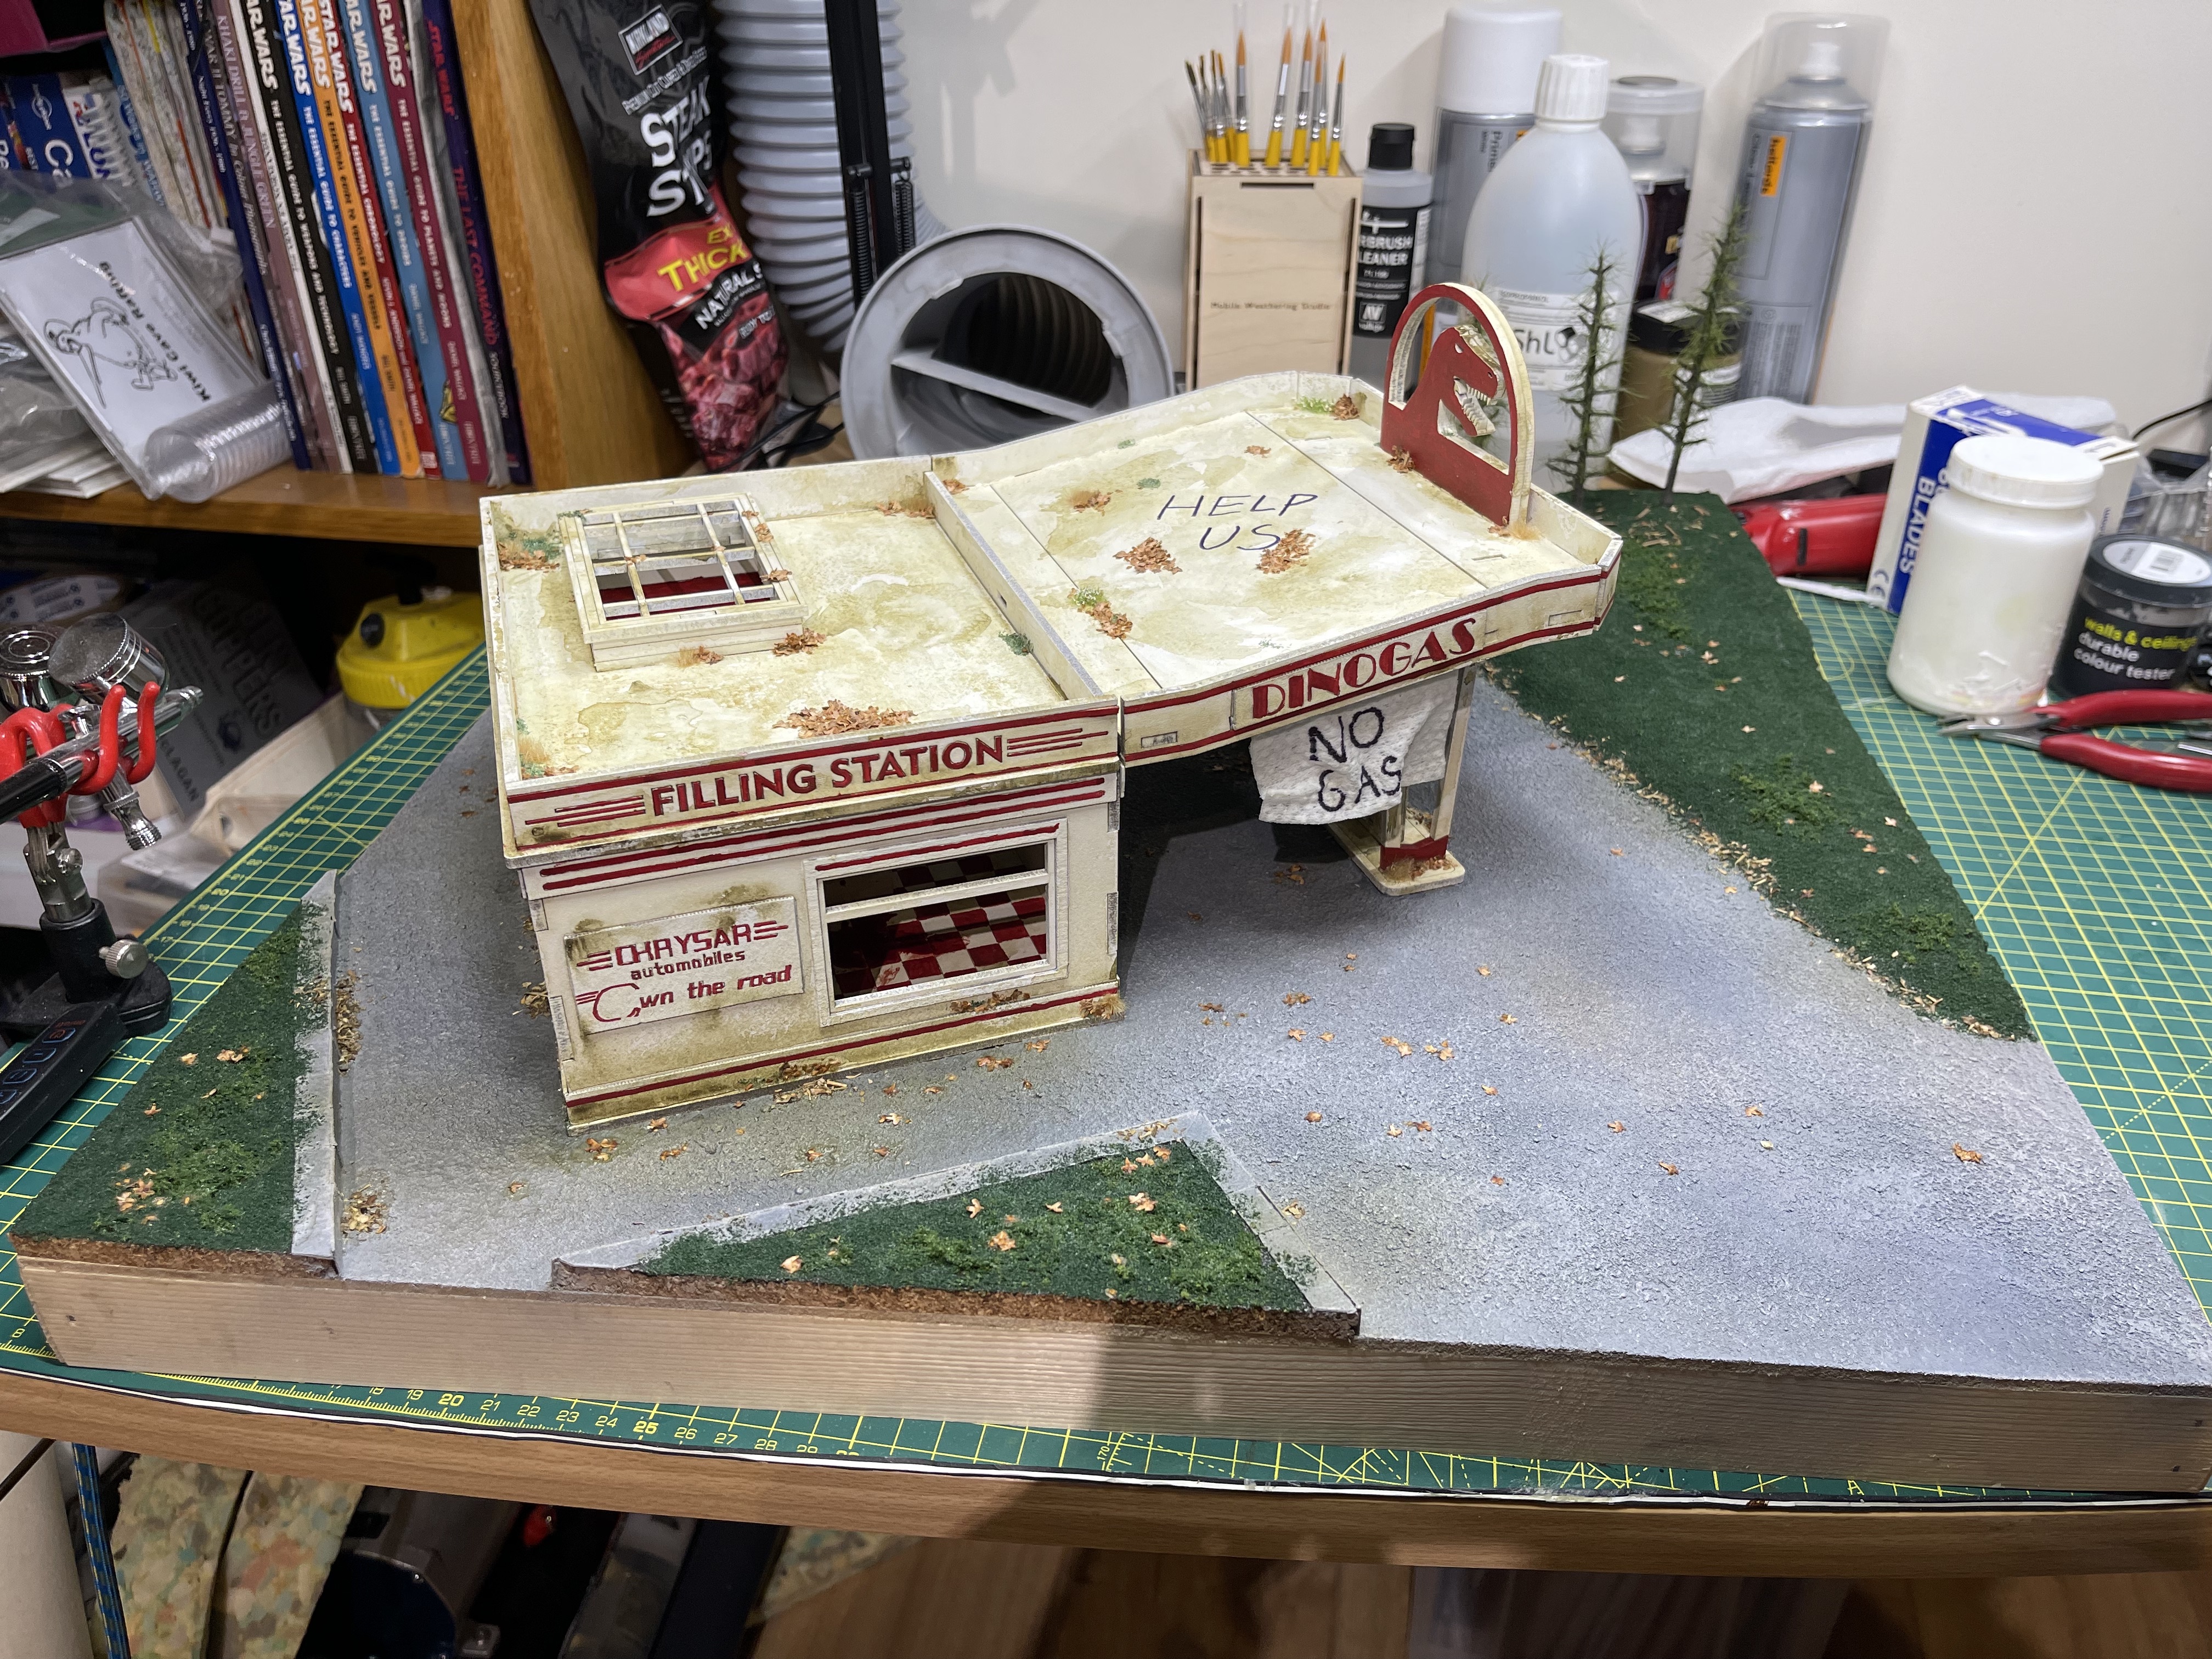
I built and painted this petrol station back when the game was released but I have never actually used it in a game (criminal!)
It’s a TT-Combat product https://ttcombat.com/collections/city-scenics/products/dinogas-filling-station-deluxe
I primed it white, added red for detailing and then bathed it in green and brown washes, added tuffs and birch seeds for scatter and called it done
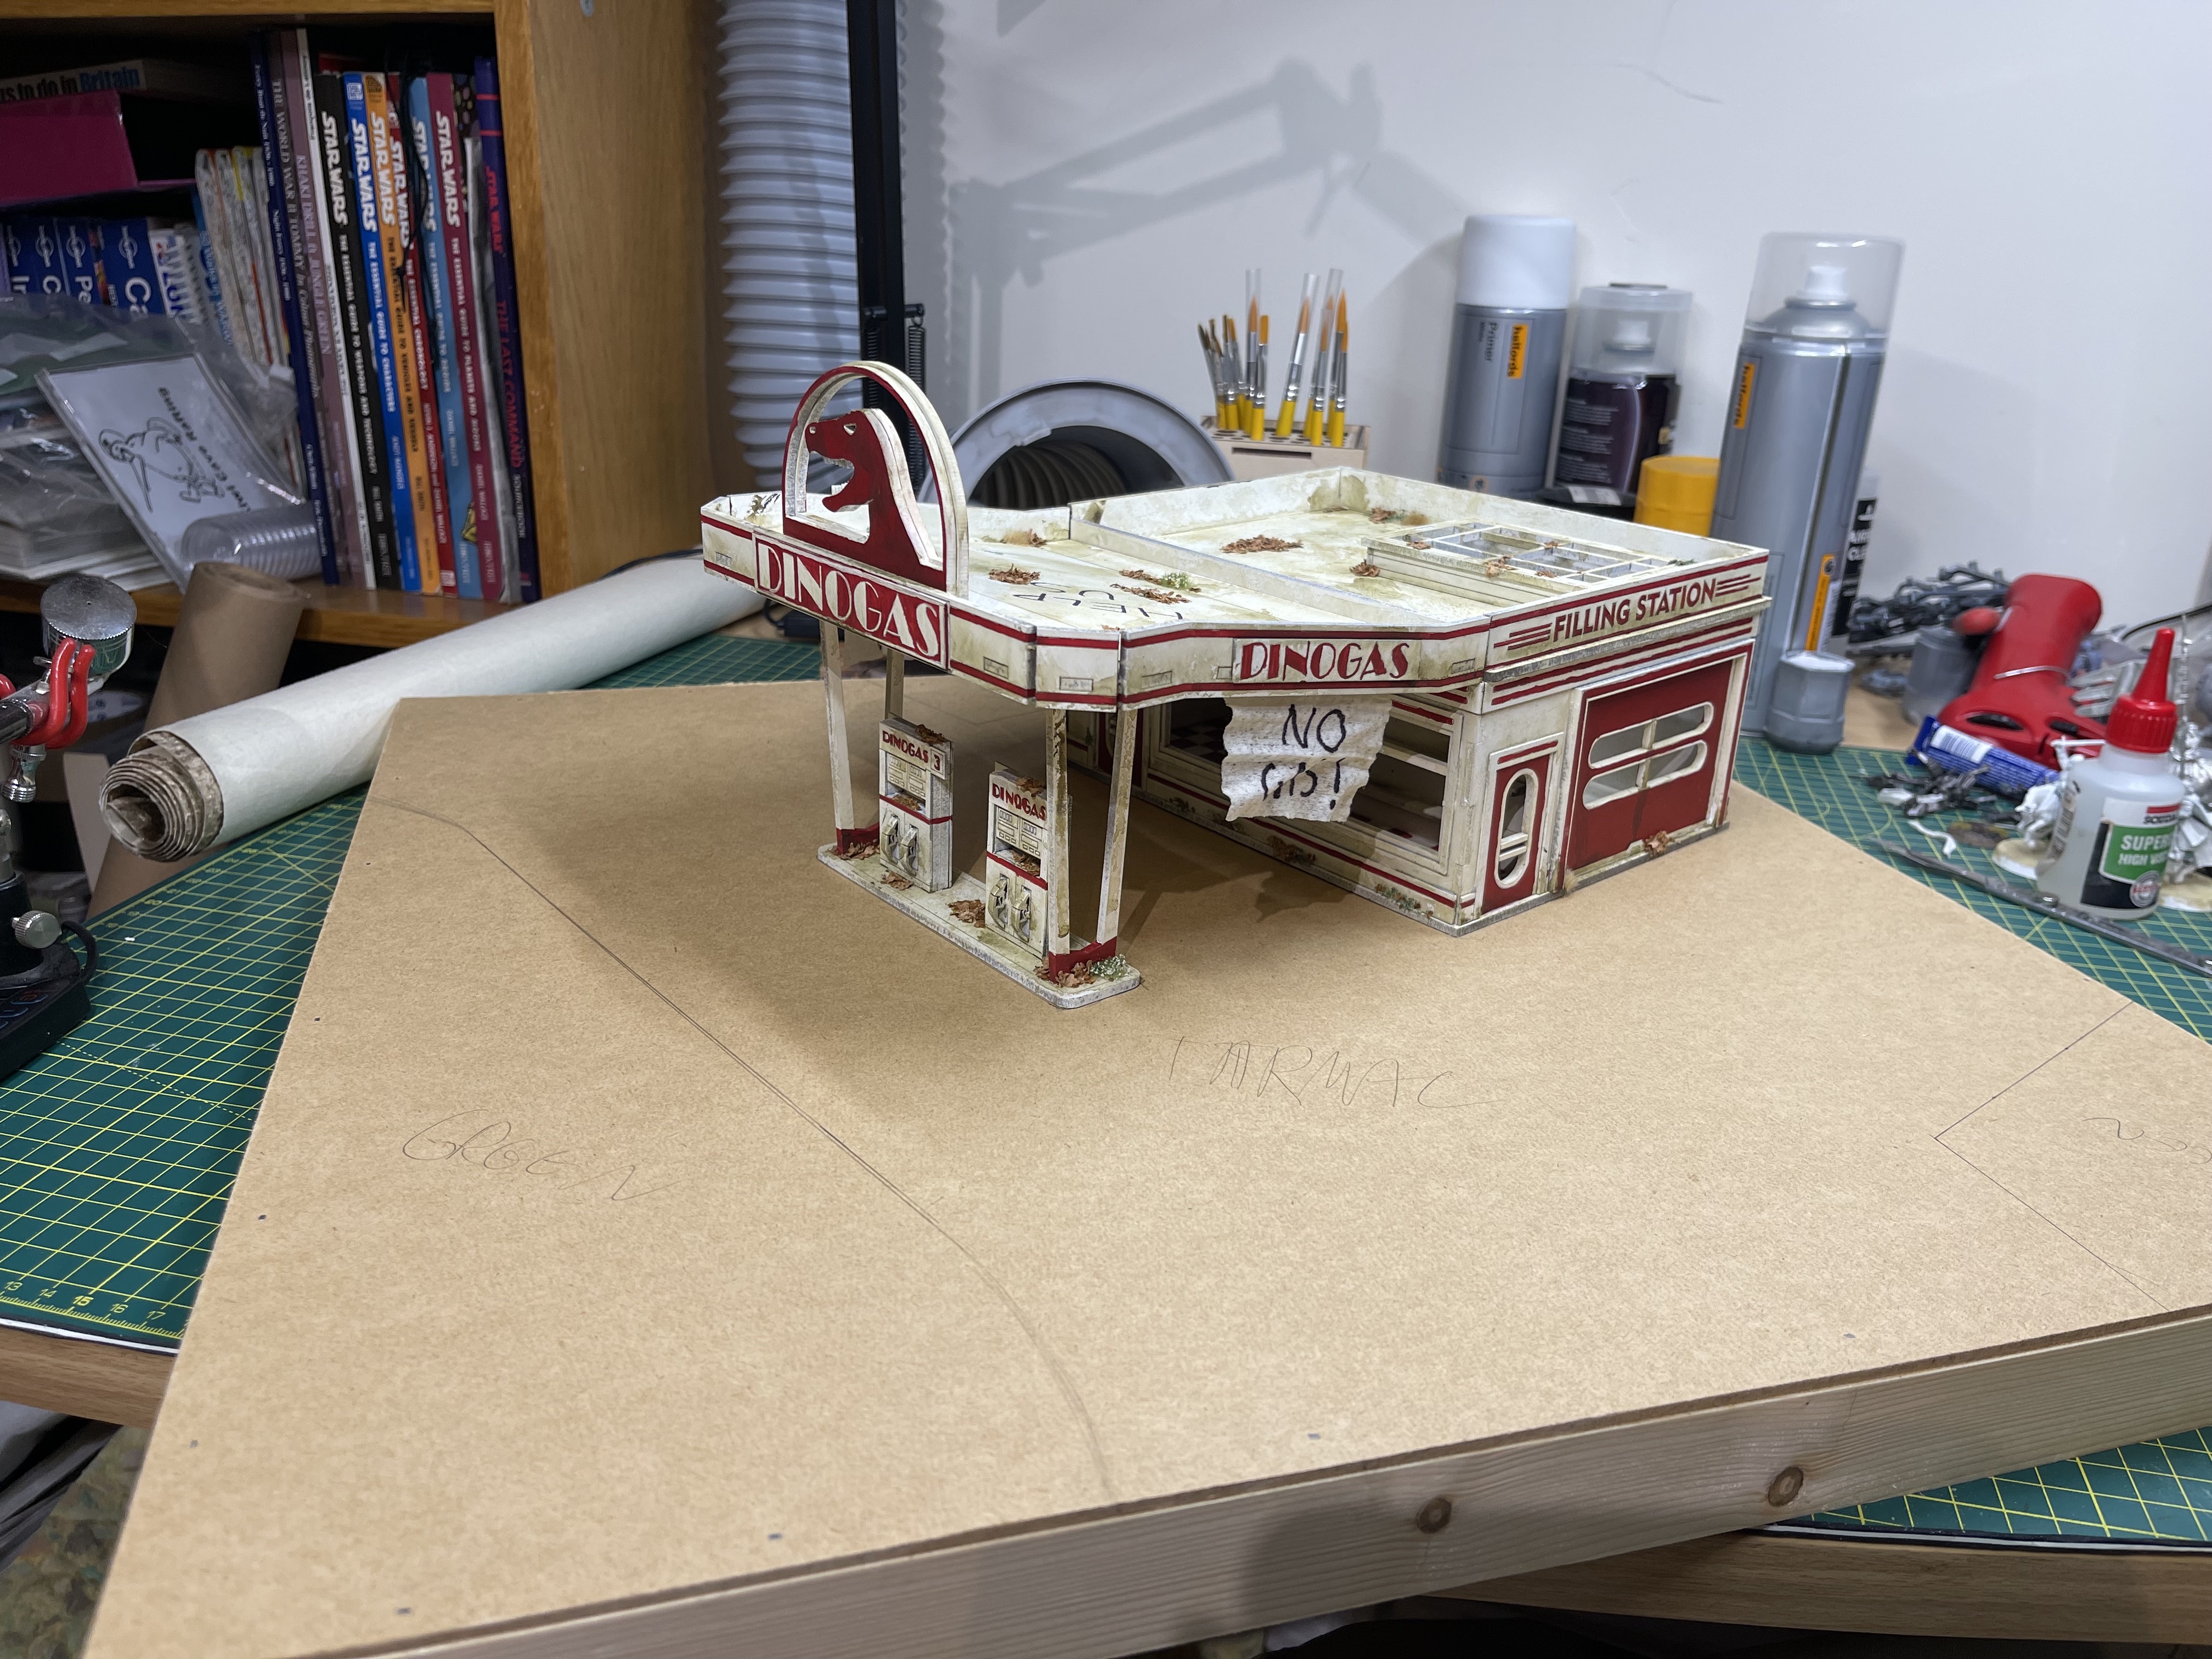 planning a layout
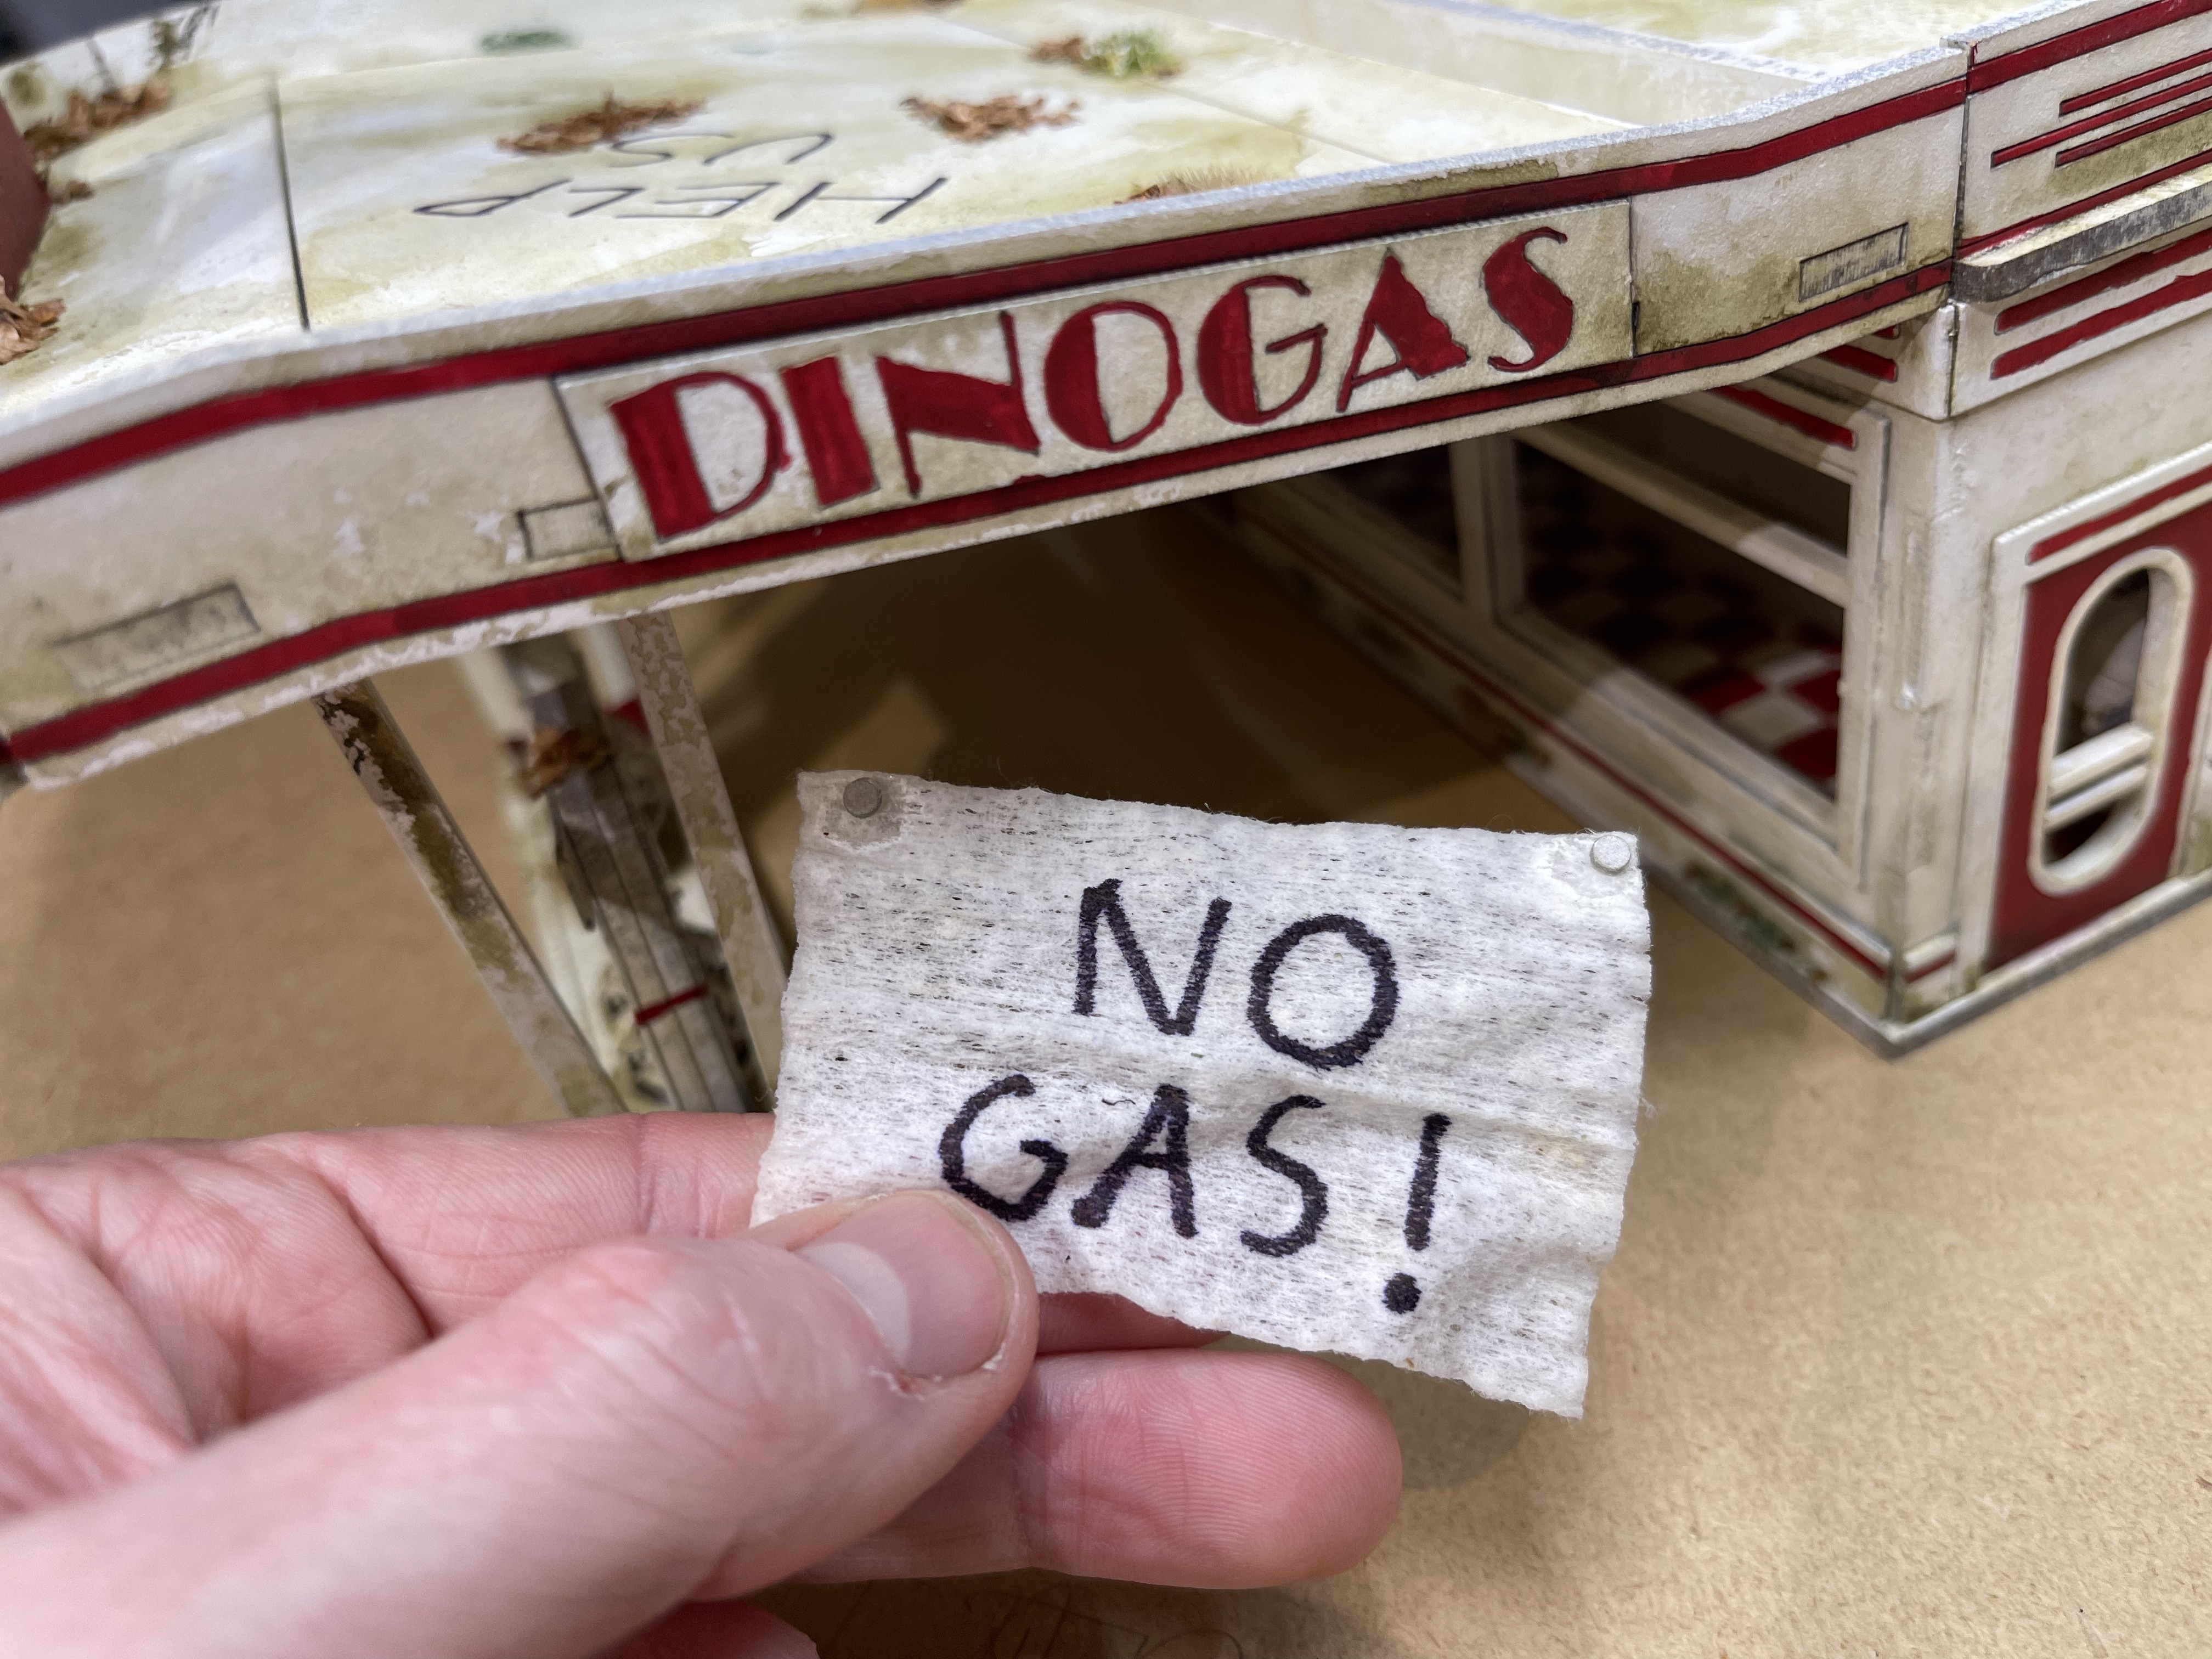 sometimes they're not all out of fuel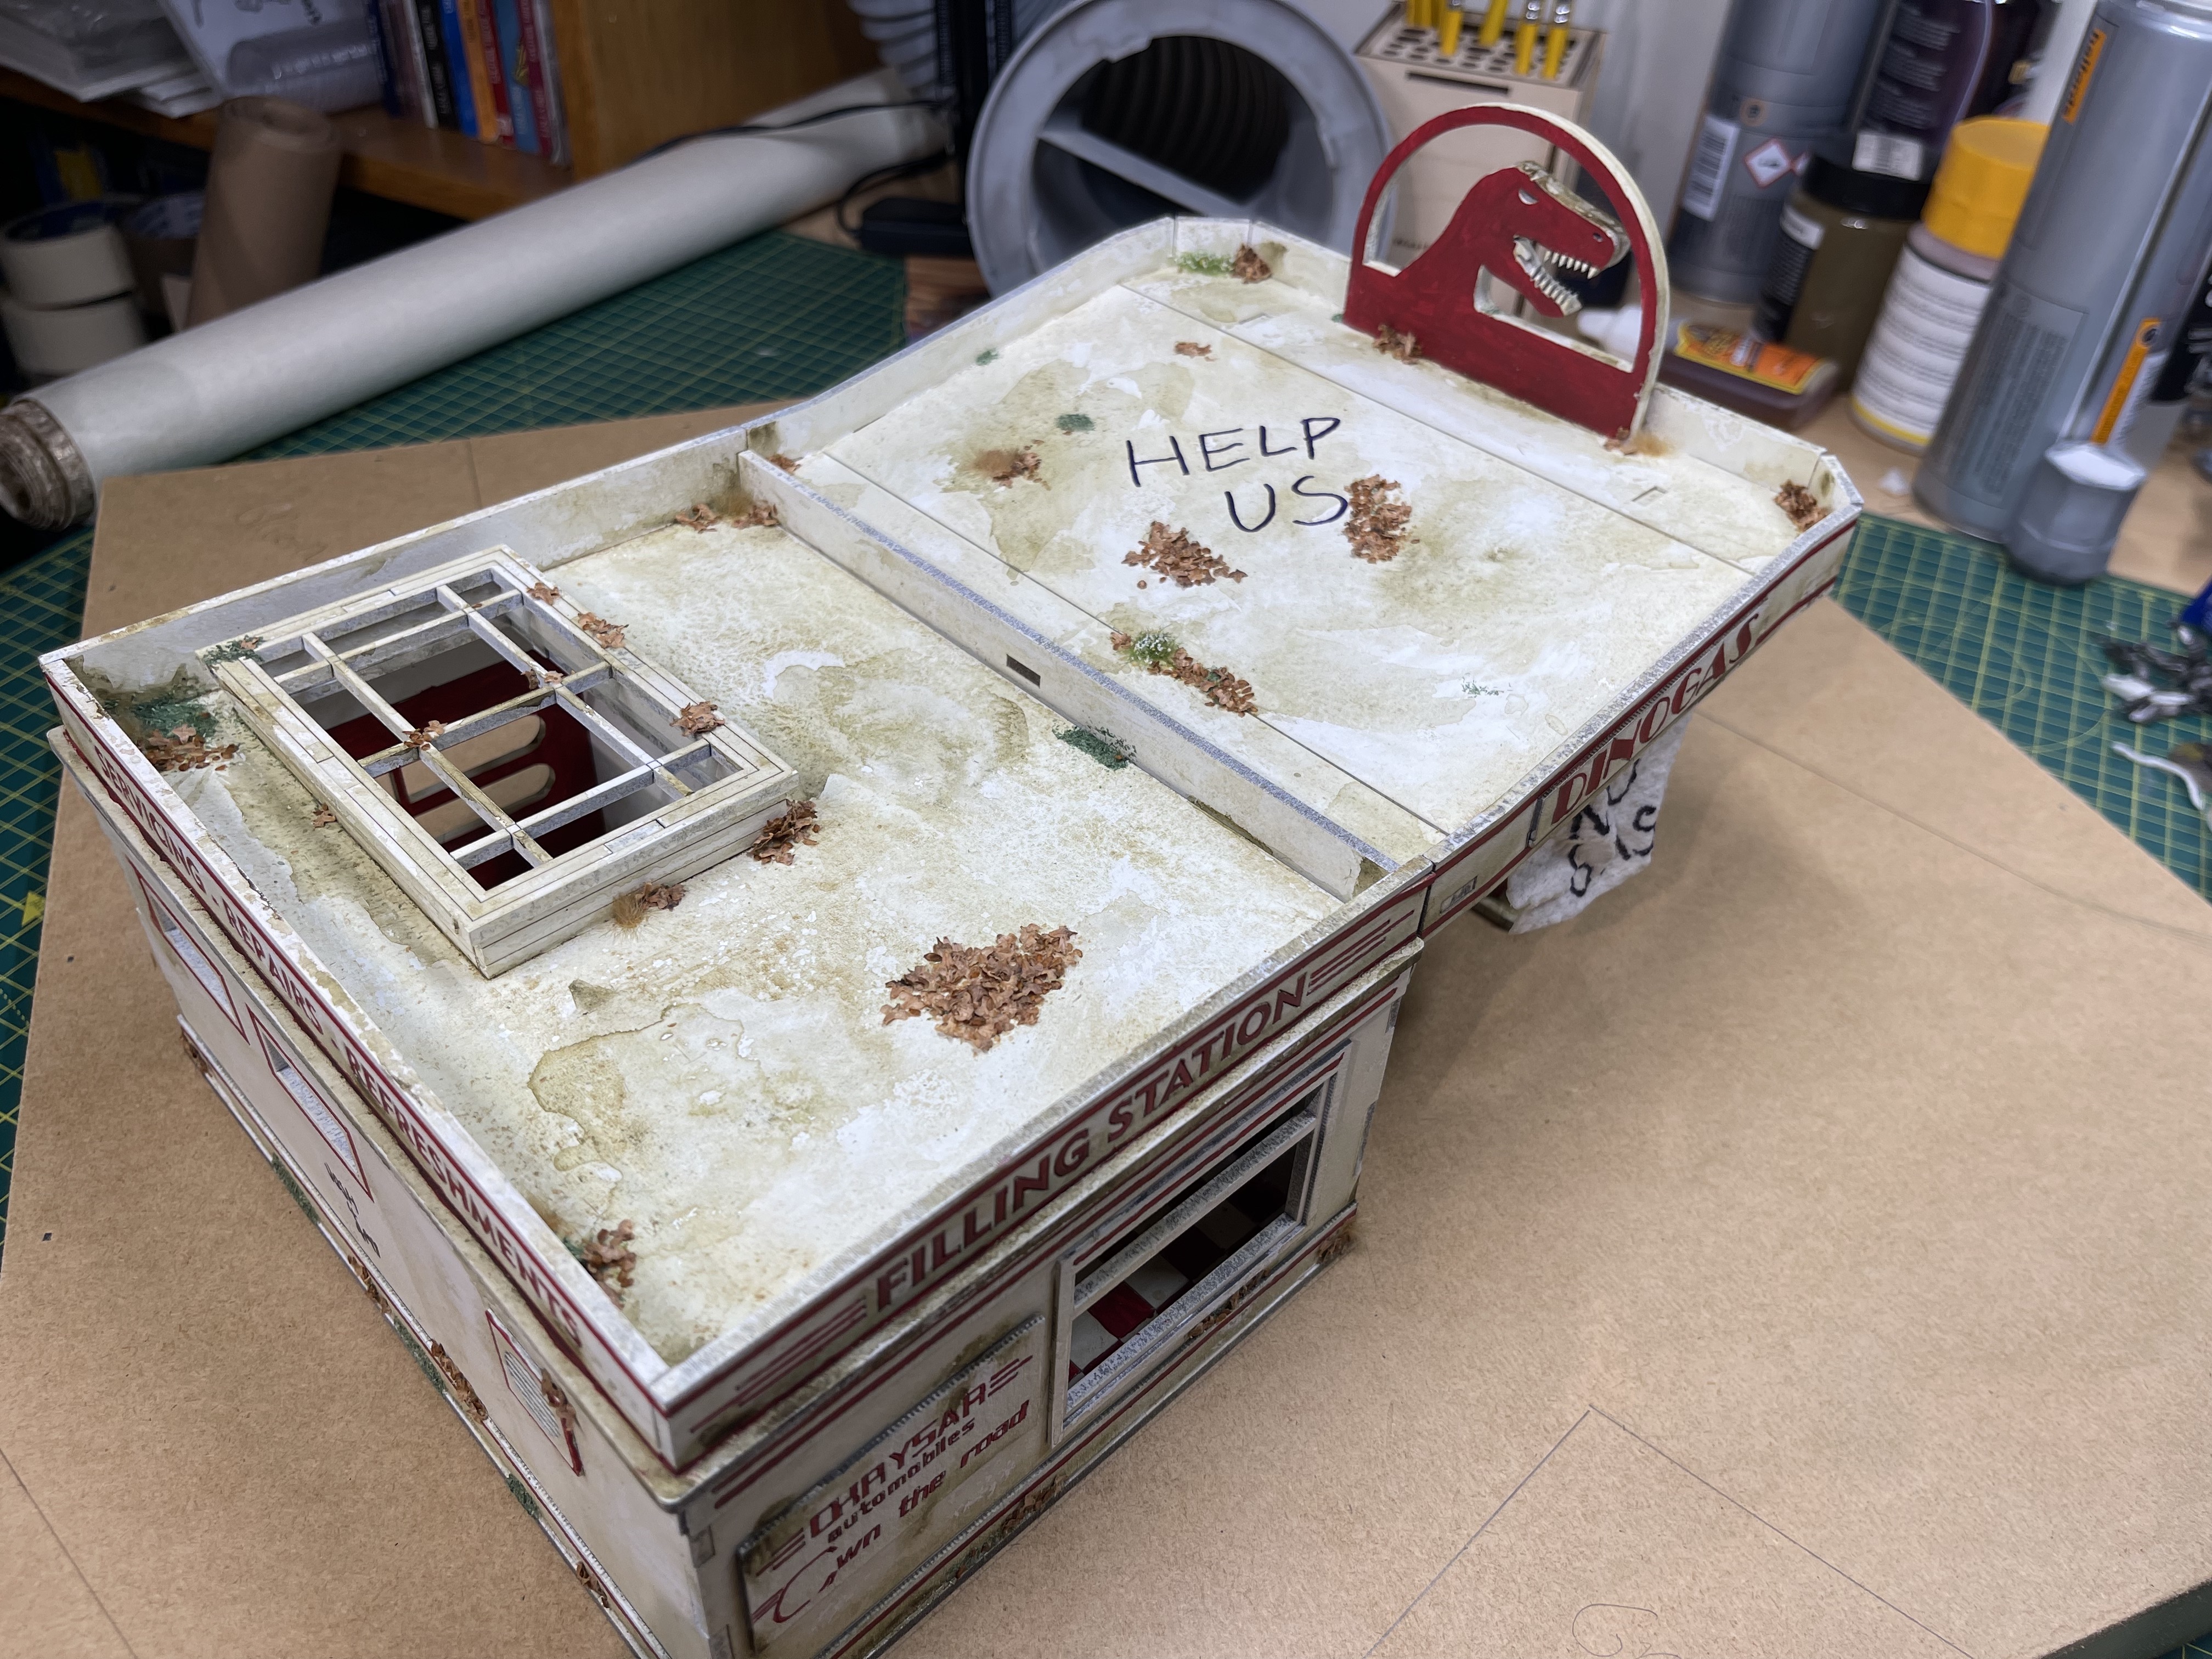
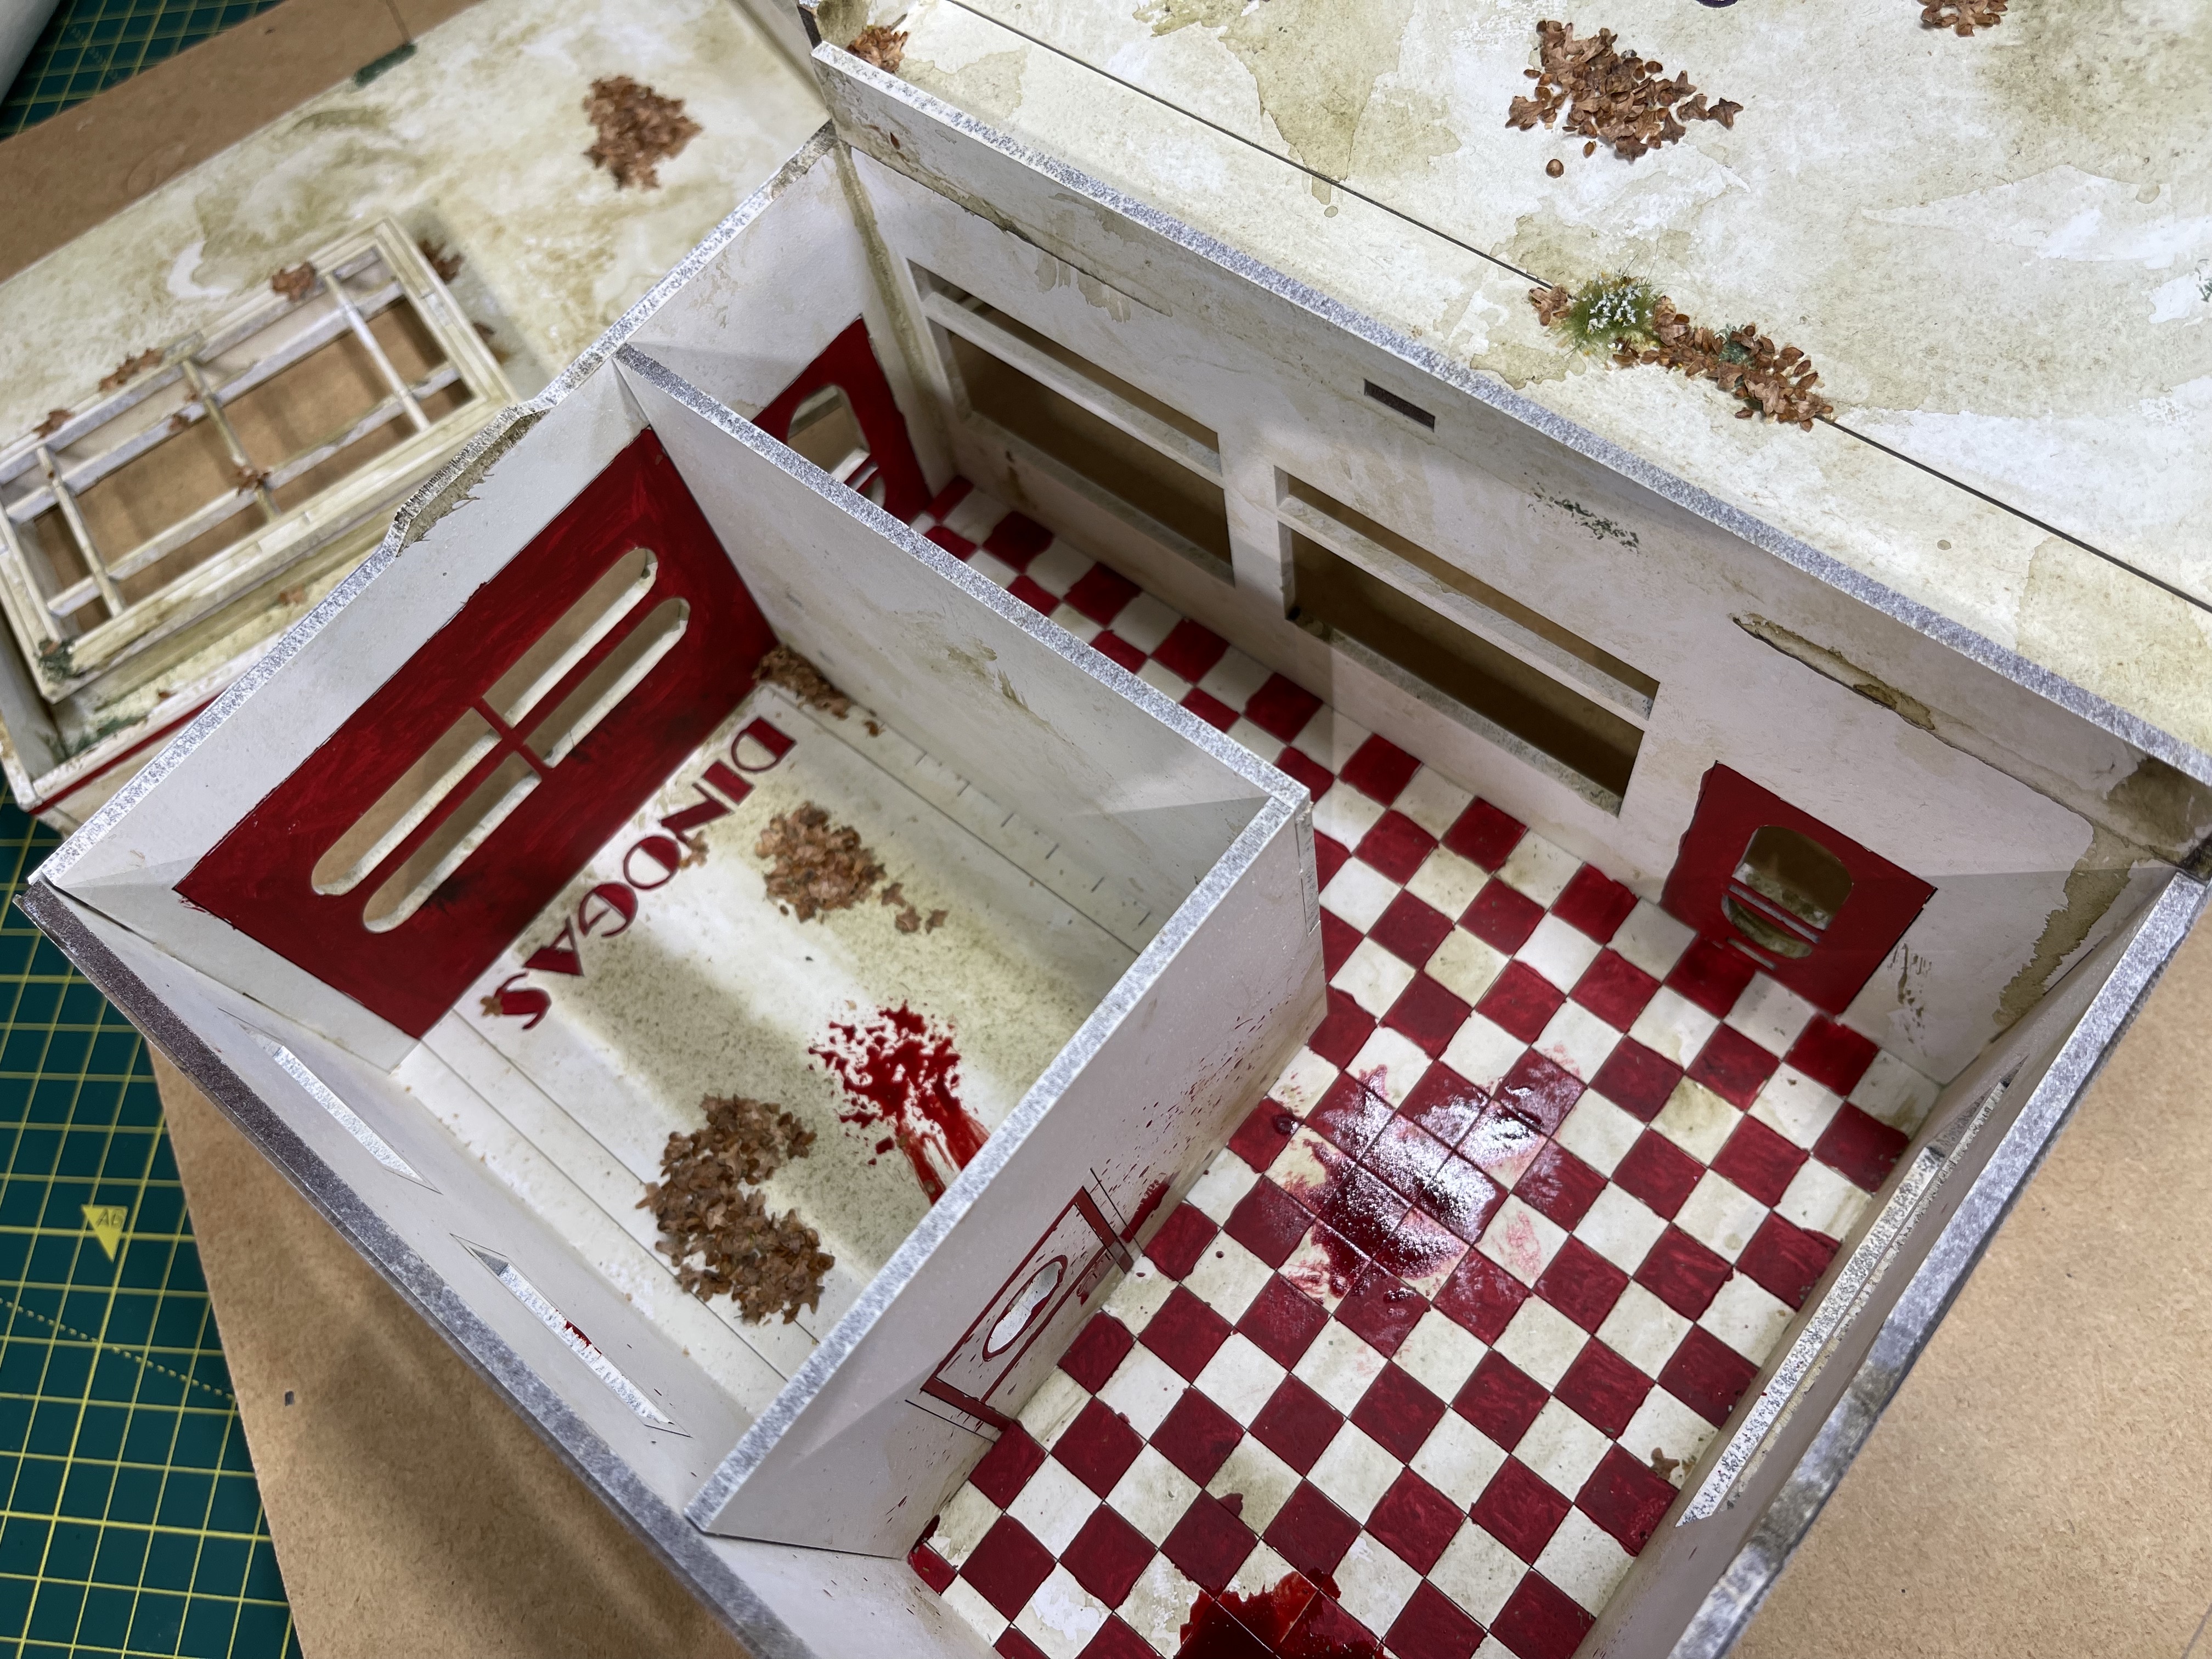 god help the poor souls that died in that garage
 pencil markings for different terrain height
I really enjoyed the simplicity of this scene when Rick is on the way to Atlanta. Its got pretty obvious reasons for him going there and at a later date can be easily storied that a series of rival gangs are there for fuel or essential supplies (tools to fix cars, milk or flowers and chocolates for when you’ve annoyed your wife!)
Base boards
The walking dead is played on 20″x20″ play surface.
Thats an abnormal size and is done deliberately to make everything feel a bit claustrophobic. I have played it before on 24″ x 24″ boards as they are much more standard at game stores (2 foot by 2 foot sections make for better breakdowns on normal board size) and it does affect gameplay by making there much more space to run around the zombies.
to make these 20×20 boards I took a trip to the DIY store. I decided to go with 3mm hardboard and 18x34mm battening. I went with those dimensions because that’s what they had on the shelf.
I made a conscious decision to go with 3mm hardboard rather than 6mm MDF because its lighter and they’re not that big so it doesn’t need to be that strong/sturdy.
https://www.diy.com/departments/brown-hardboard-l-1-22m-w-0-61m-t-3mm/1696235_BQ.prd
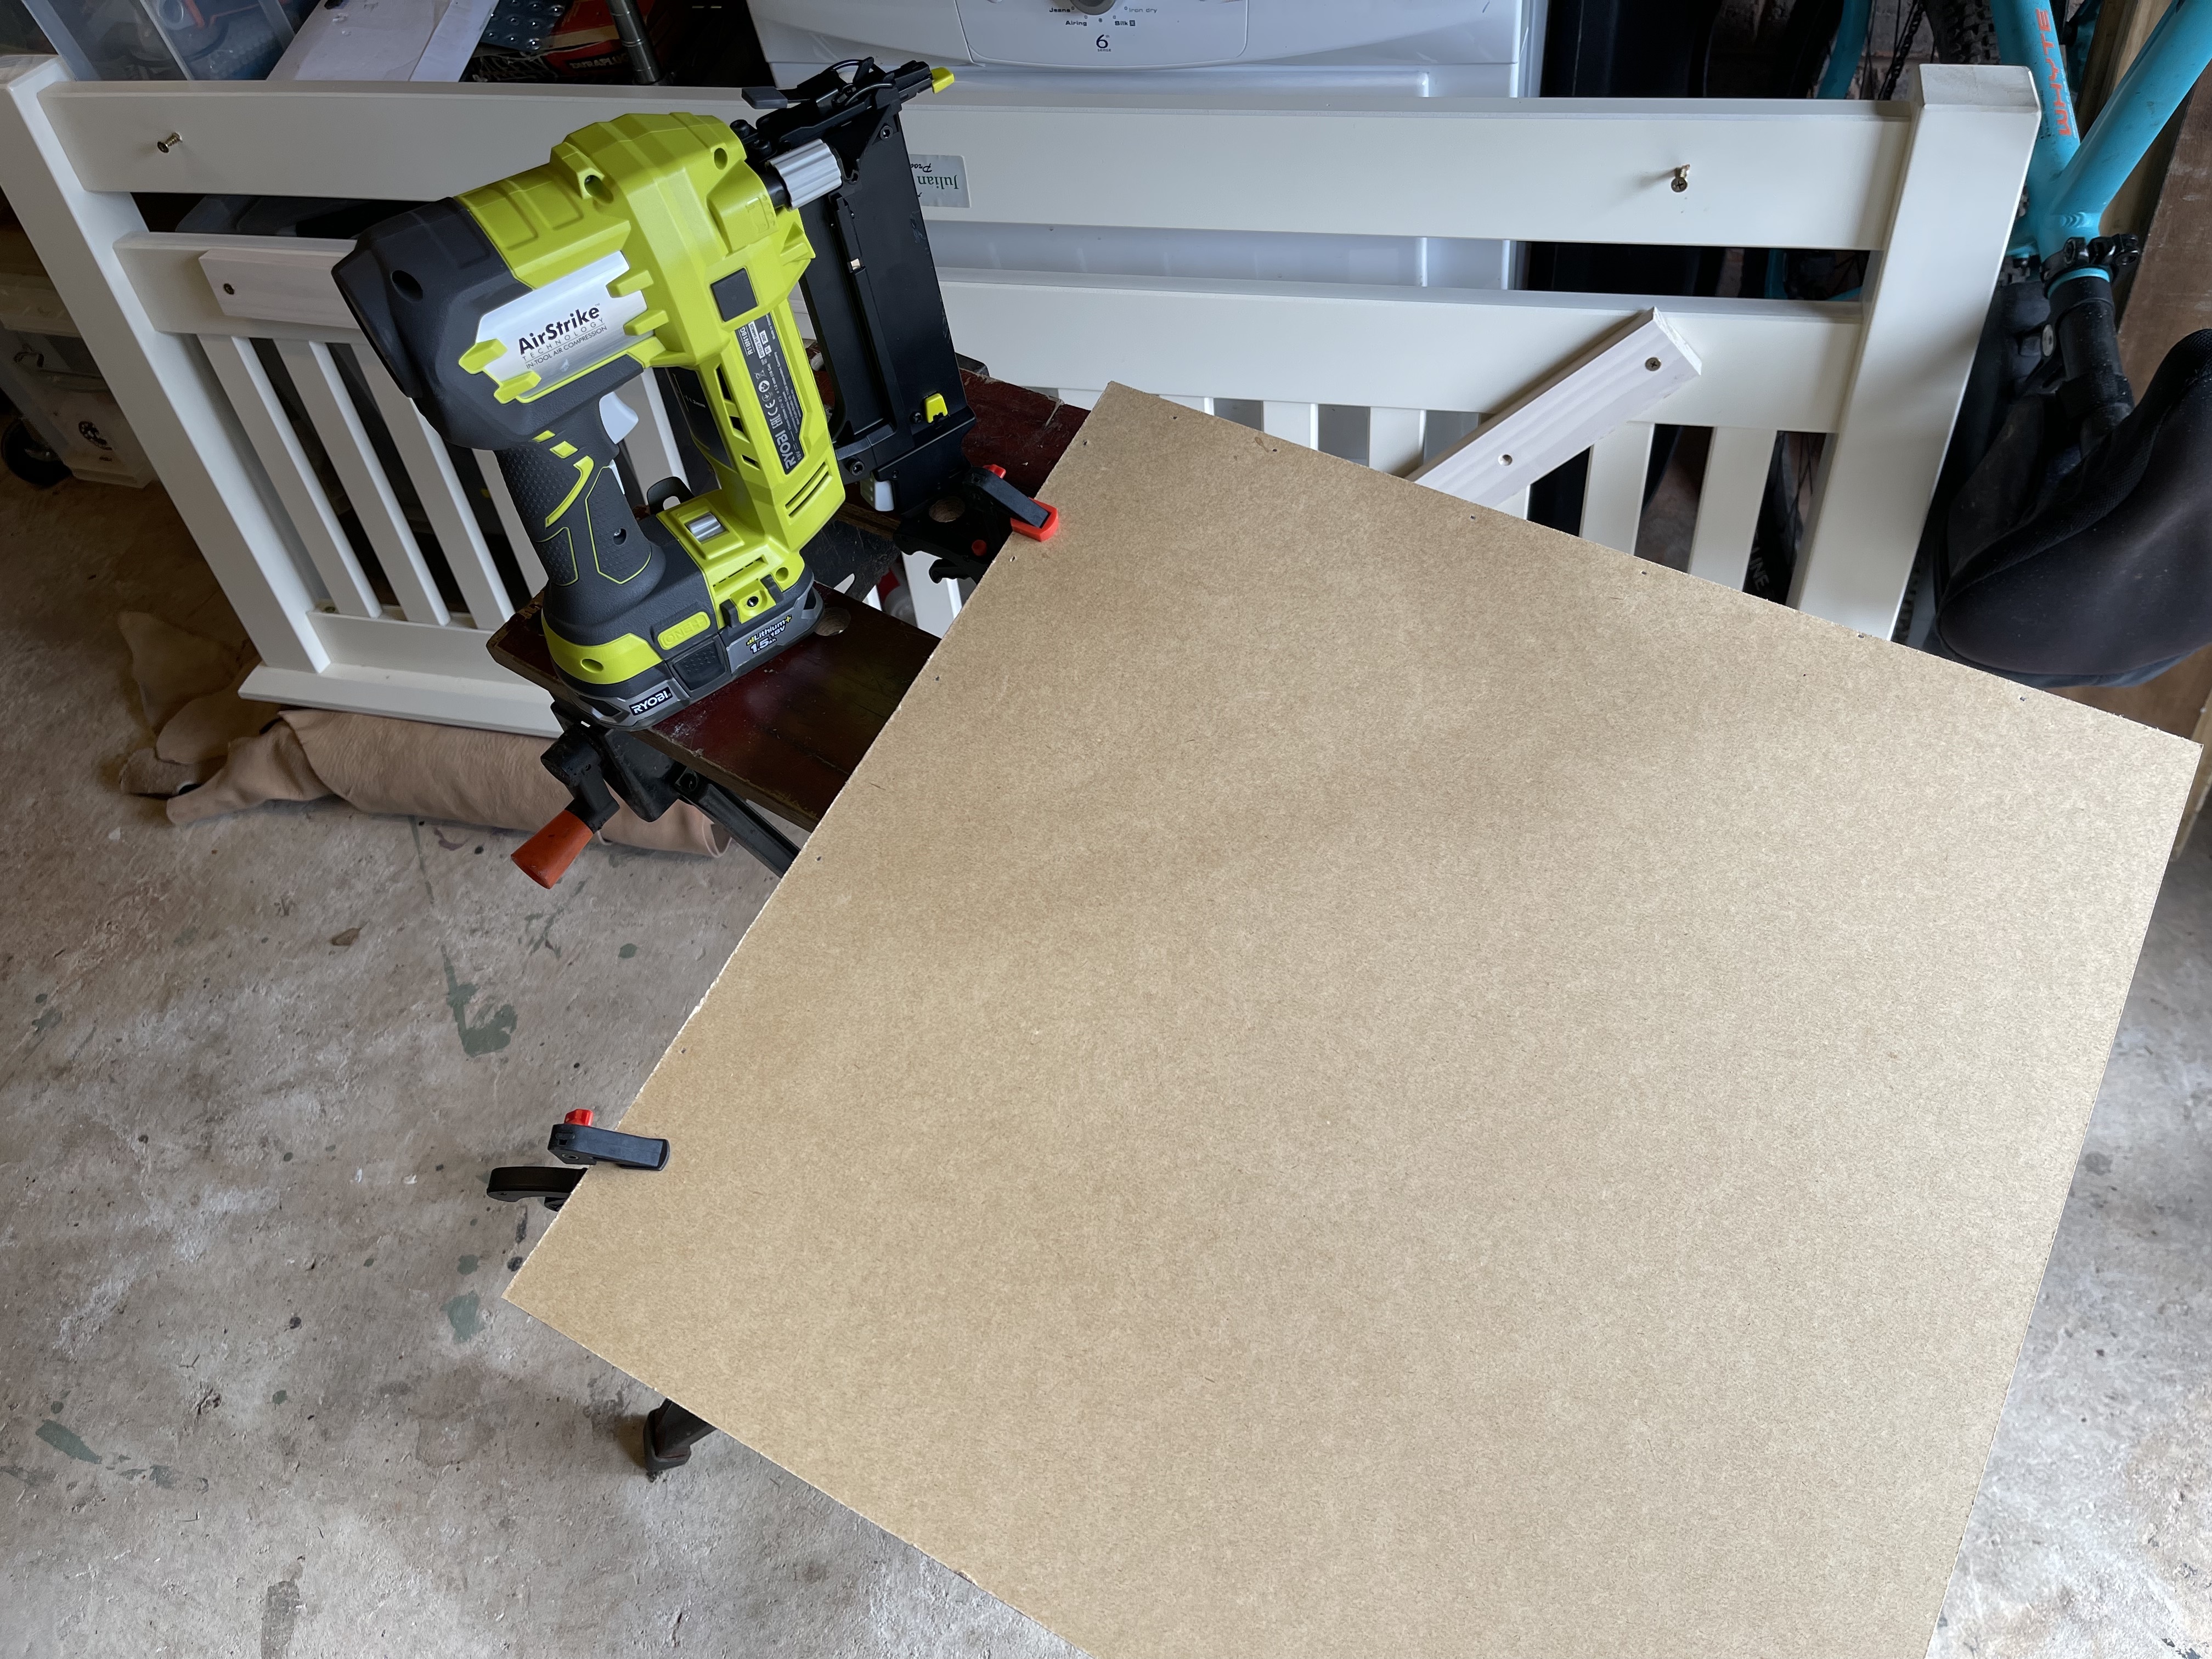
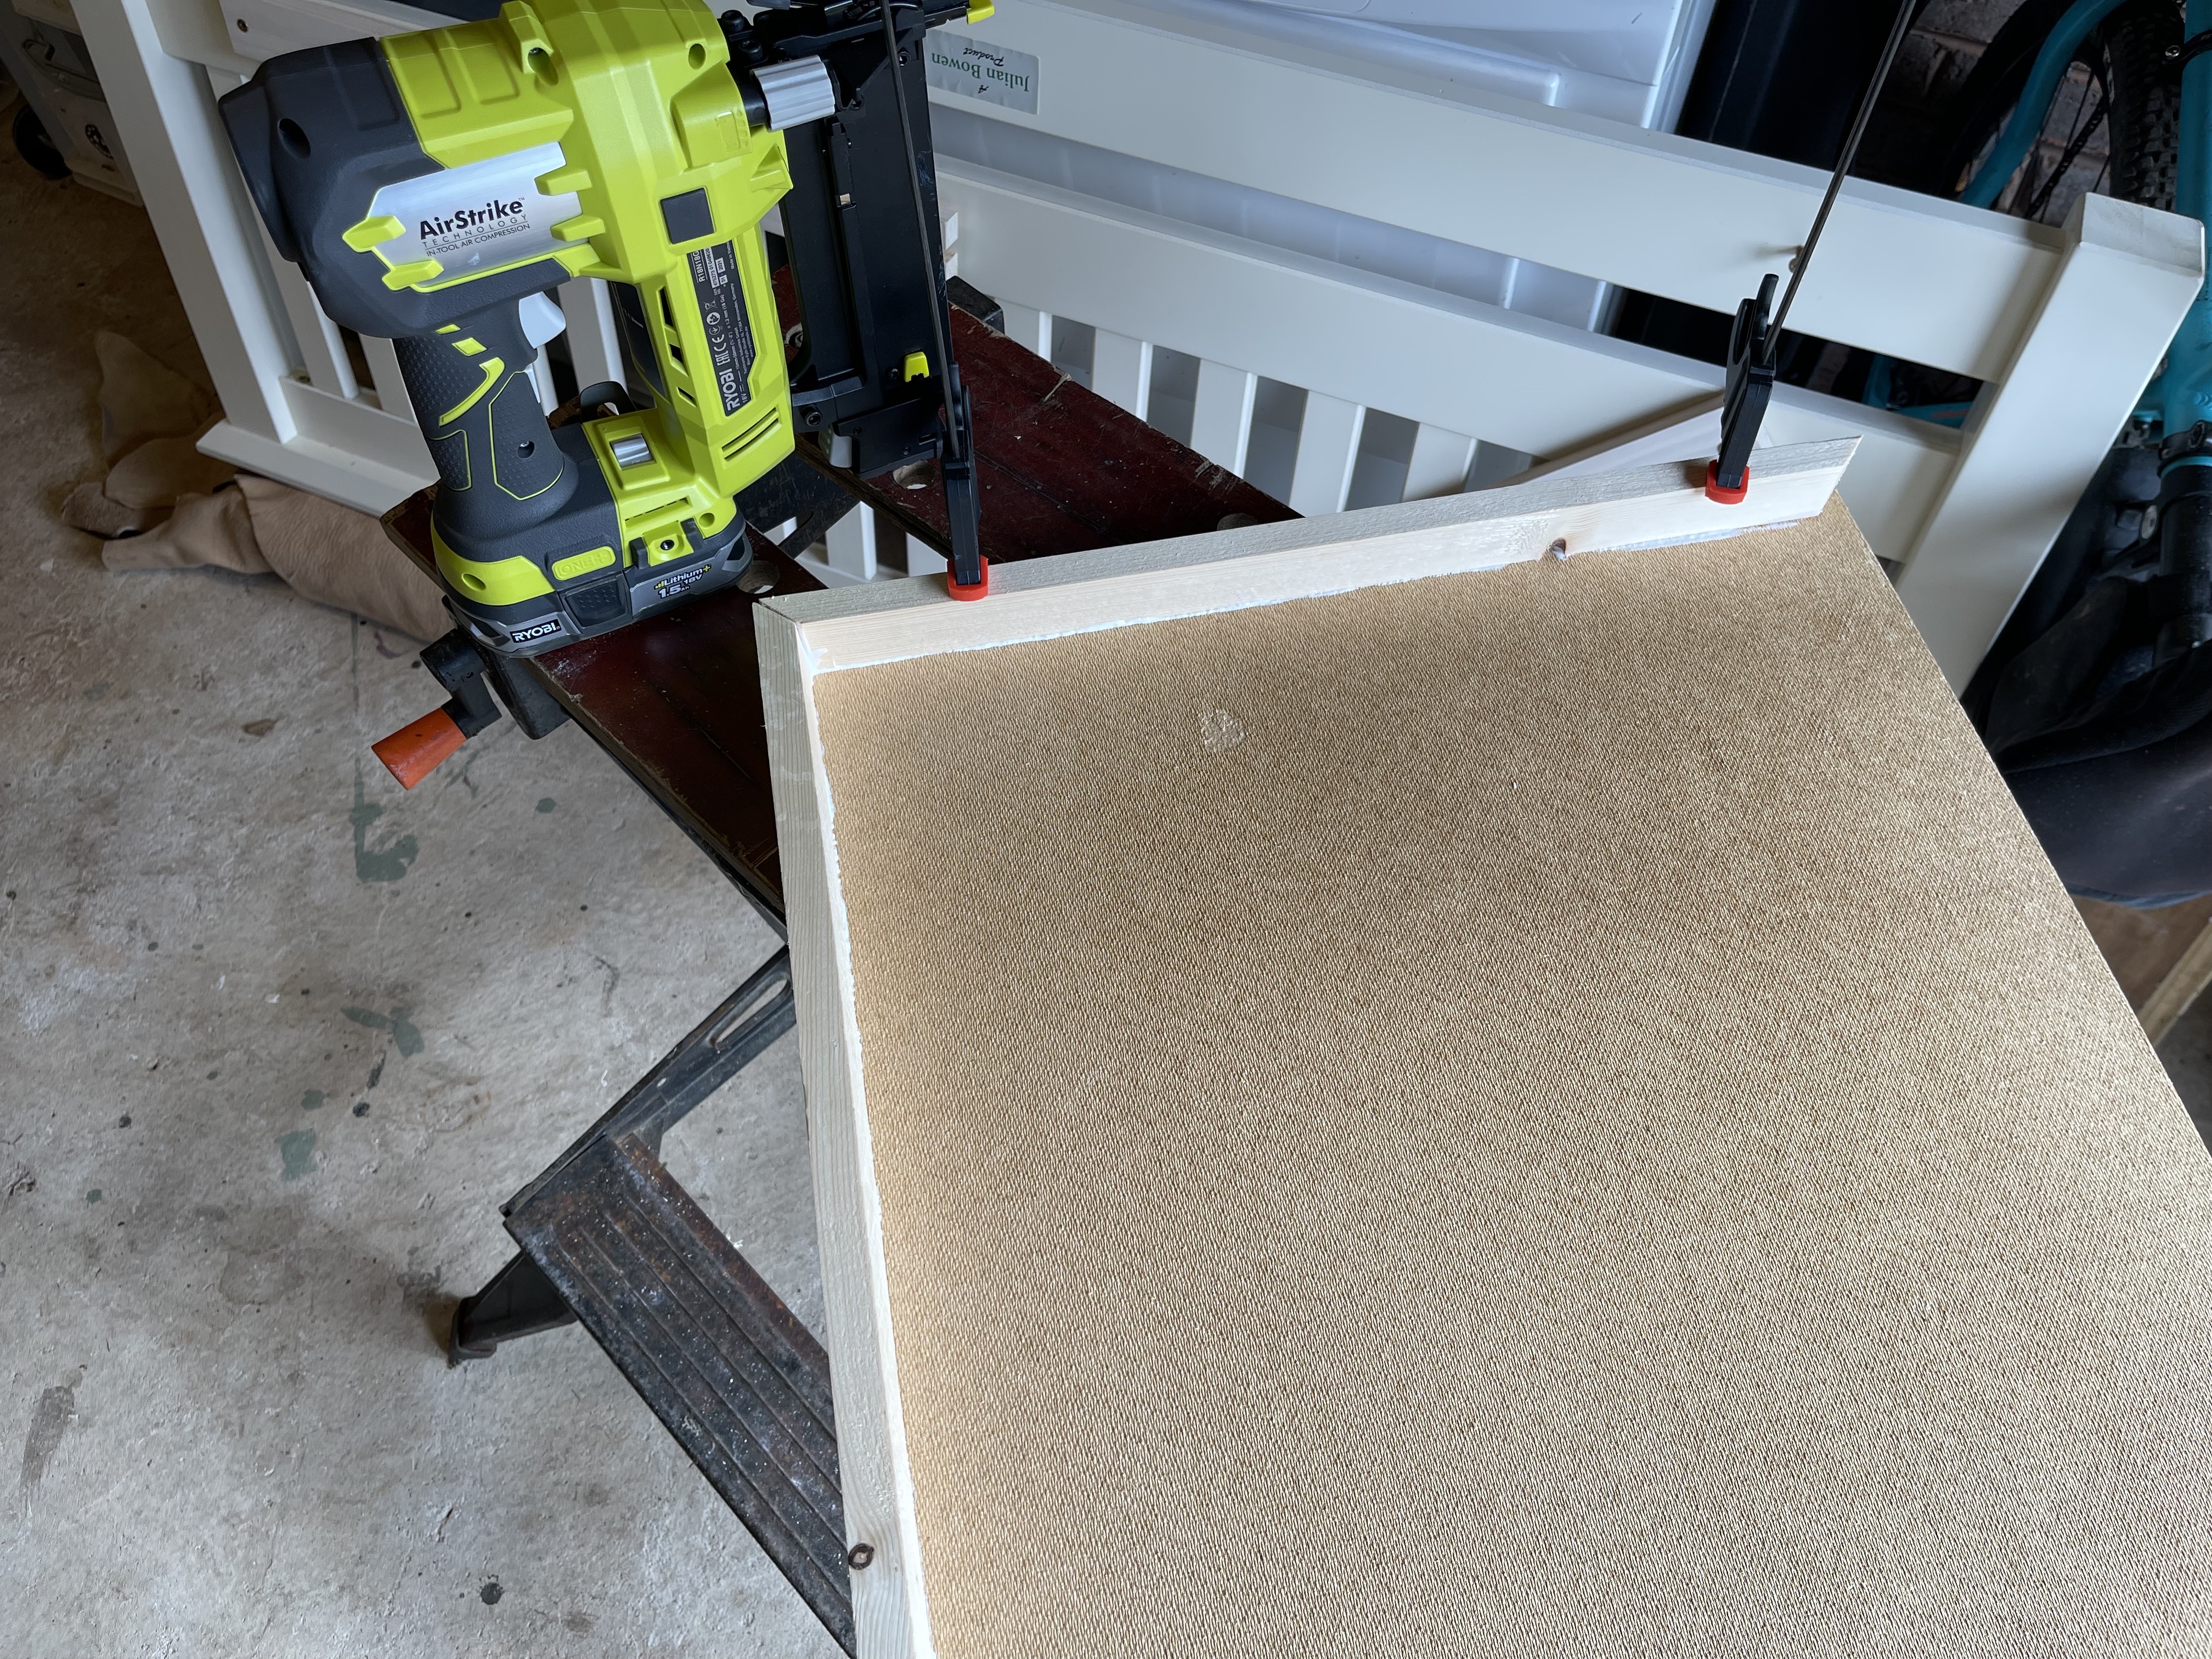
by the way, if you don’t have a nailgun… get one! they’re amazing!

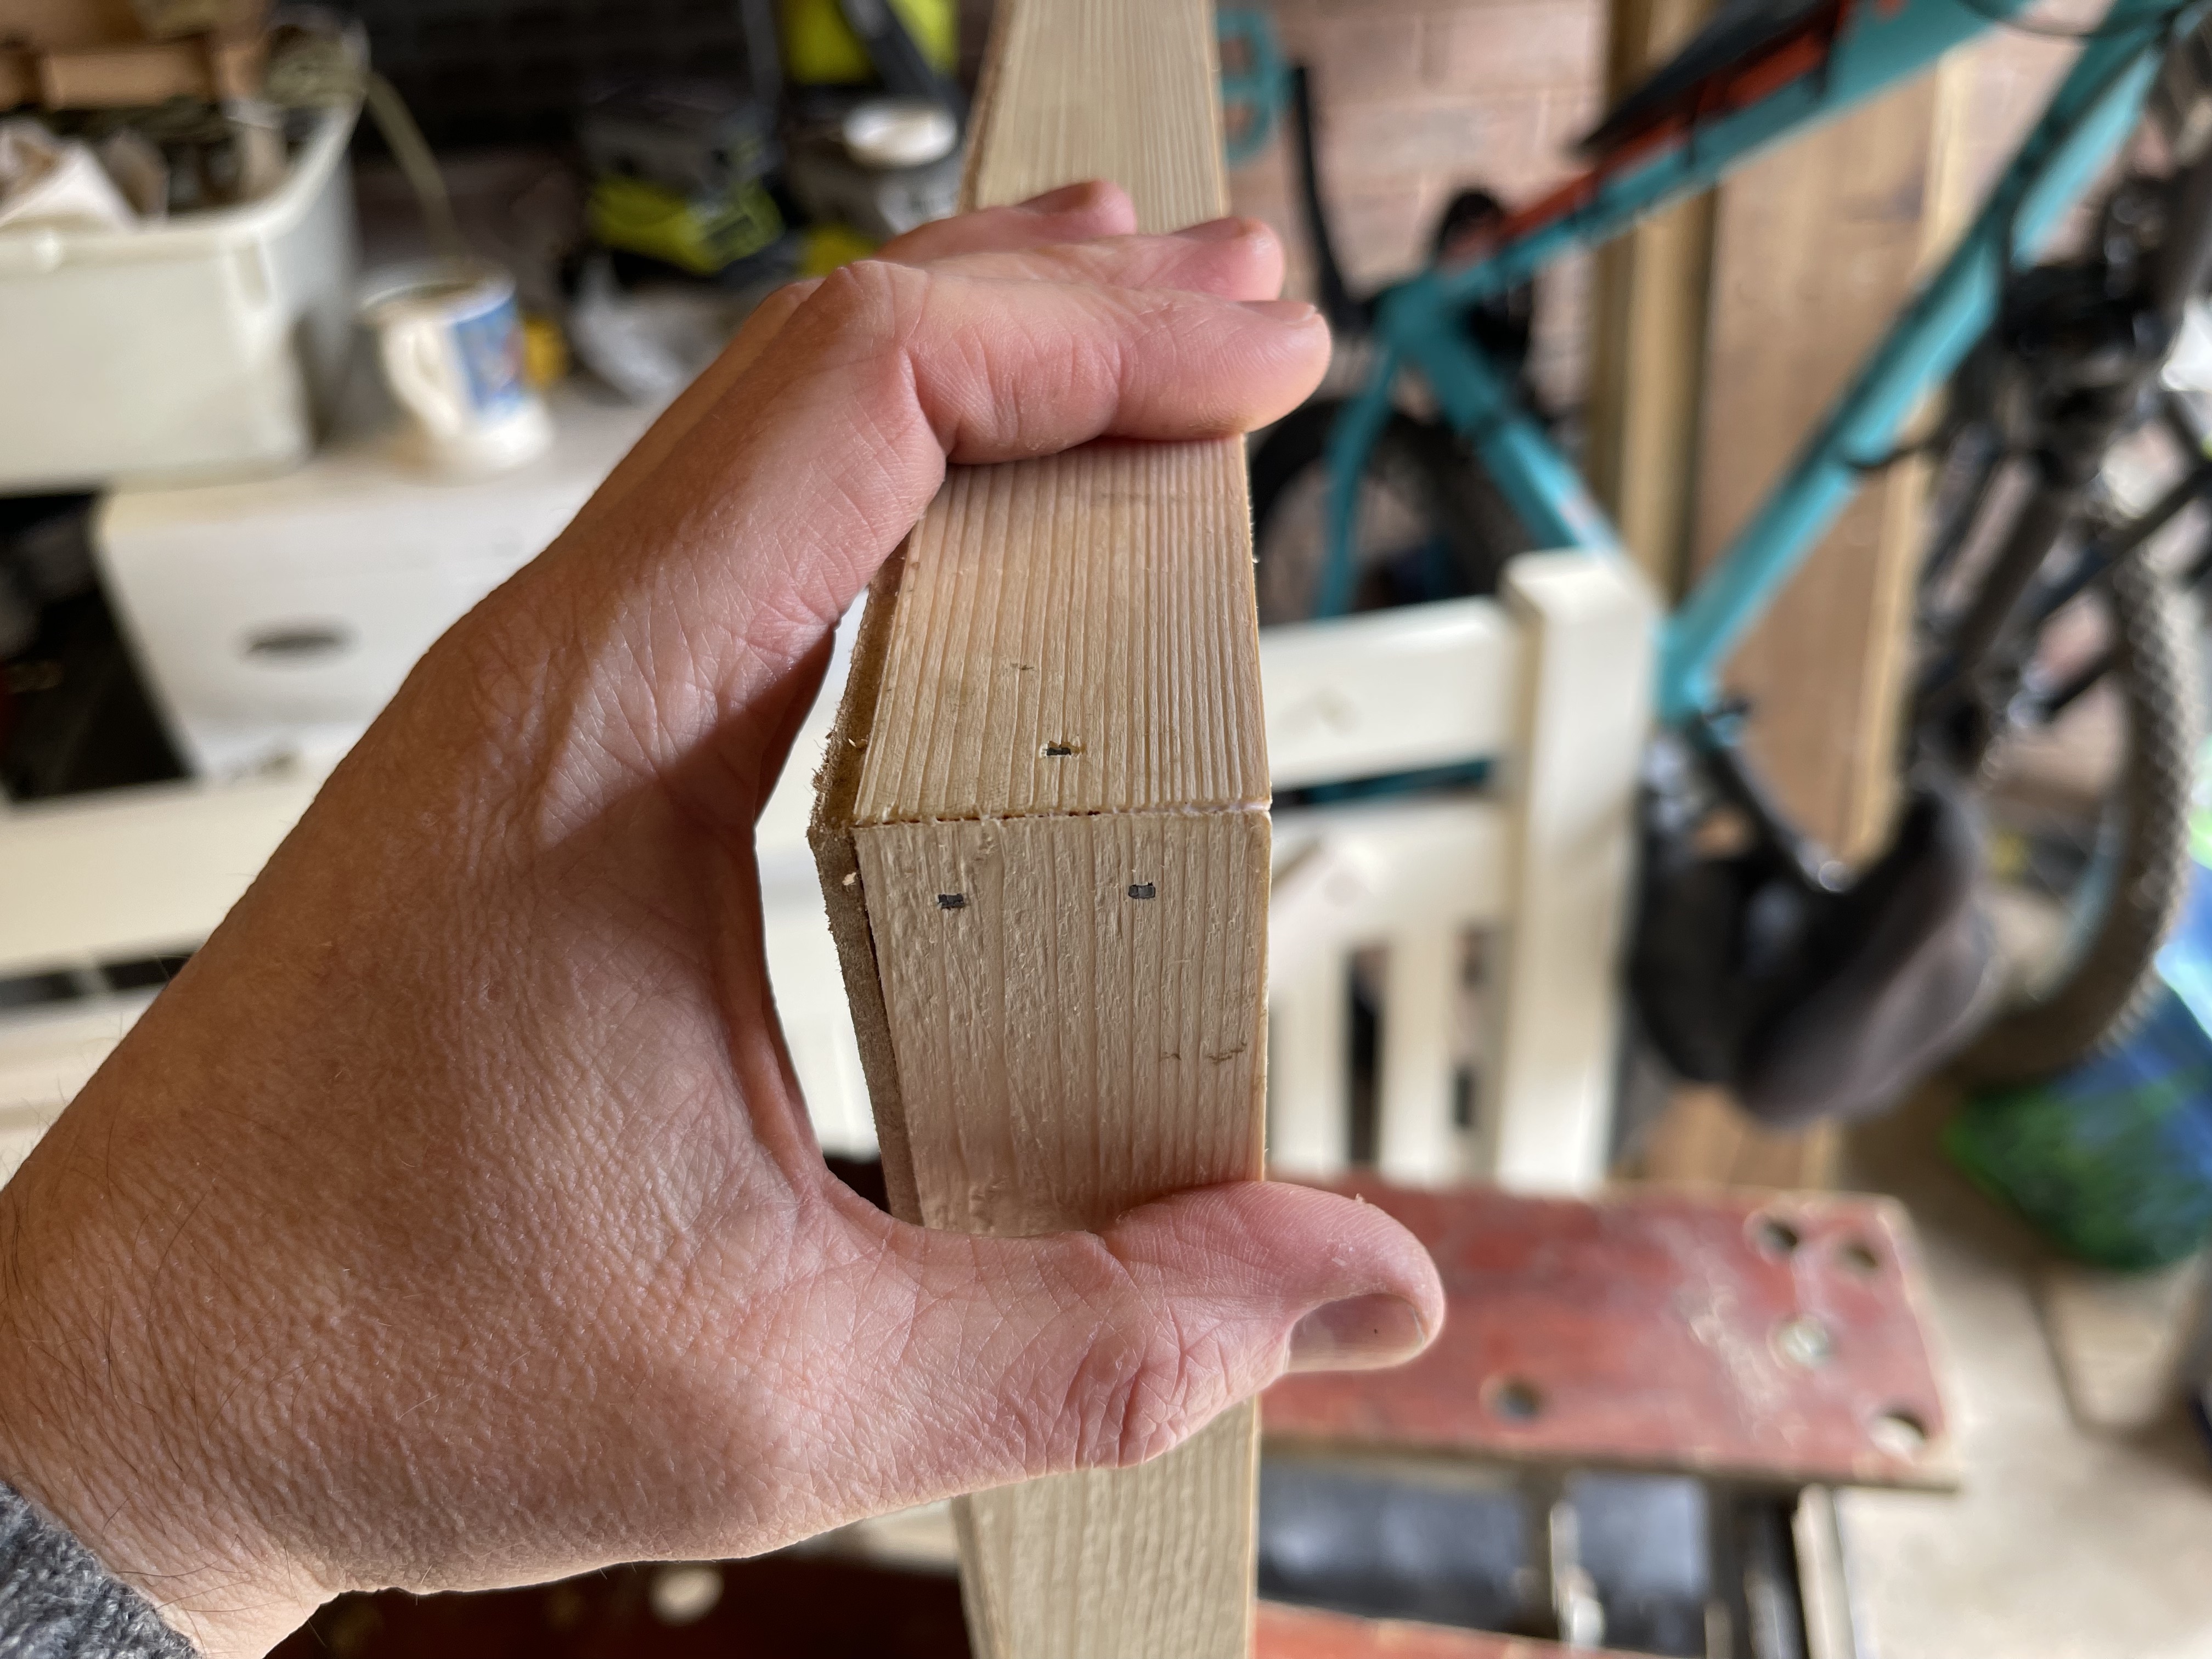
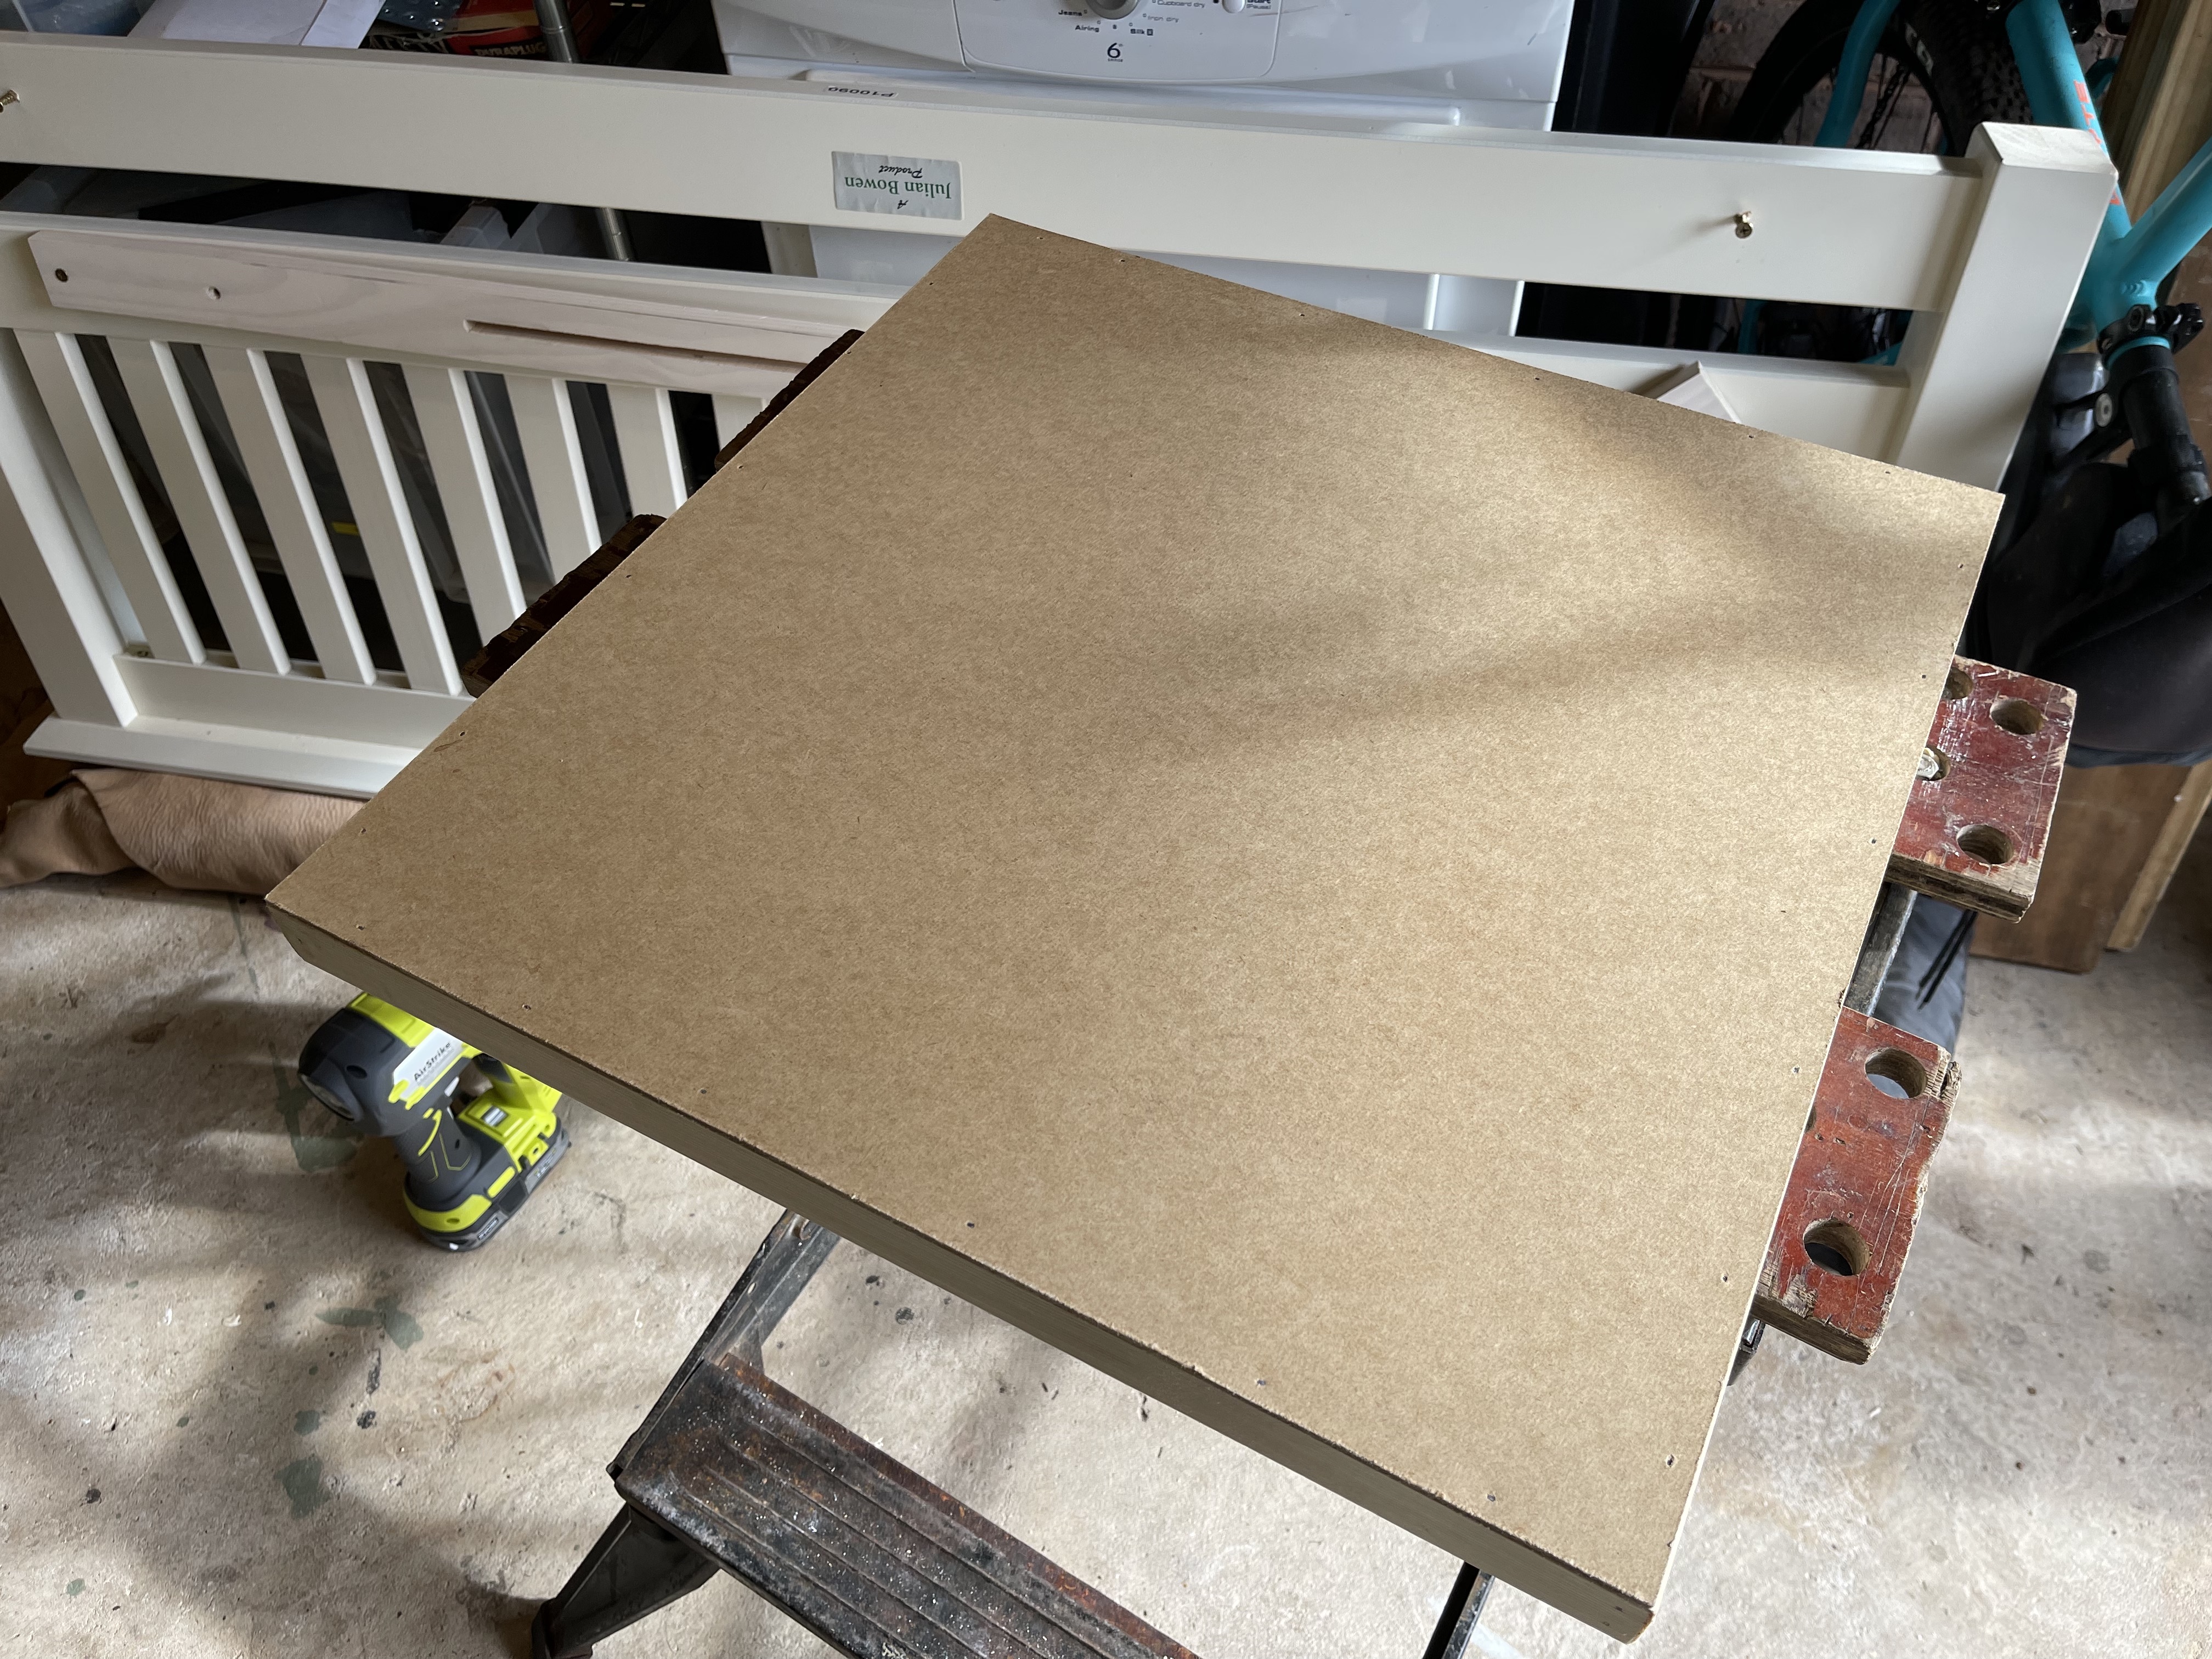
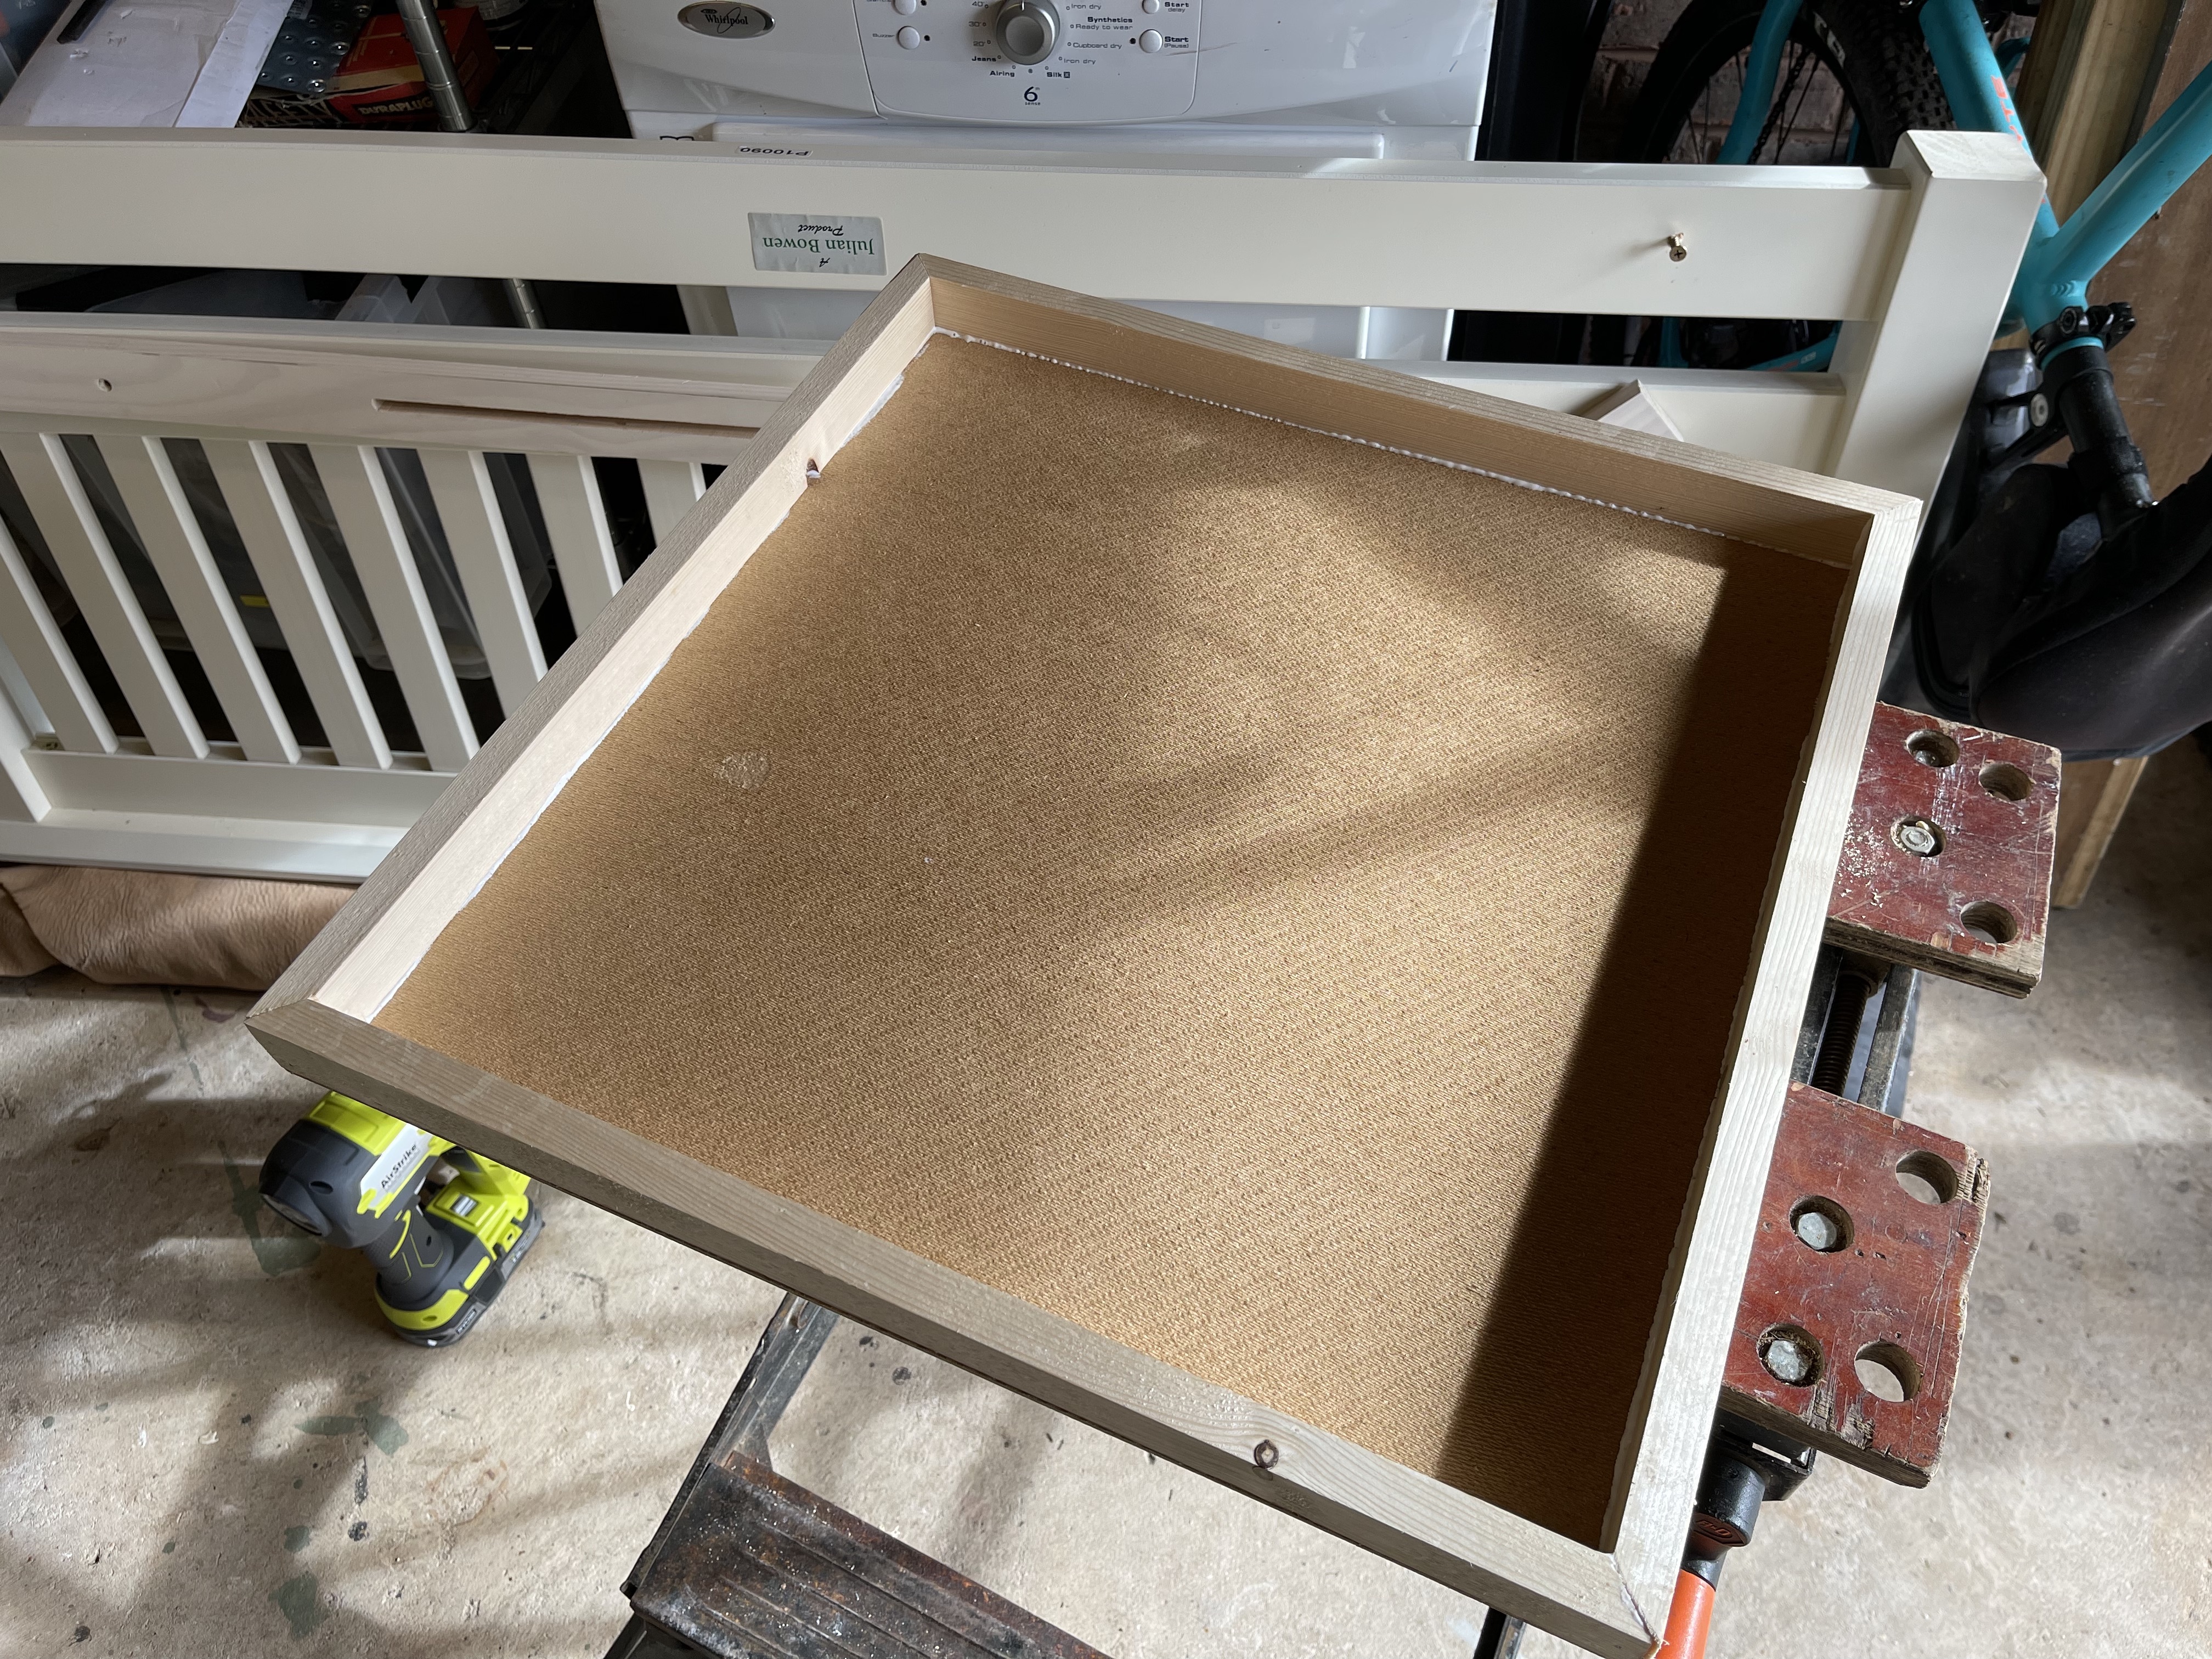
They’re quite easy to make (when you have a nailgun!) and I did use PVA glue on every join / touch point to help keep everything bonded together.
I managed to knock 2 out of the materials I had ready to have some interesting scenes sculpted onto them.
I already have an idea for what my first board will be!