


Narrative Gamer’s 30k/40k Table


Recommendations: 223
About the Project
I’m building a 30k/40k terrain set from the 2023 Terrain Fest prize kits.
Related Game: Warhammer: The Horus Heresy
Related Company: Games Workshop
Related Genre: Science Fiction
Related Contest: TerrainFest 2024
This Project is Active
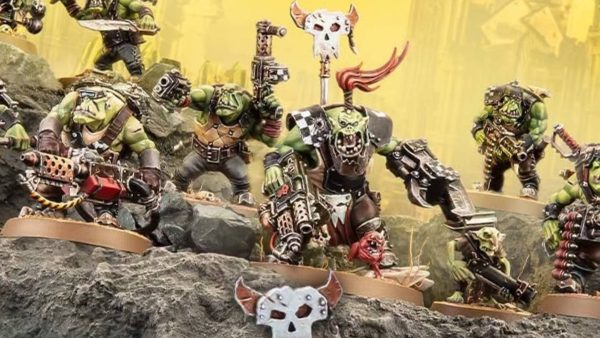
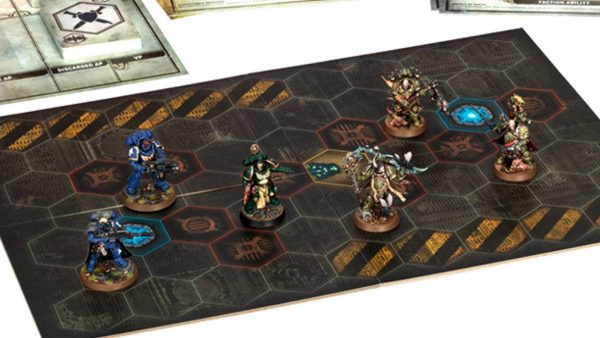
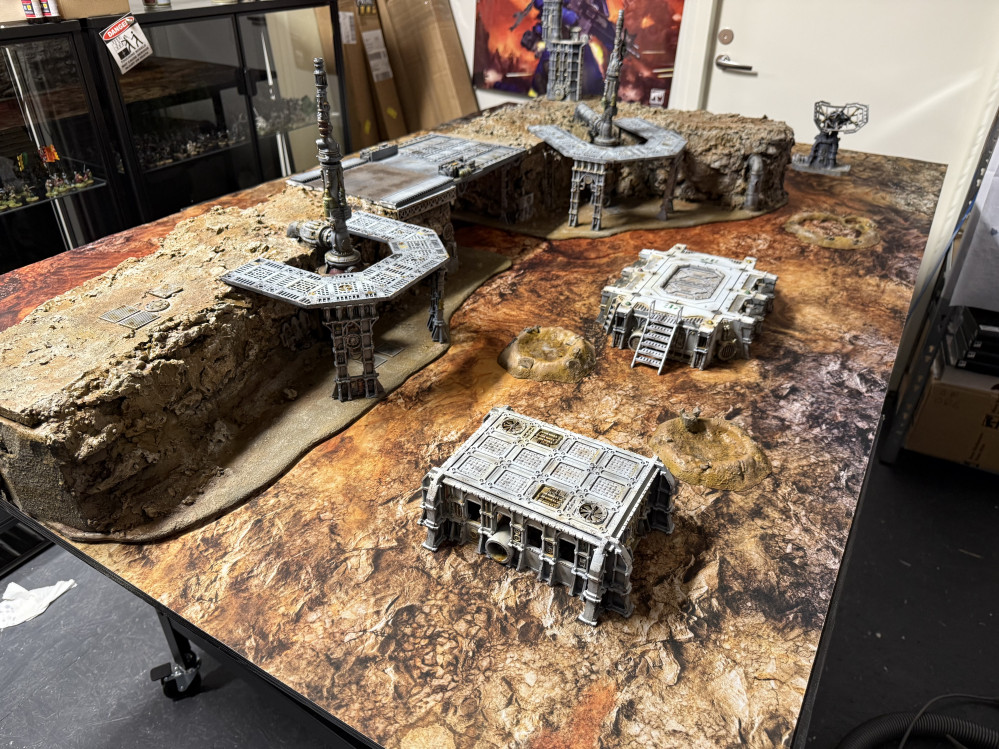
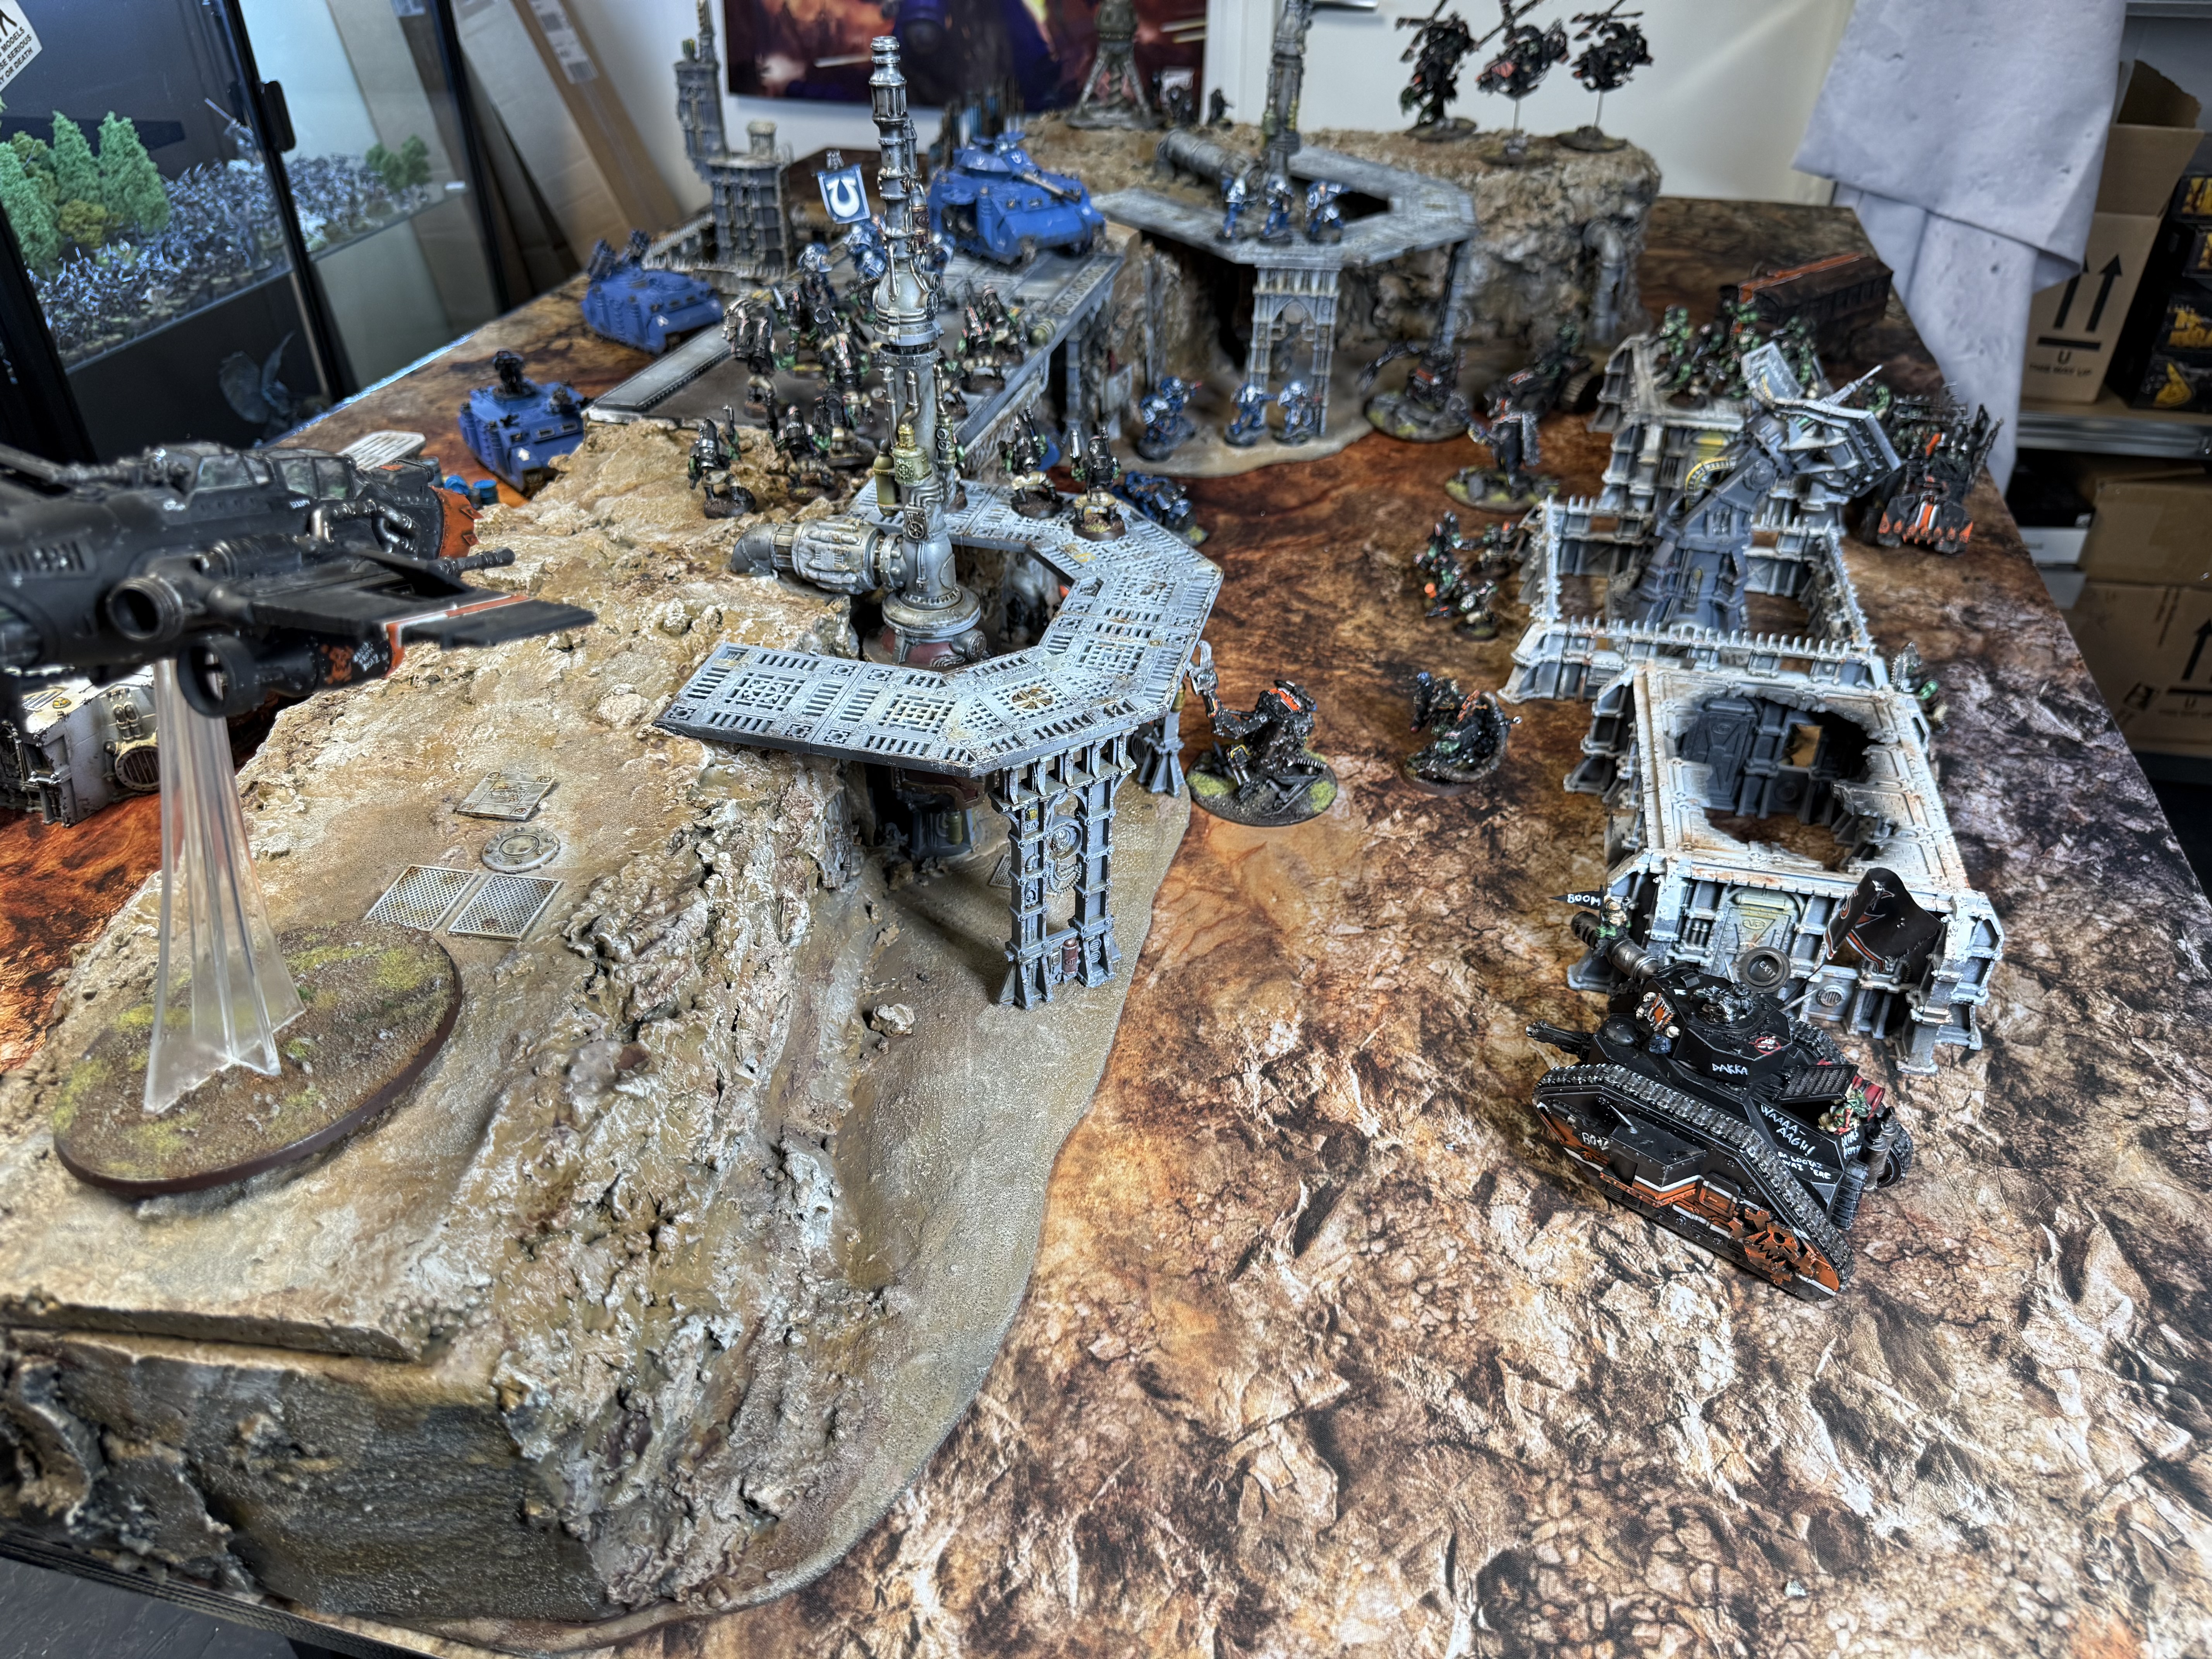
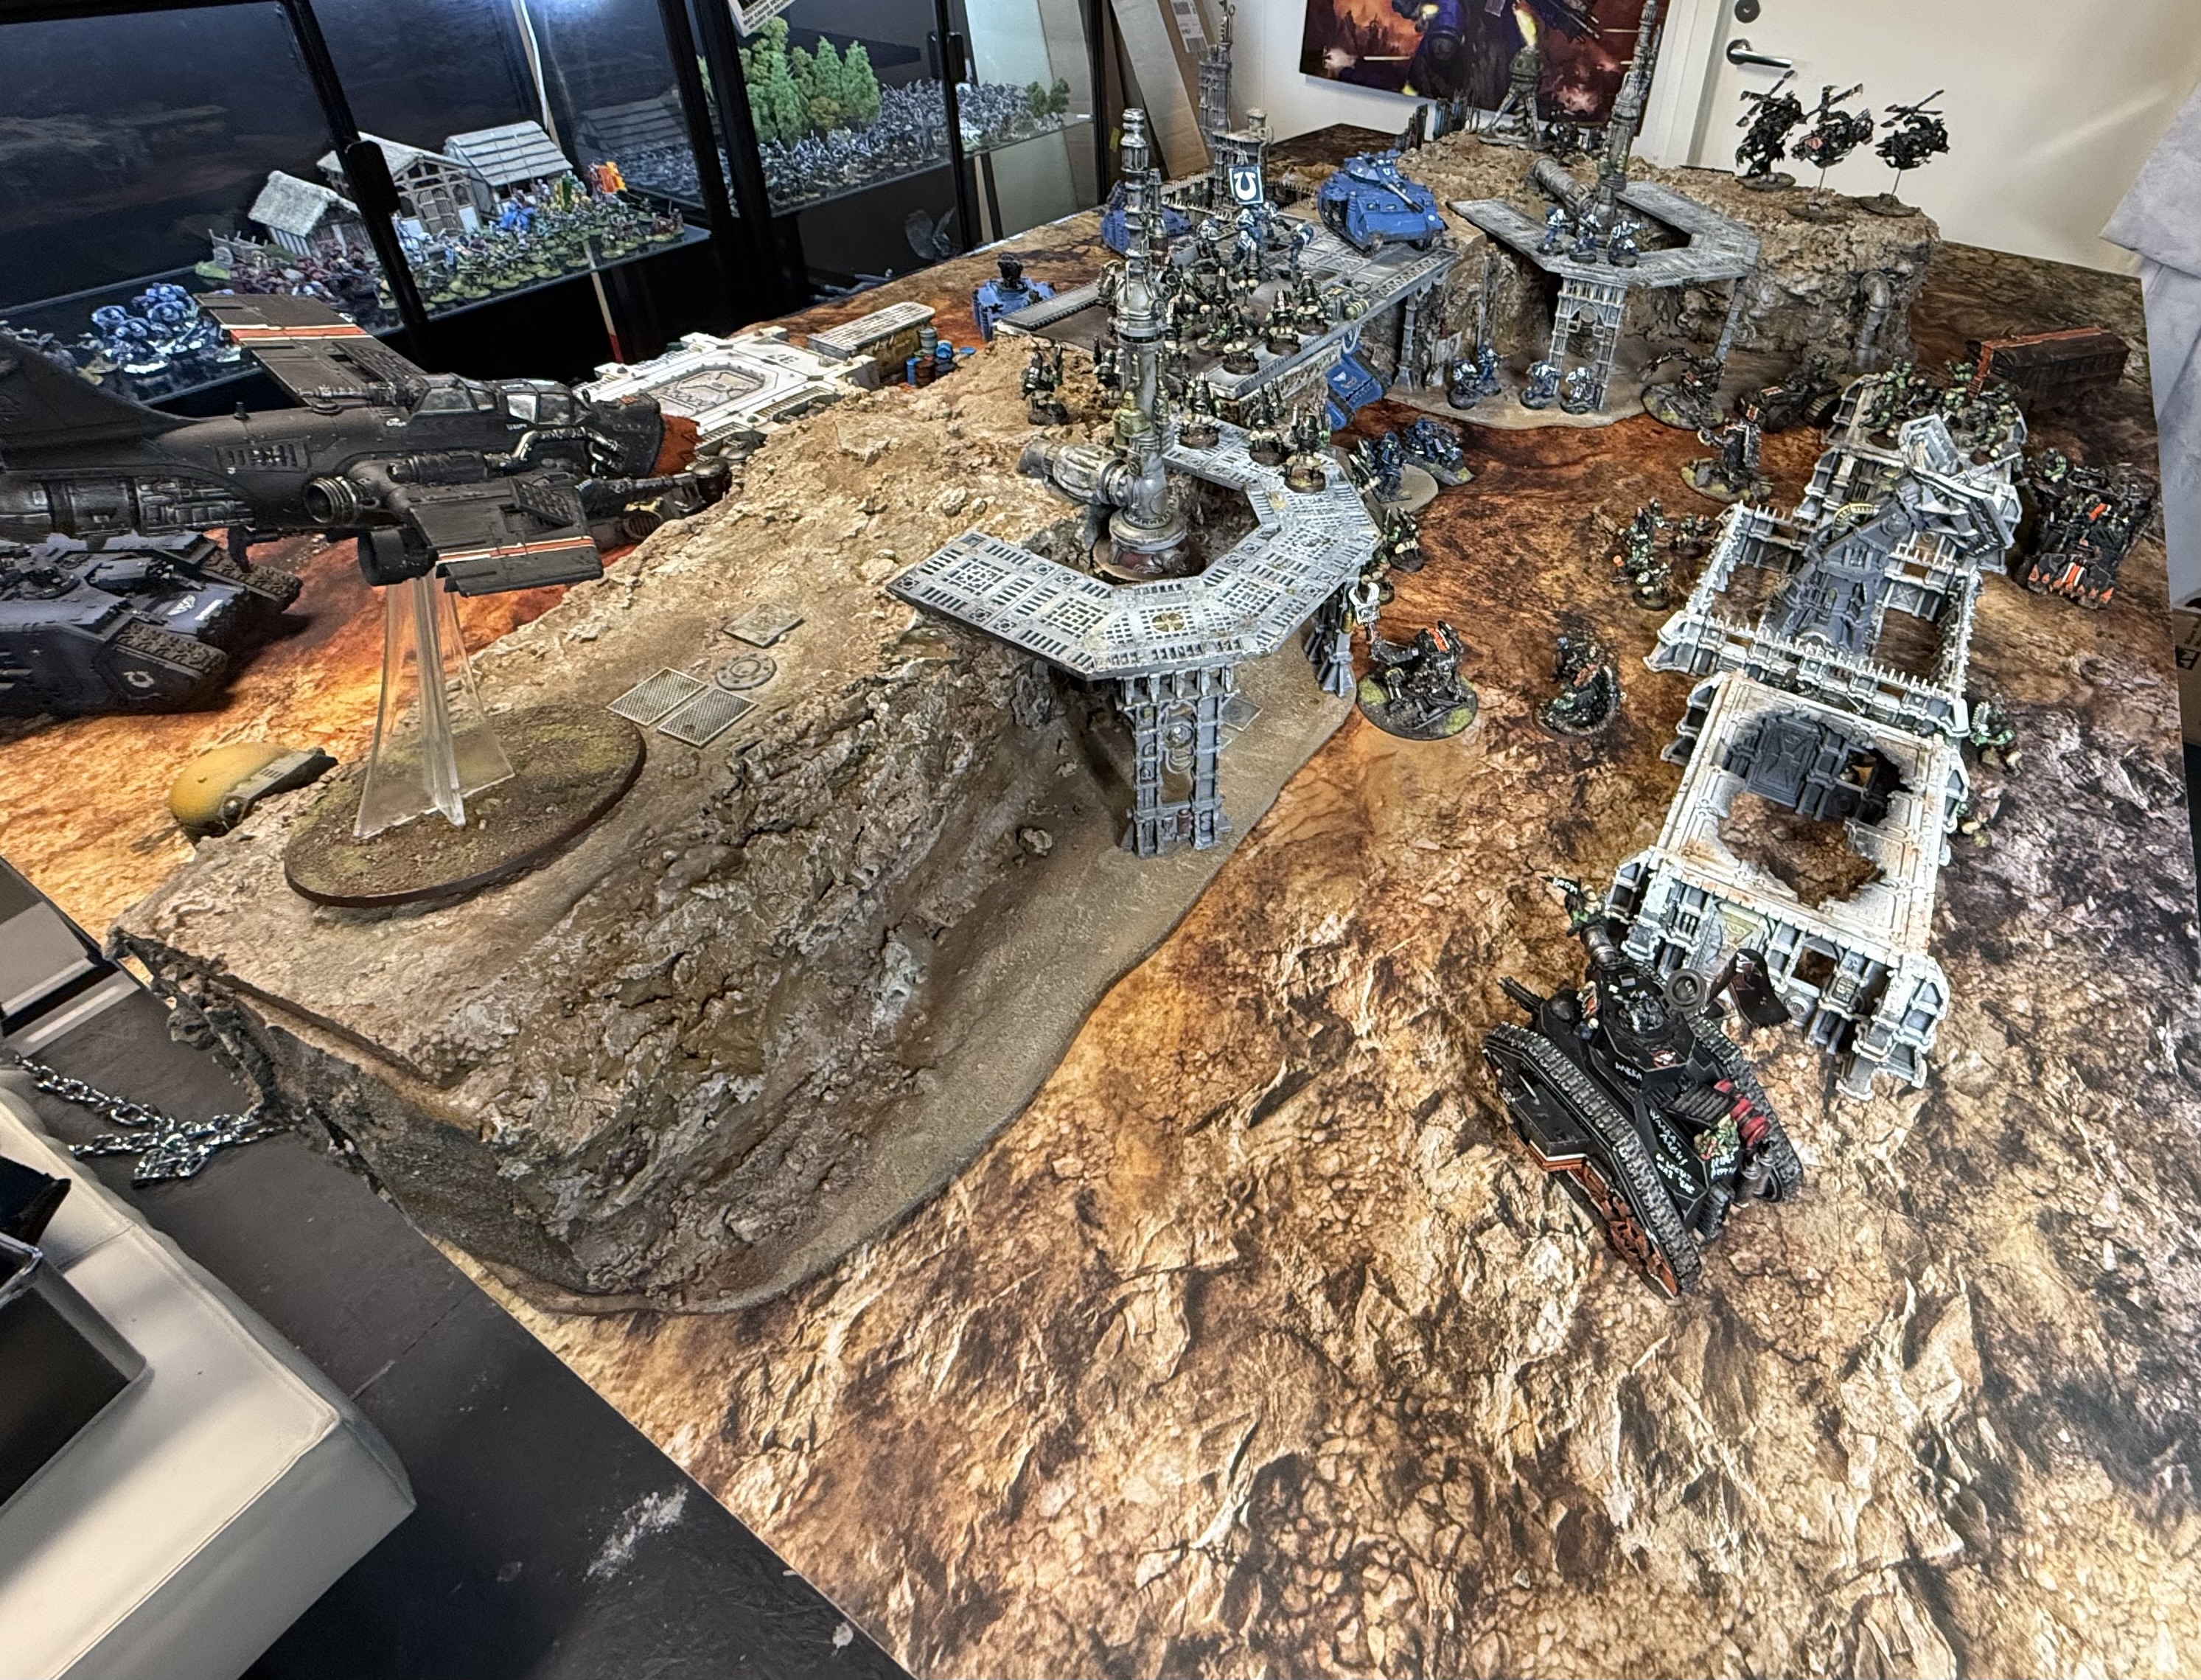
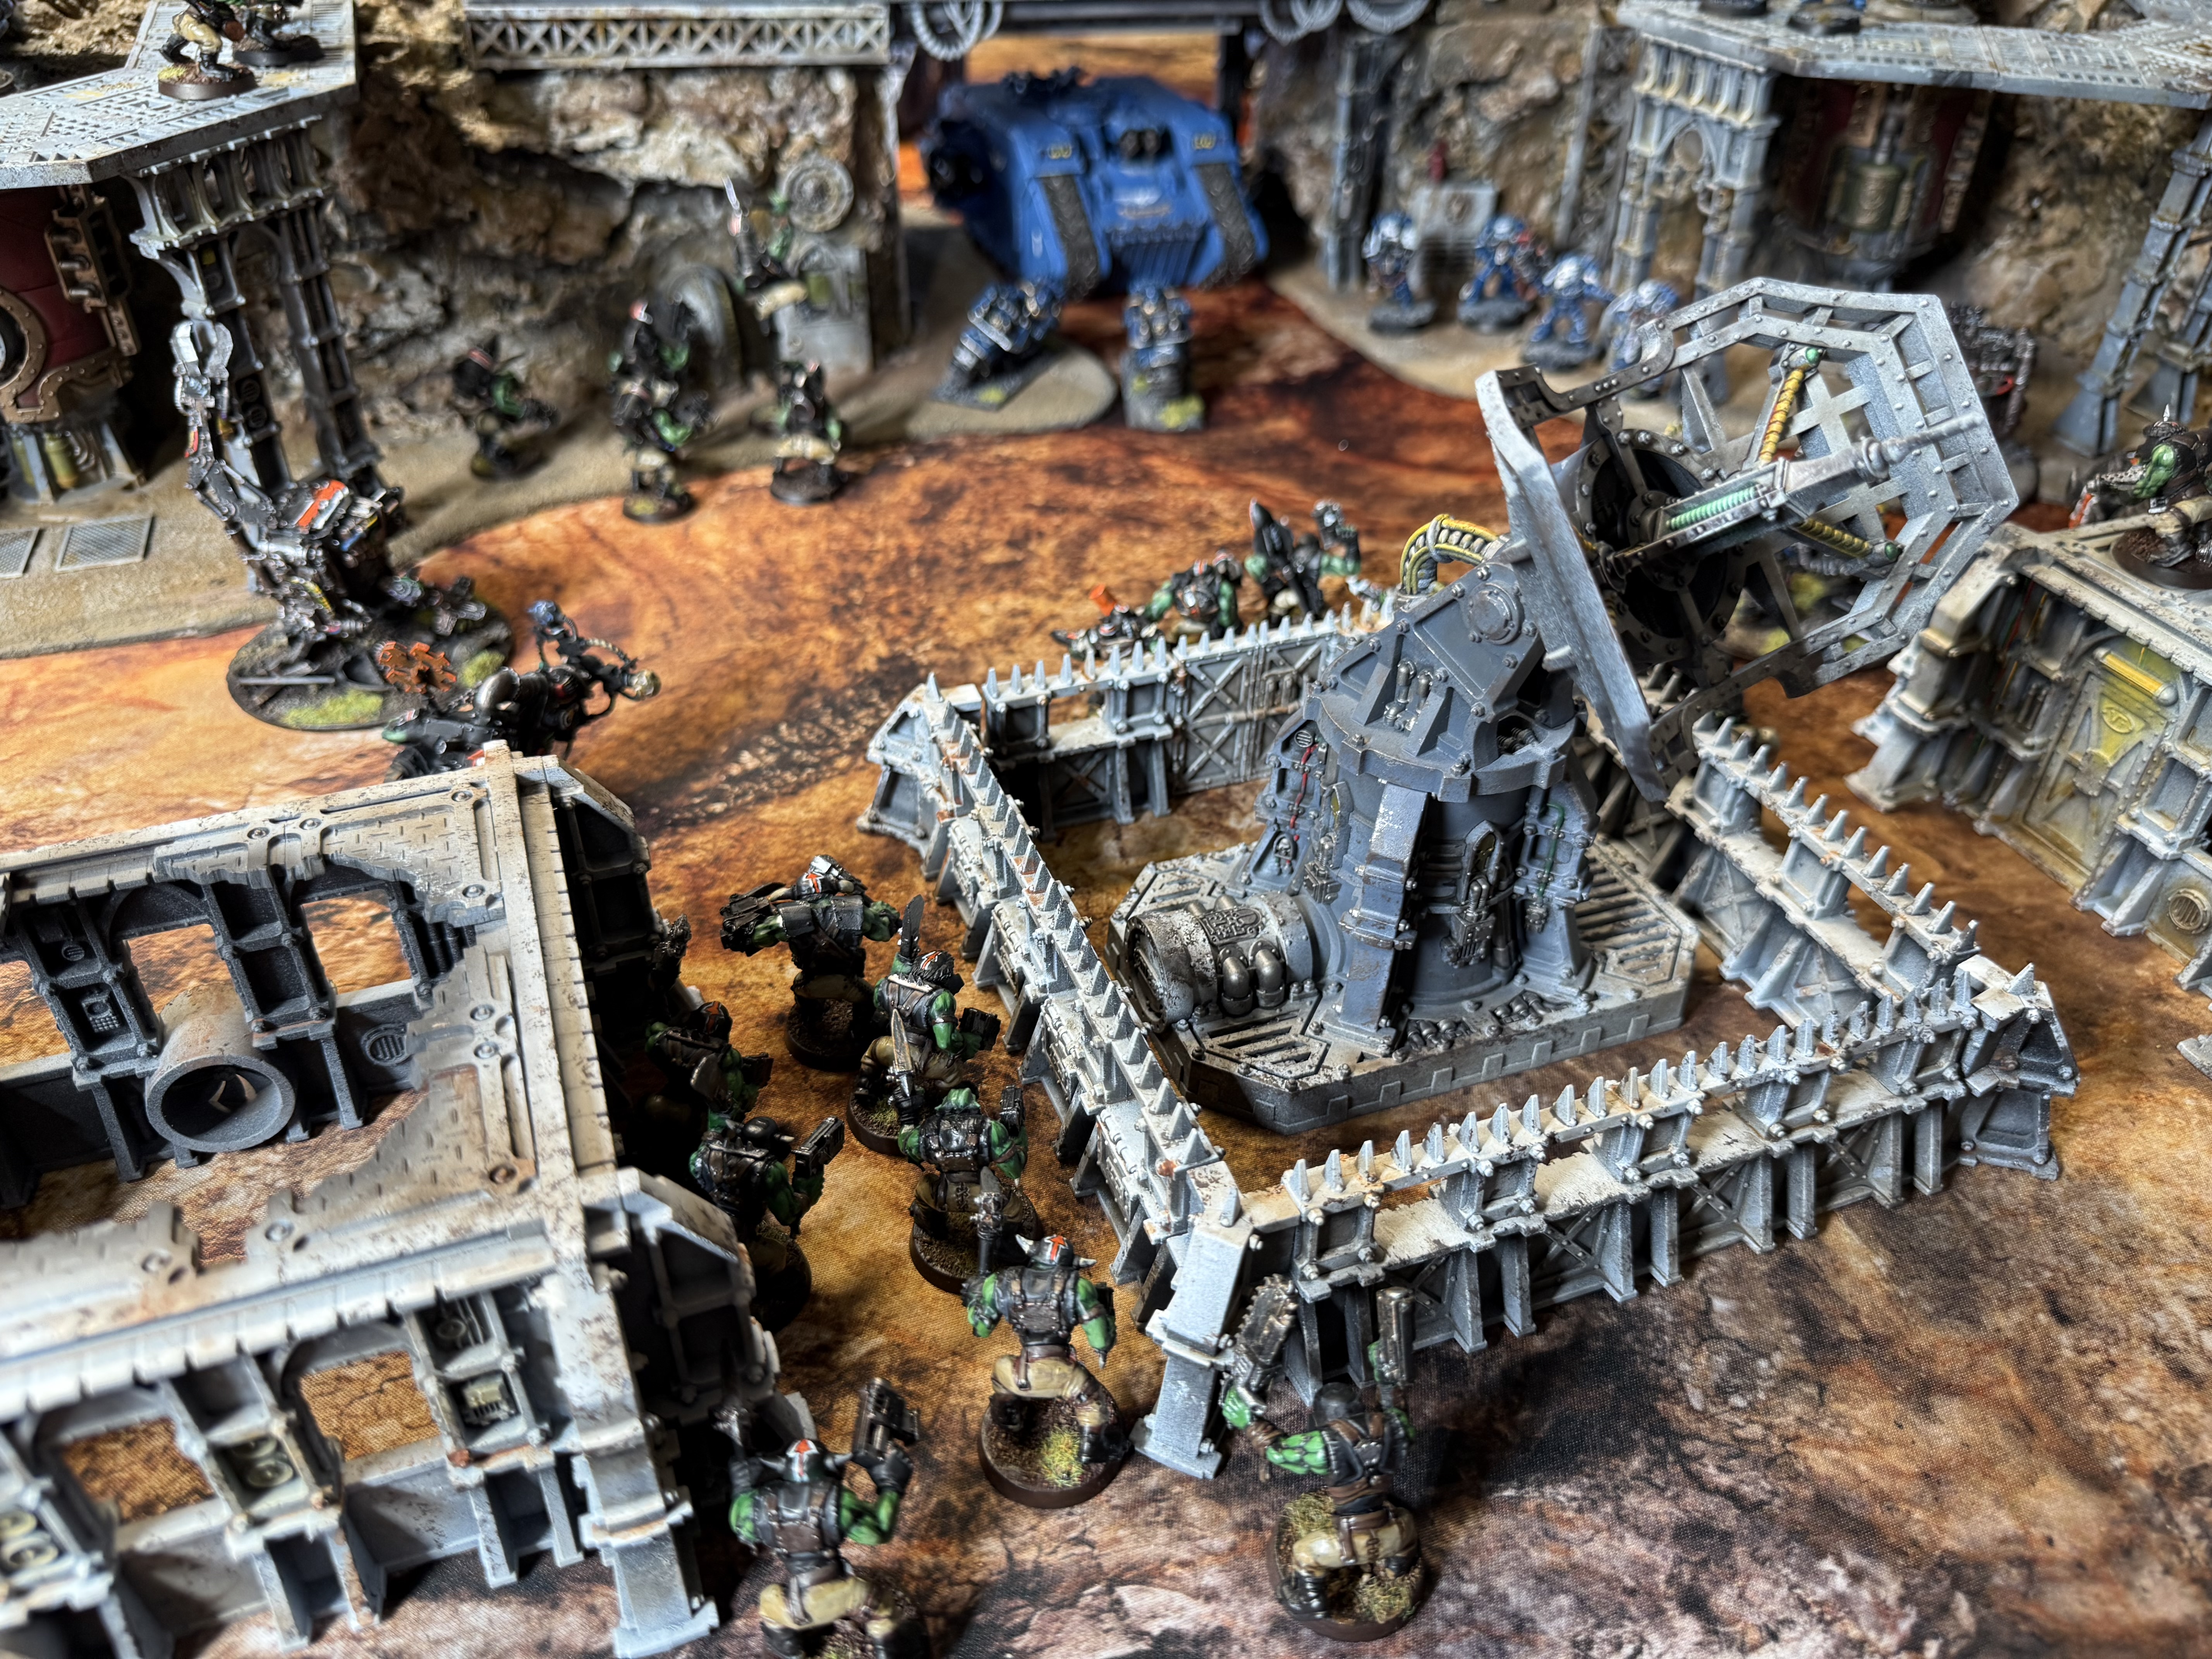
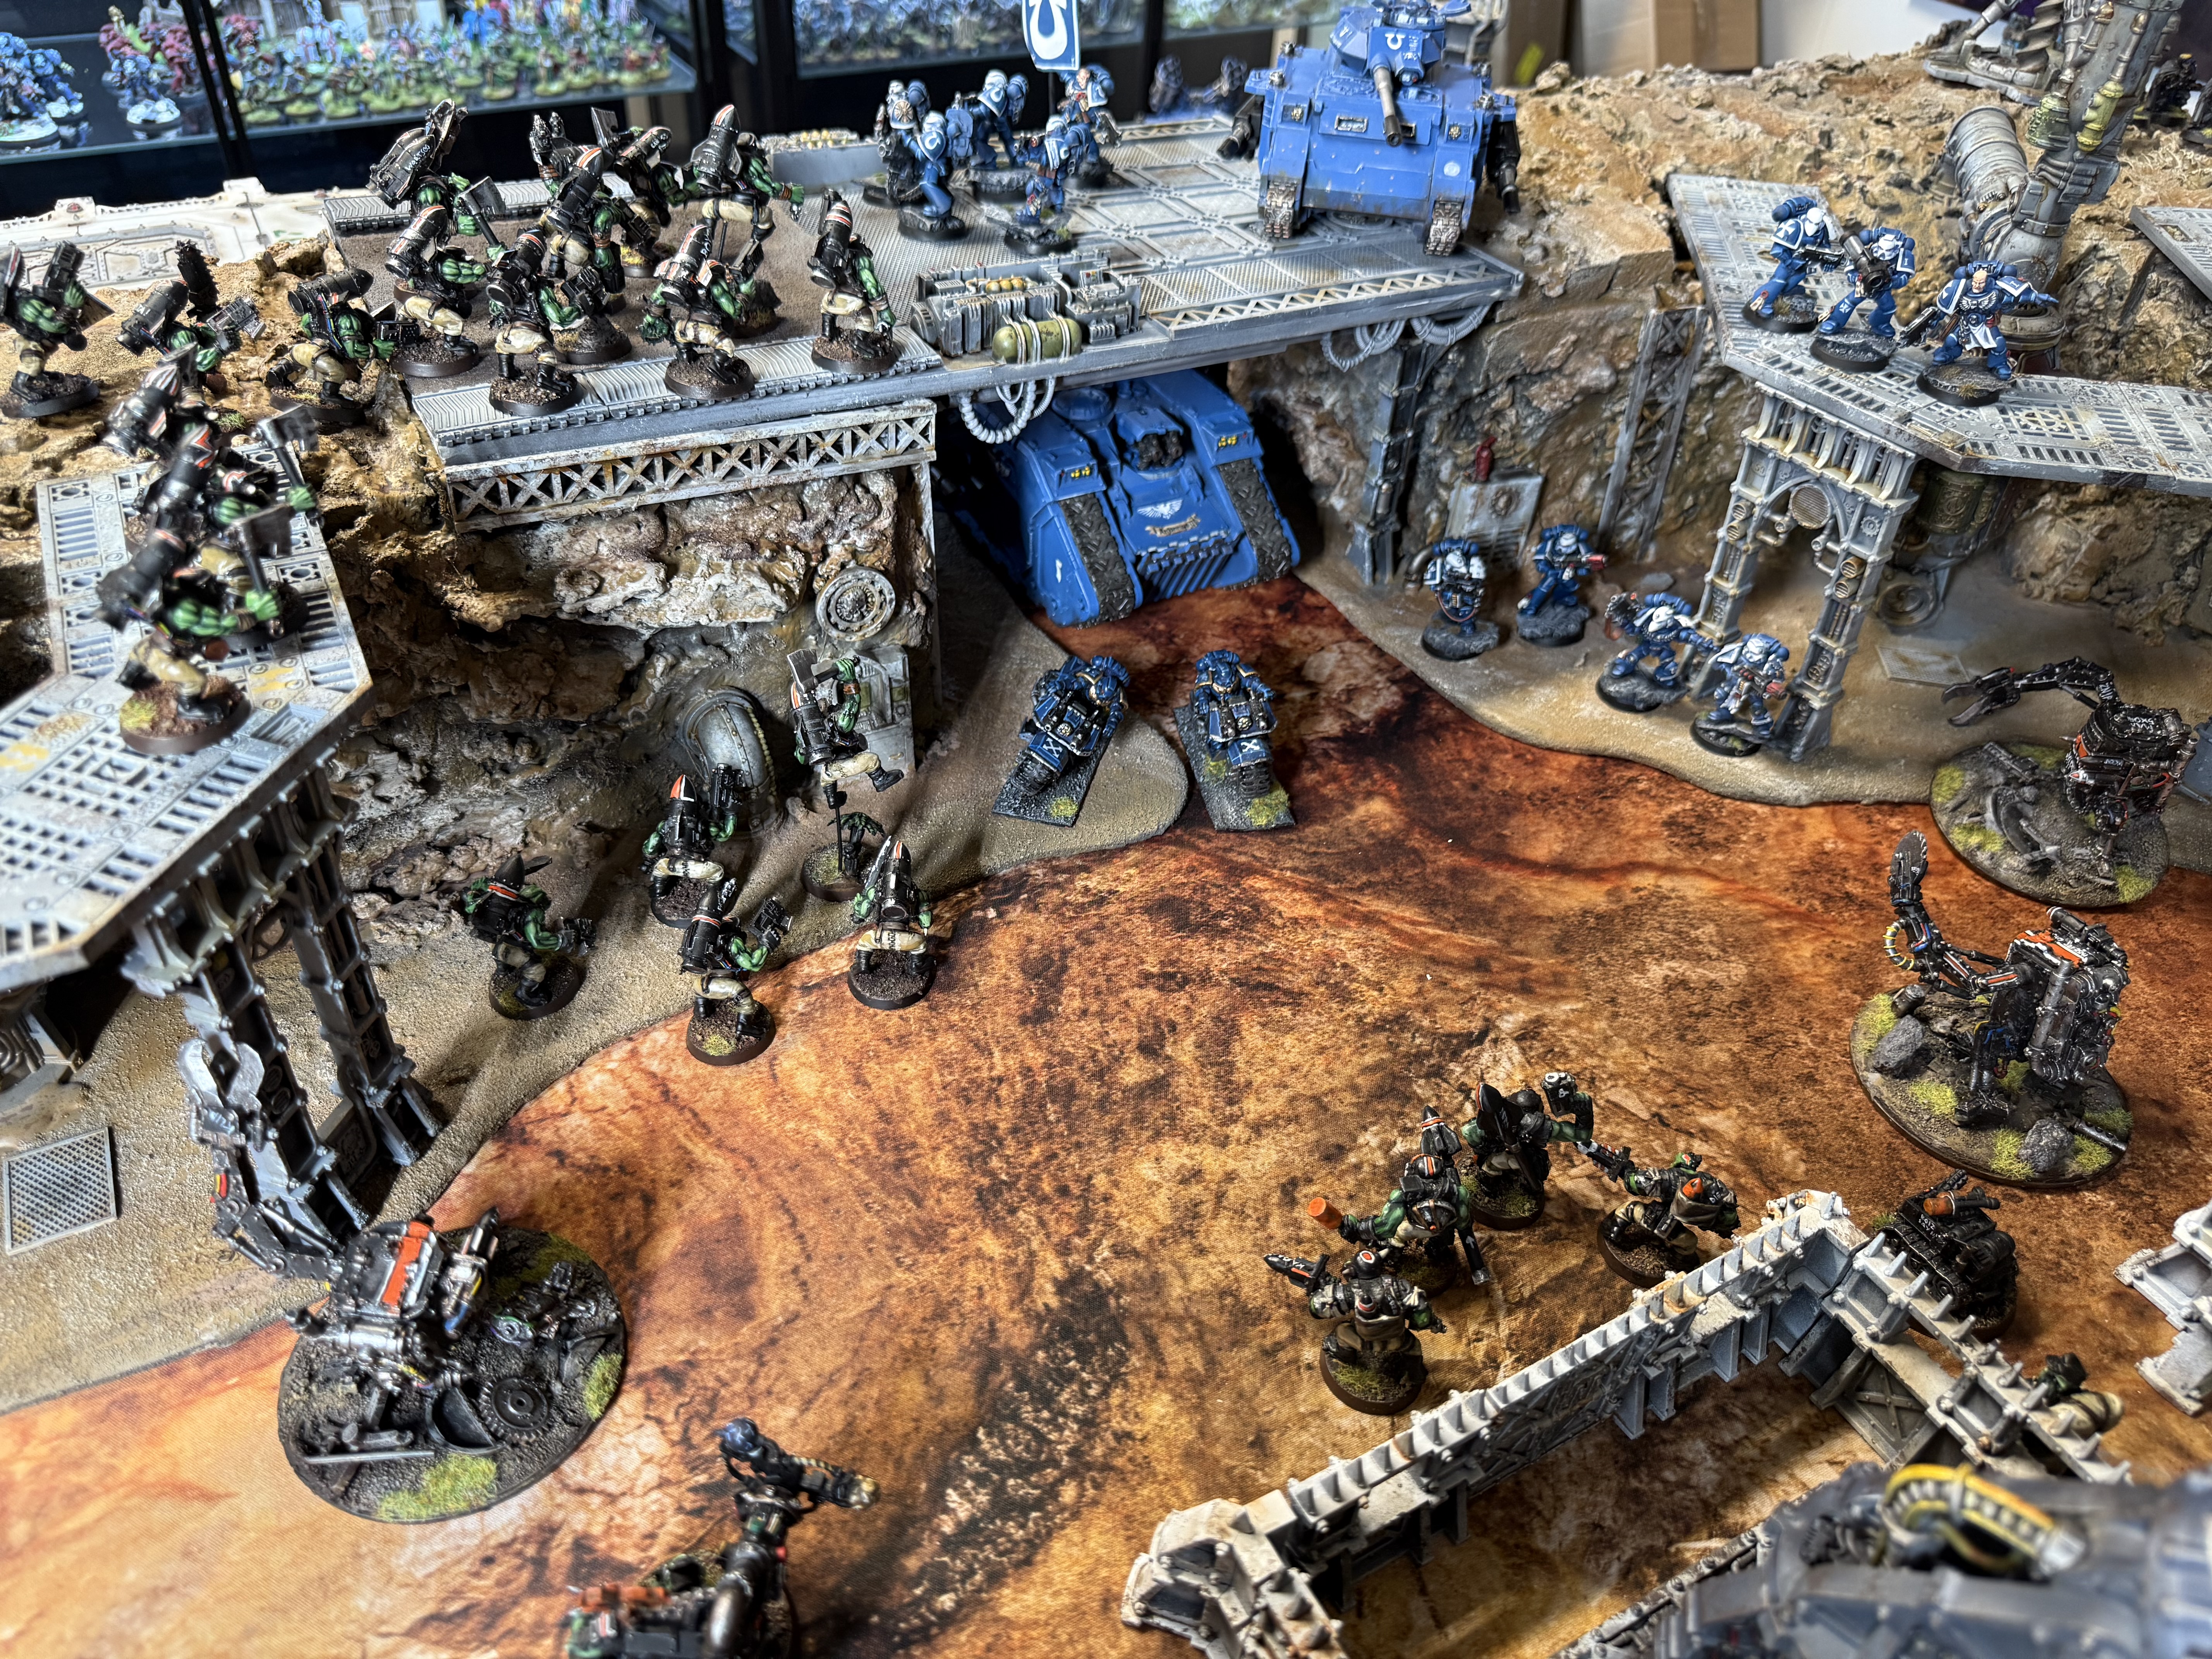
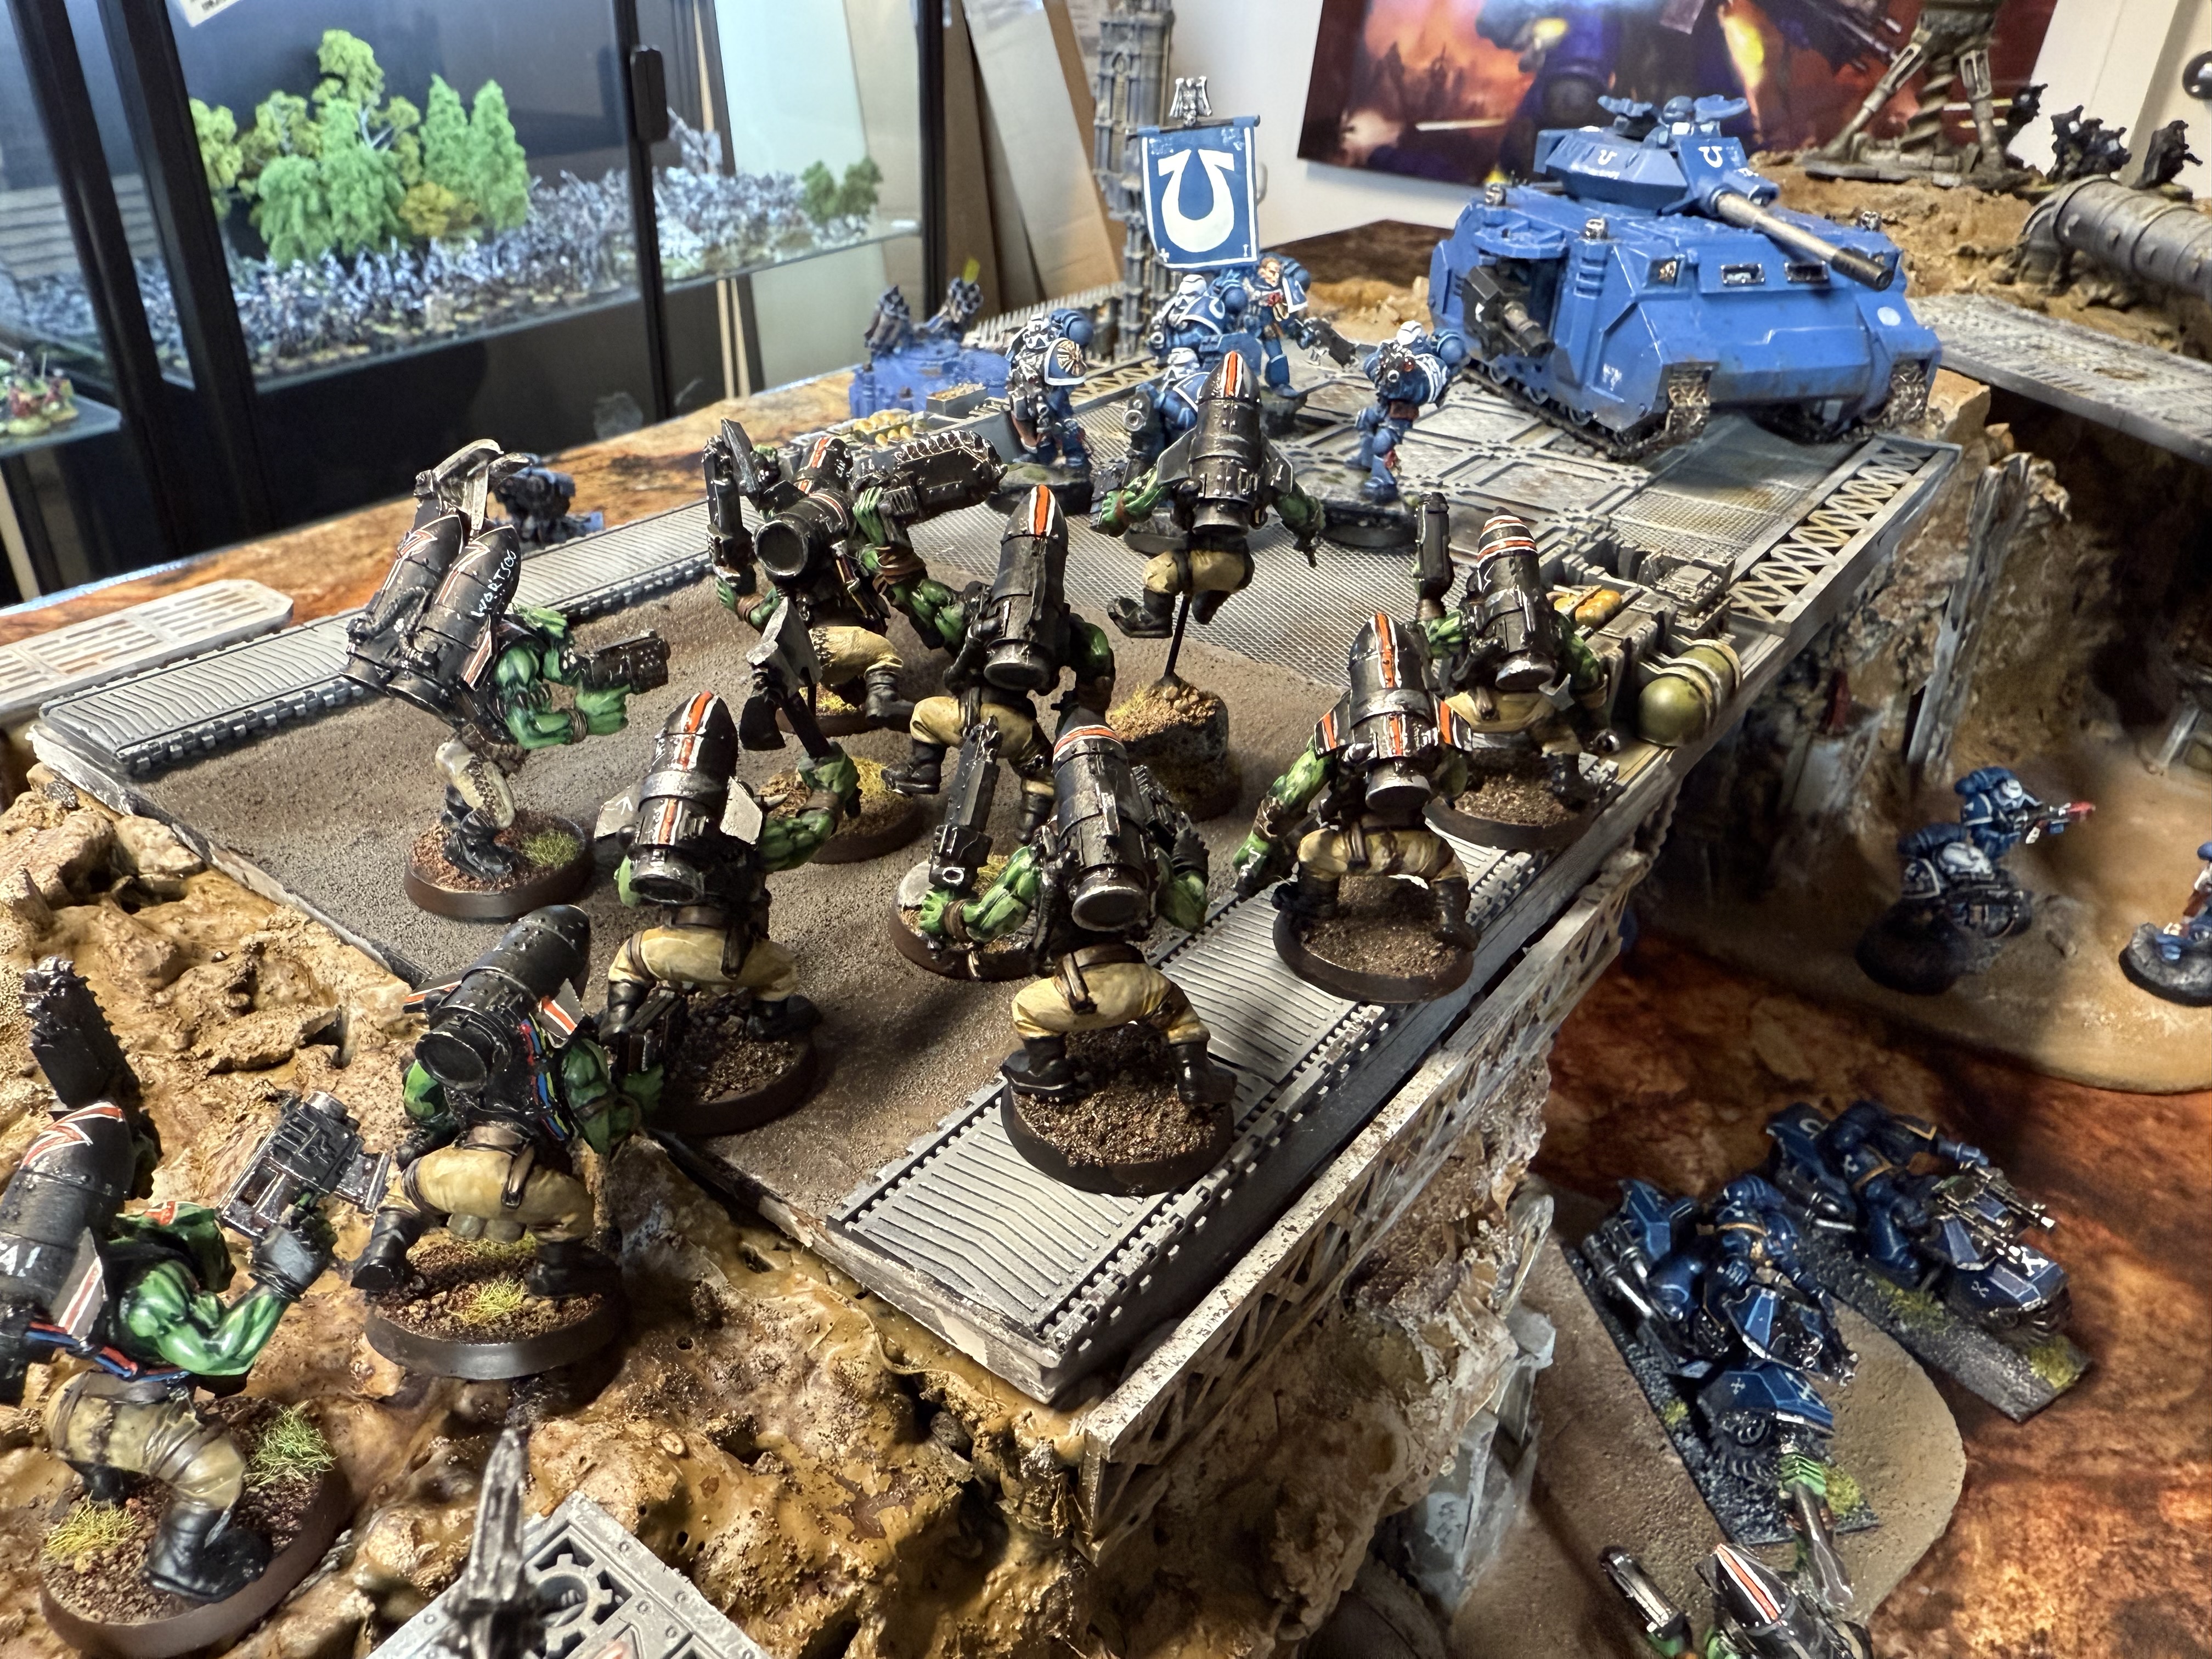
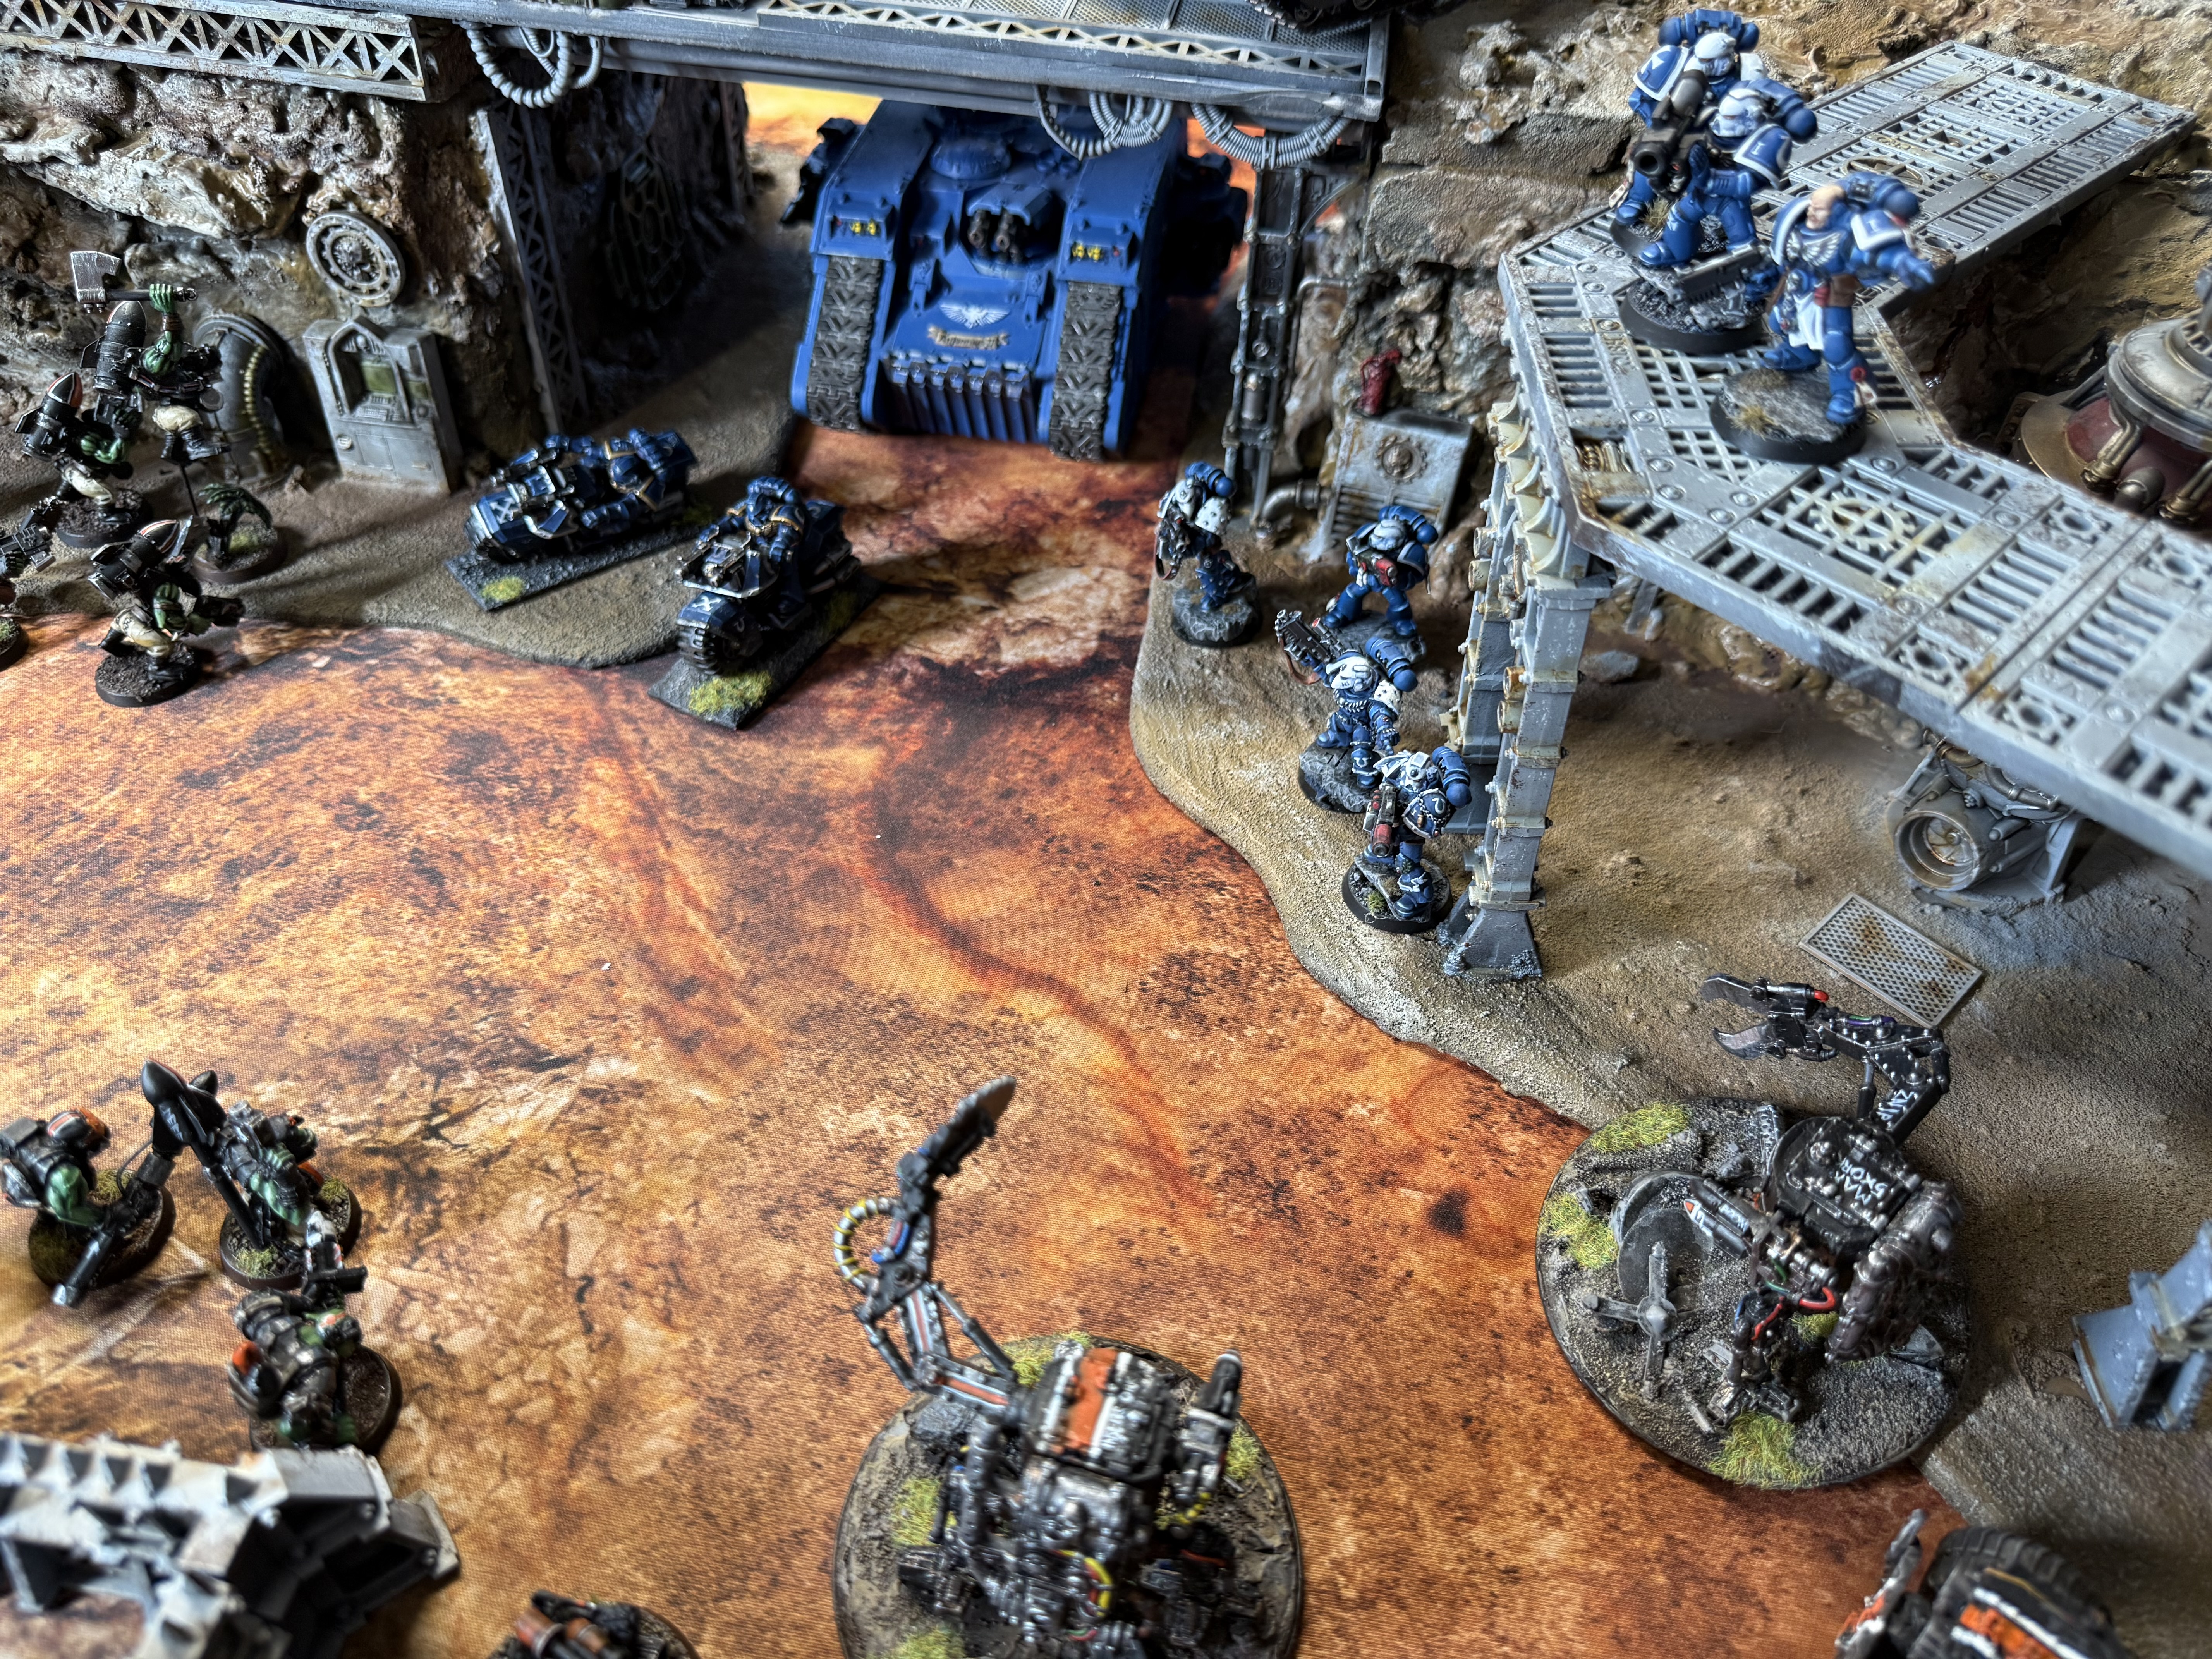
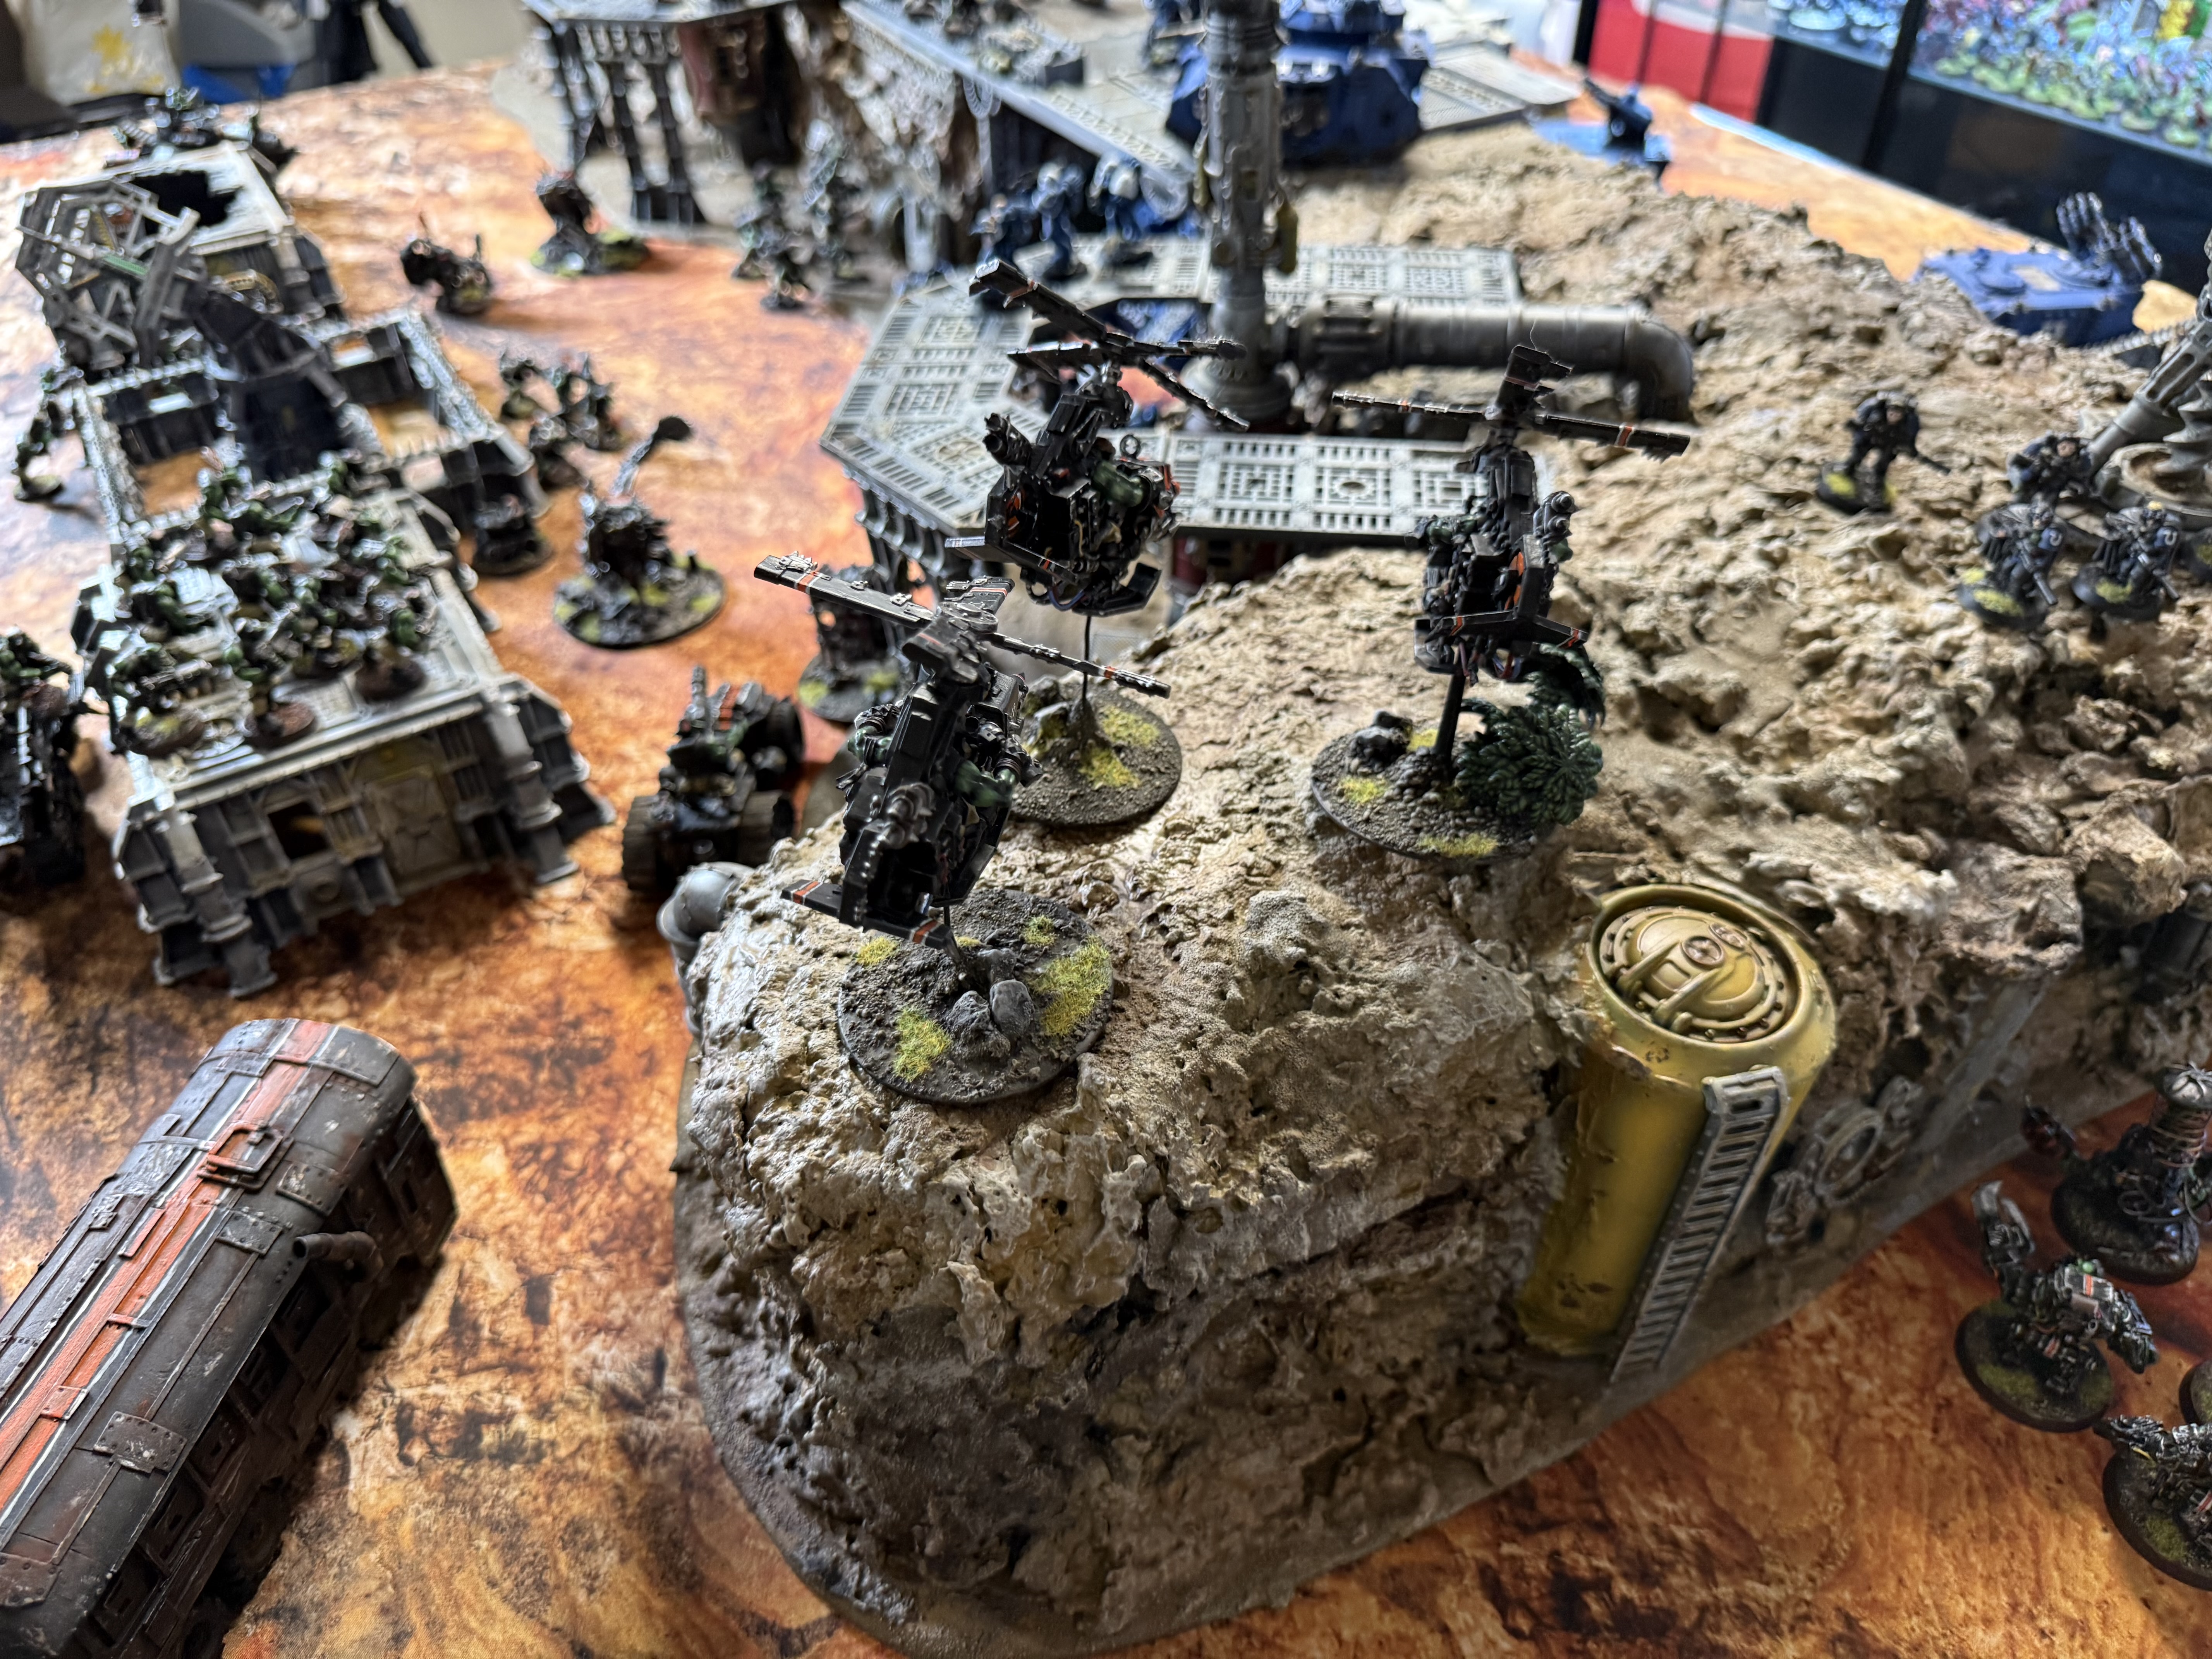
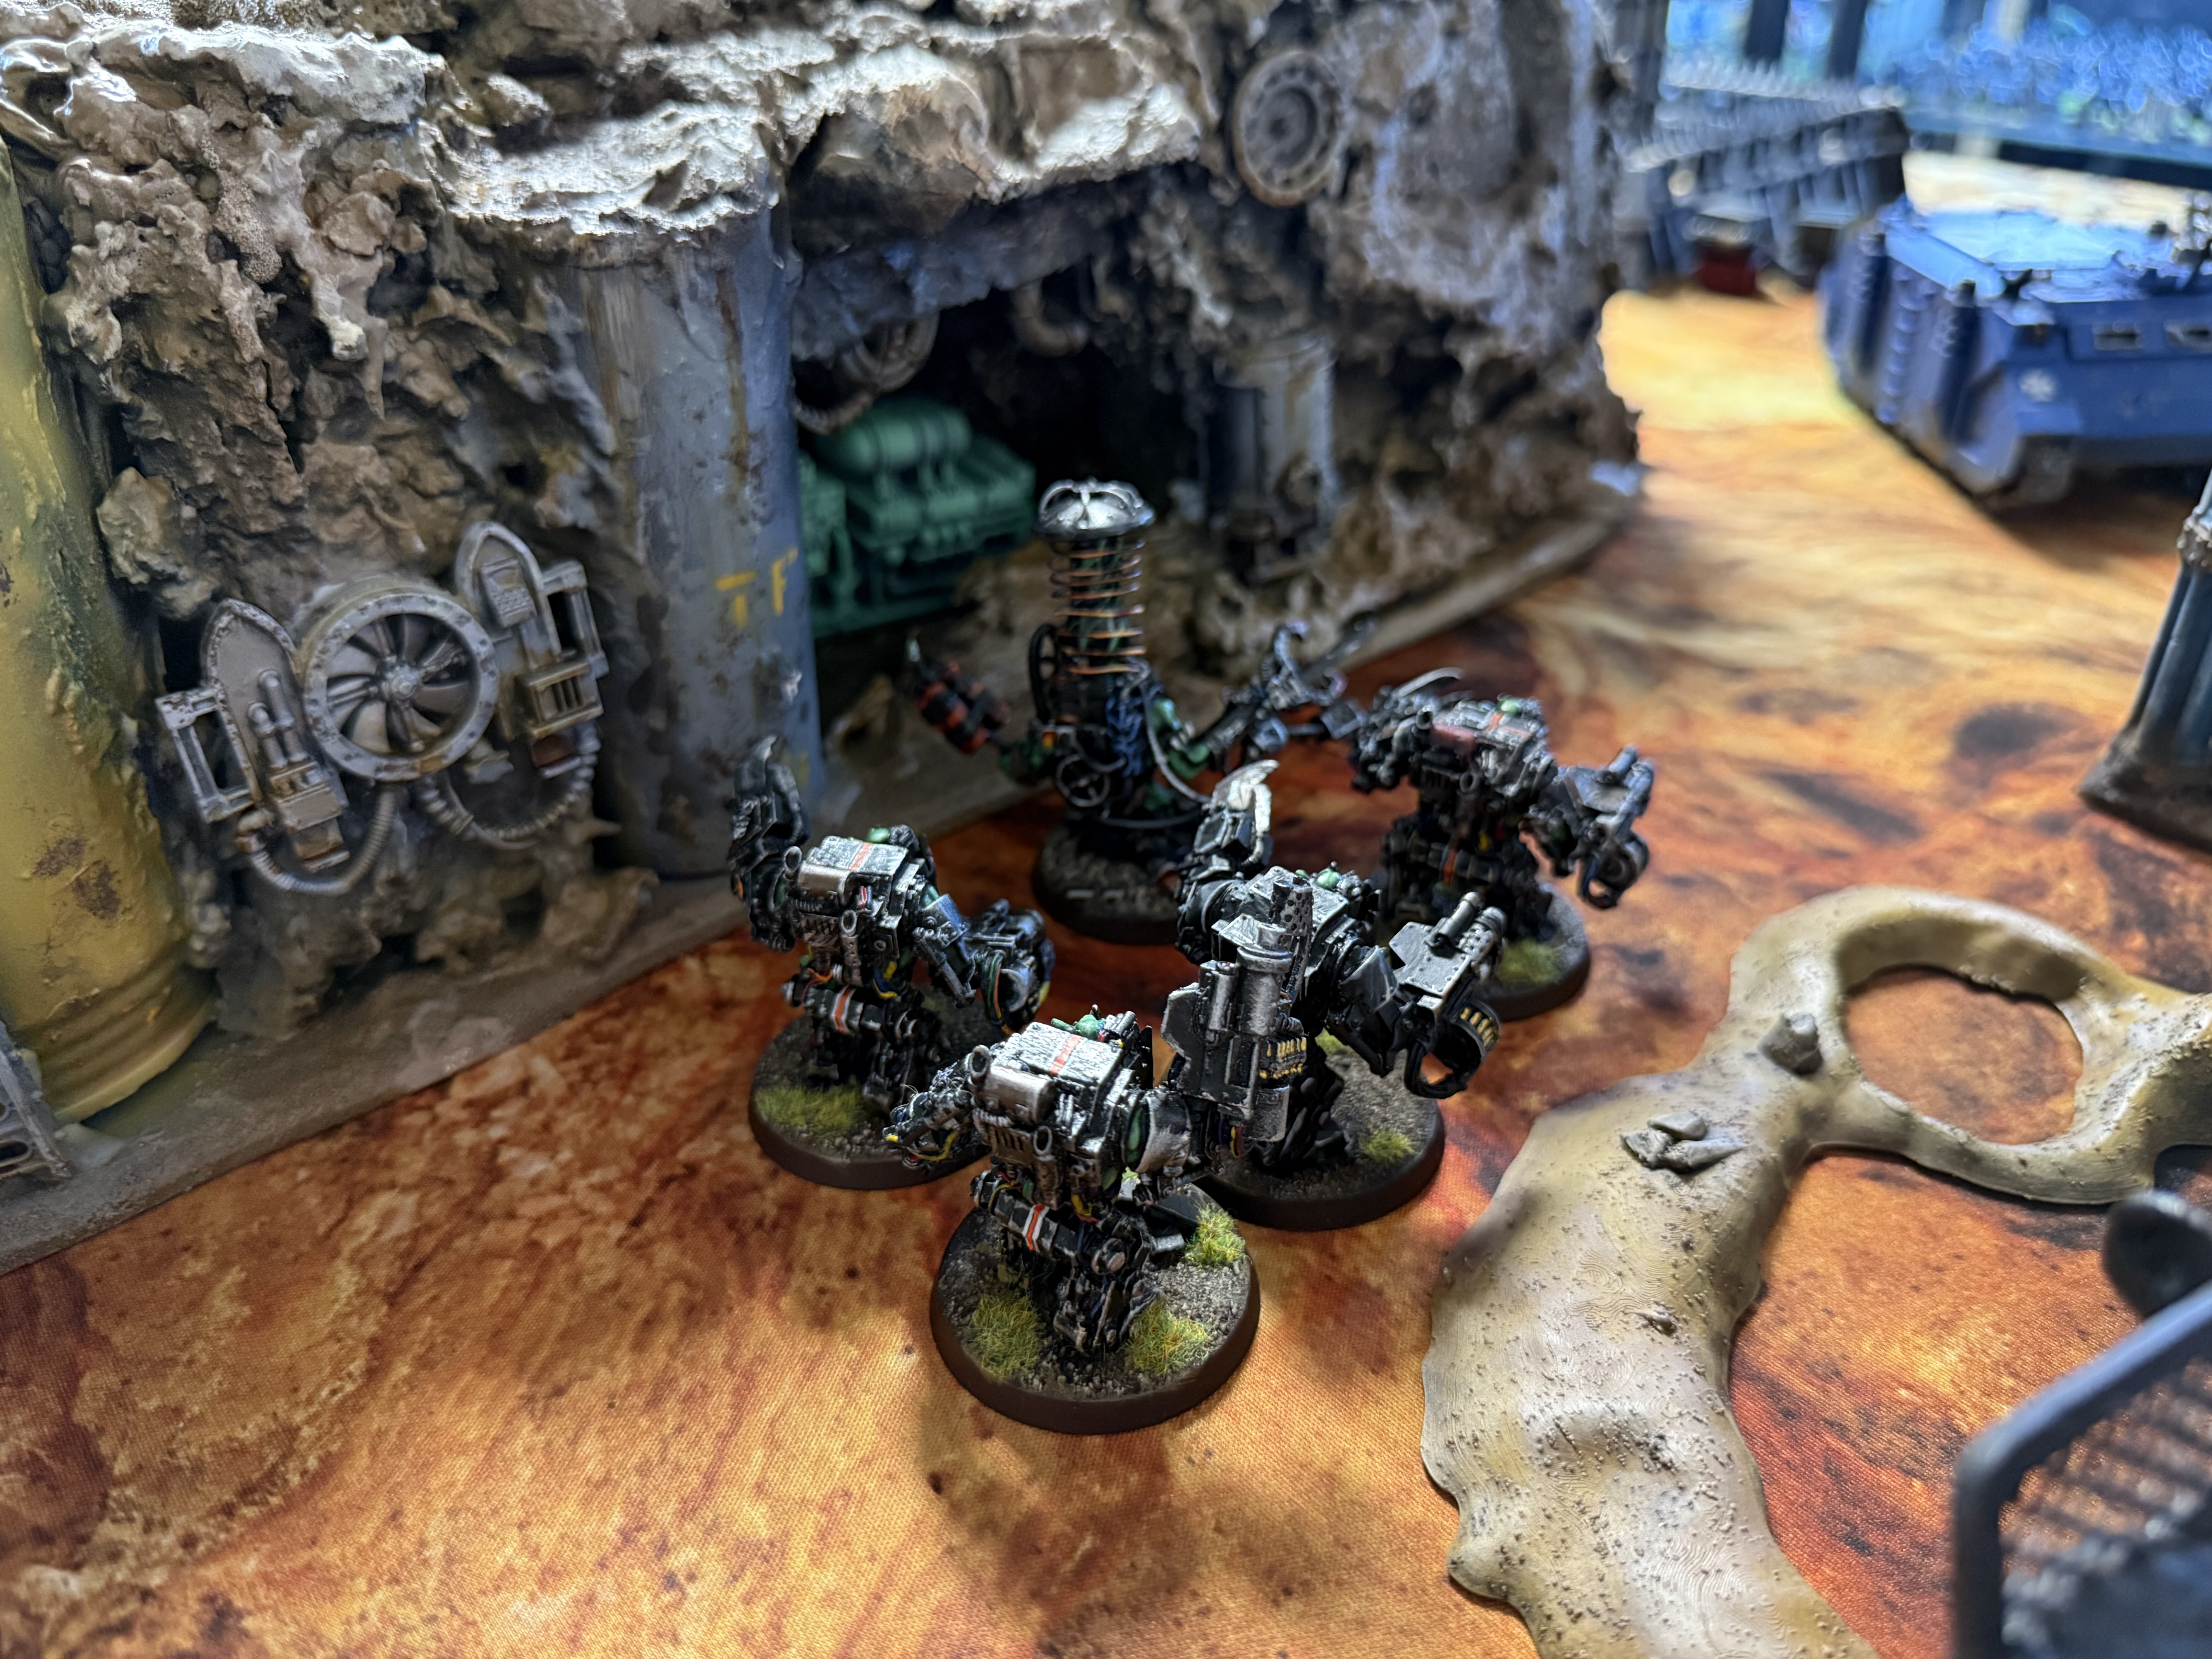
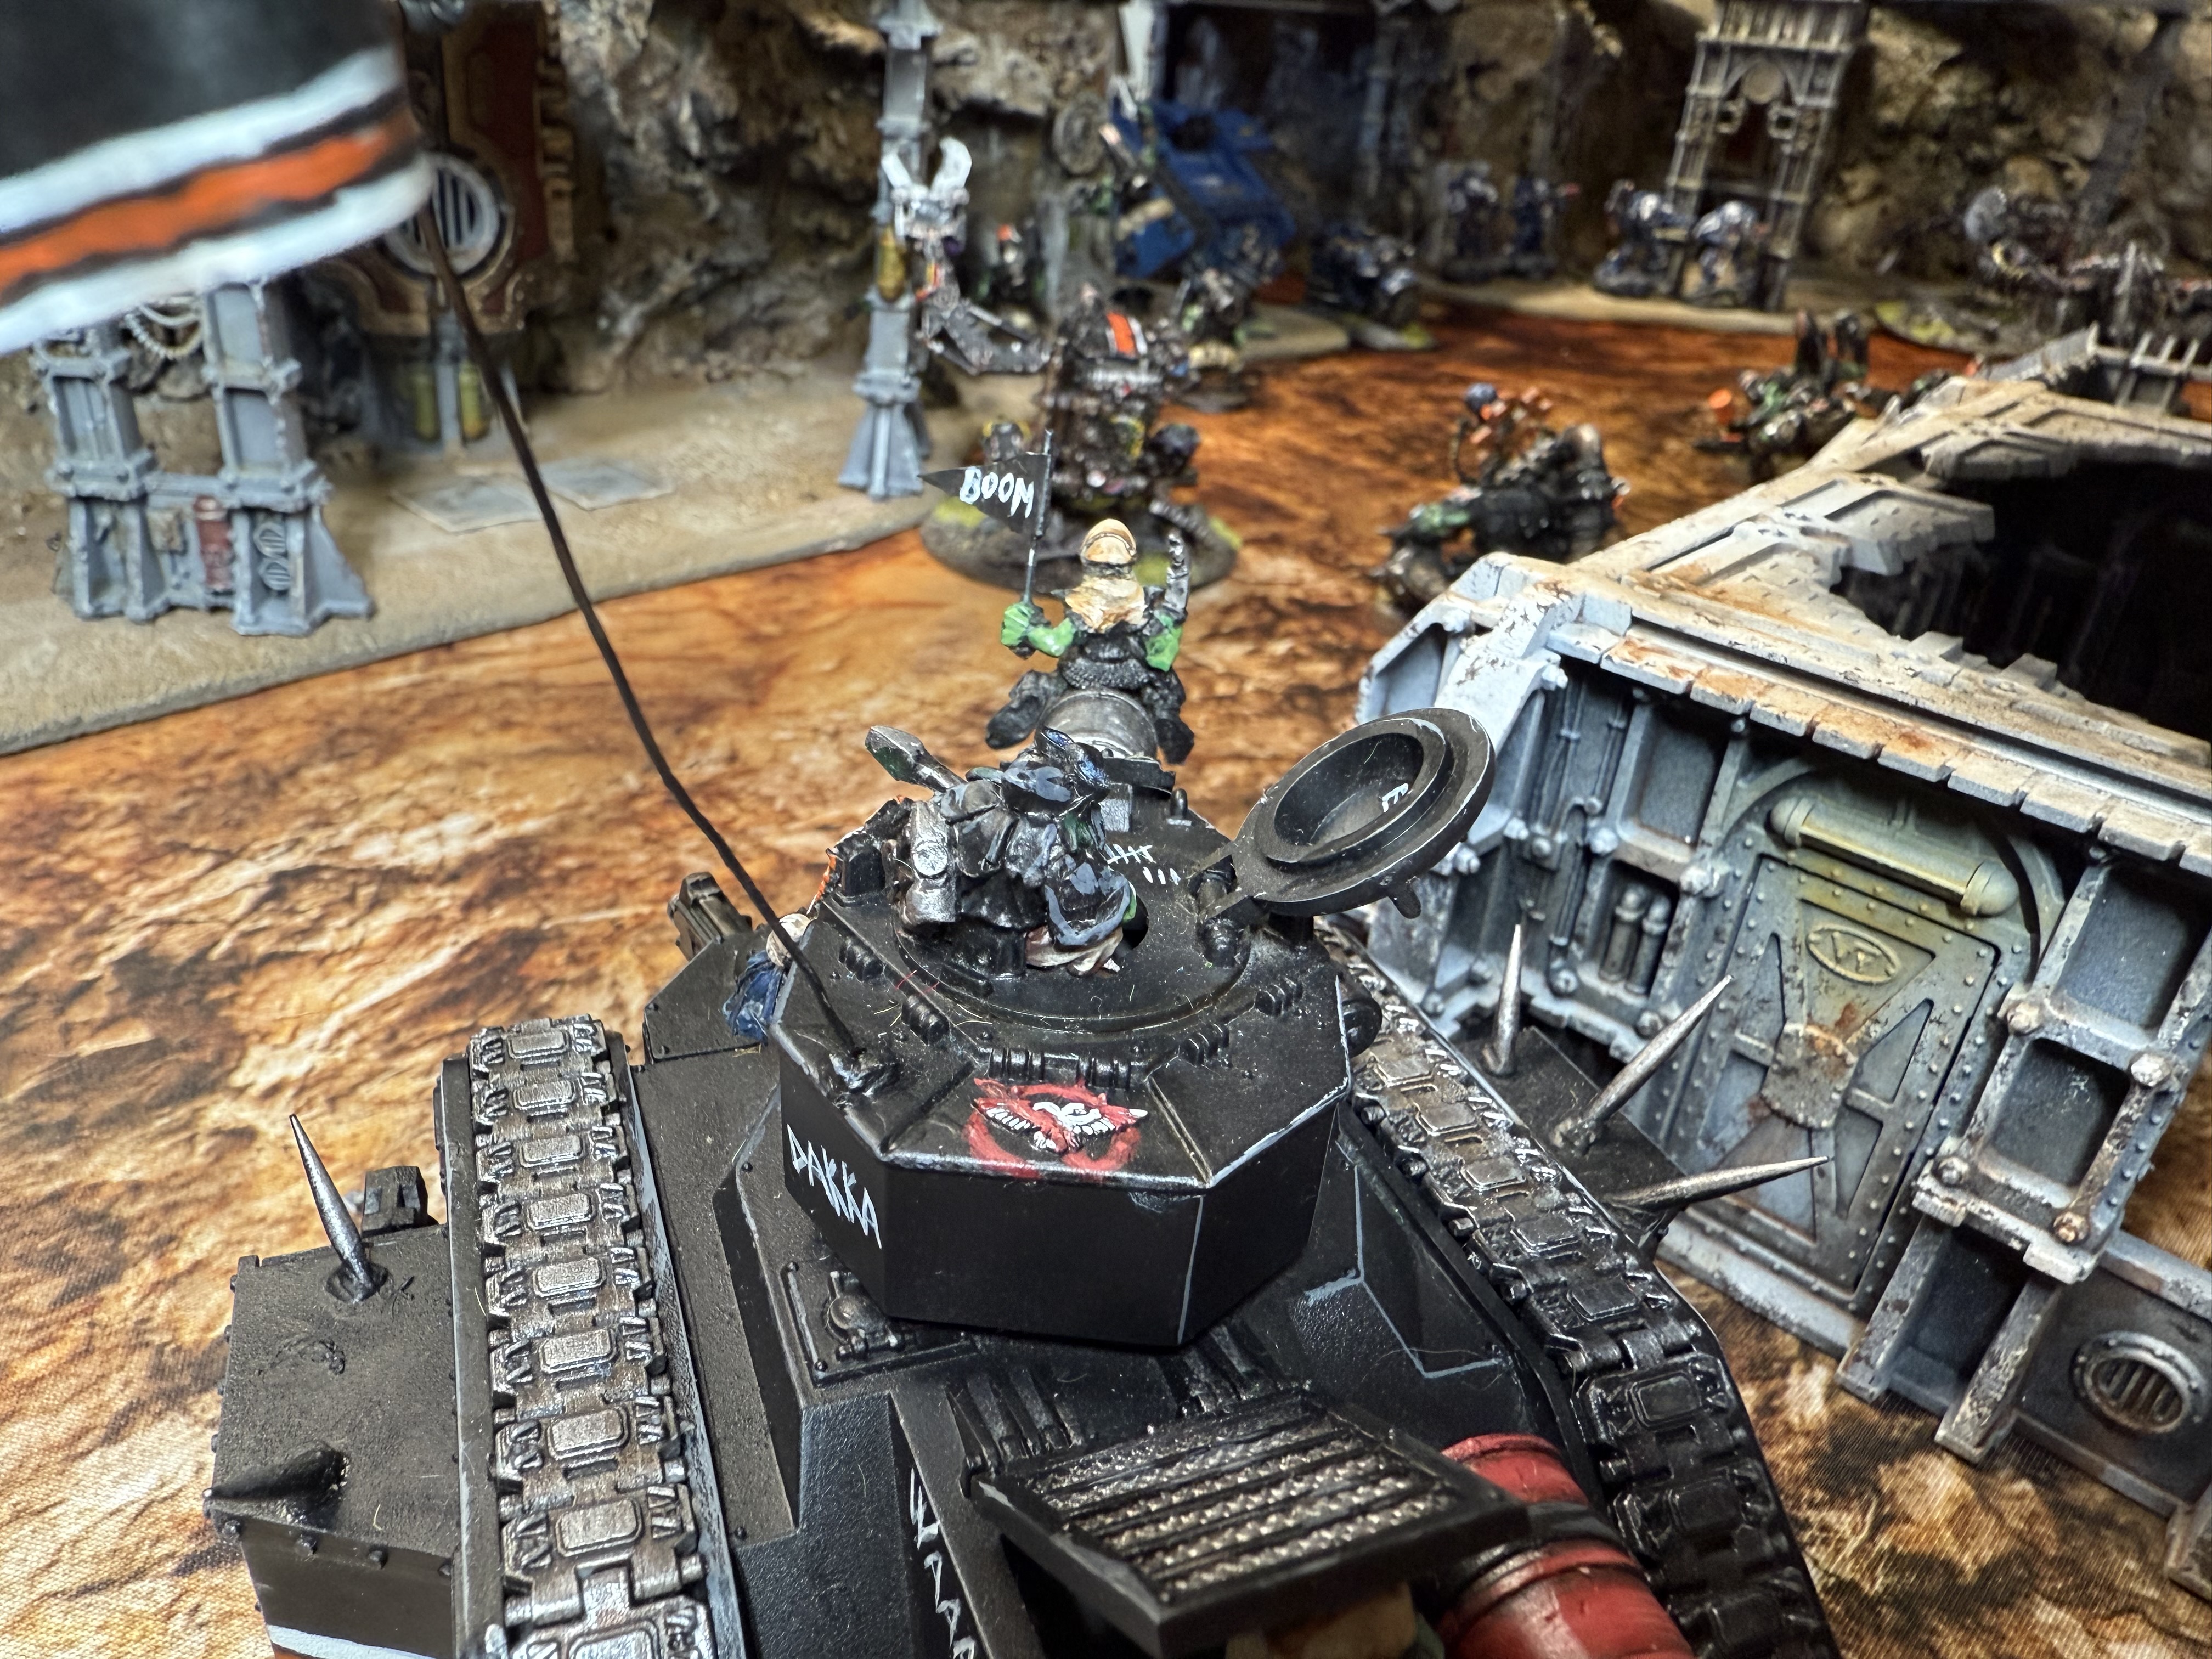
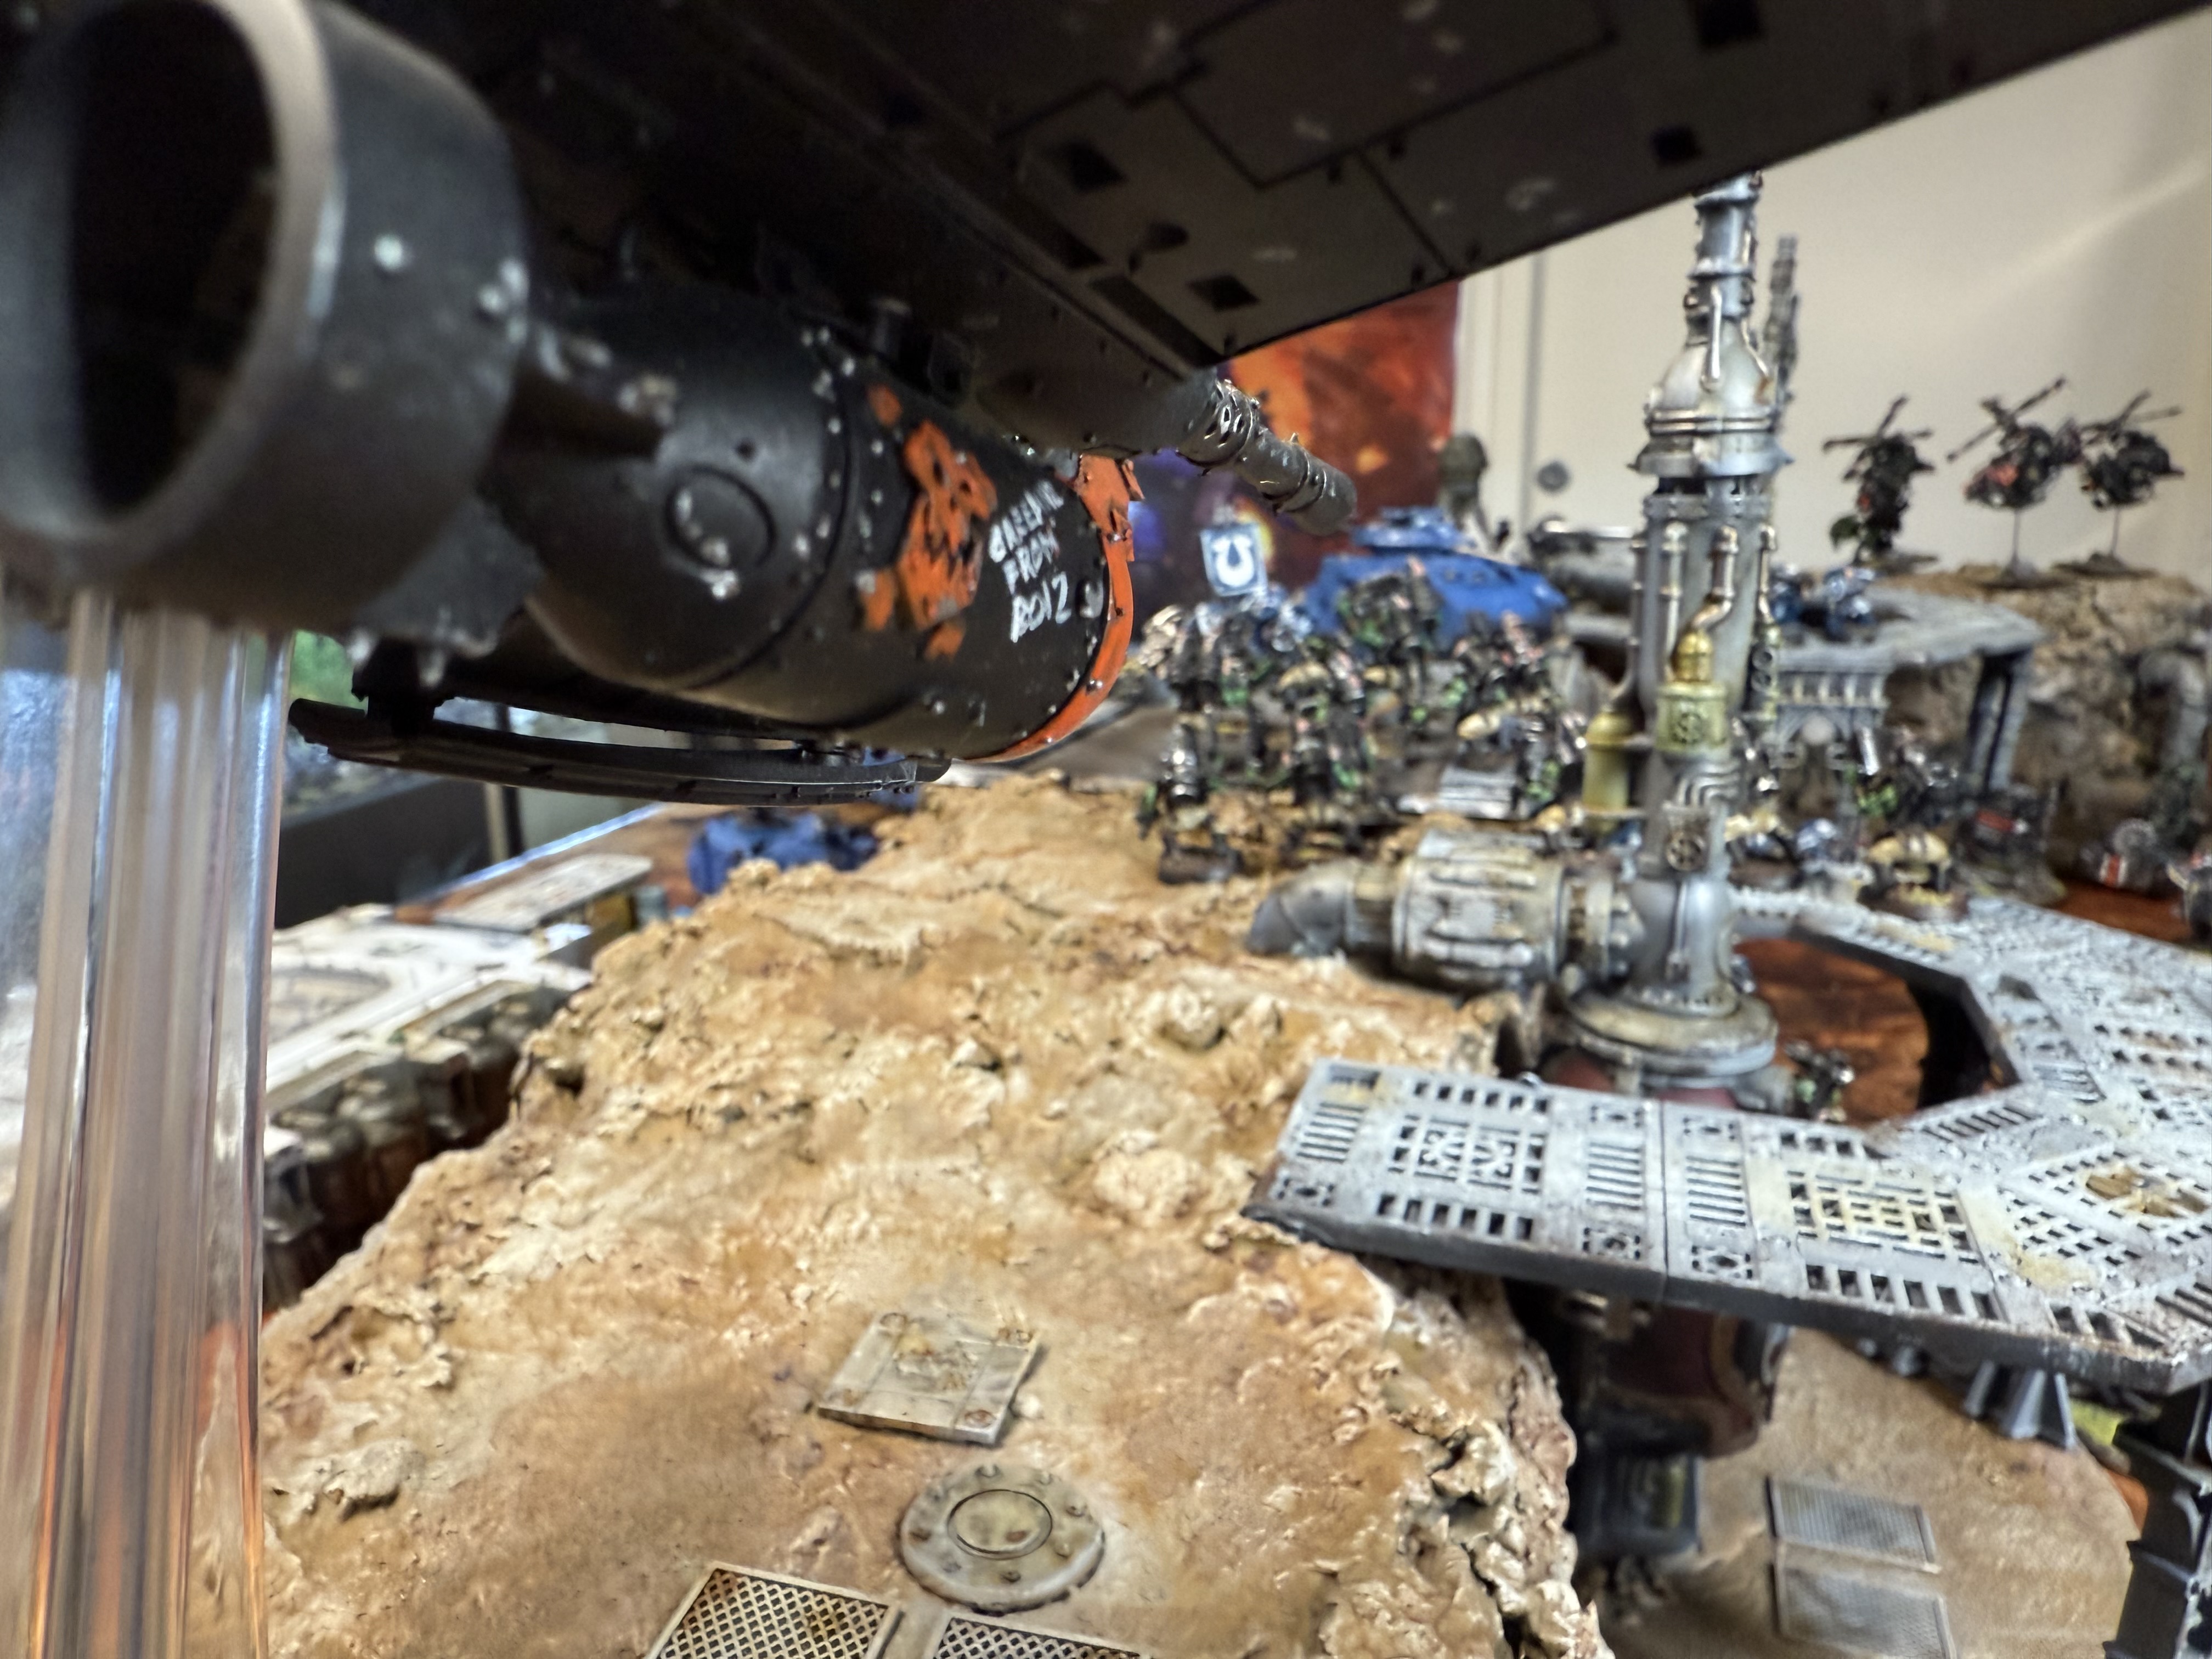
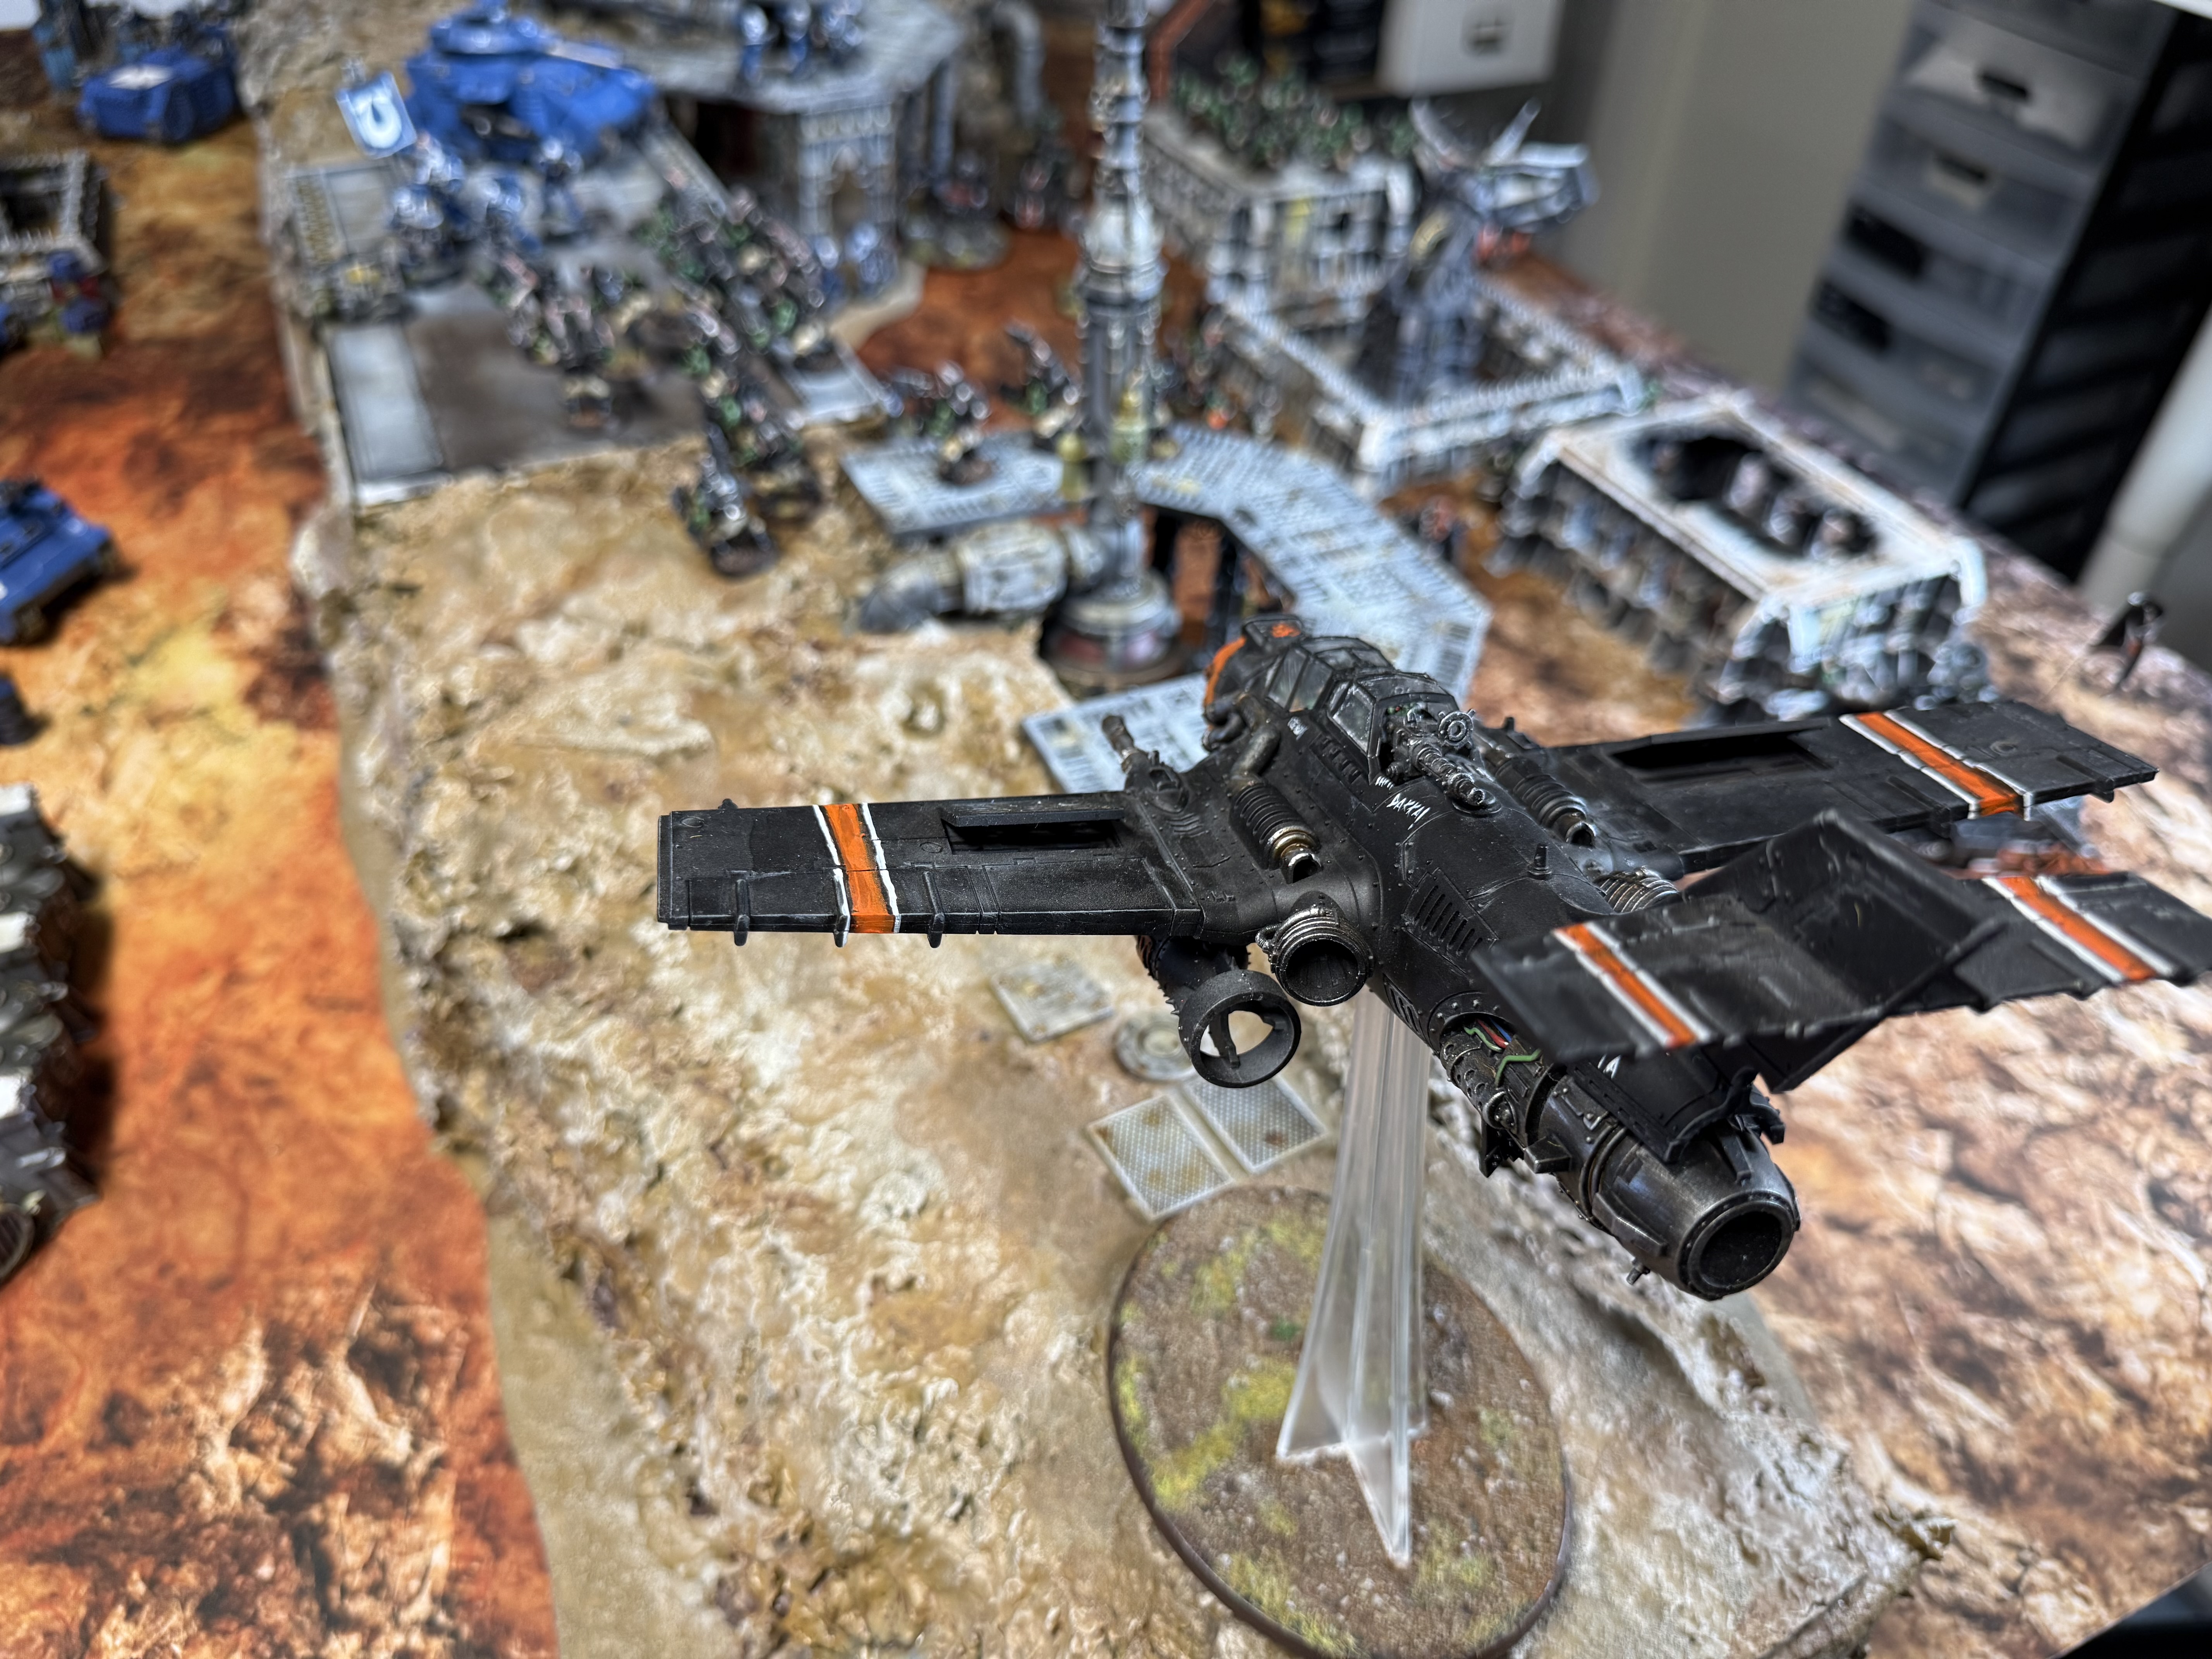
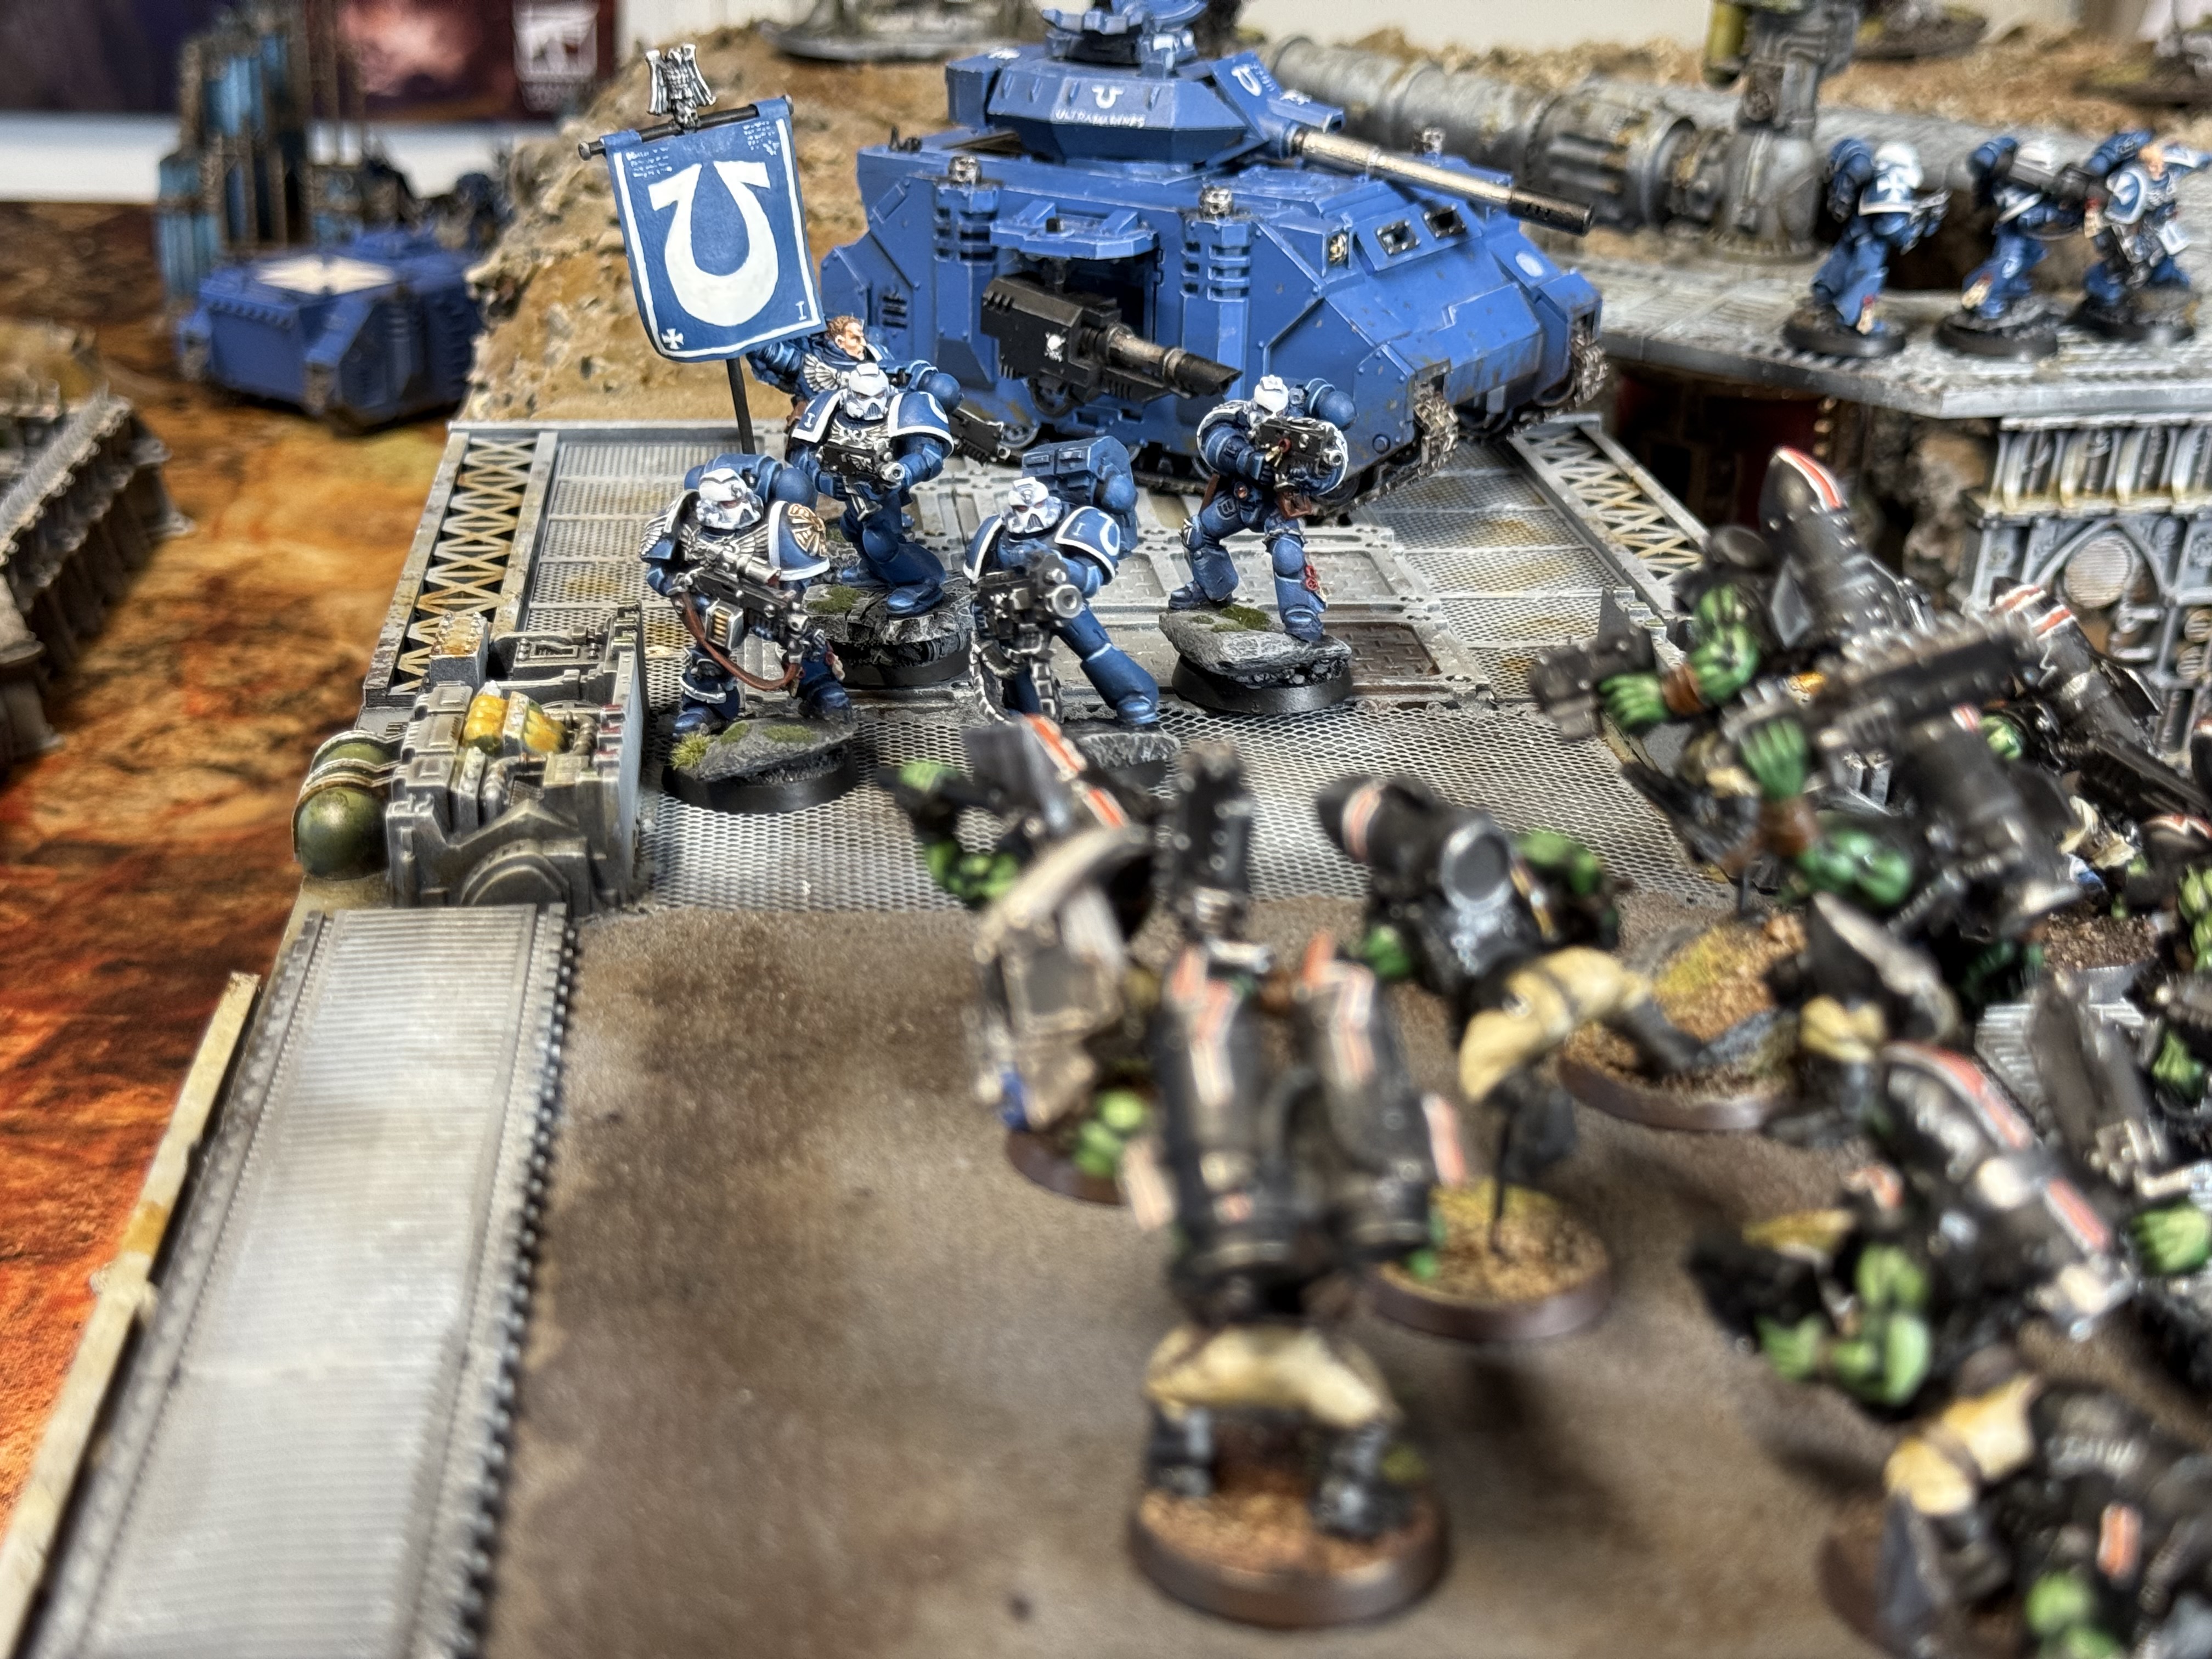
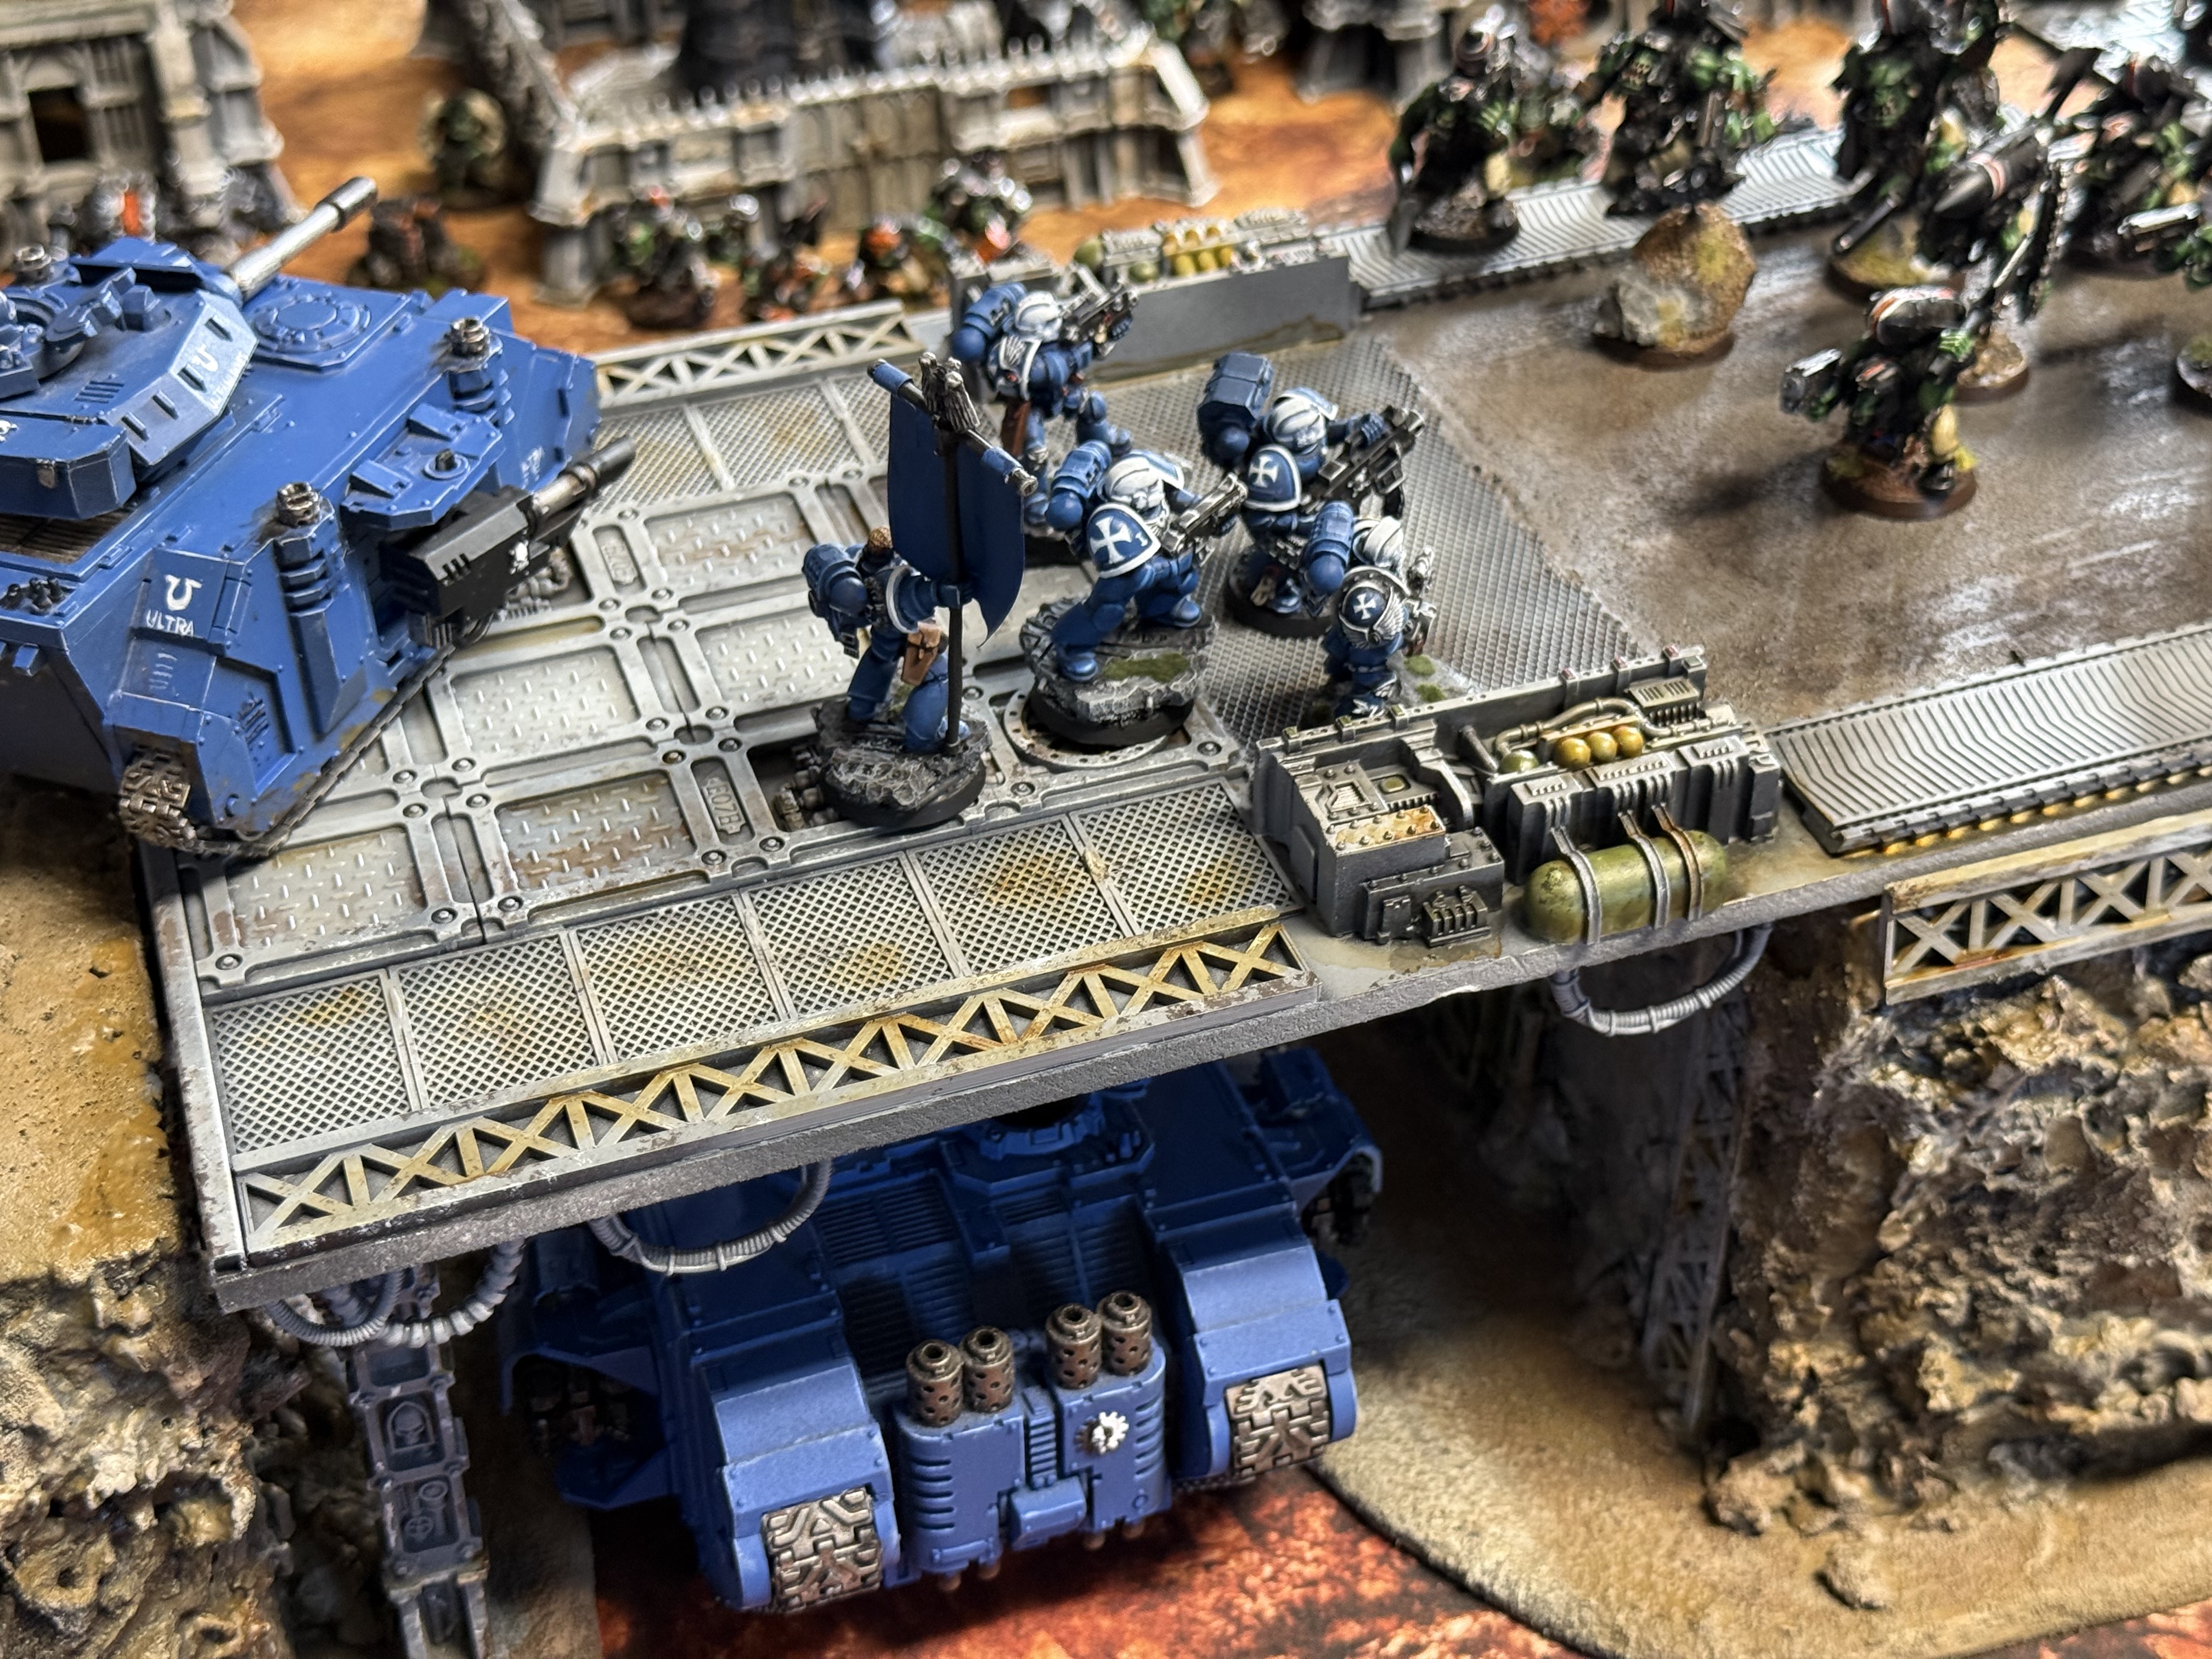
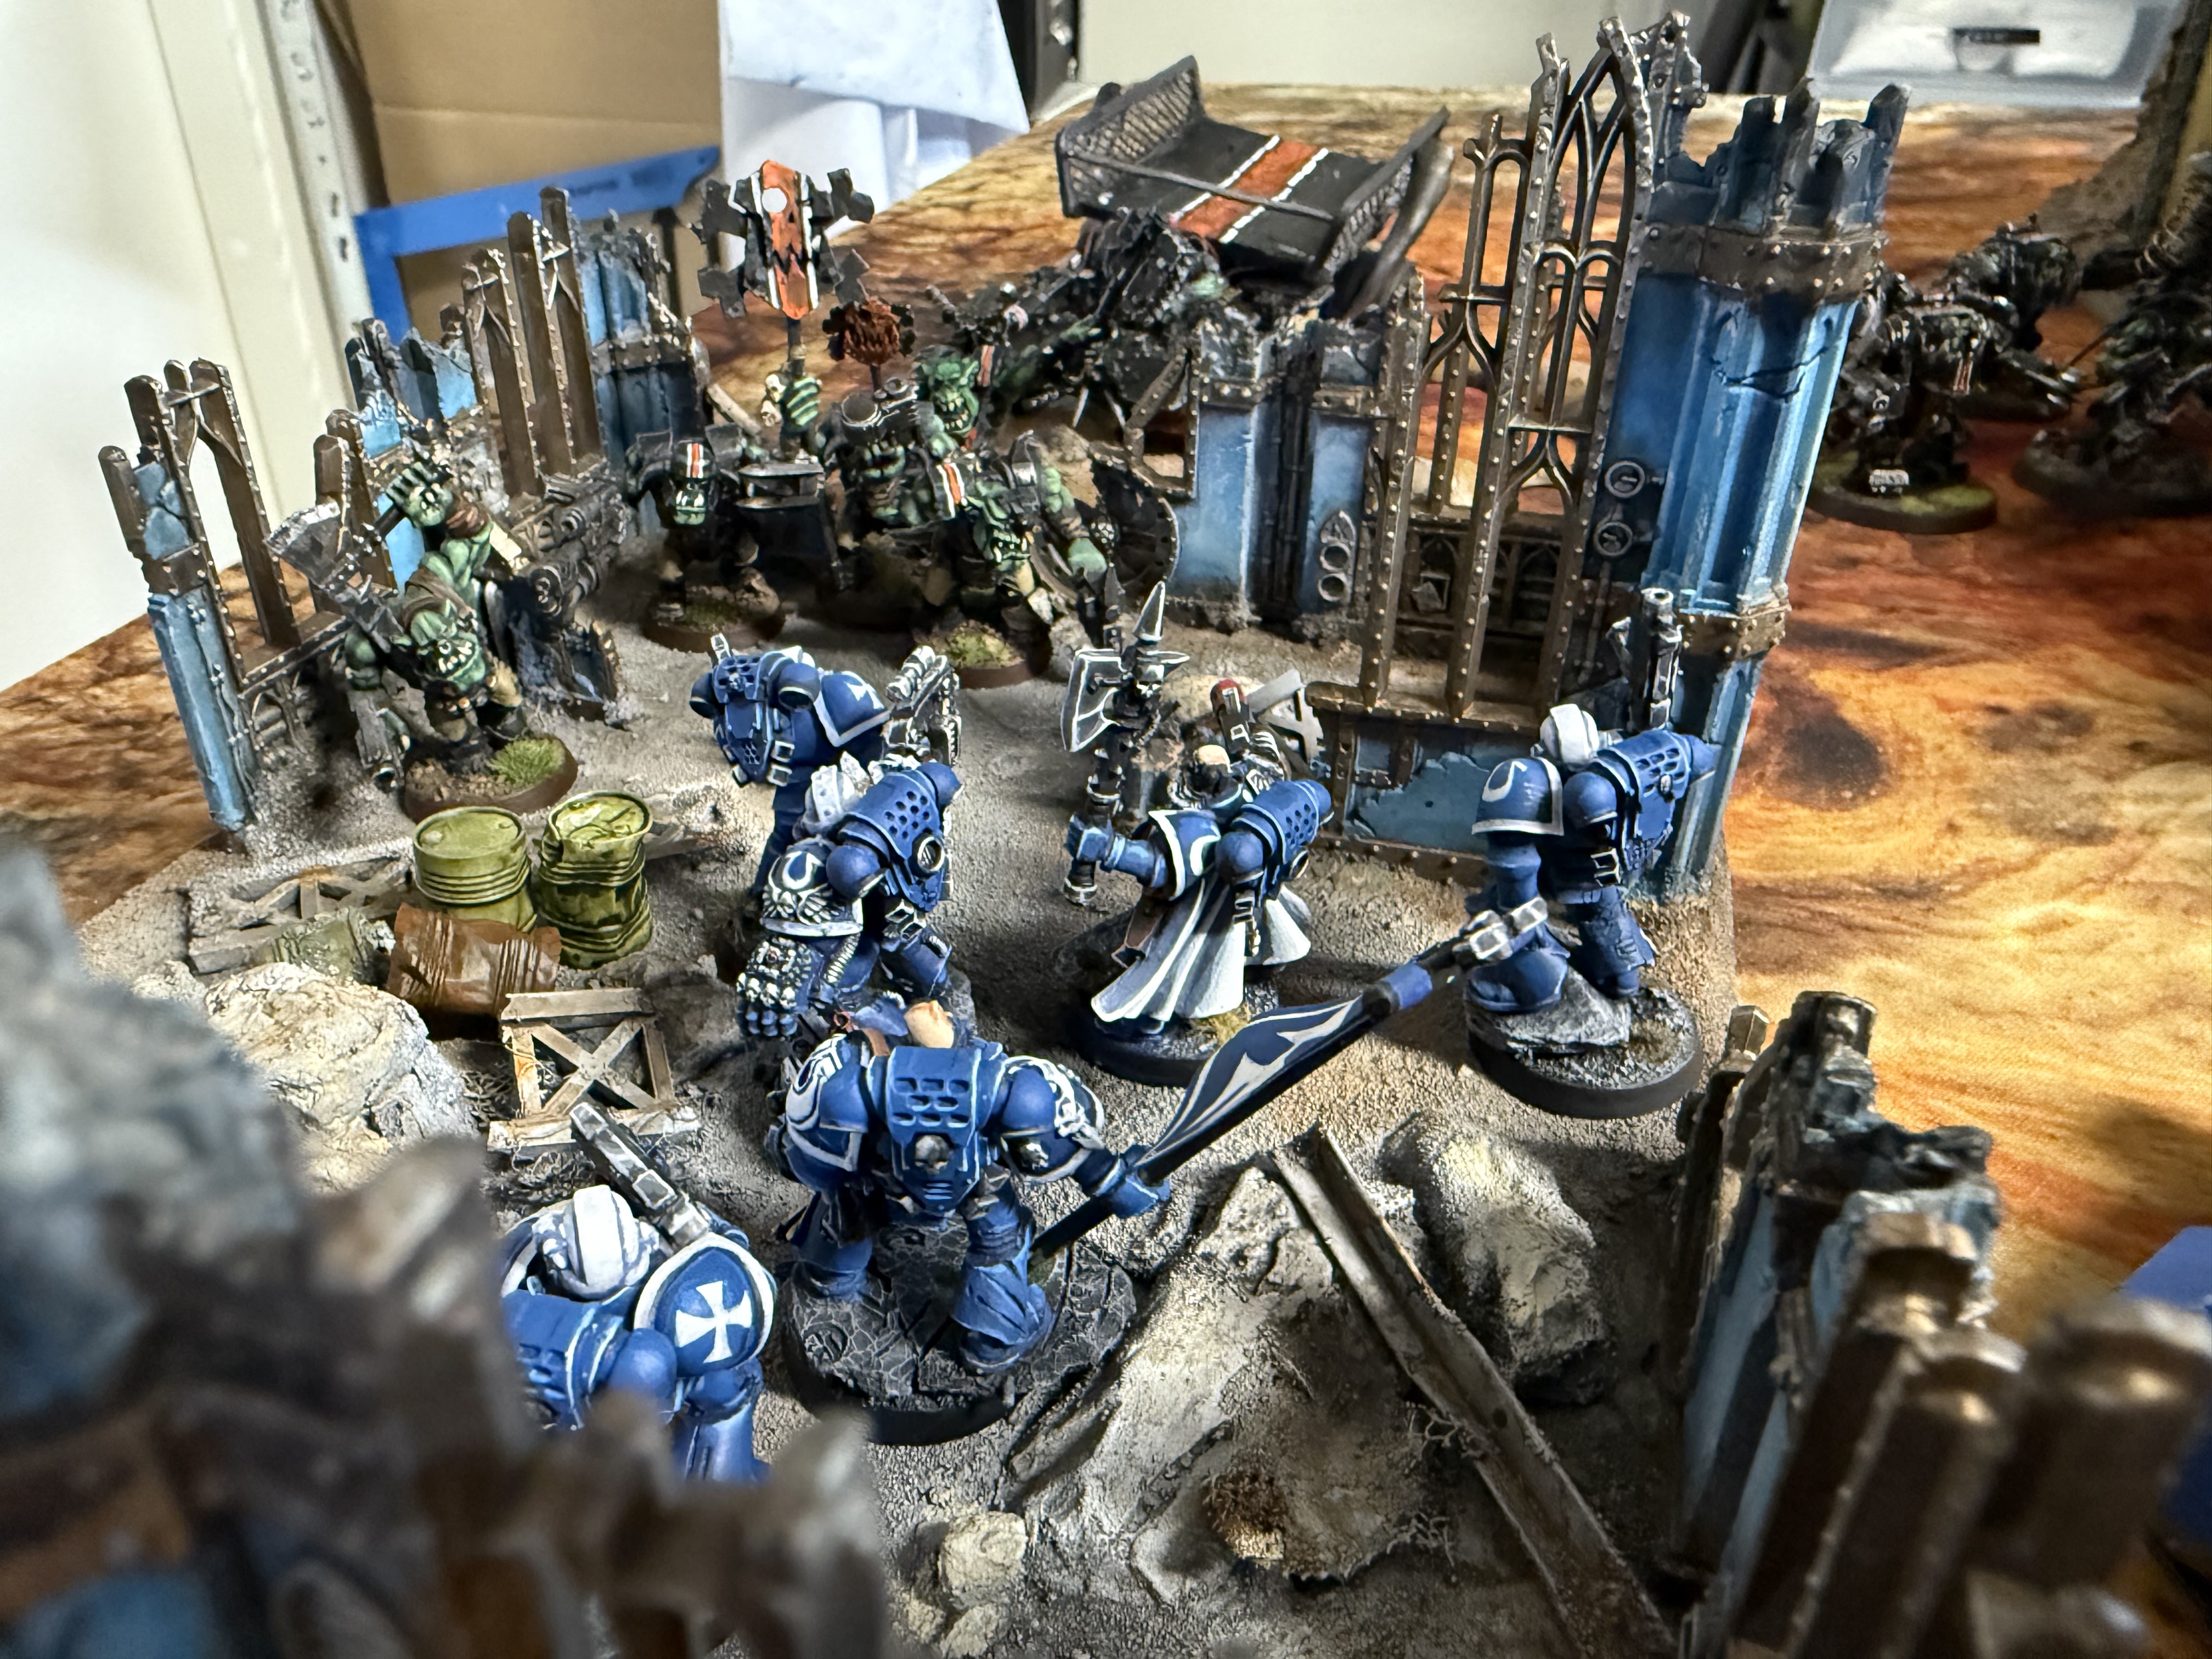
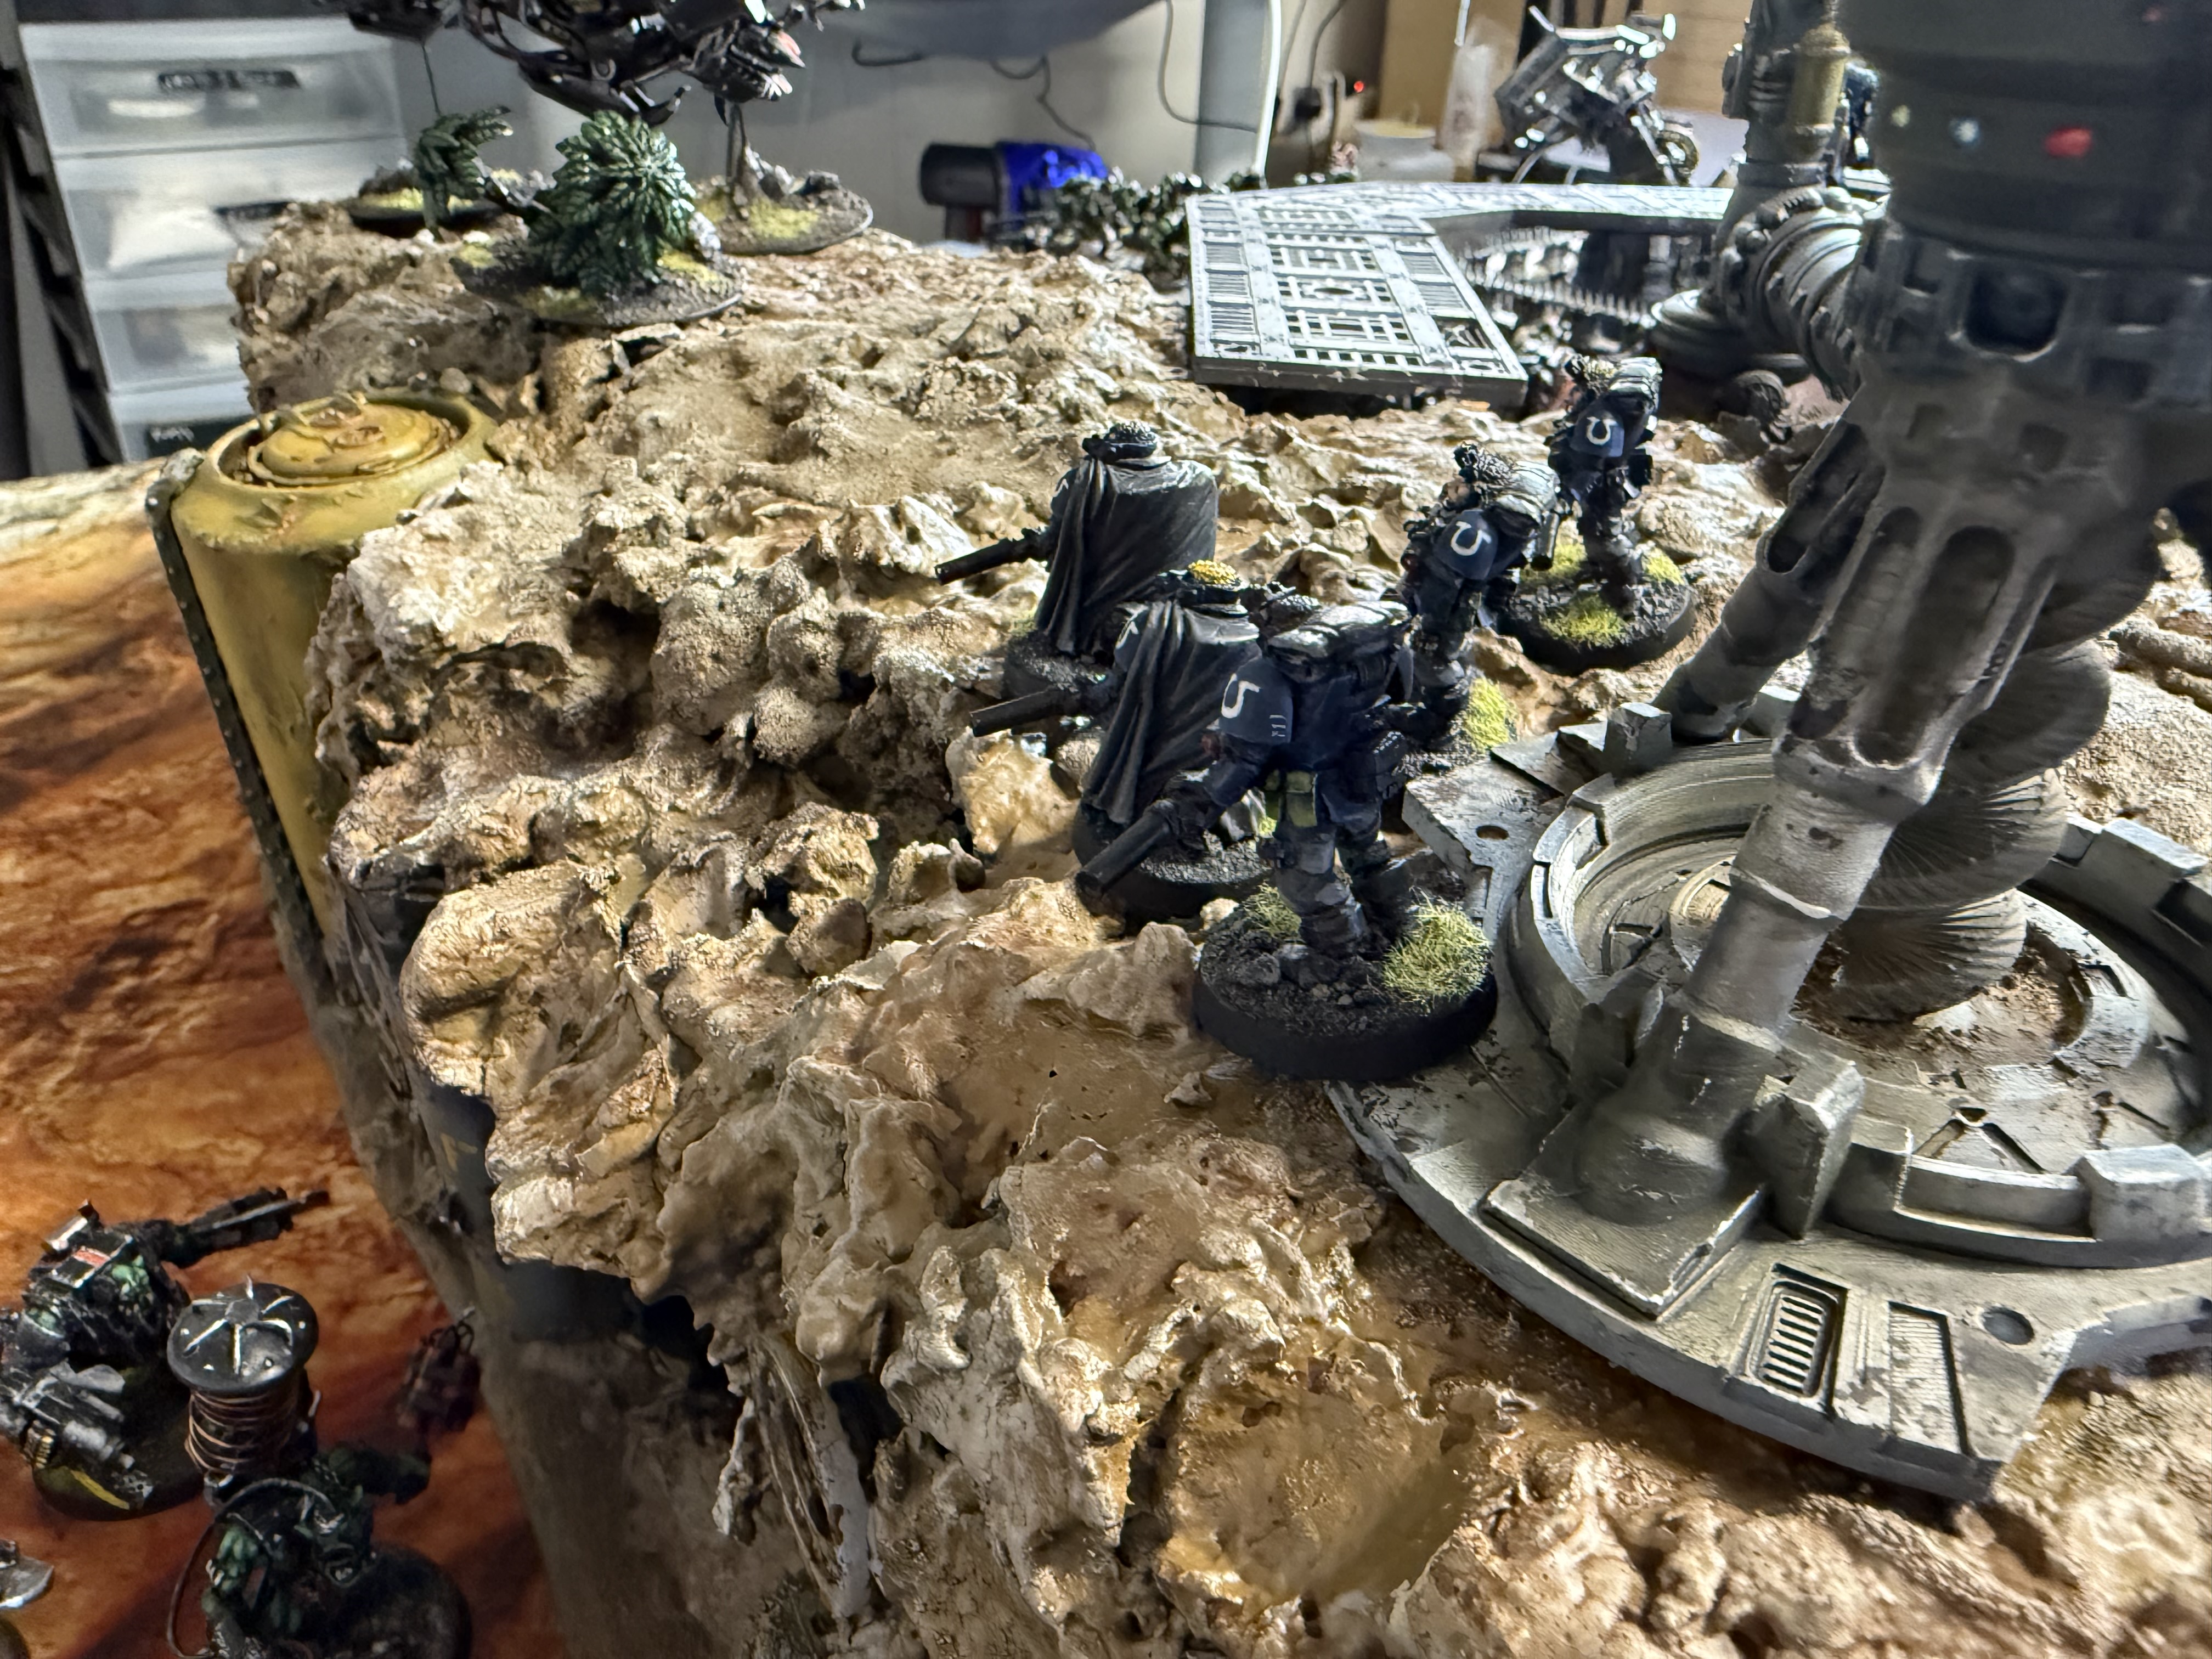
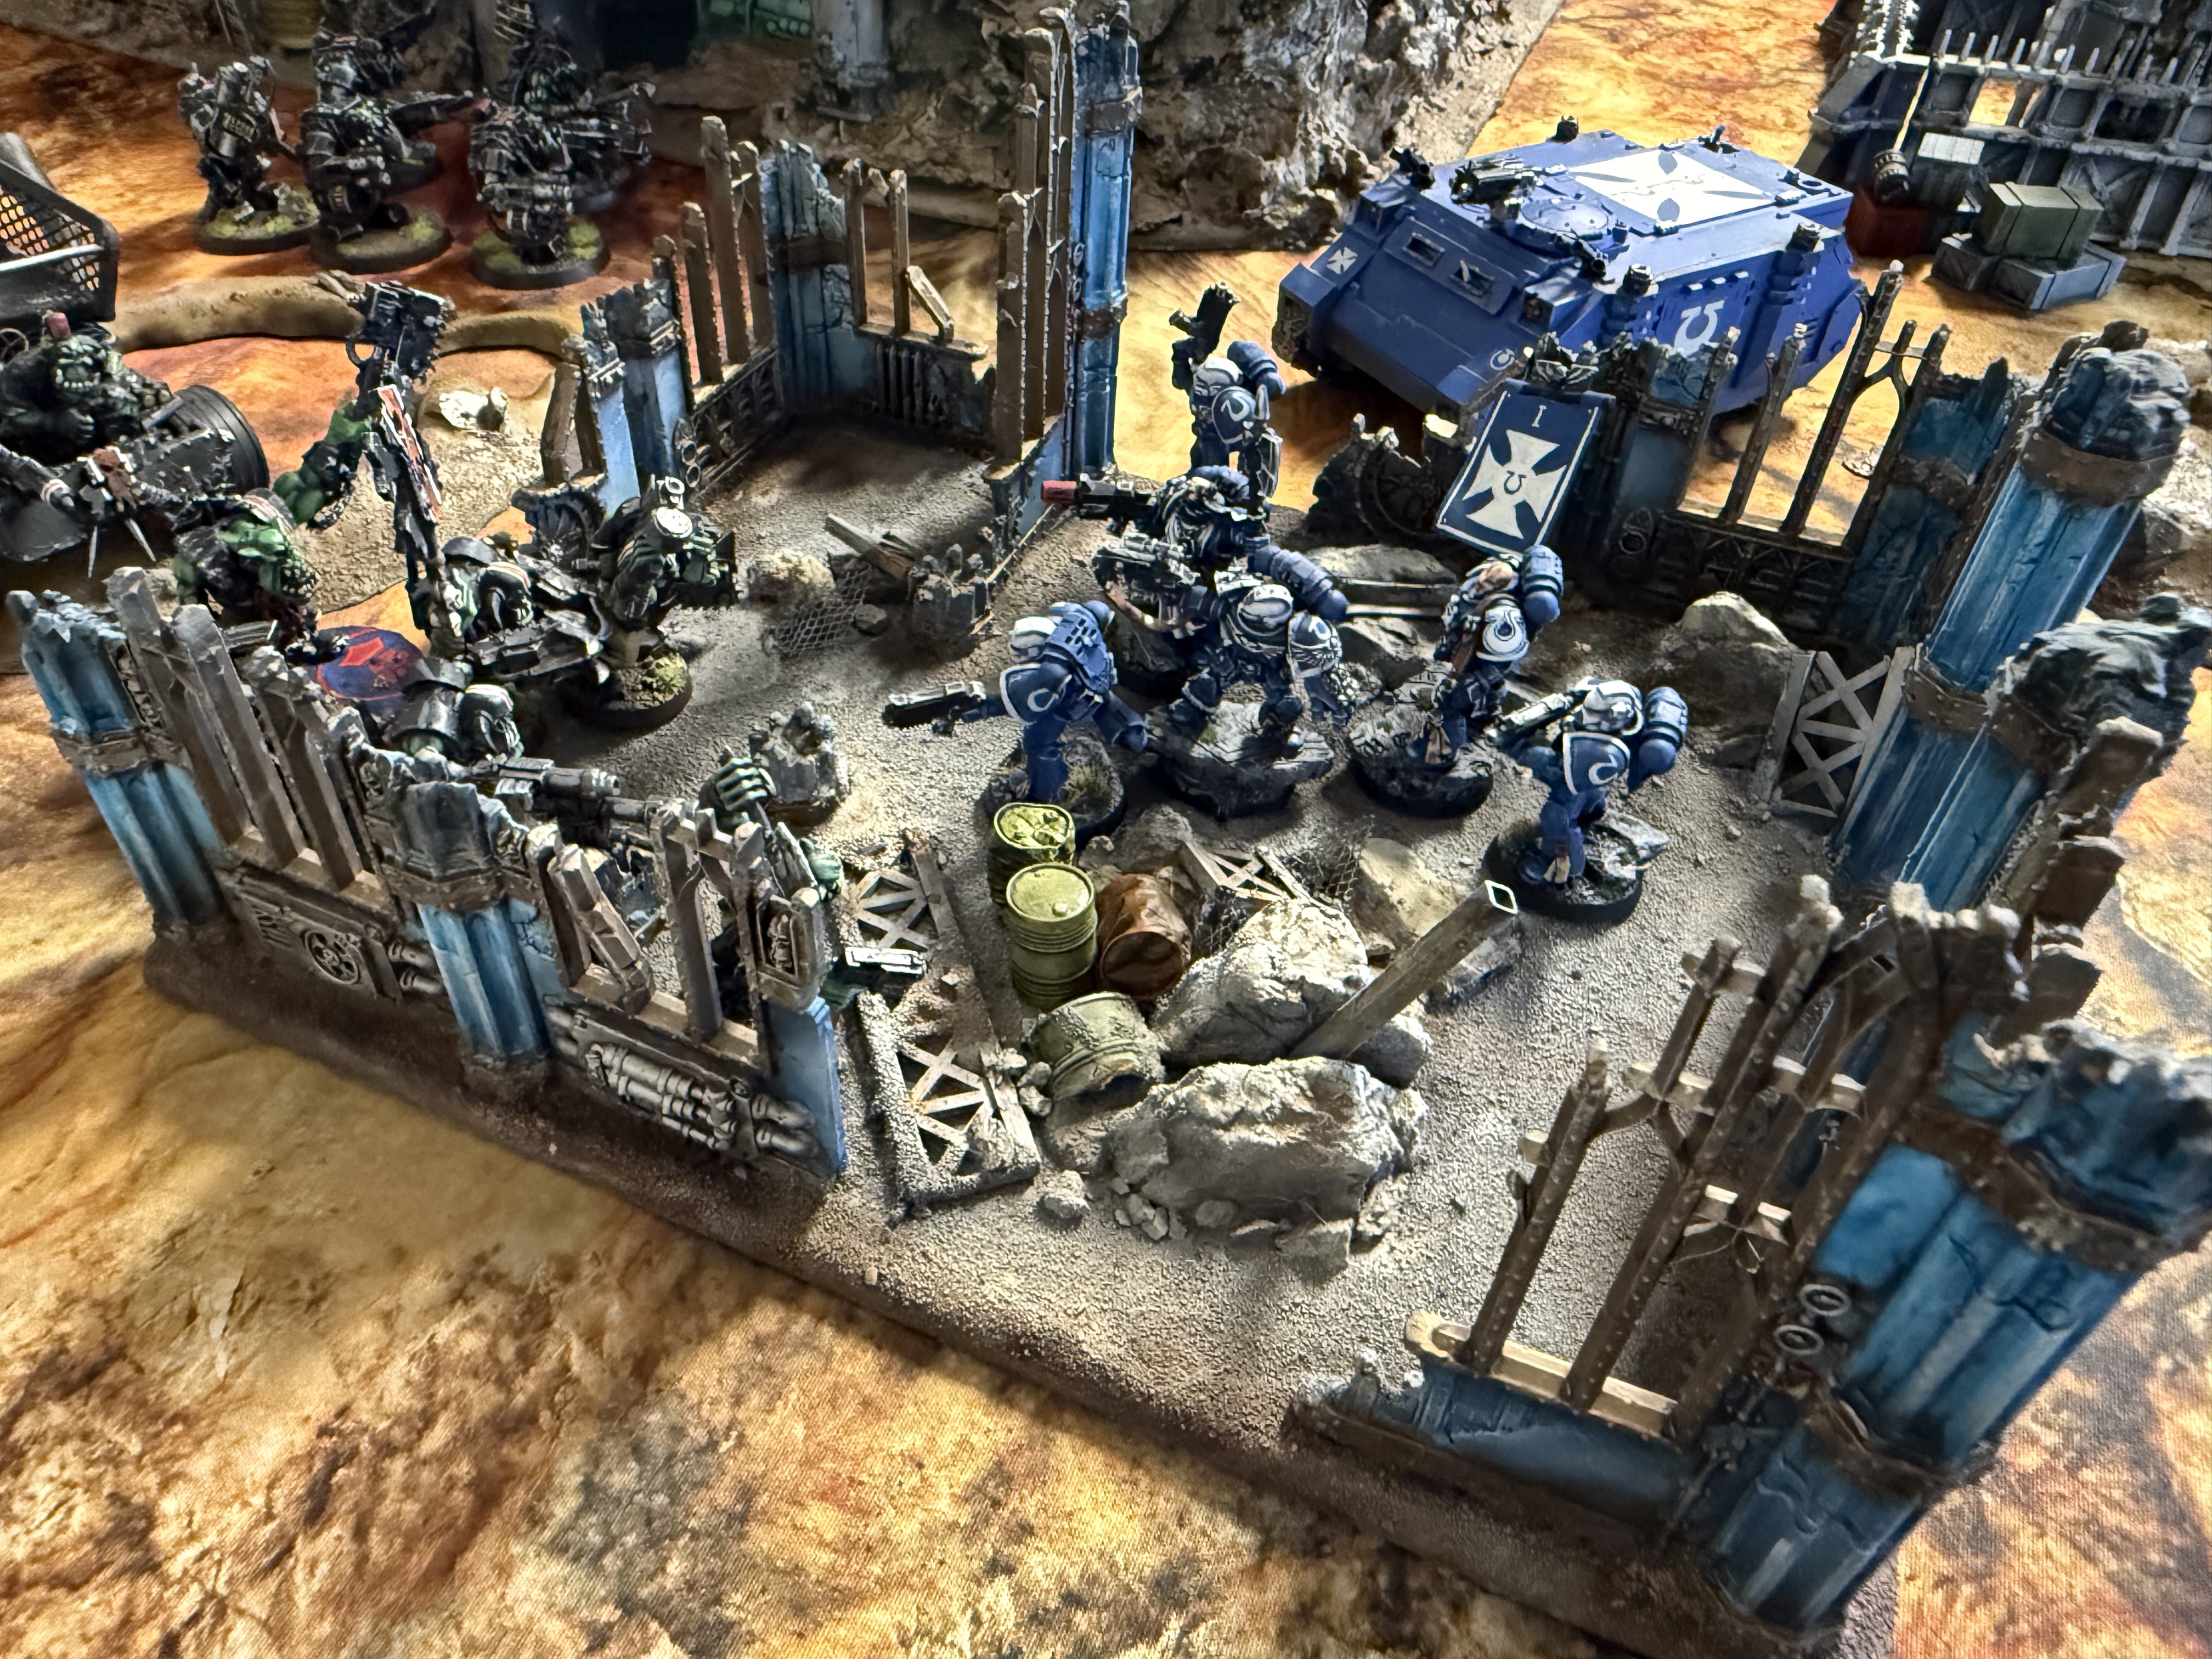
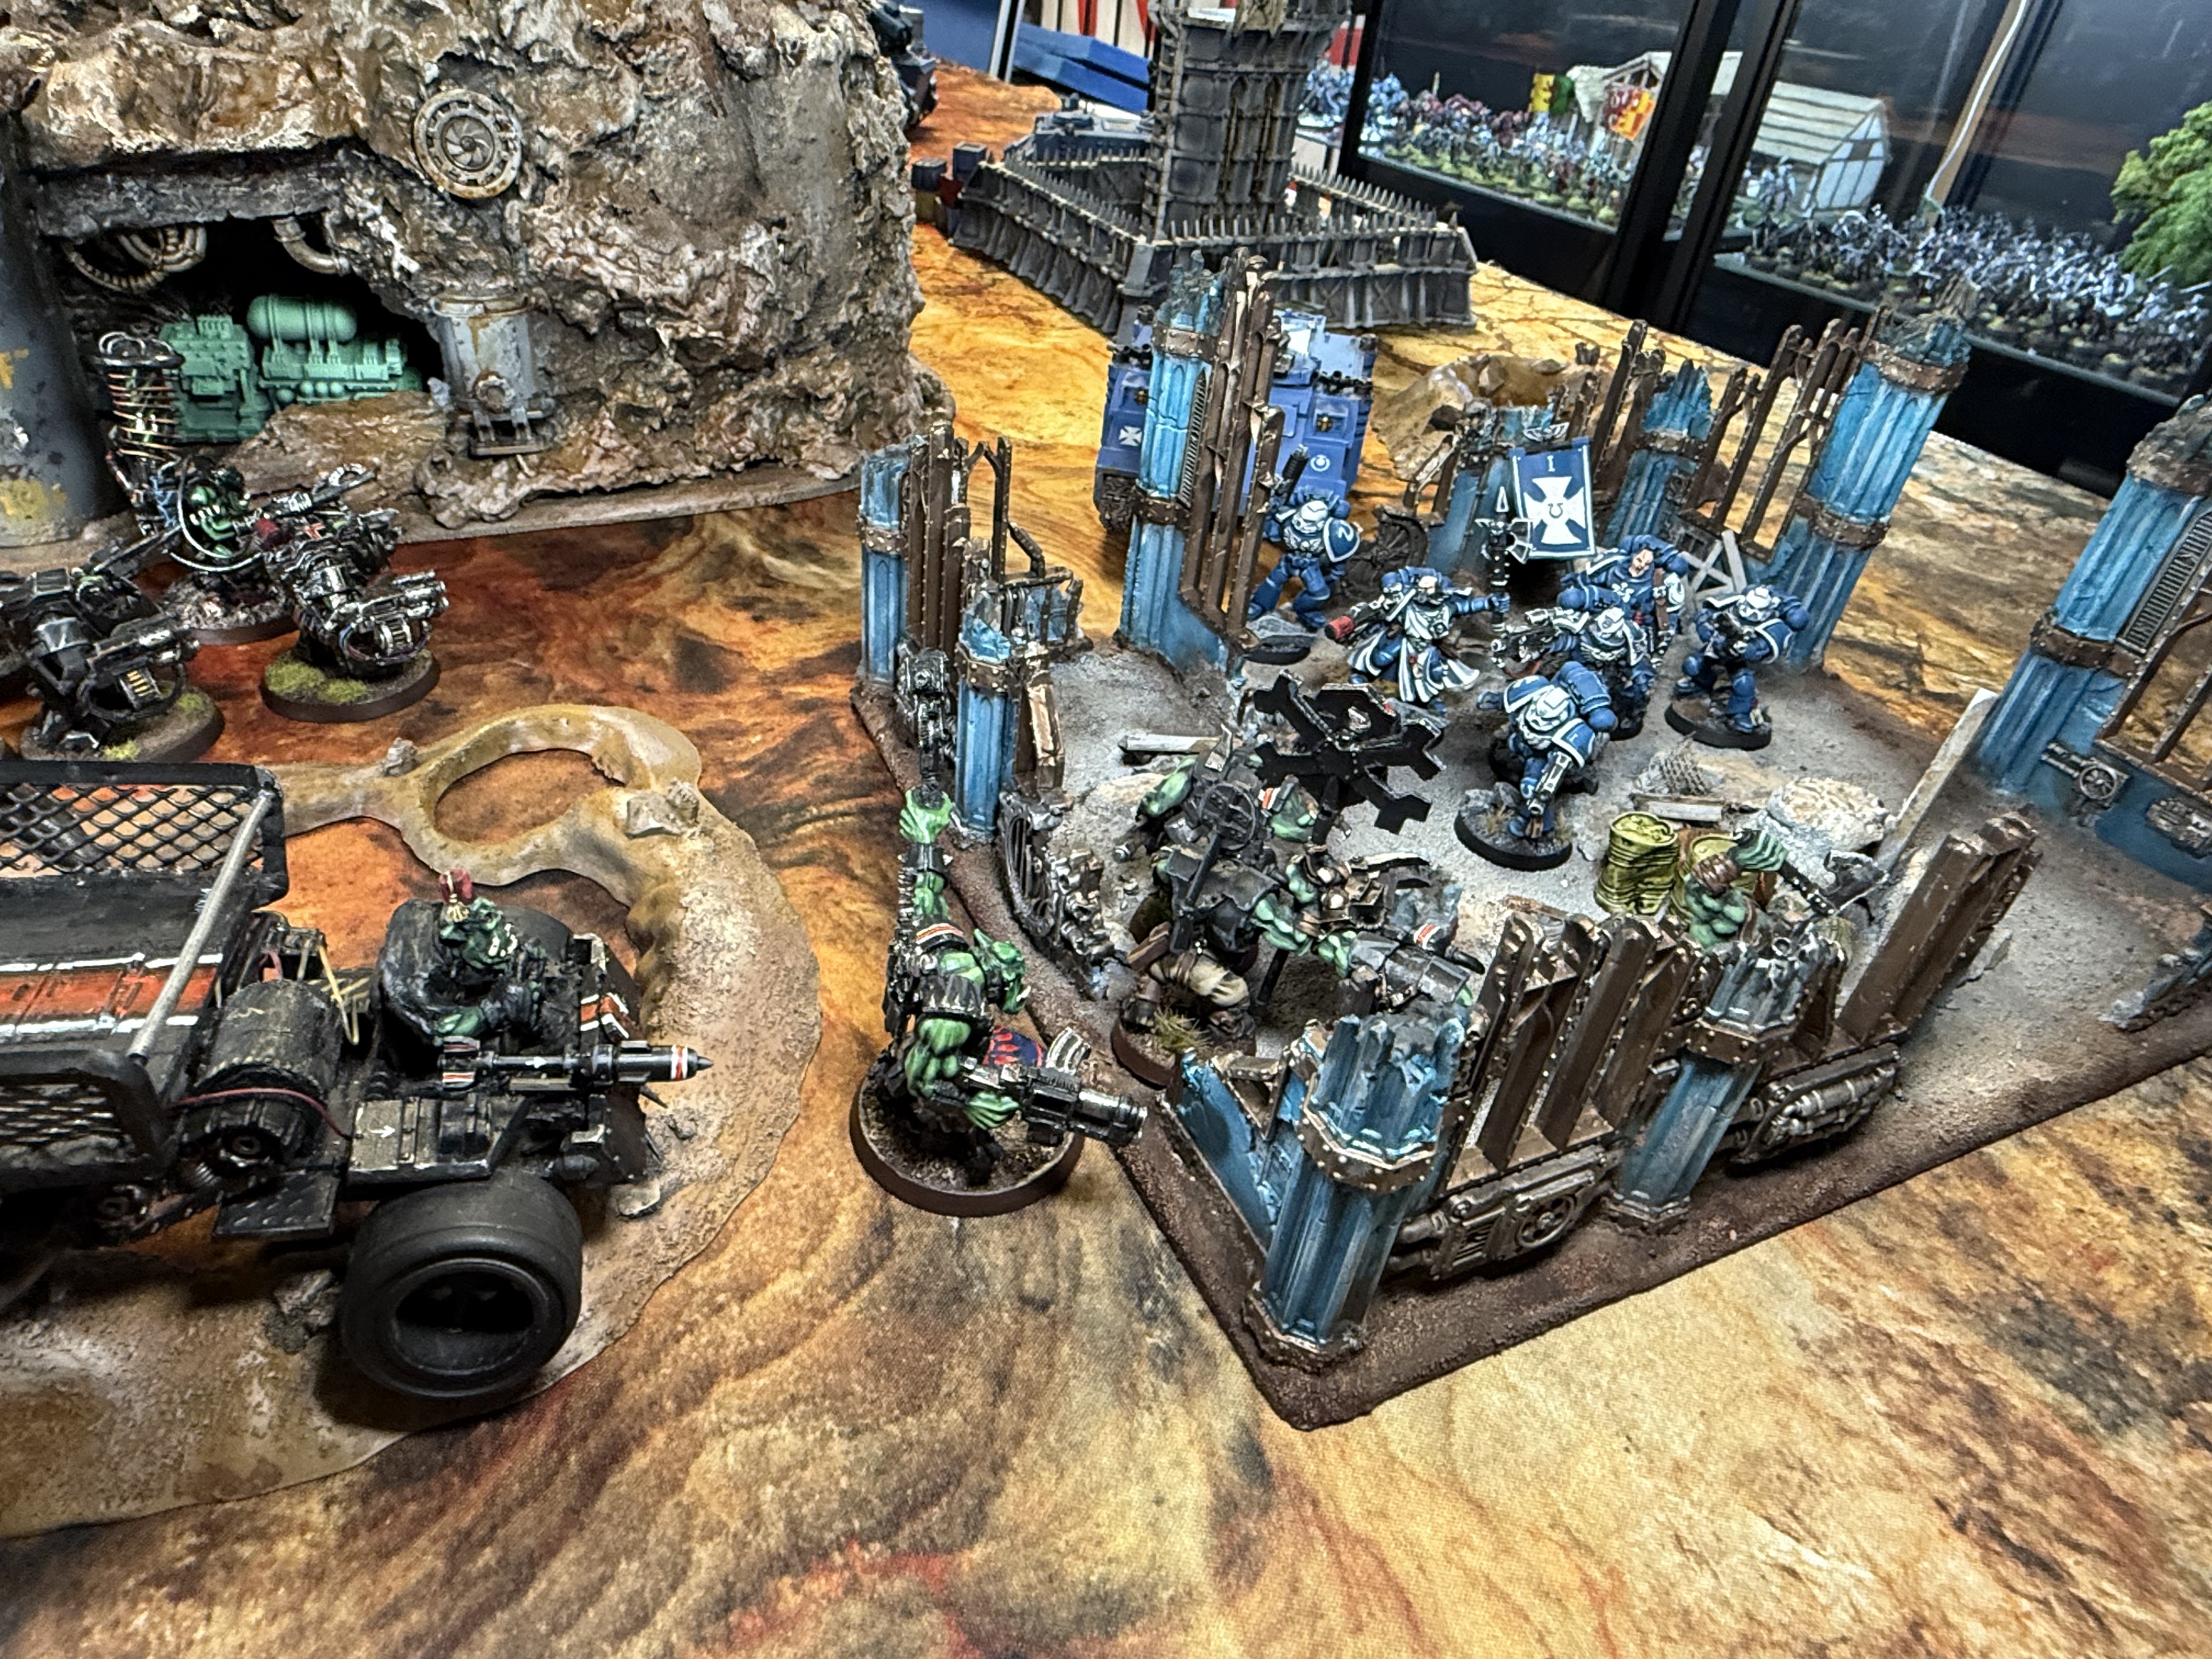
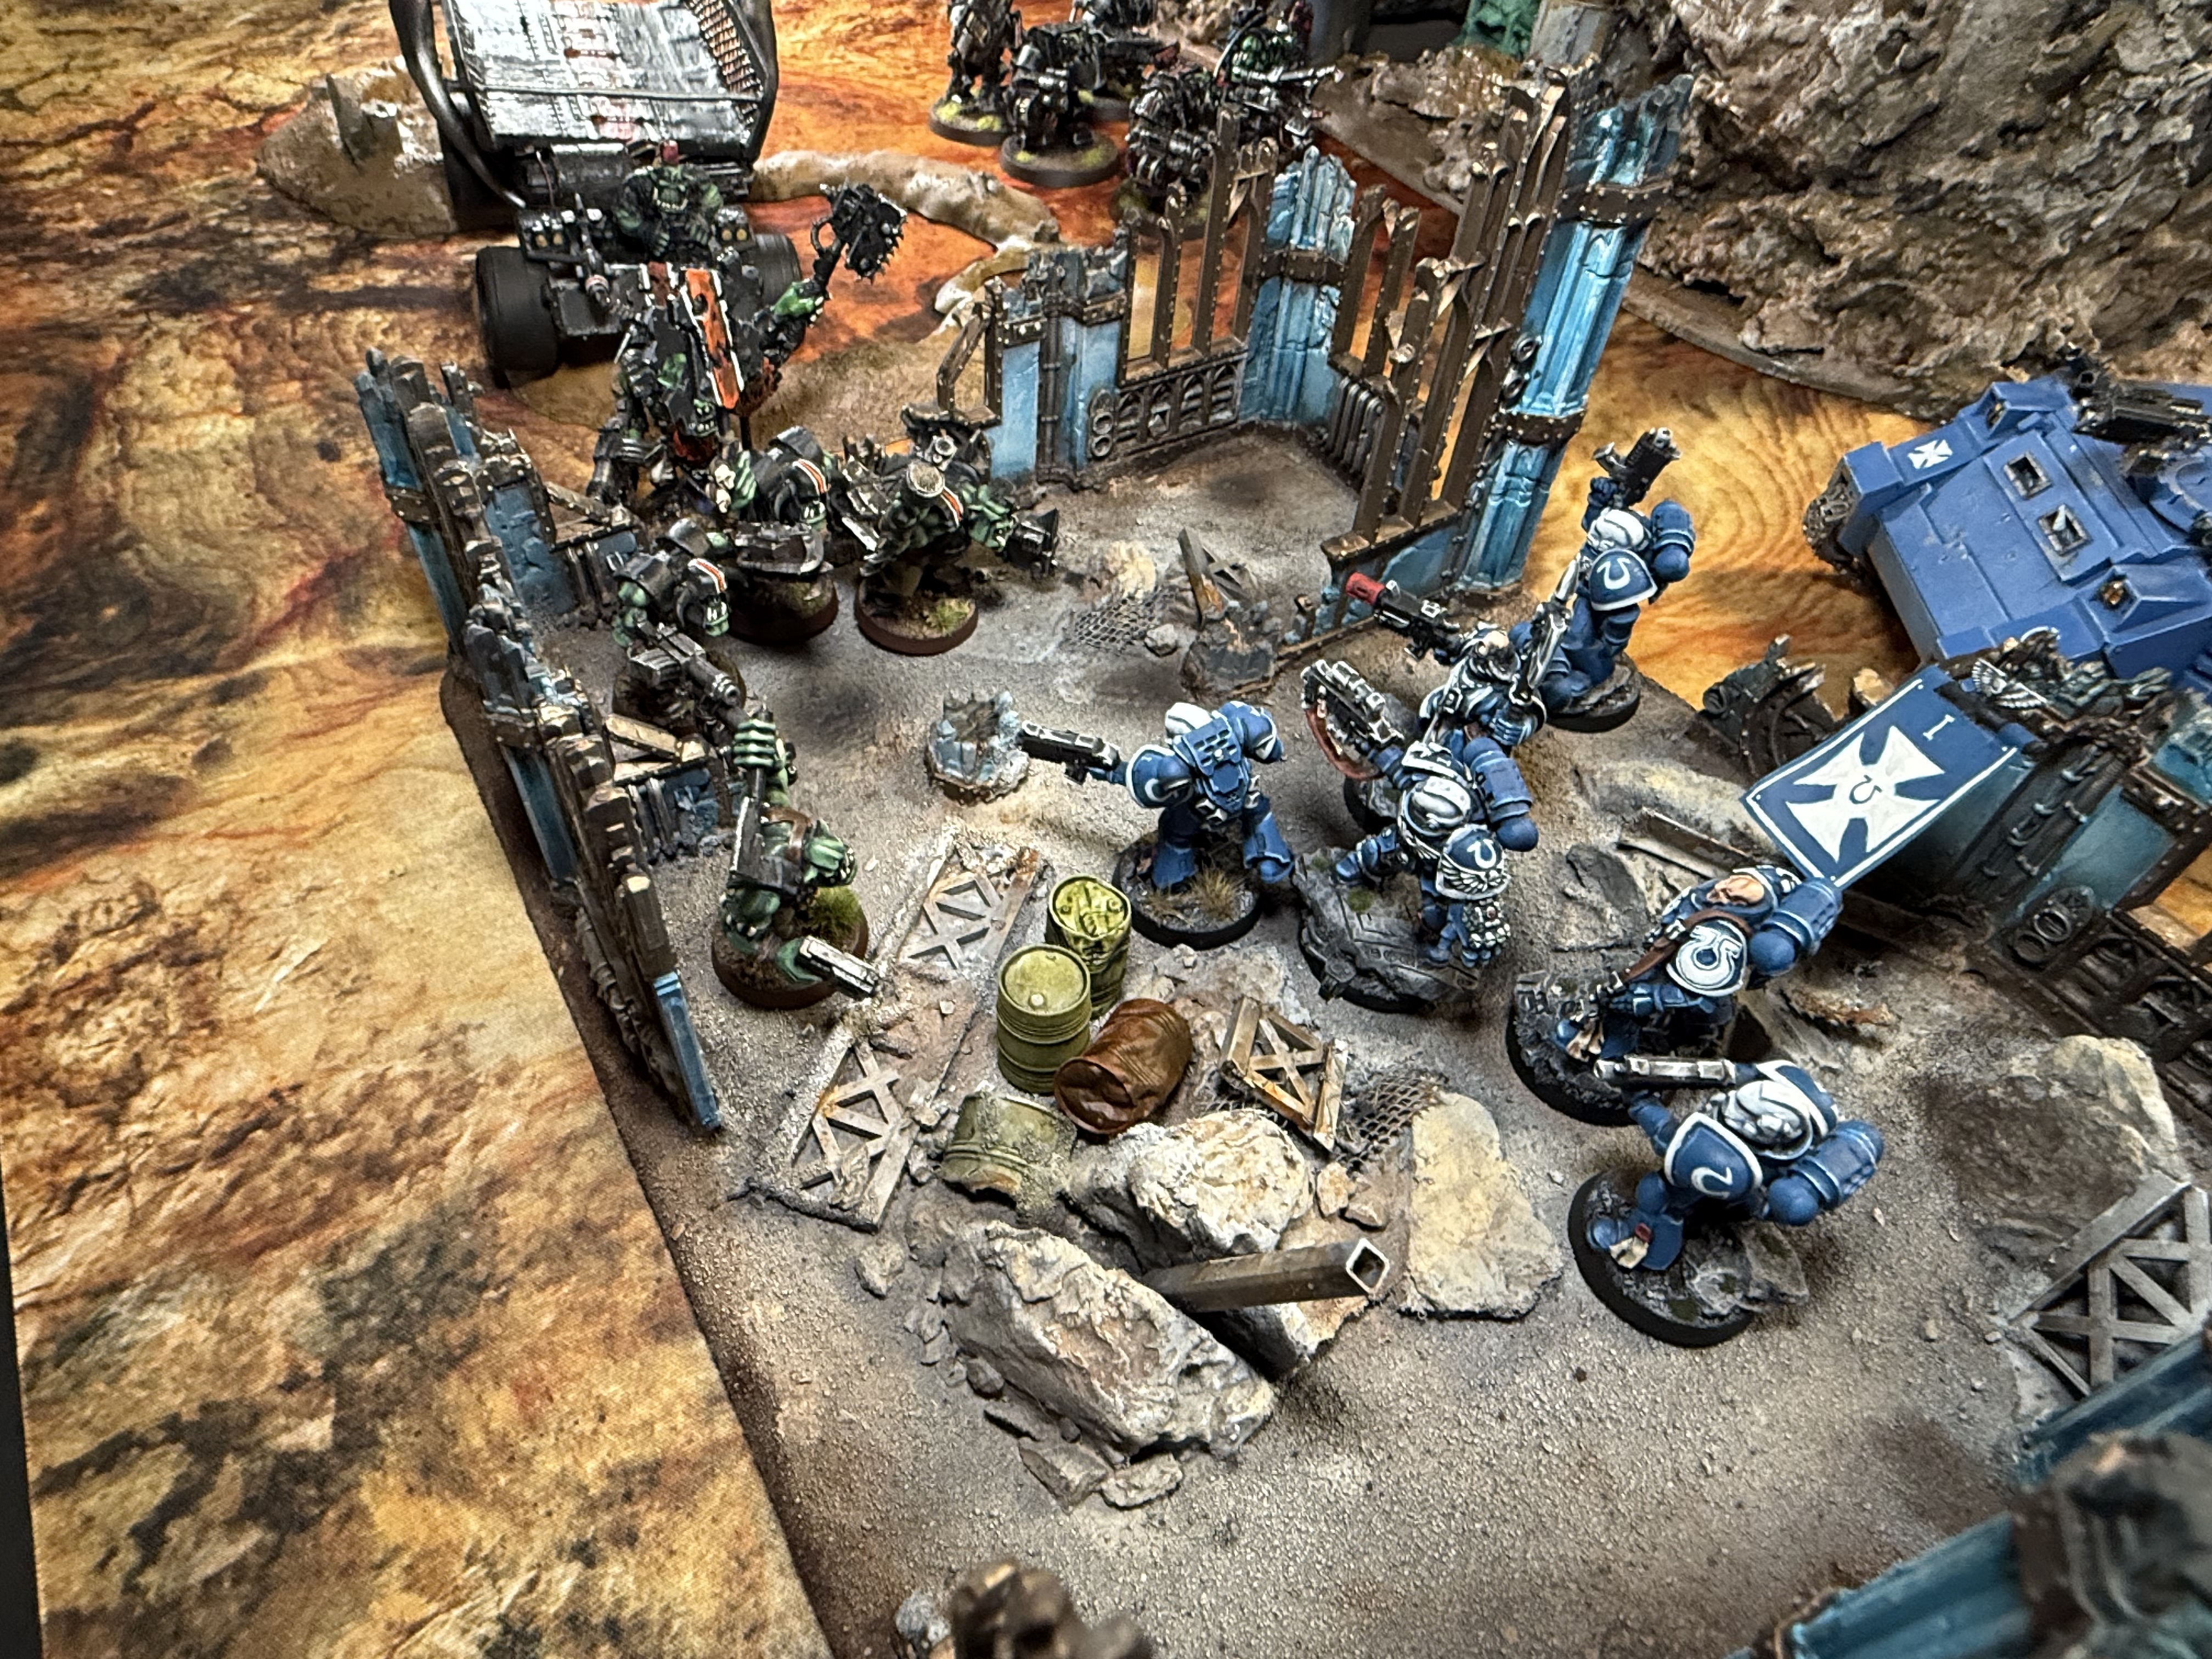
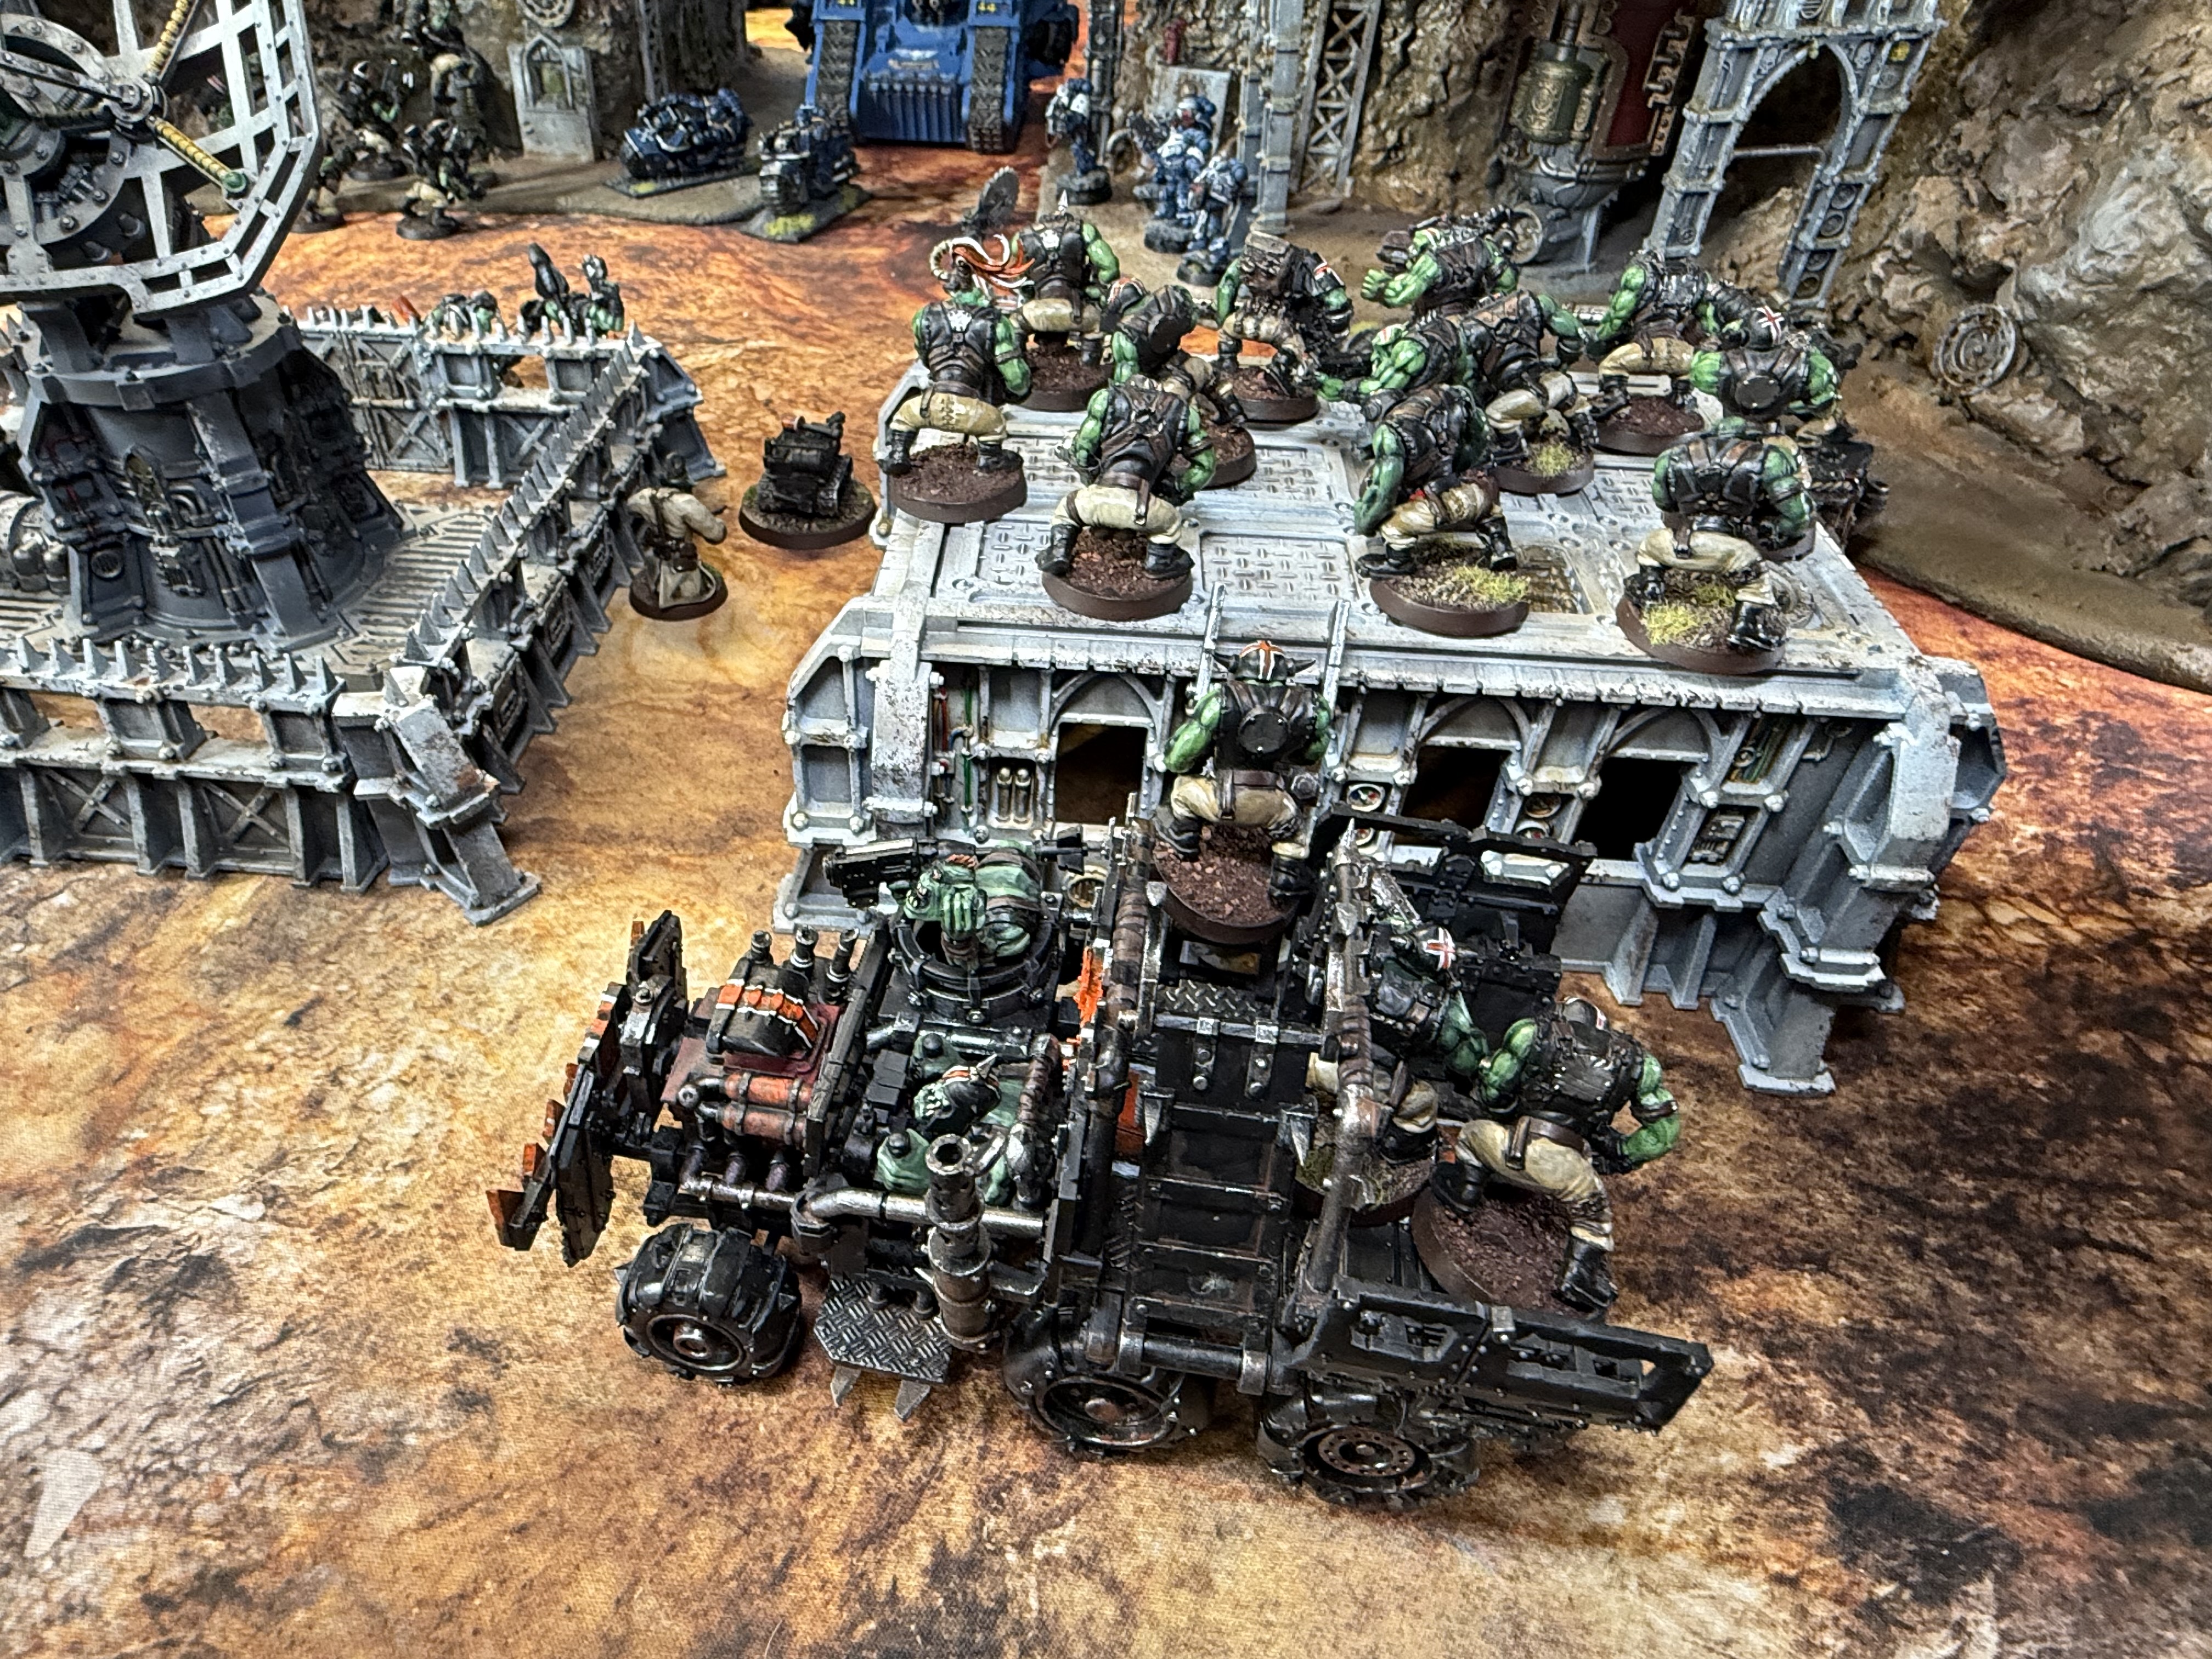
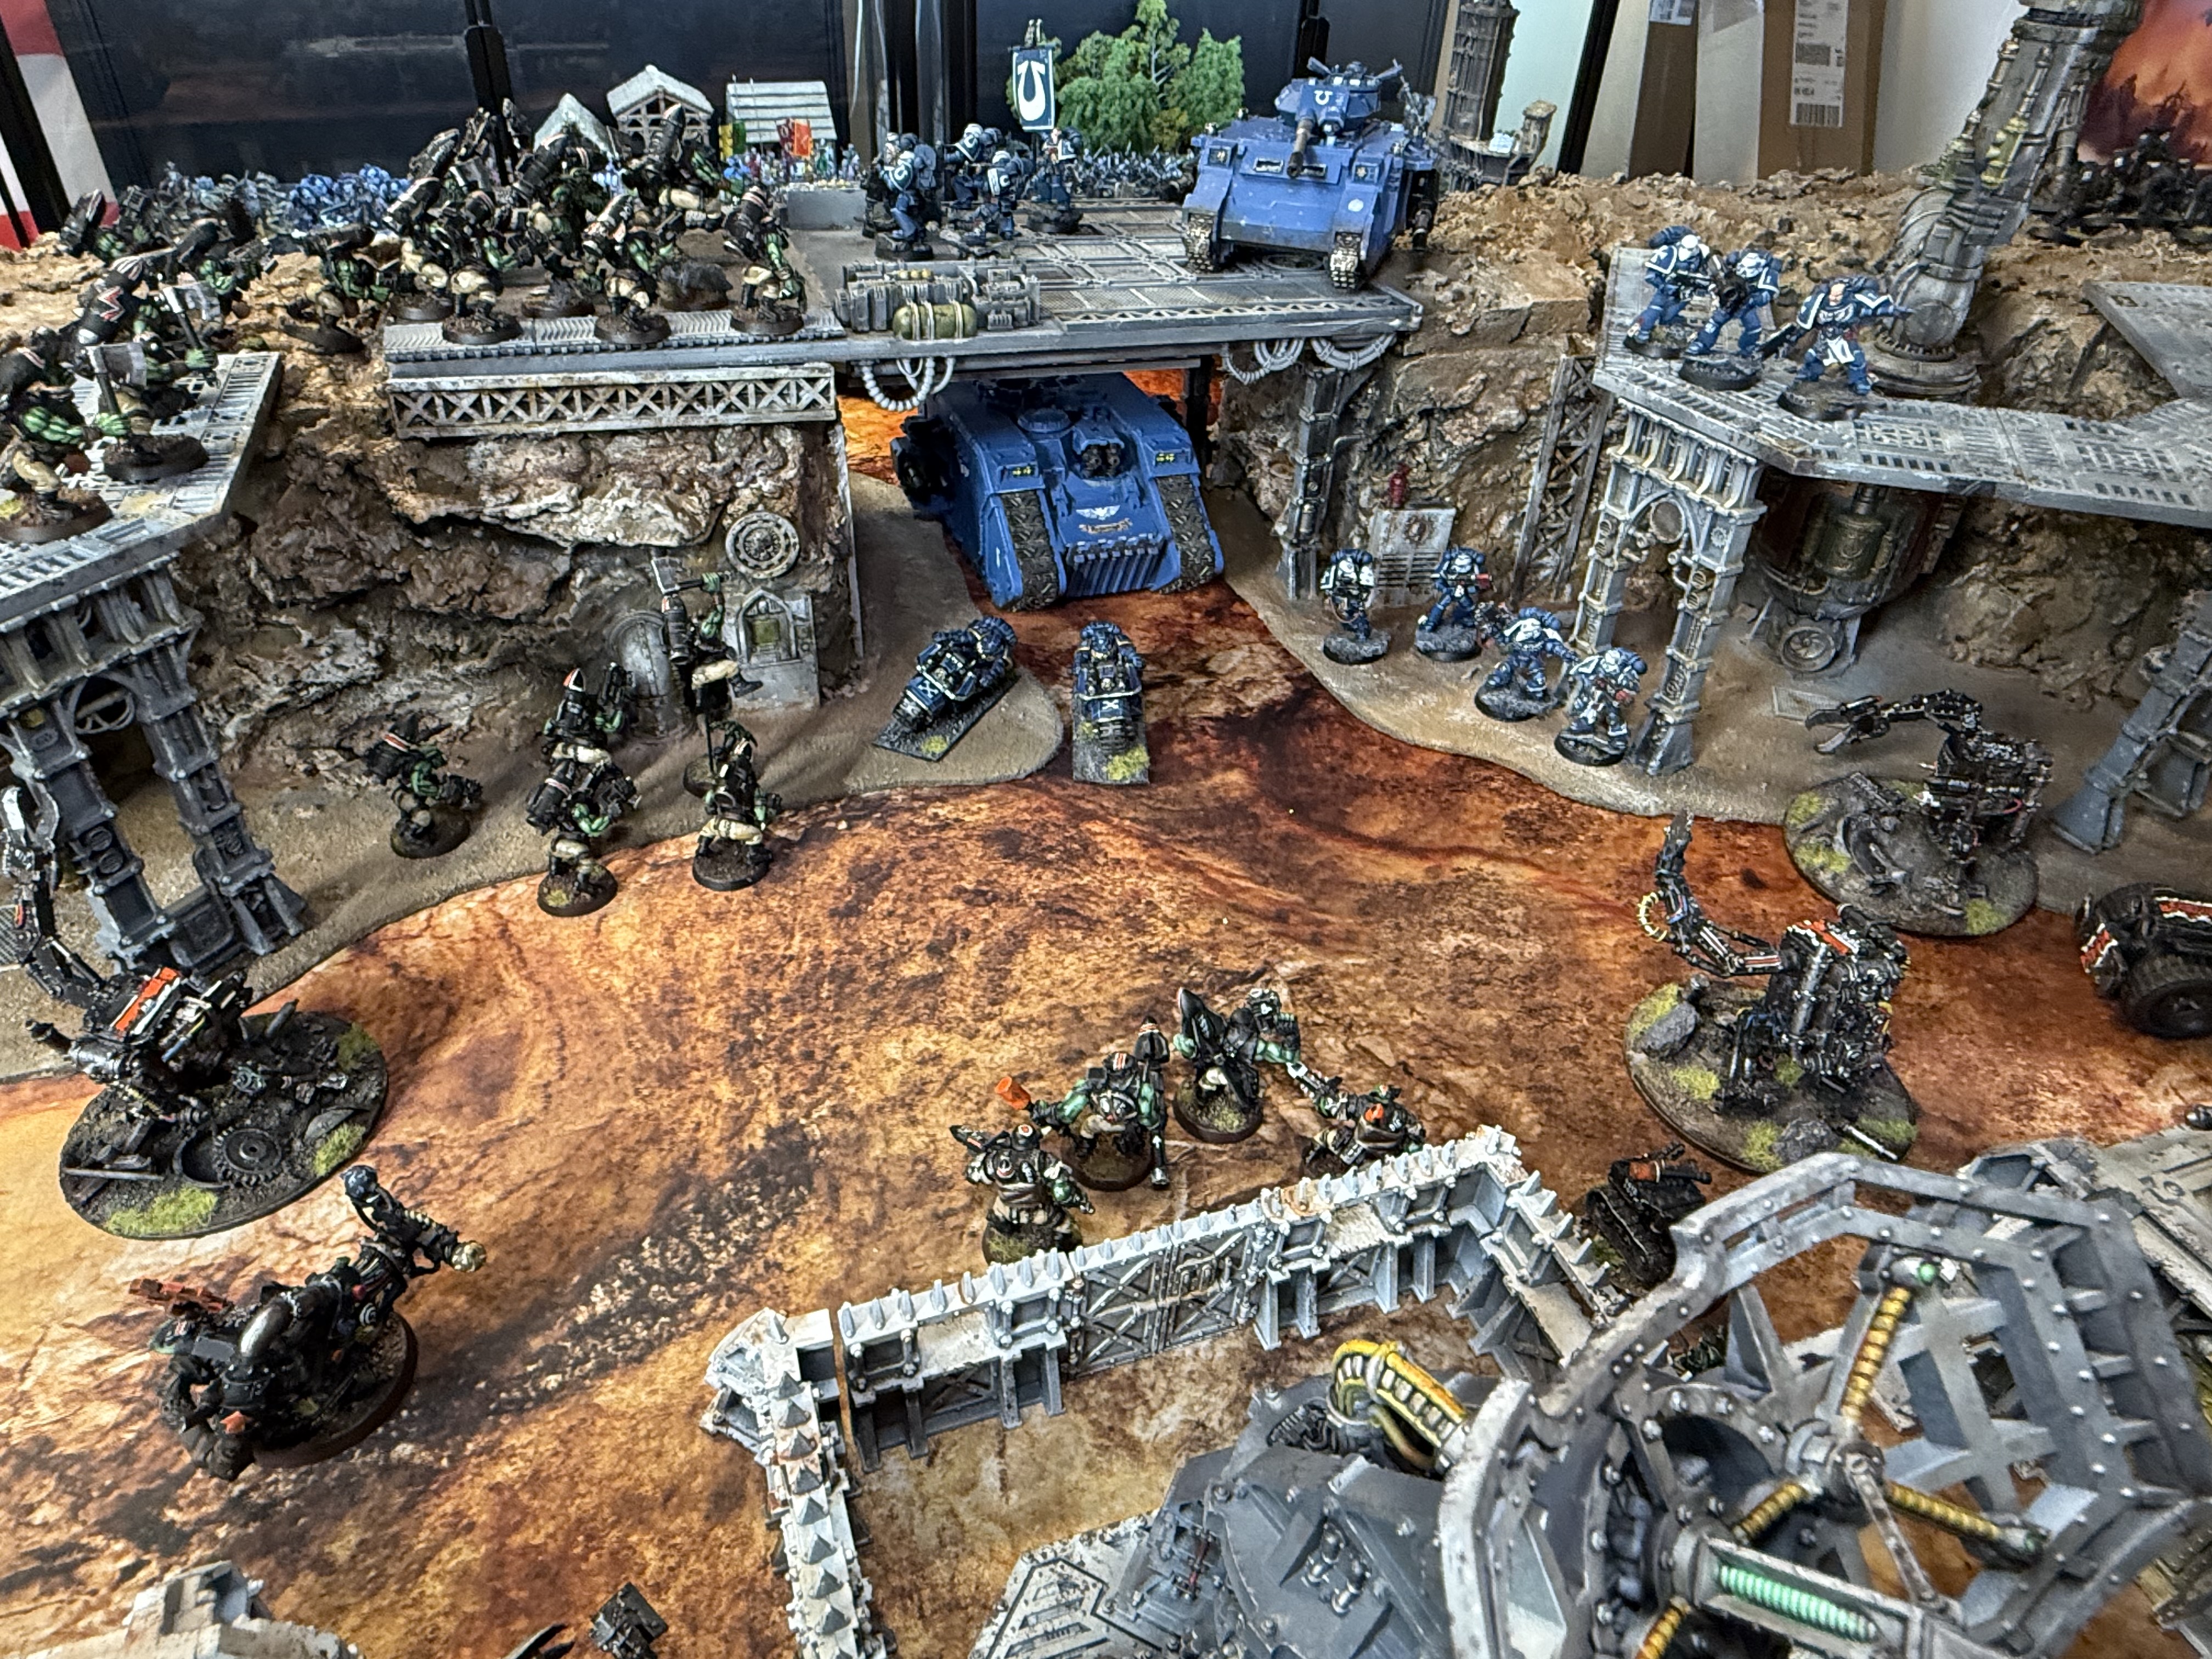
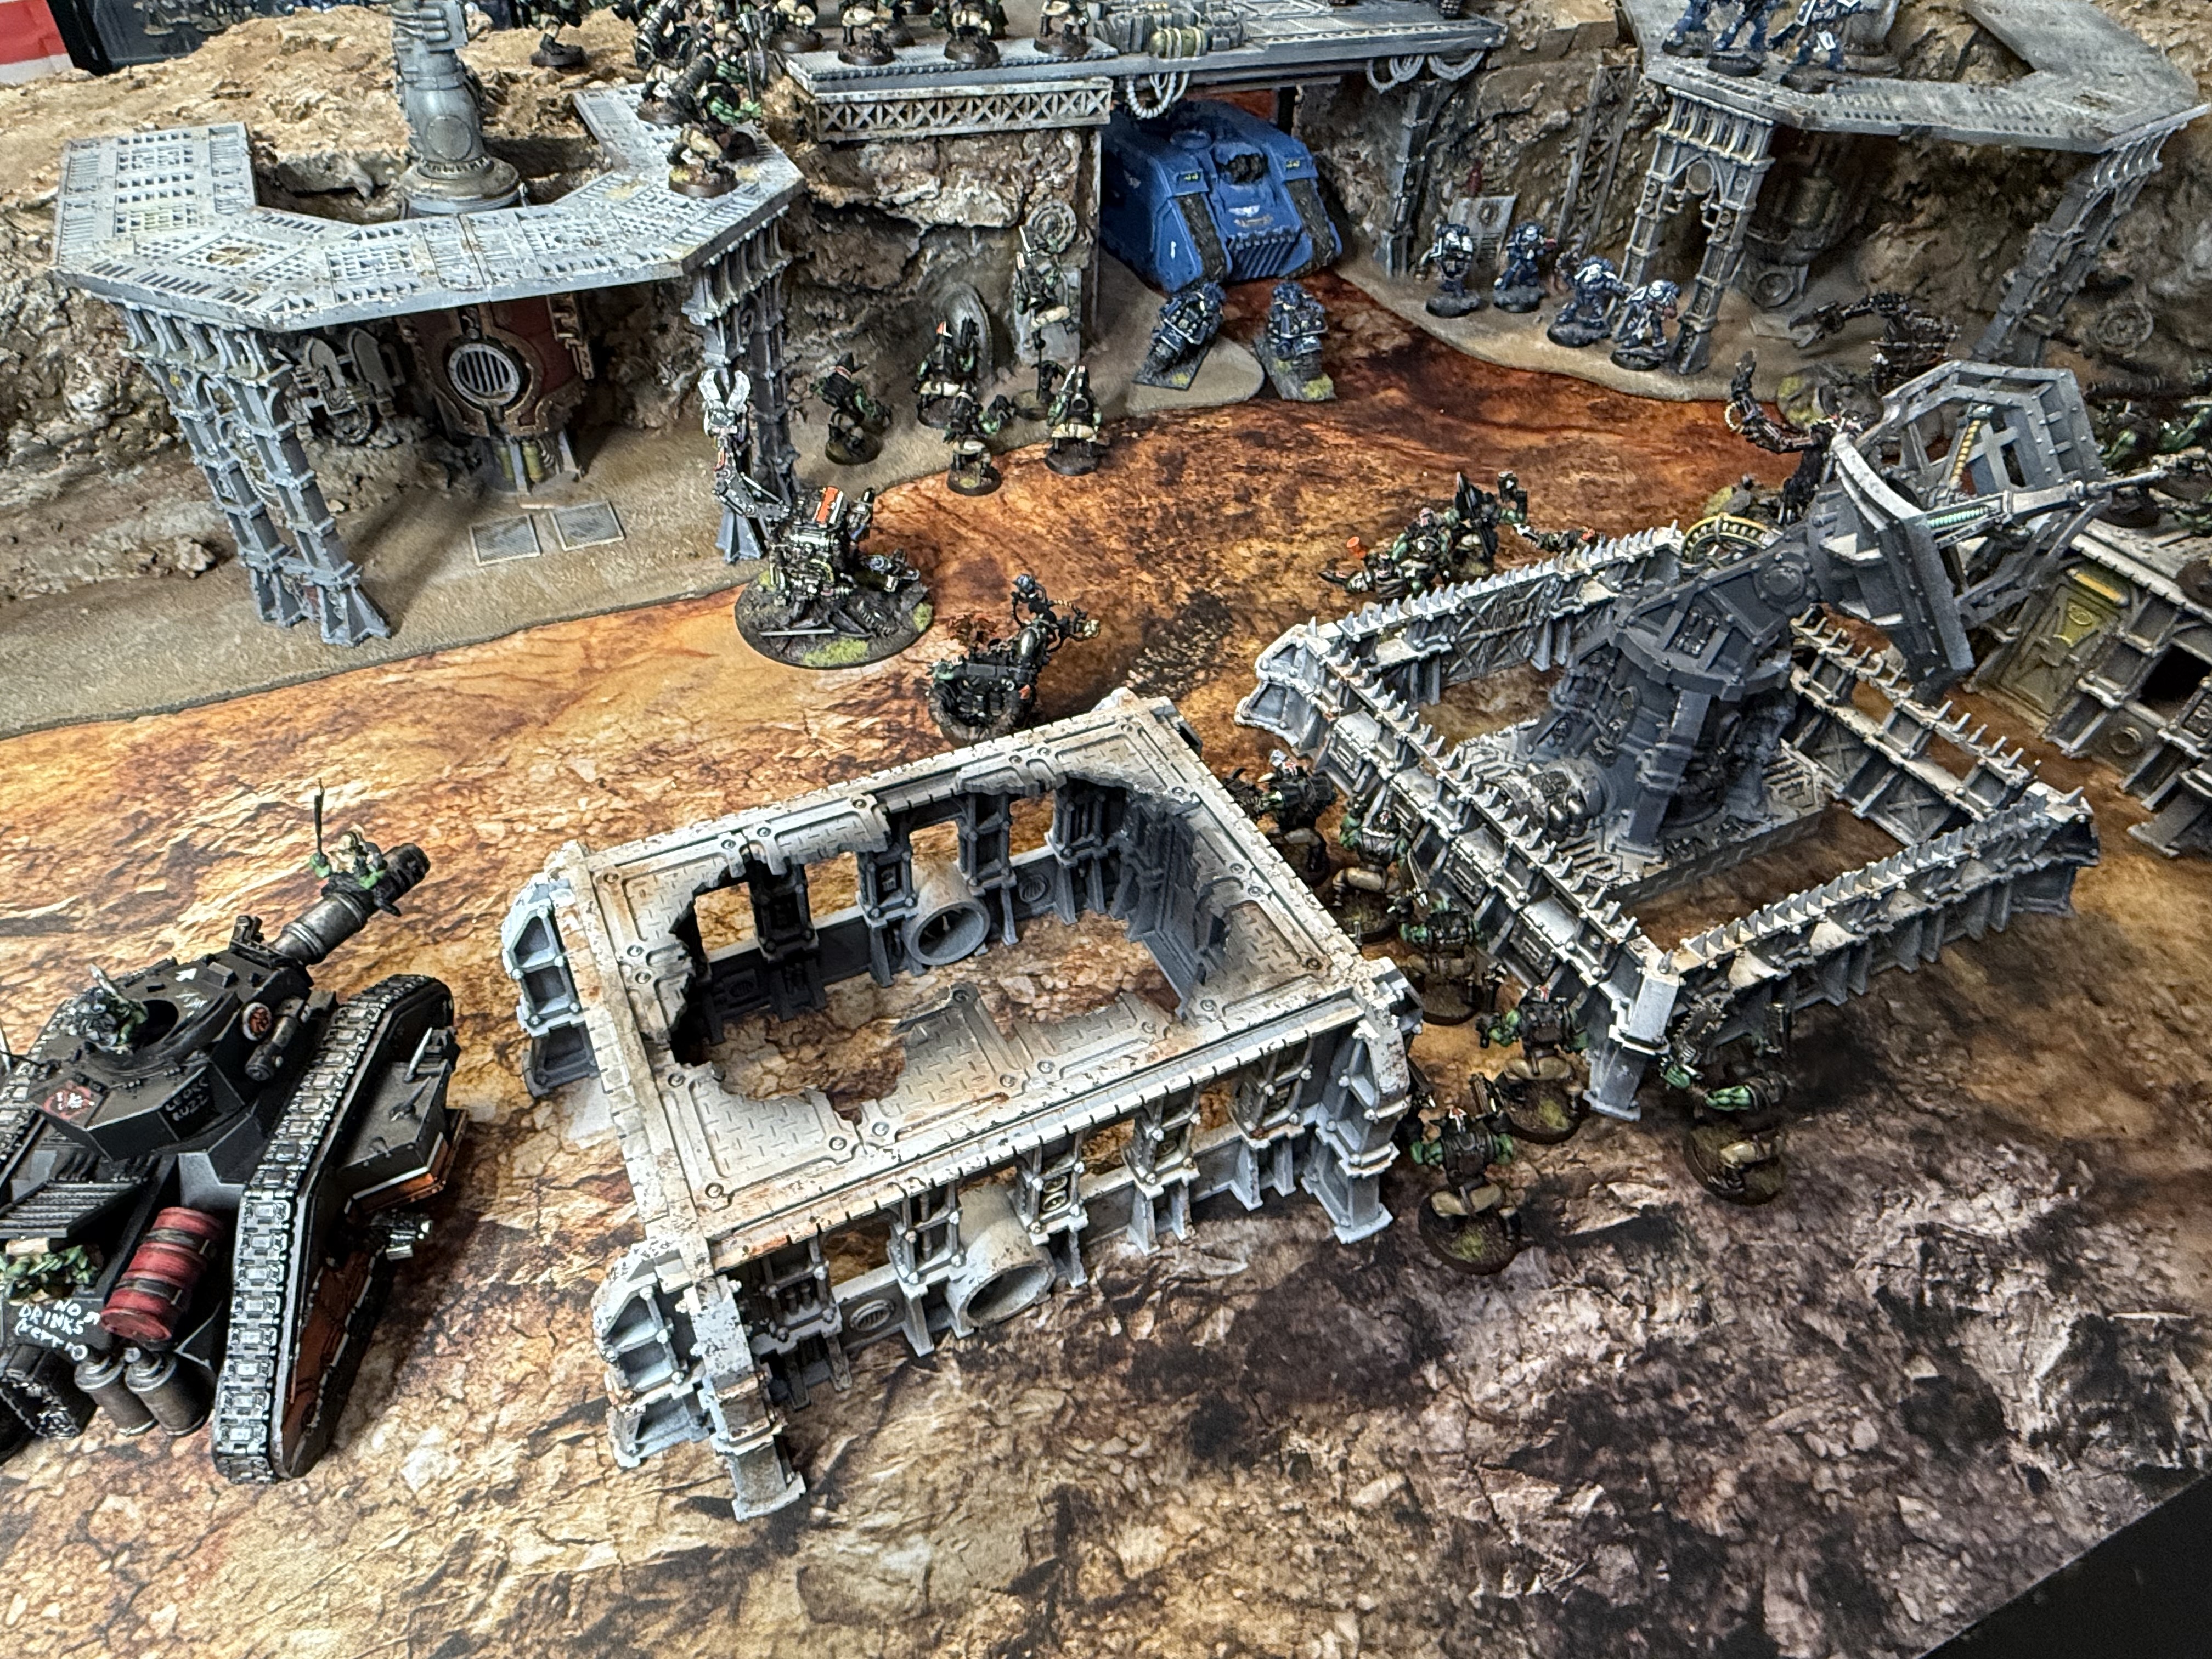
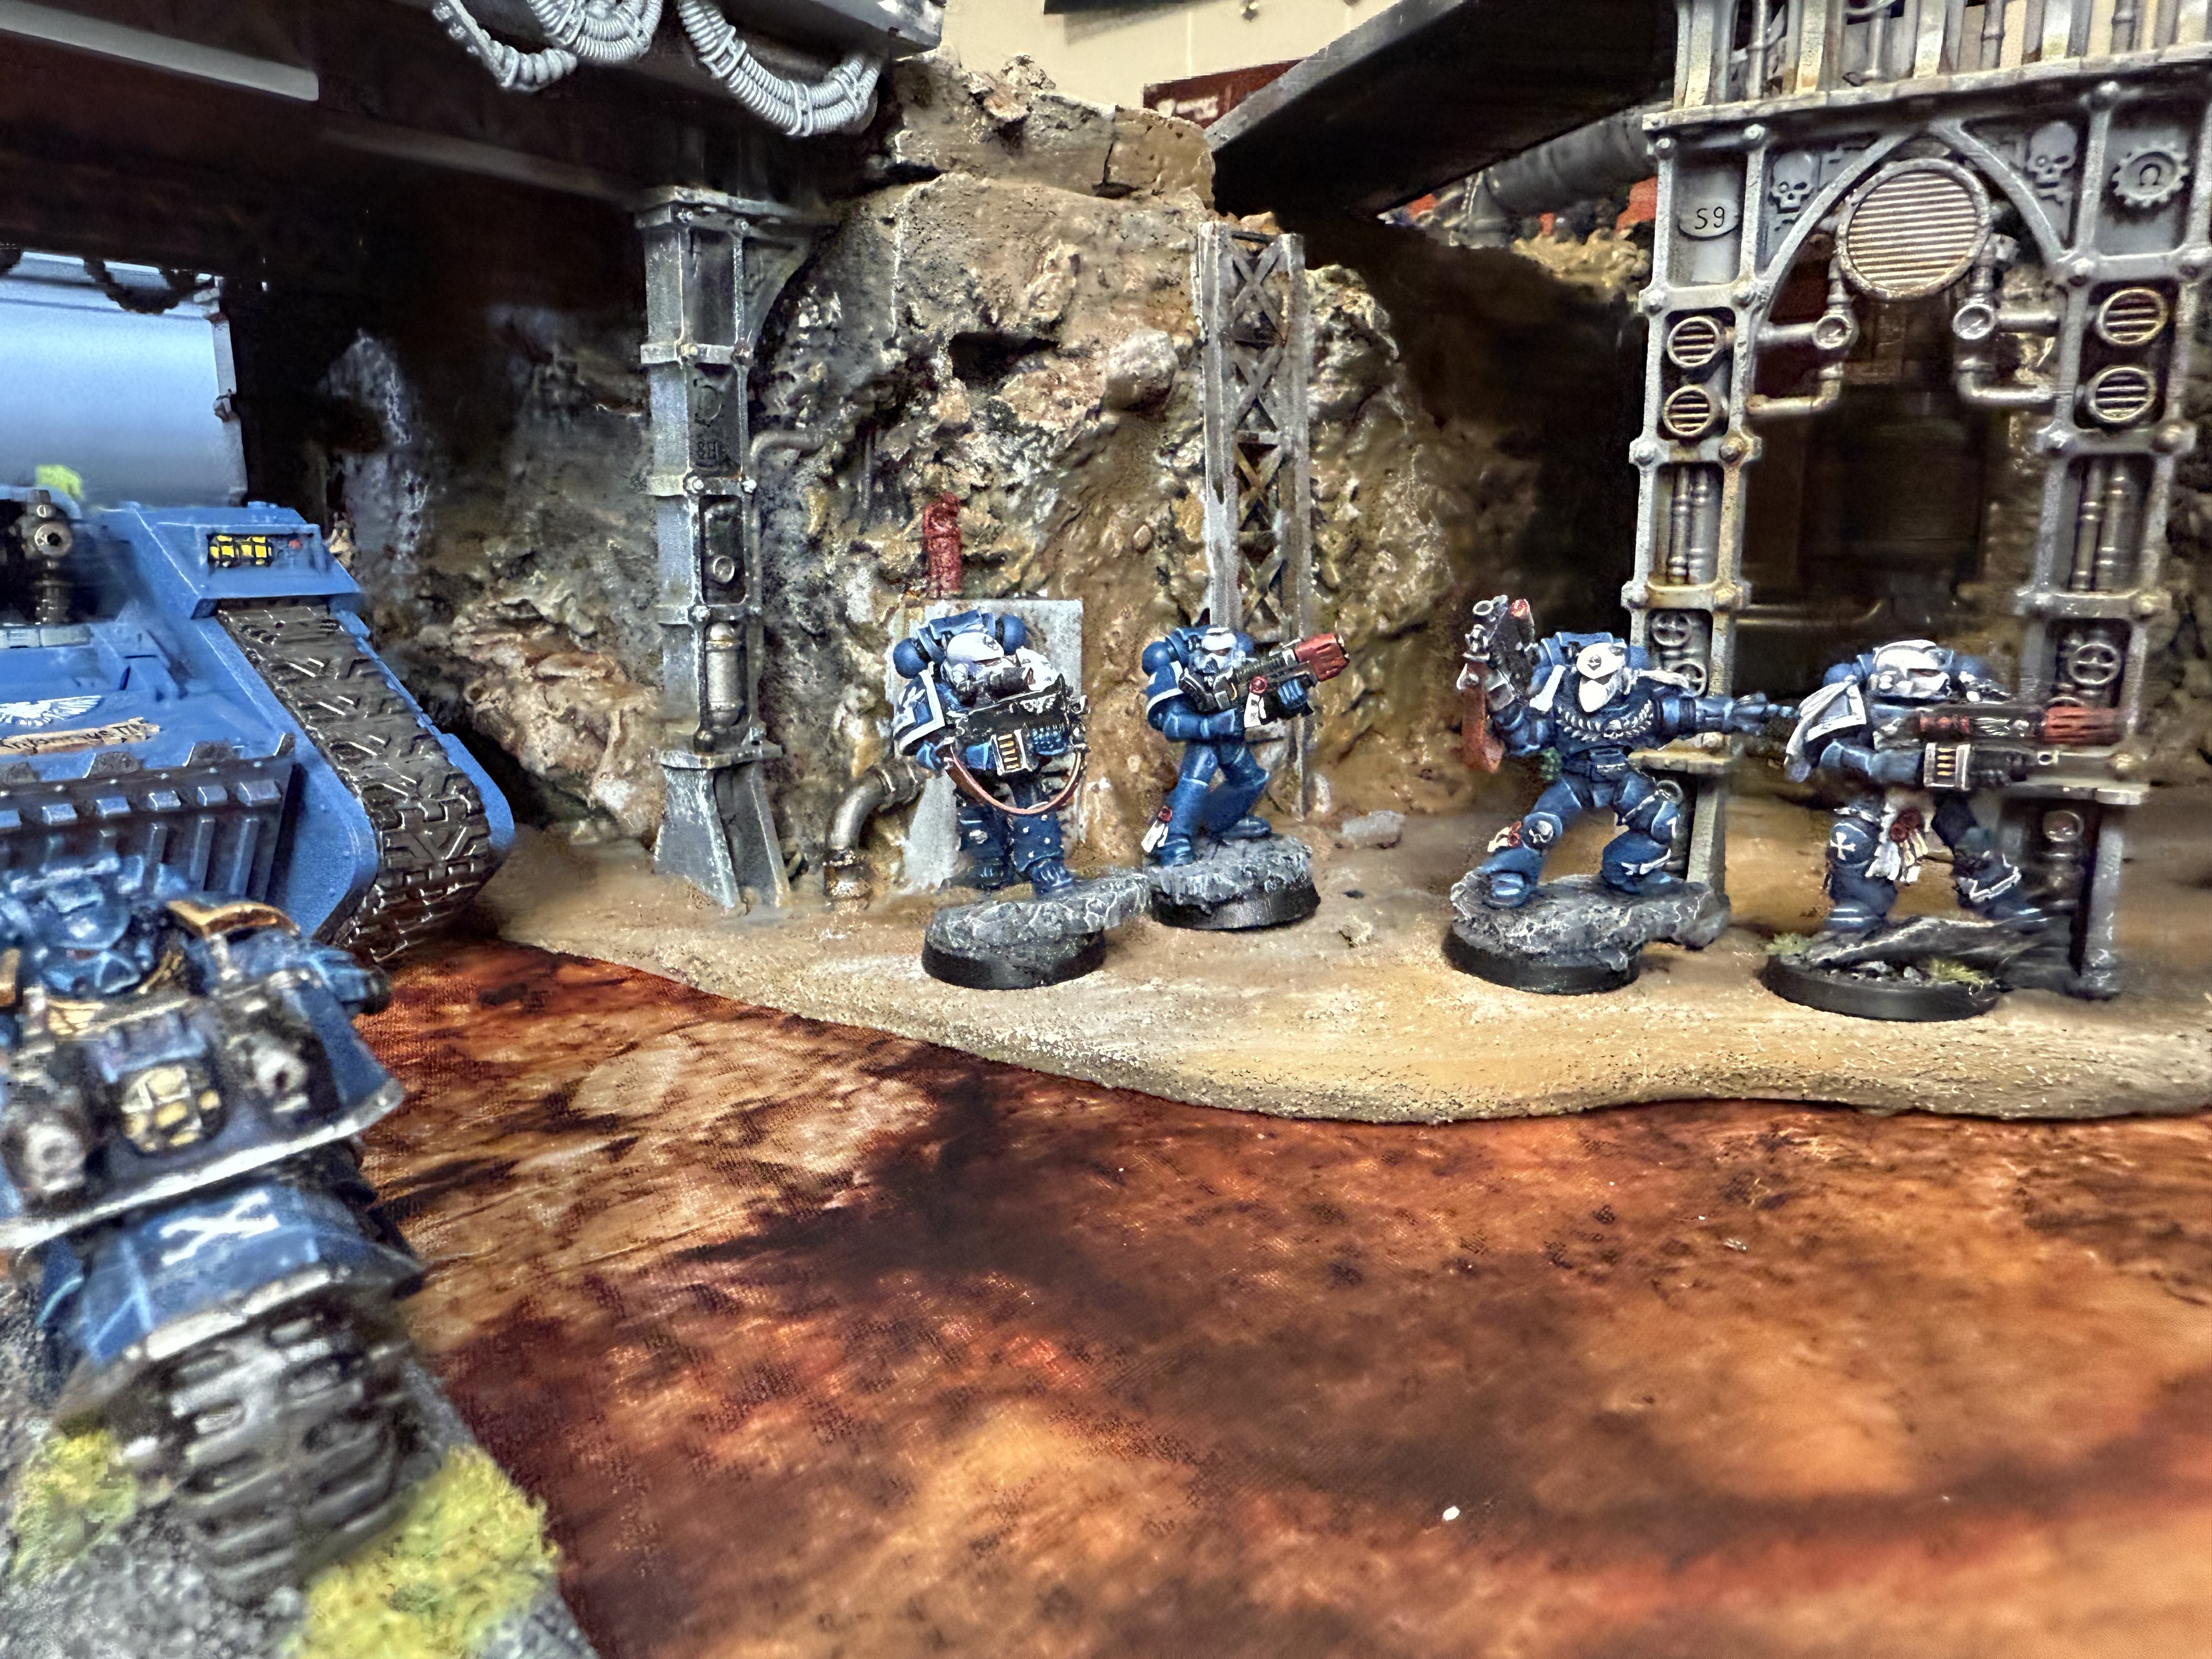
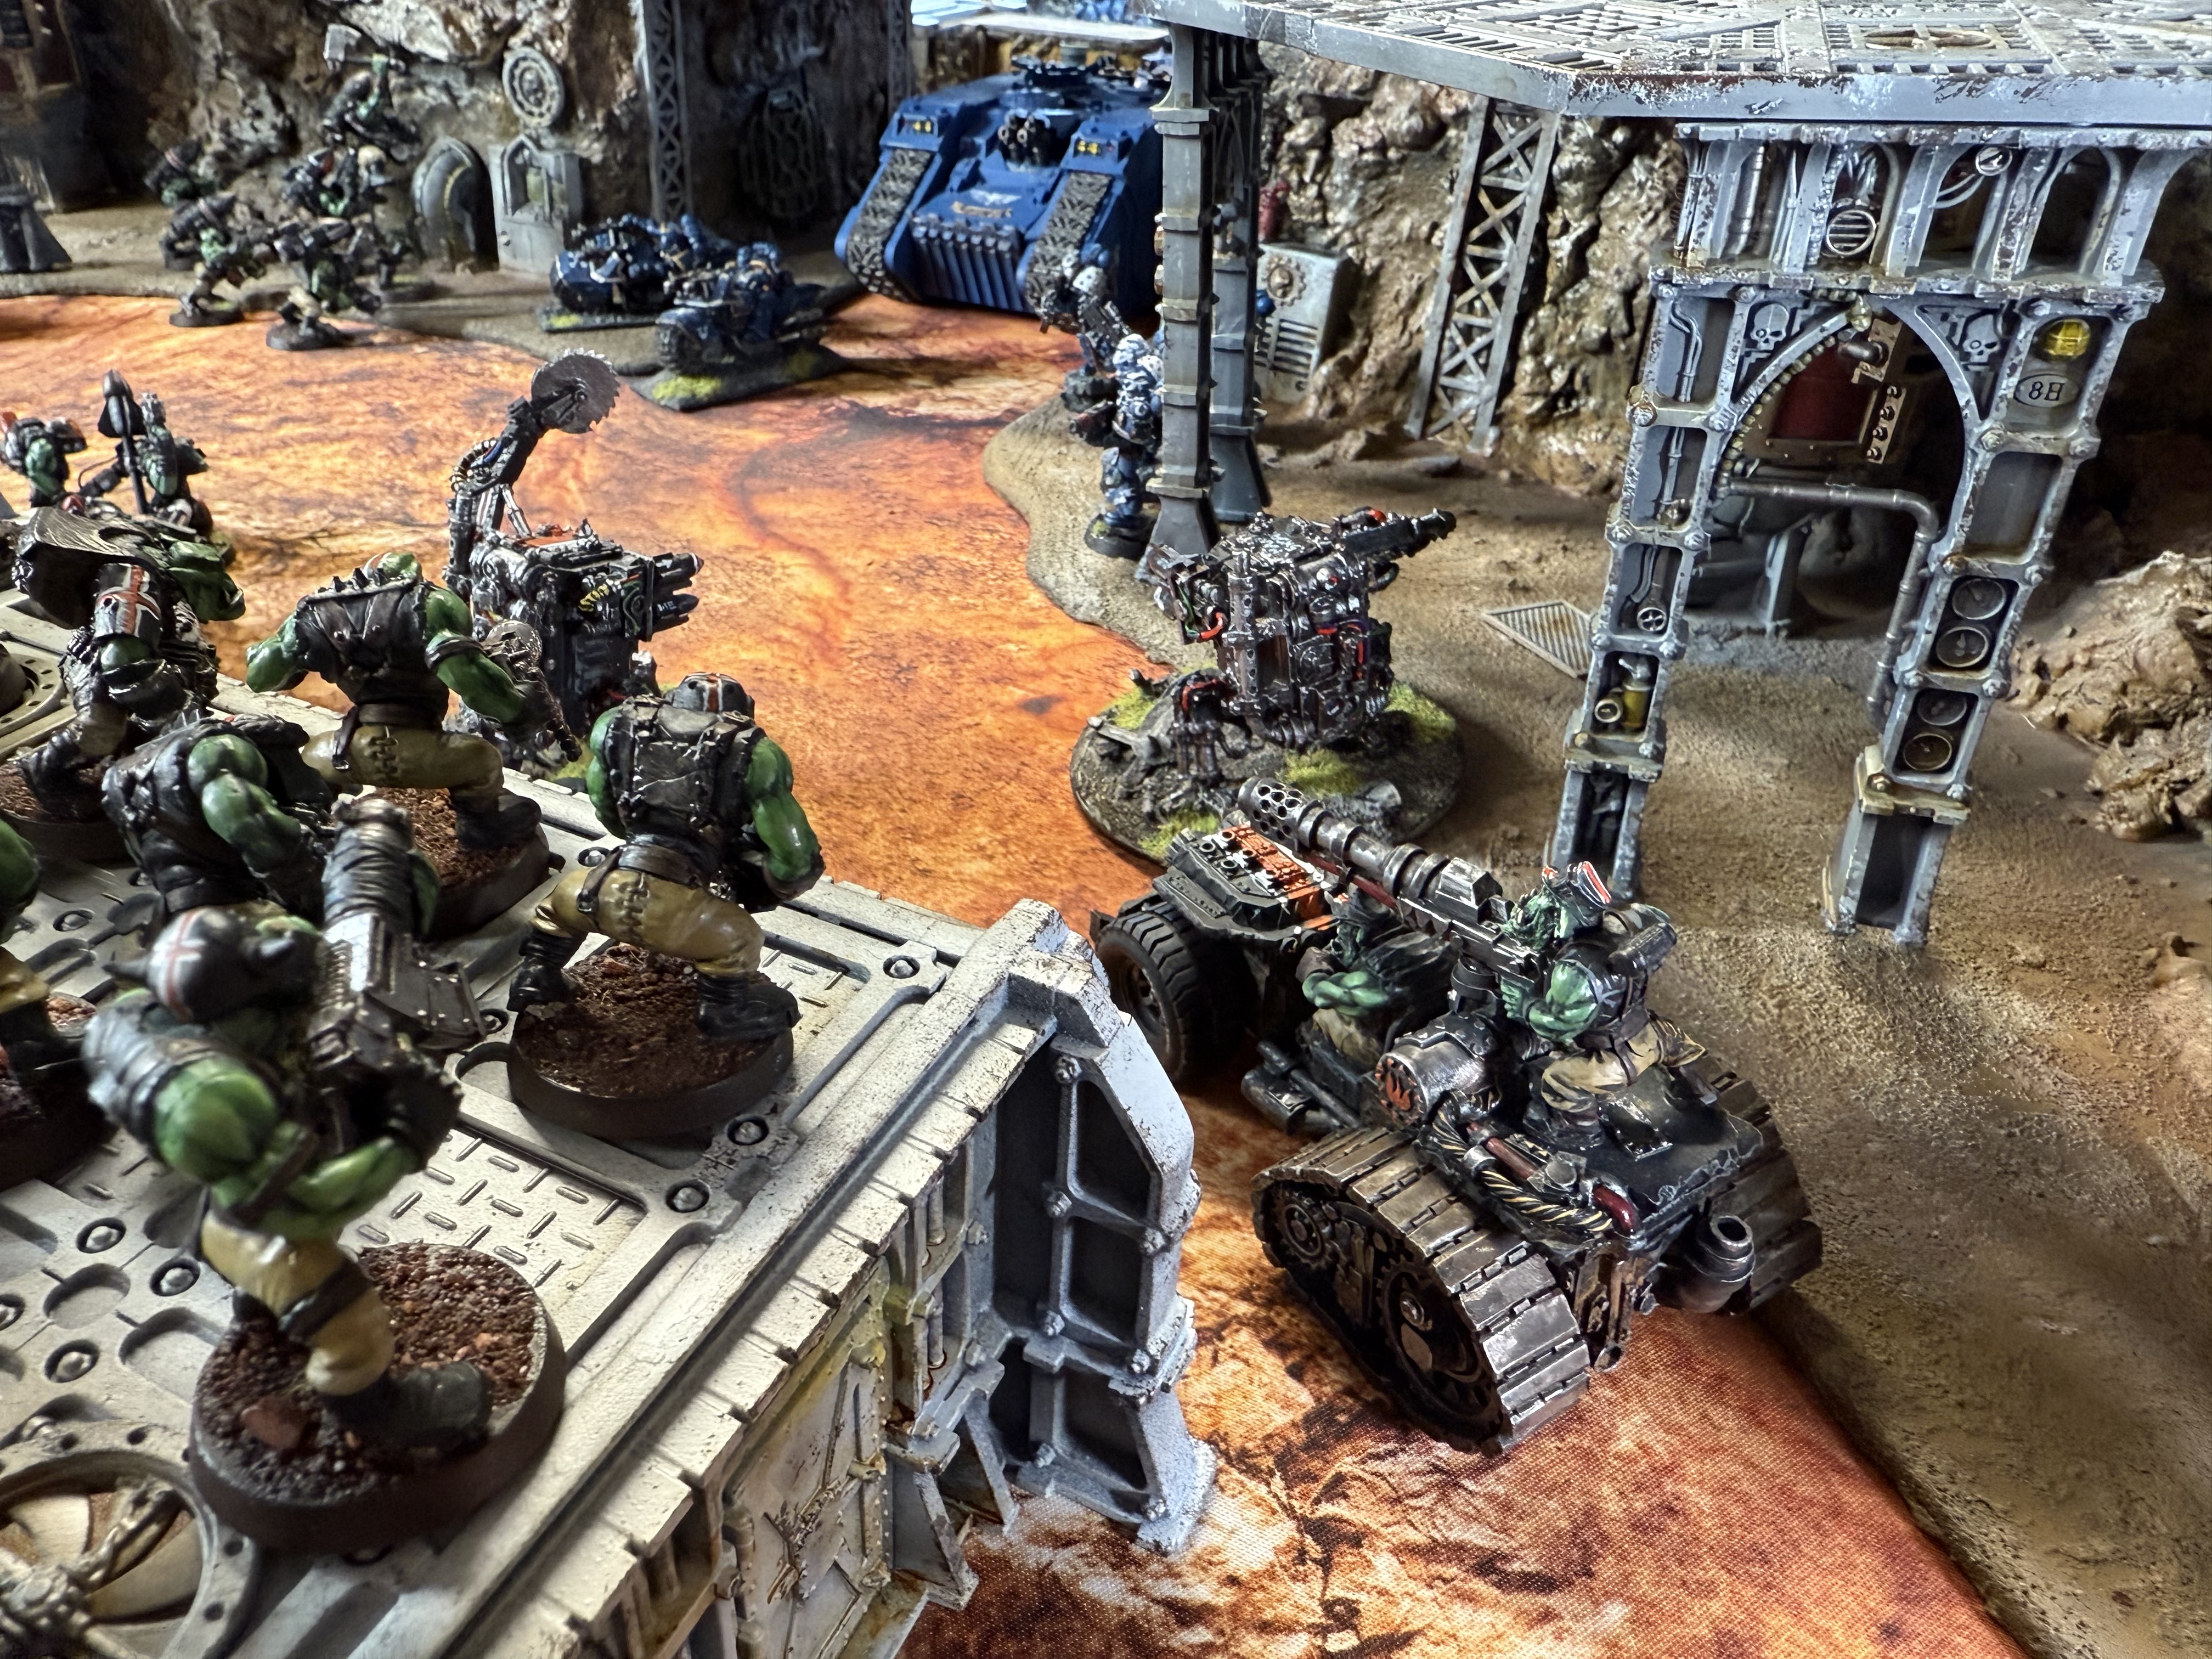
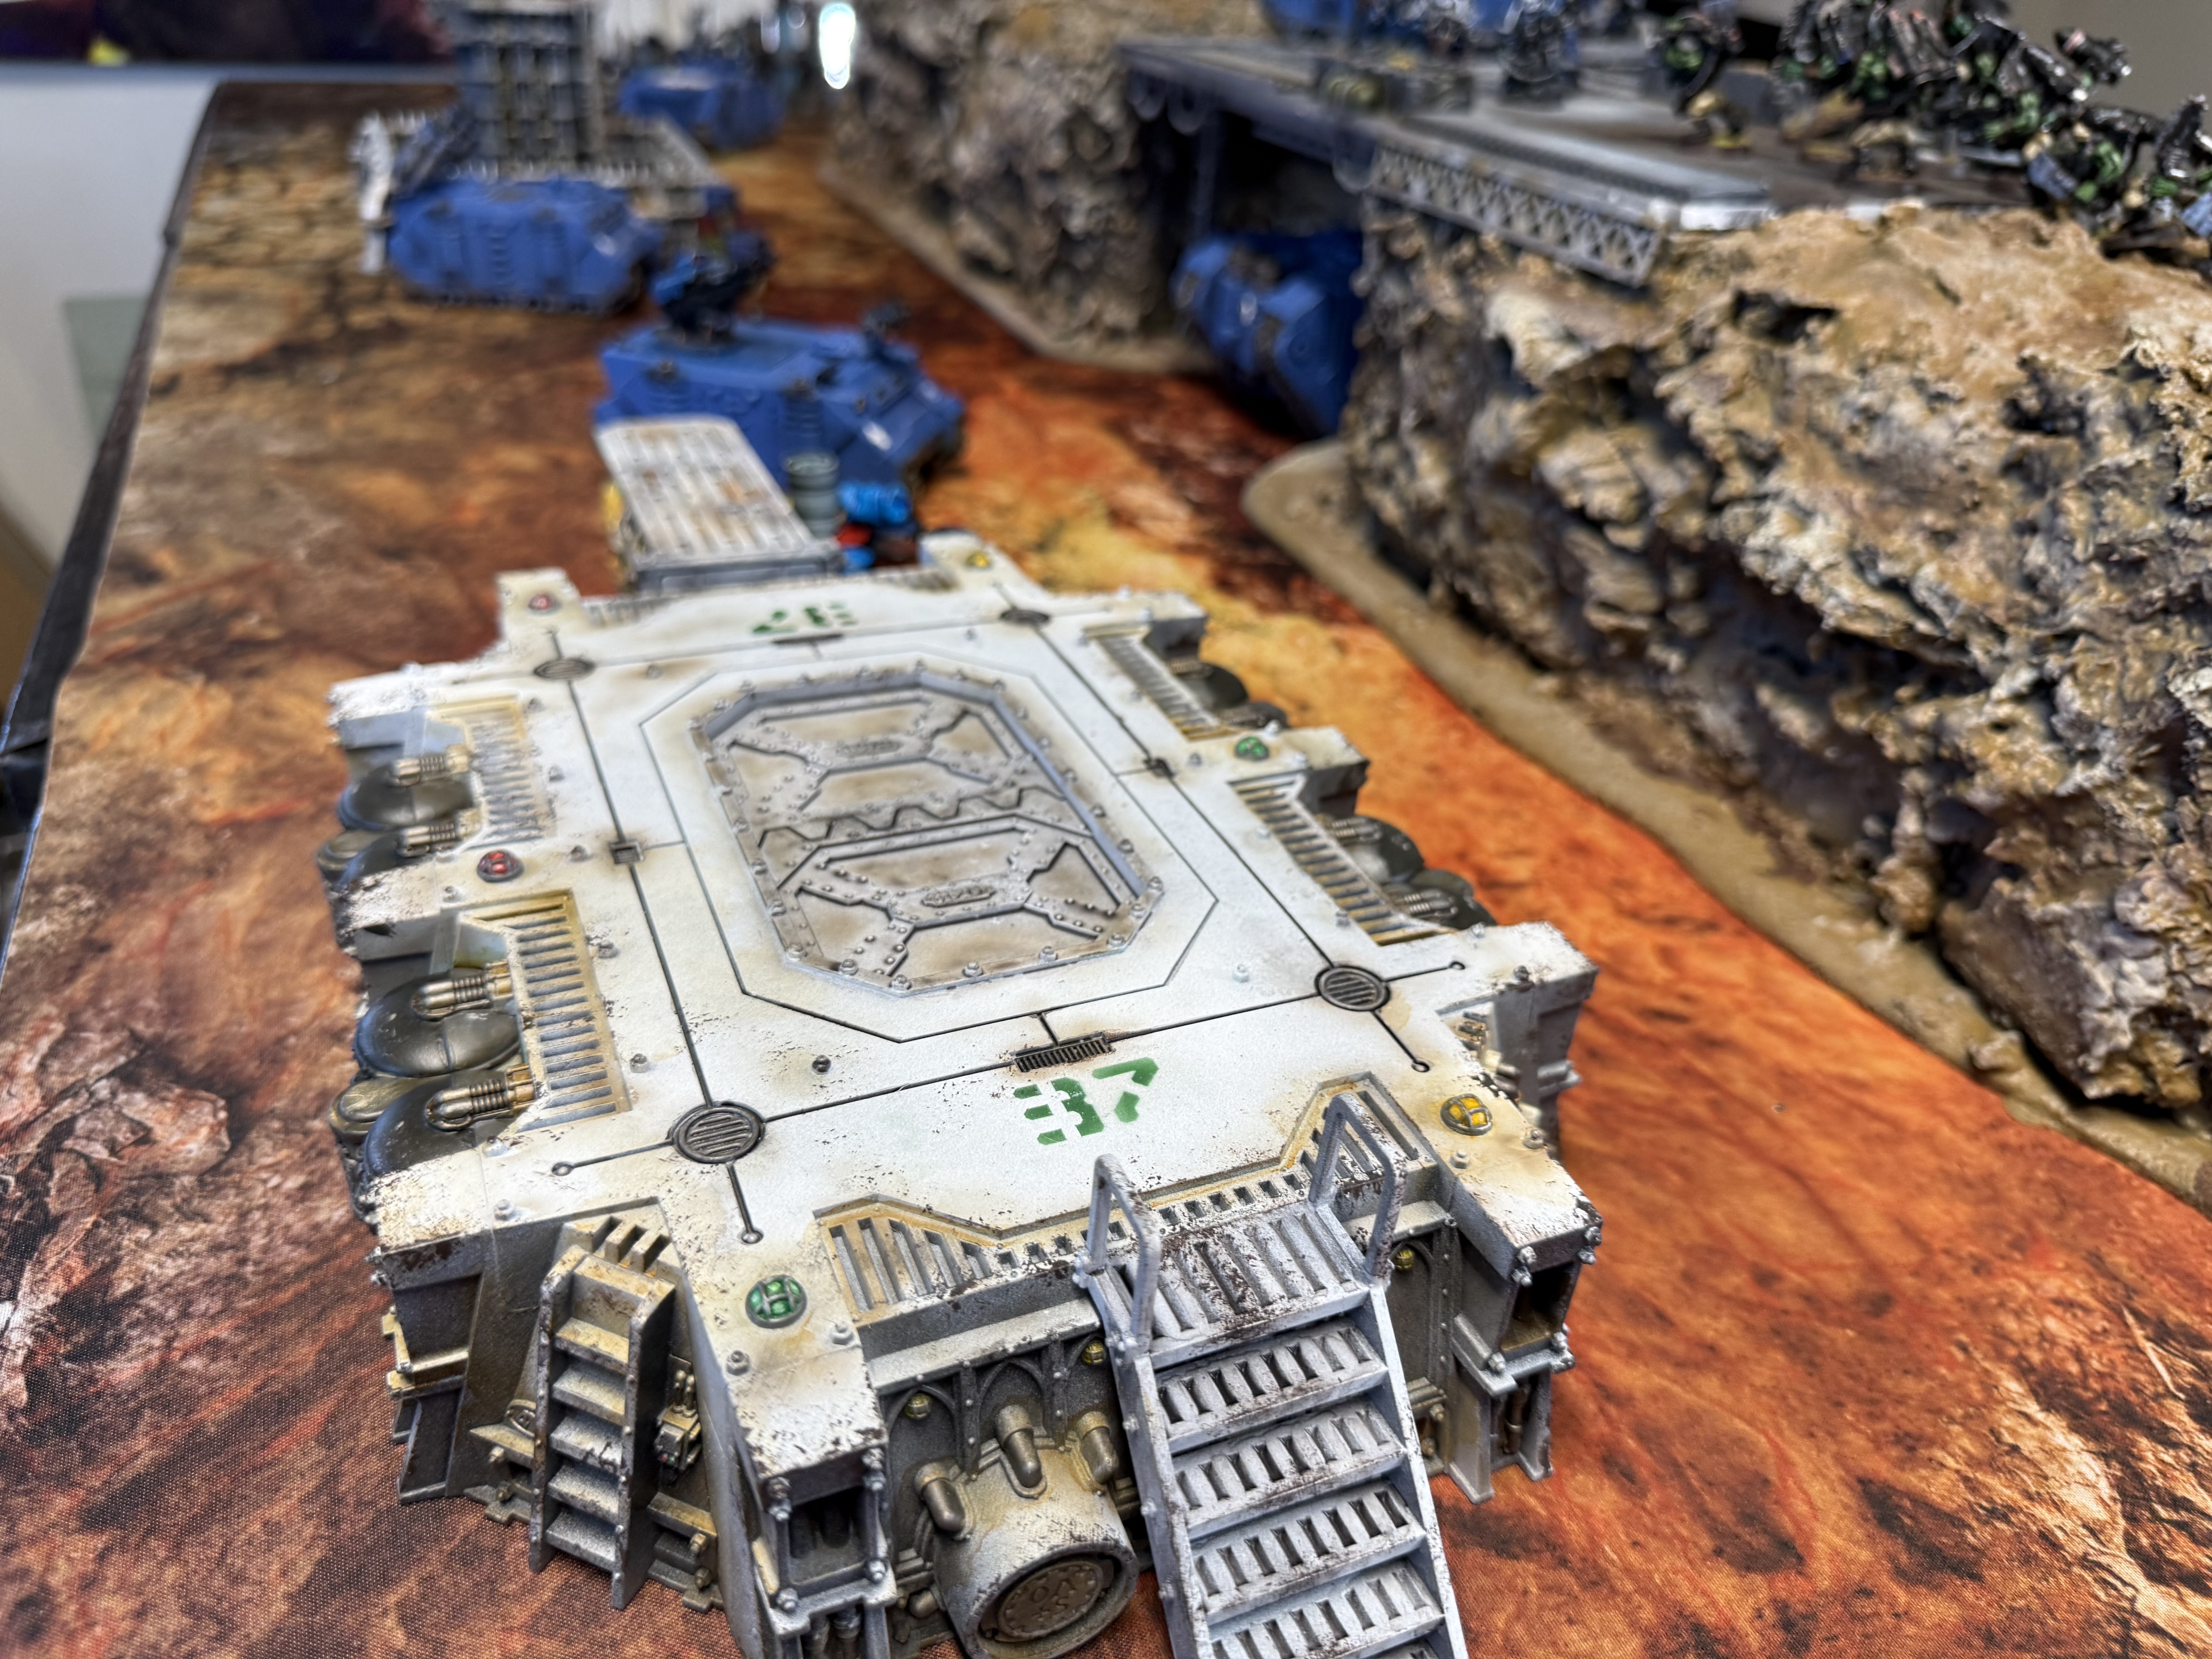
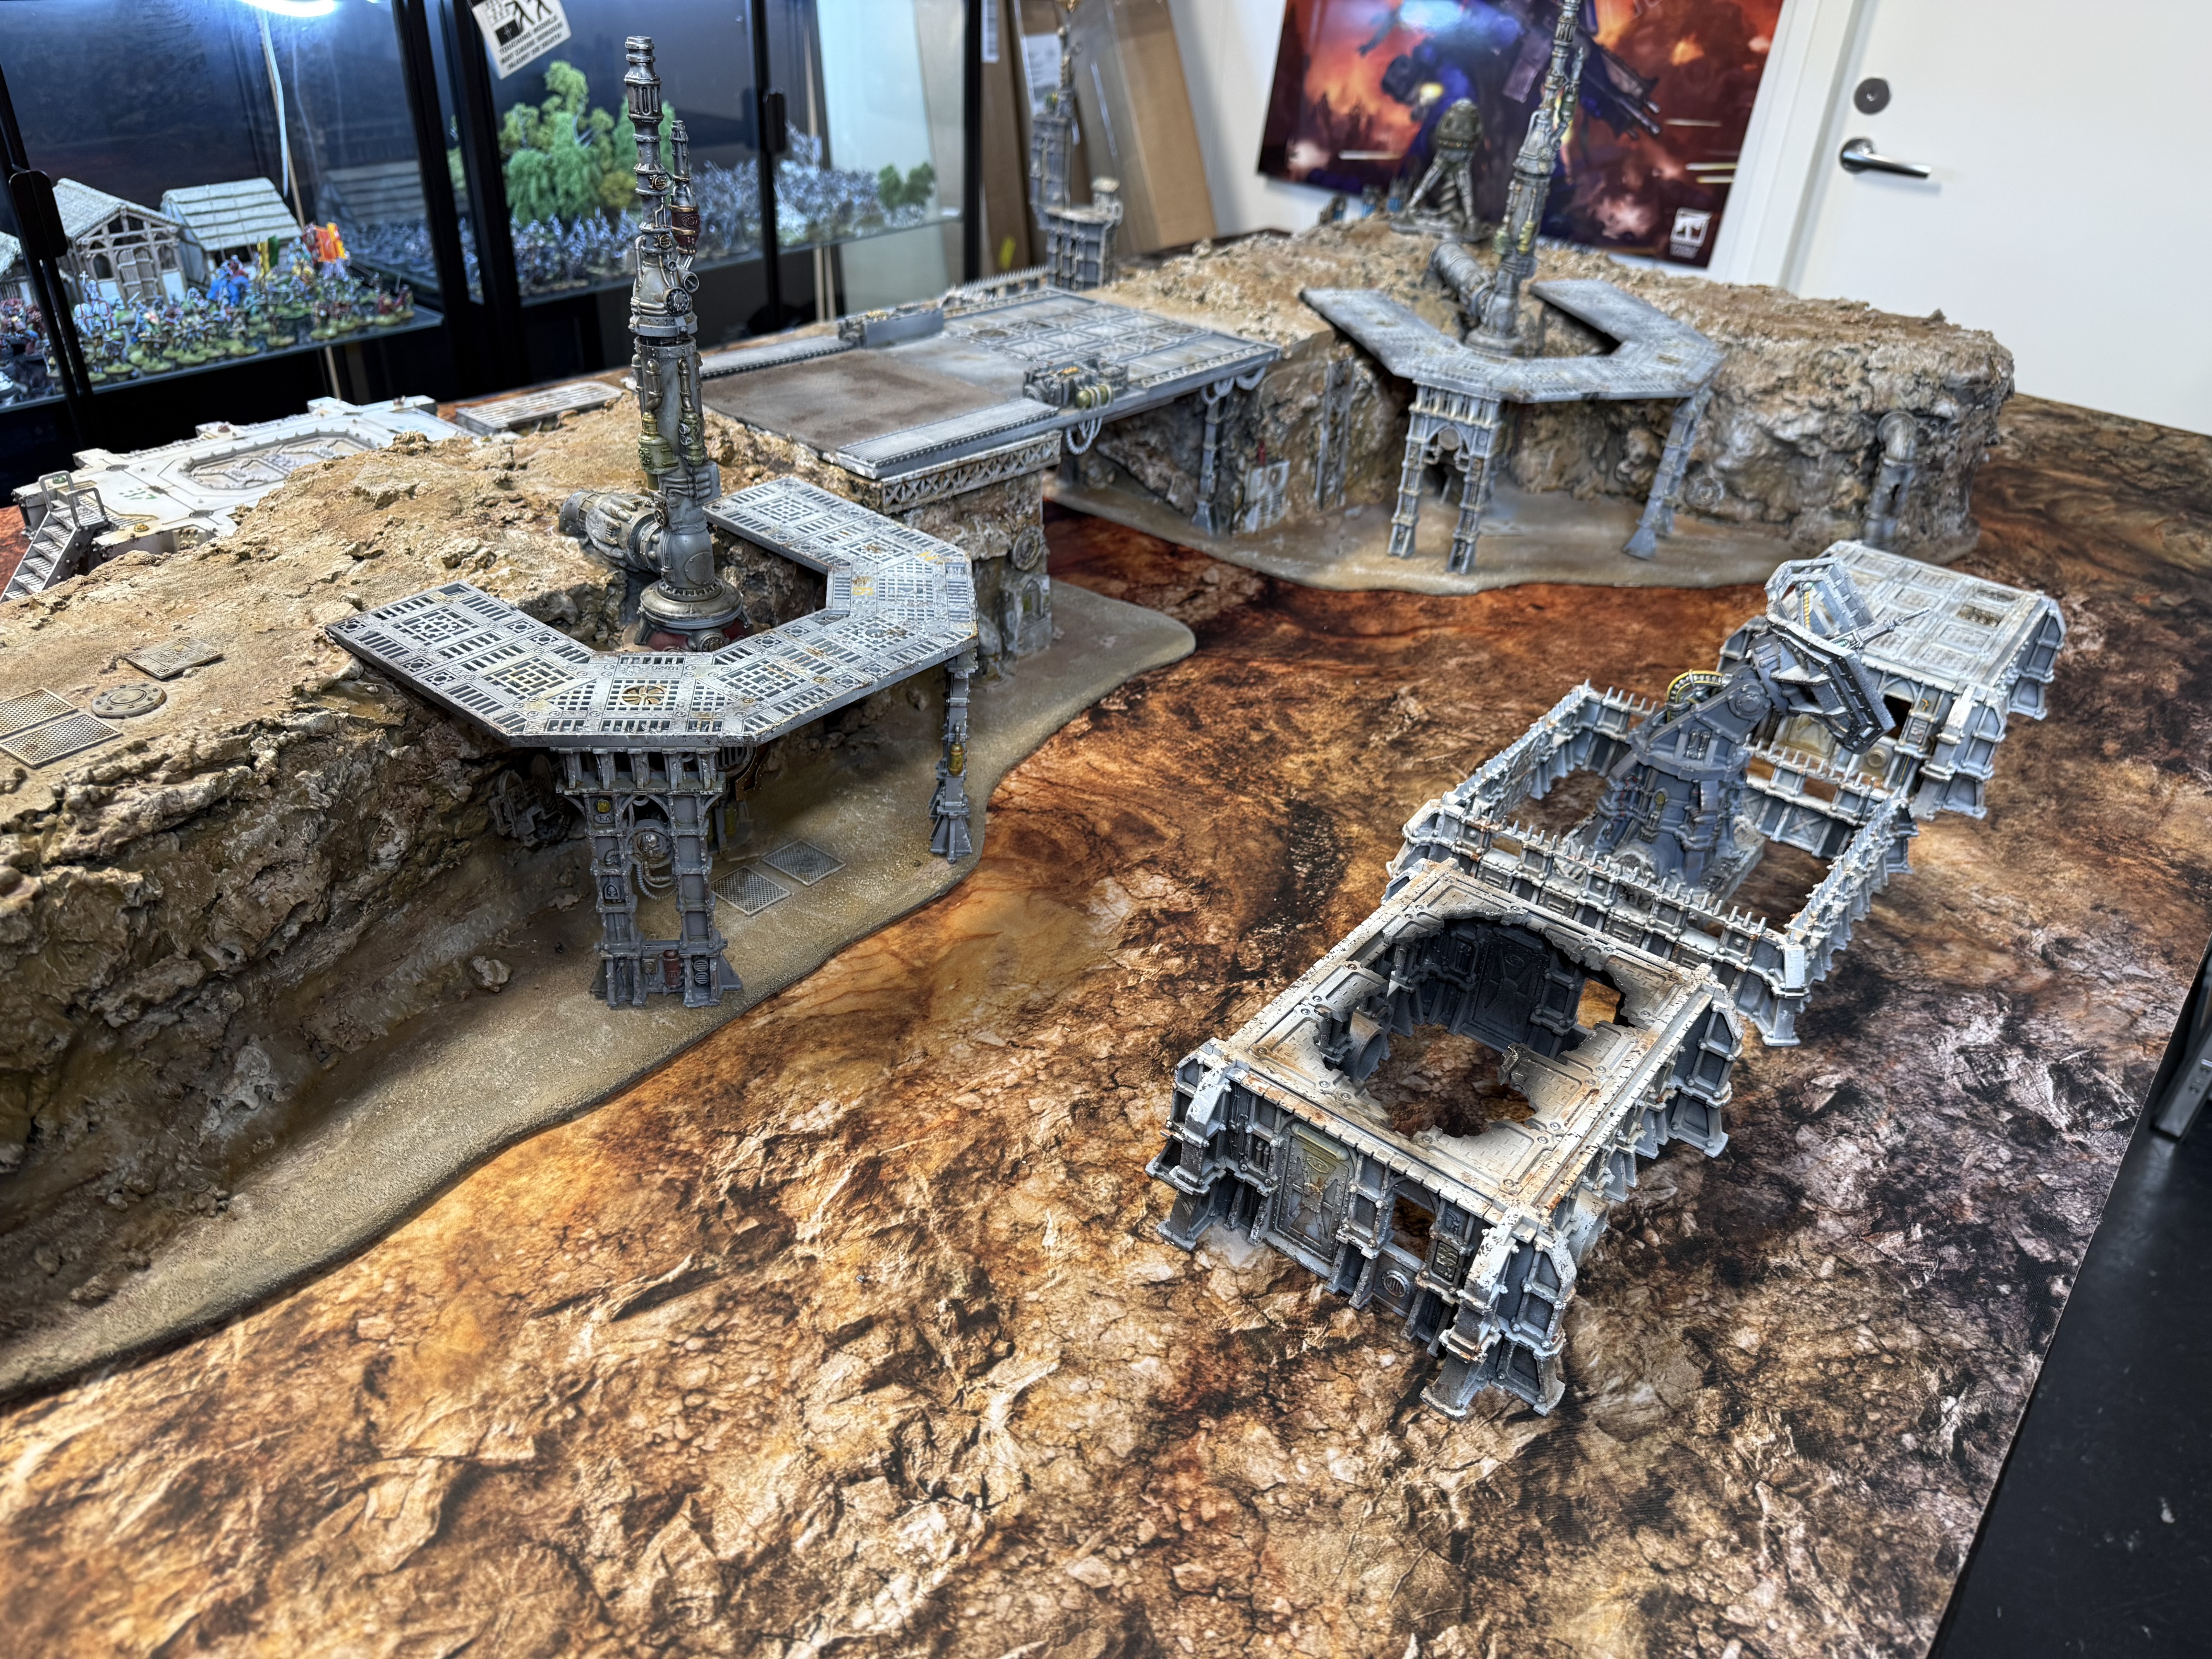
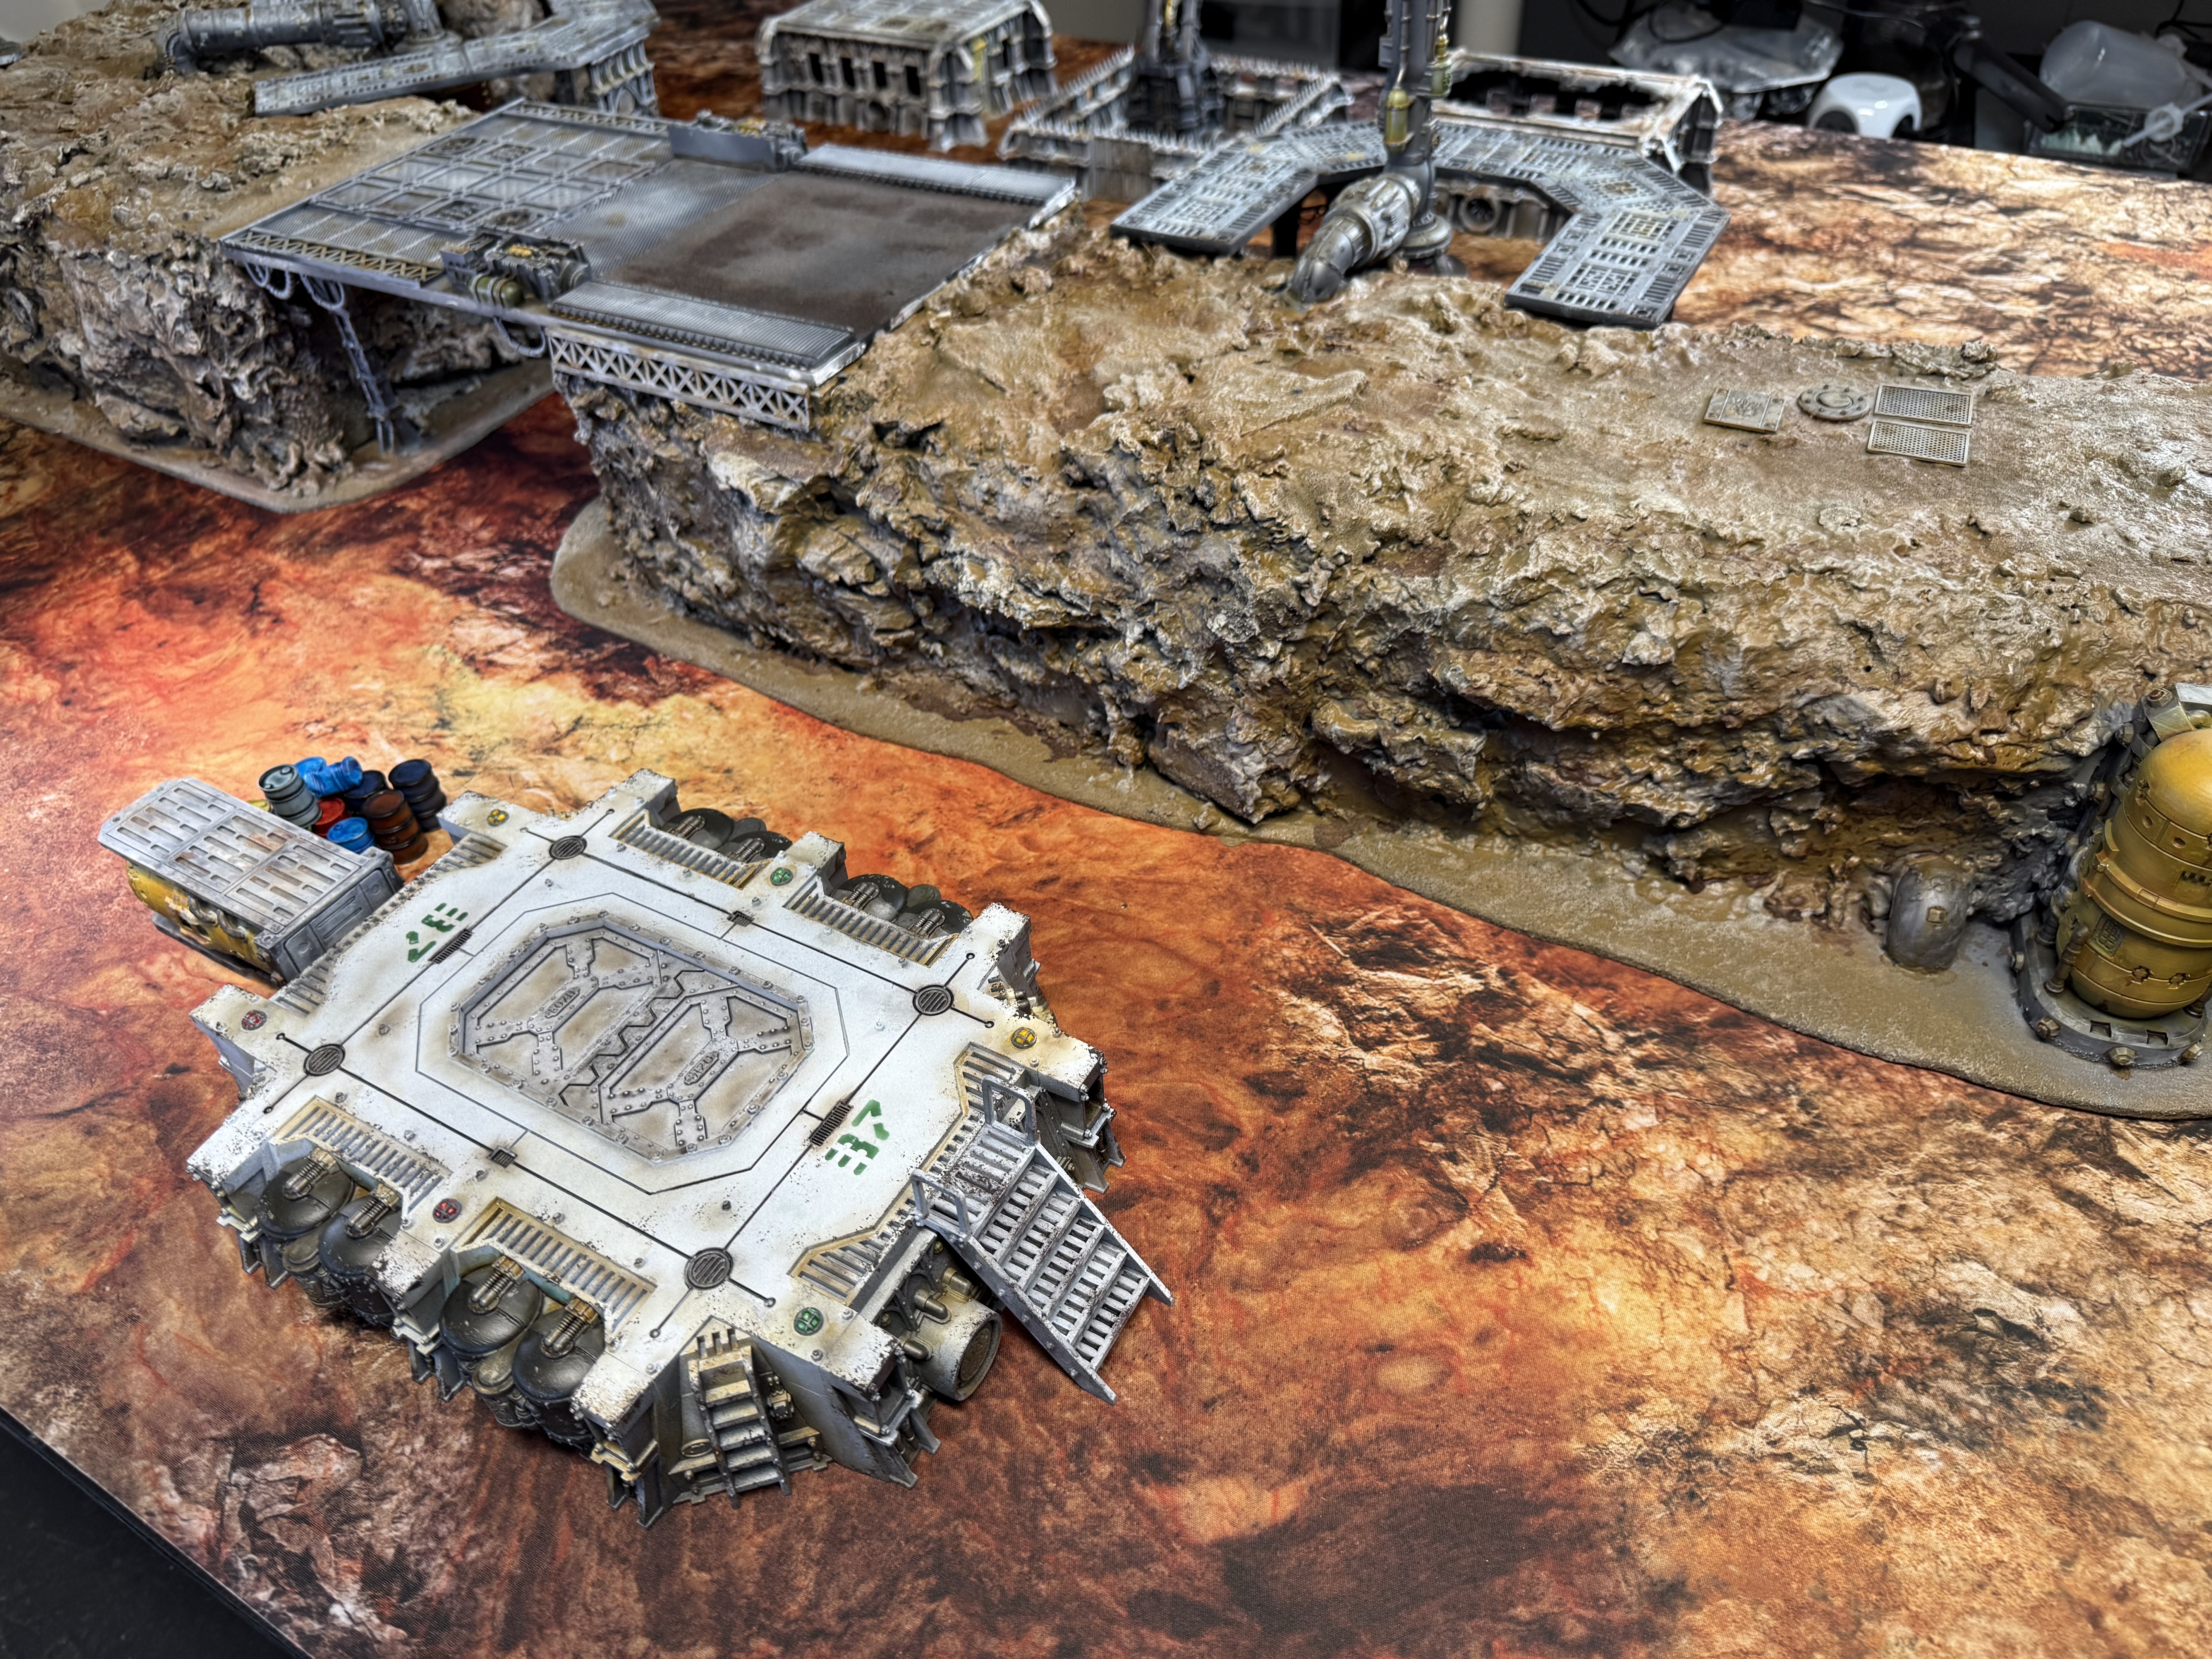
Battle shots
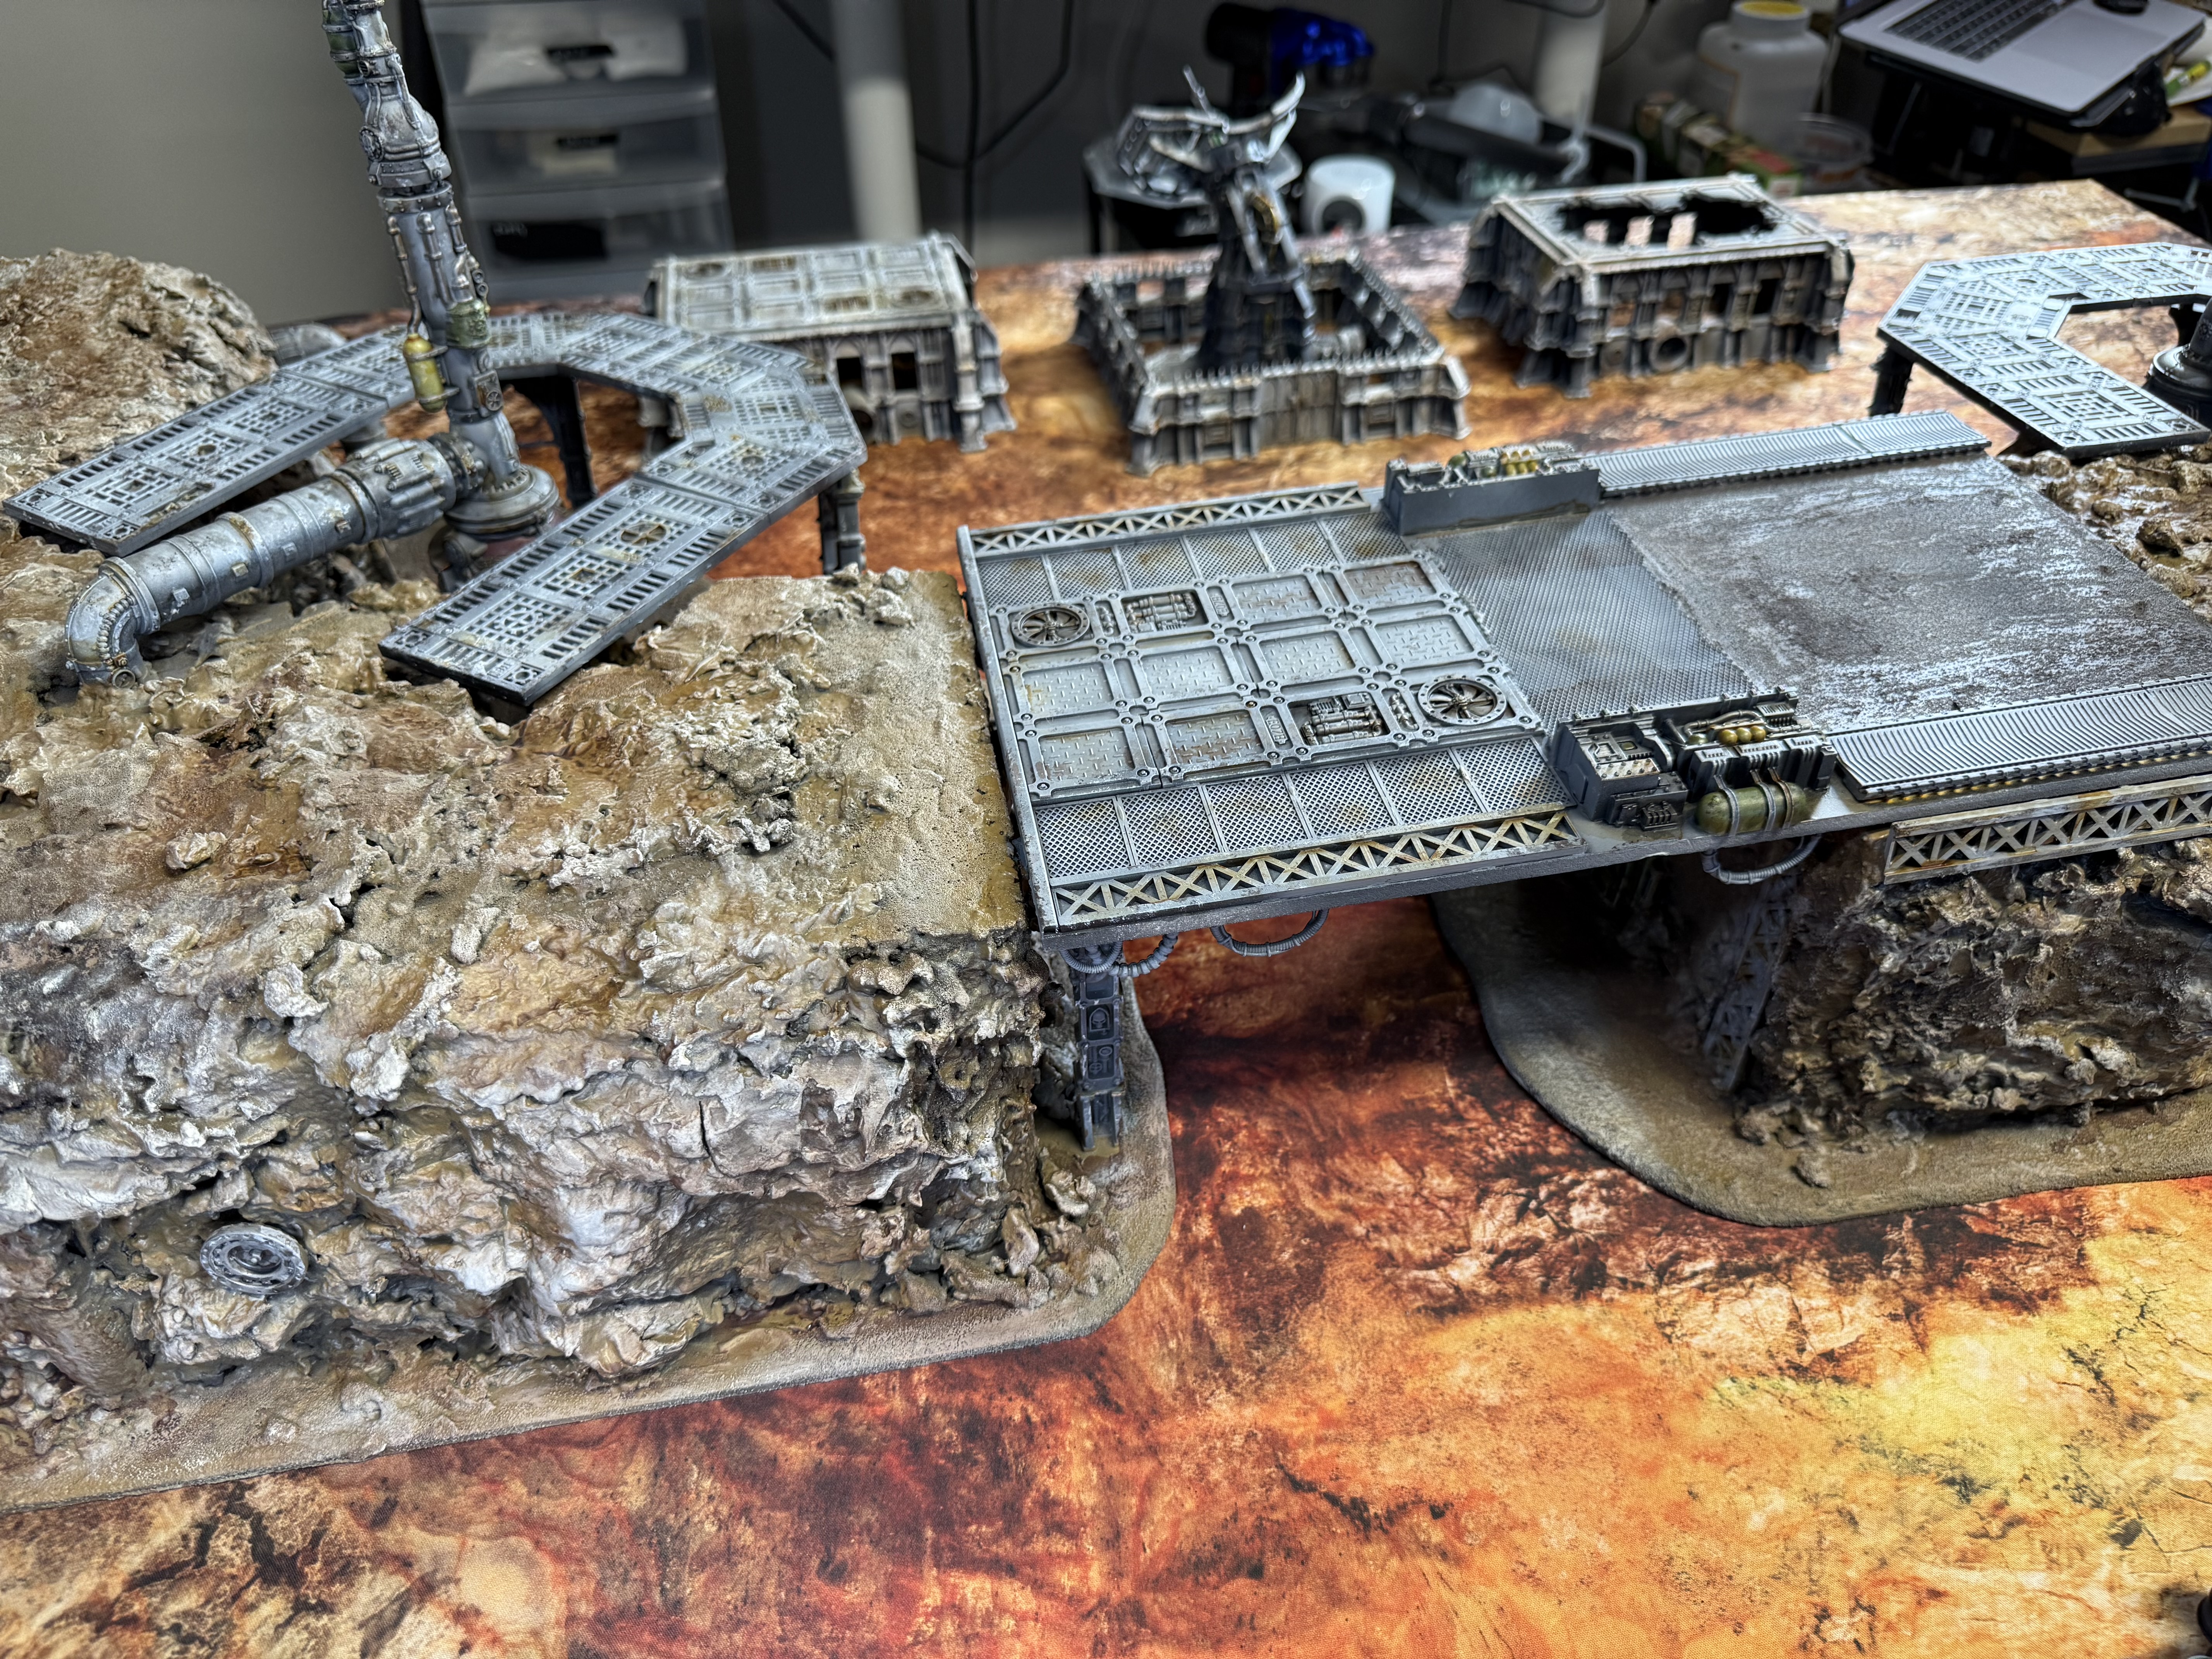
Wargaming table is only a wargaming table when there’s a battle. Given my Heresy collection is still at infancy, I dug out my (nearly?) couple of decades old 40k armies and staged a battle.


Project complete!
Calling it done!
To recap the goals of the project:
Use the 2023 Terrain Fest prize kits, except the Orky one (I’ll save it for something else)
This was achieve. I have some small bits left as I quite heavily deviated from the intended purpose of the kits.
Avoid buying anything new. I’ve got loads of materials, I shouldn’t need anything new. Standard modelling supplies excluded.
Almost achieved, I did buy the mat. Given how well it blends with the terrain this was a must. Regarding hobby supplies, I only had to get some rattle cans and artists acrylics.
Complete it for Terrain Fest 2024. Scope down if I’m in danger of running out of time.
Check!
No need for modularity, but I need to be able to store it reasonably.
It ended up being fairly modular in the end. And storage is easy, everything “loose” fits into one big plastic box and the big pieces are wrapped plastic sheet and stored on top shelf of my terrain storage. I’ll do a separate post on storage later.
Match the style to my Horus Heresy basing scheme.
Check! Have a look earlier in the project the photos featuring Blood Angels.
Overall I’m very happy how the project turned out. My 2025 hobby plan is heavy on Horus Heresy and now I have a full terrain set to get playing games.
Apologies in advance to Tom, I will be uploading a lot of photos next.
Here’s also a quick video showing the full board.


Bits and bobs
Finally some extra pieces I 3d printed or built from other kits.
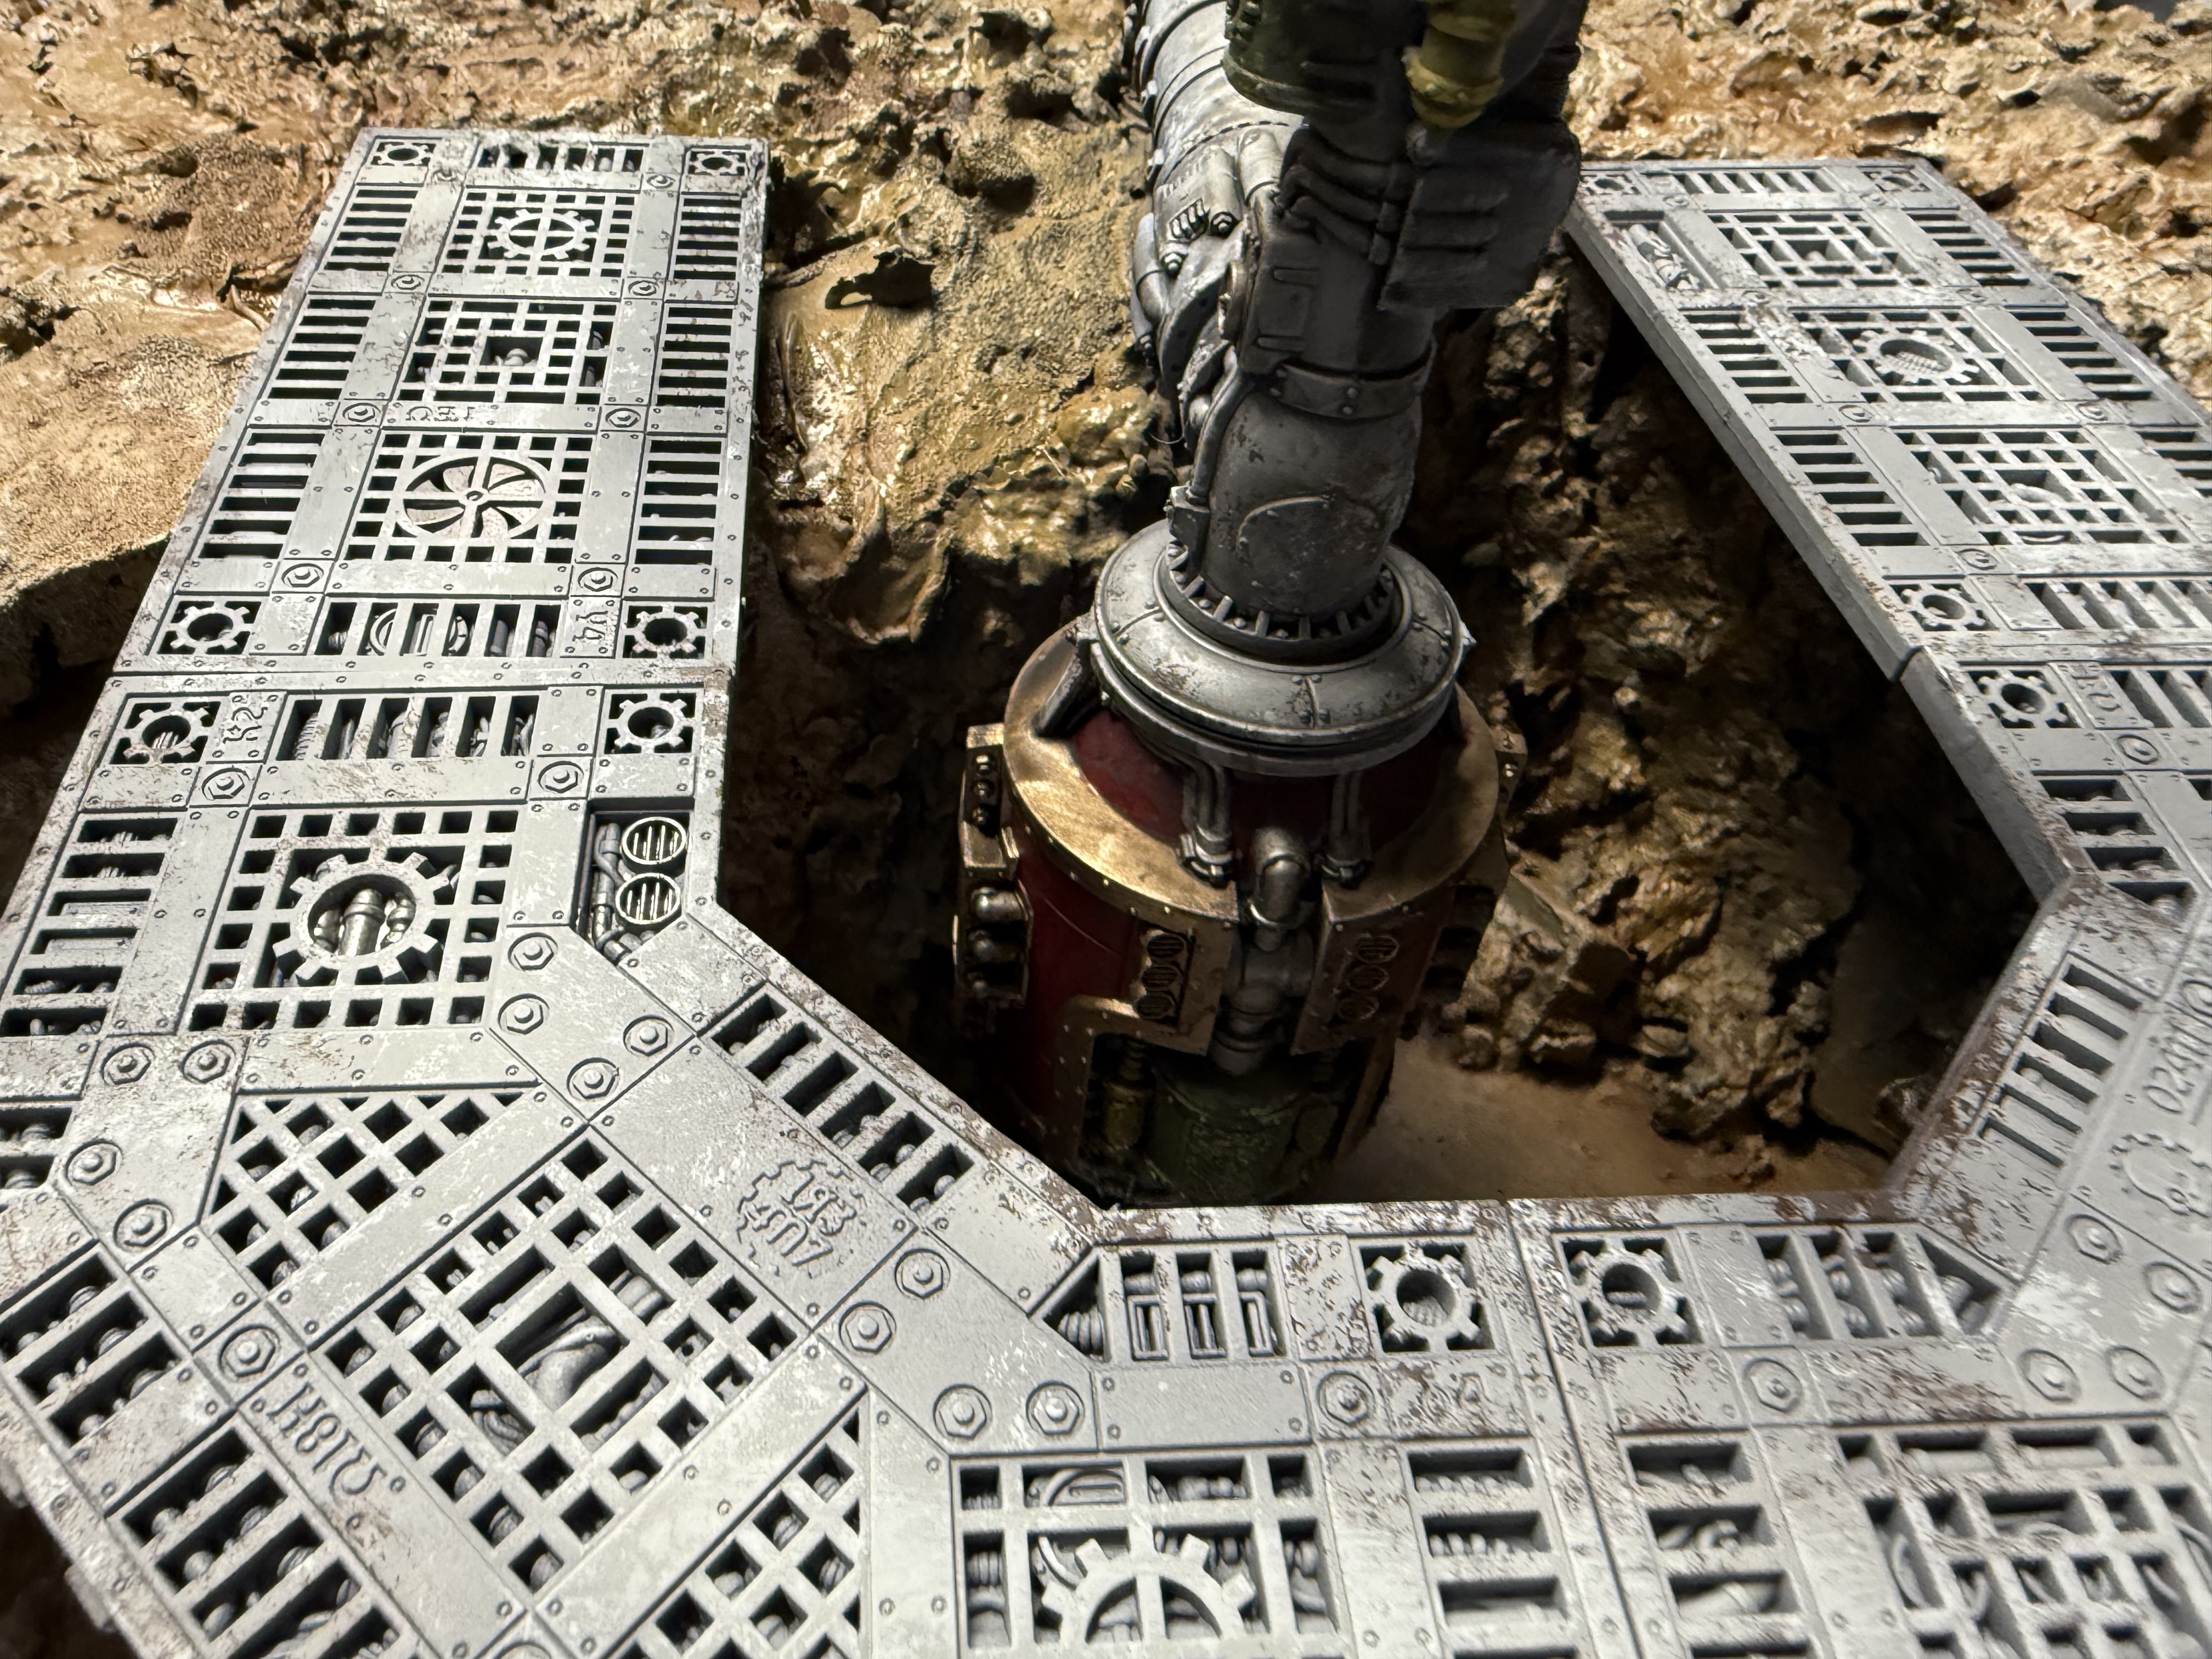
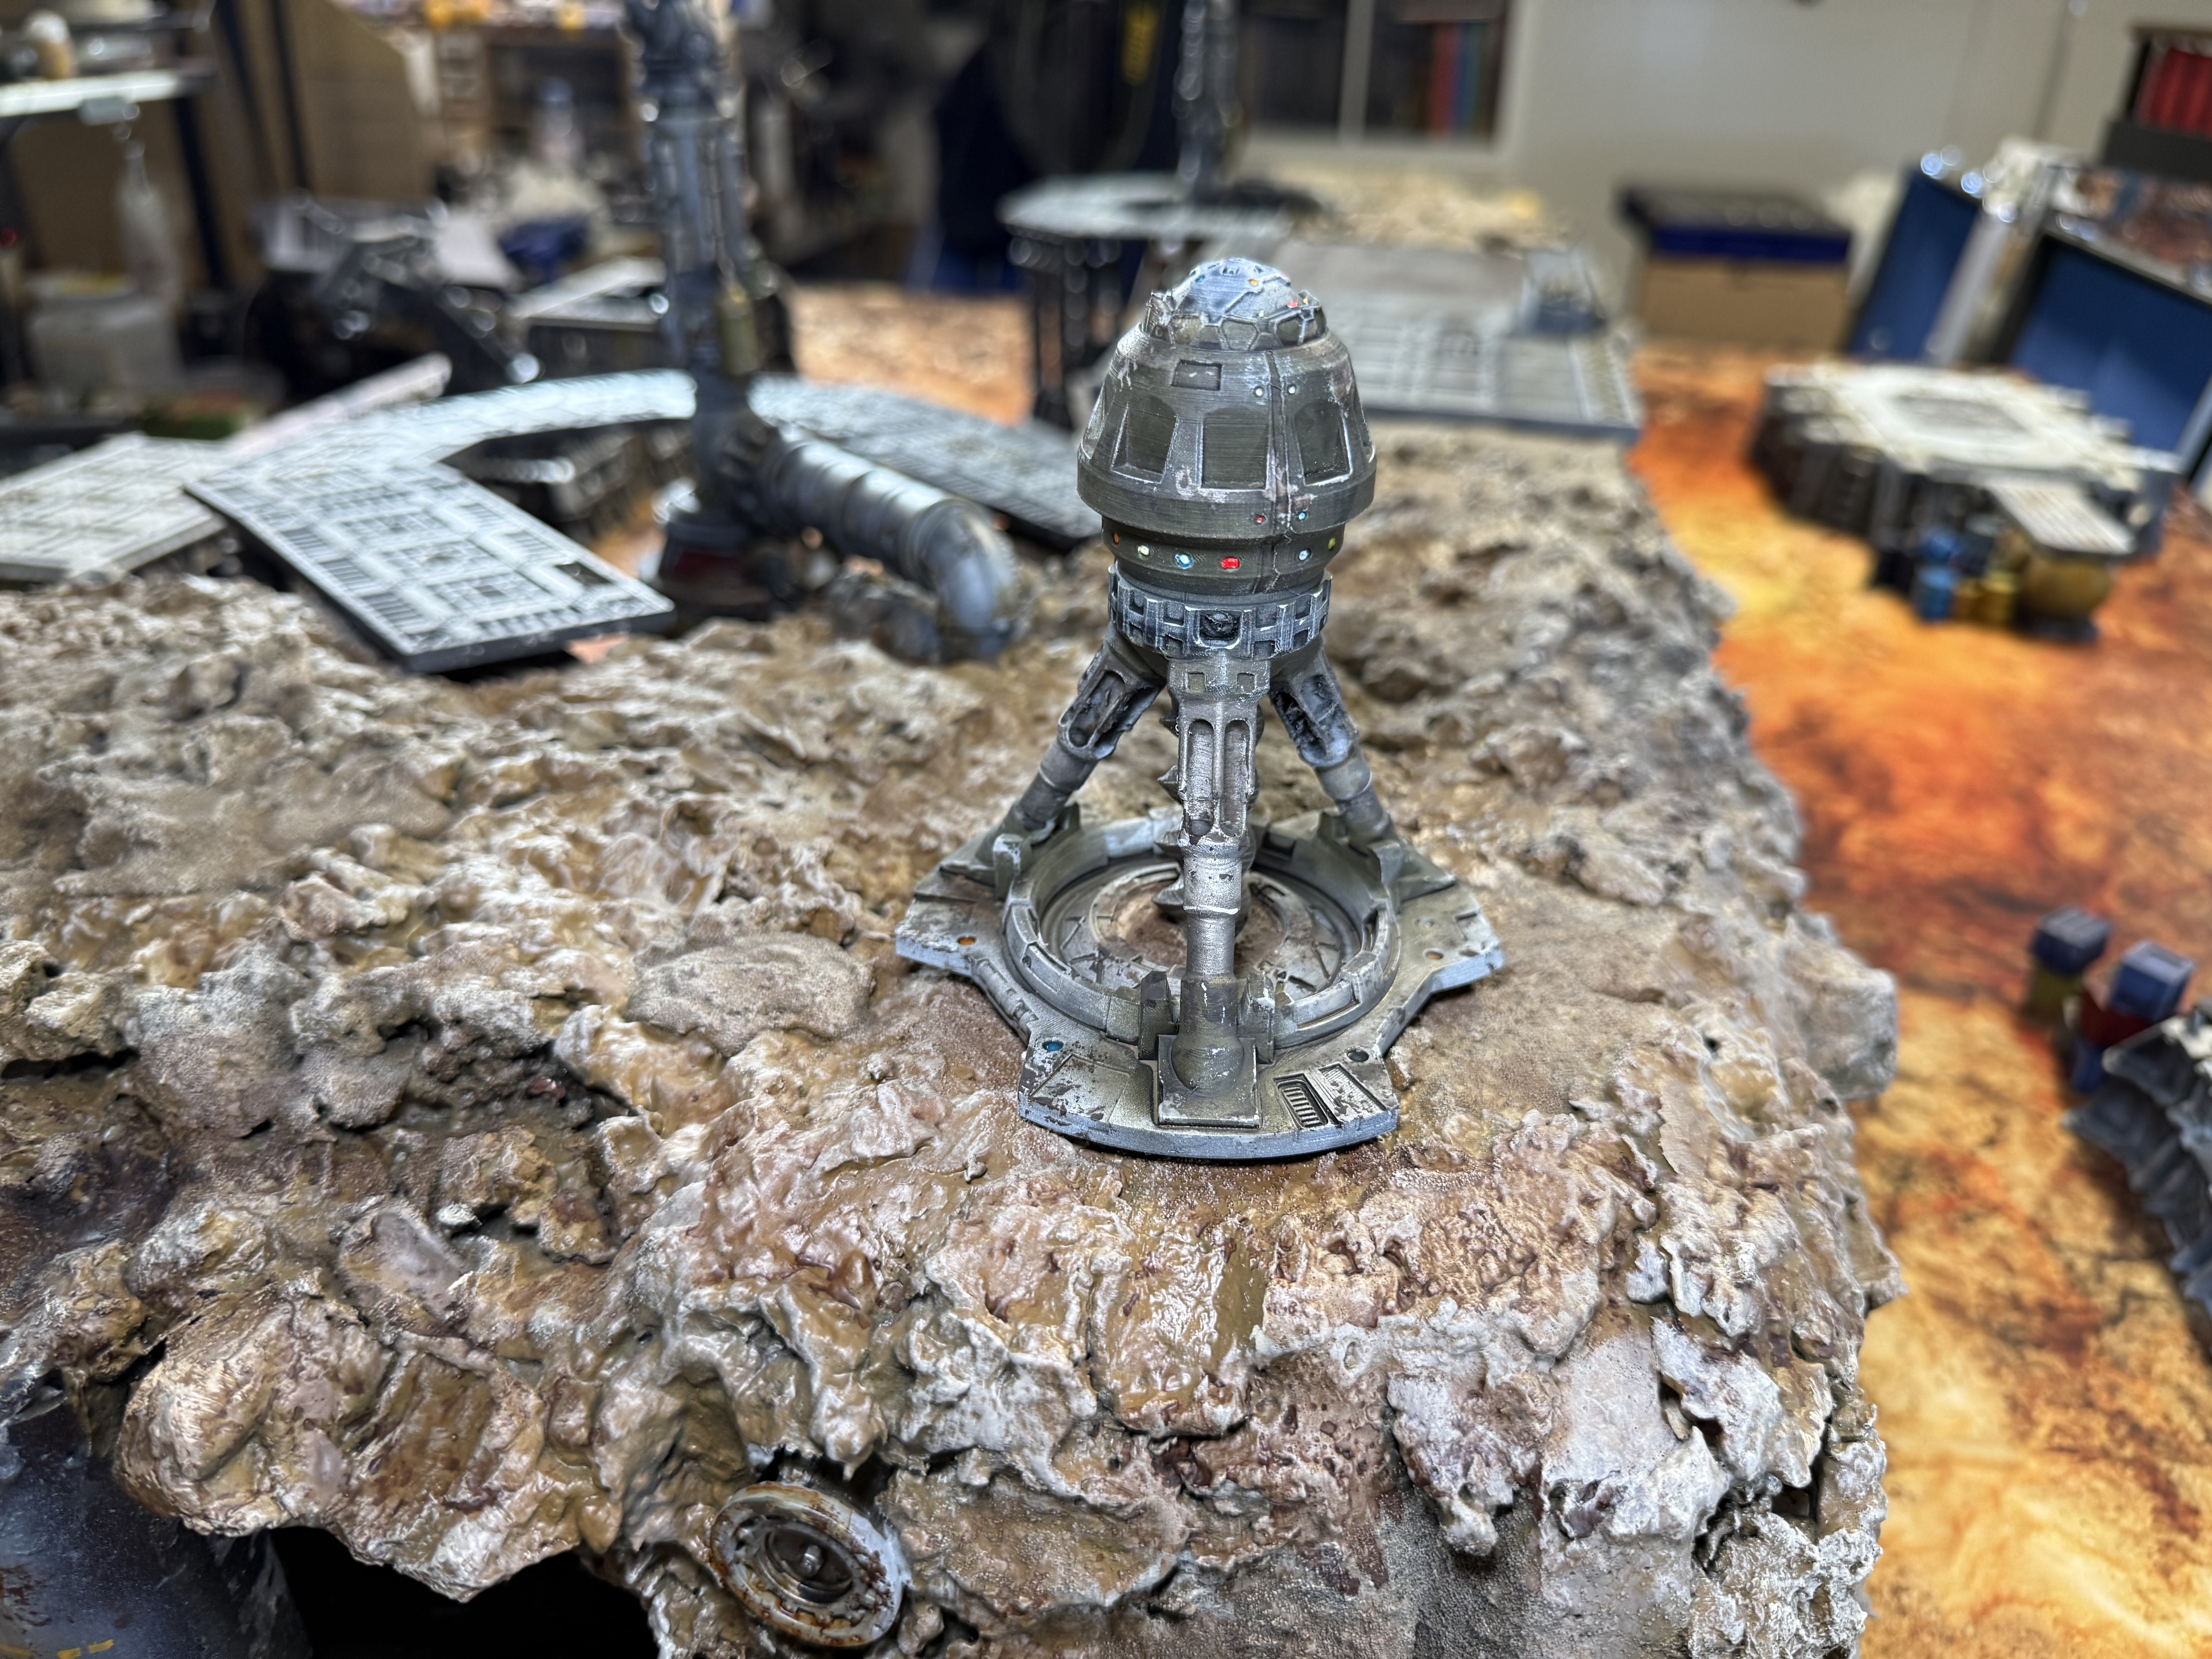
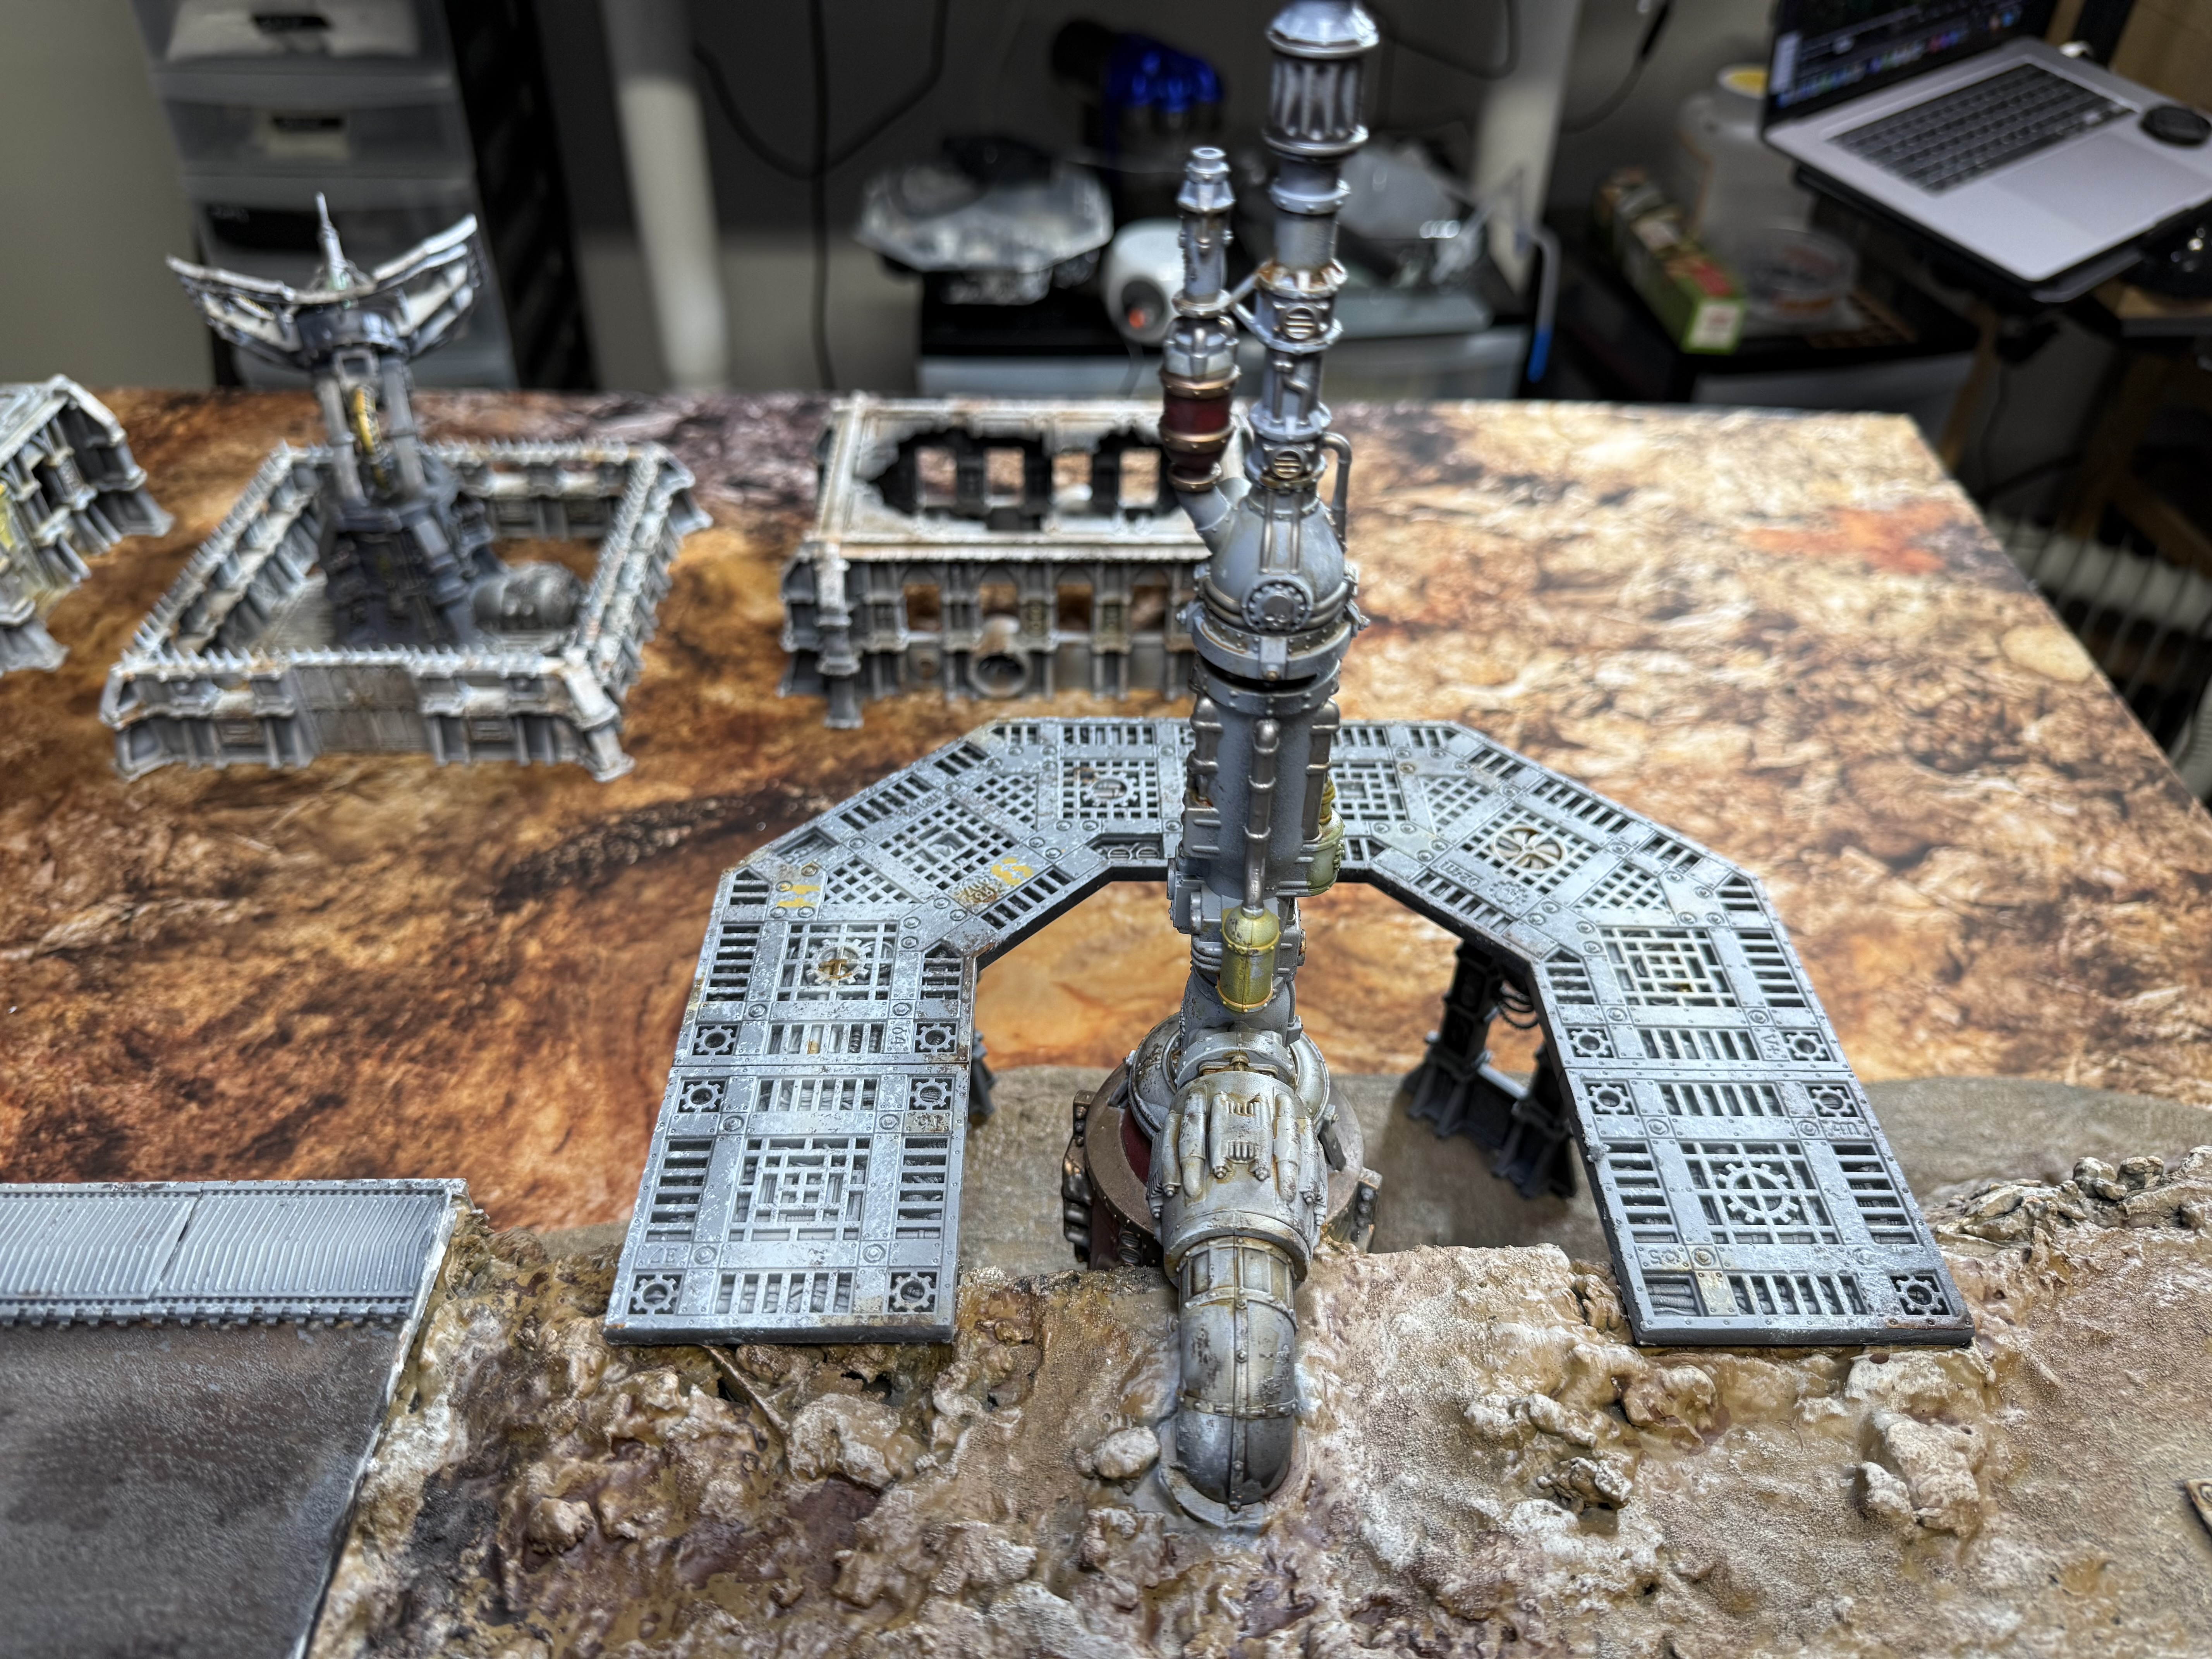
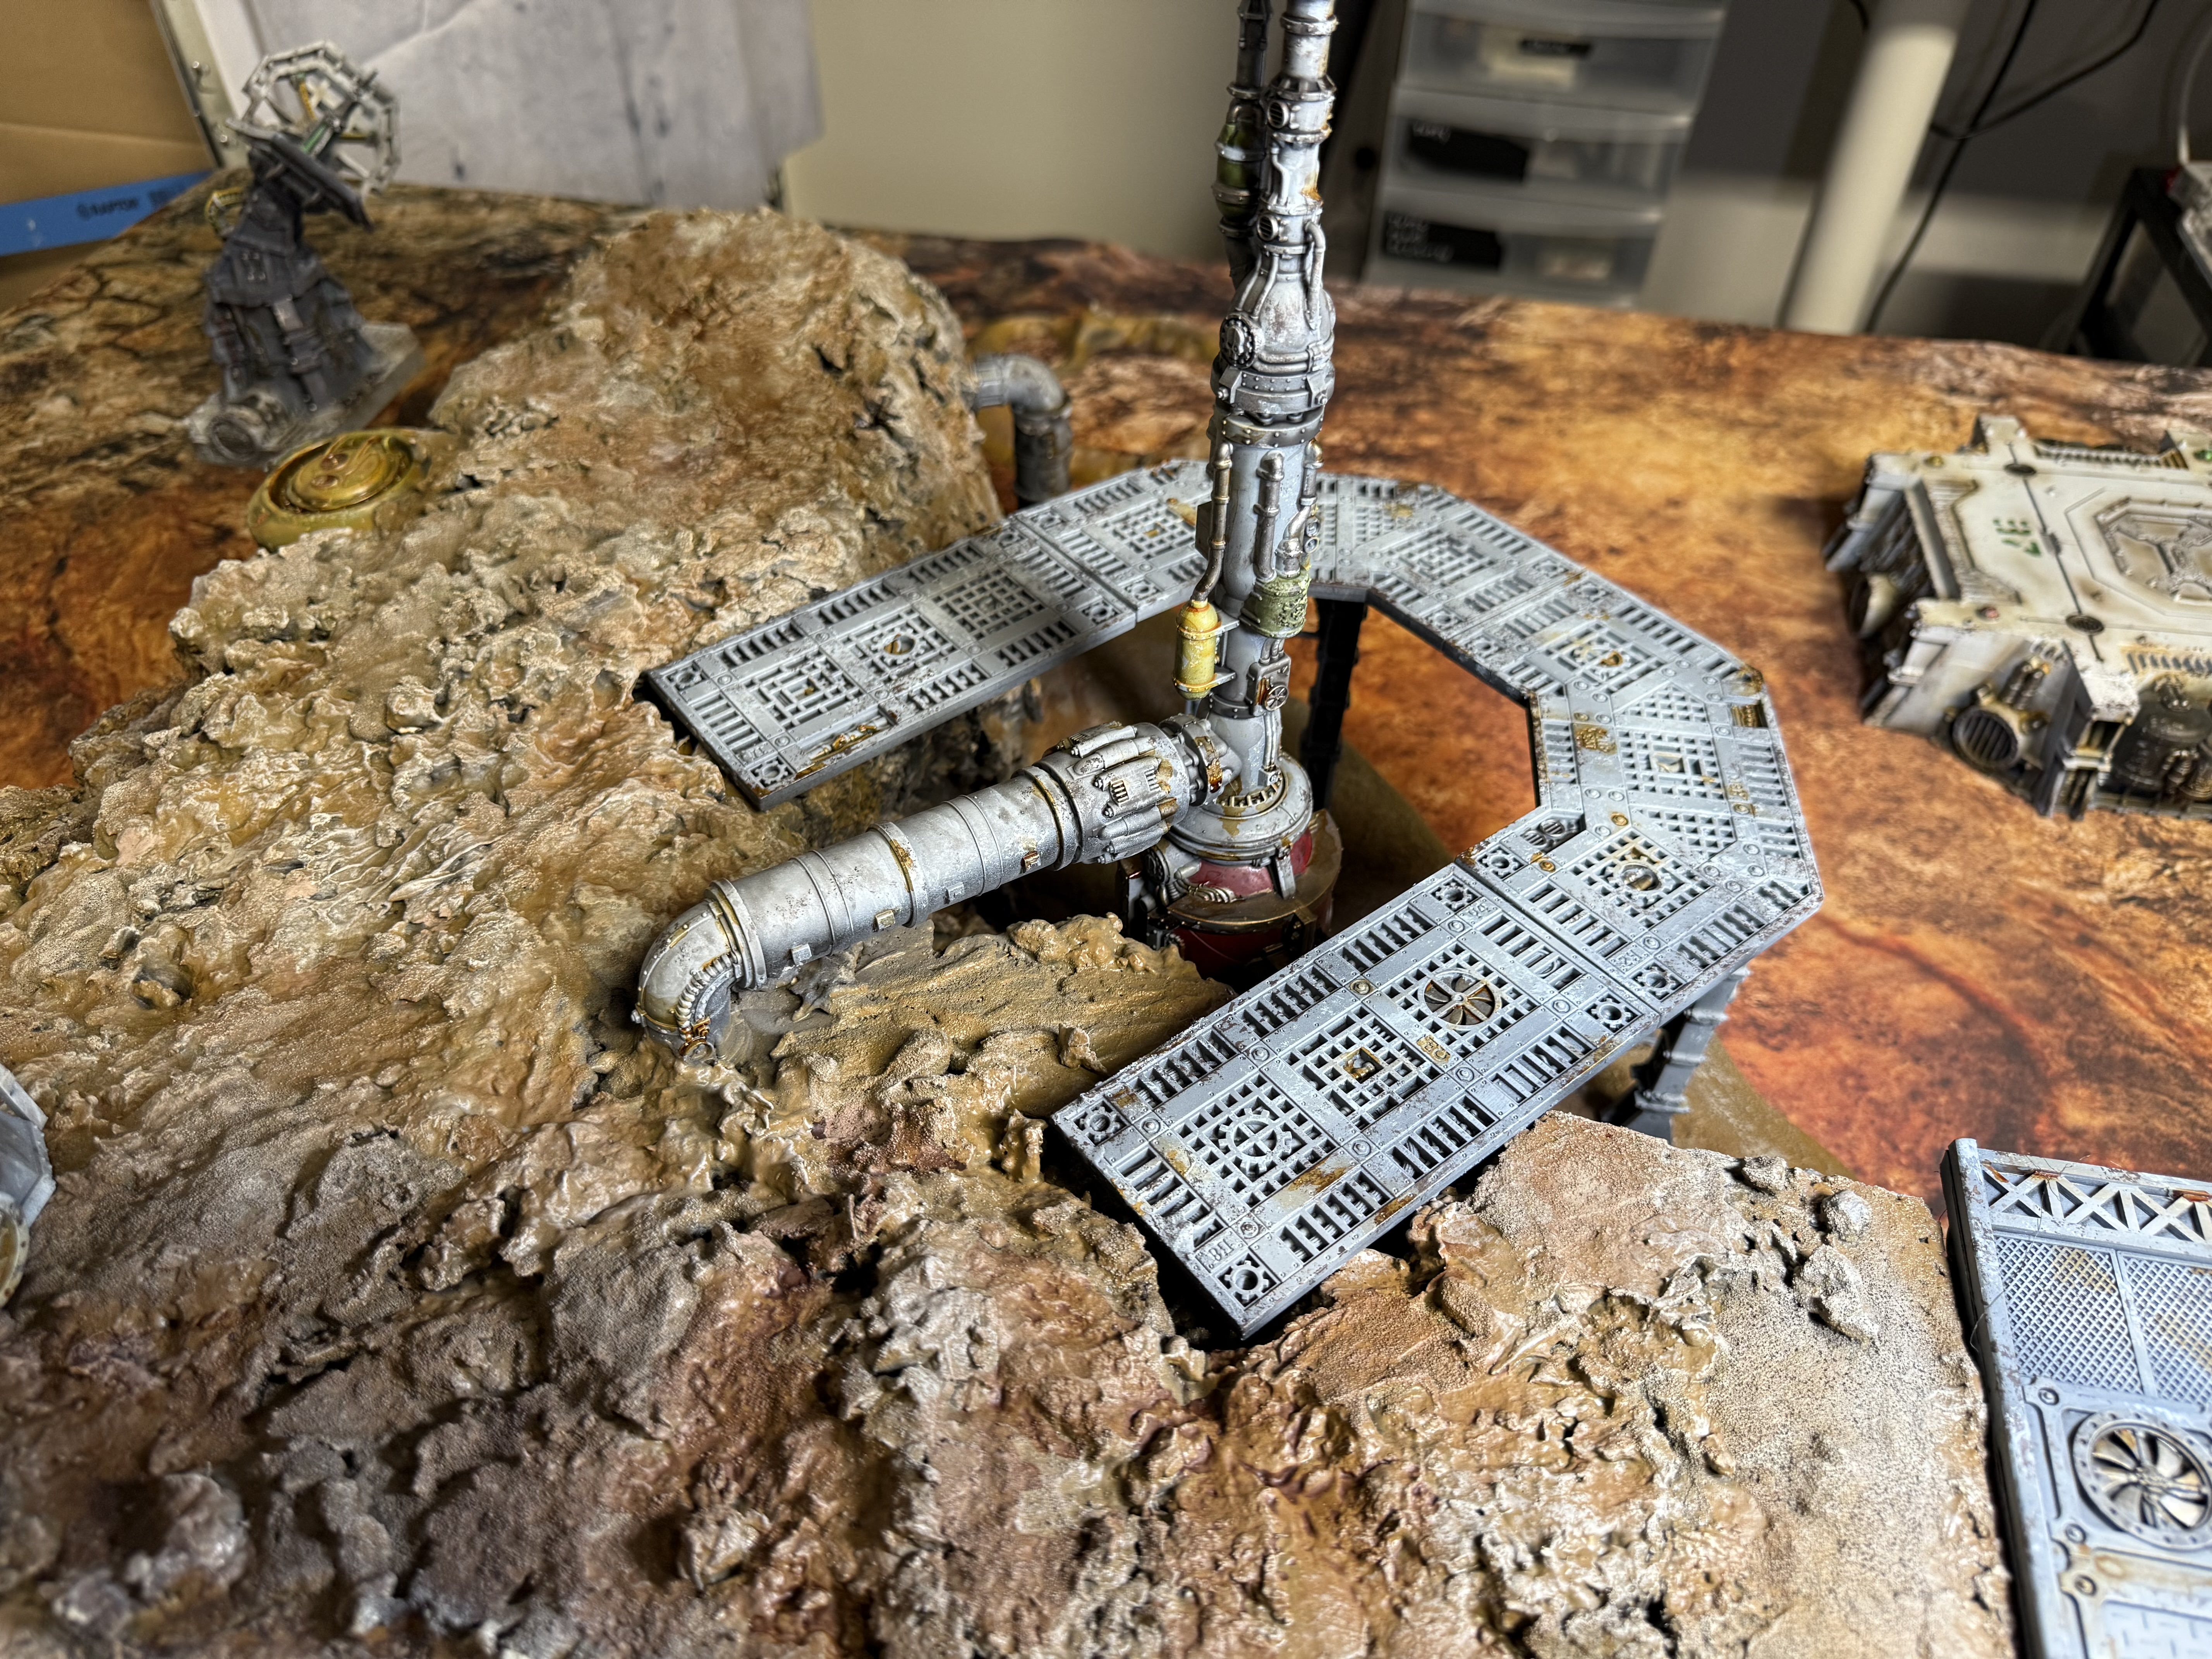
I printed this mining drill. The STL is from Saucermen studios: https://saucermenstudios.com.au/product/zectonium-prison-mines-mega-drill-stl/
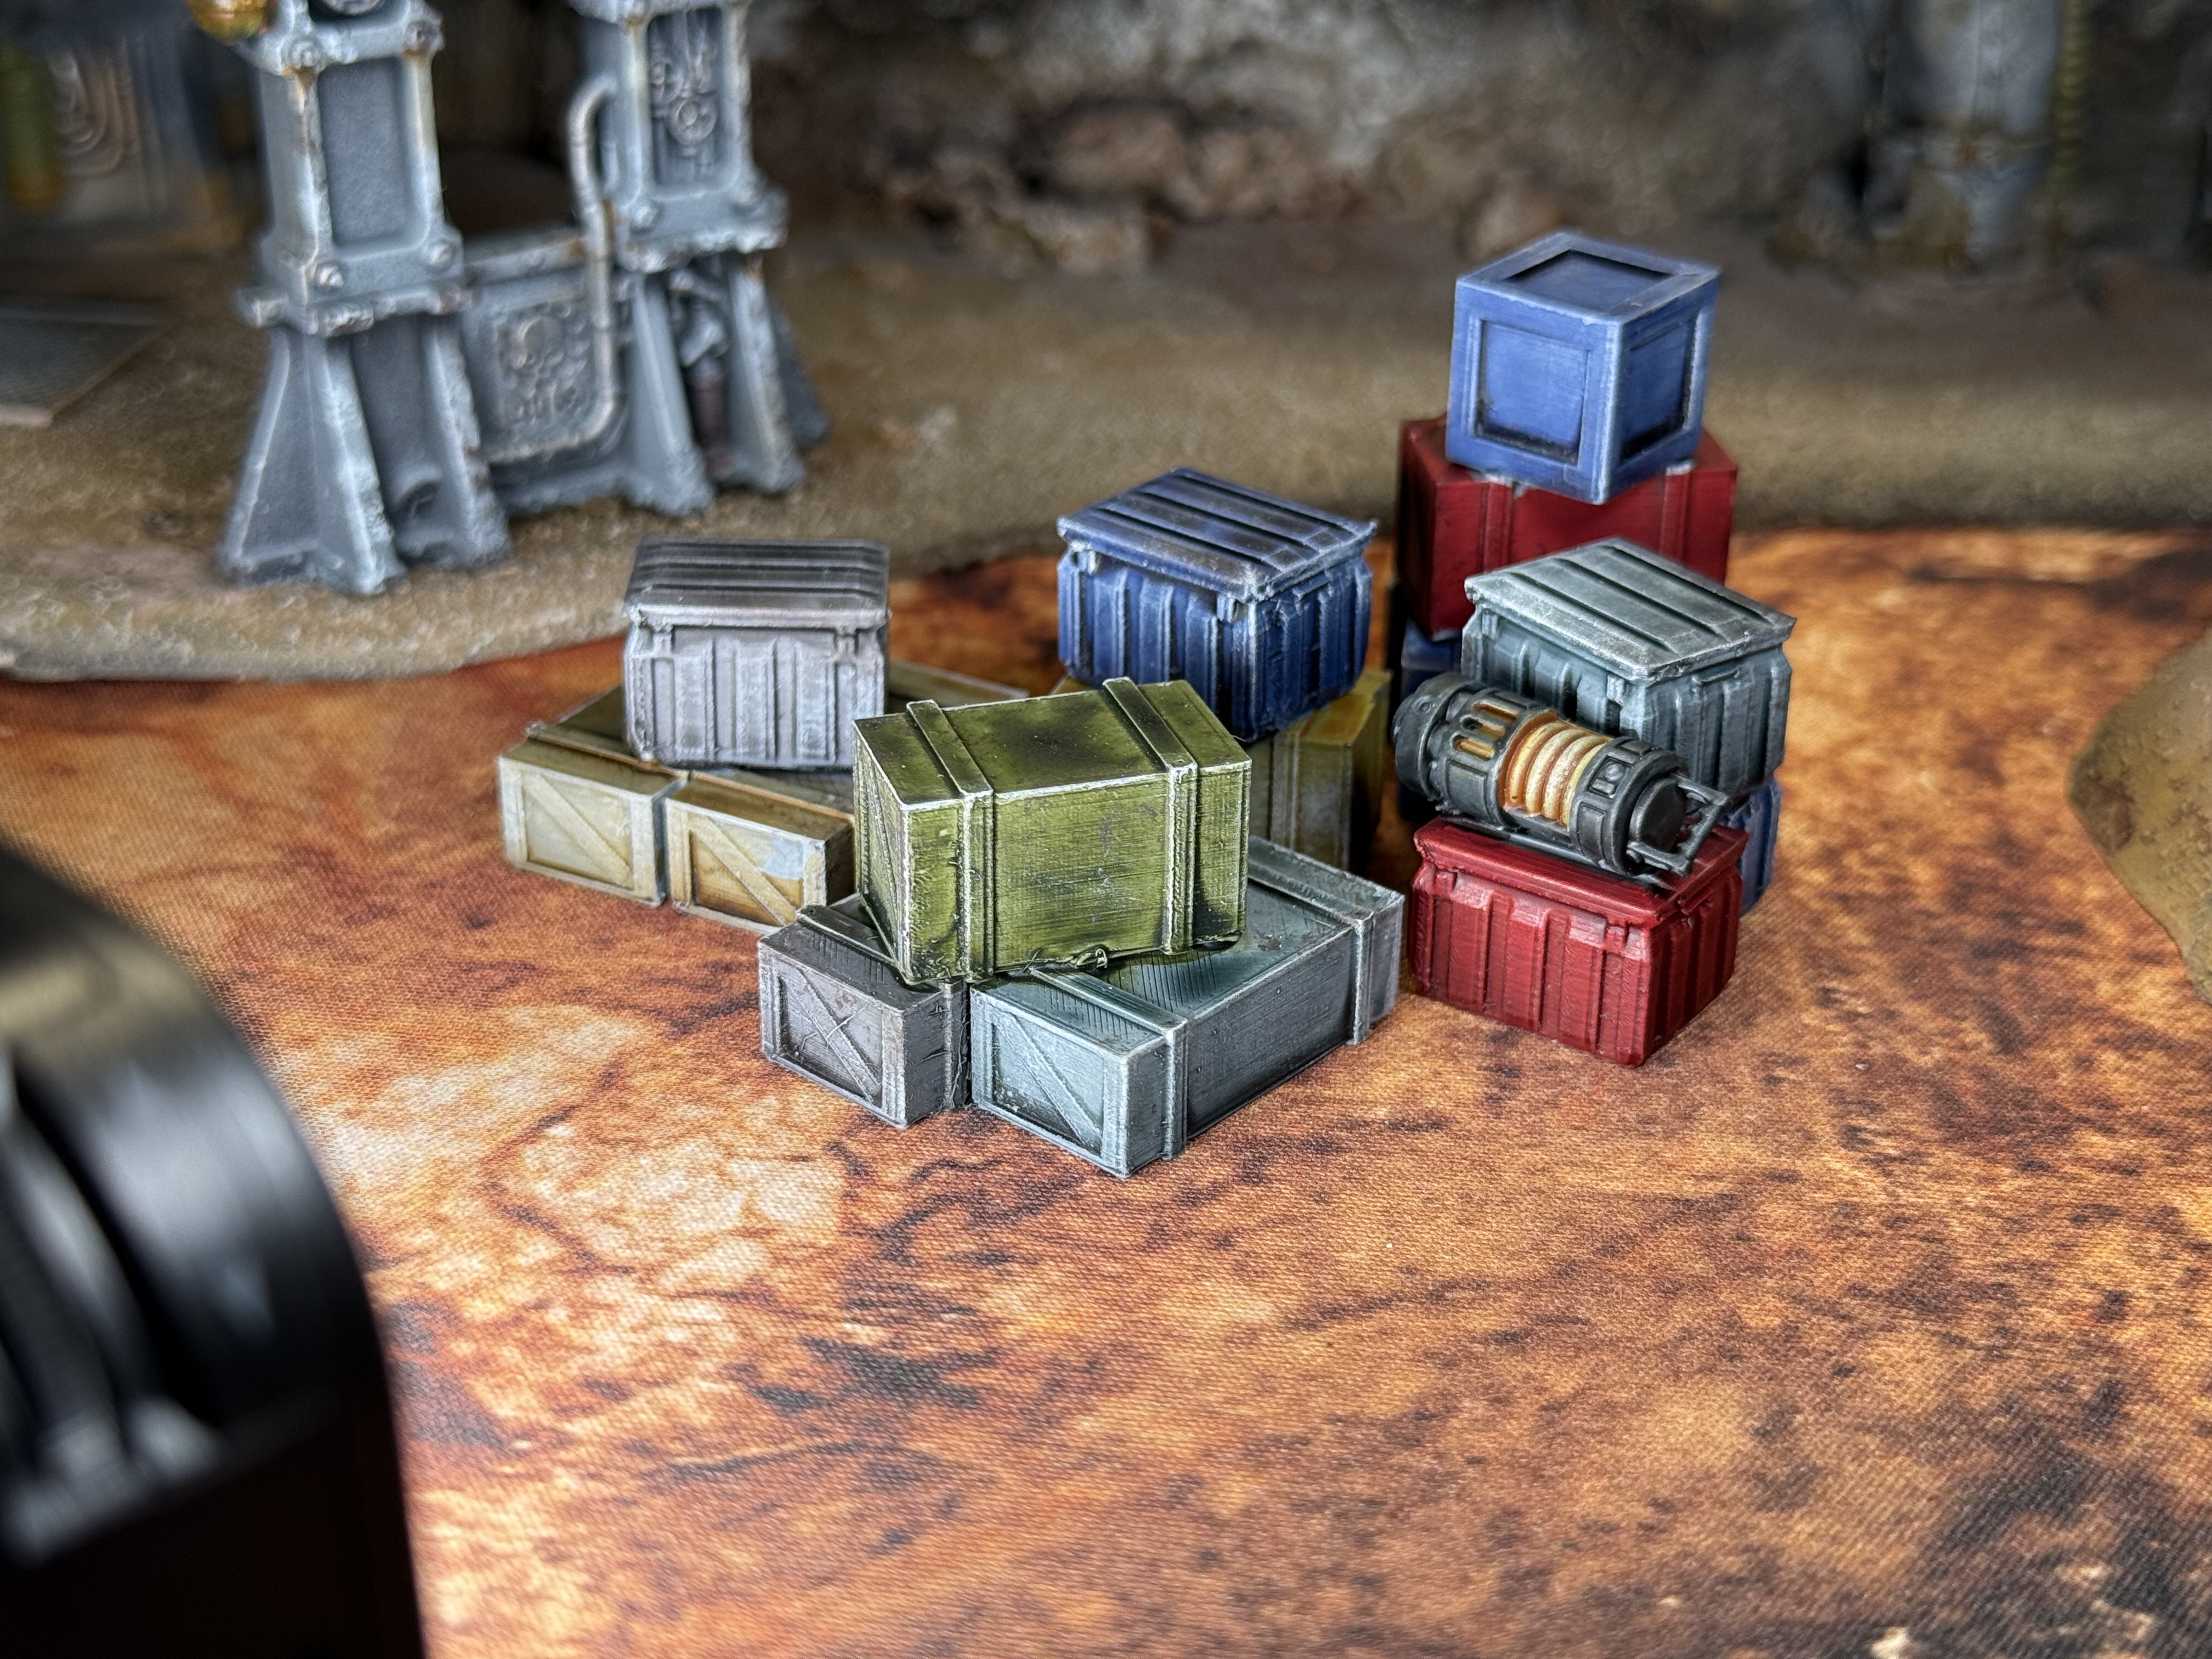
Set of crates and boxes. Also 3d prints, the STLs are part of Miscast’s sci-fi greeblies set: https://www.myminifactory.com/object/3d-print-miscast-s-sci-fi-greebles-bits-kit-vol1-360963
I glued them into haphazard piles for easier storage and gave them a quick Contrast paint job.
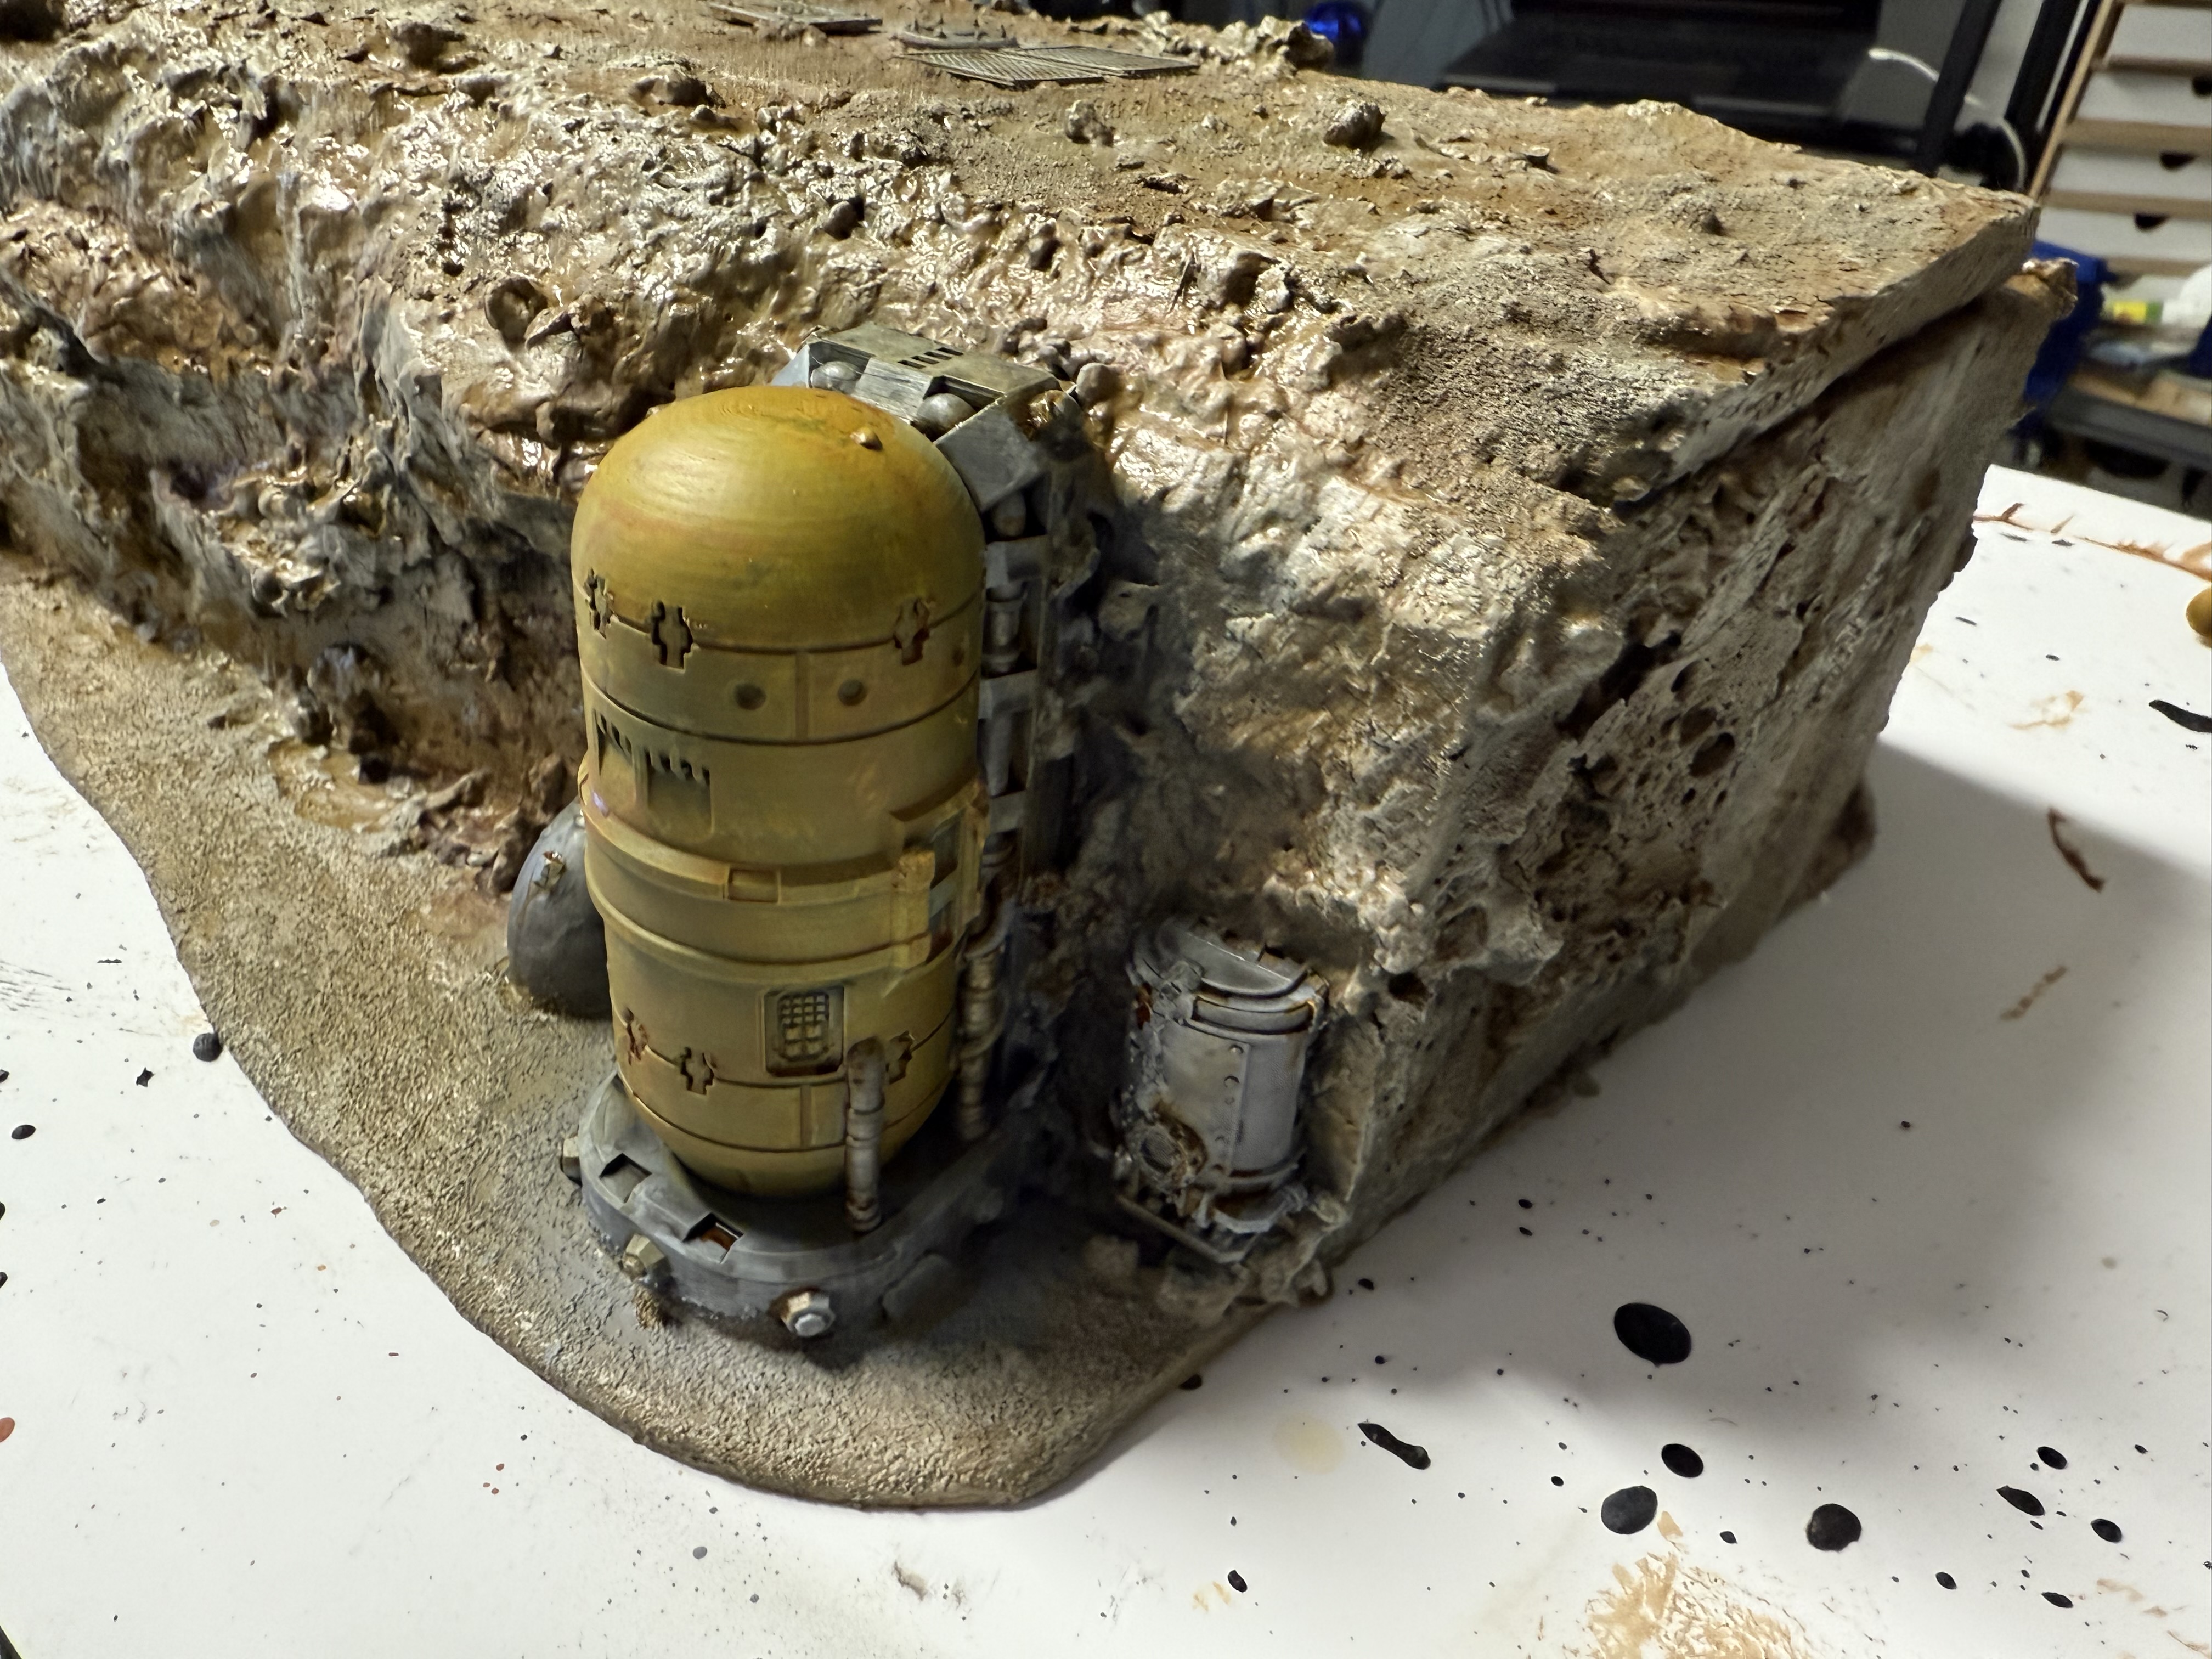
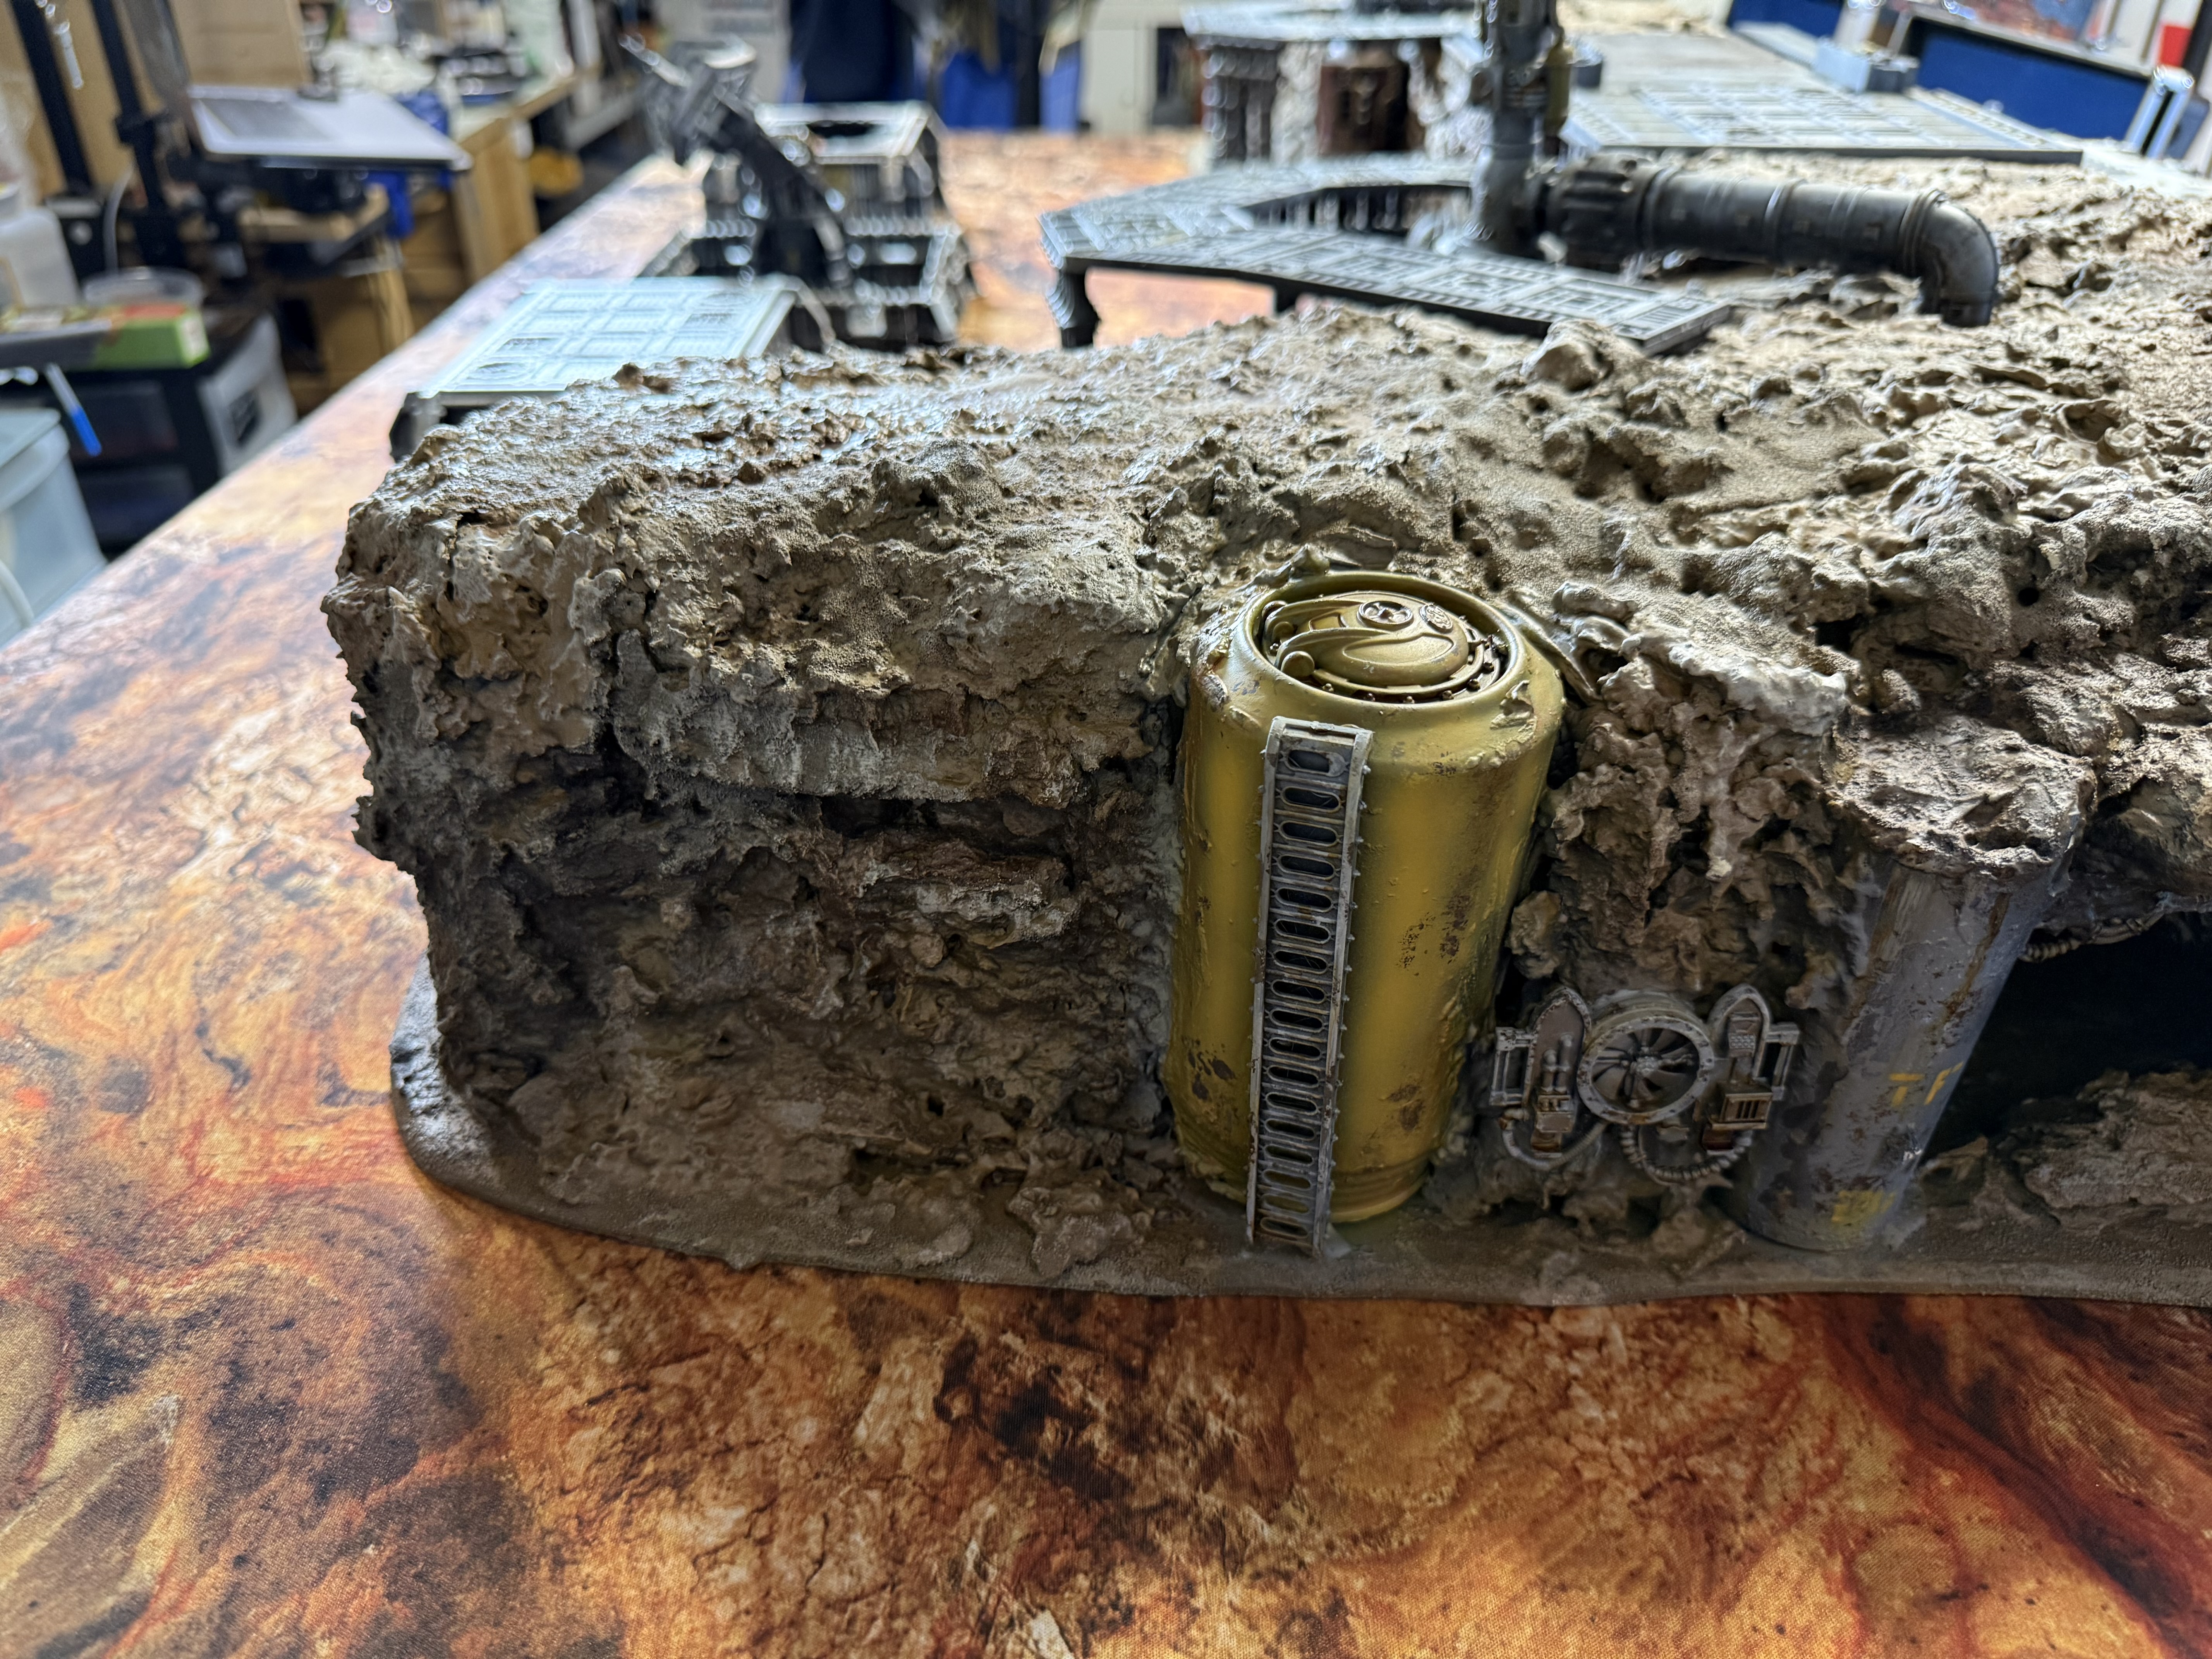
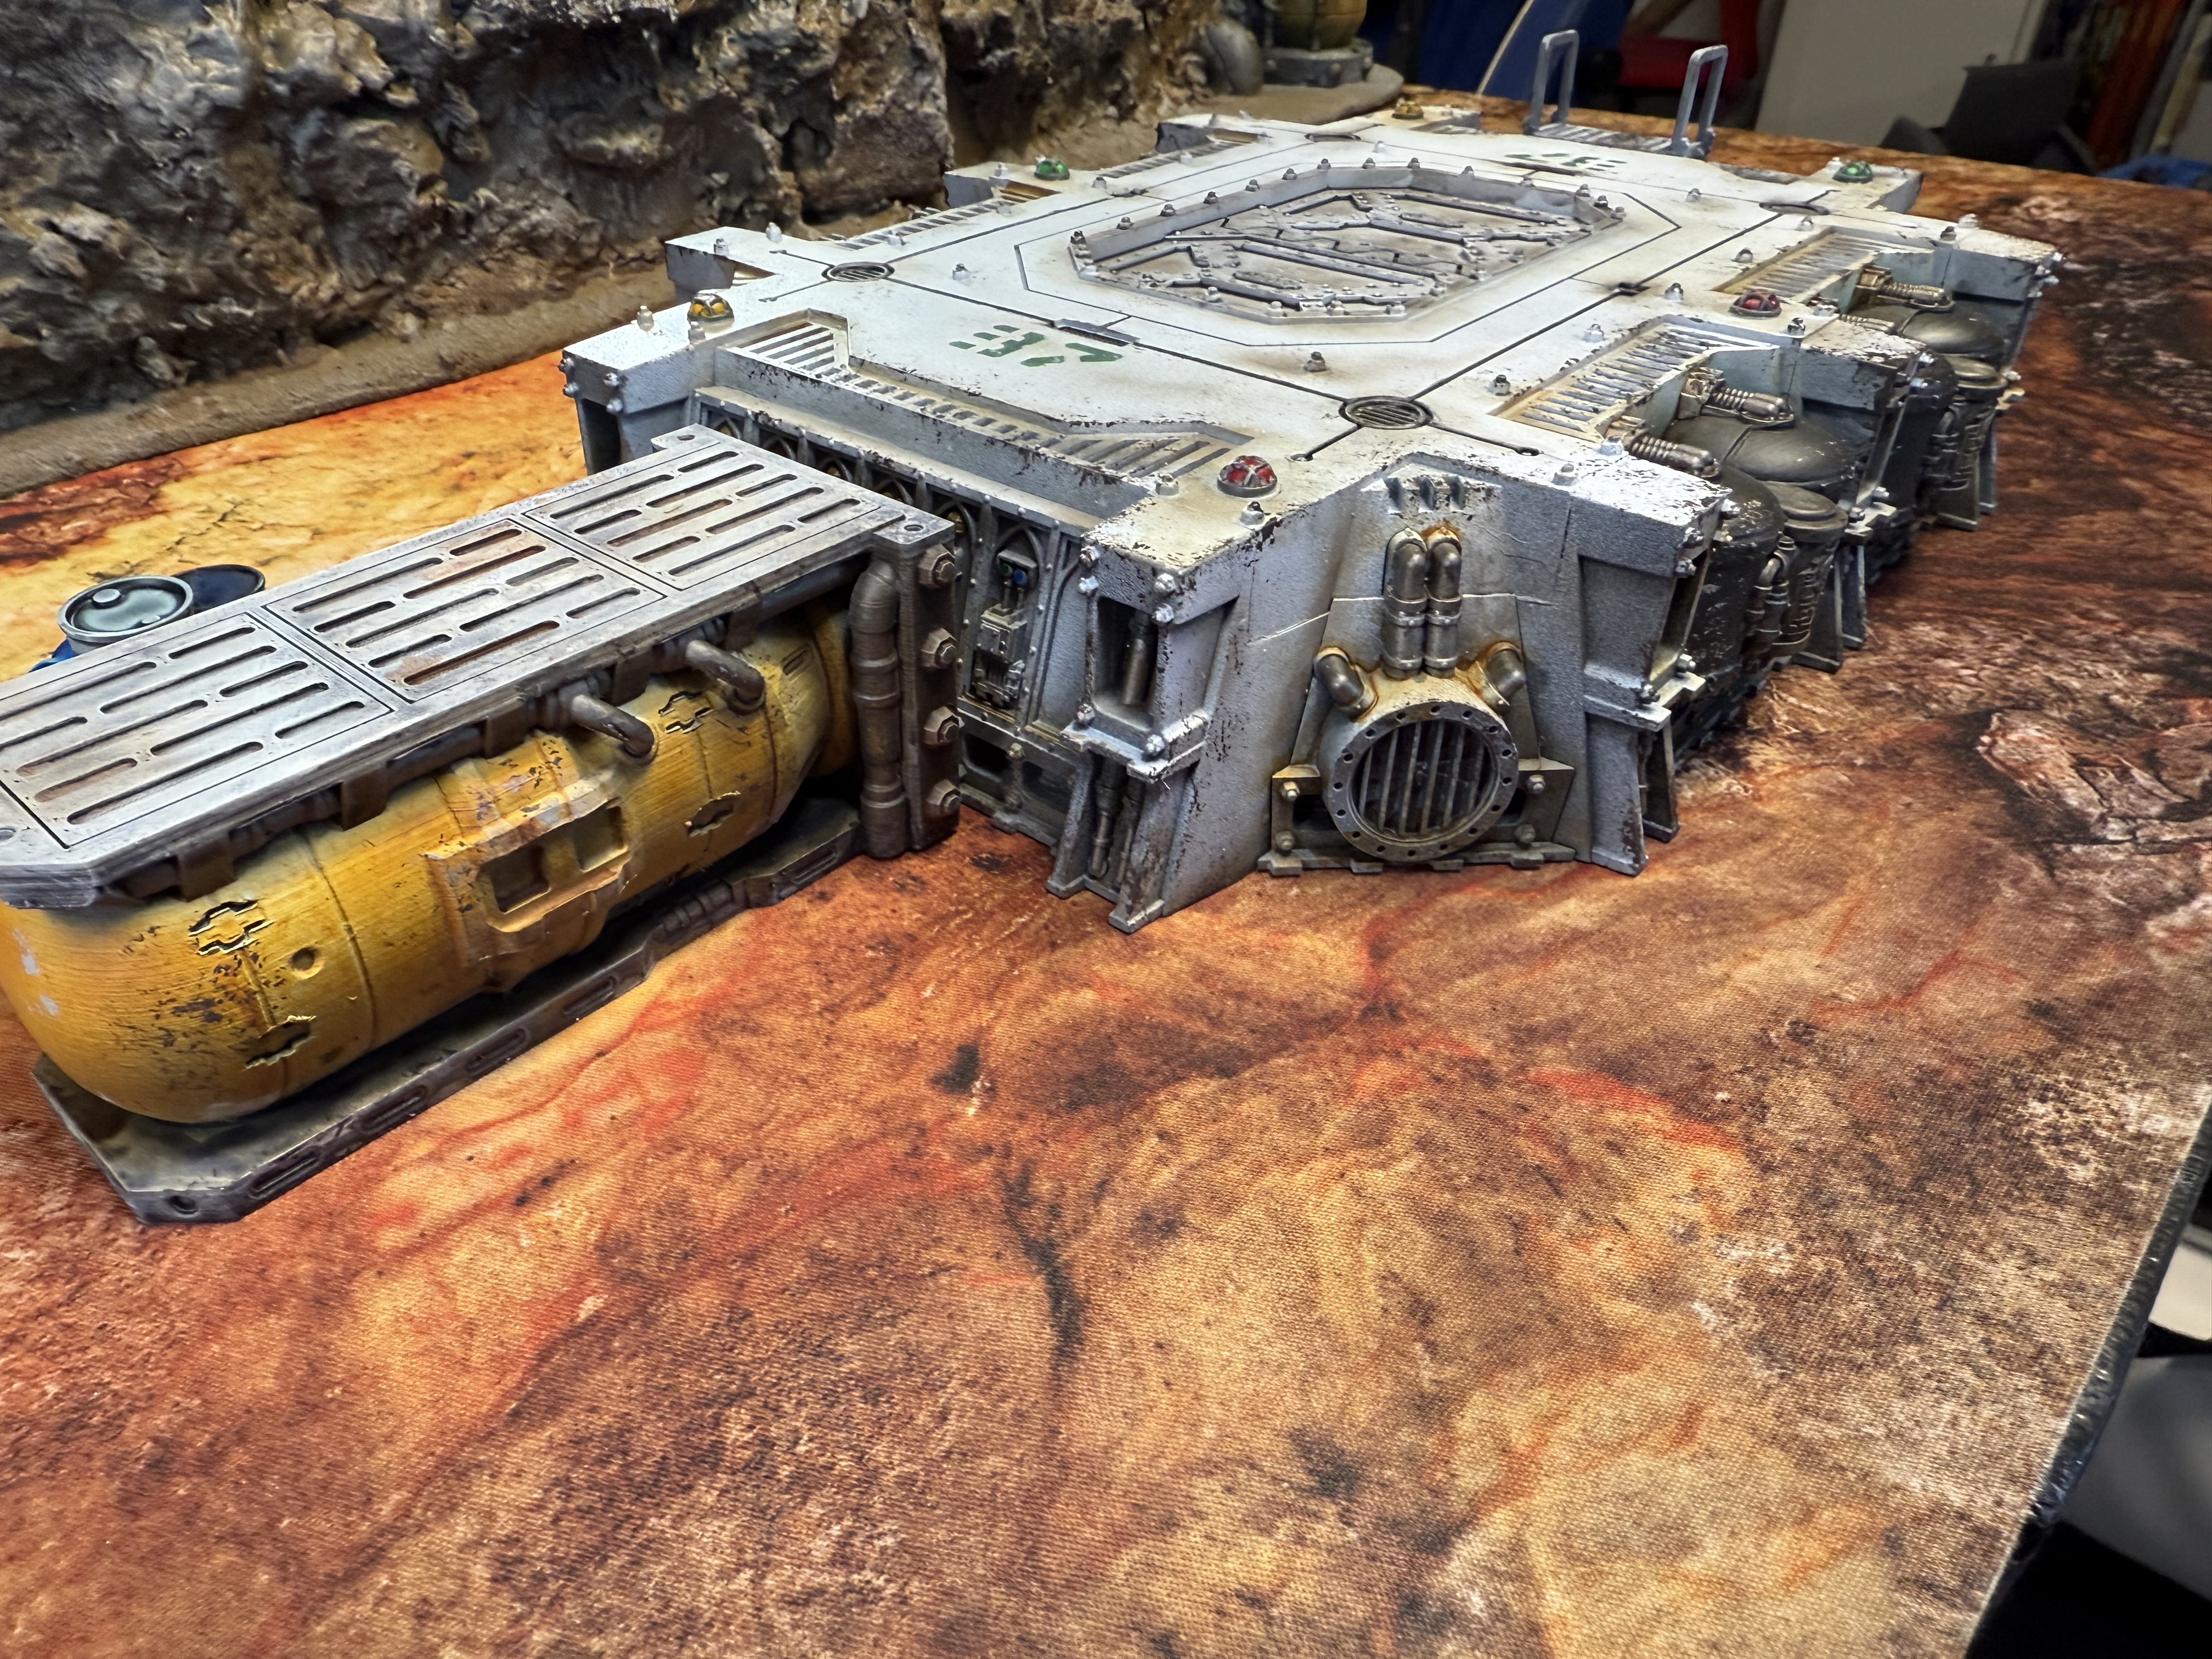
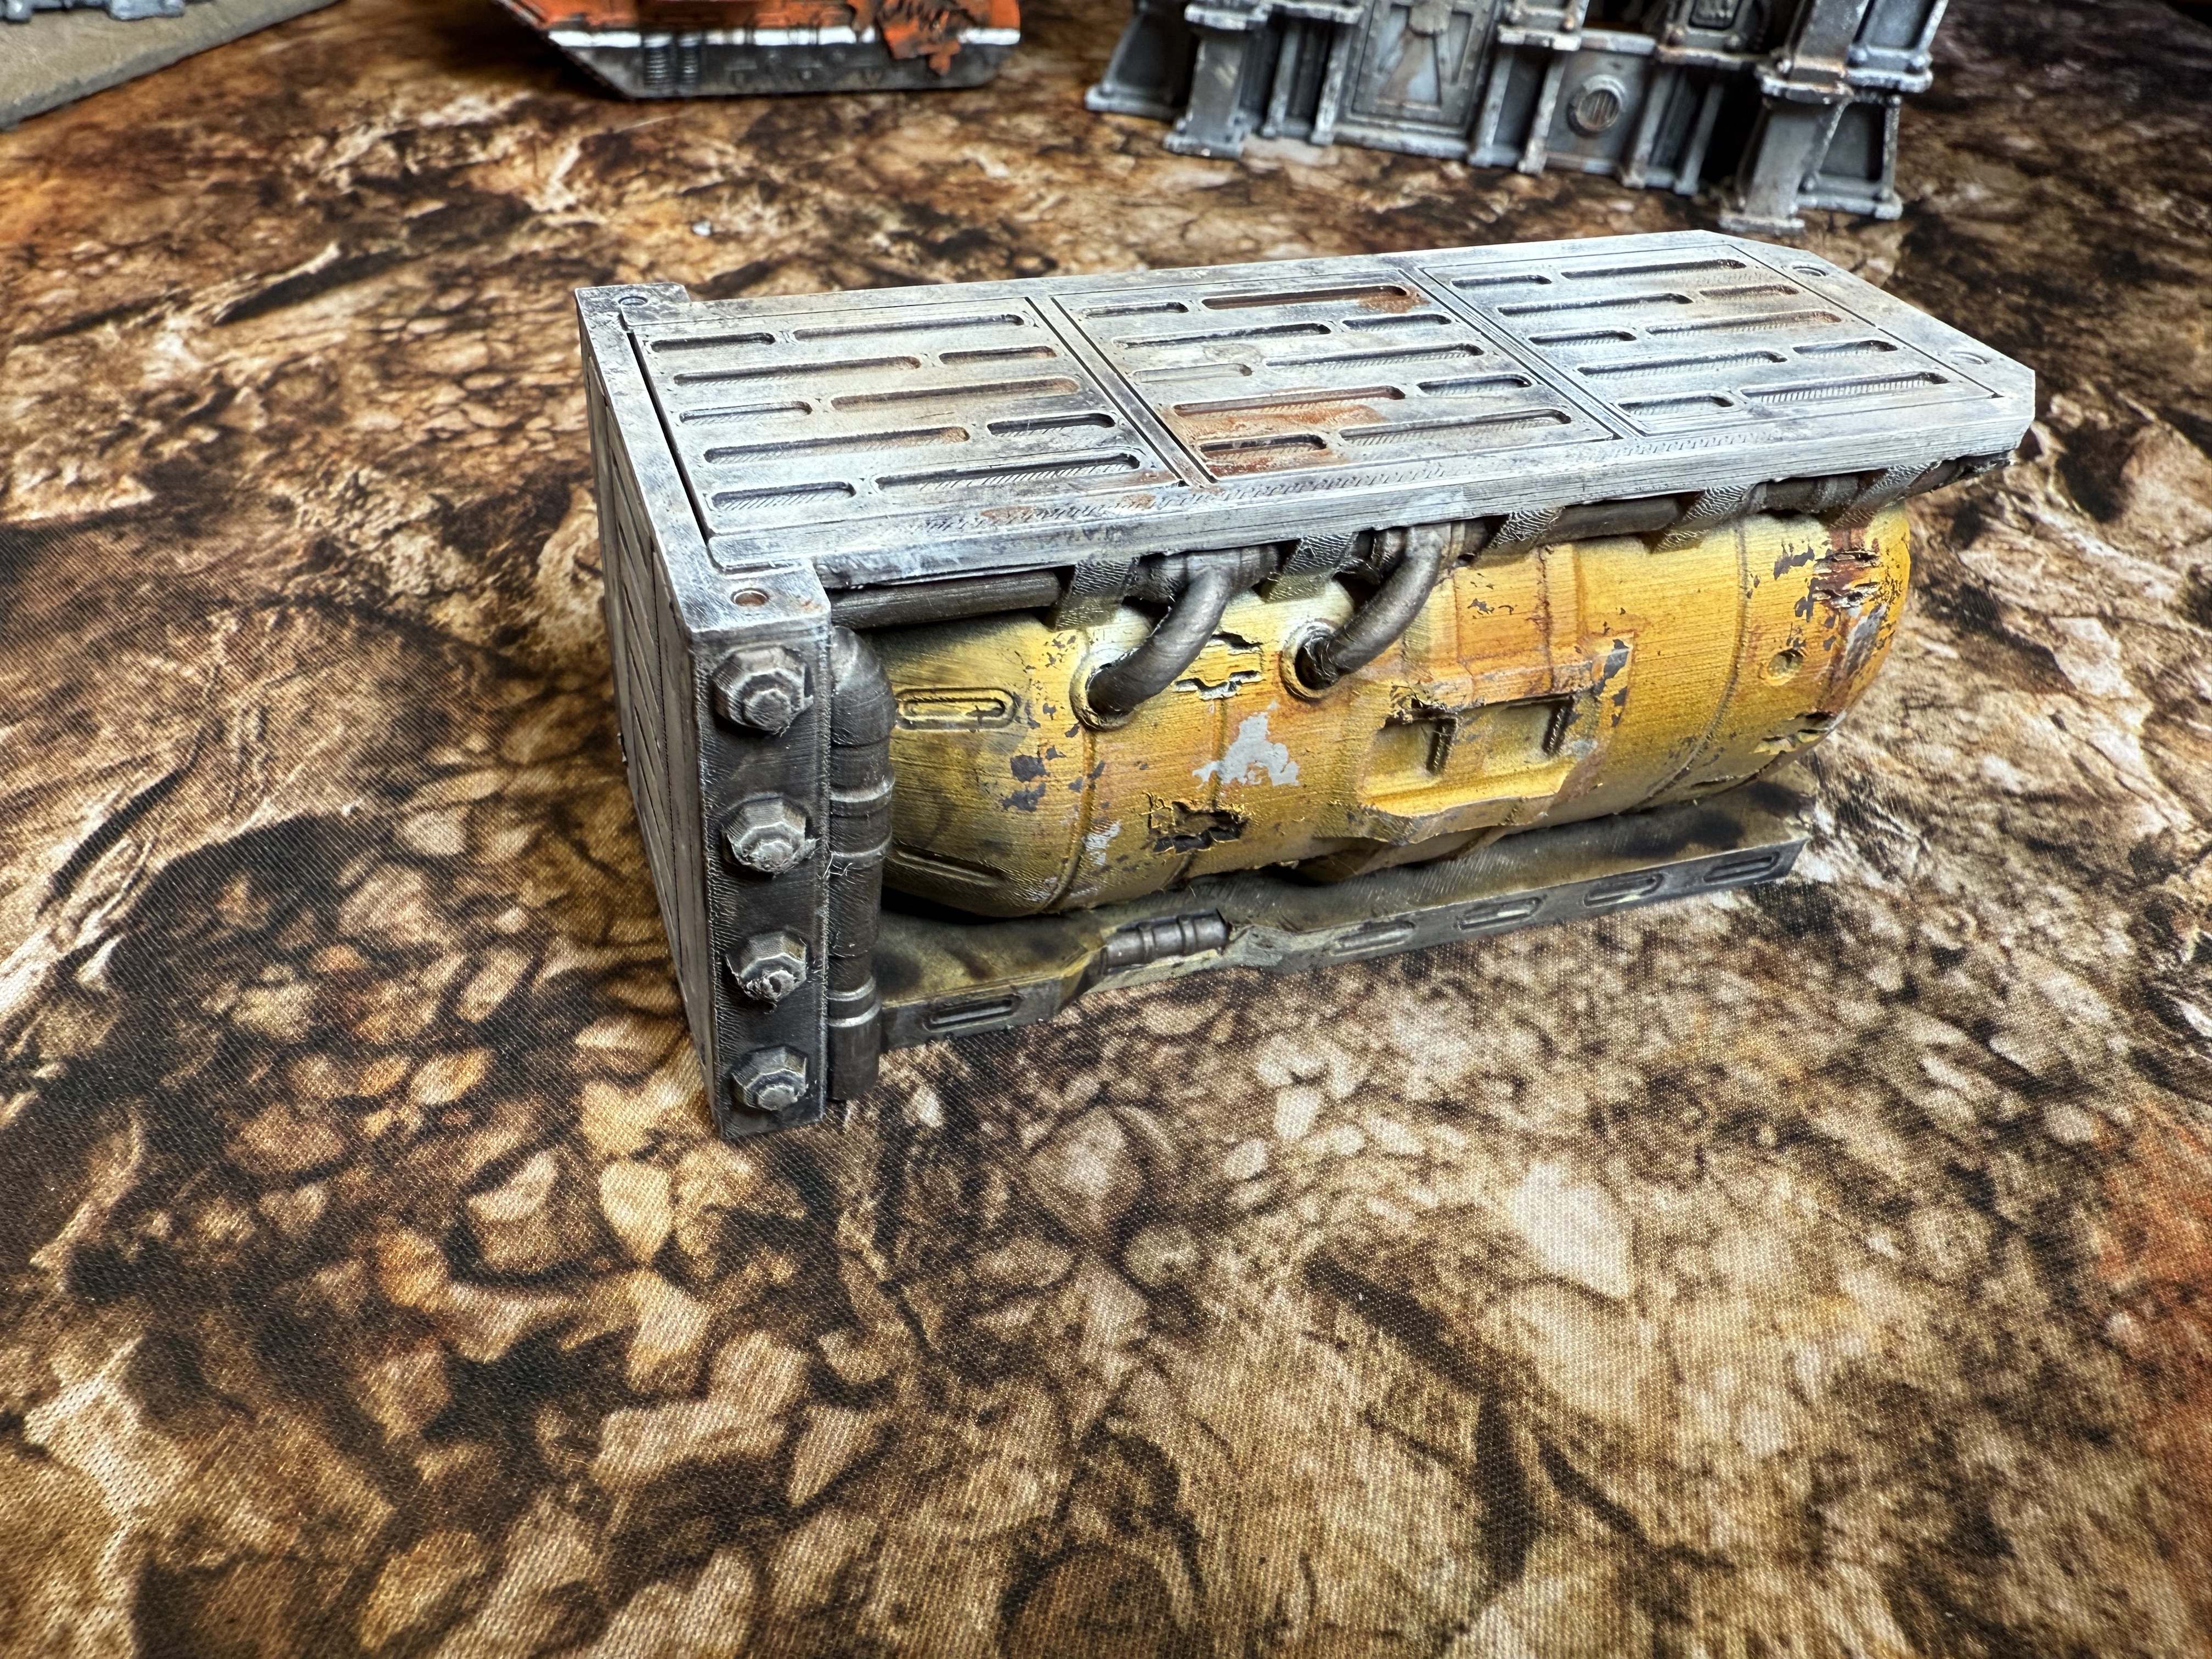
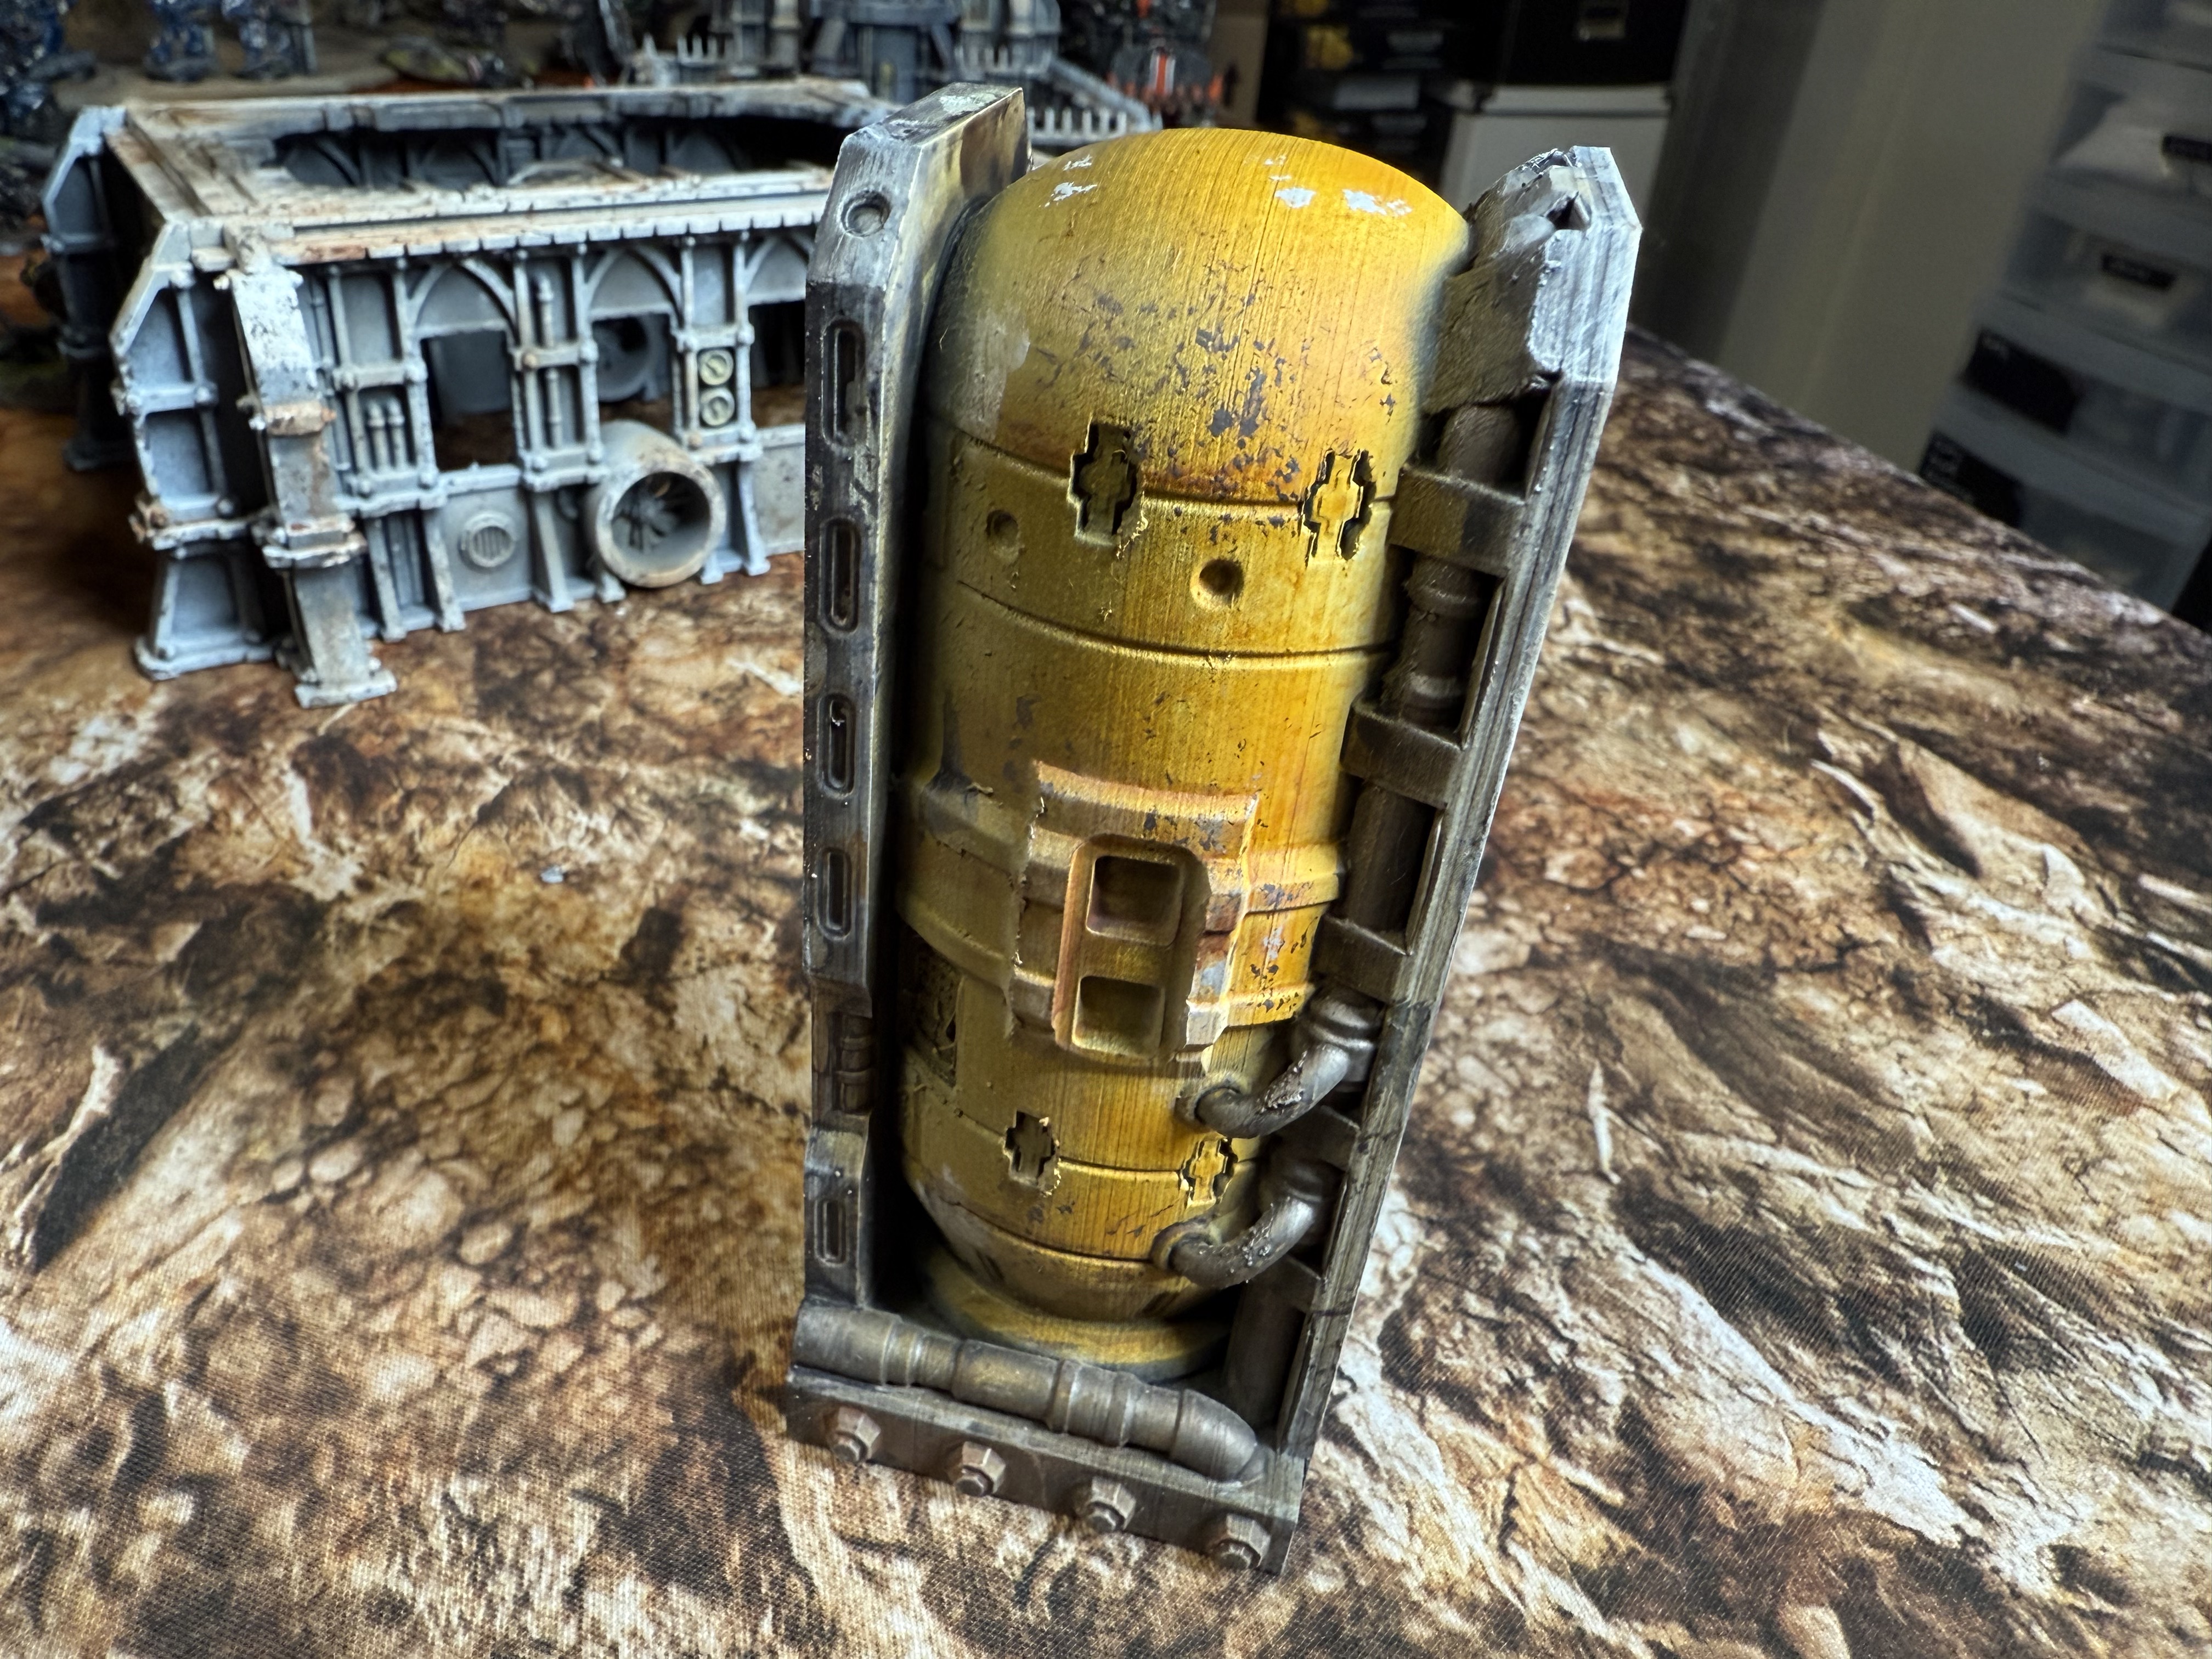
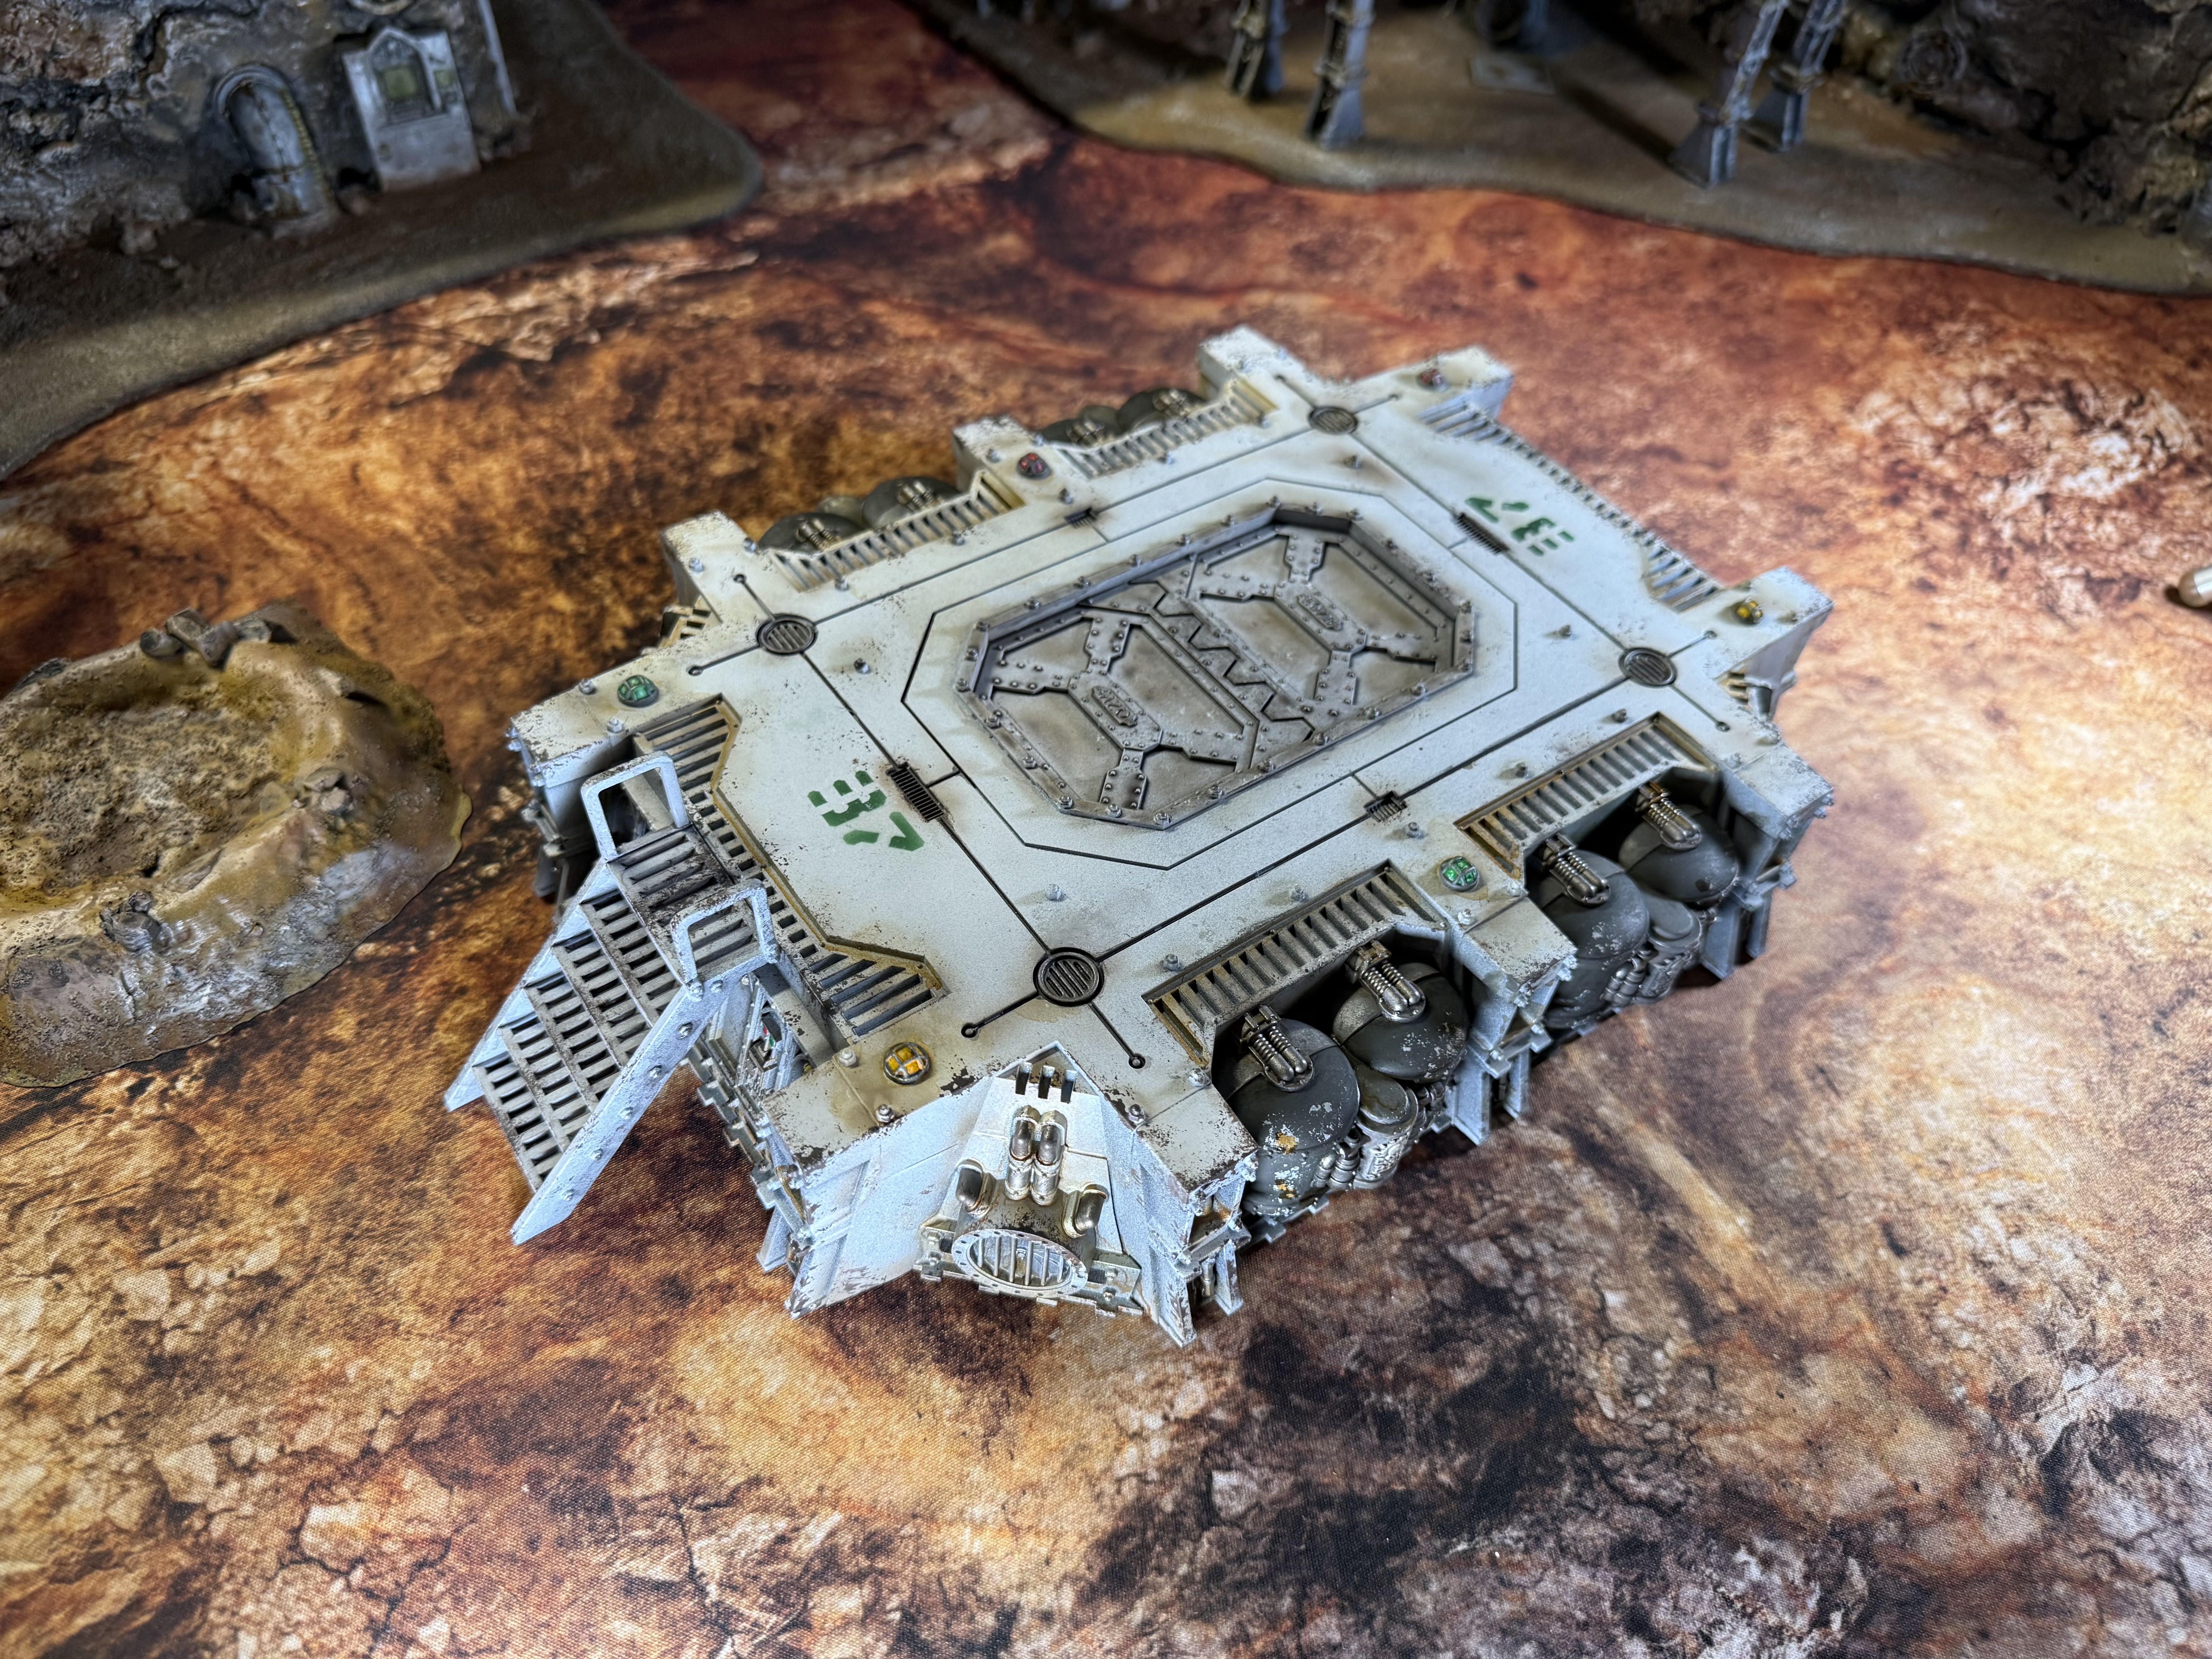
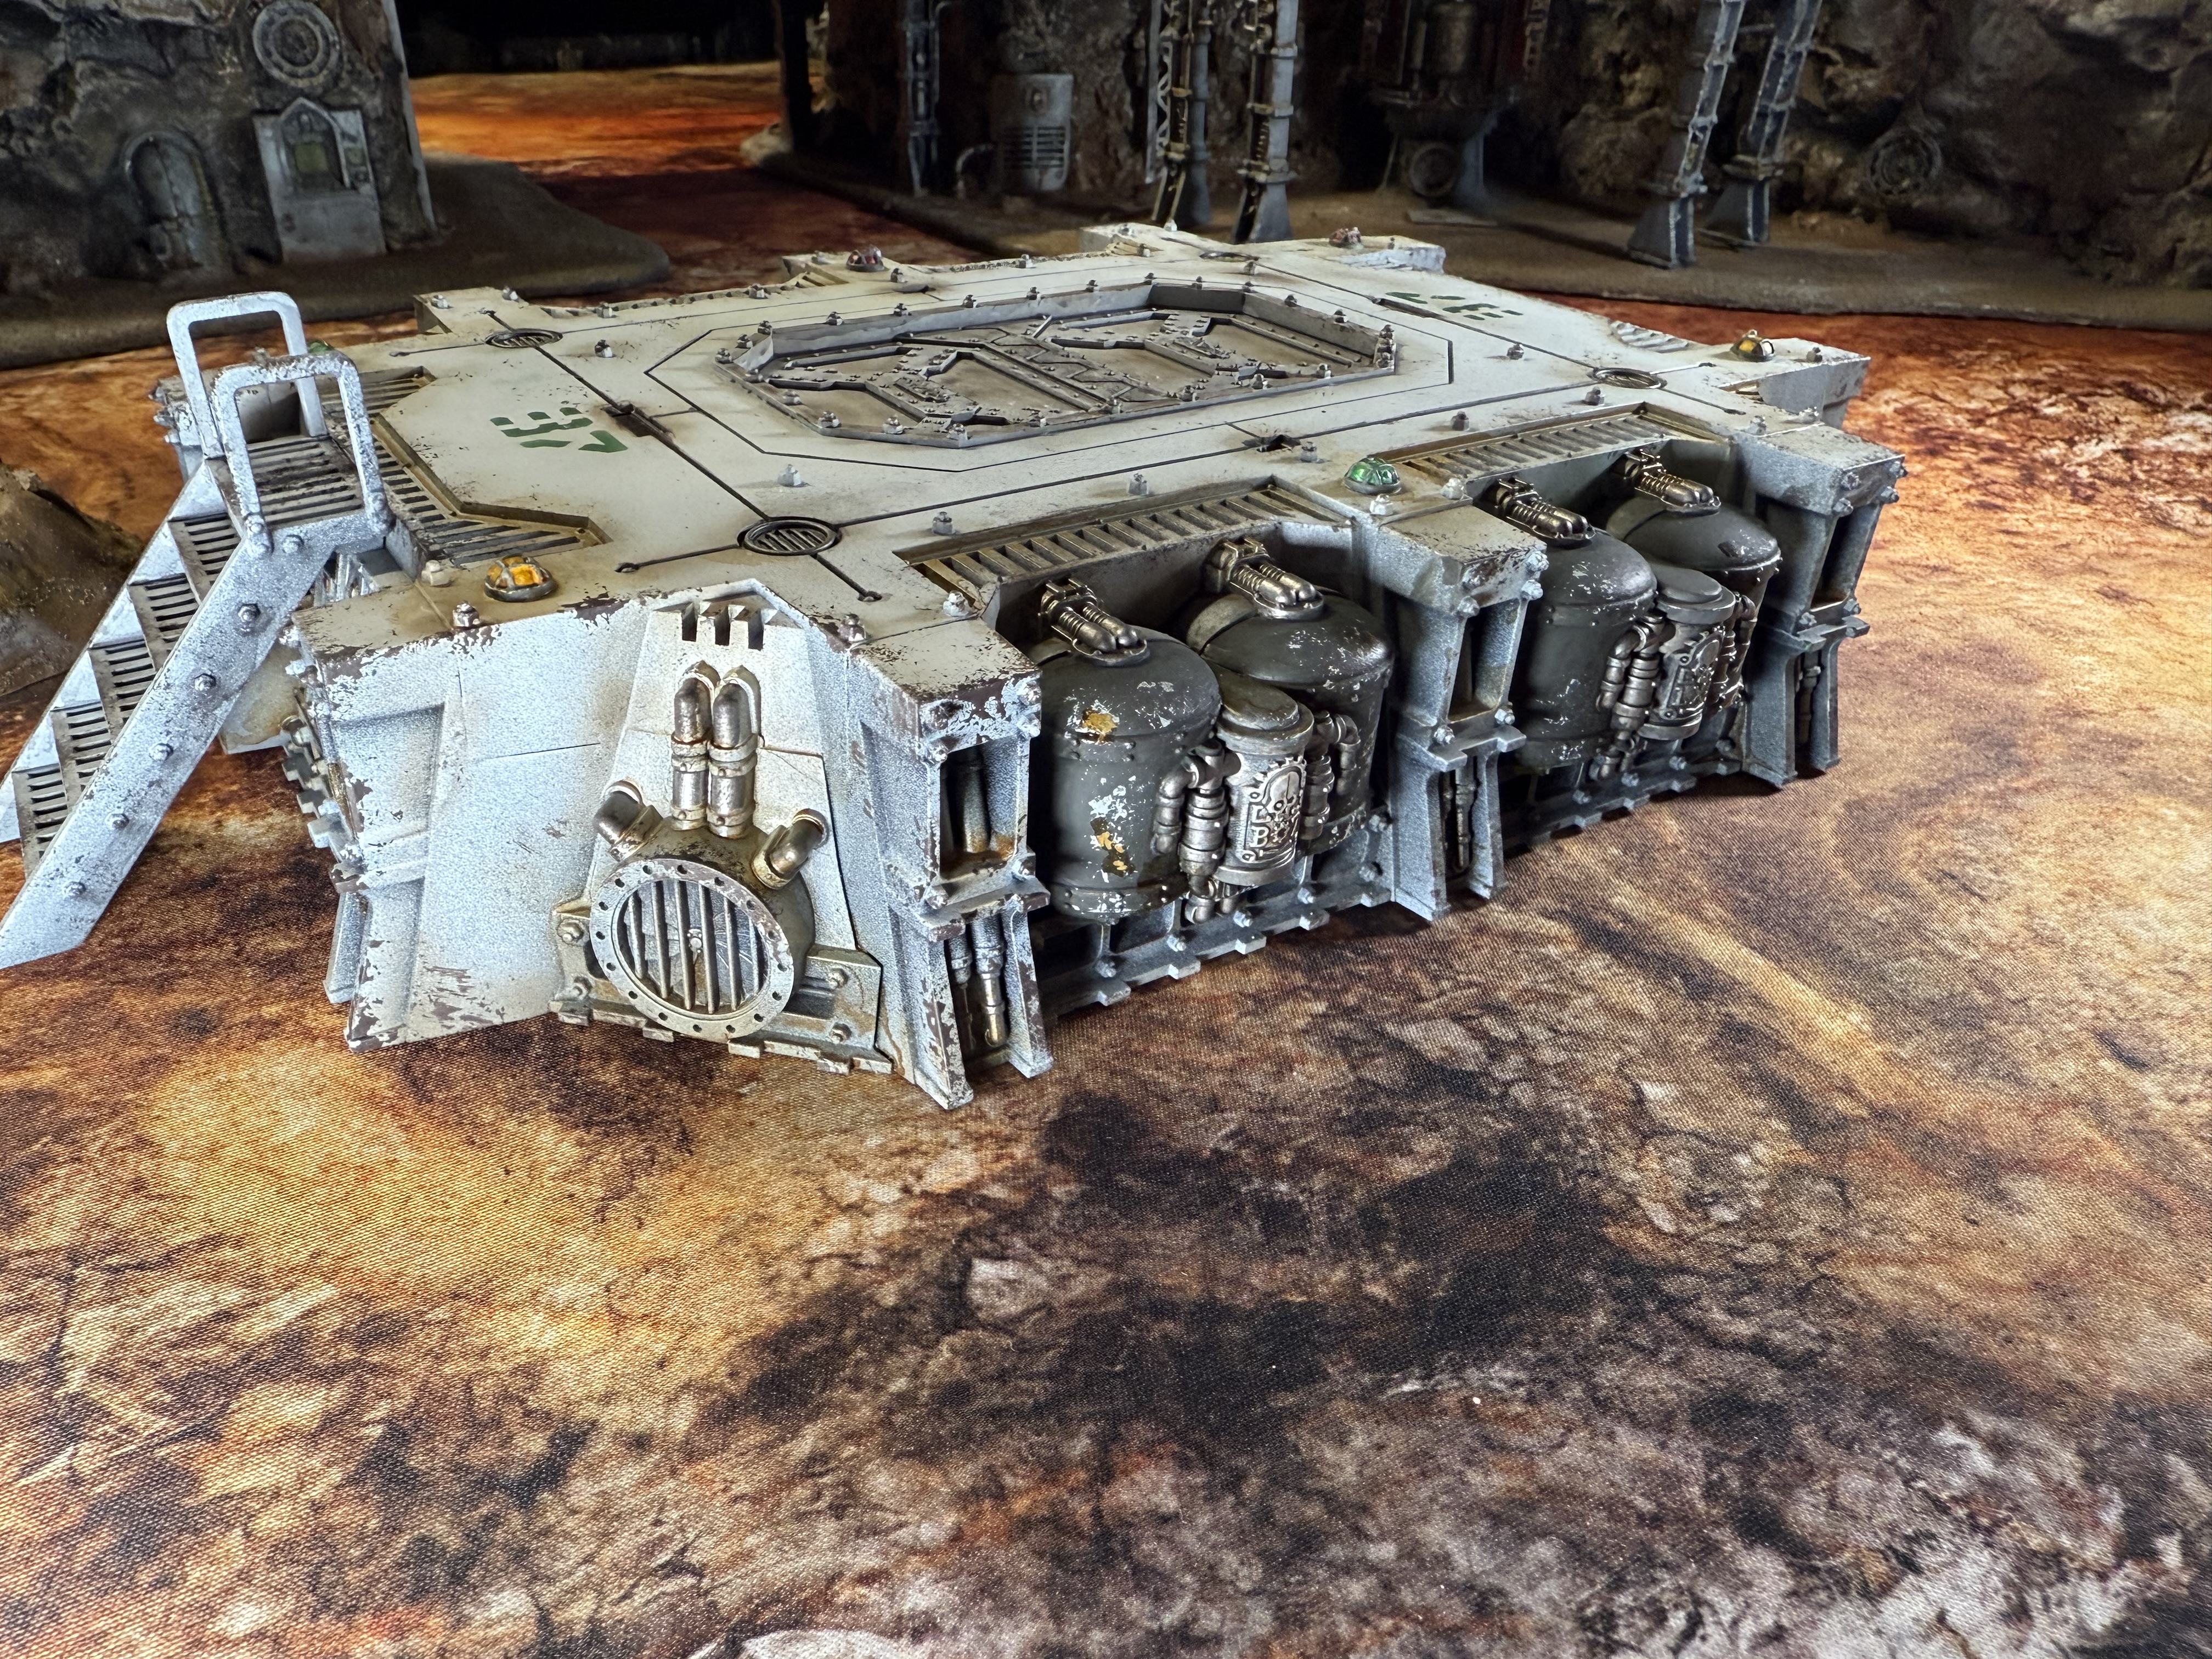
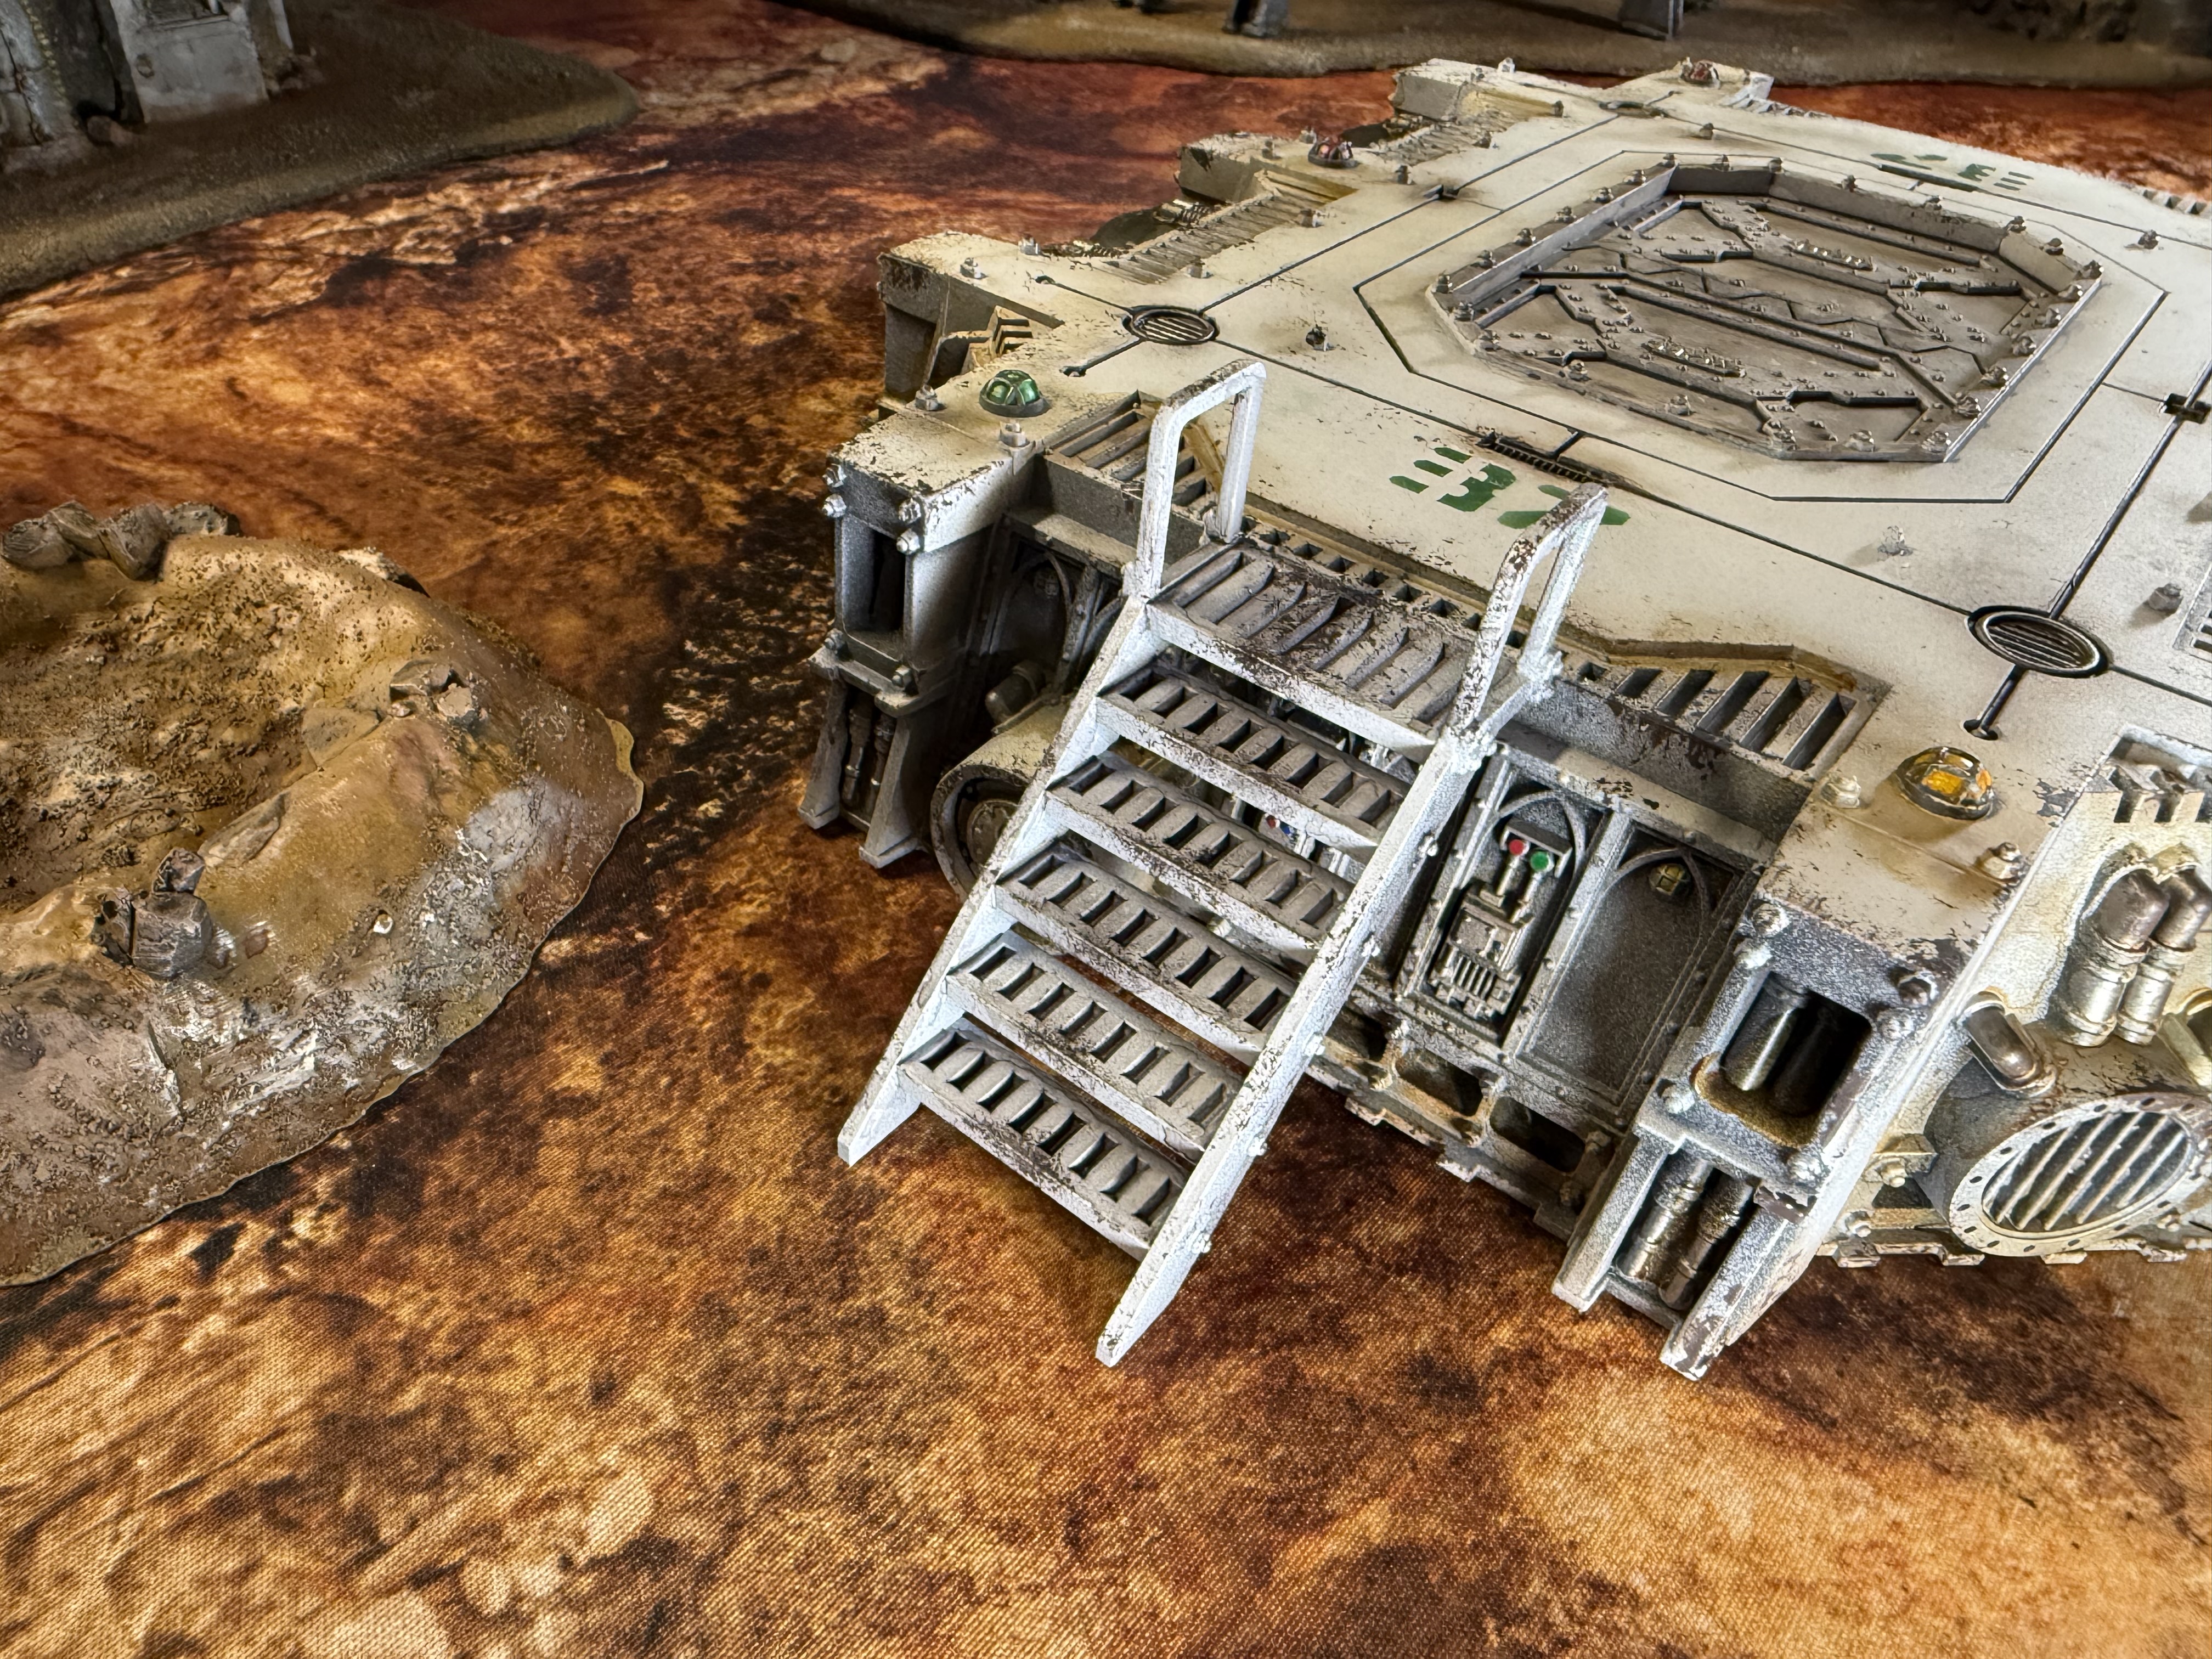
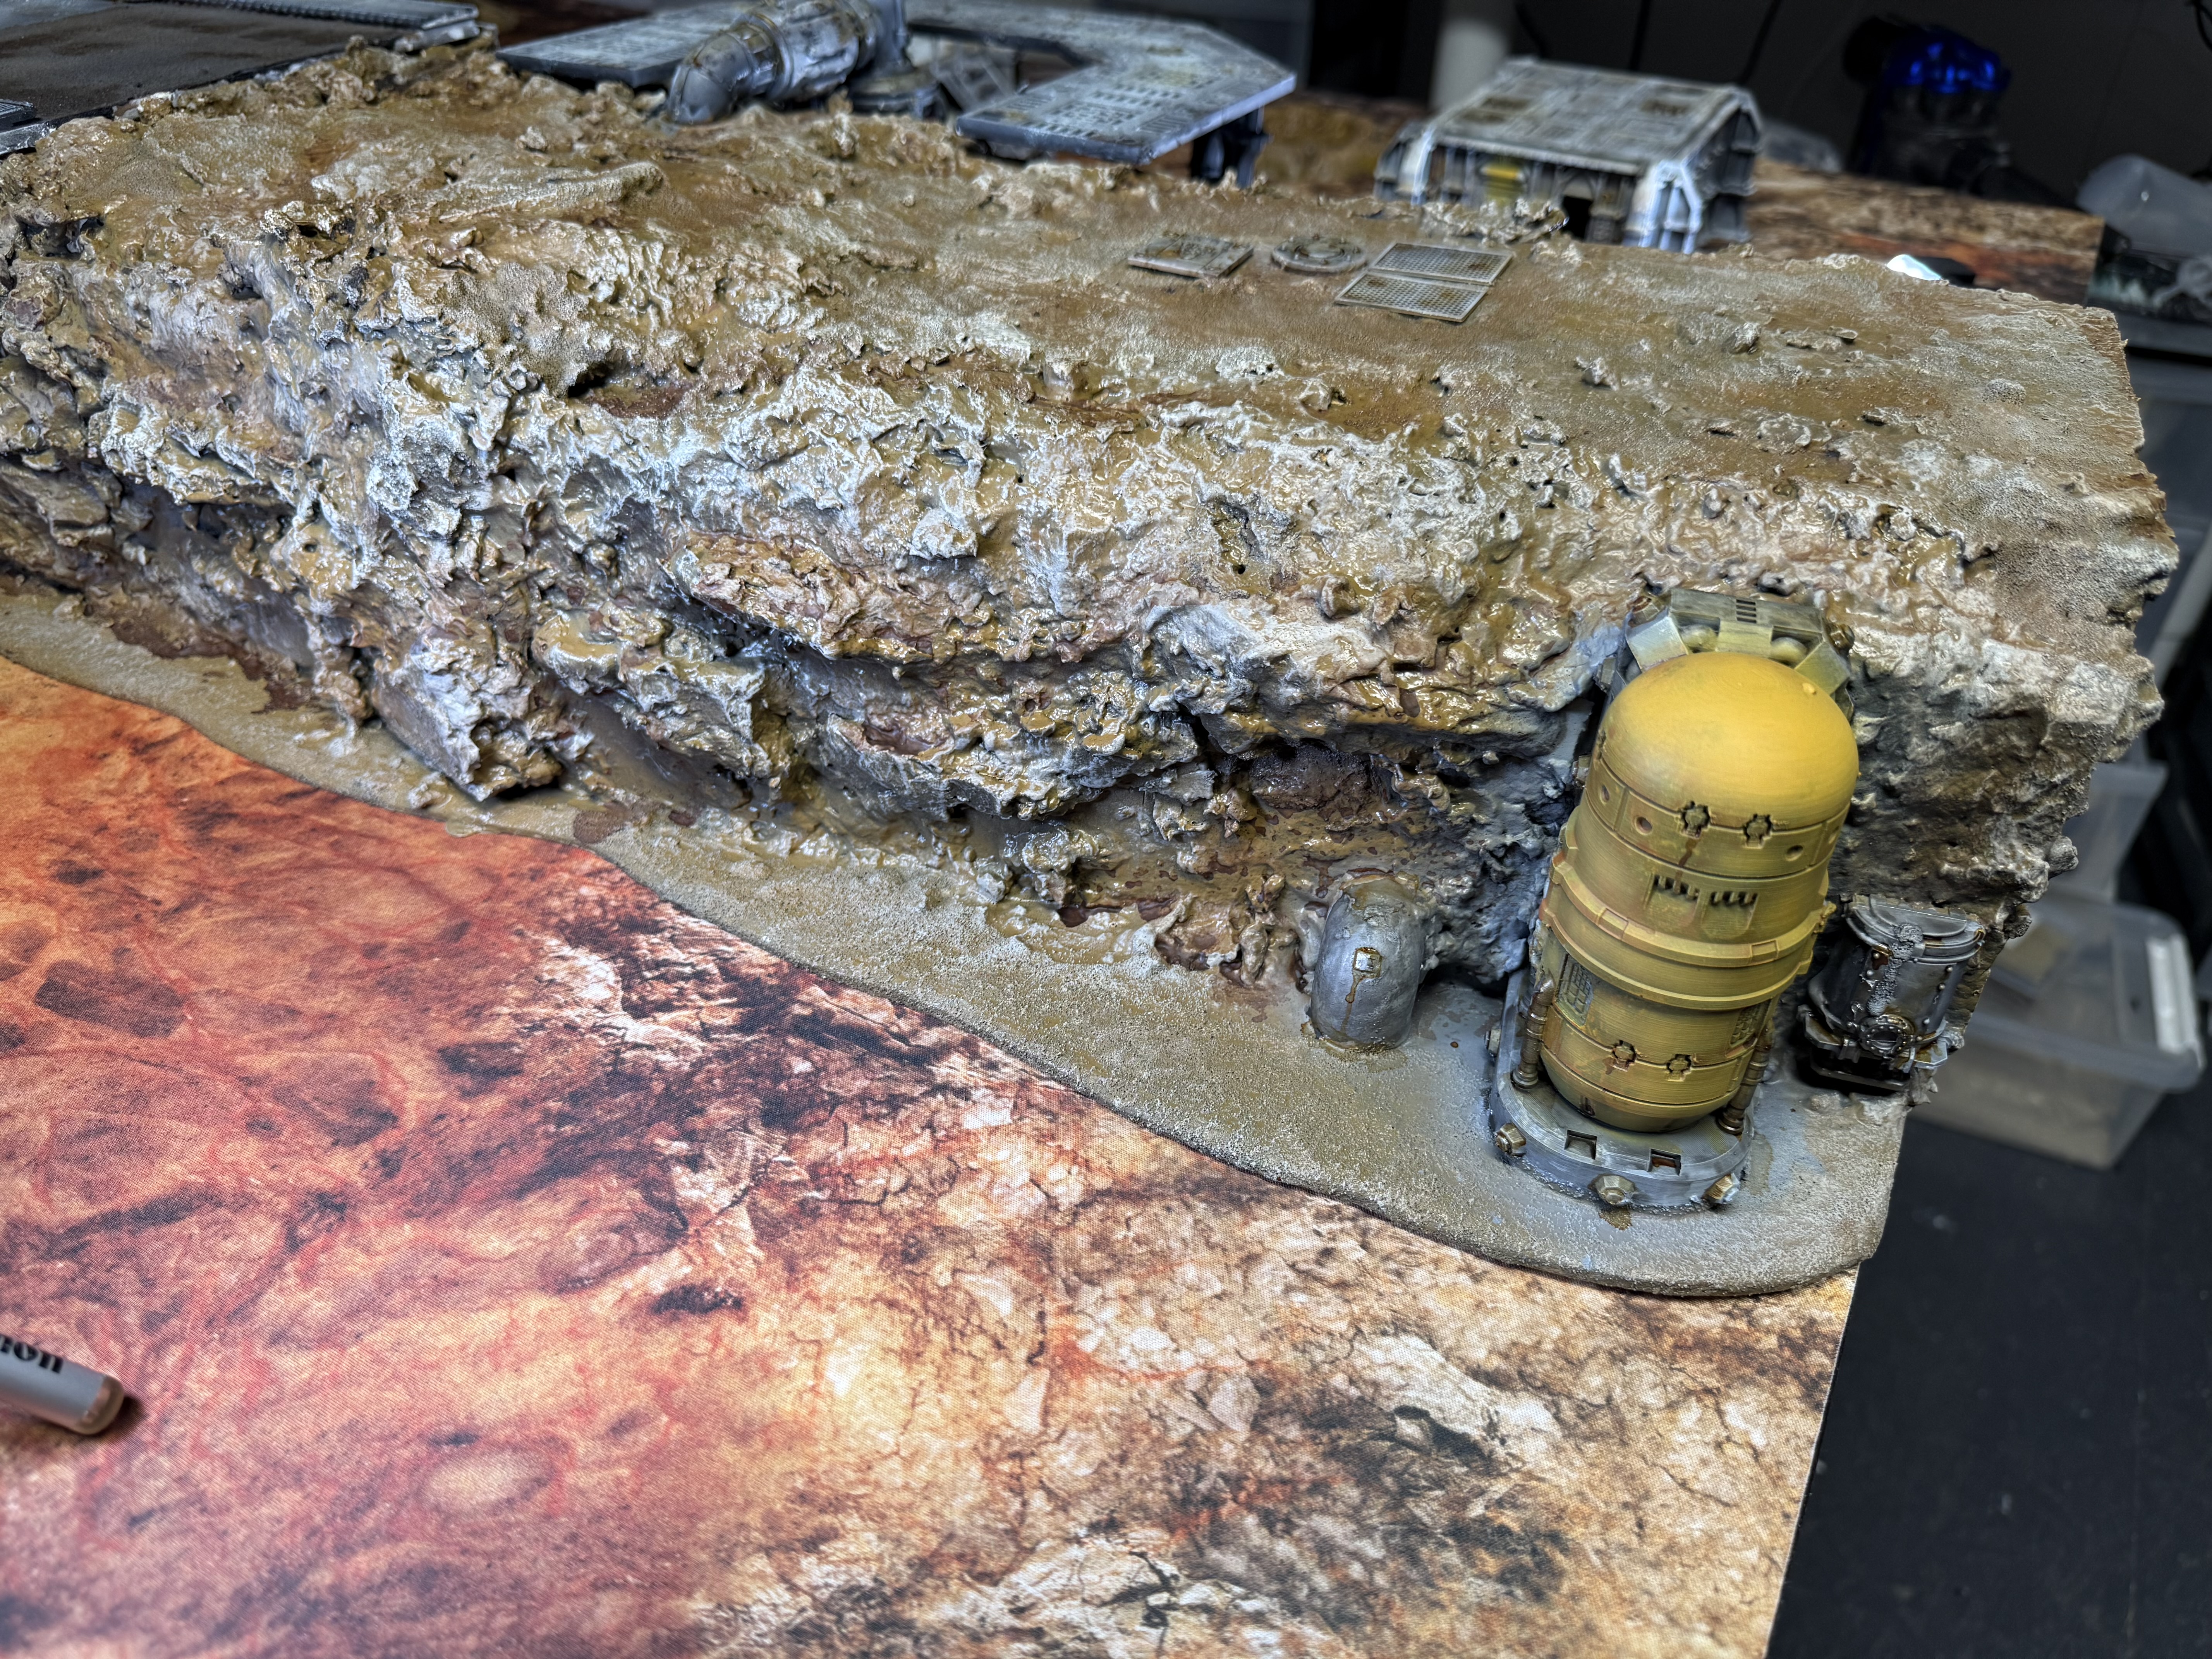
Storage tank. This is part of the same set I used for the main build. Also painted it to match.
Works either on its side or upright.
STLs from Saucermen https://www.myminifactory.com/object/3d-print-storage-tanks-306071
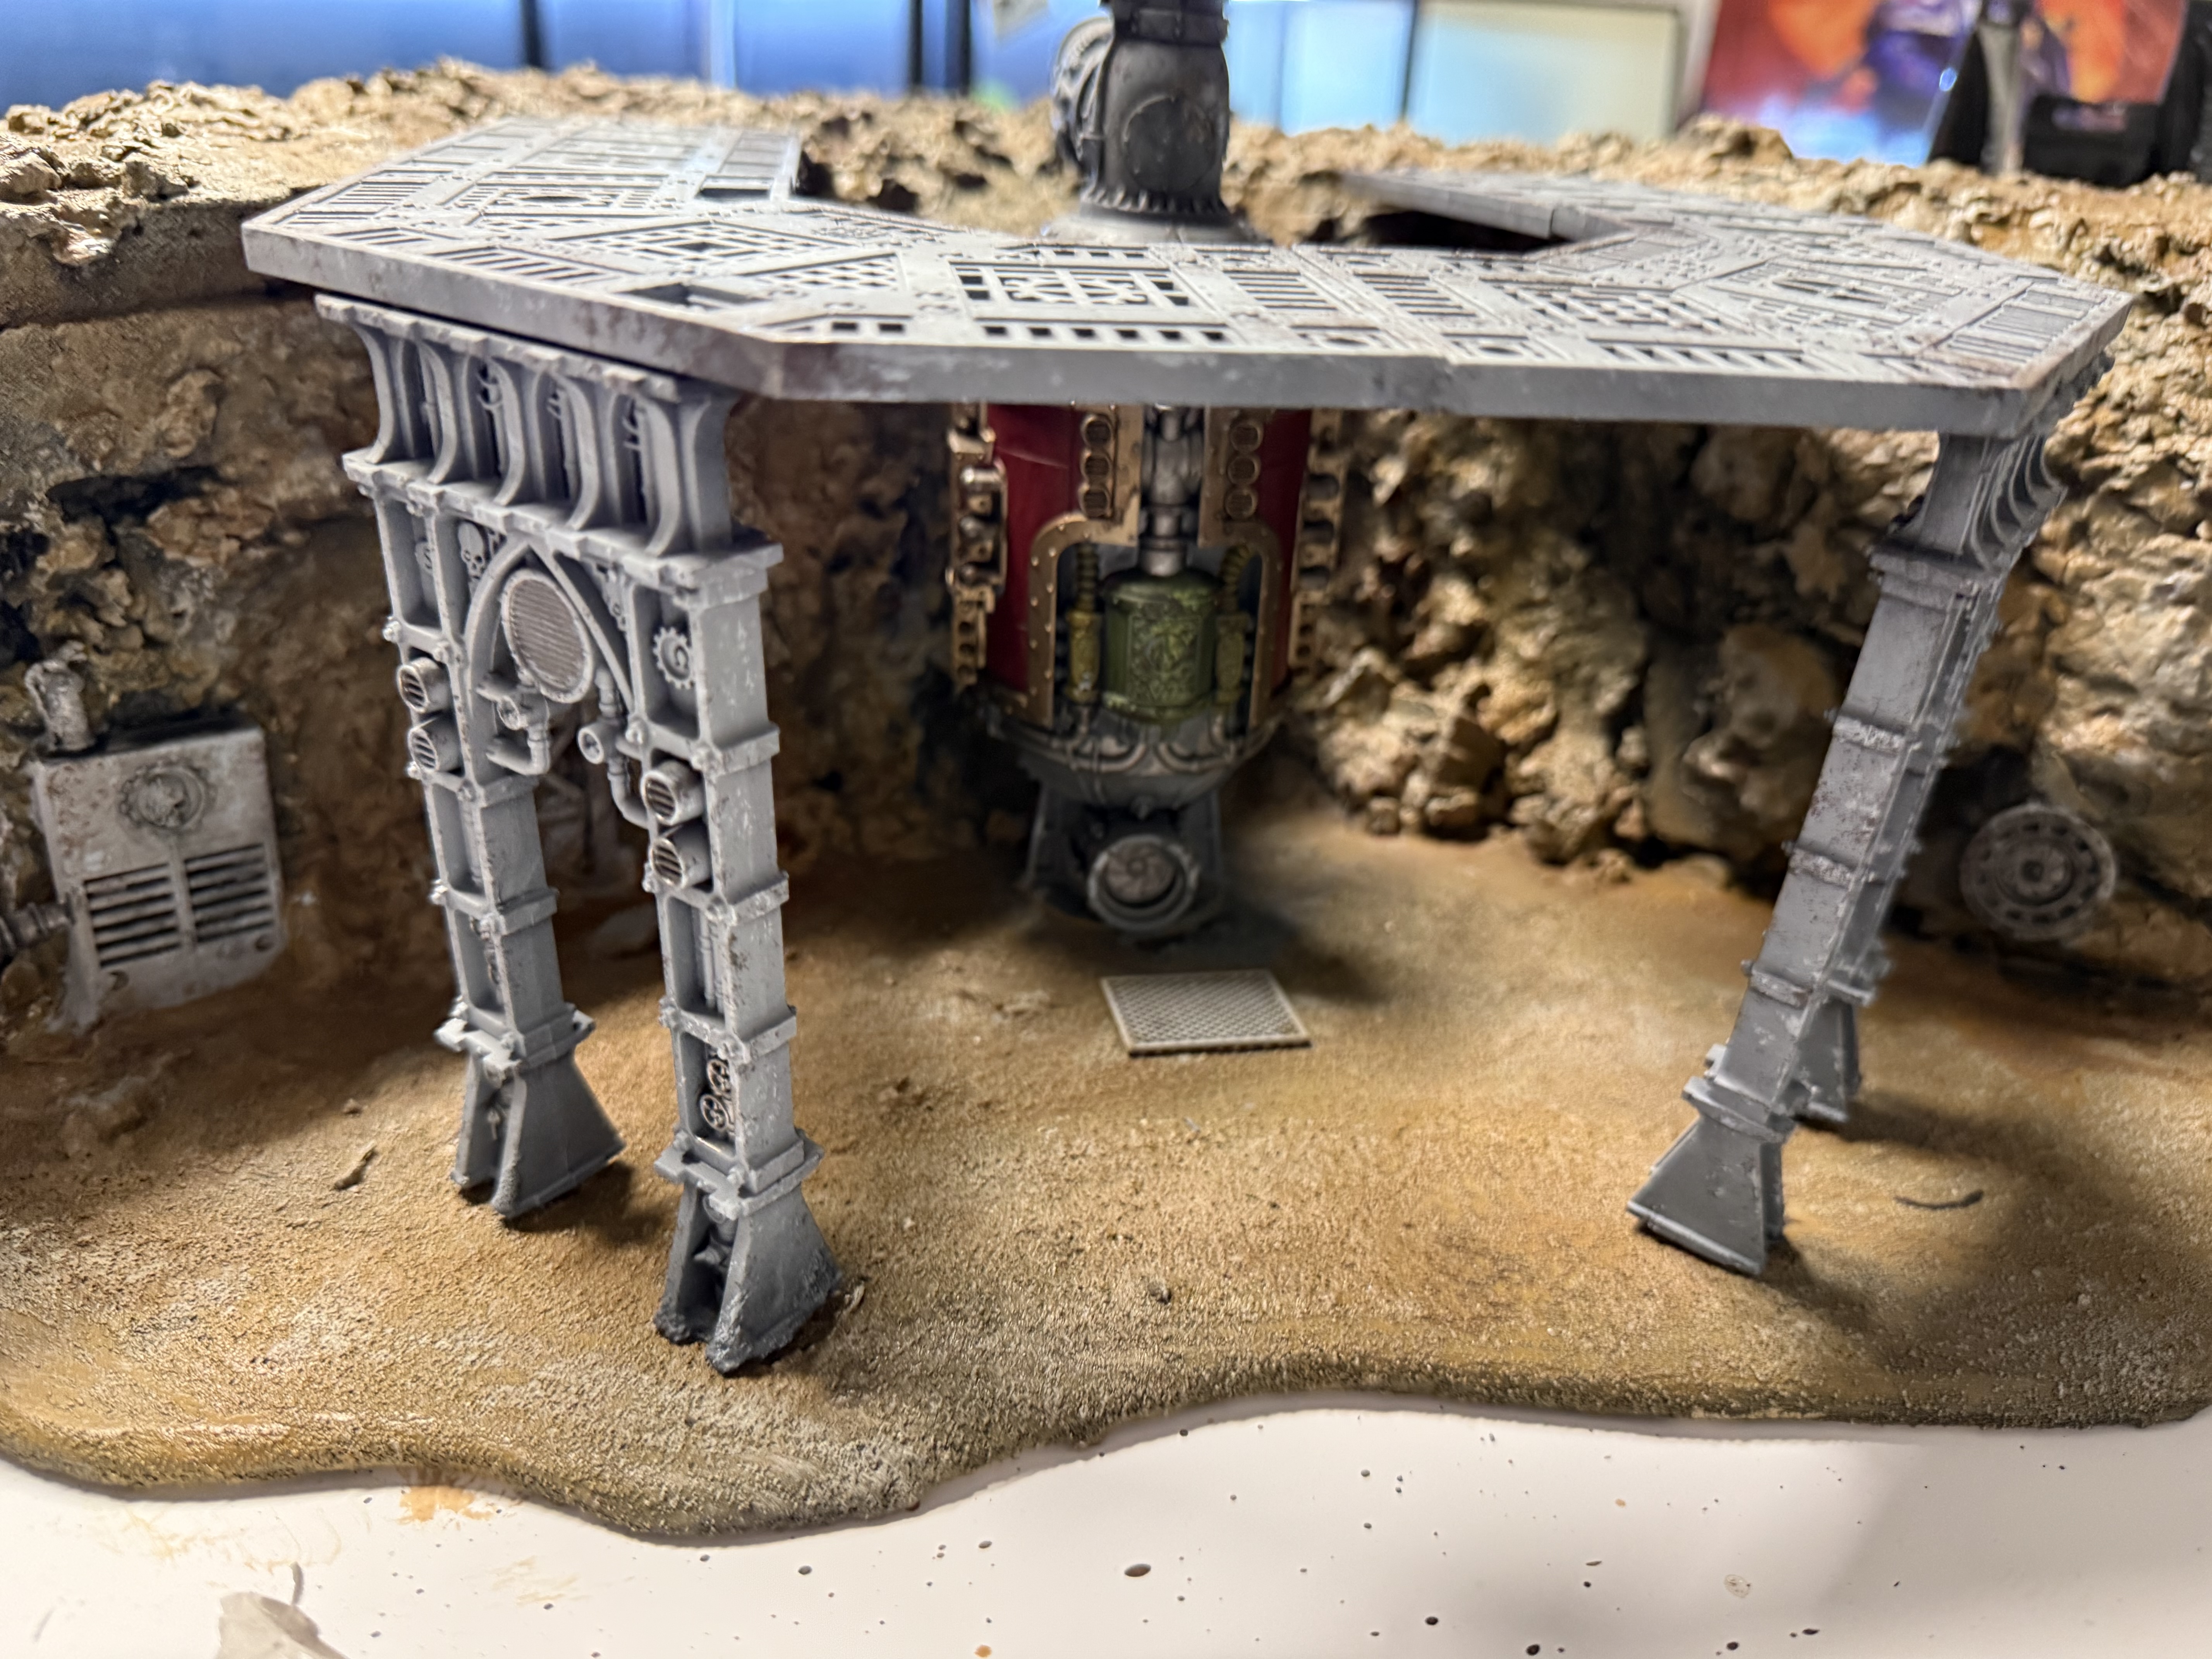
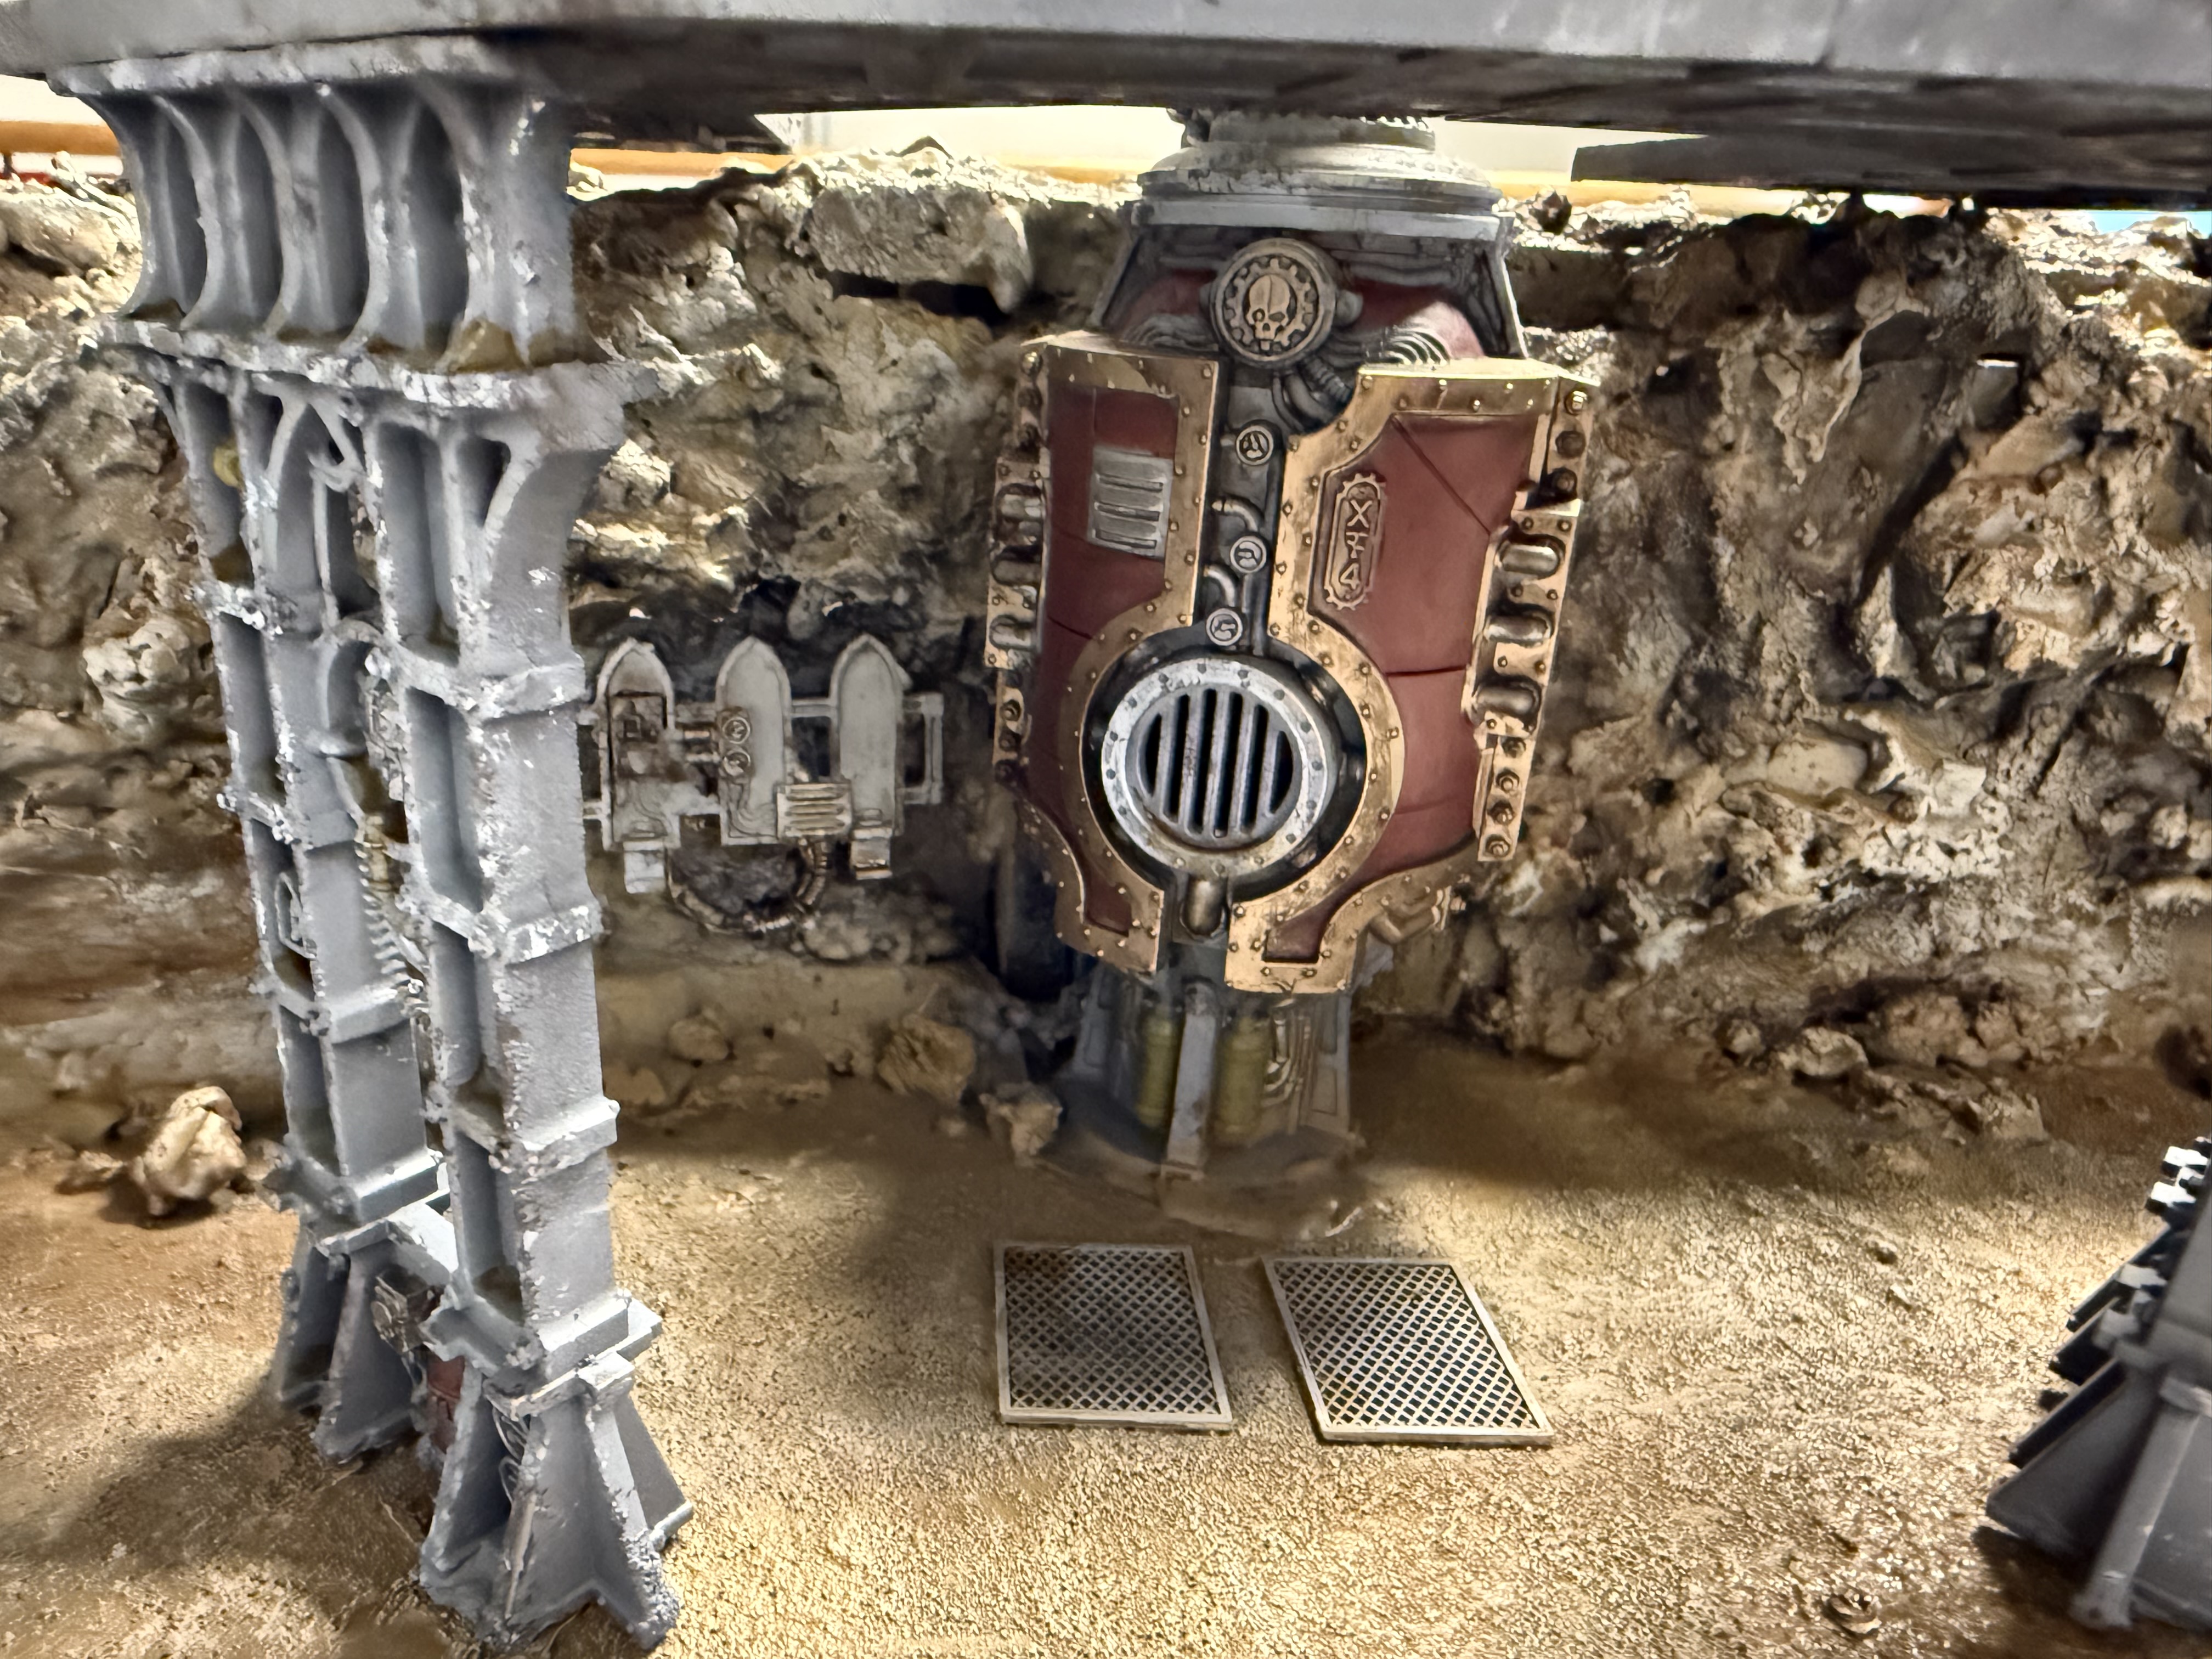
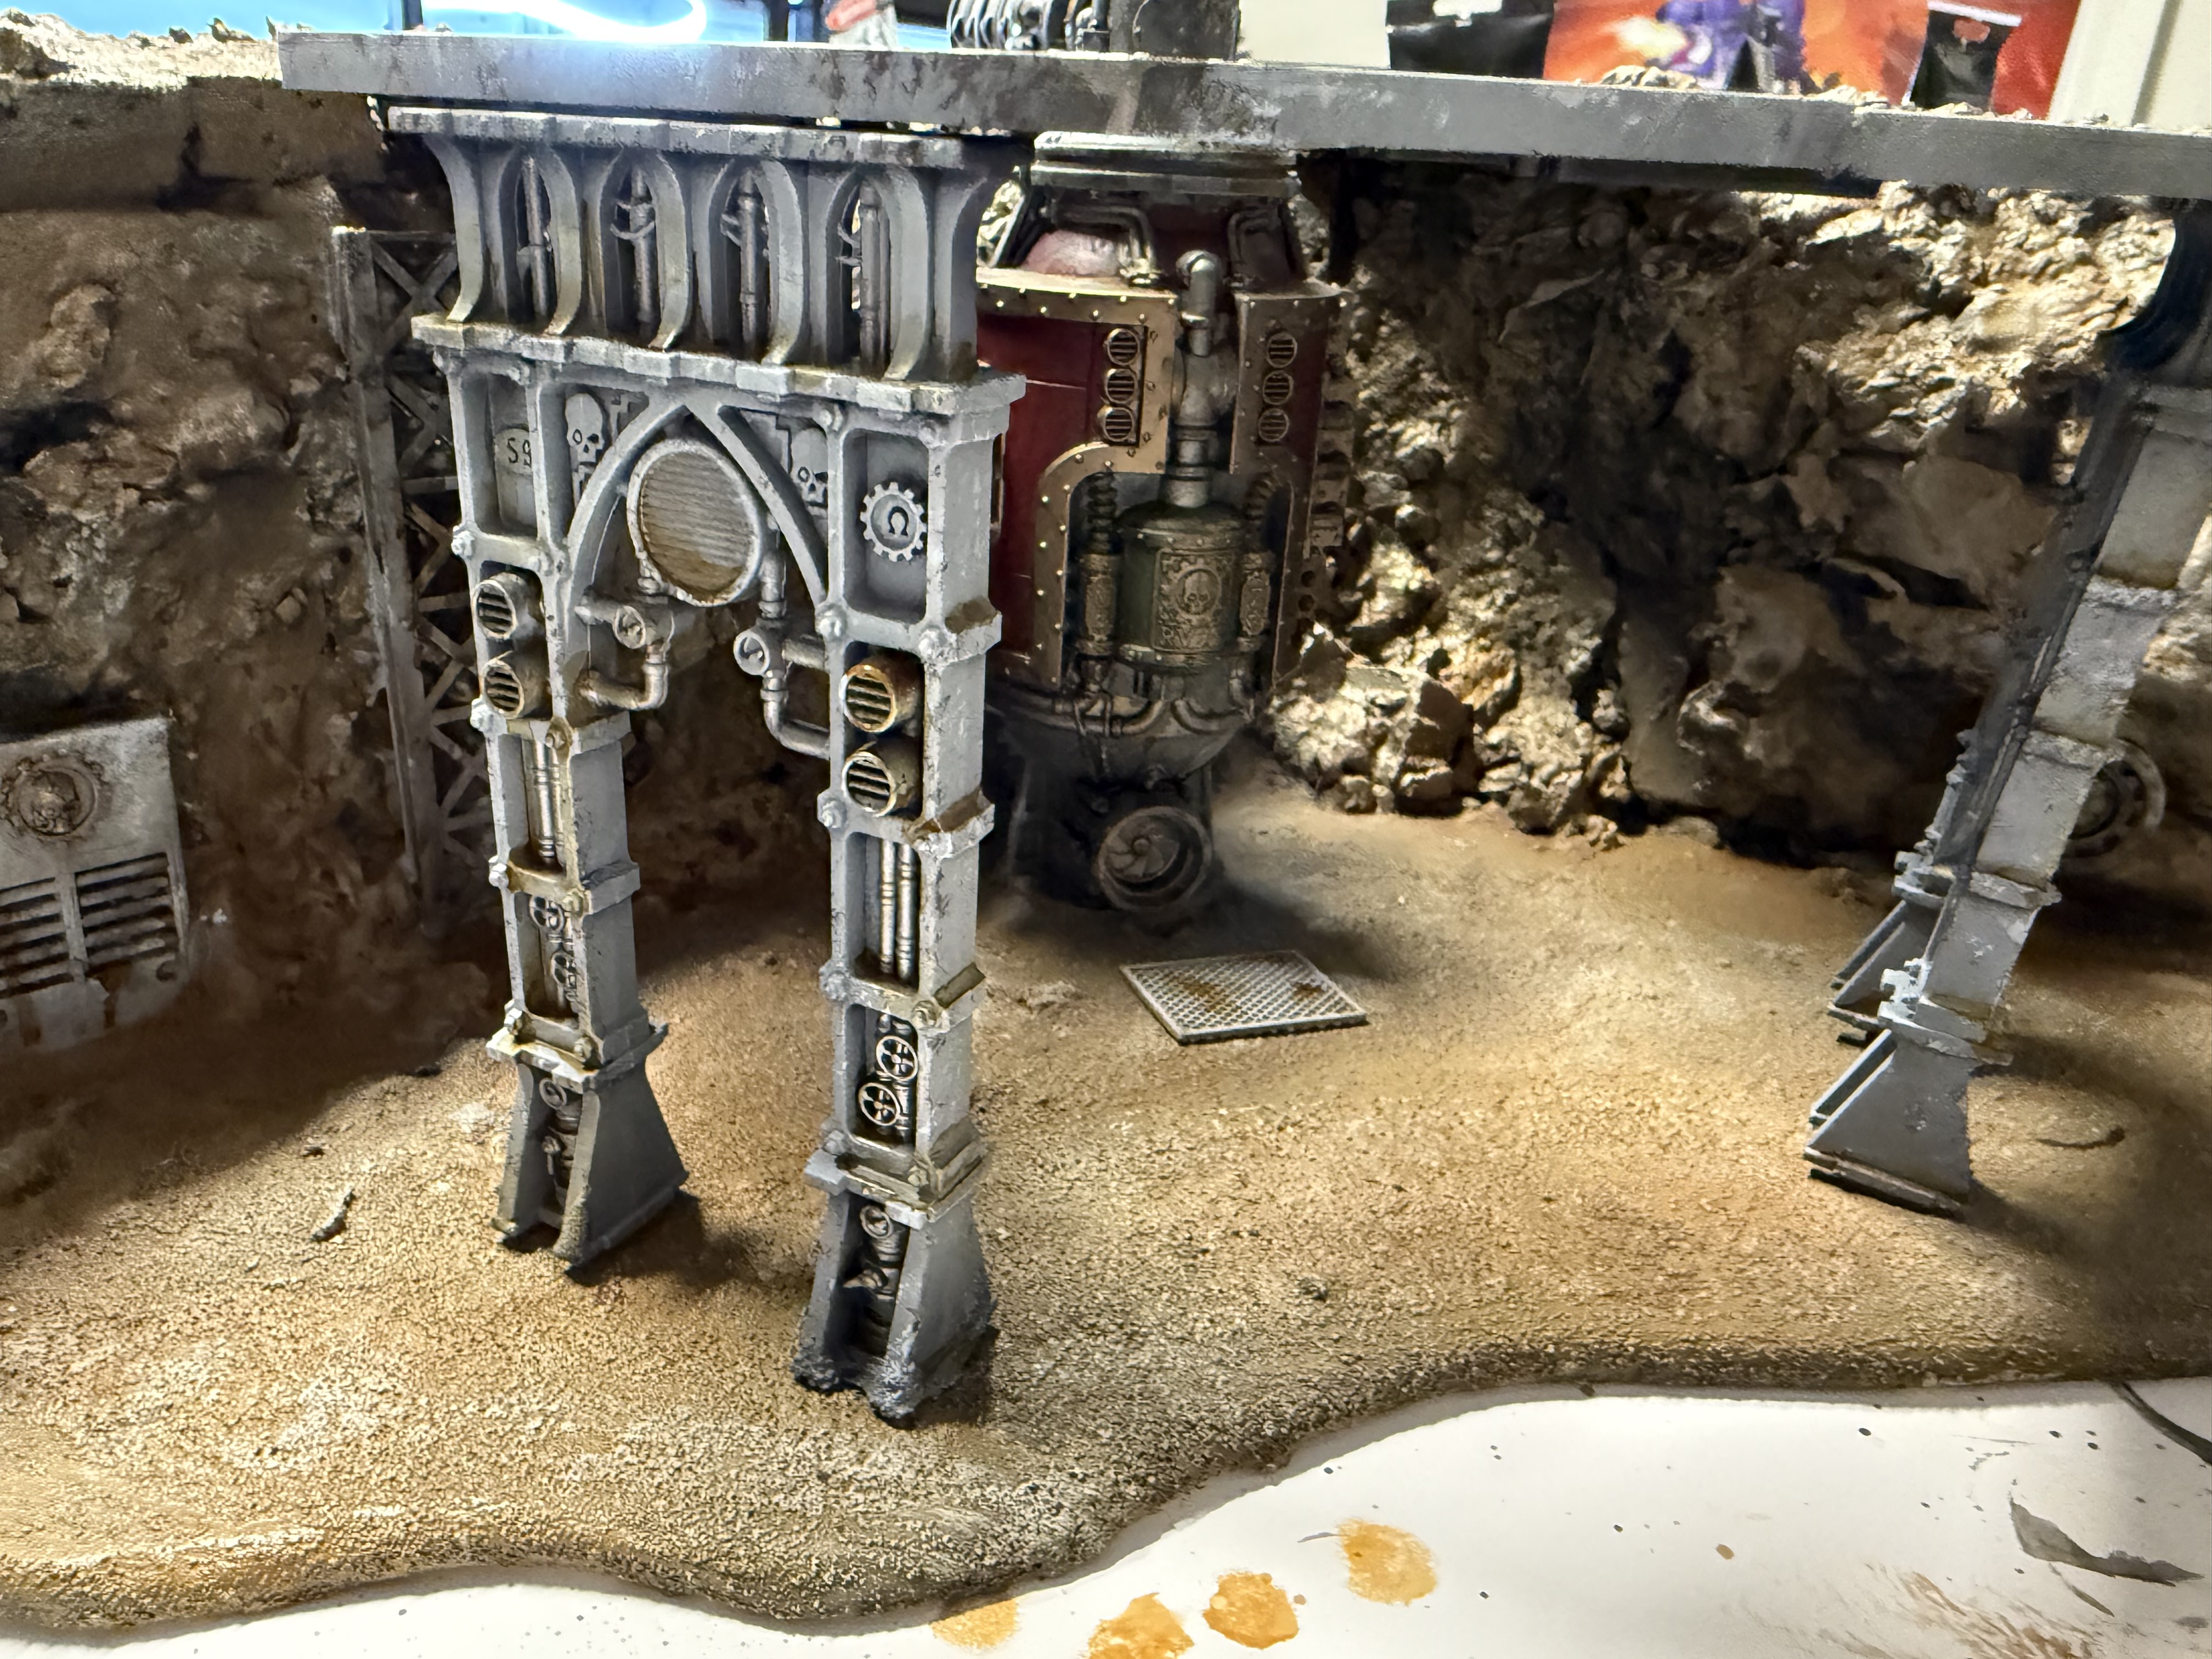
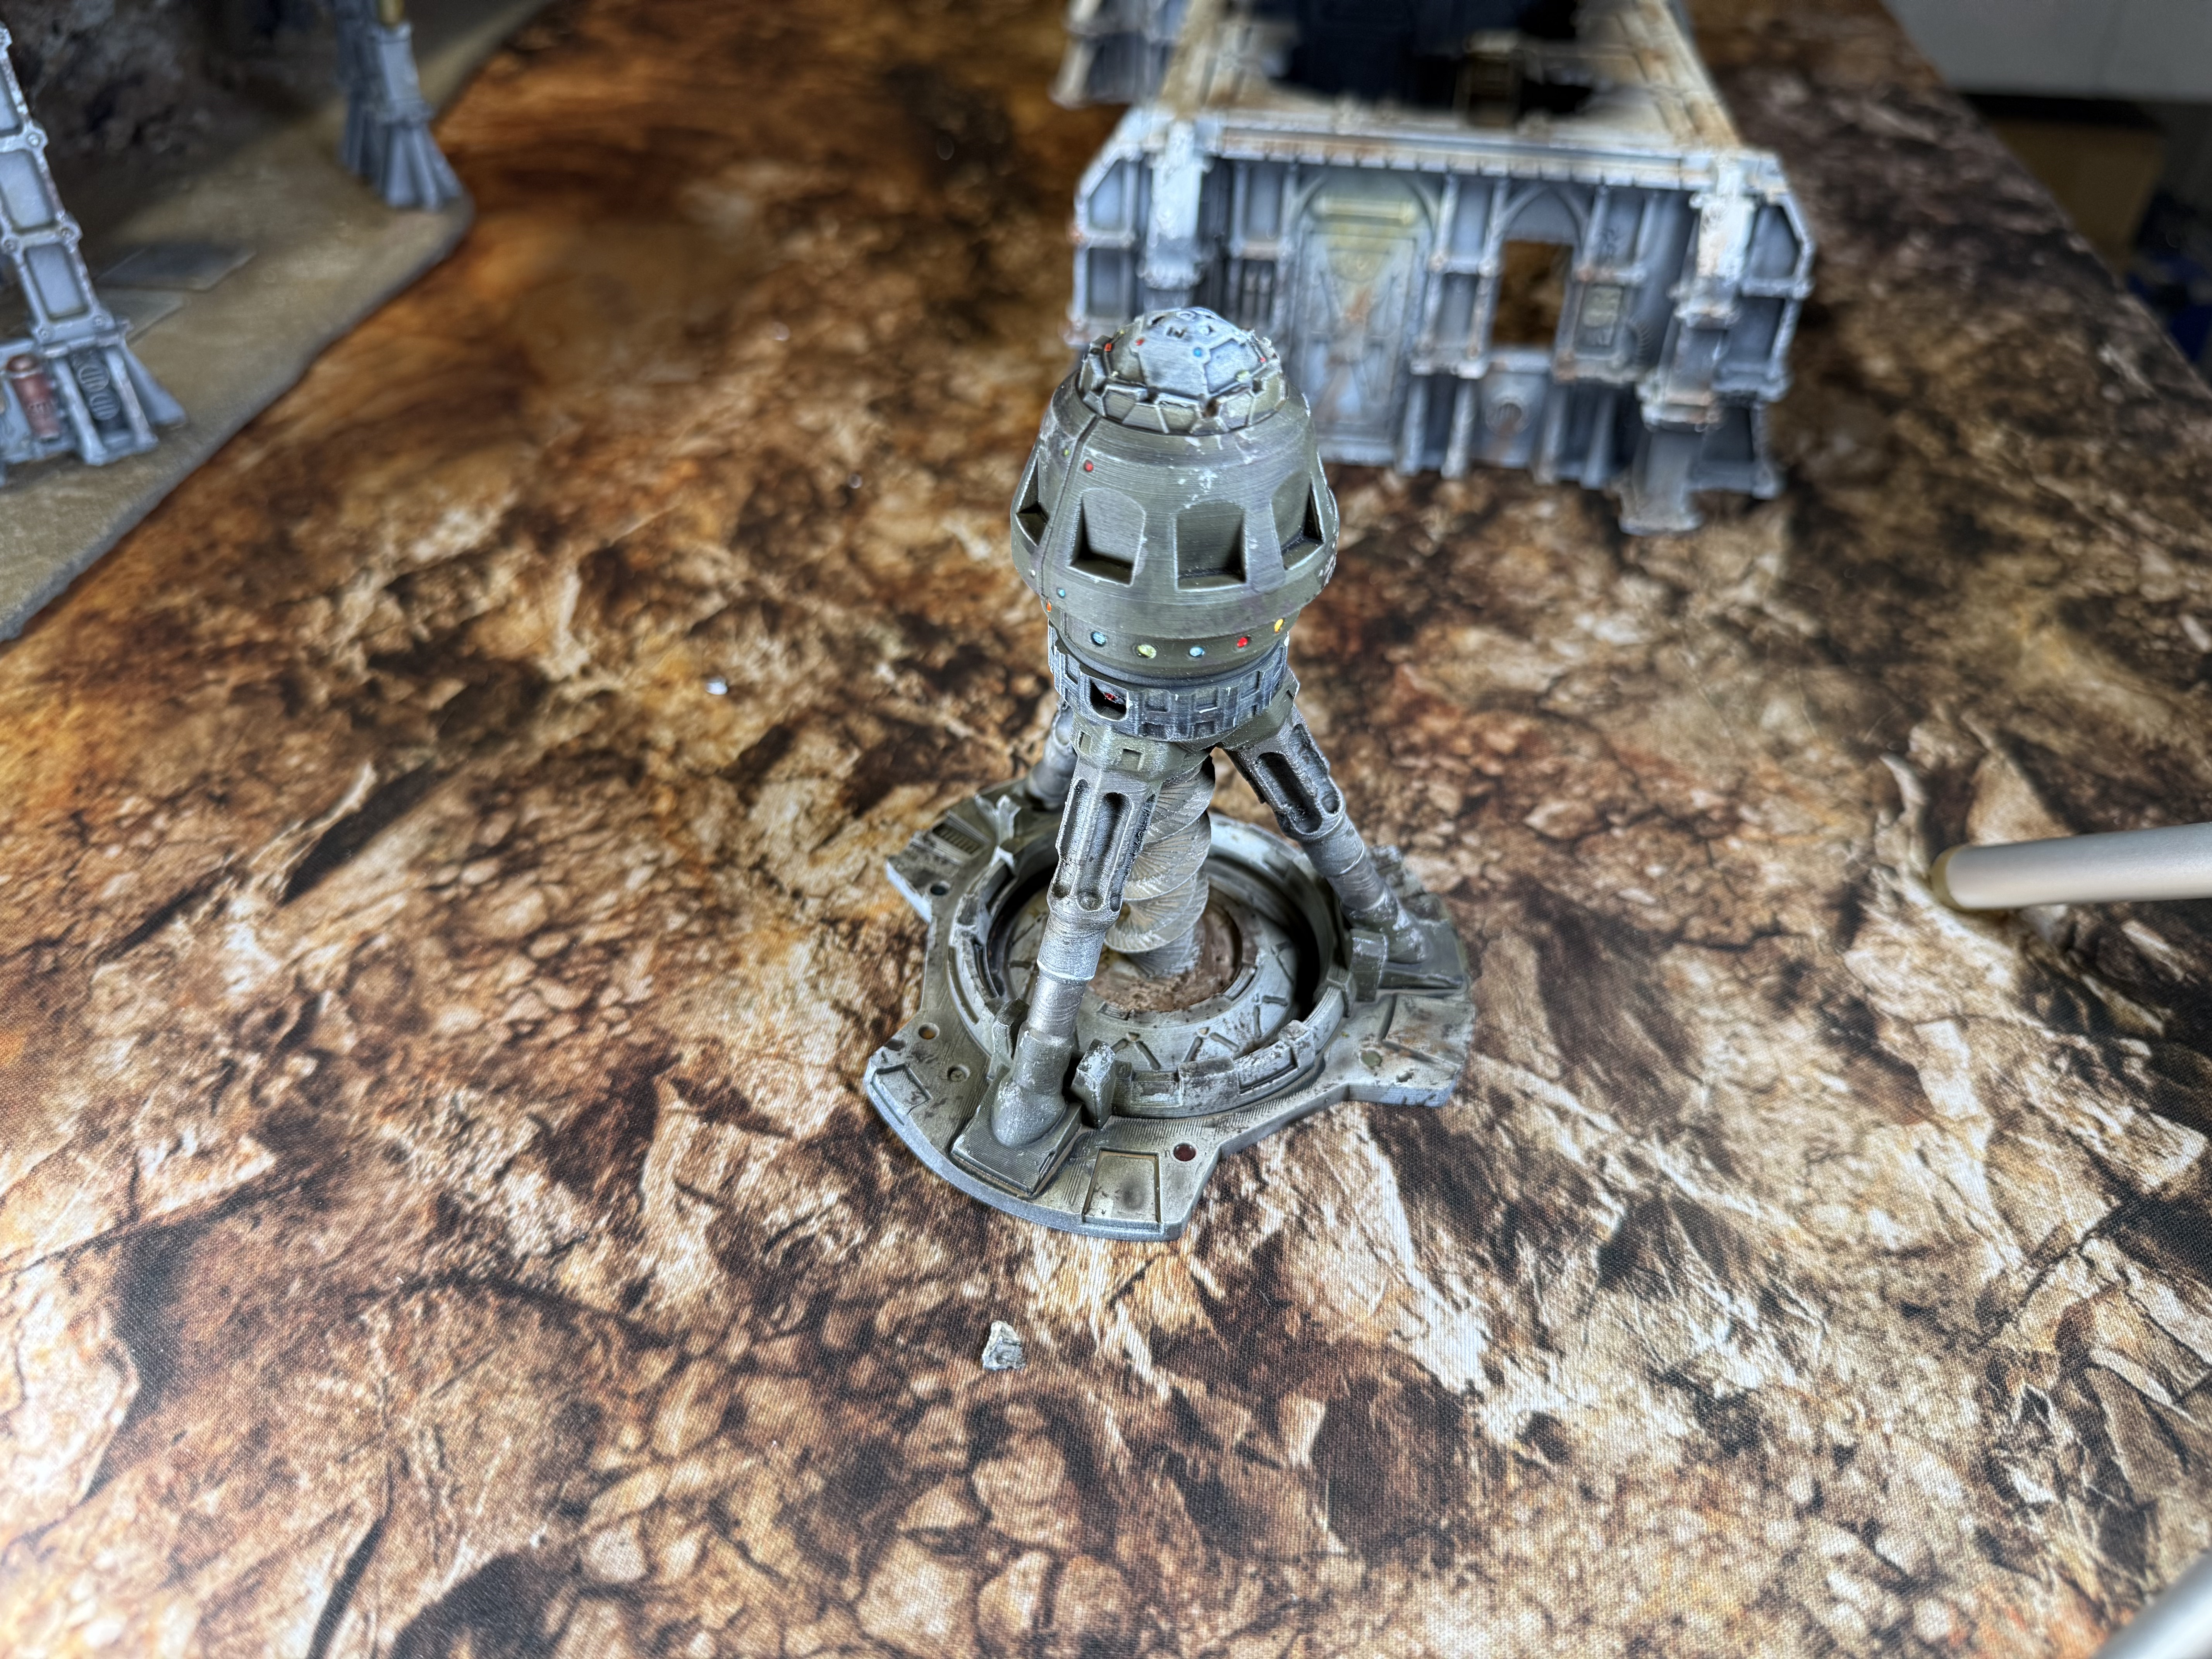
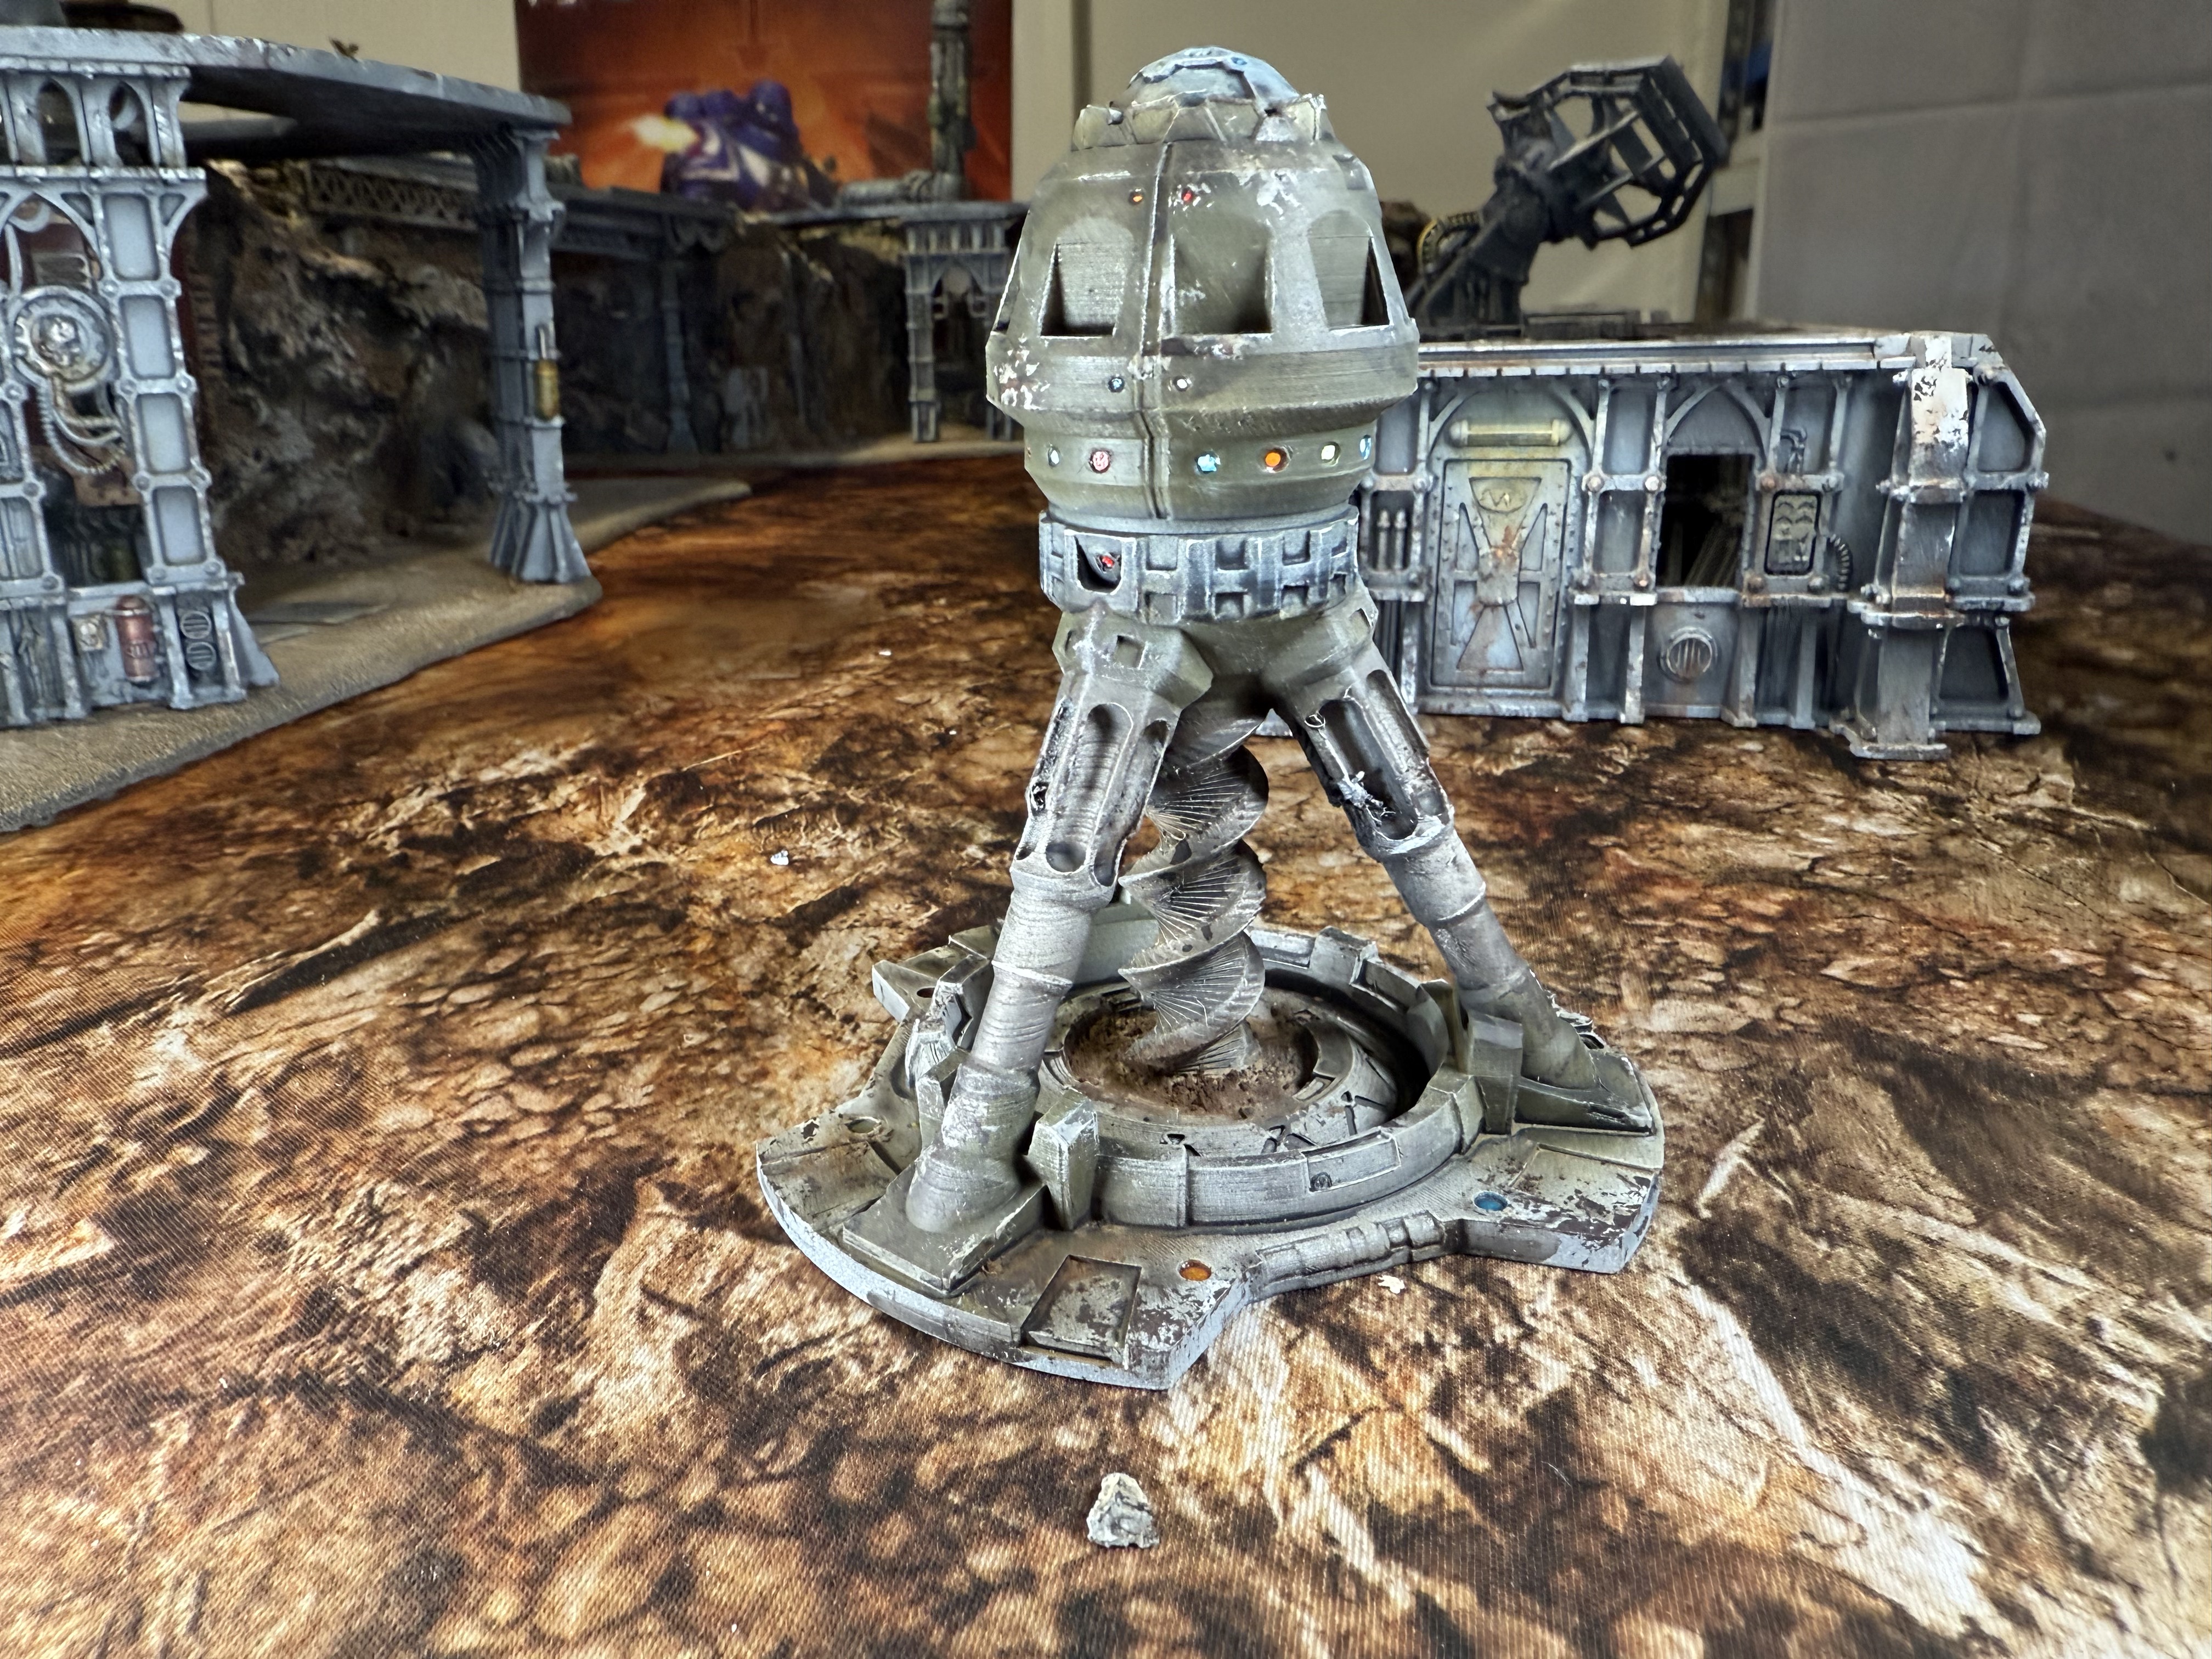
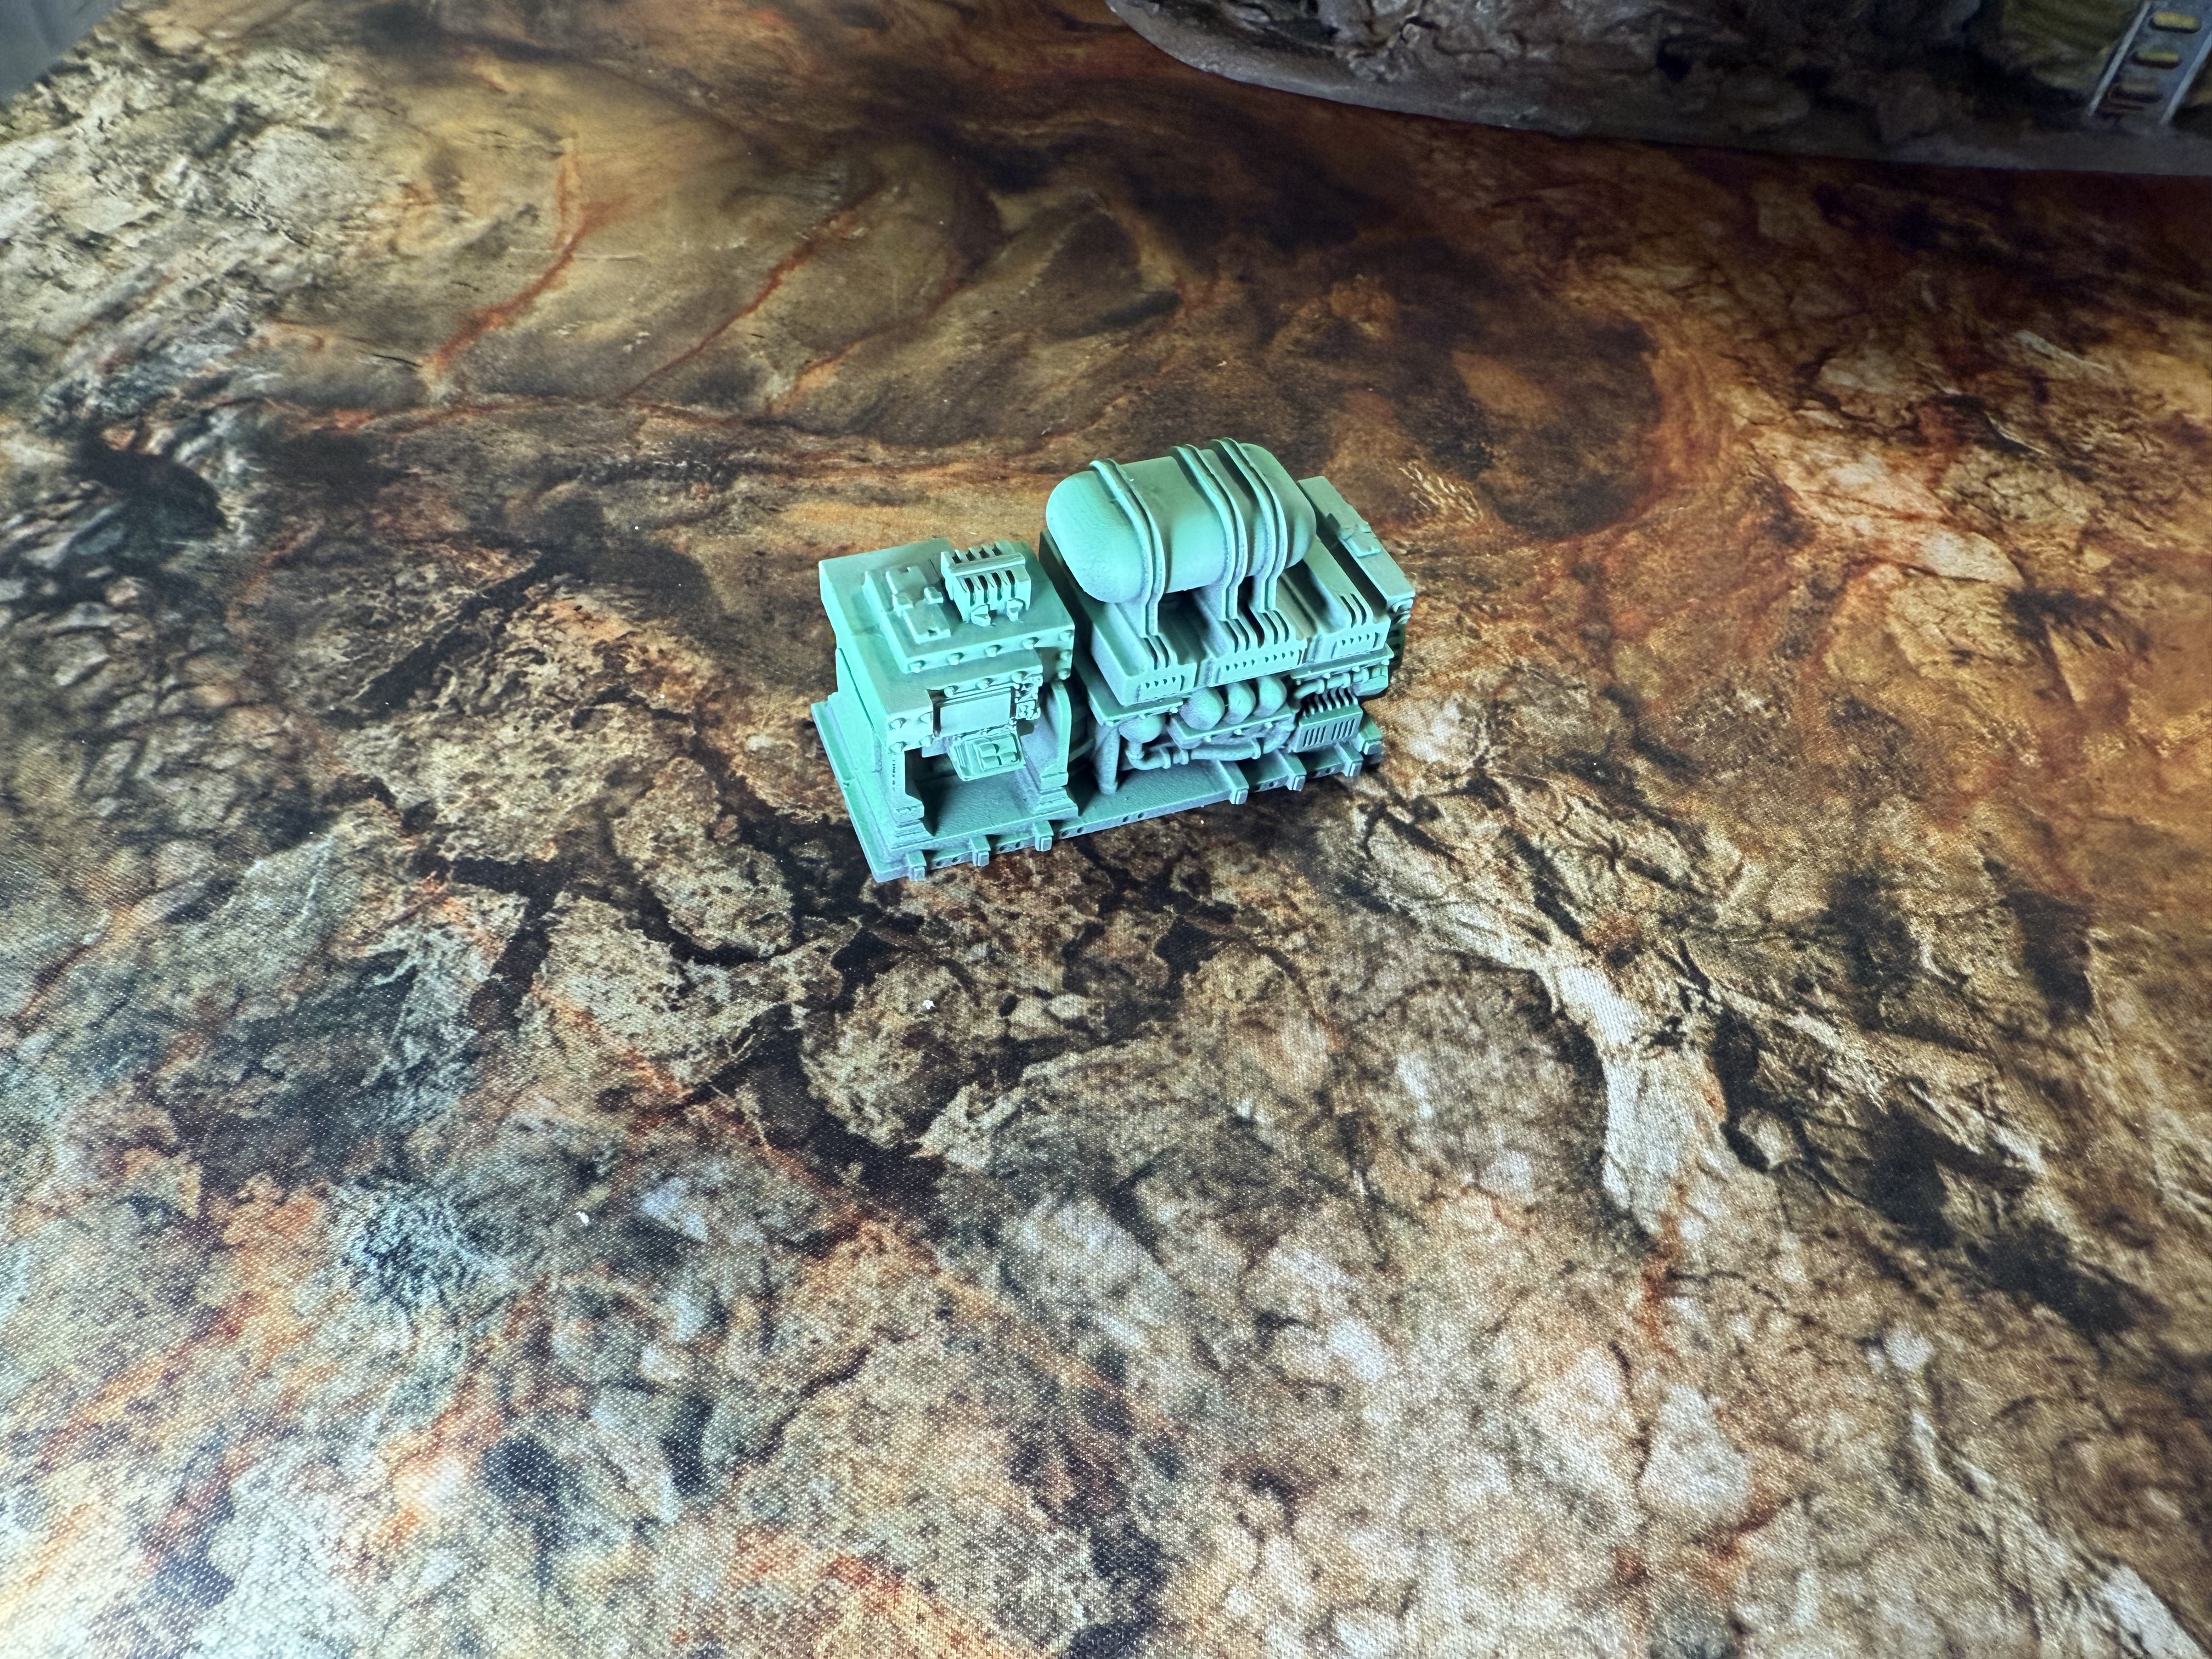
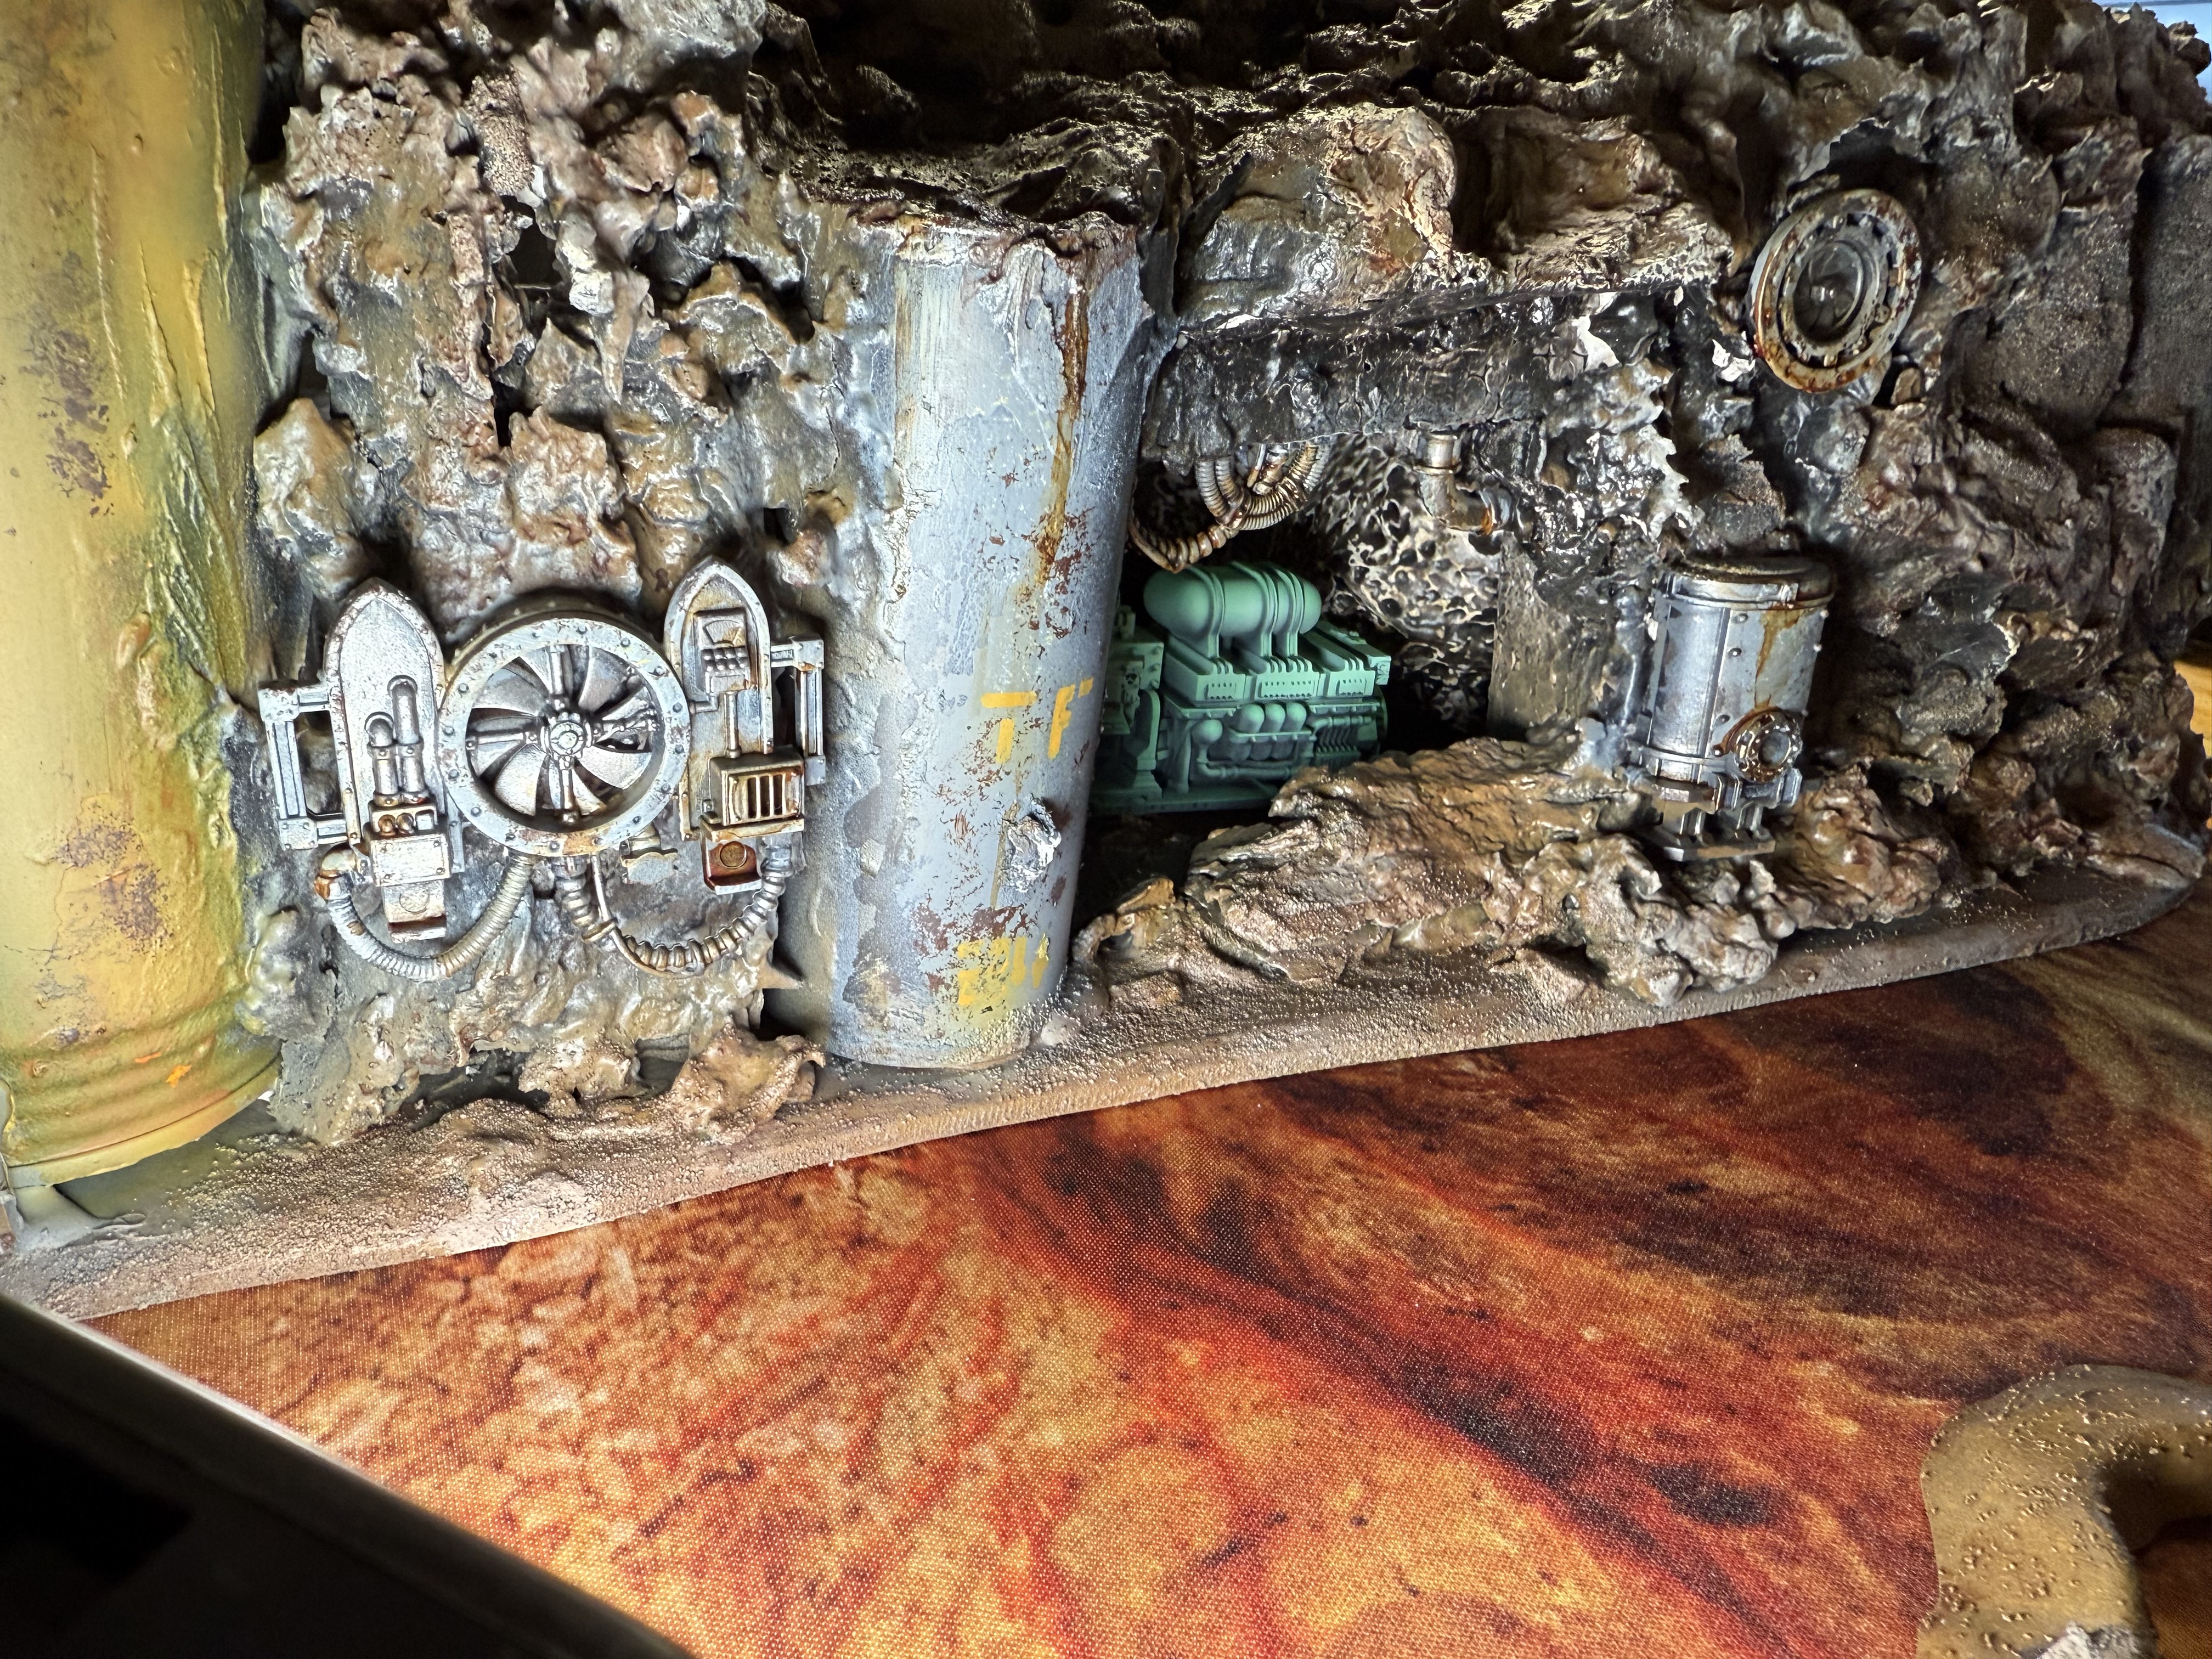
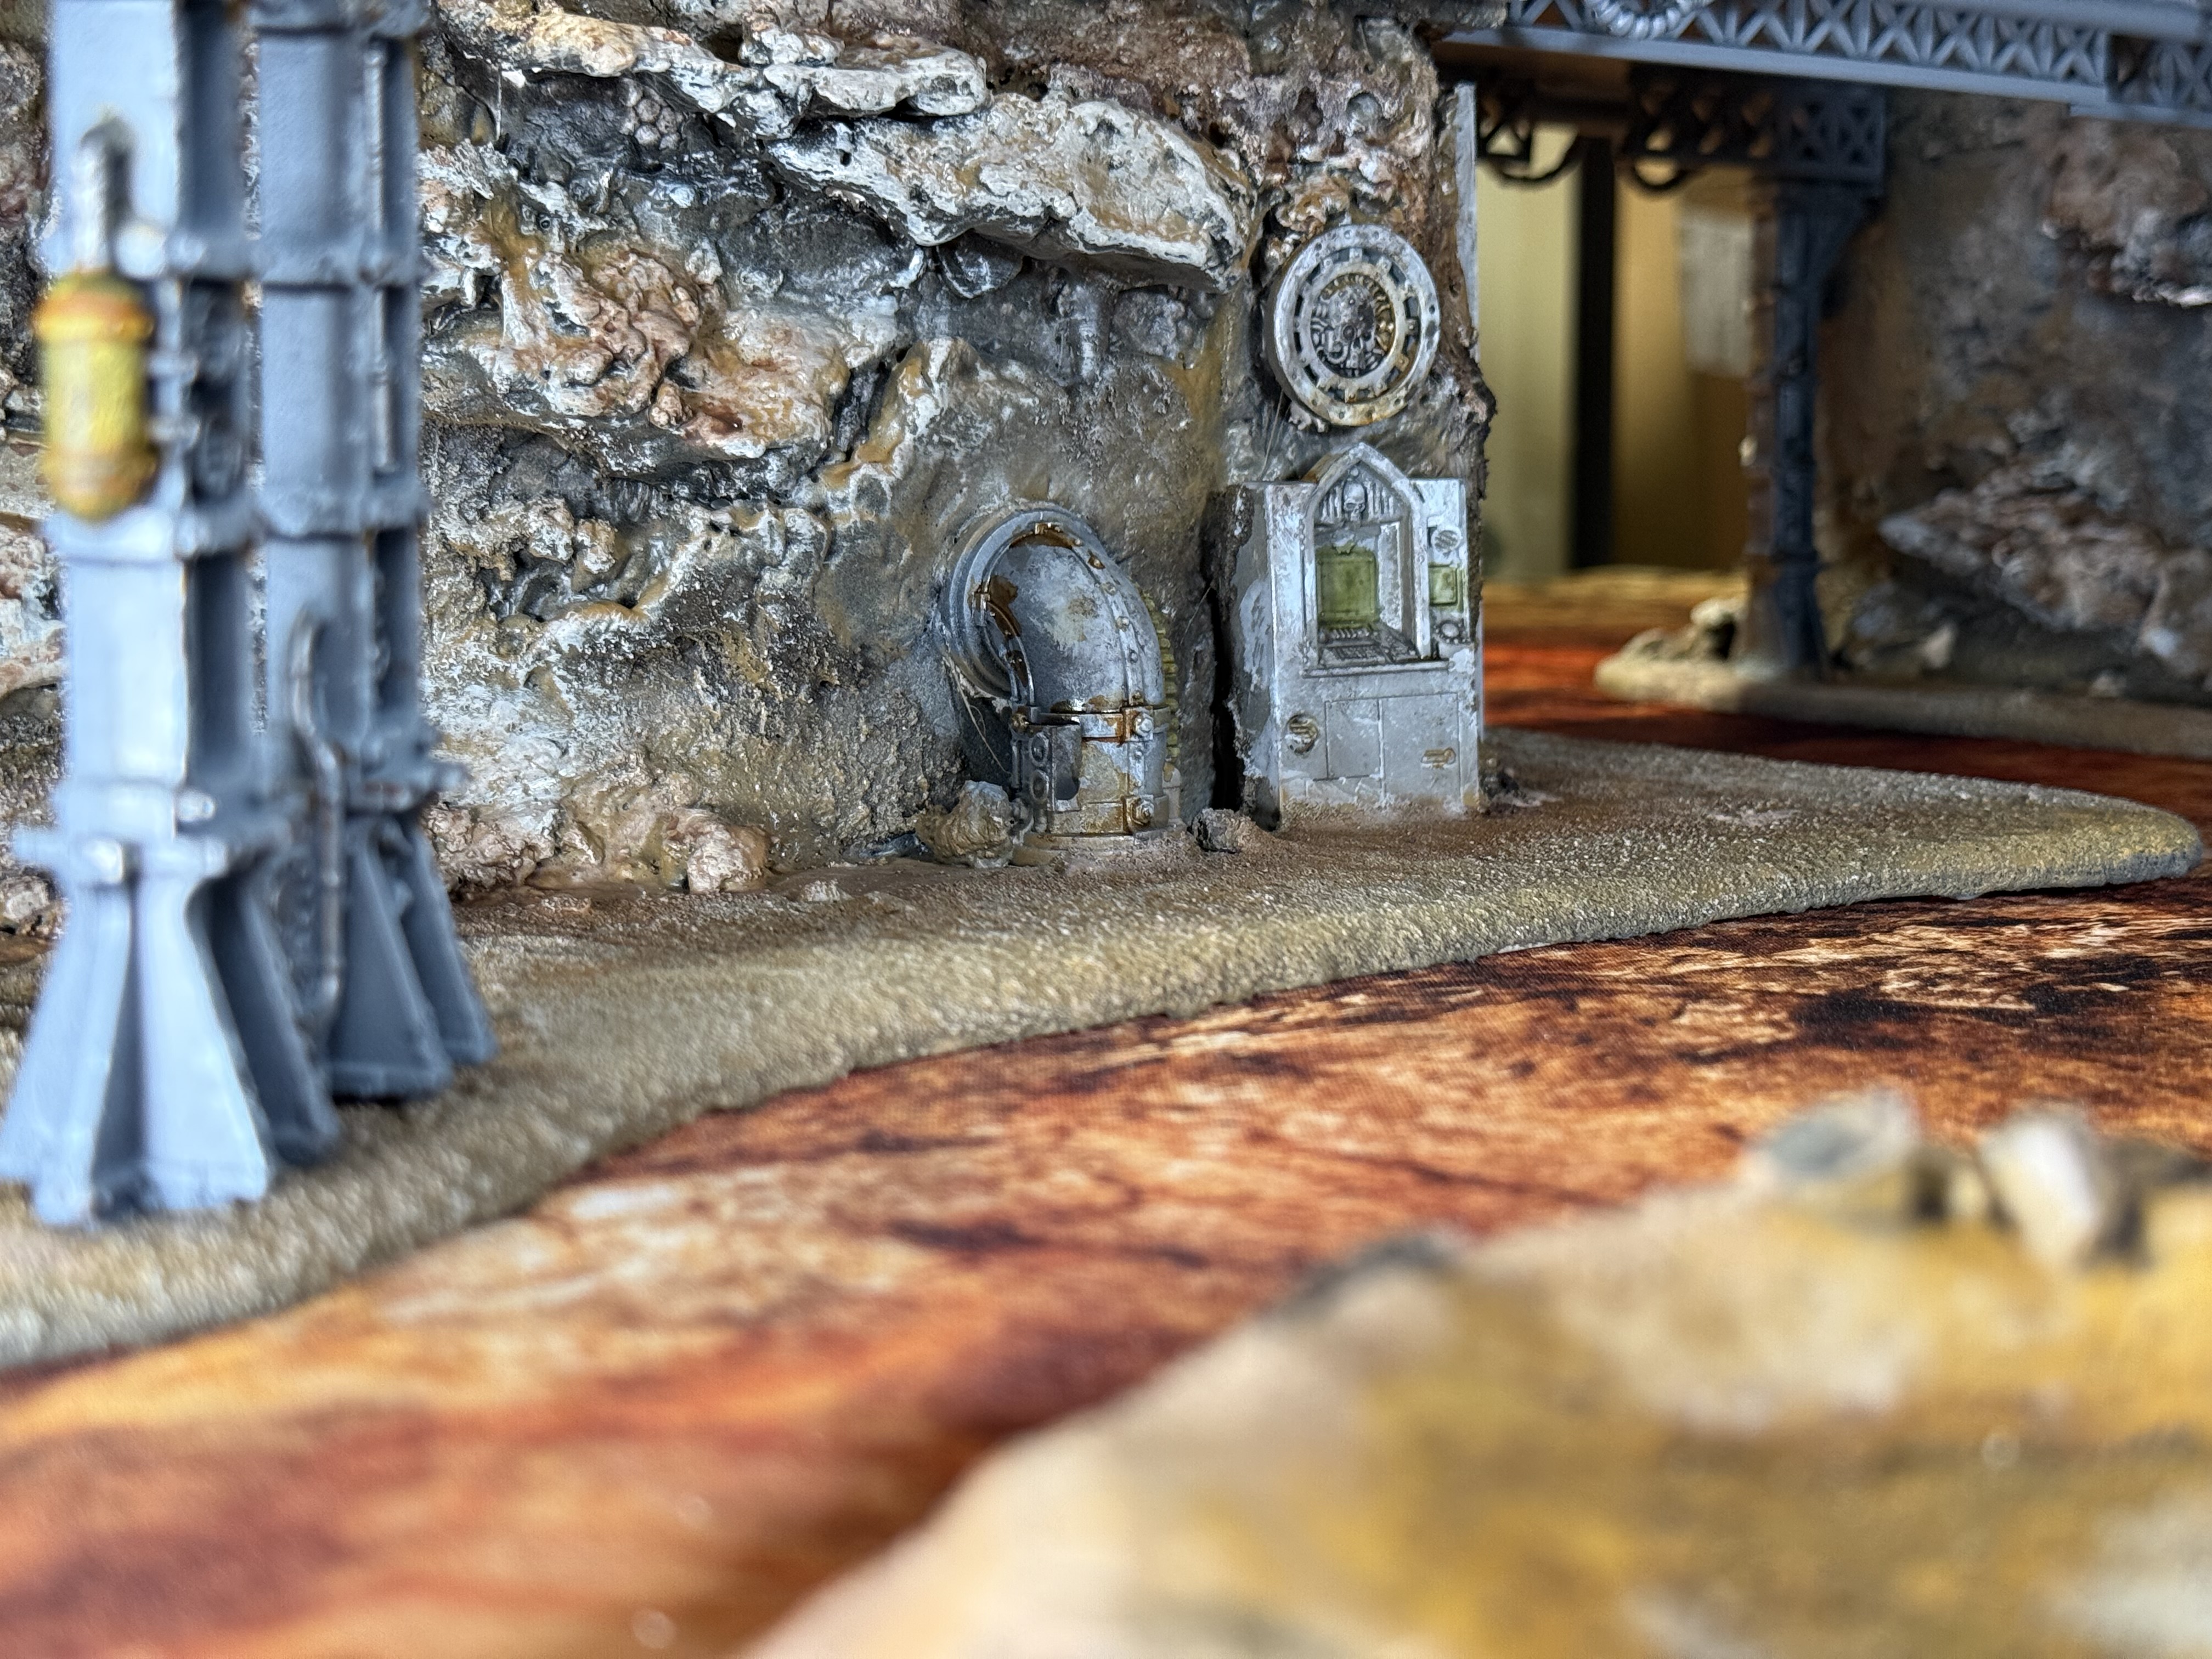
The main build has a cavern where I wanted to place something that looked a little mysterious. The Mantic Terrain Crate kit has these pieces that look like some kind of sci-fi engines.
I painted it glowy green to make it look something perhaps sinister the Mechanicum is experimenting with. The colour was achieved by airbrushing first white over a black primer and then couple of altenating airbrushed layers with Citadel Hexwraith Flame and white.
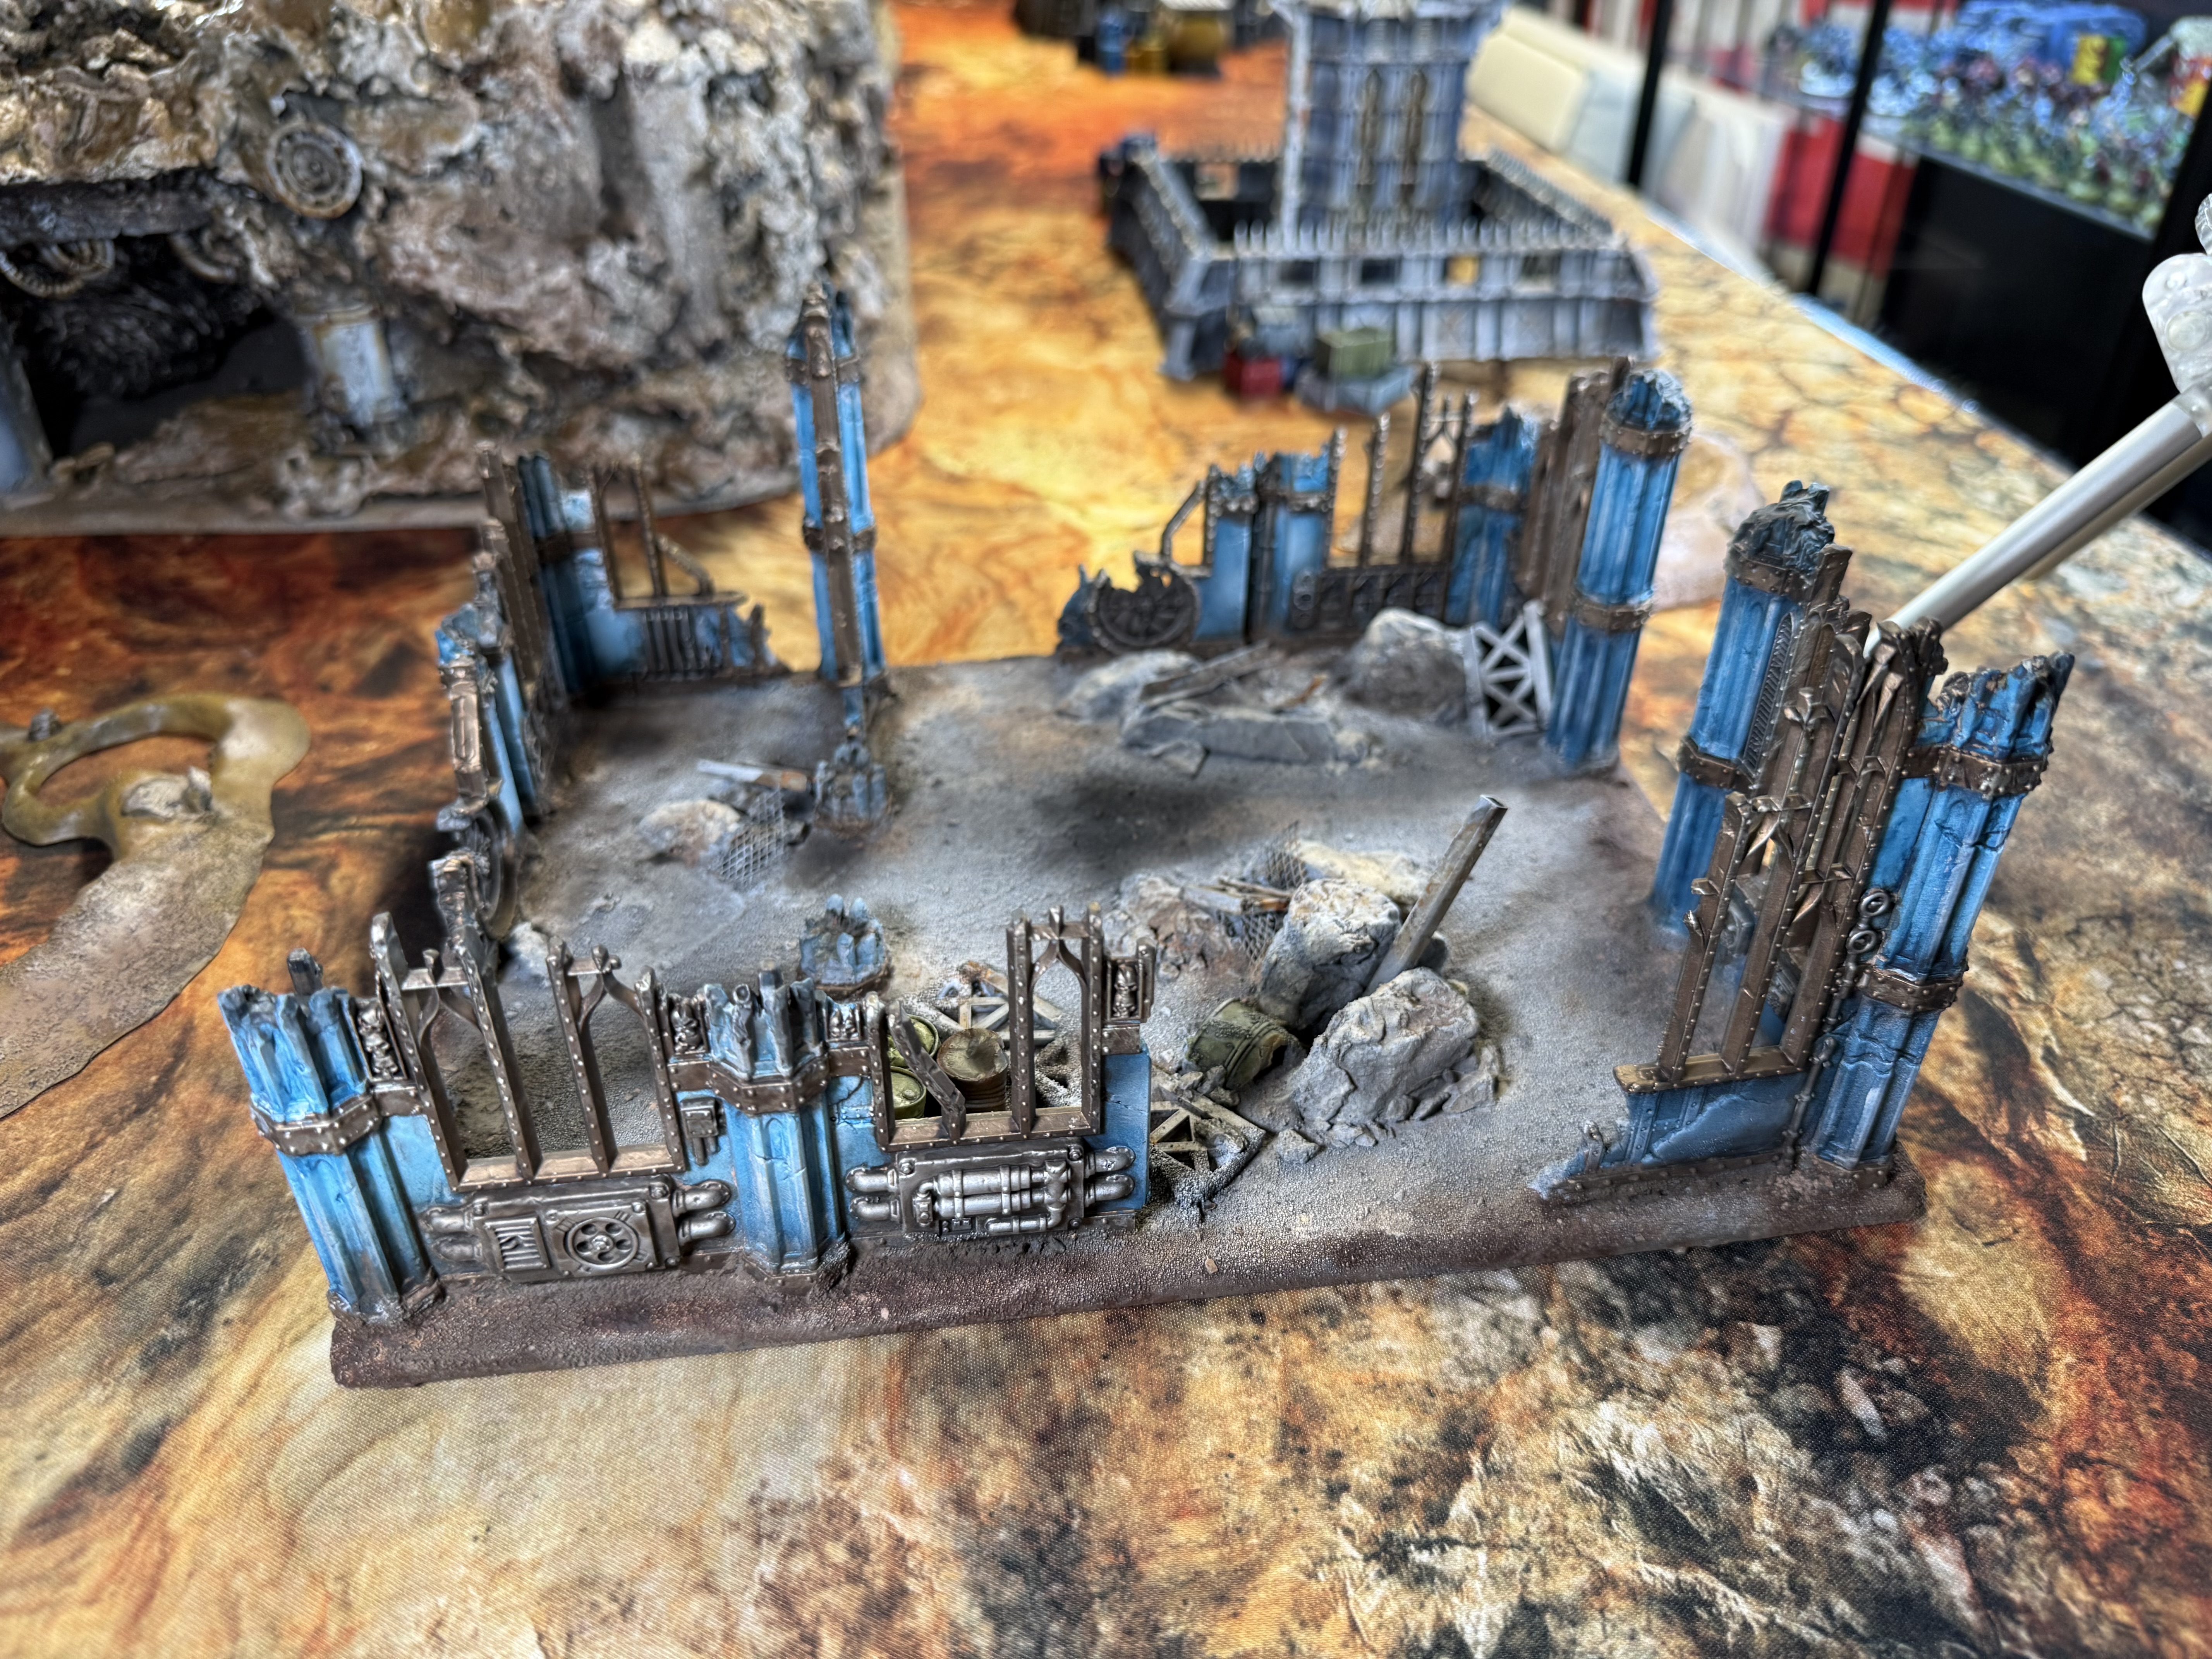
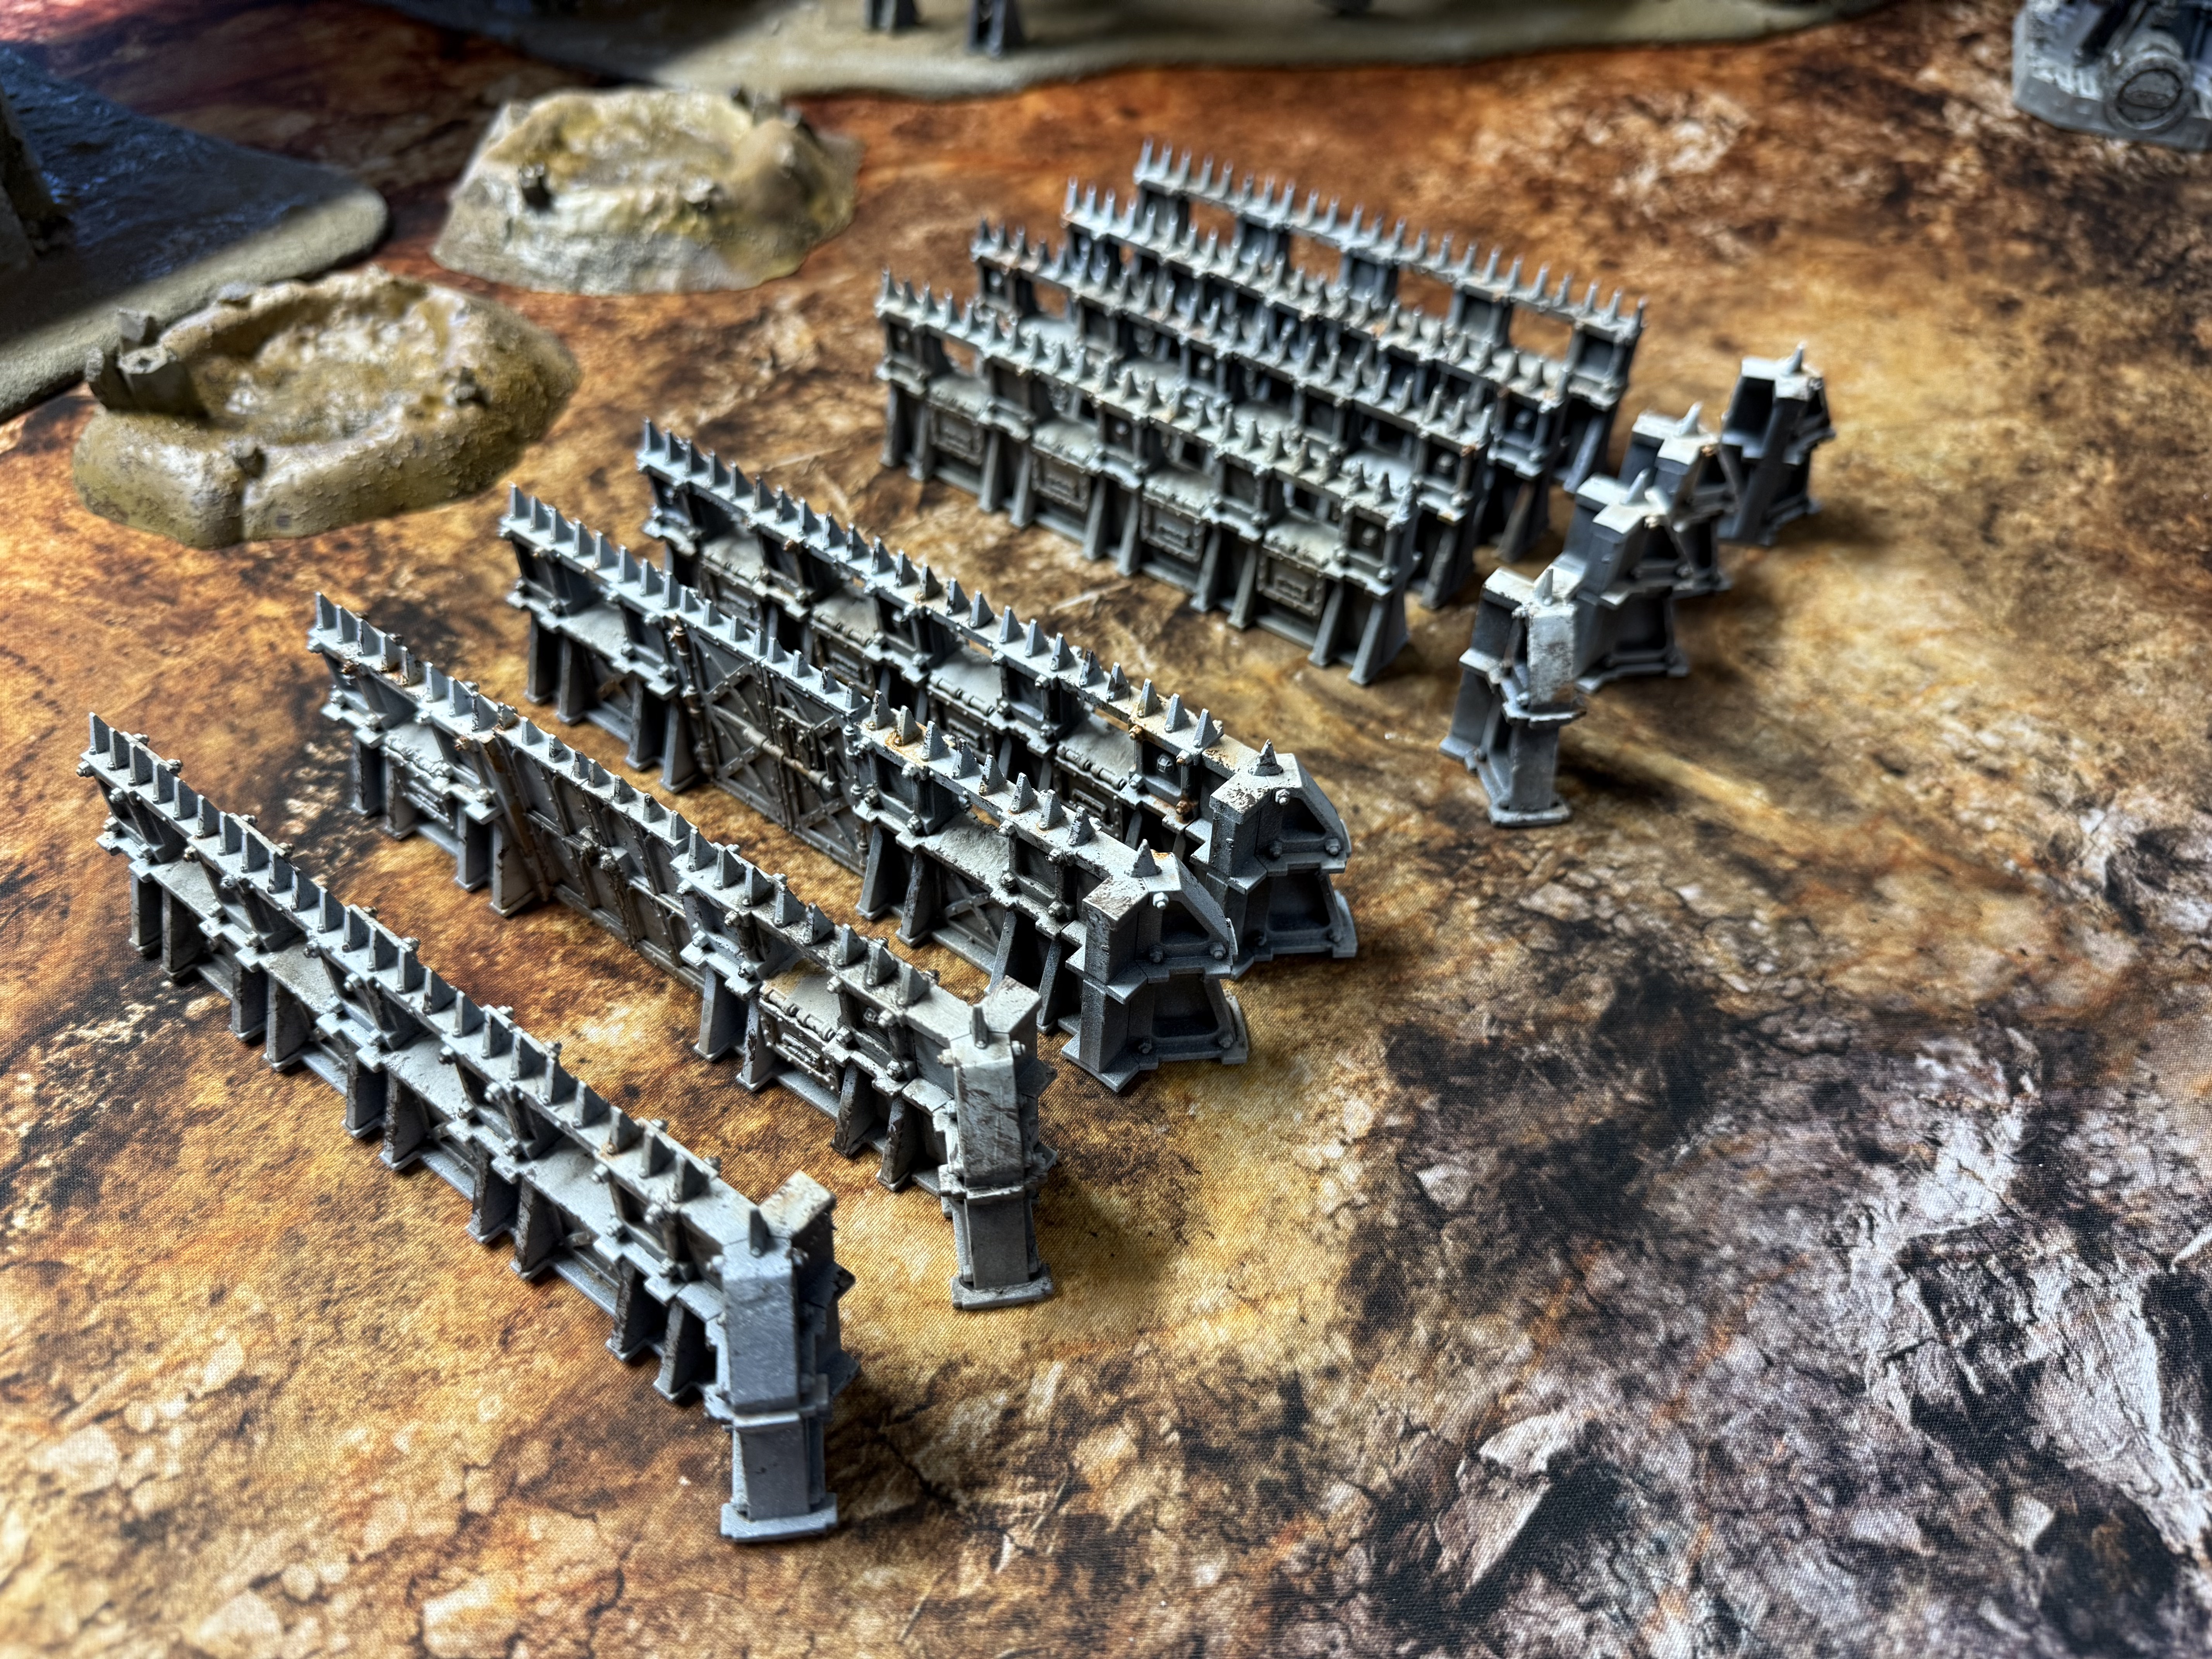
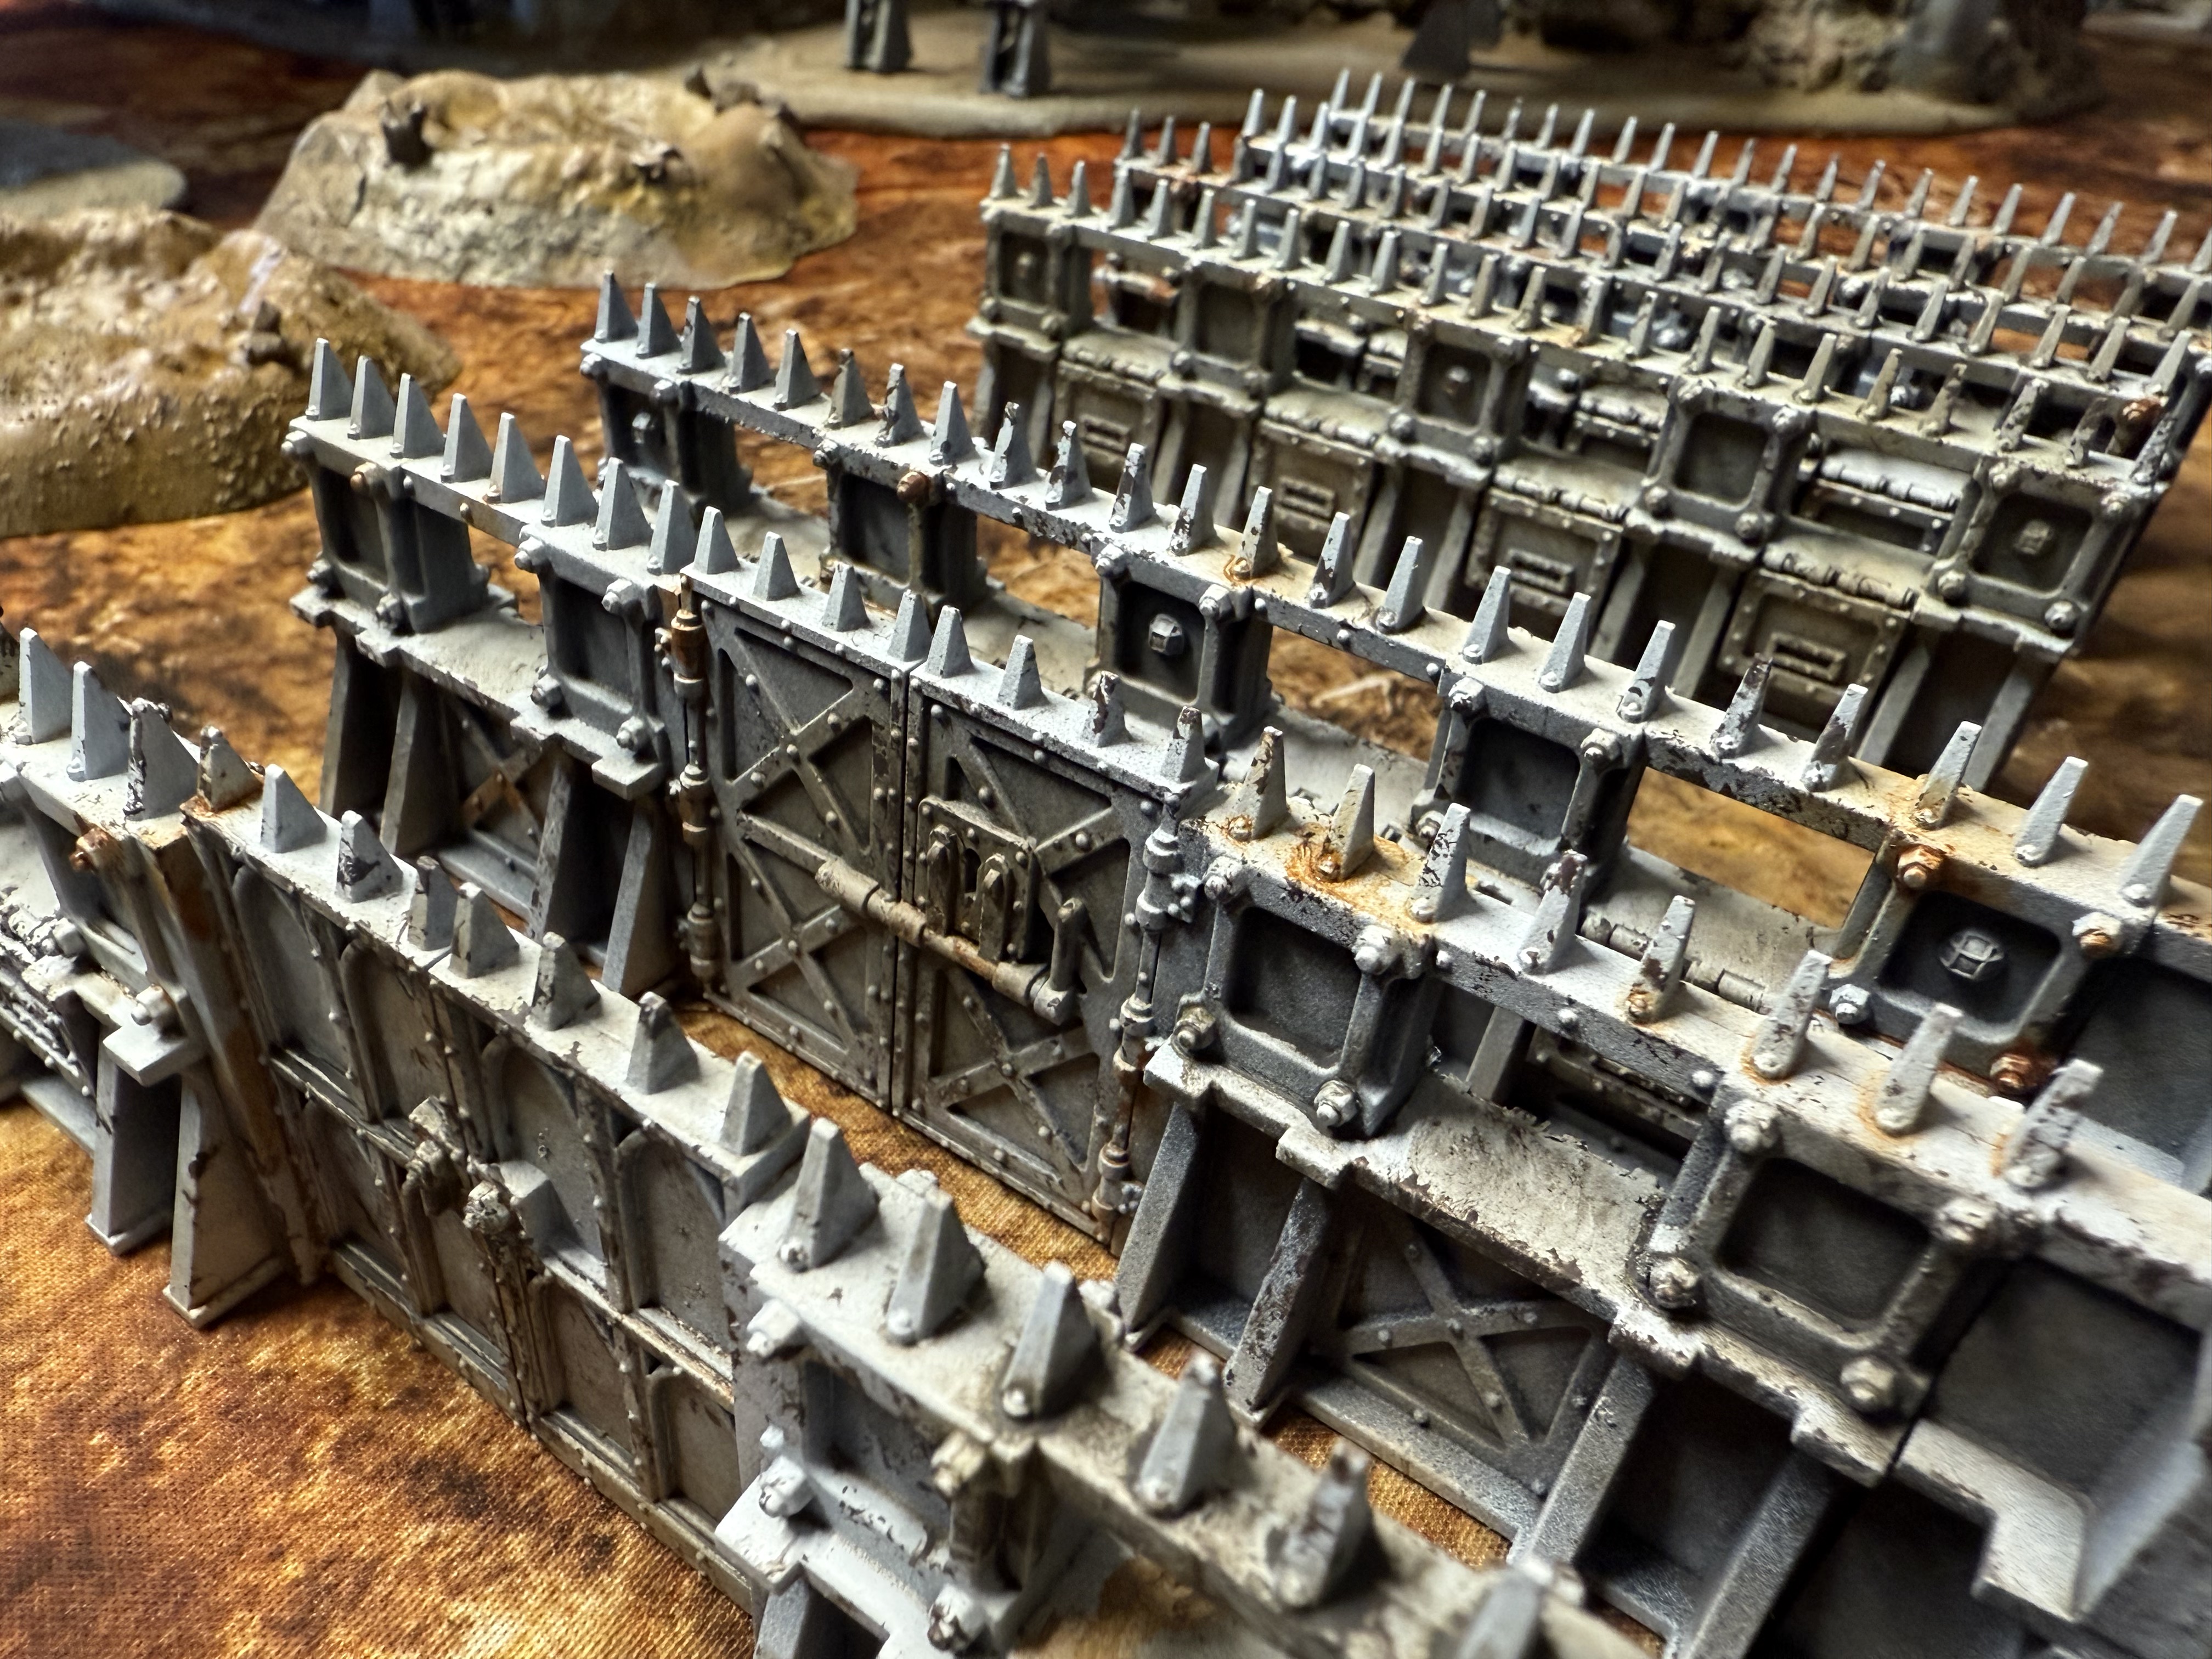
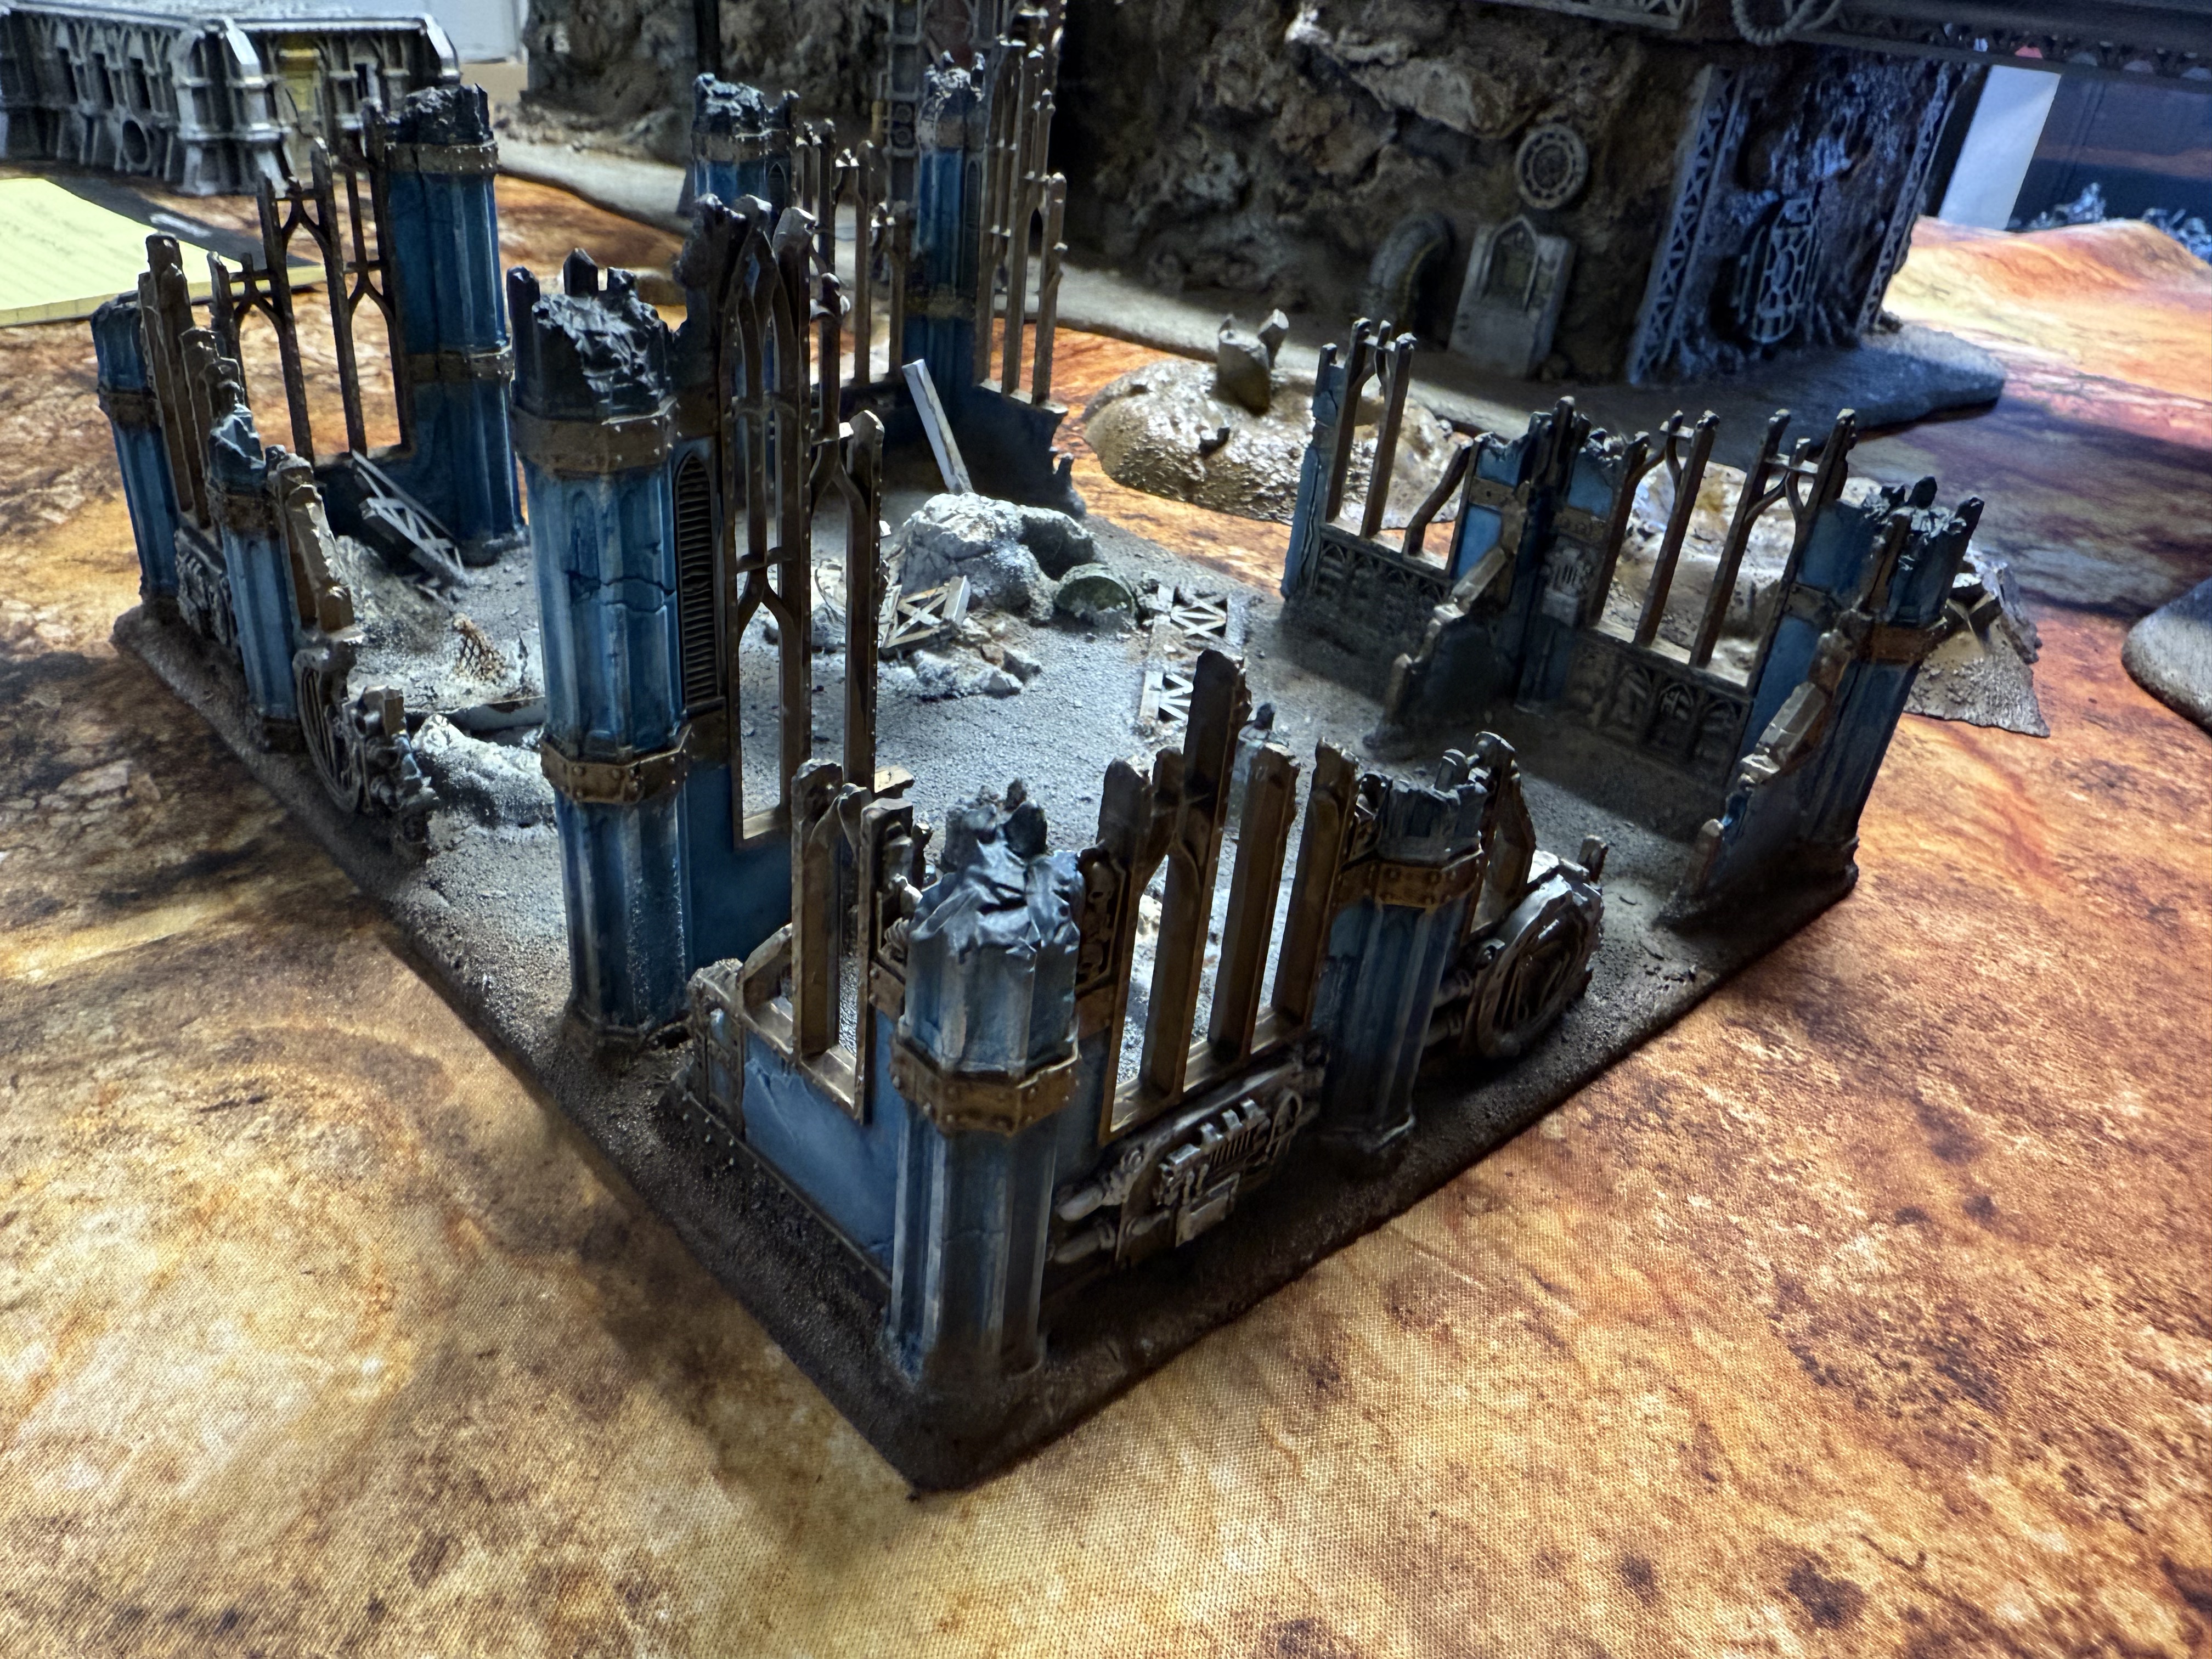
Walls
Last piece from the GW terrain kits to finish, the walls.
There’s 8 straight bits and 8 corners. To minimise the hassle, but keeping certain modularity I glued 4 of the corner pieces to 4 wall pieces and left the rest separate. This way I can create two square walled off zones or something bigger.
Painting followed the same method as the buildings before. Zenithal sprays, chipping and weathering. I’ve become extremely efficient doing this, can get so much done in short time.
End result is rather nice. There’s also nothing 40k specific in them (read: no skulls), making them completely suitable for any other game too.

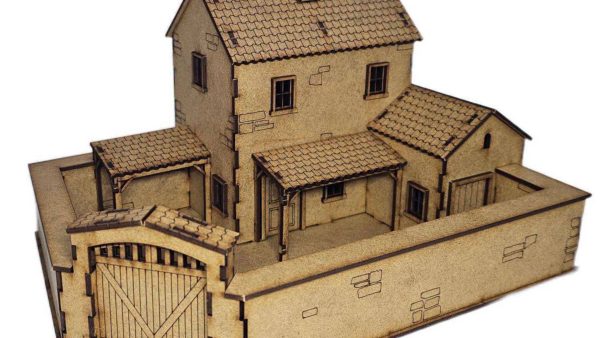
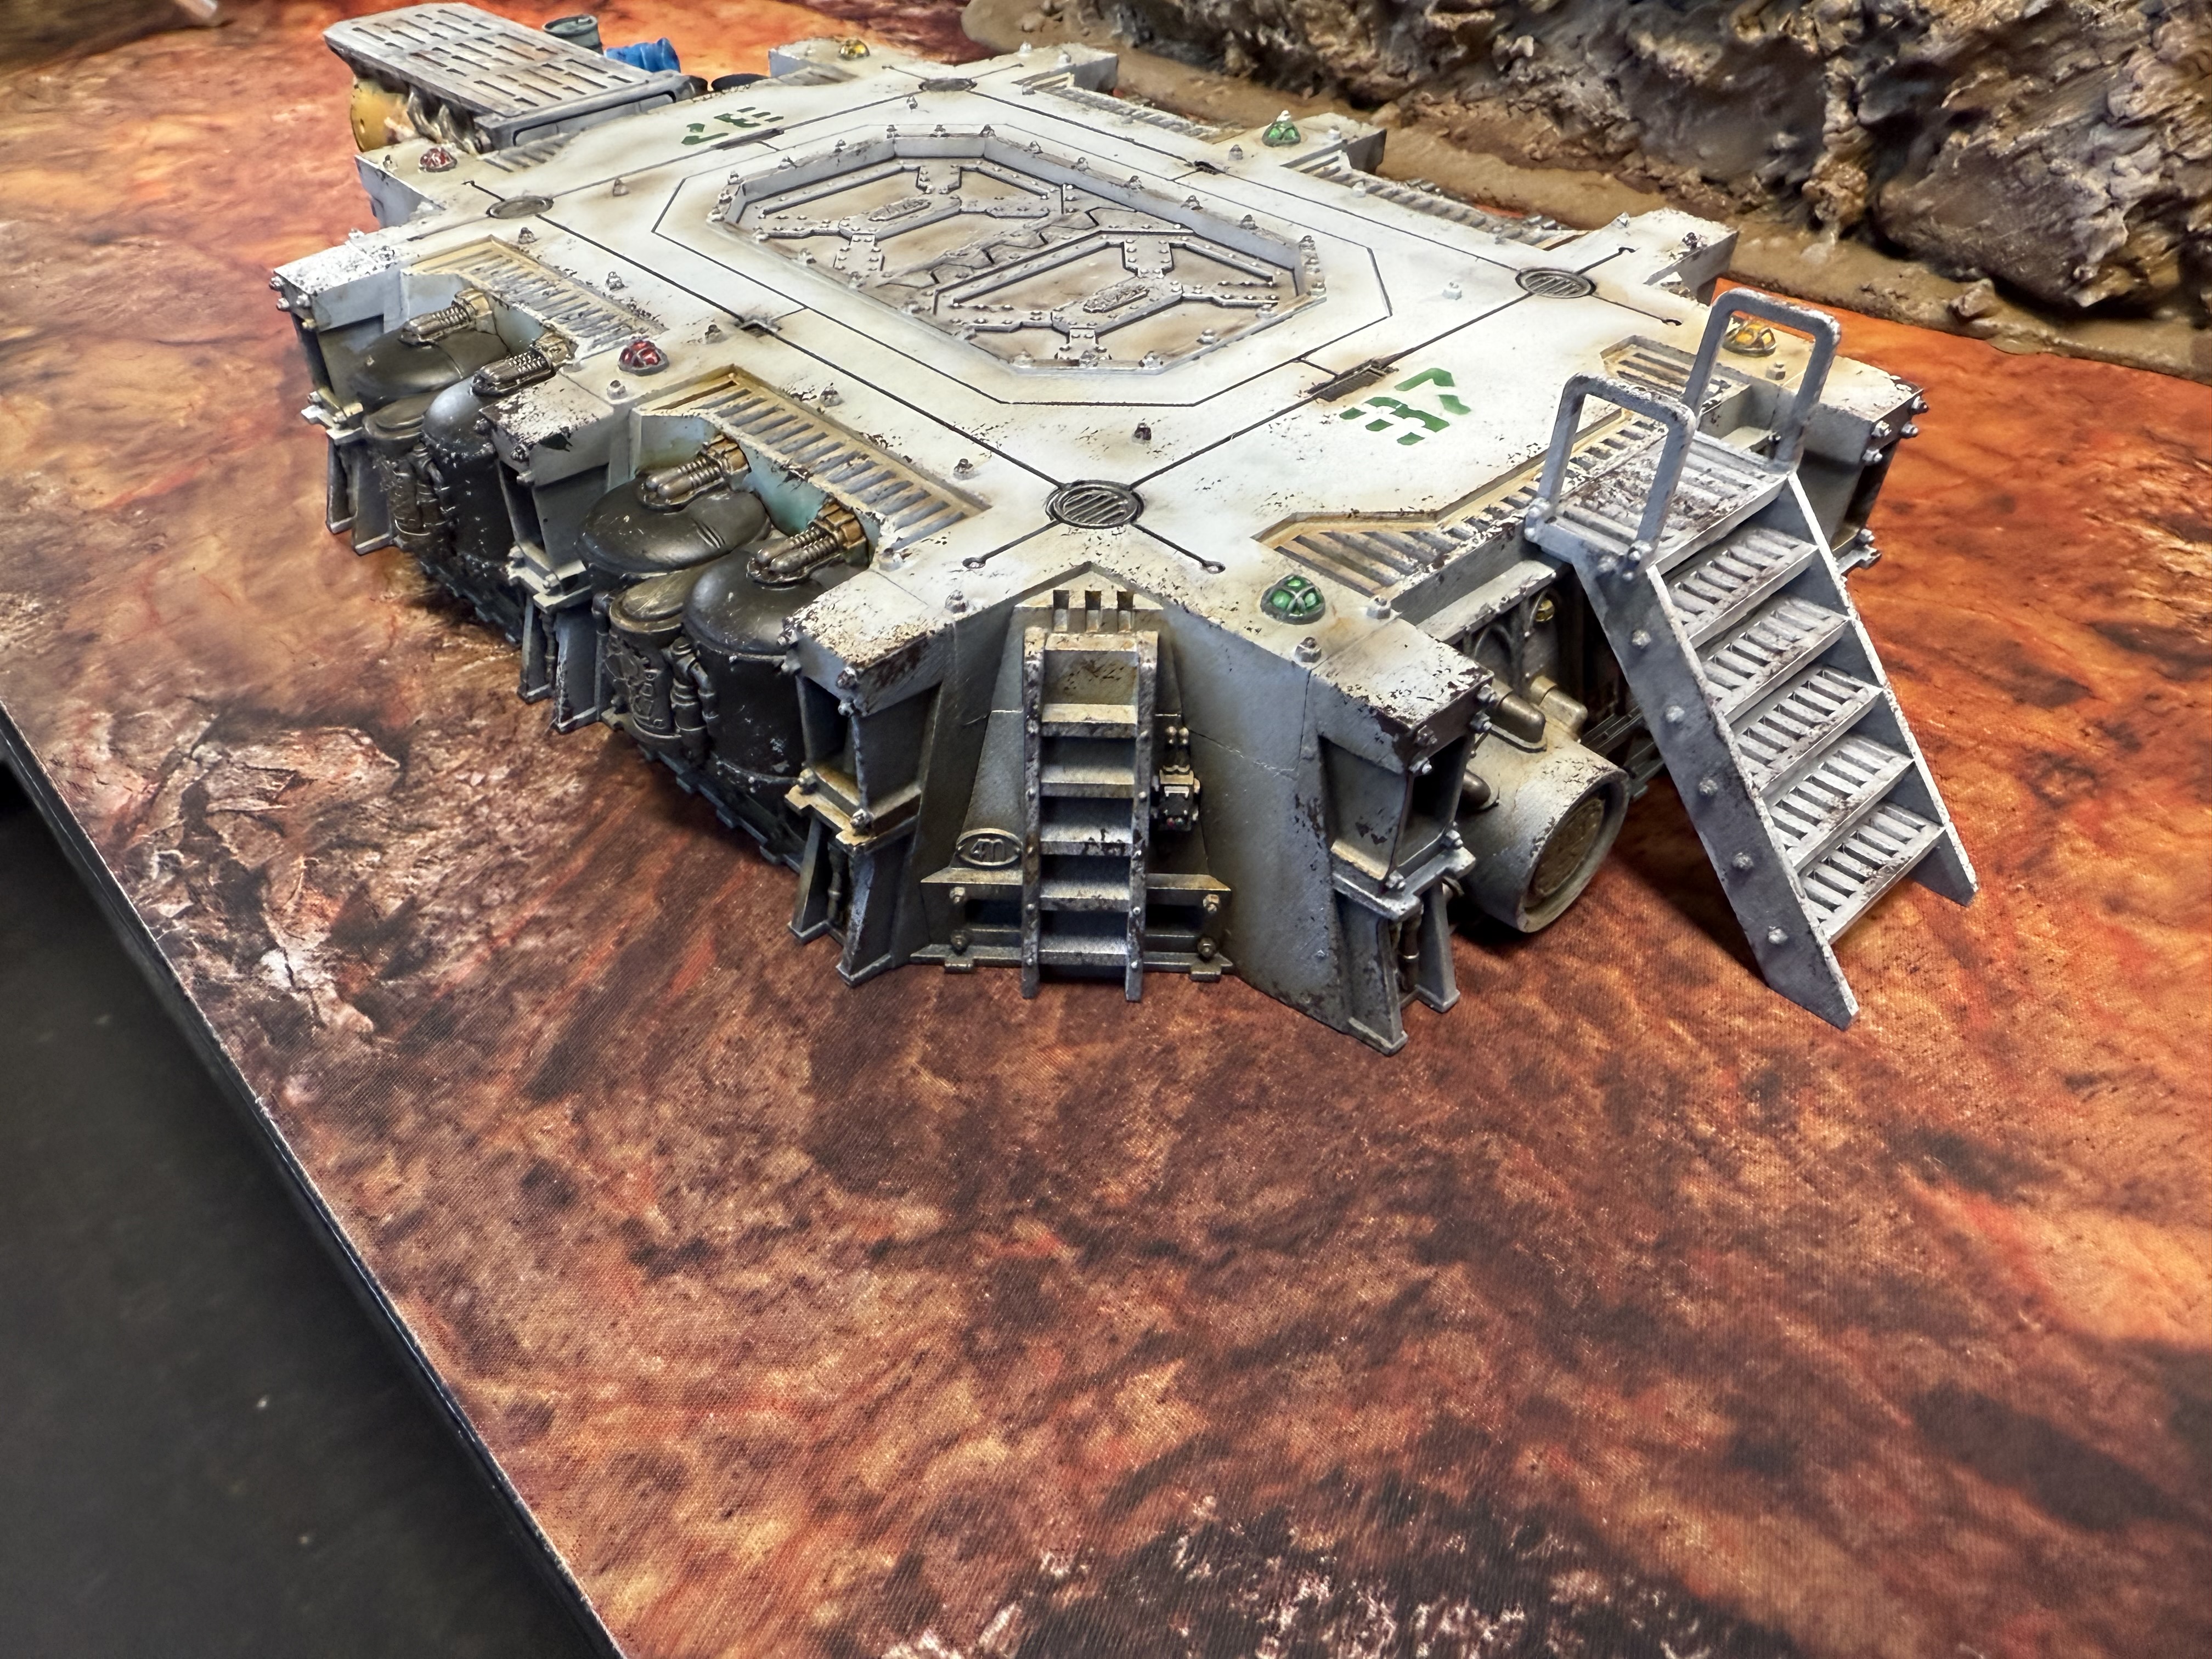
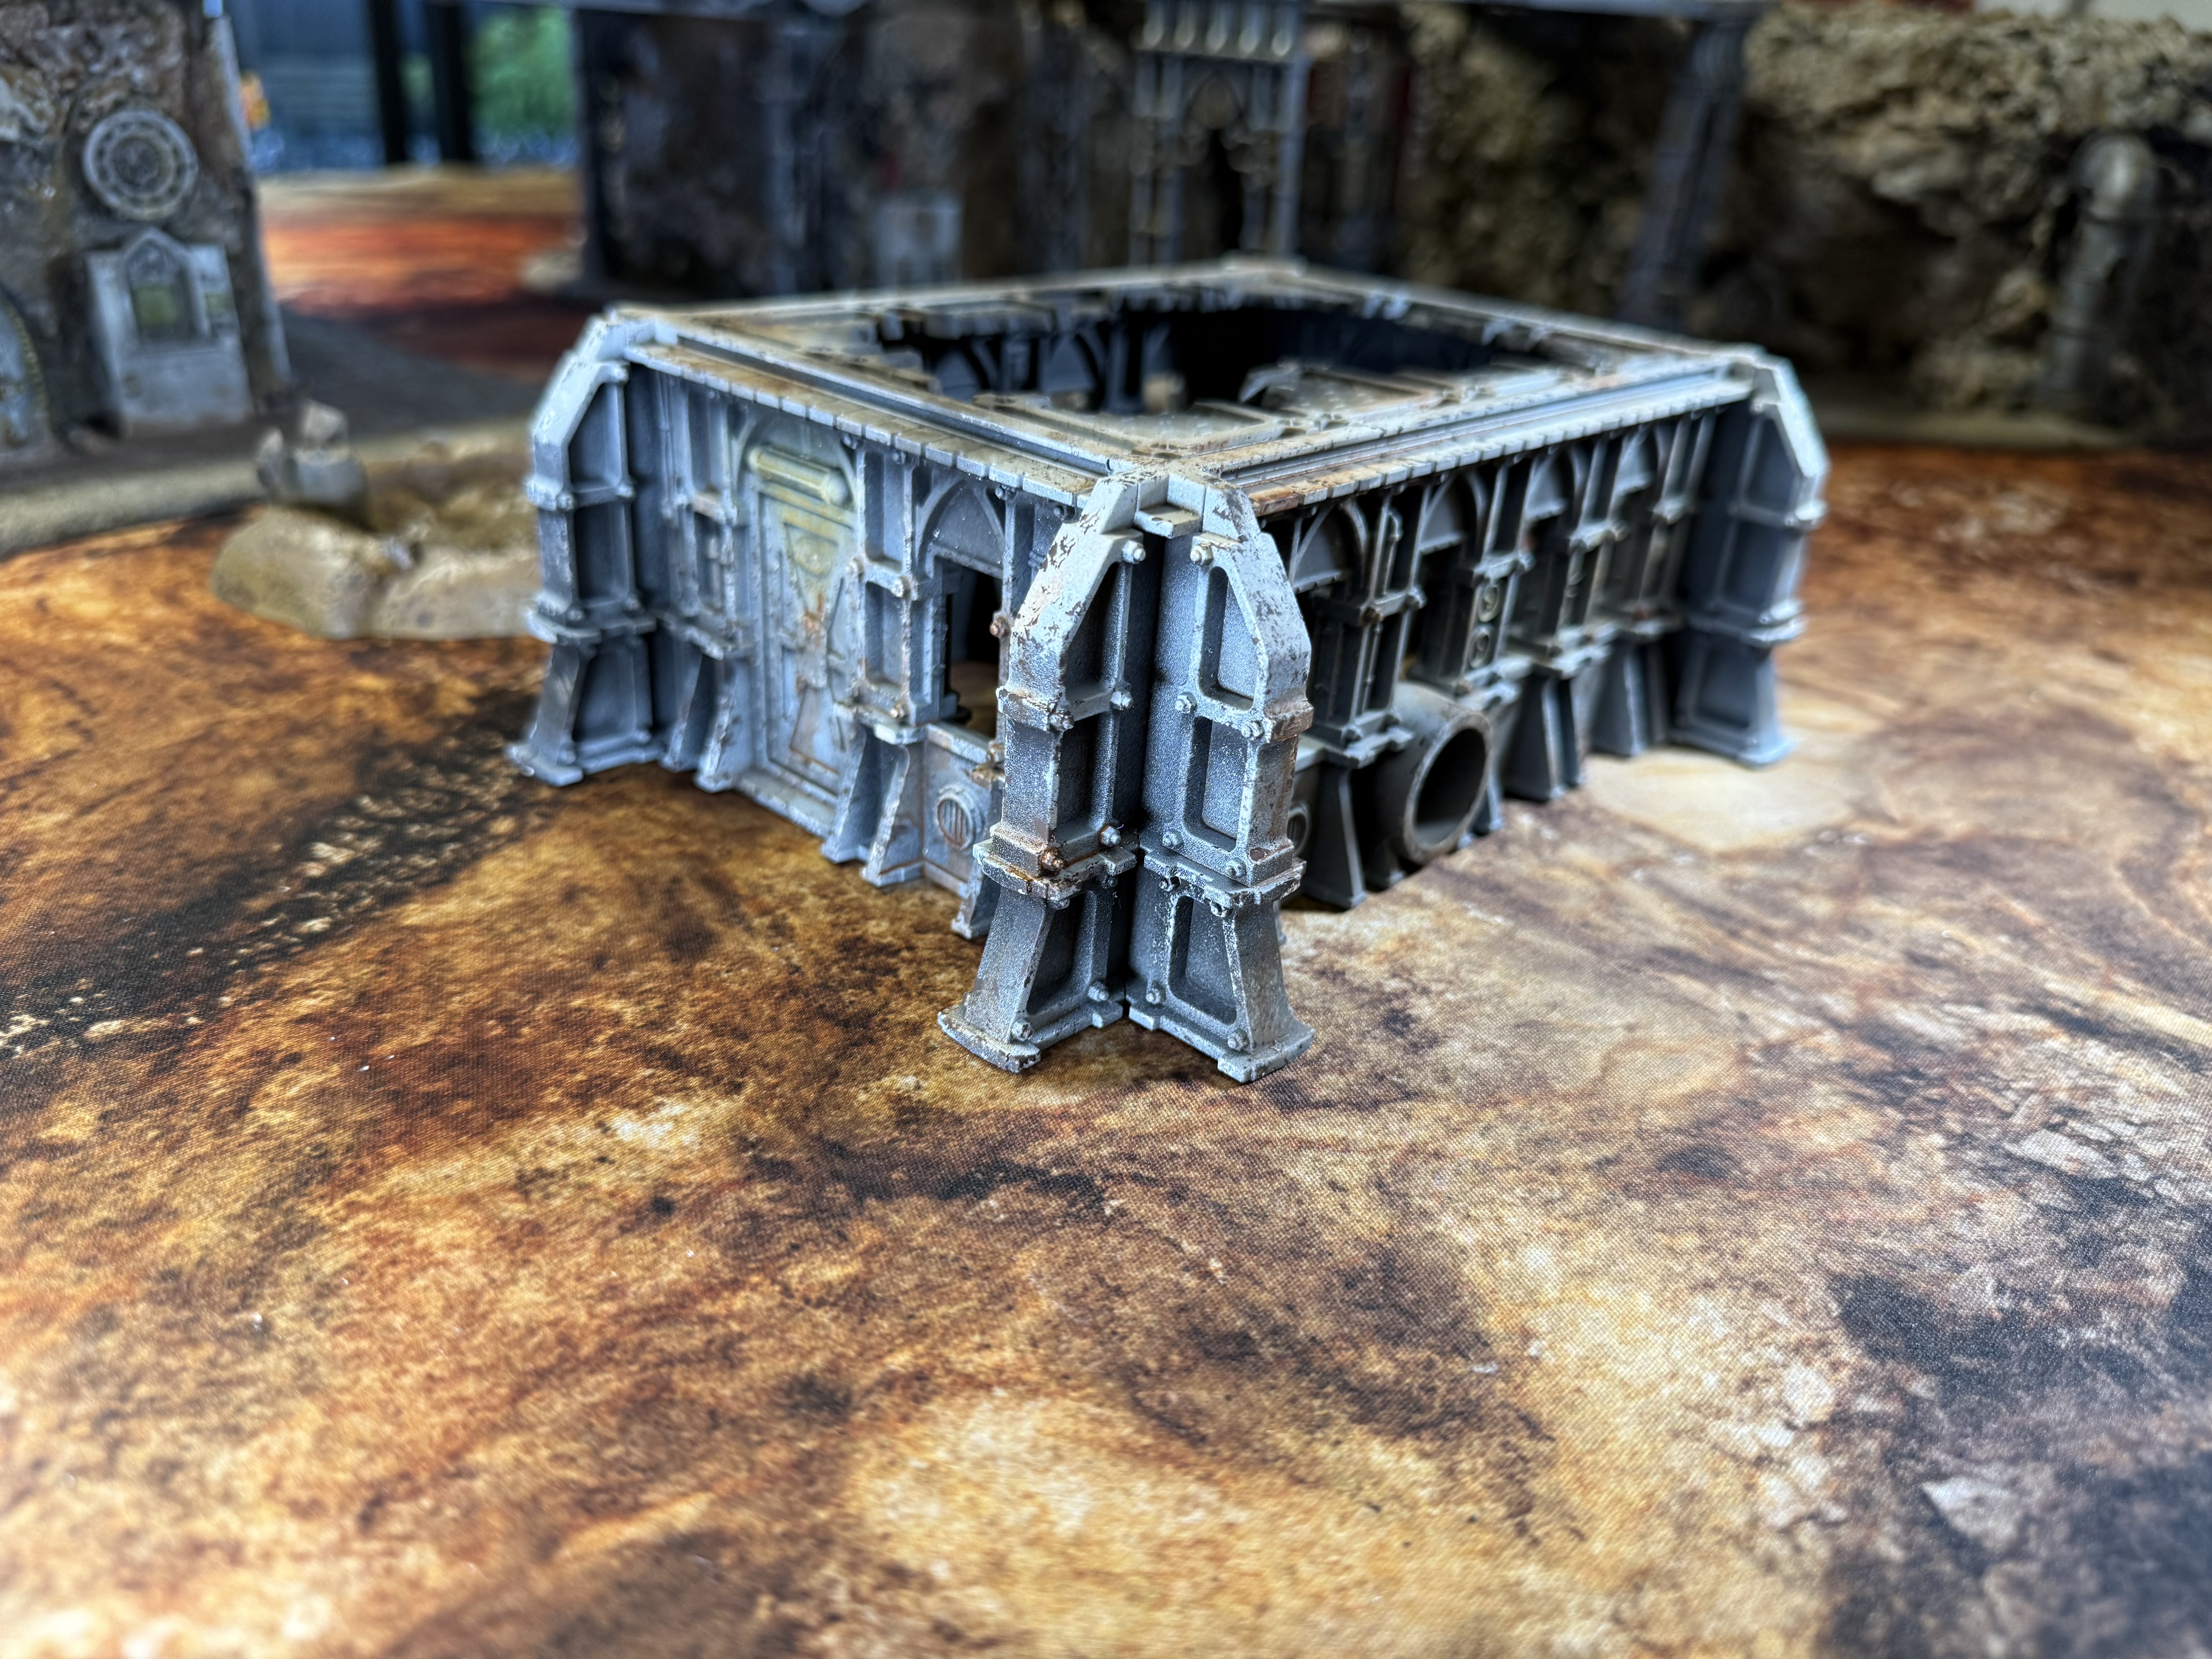
Bombed building
I nearly forgot the Nachmund set builds two of these smaller buildings. As one of the goals of the project was to build everything from the set, I quickly cleaned up, assembled and primed the building. This time I made the roof collapsed.
Unfortunately I didn’t take WIP shots as I was trying to get this done as quickly as possible.
Painting was straightforward.
- Same black-grey-white zenithal as other buildings.
- Heavily sponged on dark brown and light grey for the chipped effect.
- Airbrushing Army Painter Dark Tone for a blending in some colour.
- Airbrushed the yellow light OSL and black for the charred bits of the roof
- Weathering with rust and some pigments.

Painting the ruins
With the year end drawing near, time to finalise the project. I’ll post couple of last updates for the missing pieces:
- Painting and weathering the ruins
- One more building (which I first forgot!)
- Painting the walls
- 3d printed scatter pieces.
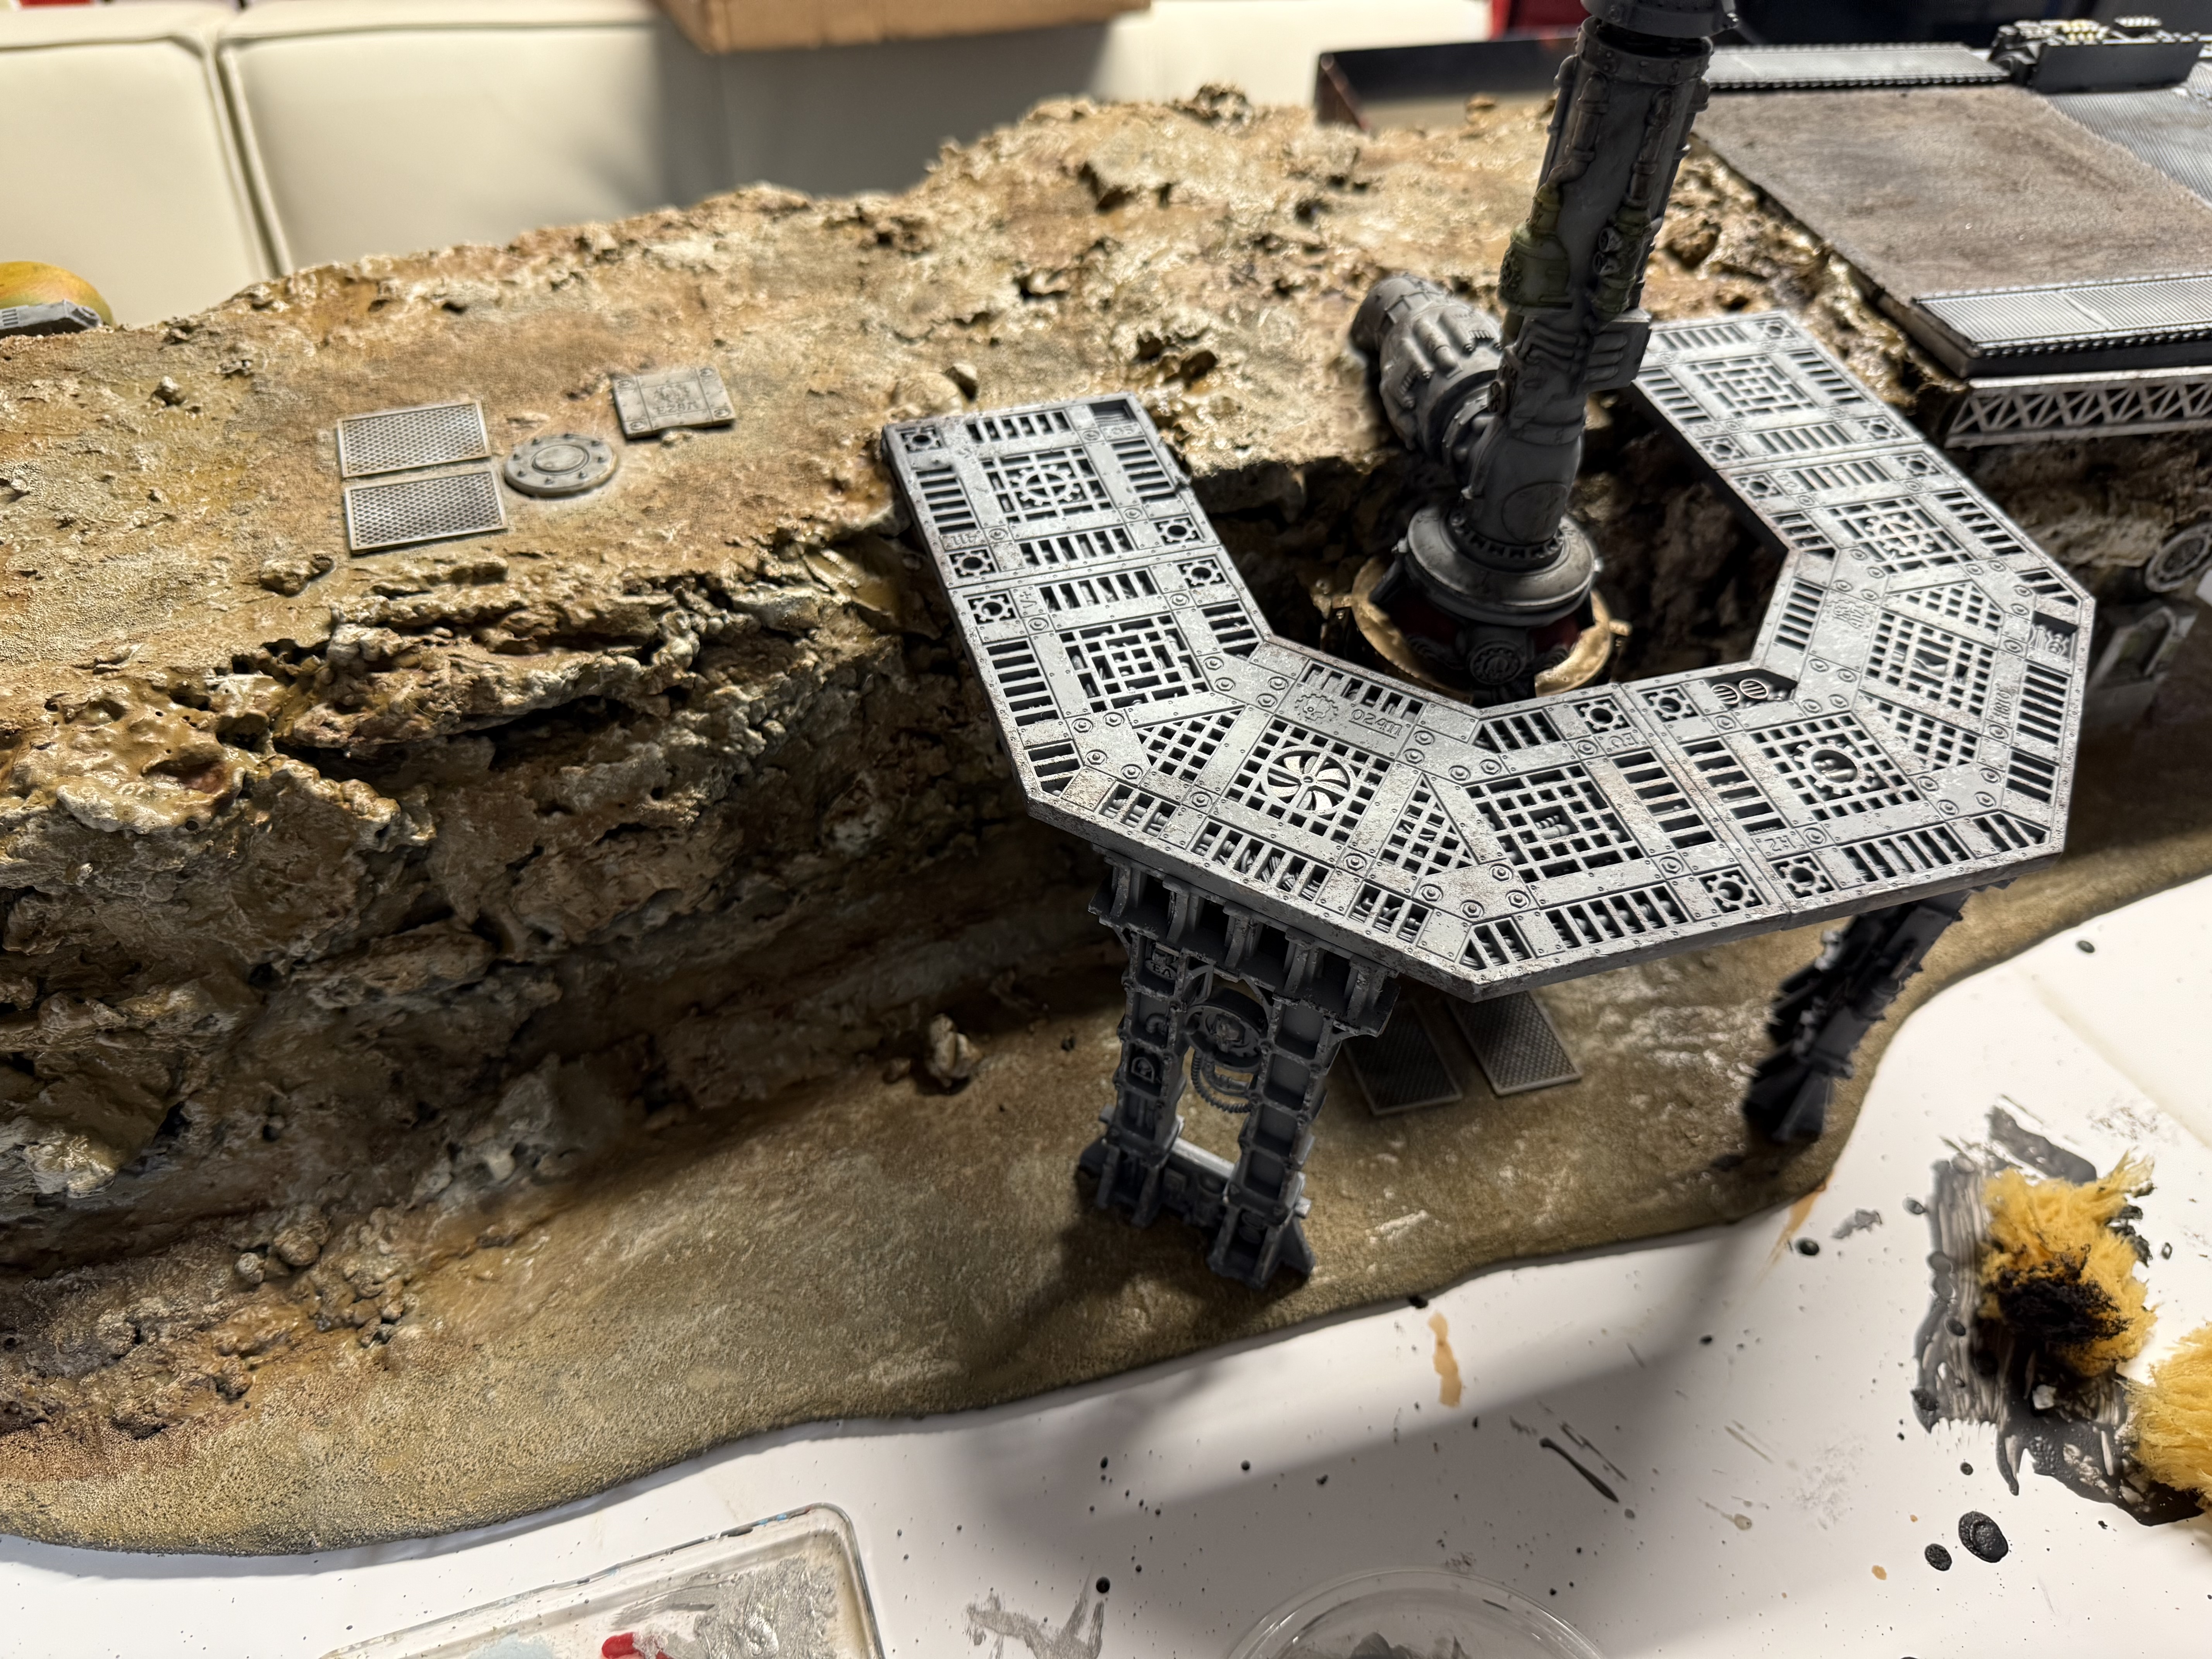
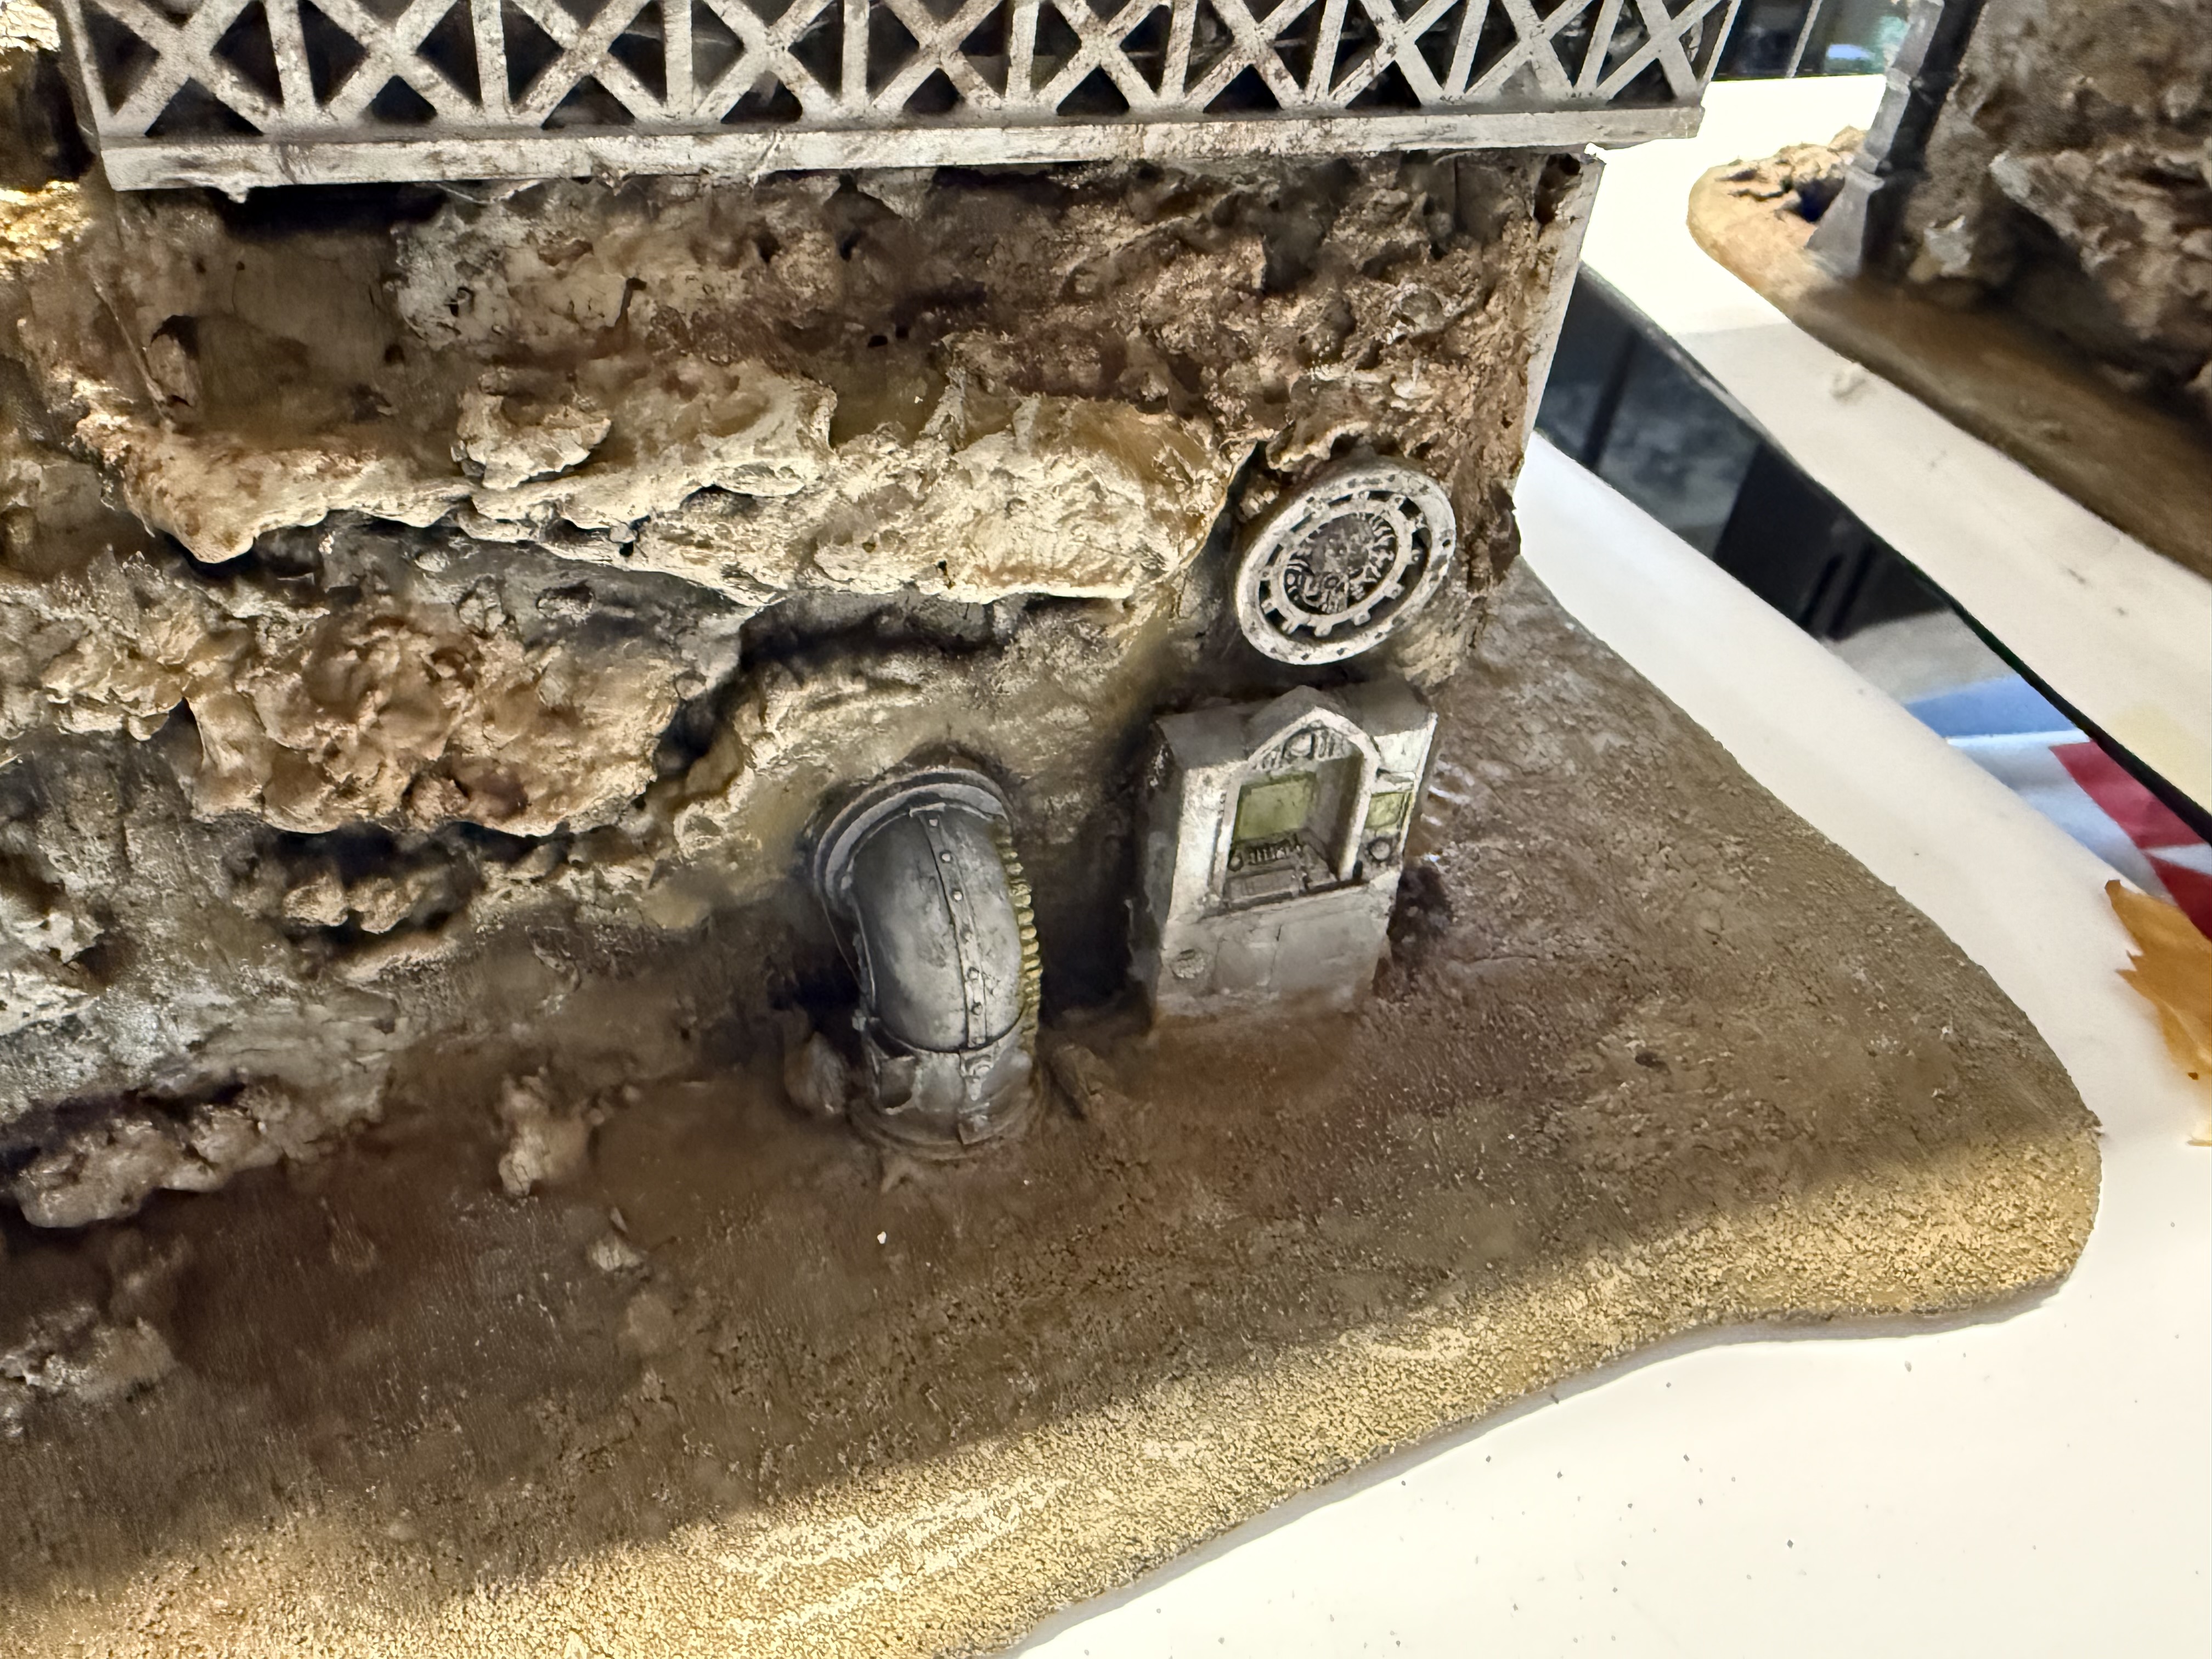
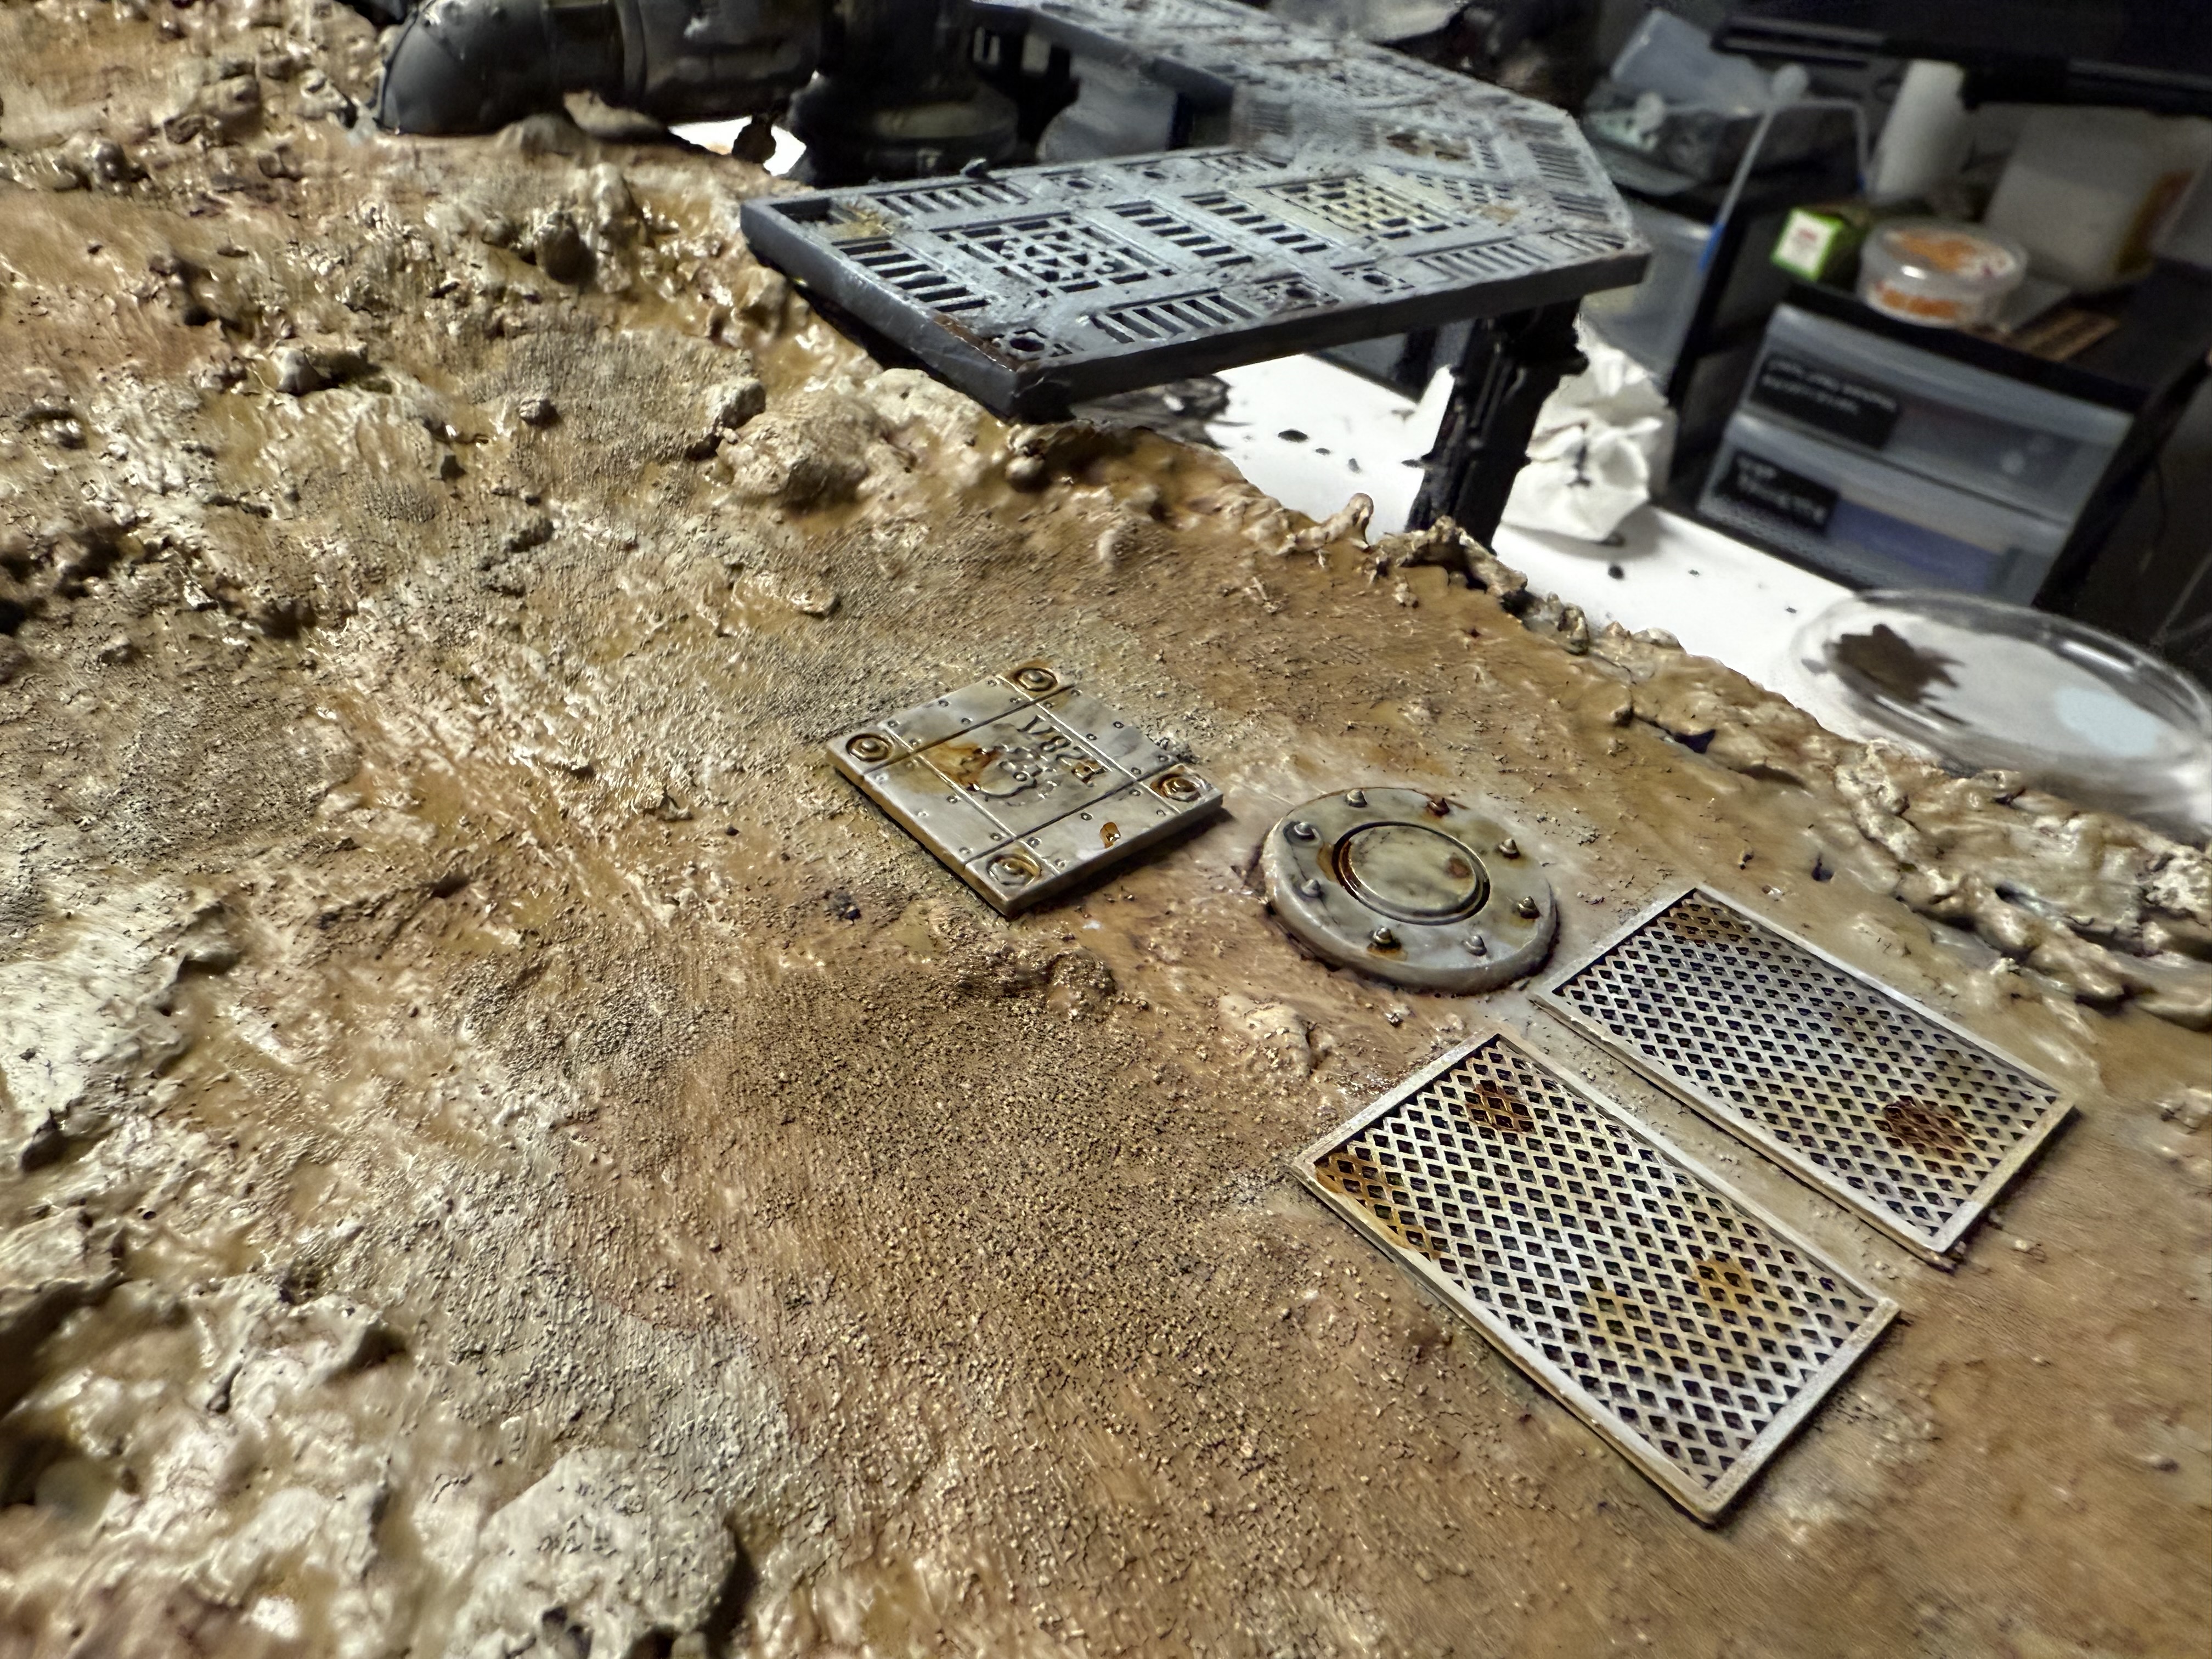
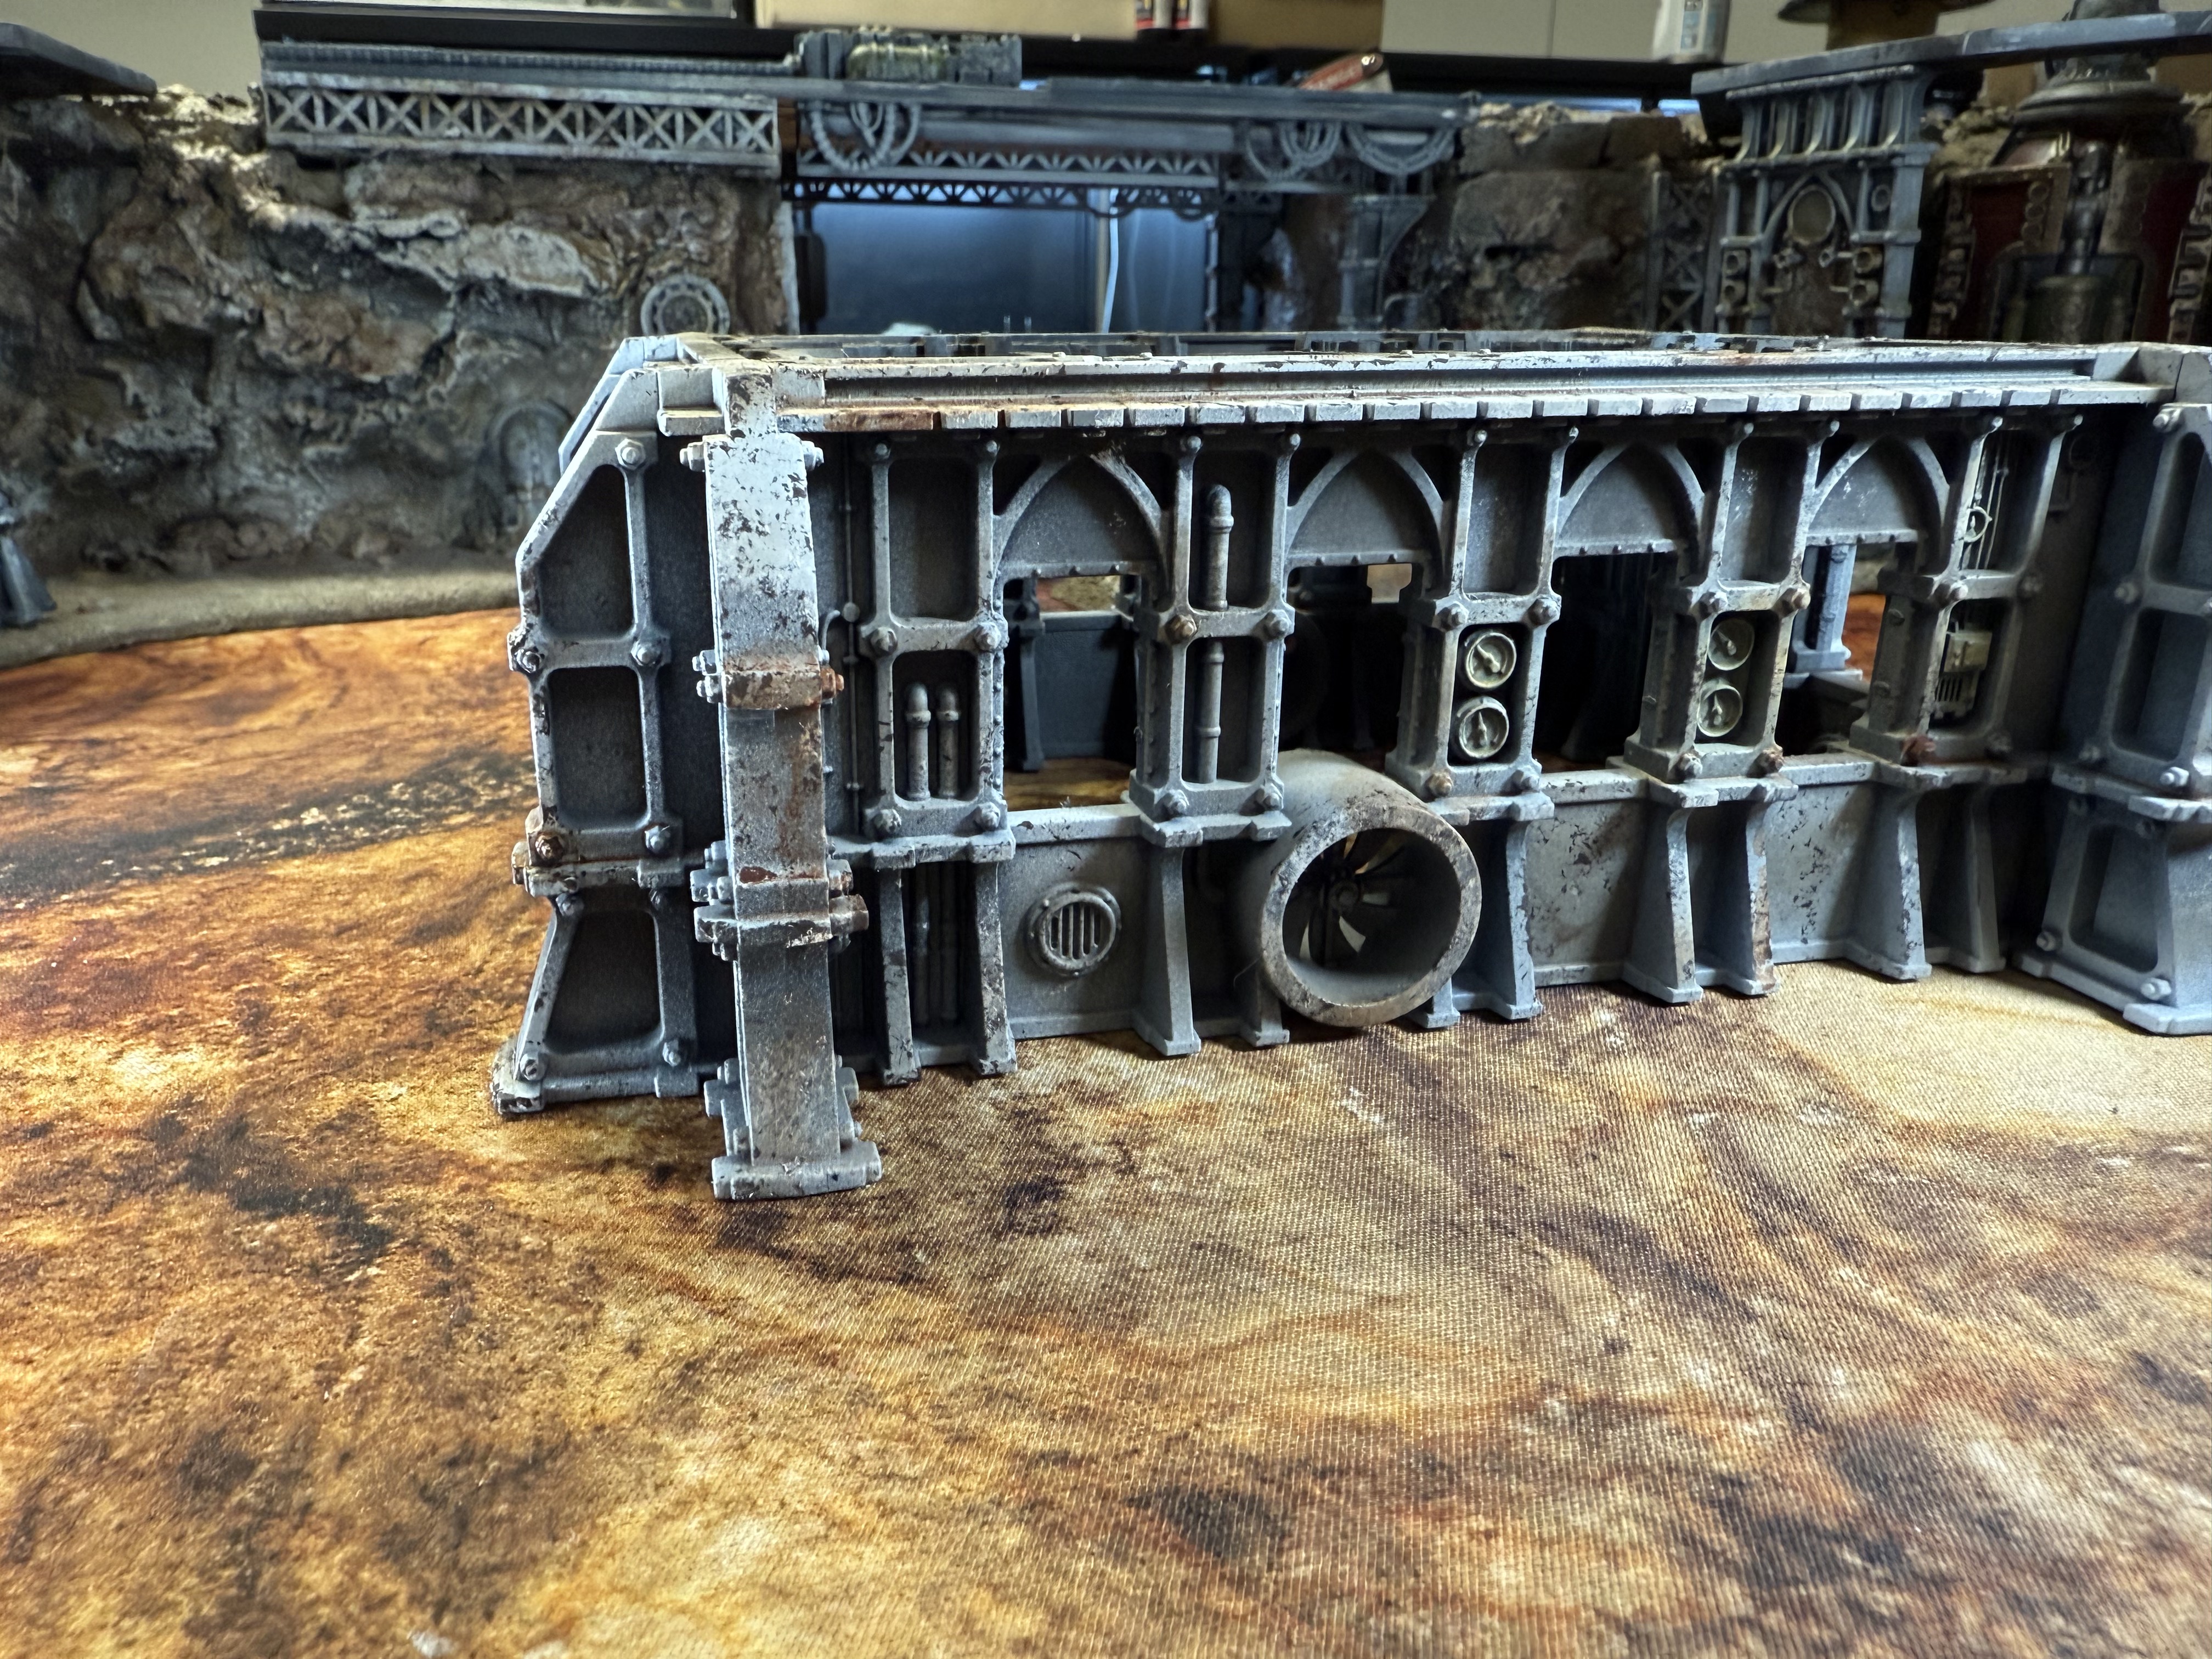
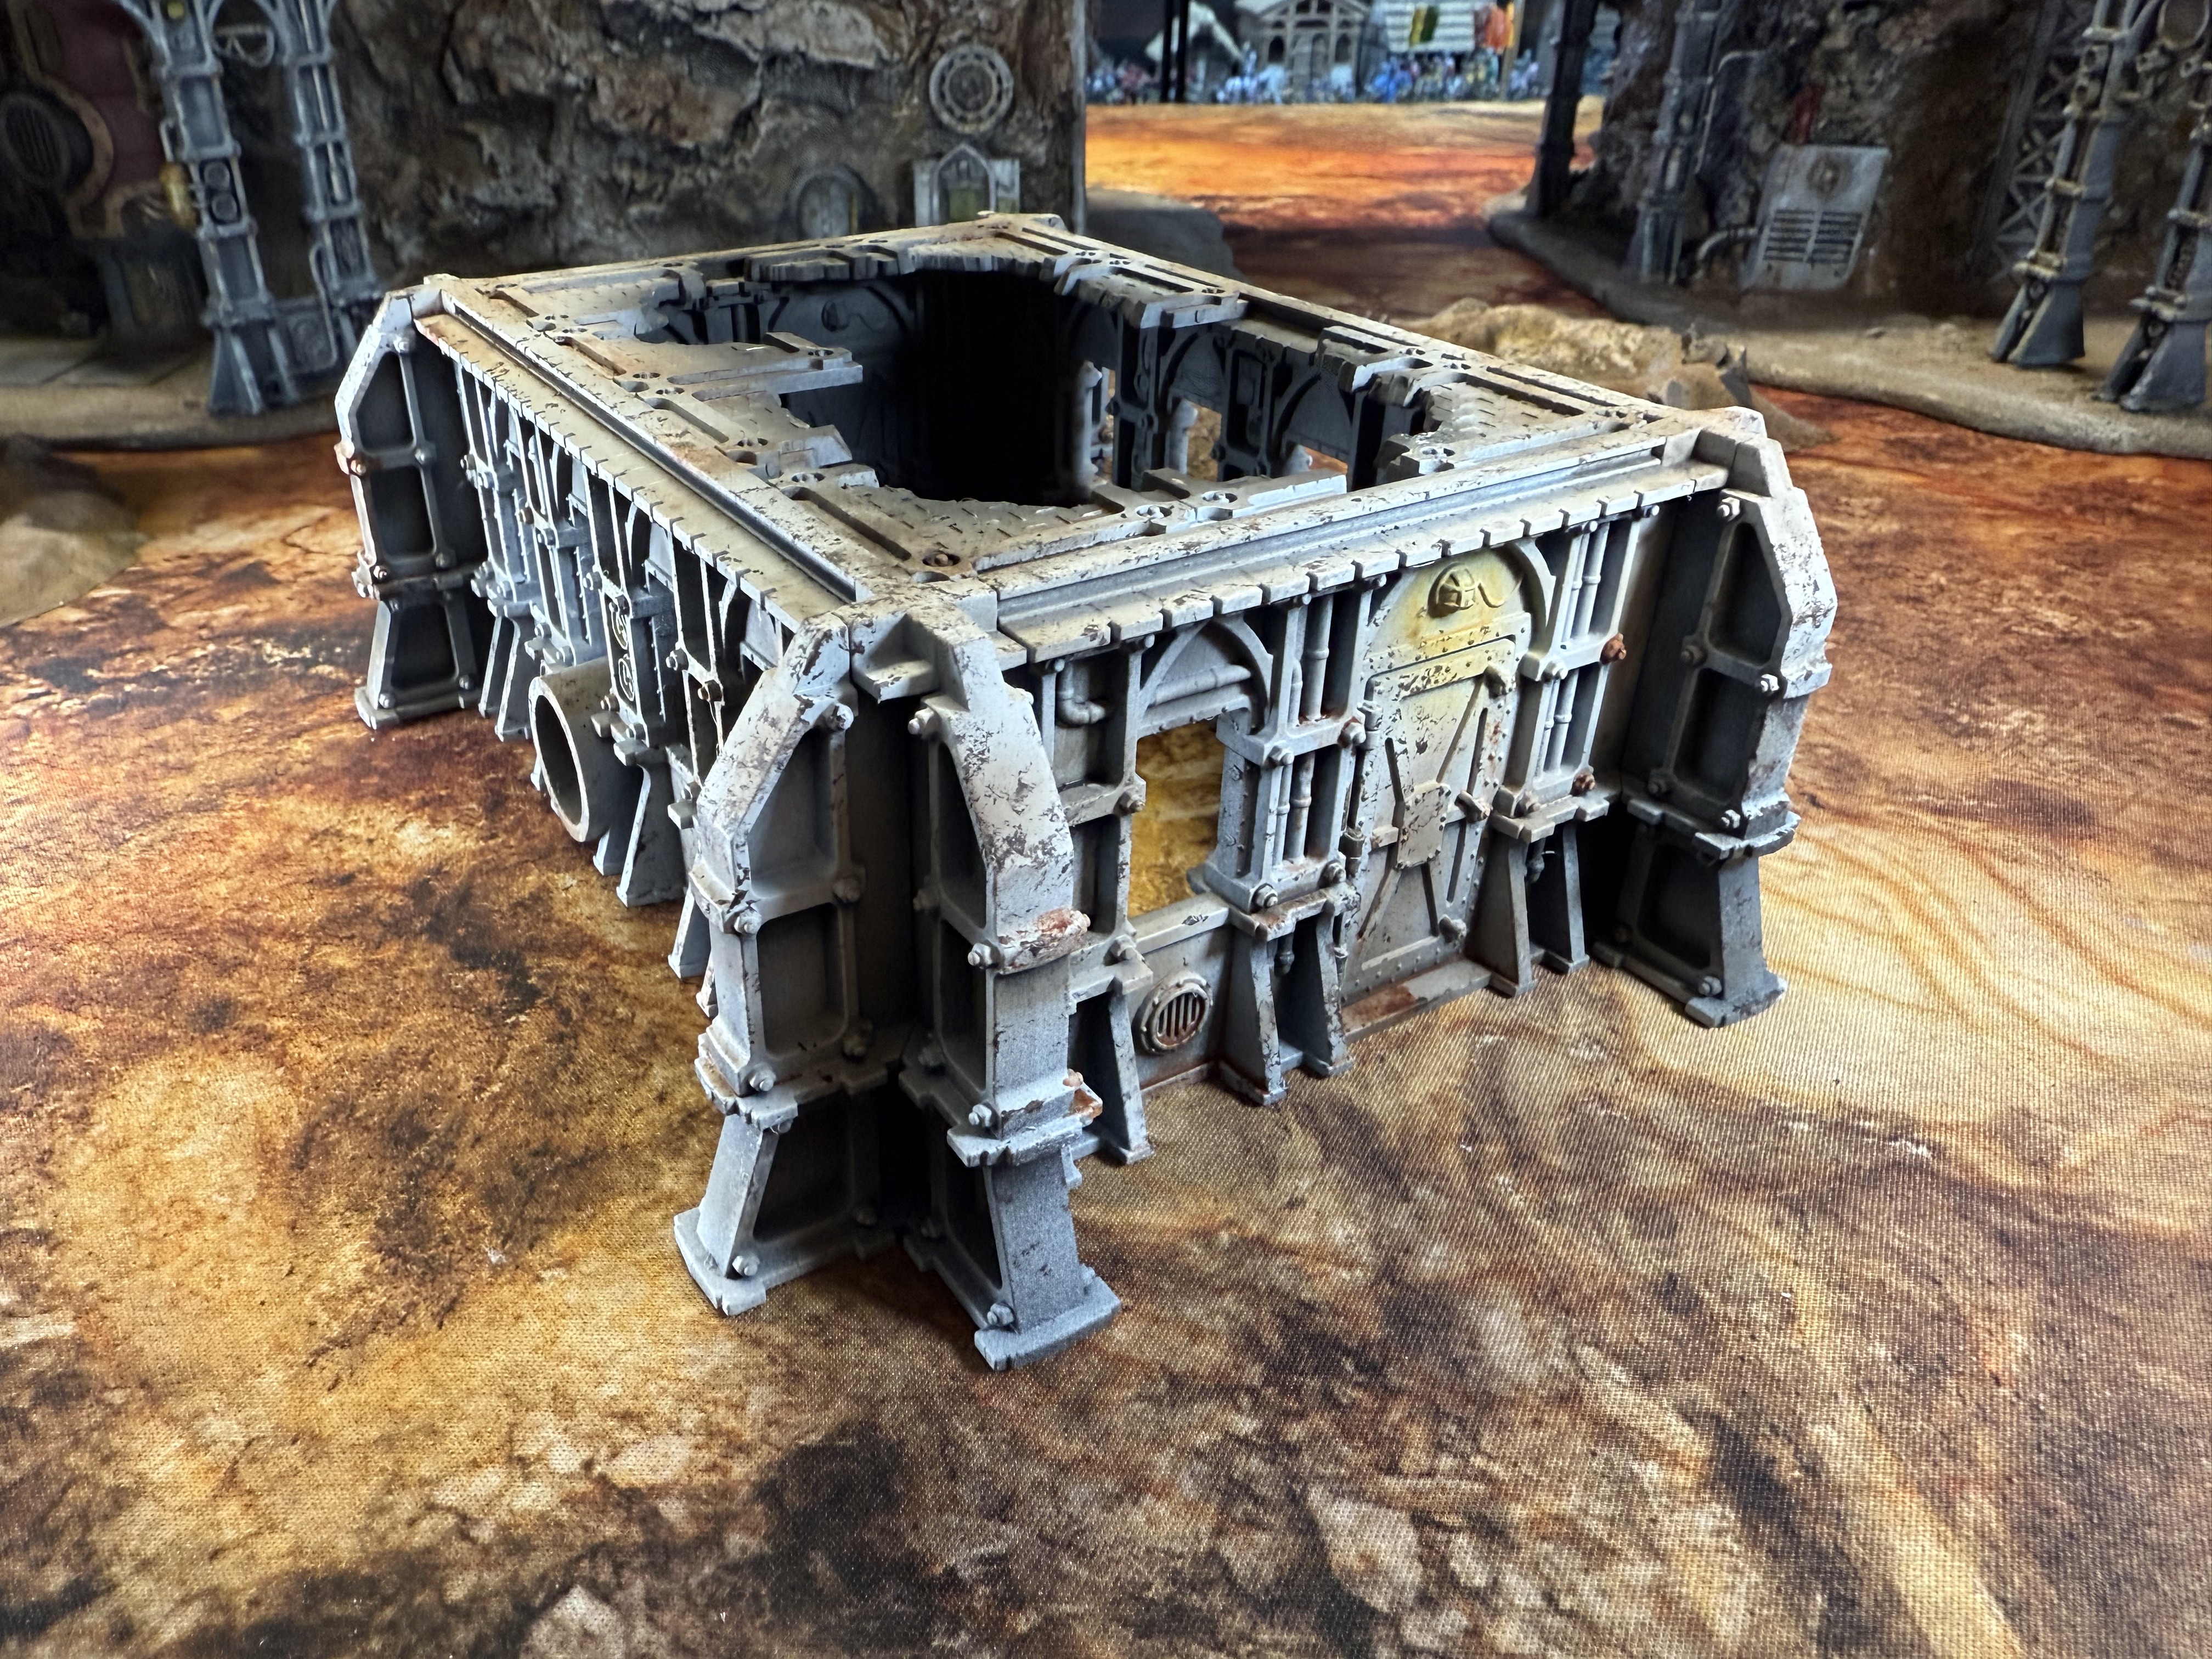
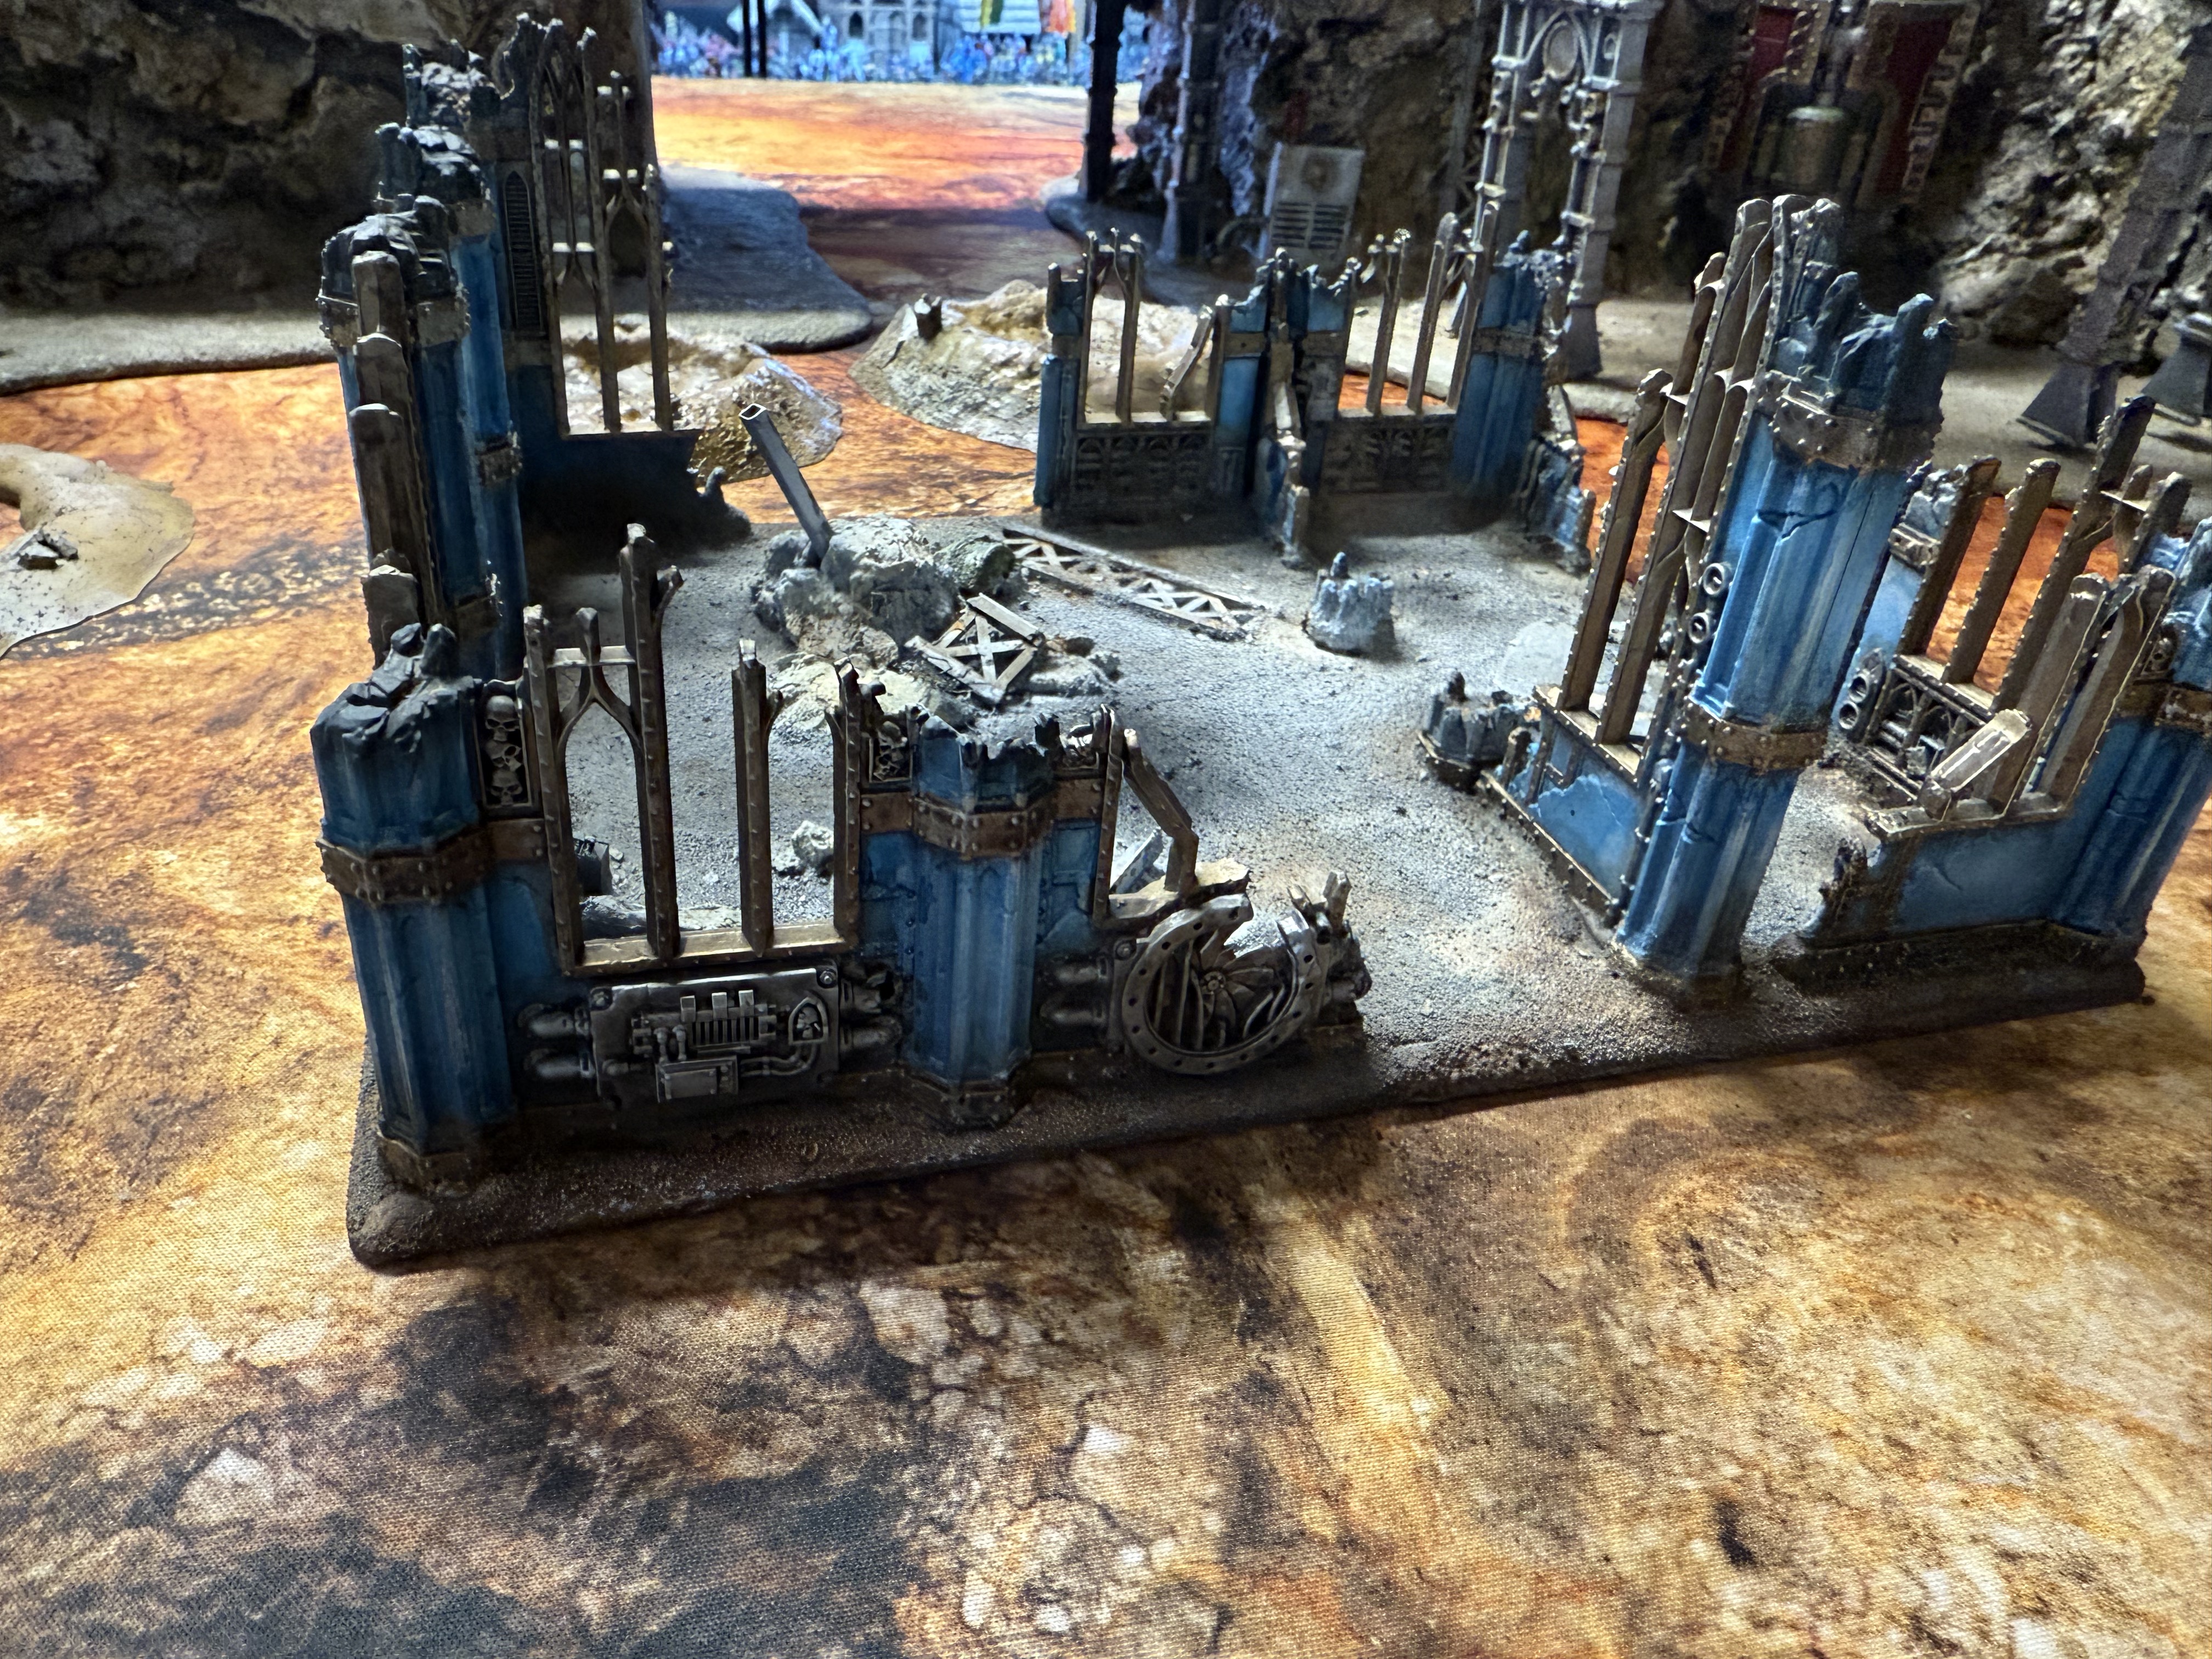
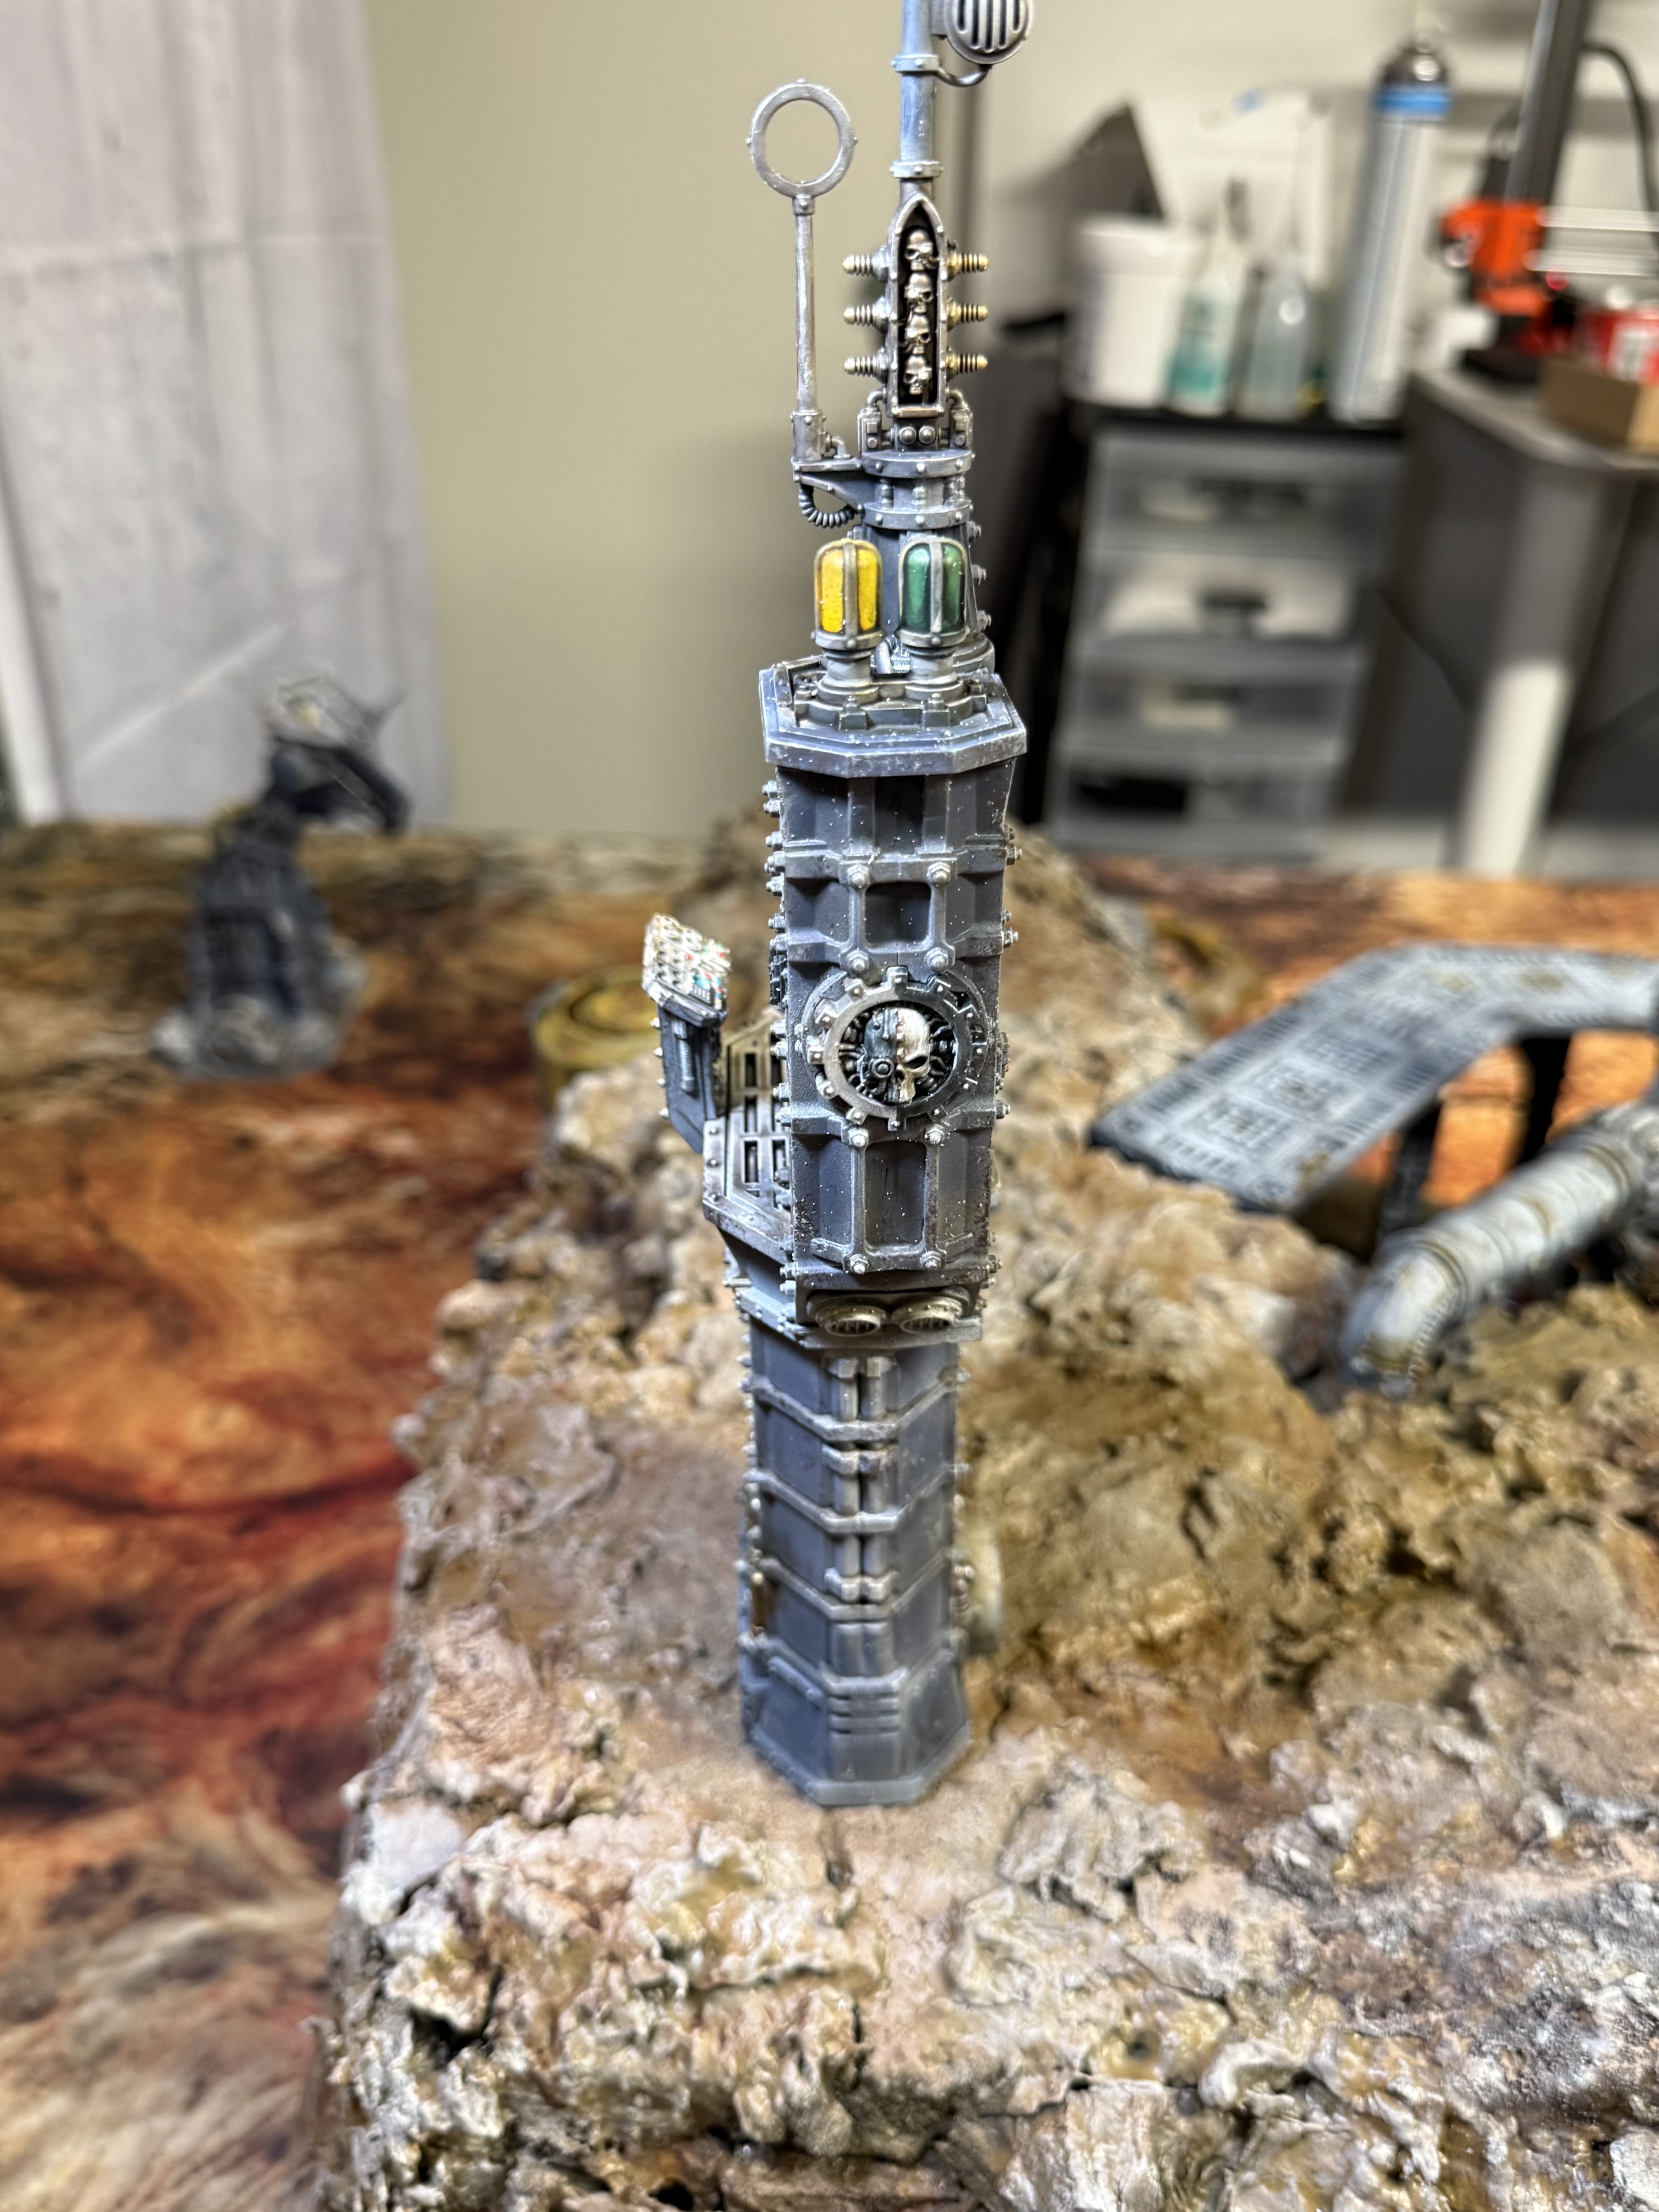
First off here’s the ruins. I’m really happy how it turned out.
It was spray painted black, with follow up zenitals of grey and white. The base got painted with brown, grey and back artists’ acrylics to match the rest of the terrain.
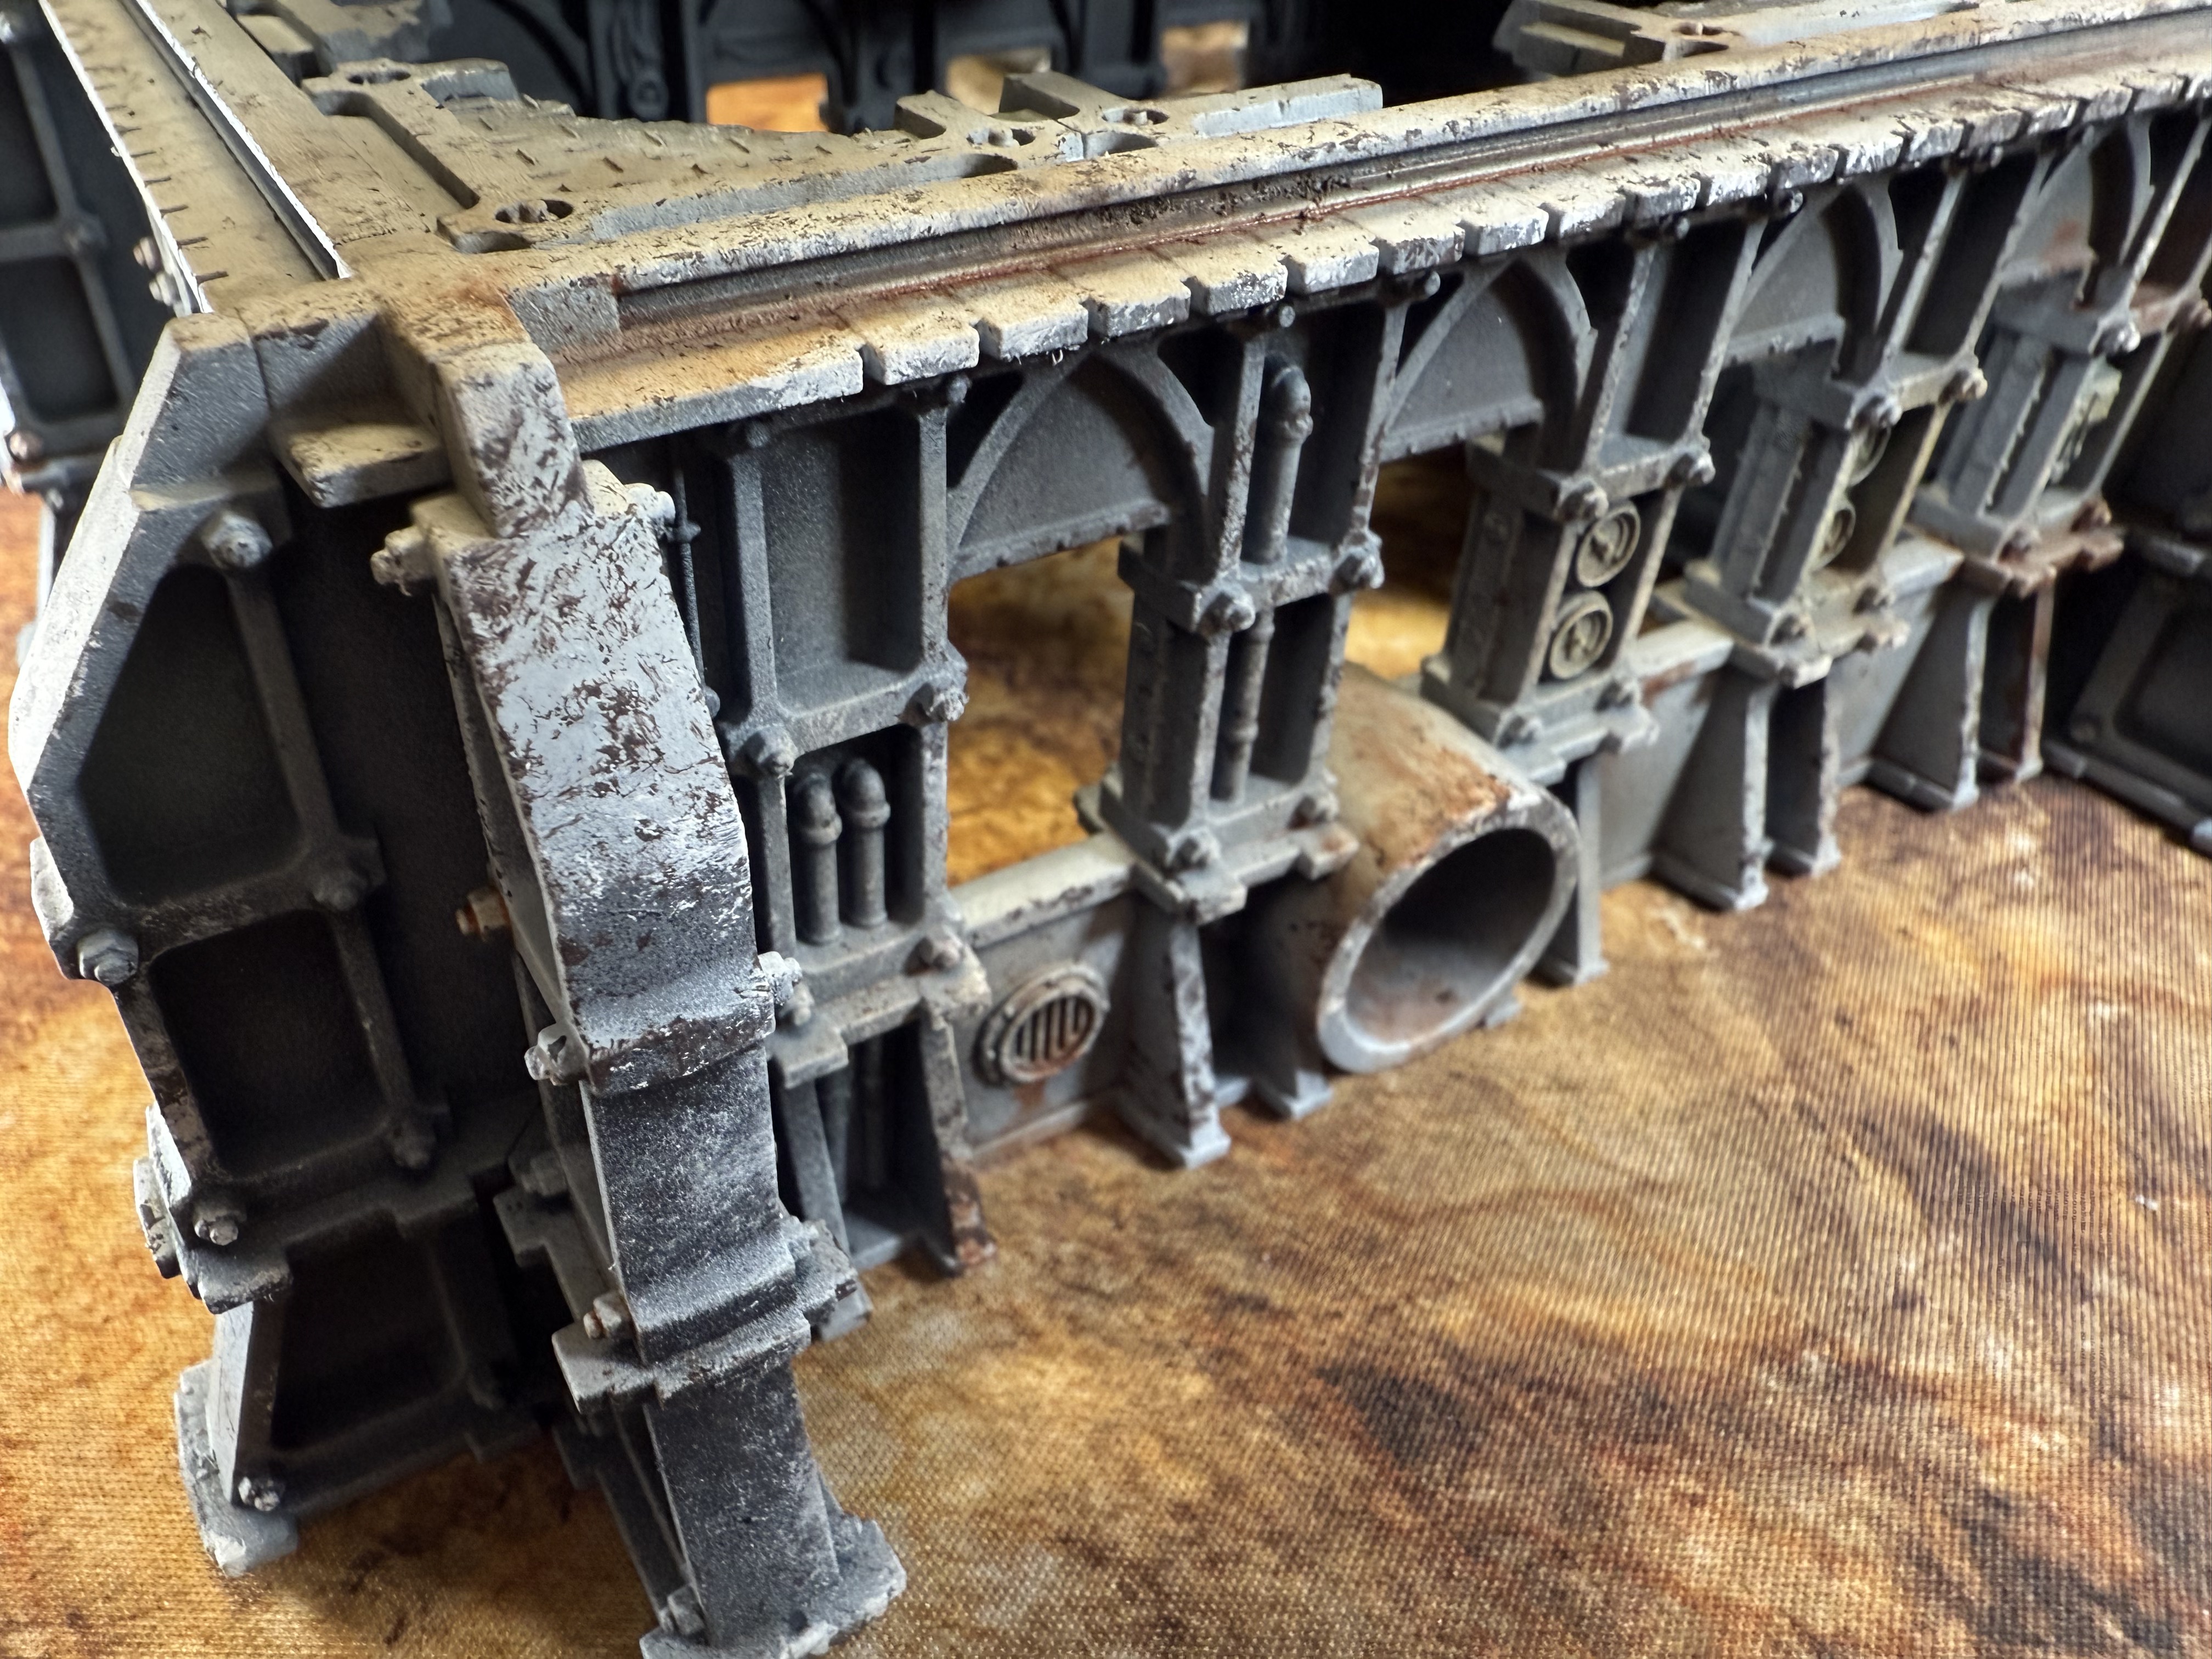
Below are the colours I used to paint the actual ruins. I particularly enjoyed using the thick Abteilung 502 acrylic. It’s a very high pigmented acrylic paint. Slap a dollop on the terrain and then work with water to blend it and create smooth transitions. Works extremely well over the black and white zenital
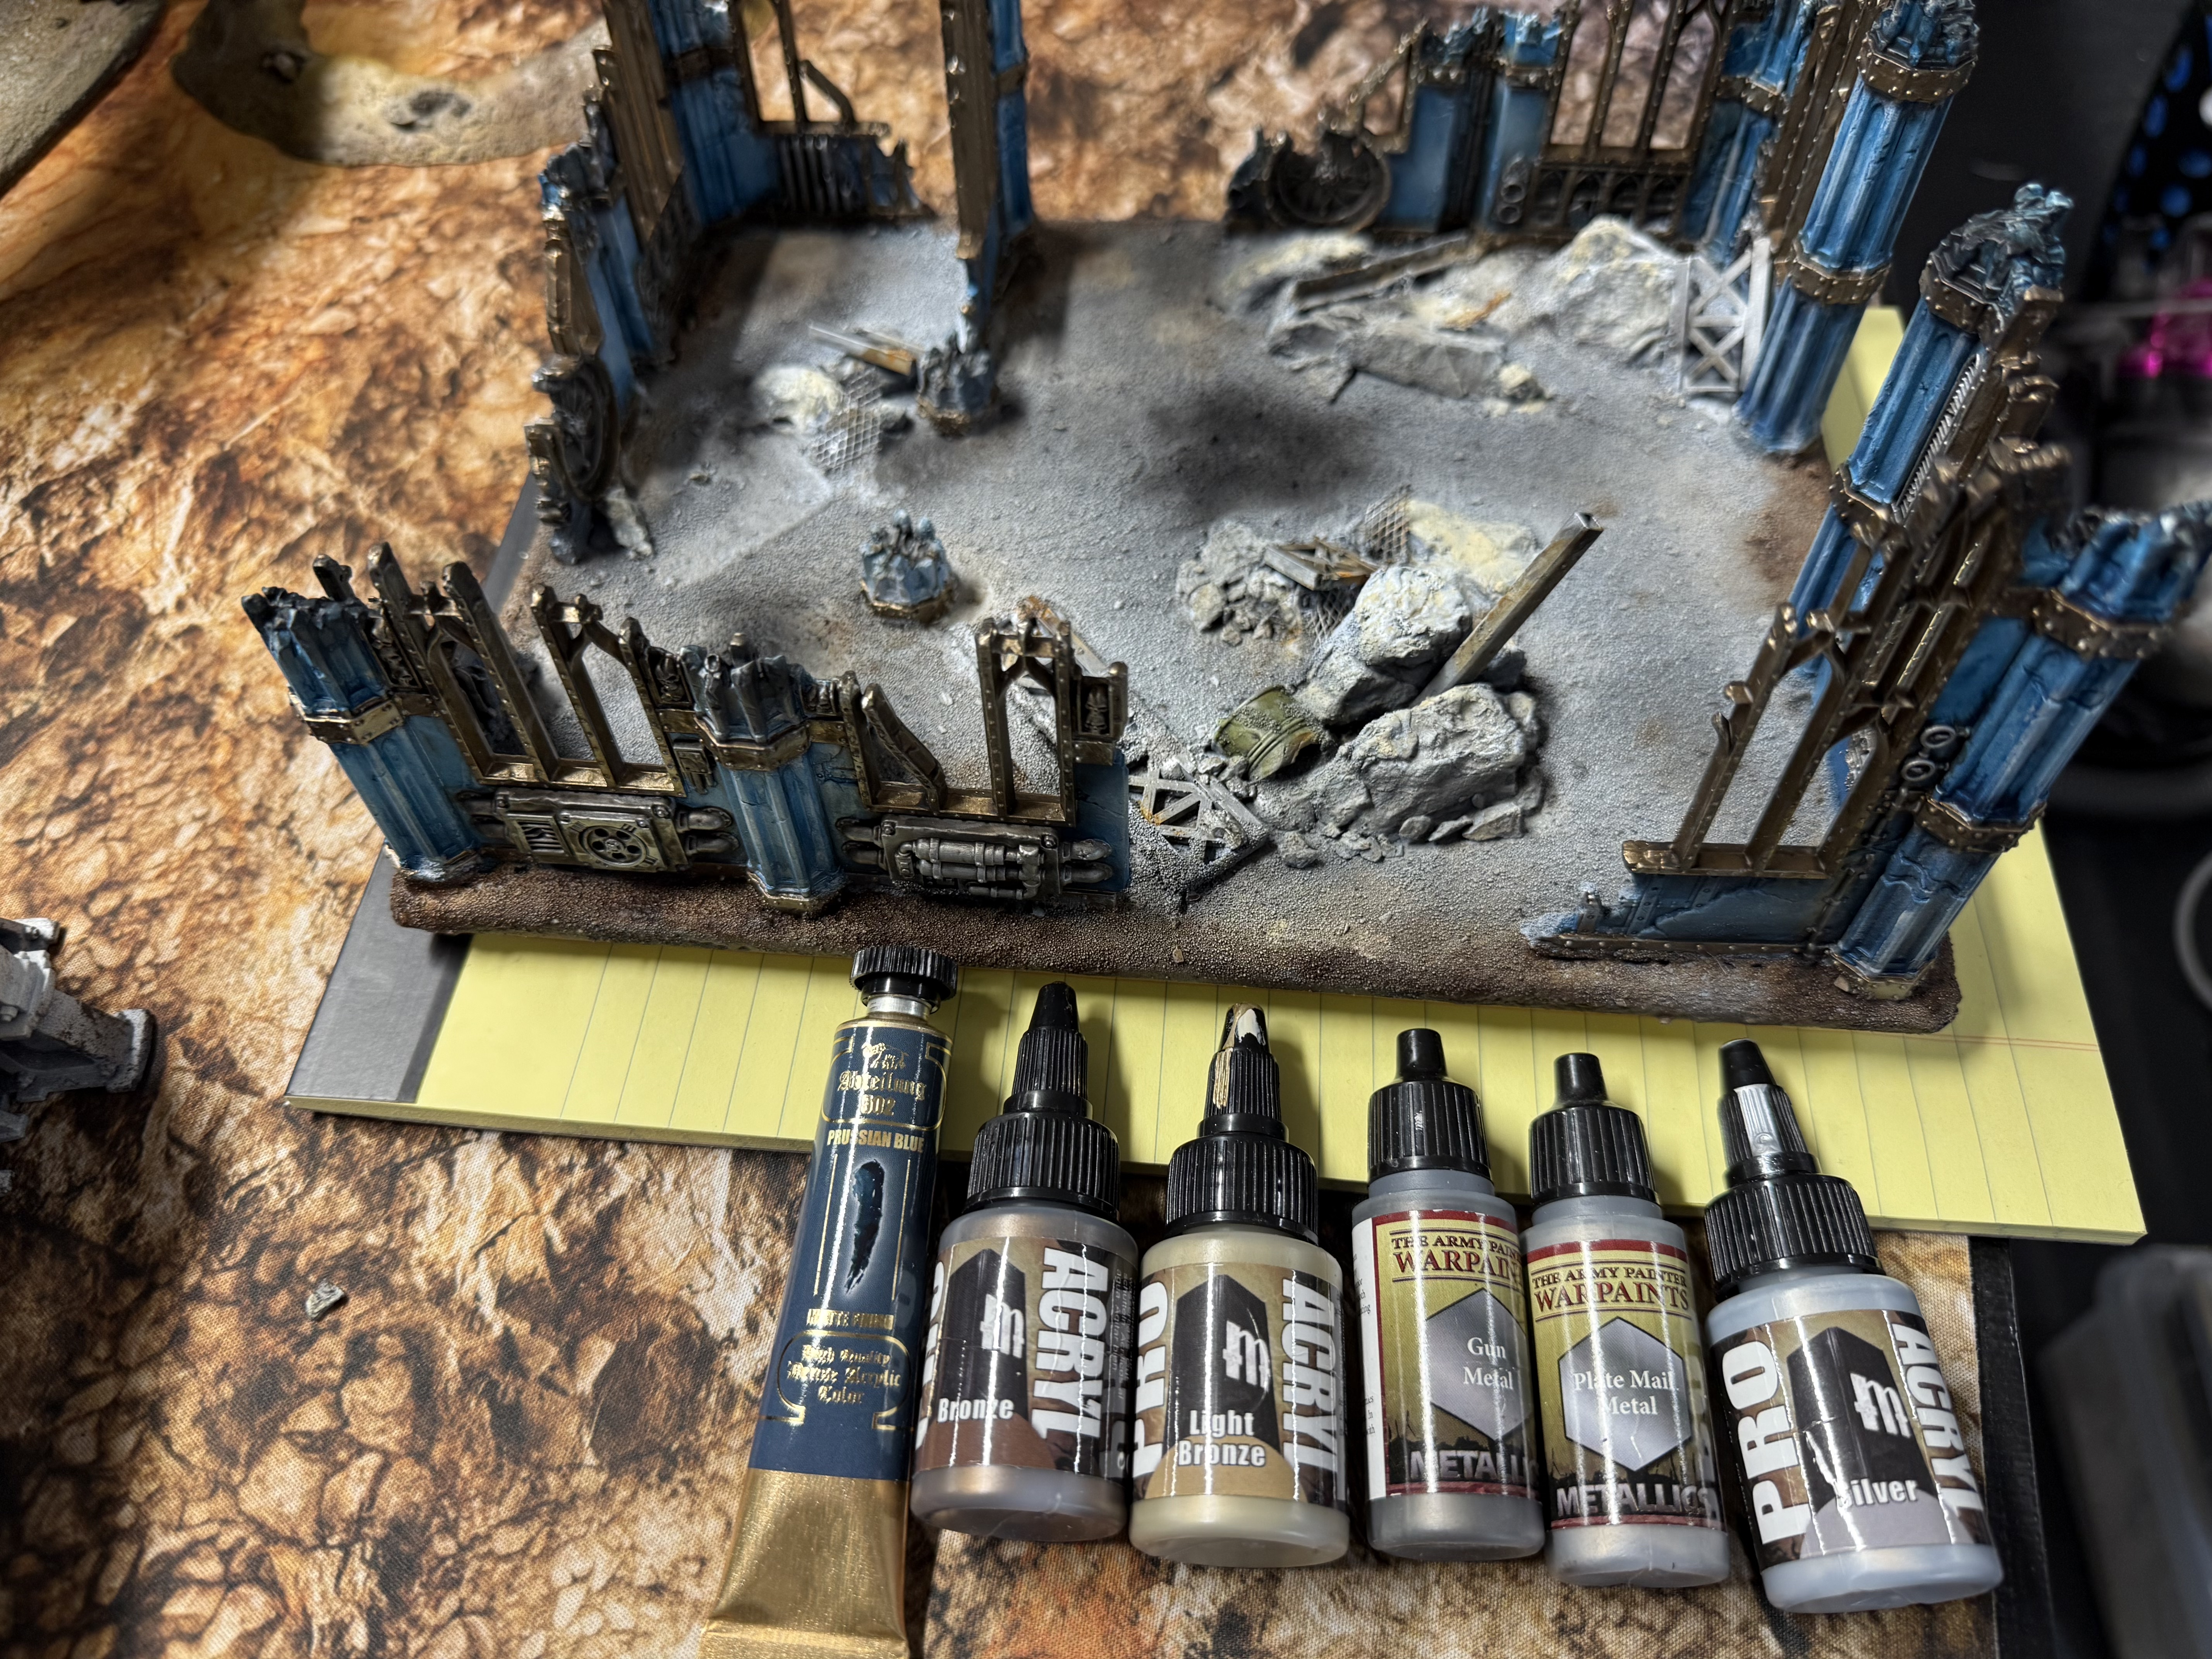 Paints used
To add more weathering (and hide my mistakes…) I used couple of pigment powders.
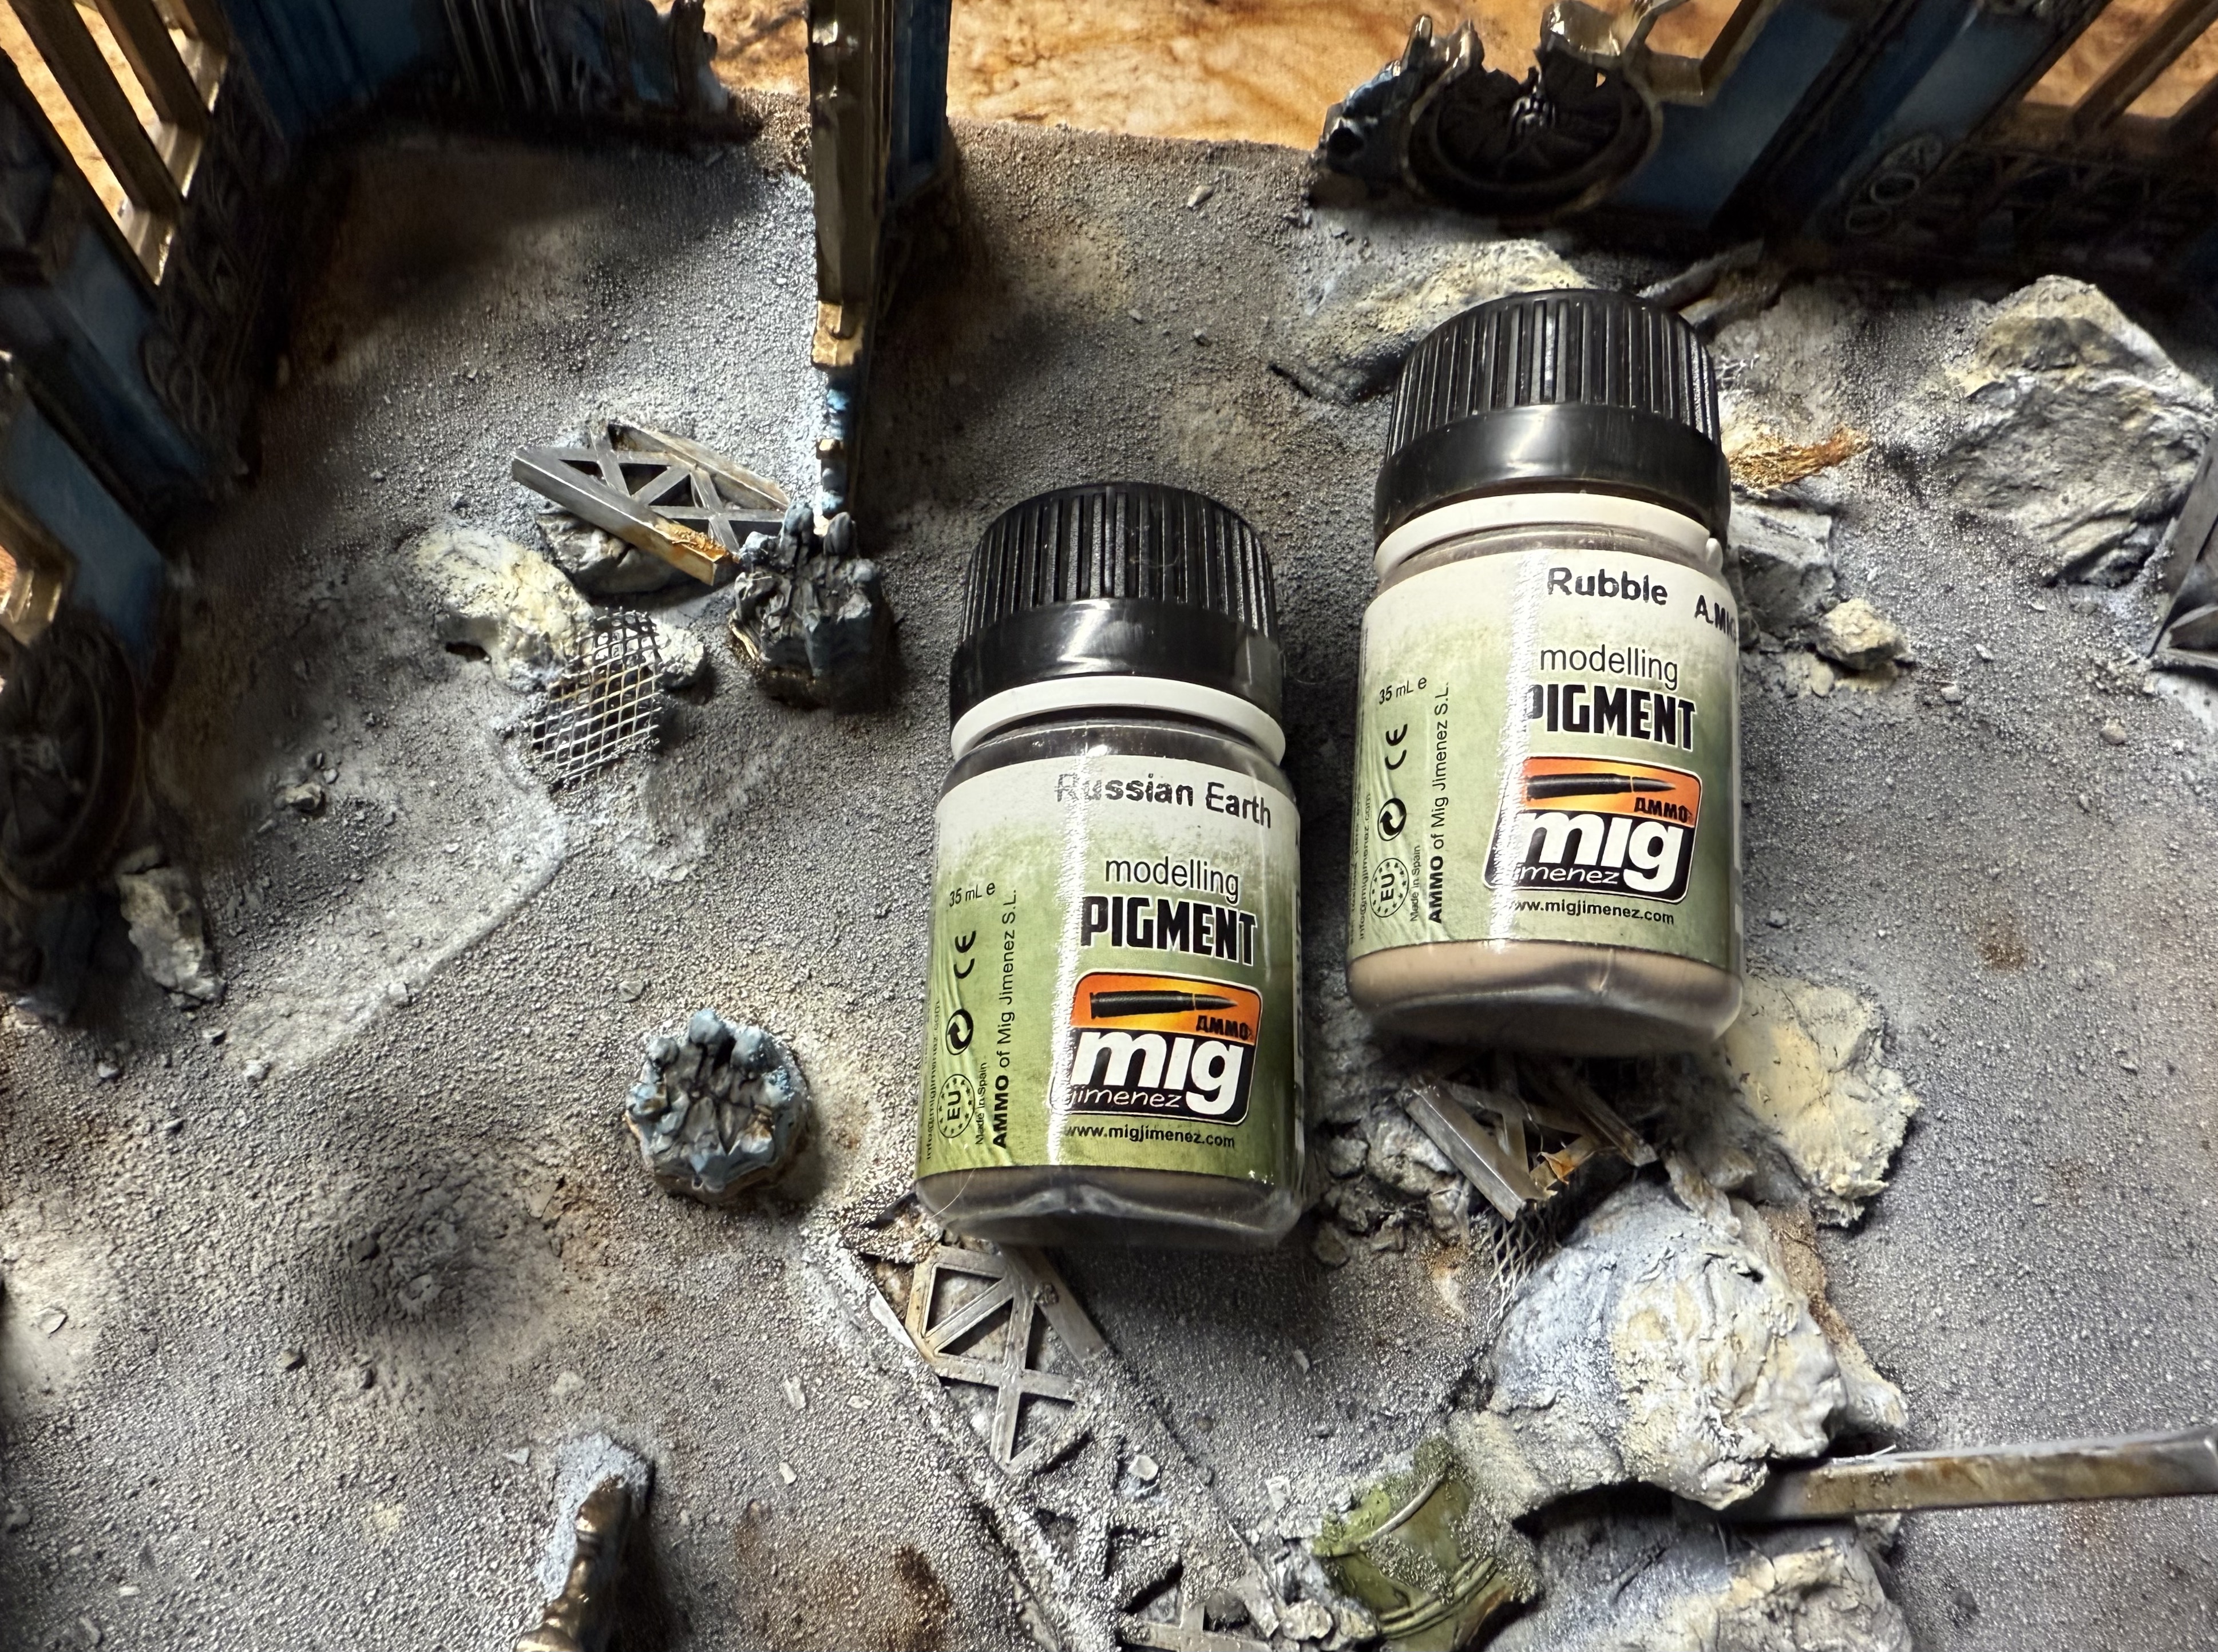 Mig pigments
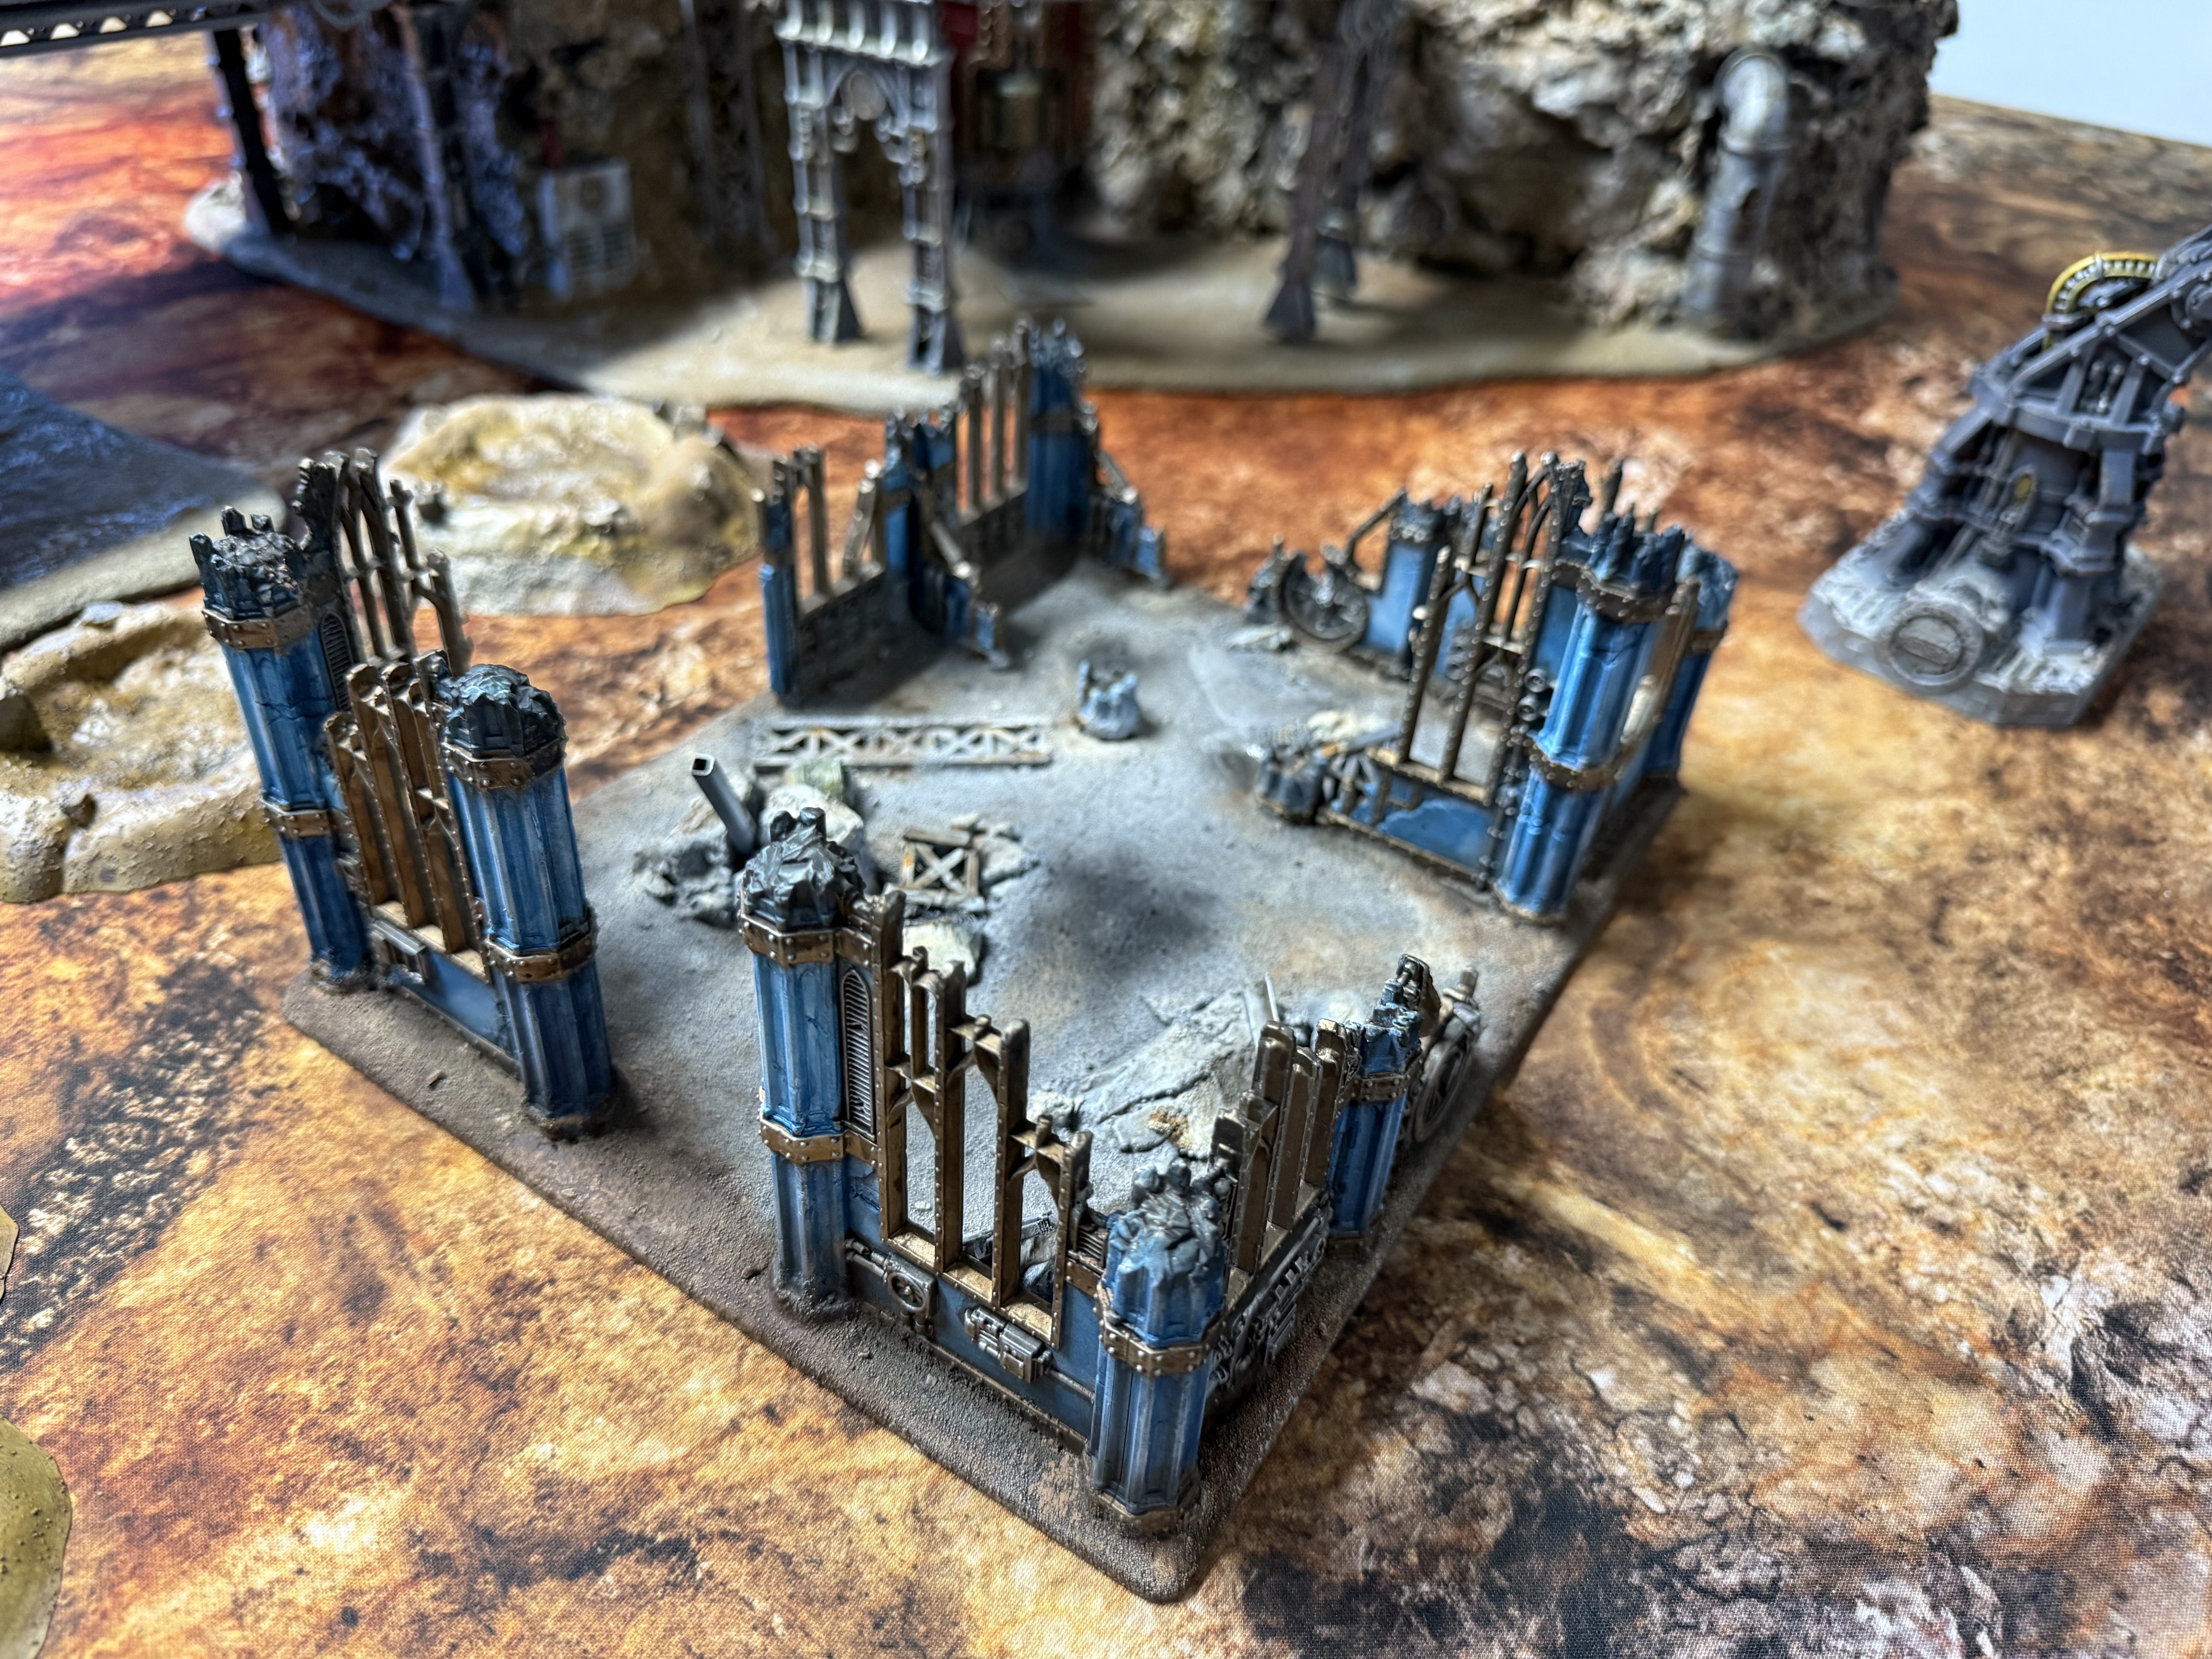

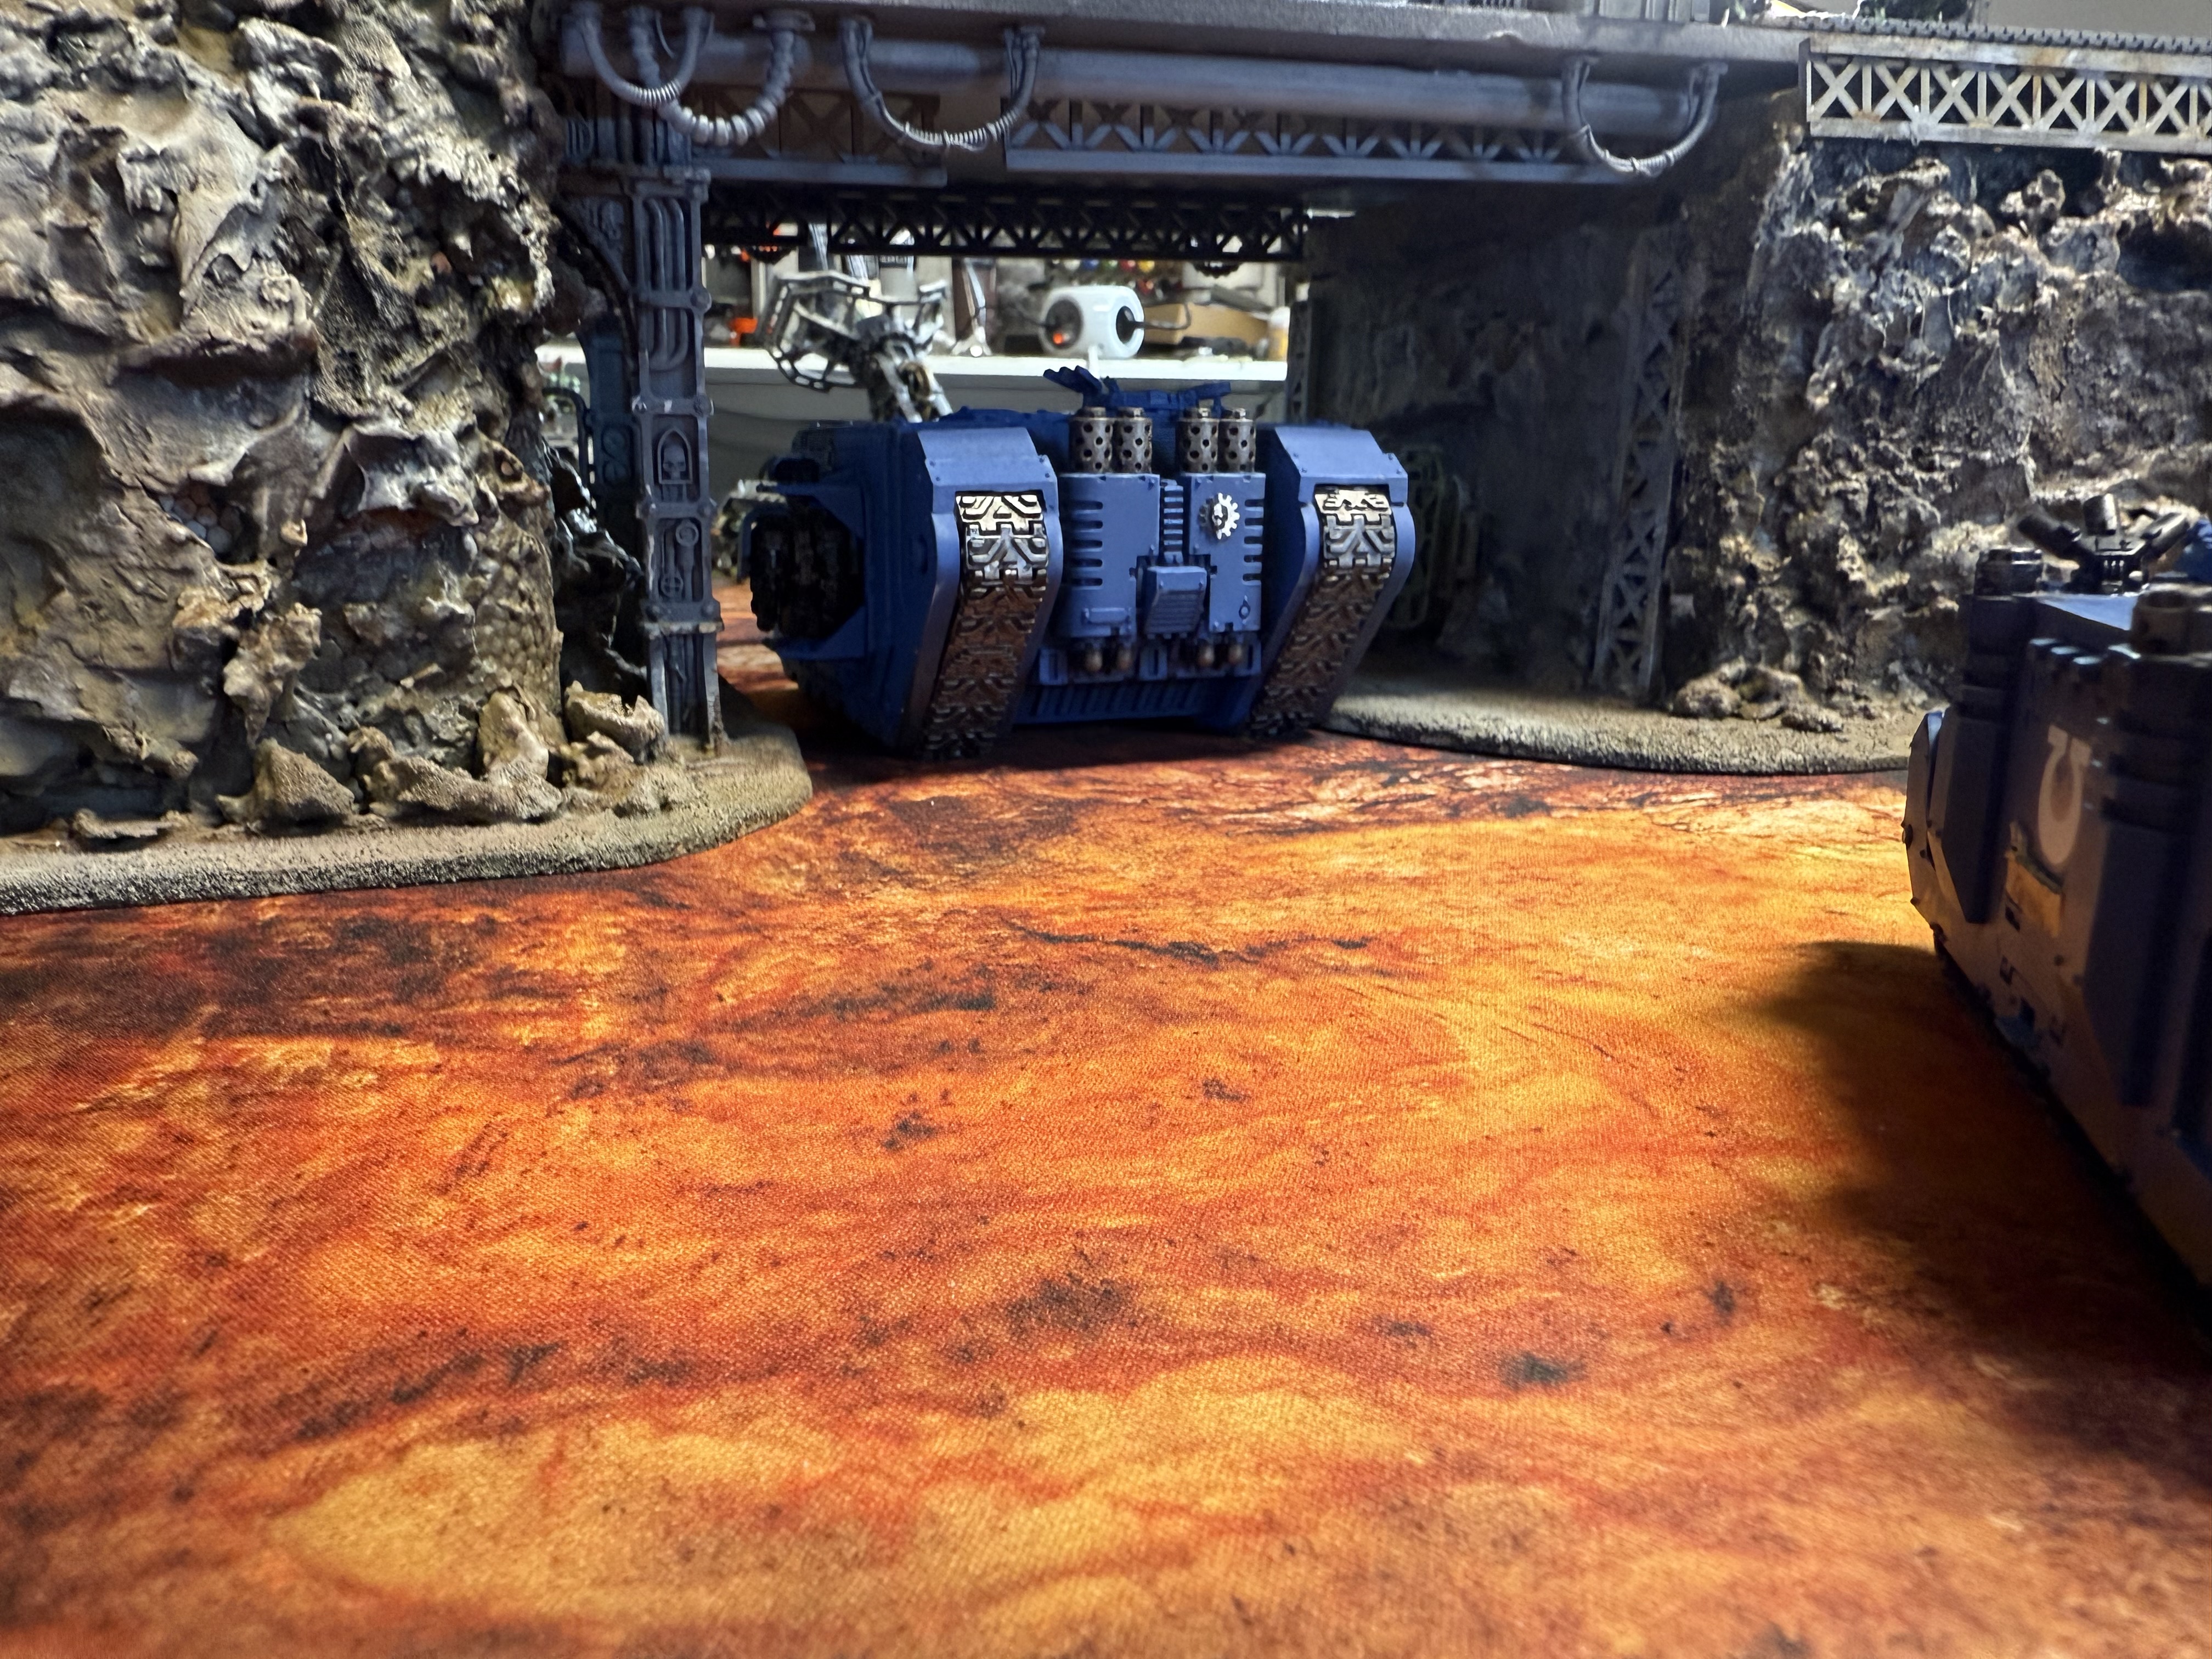
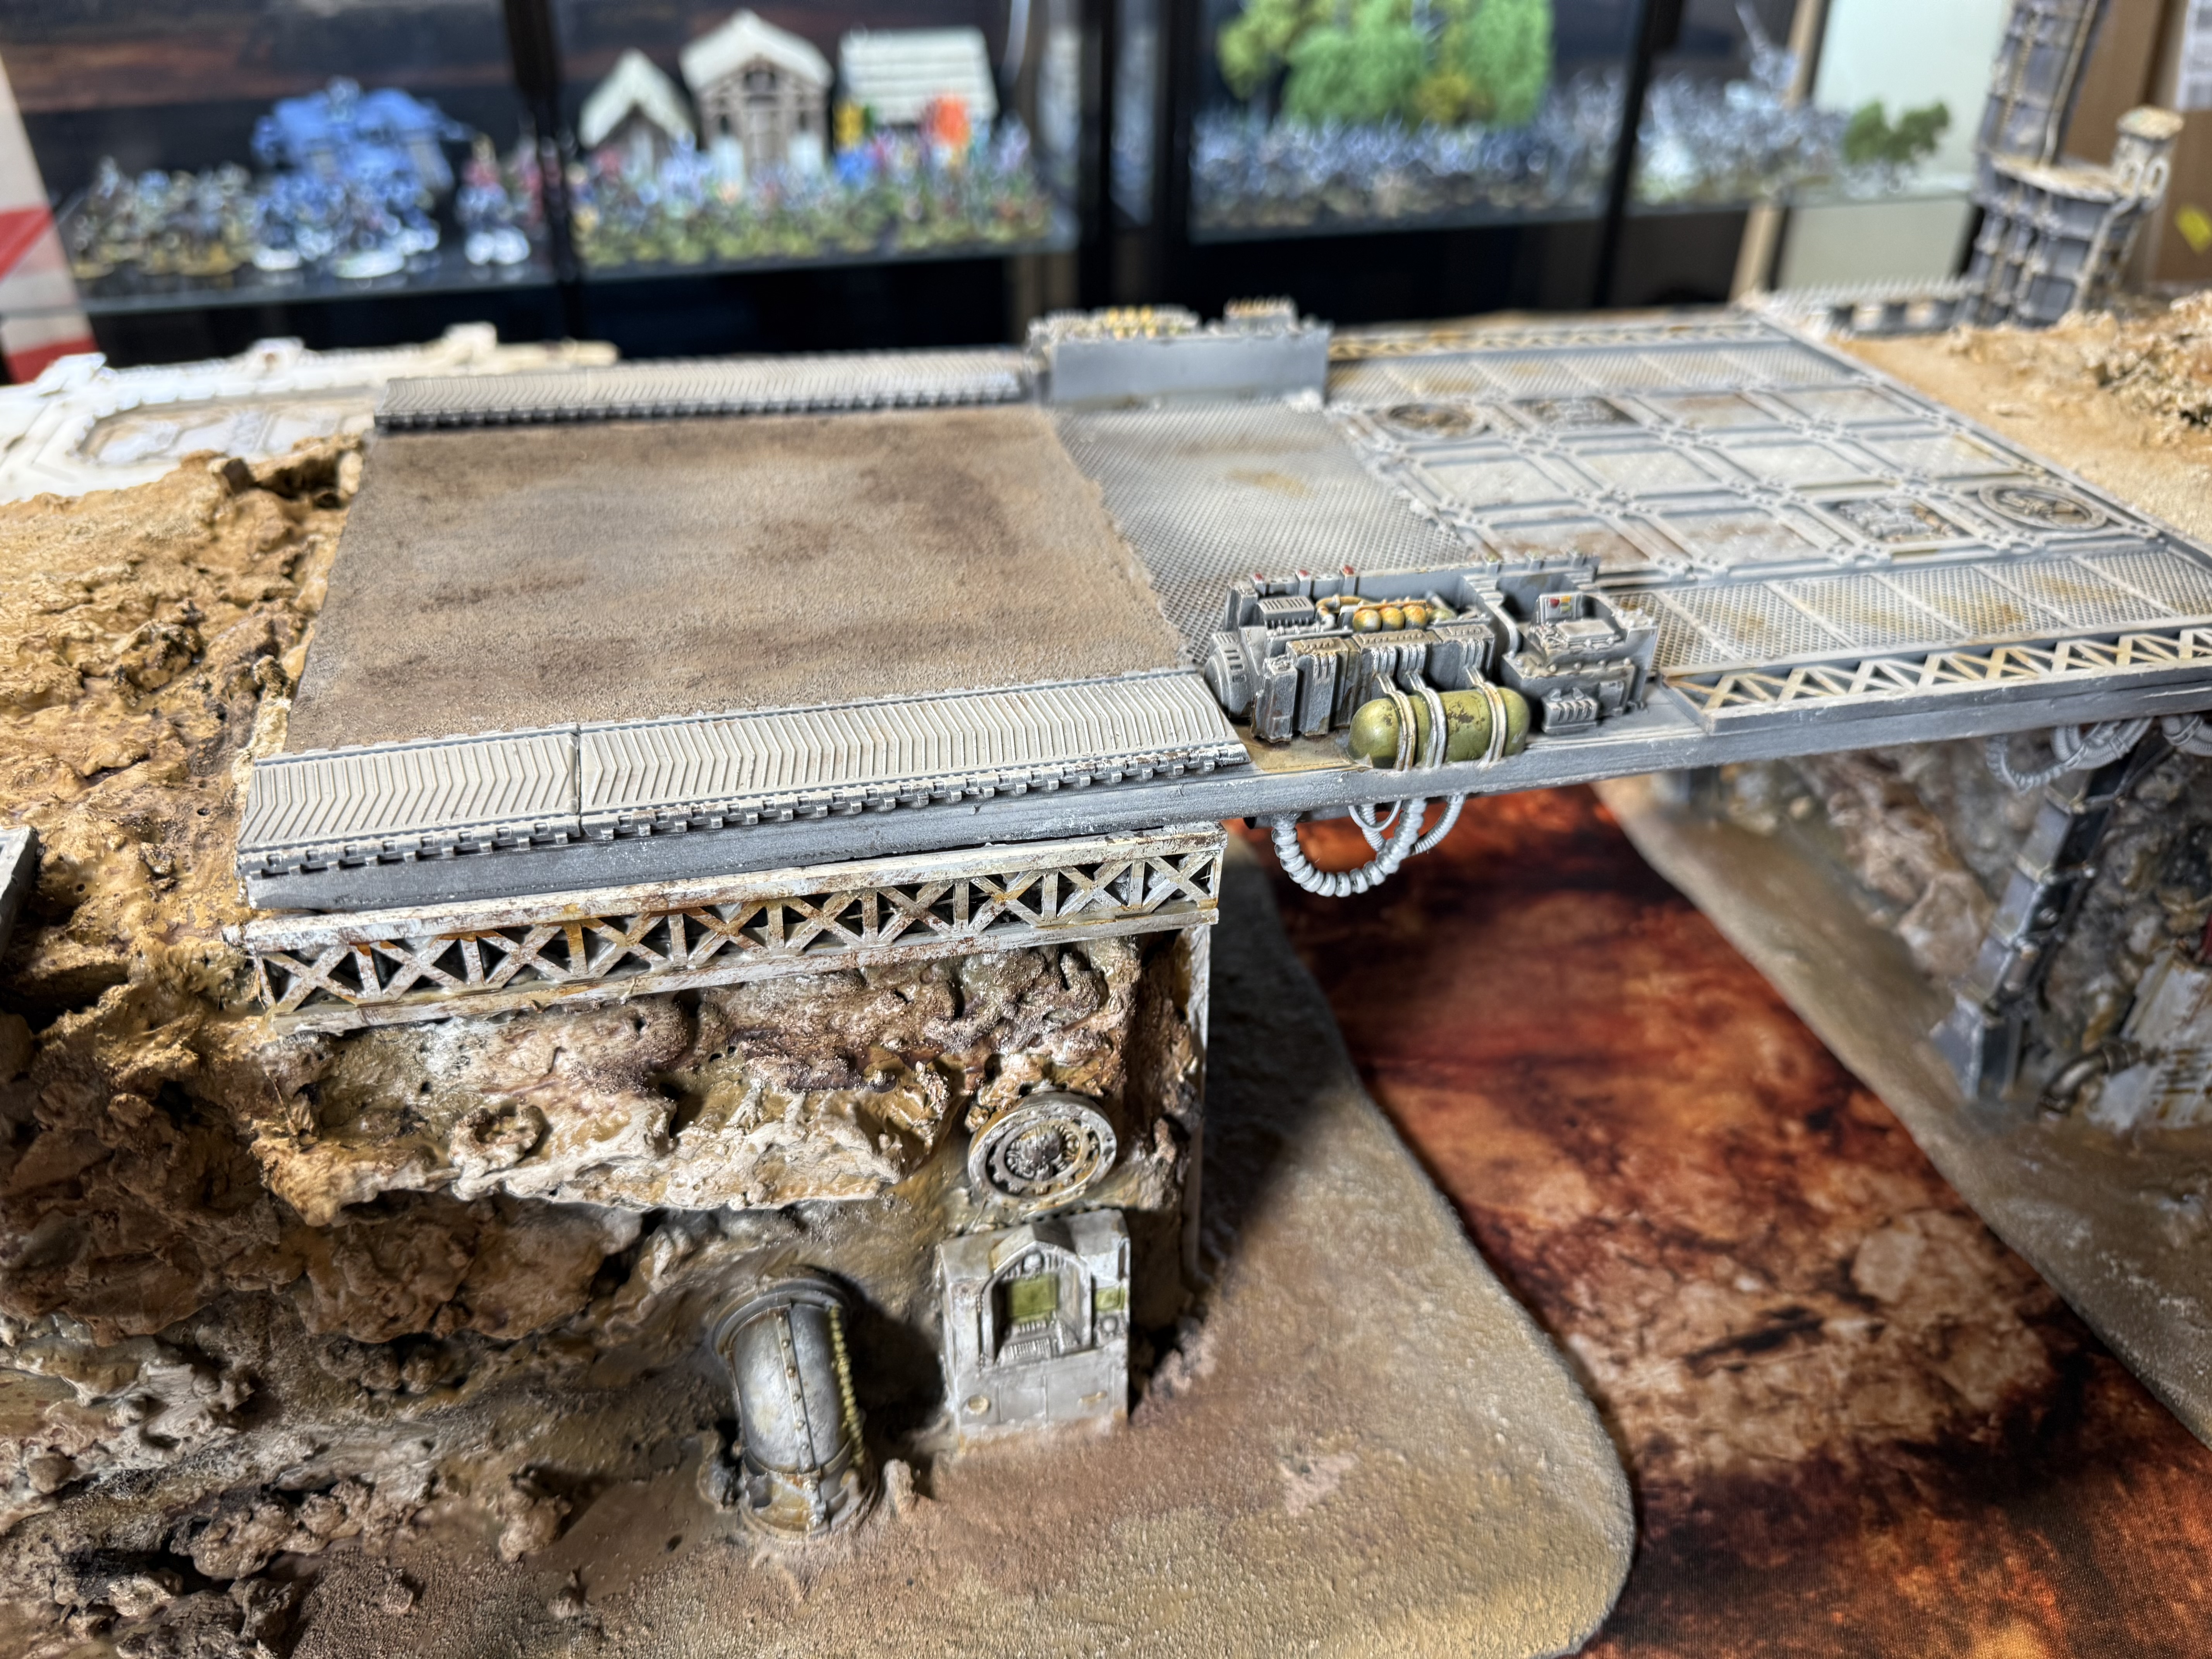
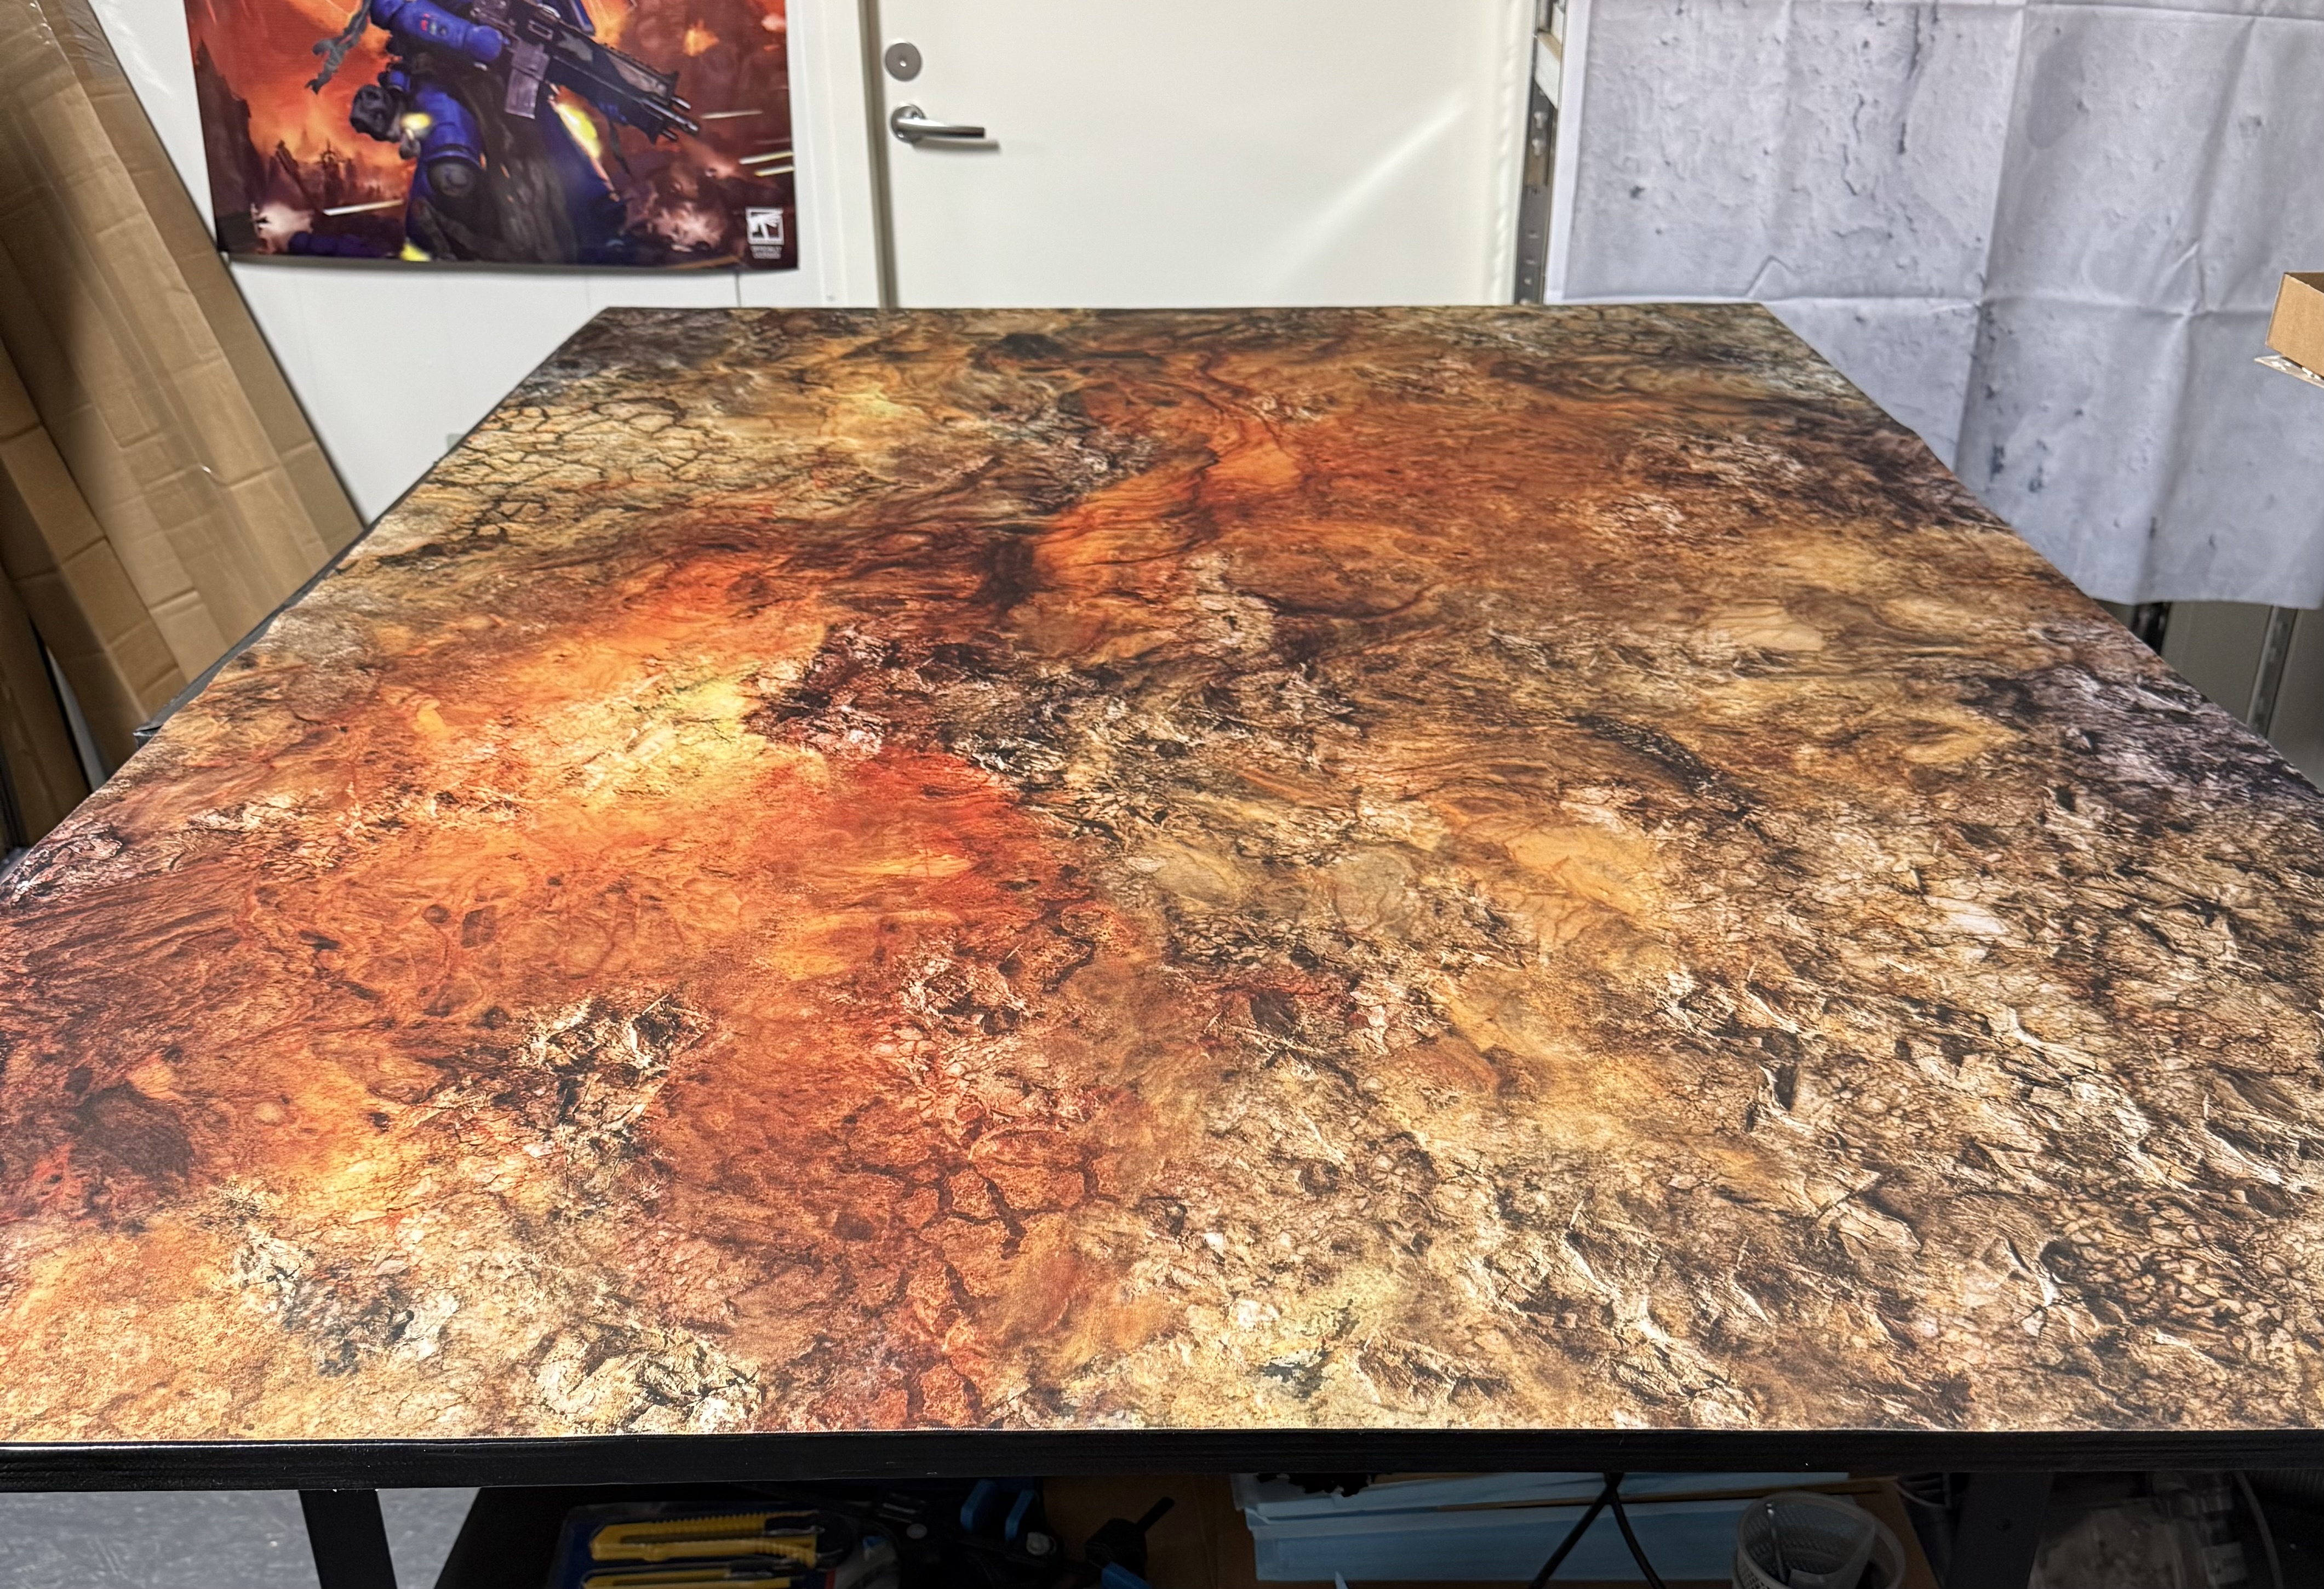
Guillotine meets mat
I originally intended not to buy anything new for this project. Then PWork had a Black Friday sale…
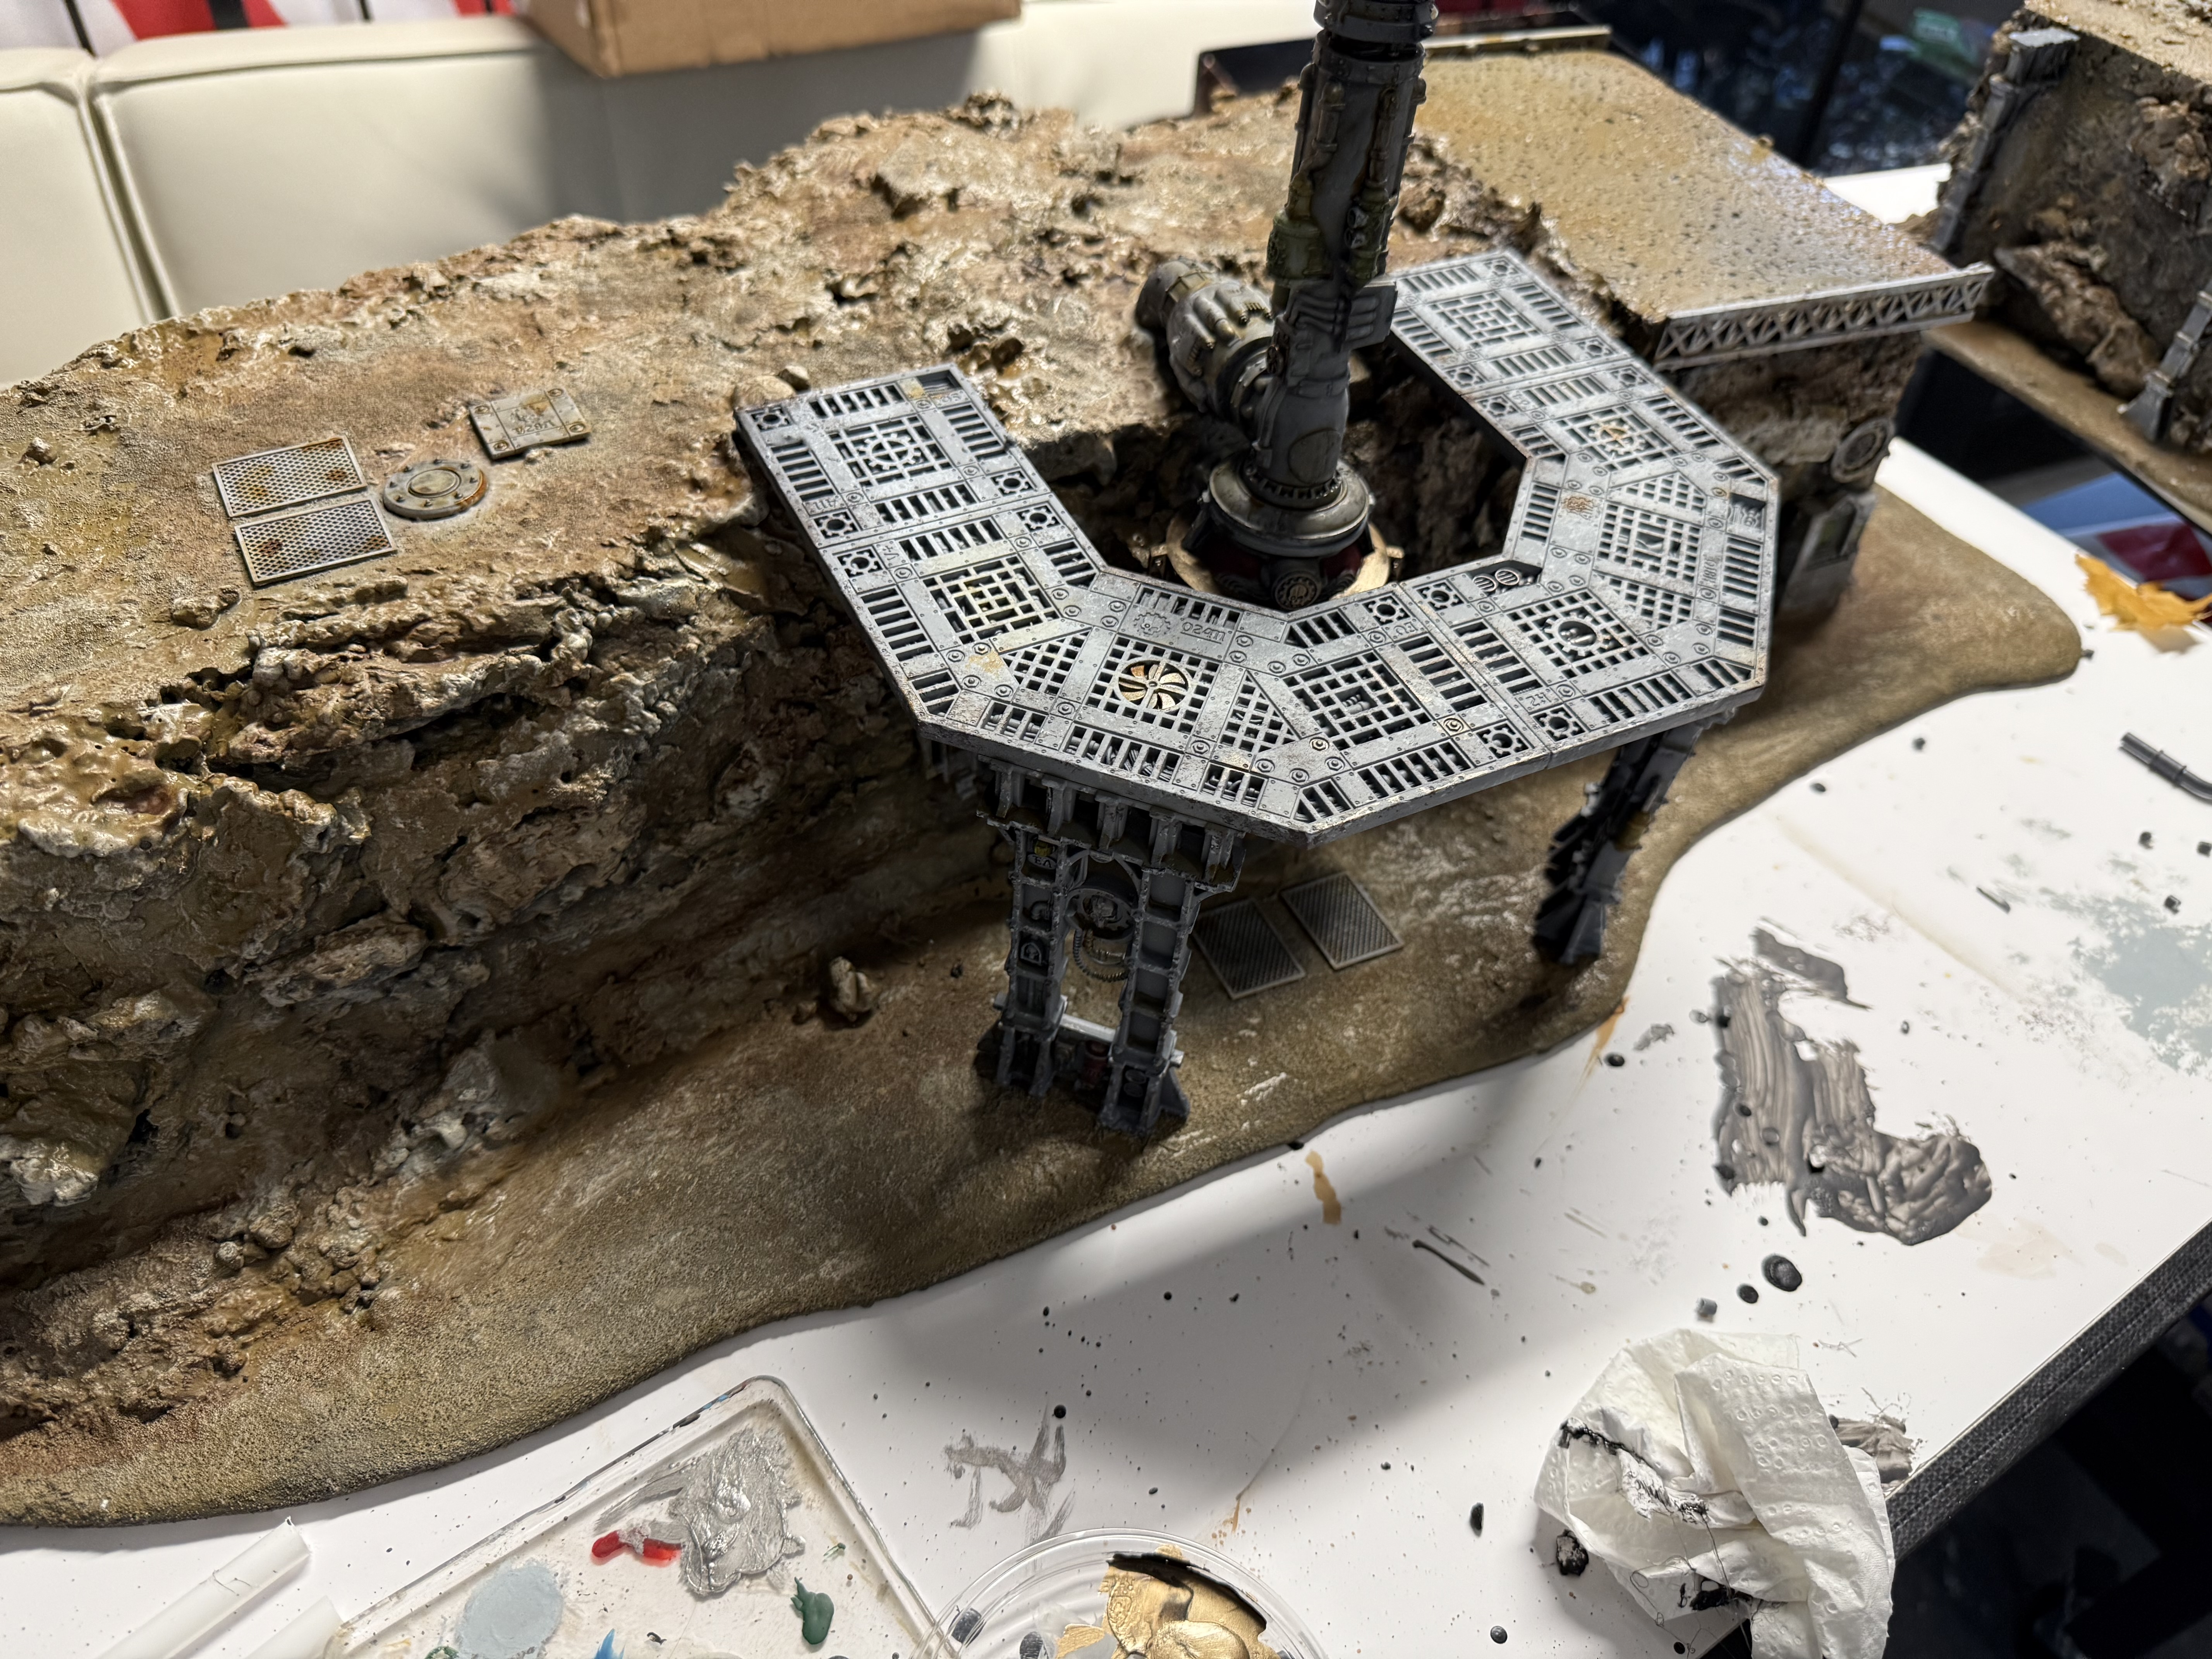
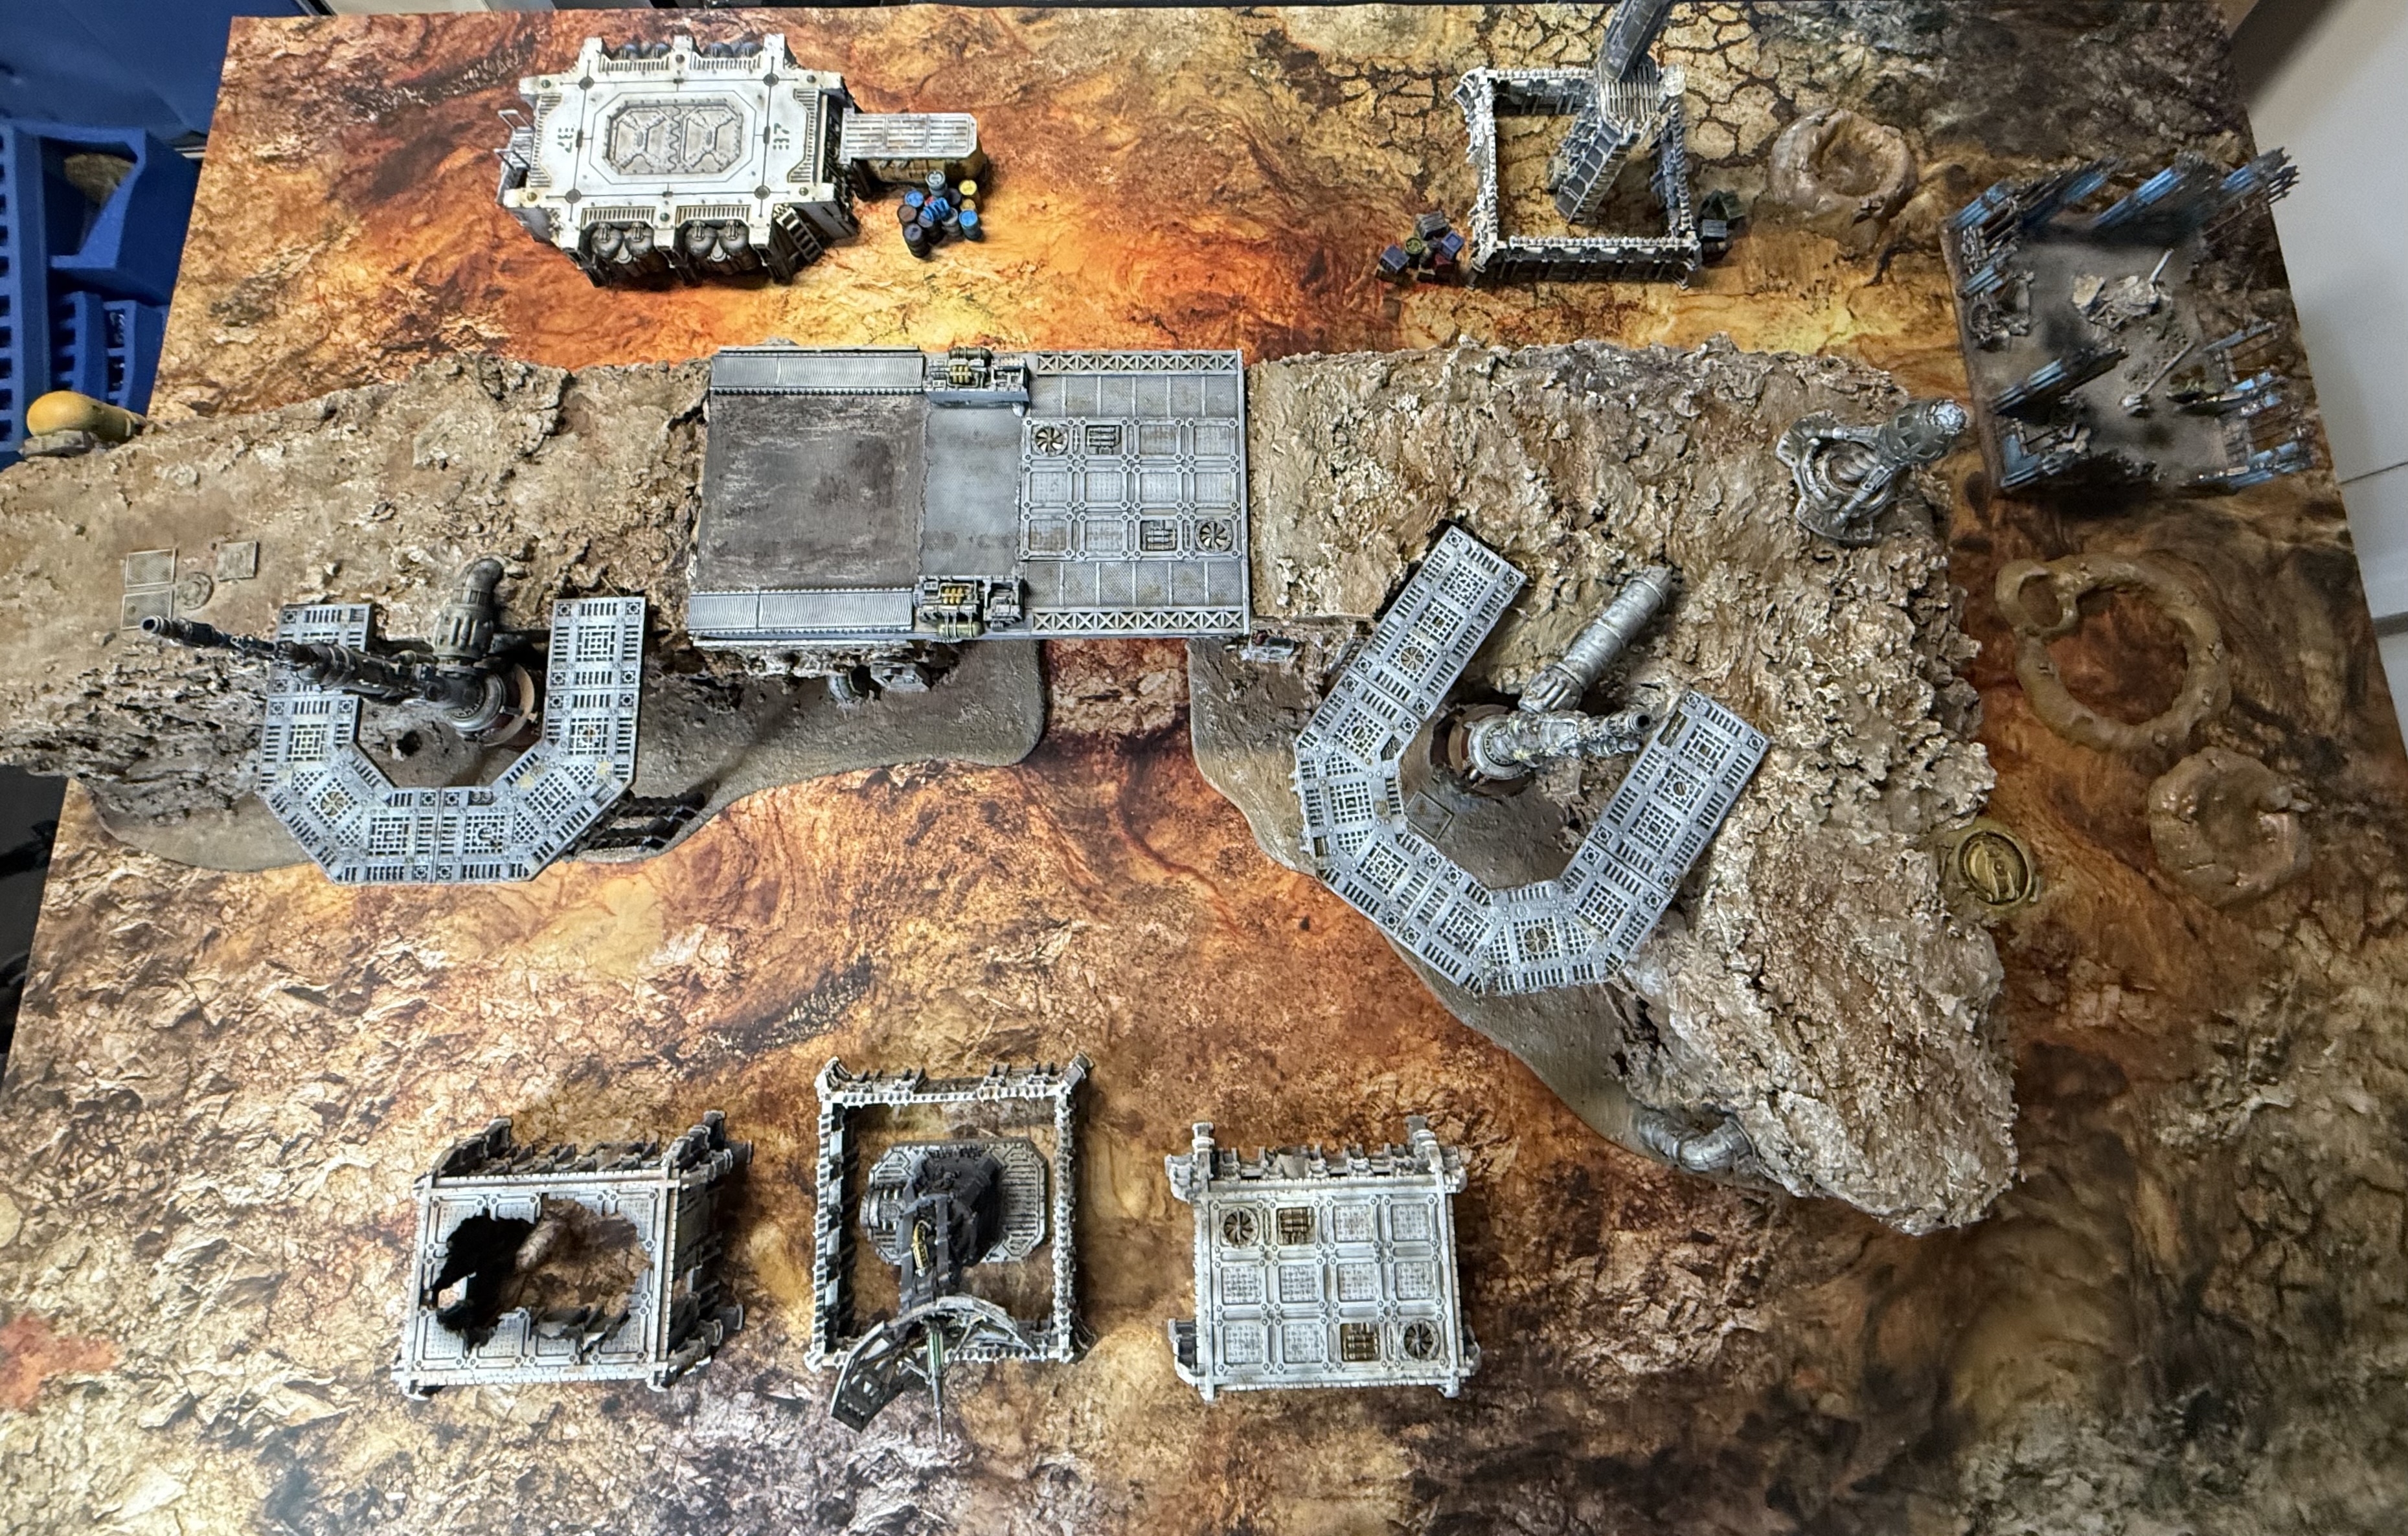
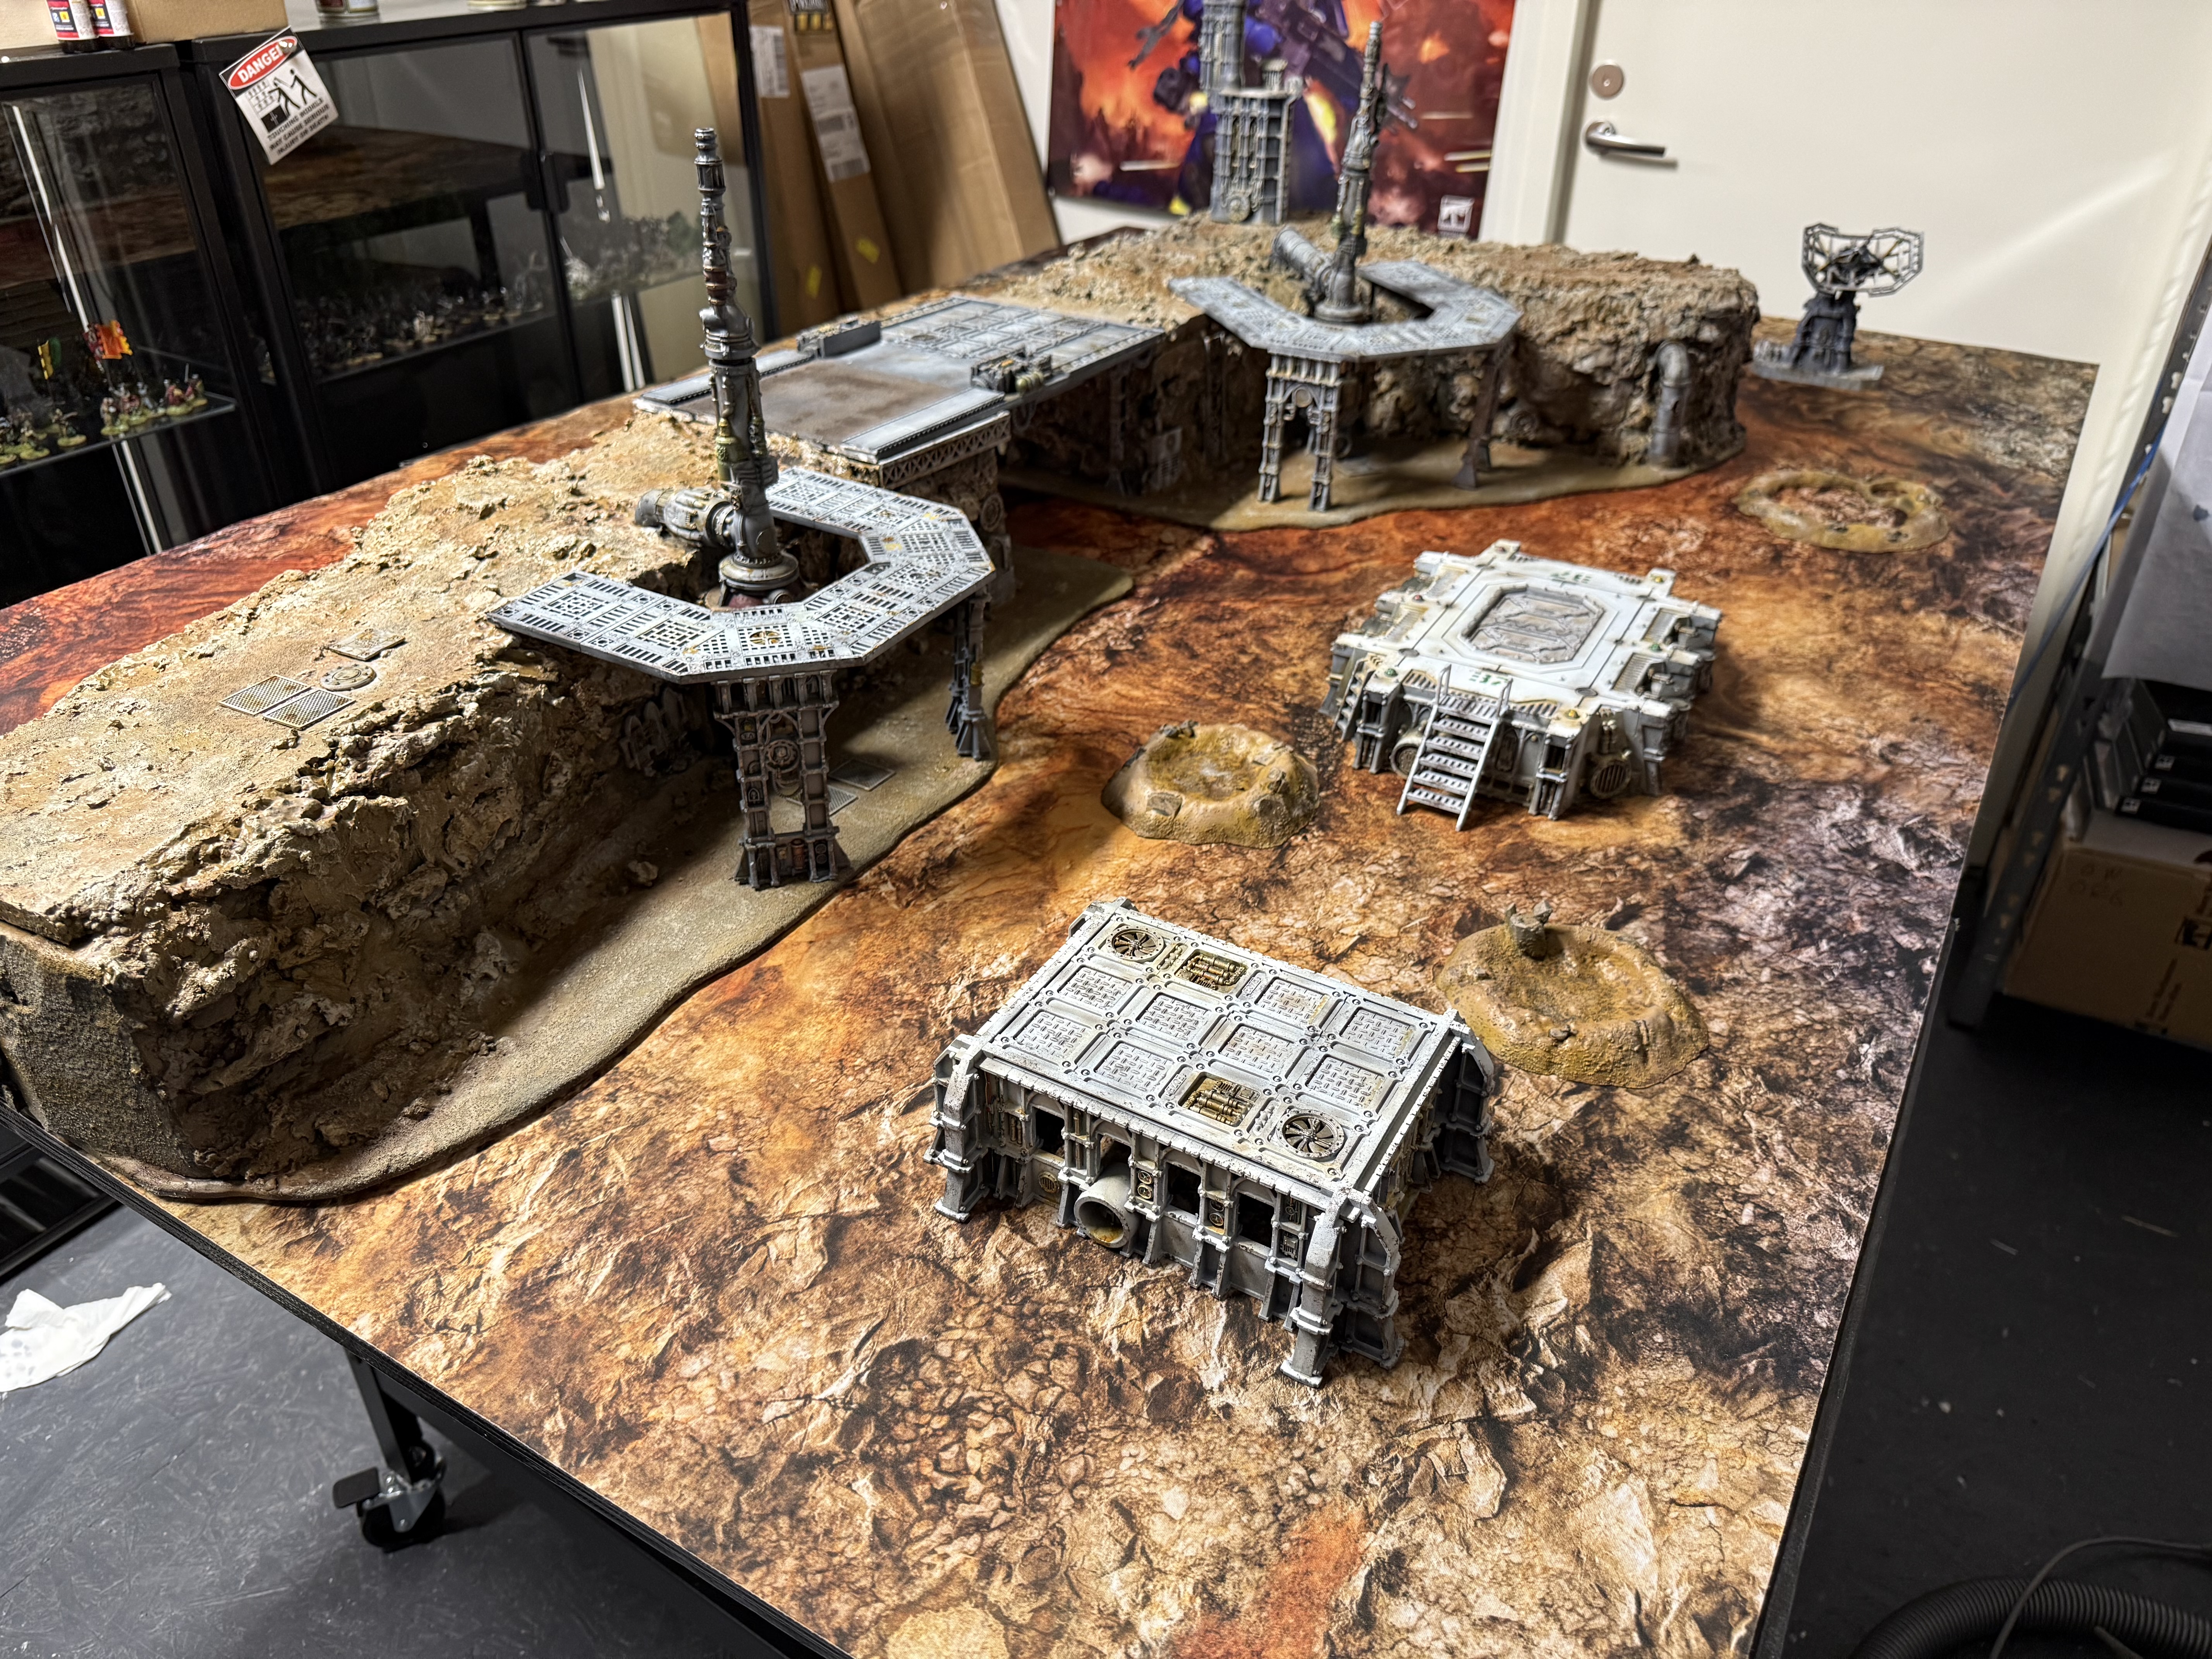
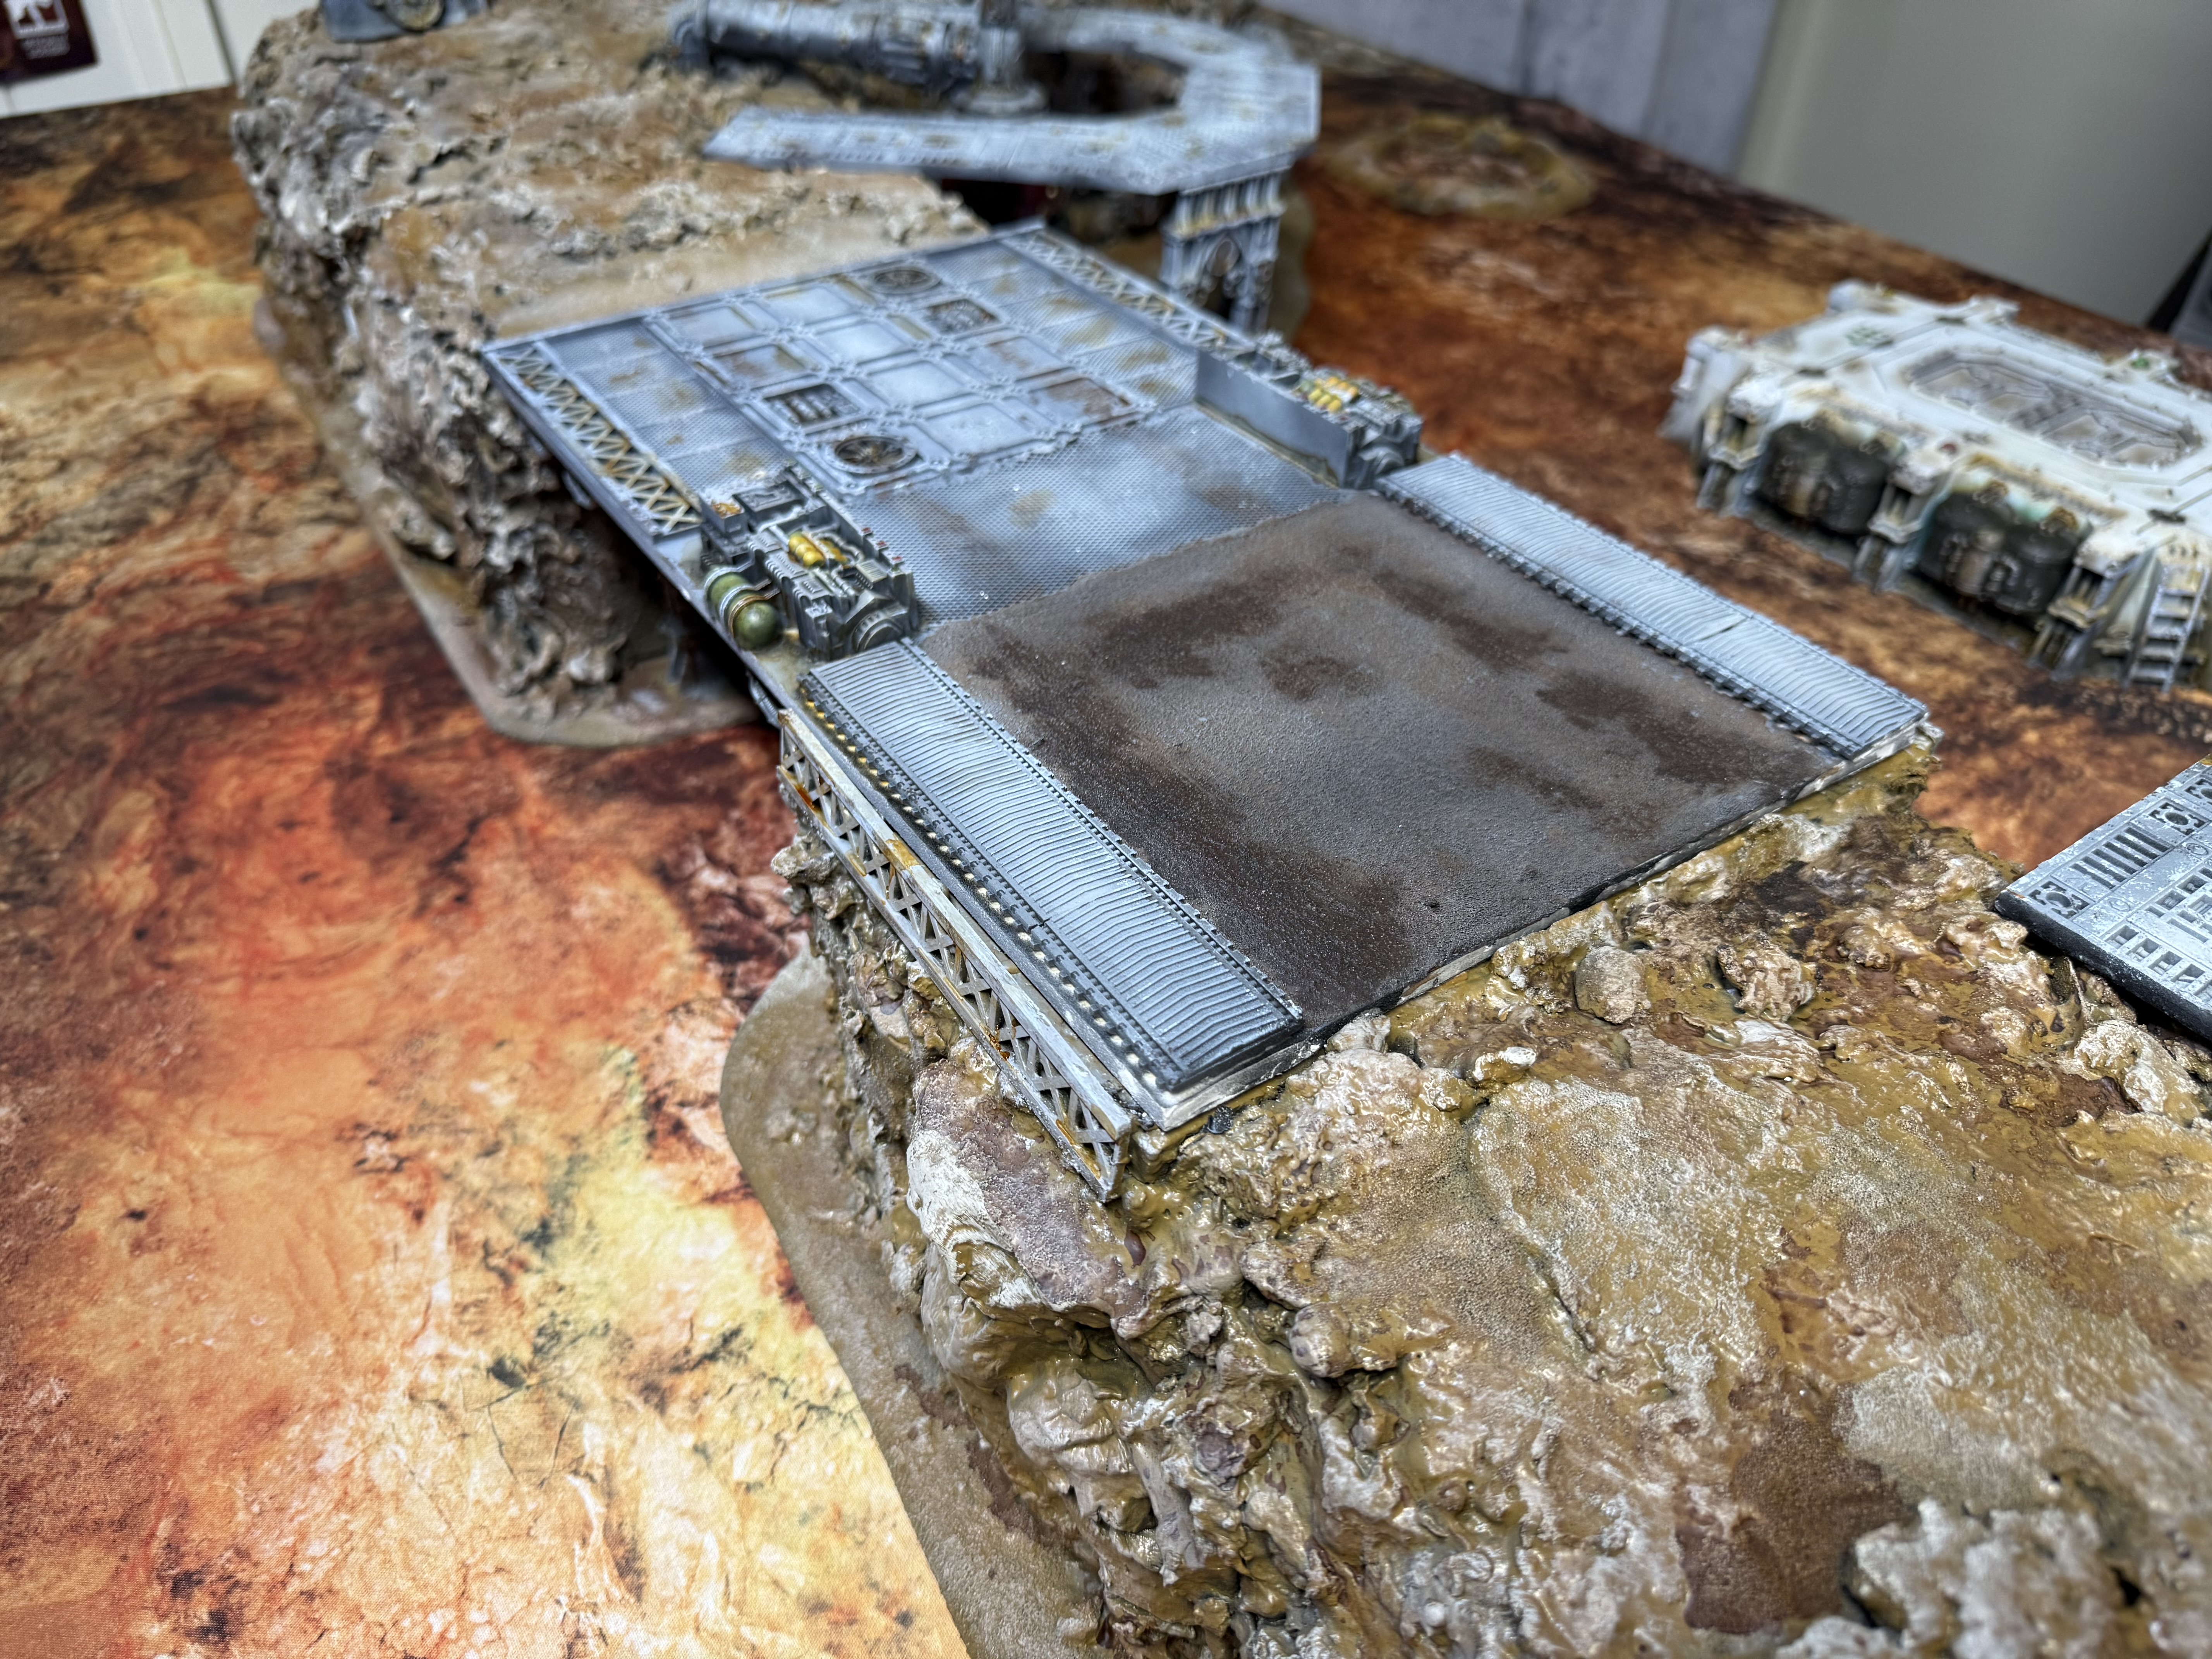
I picked up the “Warworld” mat from them. Goes rather nicely with the terrain and it was so exciting to place everything on table as it would look like to game with.
There’s still some details to fix and work on, and everything needs a matt varnish coat for protection and kill the shine. Anyhow, here’s some photos I took of where I’m now with the project.
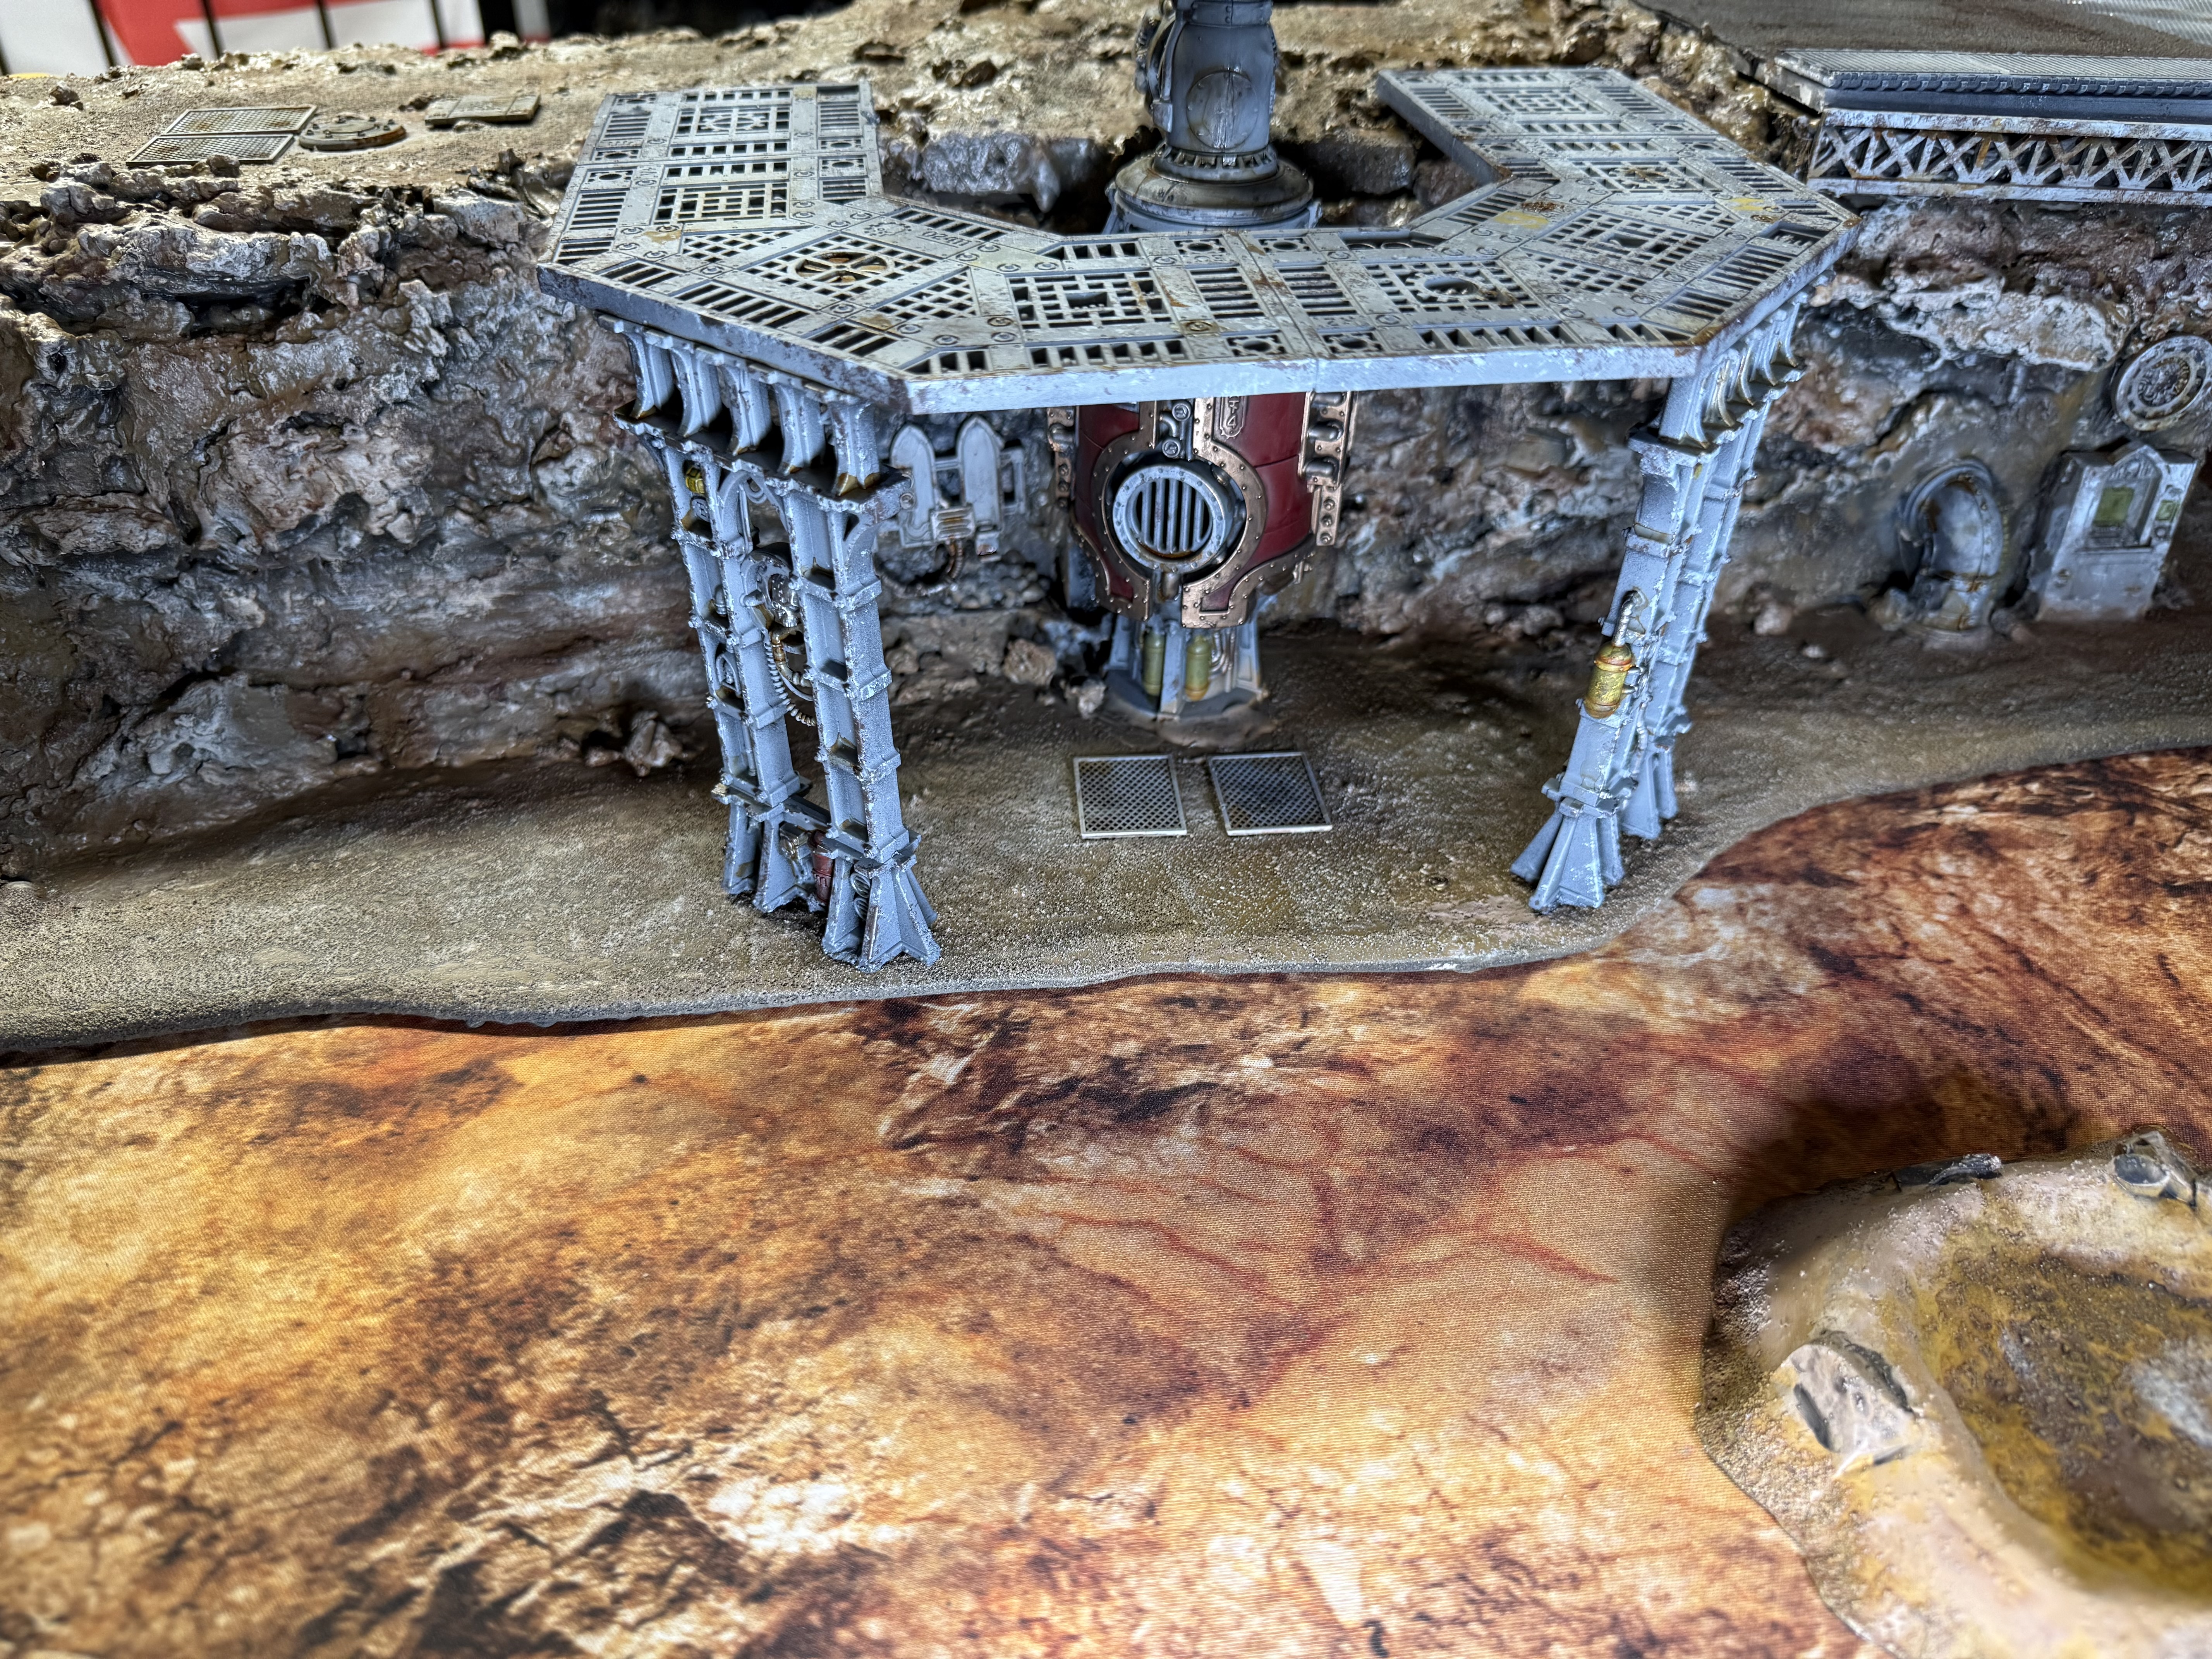
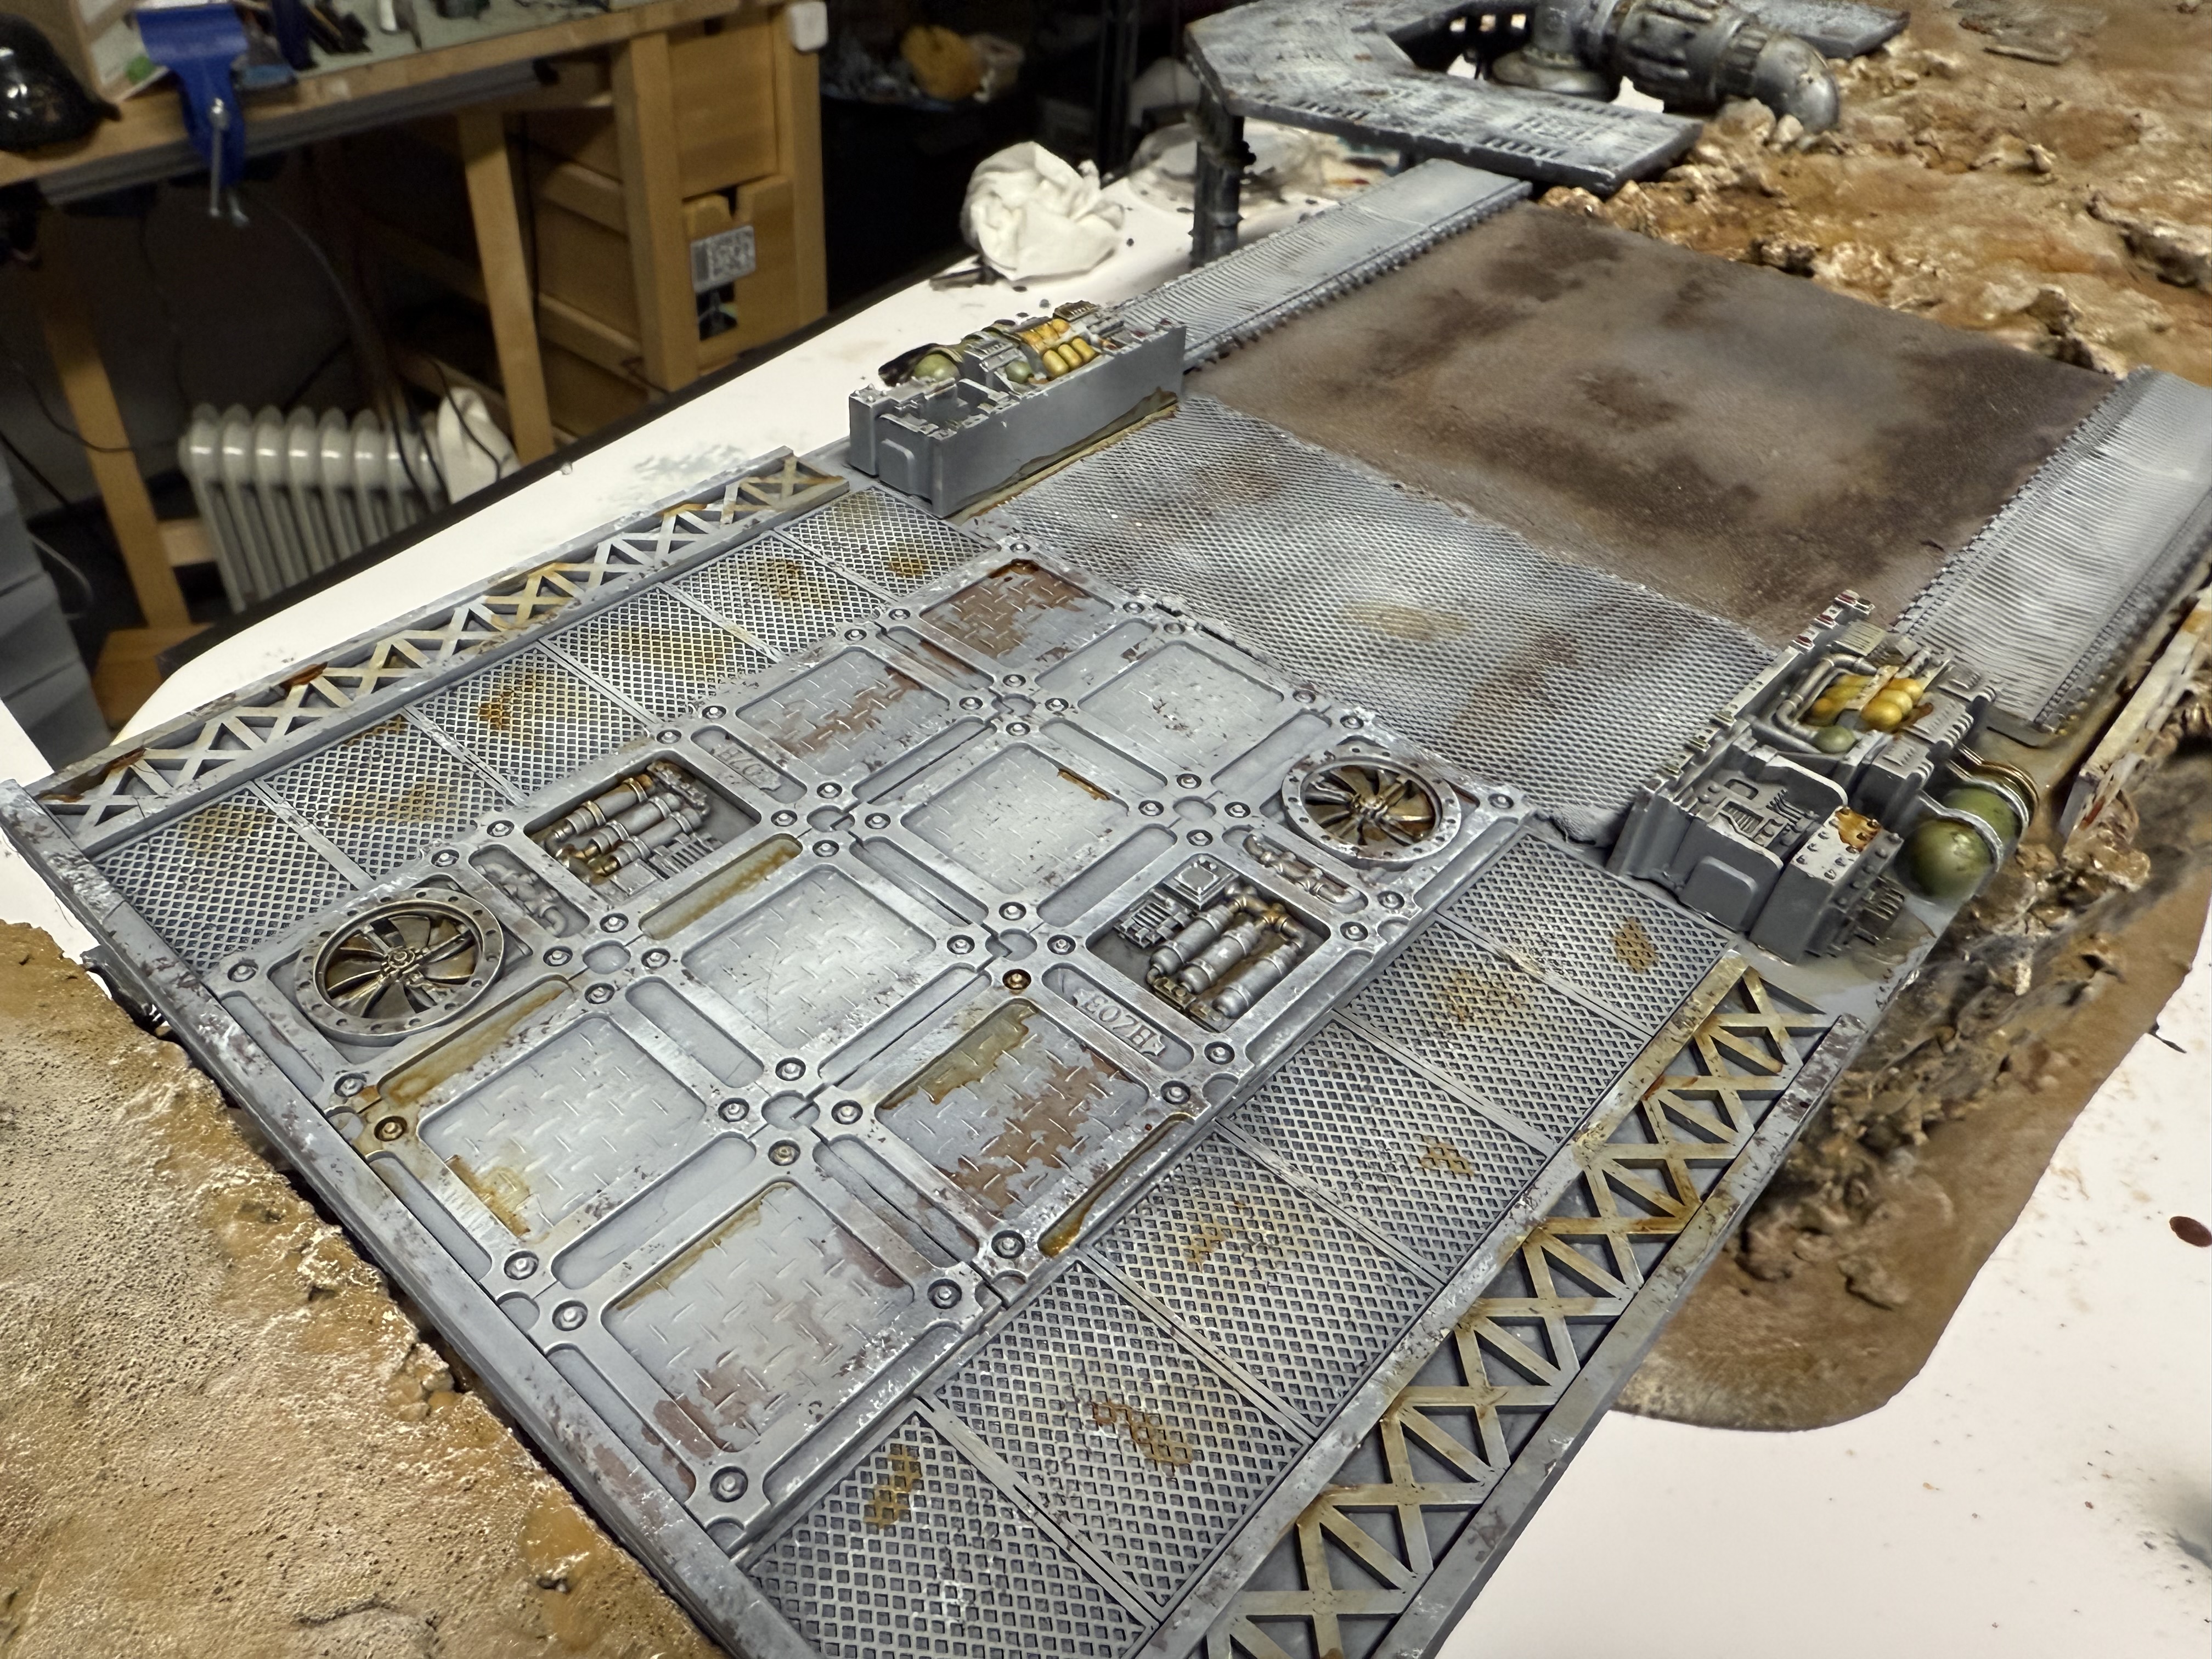
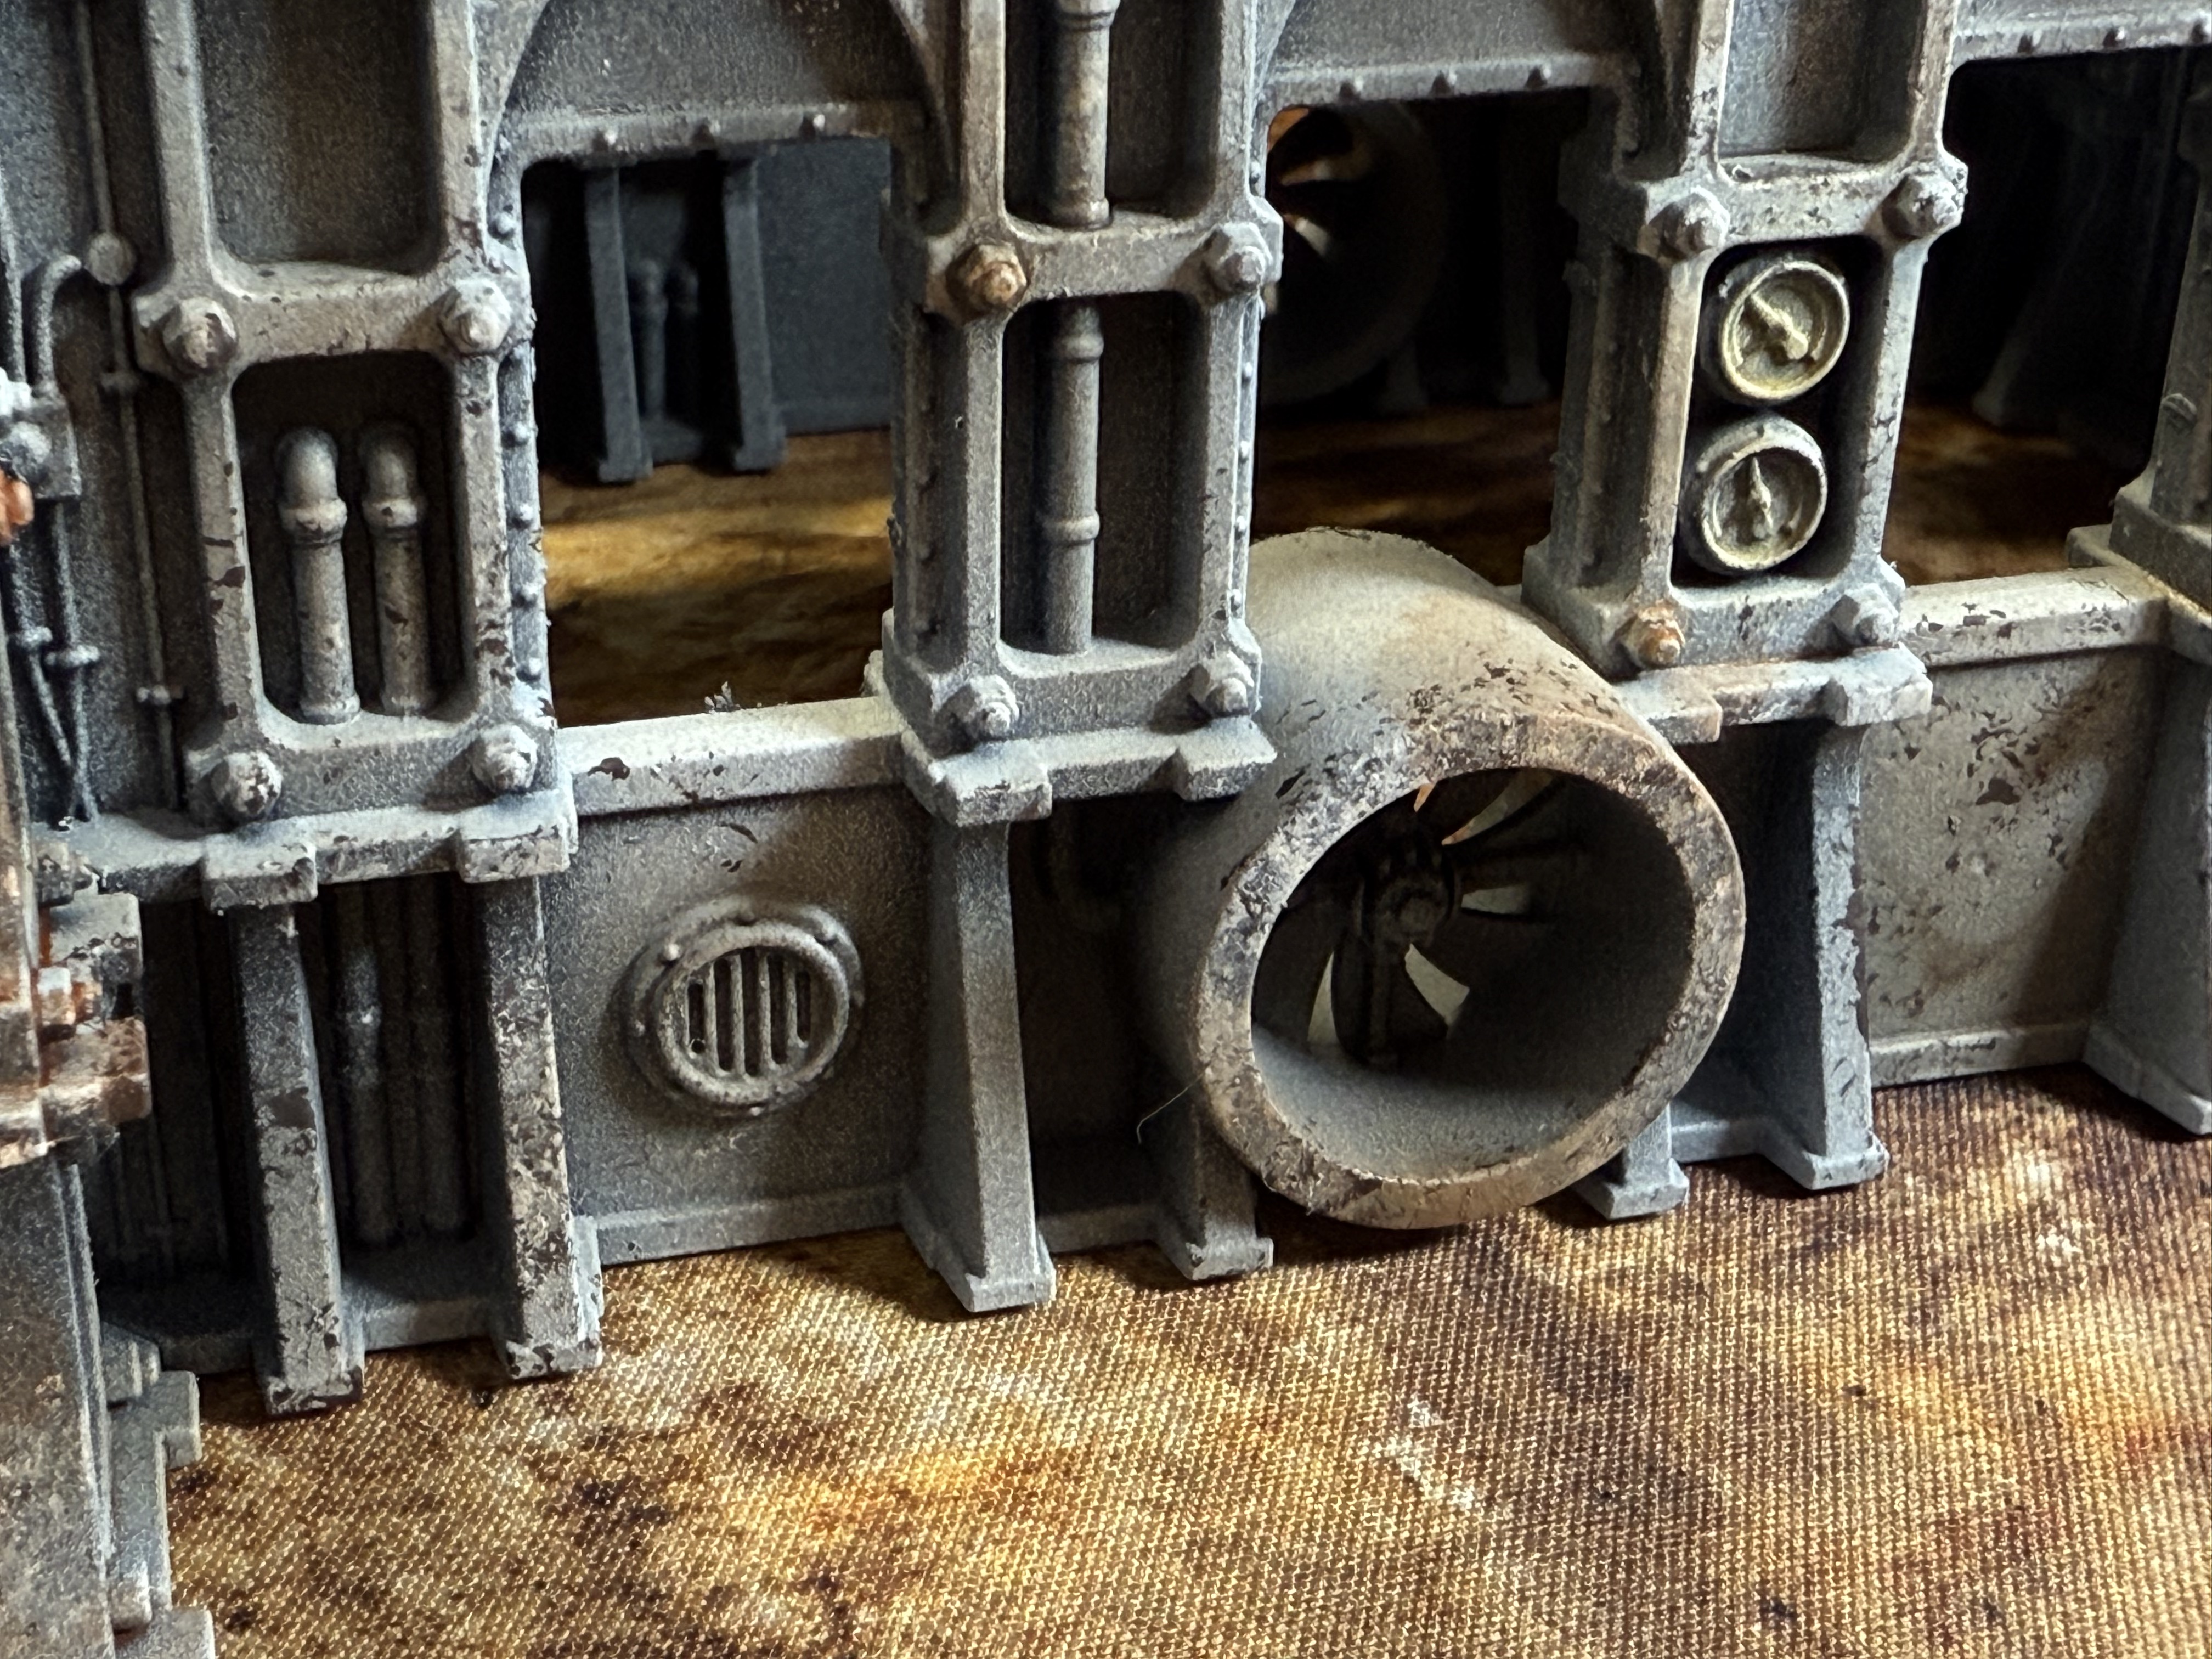
Day 8 and 9 picking out details and weathering
This is the tedious bit. I did a monster 5 hour sessions just painting the details, weathering down everything. I quite got into a flow of it didn’t take huge amount of WIP shots. Here’s a gallery on how I ended up.
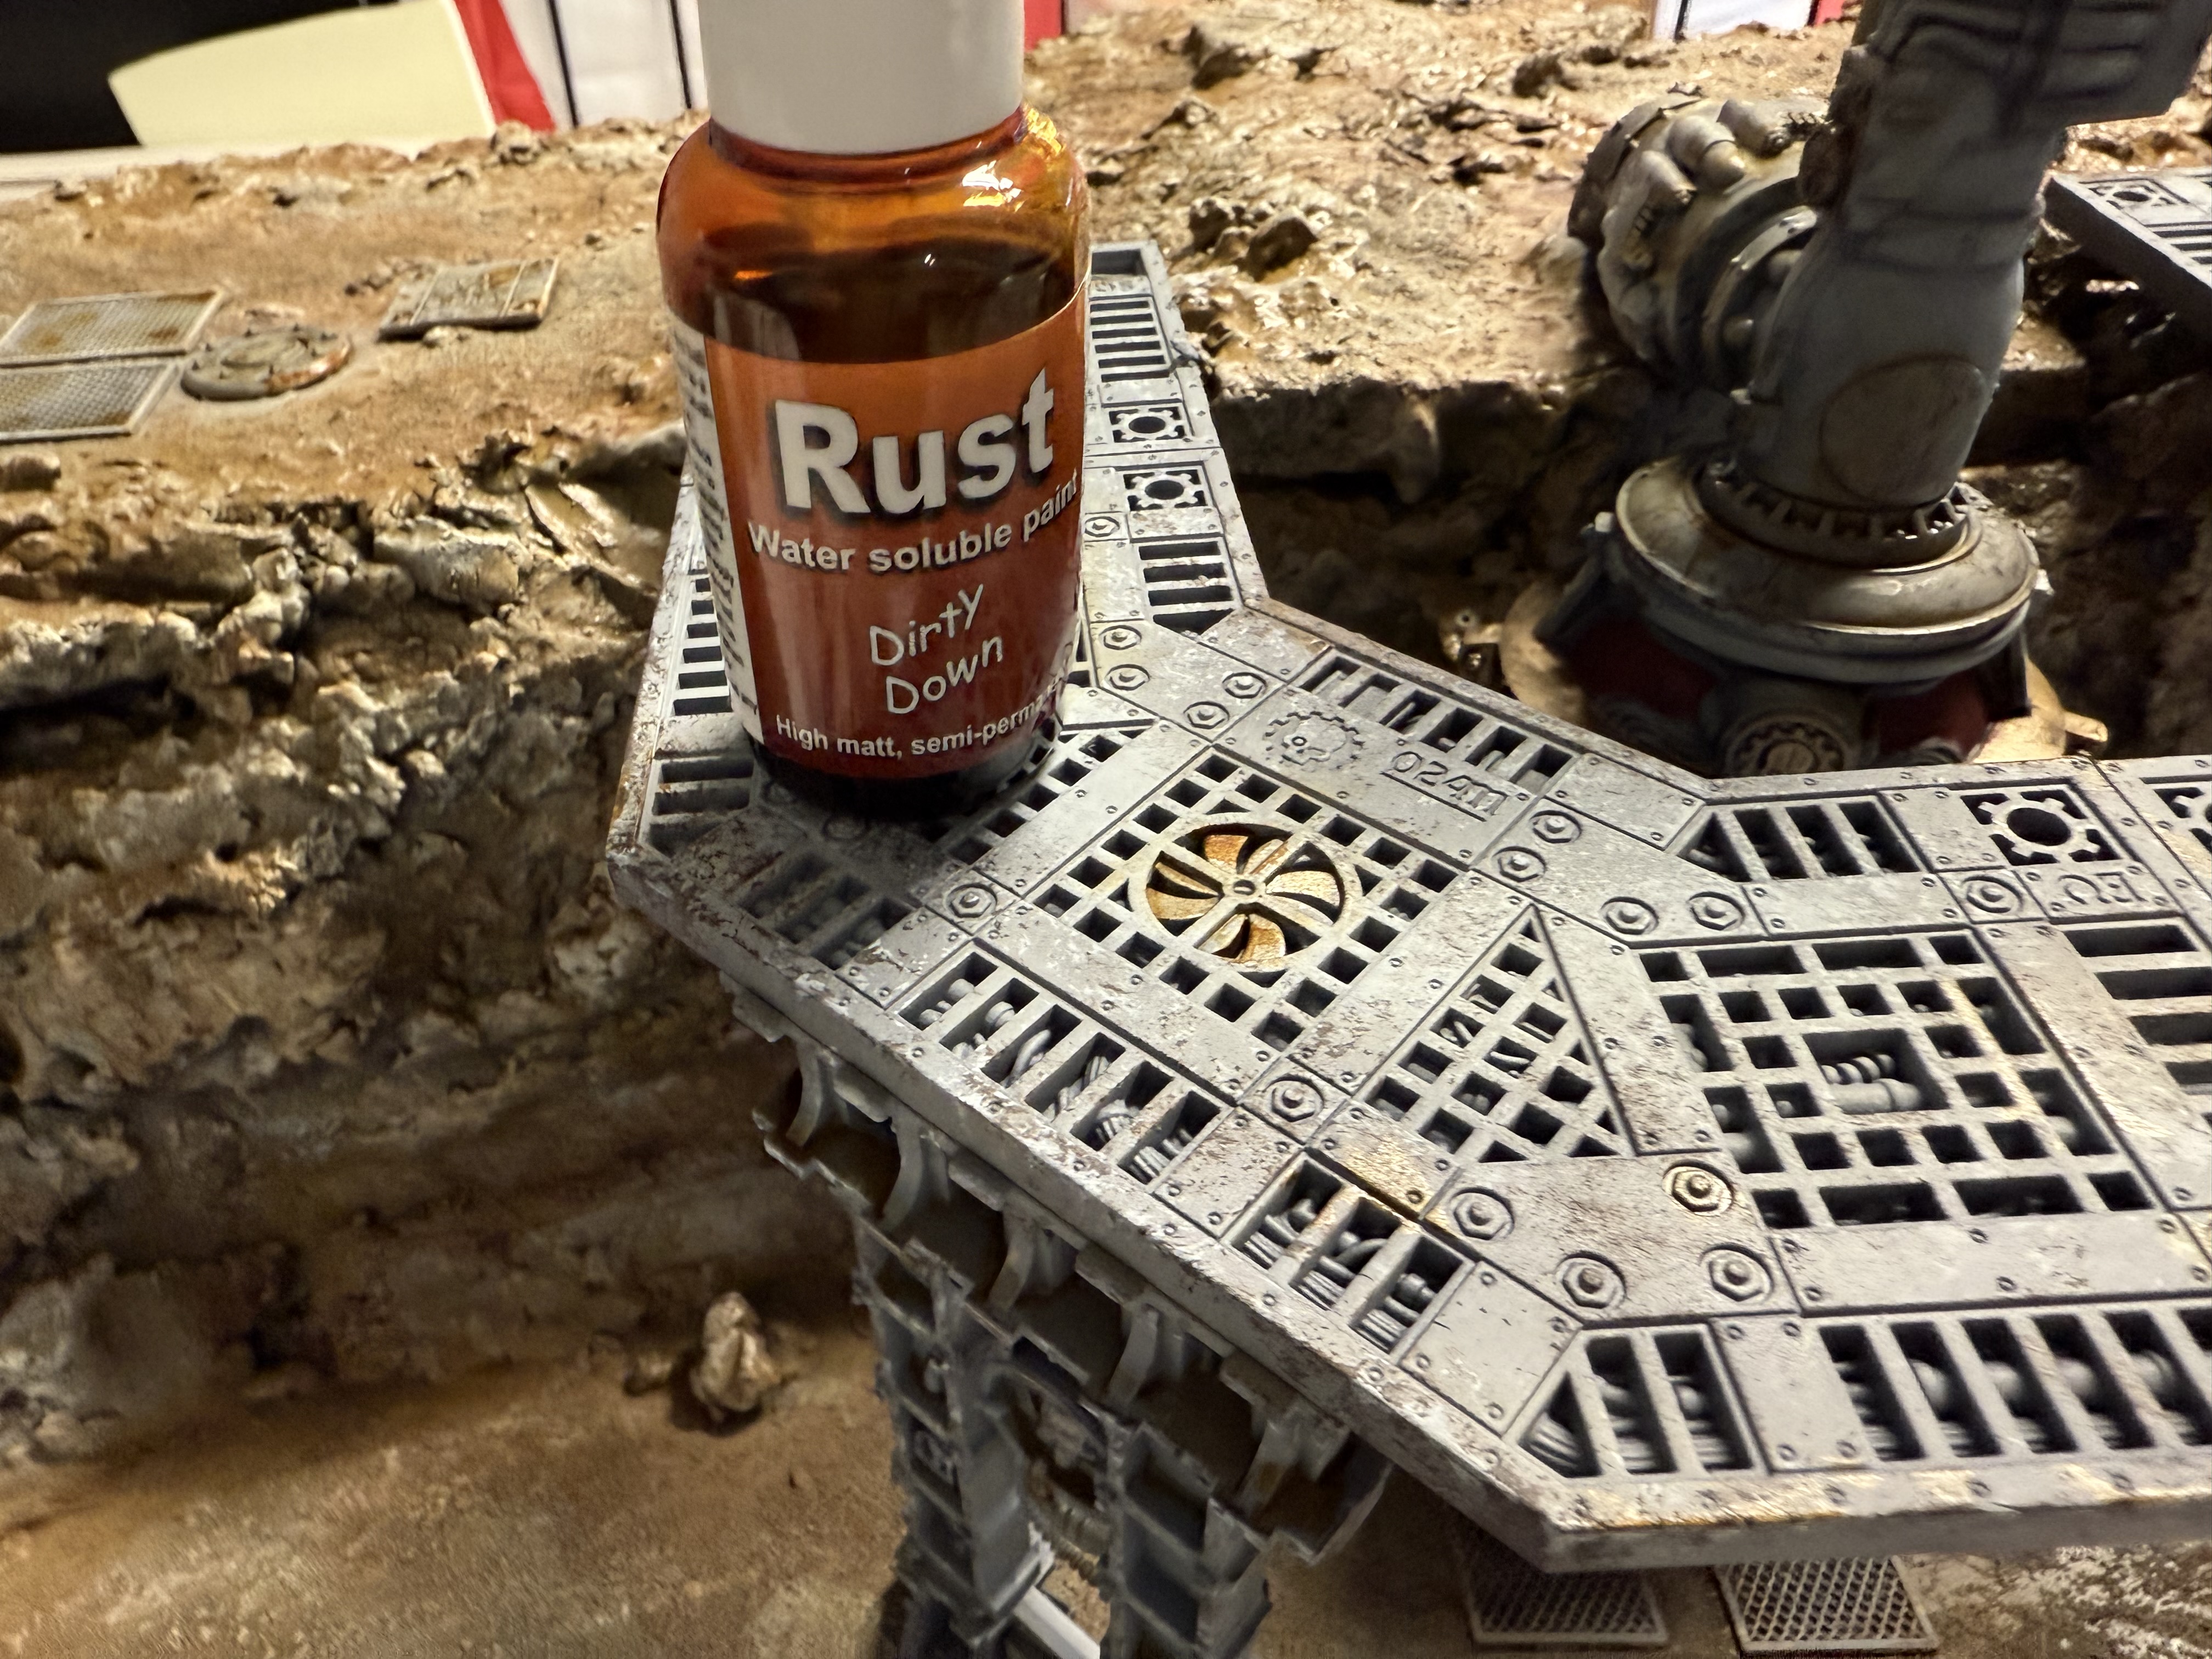
On the techniques used. I did some airbrushing, a lot of sponge stippling, washes and Dirty Down rust effect.