






Crisis… What Crisis?



Recommendations: 373
About the Project
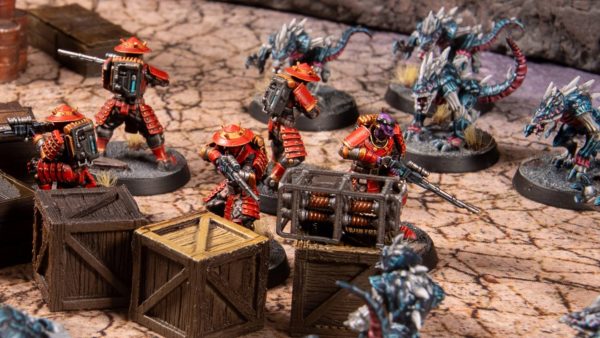
This is a terrain project... and painting project. I bought some tiles to use in Marvel Crisis Protocol and I have just weakened and ordered the MCP X-Men Starter (which I had to order from america)... The old is some proxy miniatures that I bought some time ago from Etsy along with some scatter terrain from Walking Dead. How long it will take to complete is unclear and I started work on the project before I took any photos... so the first images will be part way through the project.
Related Game: Marvel Crisis Protocol Miniatures Game
Related Company: Atomic Mass Games
Related Genre: Science Fiction
Related Contest: Spring Clean Hobby Challenge 2026
This Project is Active
More On Windows
Found a colour that I like for the windows and it was a metallic blue from the pen set. It’s still not perfect, but I’m happy with it.
Some tidying up to do and the rest of the windows to install on the other sides of this building and the other building, but I’m getting there.
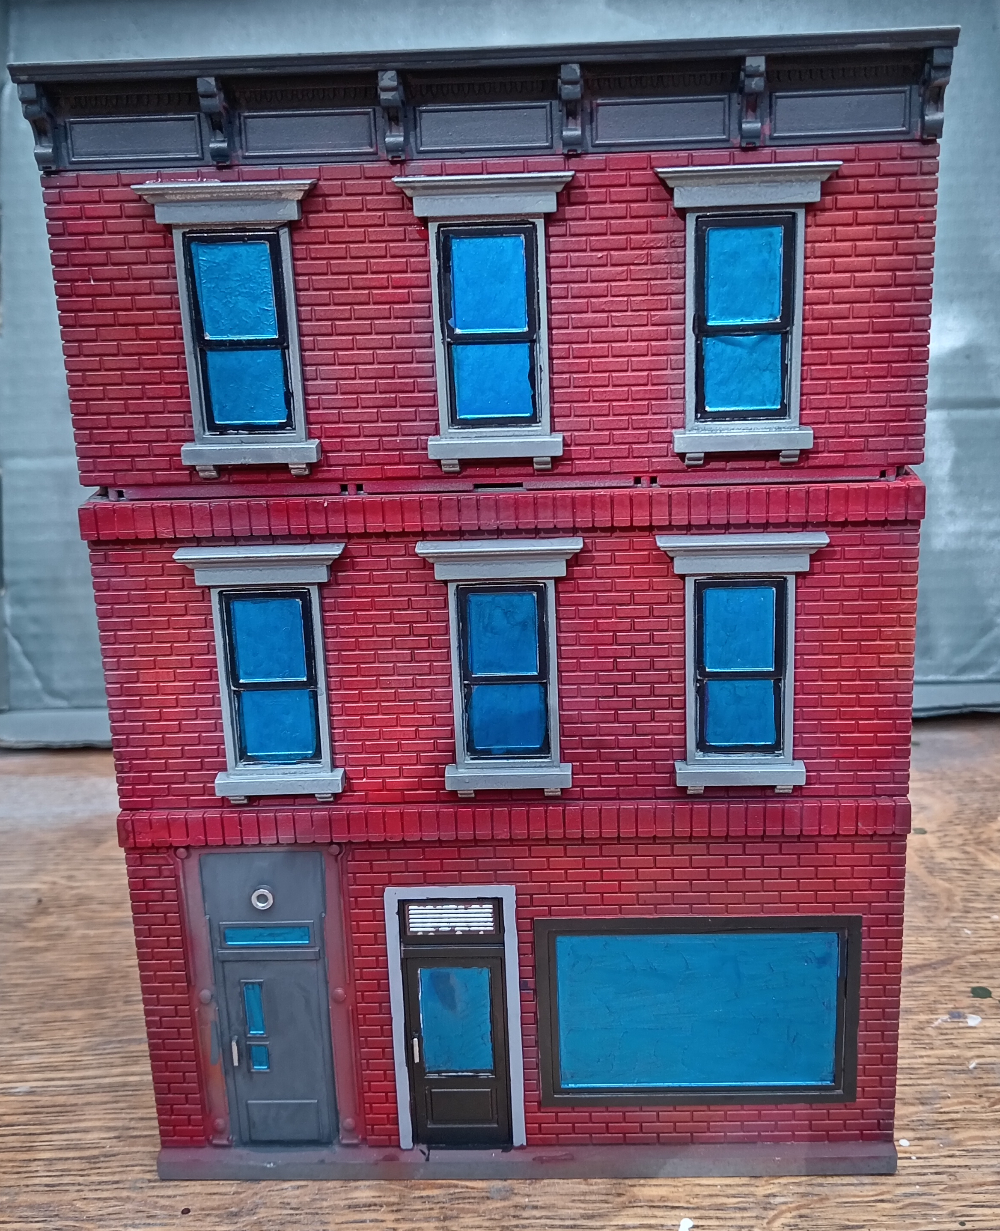 Finally starting to feel like I'm getting somewhere. Once the terrain is finished I will turn my attention to the X-Men miniatures.
Pens
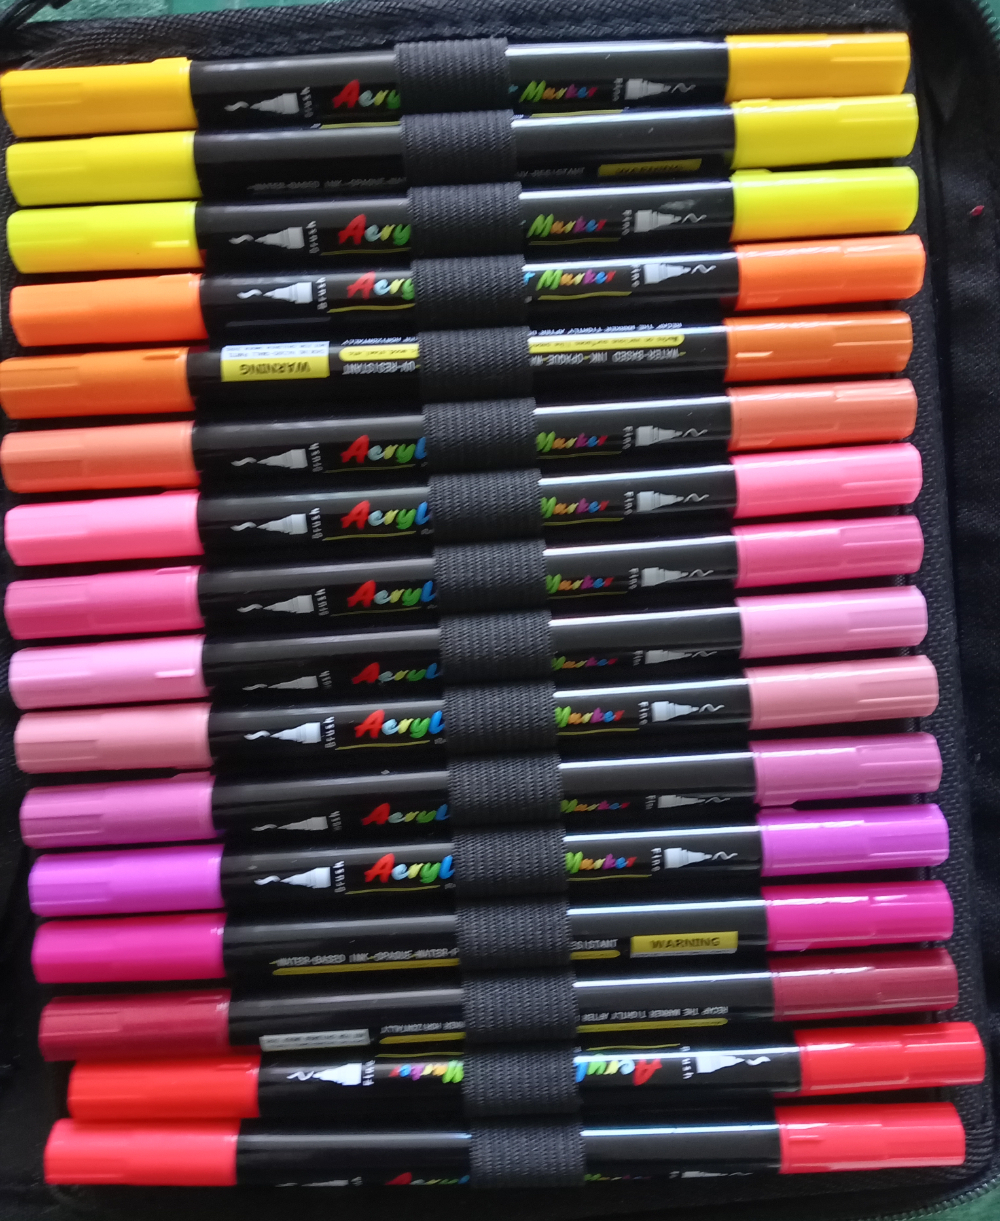
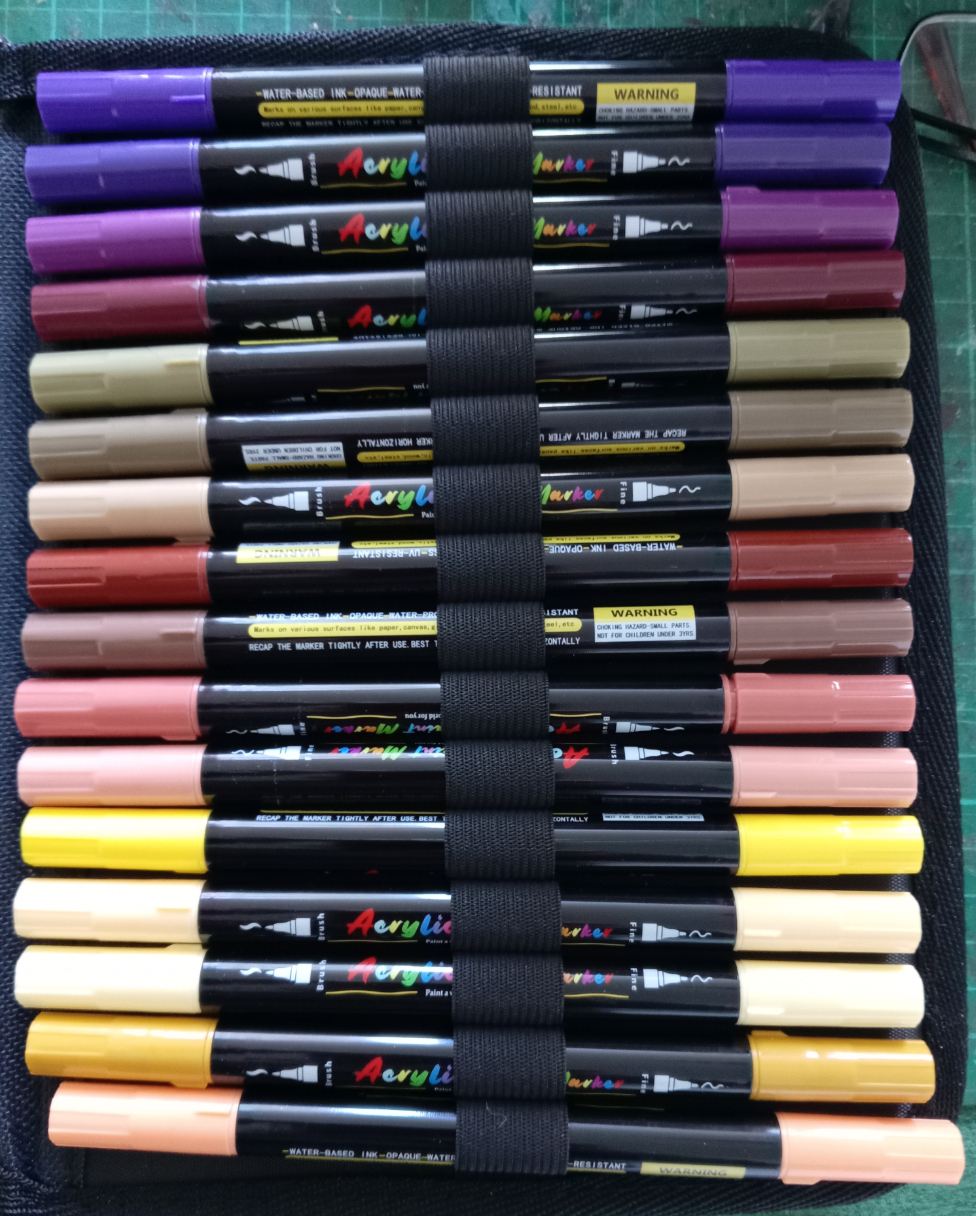
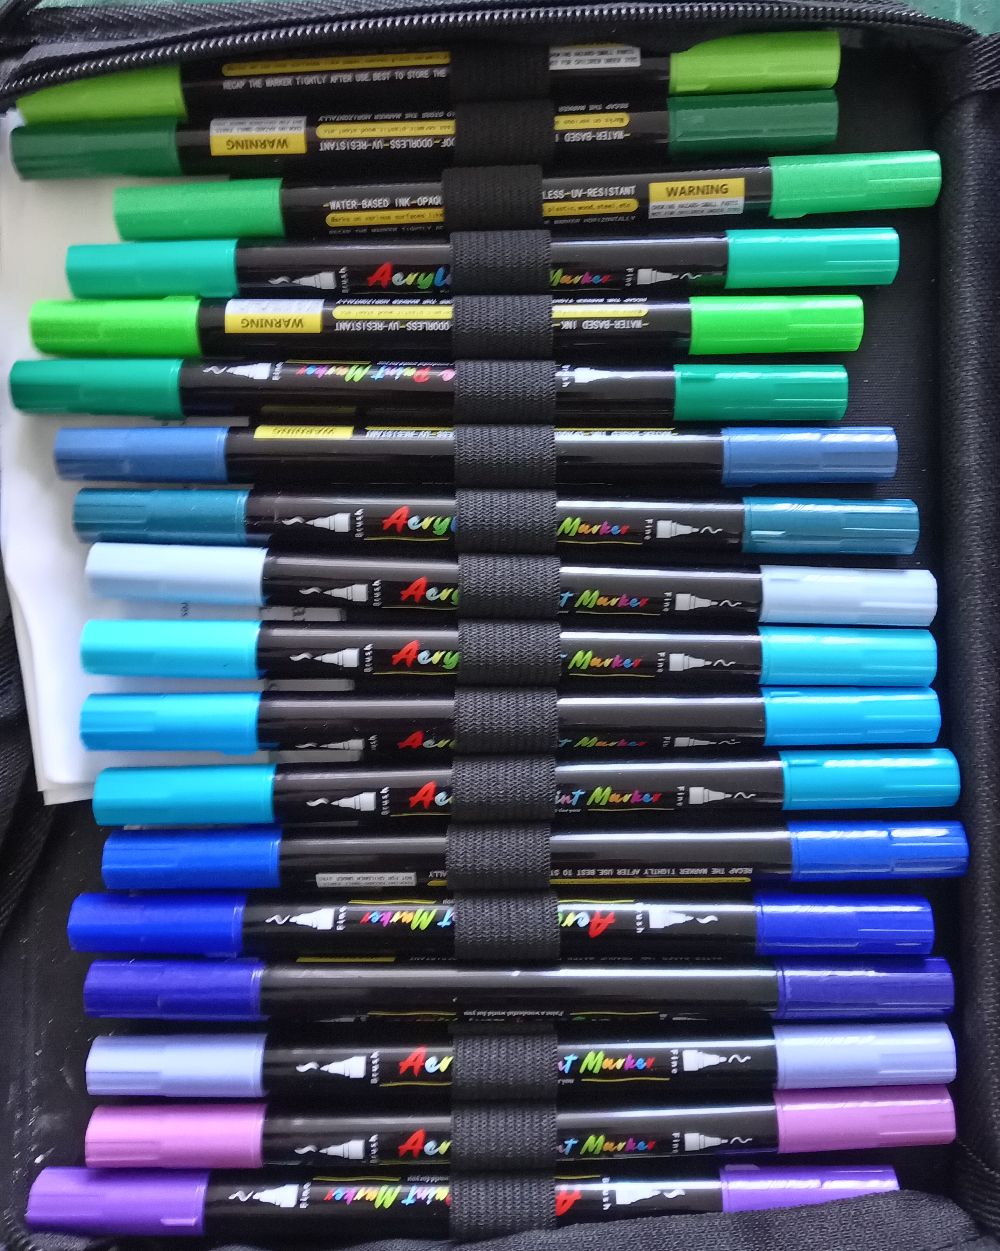
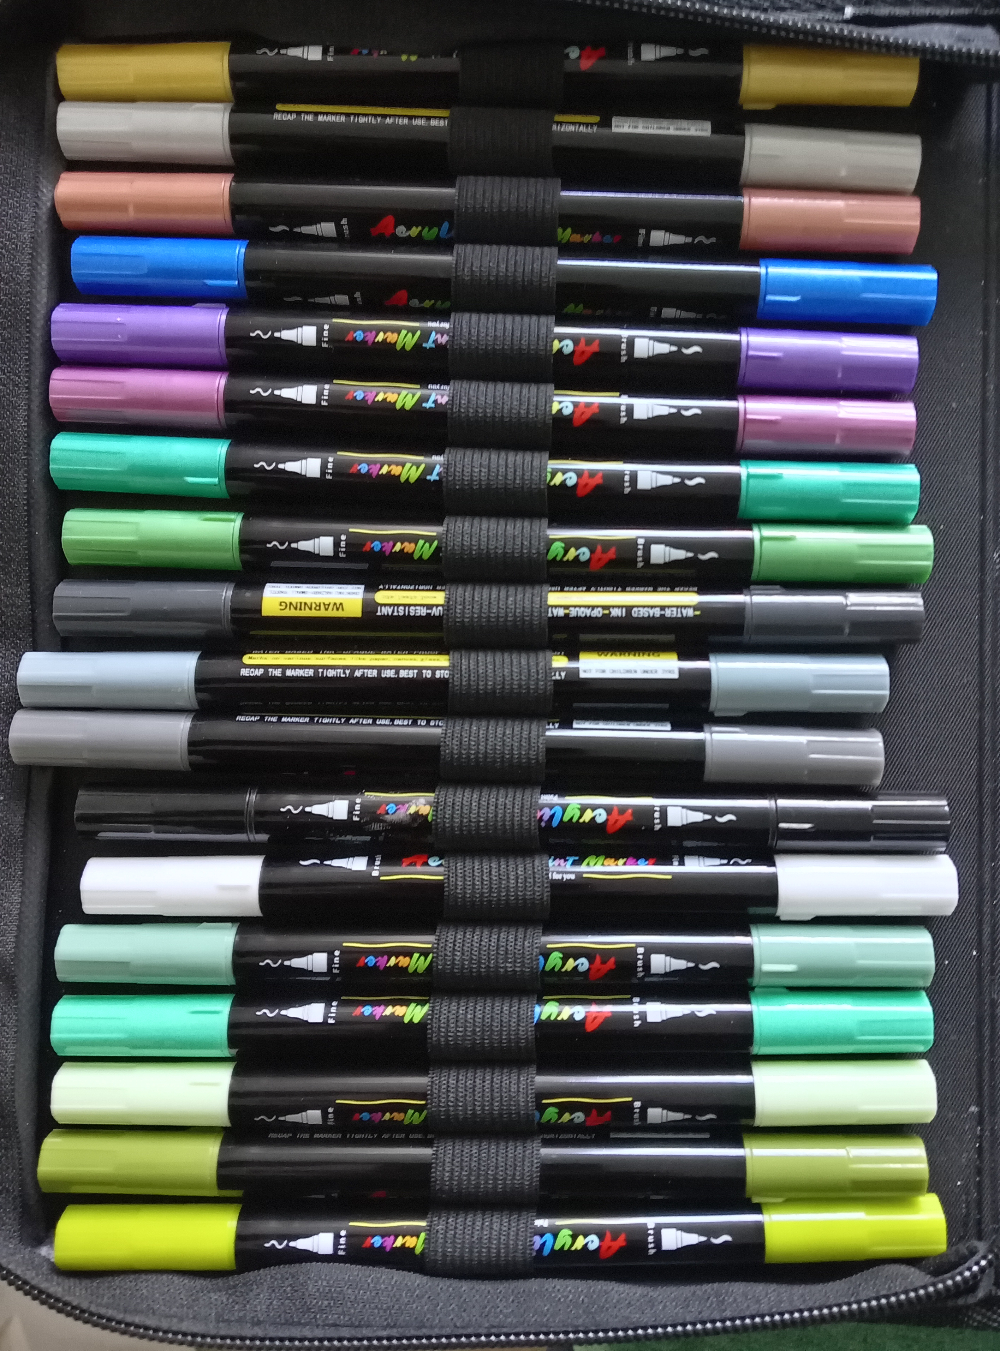
As I have been using the paint pens I thought I should show them.
I bought them for around £16 when they were on offer and found them surprisingly useful considering the price as that’s equivalent to about 5 pots of paint.
There’s even some metallic colours in there: Gold, Silver, Copper and a few others.
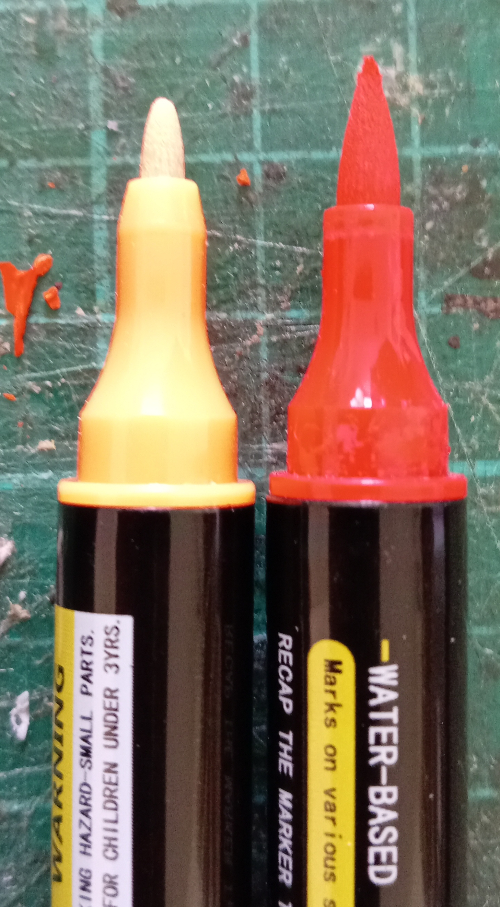
I’ve added an image to illustrate the difference between the fine tip which is much like a felt tip pen and the longer brush tip which is a bit more flexible.
Signs
The windows have been driving me crazy, so I took a break and painted some other bits and pieces.
The Oscorp tank can be swapped for the trash truck.
The writing on the signs and trucks was done using the cheap paint pens I bought.
The little stick men on the traffic lights you can probably tell were free handed using the fine end of of the paint pens.
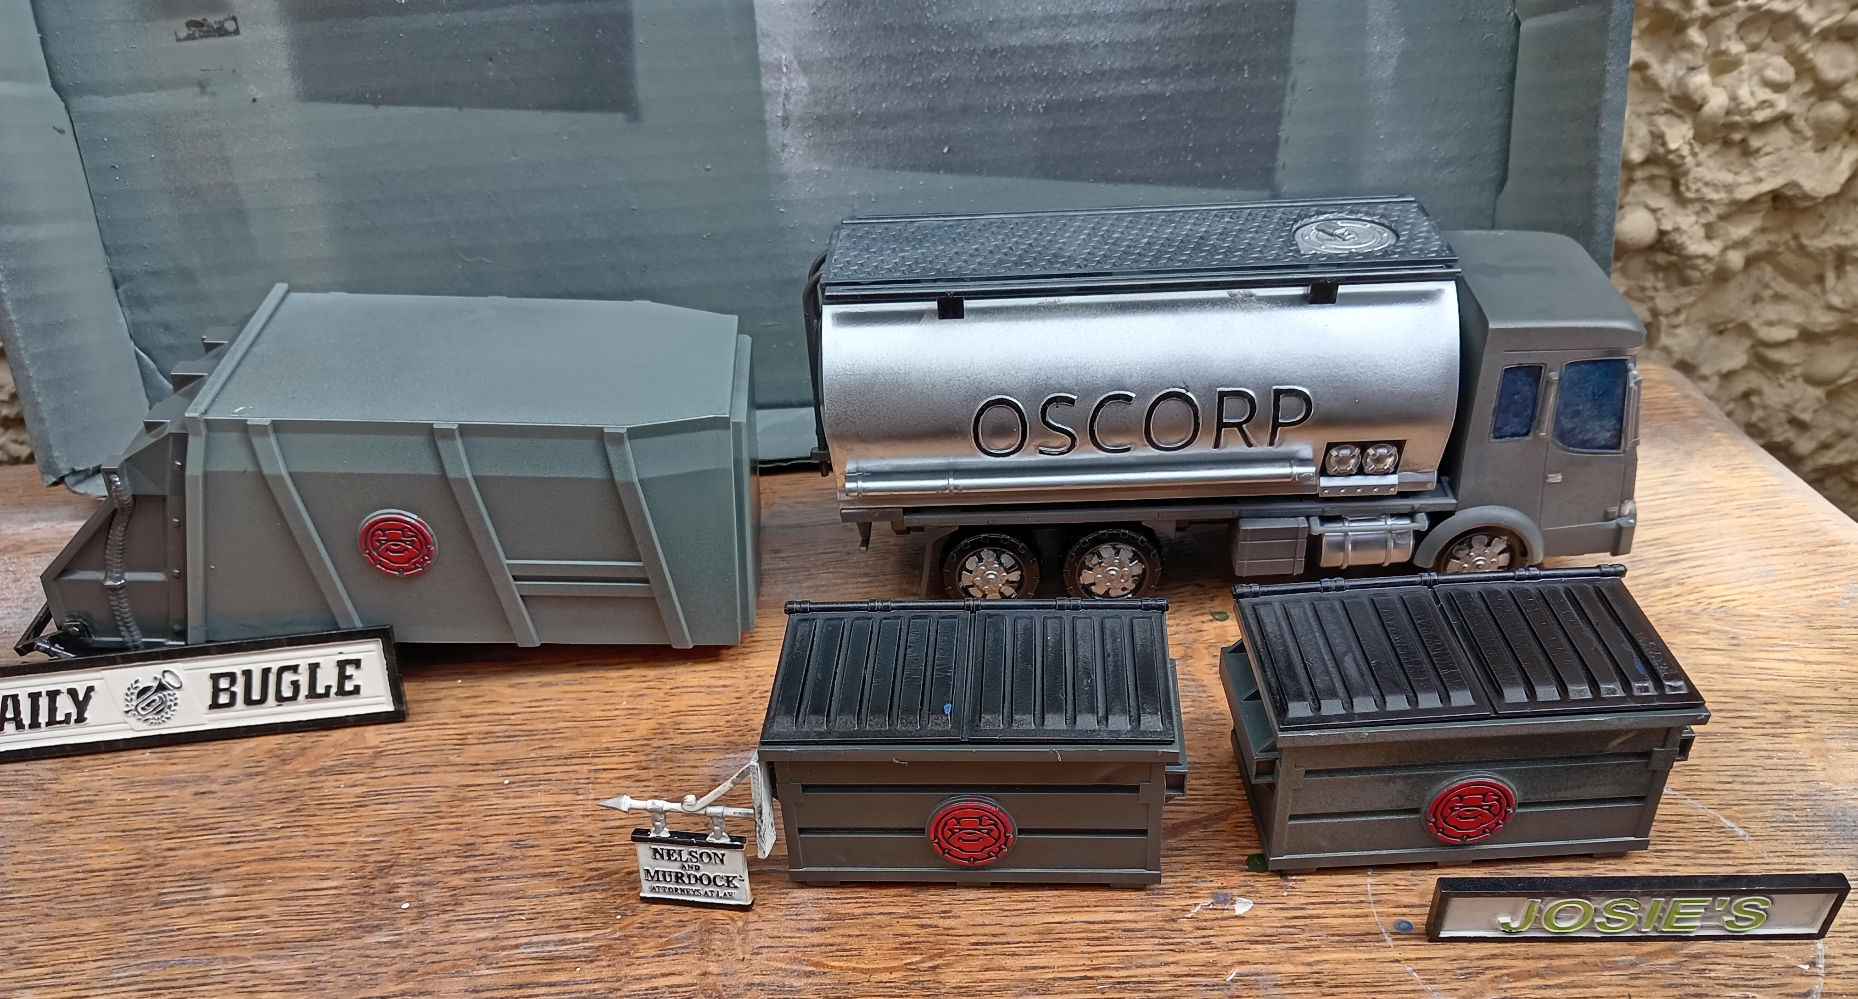 The pens are quite useful for the writing especially if you use the edge of it.
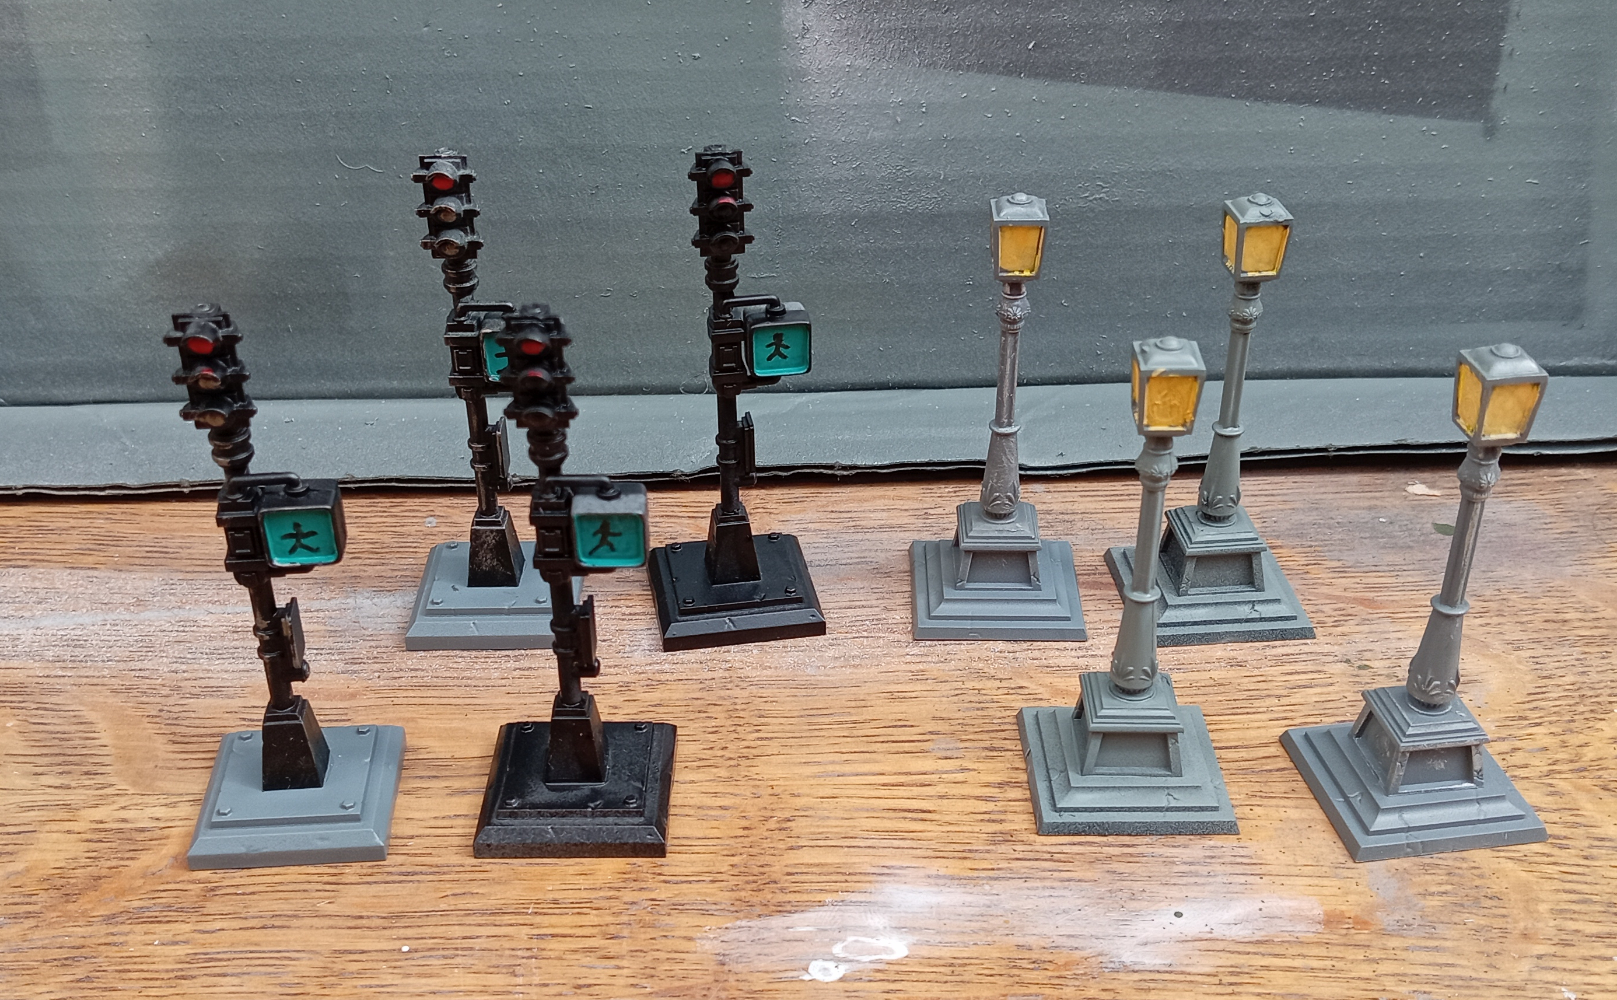 Painted the lamps yellow to imply they are lit if I'm running a battle and want to imagine it's night.
Windows
I will start by saying that I know this does not look great, but I’m still in the testing phase.
I had some spray silver that I used on the windows that were on a separate sprue from the building and then used a black paint pen to colour the frame. That’s the windows at the top of the image.
For the shop window at the bottom I used a silver paint pen for the glass and then black pen for the frame.
I’m not expecting perfection as glass is not something I have had much success with in the past… and present as you can see.
If I can find a better method then I will do that, but worst case scenario… the windows are painted and the focus of MCP is on the battle, not the terrain.
Enough waffle… here’s the prototype.
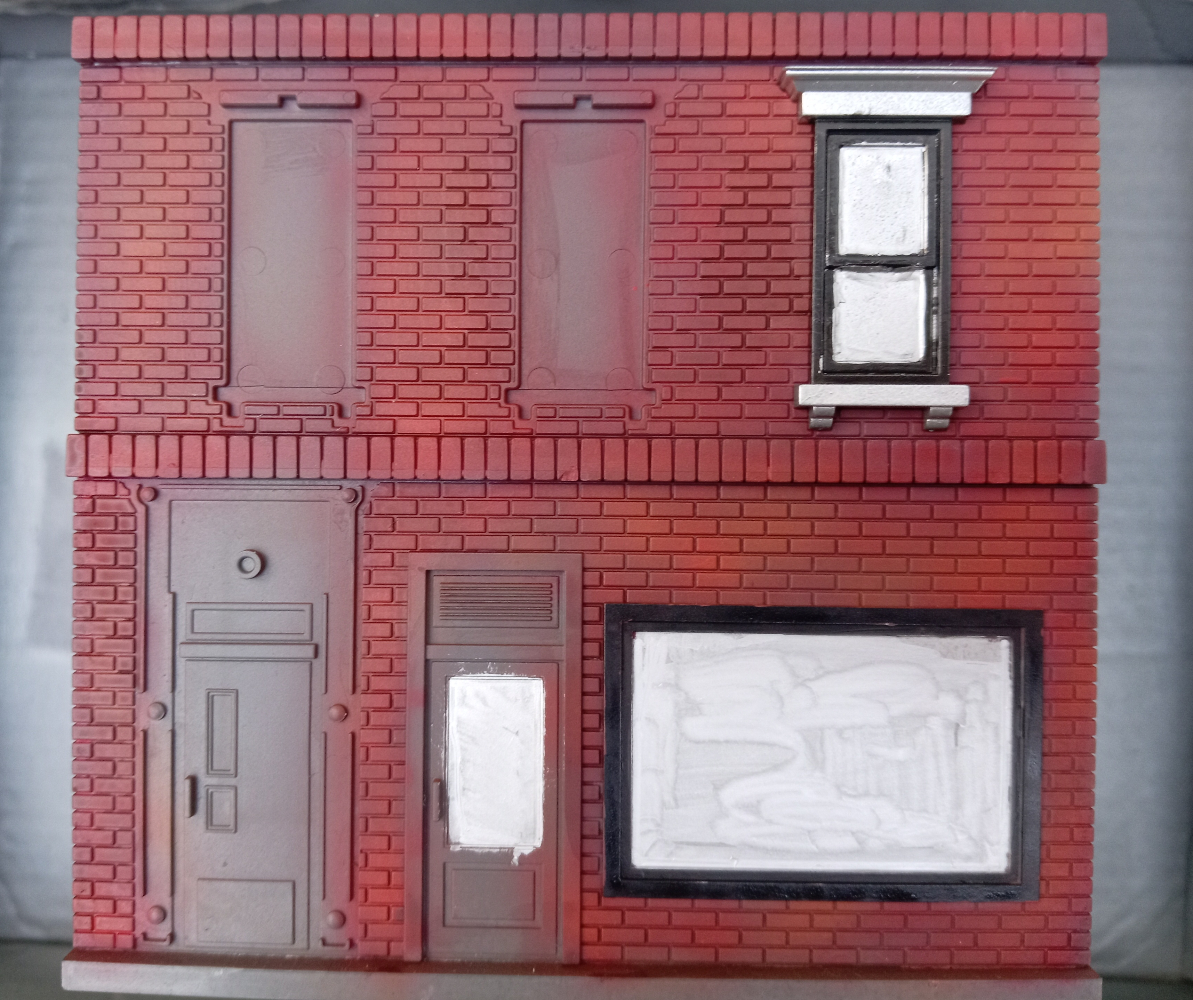 Need to tone the glass down I think. Maybe a light grey, or something.
Interlude
Didn’t feel like hobby today, so I read some Excalibur comics and parts of the Marvel Multiverse RPG books.
Maybe tomorrow I will get back to the painting.
A Splash Of Colour On The Sentinels
The Sentinels didn’t look right blue and silver, so I added a little colour.
Purple over the head seems to work and gives it some contrast.
The orange in the chest plate matches the centre of the palms.
It’s not perfect, but it’s better in my opinion.
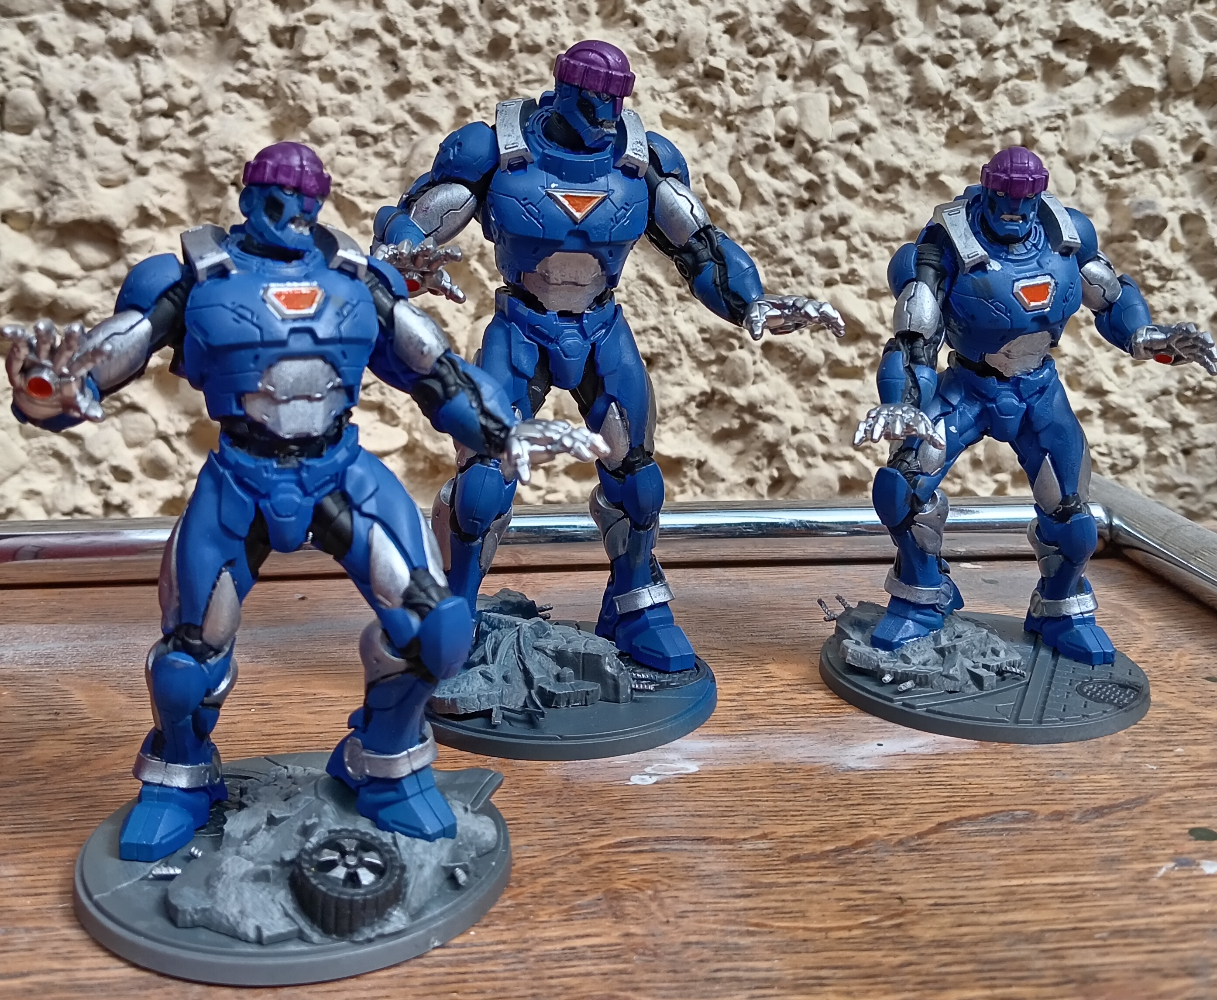 I will need to touch up my mistakes and add more colour to the bases.
Shady Part Of Town
Applied the second and third colours of the triad via the airbrush.
They are far from perfect, but I’m satisfied(ish) with the result.
I plan on doing a wash over the brick work at some point.
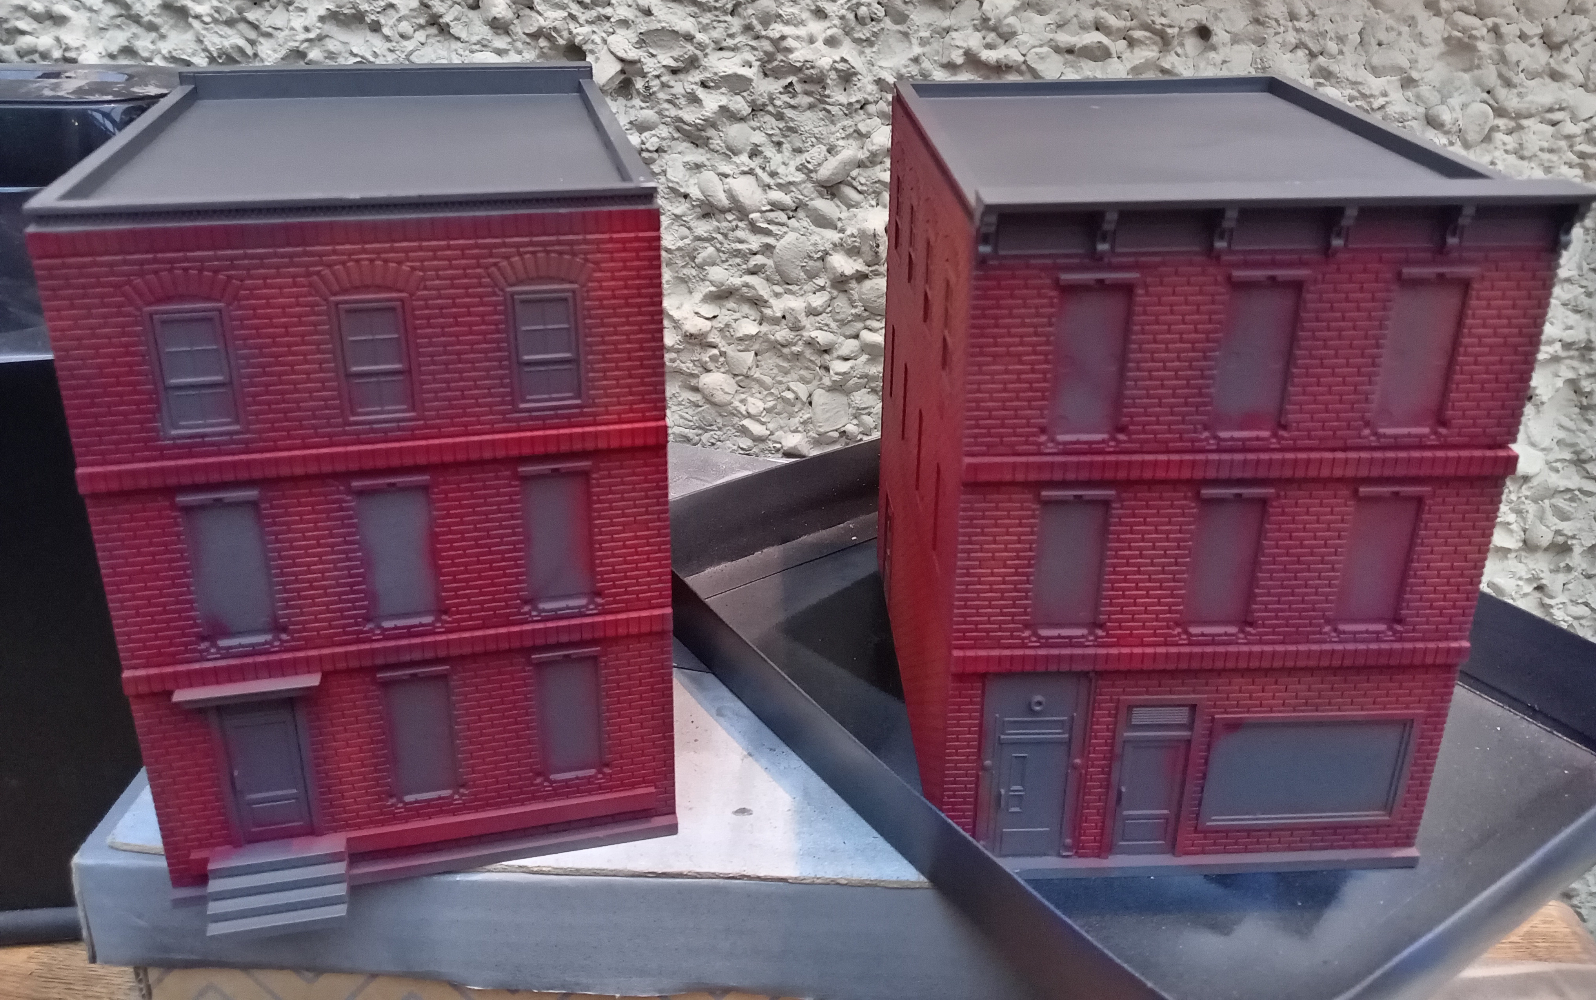 I consider my work 'adequate' on the two buildings.
Bricking It
Didn’t have a red brick primer for the two buildings and so I just primed them with a dark grey.
Then I looked through my air paints and found a red to try (Encarmine Red).
I know the coat is not smooth, but I don’t want it to be as bricks vary in colour.
I’ll probably go over it again with the next shade in the colour triad (Pure Red) when that first coat has dried fully and they with the final shade of the triad Archangel Red).
After that I will focus on the windows, doors and anything else that needs doing.
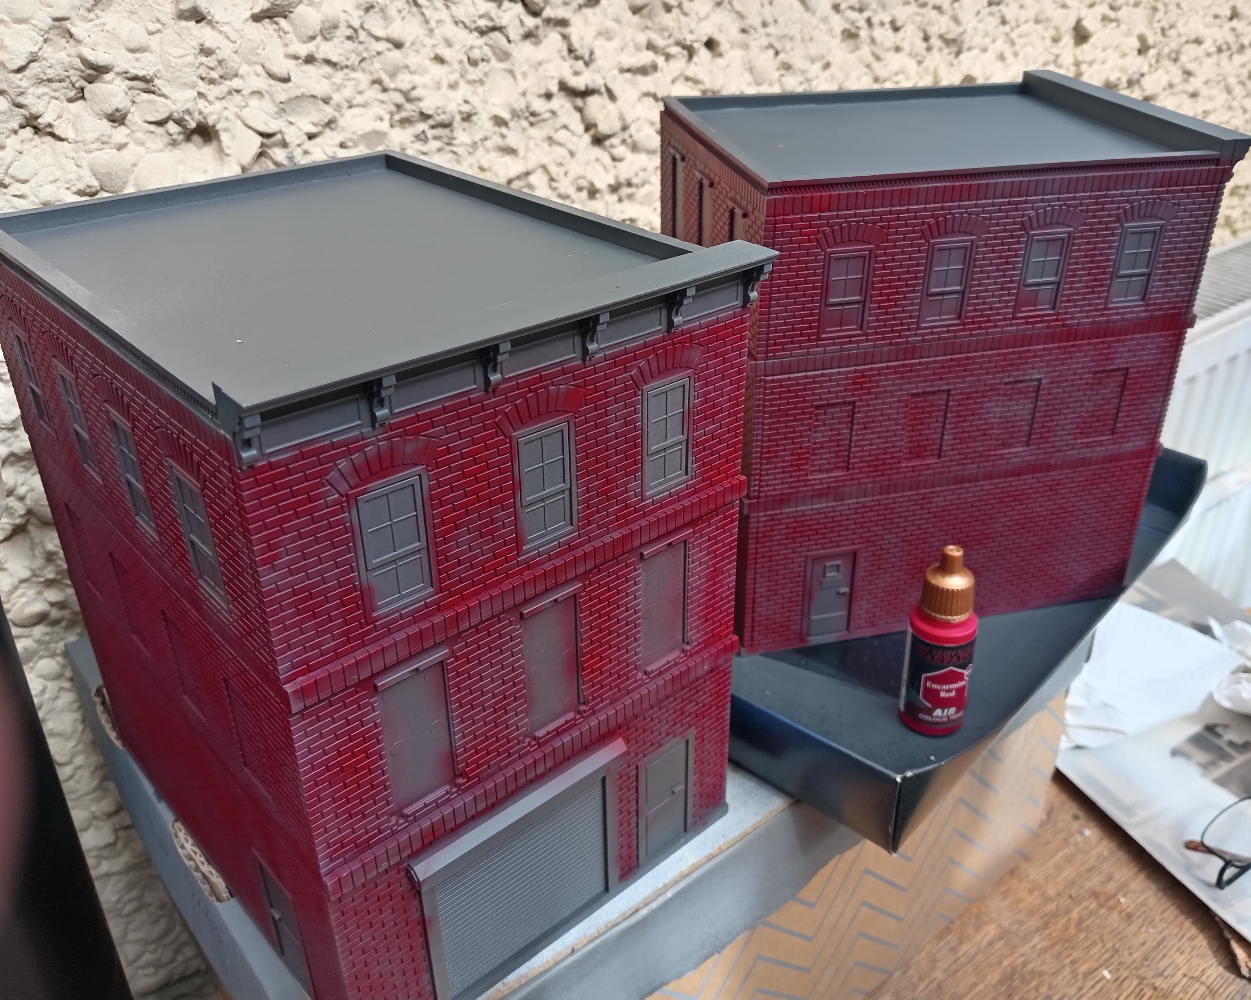 Welcome to 'Blotchy Town'... where bricks are inconsistently coloured.