
Draconis: Spring Clean 2026 (Fallout) and Onward

Recommendations: 193
About the Project
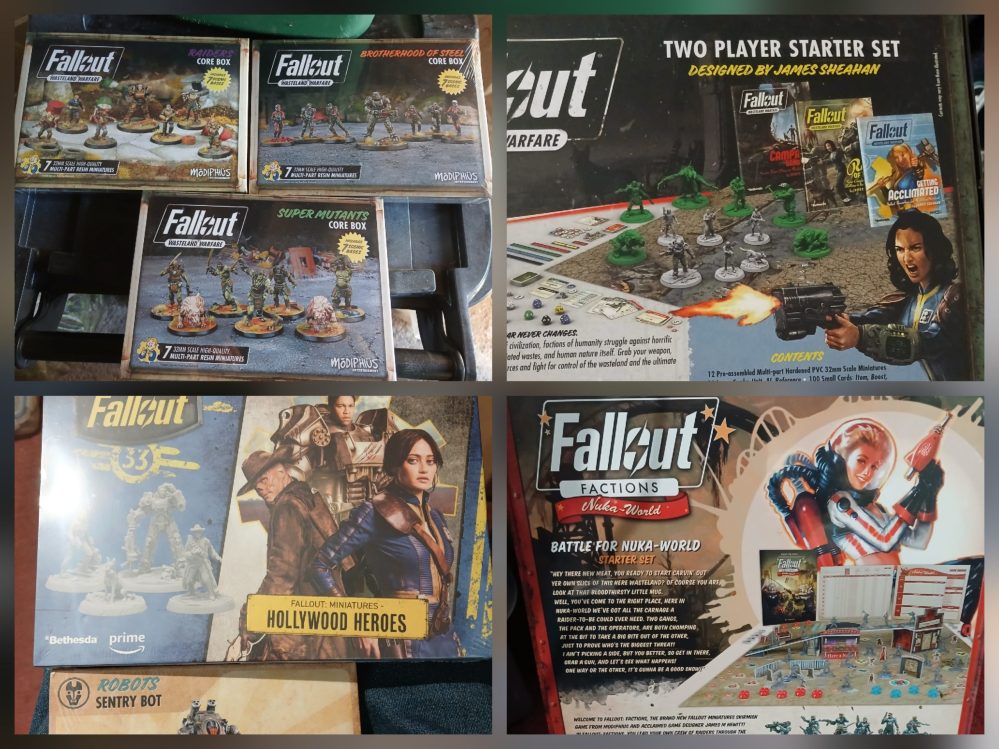
I had a few possibilities for this year’s Spring Clean Challenge, and have finally decide on Fallout. I played a couple of games of Fallout Wasteland Warfare a few years back at my local club. I then went on and purchased a starter and some other packs, and more recently picked up Fallout Factions Nuka World in a Modiphius sale. However, I don’t have any of the minis painted. With the prospect of Fallout Wasteland Warfare Second edition coming later this year, and with a solo (and hopefully Co-operative) focus I decided that I would take the opportunity to get some minis ready for it before release. I am sure that once it is out I will find that I need to get some other minis (in particular creatures, as I have just a Deathclaw), but expect that raiders, super mutants and Brotherhood of Steel should get some use for it.
Related Game: Fallout: Wasteland Warfare
Related Company: Modiphius Entertainment
Related Genre: Post-Apocalyptic
Related Contest: Spring Clean Hobby Challenge 2026
This Project is Active
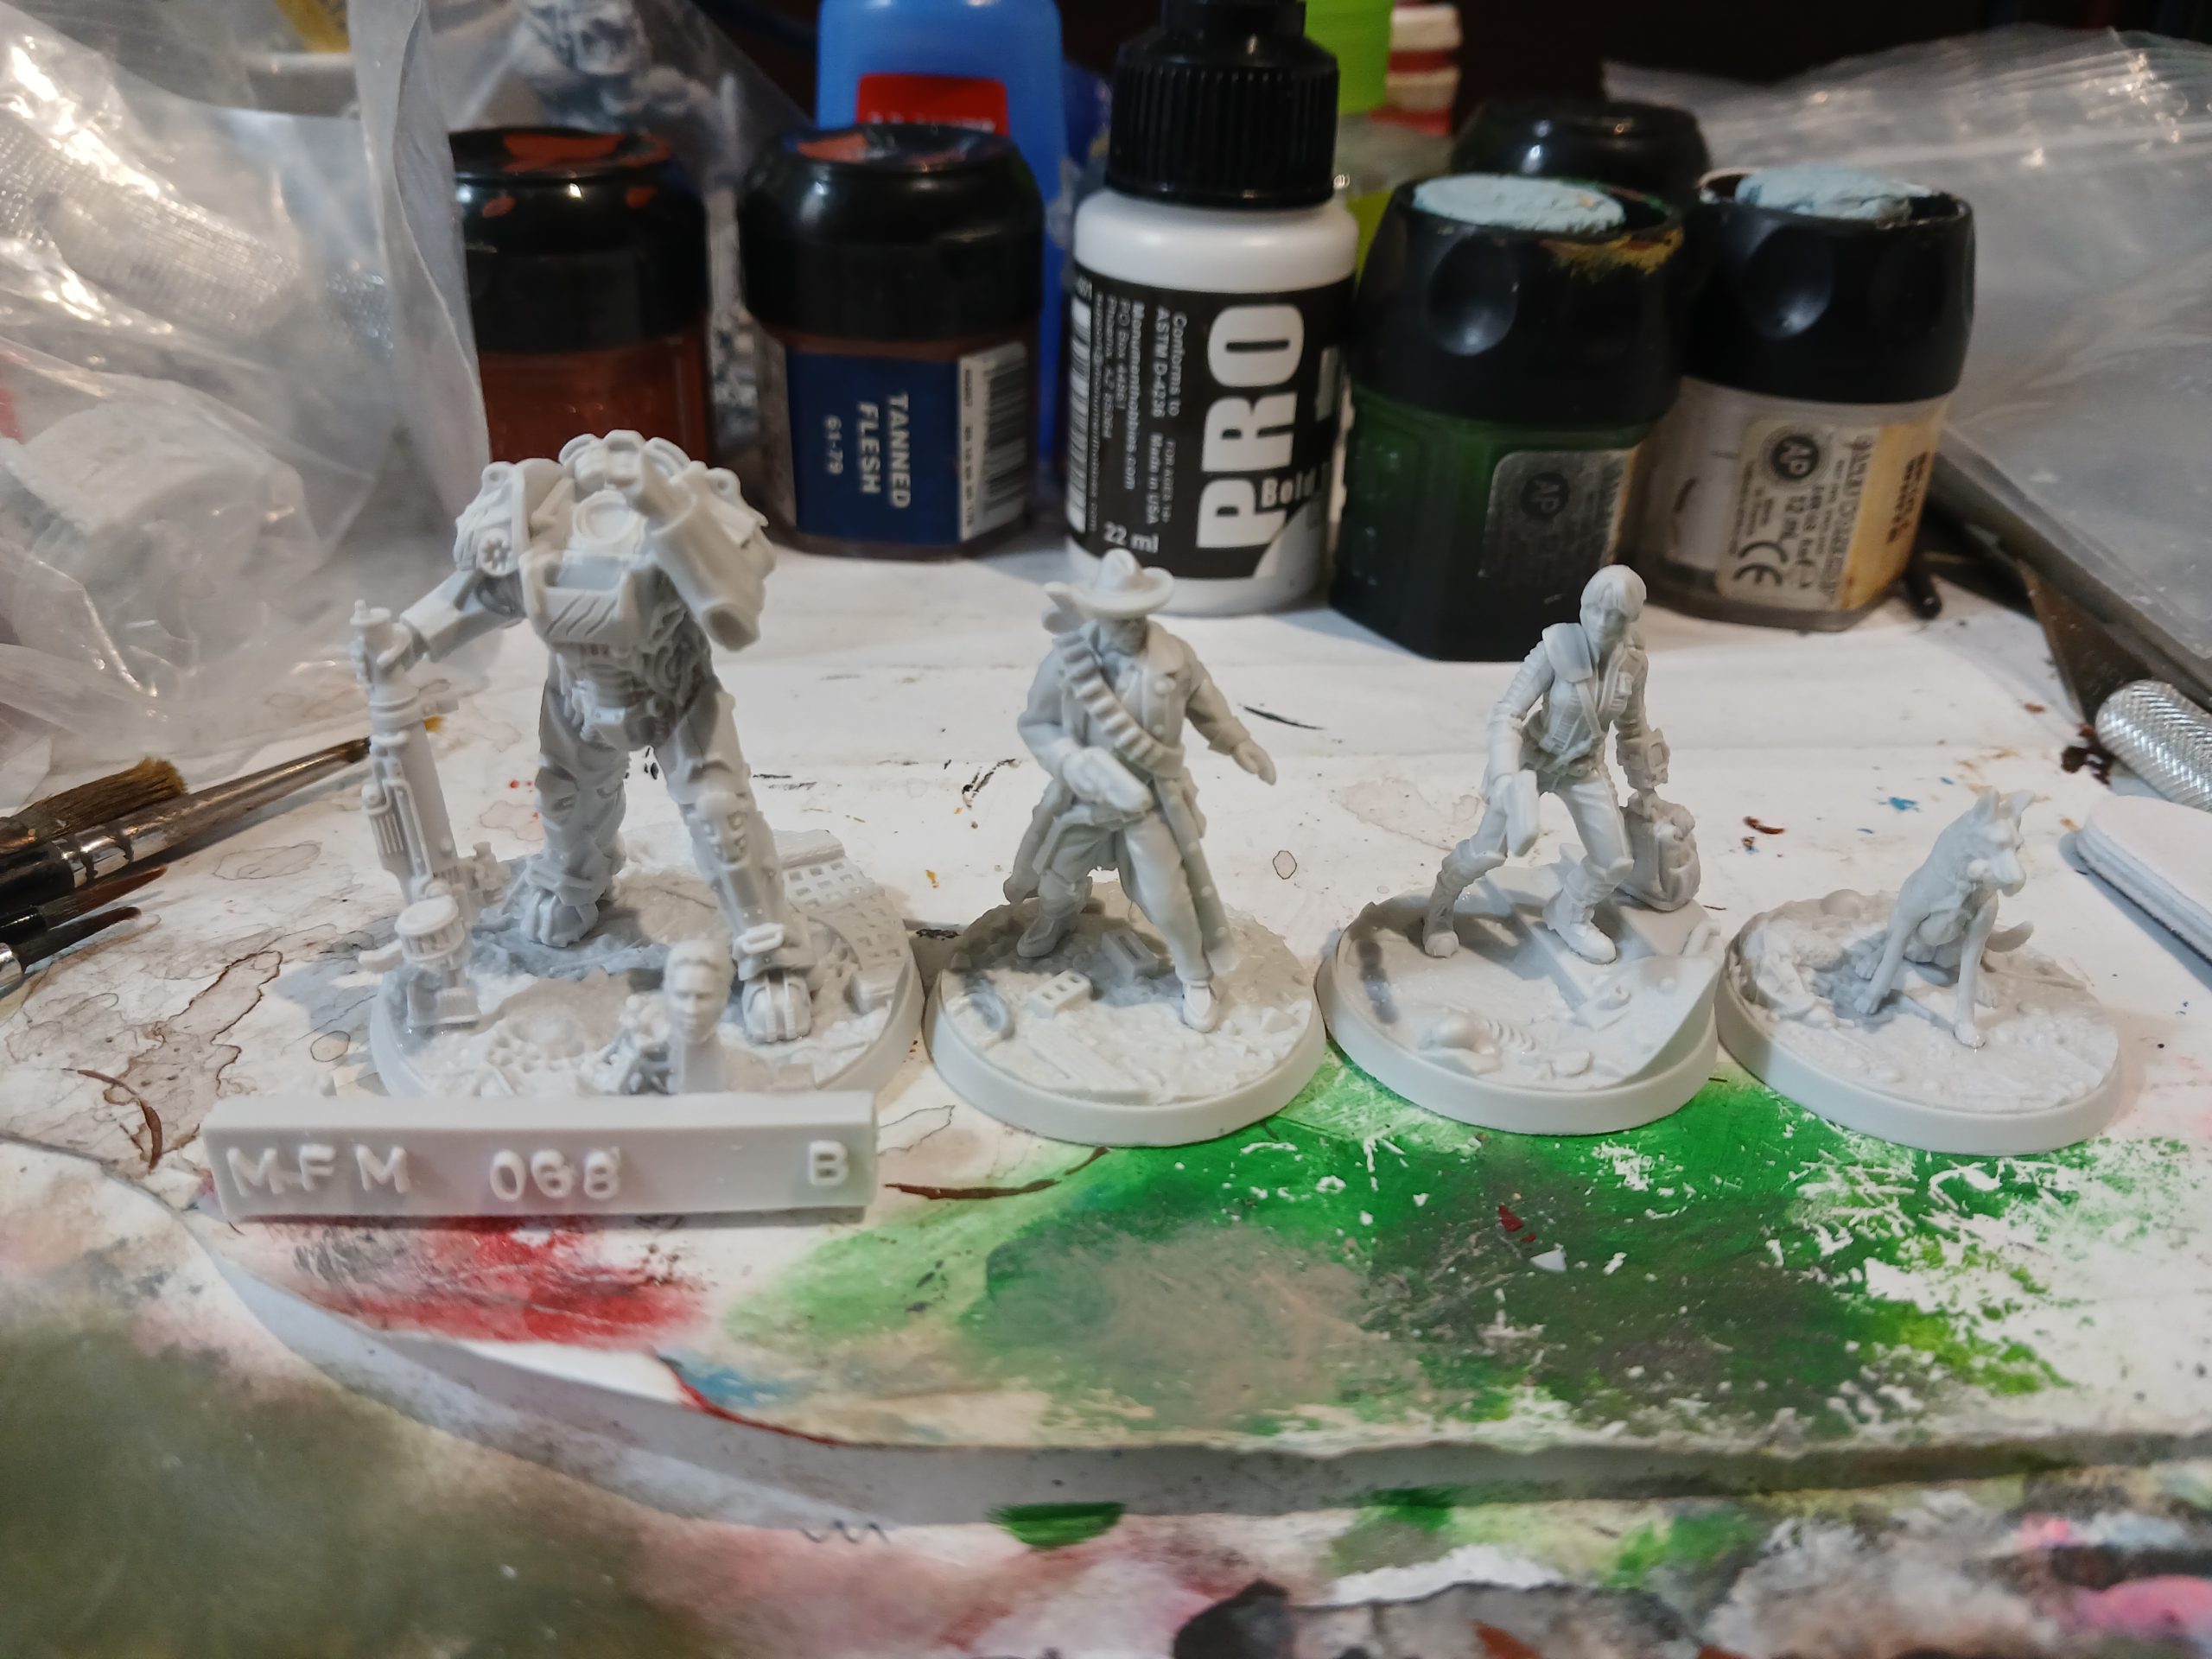
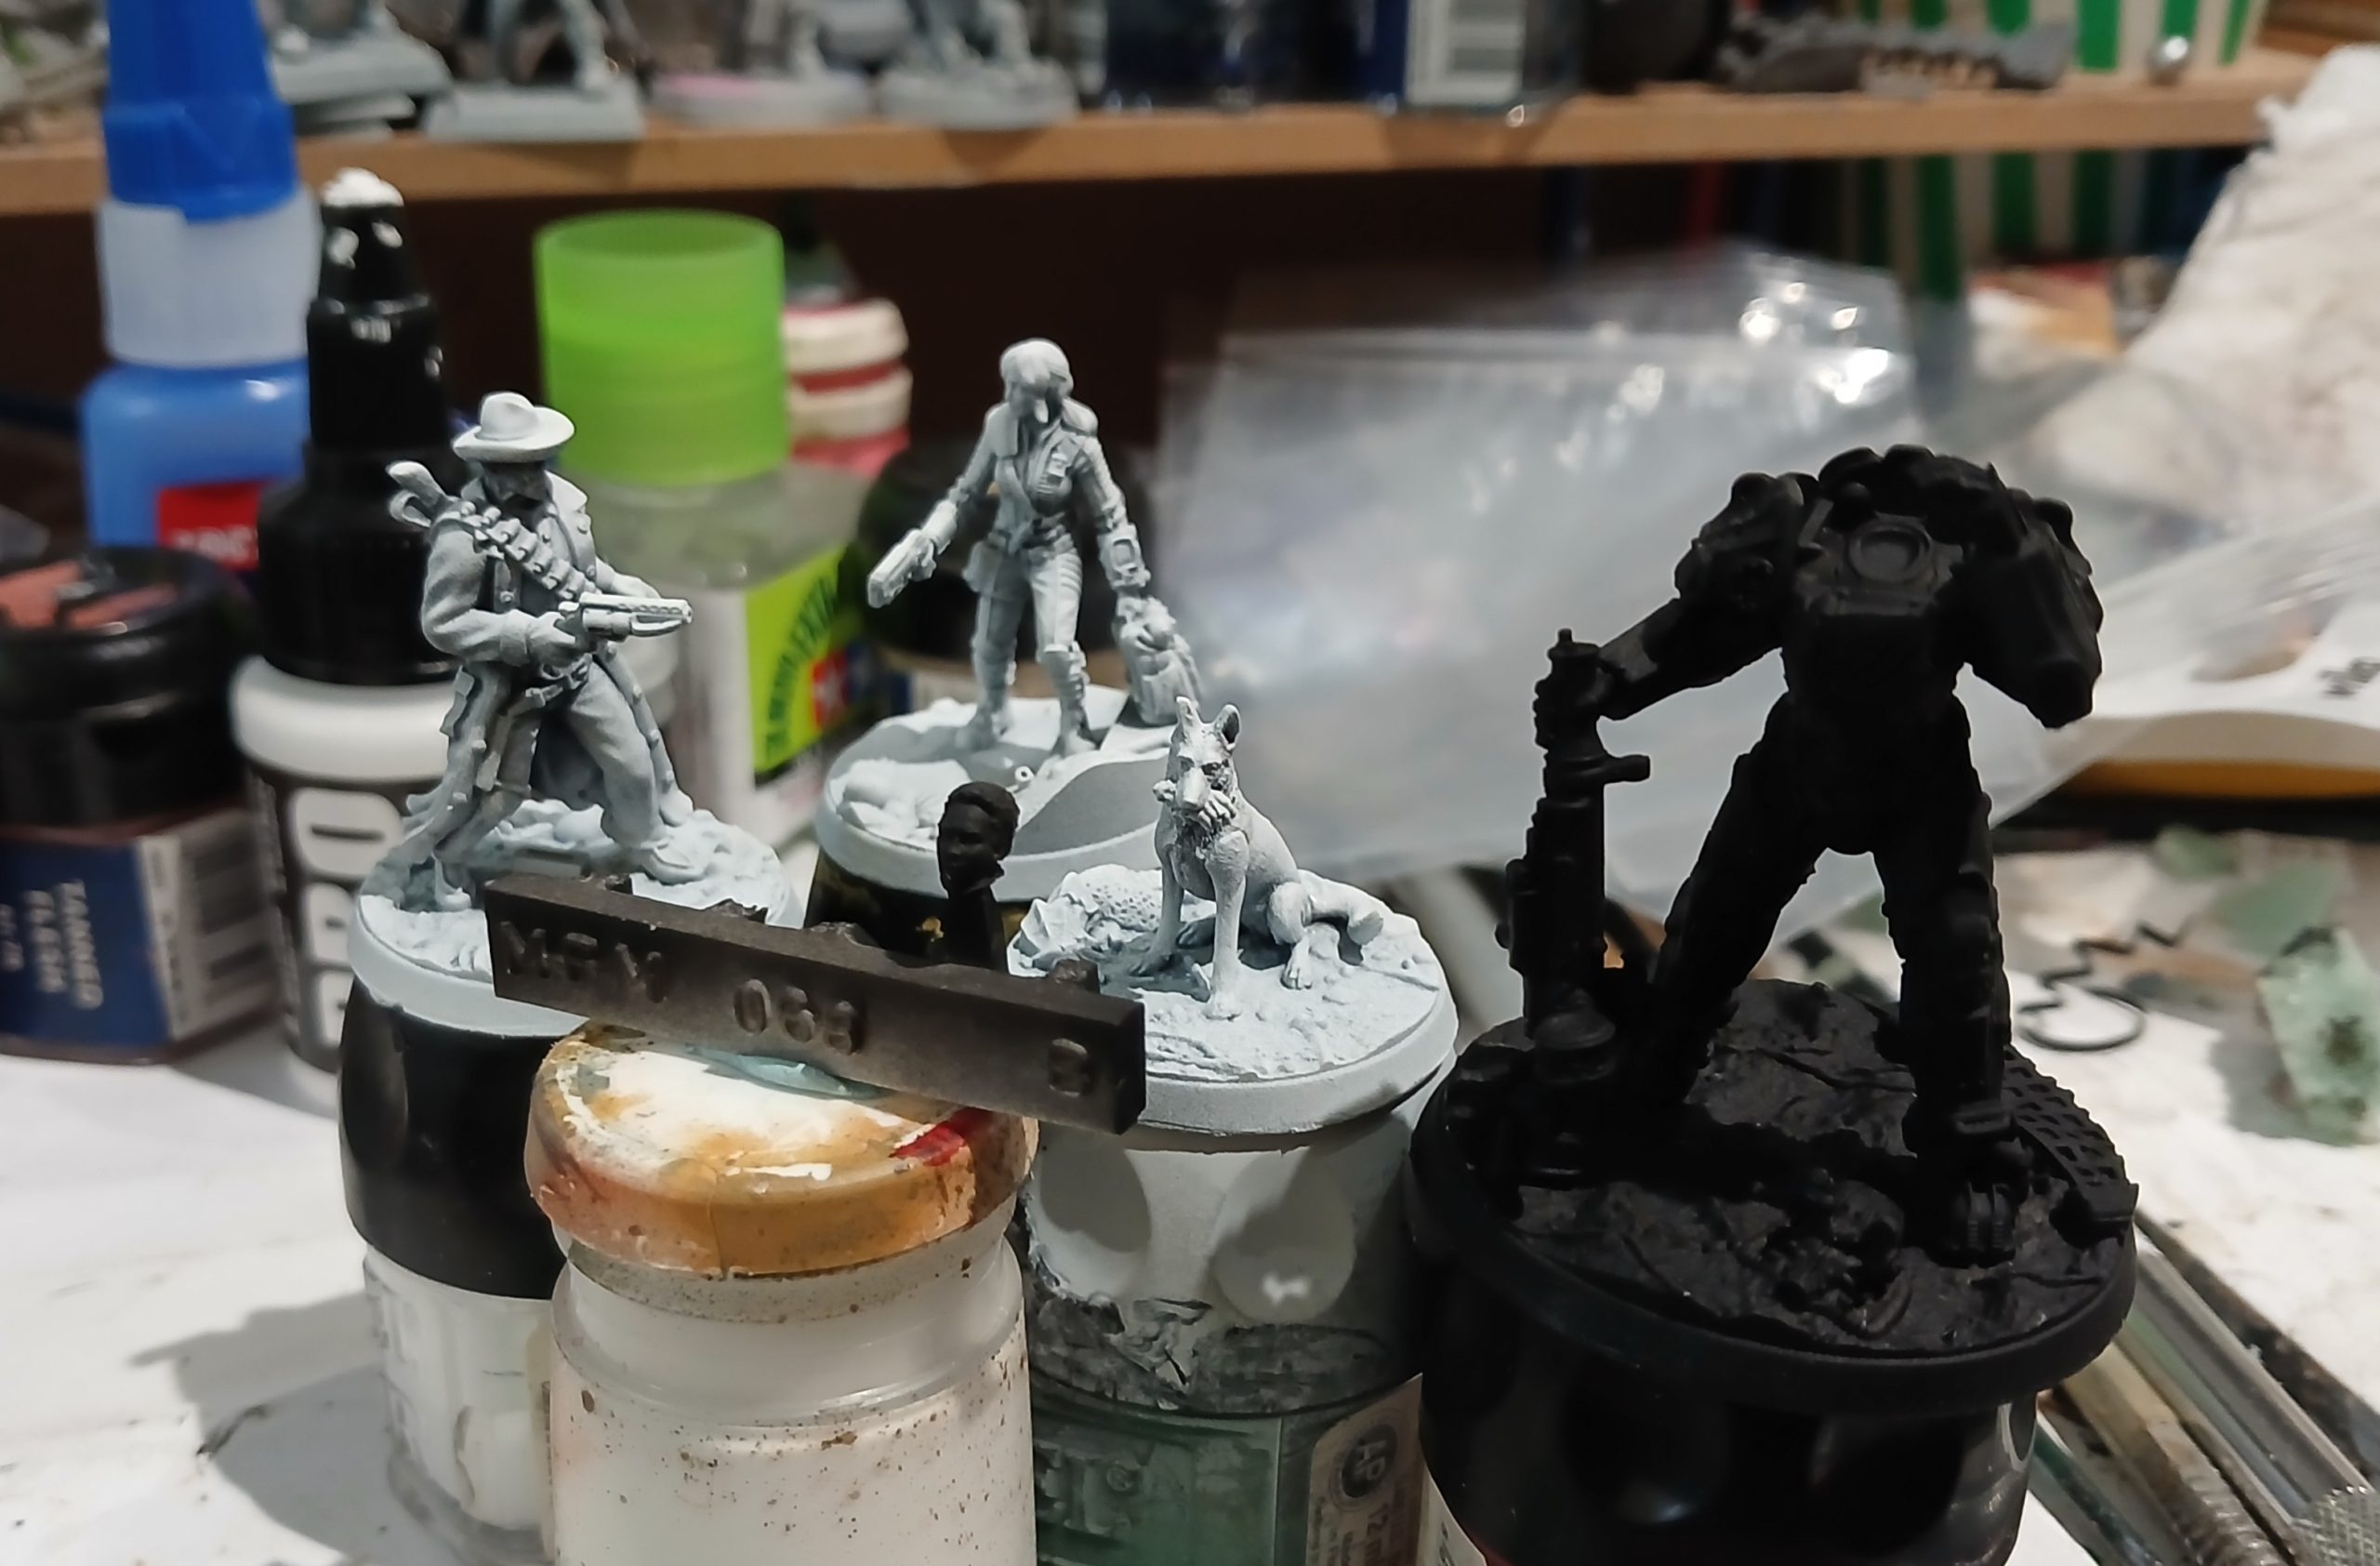
Hollywood Heroes prep
5th October 2026
I have some family matters ongoing, so will not have time for much hobby for a while.
However, I have cleaned, prepped built and primed the Hollywood Heroes minis.
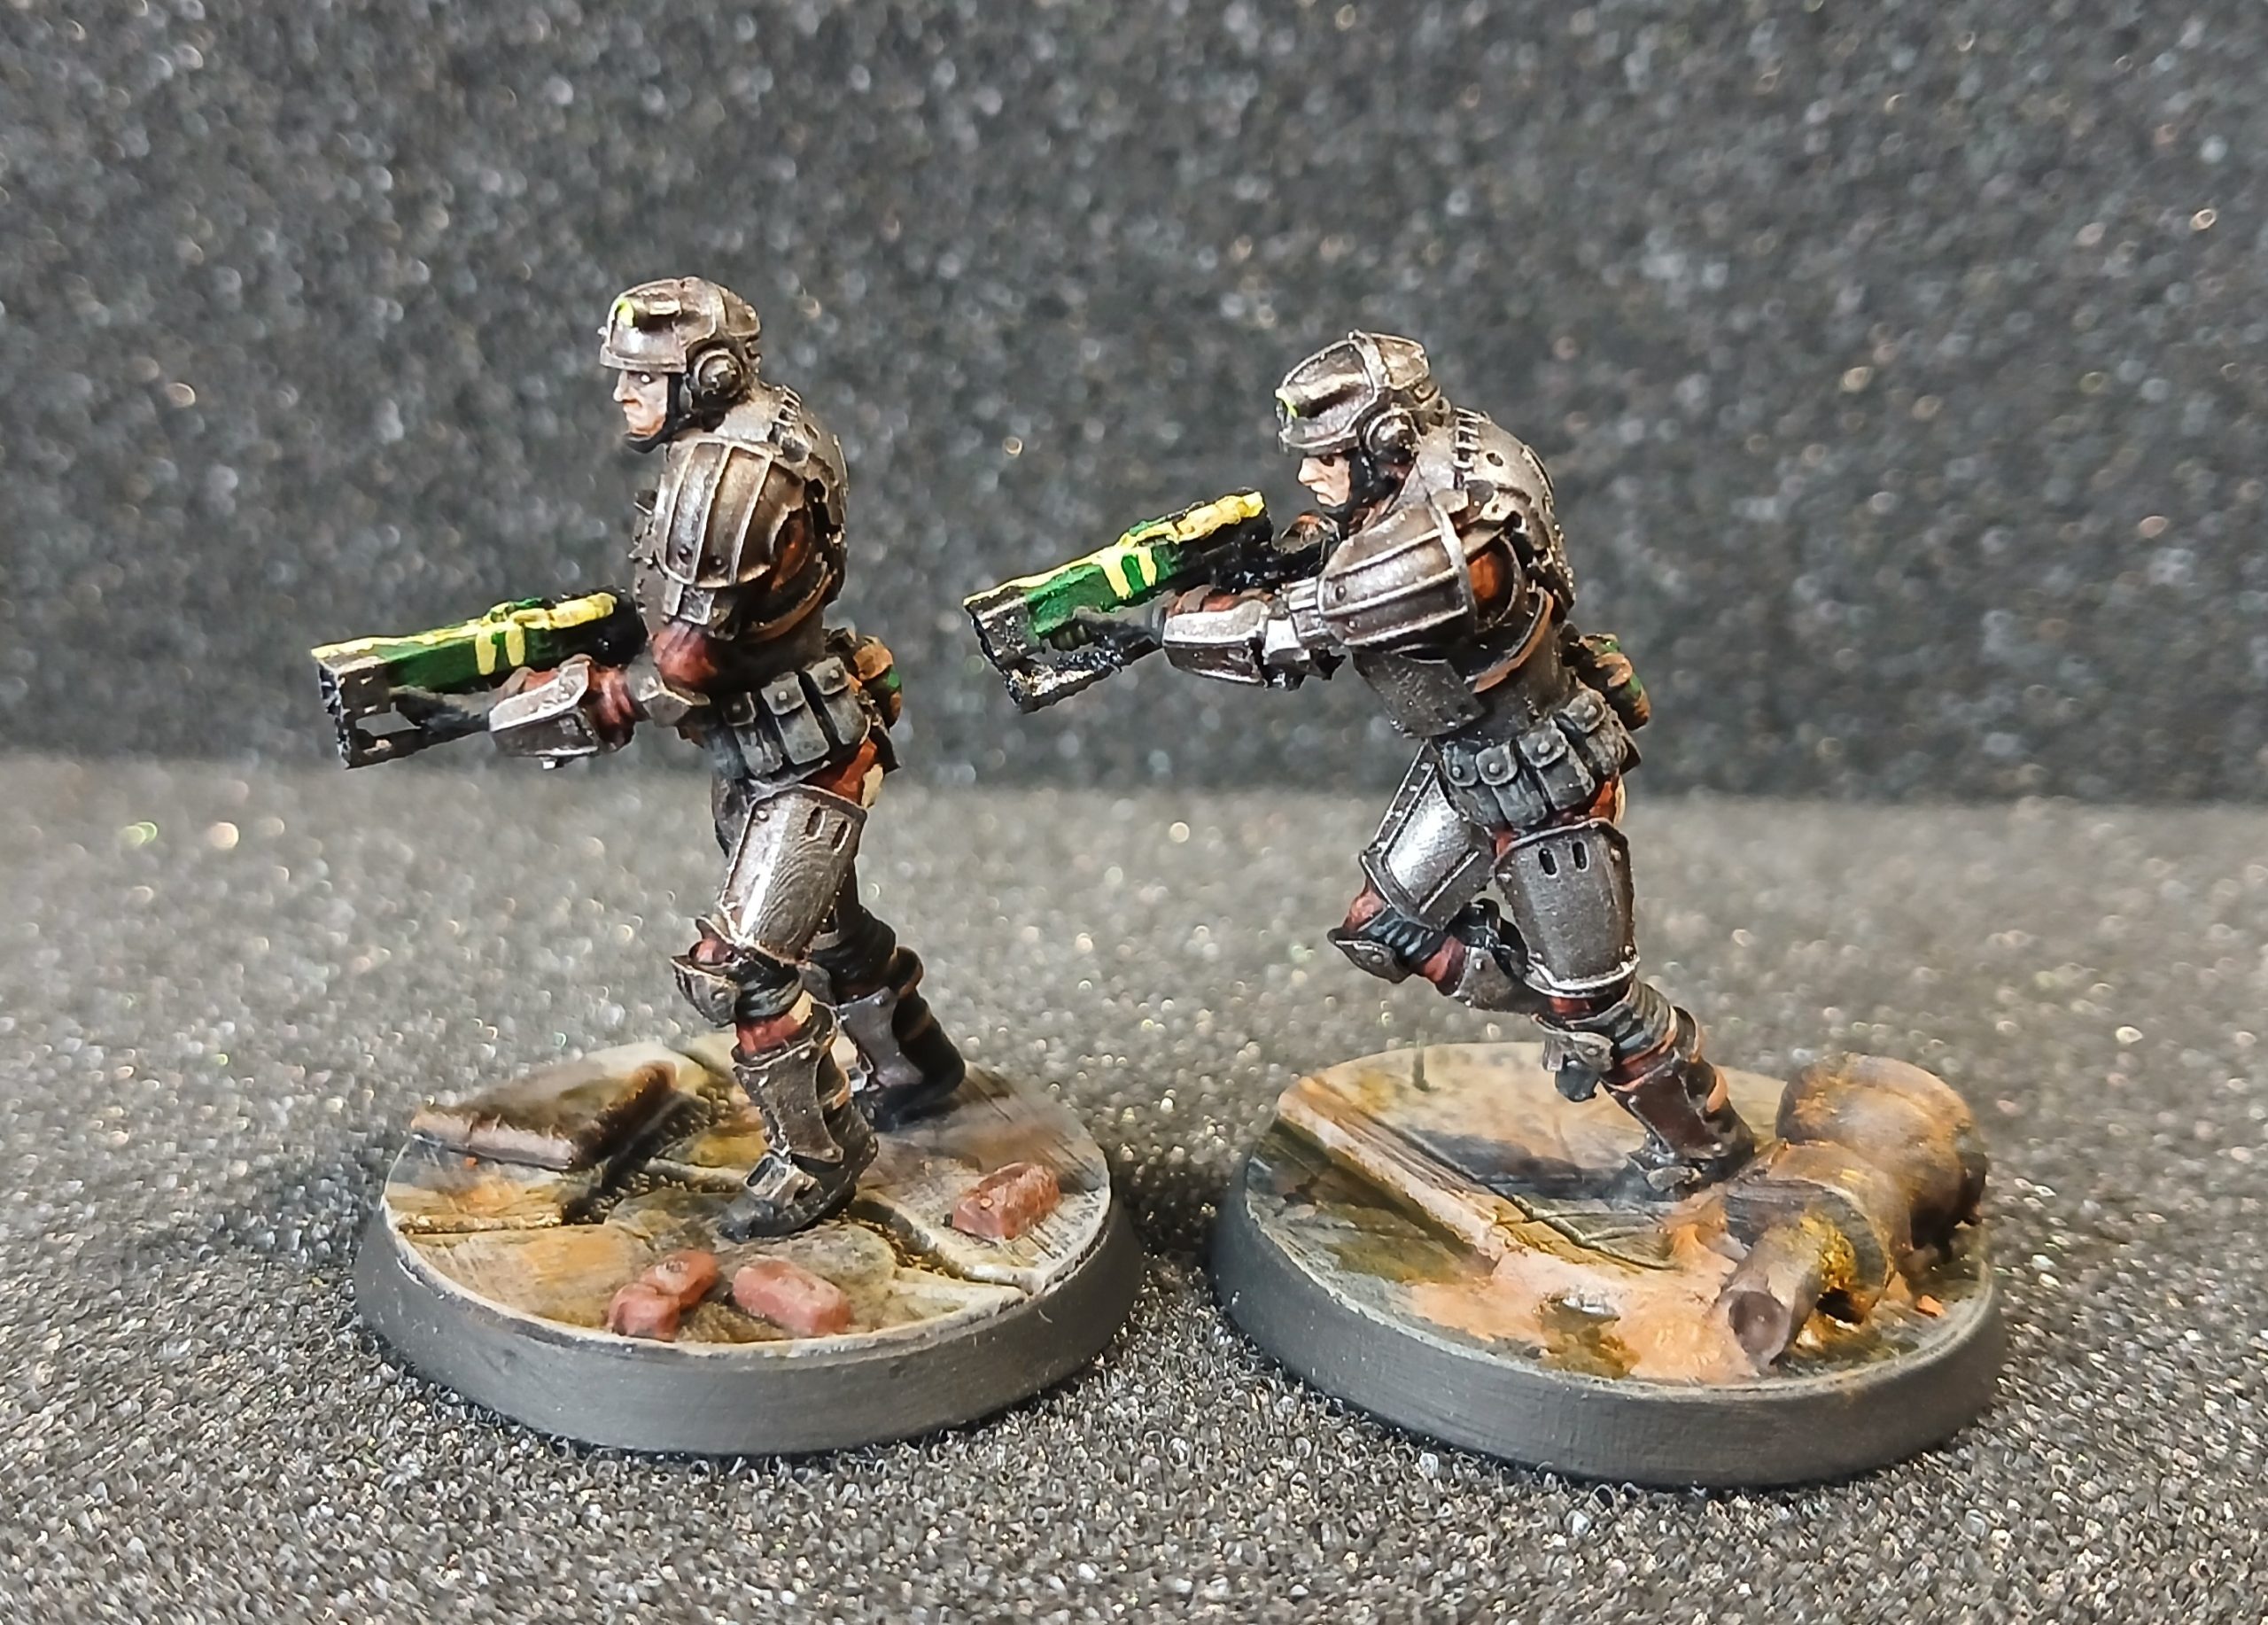
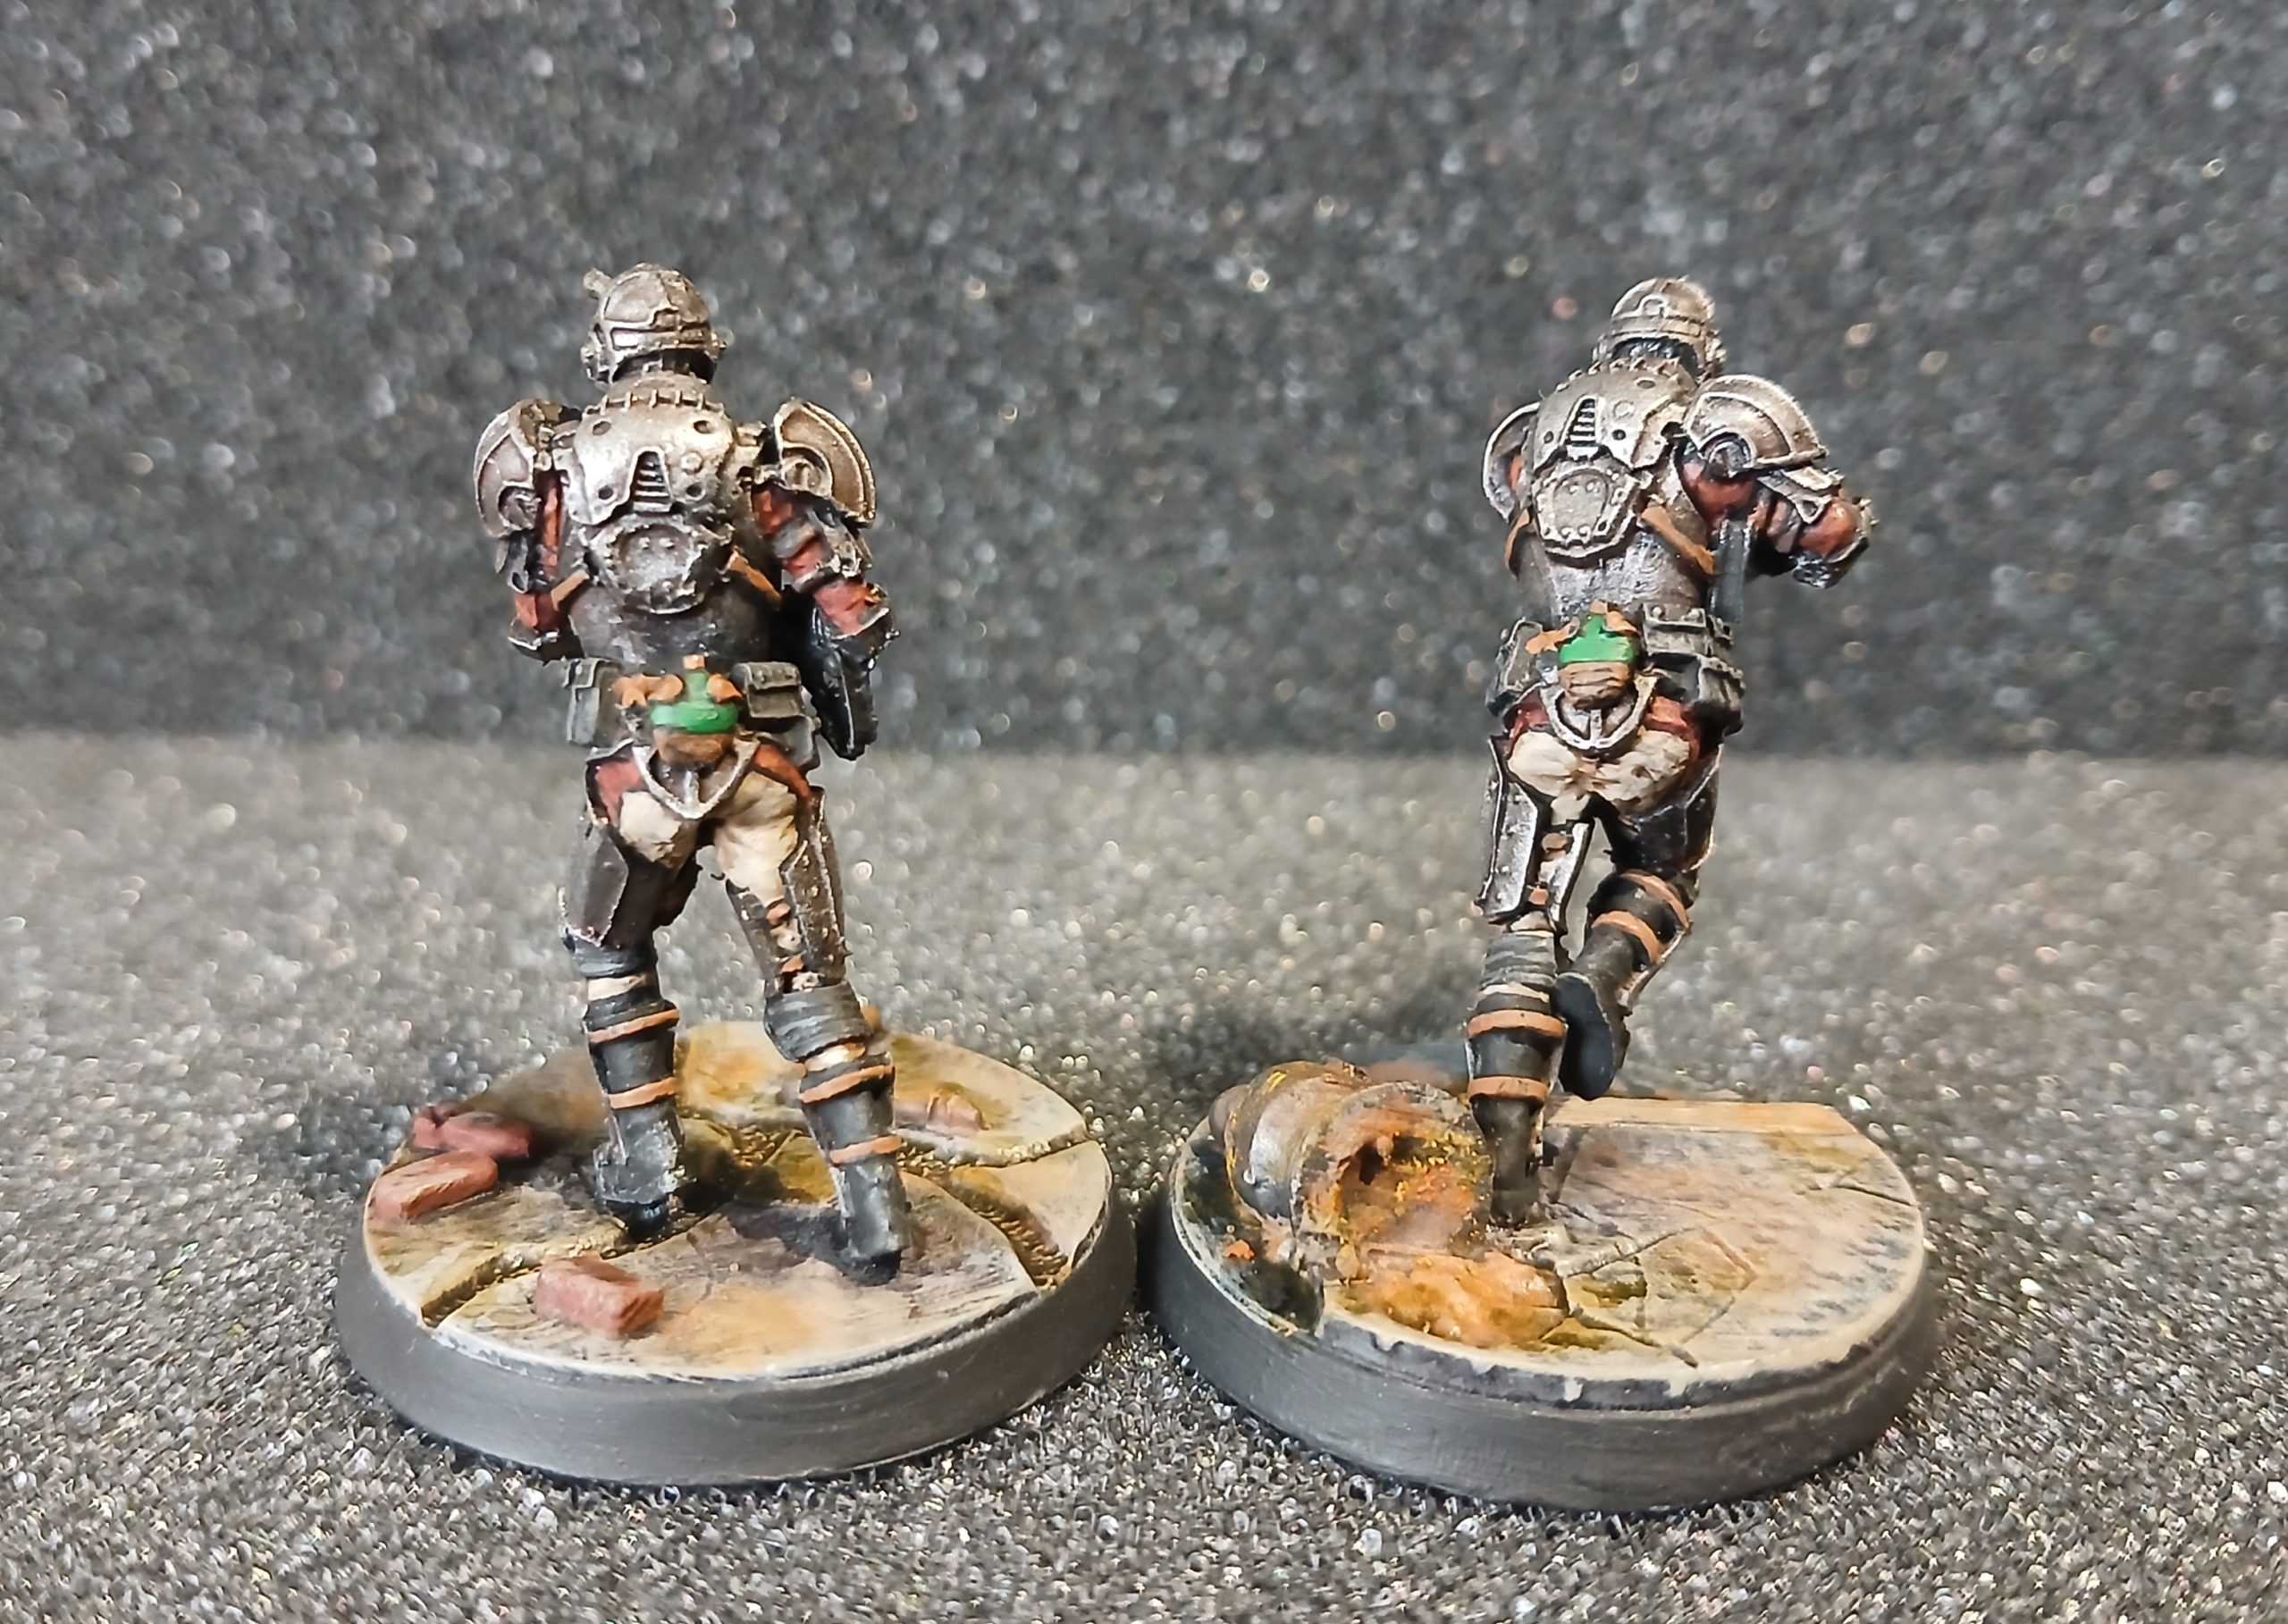
BoS Lancers
24th September 2026
These were not as much fun to paint. There are lots of small details on their outfits, and my eyesight and brush control struggled somewhat – but that’s my issue.
After the black prime I painted on an earthy red for the jump suits. This was then washed with crimson. I then blocked in the other parts with rubber black and painted in the tan parts of the jump suit with a mid Rawhide. Plus… all of the various straps, pipes and zips etc were now also base coated. This then received an all over wash with… of course, Agrax.
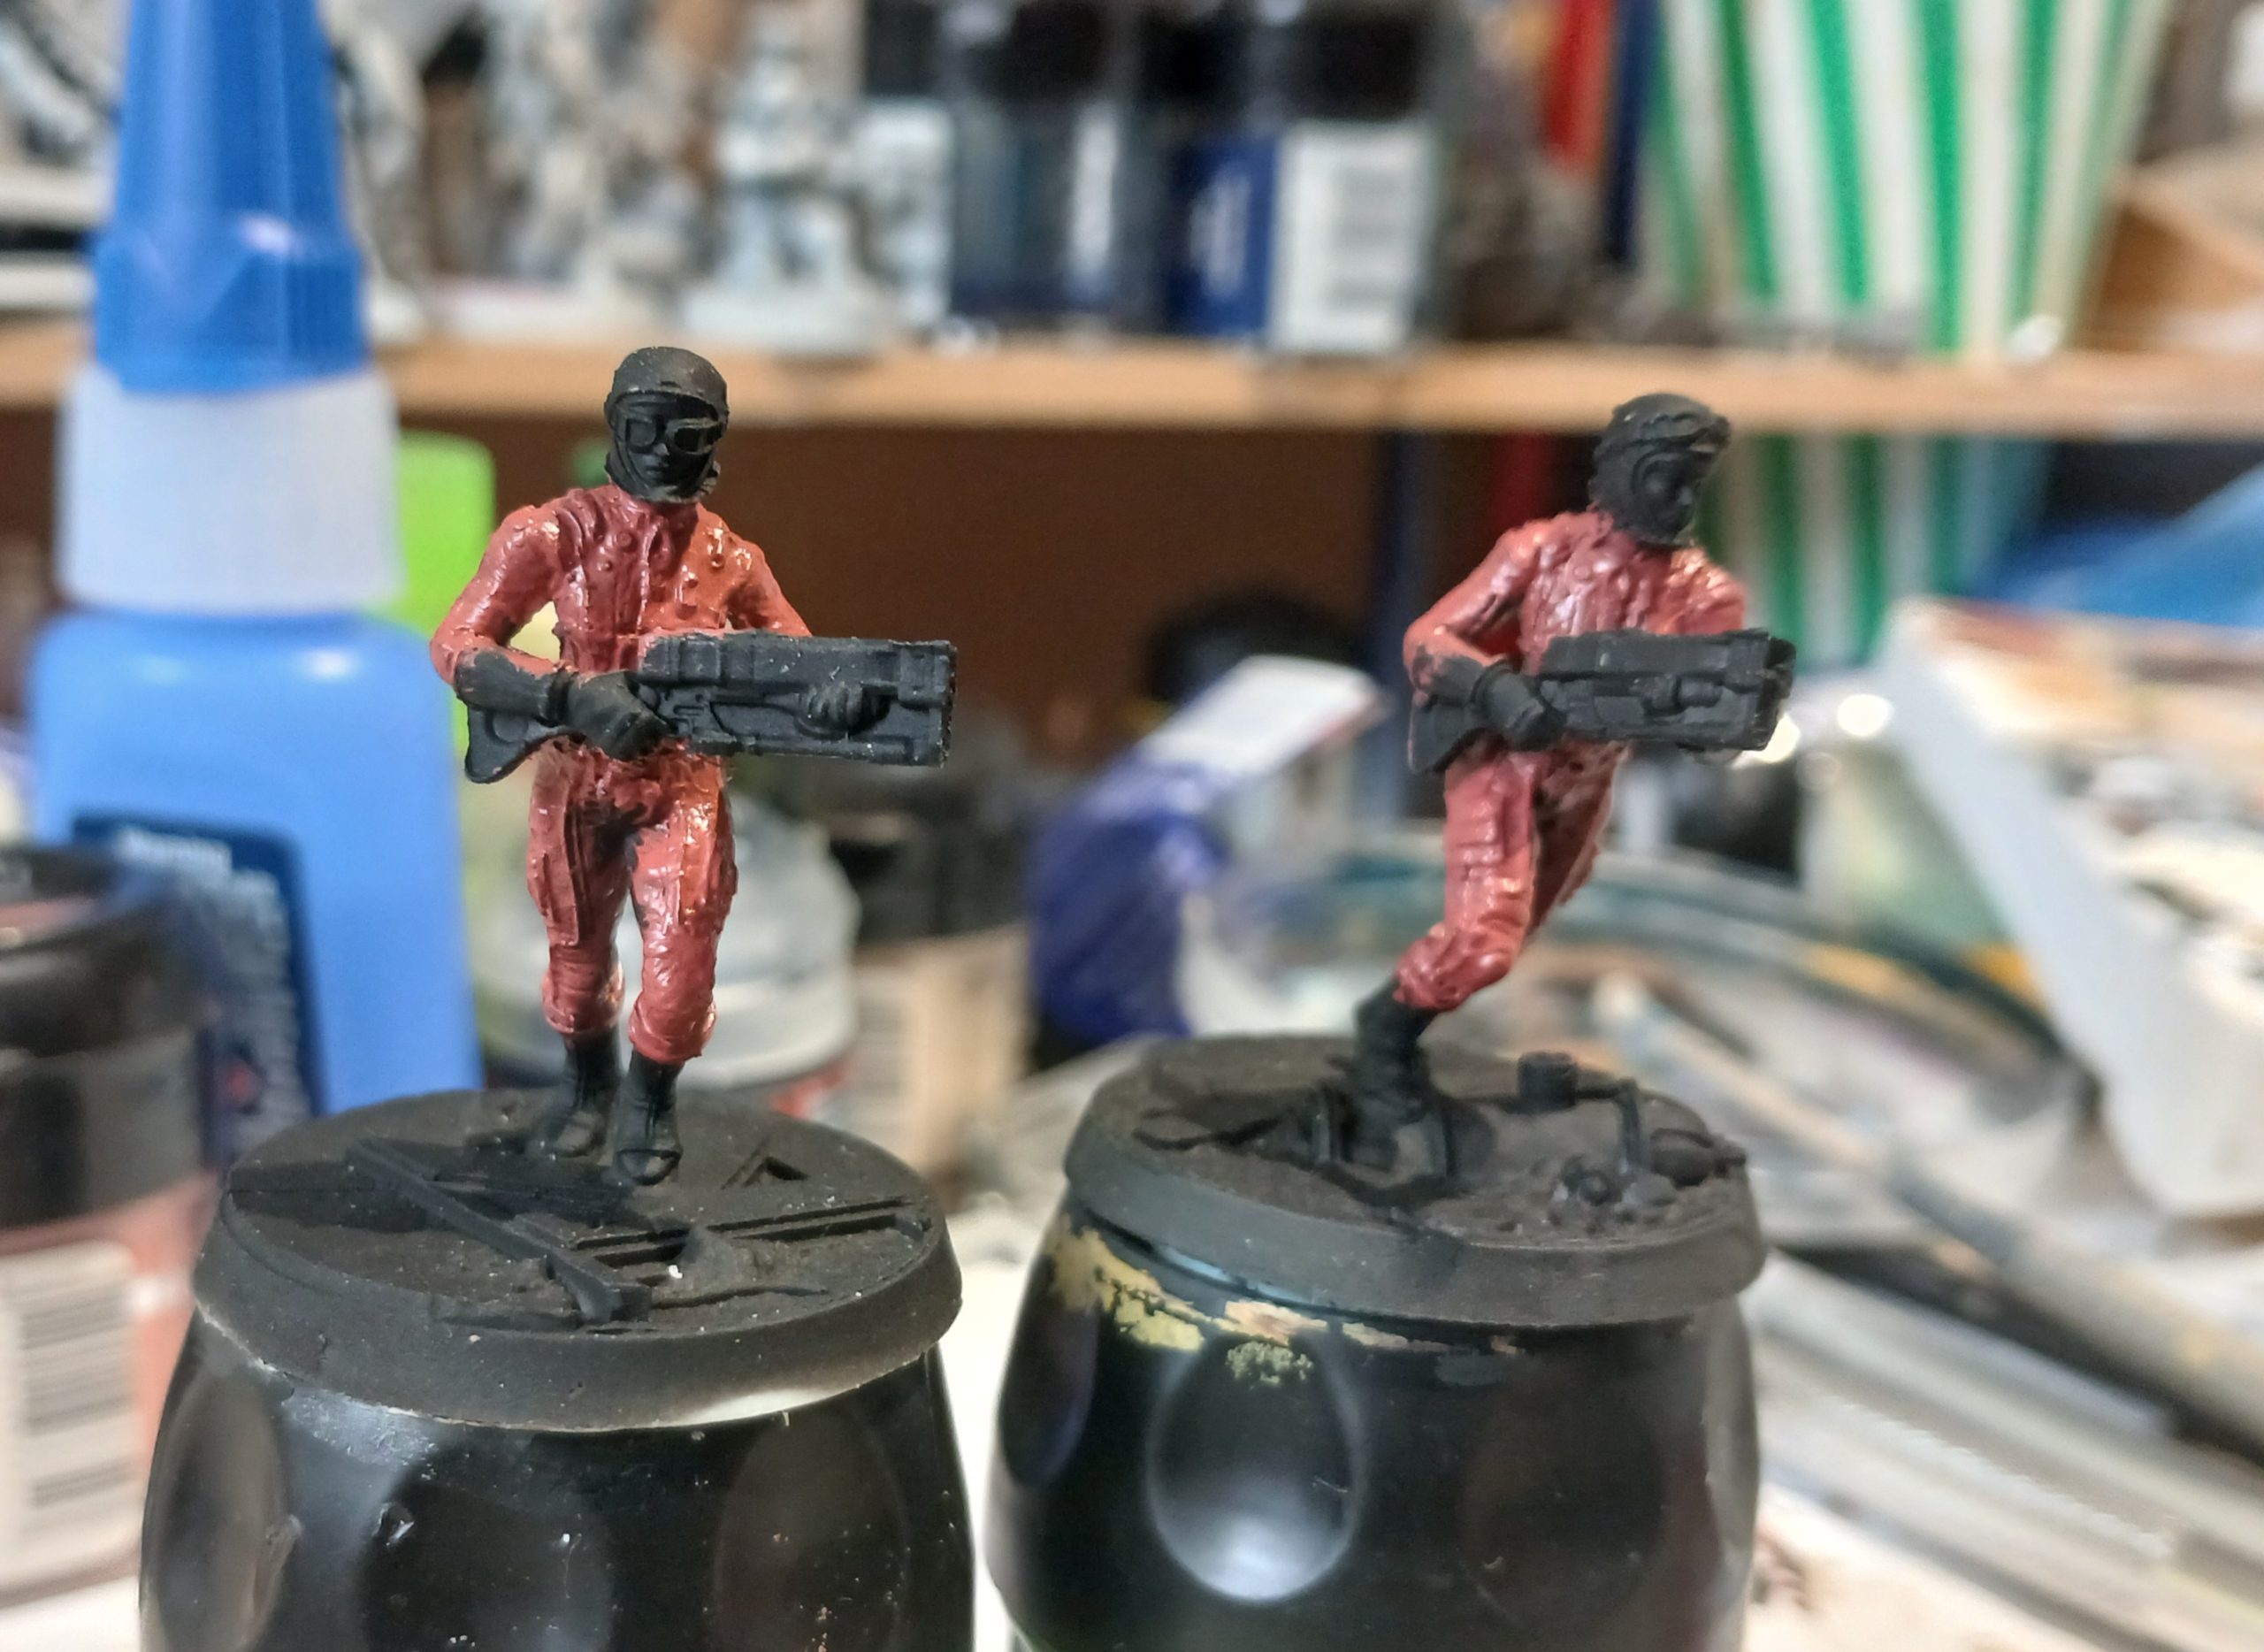
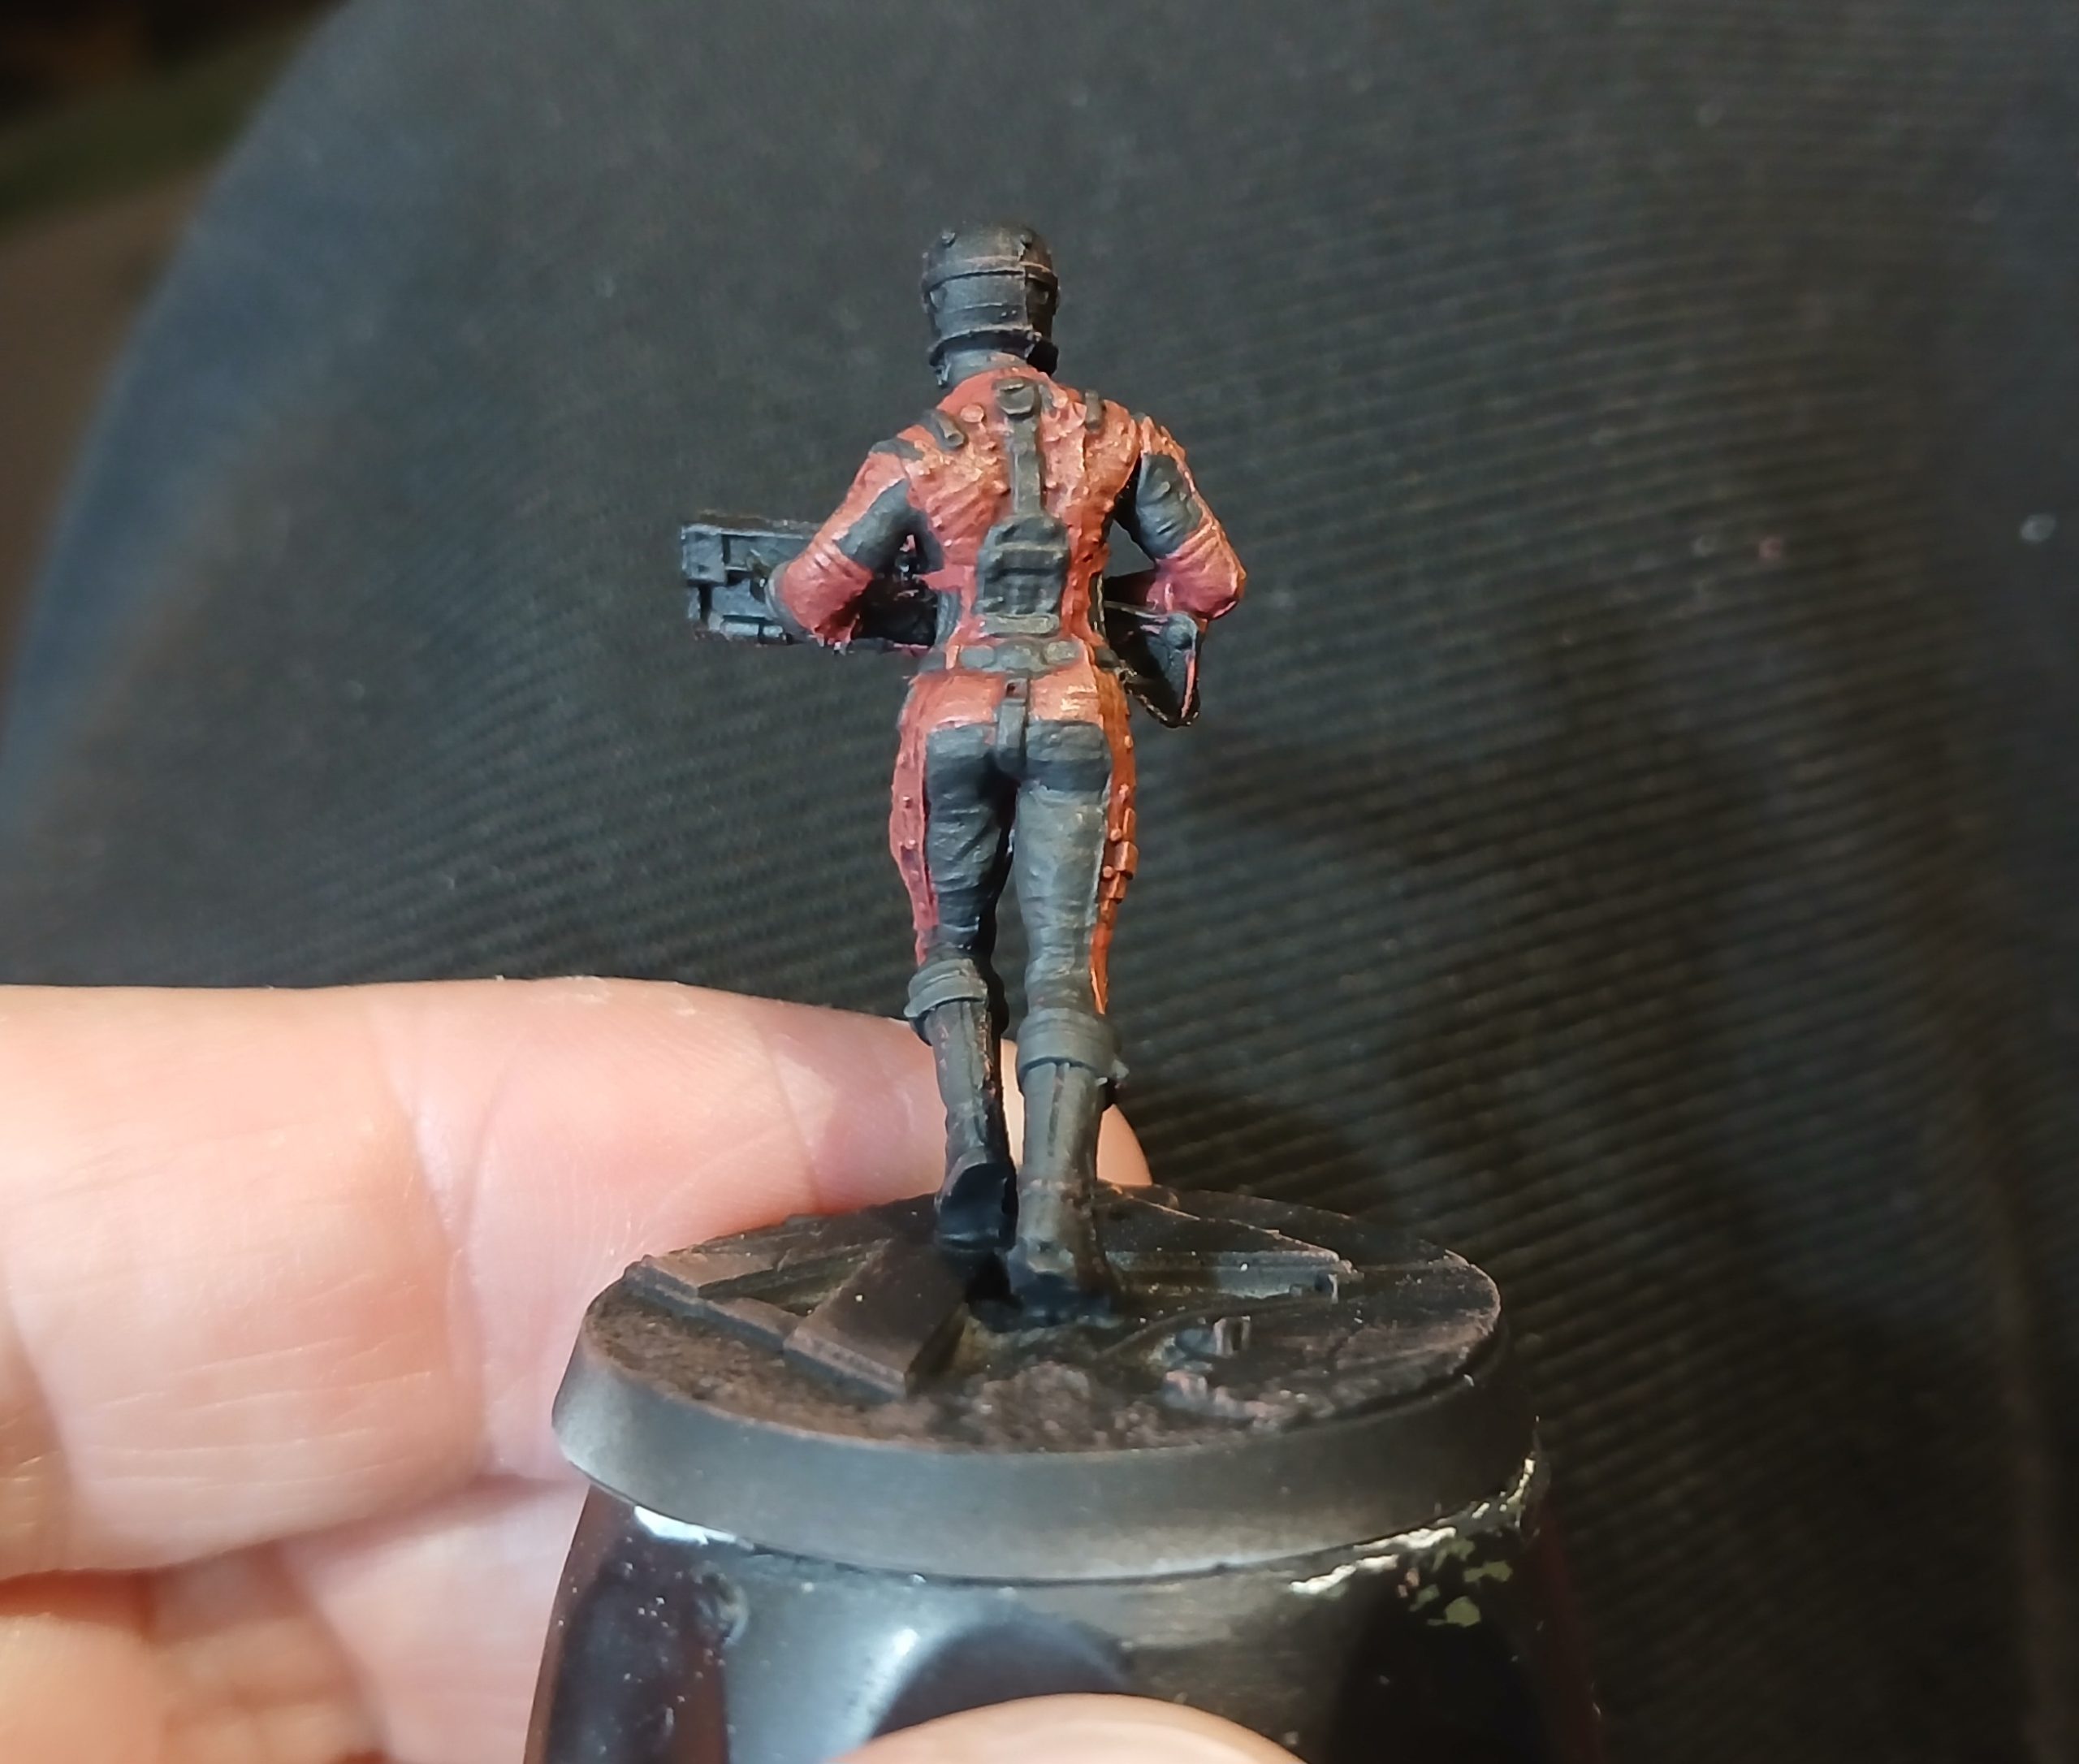
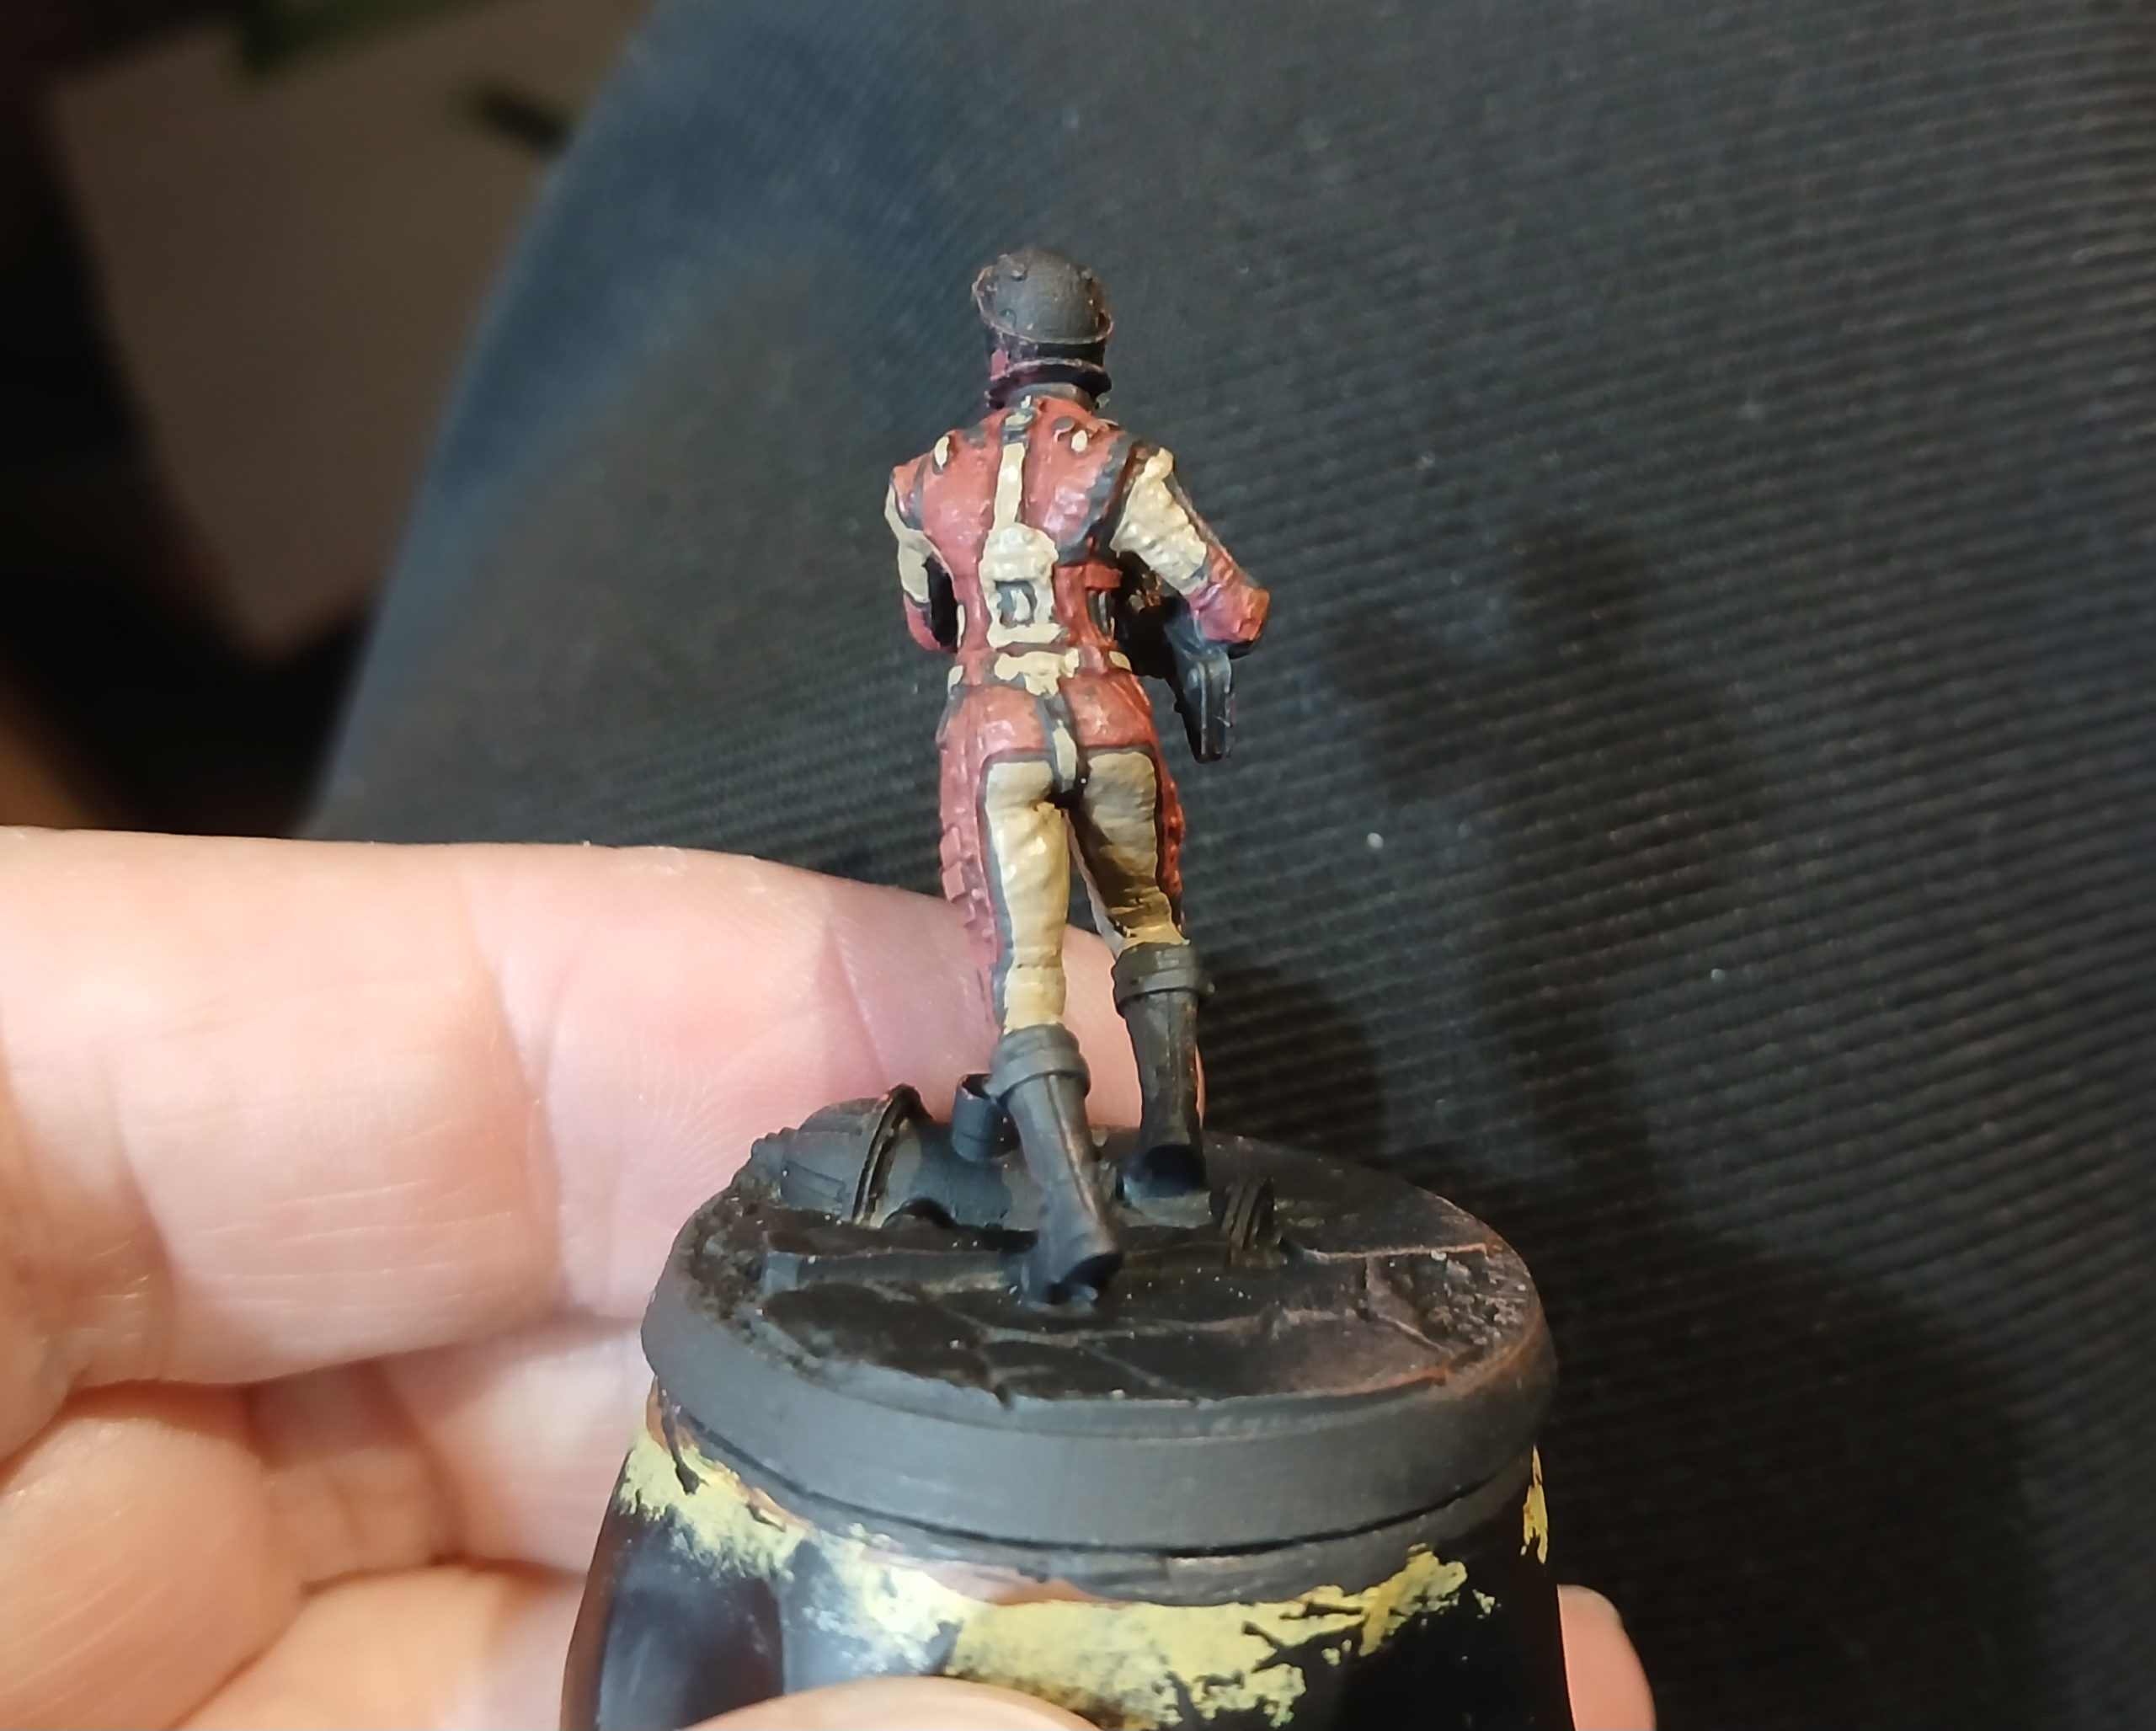
Next up I highlighted the red and tan parts, initially using the base colours, then by using the next stage up.
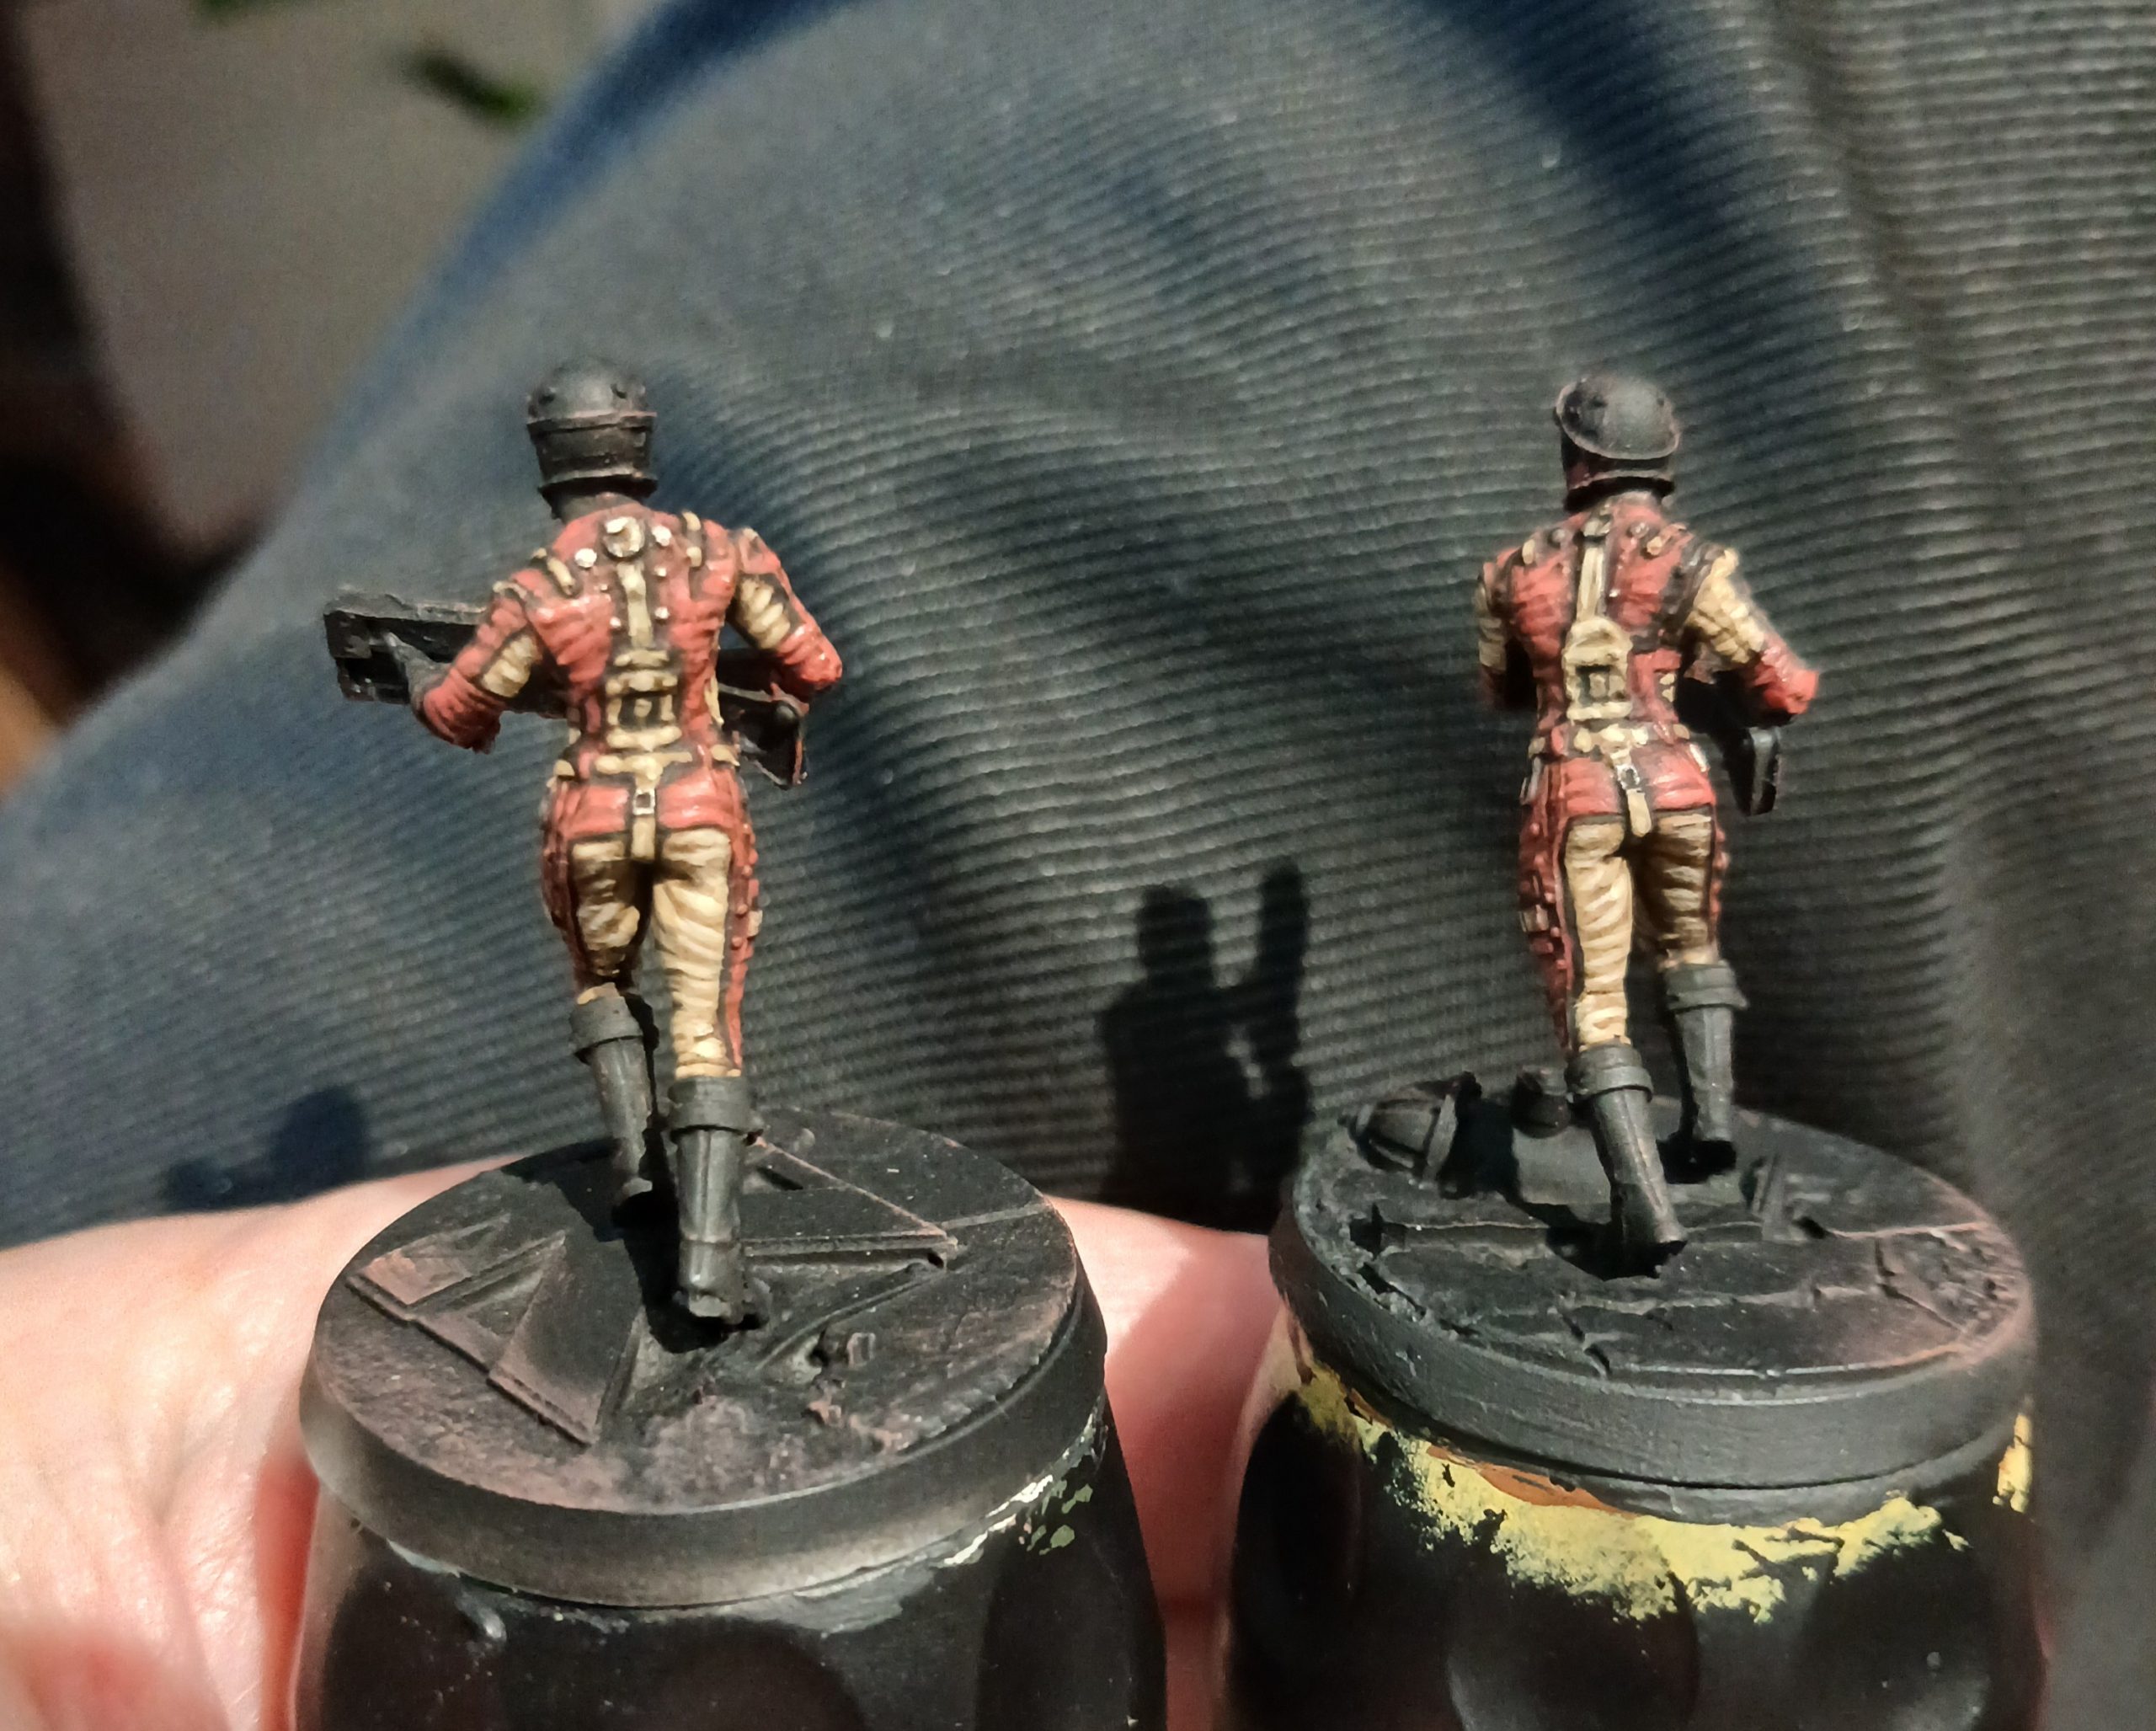
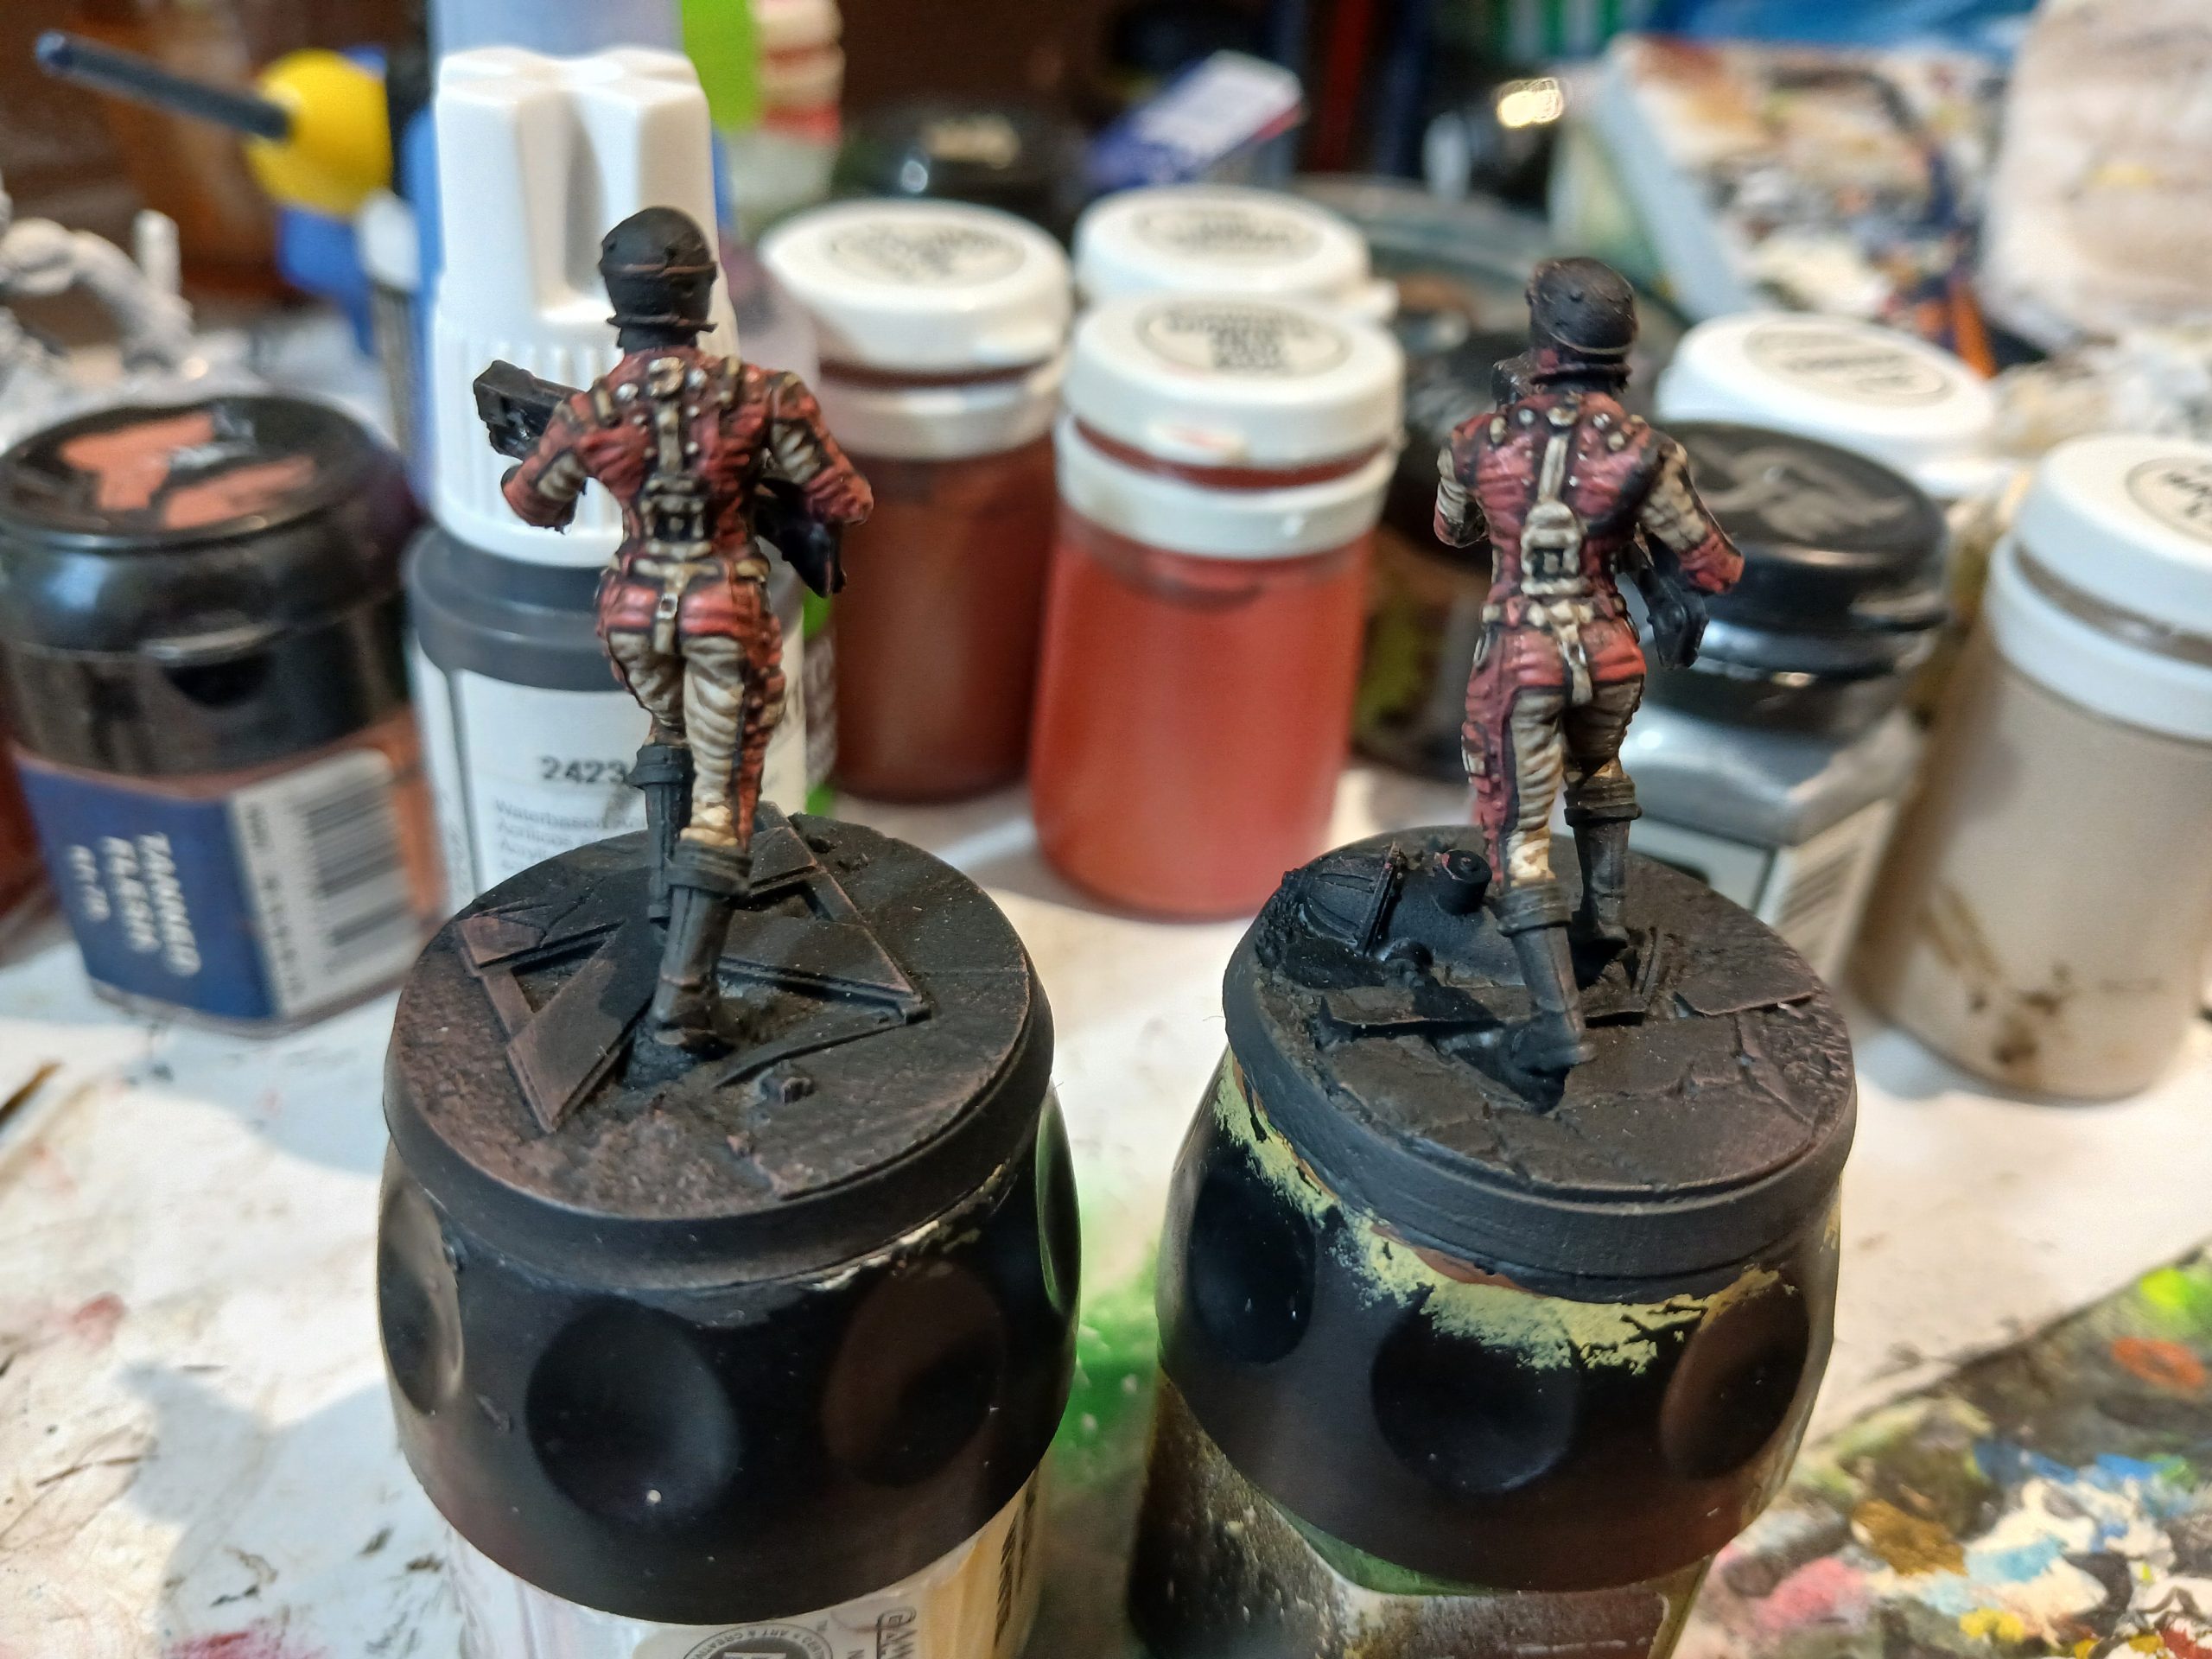
Then I started work on the base and also started picking out the metal of the gun and laying down the basics of the skin. Additionally, I picked out a few brighter highlights on the jump suit.
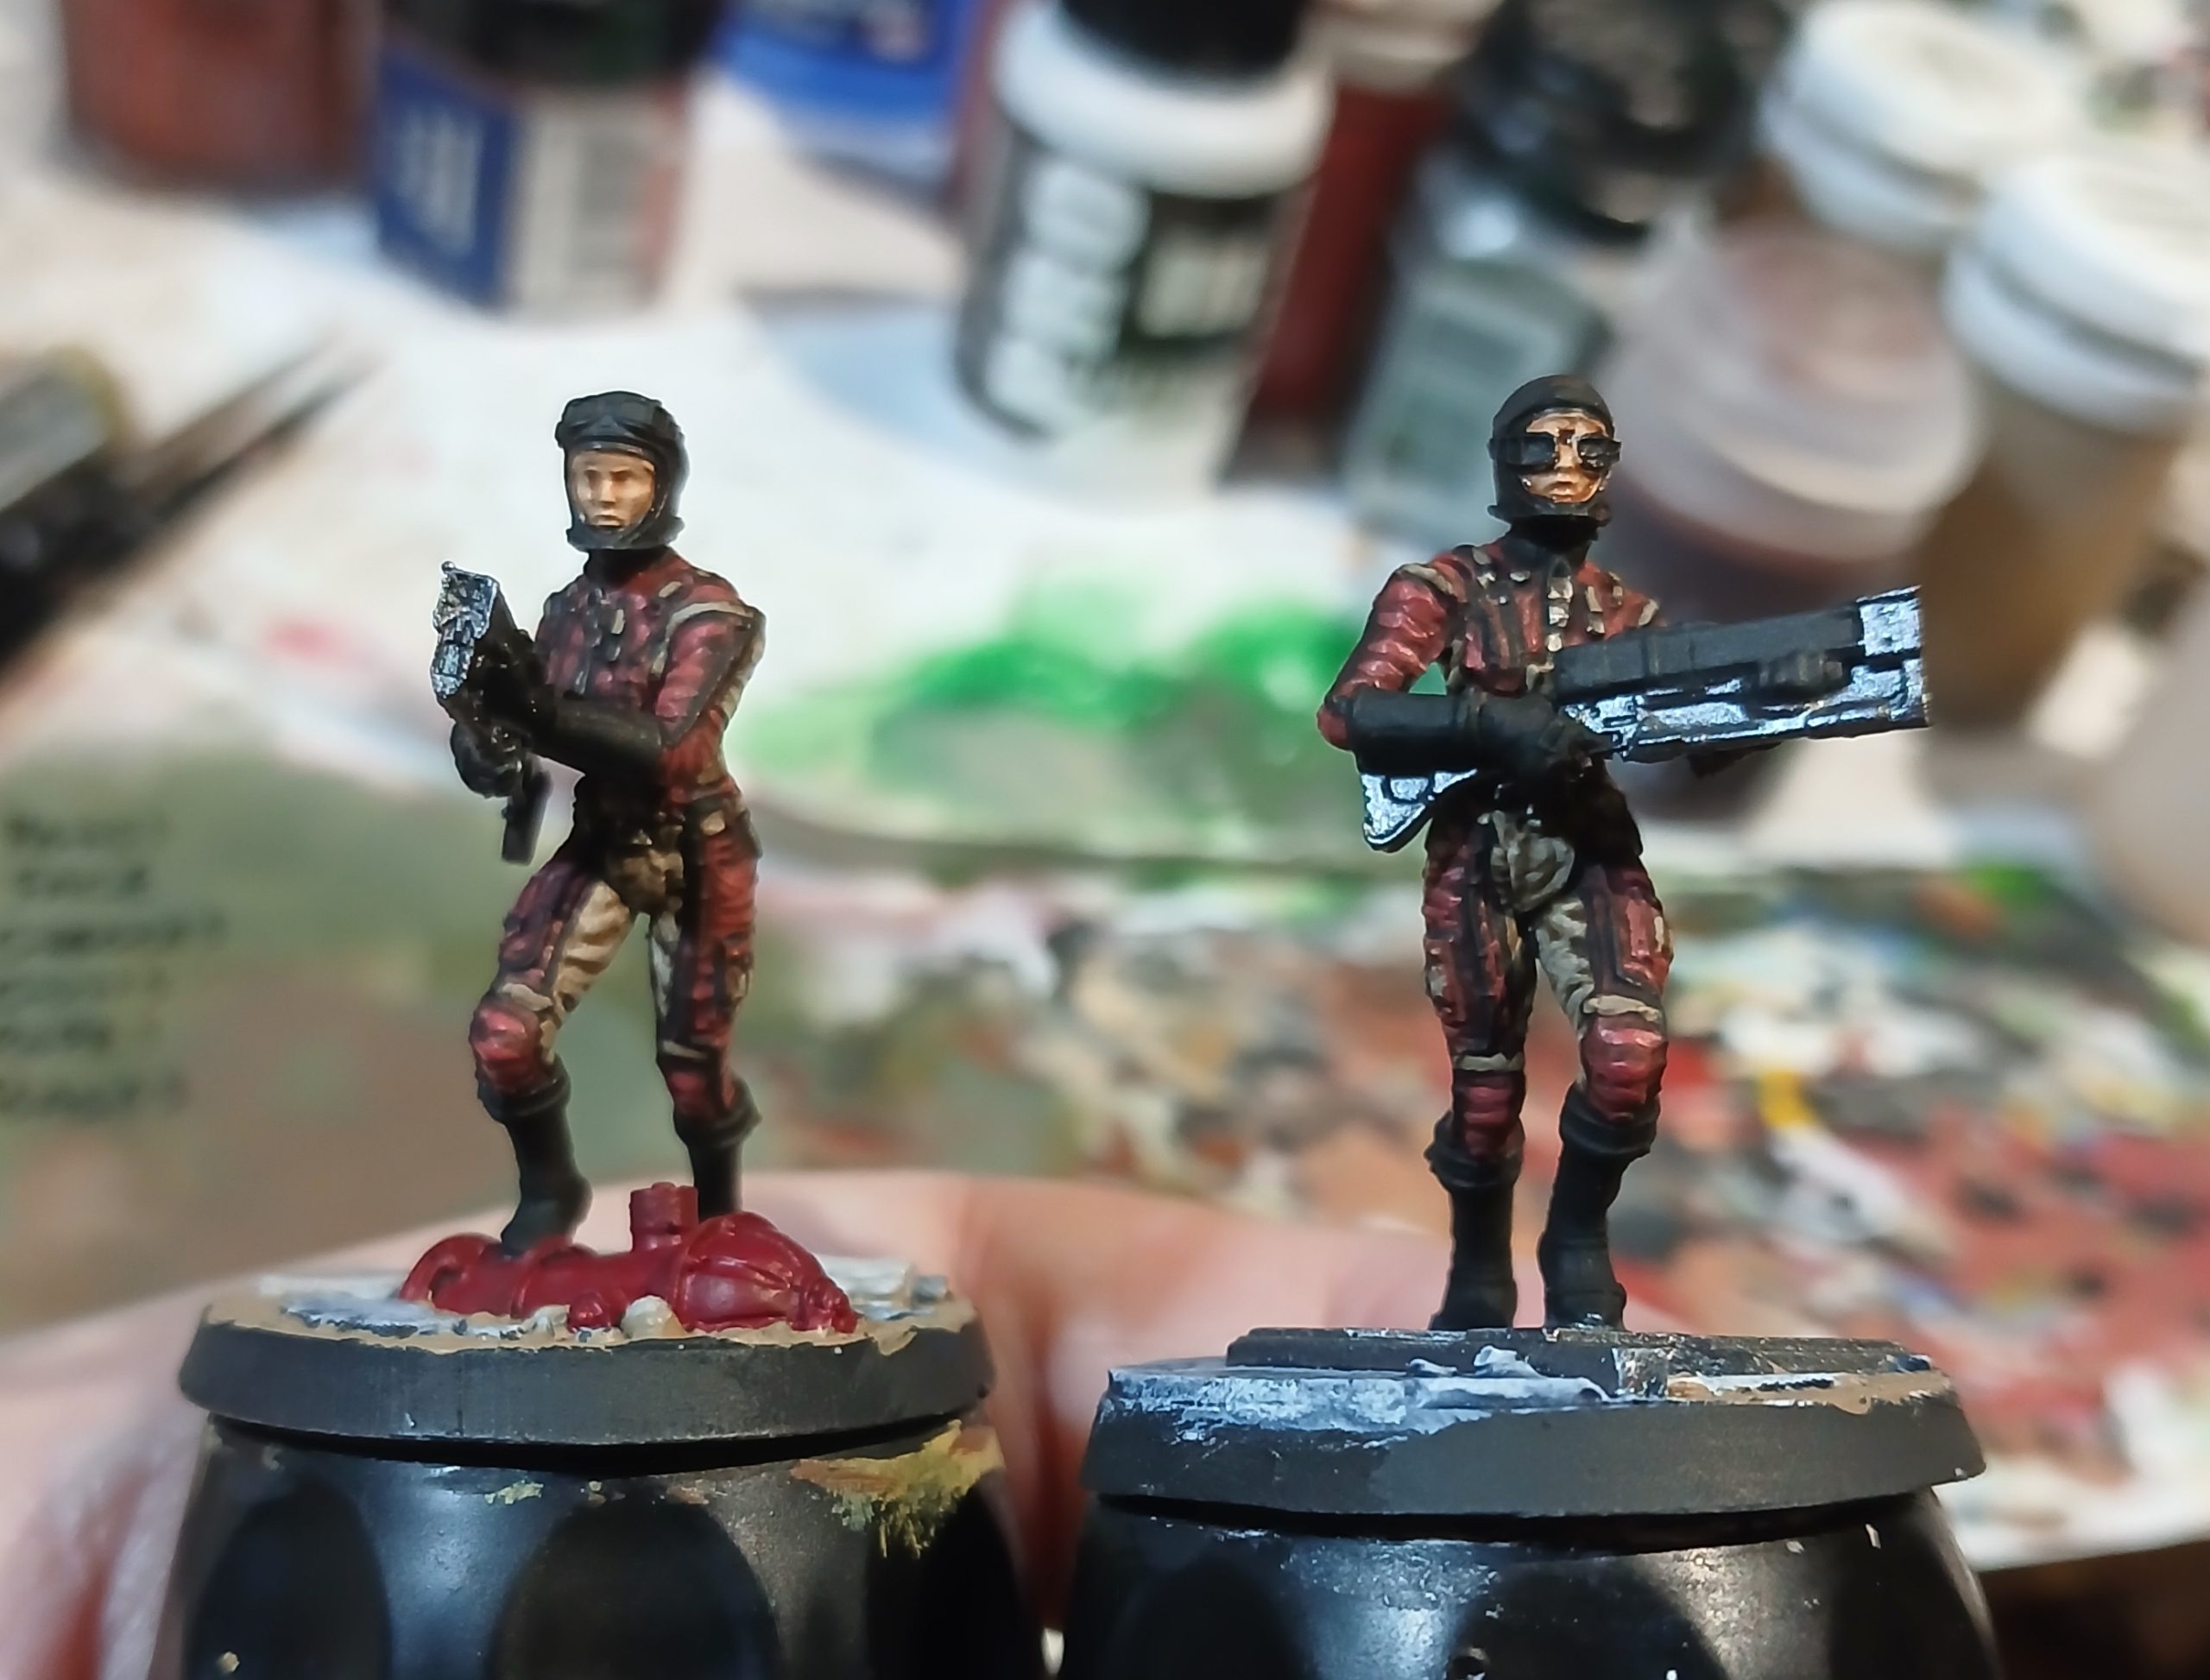
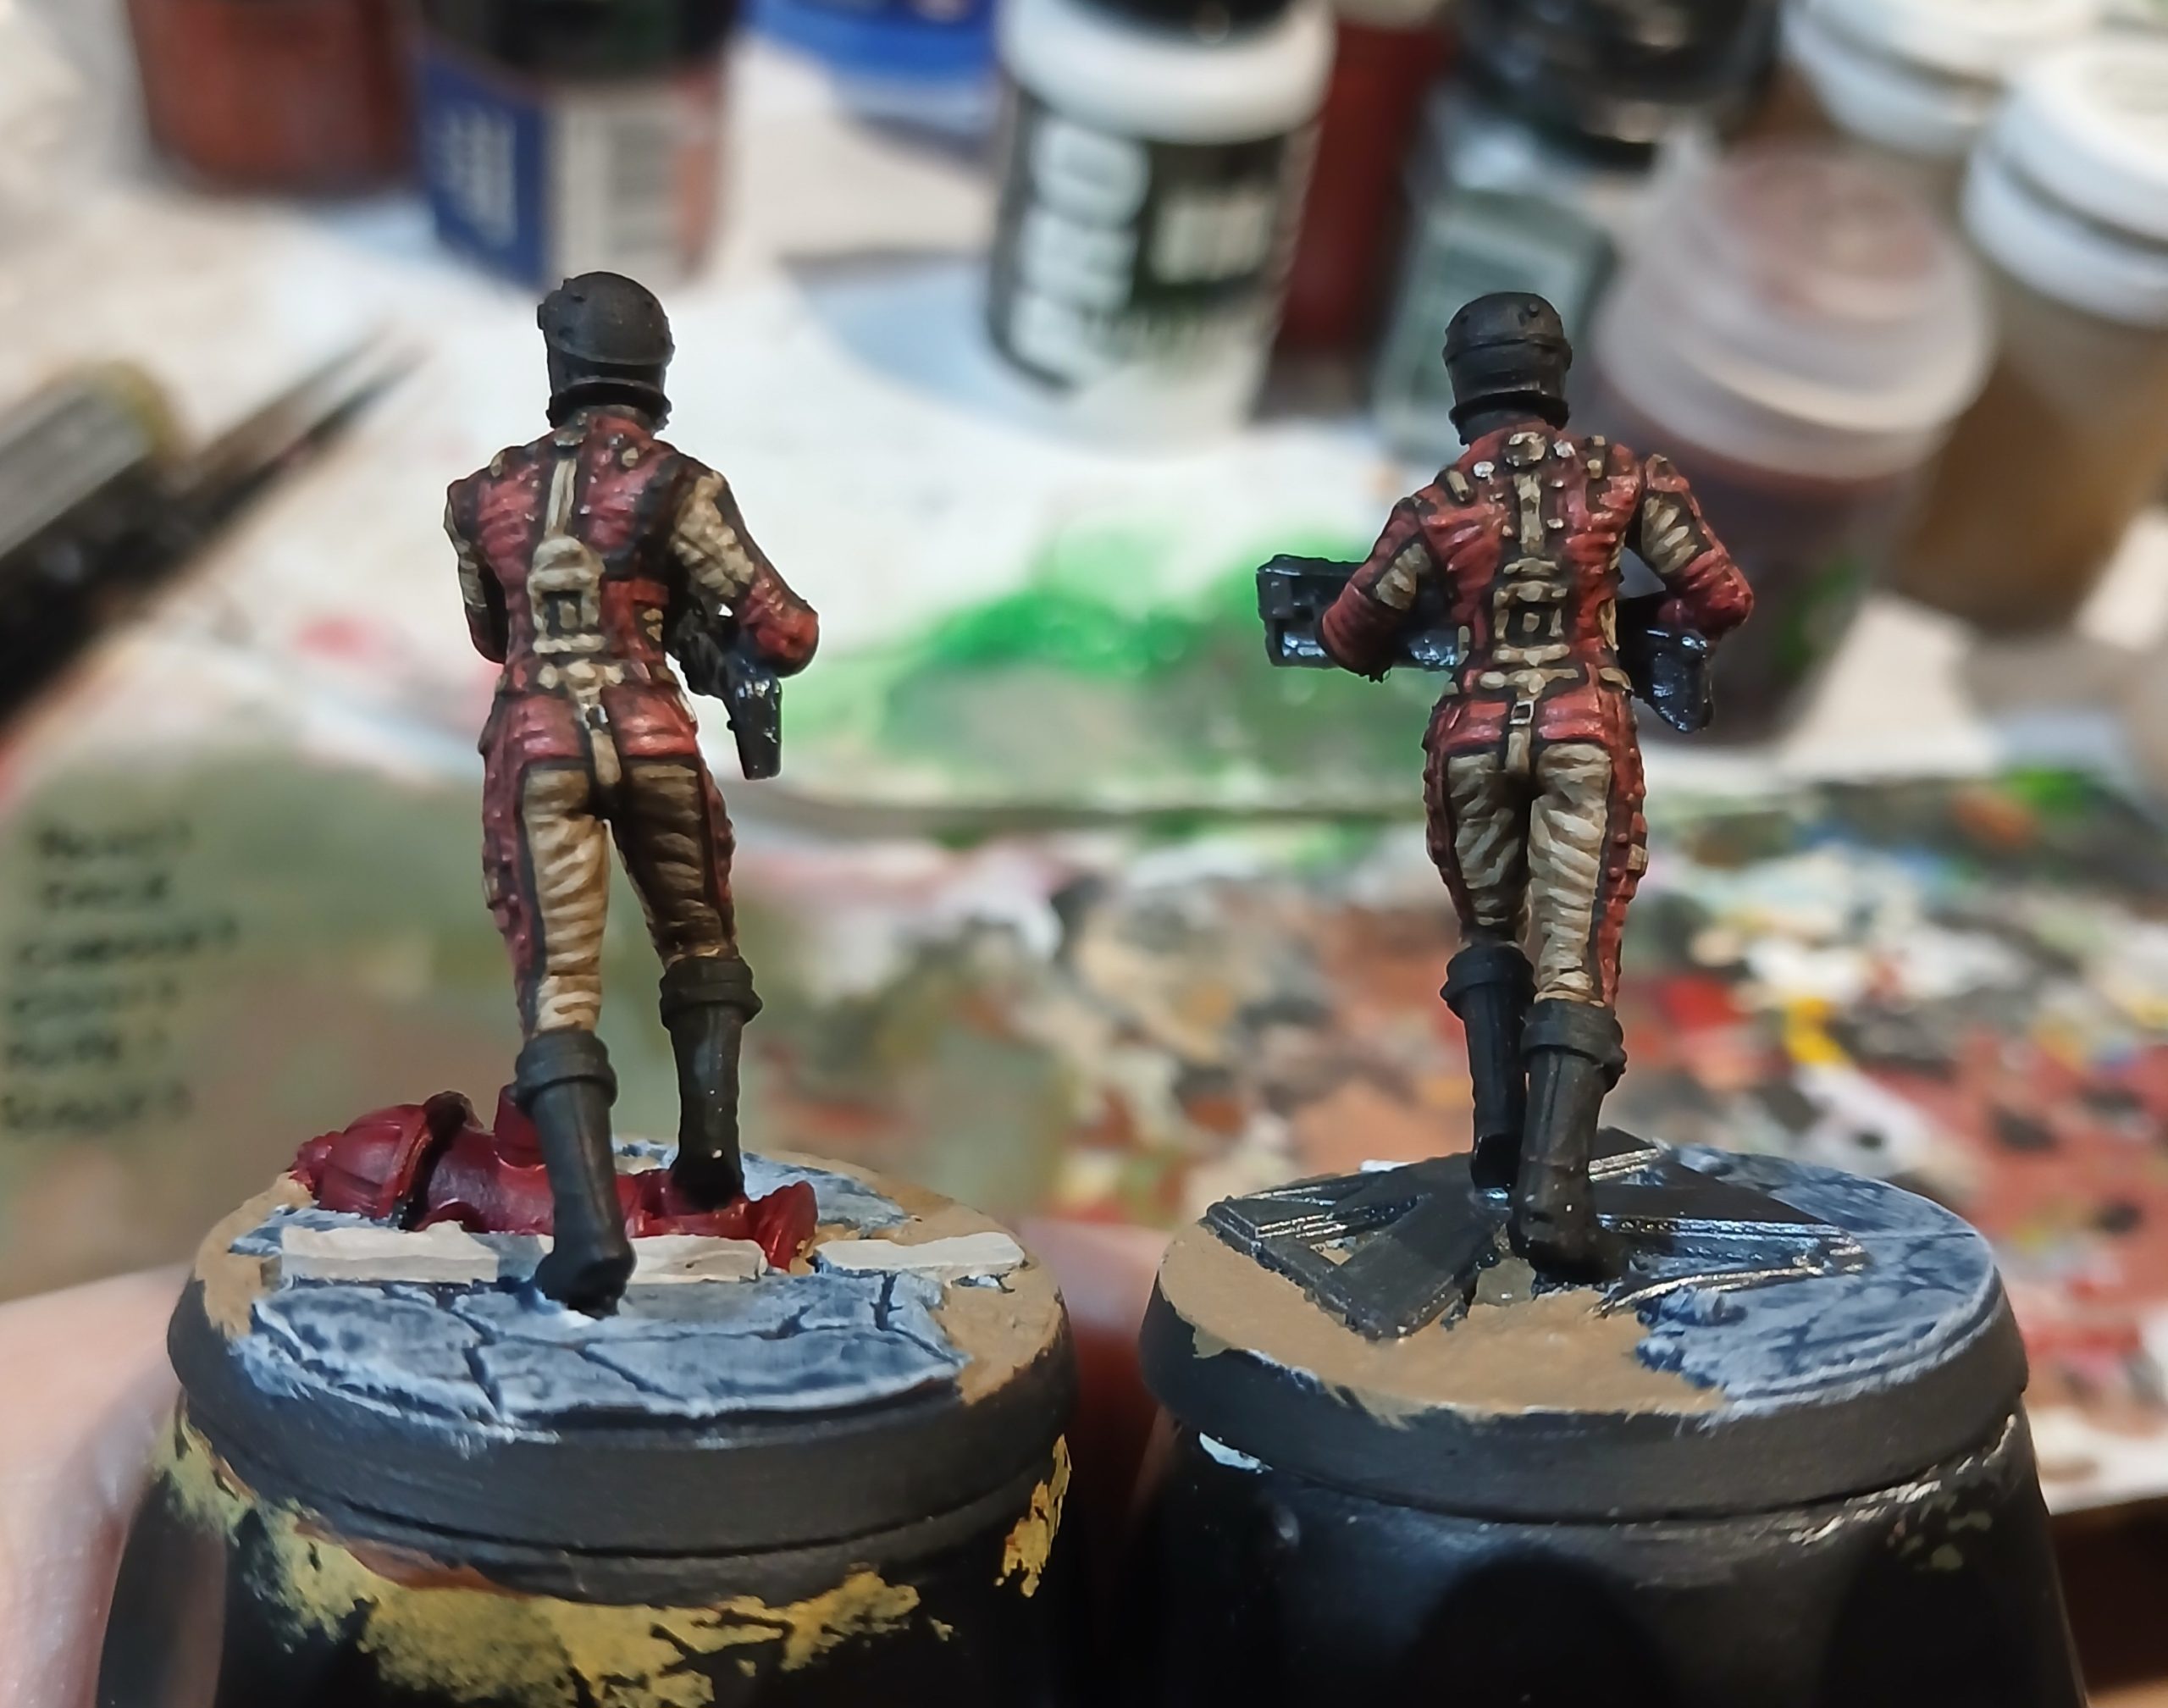
There was a lot more work on the base, with washes, addition of orange stippling, some green wash and suchlike to add weathering and depth. The ‘K’ of the sign on the floor was picked out in blue, then added weathering and worn areas, and a wash to tie it all in. Then a few edge highlights of a brighter silver. The fire hydrant was picked out in a strong red with added weathering.
The guns had the green and yellow elements added, the helmets were painted grey to white, then gloss varnish. The goggles (I did struggle a bit here) were picked out with gold frames and blue lenses, going up to a pale blue. I didn’t try to paint in the eyes on this one, instead adding a couple of washes of crimson to the socket and a little to the lips. They have a weather worn look overall, which I am reasonably happy with.
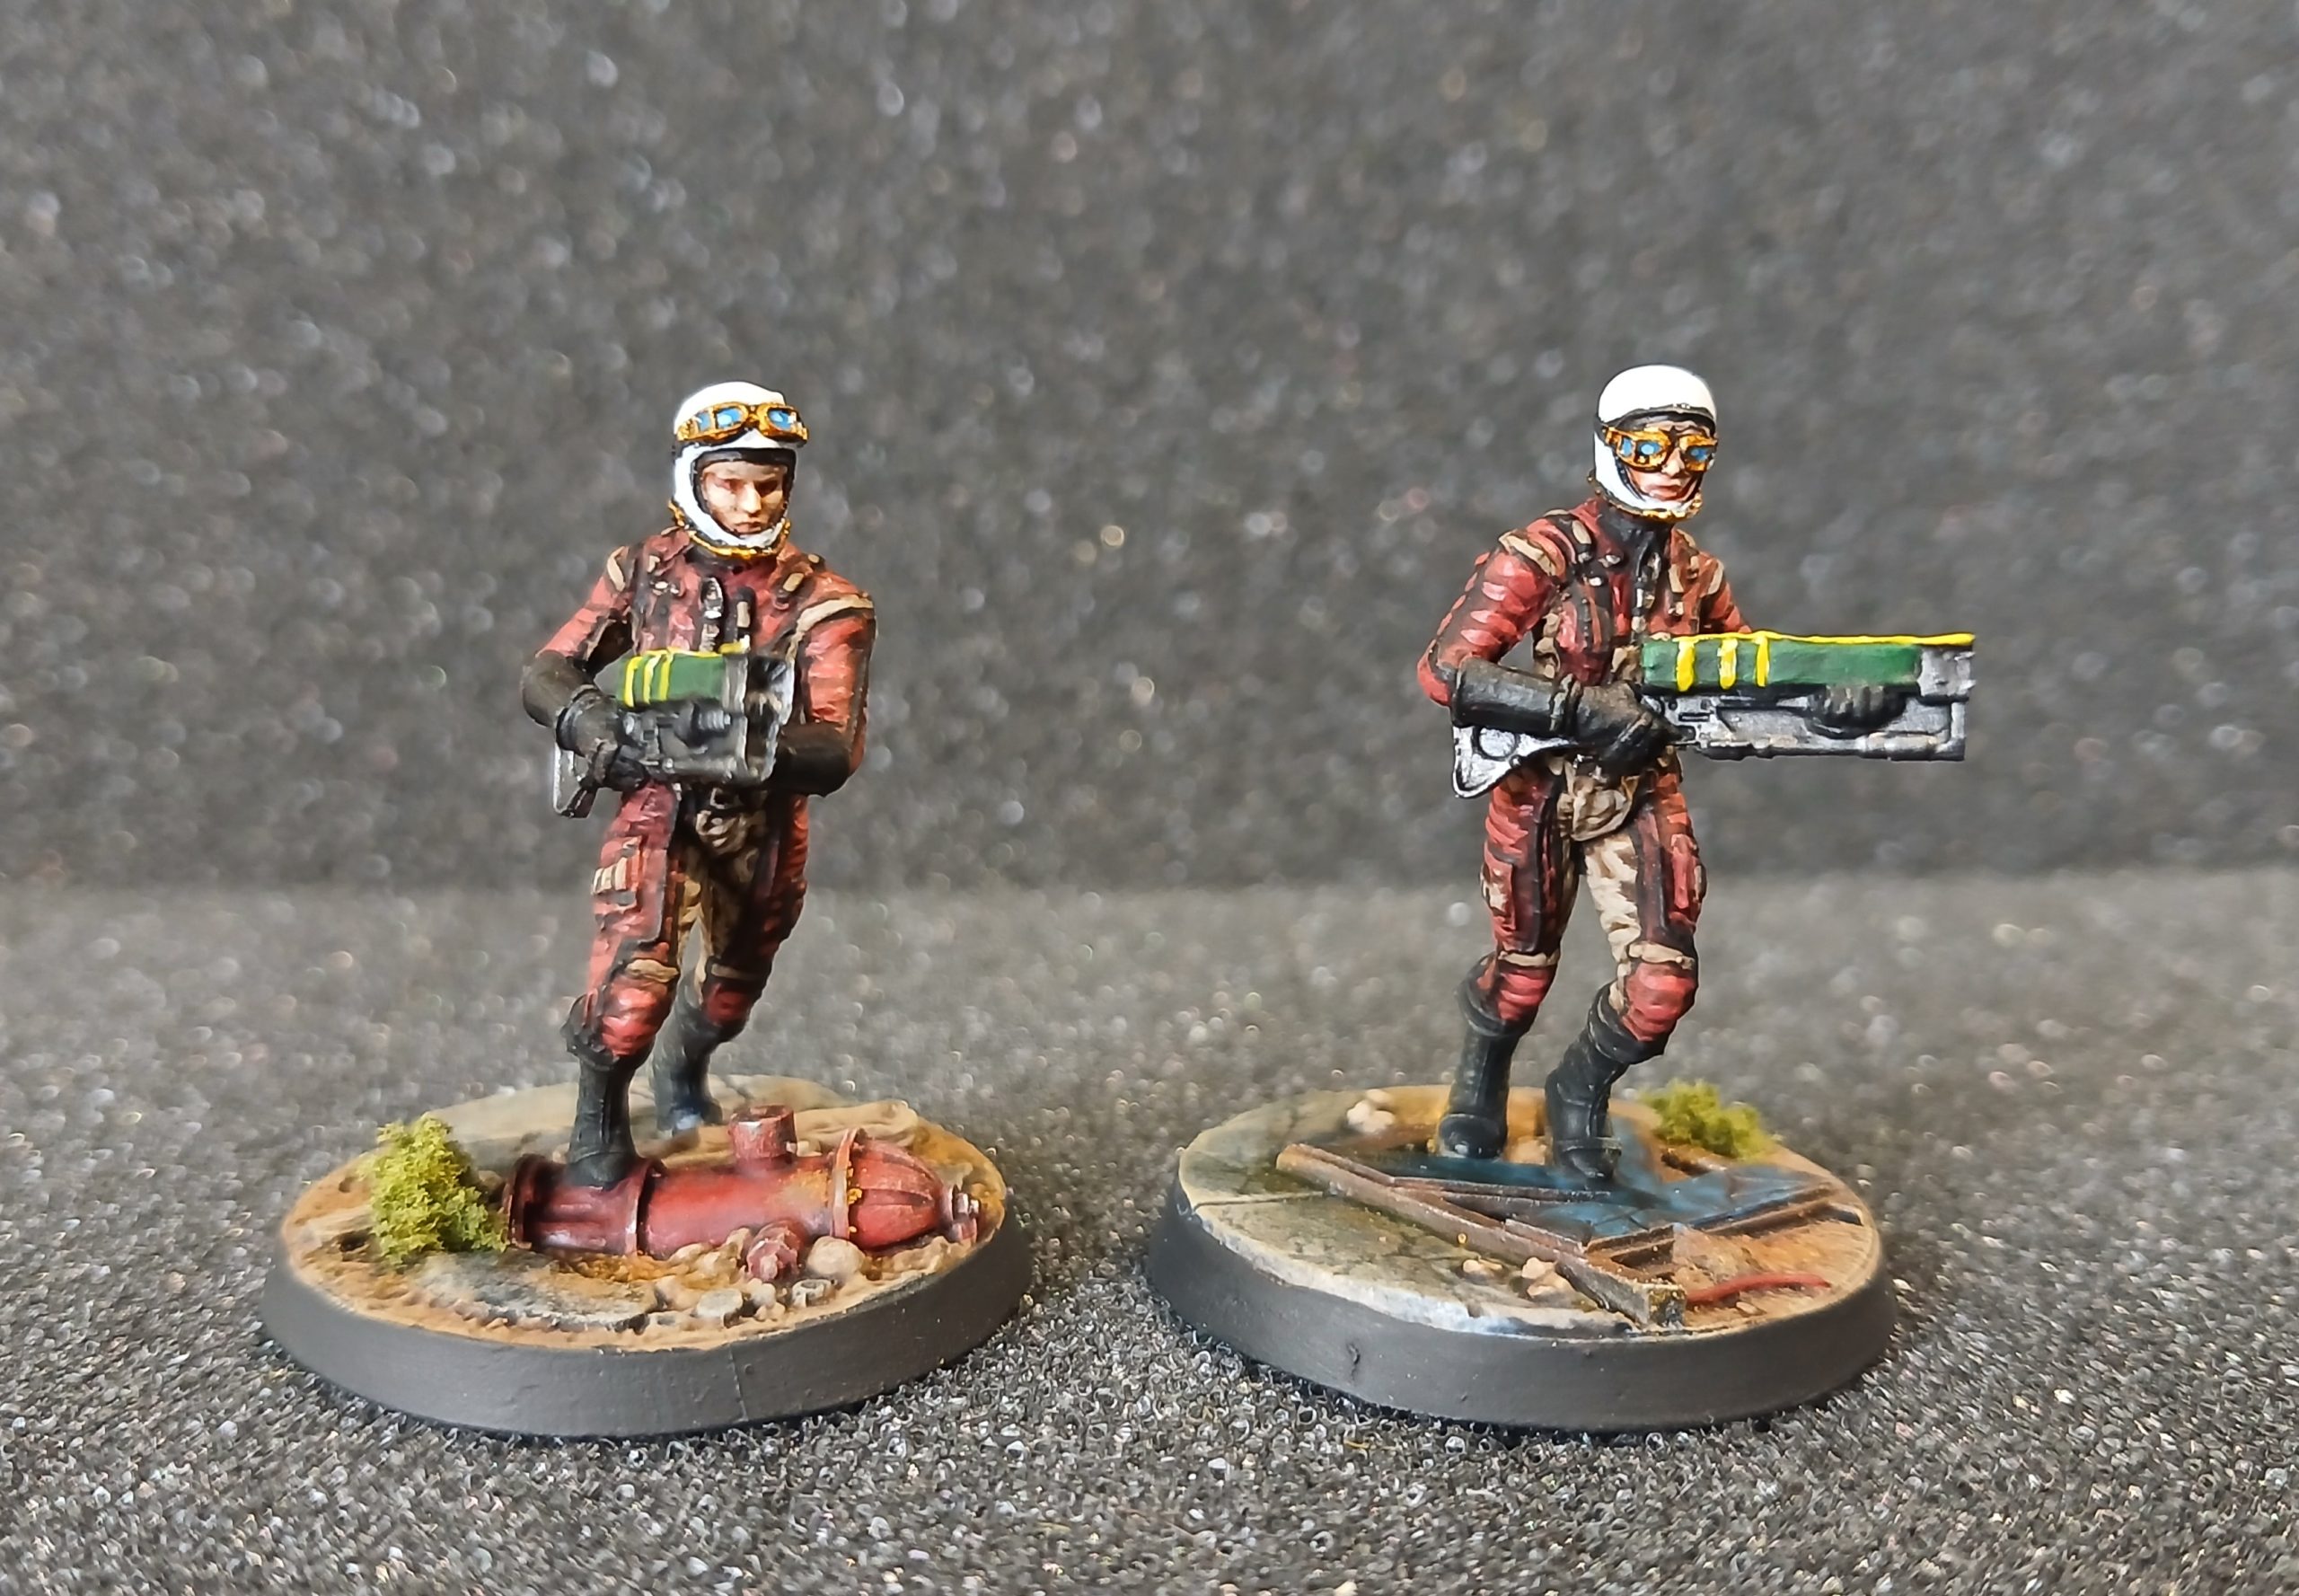
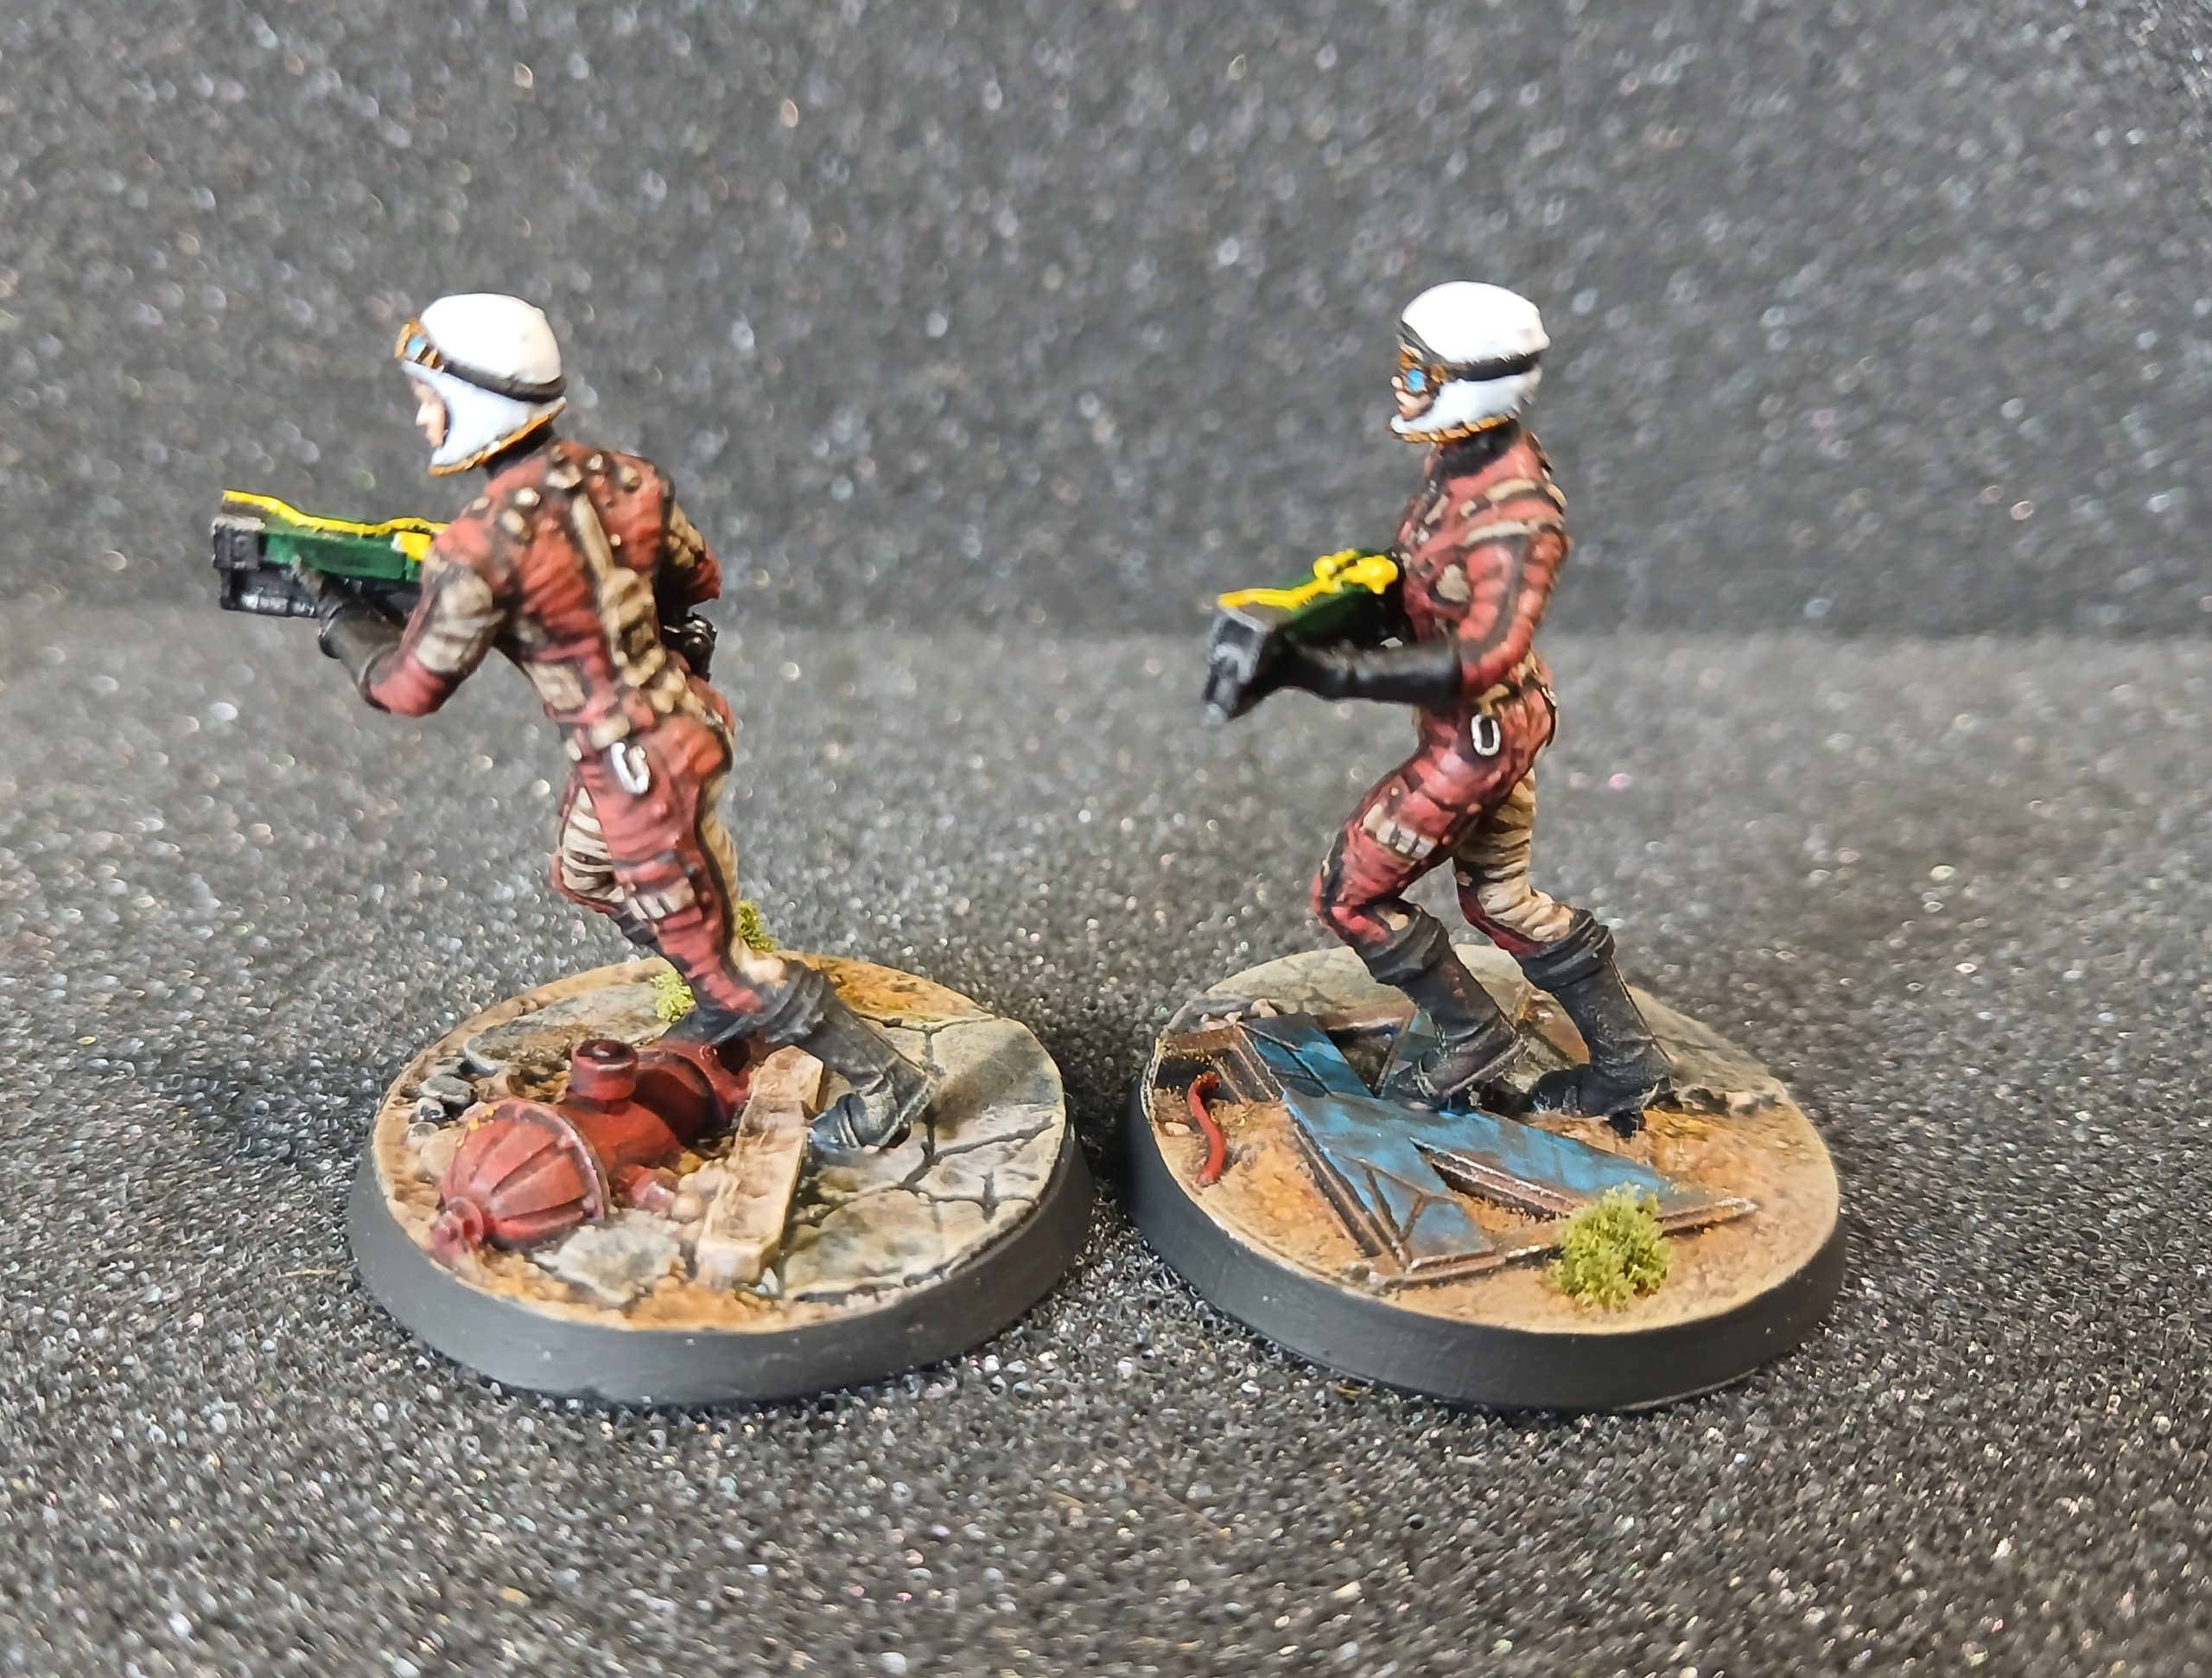
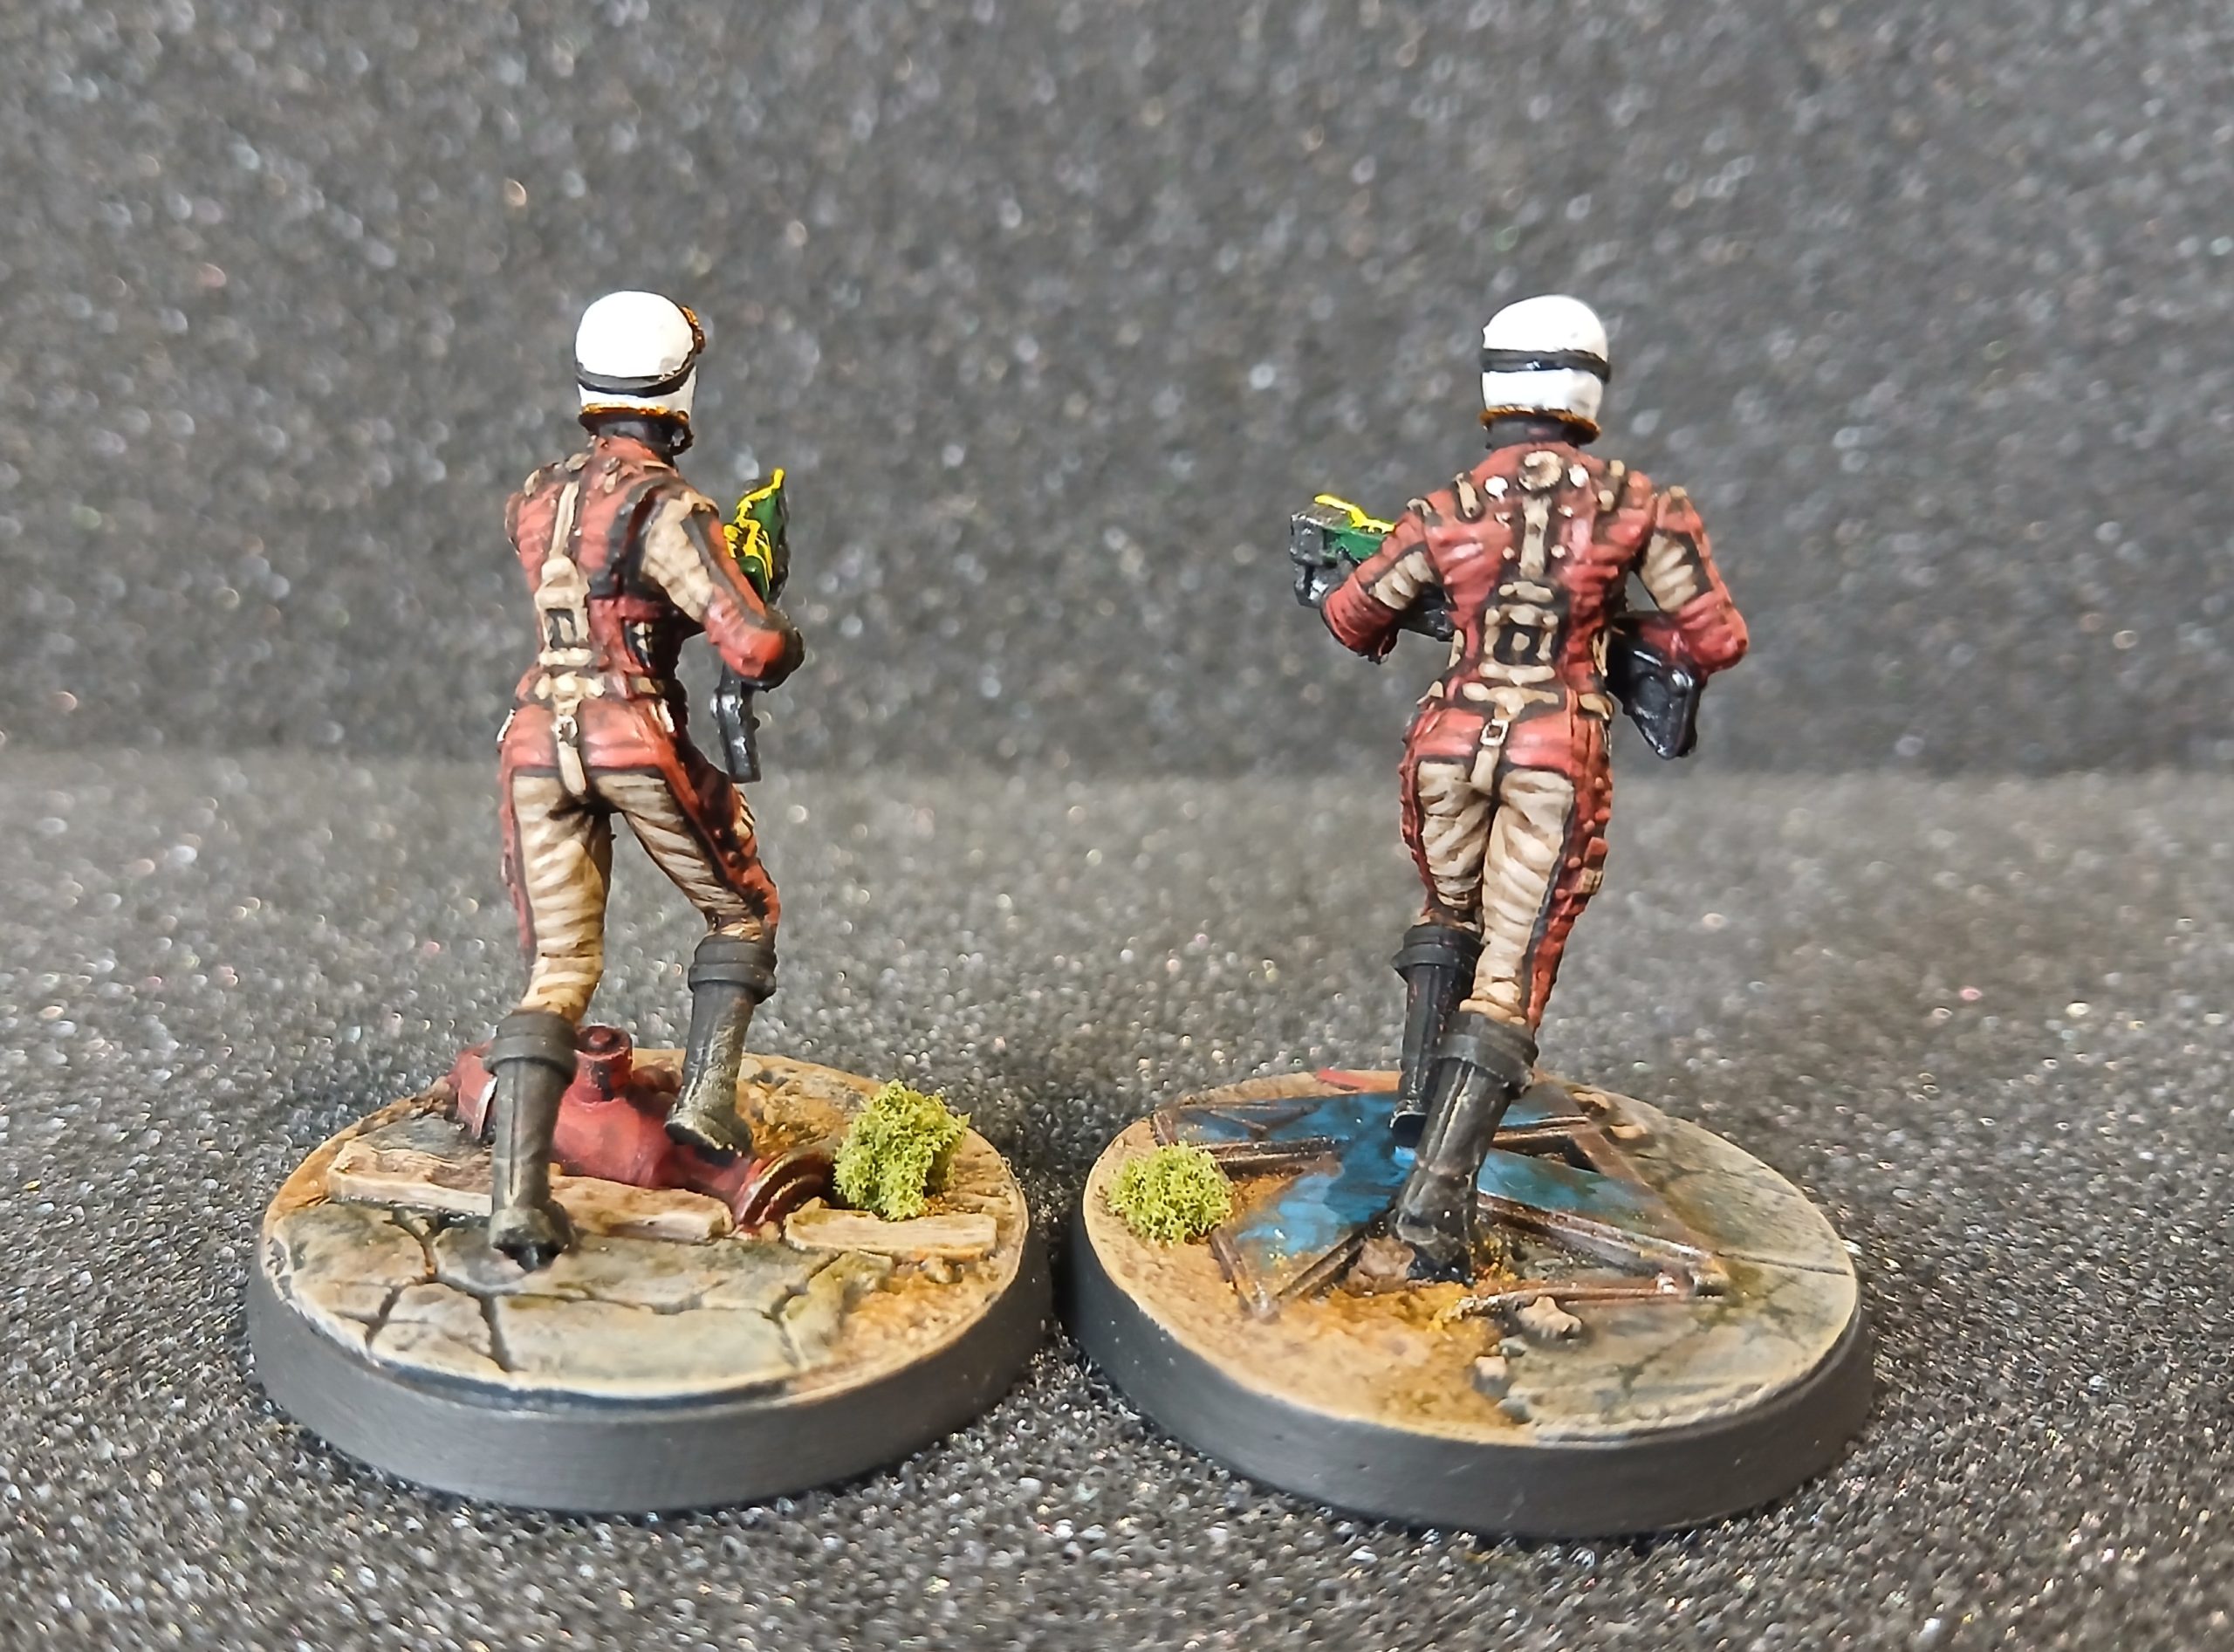
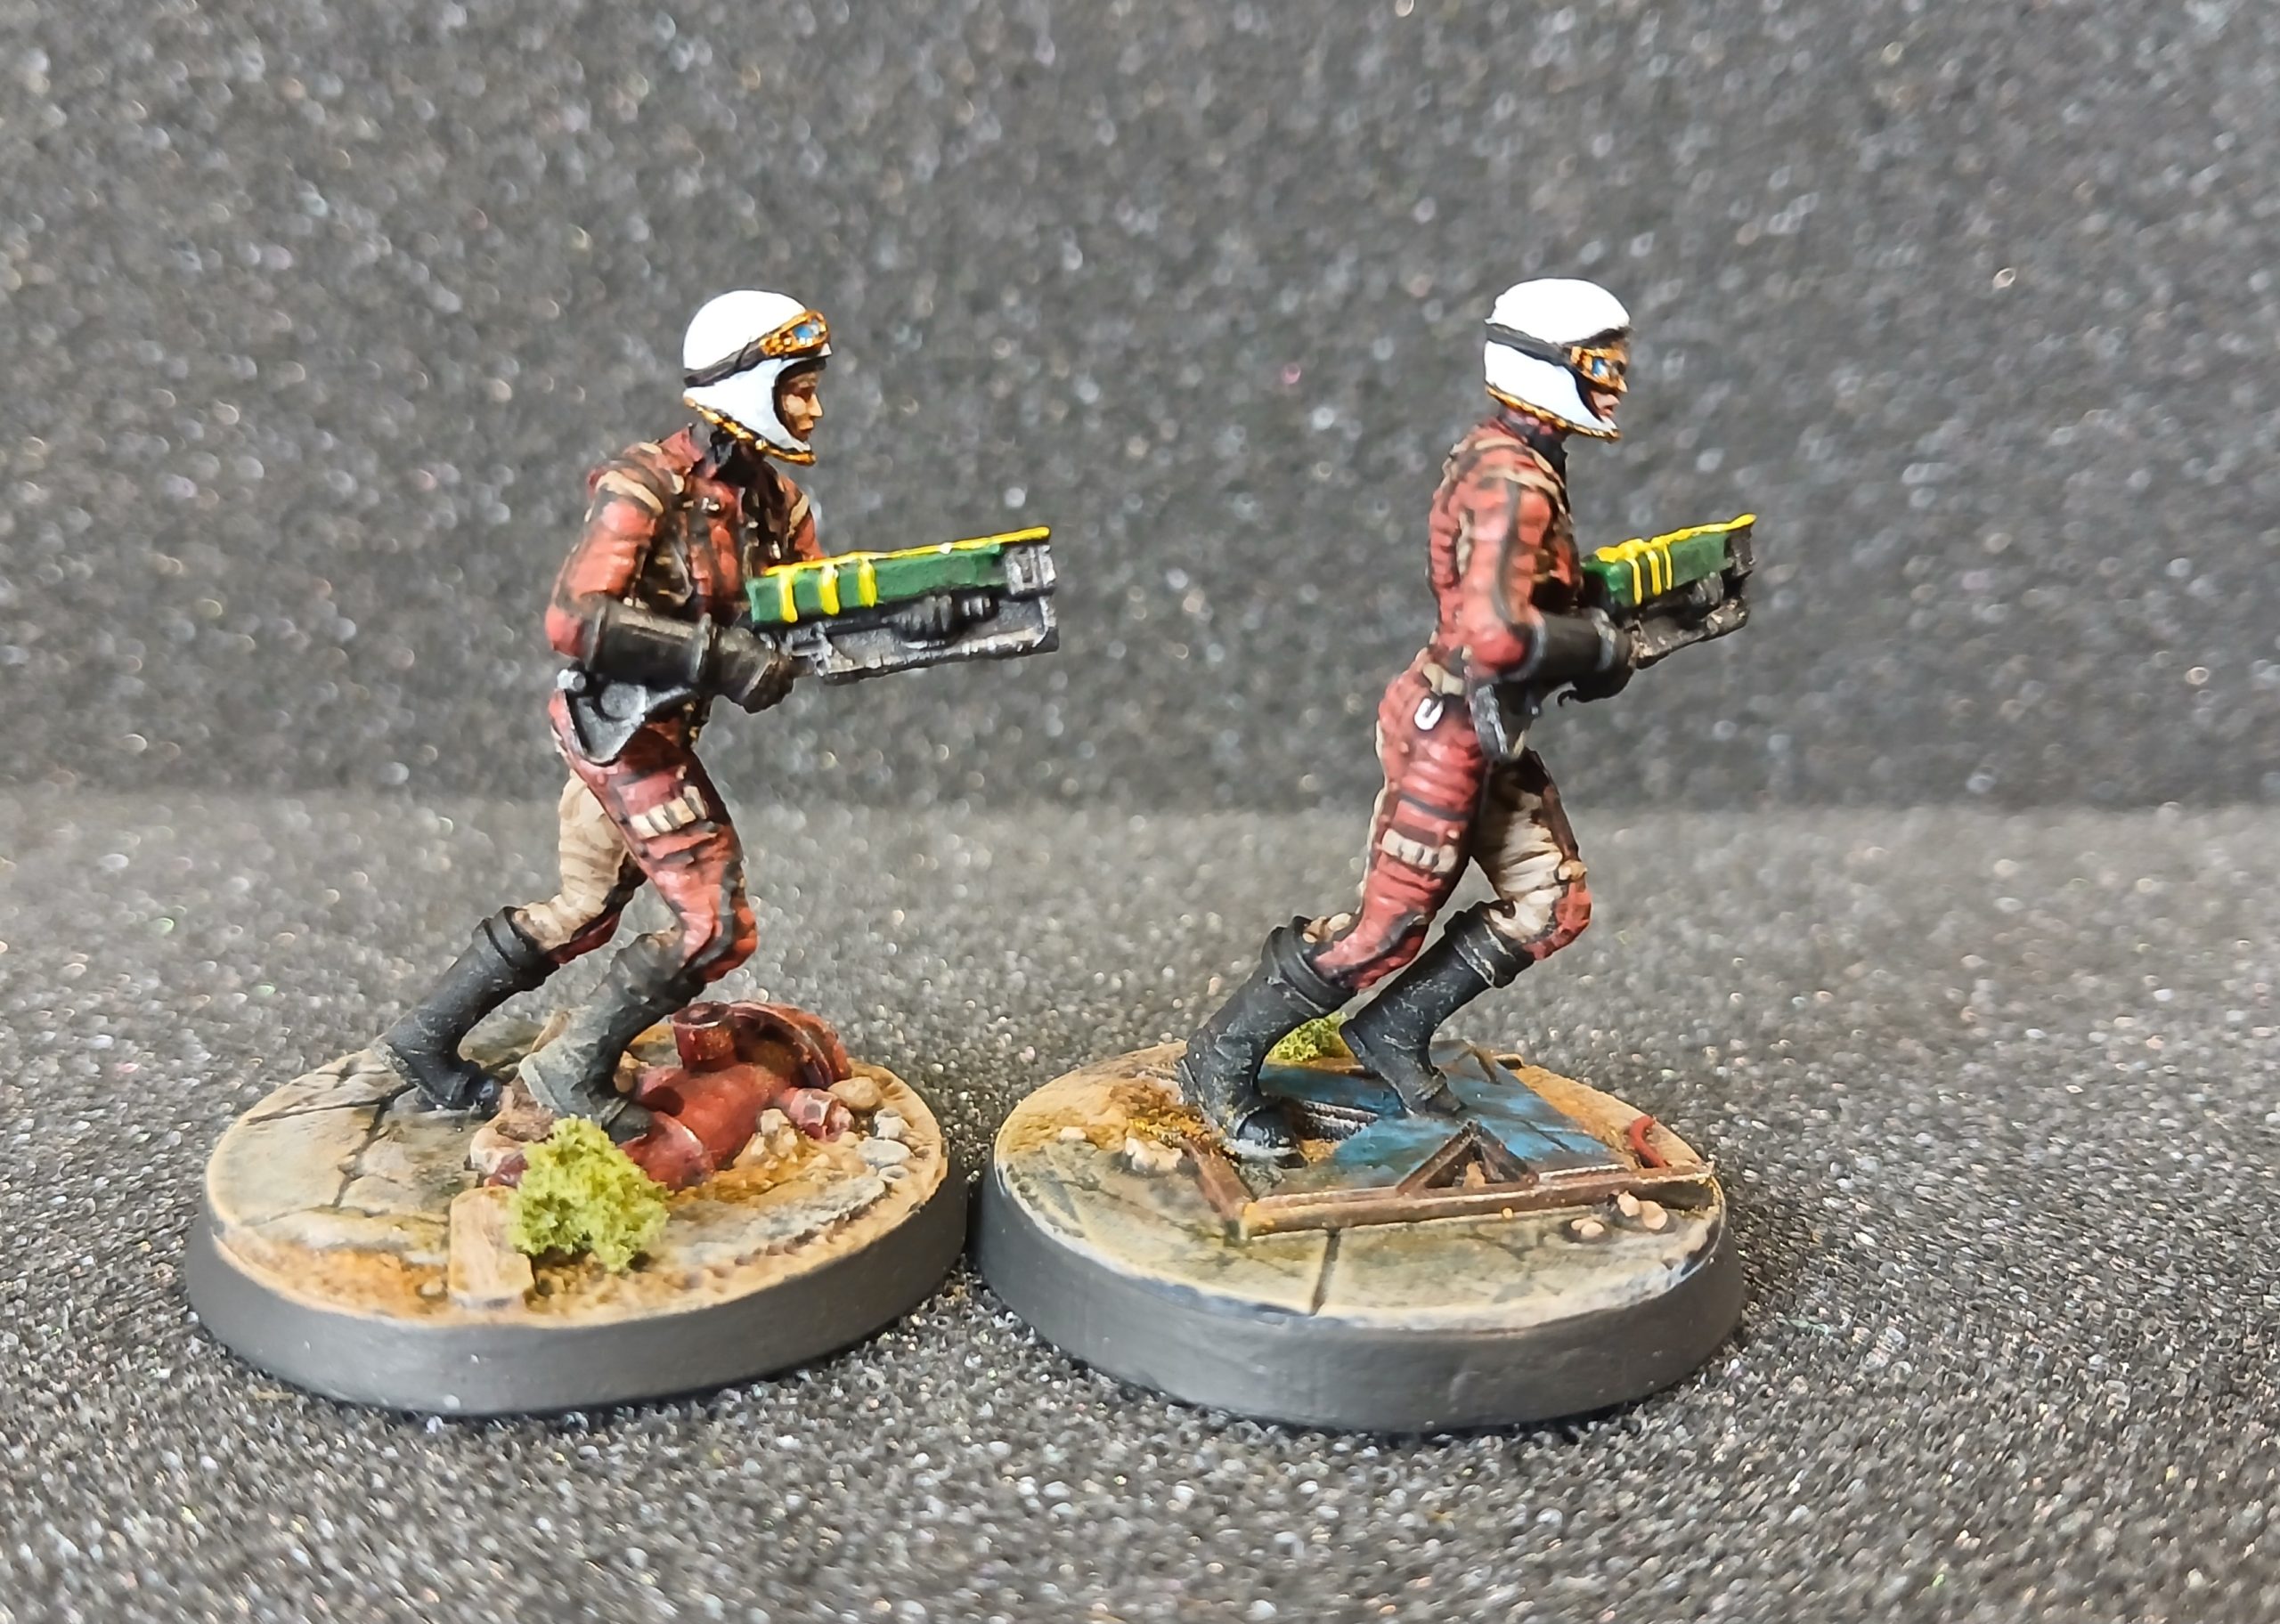
With these finished that is my old Brotherhood of Steel unit box completed.
Golden Button!
Just wanted to thank the team for giving this project a Golden Button.
I appreciate you taking the time to look at what I am working on 😀
Community Spotlight: Clan Wars, Eagles of Empire & Fallout’s Brotherhood!

Field Scribes
17th September 2026
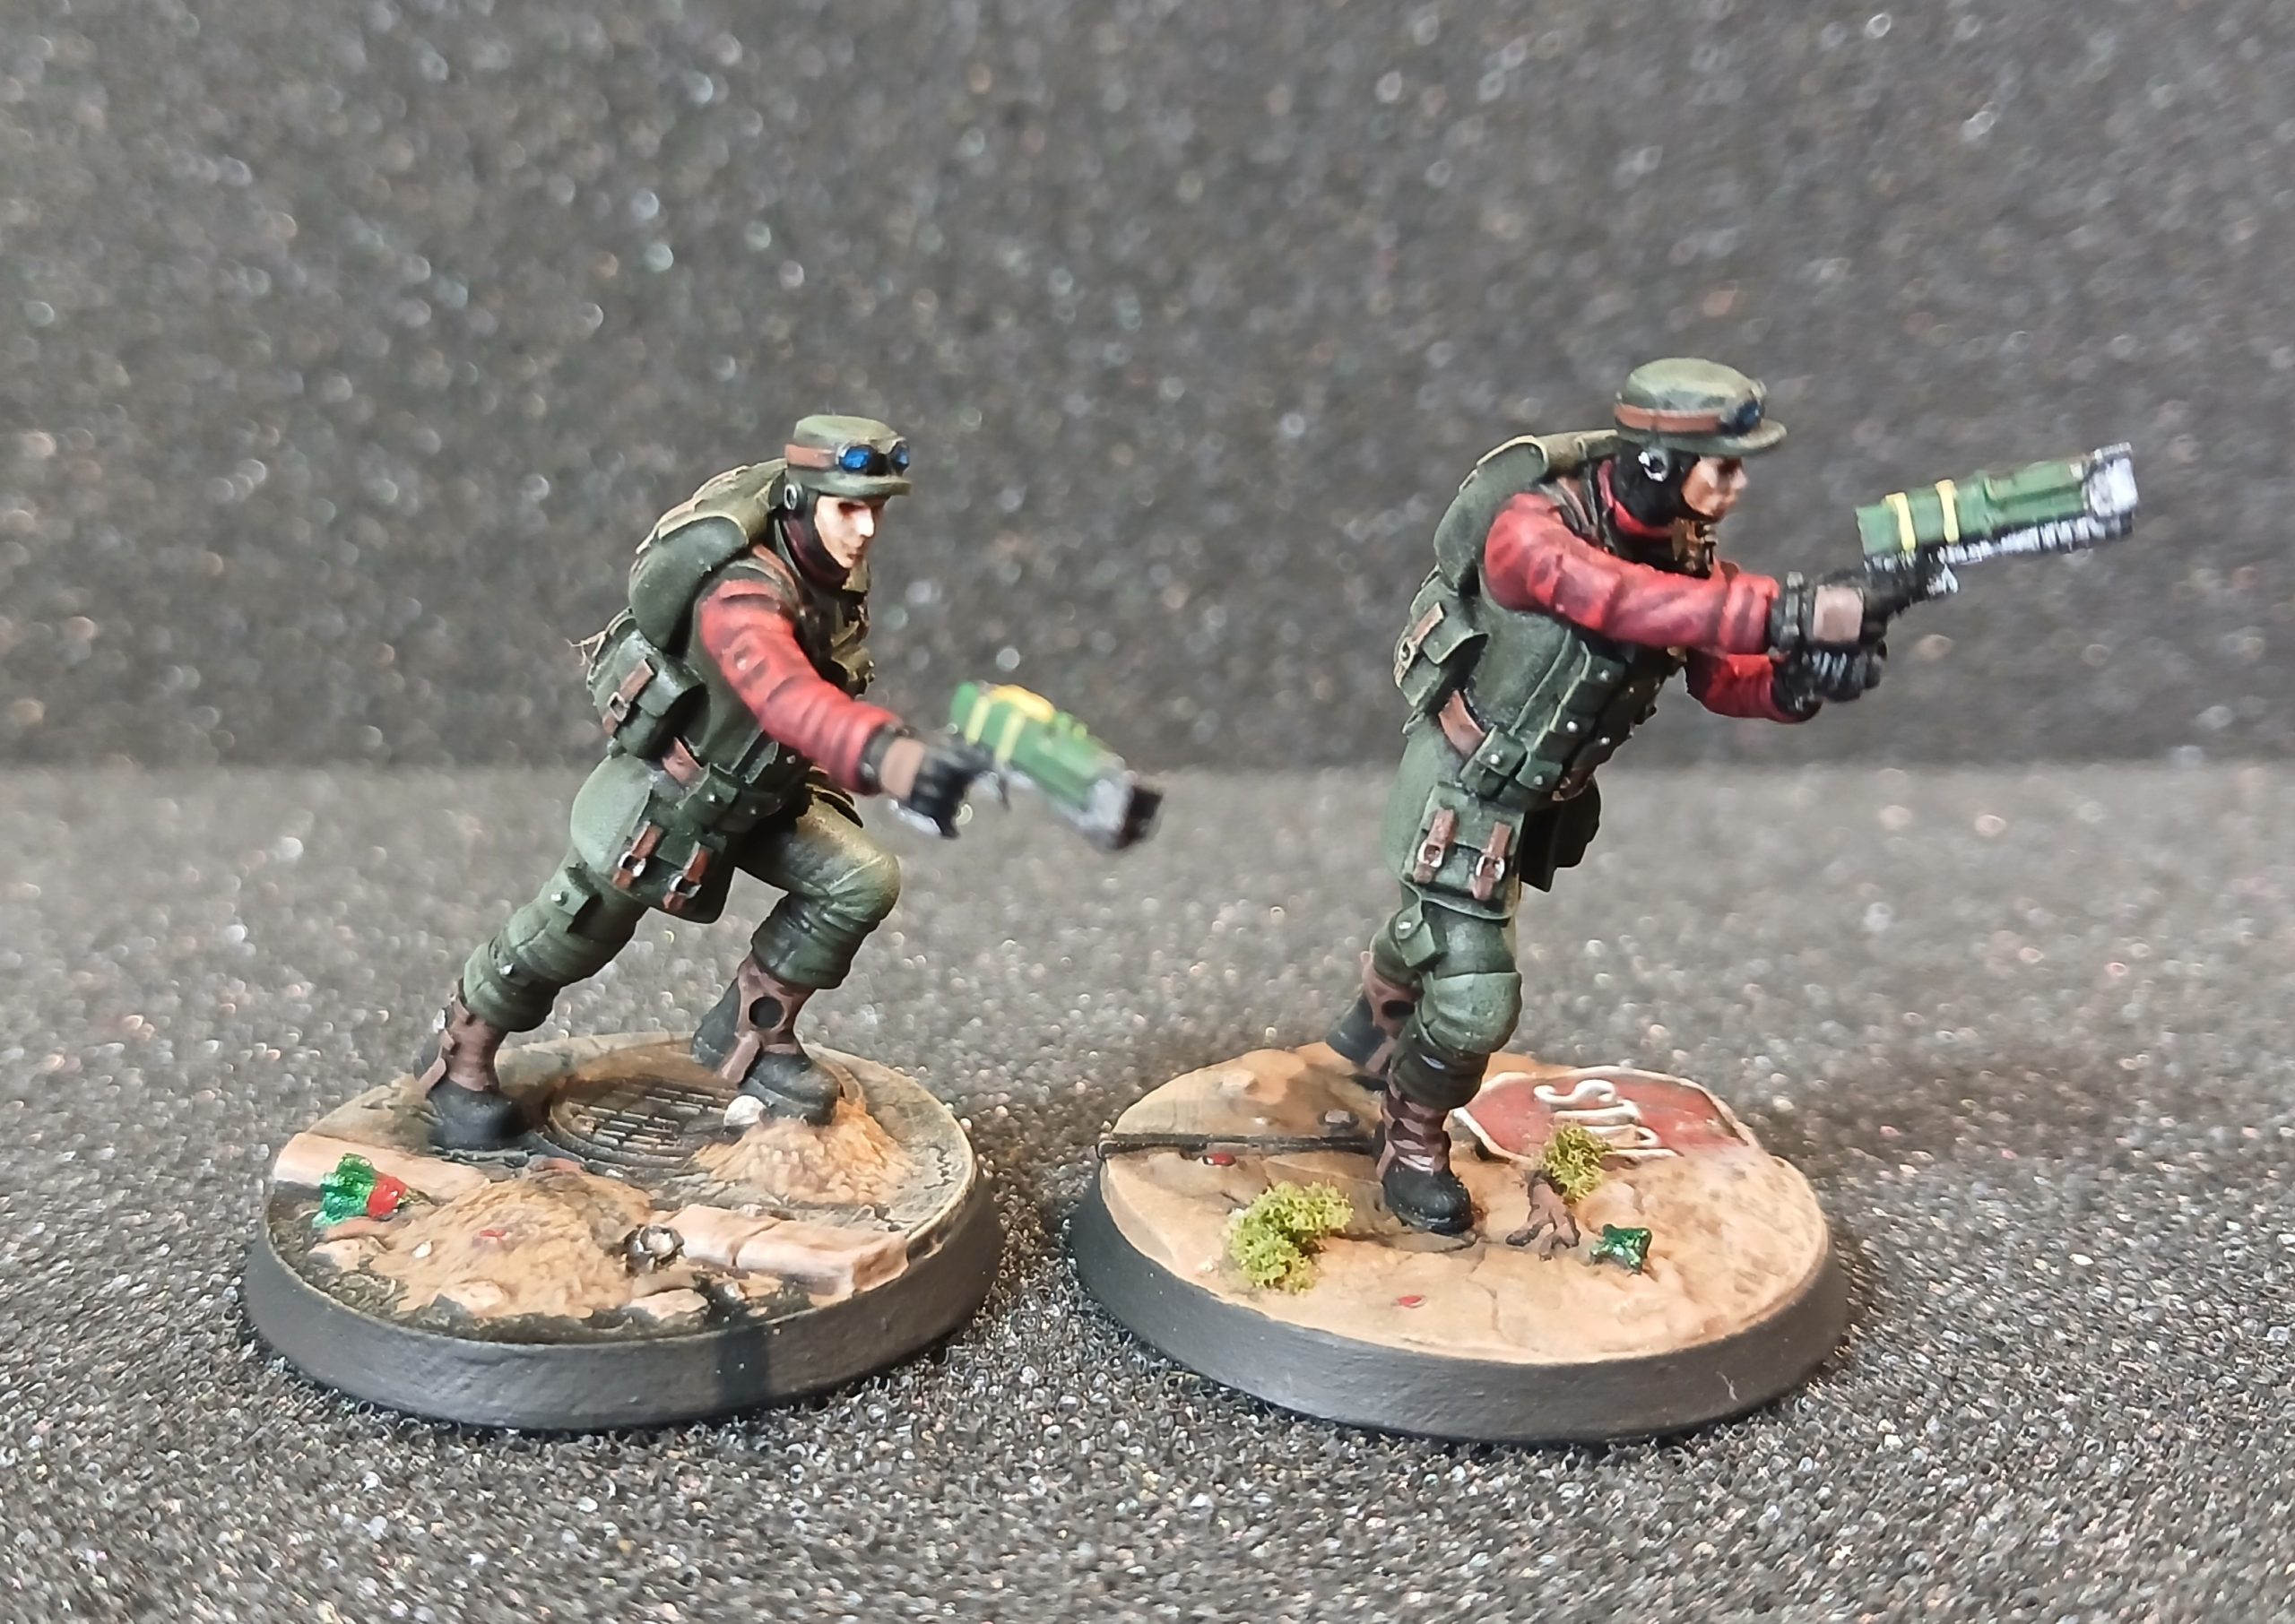
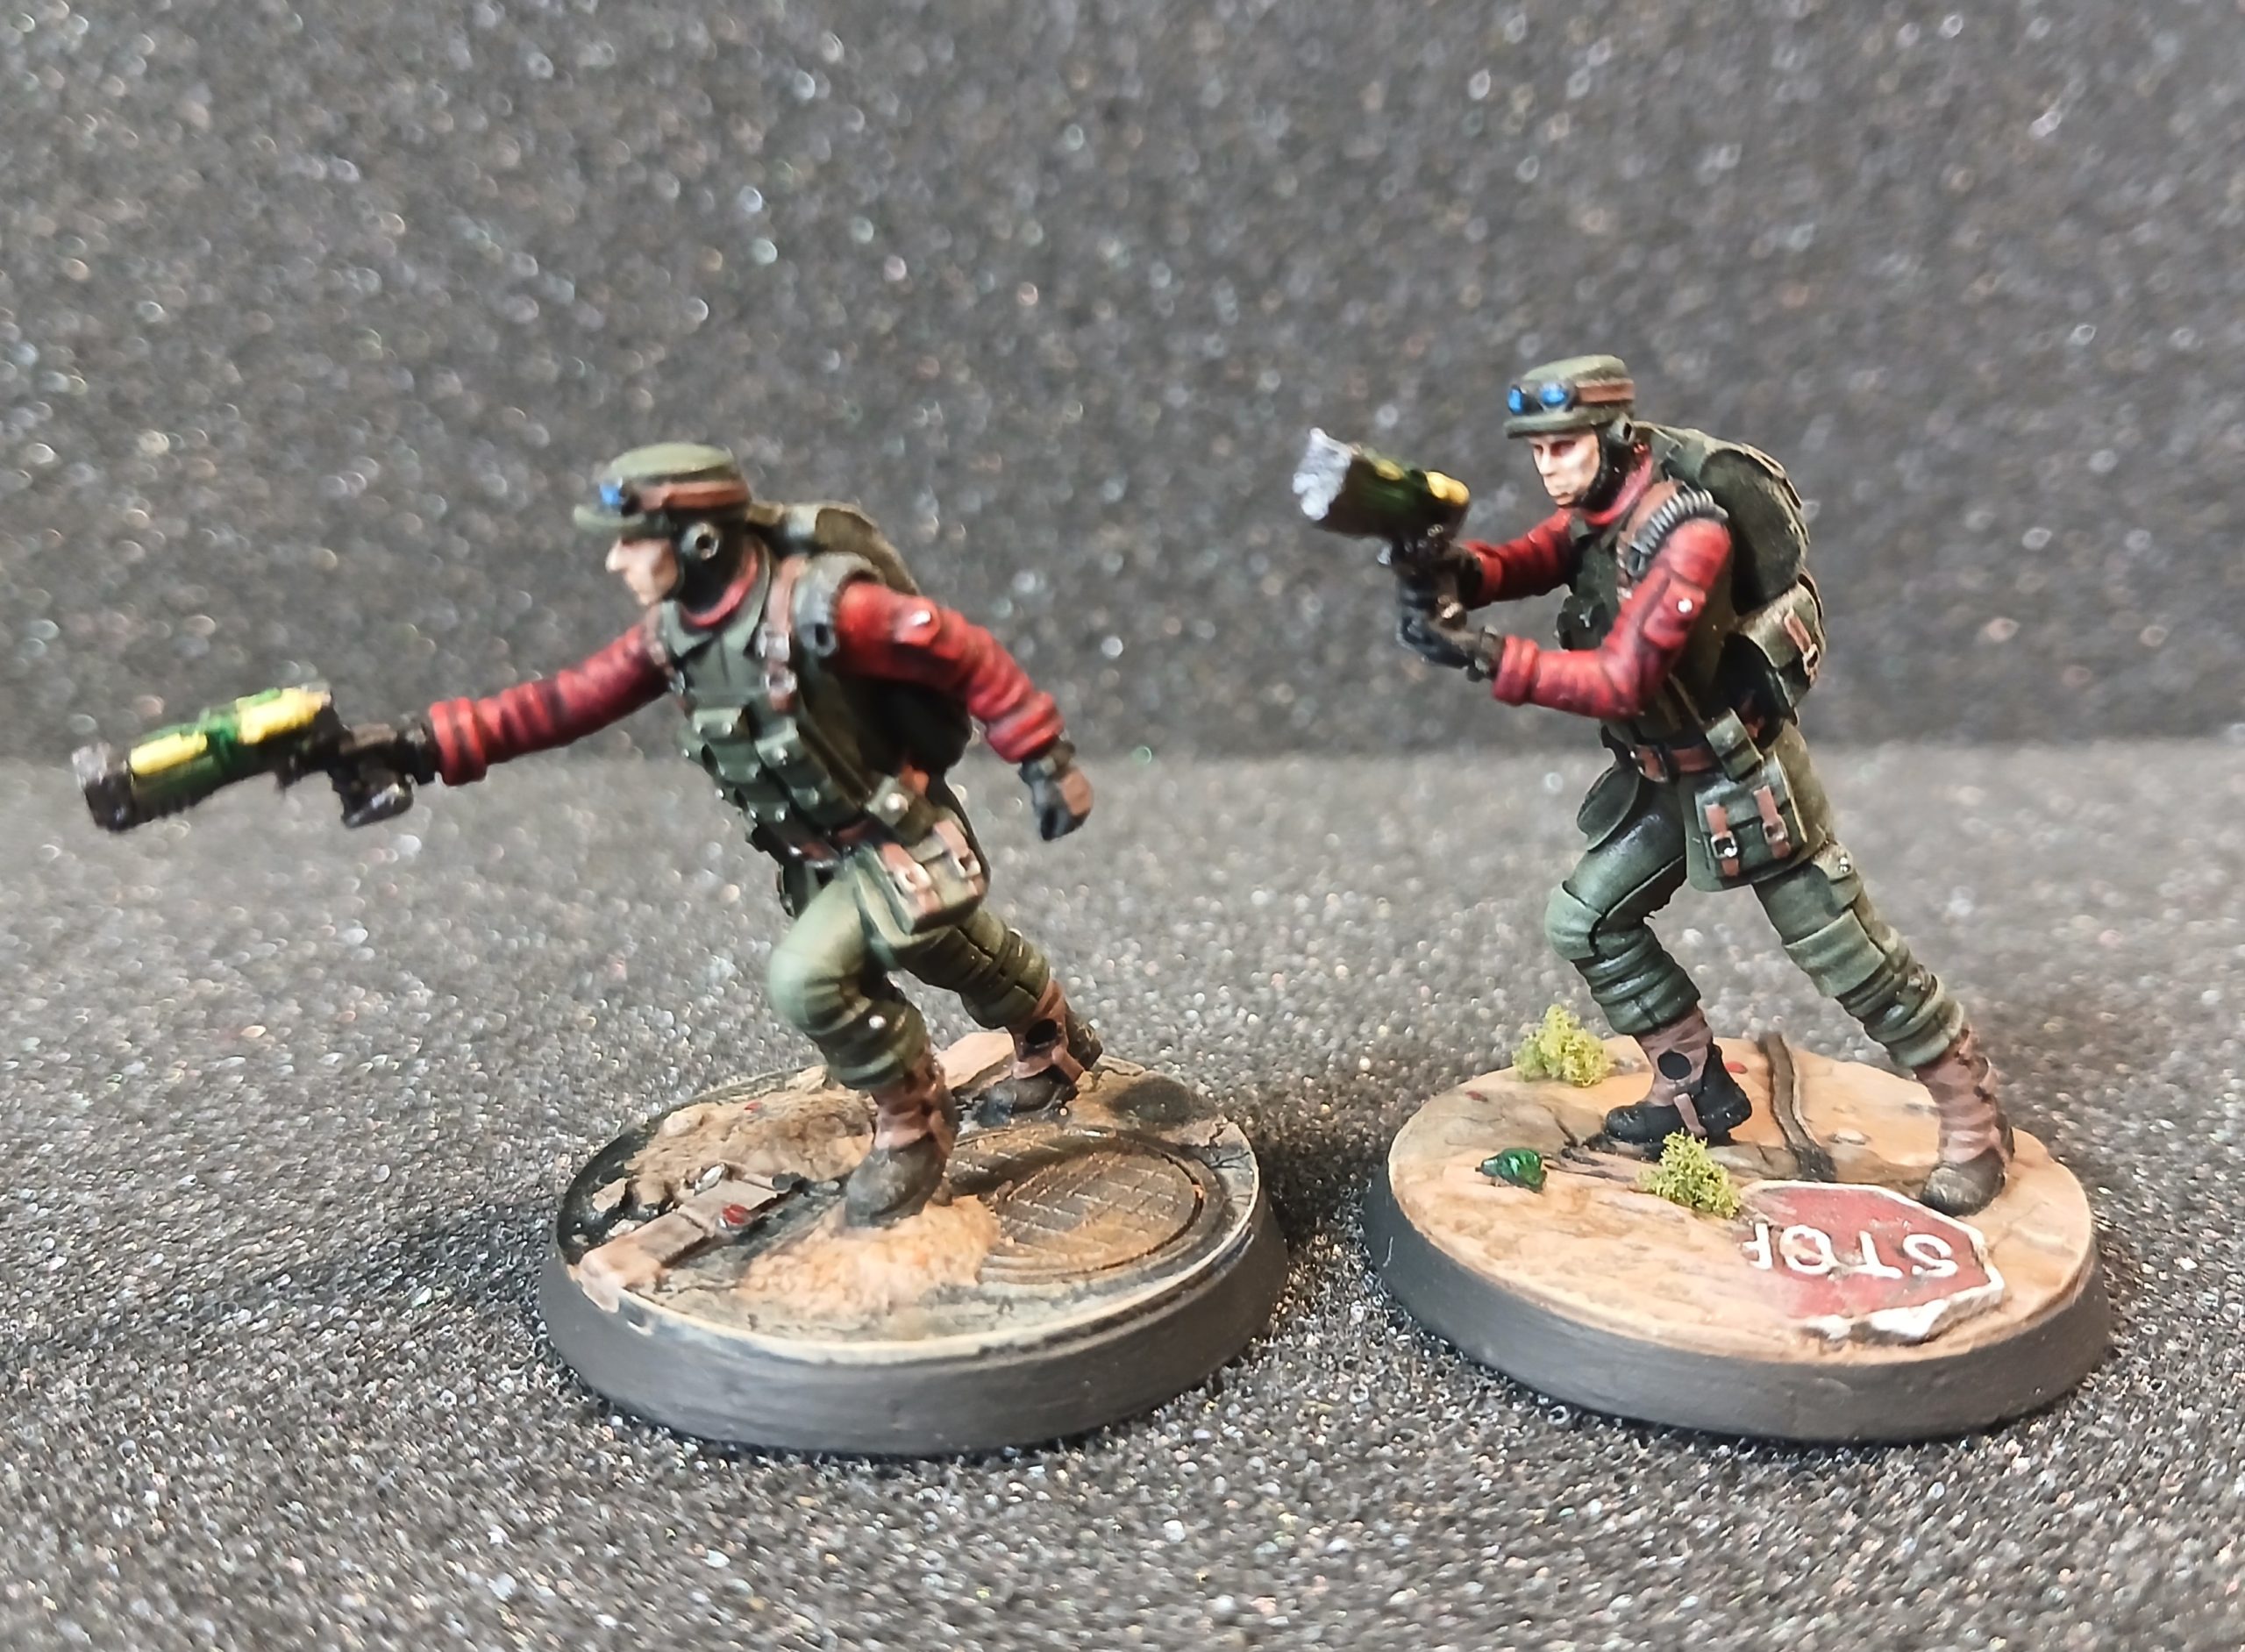
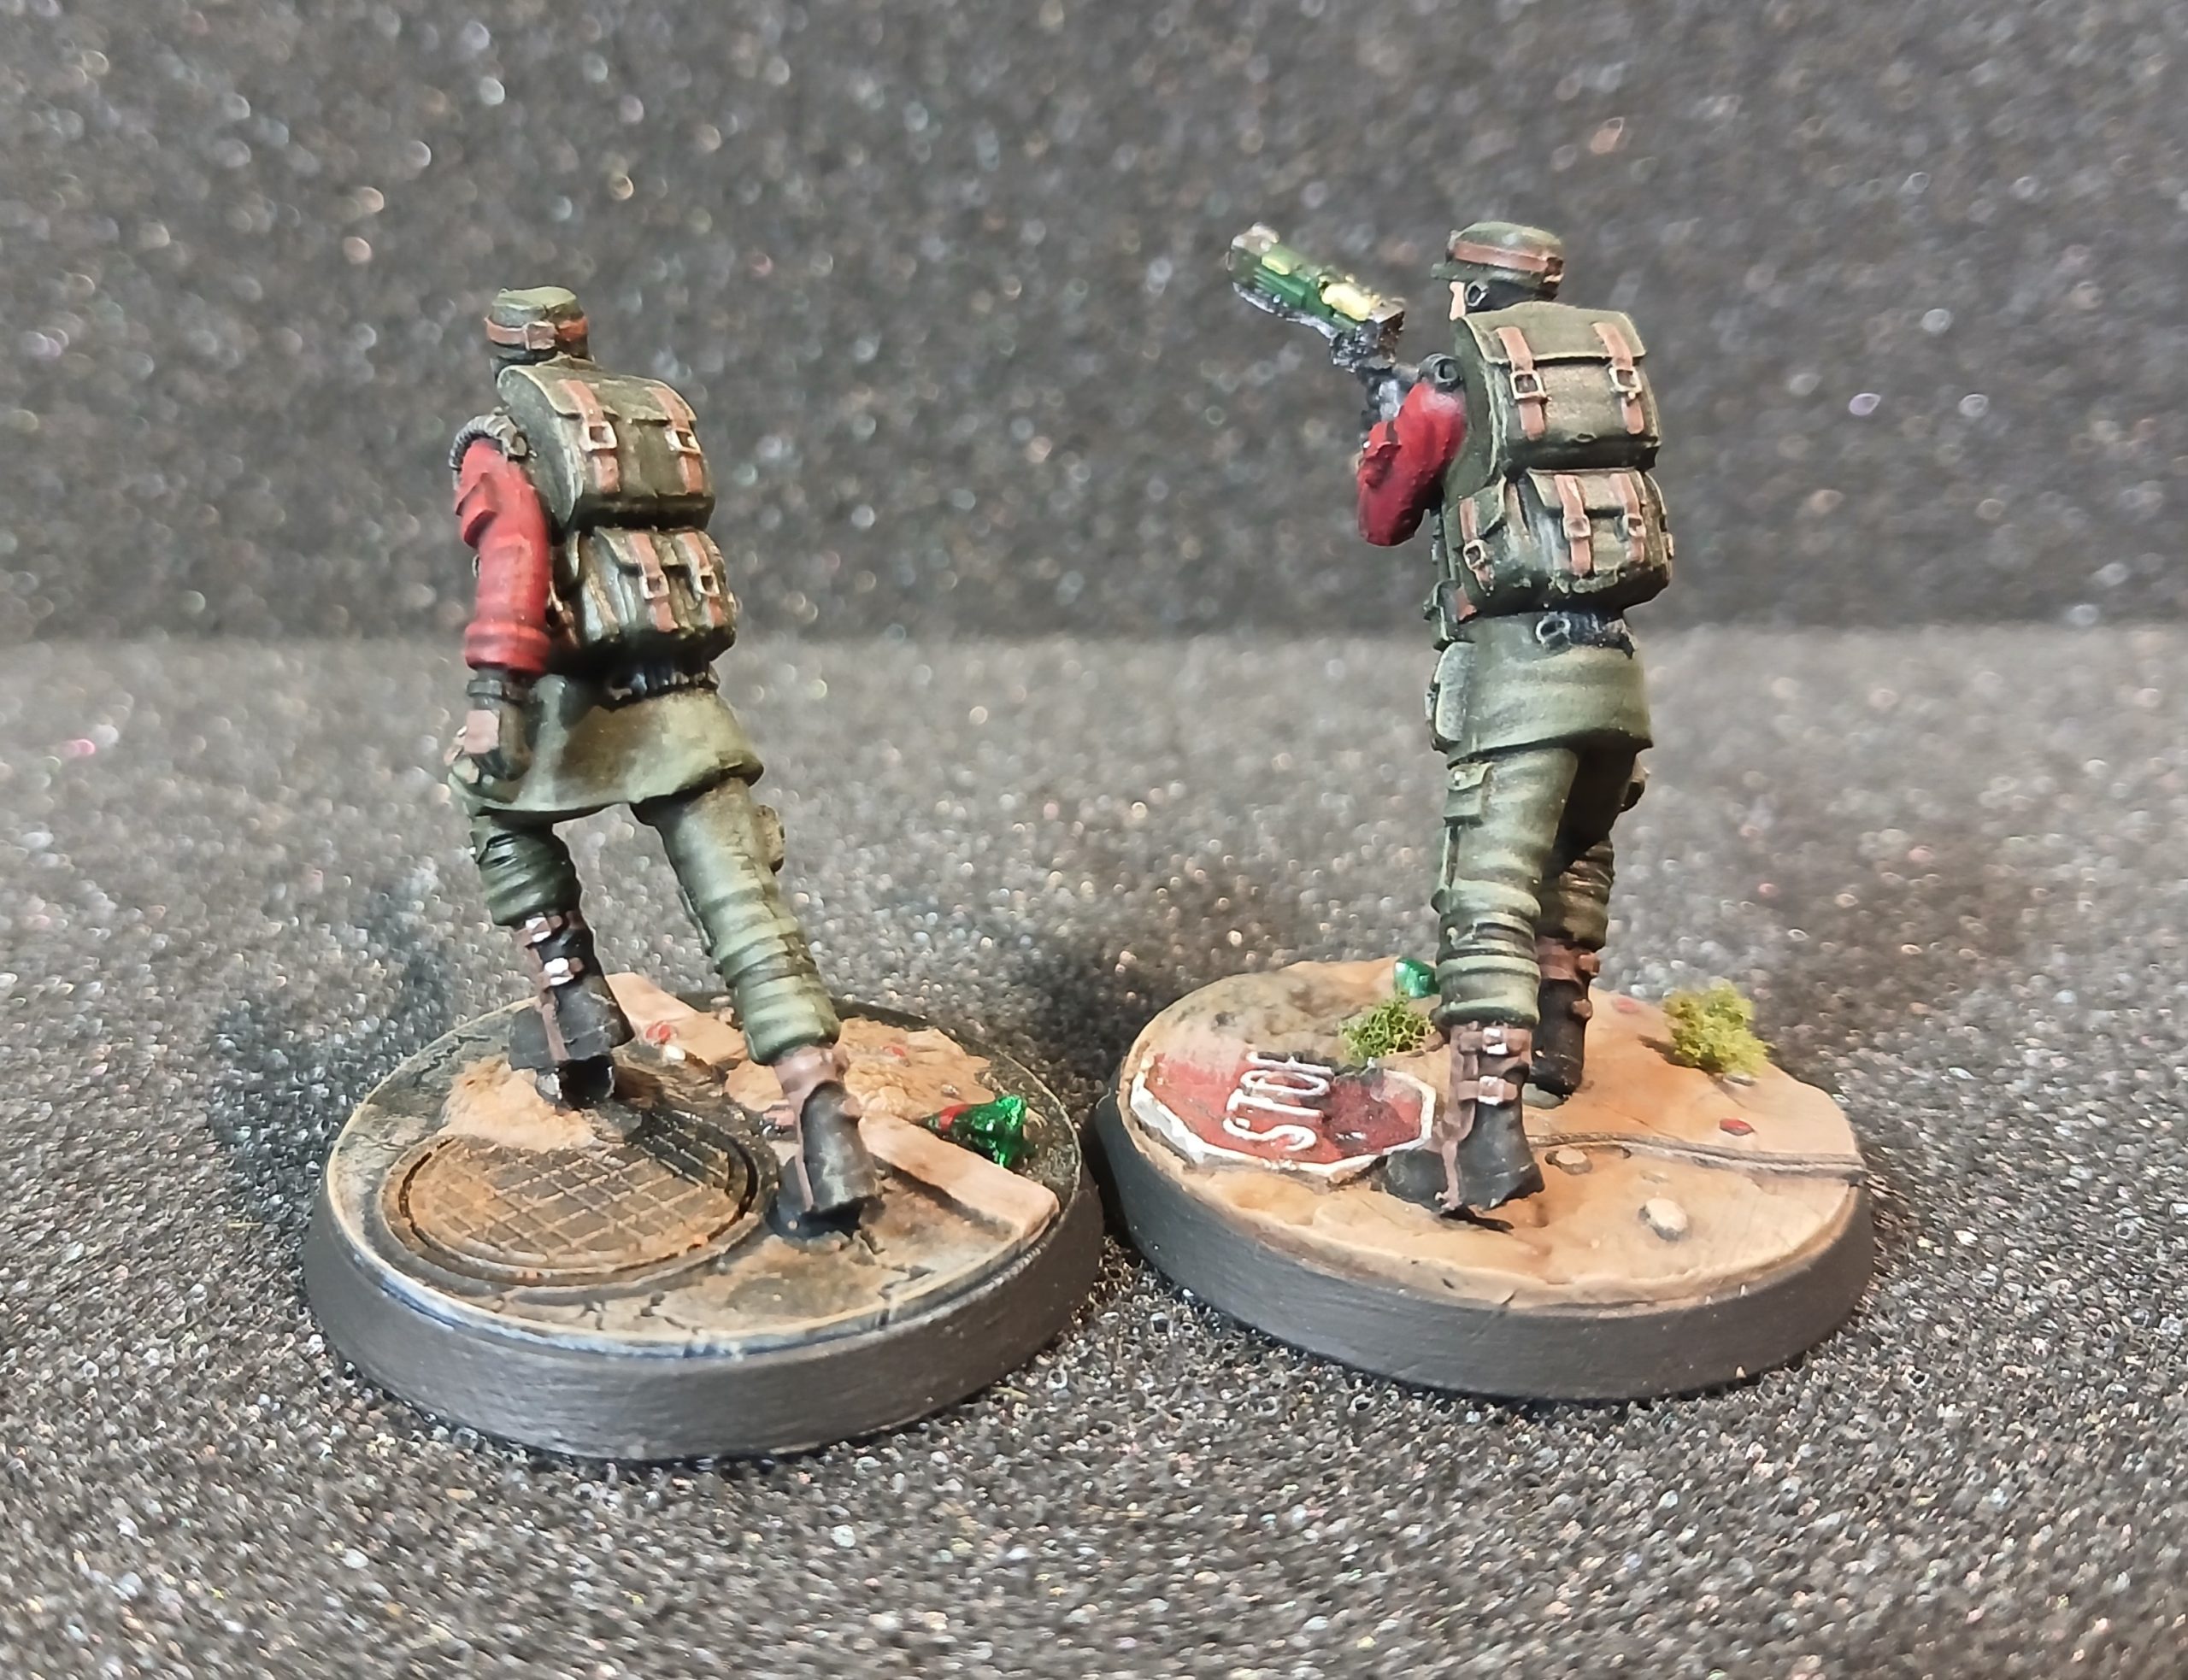
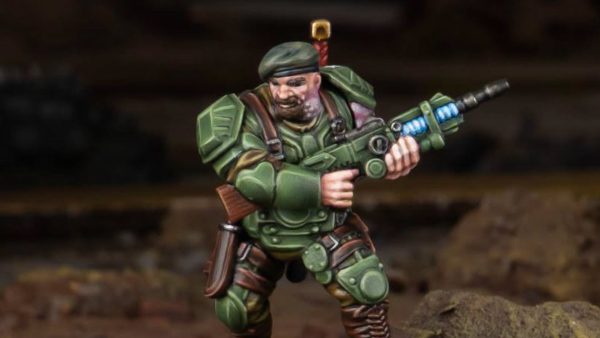
Using the box art as inspiration and guidance I went with a military green and a dark red. The over-jacket, backpack, hat and trousers were all painted with Militarum green. The was washed, of course, with agrax. Followed with a drybrush of Militarum, and then a couple of highlight stages of Militarum mixed with ivory, the brightest stage just targeting the upper facing areas.
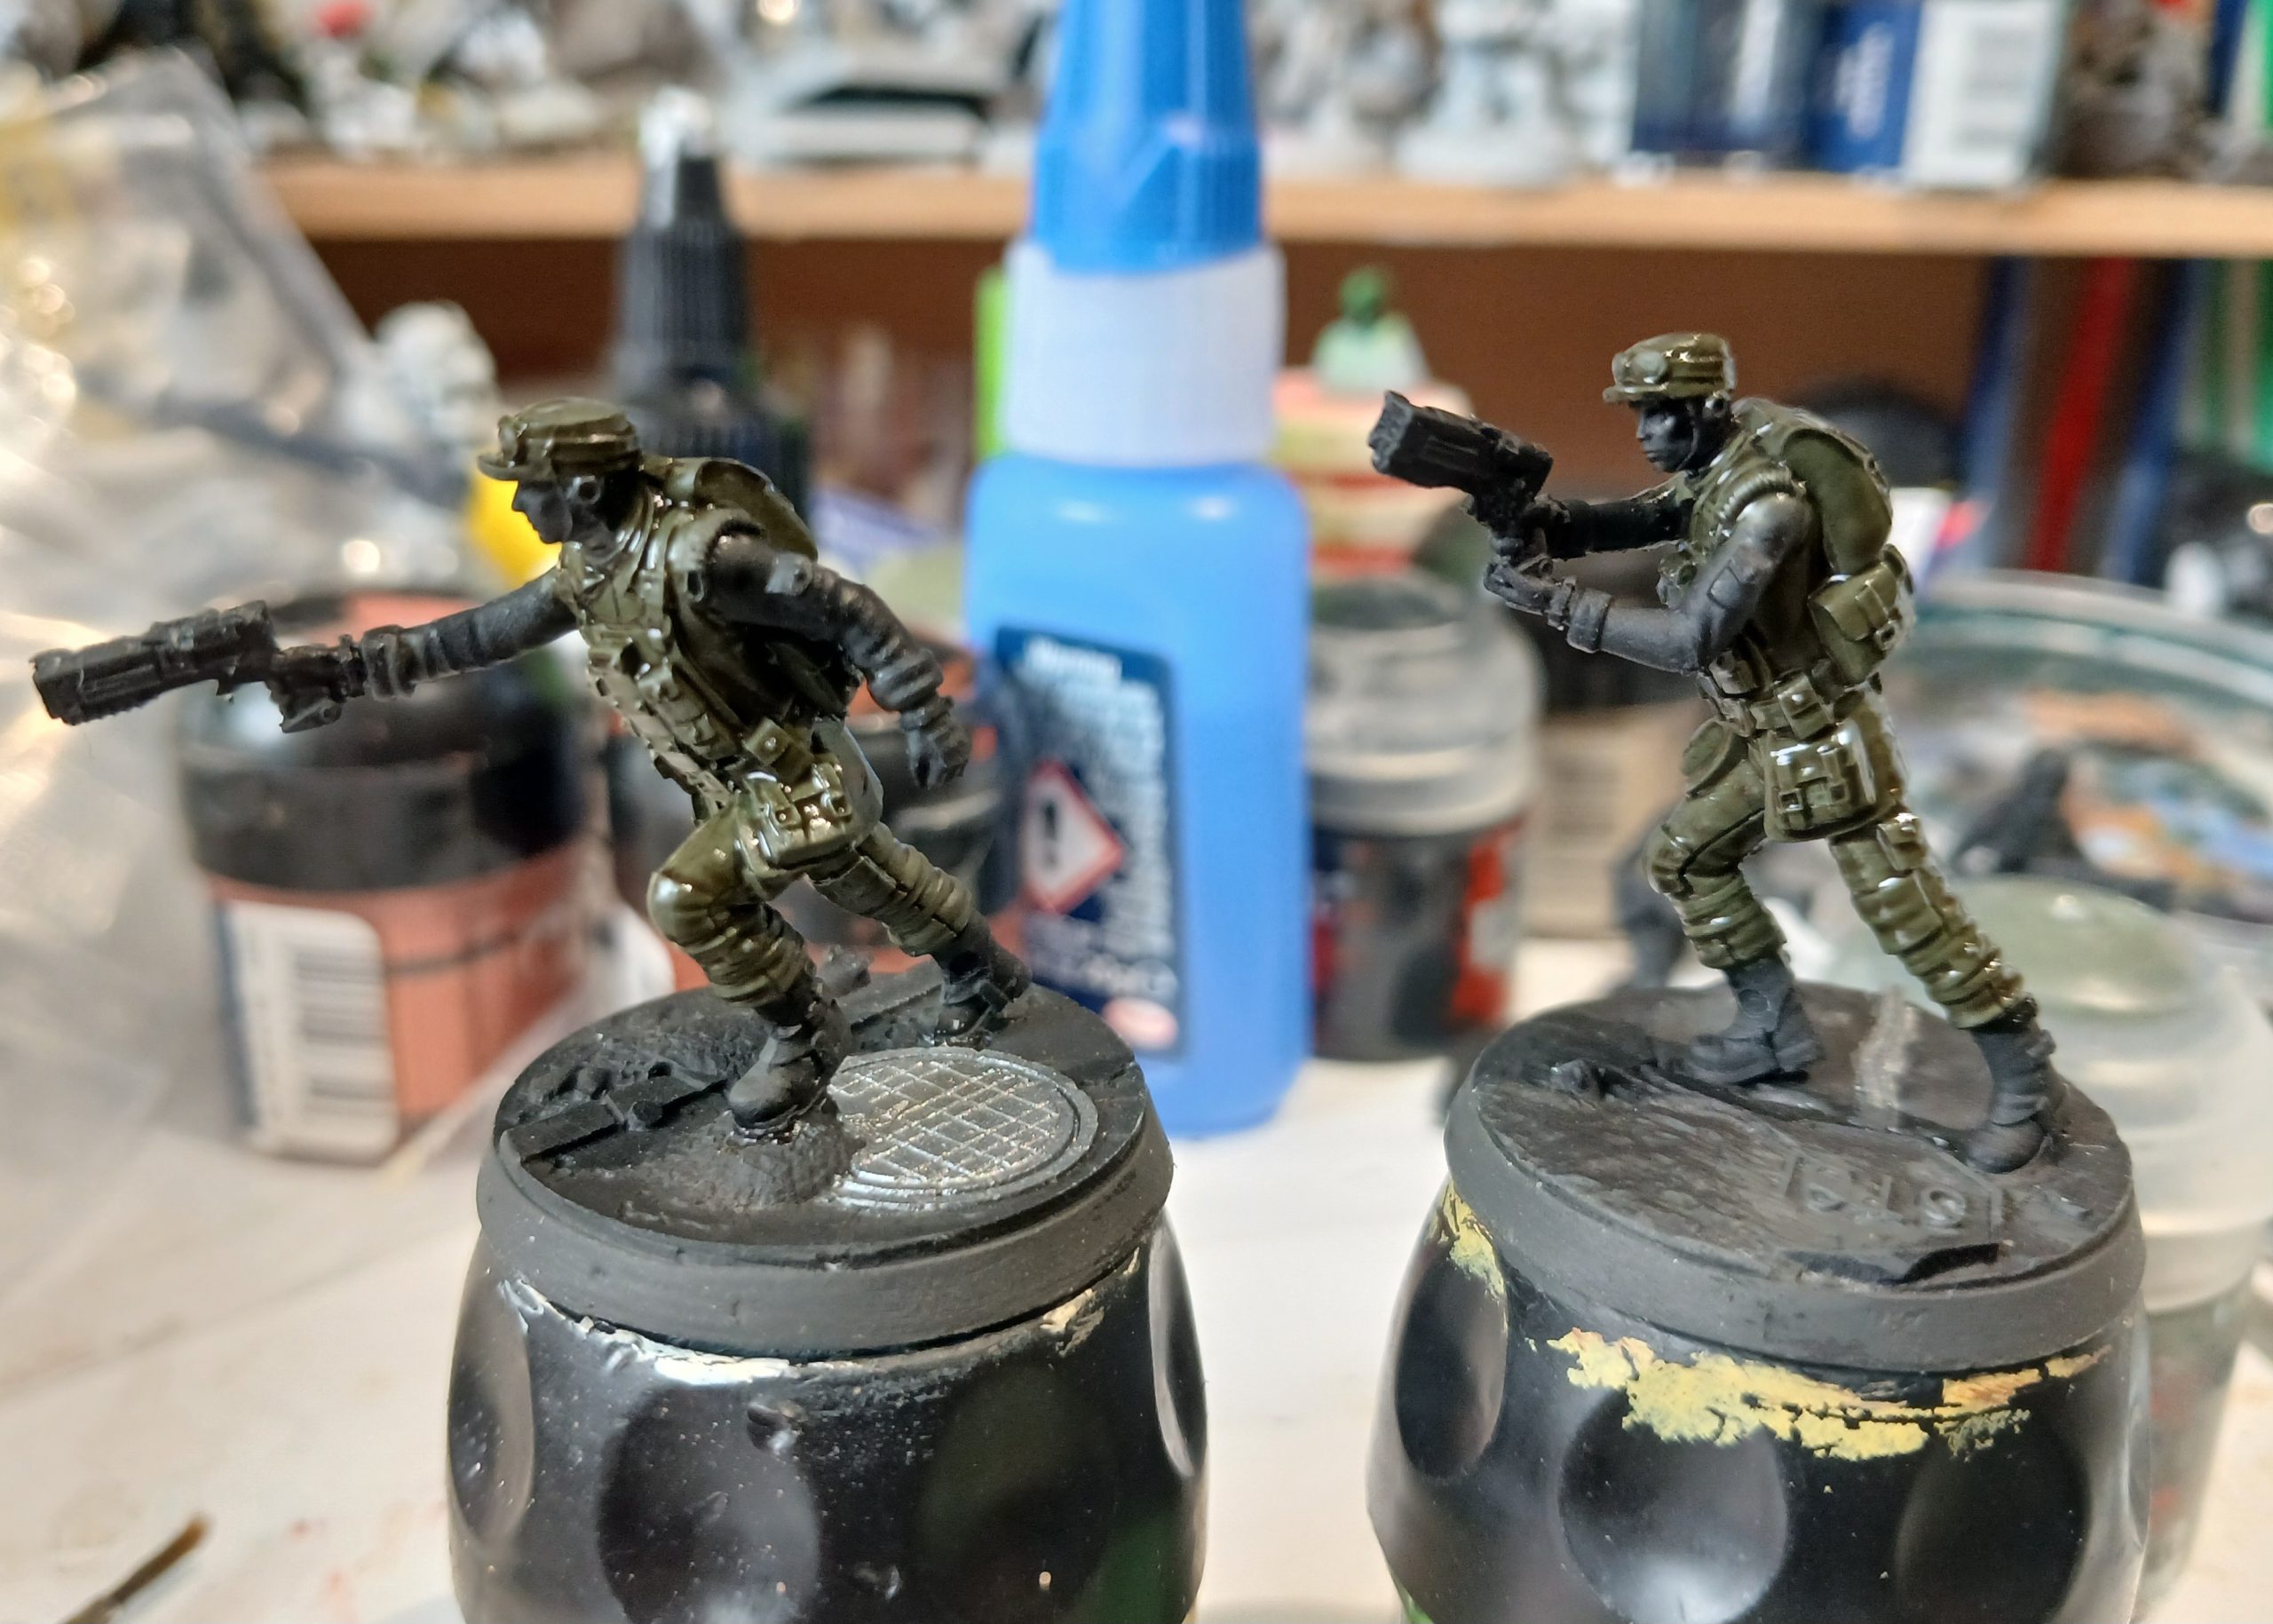
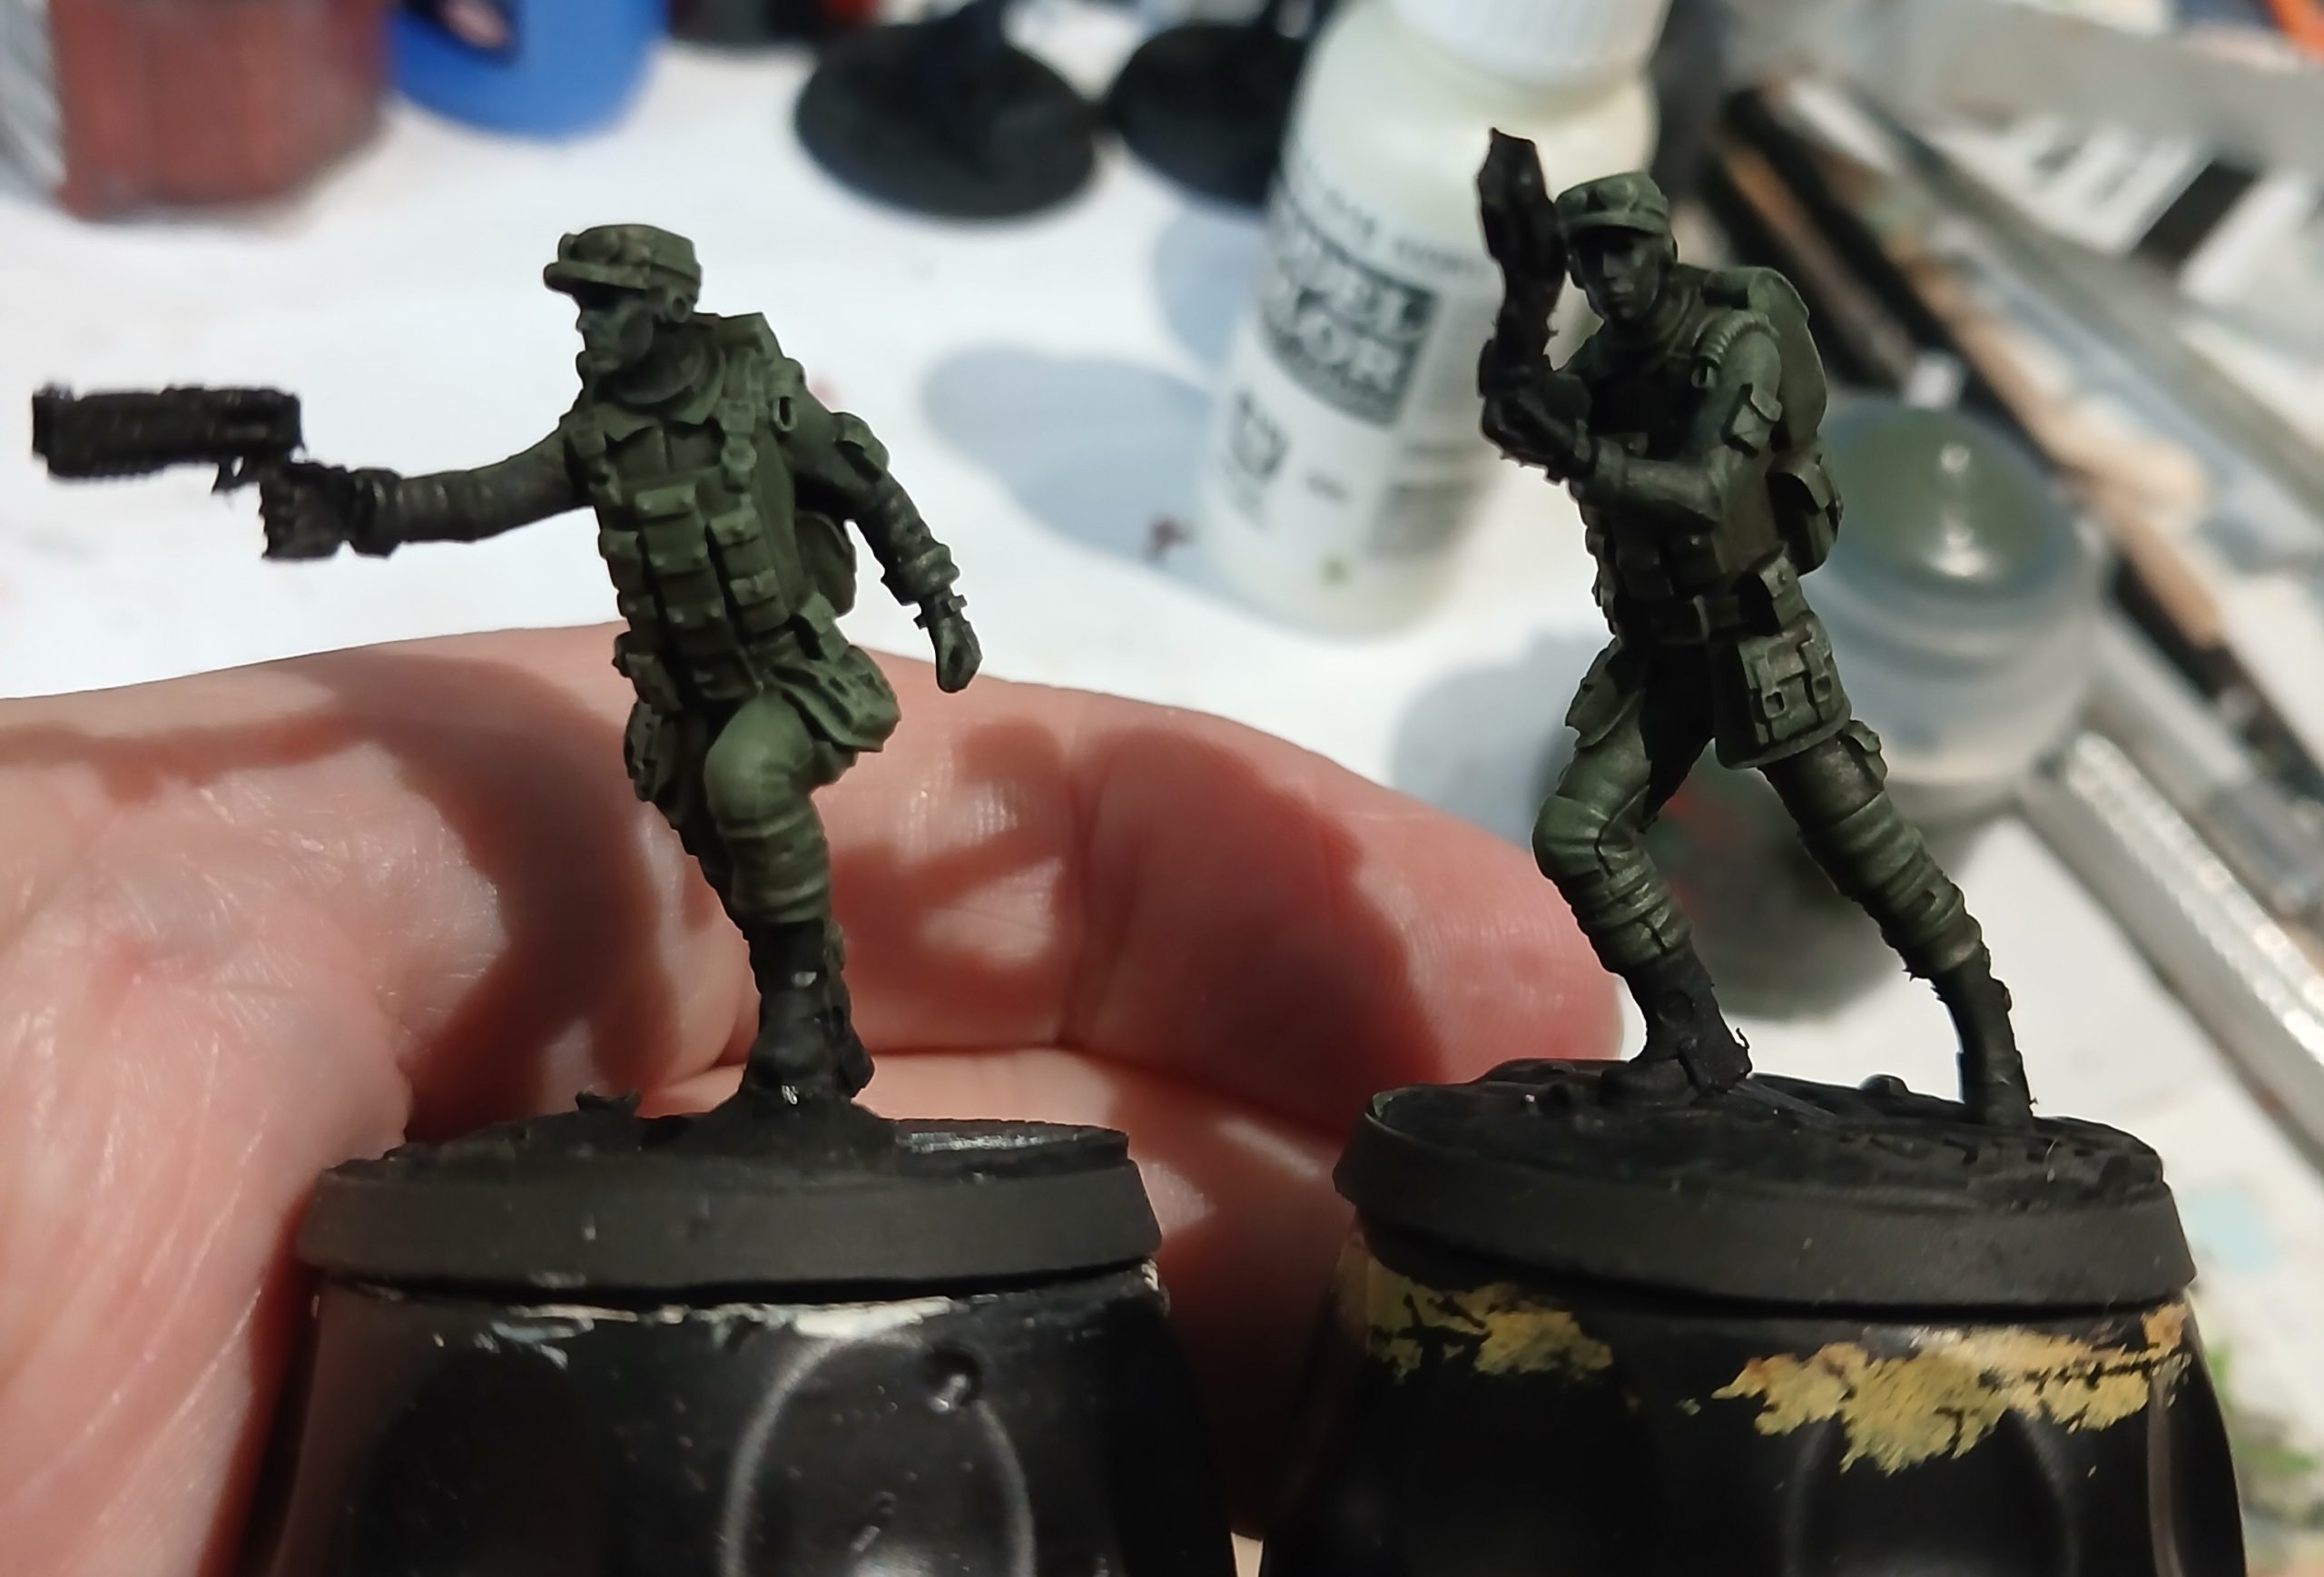
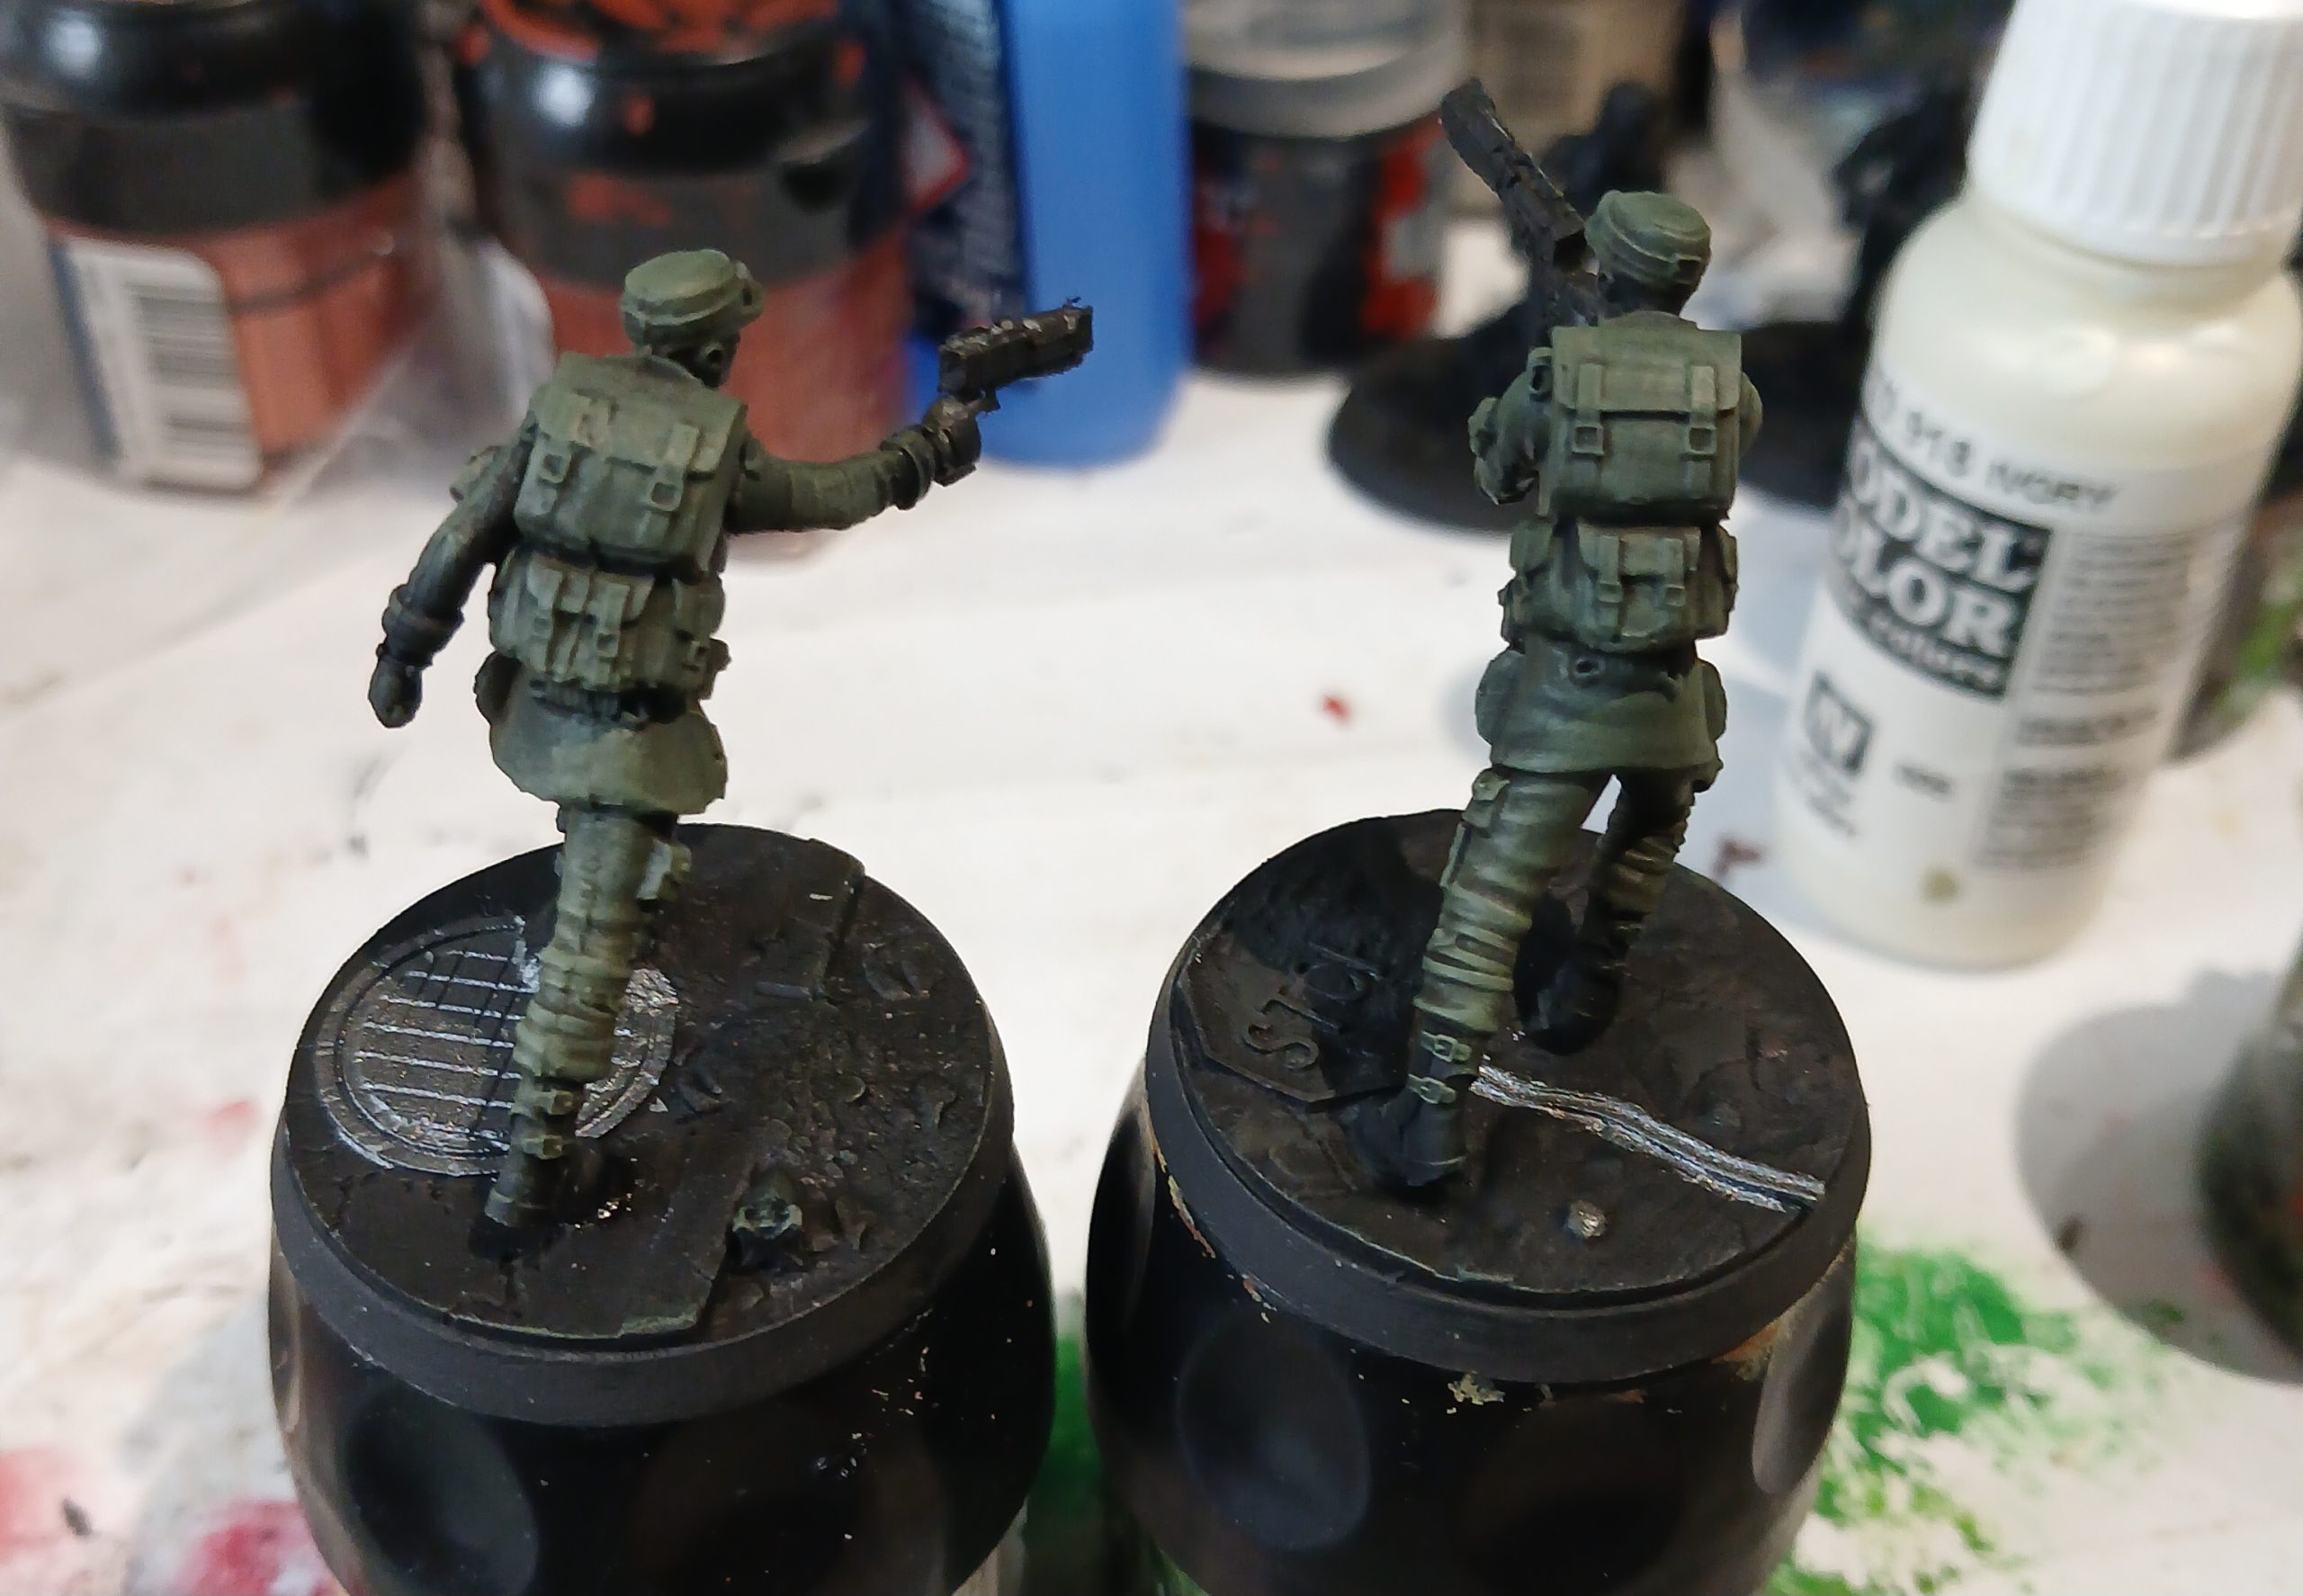
Then it was onto the under jacket, showing at the sleeves and collars. I started out with Khorne red. Washed, Agrax. Then highlighted back with Khorne, followed by Mephiston Red and Evil Sunz, highlighting smaller areas each time, focusing on the upper areas. The arms had good detail here which helped.
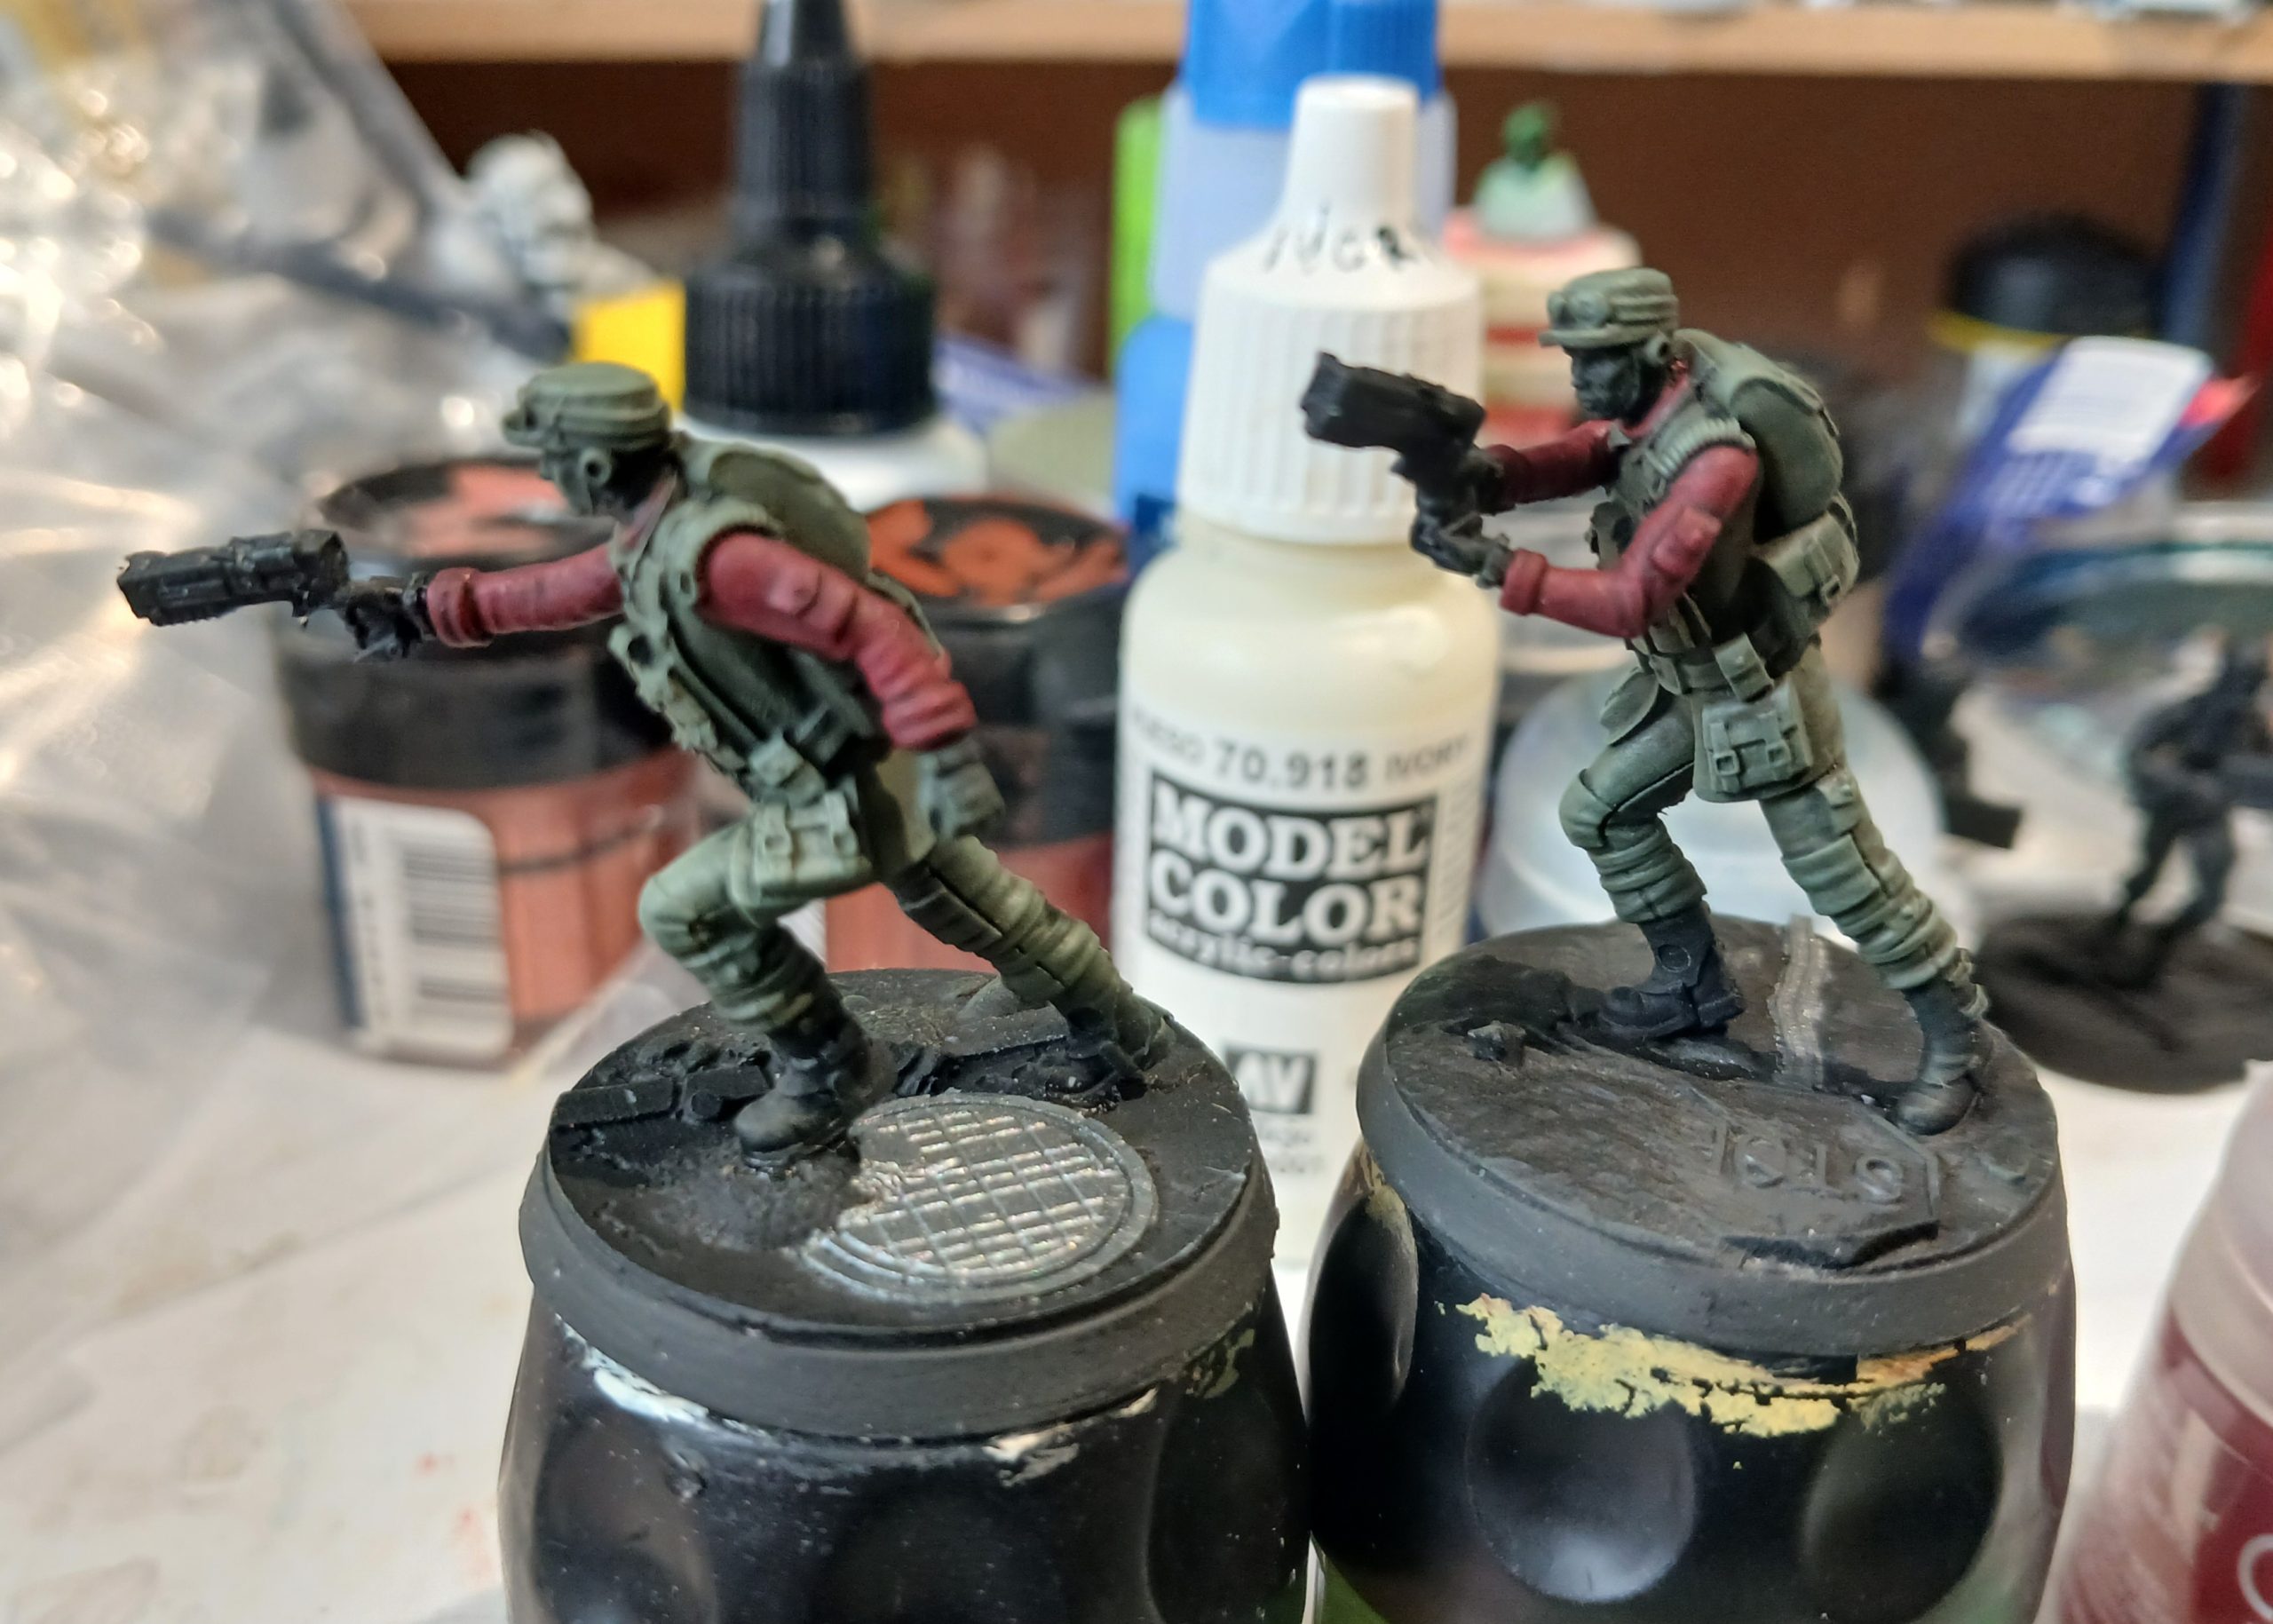
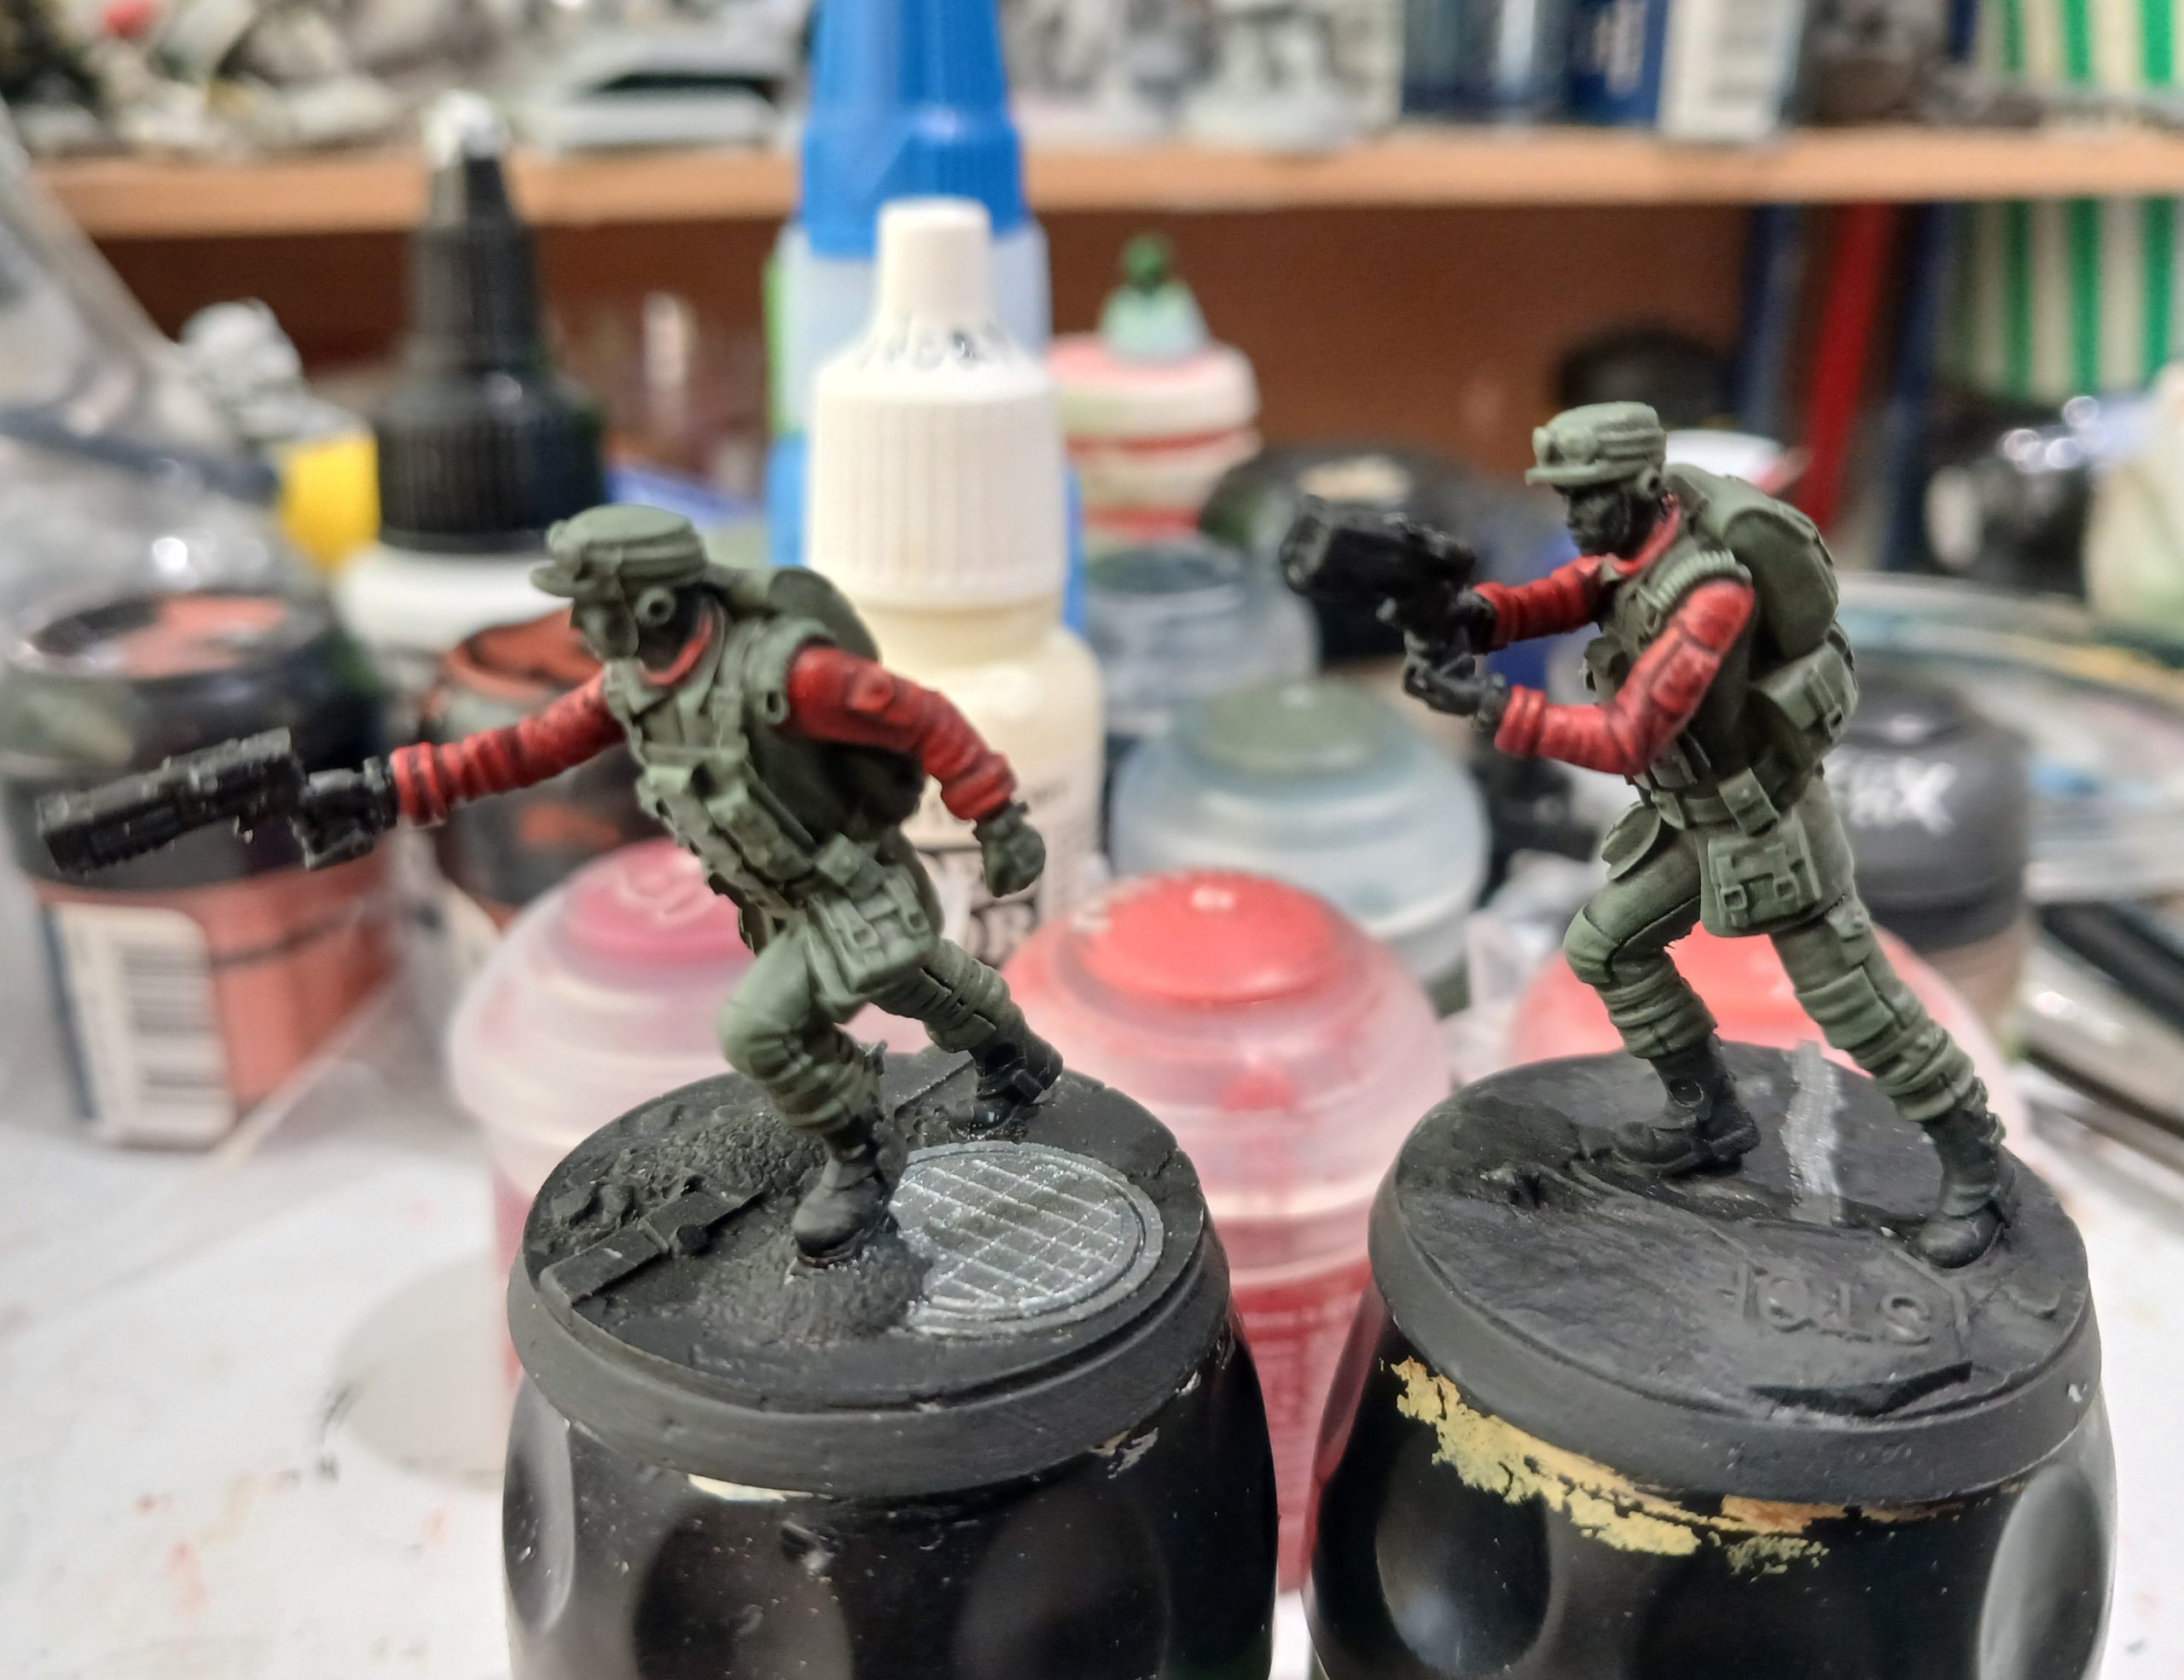
Next up it was the boots, straps, buckles and buttons. The over boot covering was painted with an earthy brown (Foundry Peaty Brown). The straps and belt were done in Spearshaft and the buckles and buttons in Chainmail. The boots were washed with Agrax, the rest with Nuln oil. I also washed the backpack with Nuln as well, to give it a bit more separation from the rest of the green clothing.
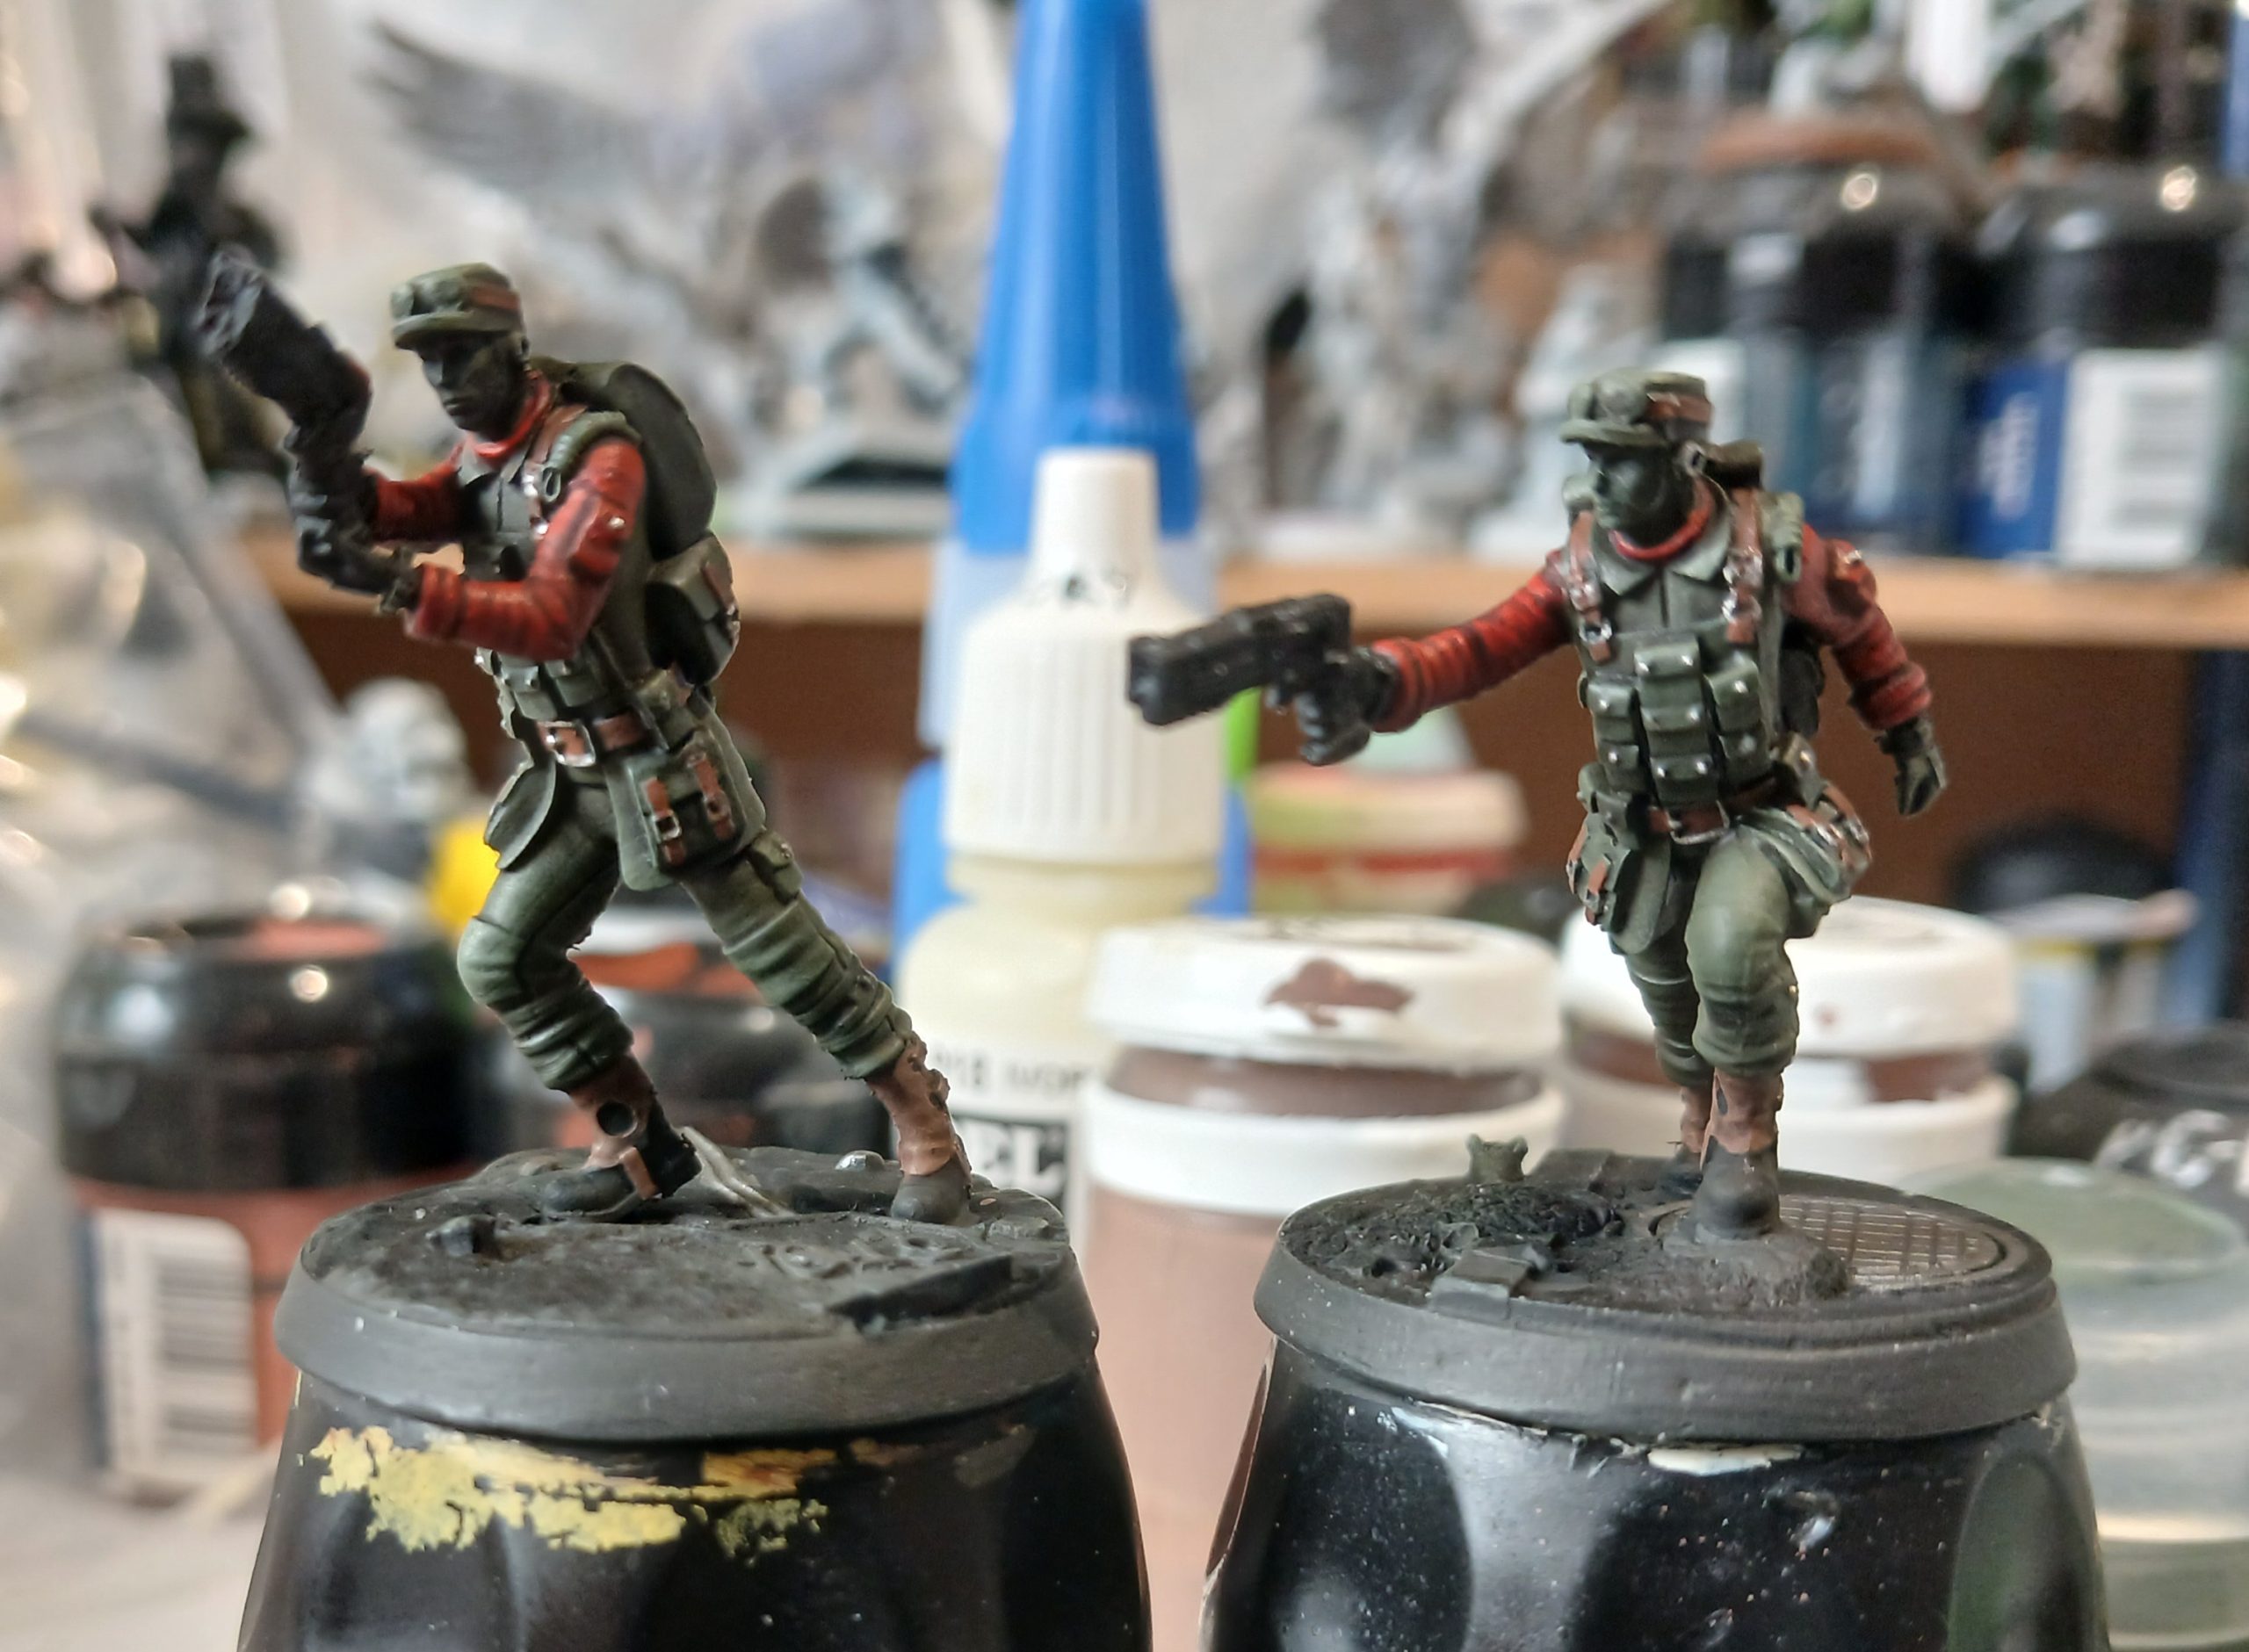
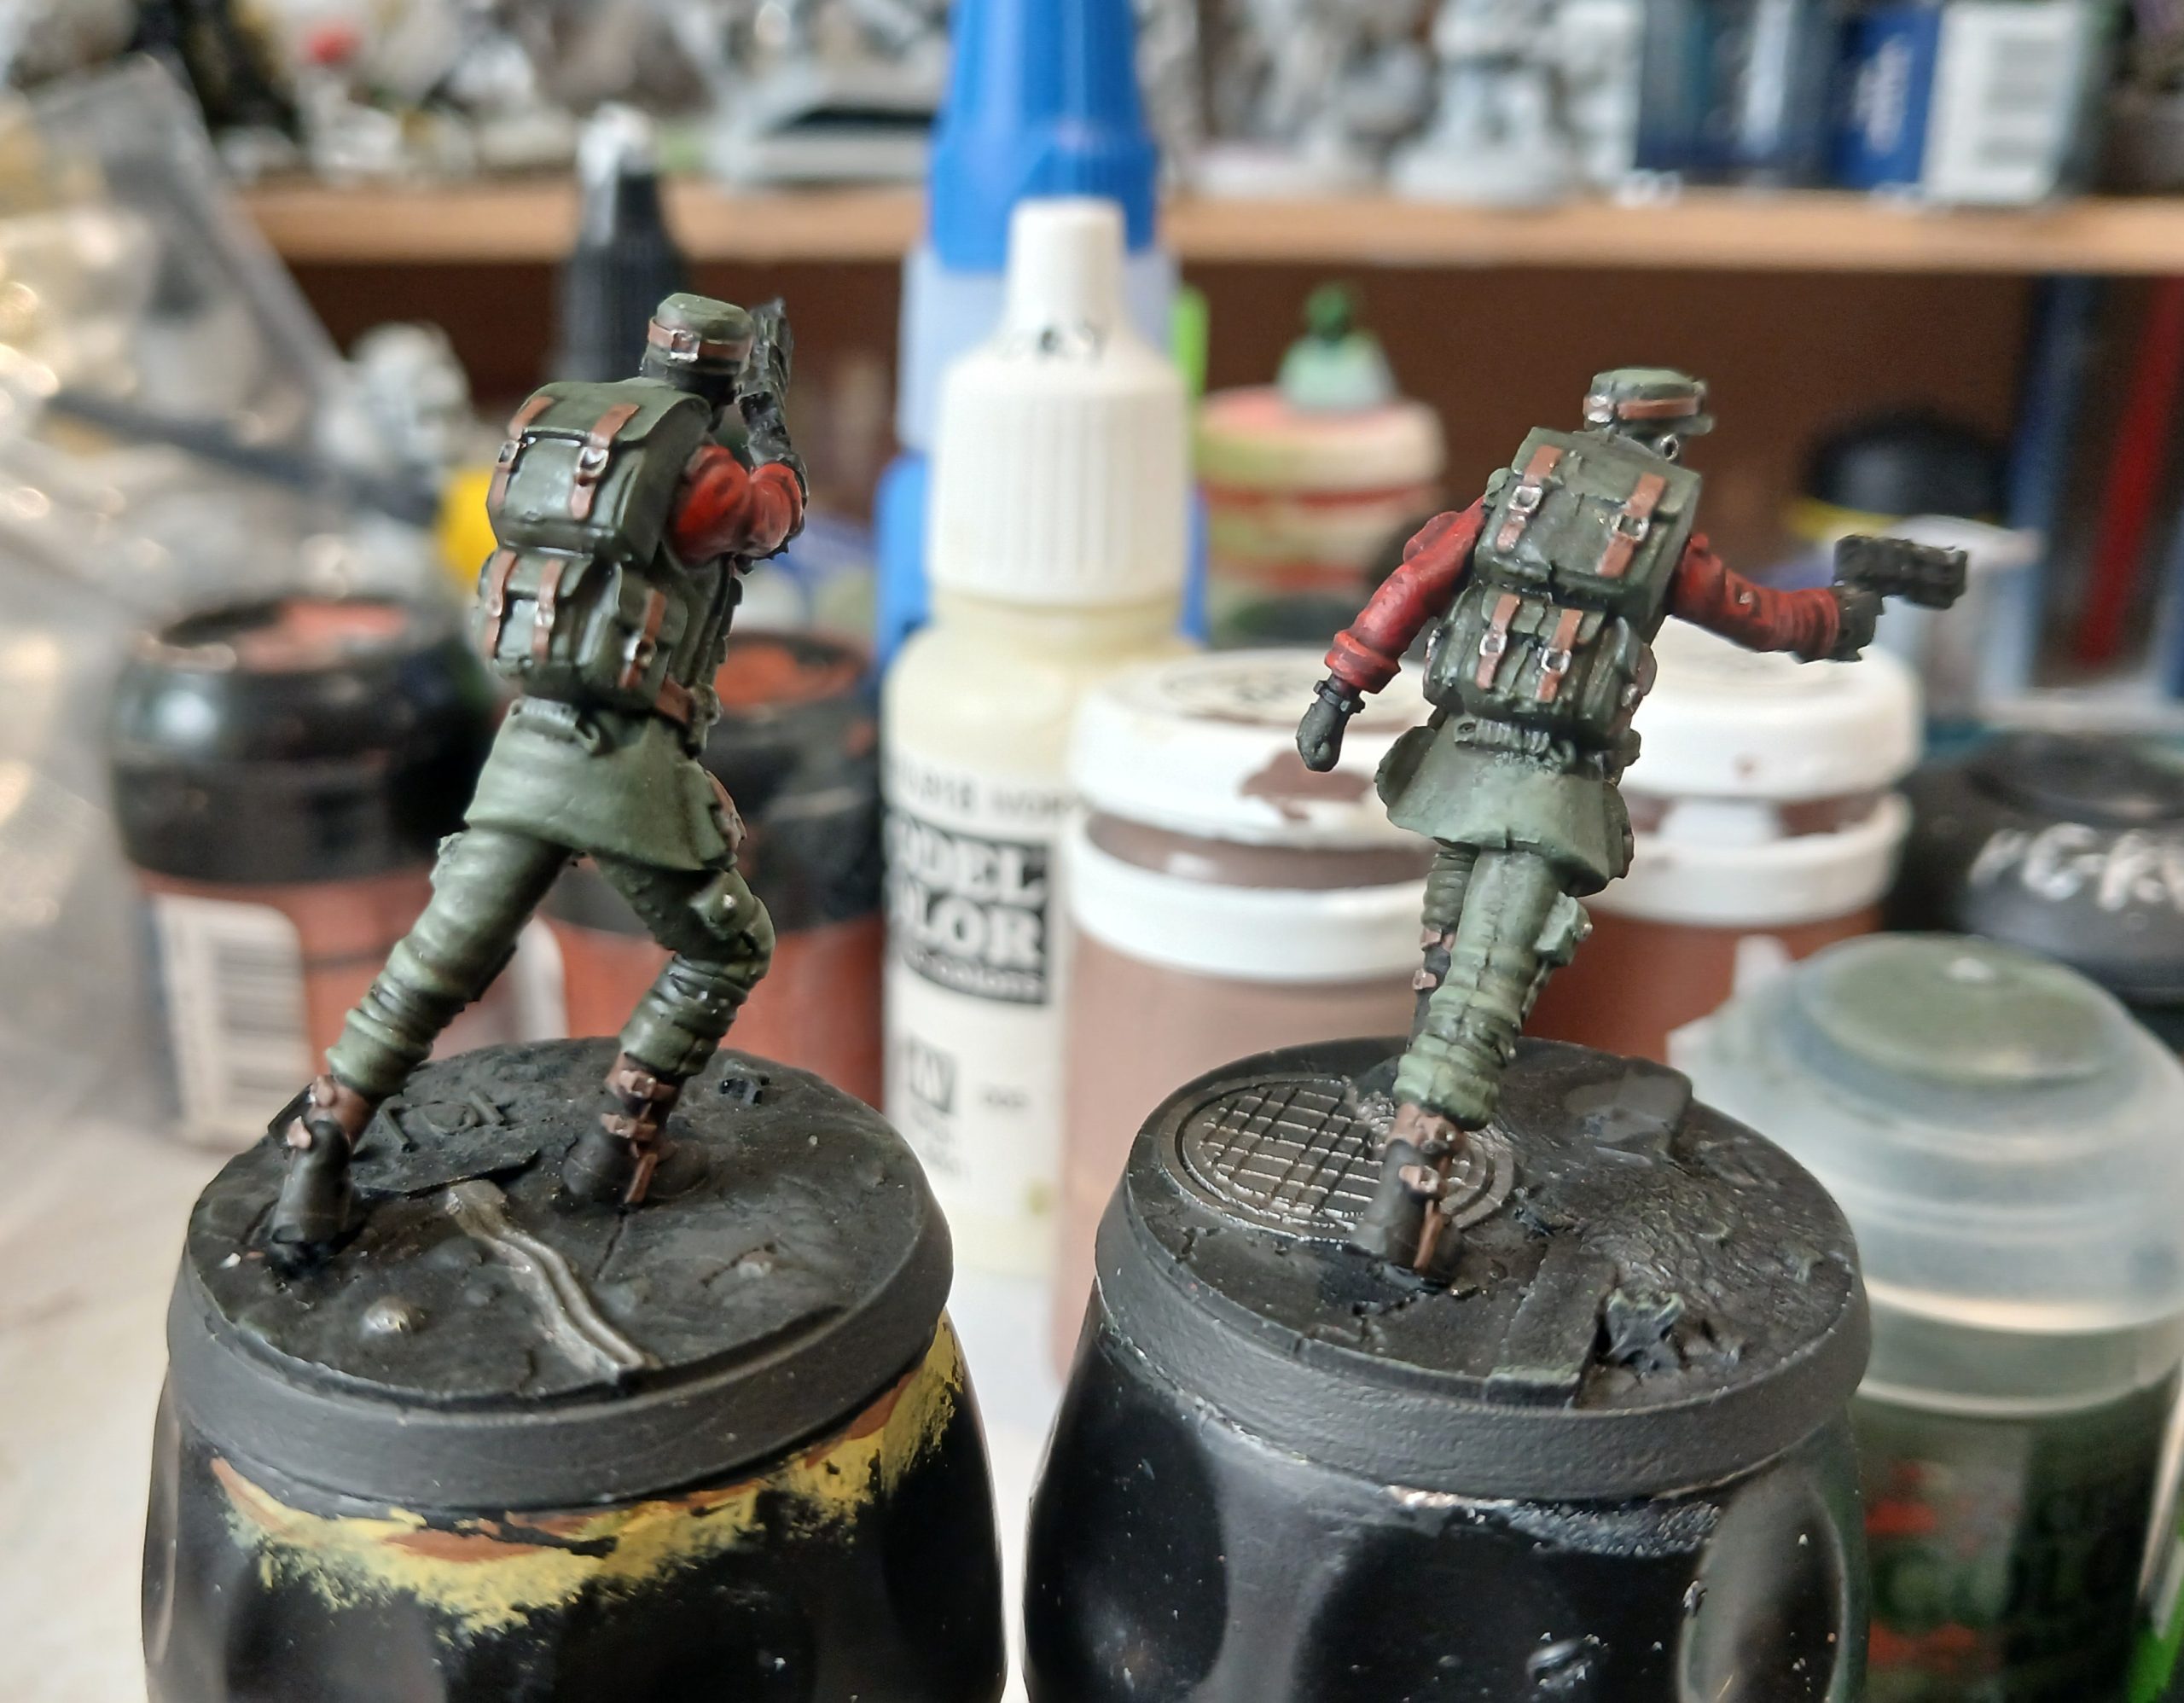
Getting into the smaller and nearer to the end details, it was onto the faces, goggles, guns and gloves. Faces were just a light flesh paint, washed with flesh wash (a highlight occurs at the very end). Goggles I picked out the frames in dark grey then painted in the lenses with a mid blue followed by a smaller touch of pale blue. Gloves were dark grey with brown patches on the upper. The guns were painted in a similar way to the others so far. Gunmetal, with green panels and yellow accents.
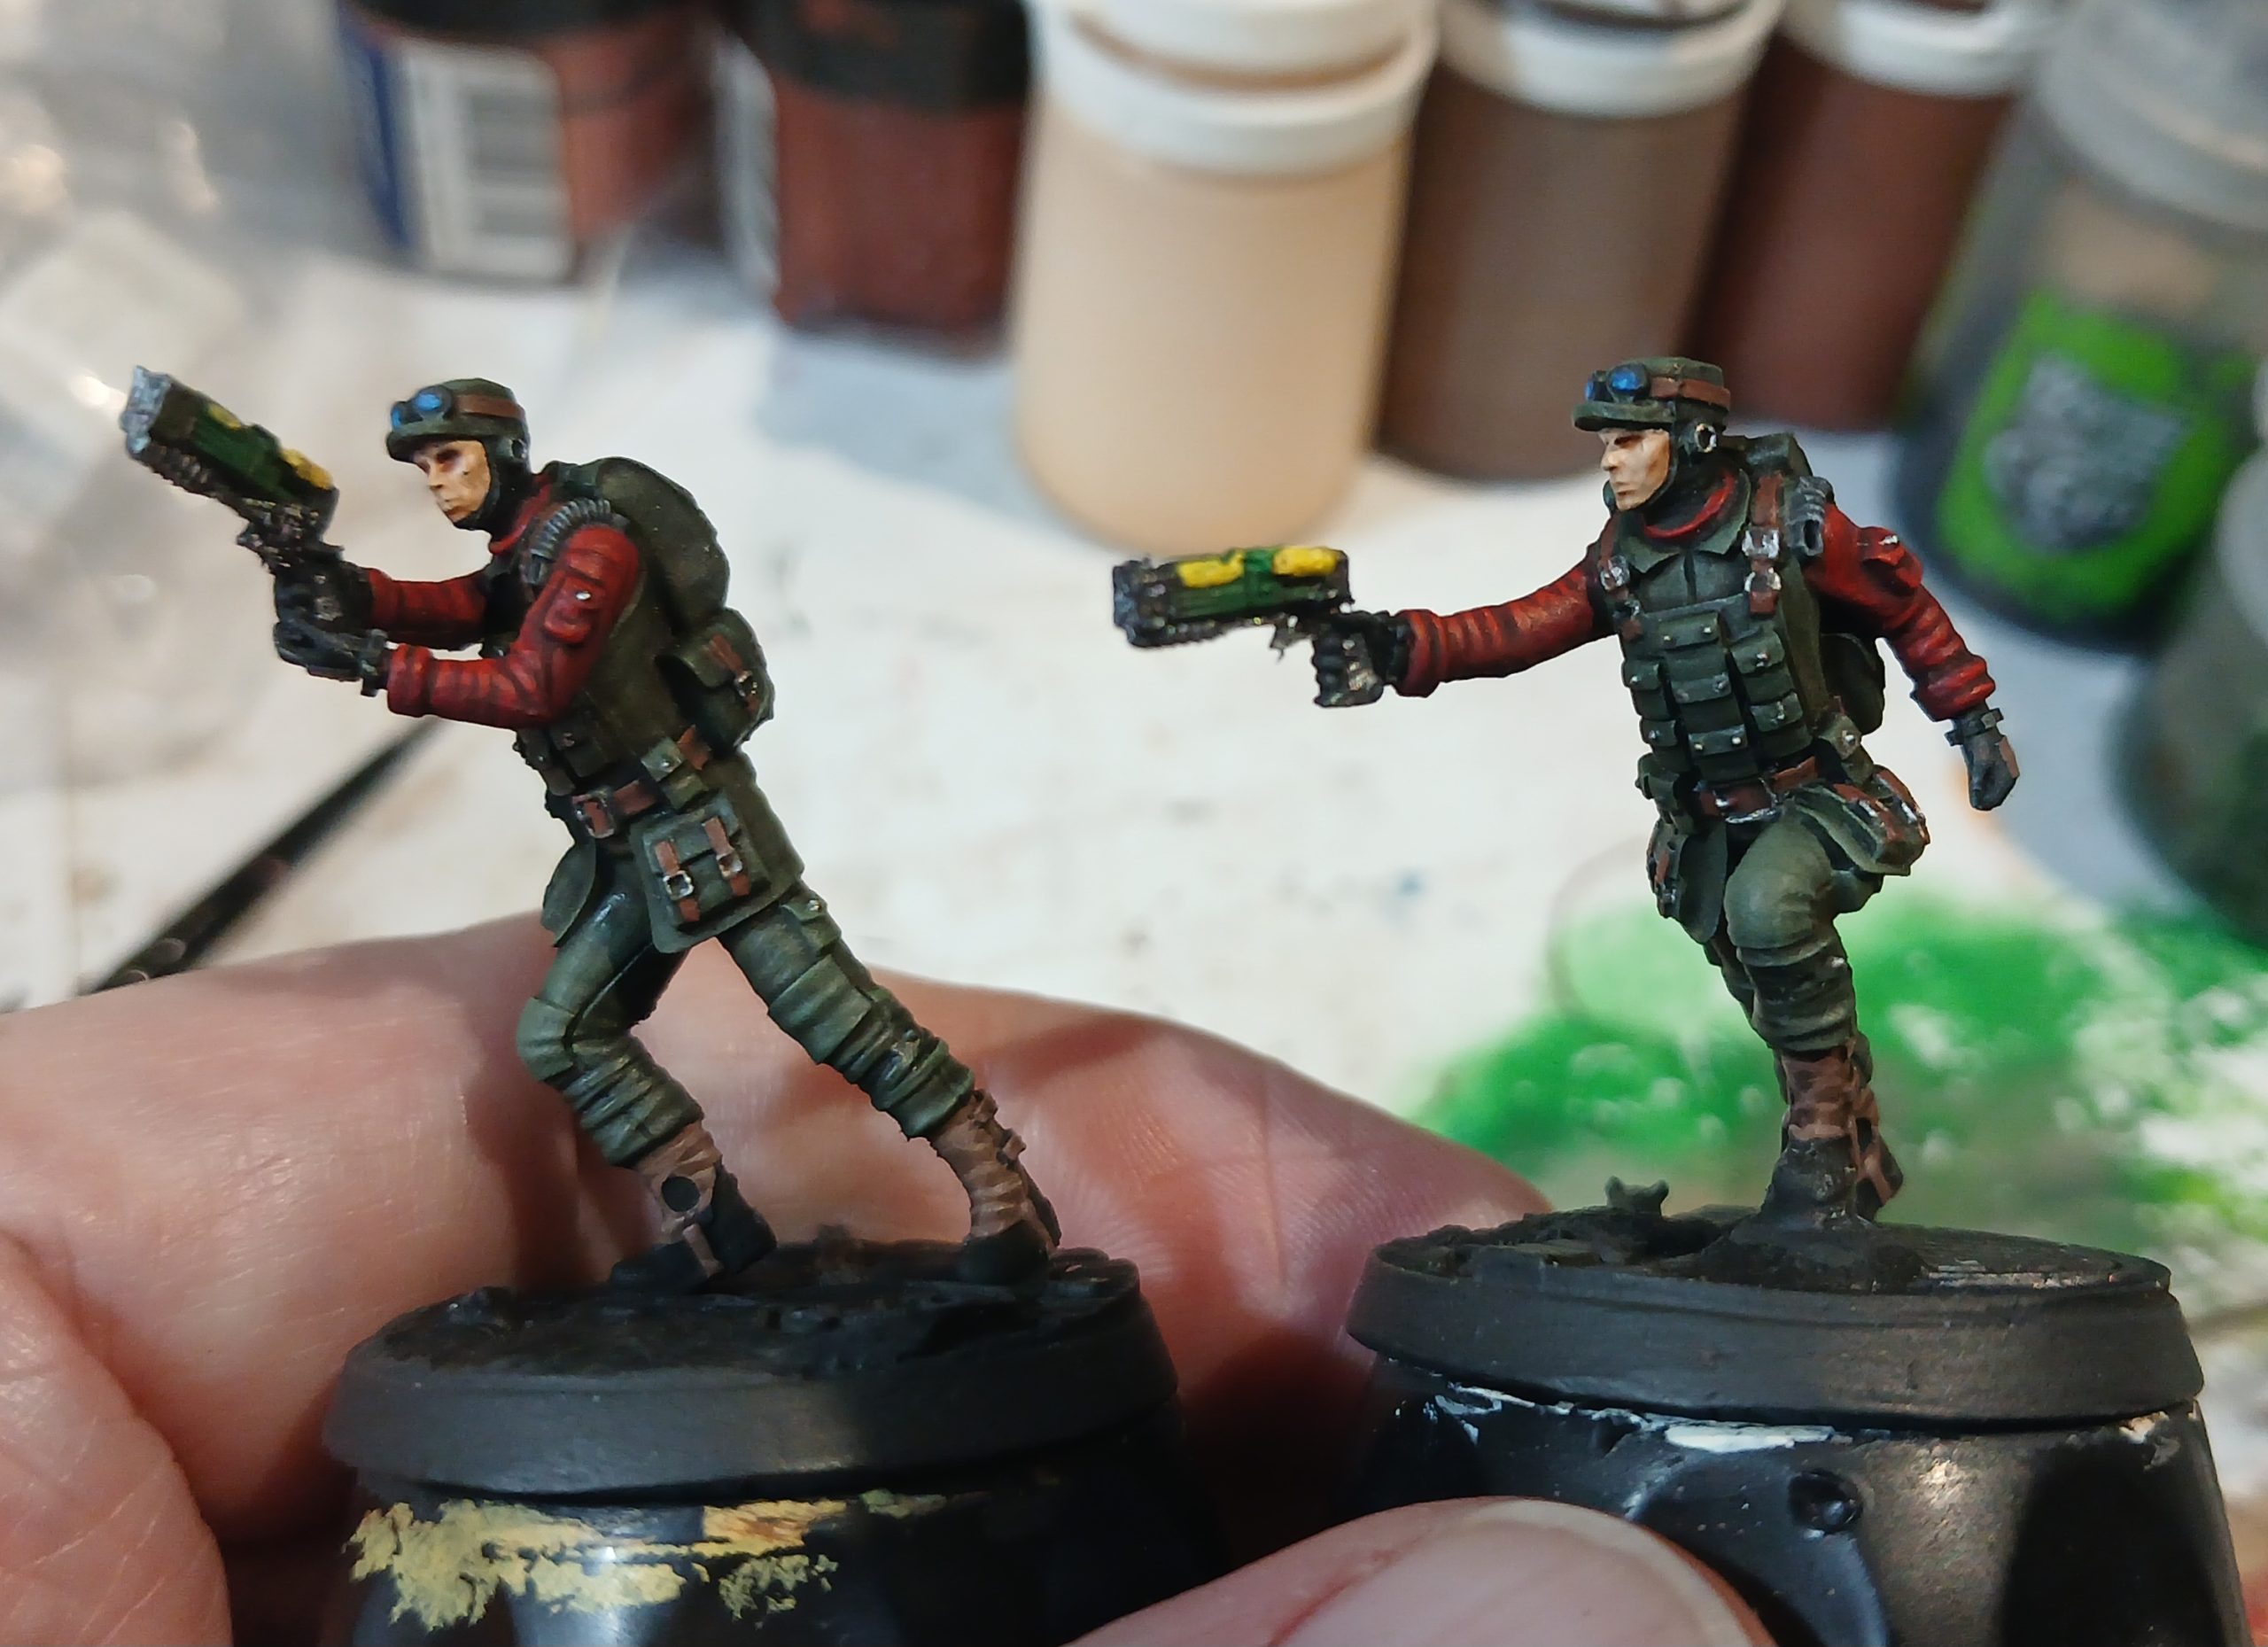
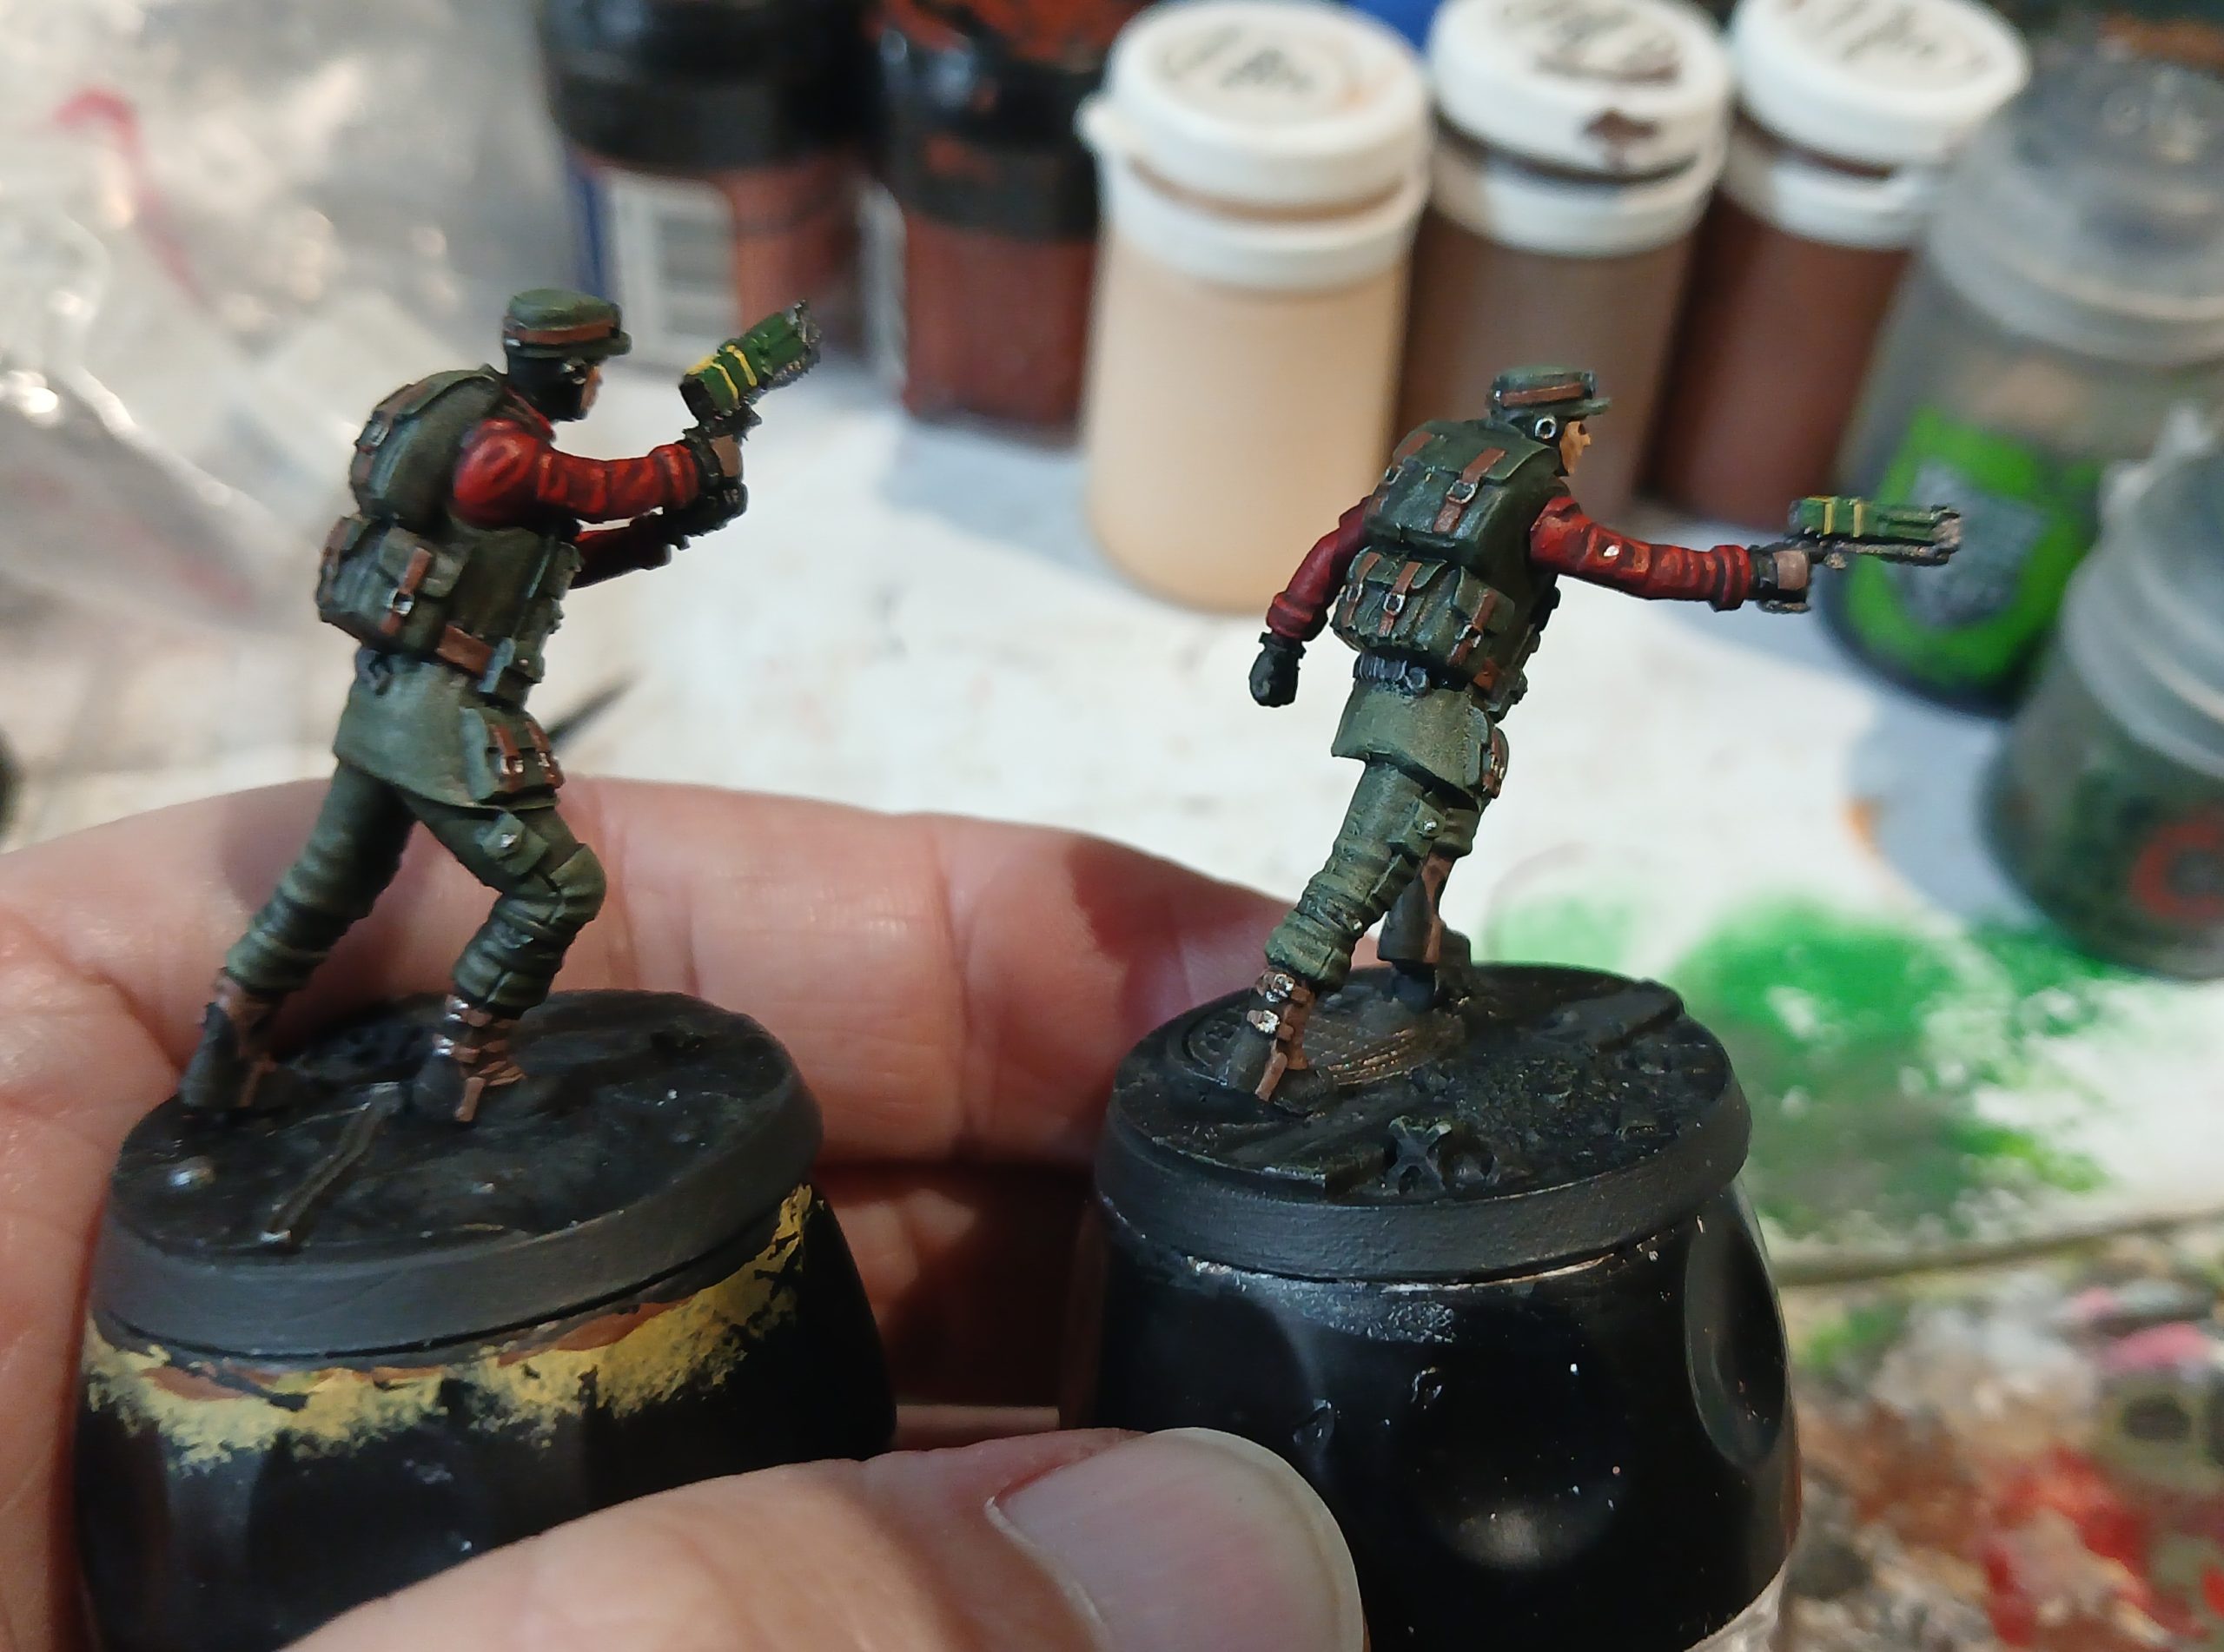
I hadn’t done much with the bases, so all that work came now. I used the same techniques as for the others, using a mid ‘Rawhide’ for the sandy areas, some contrast space wolf for the pavement and then painting in the various items etc. An agrax wash to mute things down, then some light Rawhide dusting and some stippling of orange into some of the sand areas. Painted the stop sign as weathered and worn, but the red helps this base pop. Modiphius have done well with their scenic bases.
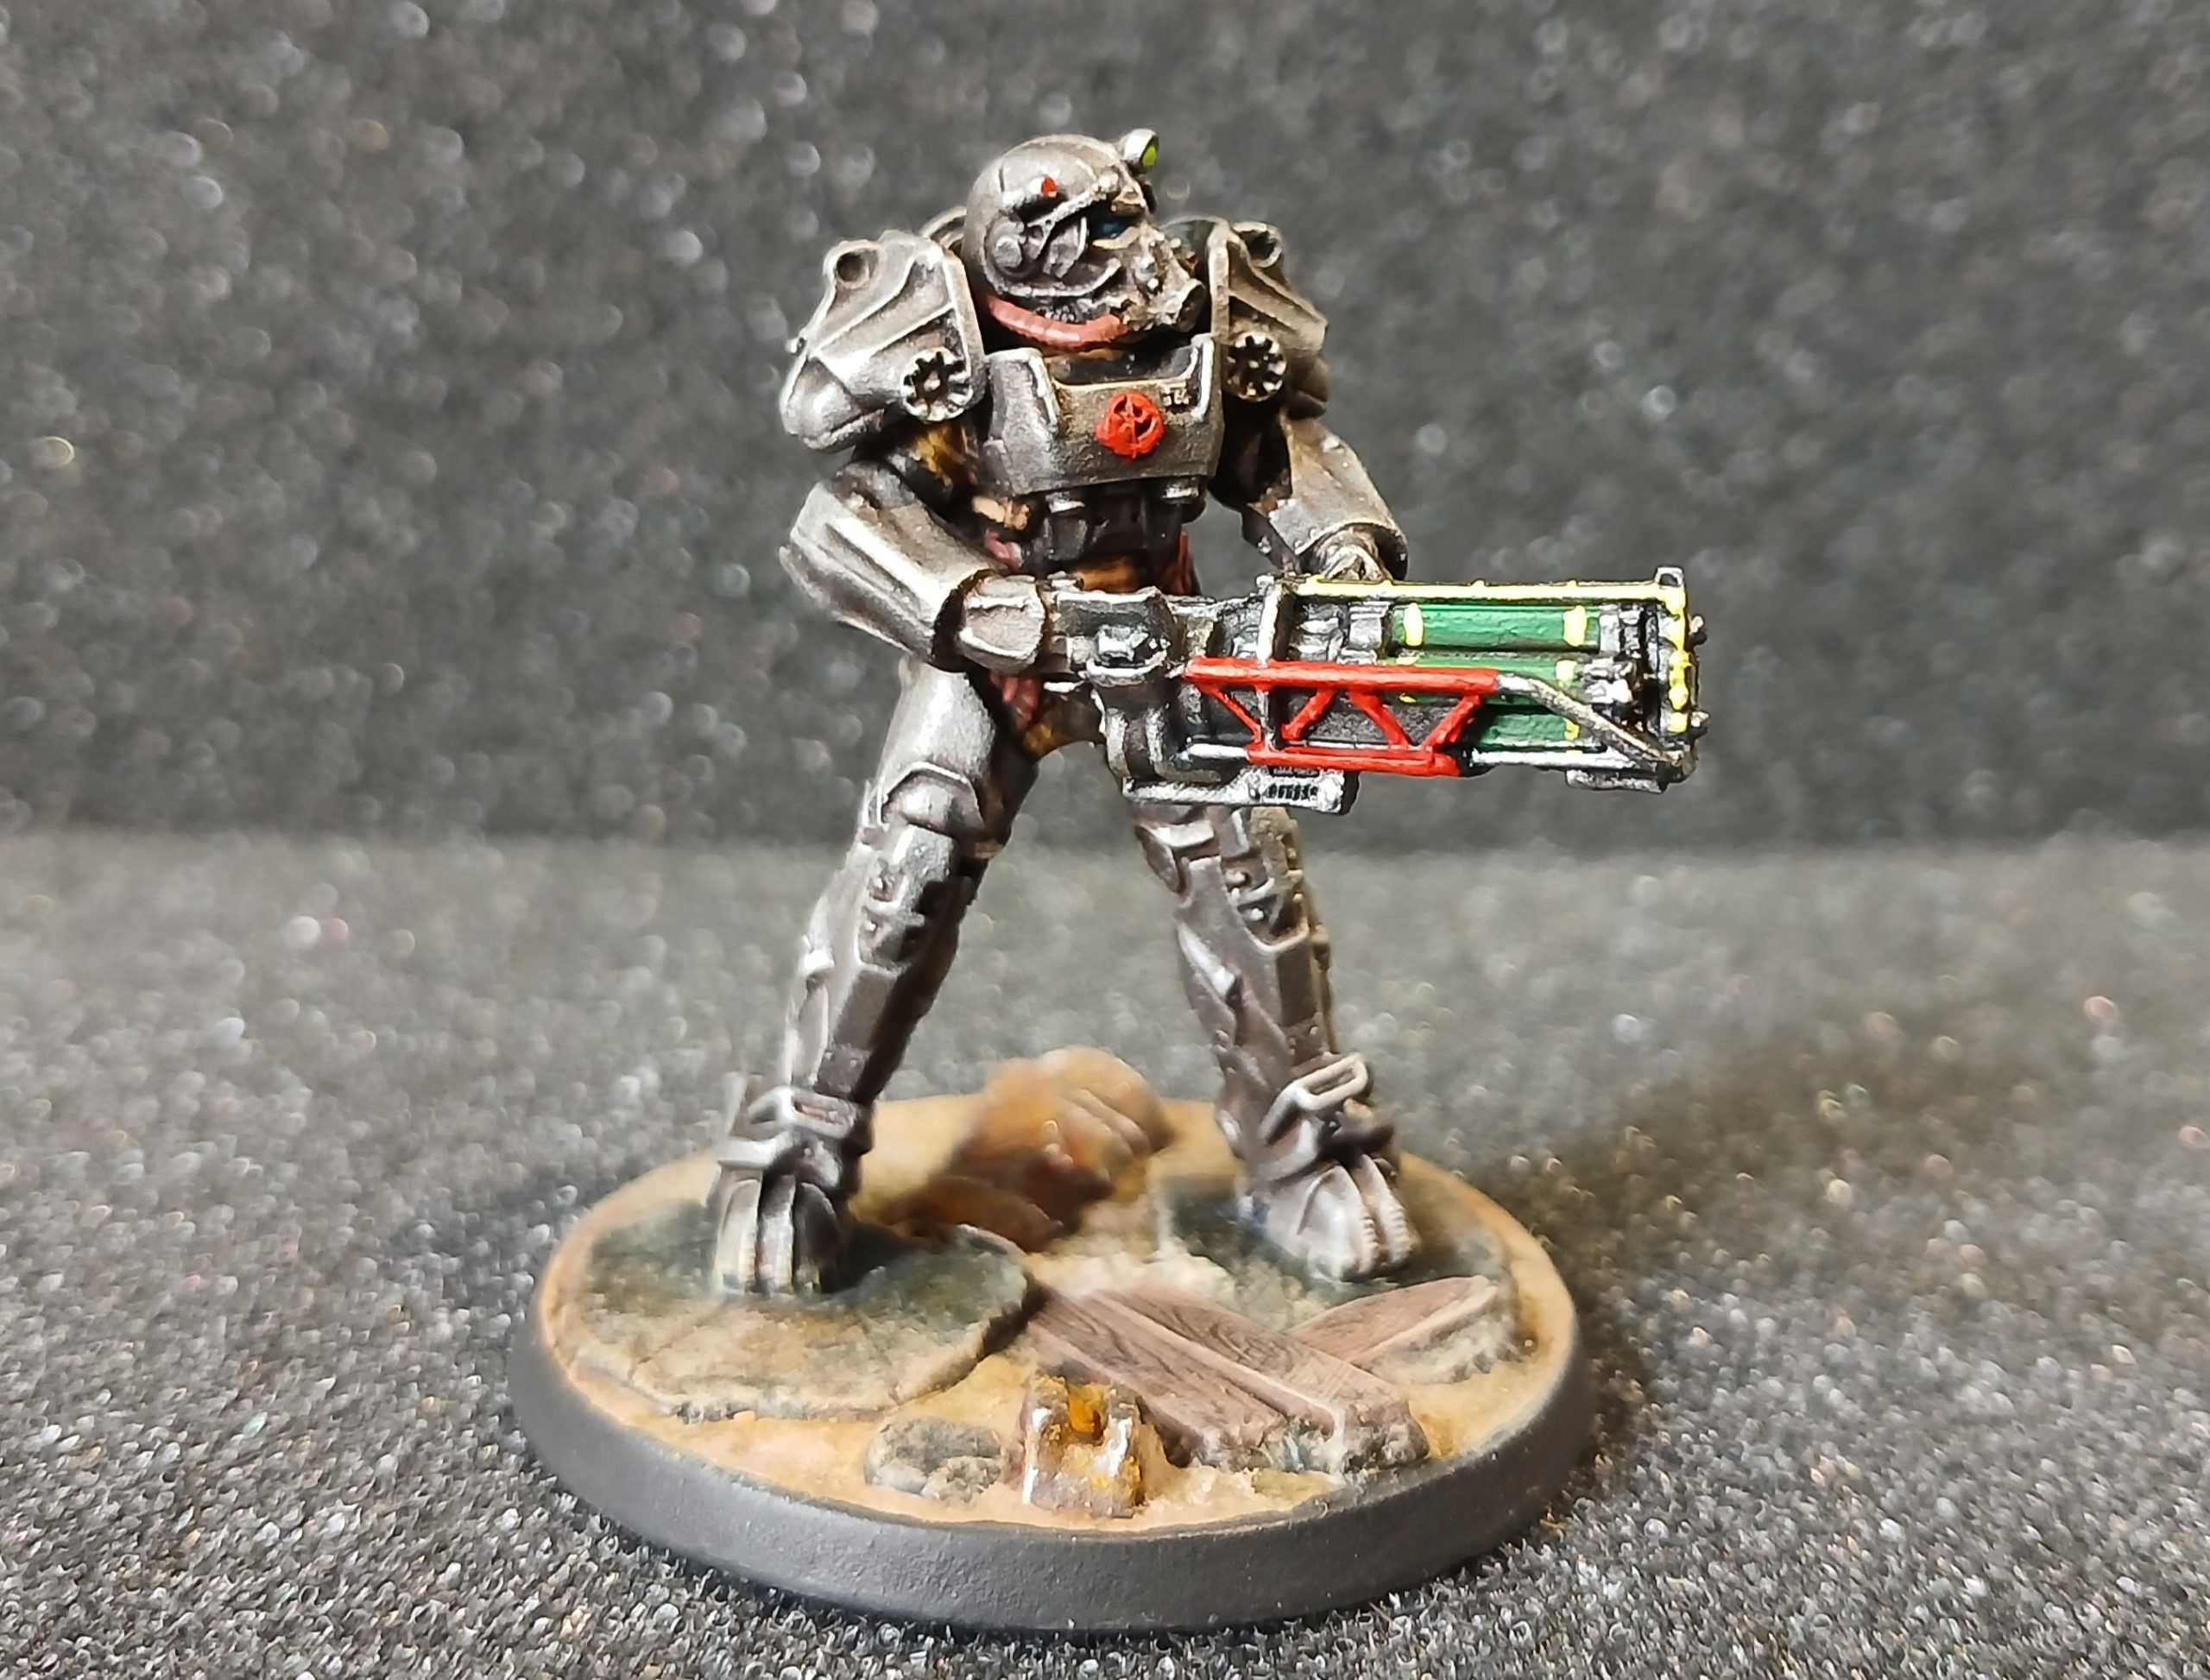
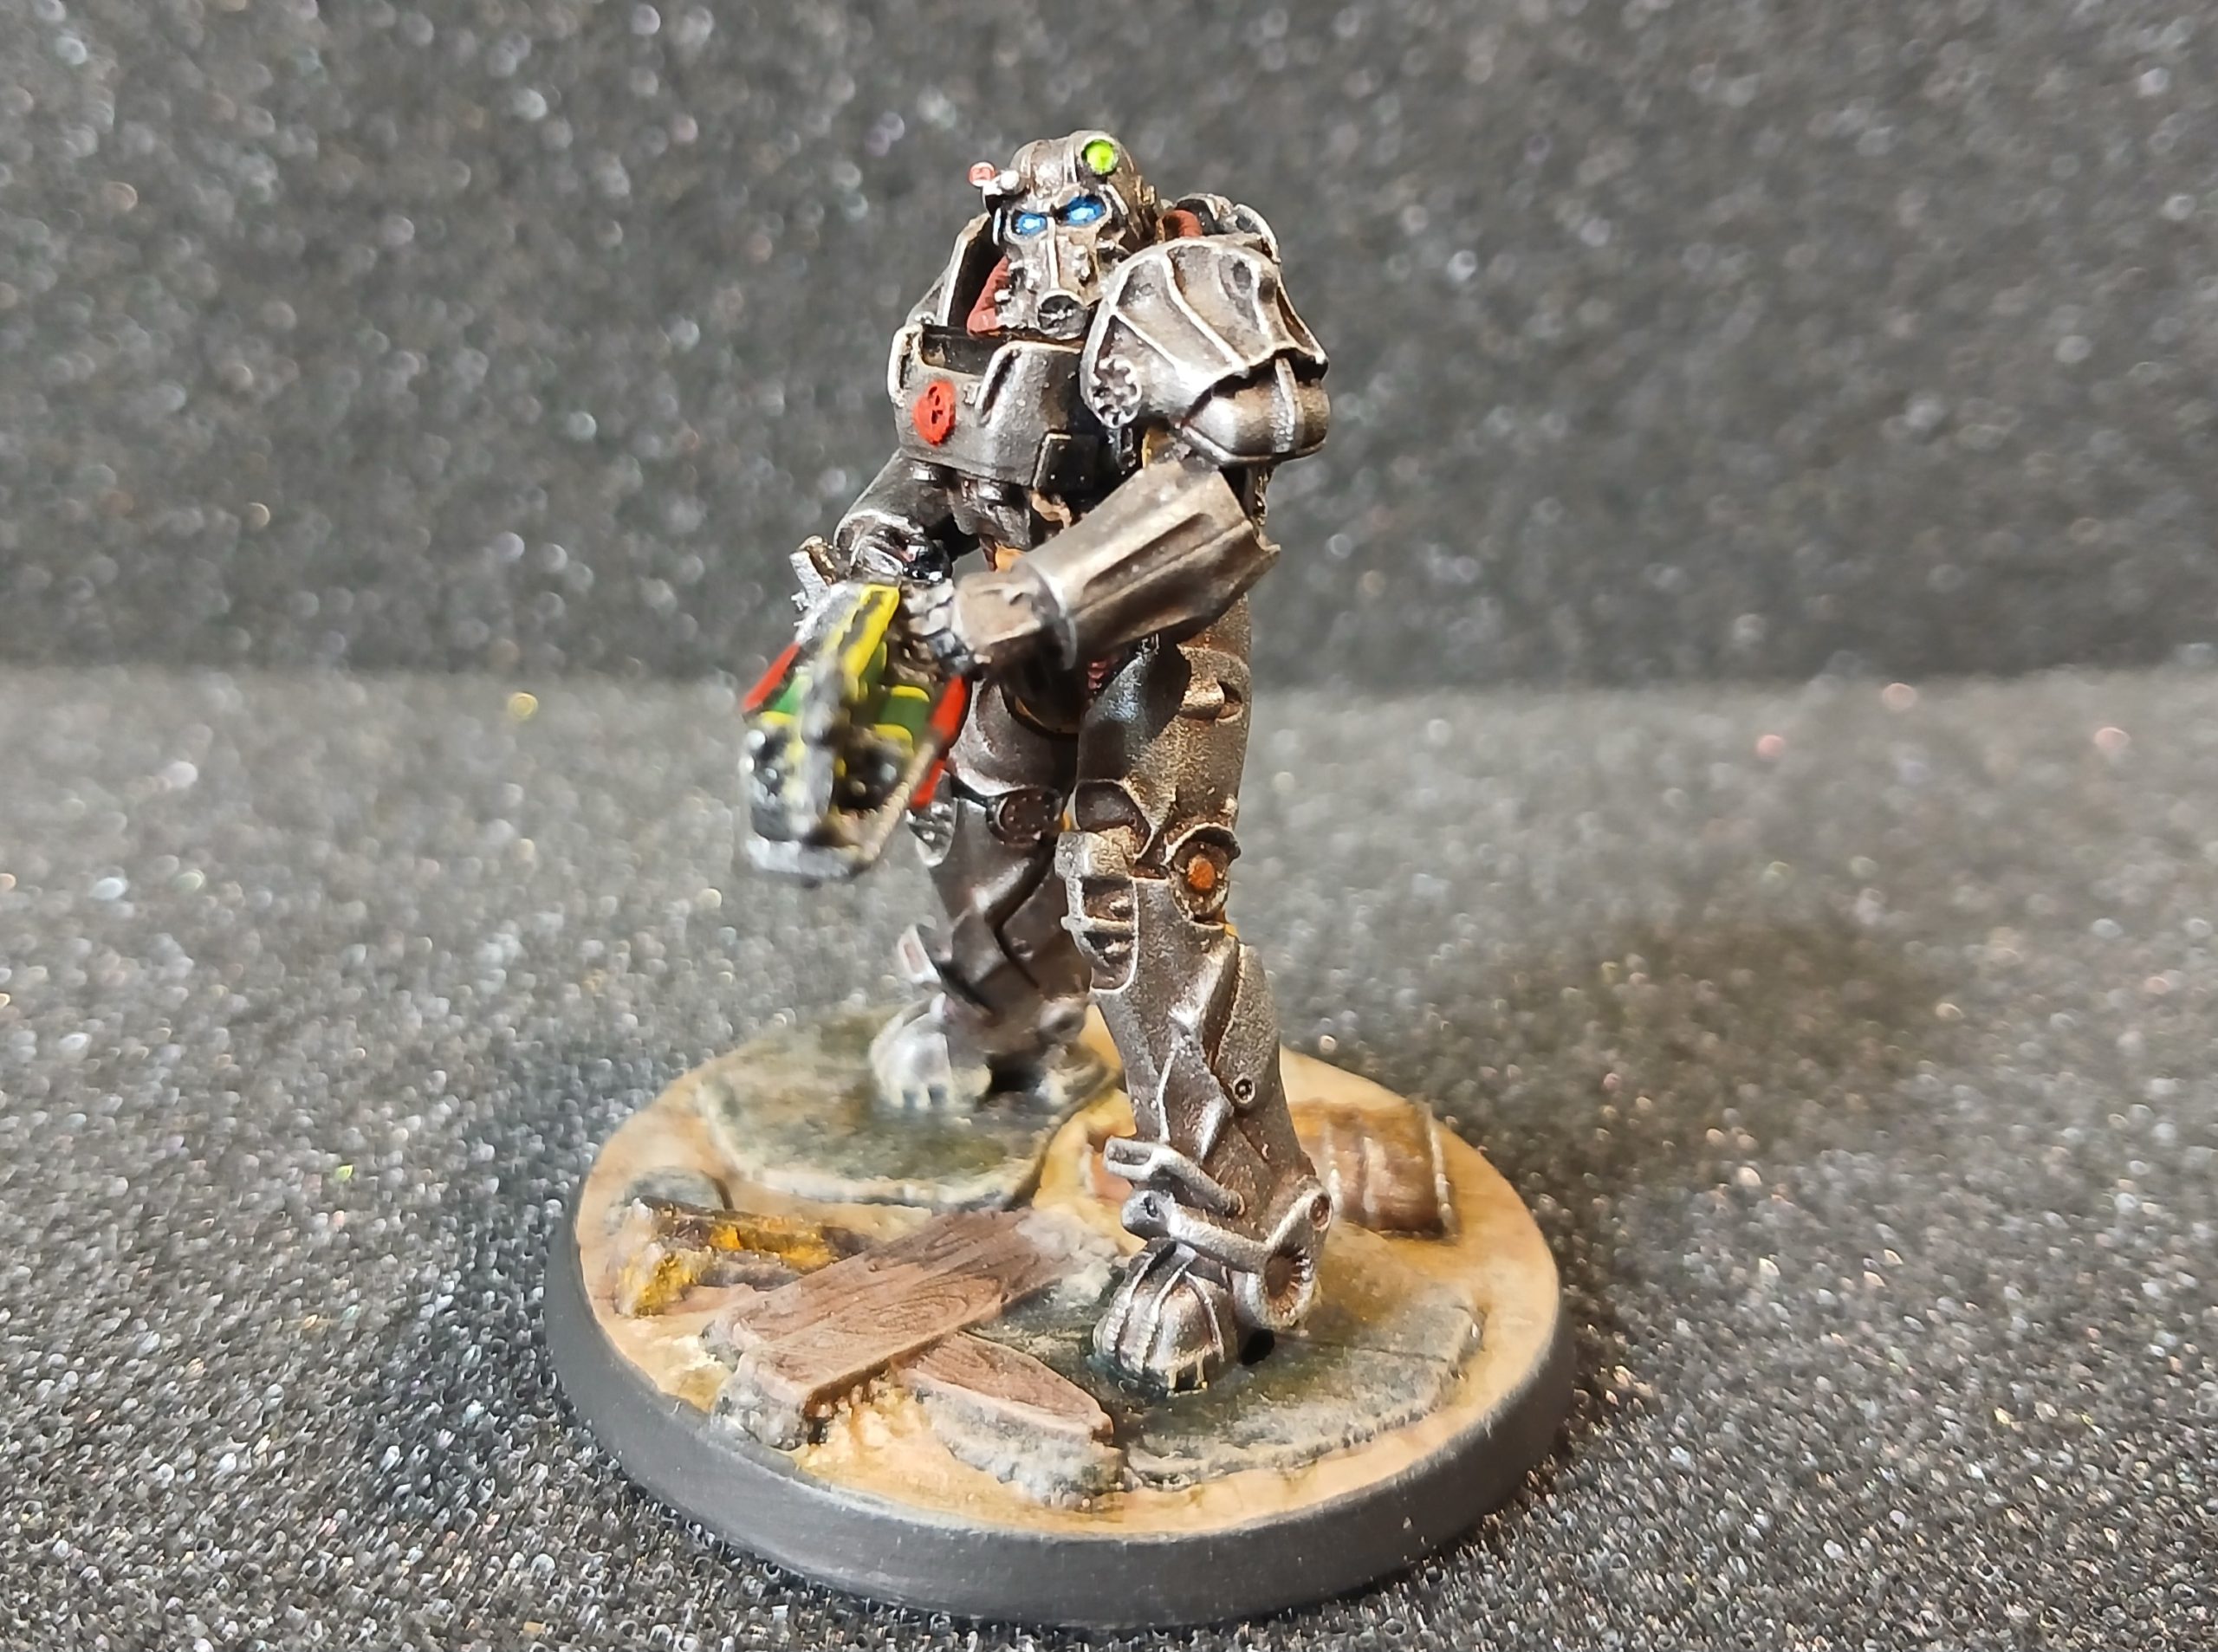
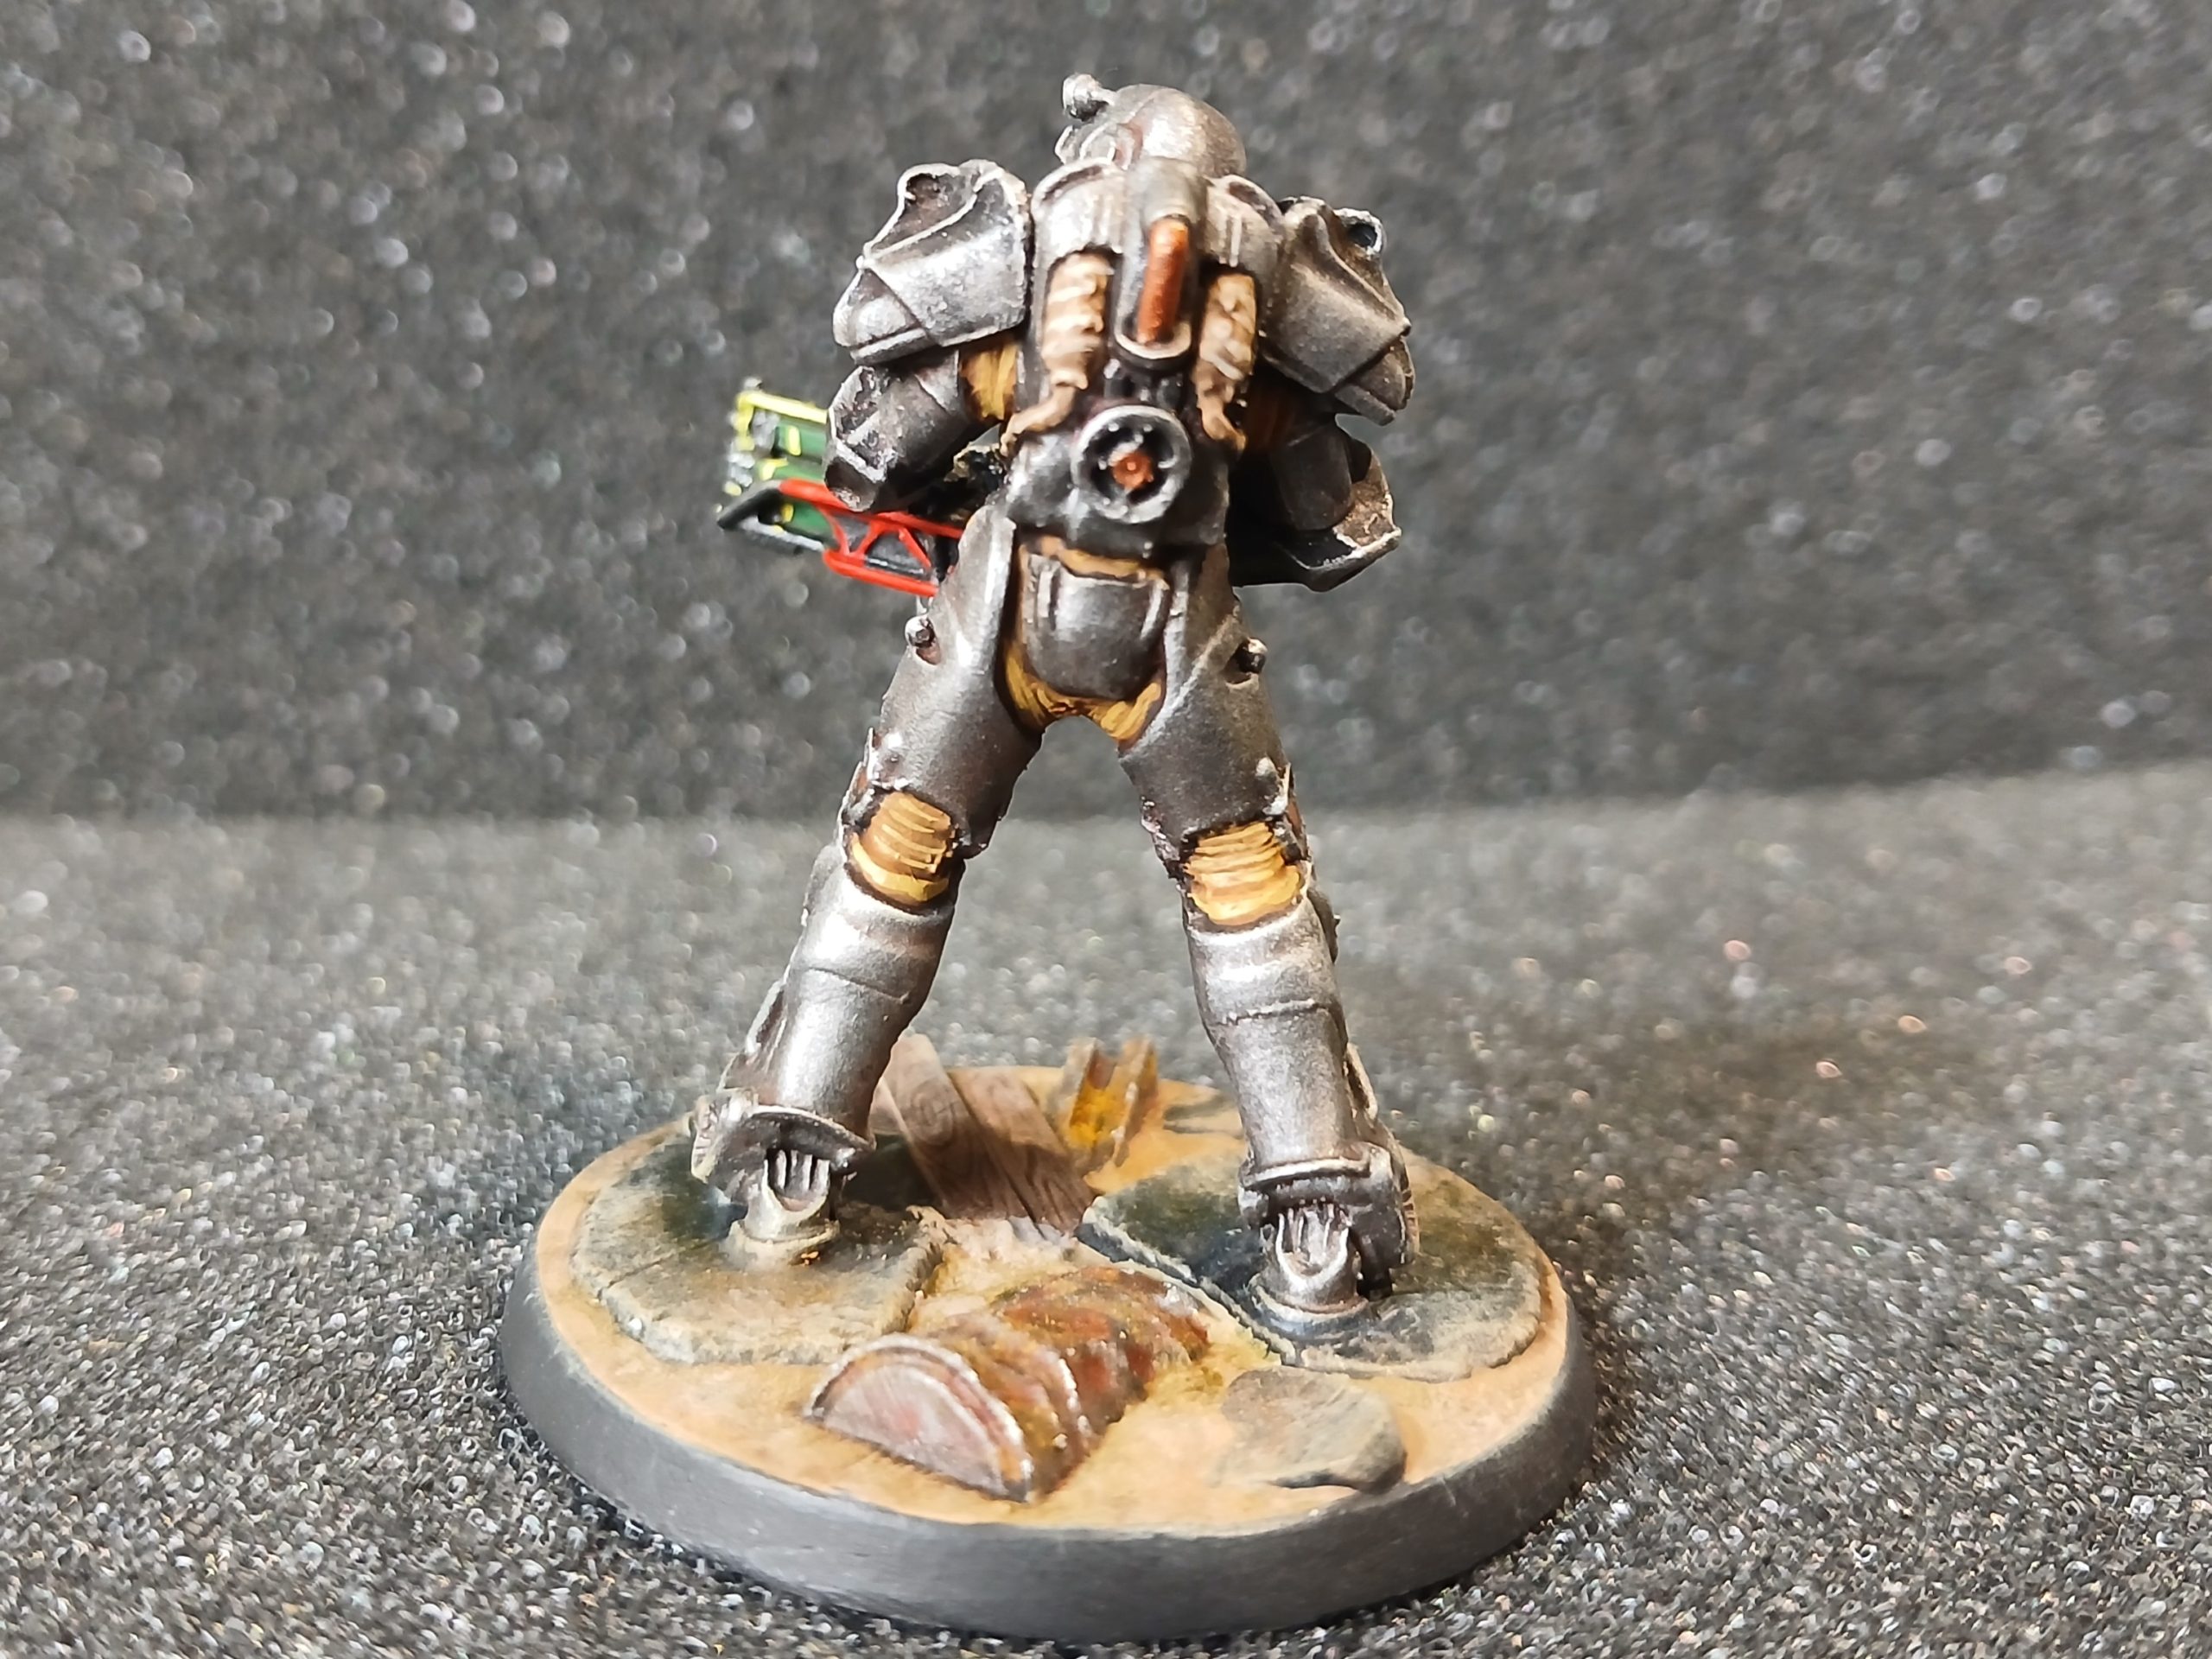
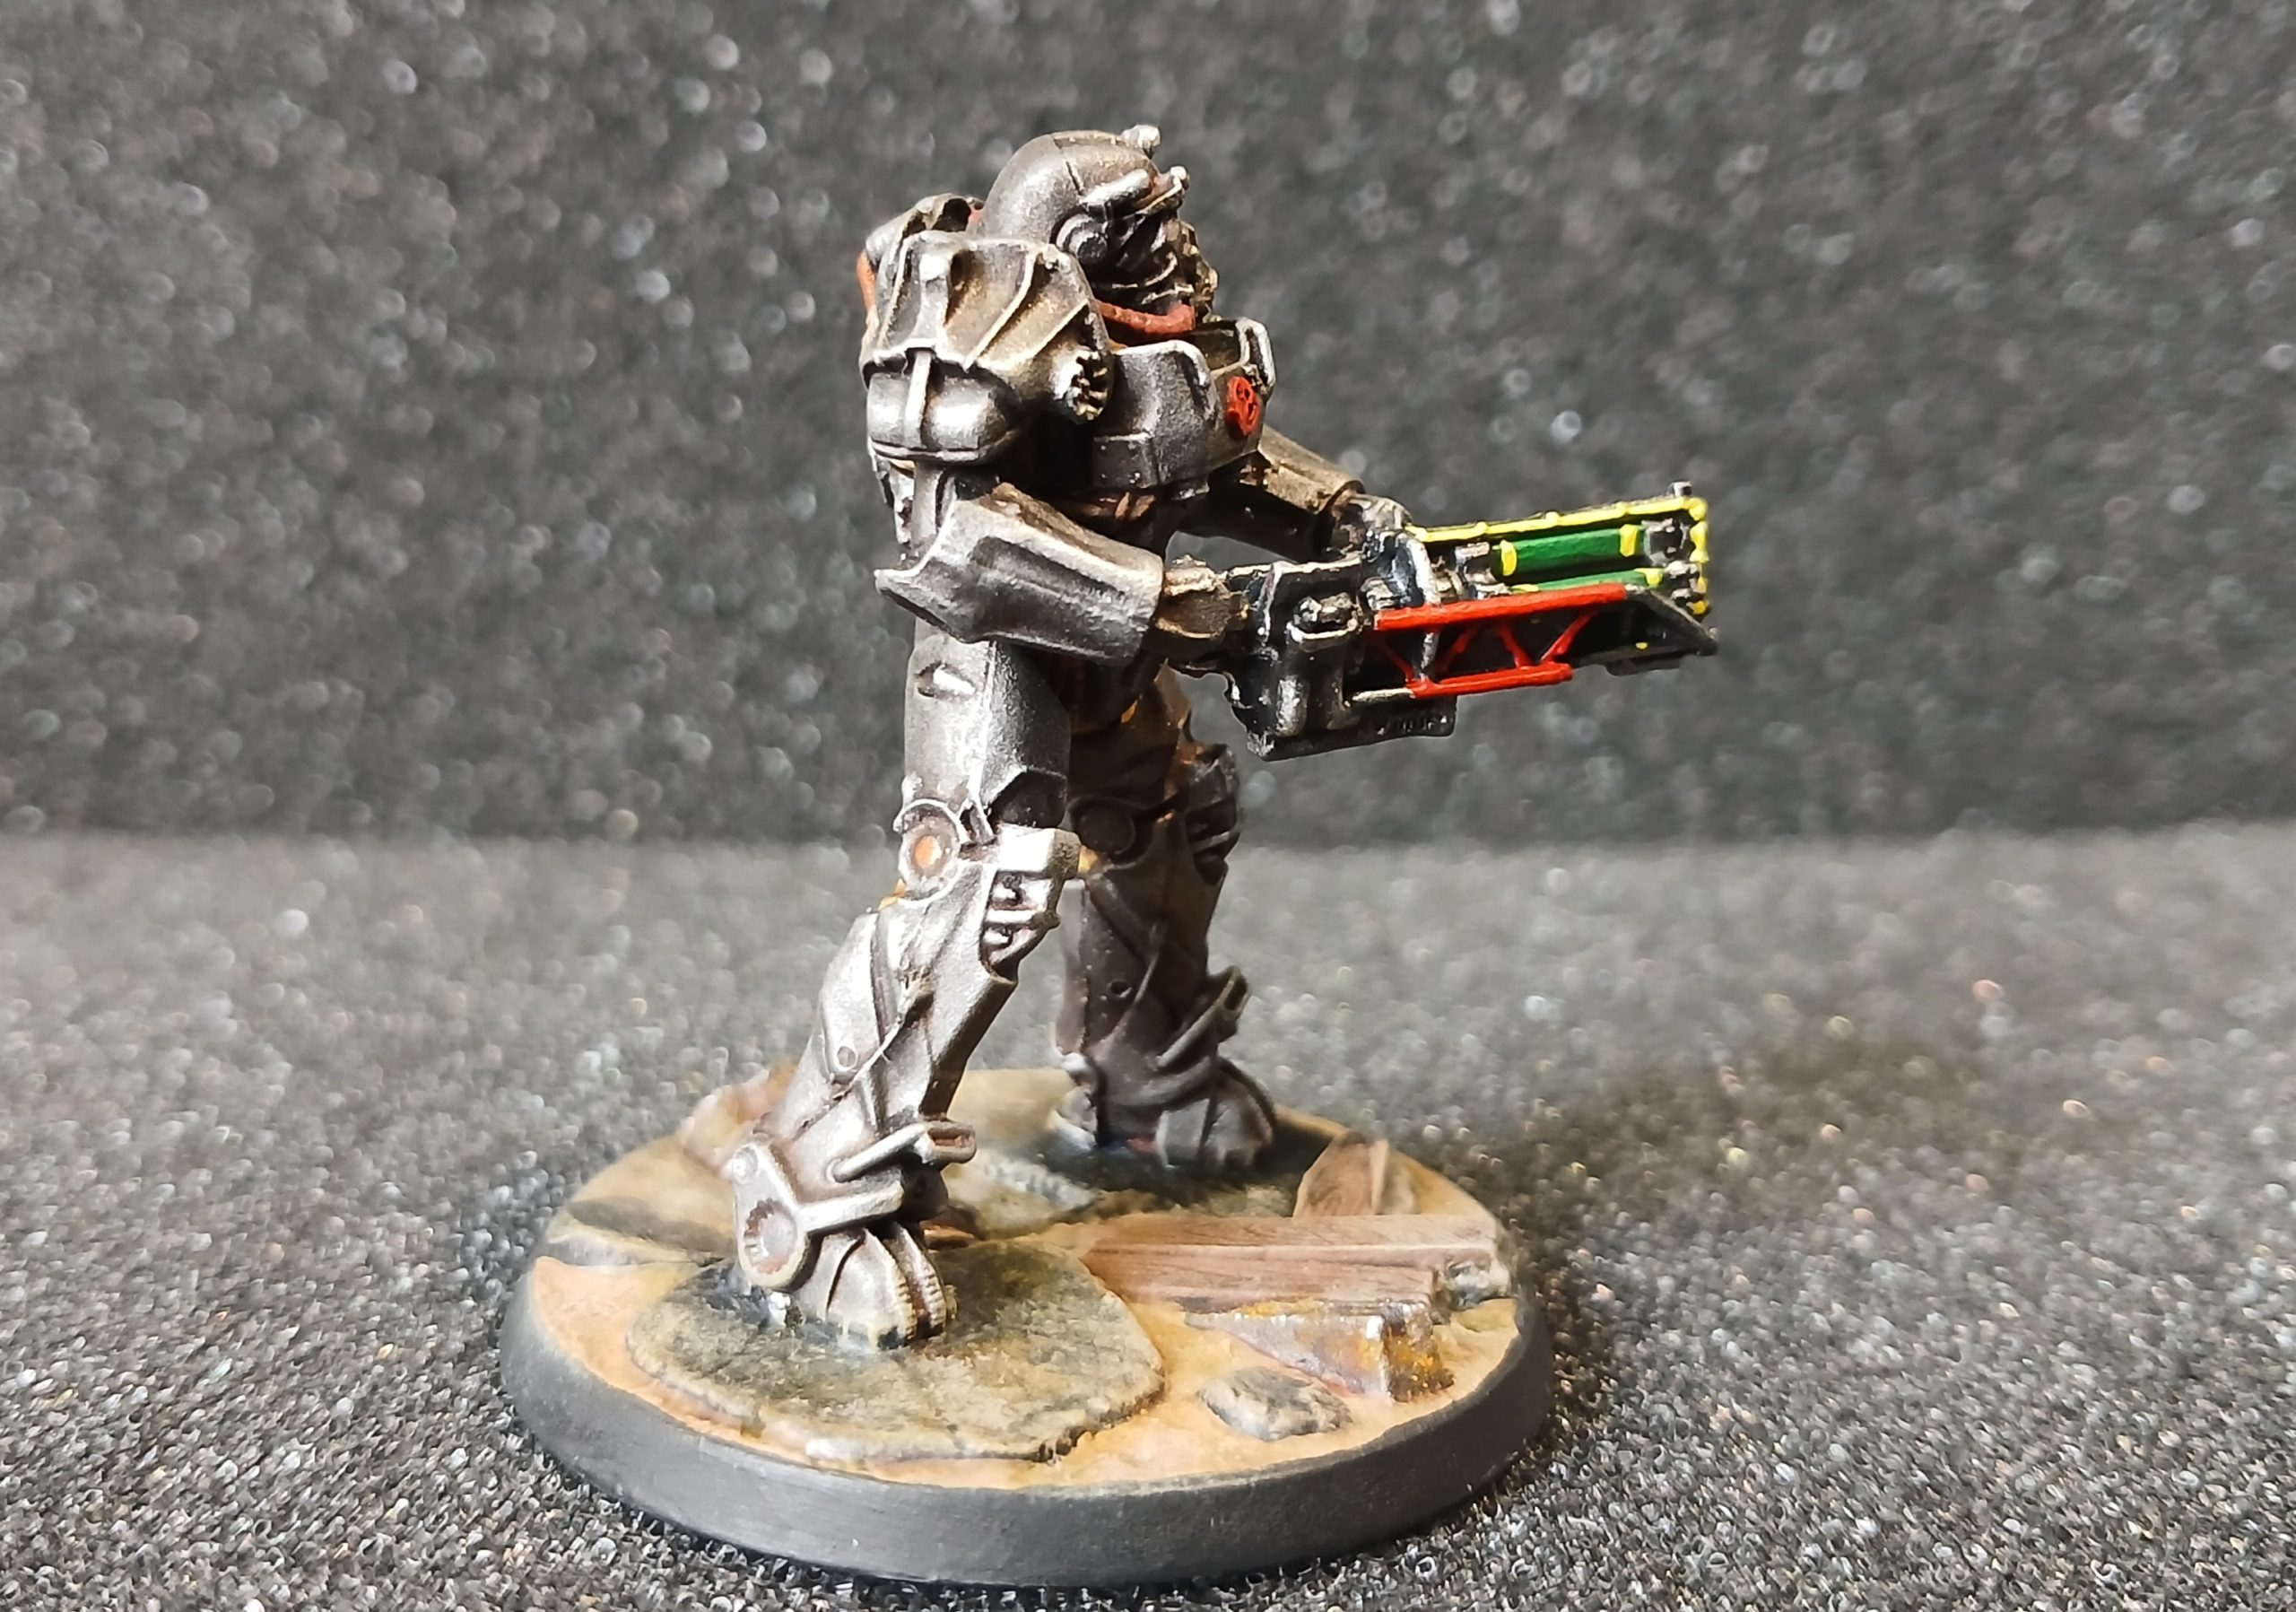
T60 Paladin
10th September 2026
The T60 armour was primed and painted gunmetal alongside the Knight Patrol. It was given the same red brown wash, followed by an agrax wash. Then it was drybrushed with gunmetal, followed by successively lighter passes of Leadbelcher, chainmail and Mithril silver.
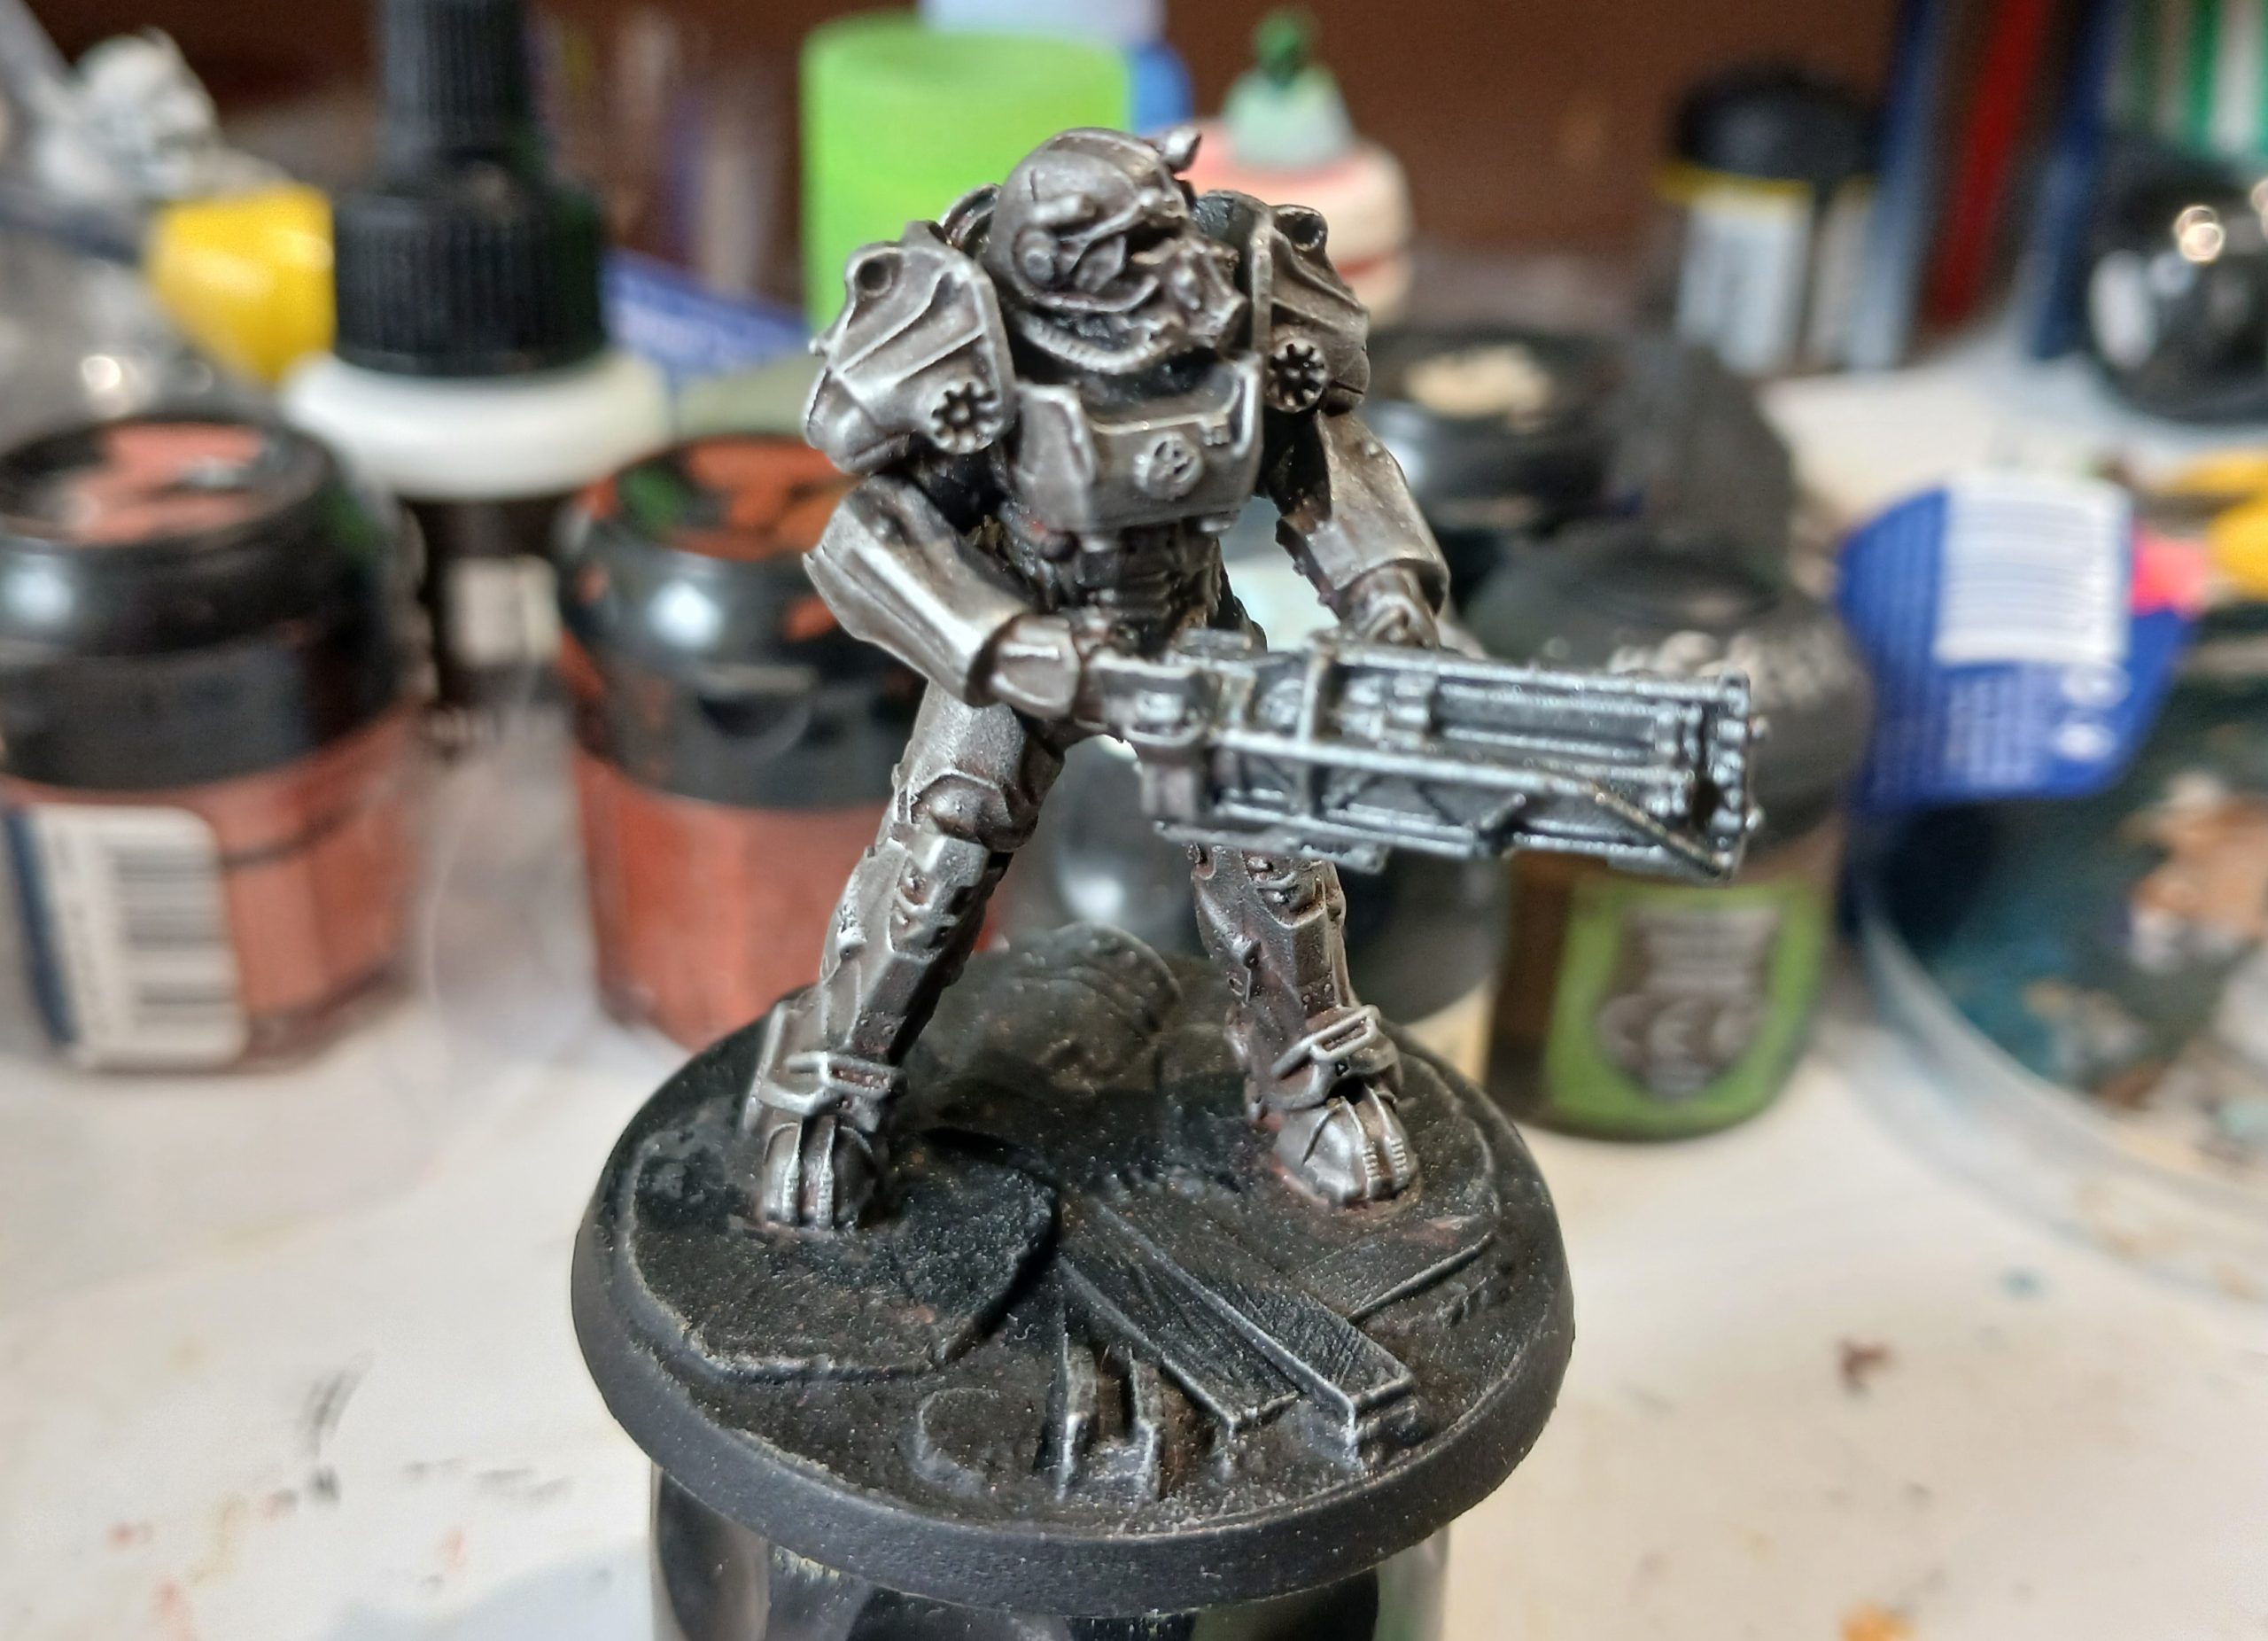
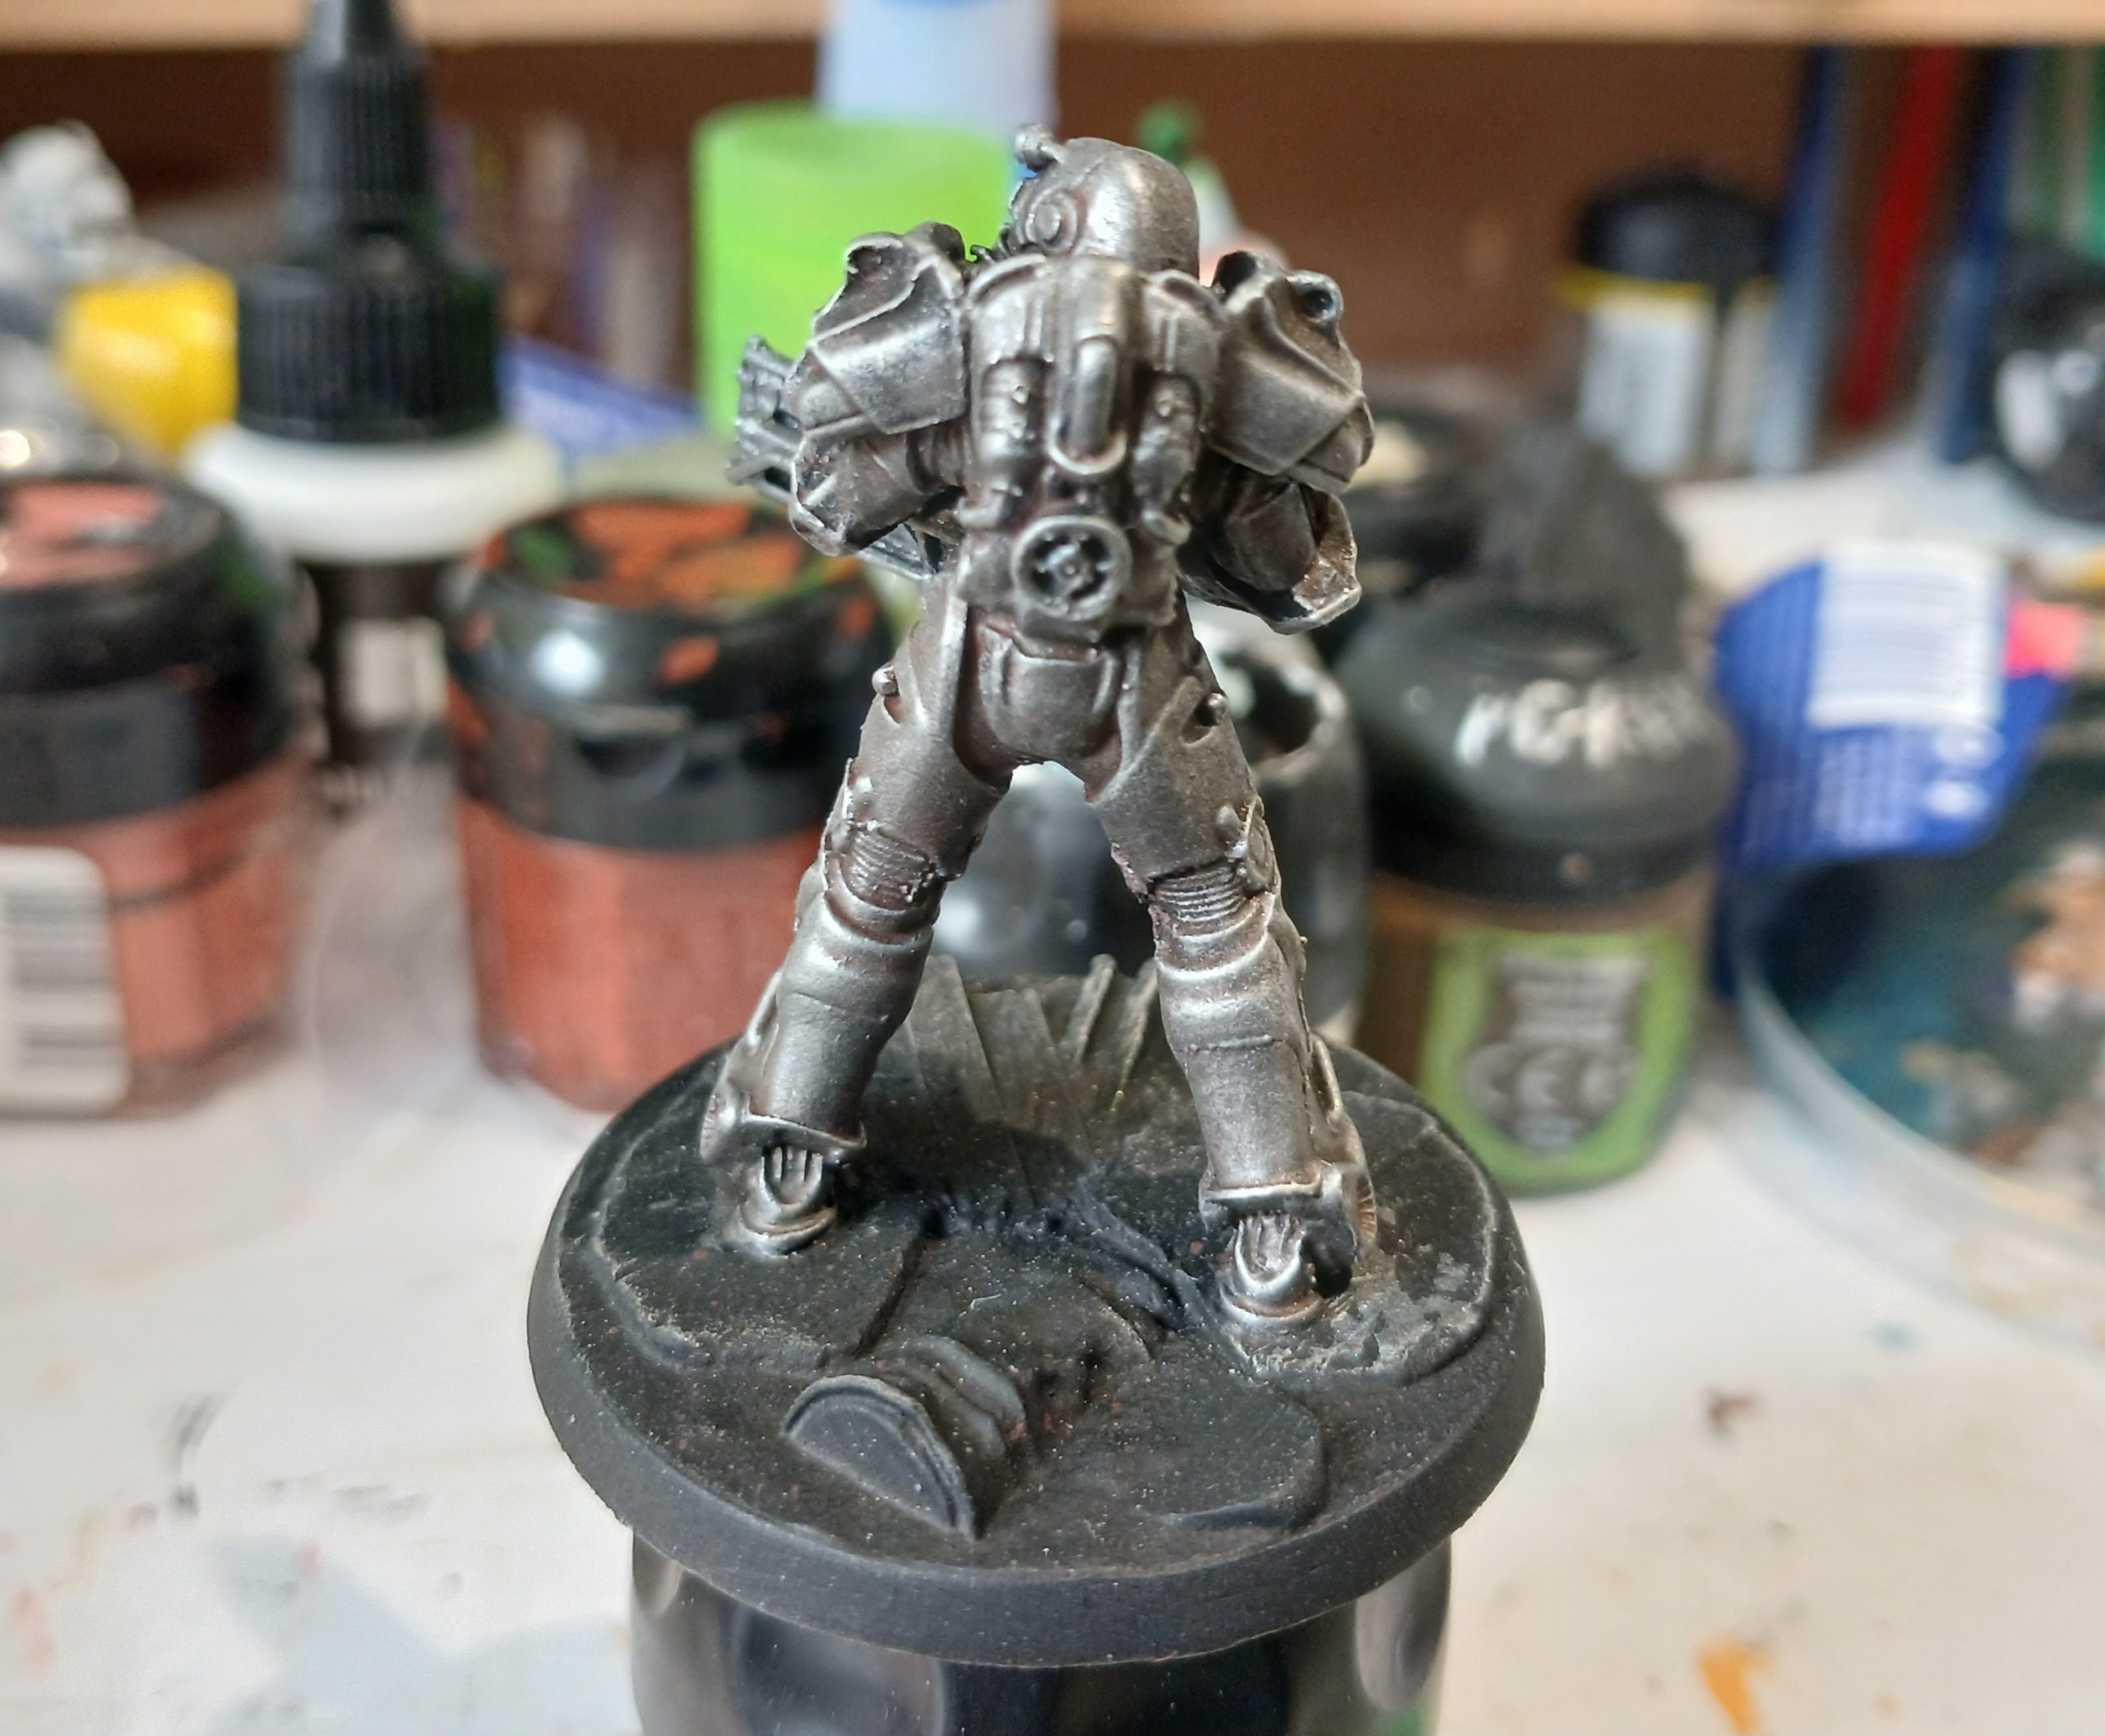
Next up I worked on the undersuit and piping.
The undersuit was painted in a leather tone, washed with agrax and highlighted with a lighter leather. The pipes were painted in a pale beige, again agrax and highlight.
I also worked on the base at this time, picking out the tarmac sections in greys drybrushed to look dusty, sandy ground and planks of wood. Still more weathering etc to go yet though.
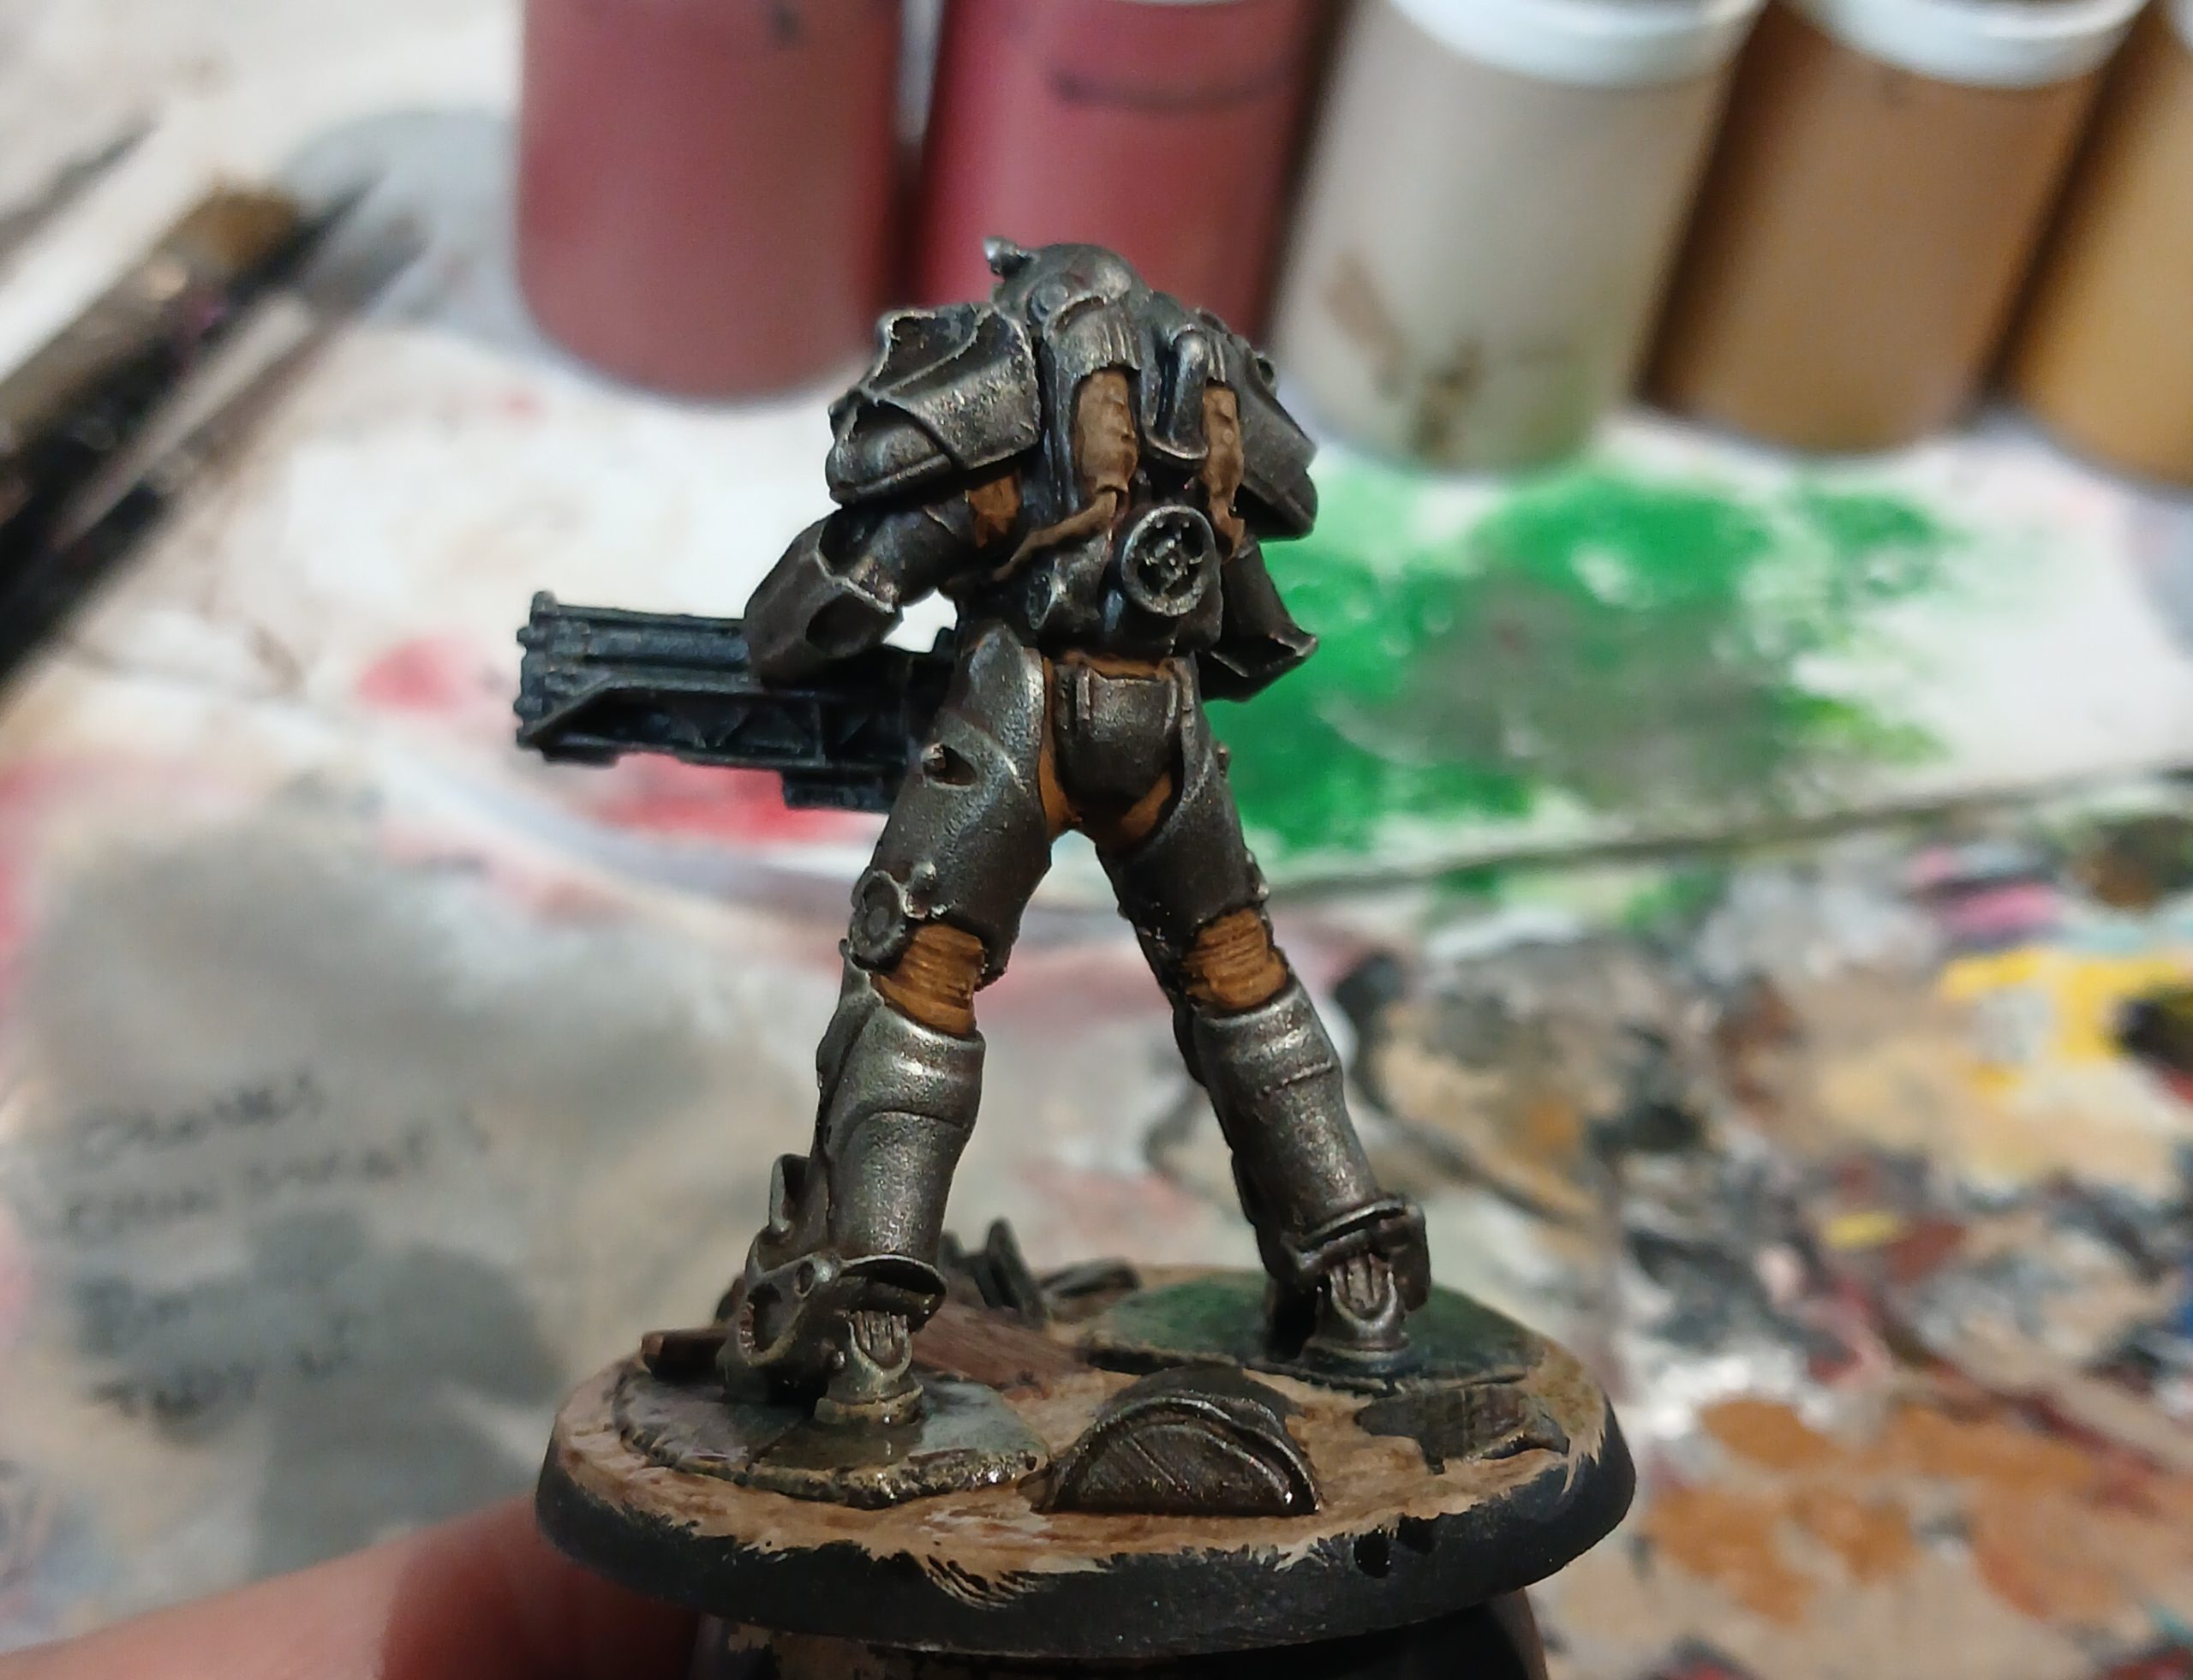
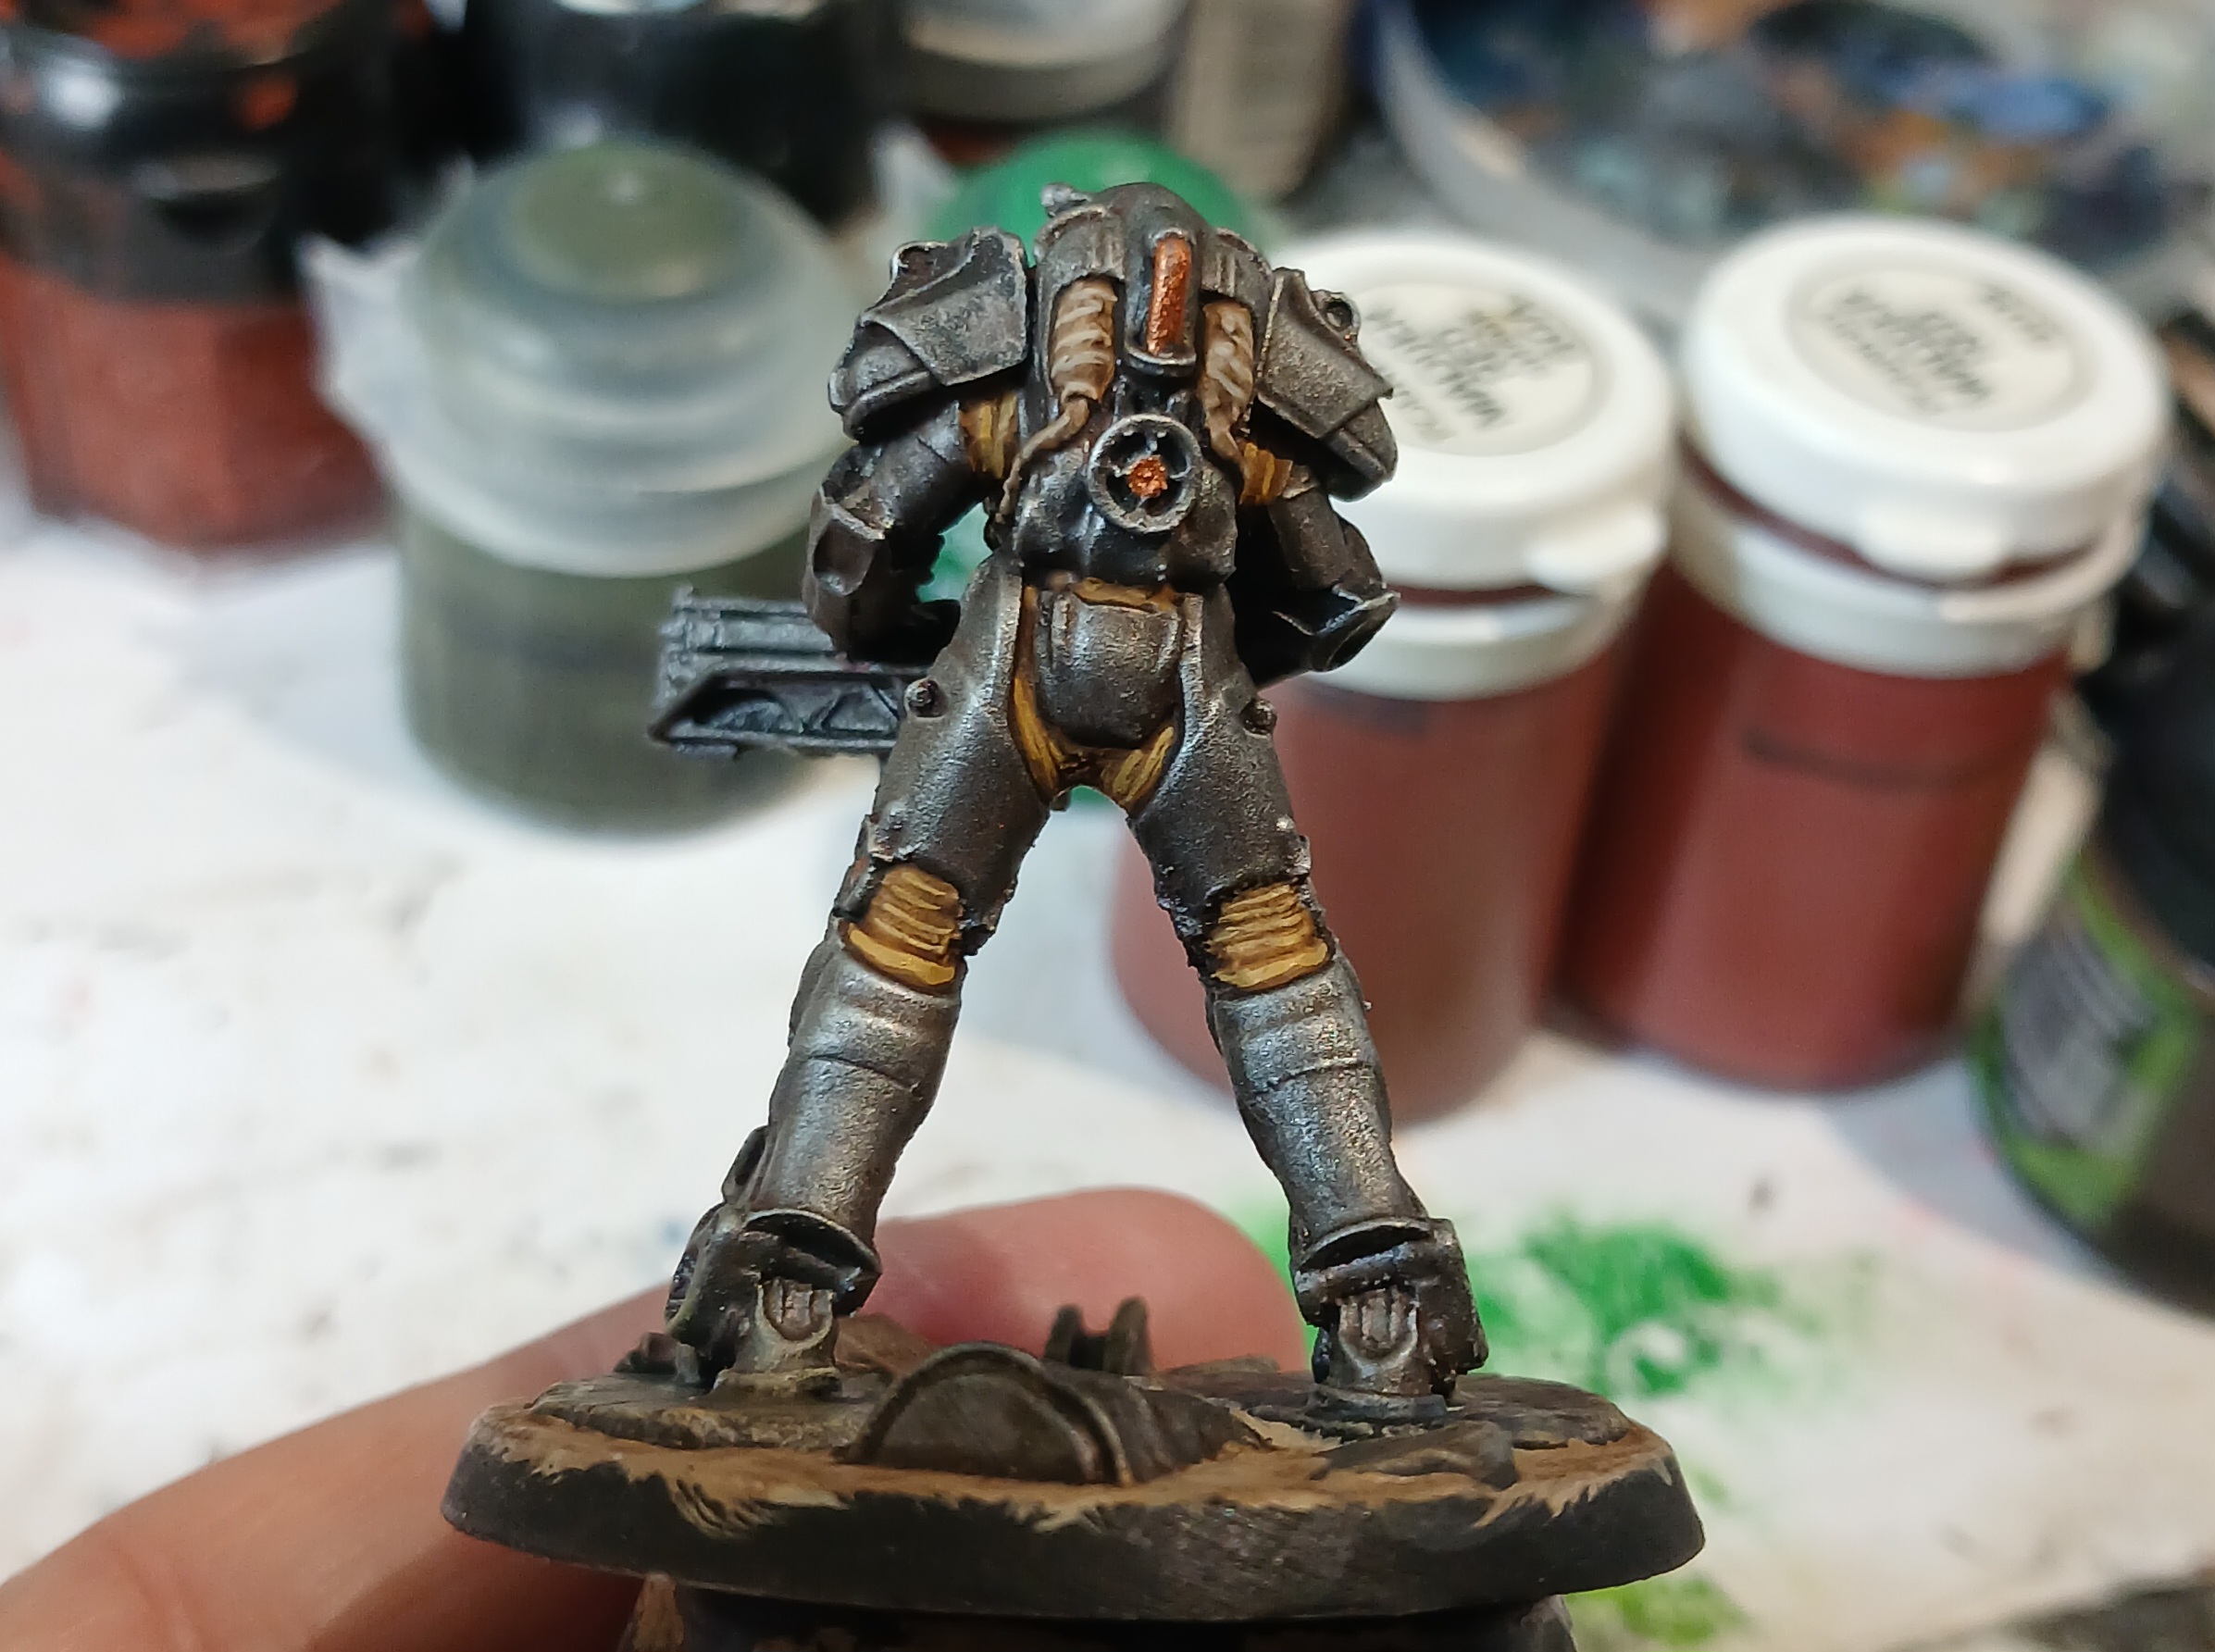
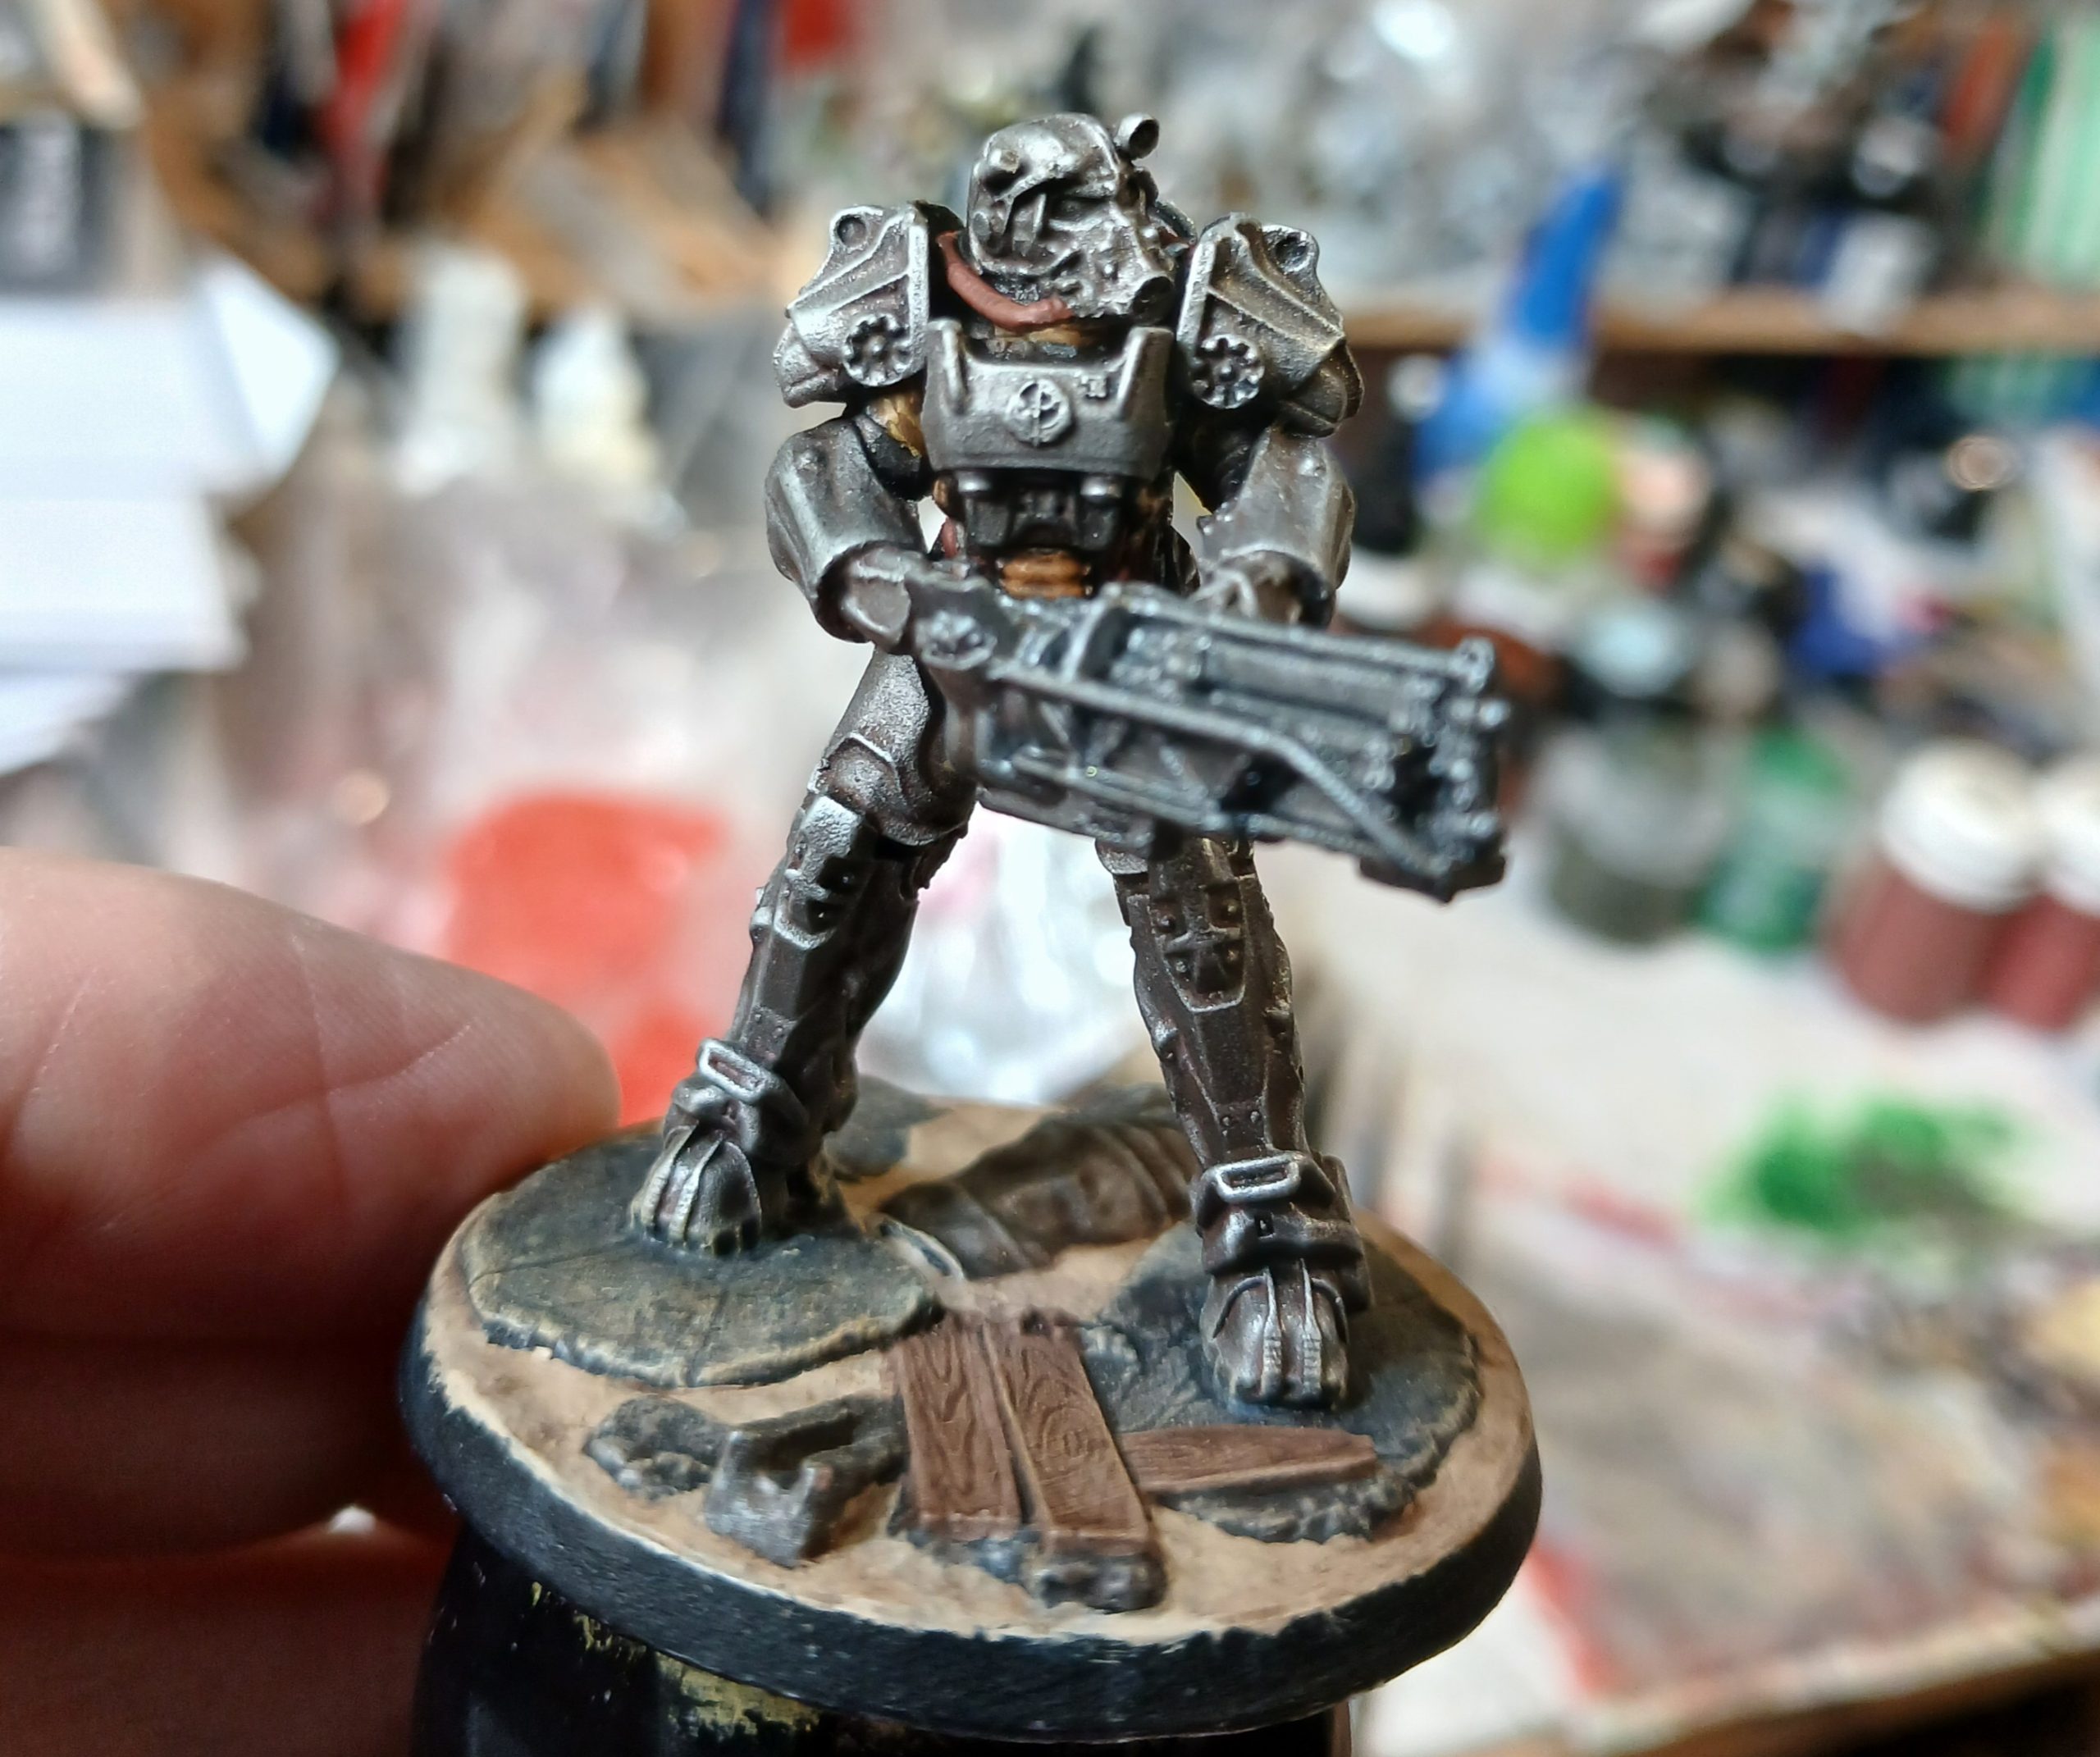
I highlighted up the red piping around the hips and helmet, added in the chest detail and helmet lenses etc. It was also then time to work on the gun. I painted up the laser bodies in green, to match the others, then followed the box art for the other details on it.
Finally there was more rust and weathering on the base, and the T60 was ready to join the Knight Patrol….
Brotherhood of Steel Knight Patrol
9th September 2026
Back at things slowly again.
I primed all of the BoS box set black, then started into the knight patrol. I was going to carefully paint in the armour panels, but decided to just quickly slap on a load of gunmetal. I followed this up with a red brown wash, then agrax wash, then a light drybrush of silver.
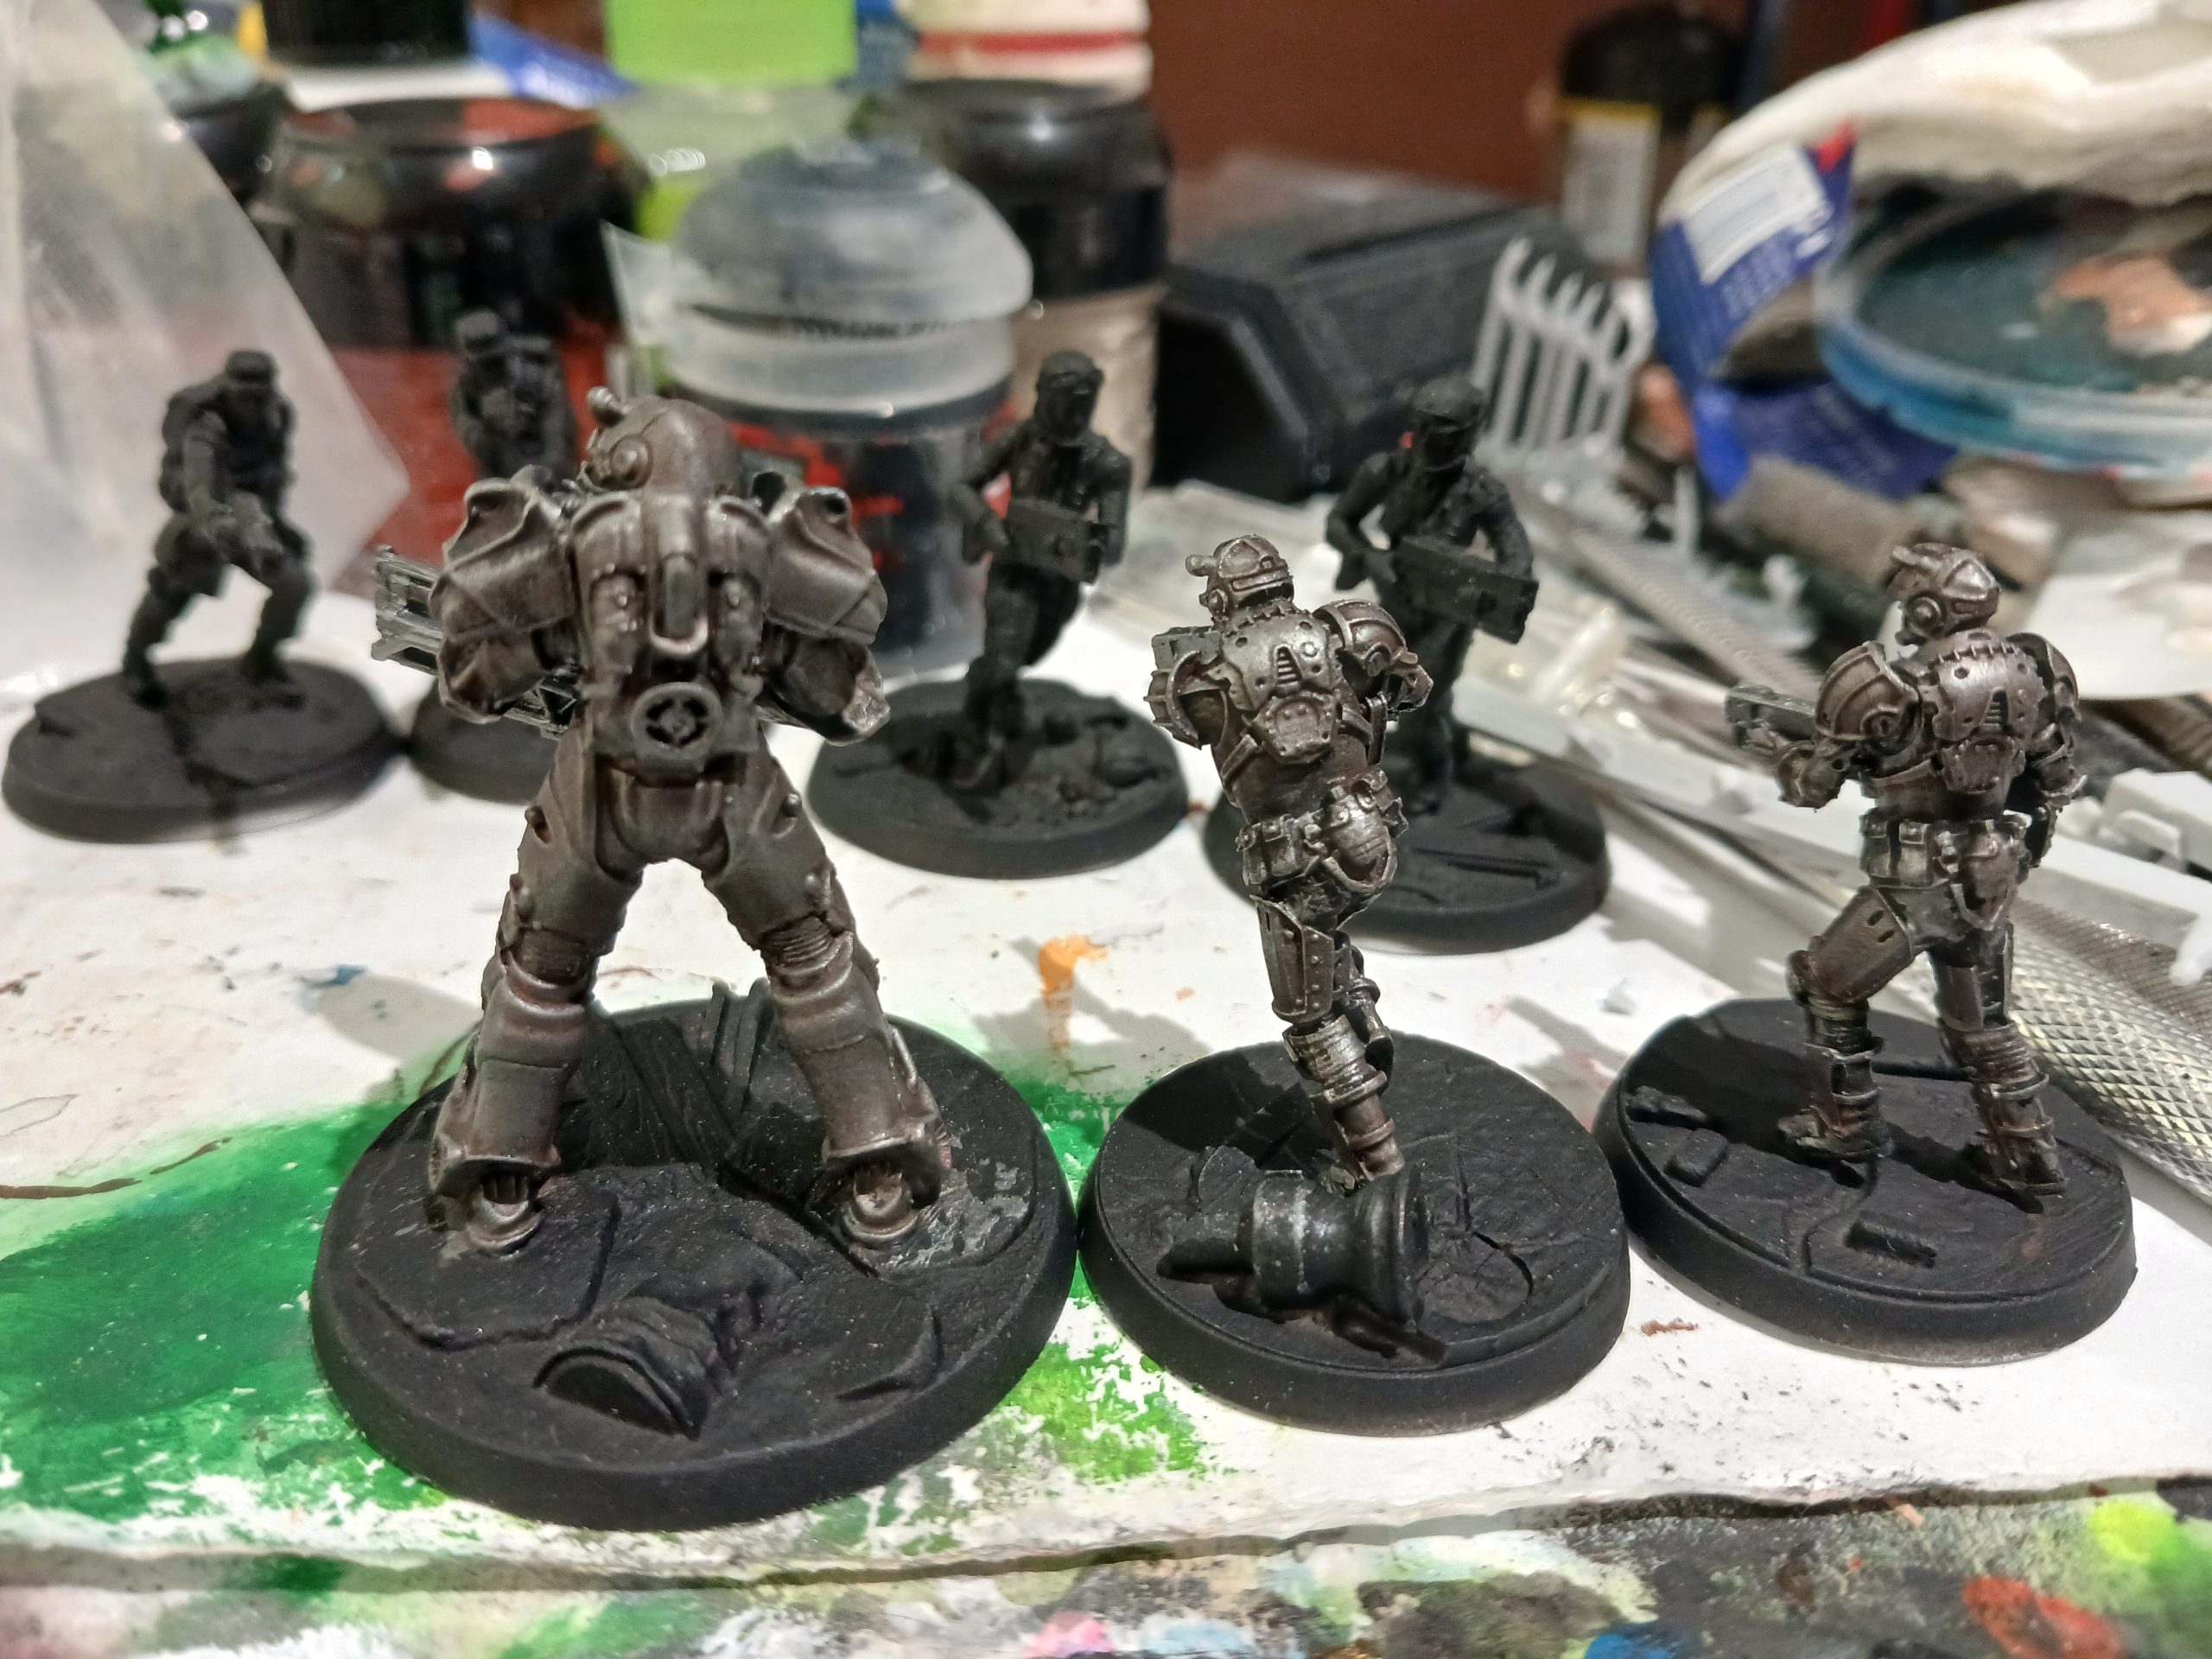
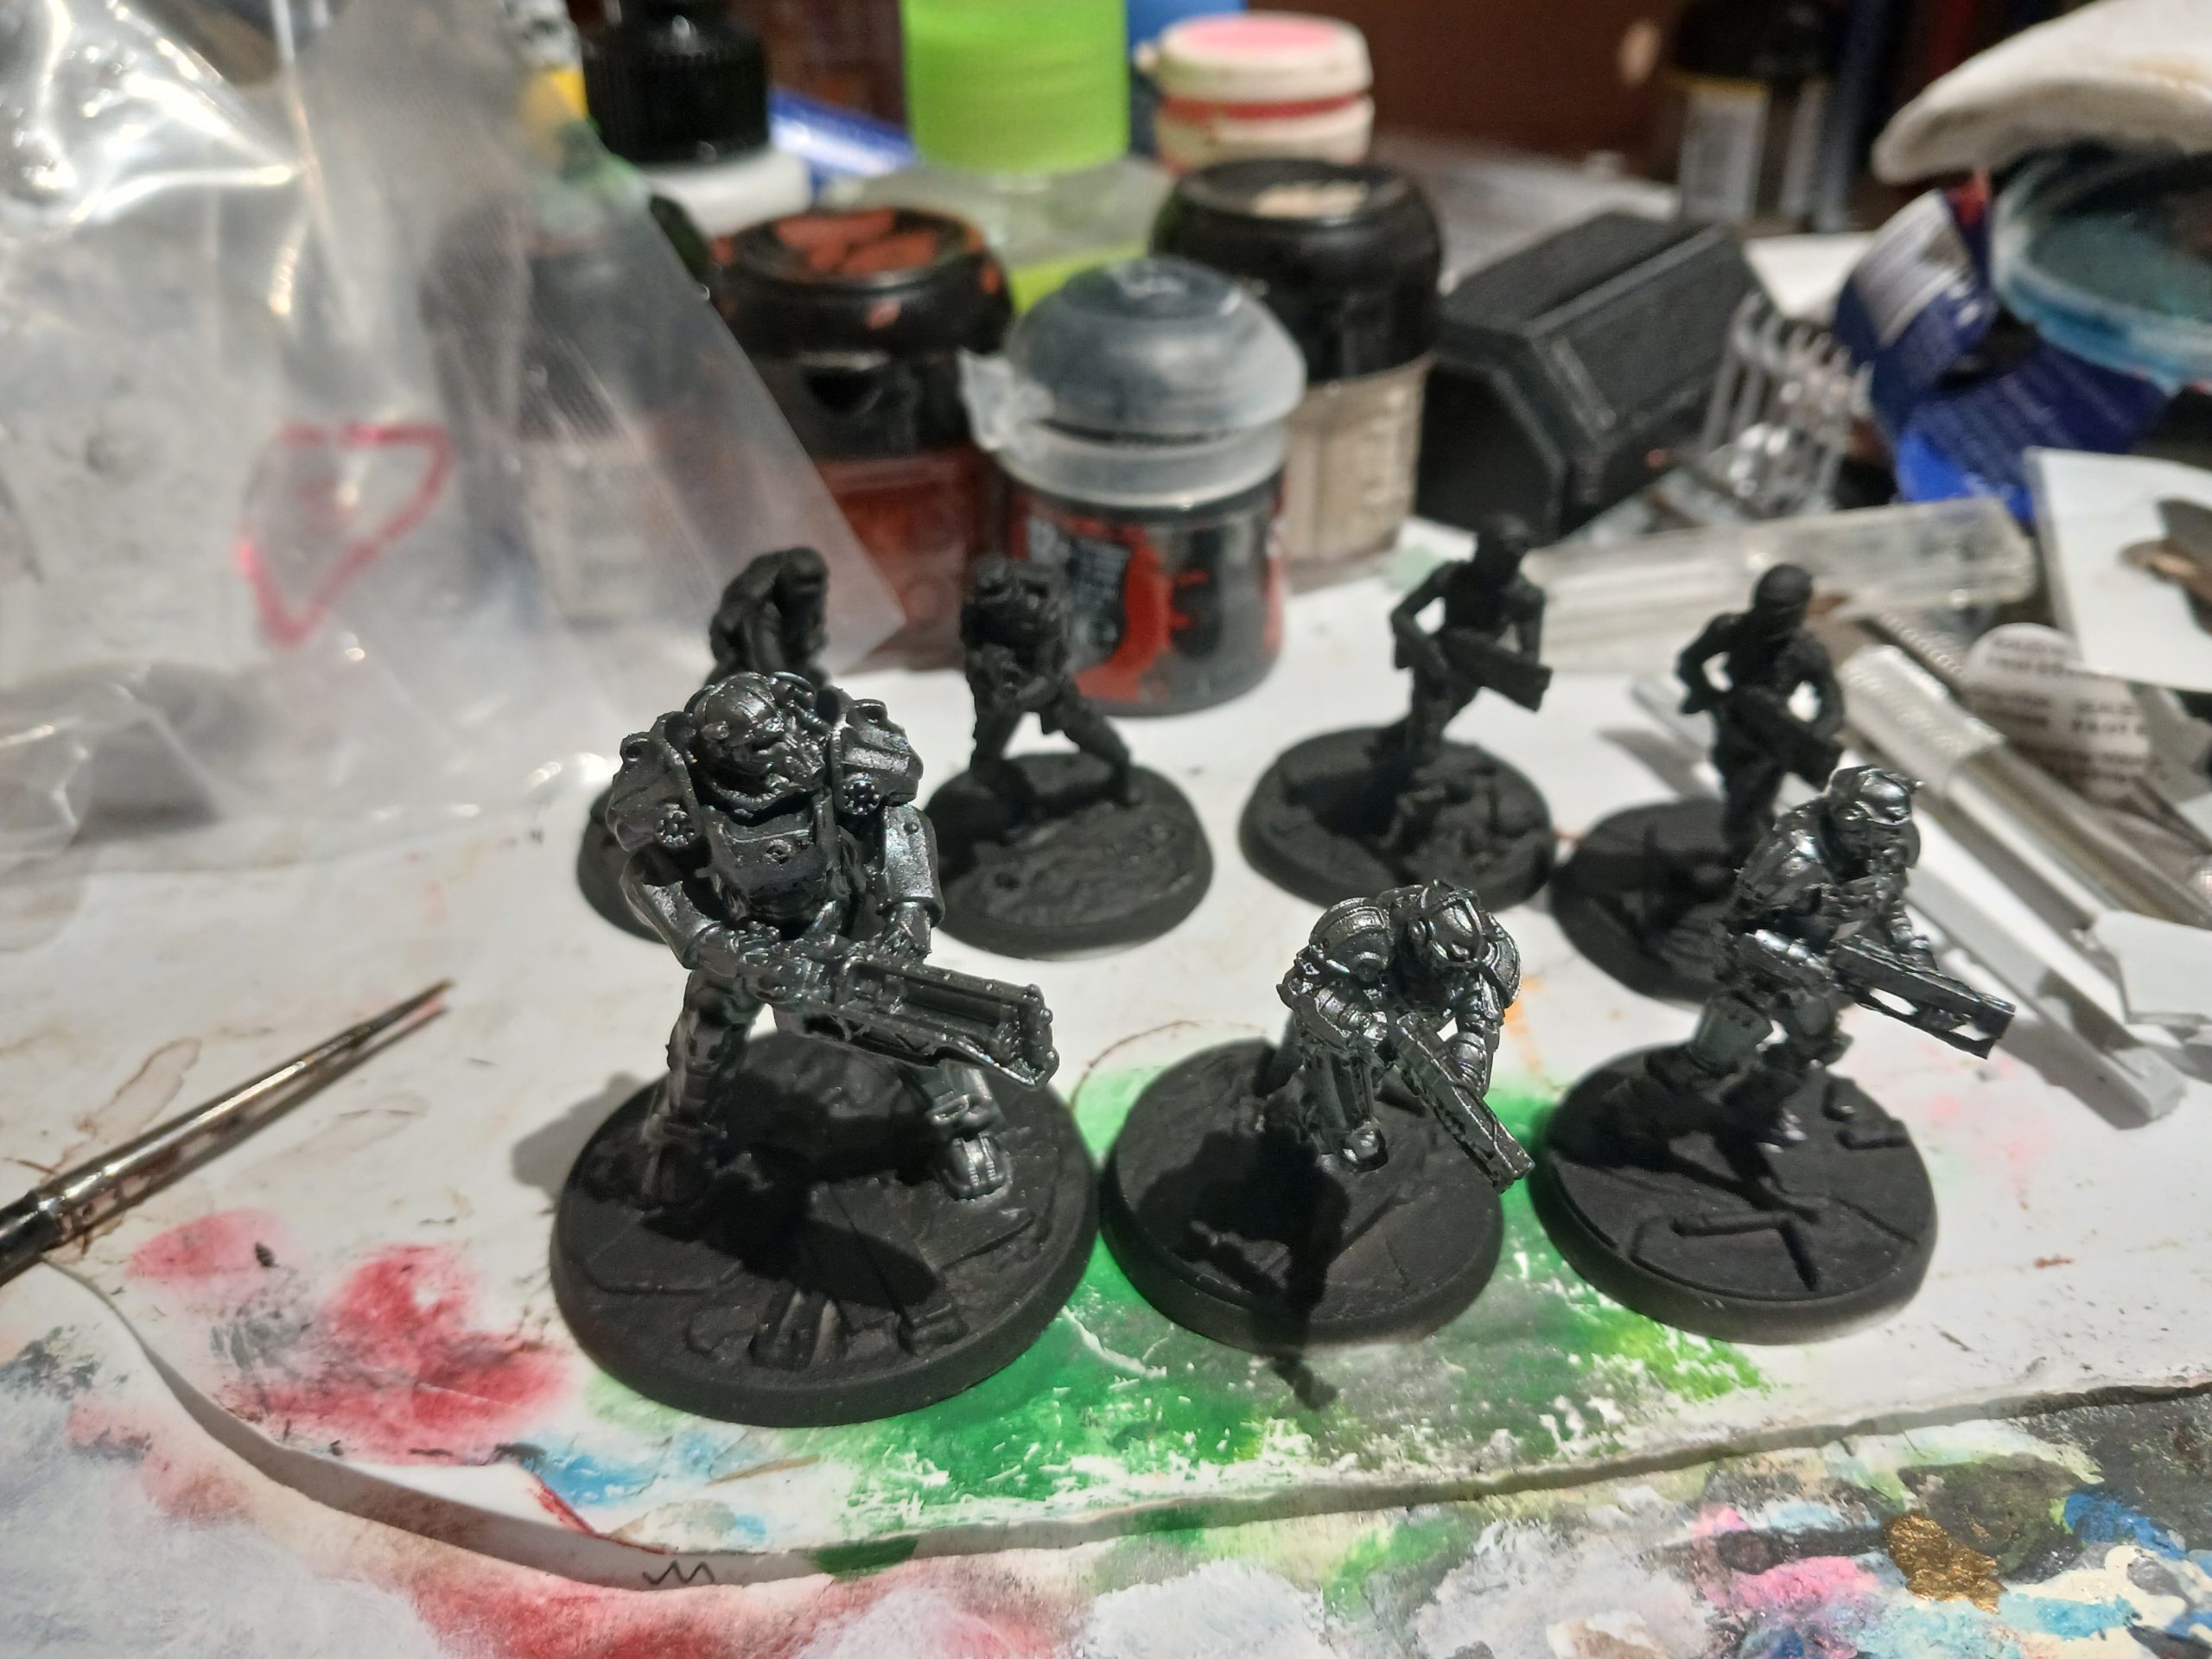
Next up I blocked in the undersuit. Started out with dark grey to fill the sections then applied an earthy red for most sections and a rawhide for the inner trouser sections.
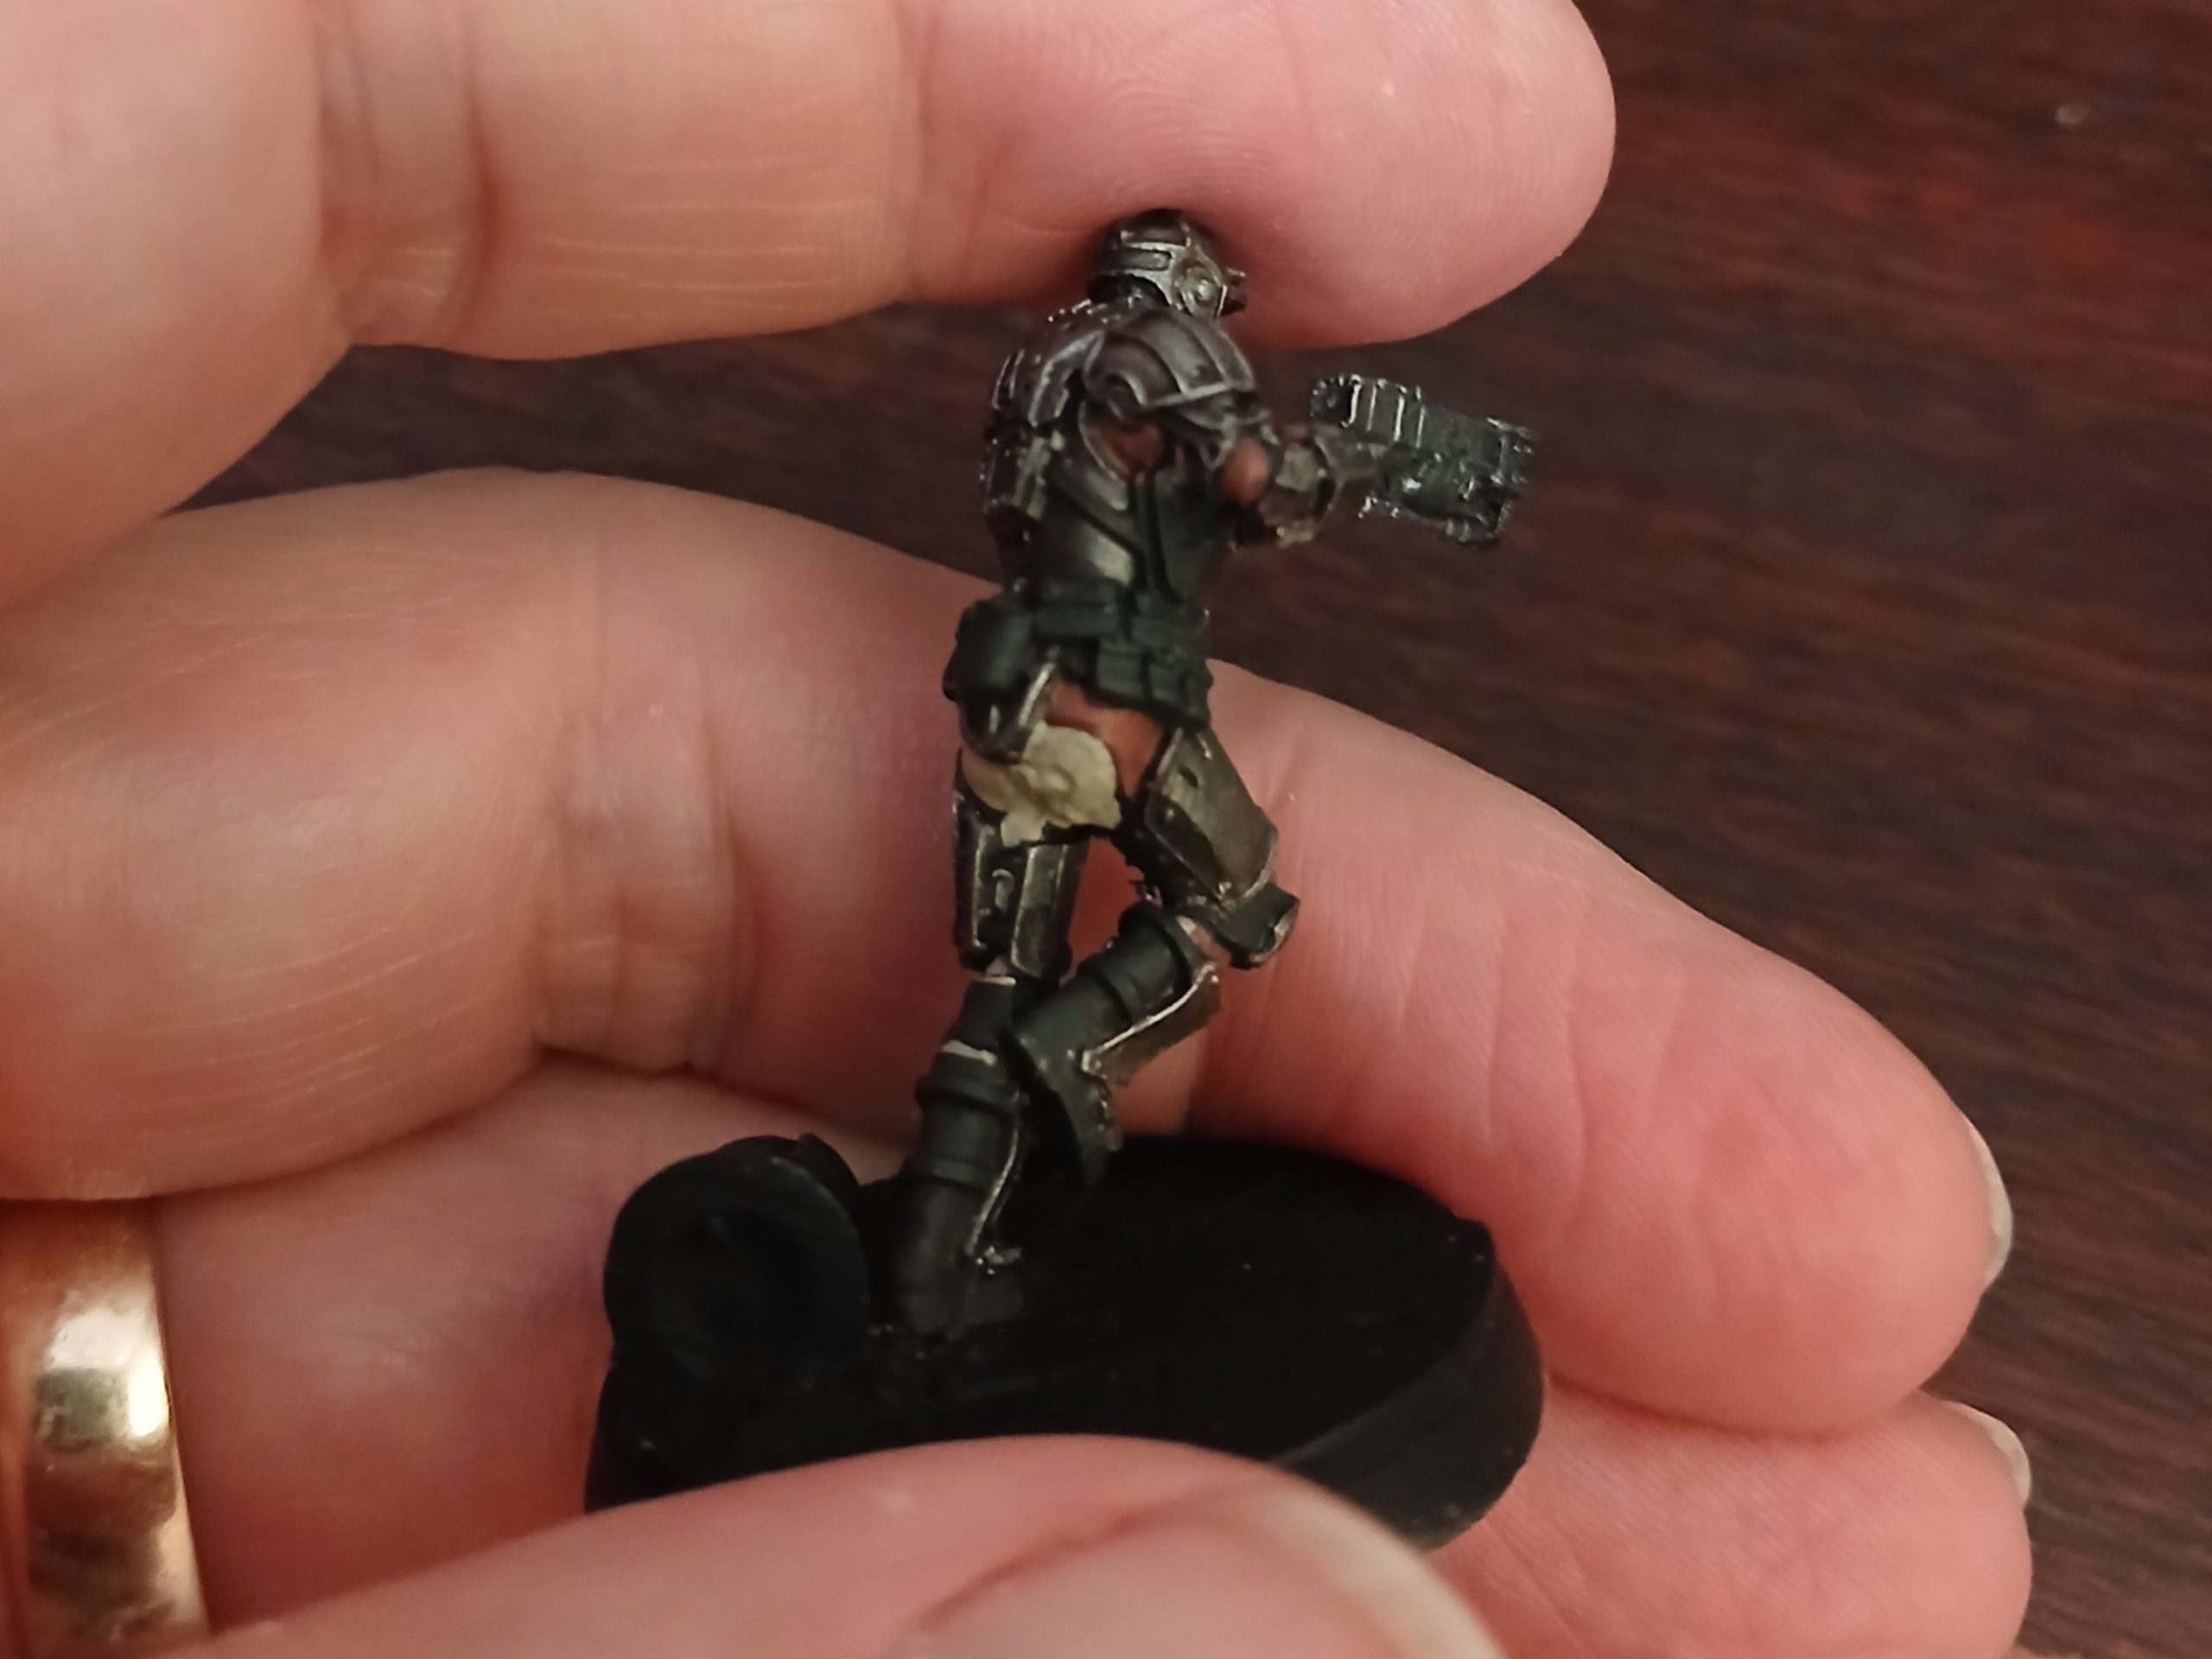
Then I highlighted up the red of the undersuit with a ruddy flesh tone. And also painted in the various straps etc. This was followed with an agrax wash again (but possibly went a bit dark)
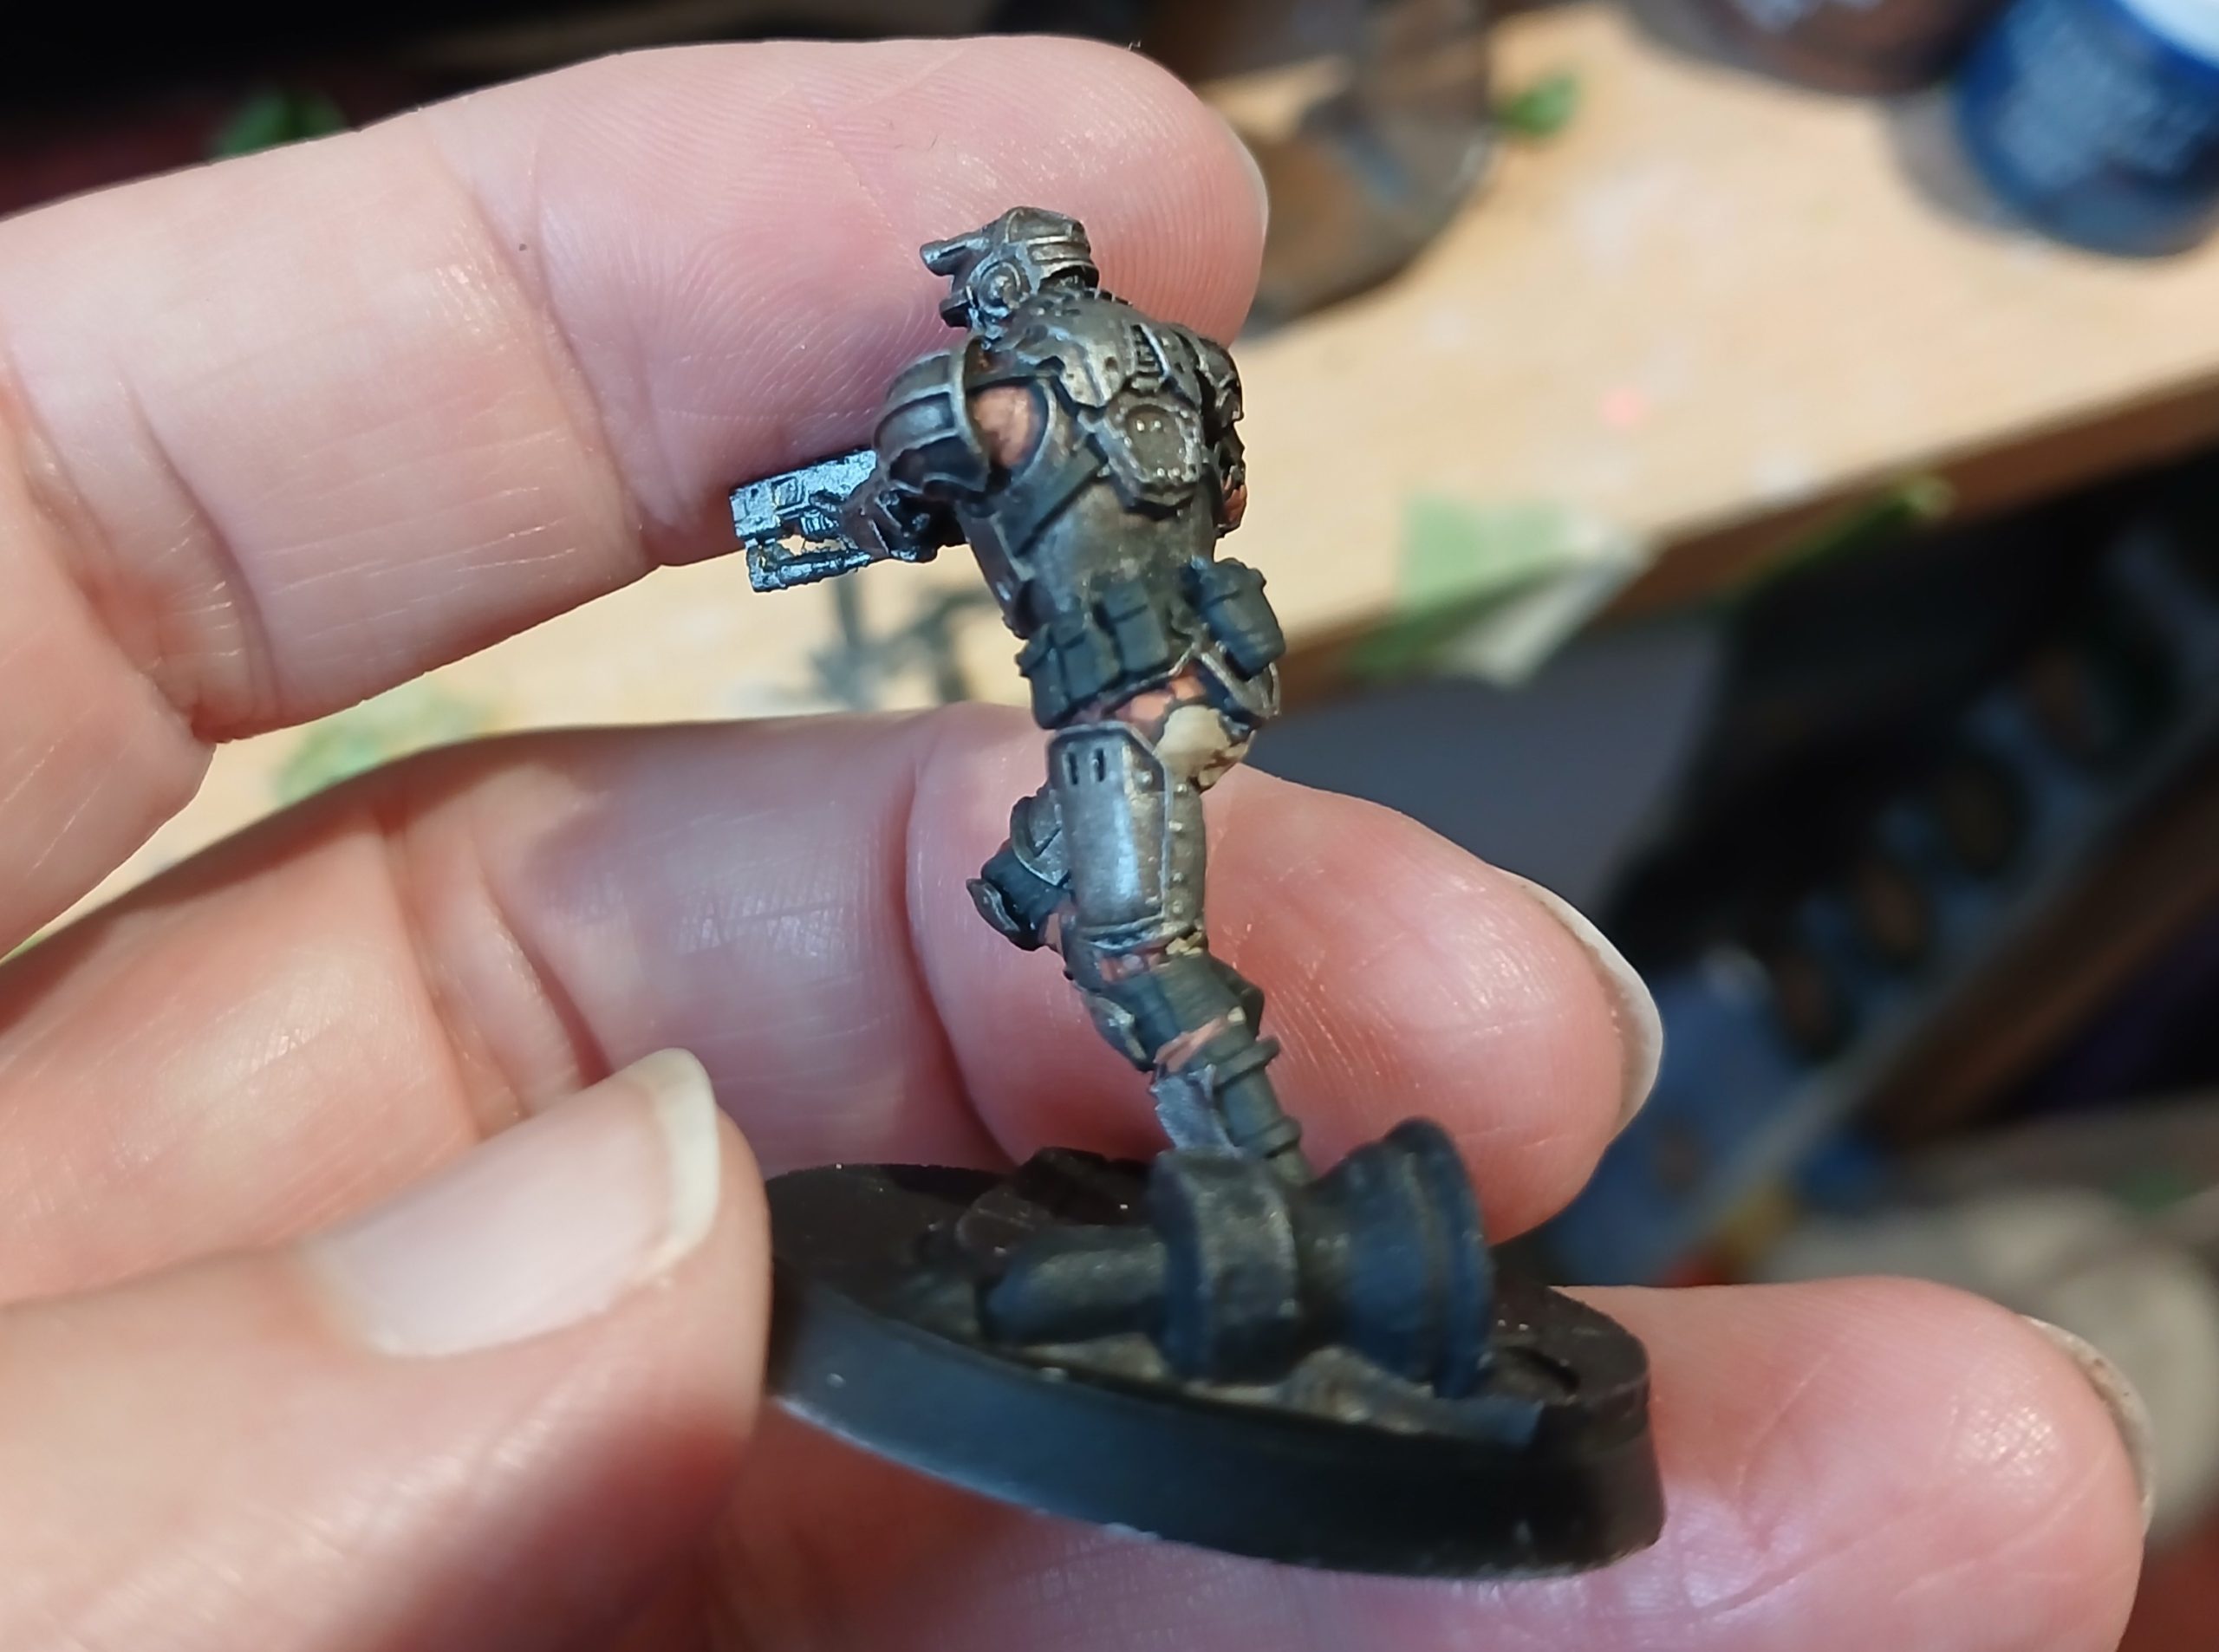
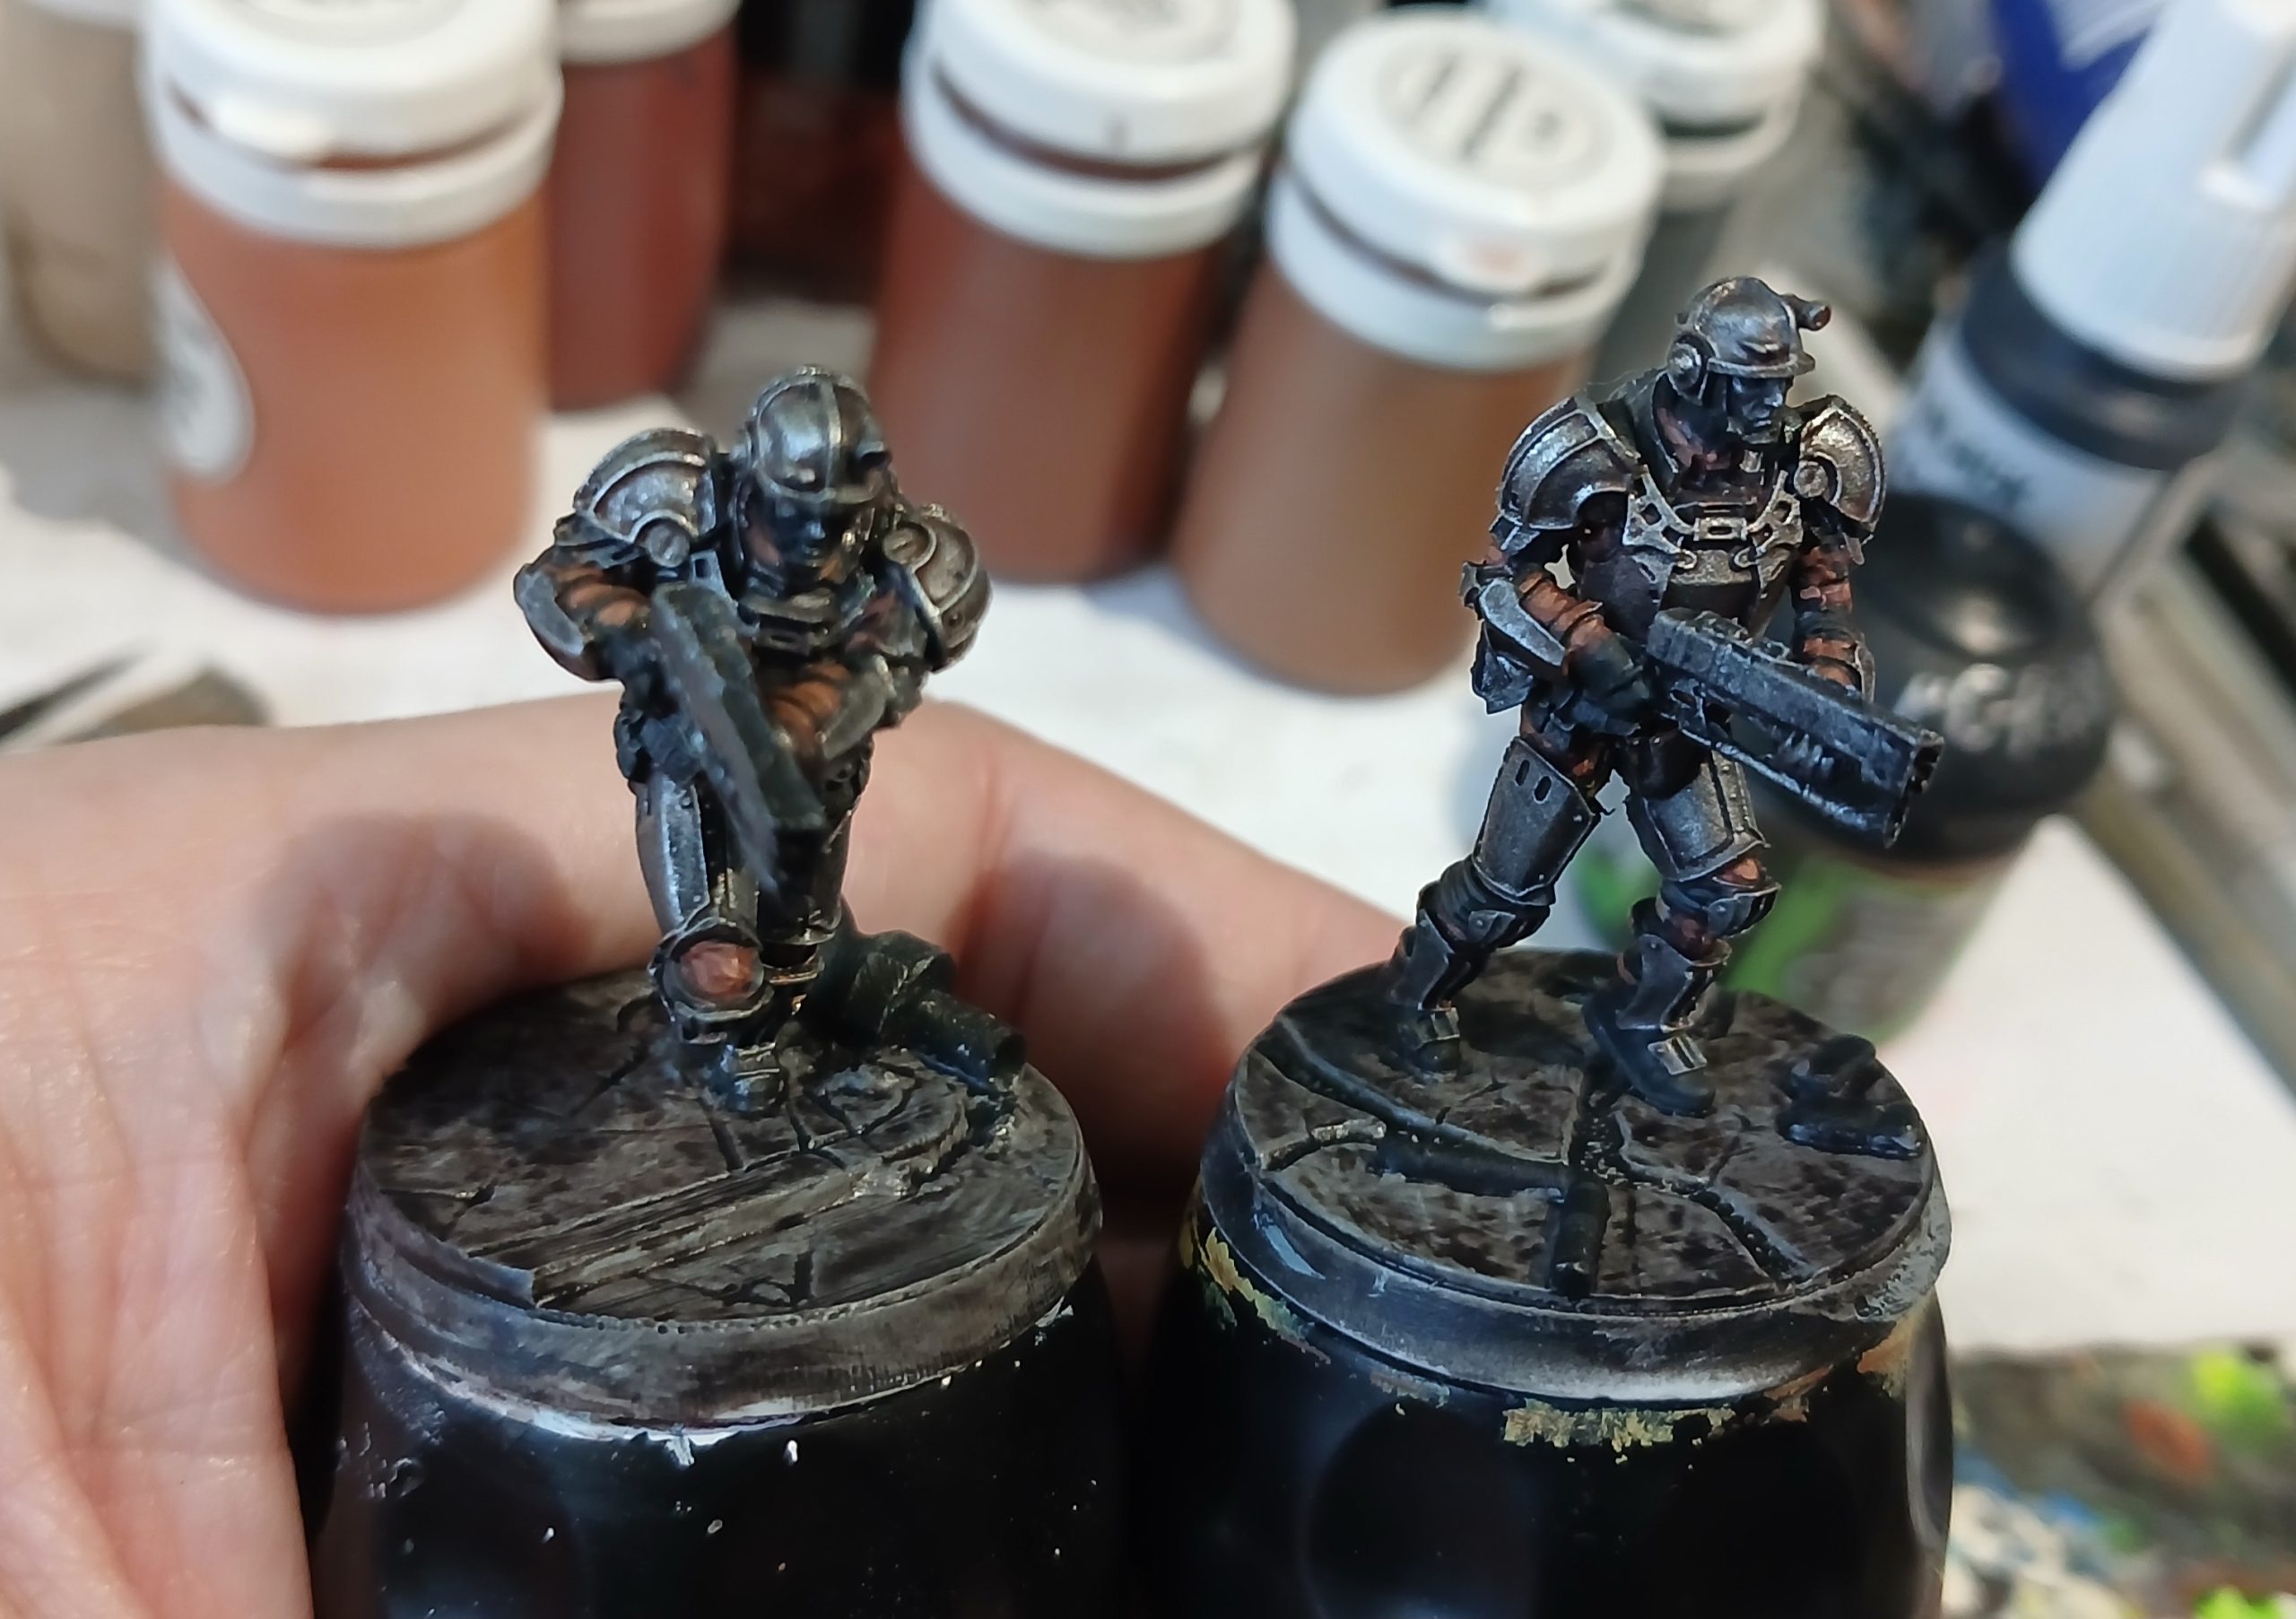
Next it was onto picking out some skin tones, painting in the gun and more work on the base.
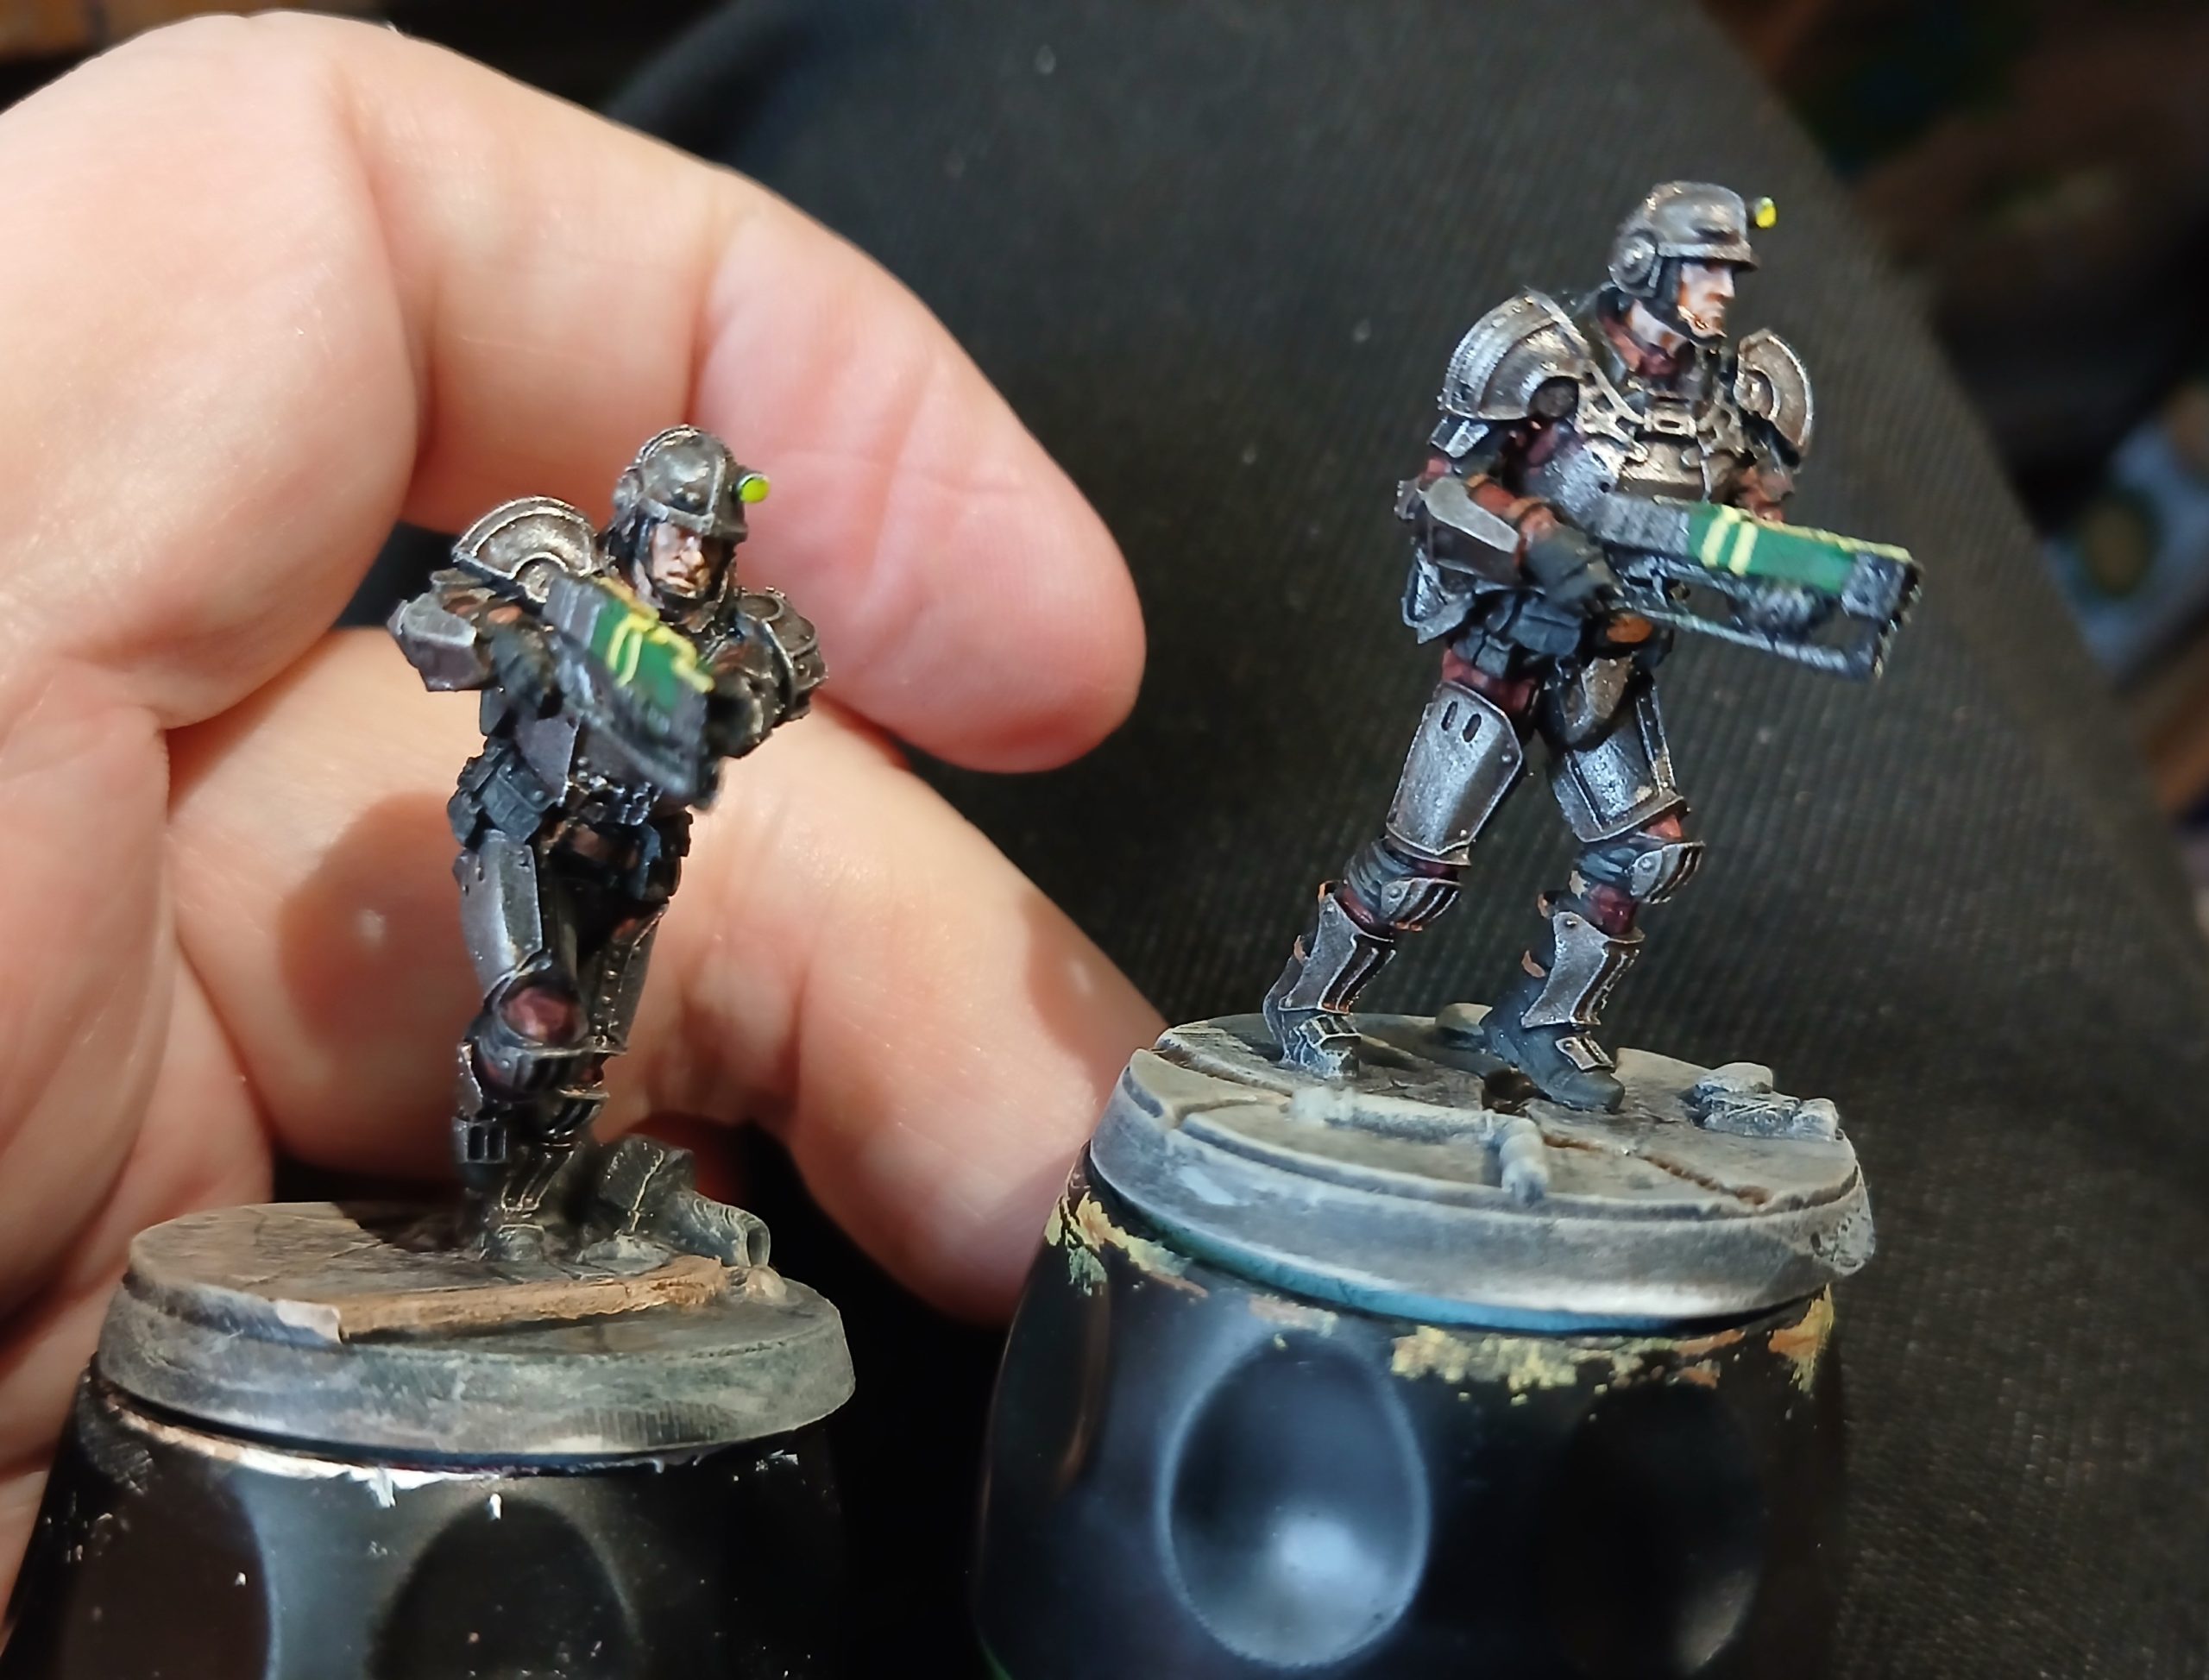
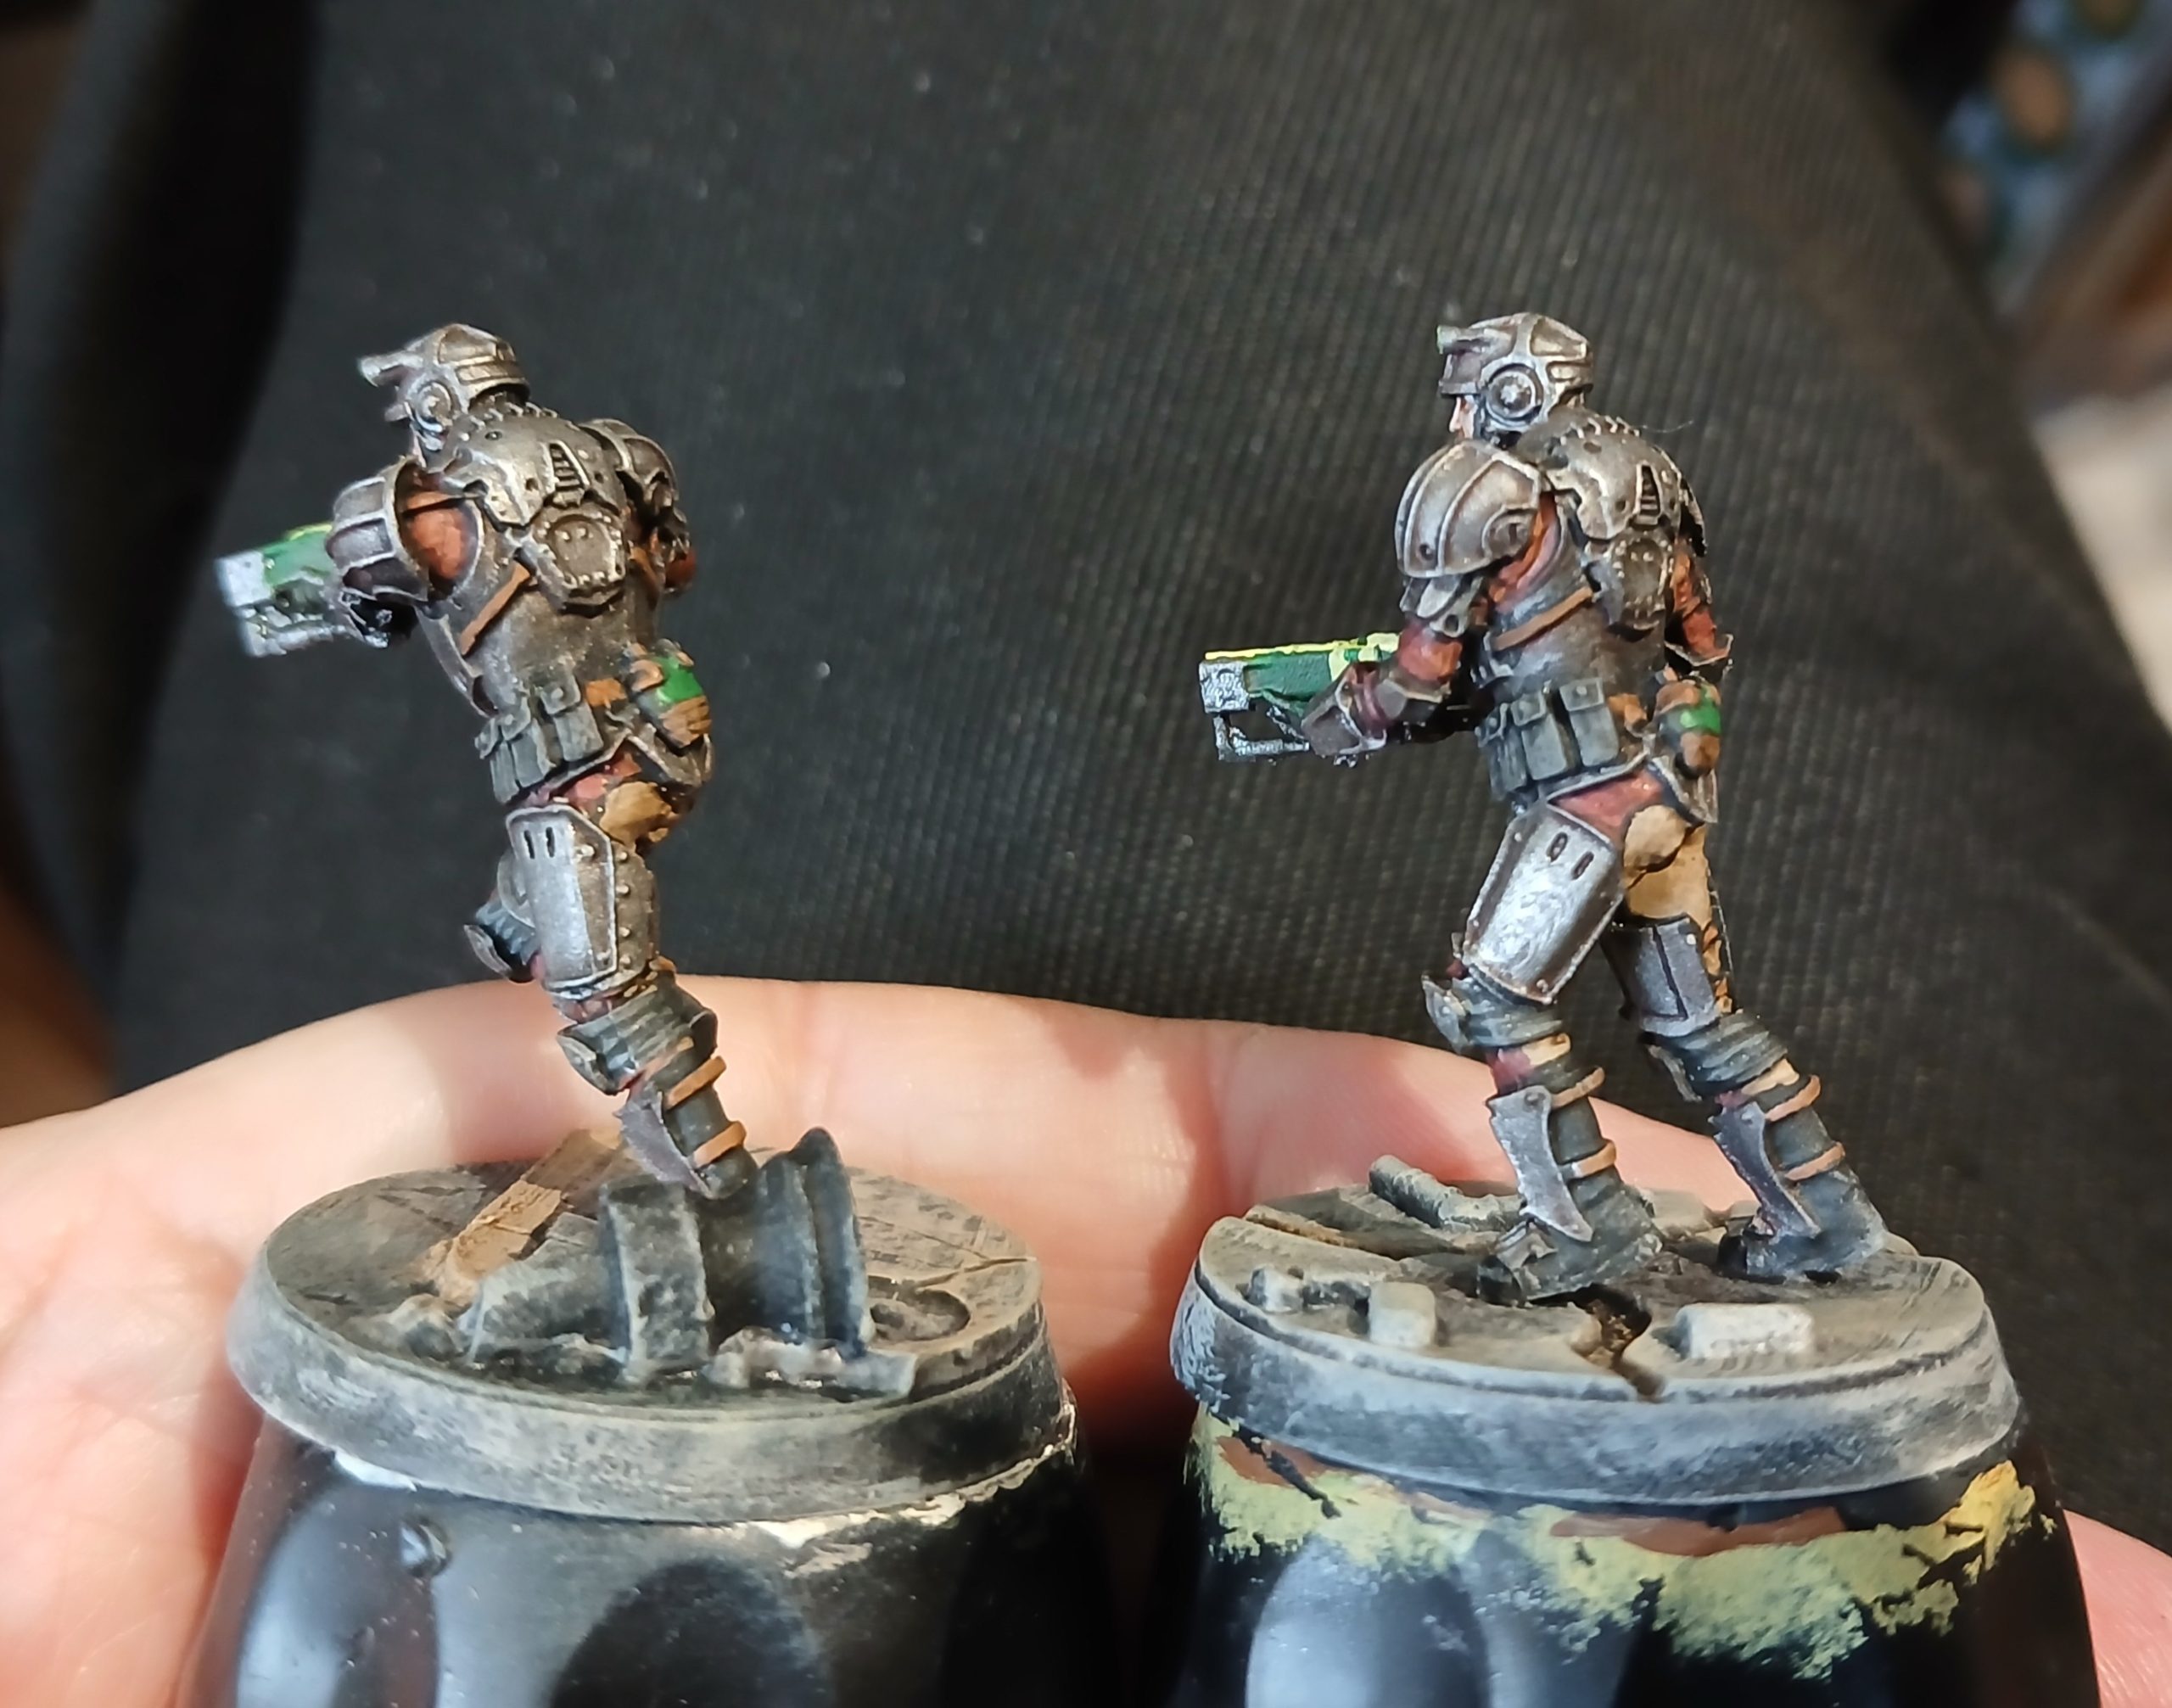
With further weathering on the base, tidying up chin straps, gloves, and painting some of the arm straps darker (so they would show more clearly) the first two of the BoS box were done.
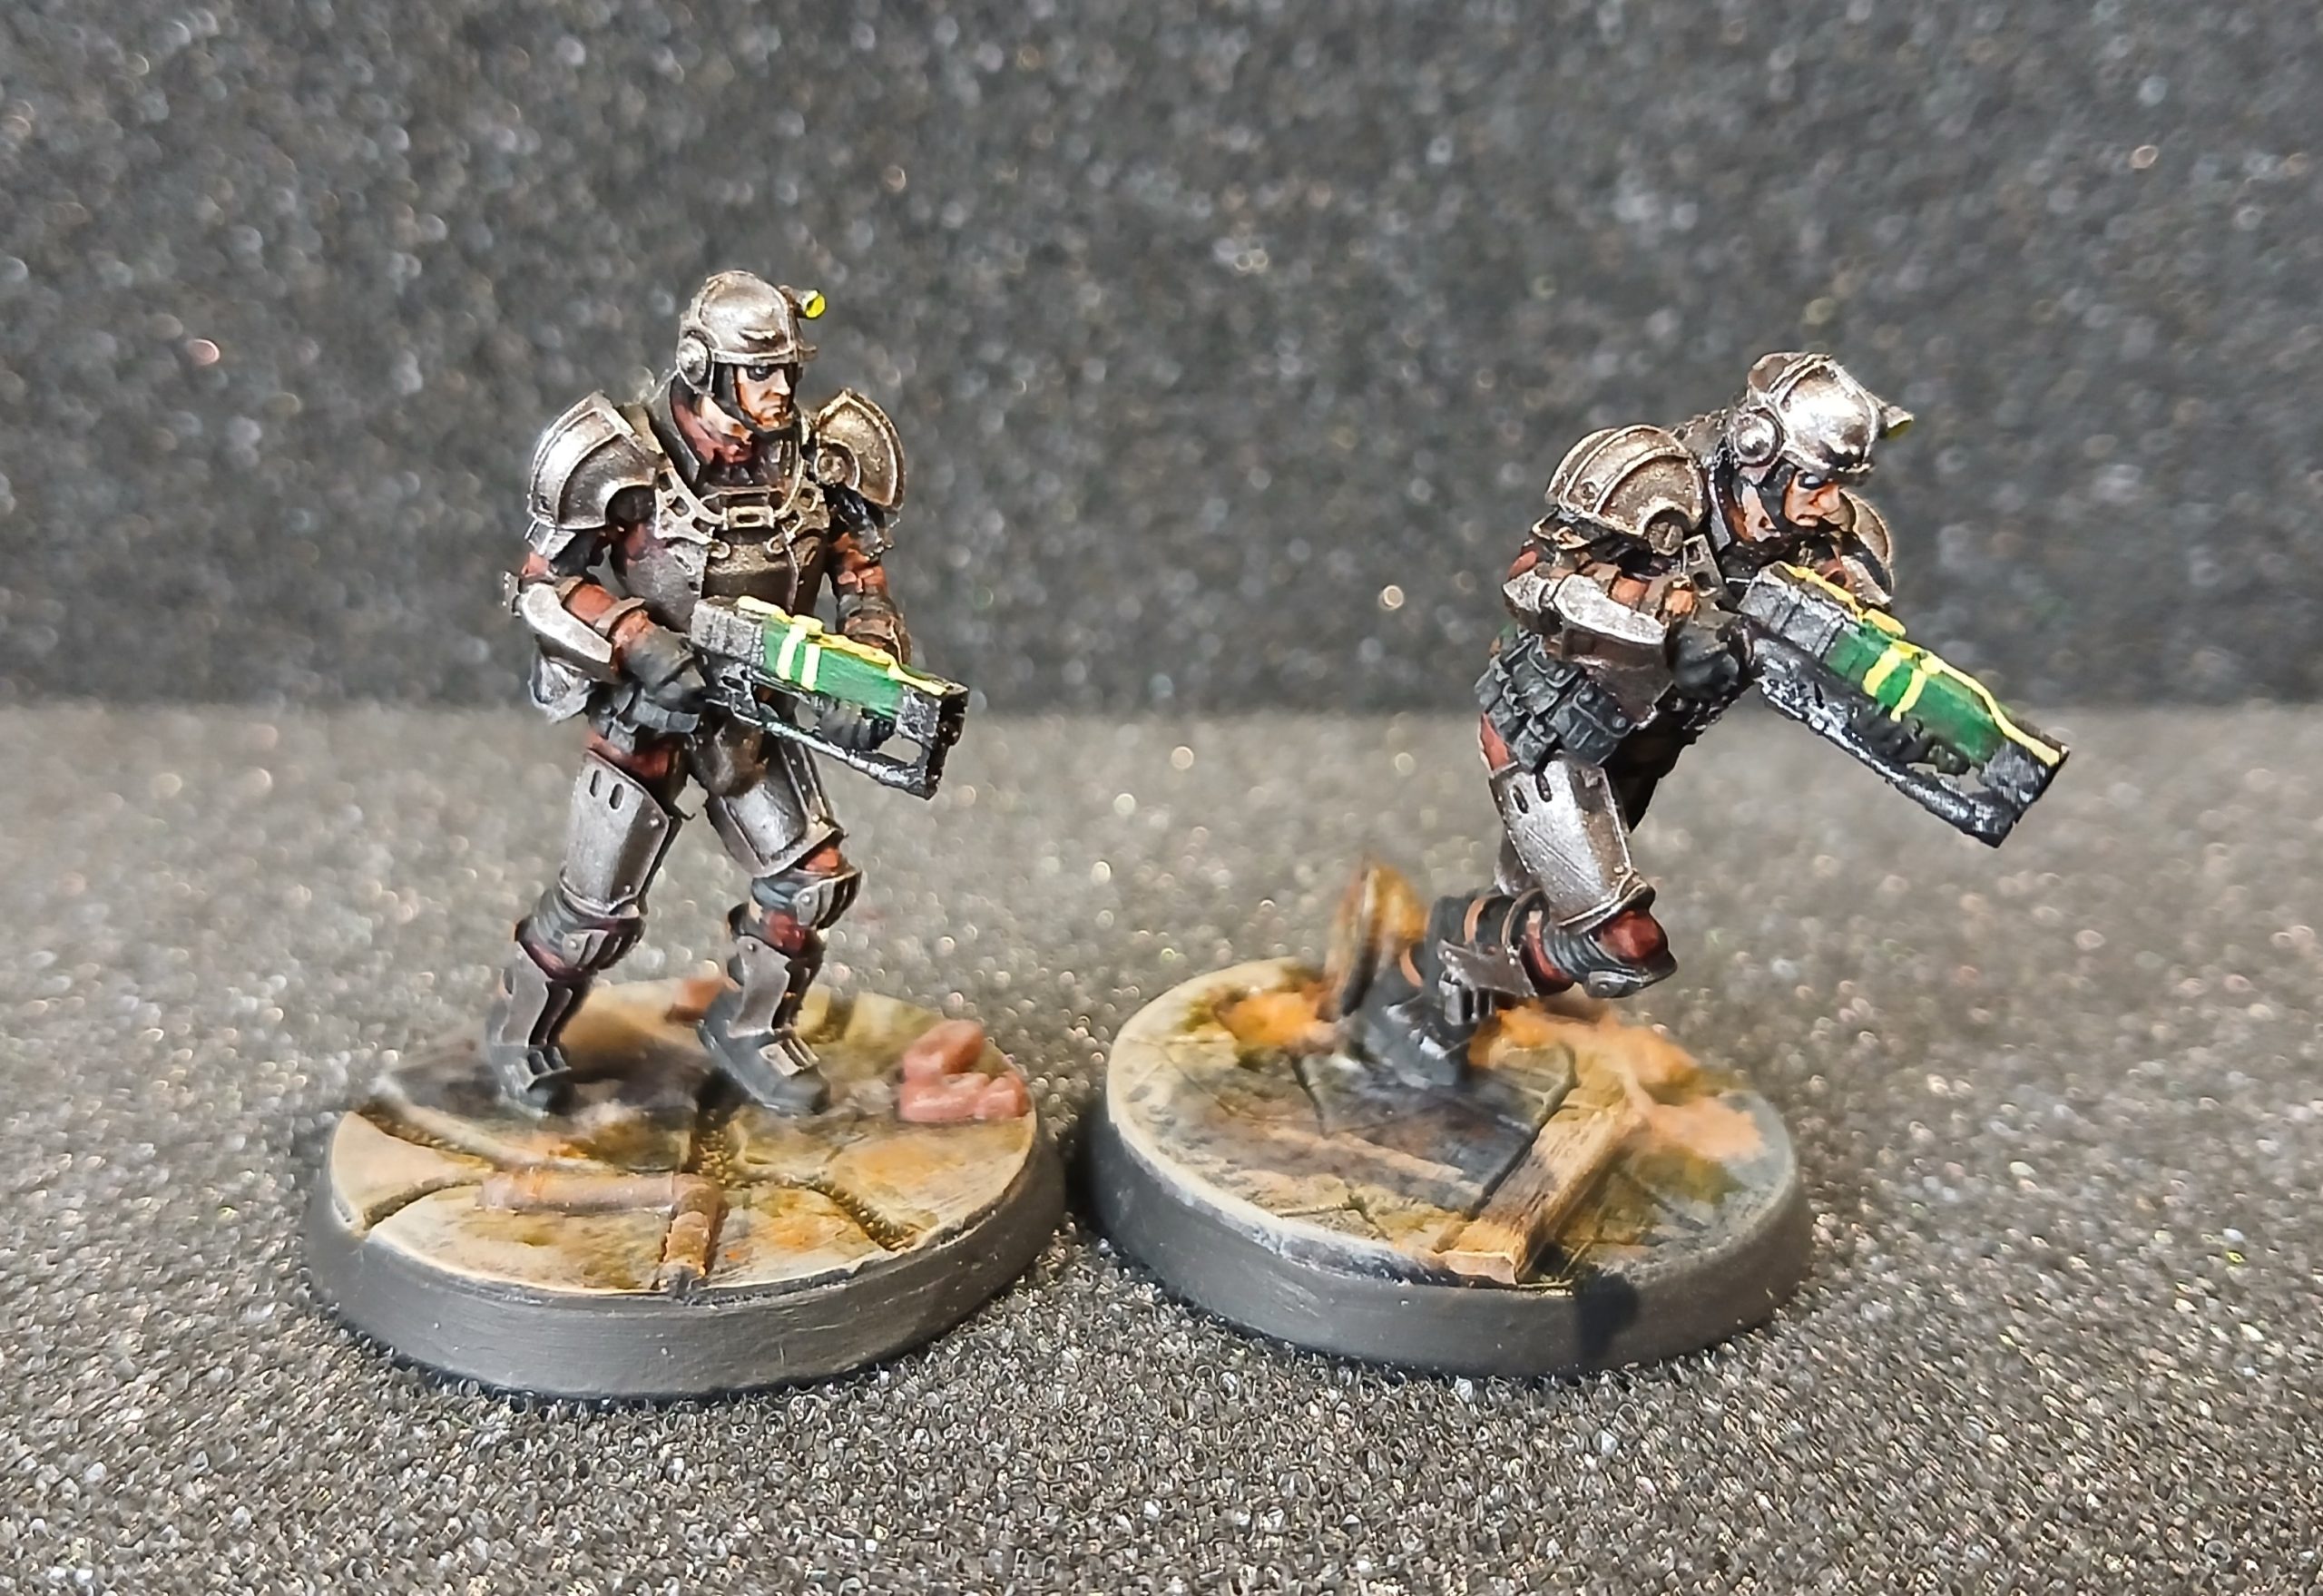
Final two raiders from the box
8th August 2026
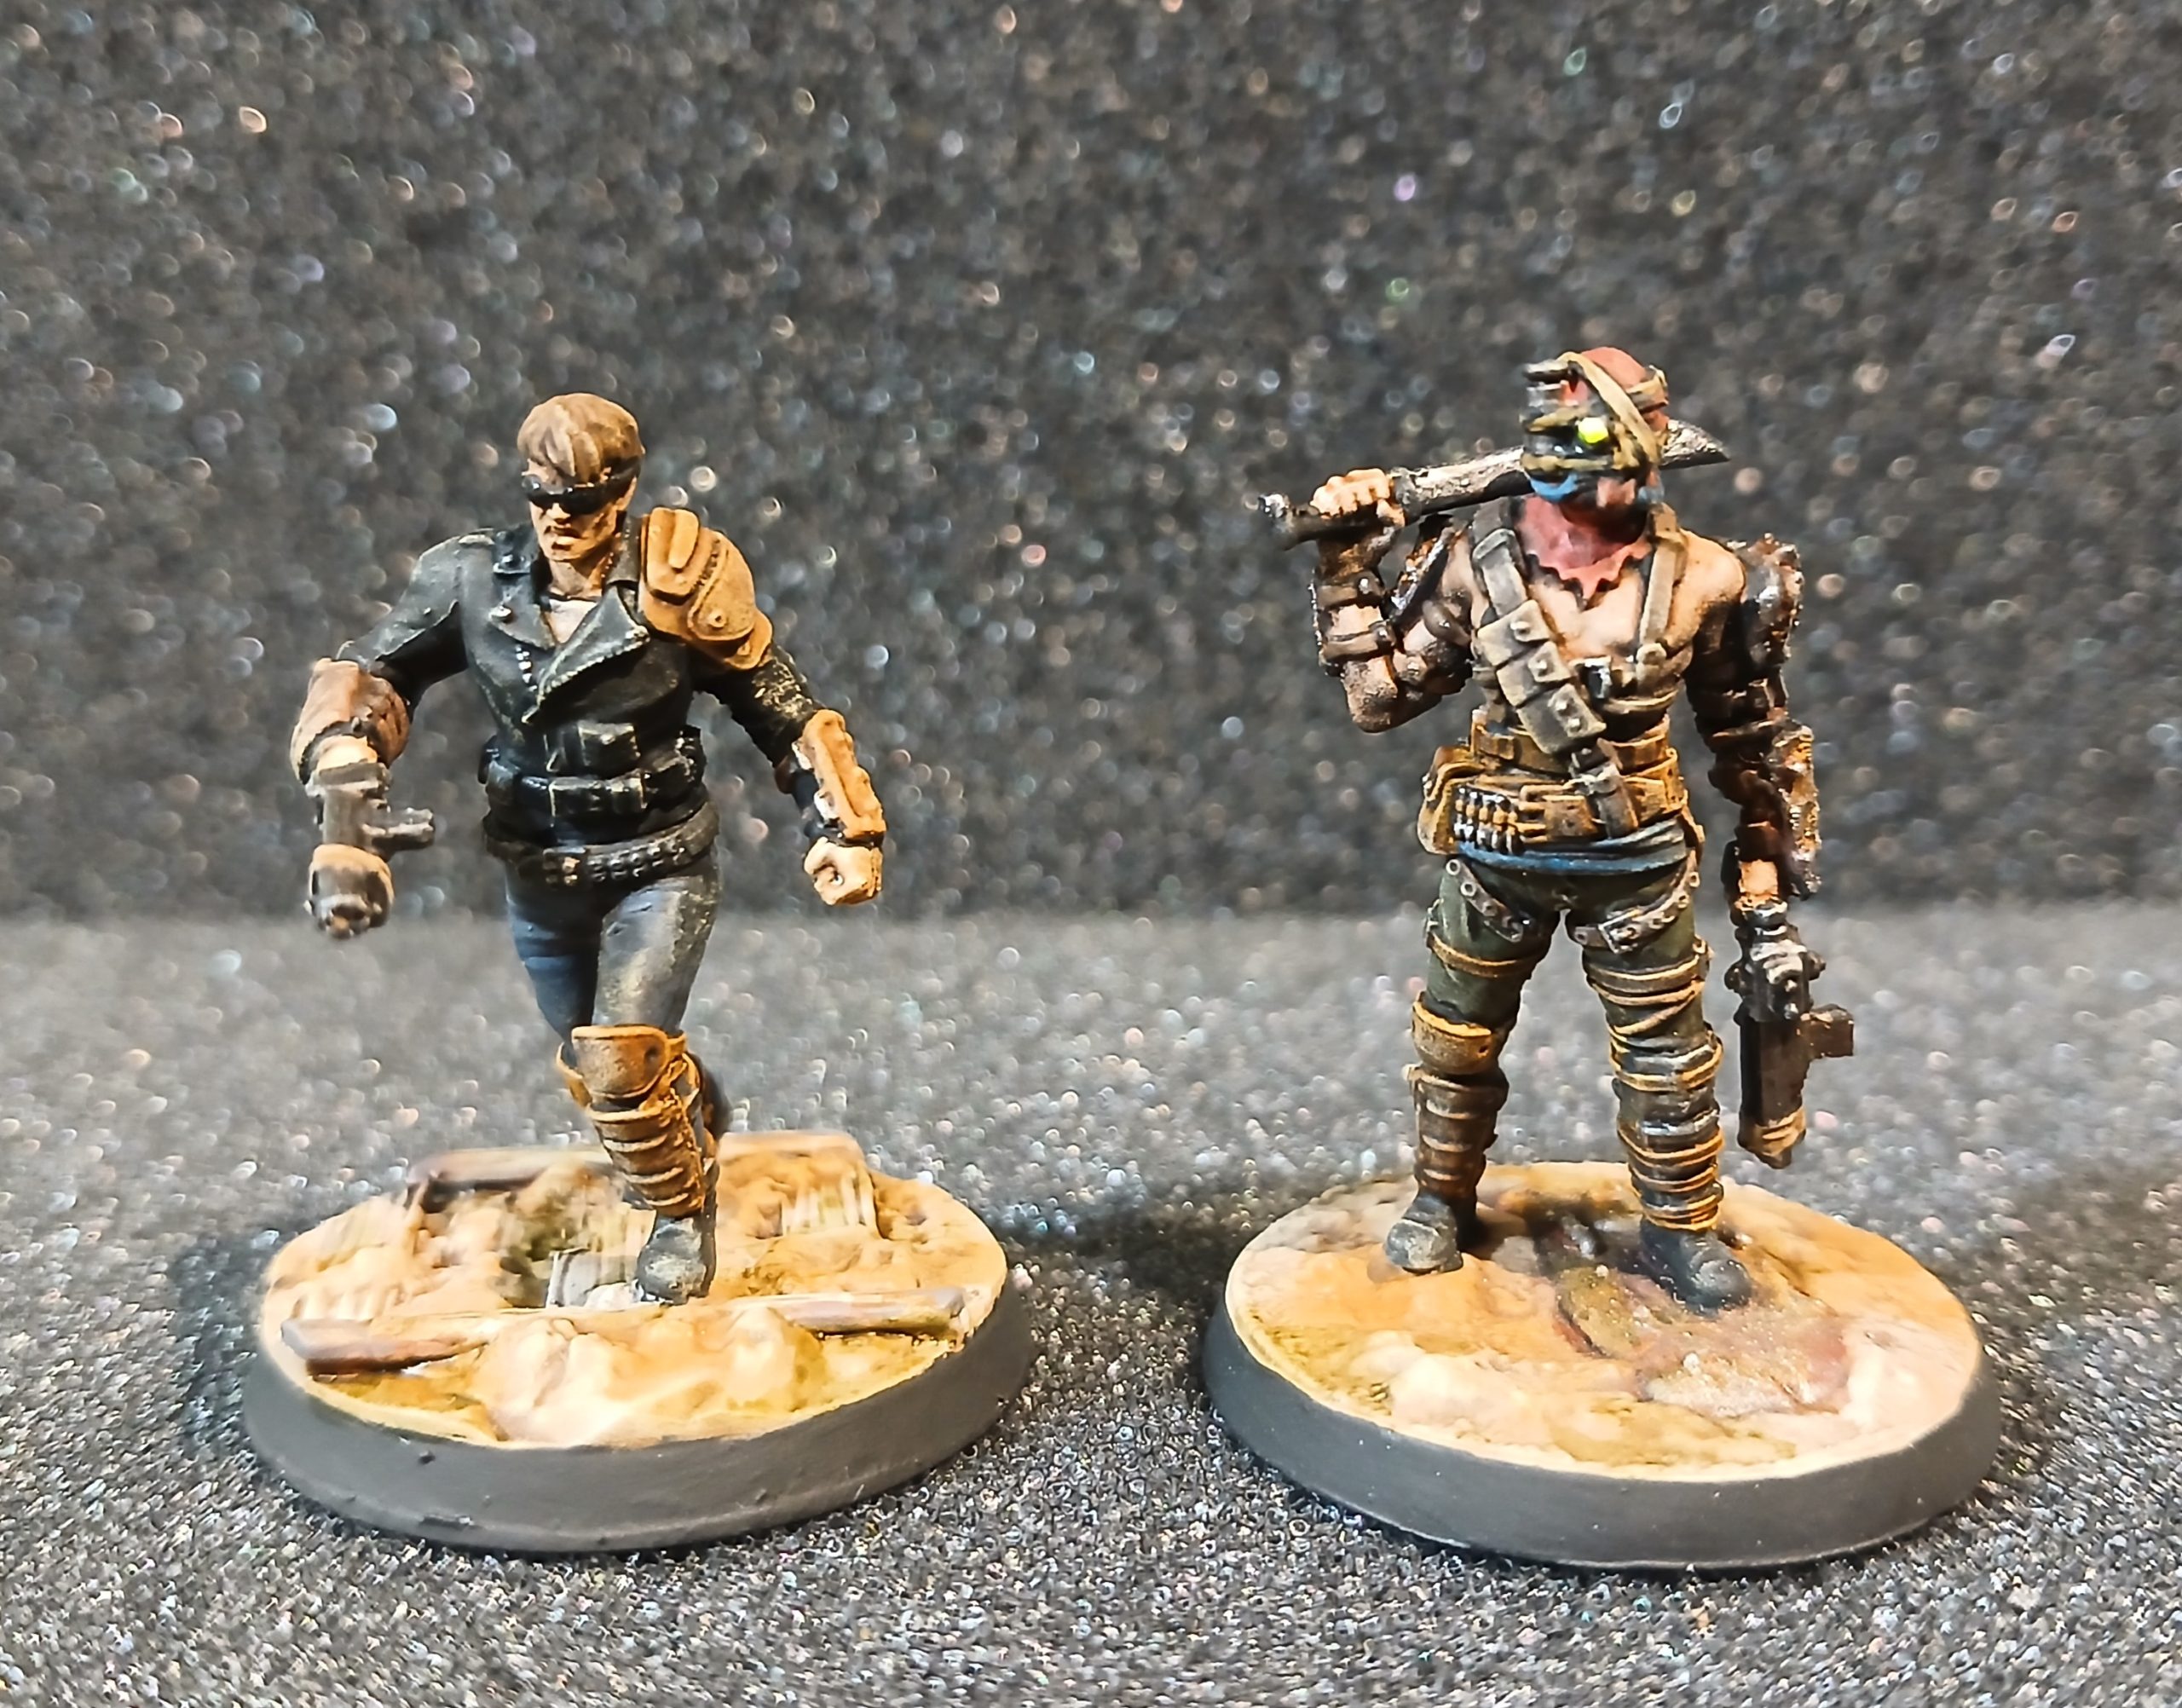
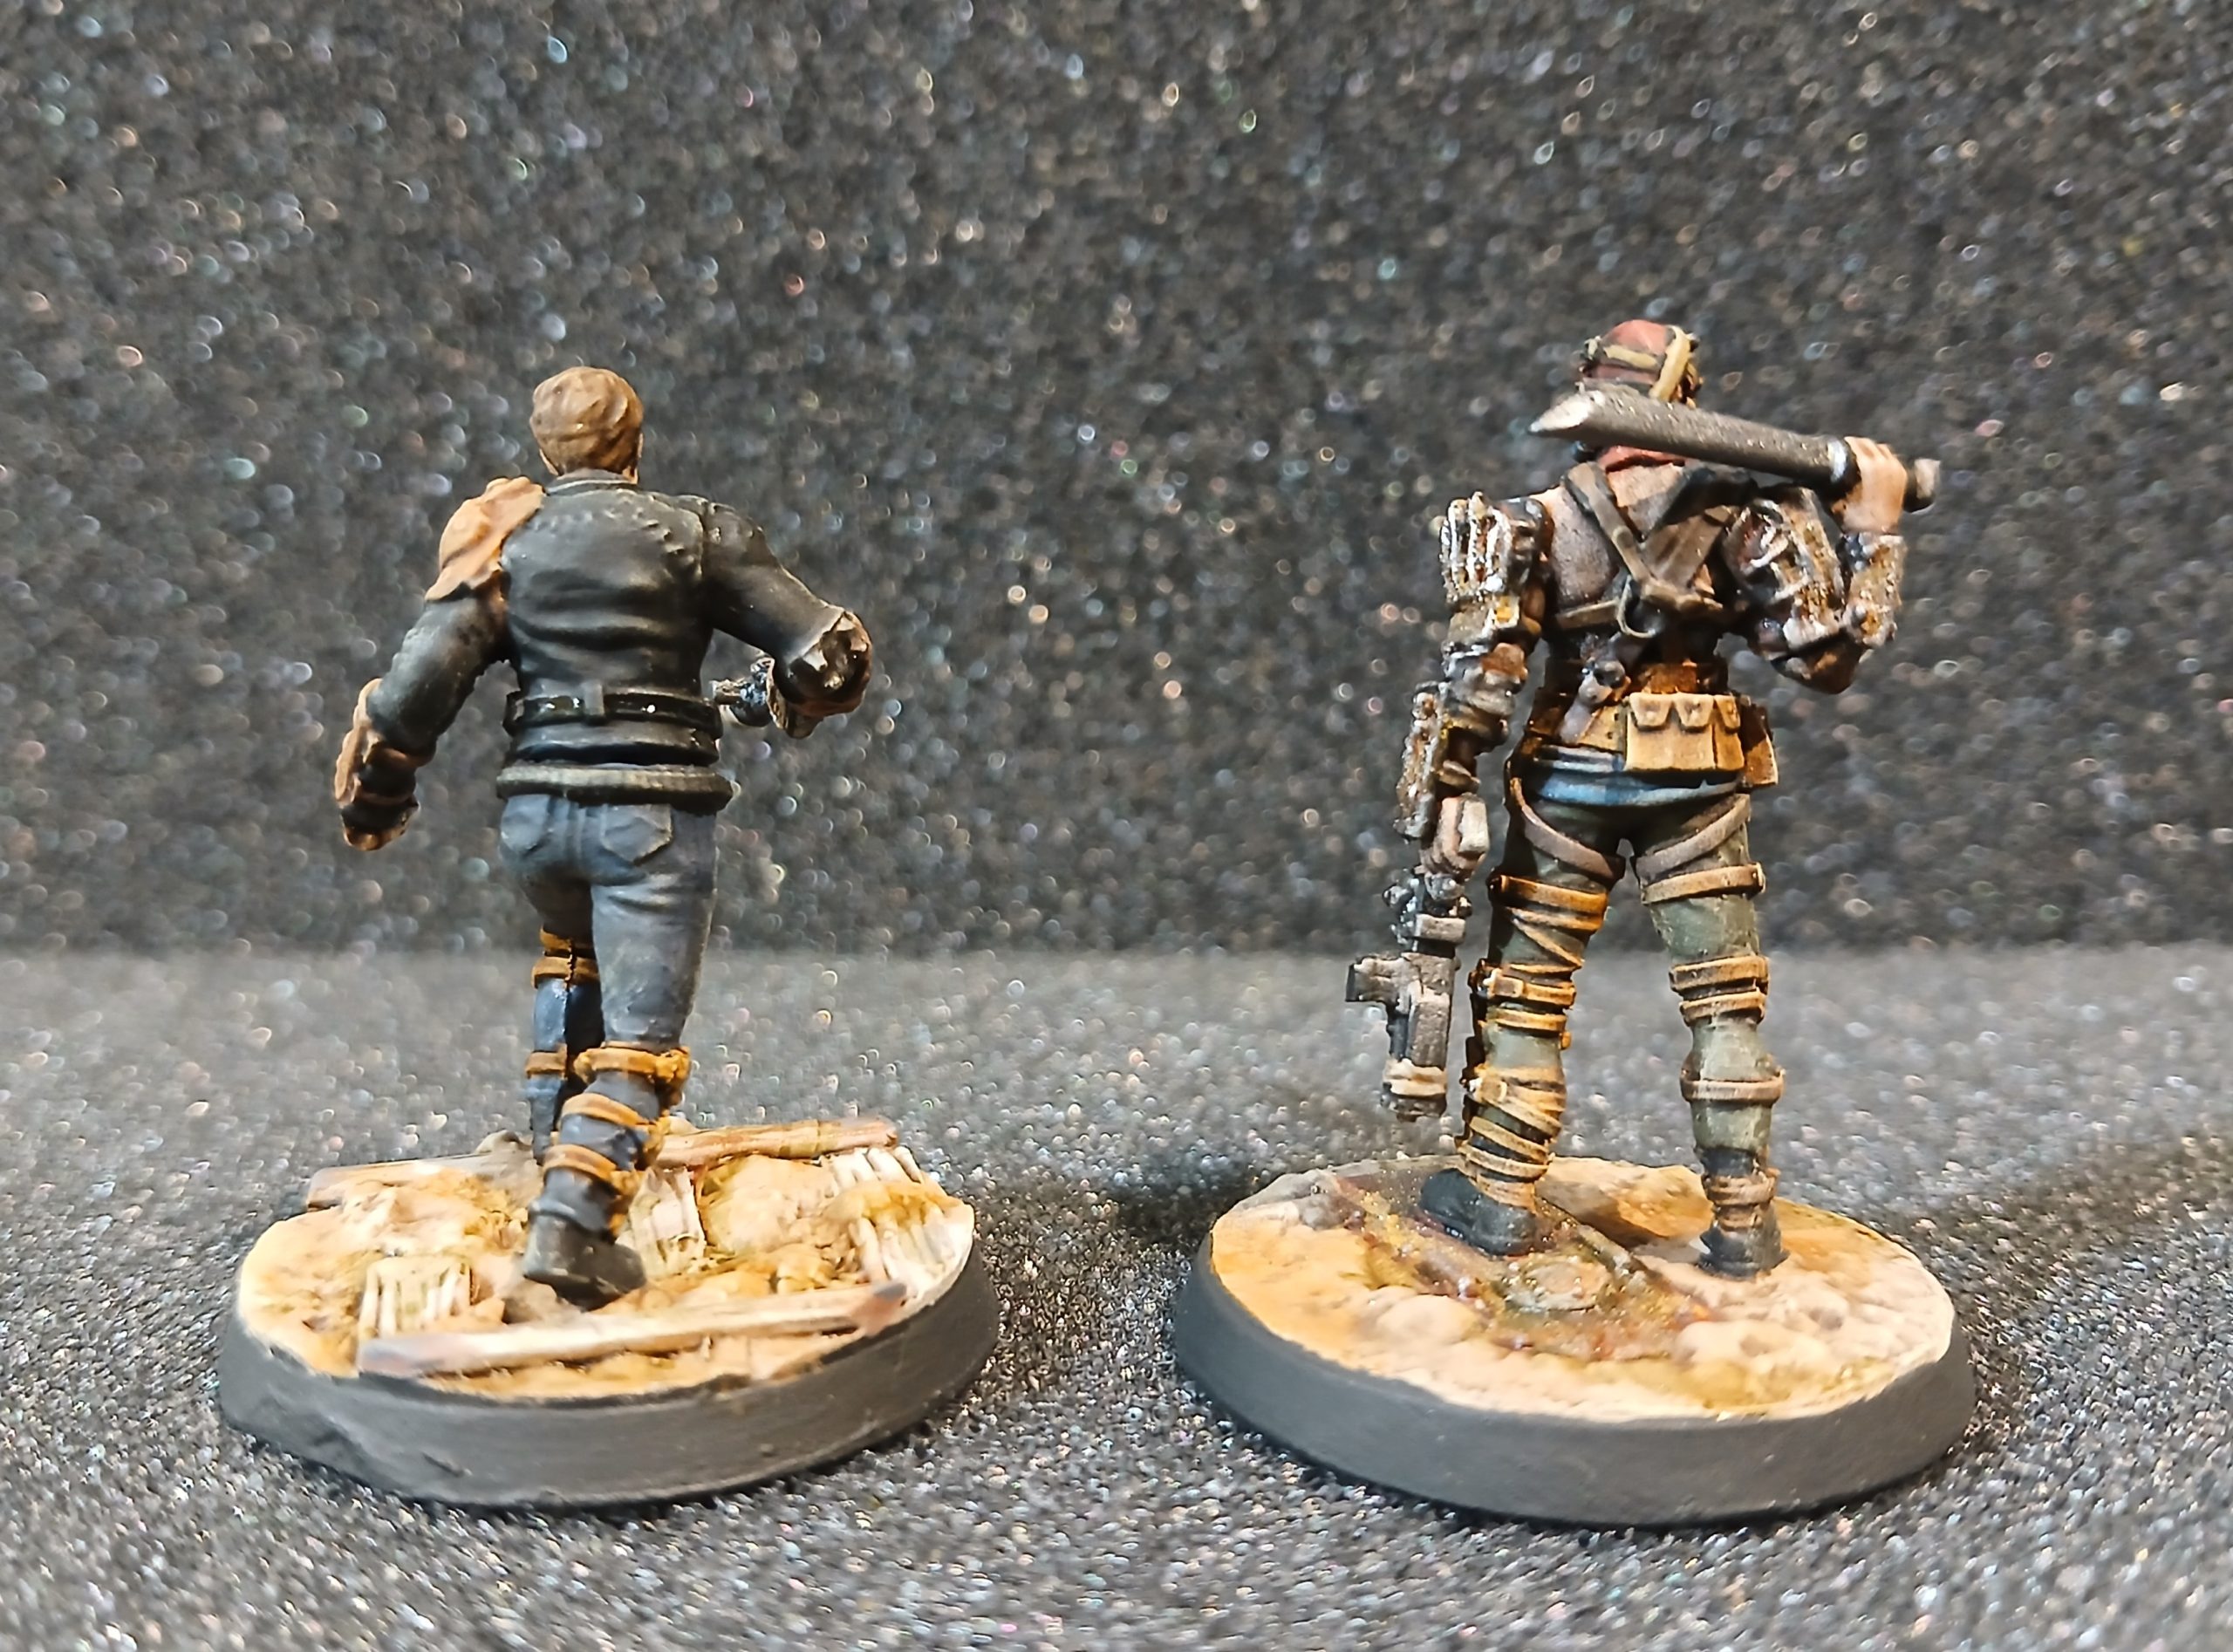
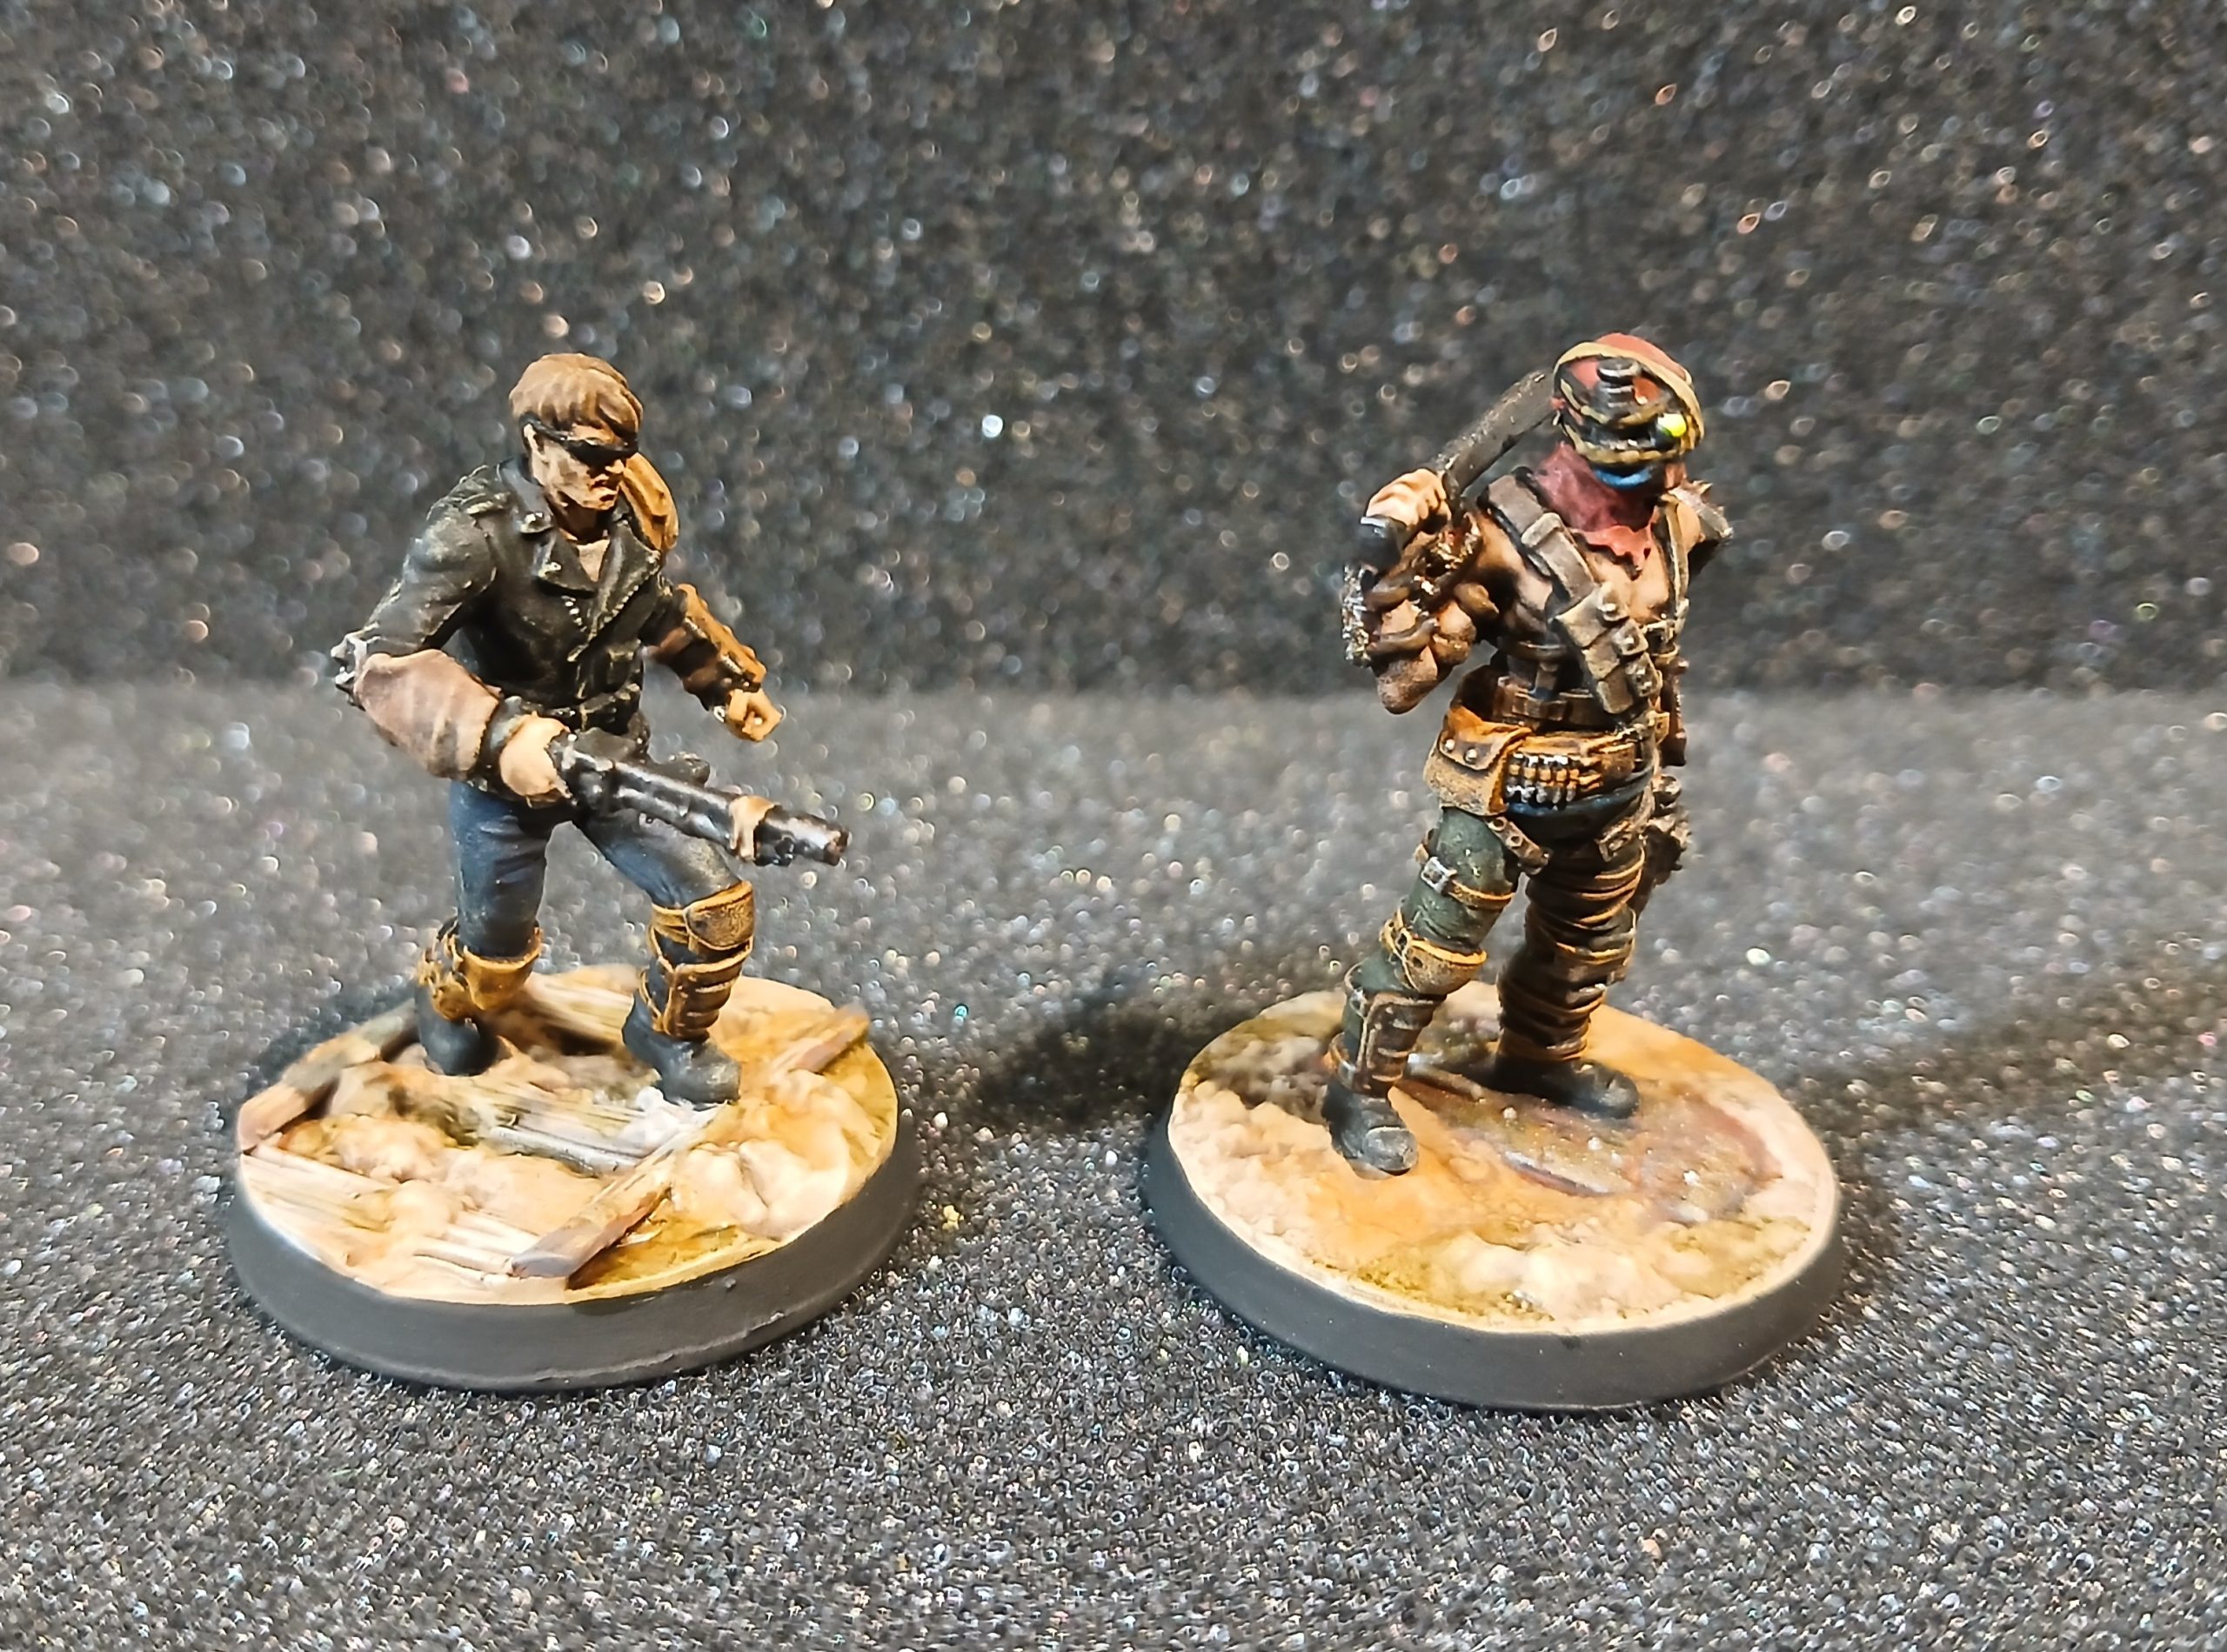
Last two raiders from the box. These have followed the same painting process as the rest really.
The chap with very few straps was given a black jacket and blue grey jeans. The other chap had contrast flesh, then contrast for the lower straps and regular painting for the upper.
I also then went on and added more details, as usual 😊. For the hooded chap I went for an earthy red colour, to contrast against the green of the trousers.
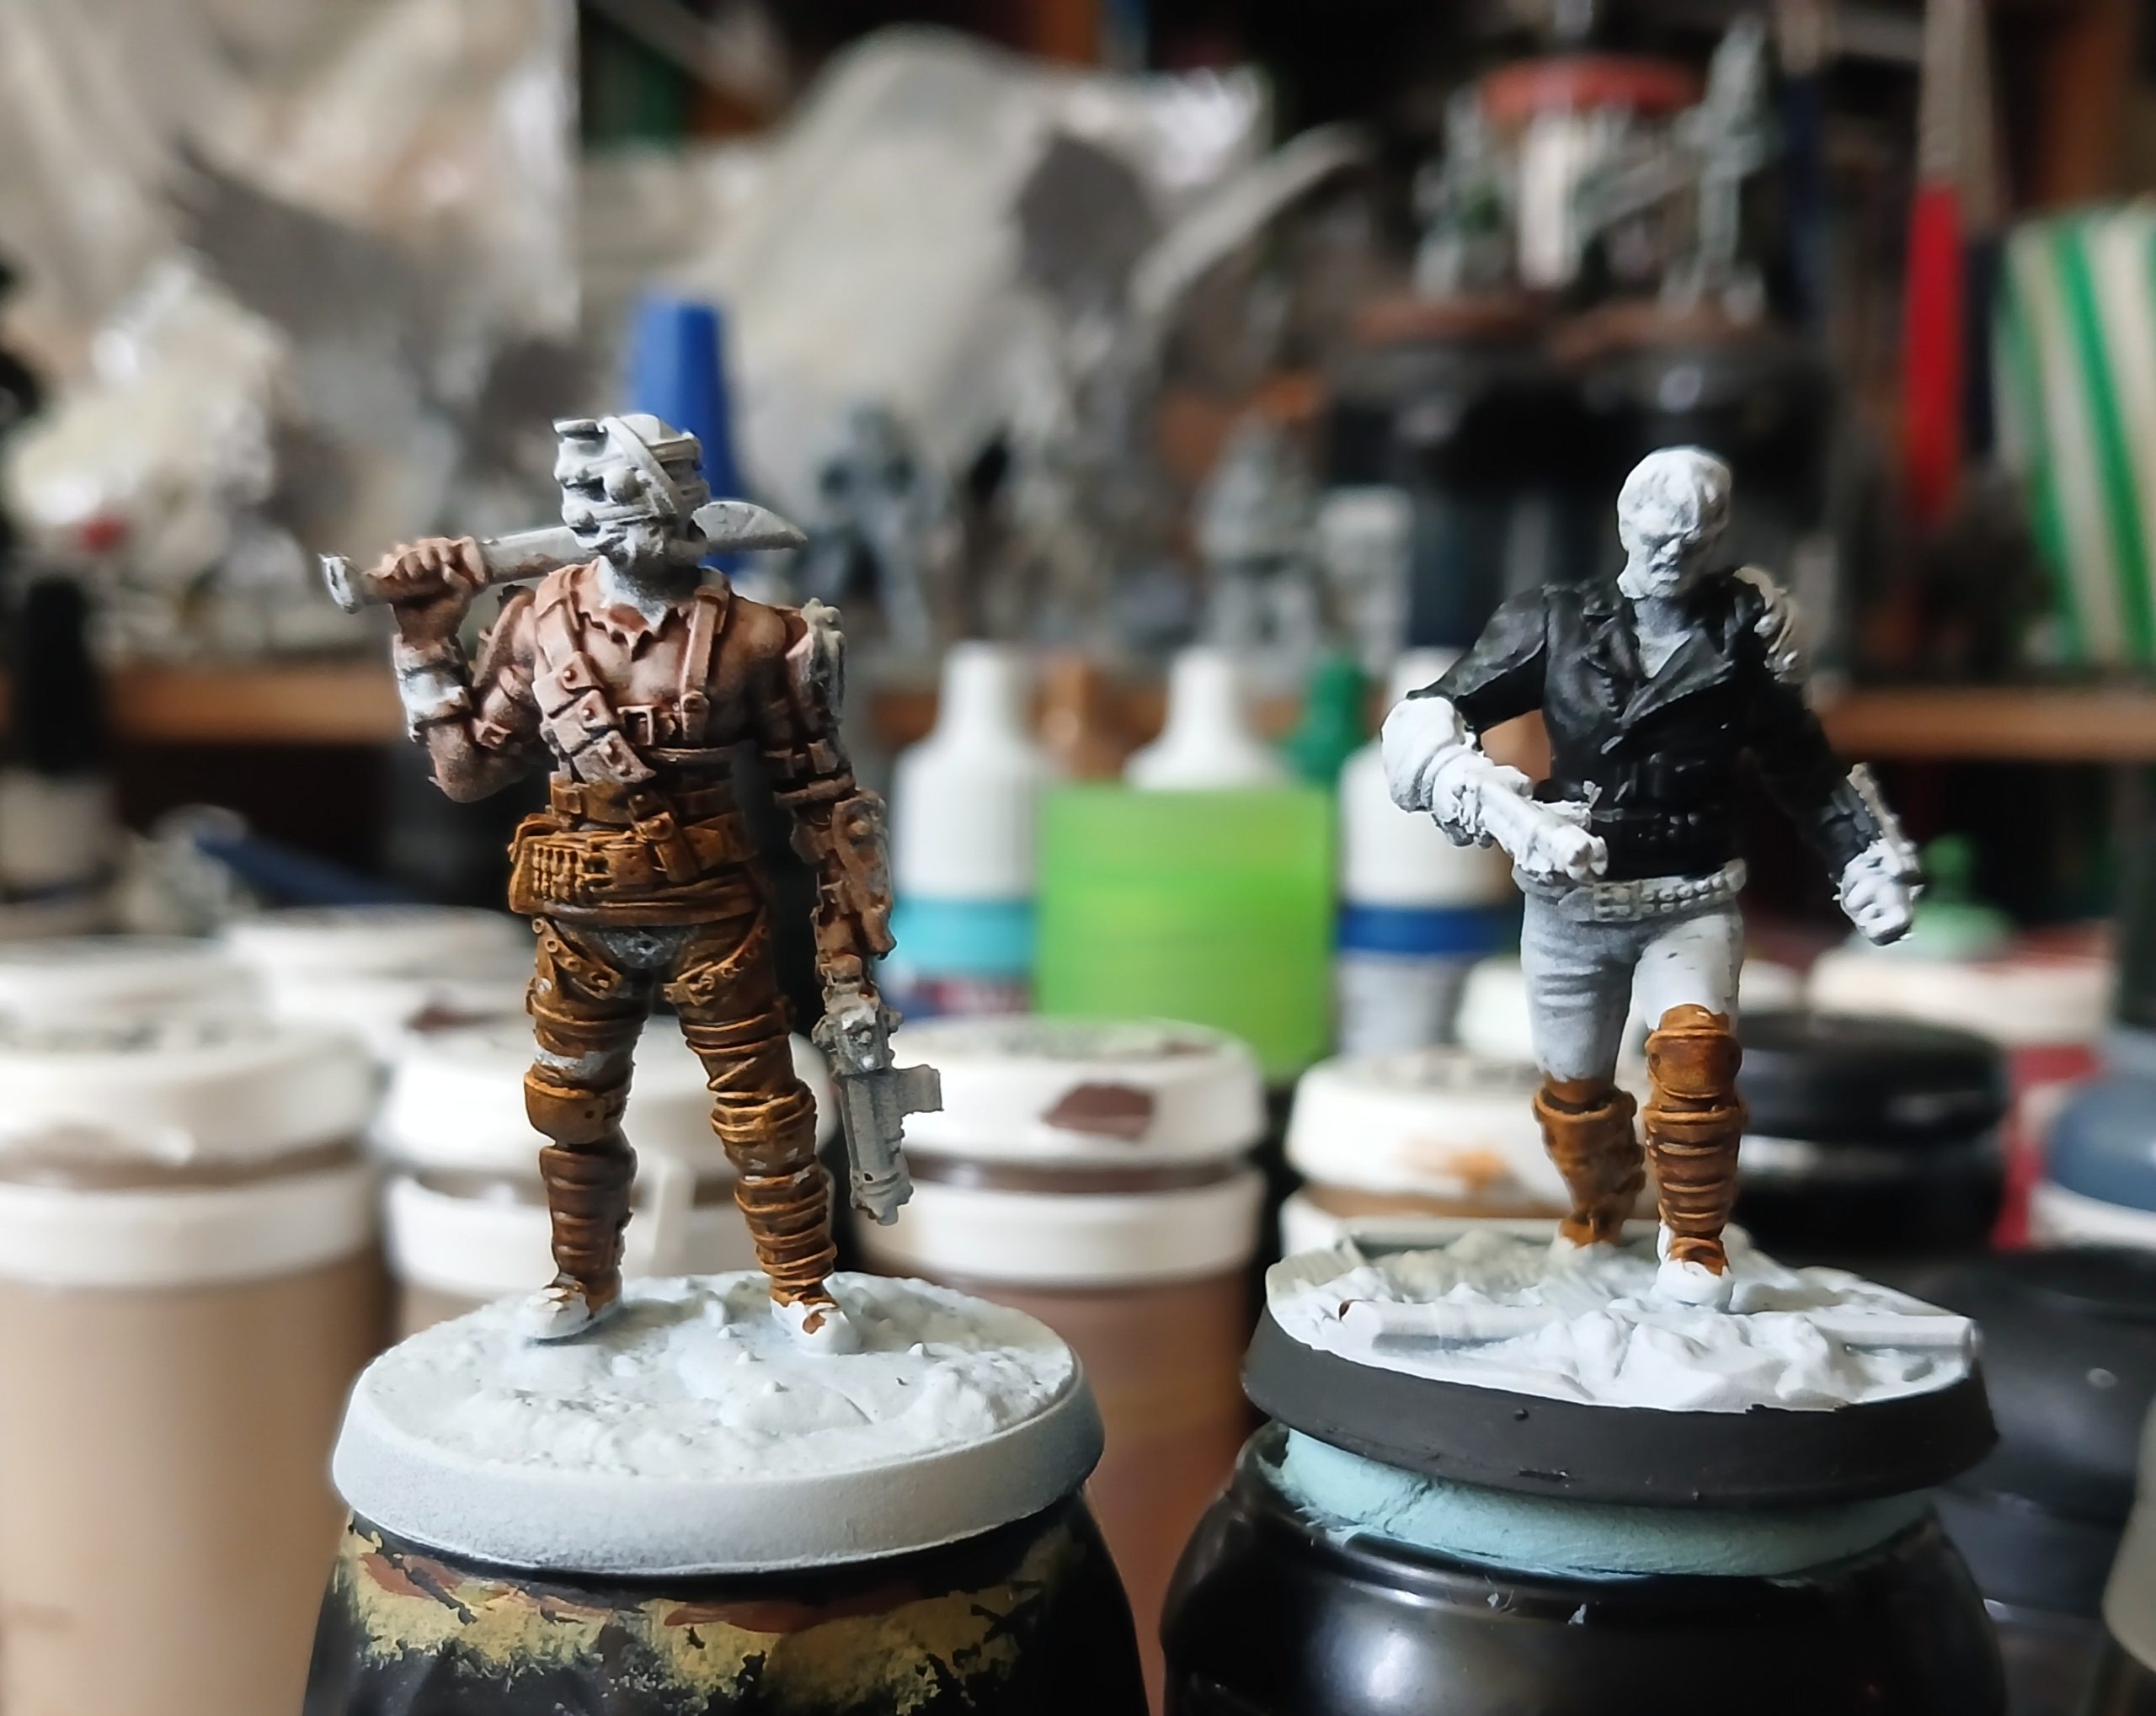
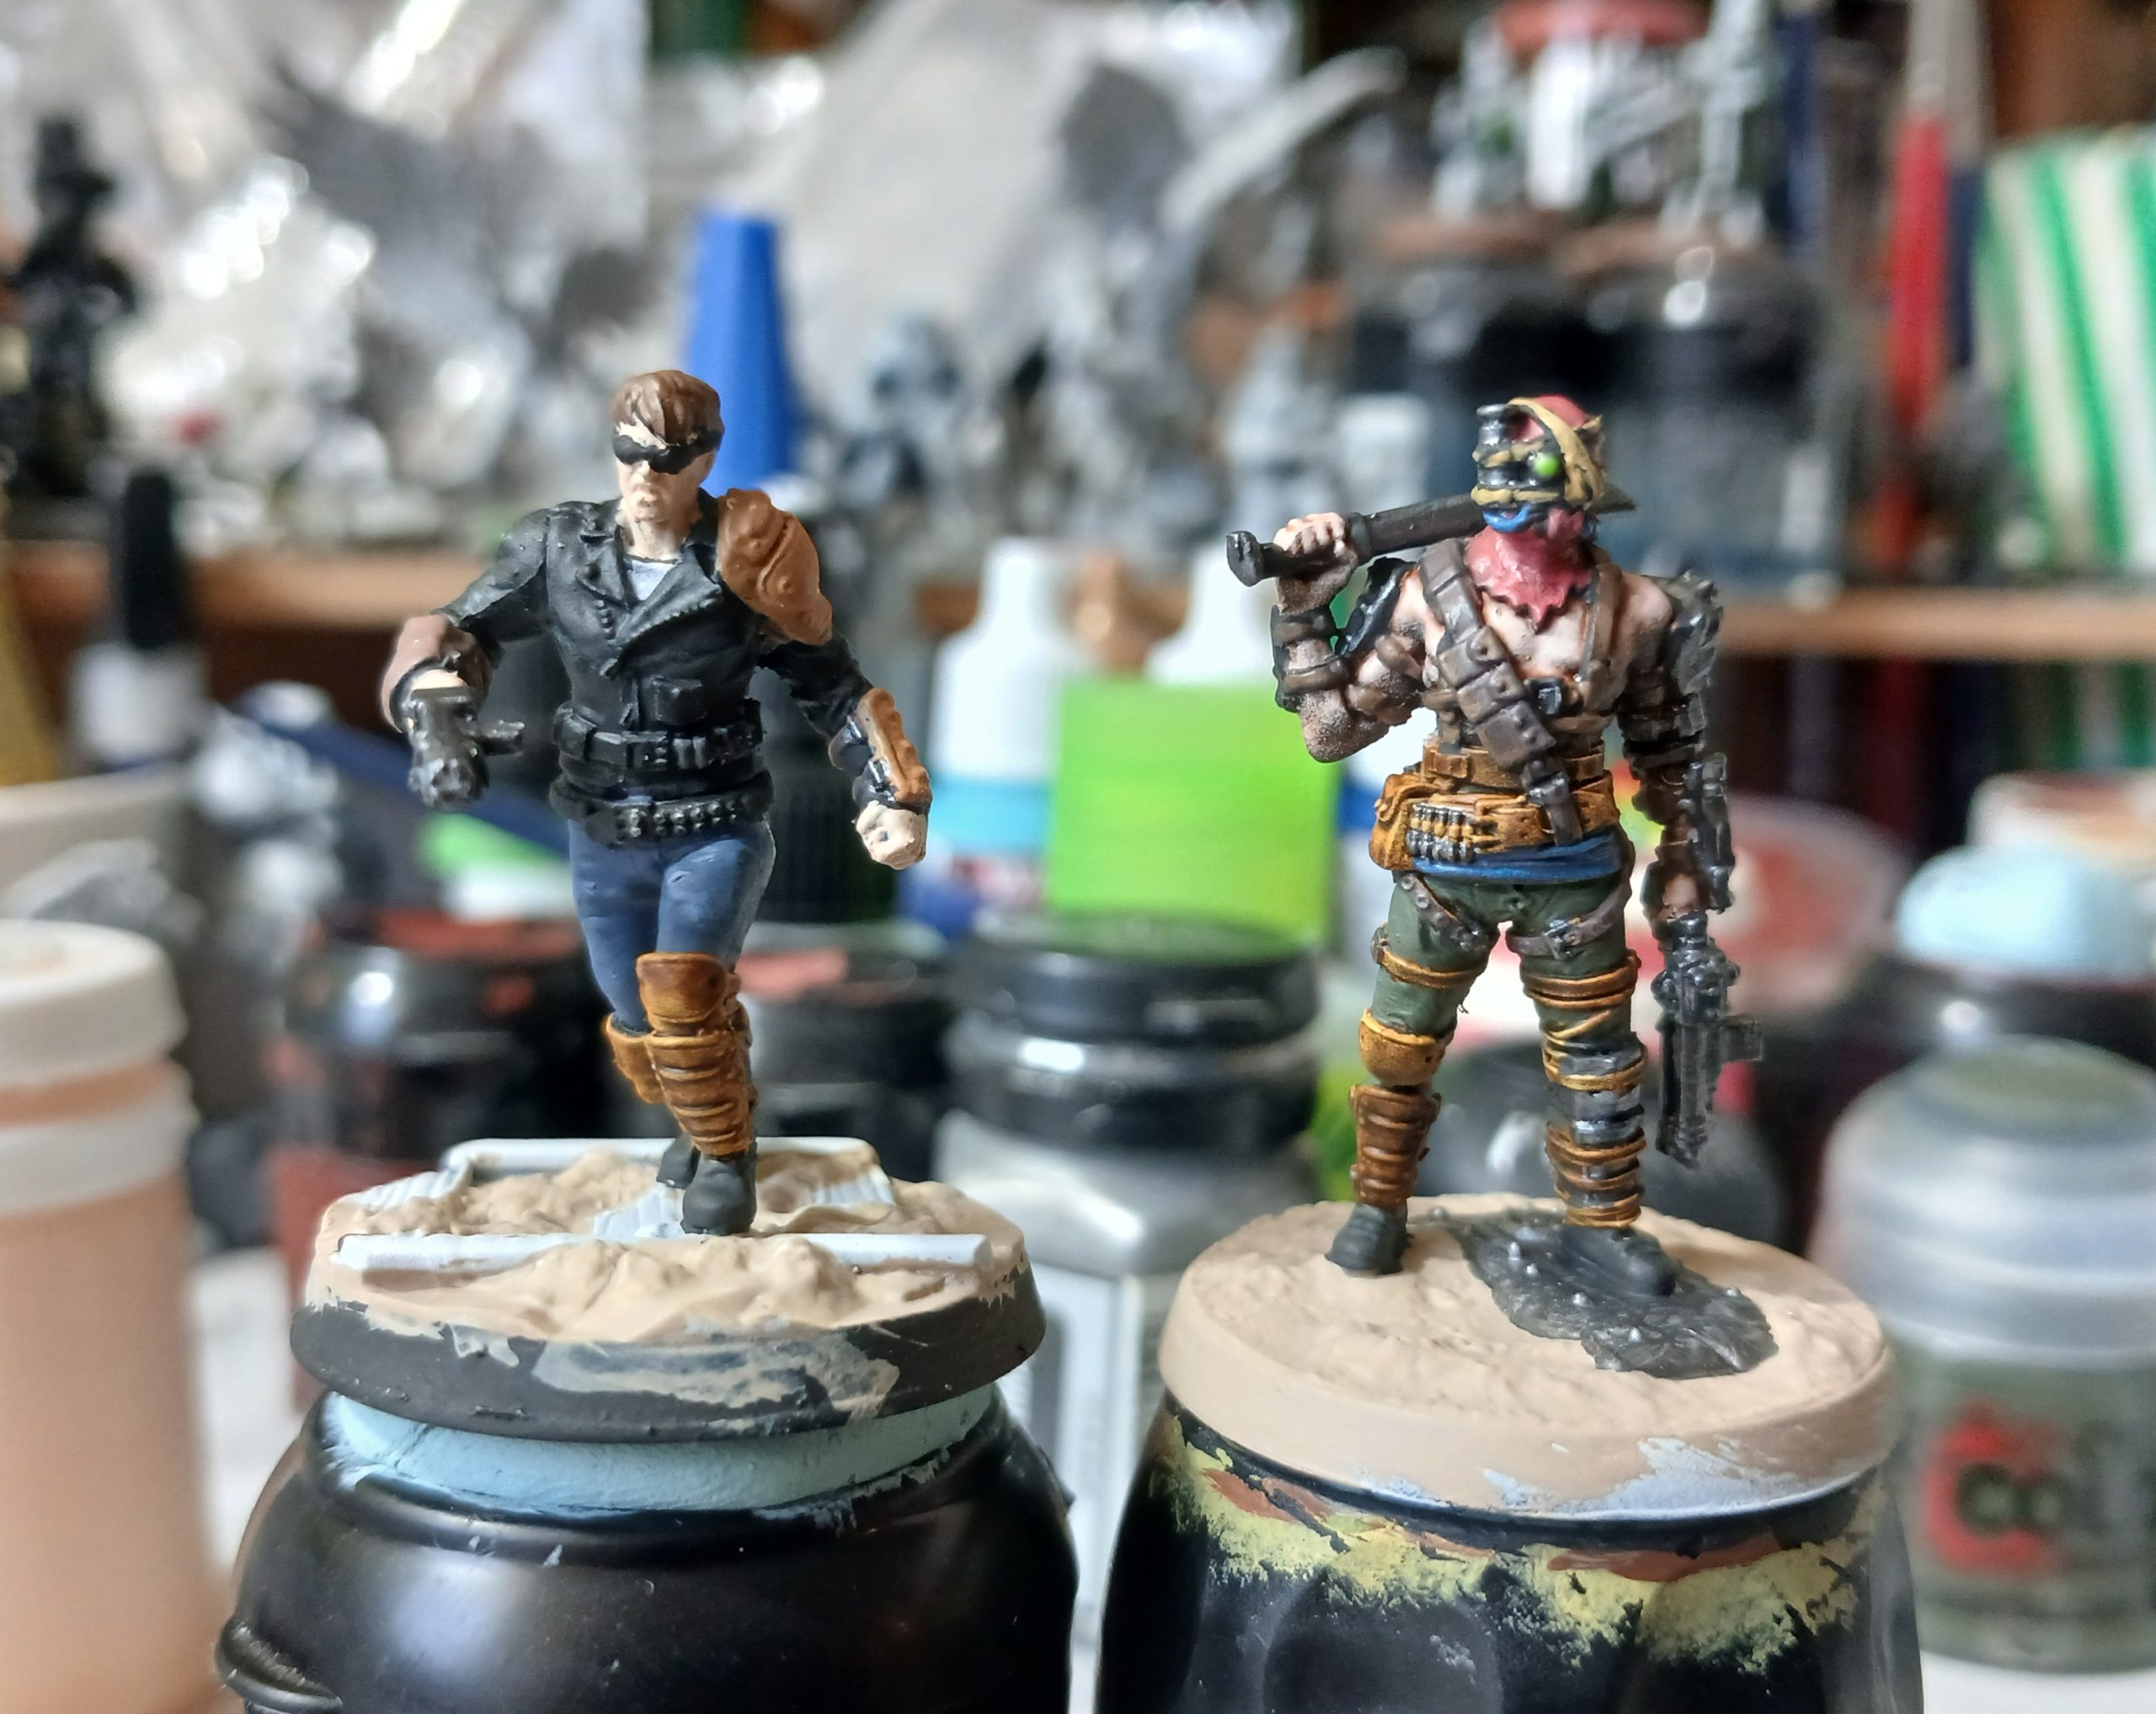
I then used my standard agrax all over wash, followed by some sandy drybrushing to add a worn and dusty look.
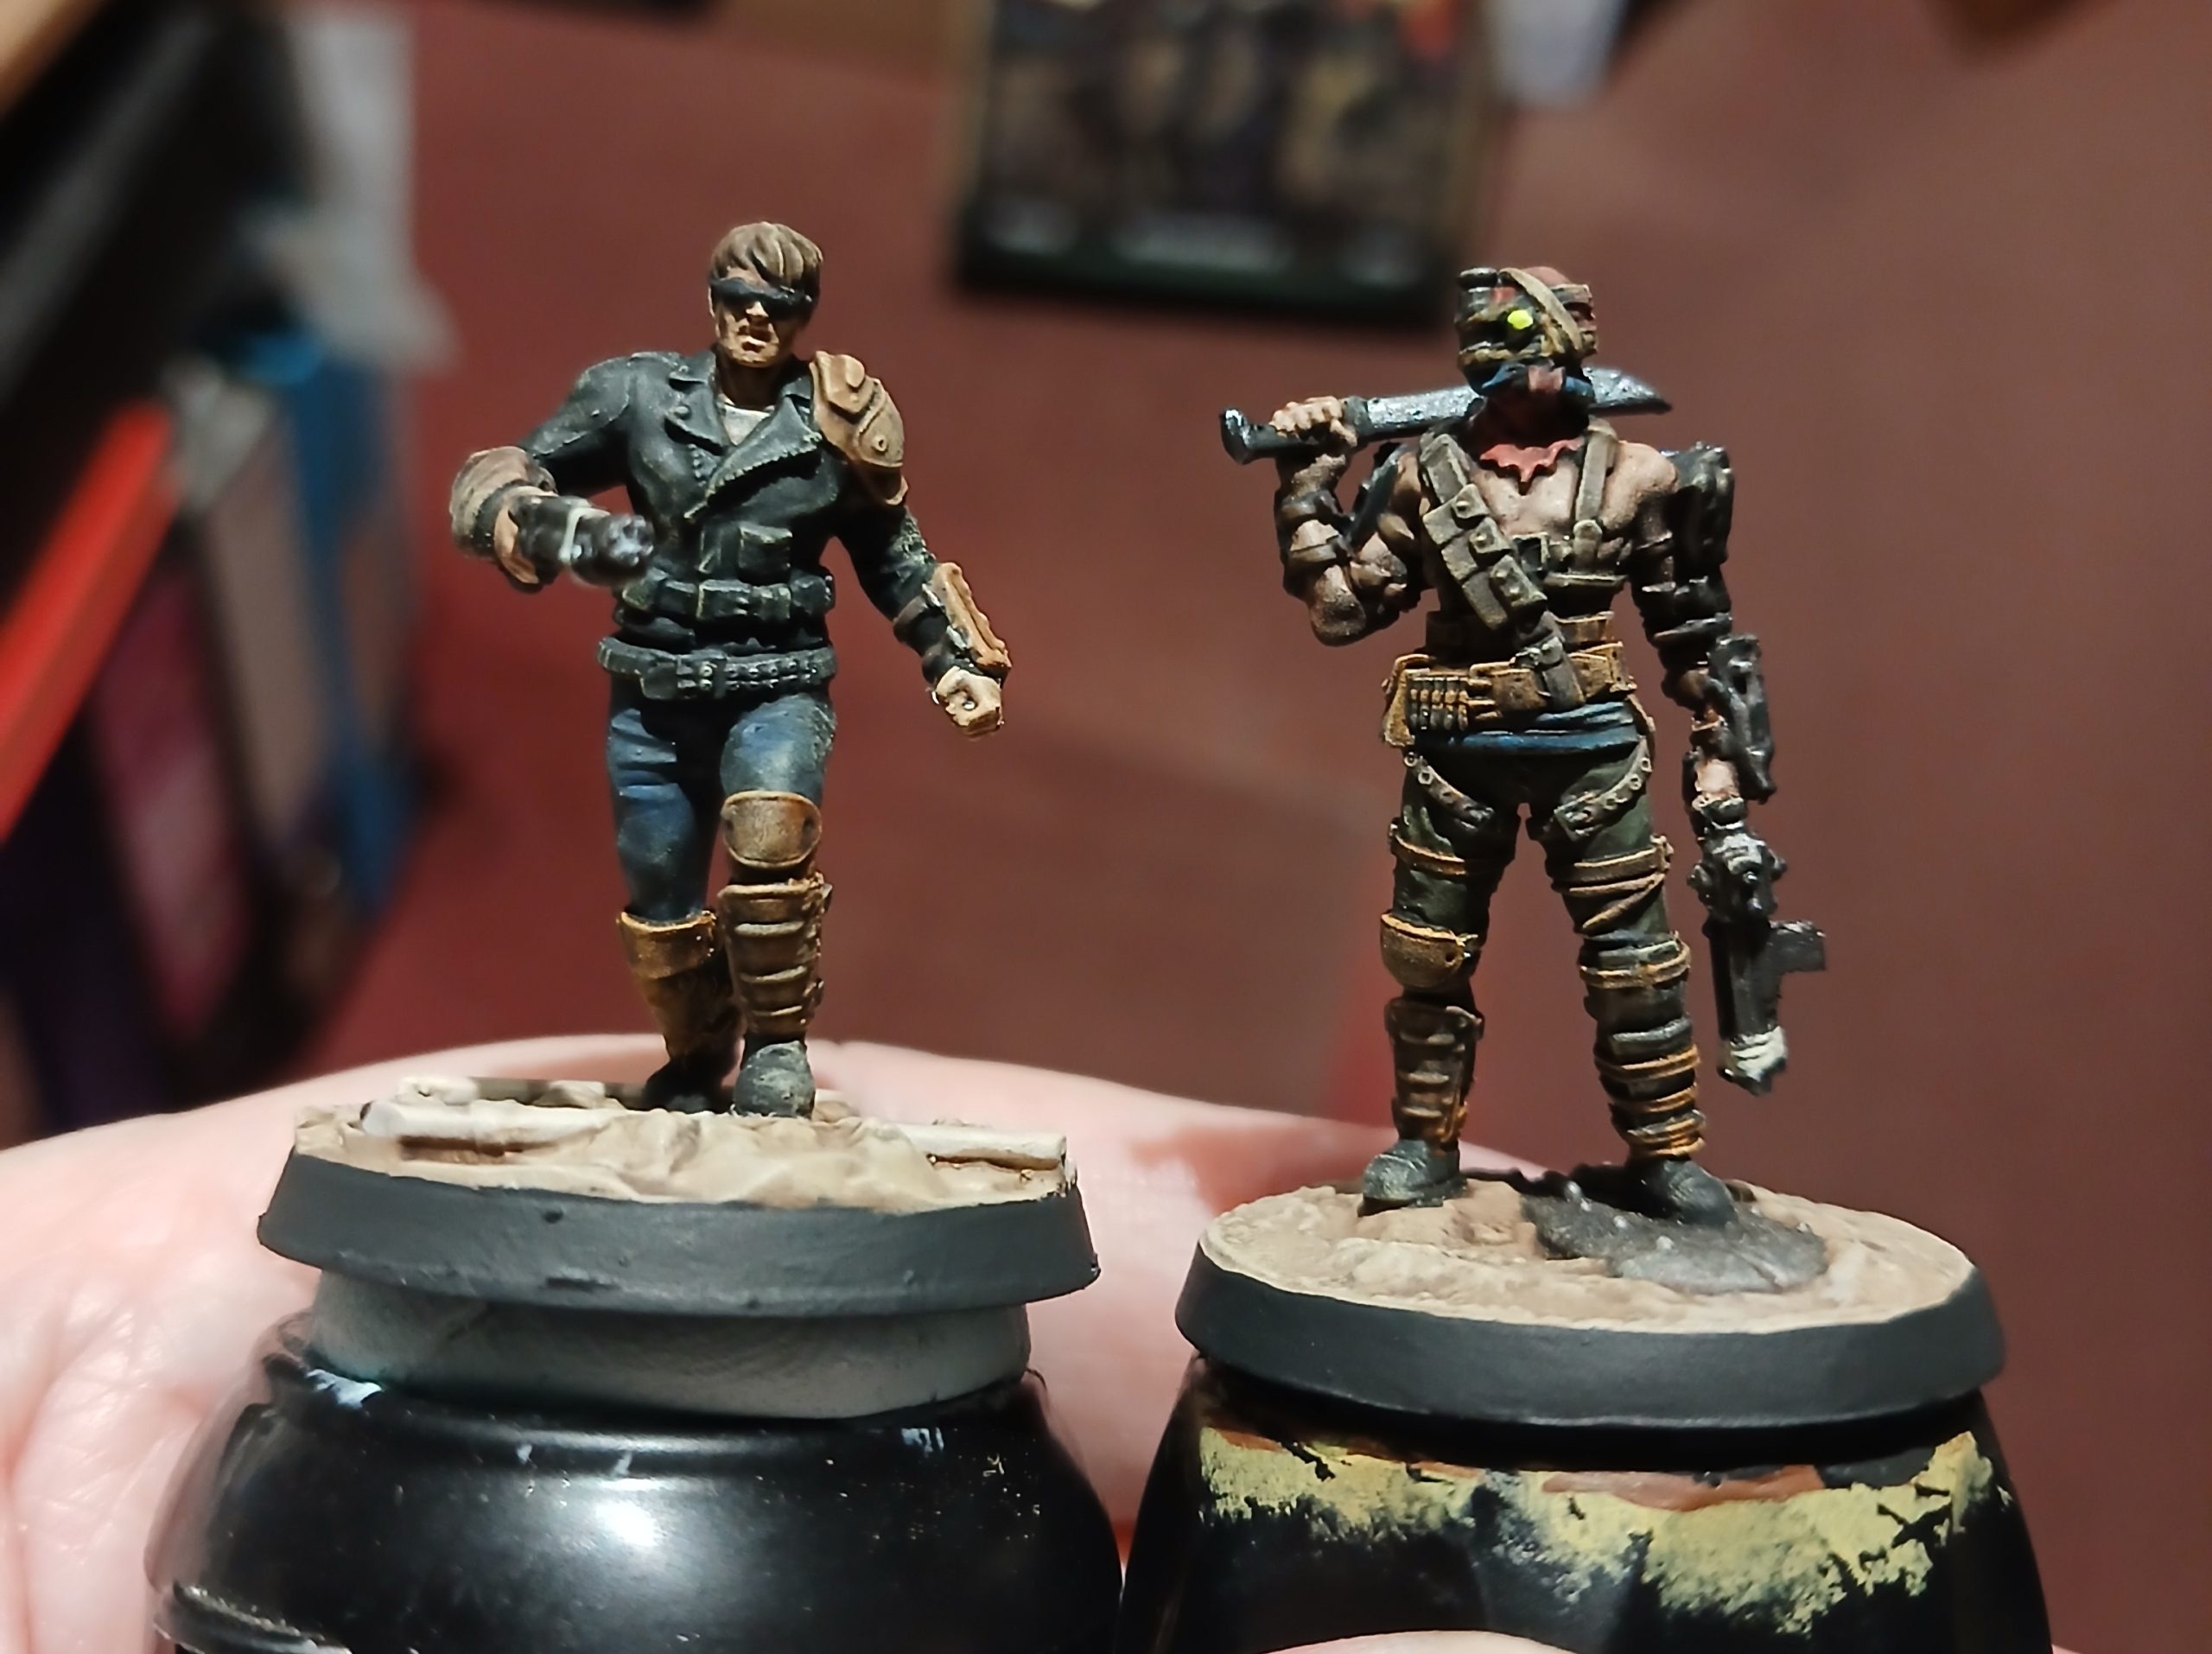
Finally I added weathering to the armour and the bases, picked out what zips, buckles and buttons I could manage and tidied up some highlights. With that they were done 😊
Two more raiders
4th August 2026
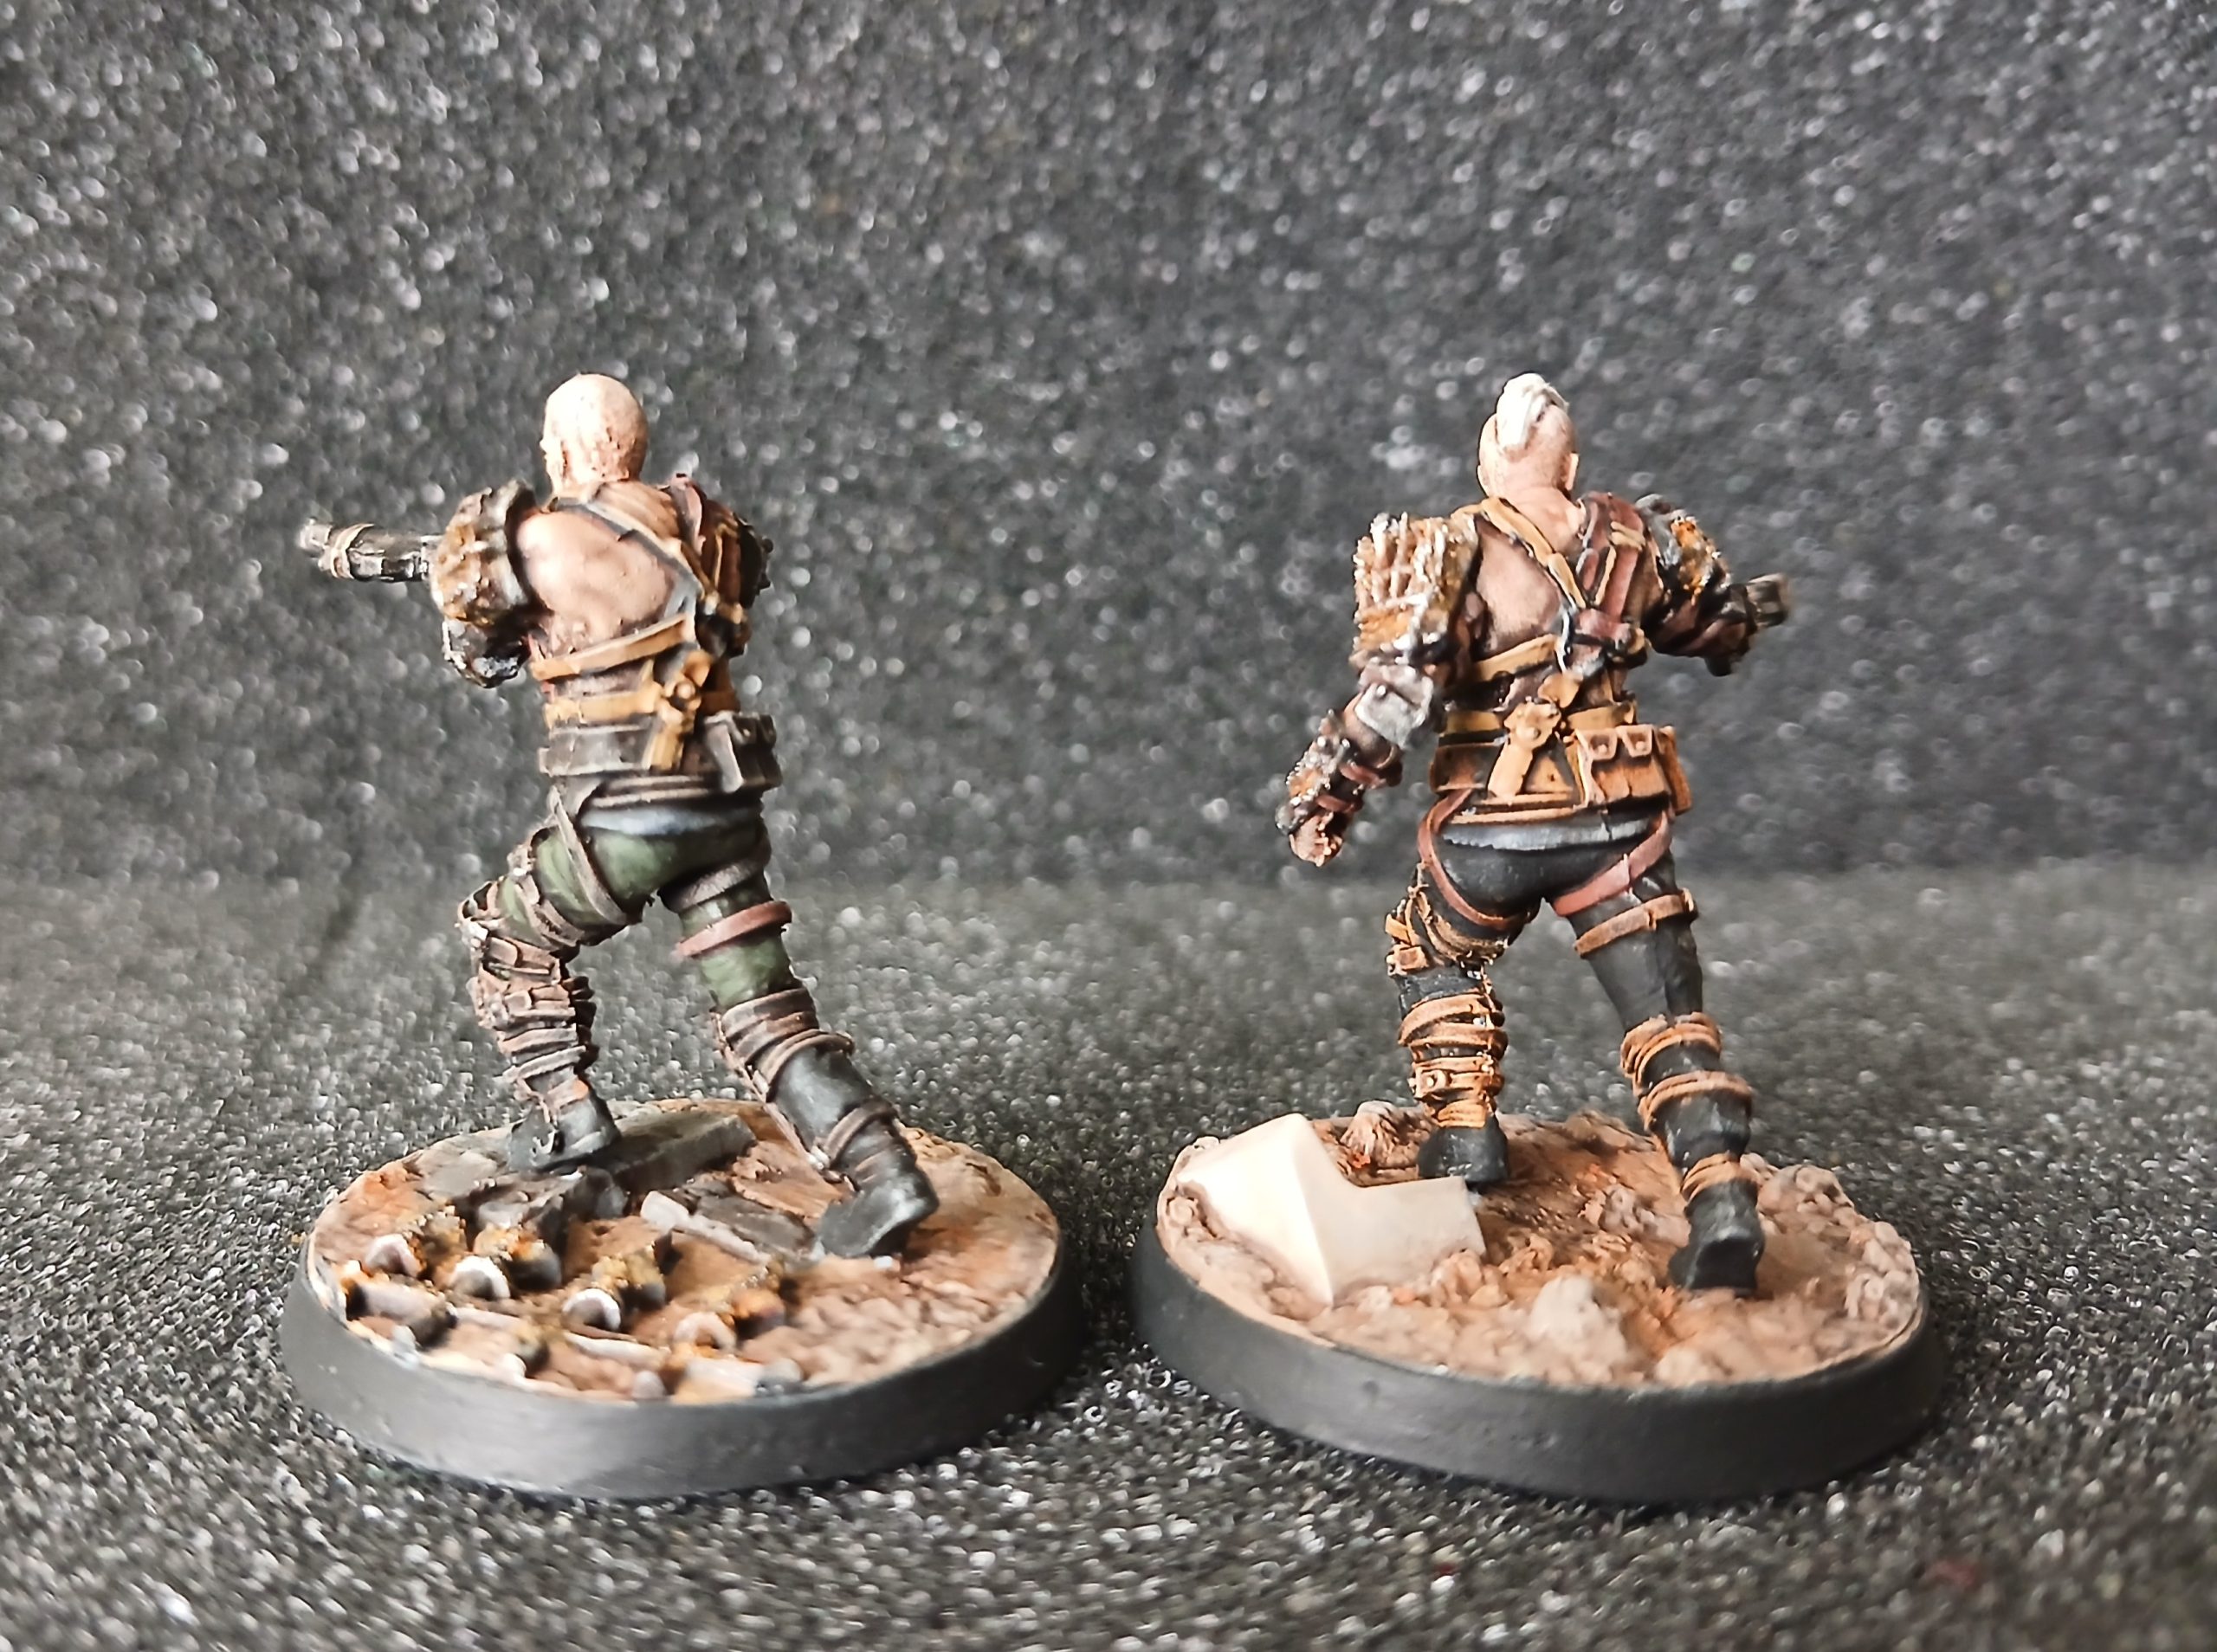
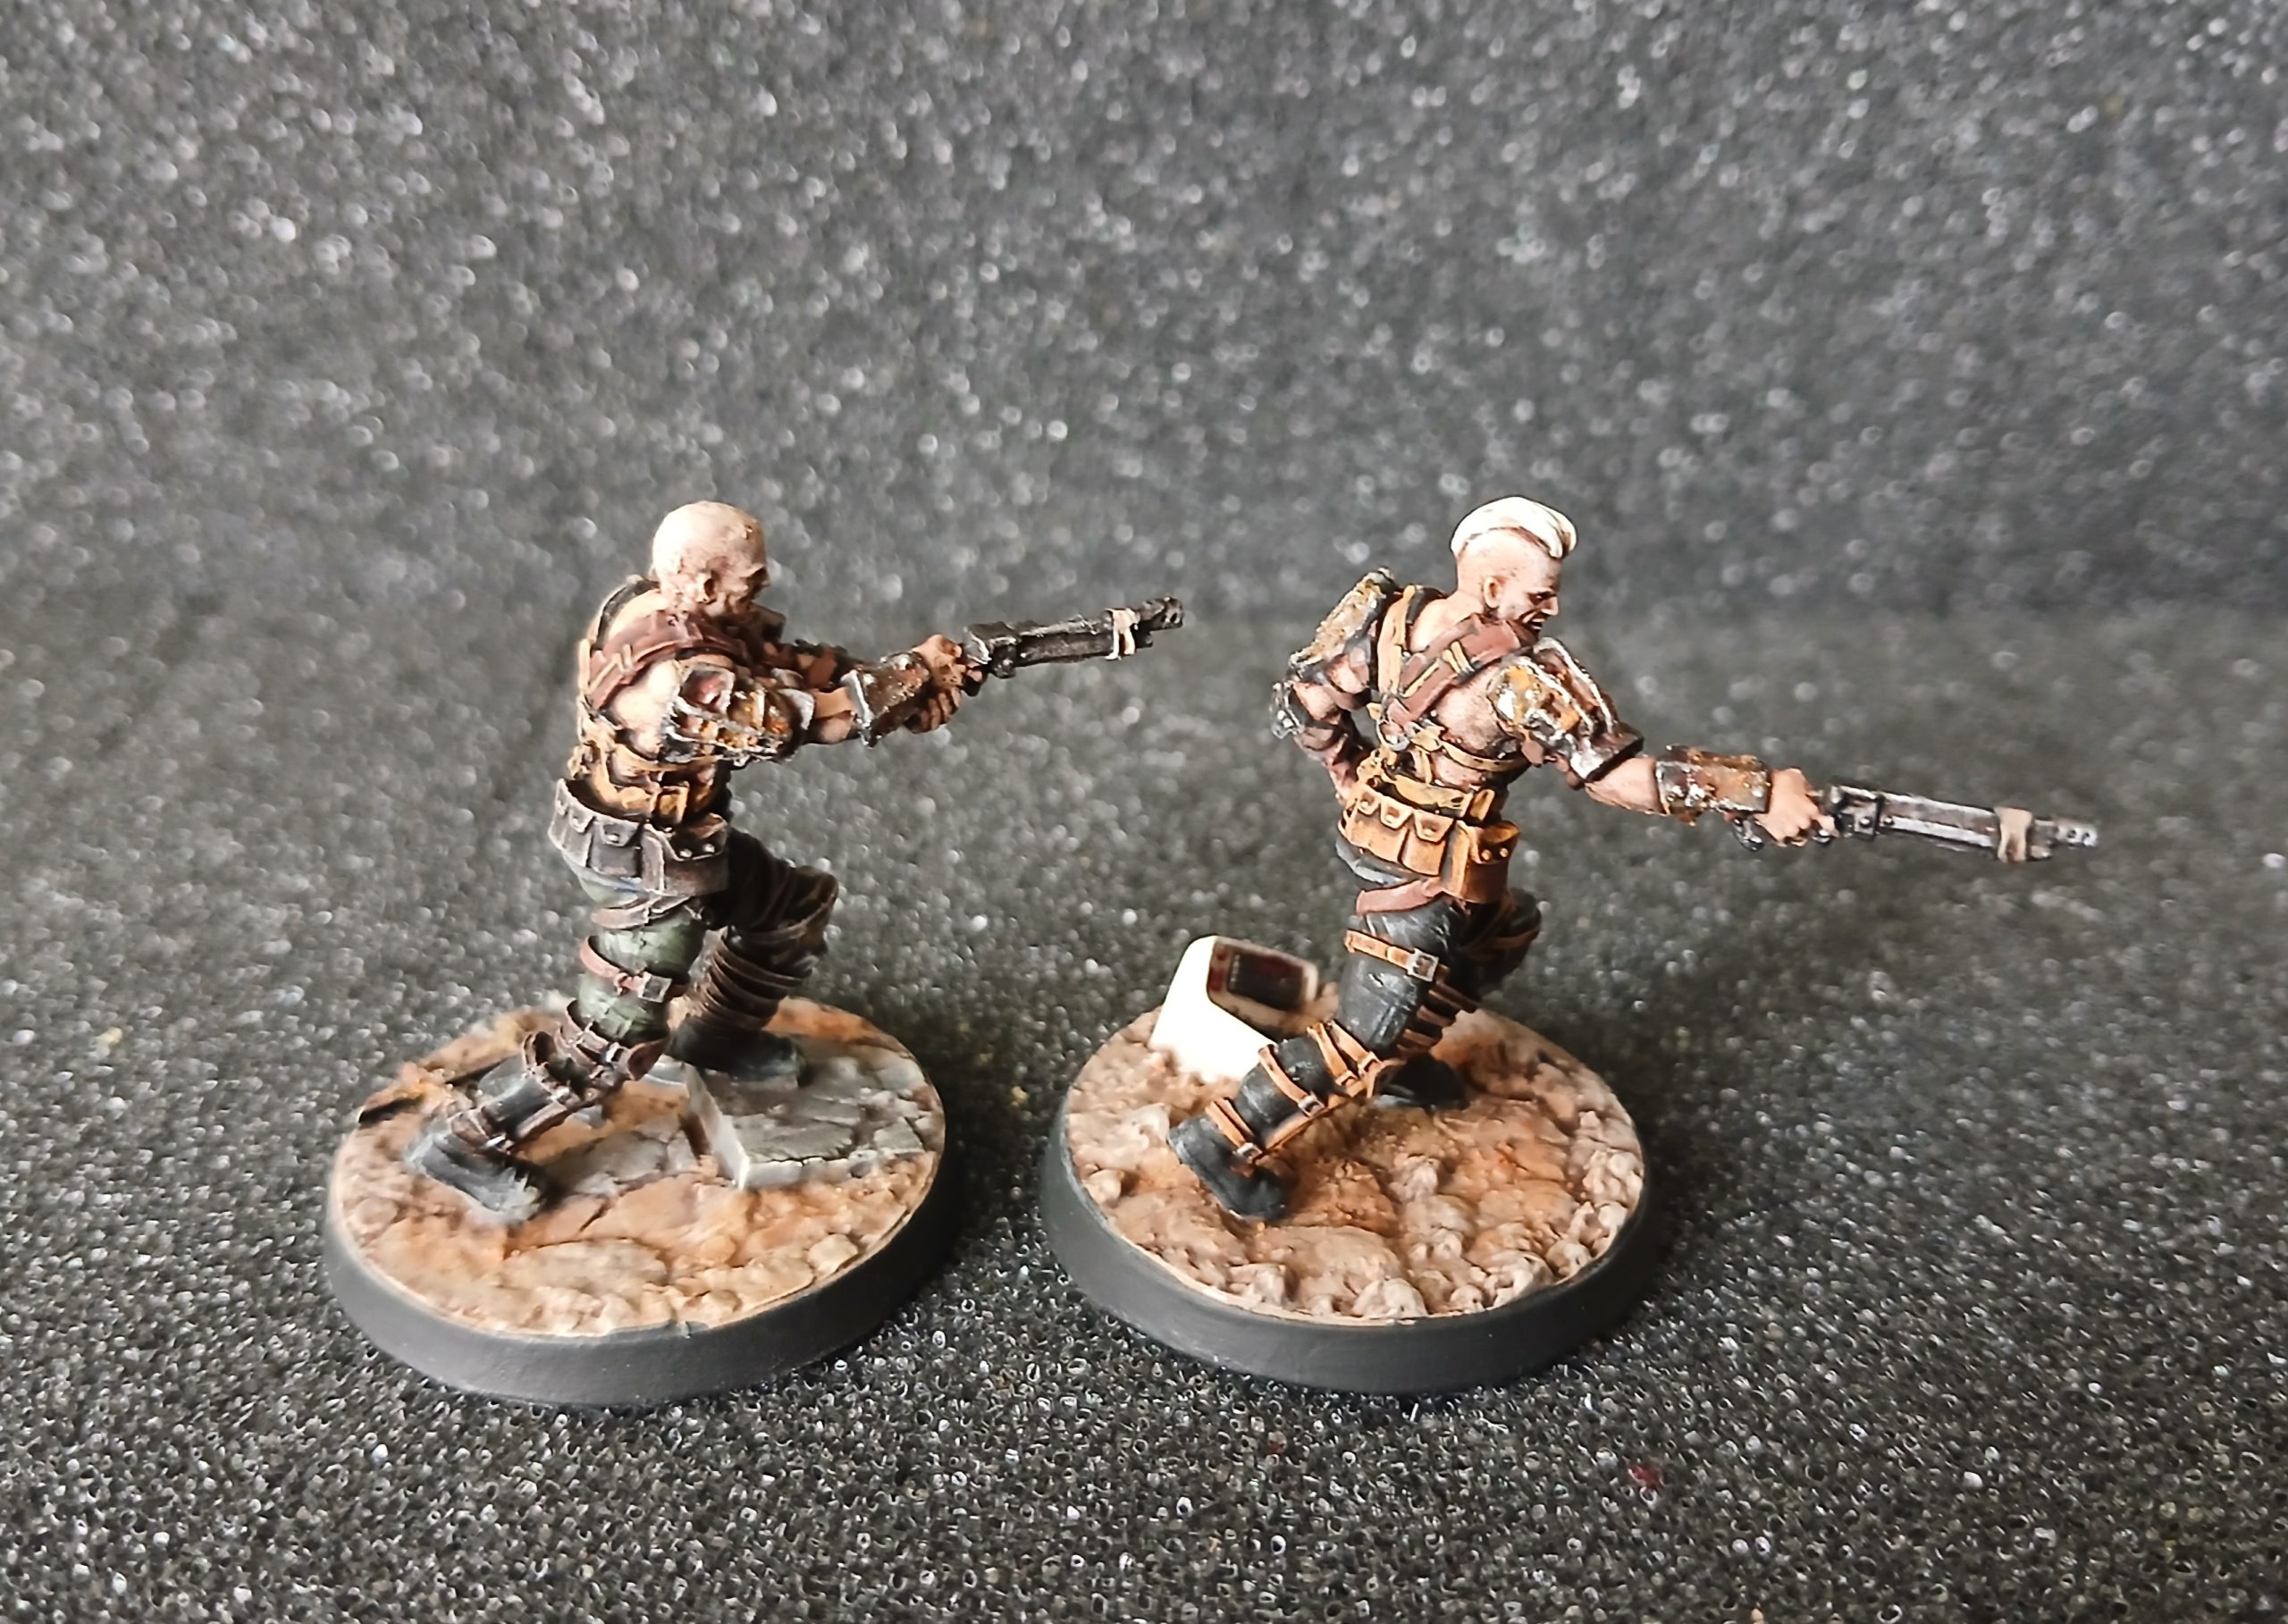
Worked on two more of the raiders. I noticed that these two have the same base torso and legs.
Since these have more bare flesh I decided to try flesh contrast on the top section, and brown contrast for the straps on the legs.
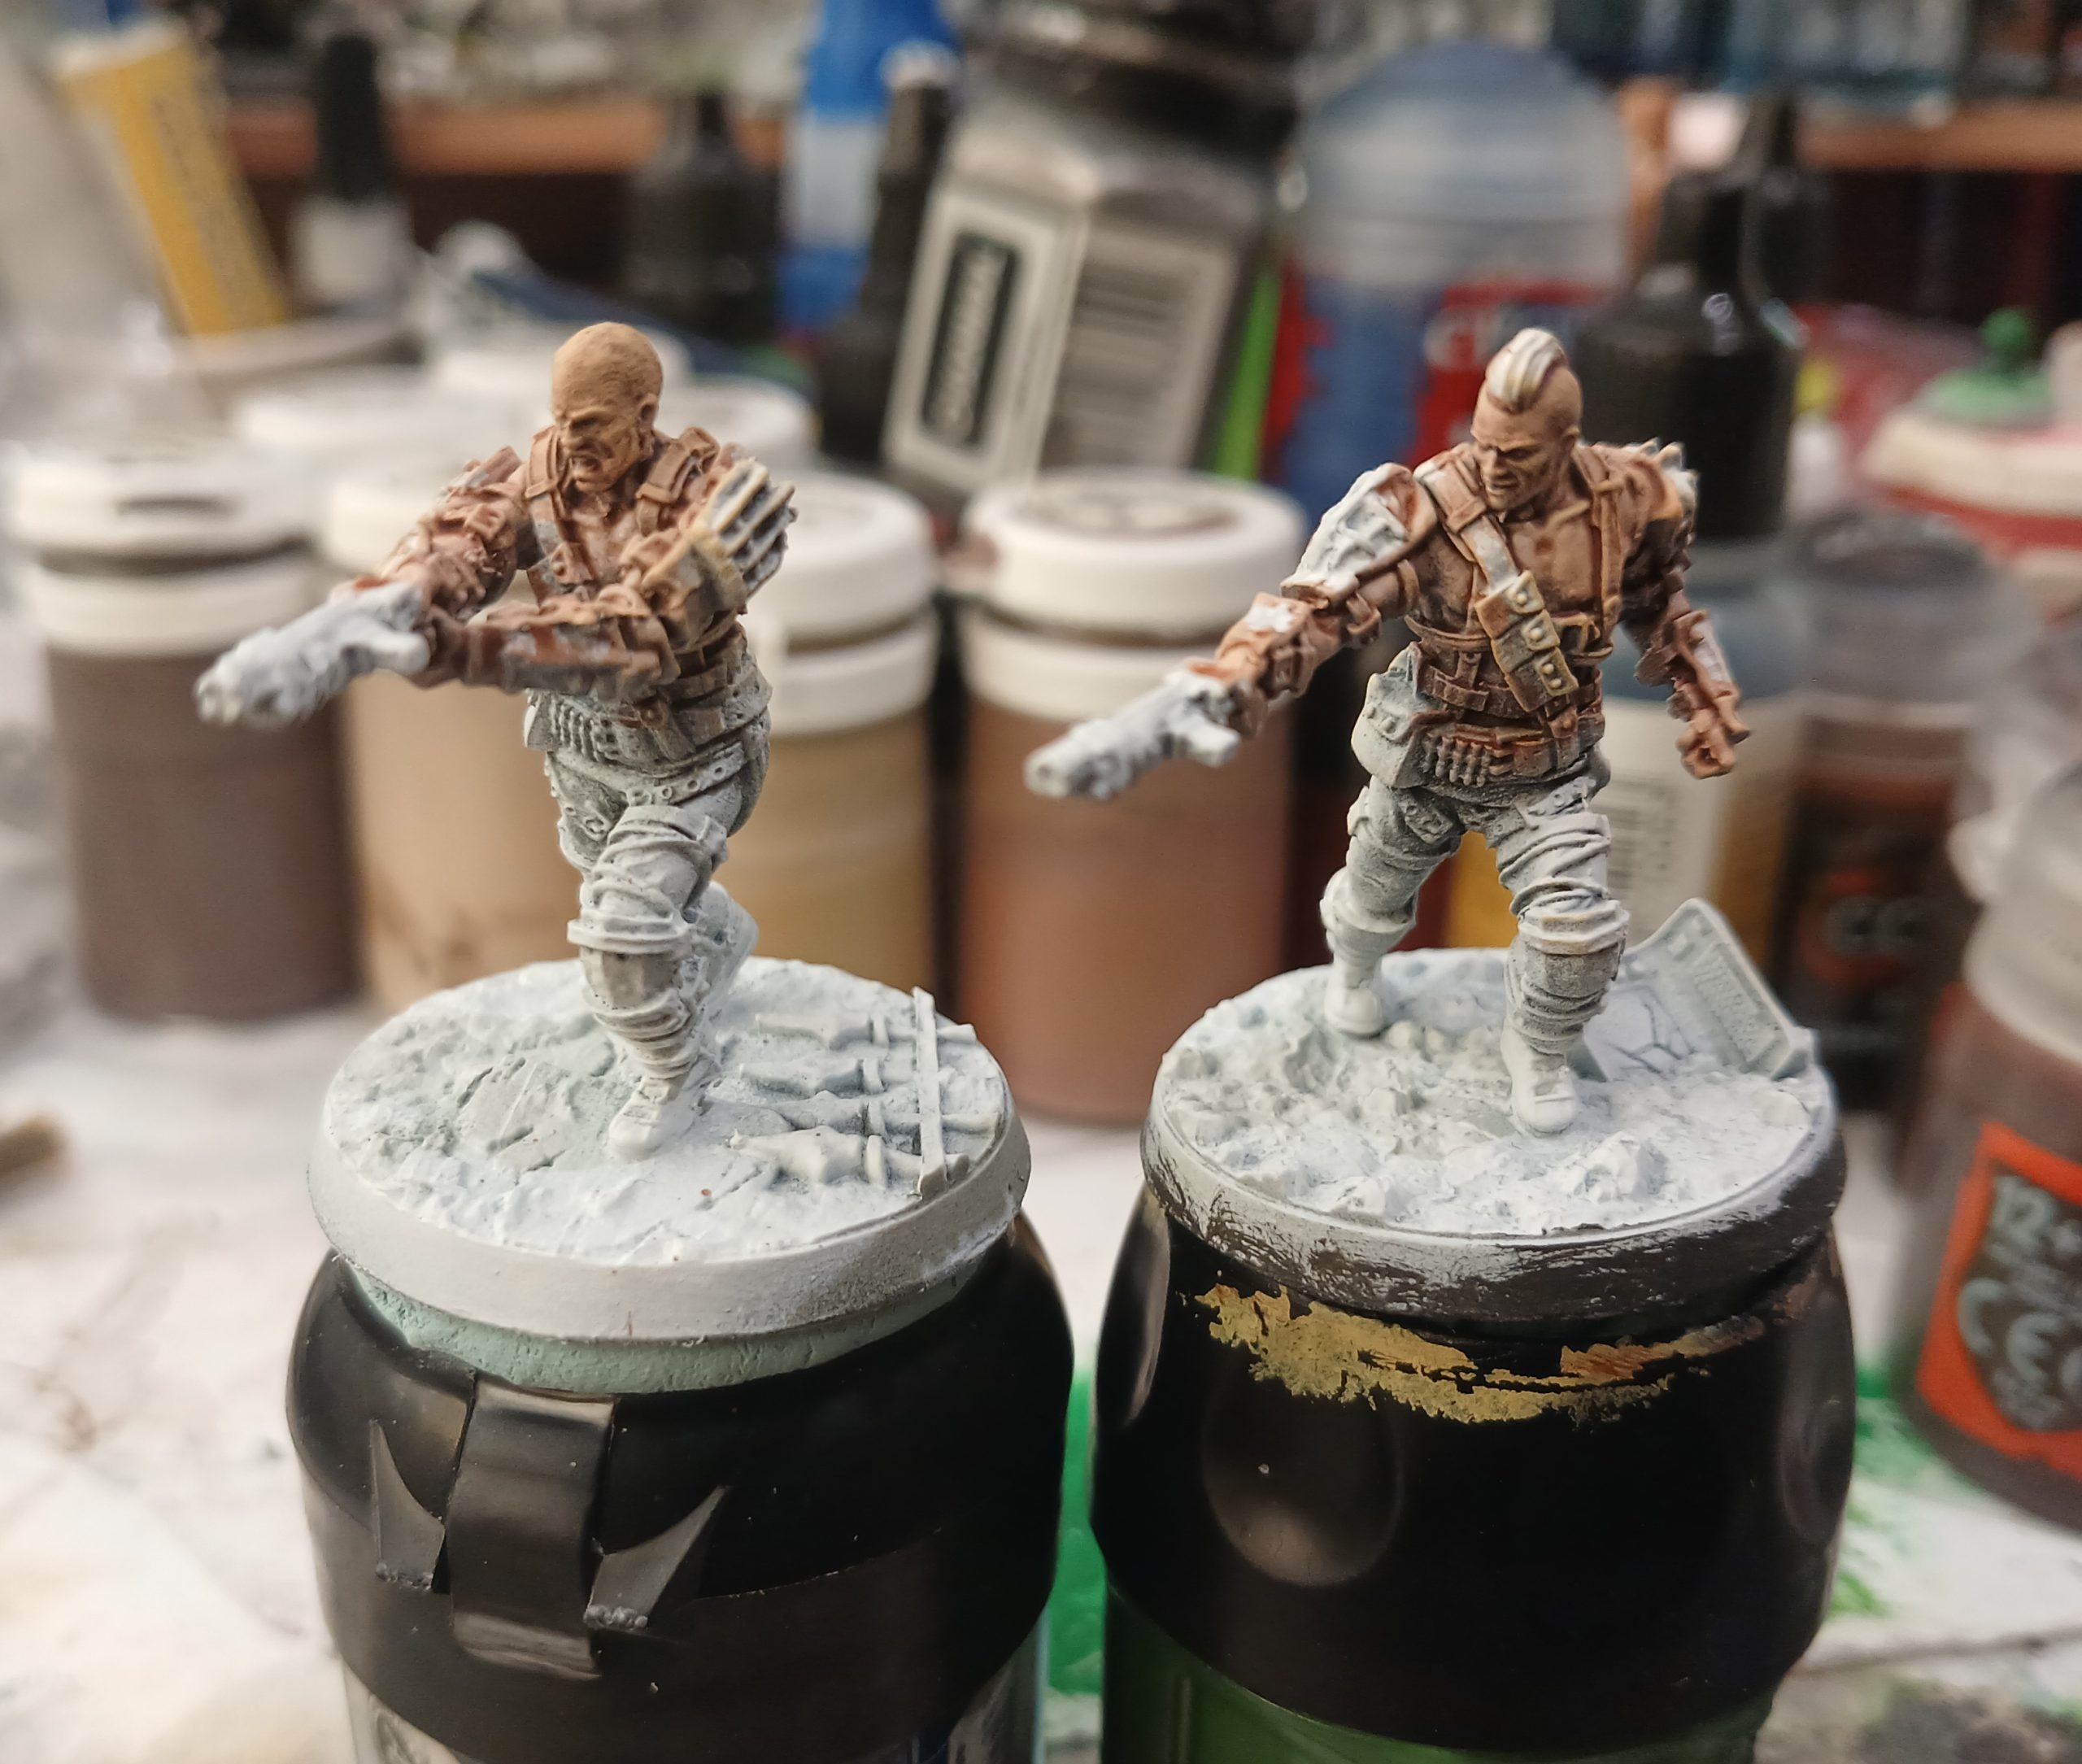
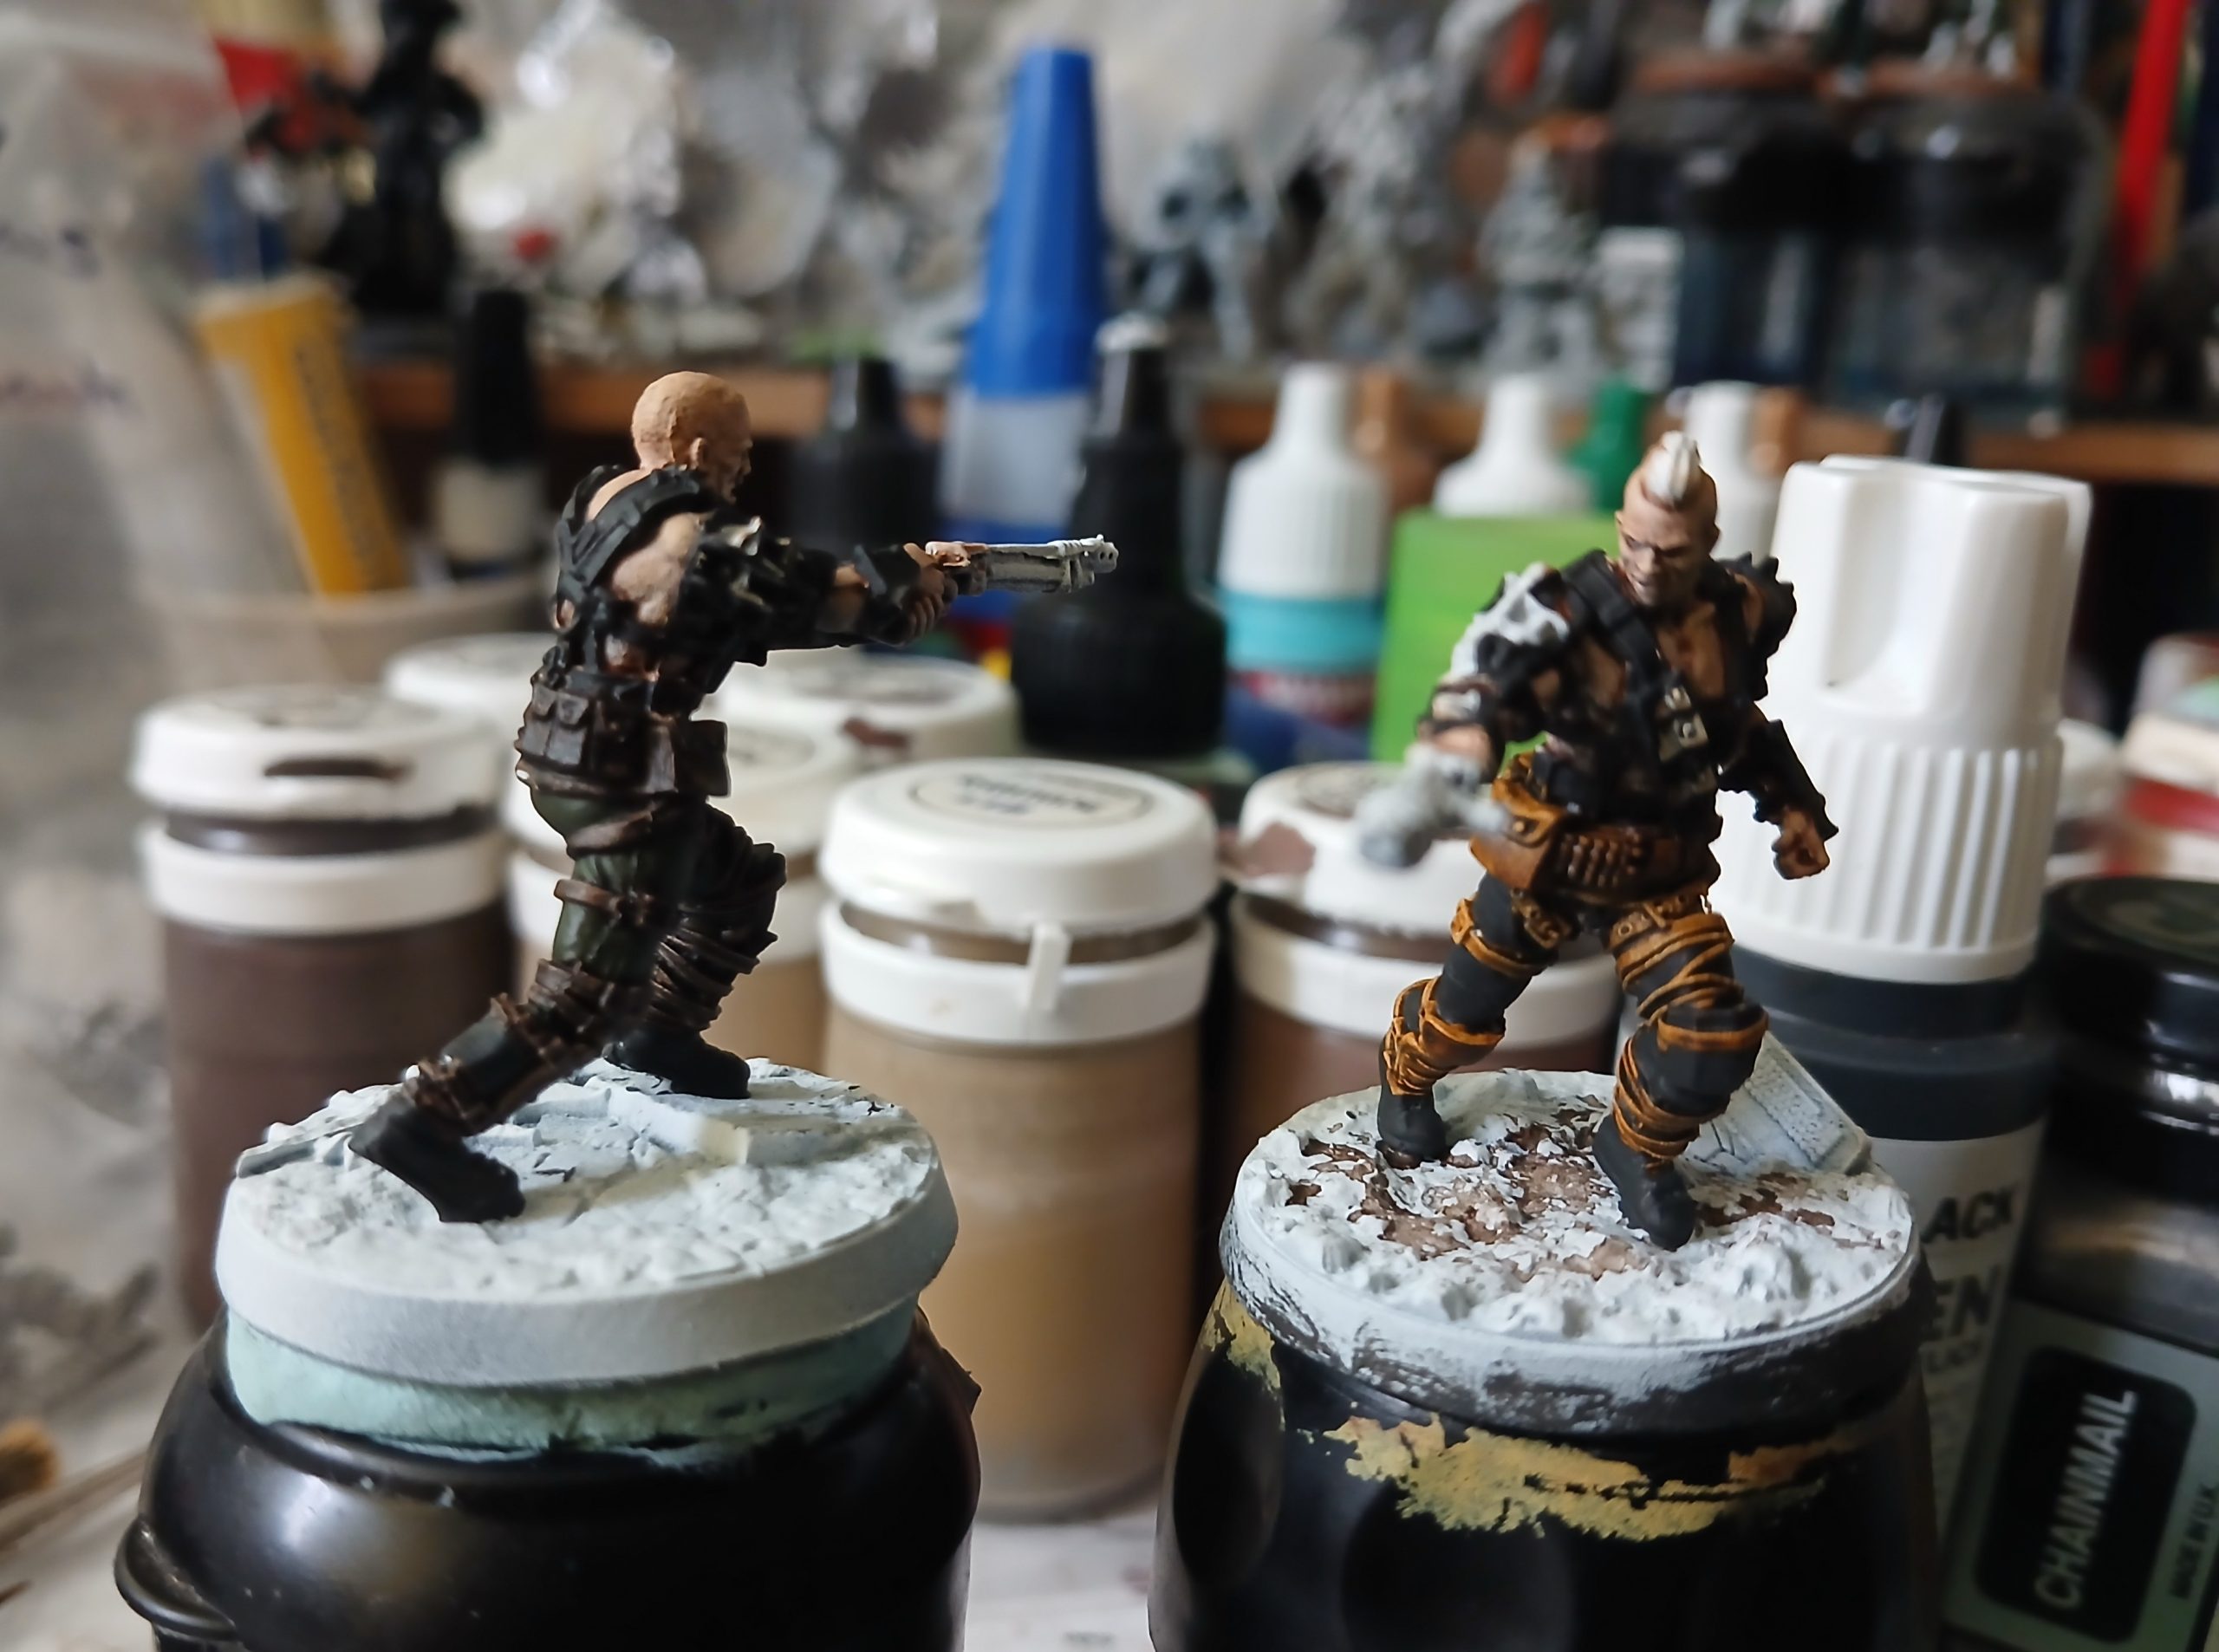
Doing it that way meant more work for all the straps etc on the torso and arms though… starting out by blocking them all in black, followed by painting them in three different brown colours.
One was given green trousers, the other black trousers.
They were given an overall drybrush of a pale sand colour, and I blocked in the metals and the bases.
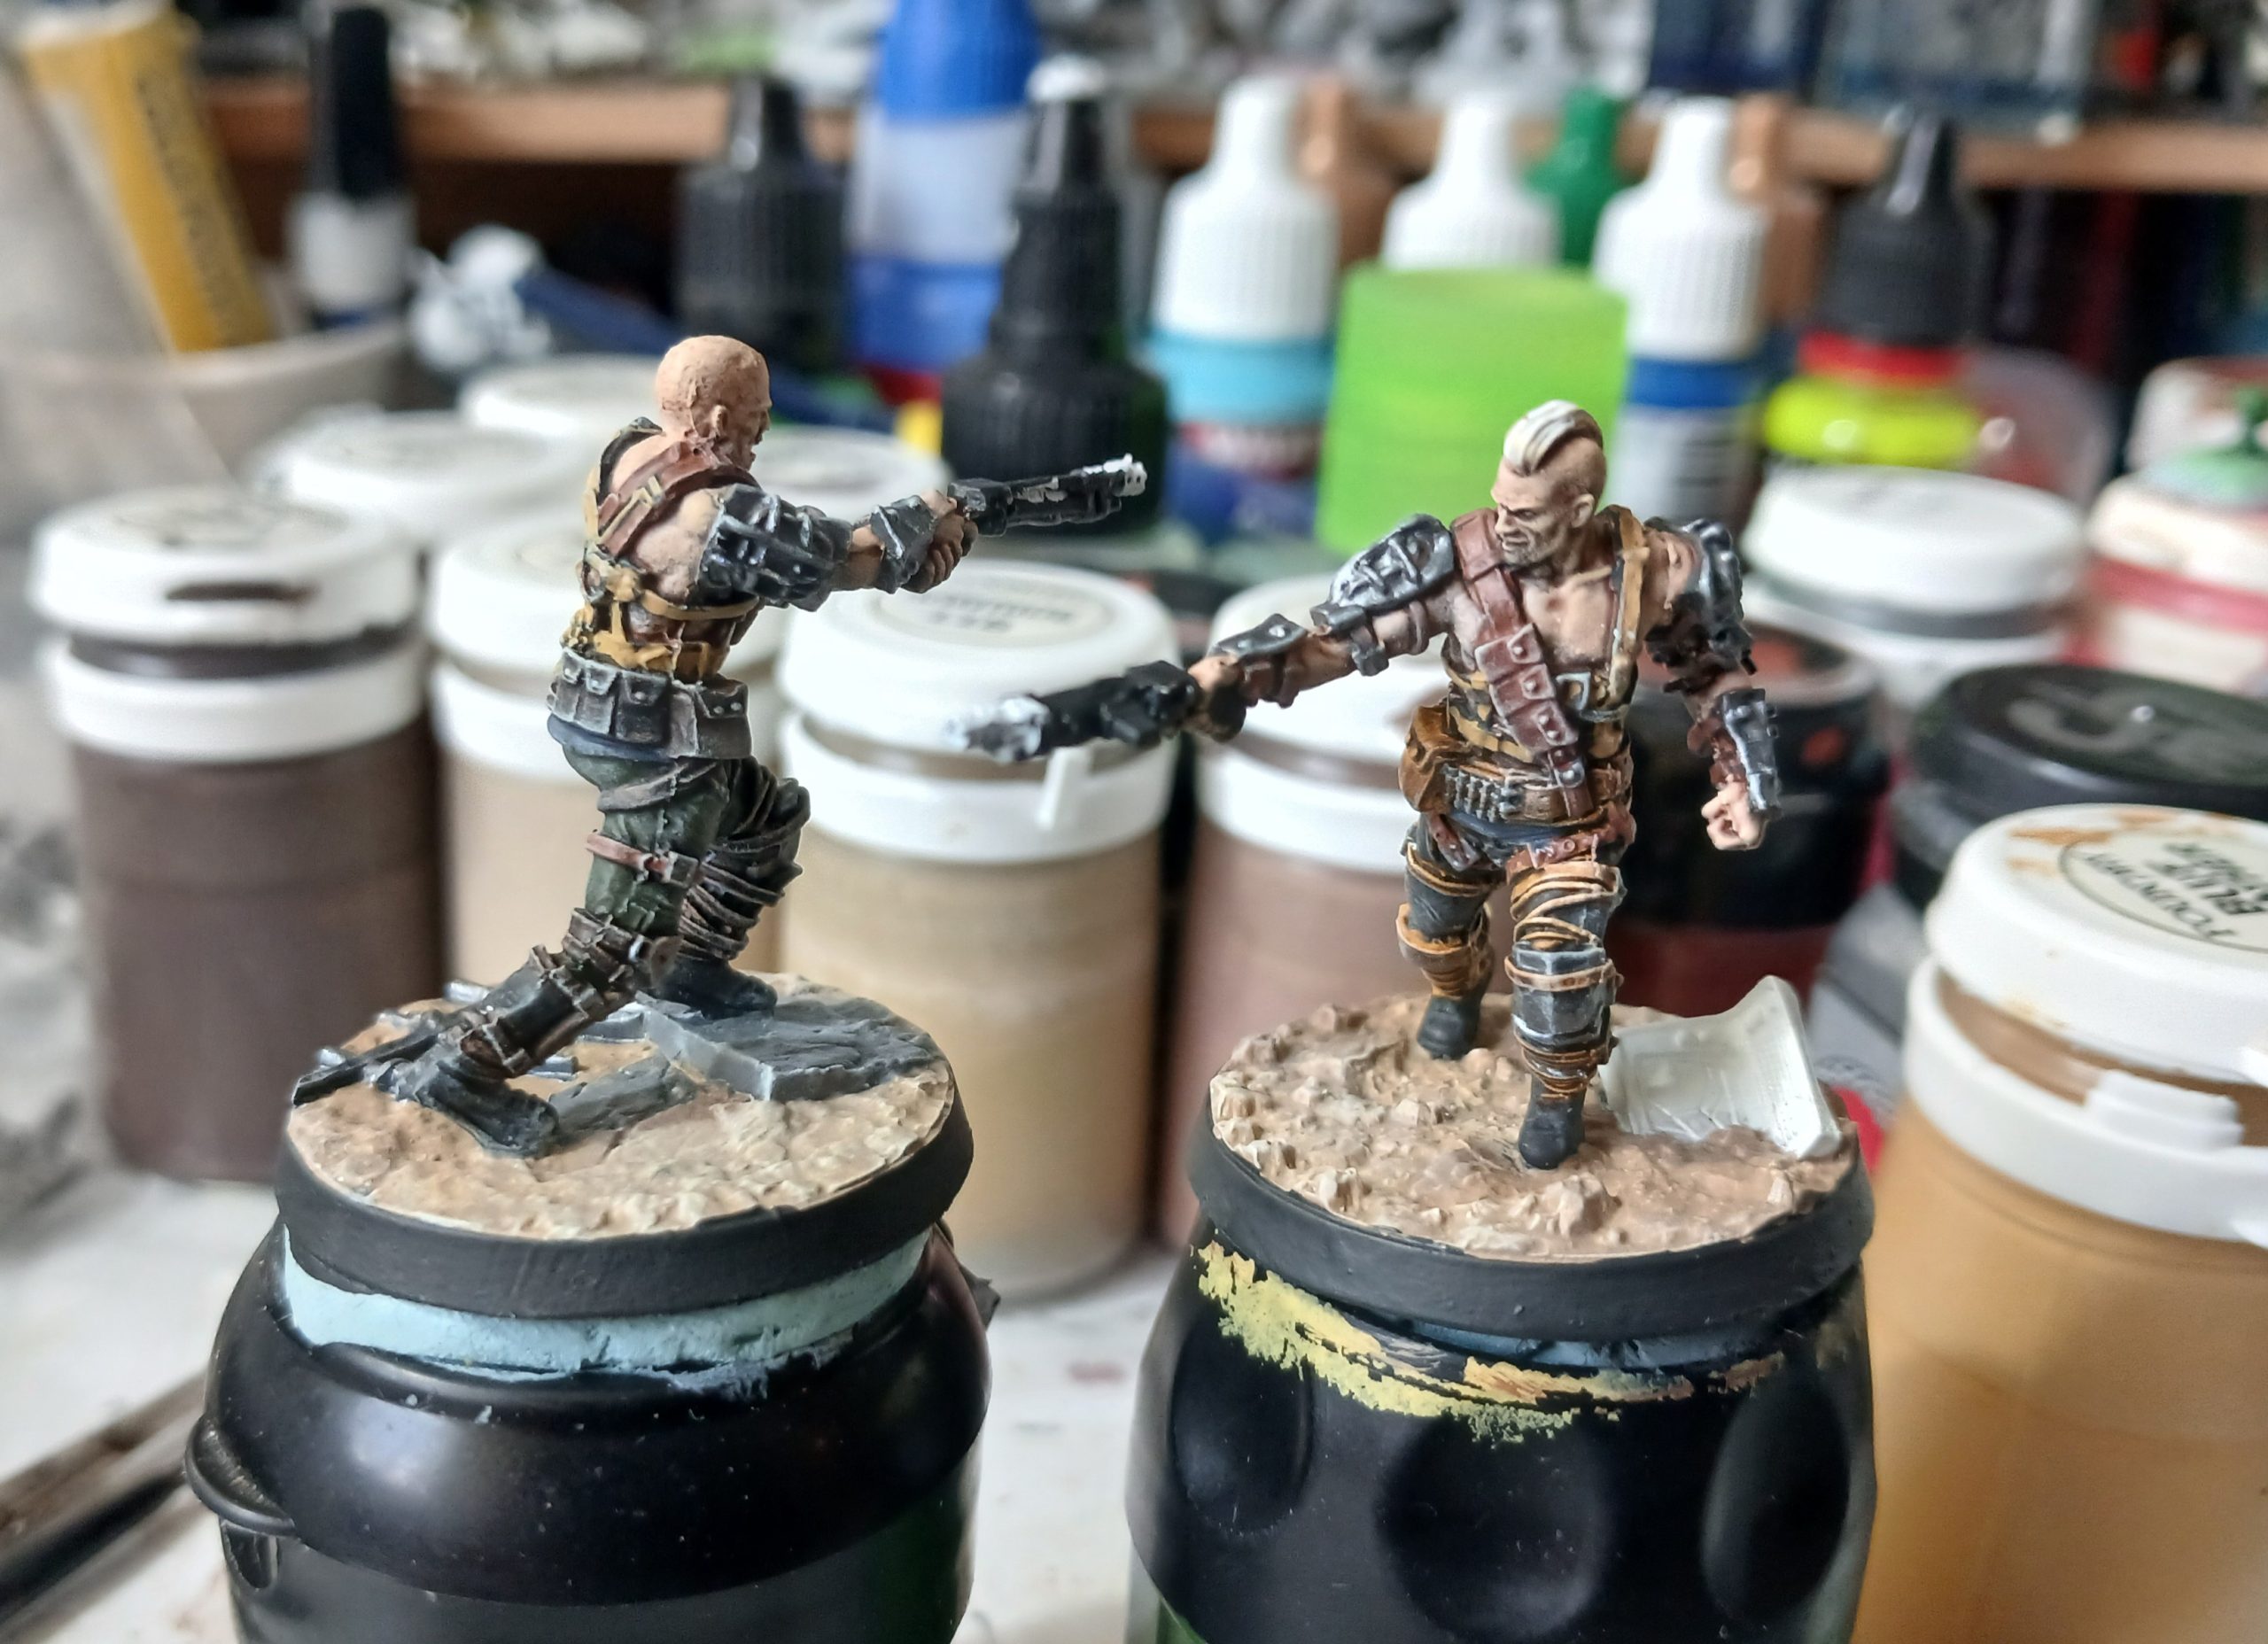
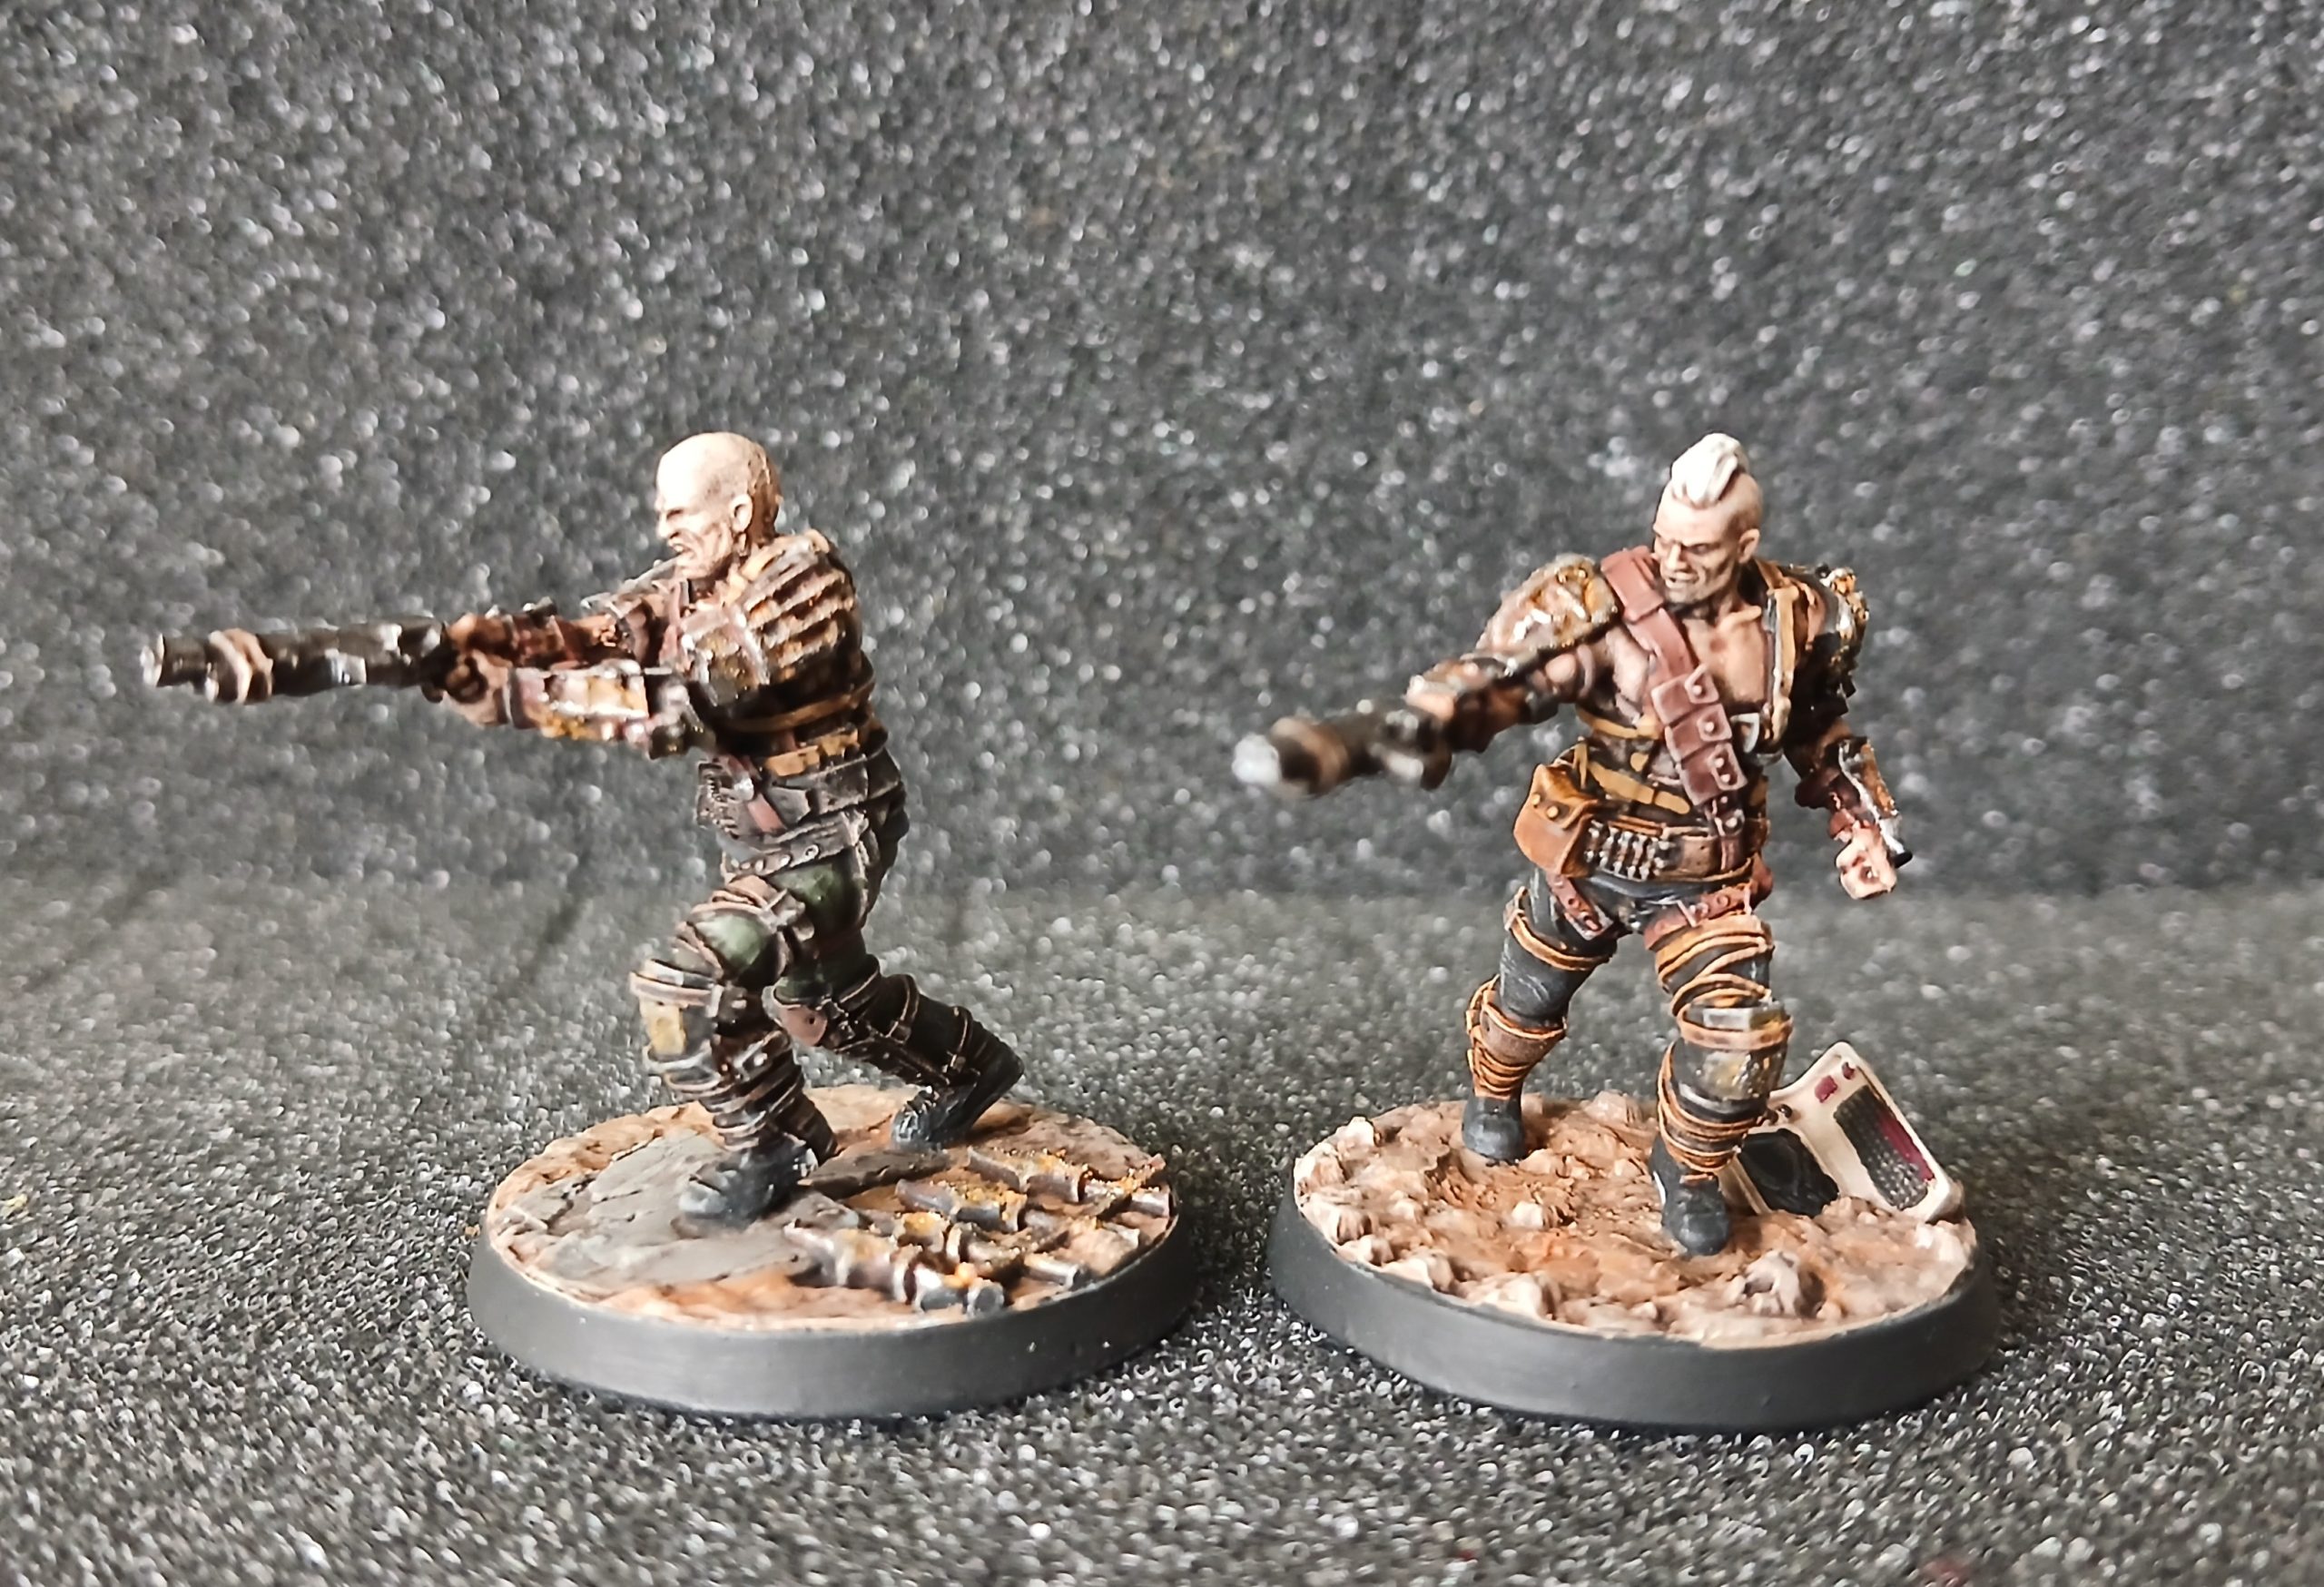
I gave them an overall agrax wash, re highlighted sections, picked out some details and added rust and weathering to the metal armour plates.
Detailed the bases, also adding in some different tones to add interest, and they were done.

![Sneak About With Star Wars: Legion’s Guerilla Troopers & More [UPDATED]](https://images.beastsofwar.com/2026/09/g-troops-star-wars-cover-600-338.jpg)