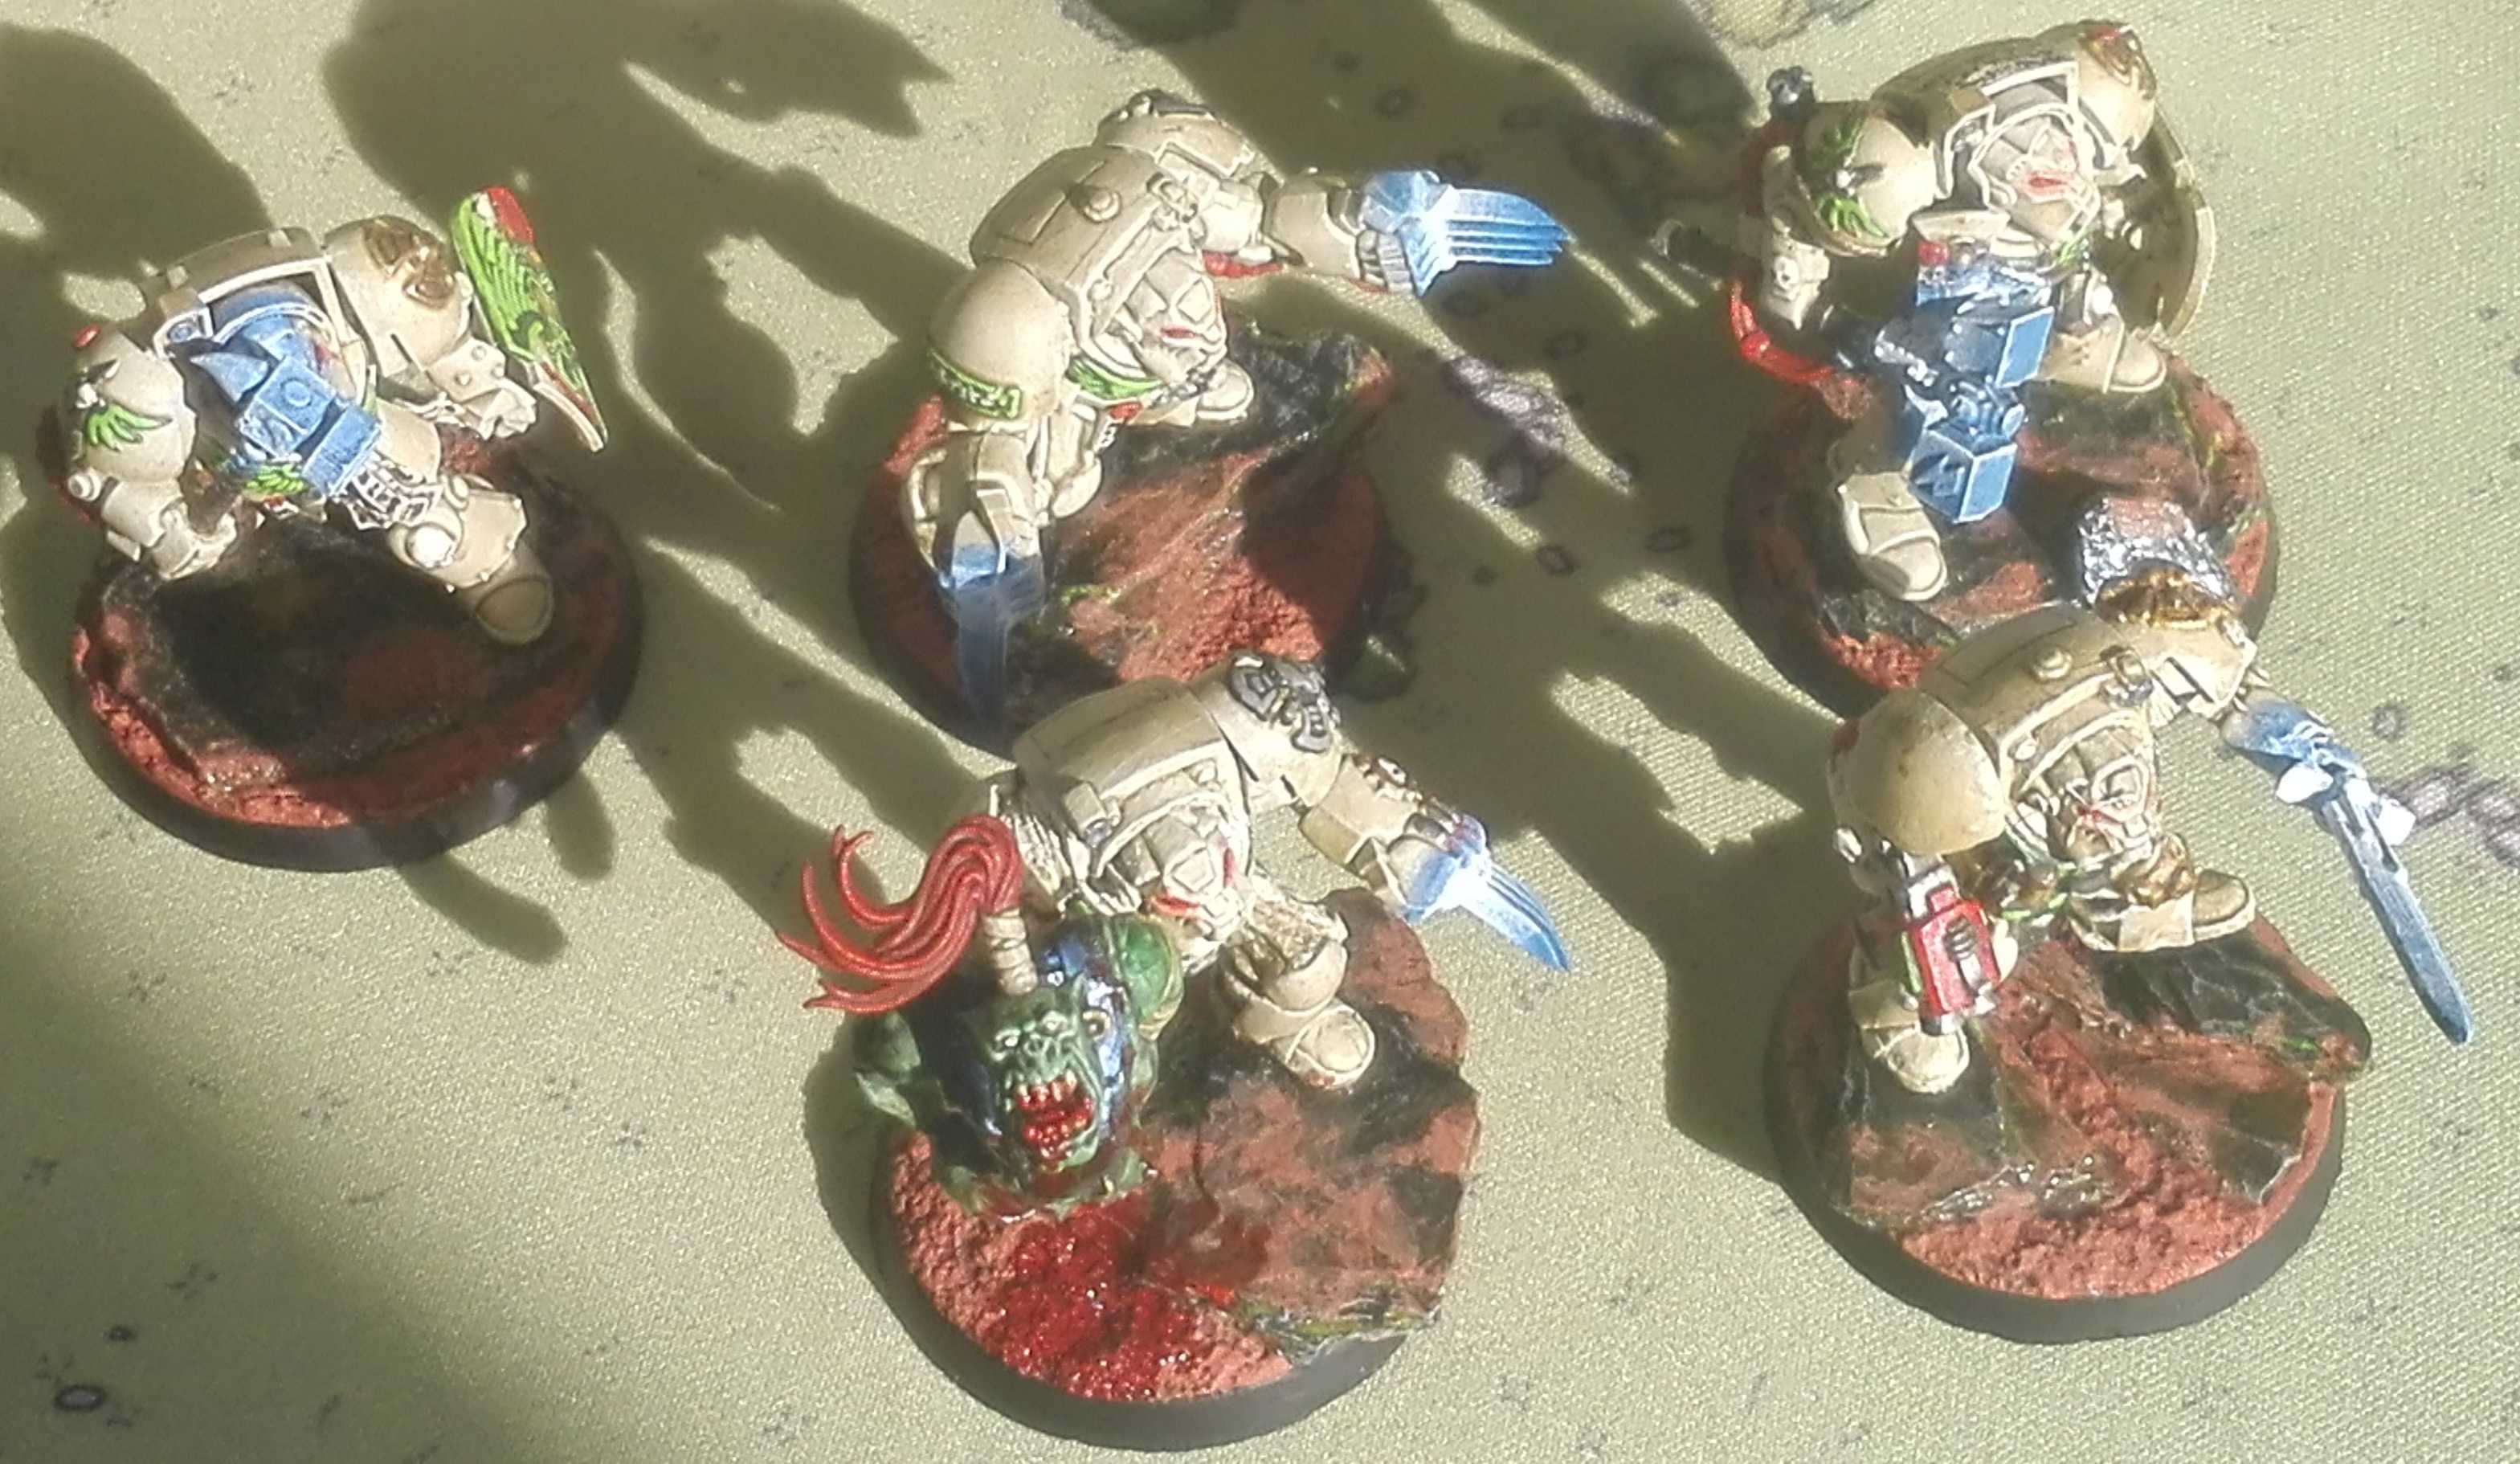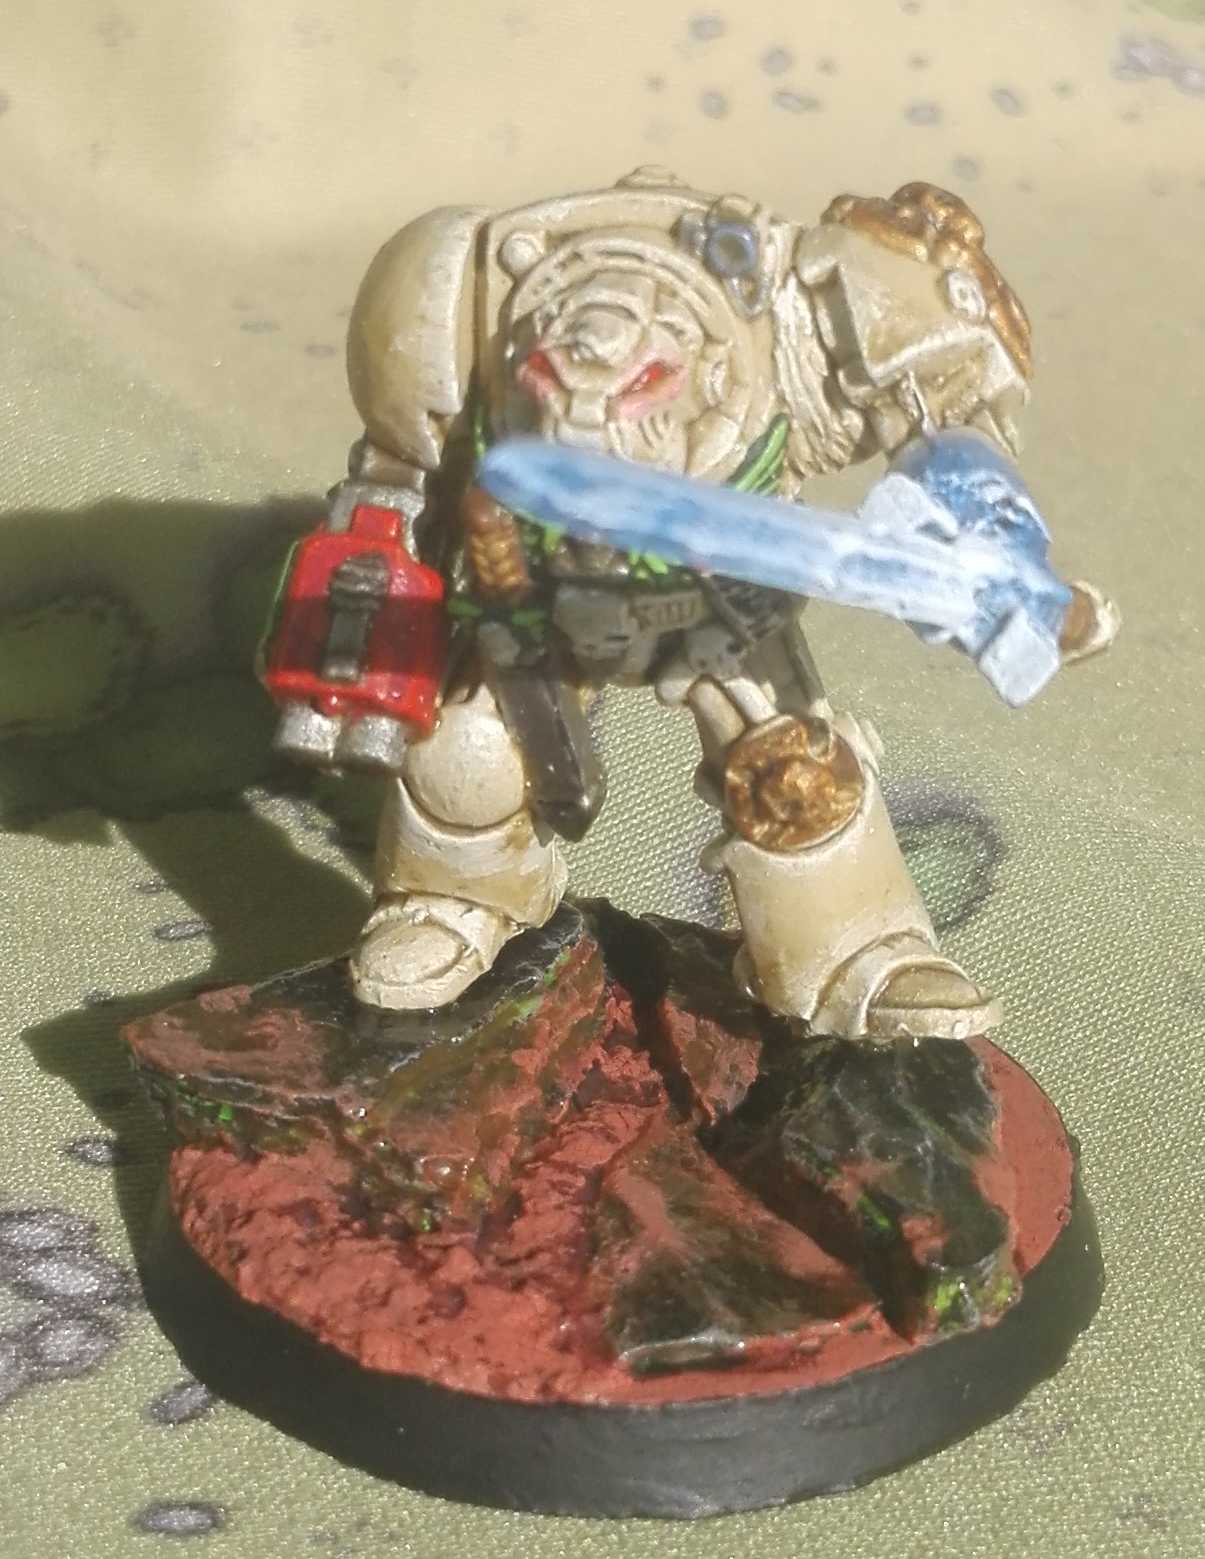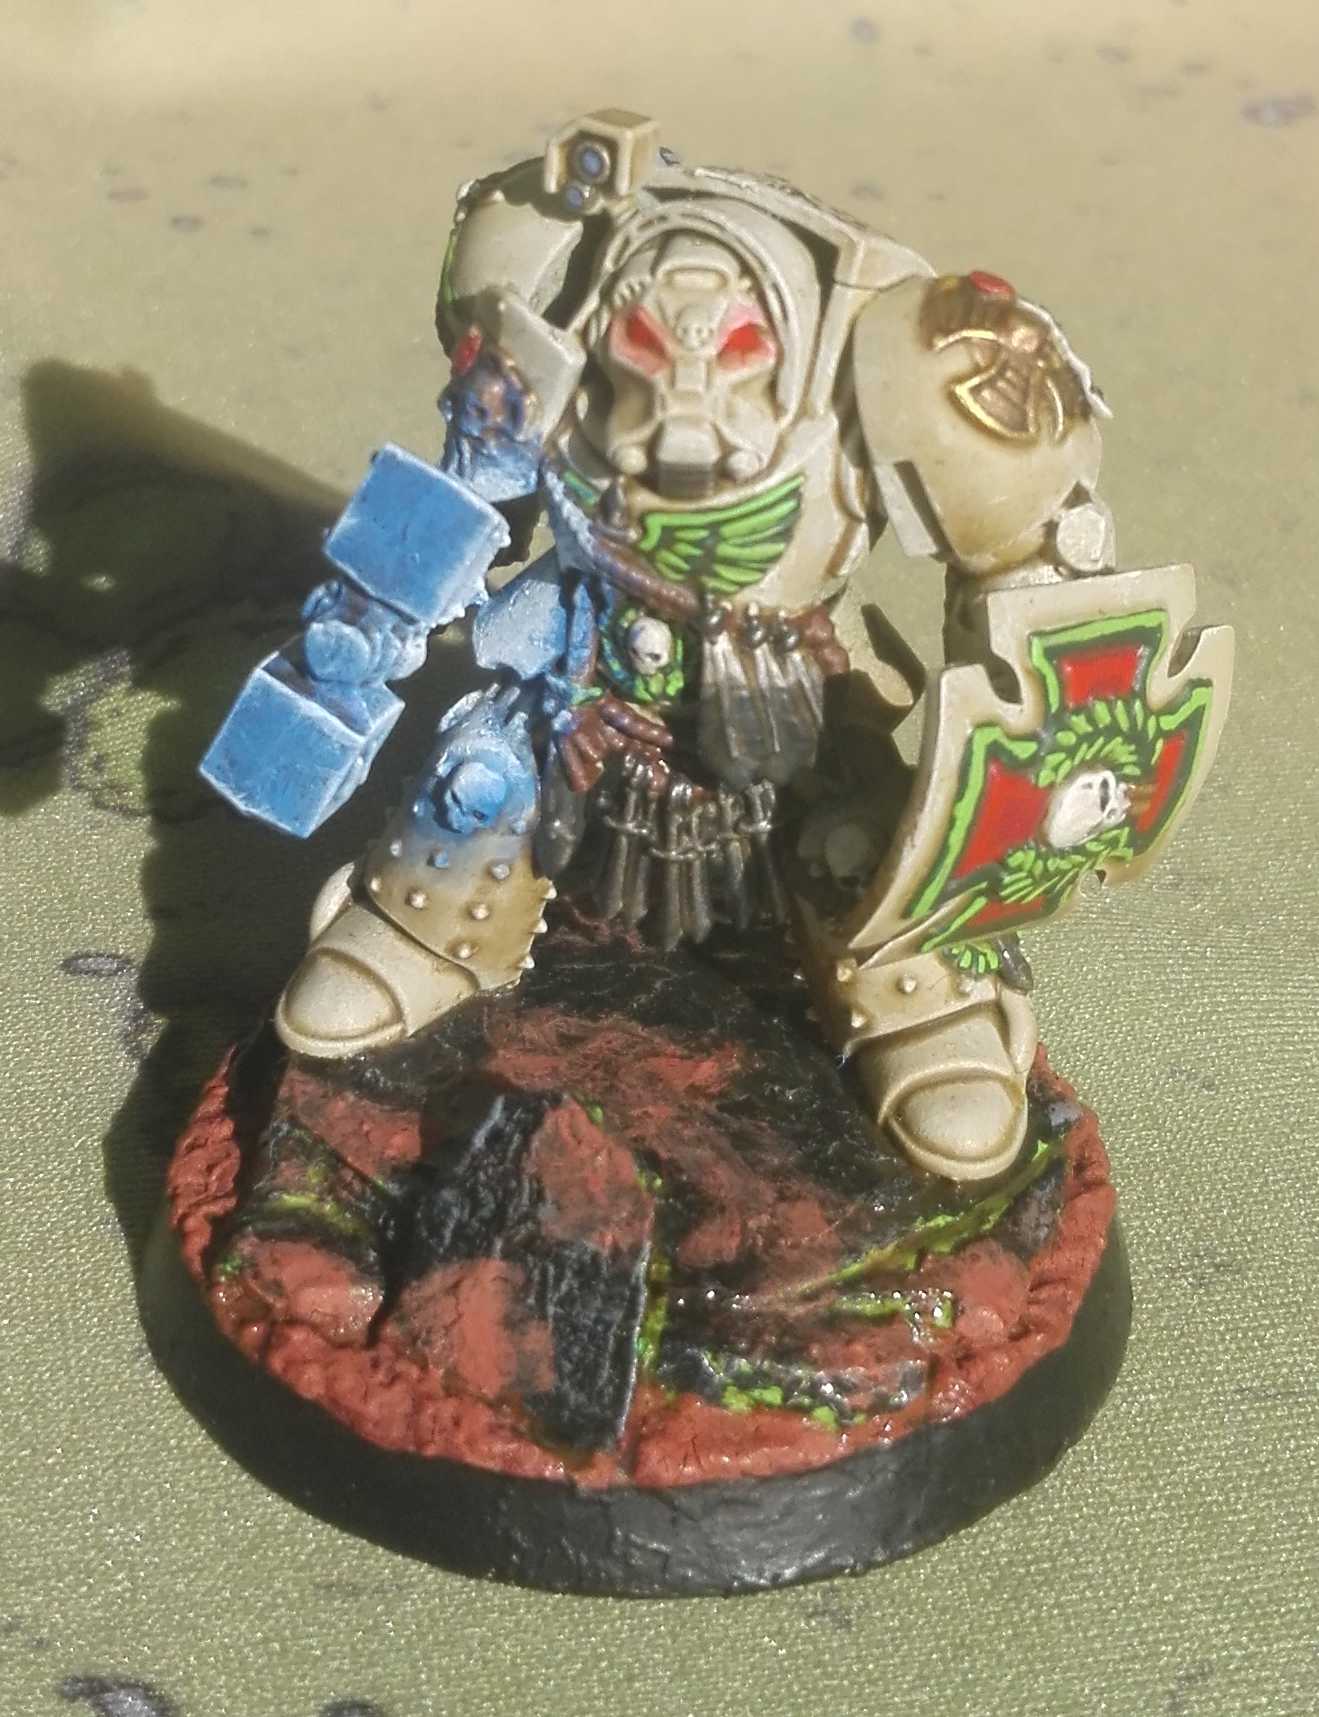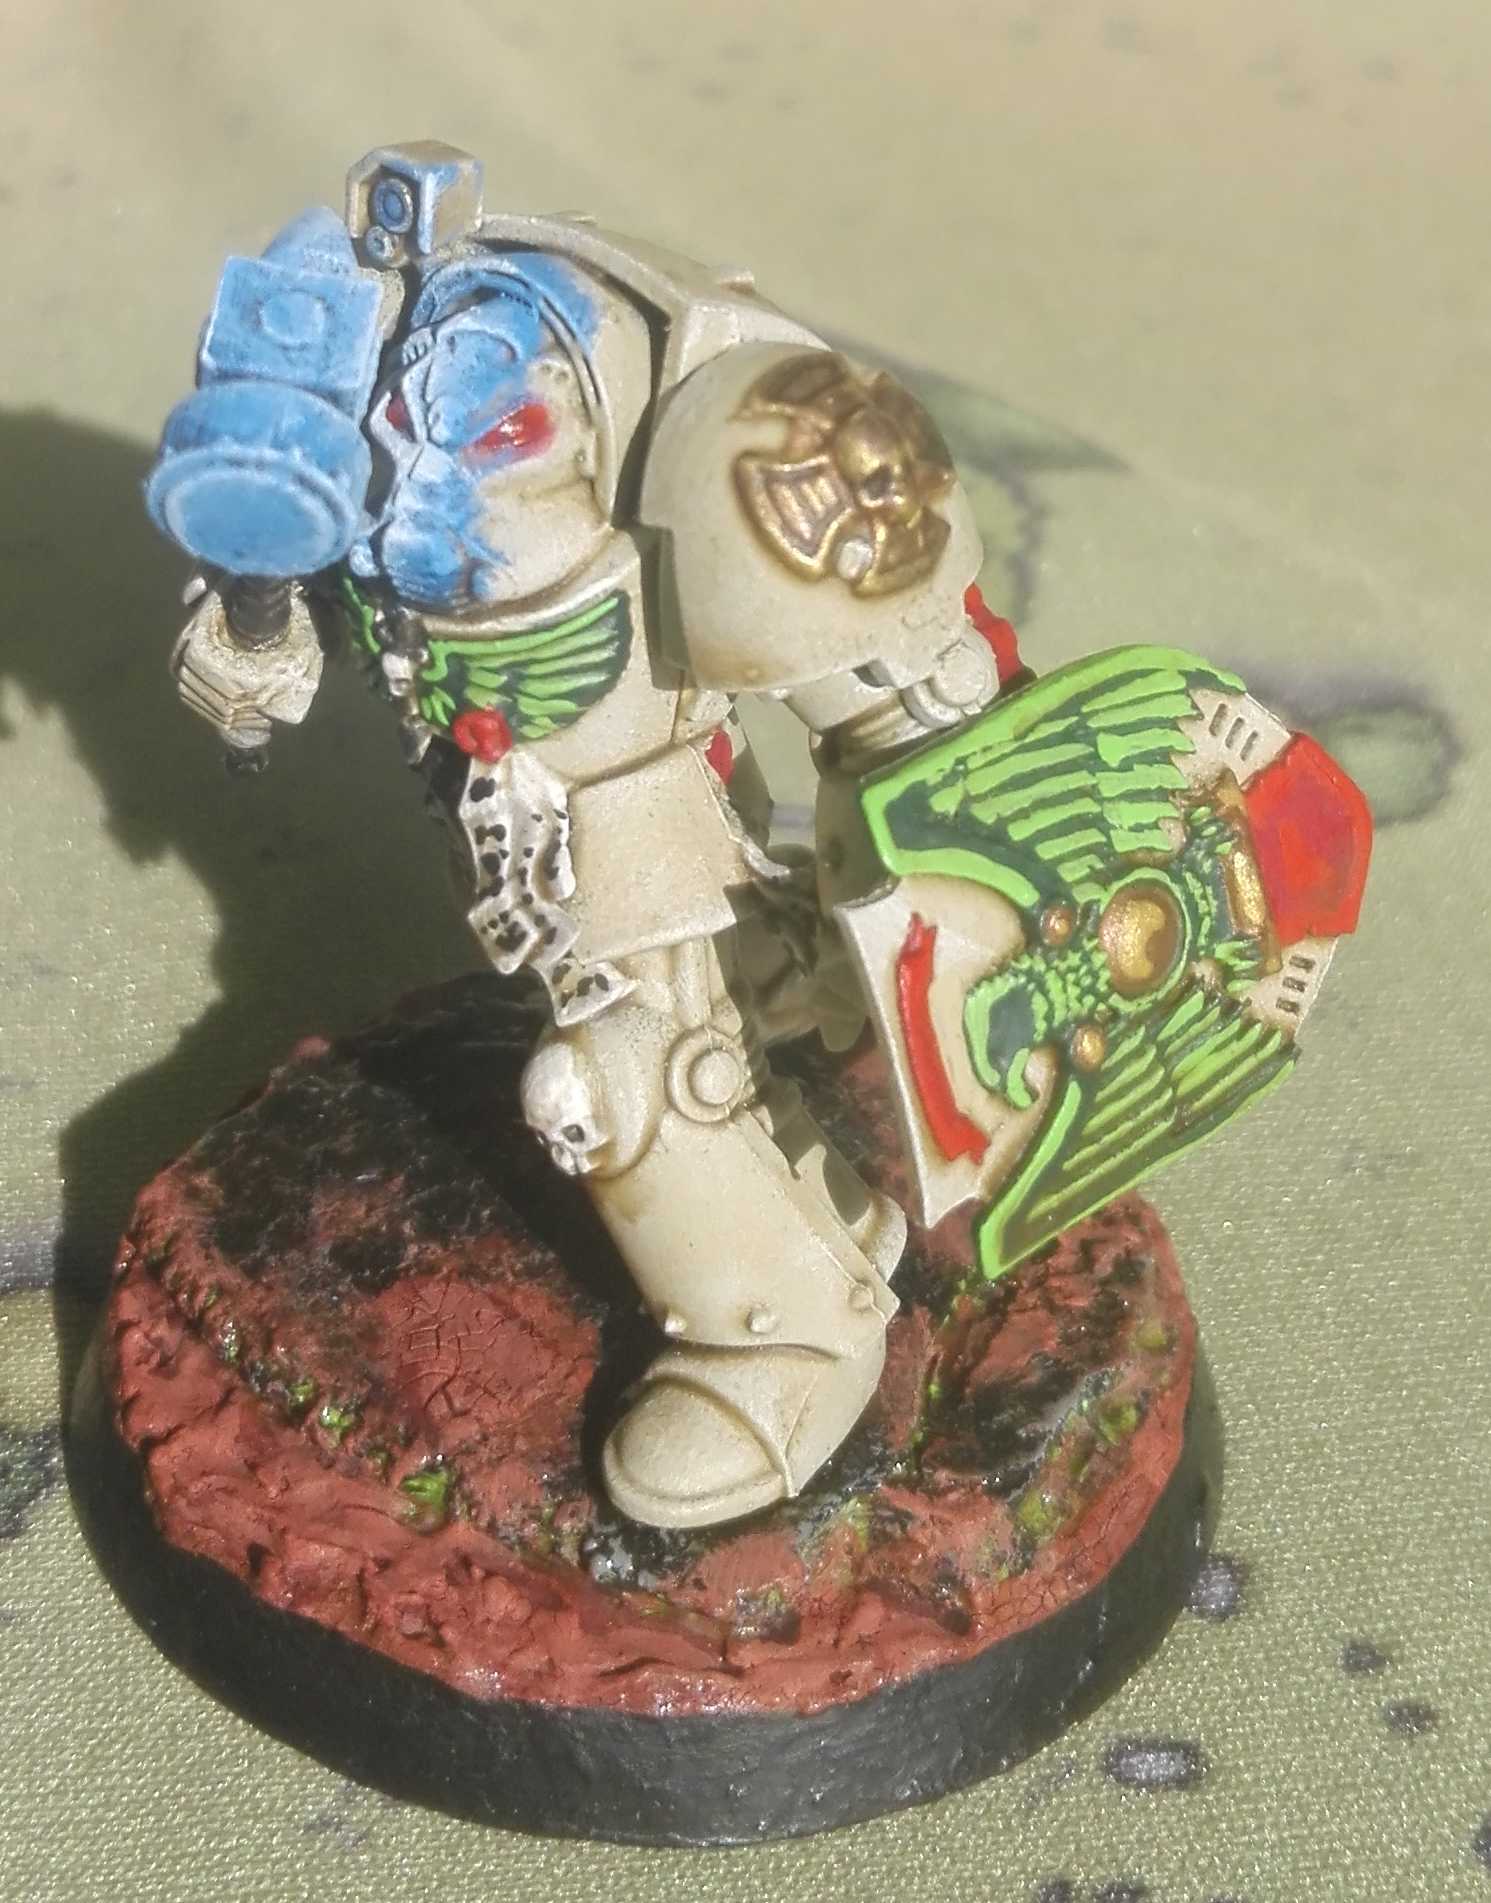






40k Deathwing Terminators by Bothi



Recommendations: 239
About the Project
A buddy and I challenged each other to paint 500pts (or 25 power) of 40k every 6 weeks. We would do this 4 times so we each end up with a 2000 pts (or 100 power) 40k army. We call these iterations blocks. After each block we would meet up and have a game with all the minis we painted so far and possibly the minis for the next block.
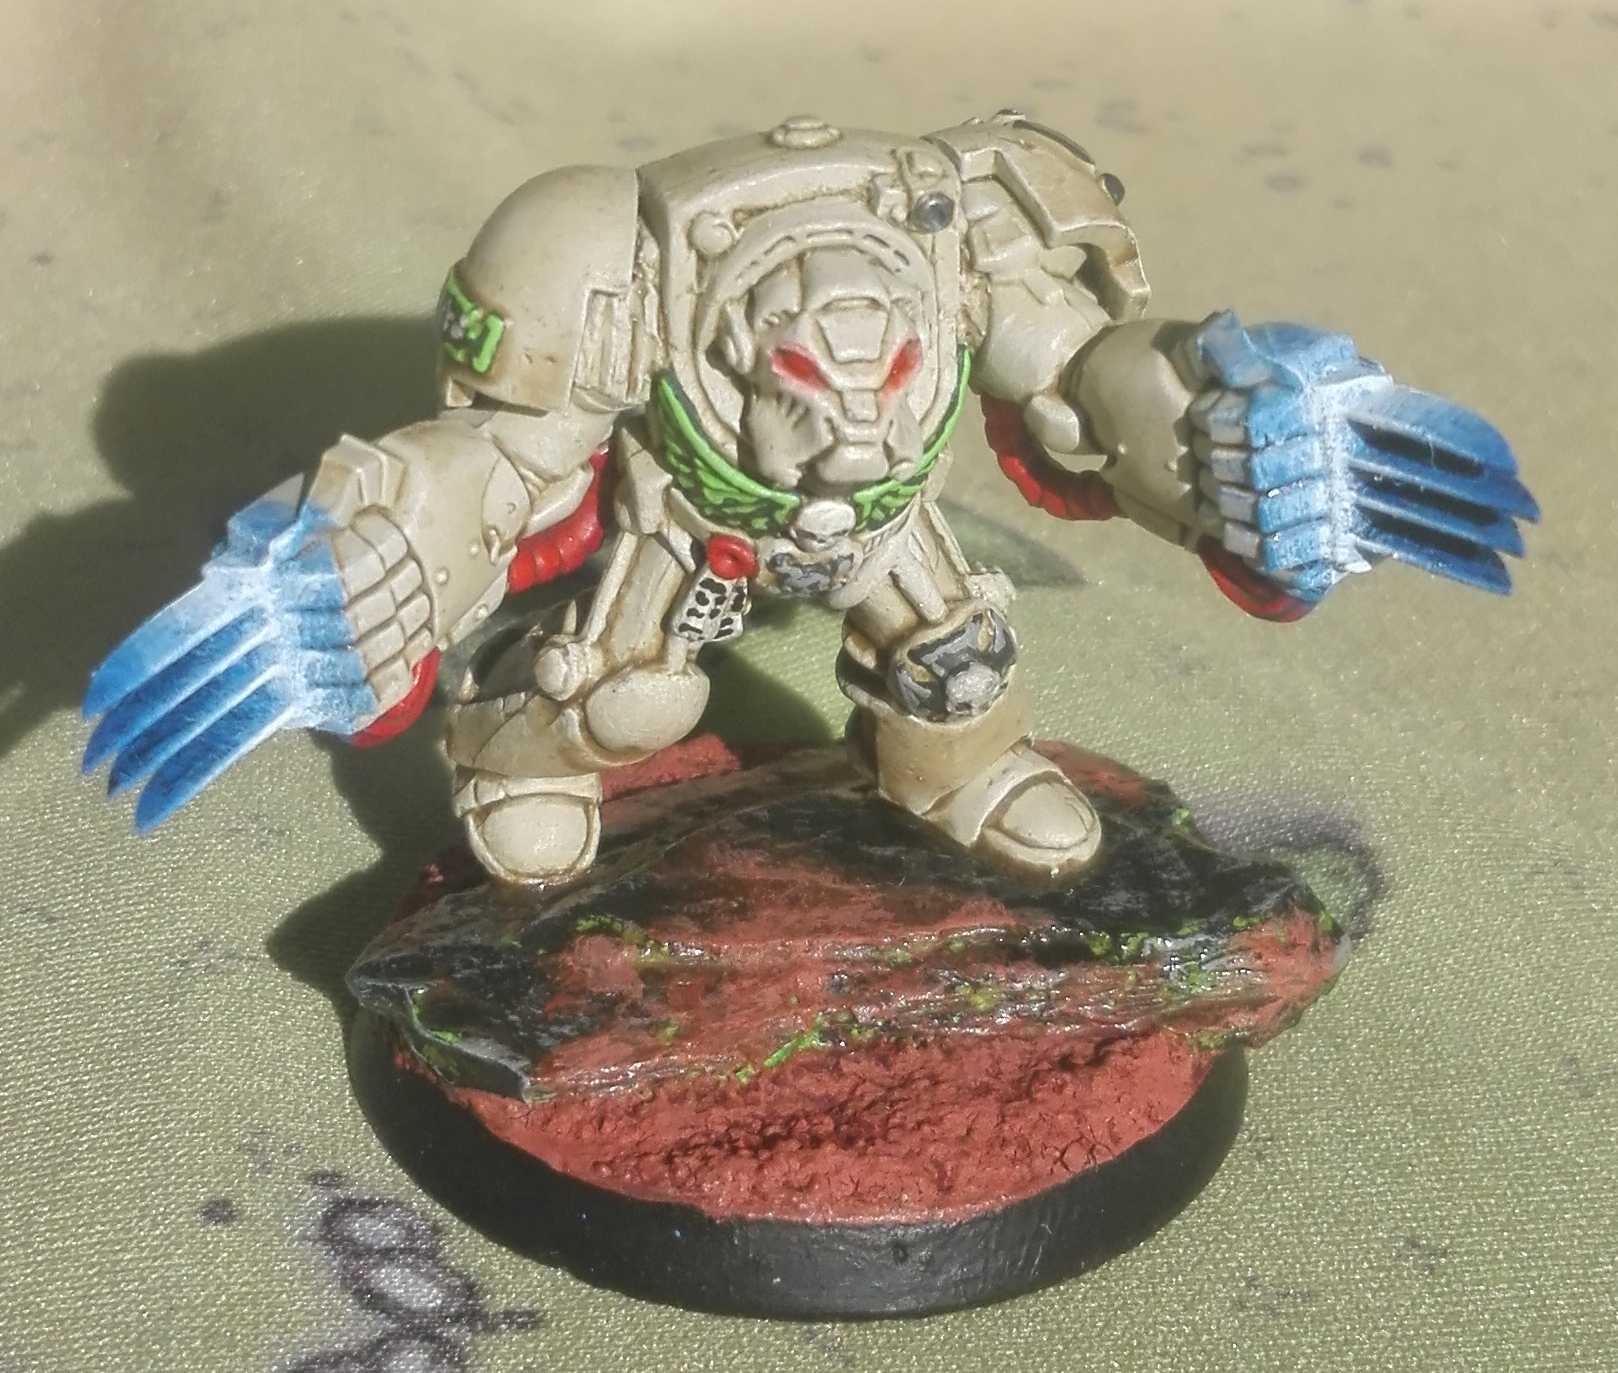
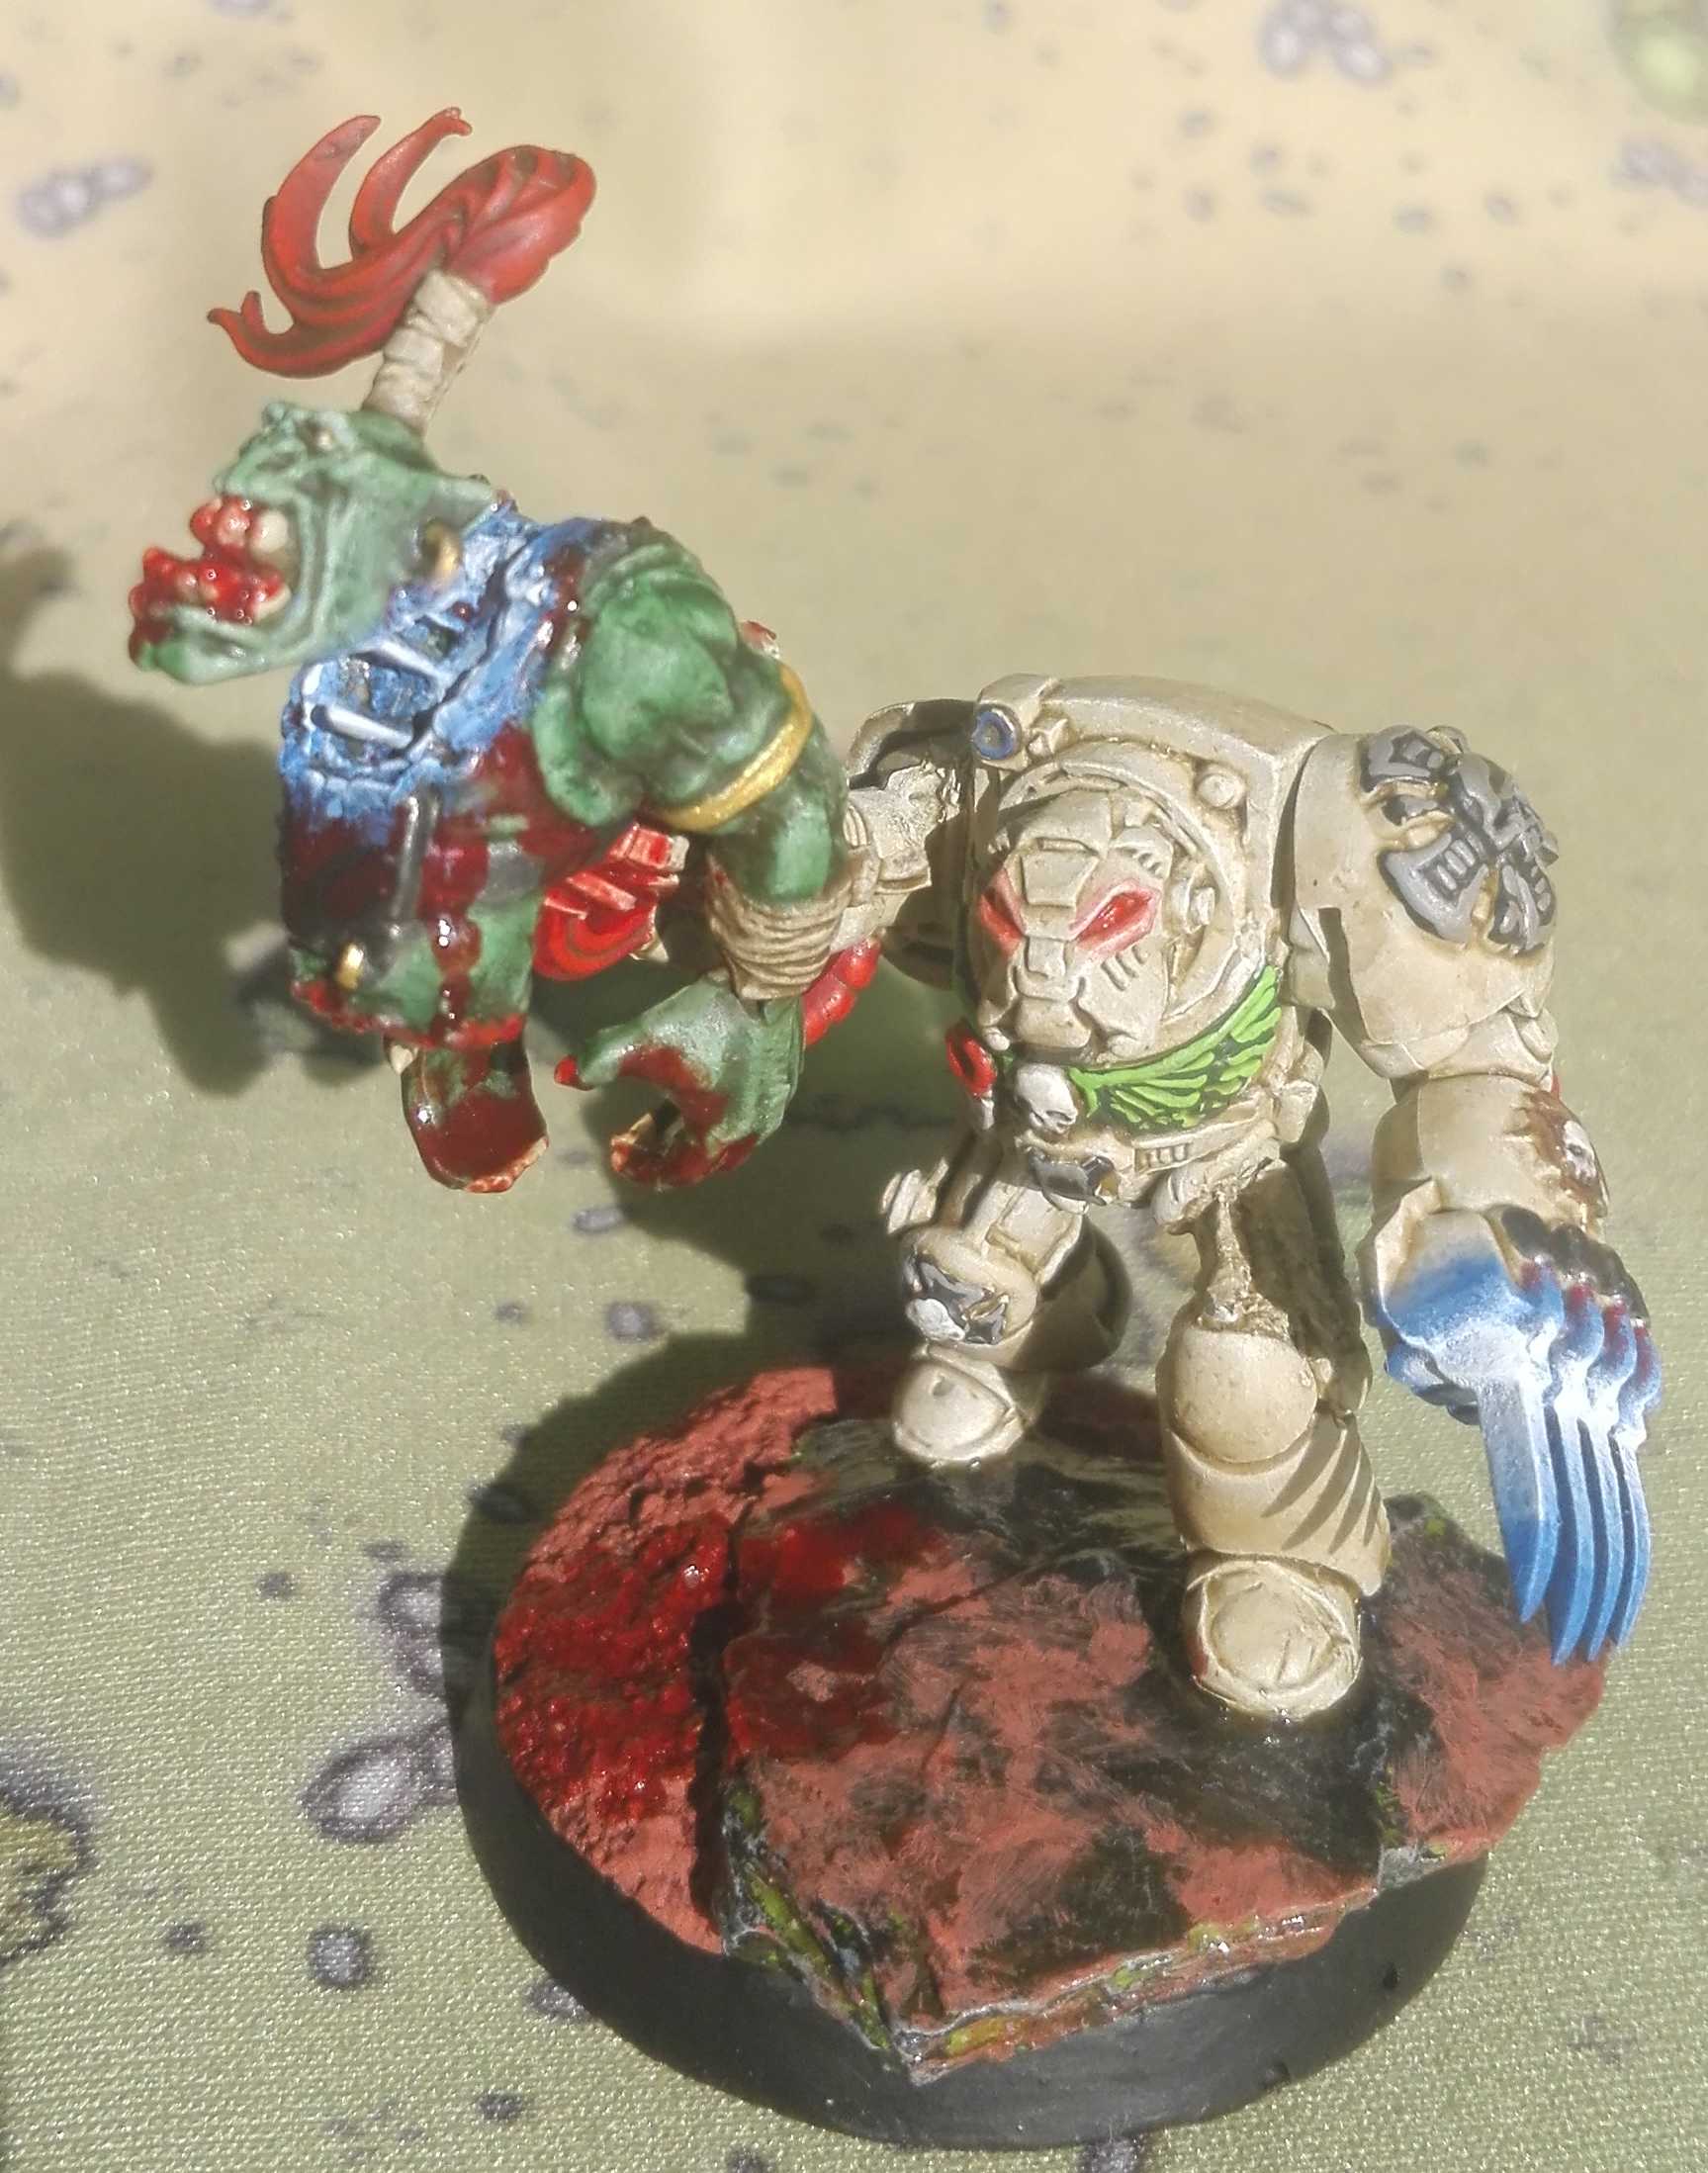
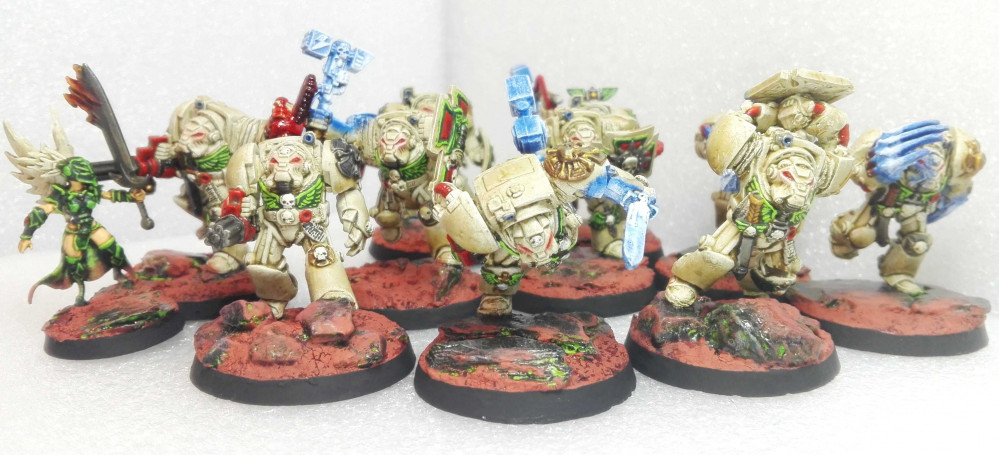
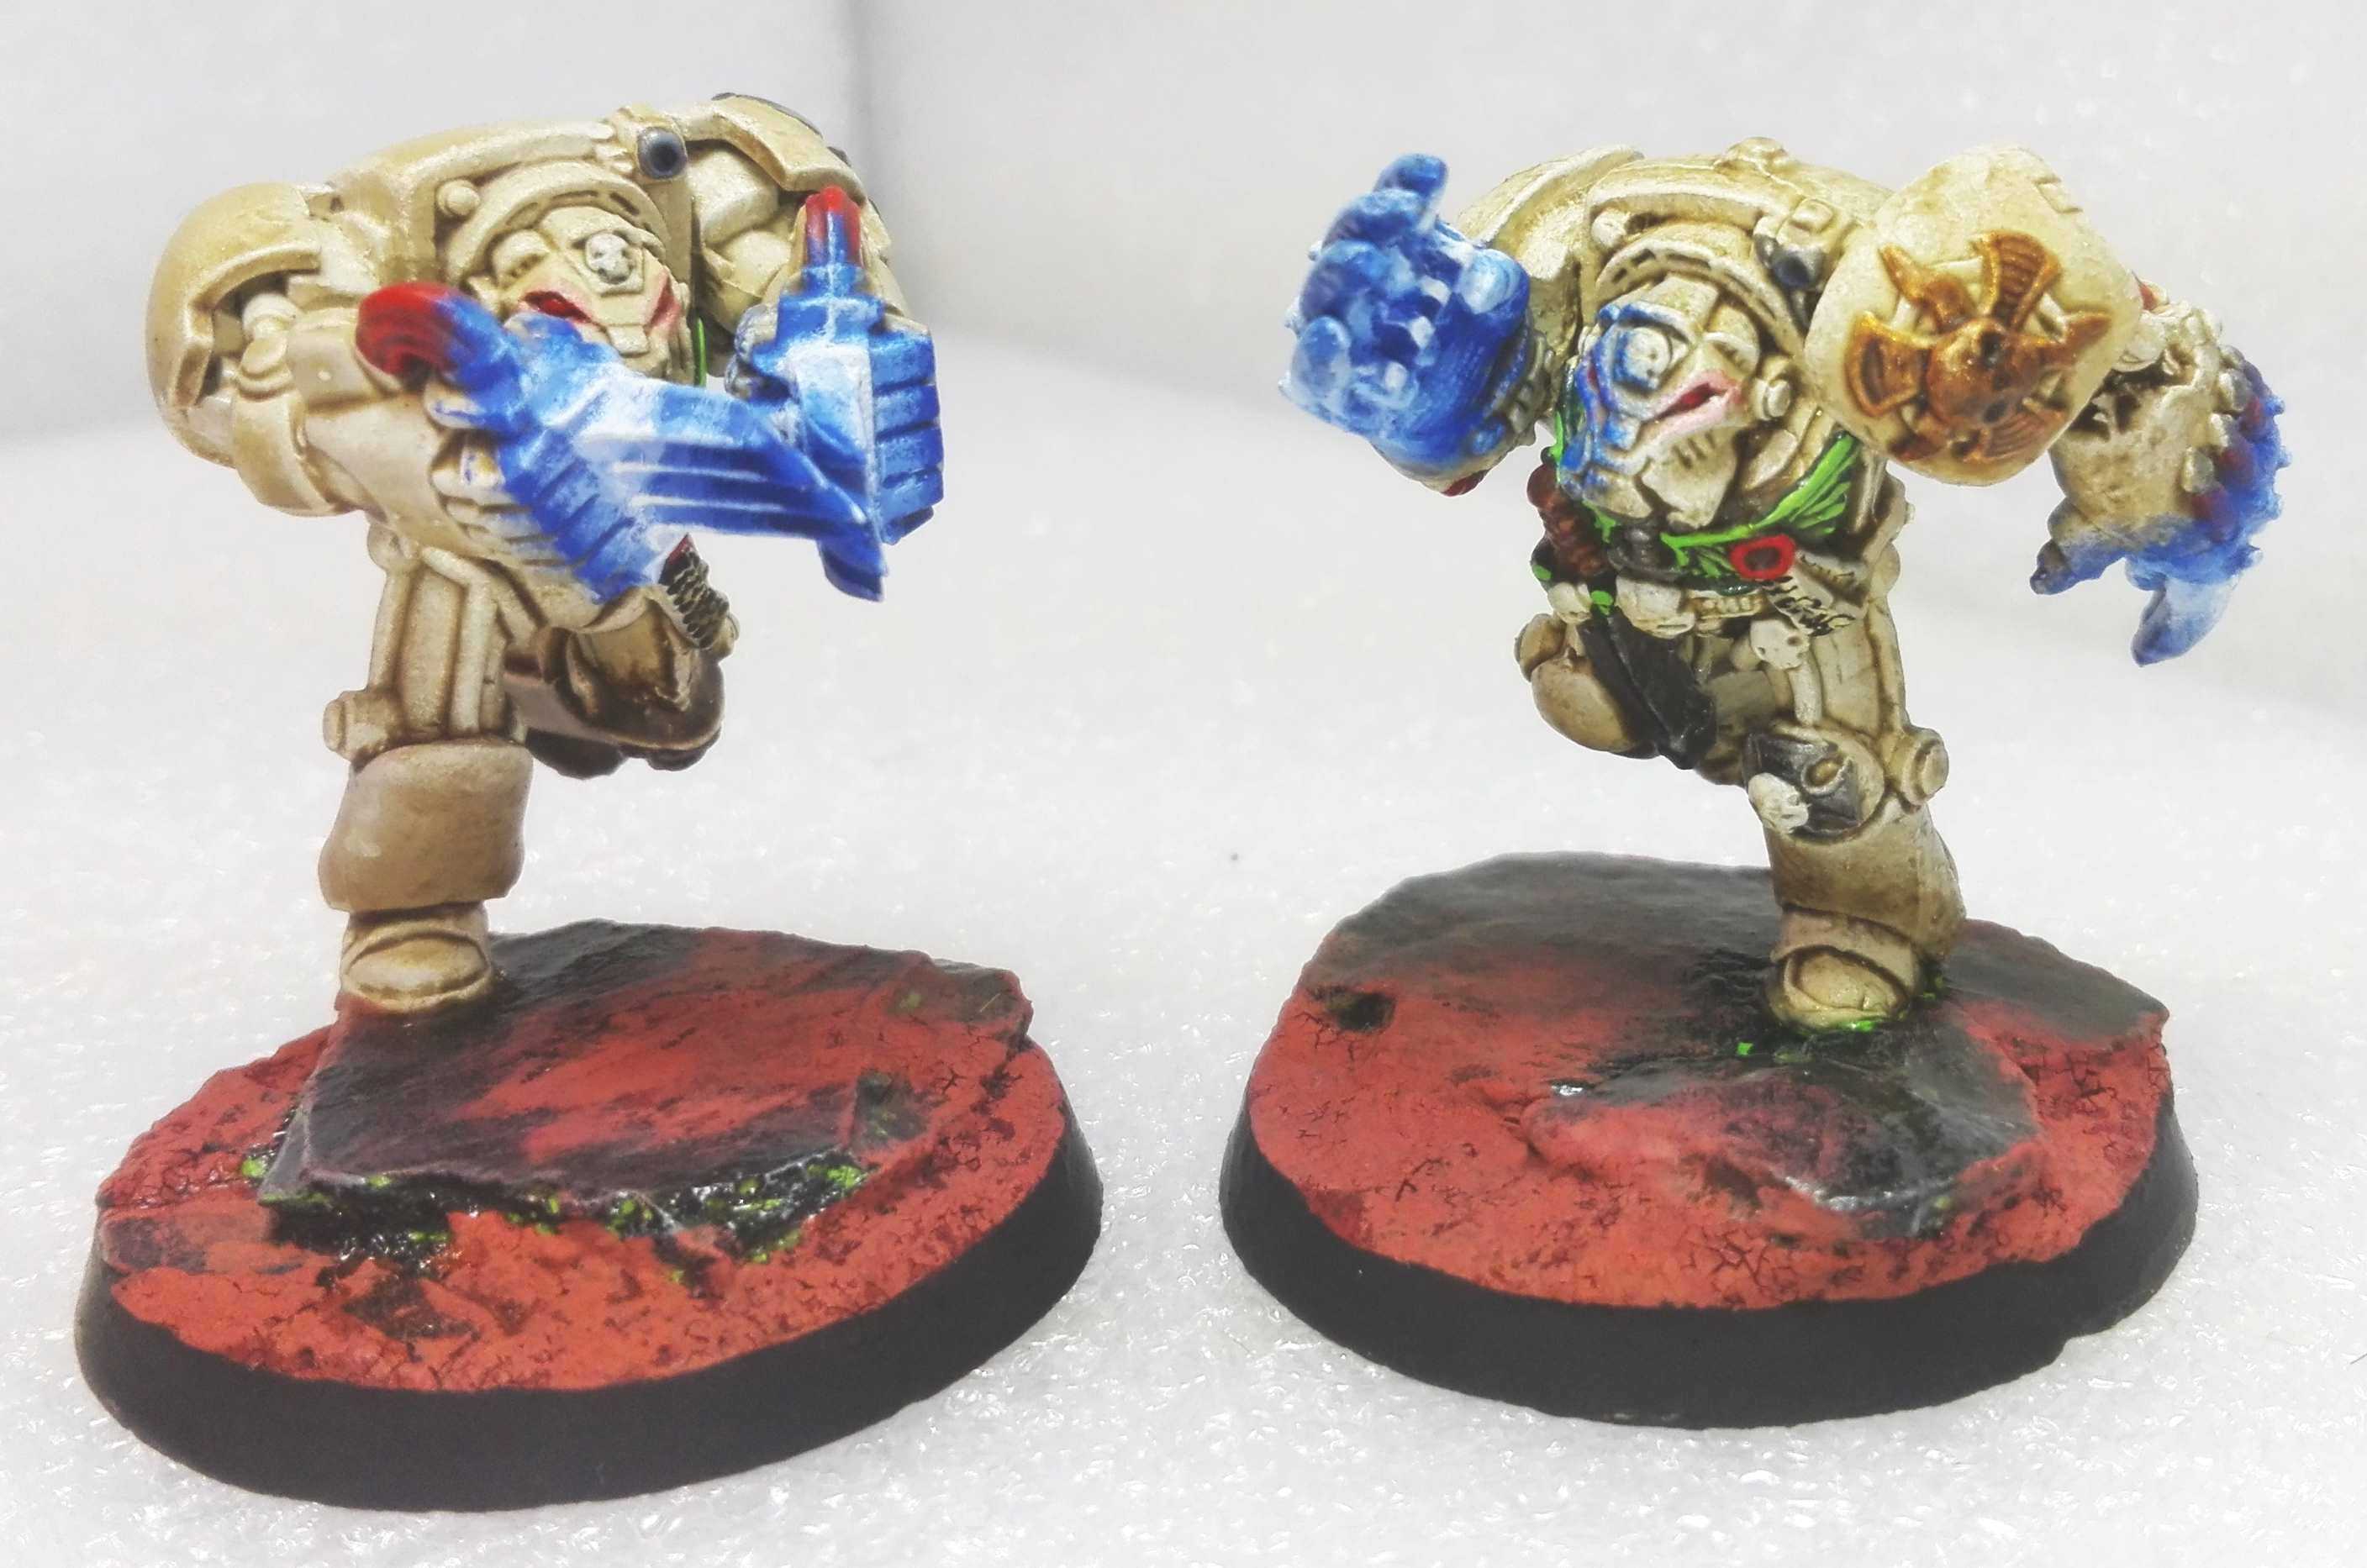
I decided to finally paint my 10 years old Deathwing Terminators and my buddy went for his Thousand Sons. A lot of my models are actually from the second edition from 40k and are full metal. I did a lot of rework on these bringing them into more dynamic poses. And of course everything was rebased from those 25mm bases.
Related Game: Warhammer 40,000
Related Company: Games Workshop
Related Genre: Science Fiction
This Project is Active
Pics: Friendly Games
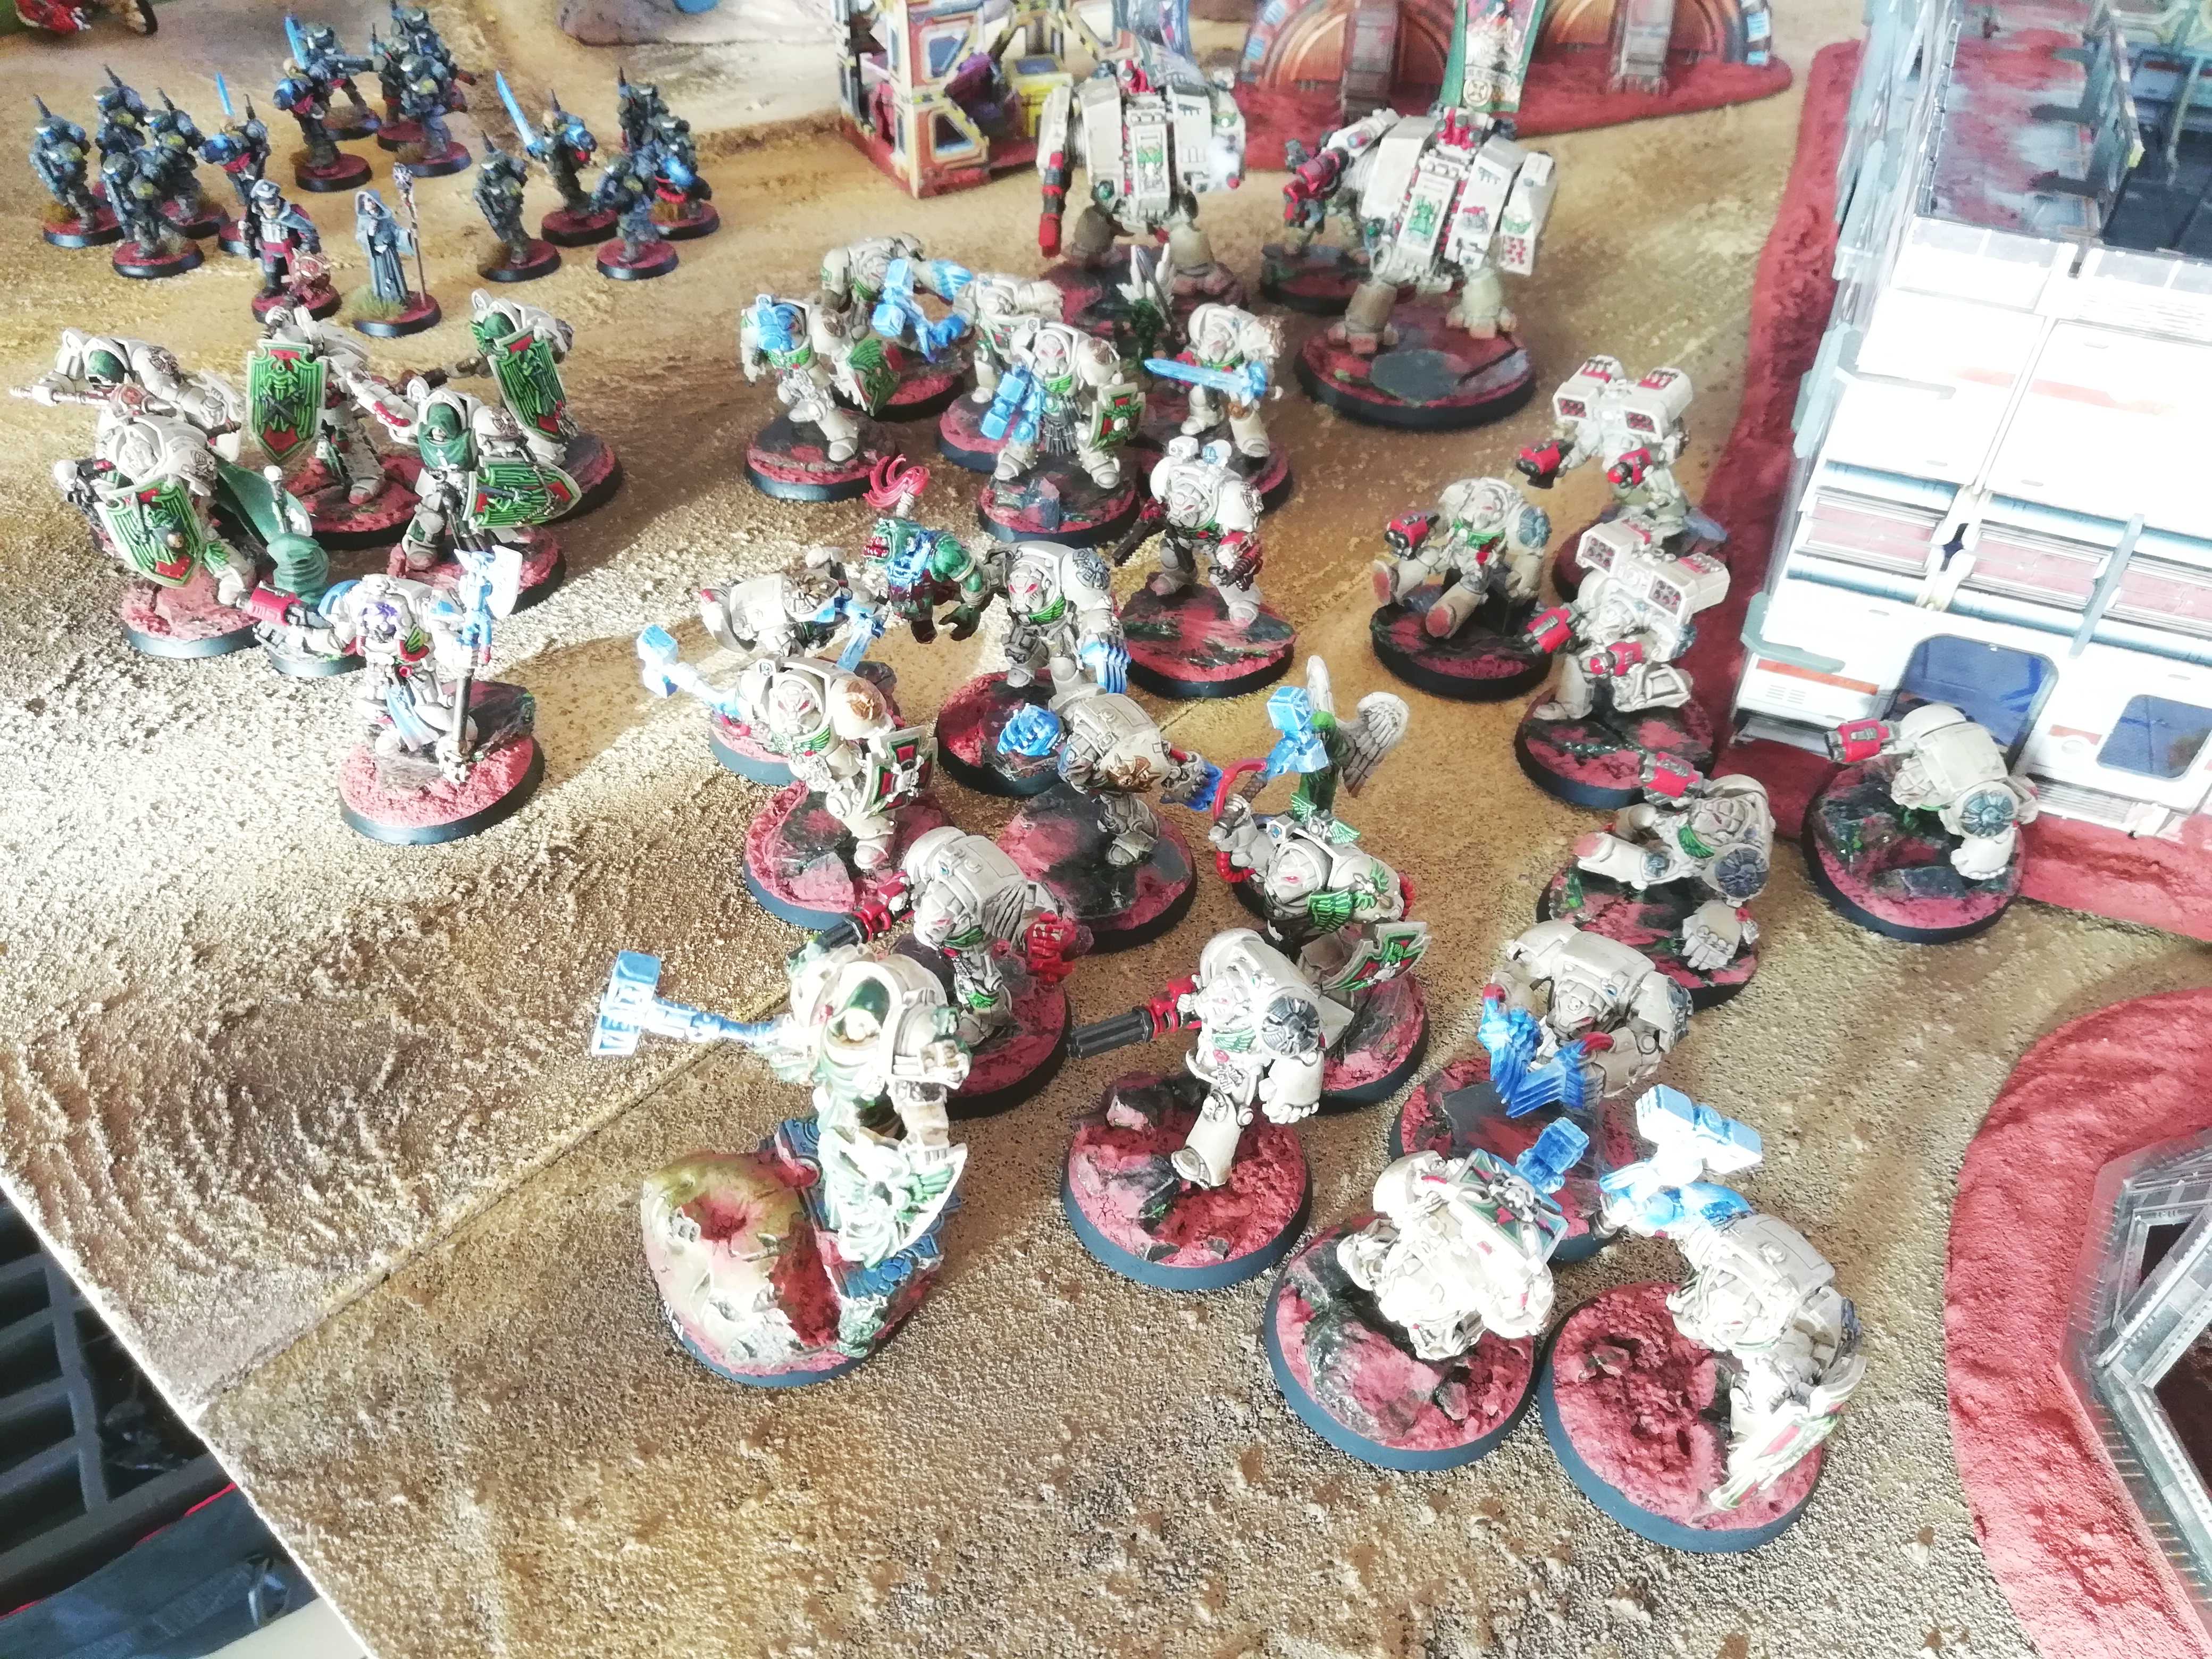
Just wanted to share some pics with you guys of this army and the minis of my speed painting challenge ( 40K-SPEEDPAINTING-CHALLENGE: A BATTALION OF KASRKIN IN ONE WEEKEND ) took after a few friendly games.
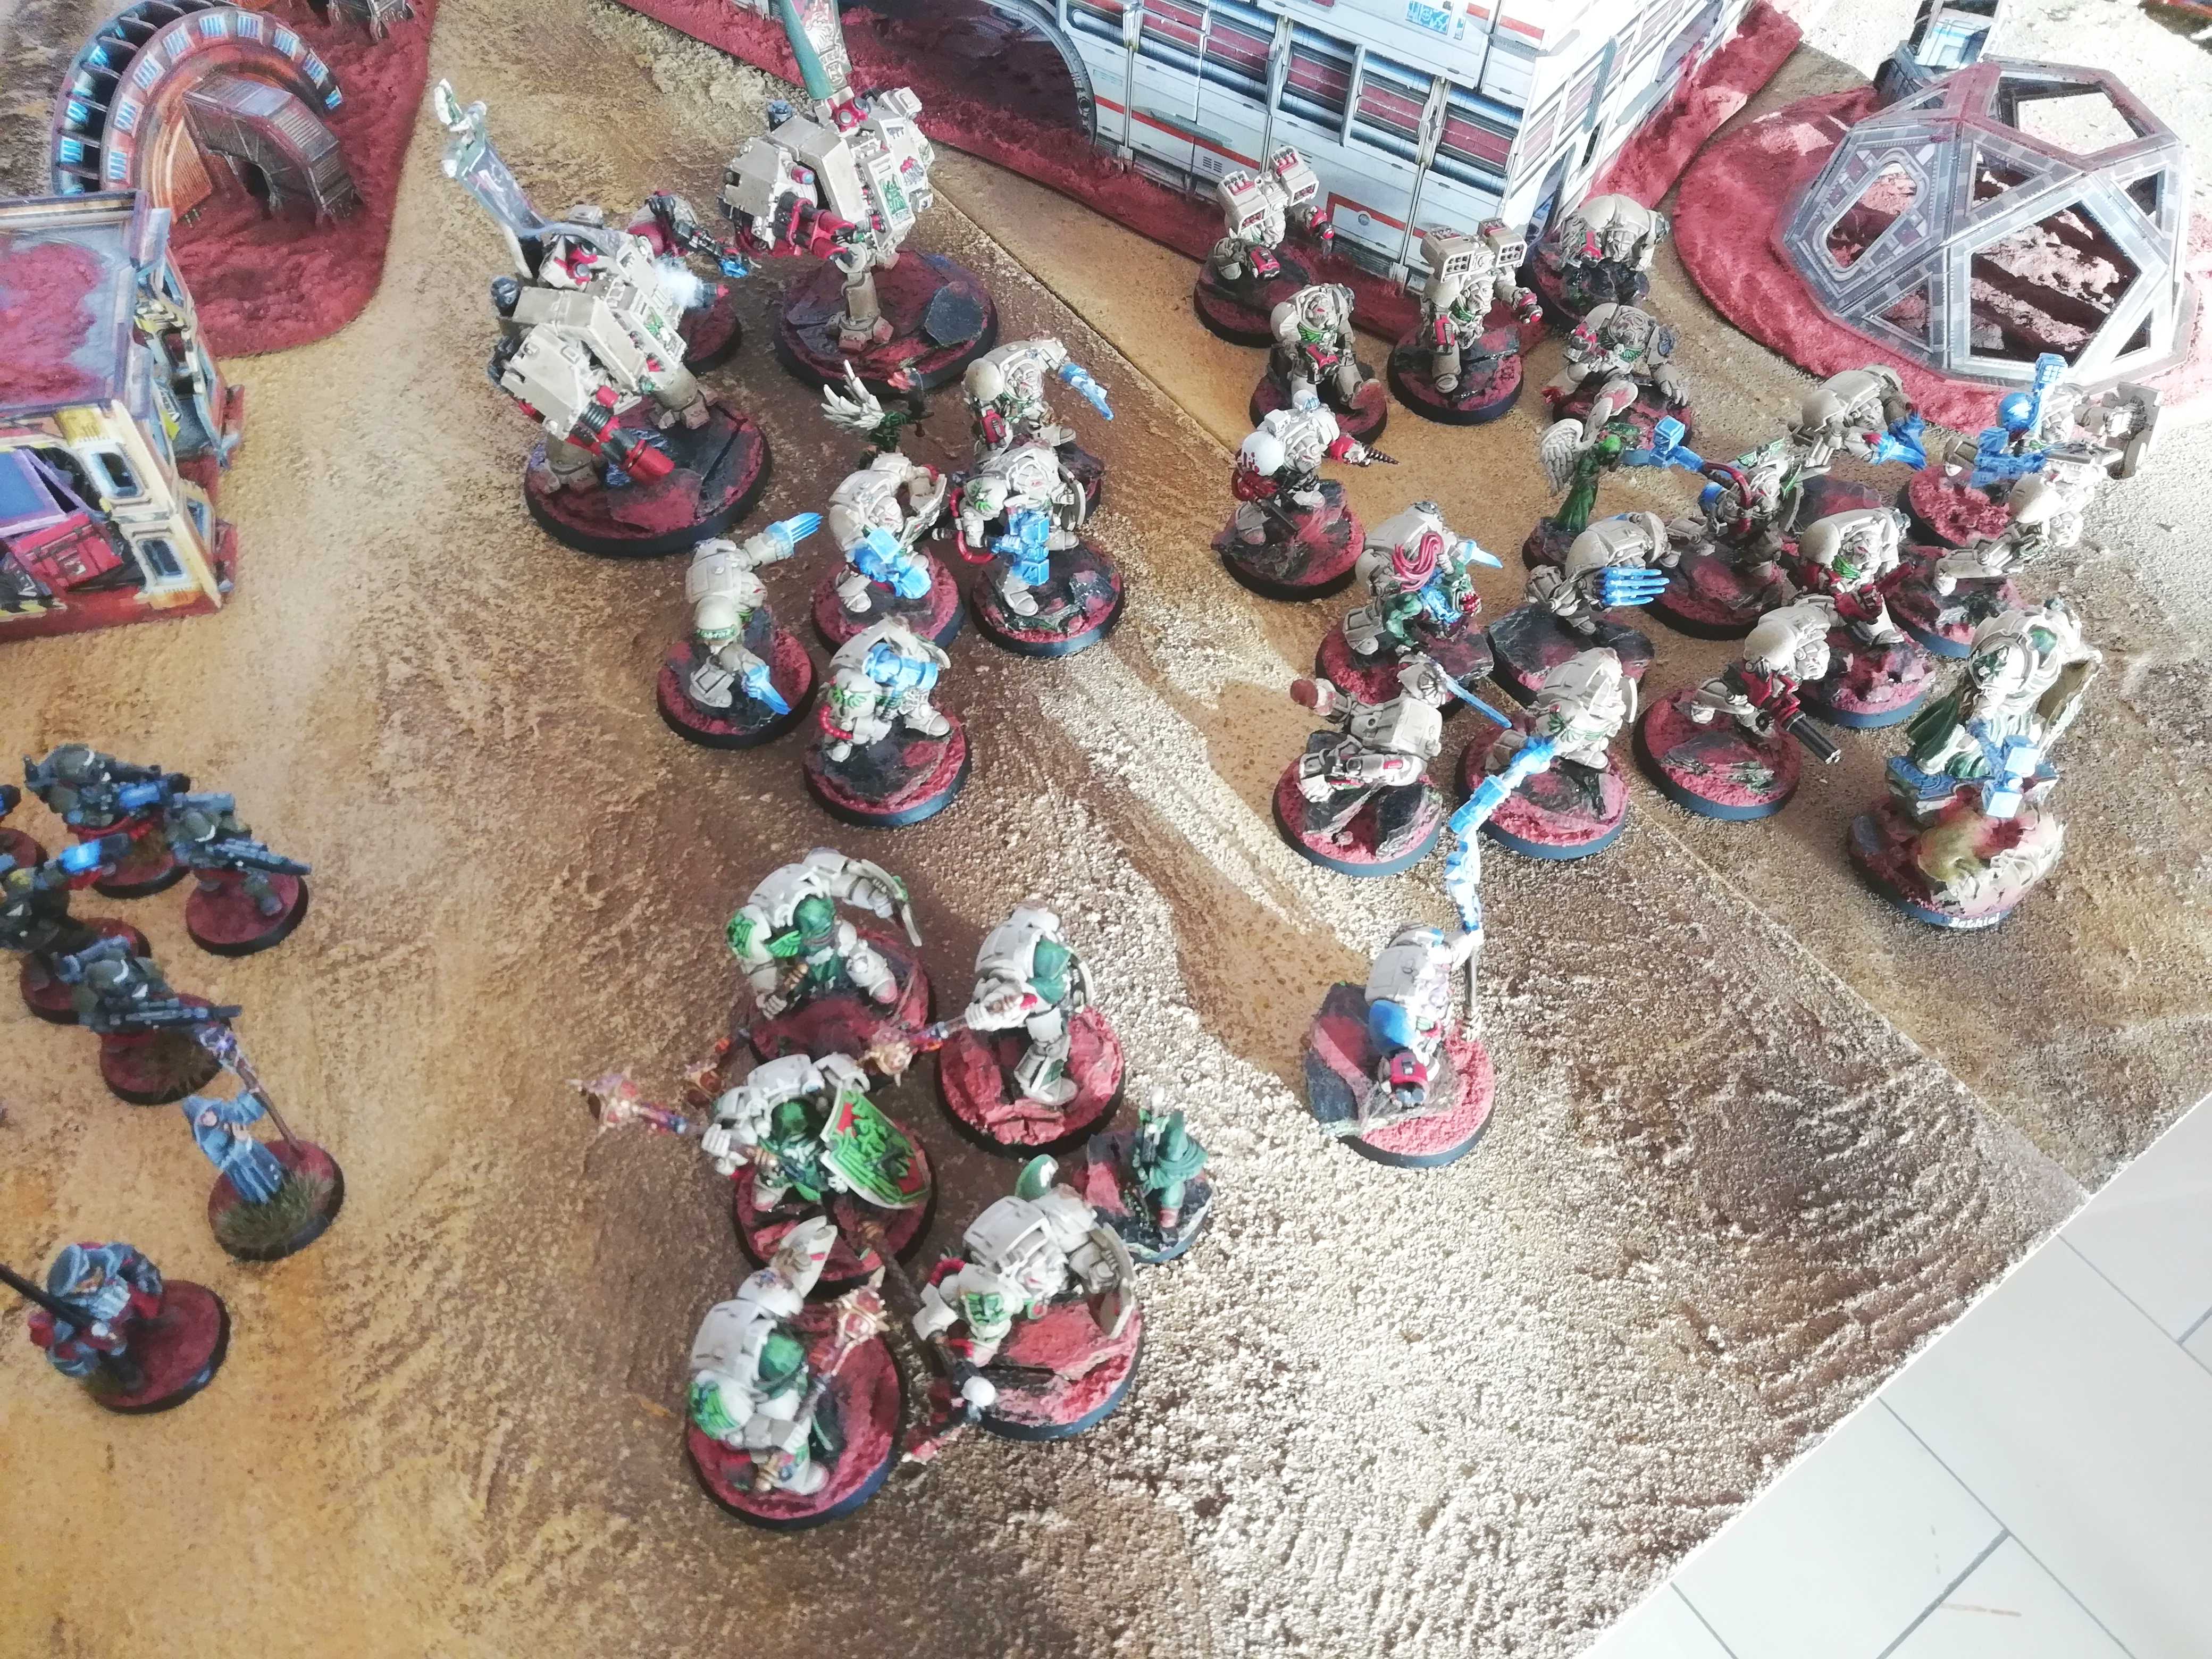 Deathwing
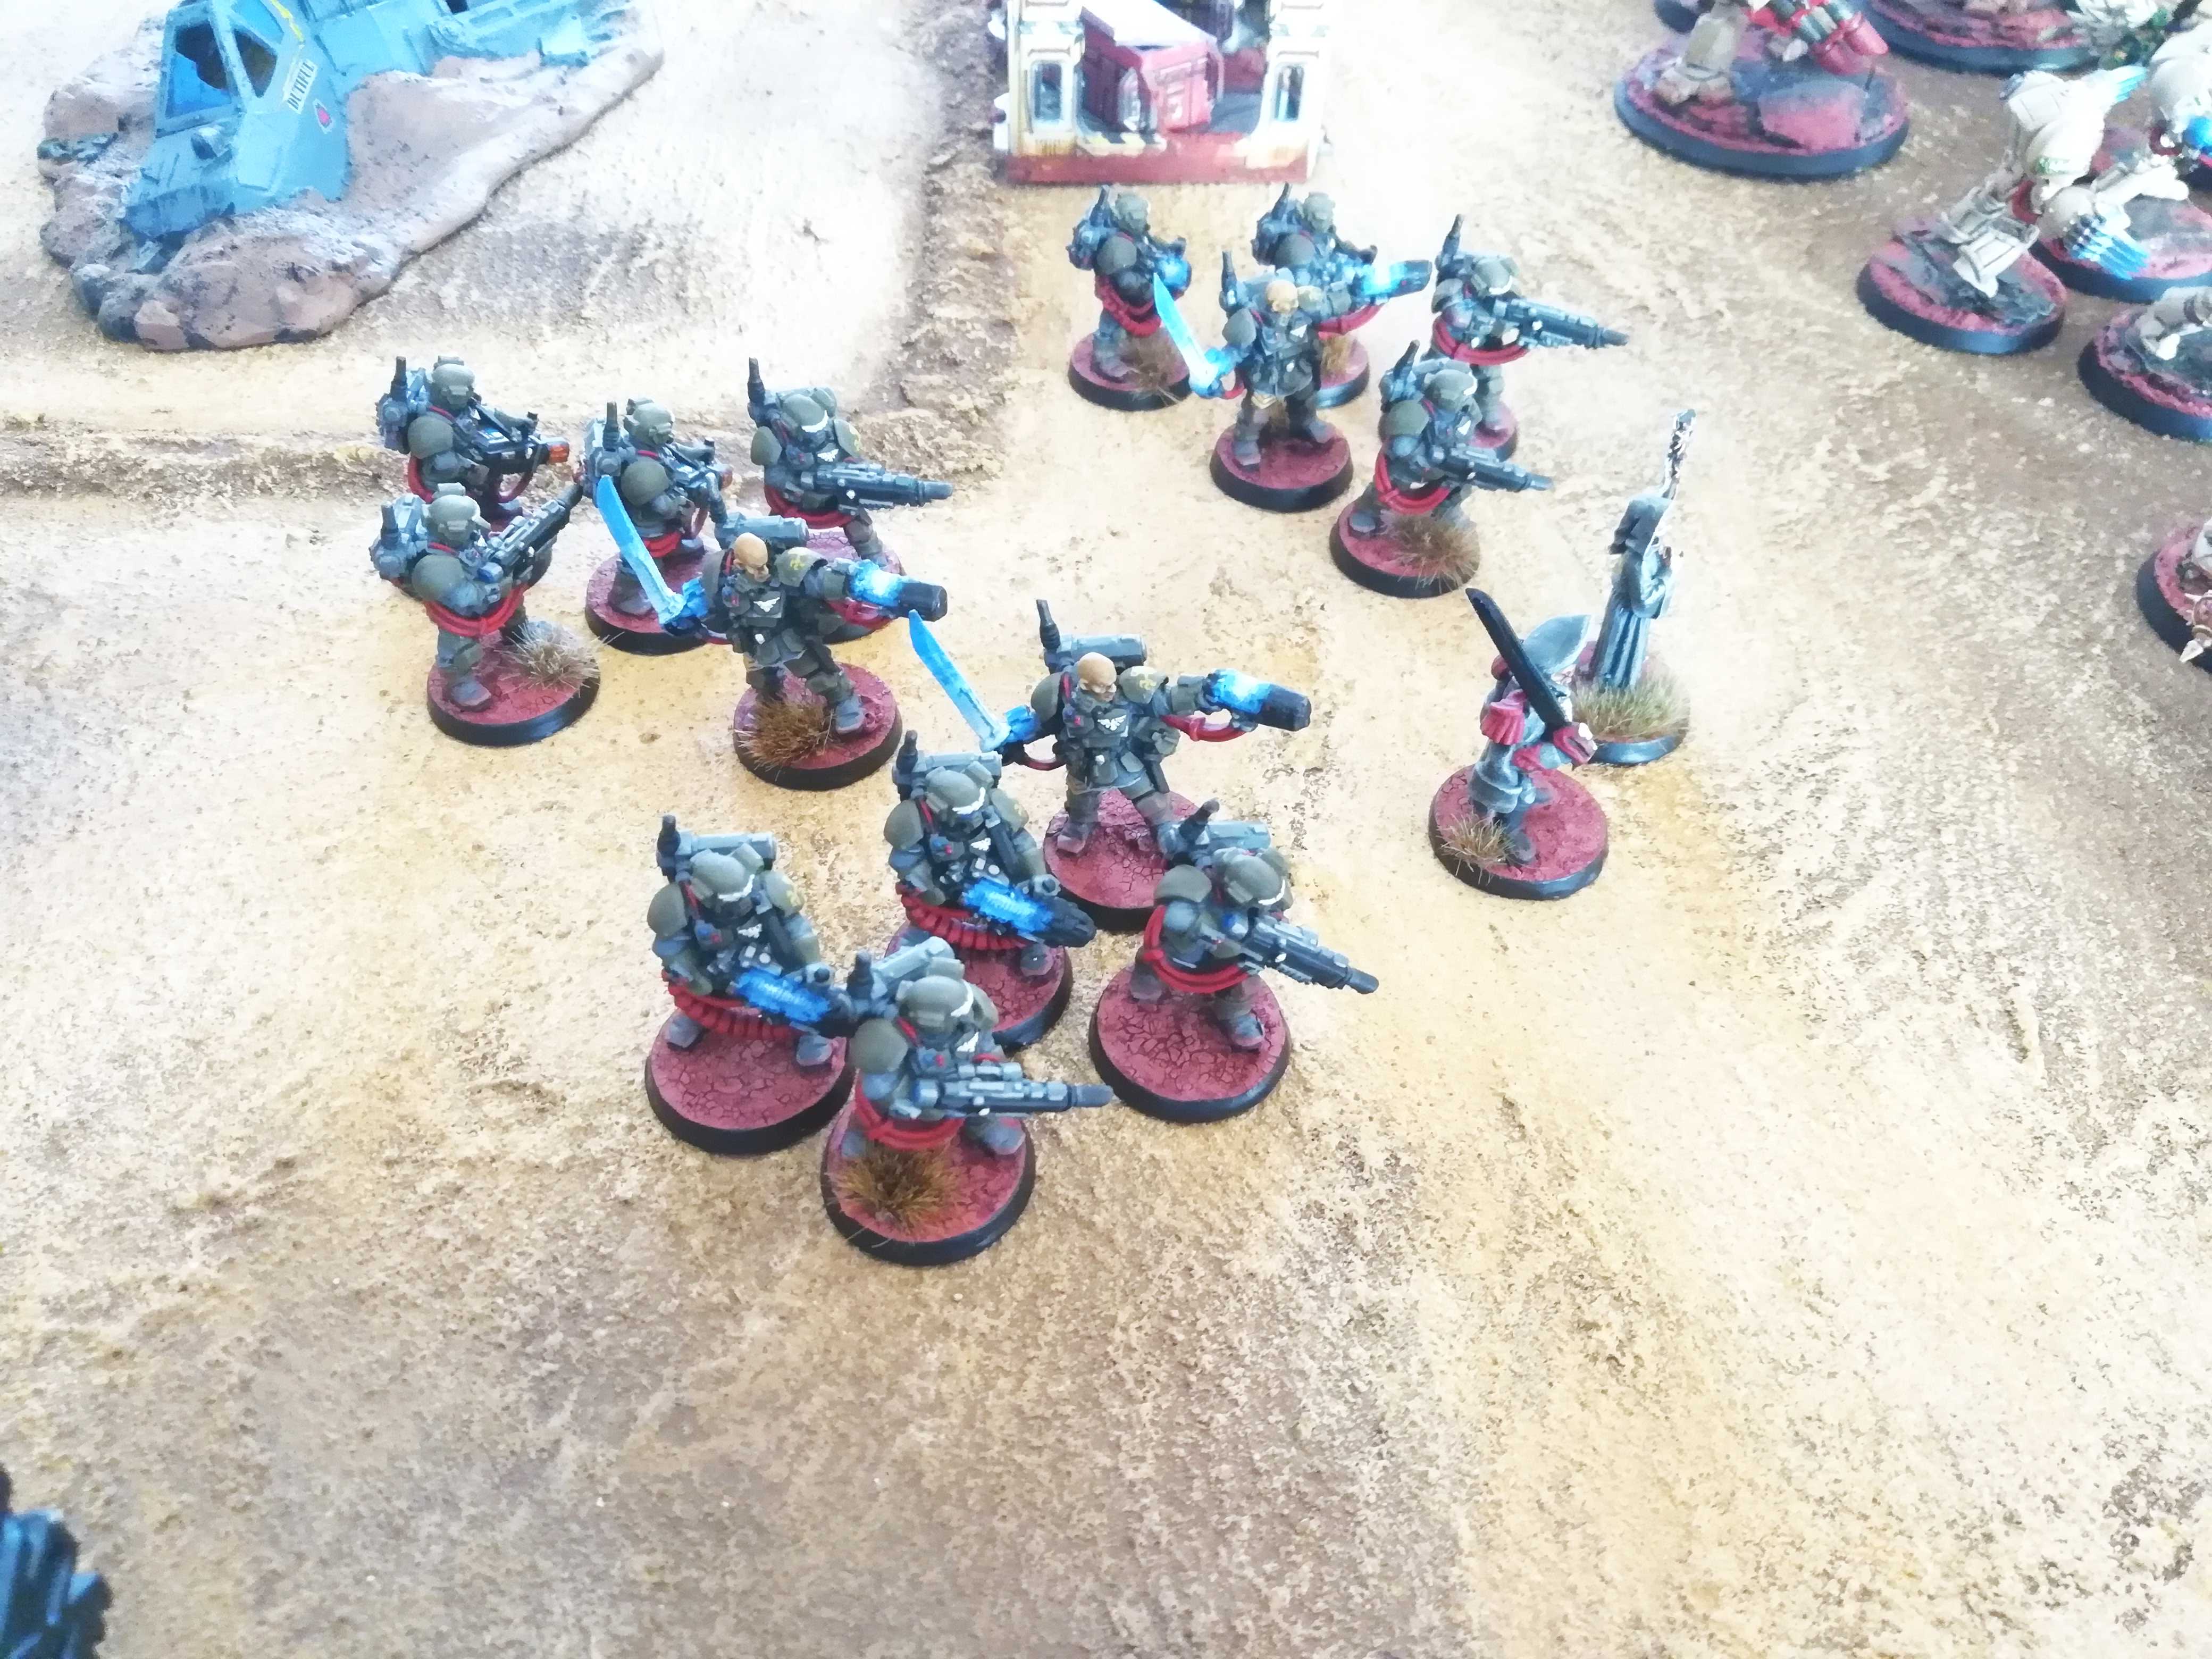 Kasrkin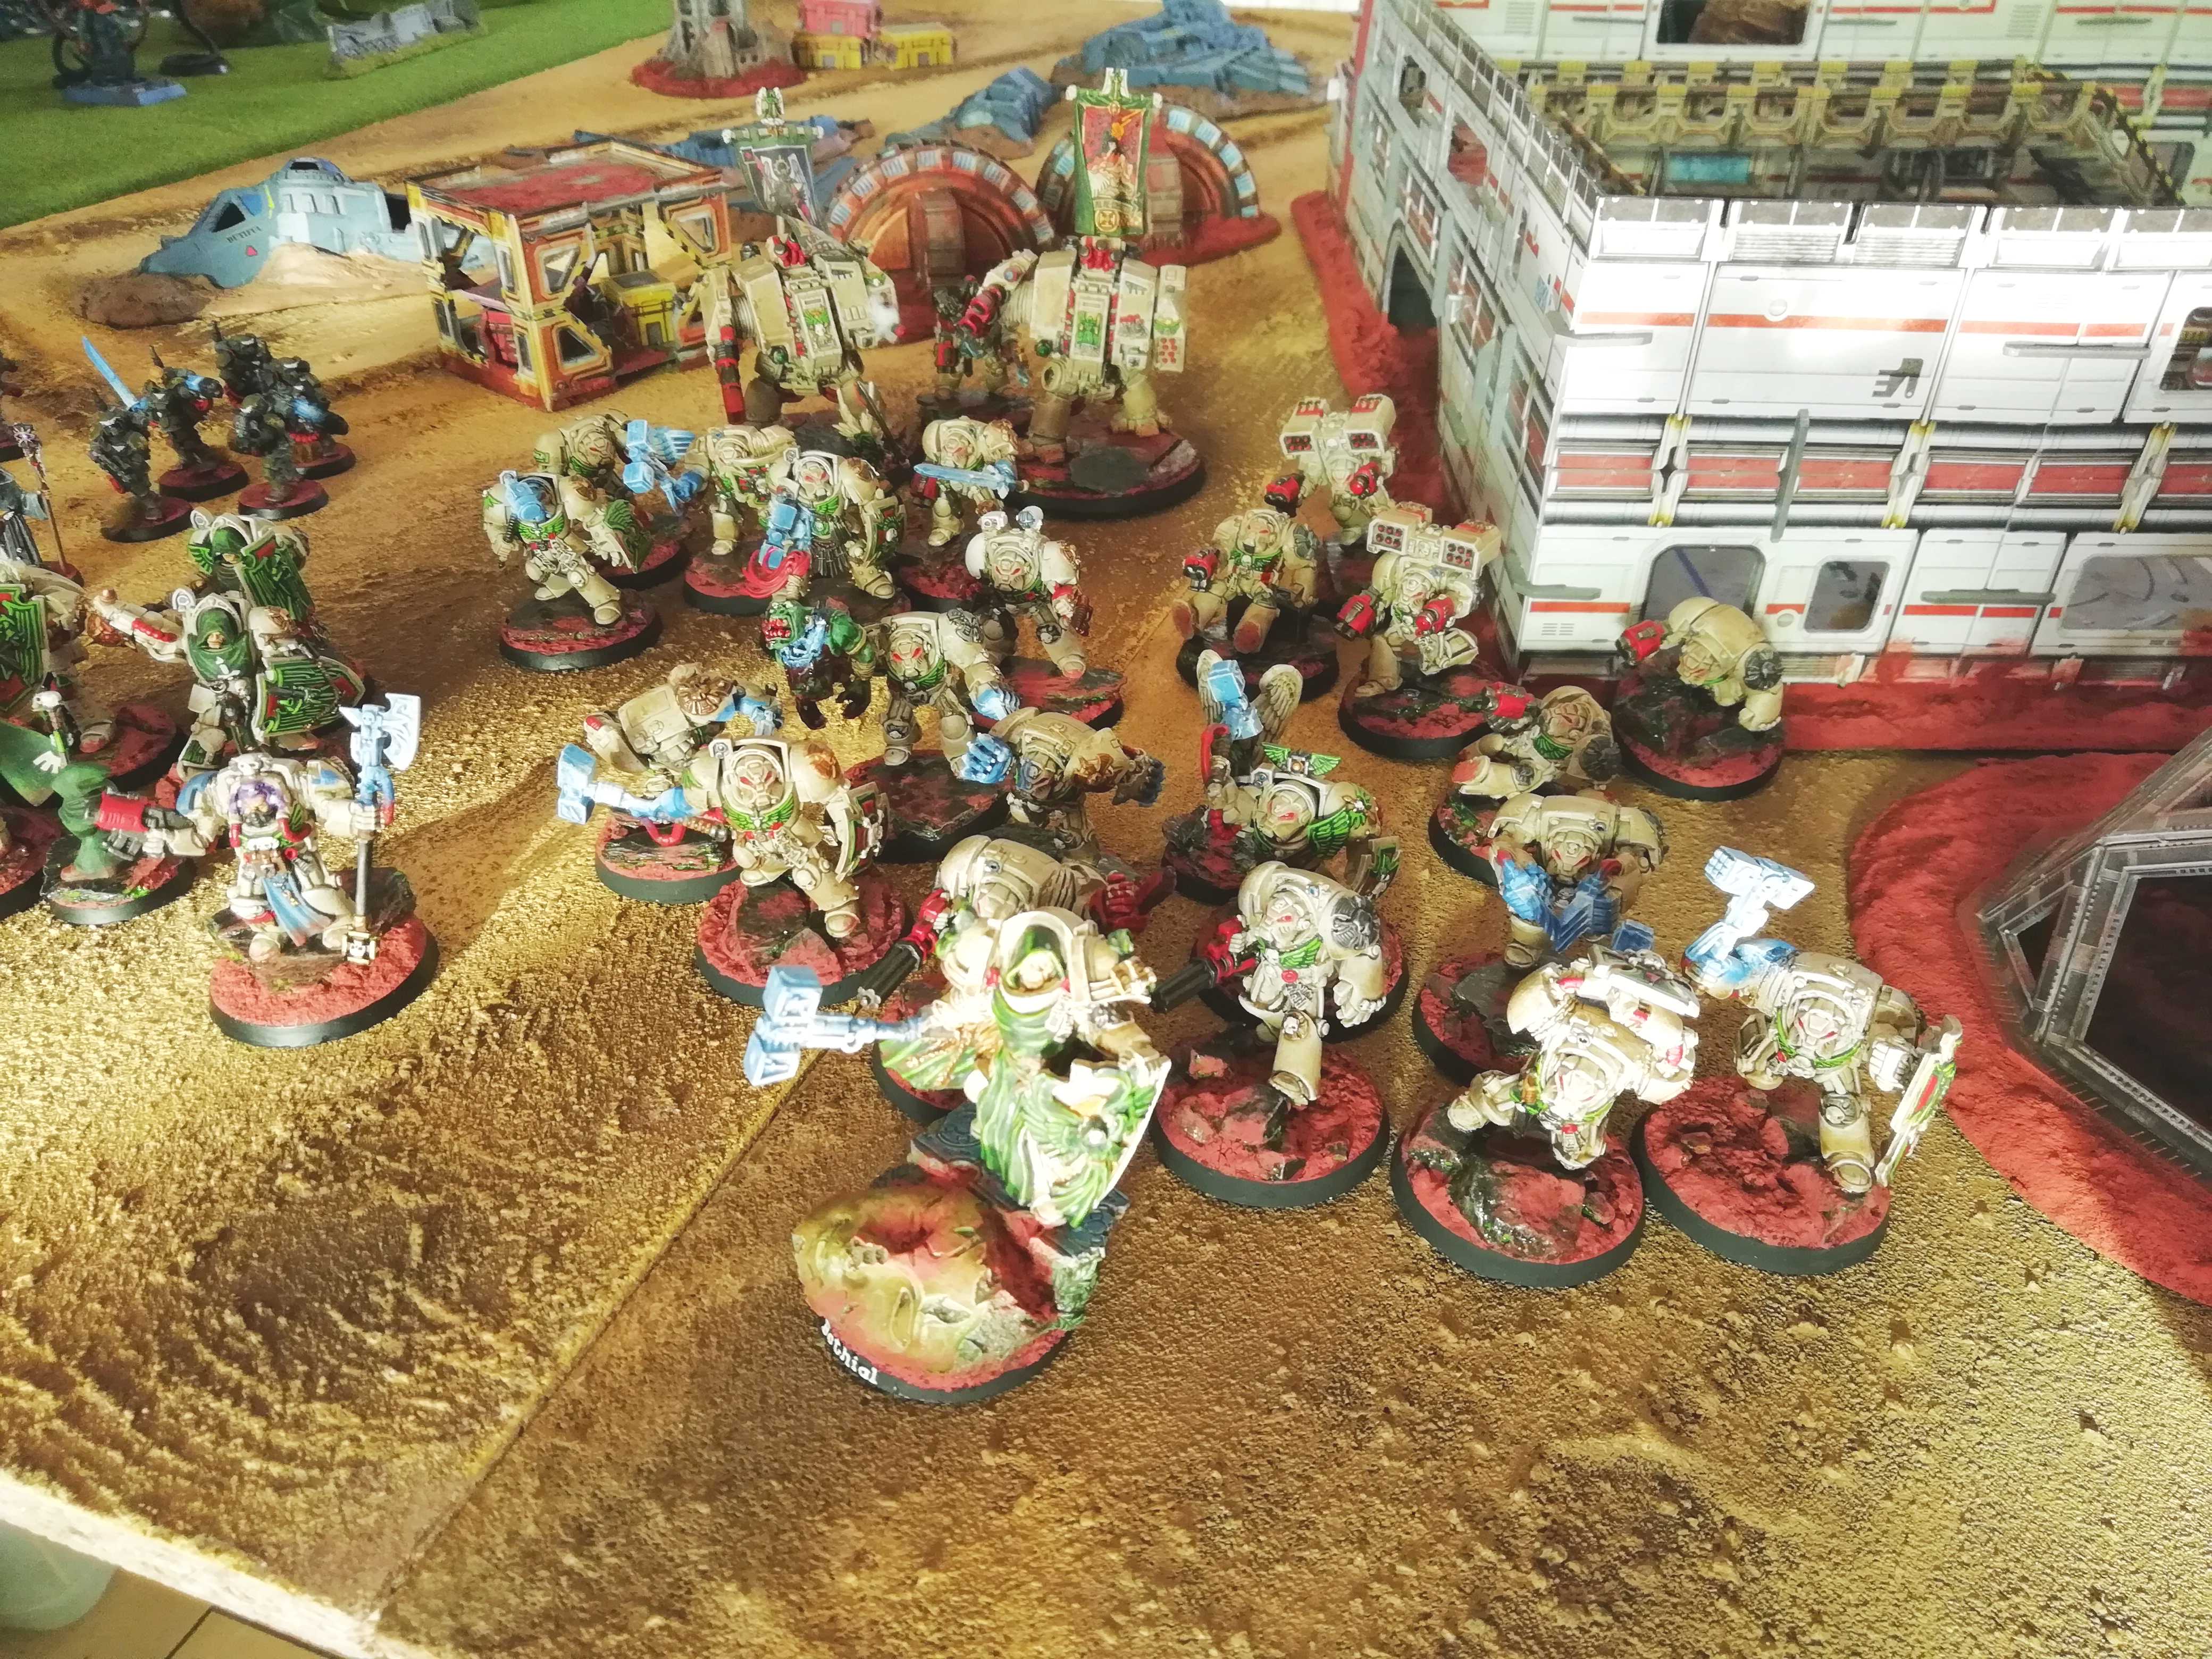

Block 4: Scriptor, Apothecary and a Squad of Knights
The 31st of August is closing in and so the 500p Challenge is nearing its end. In my last Block I painted a Scriptor in Terminator Armour, a Apothecary in Terminator Armour and a 5-man squad of Deathwing Knights.
With them the Challenge is completed and my buddy and I each managed to paint an 2000 points / 100 power army over 7 month. Feels good to finally get those really old models painted.
There are still models left for this army and who knows maybe I even add some more in the future. I definately will post some pics from future BatReps. But for the moment the project will go on hold as I have a lot of other projects to do next.
Hope you enjoyed this project so far. It’s not over… but it will be some time…
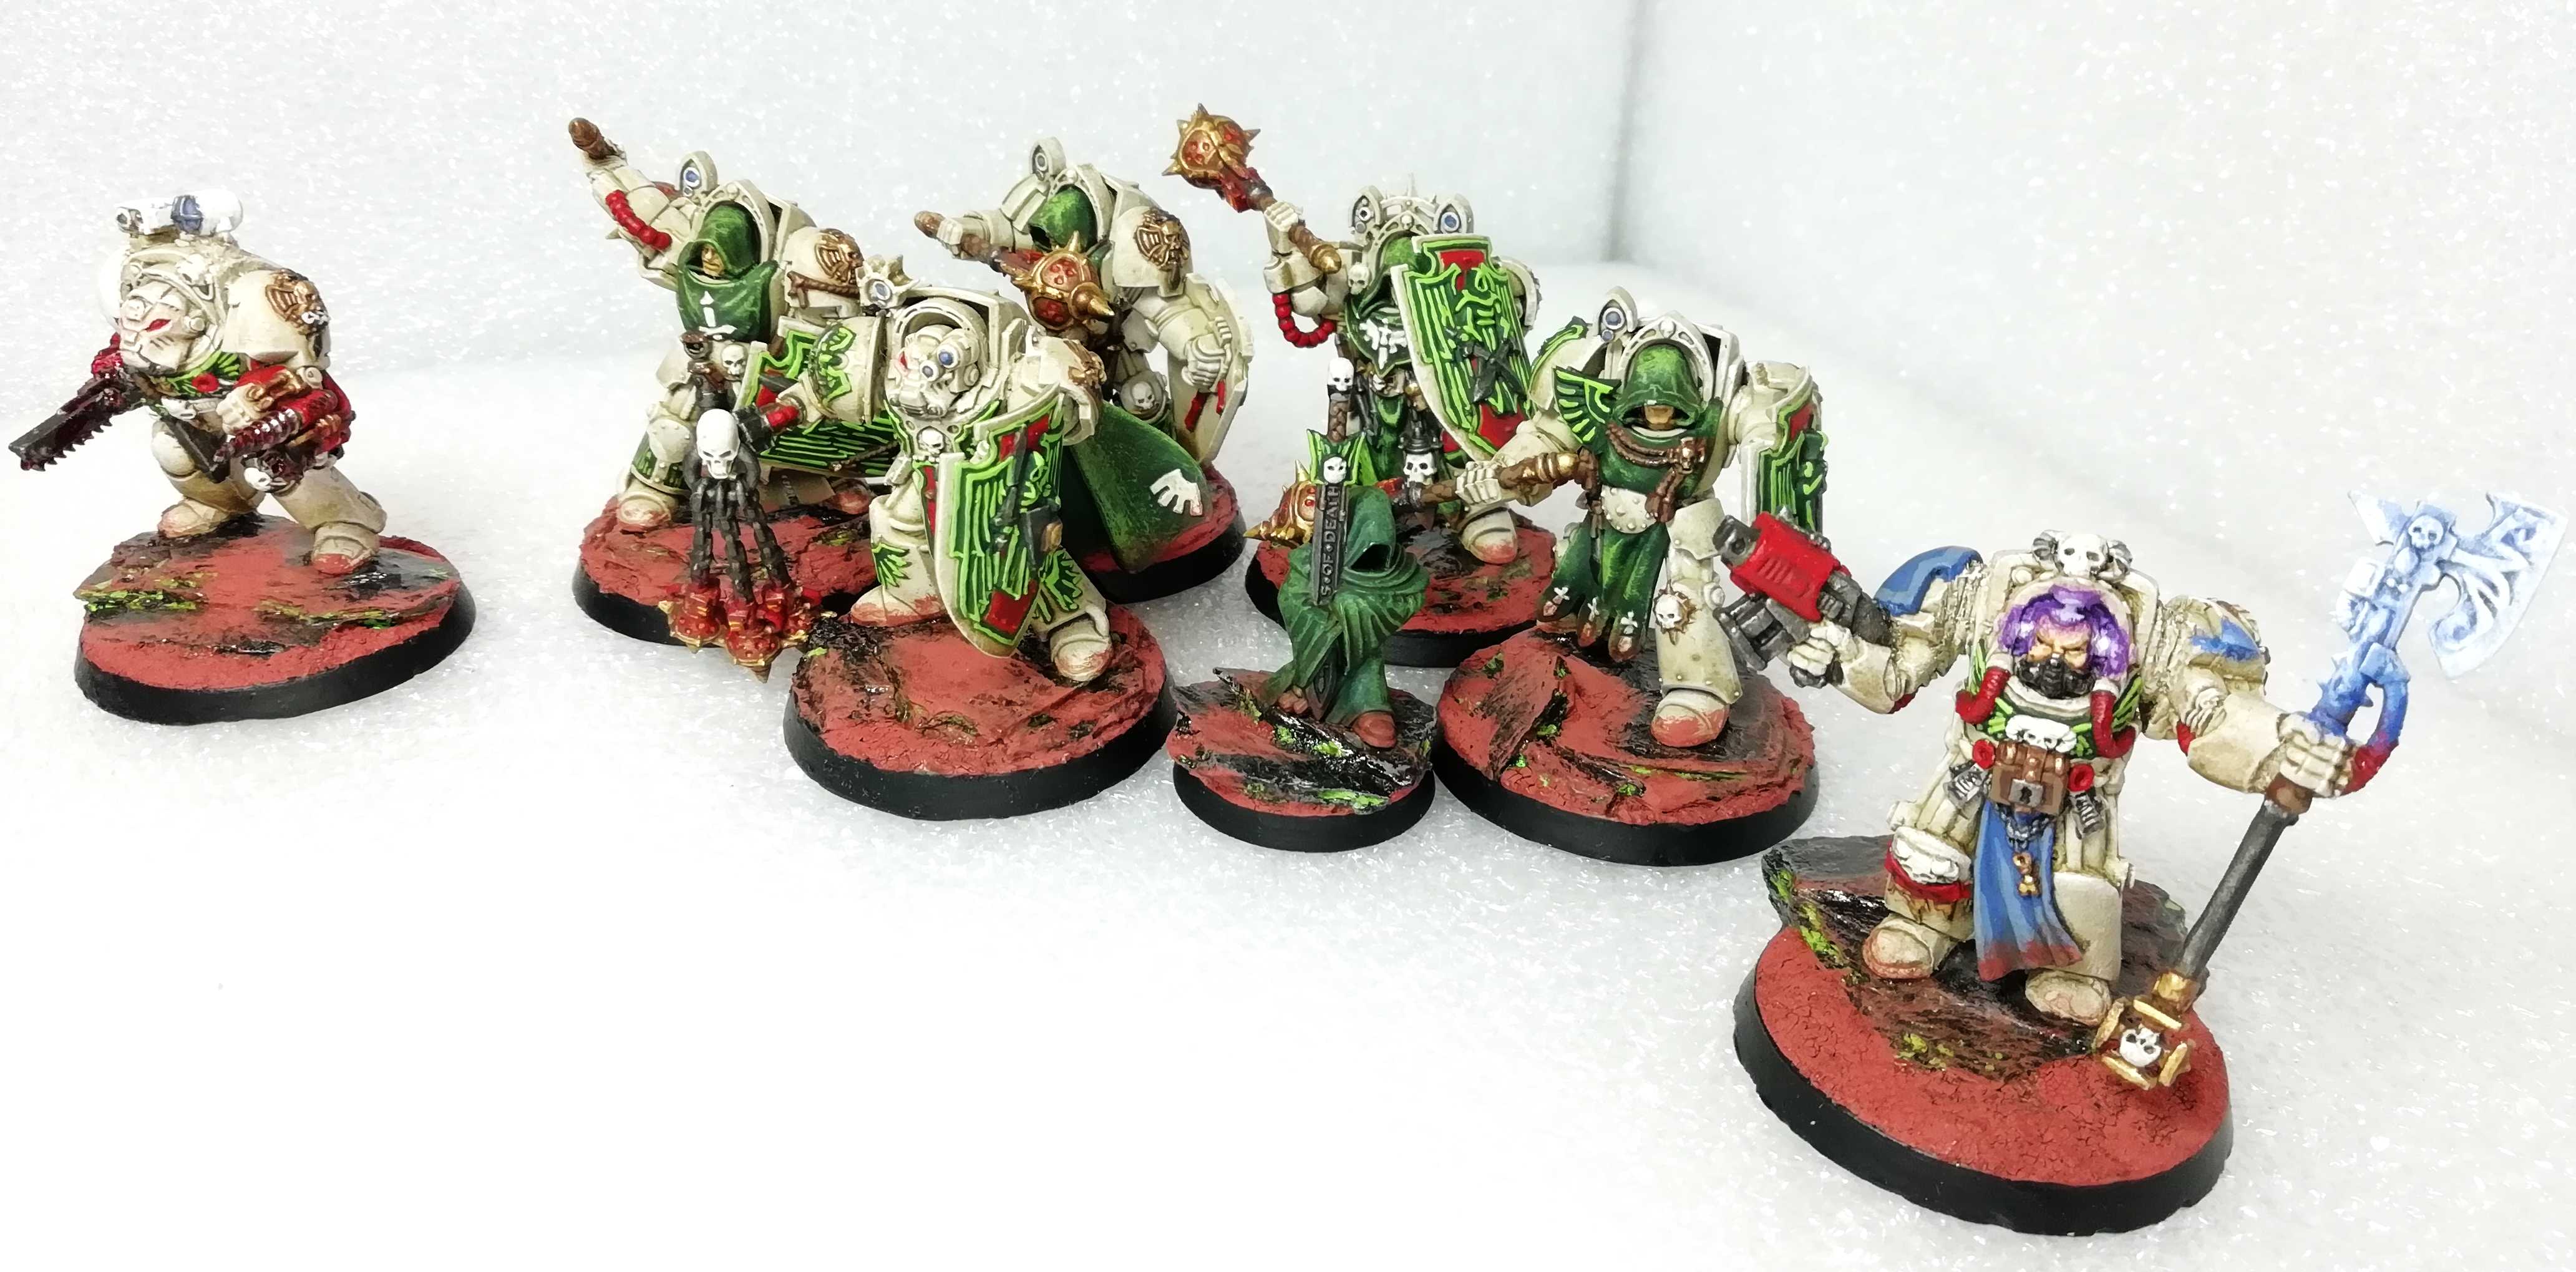 Entire Block 4 ...
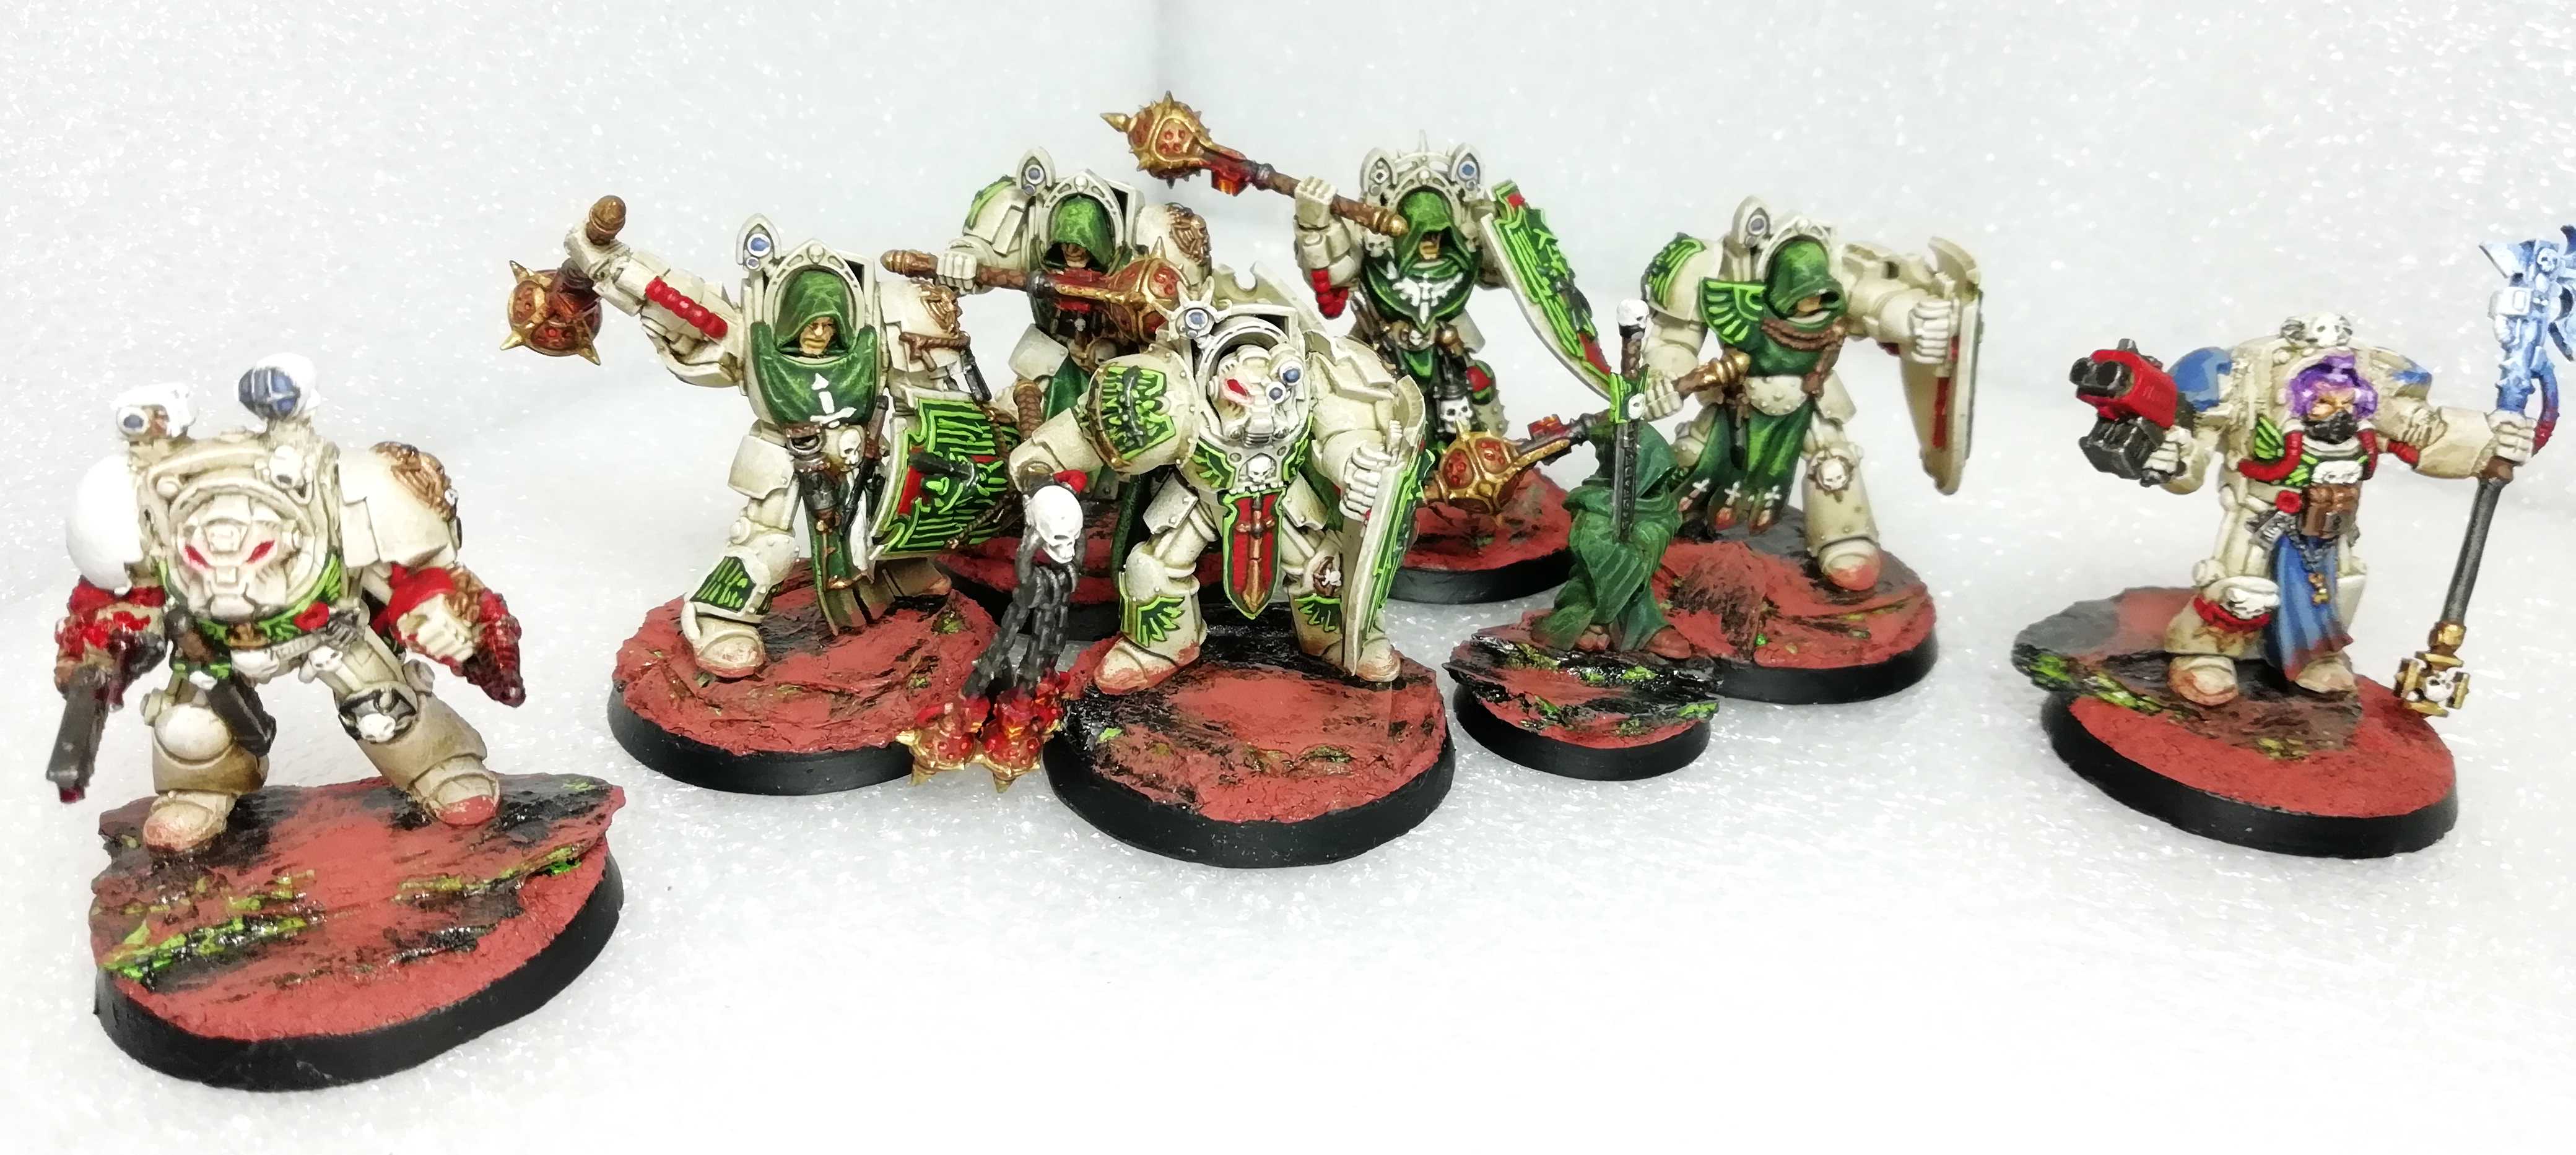 ... with Scriptor, Apothecary and the Knights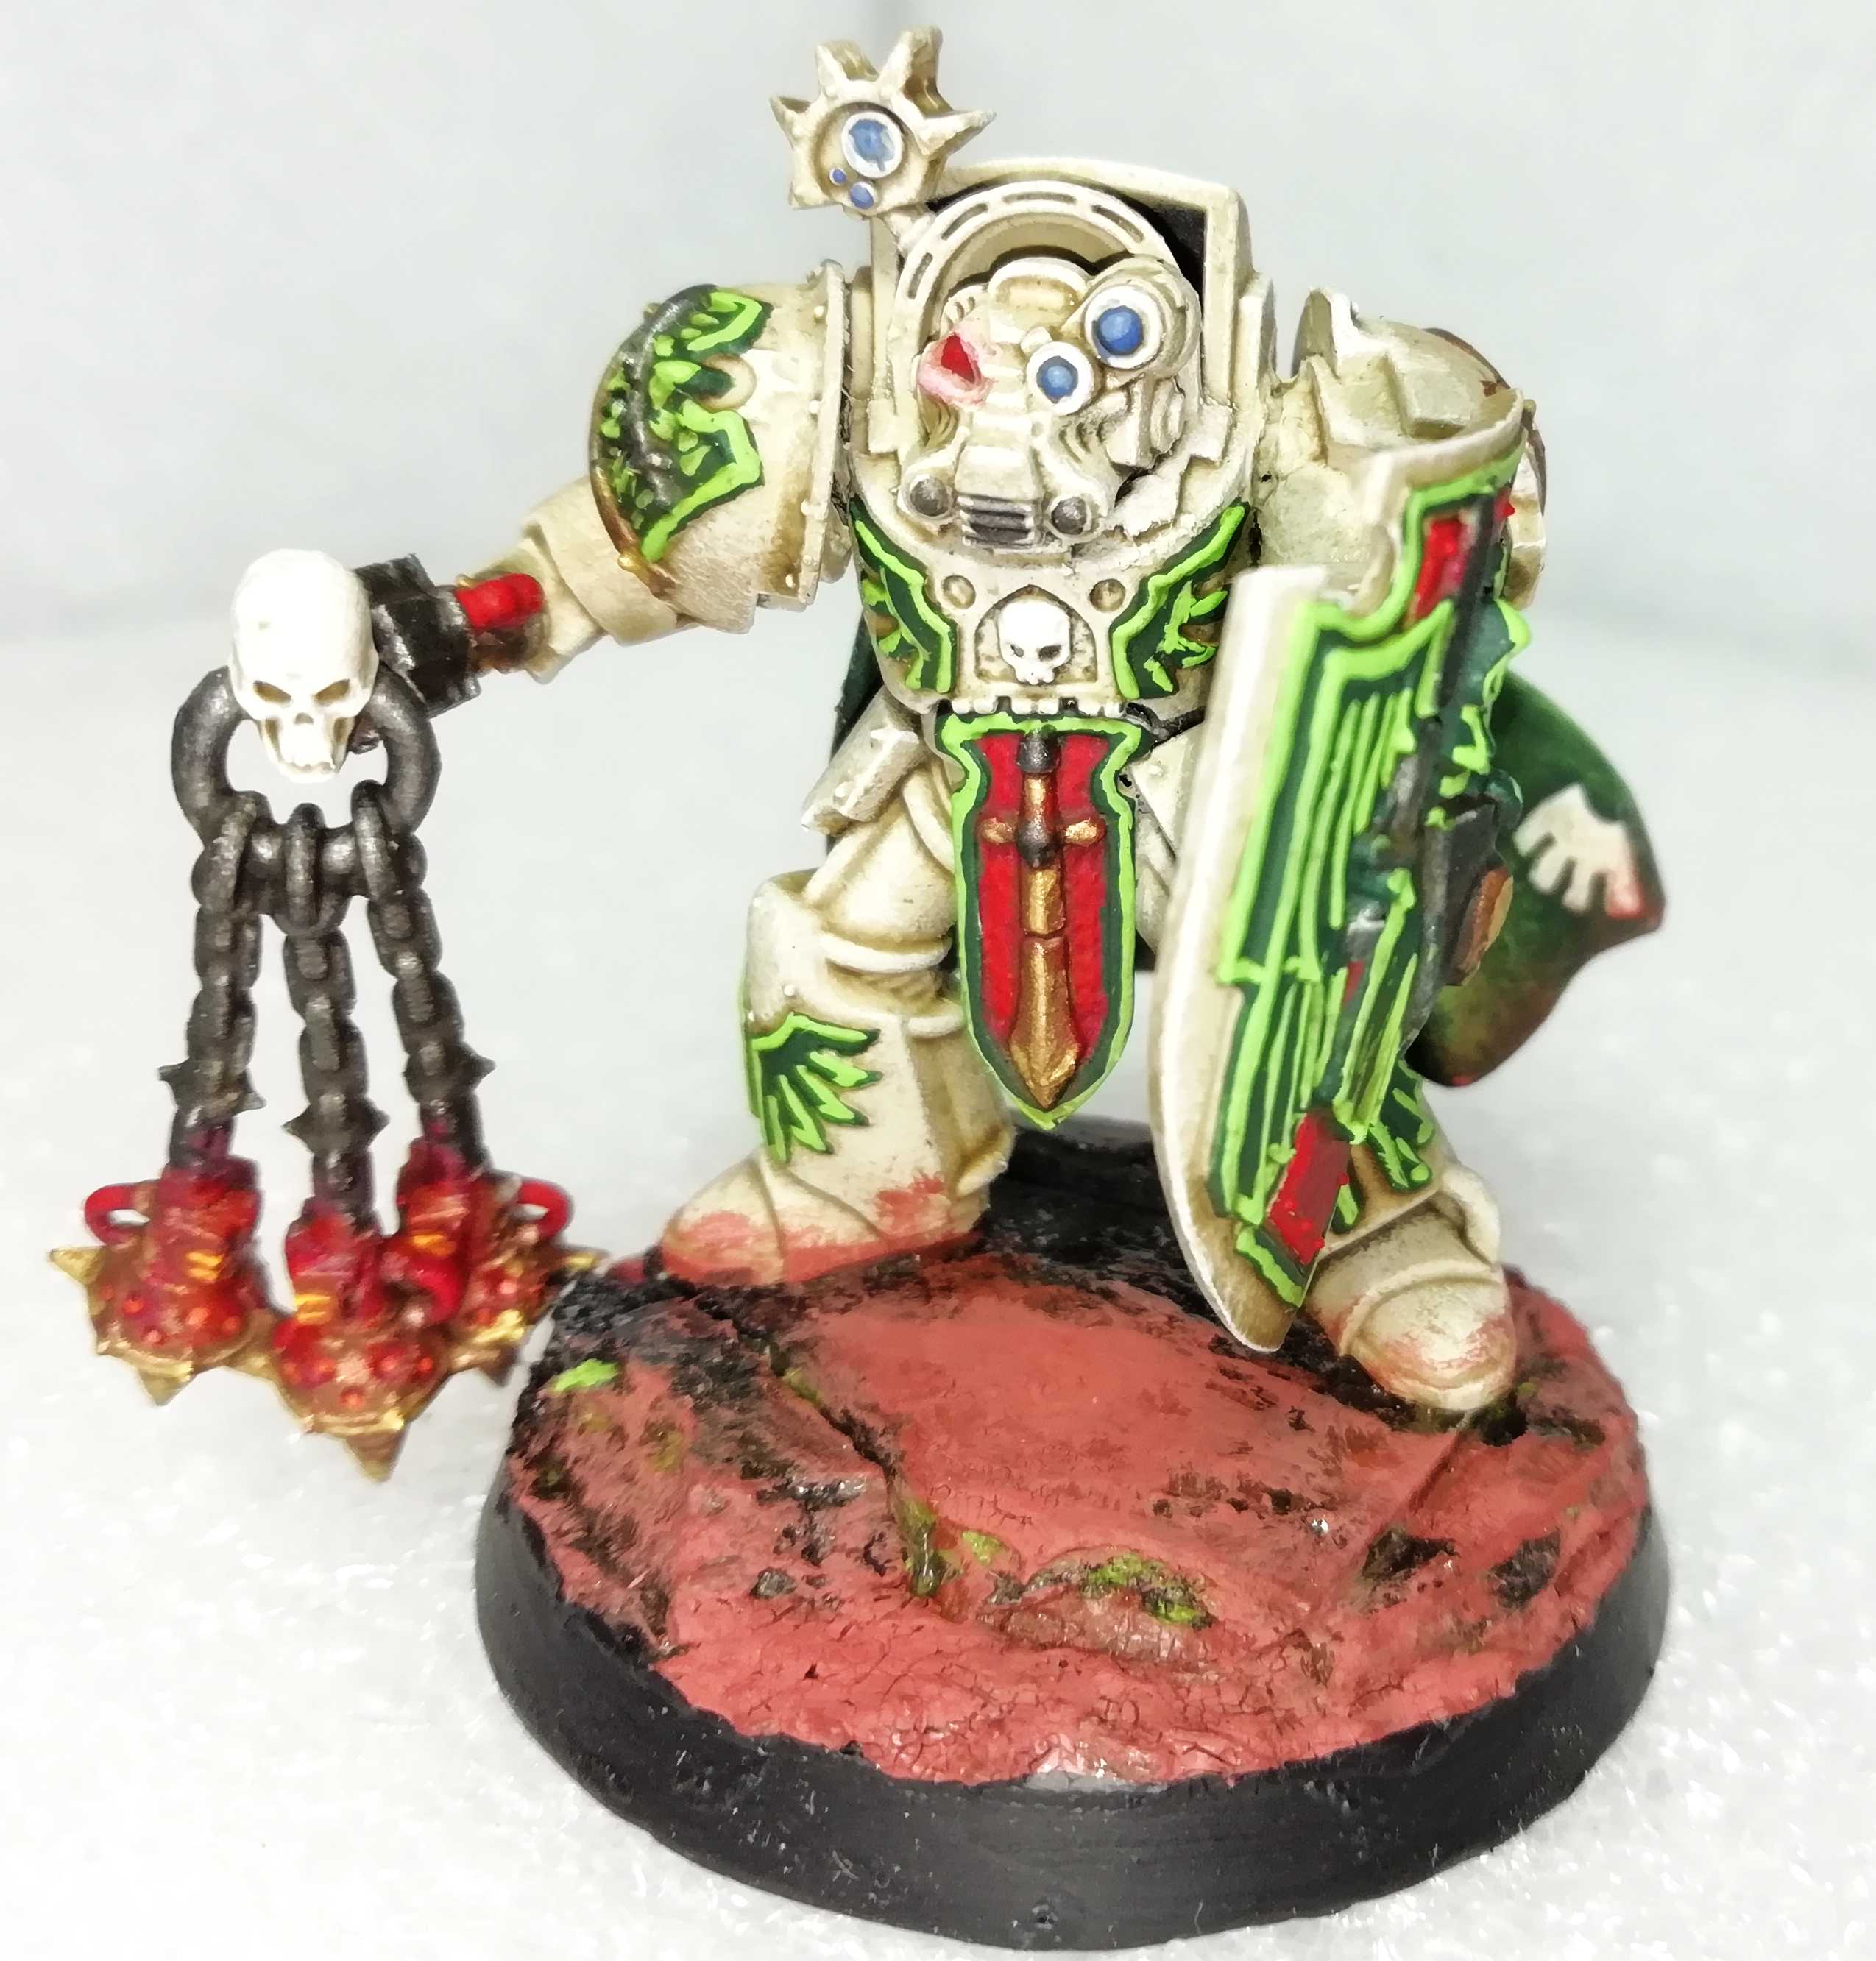
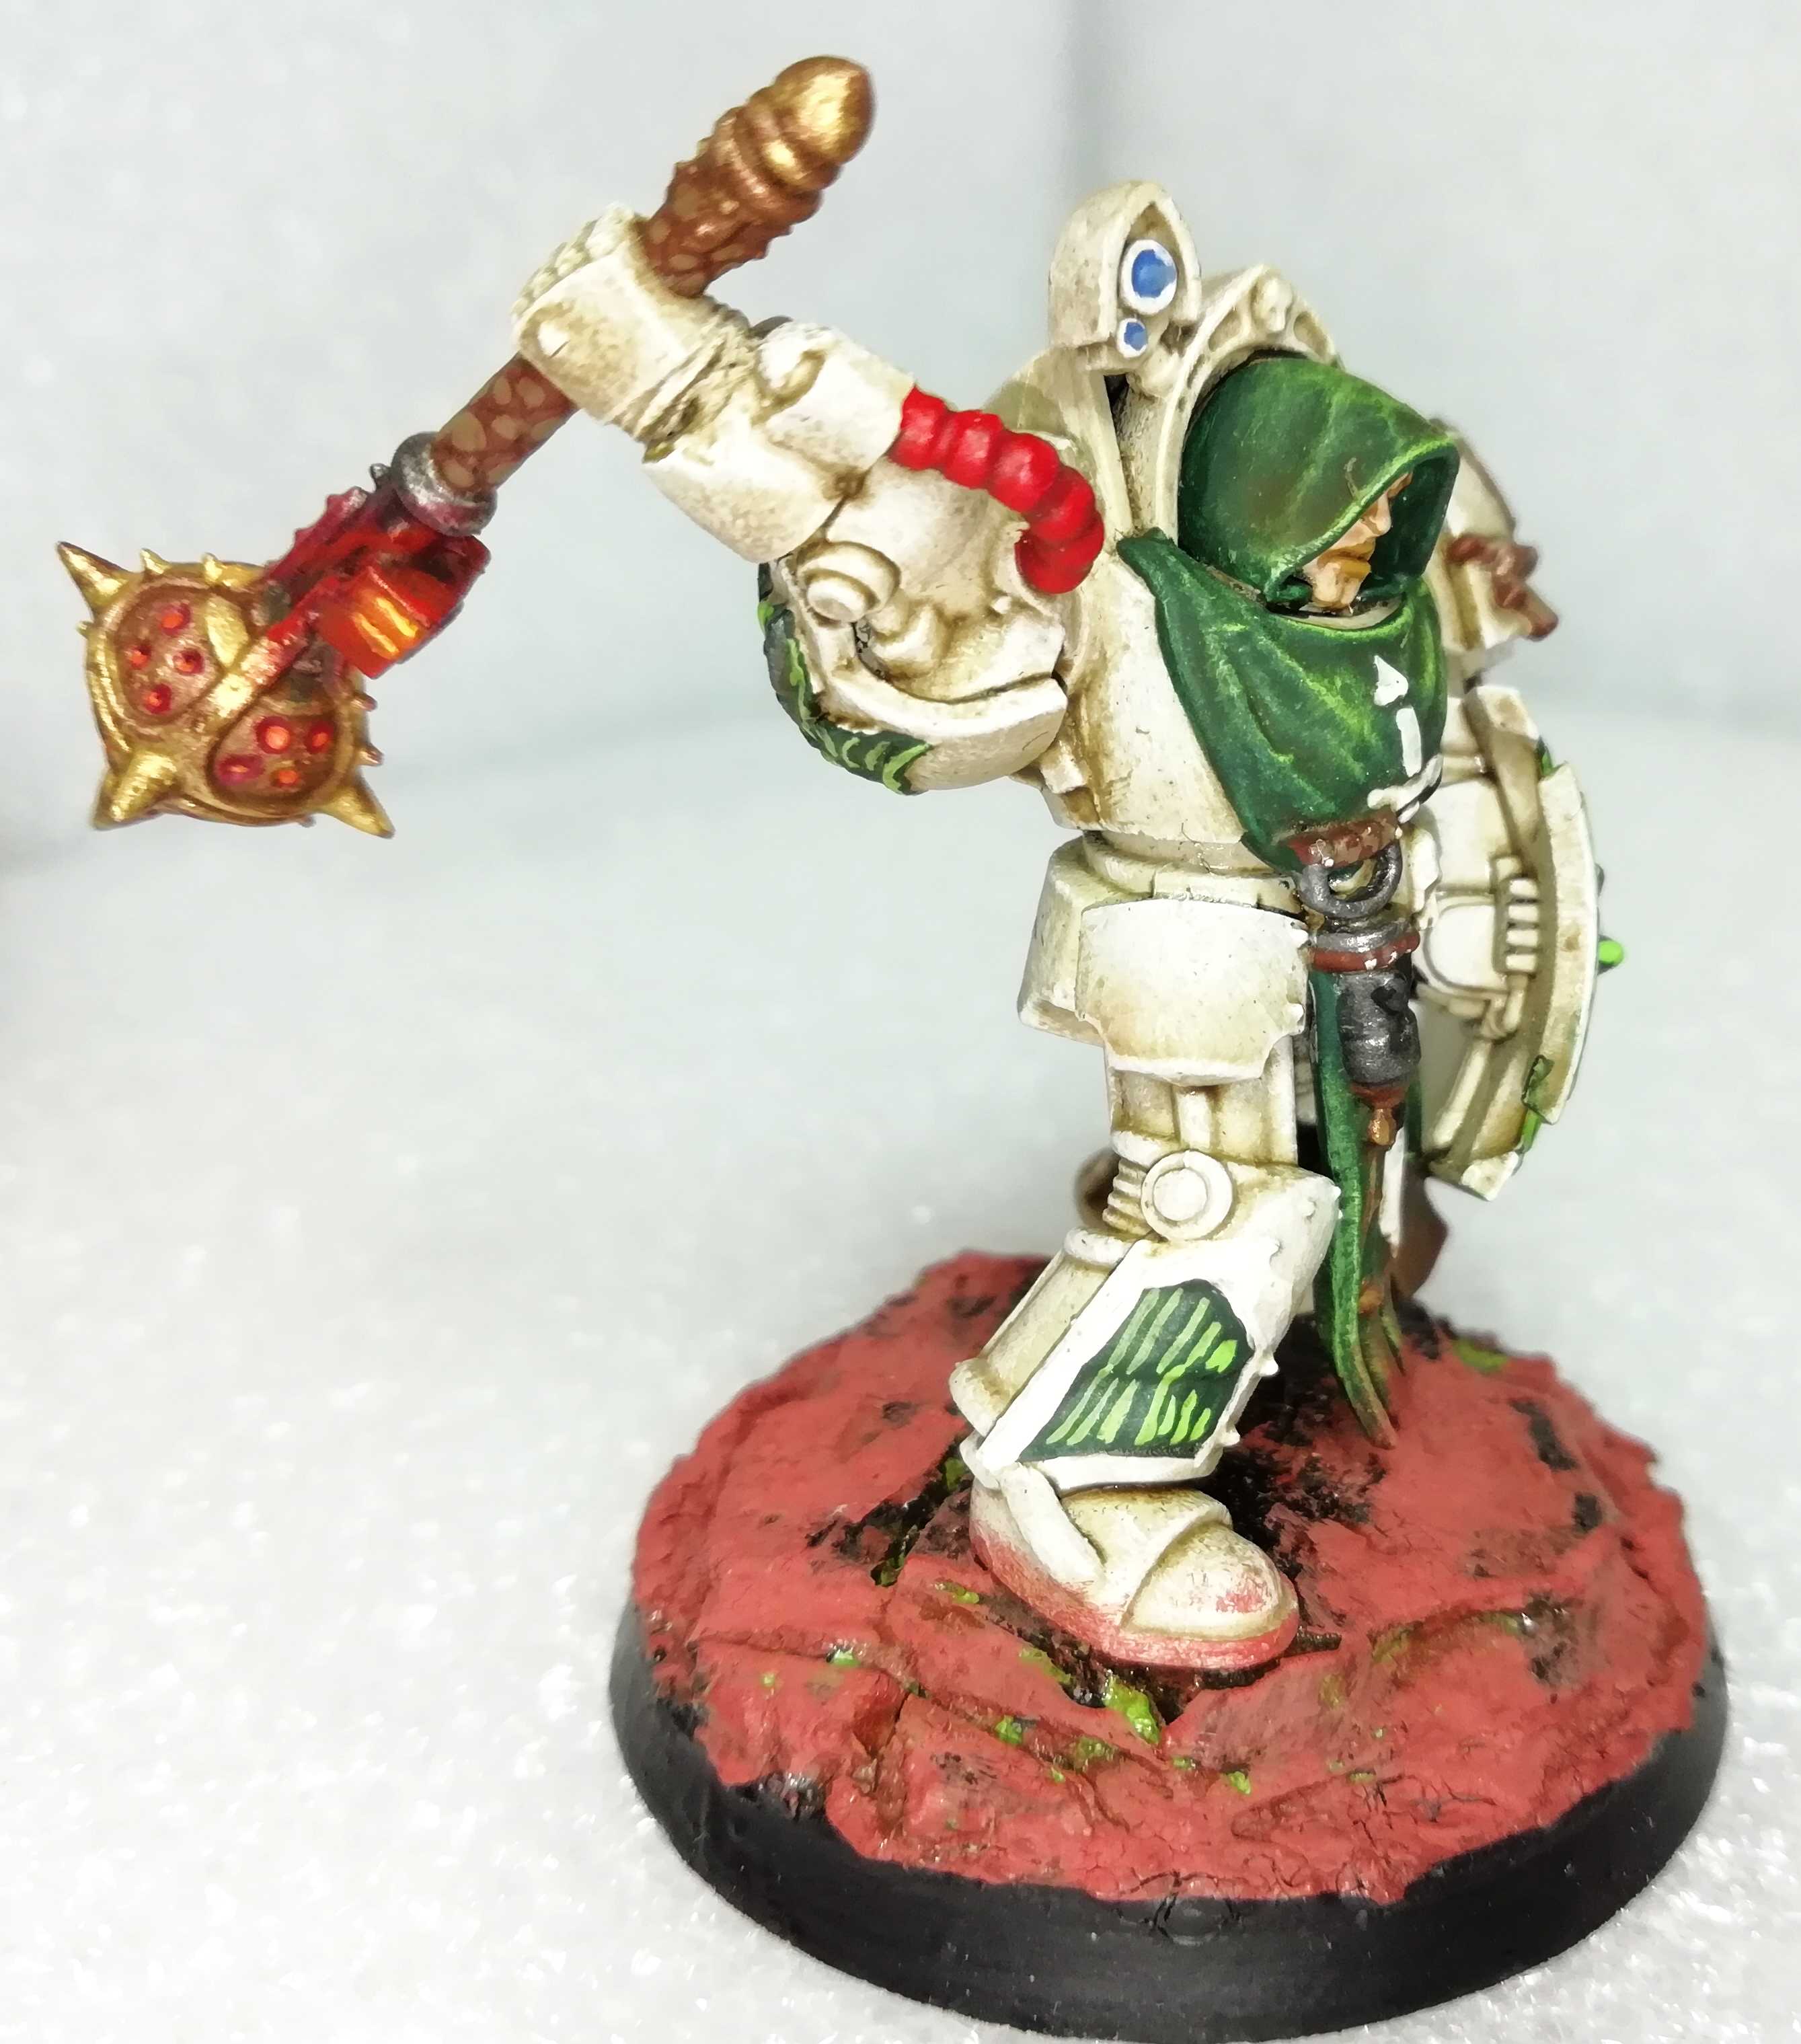
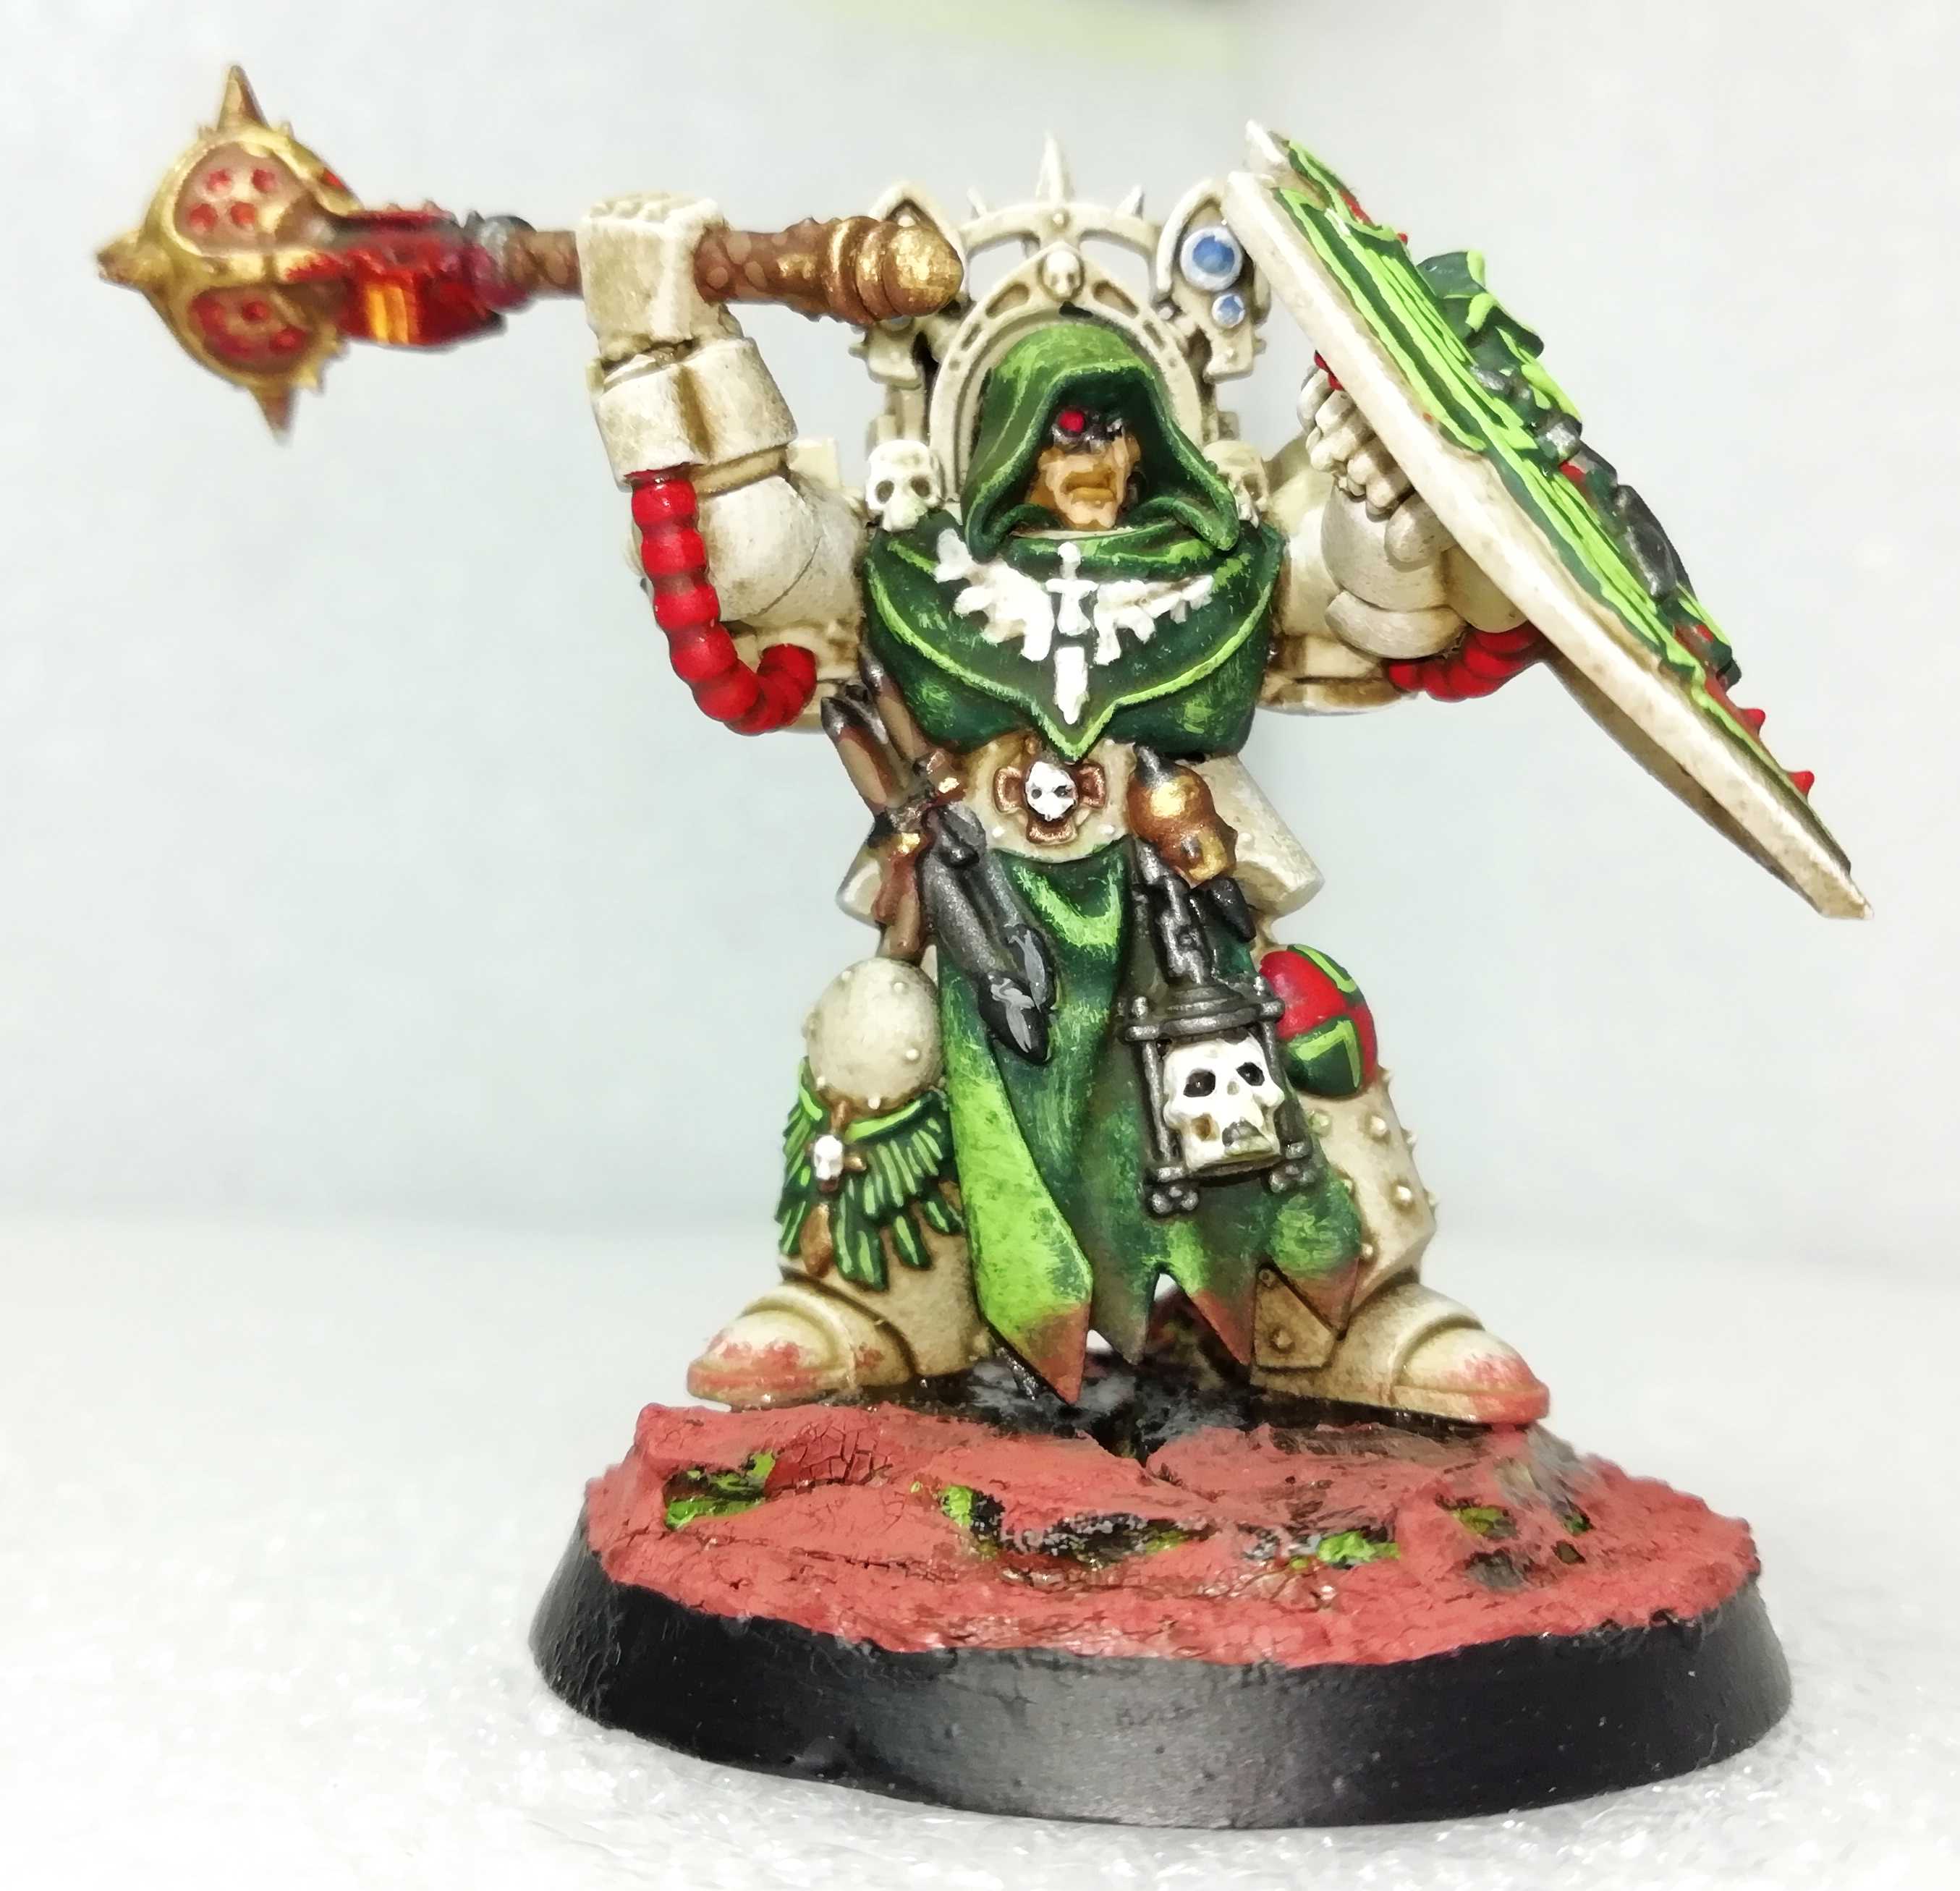
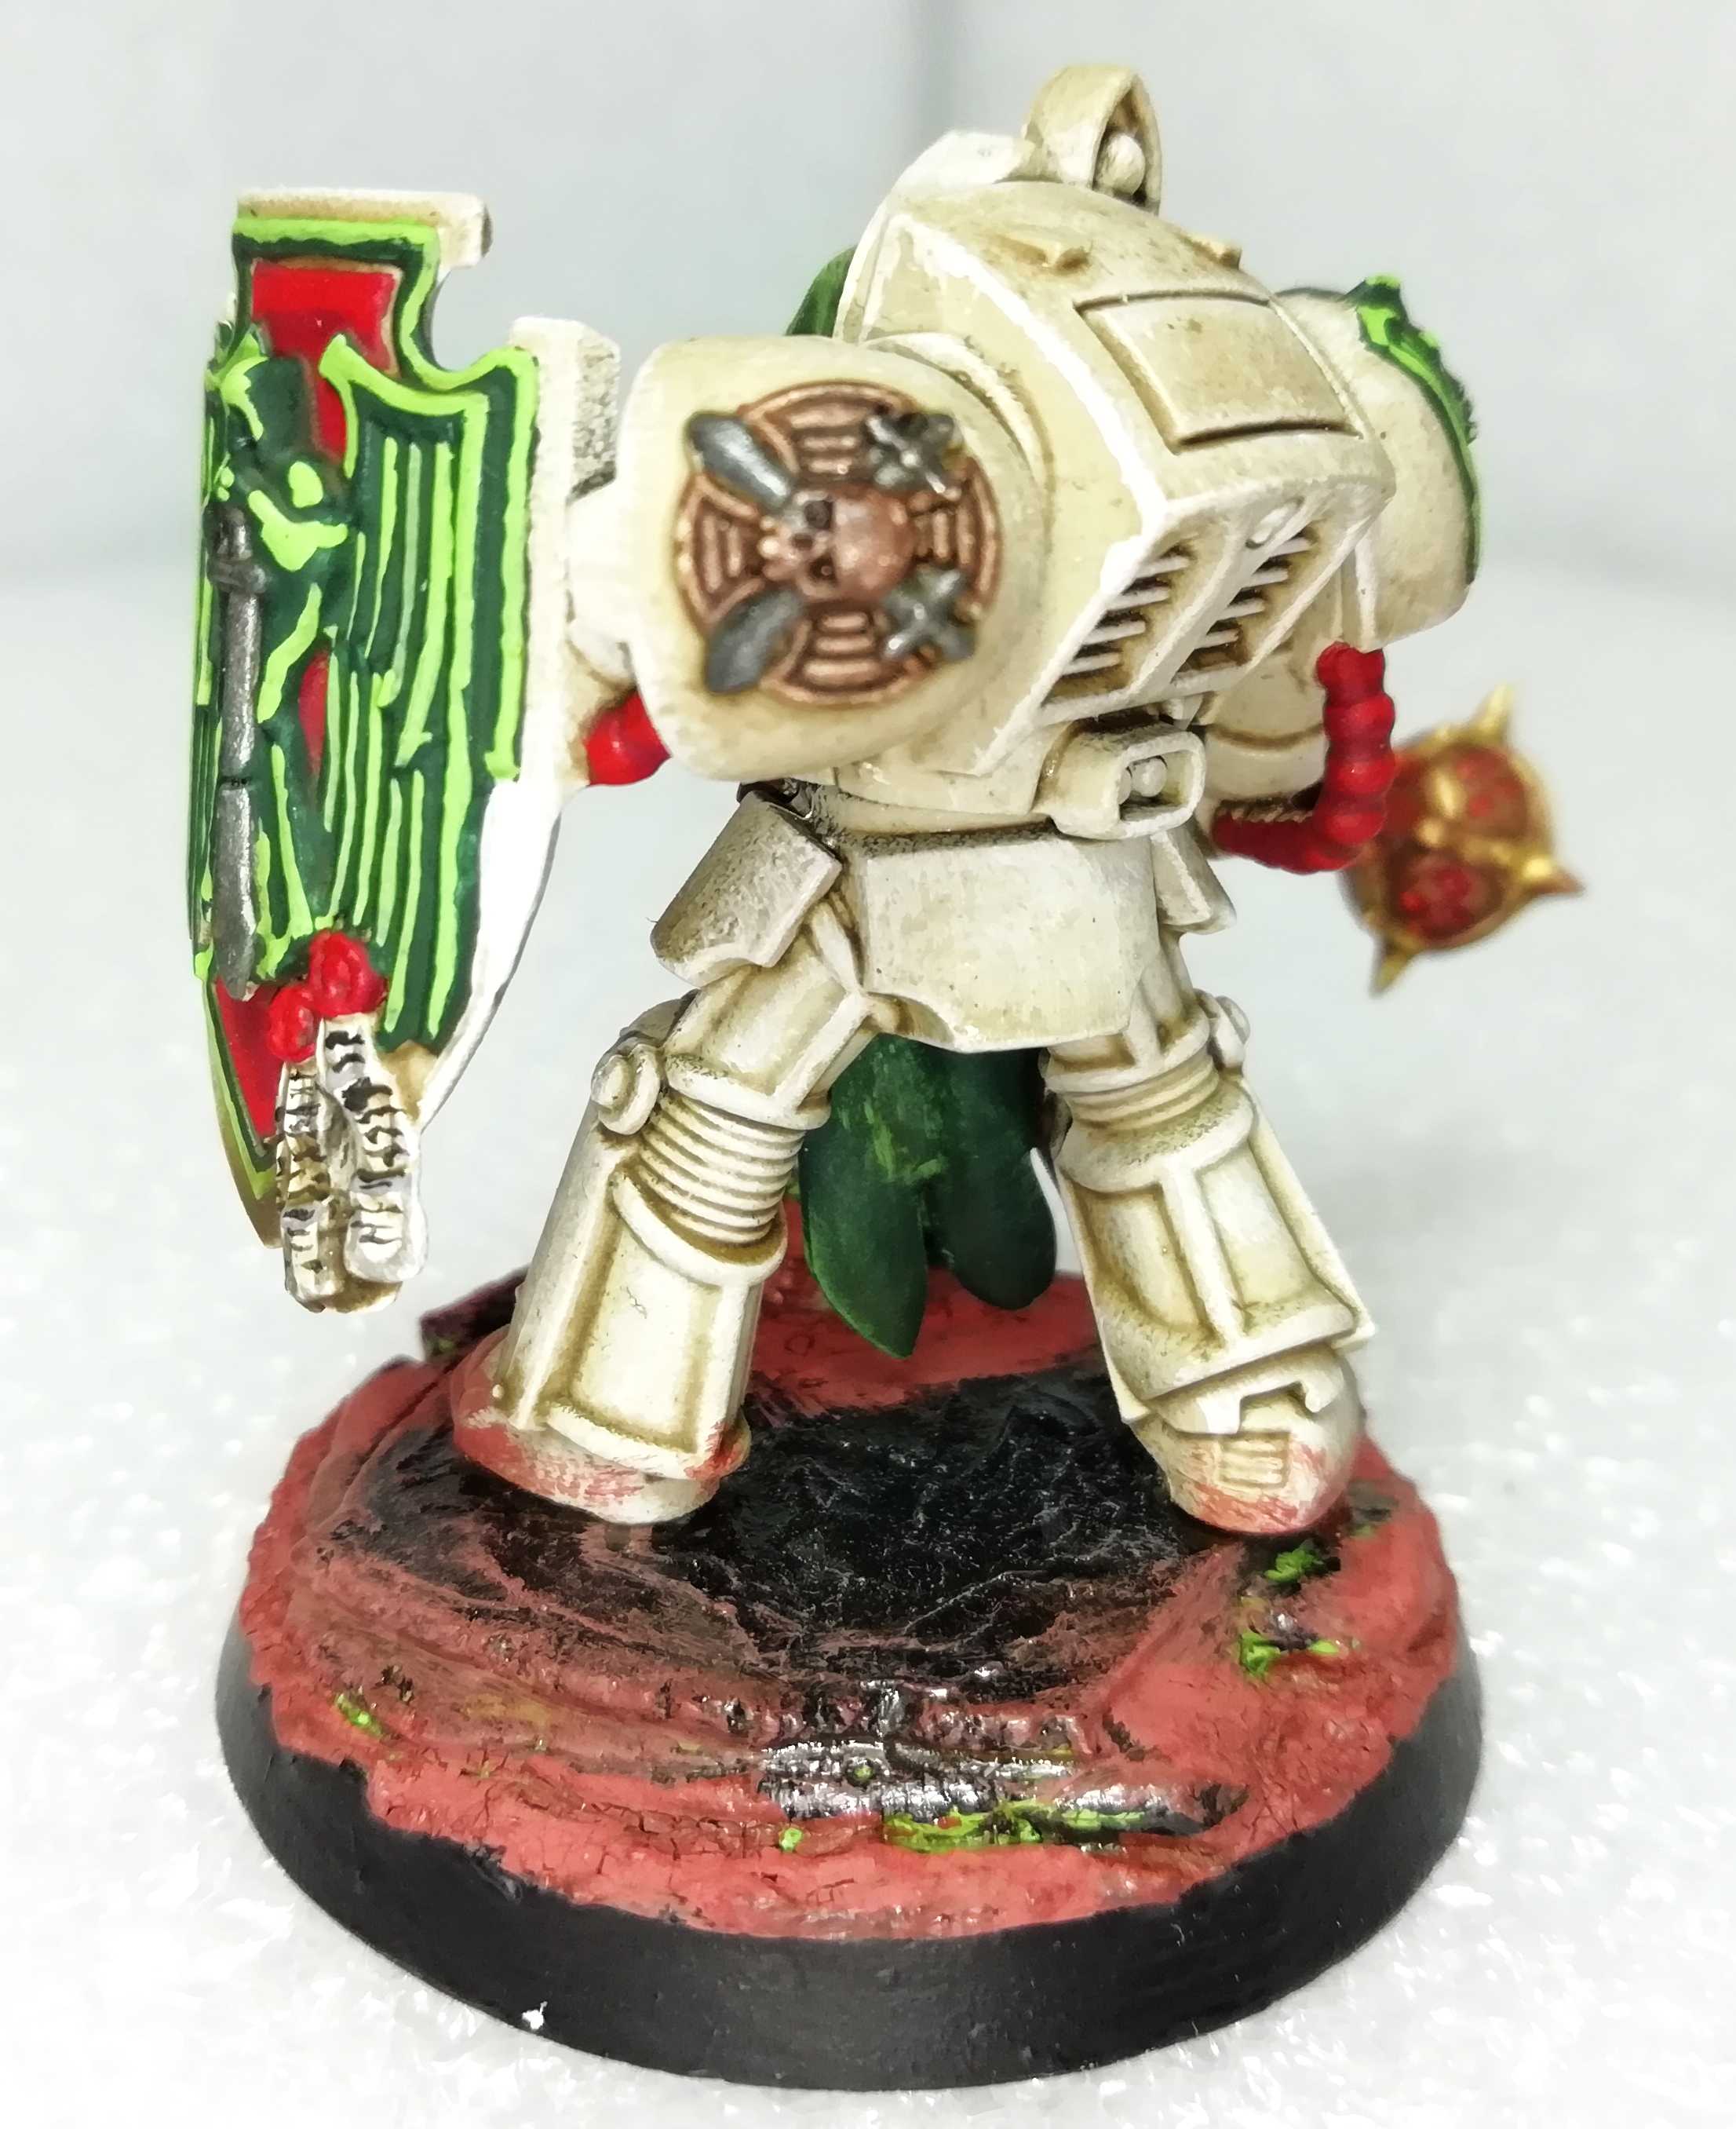
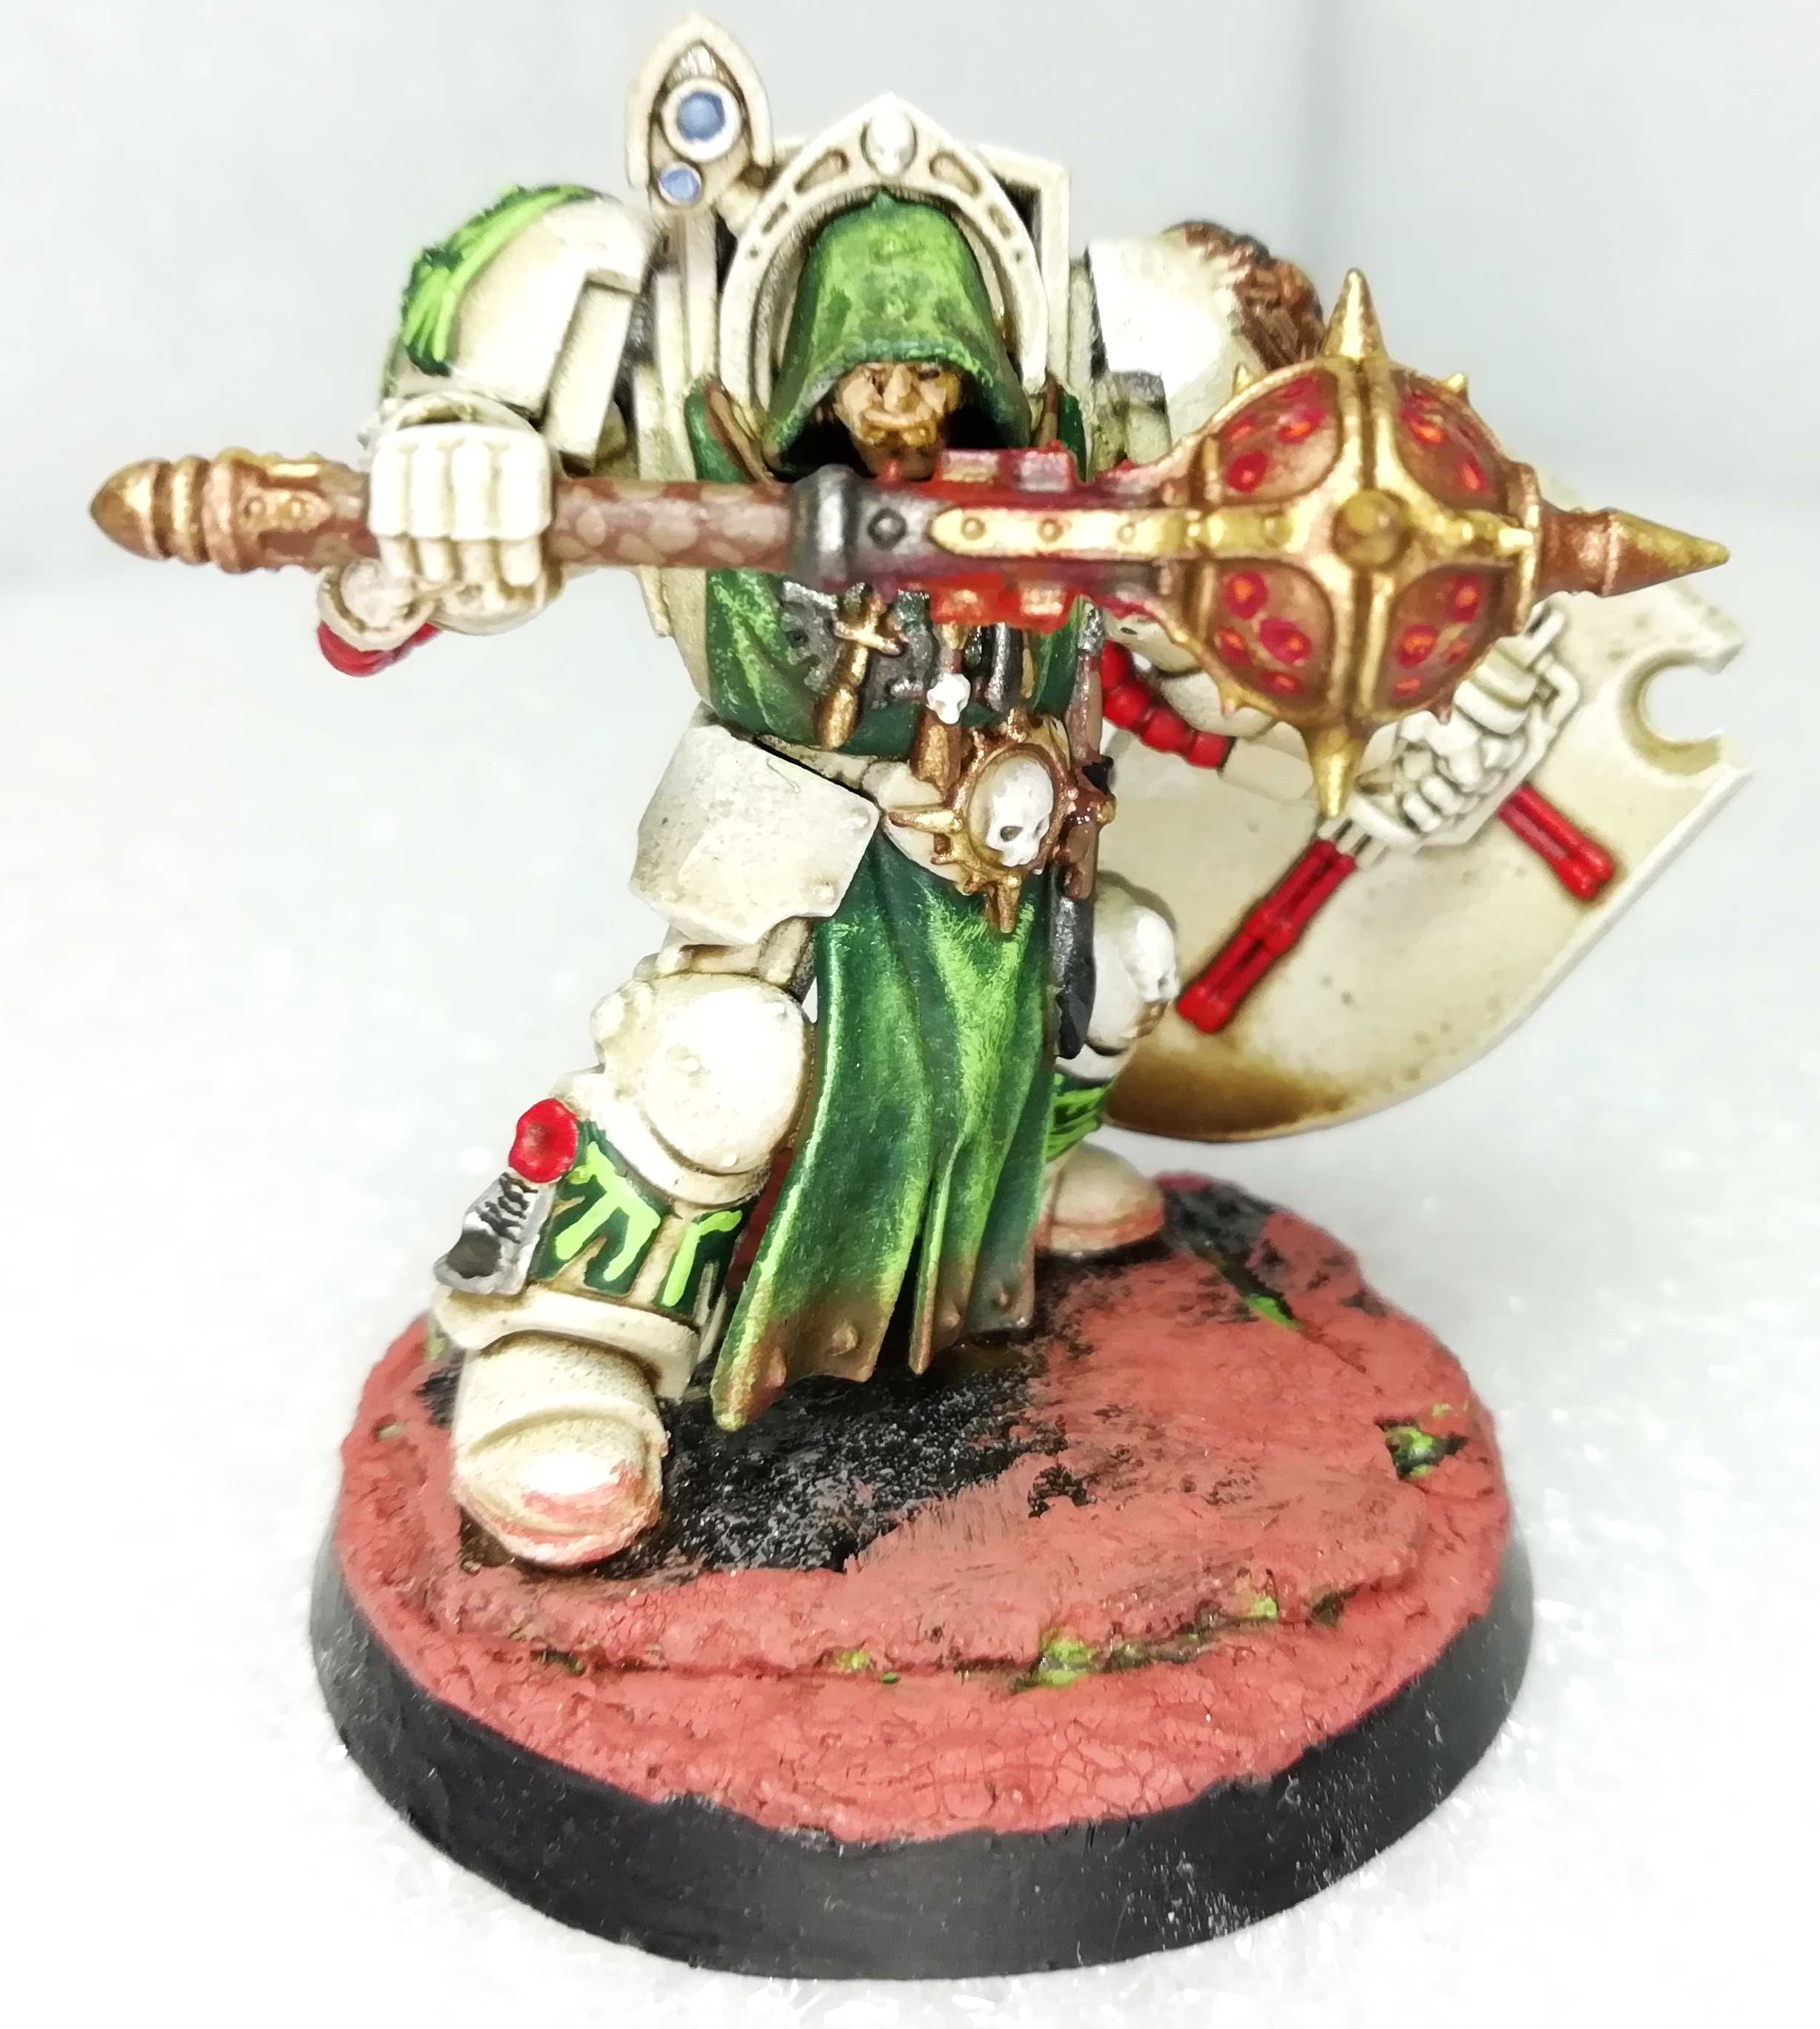
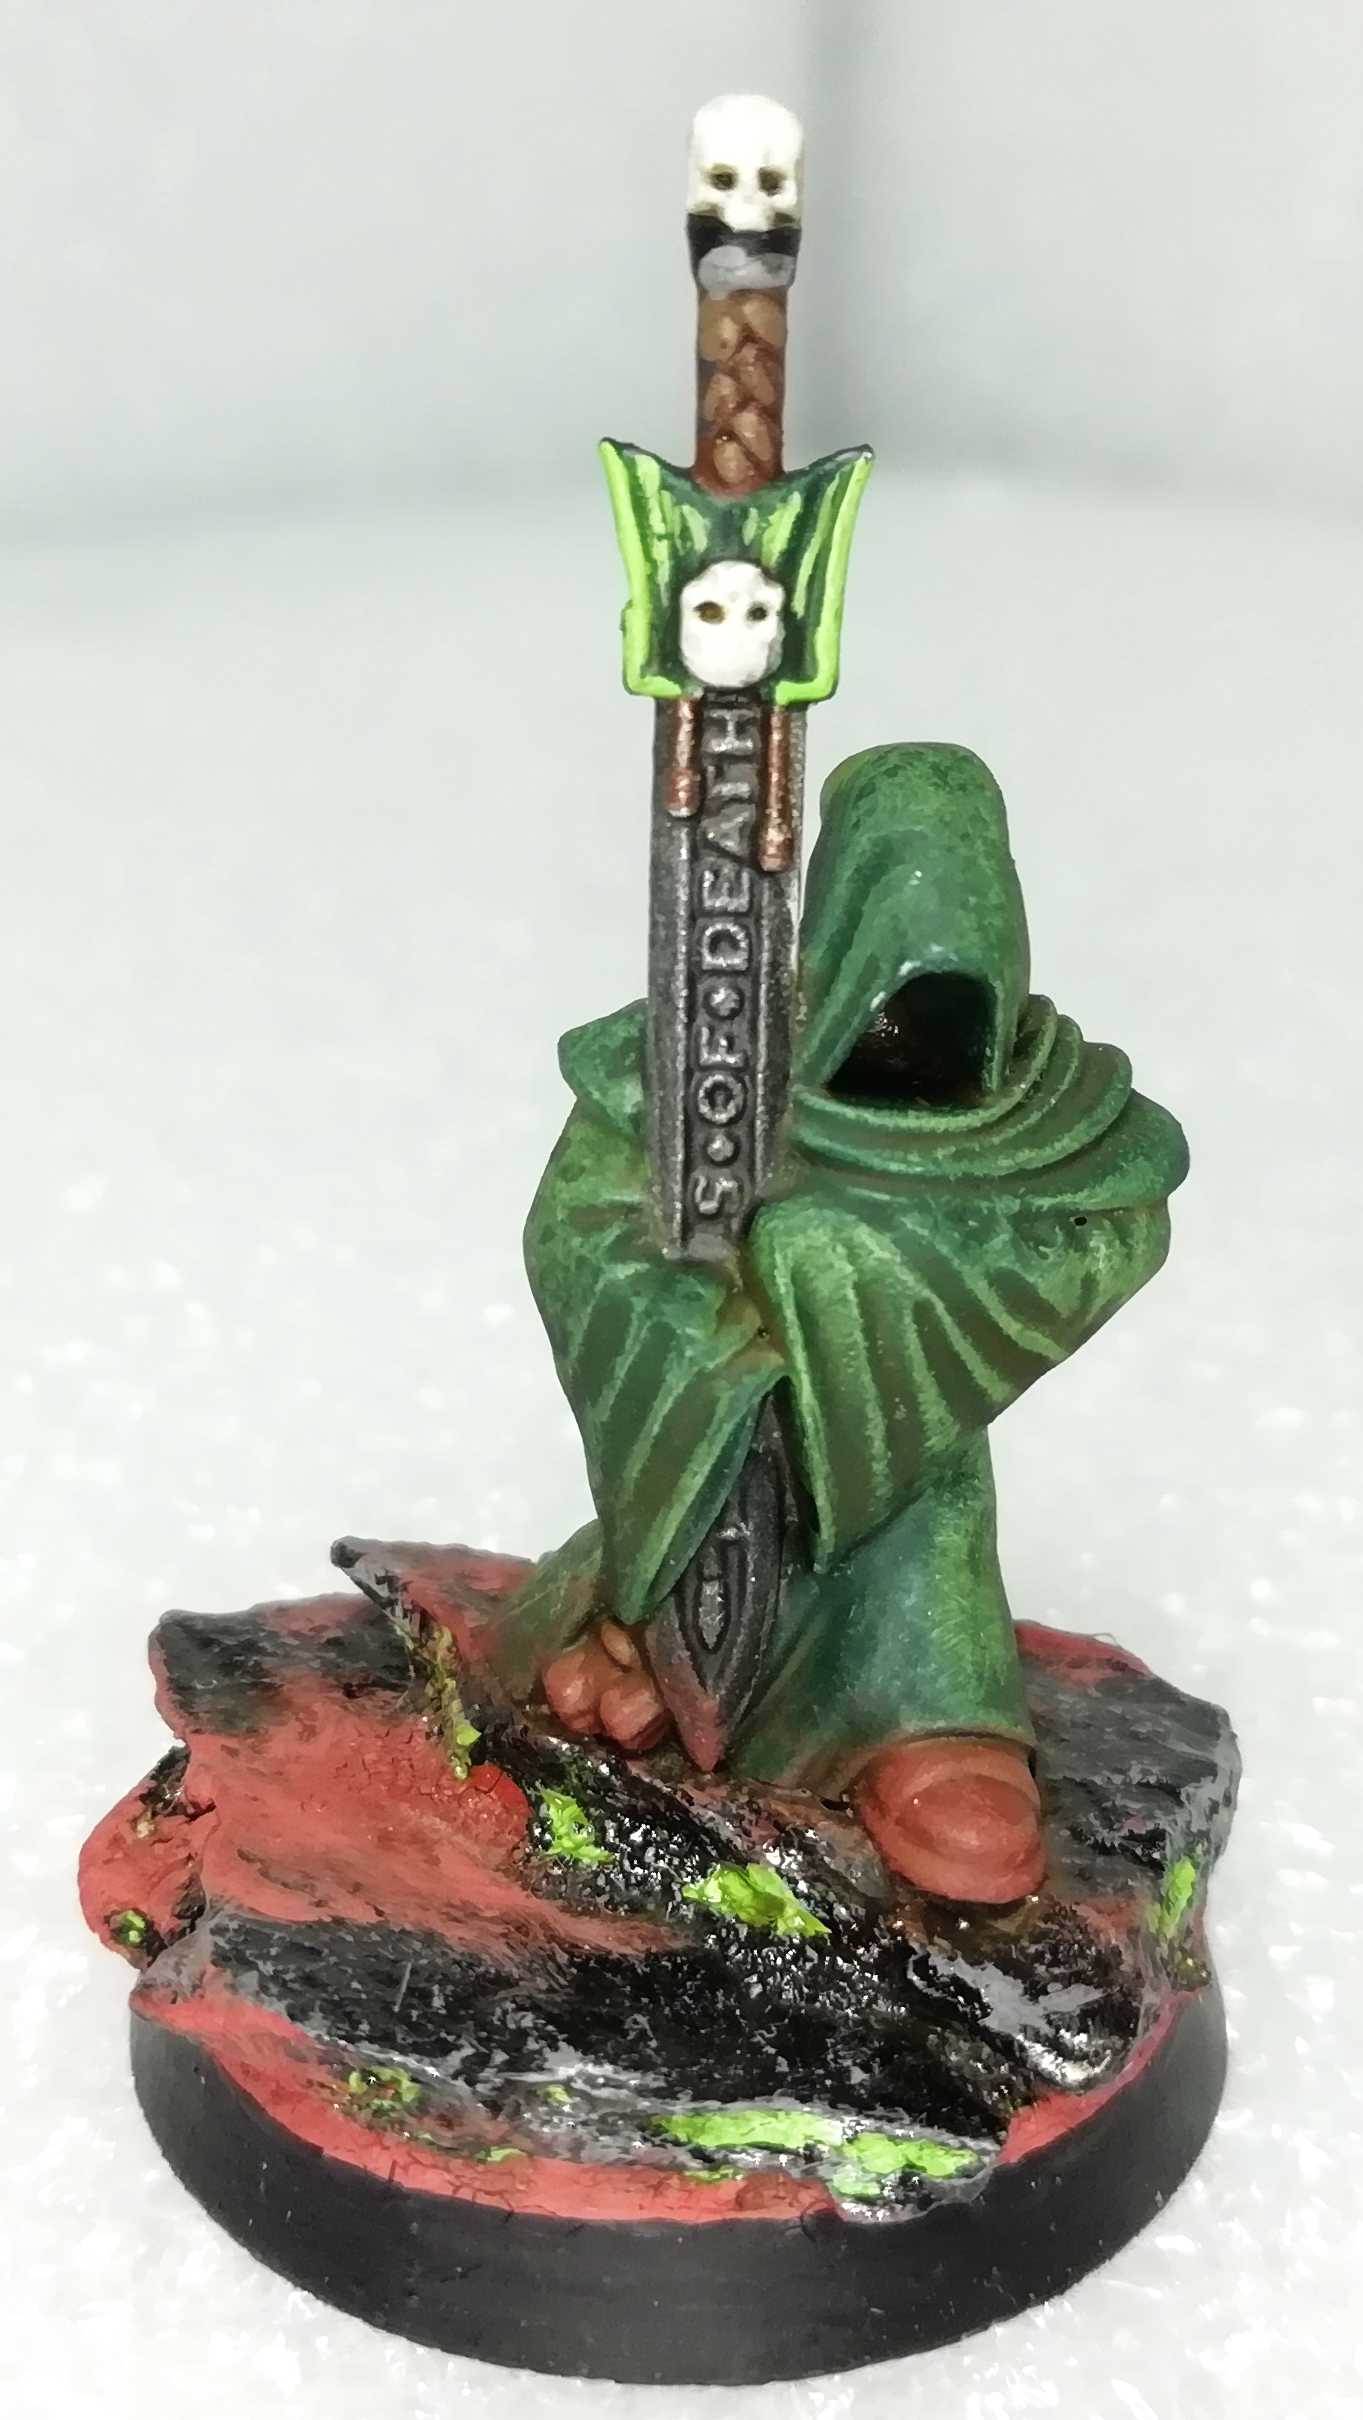
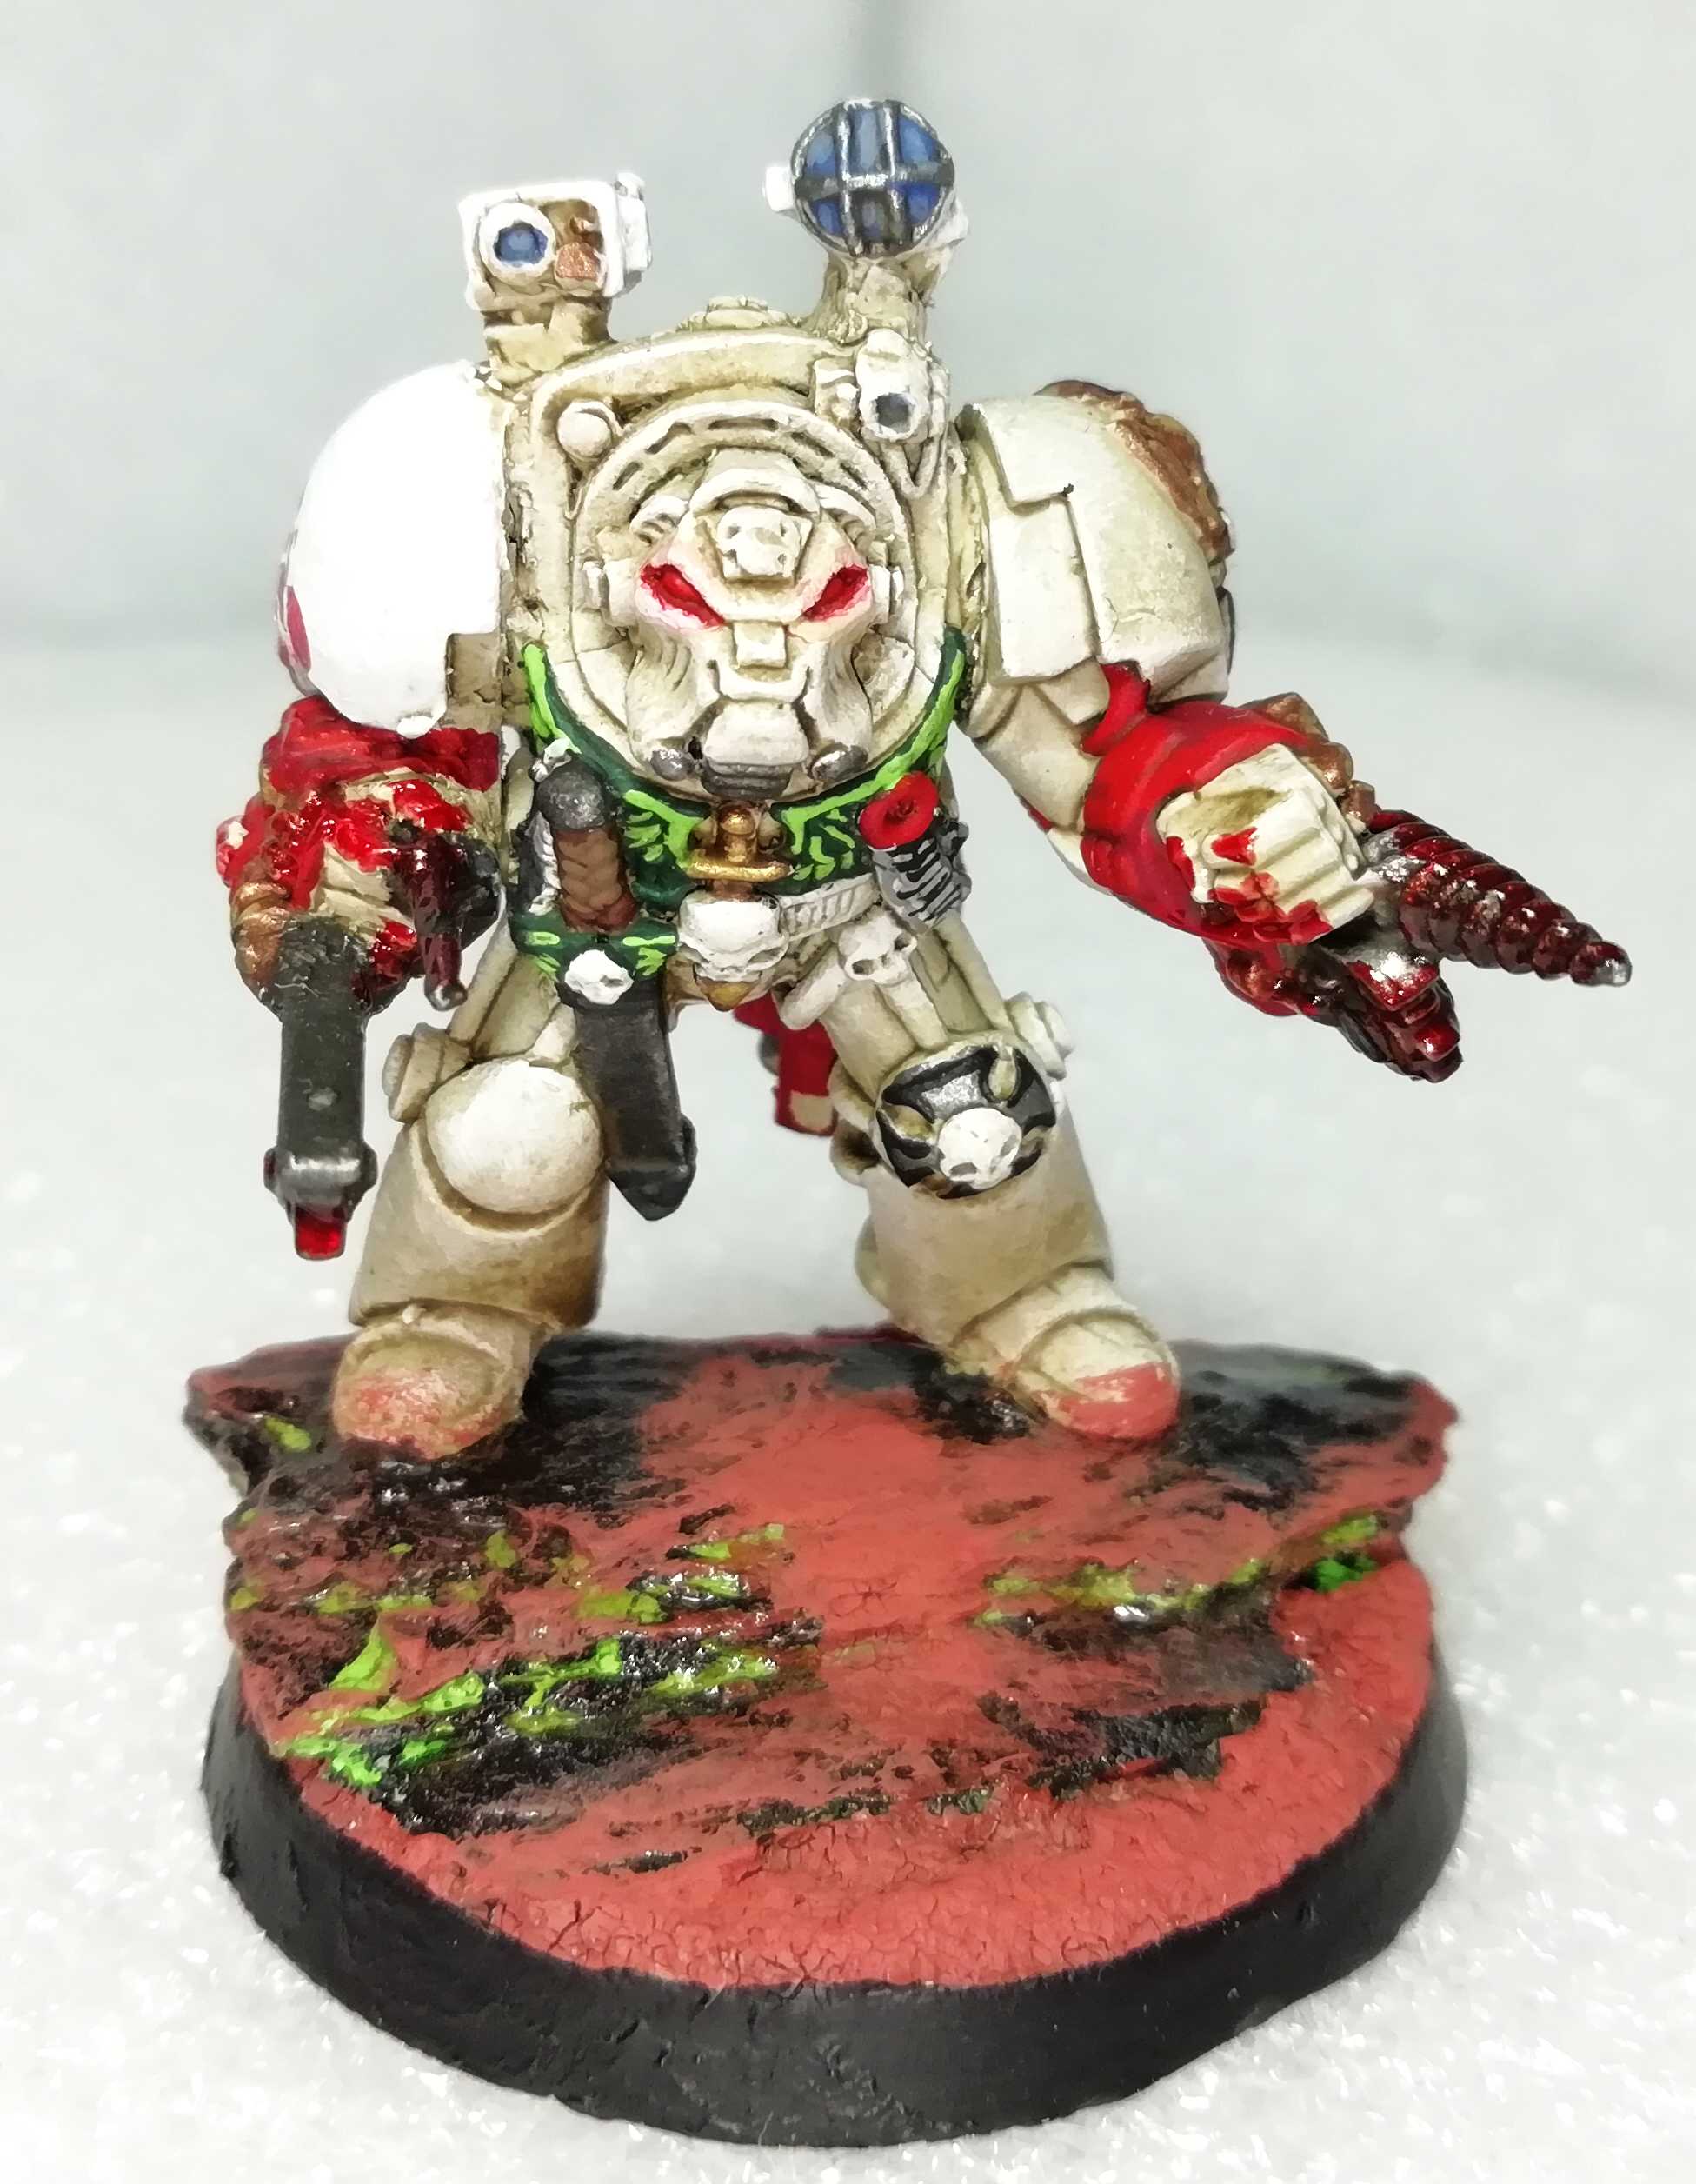 Apothecary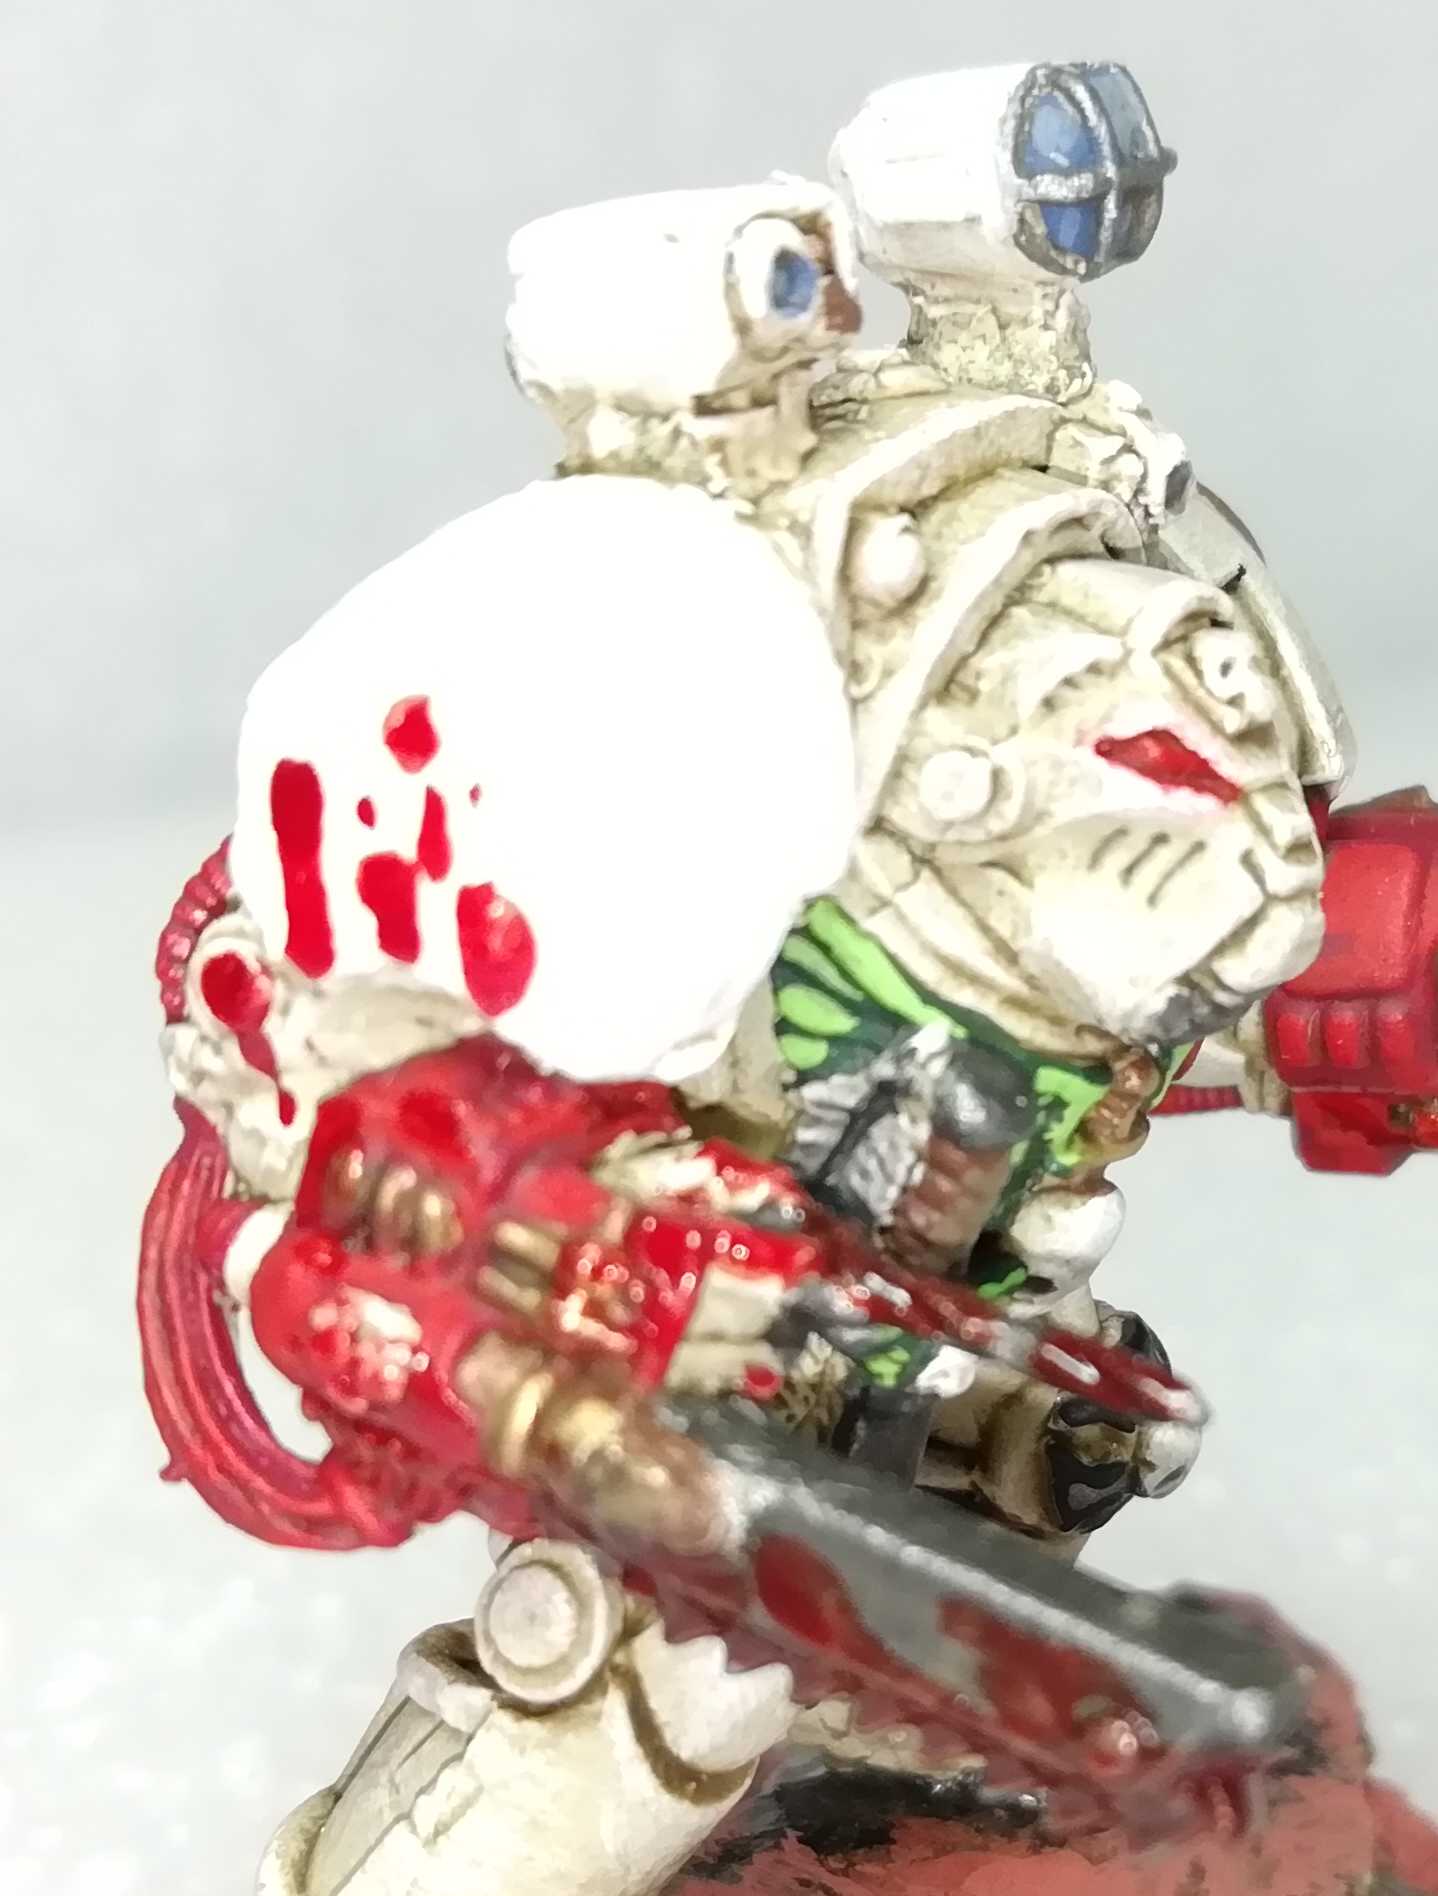

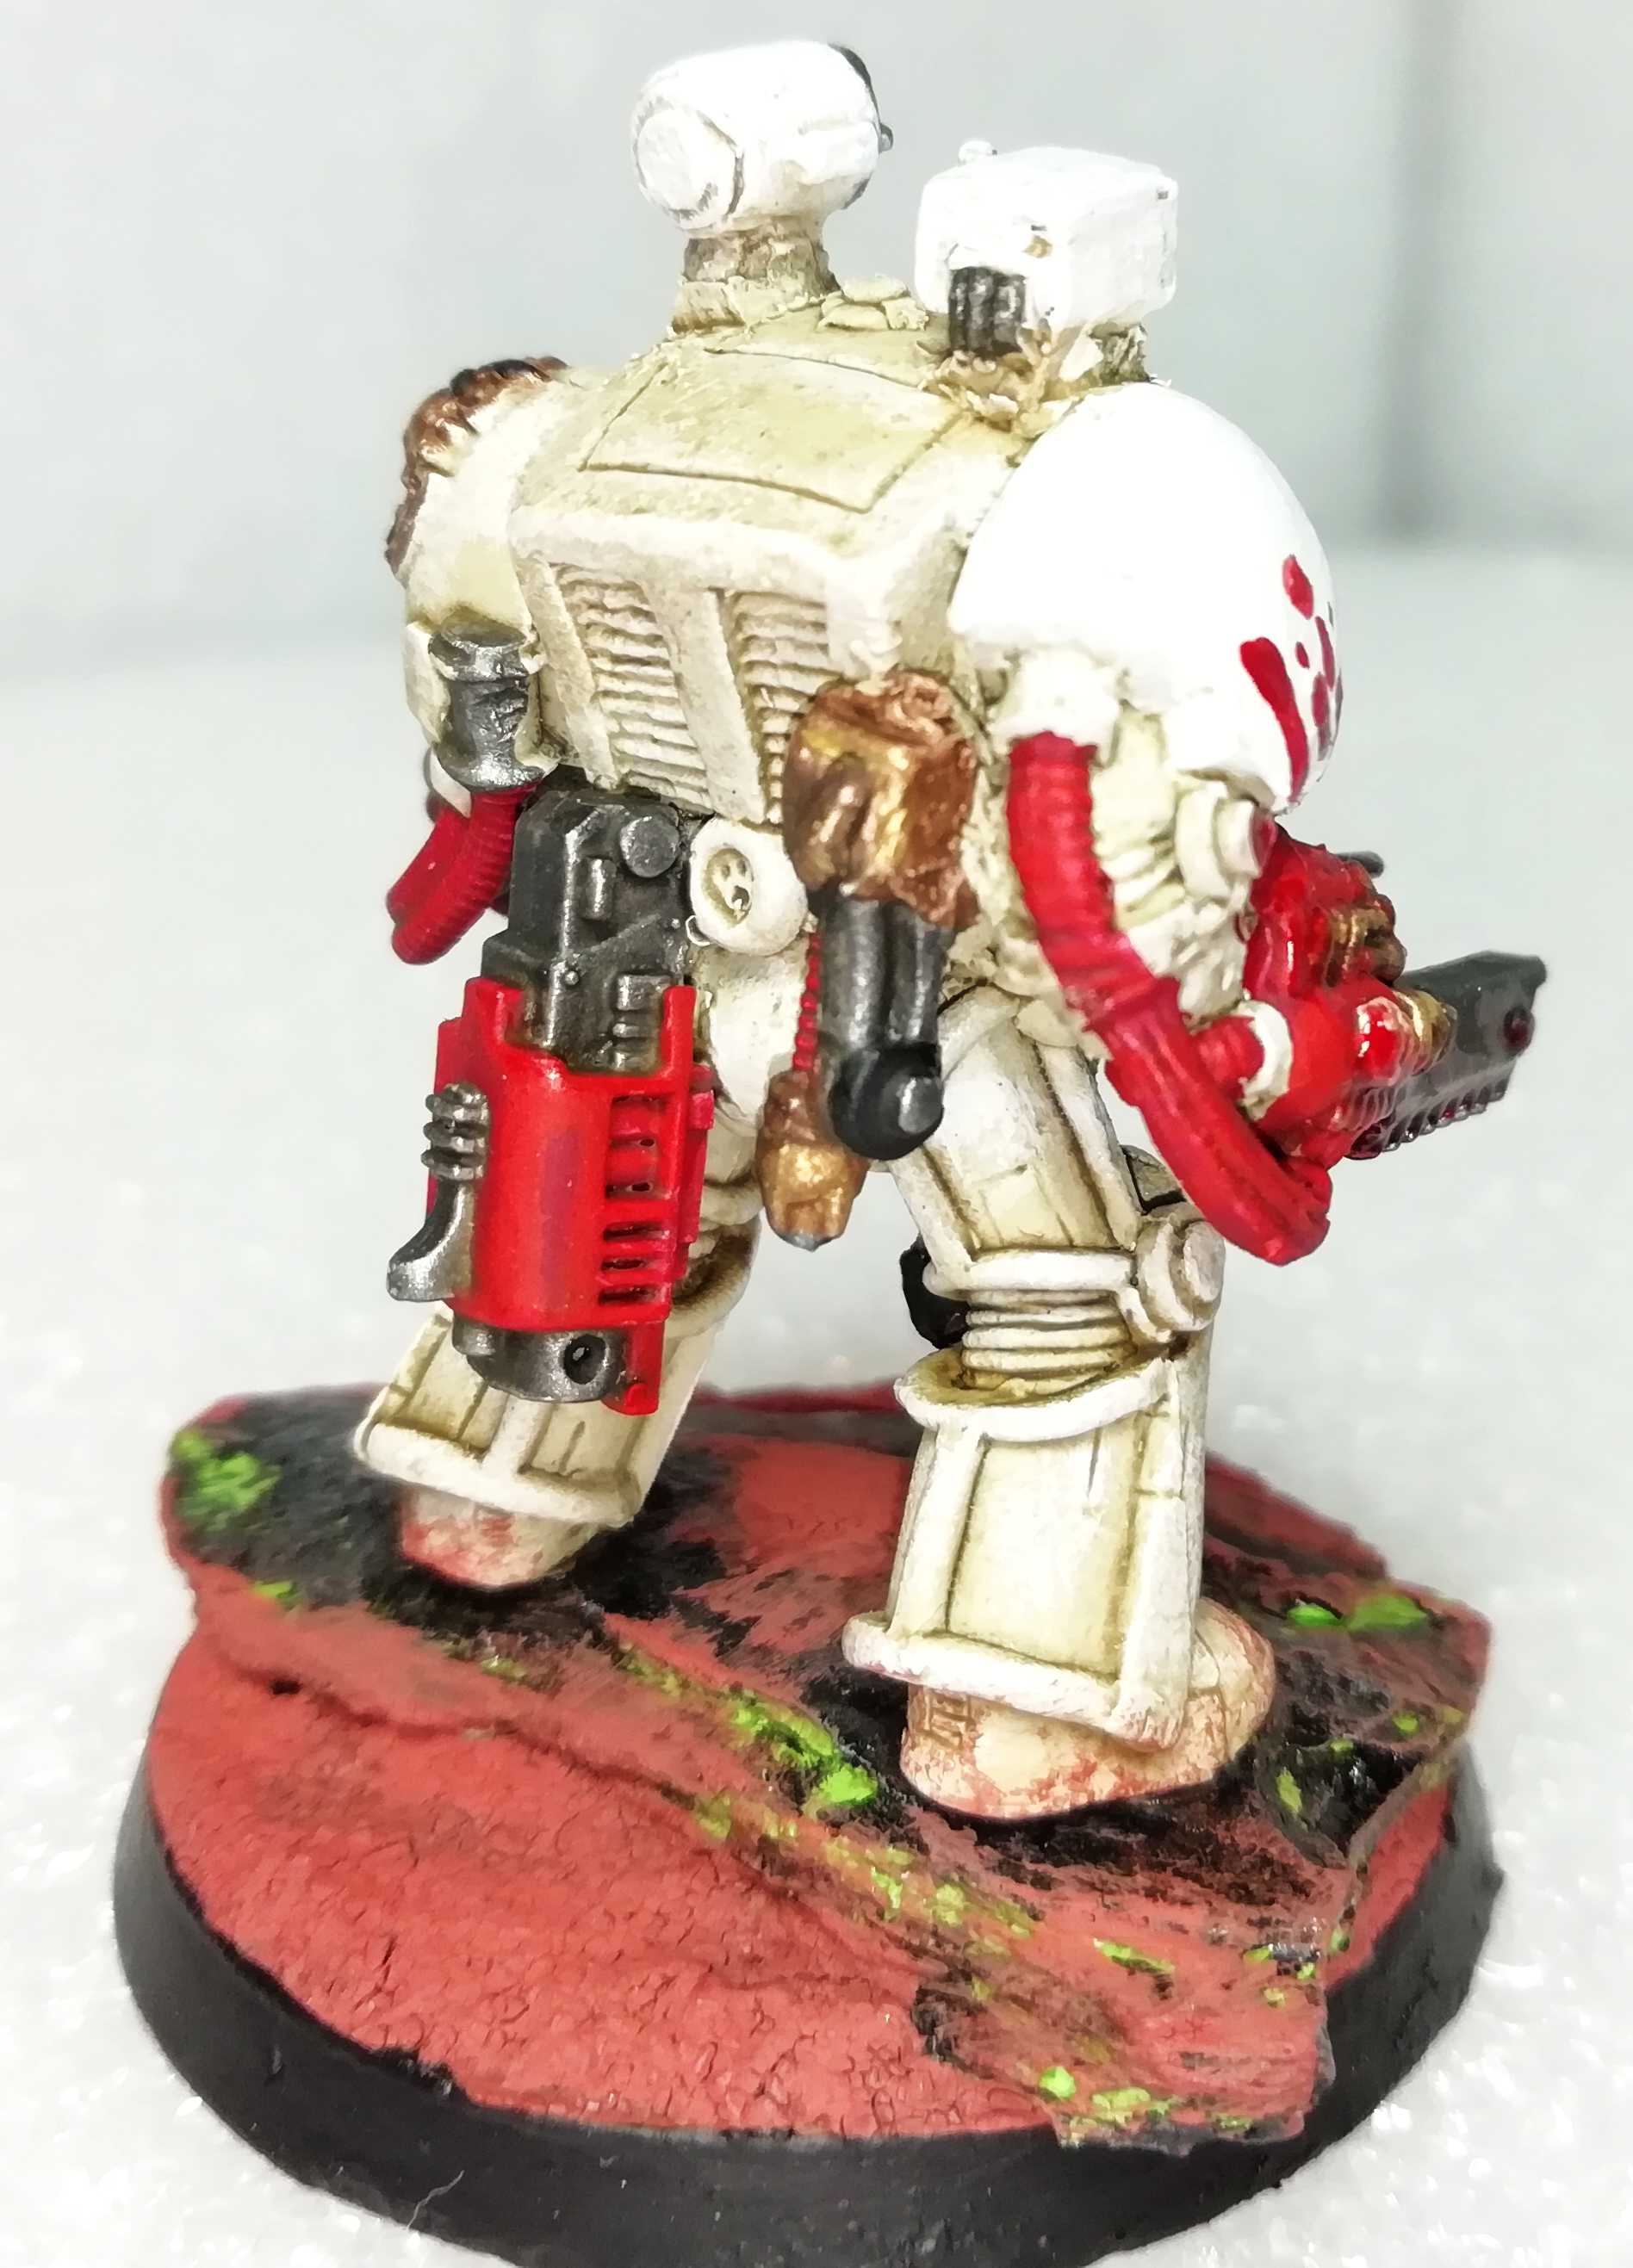
 Scriptor
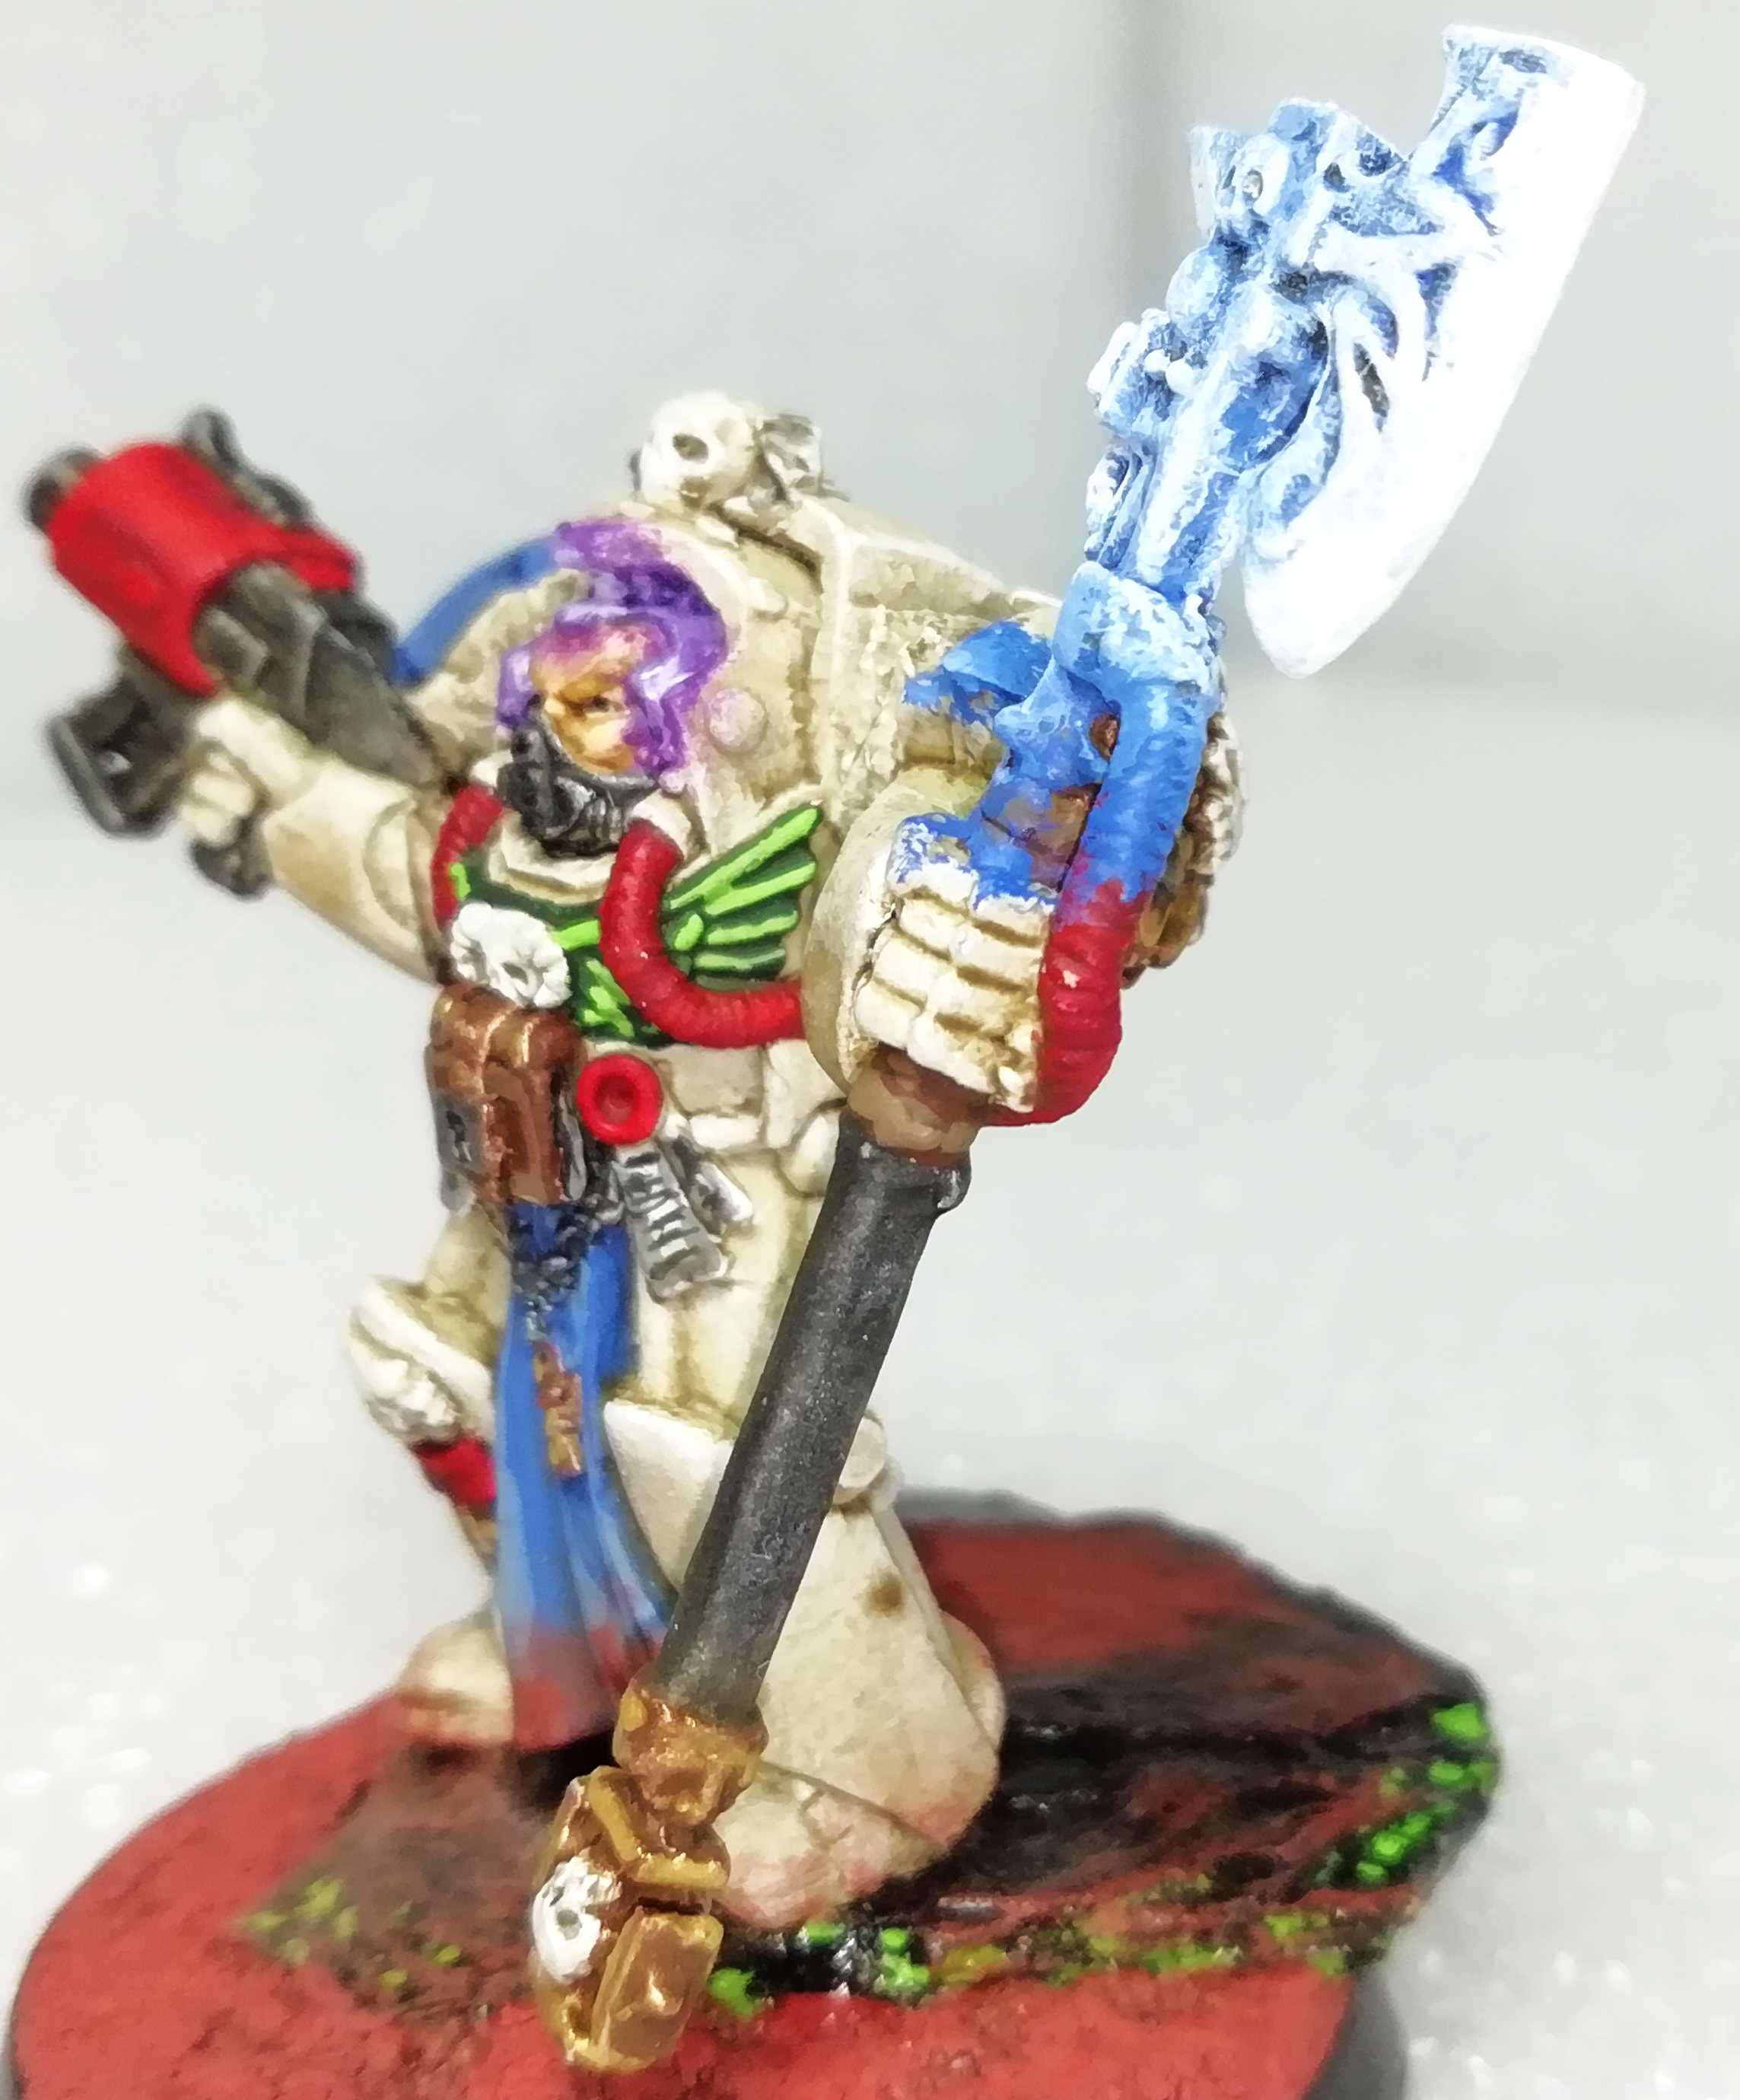
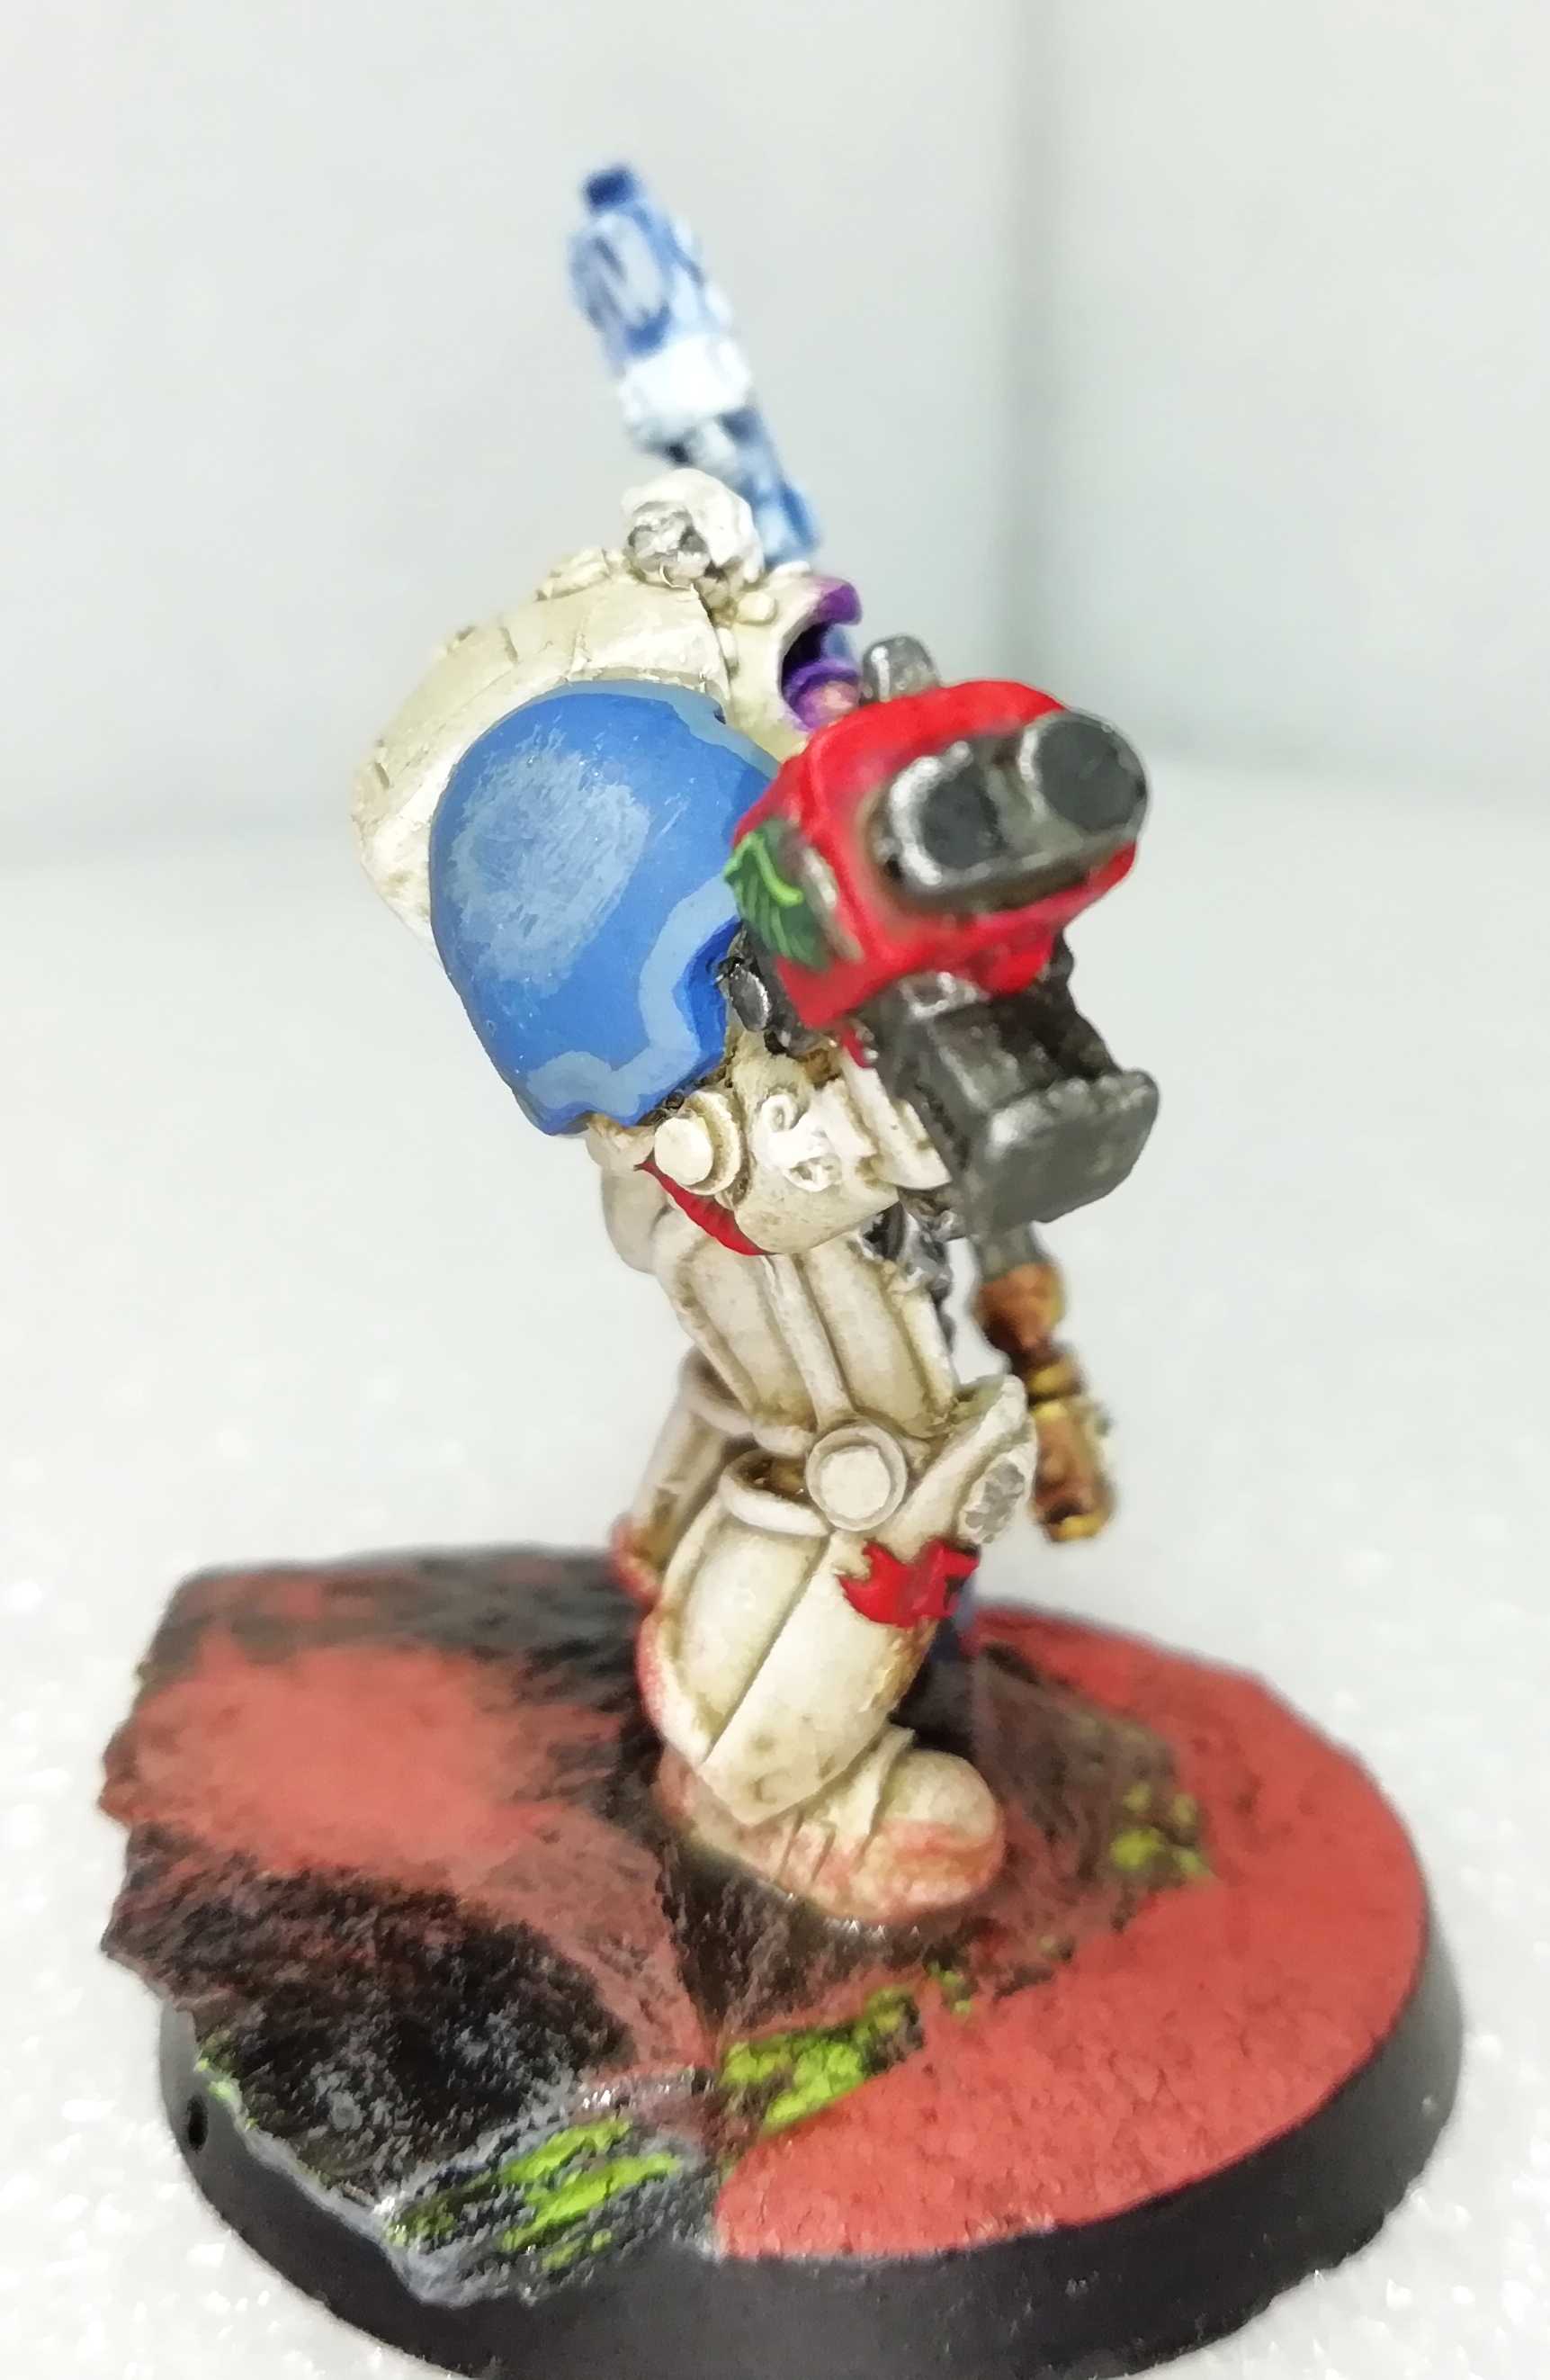
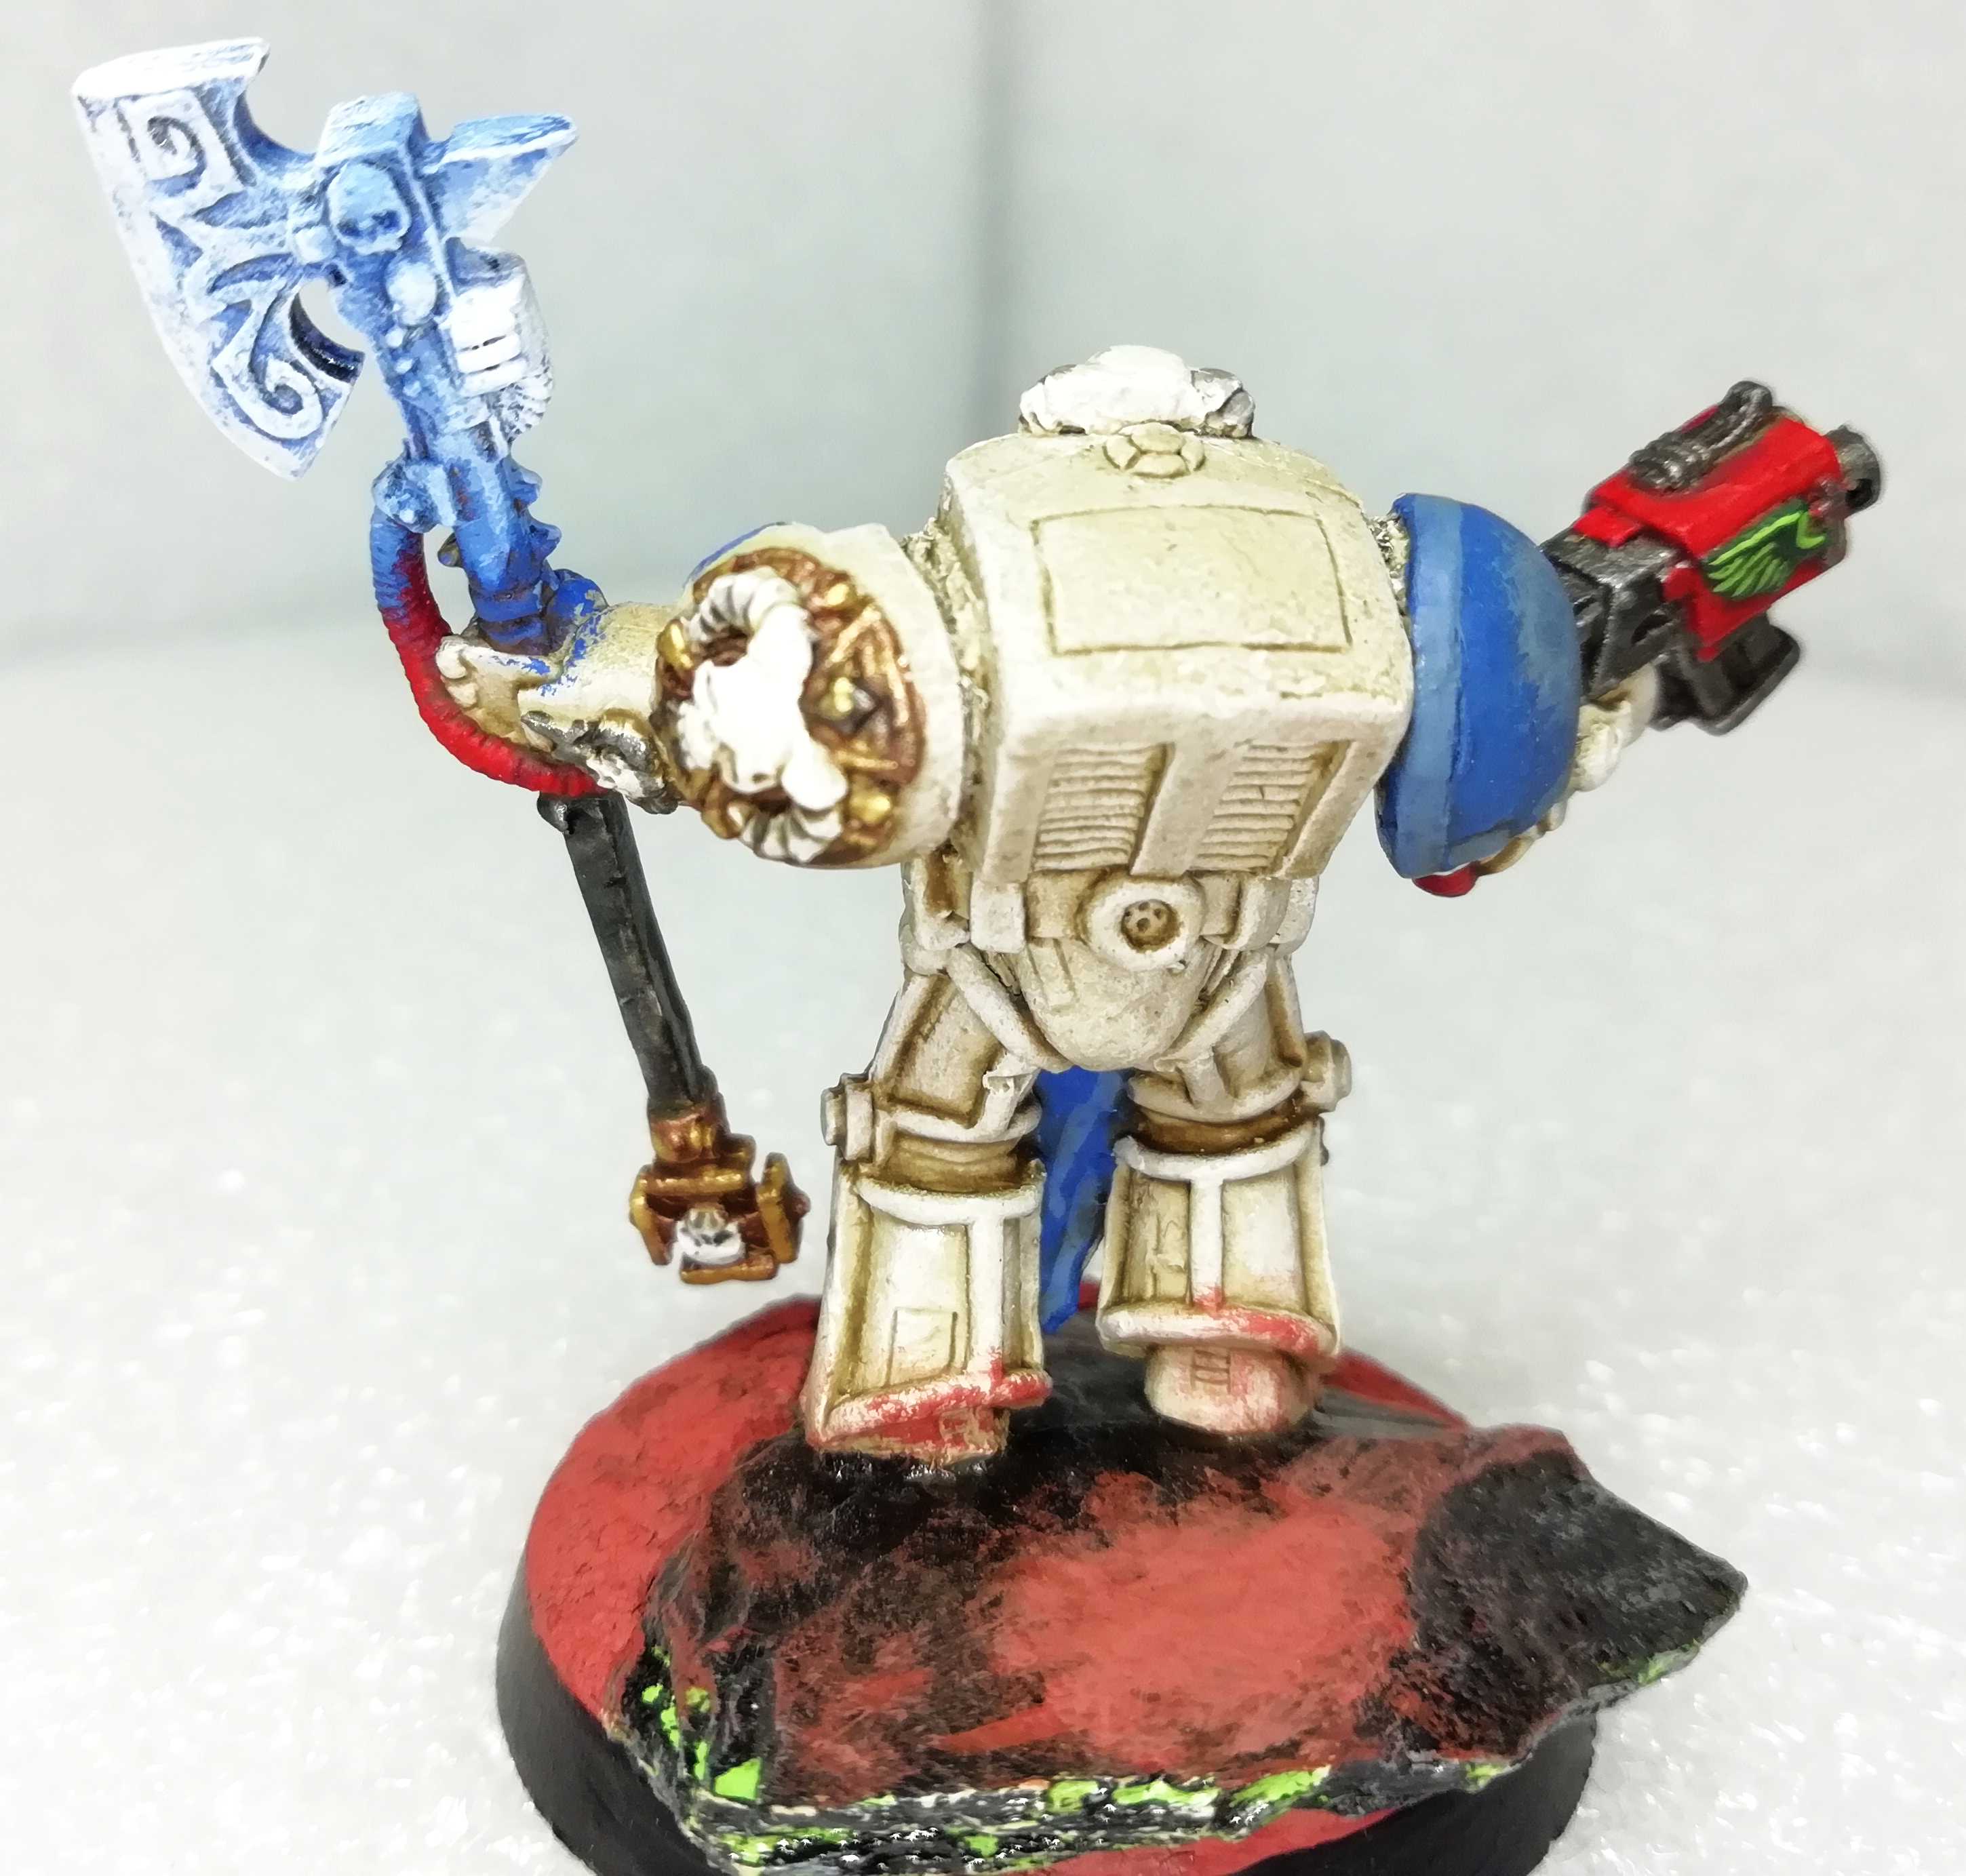
Tutorial on Speed-OSL, step by step
As I was asked how I paint my OSL, I decided to make a step by step guide. To be clear upfront this method is designed to be fast and achieve a result that is ok for a tabletop standard. Nothing more.
I struggled with OSL for years. I tried lot’s of tutorials and most of them were about thinning down your paints really intensly and put up many many layers of colors in shrinking circles. I achieved mediocre results with this. Most of the time the color pooled in areas where the light should not be or didn’t cover other colors. Othertimes the color was too thick and I could not get it where I wanted it. I saw painters achieving incredible results with this method, but I was not able to replicate them. I only use this method today on space marines eyes as they only have a really small glow. On the Terminators in this project it’s a single layer of thinned down red.
As I started painting these Terminators I was still using the “thin-down-method” and was really unhappy with the result. So I watched more tutorials and found one which talked about not thinning your color but thickening it with a heavy white. I use Model Color Foundation White (70.919), which is actually more like a paste than a color. The guide said:
- Define your lightsource
- Start with the base color
- For every layer mix more white in until you get to pure white
- Drybrush / overbrush shrinking circles from your lightsource outwards
- Always move the brush directly away from the light source
So I started to experiment with this method and achieved much better results. I don’t think the method is superior to the thin-down-method, but I do think that it is faster and much easier to achieve.
My step by step will be on the Scriptor for these Deathwing Terminators. It’s again a quite old full metal model. I think I have it since 2nd Edition of 40k. I retrofitted it with some mix out of a Force Stave/Axe and changed his pose to one inspired by the last scene from Platoon. Where Charlie Sheen is choppered away and his “buddy” is streching out his arms holding a stave and his M16.
I used two colors of OSL here. Purple (Army Painter Alien Purple) on the Psi Matrix and Blue (GW Ultramarine Blue) on the Force Weapon, as I did on all the Terminators. I defined my lightsource to be the 3 holders of the Psi Matrix (on top of the forehead and to the sides of the ears), the generator on the Force Weapon and the blade of the Force Weapon.
The Purple is painted in 5 steps (first being pure purple, last being pure white) and the Blue is painted in 6 steps (again first being pure blue, last being pure white). Unfortunately I think I forgot to take a pic of the 4th step. But you’ll get the idea. I’ll mention brush sizes, the smaller one is on the purple
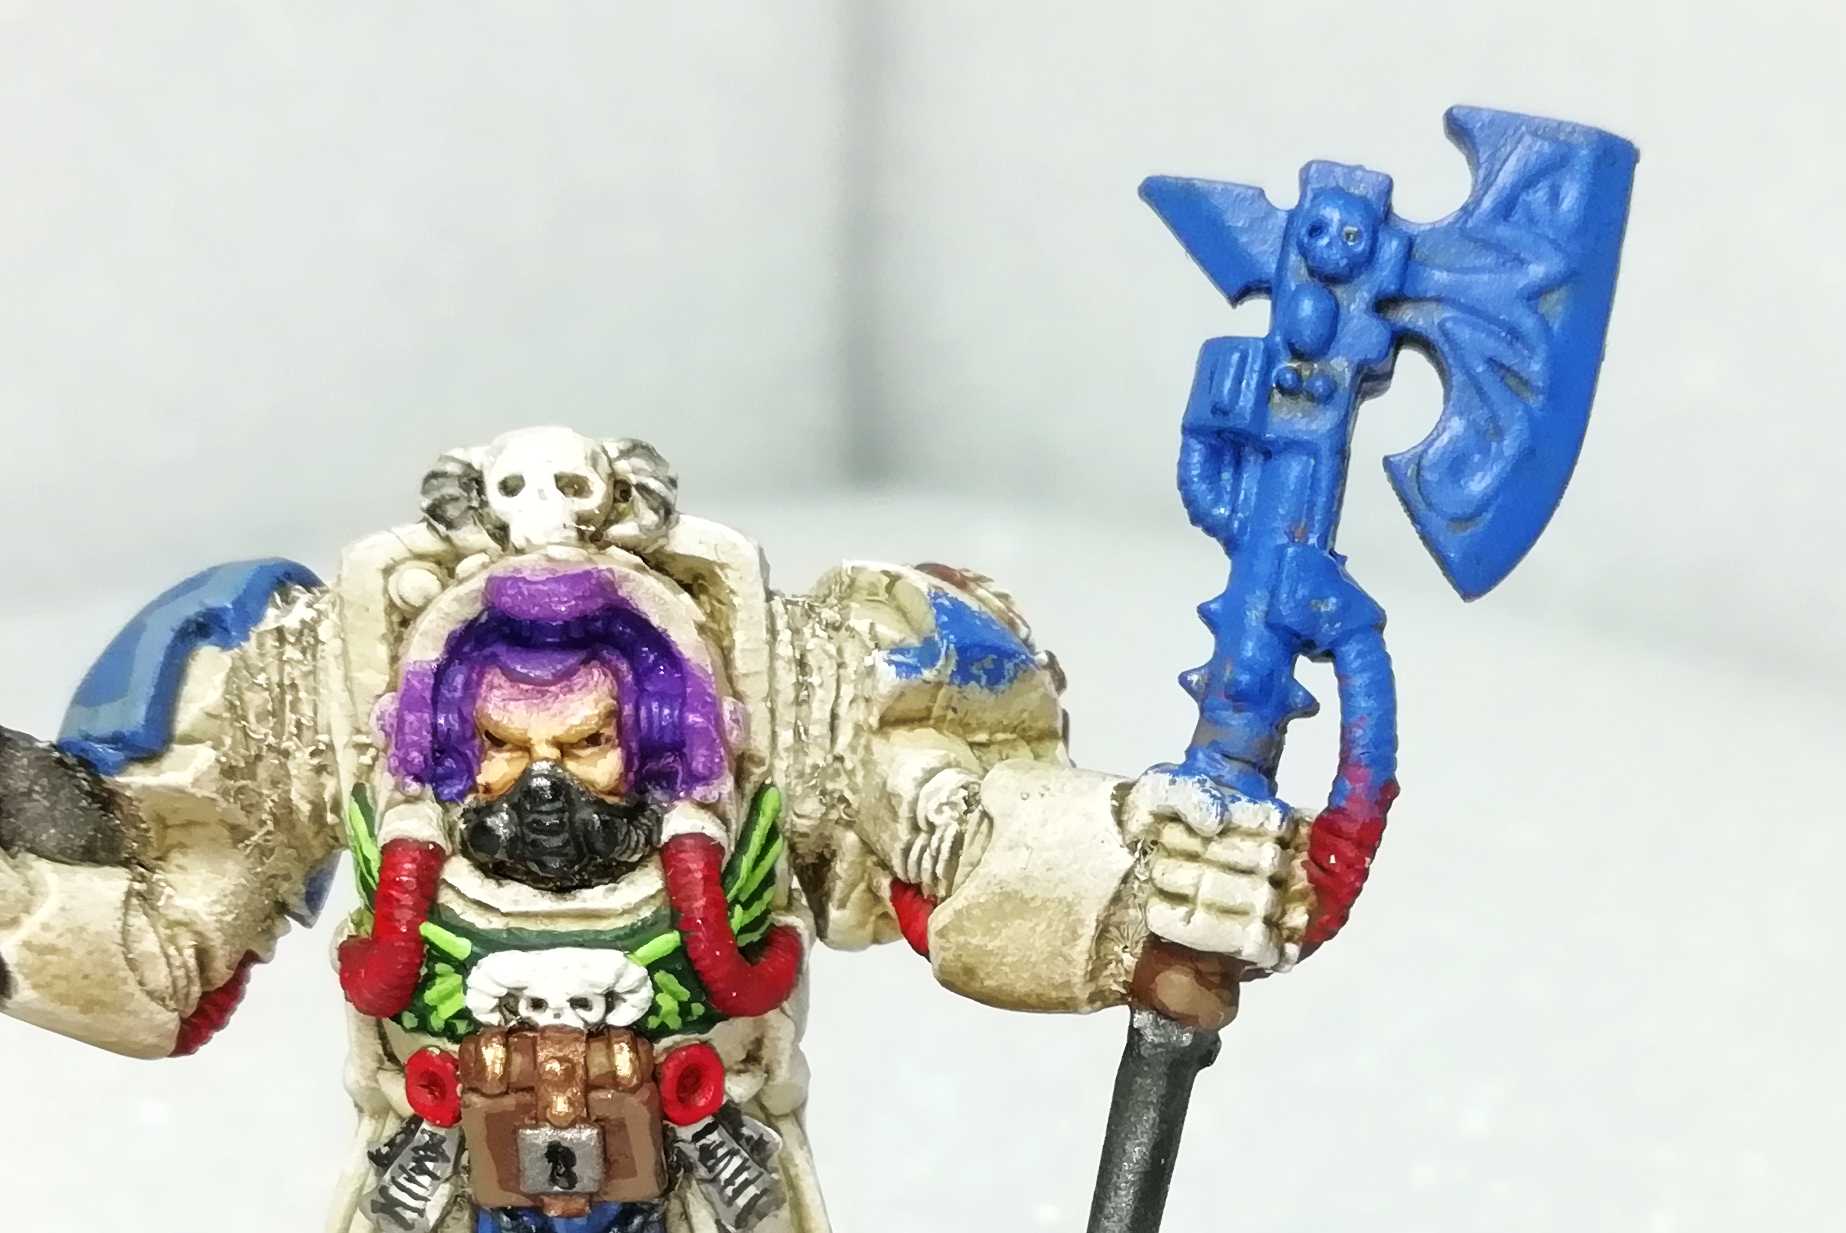 First layer. More of a heavy overbrush here. Size 2 and 0 brush.
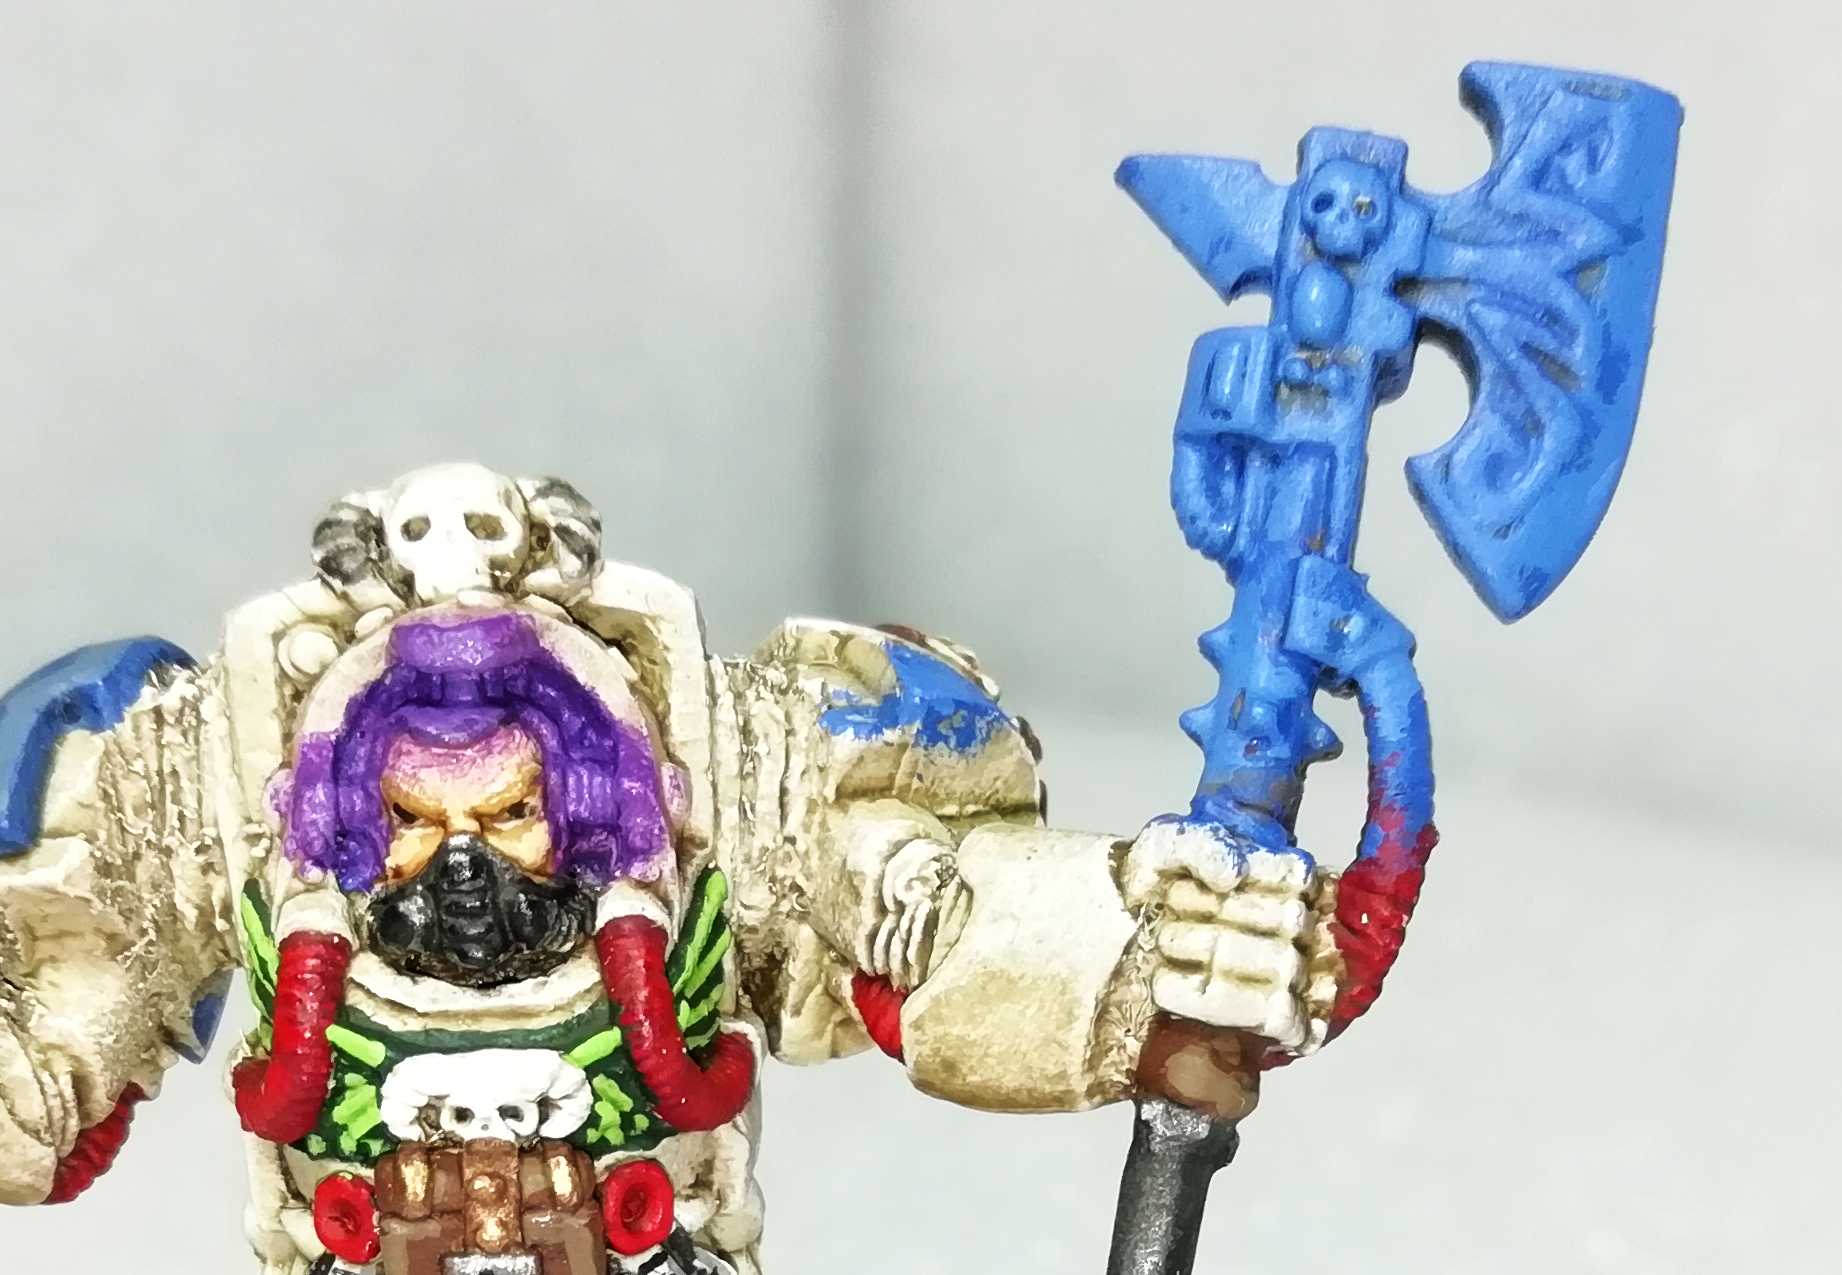 Second layer. Not much to see. Same brushes.
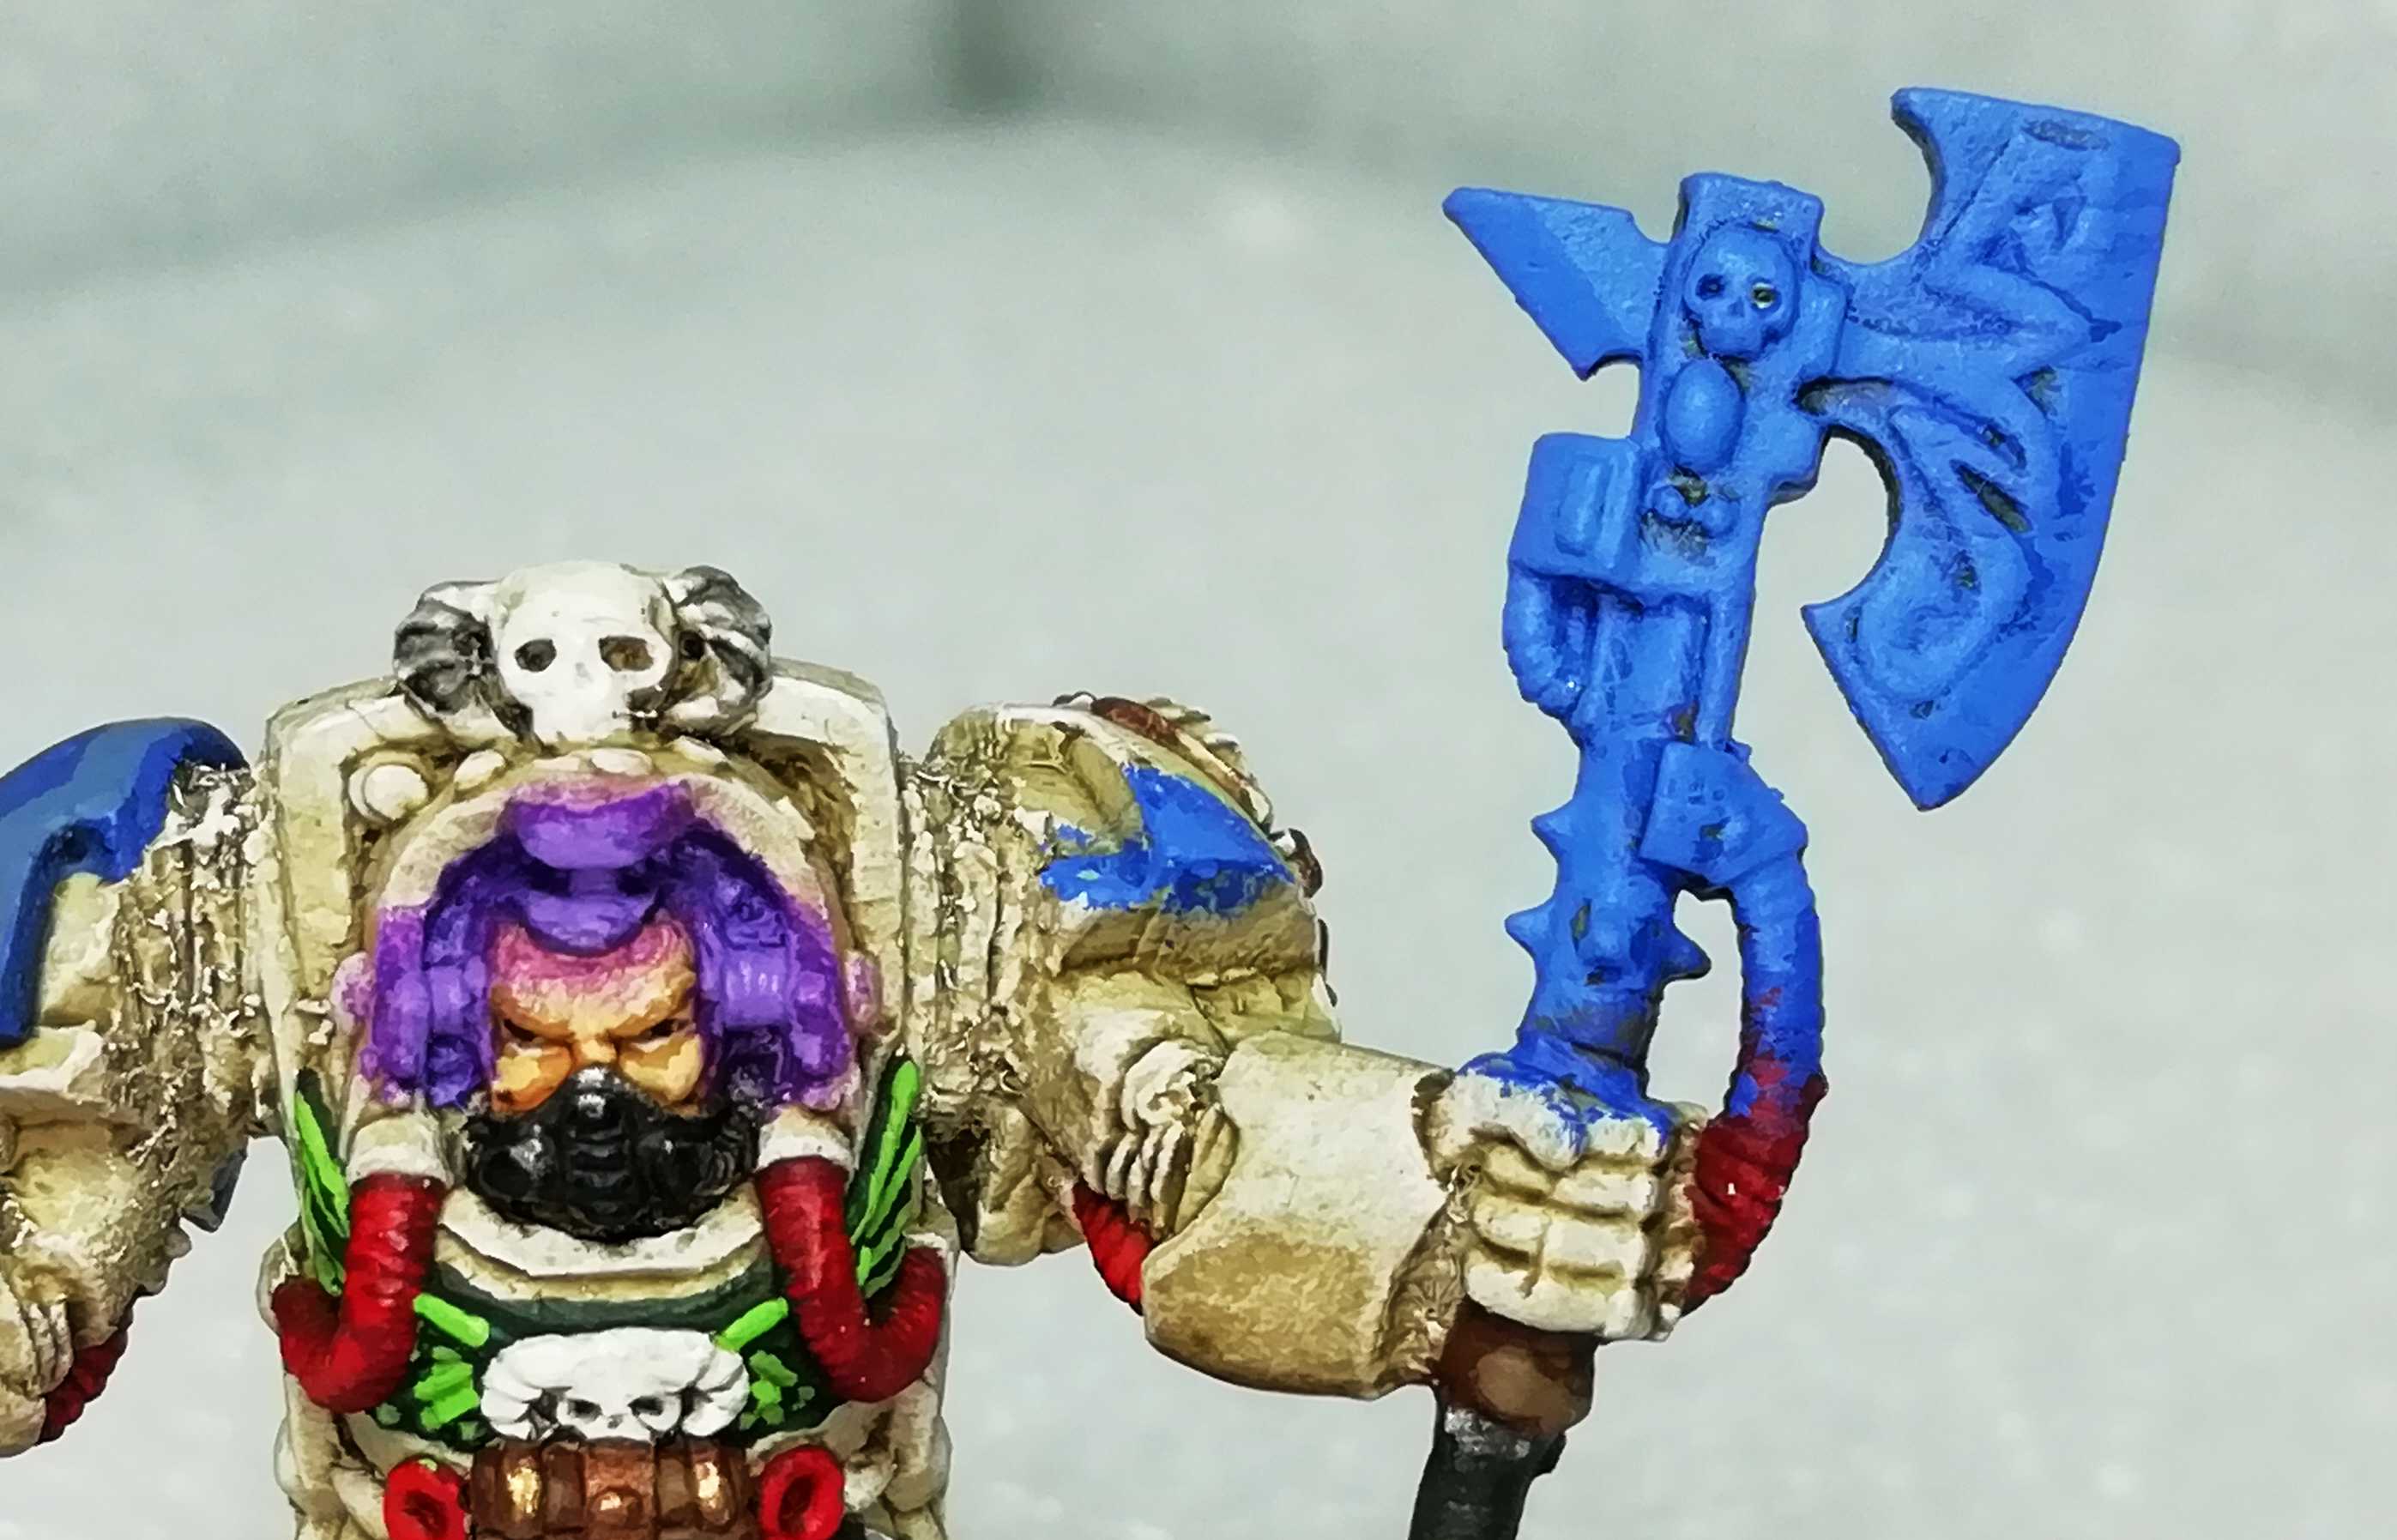 Third layer. Matrix coming along nice, weapon needs more work. Size 1 and 00 brushes.
 Fifth layer. Purple is finished. Same brushes.
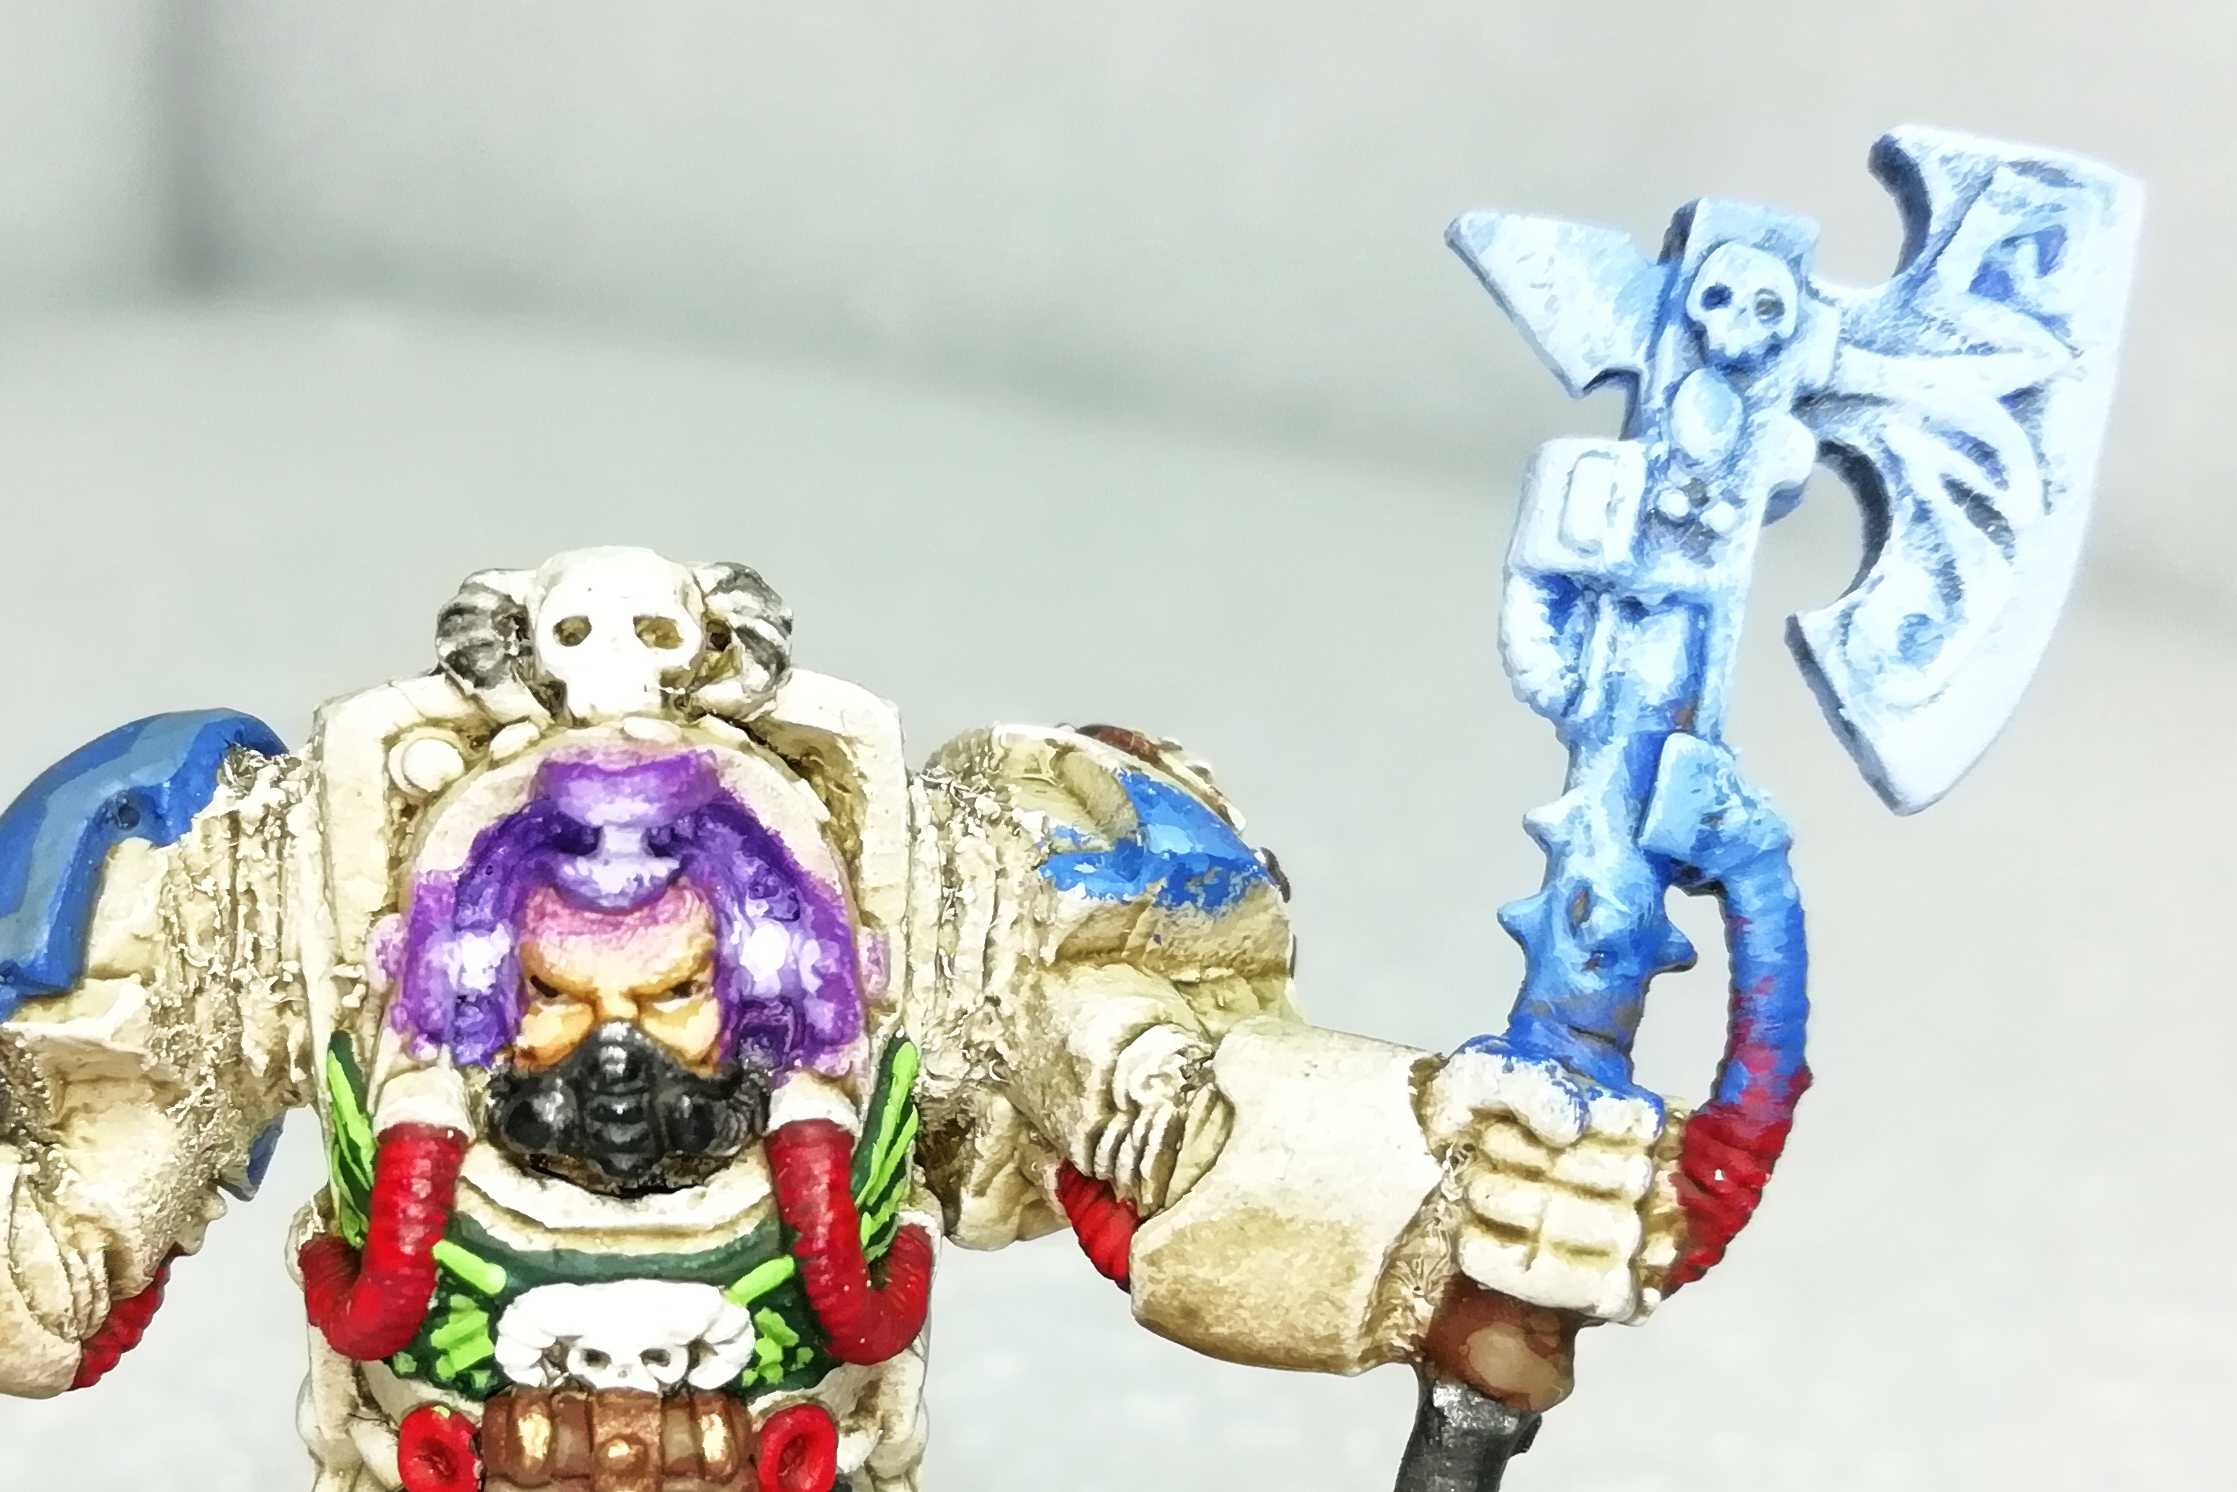 6th layer (only blue). Same brush. In a large photo not the greatest effect...
 ... but from afar I think it's really ok for a tabletop standard.
It took me a little over half an hour to create these two effects. But I had to take photos in between, so 30 mins should cut it.
I hope this helps someone who struggles with OSL as I have. I still am always nervous before painting this steps, but I manage to achieve quite consistent results with this method.
I mix the colors on a wet palette. I put both colors and white down and then mixed more and more white into the colors, step by step. Working them towards each other, in a way. I also took pics of the palette. Maybe someone will enjoy them 😀
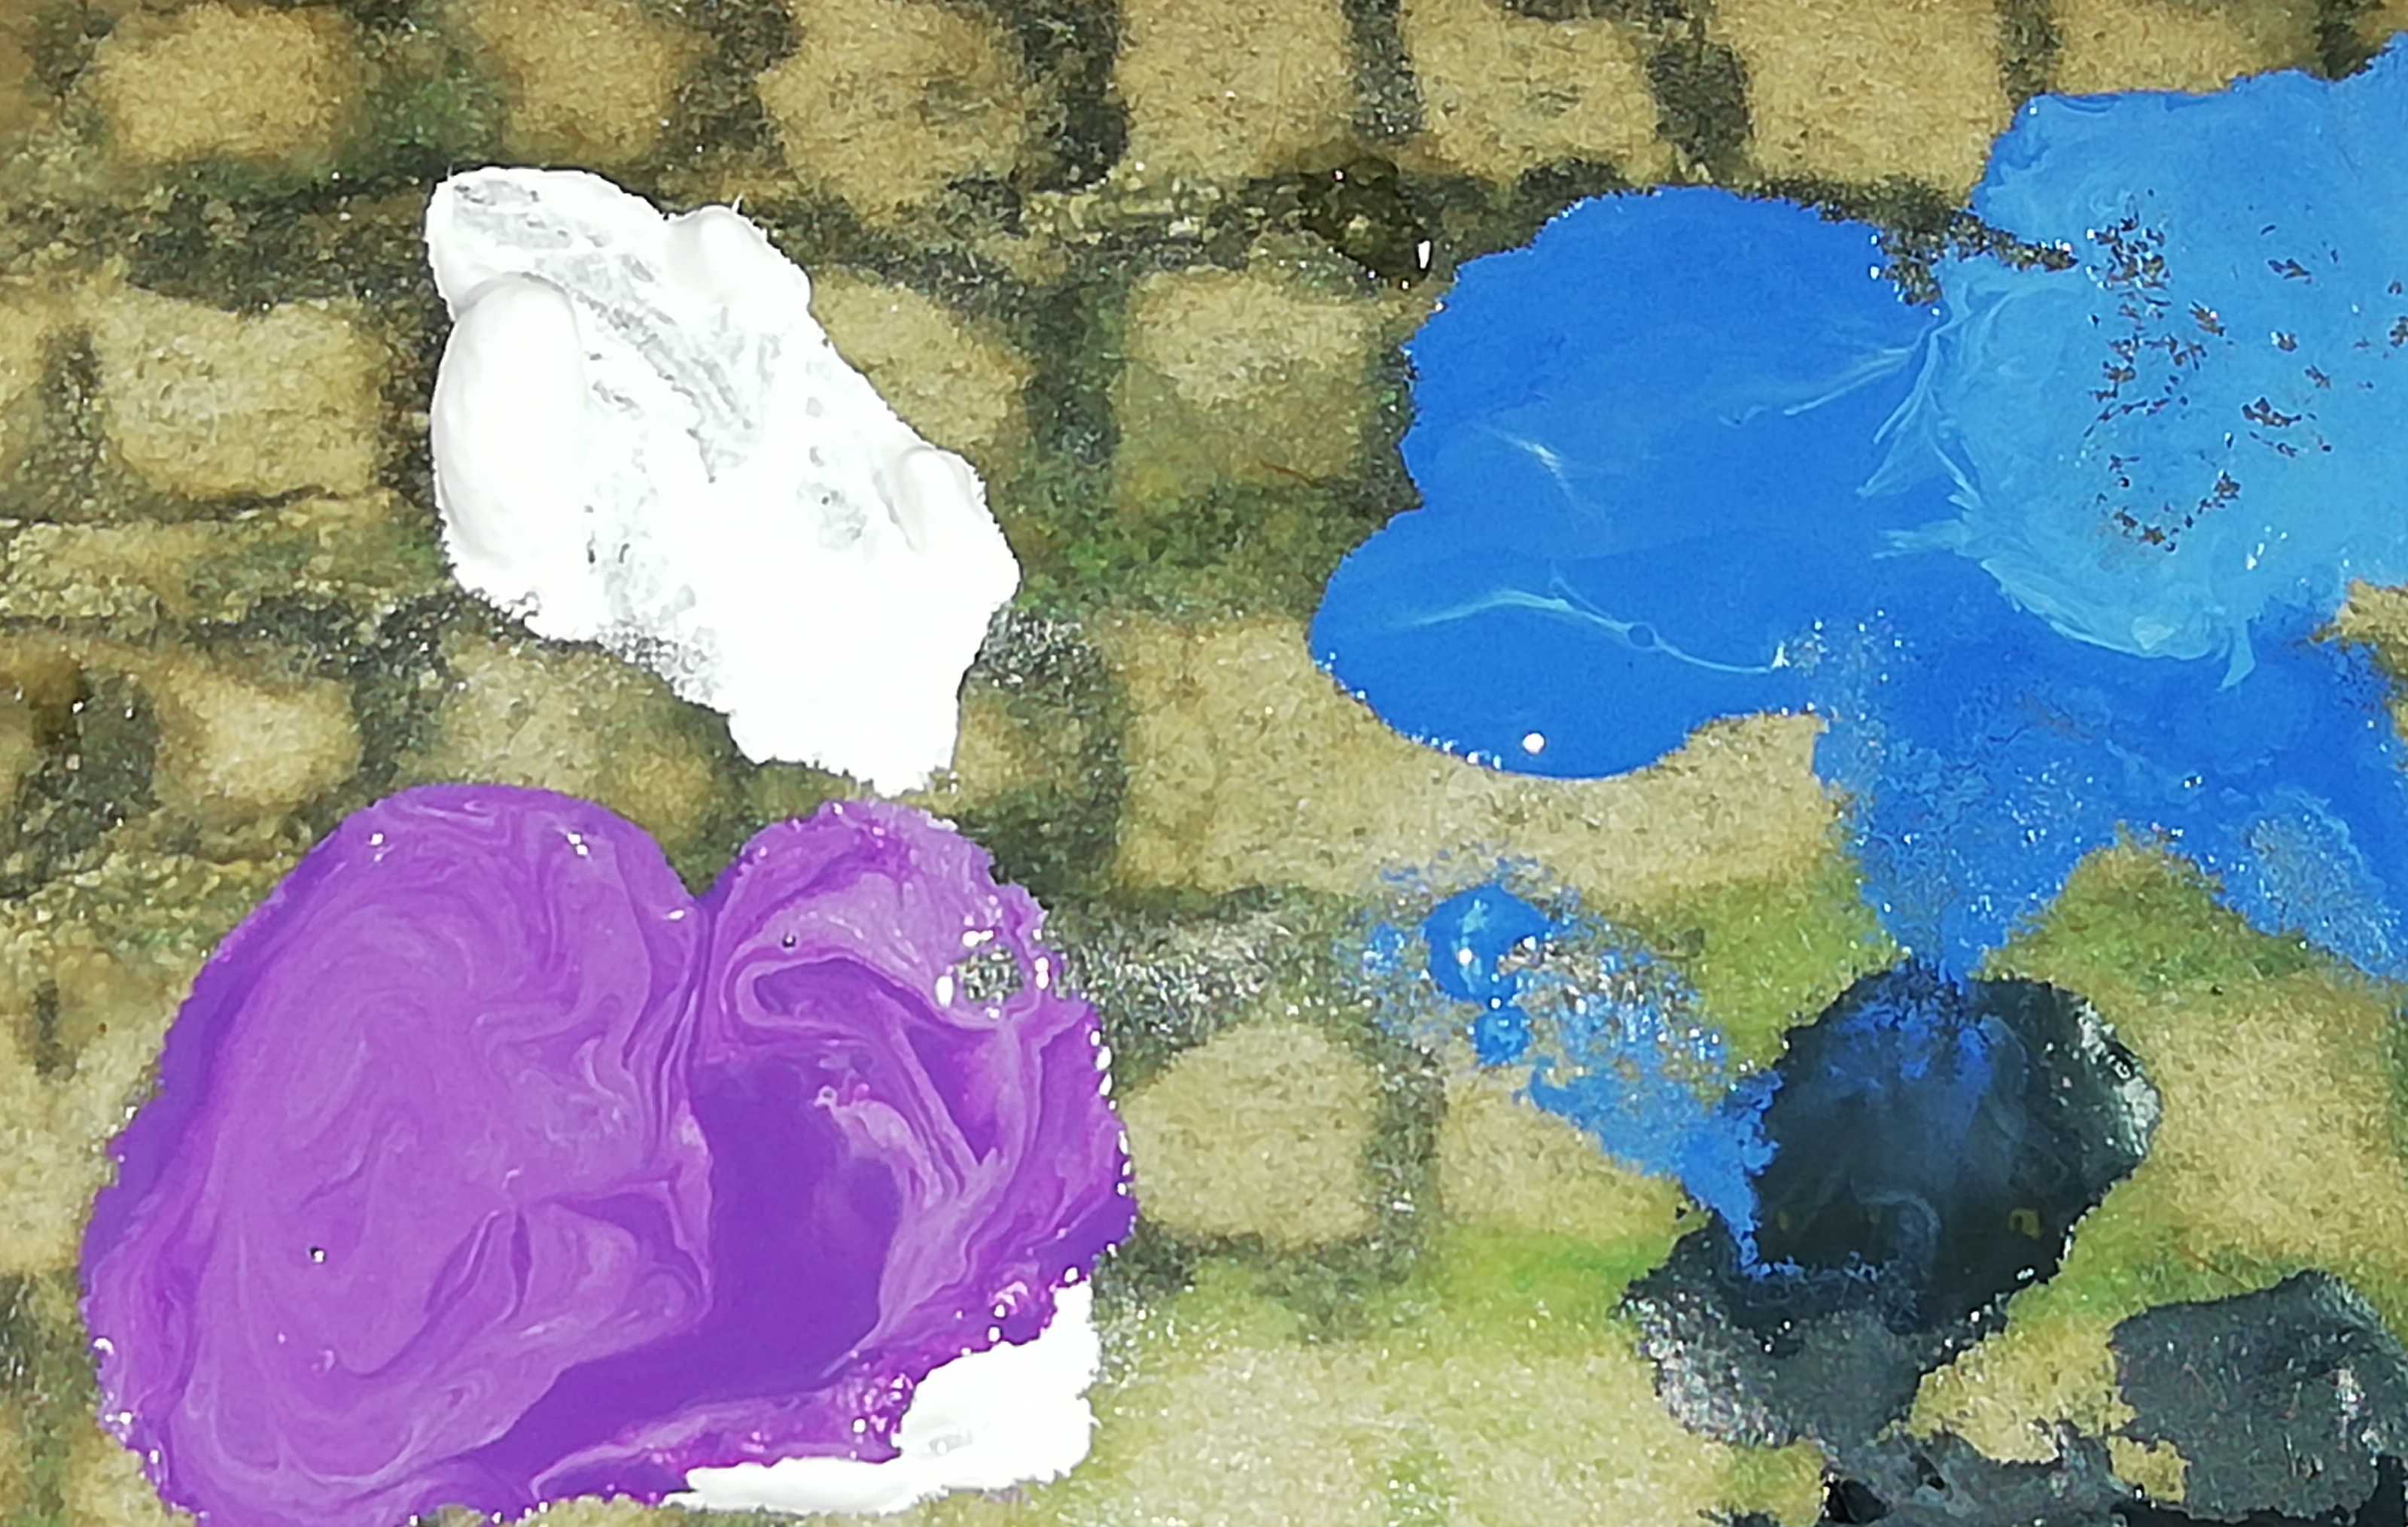 Base and second layer colors
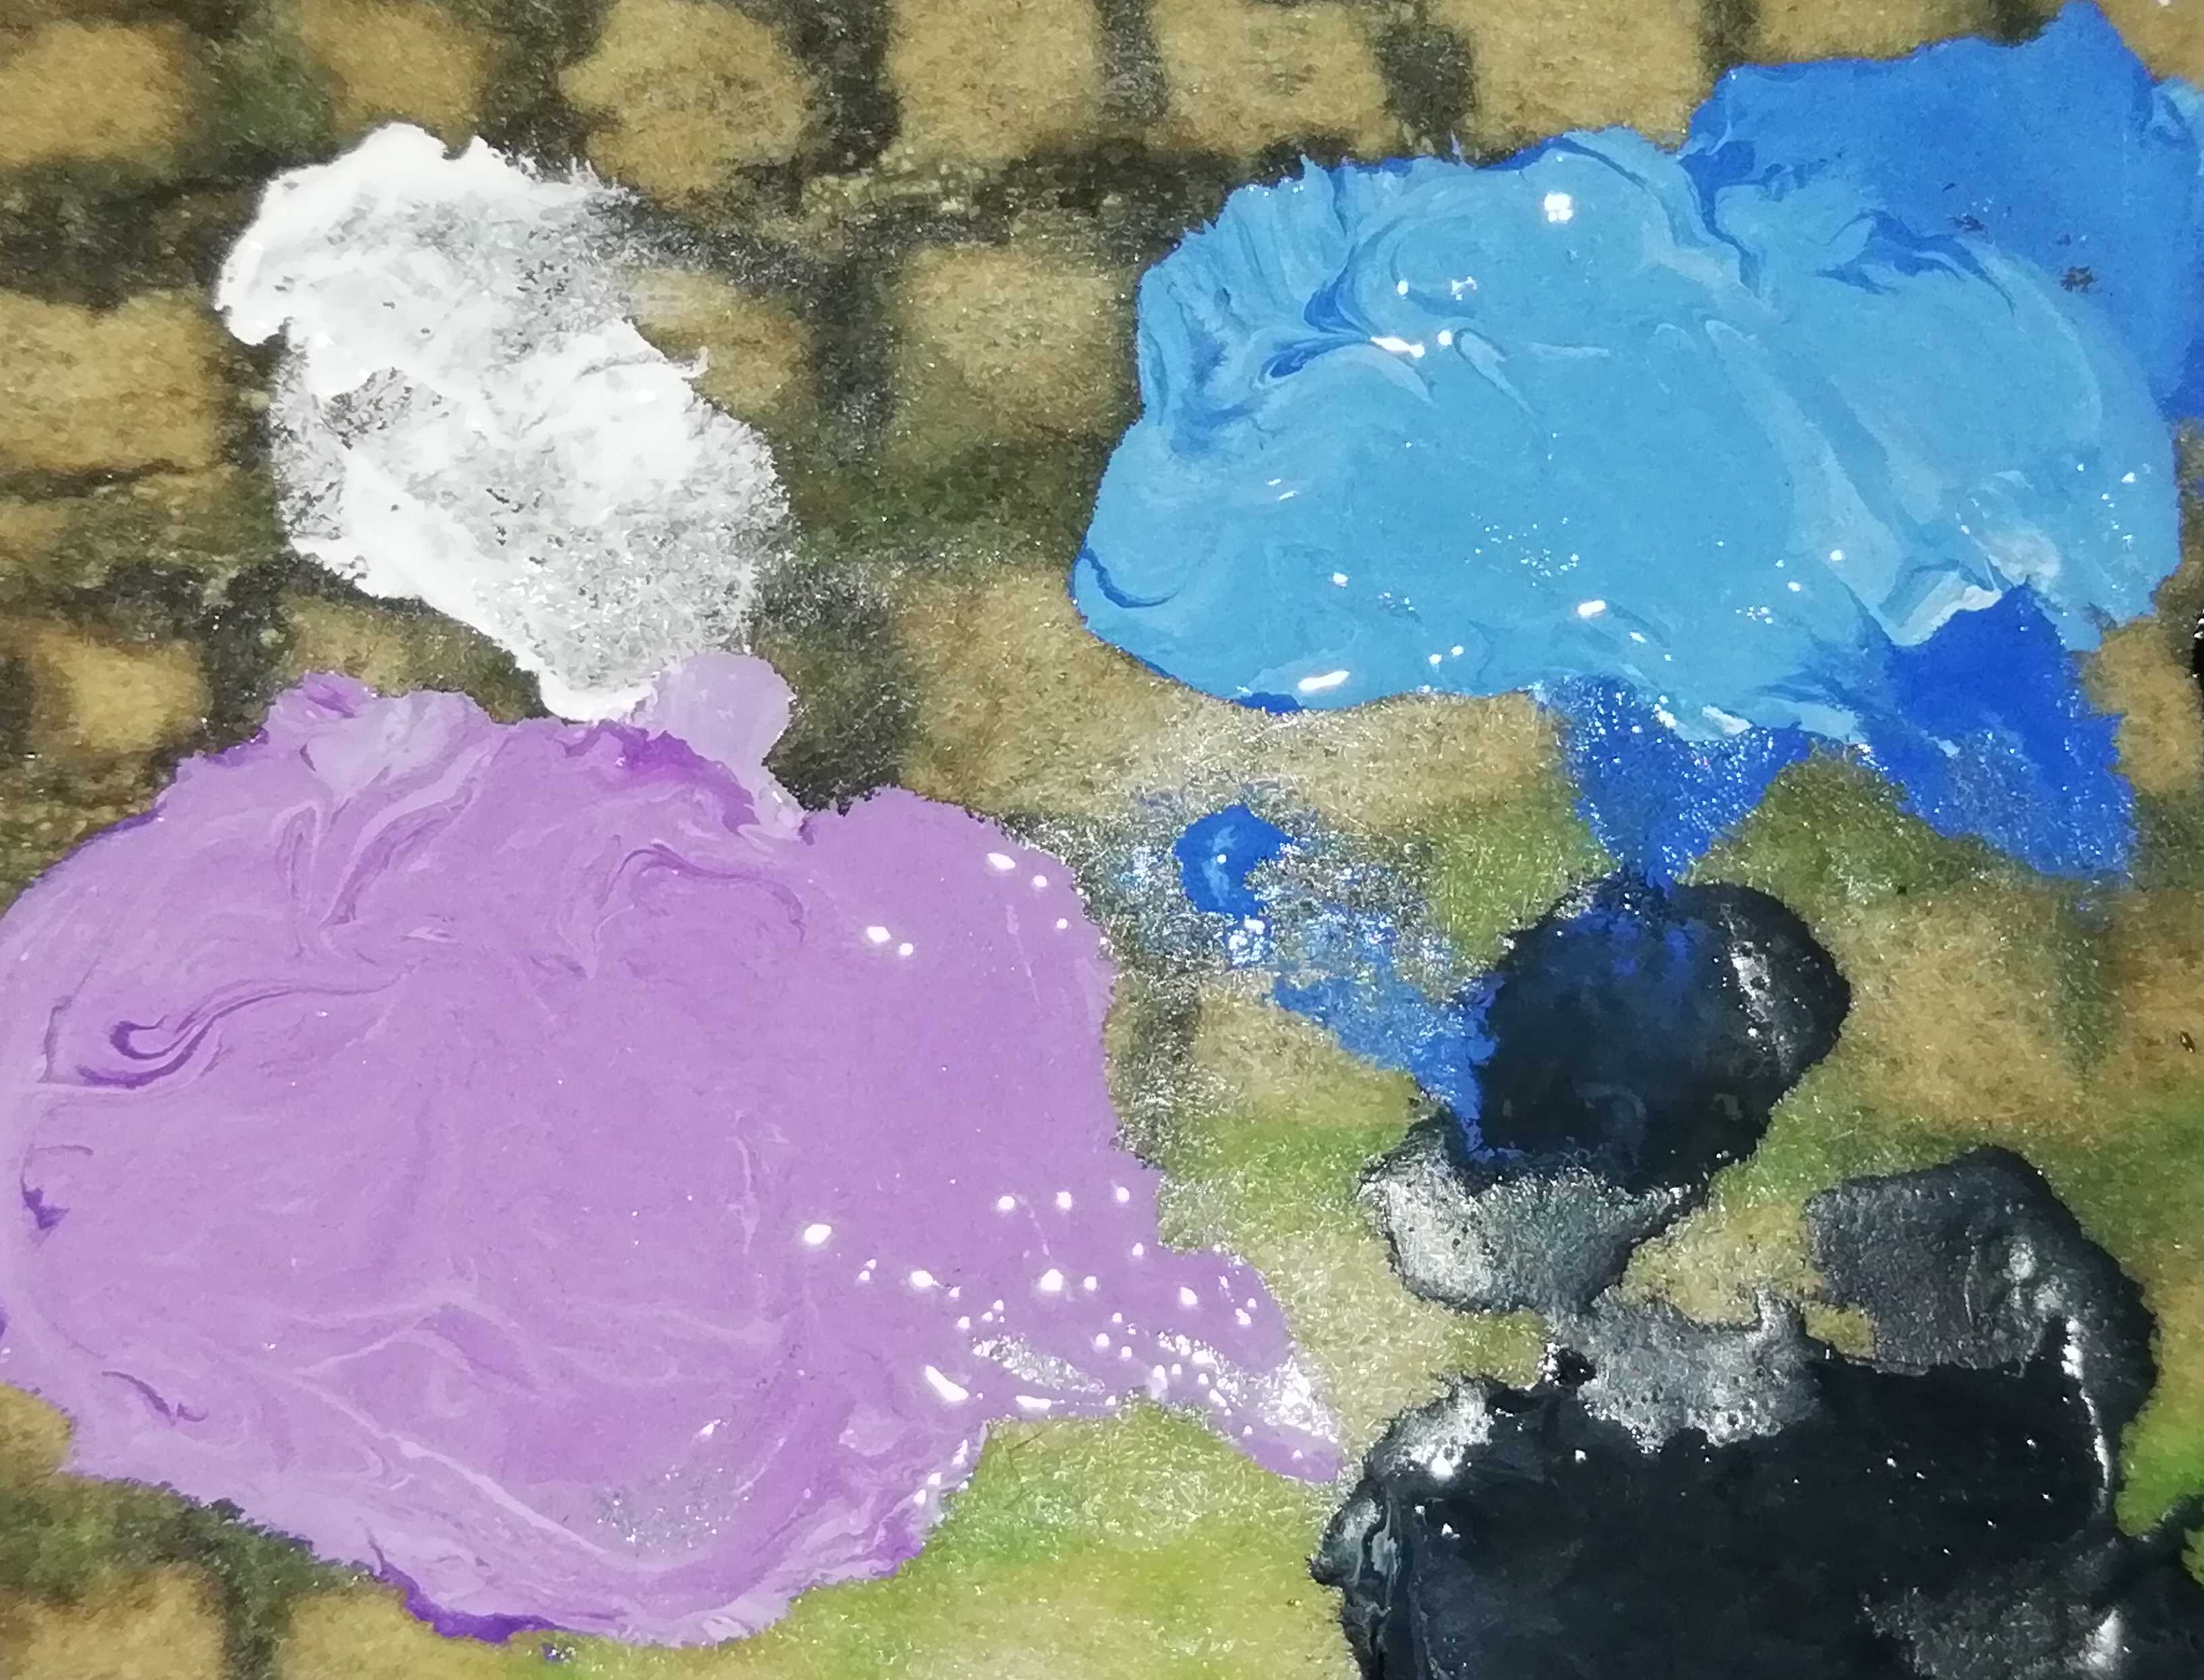 Third layer colors (had to mix entire purple as I had to much white in it)
 Fourth layer
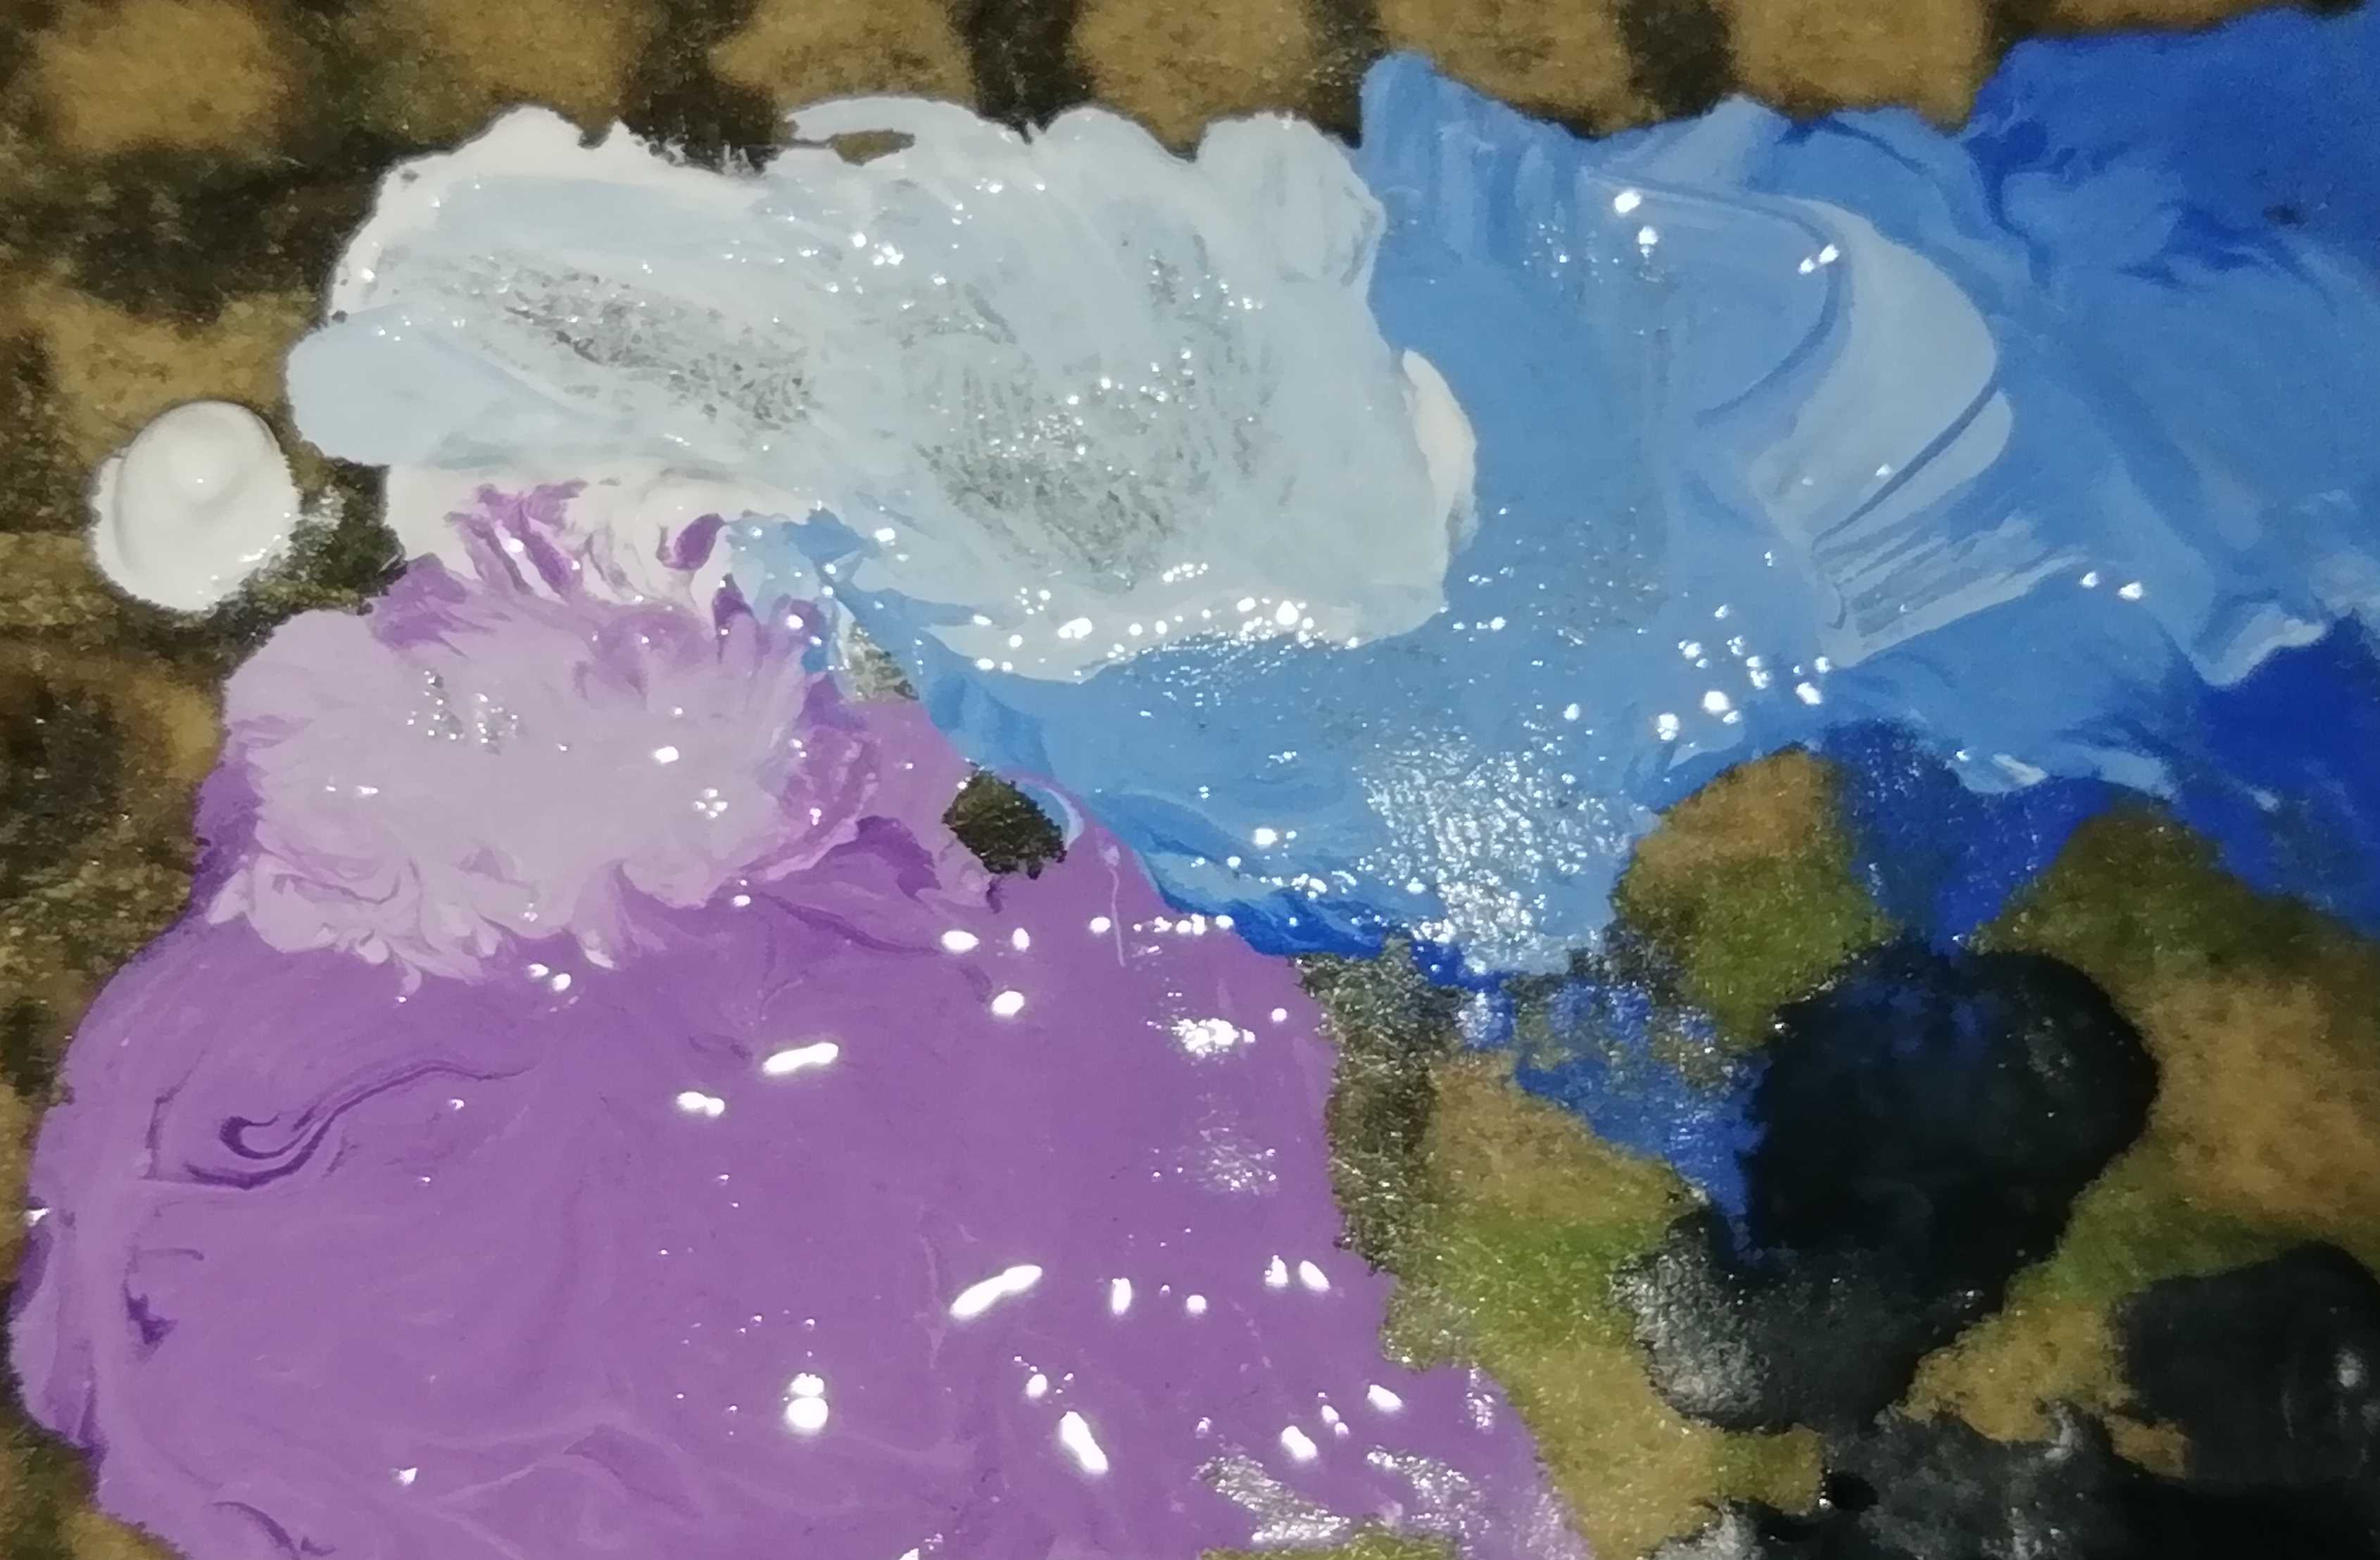 Fifth and six layer (white)
Block 3: Grand Master, Techmarine and 2 Dreadnoughts
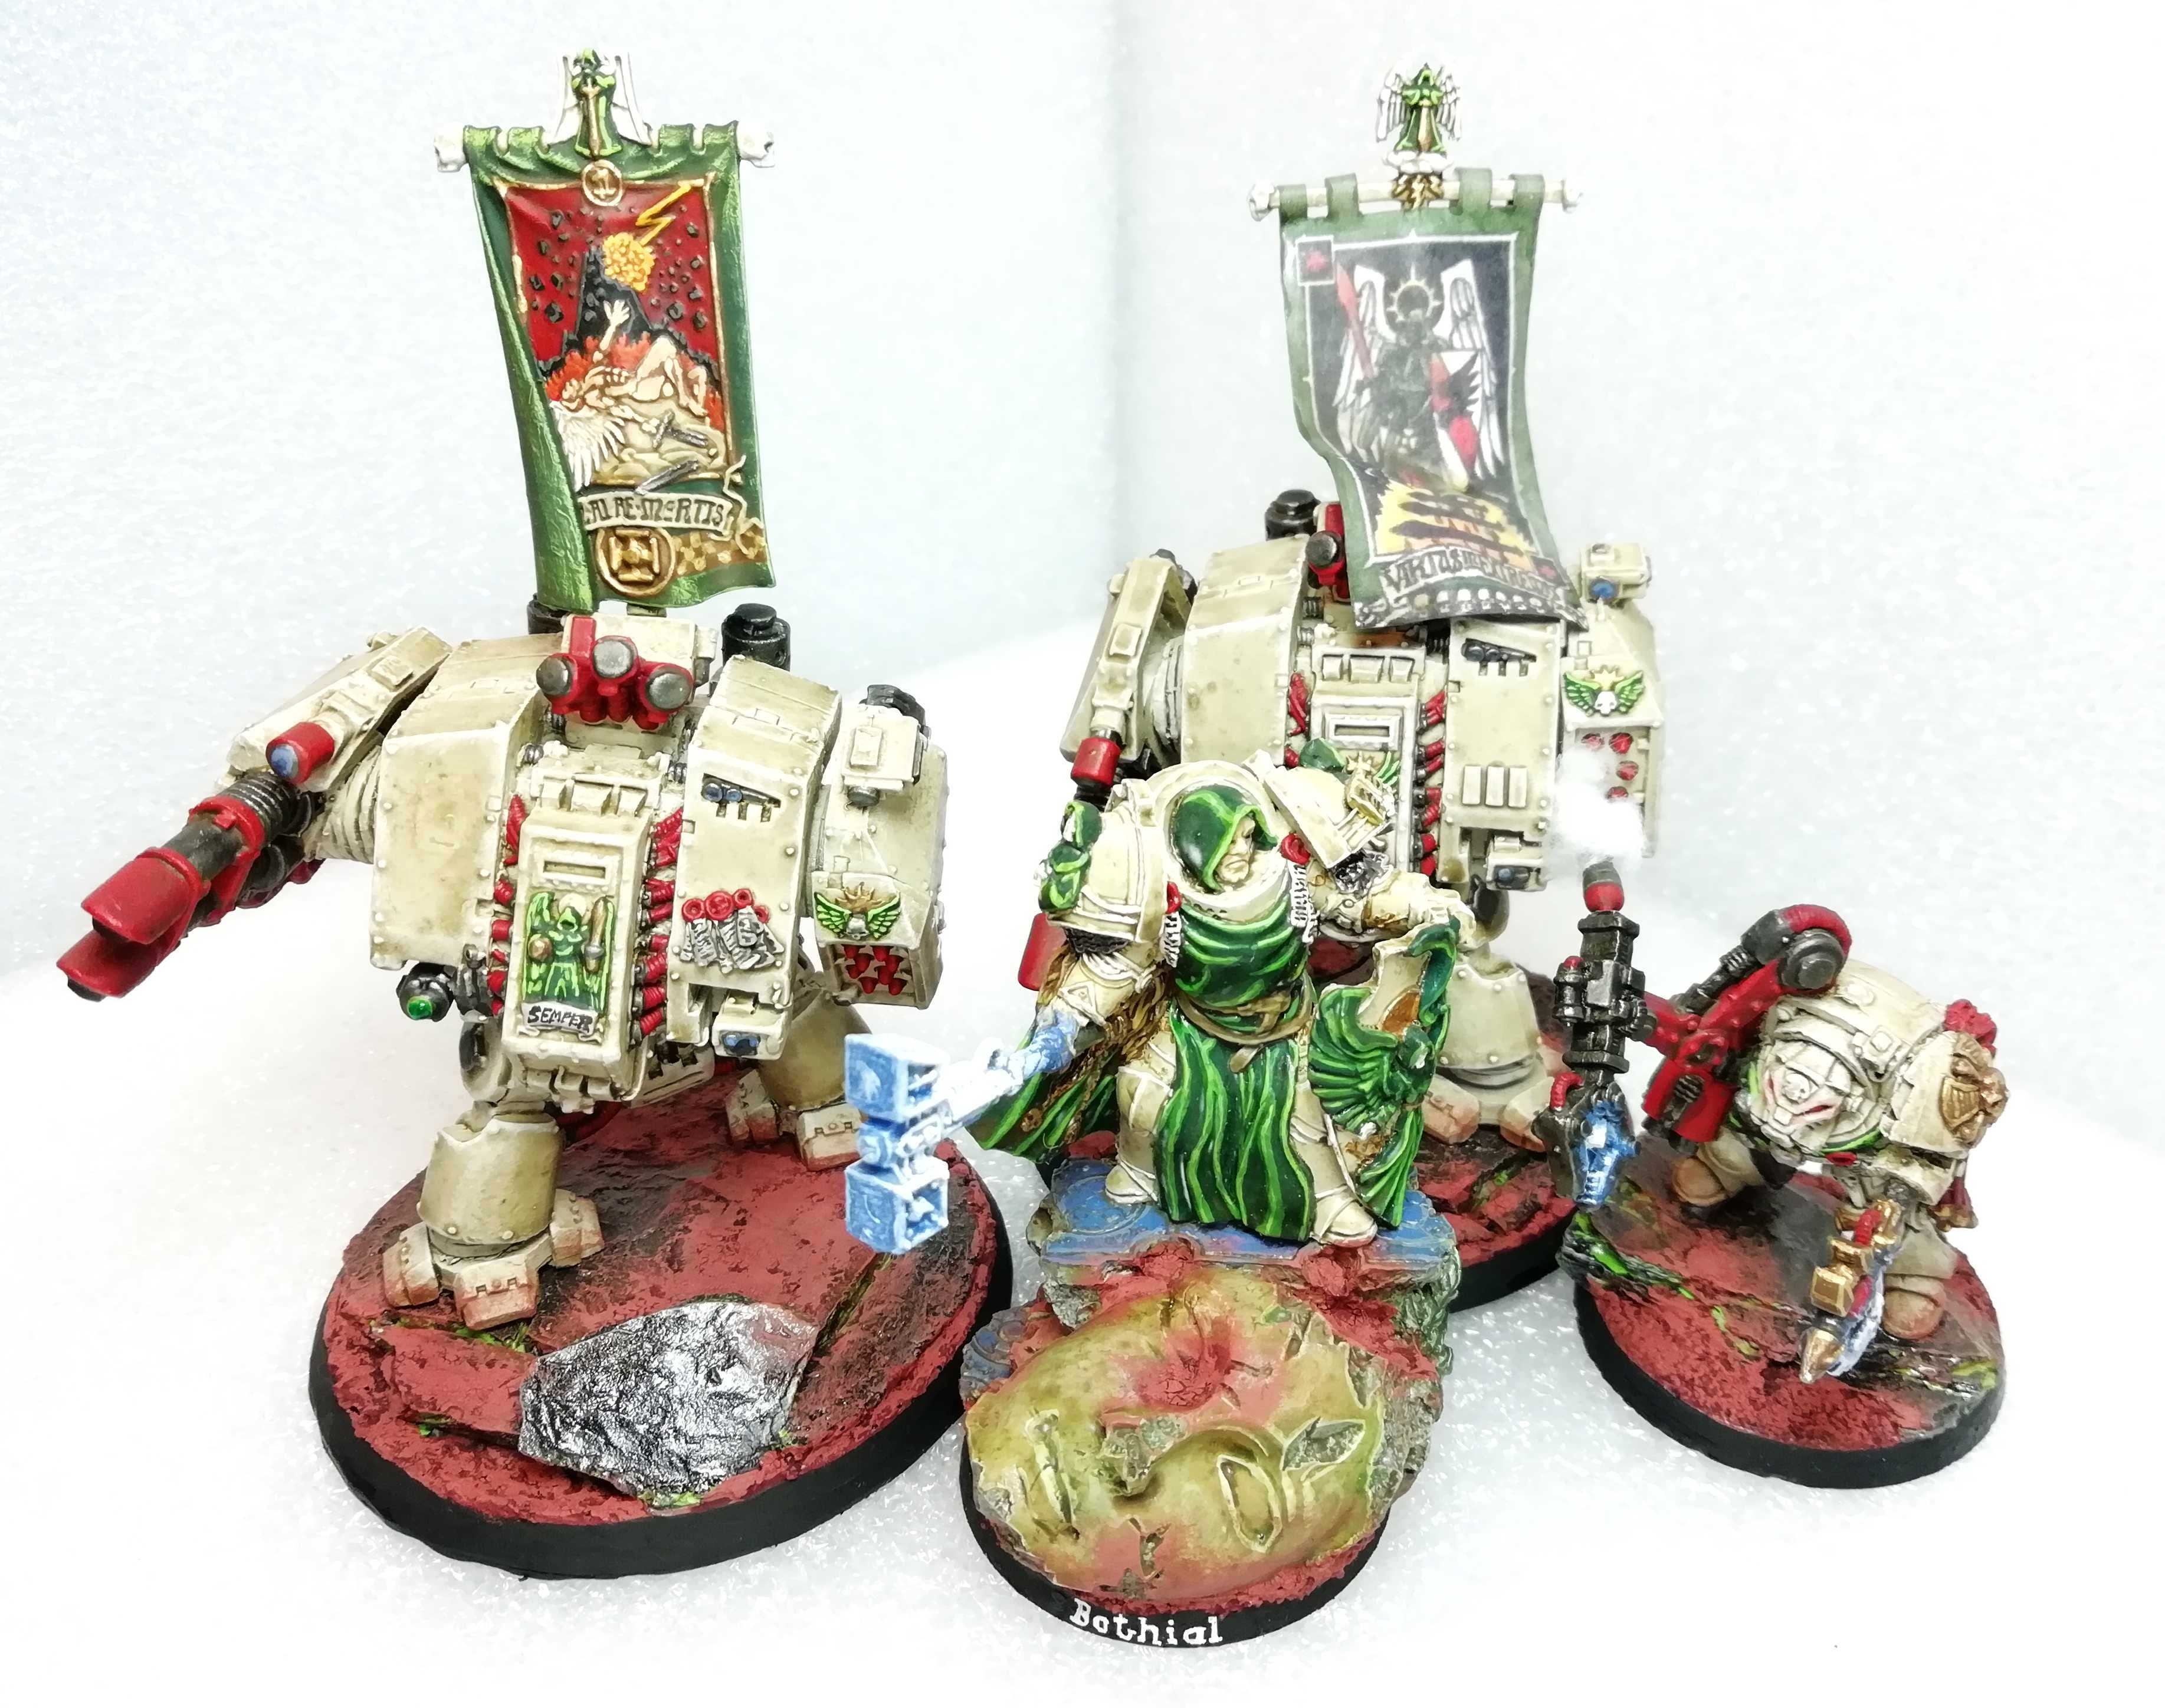
After finishing 20 Terminators through the first two Blocks I needed some heavy hitters in this Block. So I went for two Dreadnoughts with their supporting Techmarine and the Grand Master.
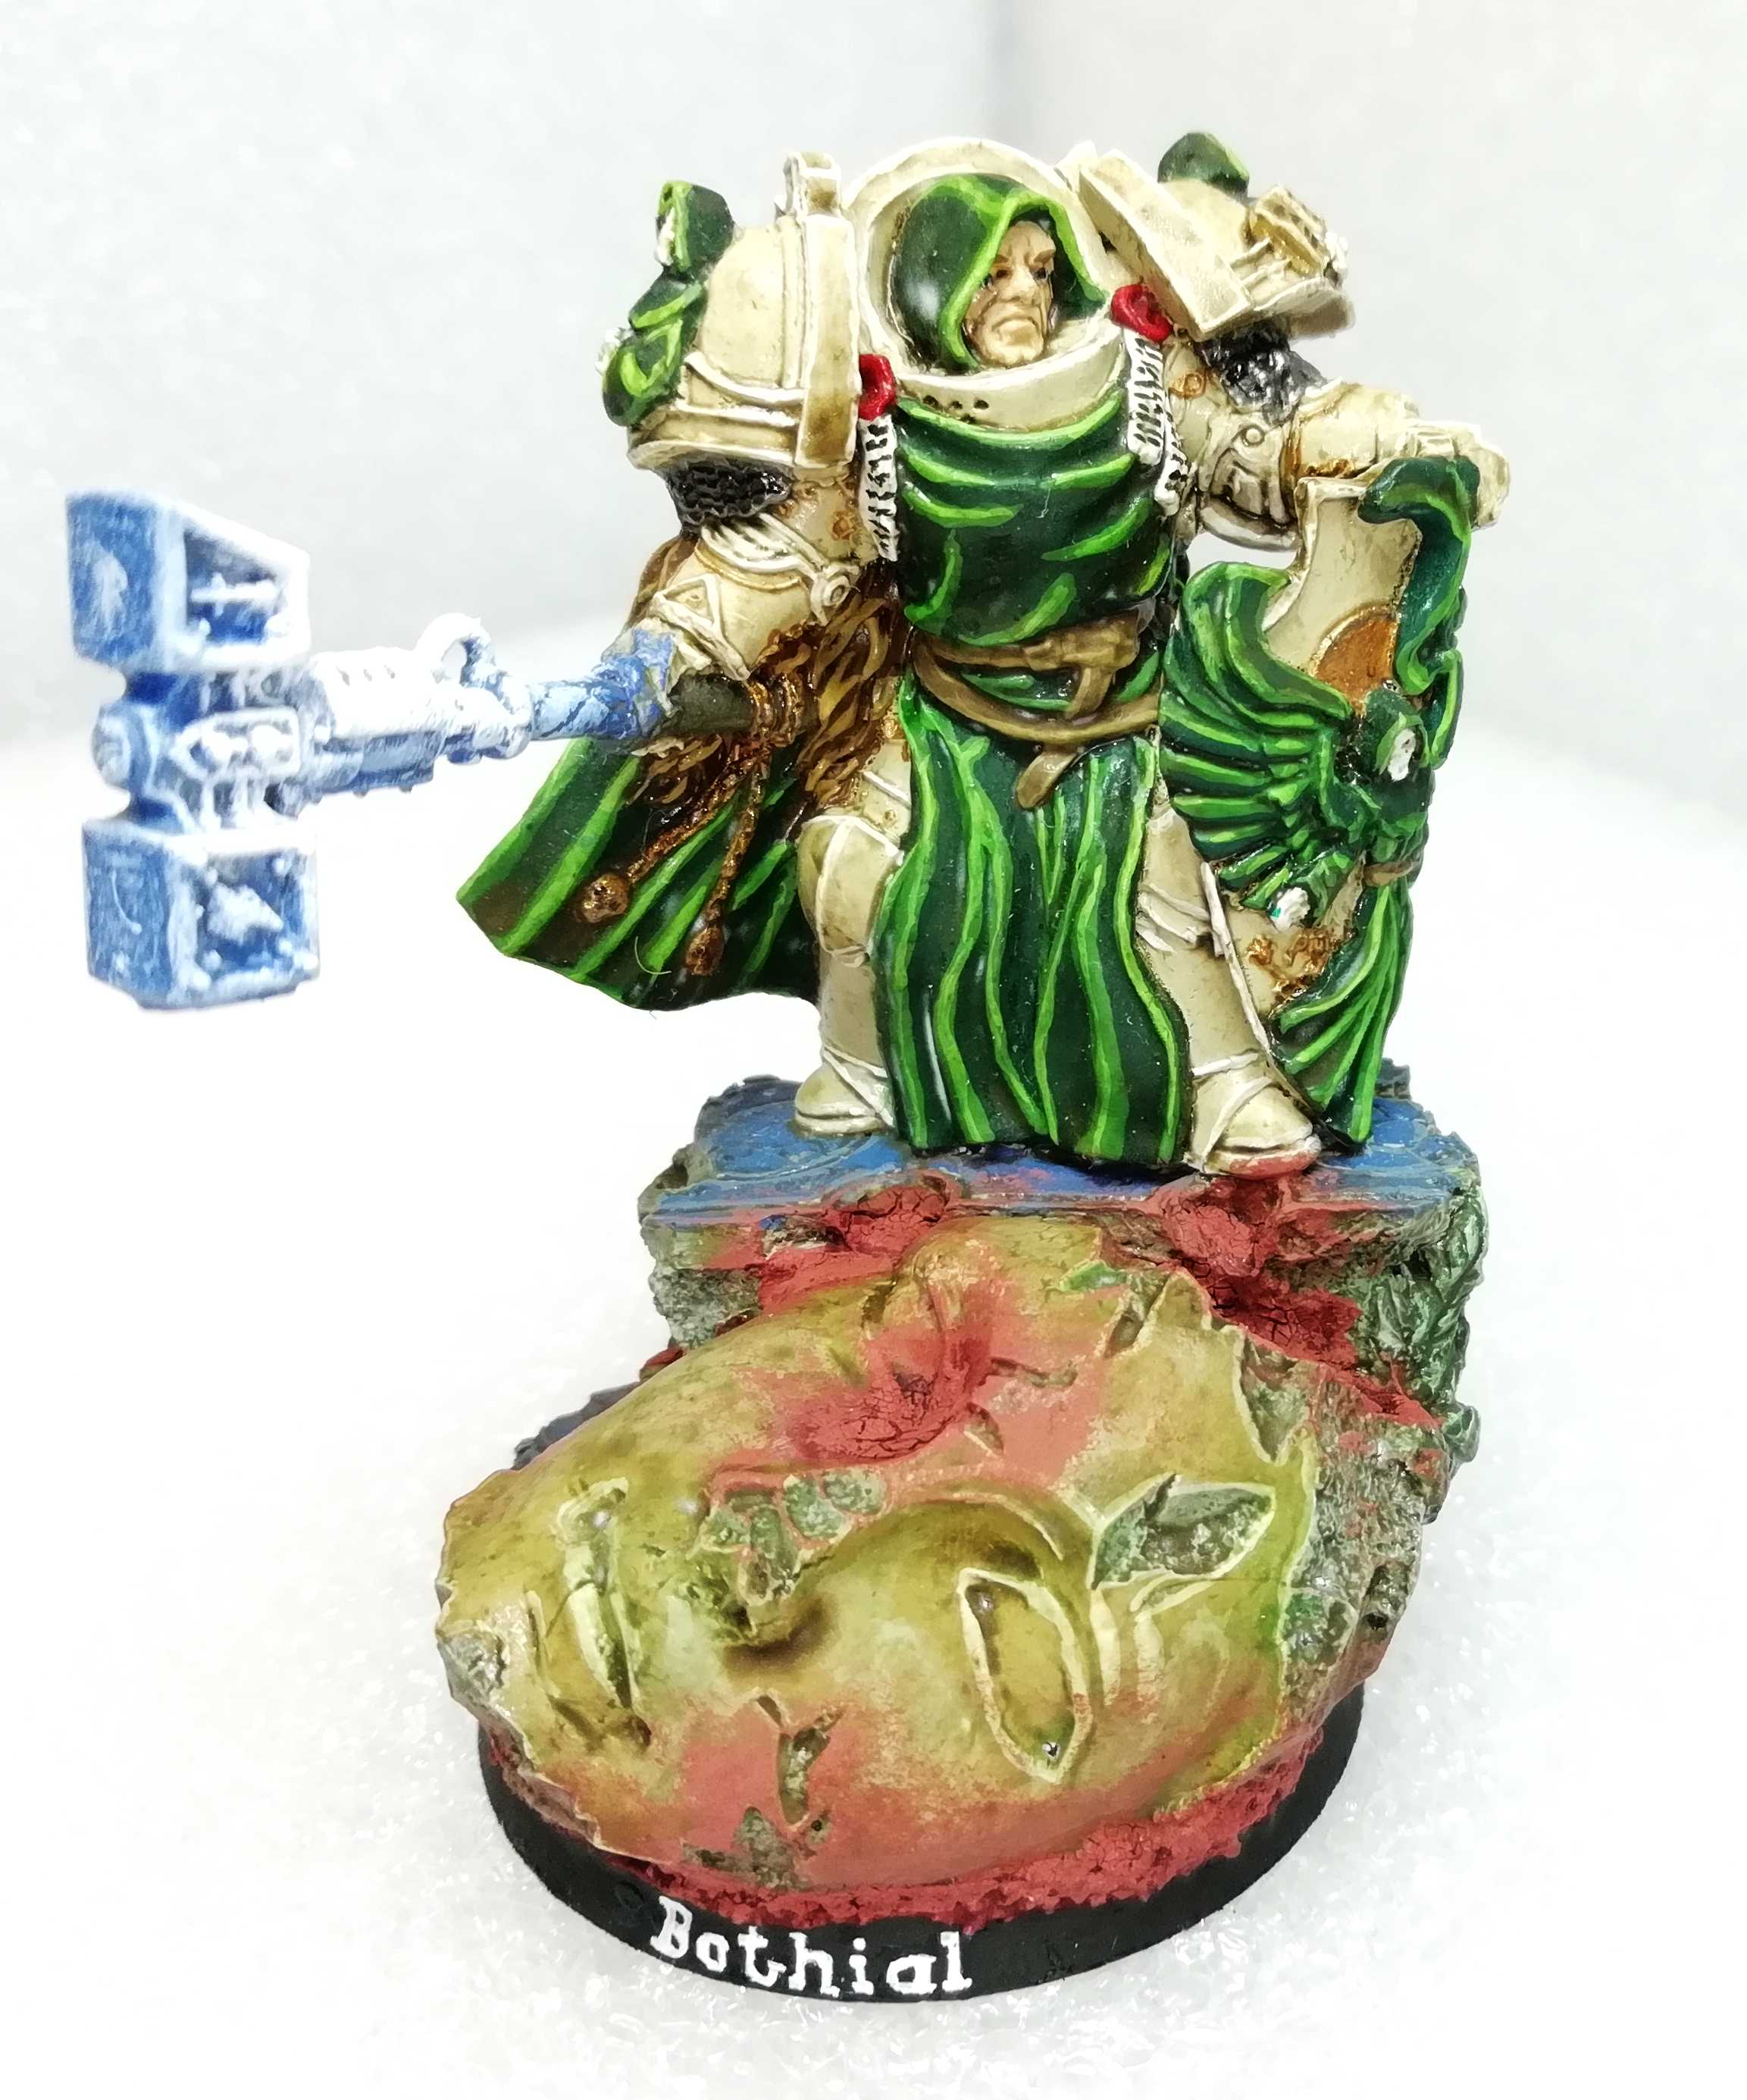
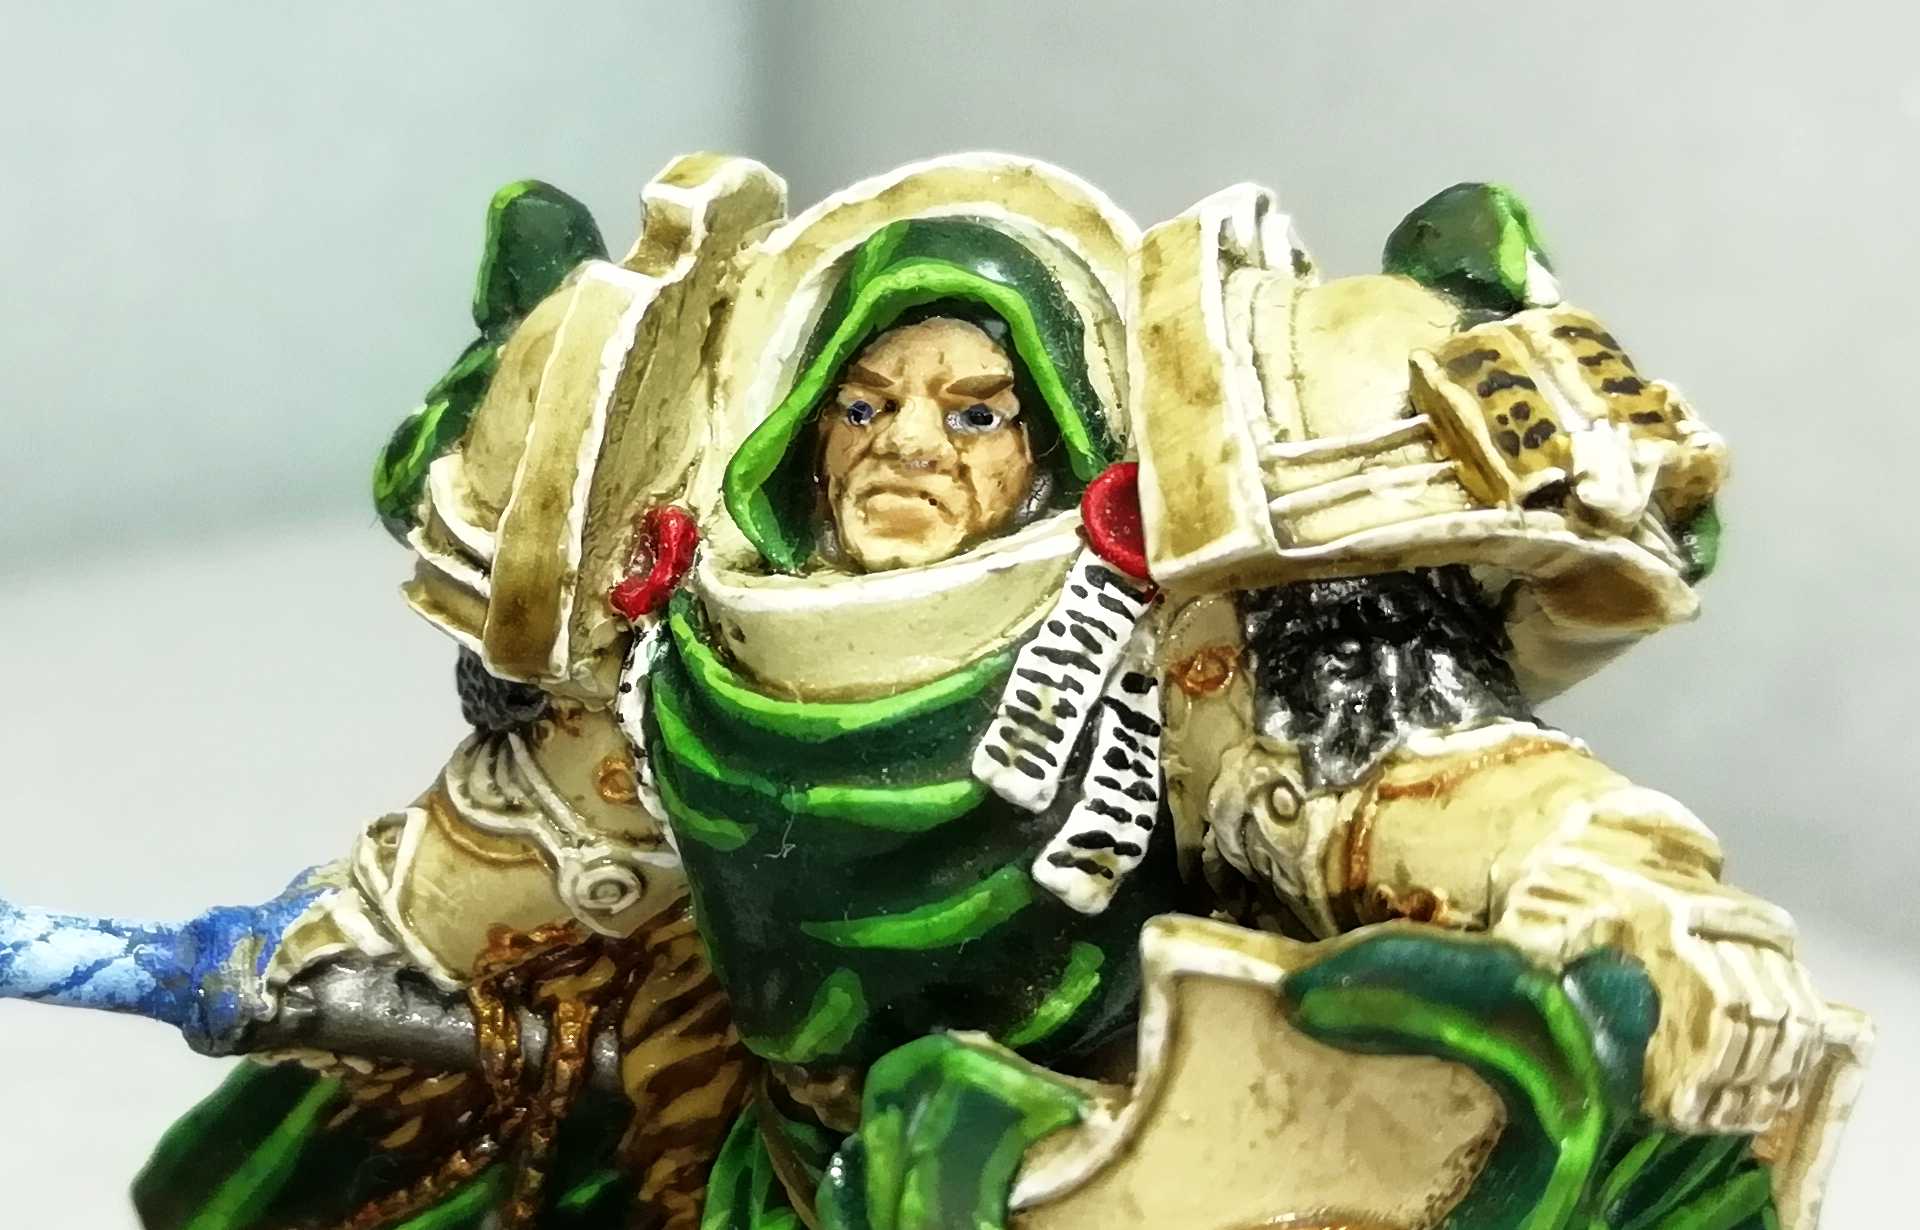
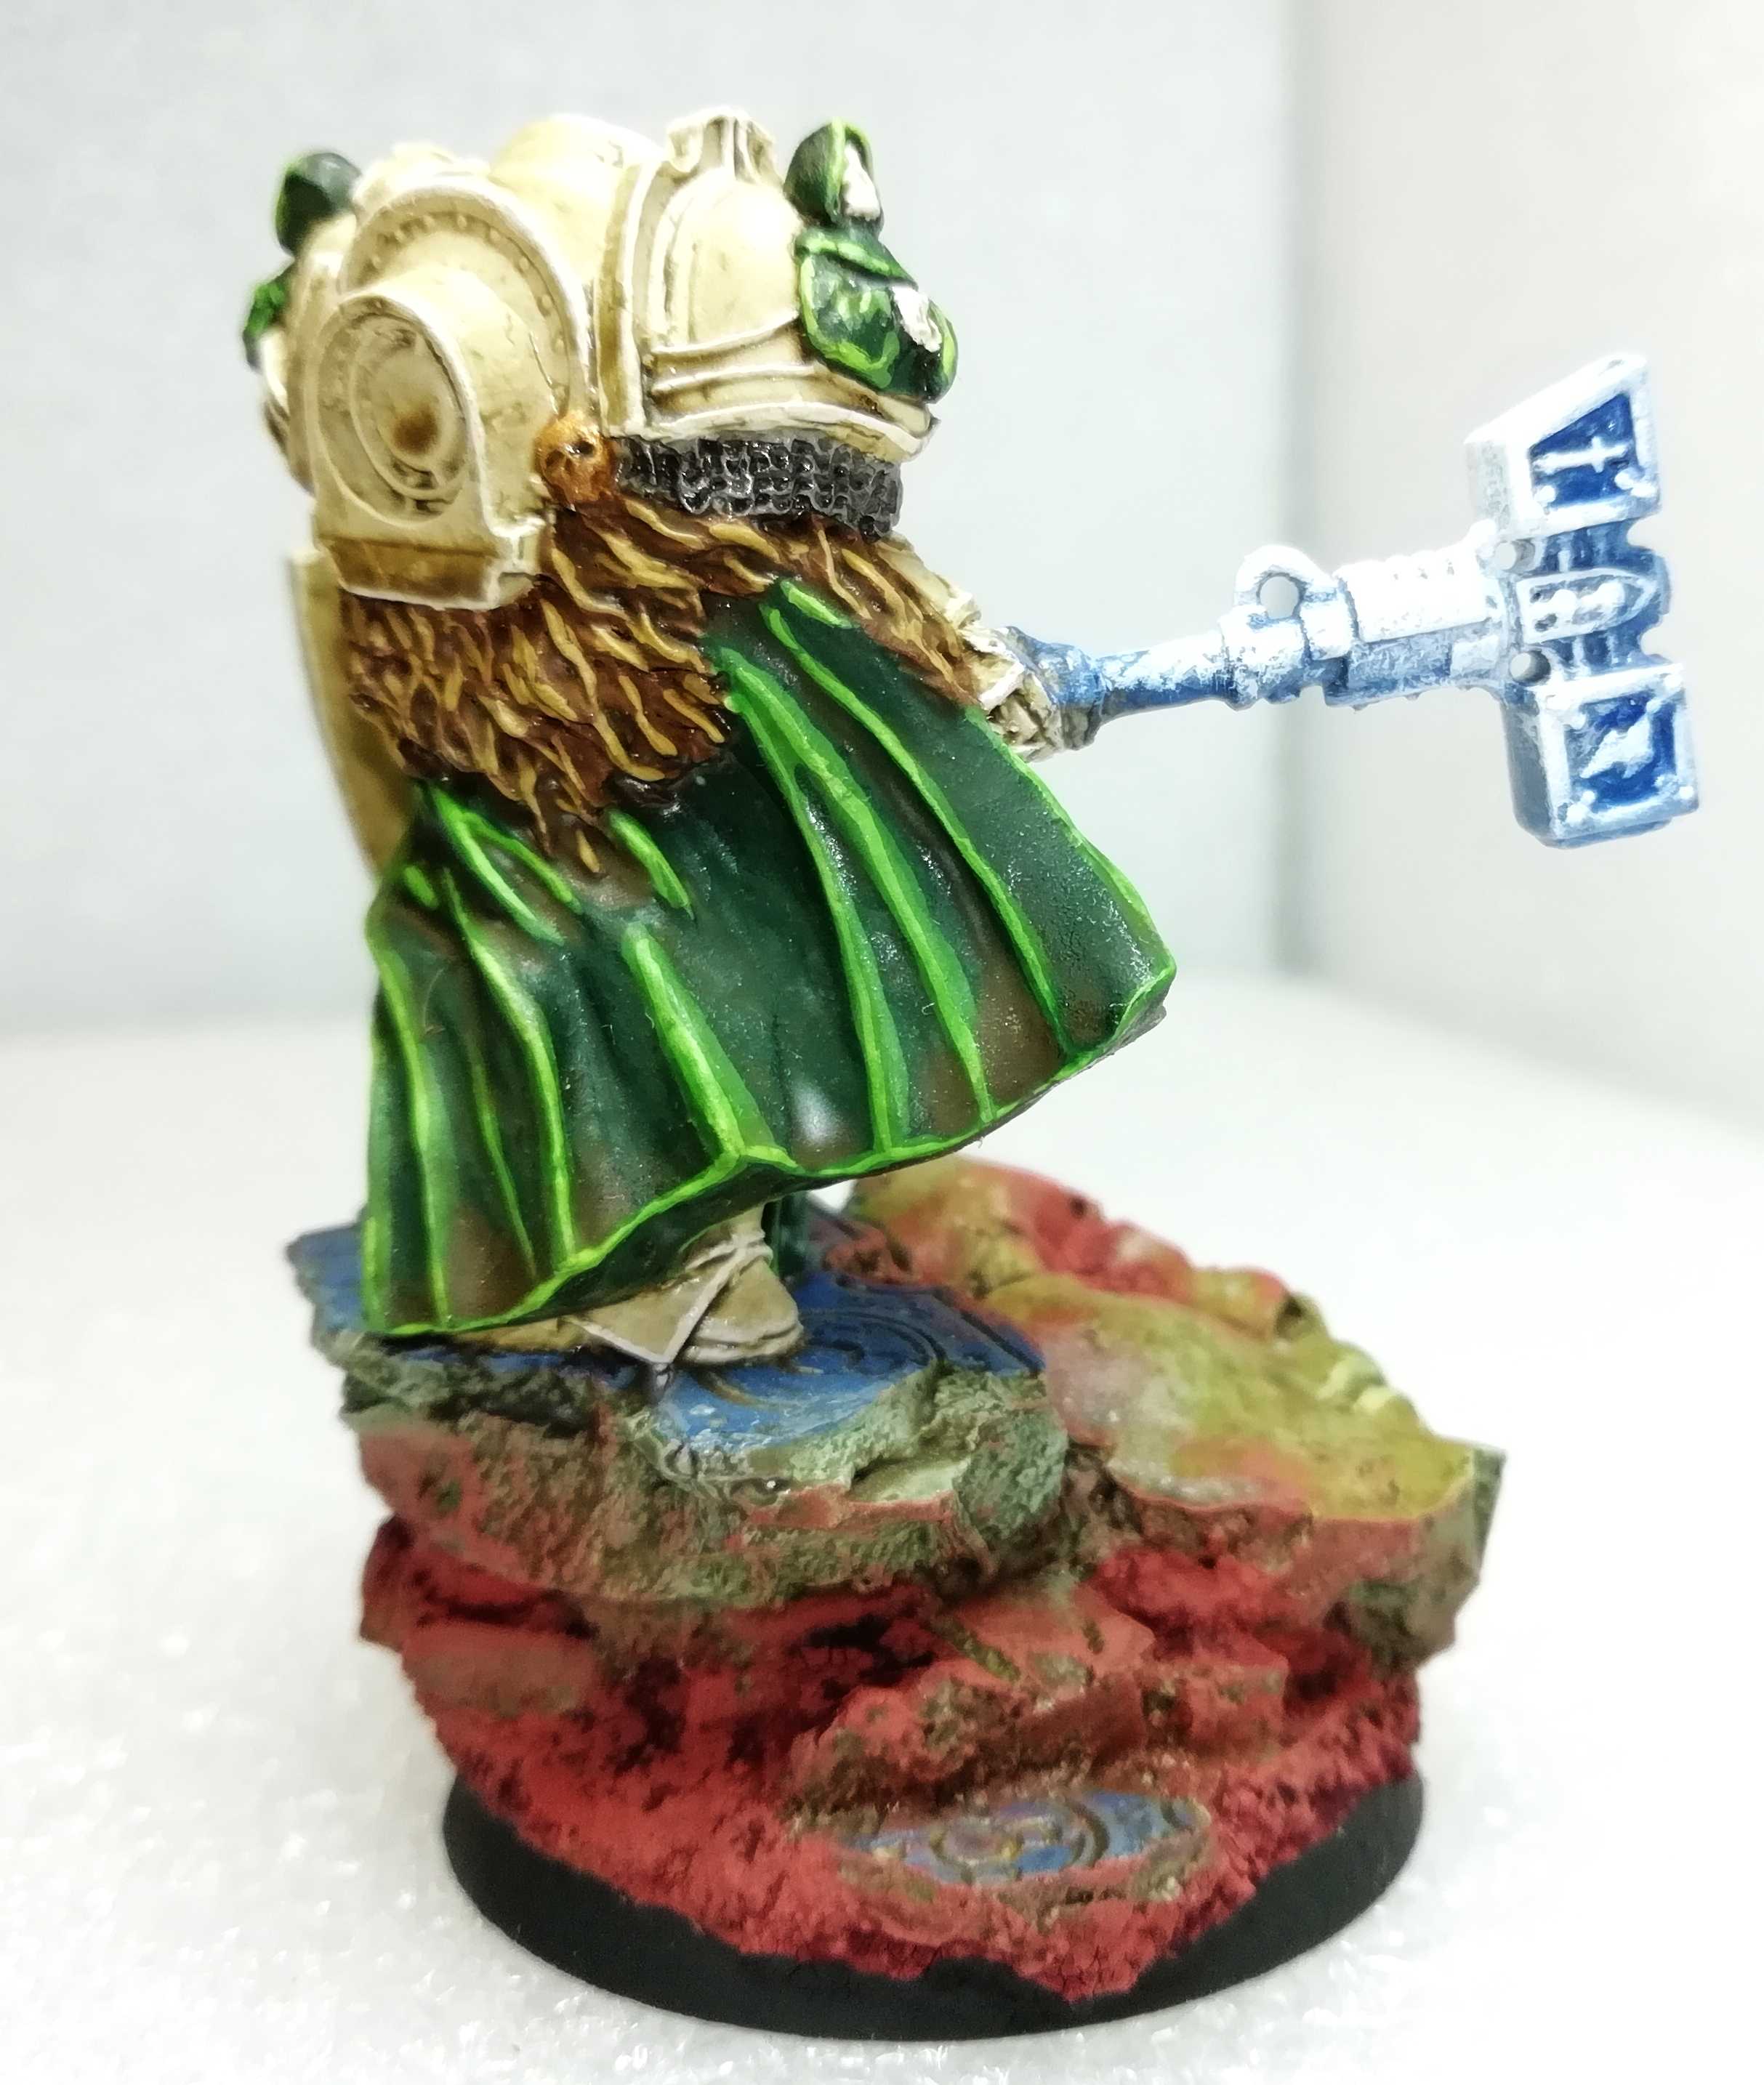
The Grand Master is a resin model from Scibor converted to wield a Thunder Hammer. The base comes with it. It’s nearly the same paint scheme described in the Block 1 post but with a few more details. Mostly I applied two highlighting steps instead of one.
And of course he is named Bothial (the Incredulous), a mix of my Nickname and Belial the actual Grand Master of the Deathwing. Really happy how he turned out.

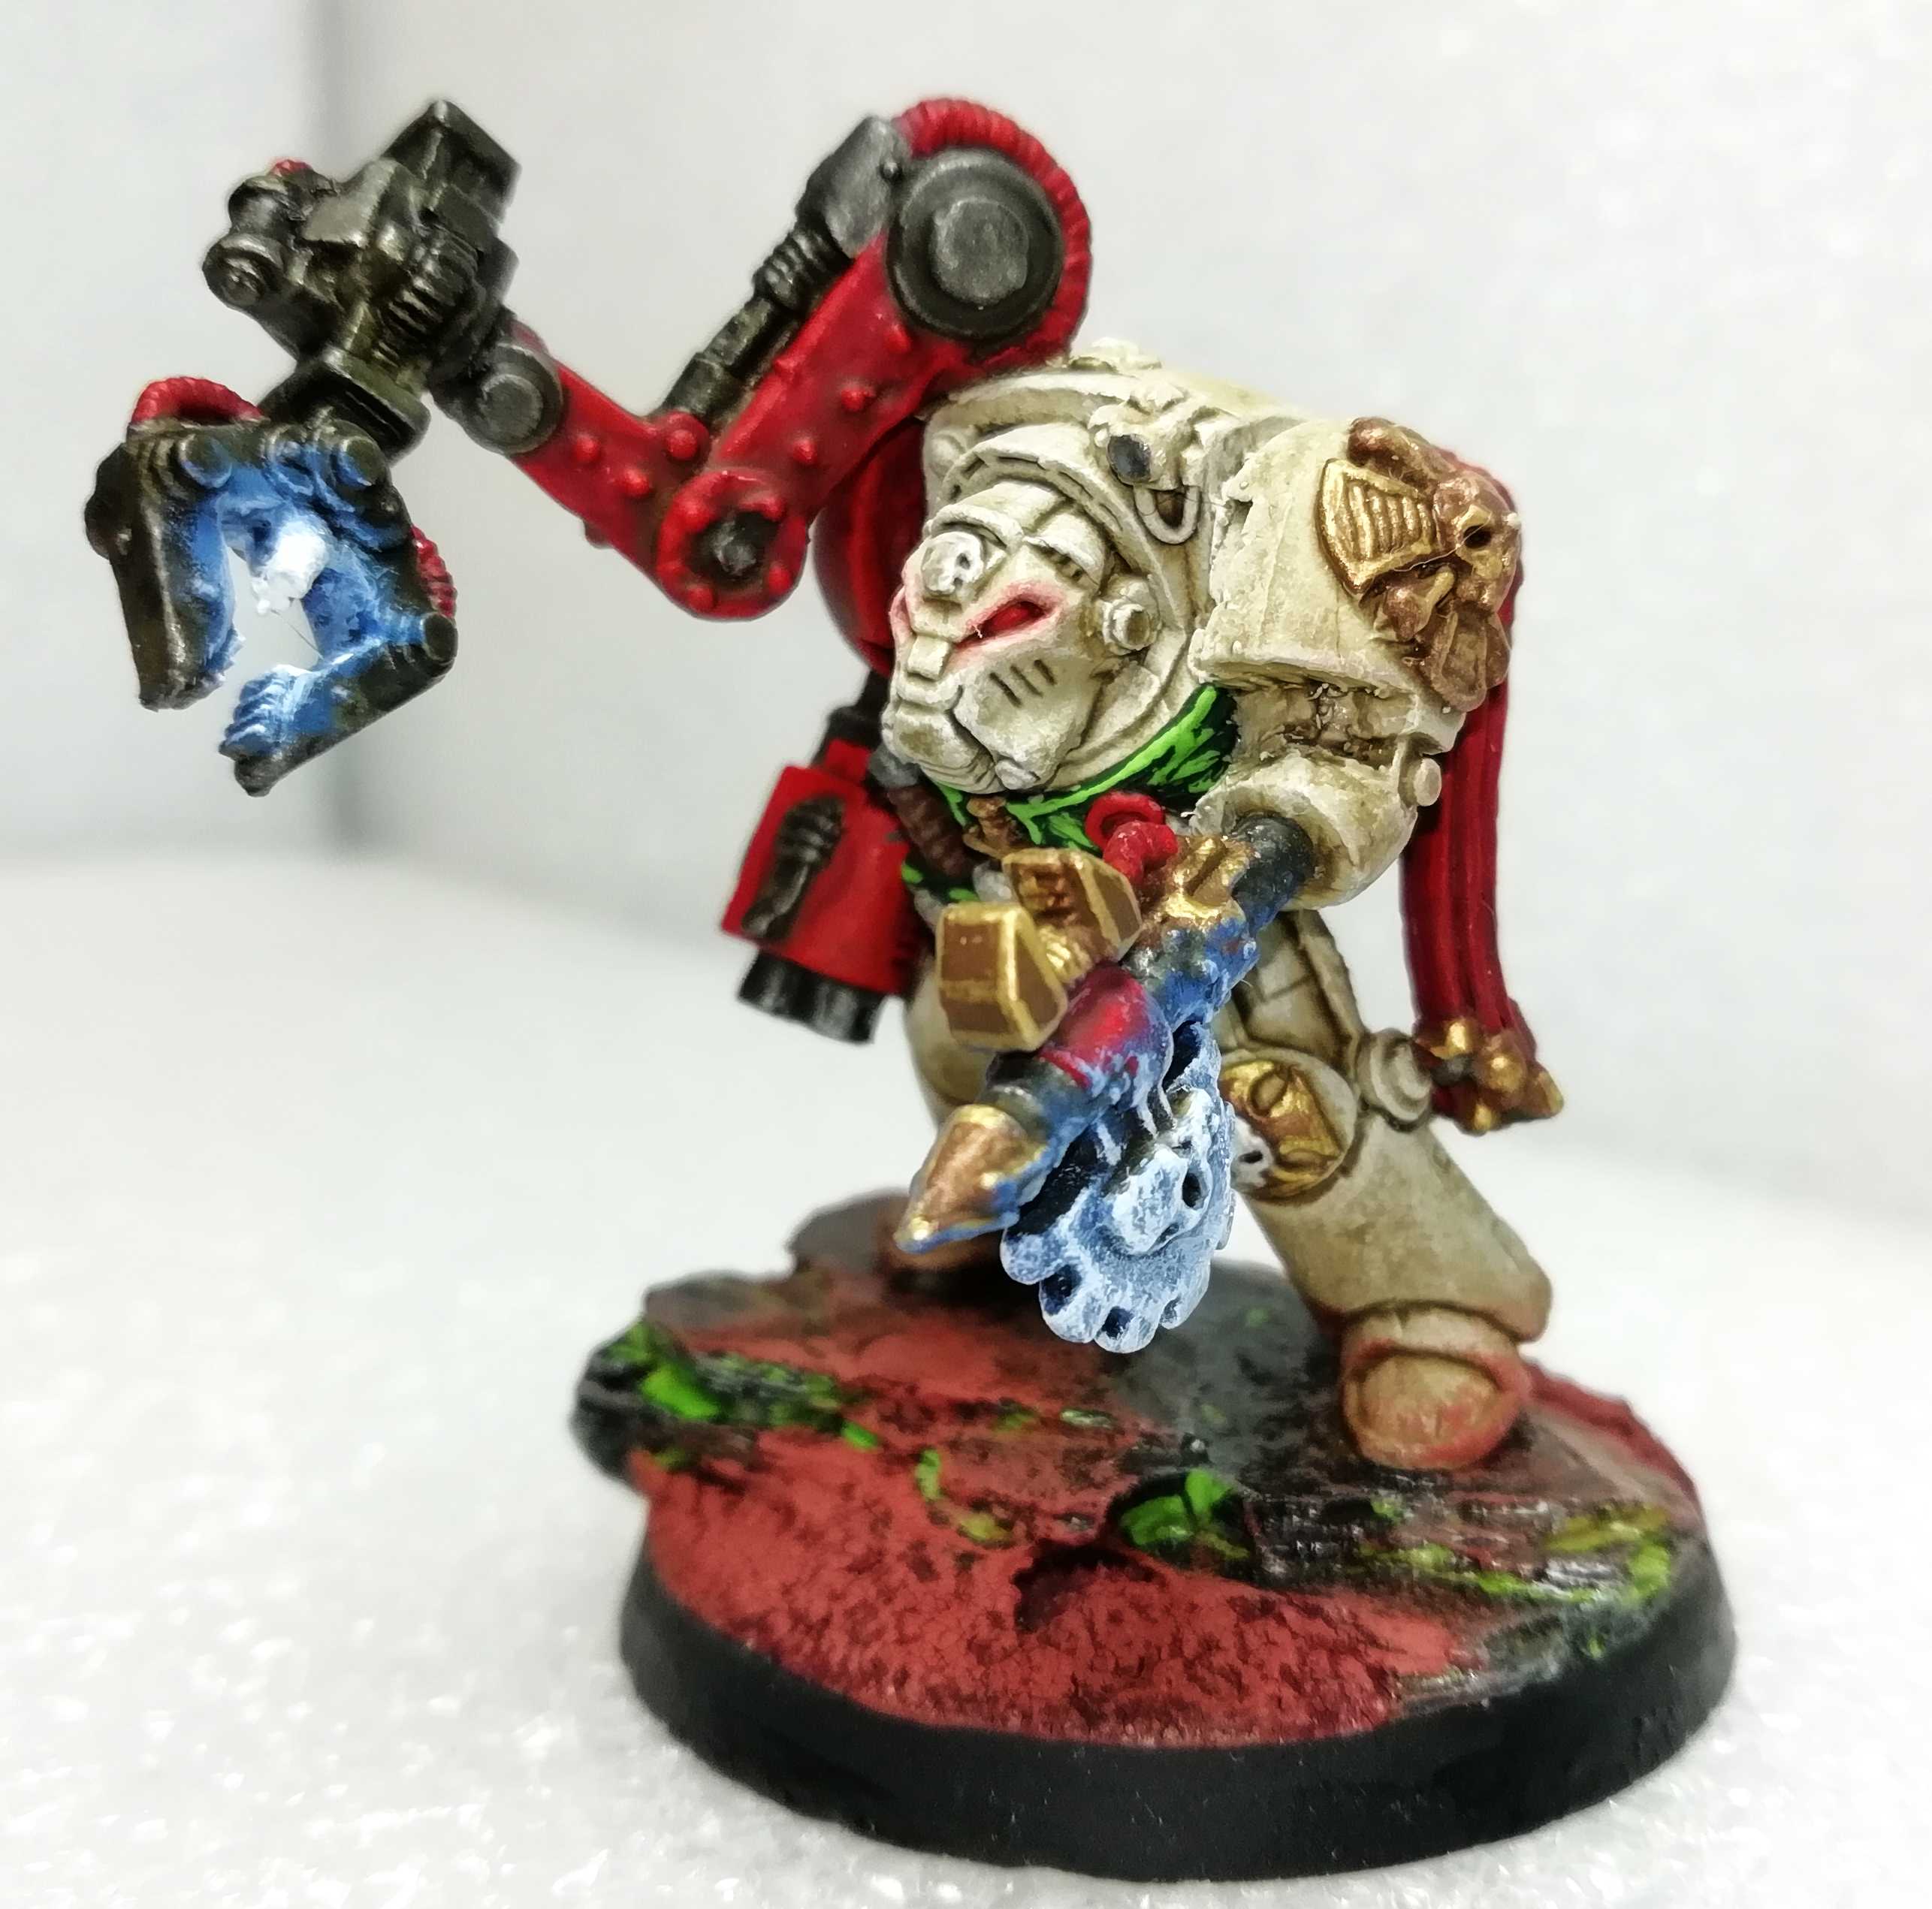
Next up is the Techmarine. Actually there are no Temrinator Techmarines, but they have a 2+ Armour save so I went for a conversion. It is an old metal Terminator from Second Edition and some parts from a metal Techmarine like from 10 years ago.


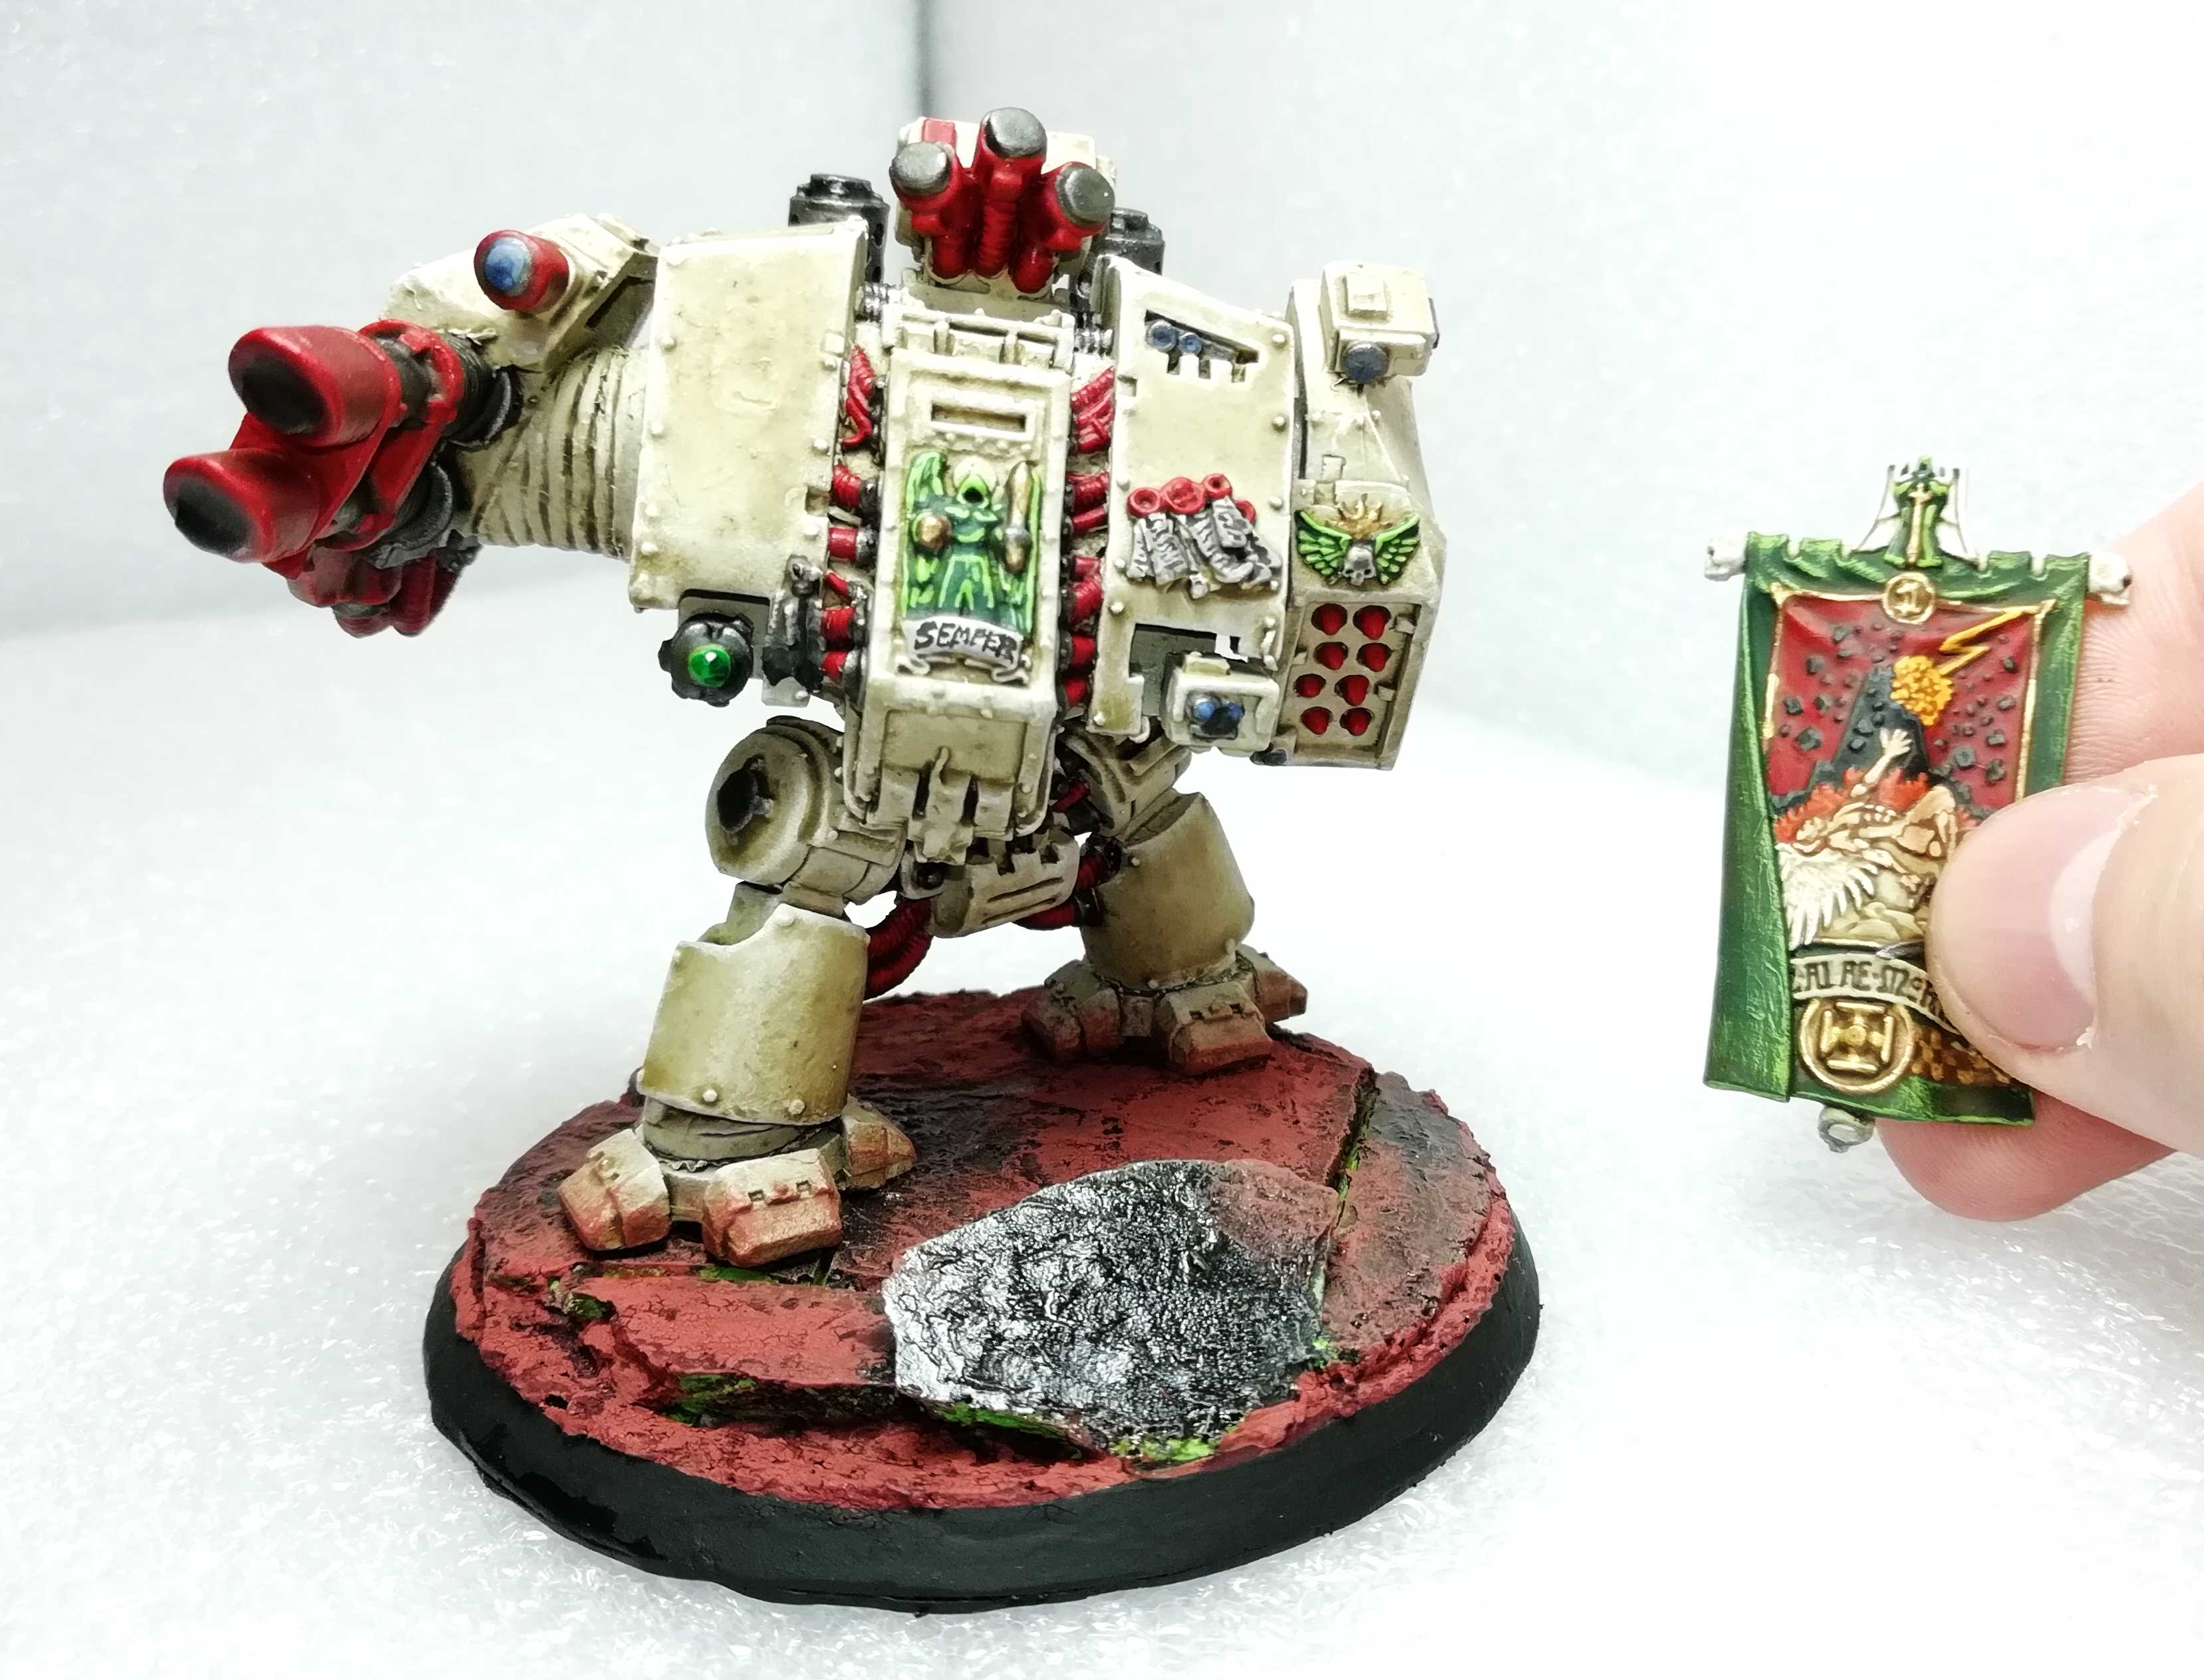
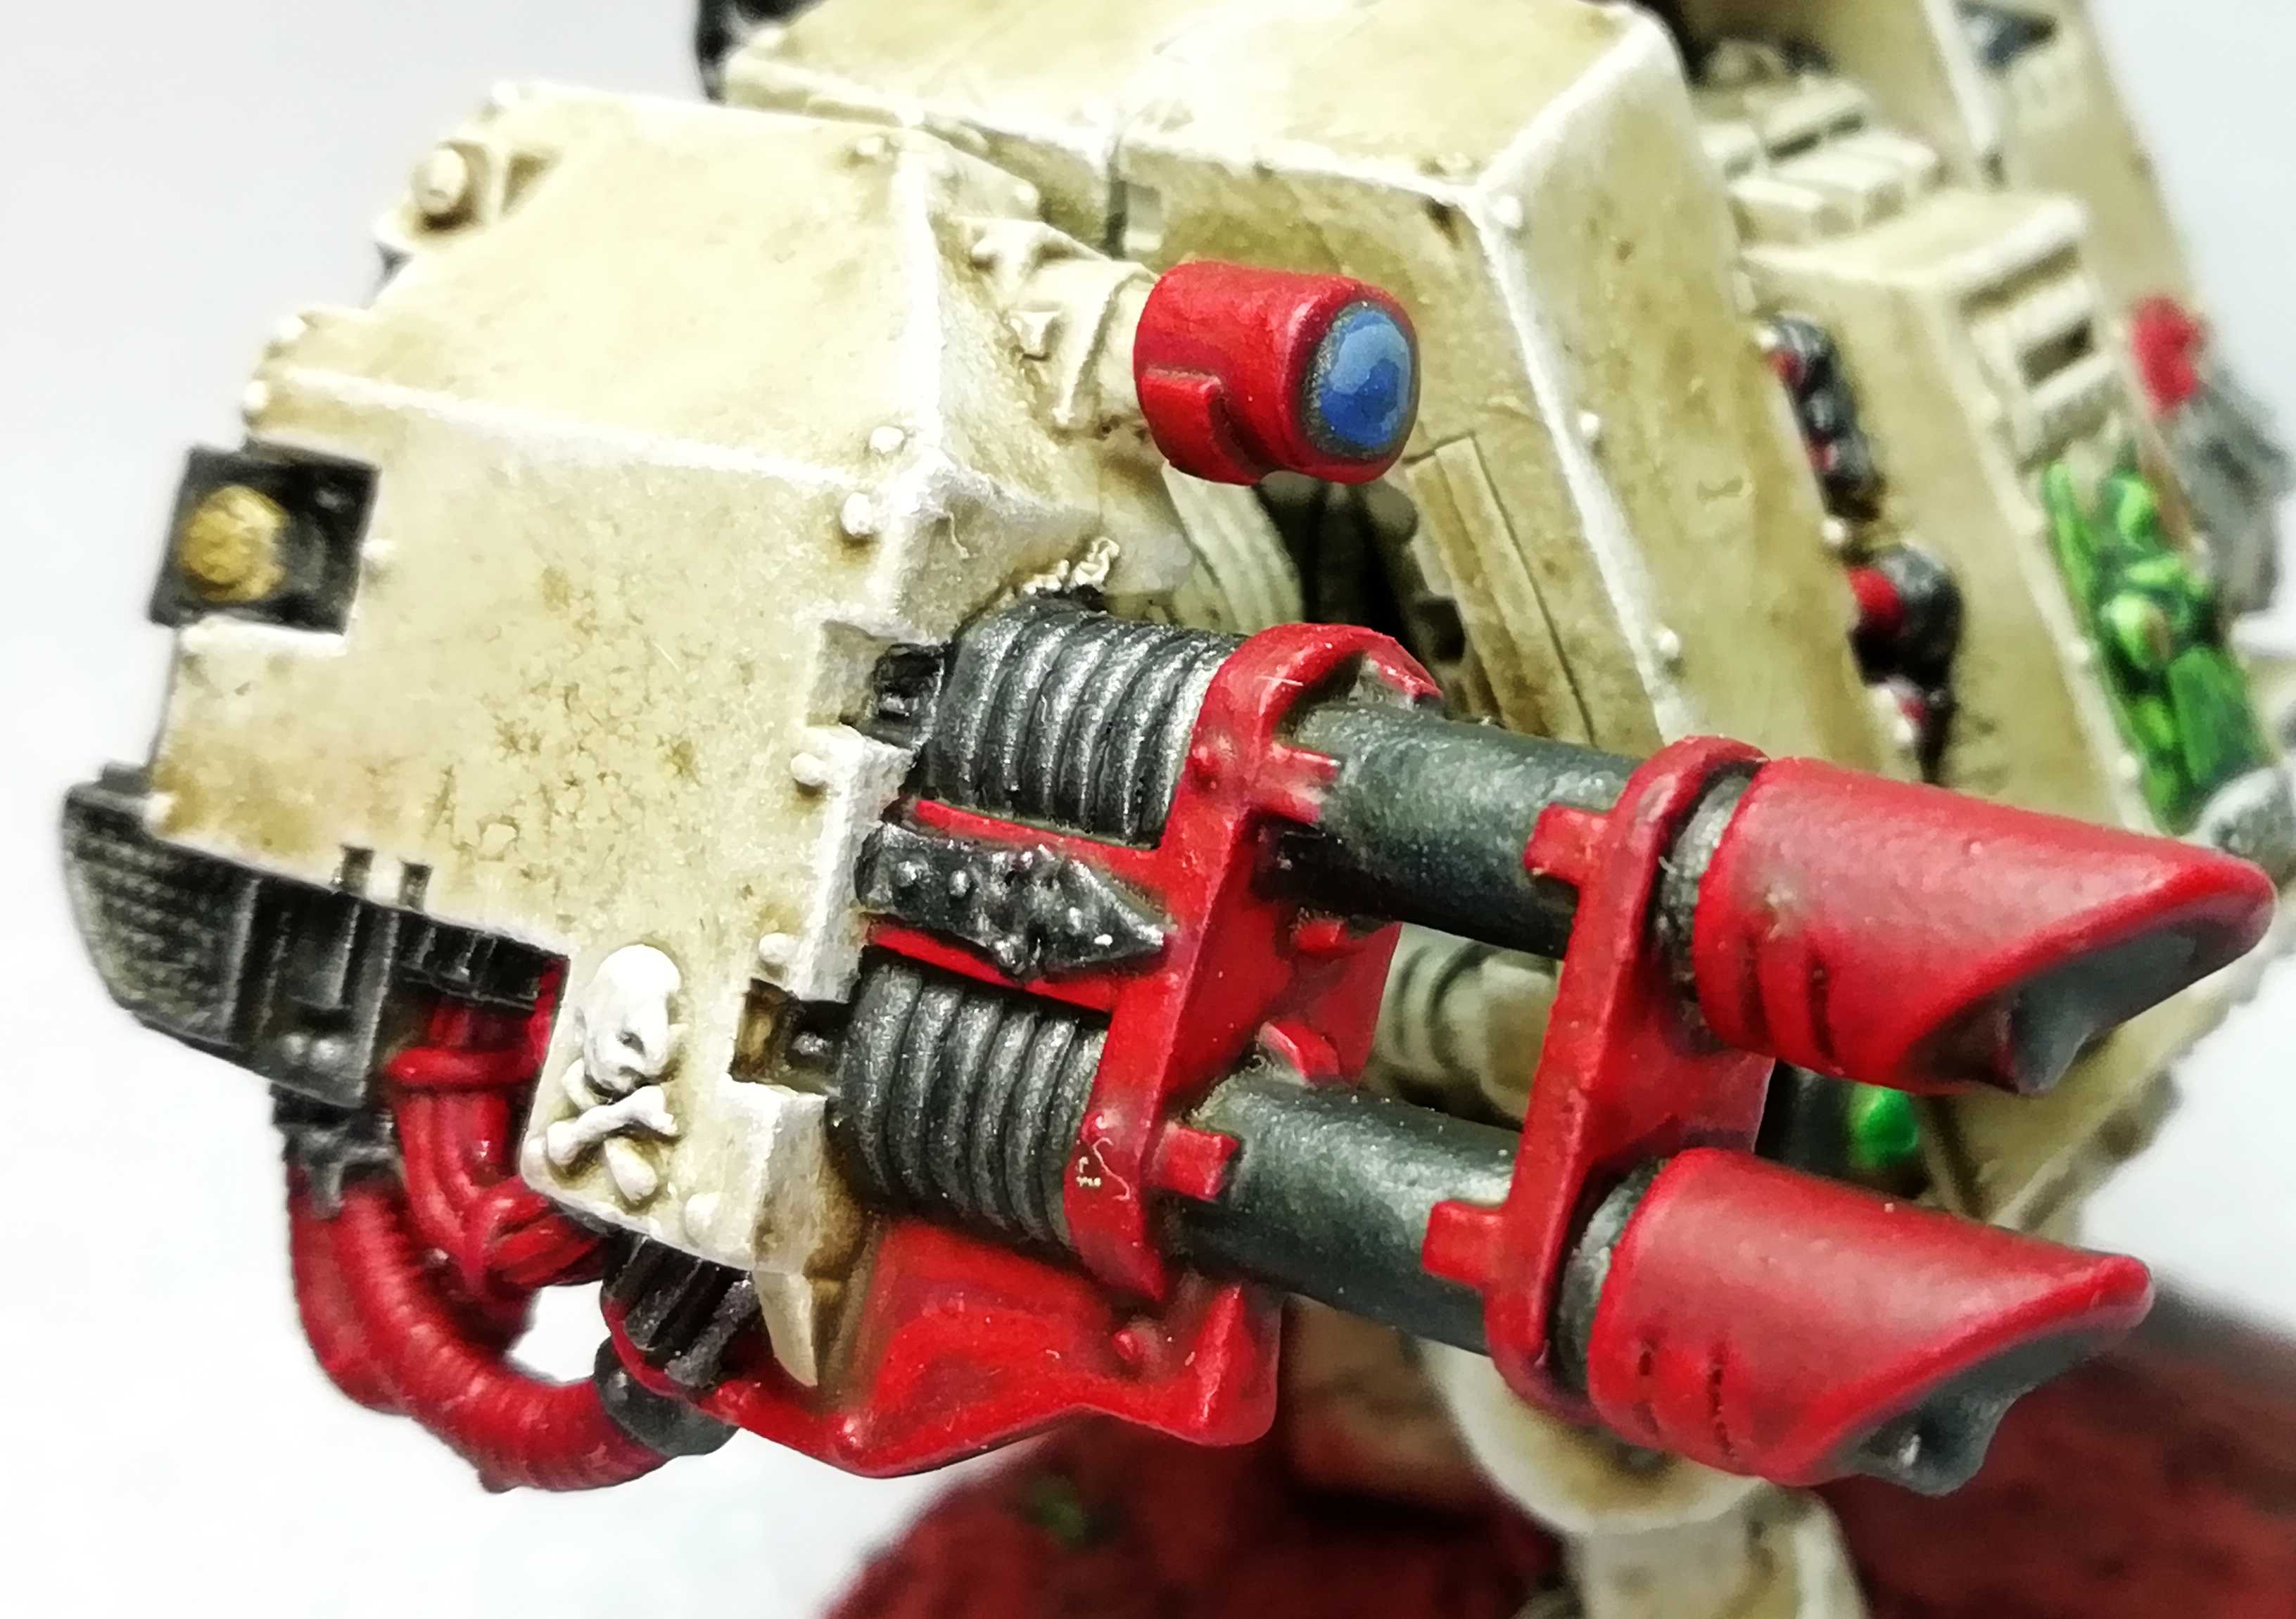
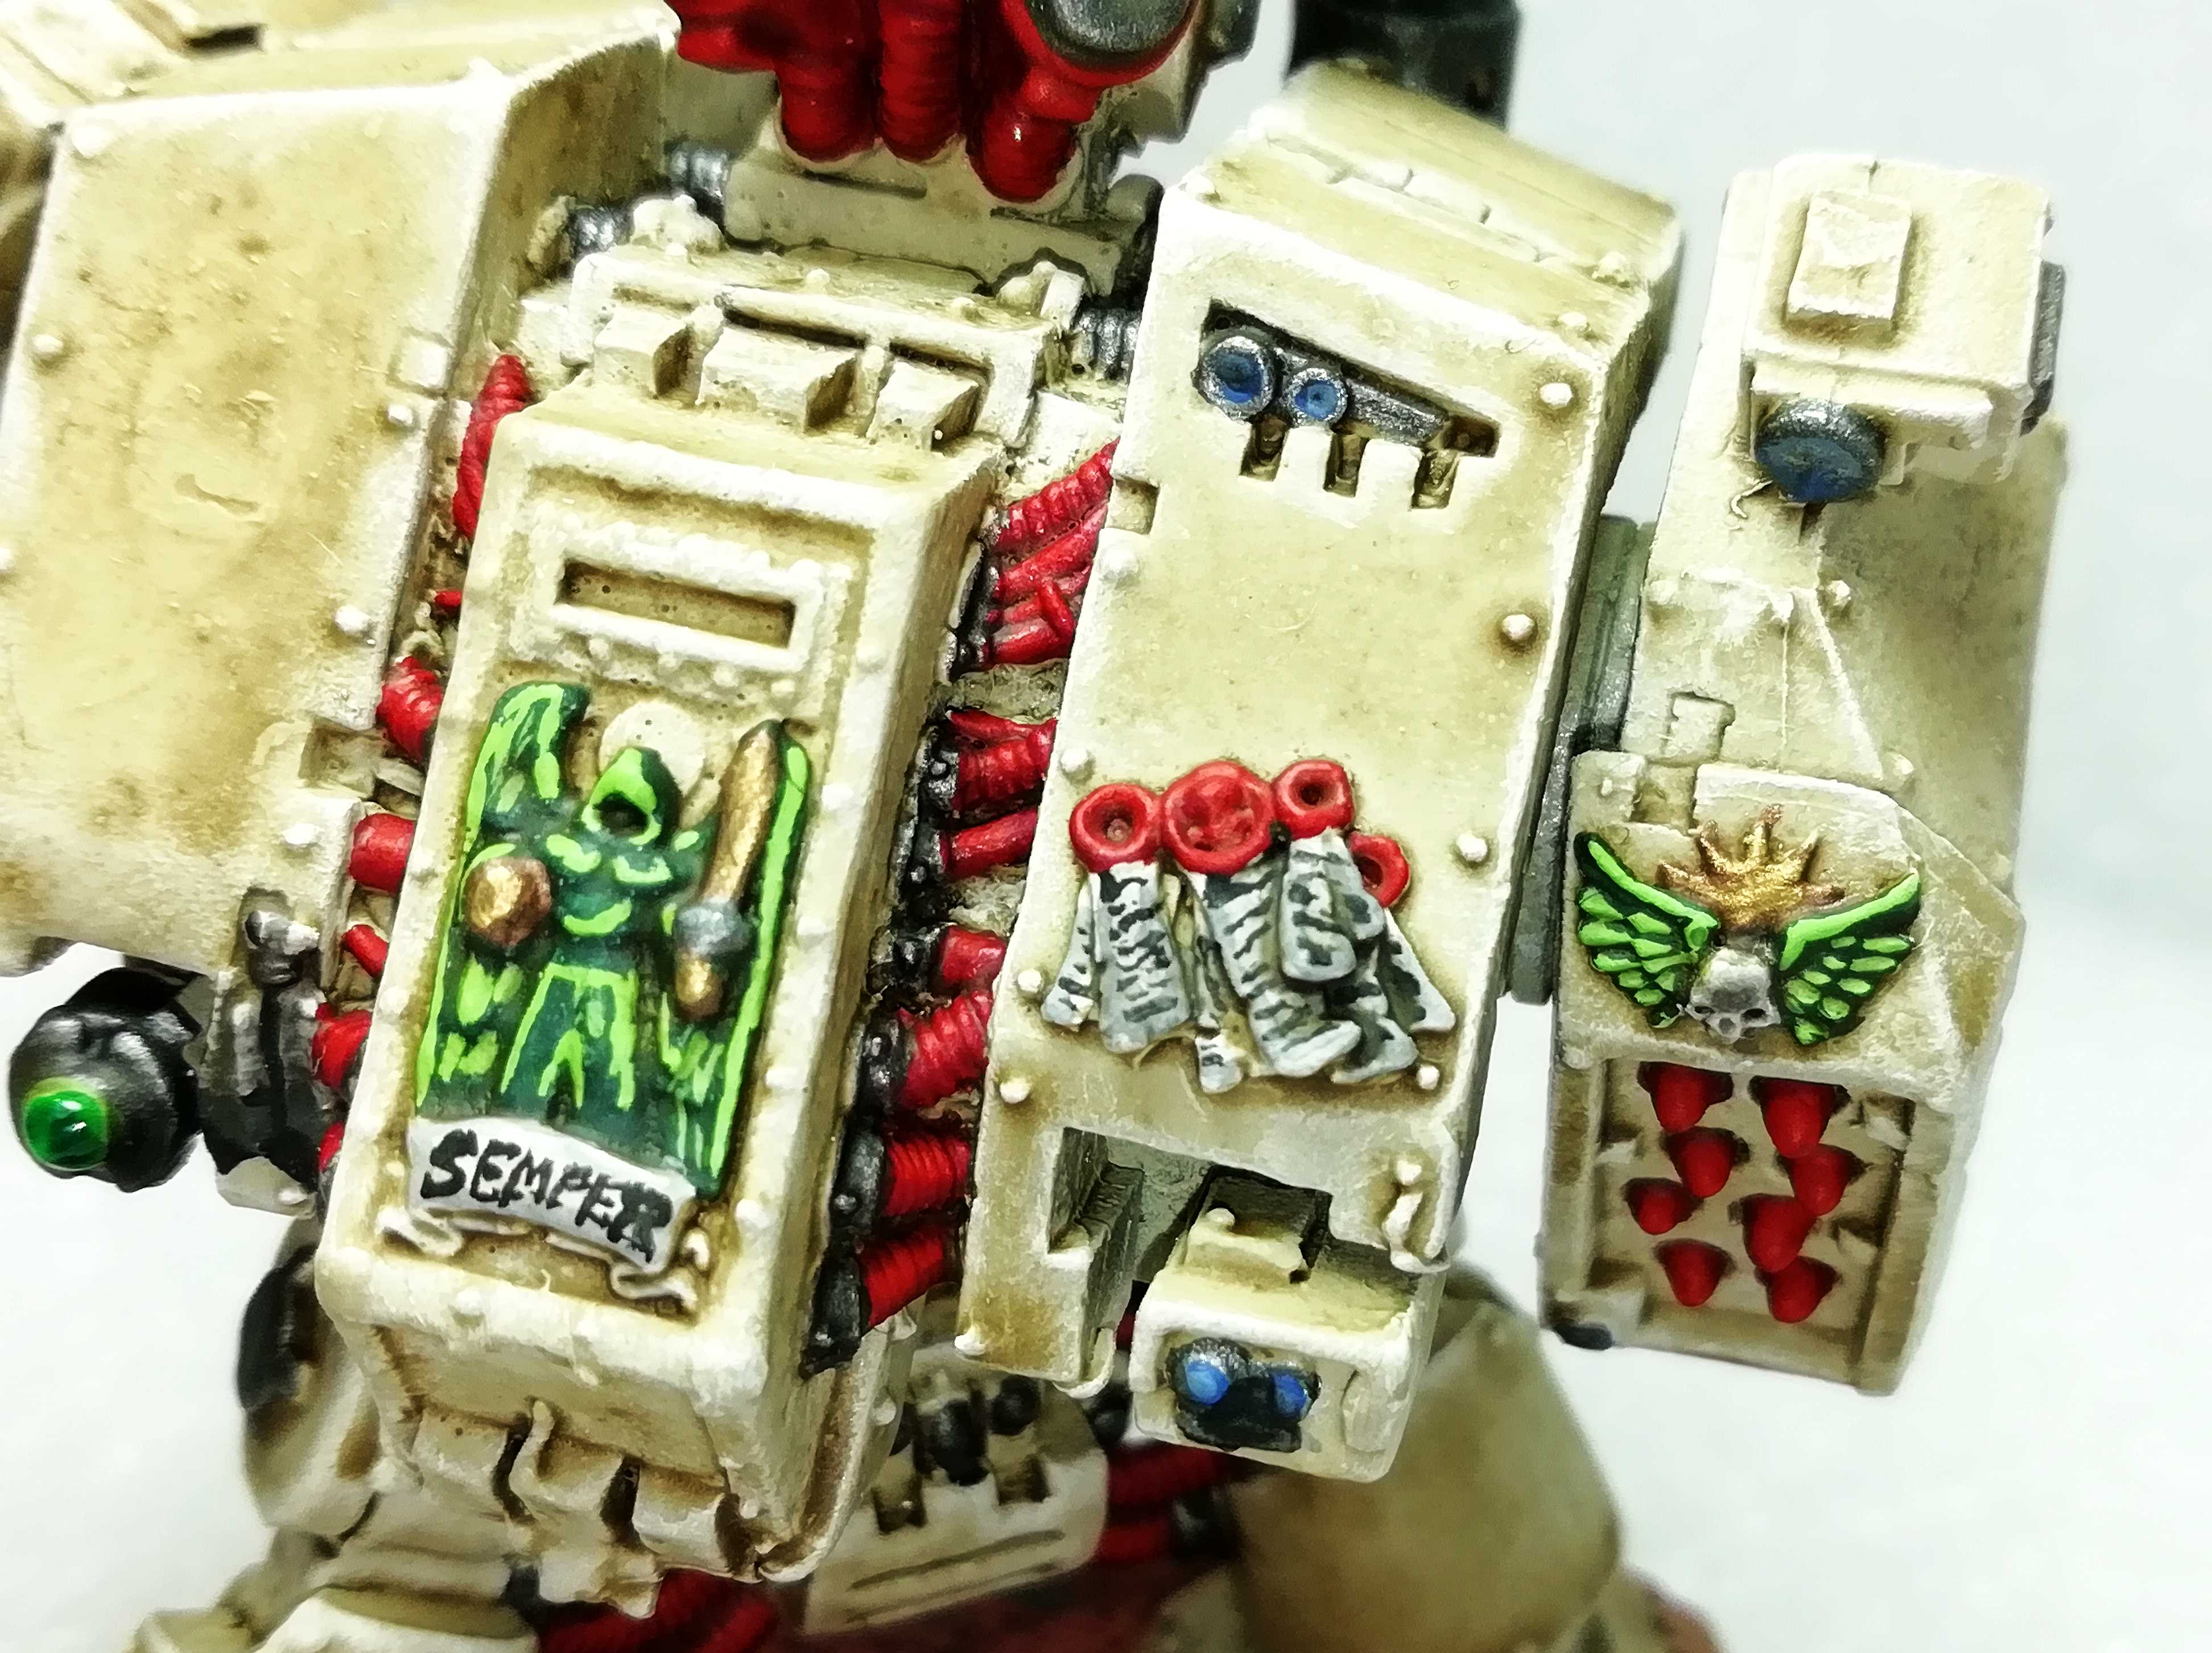
On to the first of two Dreadnoughts. The Banner is magentized and an embossed plastic from GW. The rest of the model is the old full metal Dark Angels Dreadnought by GW from like 15 years ago. With the resin base this model nears a pound in weight. So if someone kills it you can actually kill him right back by throwing this at his head.
I reposed the legs and the arms. The lasercannon arm also has another angle to make him look like a gangster firing his baretta.
His name is “Semper” and he doubles as a “normal” Dread (without banner) and a venerable Dread (with banner).


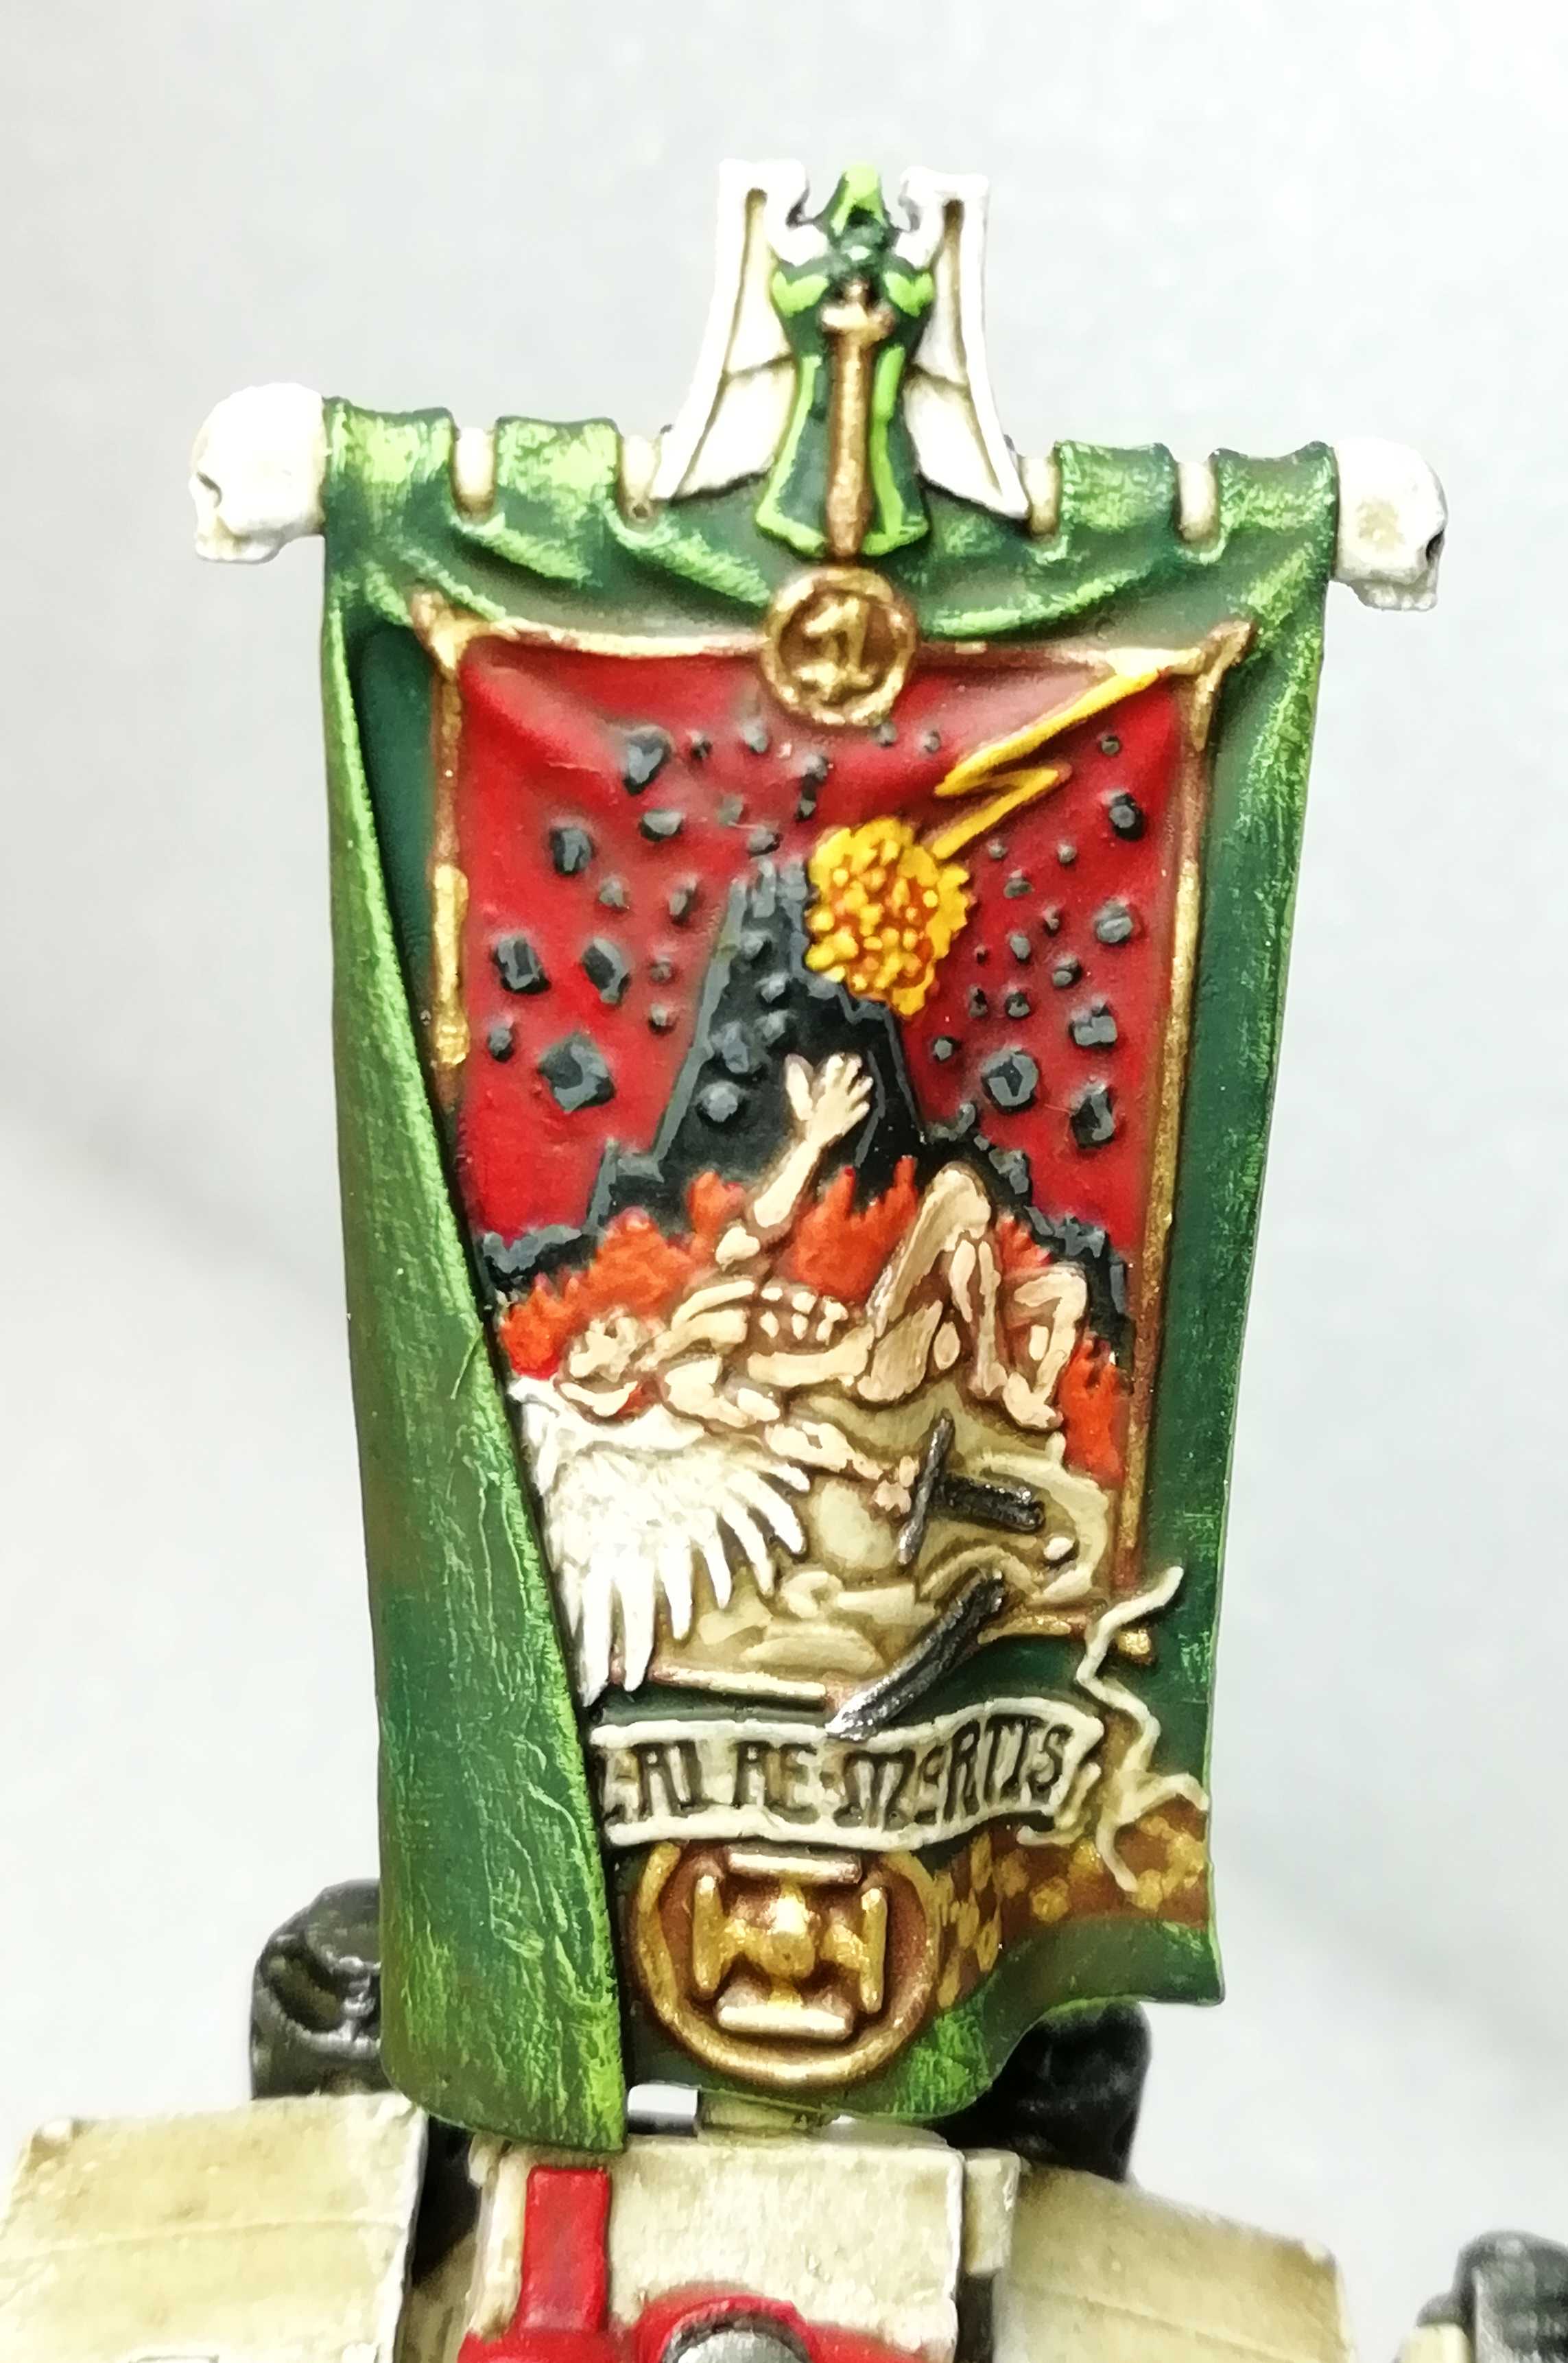
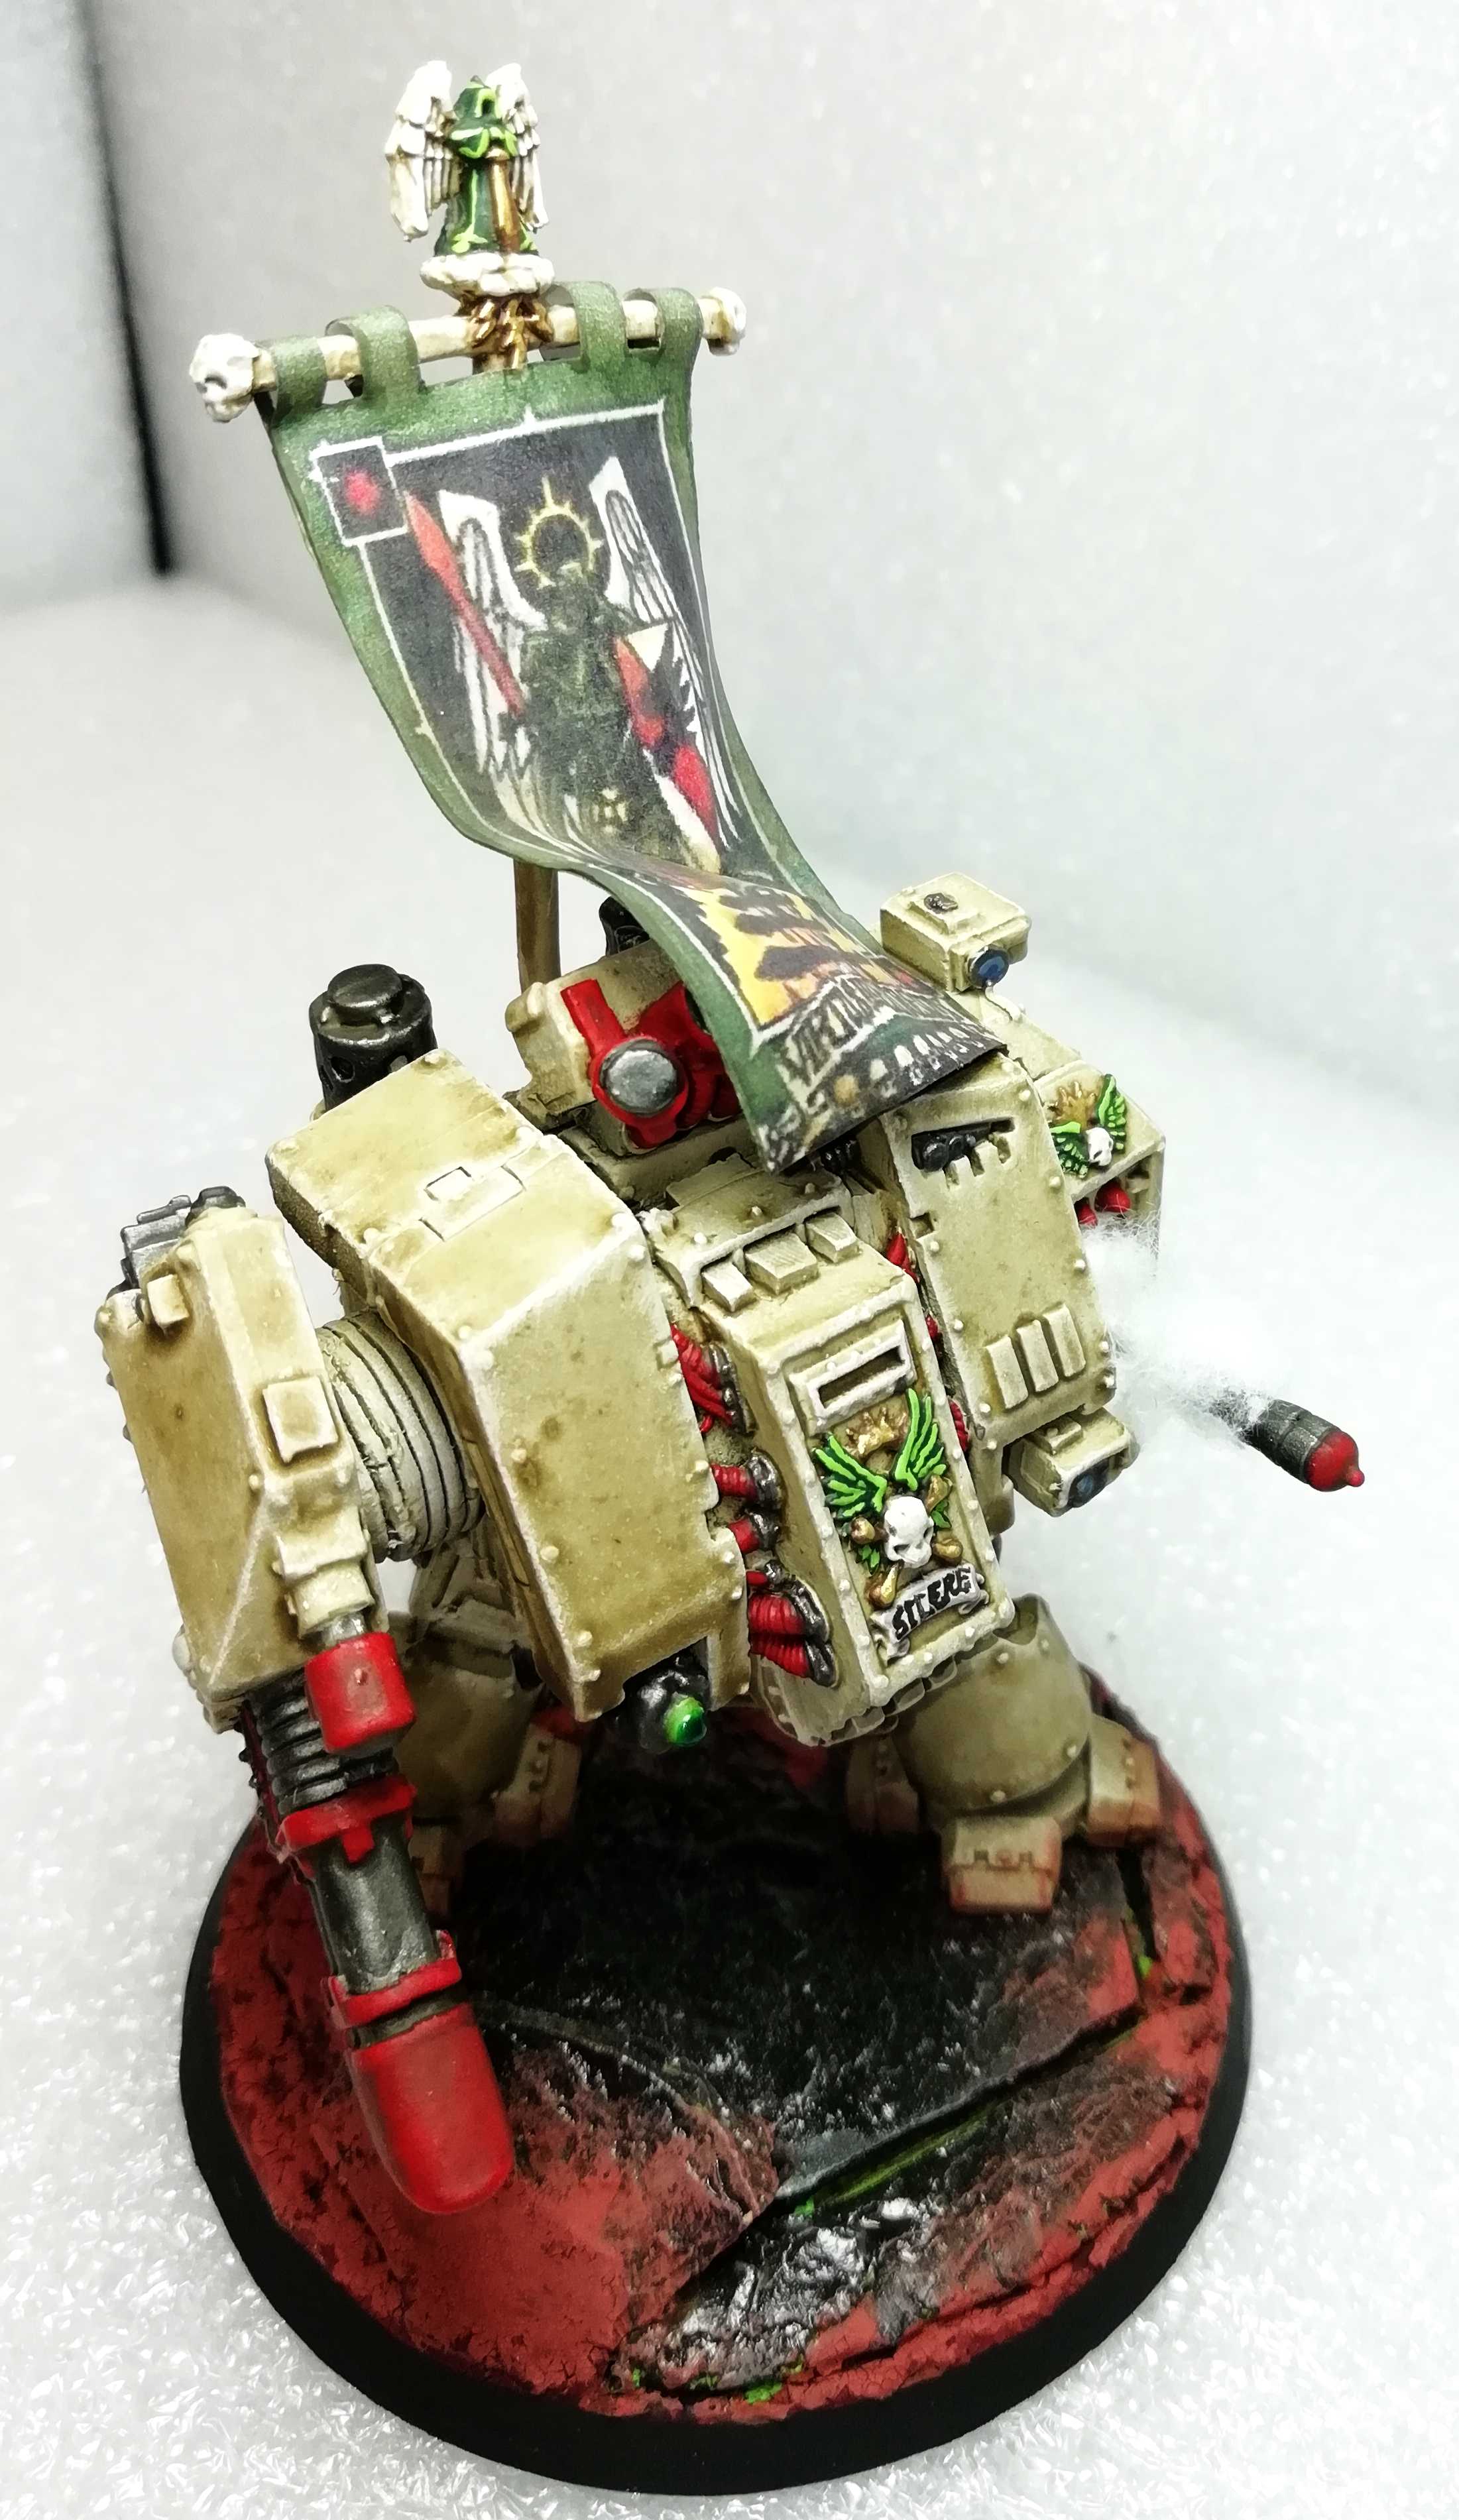
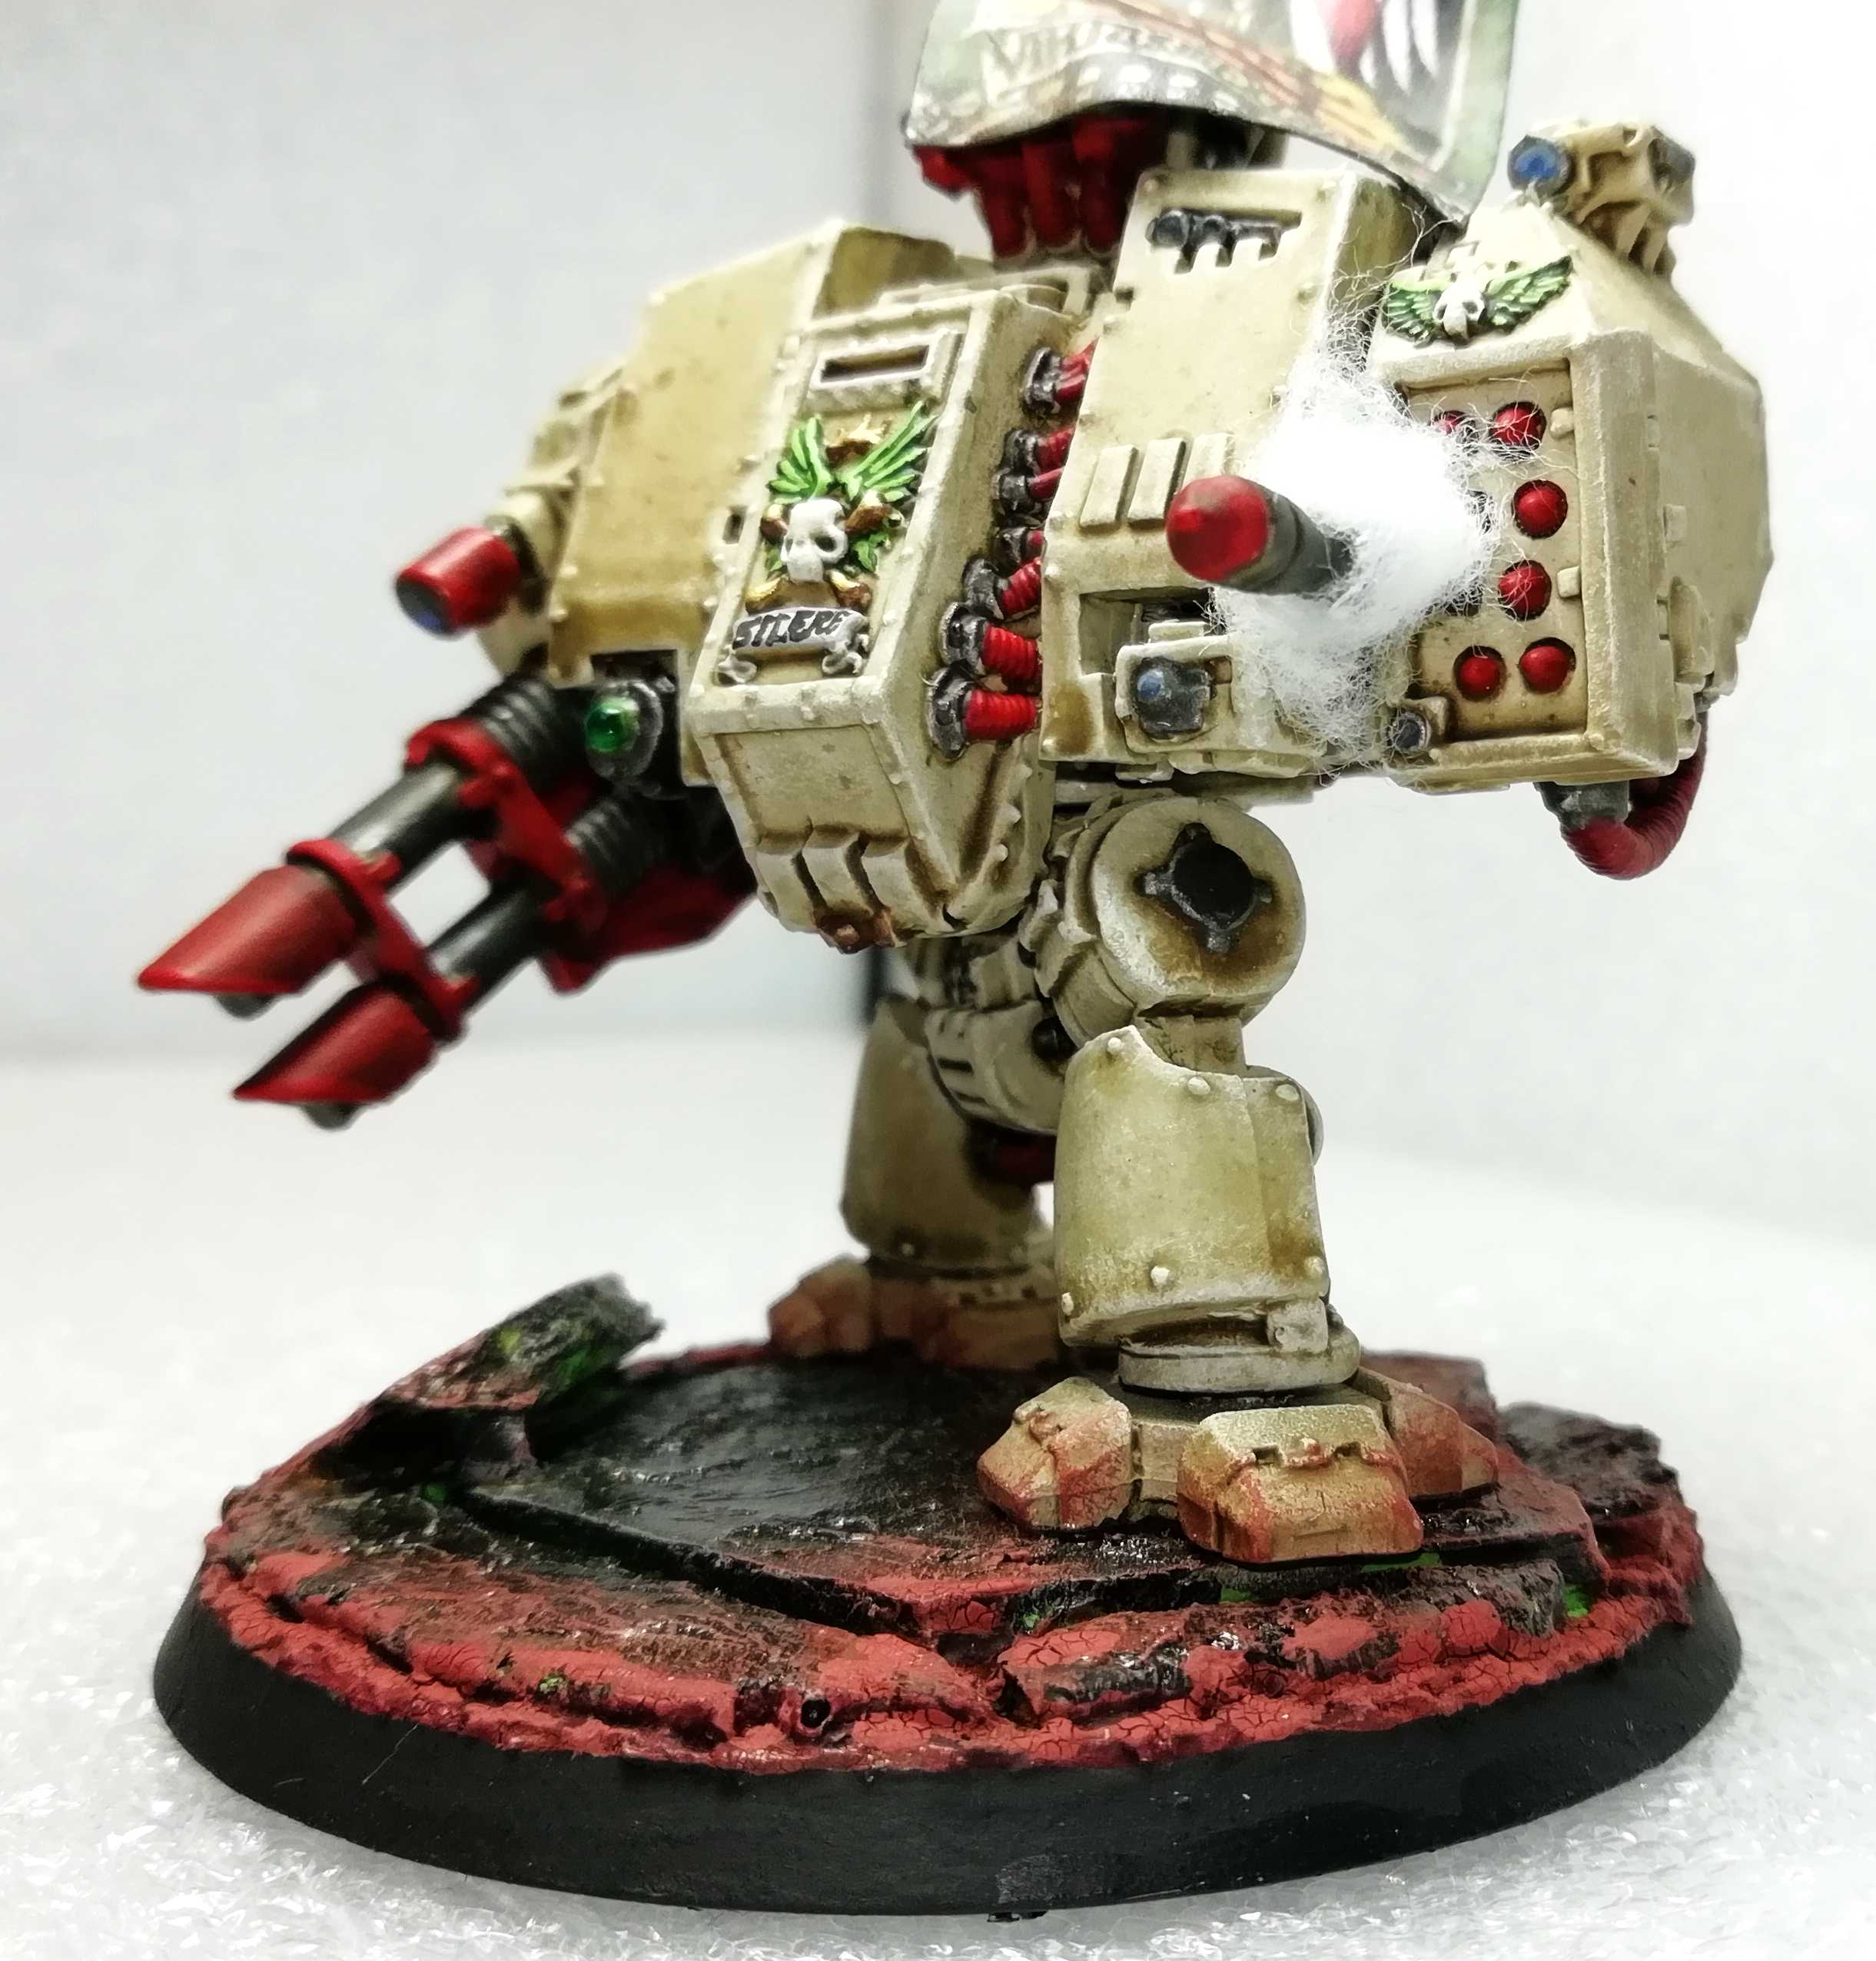
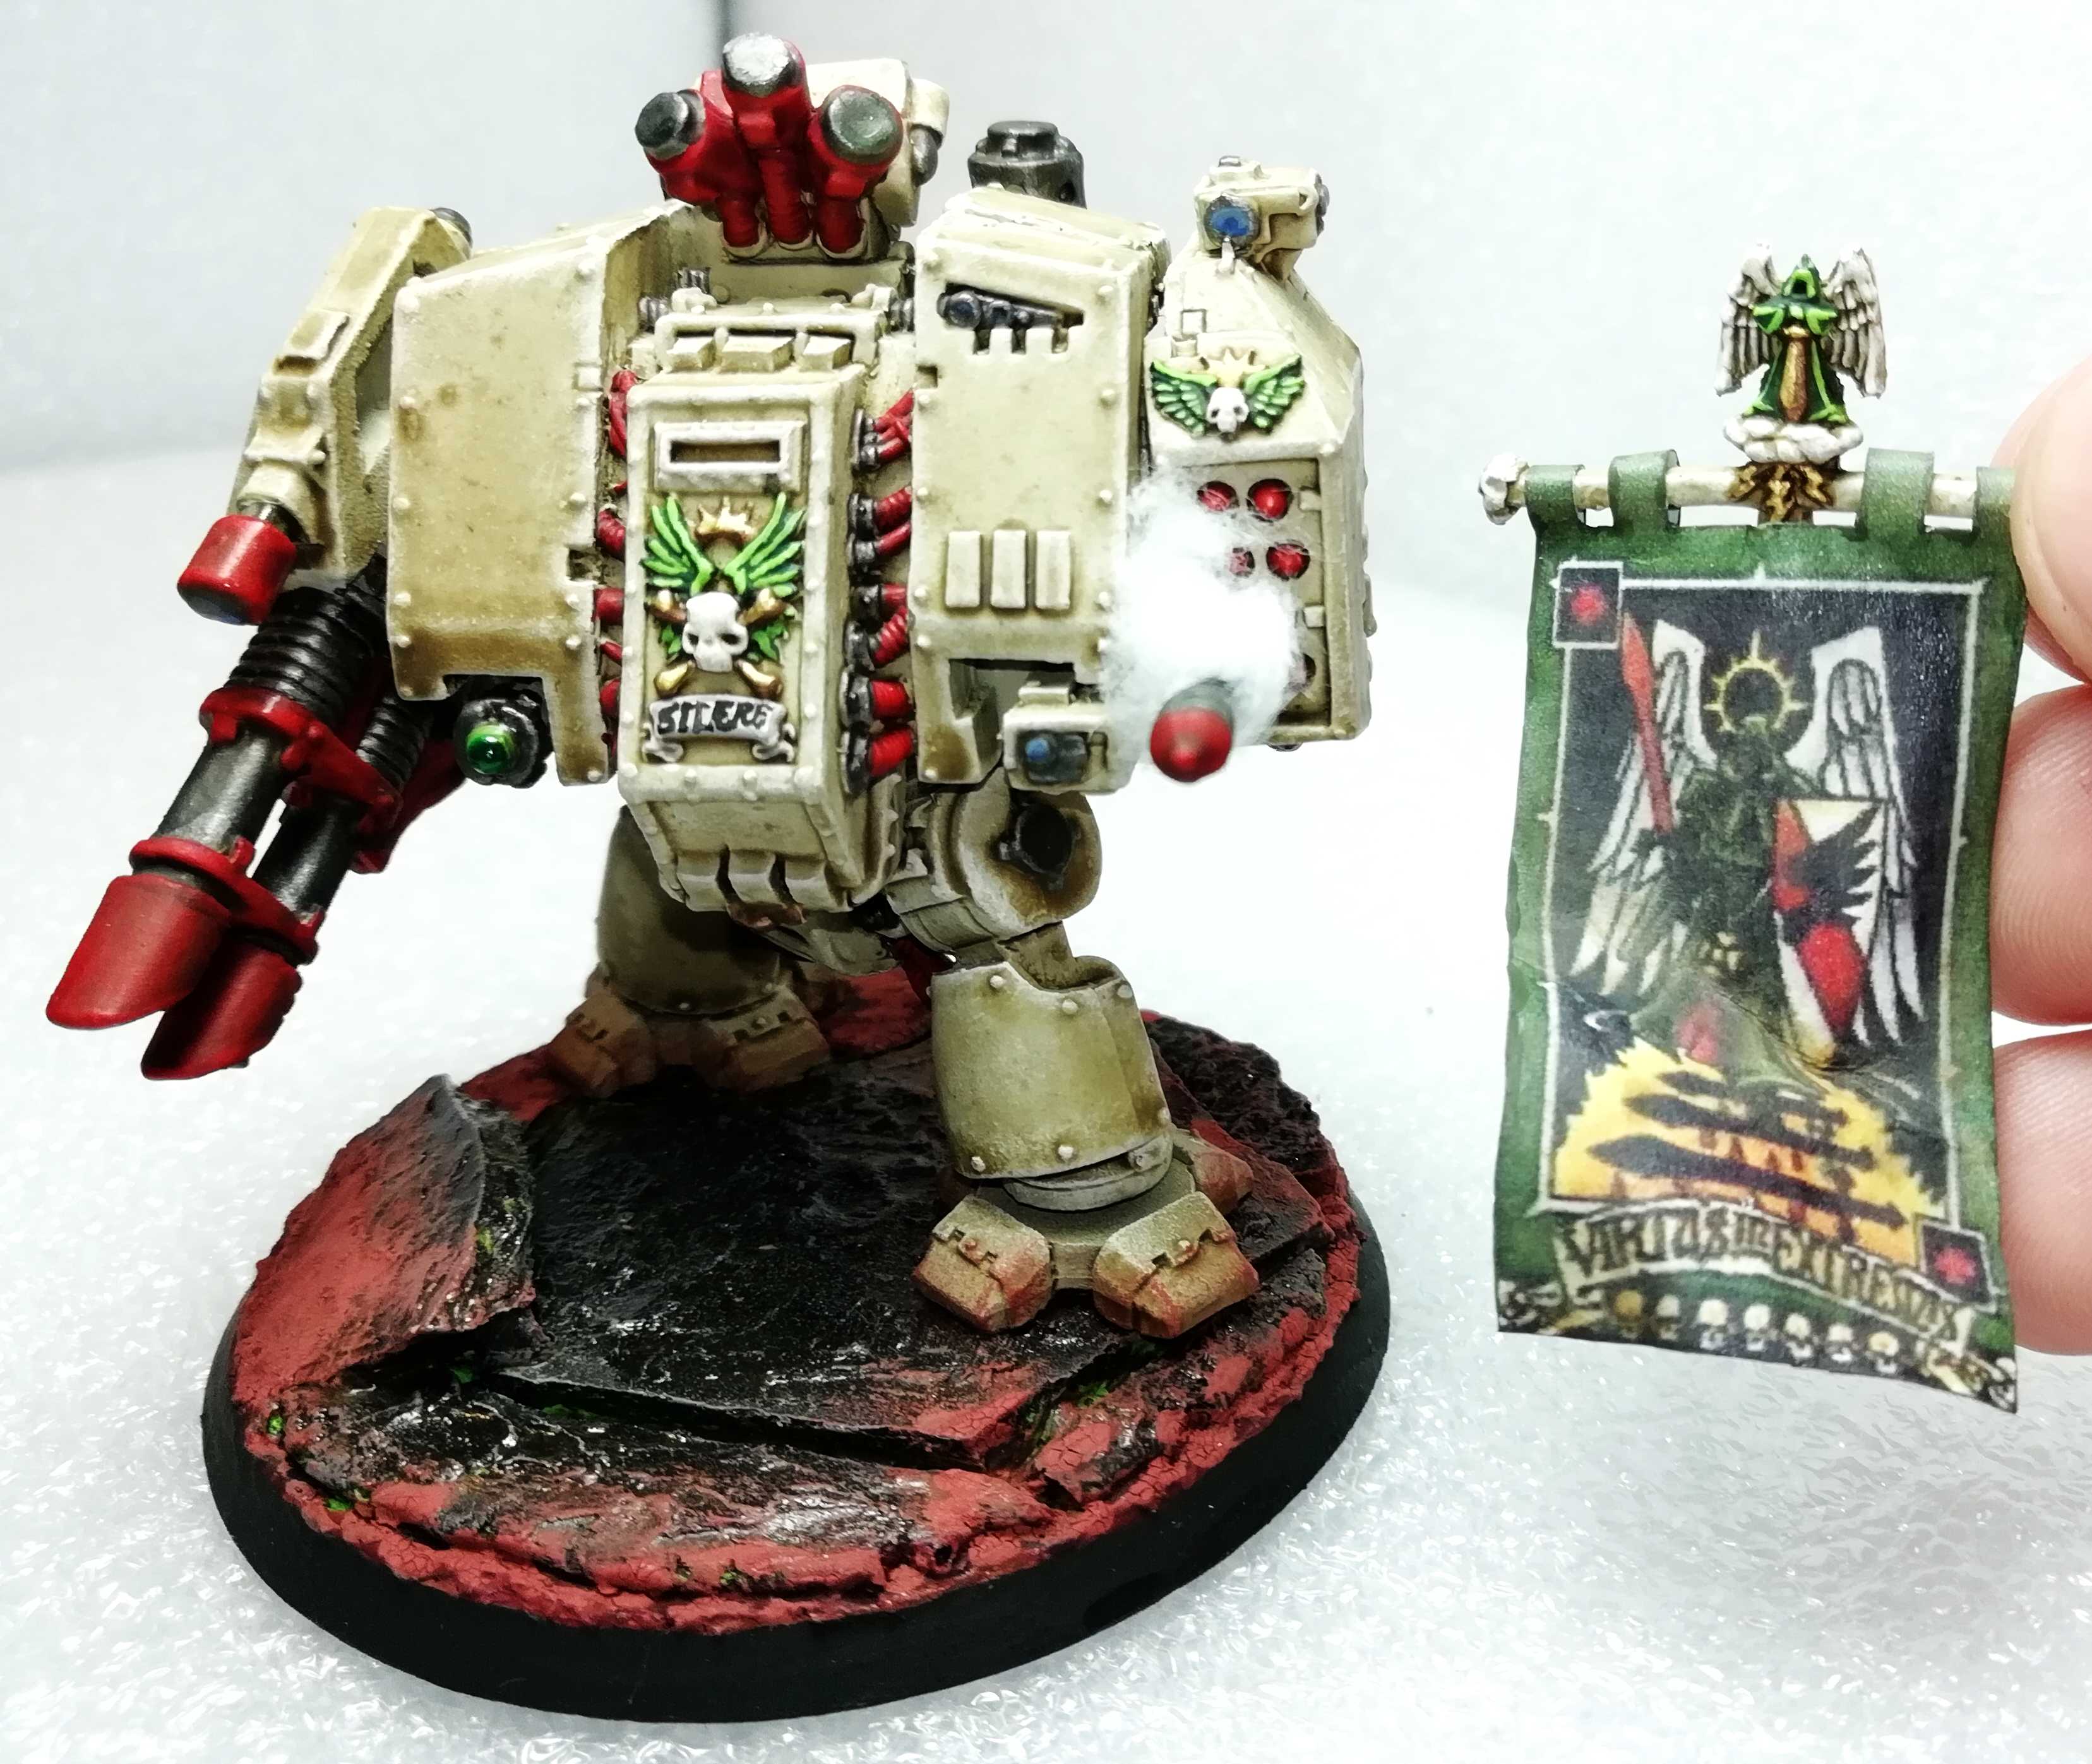
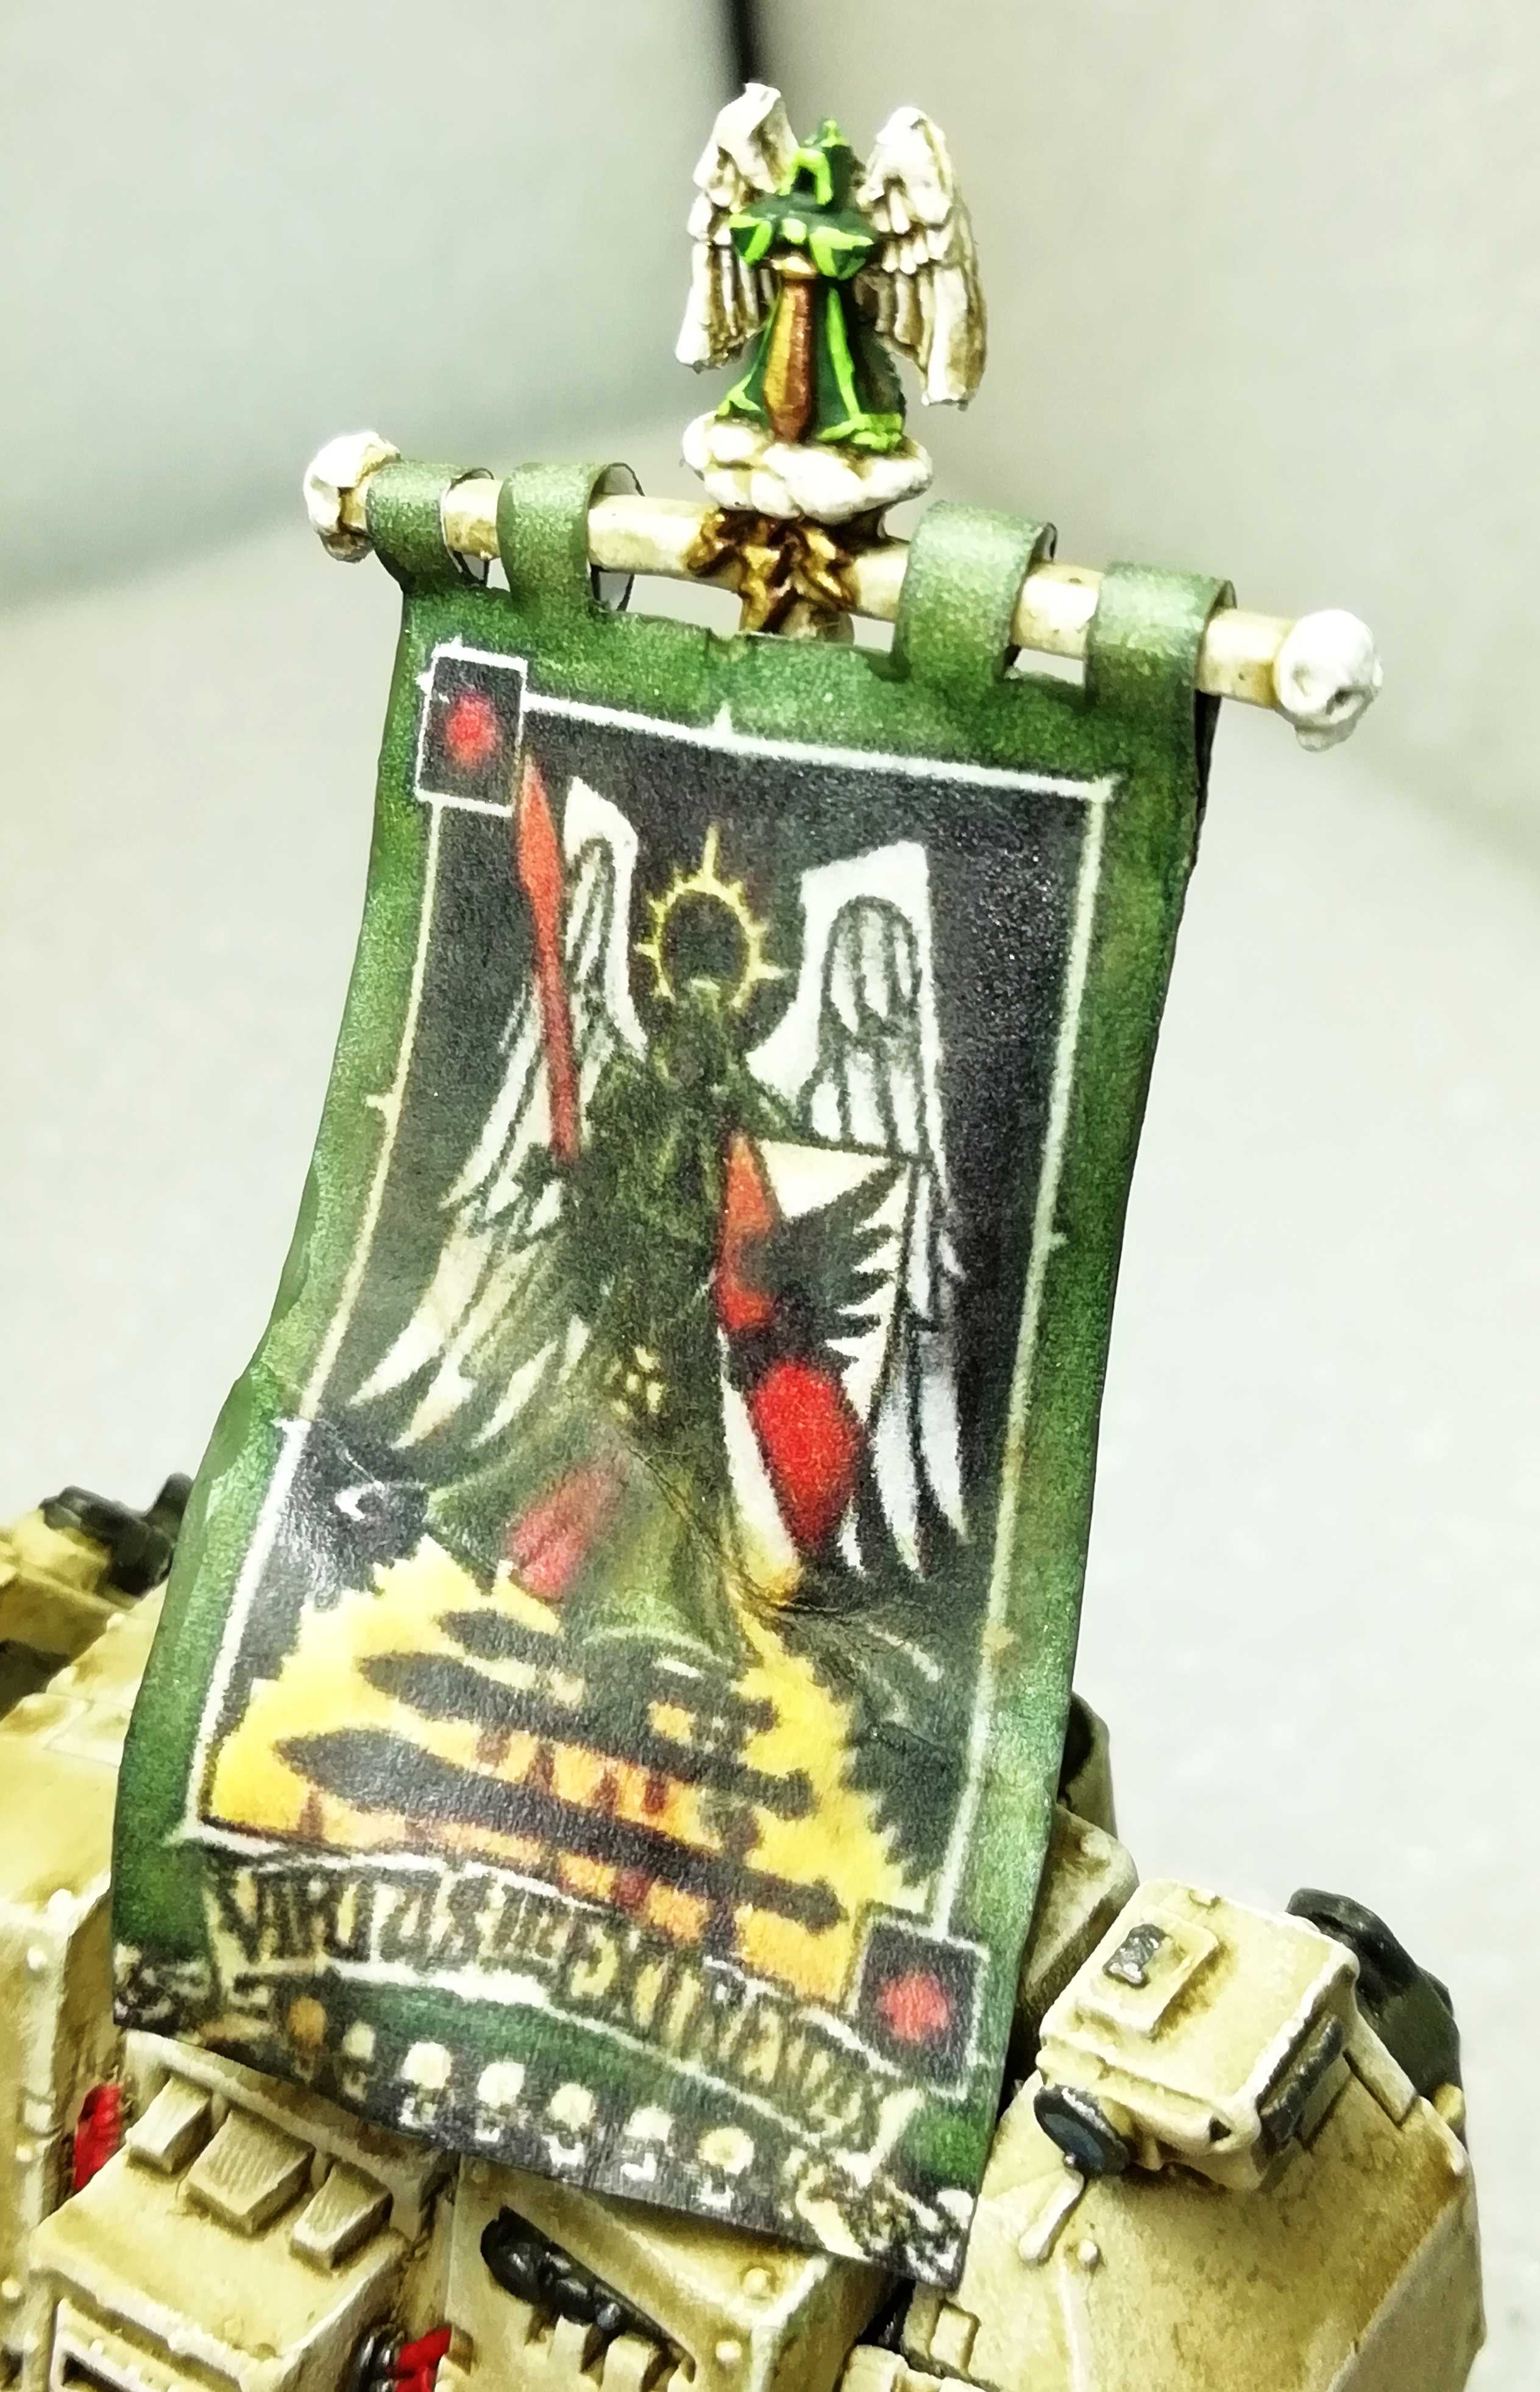
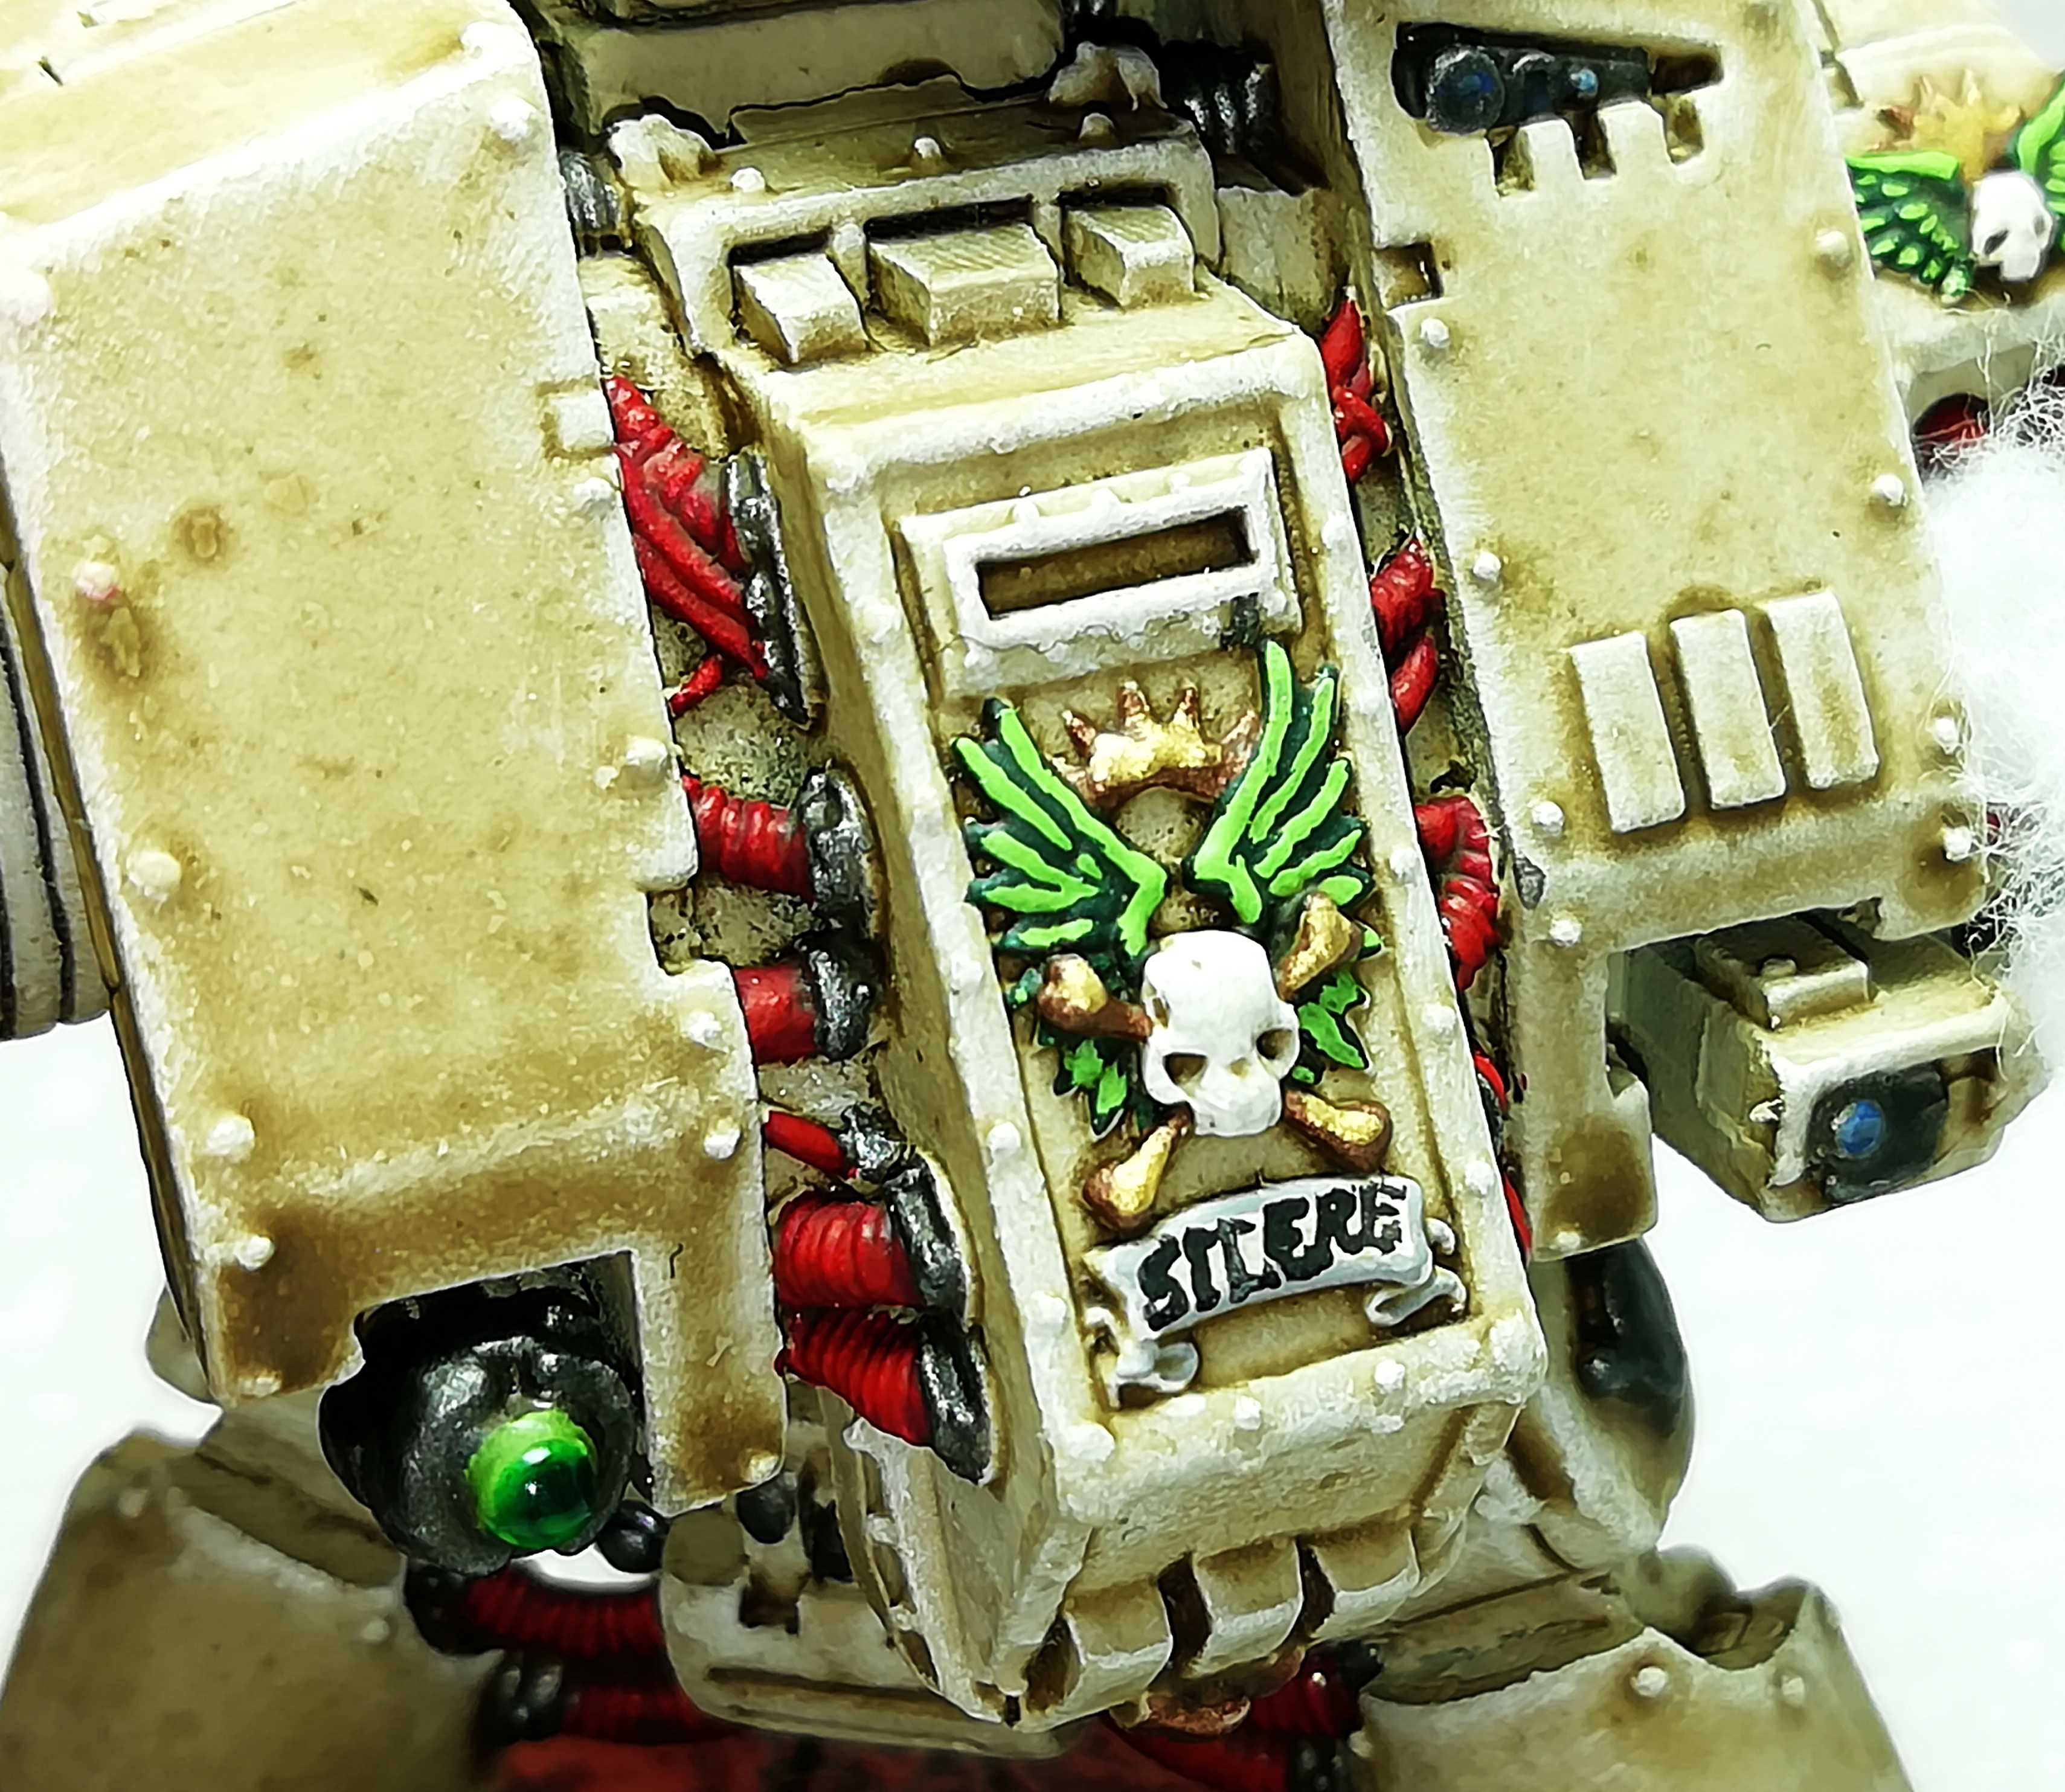
Last but not least “Silere” the second Dreadnought. Again it is full metal, but the body is from 2nd edition Blood Angels Dread this time. The arms are the same ones as above from the DA Dread from 2nd Edition. The Banner is printed and then put in pose with PVA and glue. It is pinned, so it is removeable for transportation or to demote the Dread from venerable status to “normal”.
Again a bit of reposing on the legs and arms. And of course the currently being launched rocket.

Block 2 Celebration: 75 power game
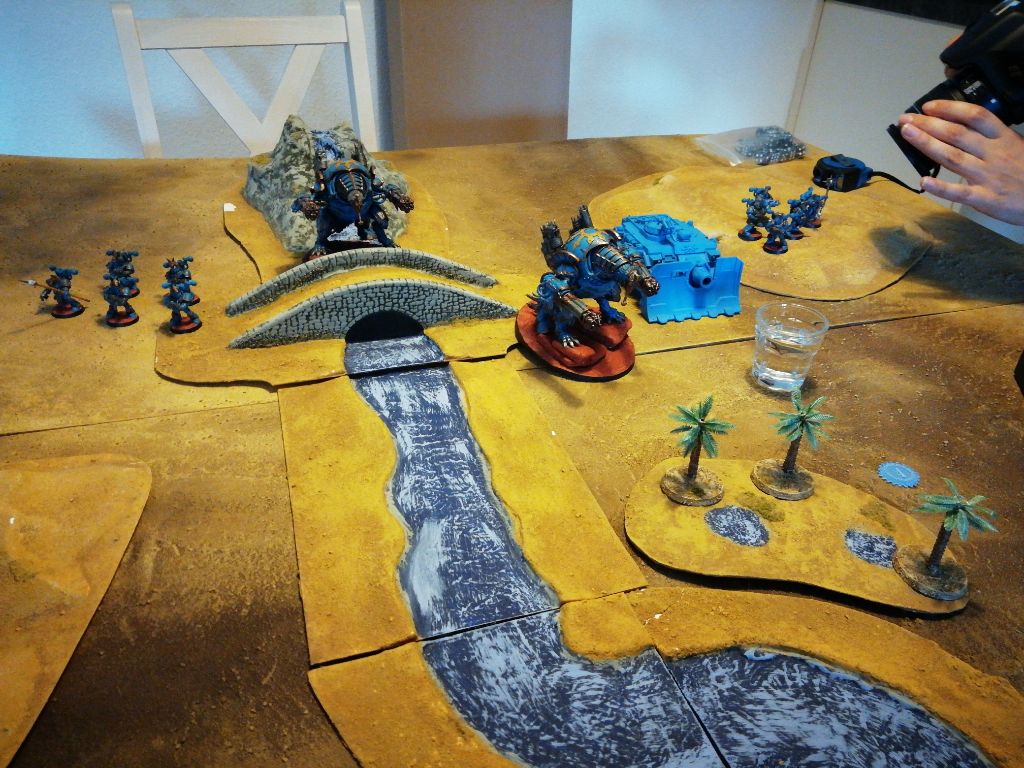
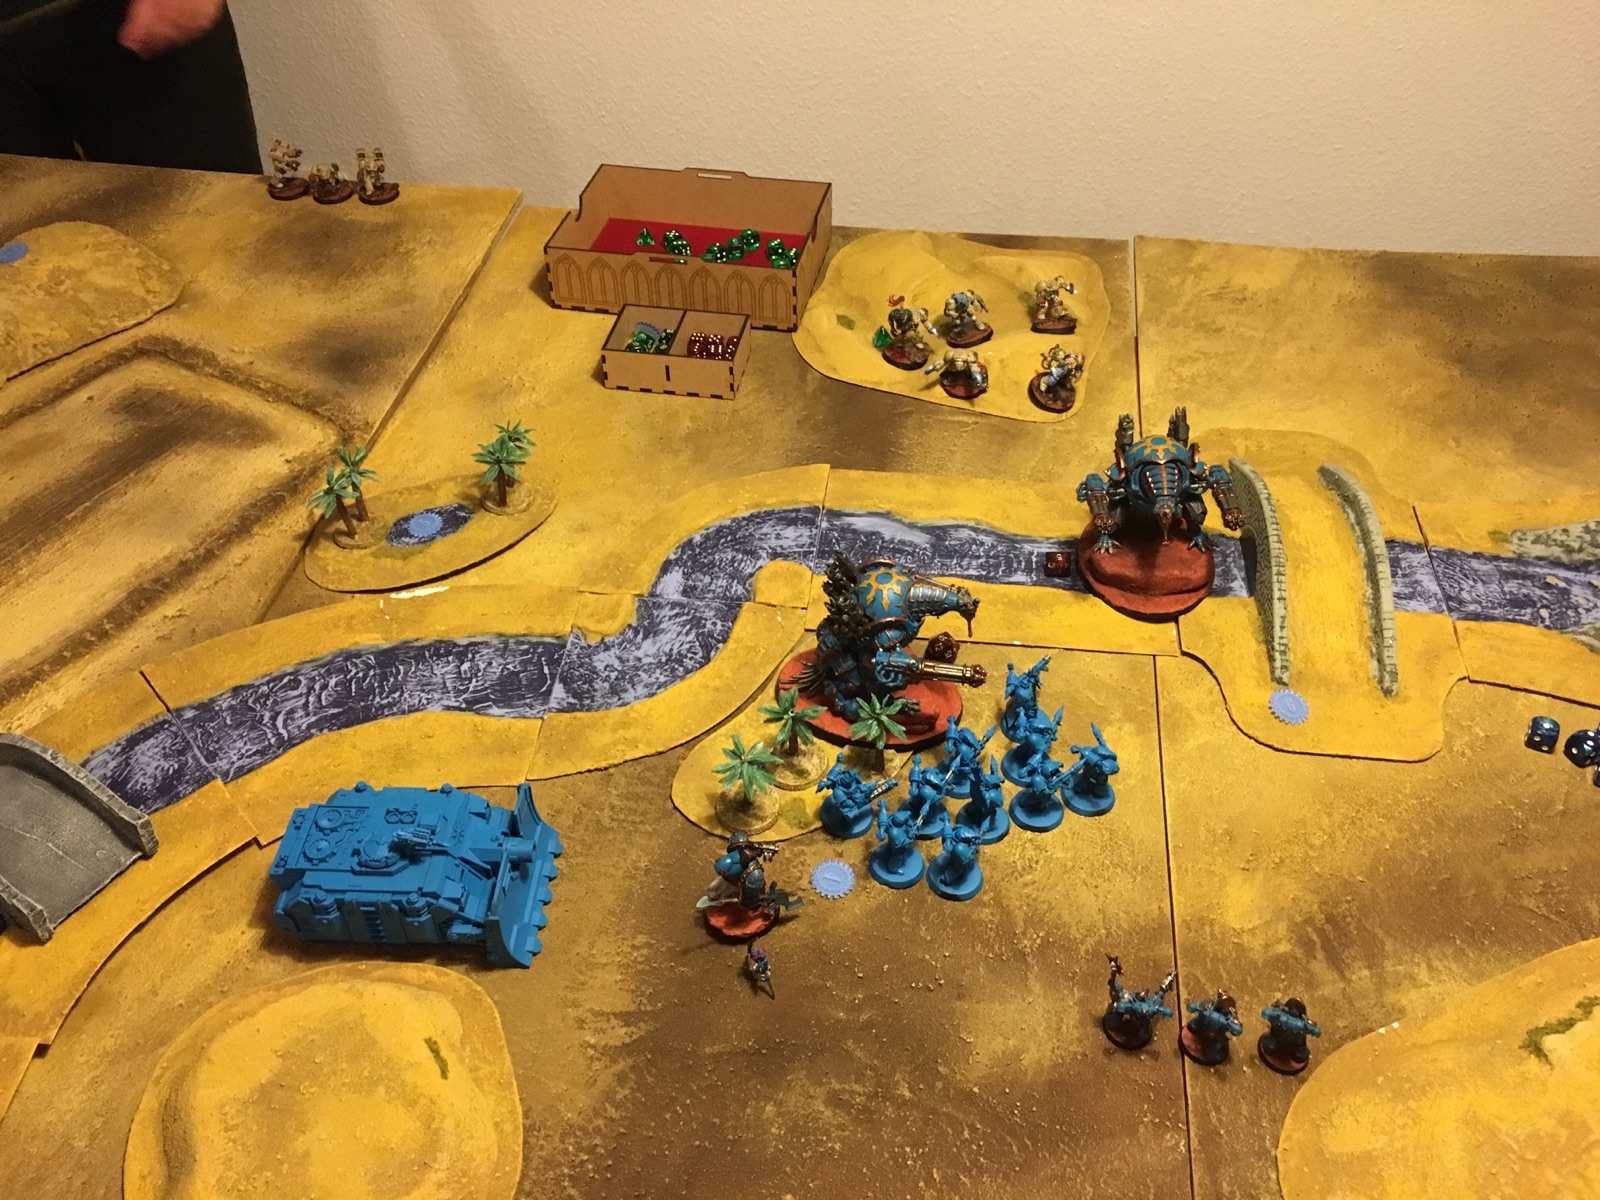
As my buddy was very busy getting married we only had our celebration game well into the third block during the third week of June. We played 75 power with all the minis from block 1-3. Meaning that 50 power would already be painted and another 25 would be work in progress.
The game was much better, as the armies were nearer to where they are supposed to be at 100 power with all 4 blocks worth of models. It went a bit both ways at first, but then my buddy pulled away with some good psi tests and tabled me at the end of round 6. The score was 11:8 at that point in his favor.
 Tablesetup
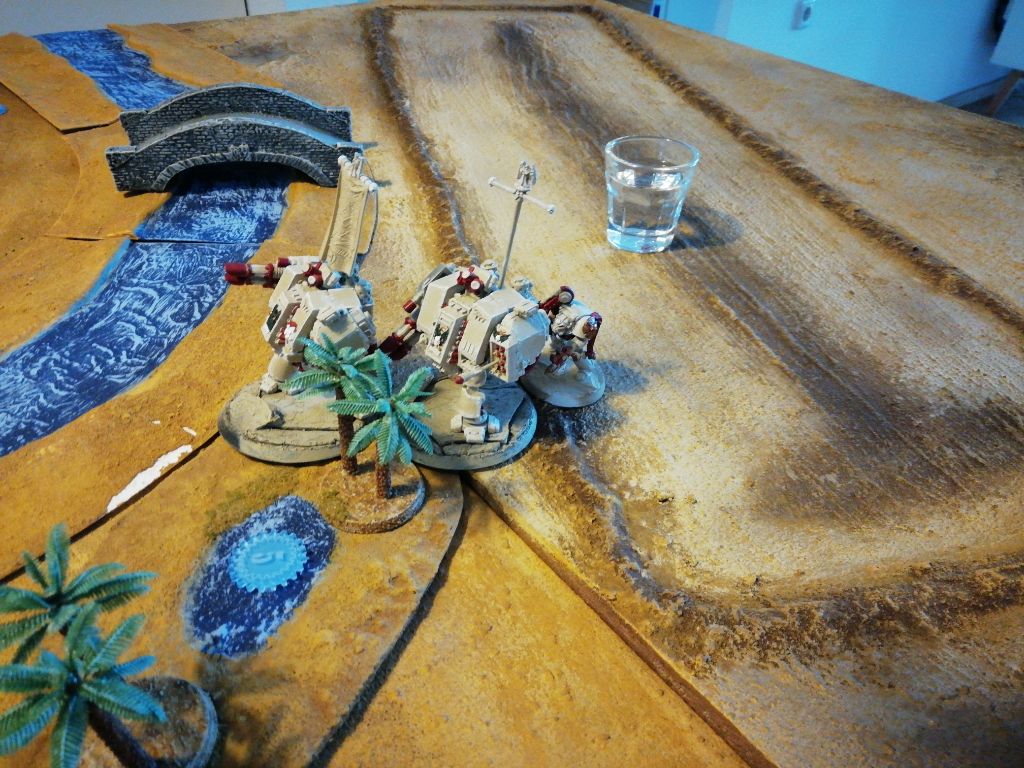 Tablesetup
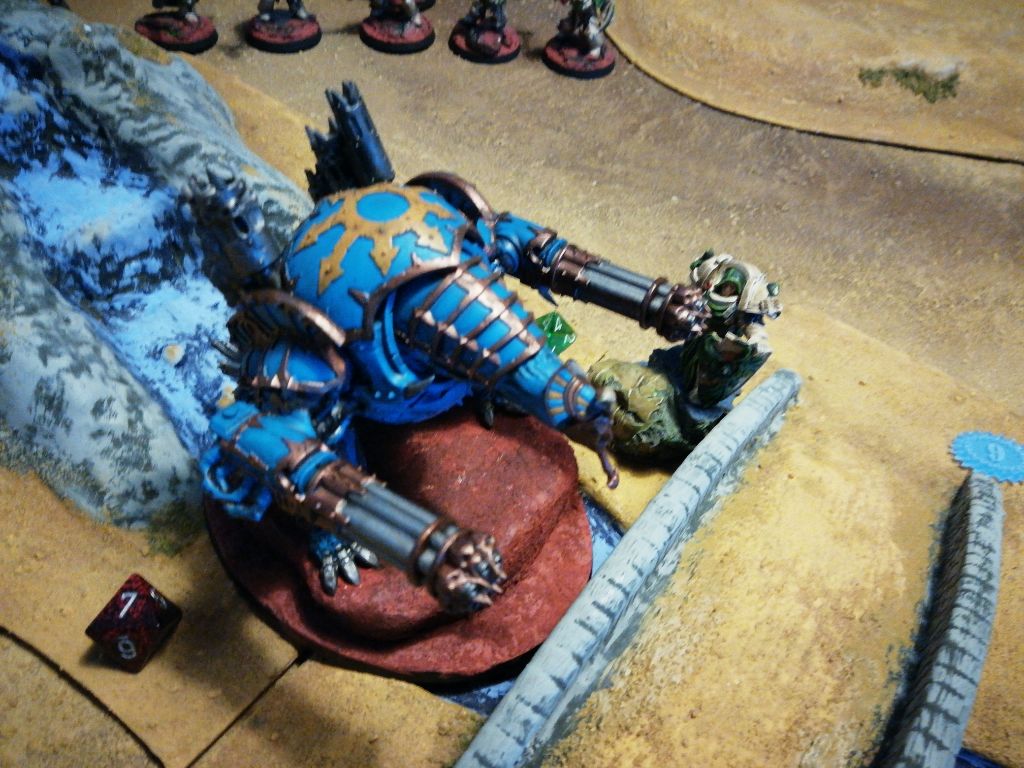 Bothial the Incredulous (my Grand Master) claiming another victim.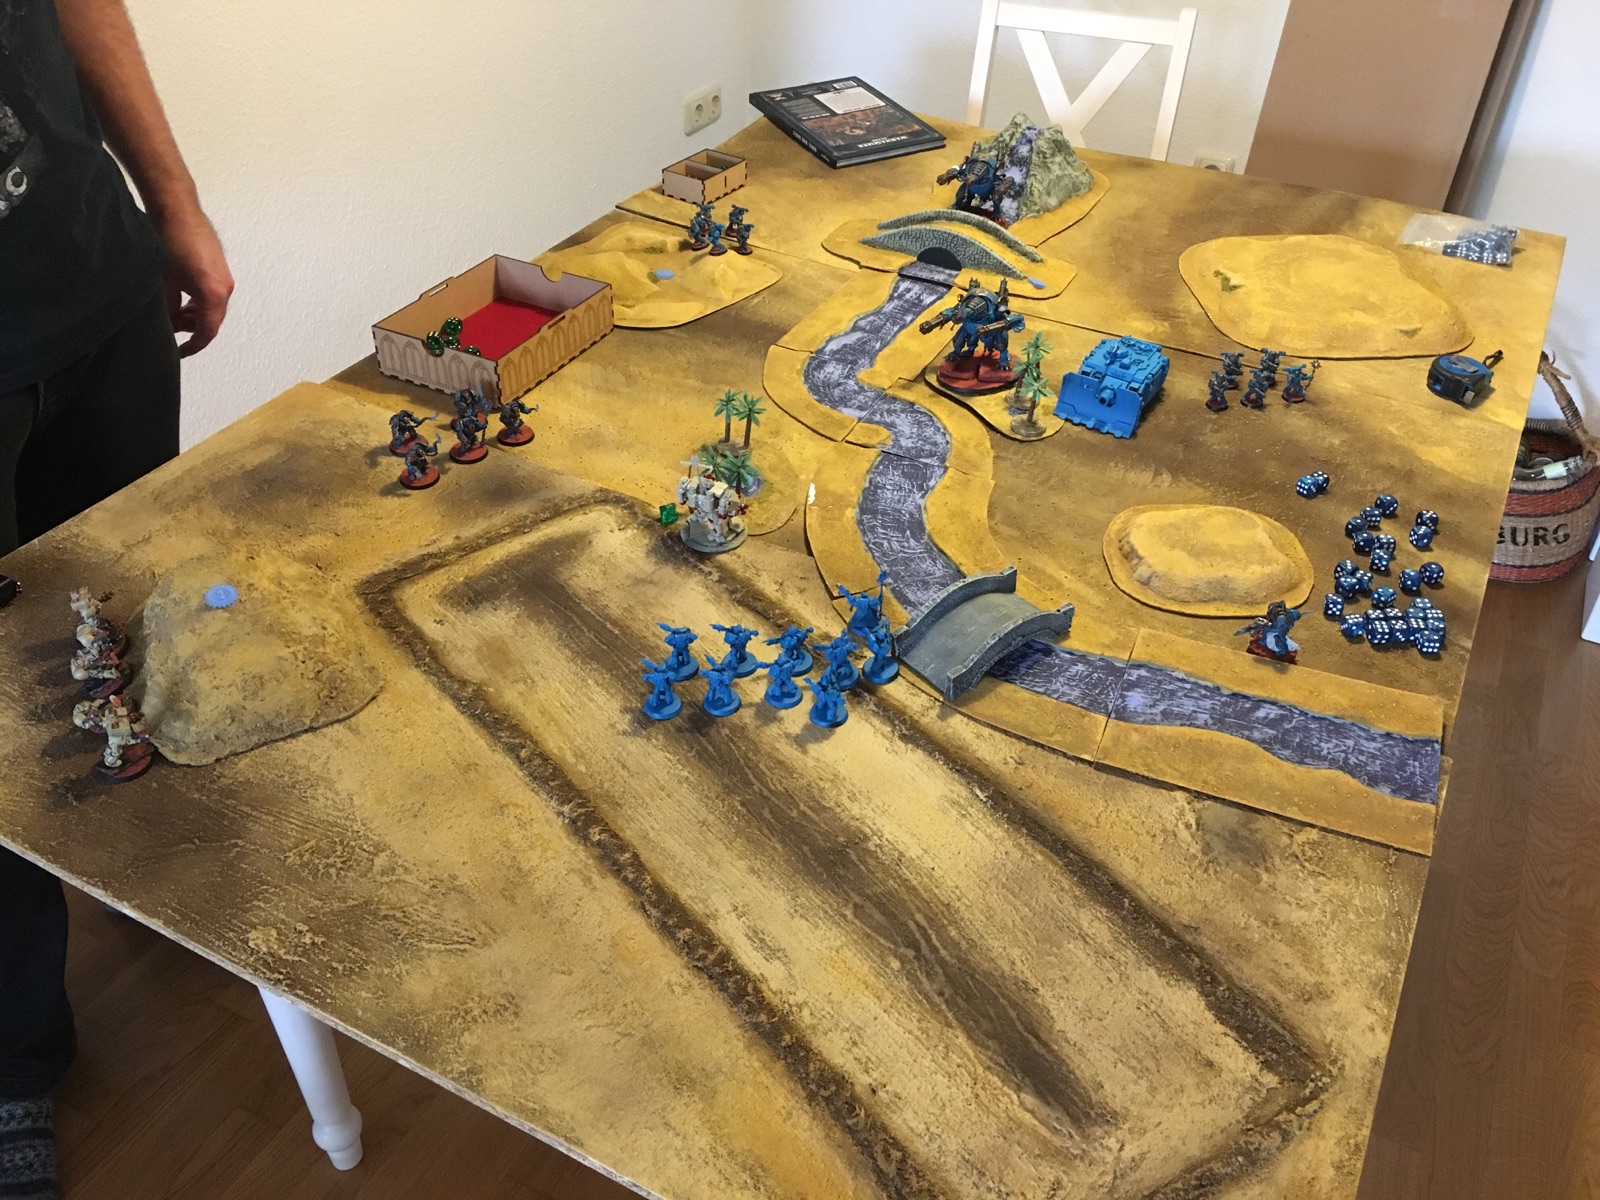
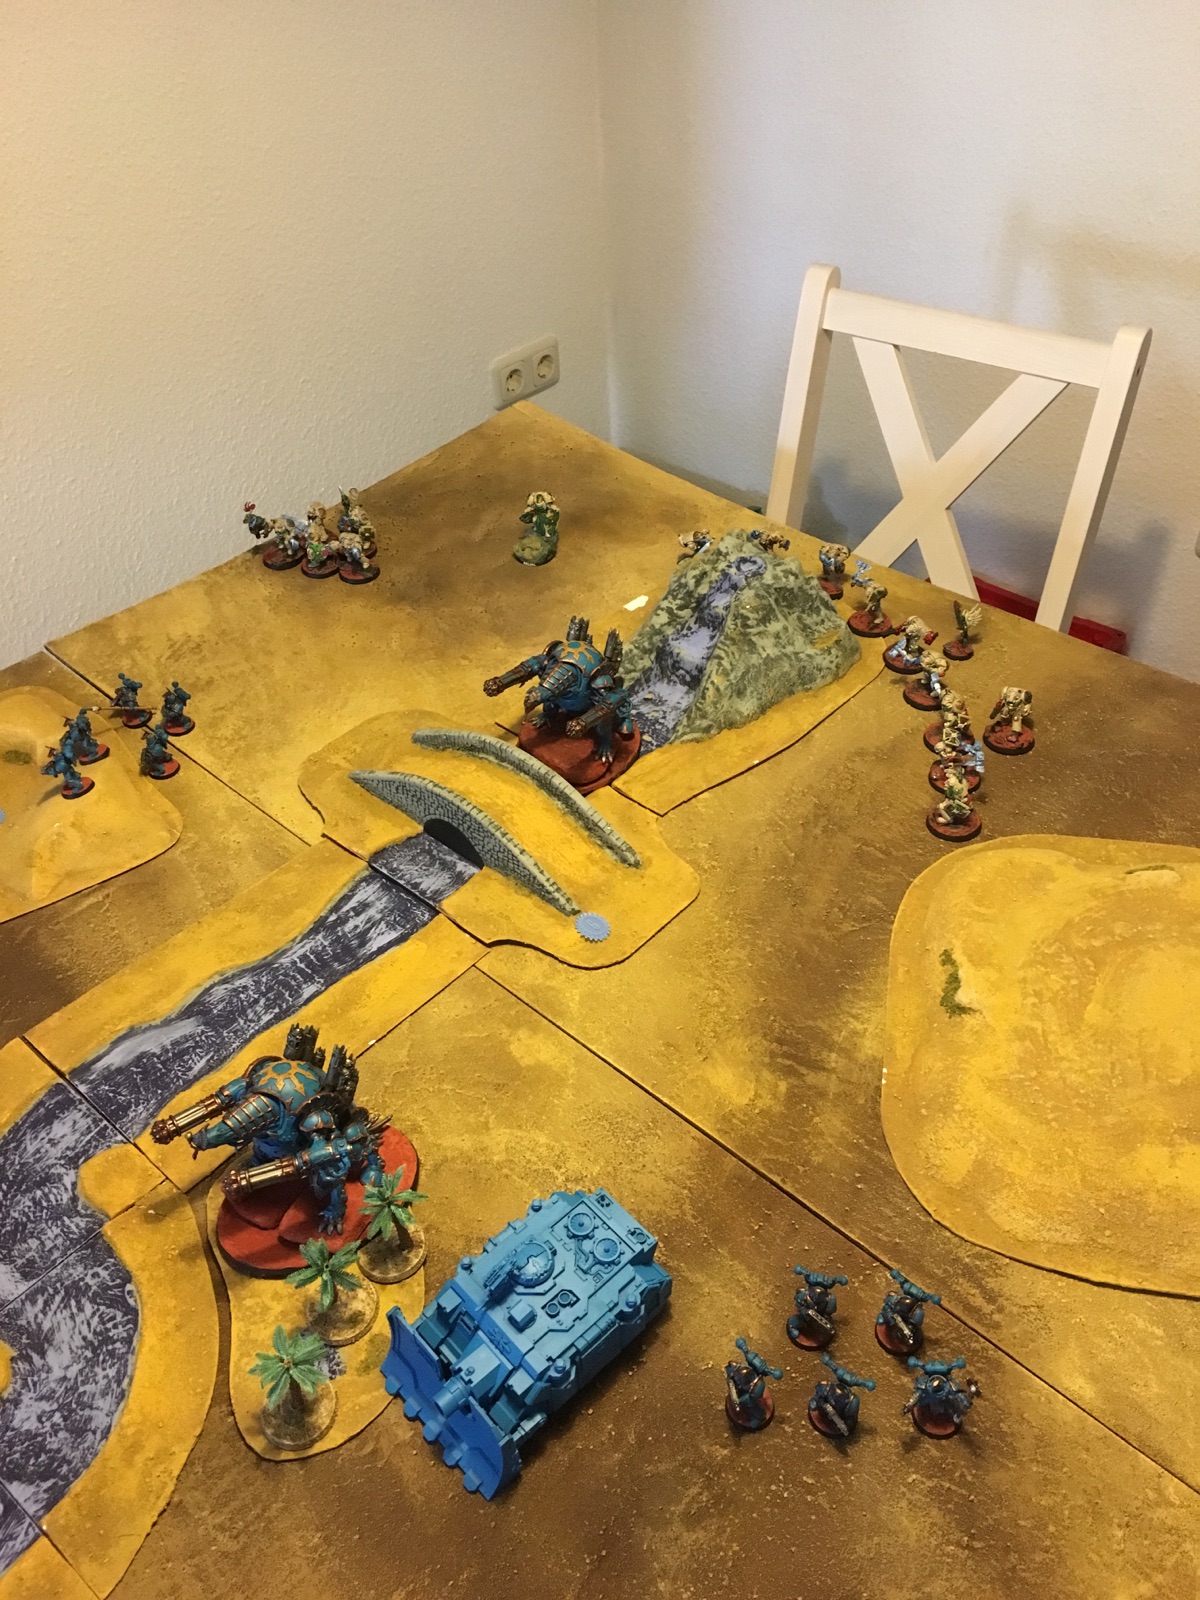
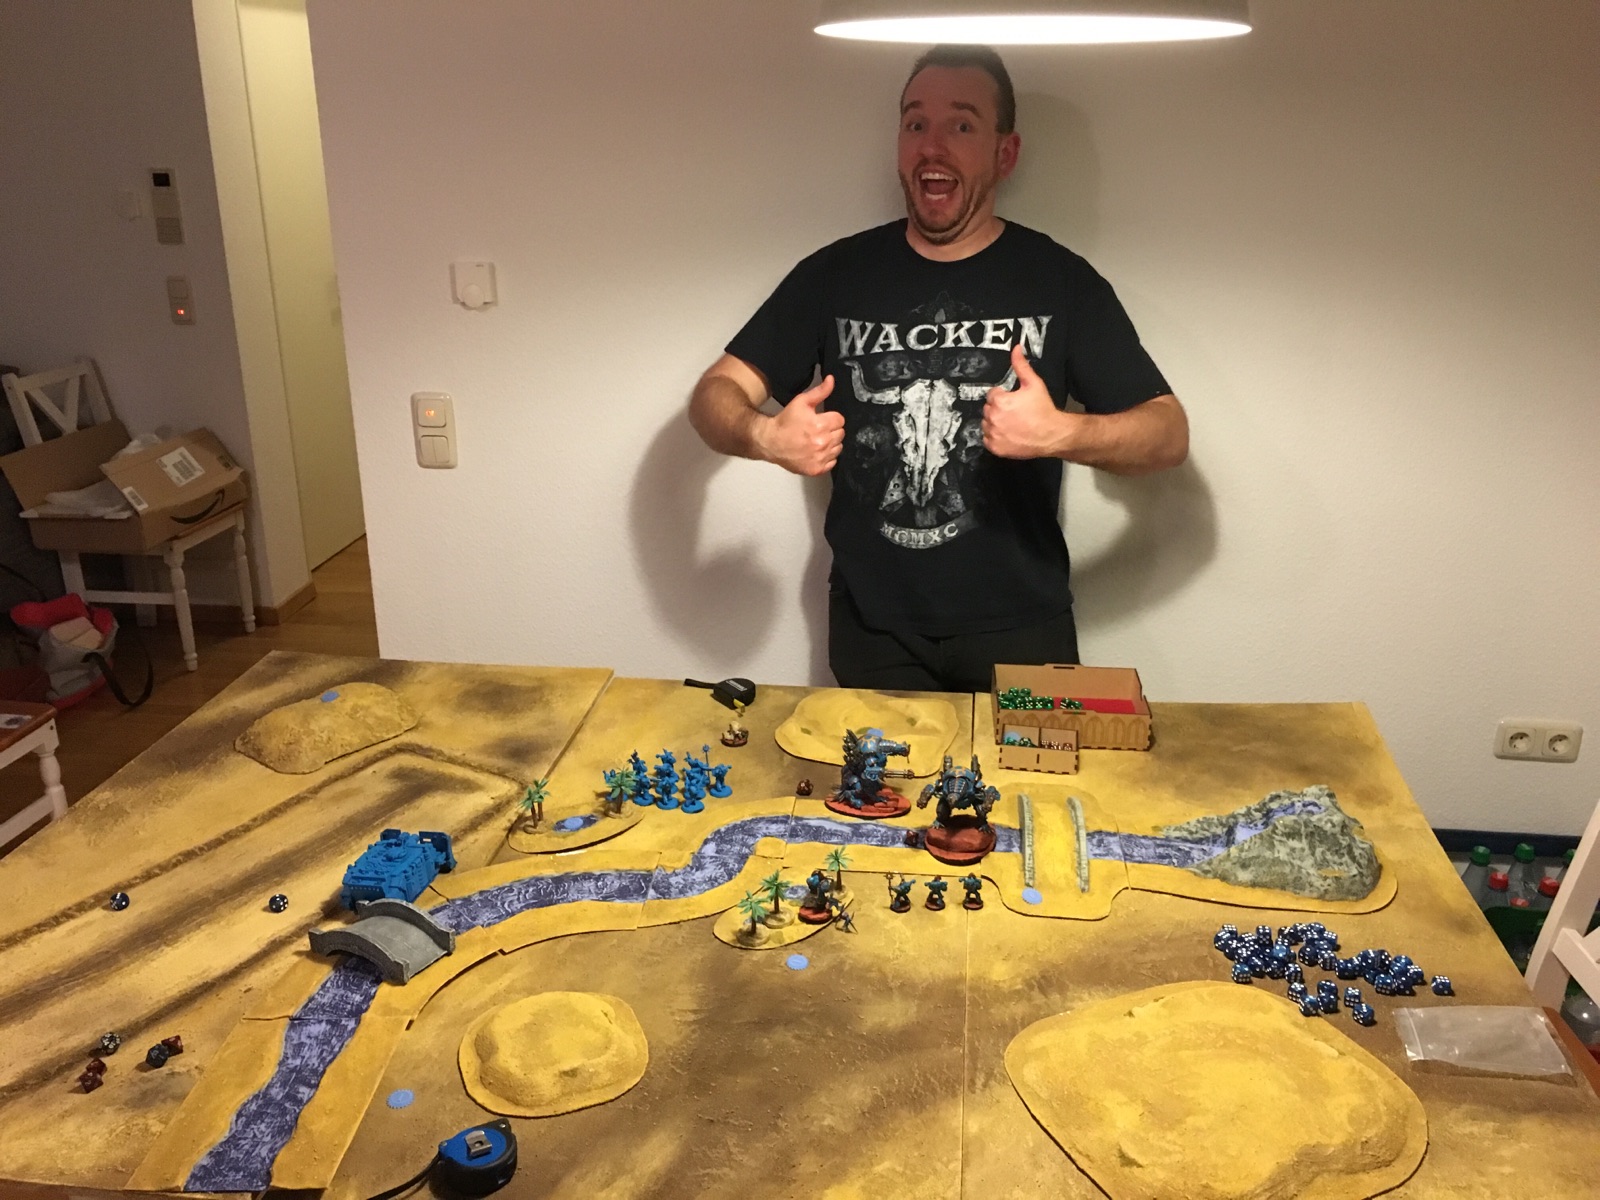 Me being very happy about being tabled :D (don't get me wrong I had a blast)
Block 2: 10 Deathwing Terminators + Watcher in the Dark
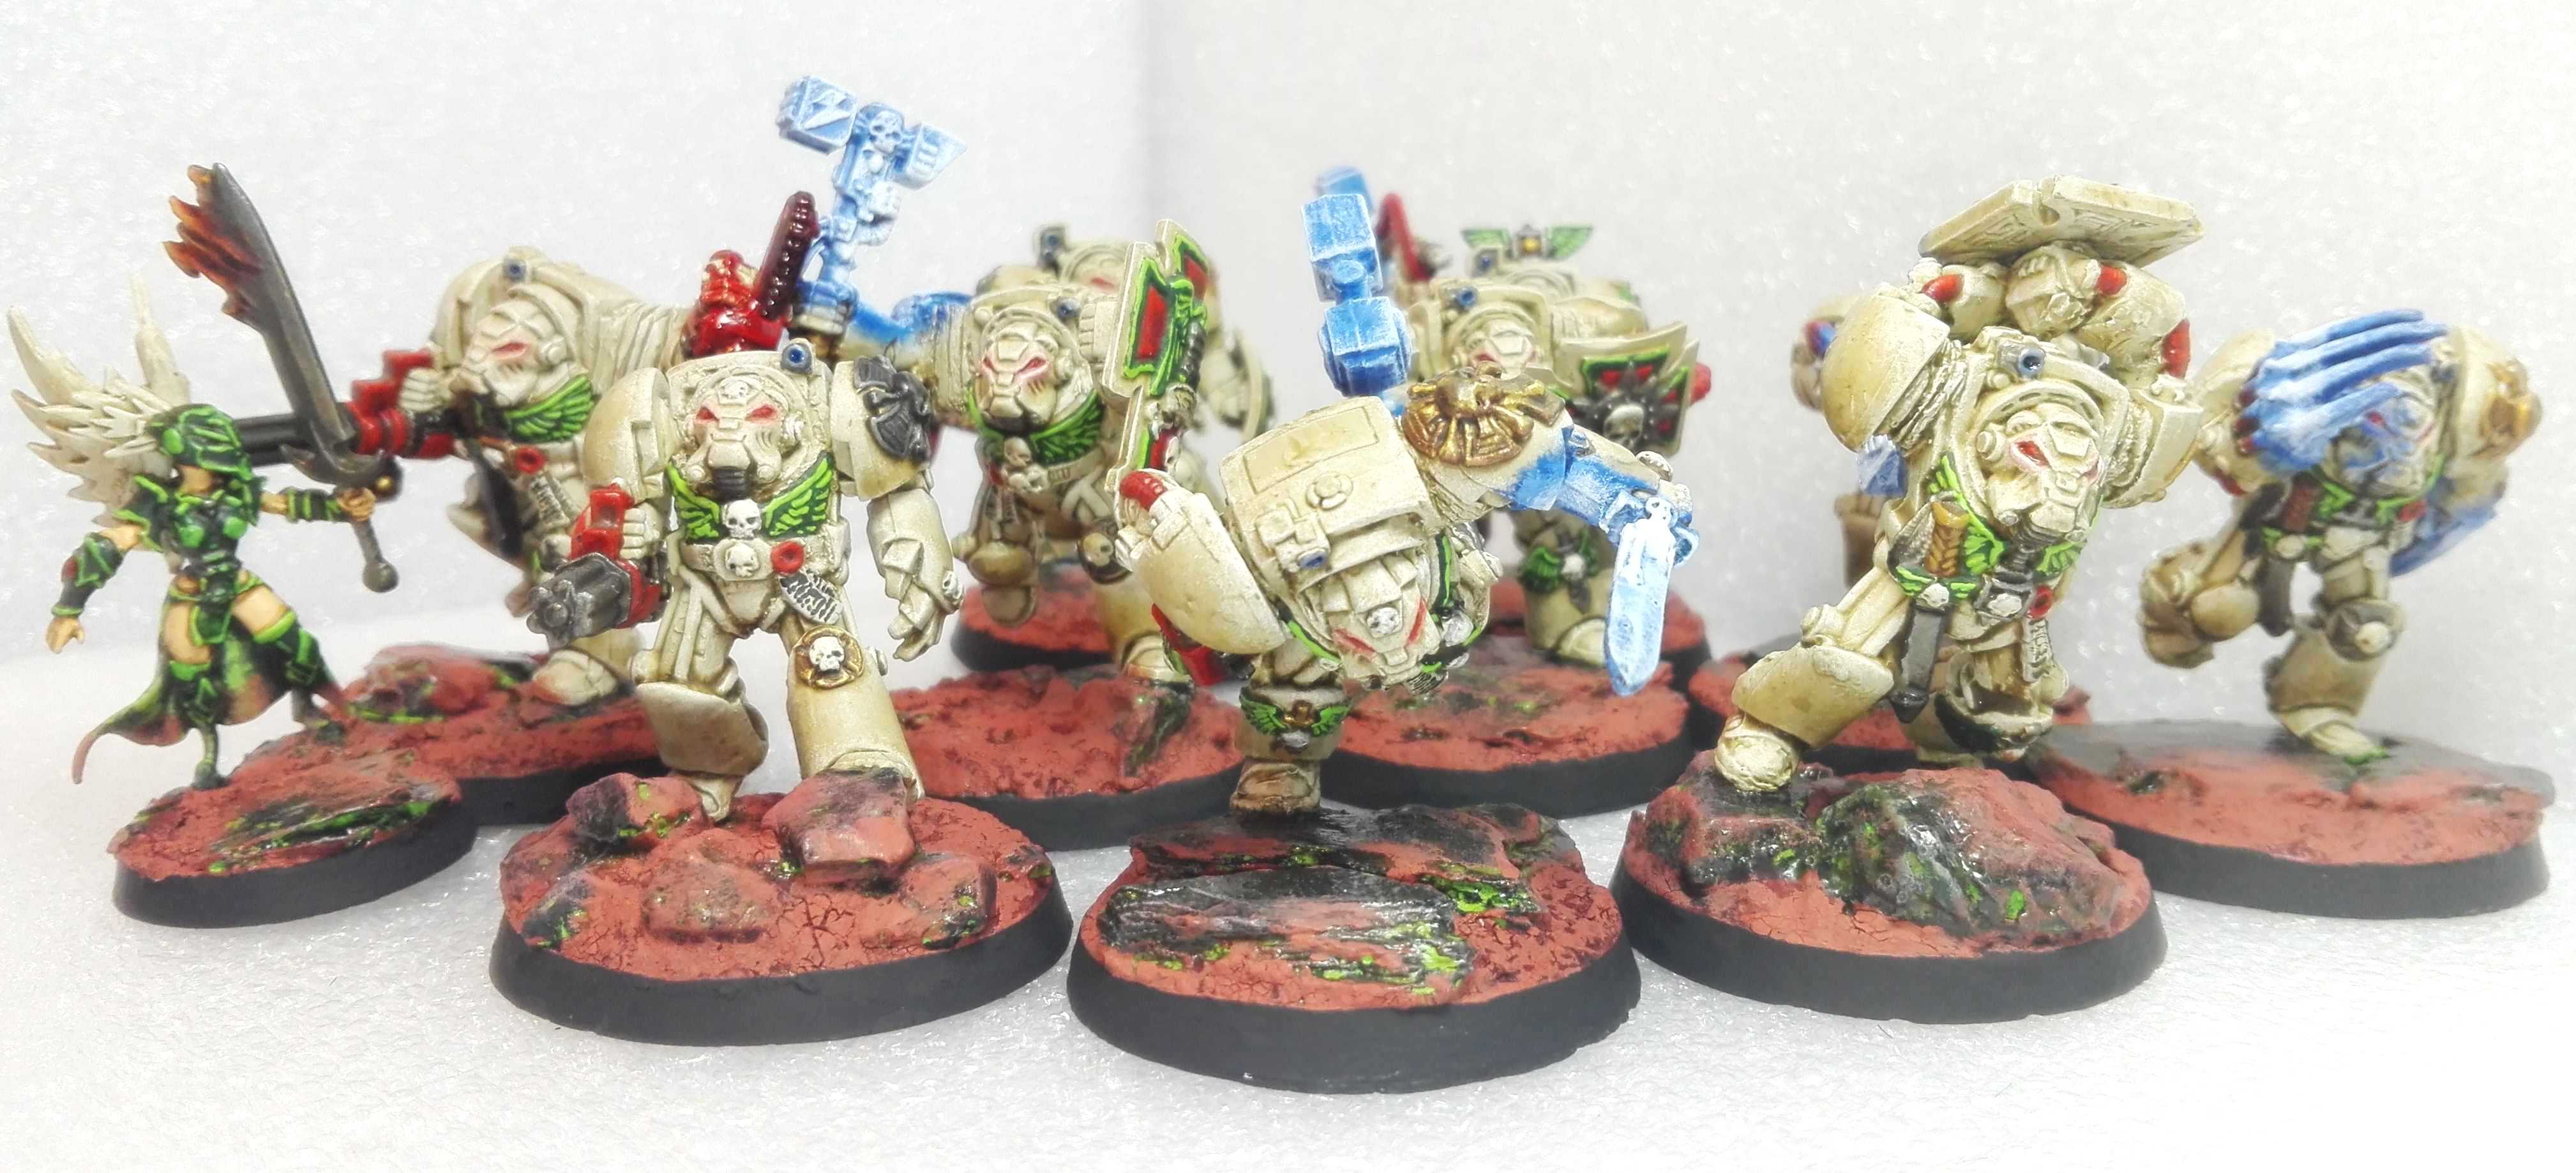
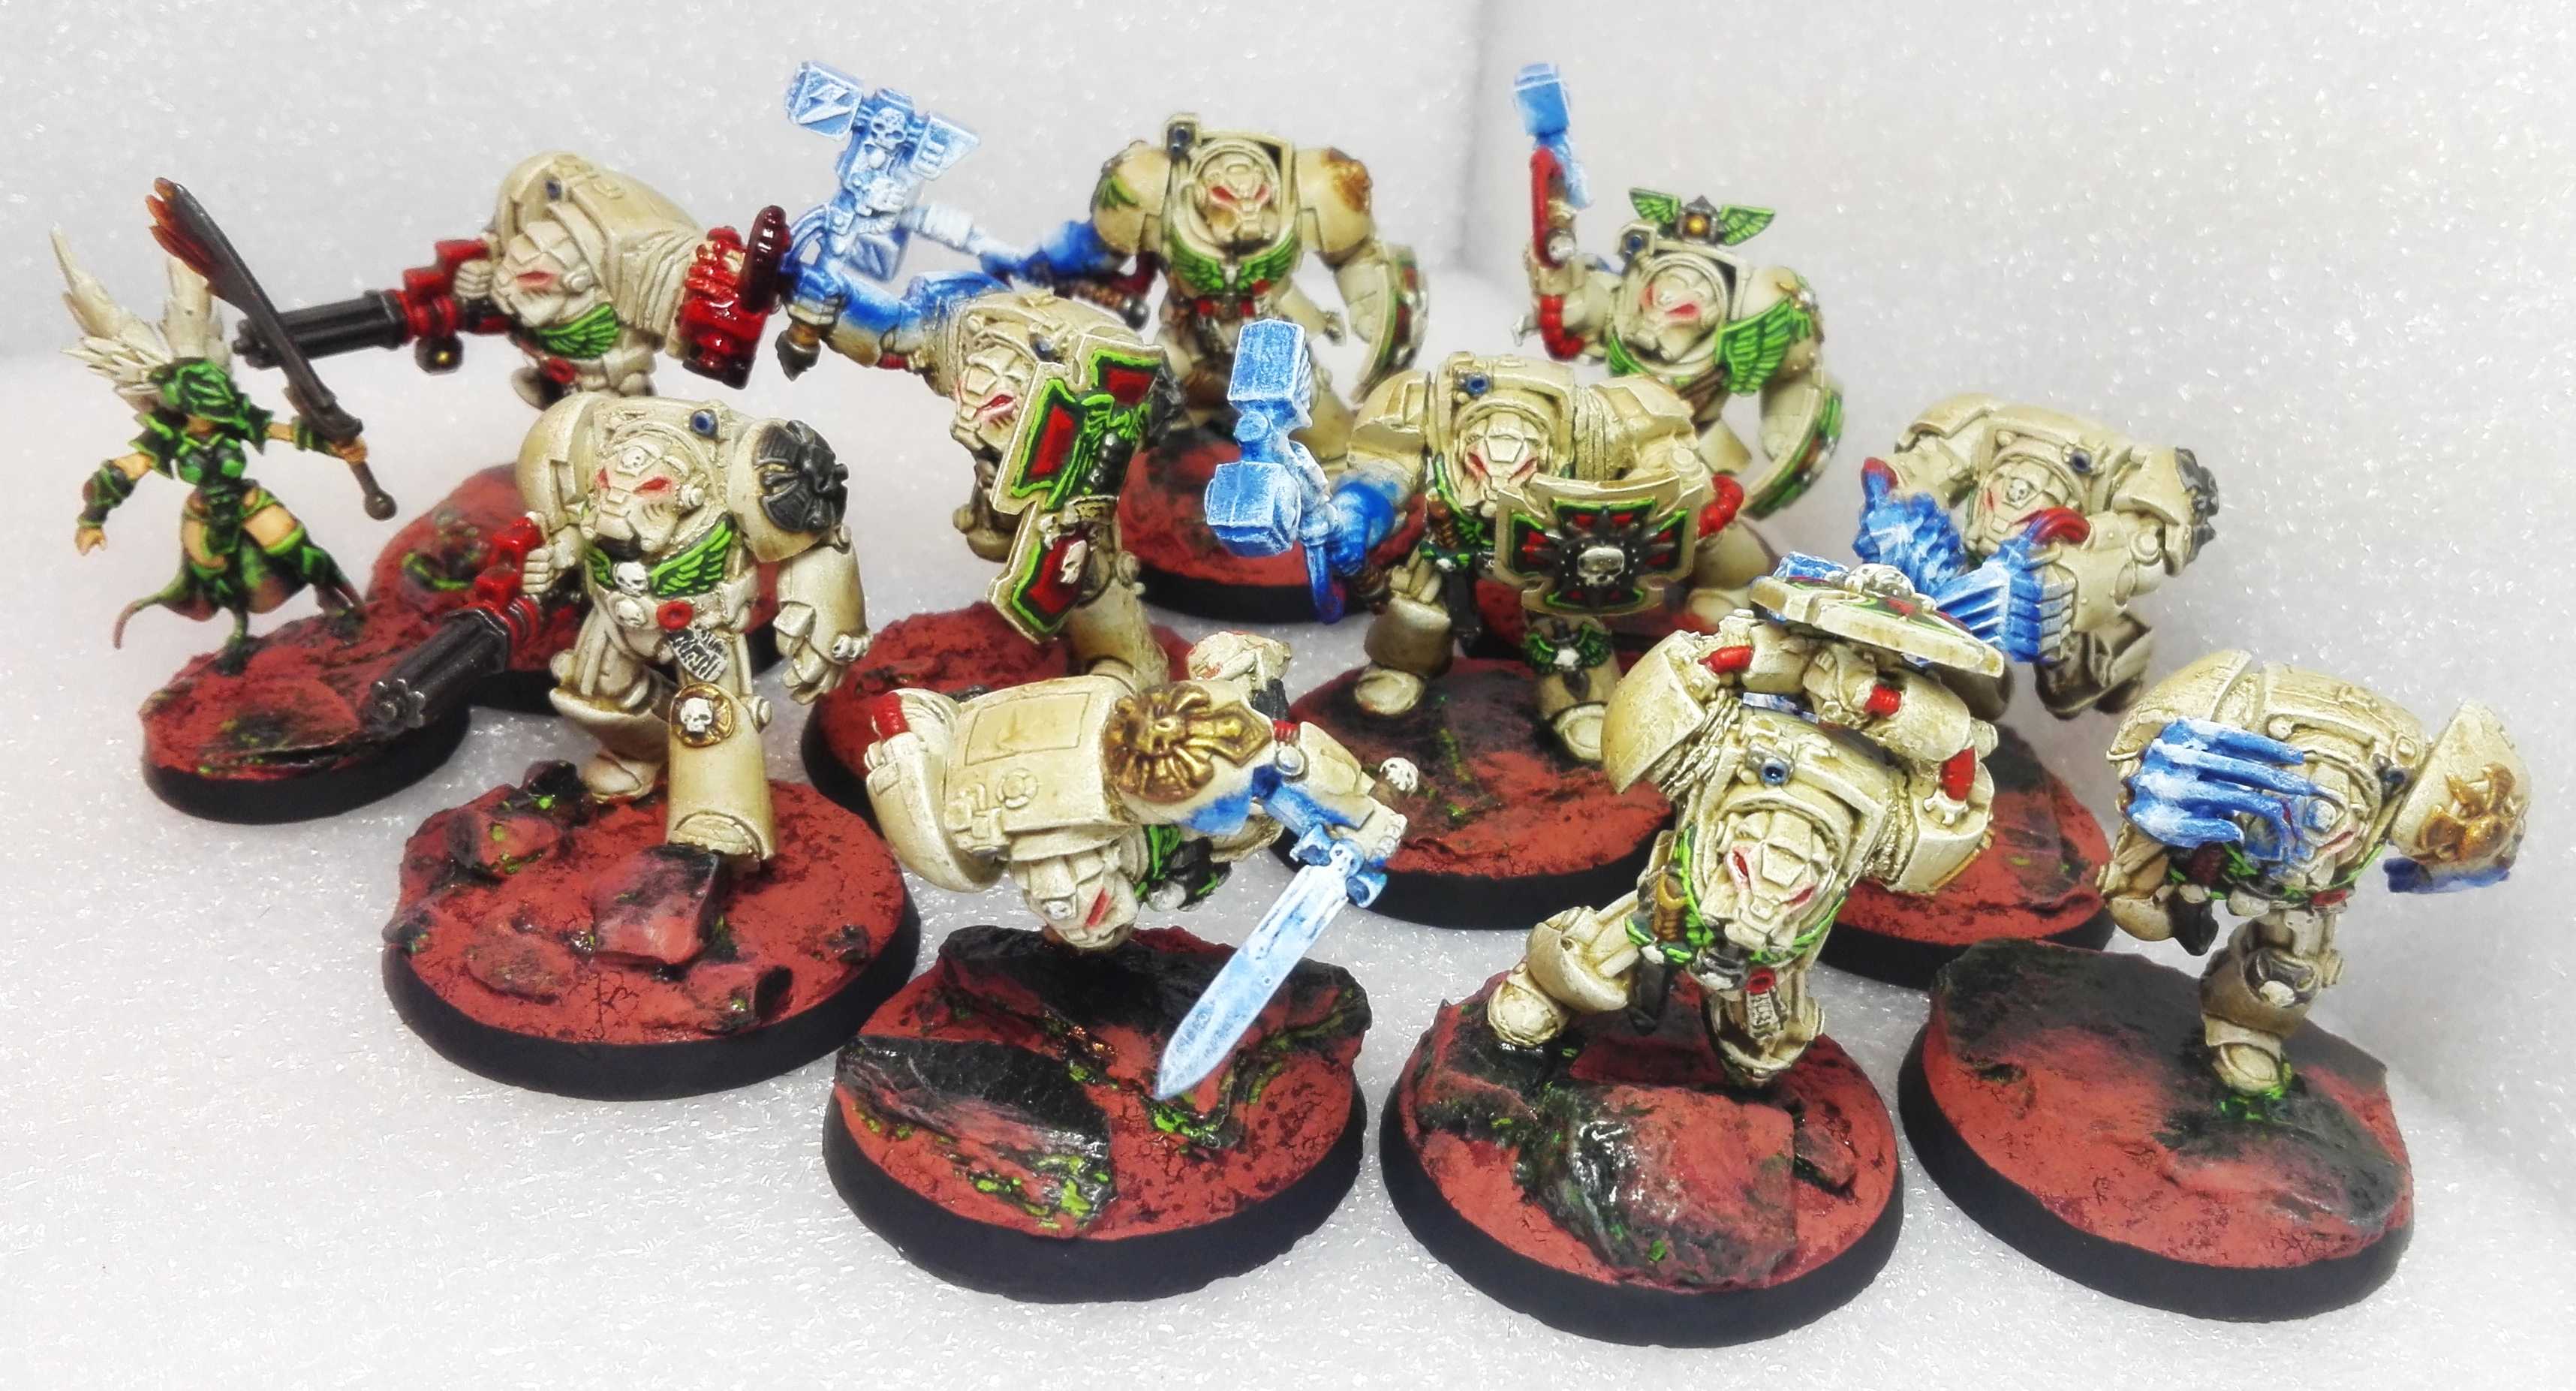
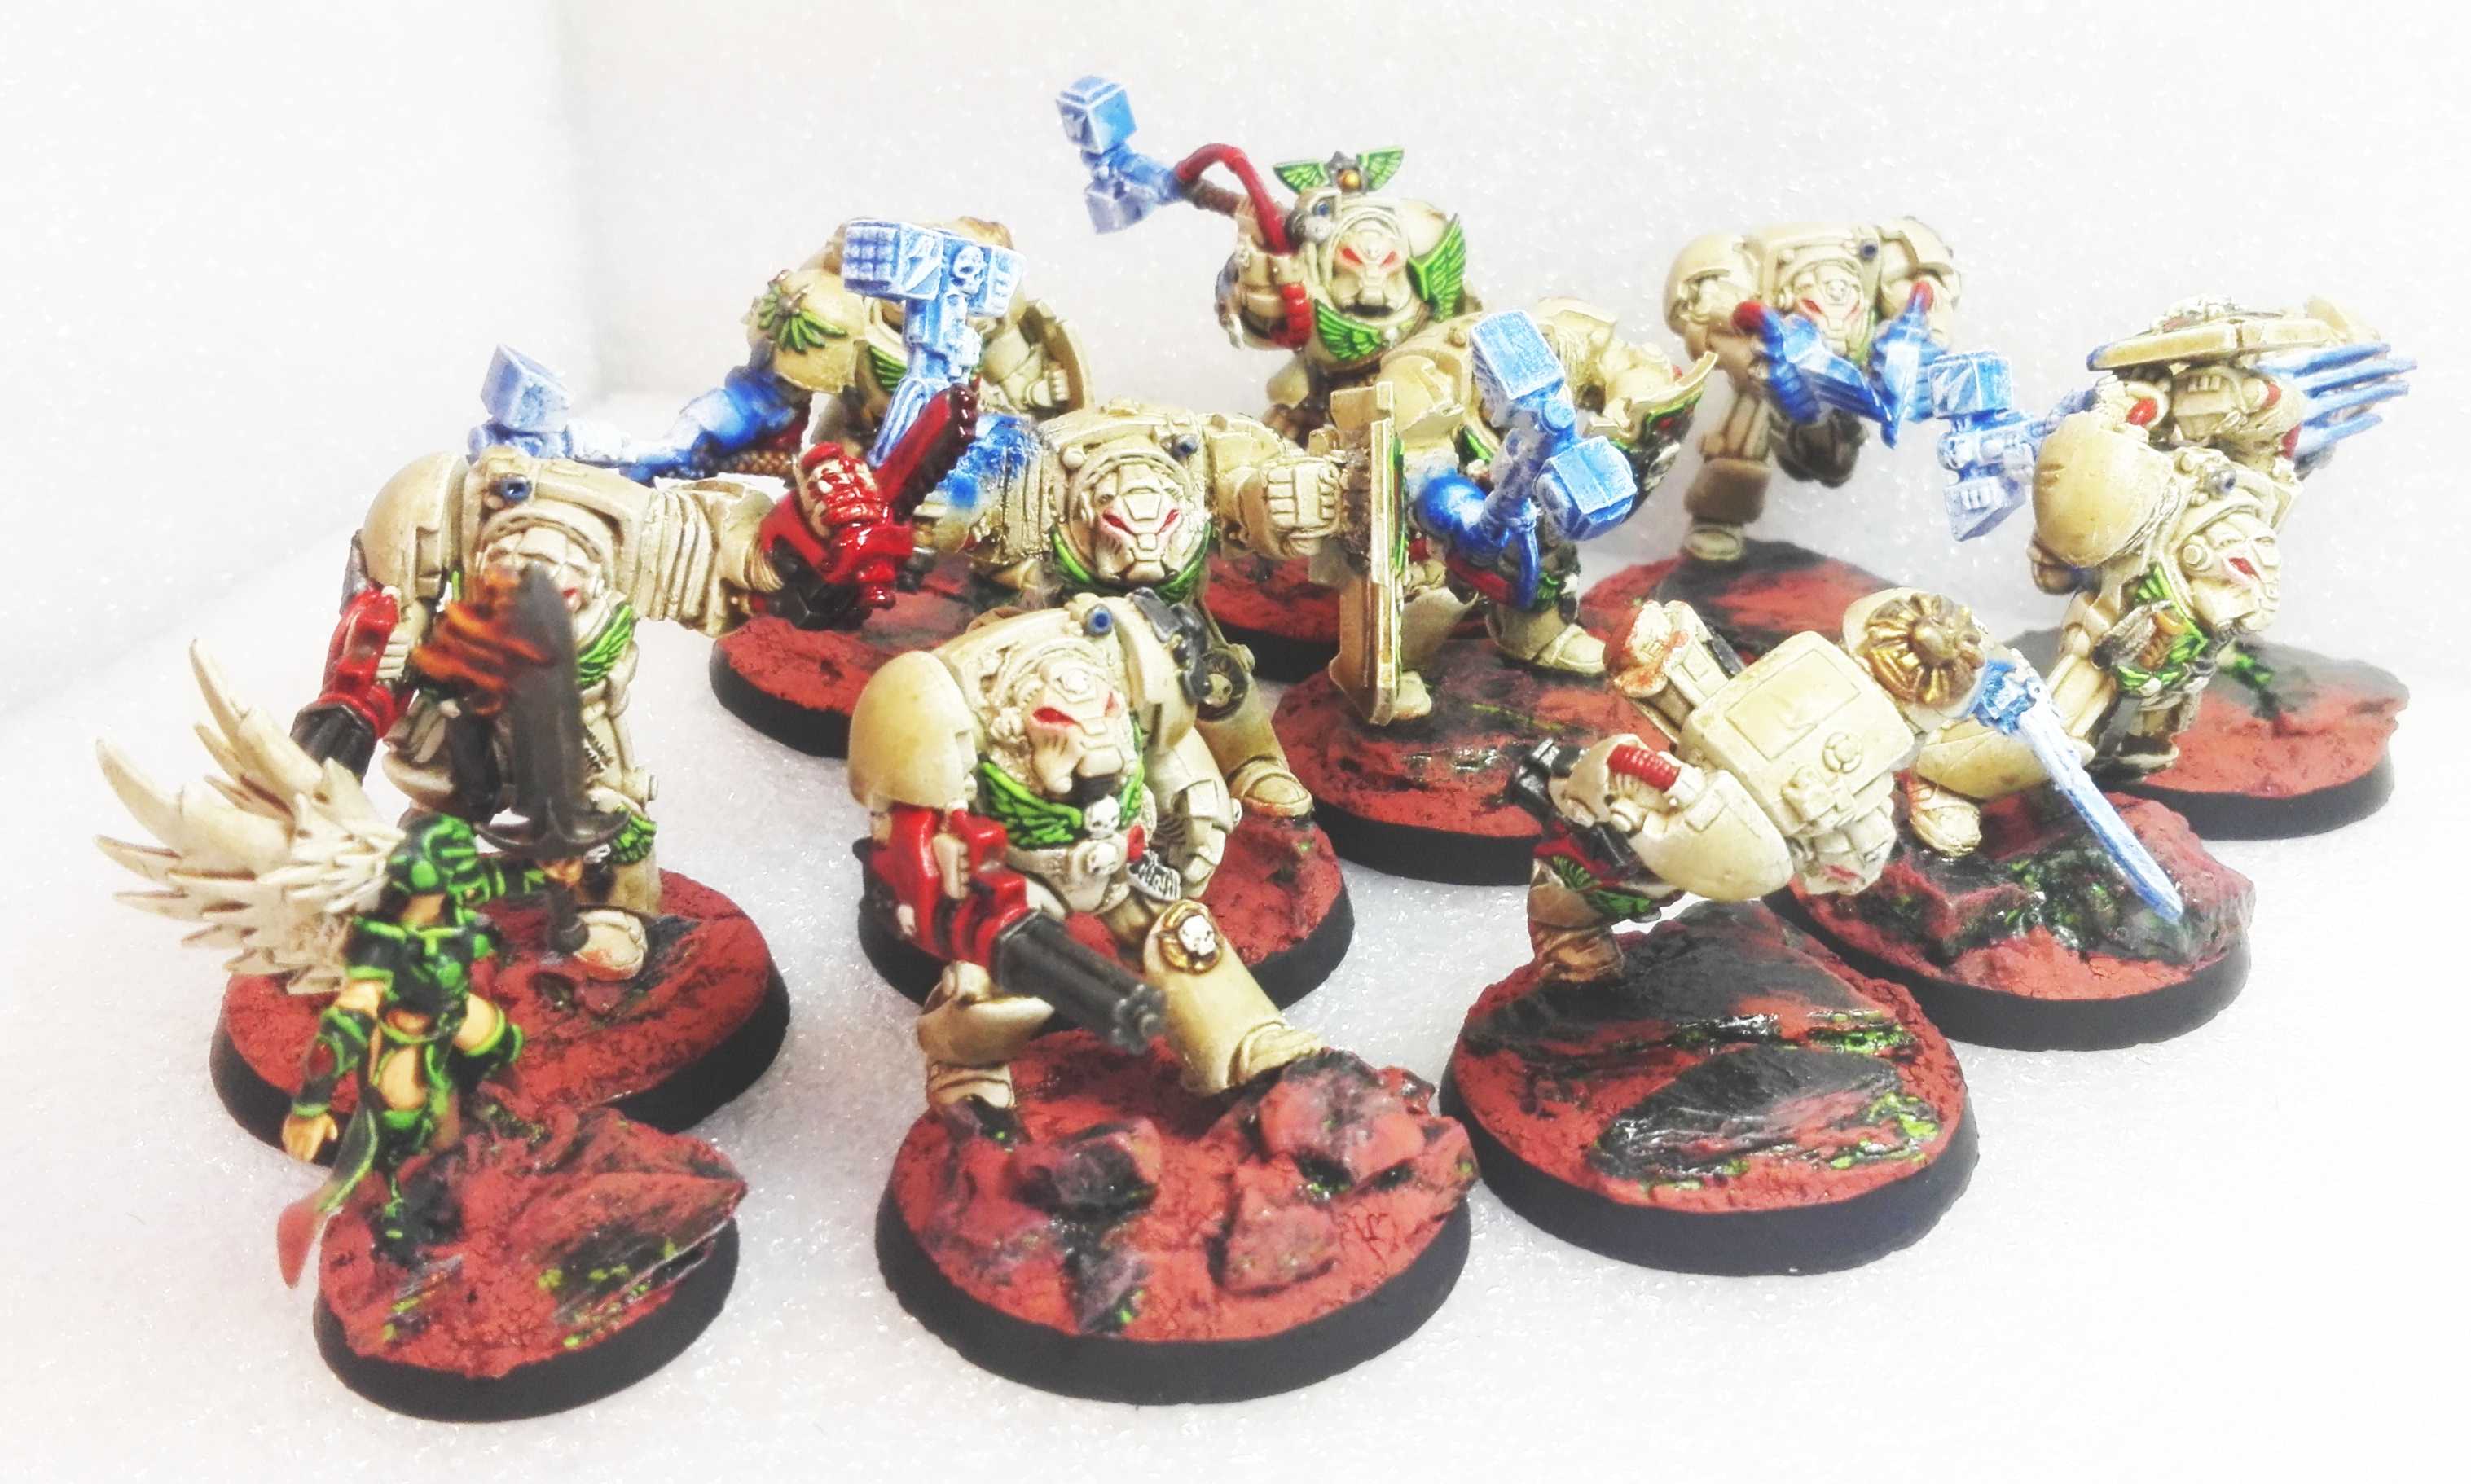
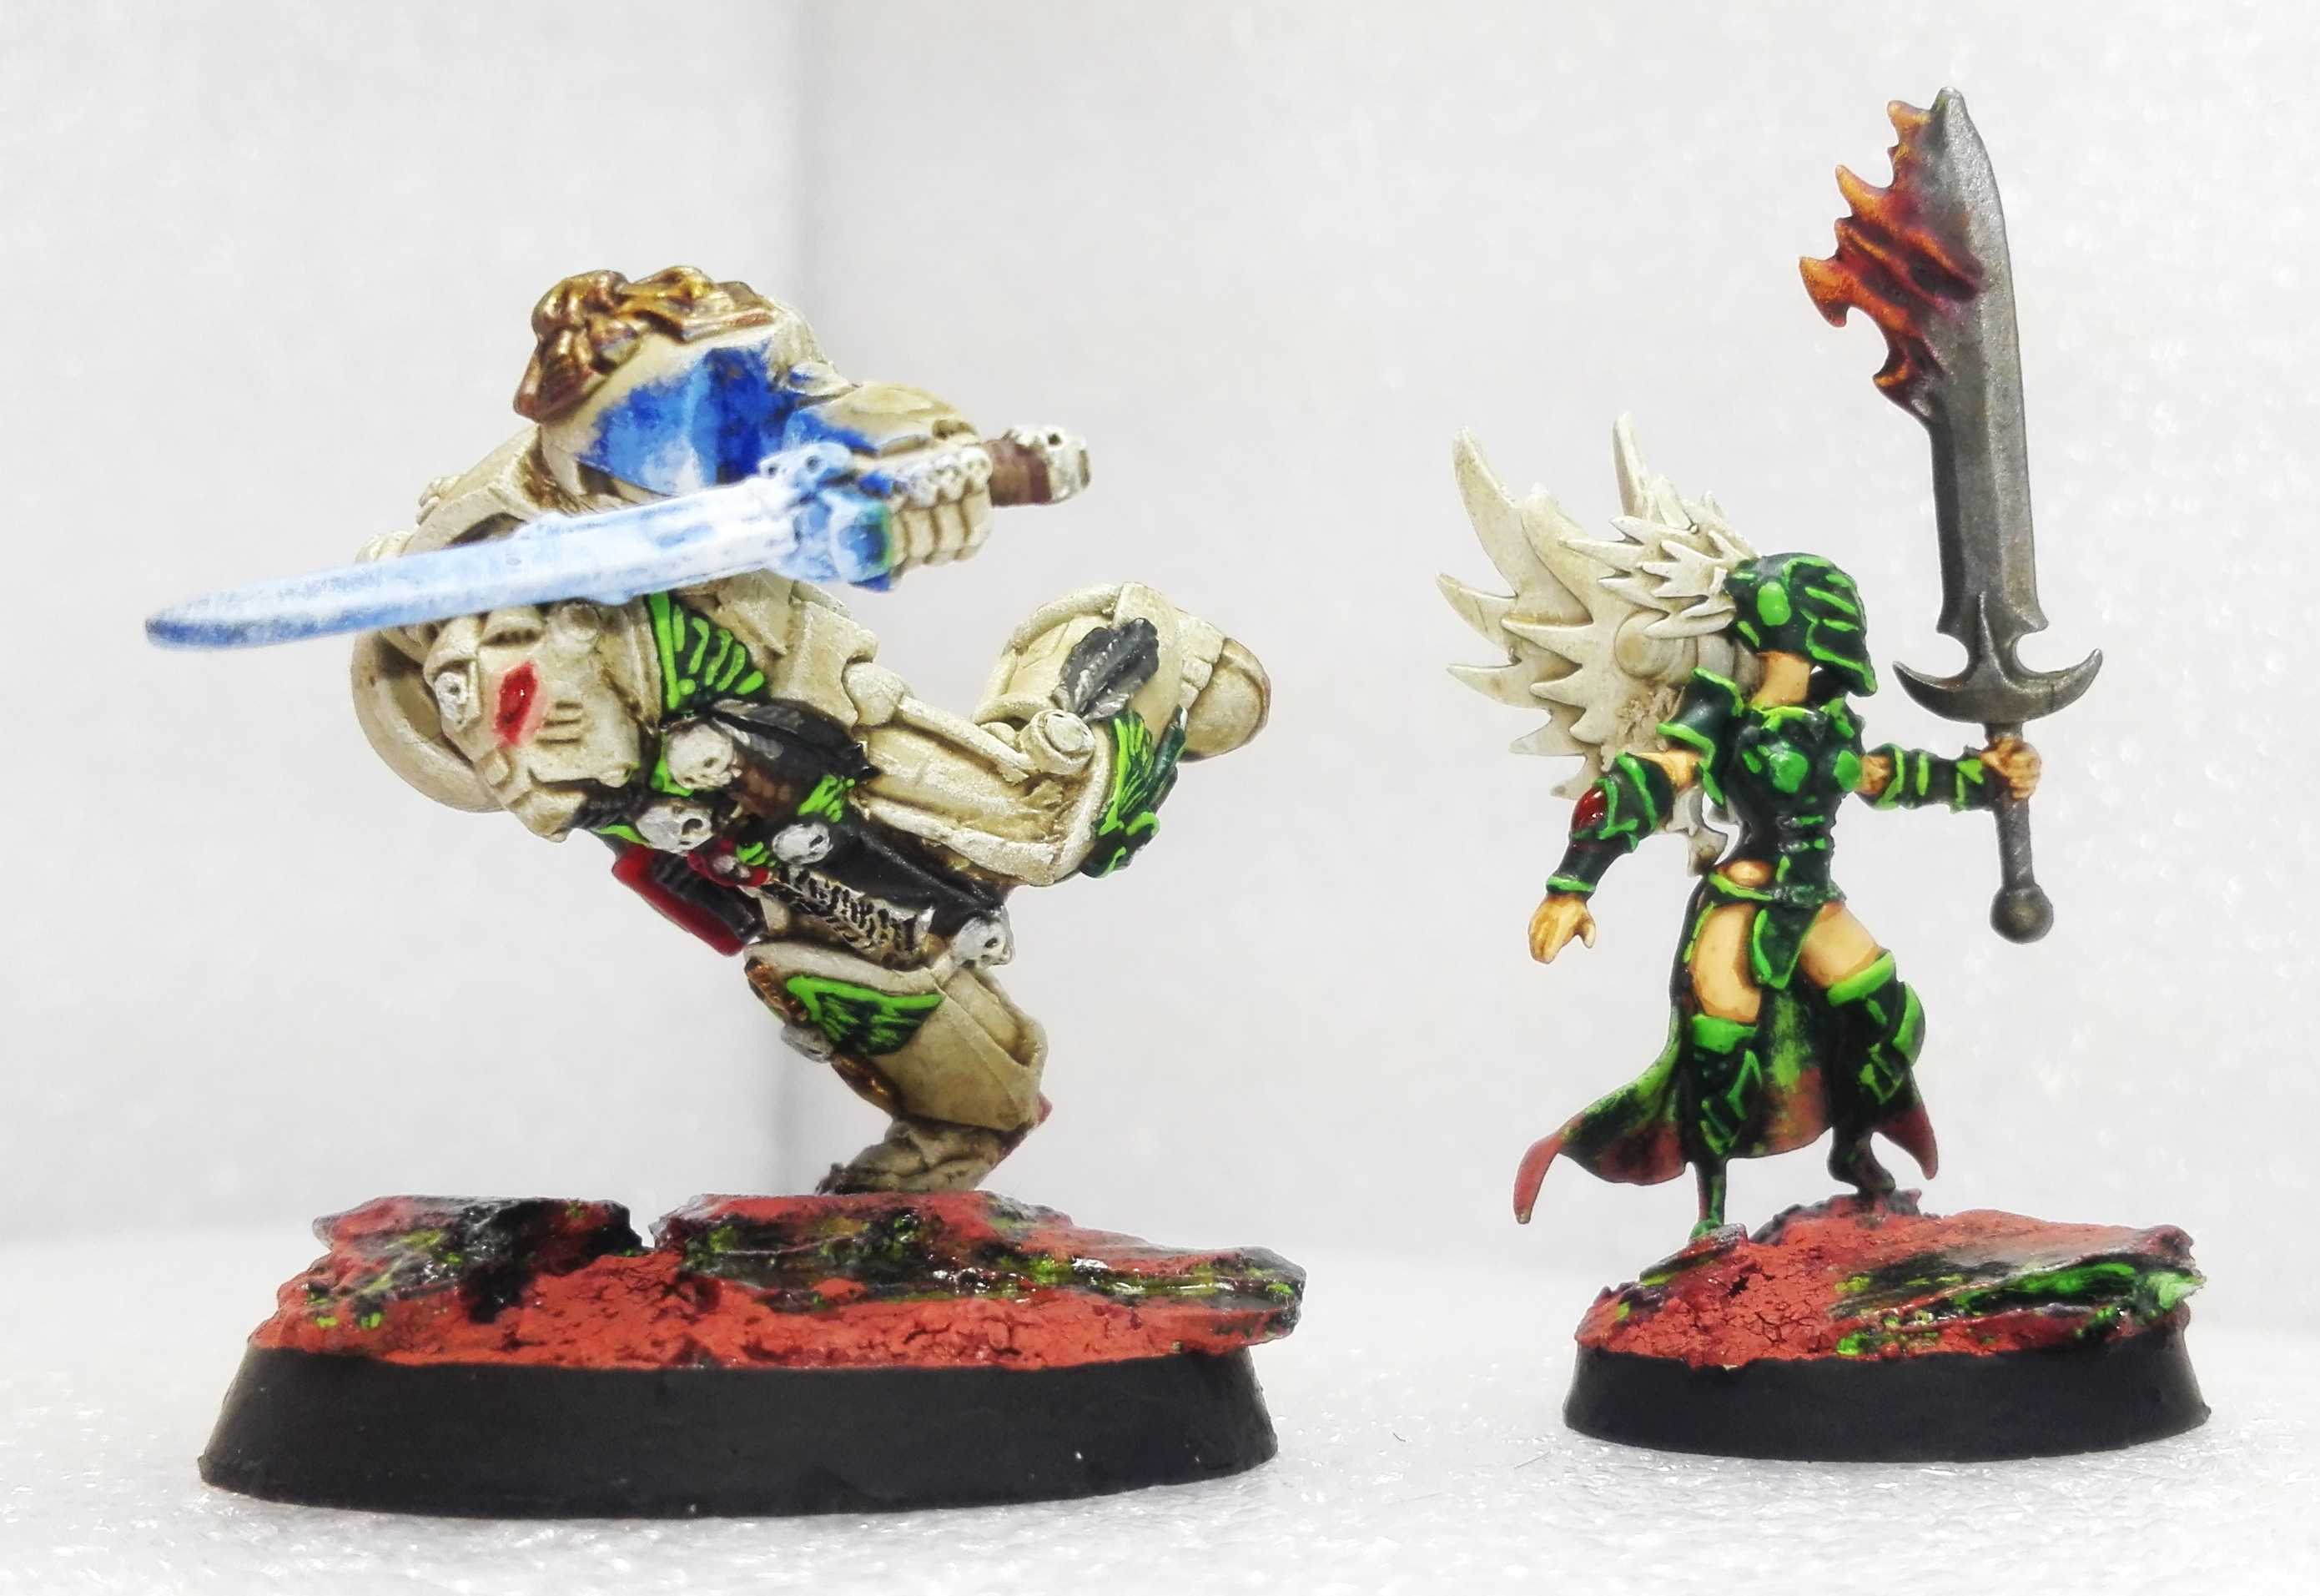
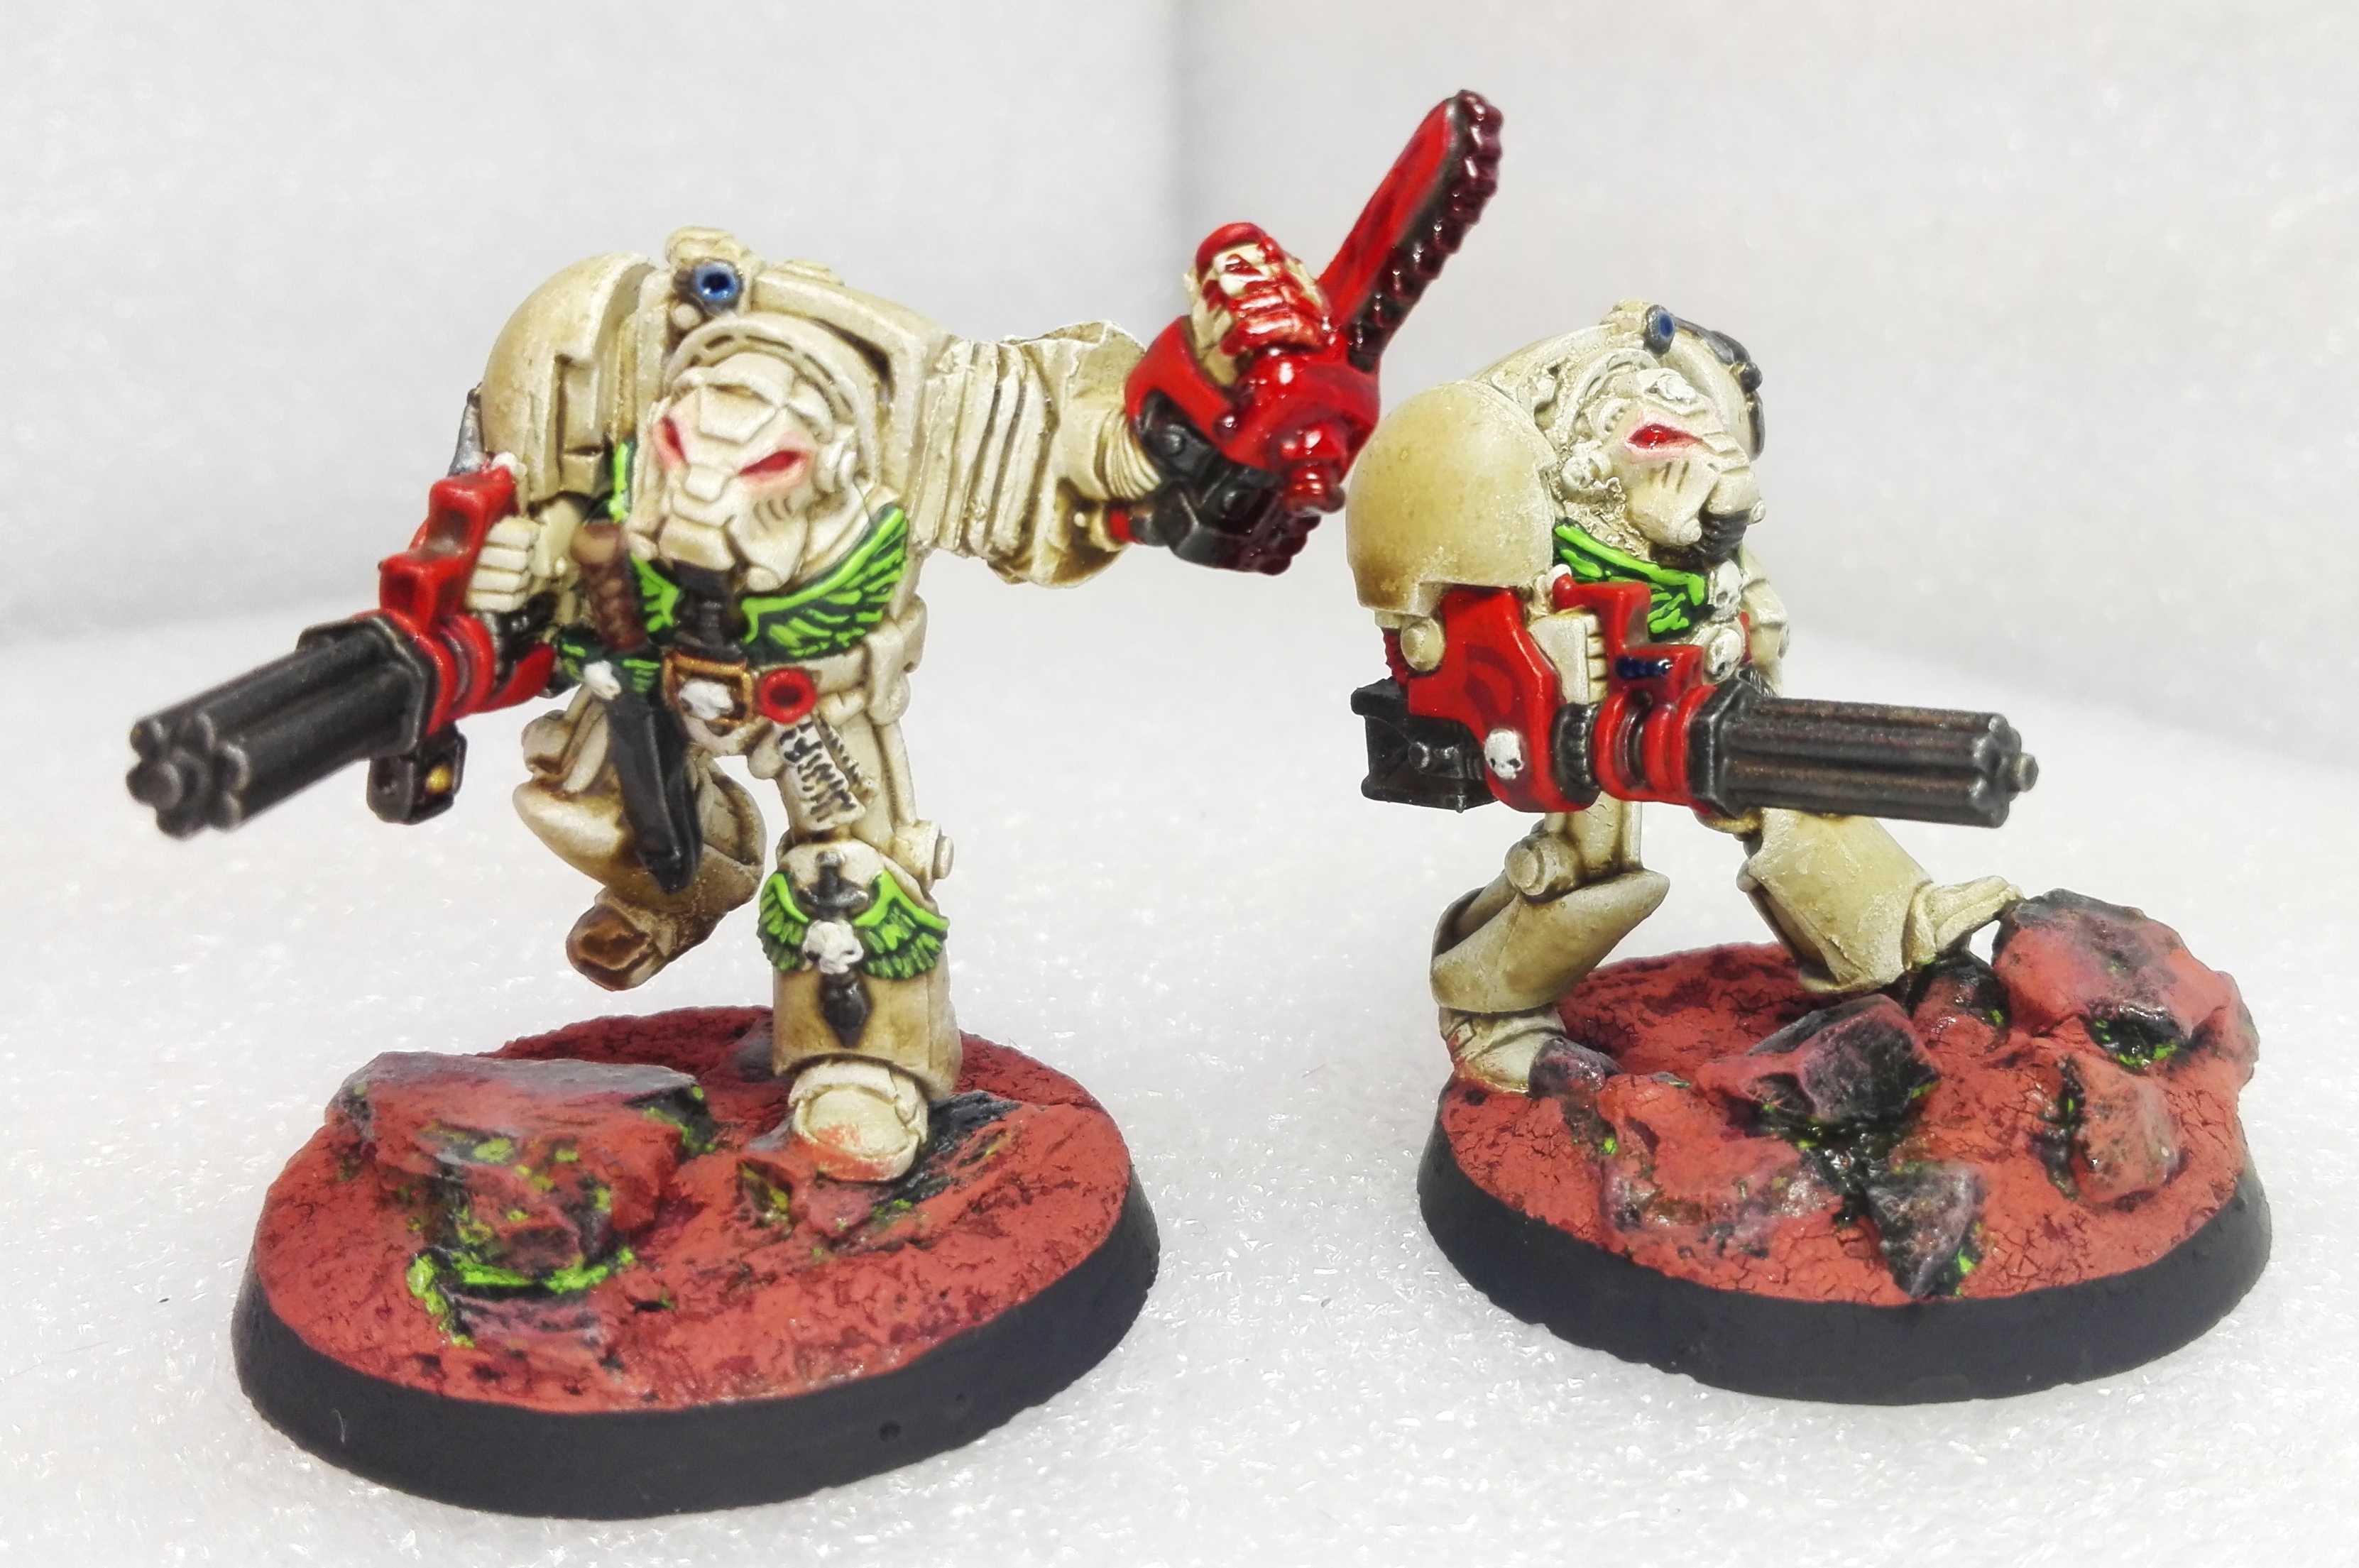
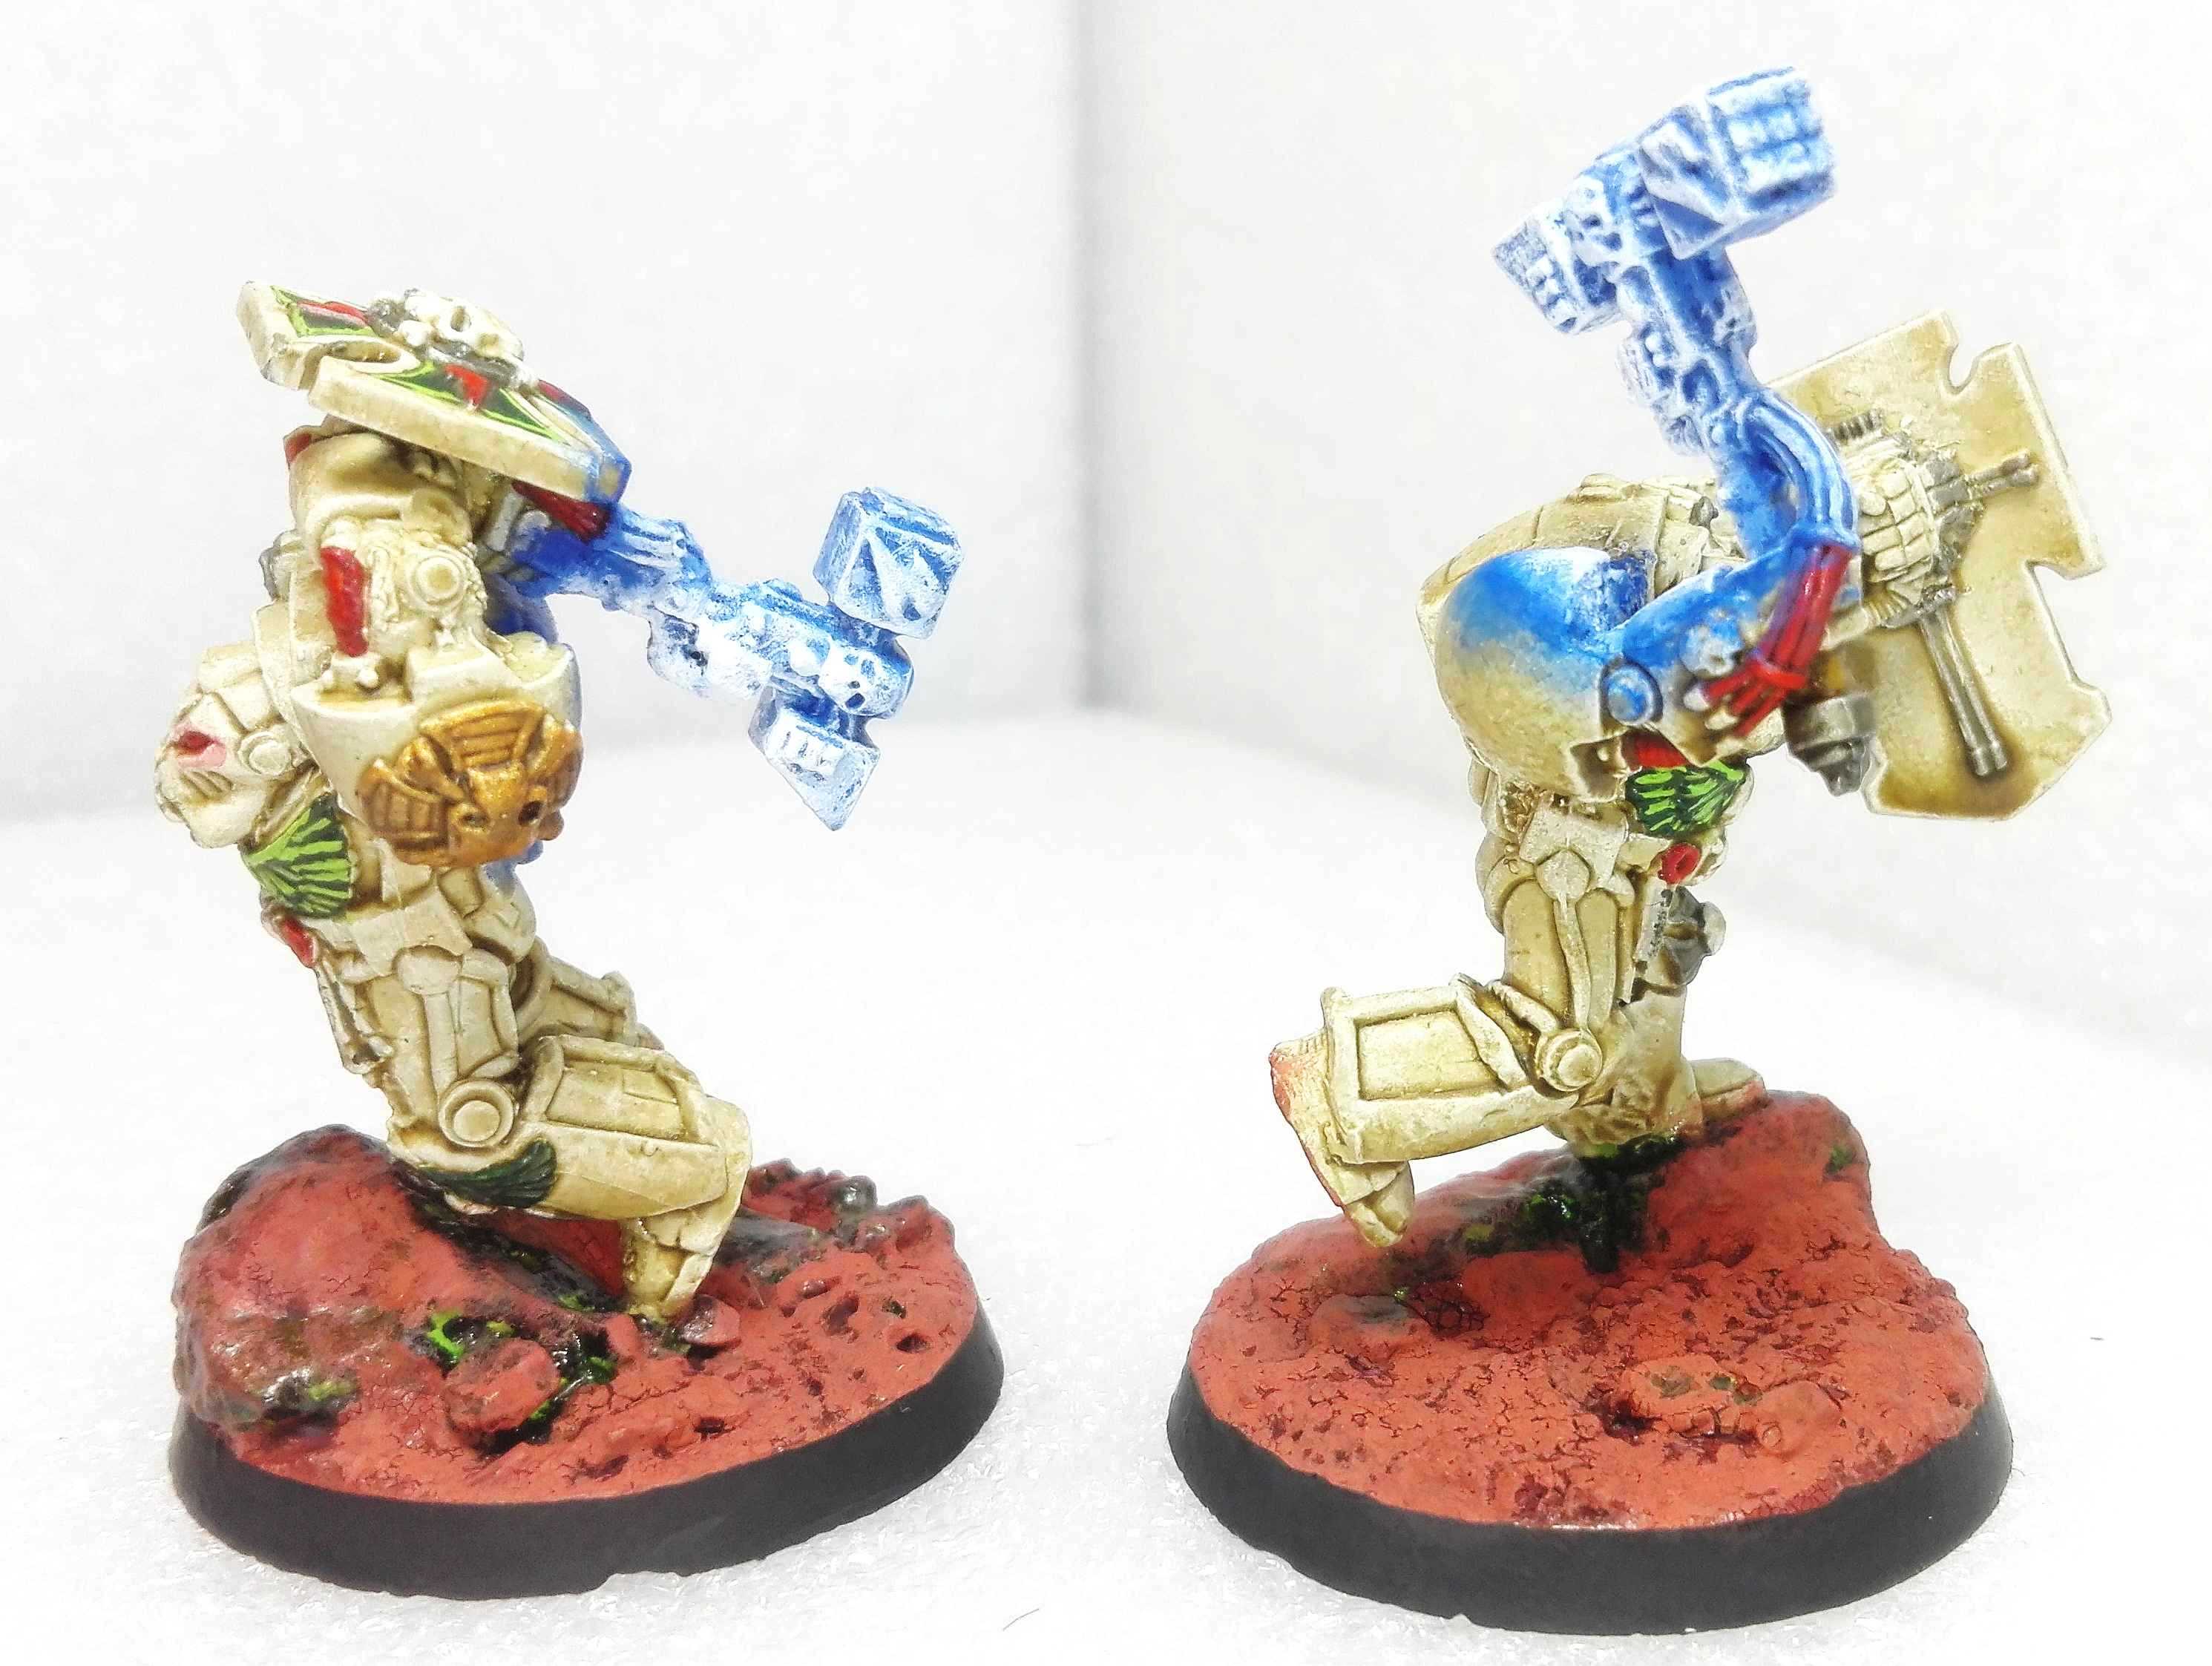
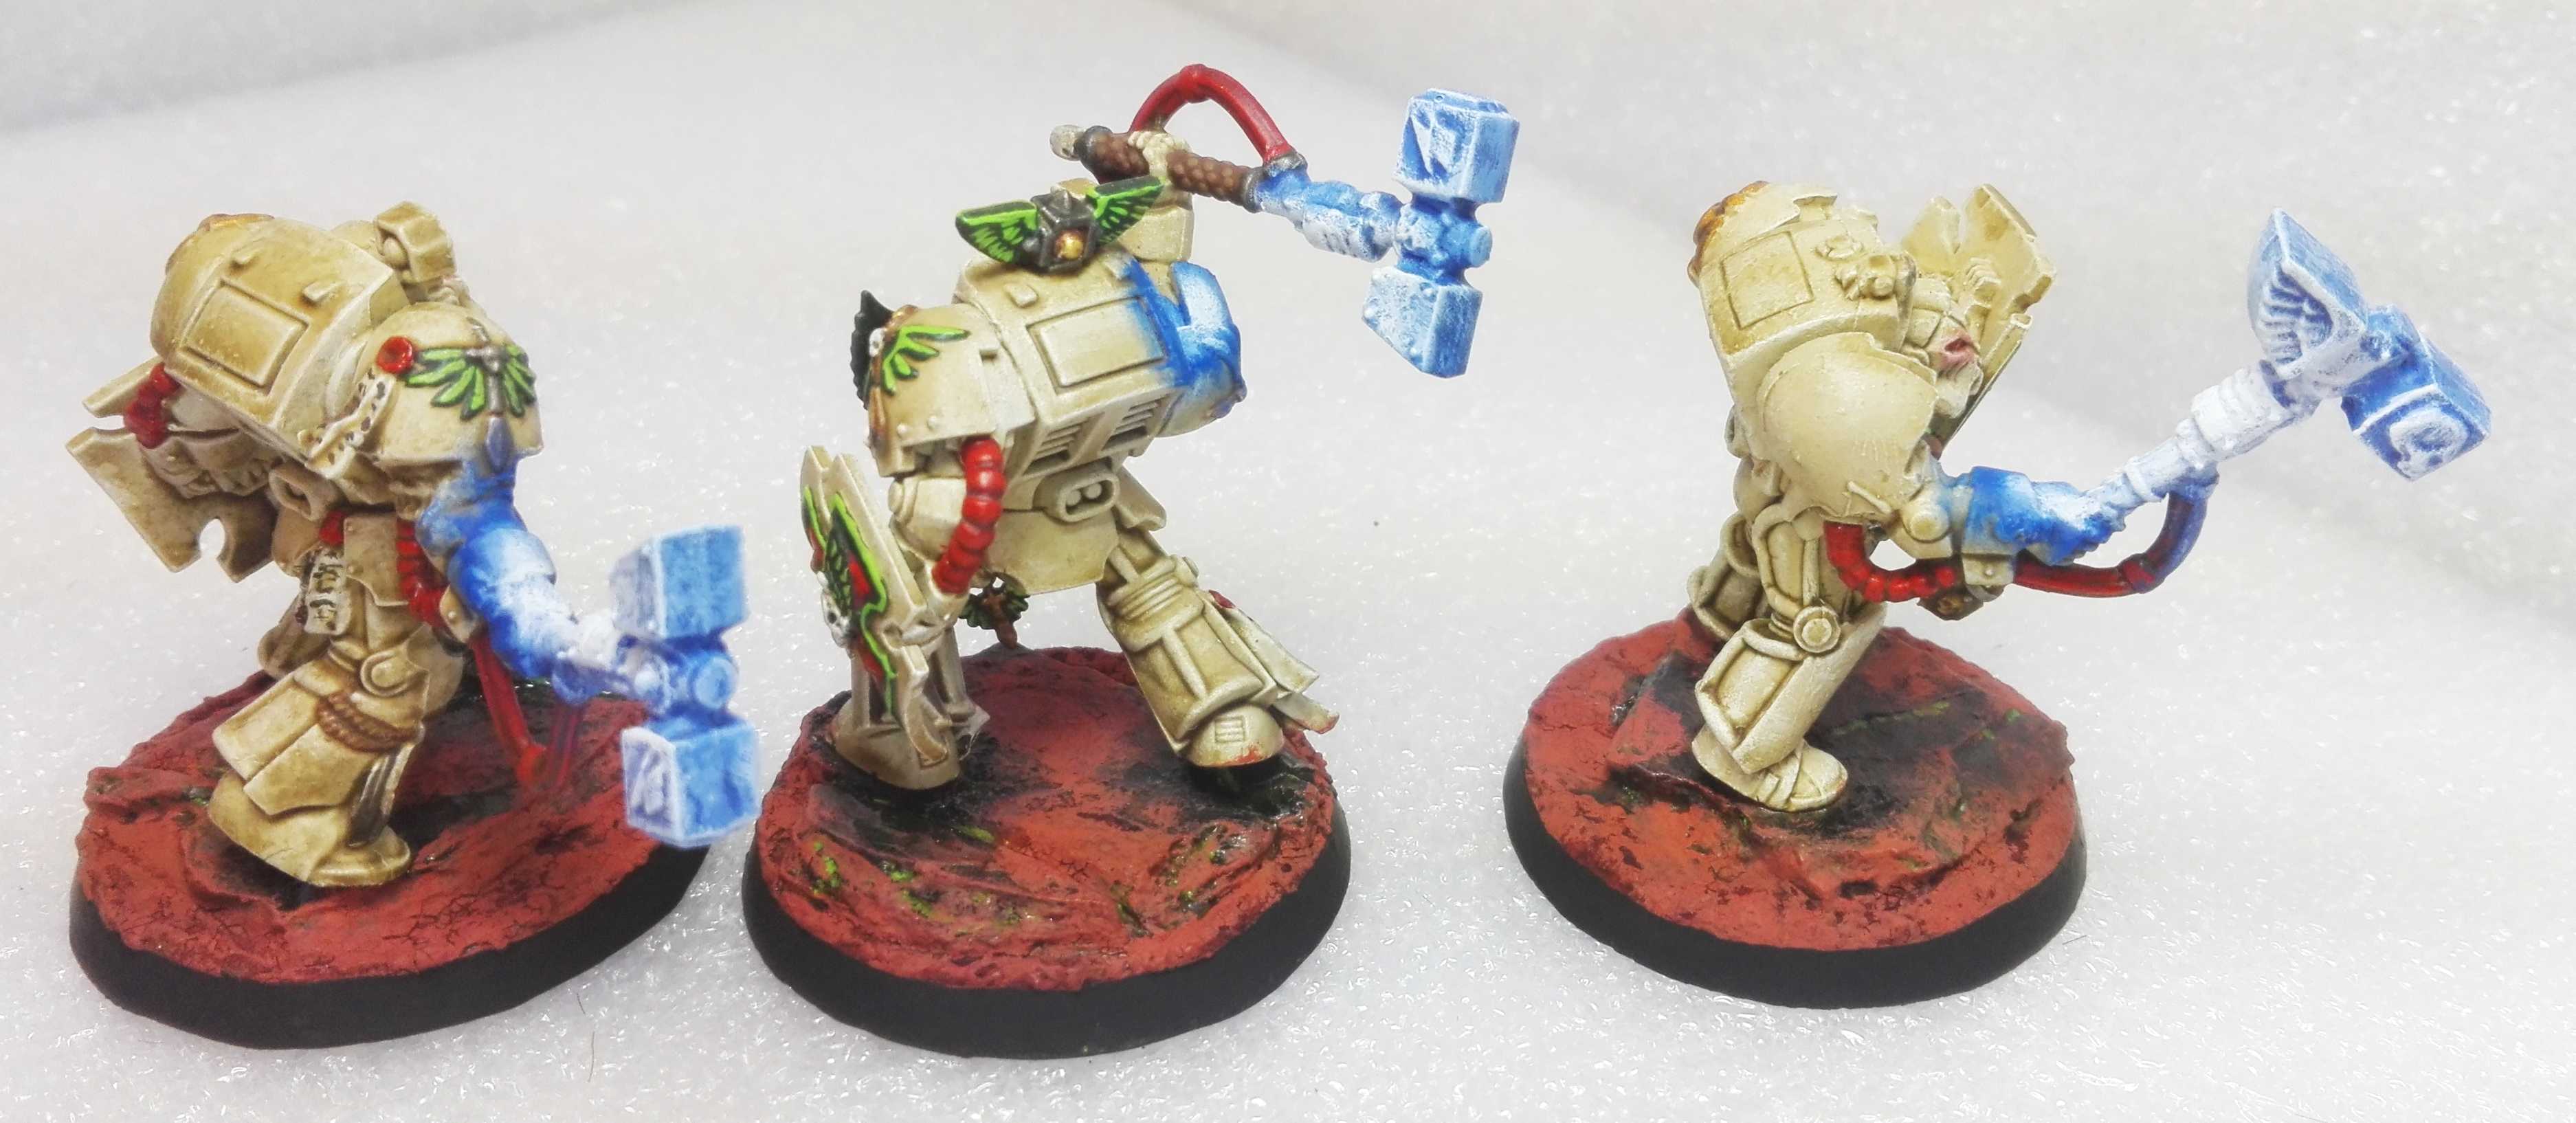
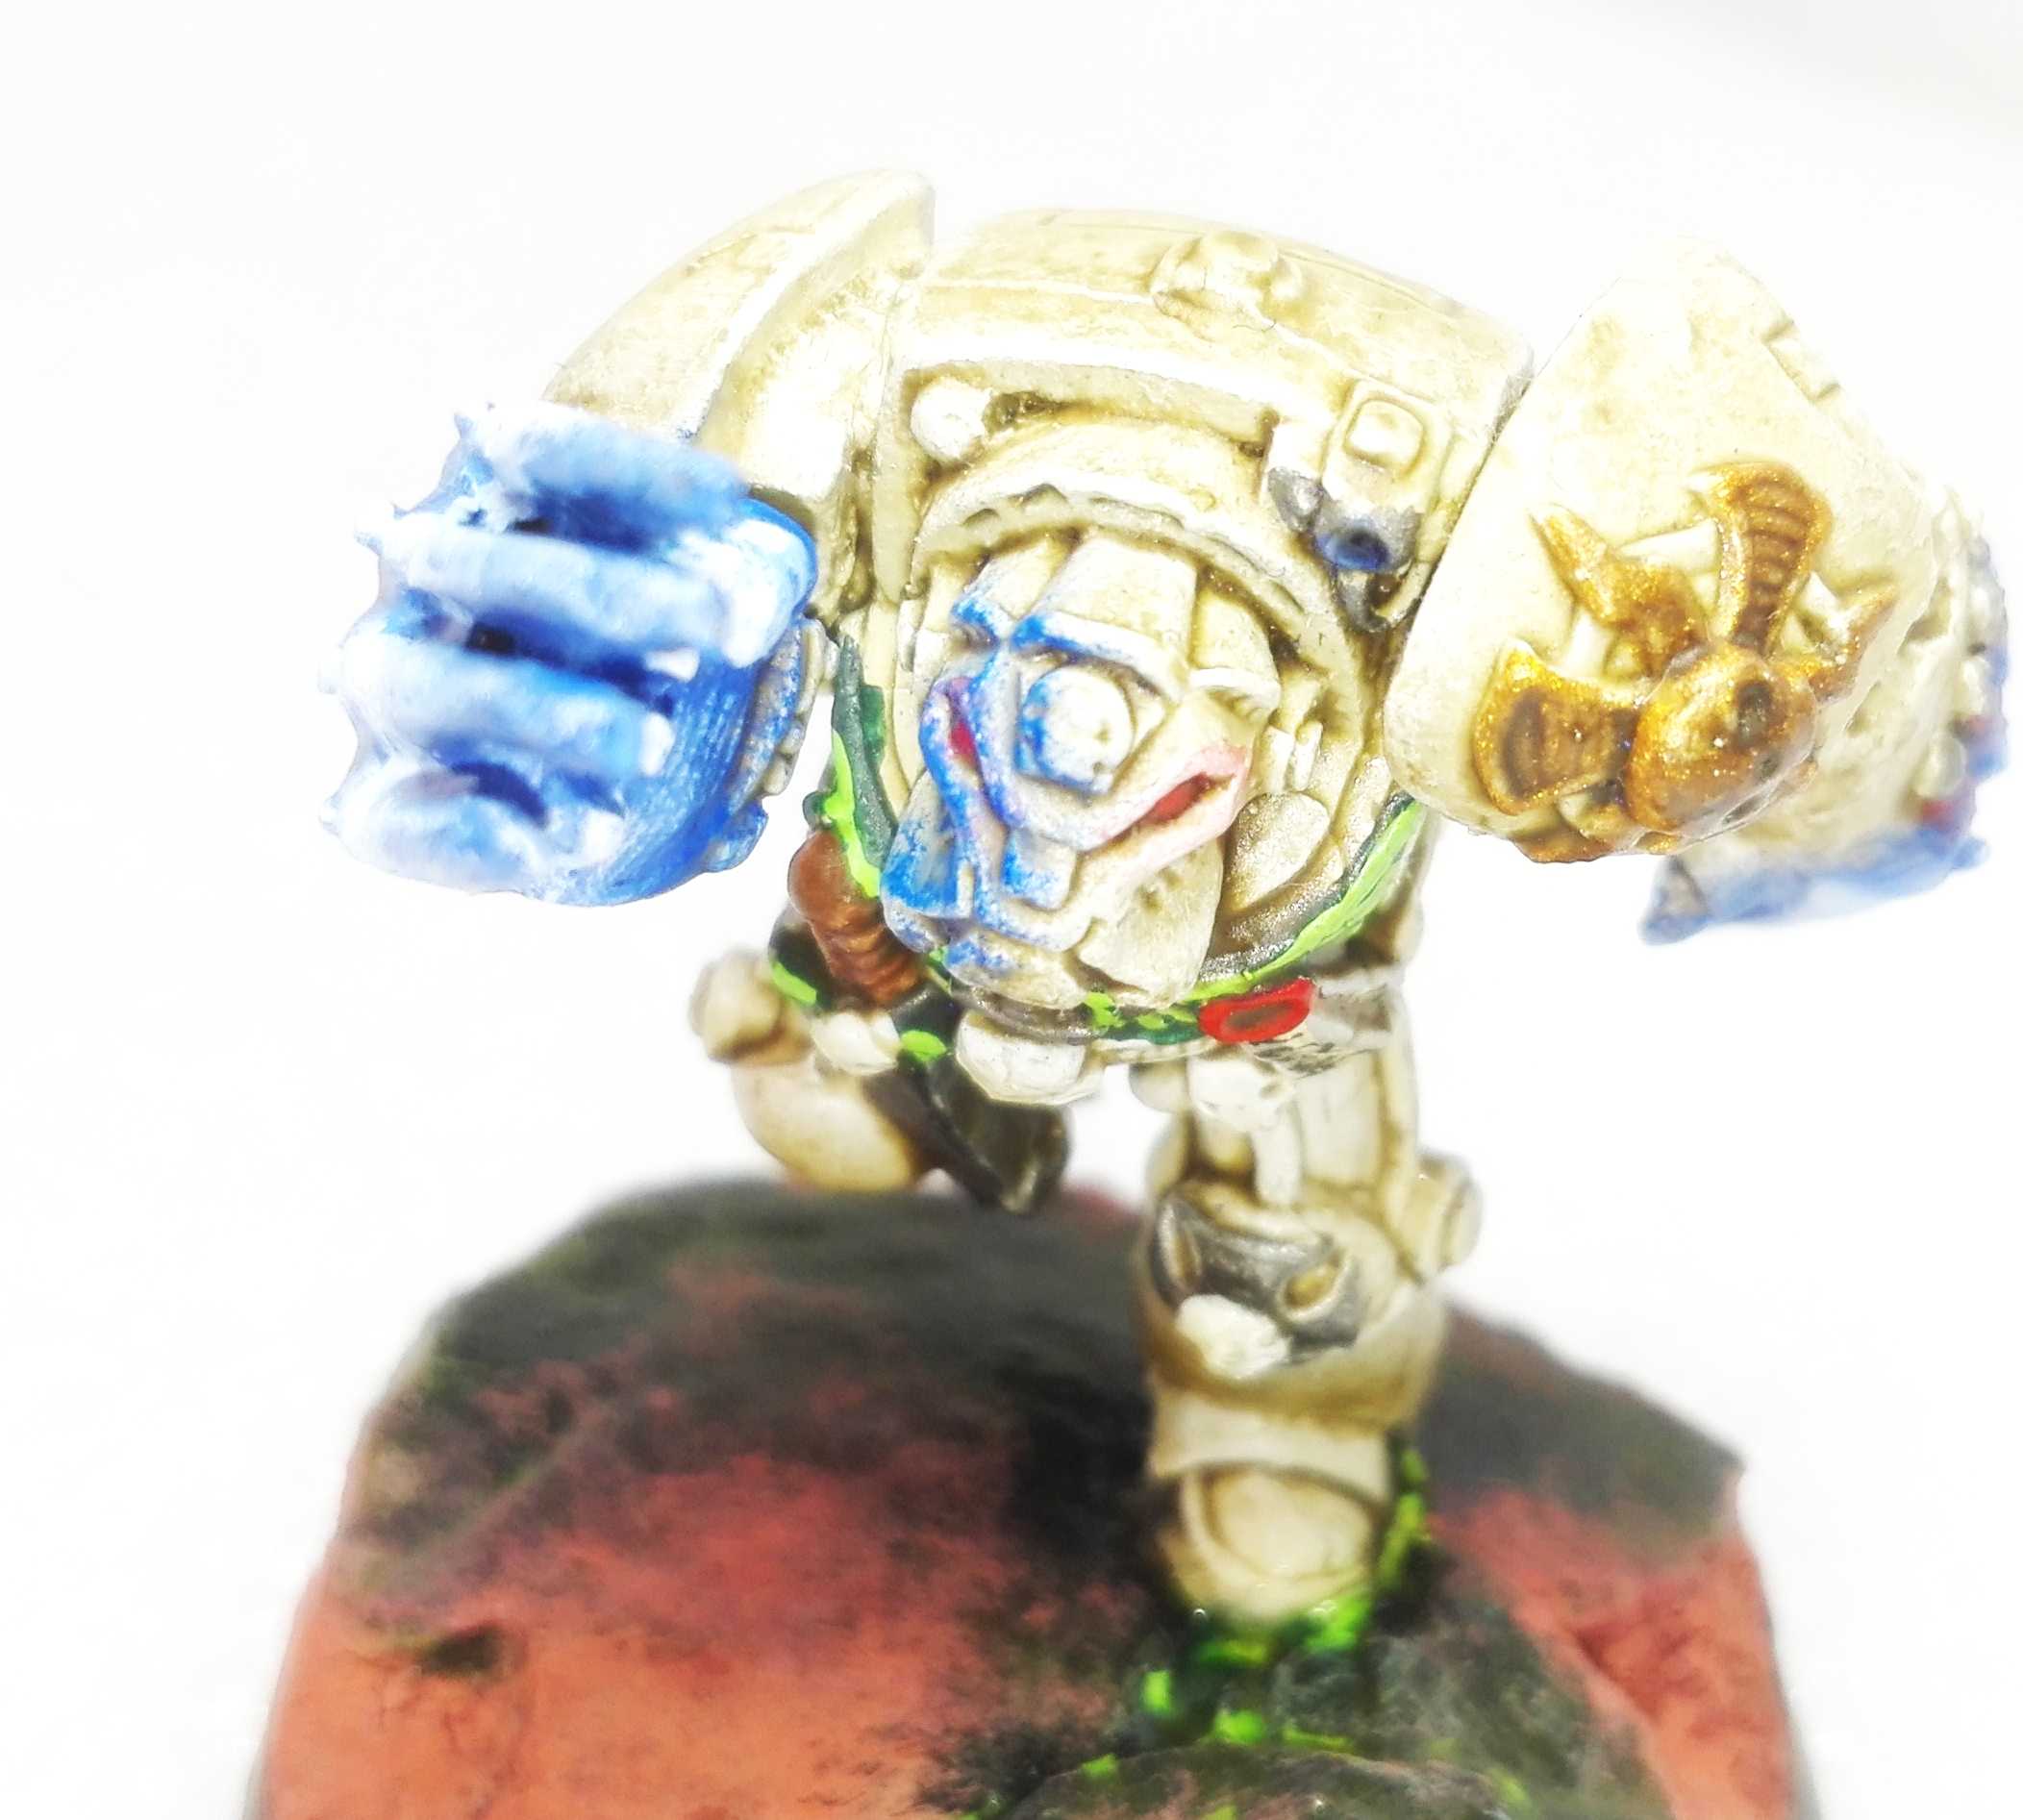
To bolster the mainstay of my army further I painted up 10 more Terminators for my Deathwing list during the second block. This is an nearly entire melee oriented squad with two assault cannons. They are supposed to stay together, drop behind the enemy lines and cause some havoc.
Block 1 Celebration: 50 power game
We had our celebration game during the third week of march. Unfortunately it seems that I can’t find the photos. The game was a bit awkward due to the strange lists, but we had a lot of fun fielding our first painted 40k minis in a long time.
If I remember correctly I tabled my buddy in turn 3 due some incredibly dice rolling. The current score was 9:5 in my favor.
Block 1: 10 Deathwing Terminators + Watcher in the Dark
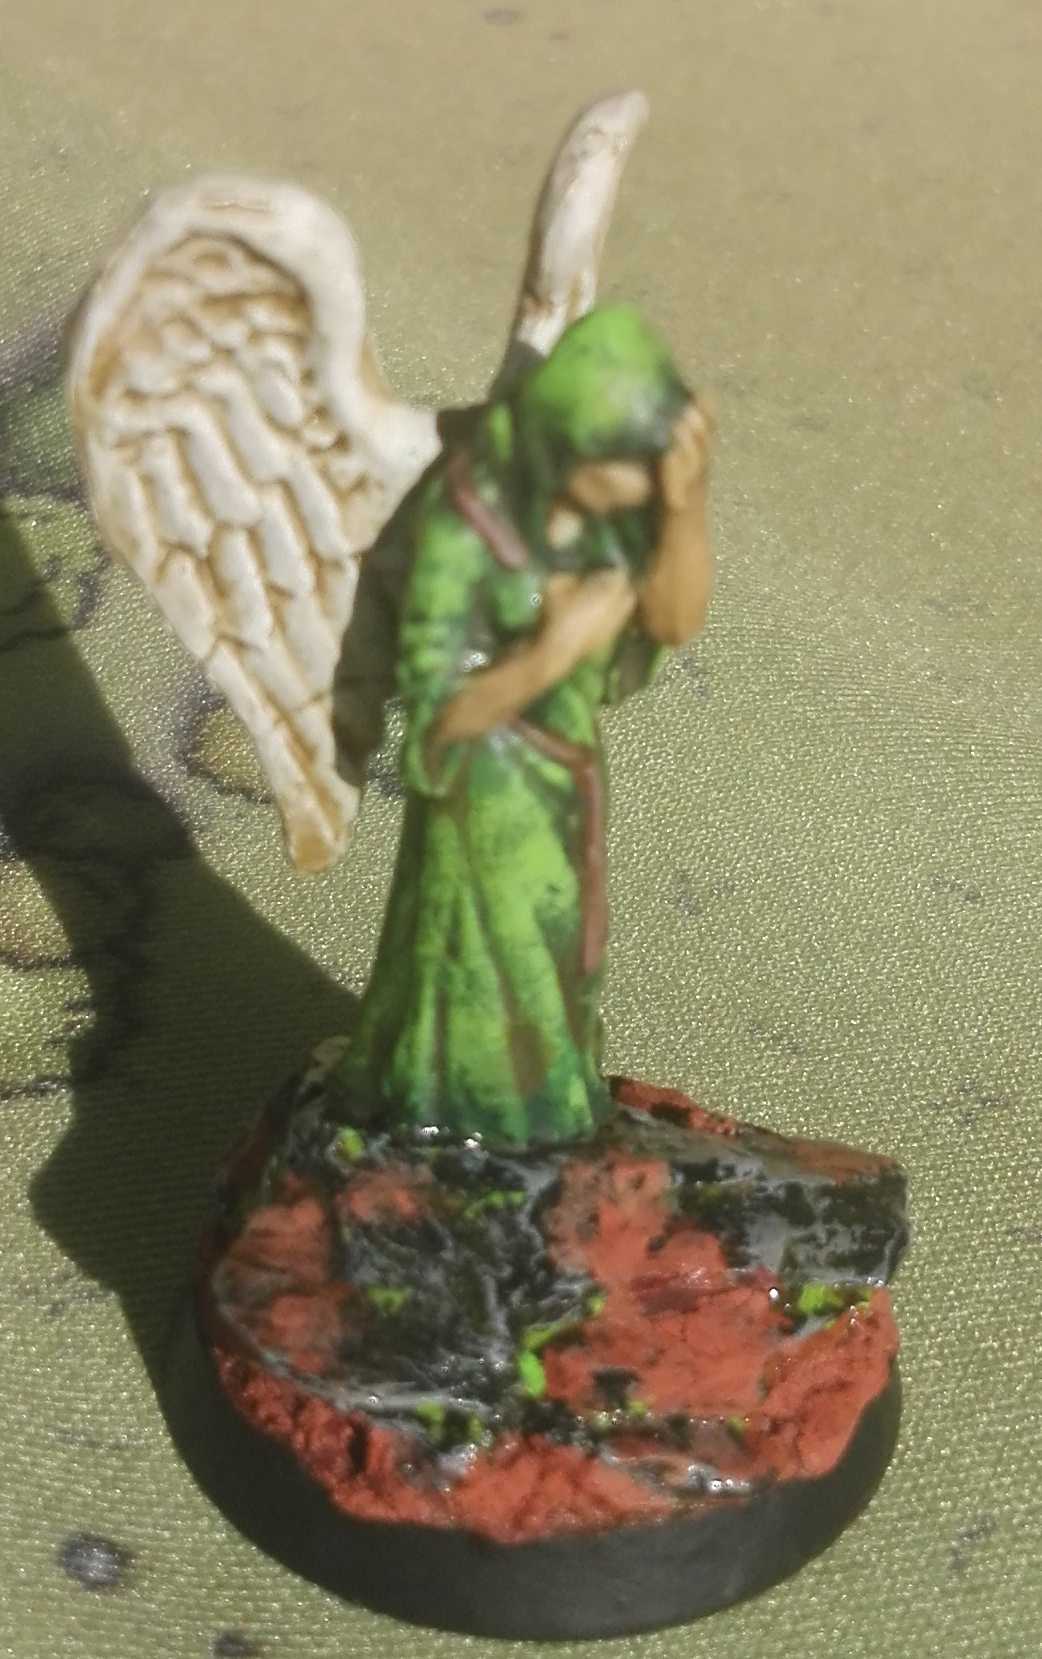
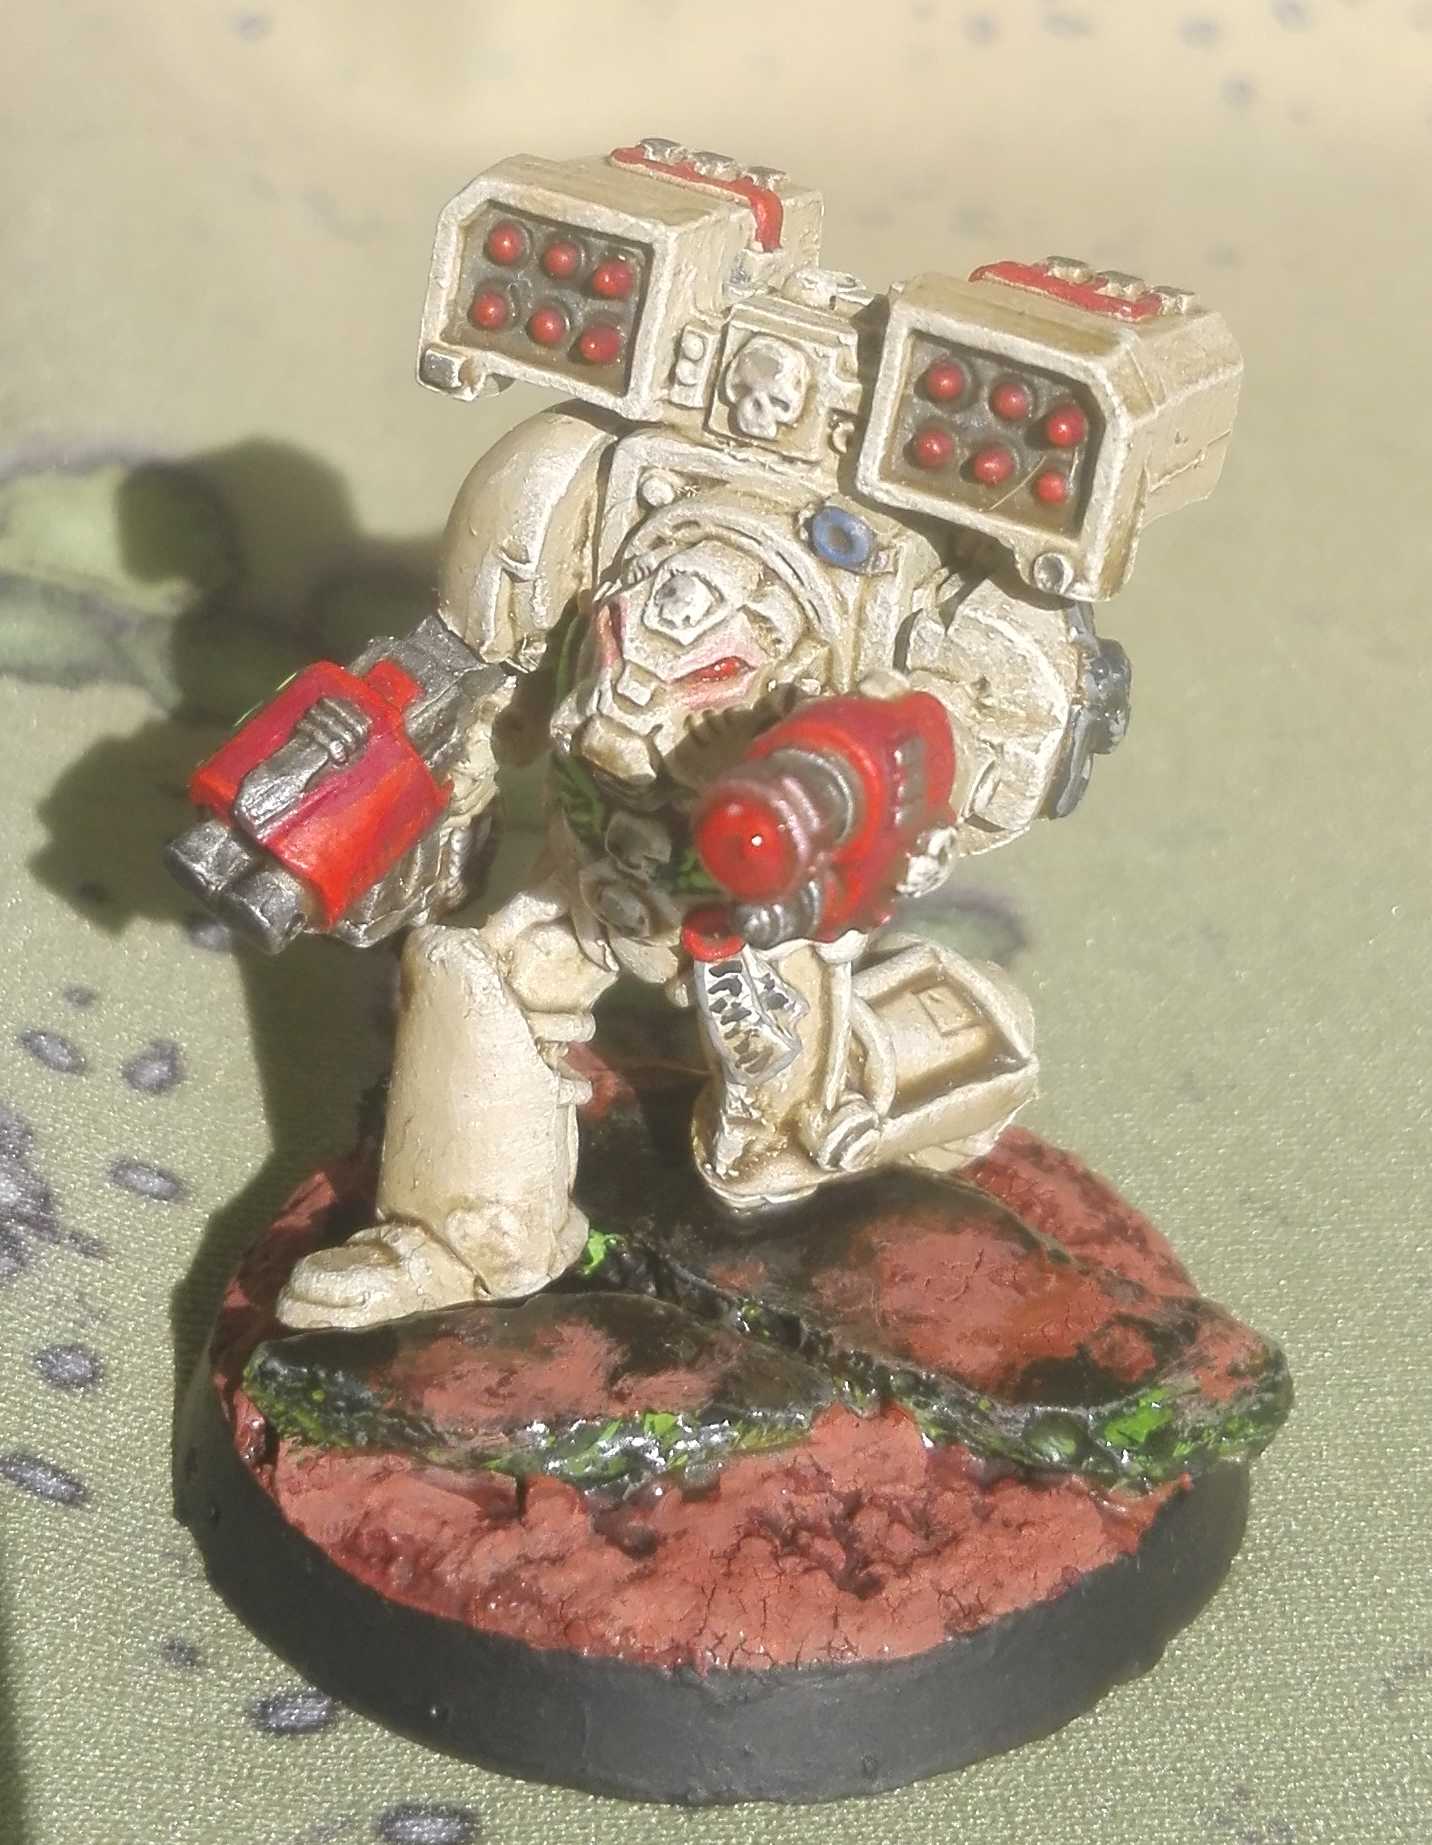
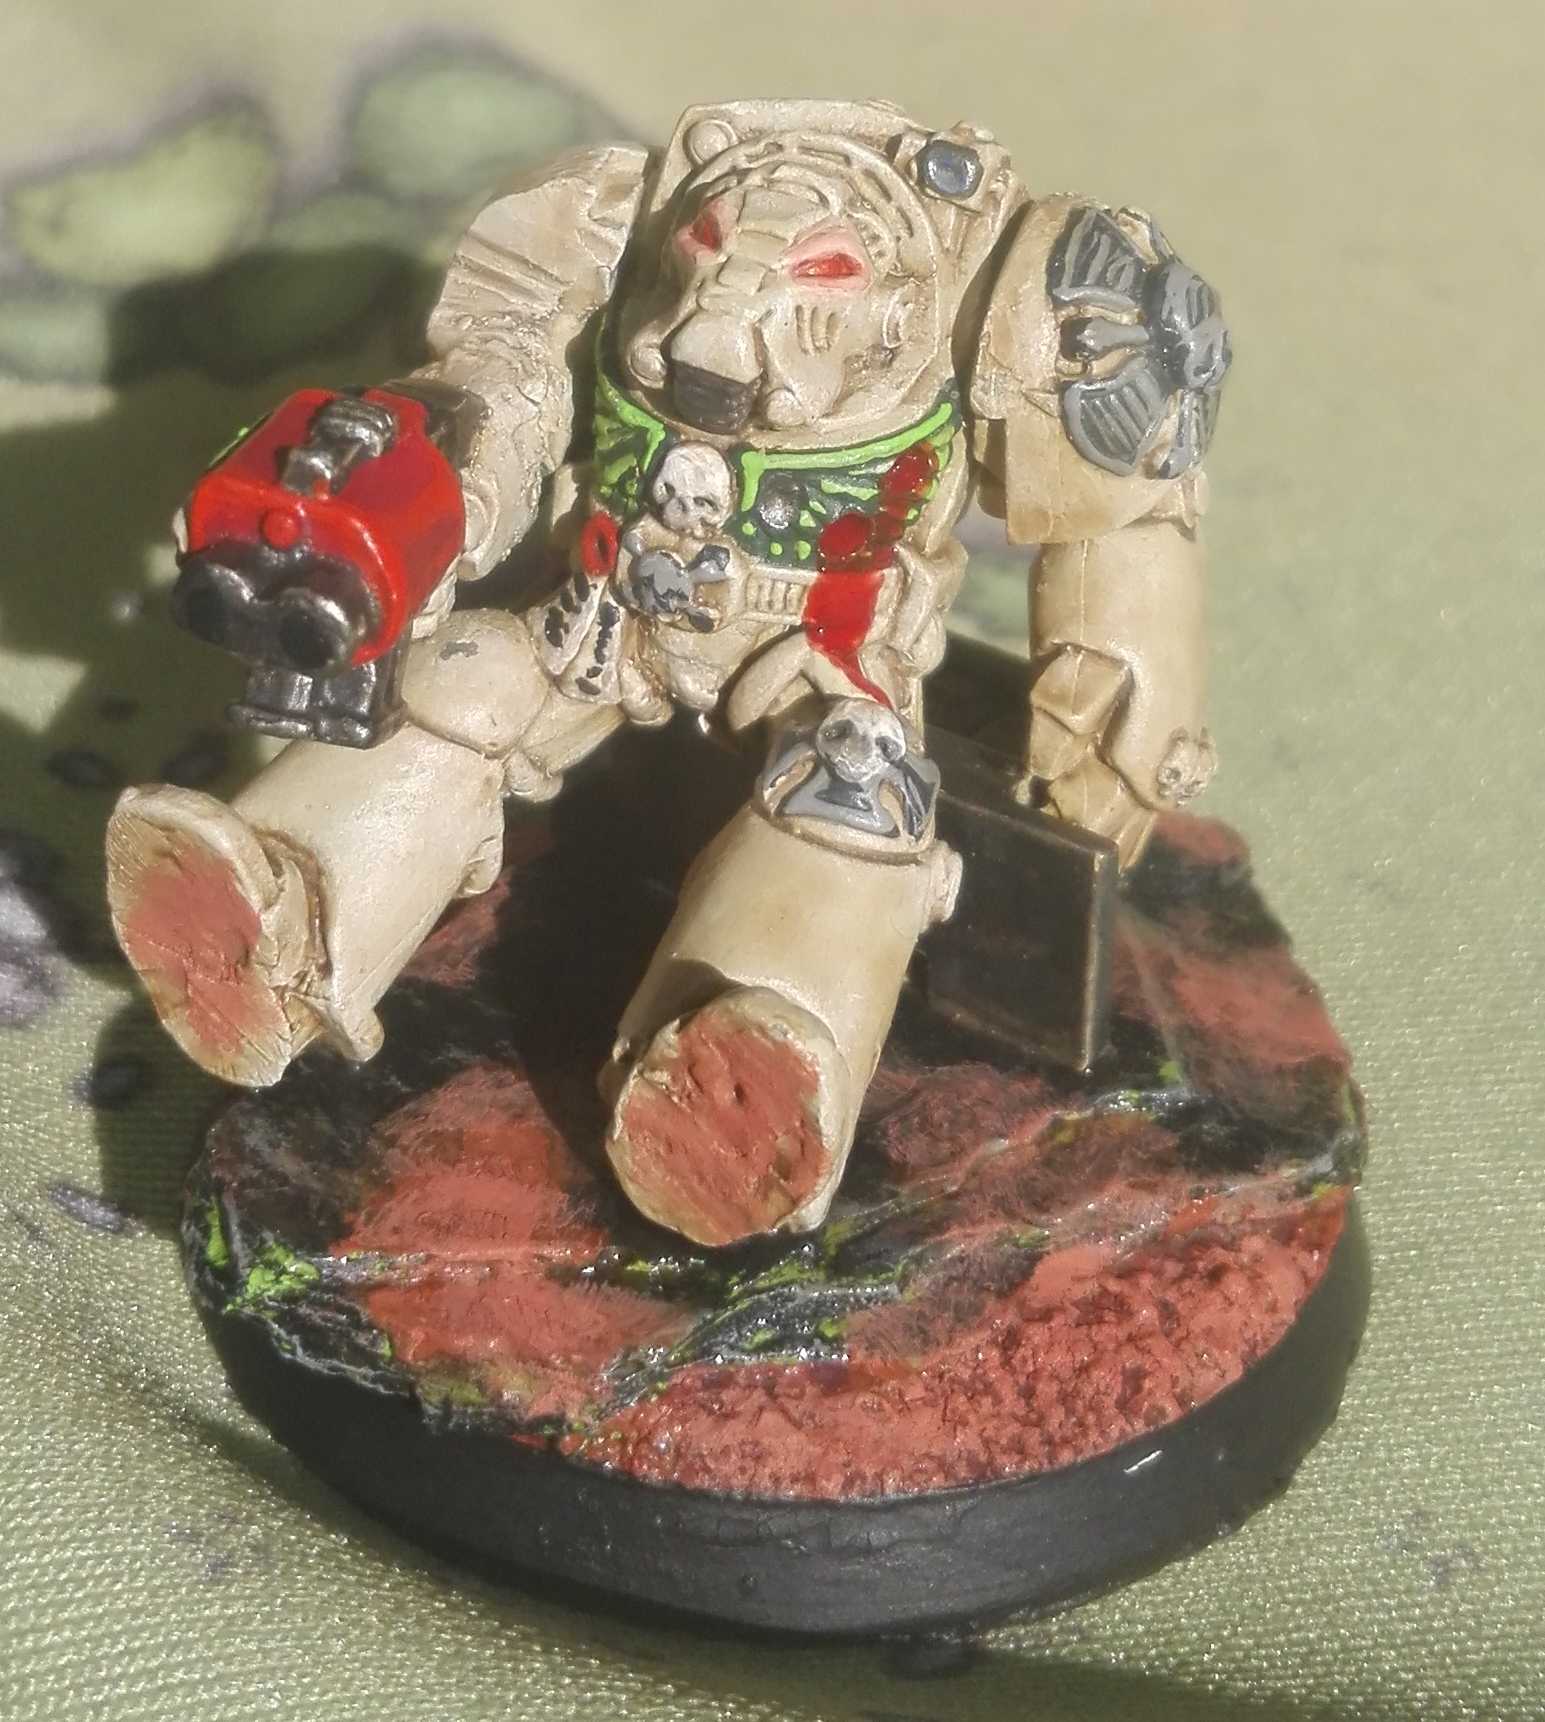
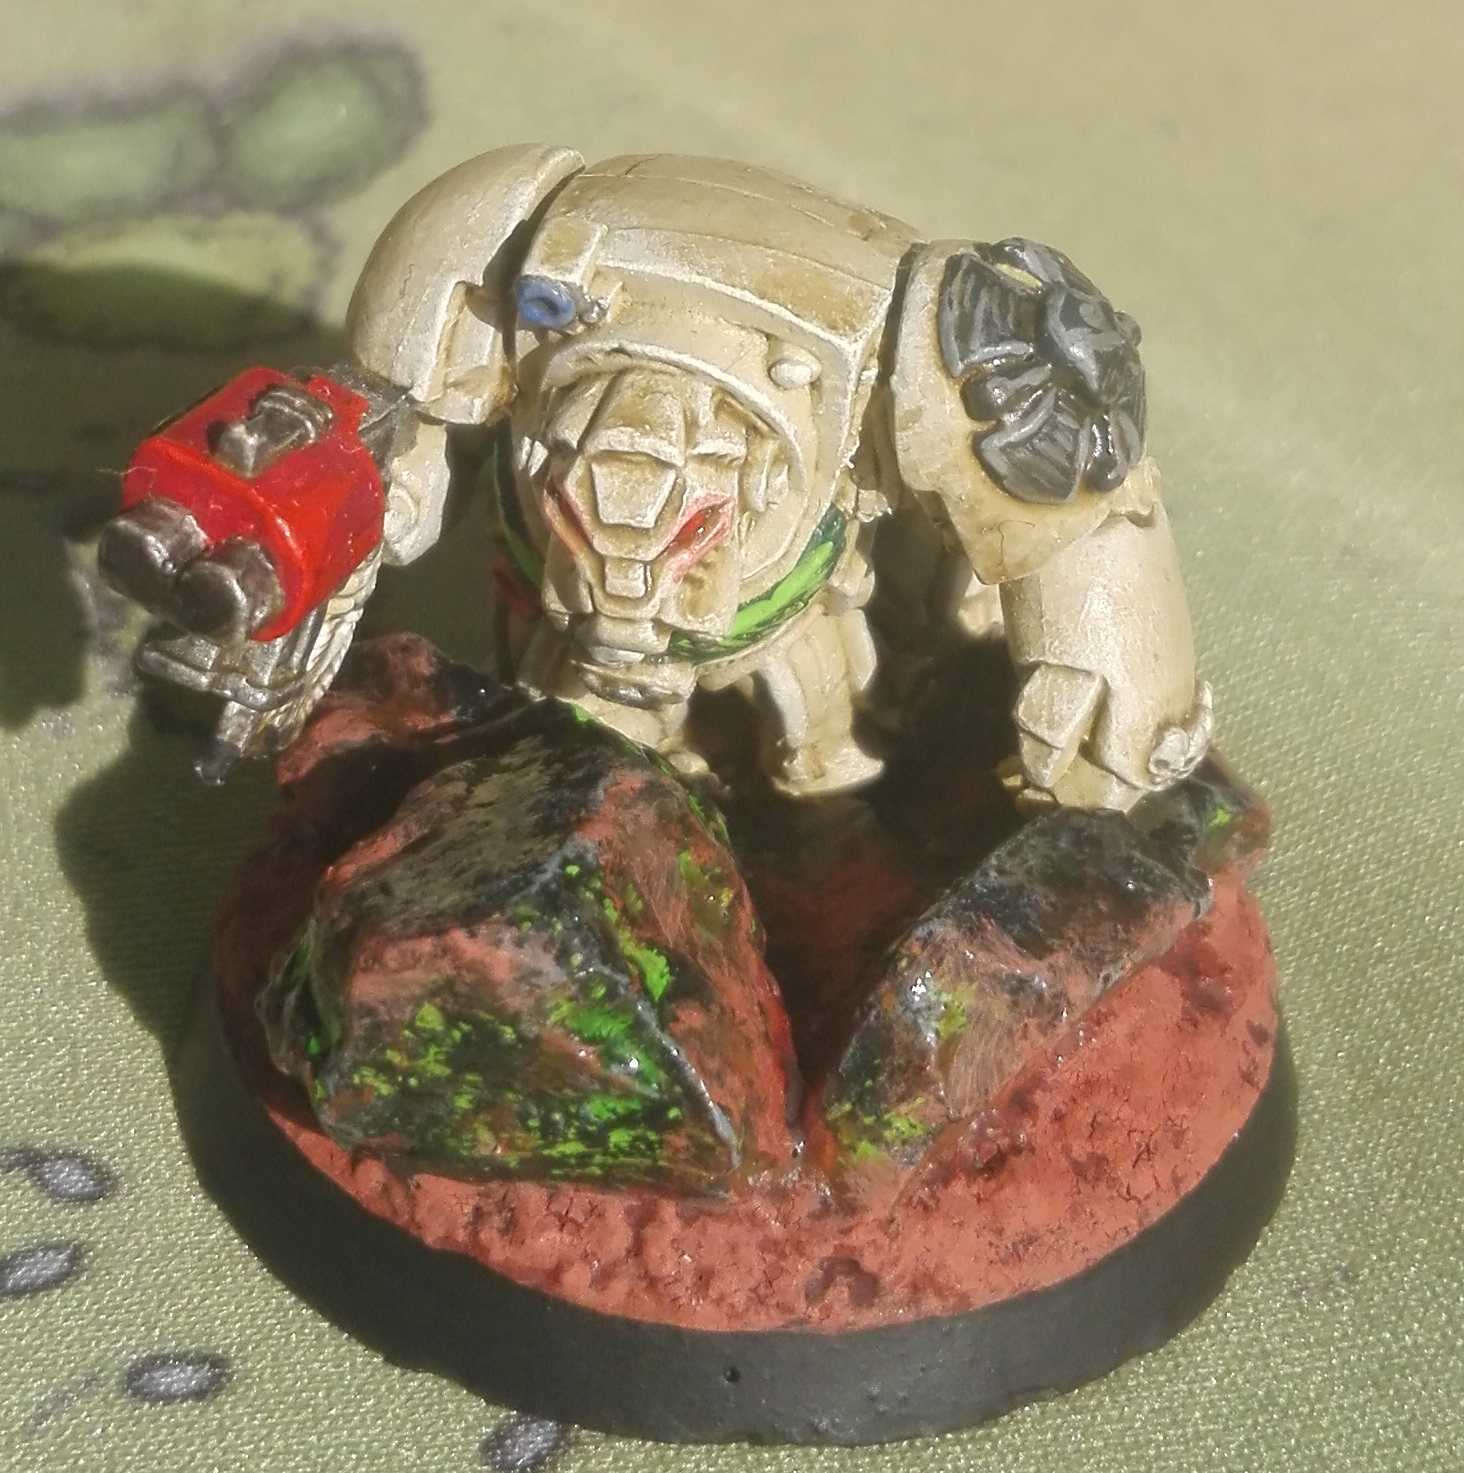
During the first Block I finished a 10 man squad of Deathwing Terminators plus corresponding Watcher in the Dark. These are supposed to form two combat squads. One with alle the melee guys and the other with the stormbolters and both cyclone missle launchers. The melee squad will take the Watcher.
Painting steps:
- base coat: skeleton bone from a rattle can
- drybrush: entire model with white
- base colors: GW Red Gore, GW Dark Angels Green, GW Balthasar Gold, AP Black, Vallejo Gun Metal, Vallejo Flat Brown
- edge highlighting: GW Blood Red, GW Purtid Green, Vallejo Gold, Vallejo Uniform Grey (for the Black Parts) and GW Graveyard Earth (for the Brown)
- feathers and sigils: starting with pure black and mixing in 5-6 steps lighter colors up to pure white
- bases: putrid green => large overbrush with black => soft drybrush with uniform grey => a lot of GW Martian Ironcrust
- dipping: I use a 3:2 dilution of AP Quickshade Soft Tone (from the large 250ml pot) and common paint thinner, applying the dip with a brush
- mattcoating: 3:1 mix of AP Anti Shine (from the dropper bottle) and GW ‘Ardcoat for most of the model, pure AP Anti Shine on feathers and sigils, pure GW ‘Ardcoat on the black stones (making them really shiny)
- washing: GW Nuln Oil on the metal parts and GW Carroburg Crimson on the red parts of the base.
- osl on eyes: a simple single very thinned down coat of GW Blood Red (like 10 parts water on 1 part paint) around the eyes.
- osl on power weapons: starting with pure GW Ultramarines Blue, then a 1:1 mix with GW Shadow Grey (this is more of a light blue), then pure GW Shadow Grey, then mixing in 3-4 steps to pure white. First painting a huge area and then getting more and more into da drybrush on smaller areas
- bases: drybrush with GW Martian Ironcrust on the red parts
- finishing details: AP Black on gun barrel insides, GW Blood for the Bloodgod on wounds and non-power-melee weapons (like chainfists), whitening some skulls on the armour, scripture on the sigils
- black rim: just AP Black on the rim of the bases
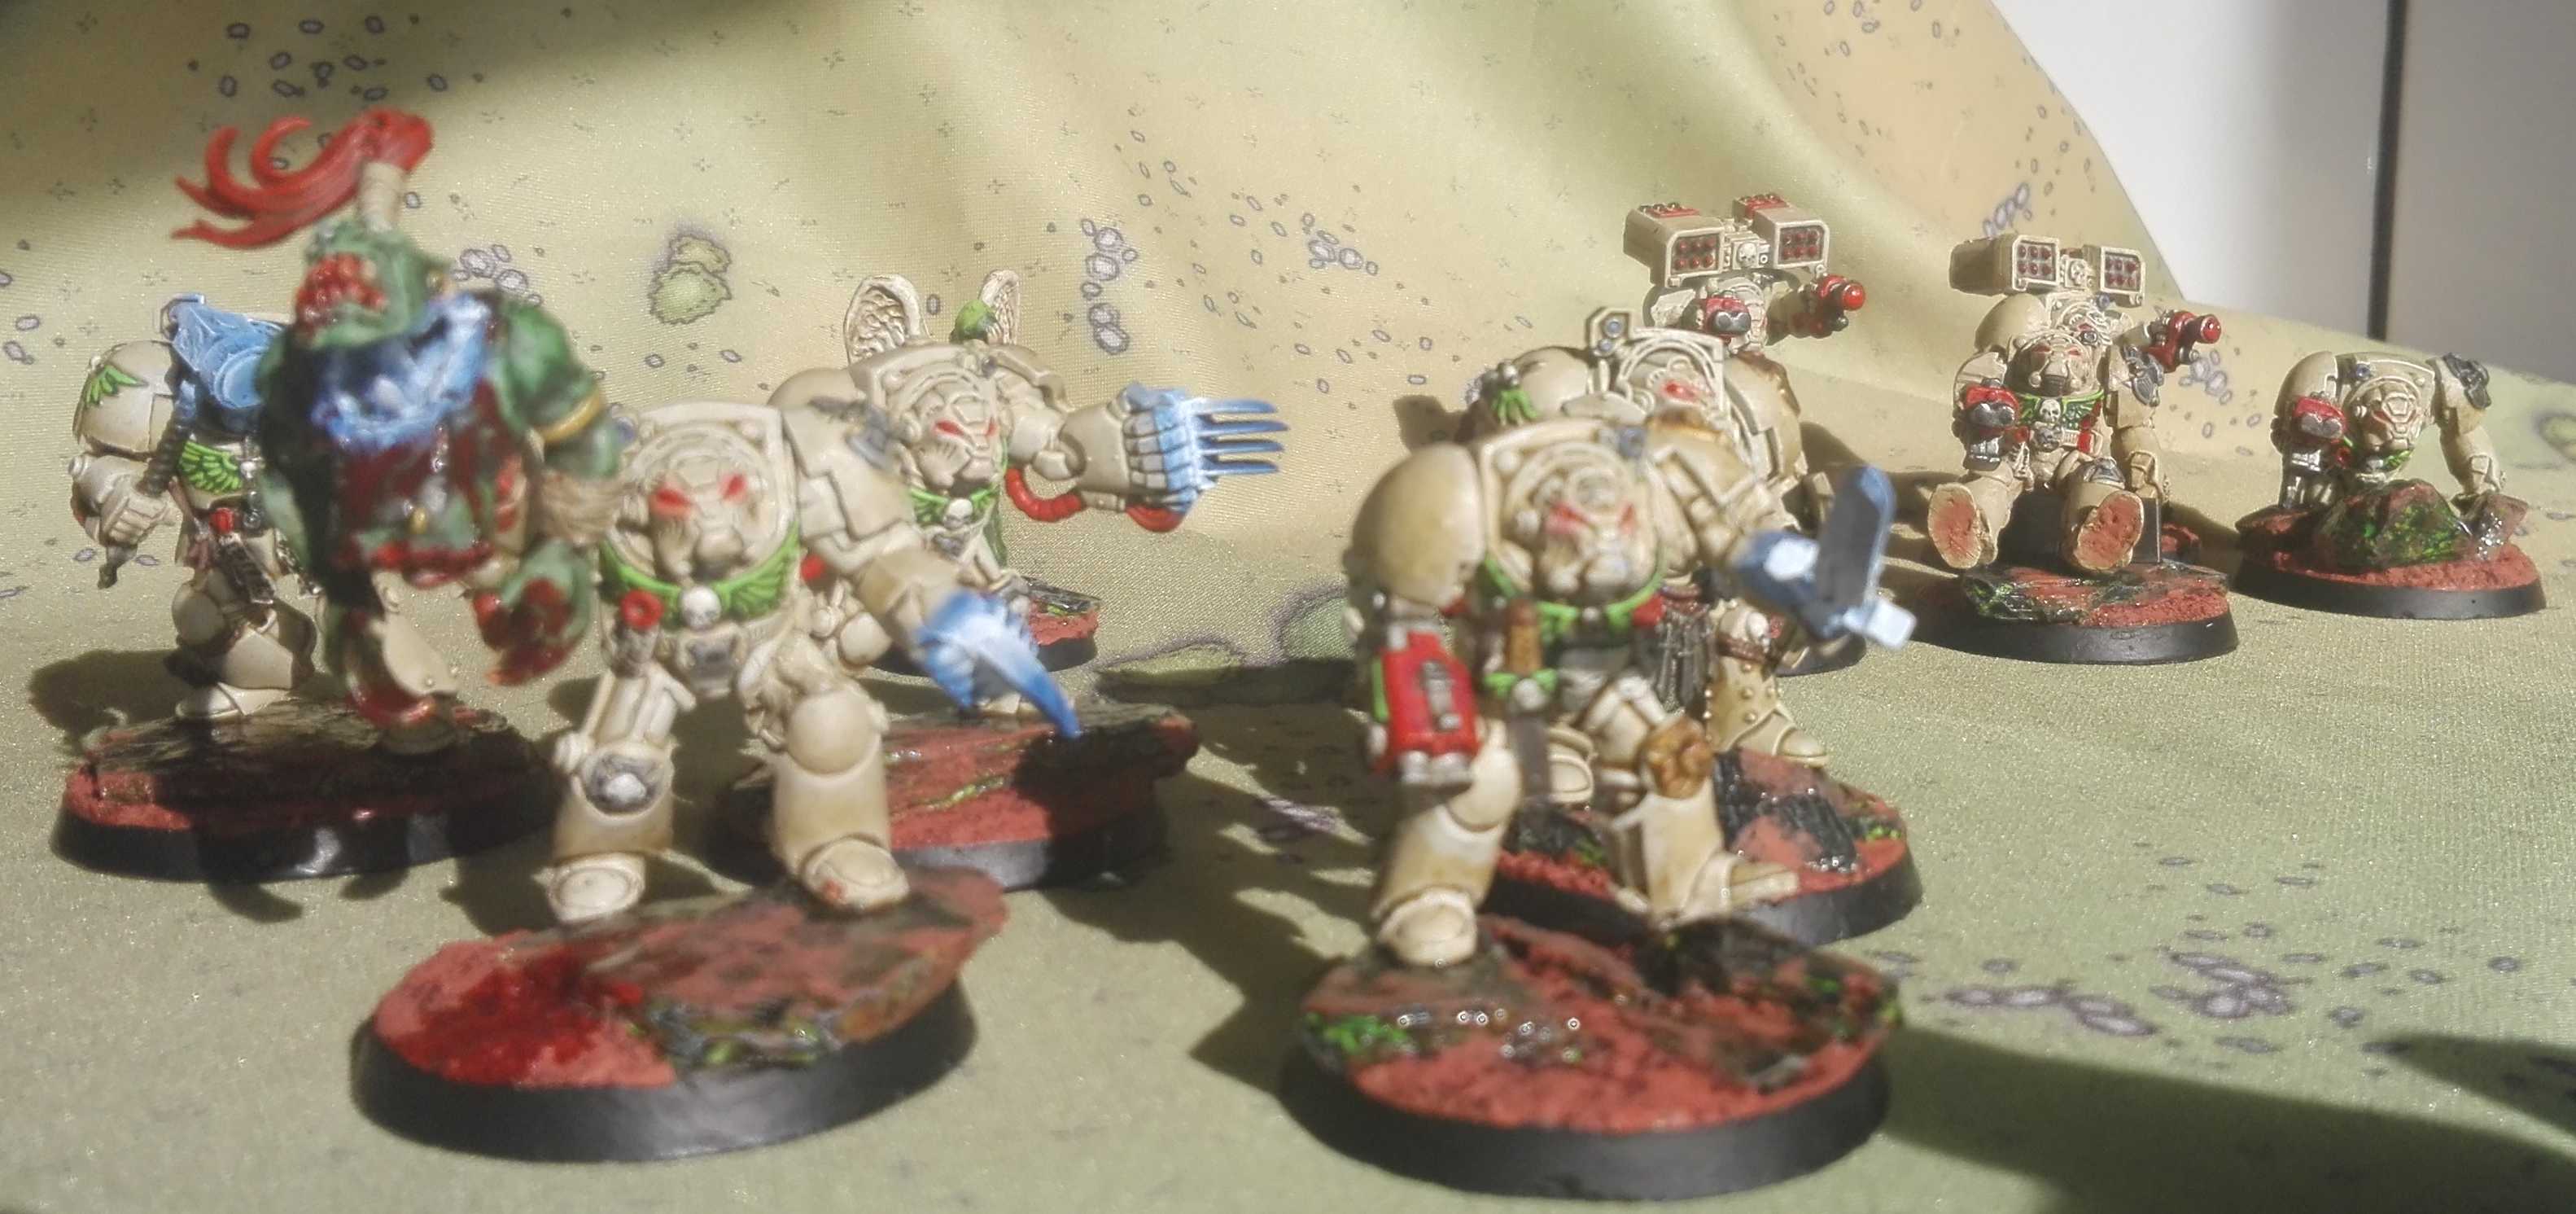 The entire squad
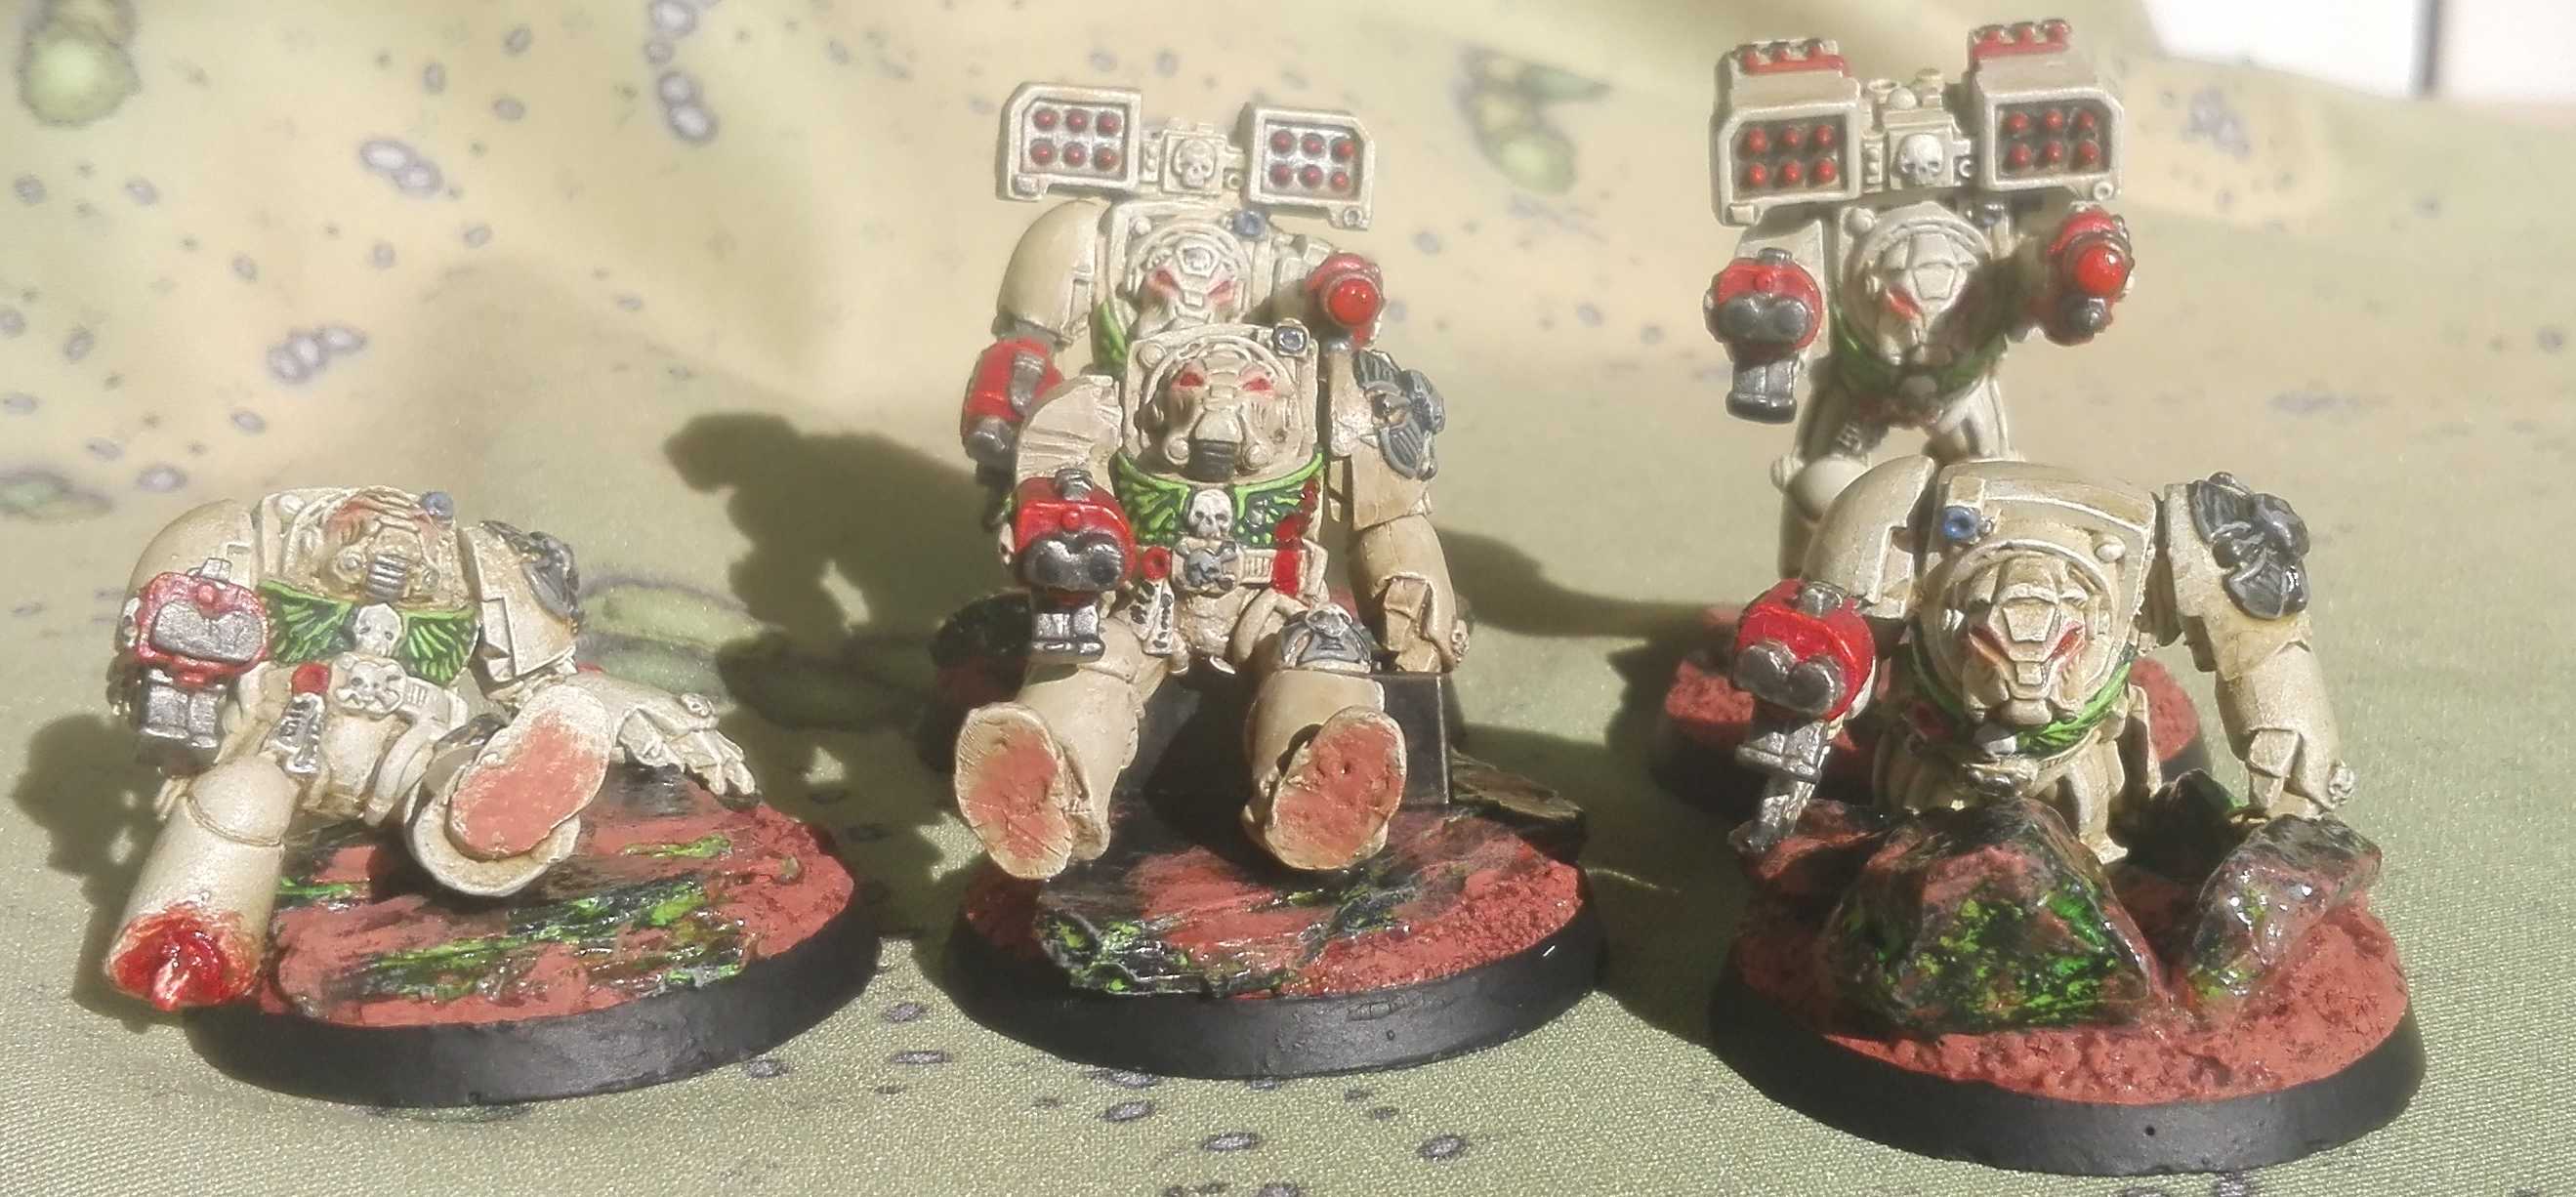 The ranged part of the squad ...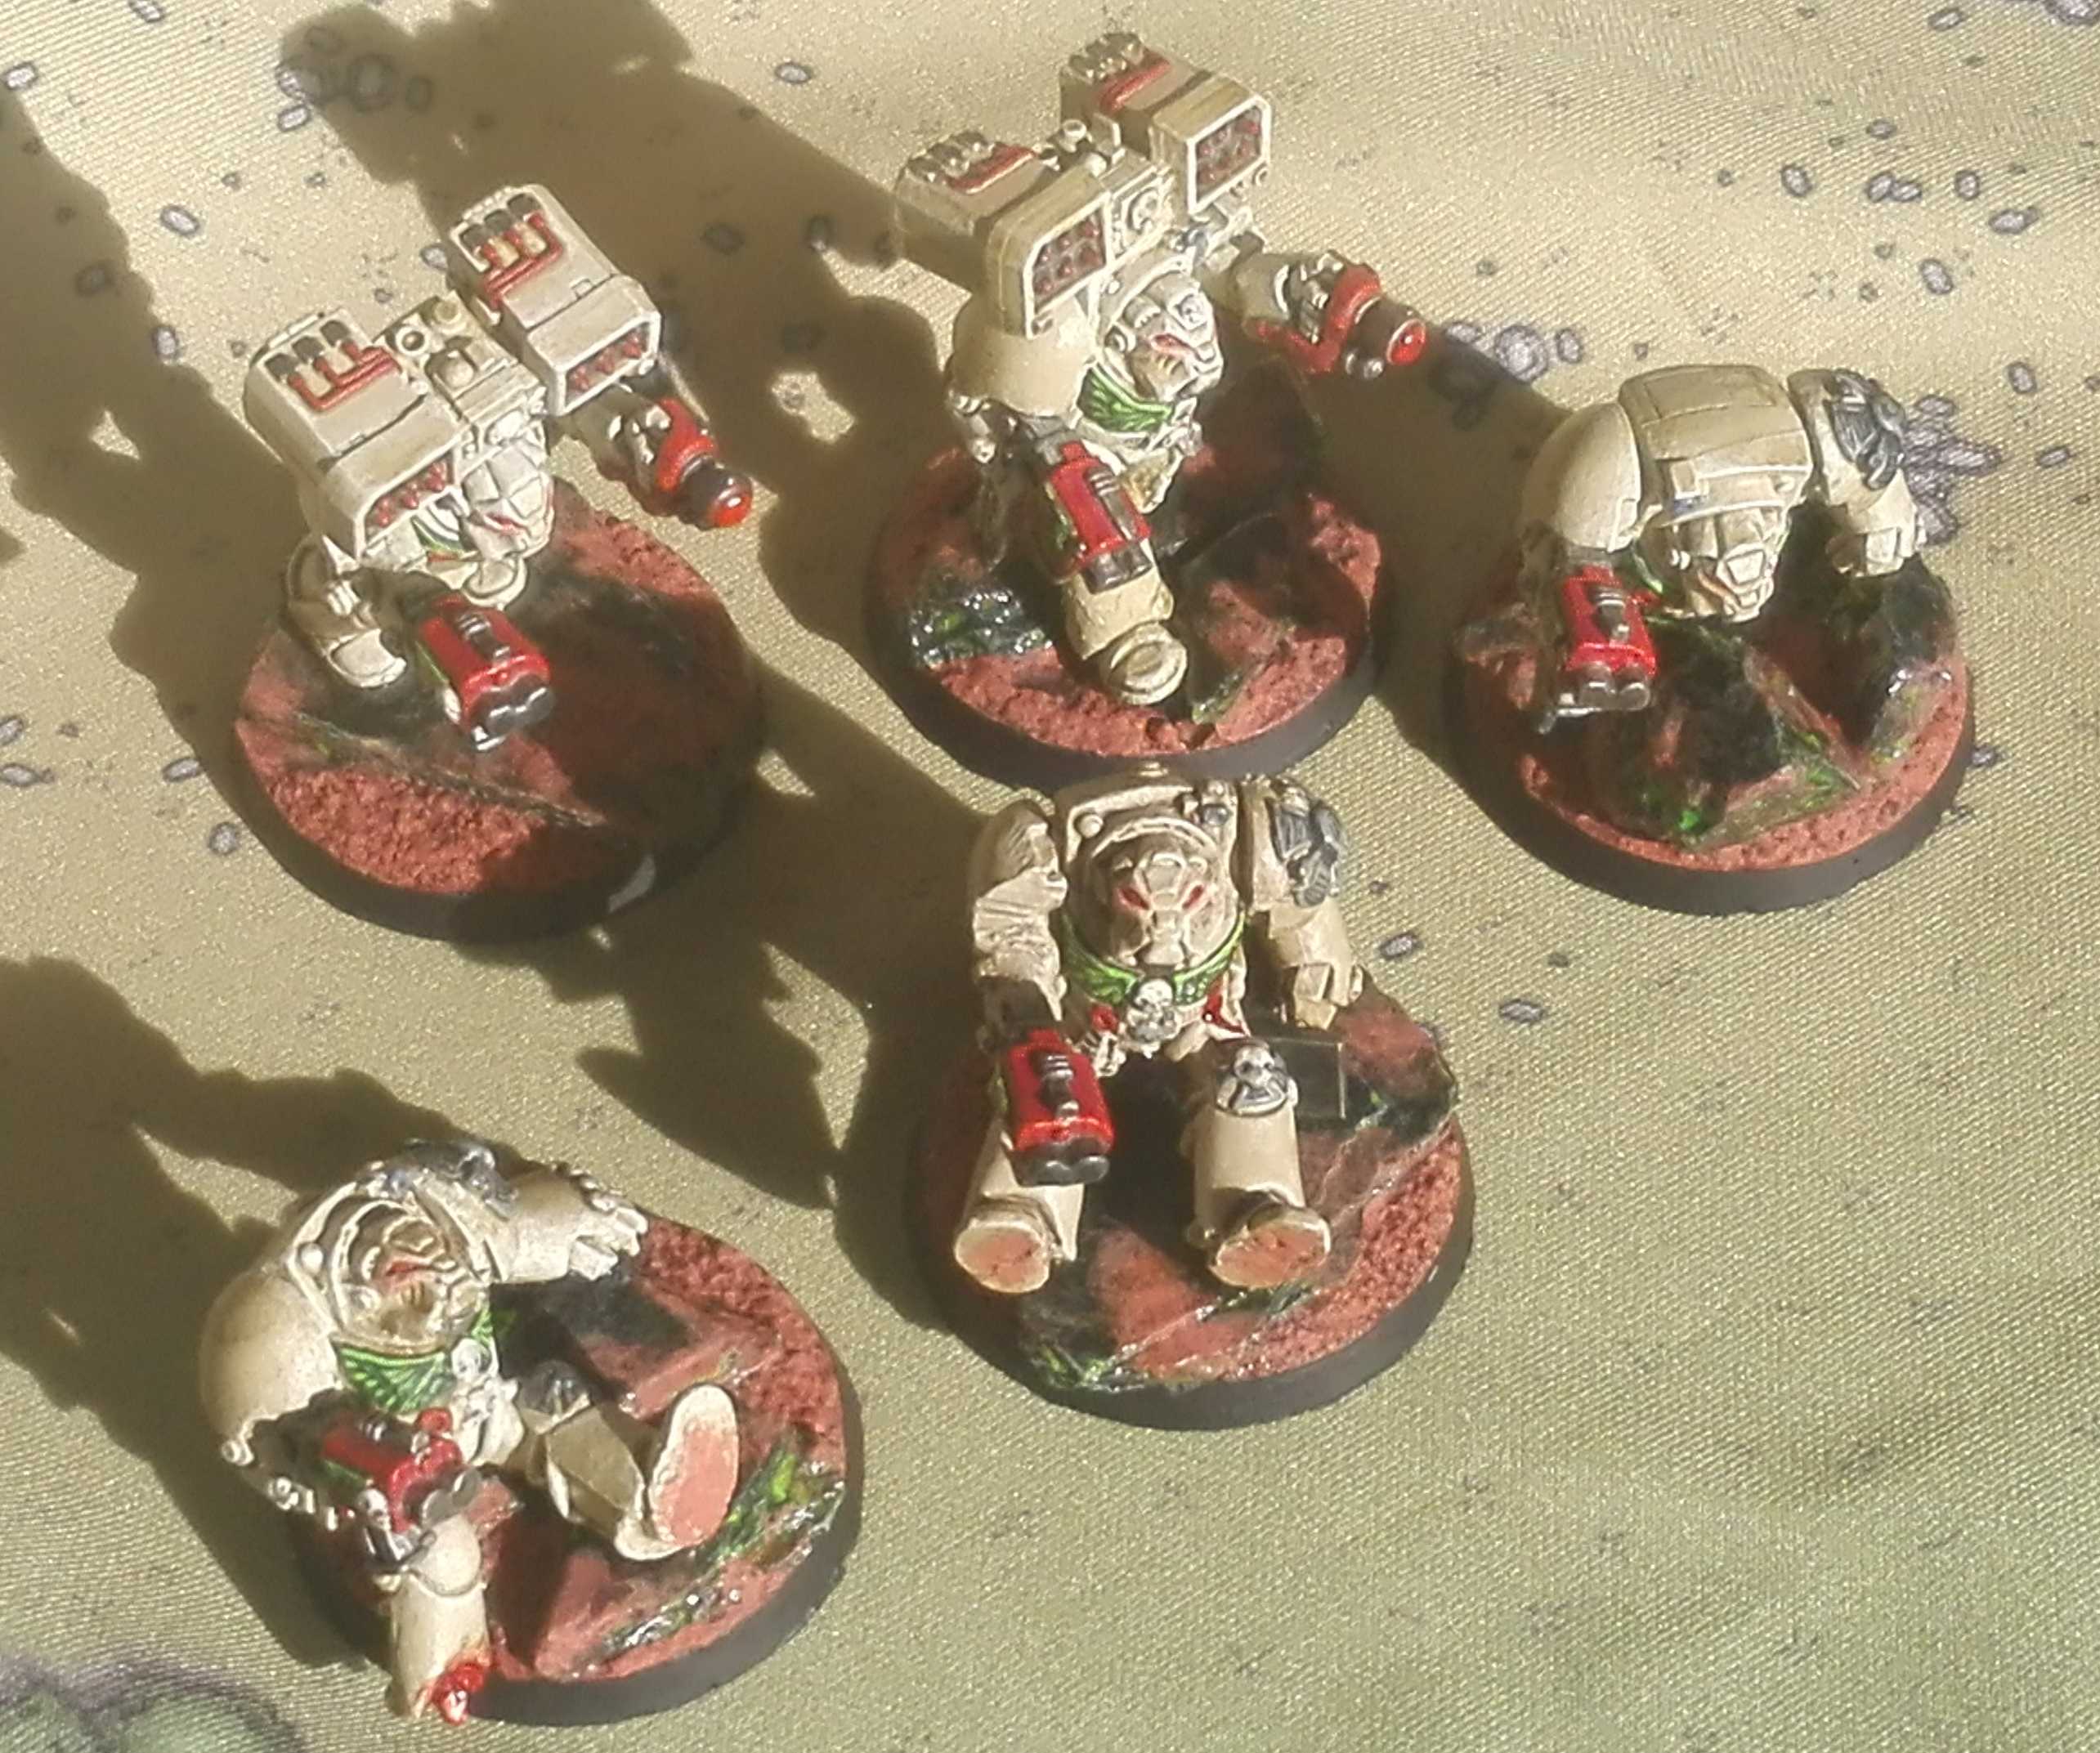
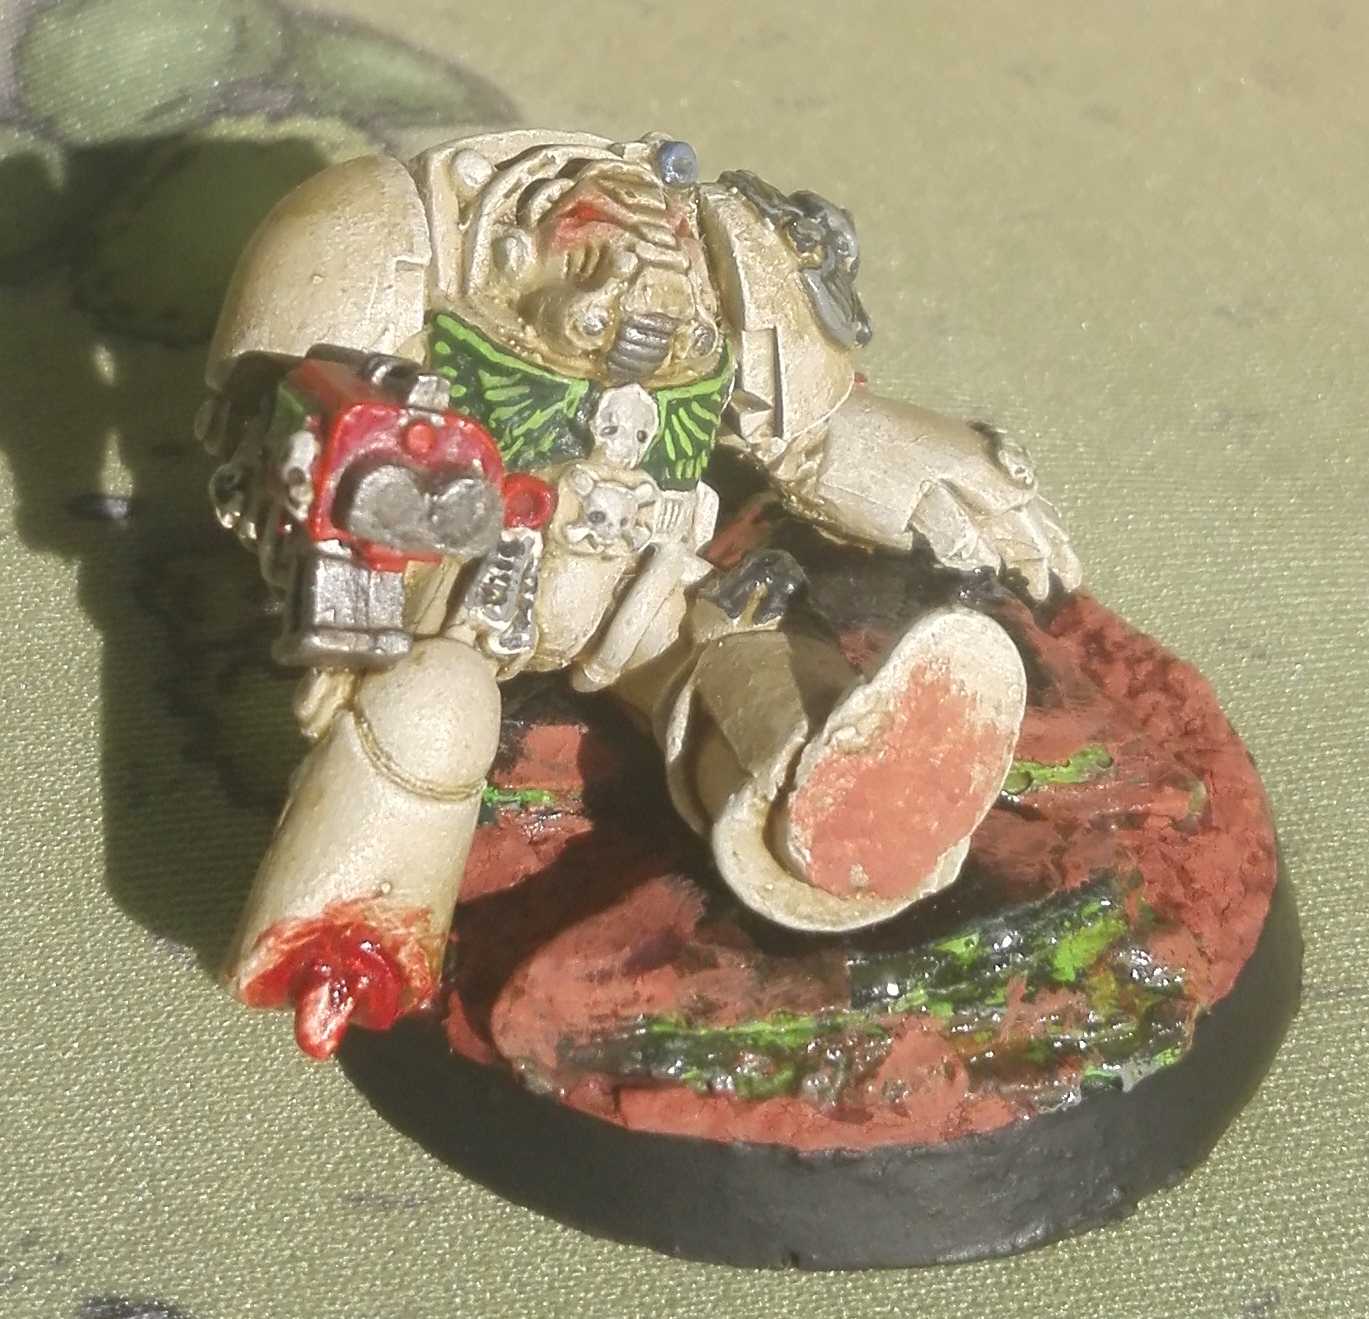
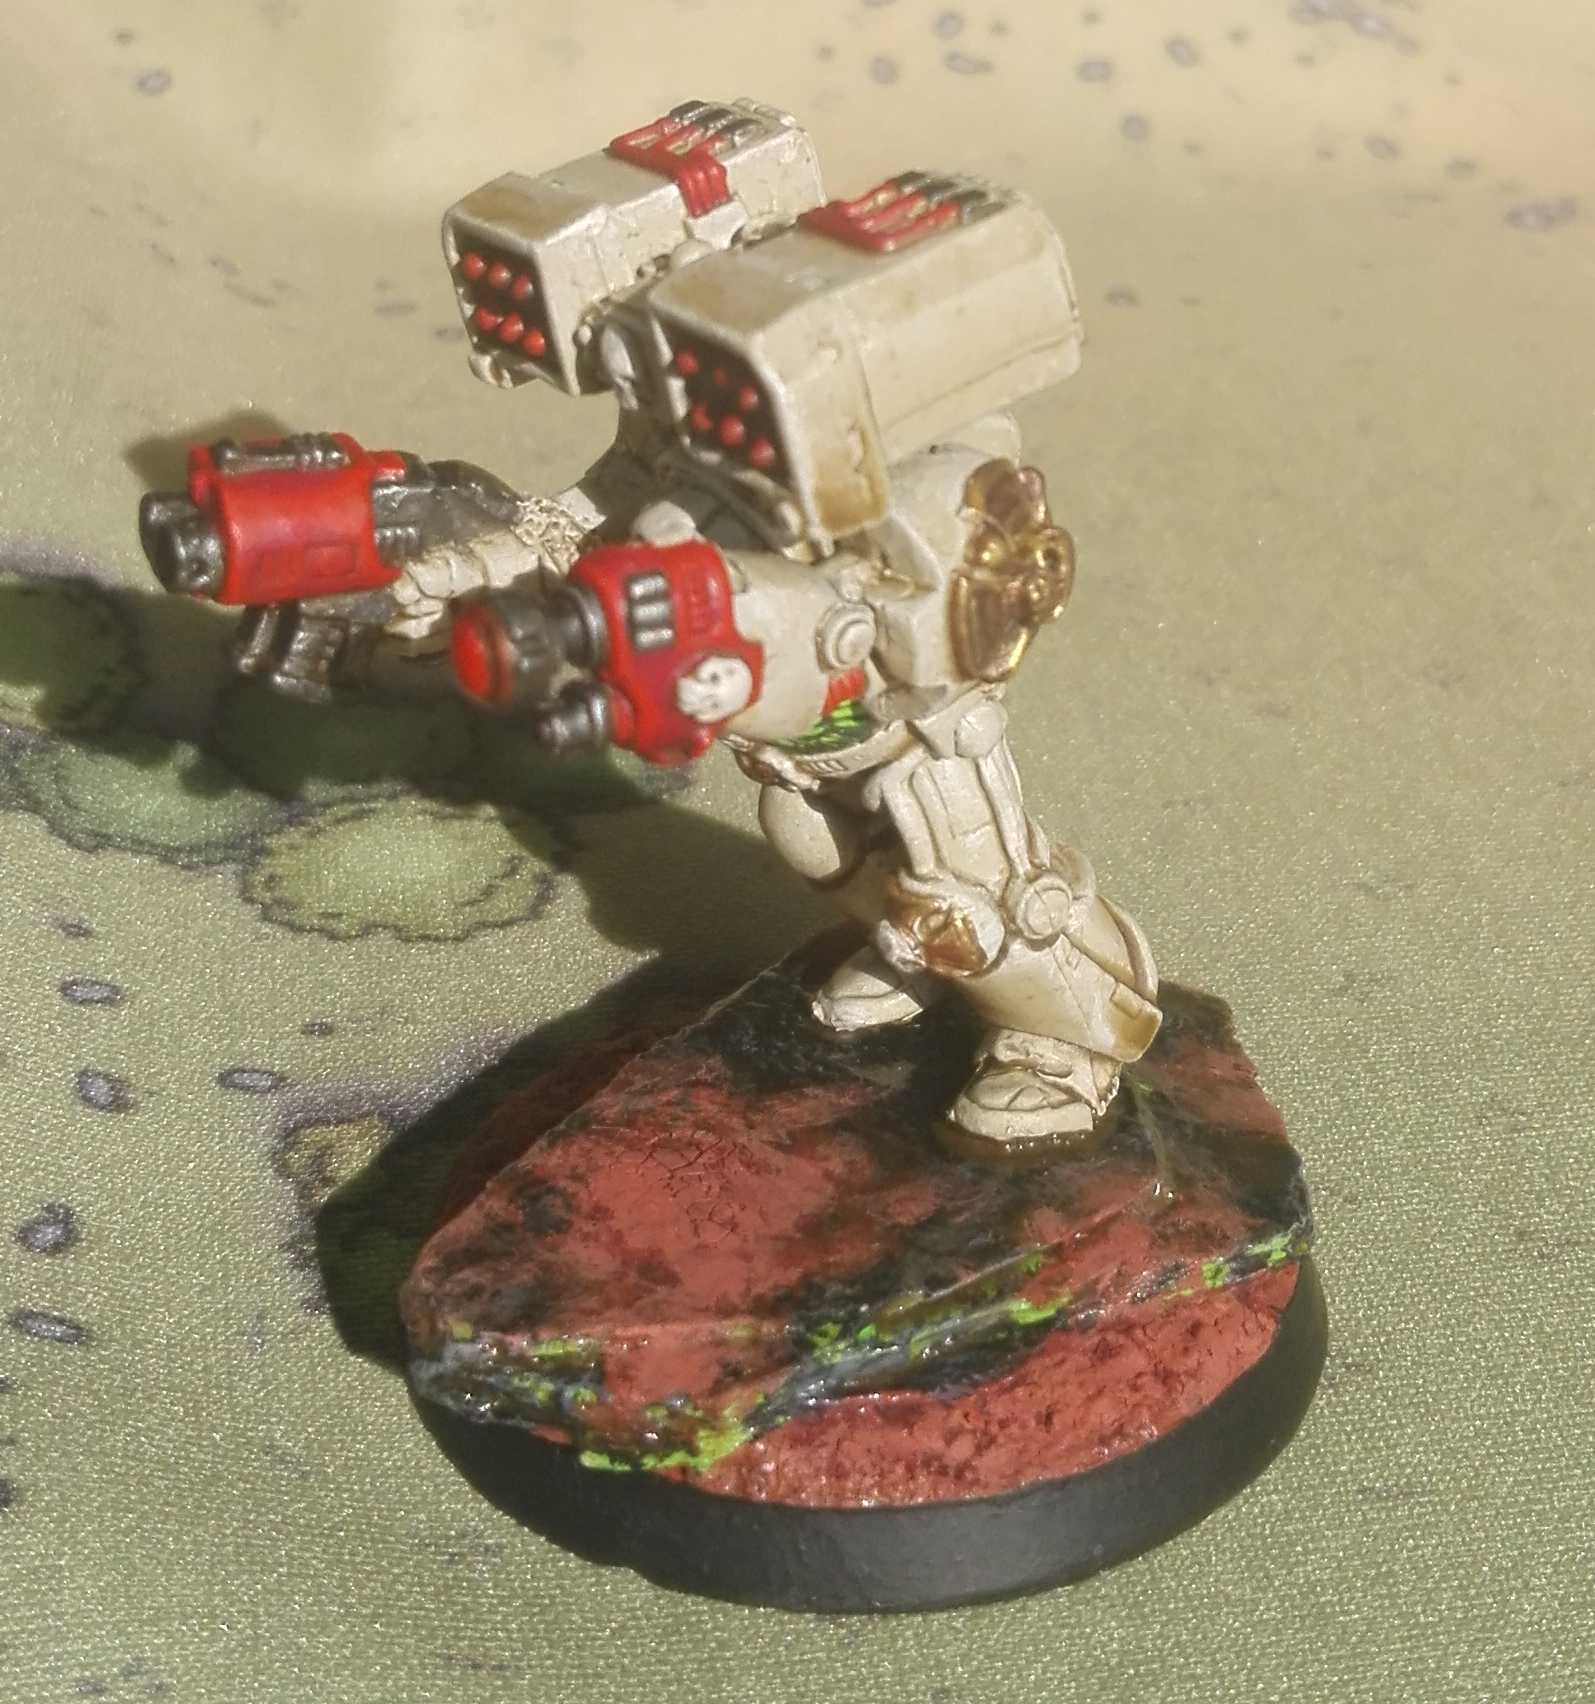
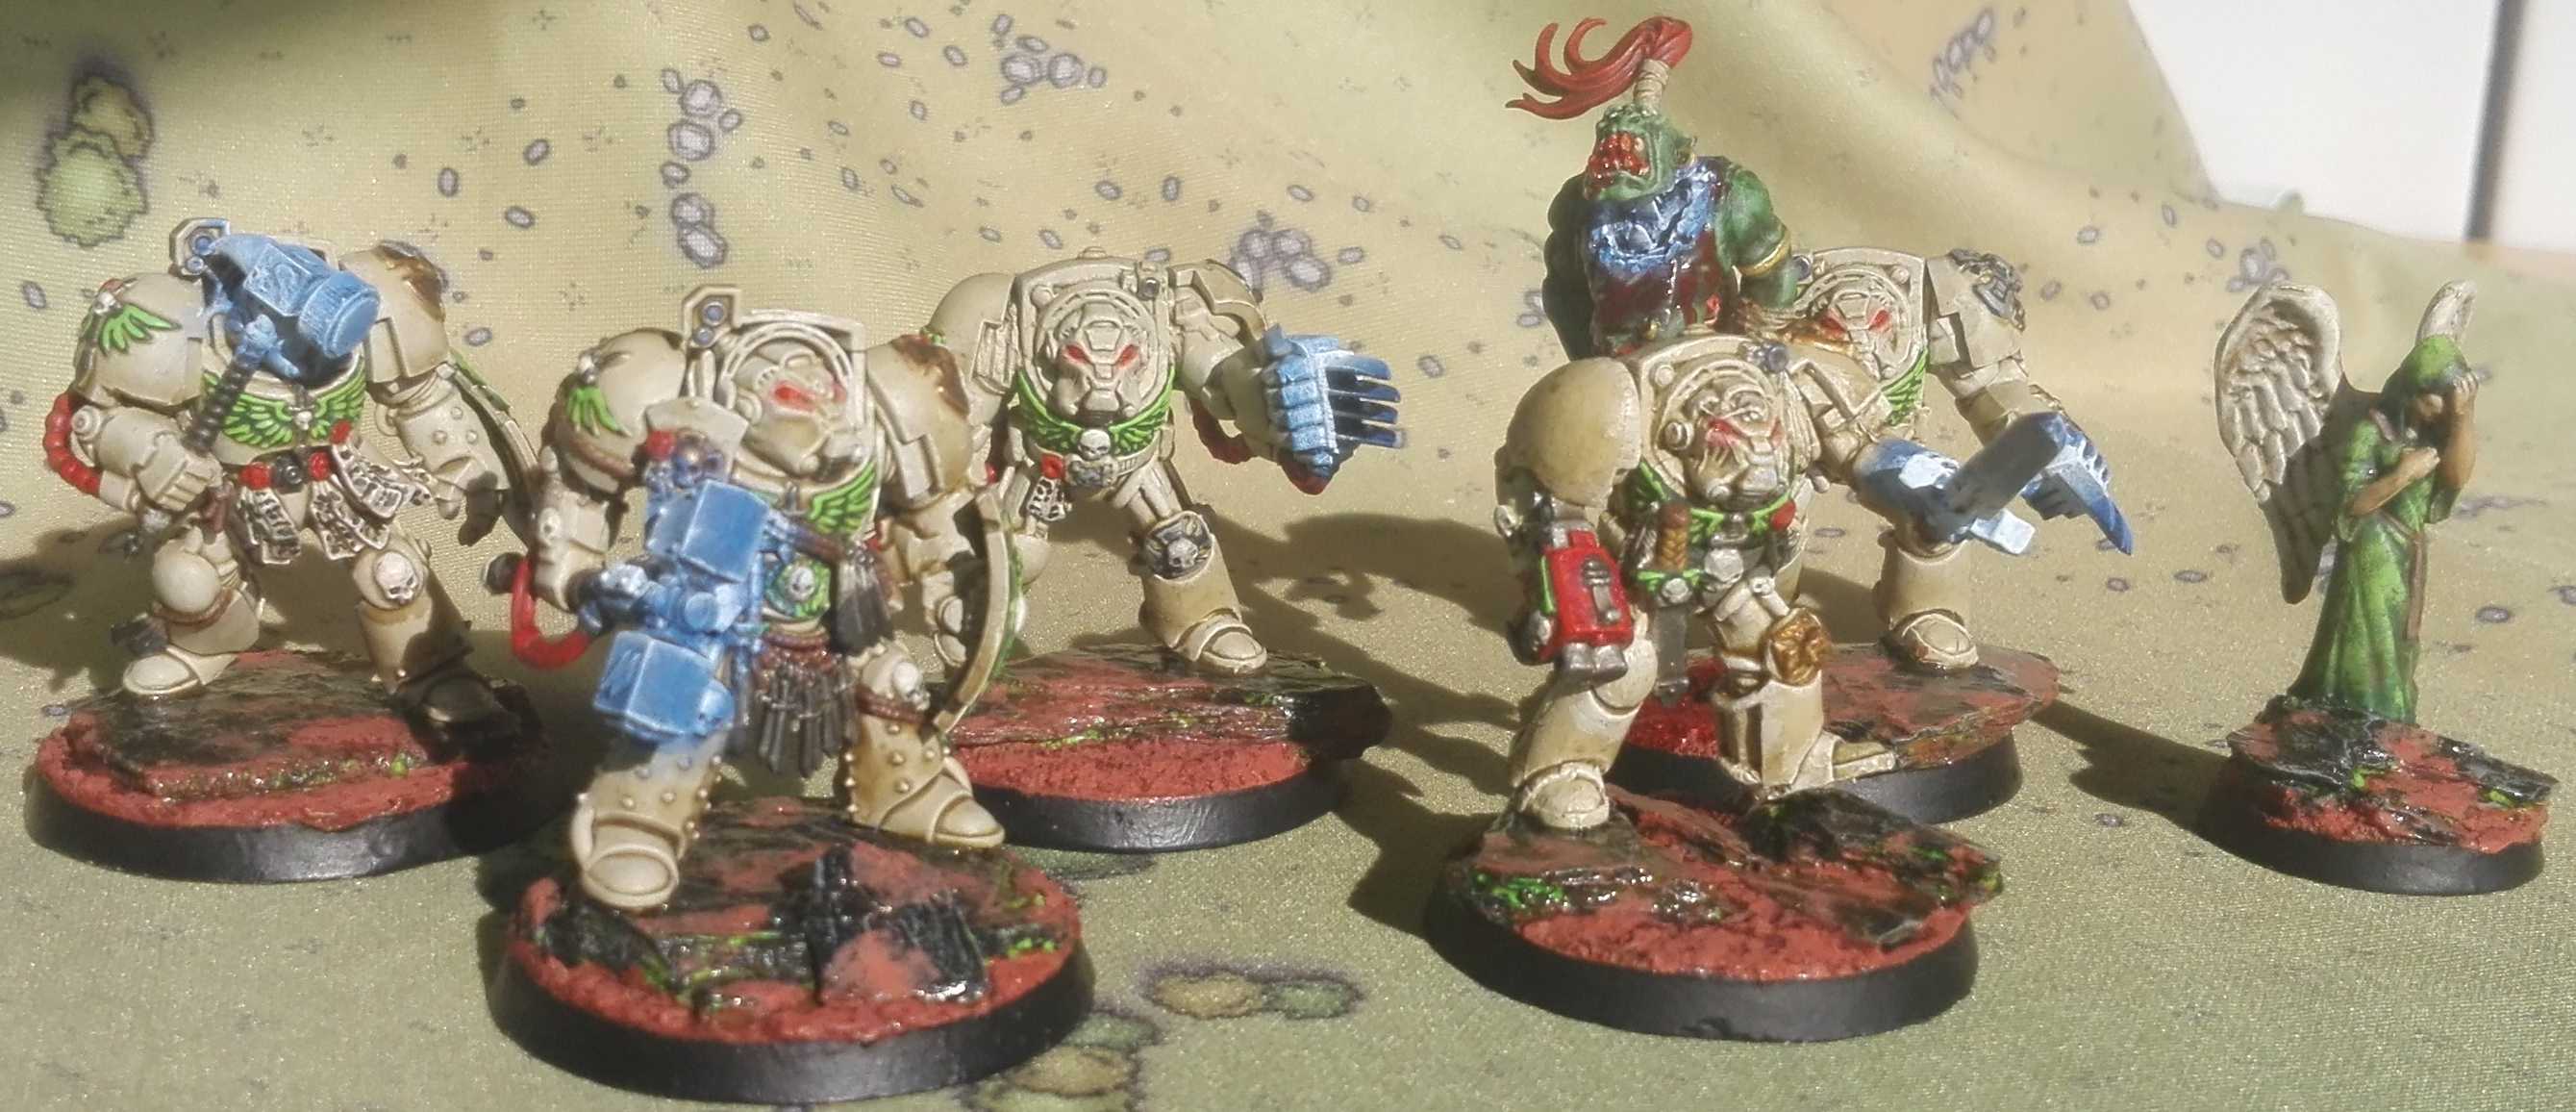 ... and the melee part.