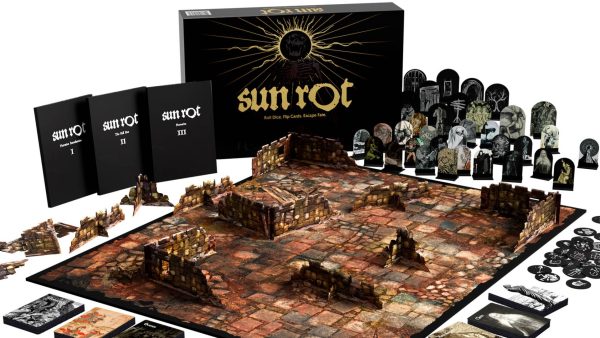


Gaz’s Spring Clean Hobby Challenge 2020


Recommendations: 266
About the Project
Hey guys, so 2020 Spring Hobby Challenge is here and I am ready to get some minis painted. Got the usual storage area full of never started projects and the odd partially done ones. Rather than bog myself down in large forces, I have decided to attack the skirmish style games. Hope you guys enjoy and any questions or comments please drop them in and I will do my best to answer them for you. So got my shades on, my hair is looking good, AK is loaded, my new Adidas tracksuit is freshly ironed and I'm wearing my best flip flops, let's do this people!
Related Genre: General
Related Contest: Spring Clean Hobby Challenge (Old)
This Project is Completed
Change of mini today and prepping for the next project.......maybe
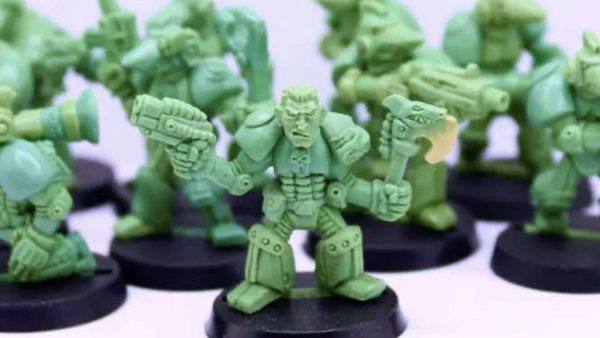
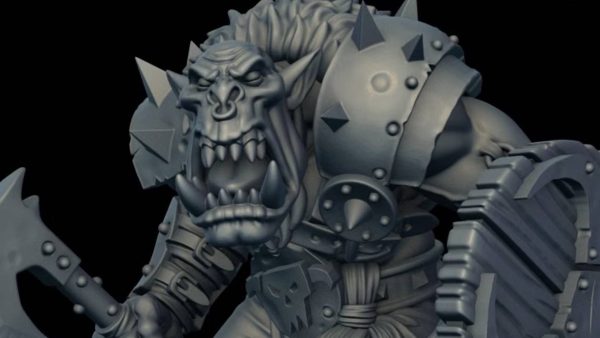
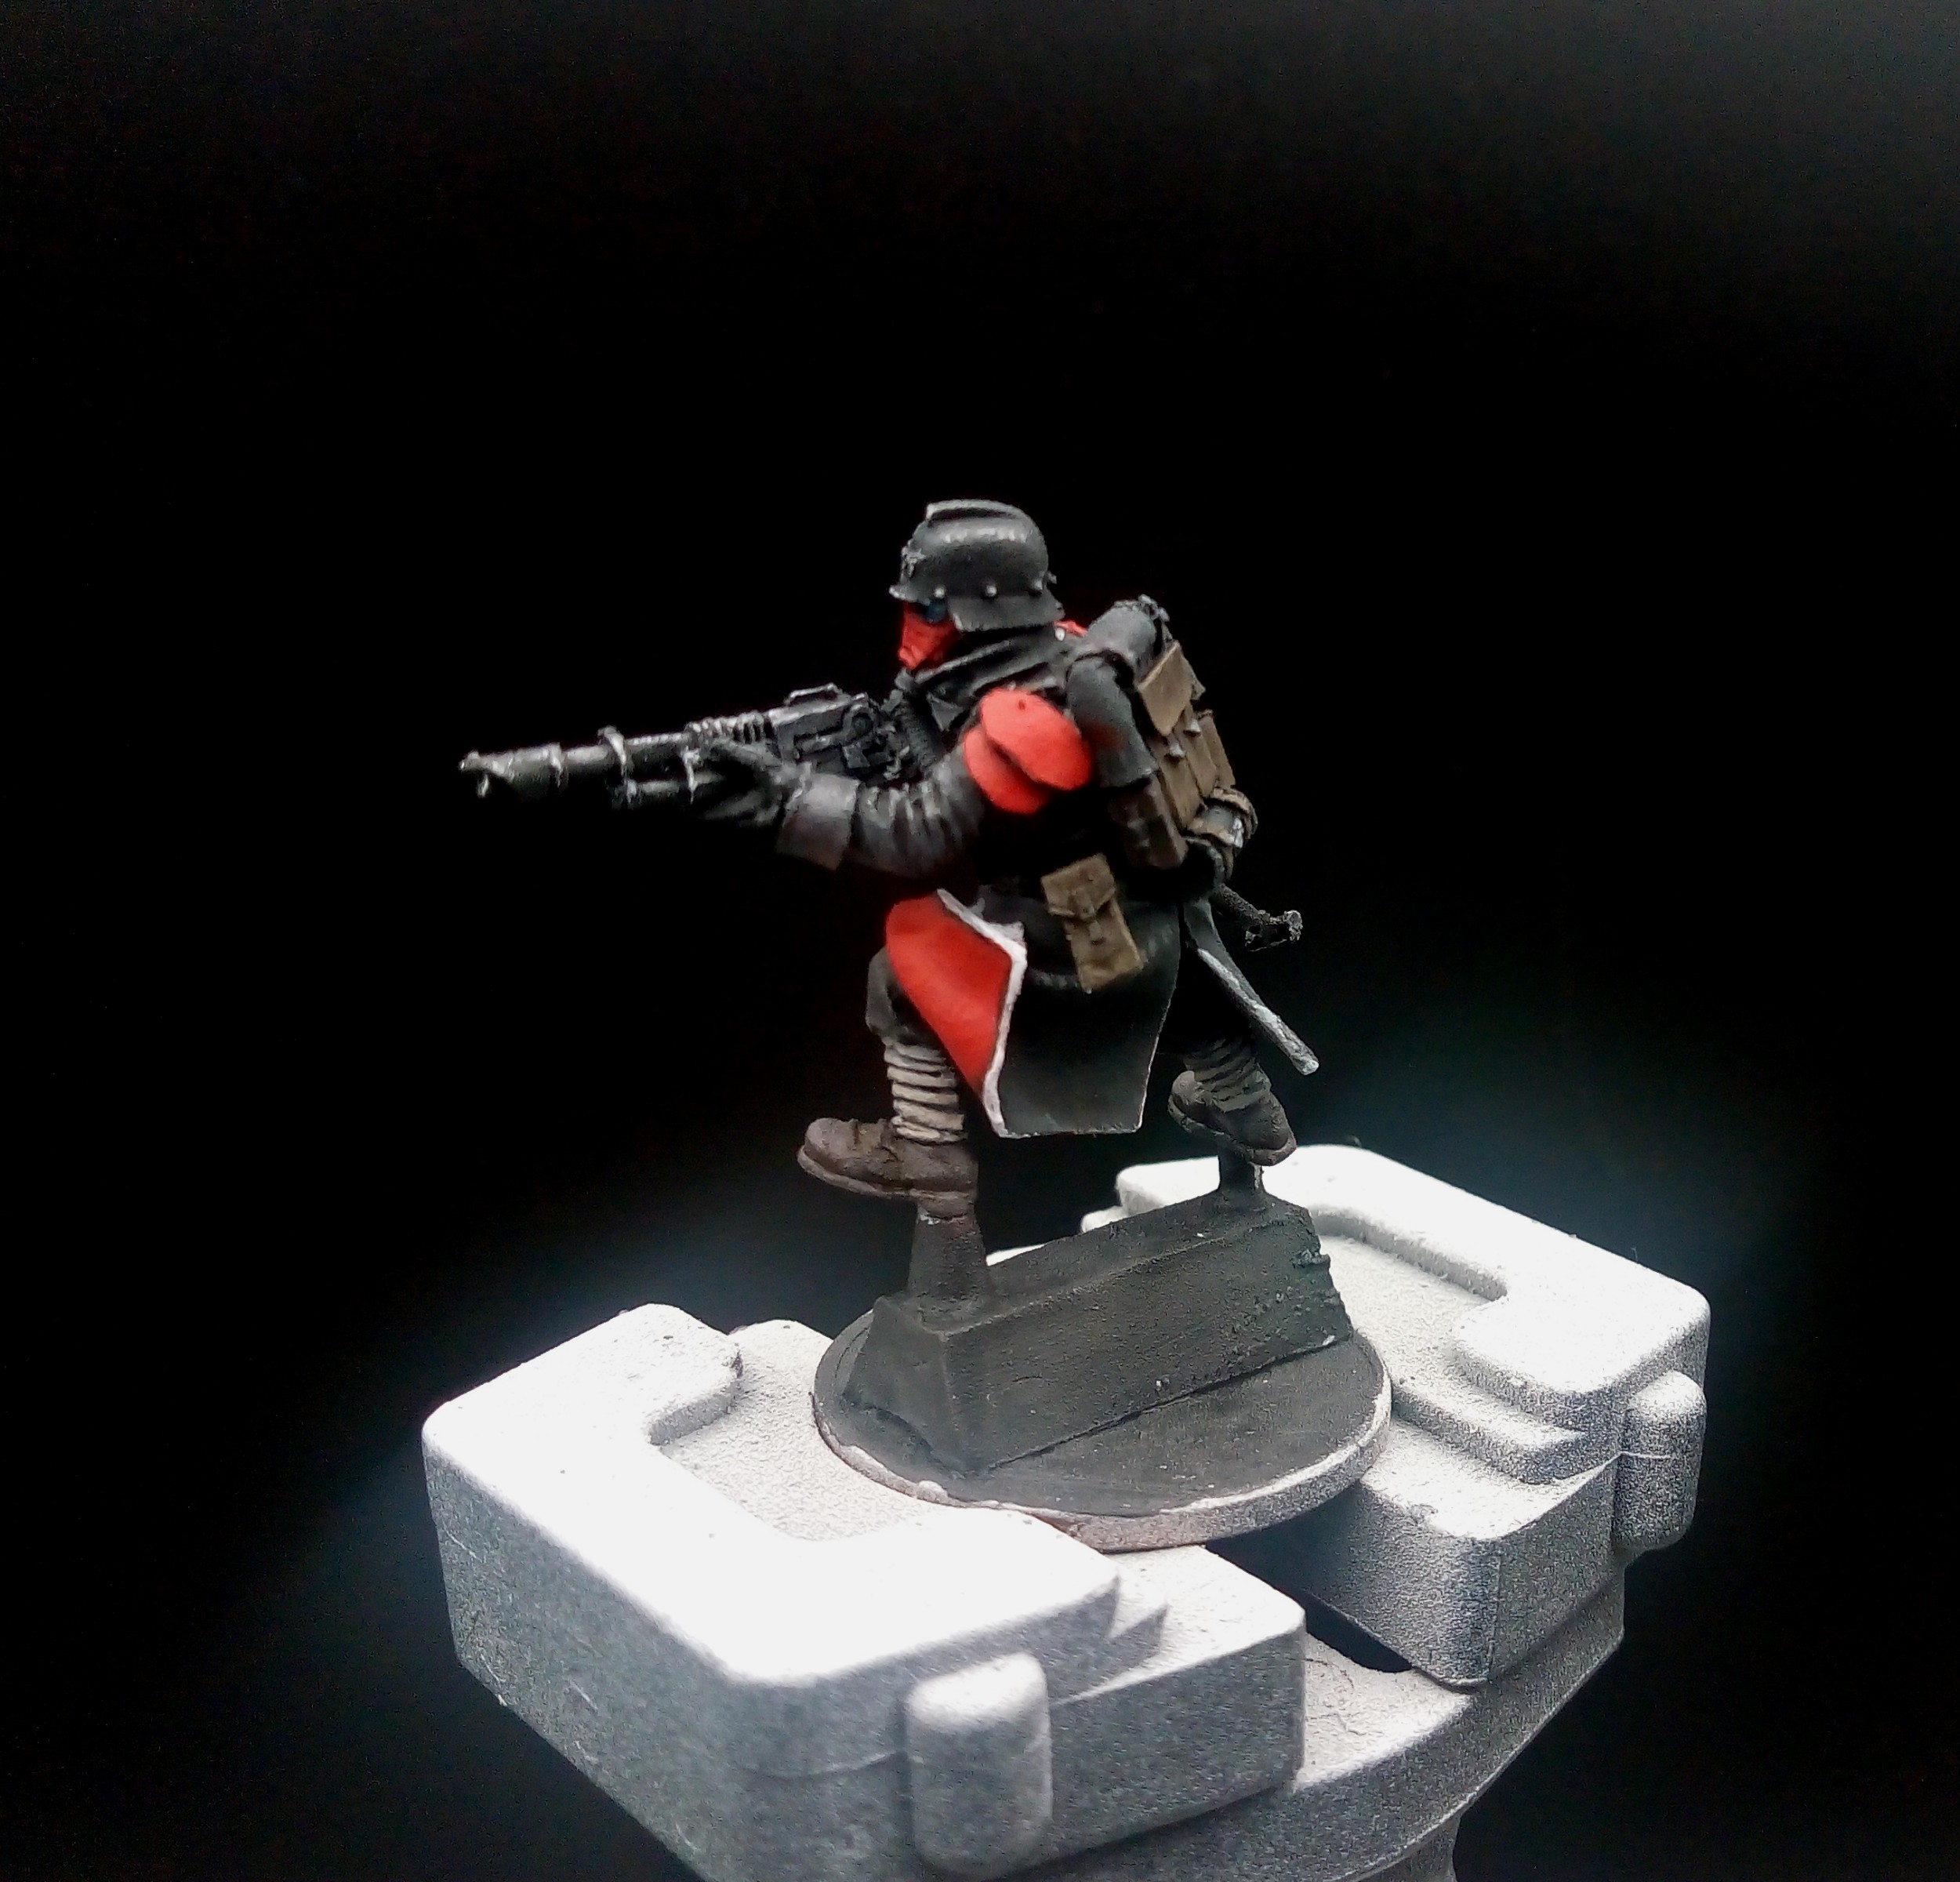
Spent a few hours today using a test mini to rough out a general colour scheme for my Death Korp of Krieg. Gonna start with a Kill Team then pop open the shiny storage area and blow the dust off the army.
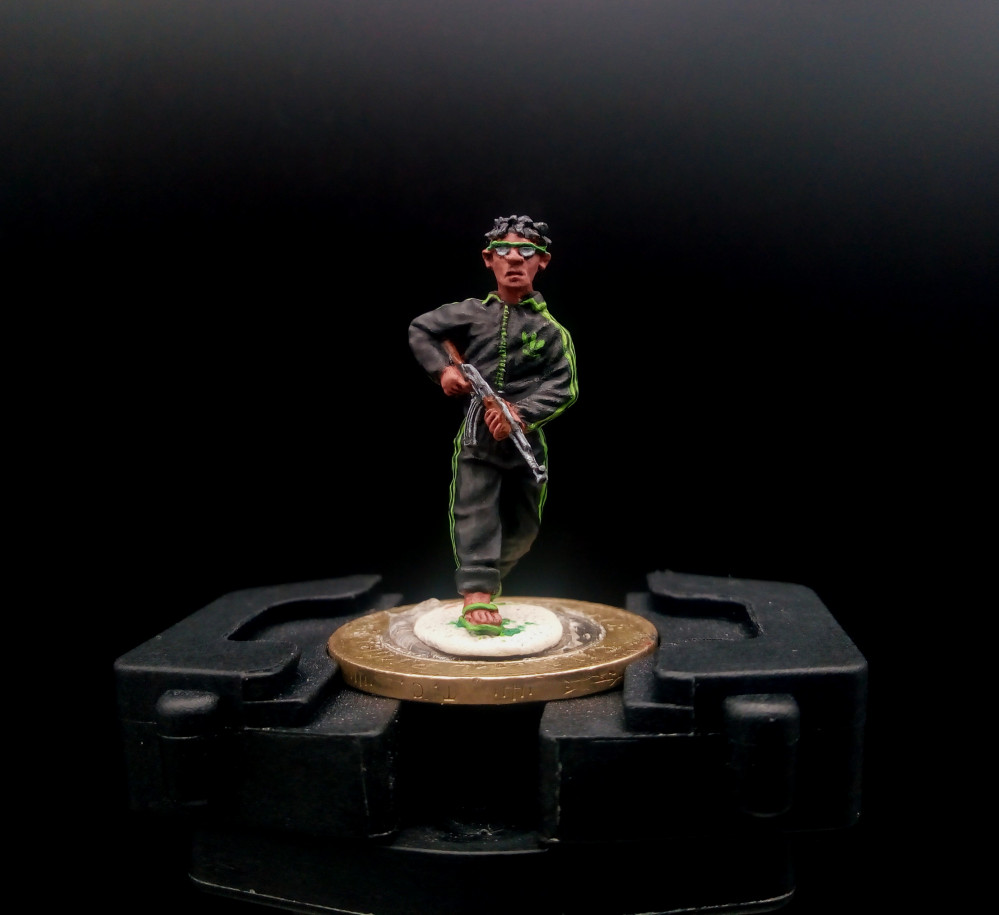
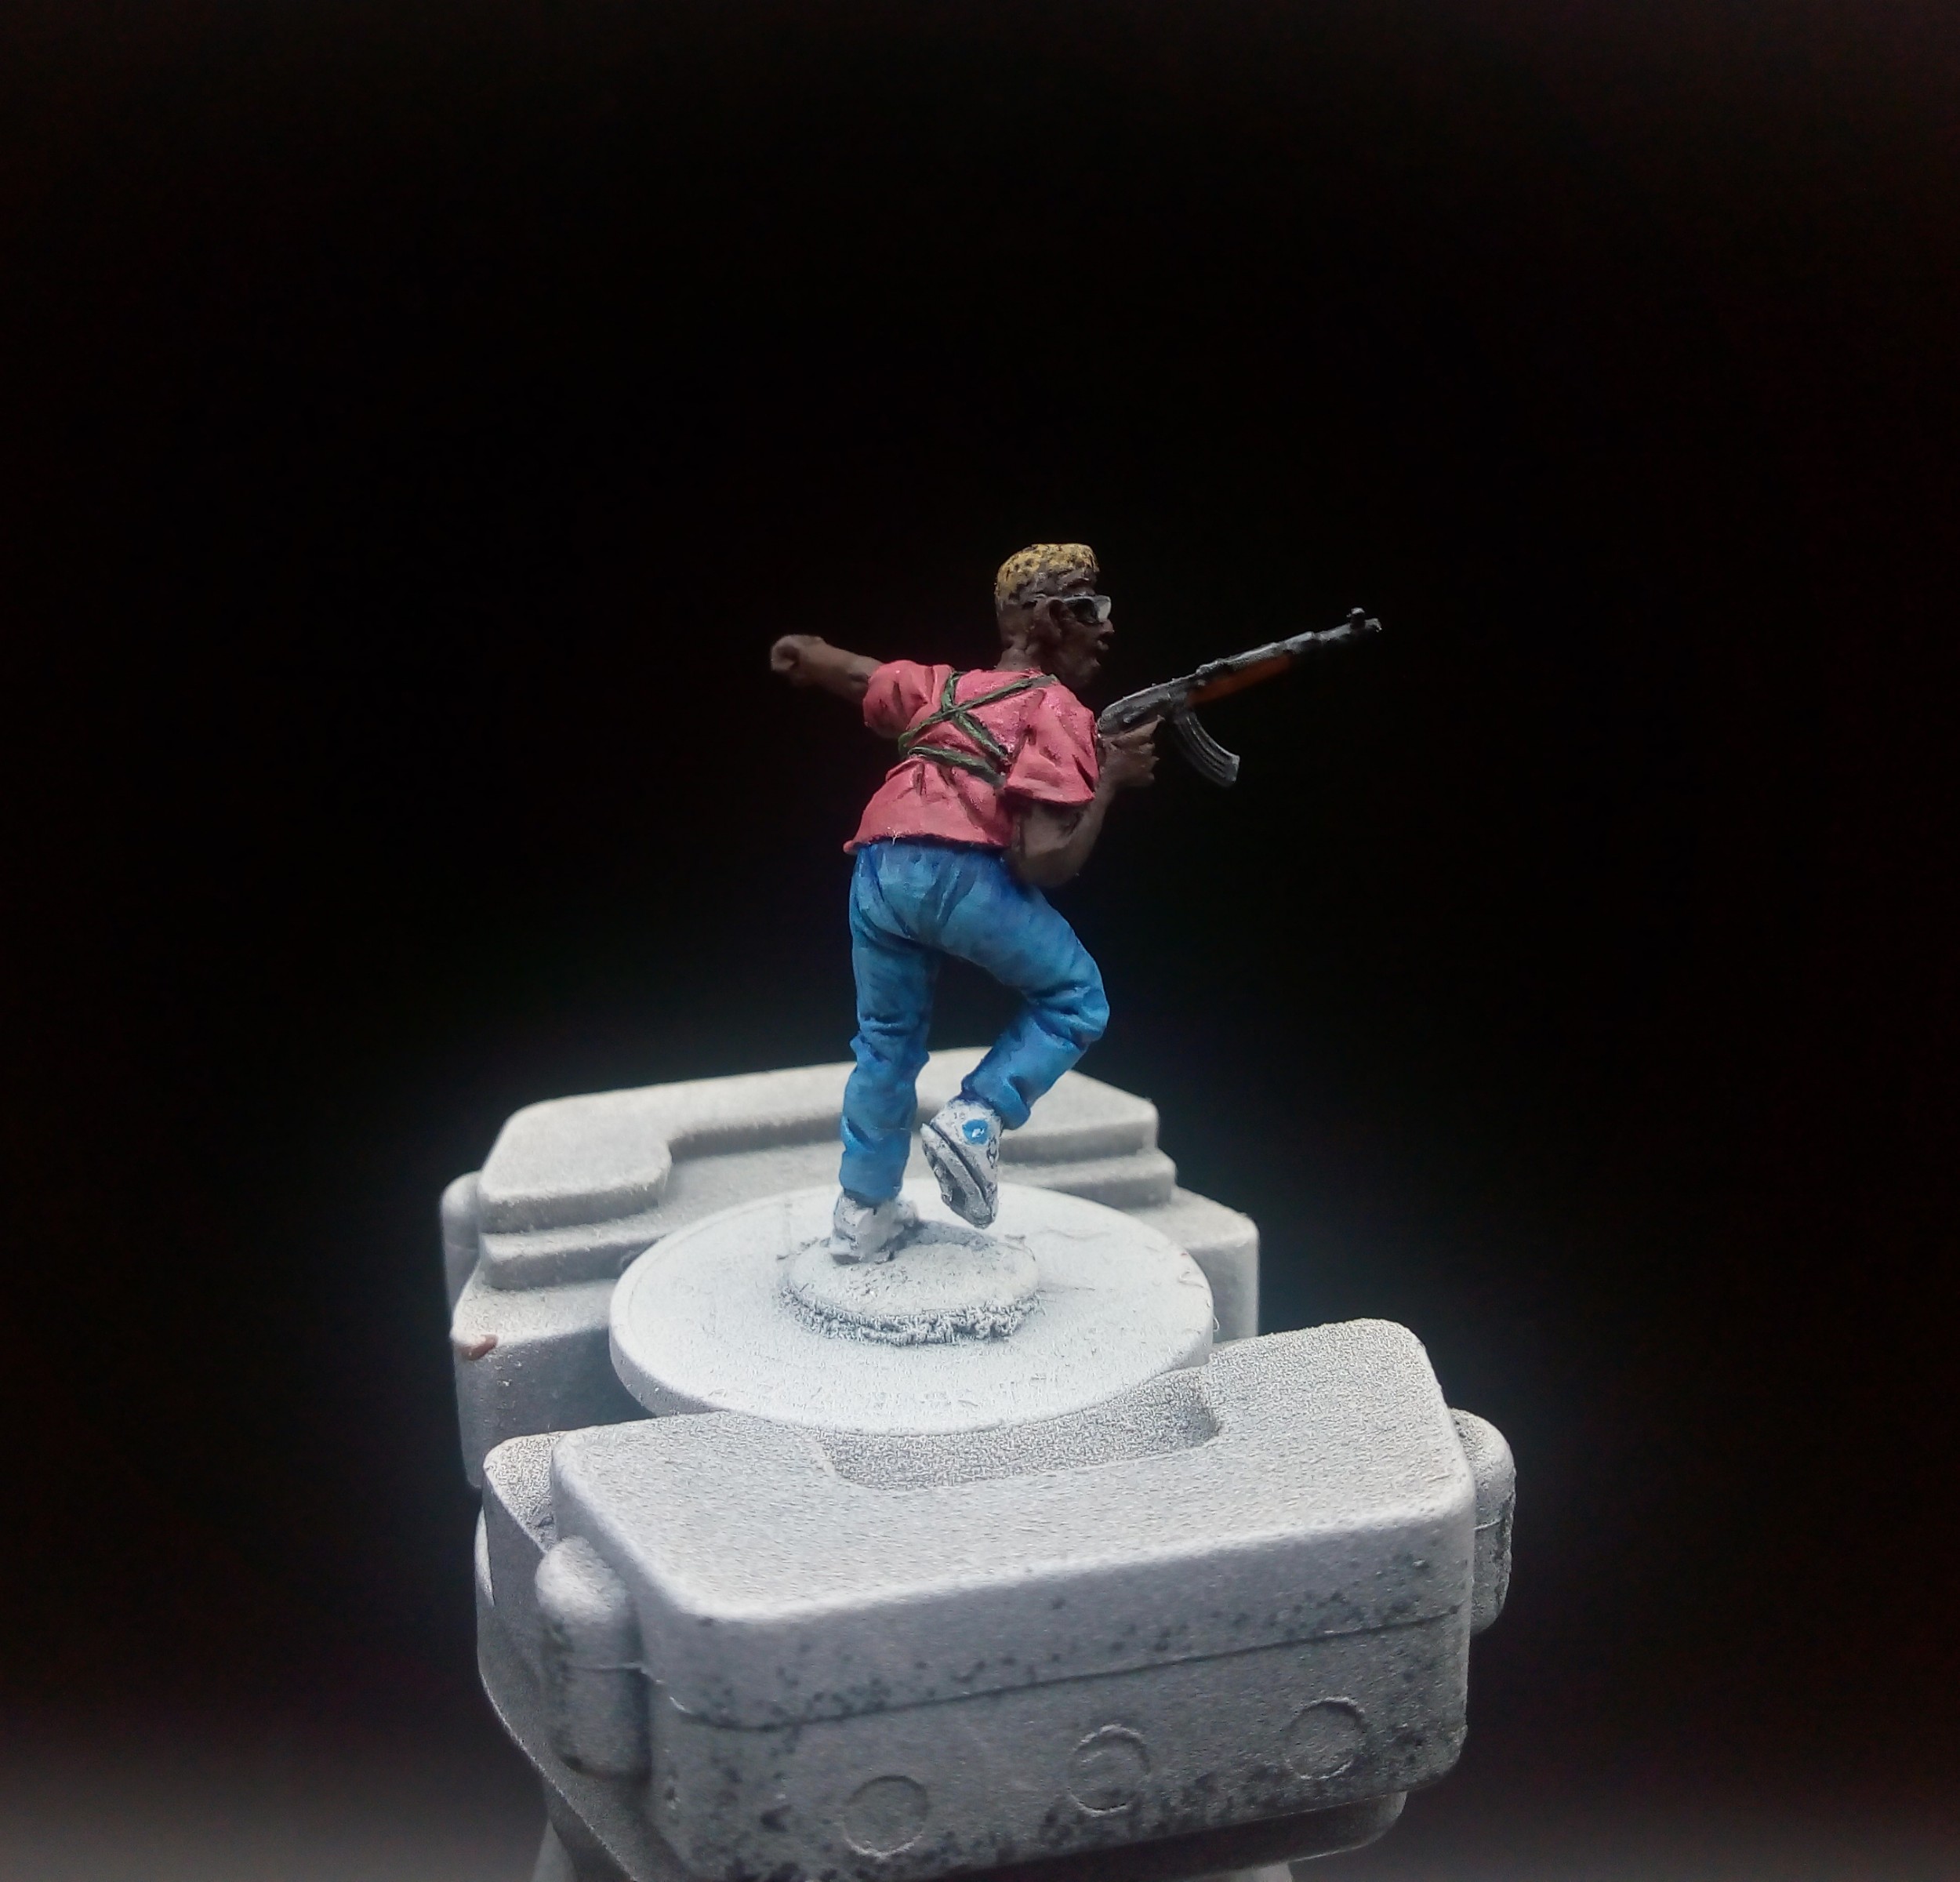
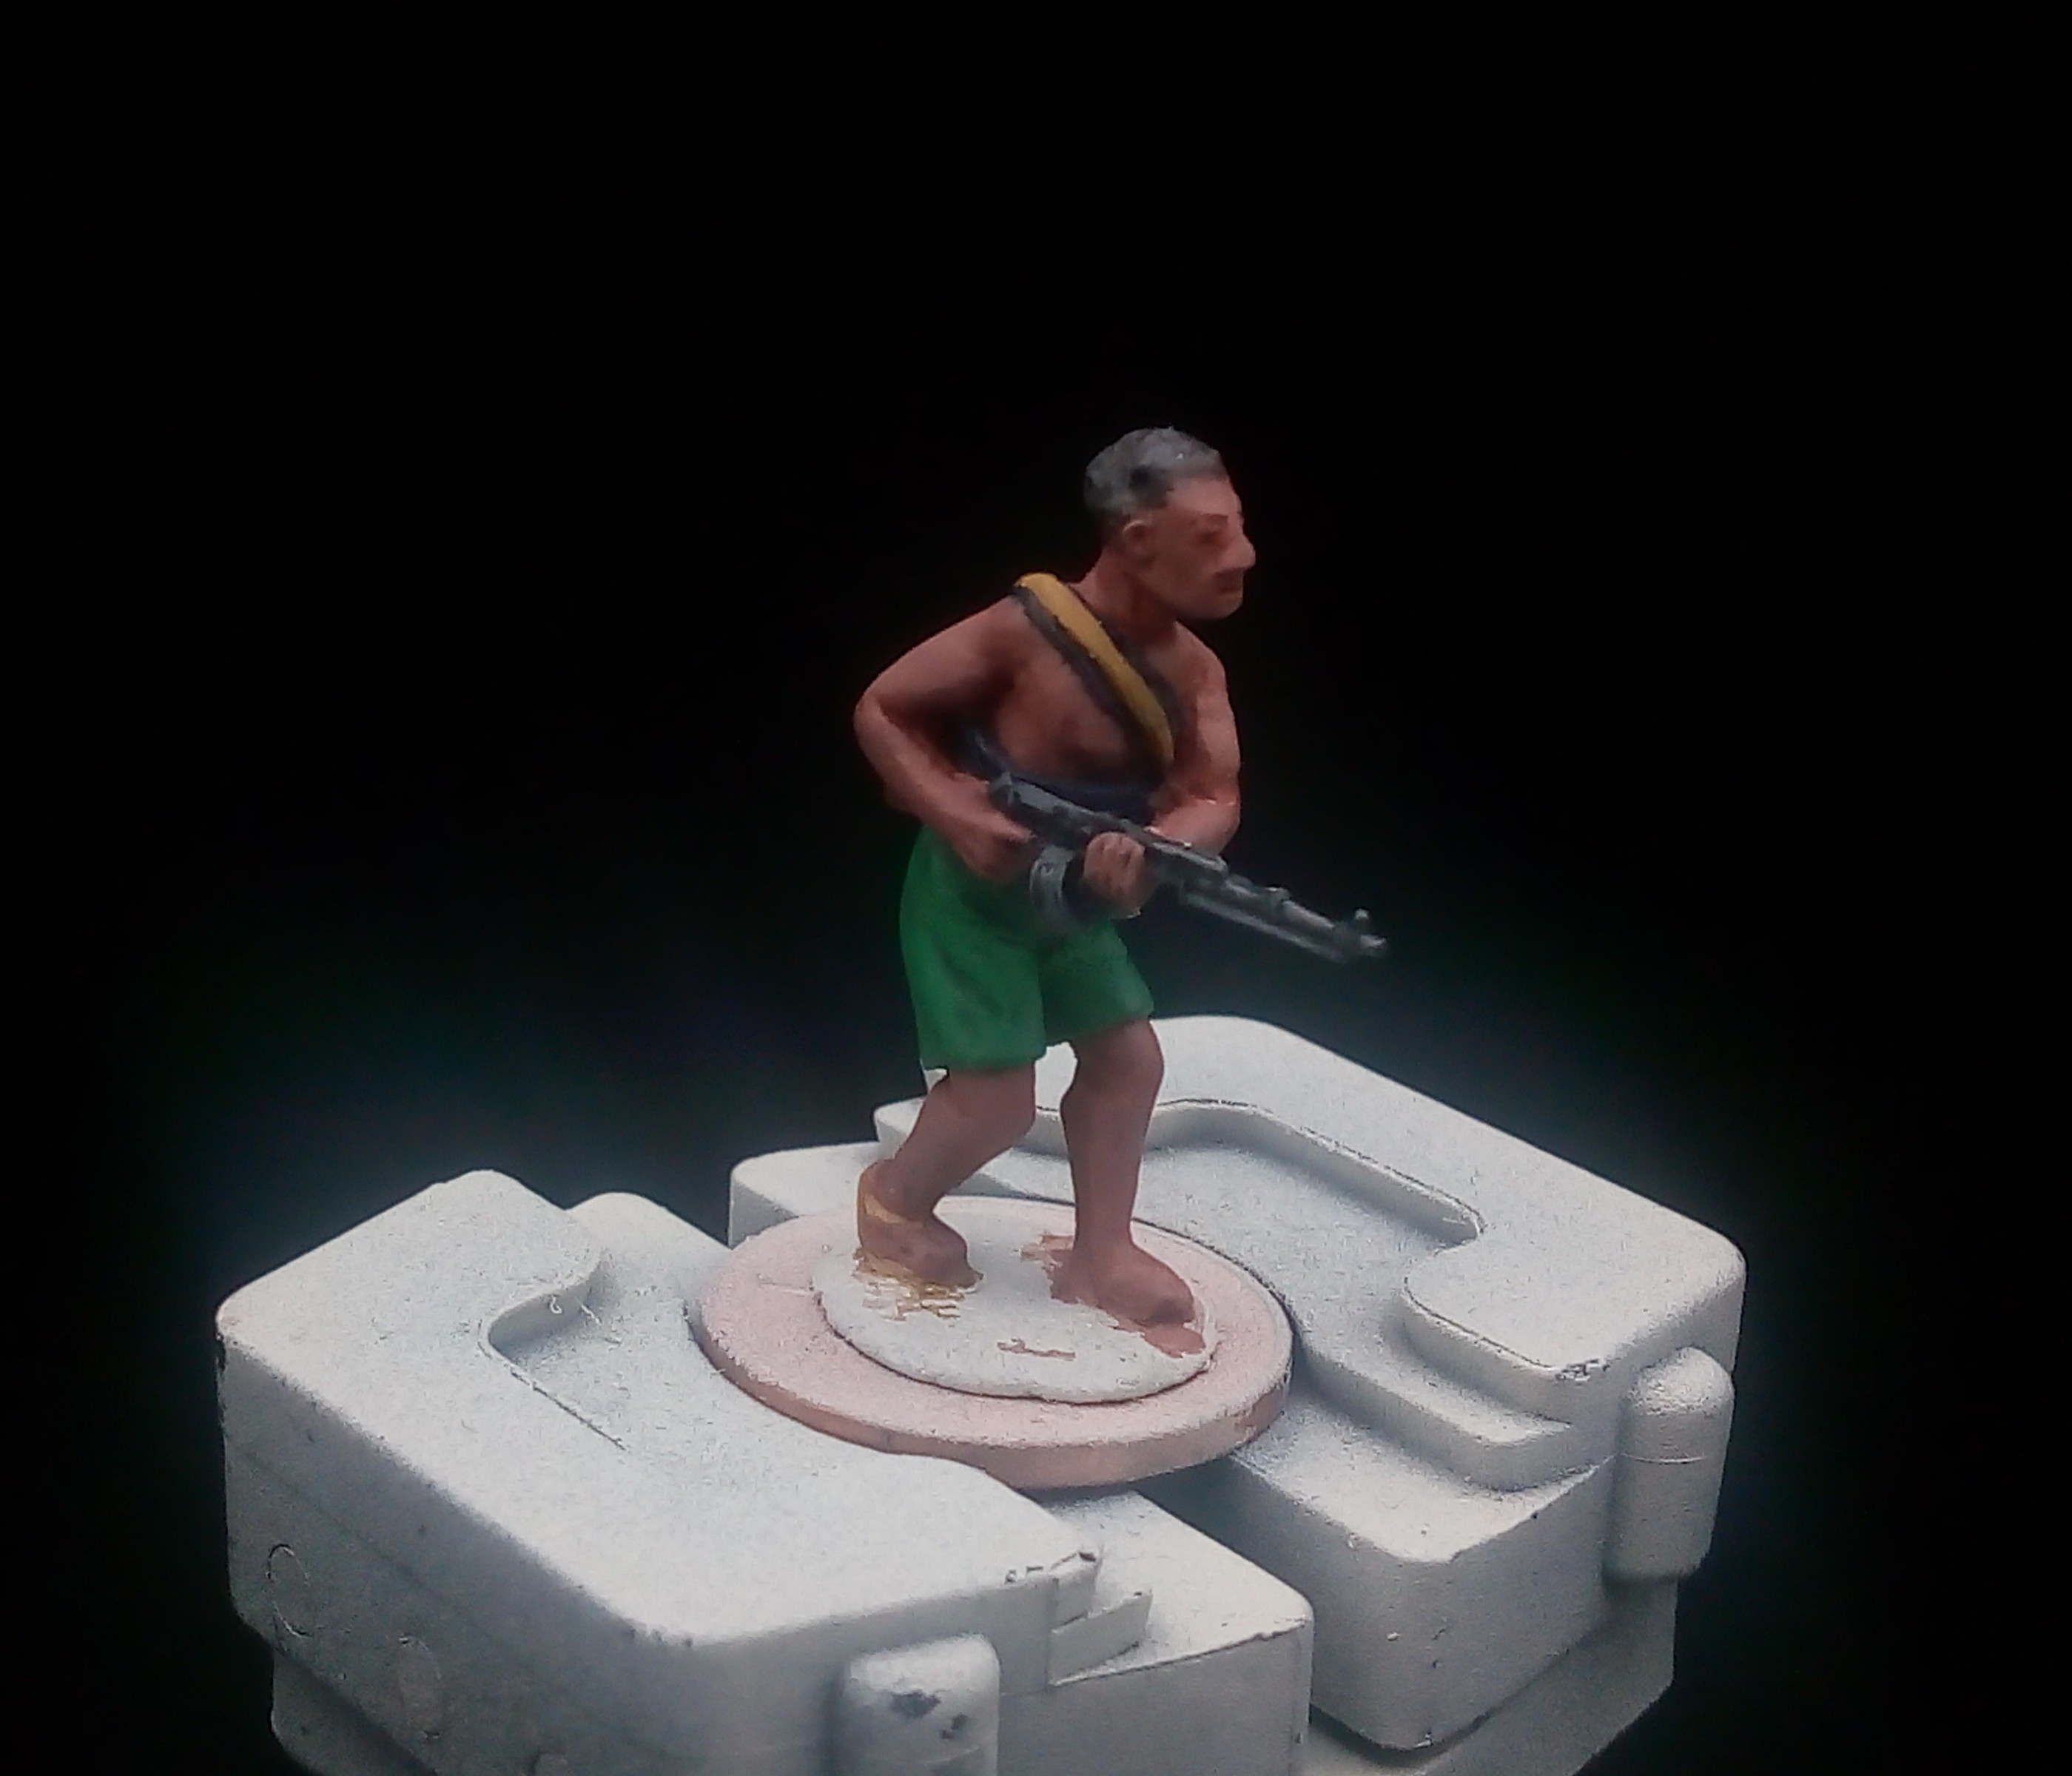
Another mini done on the Sitrep Twitch
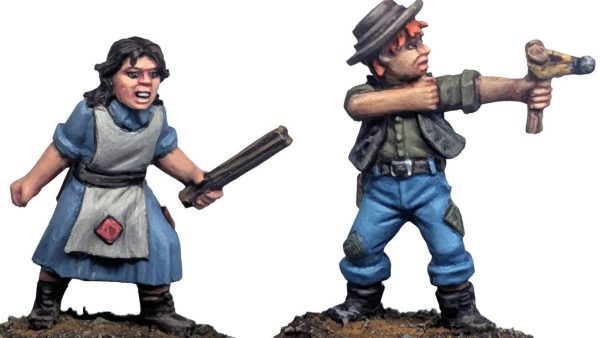
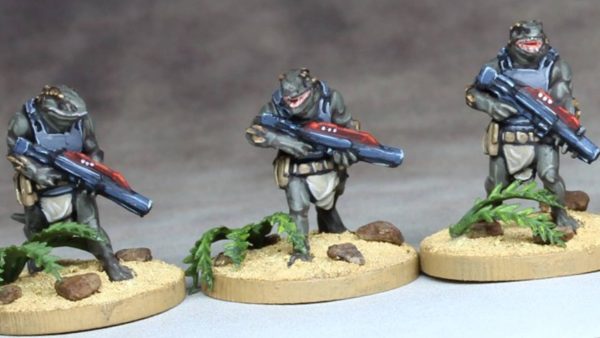
Hey guys, so this is another Spectre Miniatures Africa Militia mini done on the Sitrep Twitch stream. Taken from primed to painted in around 2 and a half hours. Getting consistent now using the methods I have come up with.
Stay safe out there.

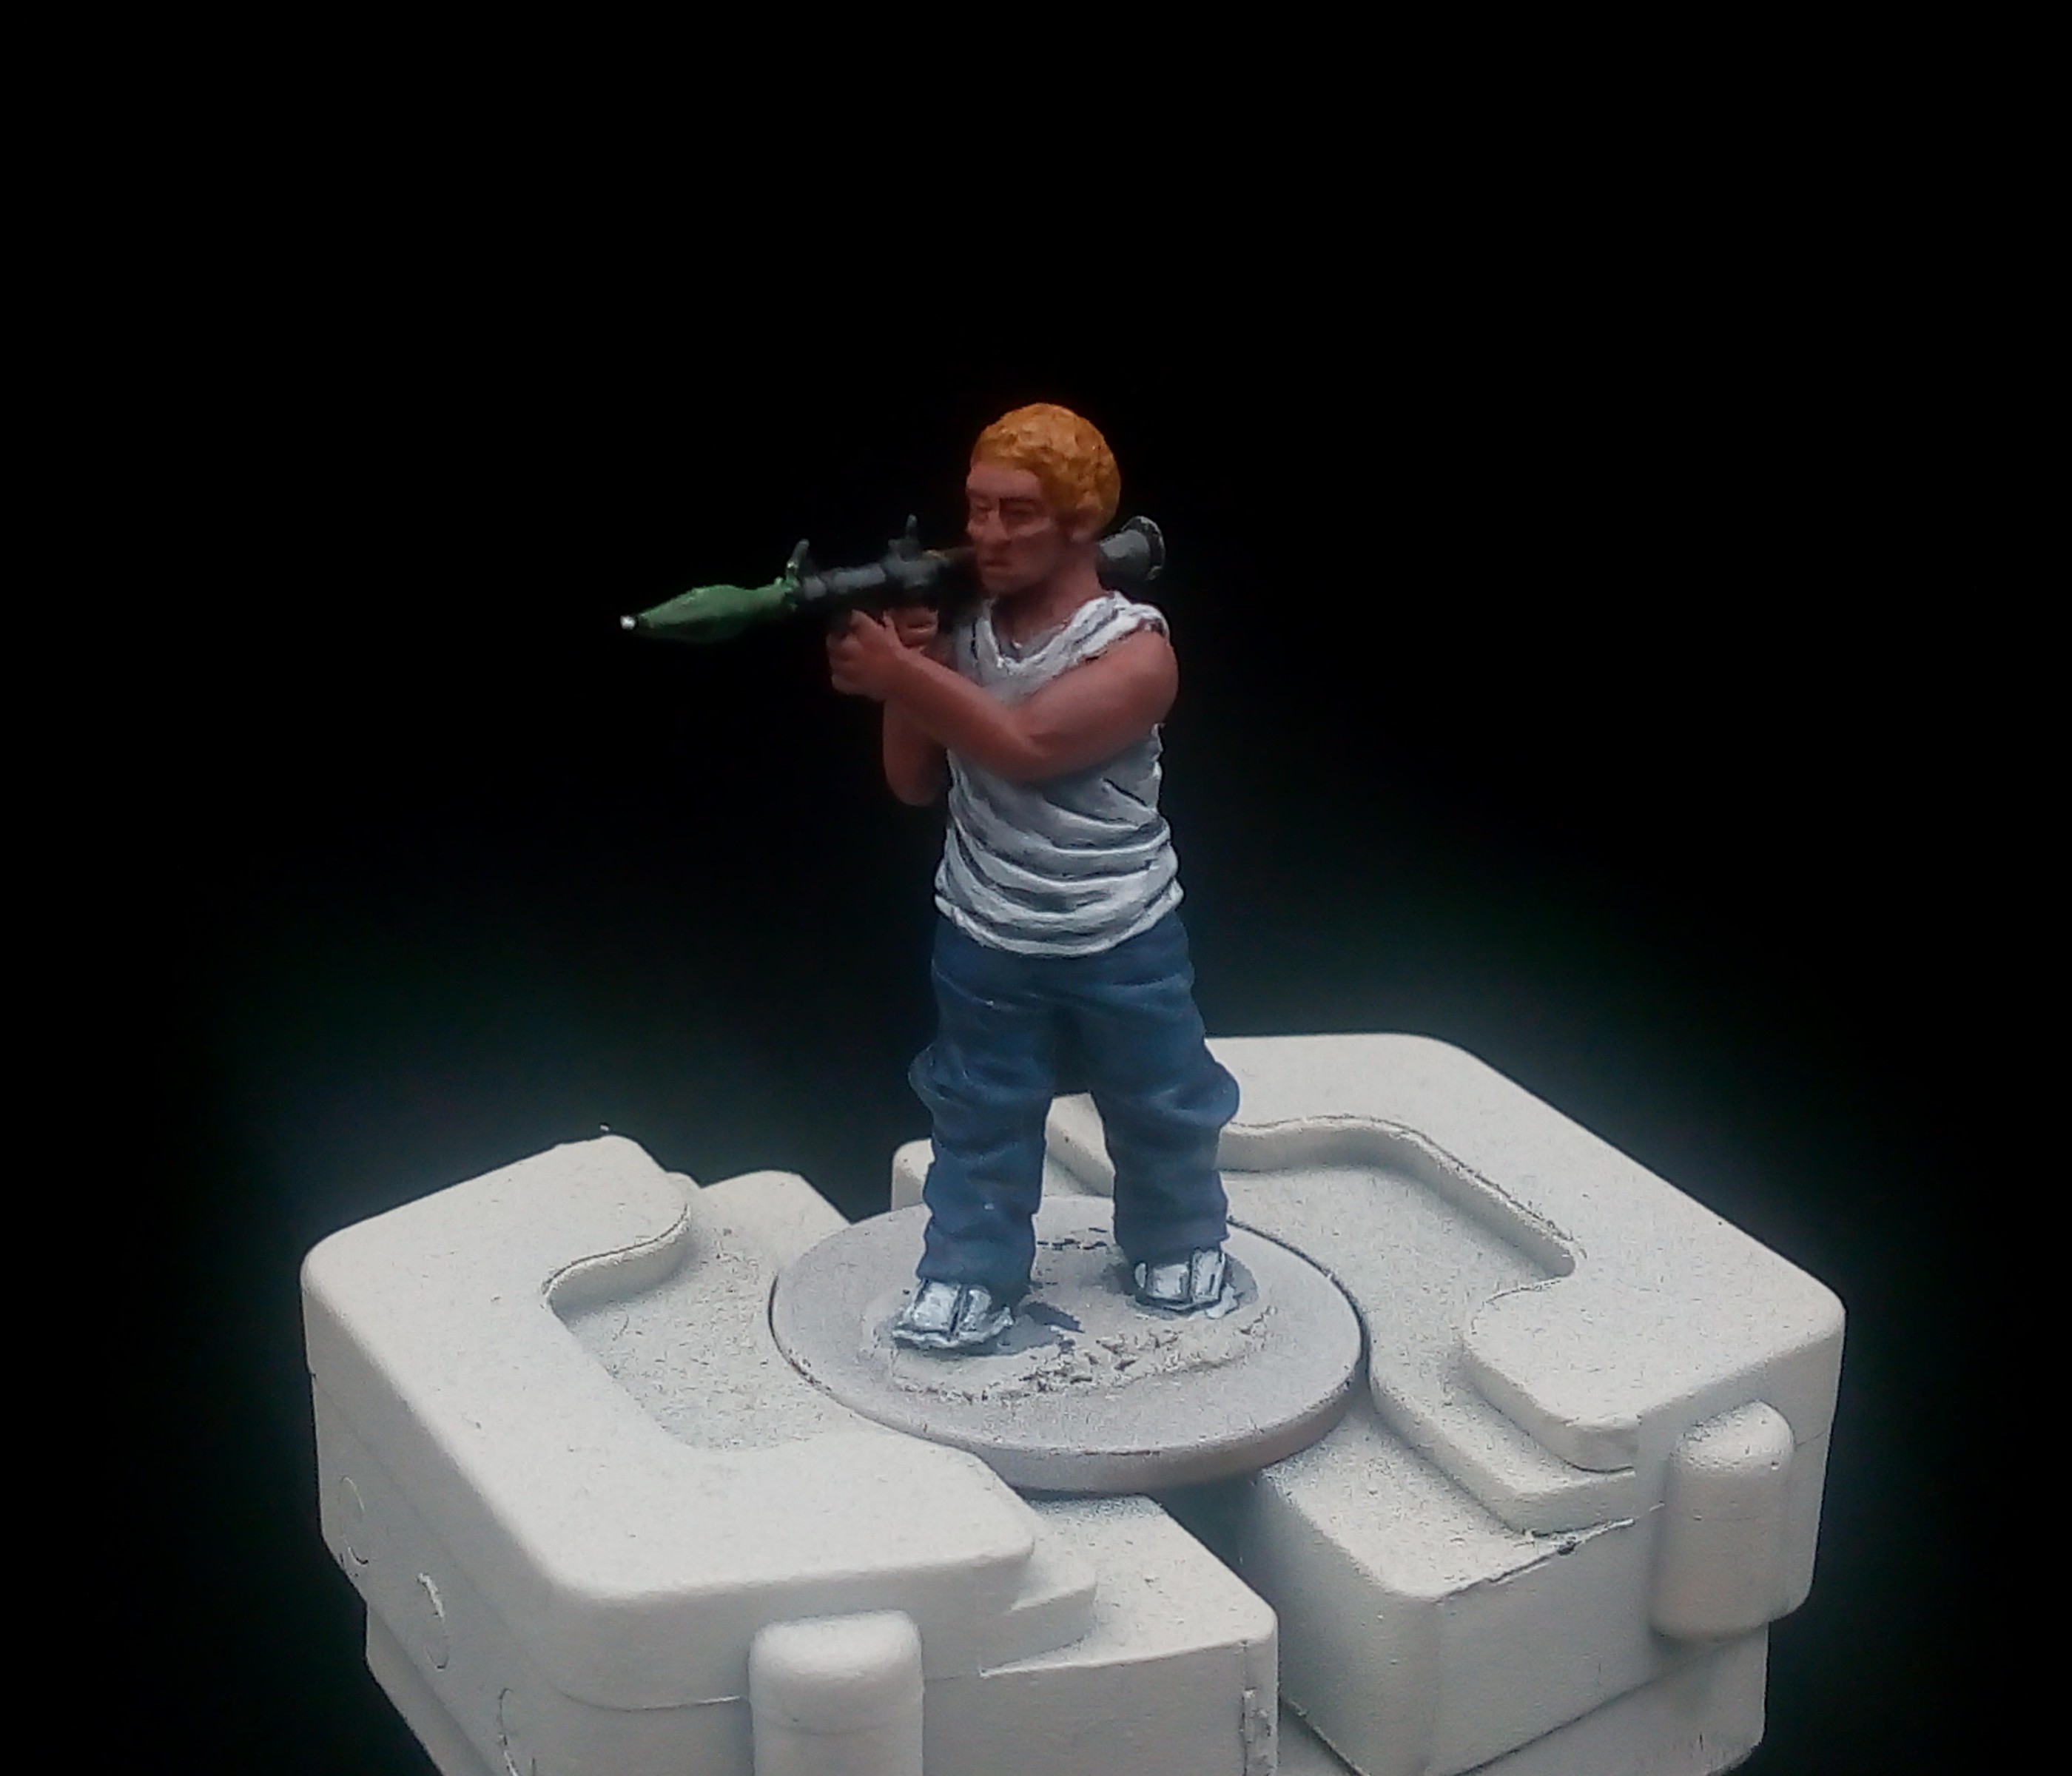
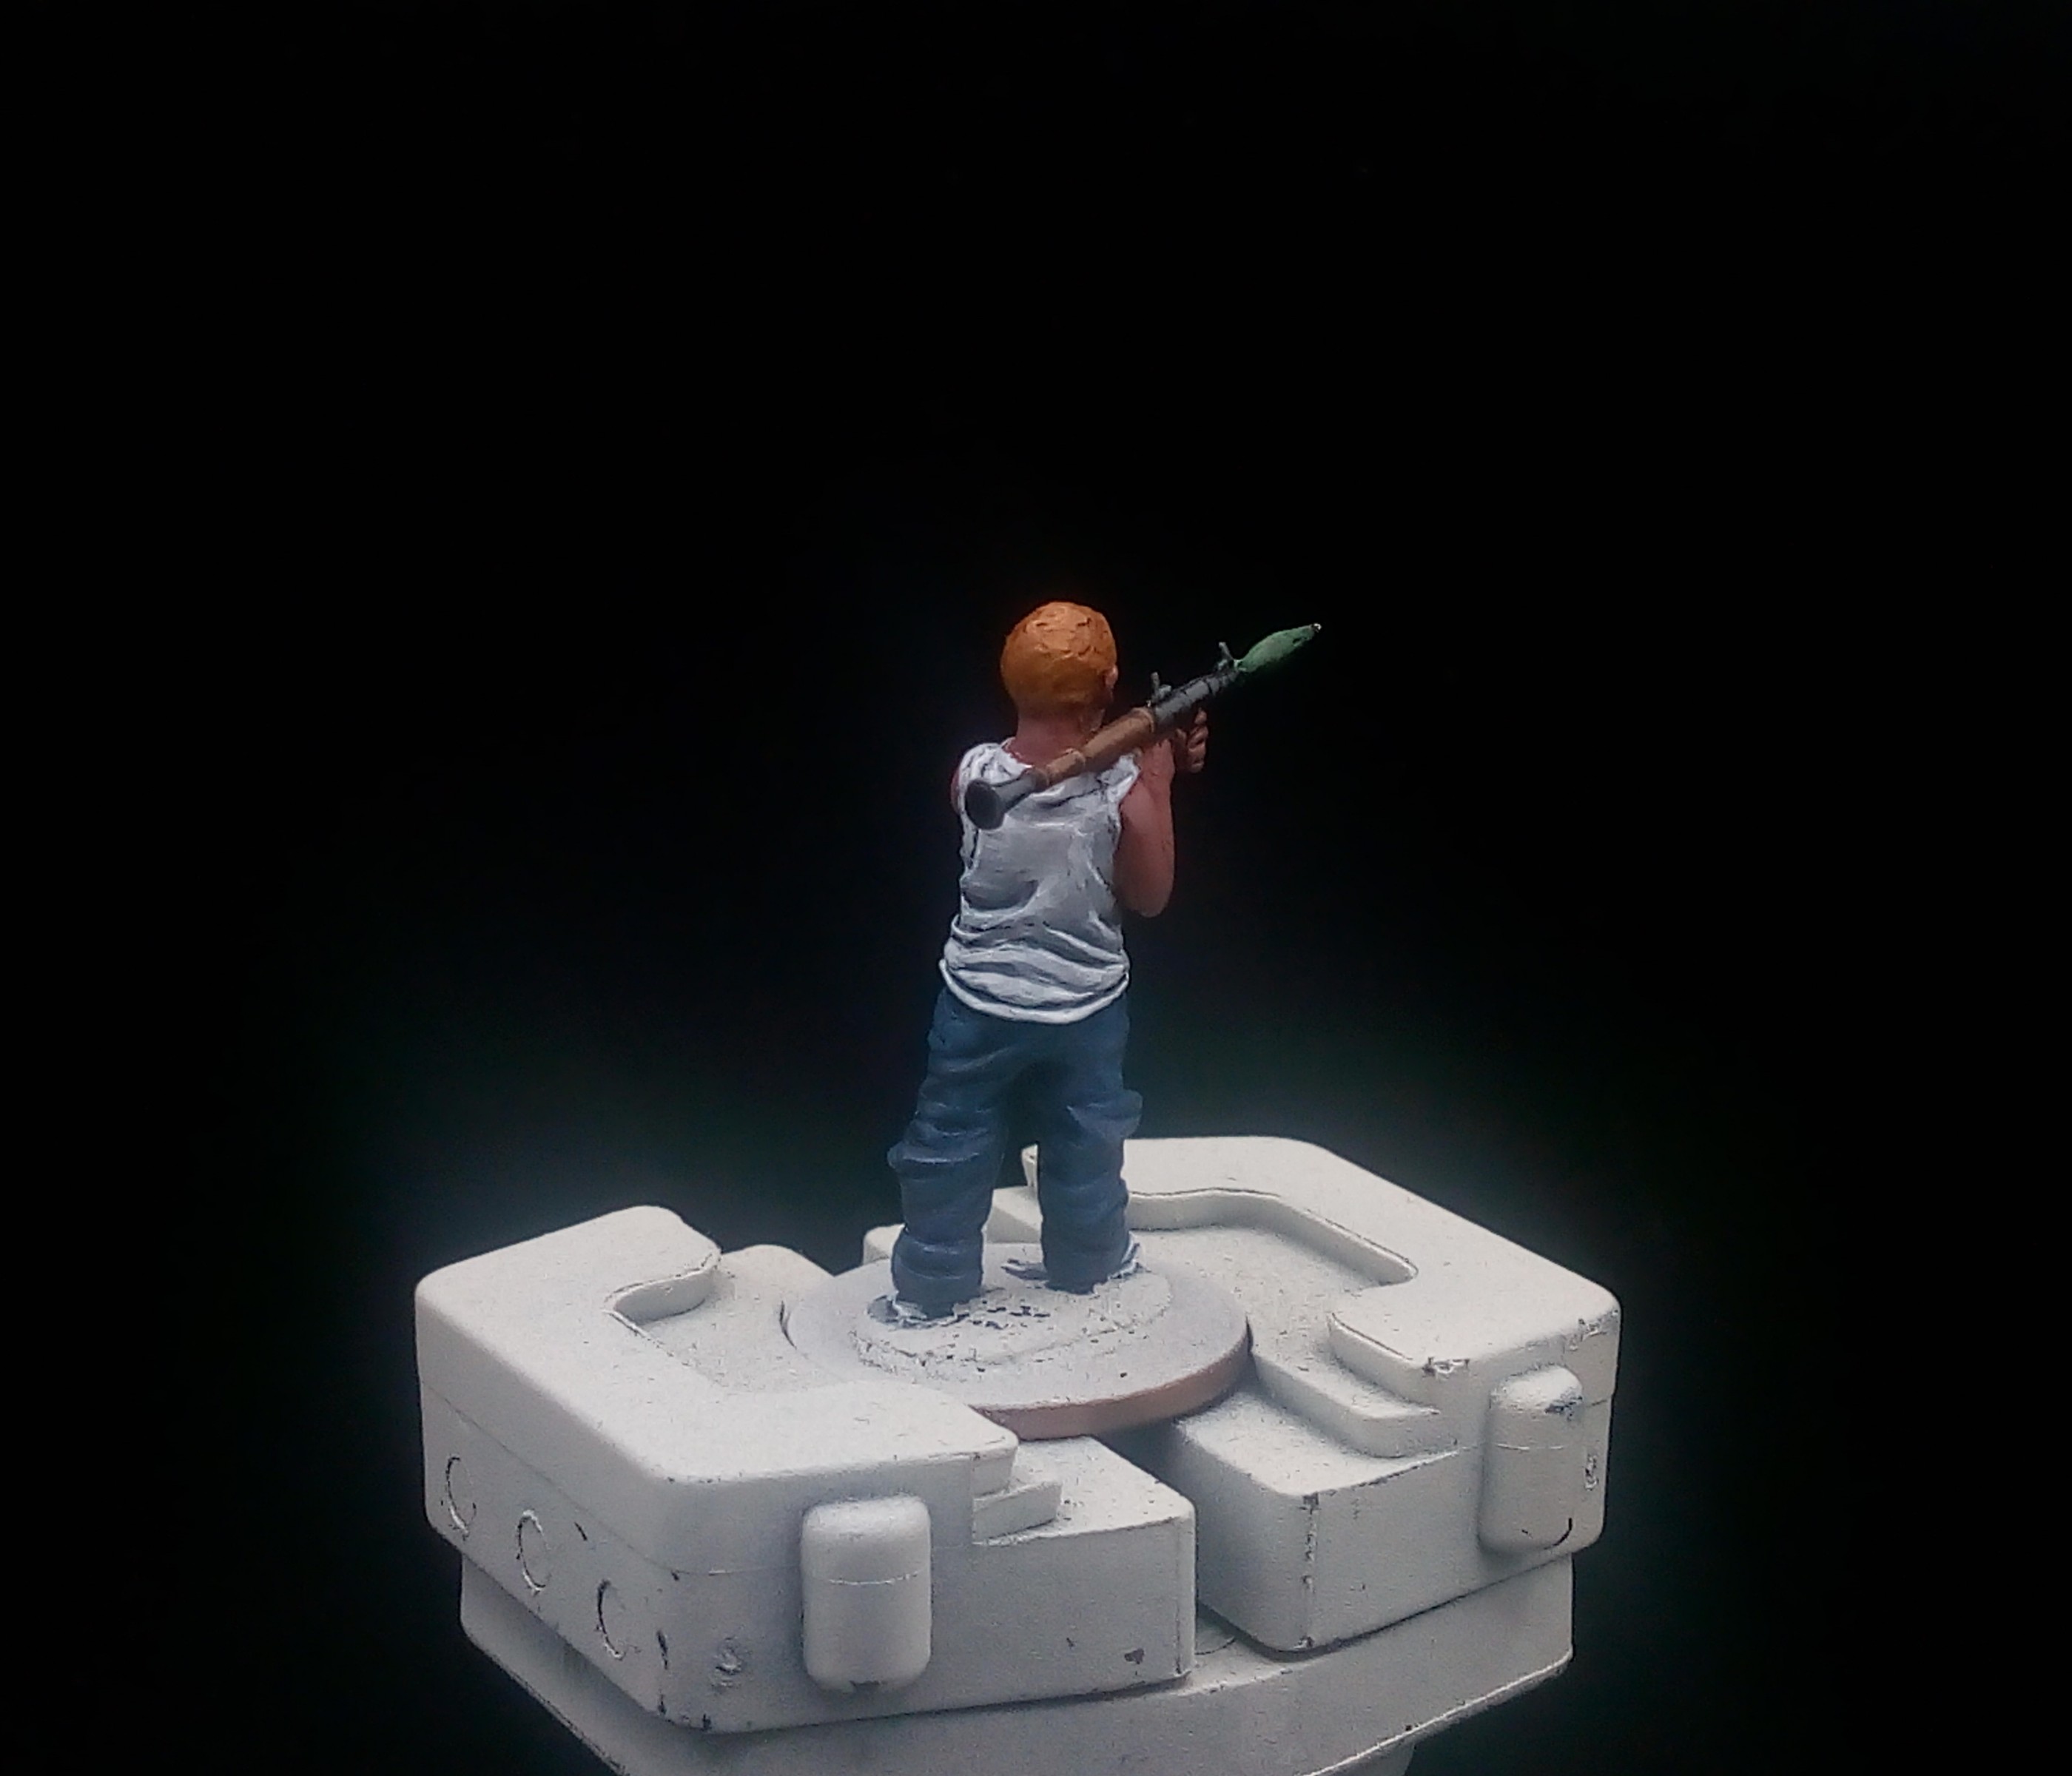
Billy & Ben round out my Walking Dead 300 points, now to decide how to base them?
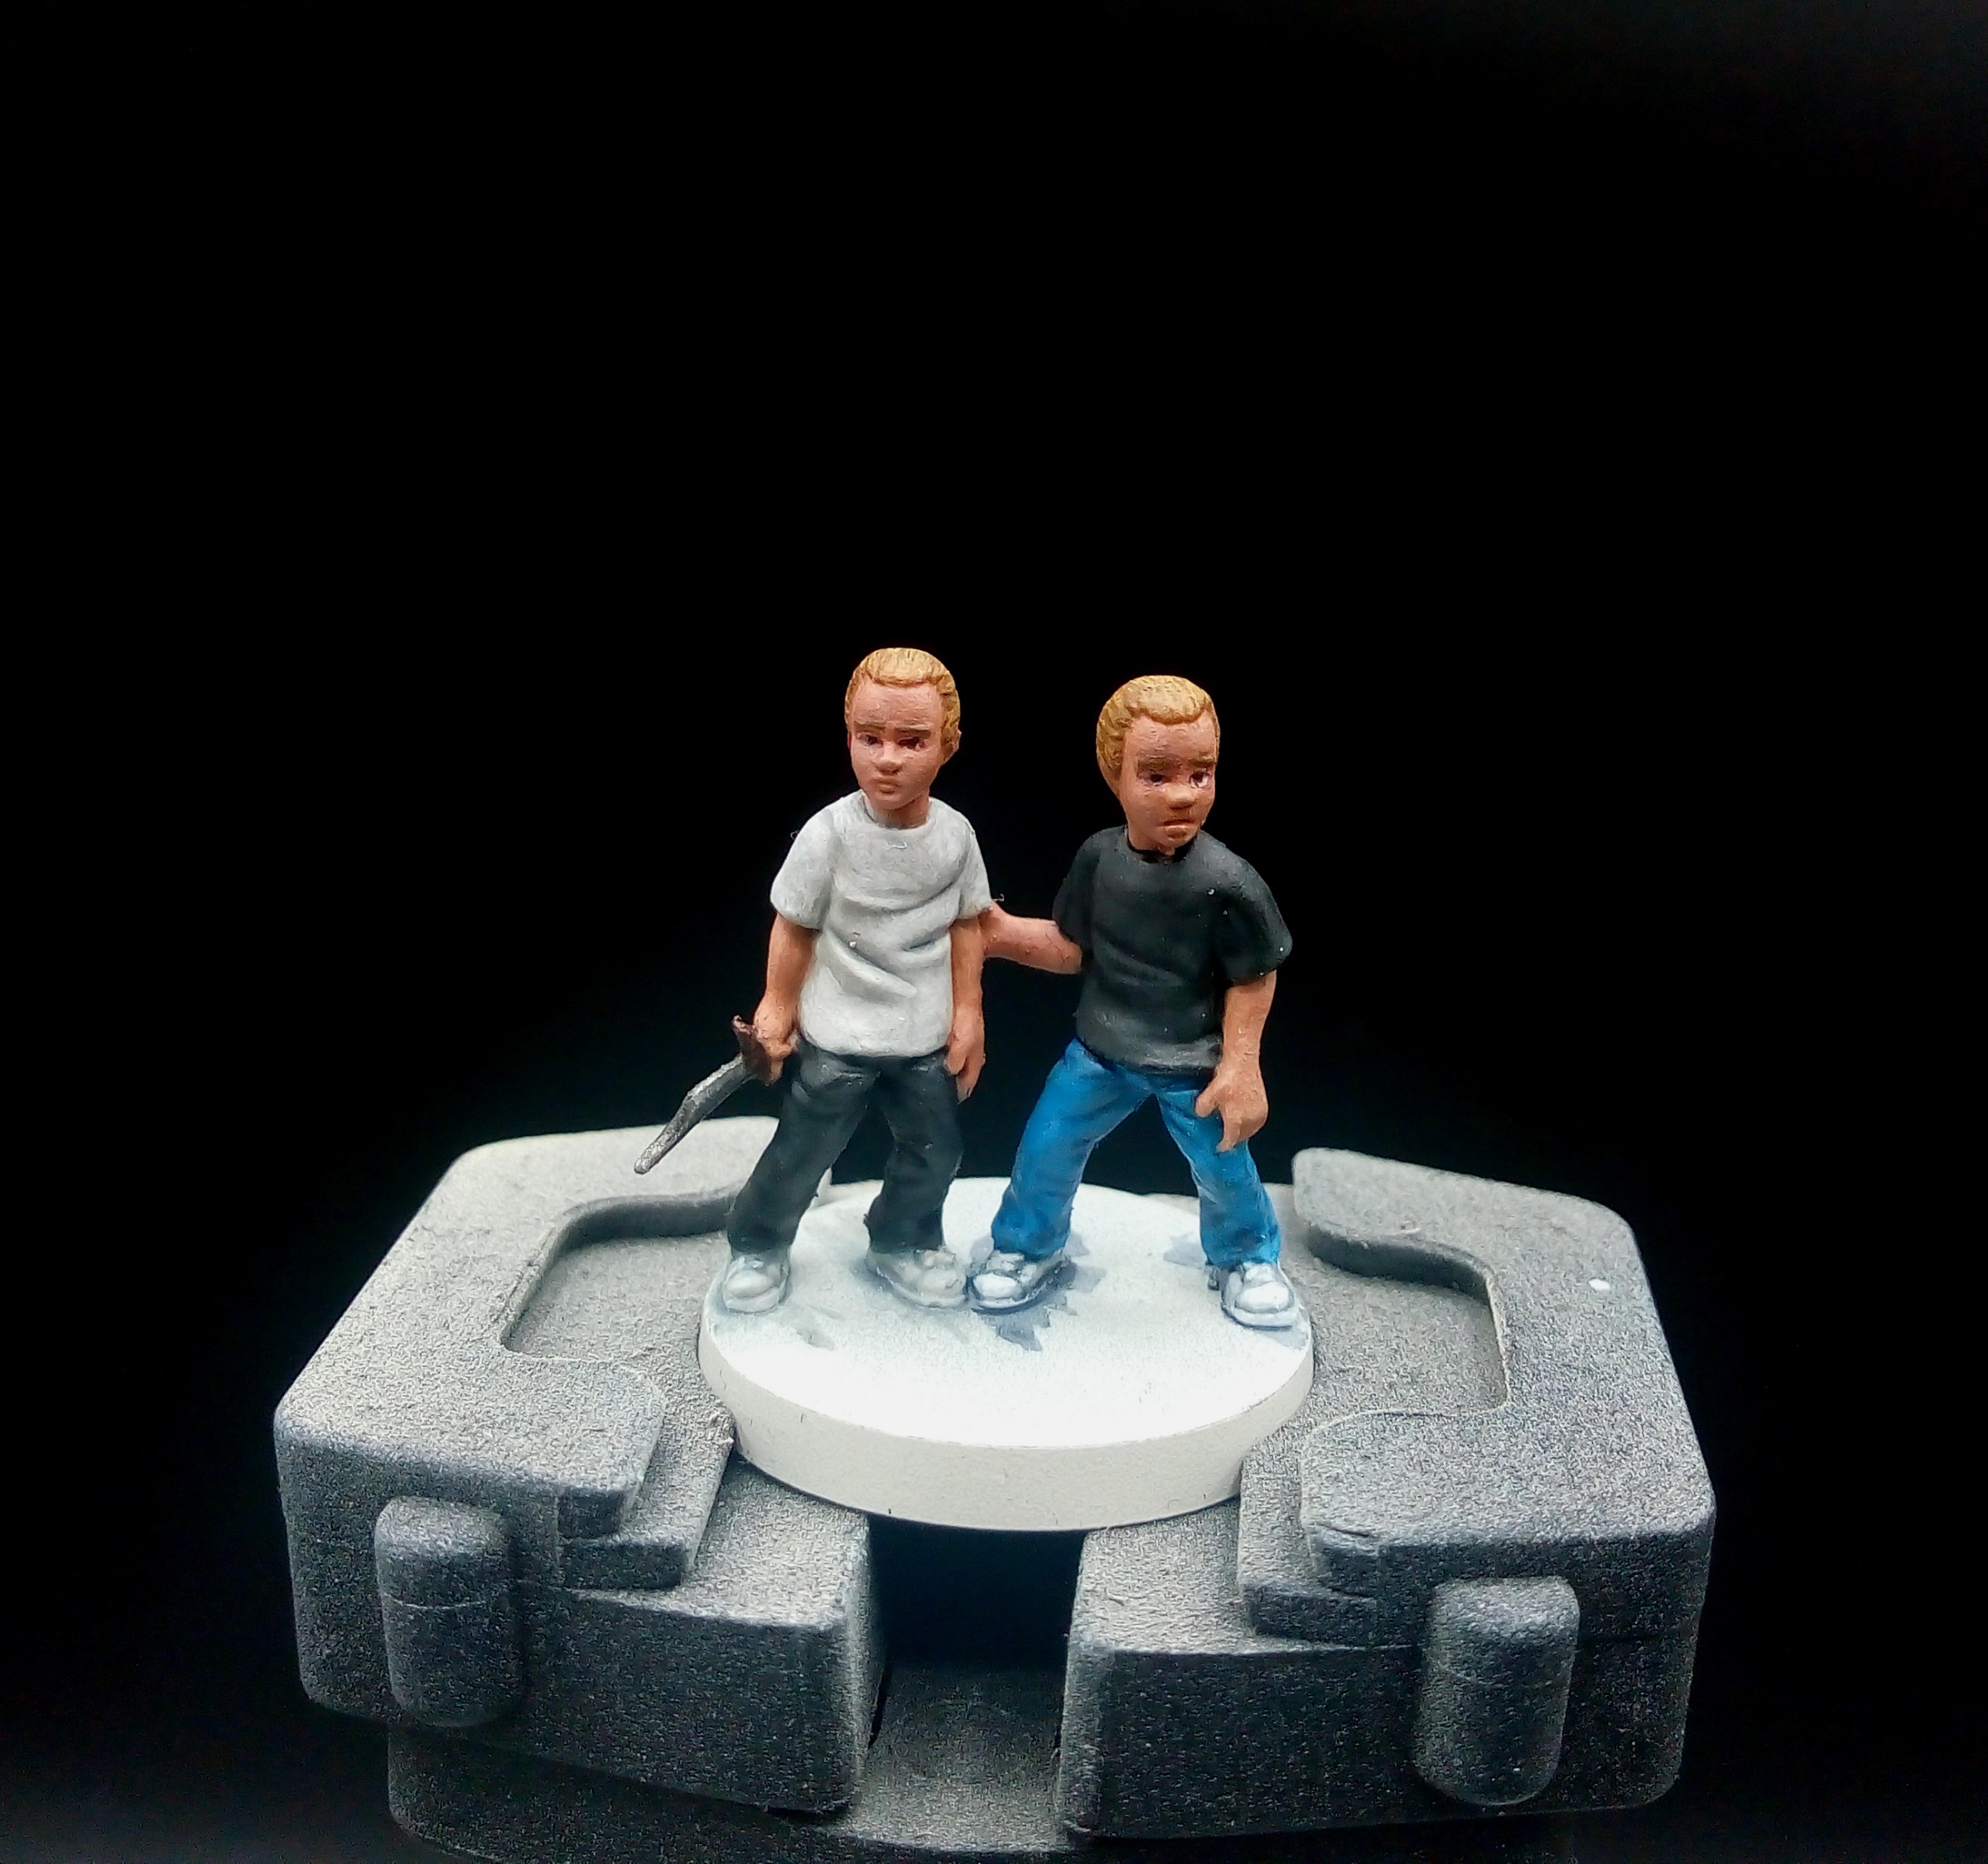 These could be great in some modern scenarios to protect the children.
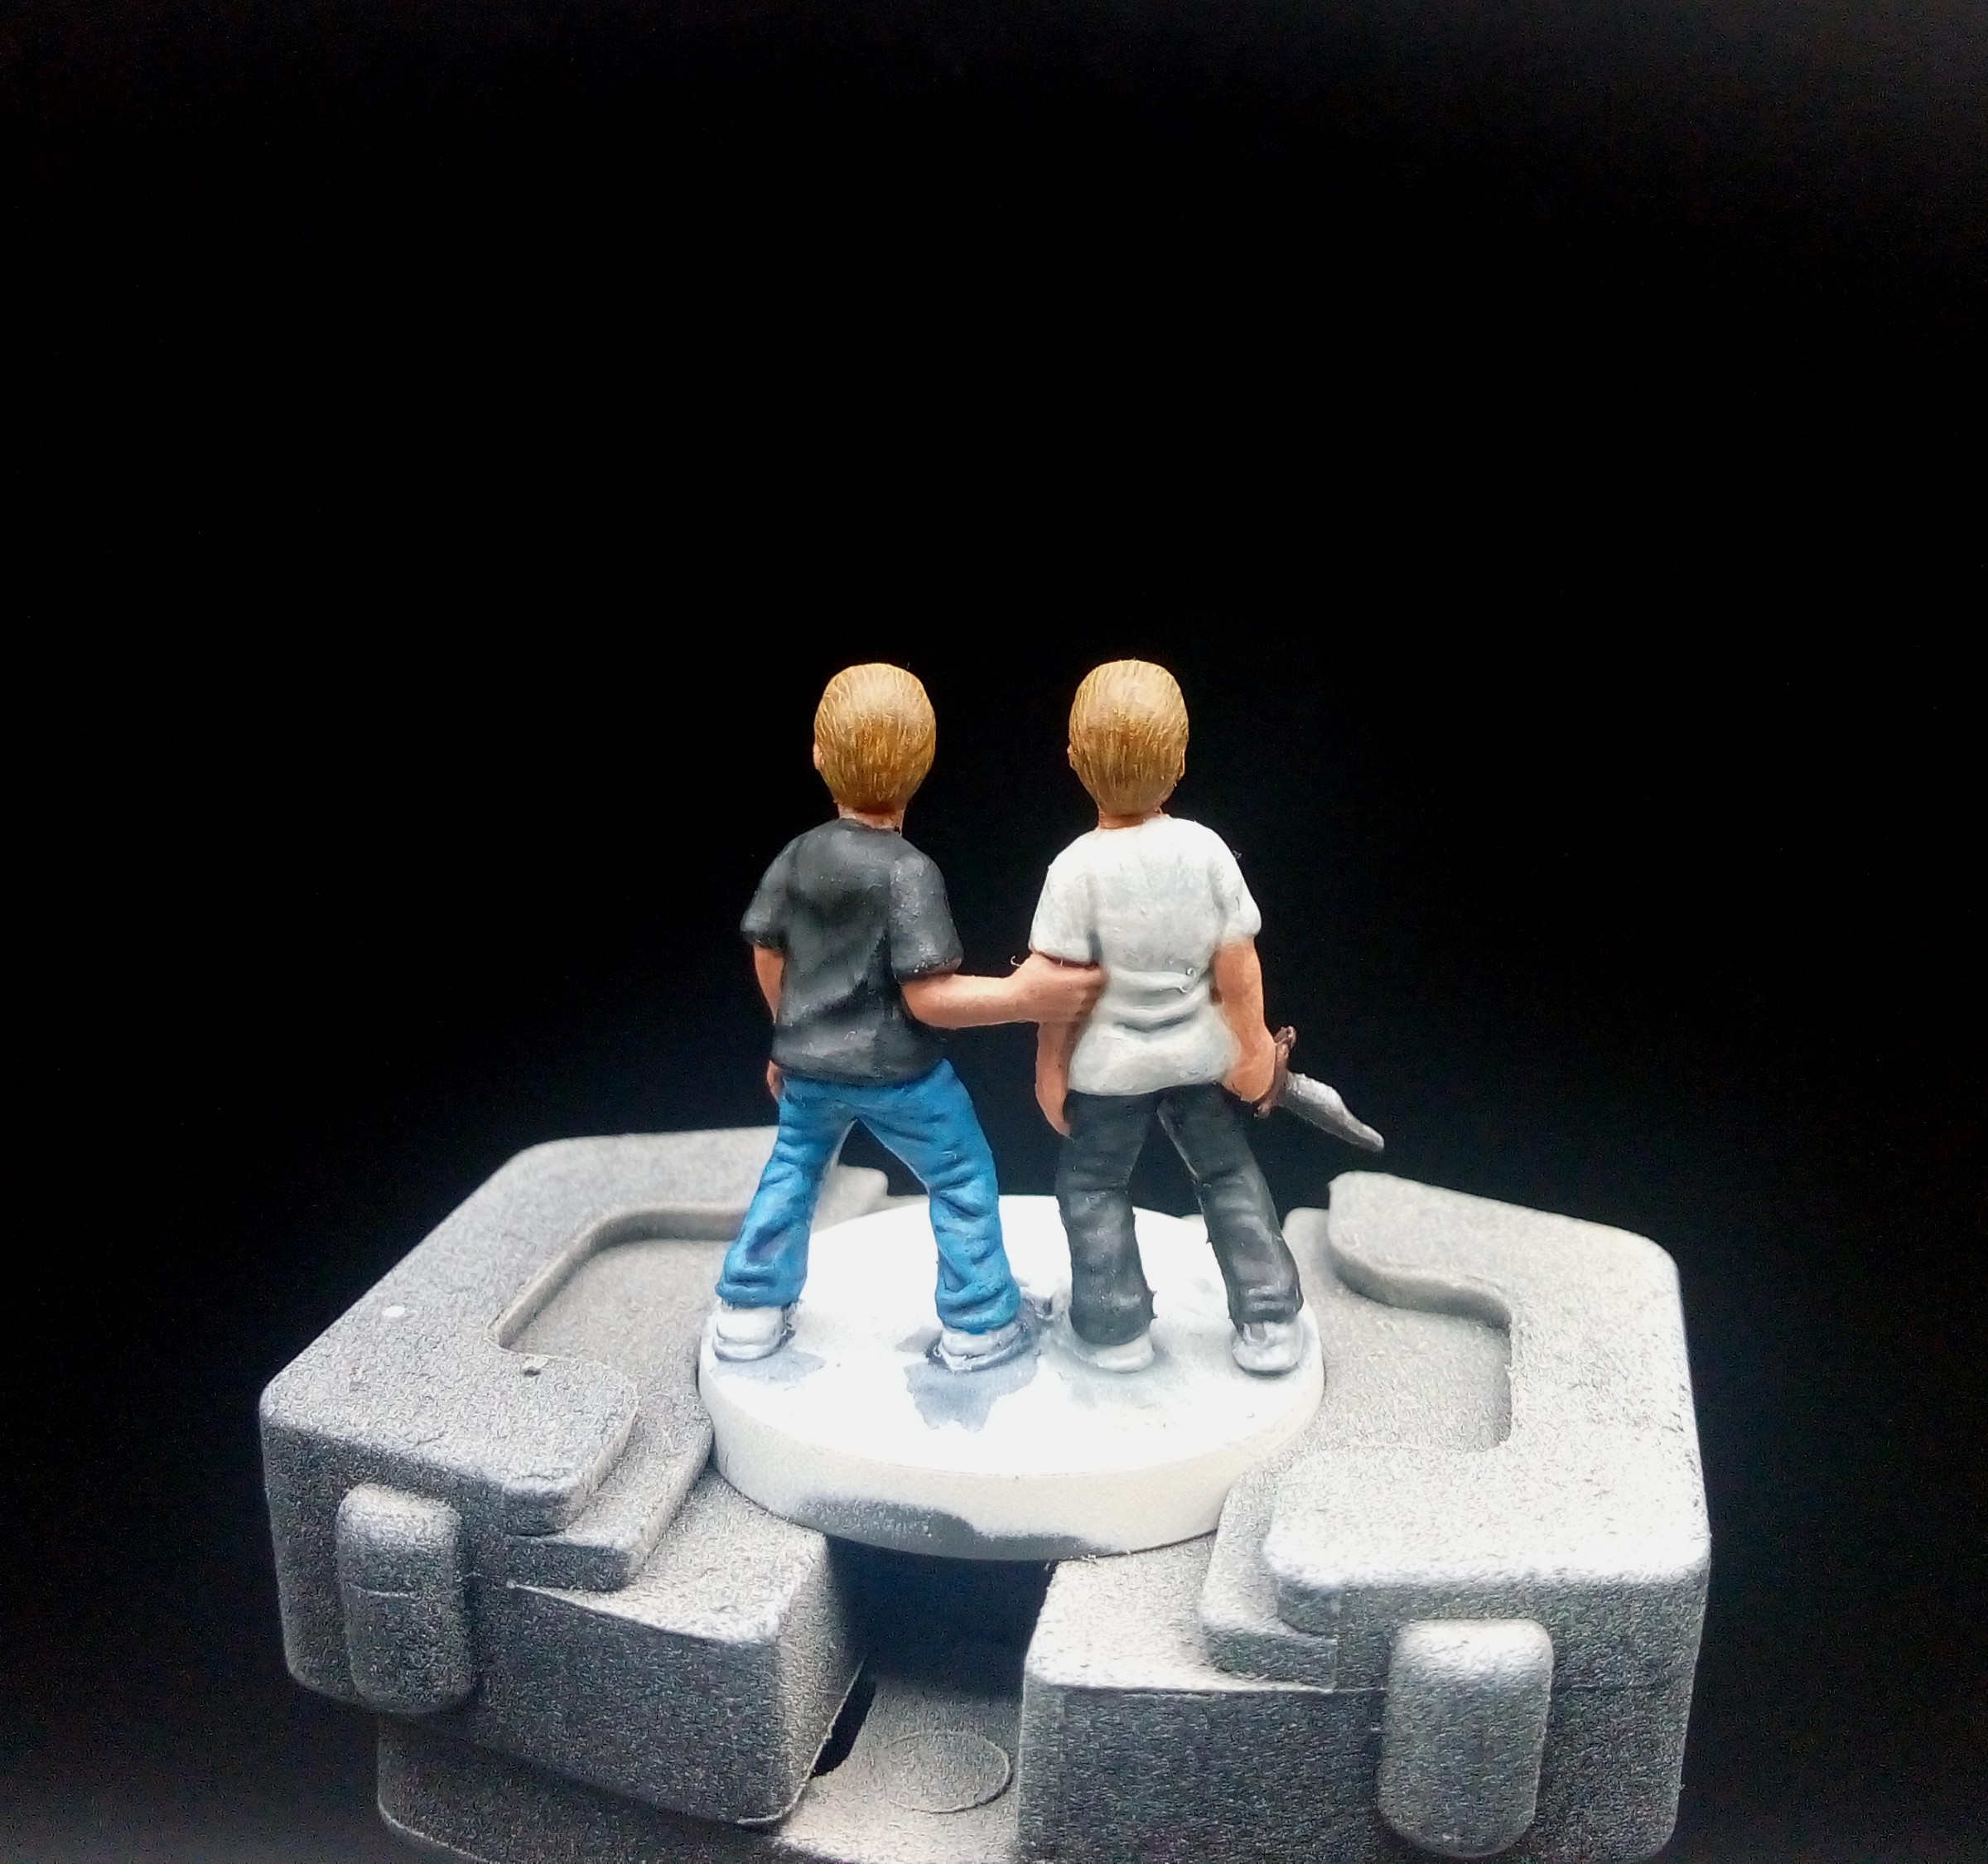 Really pleased with this mini.
All of the colours used on these guys are from my earlier lists for the other minis I have painted for this challenge. I find myself to be a bit of a creature of habit staying mostly with the processes and formula I know I like but trying the odd new thing when the mini warrants it. On these that was painting eyebrows, never done that before hehe.
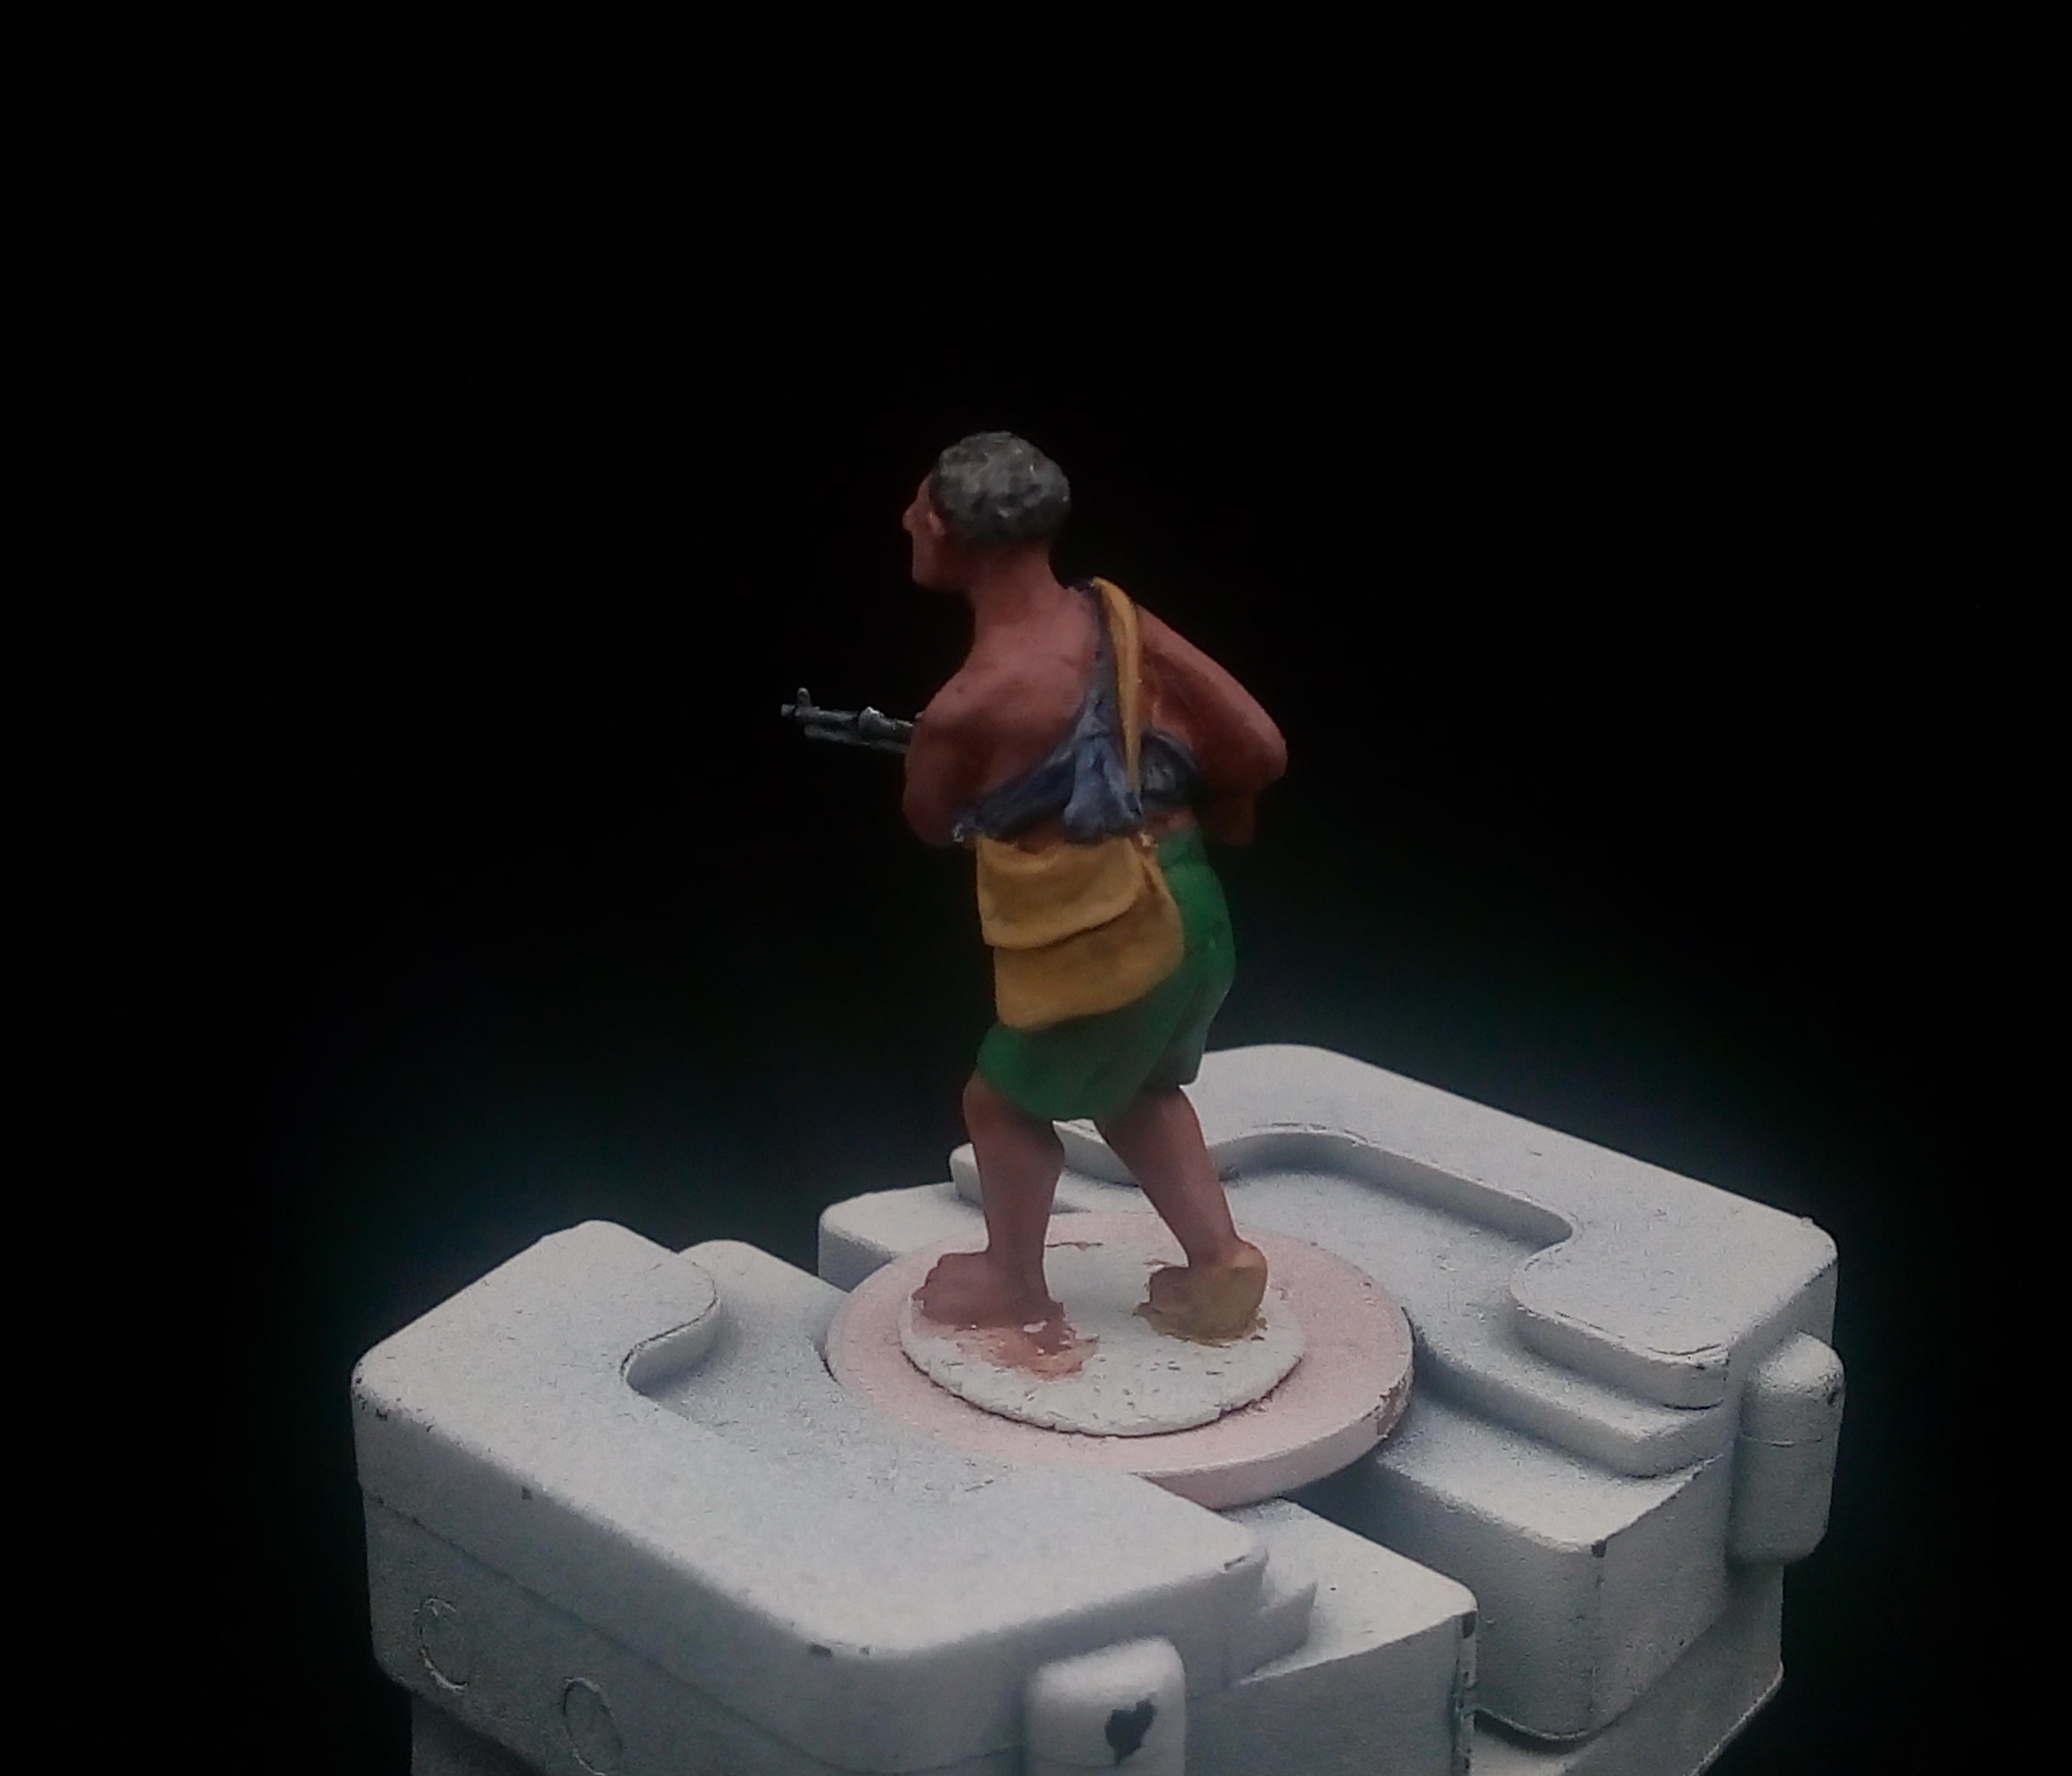
The Sitrep mini I did on a live stream, something I do regularly now so with him you can see a from primed to finish in real-time.
That being said I am happy to answer any questions people have or go more in-depth with my minis if you wish.
Happy hobbying everyone and stay safe out there.
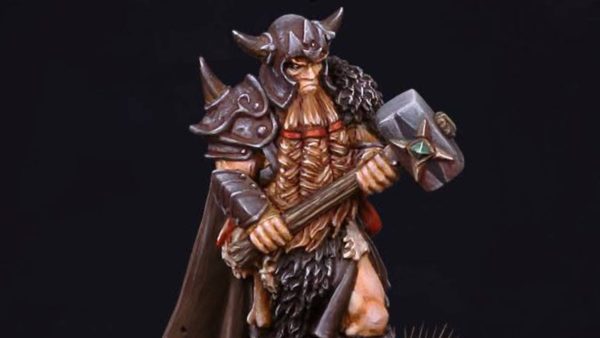
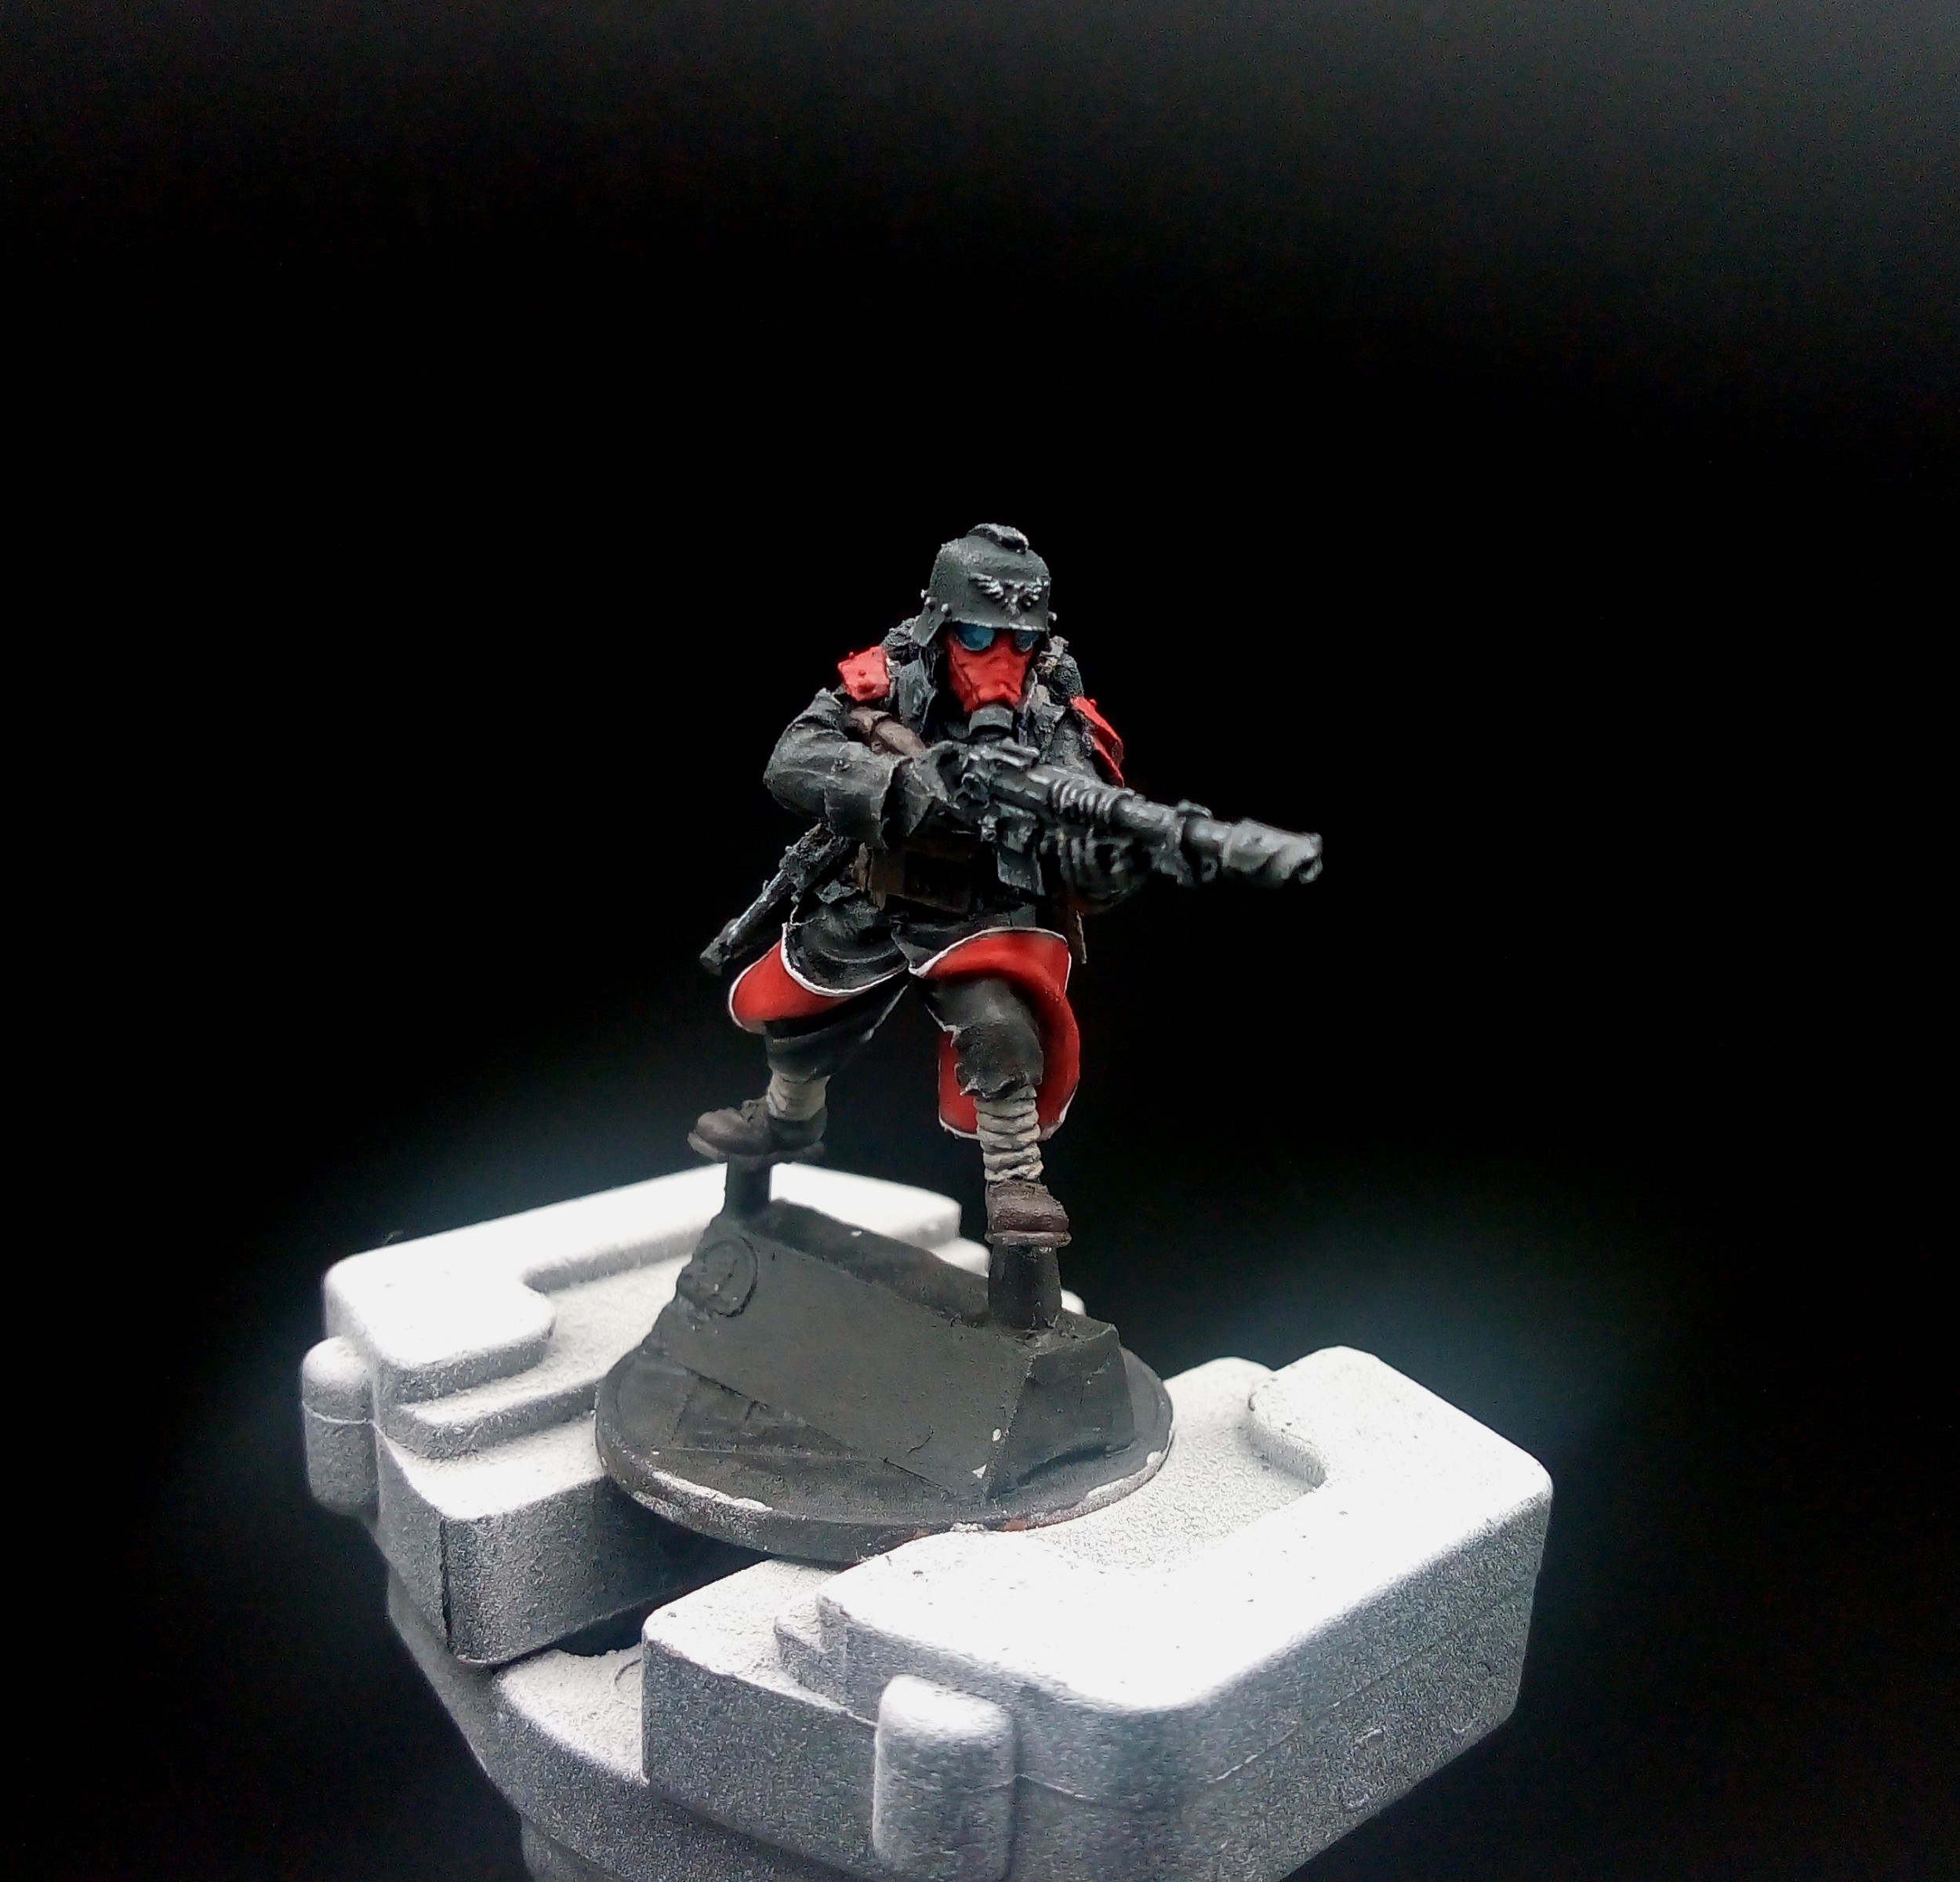
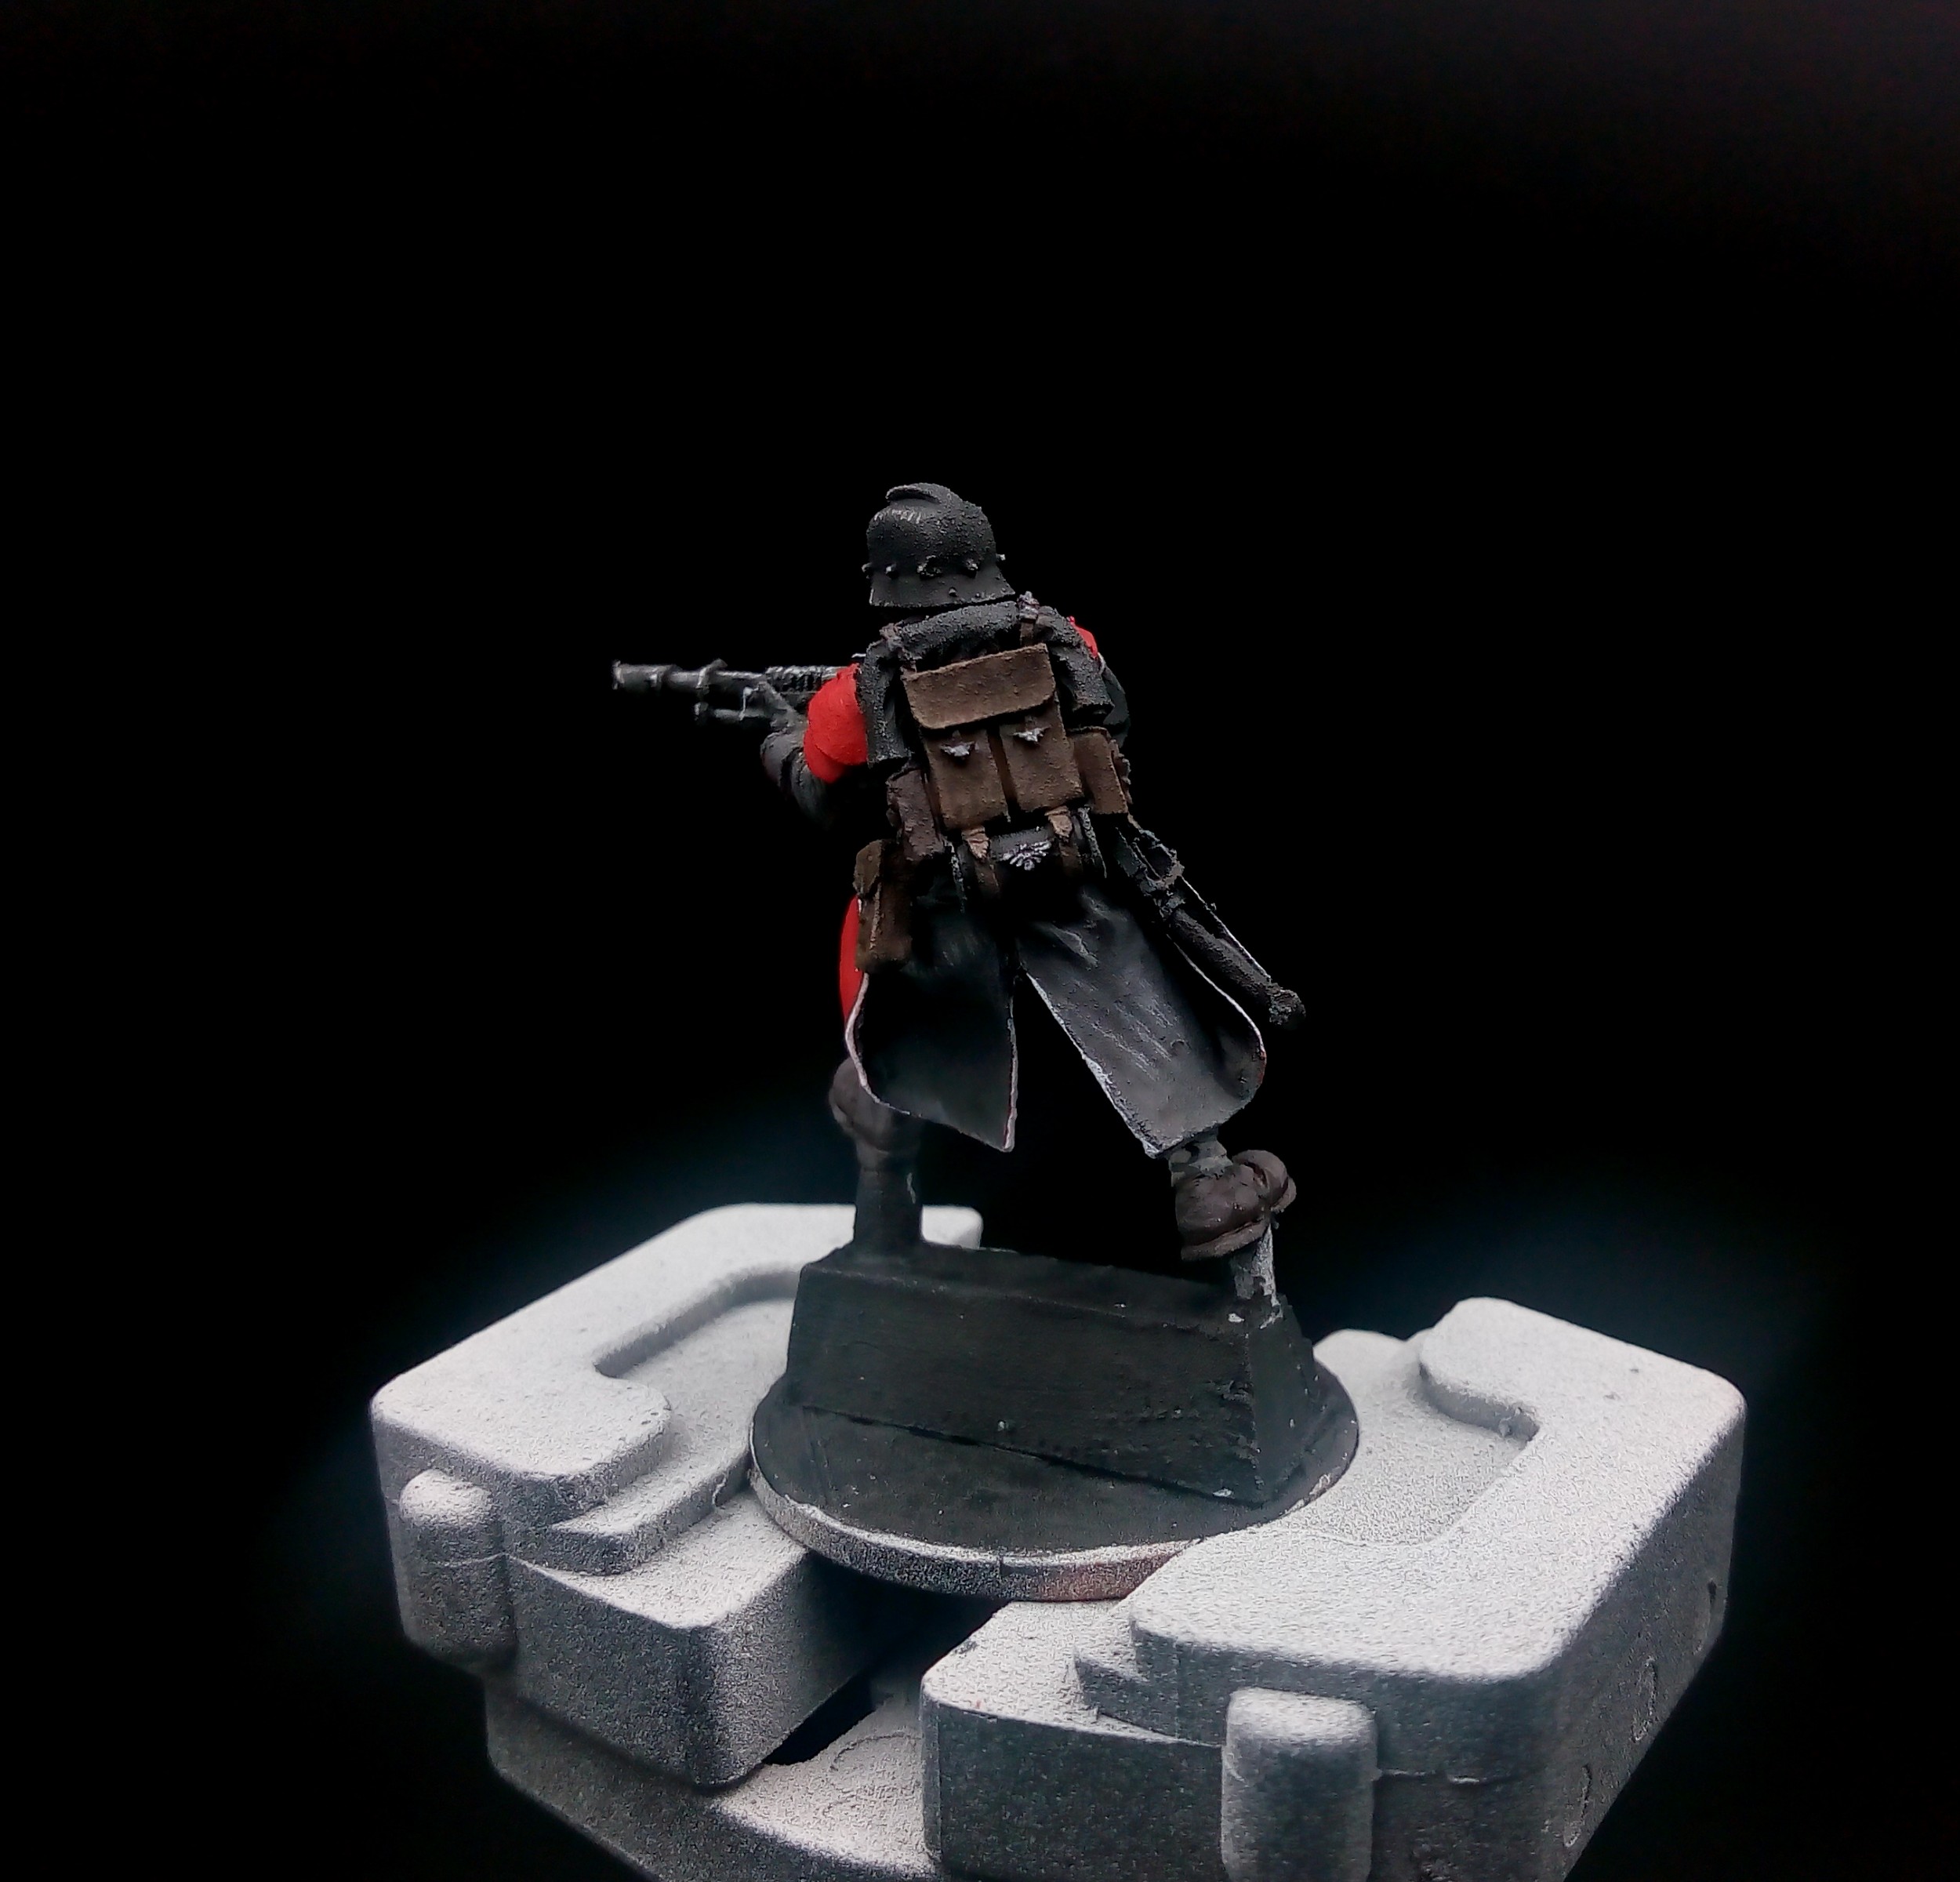
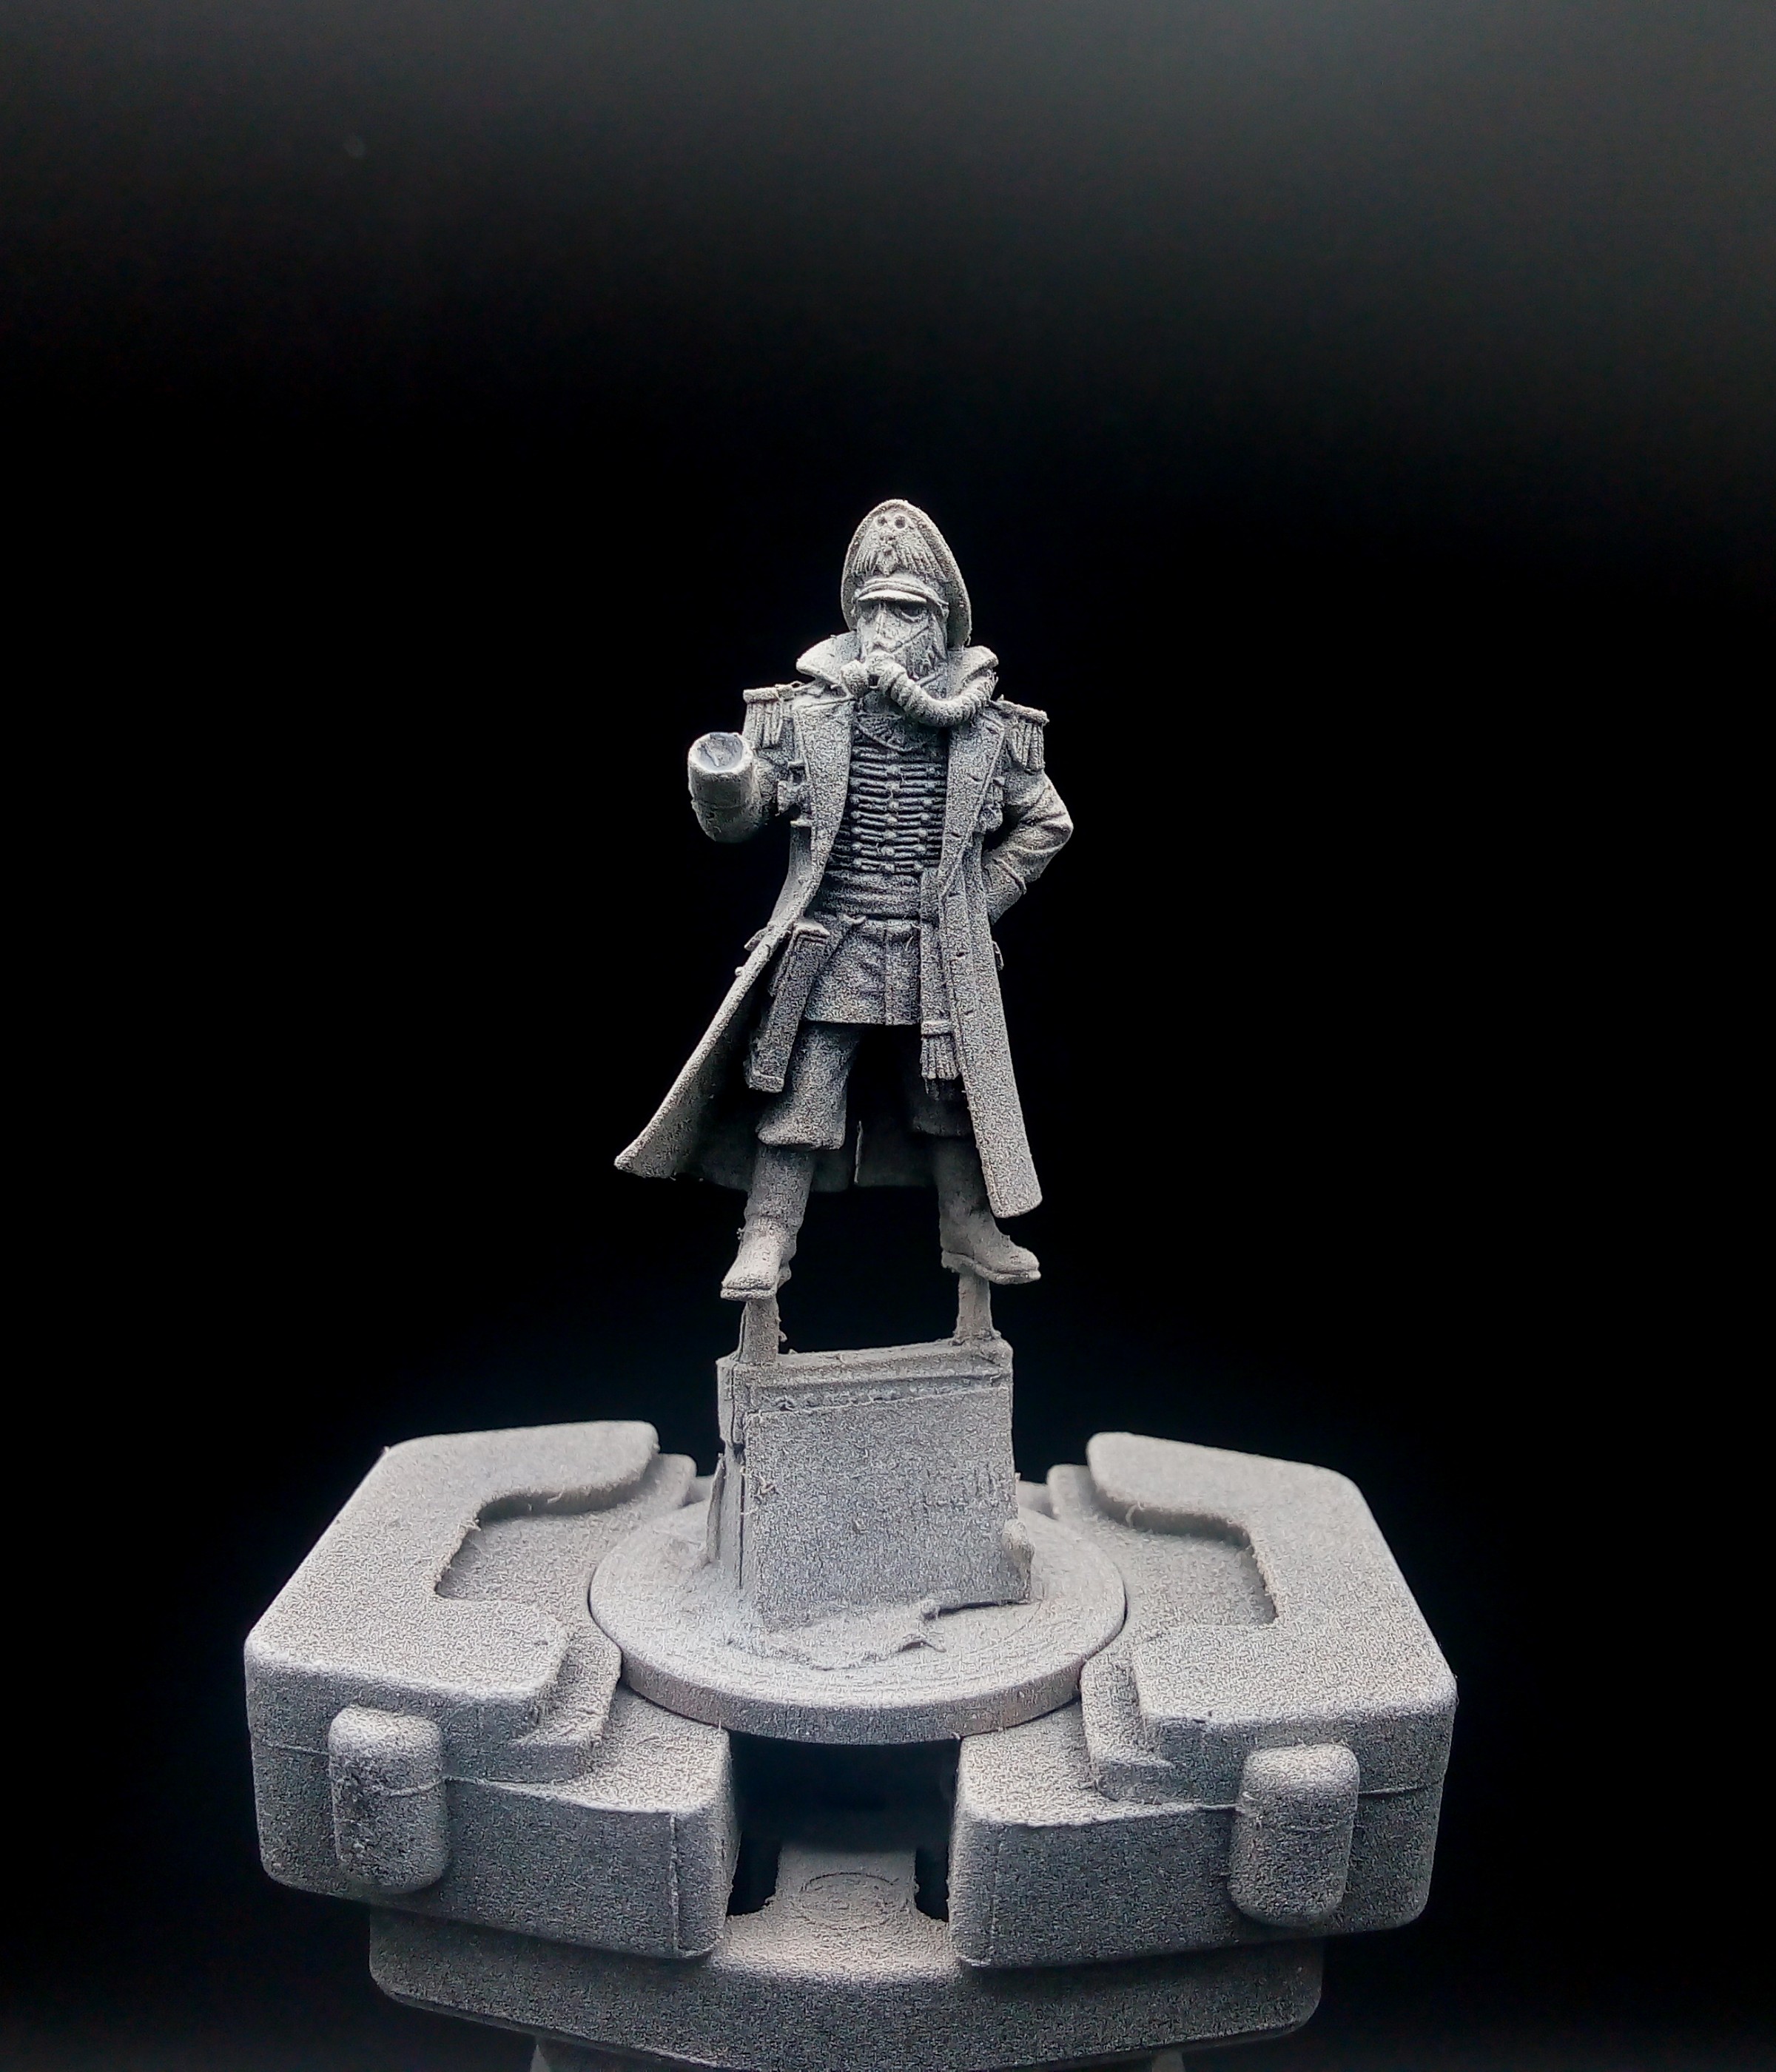
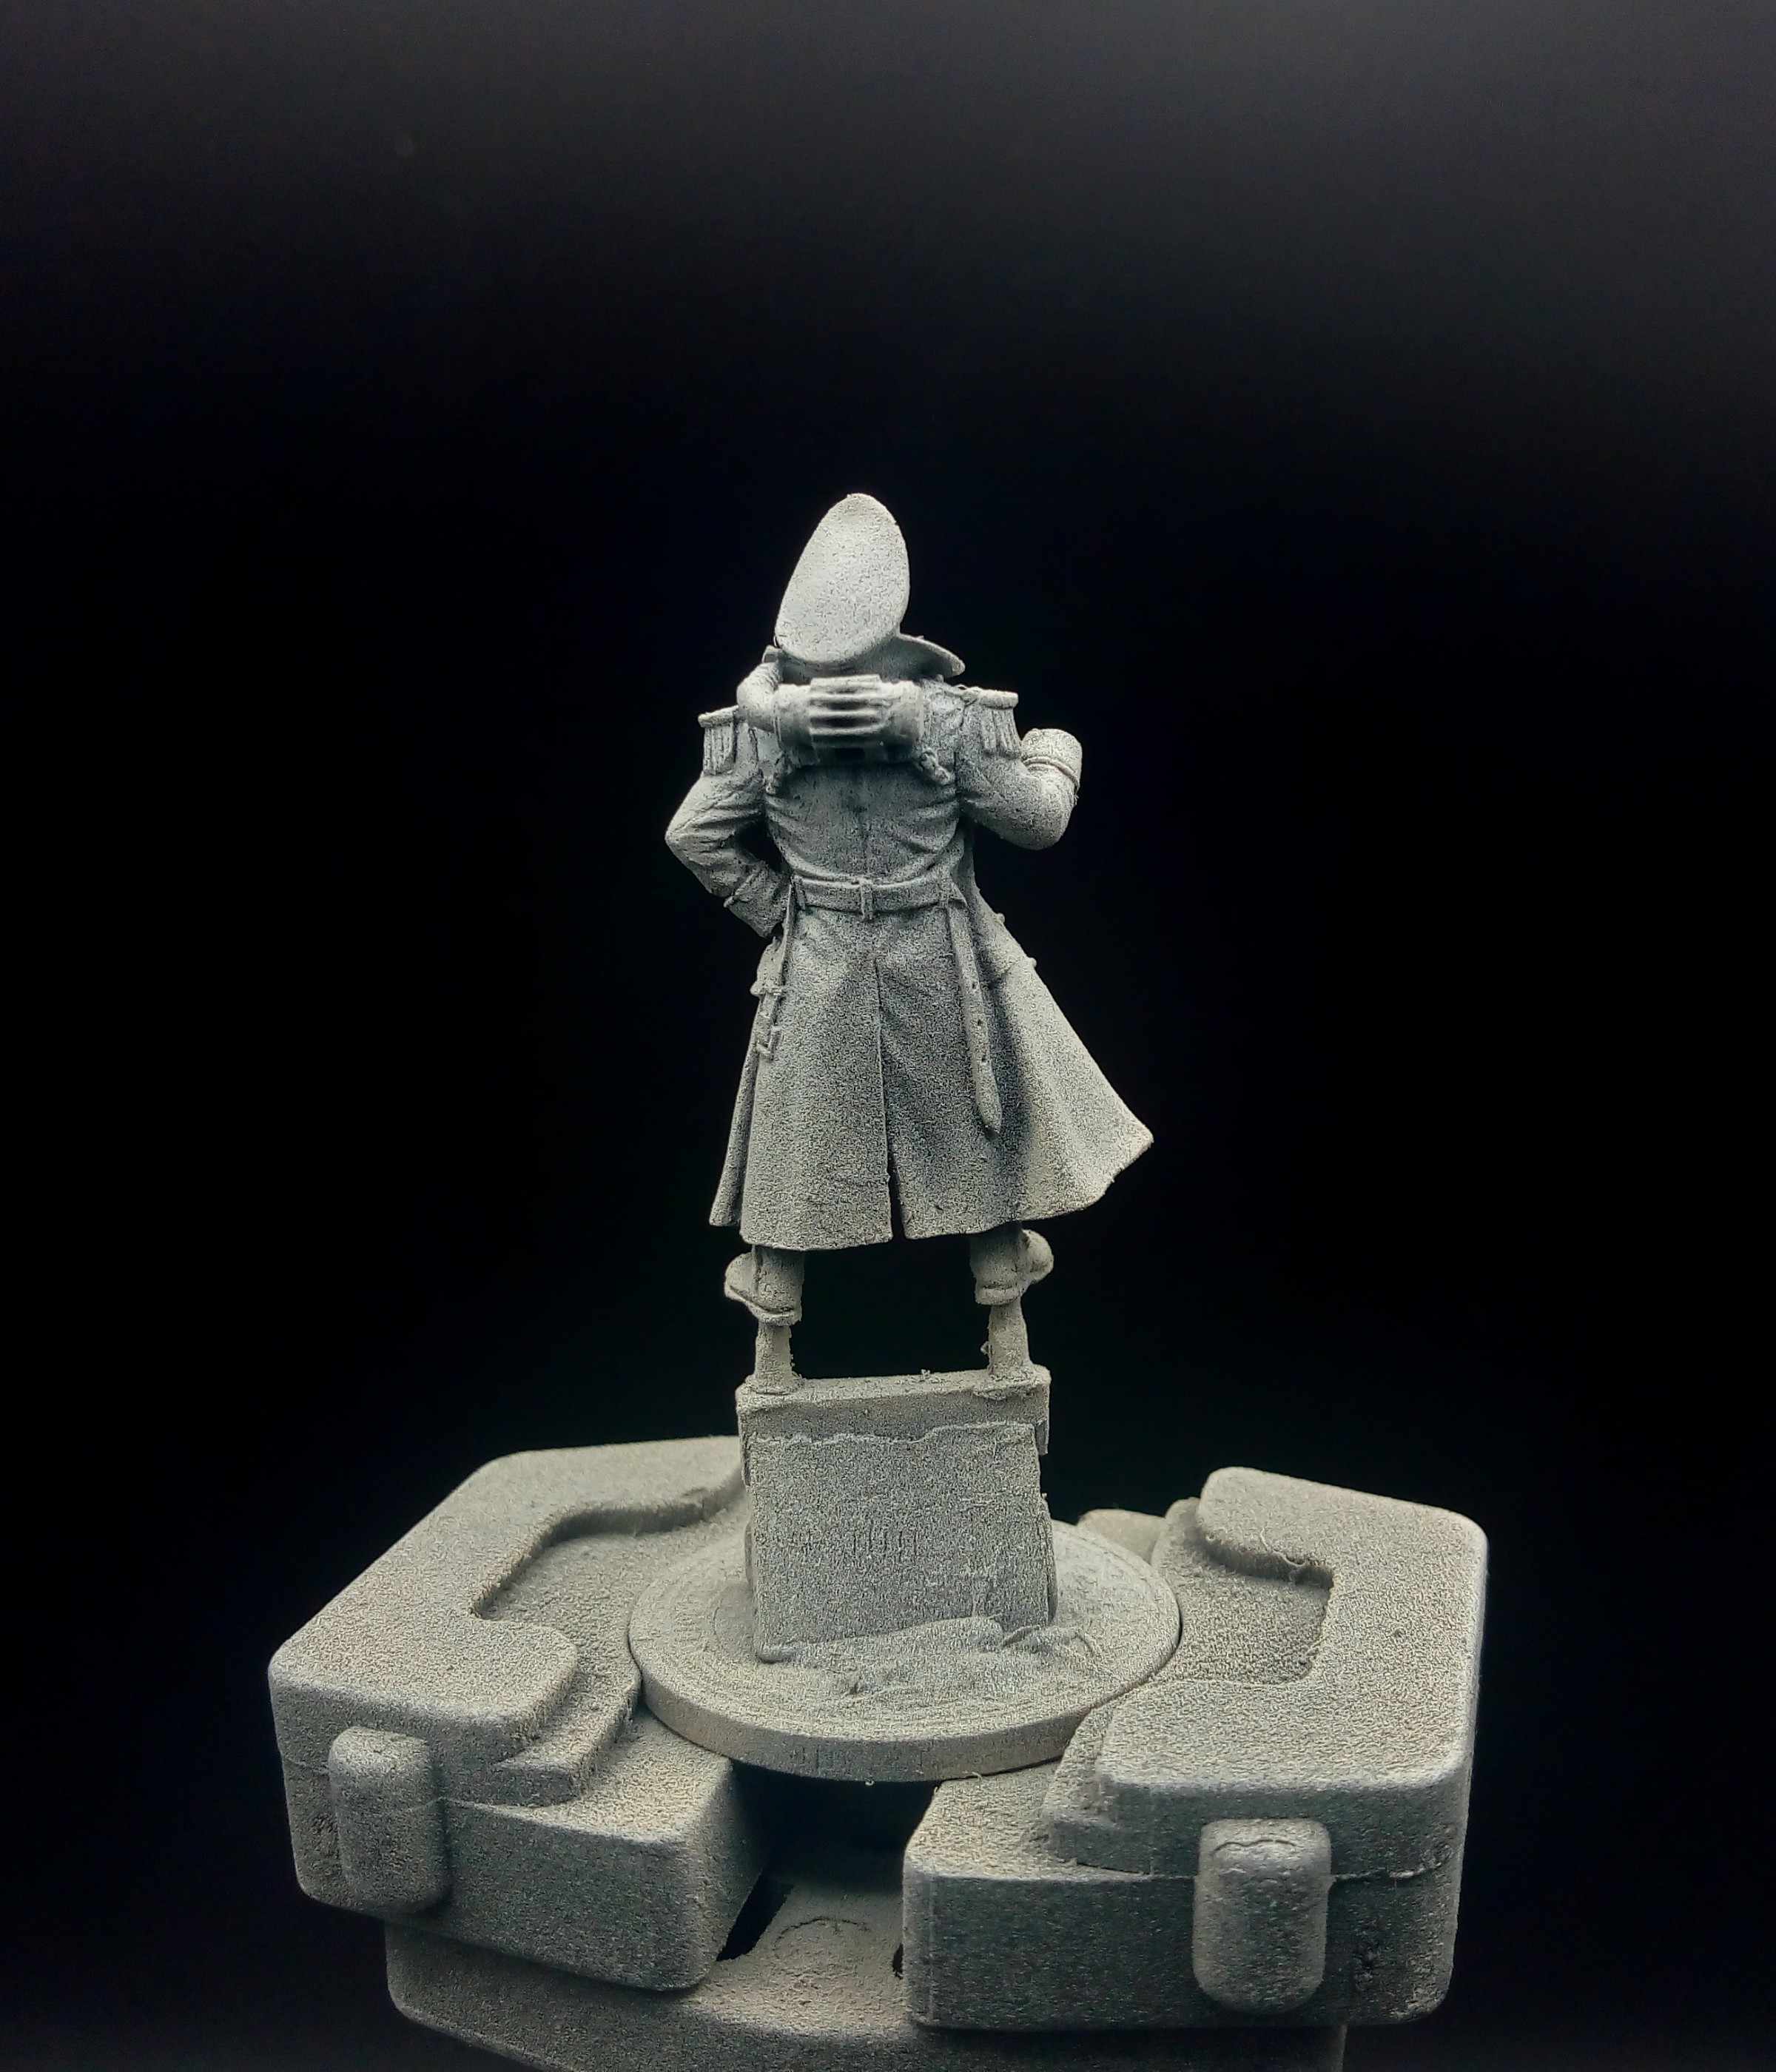
My first Kill Team member is finished, Death Korp of Krieg Commissar (leader)
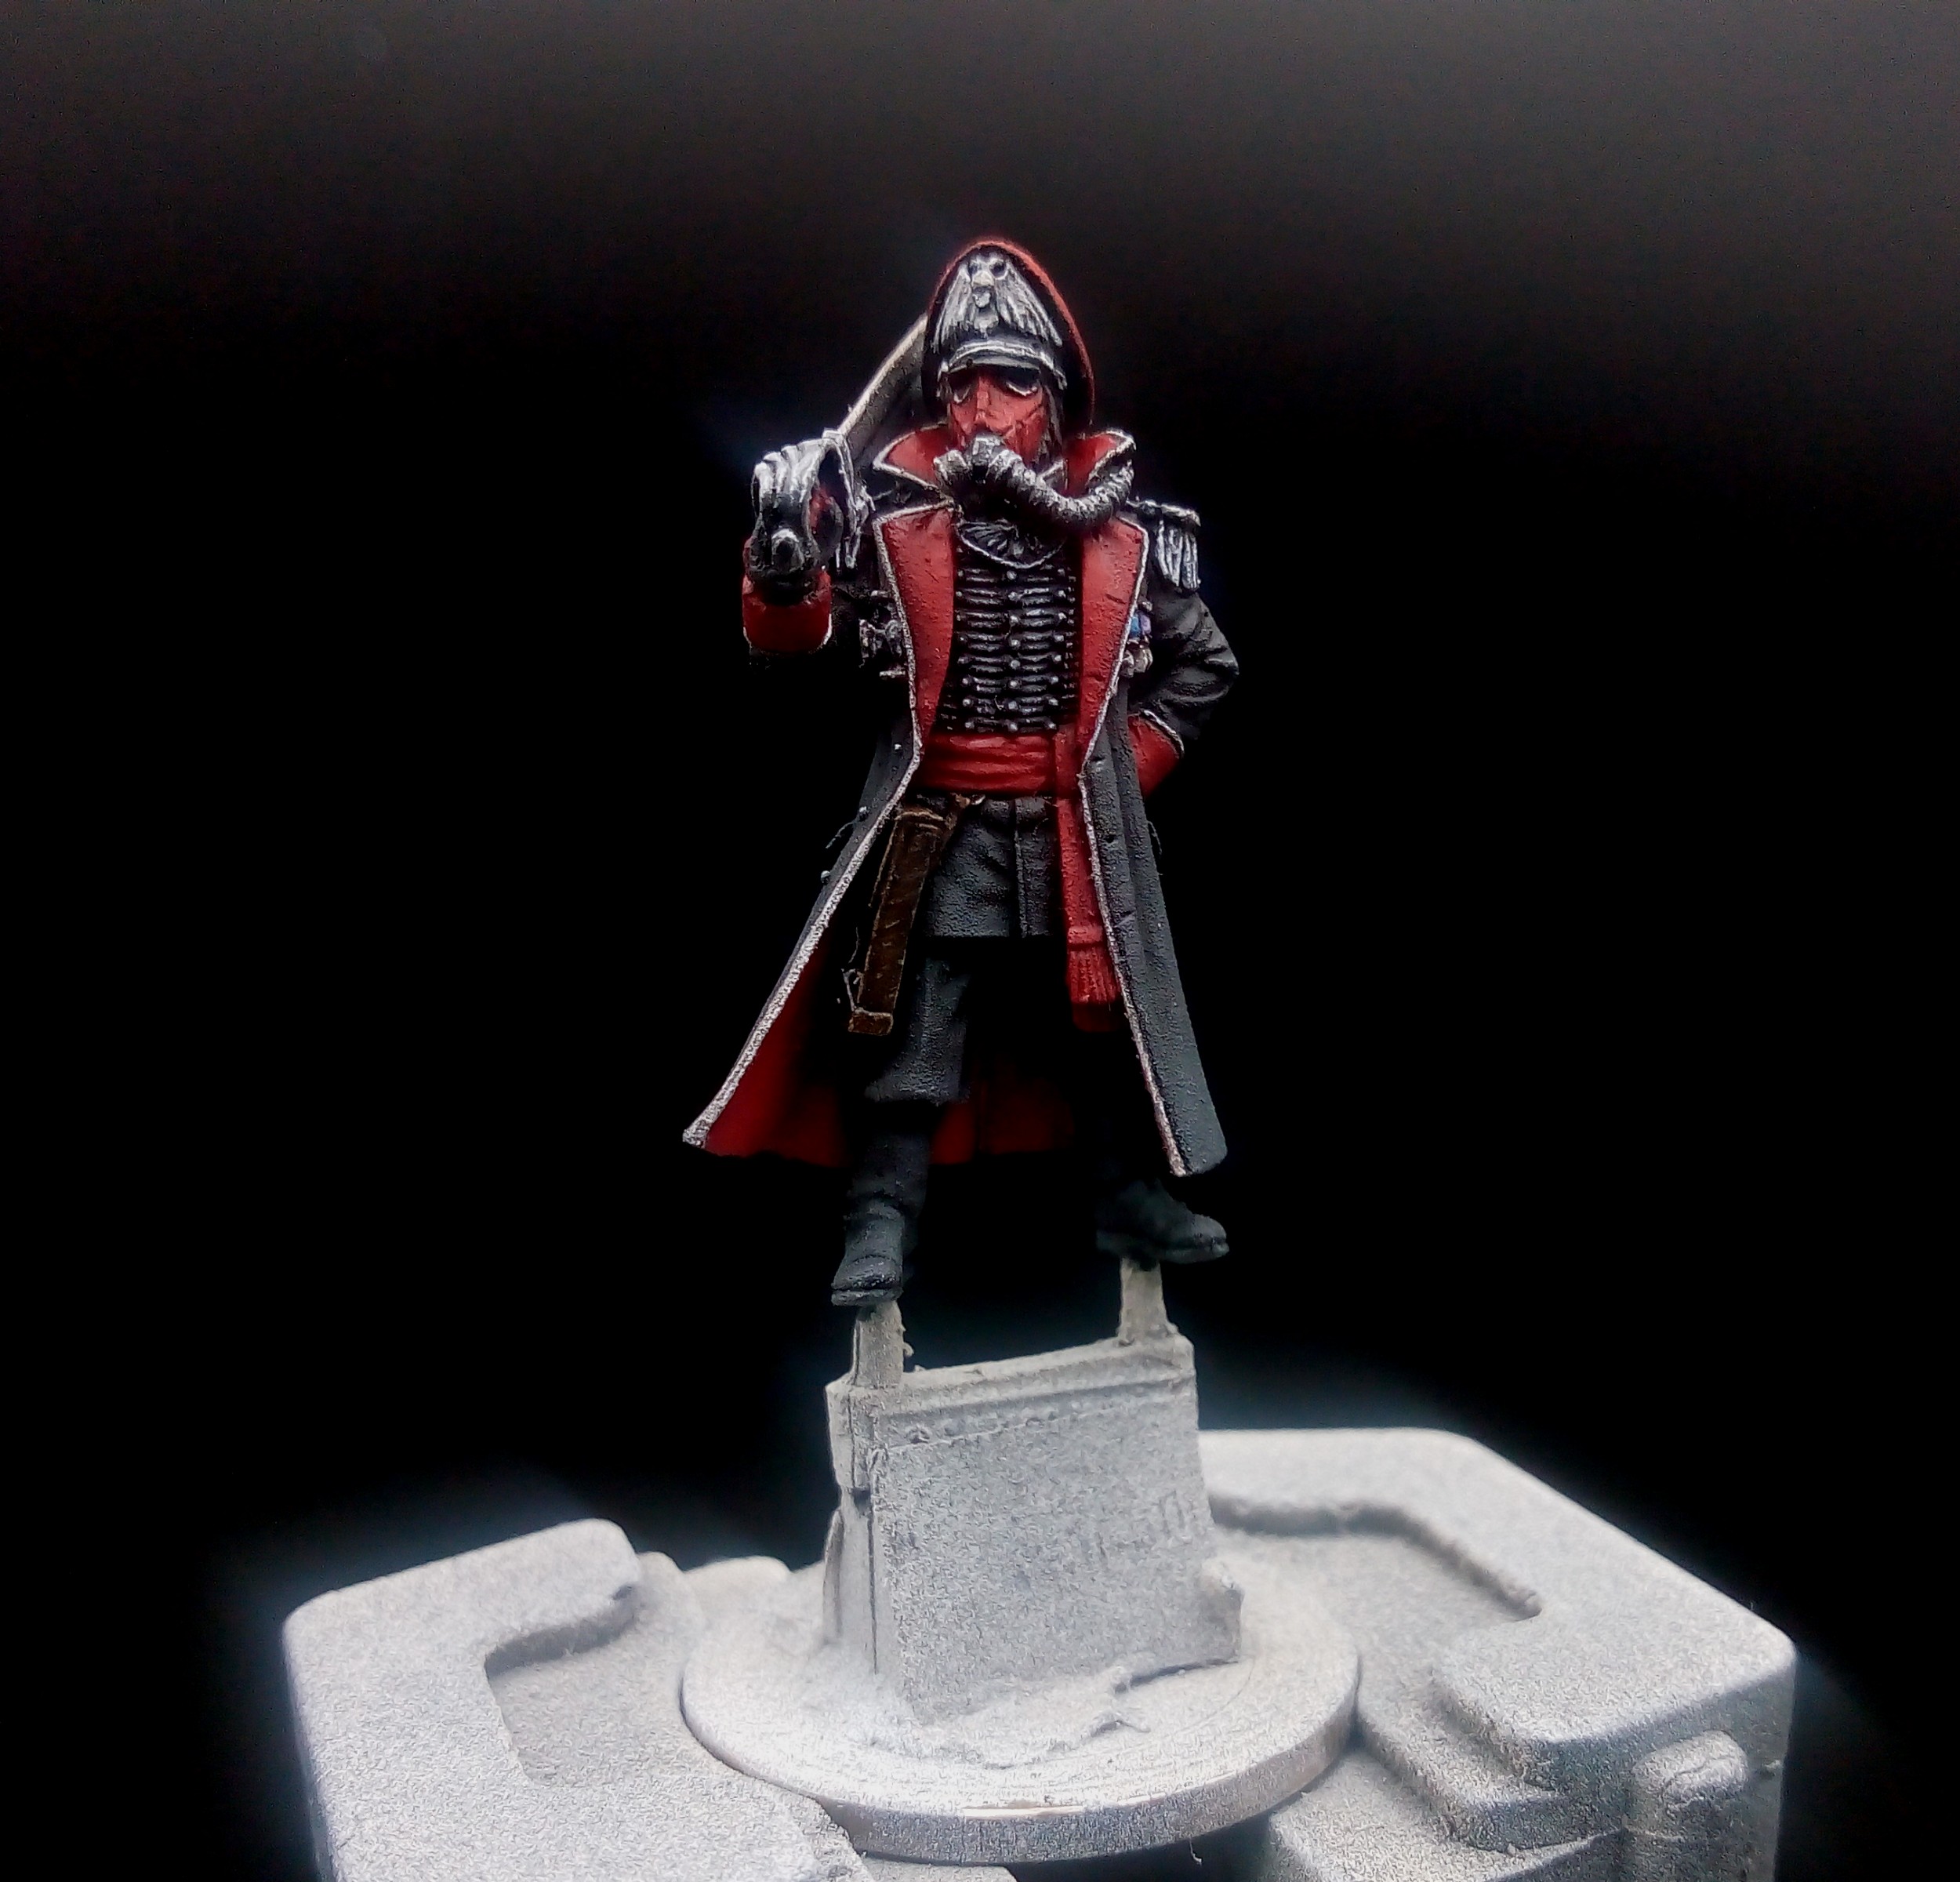
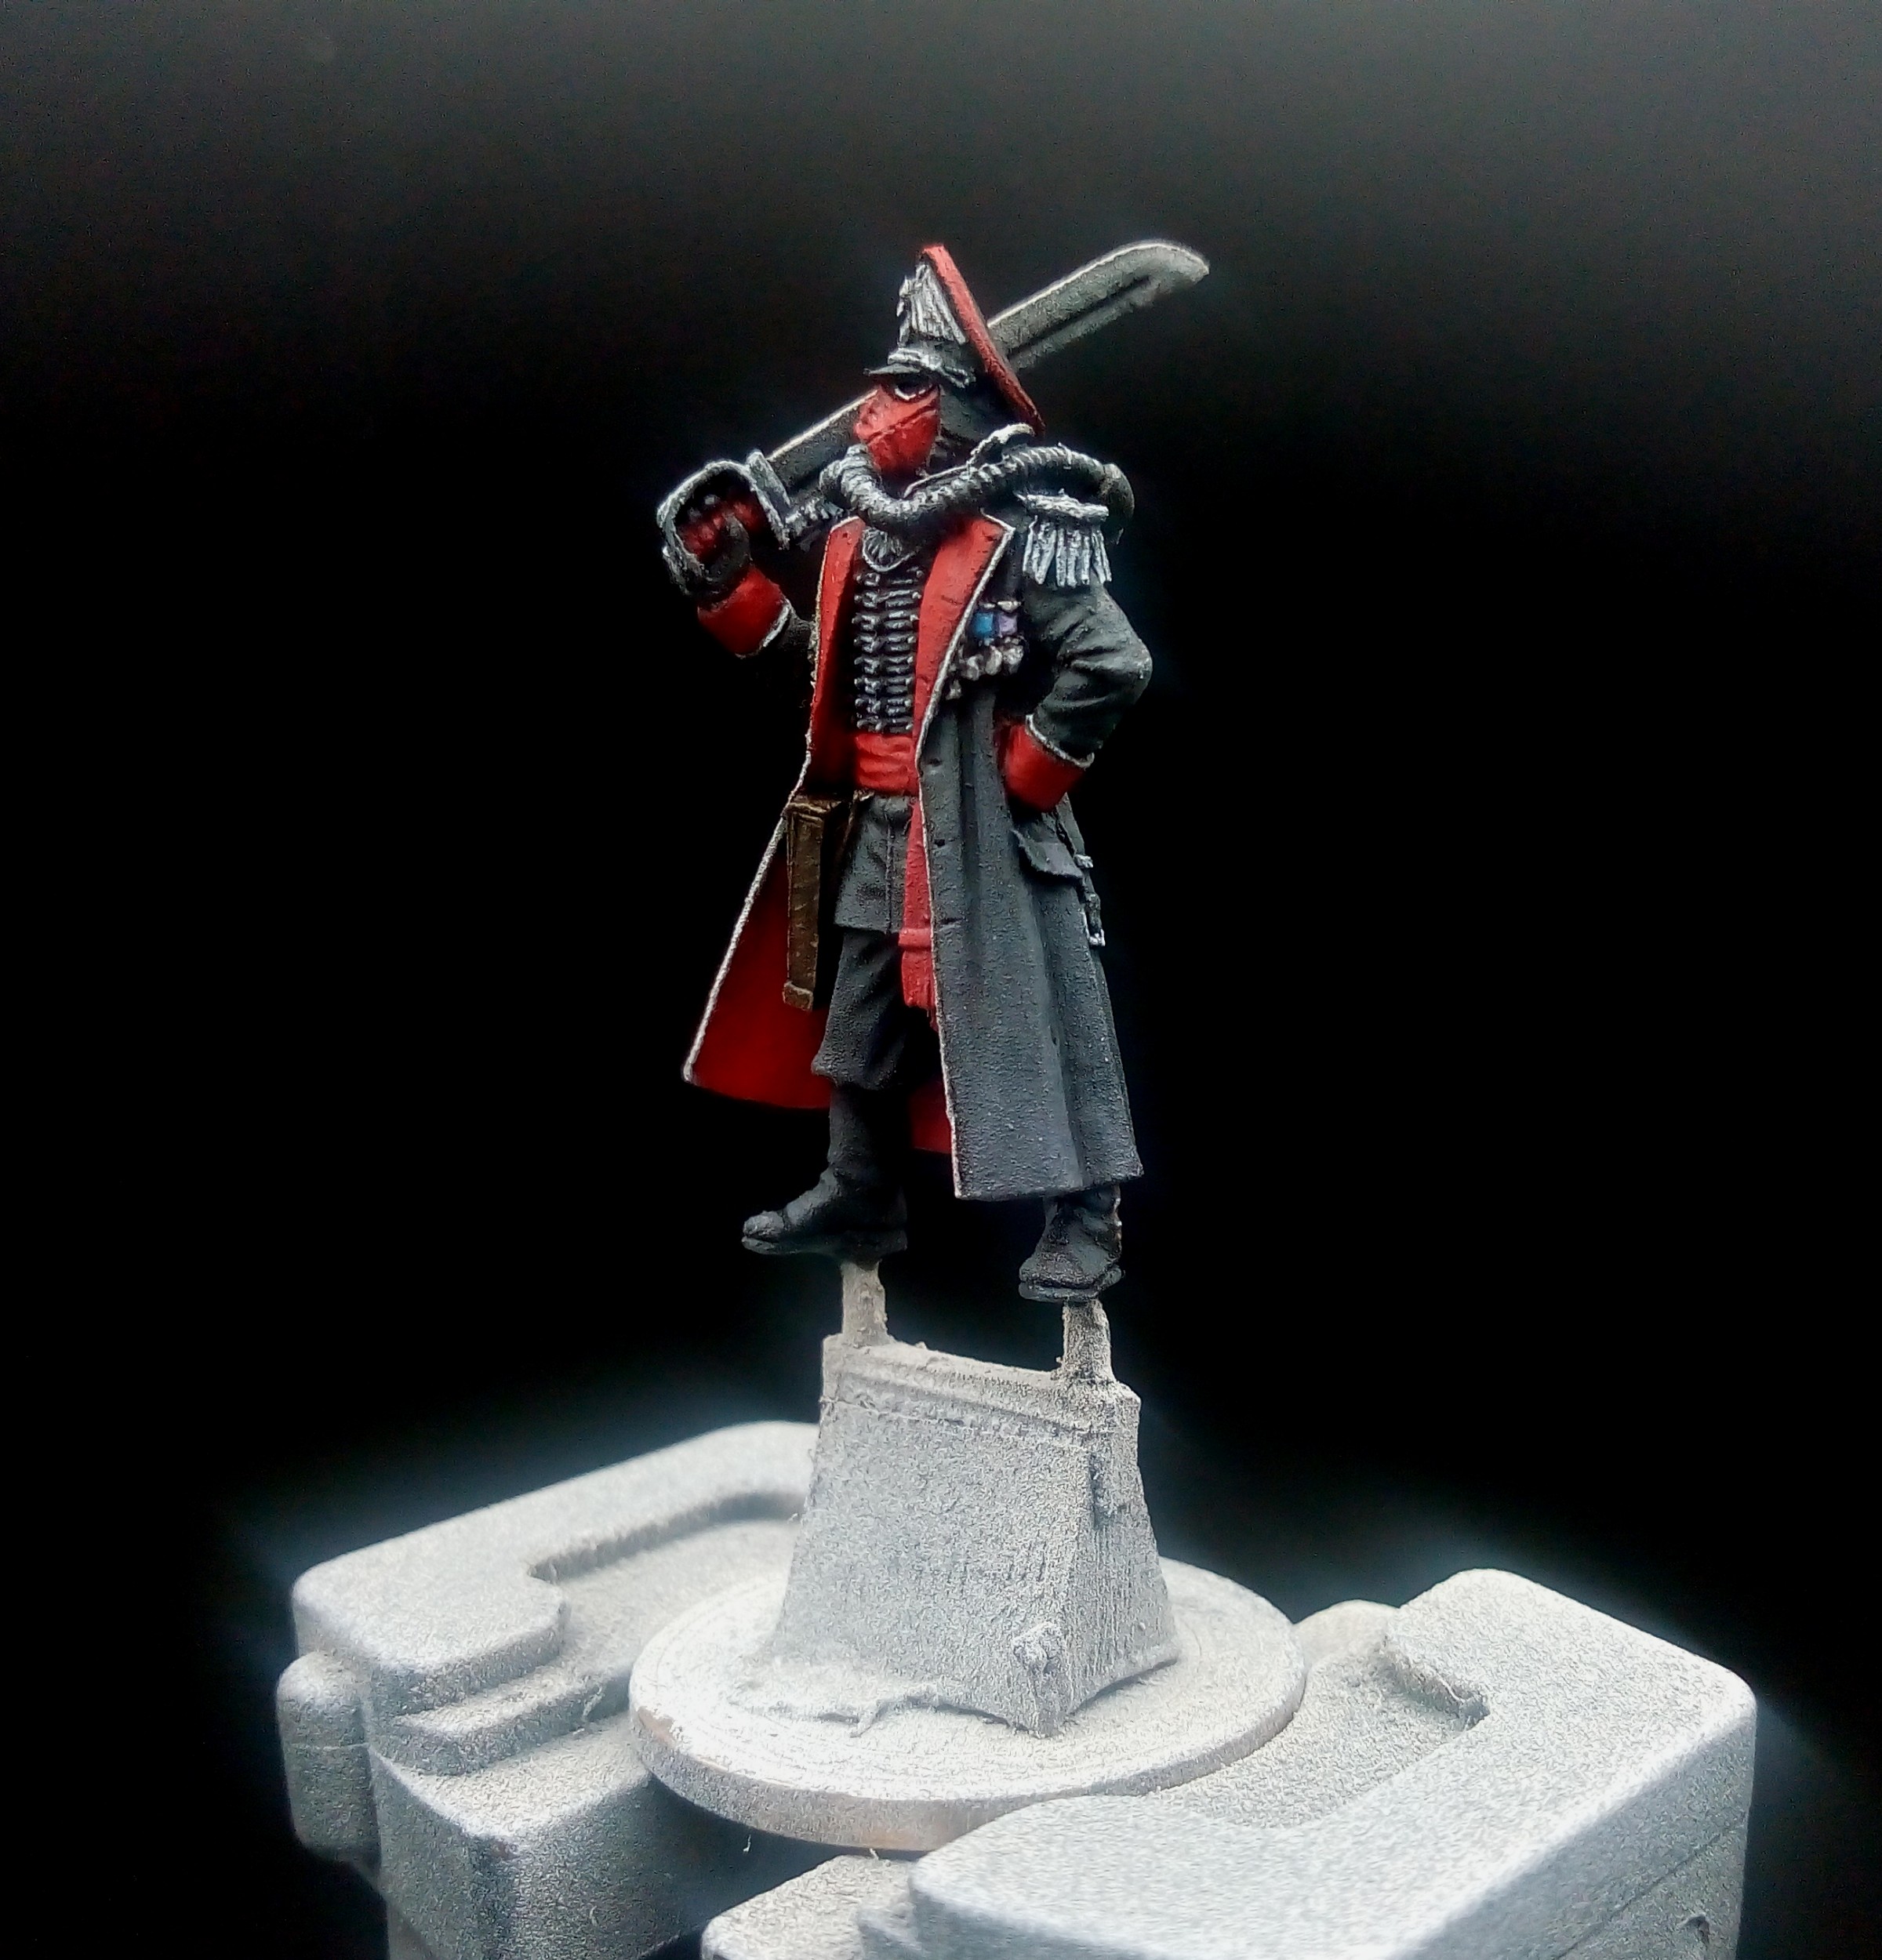
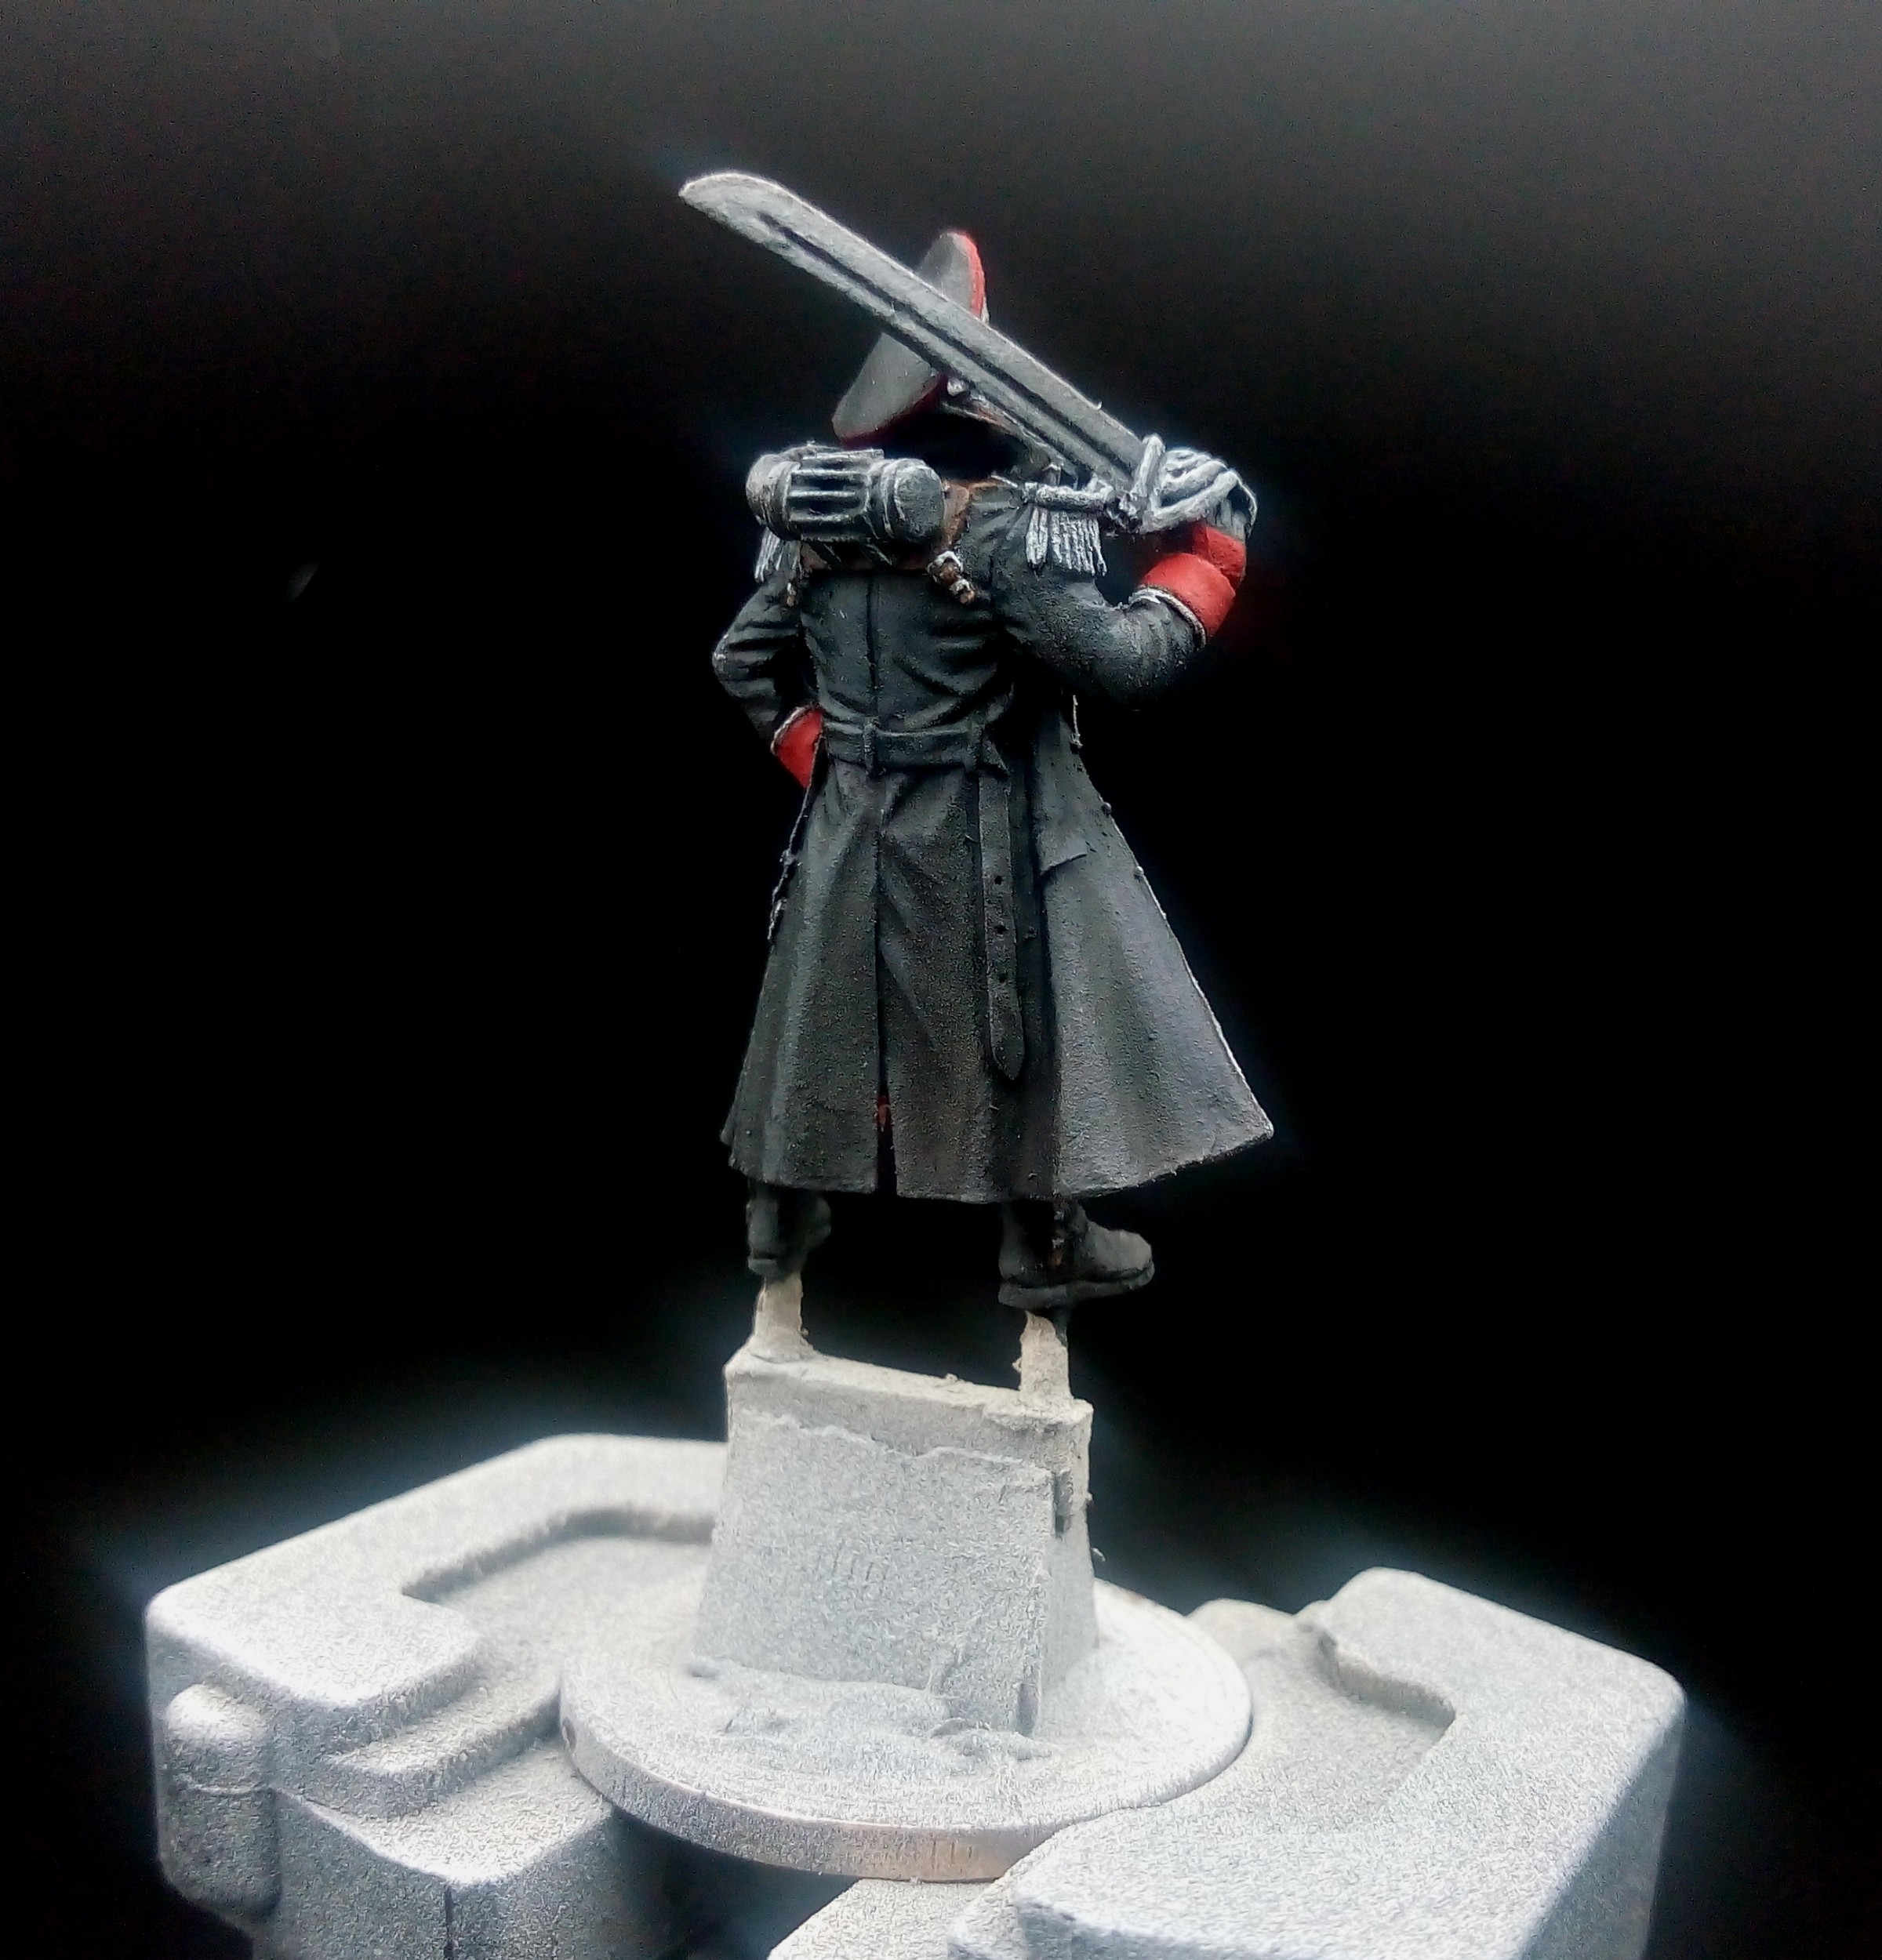
I couldn’t help but put more time into this guy as it is such a lovely sculpt and I wanted to see how far I could push myself. Super pleased with the results and what I have been able to learn.
Soo what was the process
Sprayed him Chaos Black then highlighted him with a zenith of Corax white from the front and wraithbone from the back.
Next, I painted the non-metal areas.
For the Black
- Templar Black (C)
- Lahmian Medium 50:50 Nuln Oil (S)
- Stage 2 again in the shadows/creases
- Eshin Grey (L)
For the Red
- Blood Angels Red (C)
- Khorne Red (B)
- Evil Sunz Scarlet (L)
- Evil Sunz Scarlet again (L)
- Carroburg Crimson (S)
- Evil Sunz Scarlet highlight (L)
- Carroburg Crimson in the shadows (S)
For the White
- White Scar (L)
- Lahmian Medium 50:50 Nuln Oil (S)
For the metal areas the sword and the silver braiding
- Basilicanum Grey thinned layer (C)
- Eshin Grey
- Nuln Oil 50:50 Water (S)
- Mechanicus Standard Grey (B)
- Dawnstone (L)
- White Scar (L)
- Nuln Oil heavily thinned (S)
For the sword, I played around with the combo above breaking it into thirds and then trying to blend each third to one another. I ran a silver edge to the blade using Runefang Steel (L) and then a thinned wash of Nuln Oil (S) over it.
Finally for the holster and leather straps and supports
- Dryad Brown (B)
- Dryad Brown (B) 50:50 Lahmian Medium
- Skrag Brown (L)
- Seraphim Sepia (S)
- XV88 edge highlight (L)
- Tallarn Sand final small area highlight (L)
Really enjoyed painting this mini and hope you find some of this info useful, gonna have a break before starting the next part of the squad but when I do I plan to do 5 of the infantrymen at the same time to see if I can batch paint them in this scheme.
Stay safe out there and happy hobbying everyone!
What is this 3d printer magic.......and how do I abrah cadabra the bloody thing!
Hey guys, so having seen the Weekender where the guys talked about and covered the Titan Forge Patreon I bit the bullet and signed up after which I then went on the hunt for a 3d printer.
Rather than try and break new ground and with Justin kindly offering to give me pointers when needed I went with what the guys used to do the prints for that show, the Anycubic Photon.
So had it a couple of days and now starting to get a feel for the old girl. I went with Chitubox for slicing as it is a better tool than the one you get with the printer IMO.
I am using the Anycubic grey resin, IPA for cleaning the prints, Meths for cleaning the printer itself, a UV curing lamp for nails (got it from Argos…promise). I did buy a metal scraper for removing the minis as it has been advised in videos but it can scratch the surface of the plate something you don’t want to do and so I have gone back to the plastic scraper you meant to use.
I have the printer sat in a deep oven baking tray in case it leaks, I have a shallow baking tray in front of the printer which is where I do my clean up and to be honest its all very simple after you have done it a couple of times.
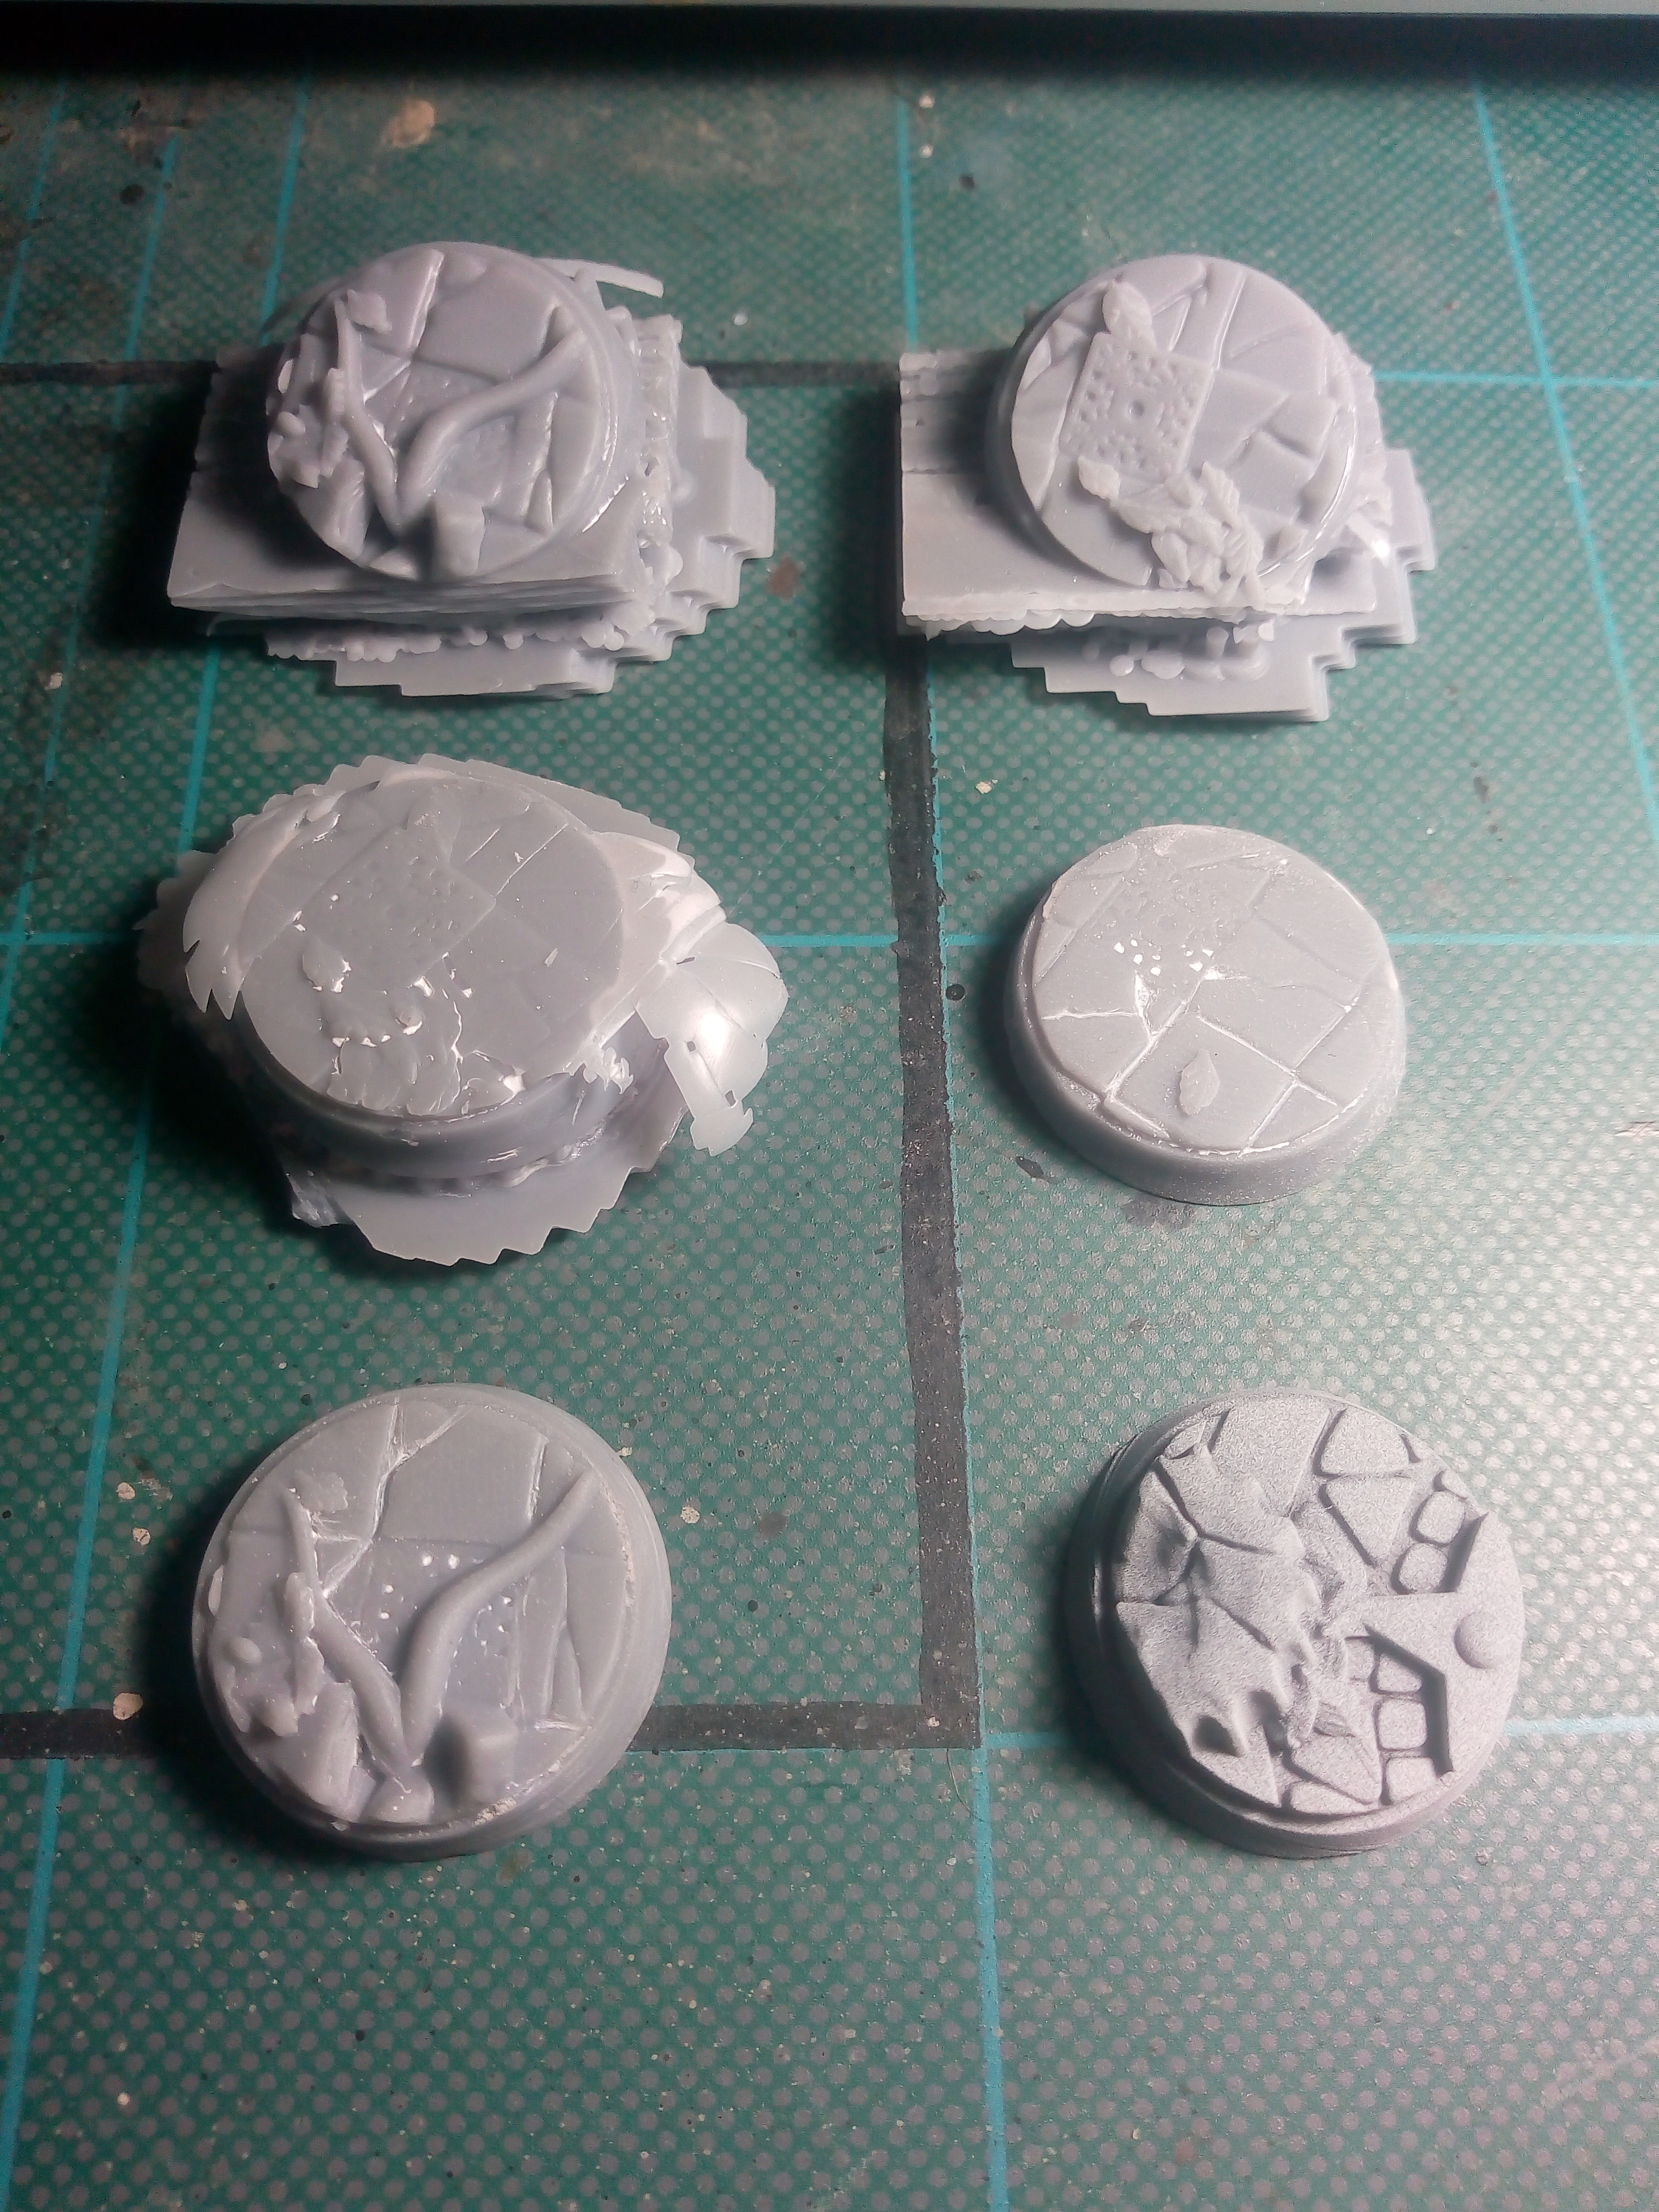
So I haven’t dived into a full mini yet as I wanted to keep it simple stupid and as you can see in the images I wasn’t going simple enough hehe.
The first image is some bases from the Titan Forge Patreon.
The top pair are fails as I didn’t set the height to raise them off the platform and so when I tilted them for a better print I tilted them below the zero level of the machine…..balls……number 1!
The second pair I lifted the files on Chitubox as I should and forgot to tilt to an optimum angle, hence the lack of depth to the details…..balls…..number 2!
The third pair are my latest base attempts and I am happy with them (seems balls come in pairs rather than threes, who’d have thought aye.)
These I got right and have a good depth of detail, one is as it comes from the printer the second I have smoothed out a couple of areas where there were print lines on the edge of the base and zenith highlighted. I will say that before I zenithed I could see very small lines on the base but nothing I couldn’t live with. Already these are starting to be less visible and I would imagine with a single lick of paint they would be gone.
After this minor victory, I set about learning a lot more. I have found for the Anycubic Photons there is a file validator that will help you spot any flaws in your print, namely the unsupported or poorly supported areas by layer. It will fix some for you and by the end, the ones you have to go do manually on your slicer are a much smaller percentage than at the start.
https://github.com/Photonsters/PhotonFileValidator
Also, I got into some vids from that guy on YouTube, as Warren is always telling us that’s the place to go for genuine information. My guy turned out to be this guy. He has done 8 videos (I will just link the first one) and I found them really useful and now re-arrange a lot of my supports following the mantra he lay down. I still use the generated supports but have changed my settings and I now check the minis and adjust many even before my initial slice. All in all well worth a watch.
https://www.youtube.com/watch?v=TTZpvhfaNWY&list=PLC4QzbTxrEF-fA1OC_-zE_4f6n1K-w2SS&index=1
So what next, well a full-size miniature of course. Its definitely put me out of my comfort zone for a few days but now I am feeling much more comfortable and looking forward to doing more.
 Top (crap) Middle (still crap) Bottom left (not bad) Bottom right (sweet!)
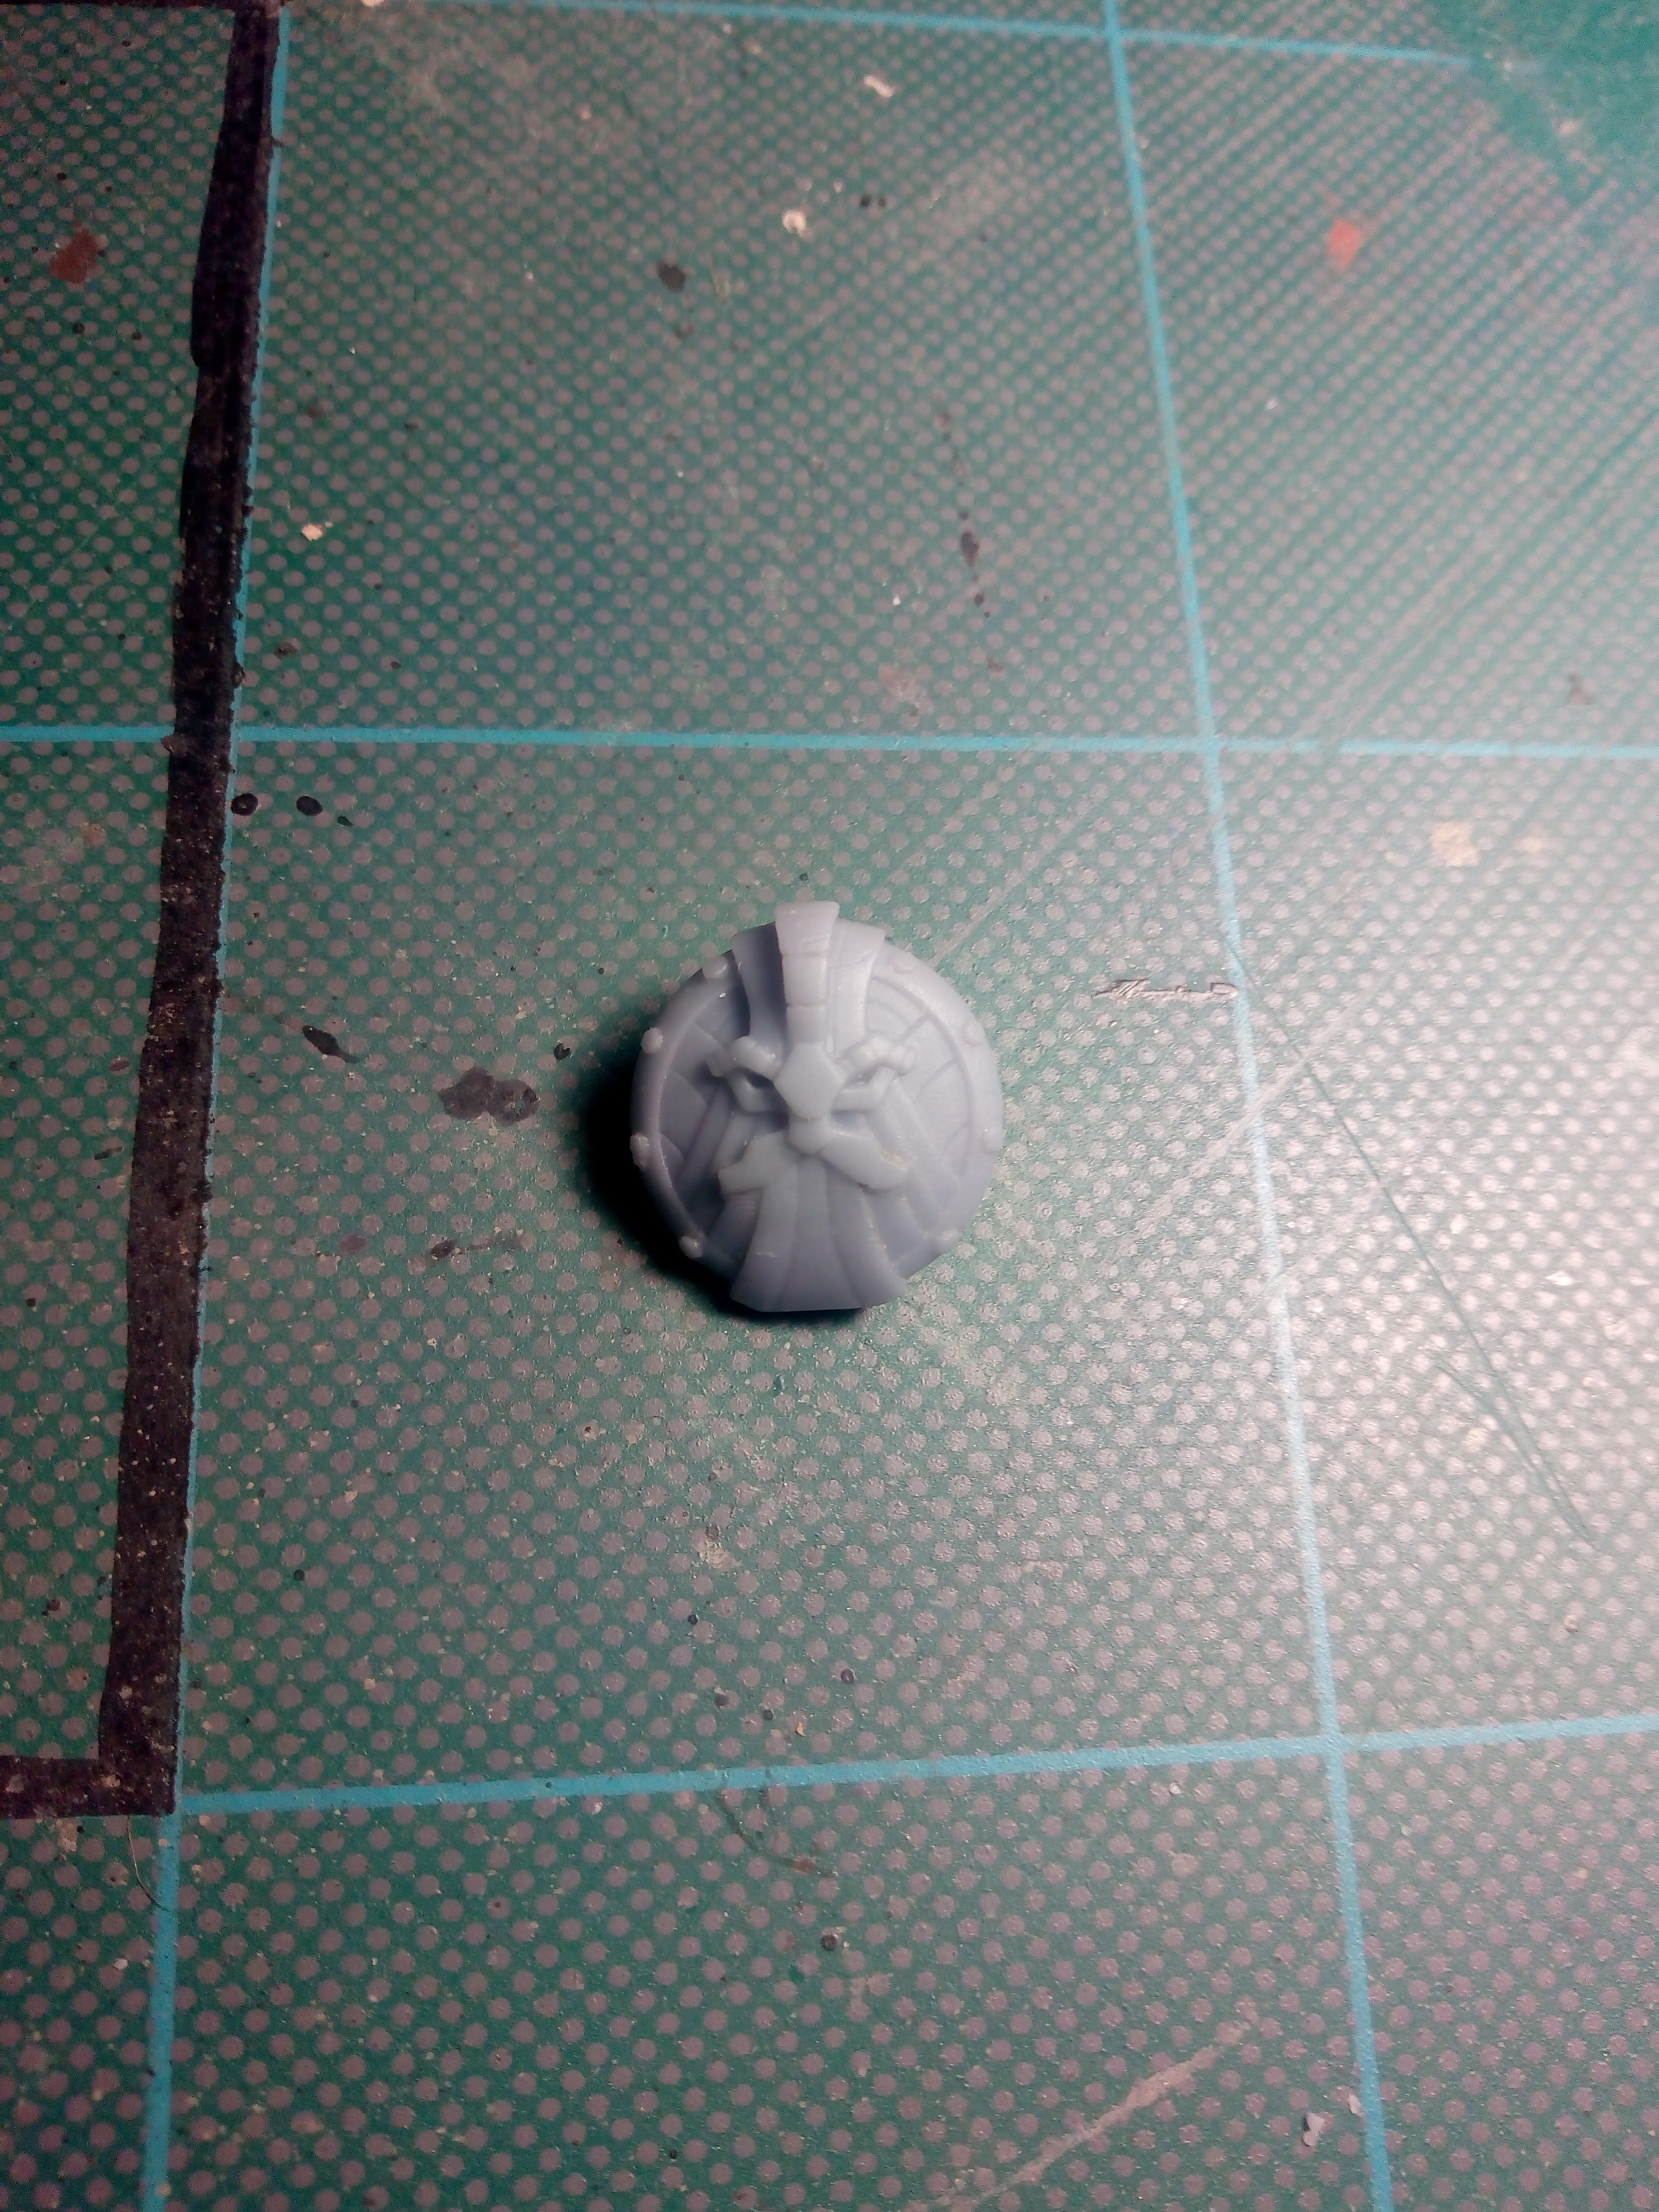
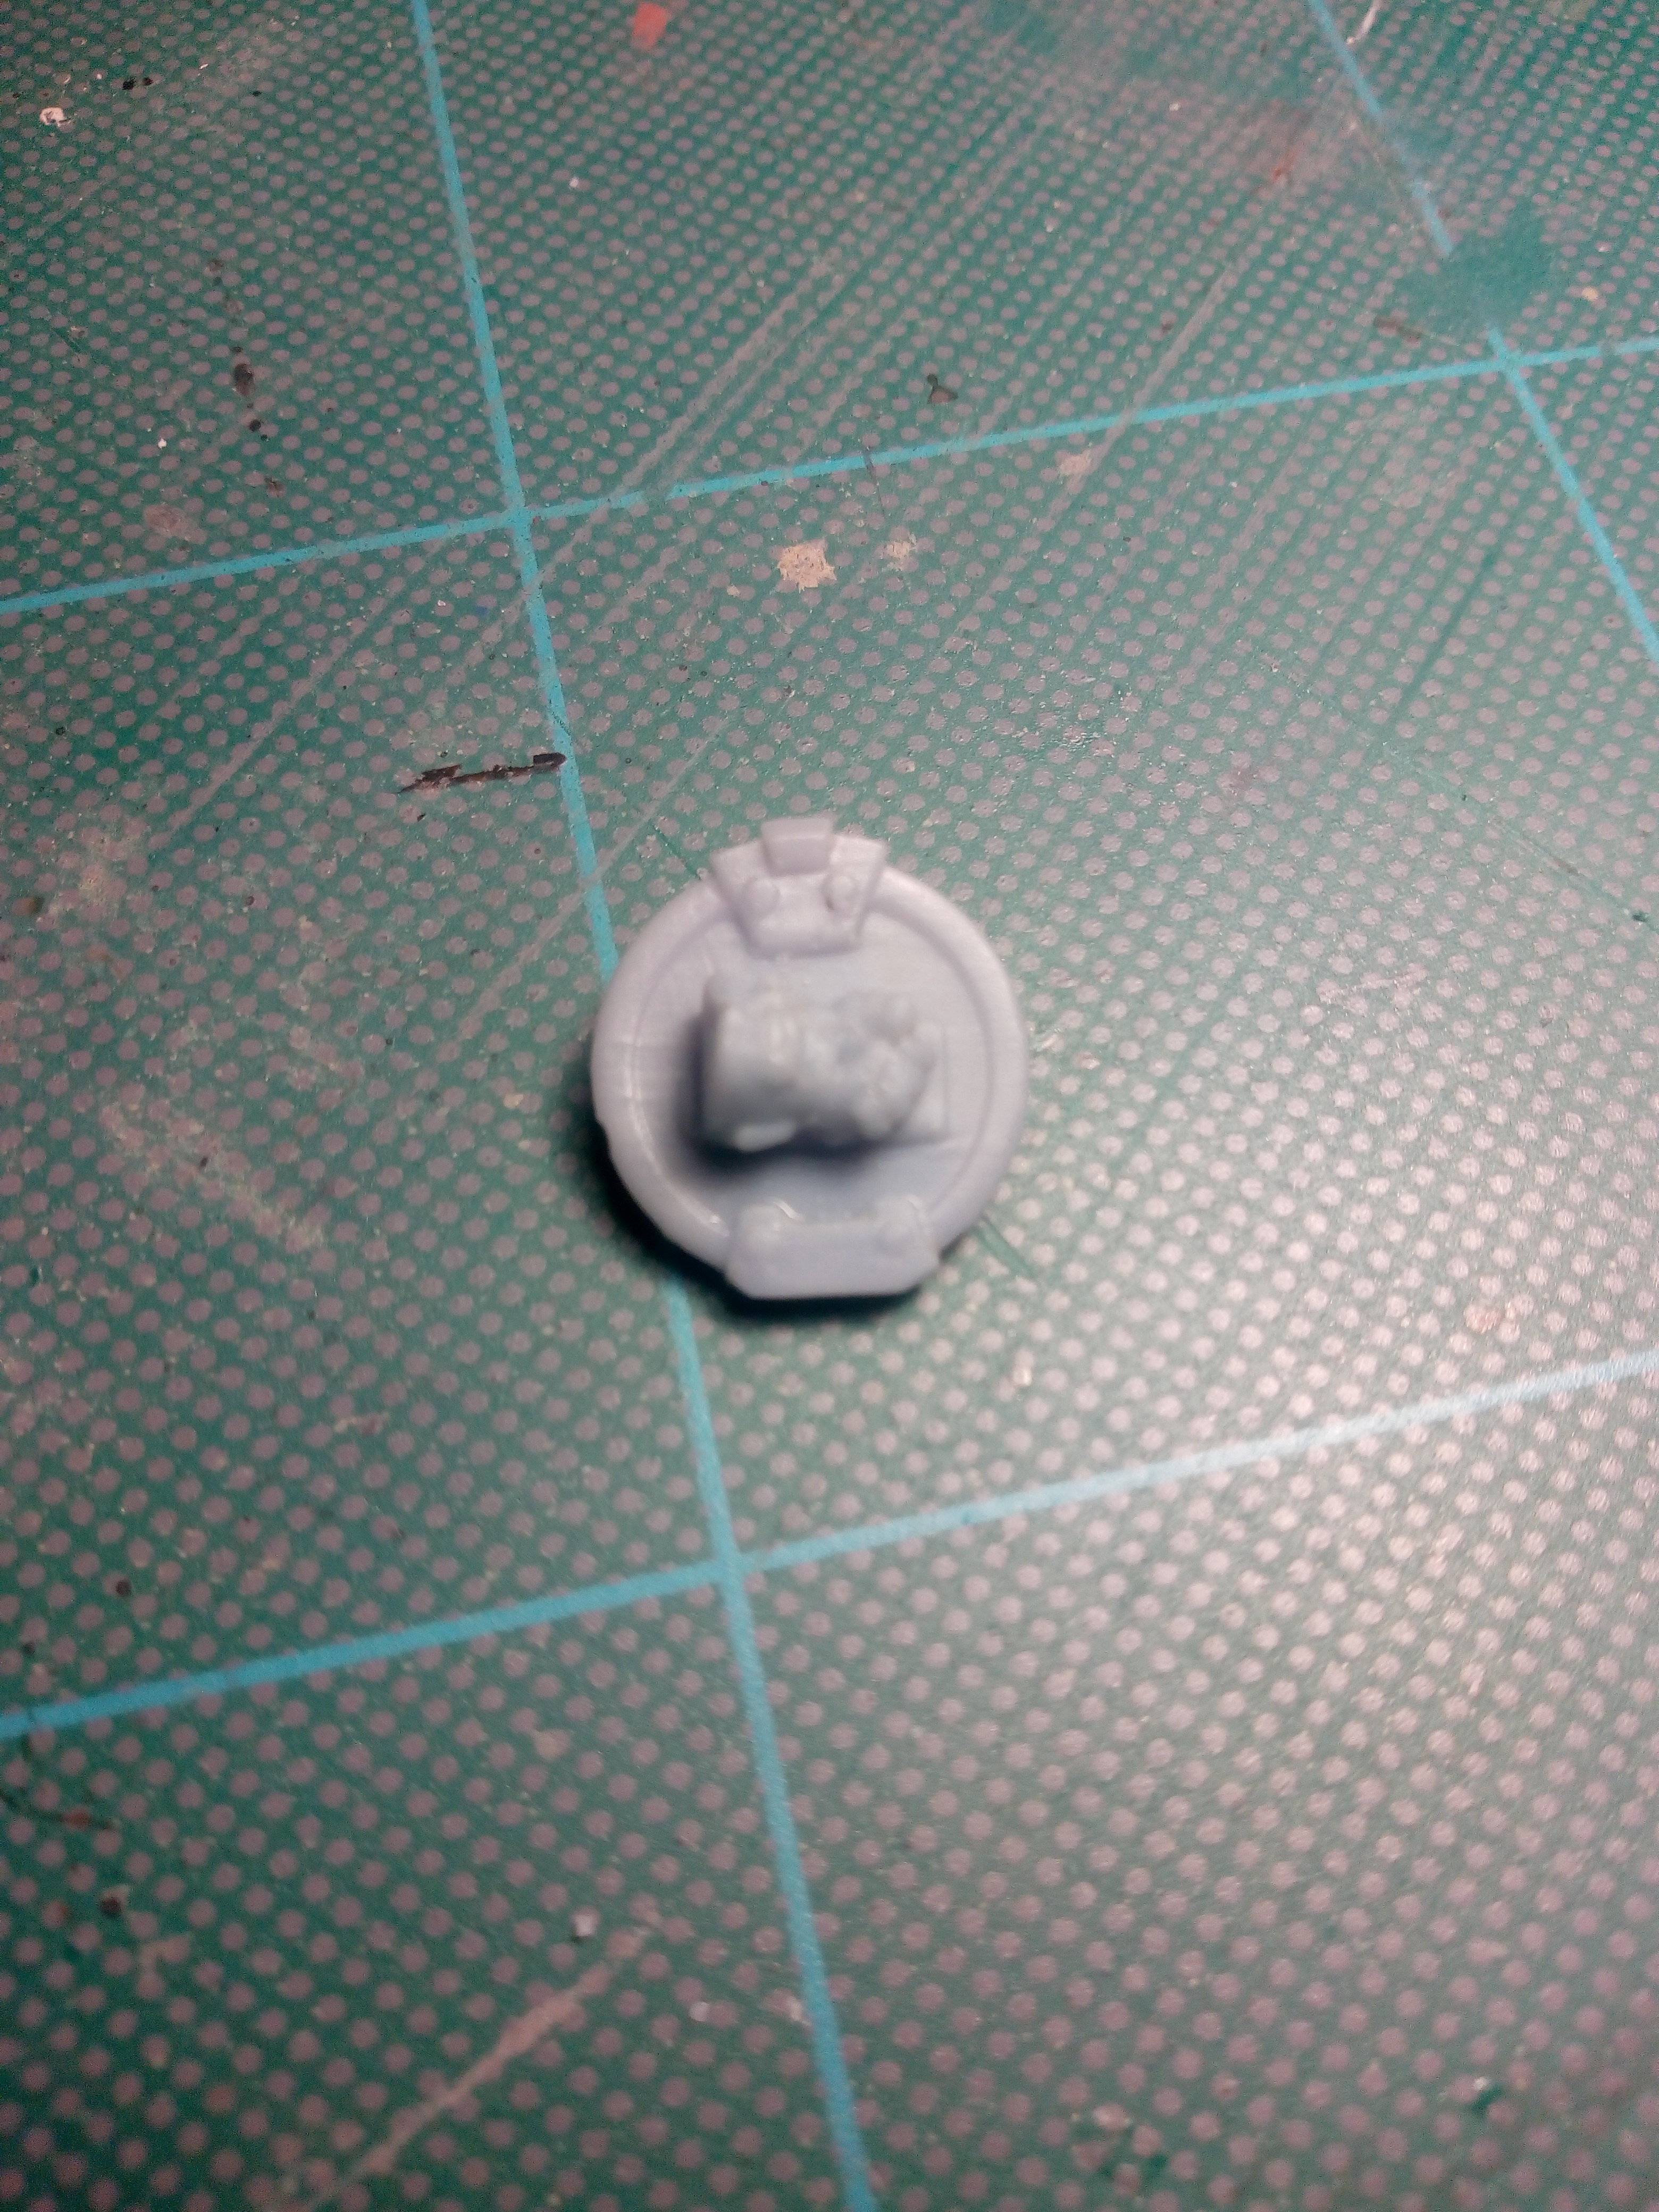
One of the Dwarf shields I wanted to test after the bases as it has some small detail such as holes in the strap on the back which are actually there and some clearly defined lines and details on the face of the shield. Really pleased with the results. Did a quick zenith and threw some thinned down Nuln Oil on it to show how clean the result is in the final image.
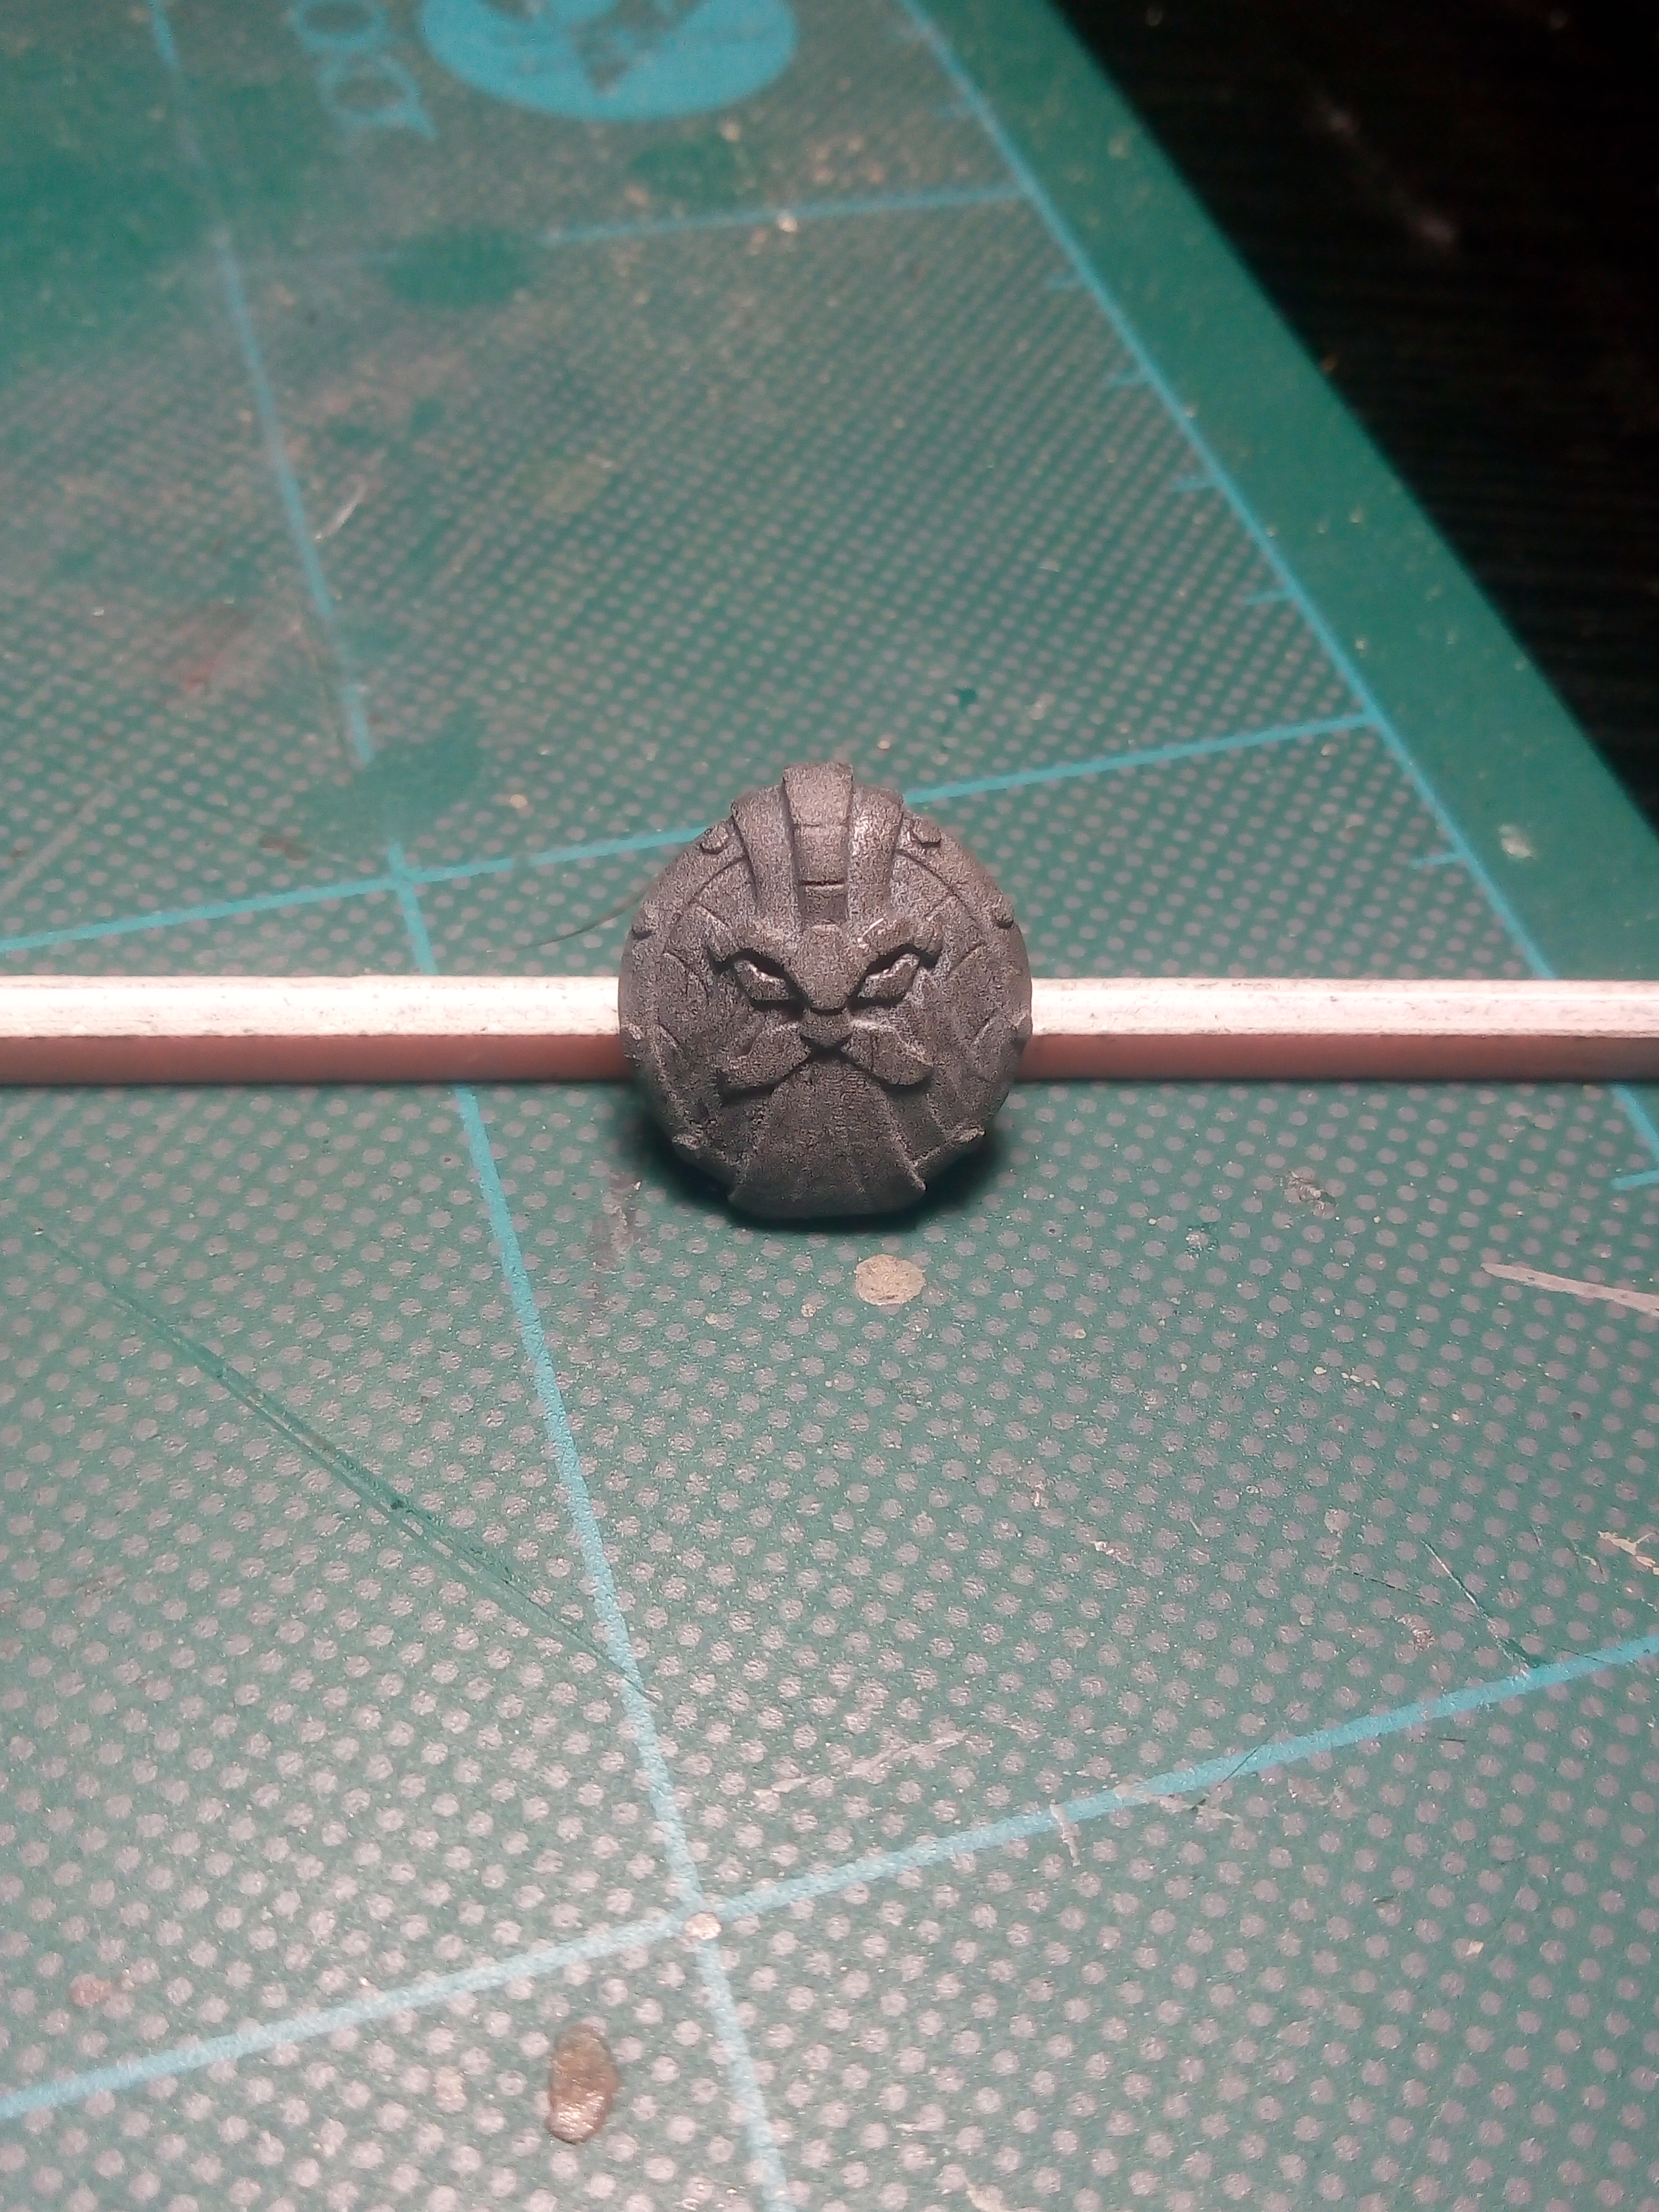 Dwarf Shield, with my hasty zenith and a wash. Have to say very pleased. From top to bottom this is only 18mm ;)
Another Spectre Miniatures African Militia member done......still a few to go :D
A couple of pics from my latest painting session for Sitrep Podcast, got this guy done in around 1hr 40min. Pleased with how he turned out and looking forward to doing the next one. Hoping to keep bringing the time it takes down a little bit and see where it settles. For a full video with the whole process and colours used please see the link below.
 Gotta have that cap at just the right angle!
 Why did I bring my raincoat again......oh that's right, cos I will be raining bullets baby!
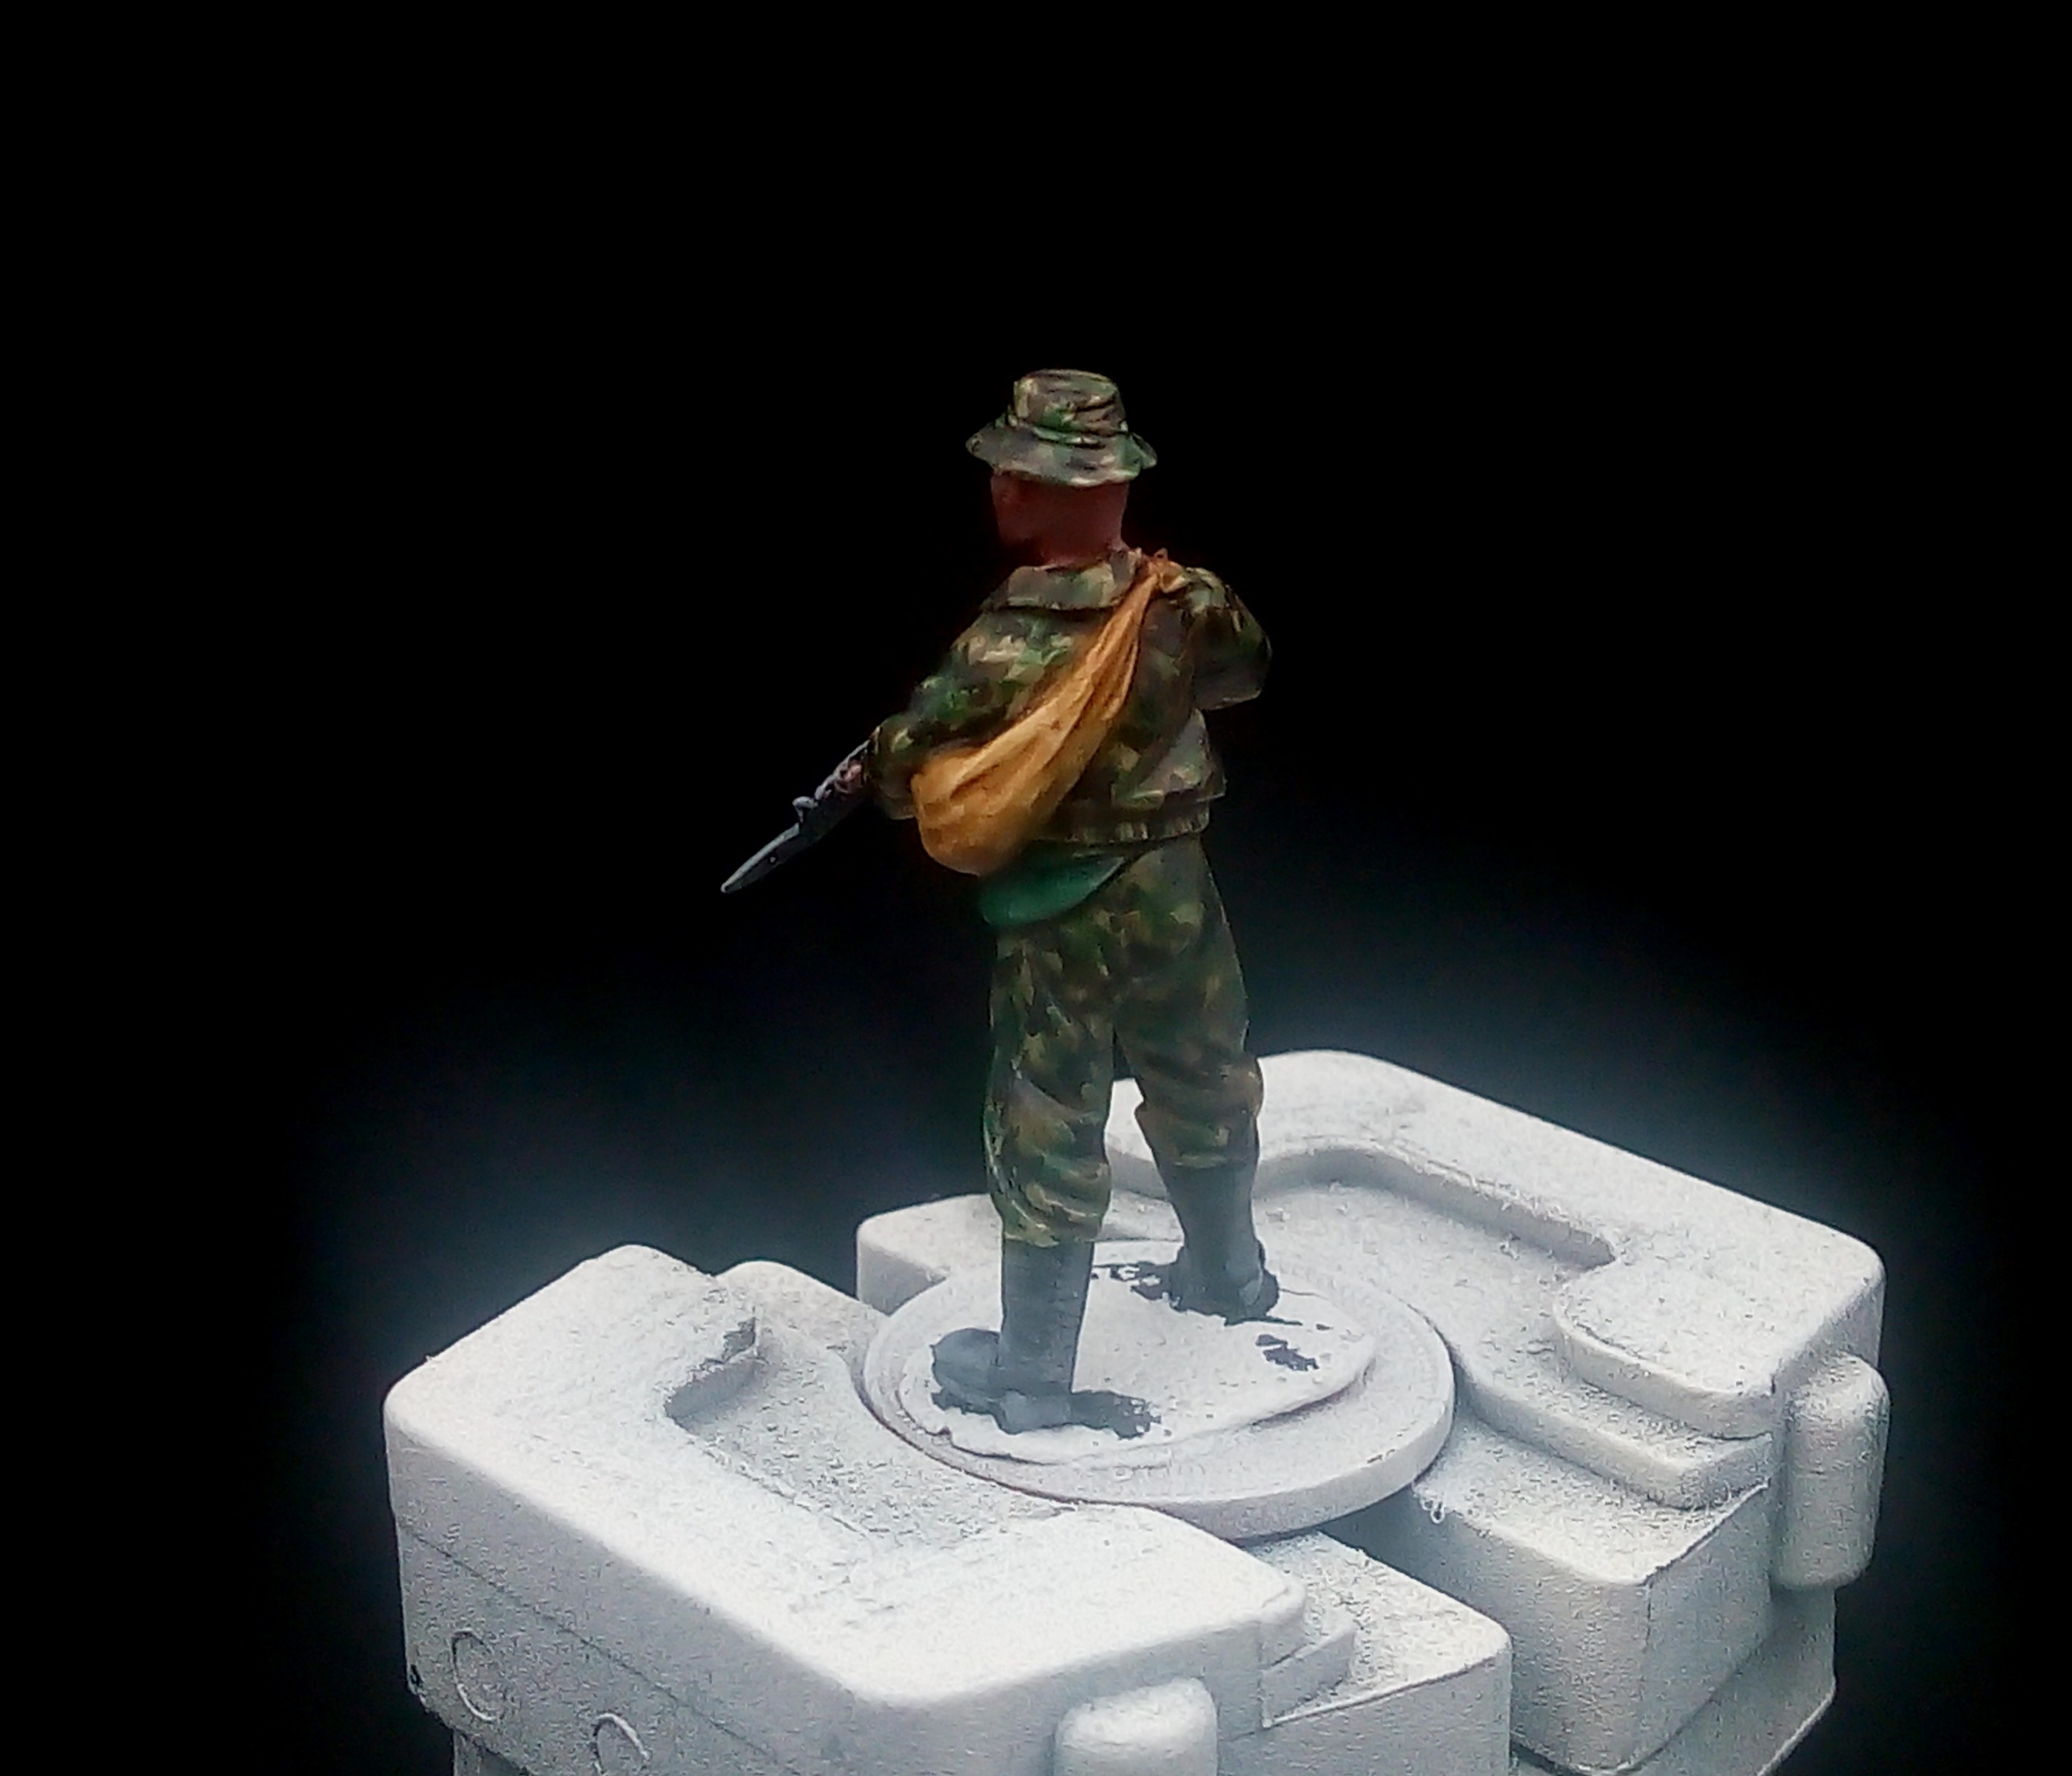
Decided to do 3 sessions yesterday for the Sitrep Podacast and managed 3 more minis.
So managed to keep these between 1 hr 40min and 2 hr 40min which I was really pleased with. Just 2 more to go now and then to decide what to do next for modern.

Had to glue them to 1p coins as I had run out of 2p coins that didn’t already have a mini on. They turned out to be too small to get good tension from the handle so I won’t be doing that again, back to 2p’s in the future.
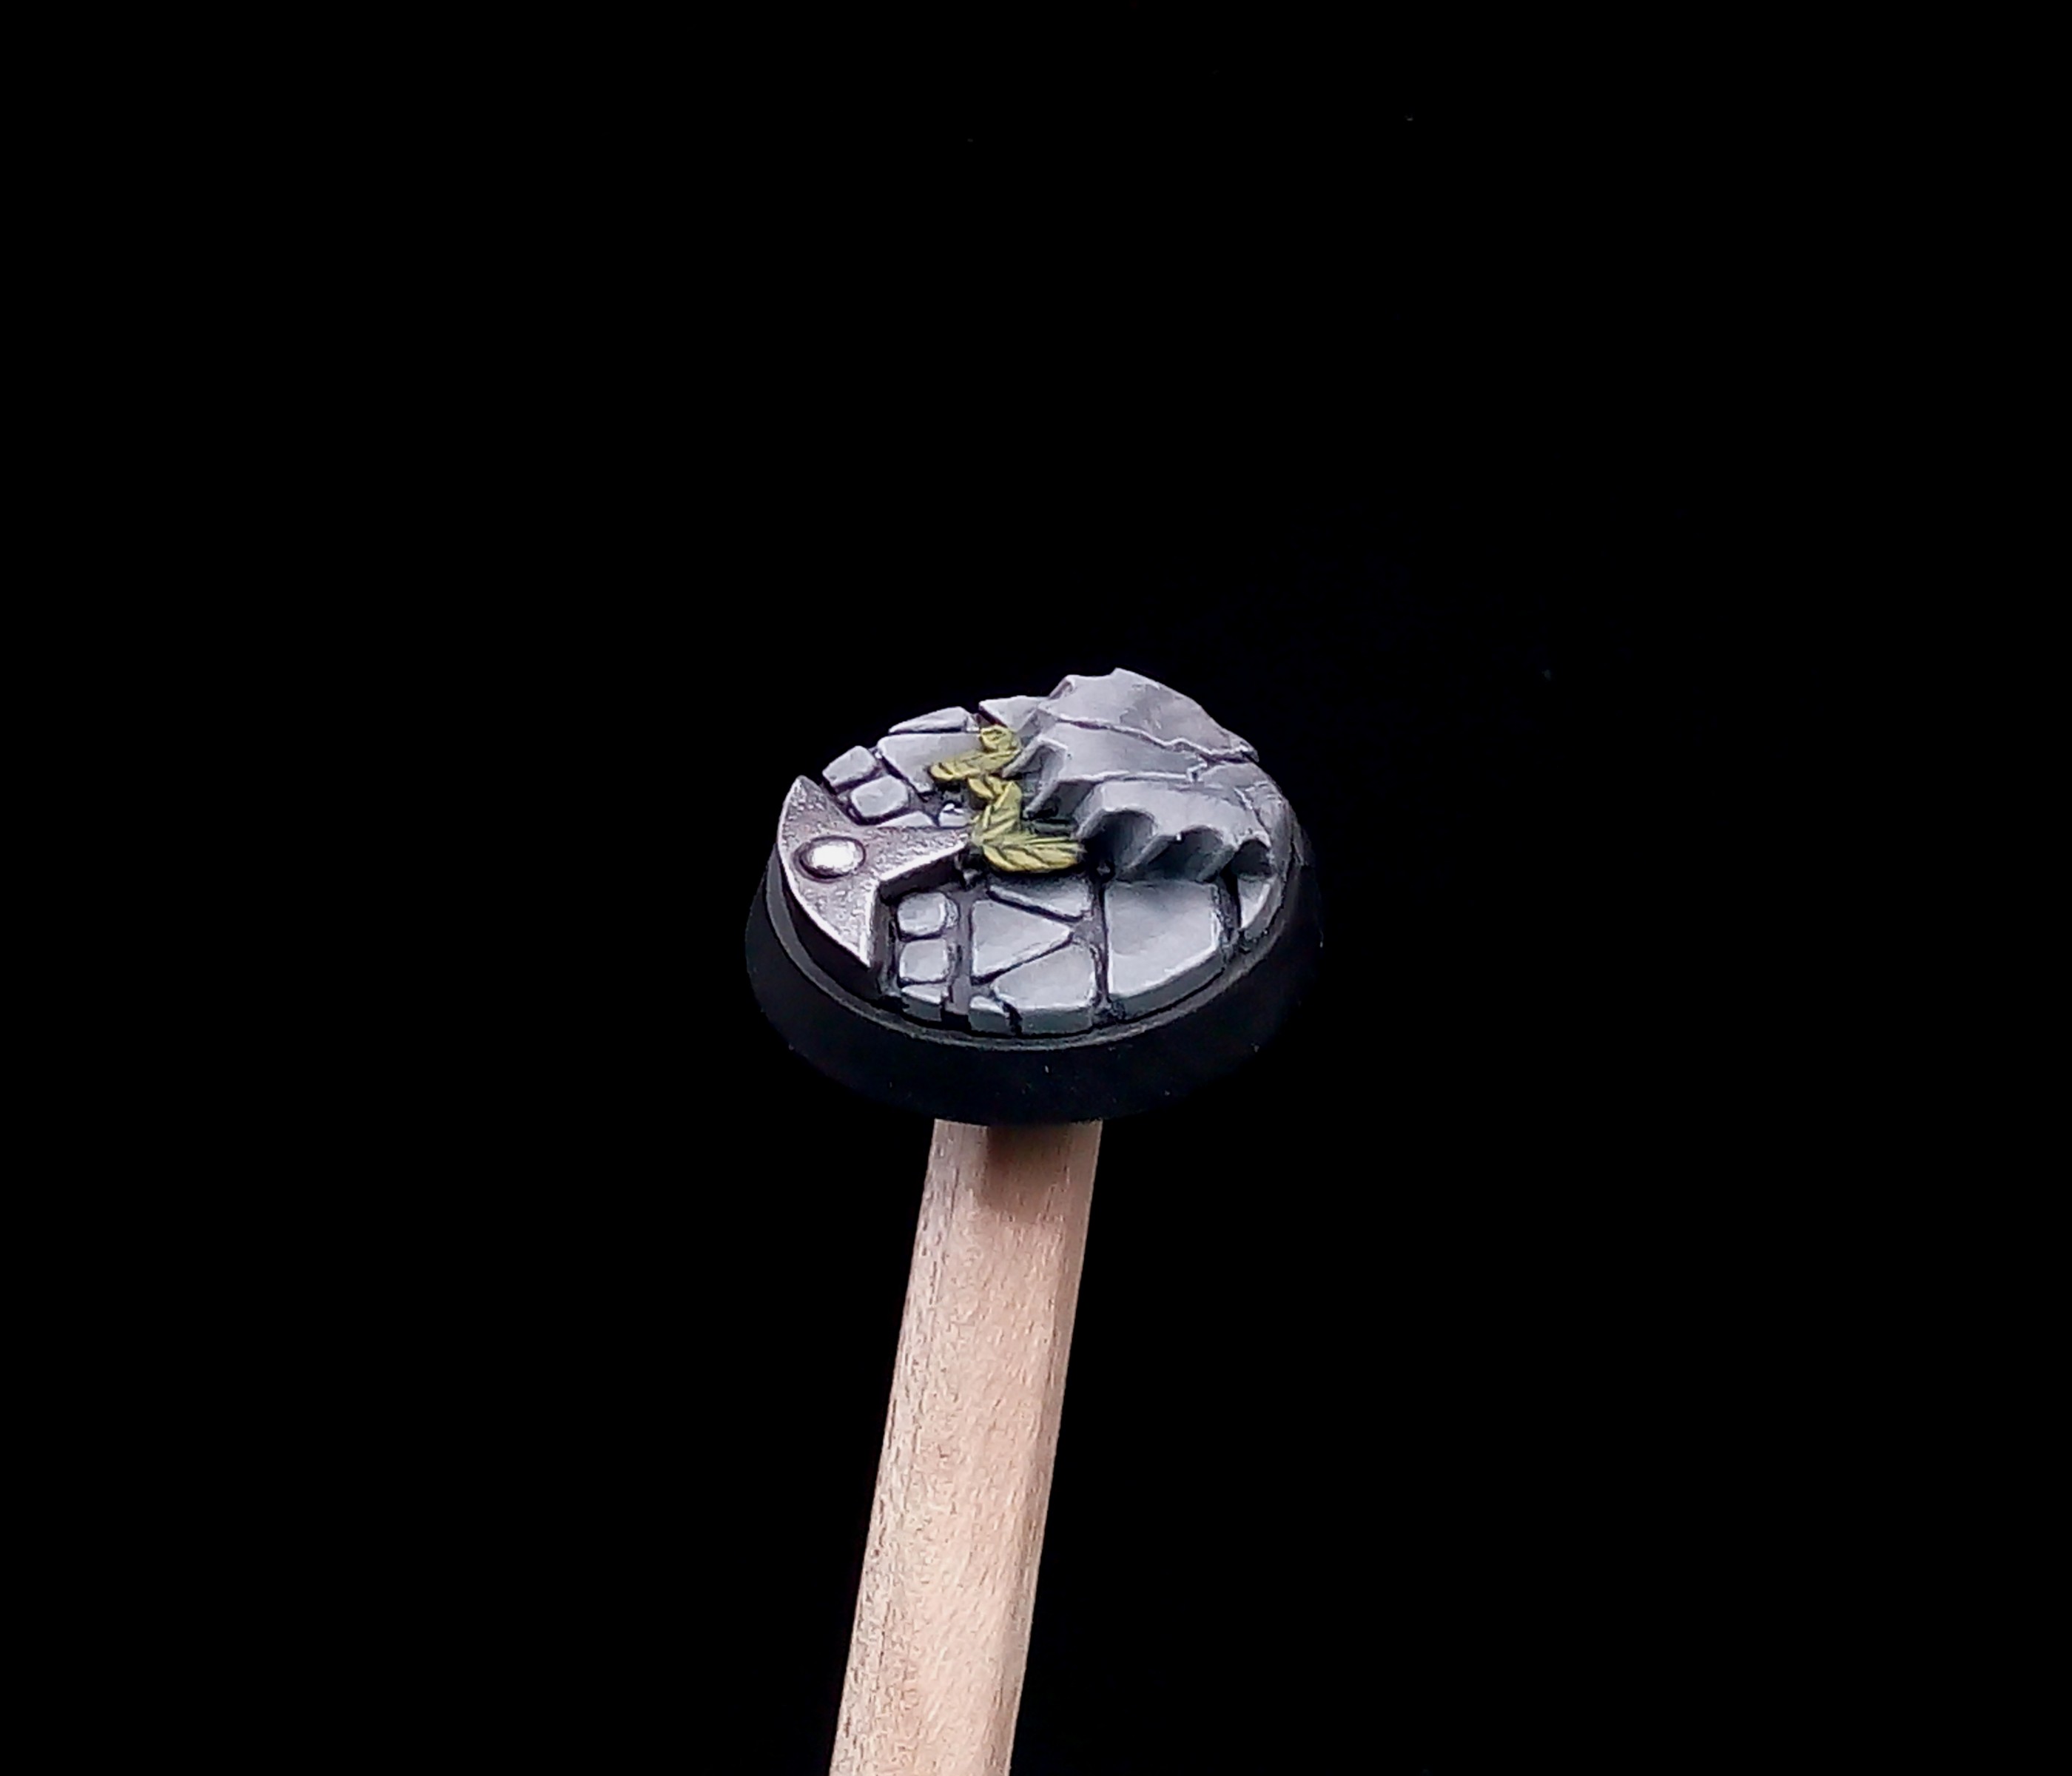
Something a little different, one of the bases I printed gets some paint.
So I went in on the Titan Forge Patreon mainly for the lovely bases that come each month. You get around 40-50 of the same theme in all their various sizes and shapes.
For my 40k force, I was looking at microart studios who do some stunning stuff but it was going to be hundreds of pounds. When I saw the theme of the bases in the welcome package I was very happy as they were close to what I wanted and even with buying the printer it was going to work out around the same cost but open up a whole new world for me.
So now just to stick the Commissar to this and that’s my first fully done mini for my Kill Team/40k force.
 The colours I used are listed below.
So the process was
Spray black then zenith white
The cobbles and pillar
Basilicanum Grey (C) the cracks and gaps
Apothecary White (C) the topmost surfaces and sides
Second layer of AW now just doing the upper surfaces
Thinned down layer of Mechanicus Standard Grey (B) towards the shadows
Thinned down layer of Dawnstone (L) towards the highlight
Mix Dawnstone 4:1 White Scar (L) thin and apply at the highlight
Heavily watered down Nuln Oil (S) in the shadows
Heavily watered down Drakenhof Nightshade to blend at the edge of the previous layer.
Metal
Eshin Grey (L)
Ironbreaker (L)
Stormhost Silver (L) highlight
Nuln Oil (S) wash not thinned
Ironbreaker (L) highlight
Stormhost Silver (L) edge highlight
Leaves
Creed Camo (C)
Warpstone Glow (L)
Elysian Geen (L) highlight
Elysian Green (L) 50:50 Yriel Yellow (L) edge highlight
Base Edge
Abaddon Black (B)
Happy hobbying everyone!