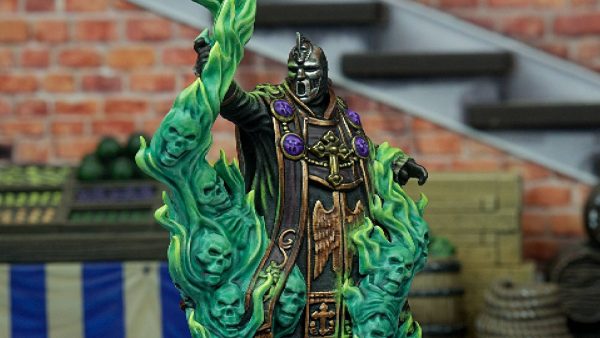


Hellboy (an old Spring Clean Challenge)


Recommendations: 1525
About the Project
Clearing the Flames of War debris from my desk I realise I have a chance to get on board the Spring Cleaning Challenge. Looking at my choices I realize that pretty much everything I have to choose from is spring cleaning My choices being : Blood Rage, Conan, Mythic Battles Pantheon, Zombicide Black Plague and Green Horde, Joan of Arc, Dust 1947, and a couple of expansions for Imperial Assault, Hell boy, There's a few moere in storage but they probably wont come out till Xmas and are looking like candidates for next years spring clean. As Hellboy was pretty much the last thing I got to play with my mates before social distancing its Kind of a no brainer
Related Game: Hellboy: The Board Game
Related Company: Mantic Games
Related Genre: Horror
Related Contest: Spring Clean Hobby Challenge (Old)
This Project is Active
Villain time
In terms of colouring Klempt it was basically a blue wash to the robotic spider components and a green glze and wash to Klempts head with a few details to his more interesting bits.
Isa Haupstien and Kroenen , being basically black, were painted with the last batch of nazi minions, in that the airbrush was required, but Isa got a warmer skin tone which I felt better reflected her character in the comics.
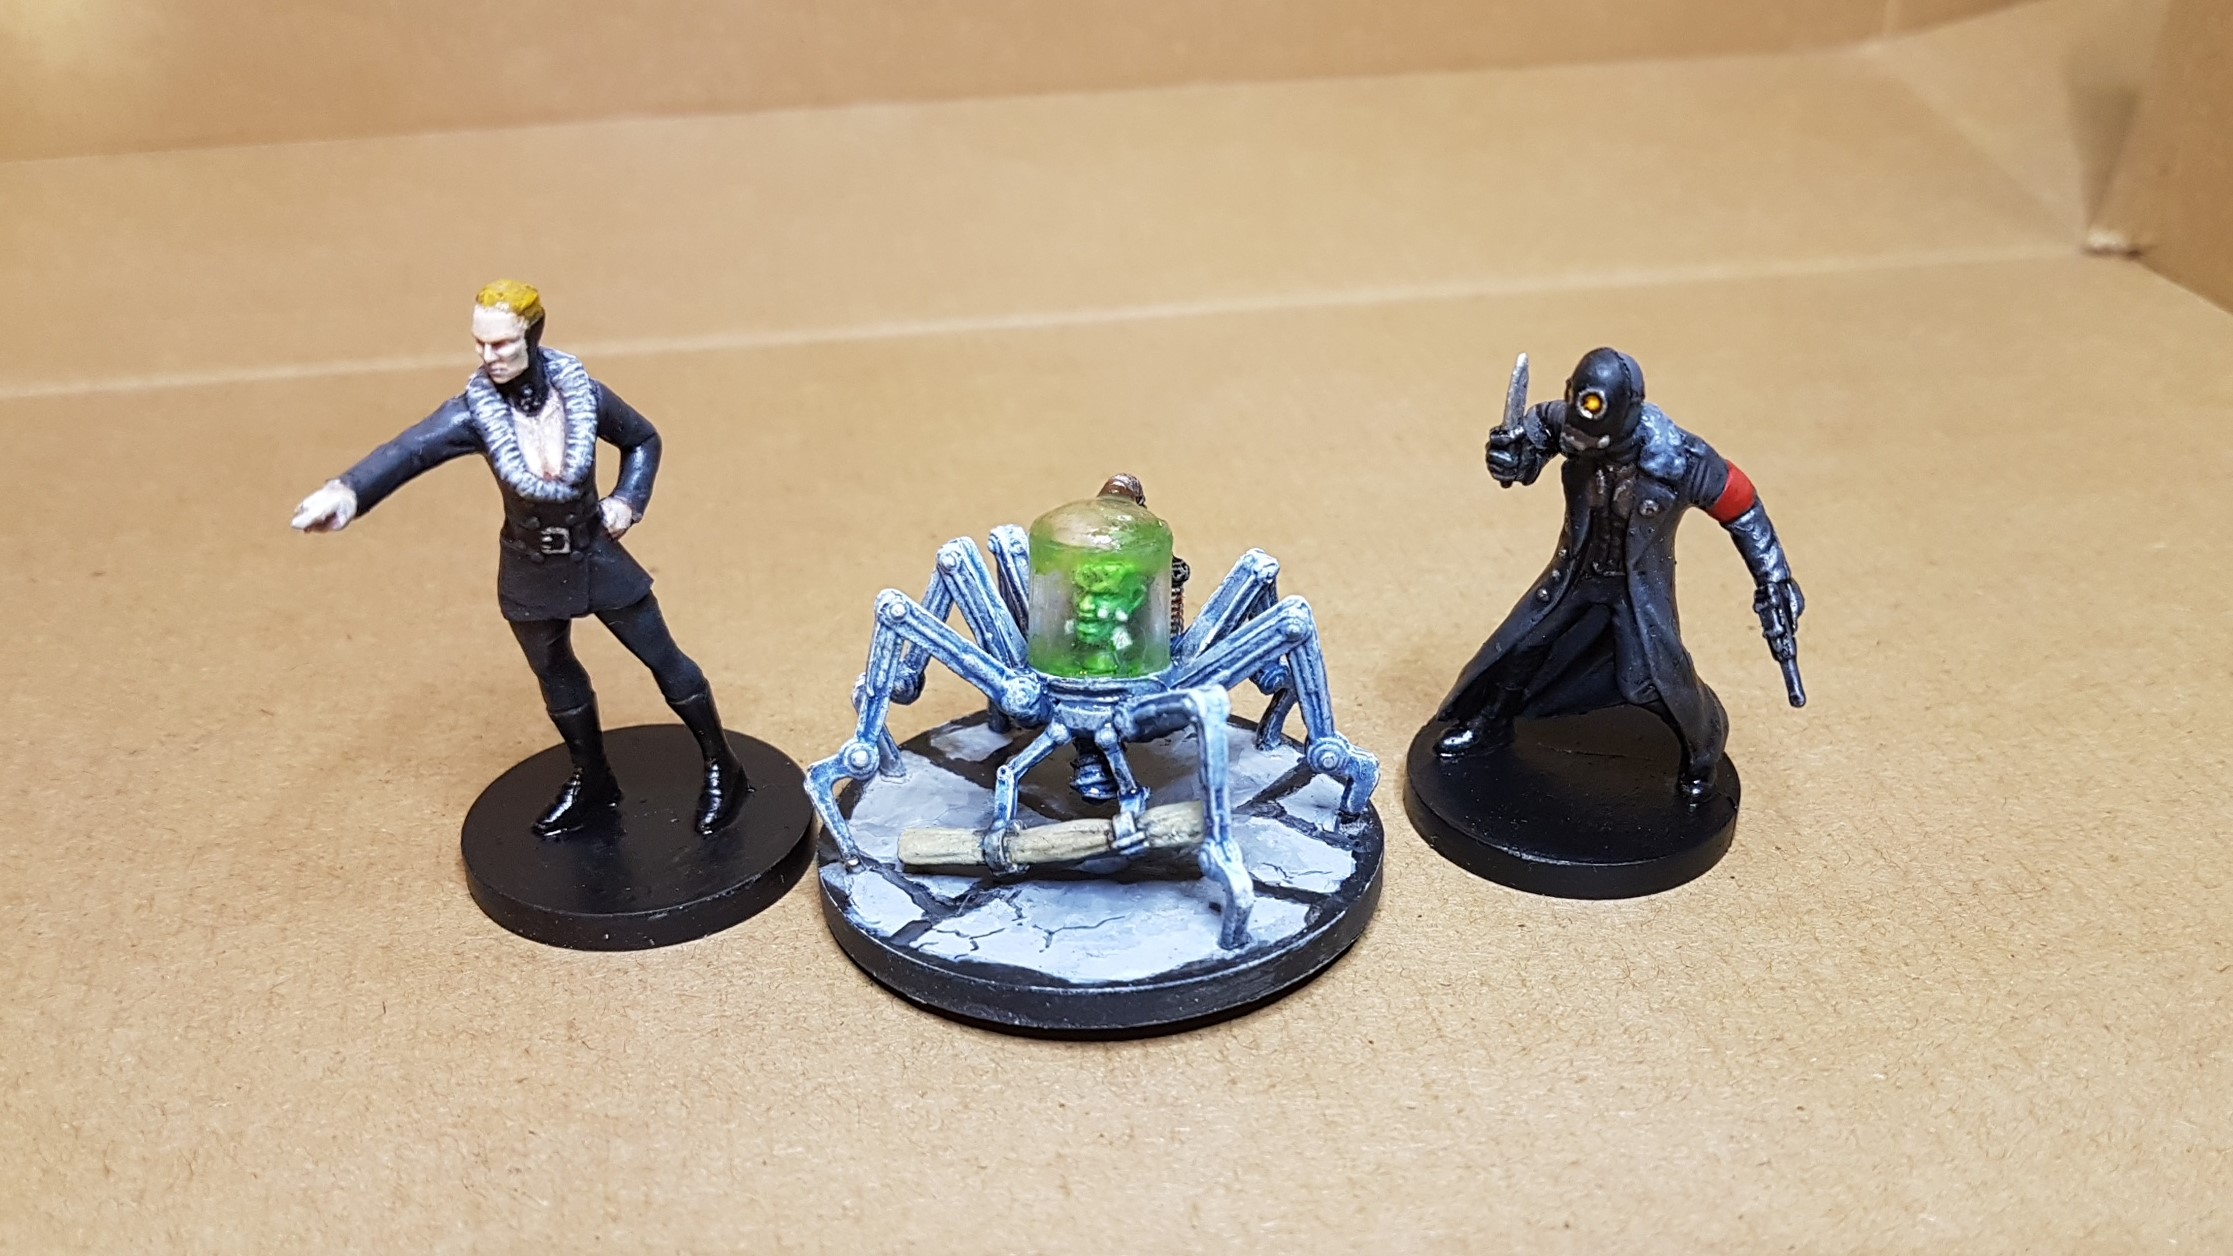 Isa, Klempt & Kroenen
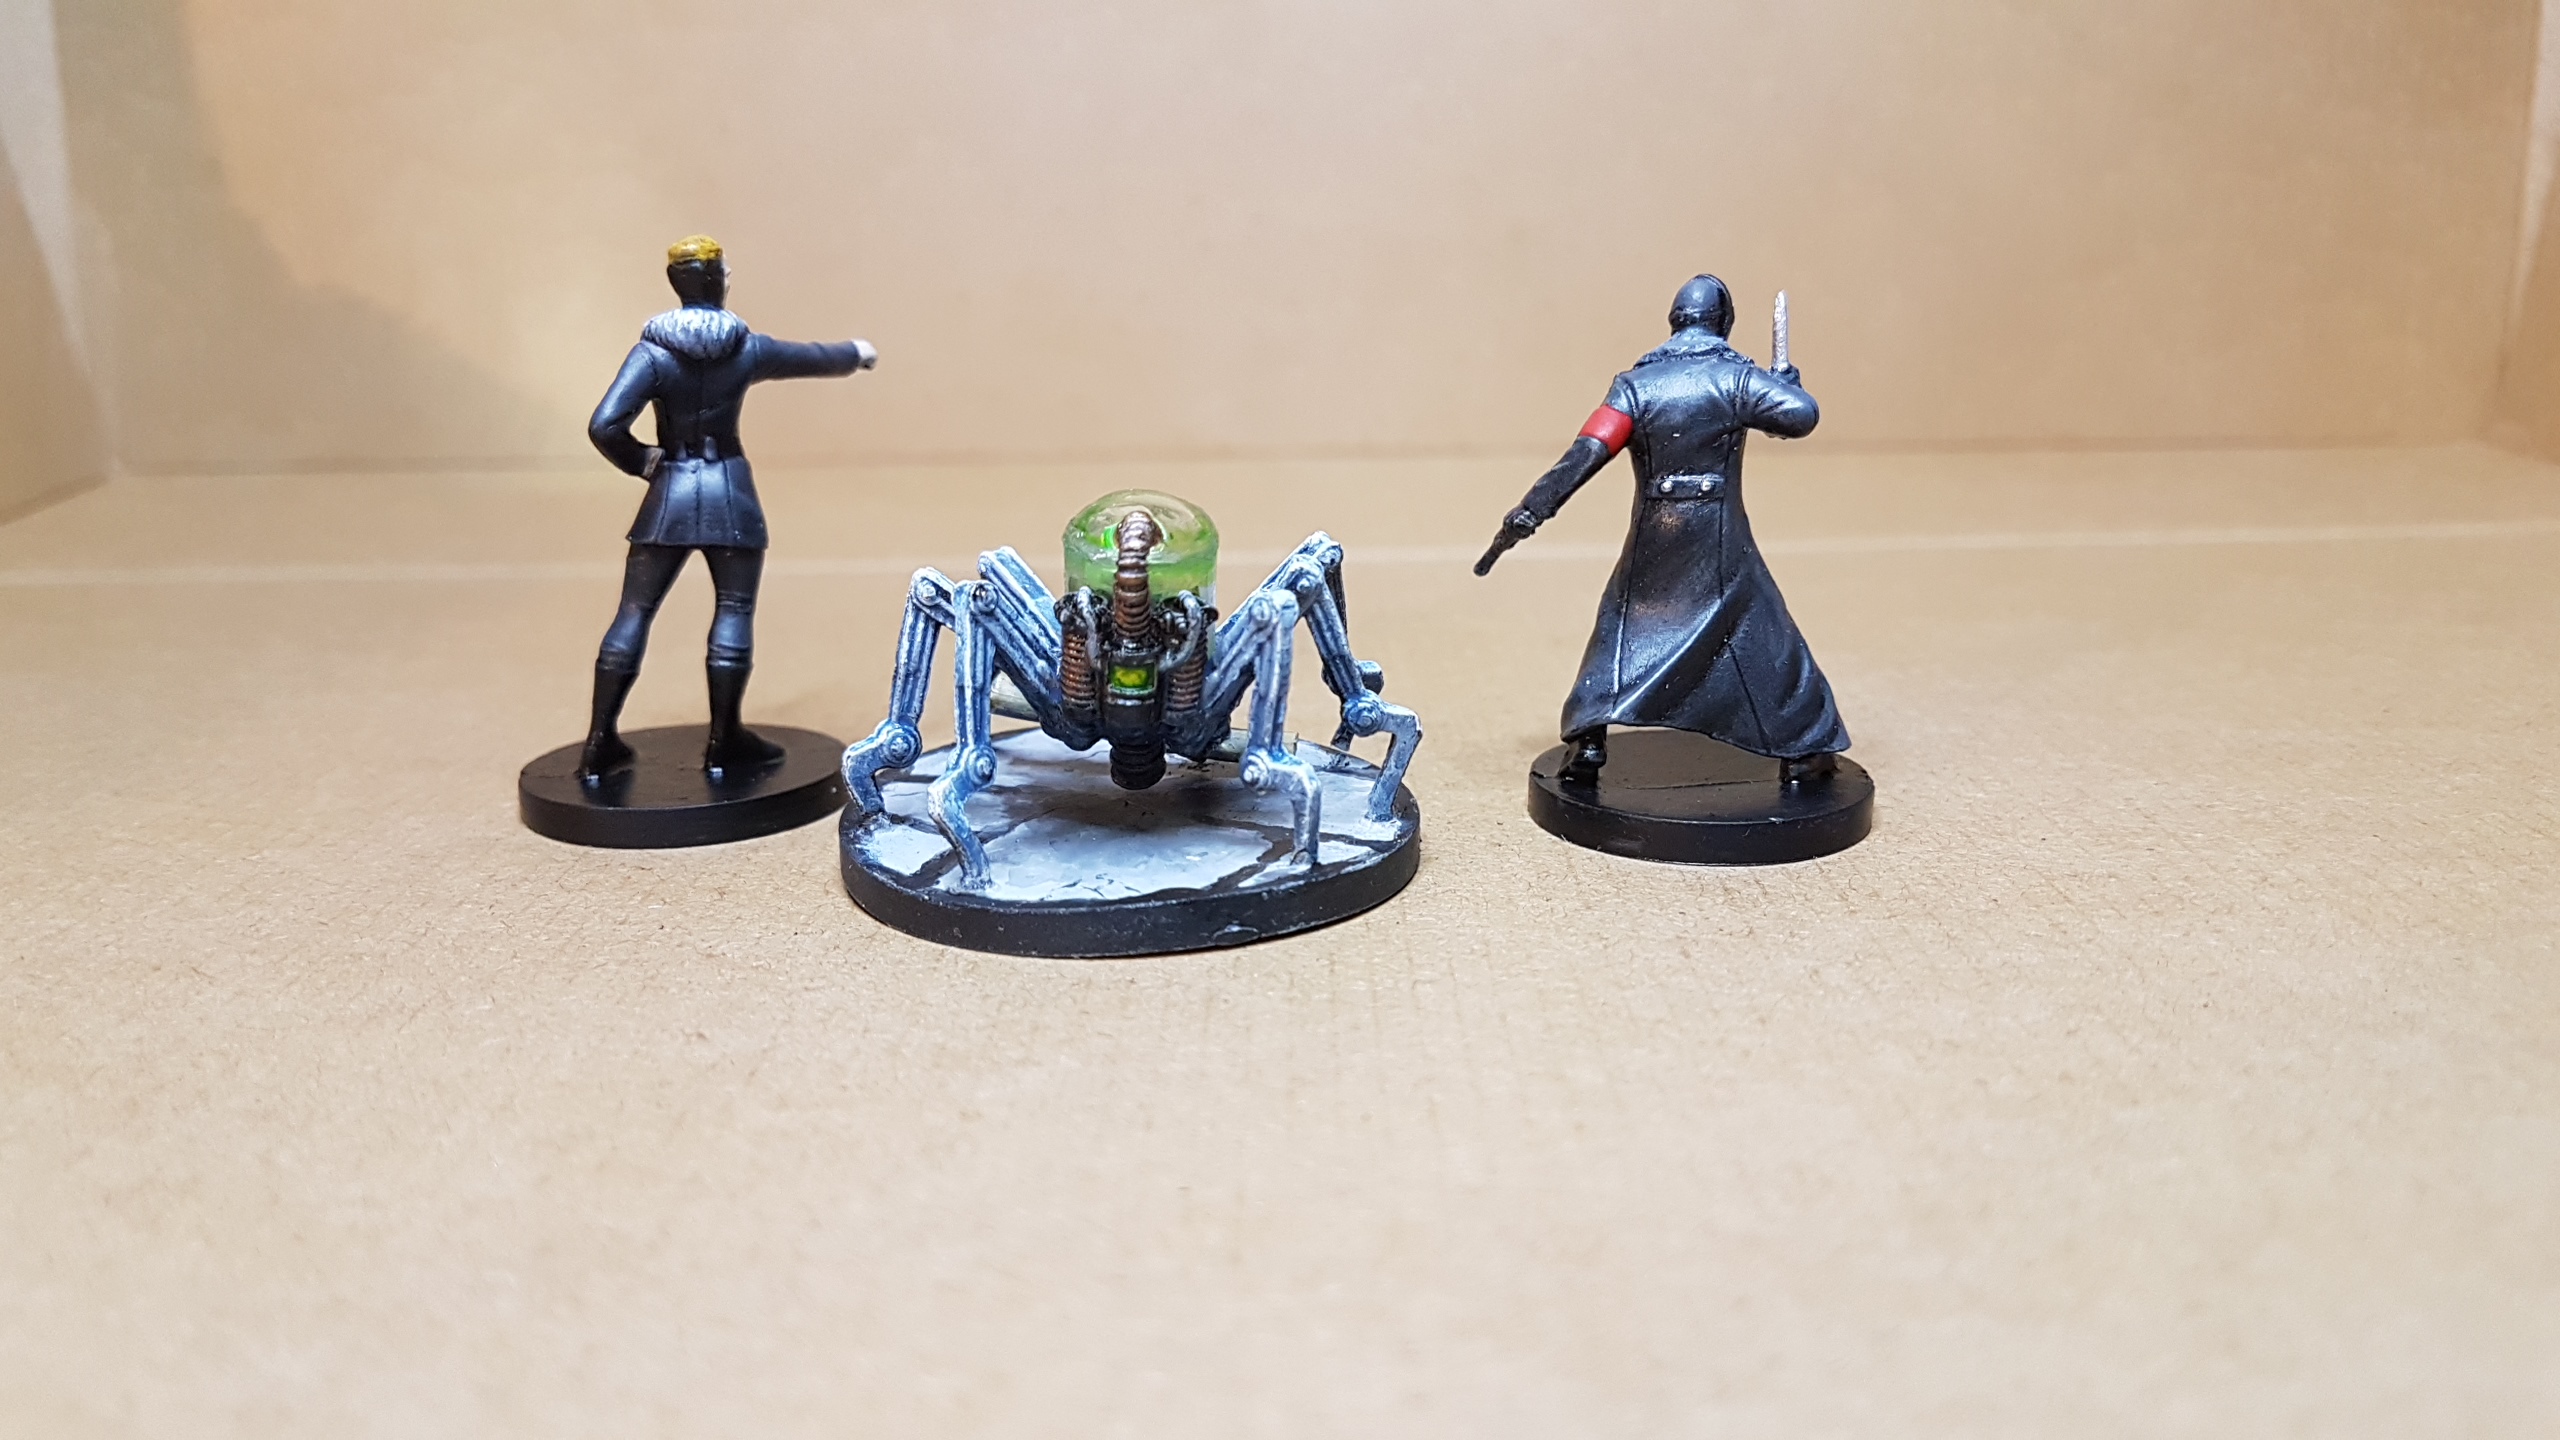 The you know who shot.
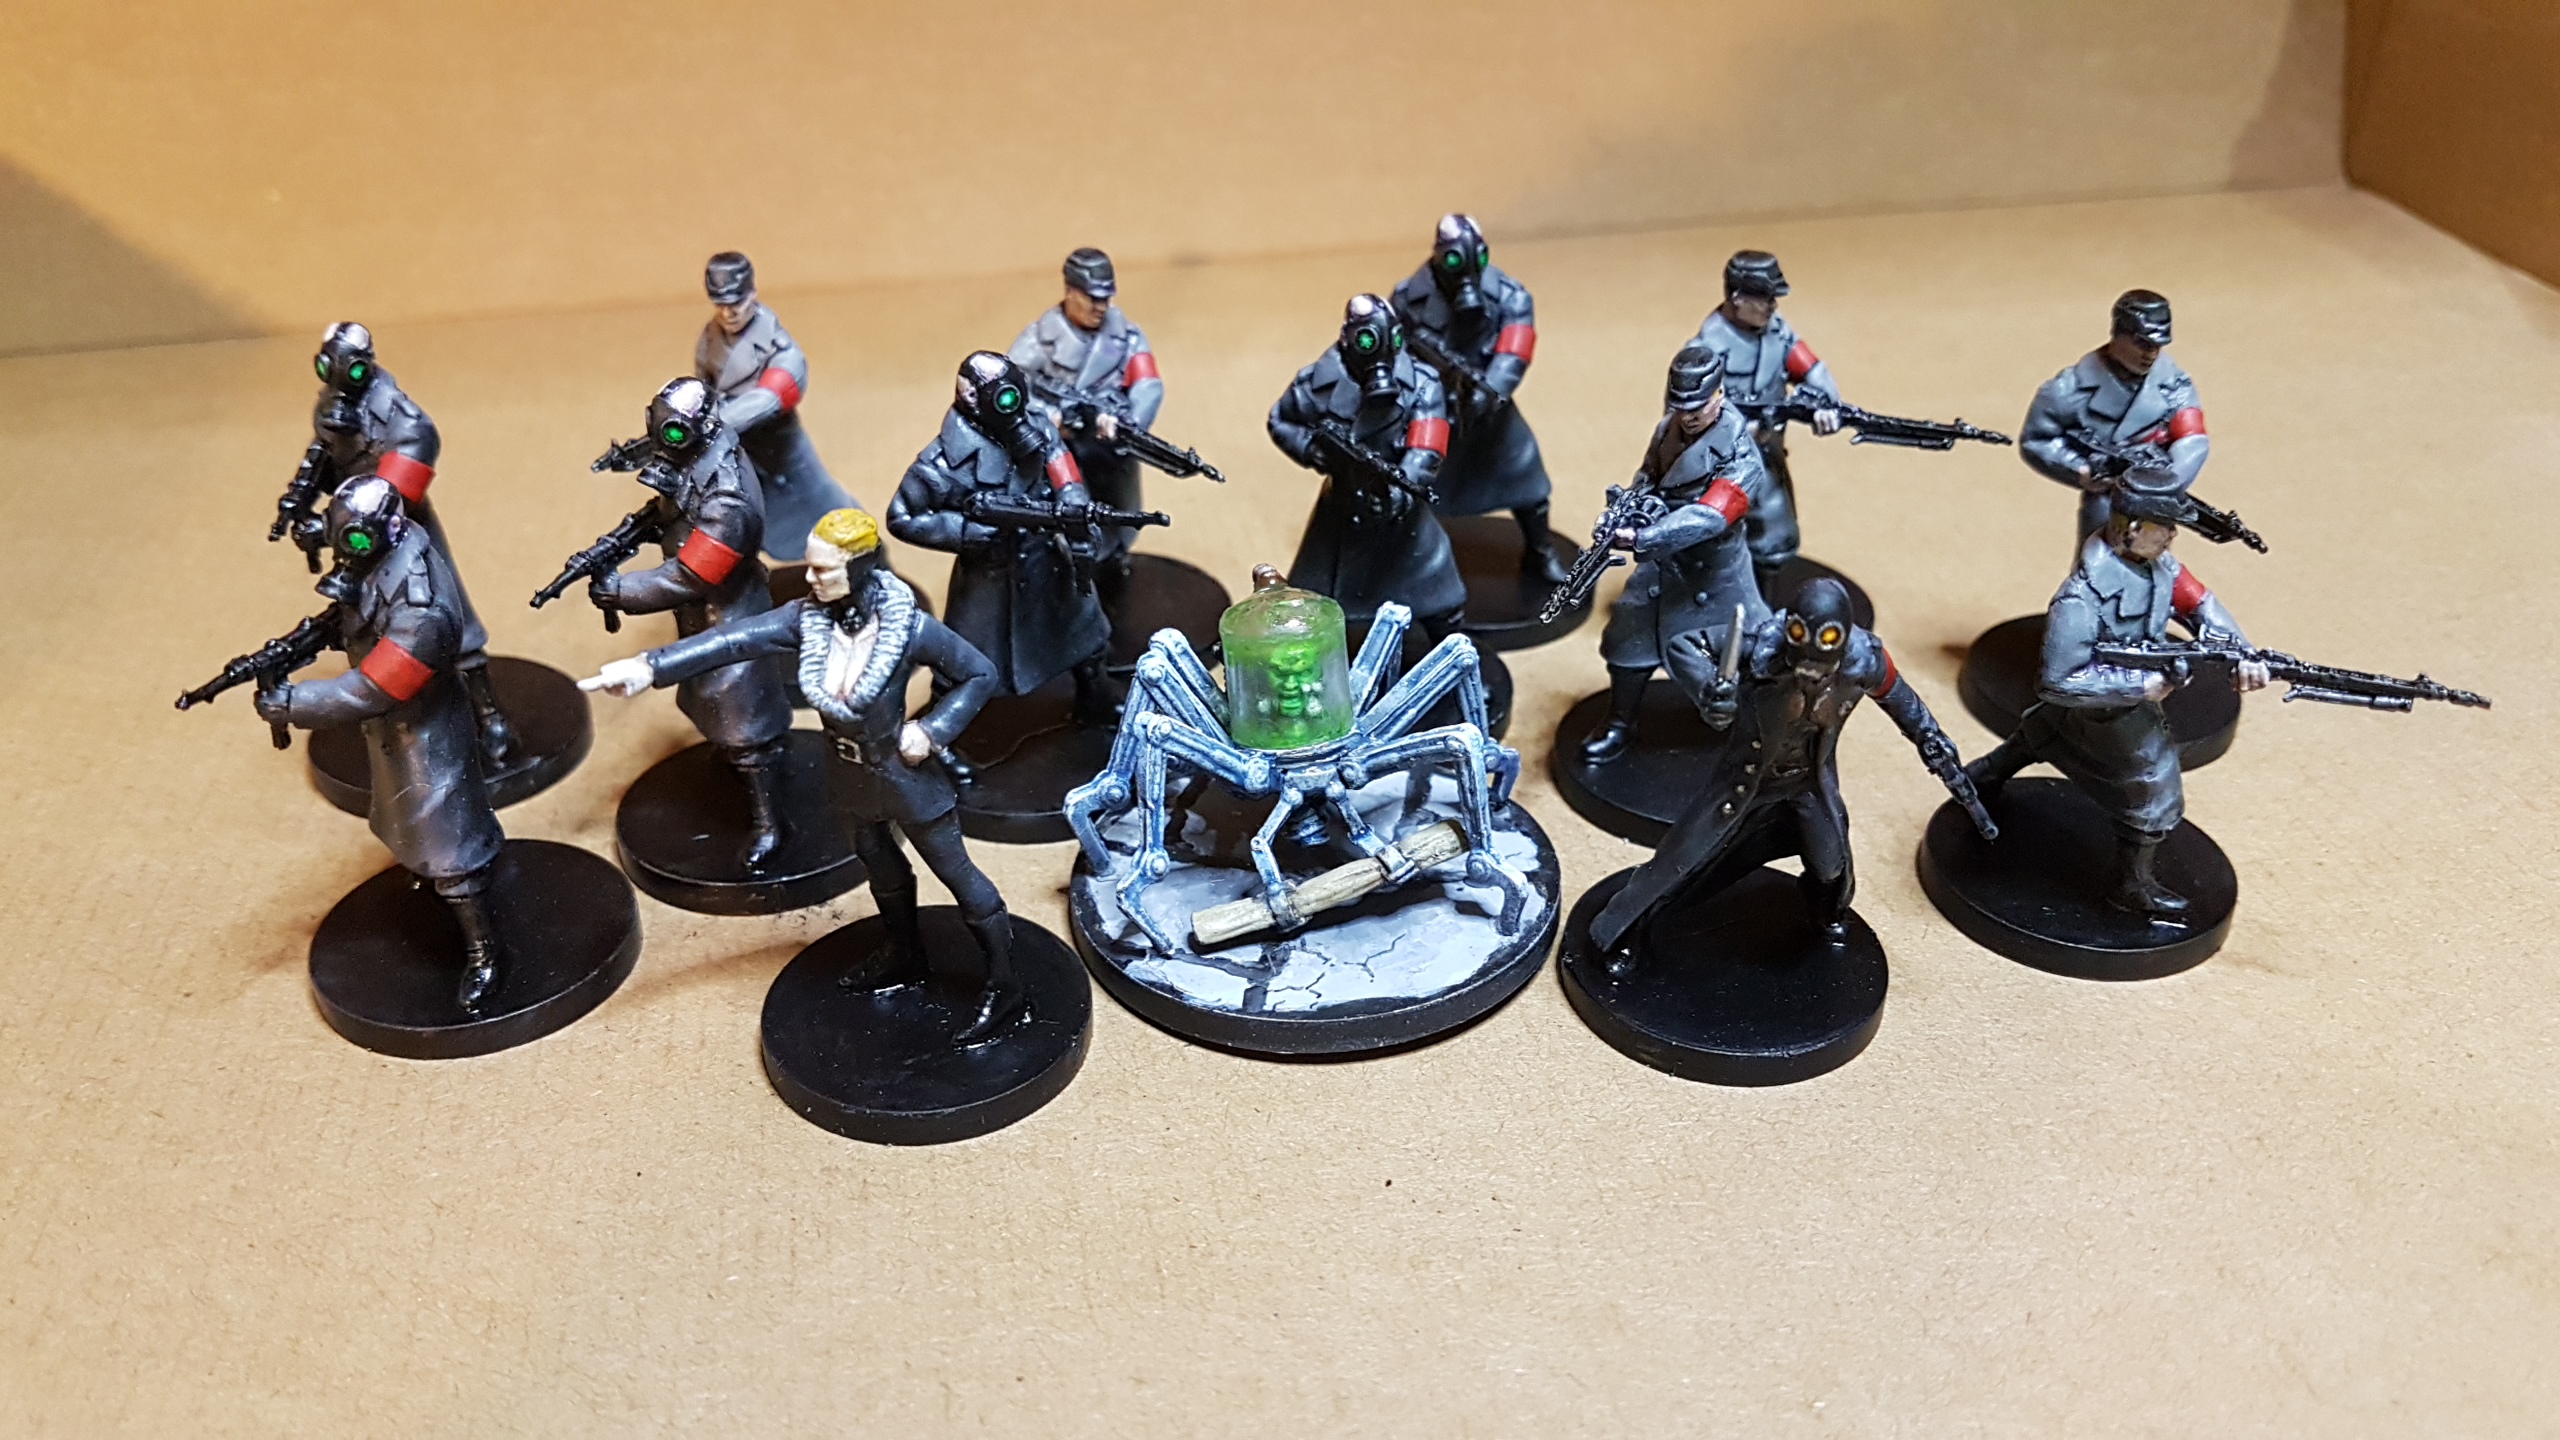 Group shot
Don’t drop the baby!
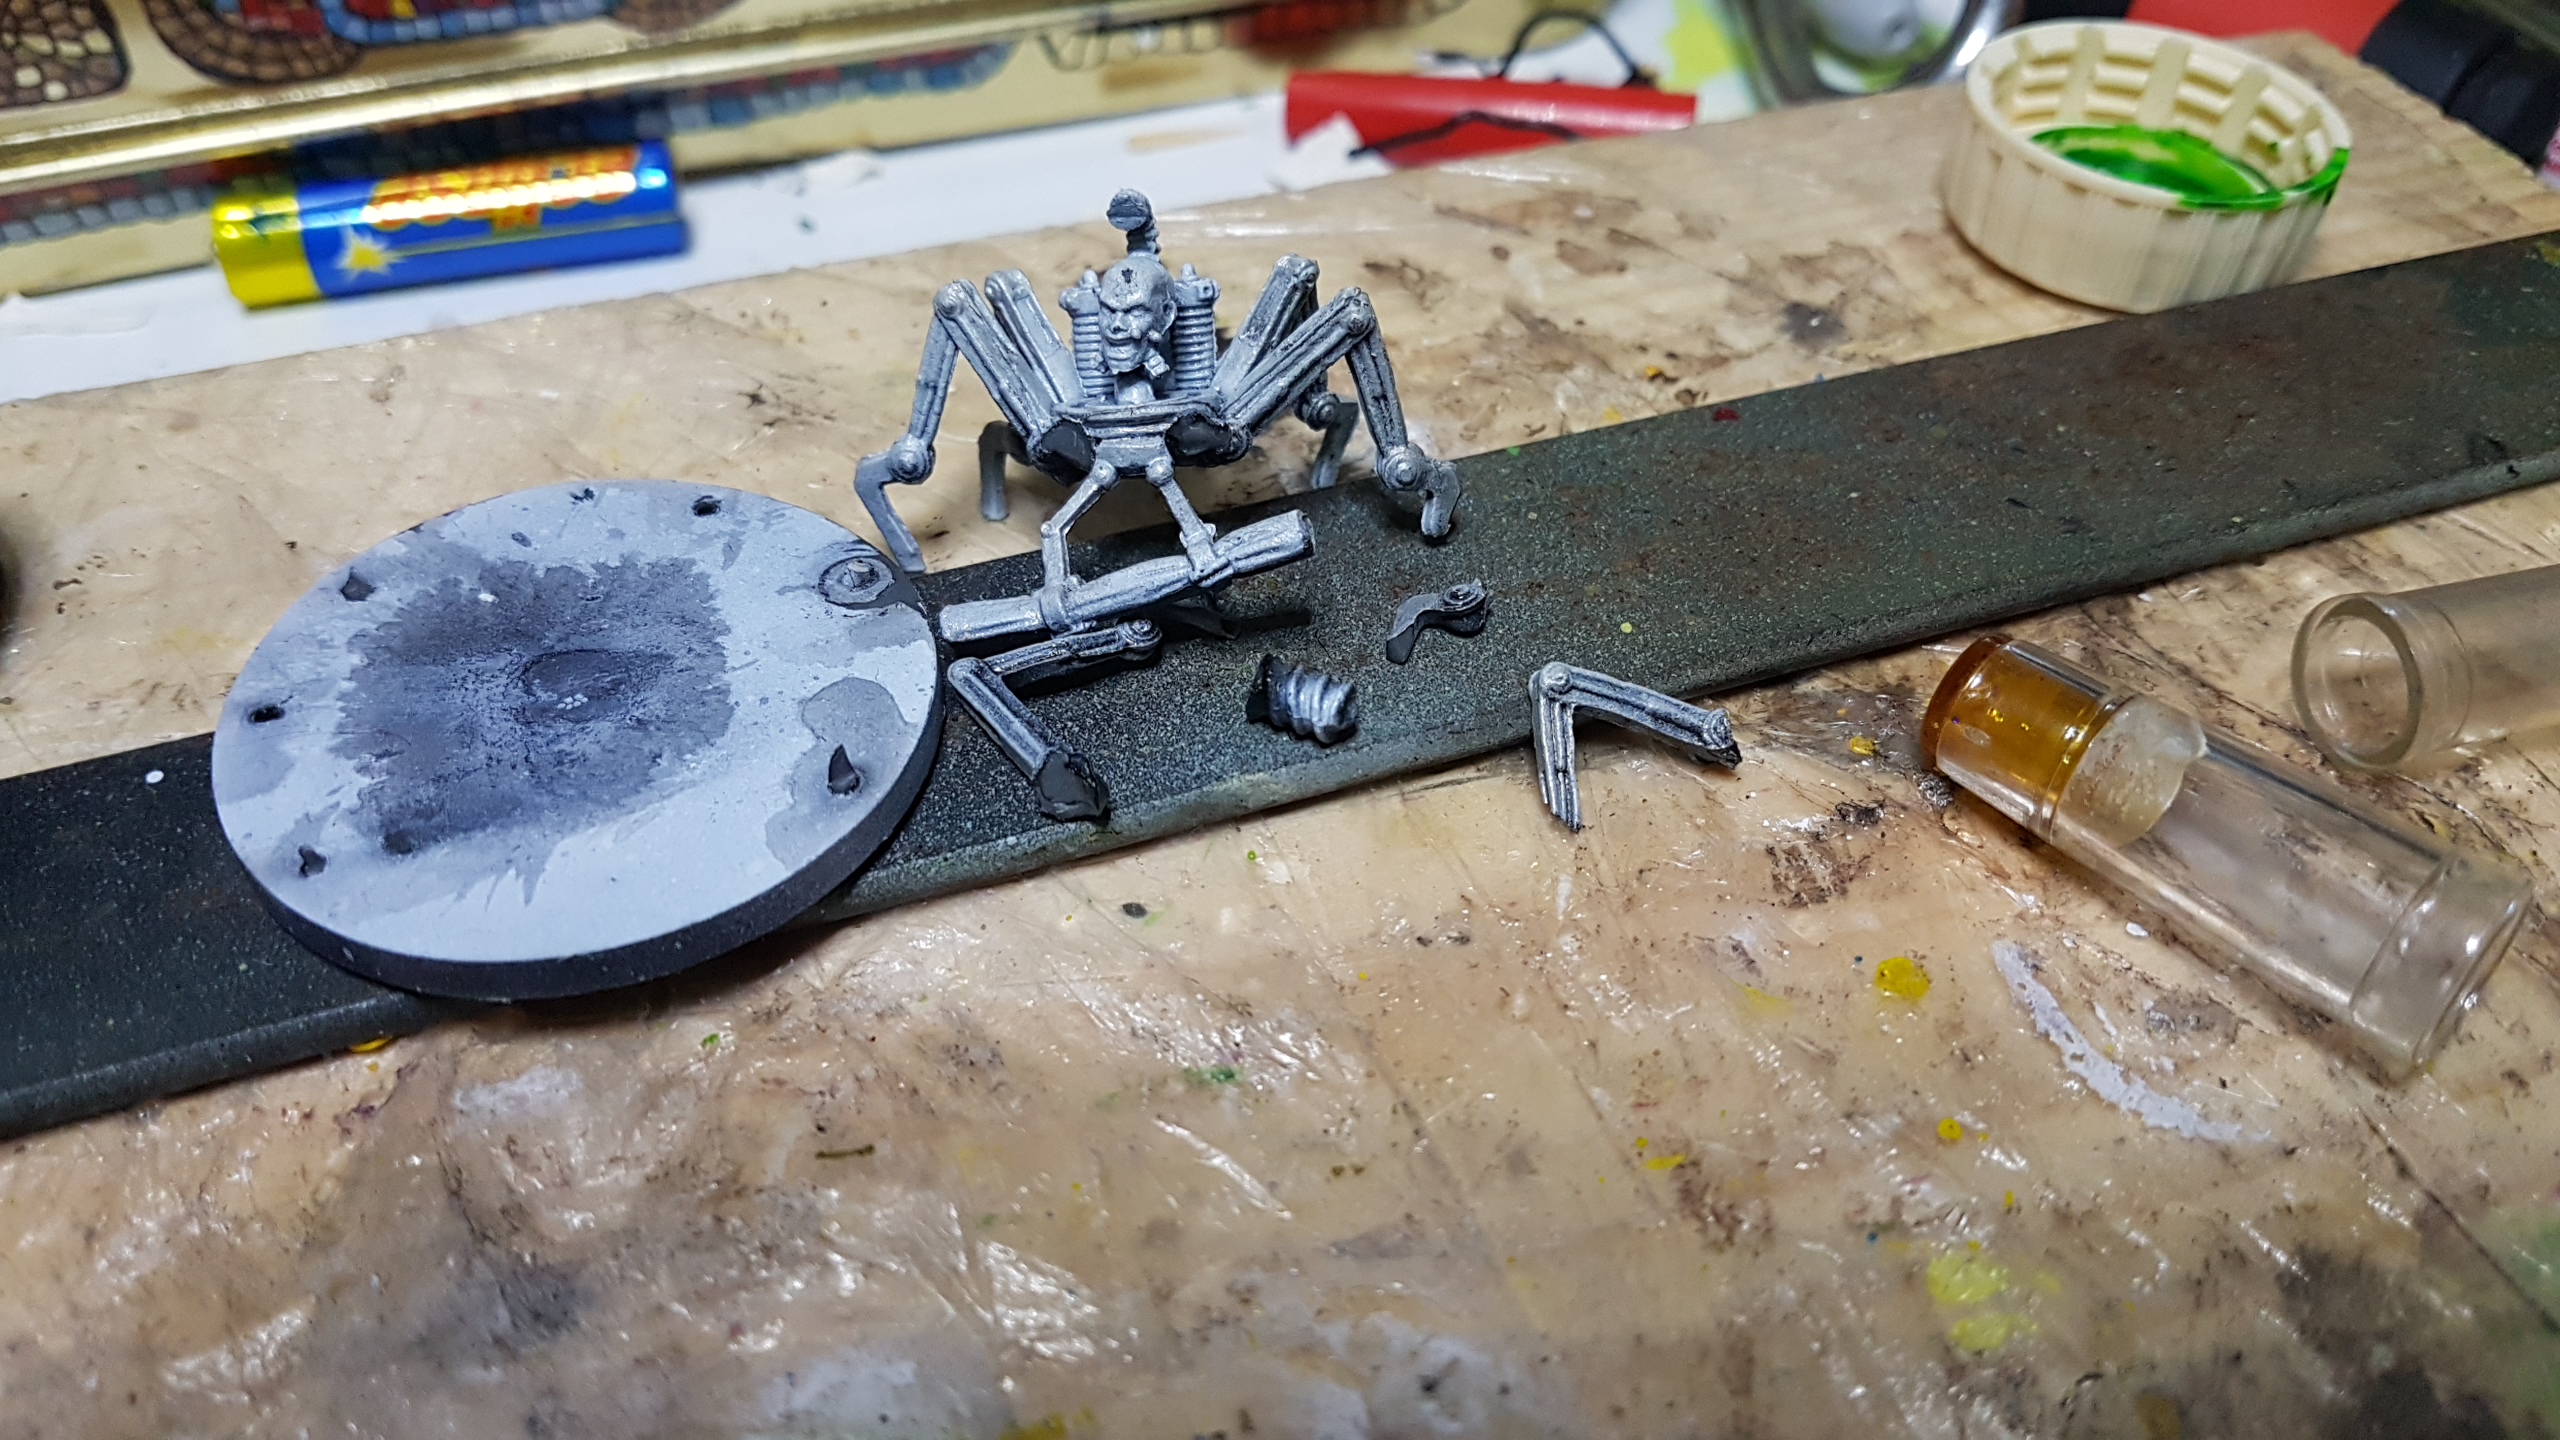
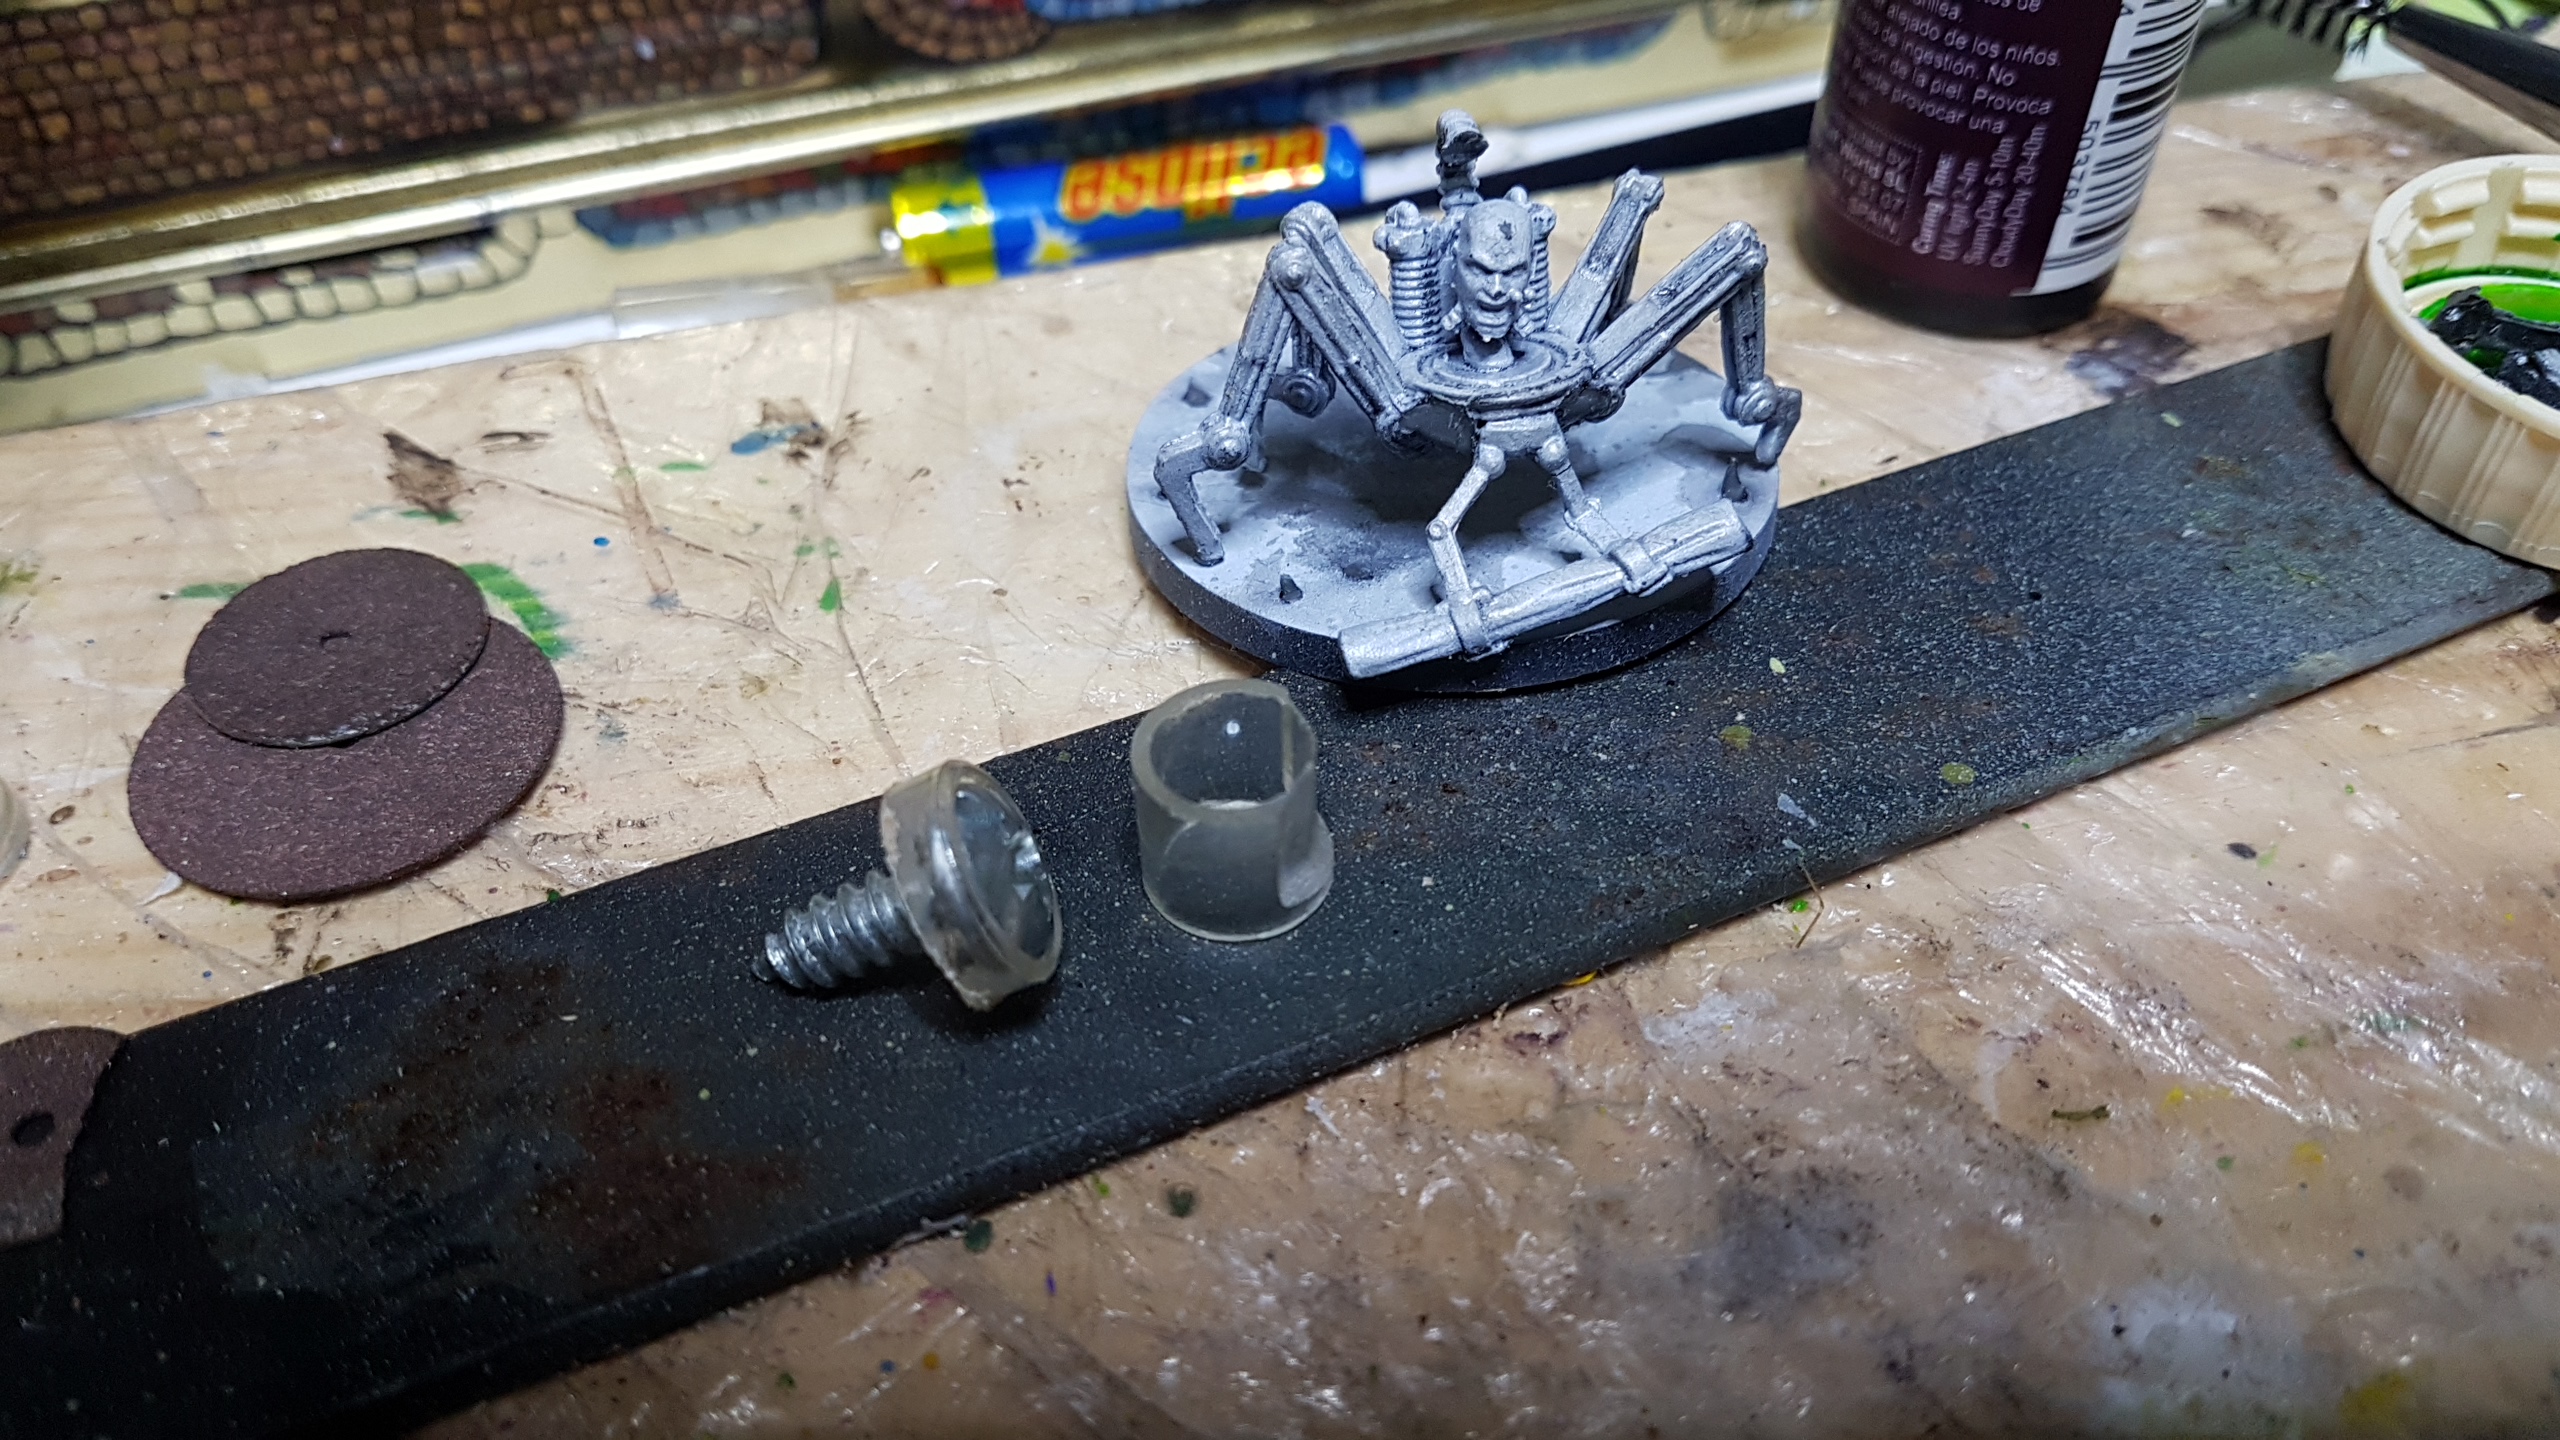
Herman Von Klempt face planted the floor with a metal object following. One down side of magnetizing for handling is you have to put them on metal stuff which is heavy when you drop it.
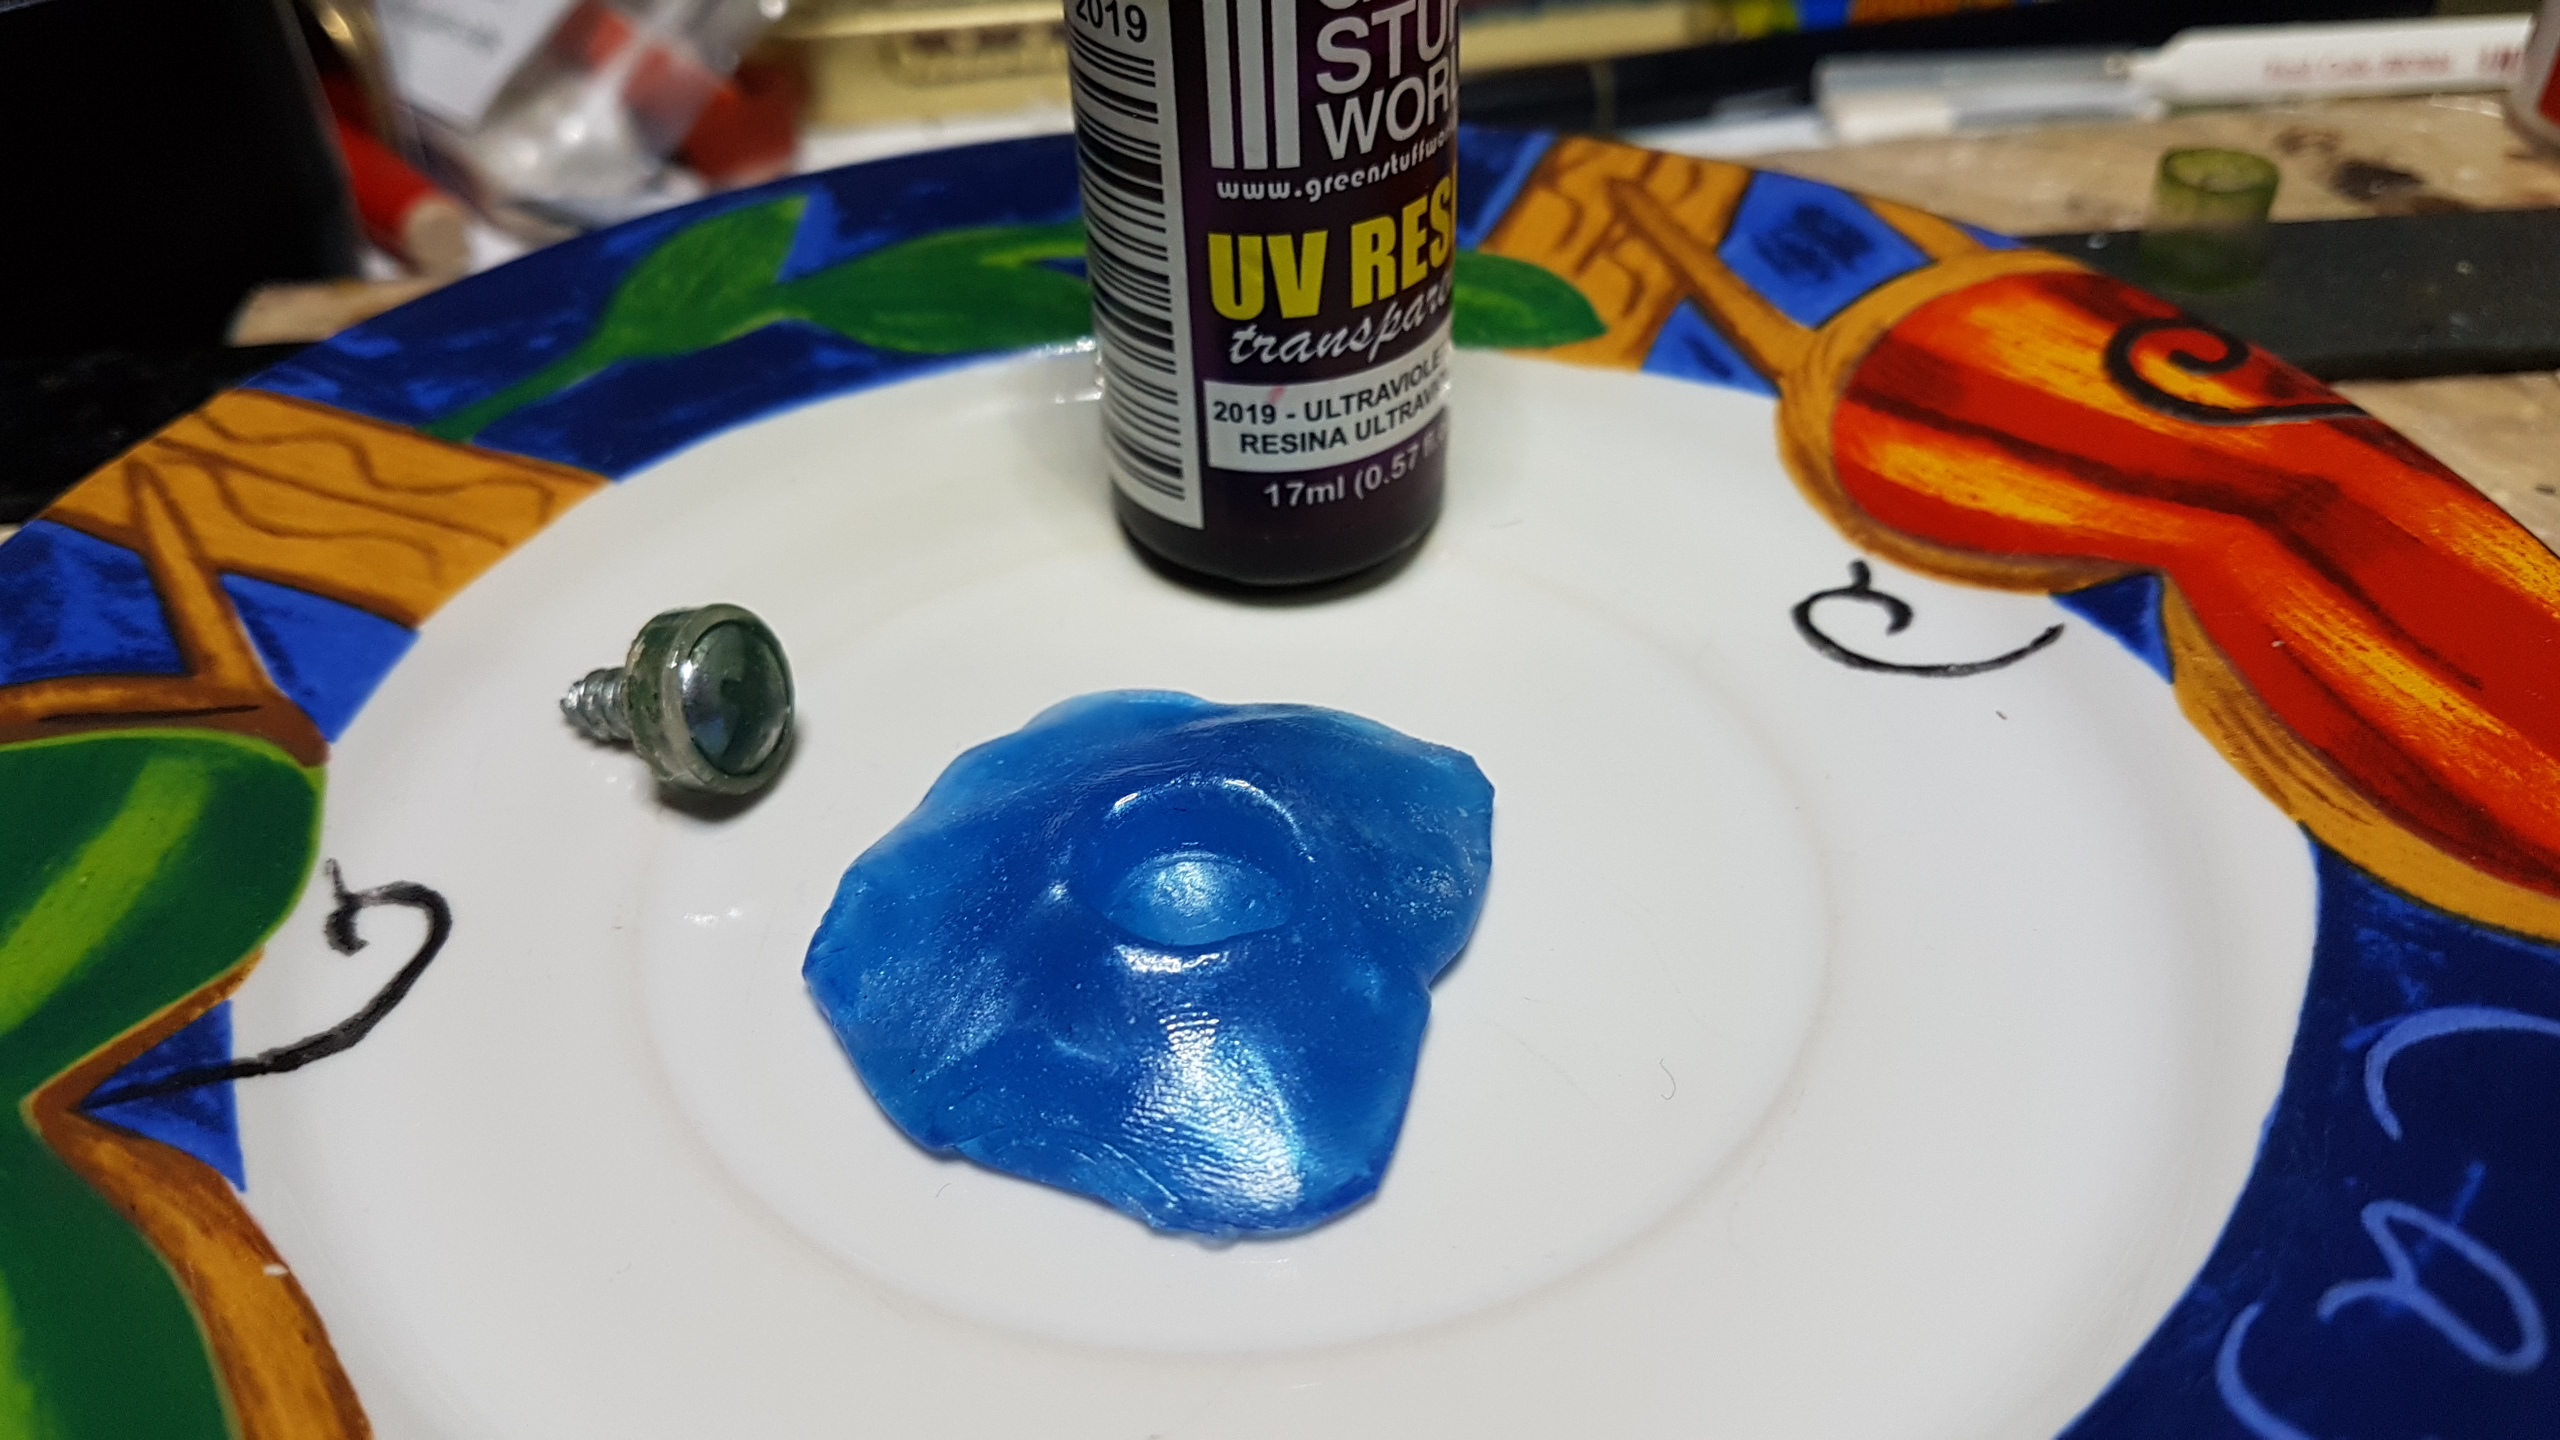
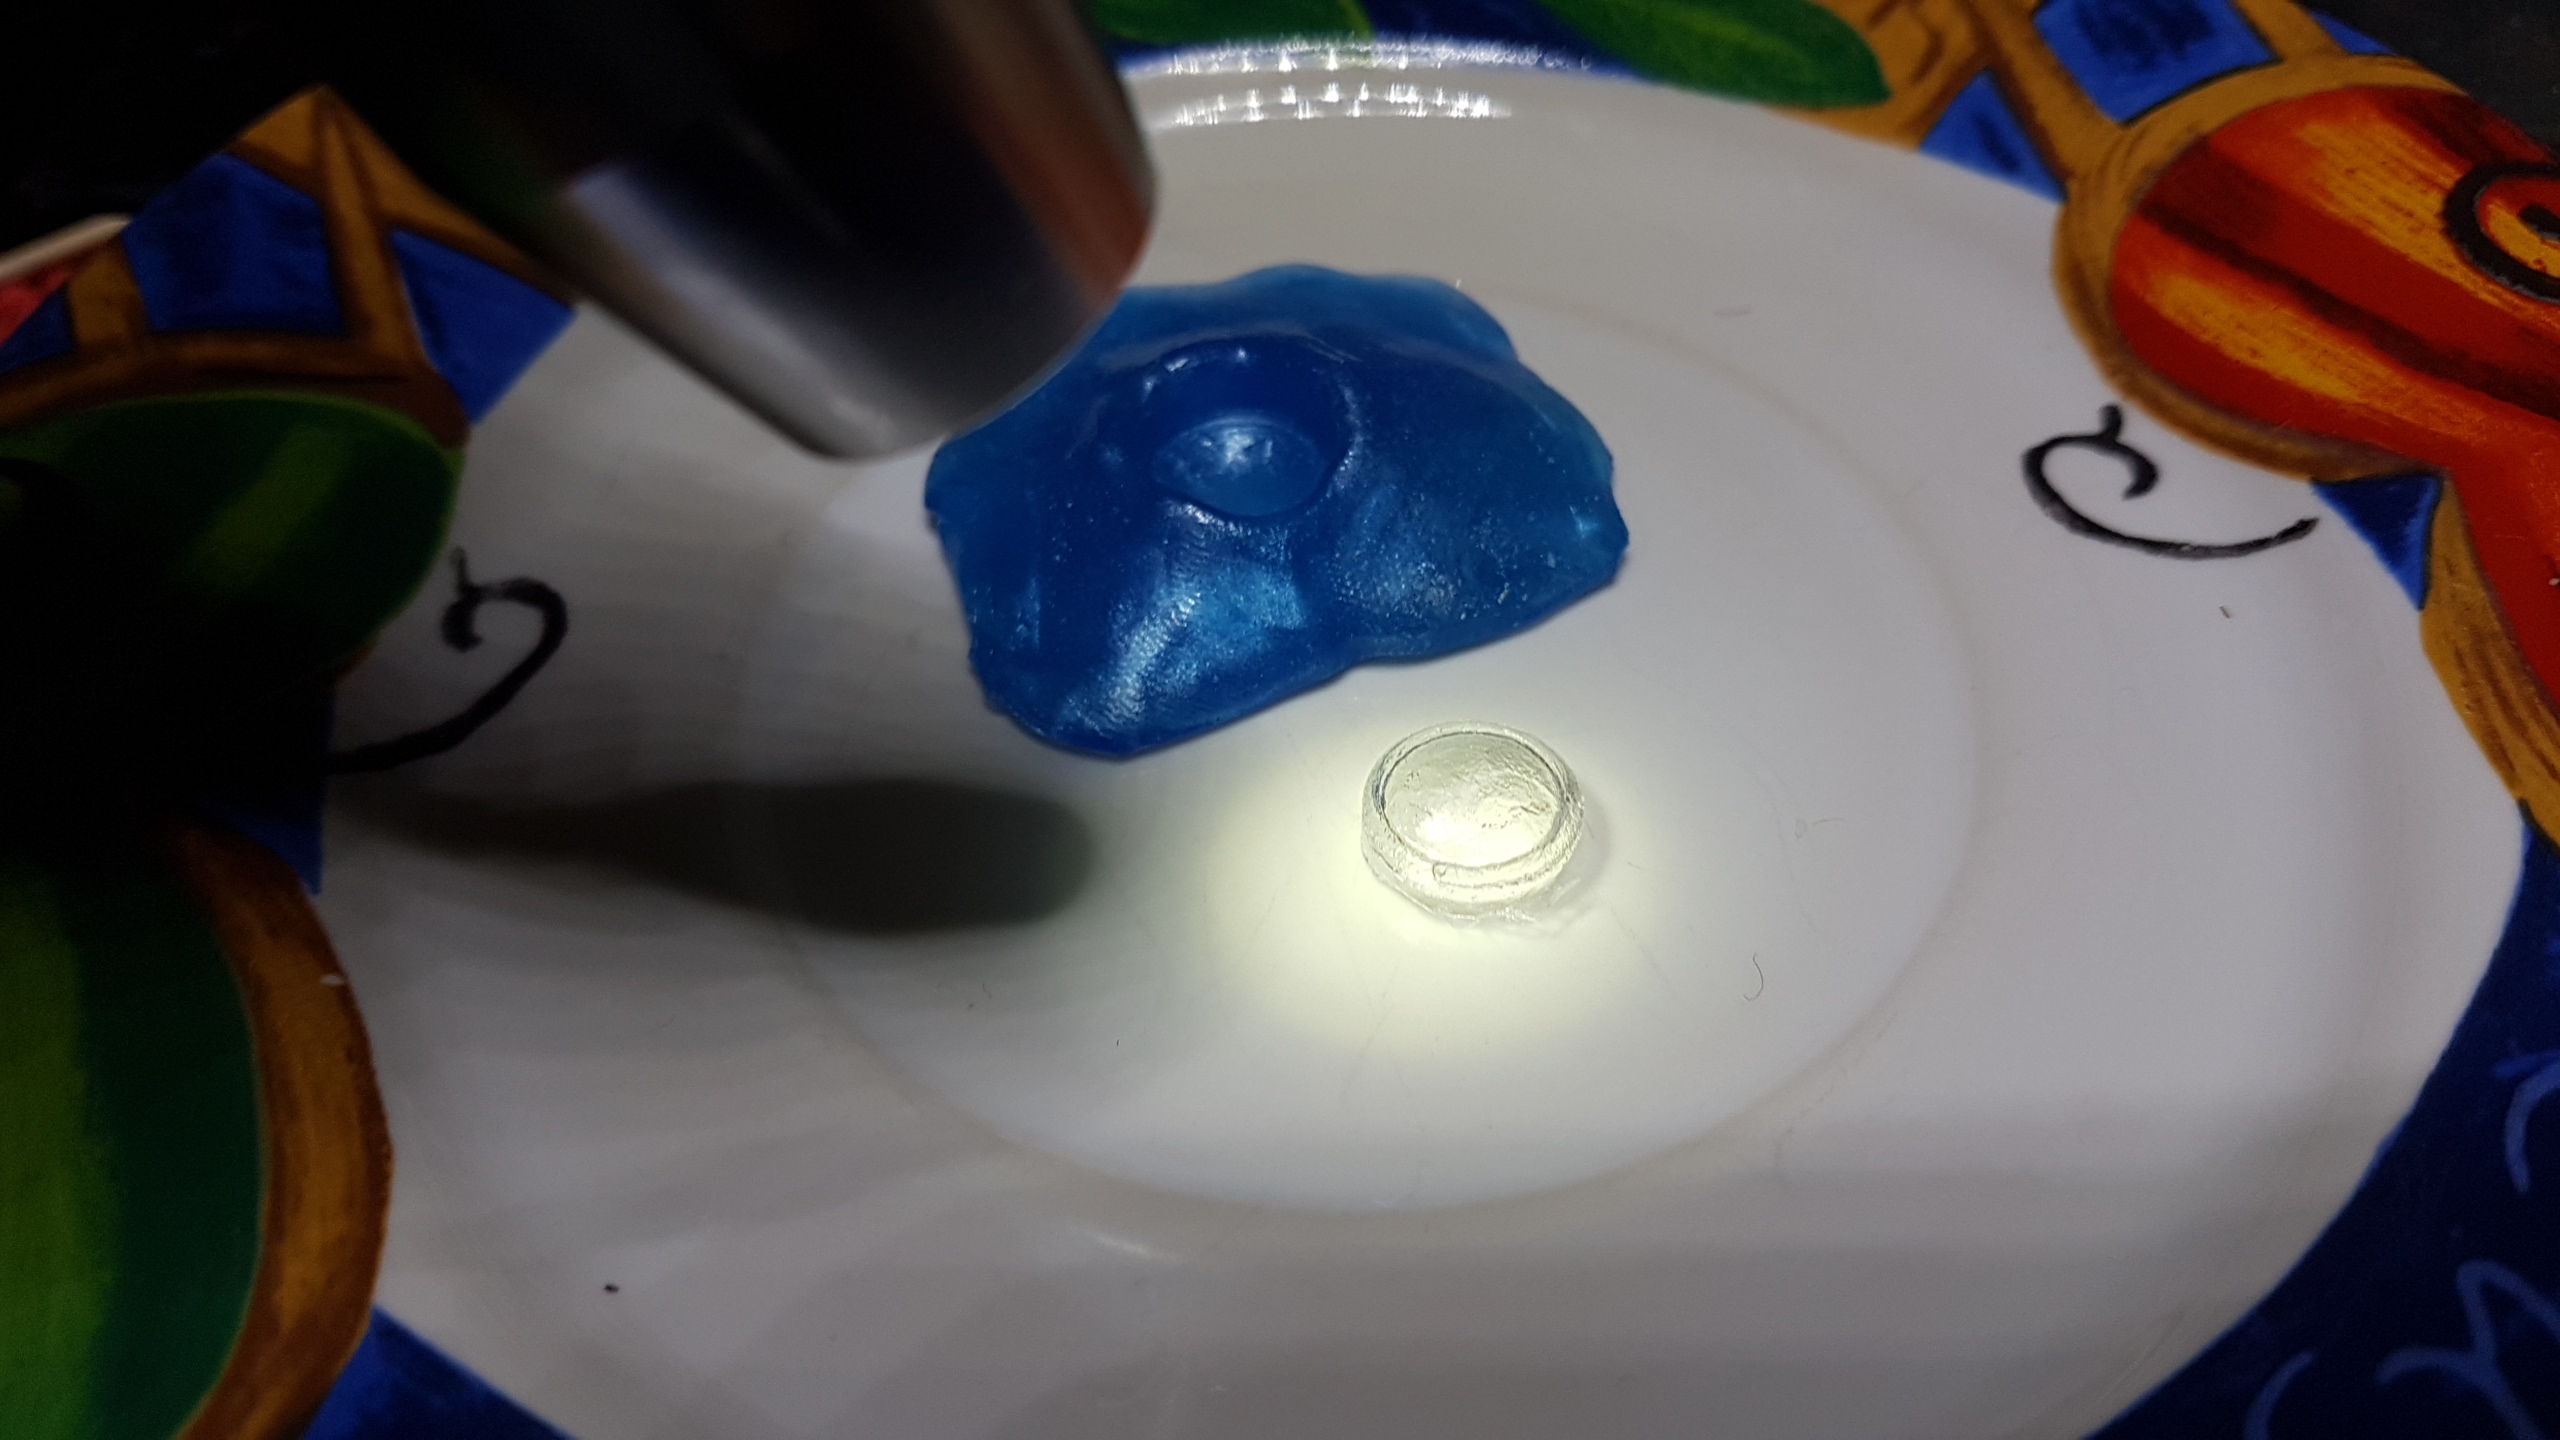
Looking at him and contemplating reassembly I can’t help but think he should have a jar on his head. In the comics he has a jar on head, he was the ultimate evil ‘jar man’. Grabbing a few bits of detritus, a pen lid and screw, I set to creating a jar. I attack a transparent pen lid with a rotary tool and set about making a mold to play with a bottle of UV resin I picked up for no other reason than , it was on sale.
Wearing black won’t take care of that.
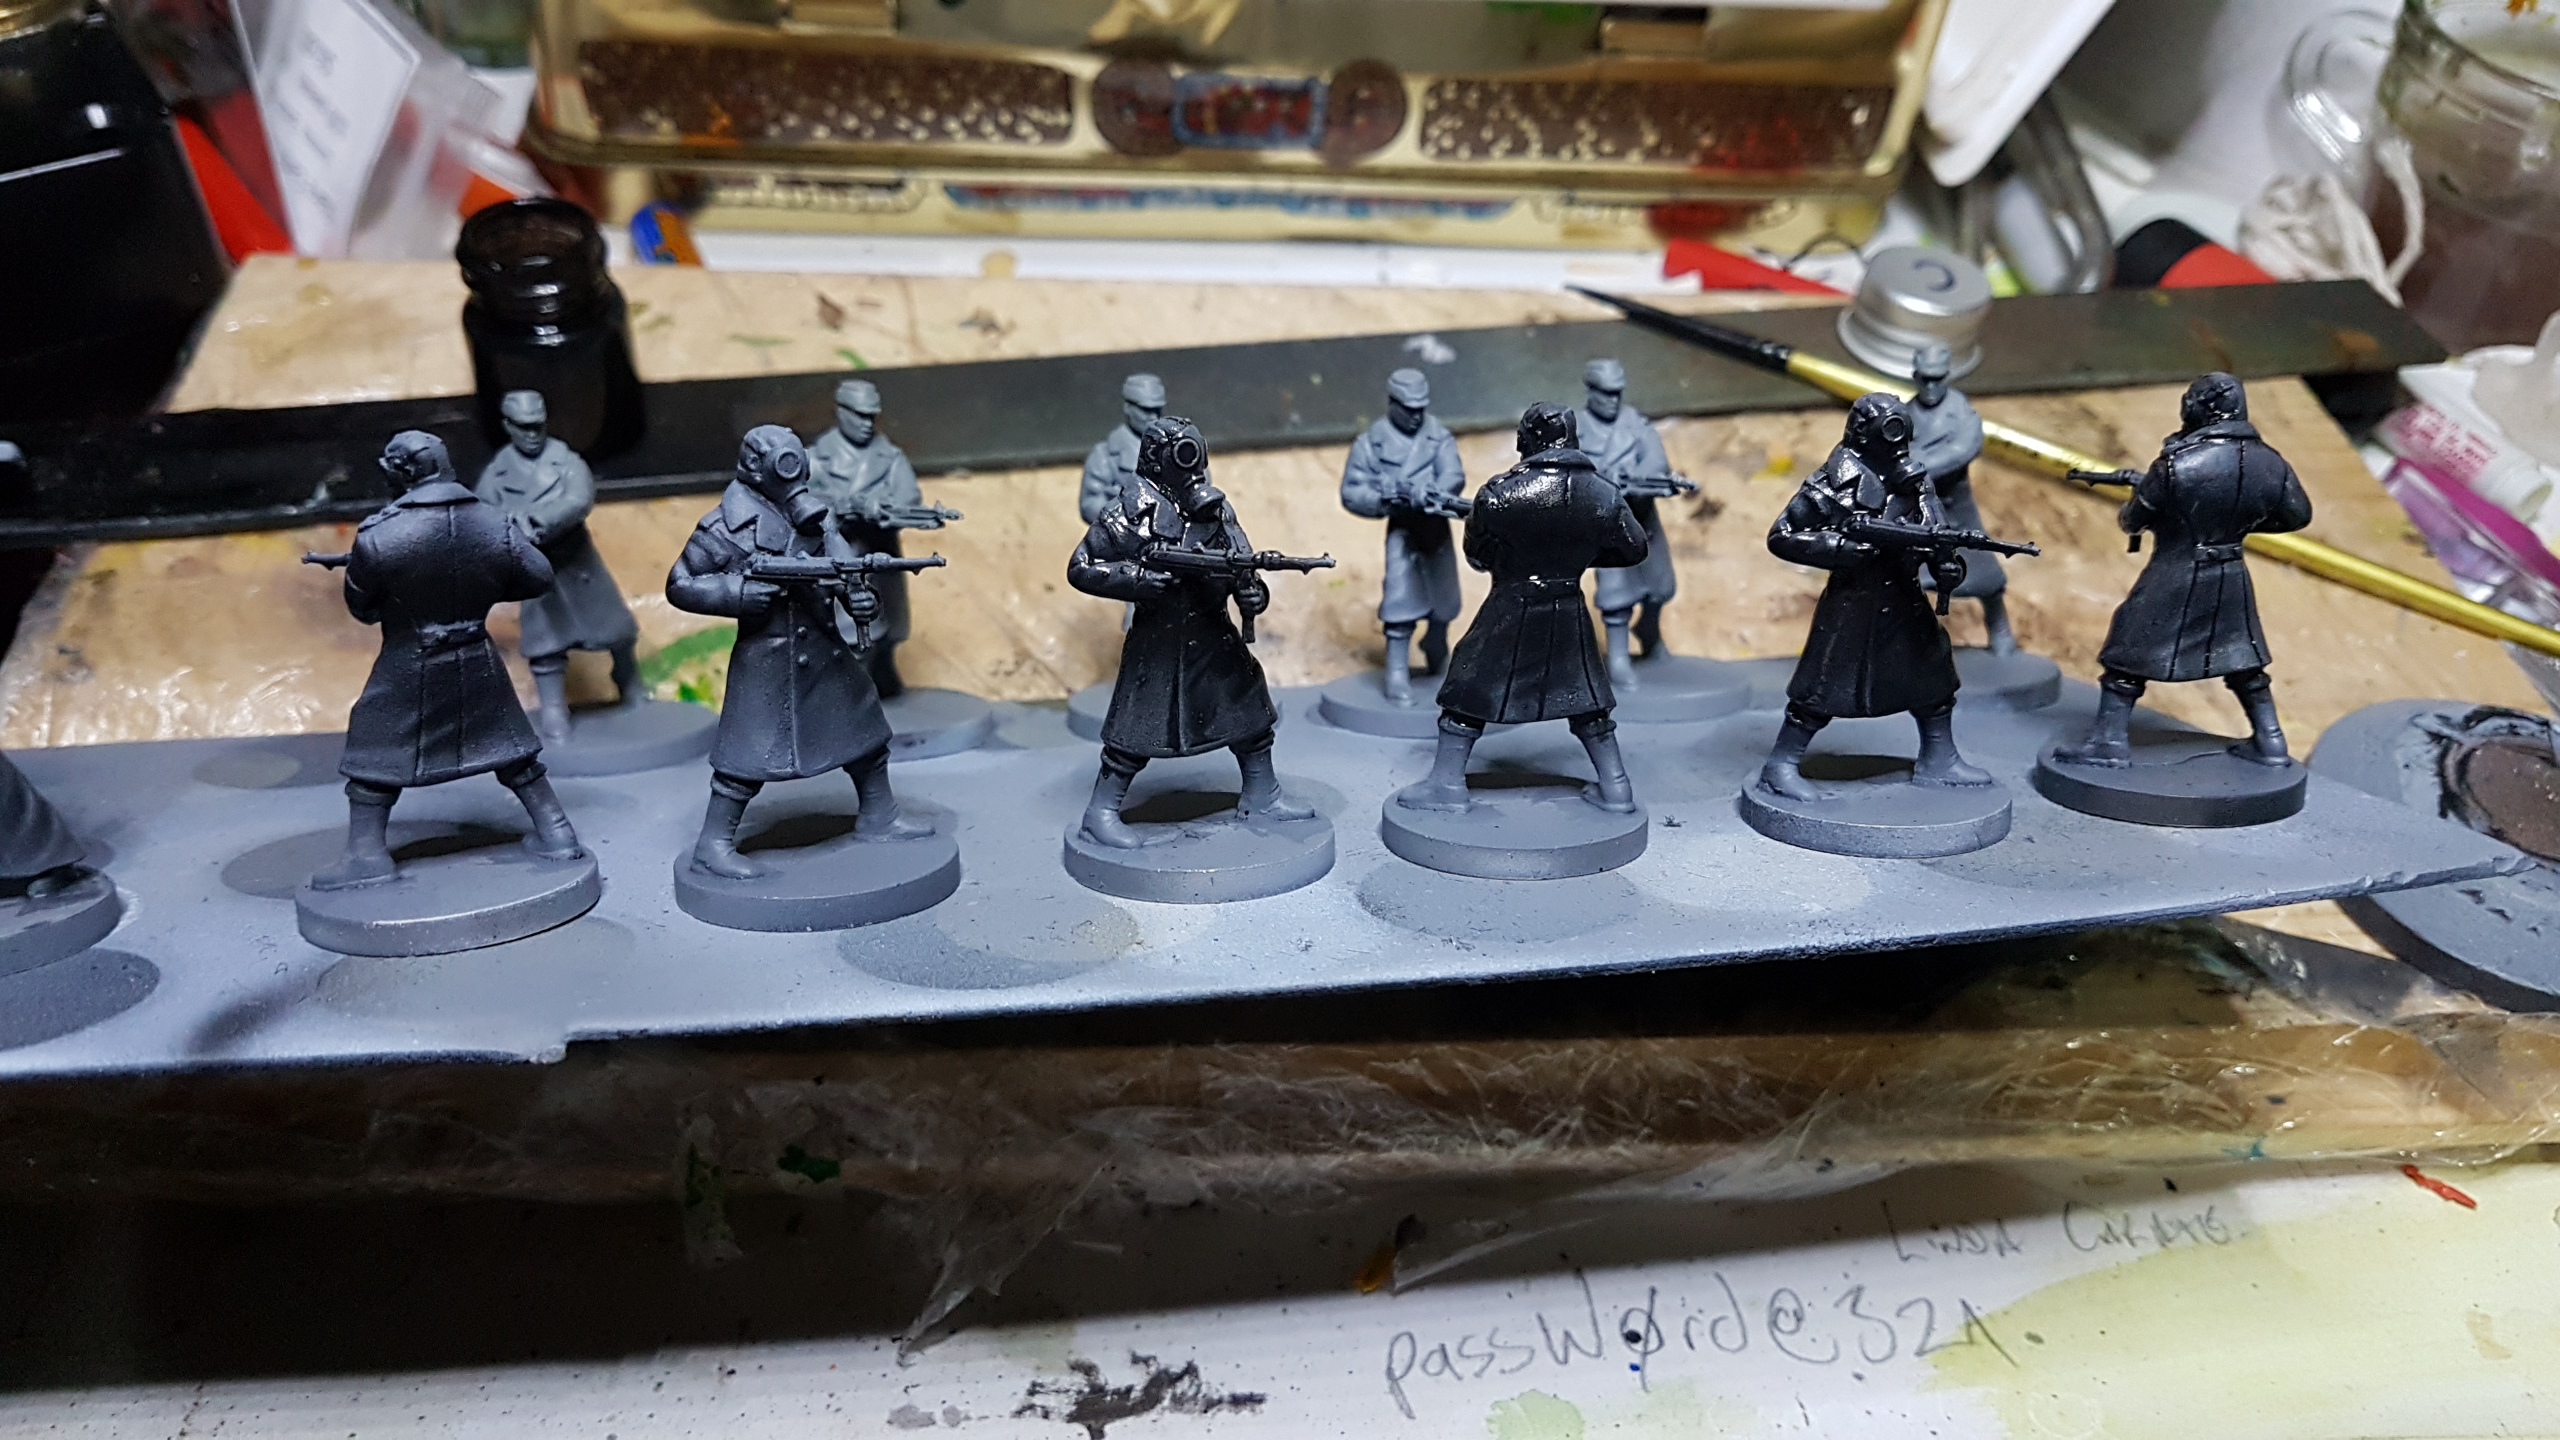
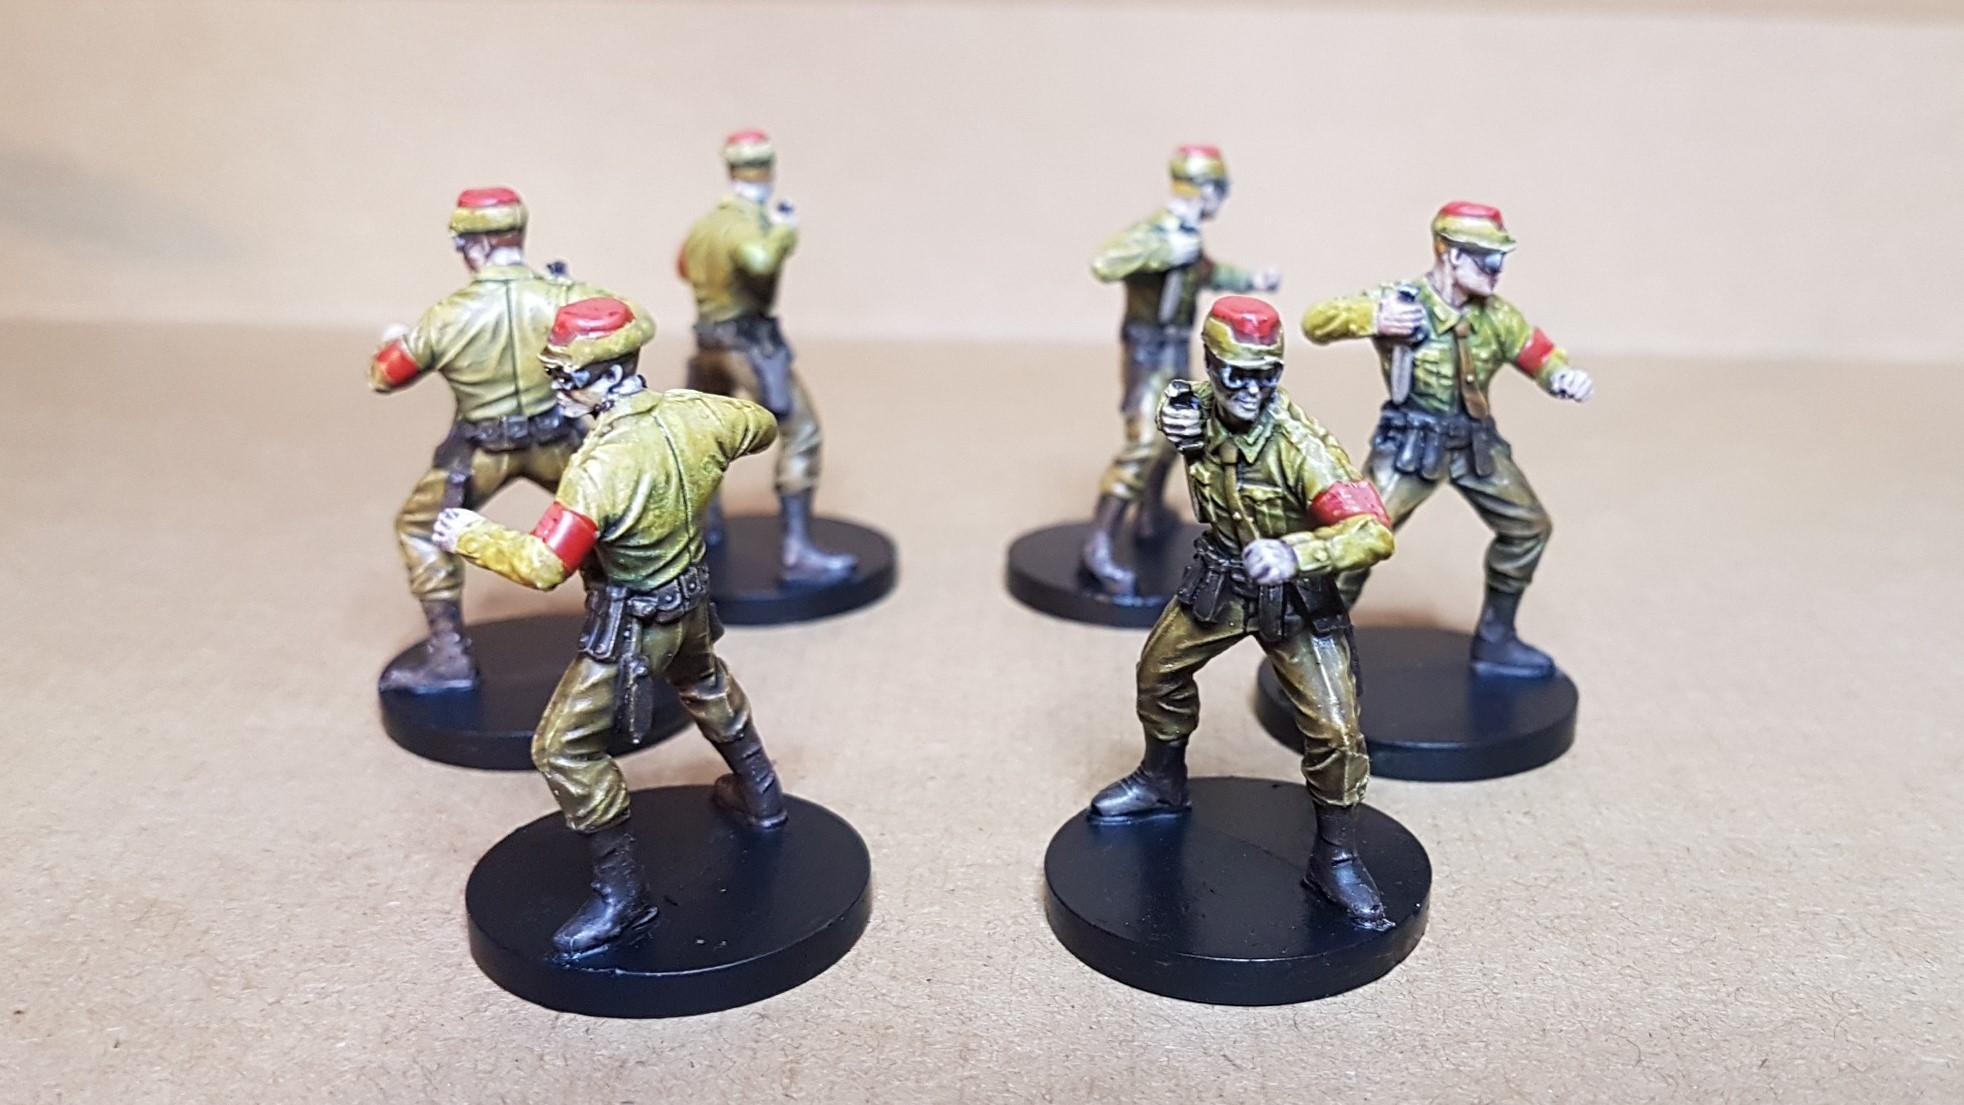
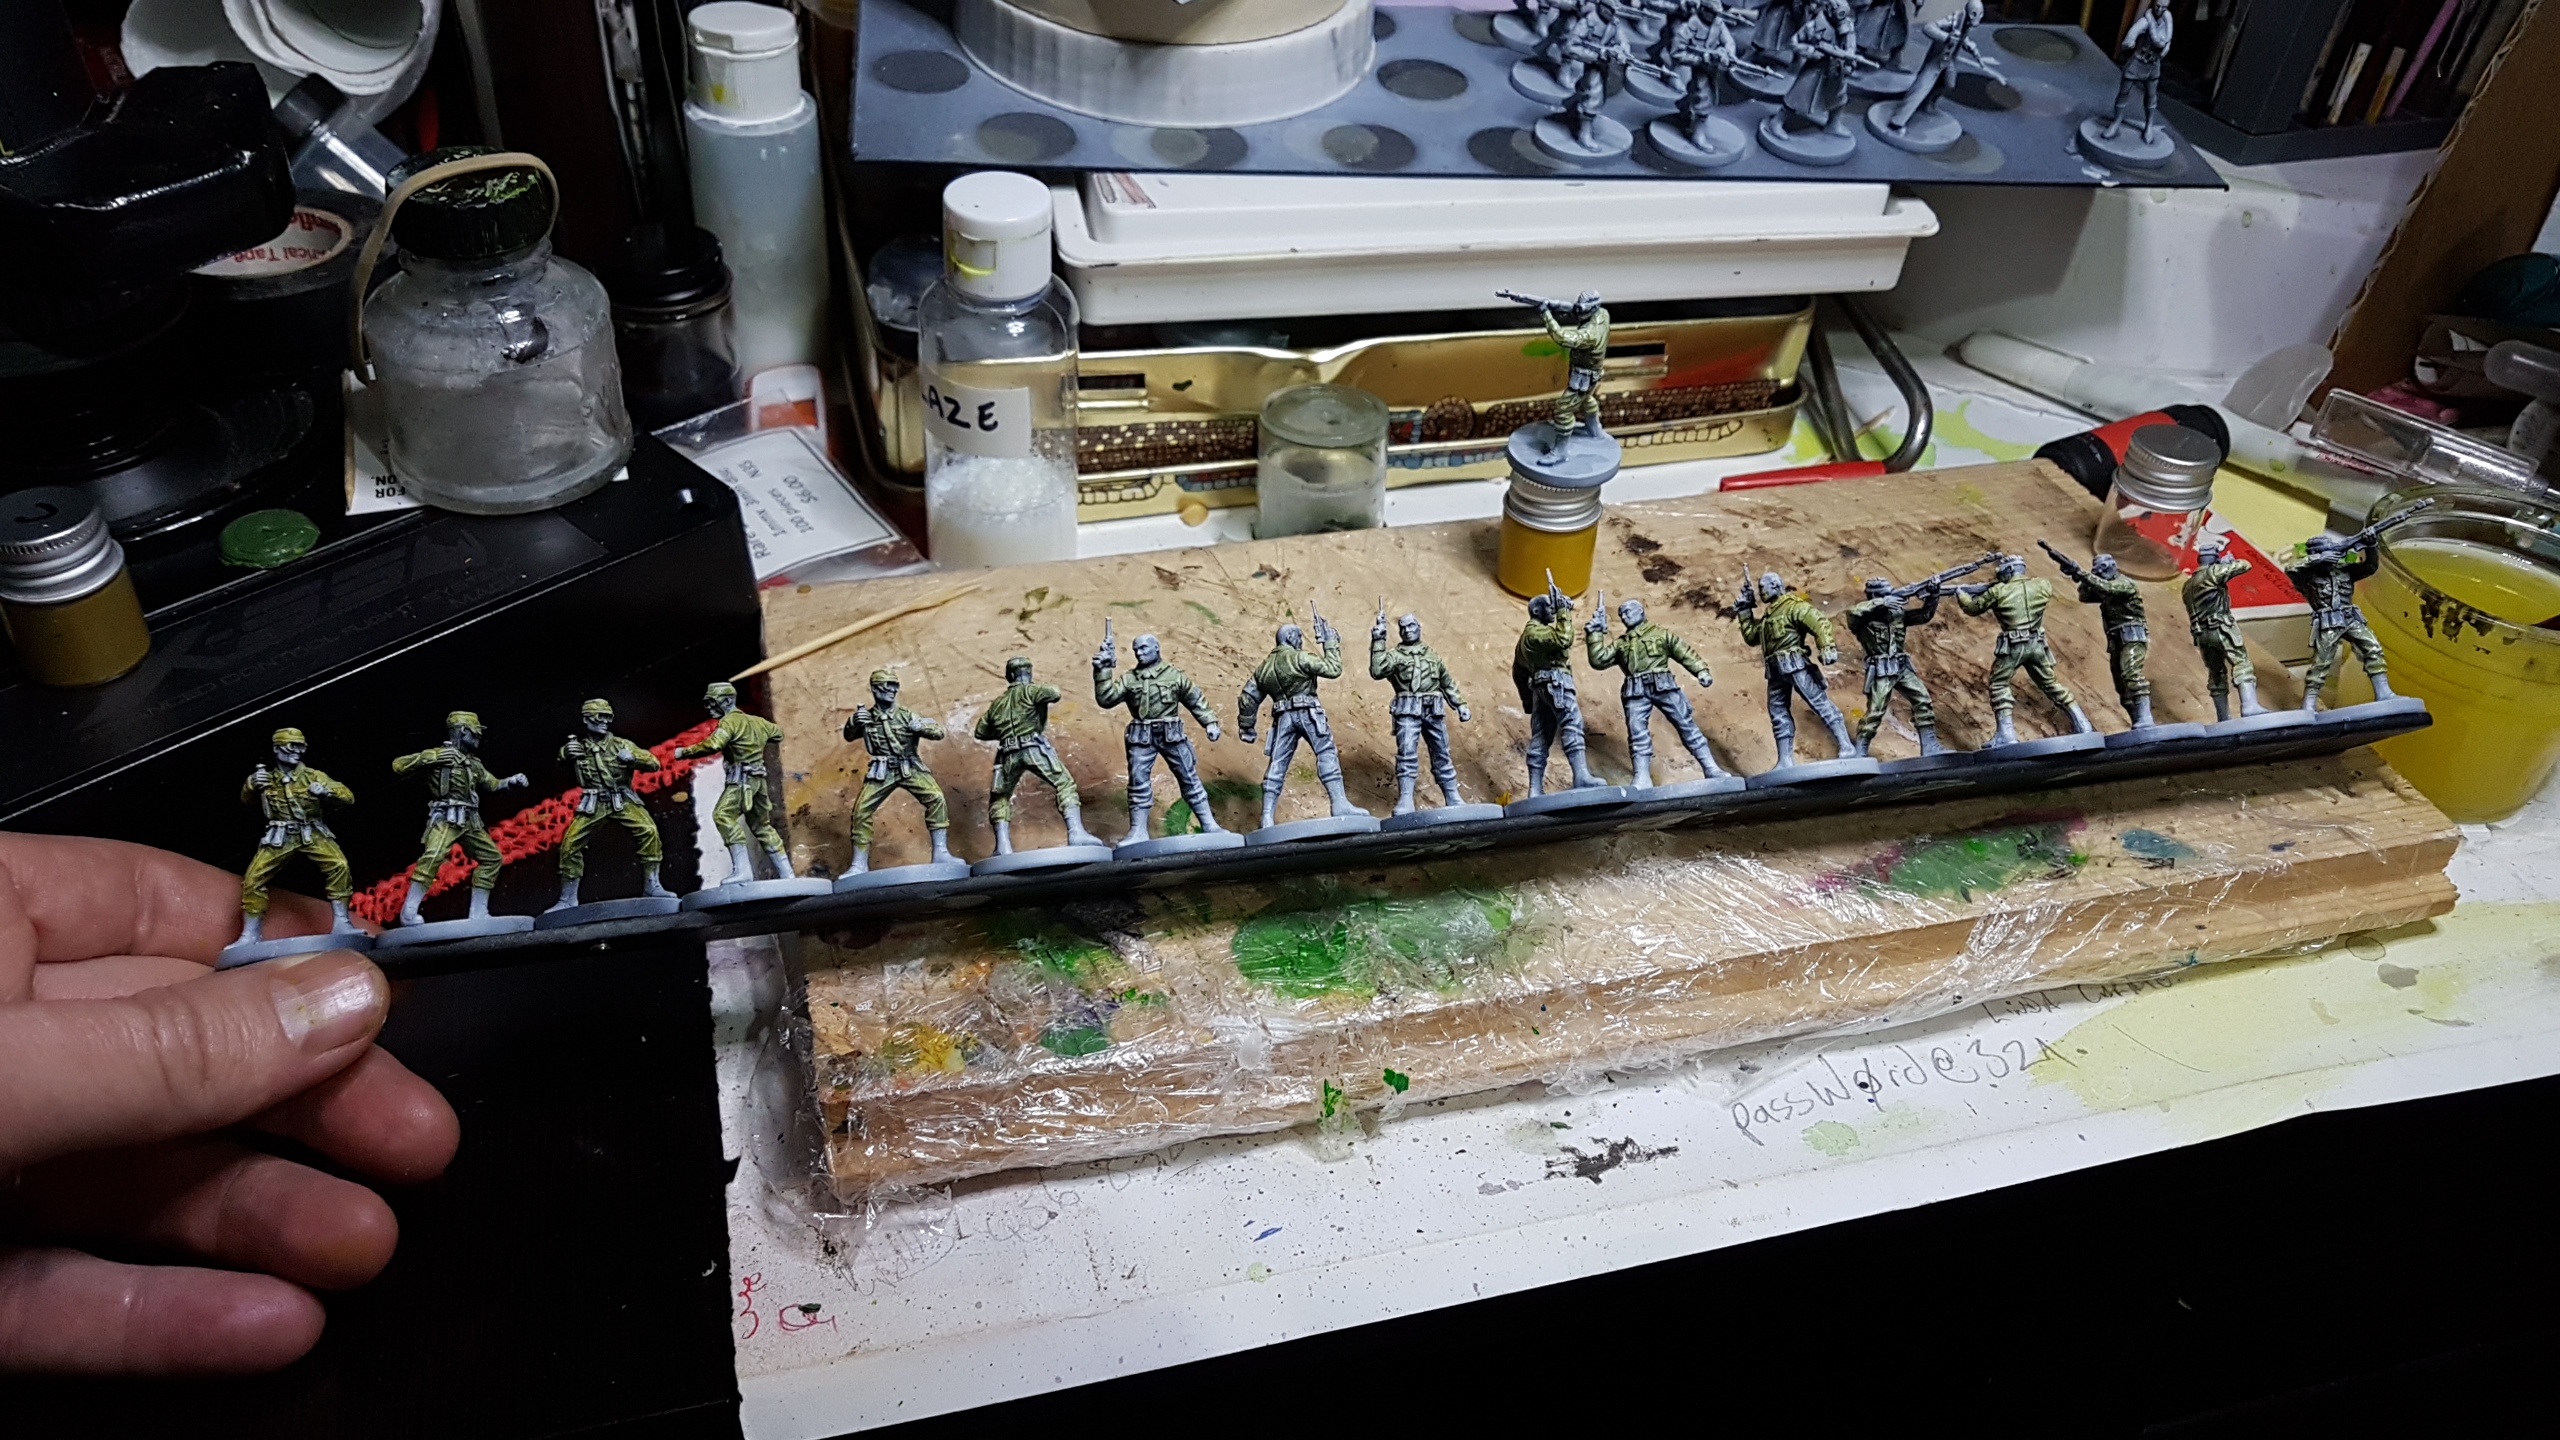
The last two groups of nazi minions were mostly black and greys. I started with a glazing technique similar to the previous models but felt there was too much moving around of each layer to get the visual on the shadows right. I think it’s because I was basically viewing in them in black and white and my eyes were more sensitive to the shadow effects. Anyway I ended up going back to the airbrush and doing most of the base colouring and shading then using a little glazing after to accentuate a few shadows . I also used multiple layers to bring up the black on boots, guns, and headwear.
 Hmm , I have to rethink glazing black
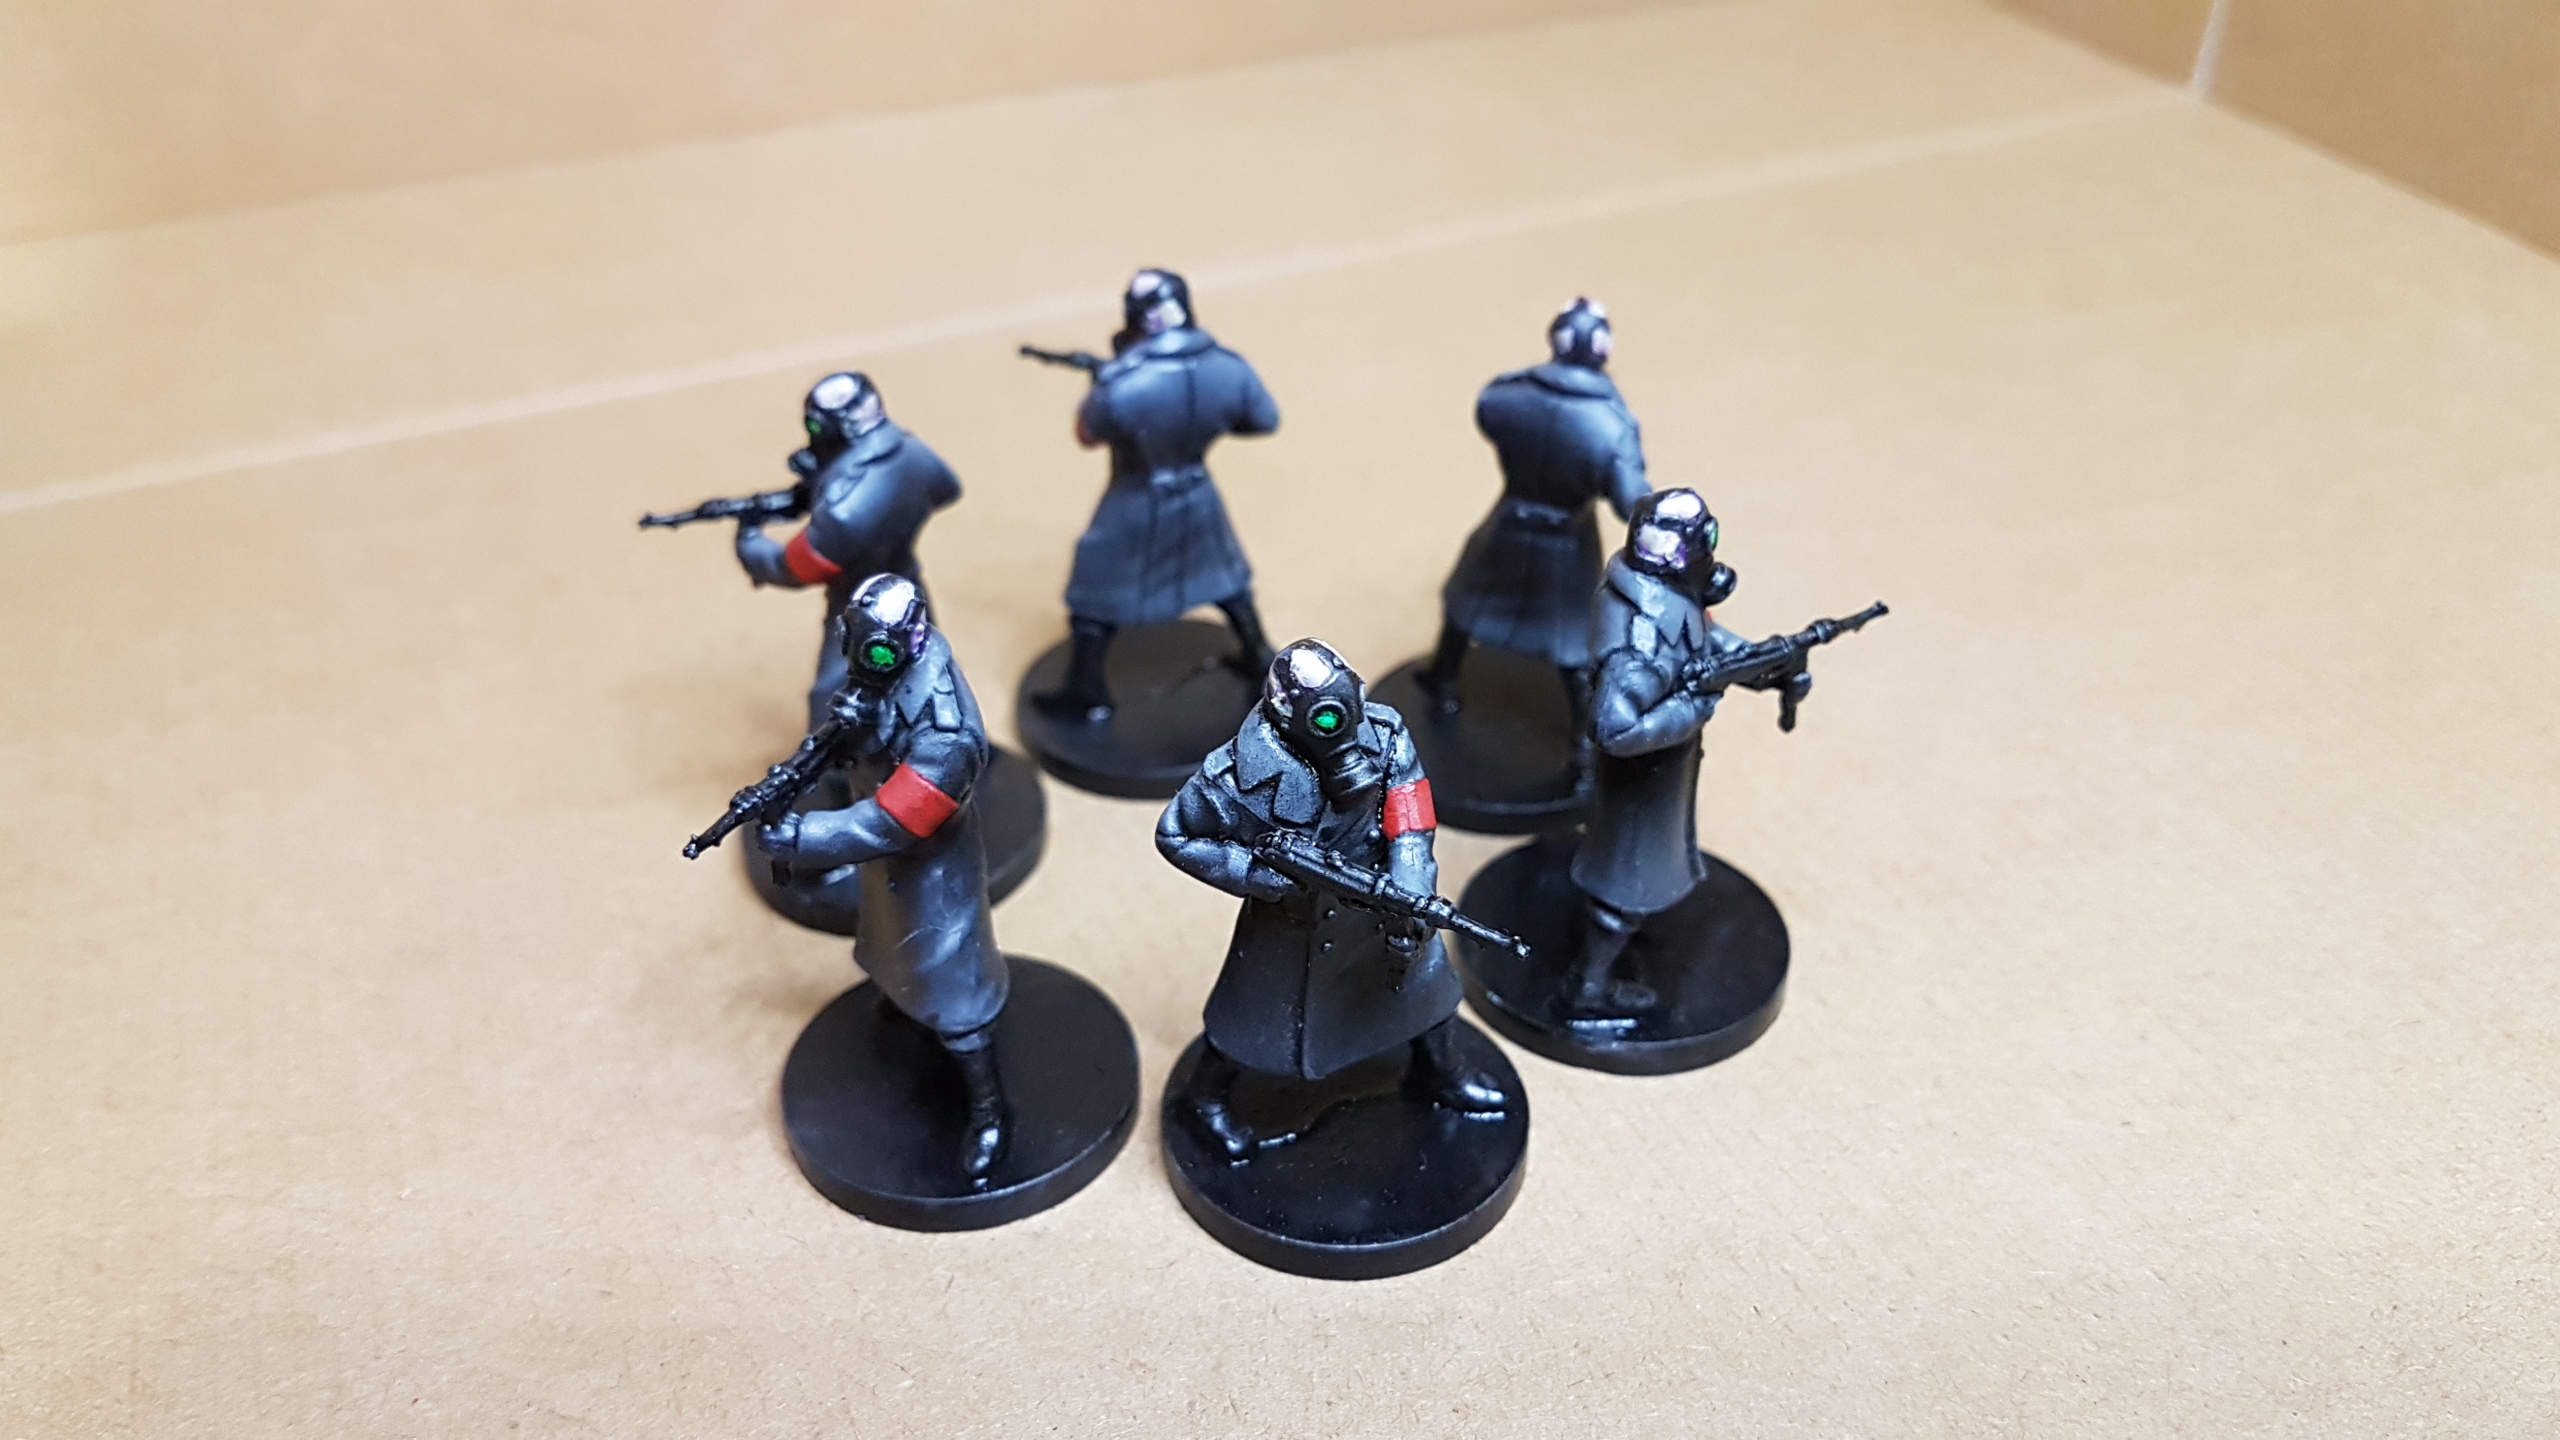 I think Gestapo, but they dont say much
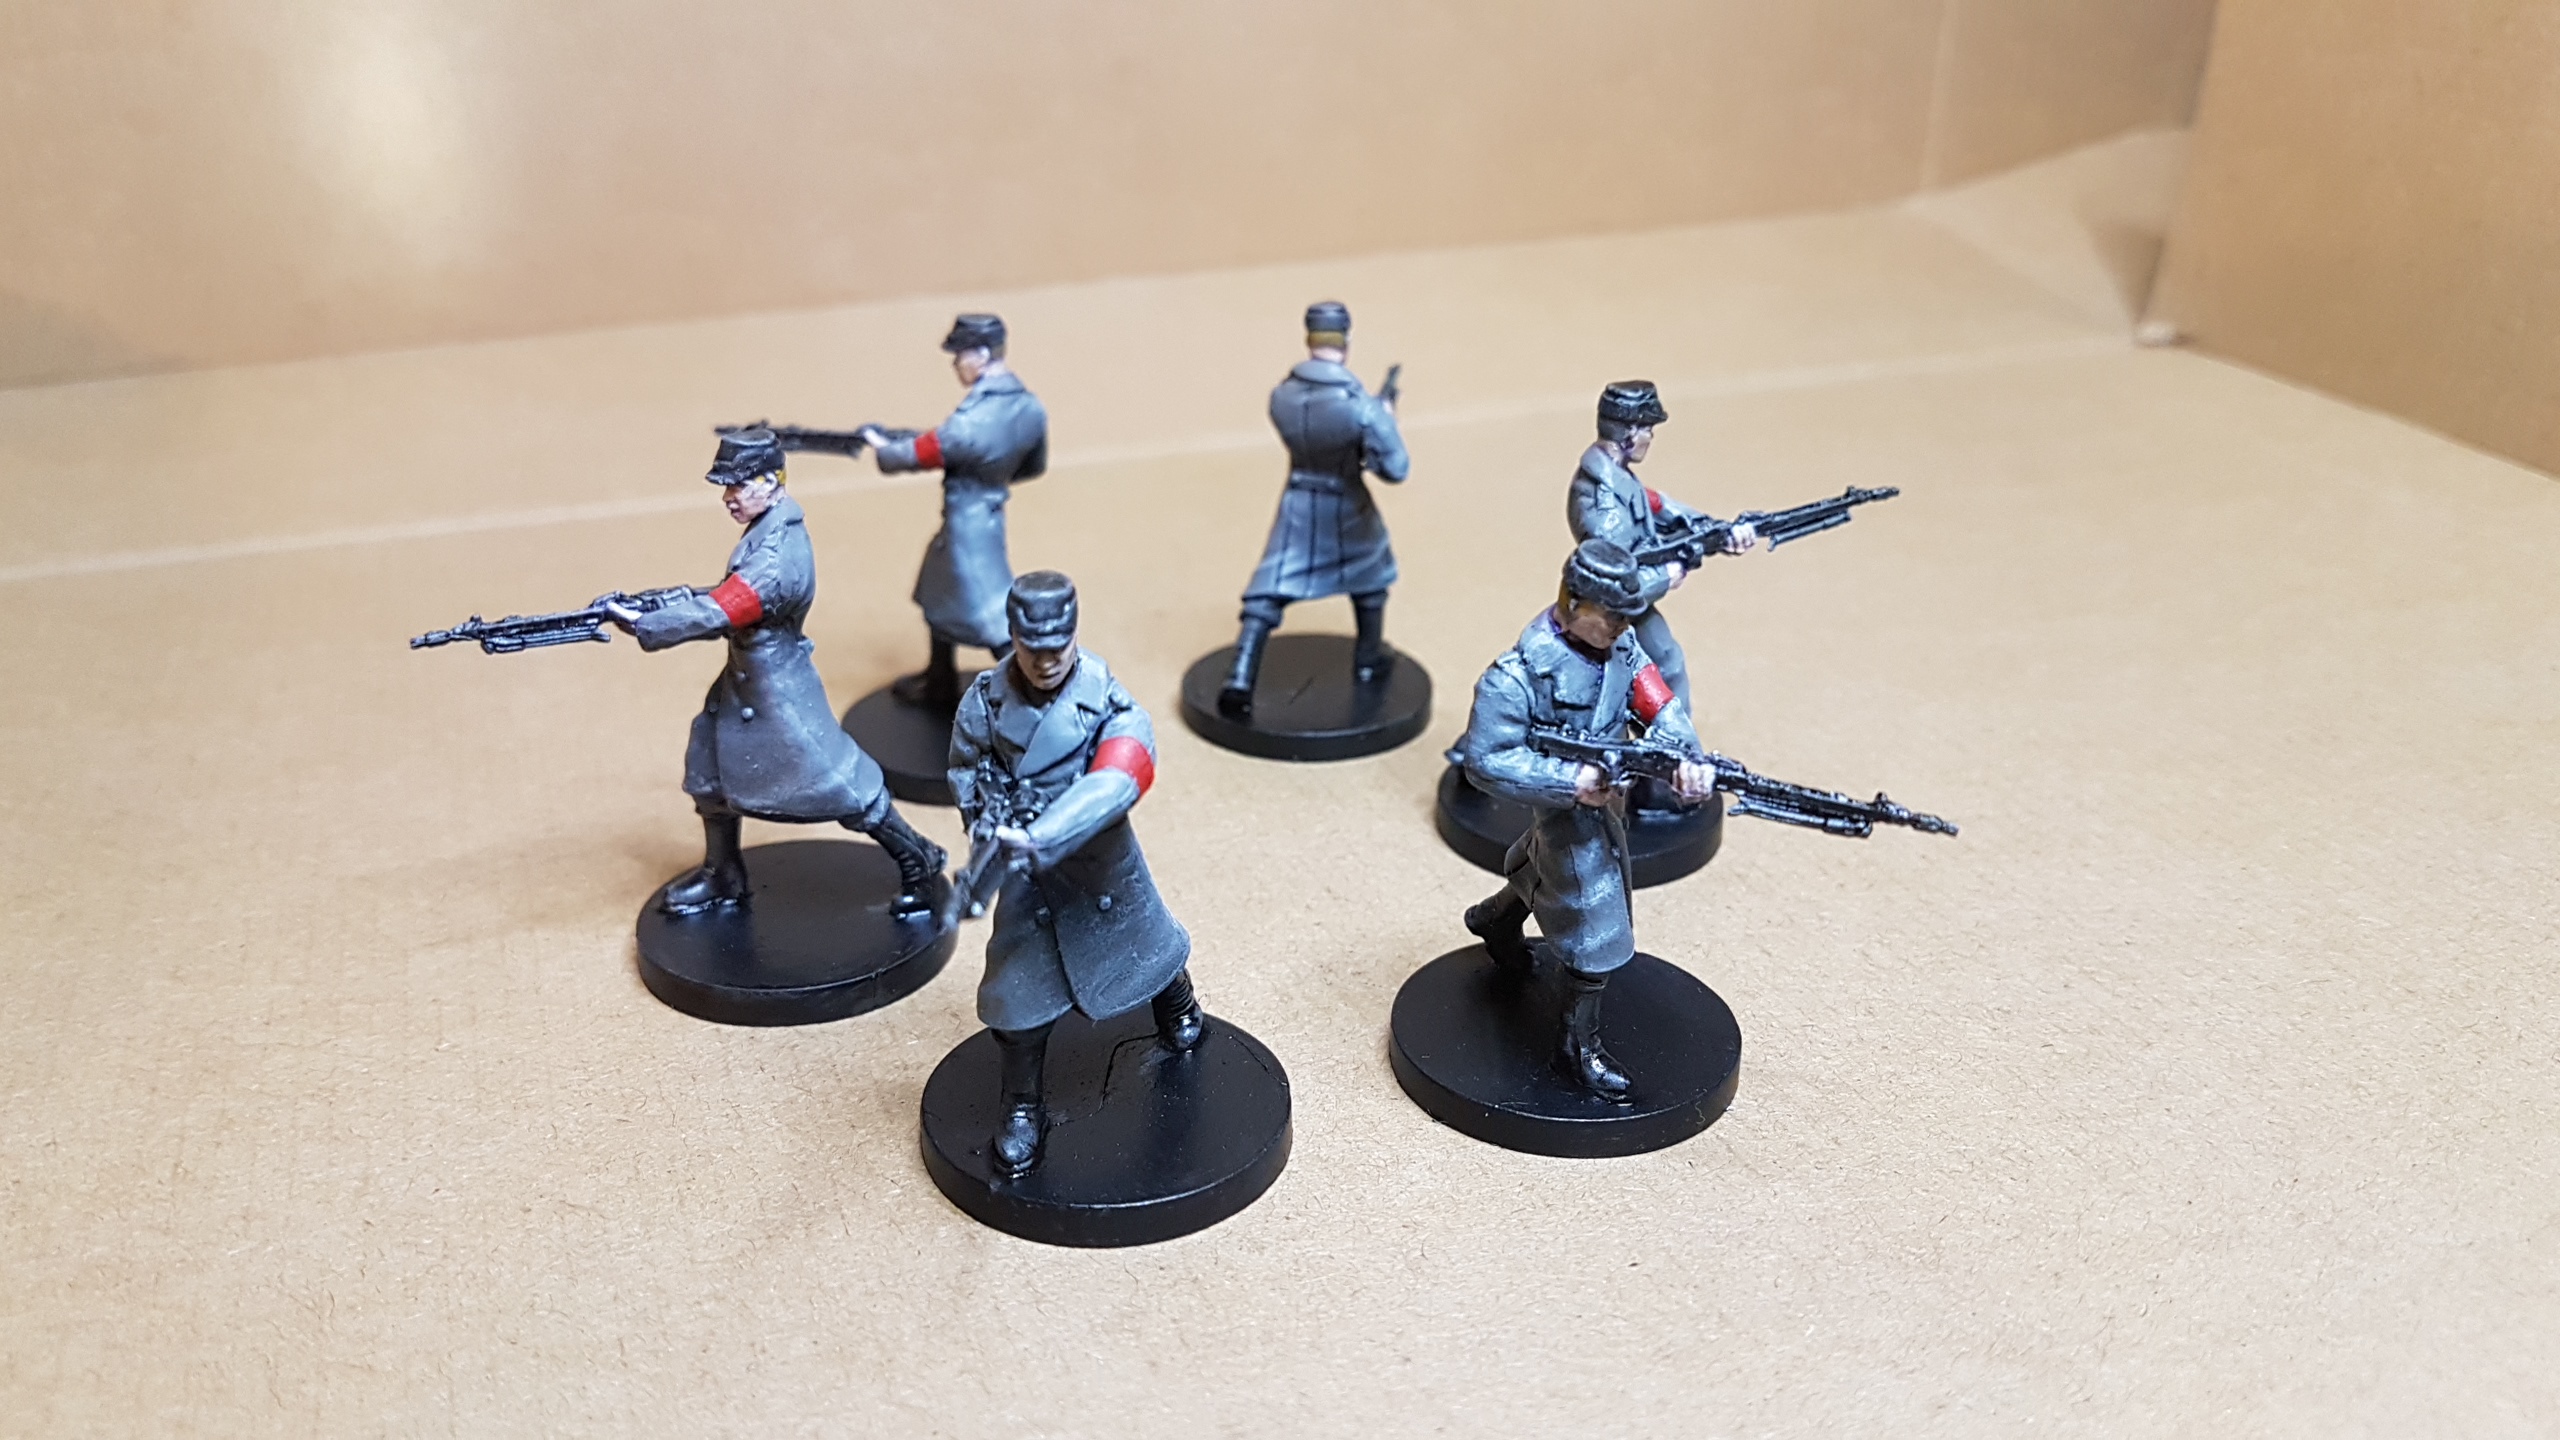 More heavy backing from the SS
Zee Nasty Pasties
So a few detail passes for faces, weapons and equipment and I’m calling them done. I took a moment to reflect on the swastika thing and thought ,yes its Hellboy, we’re sending them to hell, so its ok, but personally still find them abhorrent and didn’t want to waste time on white blobs with fuzzy black things, so let them go.
On the whole there are some areas that have come off a little ‘painterly’ but considering the minimal time and effort in getting these 18 minis done in 10 days and the overall effect, I’m pretty happy.
After the ‘Screaming Skull’ pass to unify skin areas I used a home made purple wash then some game colour ‘Flesh tone’. Yes its cold, but so are these pricks.
 Stab you in the back party members
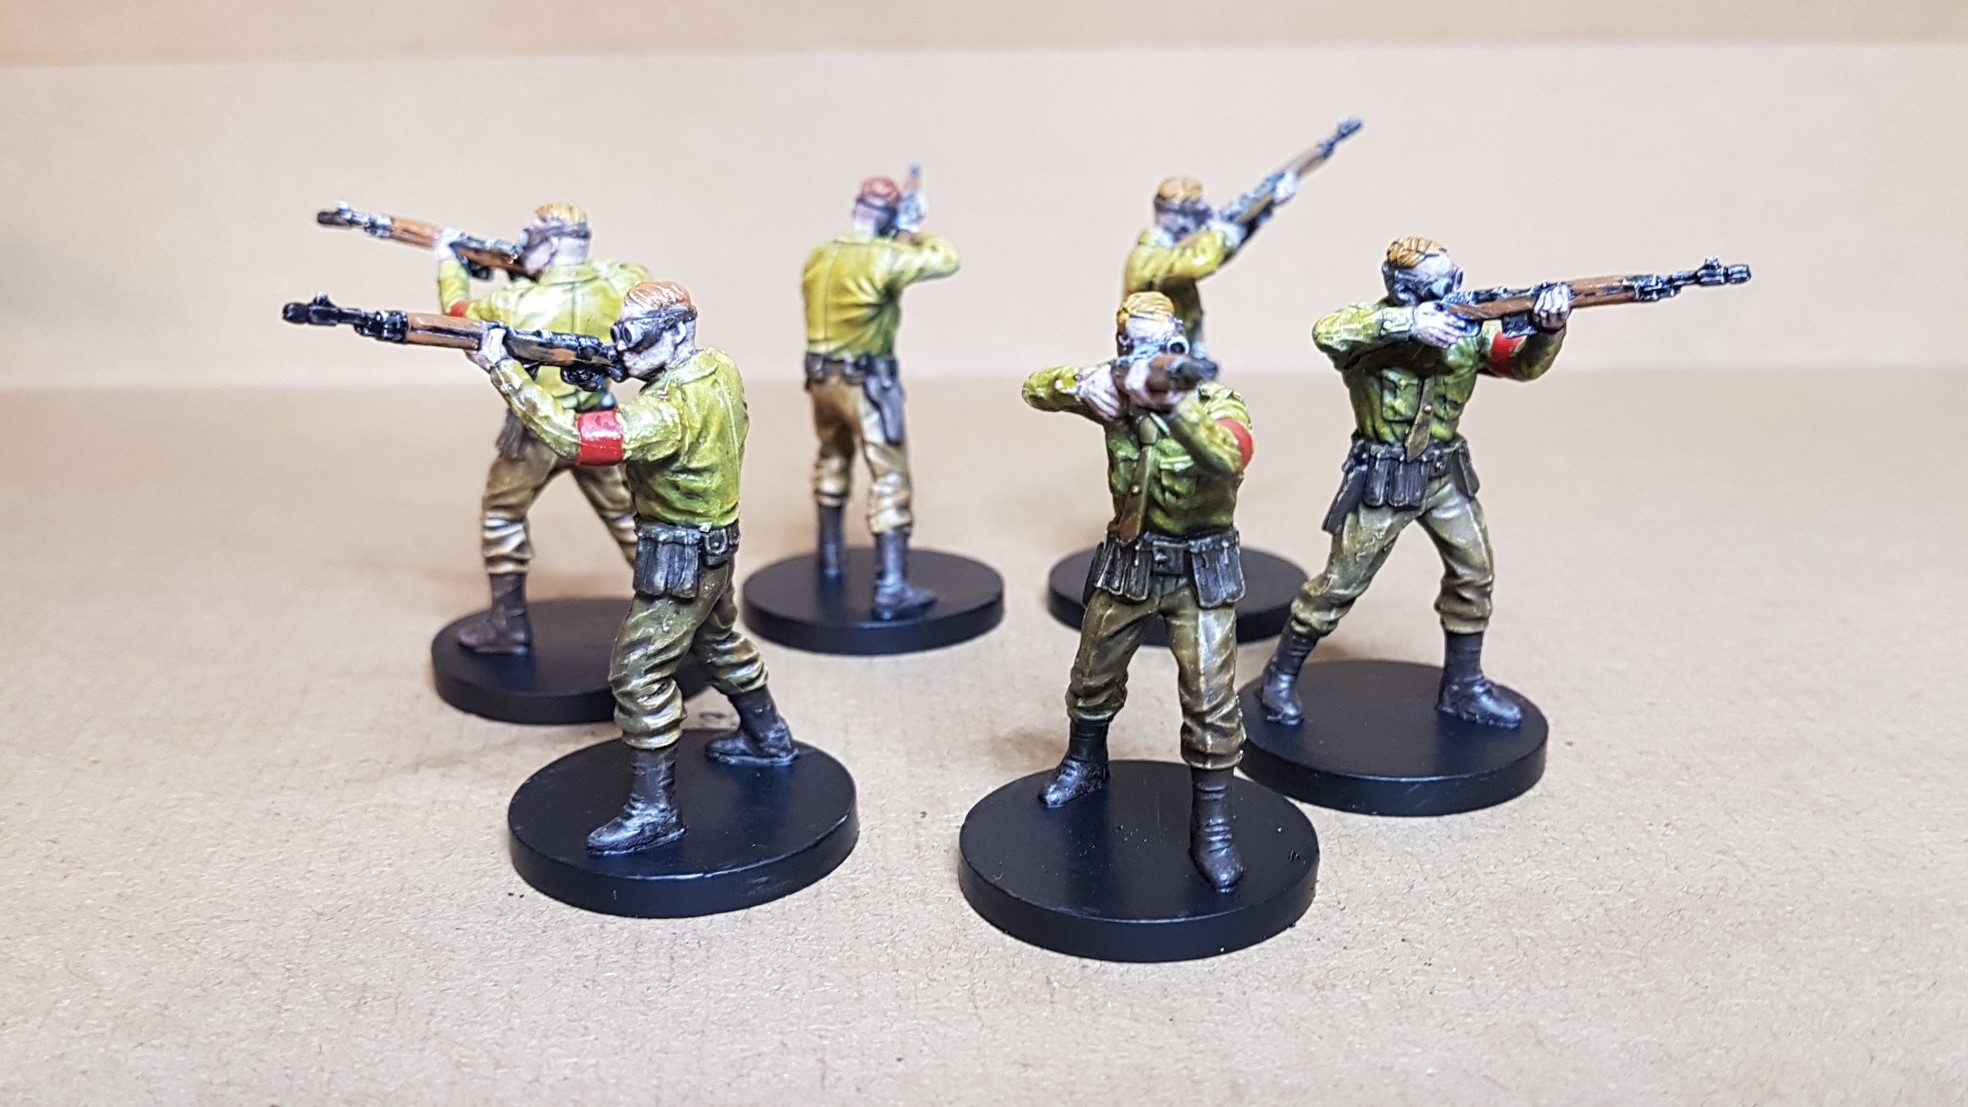 In your face party members
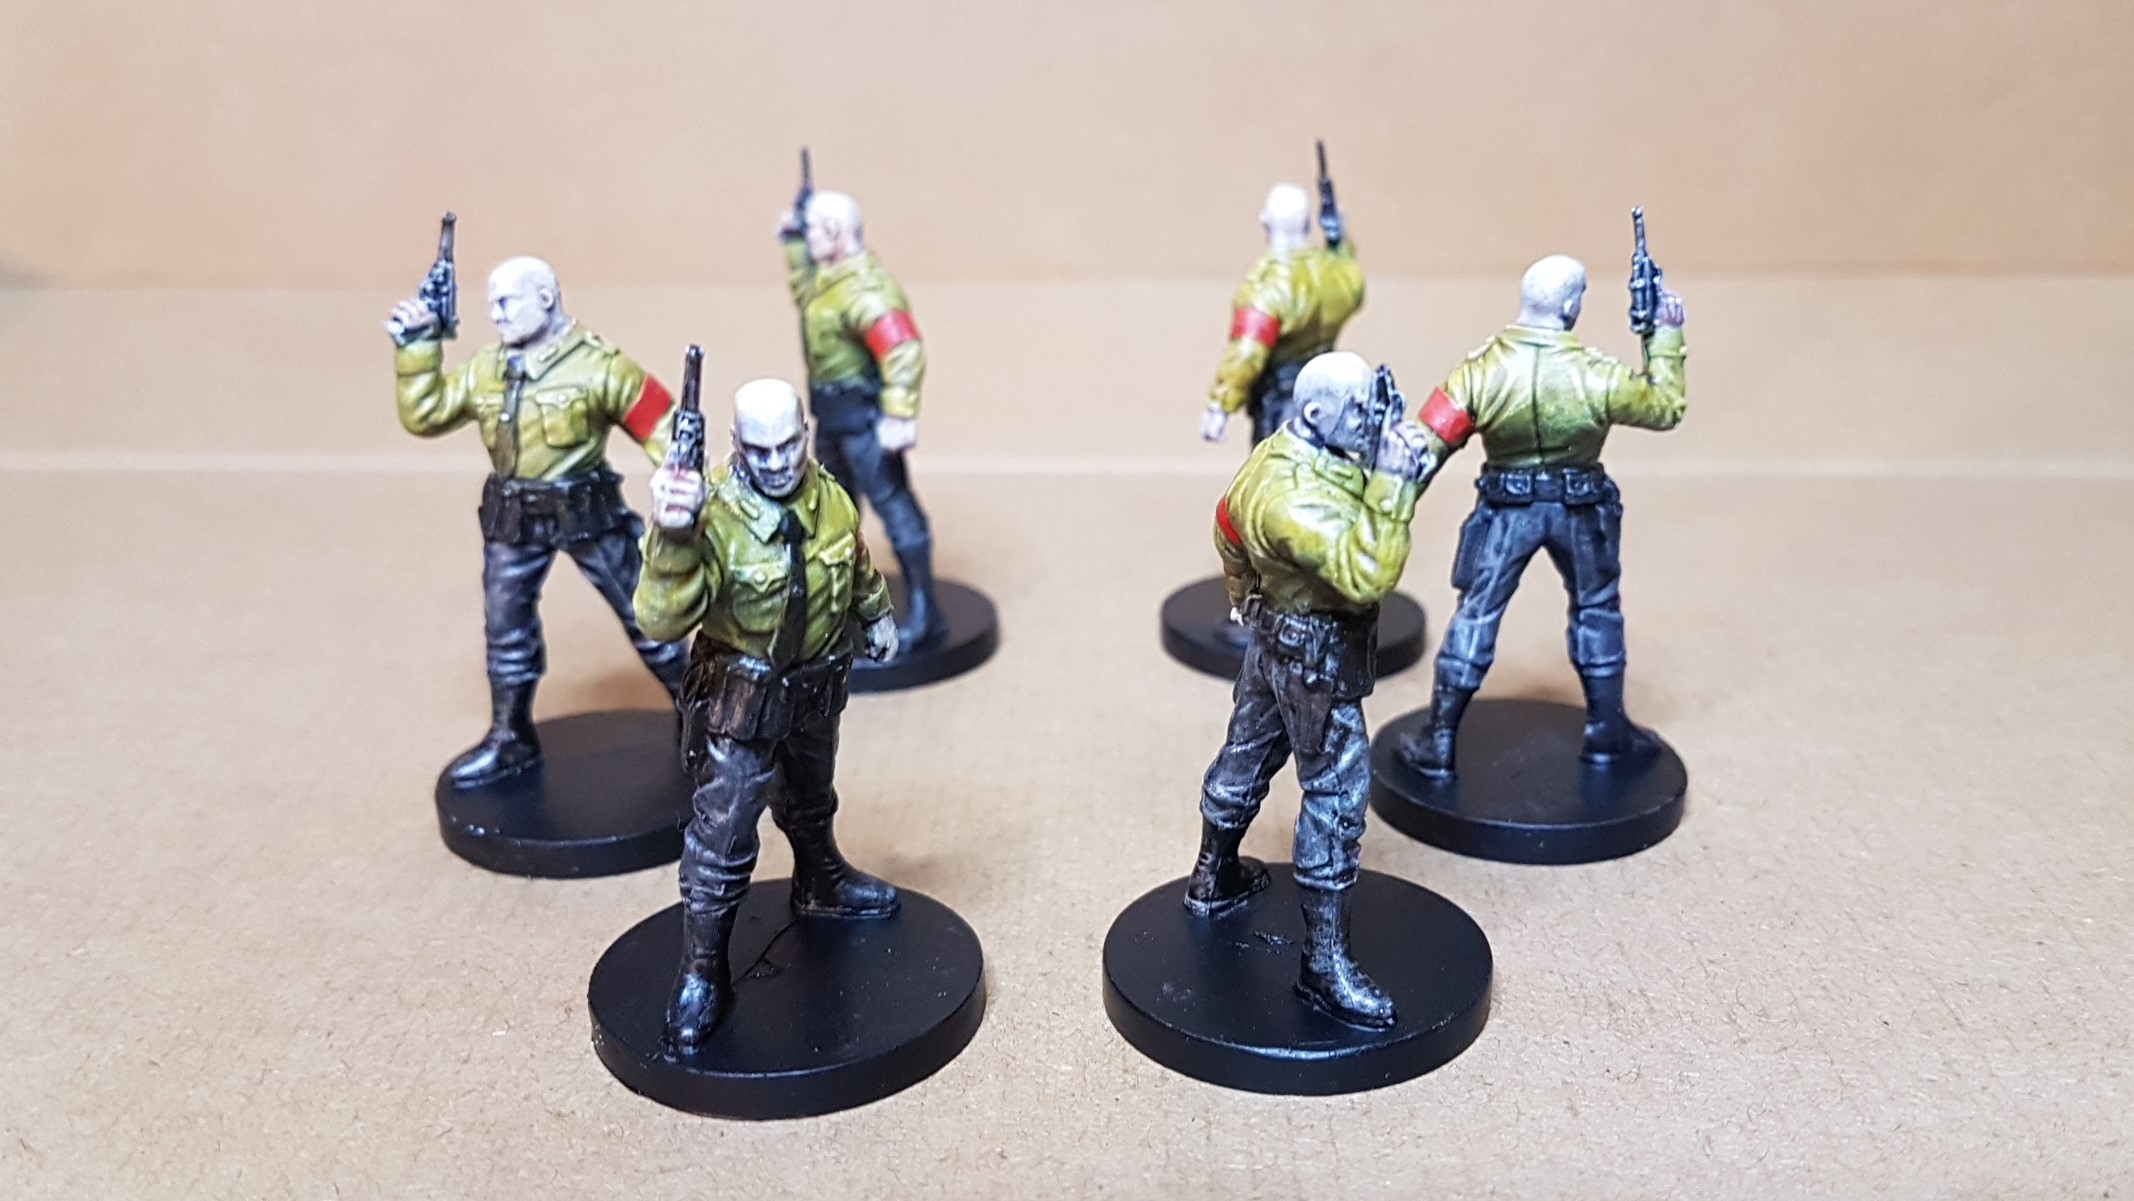 The heavy..SS
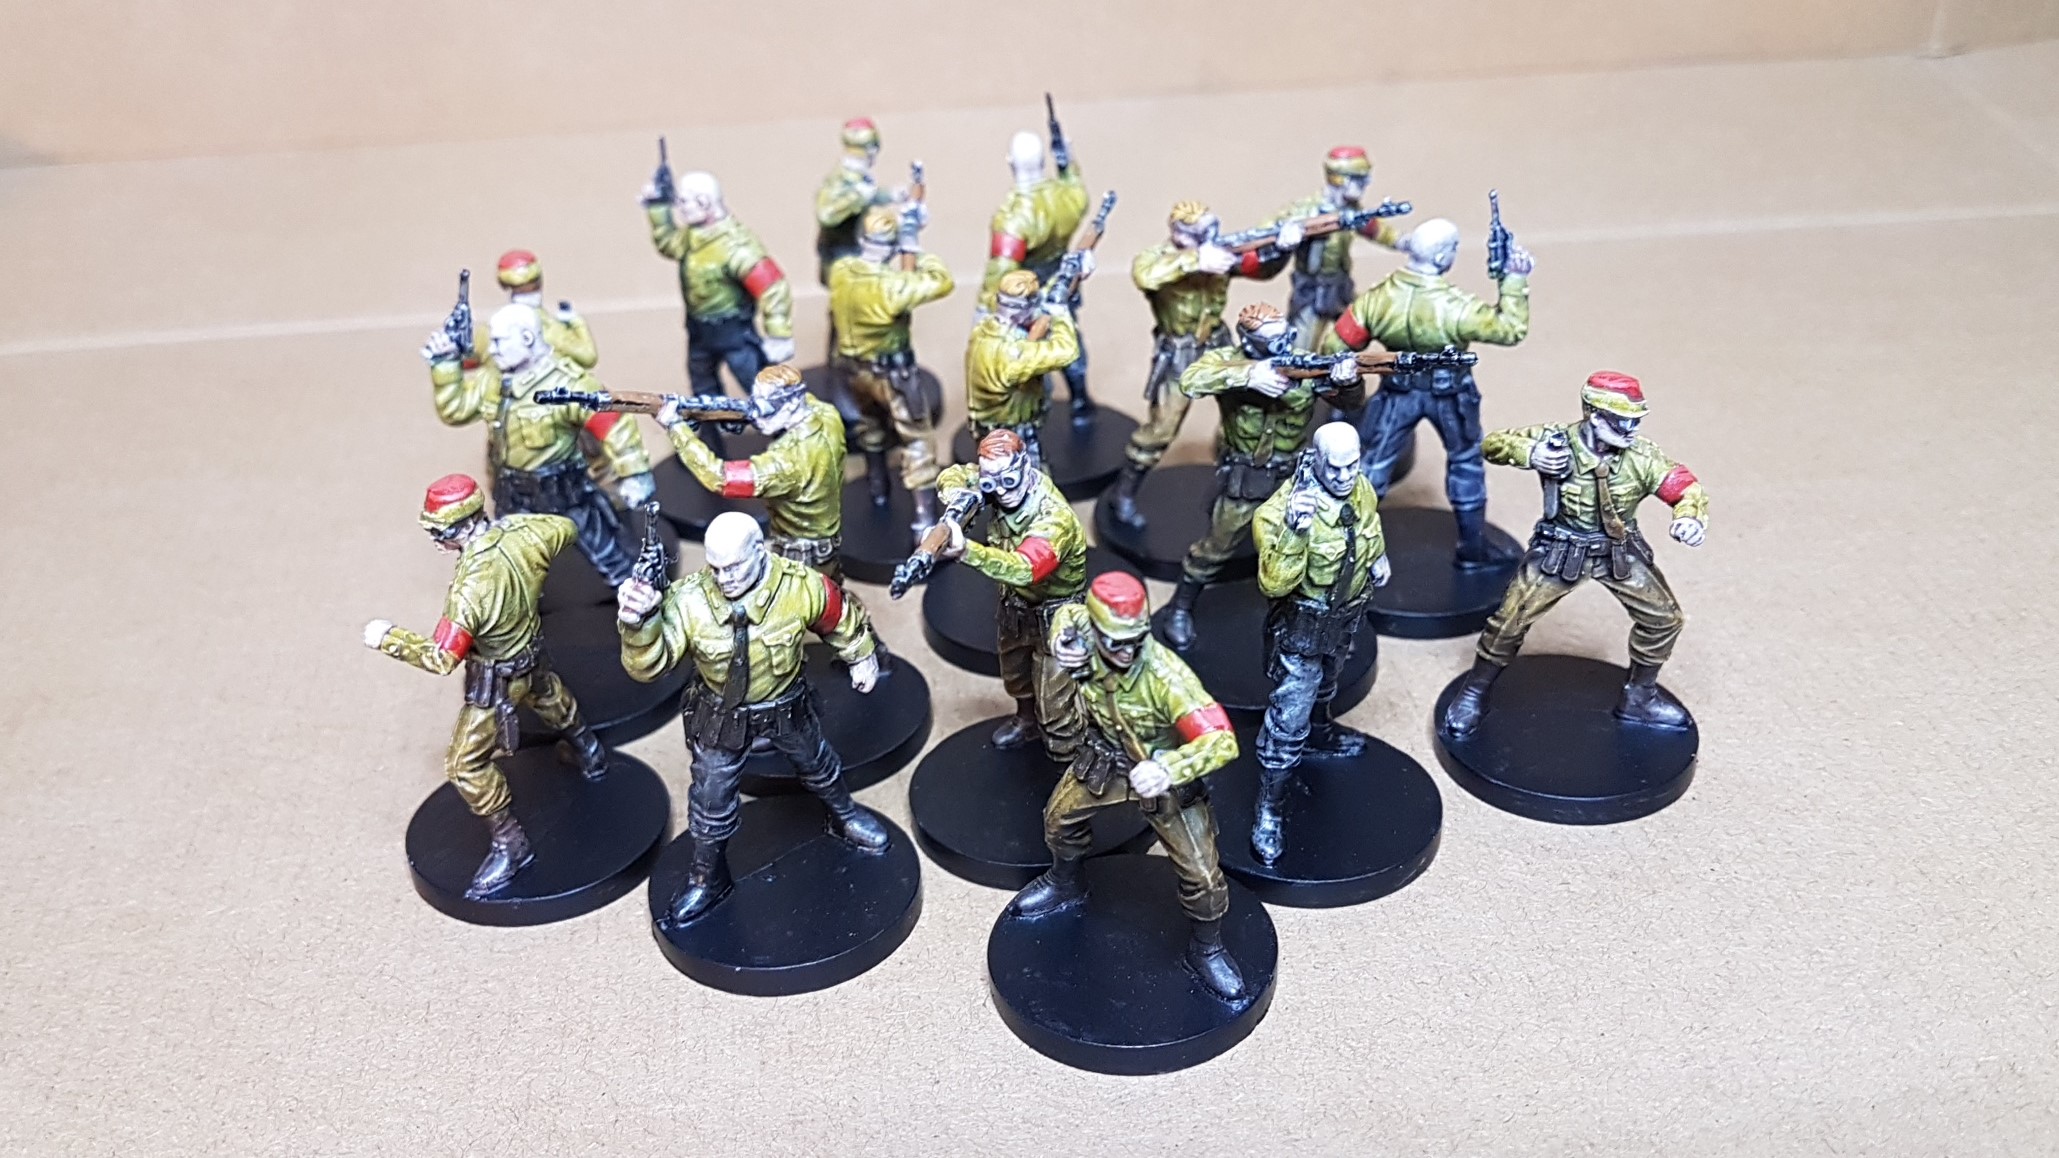 The nasty party
Layer upon layer
I’ve found when going for the glazing method you really have to manage your expectations. If your used to doing a base coat that closely resembles the actual colour you will have to be patient and take the time to lay down as many thin coats as required
 1 layer ahahahahahah
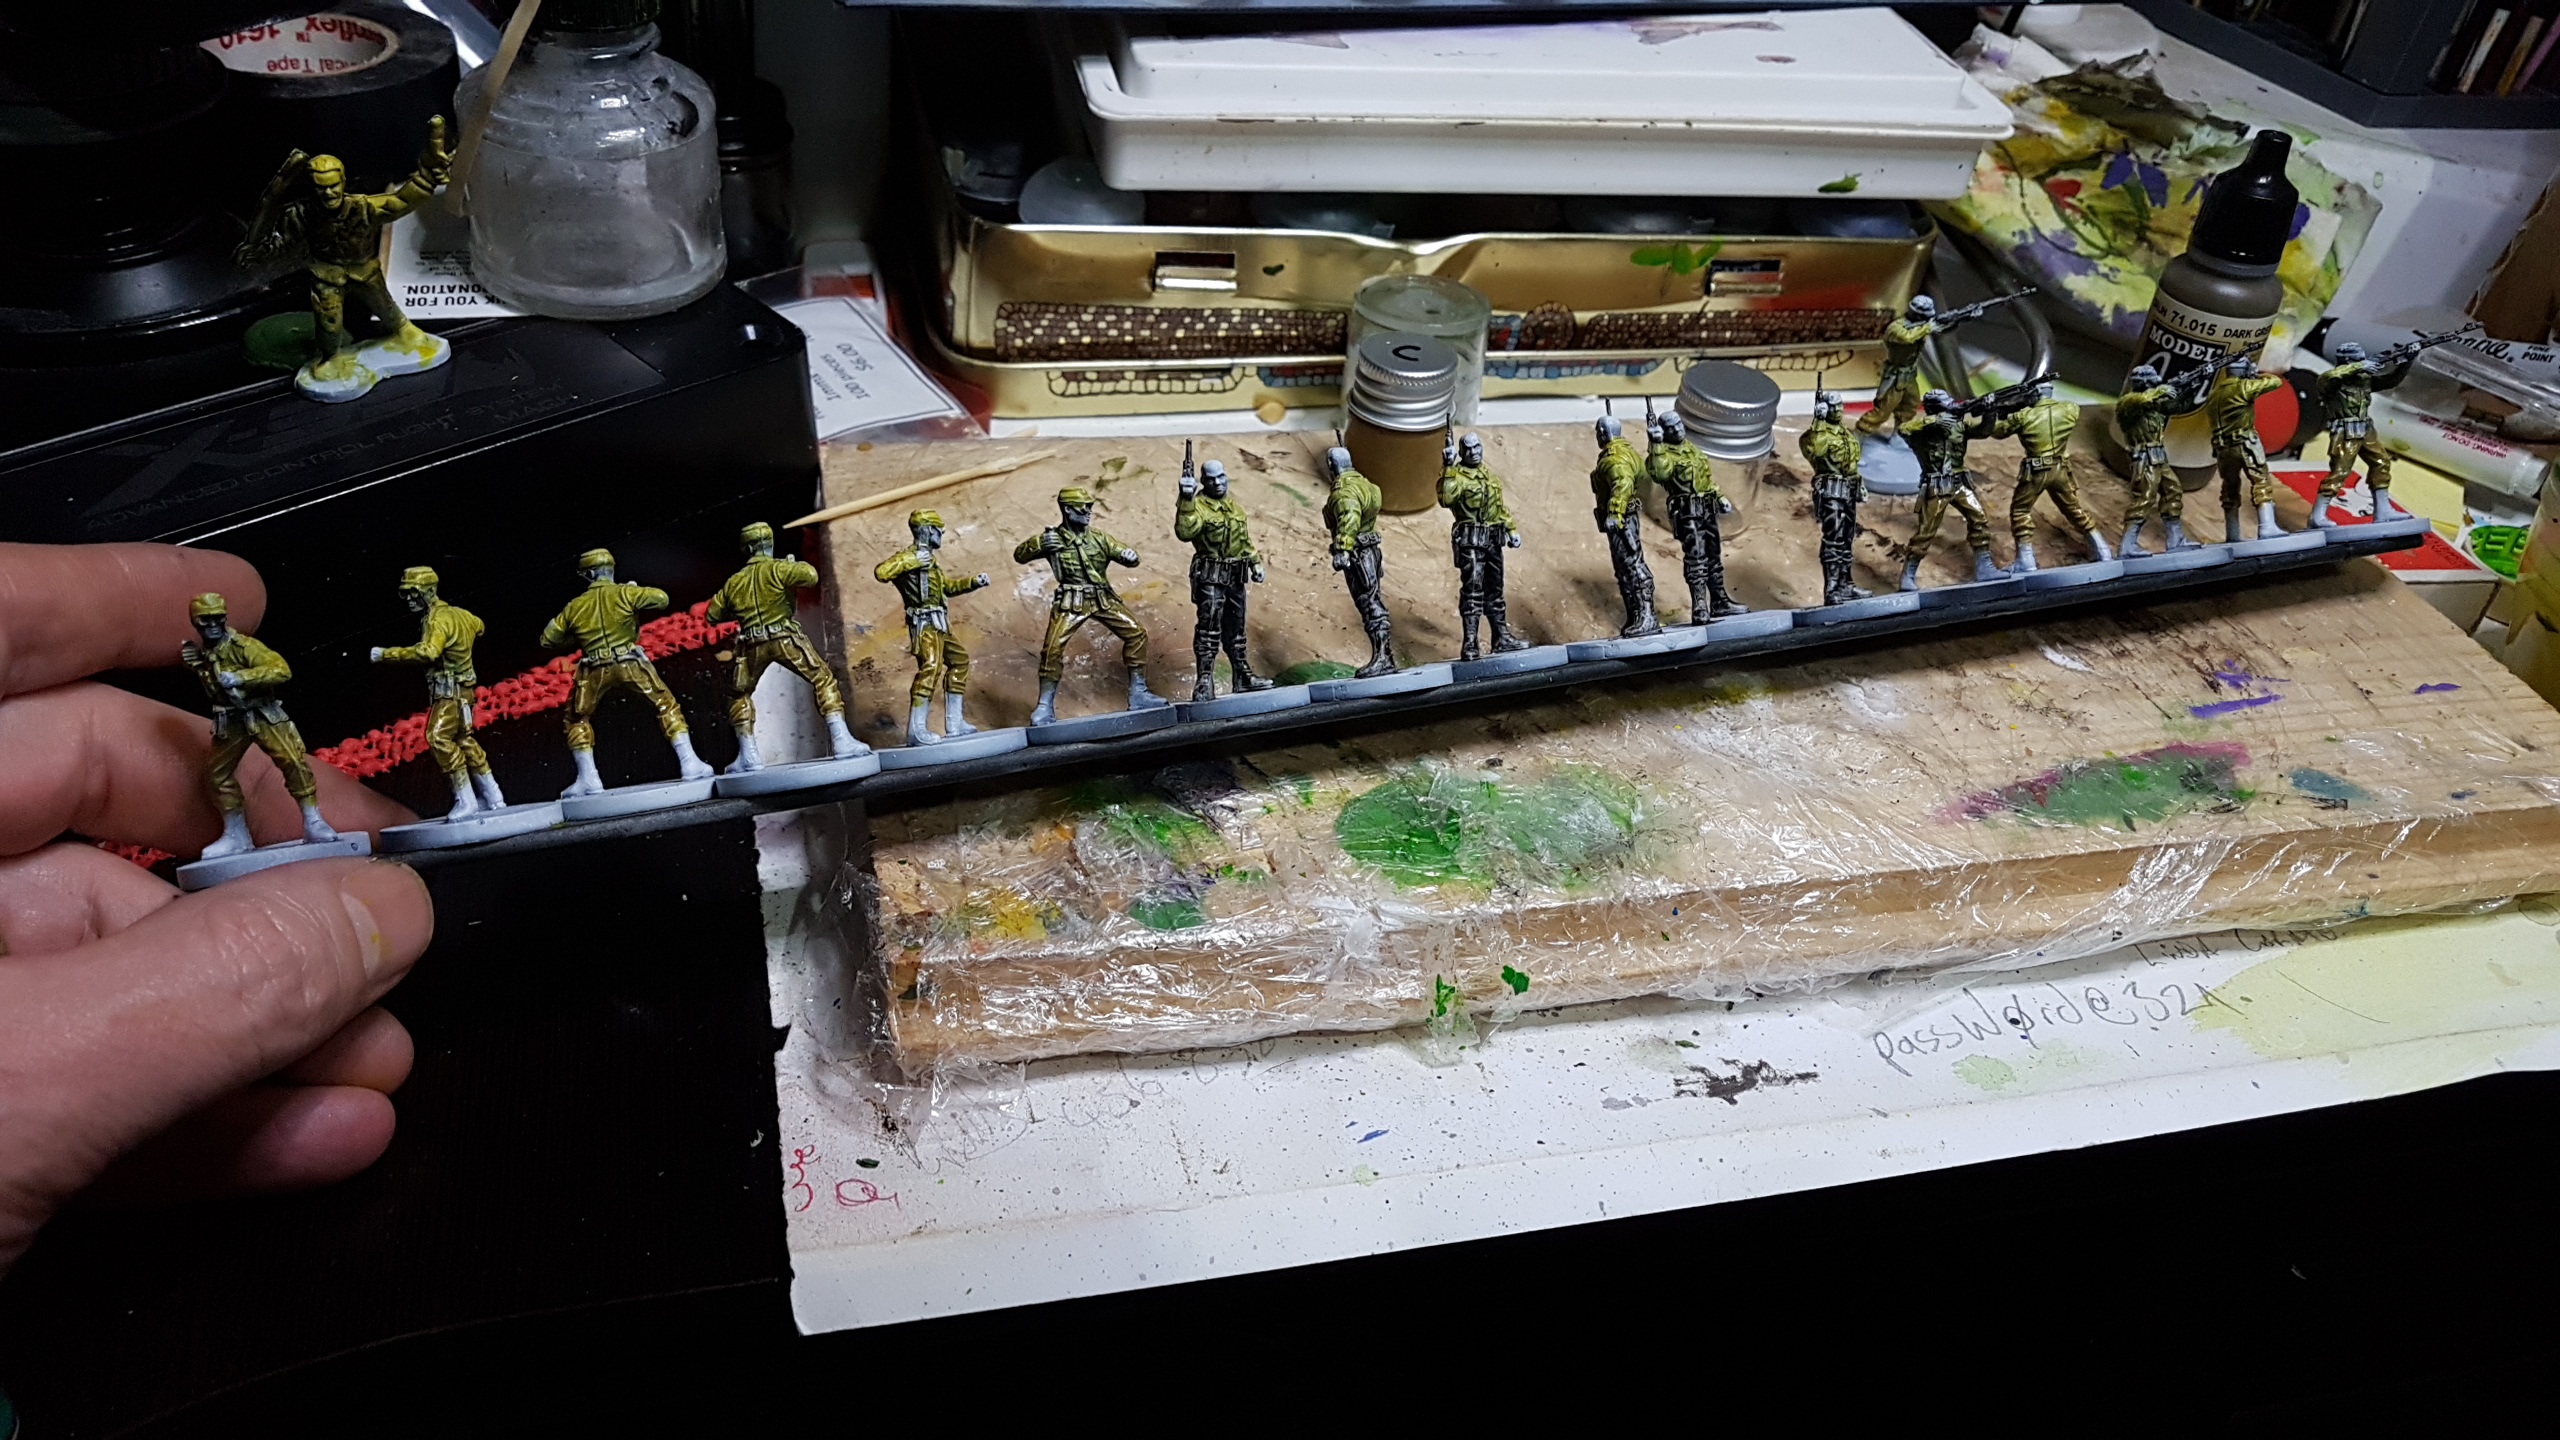 2 layers ahahahahh
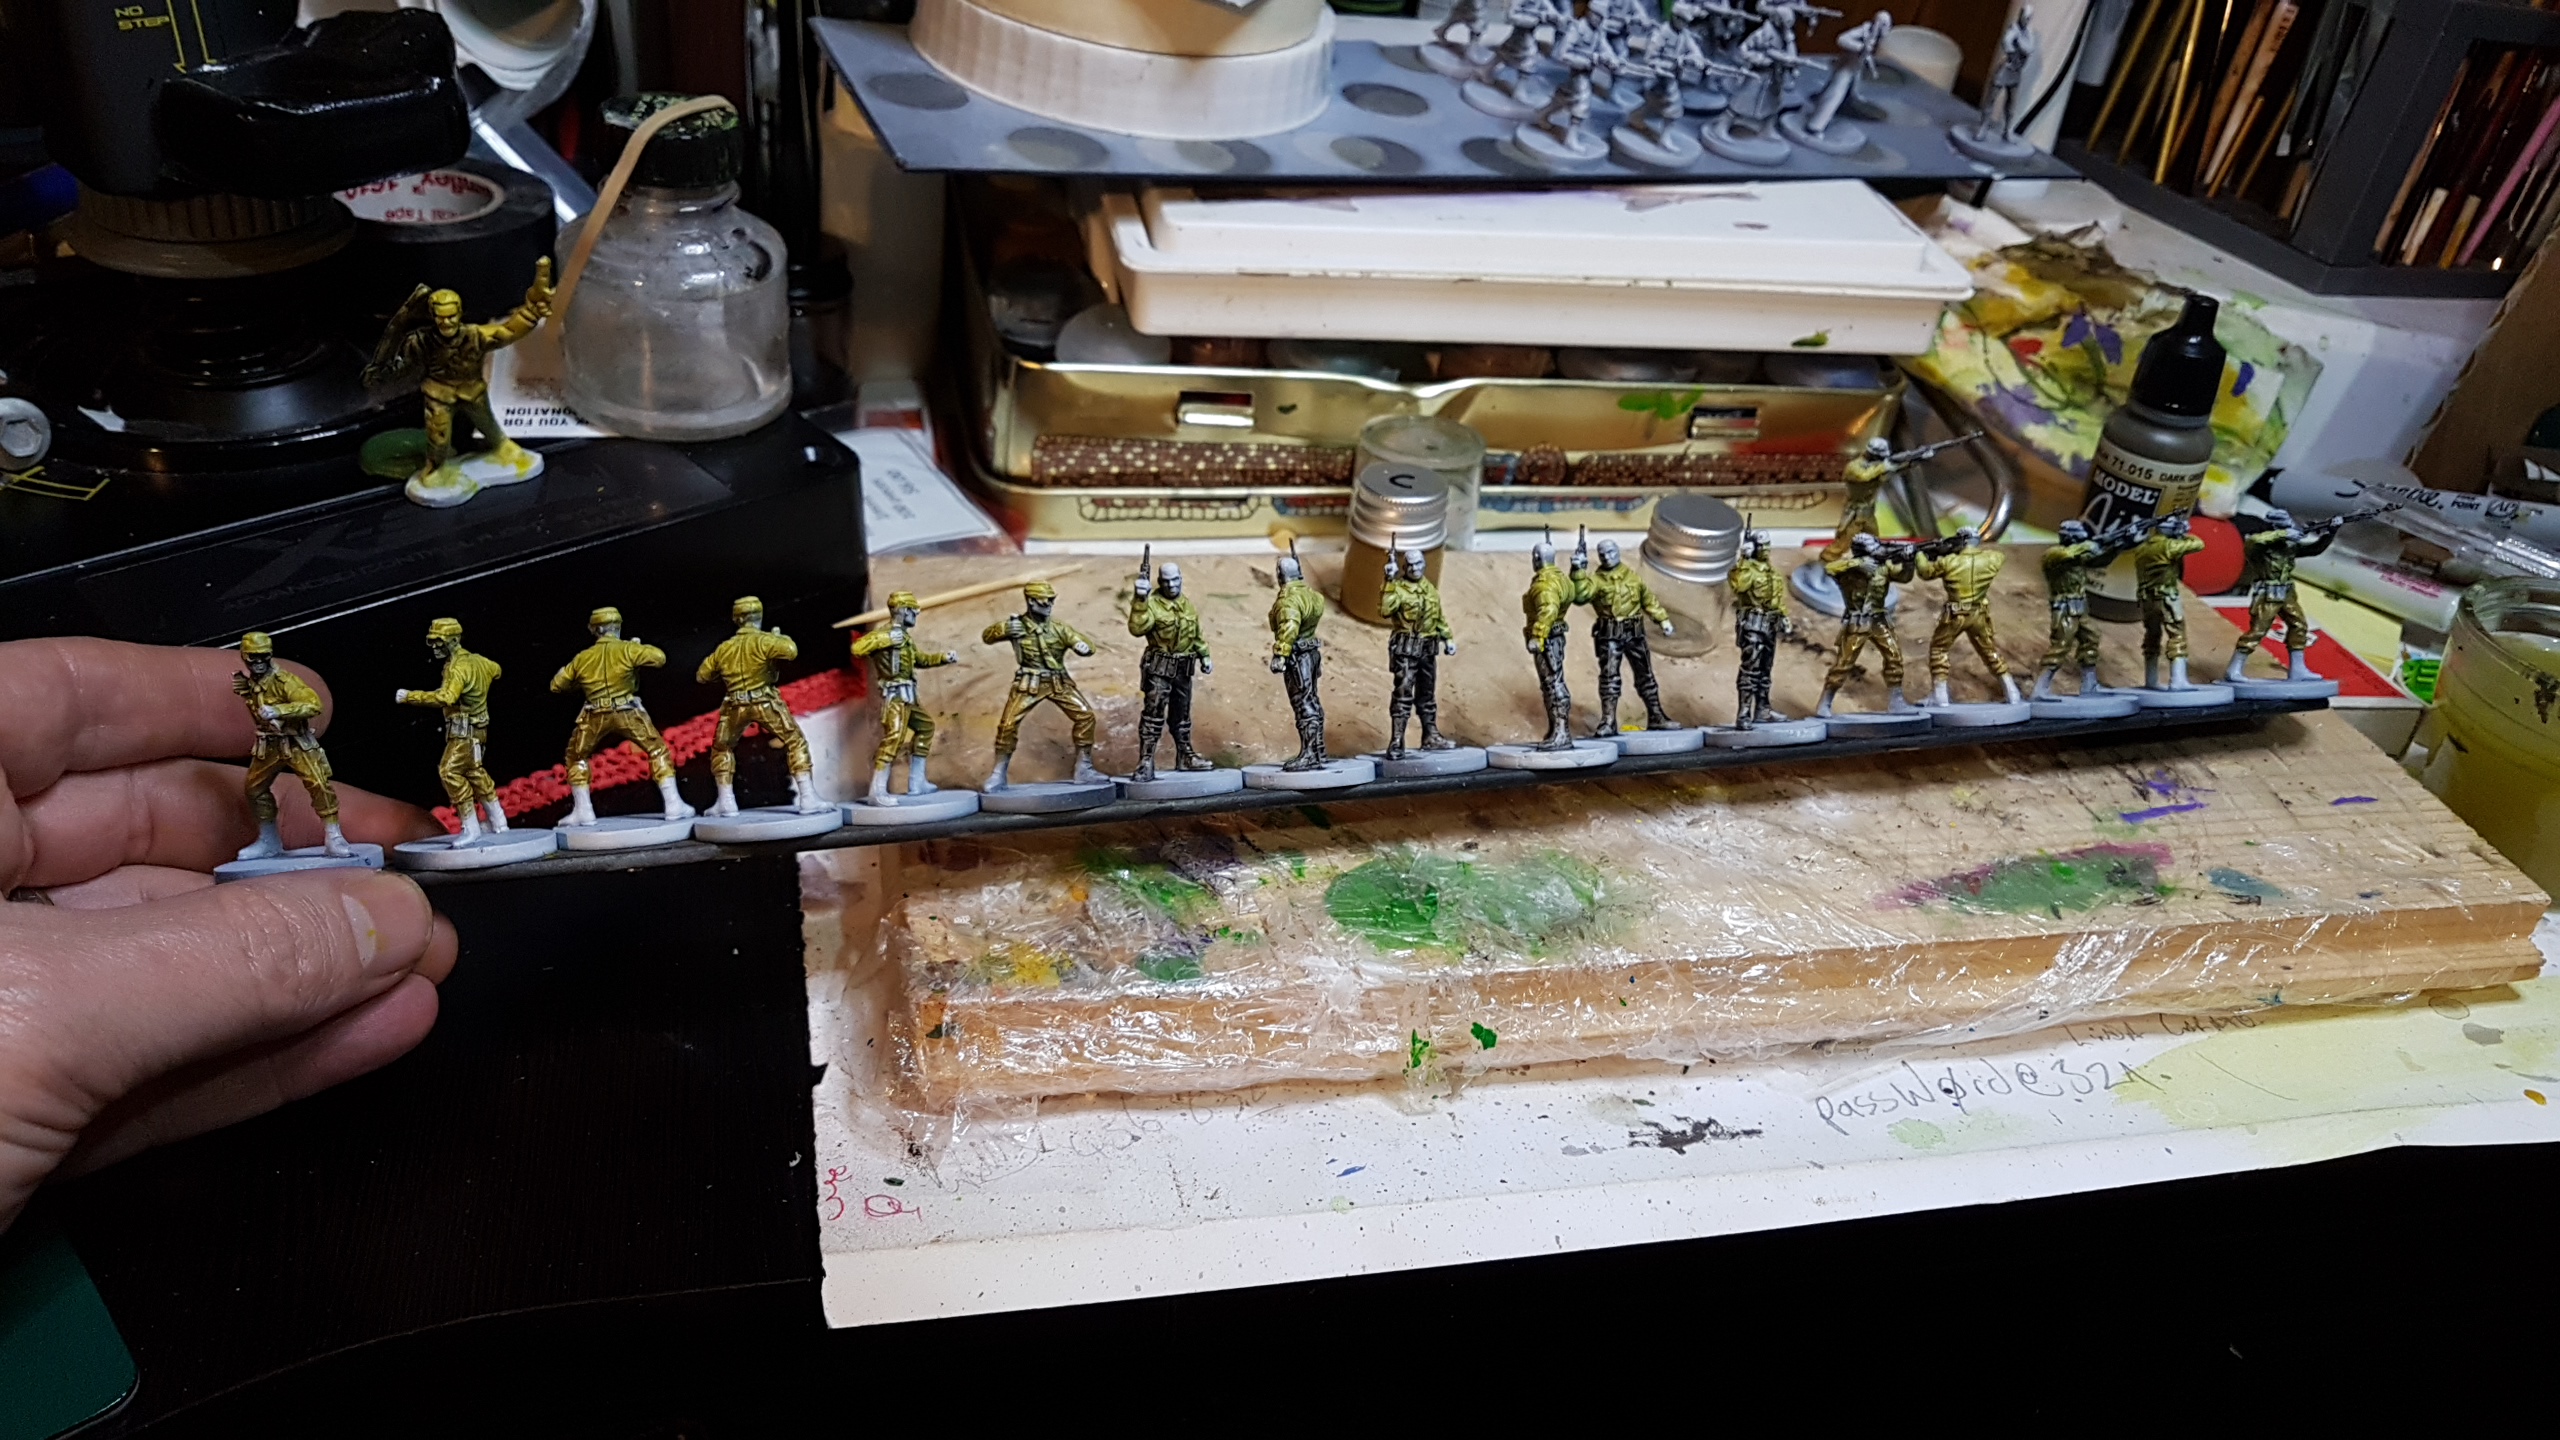 3 layers ahahahah...but only 1 layer of black....and a wash of 'Strong Tone' evreywhere not black
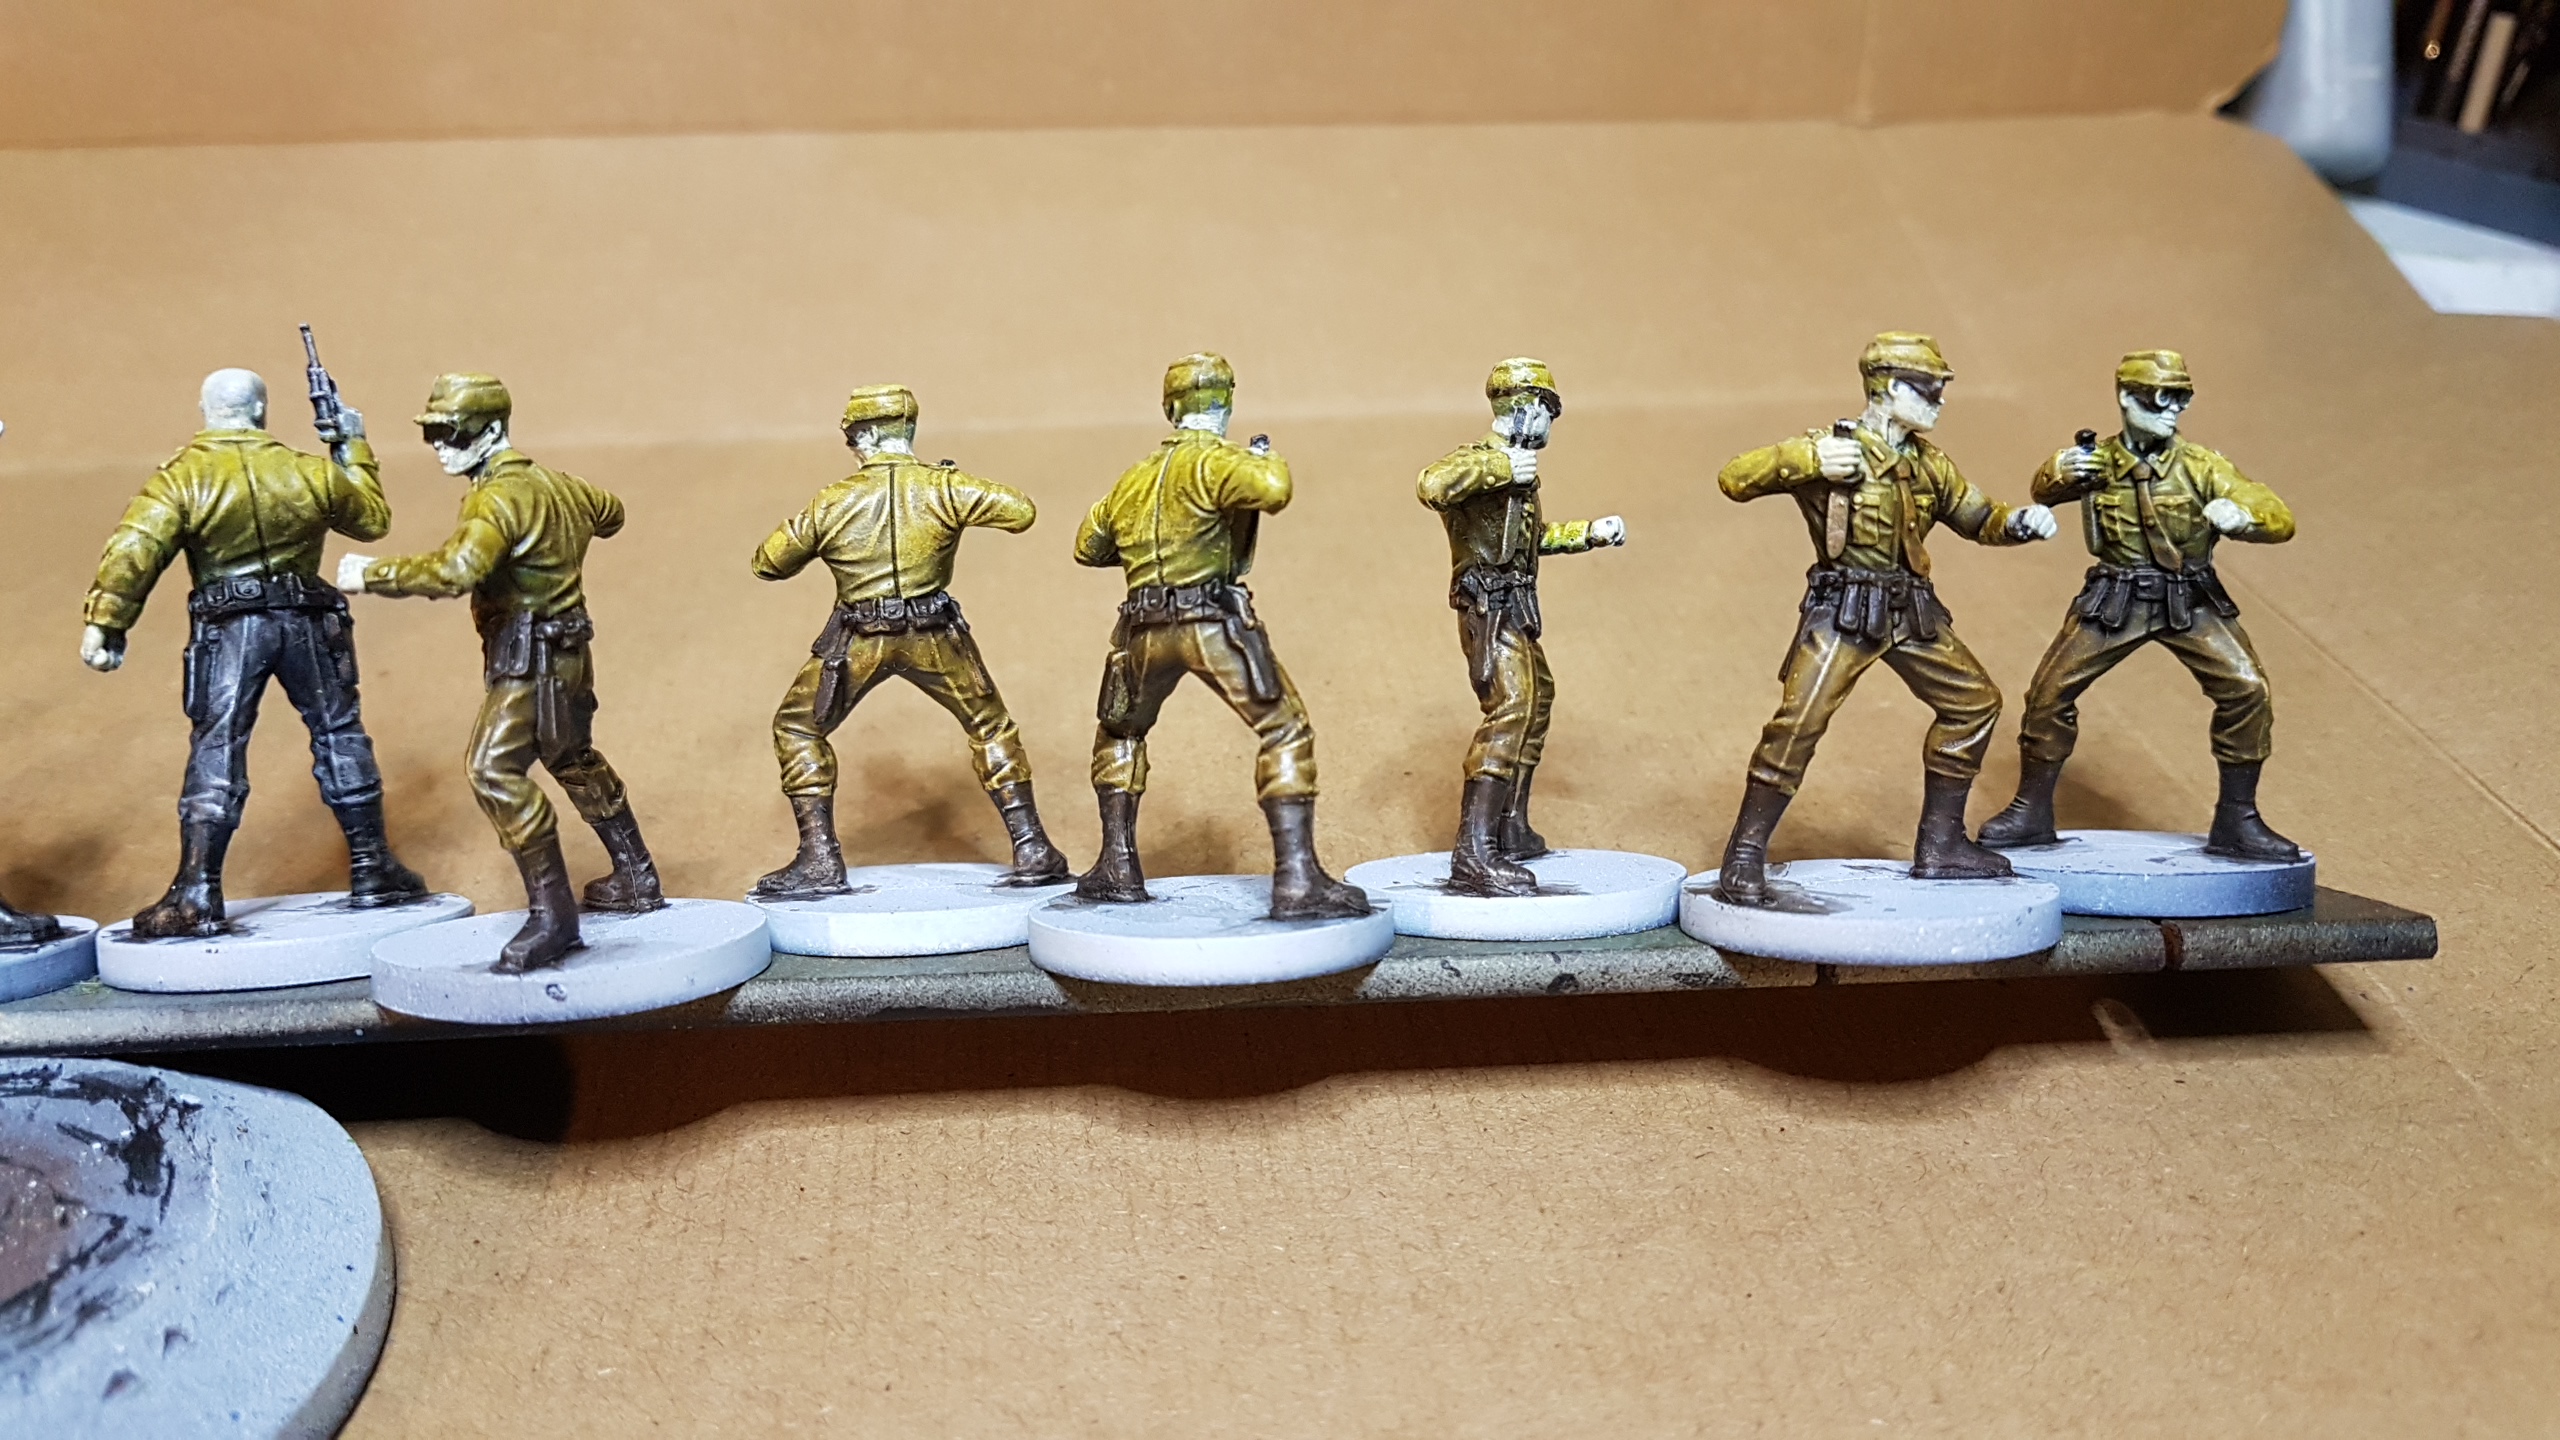 Skin colour correction and first detail pass on guys that stab you in the back
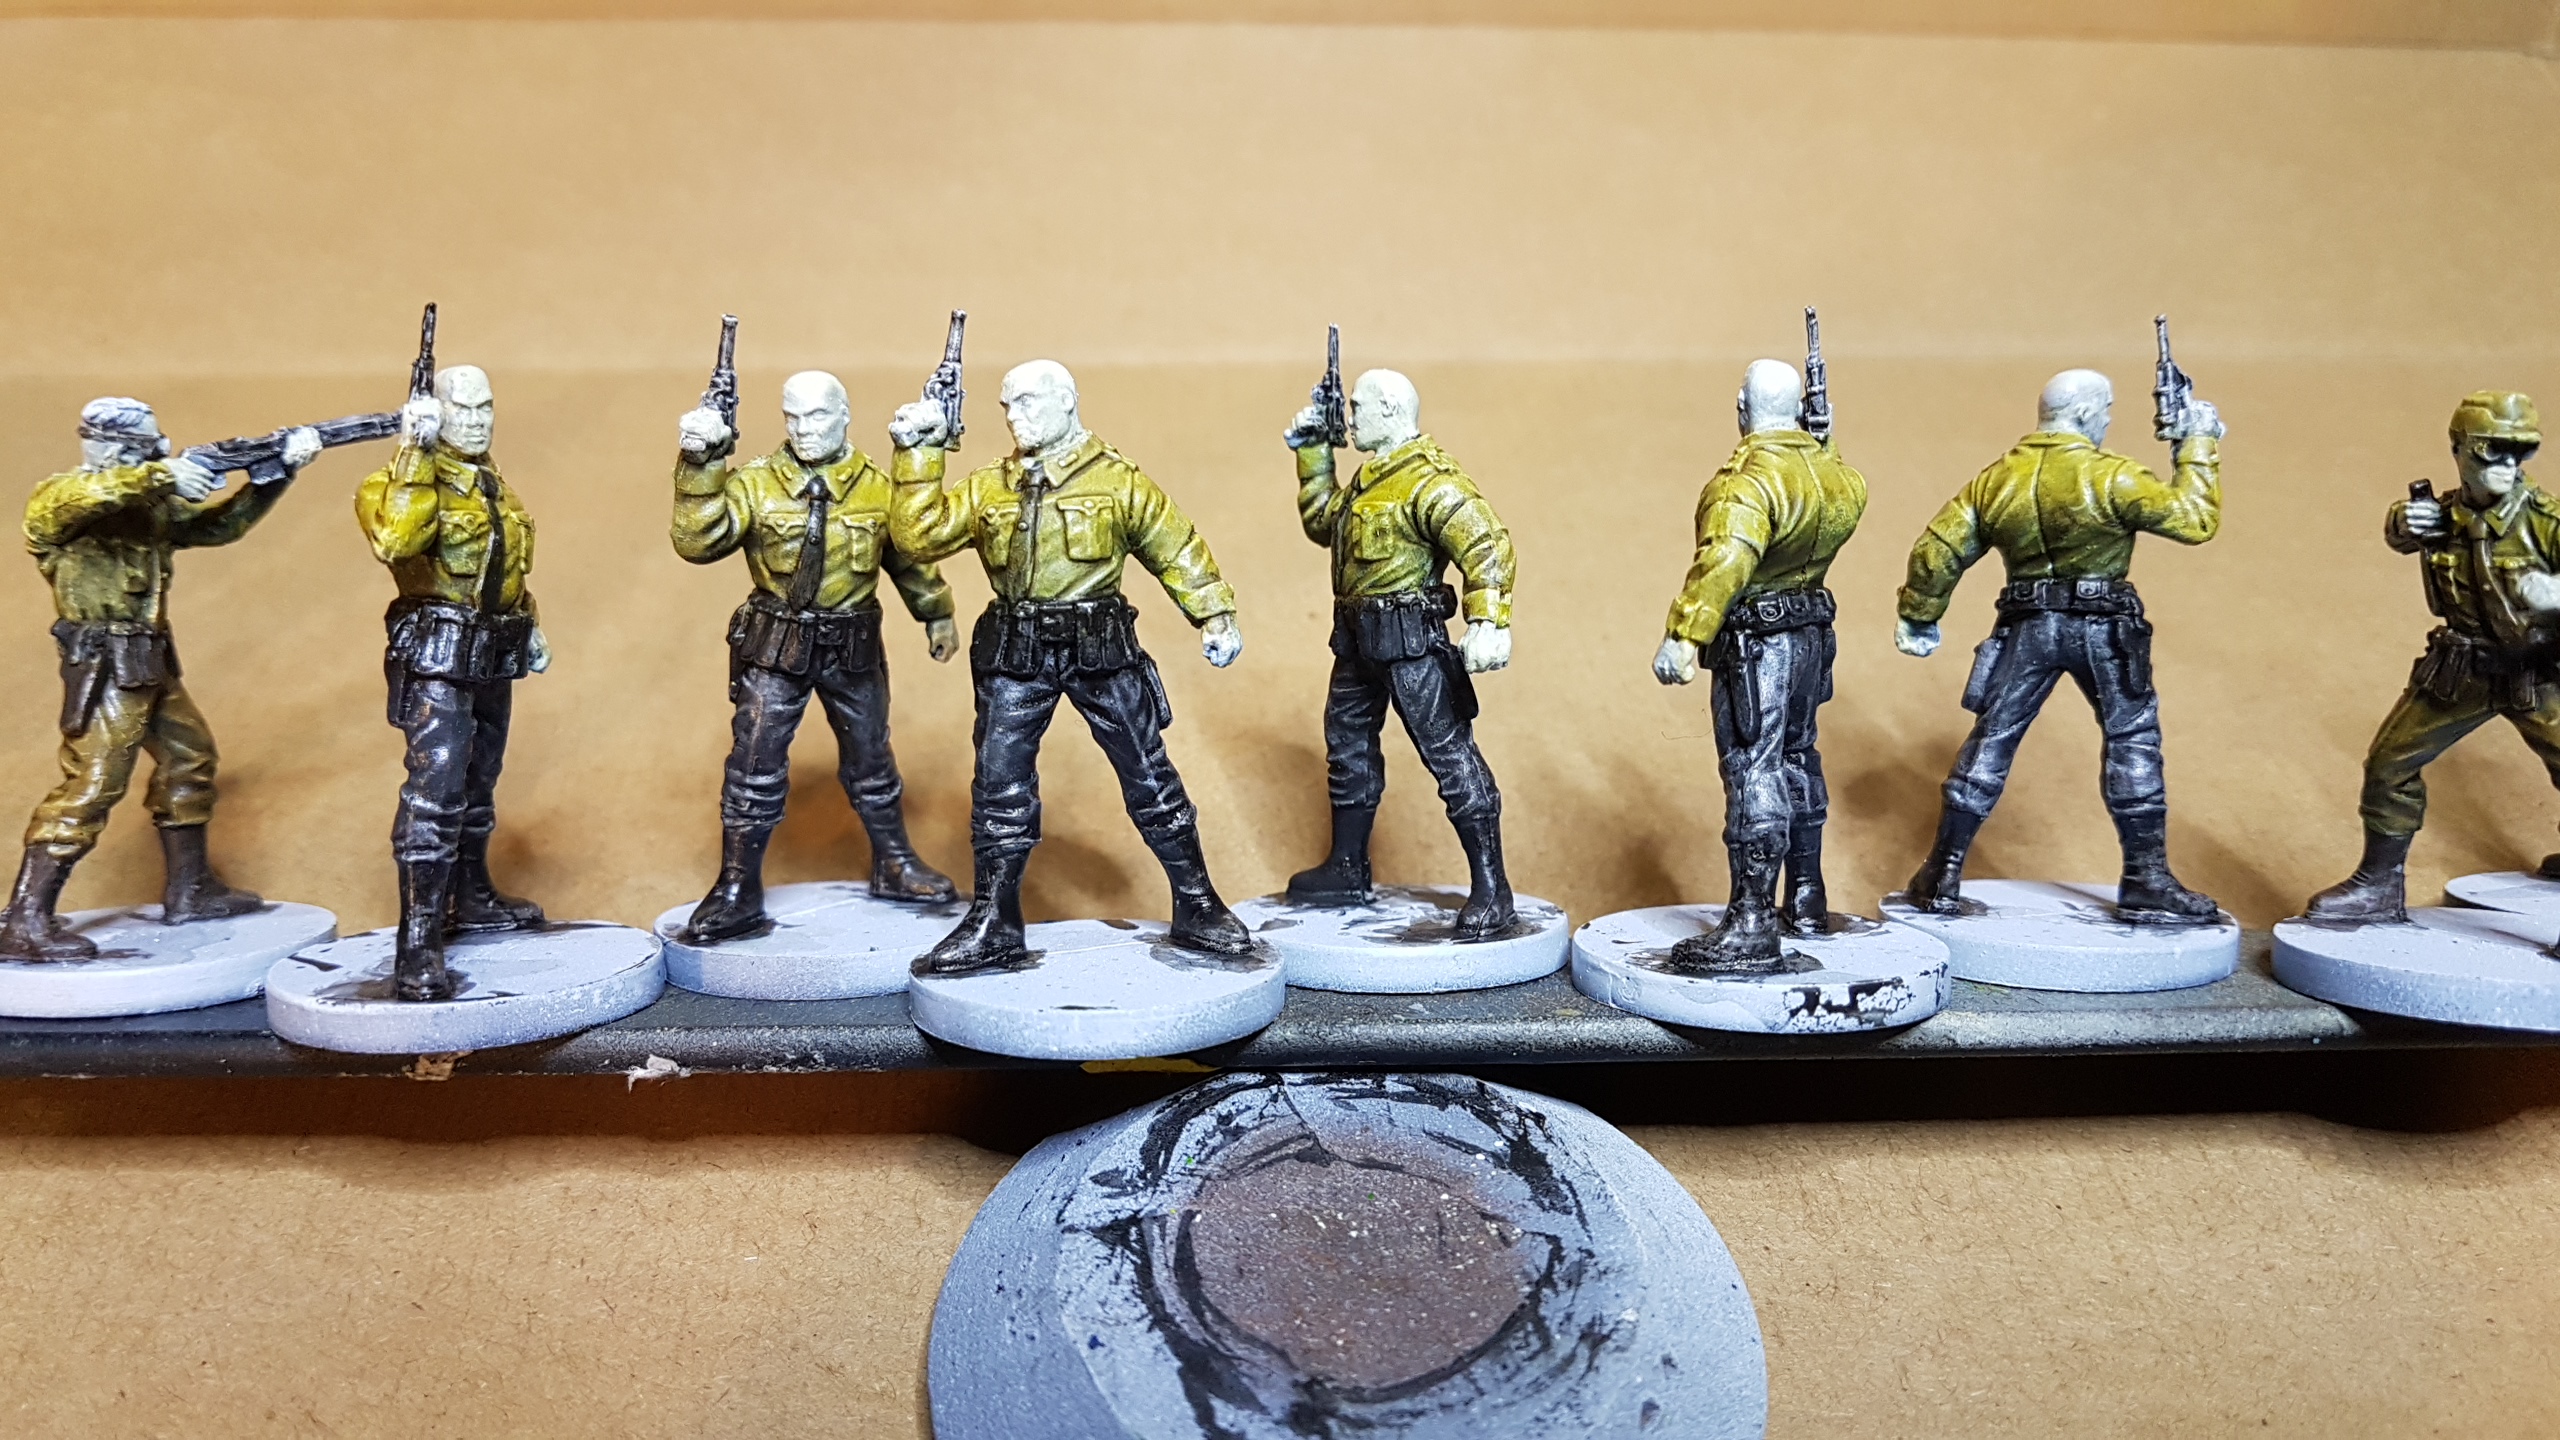 Skin colour correction and first detail pass on guys that push every one around
 Skin colour correction and first detail pass on guys that shoot you in the face
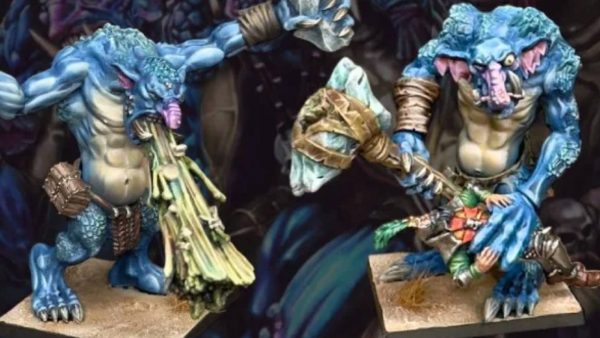
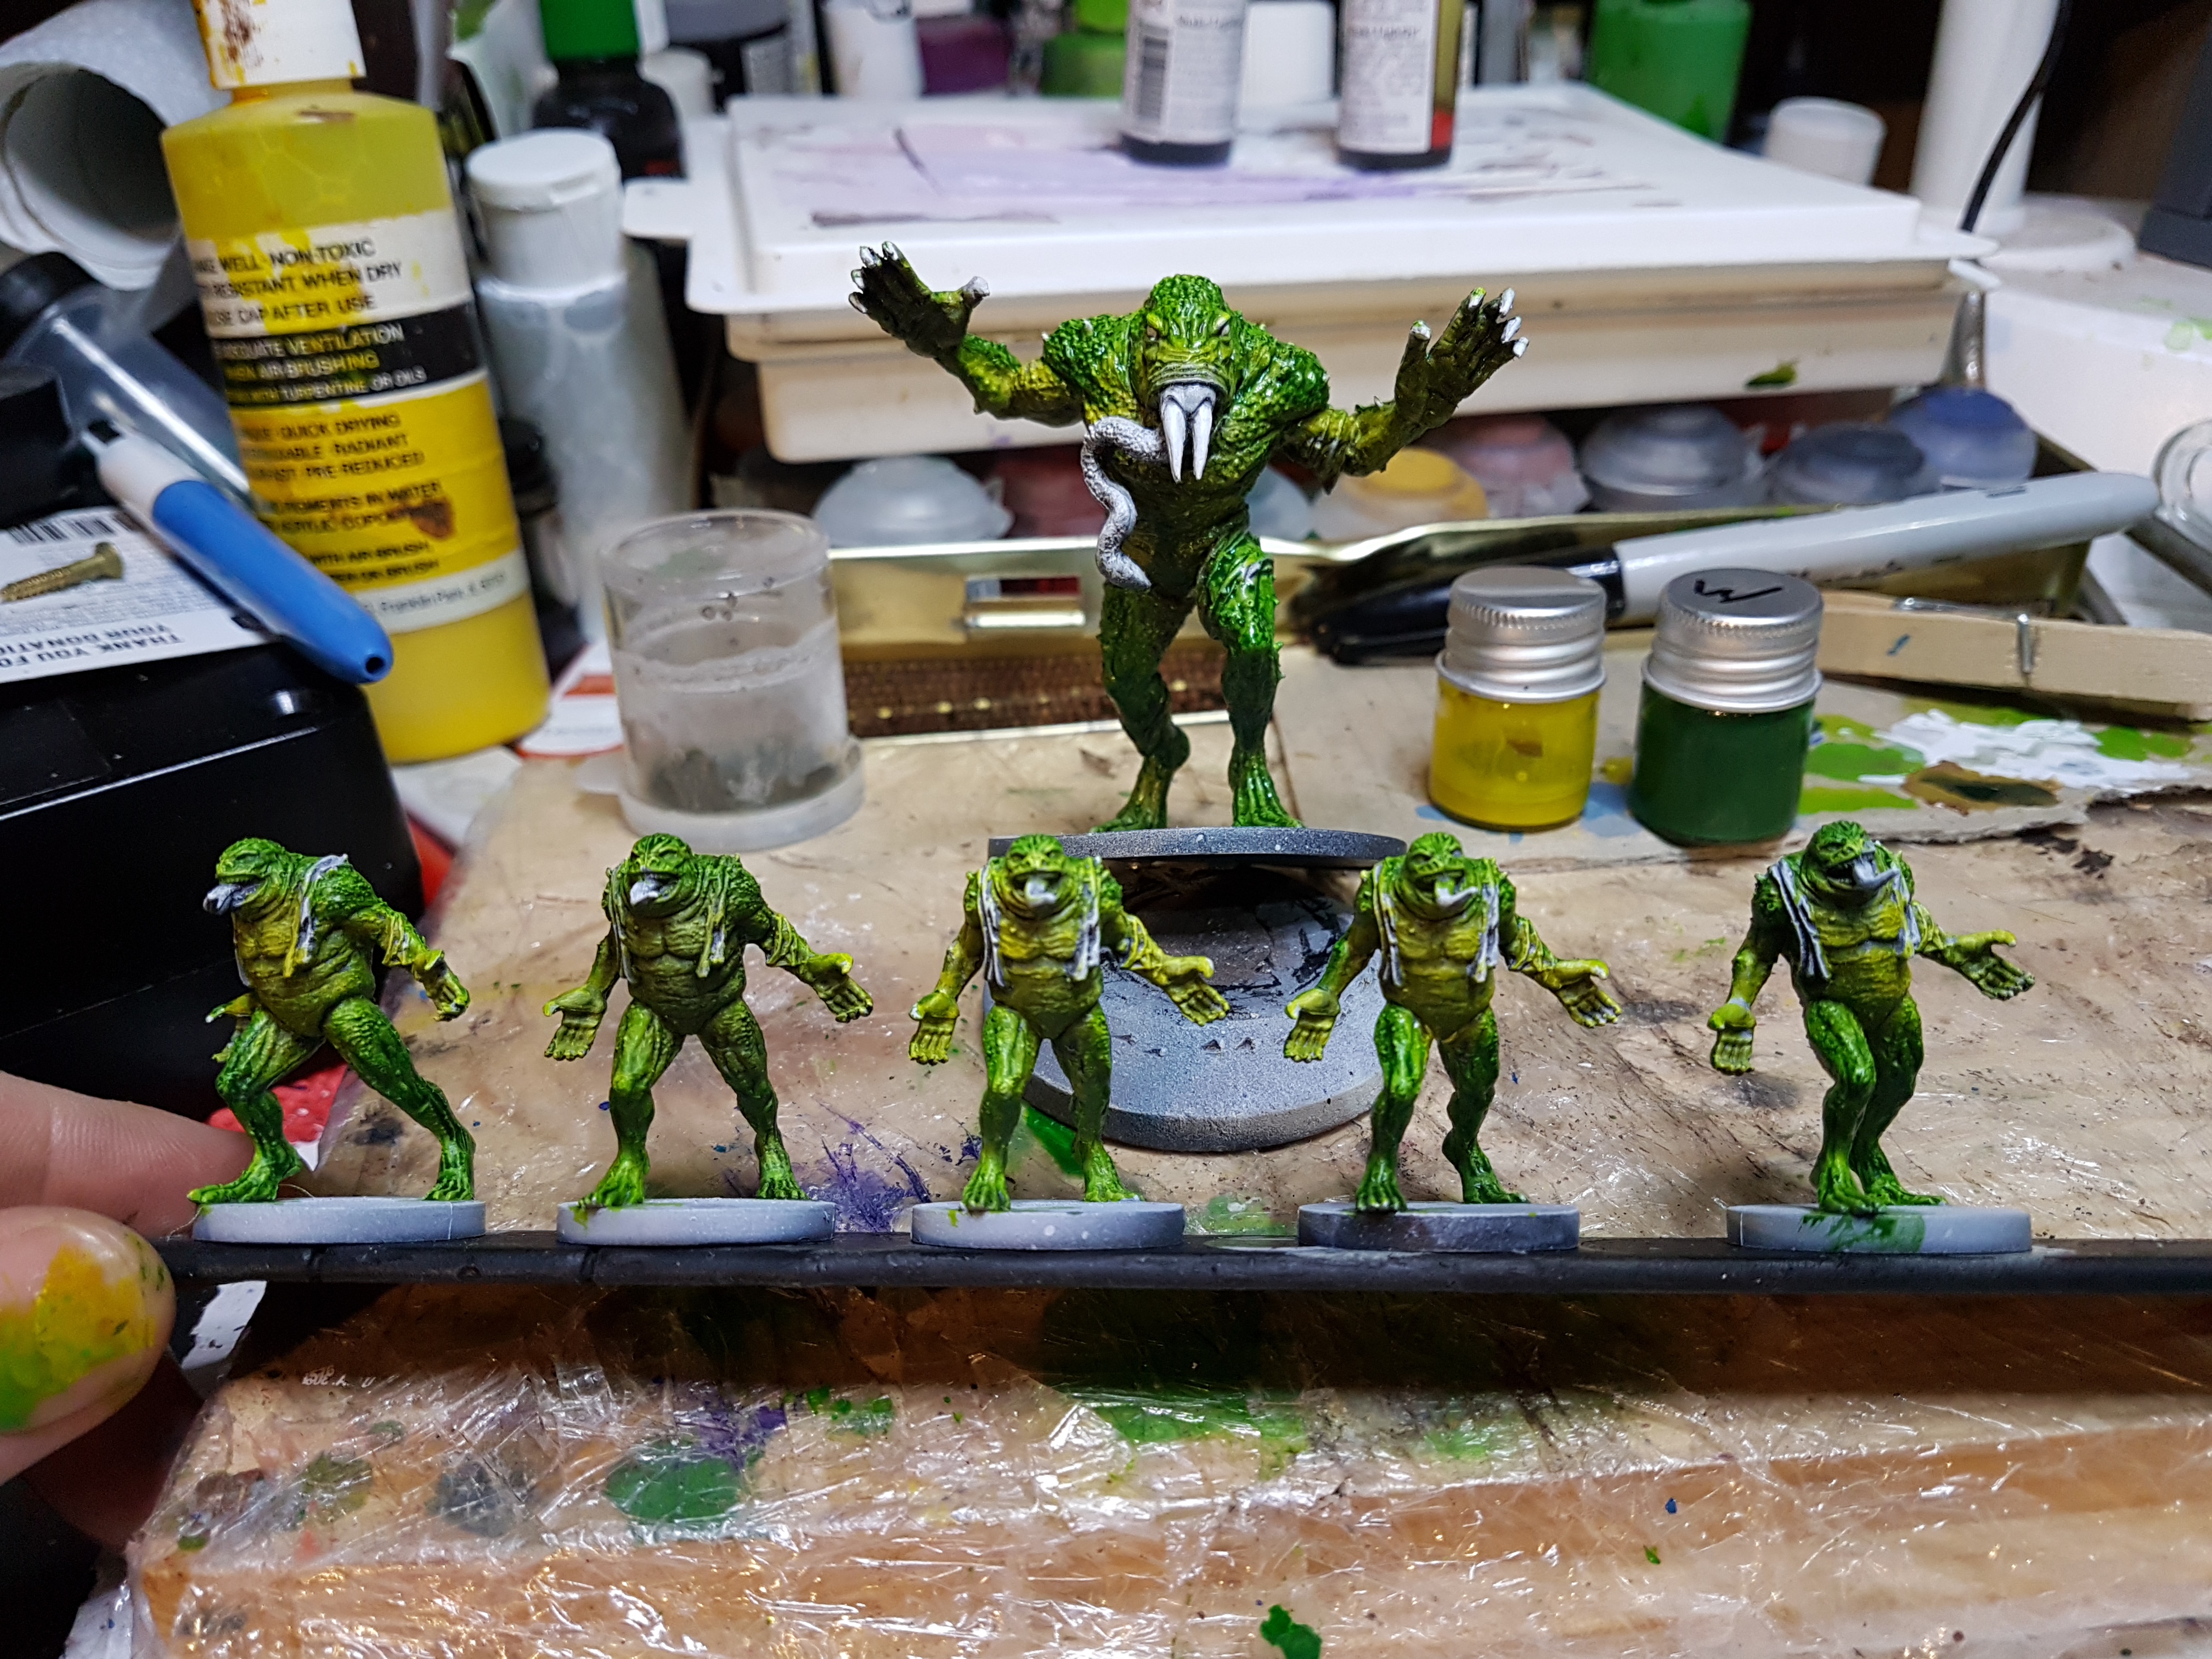
The final frog folk
Similar to the previous frog men these are basically a base glaze allowing the sketch/zenith to show through then picking out some detail and using a series of washes, heavy and light, to complete and tie everything together.
 A thin glaze of yellow bellys with green over provides a quick base
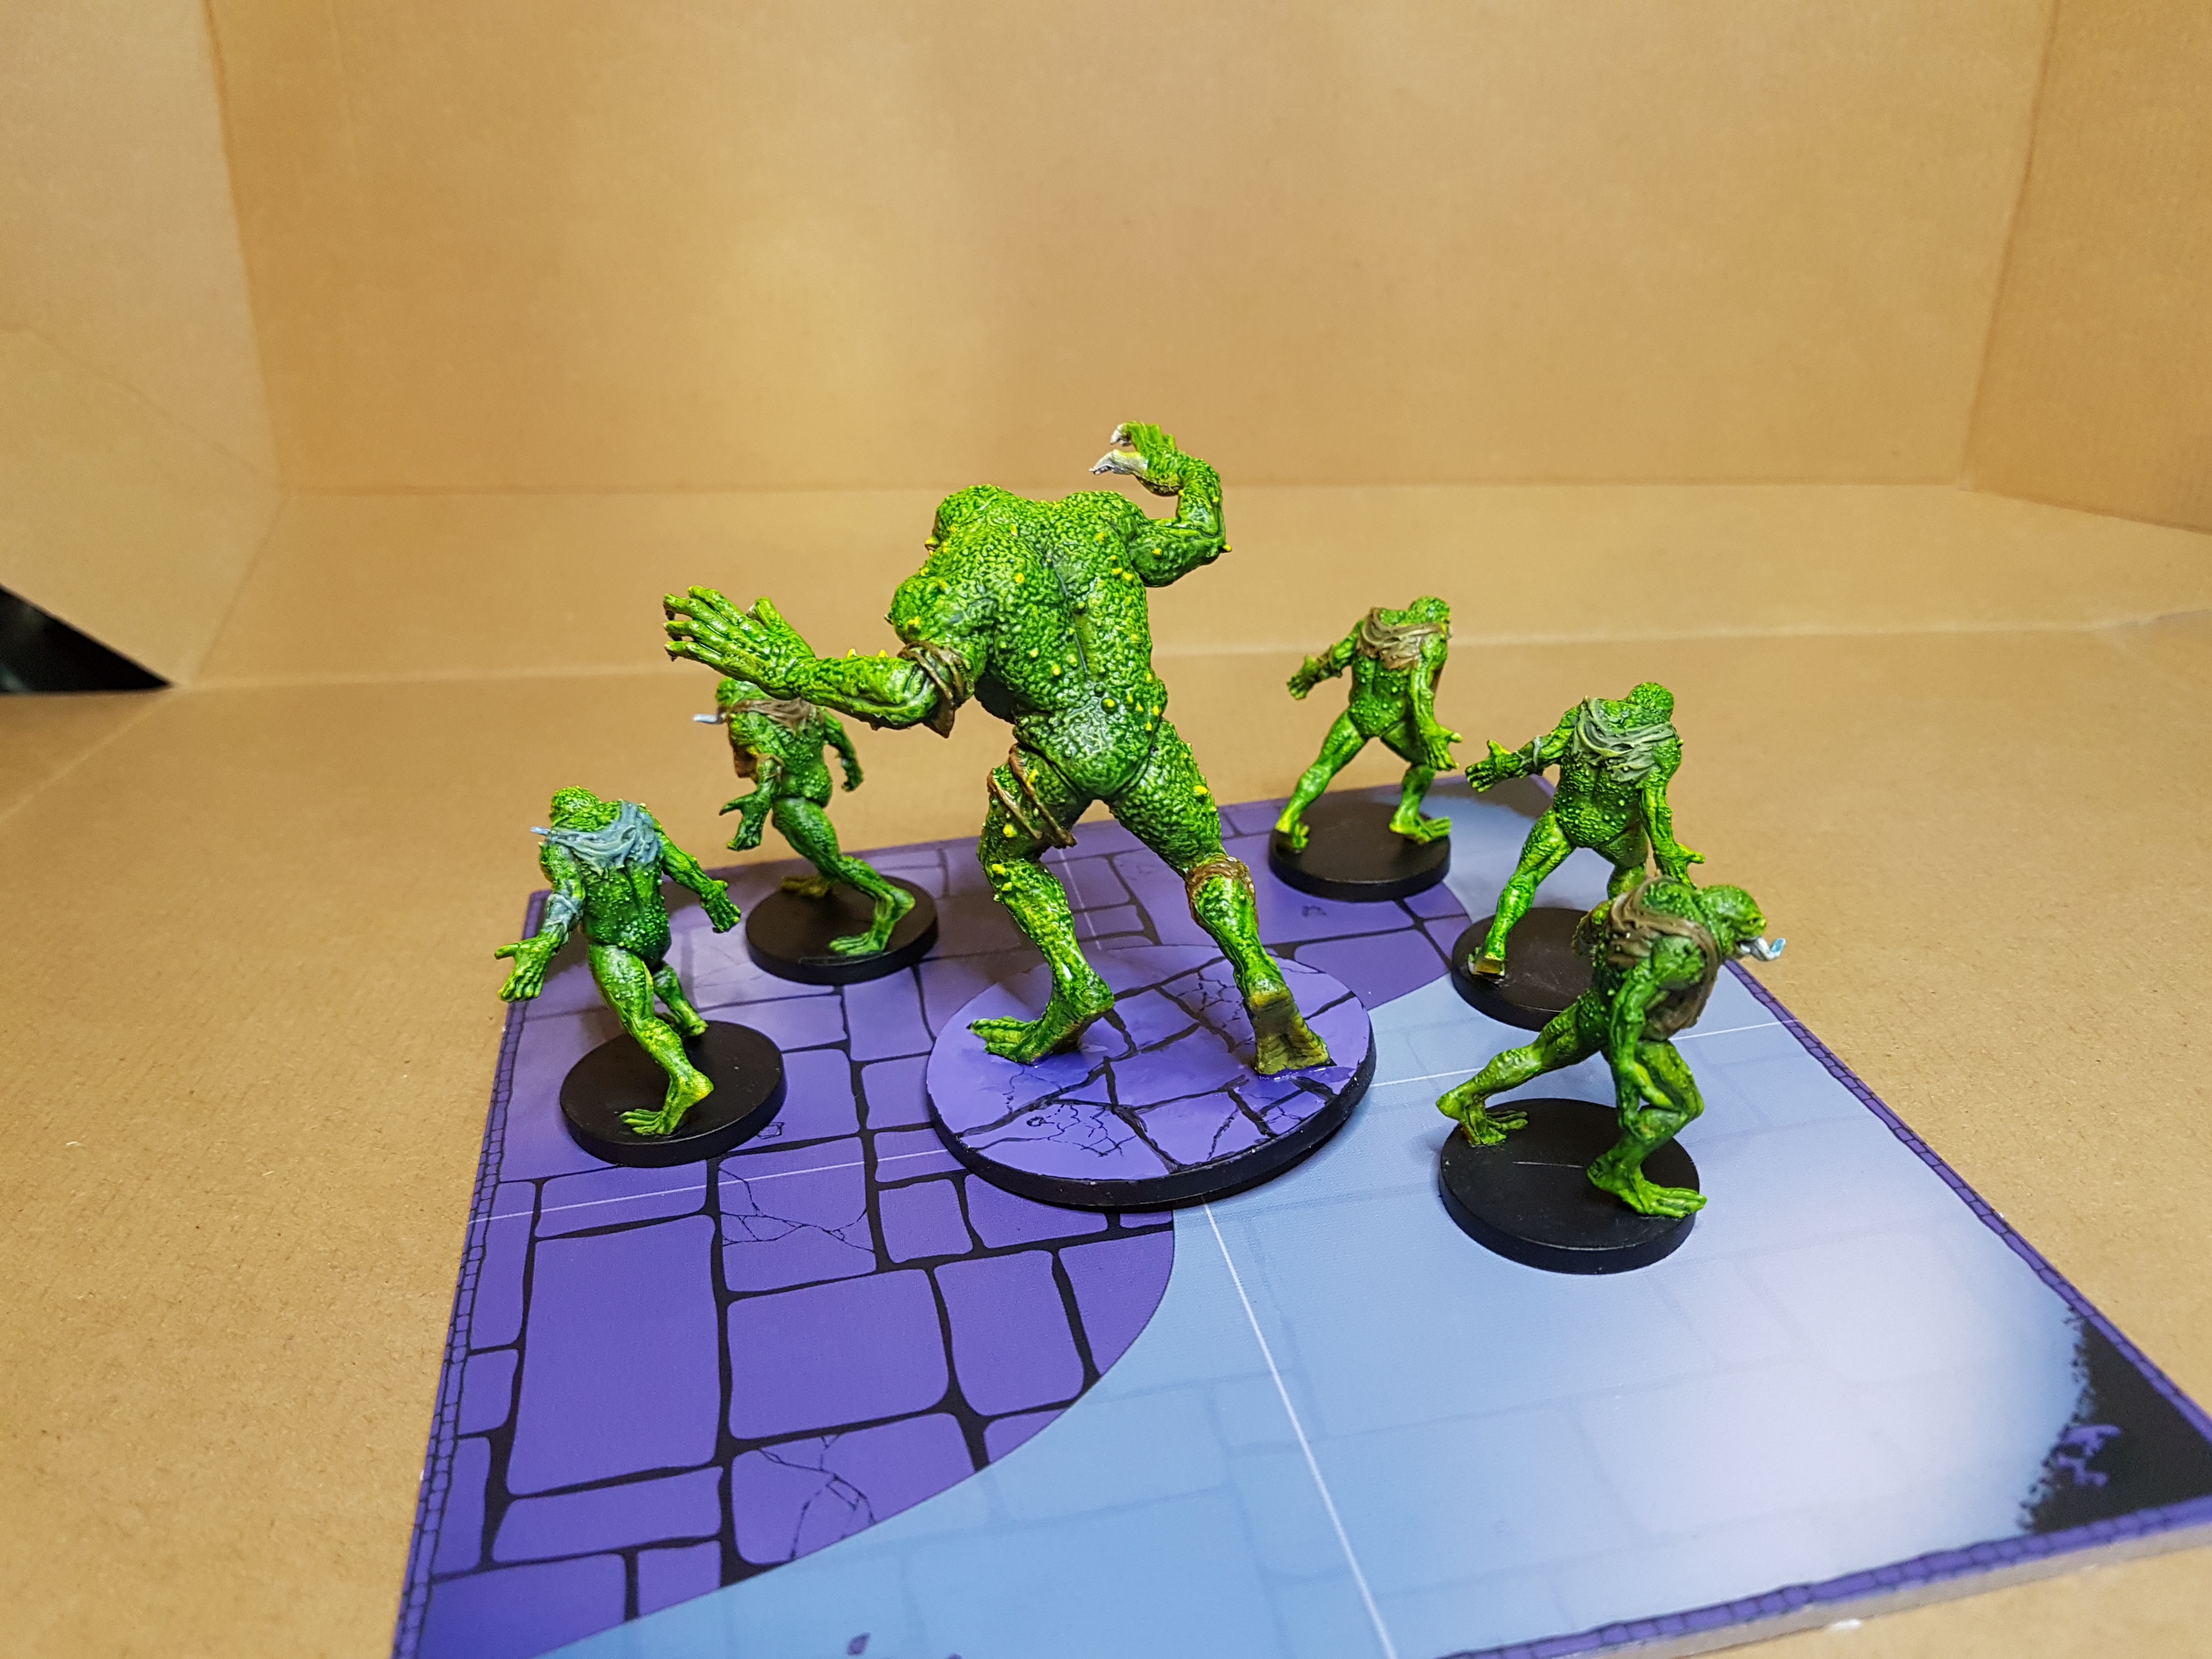 Lloyd shot. pardon the shine will matte them all at once at the end
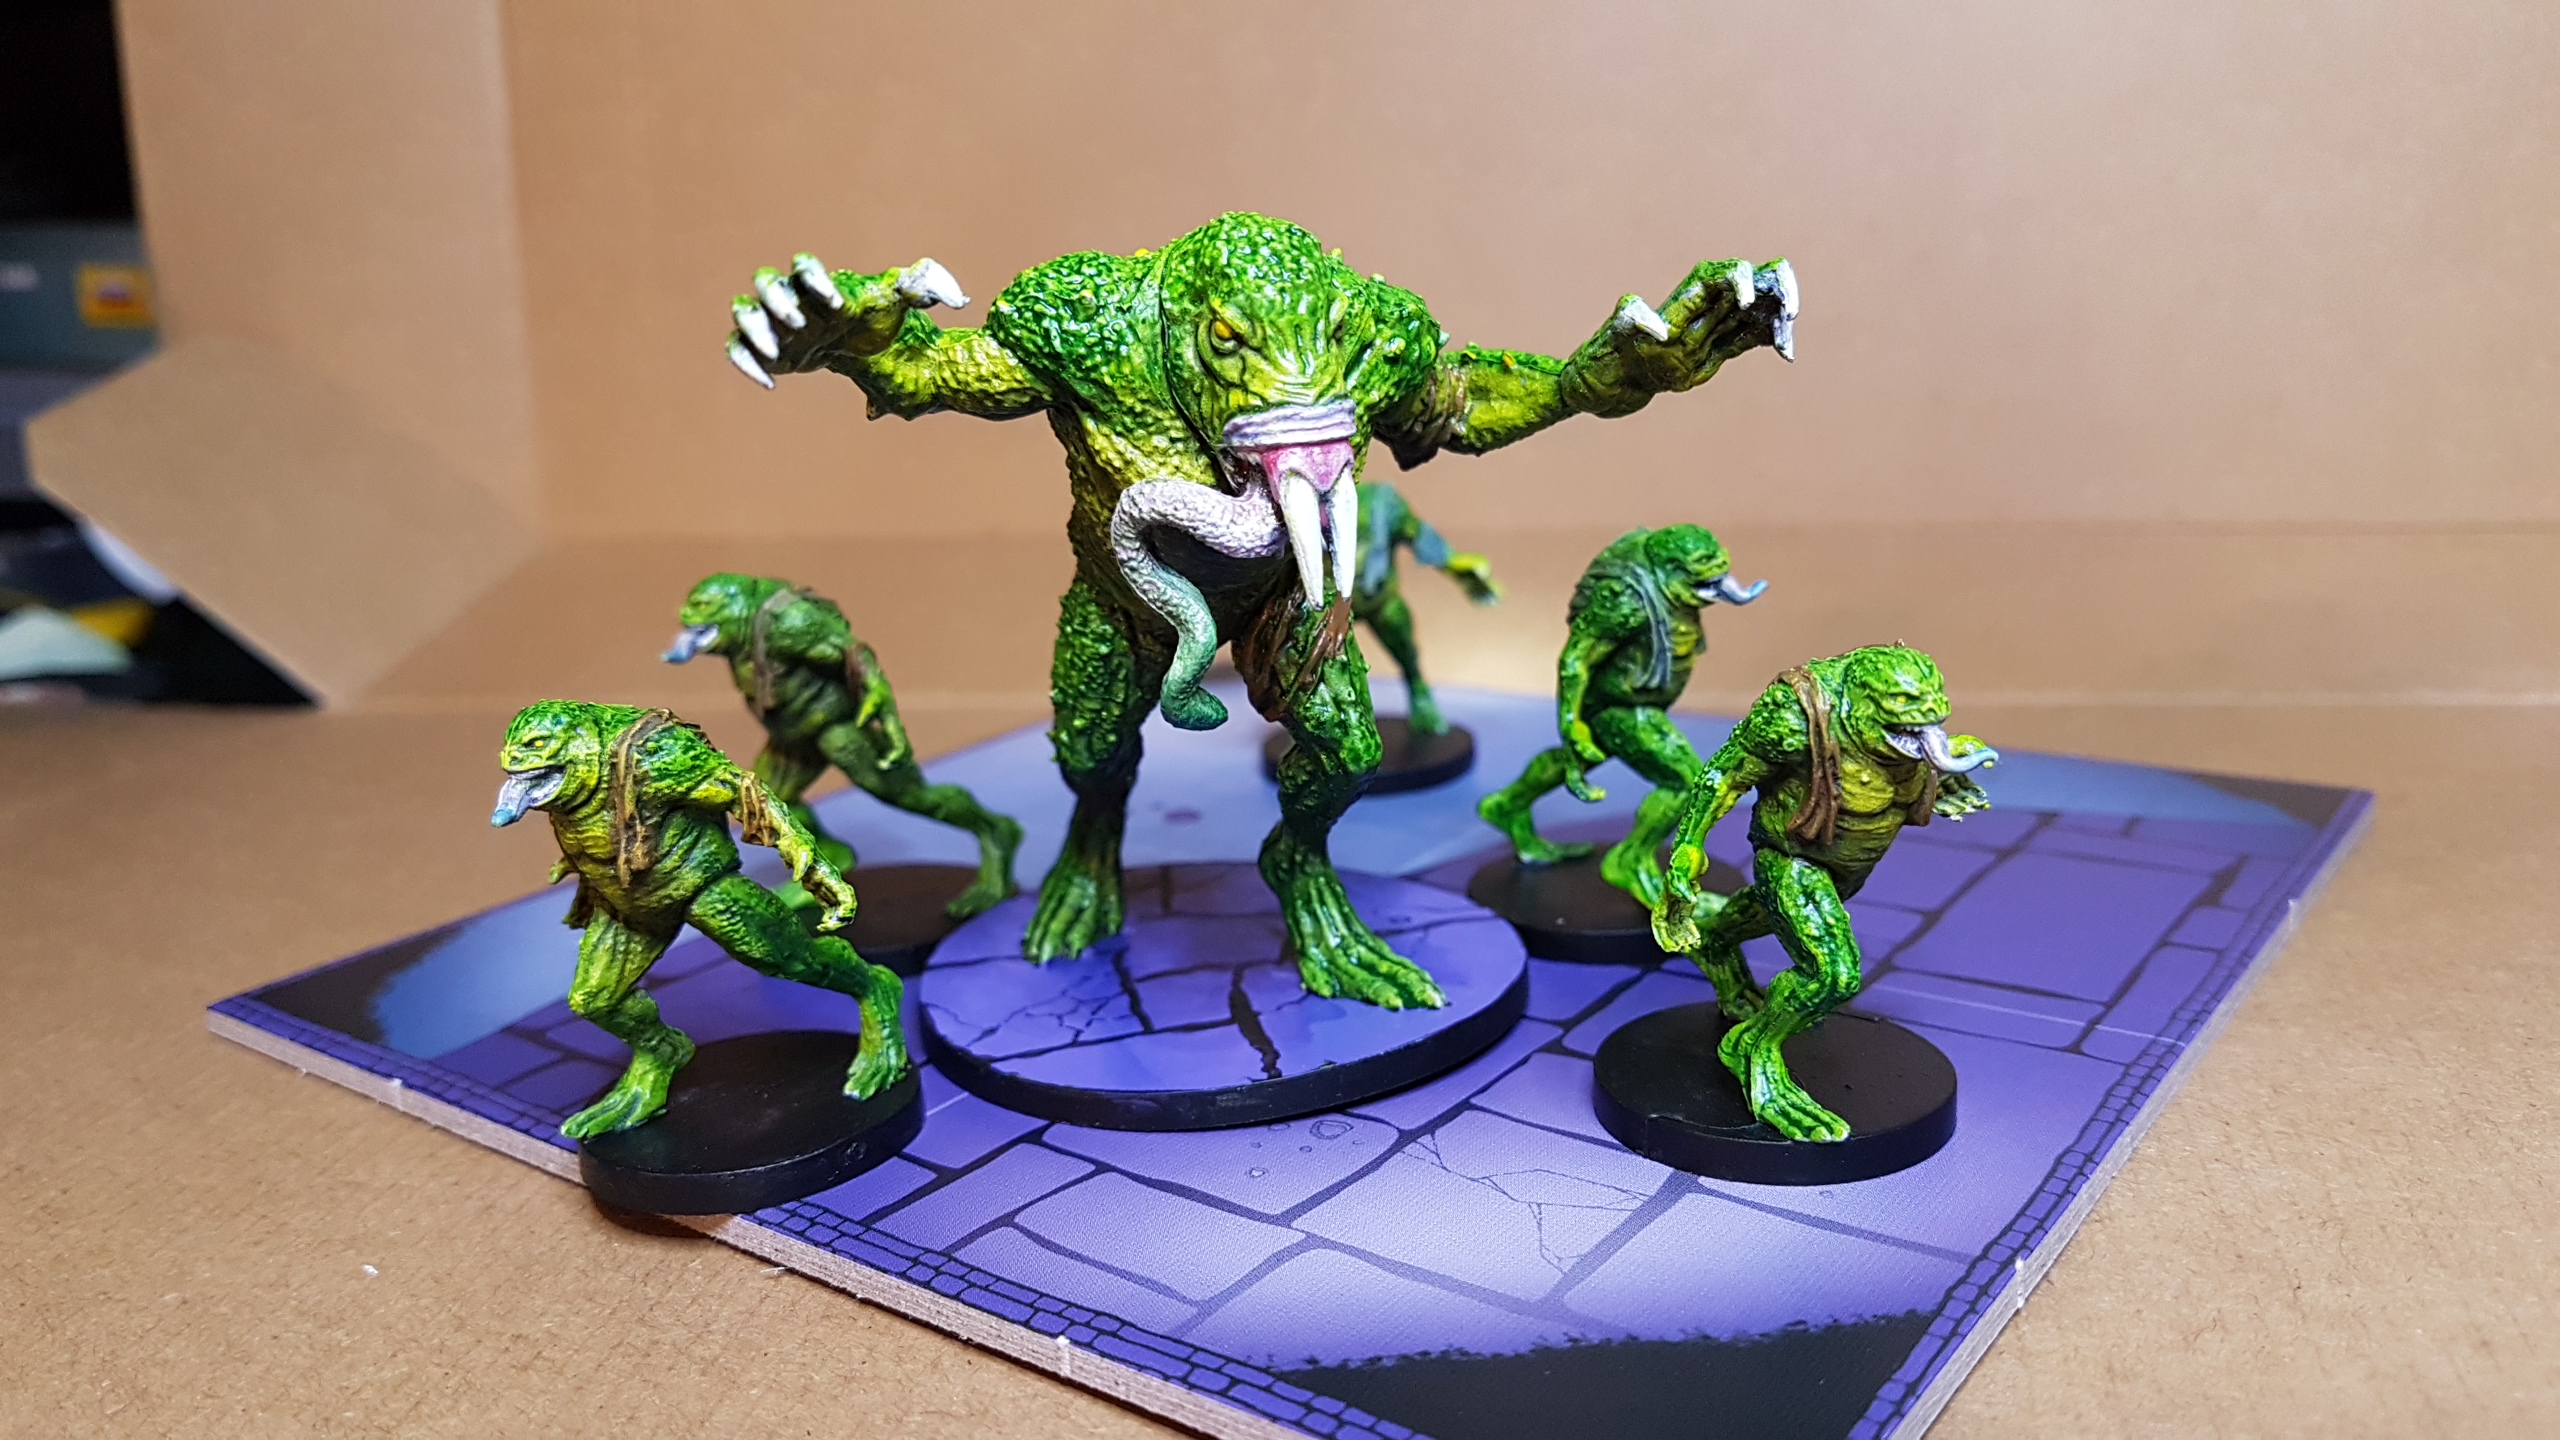 A bit of wet gazing on the giant frog tongue and mouth area was employed to get the graduations
From frog spawn come frogmen
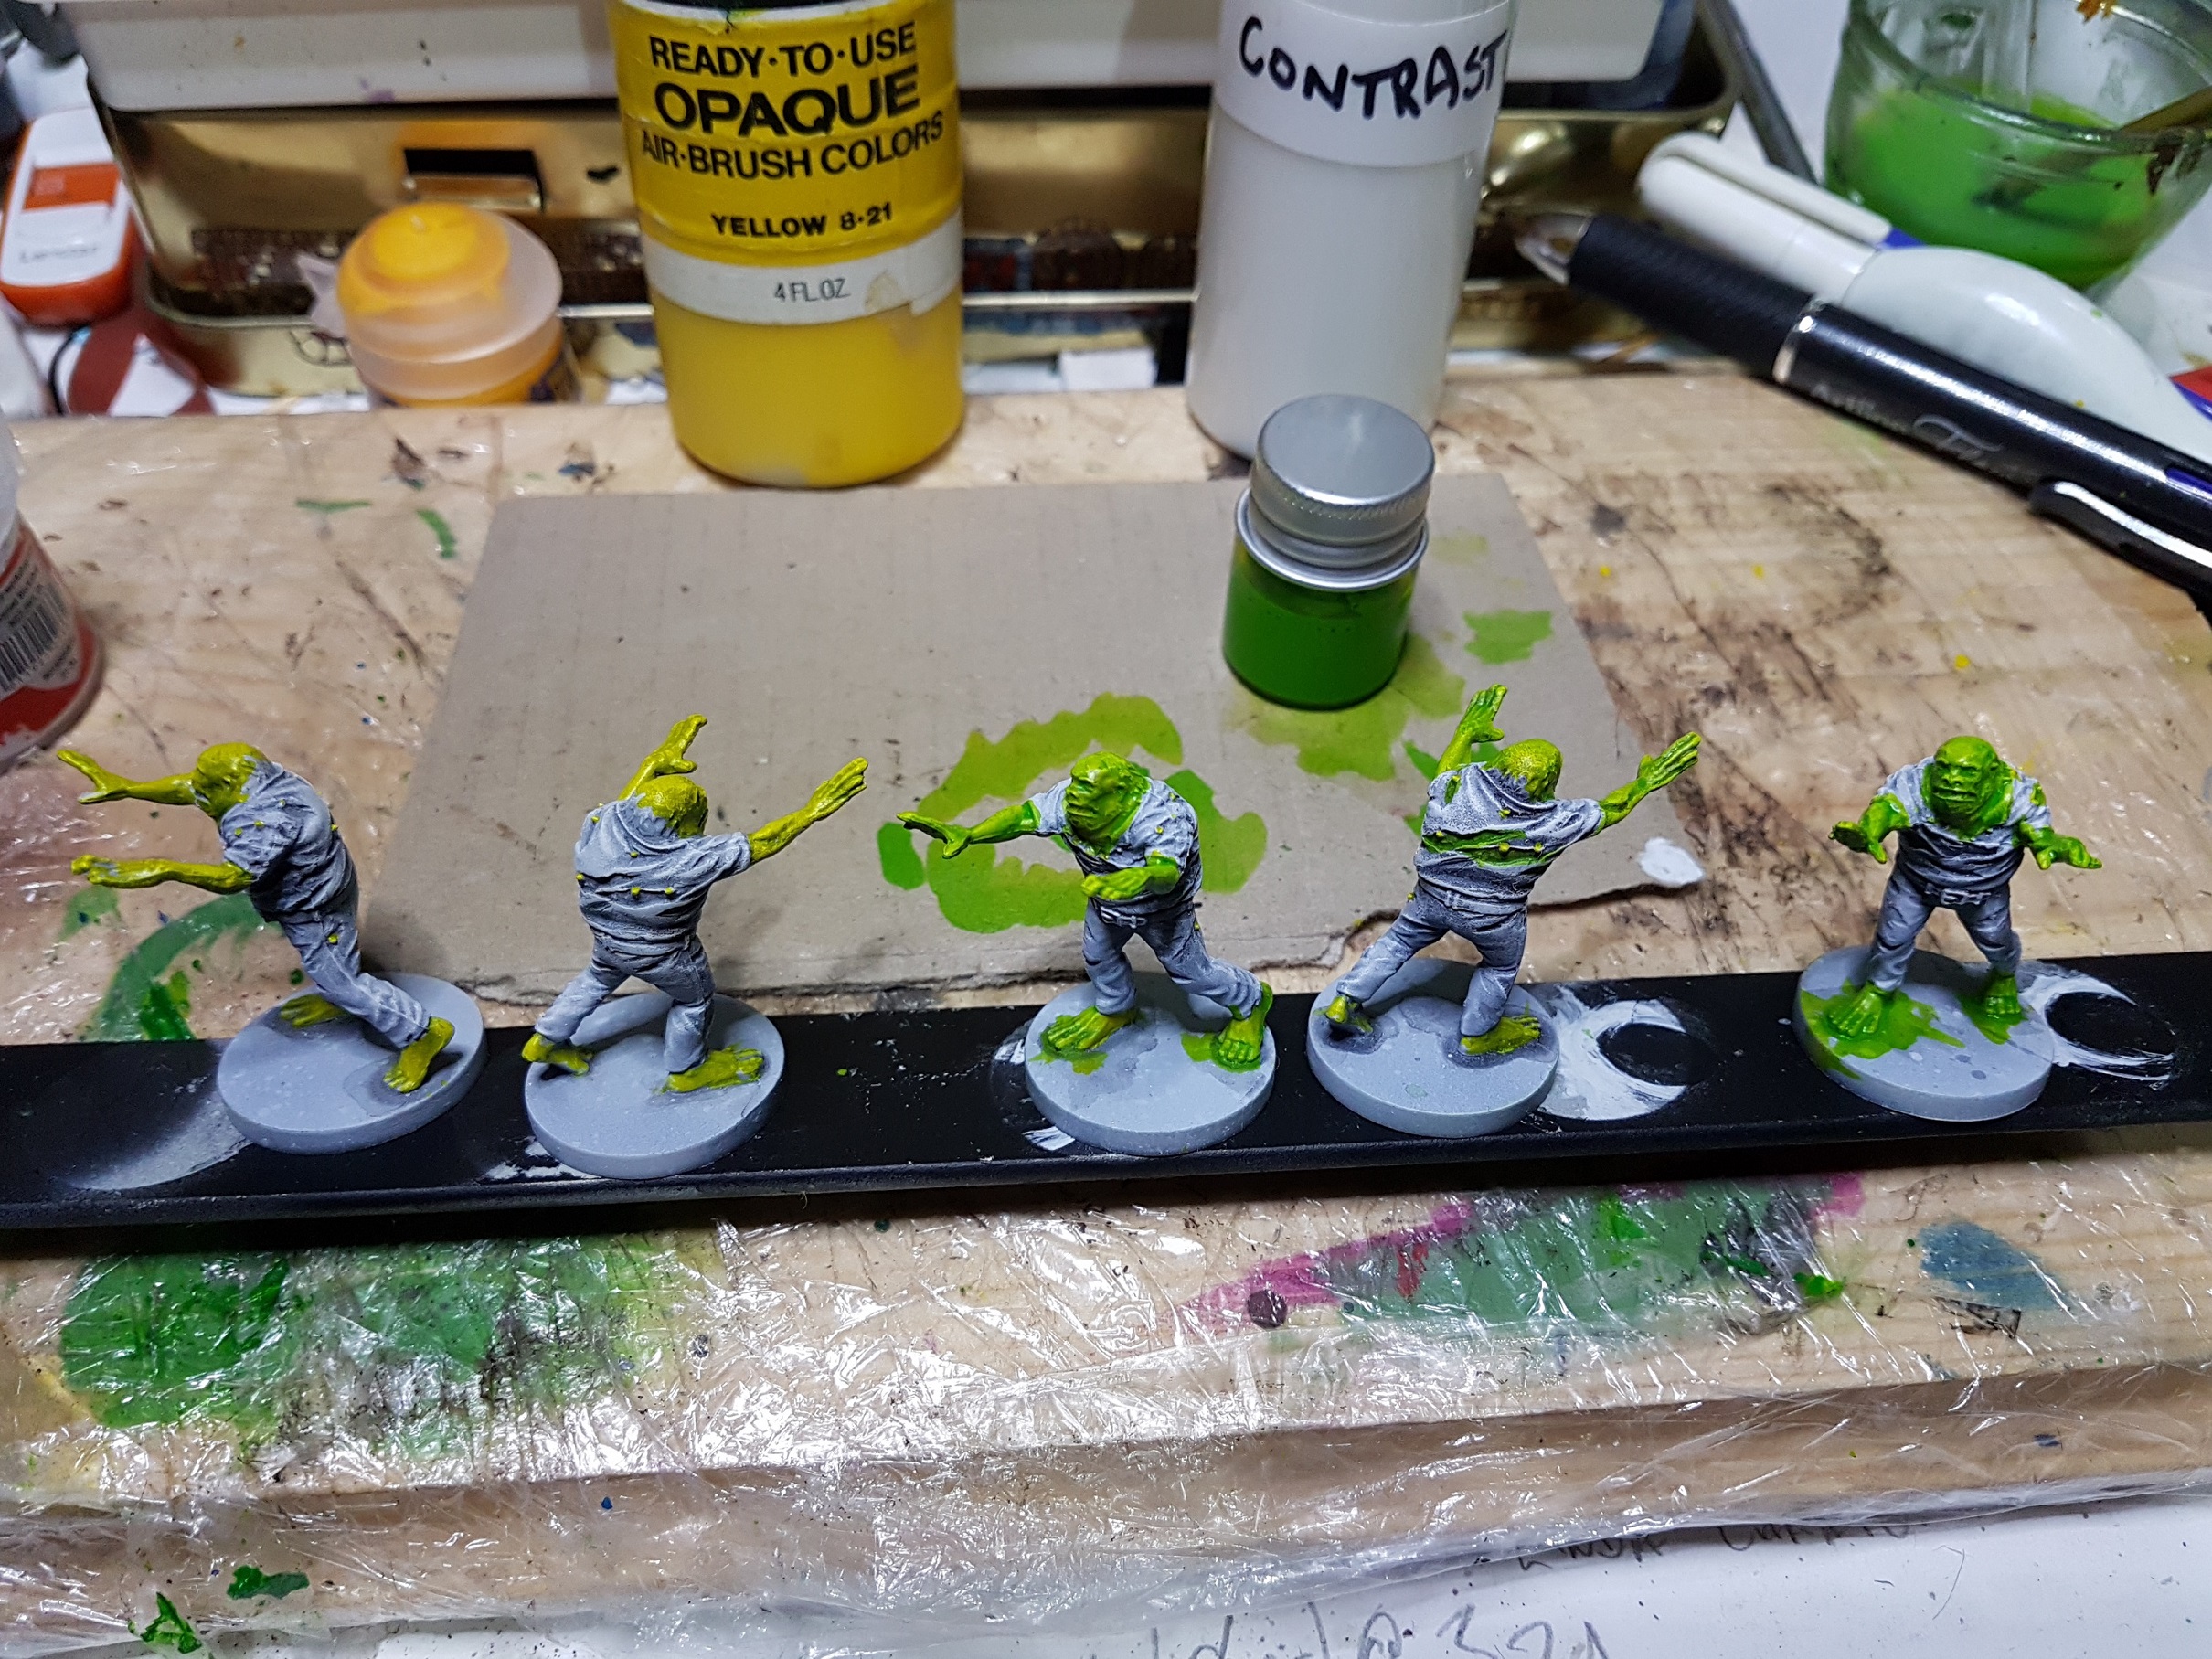
Hellboy frogmen come in 4 distinct flavors, those who just caught the frog, those that have turned to frog, frogs that spit, and a giant frogish thing. Working from the bottom up I’ll work through each stage while trying to give them a small twist to help distinguish them on the board.
Stating with those that have just caught the frog I give the skin a thin underglaze of airbrush yellow which I don’t plan on for the other stages. Then follow up with a green contrast style wash and a top it with a blue pin wash. I then select a tan and a blue to use on the tattered clothing for all the frogmen for consistency. Using multiple thin coats helps control the effect and keeps the sketch layer doing what it should.
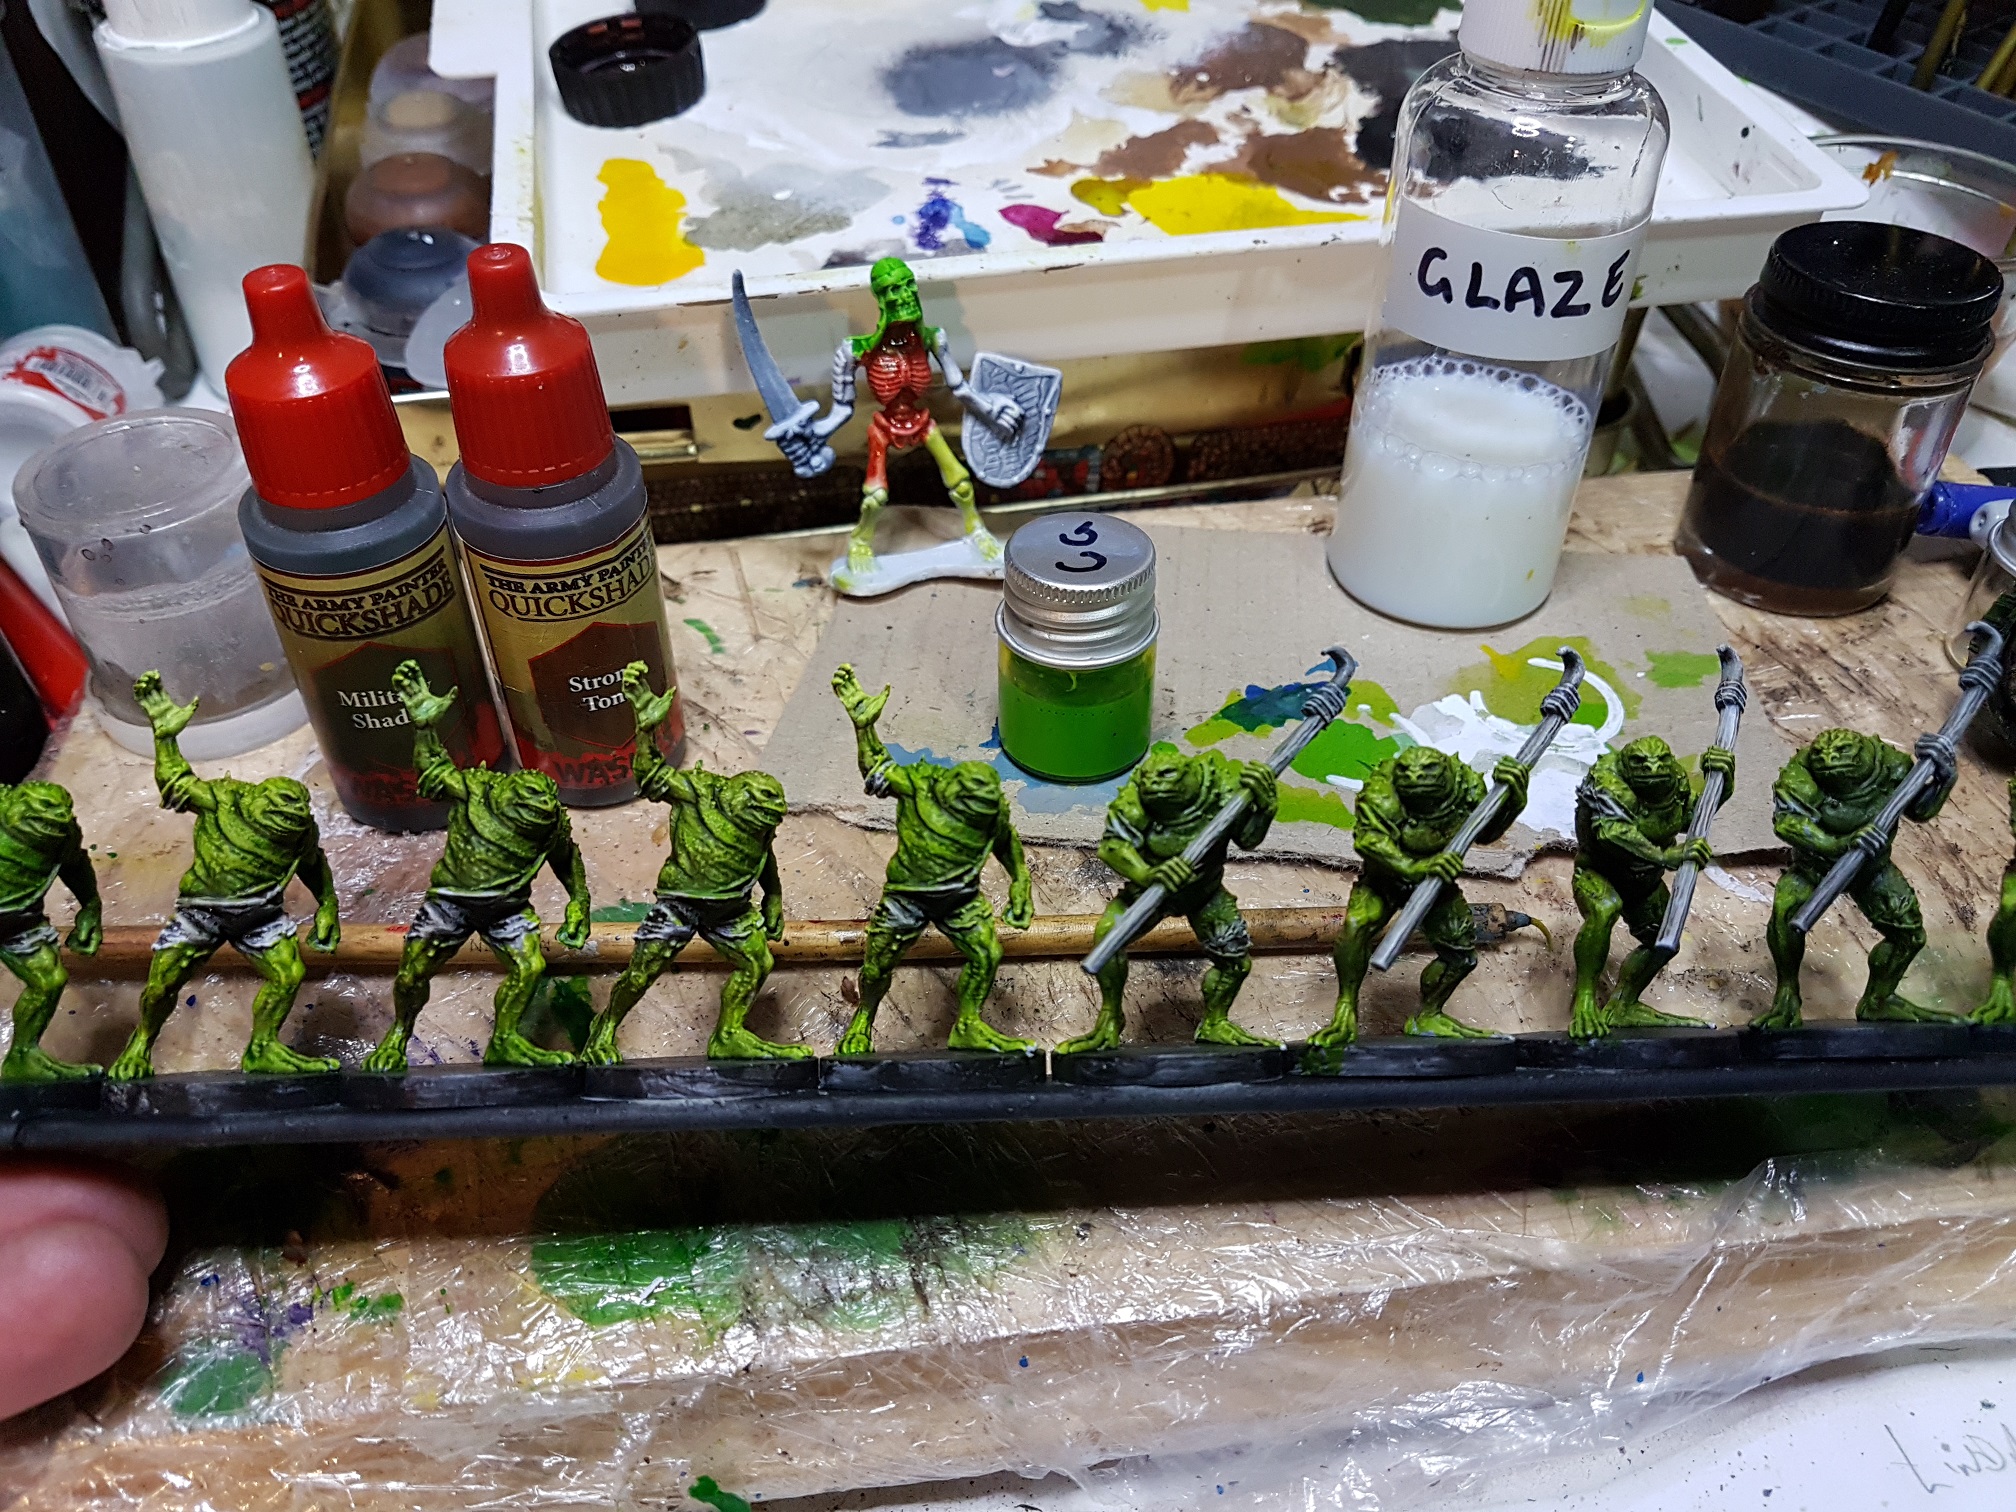
After picking a bit of detail, like belts and hair, I used a little Strong Tone selectively to accentuate a bit of shading then called them done

Full frogmen got a thin glaze of green first up then a wash with Strong tone and Military tone mixed 50/50. I could have saved myself a little work by picking out the tattered rags before the wash but it helped me see what I was doing and quick bit of Strong tone to the rags and some detail on the weapons and I call done.


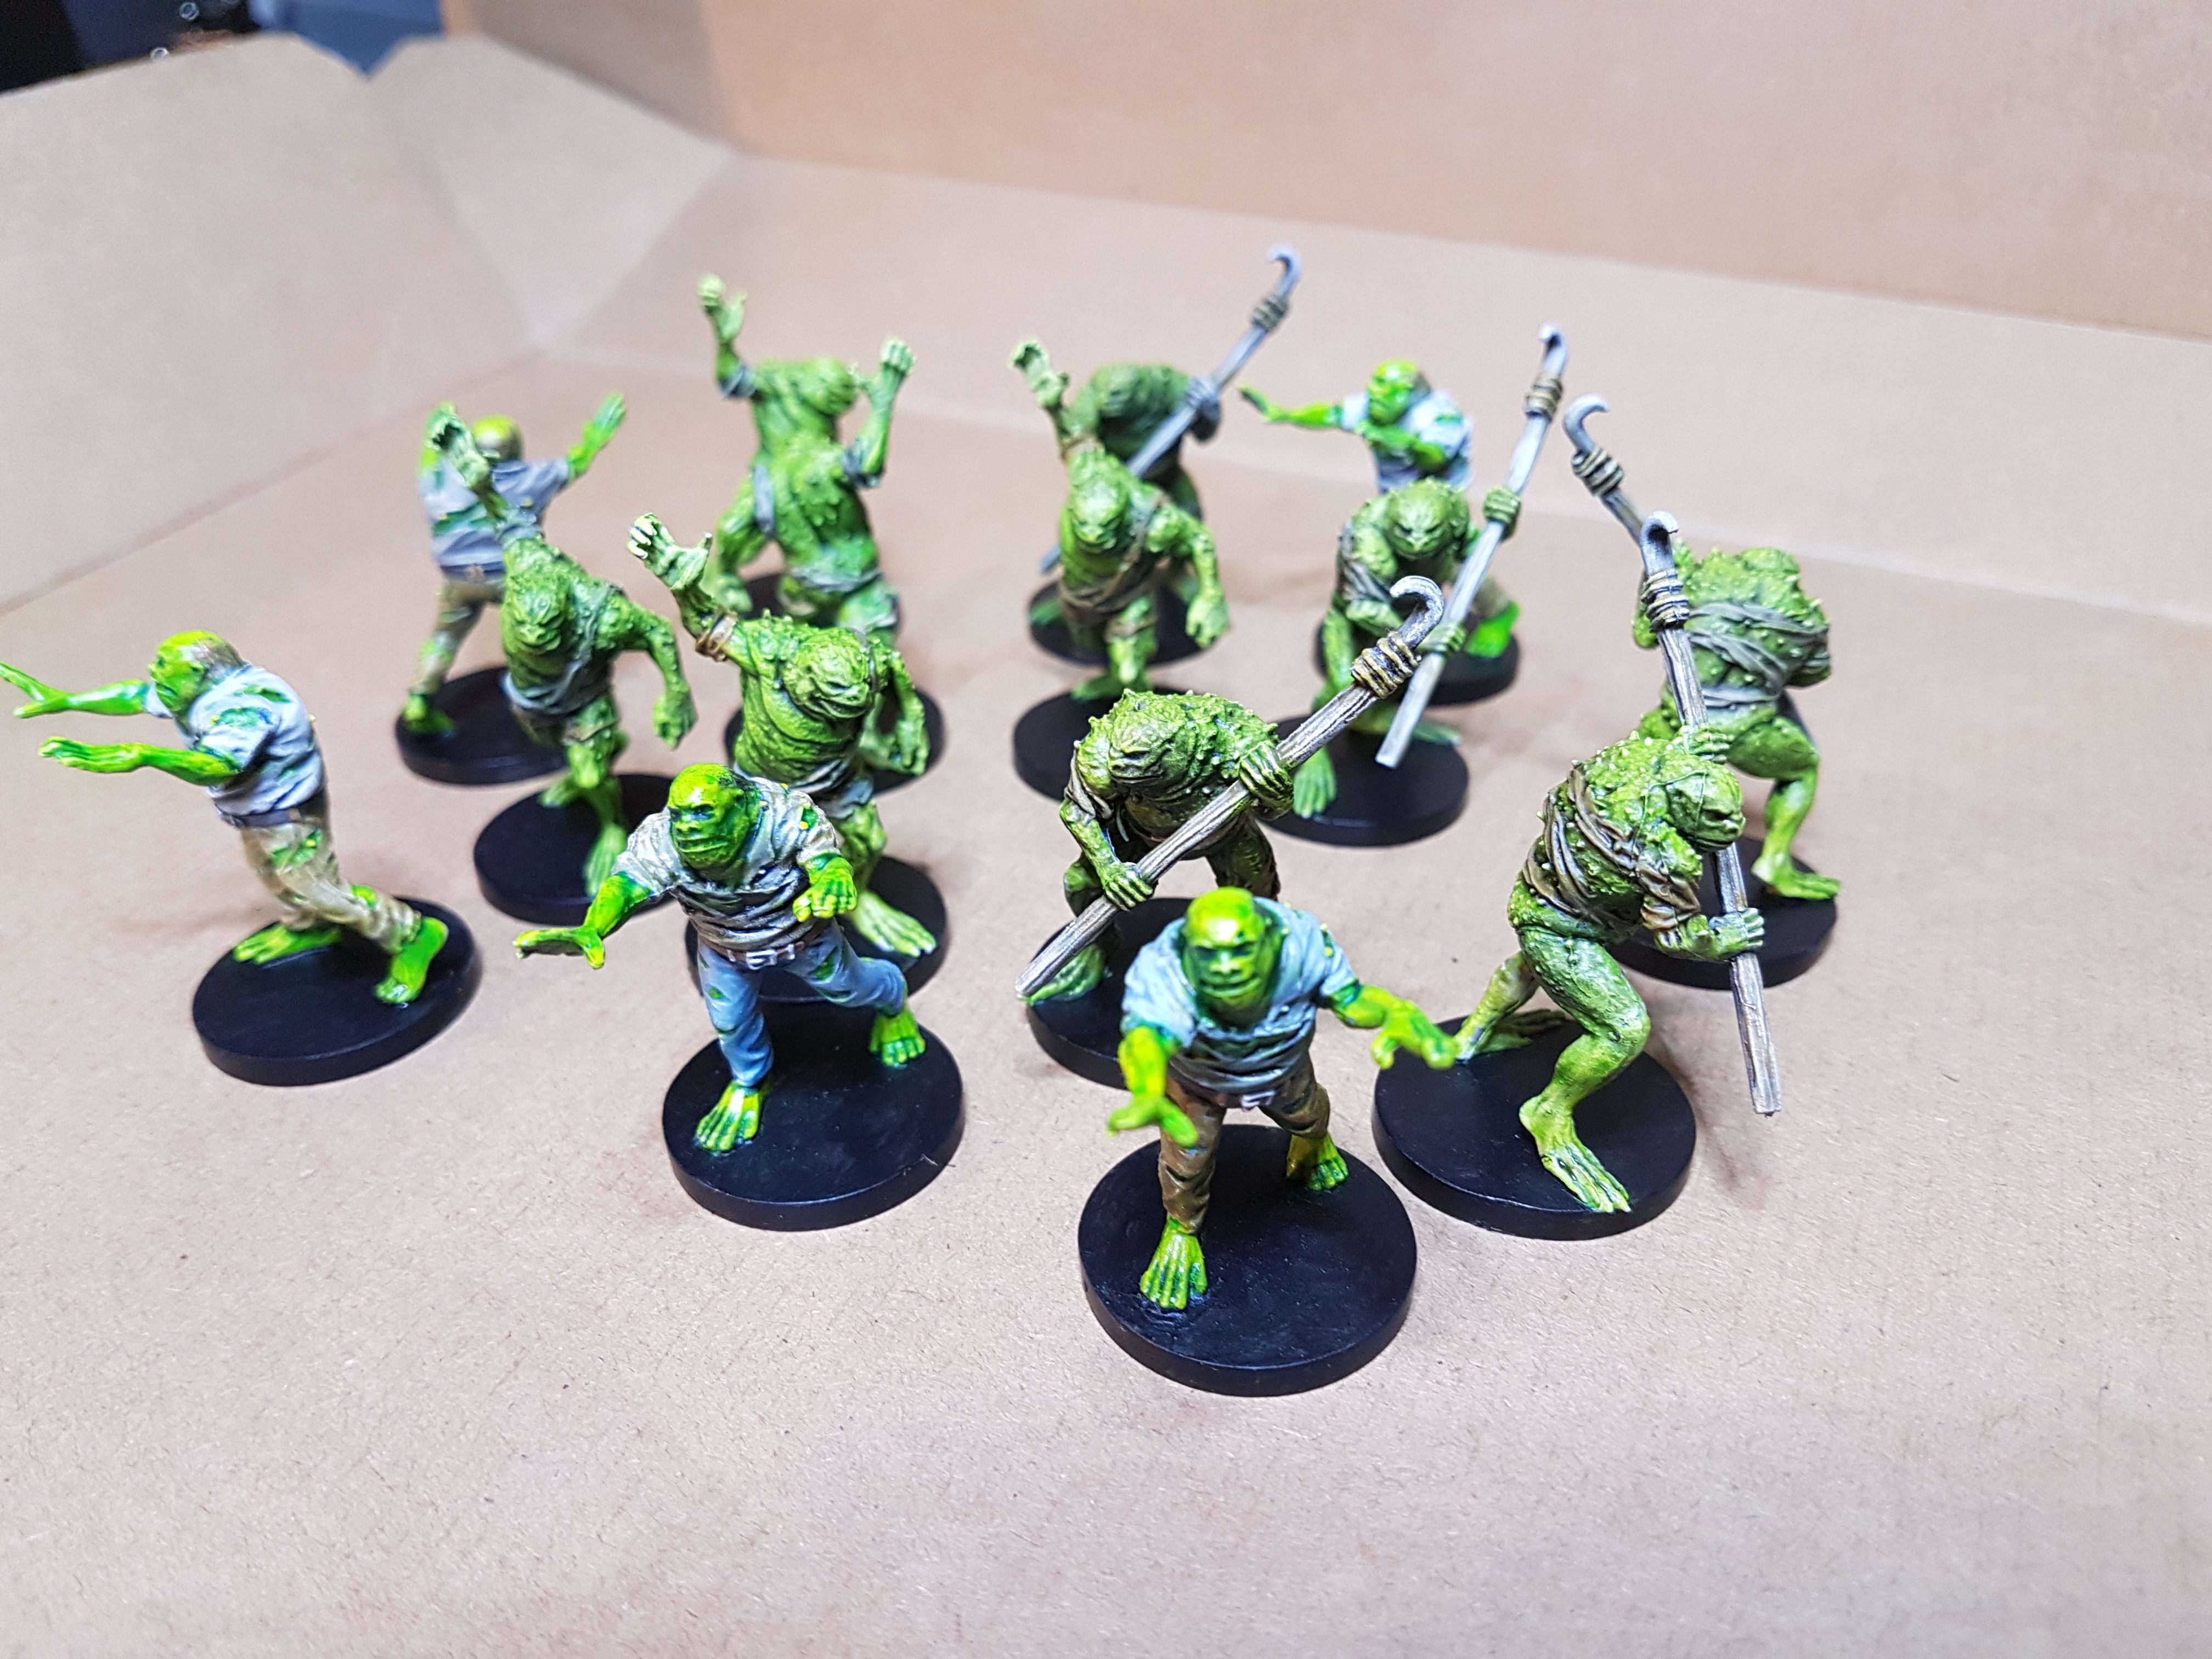 Apart from the grey scale undersketch and skin tones on the first 5 all this was done in 1 Saturday.
Frog spawns & bats
Taking the opportunity to play with the mediums I decided to try a few out with Badger airbrush inks and another set with citadel paint.

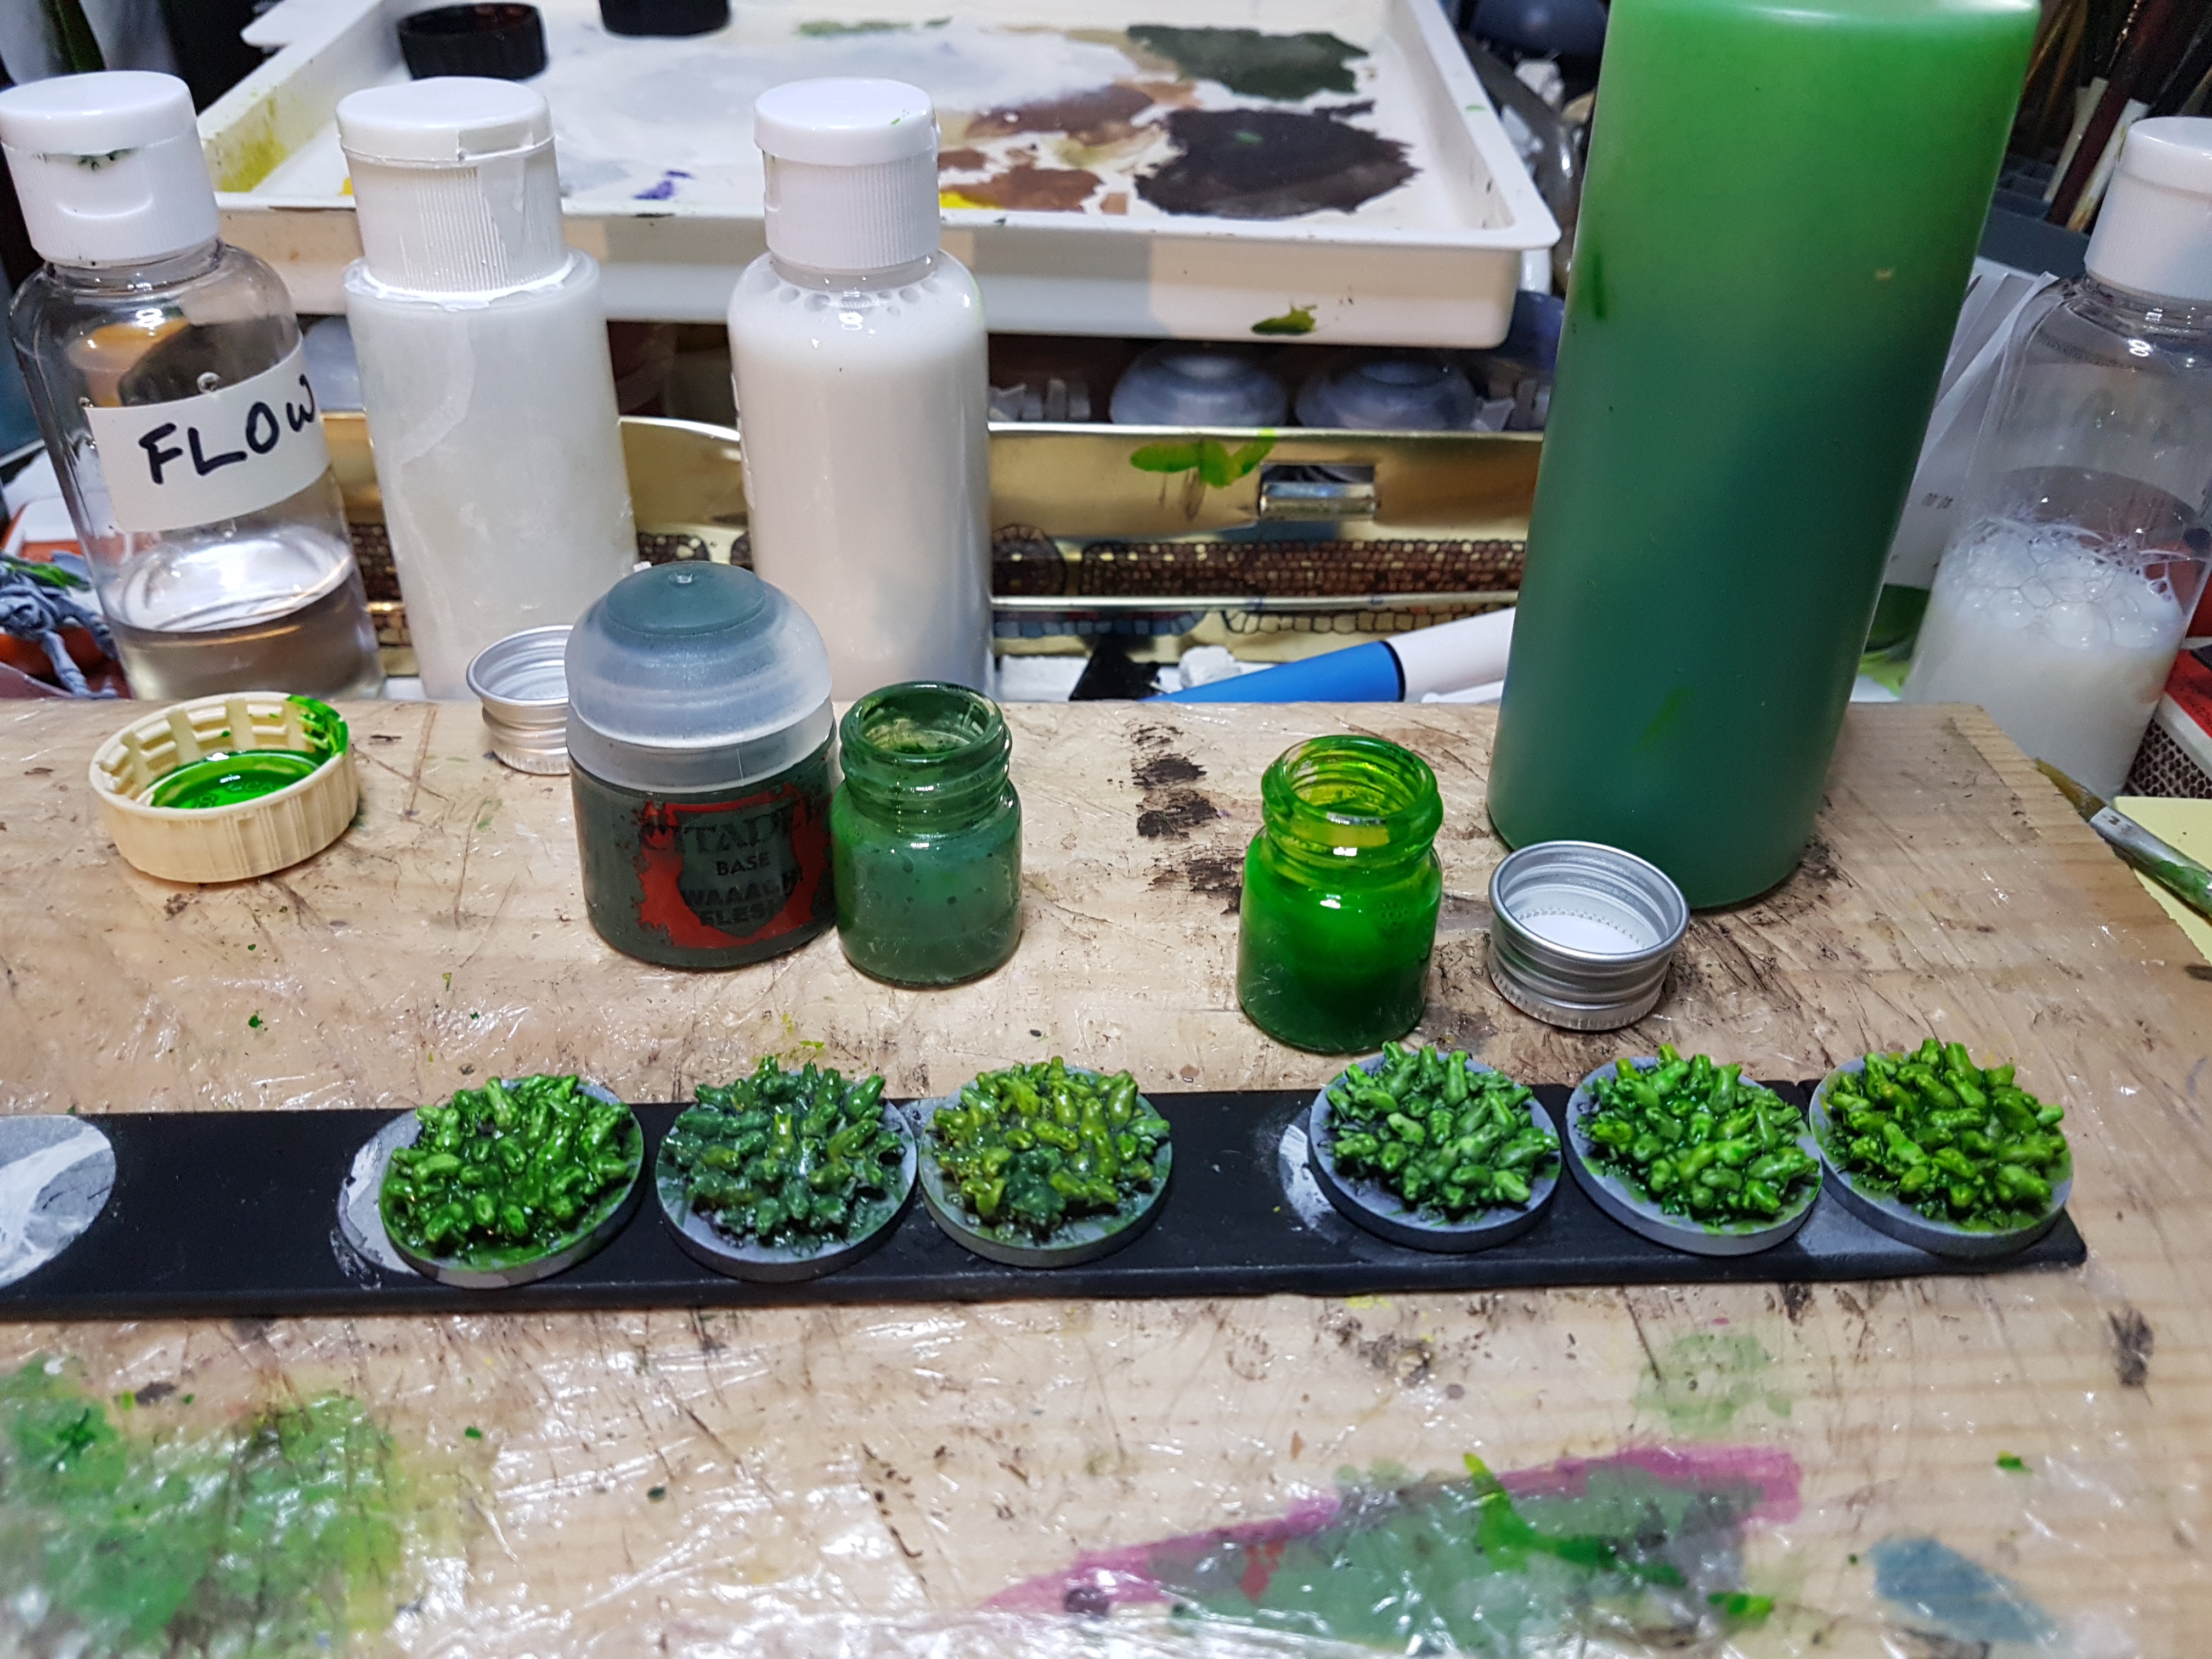
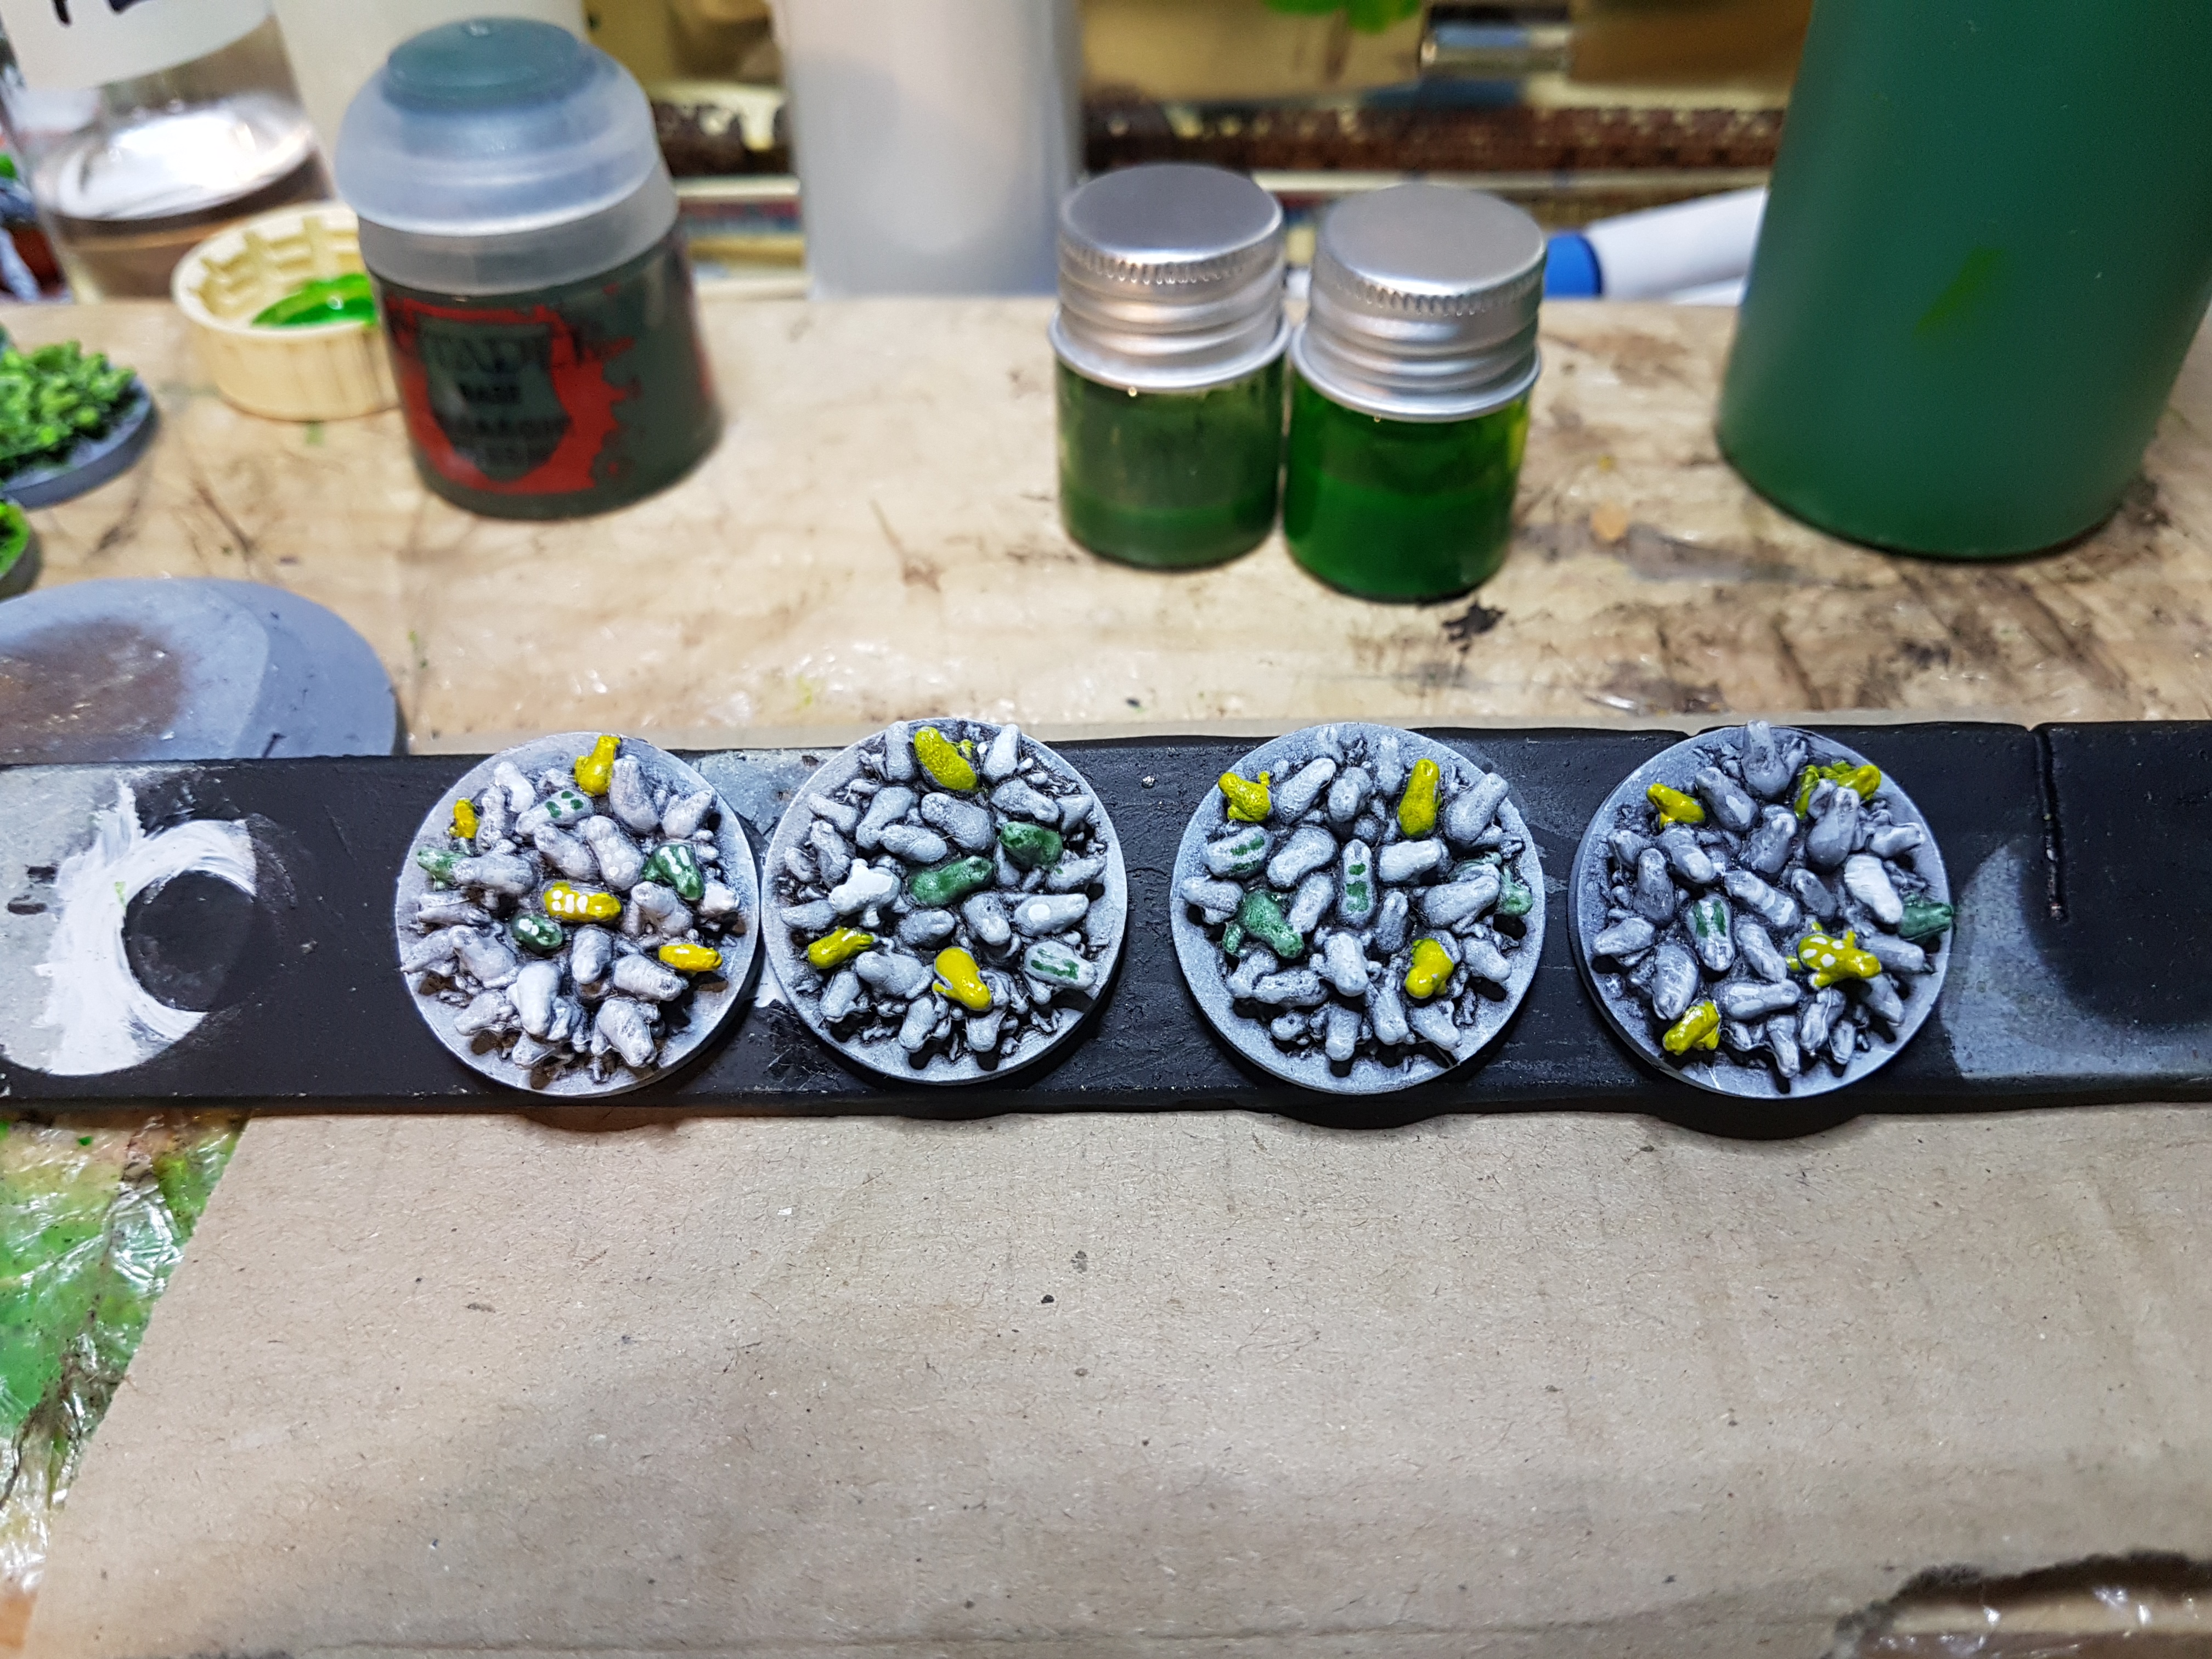
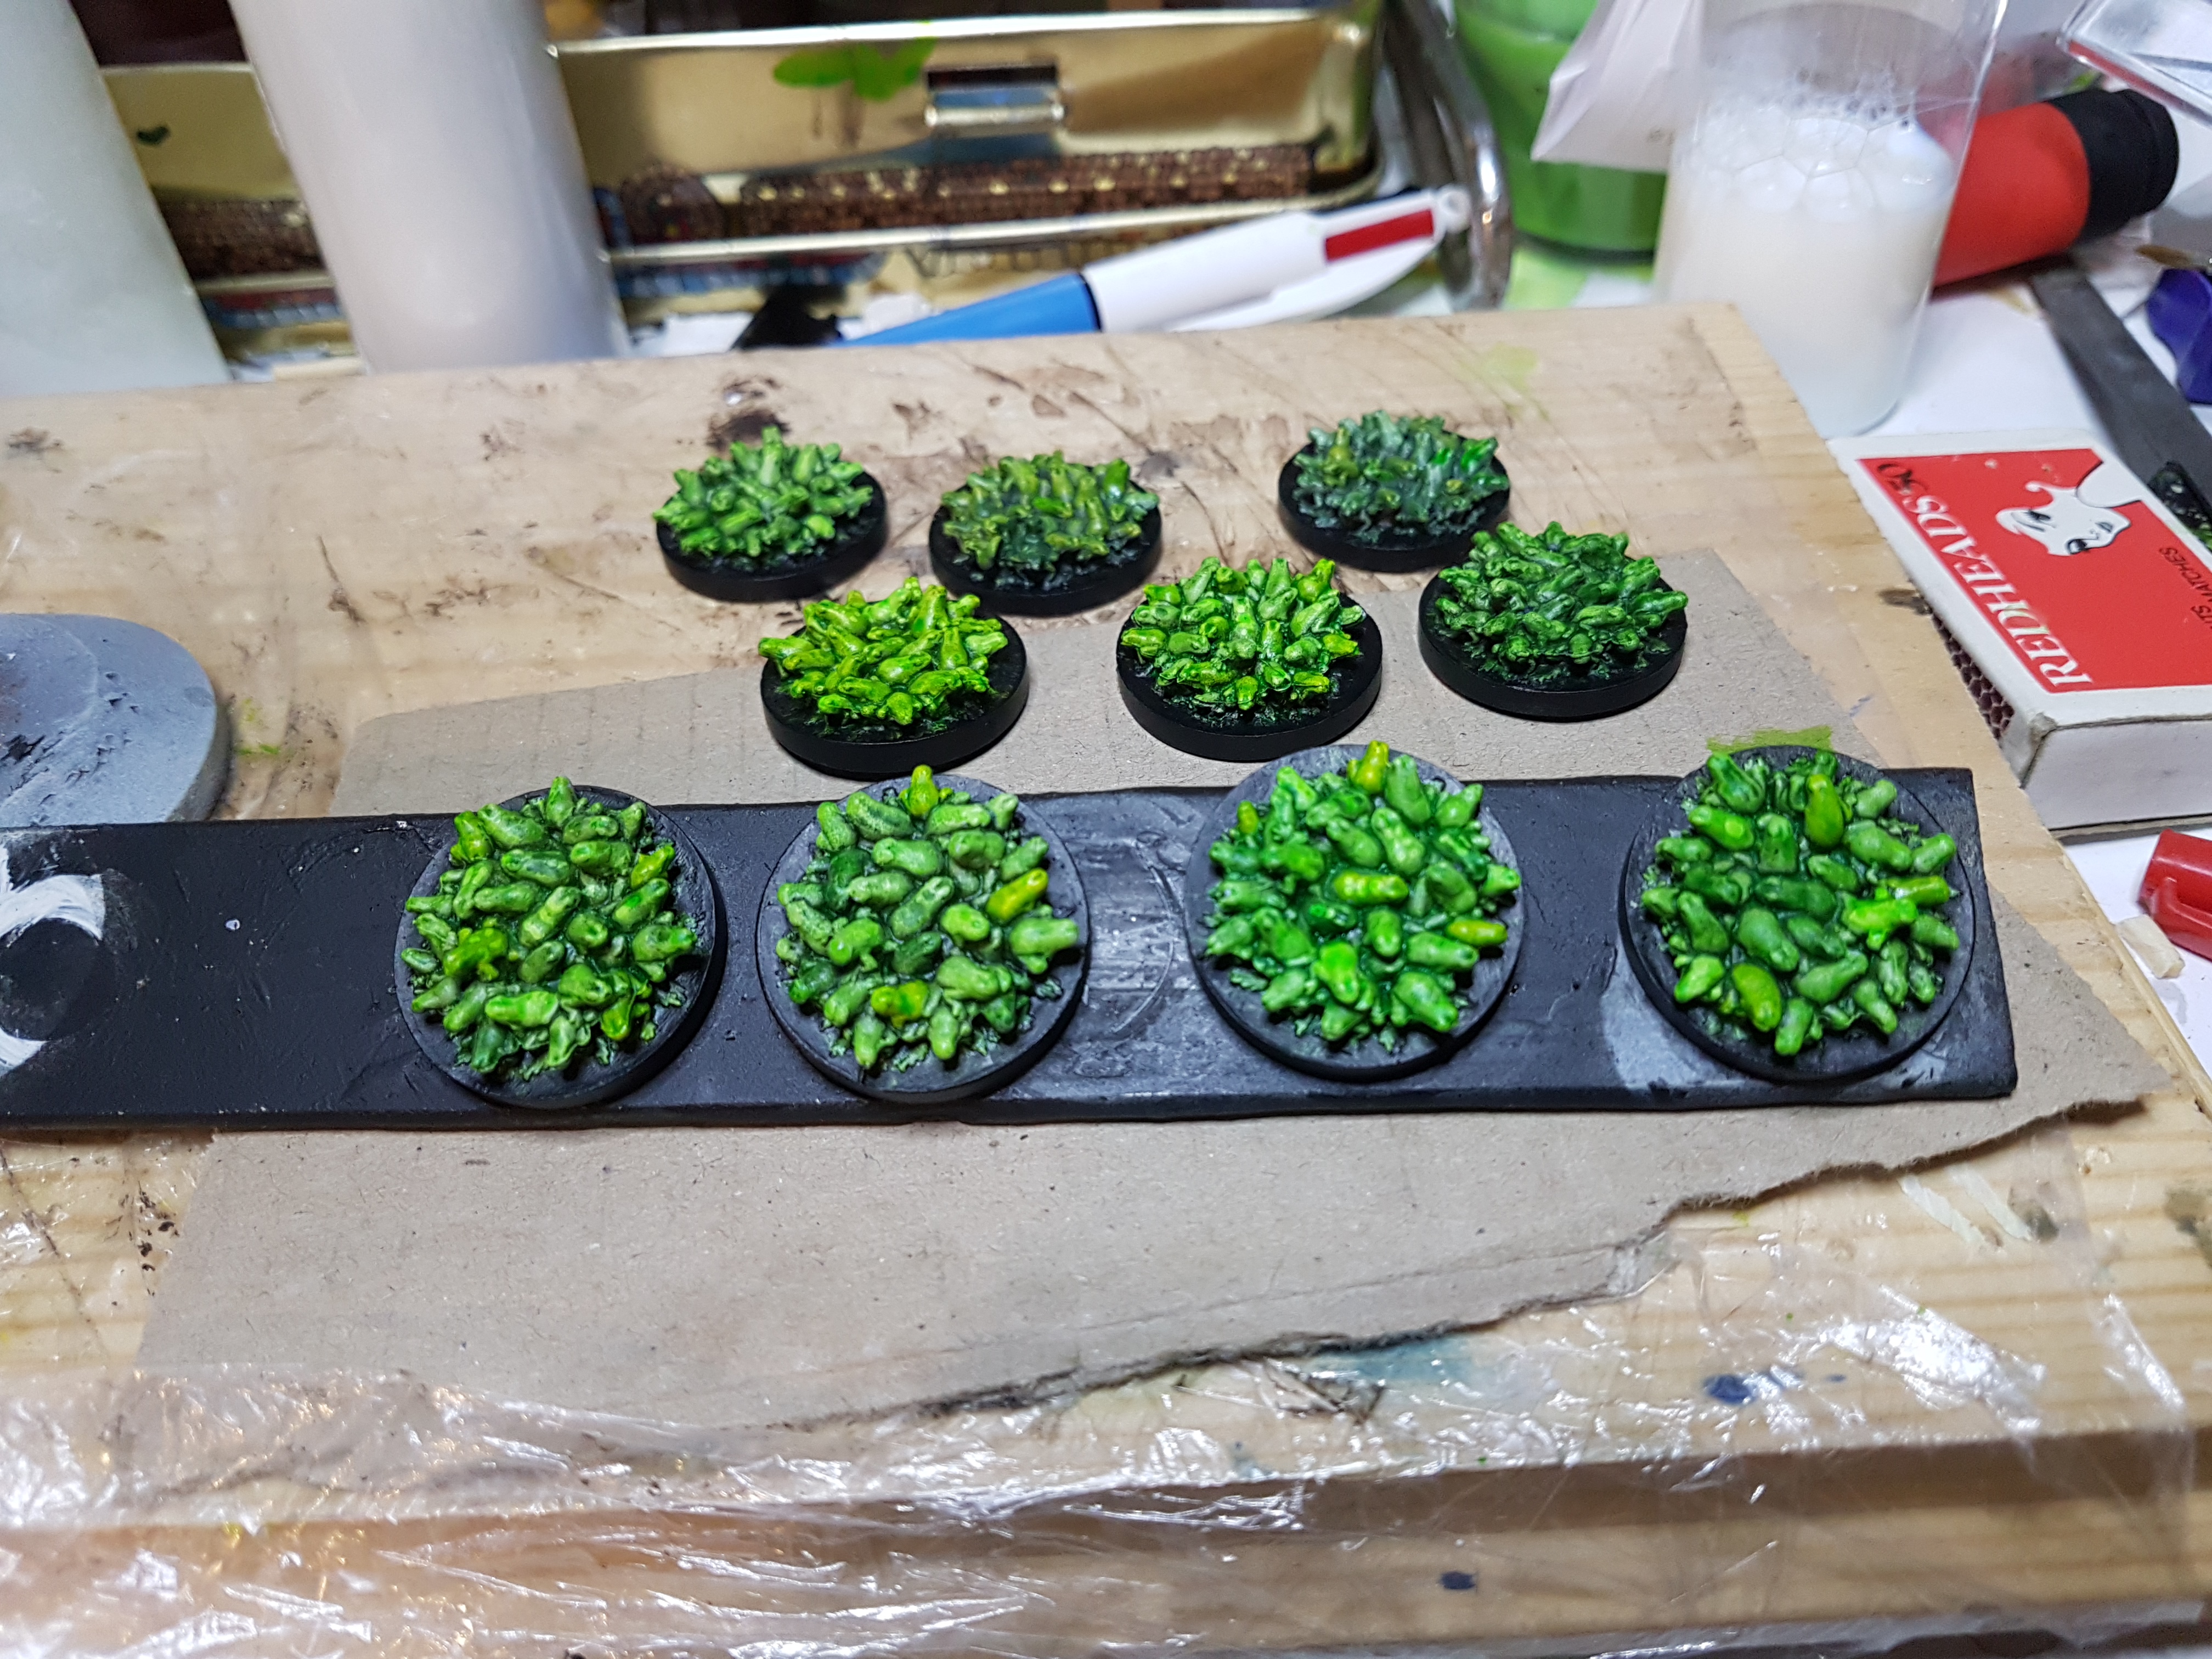
In conclusion both methods worked but the airbrush inks give a cleaner more effective result. The citadel paint needed a drop of flow improver to counter the extra medium with in the citadel pots. For the final frog spawns I decided to under glaze a mix of yellow, citadel green and pure white areas to provide more variation and interest for those that get curious and take a closer look.
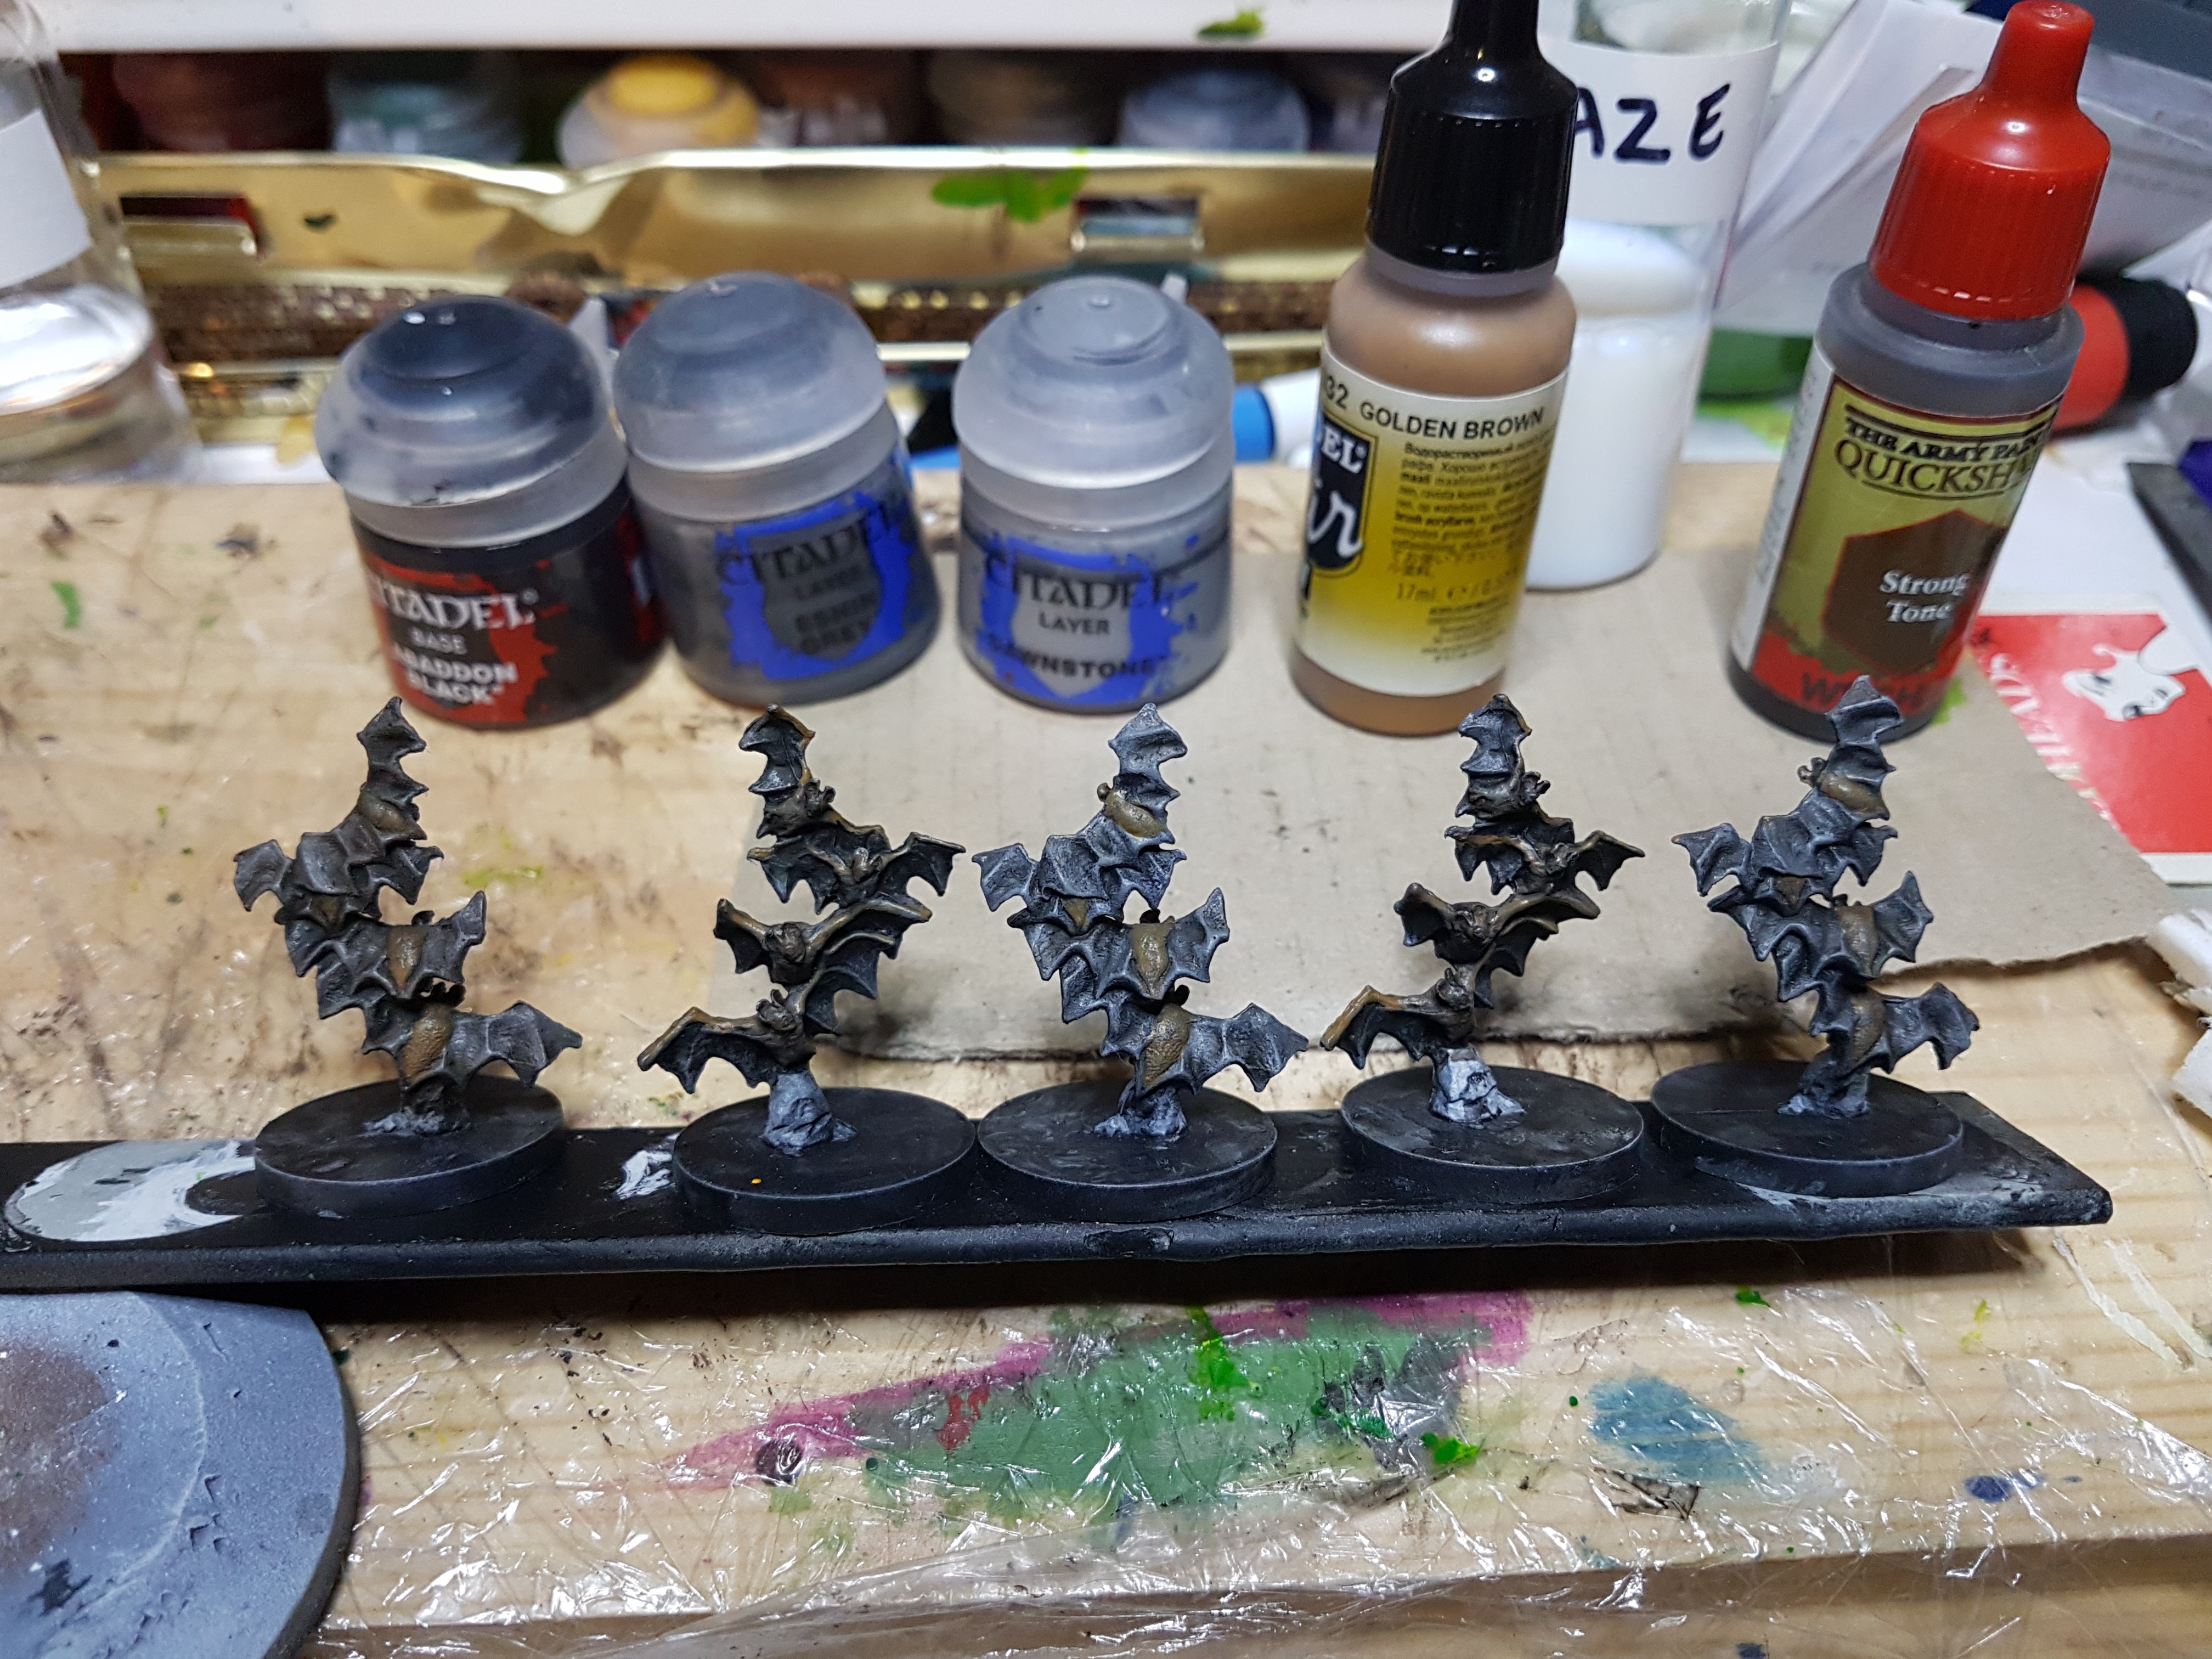
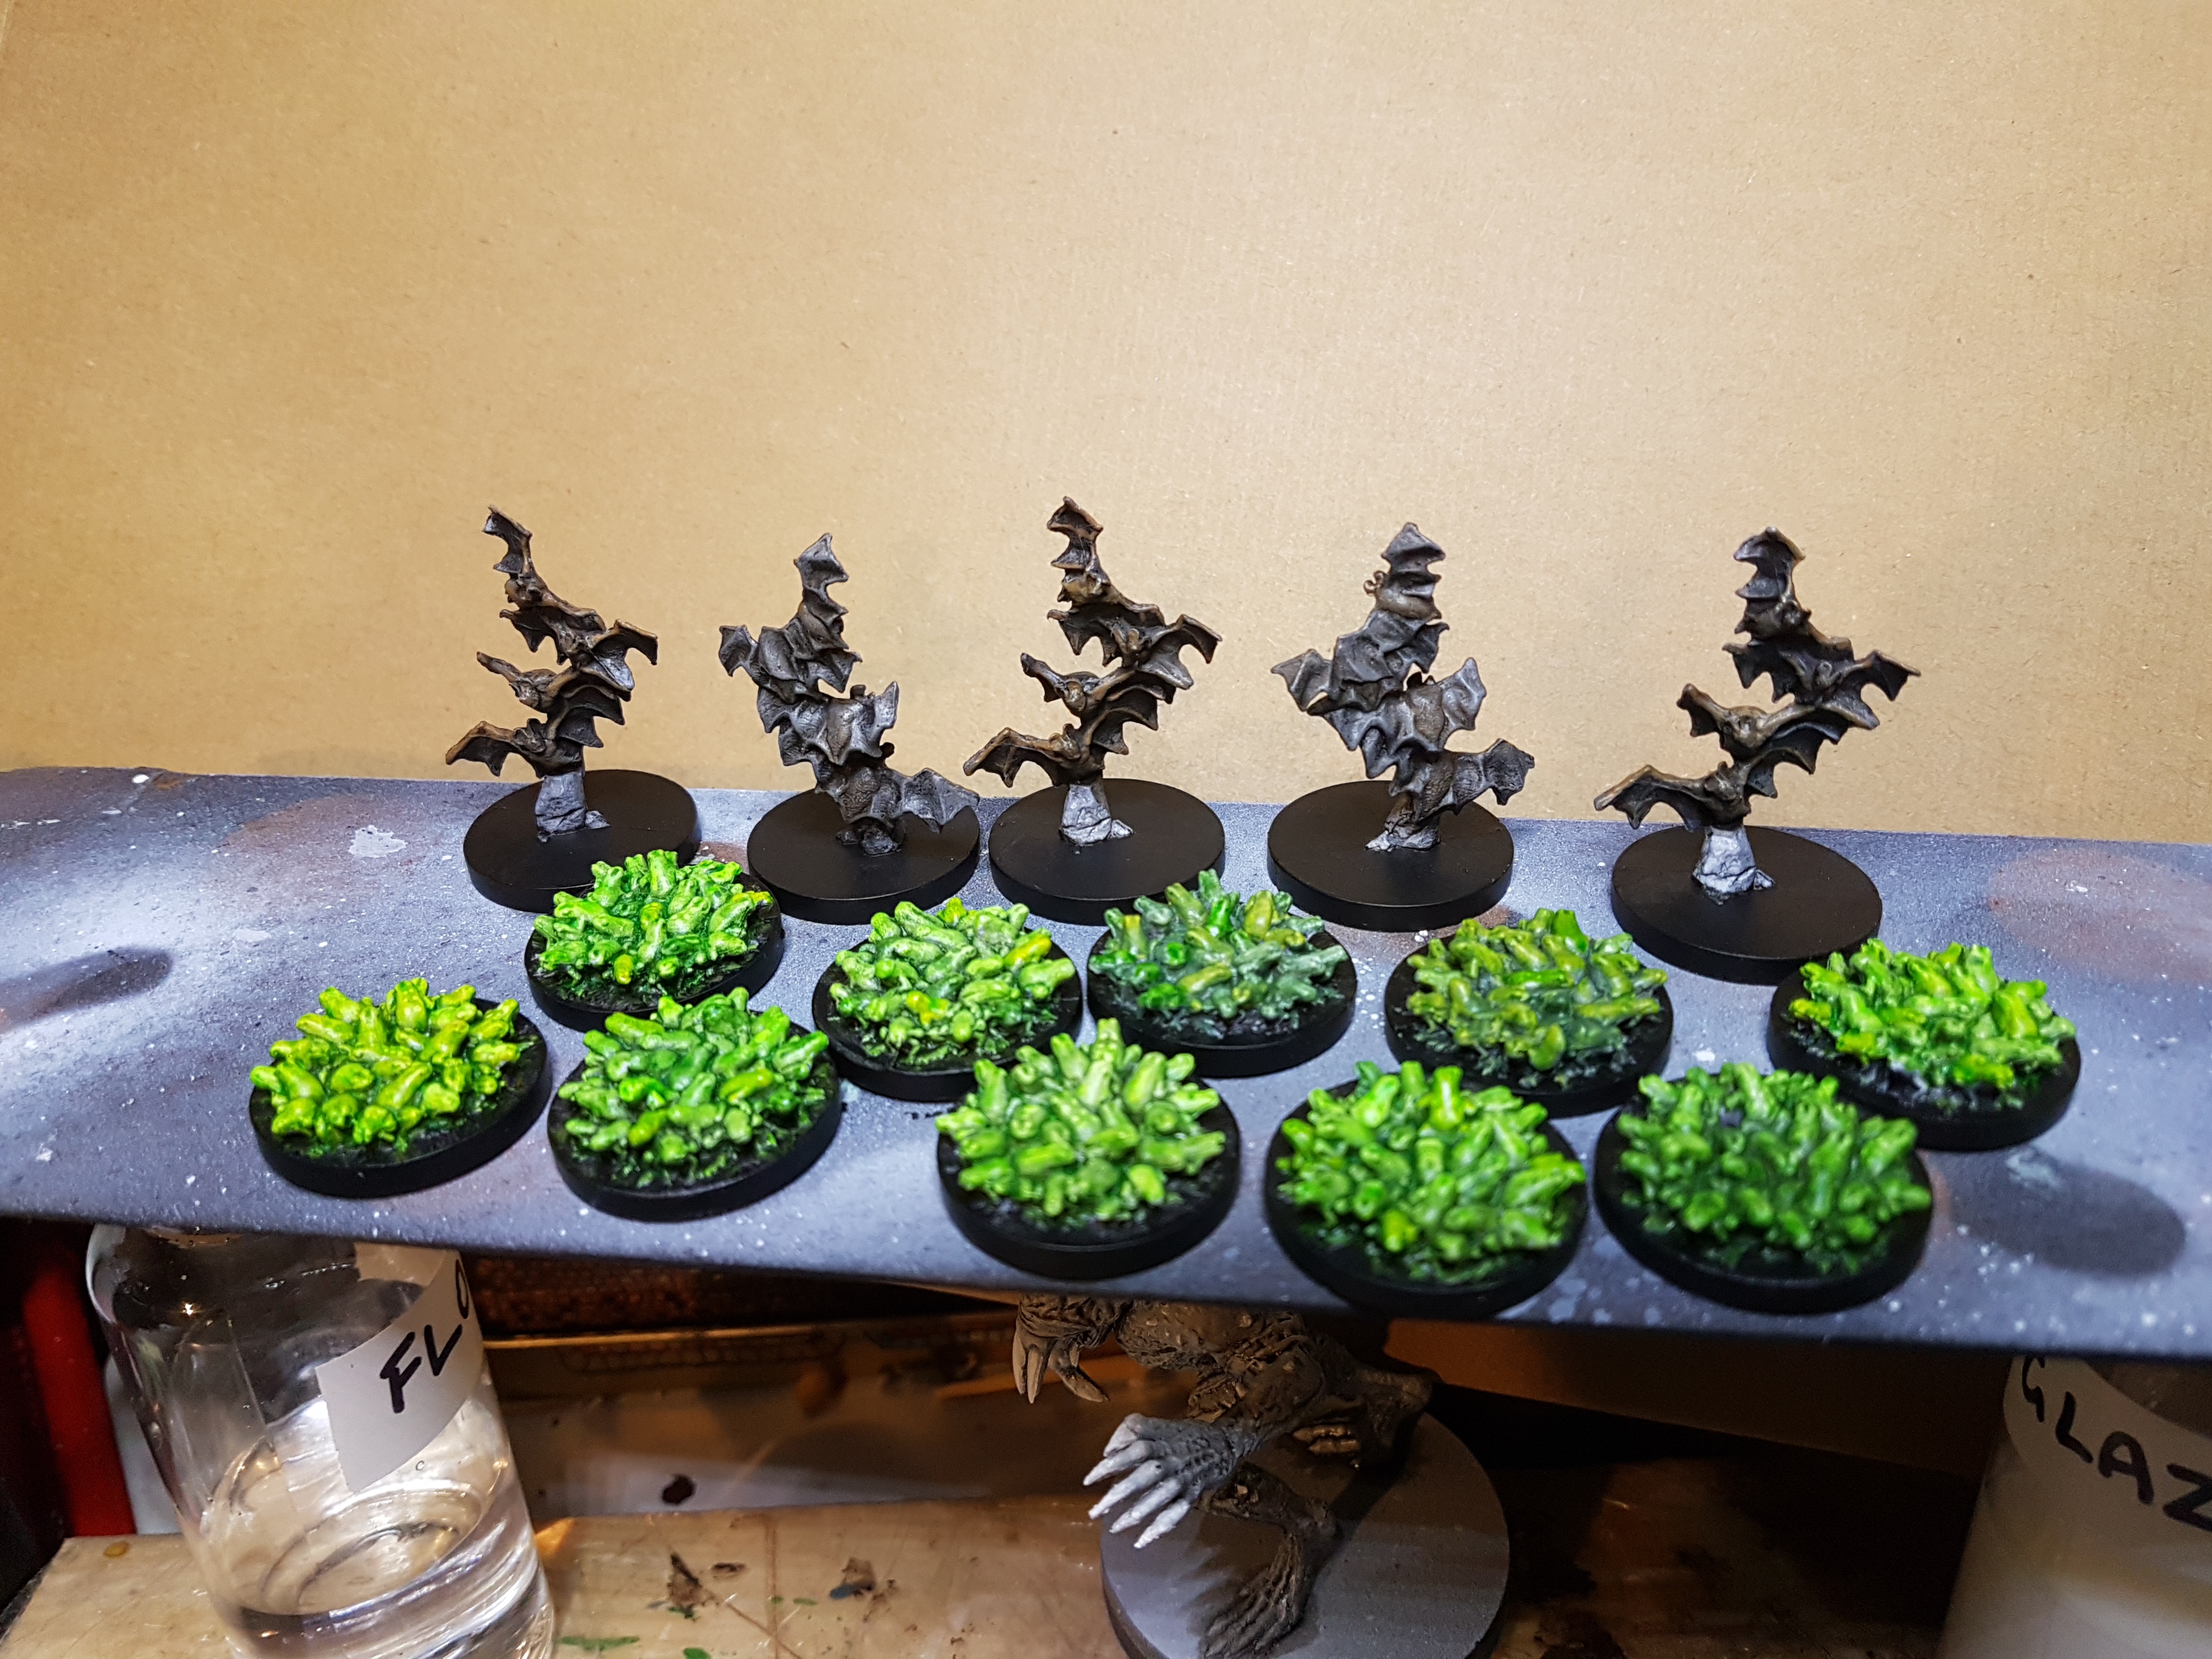
The bats were a simpler affair. With a bit of black to reinforce the shadows I did a dark grey drybrush followed by a lighter grey highlight dry brush then glazed in some golden brown for a touch of realism then Strong Tone to tie it all in.

![Games Workshop Kick Off Grot Week For Warhammer 40,000 [Updated]](https://images.beastsofwar.com/2026/04/grot-new-40k-news-cover-600-338.jpg)