





Robin paints Genestealer Cults



Recommendations: 1101
About the Project
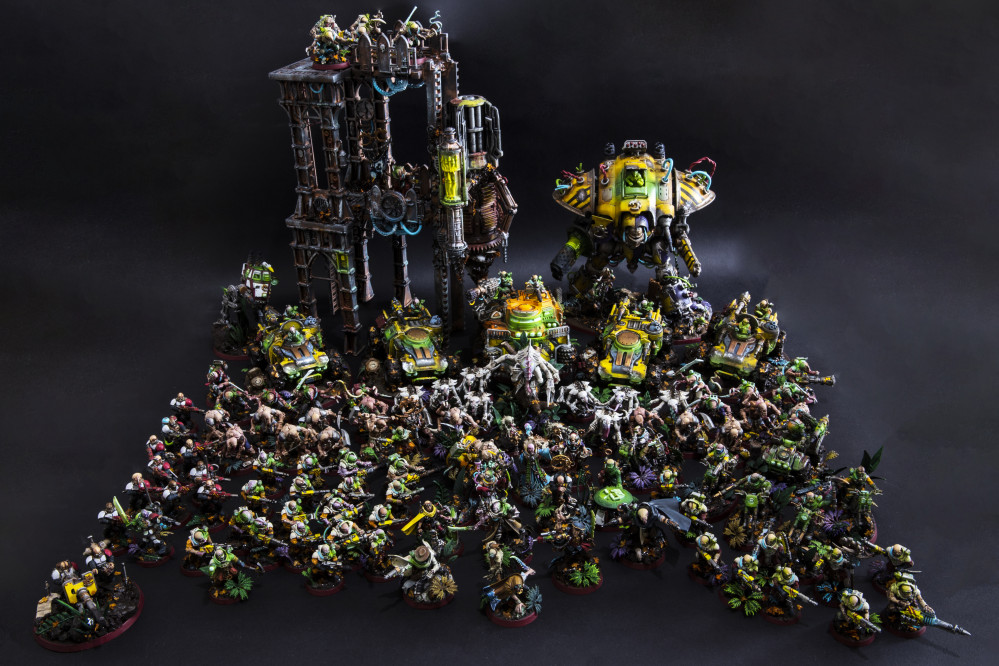
As a break from other armies I decided to start painting Genestealer Cults. As a bit of background I’m new ish to the hobby. I played when it was fifth (my first army was Tau) and had a break for 15 years. During lockdown I started to paint again; as I’ve progressed over the last two years I finally feel I’m able to show some of my projects that I’ve been working on. I’ll include images of my progress and try and include detail of what I’ve done!
Related Game: Warhammer 40,000
Related Company: Games Workshop
Related Genre: Science Fiction
Related Contest: Spring Clean Hobby Challenge 2023
This Project is Active
Mad Max eat your heart out!
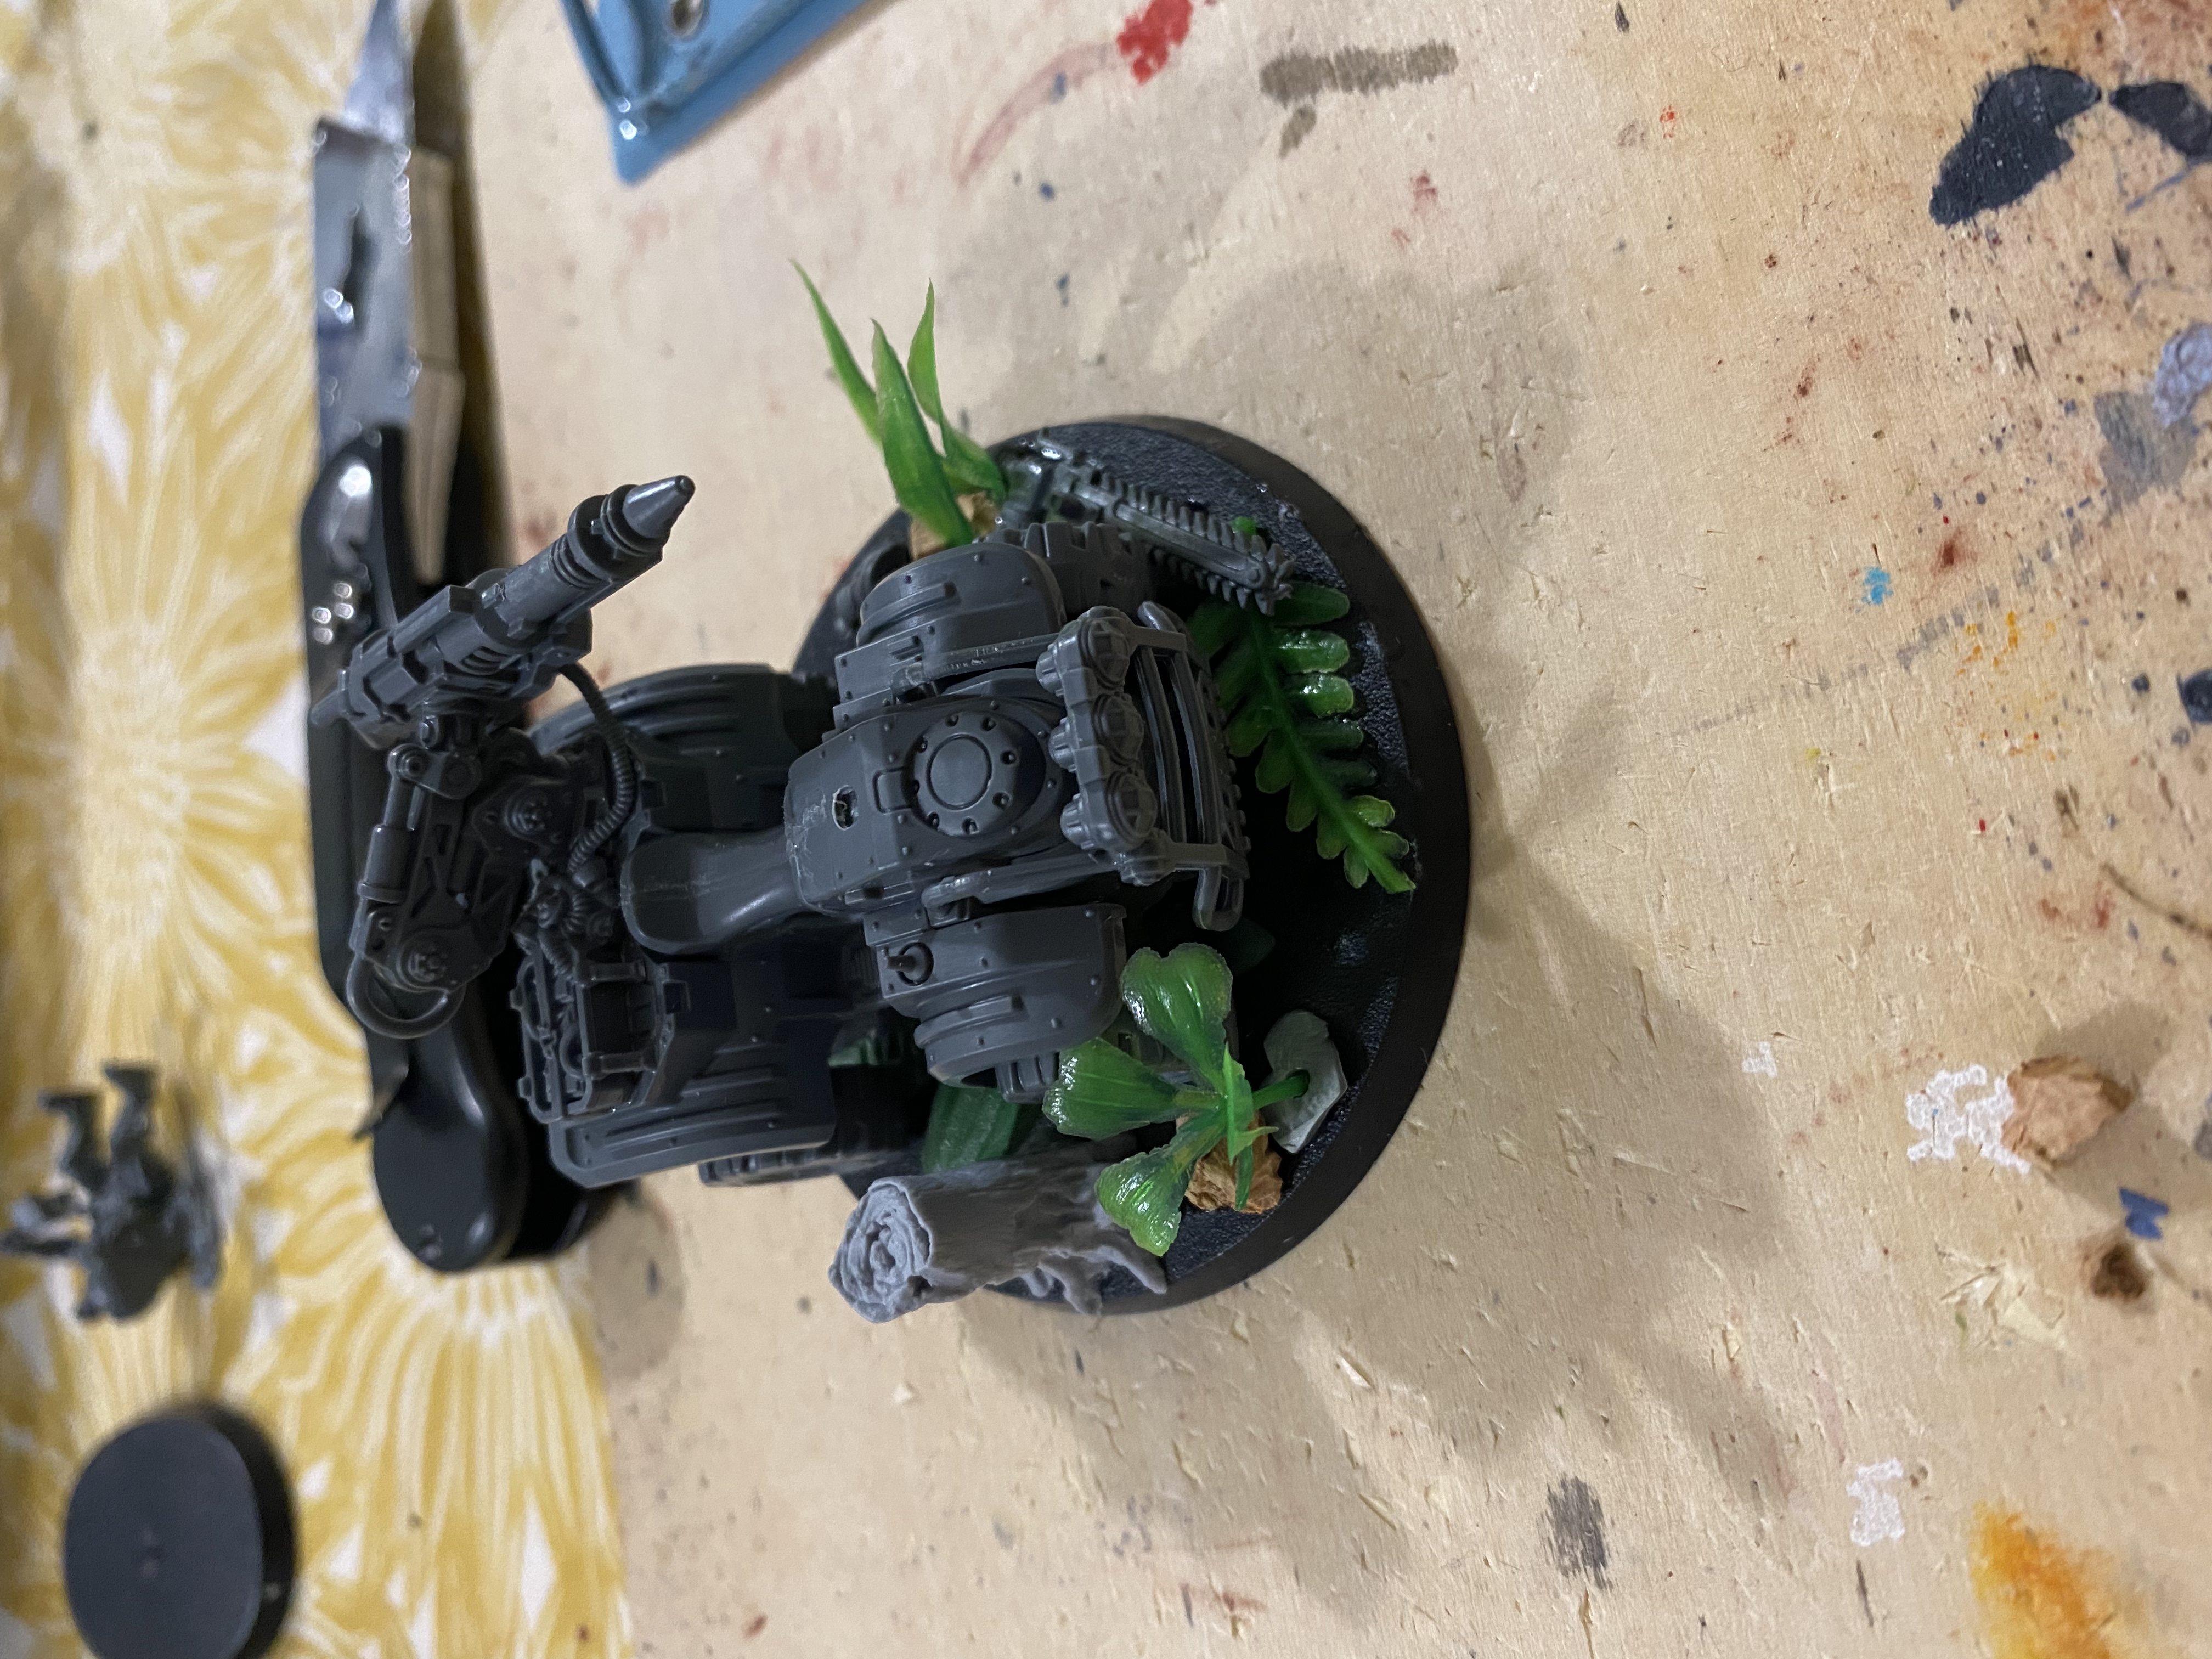
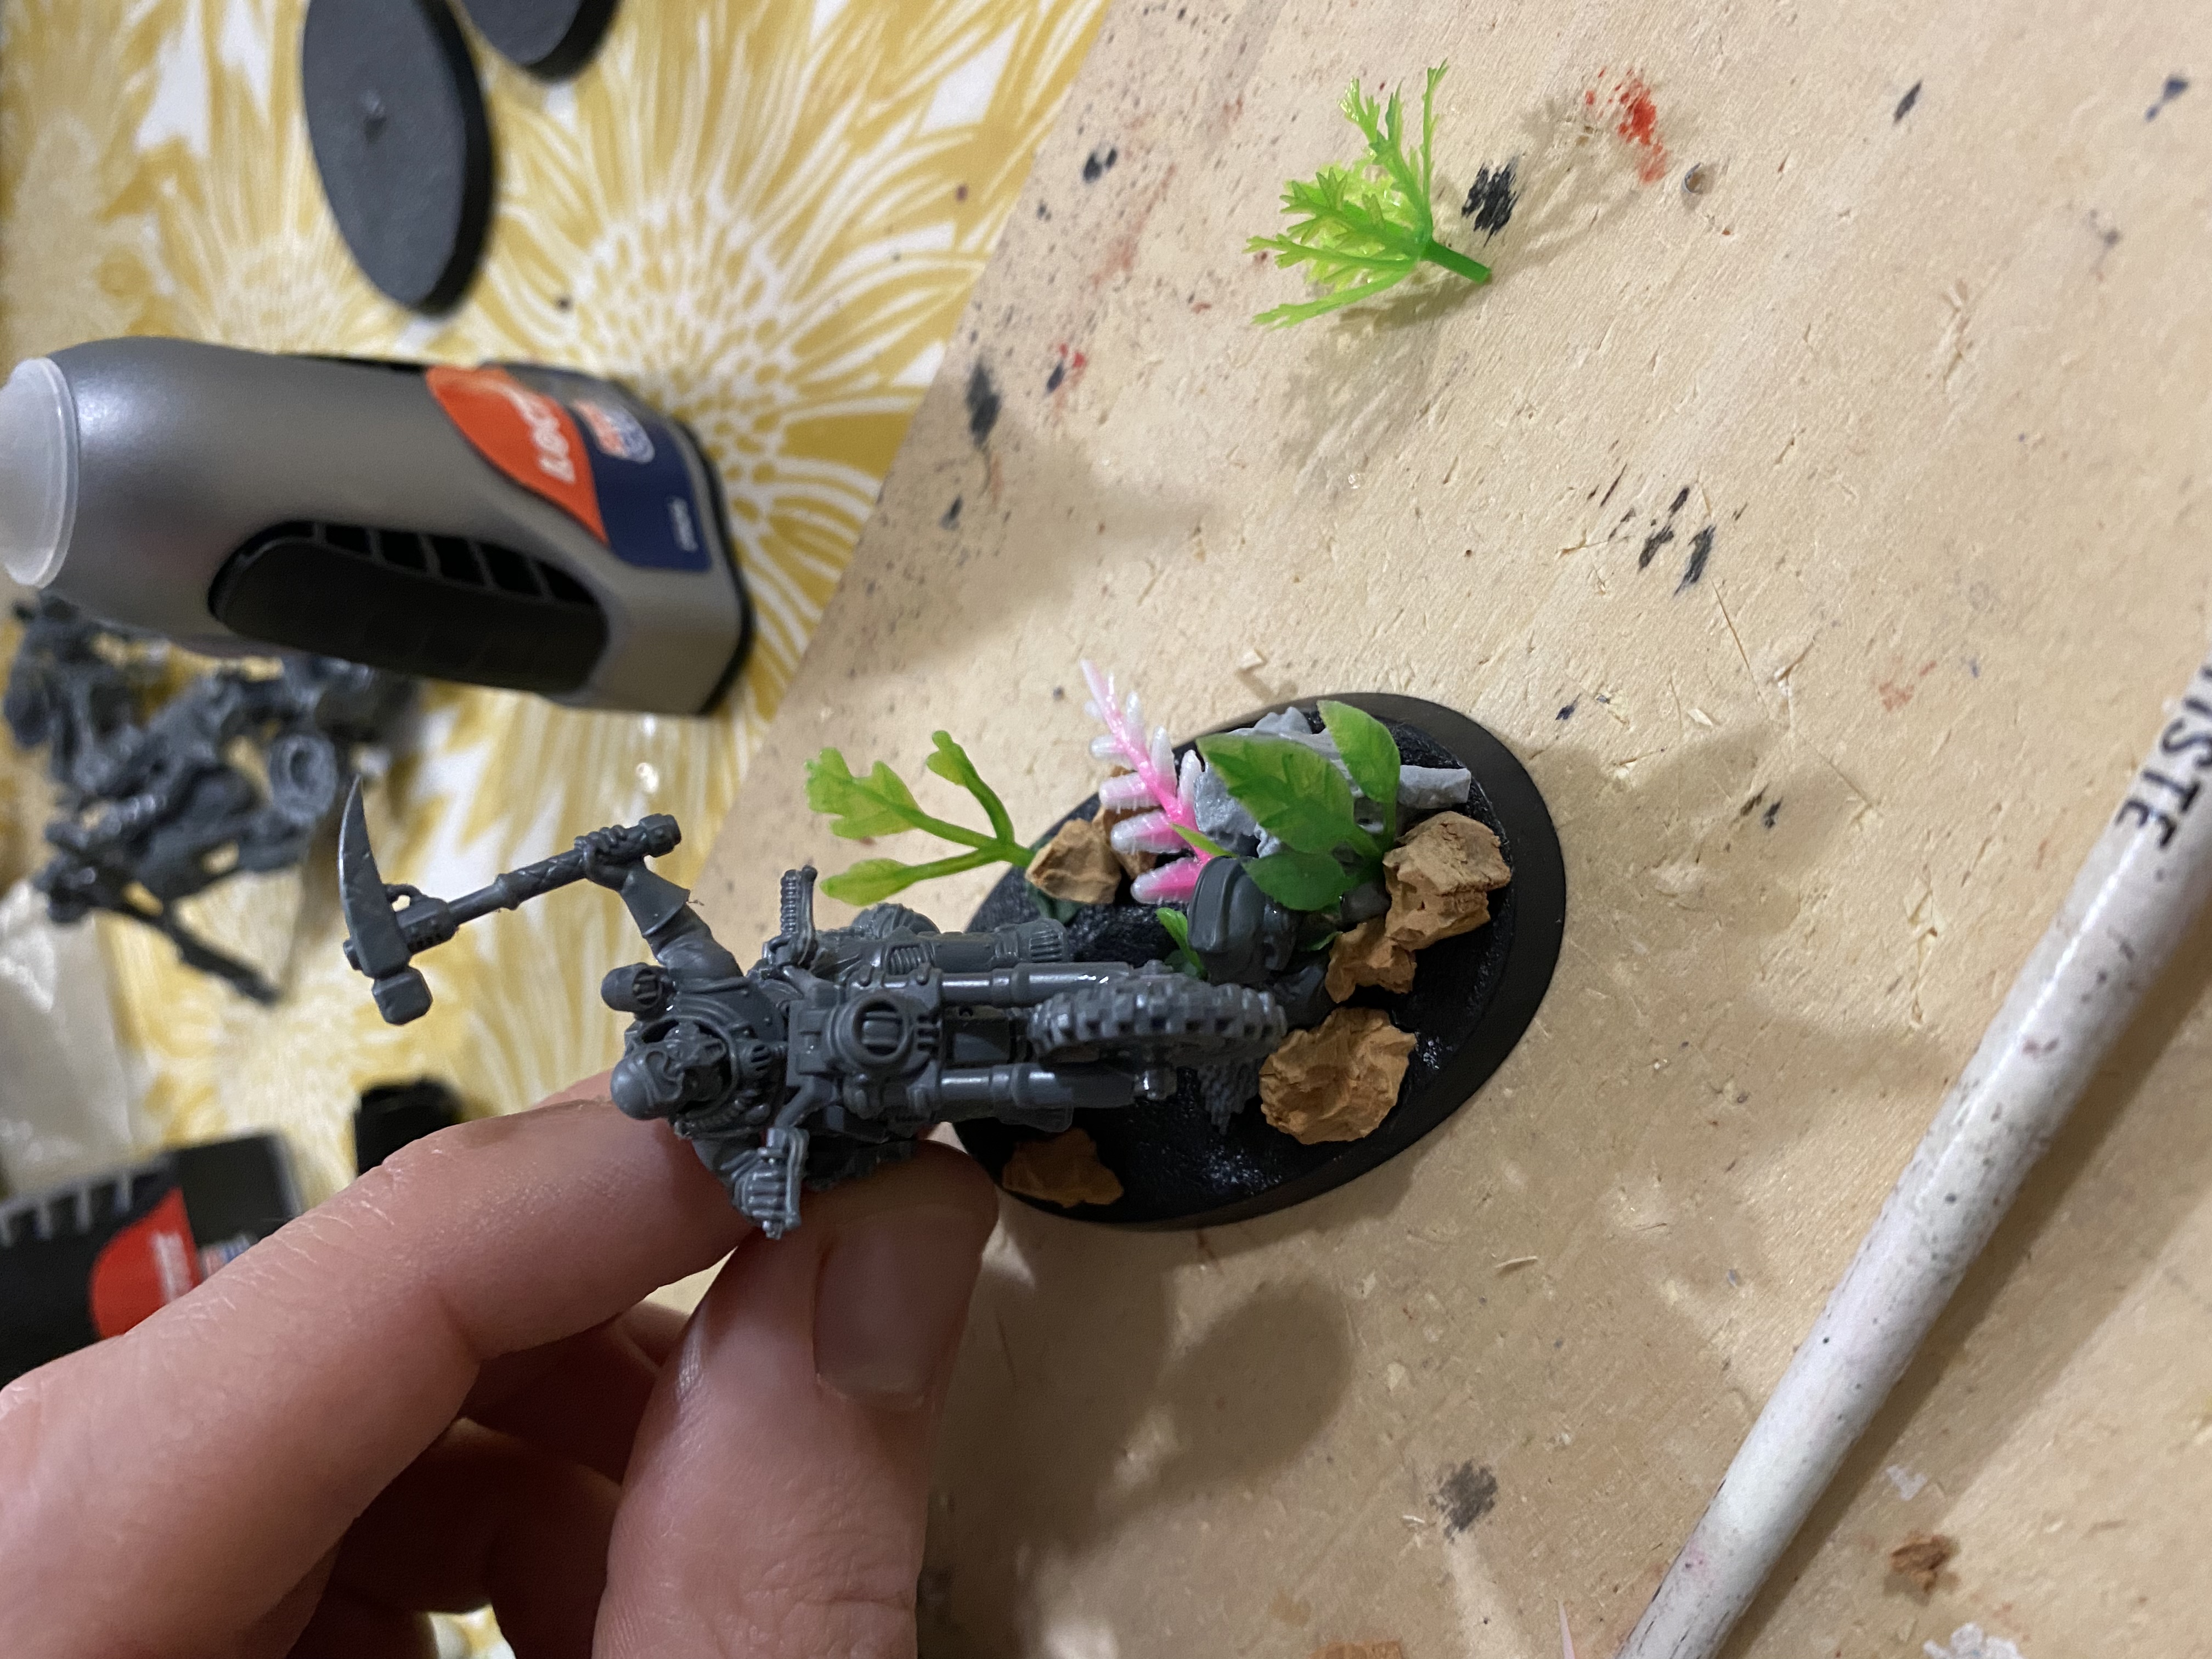
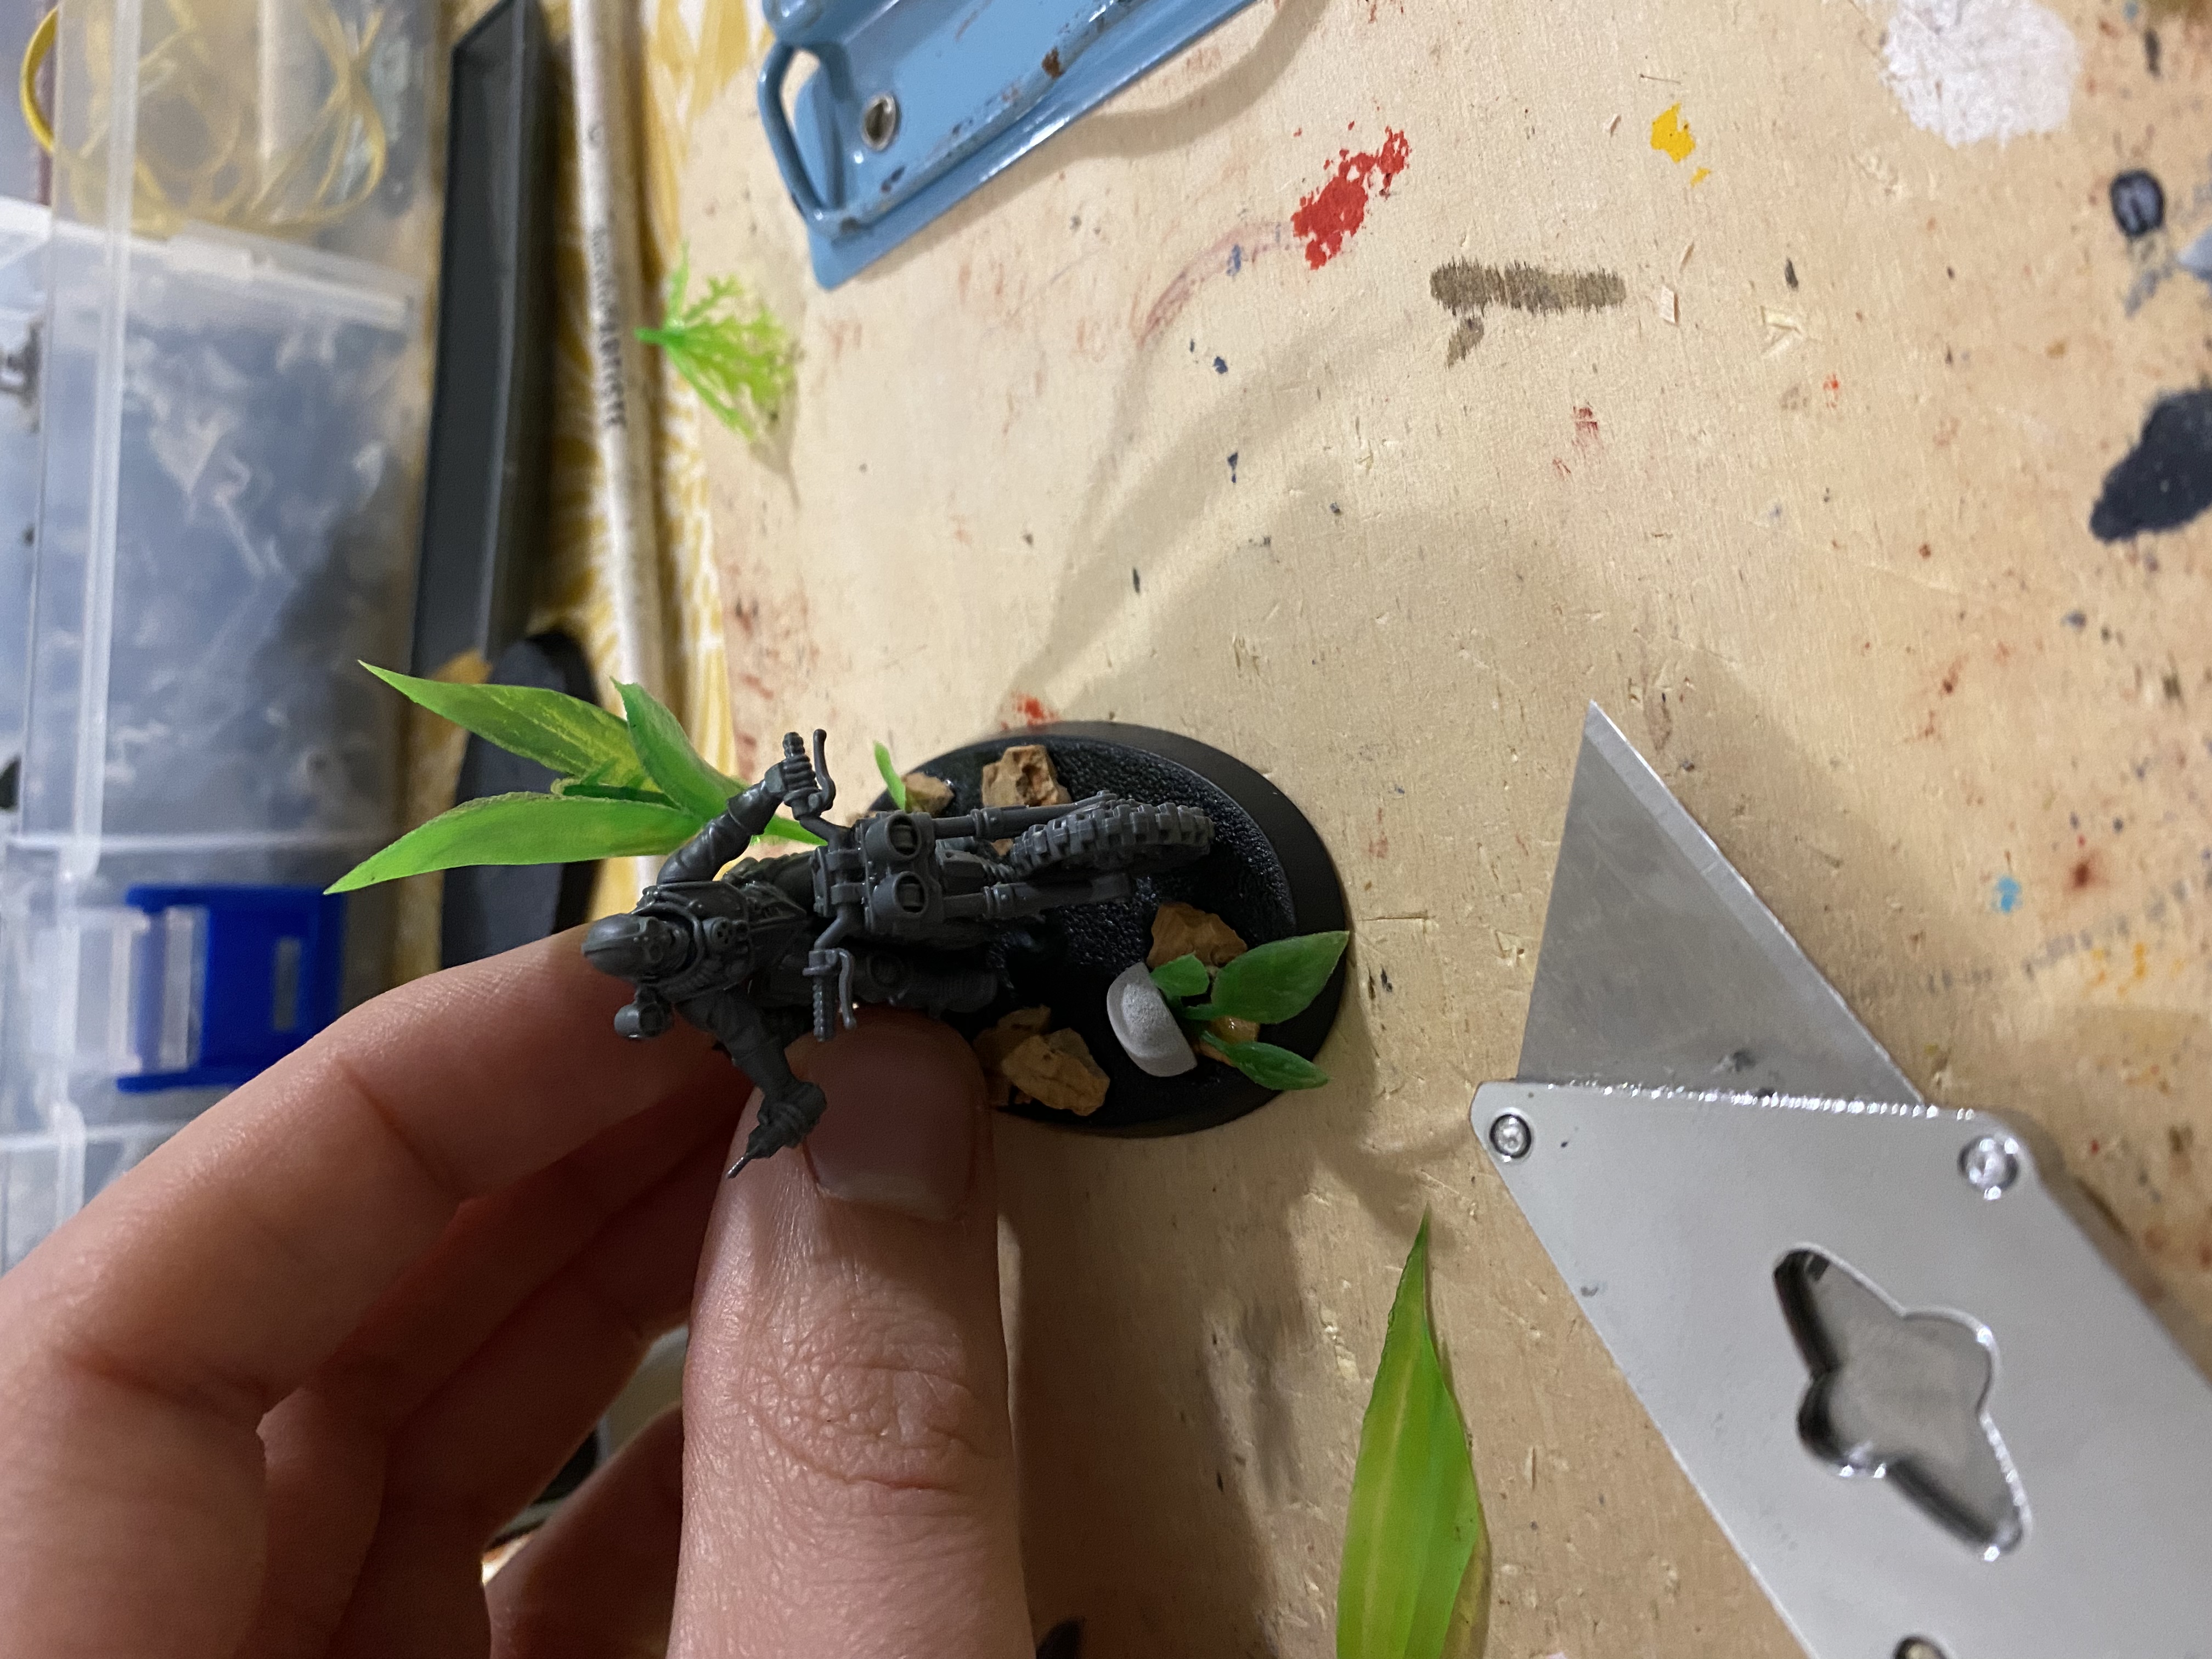
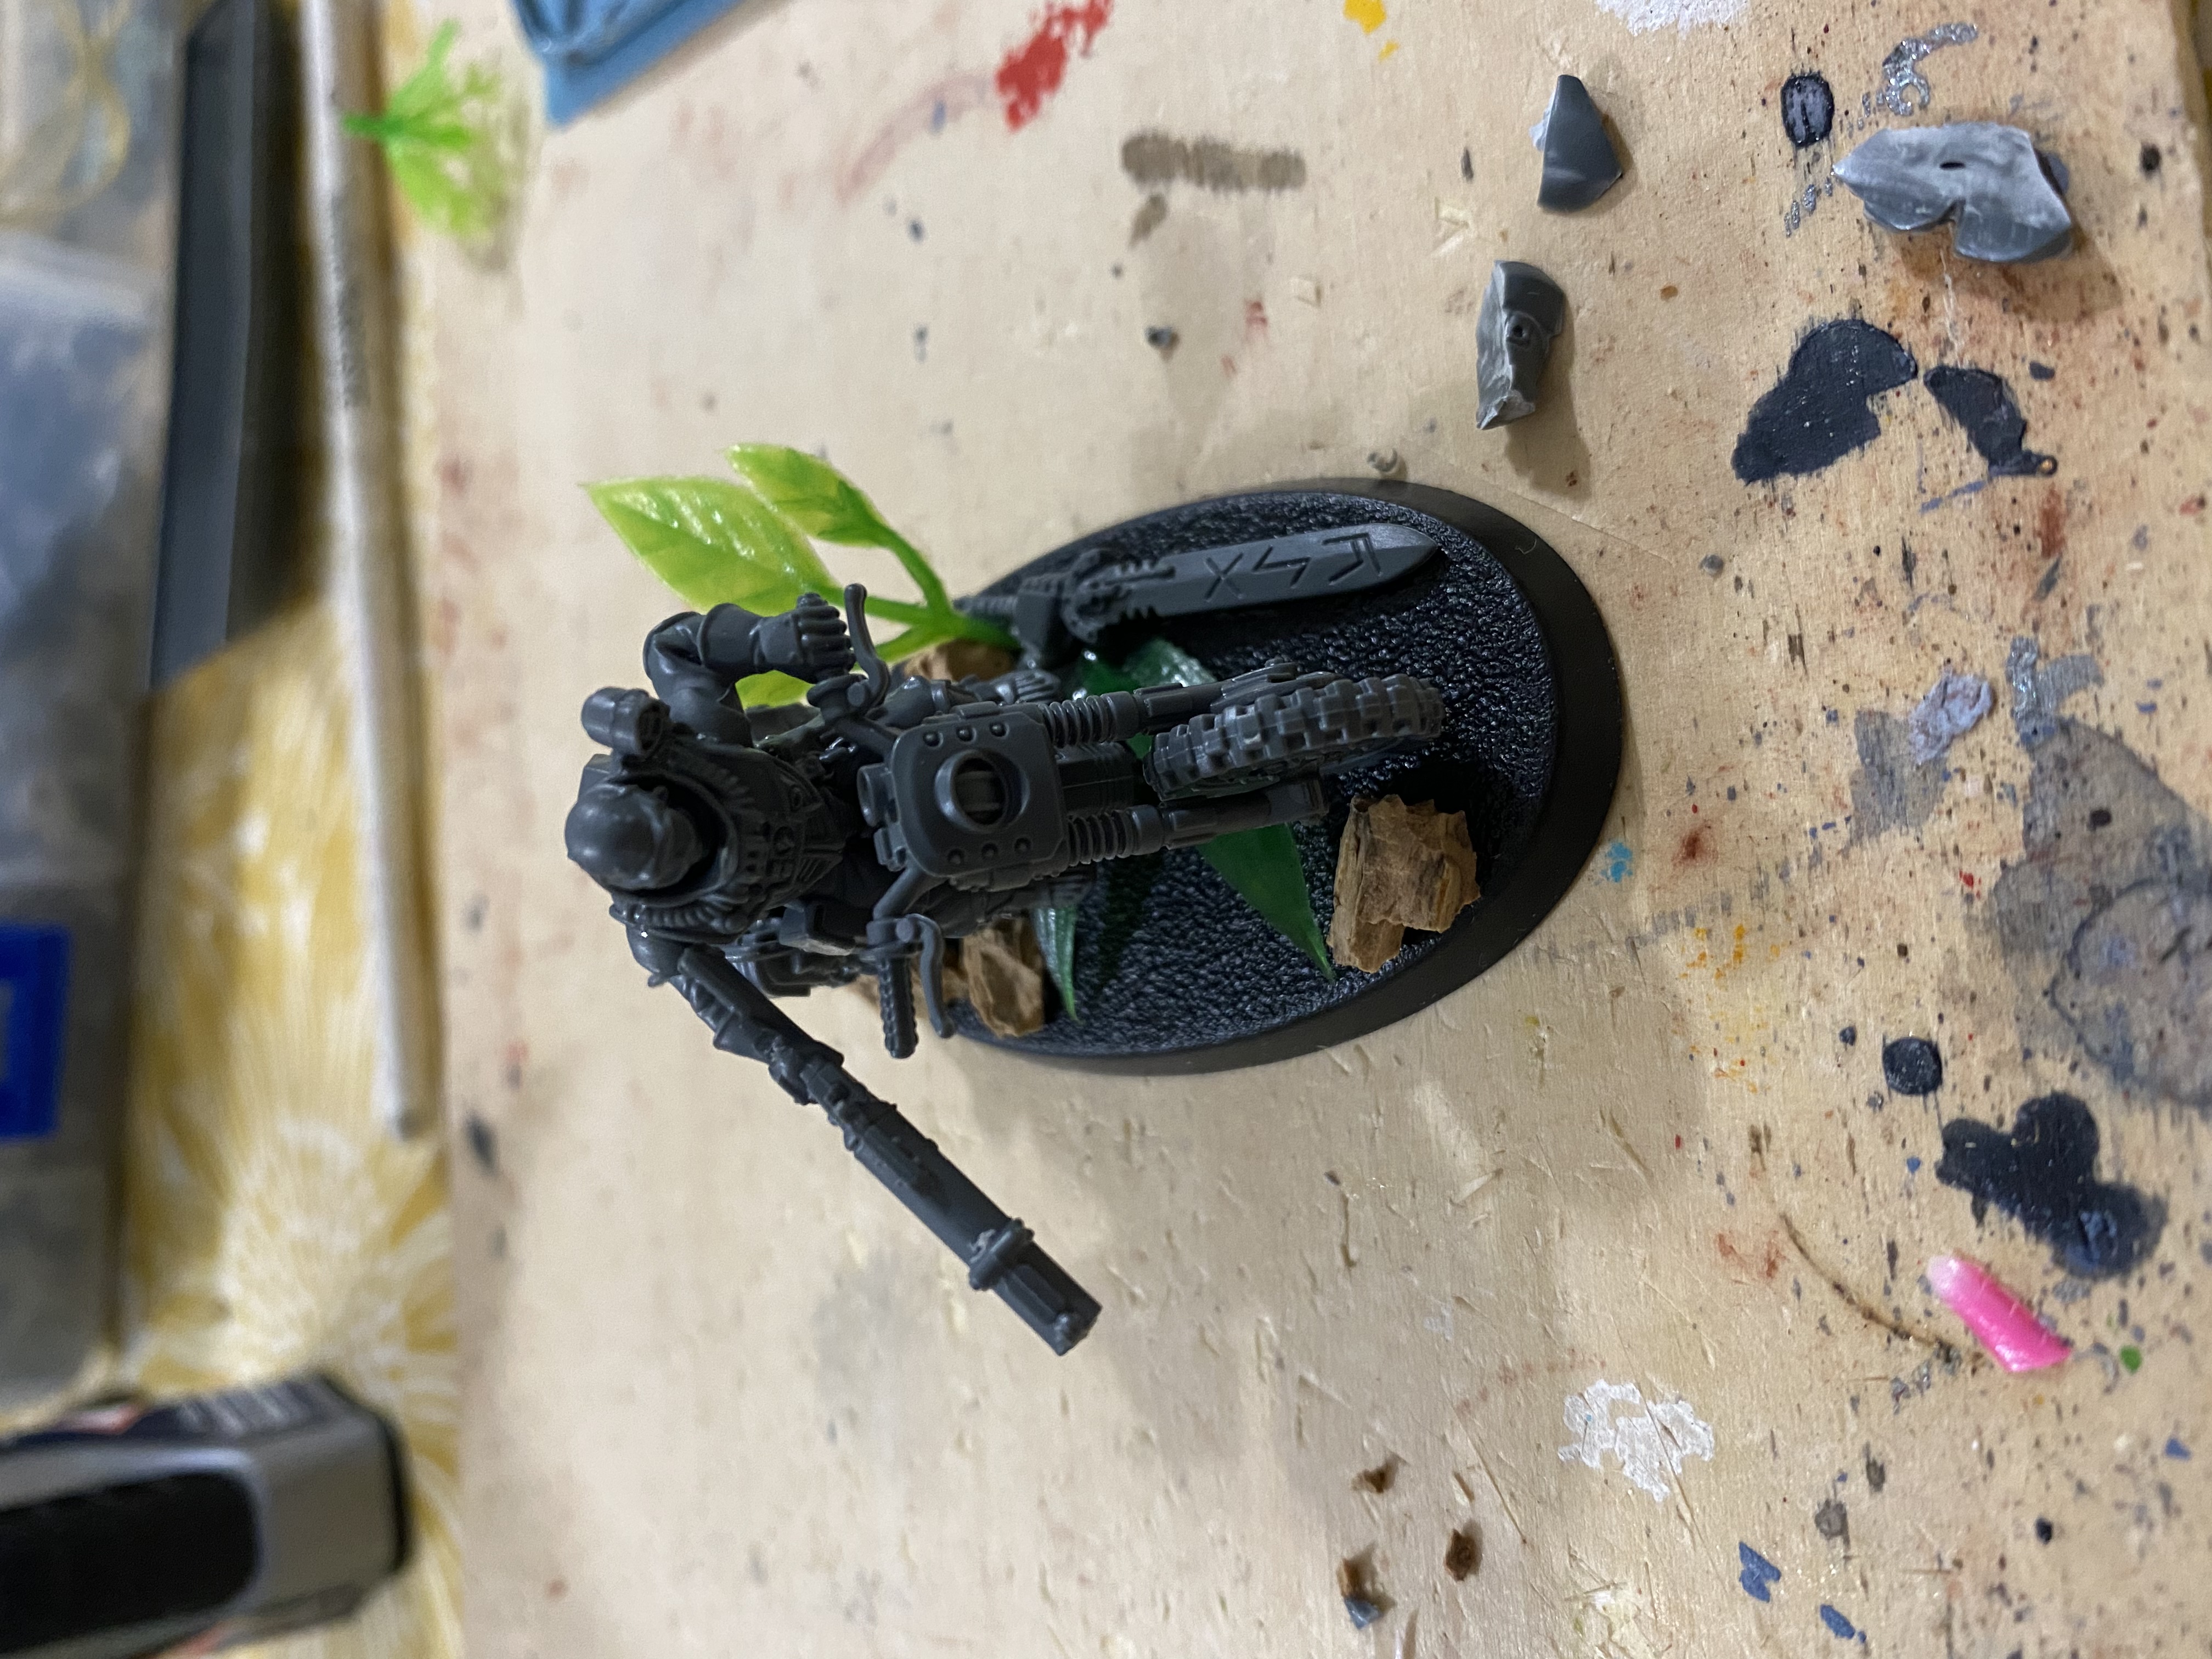
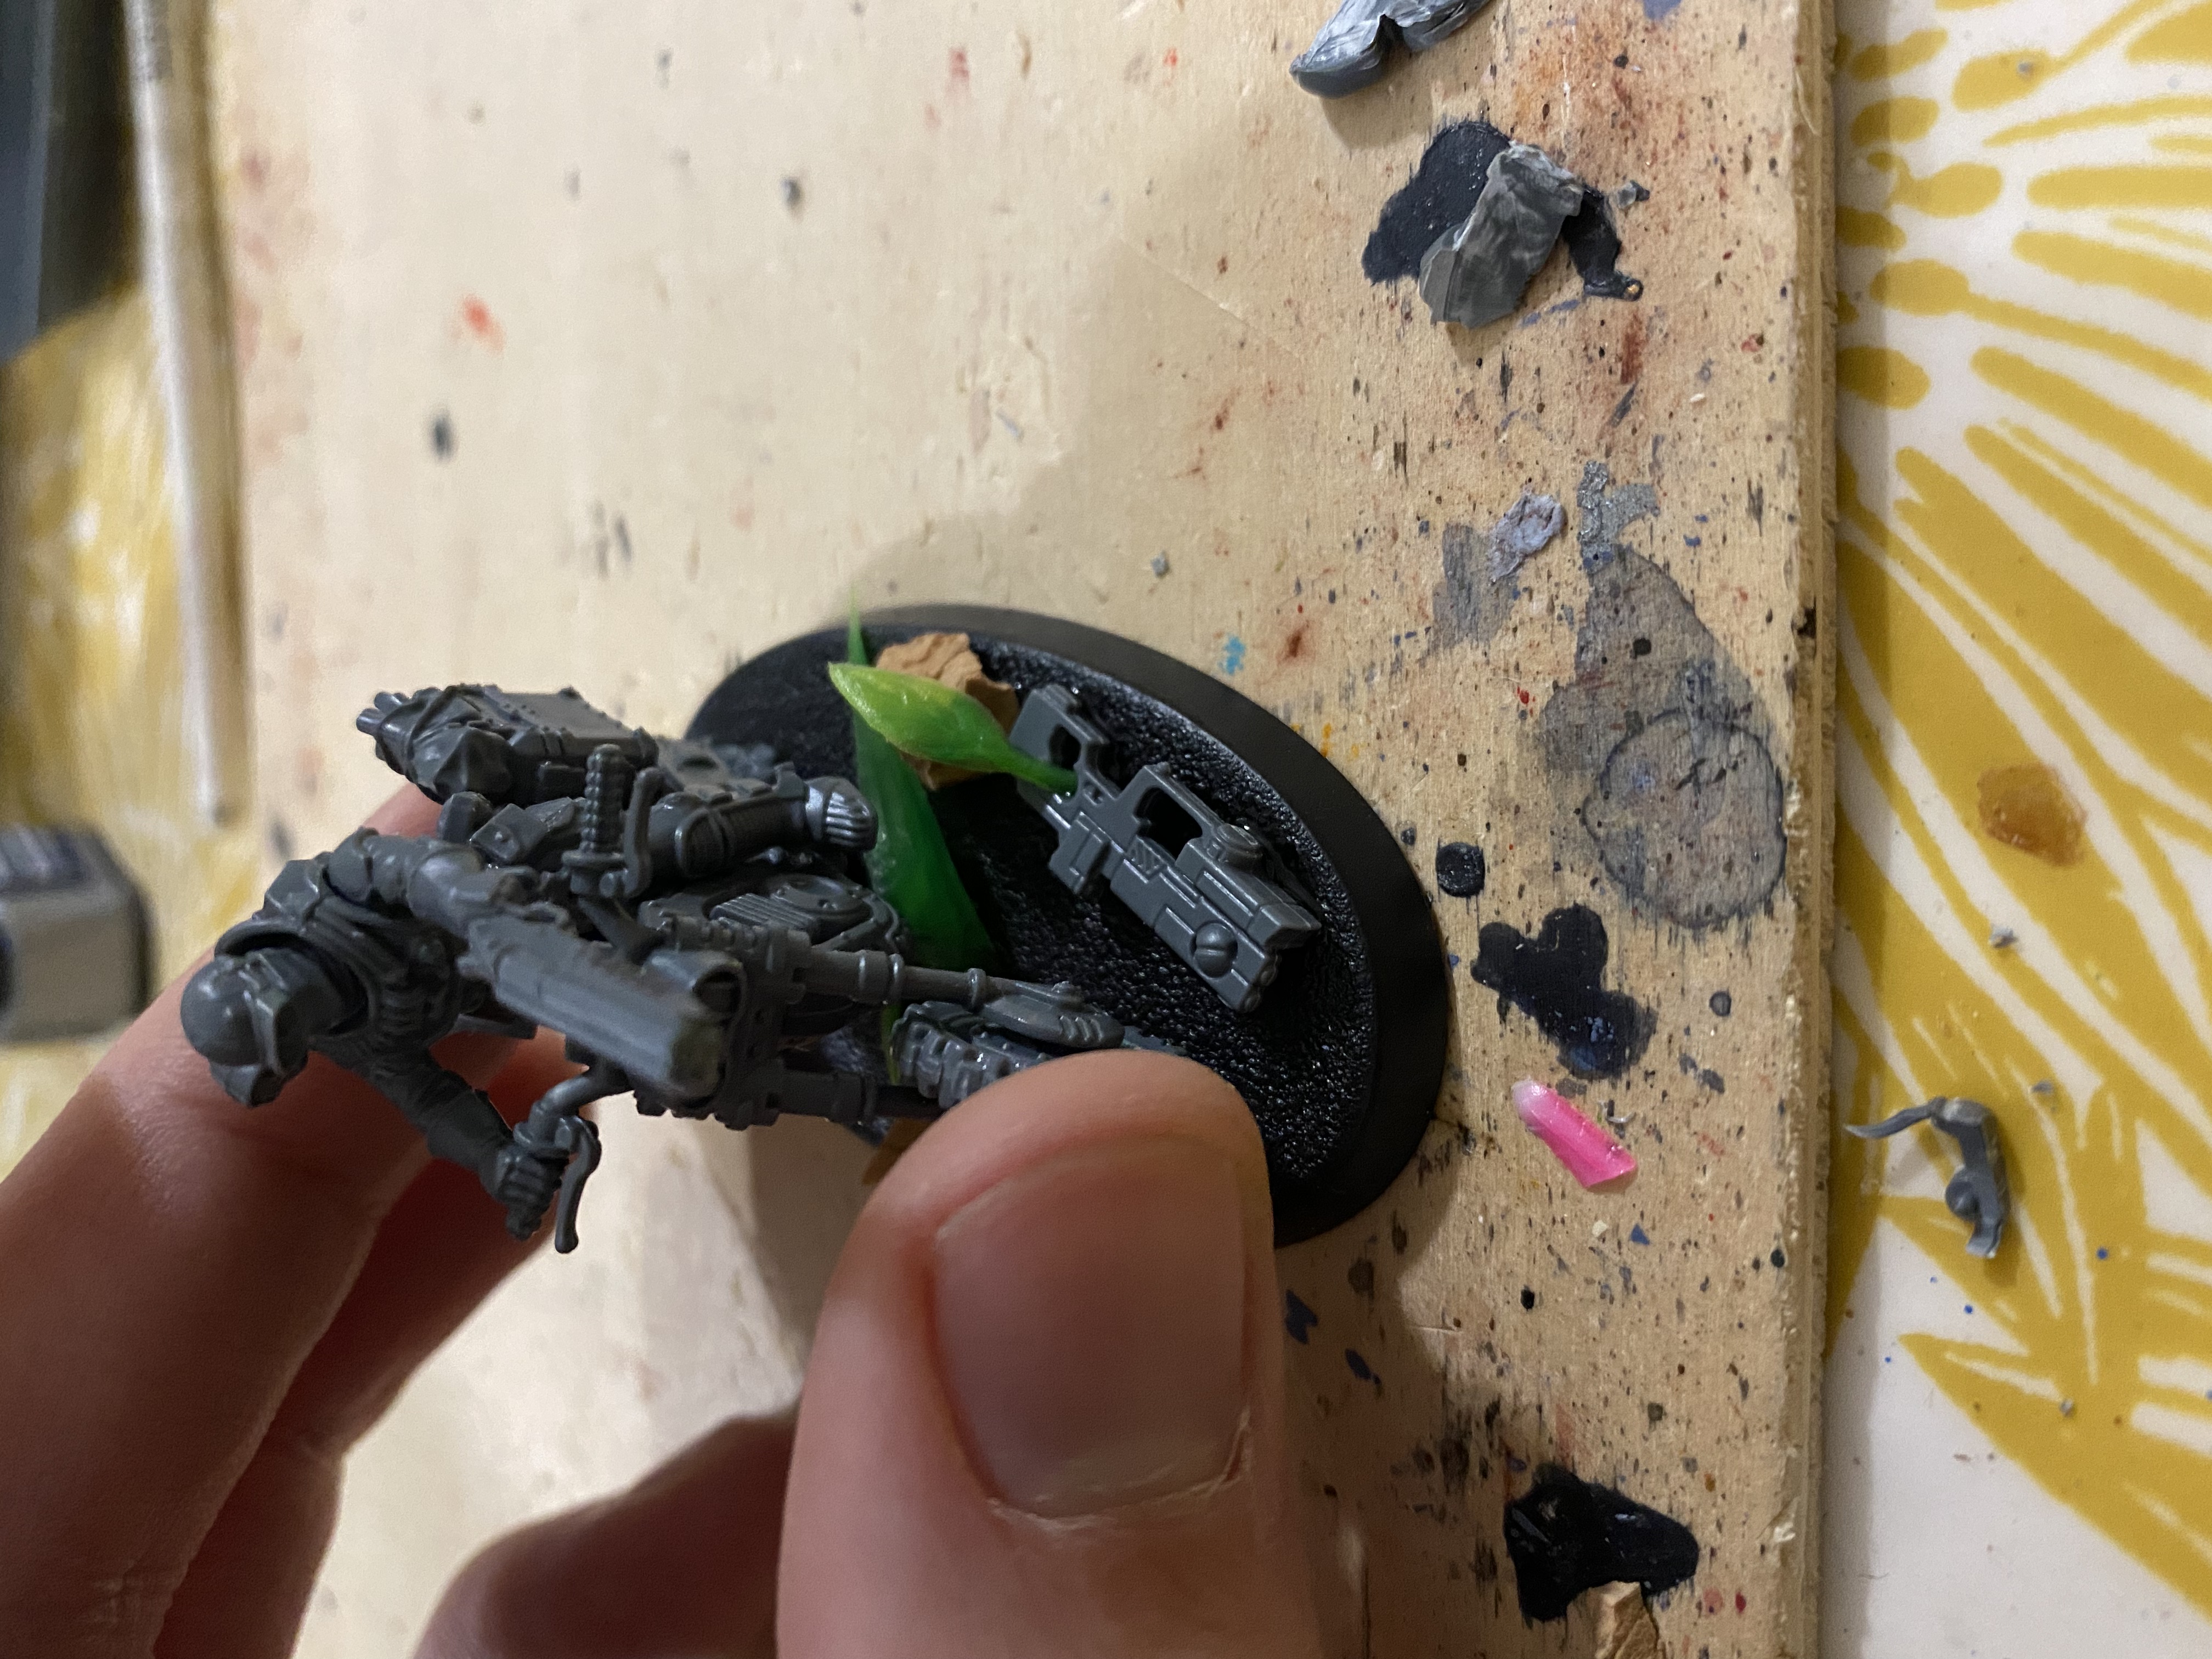
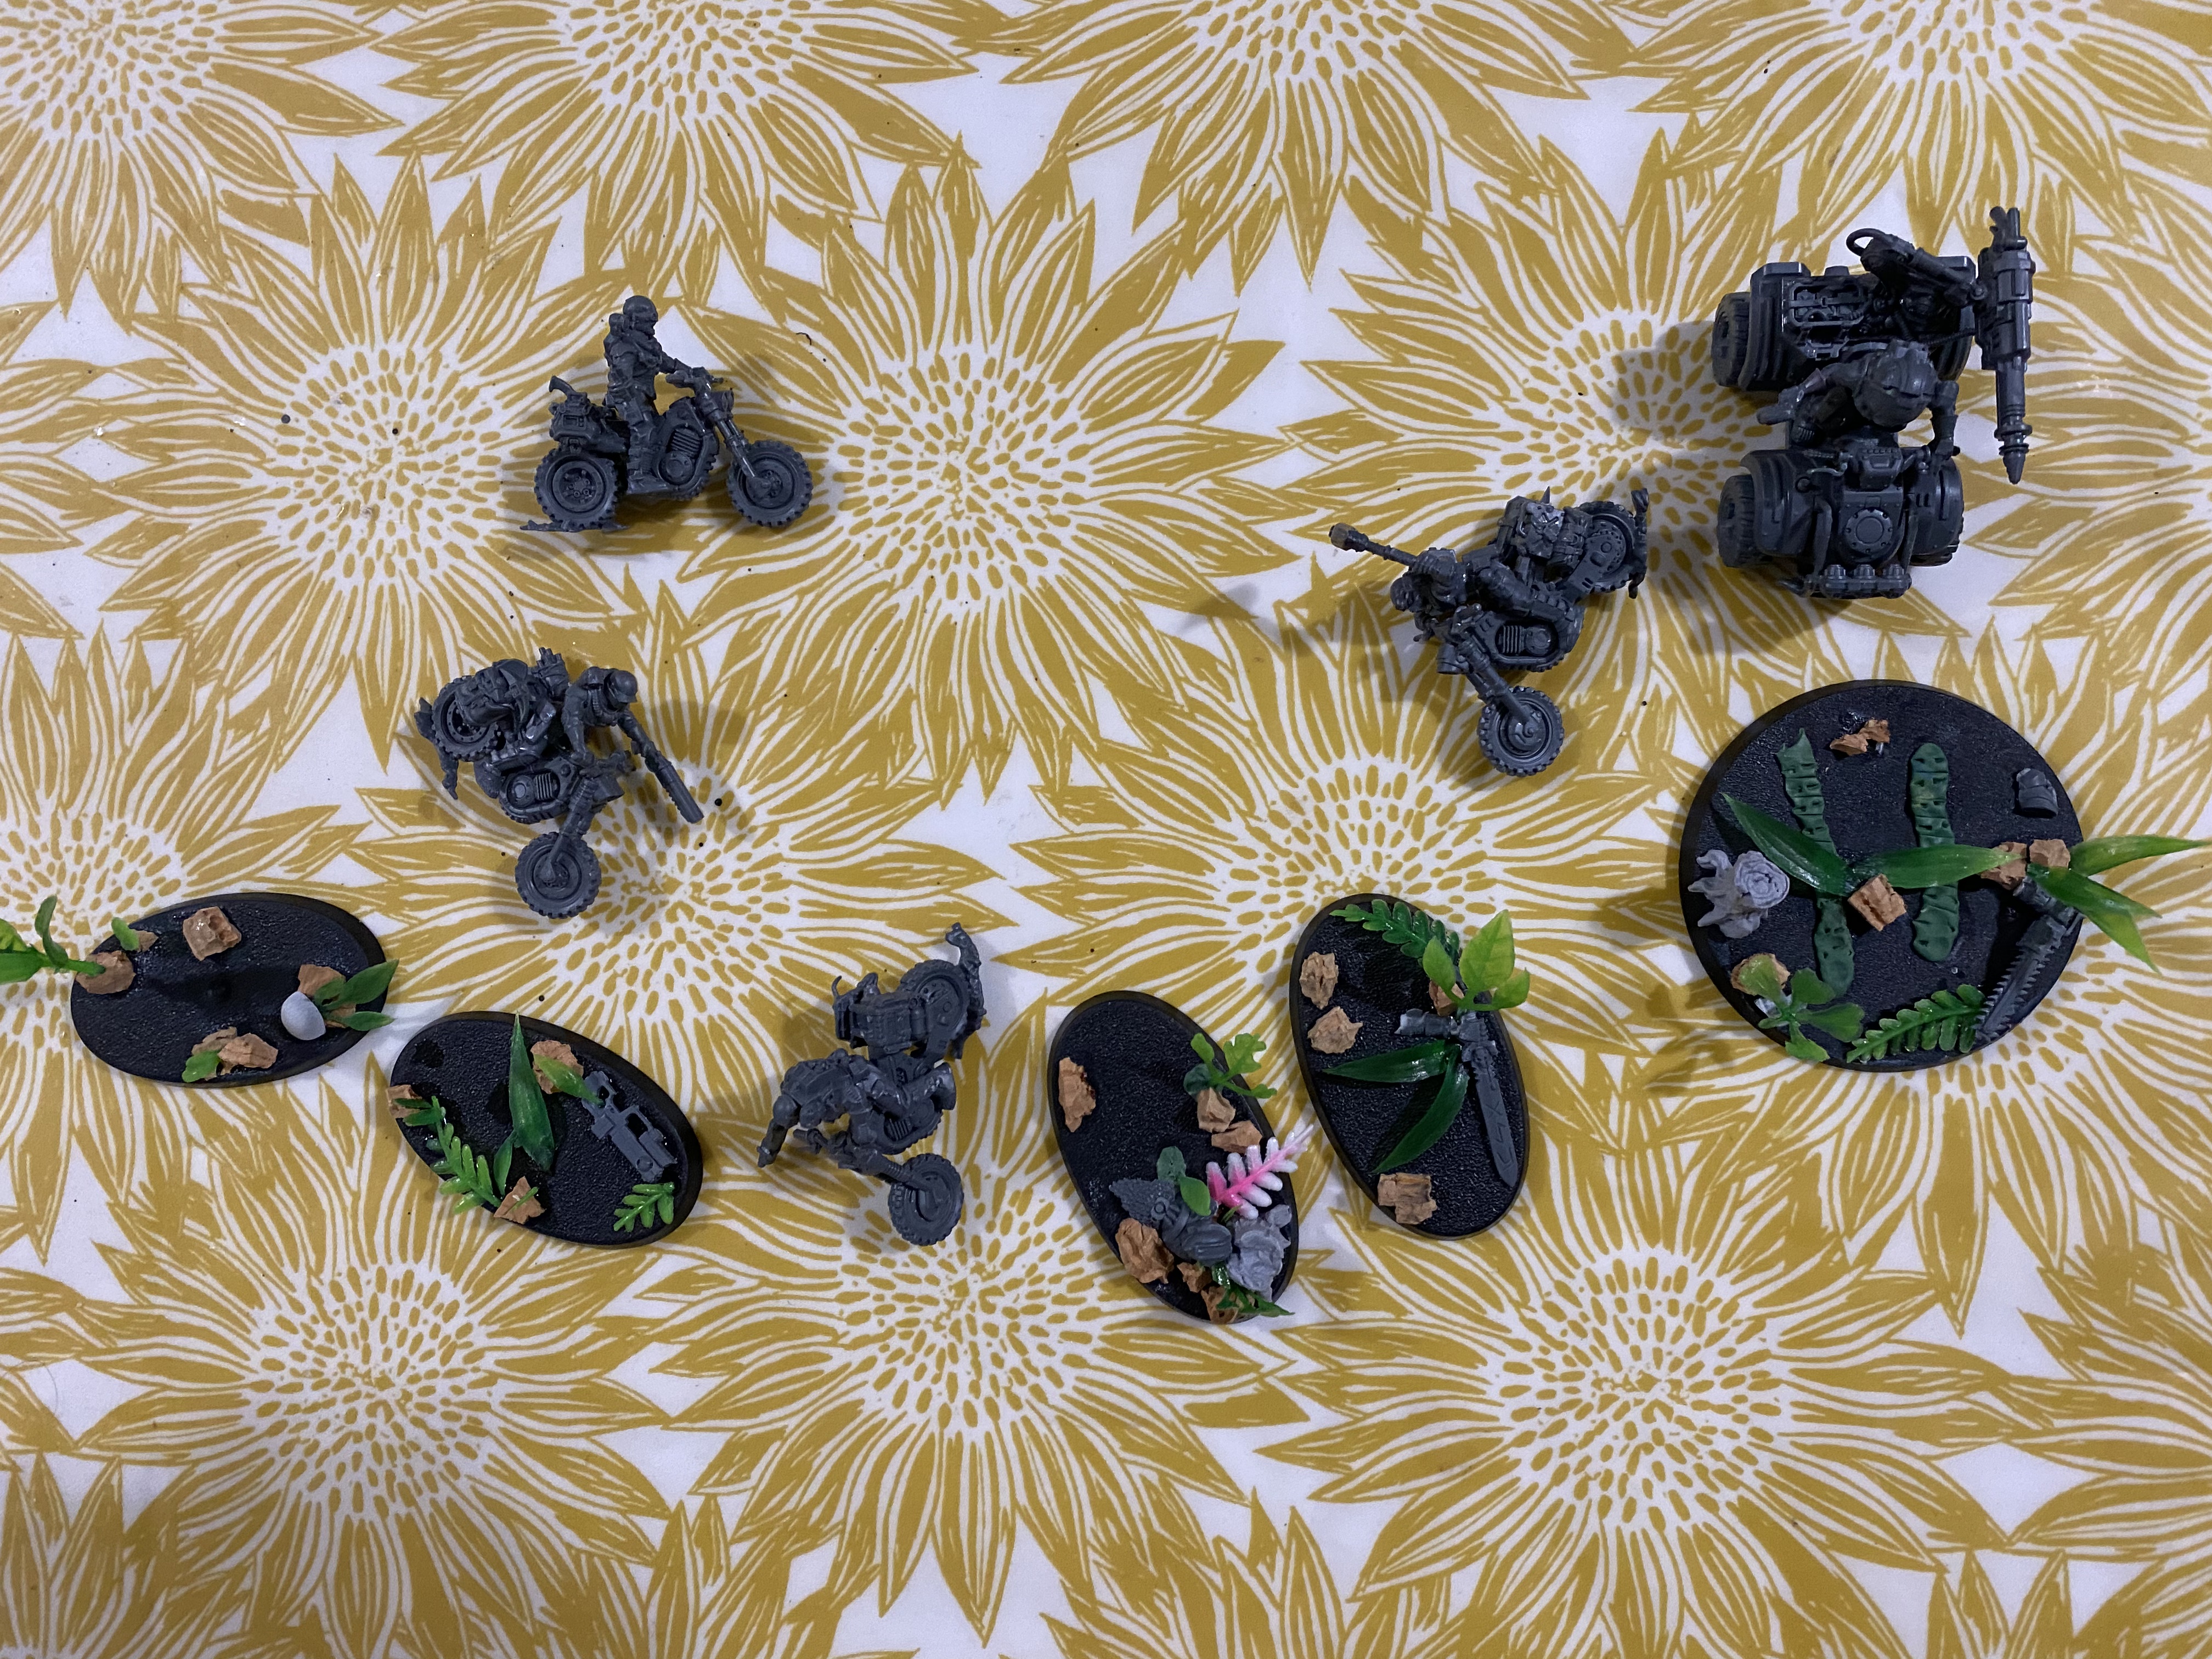
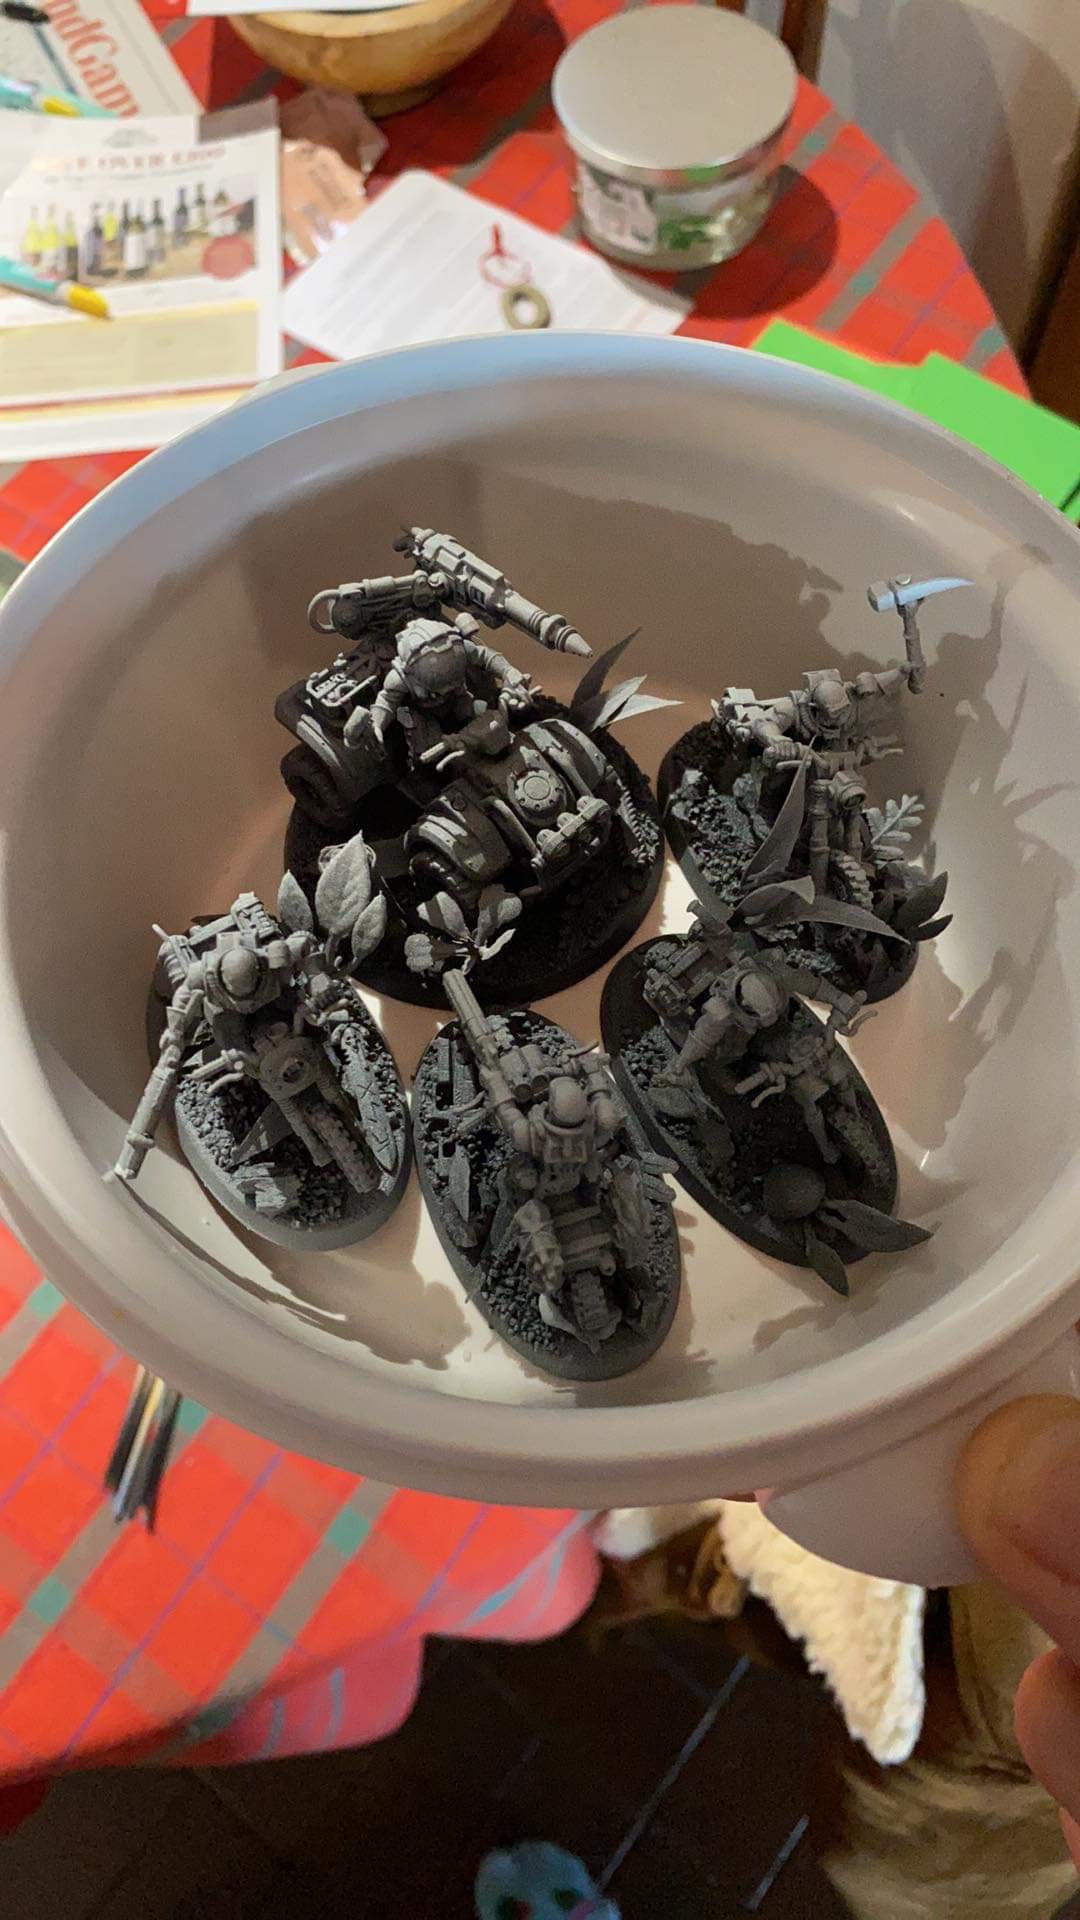
I have been so excited to start this new project. Jackals are along my favourite models in the GSC line!
Put these guys together and did my usual of
- aquarium plants
- cork
- gravel
- bits of marines
I then primed them black and highlighted from above white!
the models and bases are not glued together and the quad and driver are not glued together!
A tip from experience is to see if the models still fit while the pva is wet on the gravel and push the space about to make sure they fit flush.
Final steps
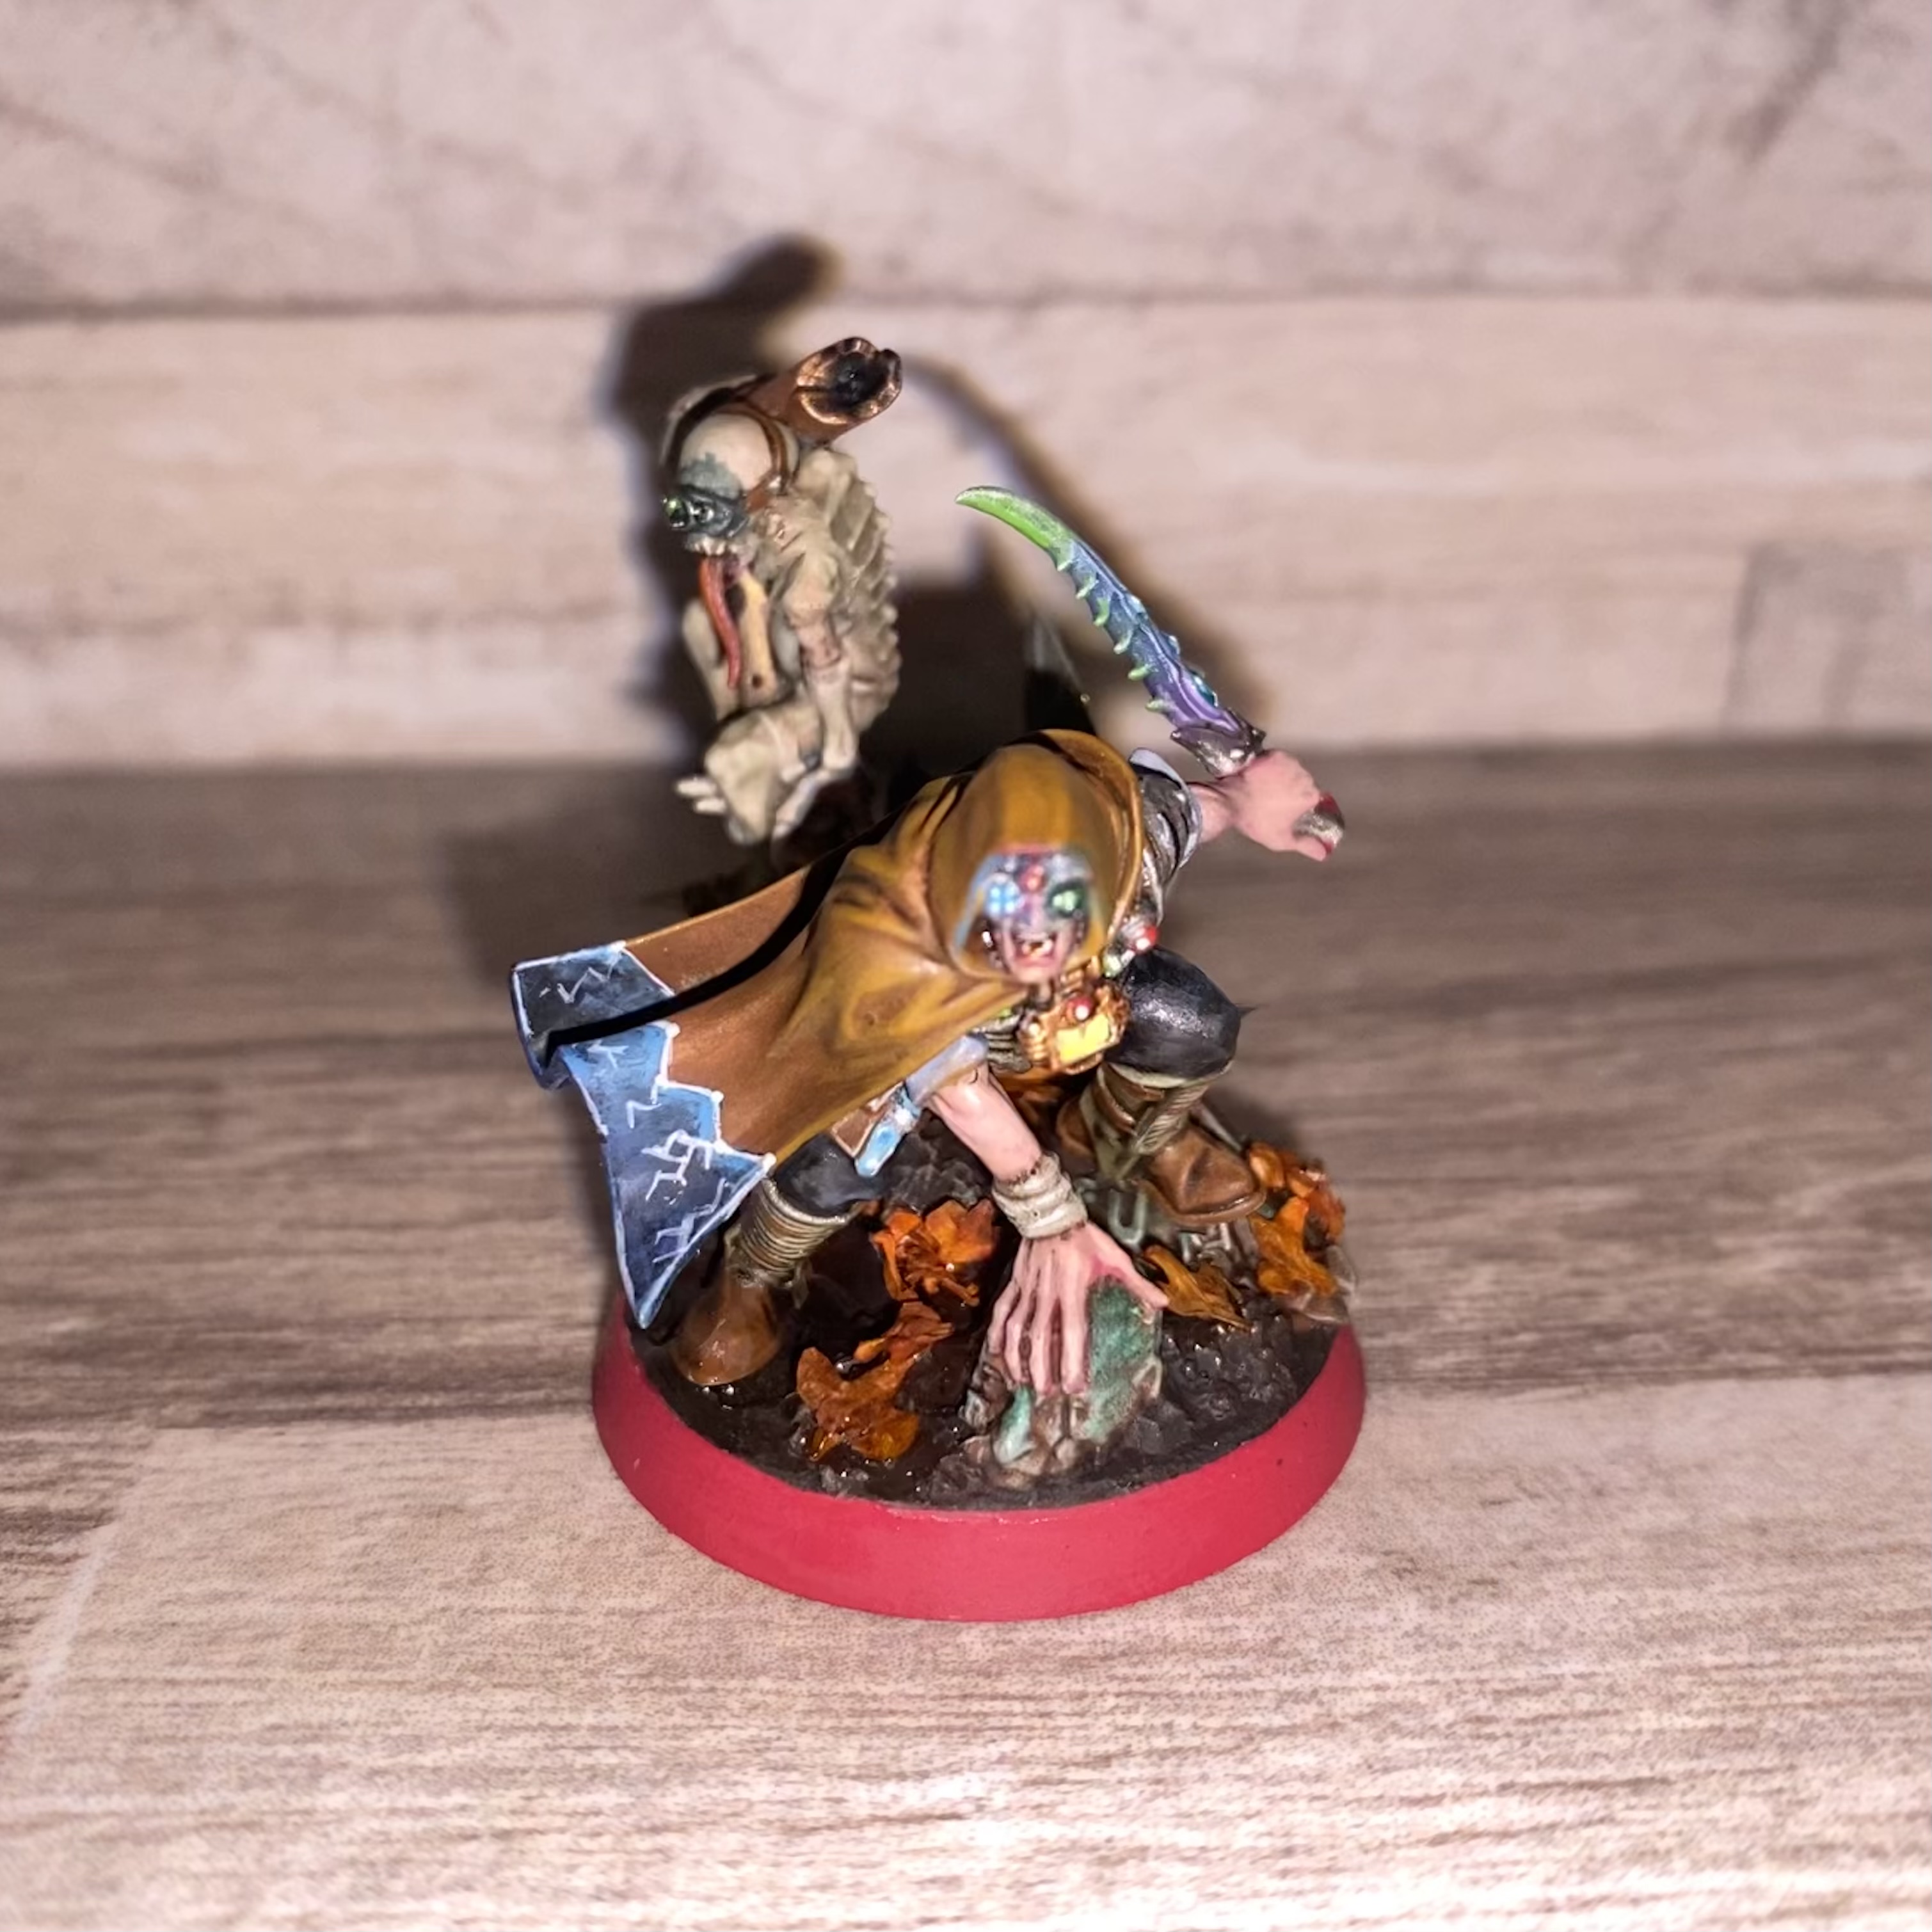
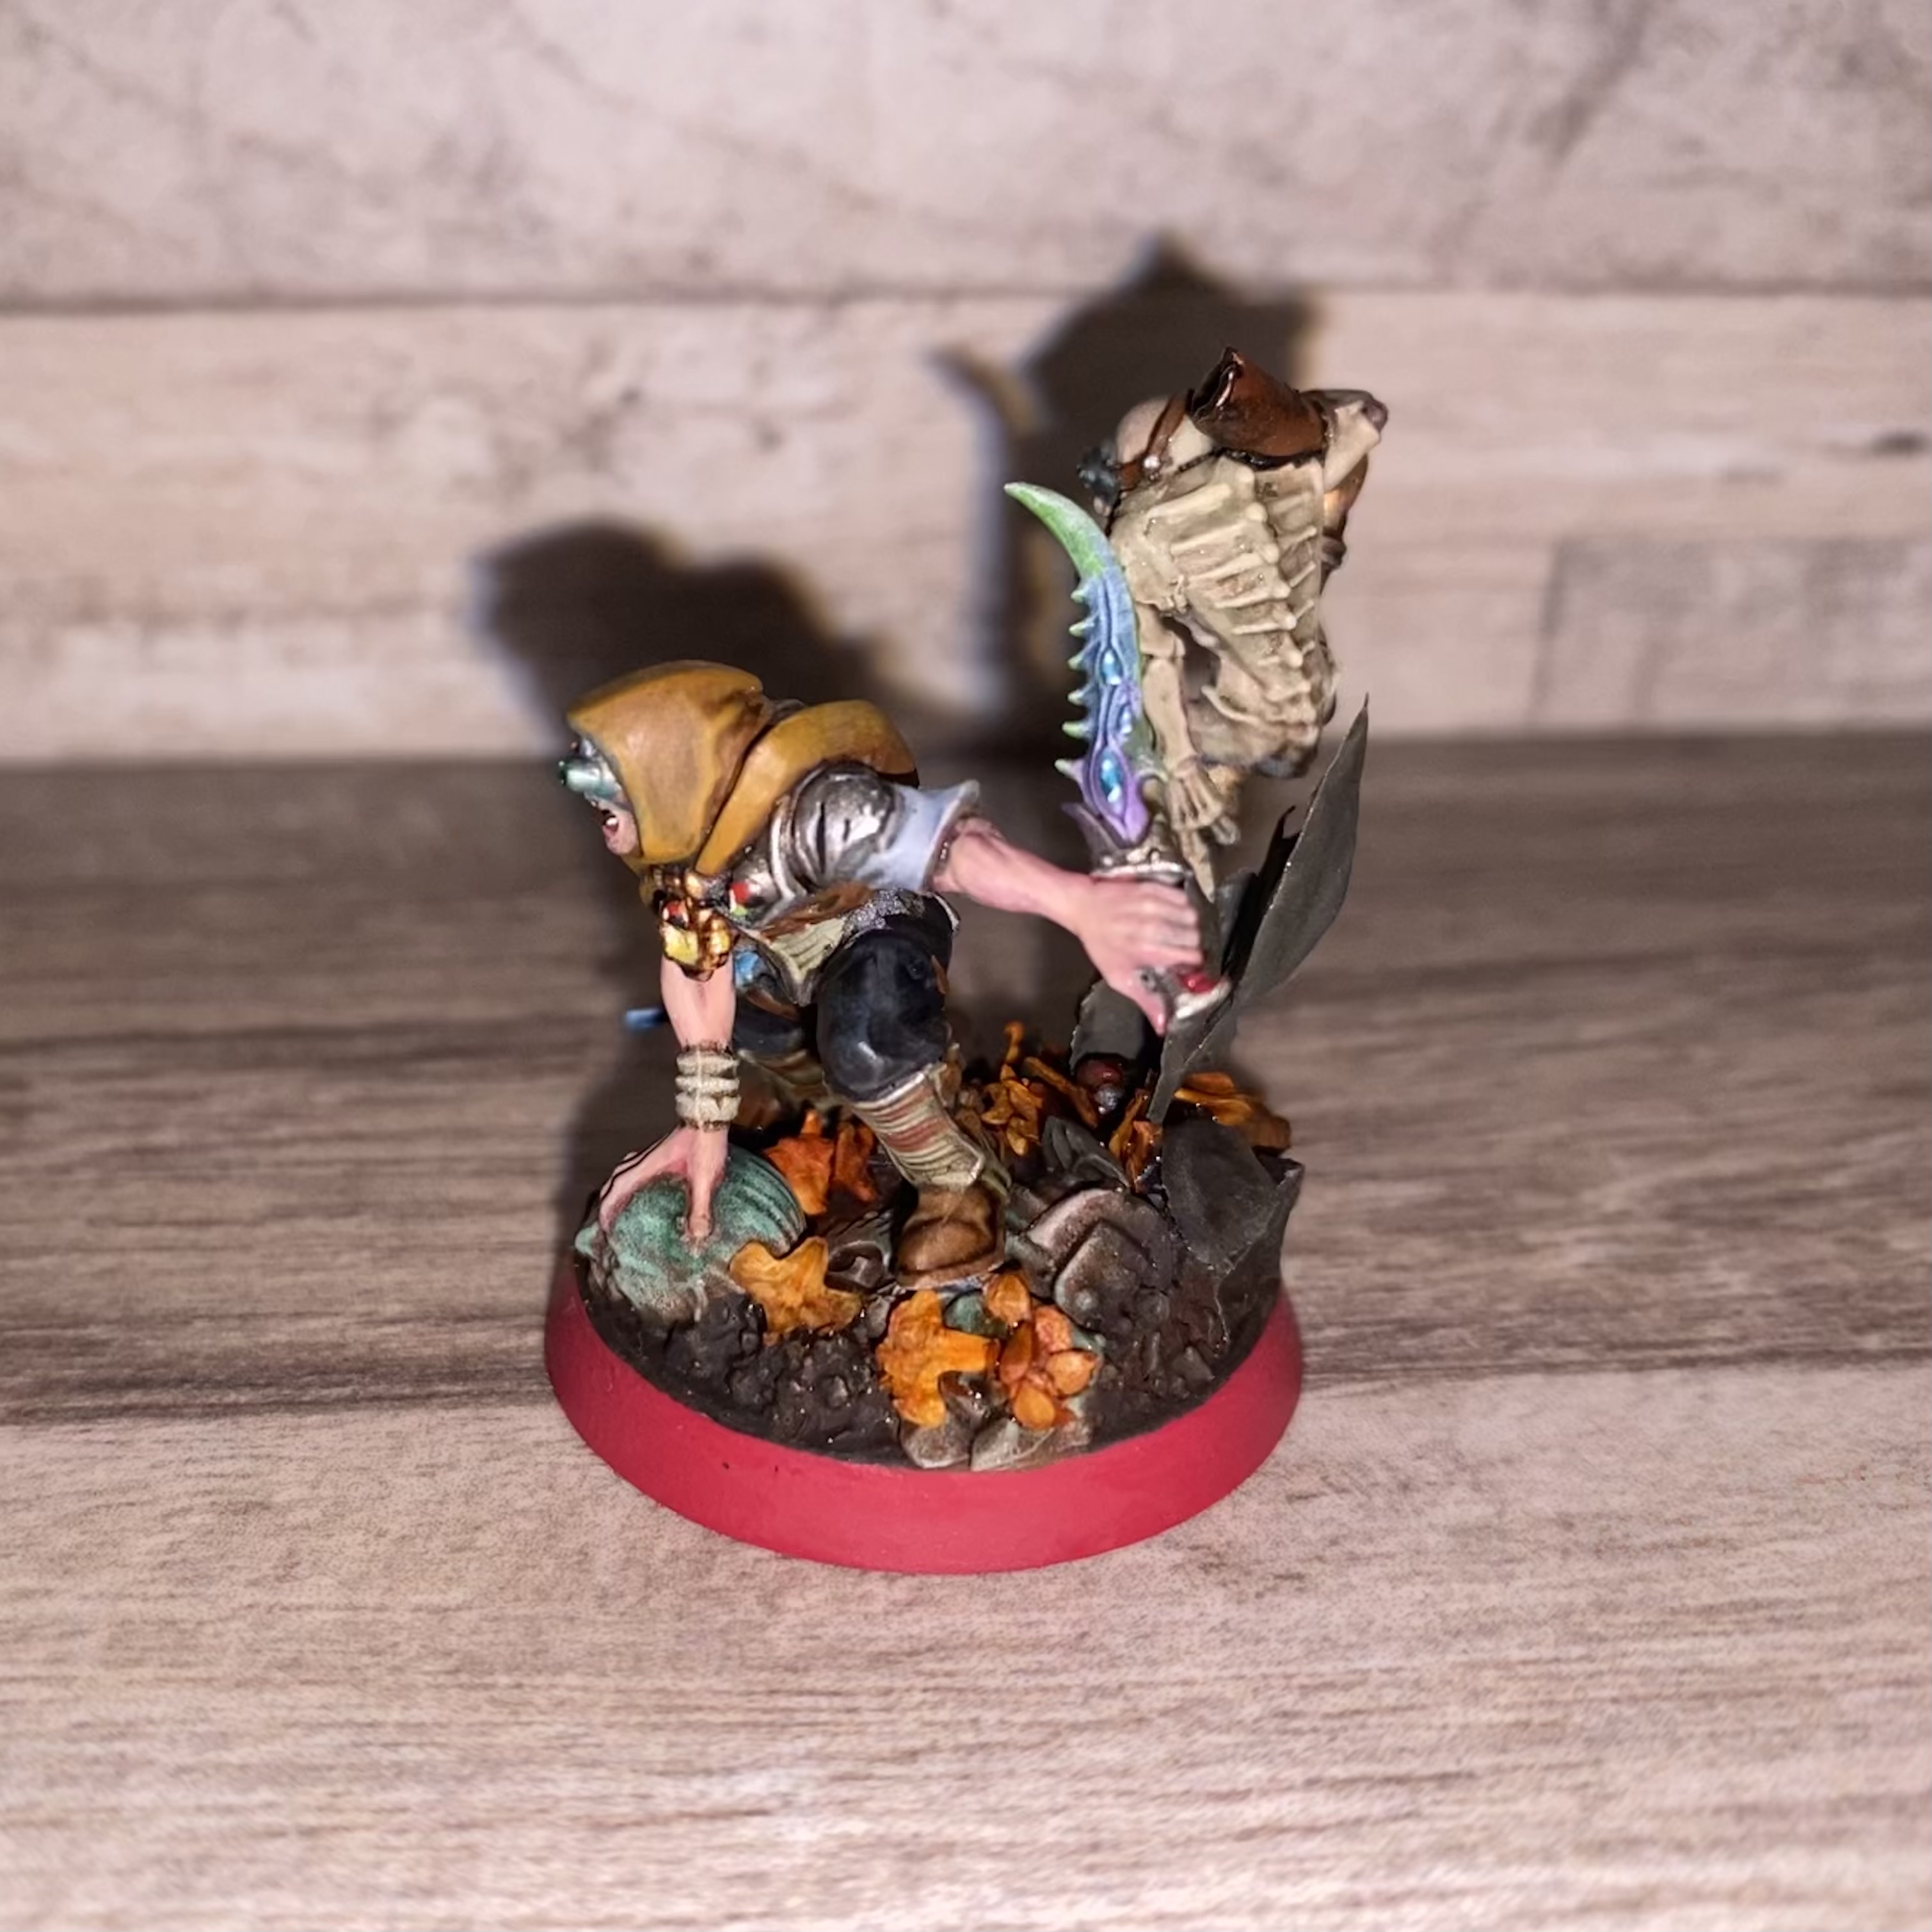
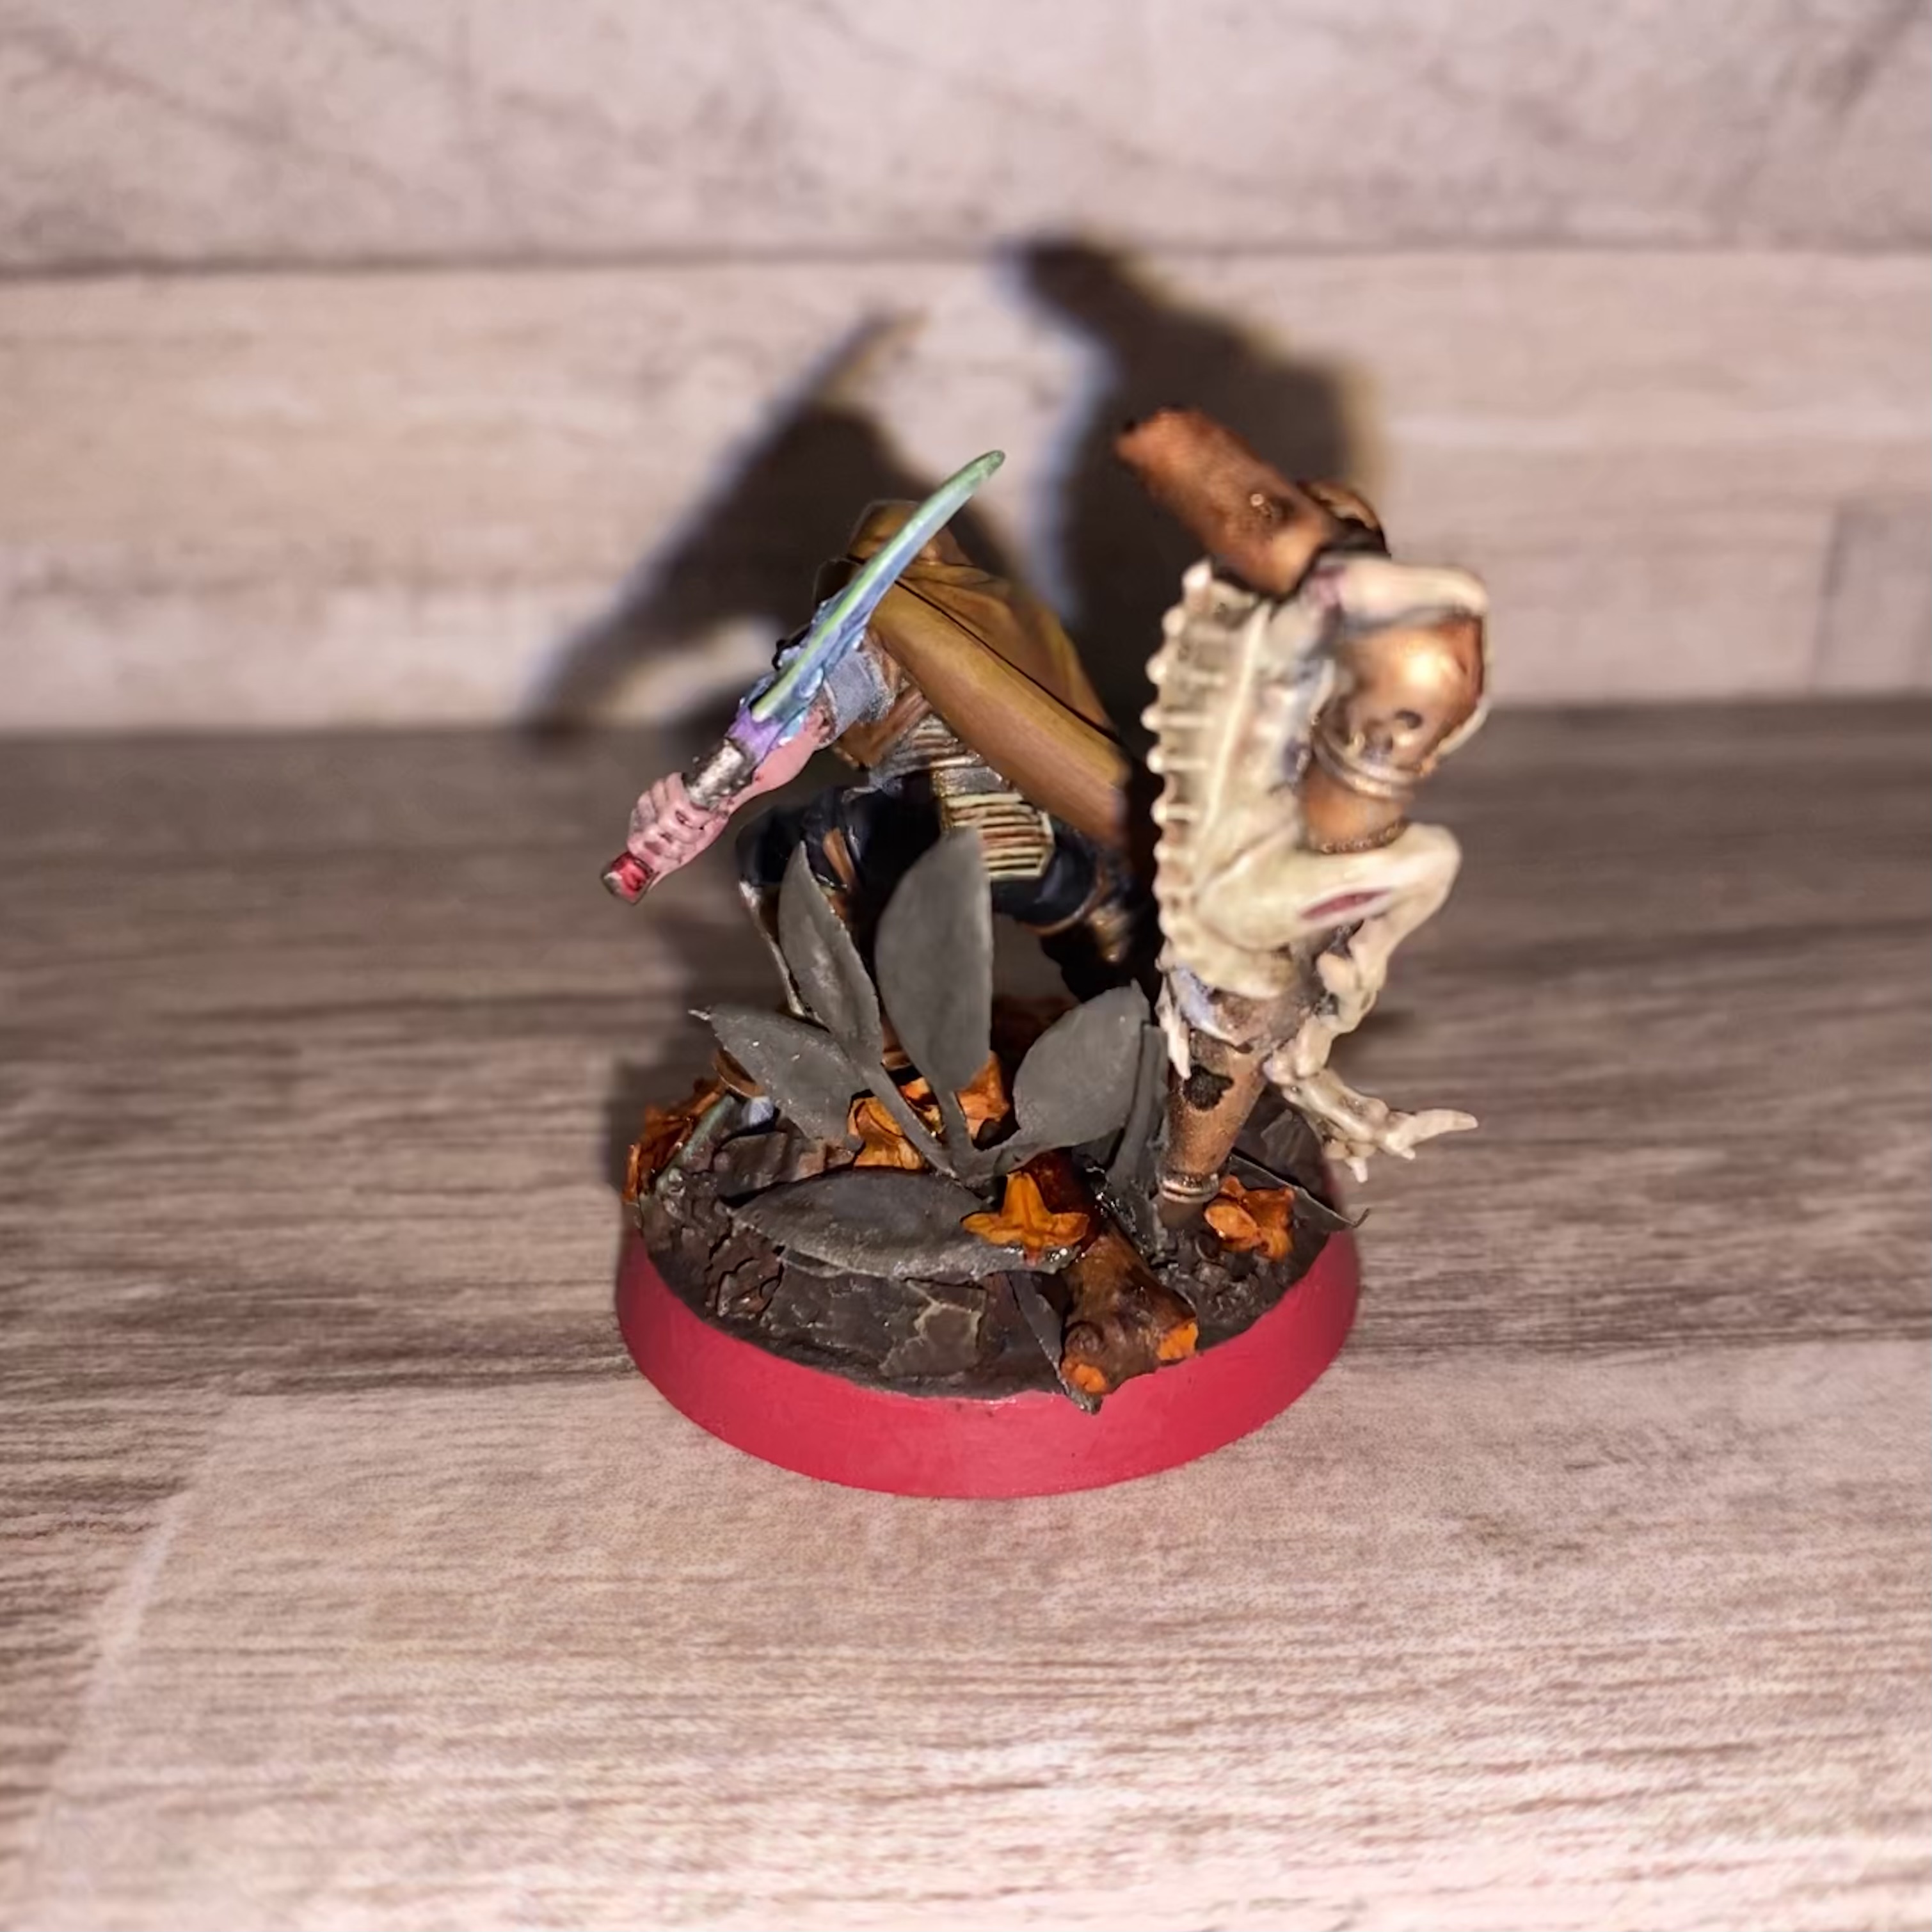
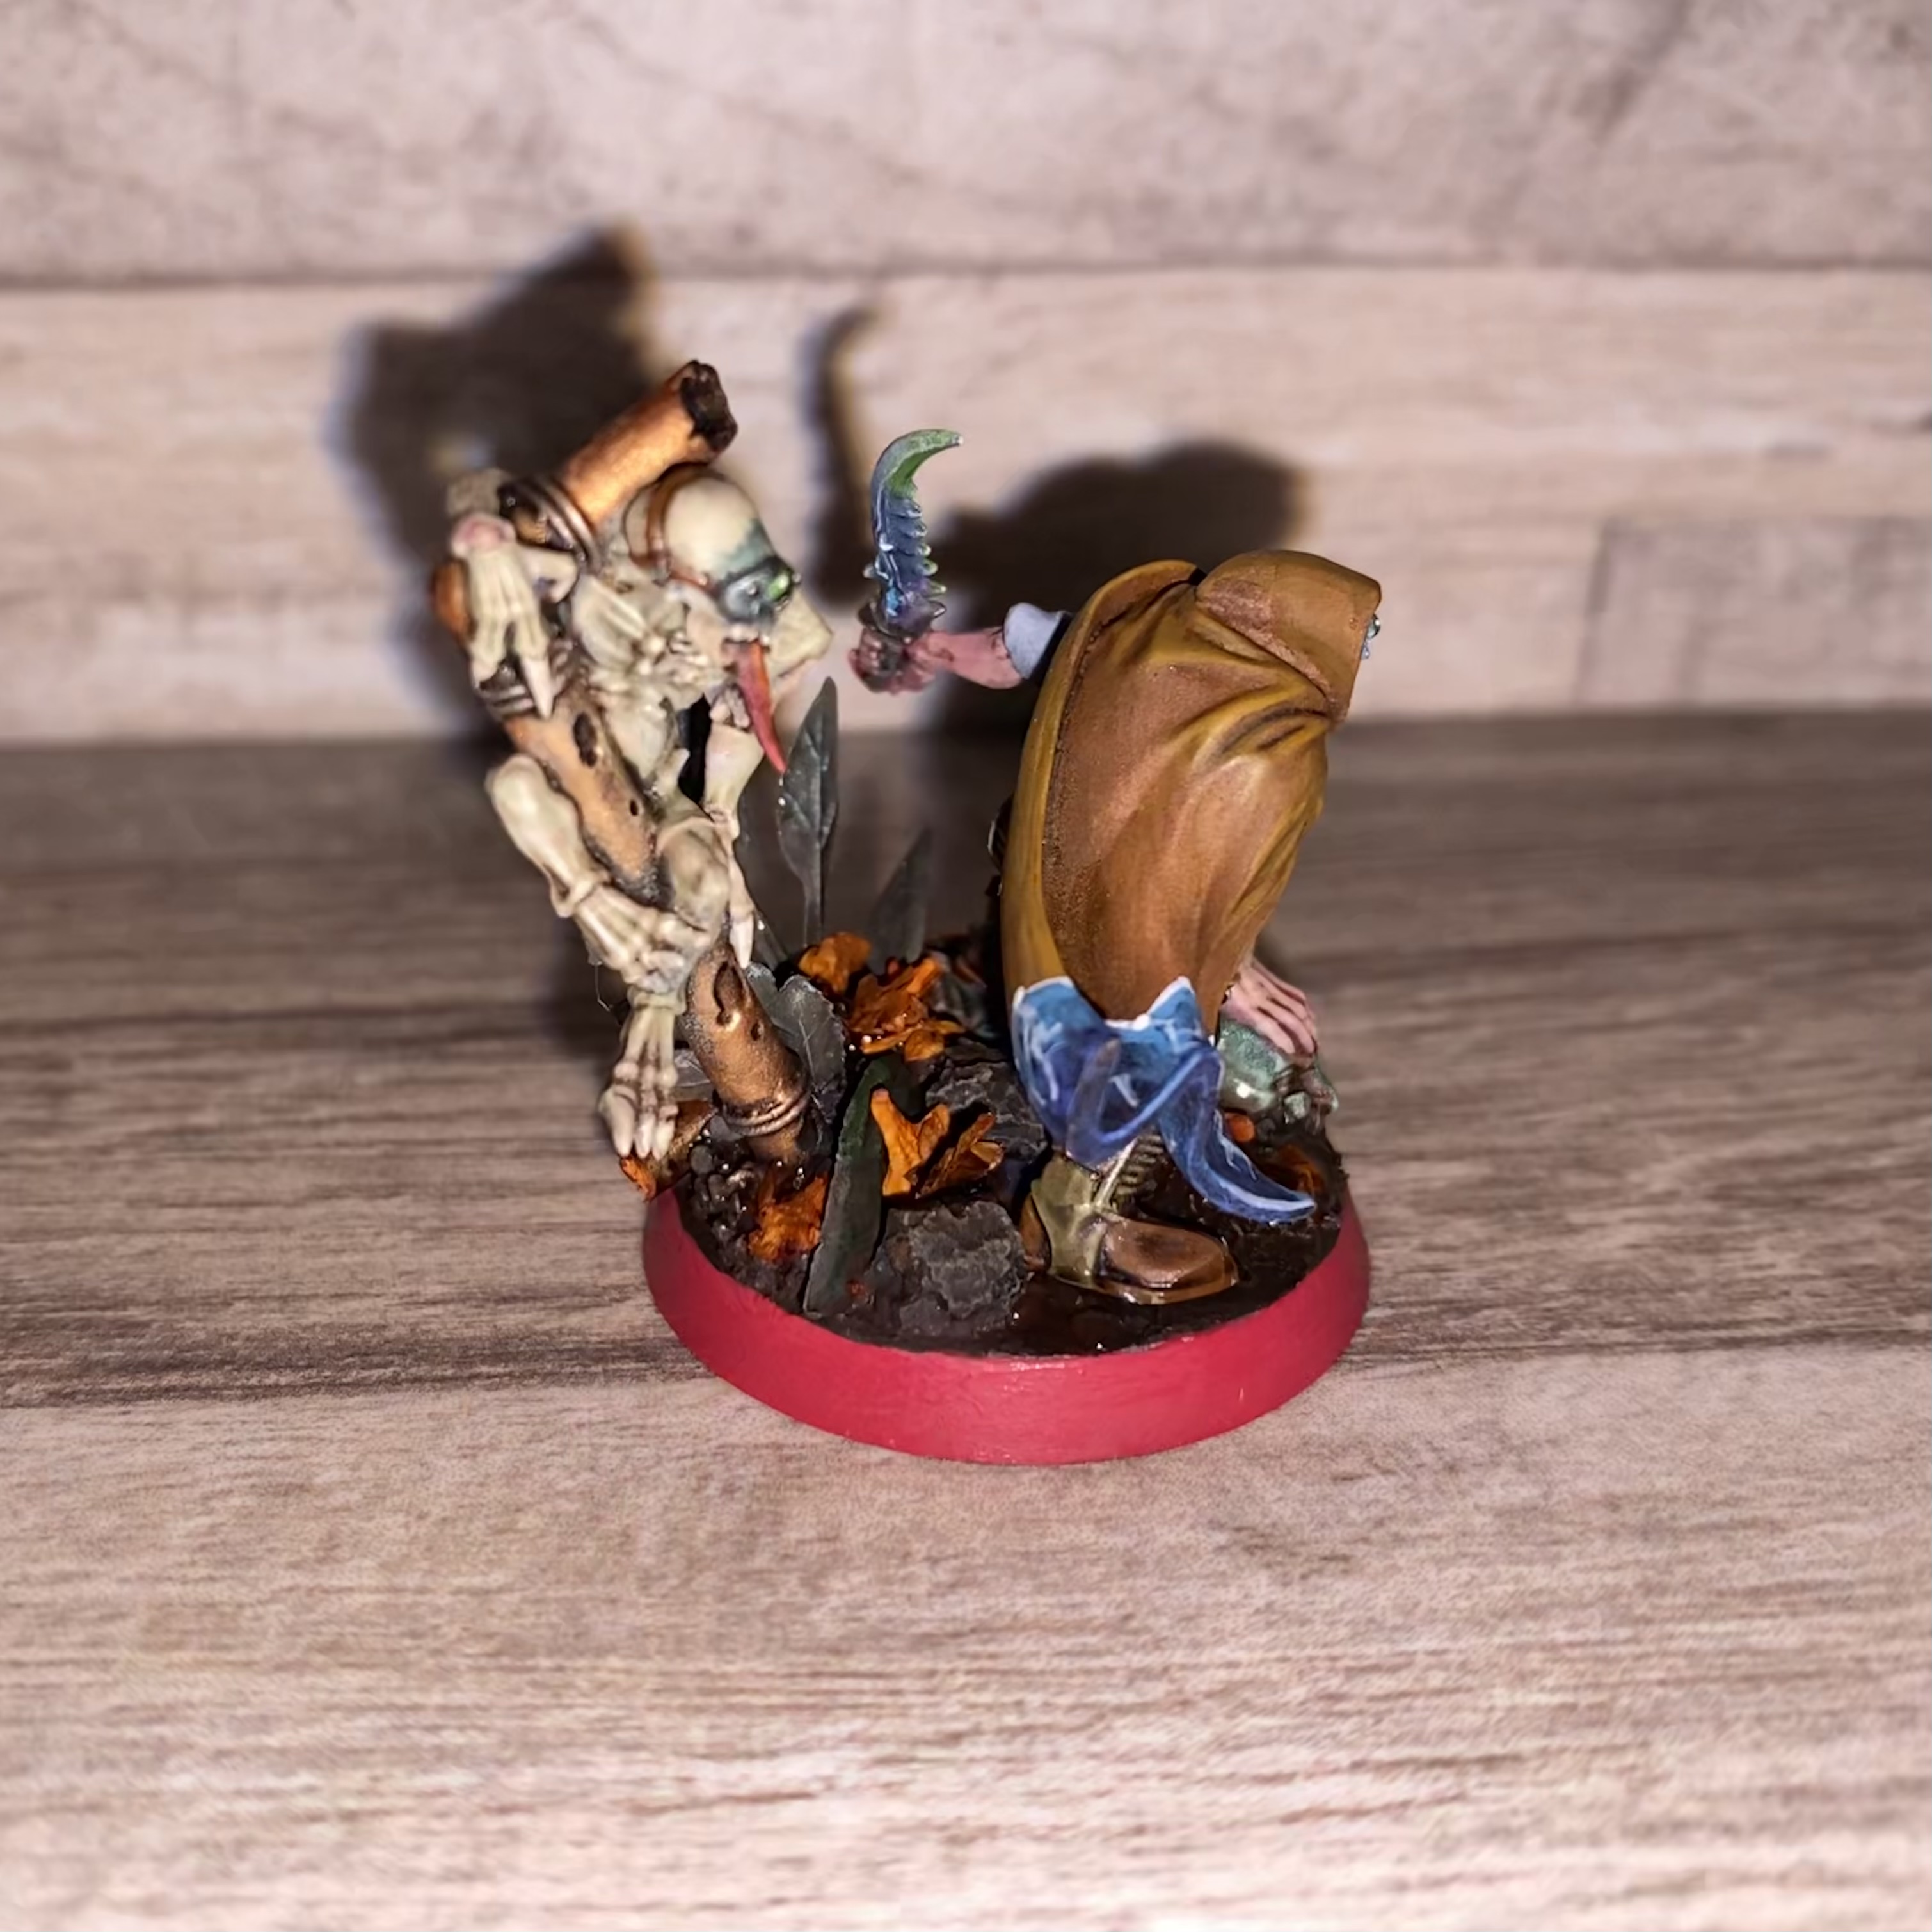
The last piece of this project included loads of steps I’m sorry that there seems like a jump.
I varnished the Sanctus model with a Vallejo Matt varnish after a few final touch ups.
Then to finish the model base added some Green stuff mud texture along with brown pigment.
After it dried I then stuck the Sanctus on with superglue and coloured in the base a beautiful red. Then varnish time again.
Then final final step included using some green stuff leaves and Green stuff UV resin as well as my partners Uv lamp for her nails. I recommend doing a wee bit at a time and putting it under the lamp for 30 seconds so it can dry and not run over the base (it looks super messy I learned the hard way on another model). As I was applying UV resin to the base I added the Green stuff leaves. The pictures show the final result.
I’m happy with how it turned out and to me it’s about an 8/10 for how I envisaged it turning out. I like the mixture of wet and Matt look on the model giving the impression of an assassin that’s popped out of cover to a jungle/ swamp landscape. Let me know what you think!
More painting
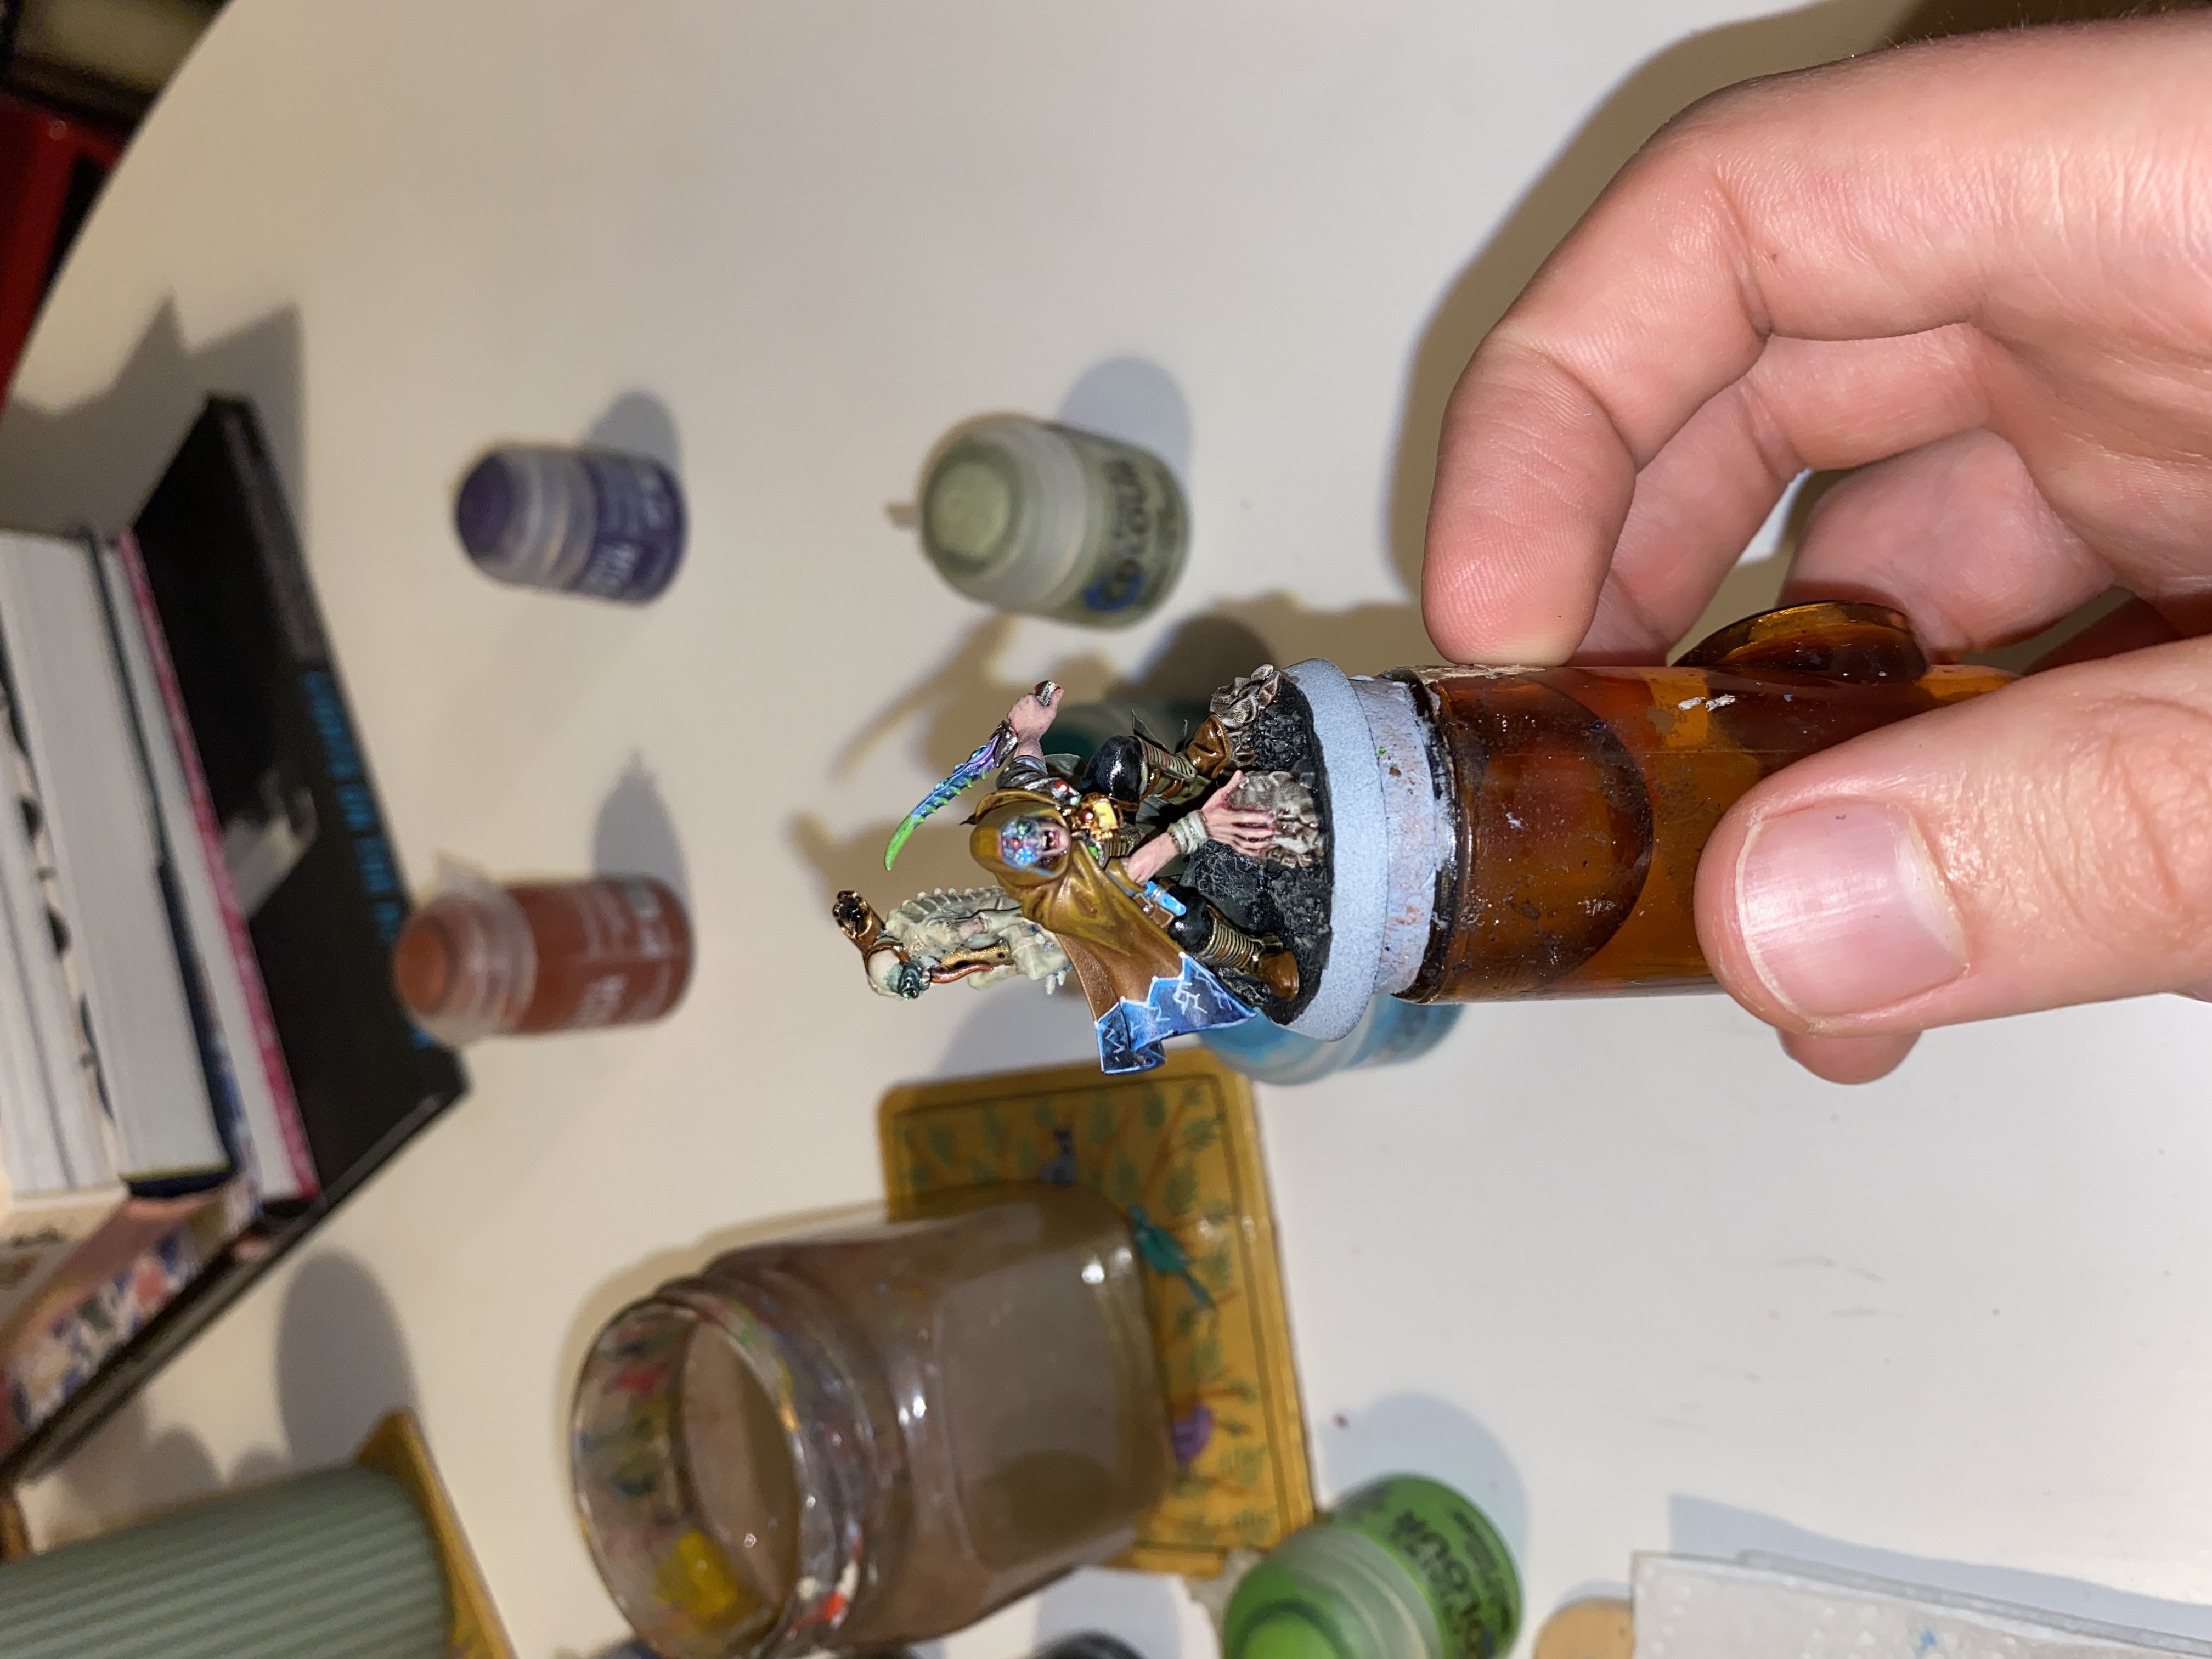
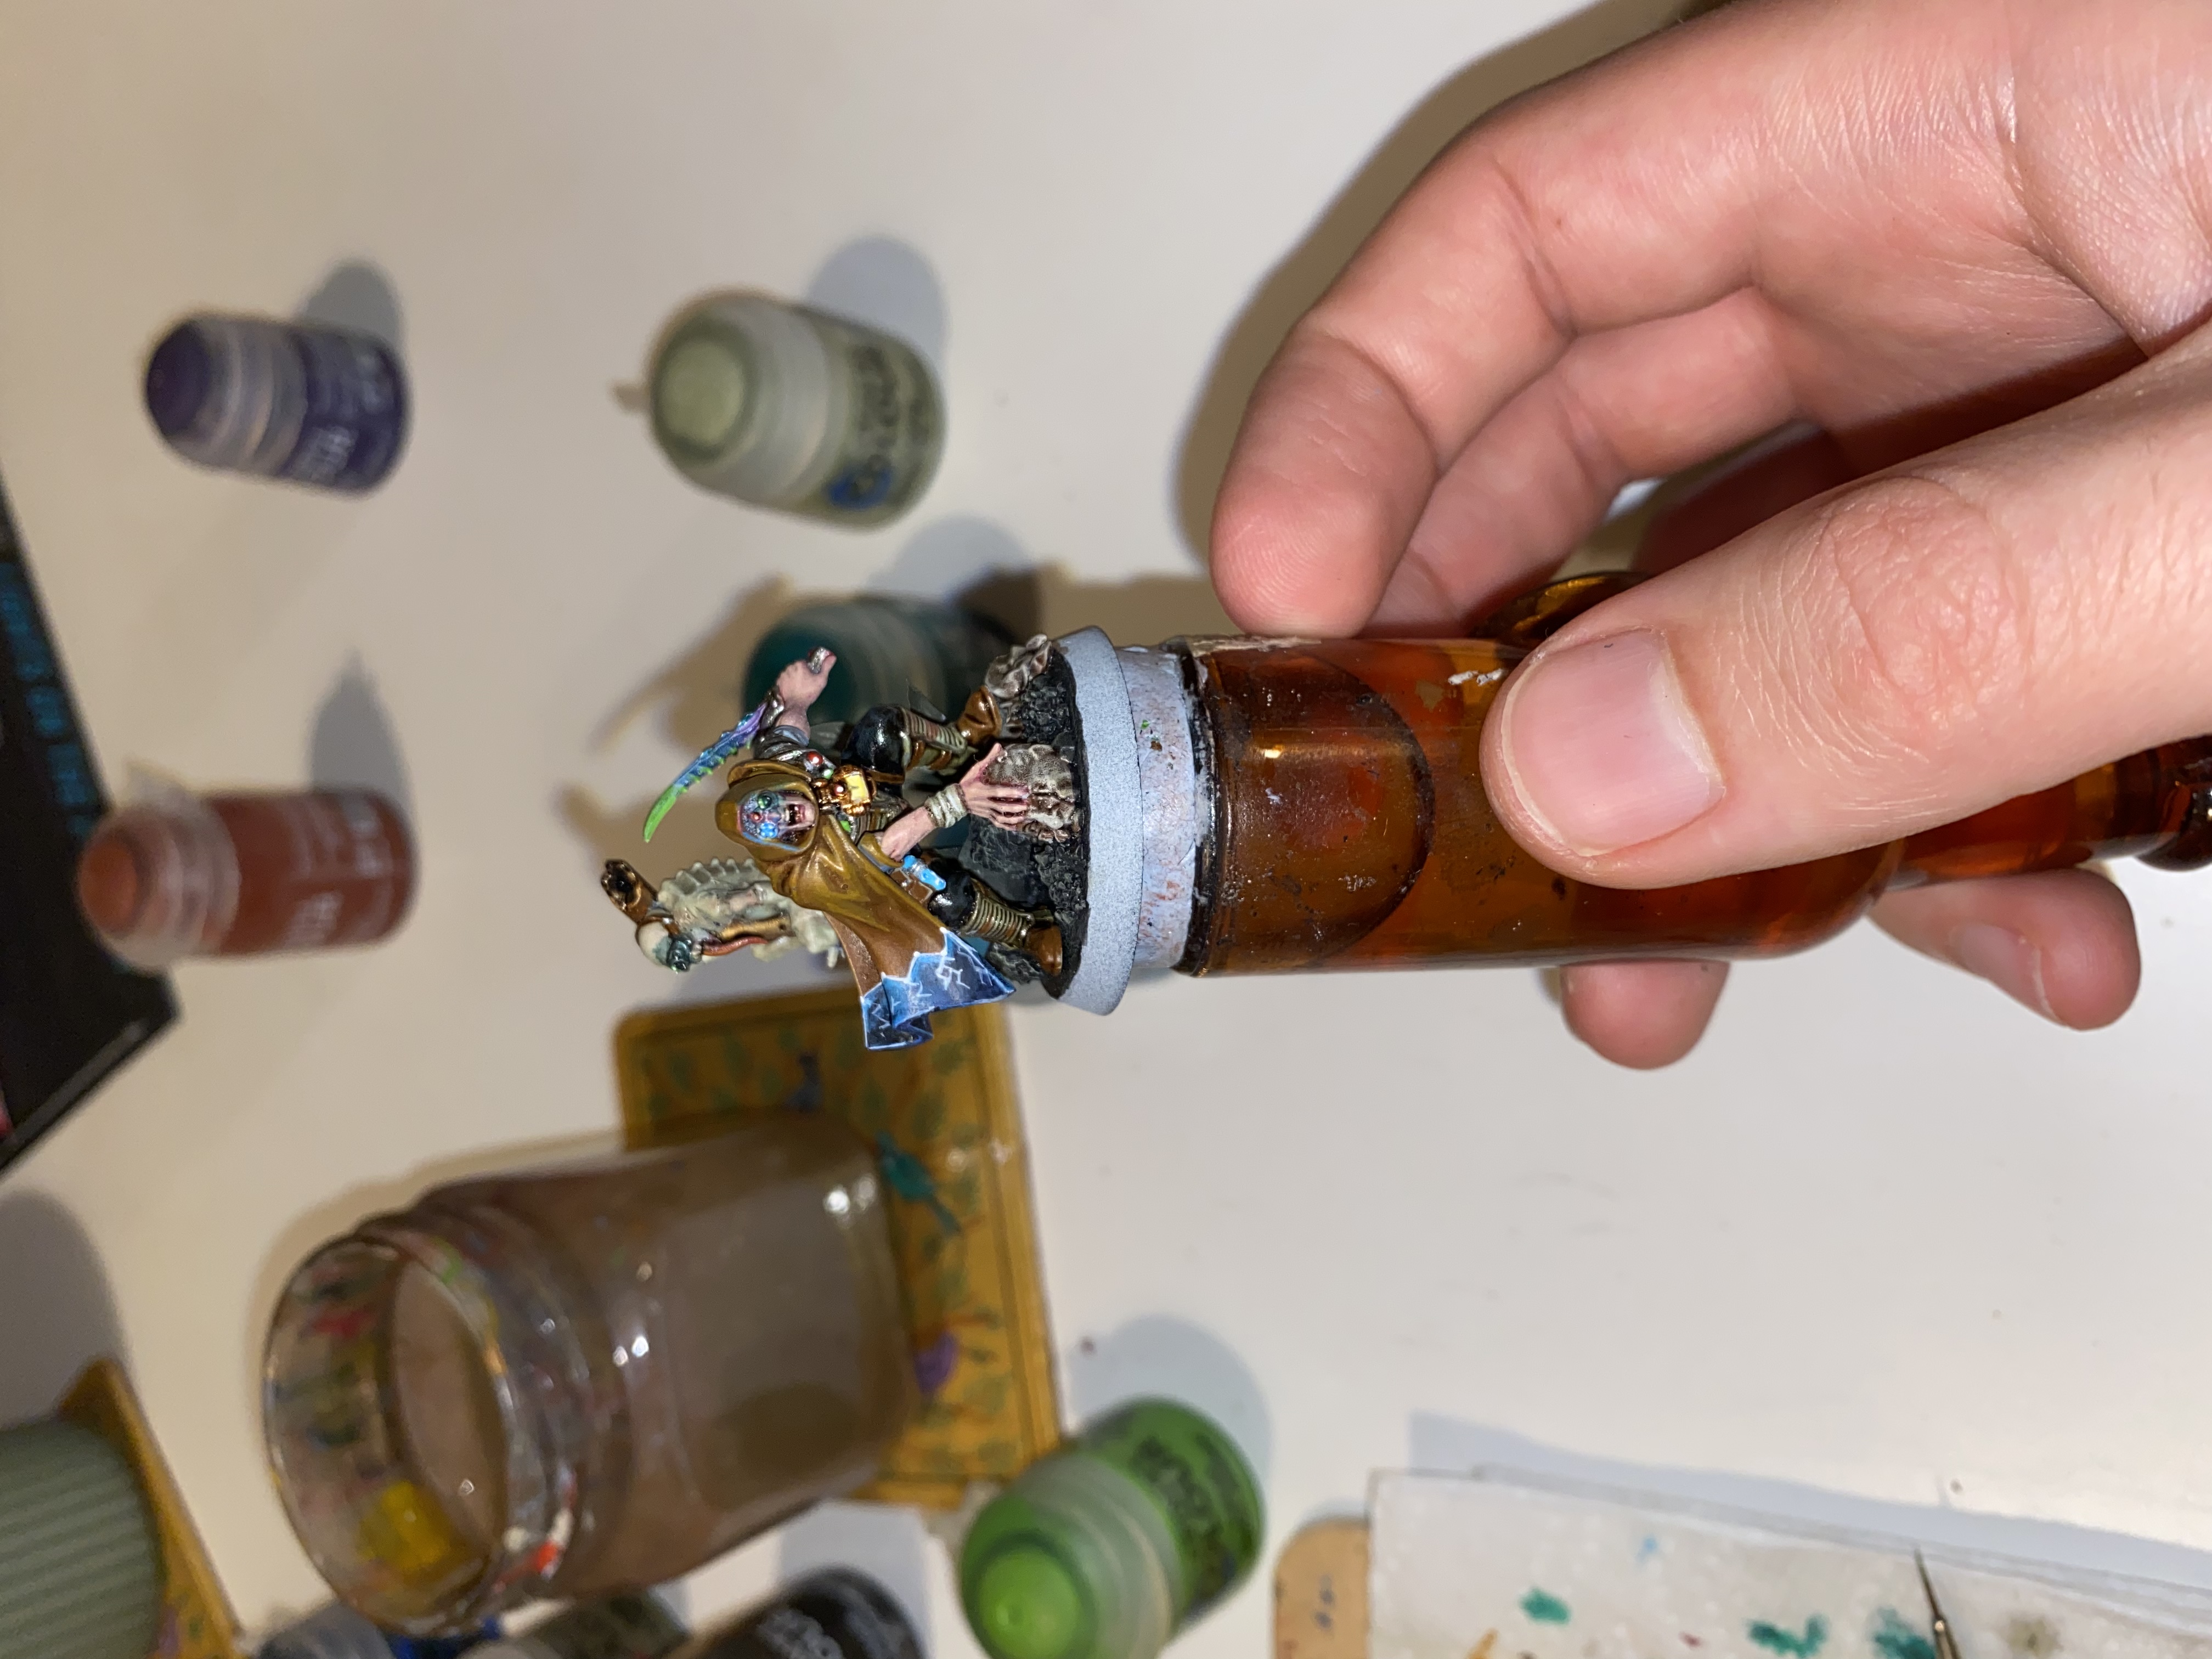
Continuing on with painting this fella I’ve began to work on some of the detail.
Adding blue/ black mix with layers gradually increasing the amount of blue/ Russ grey in the highlights of the trousers.
Painting the lens of his headgear; if I paint a glass lens of a colour I paint it the (what I would call the mid tone) colour I want. I then paint a darker shade leaving just an edge on the bottom right of the original mid tone. Then black leaving a larger portion of the bottom right (showing two layers of colour getting gradually dark). Then using my SFD (super fine detail) brush I add white once it’s all dried to give the impression of reflection or as someone who works as a photographer “catch light”. Basically a couple of dots of white. This was done on the little guy too!
I painted the ground a mix of mournfang and black then dry brushed with bleached bone. I painted the statue elements with a dry brush of bleached bone then a wash of Agra’s earth shade and then a dry brush near the top with goblin green. I wanted to give the impression of moss or abit of mould.
I painted the dagger with the idea in mind of it colour changing. I don’t know if I was effective but I dry brushed green and purple and blue in stages then highlighted with white to blend it in!
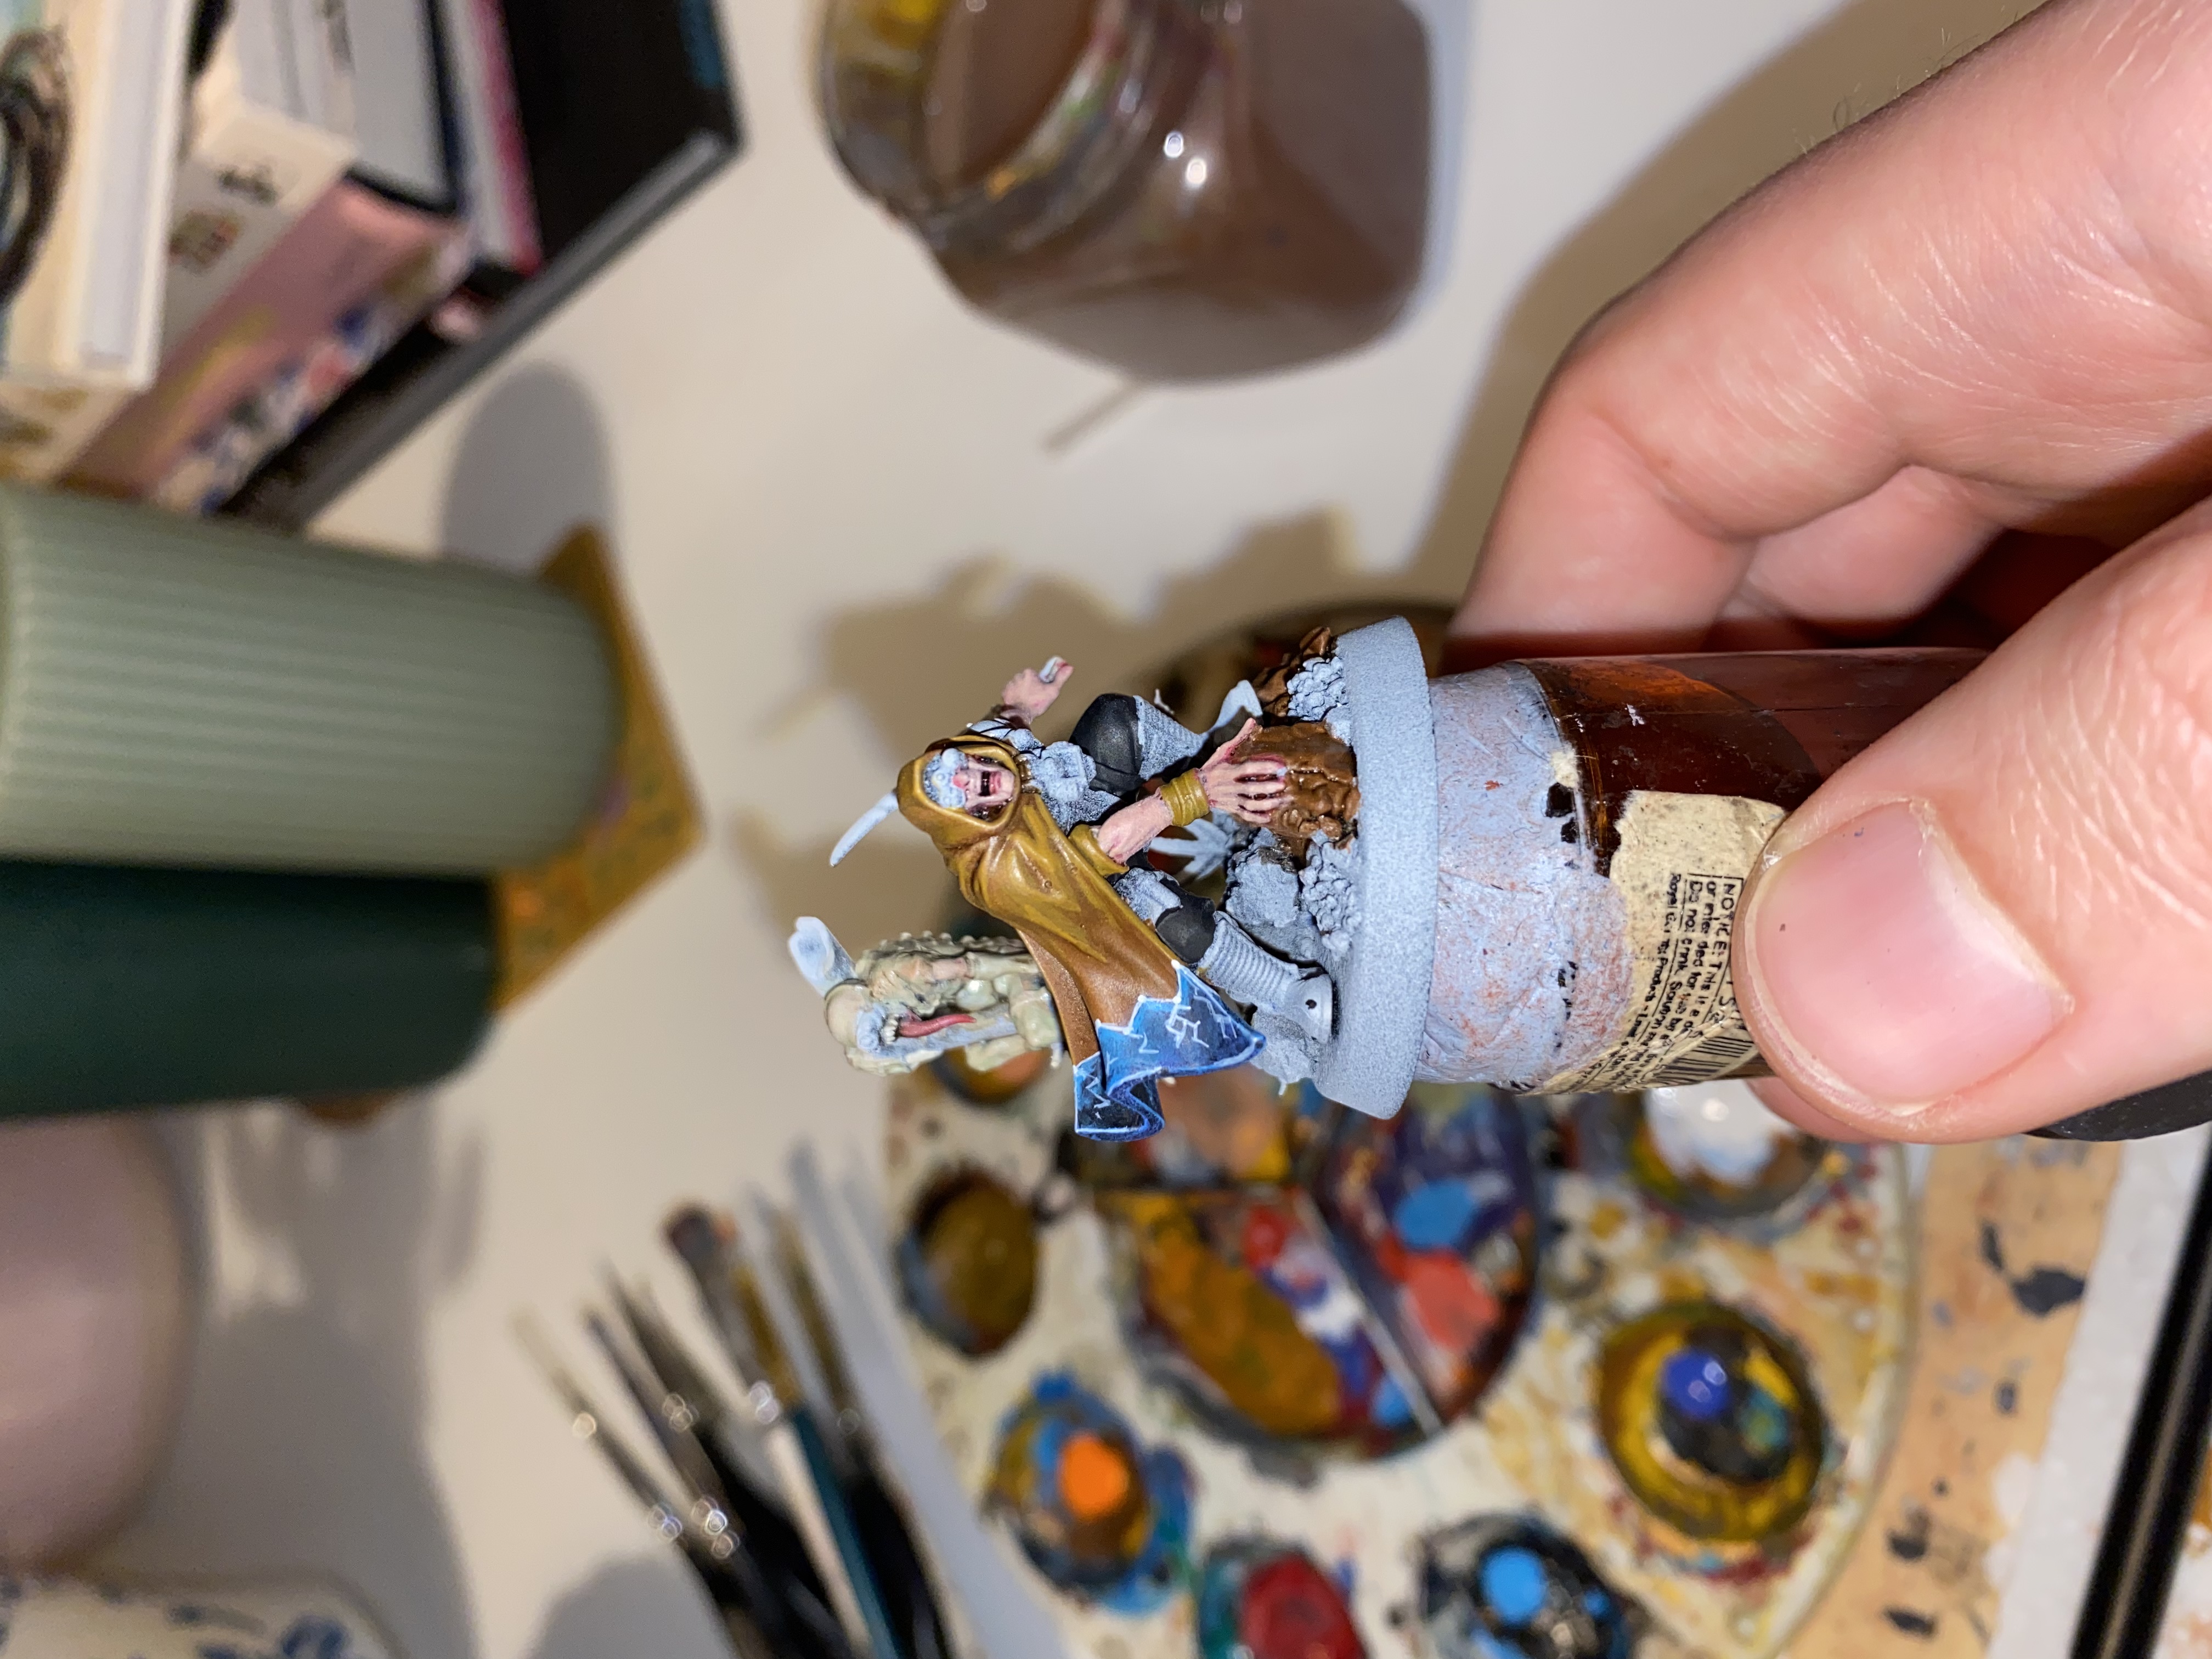
Beginning painting the Sanctus; fine detail is the worst.
I started by painting Mournfang brown on the cloak and the (what I decided was) statue on the ground.
I use a fridge magnet bottle opener with blue tac as my model holder; weird flex but I like how I can put it on an radiator when I’m waiting for stuff to dry!
Then using quite a fine detail brush mixing brown and orange together with water and layering the mix gradually more orange to brown on the raised bits of the cloak. Too often in the past I slap on agrax earthshade. This time using a piece of kitchen roll when I loaded up the brush I soaked most away and was able to lightly brush on the shade in the recesses.
I then used masking tape and a scalpel and made a zig zag all around the end of the cloak. I painted the end black then dry brushed ultramarine blue and then electric blue. After this dried I took off the masking tape and put dots with a SUPER FINE DETAIL (it’s so small it’s nerve wracking) brush of white at the peaks and troughs of the zig zag. Then super slowly I put a line of white in between each dot. Finally with a slightly watered down white I put in my lightning bolts to give the impression of the final version you see. I’ve seen something similar on Tau Stealth suits and Space Marine Eliminators. The hopeful idea is that it looks like a digital camp is about to happen!
I also painted the legs black and skin and painted the little guy in the background nurgle green!
I painted his skin by painting a darkish red then dry brushing a pink skin tone, then a dry brush of pink skin mixed with white.
 Camo Cloak
The put together
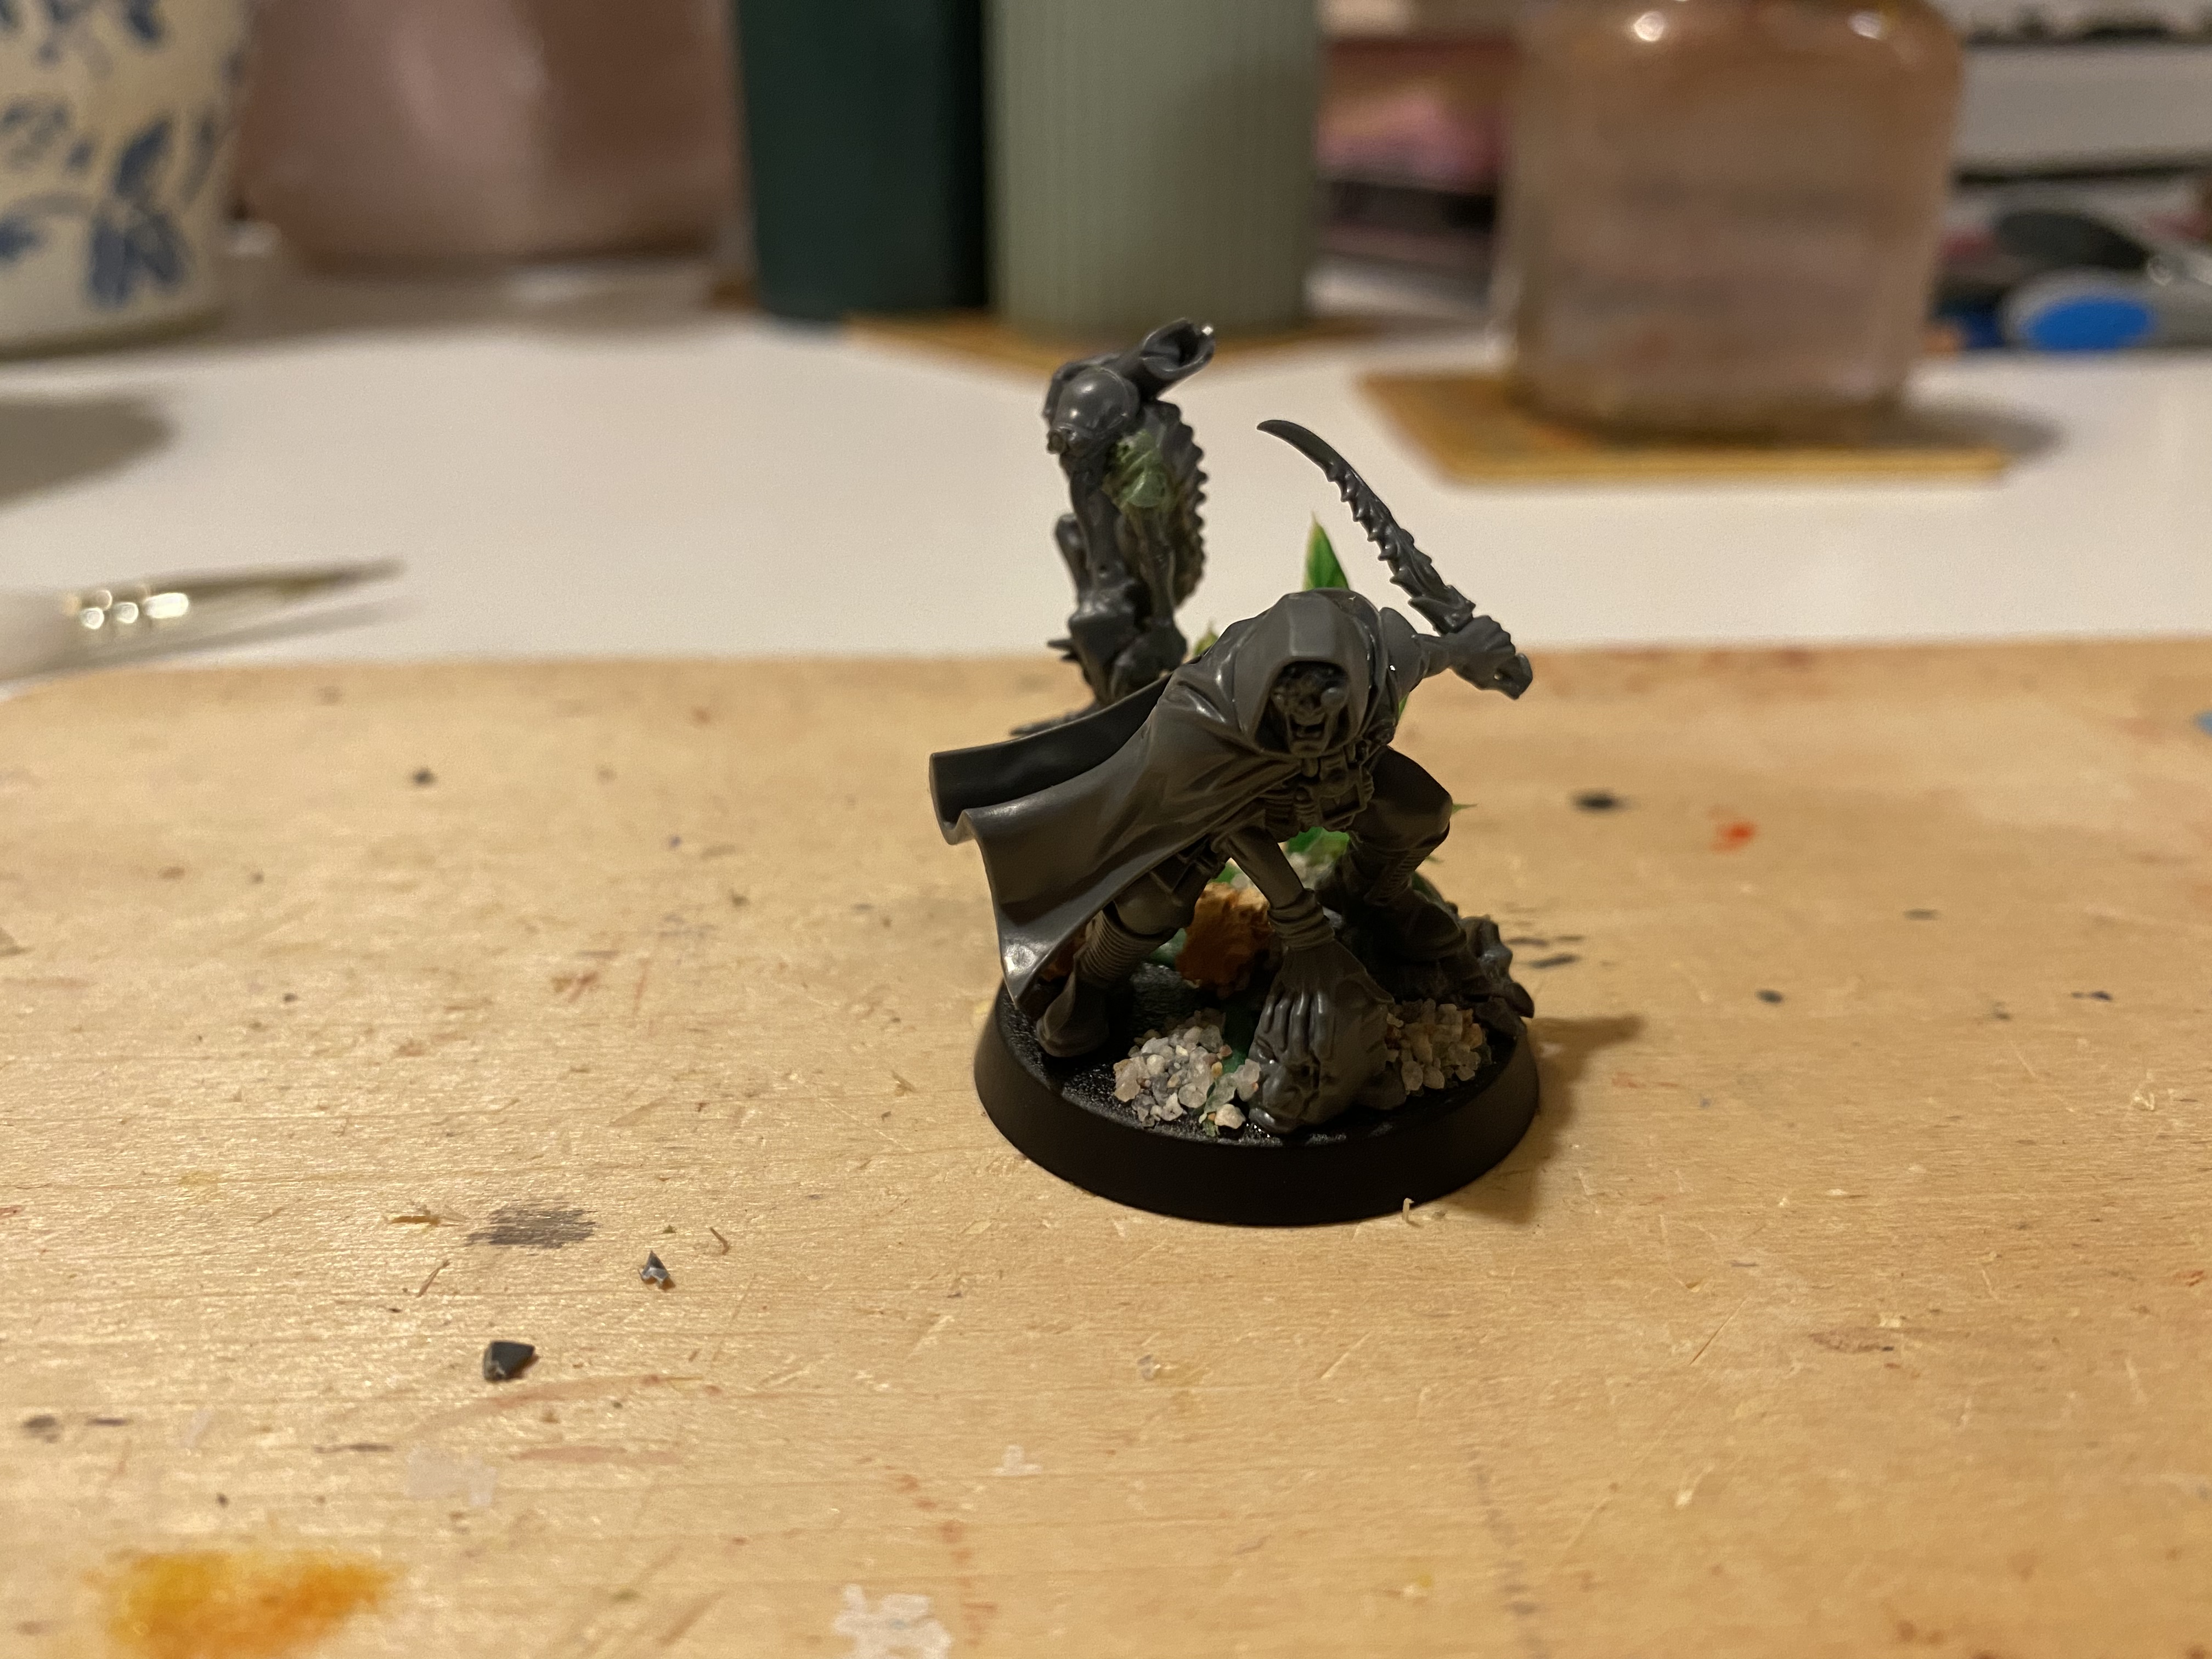
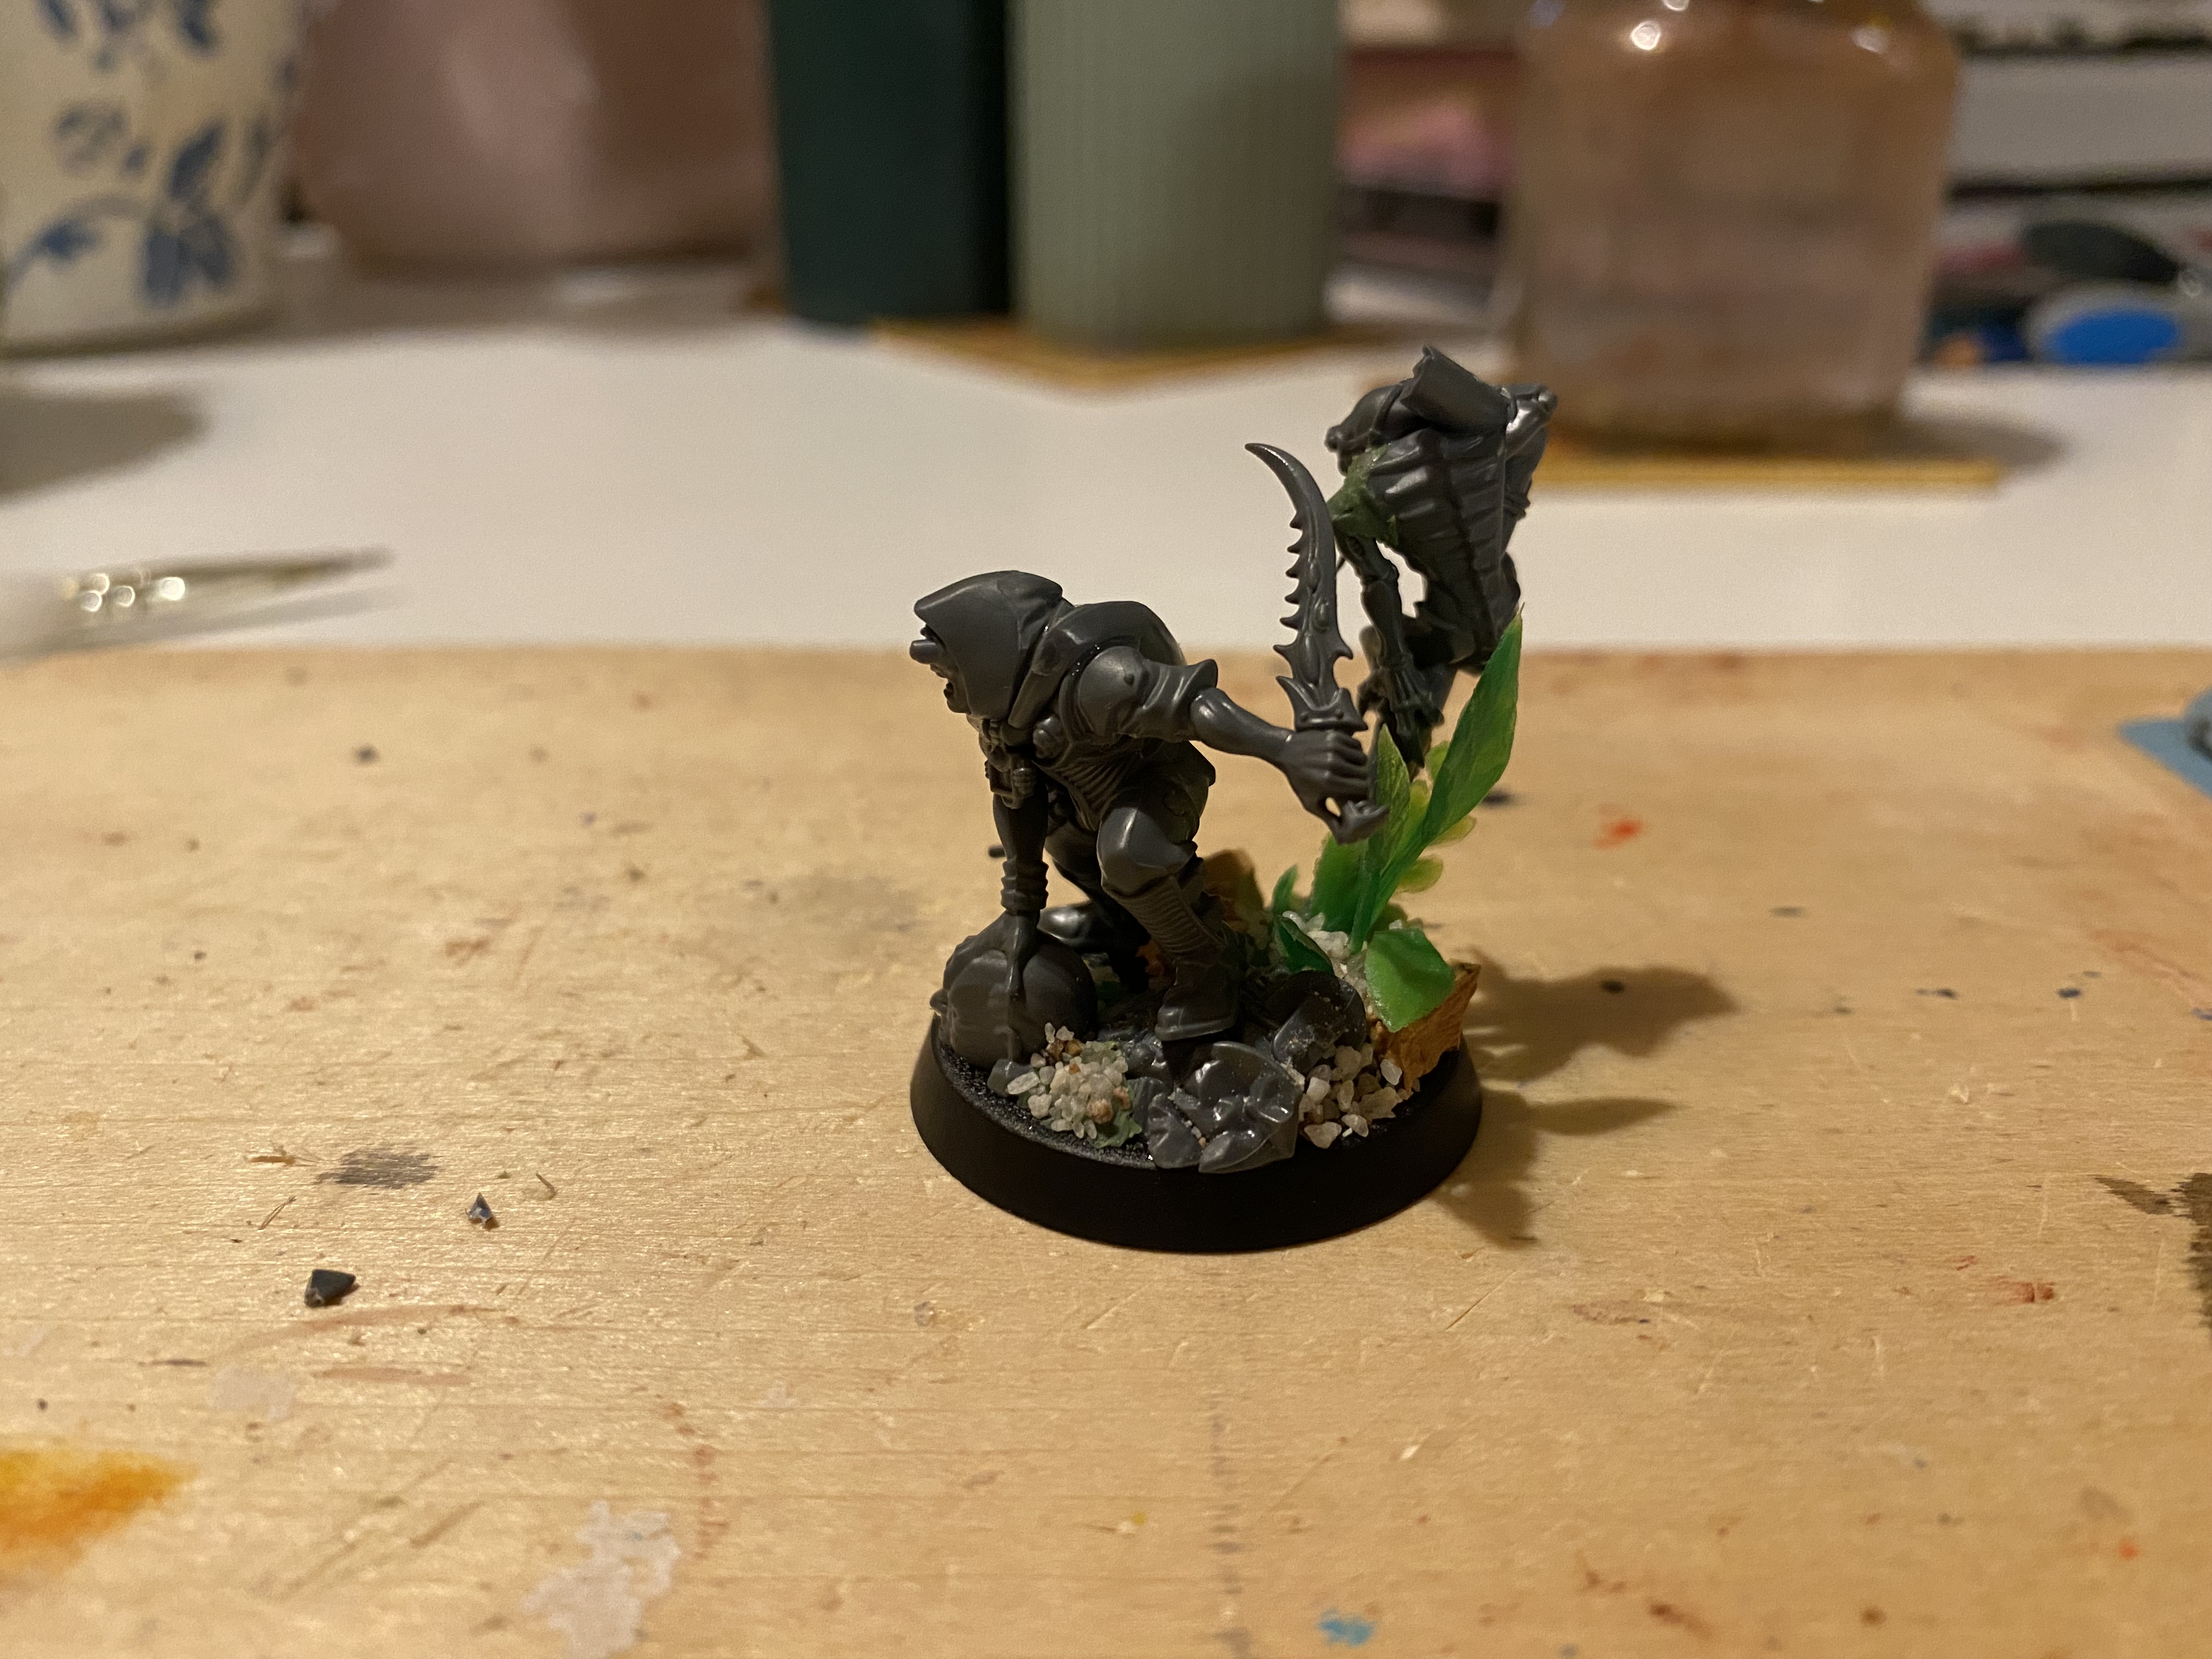
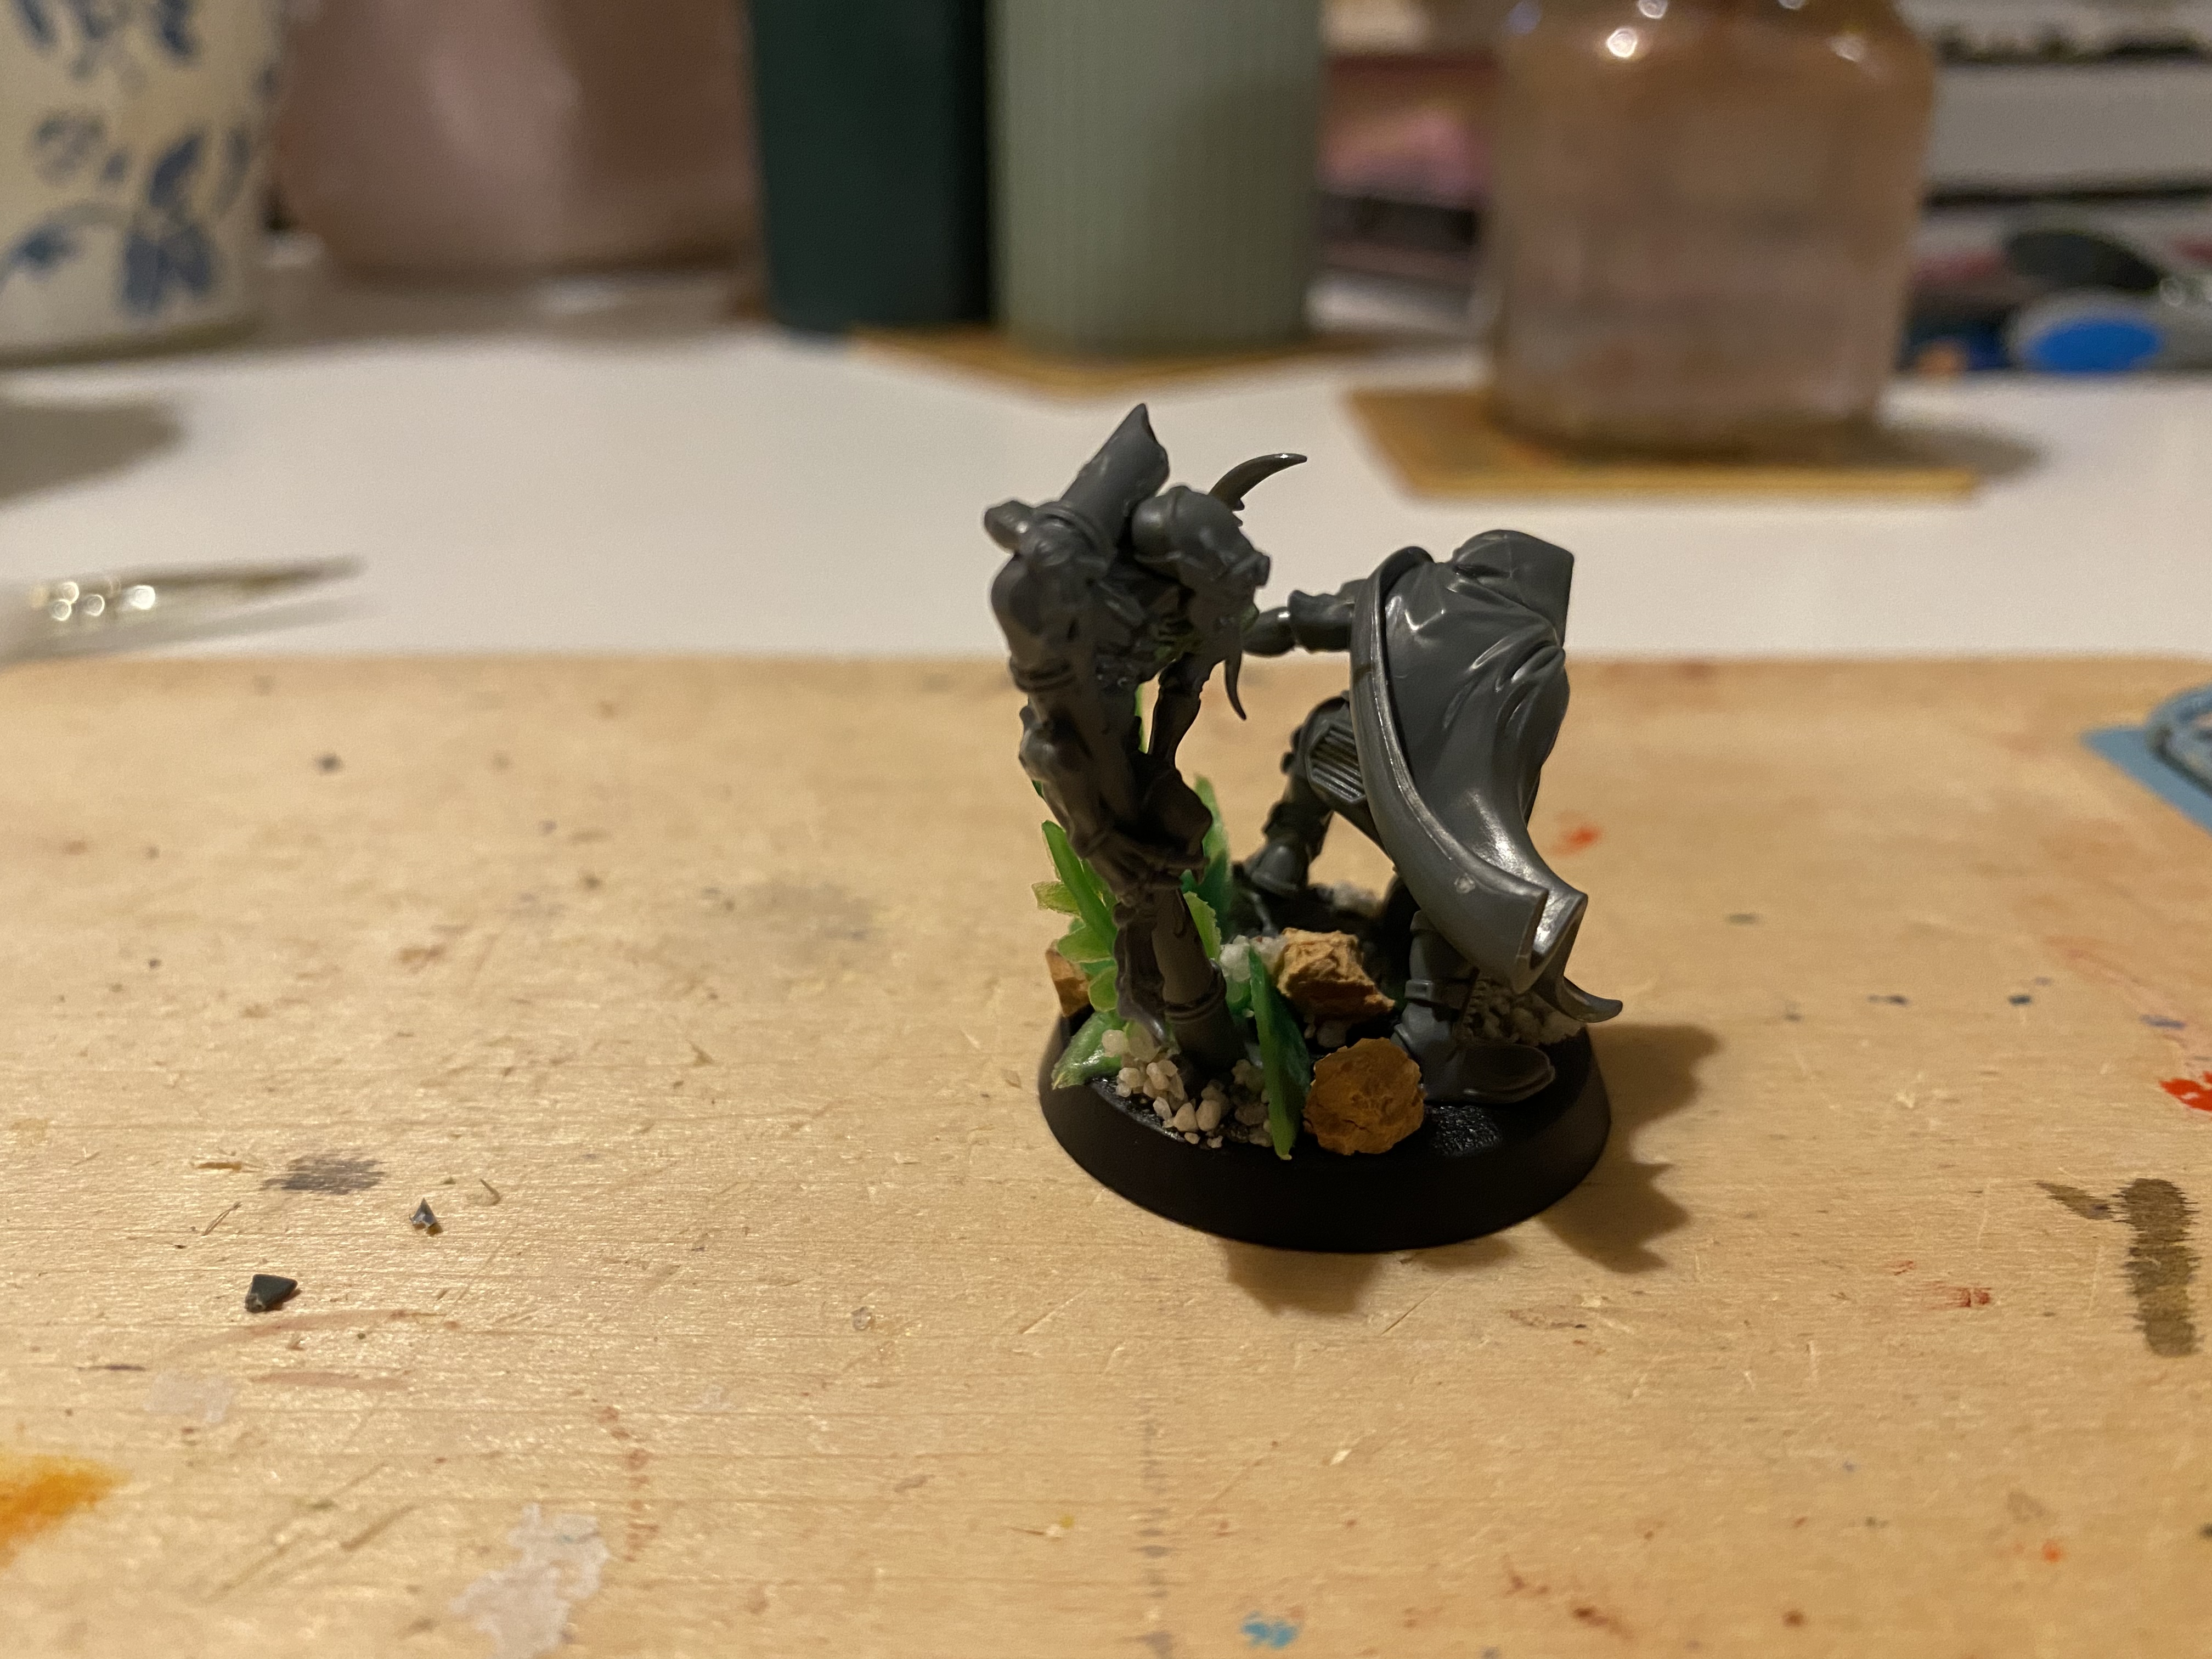
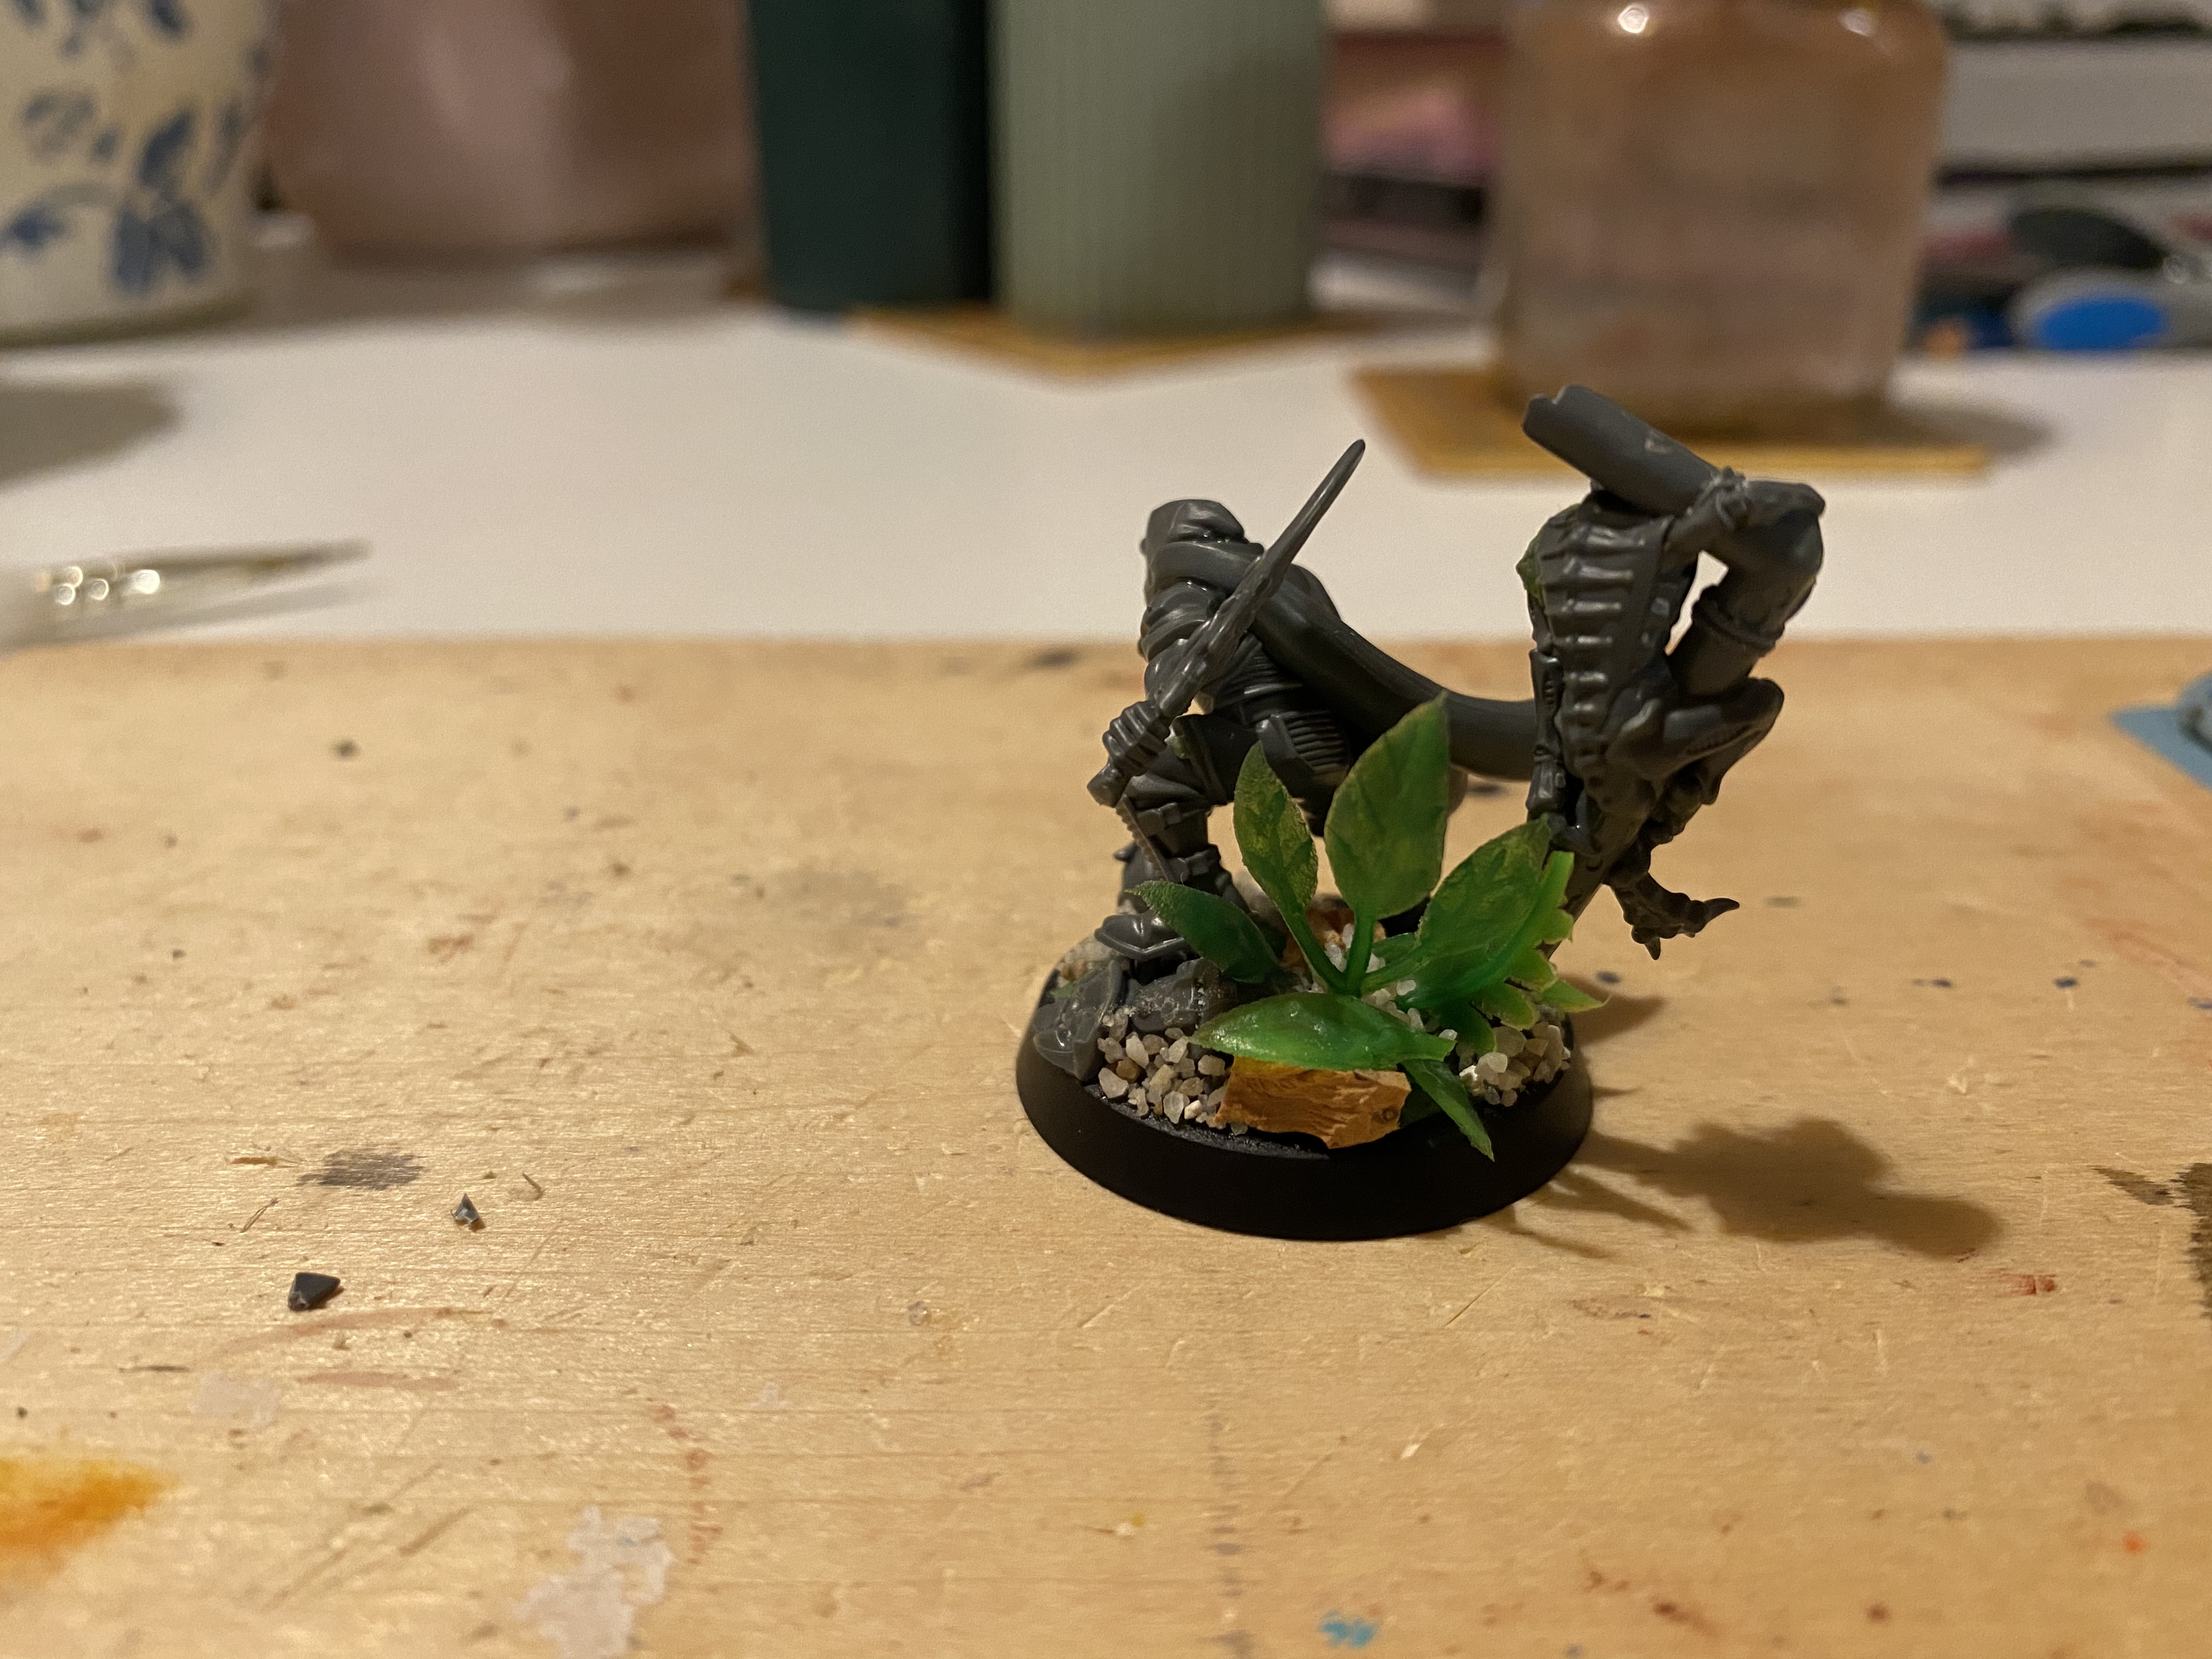
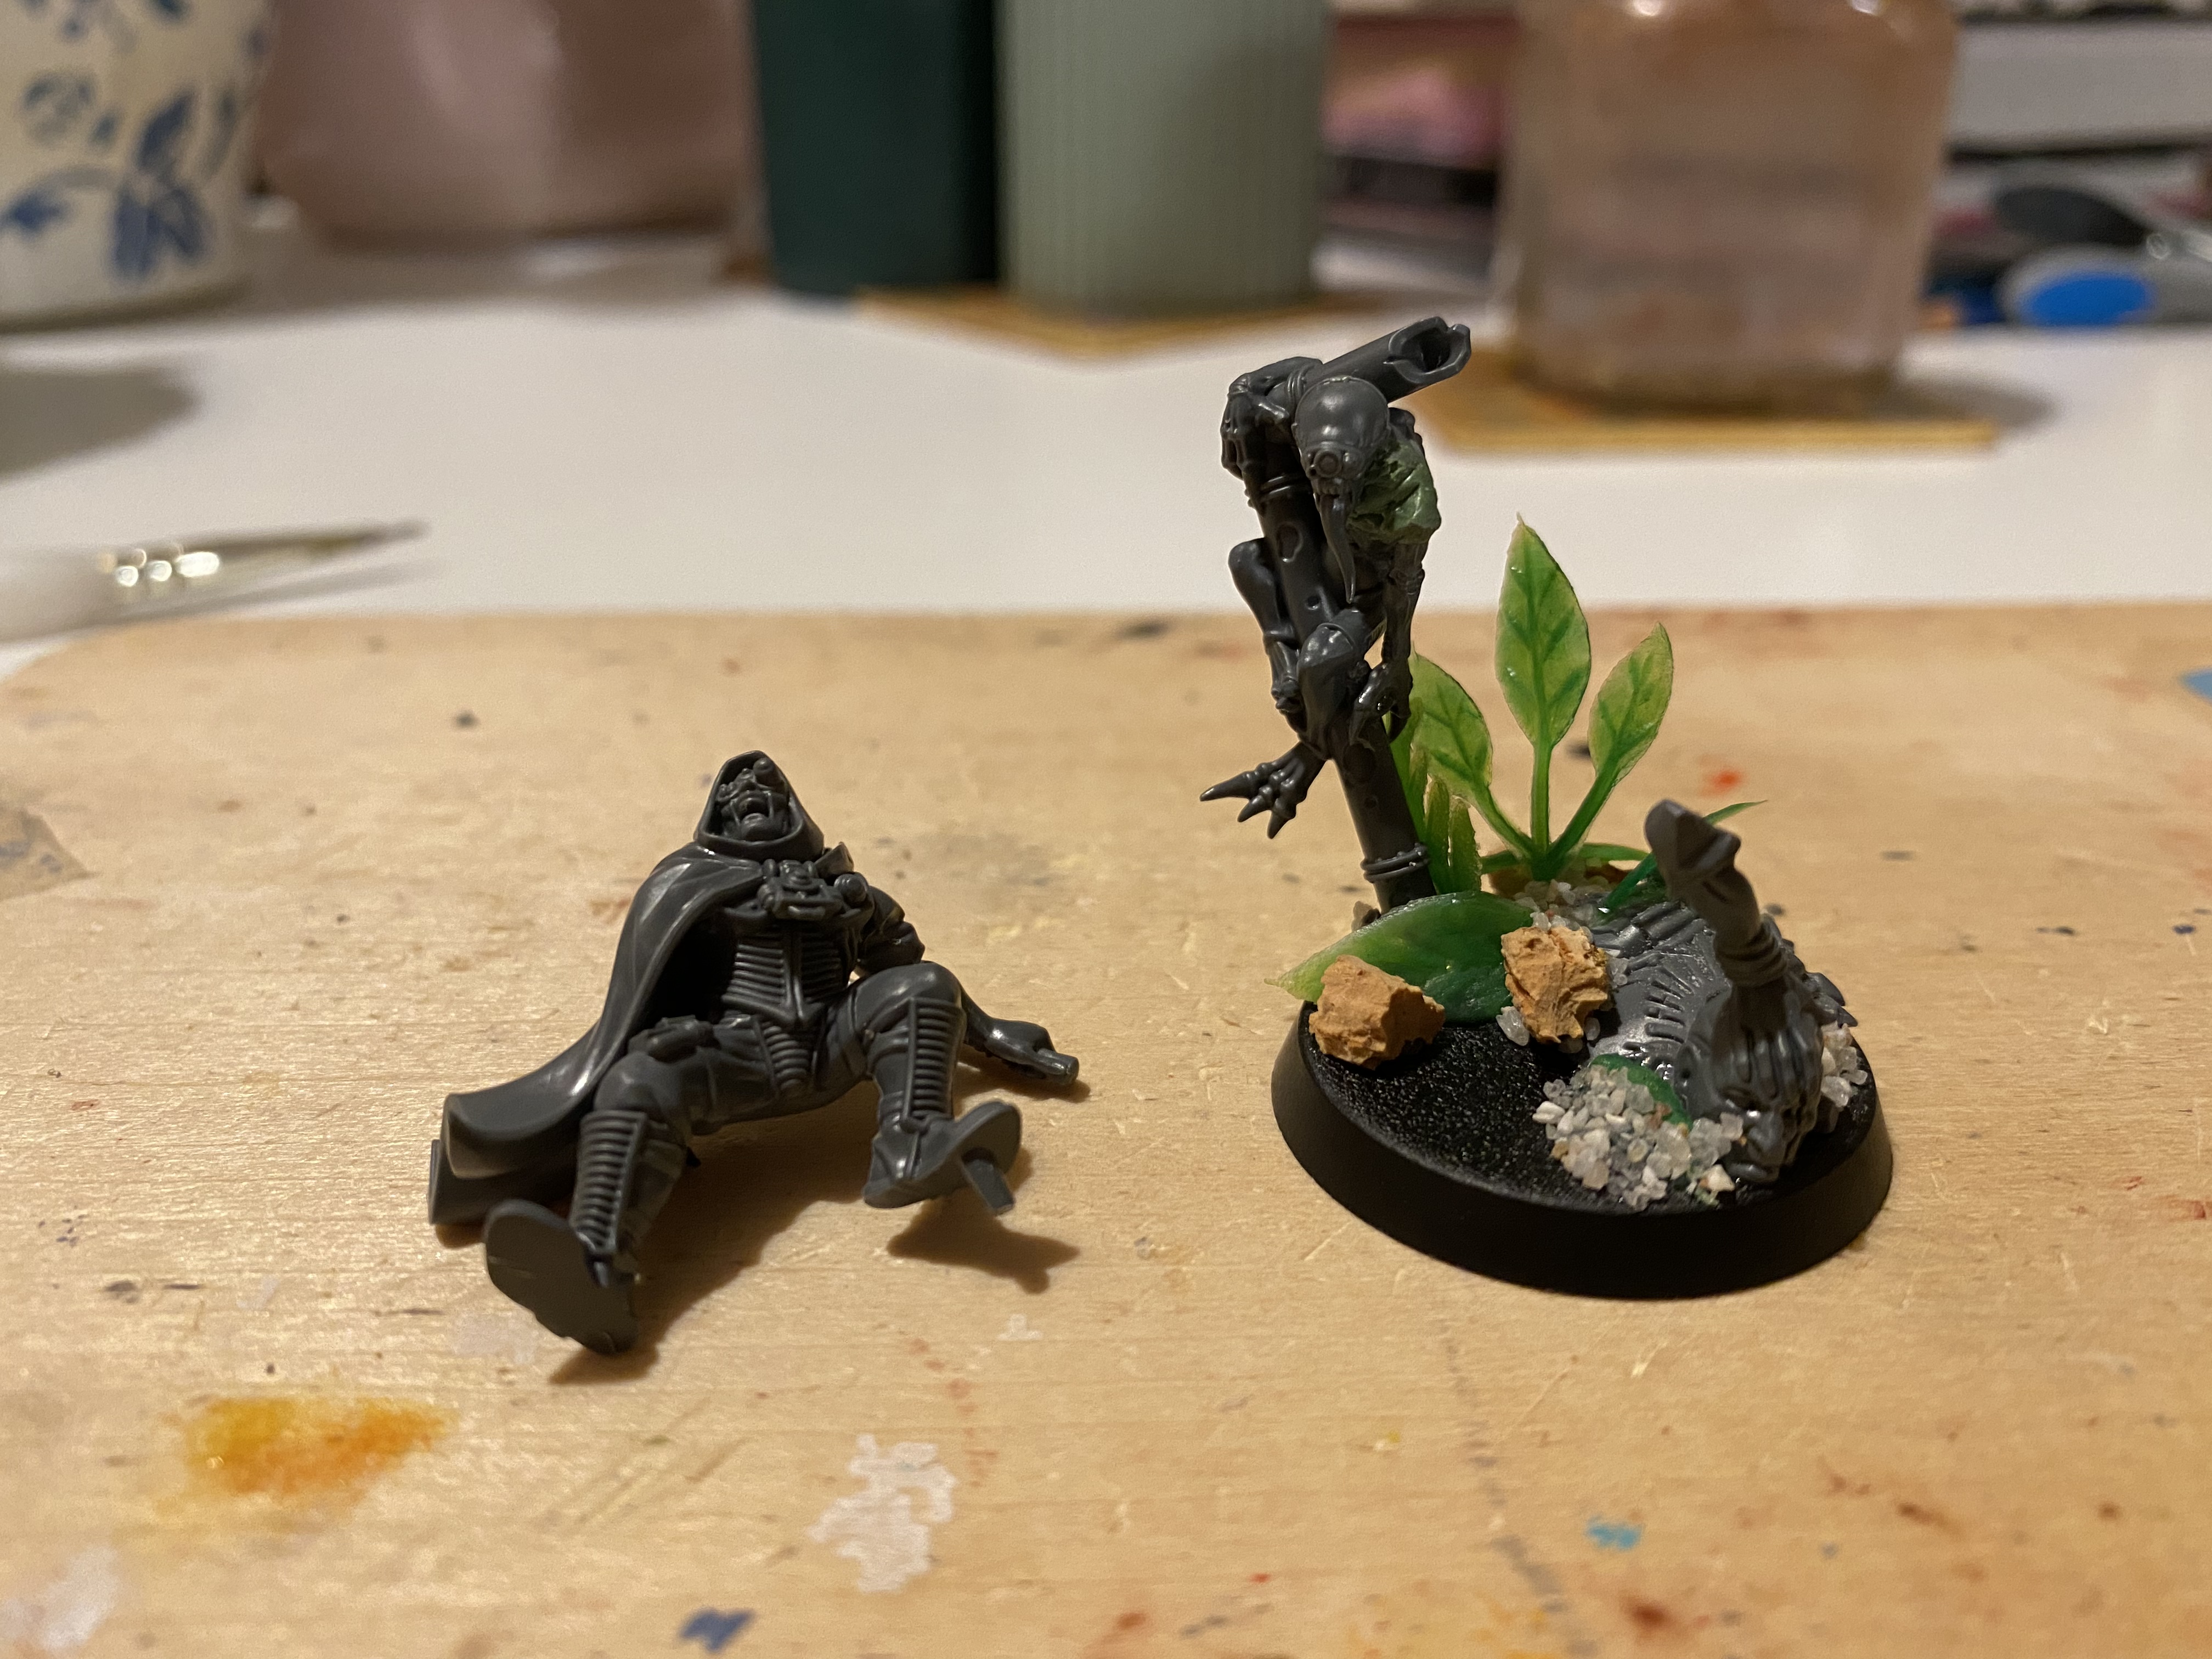
My first Genestealer Cult model is the Sanctus. I just love how the model looks. Starting off this project I firstly put the main two components together in my head this included the model itself and the base. These can be separated so I can get in at the fine detail!
I have this plan in my head of creating a Swamp/ Jungle. In my head what I’ll need is;
- aquarium plants to include in the base.
- cork to show give the impression of bigger stones/ rocks
- gravel
- uv resin to show contrast with dry matt look models (varnish)
- leaves and other fun bits
So the first step is the put together I’ve plastic glued the model together. The base was completed using superglue and pva.
I then was able with the model to place it on the base and prime it black. I then highlighted with a white rattle can to see where the light would hit the most in the model. Just spraying from above with the white and super light. It left alittle residue (even though I shook the can thoroughly) so after the white dried I brushed off the residue with a completely clean brush. I went over again with the white focusing on the face as I wanted his facial features to be quite bright!
As a side note I green stuffed the little guys arm as I didn’t want it pointing but instead trying to hold himself up. Often when I mix green stuff I keep a pot of clean water to dip my finger in to keep in pliable. (This was done before priming).