



Robin paints Genestealer Cults



Recommendations: 1101
About the Project
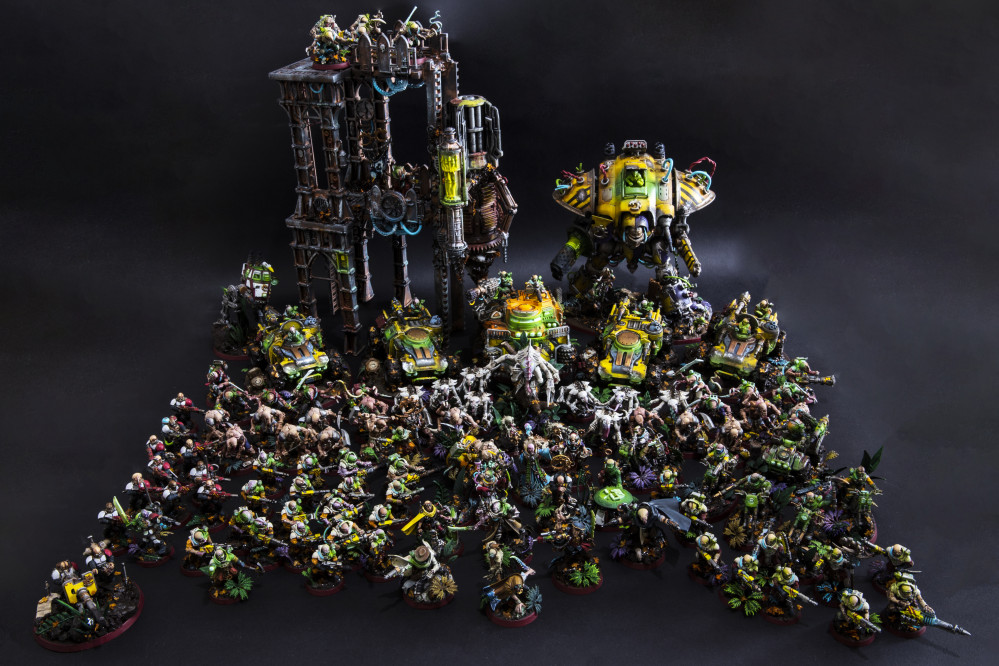
As a break from other armies I decided to start painting Genestealer Cults. As a bit of background I’m new ish to the hobby. I played when it was fifth (my first army was Tau) and had a break for 15 years. During lockdown I started to paint again; as I’ve progressed over the last two years I finally feel I’m able to show some of my projects that I’ve been working on. I’ll include images of my progress and try and include detail of what I’ve done!
Related Game: Warhammer 40,000
Related Company: Games Workshop
Related Genre: Science Fiction
Related Contest: Spring Clean Hobby Challenge 2023
This Project is Active
Yippee Ki-Yay
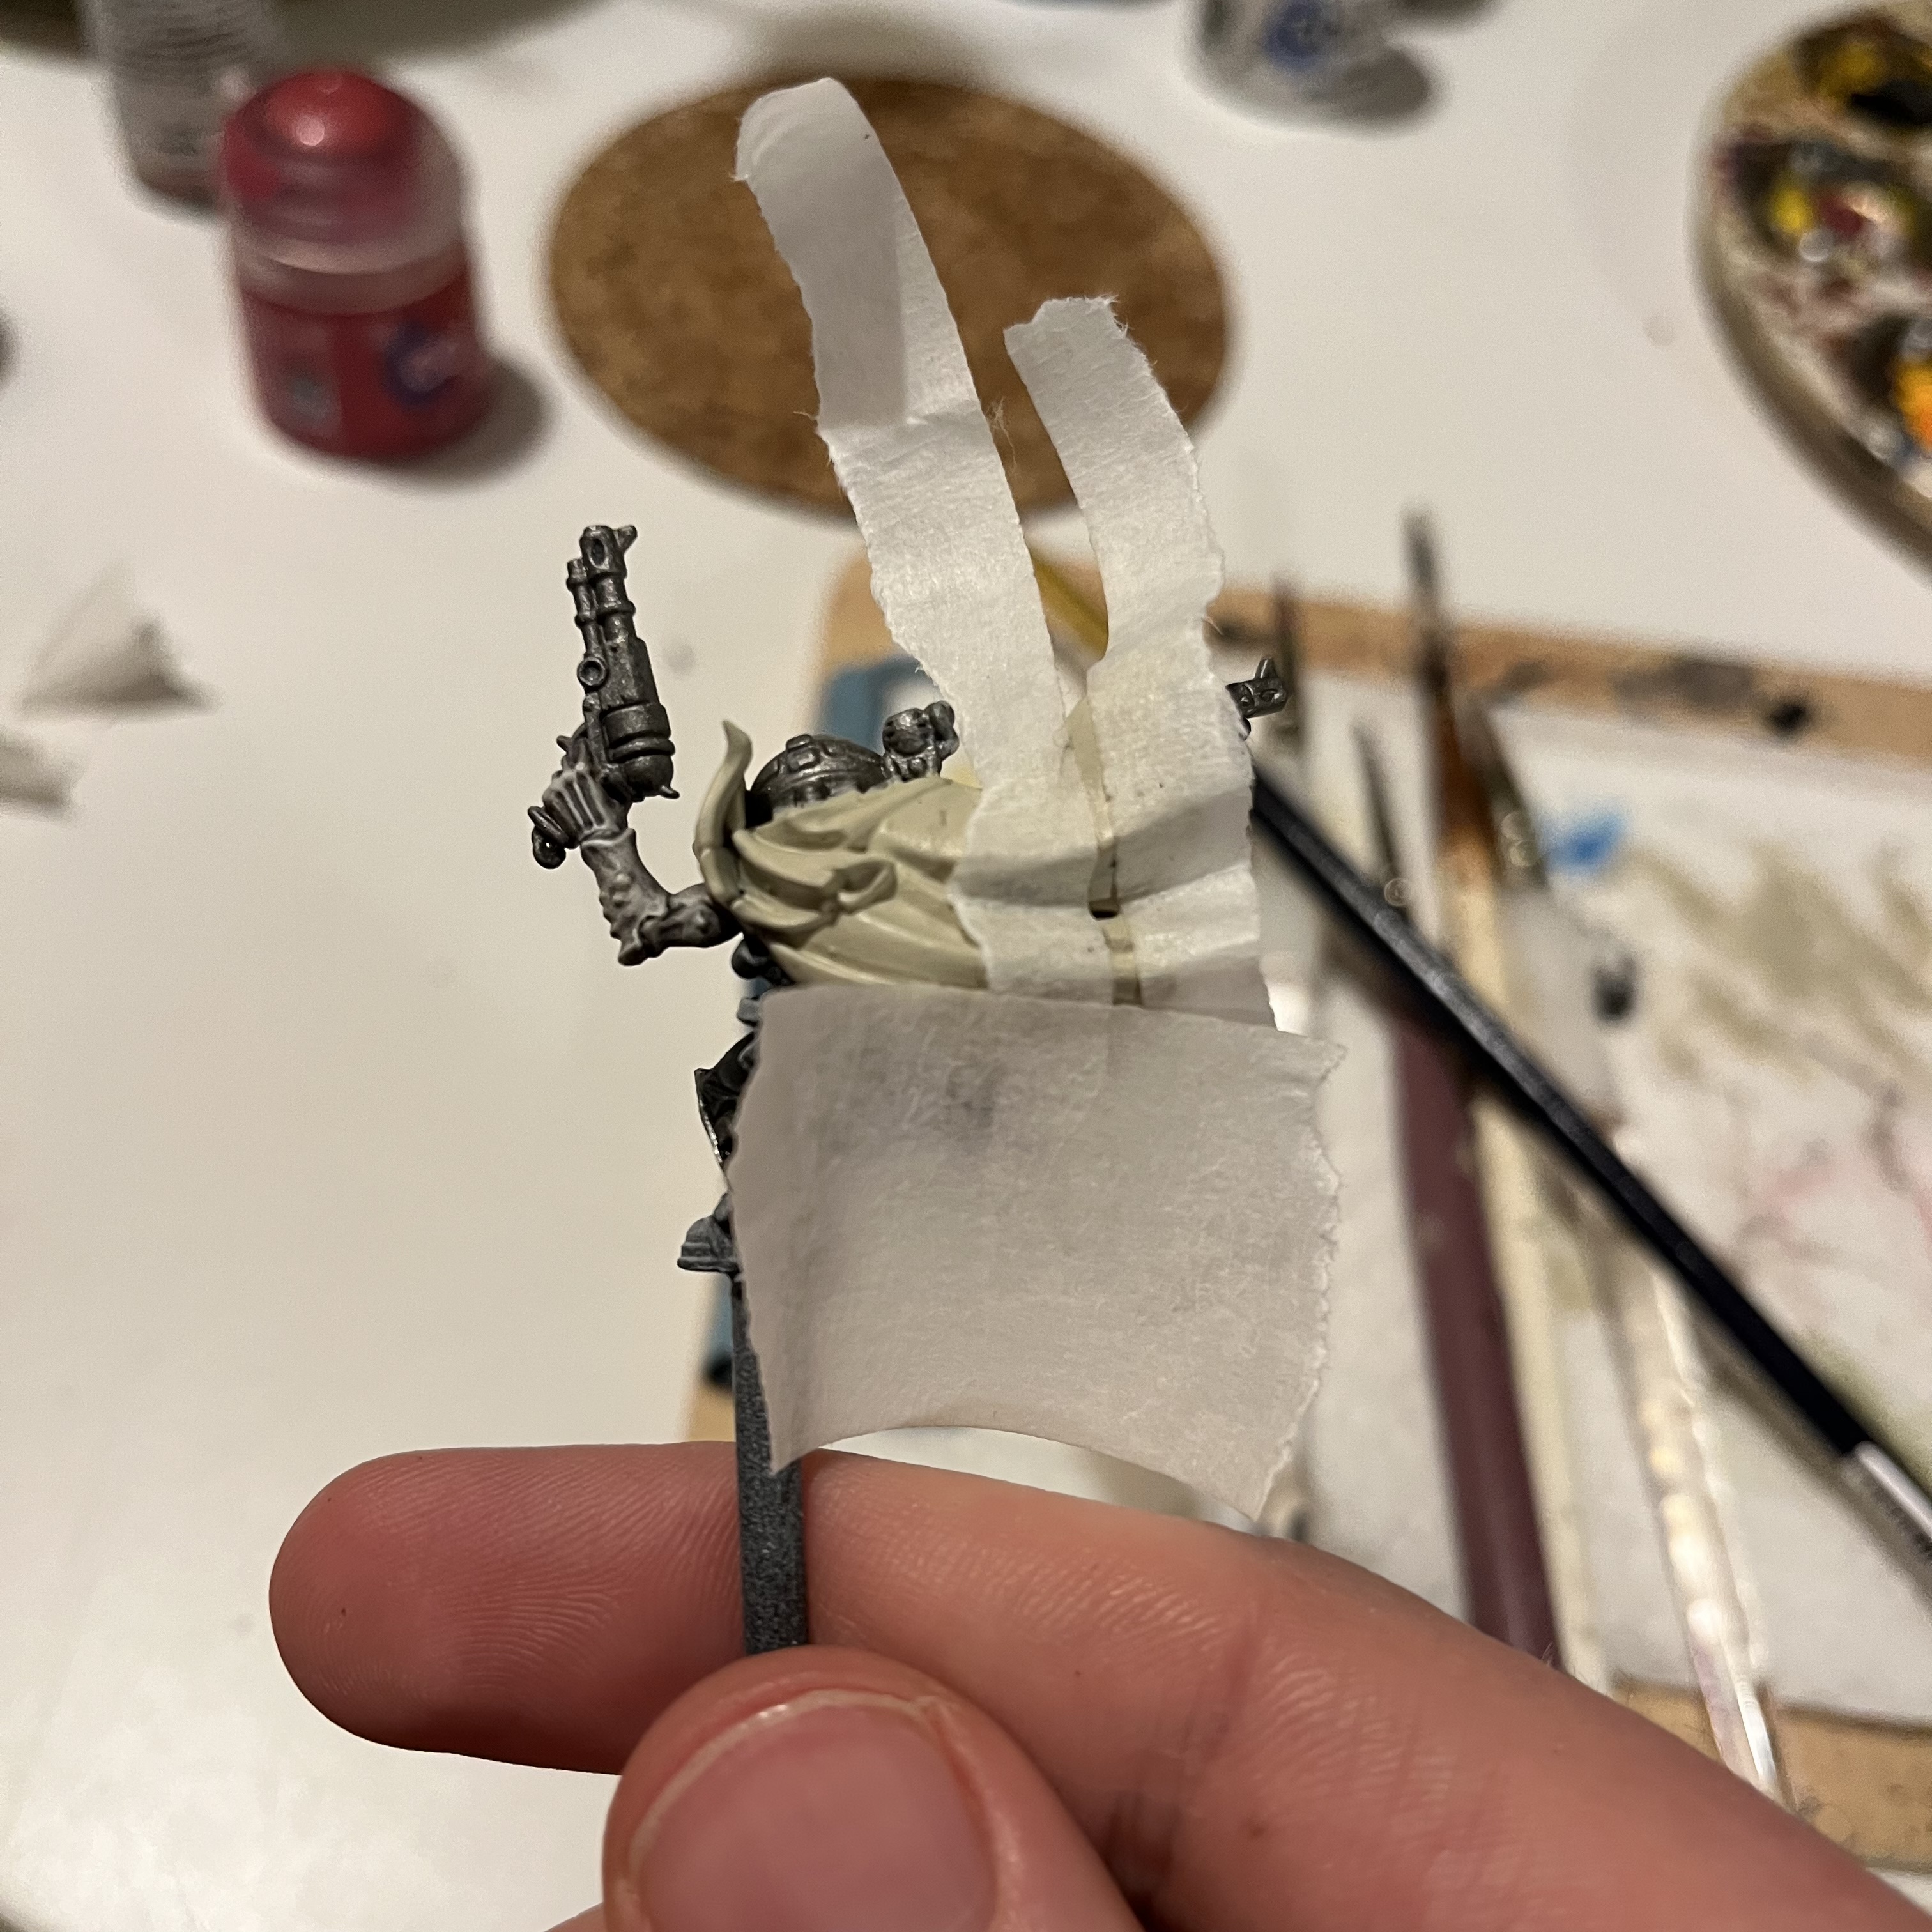
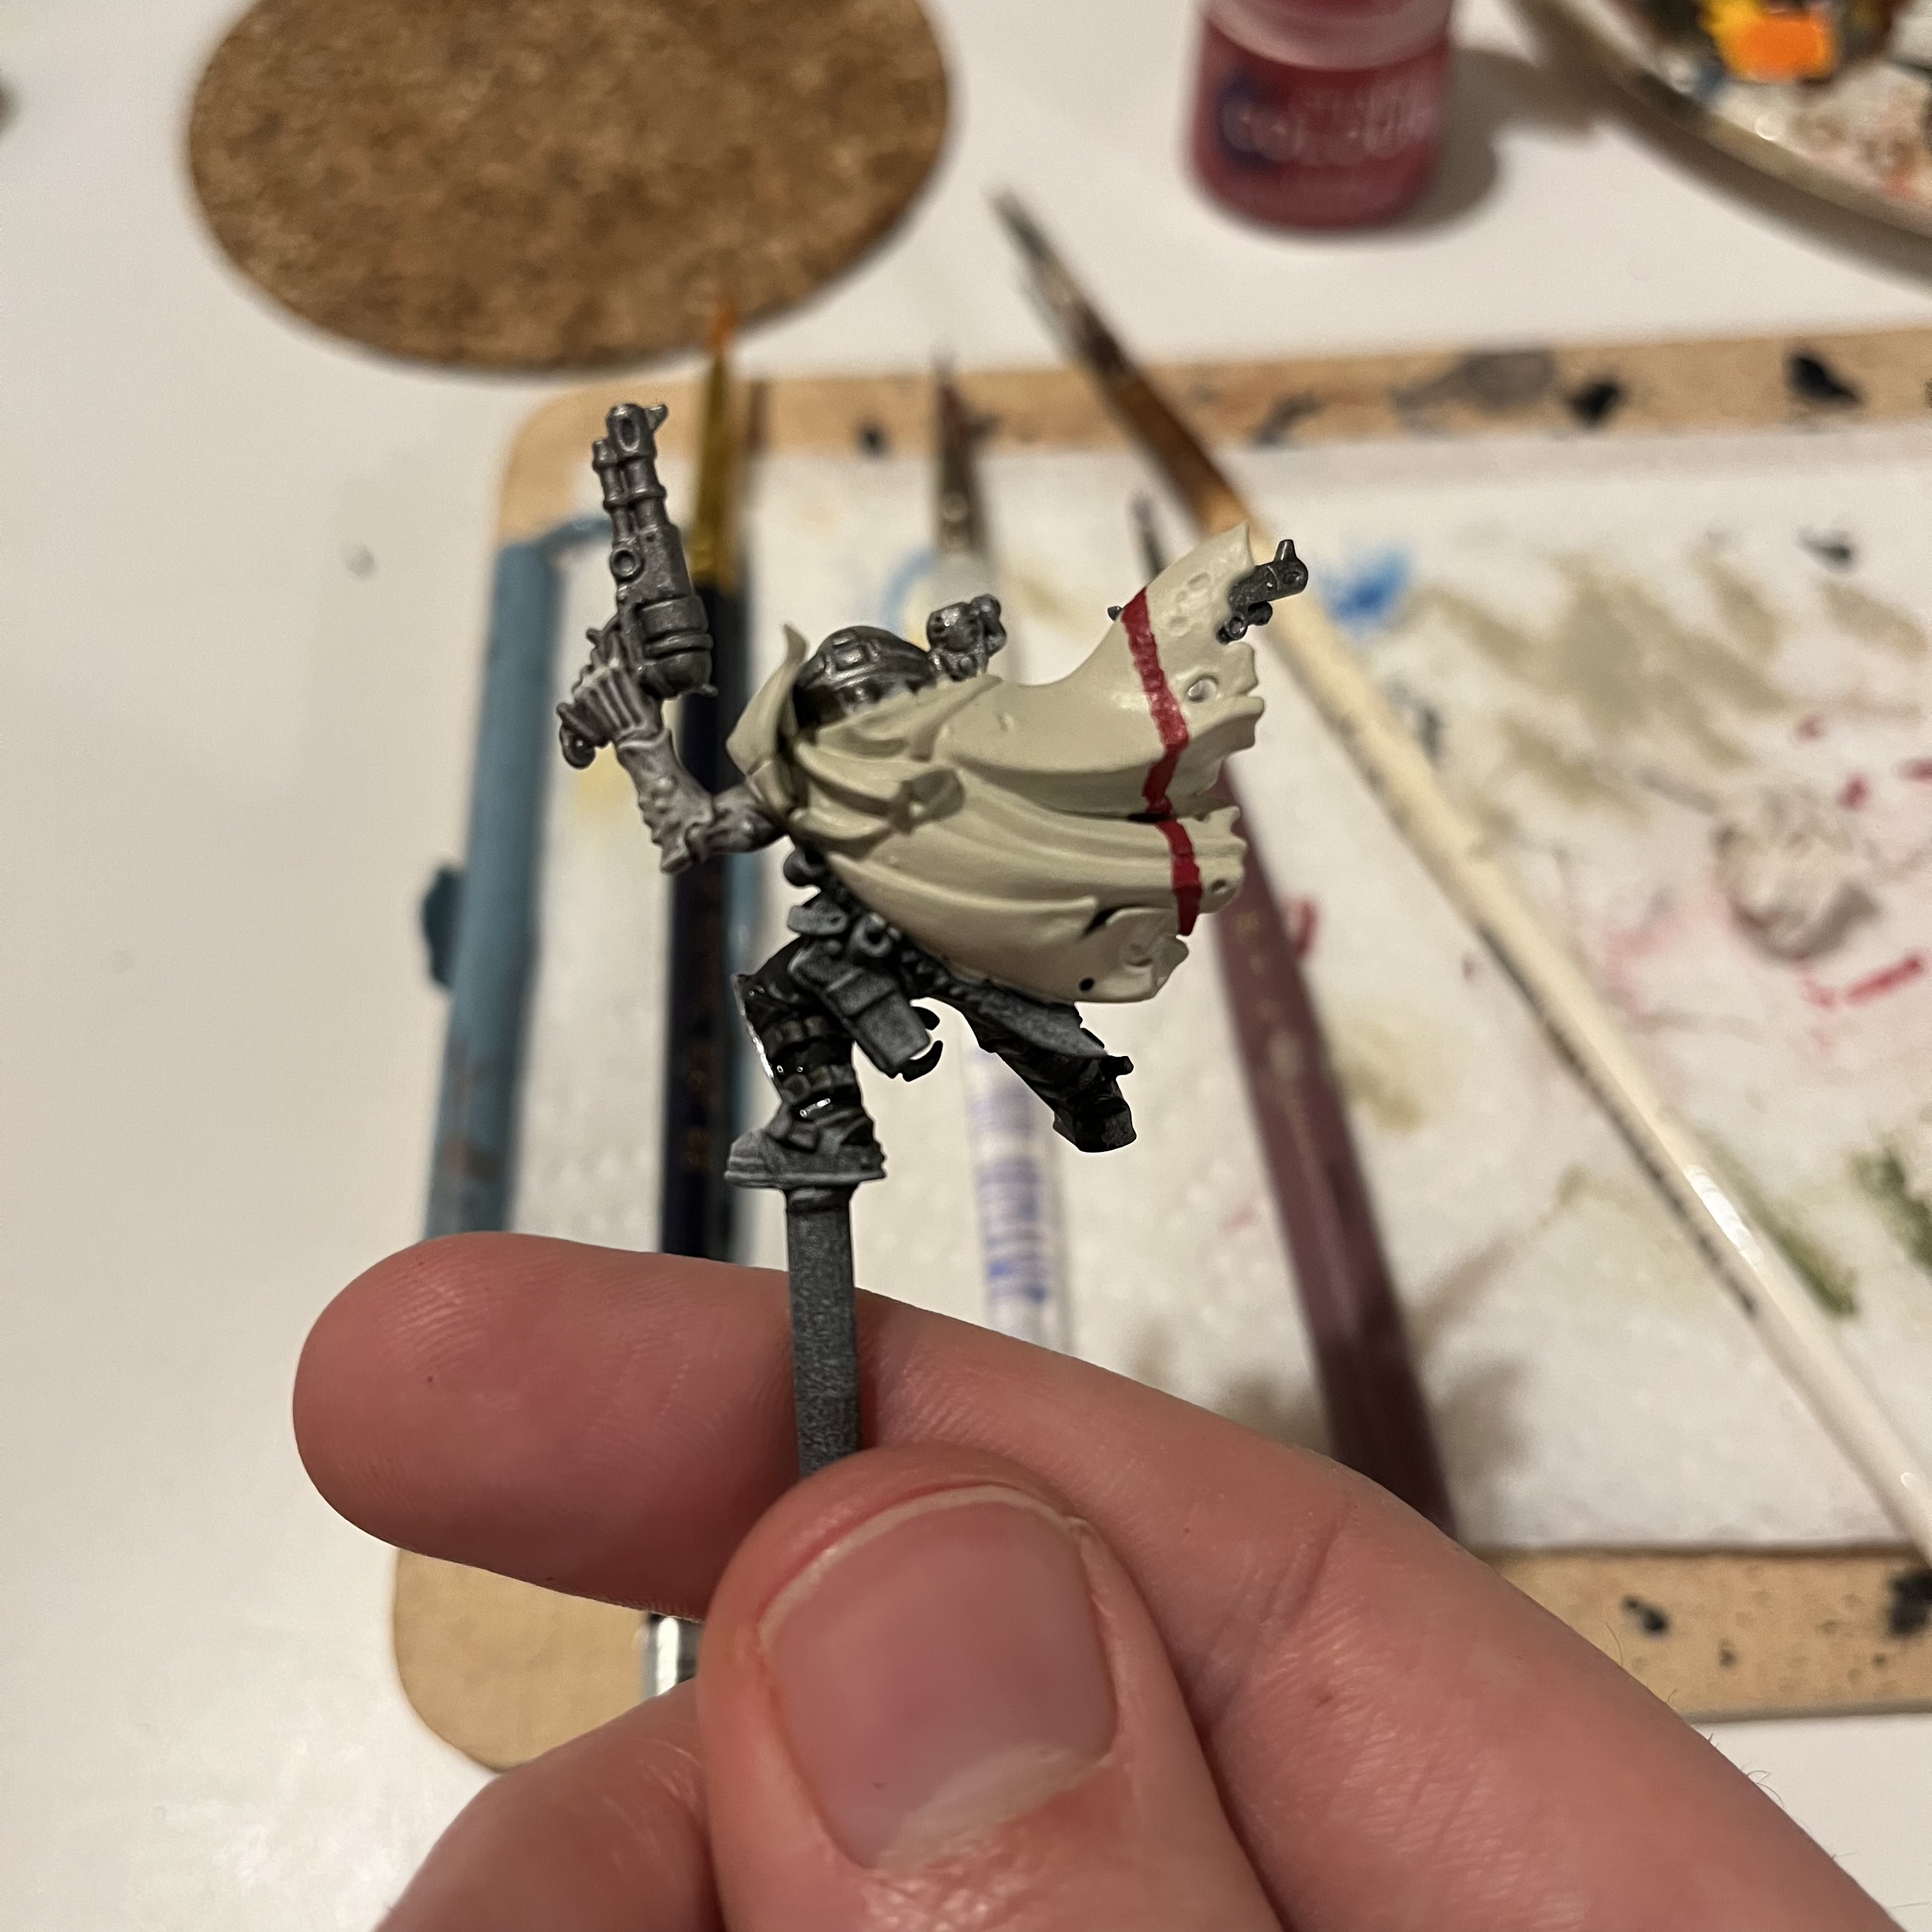
Finally finished my Kelermorph. Included are images of how I achieve clean lines on minis!
The process involves masking tape and what I would call a heavy dry brush!
The hat was a gift from my local game store when I was talking about how much he looks like a cowboy ?
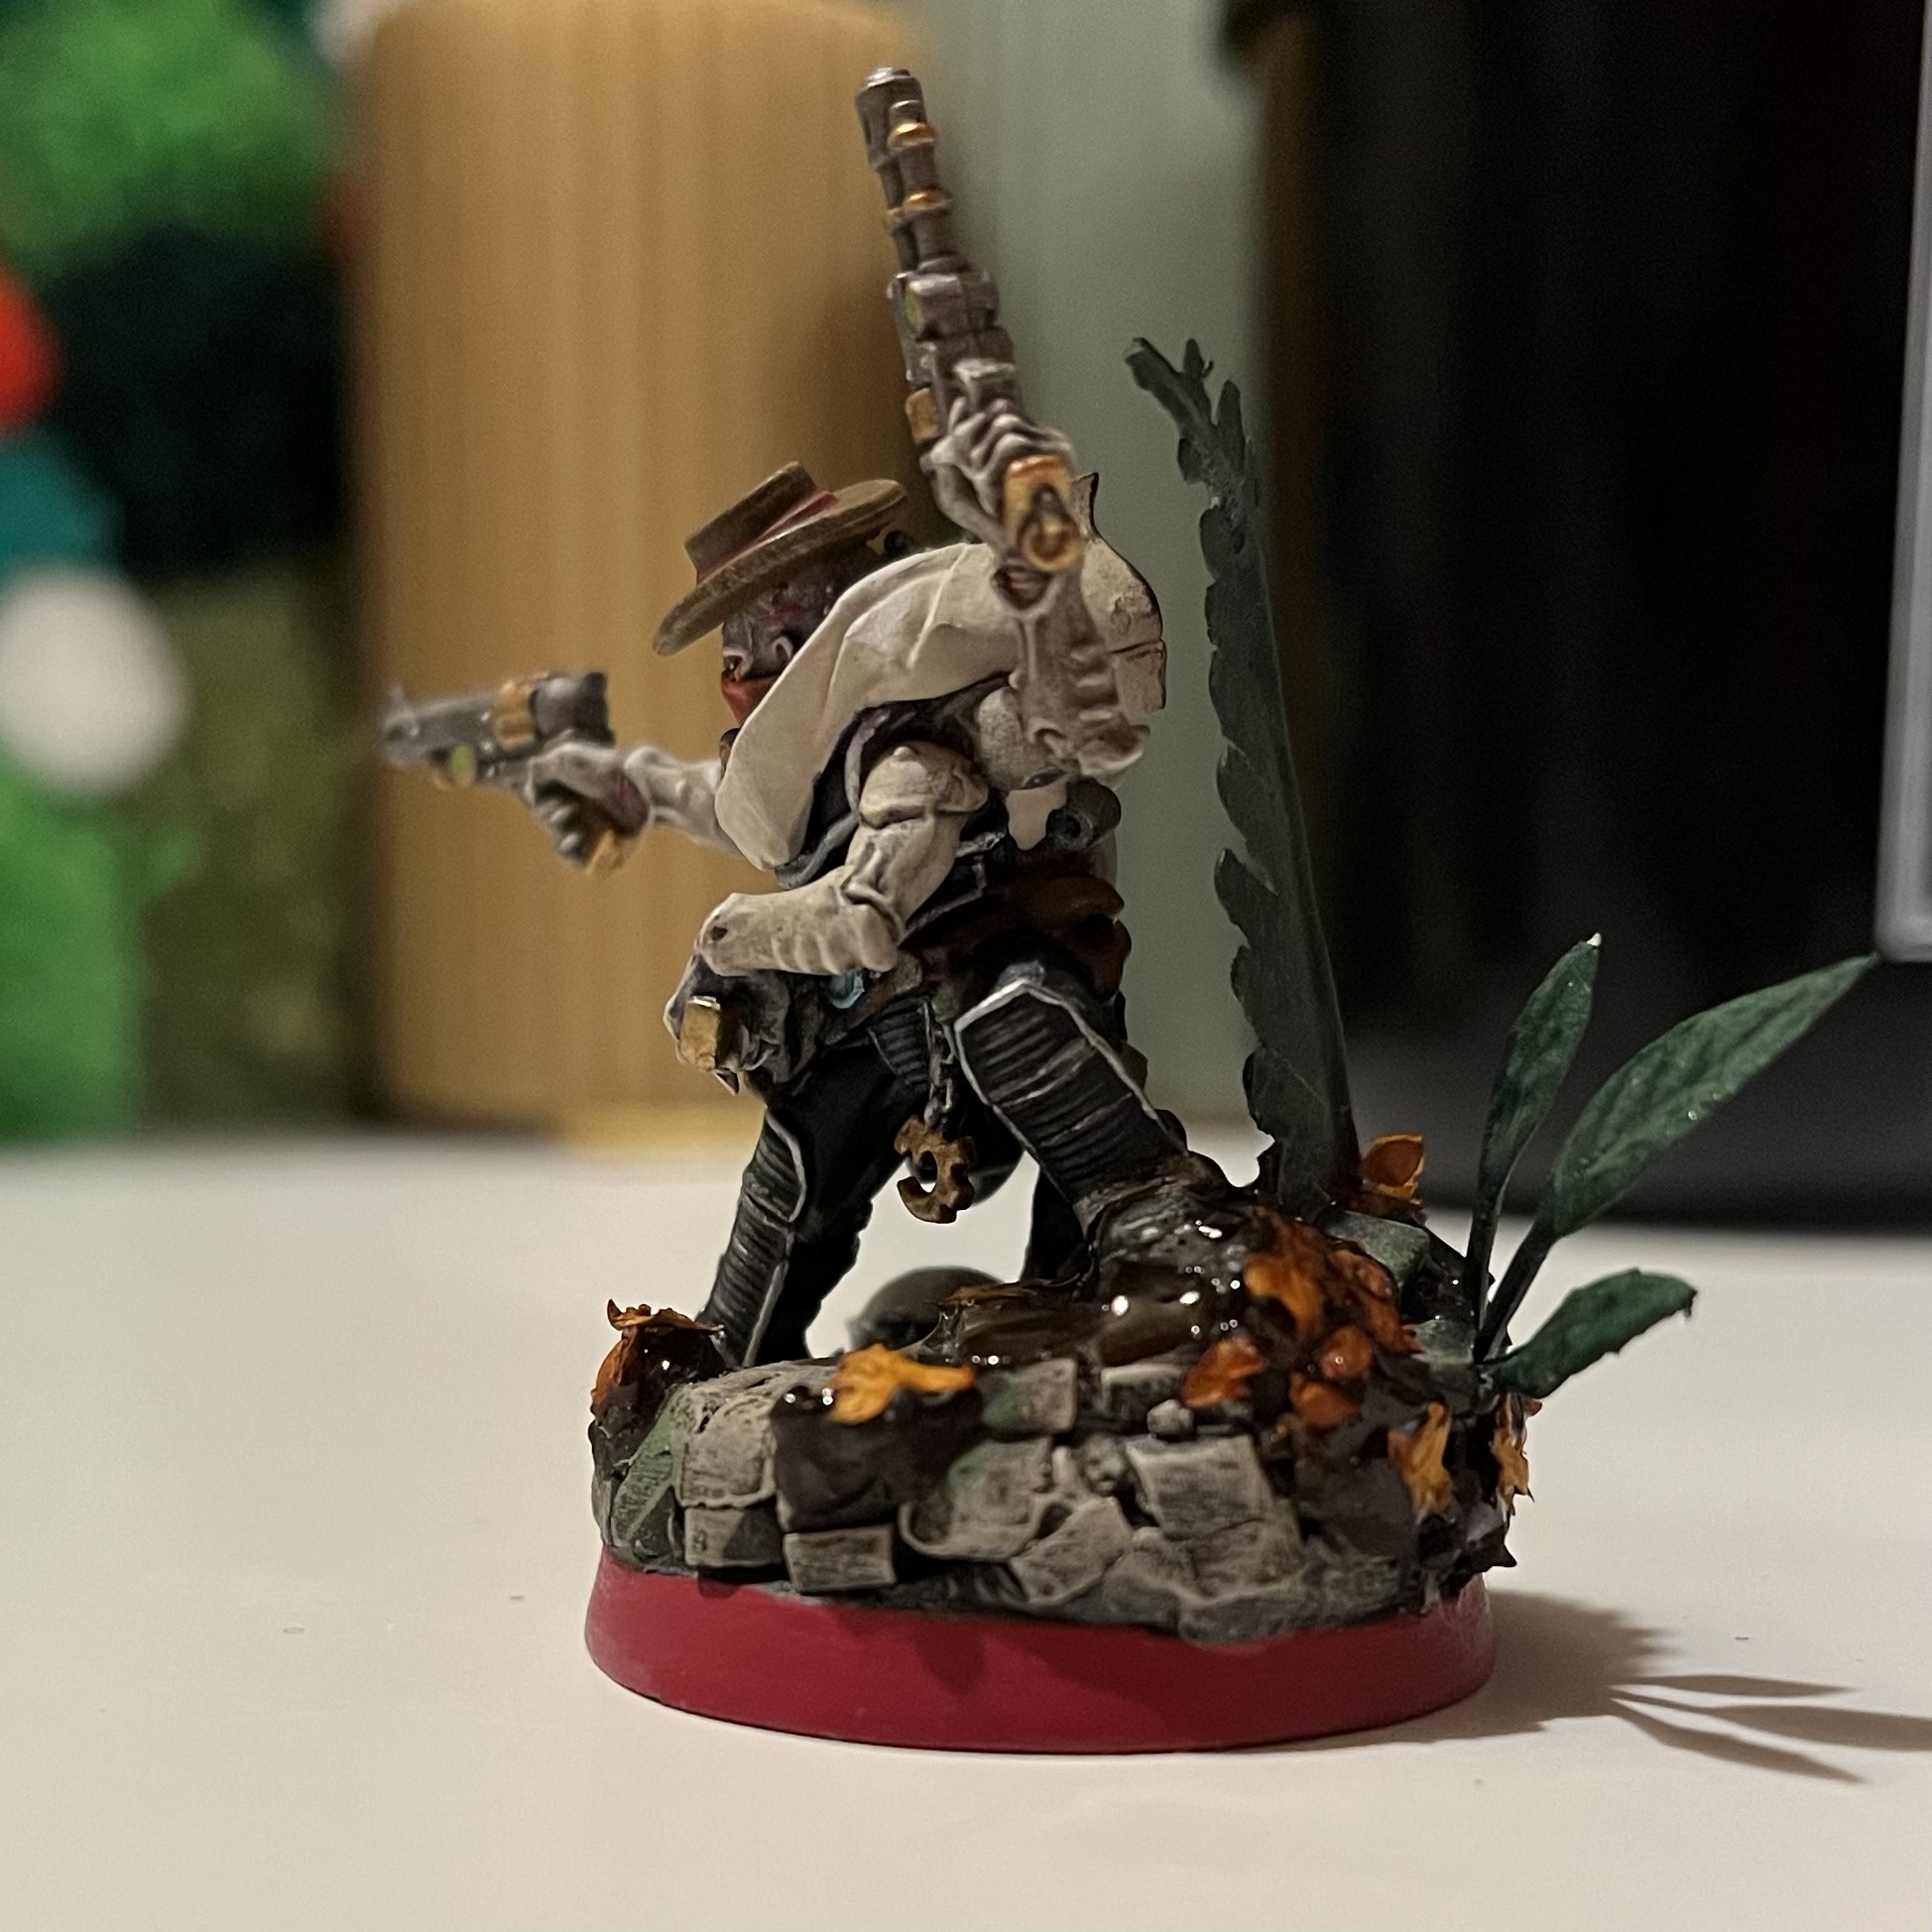
Without further ado here’s my gunslinger of the stars!
I think you’ll be excited about what’s planned next!
 Front view
  Steps!
  Look at that poncho design!
  UV resin on the lens just to give it that glassy feel
Priming!
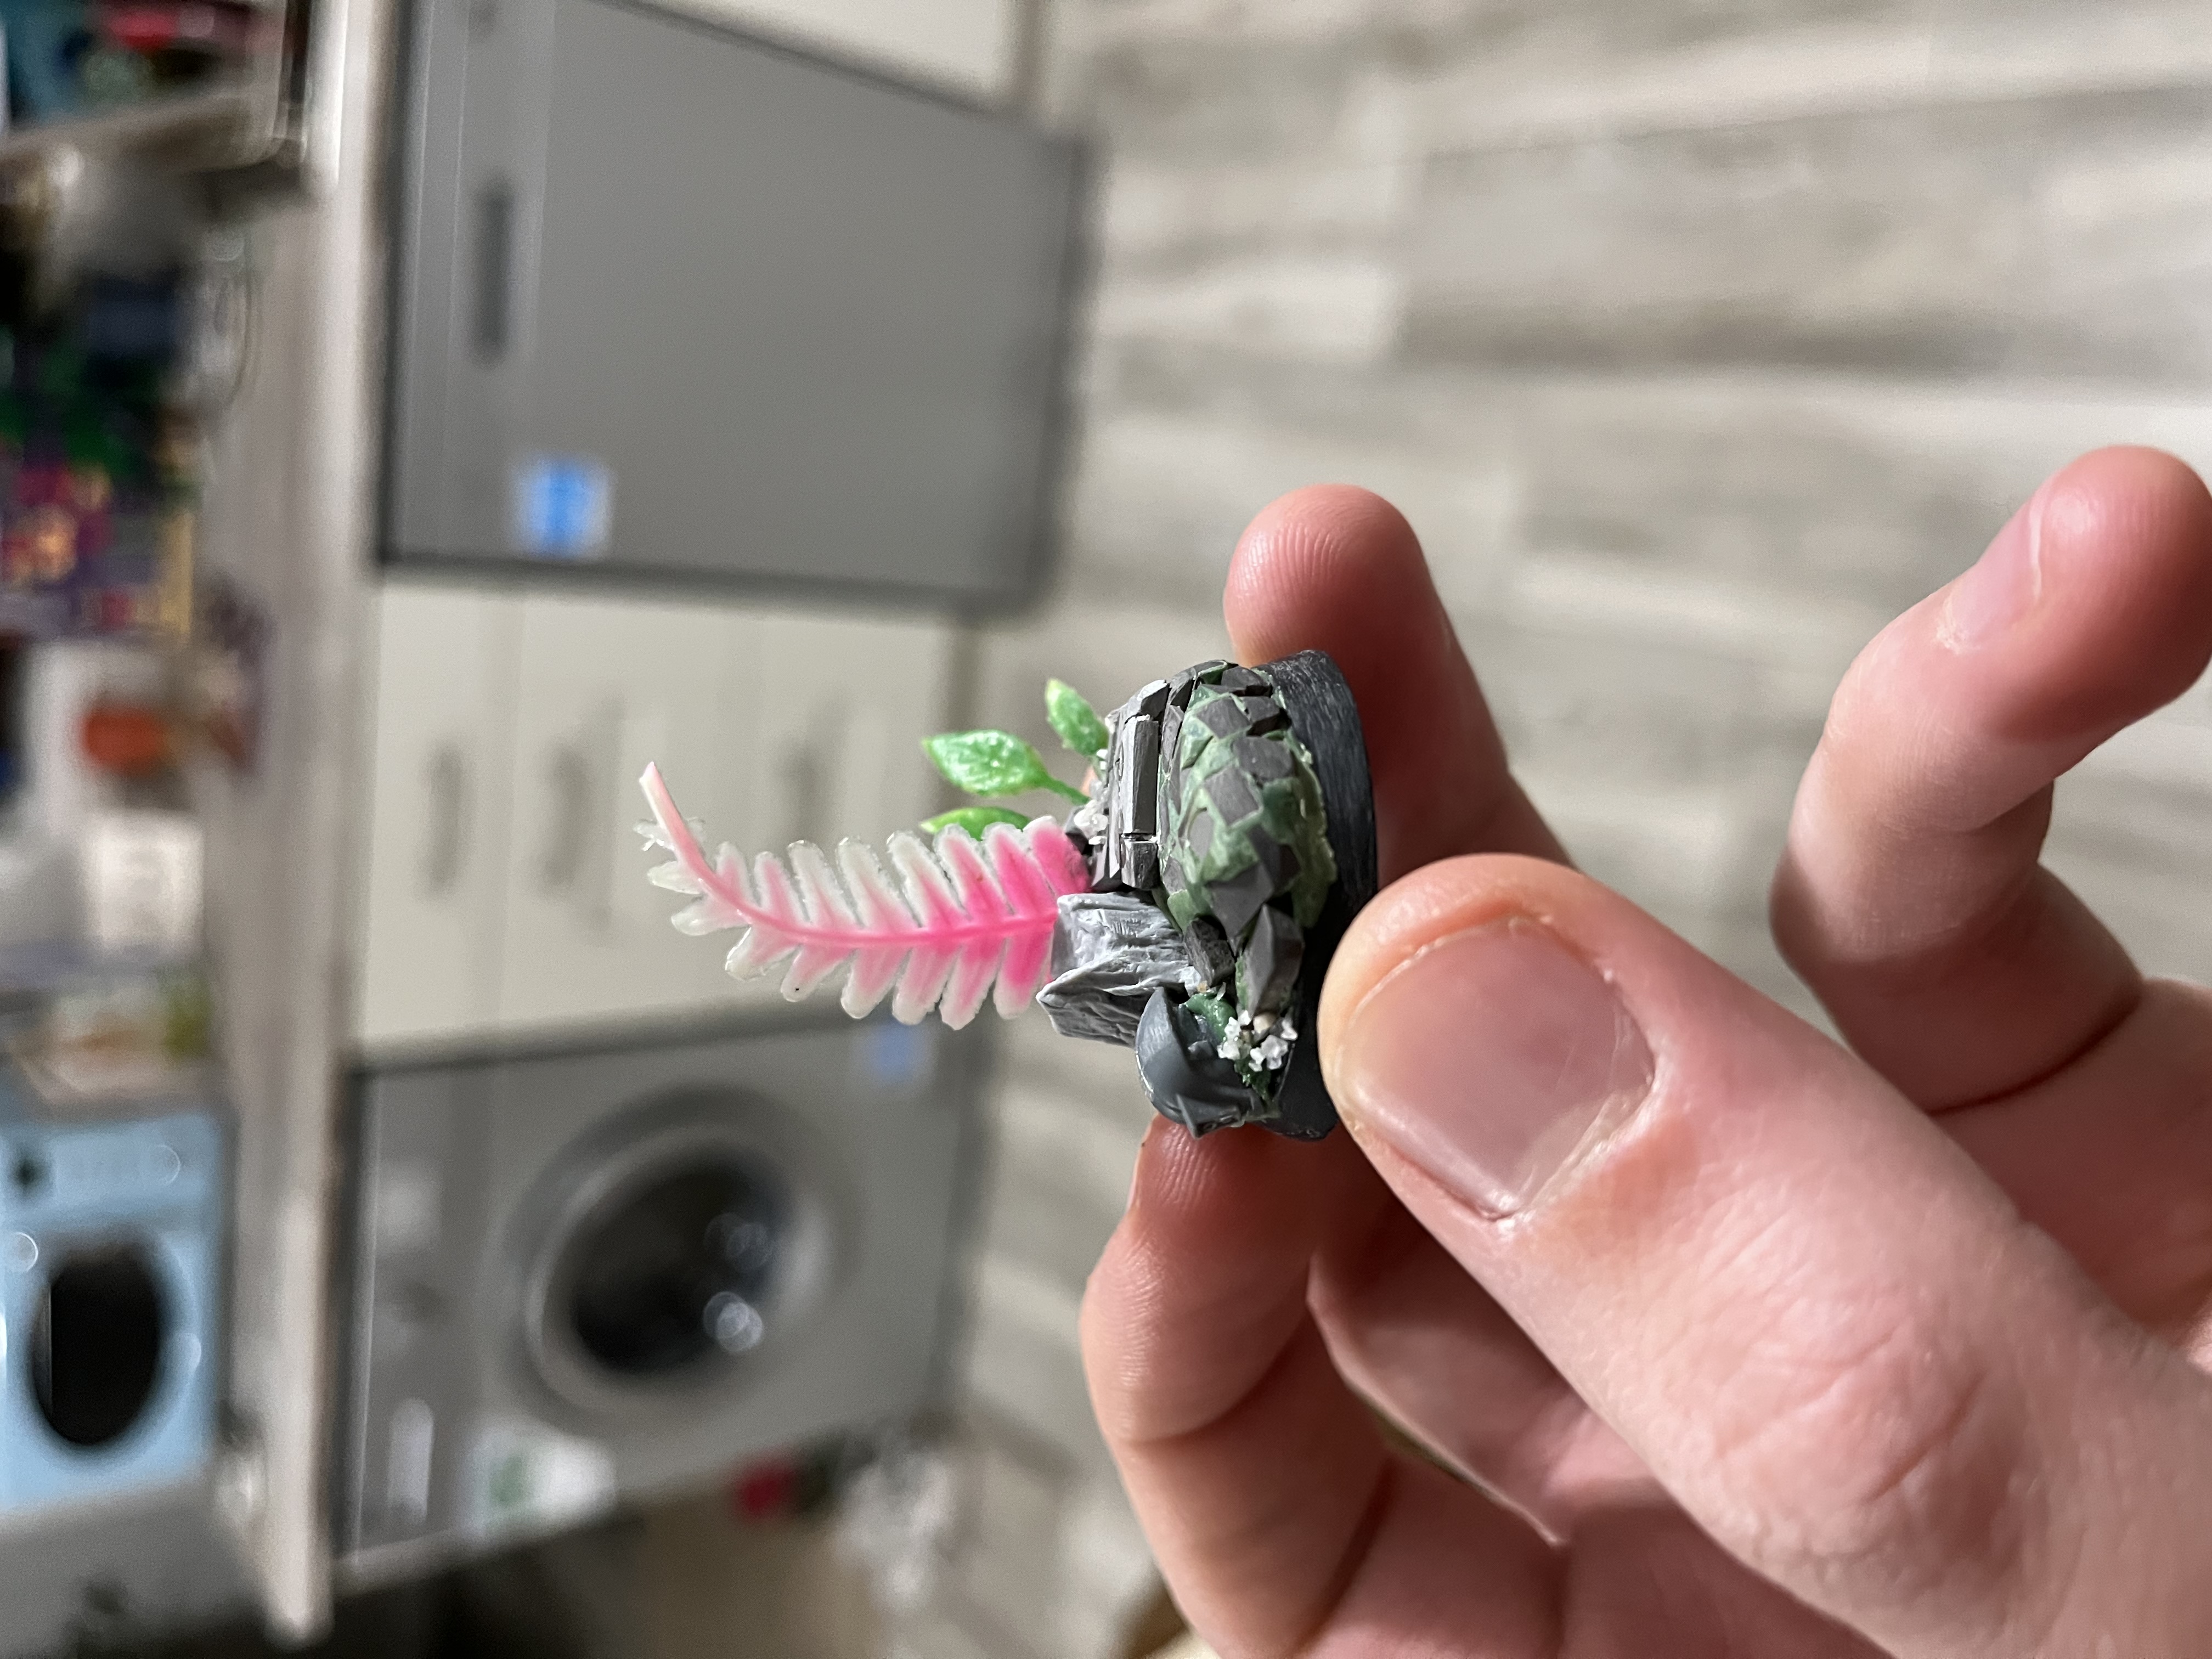
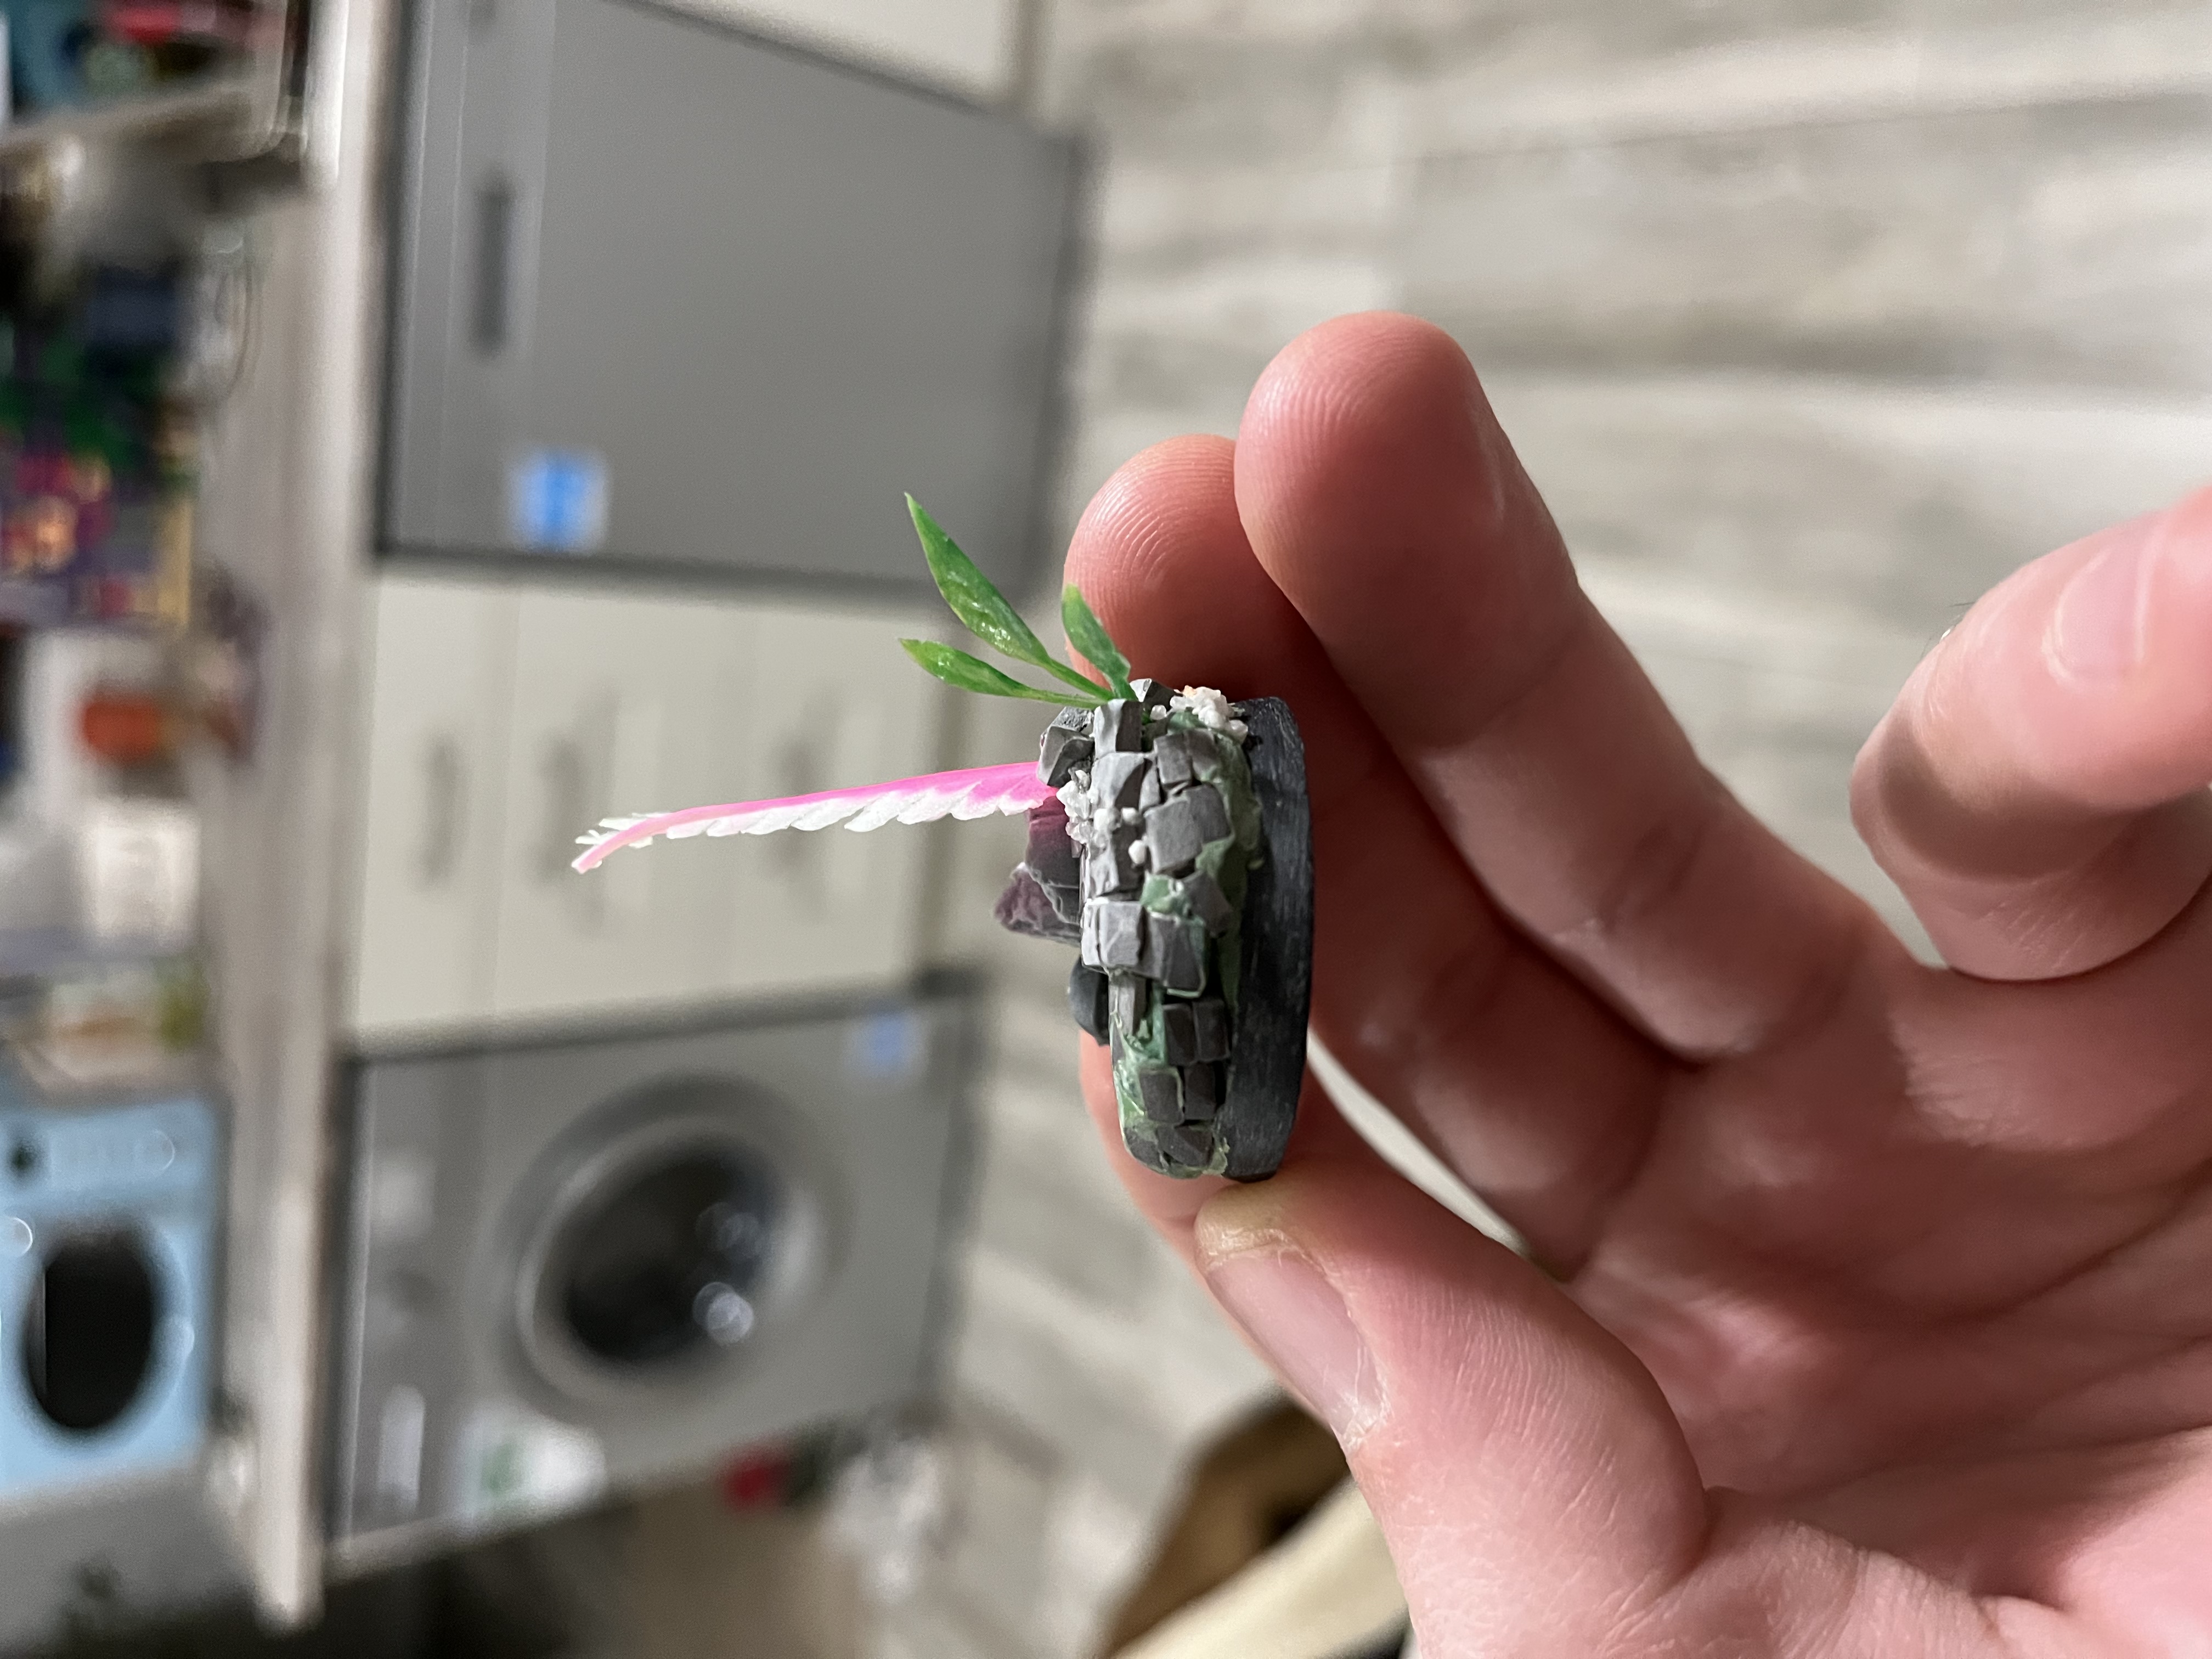
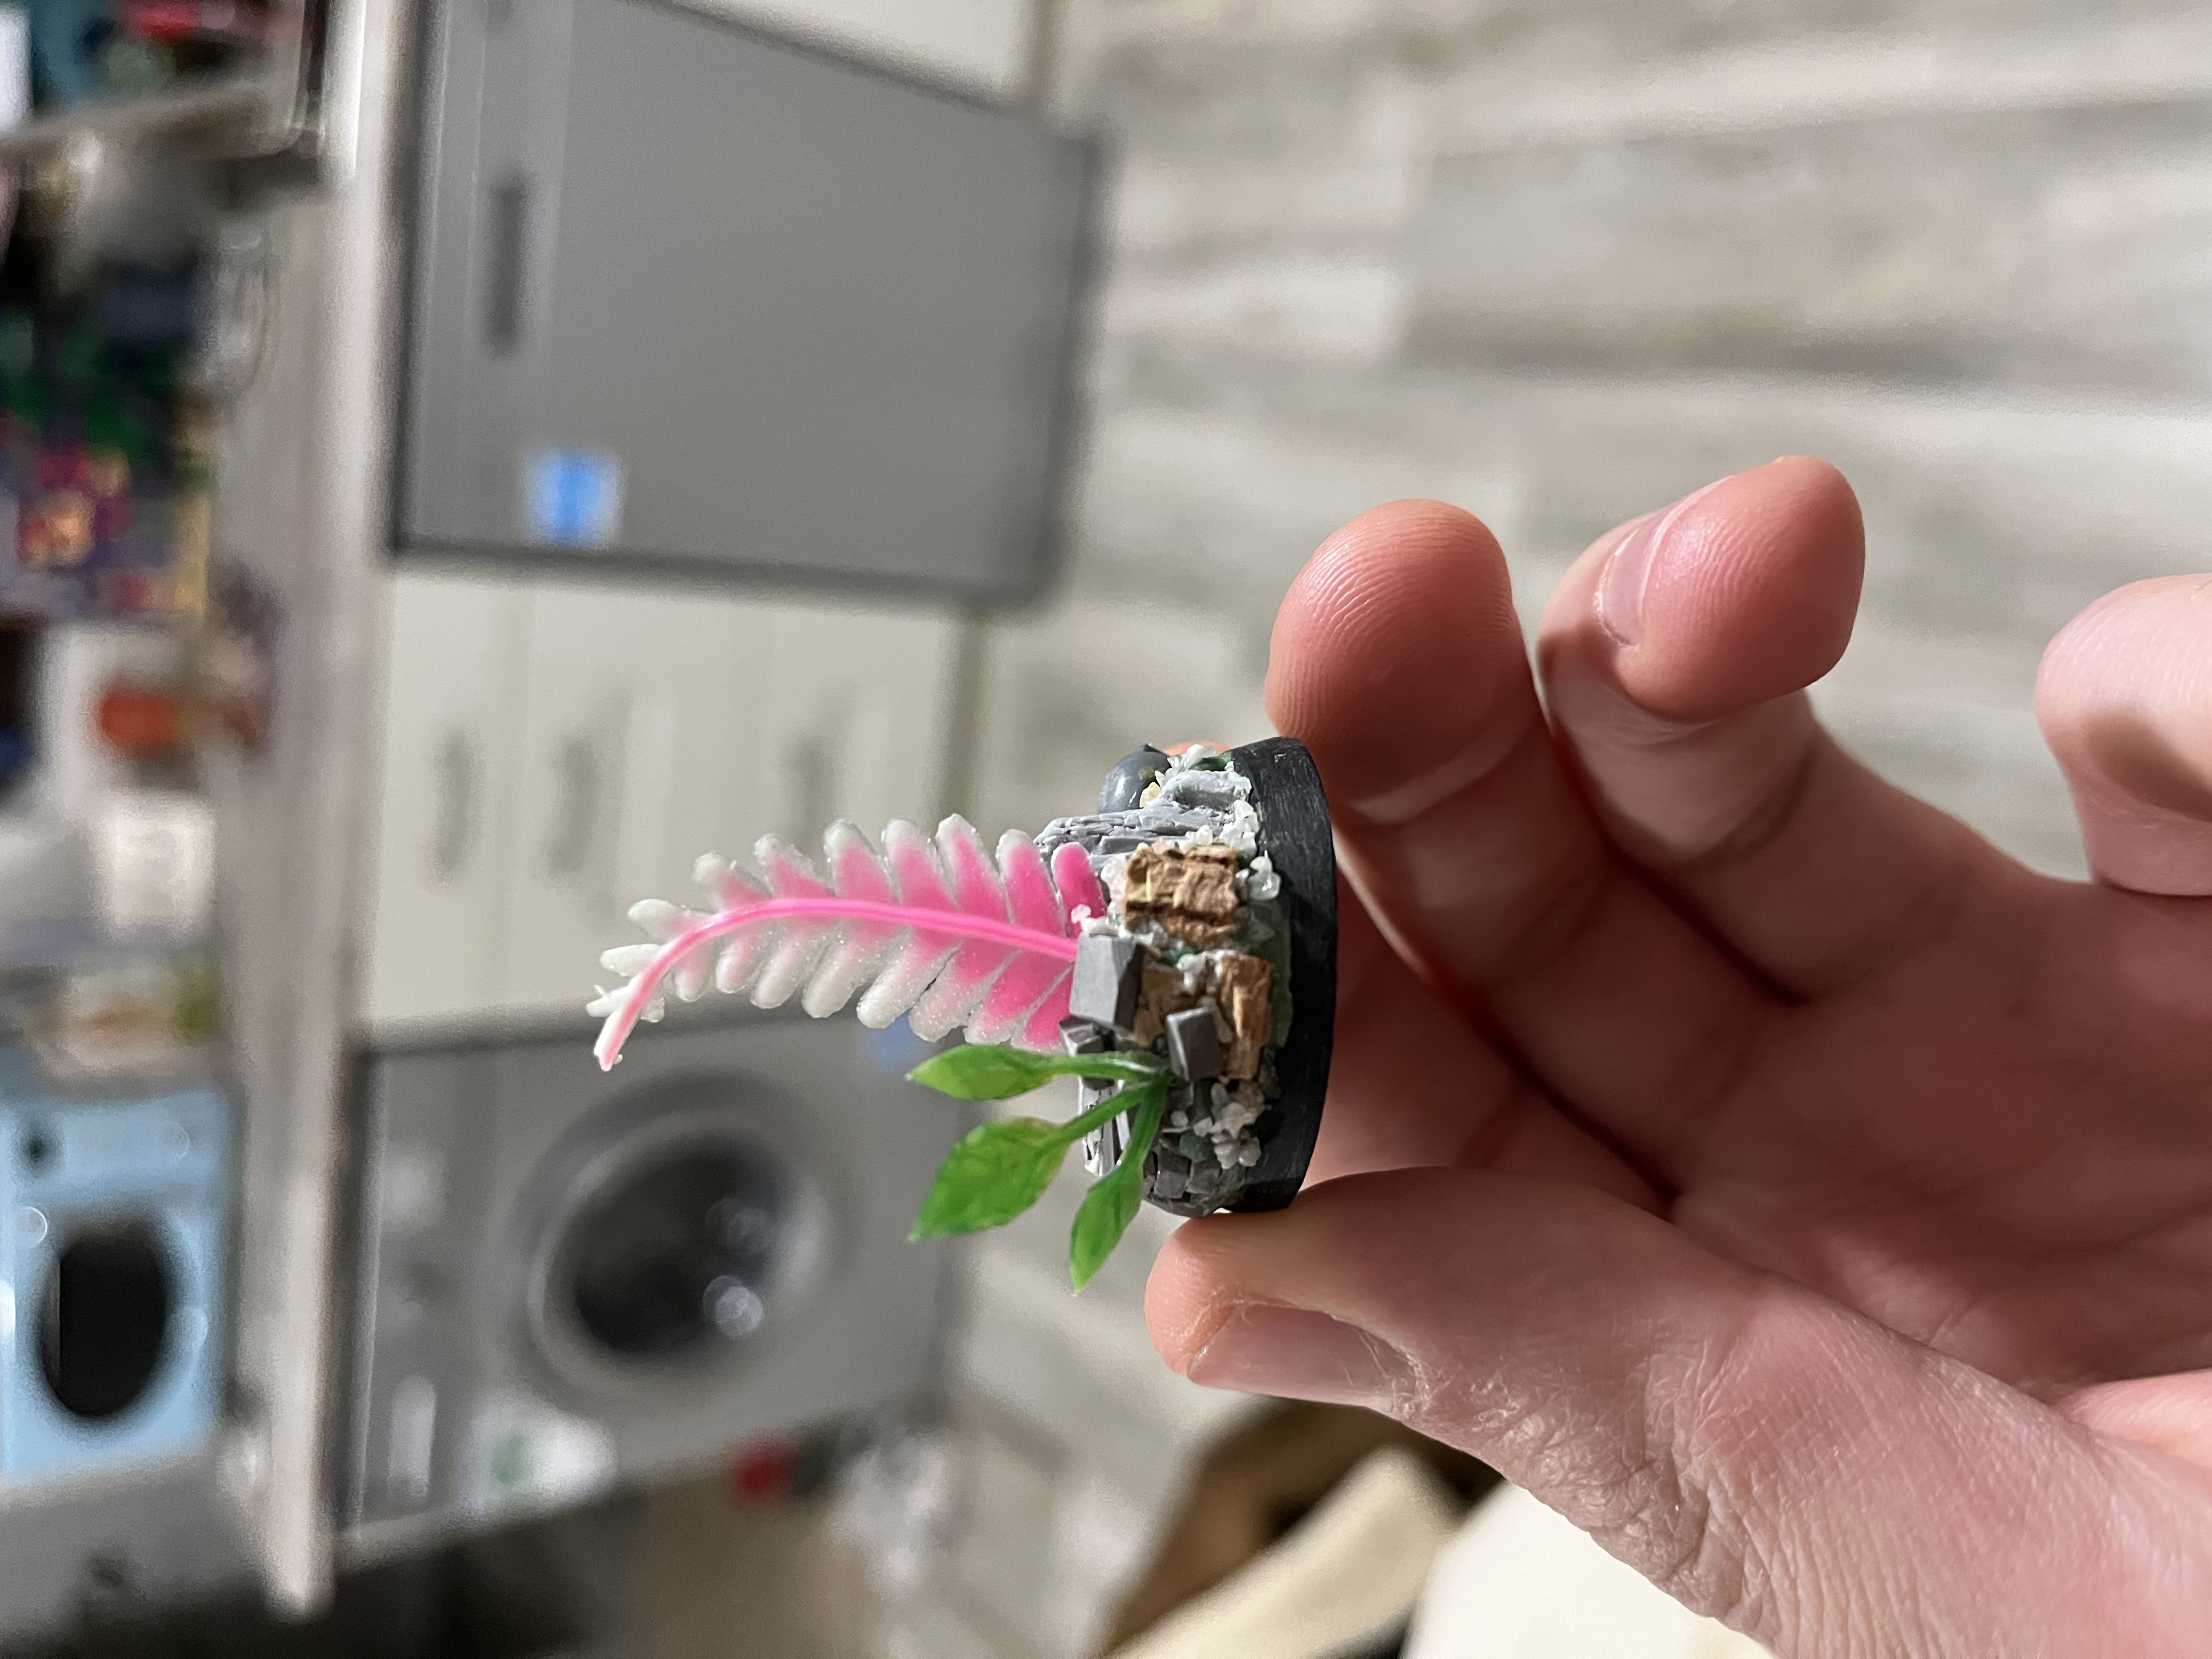
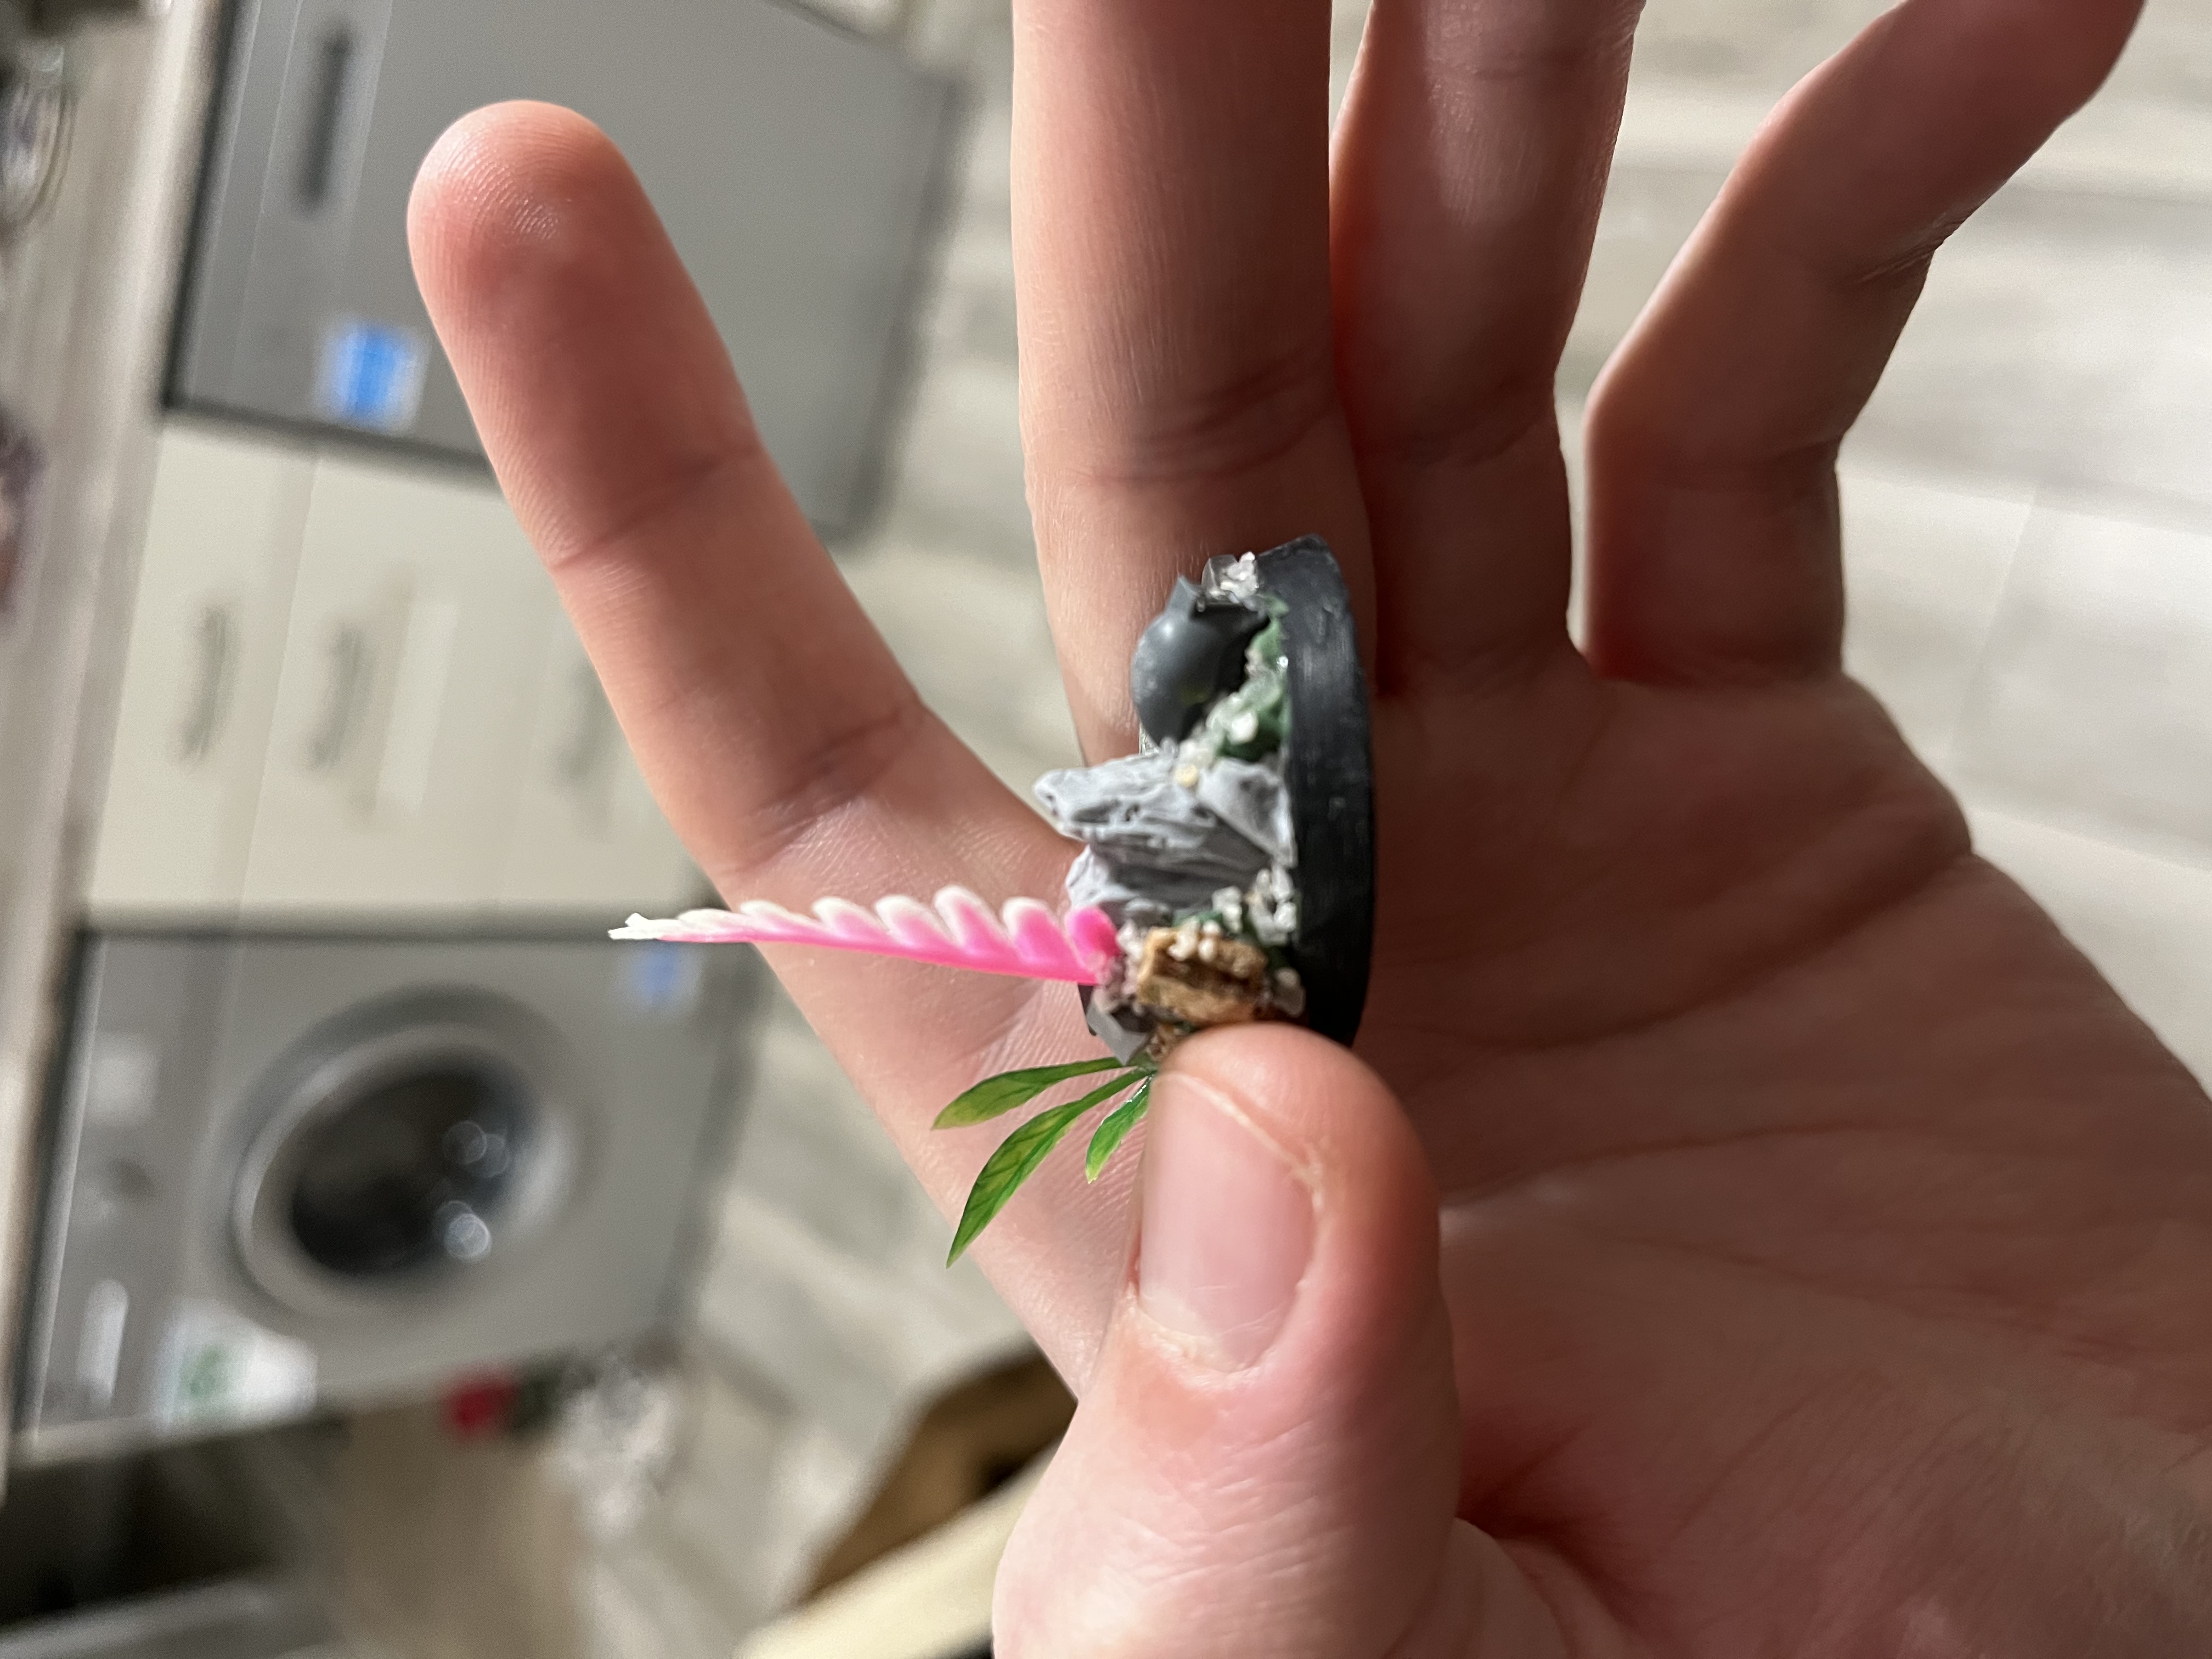
Just a short update today;
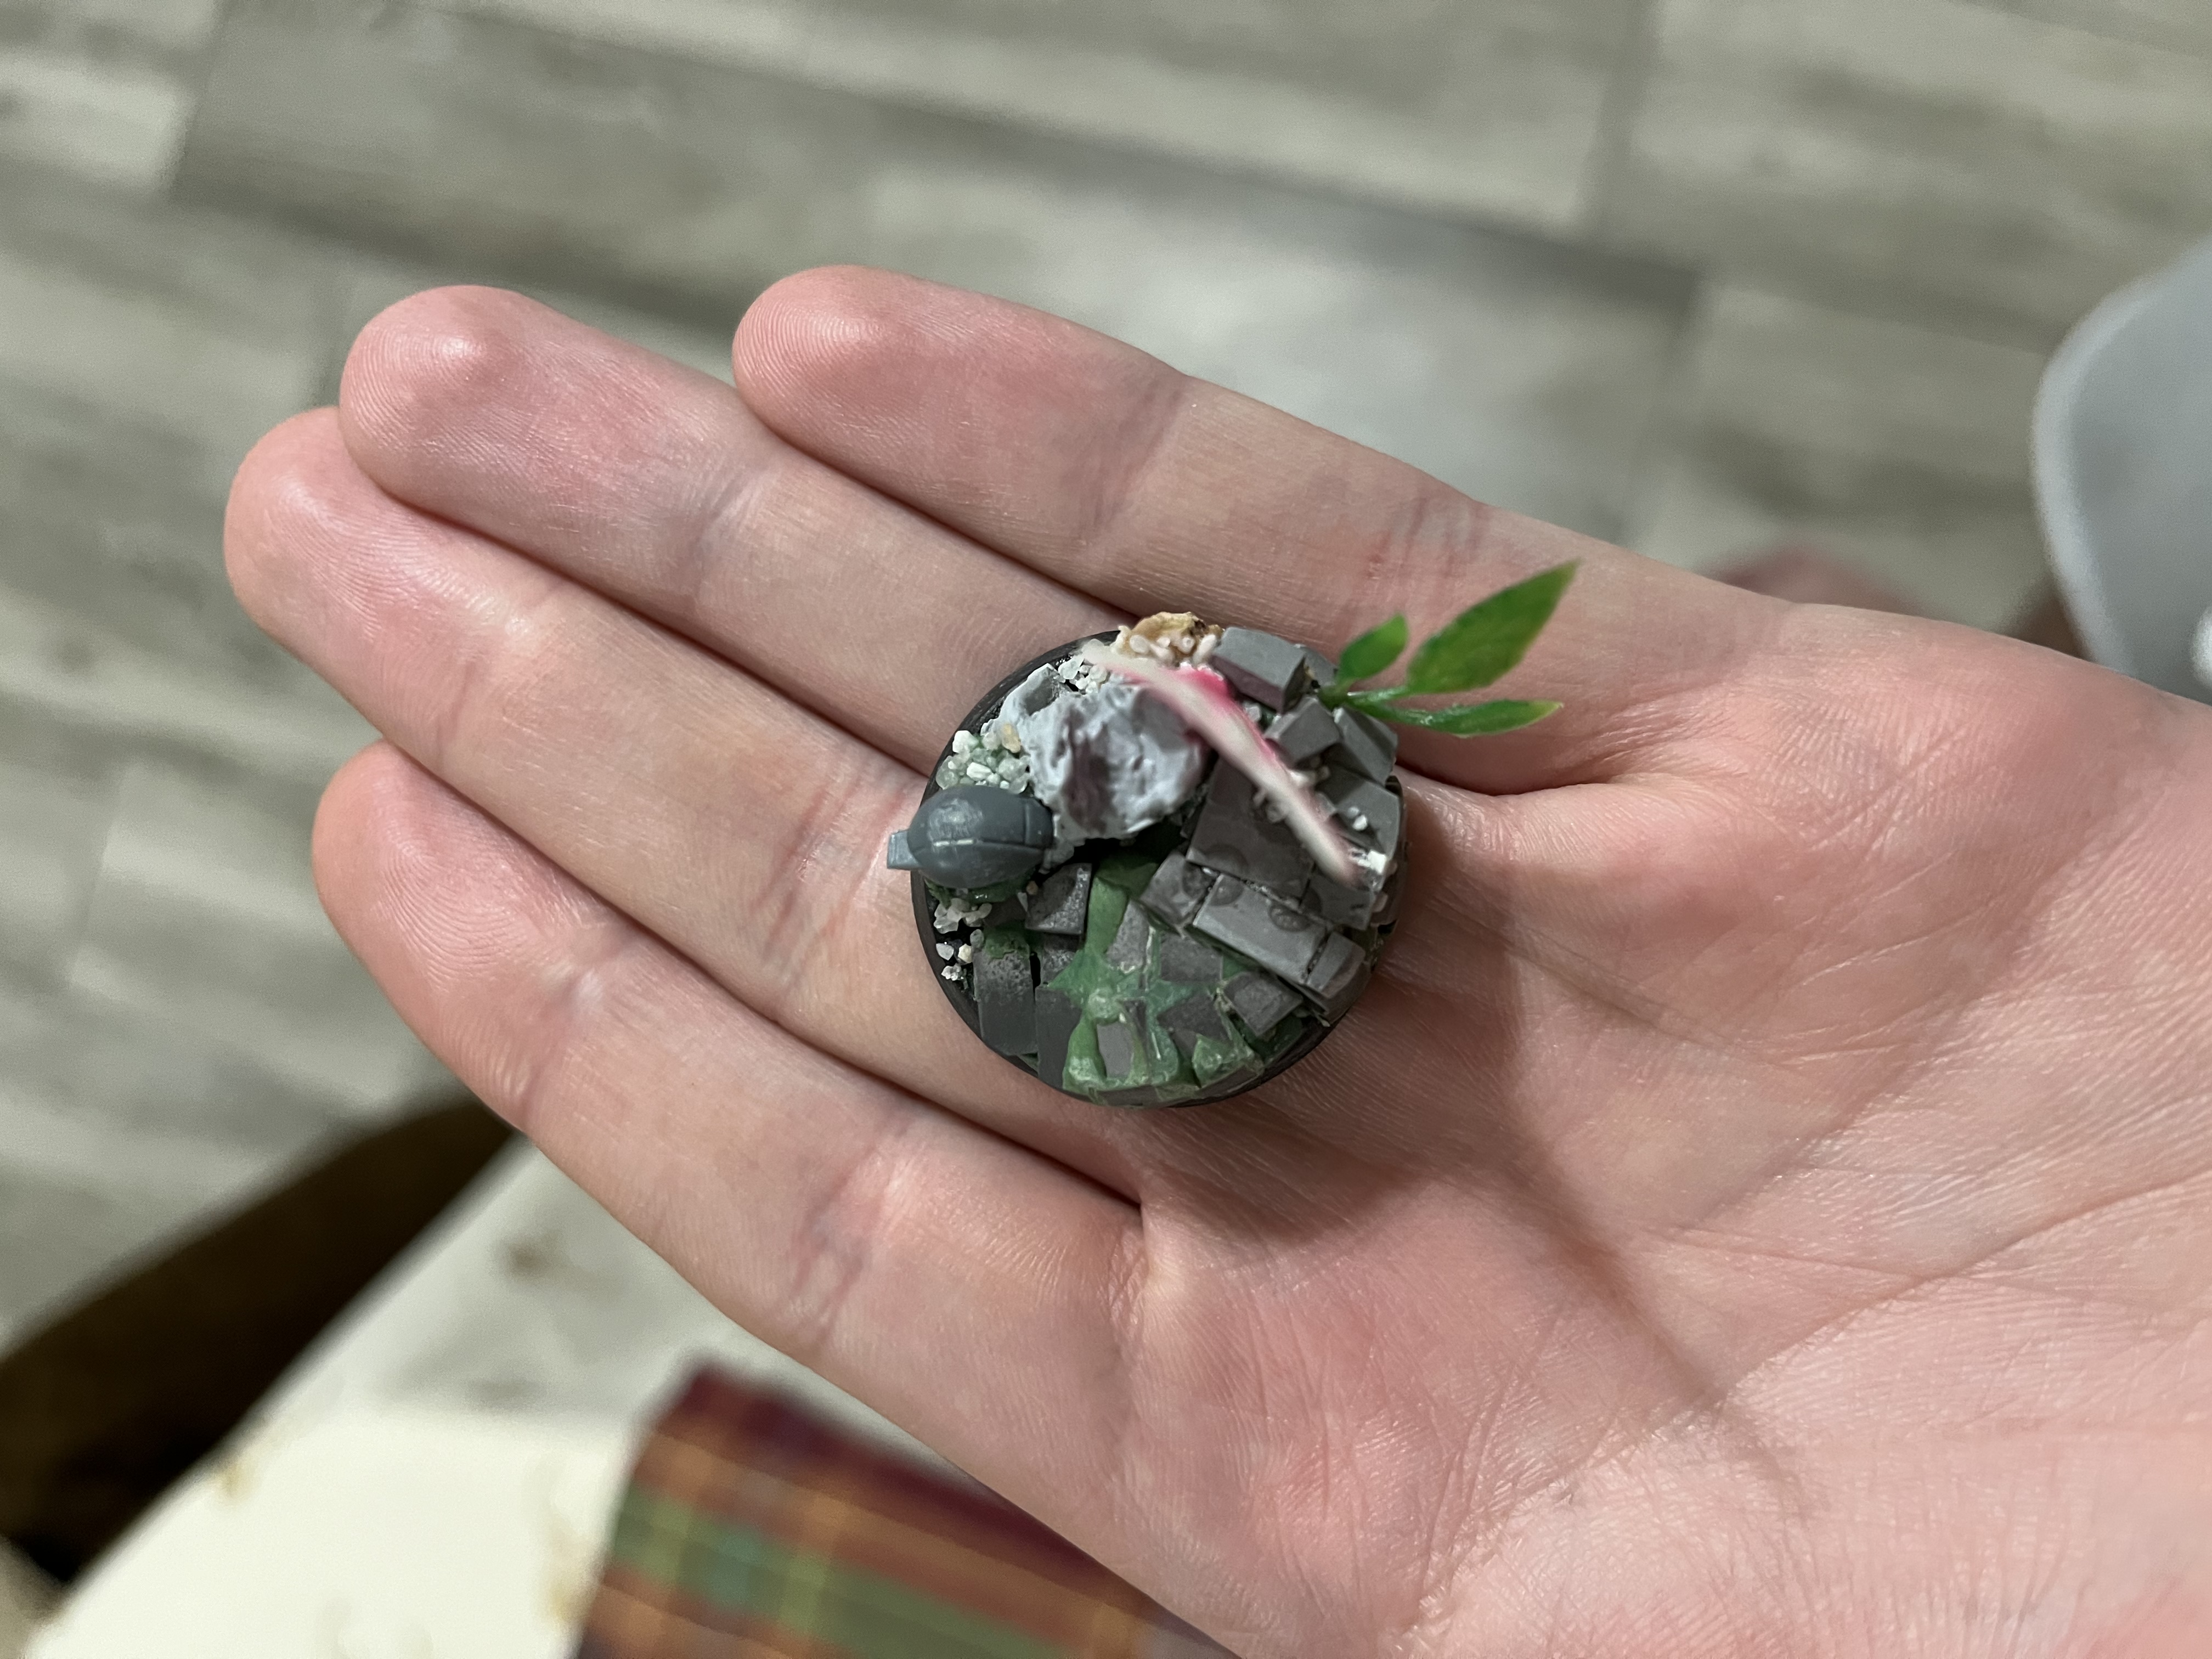
Used a nail file to neaten the brick wall to shape and flatten it and then added more bricks to give the impression of steps! I’m a lot happier with the end result.
Then I washed all the parts in hot soapy water.
After it dried I then glued all the components lightly to kebab sticks with superglue. This is something I do before priming. It means I can get at every angle!
Finally I primed firstly with a rattle can of Chaos Black and then highlighted from above with Corax White. This allows me to see where the light will hit in my head and even if I paint over it with thin layers certain parts will be darker with shadows!
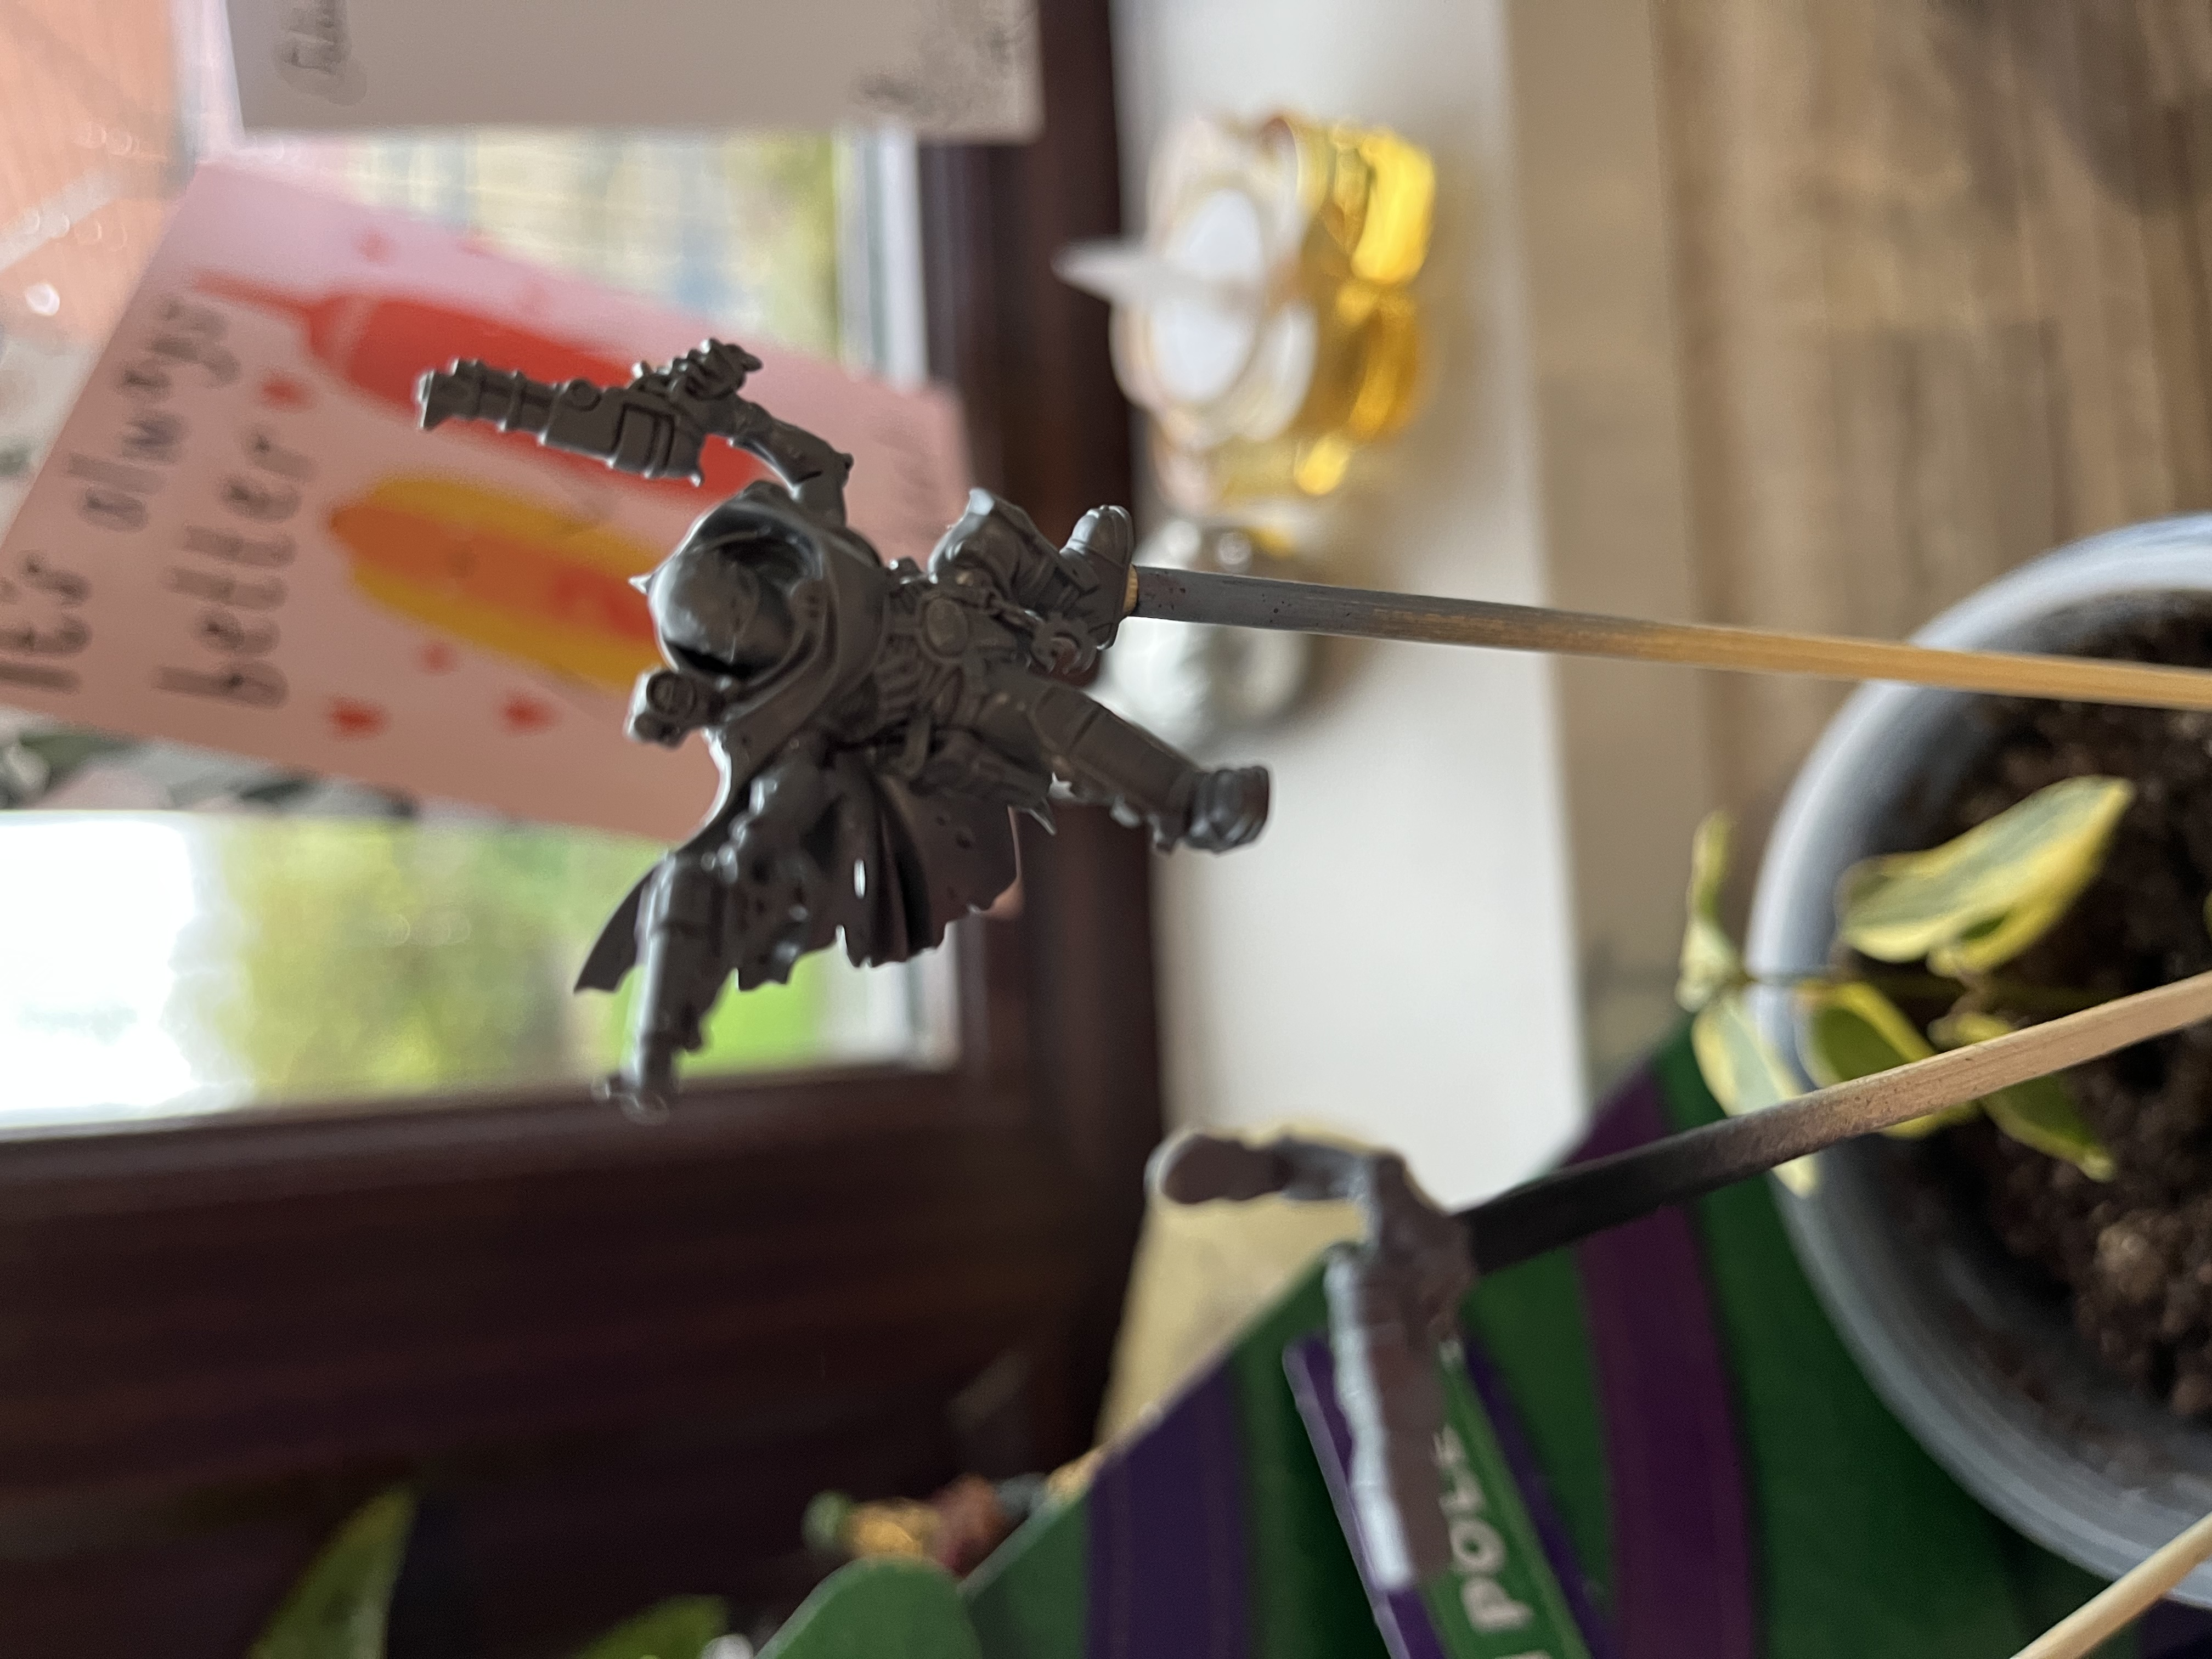 Ready for priming!
 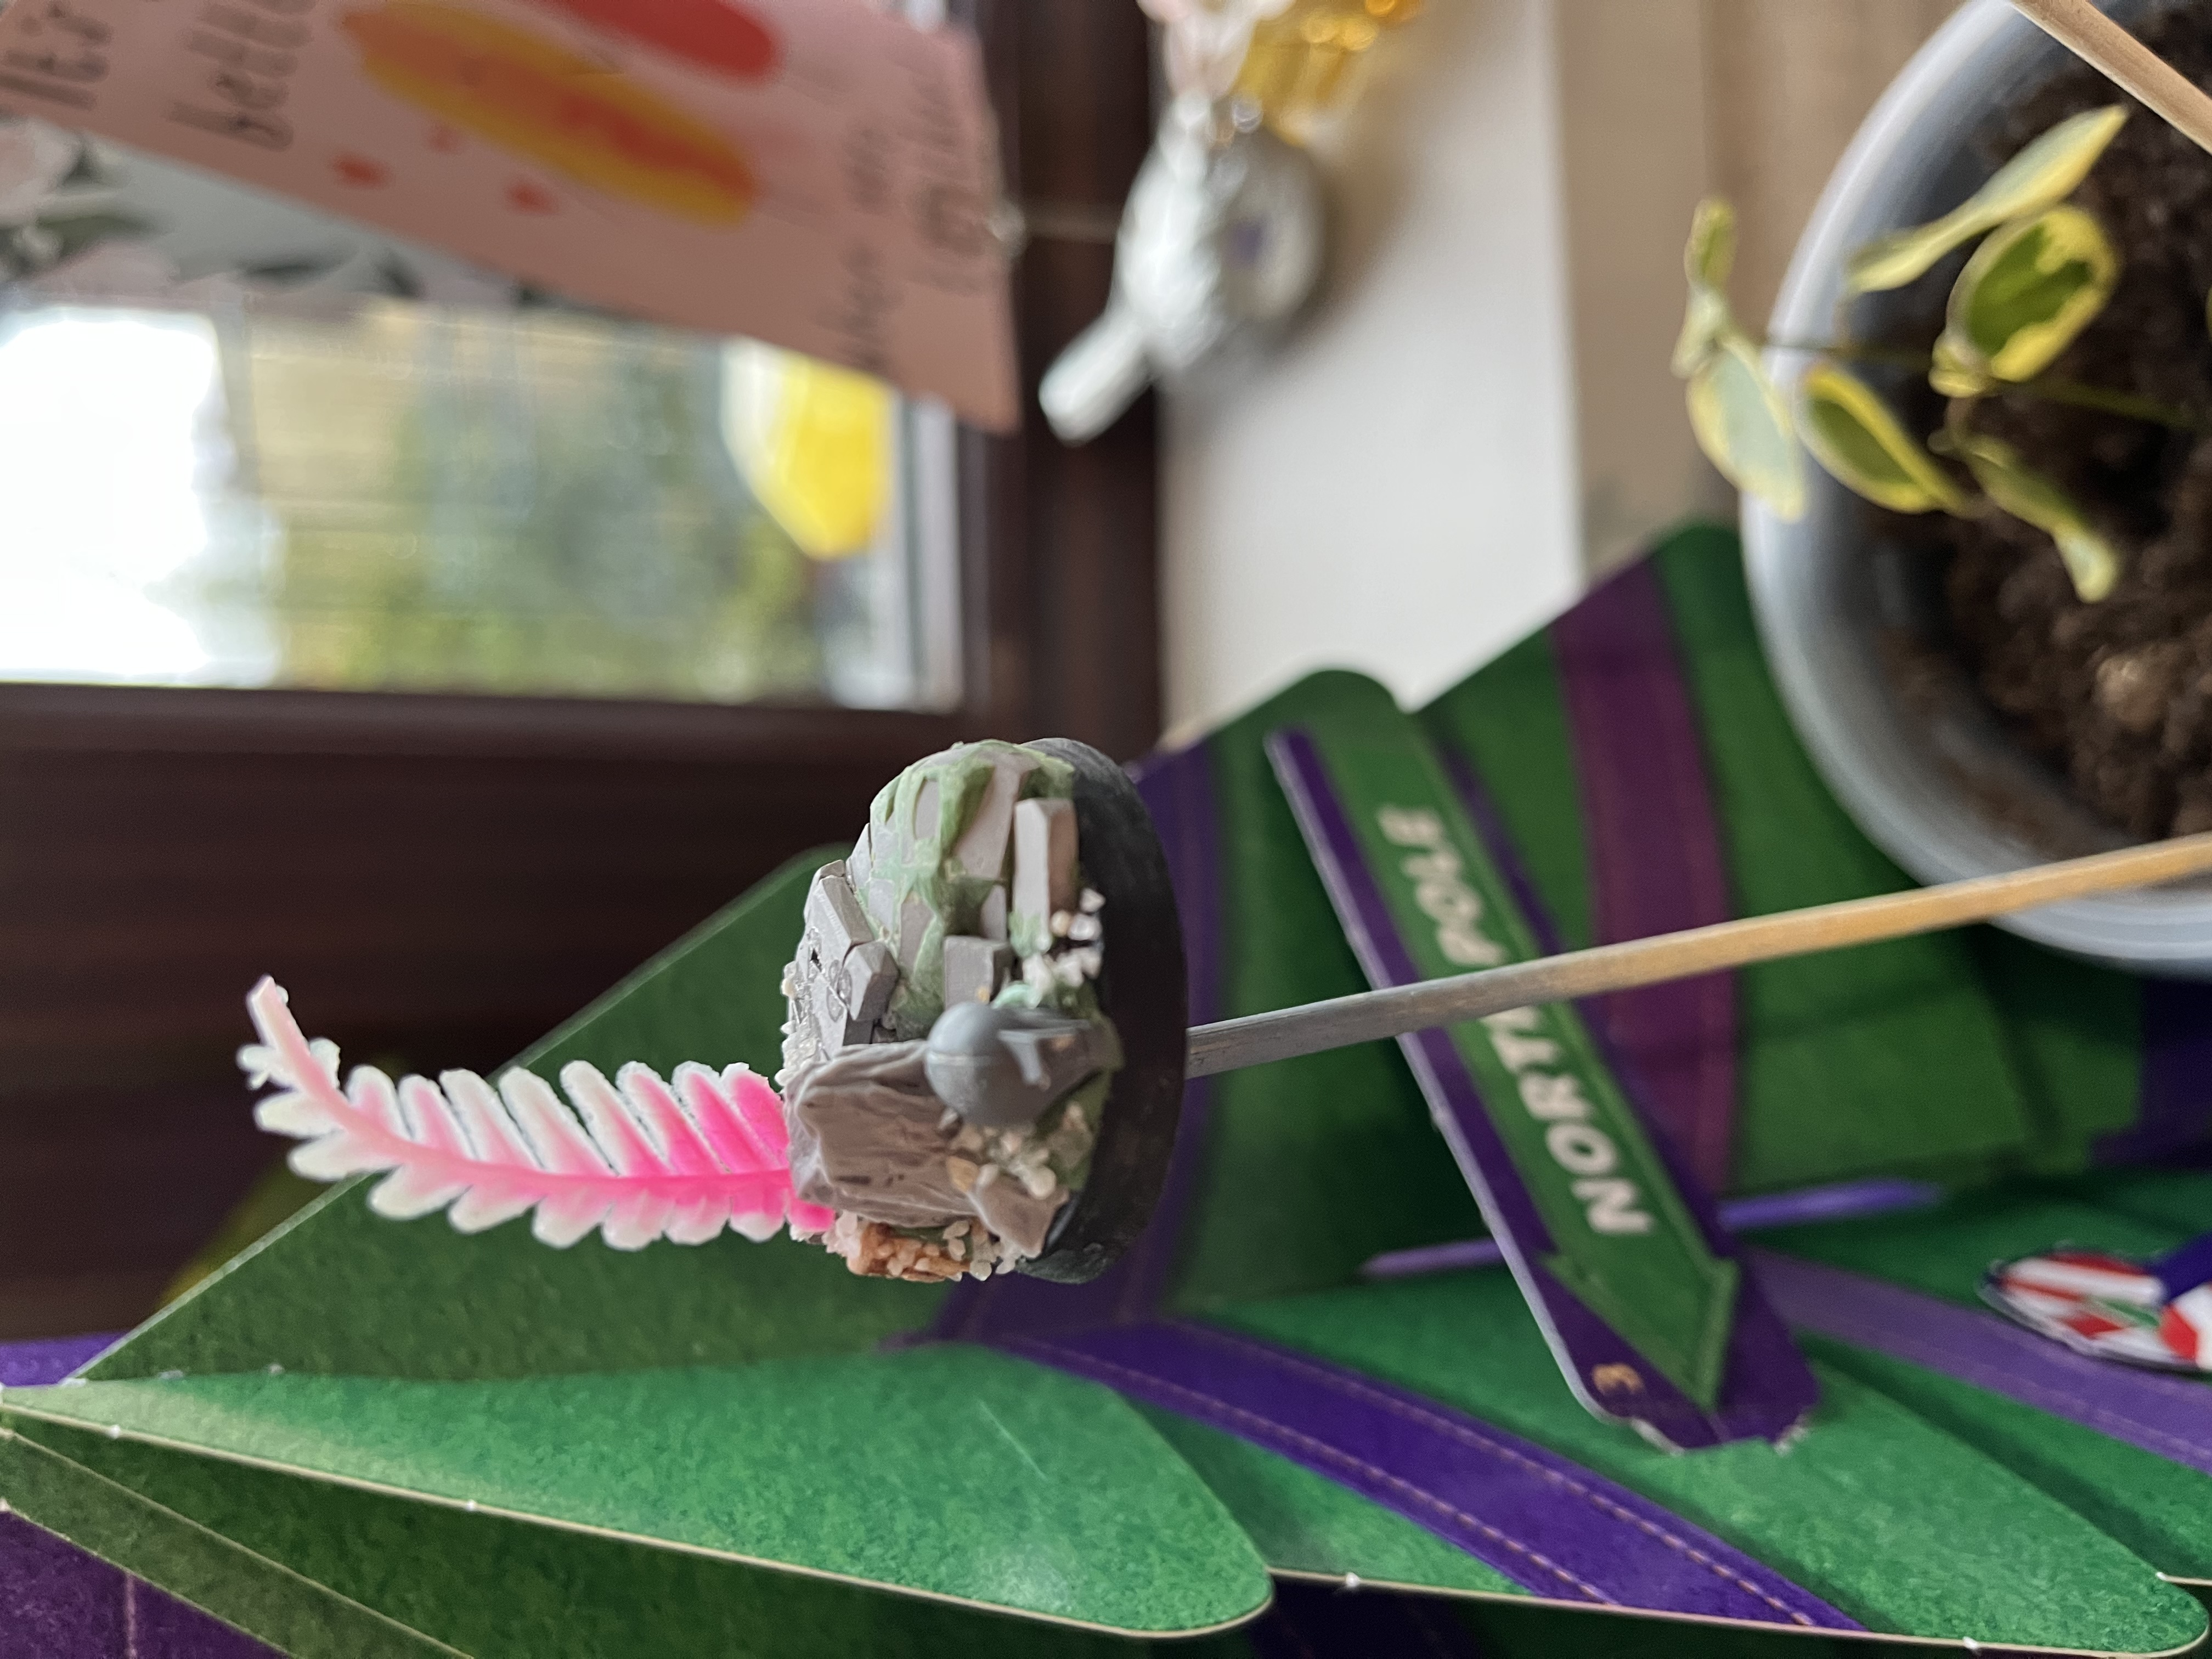 Steps finished!
 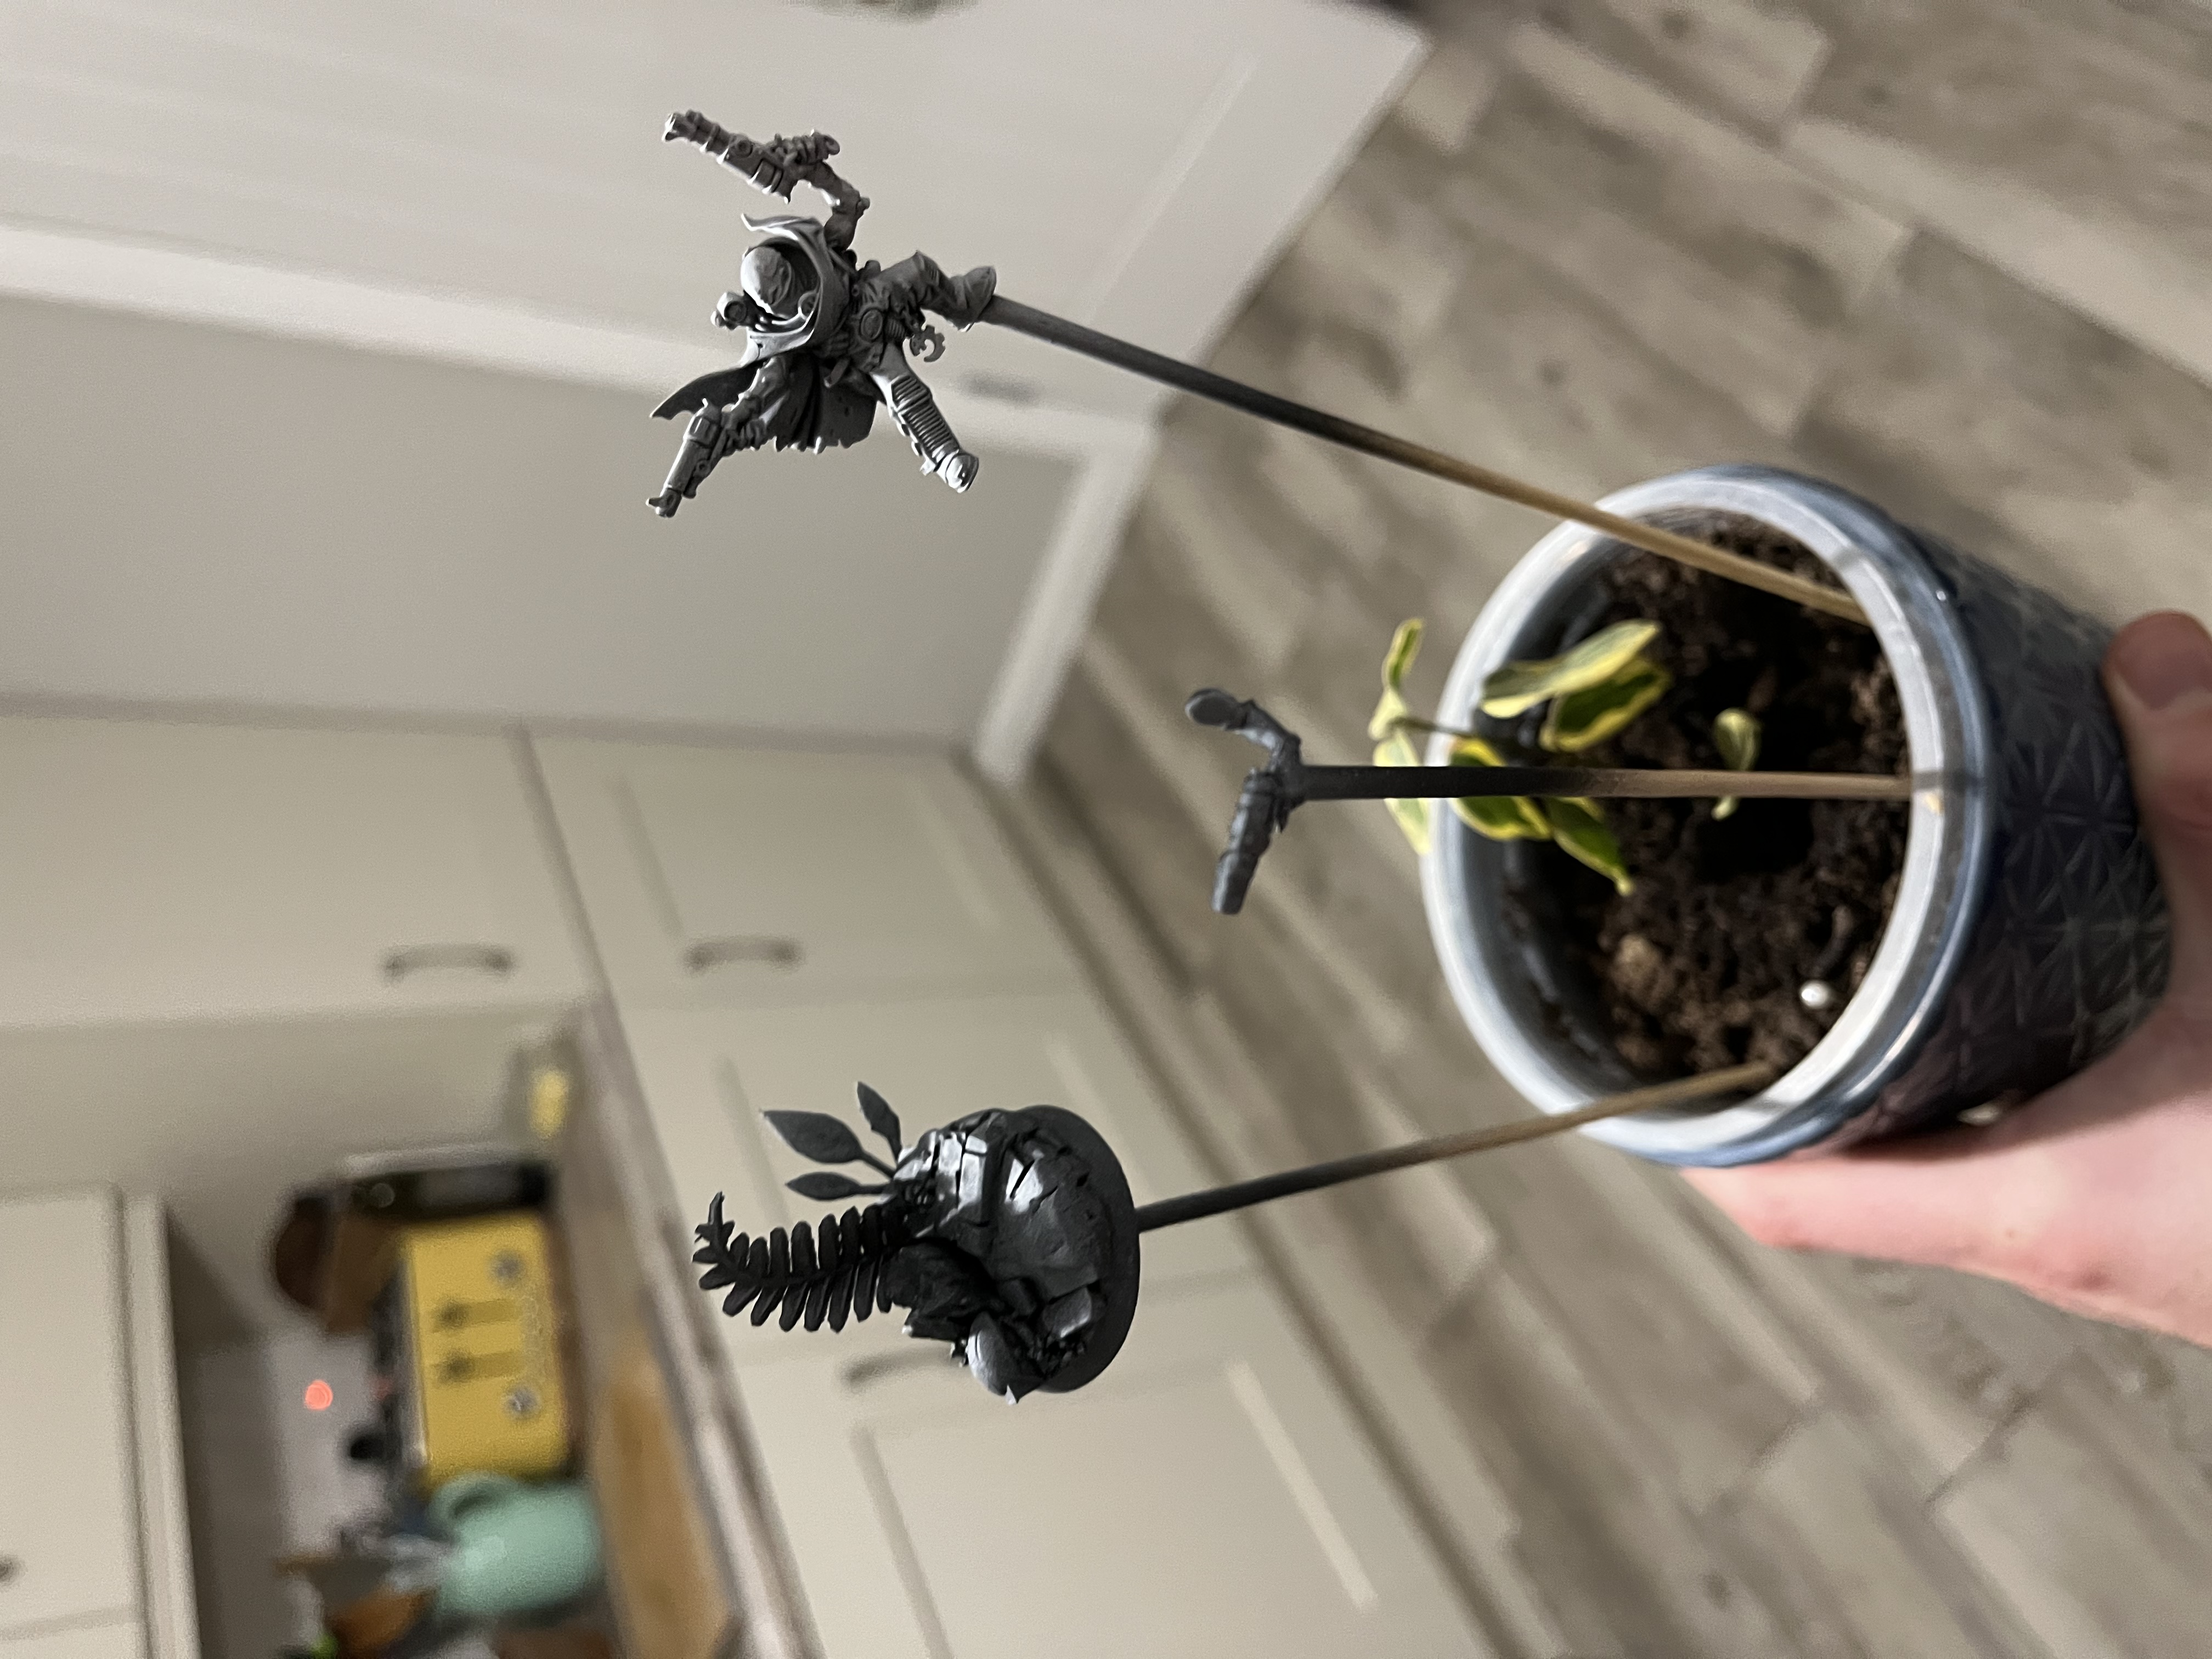 Primed with highlights!
 The Good, the Bad and the Kelermorph!
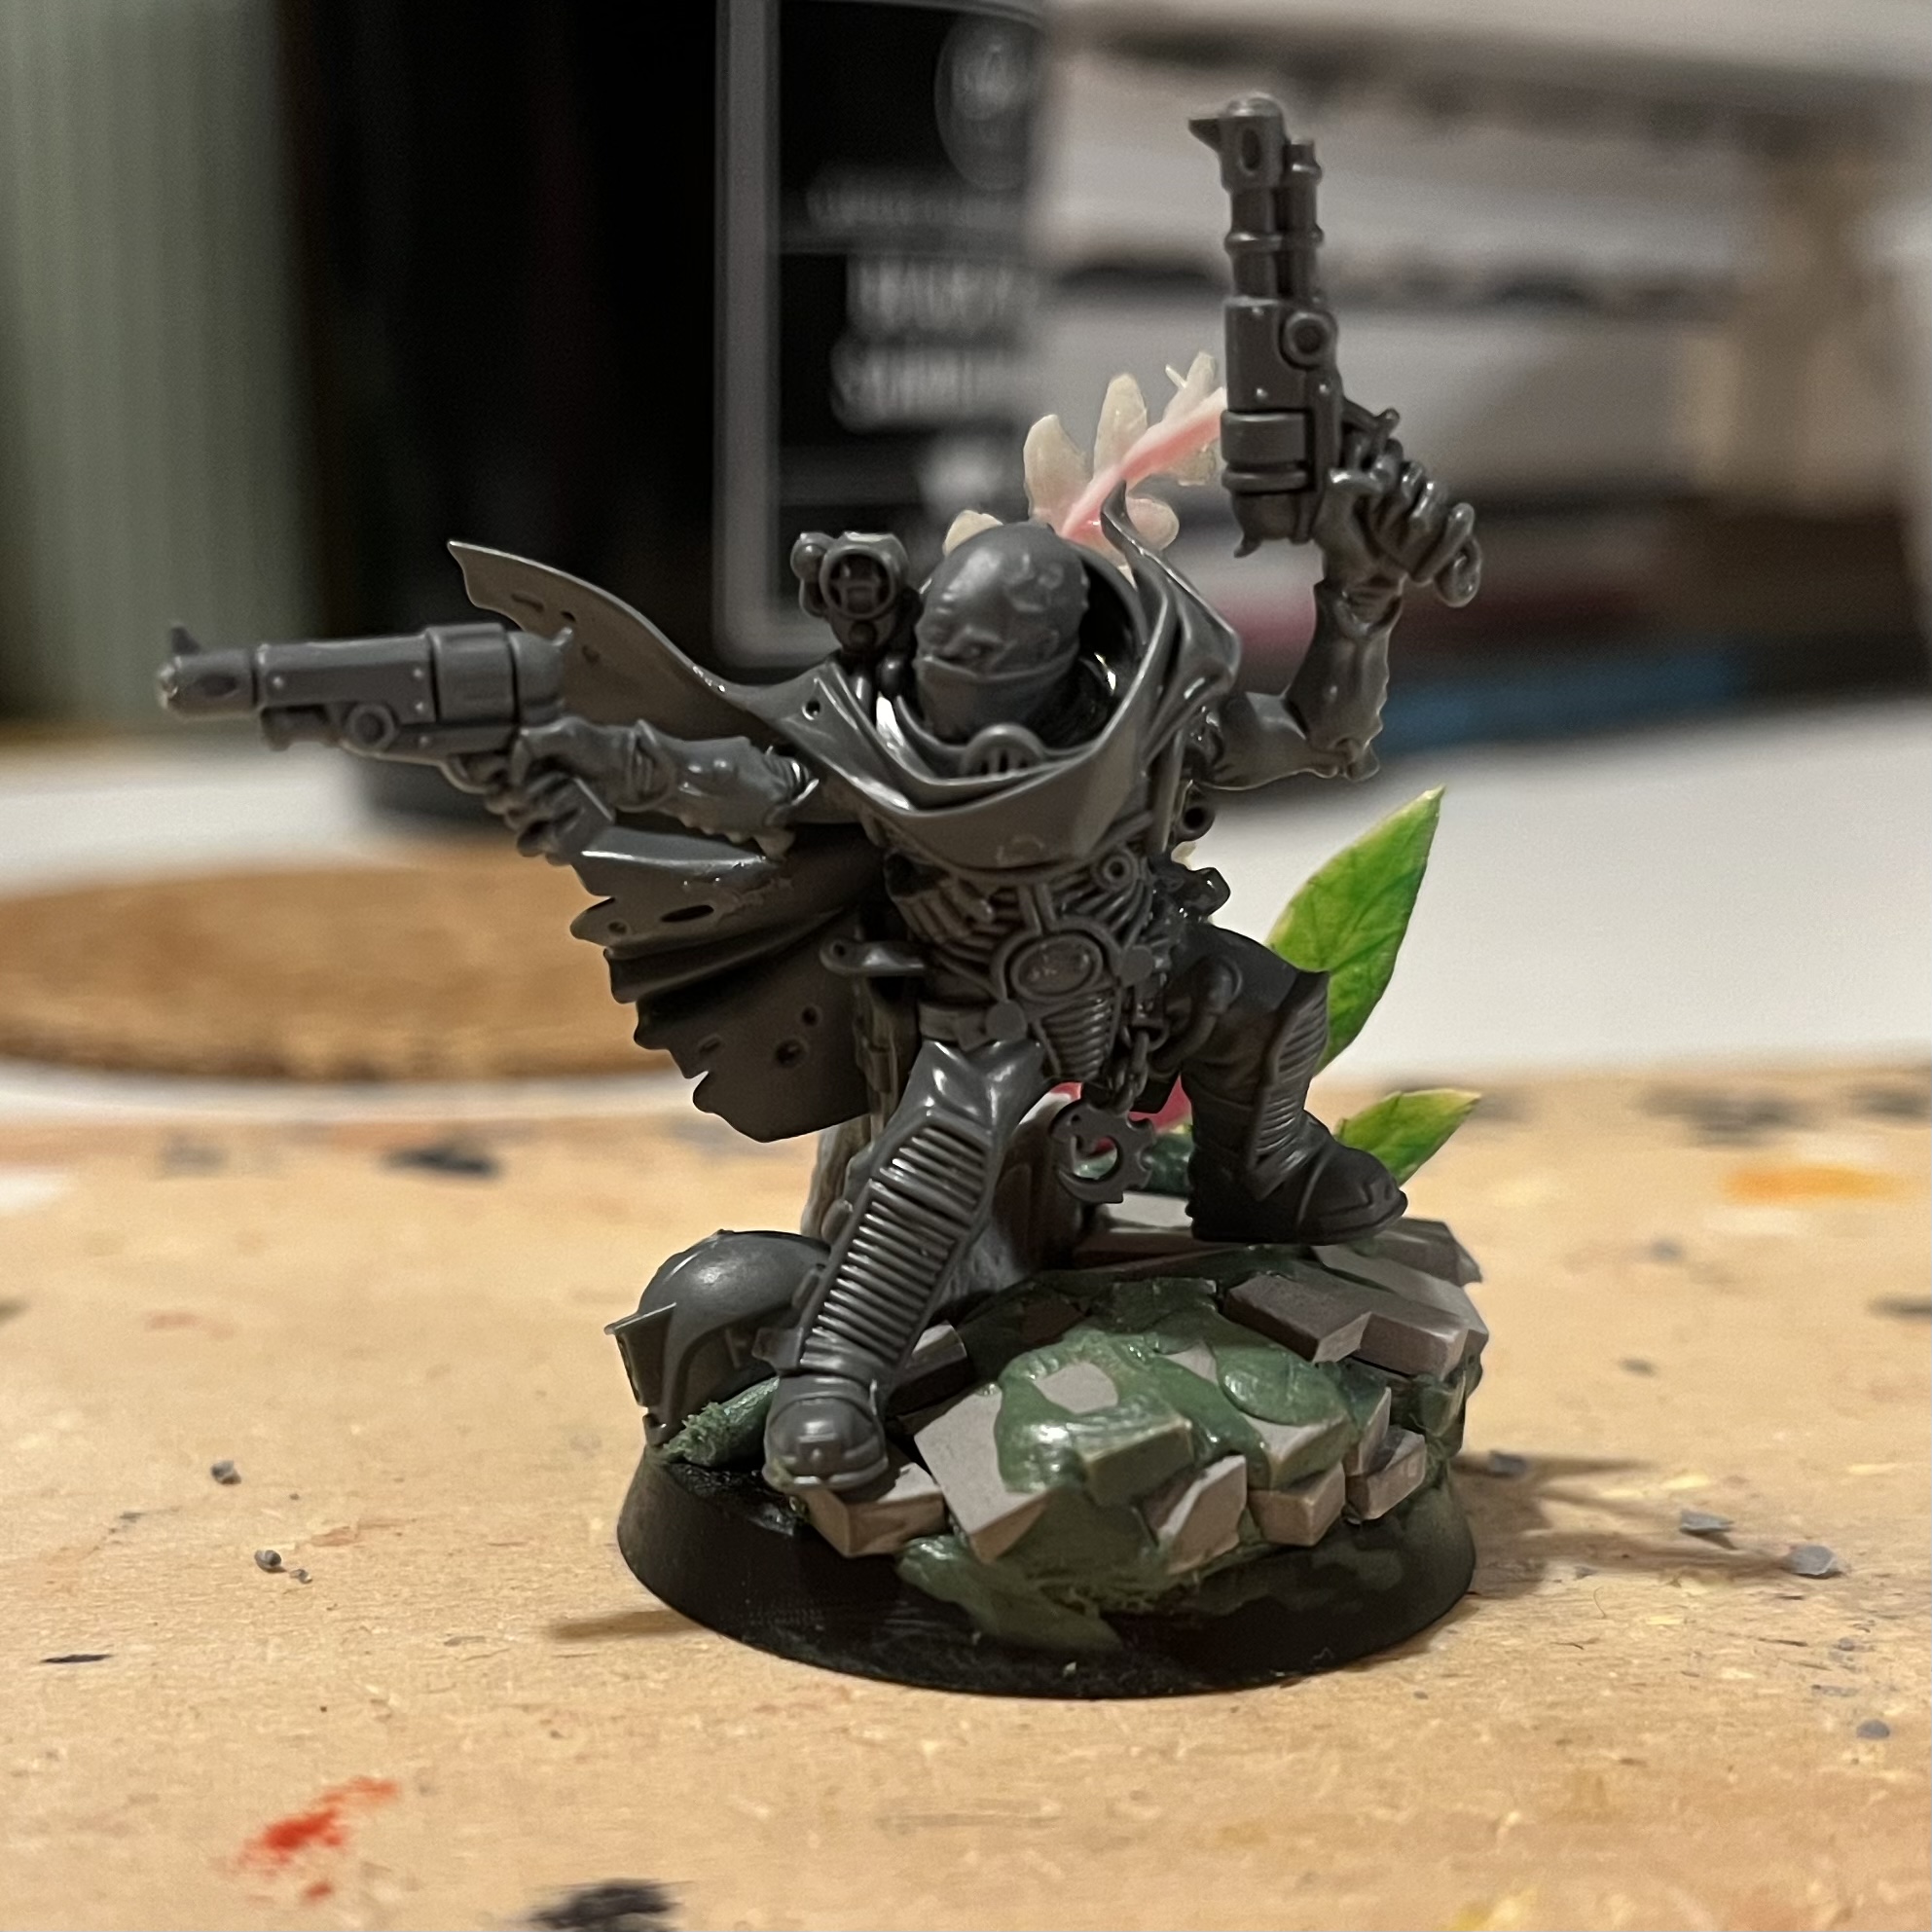 Front view
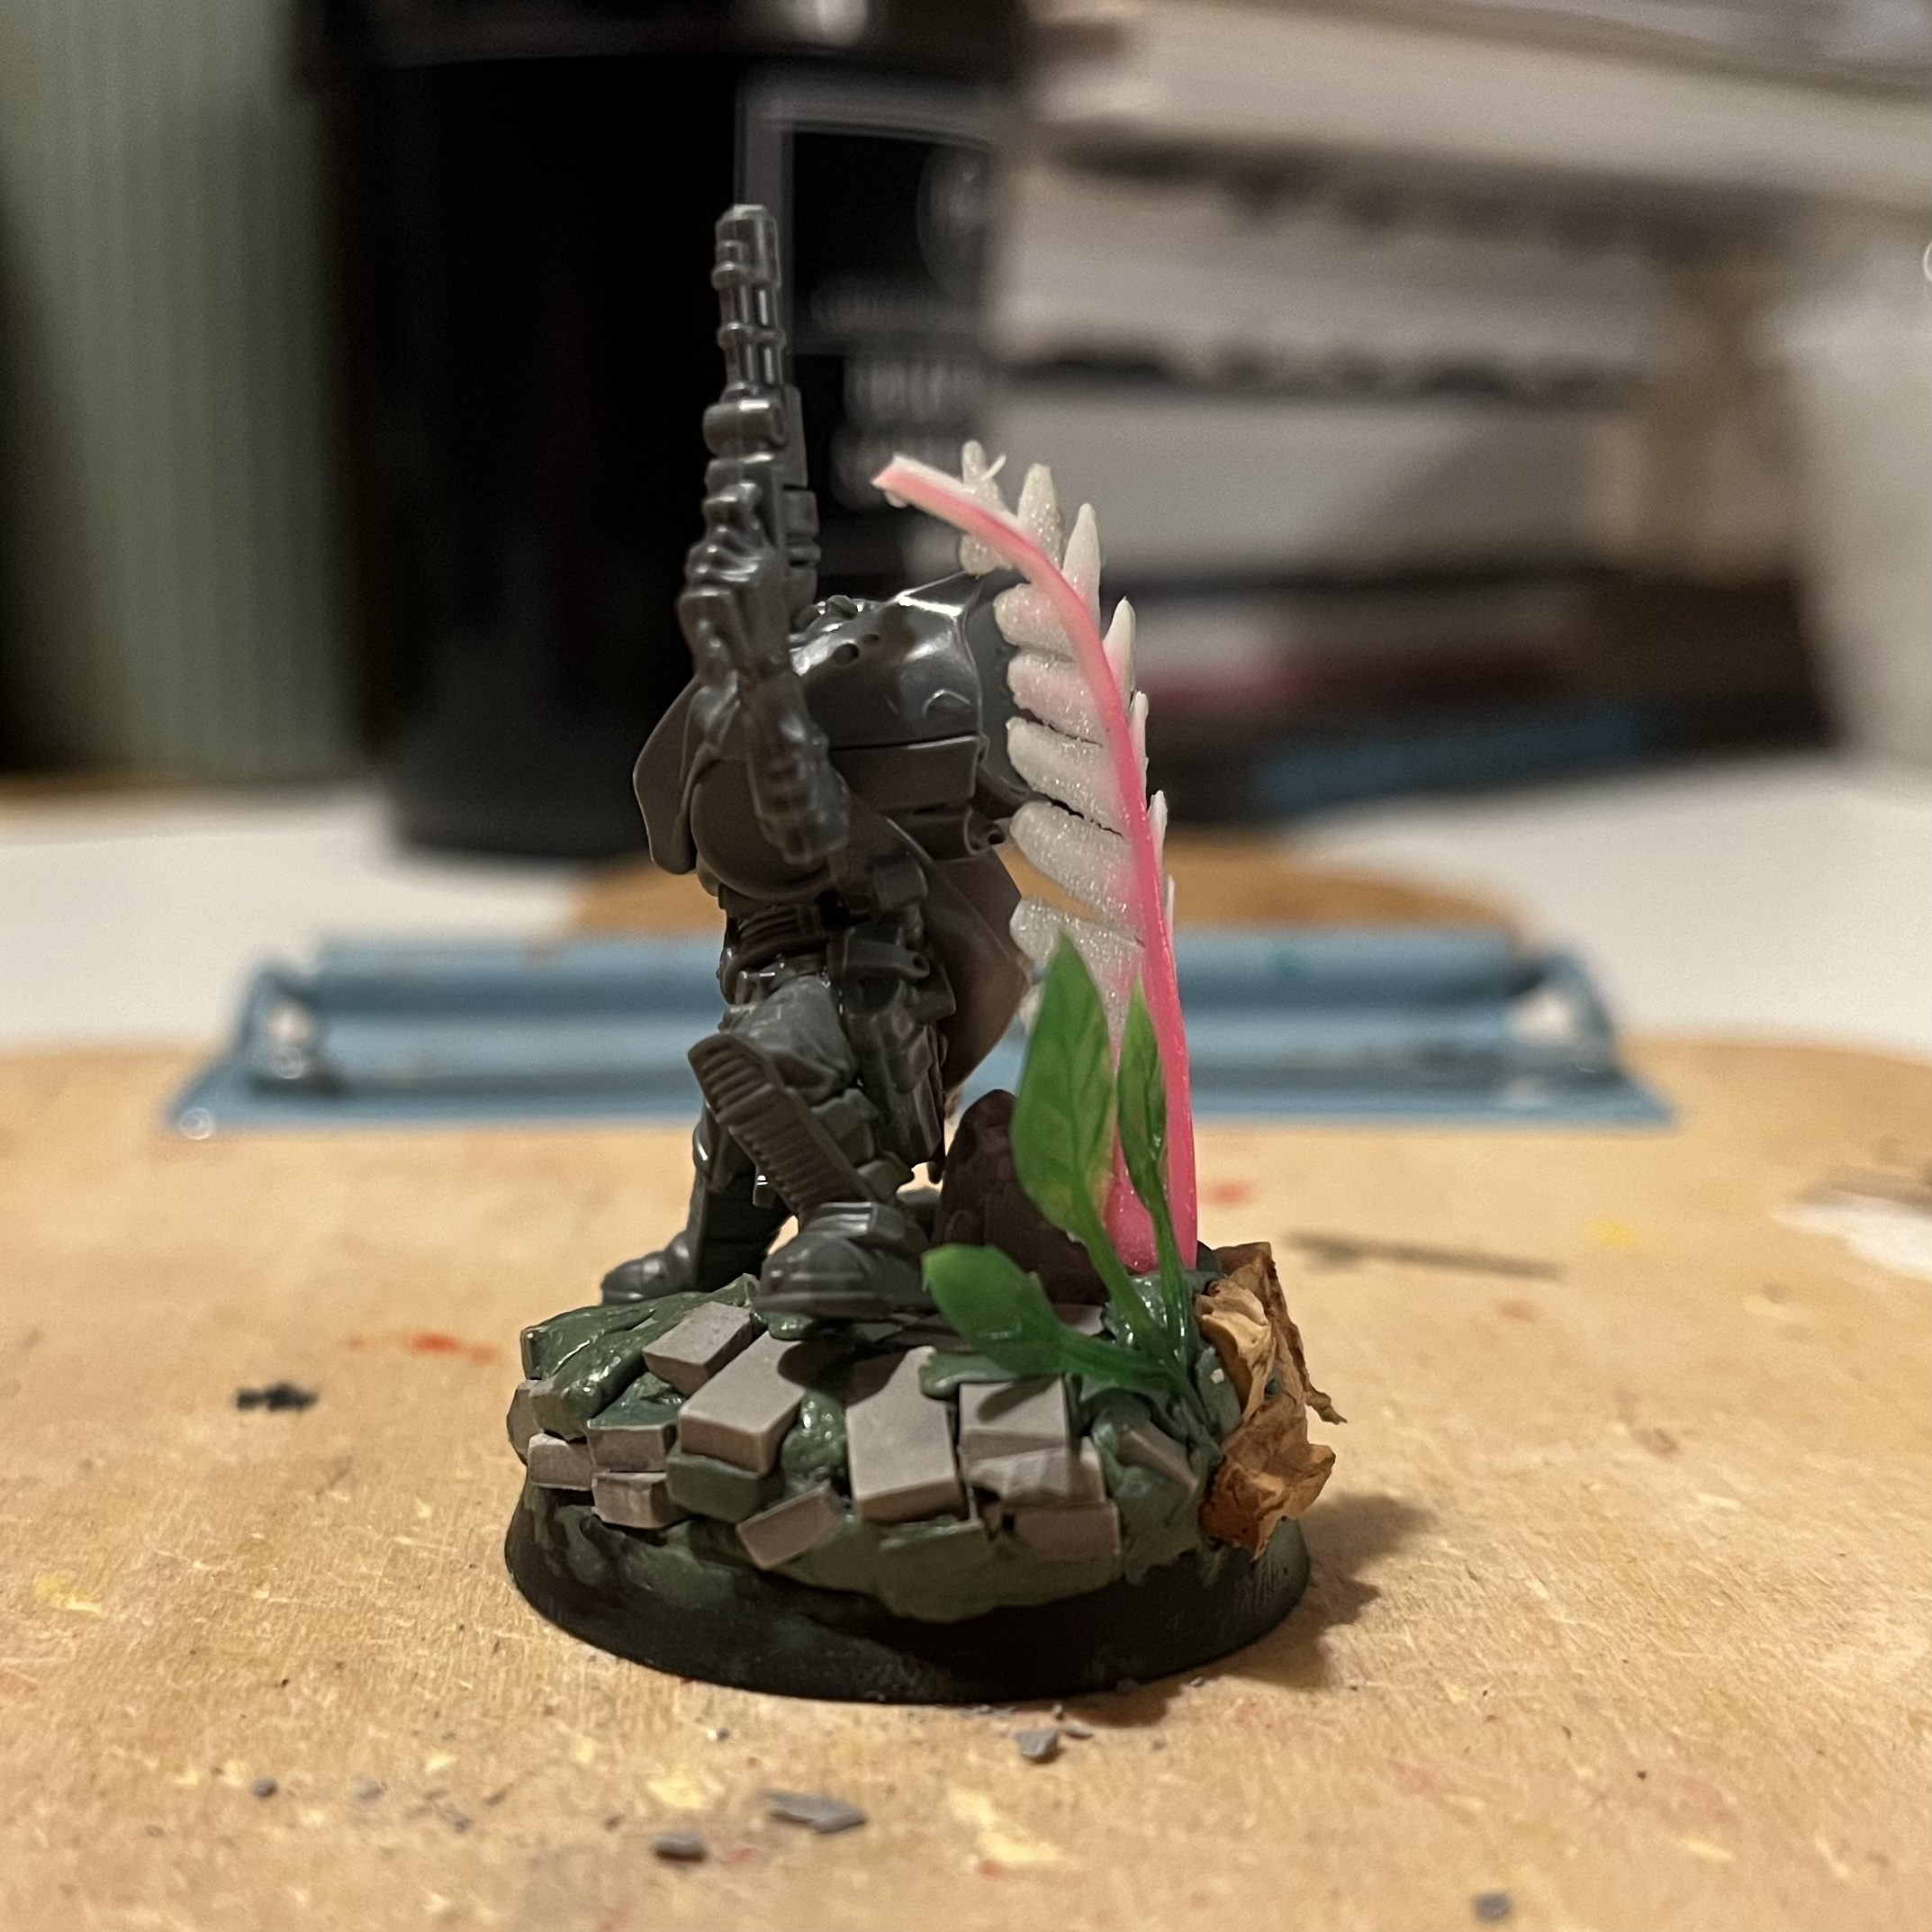 Side view
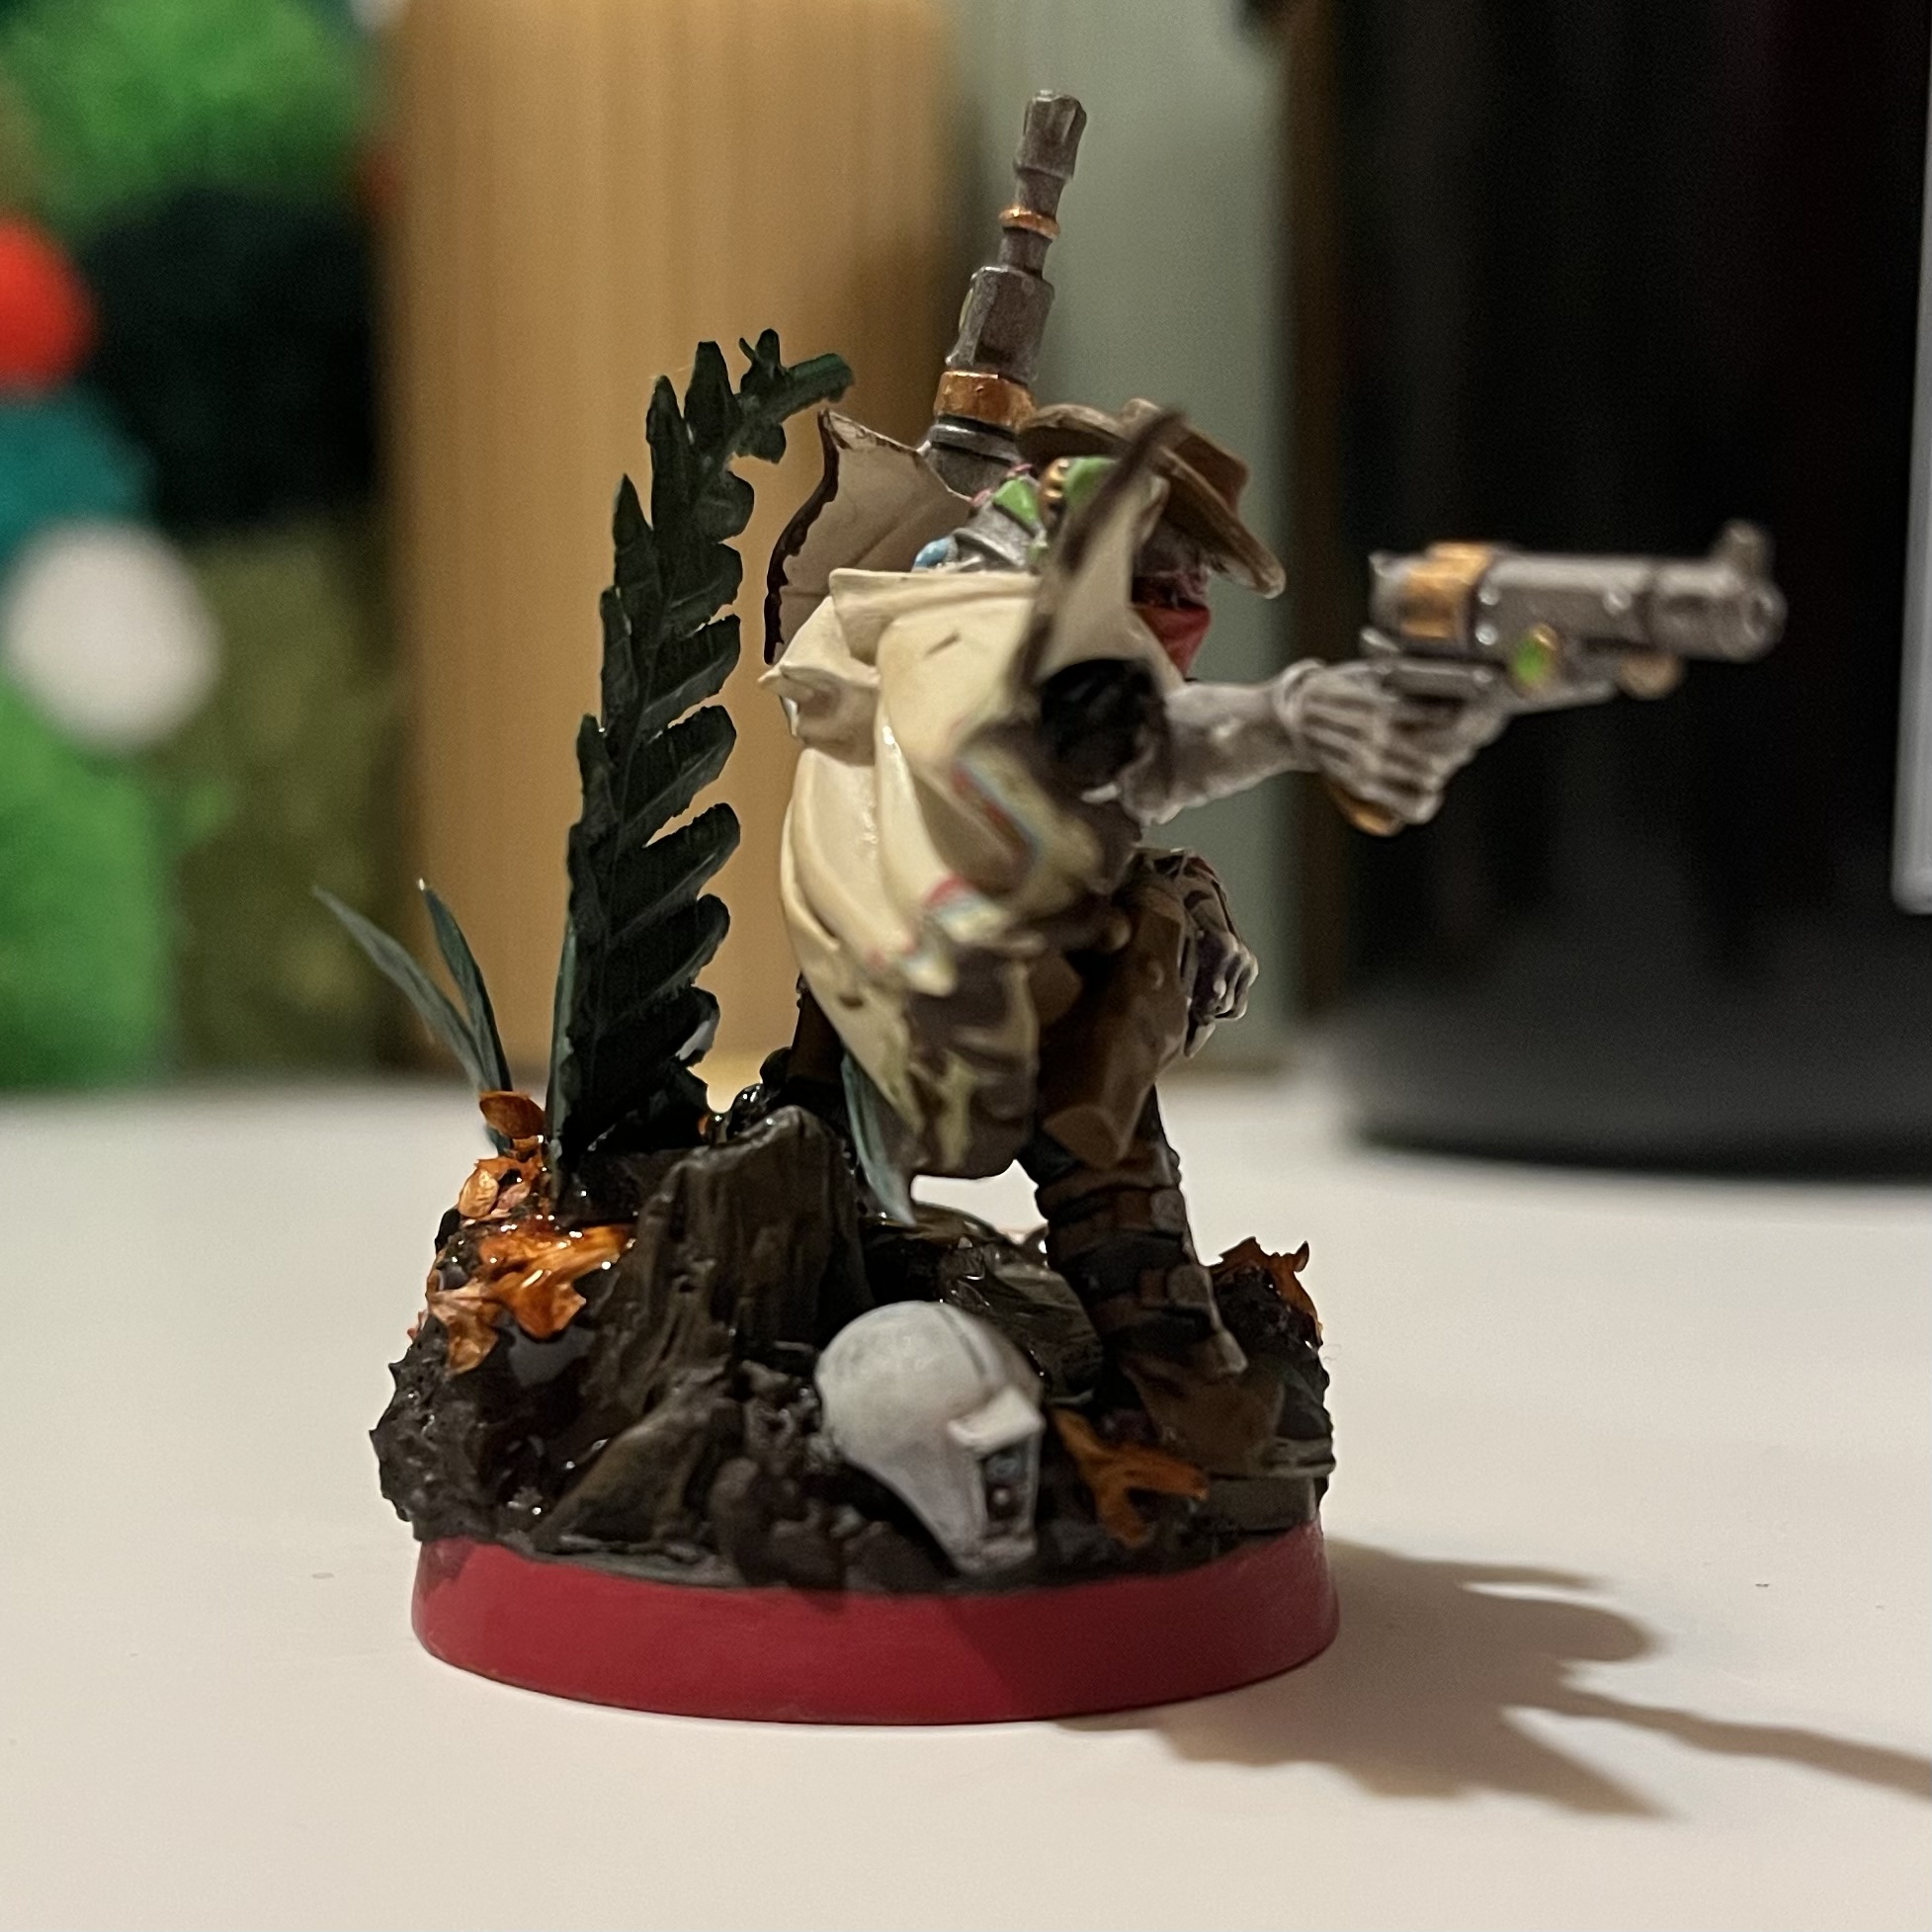
 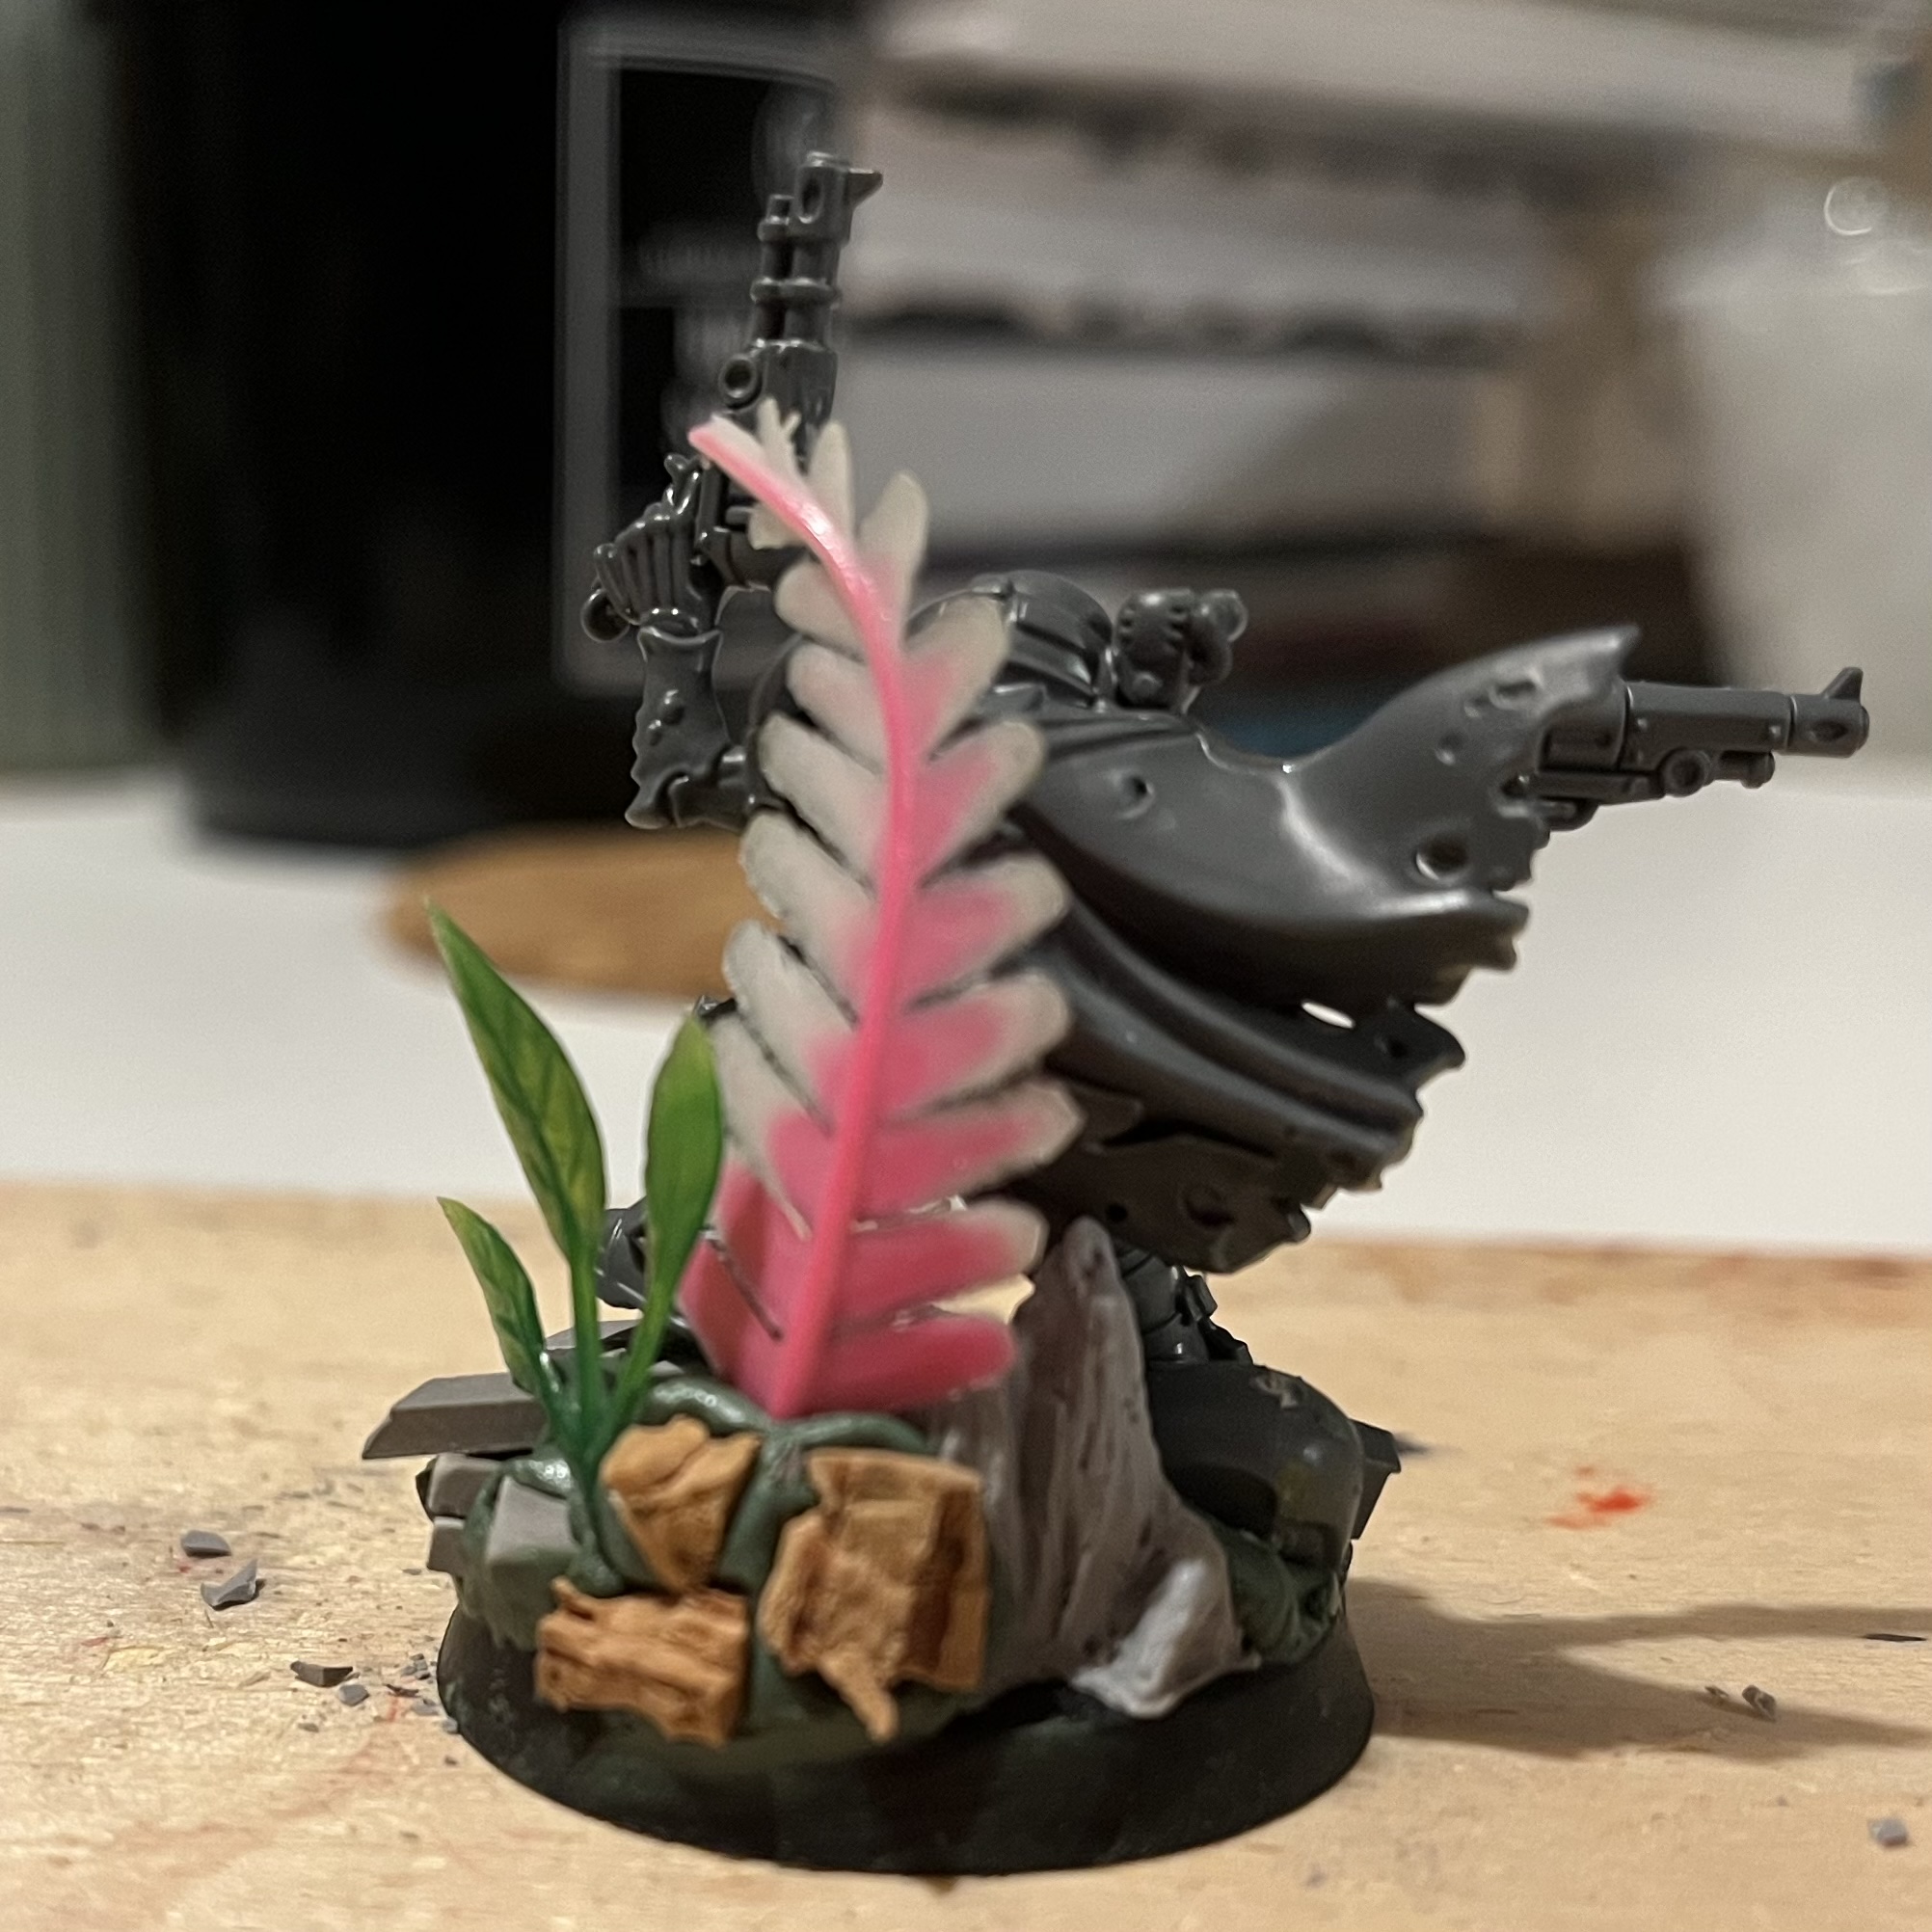 Back view
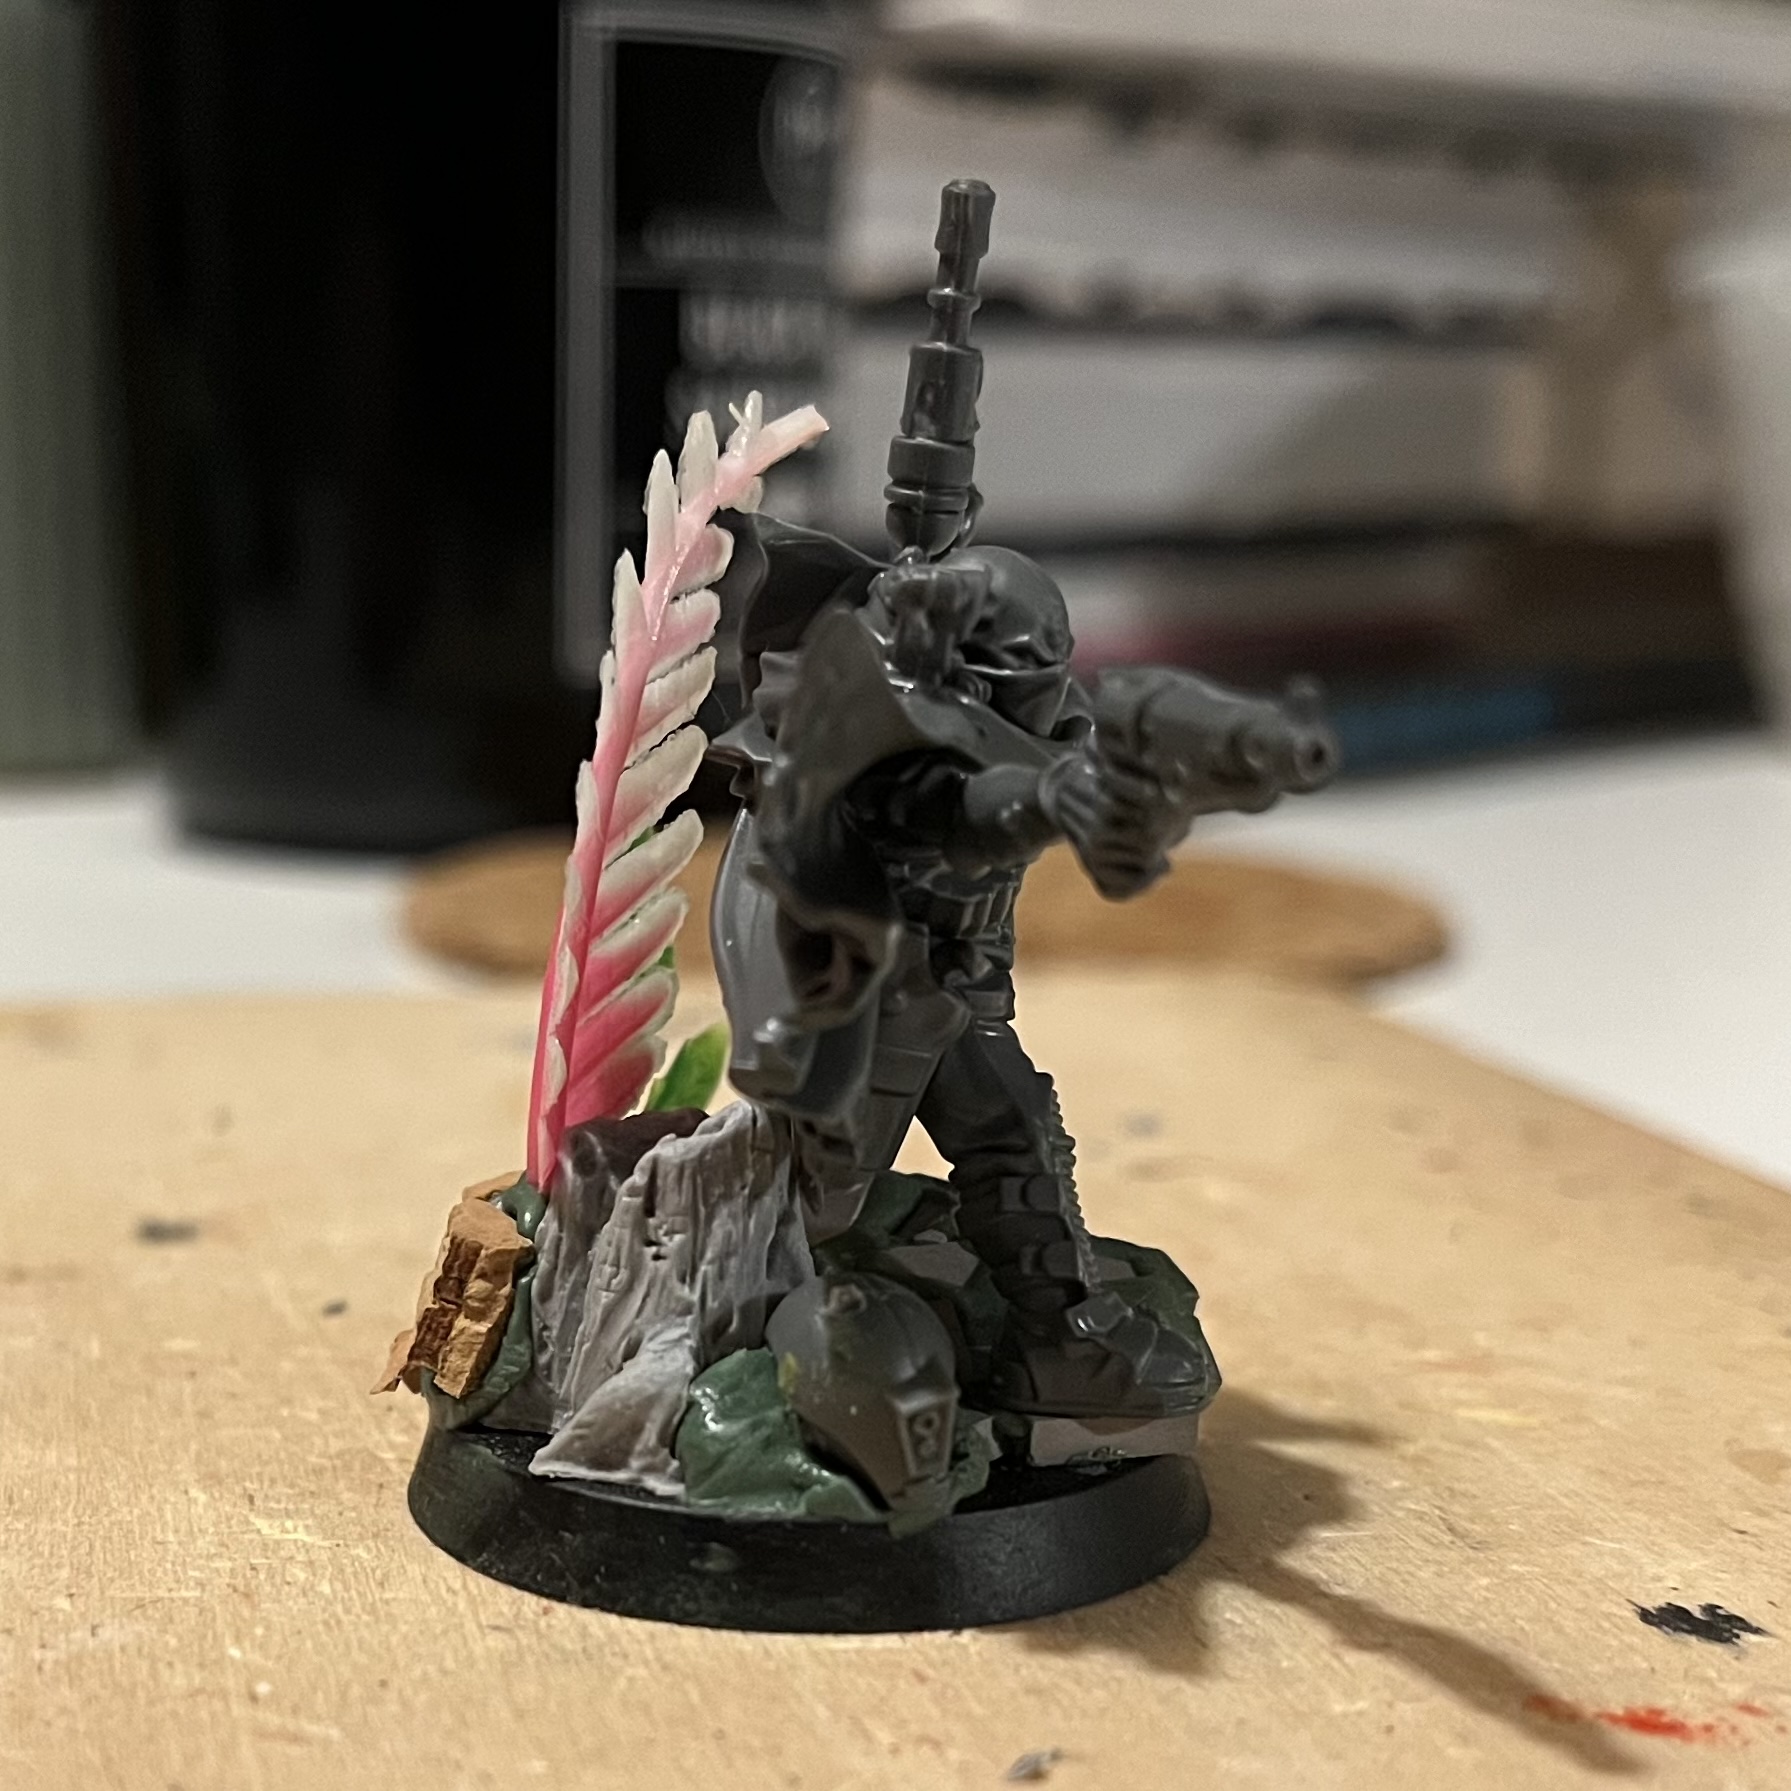 Front view 2
Green stuff time!
So I popped into ontabletop this week with a specific view in mind. To begin bringing what was in my head to a reality.
I wanted my gunslinger to look like he was having a last stand on some steps.
I think it looks more like he’s on a wall however I’m happy with the overall look so far.
Continuing on with this project I’m gonna use my hobby knife to chip away at some of the very even looking bricks and fix at the odds and ends of the green stuff once it’s dried, as well as add some gravel and debris.
What I’ve learnt;
- Have a small pot of water near to you to dip in every so often so the green stuff doesn’t stick to EVERYTHING
- Be ok with (as Bob Ross would say) happy little accidents; it wasn’t what I had in mind but I’m happy with the end result.
- it’s ok that you don’t achieve everything in one night.
Also I’ve left his third arm (amazing innuendo) unglued so I can add detail and then stick at a later stage. I’ve also pin viced the ends of the barrels on the guns!
Any questions please ask?! Enjoy and I’m looking forward to continuing on with this project!
ROLL EM’
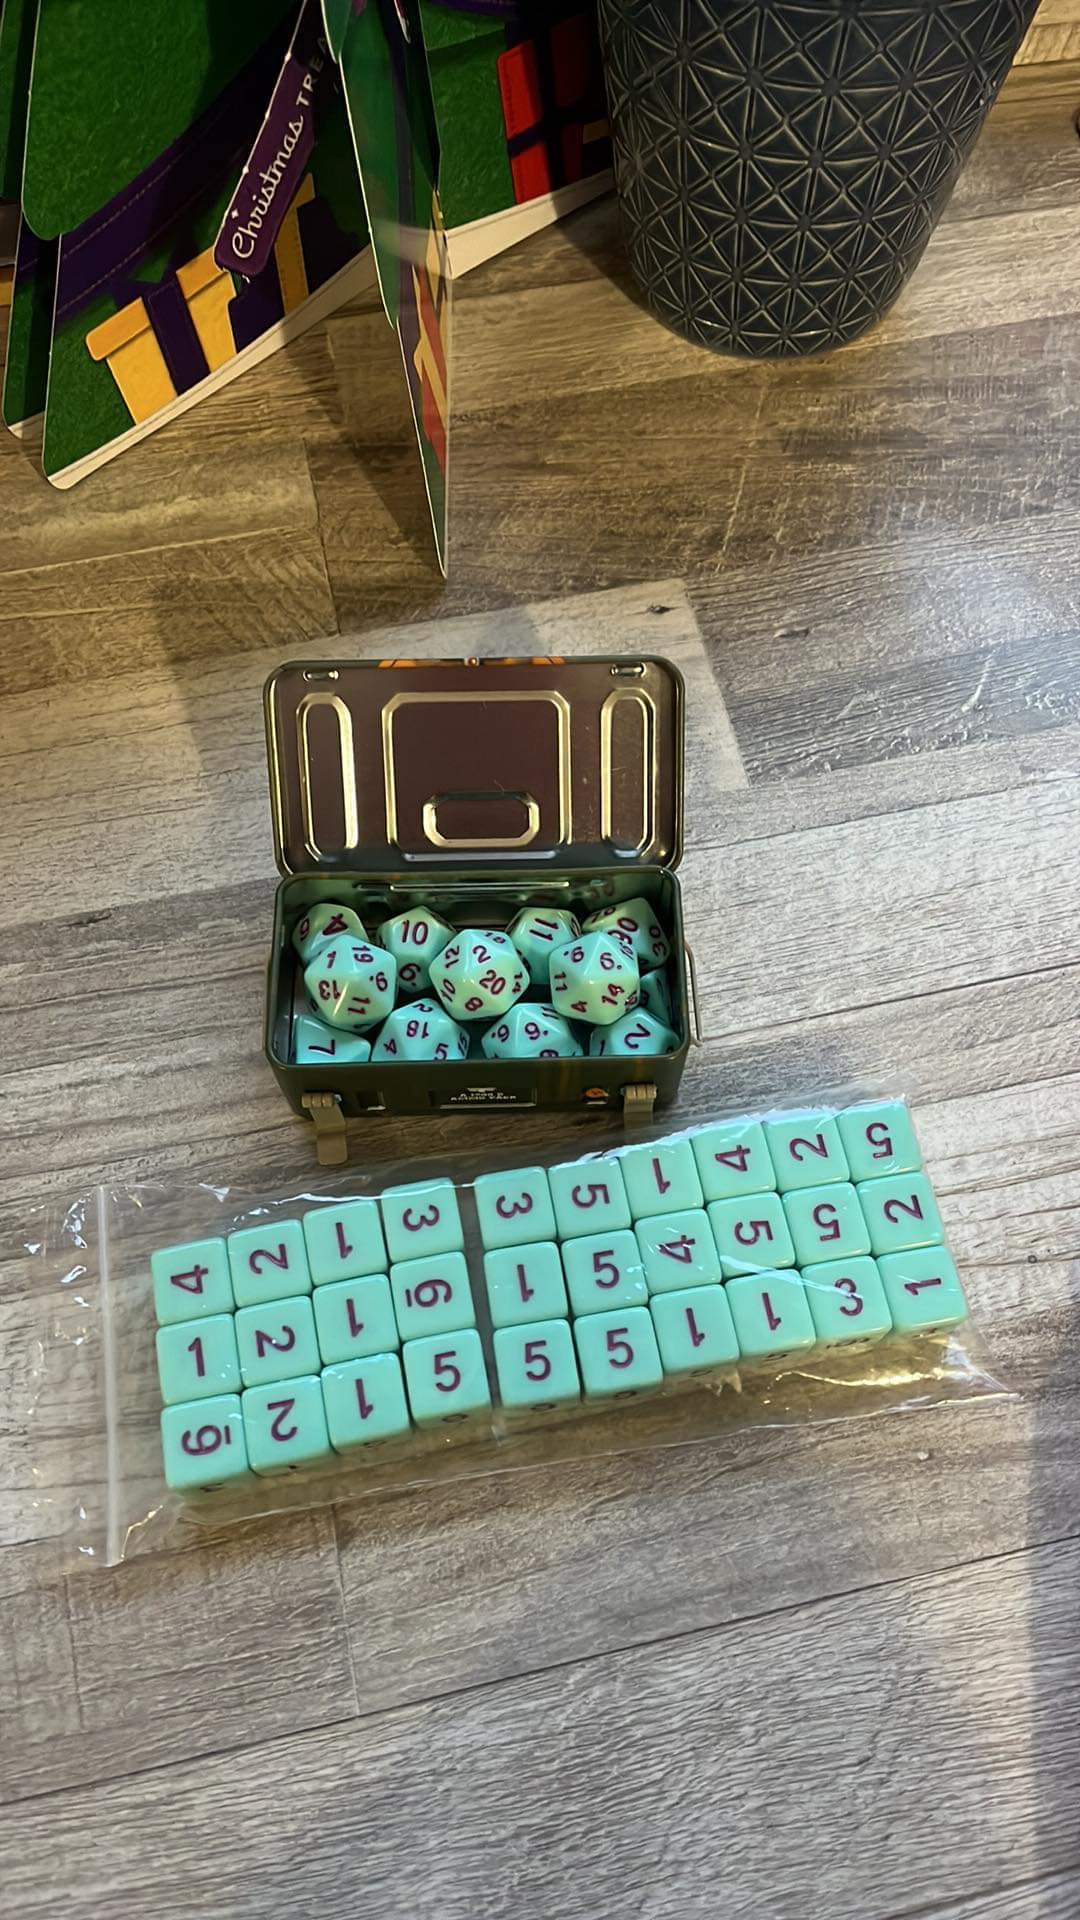 Is this enough?!
 Just a little update; some Black Friday Dice arrived in the post.
I’m not endorsed by thediceshoponline.com in any way!
Do you also get super excited about new dice?
Did I go overboard? Yes I did.
Hopefully they see me well when I bring these guys on the table vs an opponent.
Batch Painting?!
Probably like many hobbyists I do not enjoy batch painting.
By saying I do not enjoy batch painting I am understating the conversation I have had multiple times infront of the till at ontabletop.
I feel like this will be my biggest challenge when painting Genestealer Cults; as the troop options feel like batch painting projects.
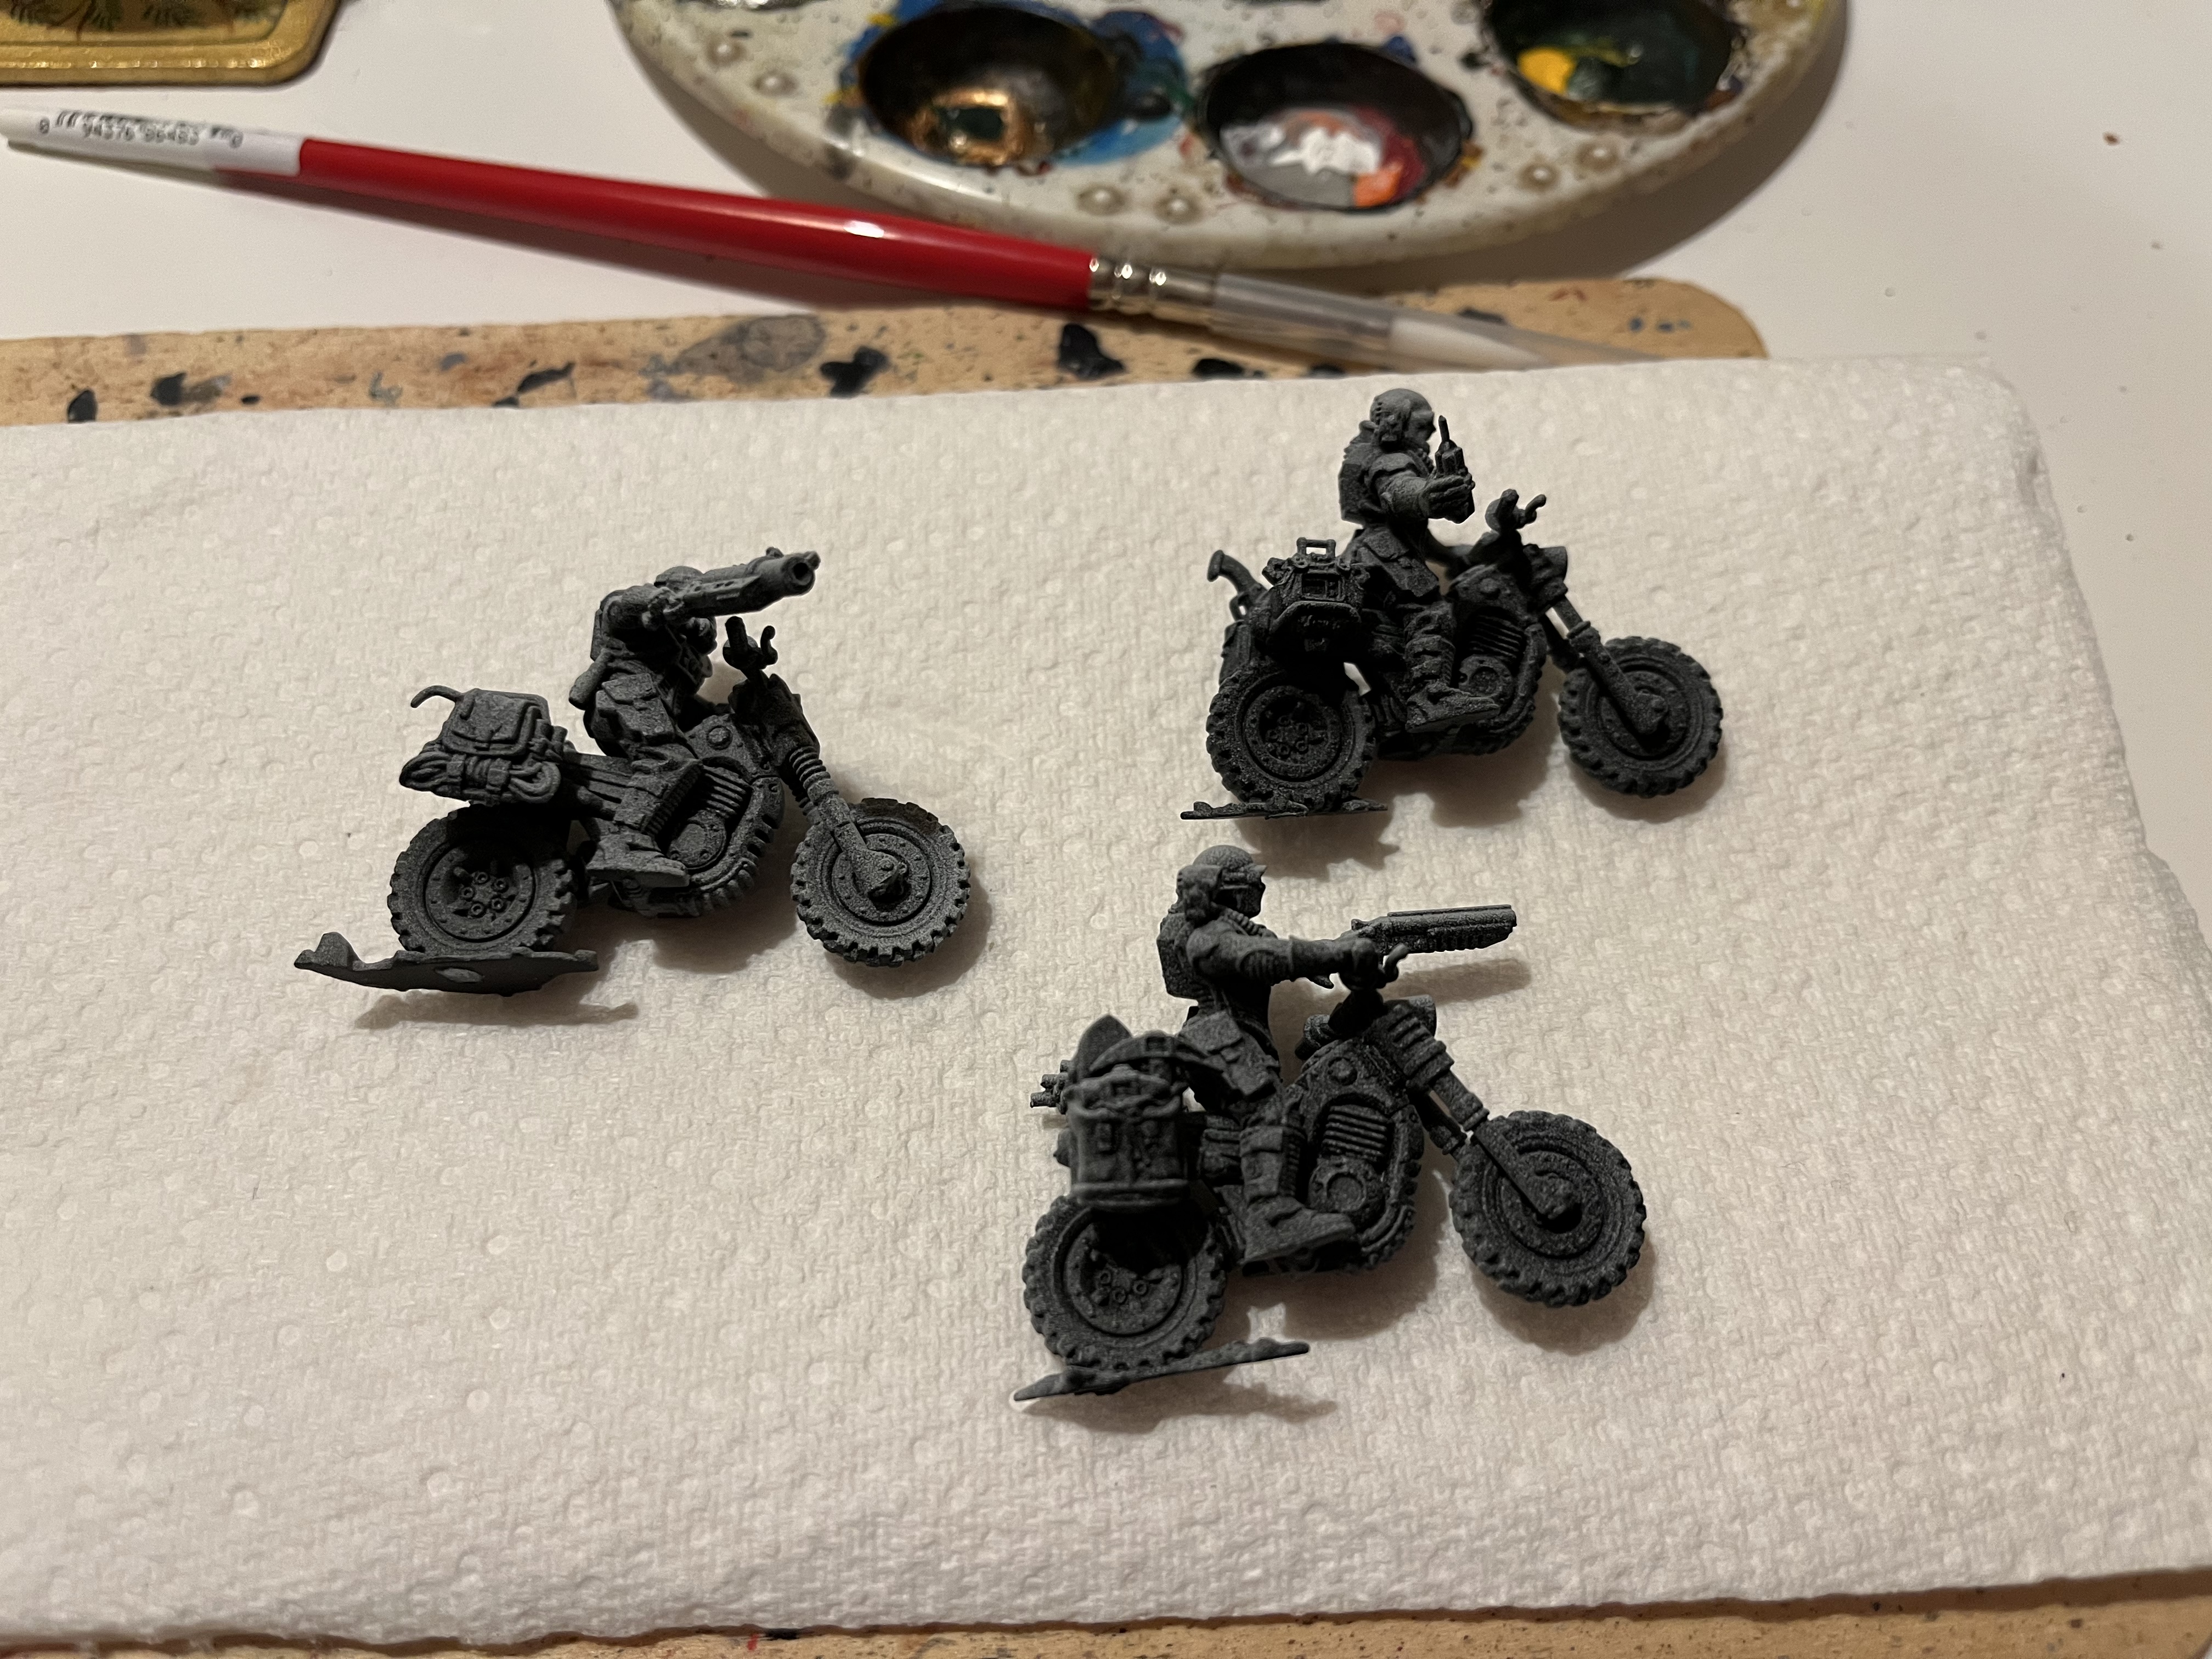
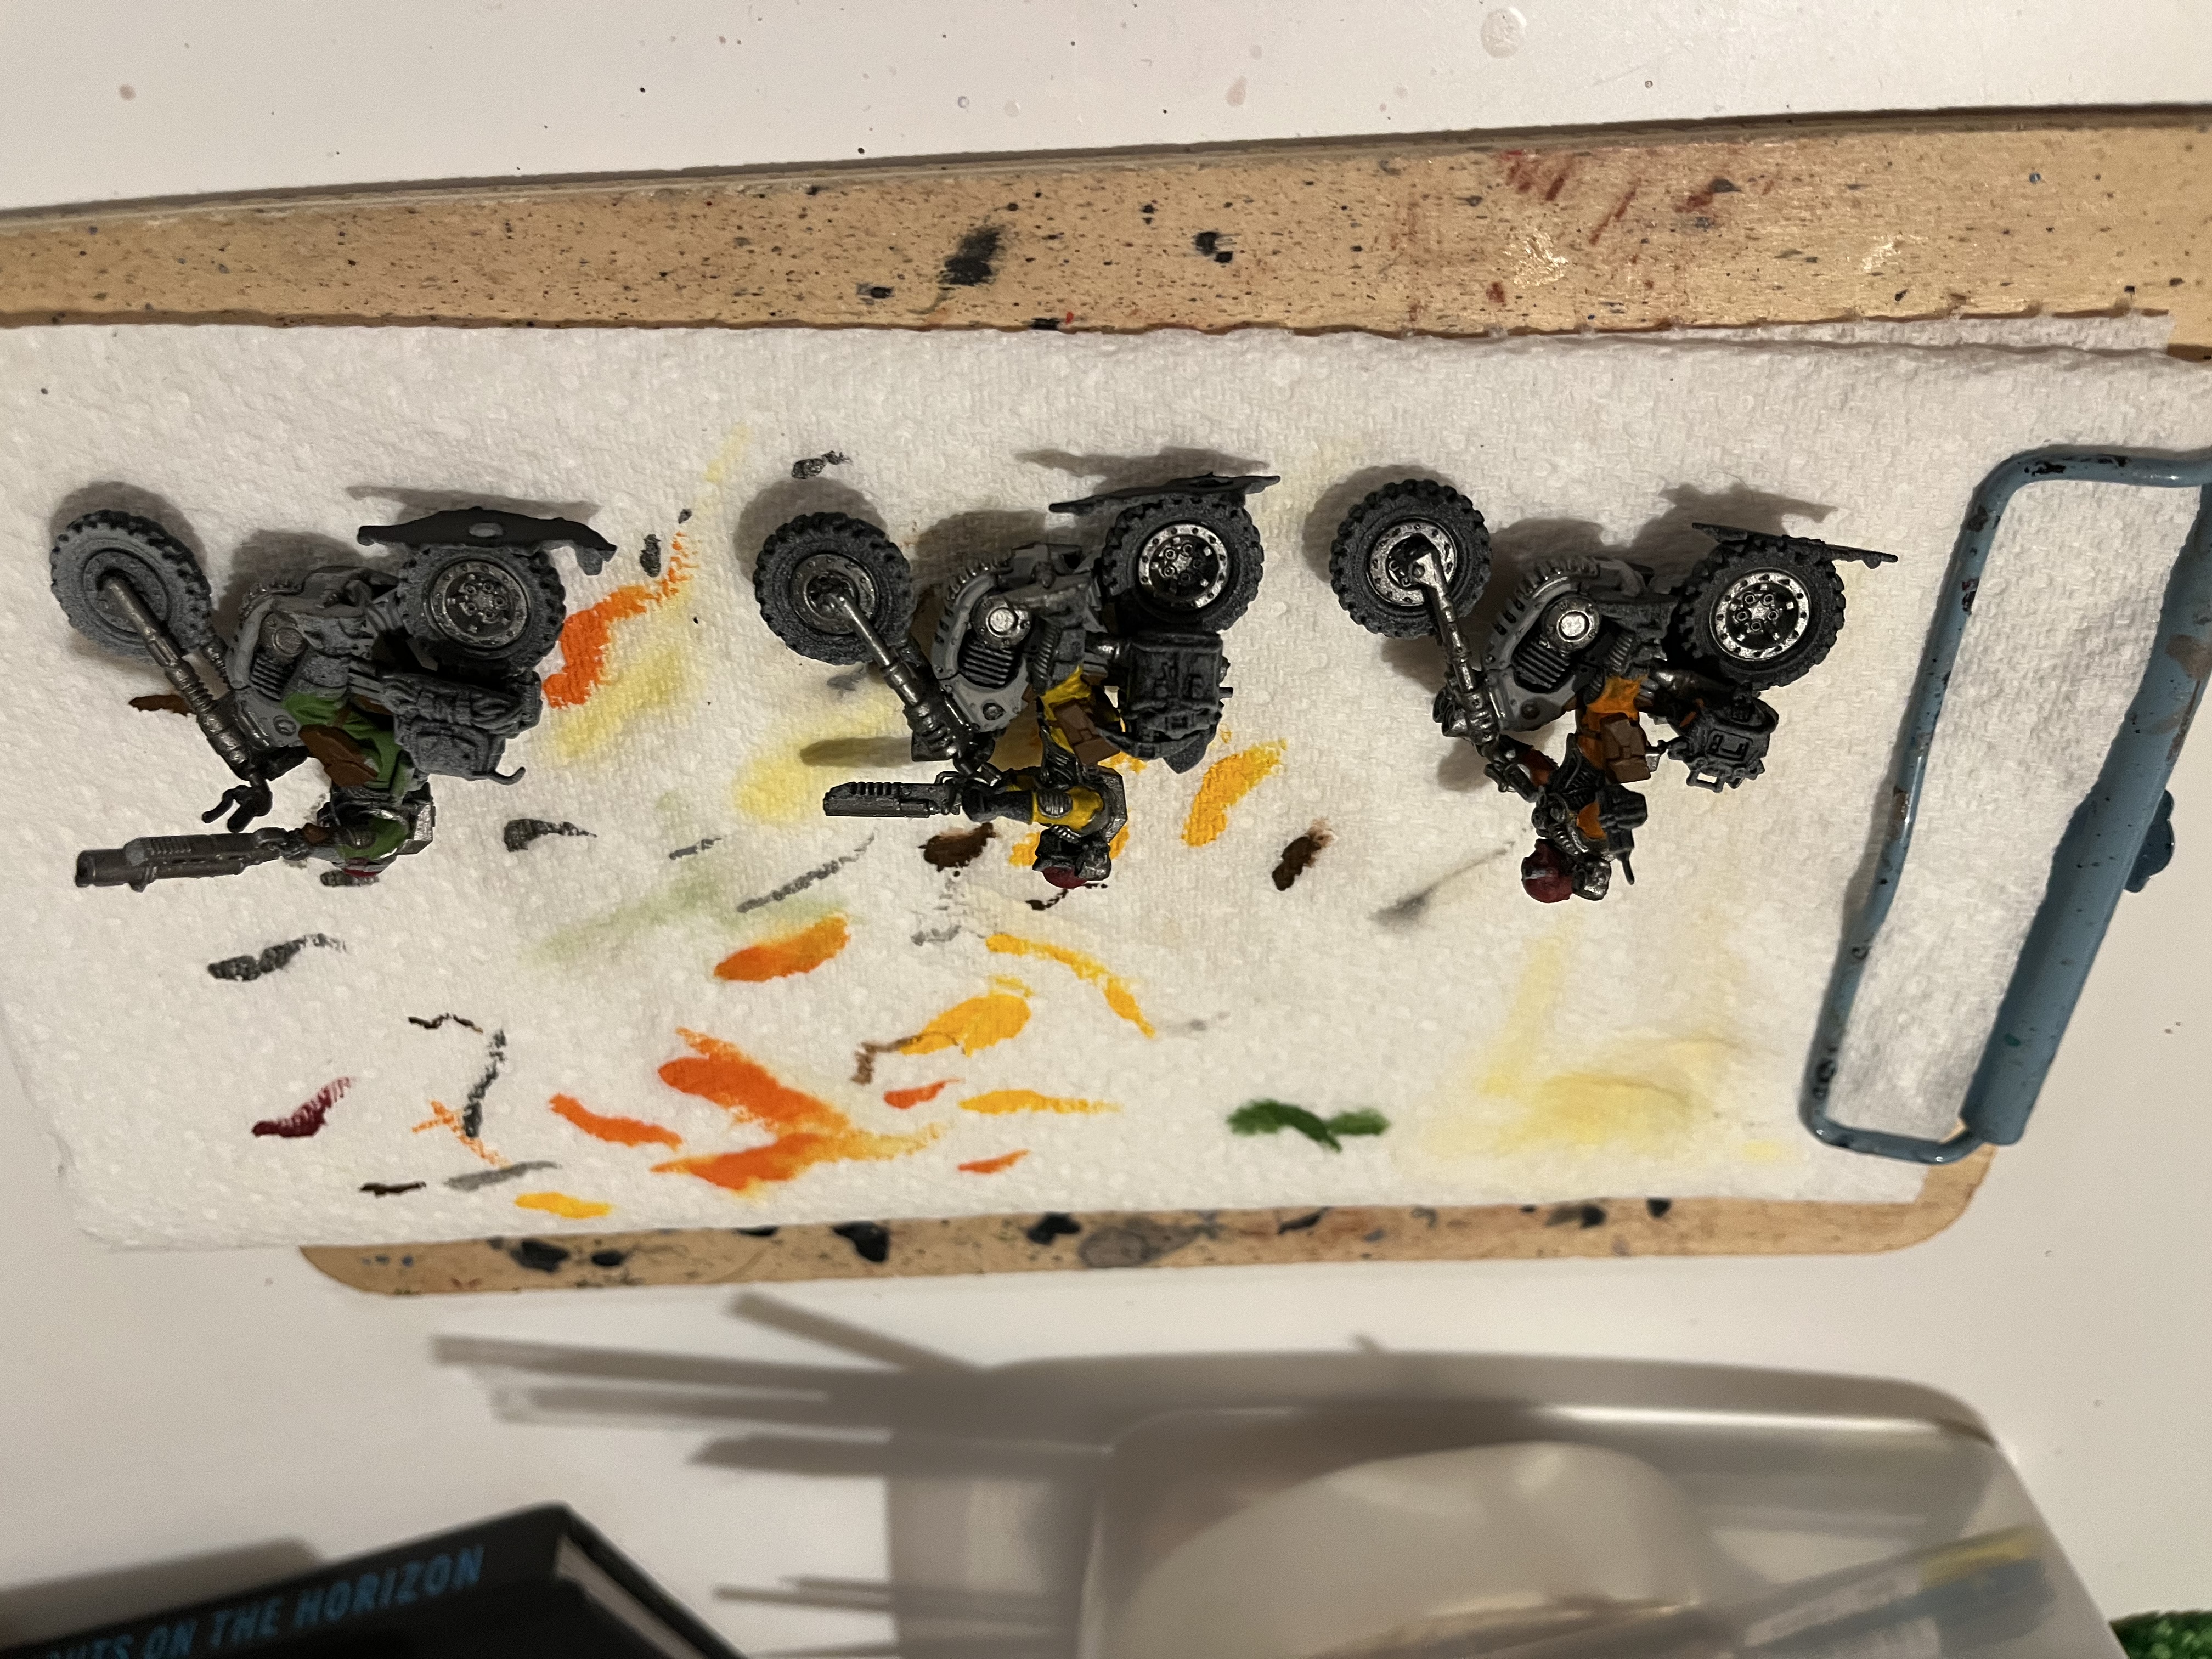
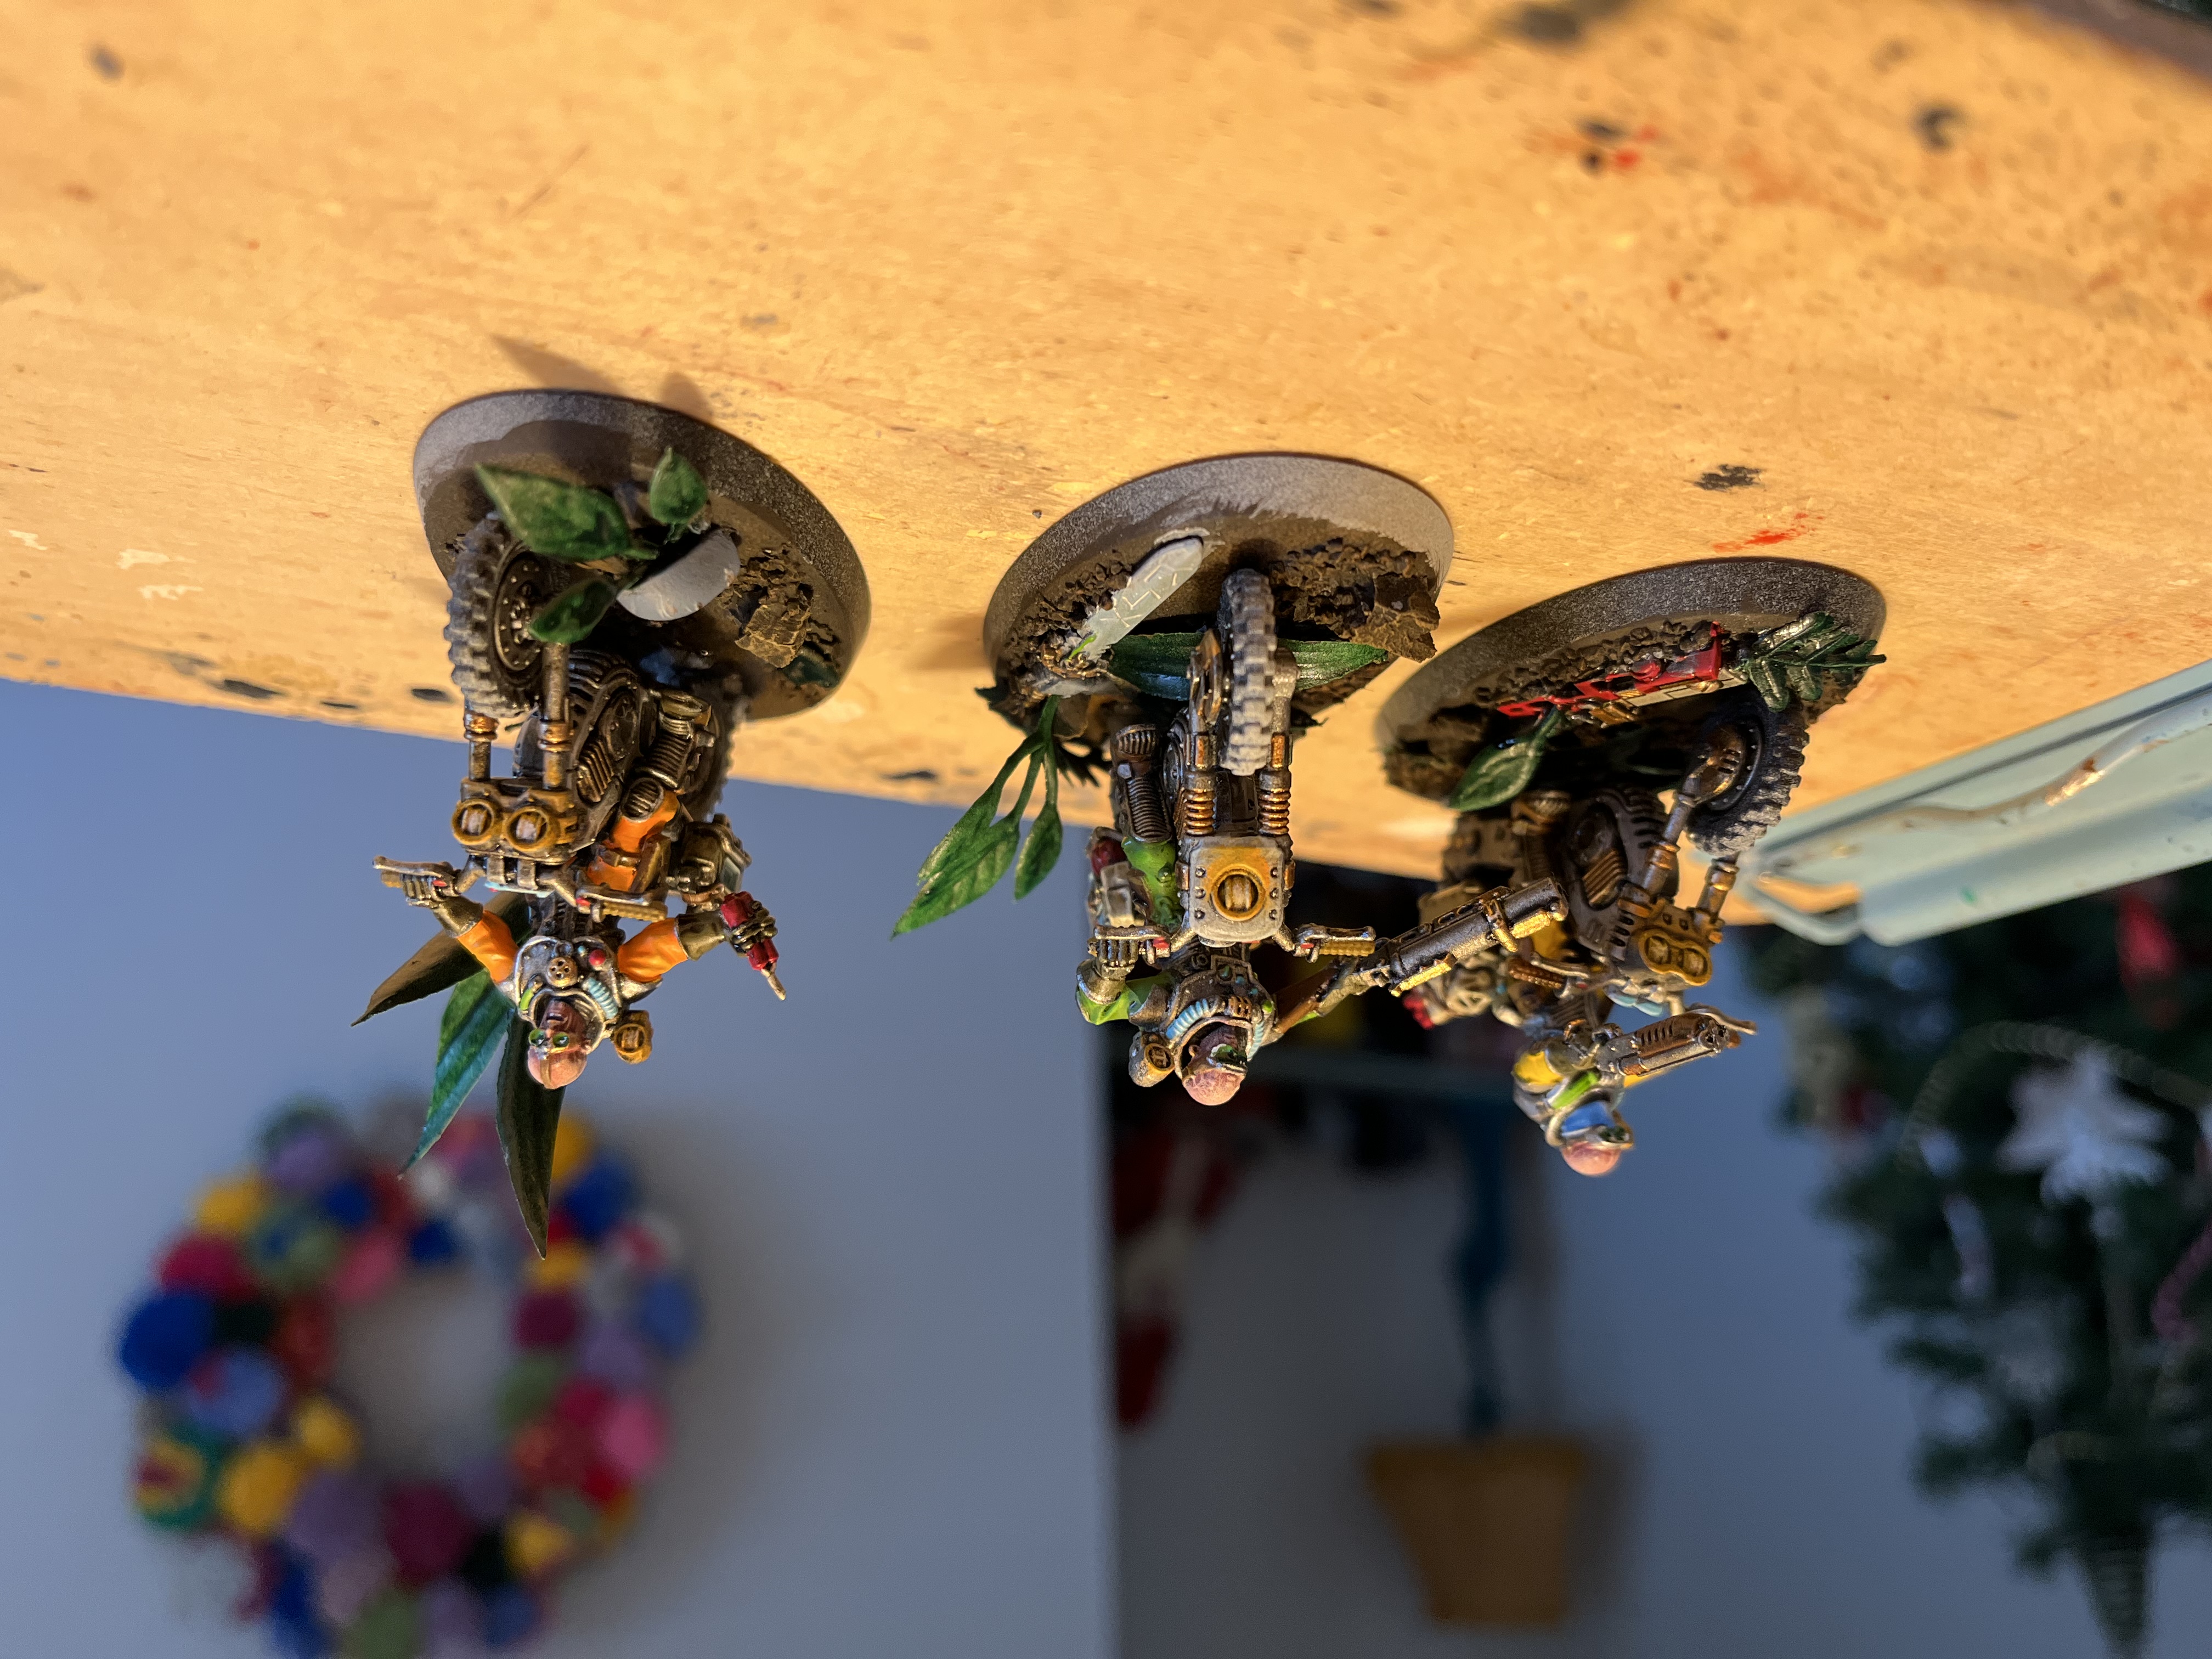
HOWEVER that being said; I tried to challenge myself by painting the other three Jackals in the squad different colours to entice an enjoyment out of the small changes in each.
Things I learnt from this experience;
- It made batch painting more bearable when there were changes in each character.
- If you’re using one colour a lot do it in stages in all three or more models so you’re speeding up your workflow.
- they don’t have to be identical! How often do you see identical (space marines I know) soldiers in a row.
Without further ado here are the jackals and a milestone post of what I’ve completed so far!
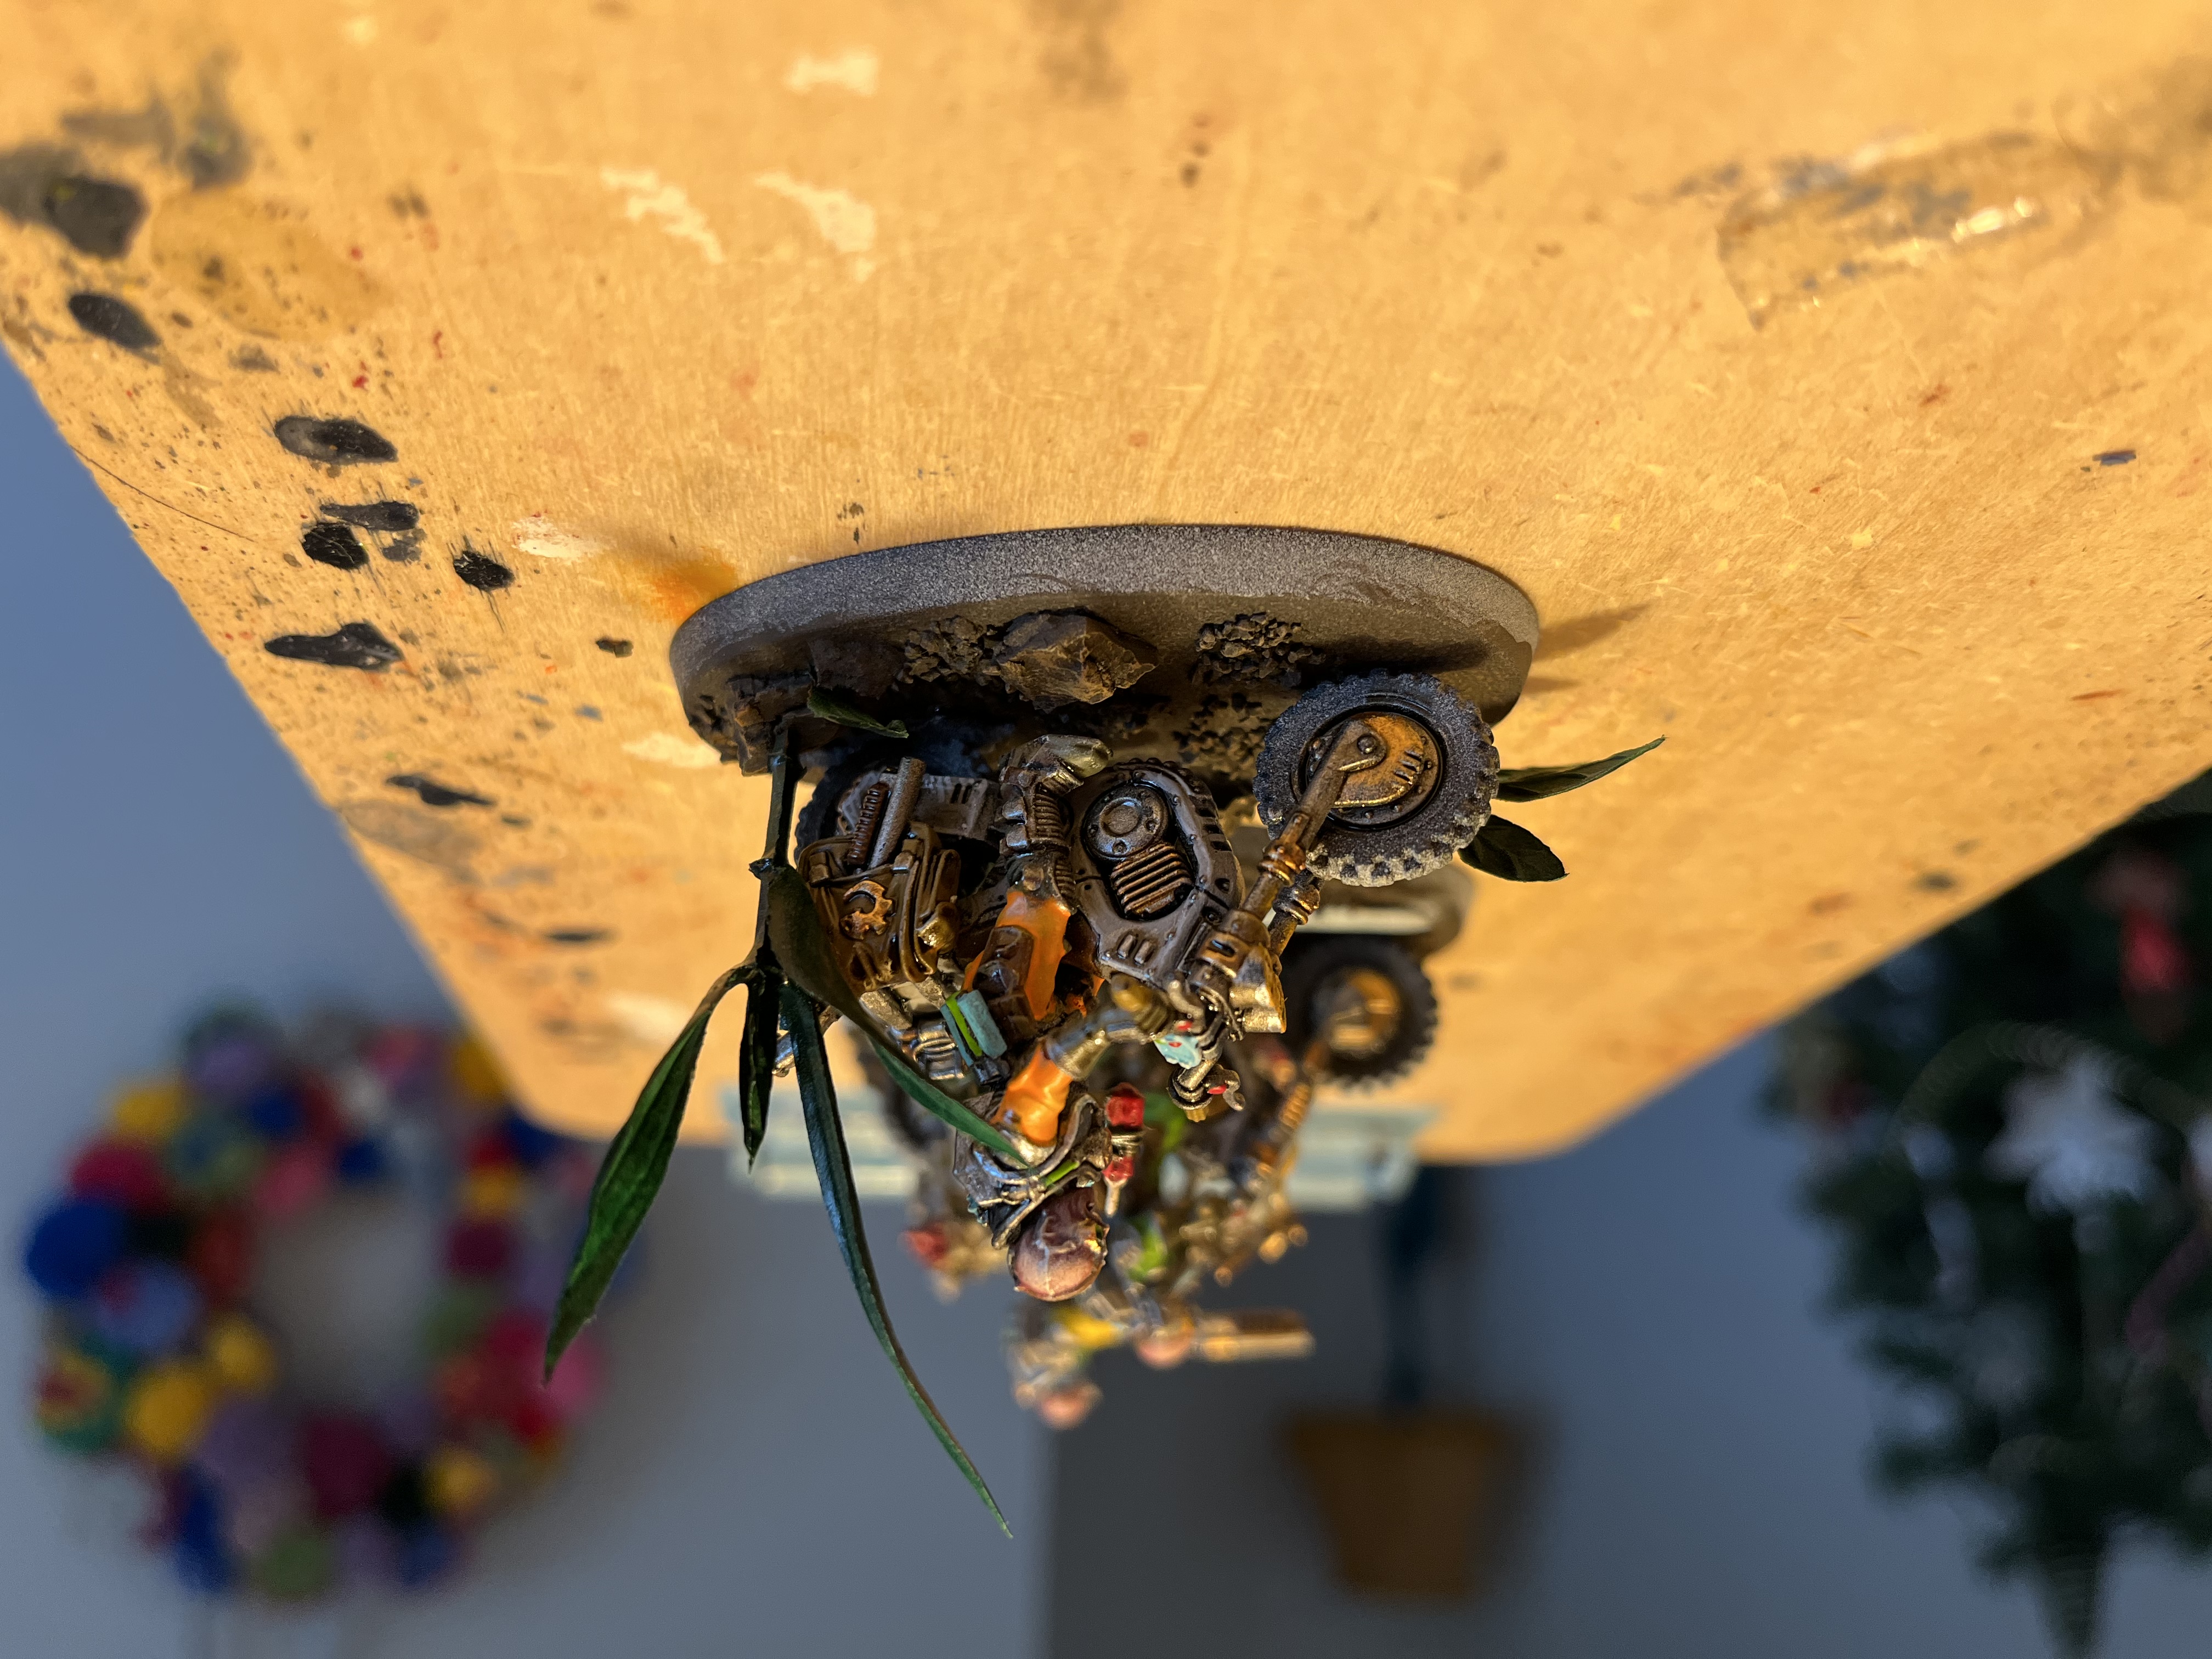
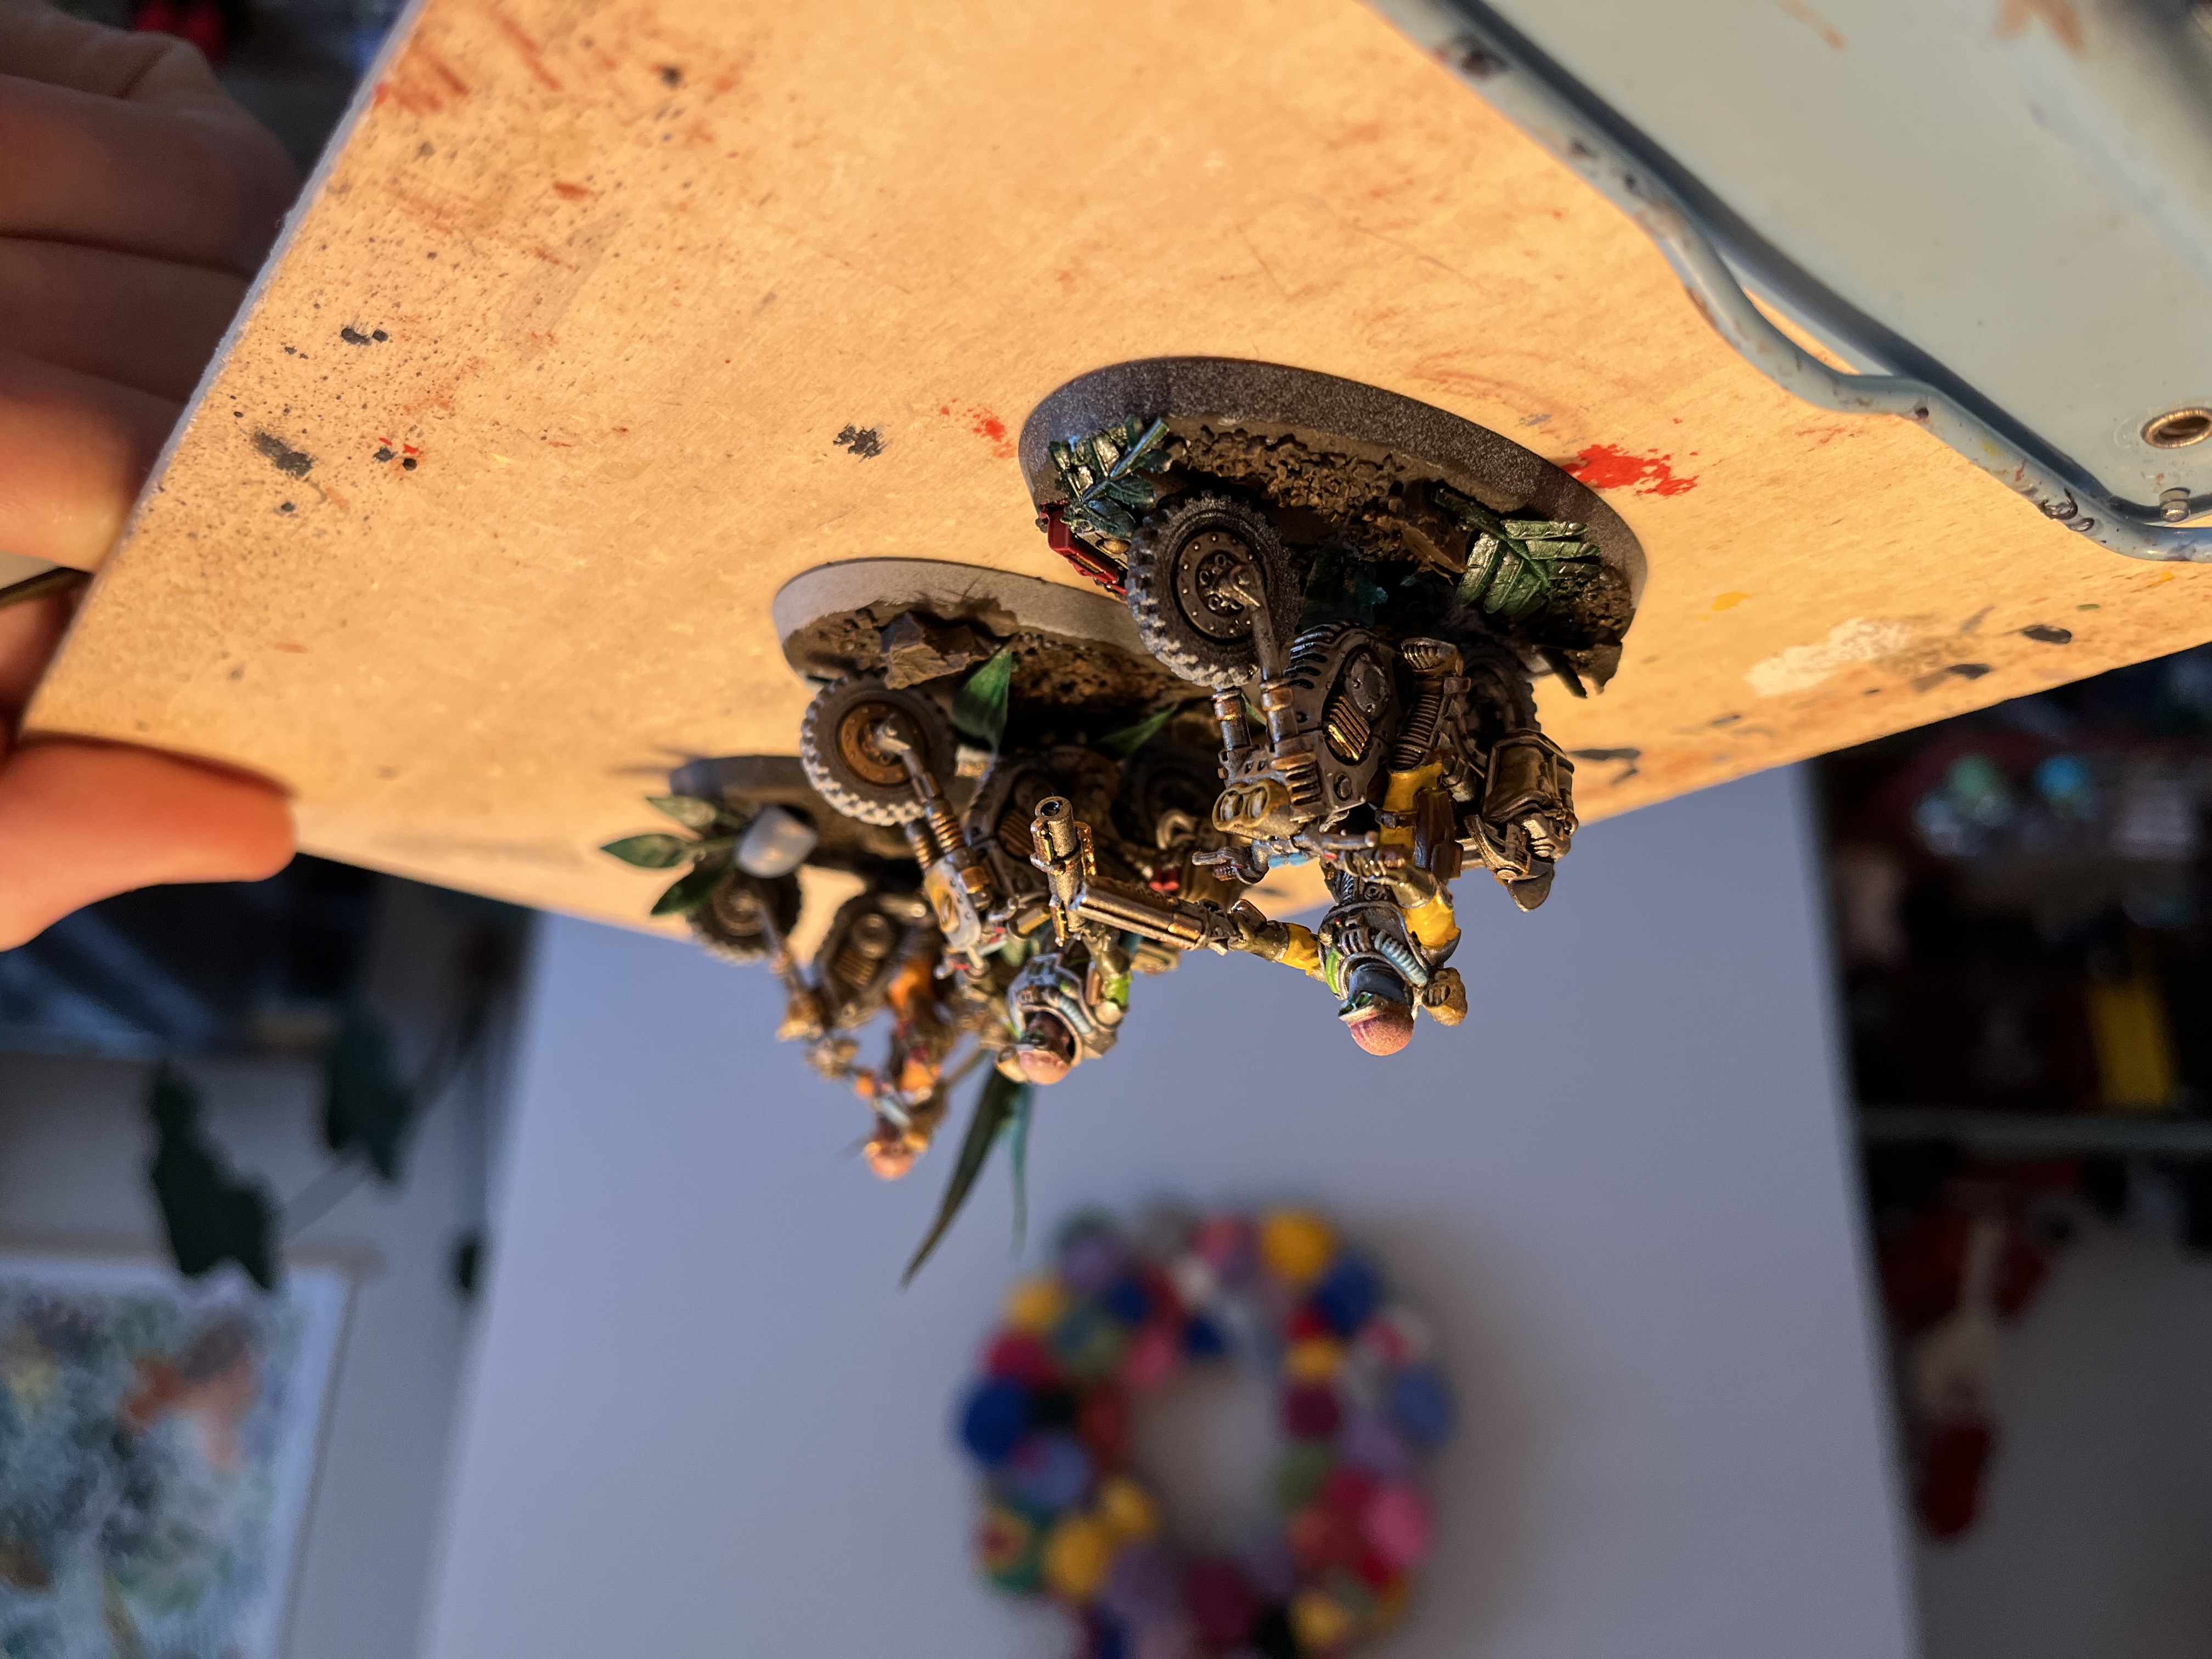
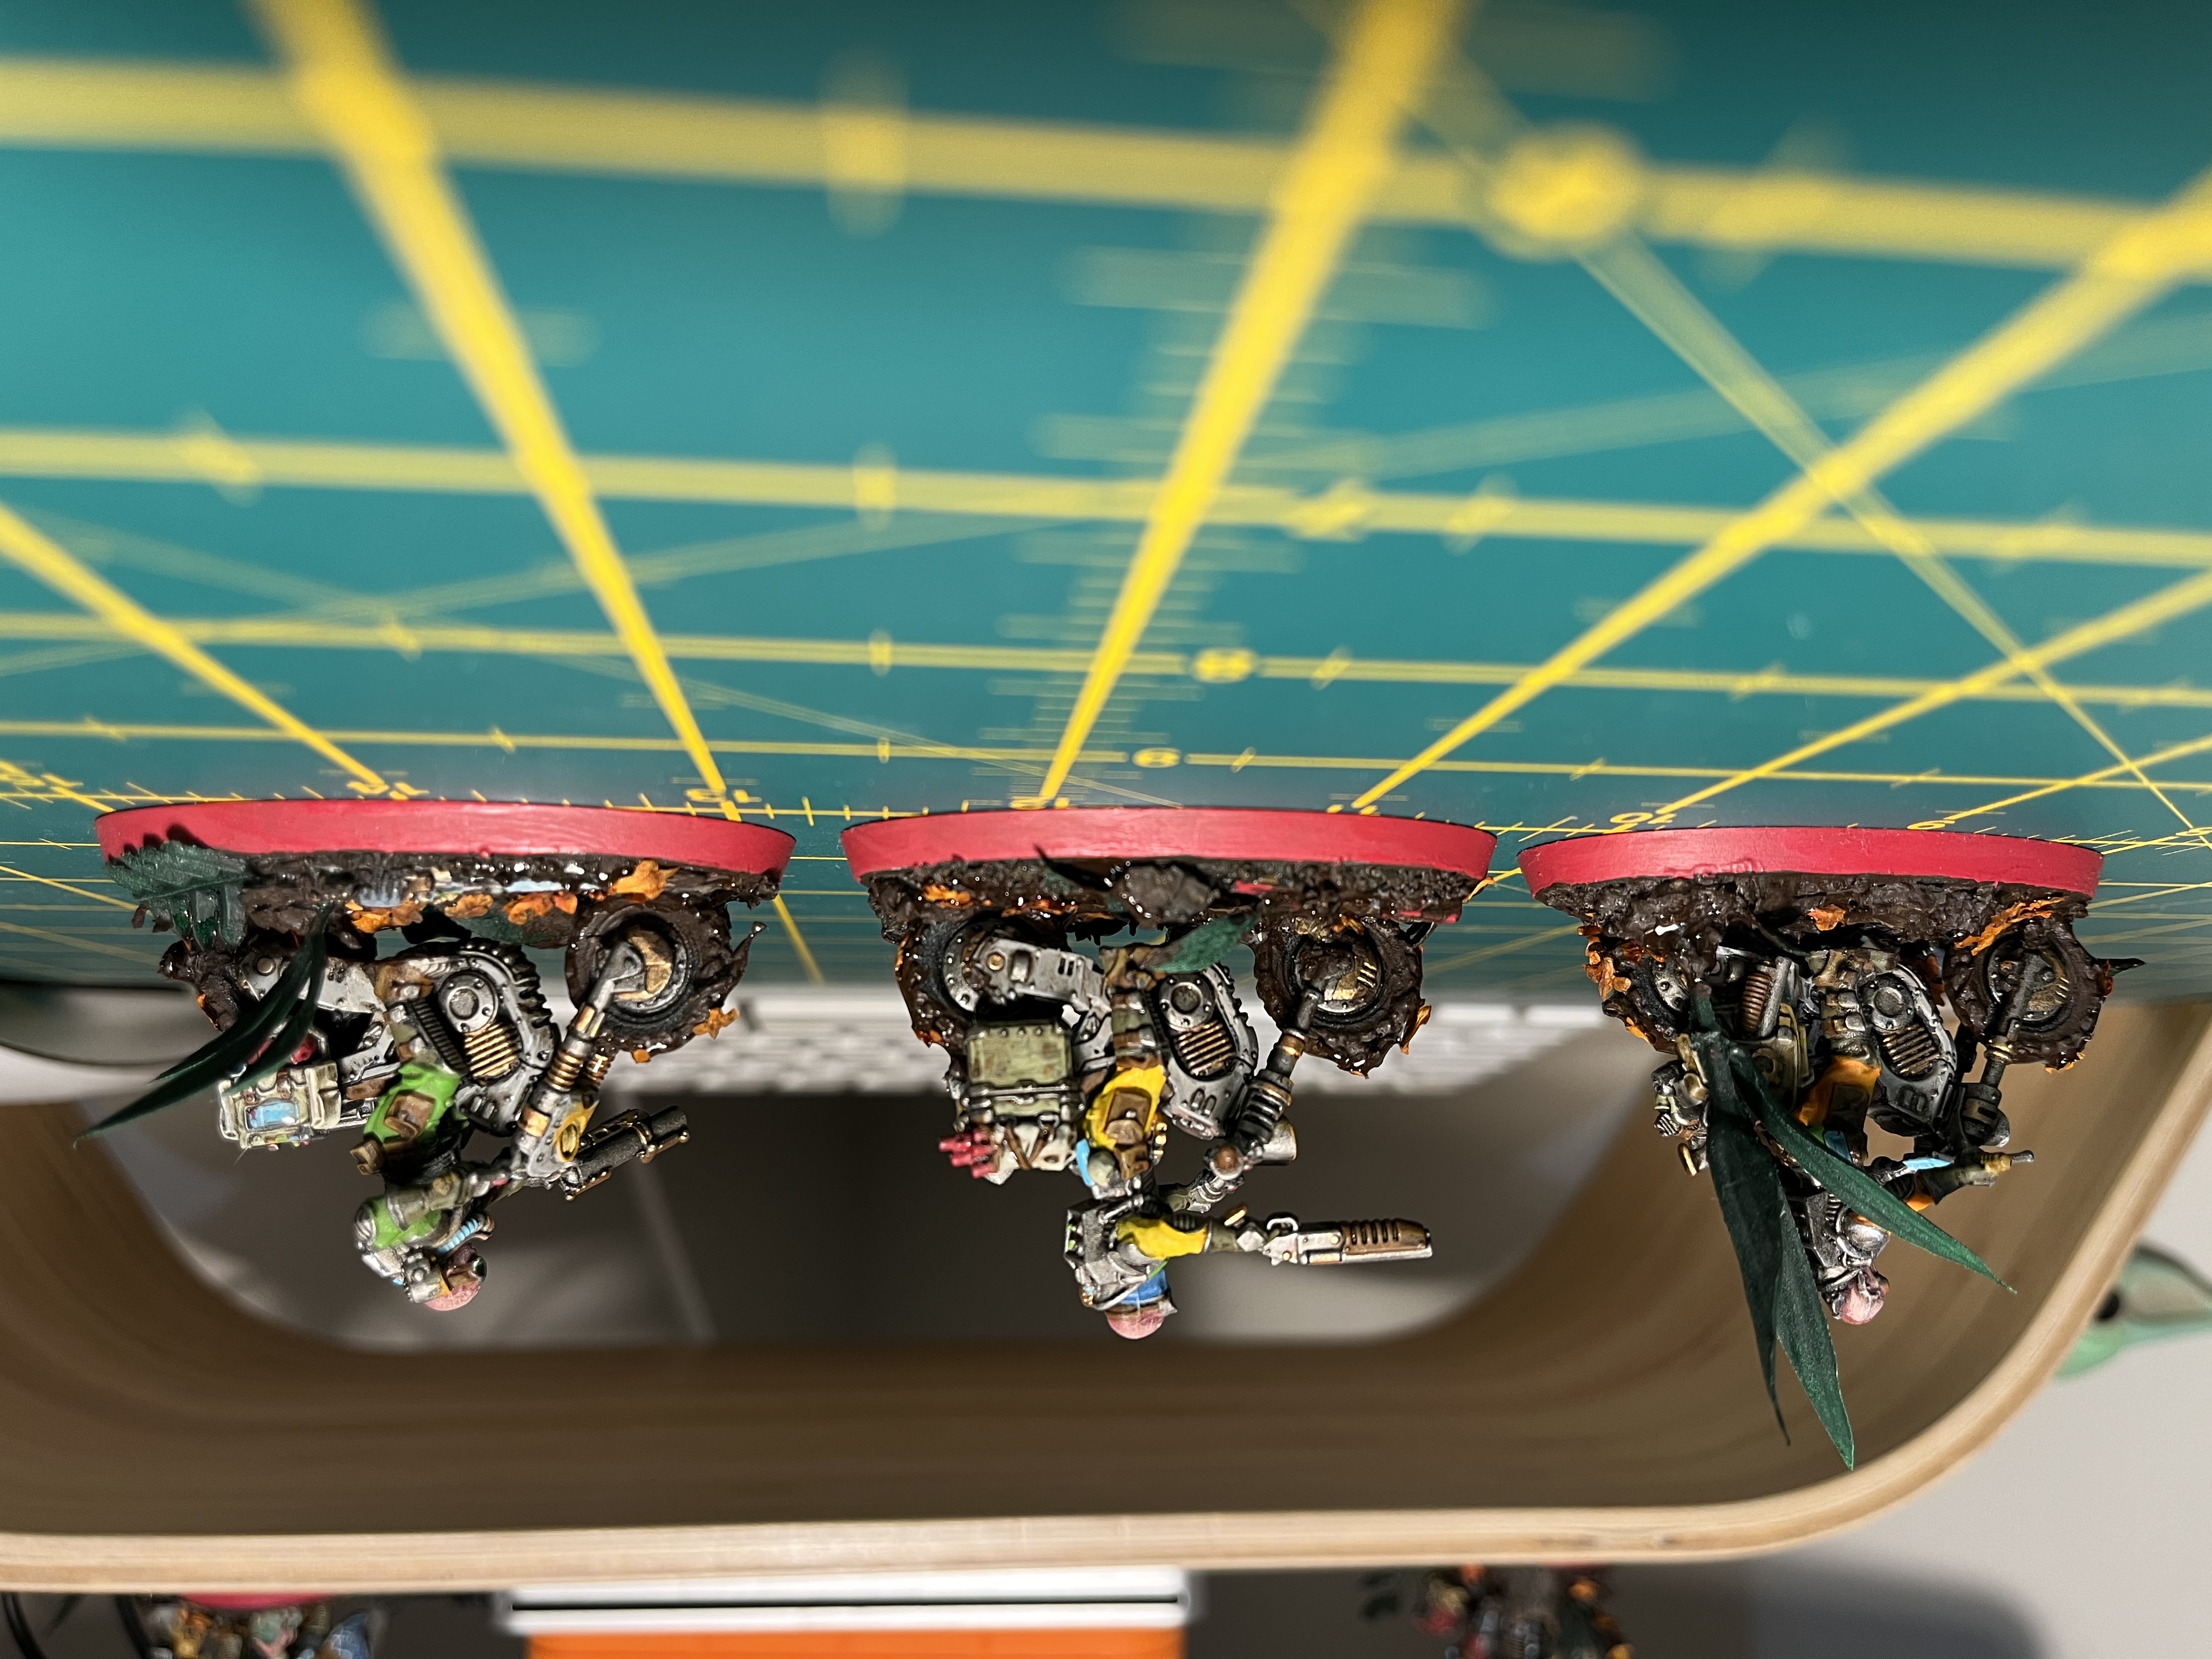 Finished jackals
 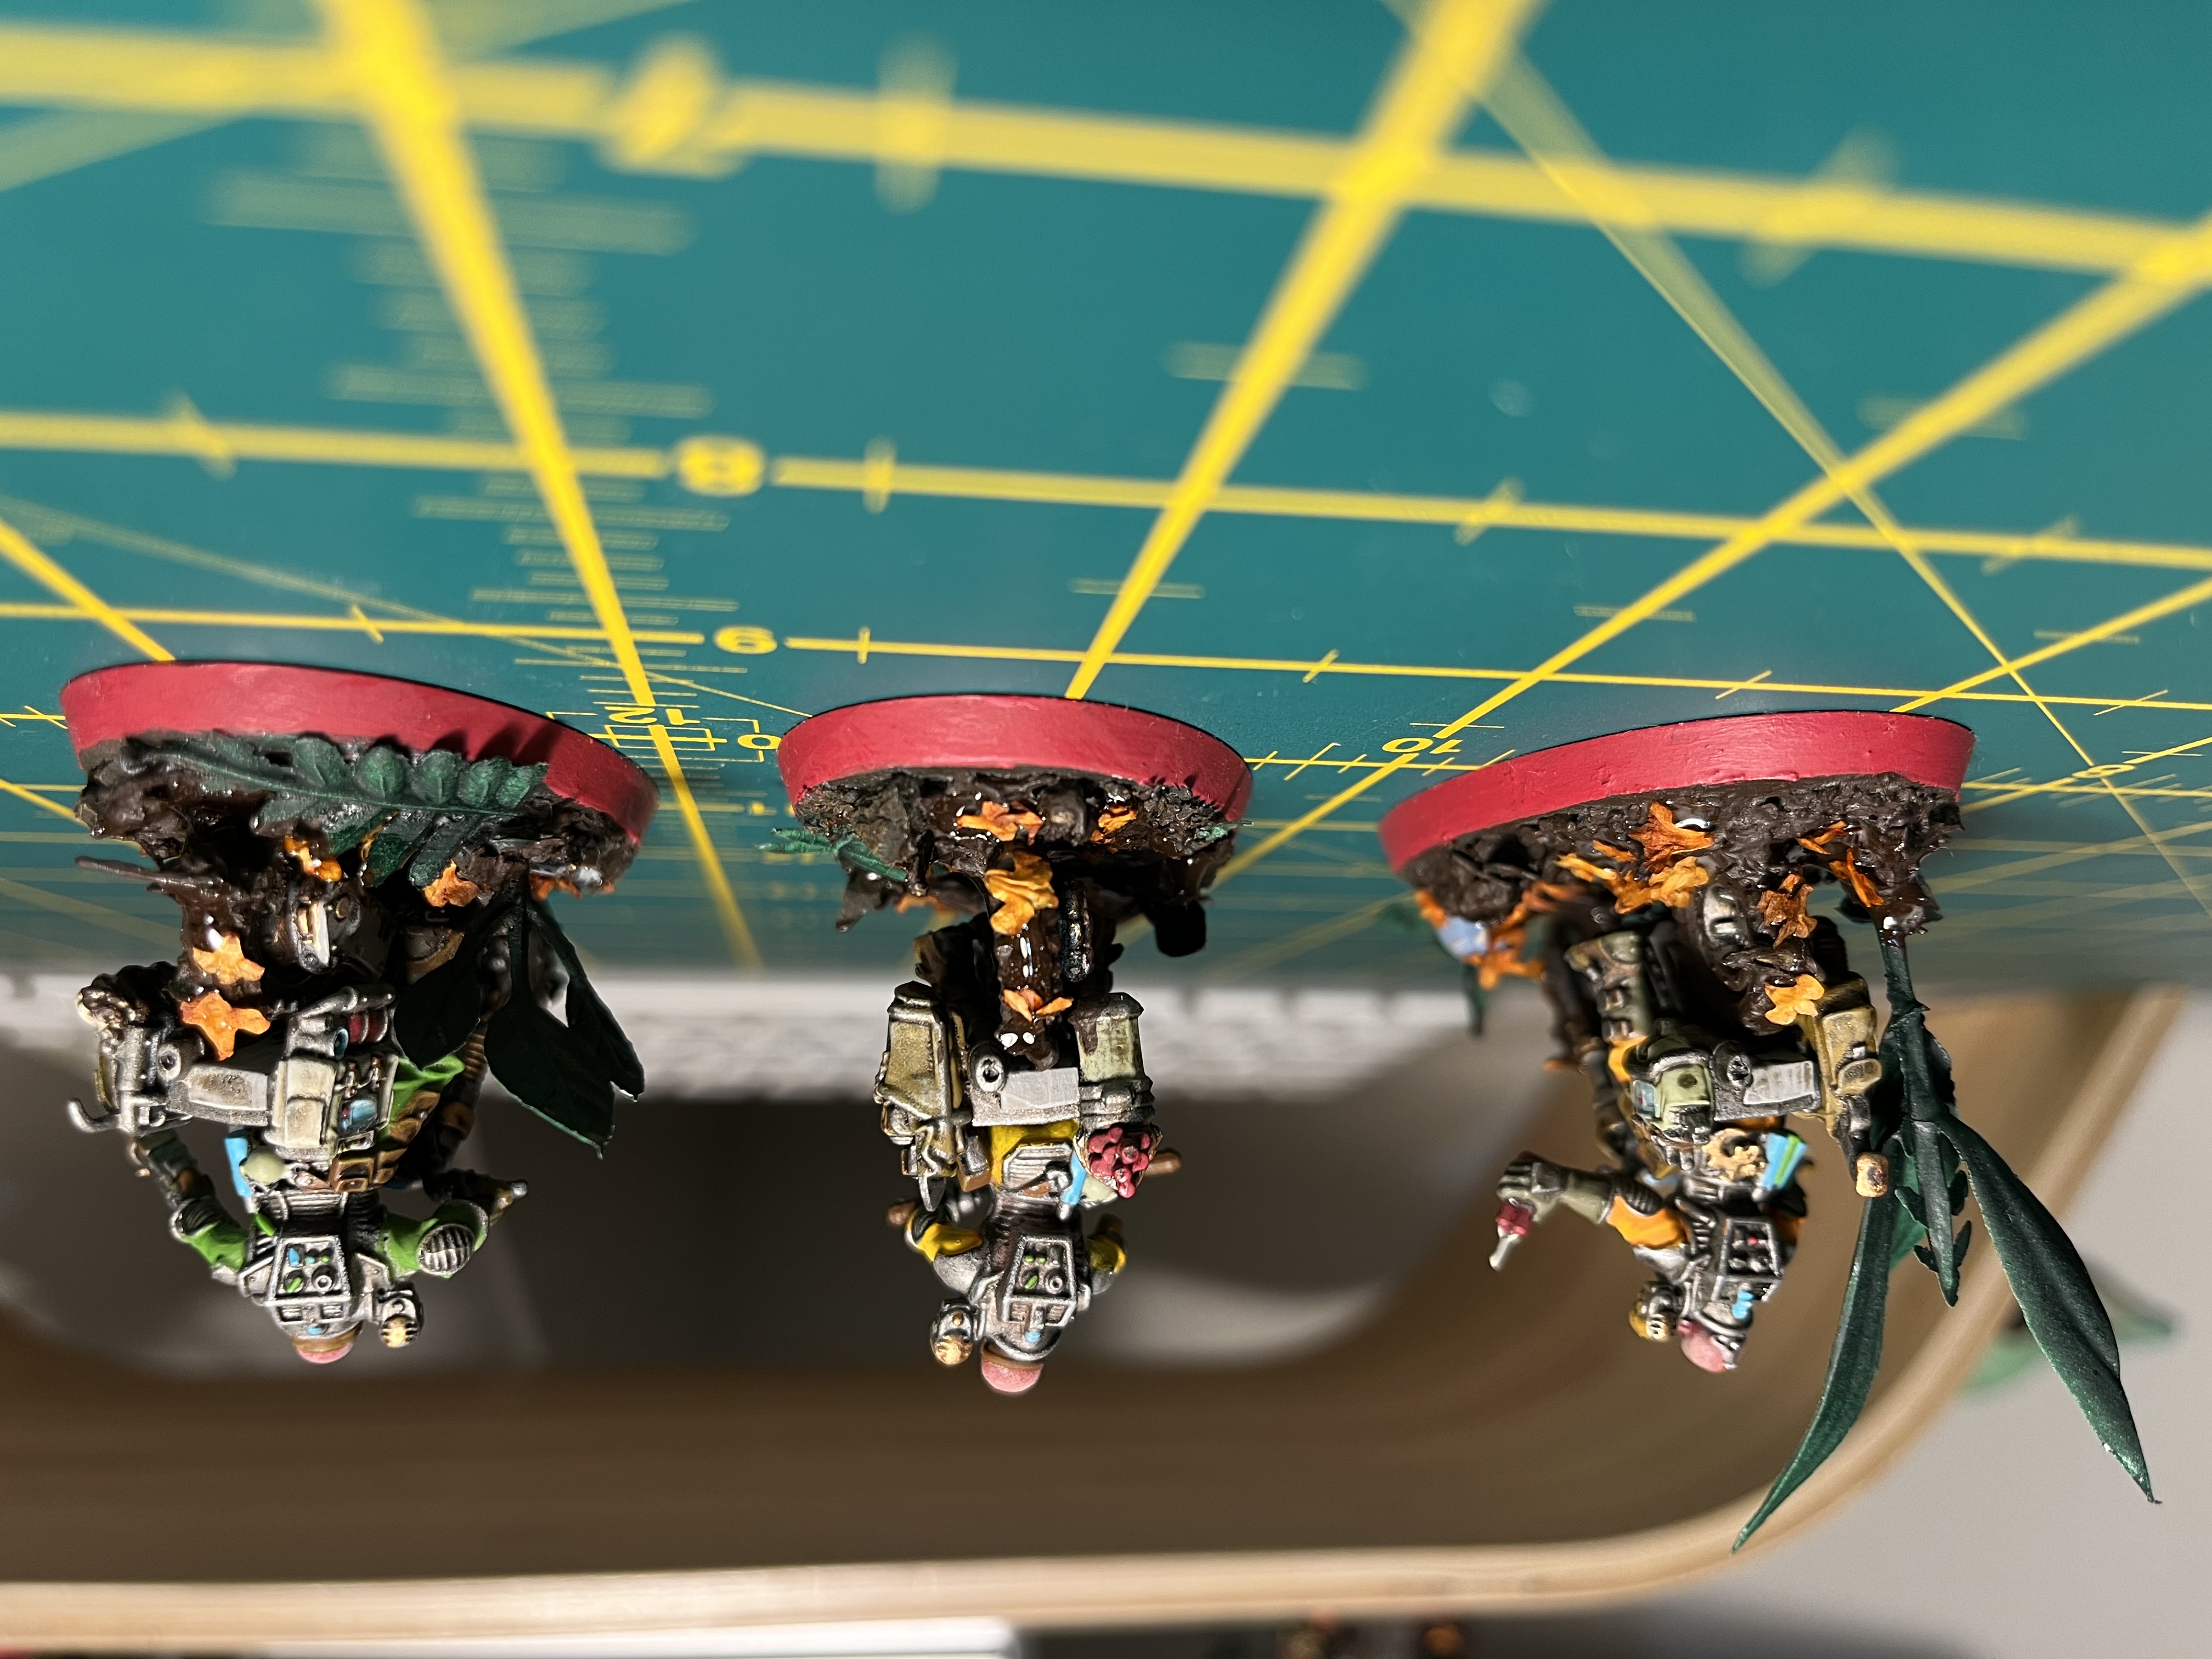 Back view
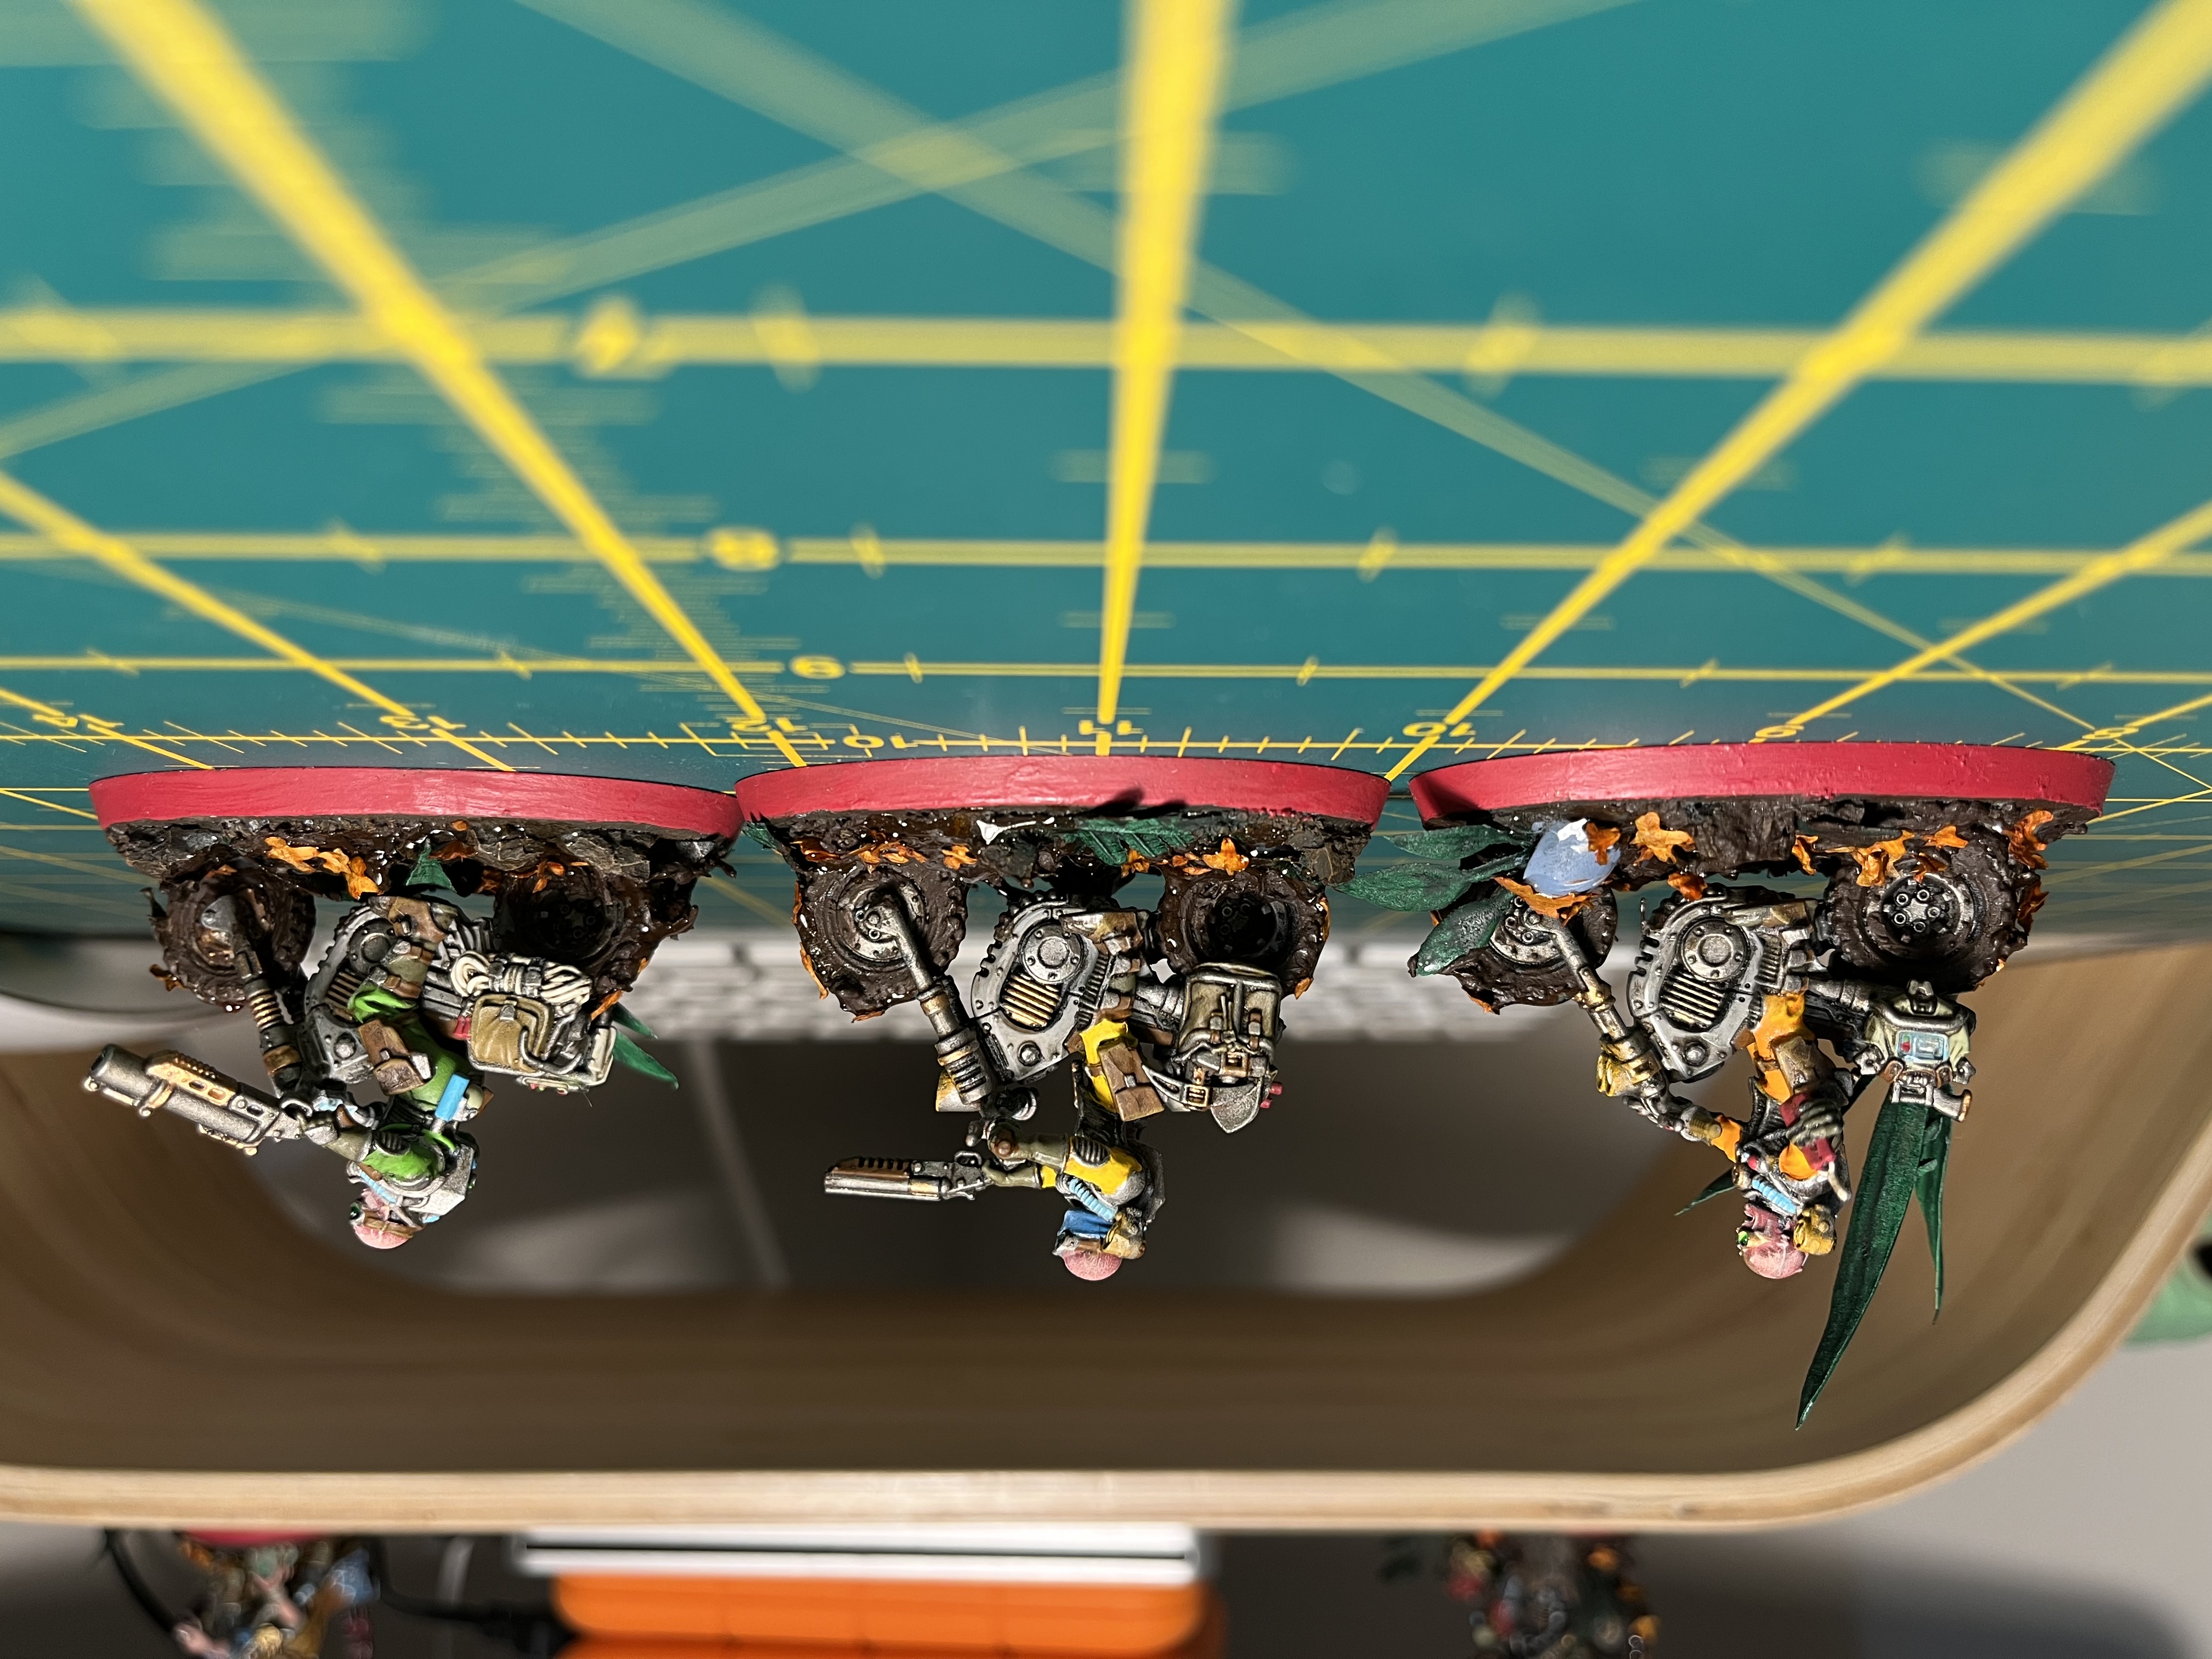 Side view
 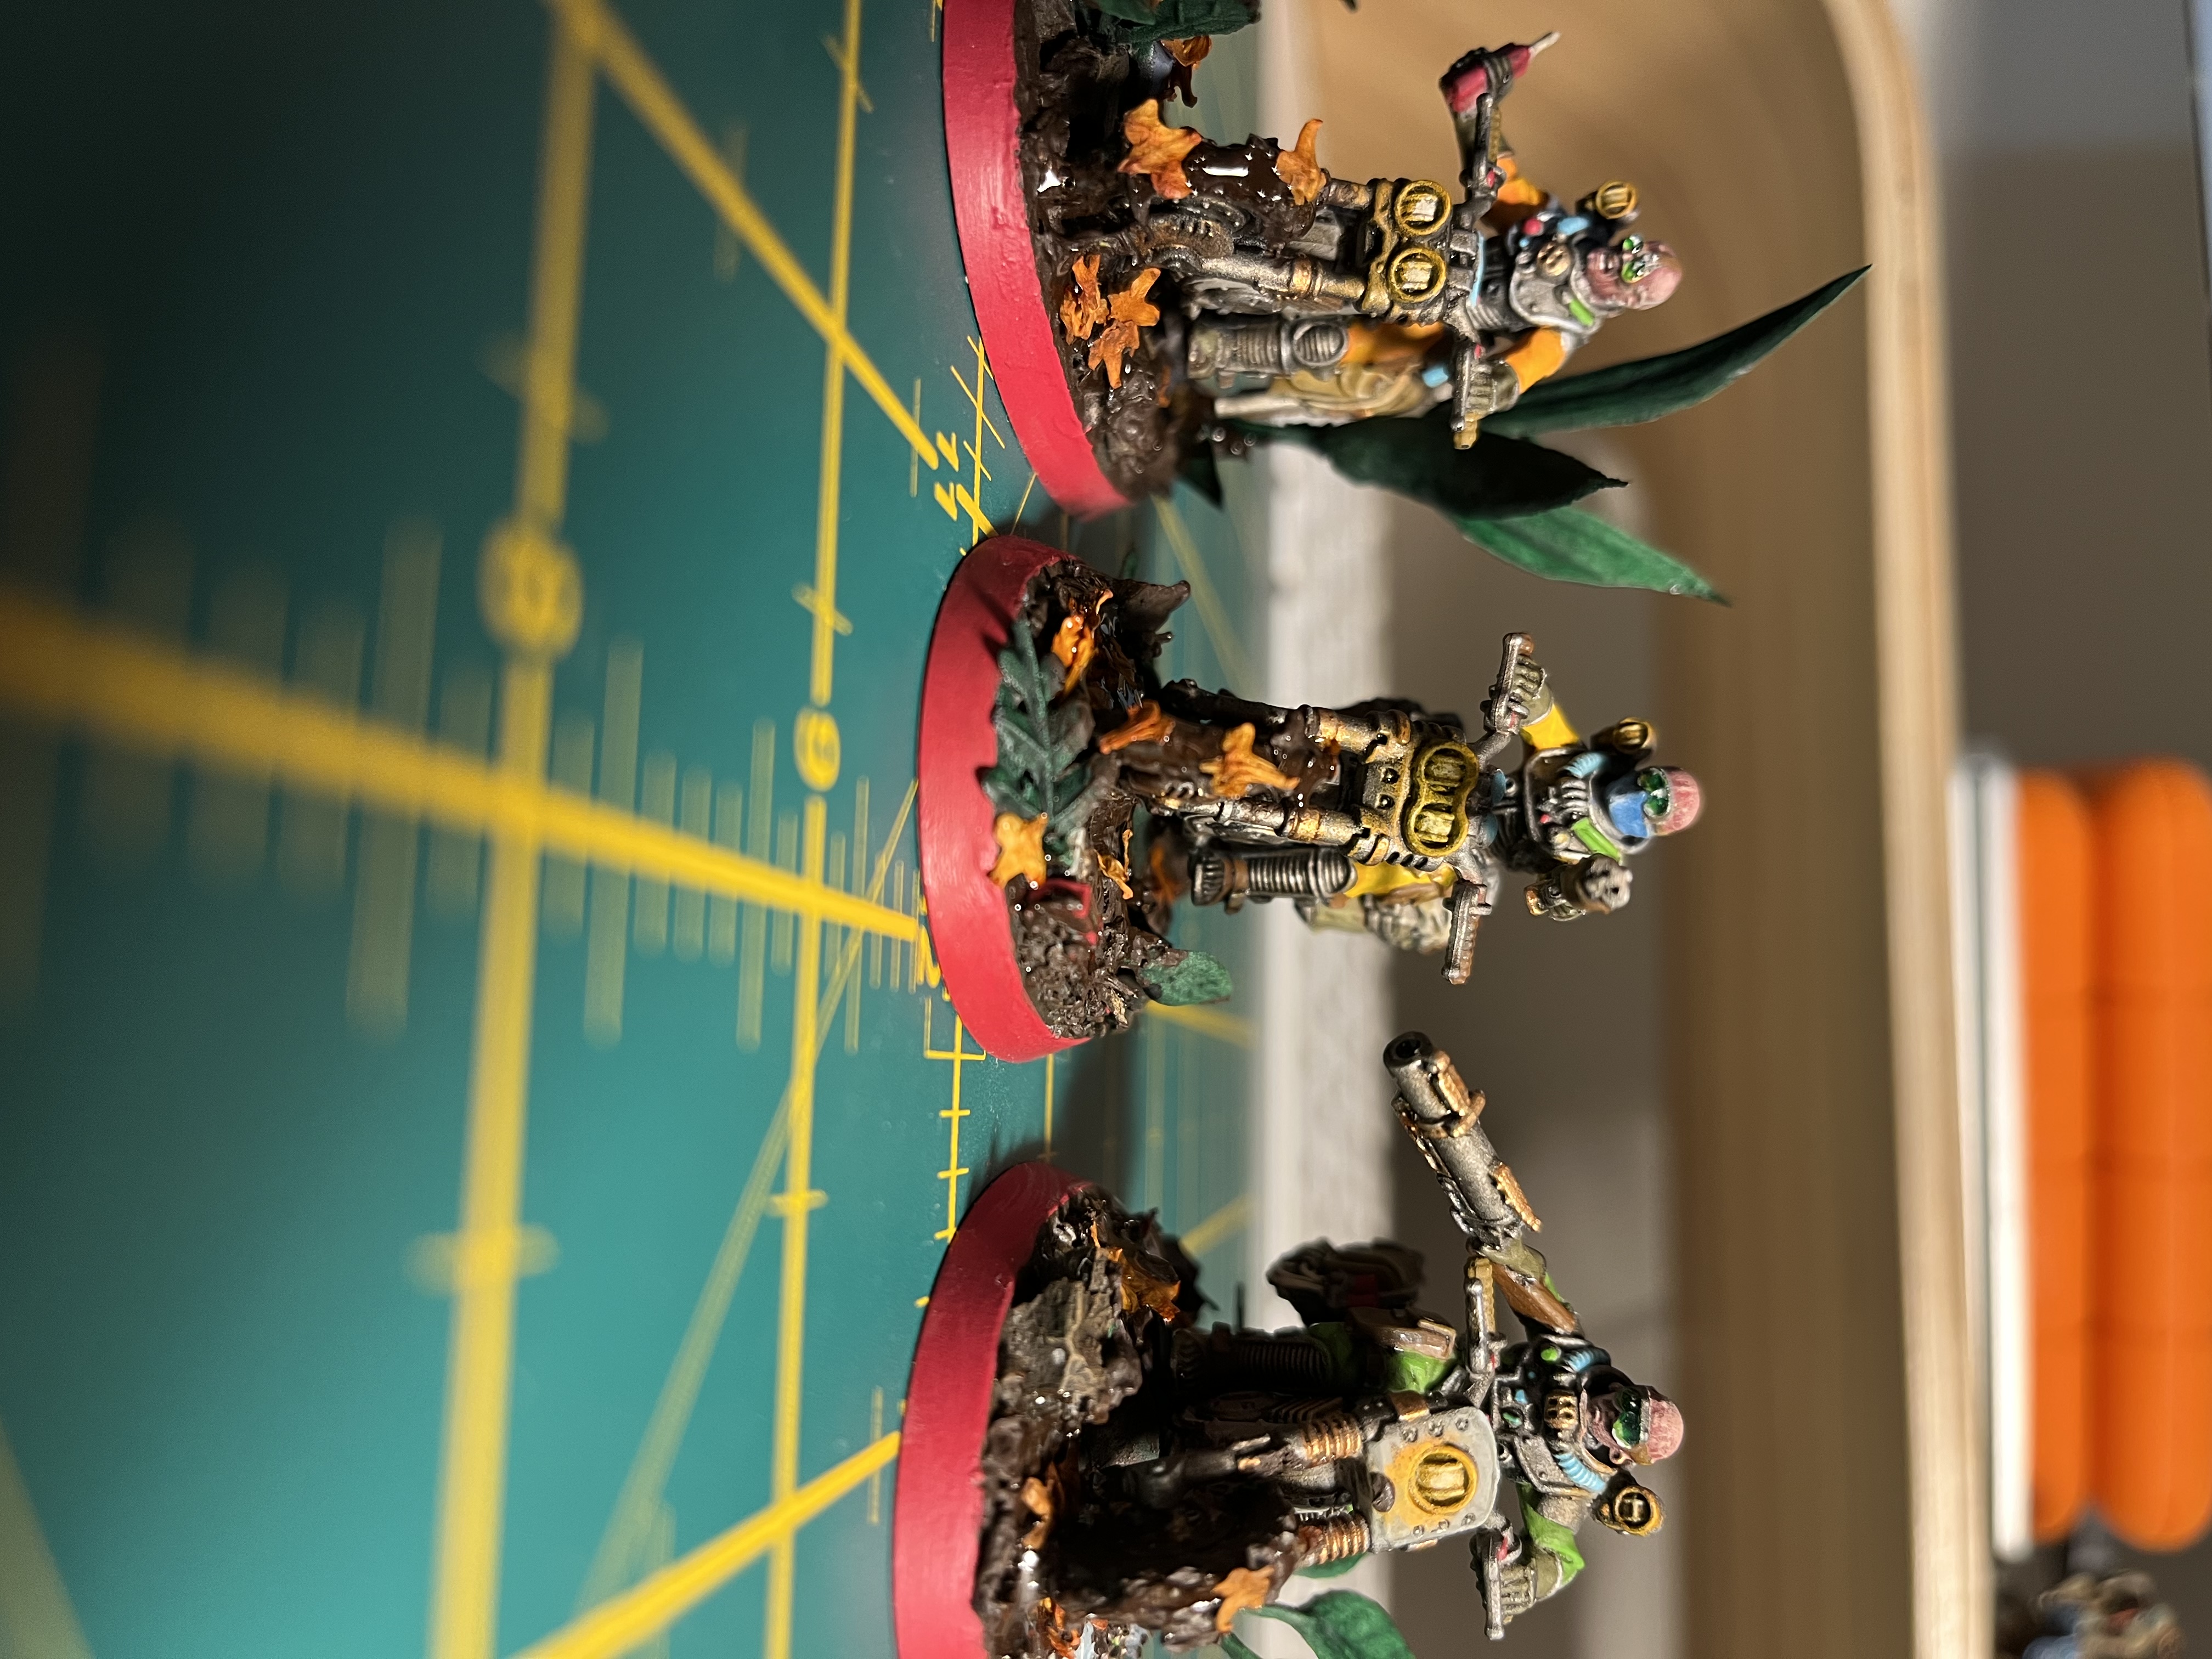 Front
Front 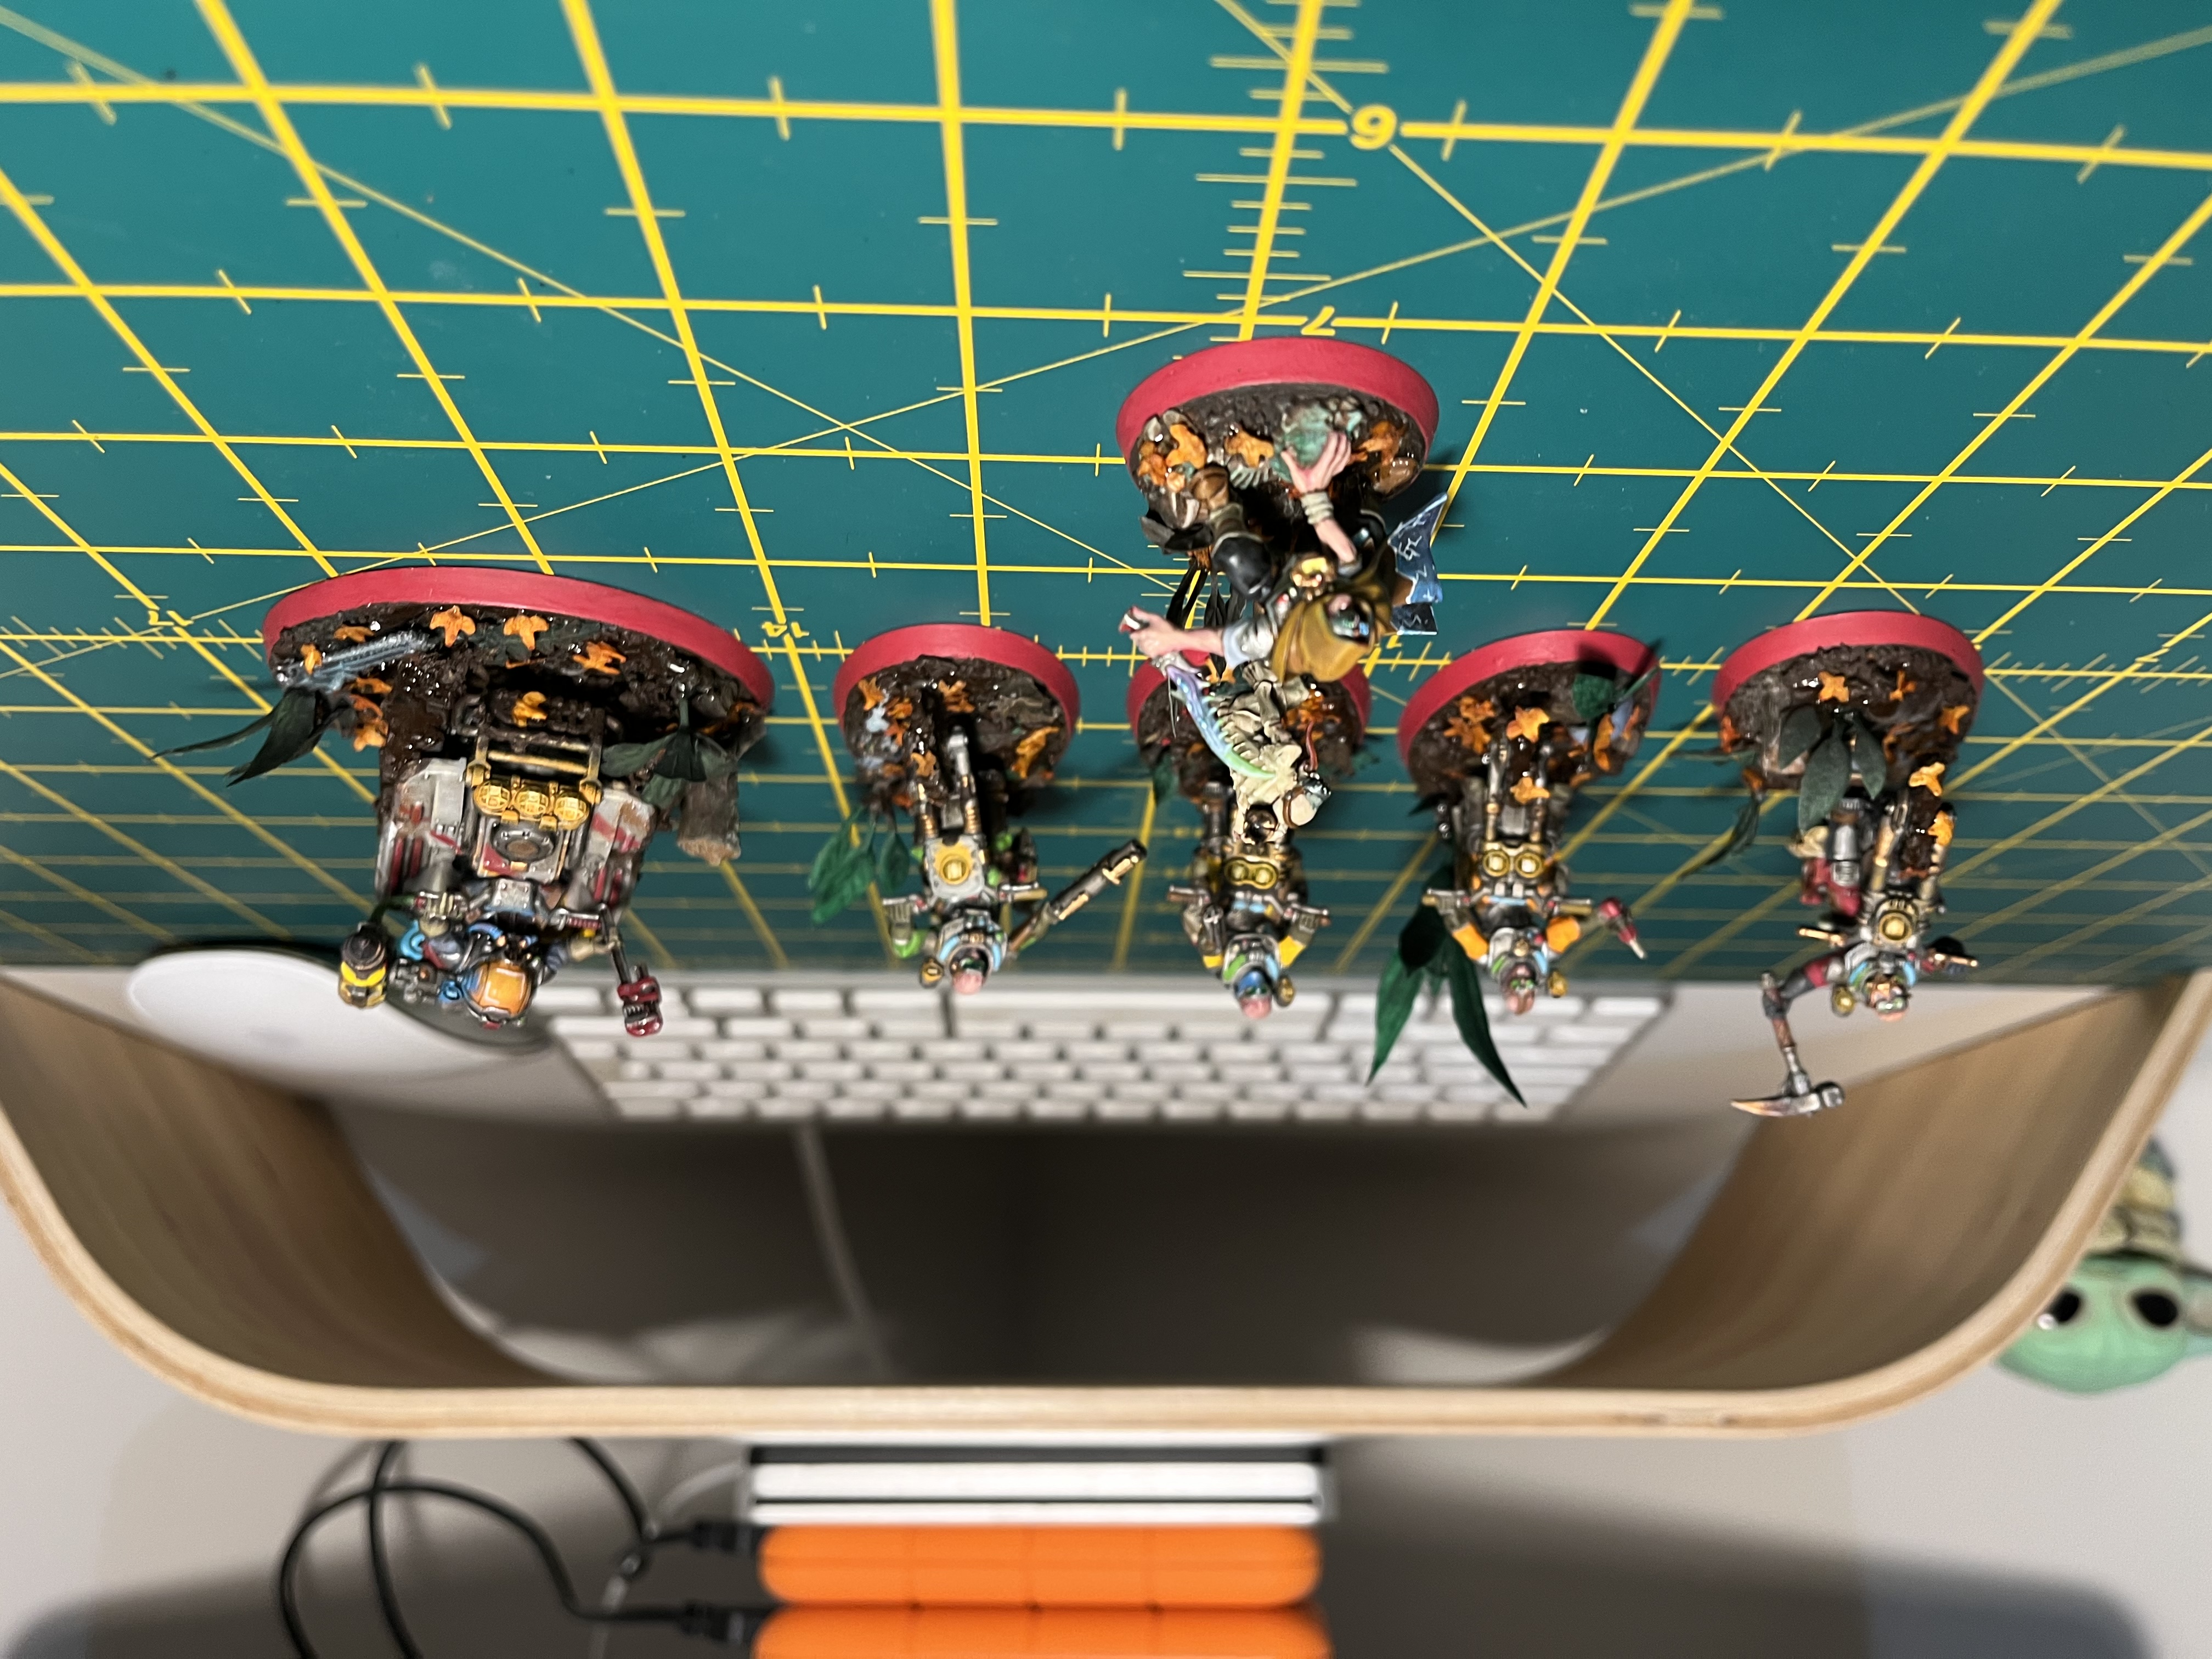 Forces so far!
Sgt Peppers Wheely Heart Club
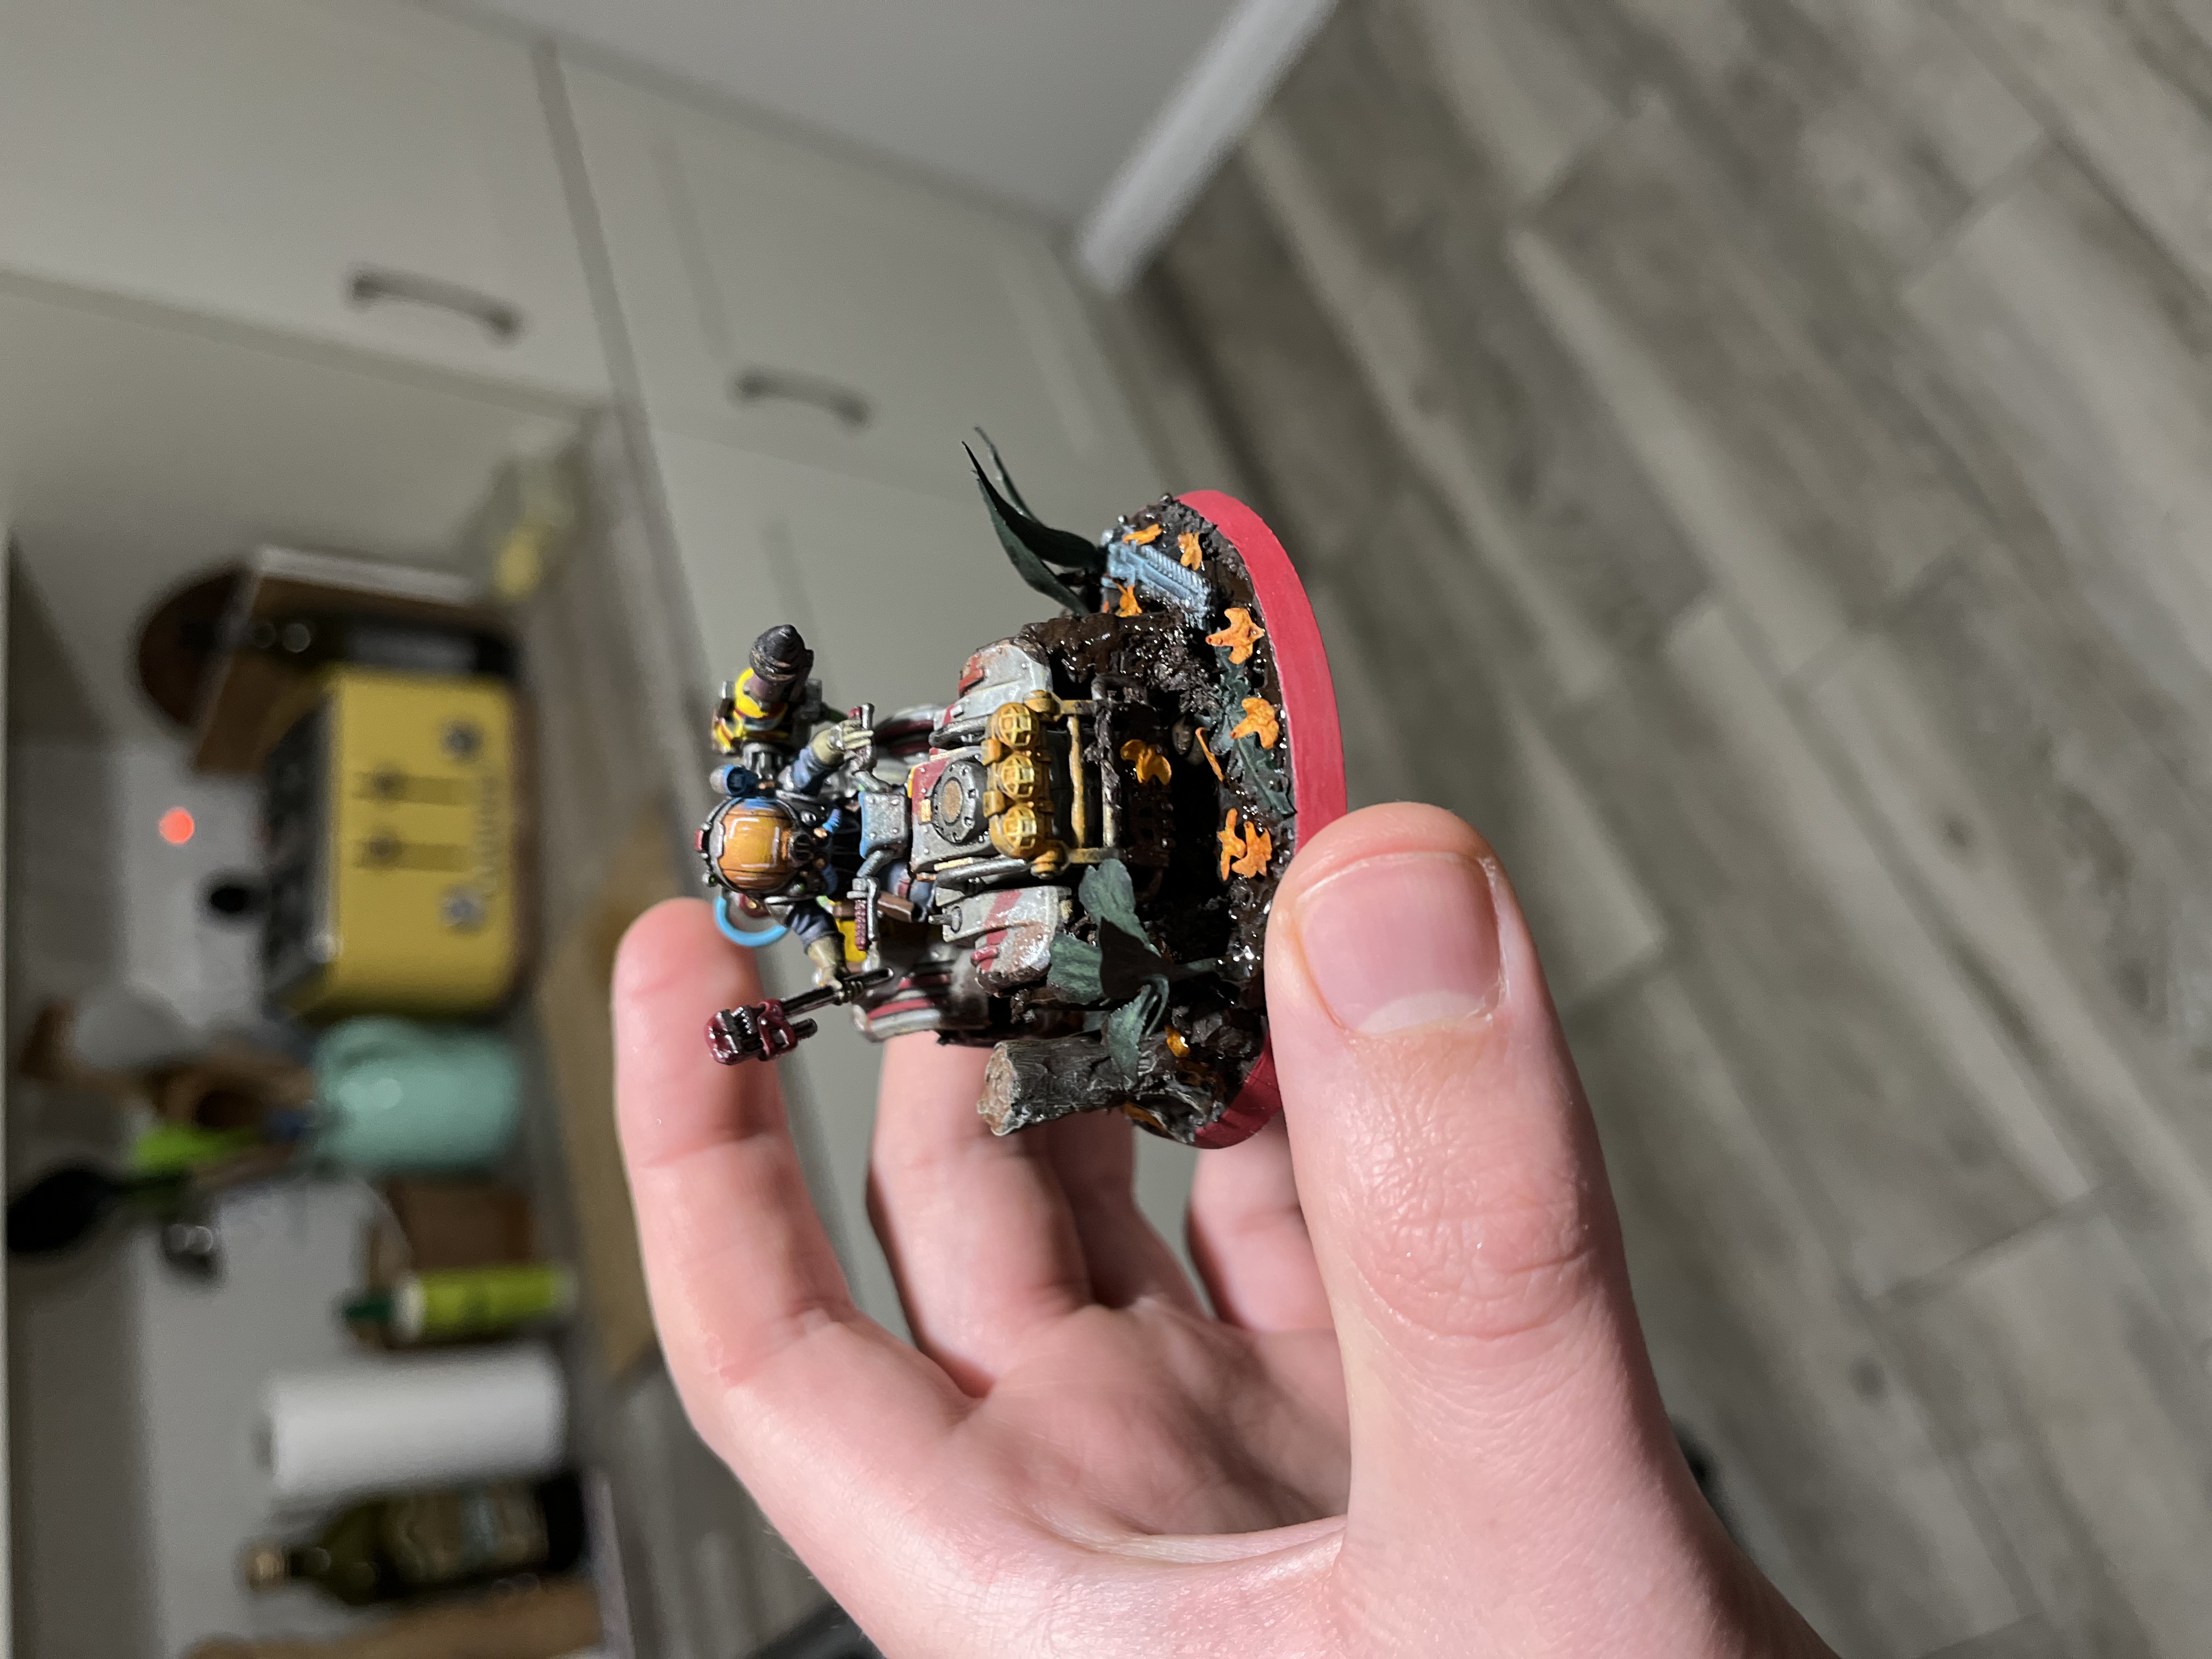
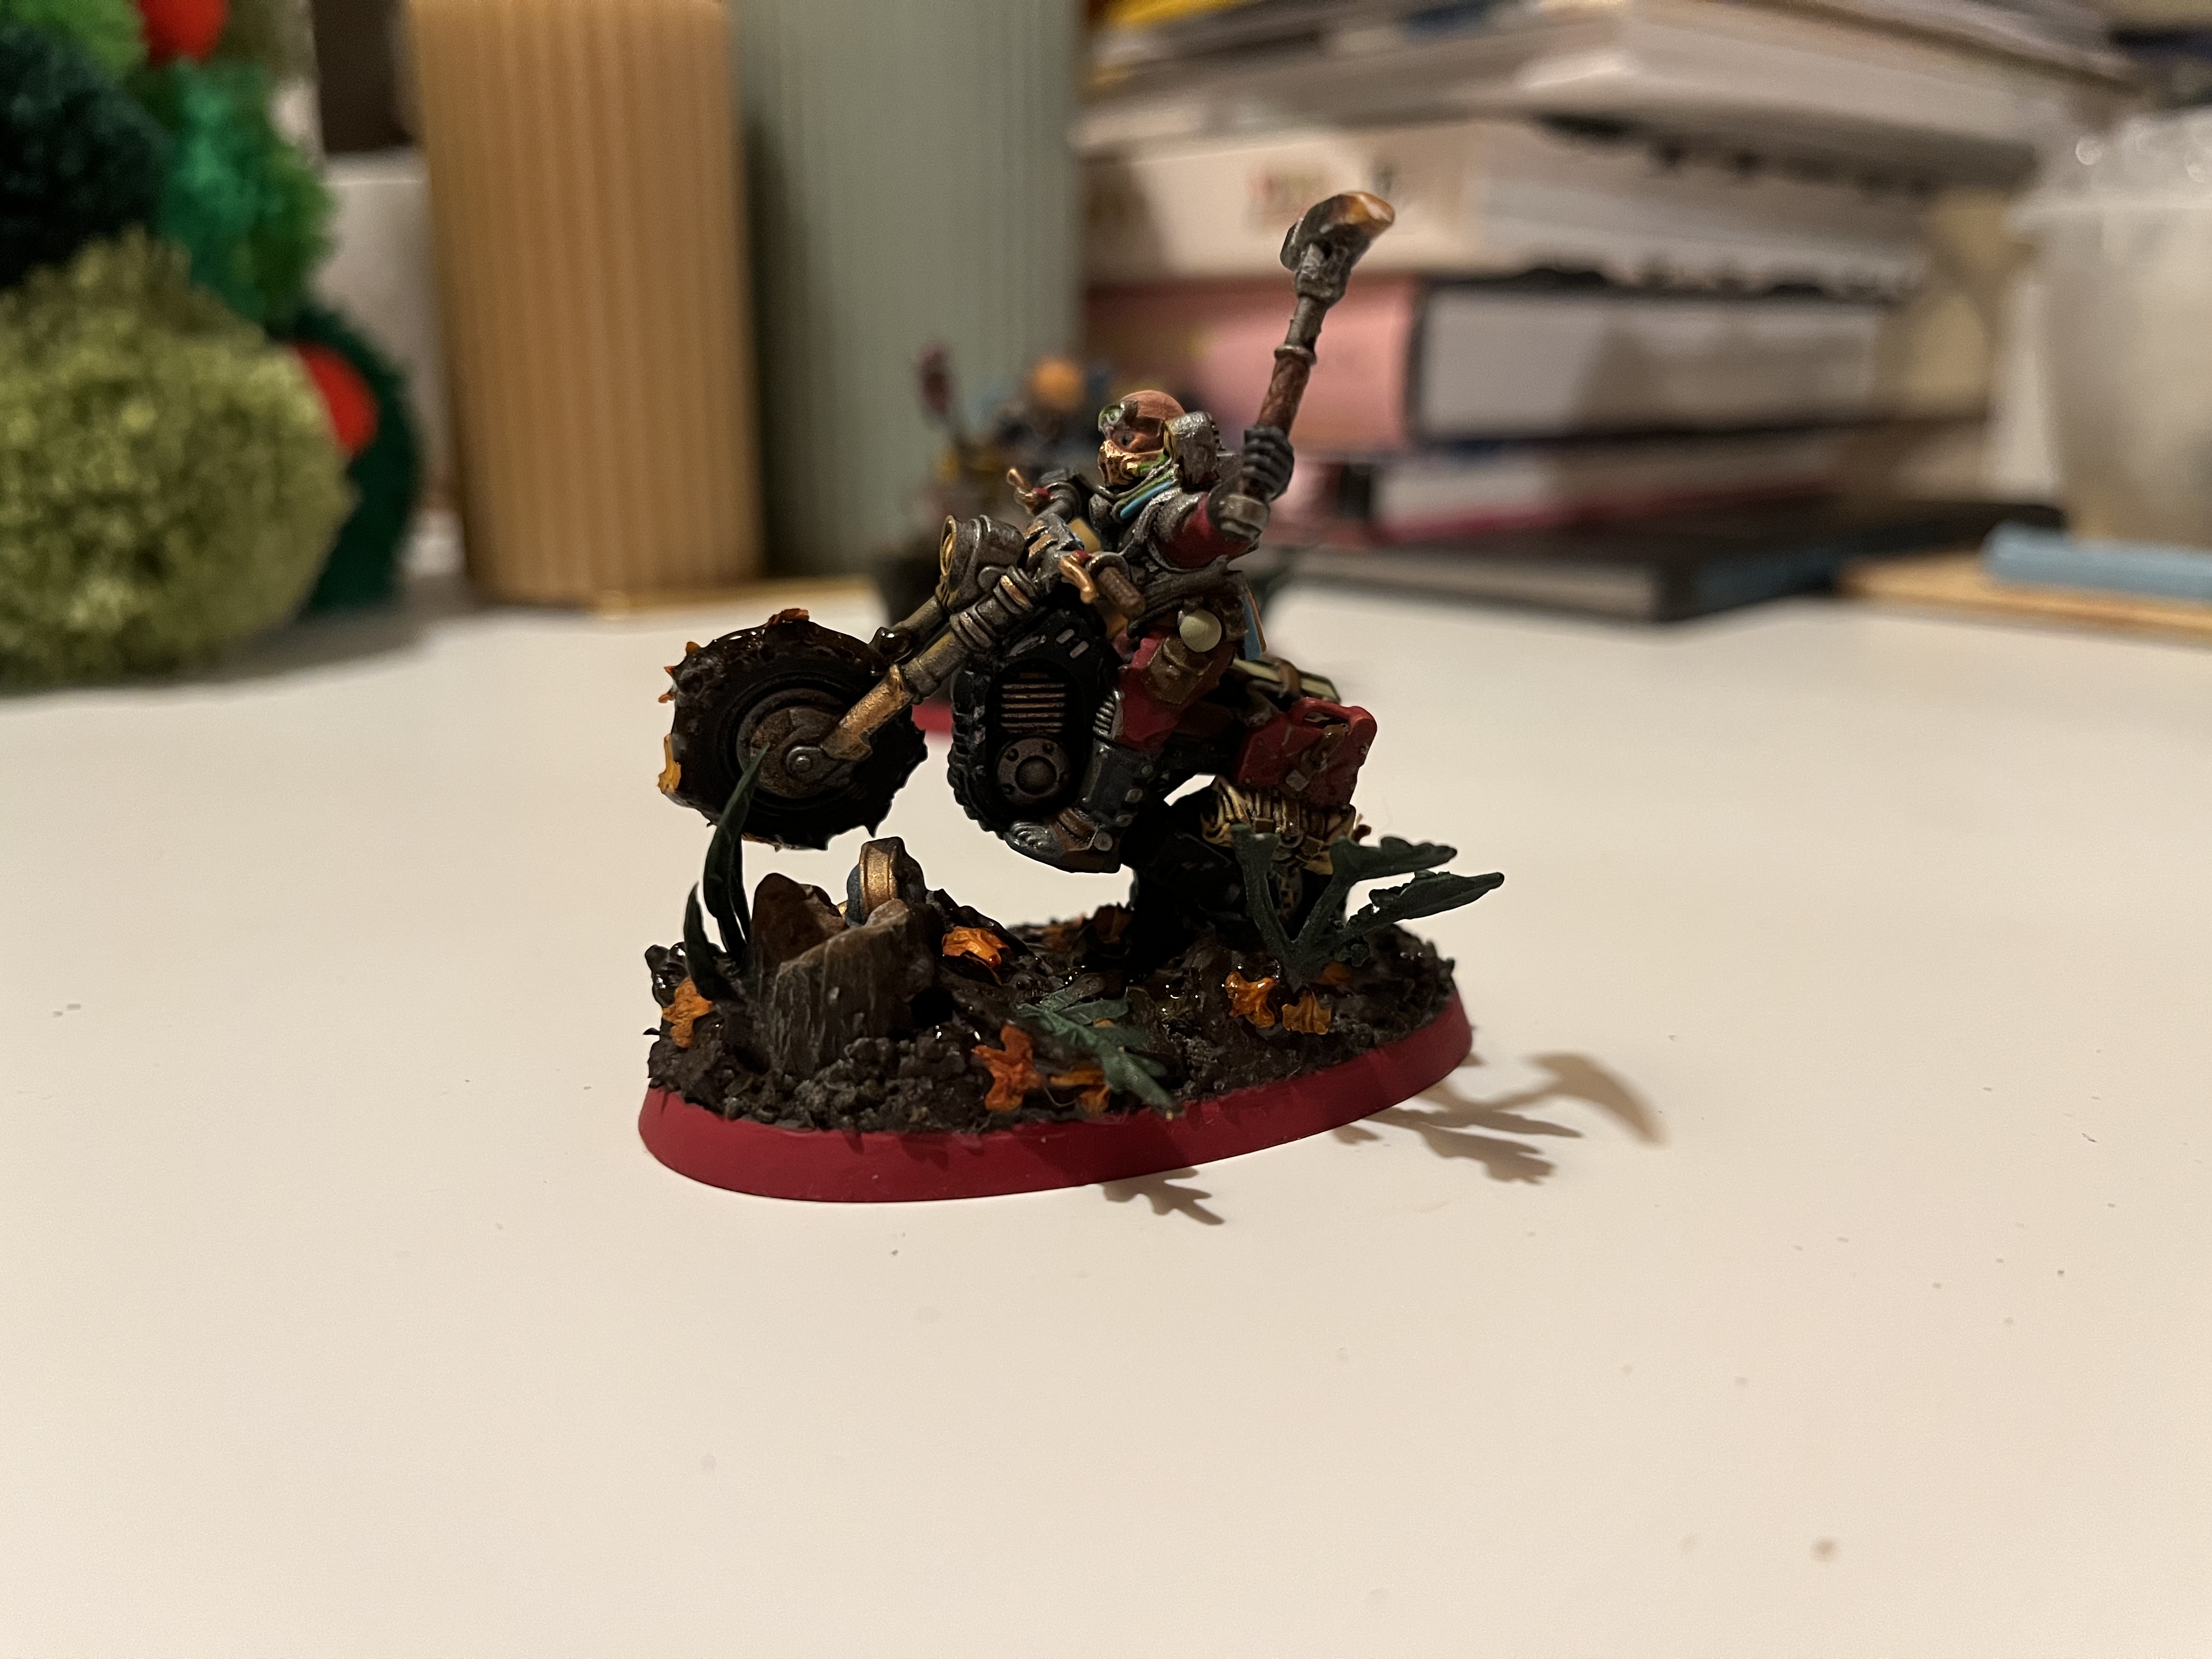
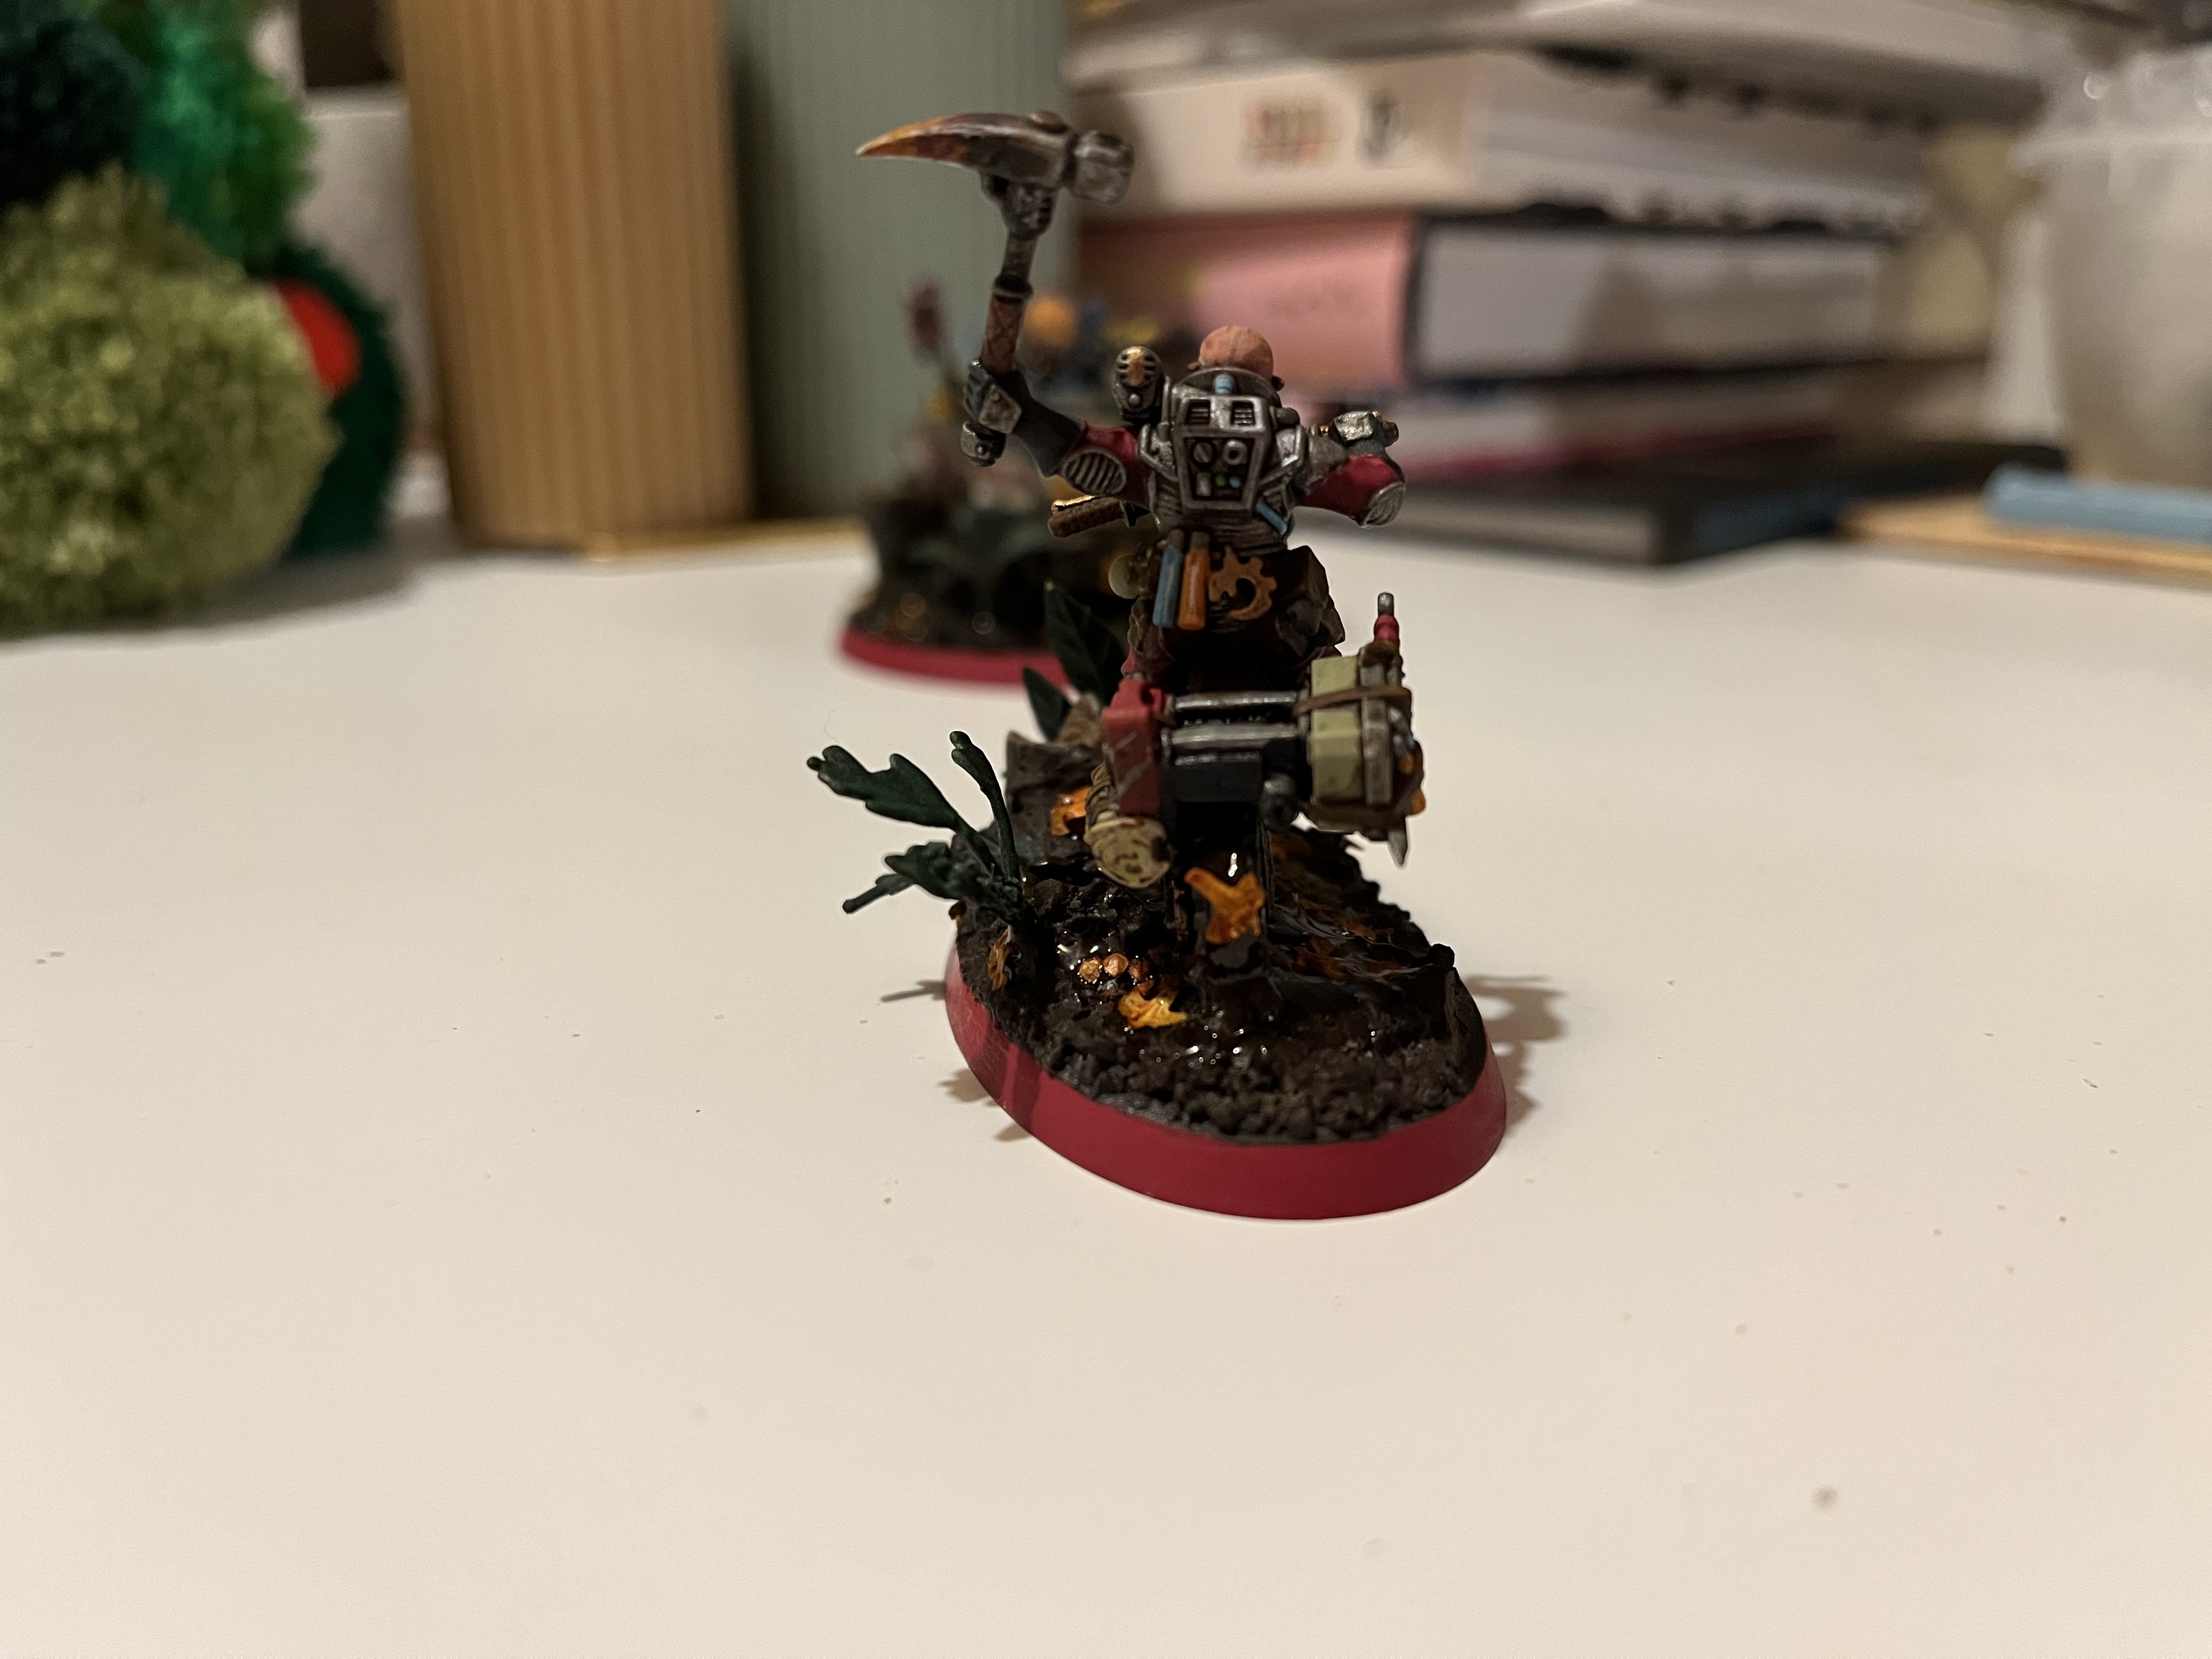
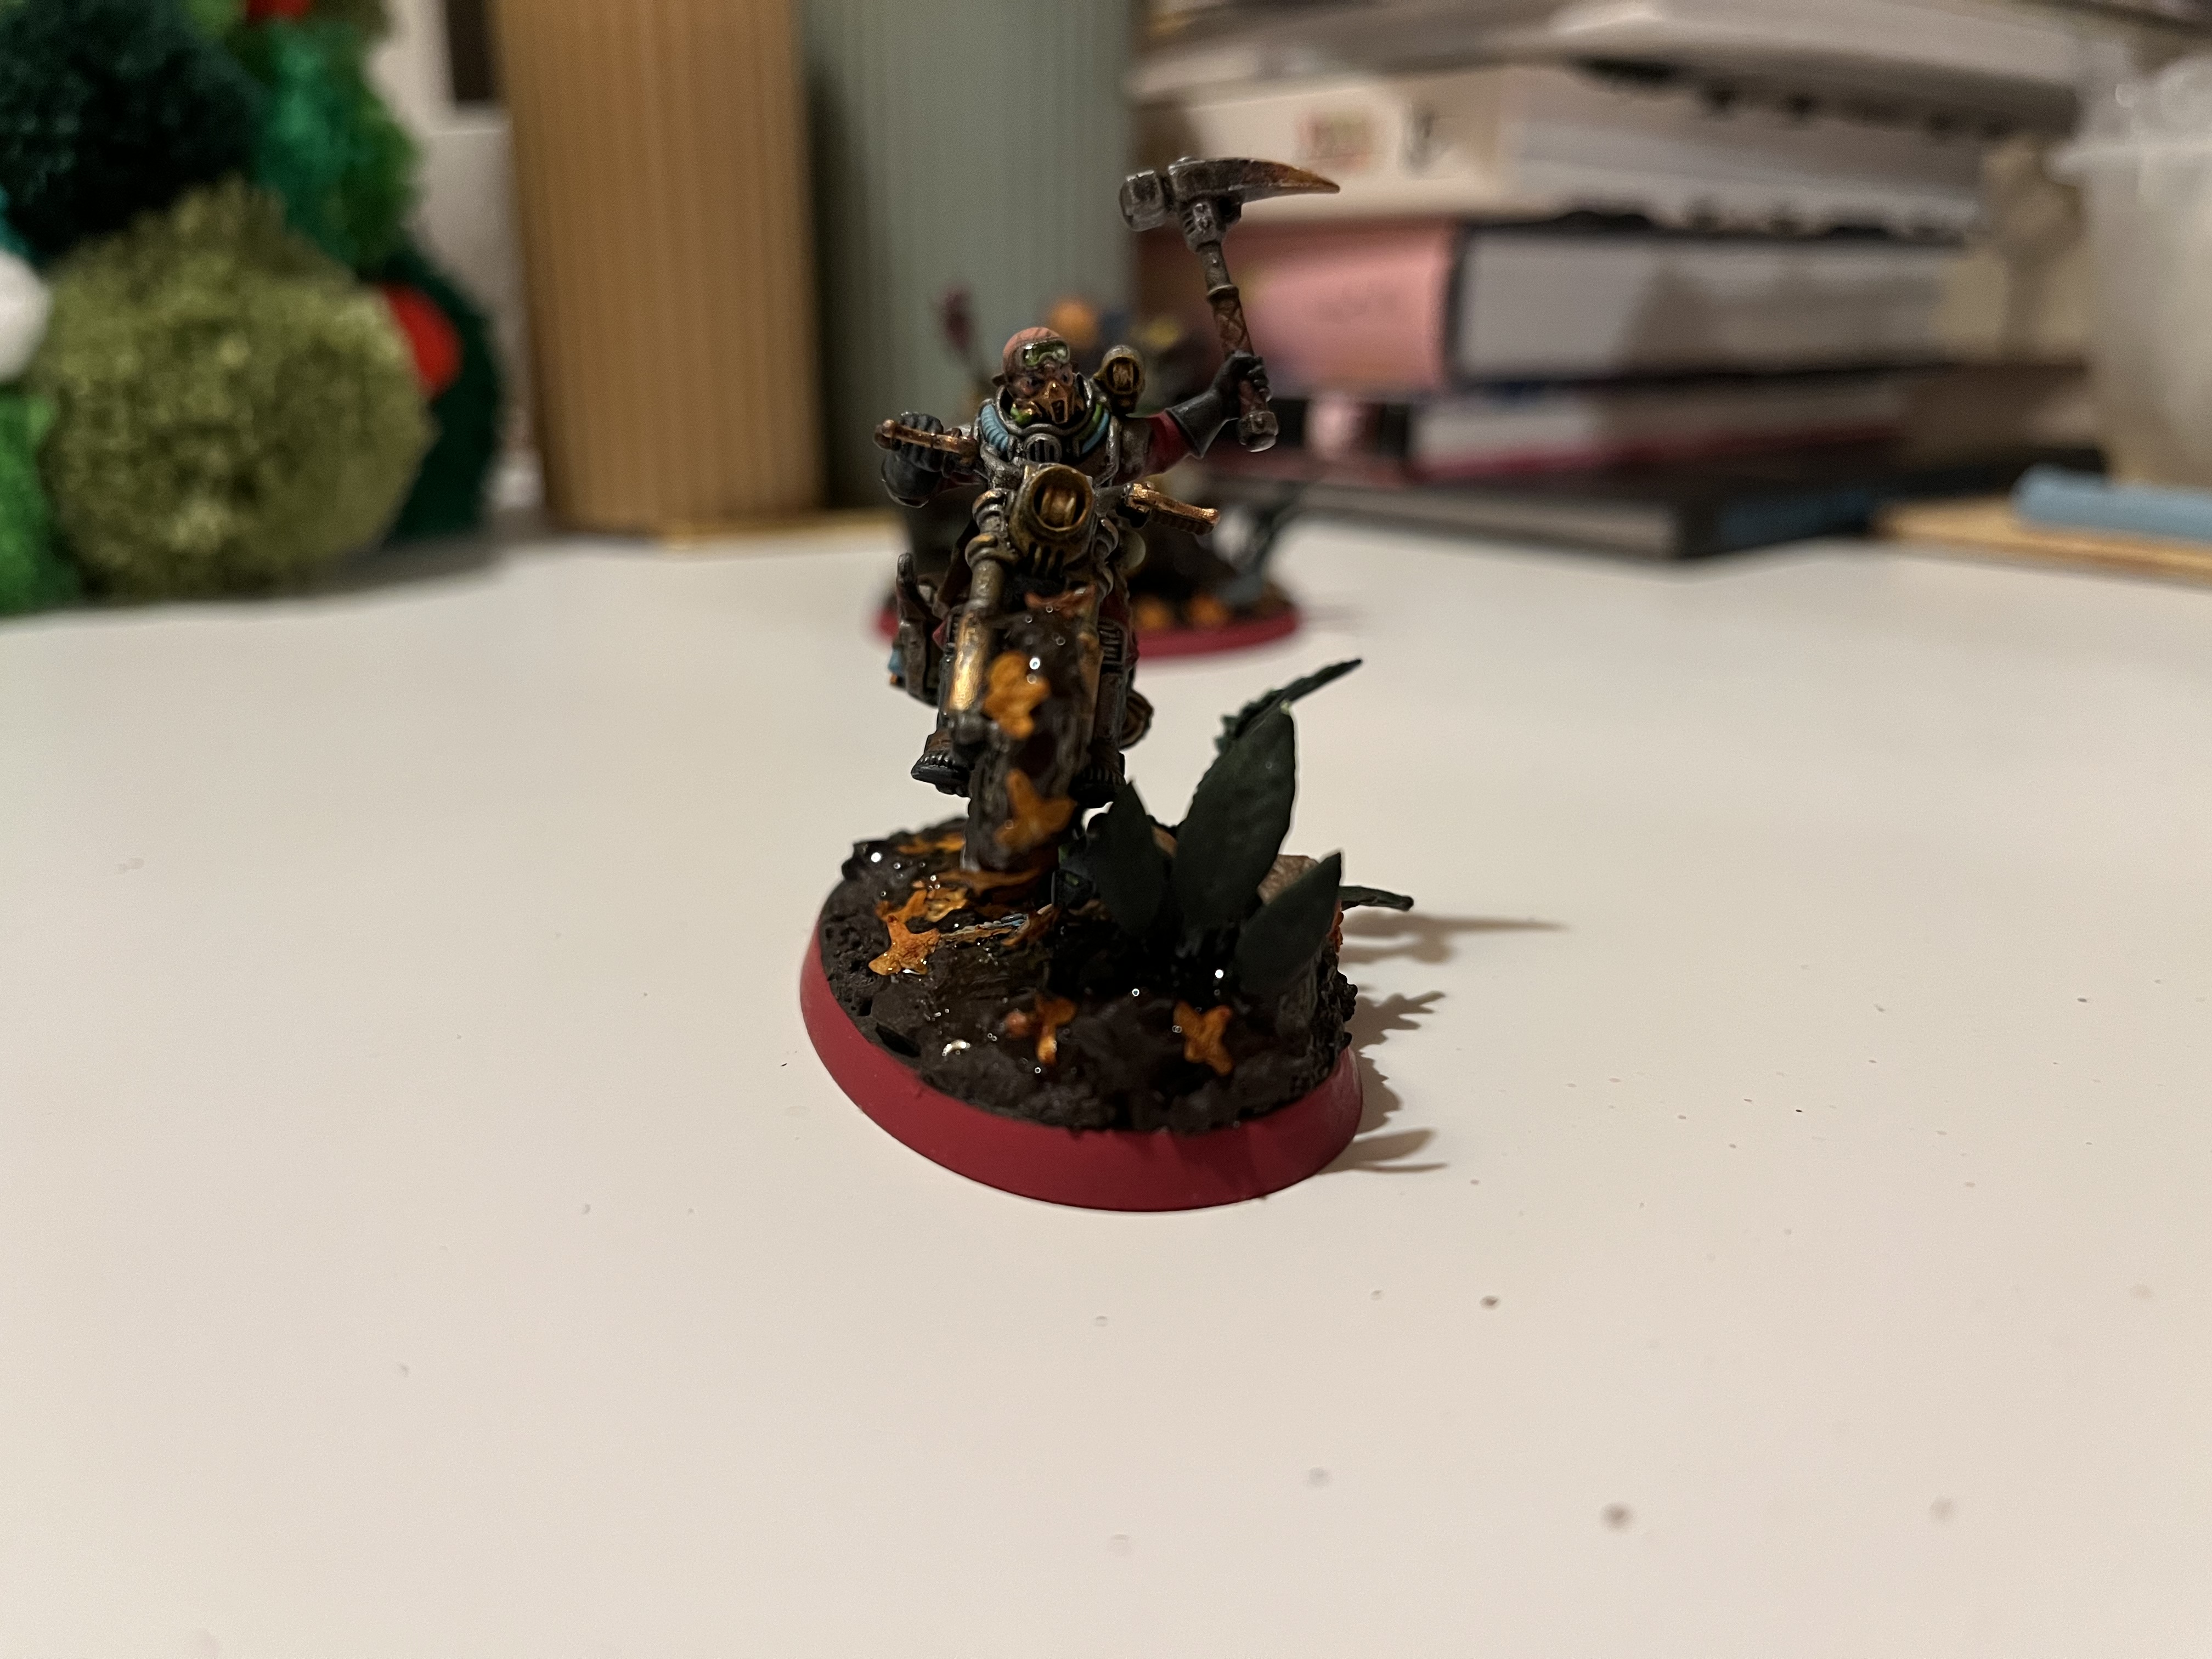
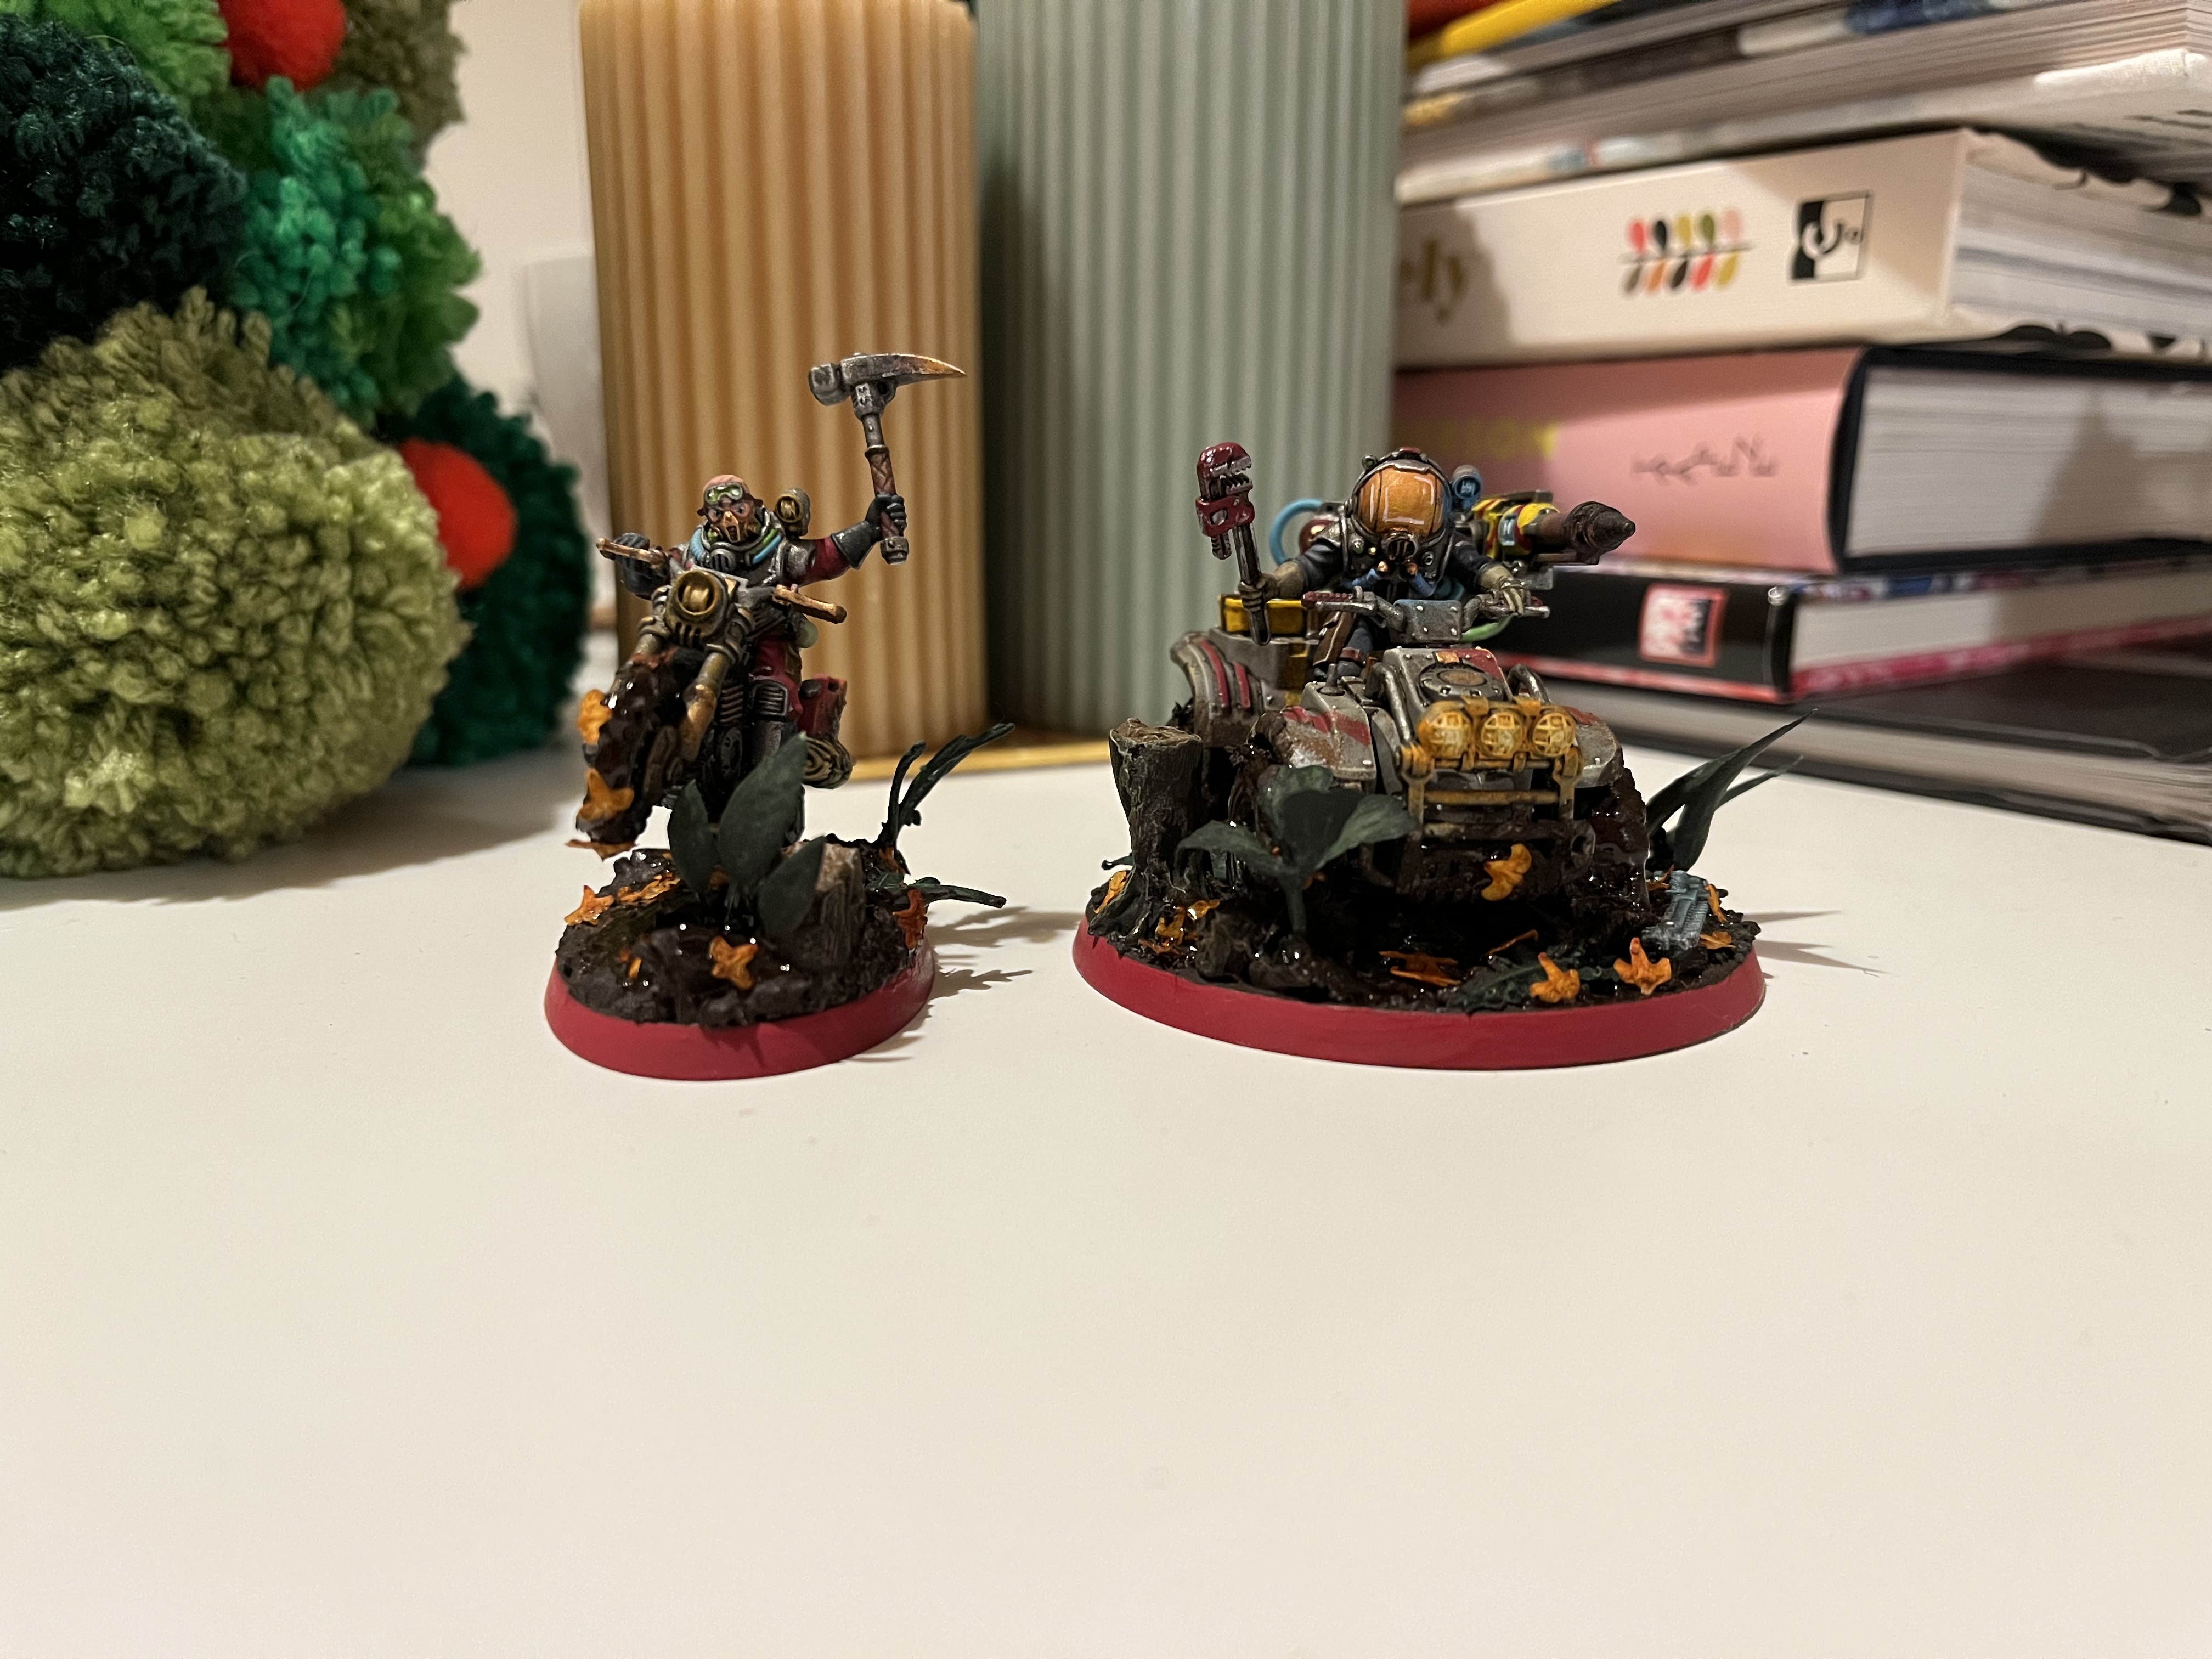
My Sgt Jackal is now finished;
Ive included some tips I’ve learn from doing this;
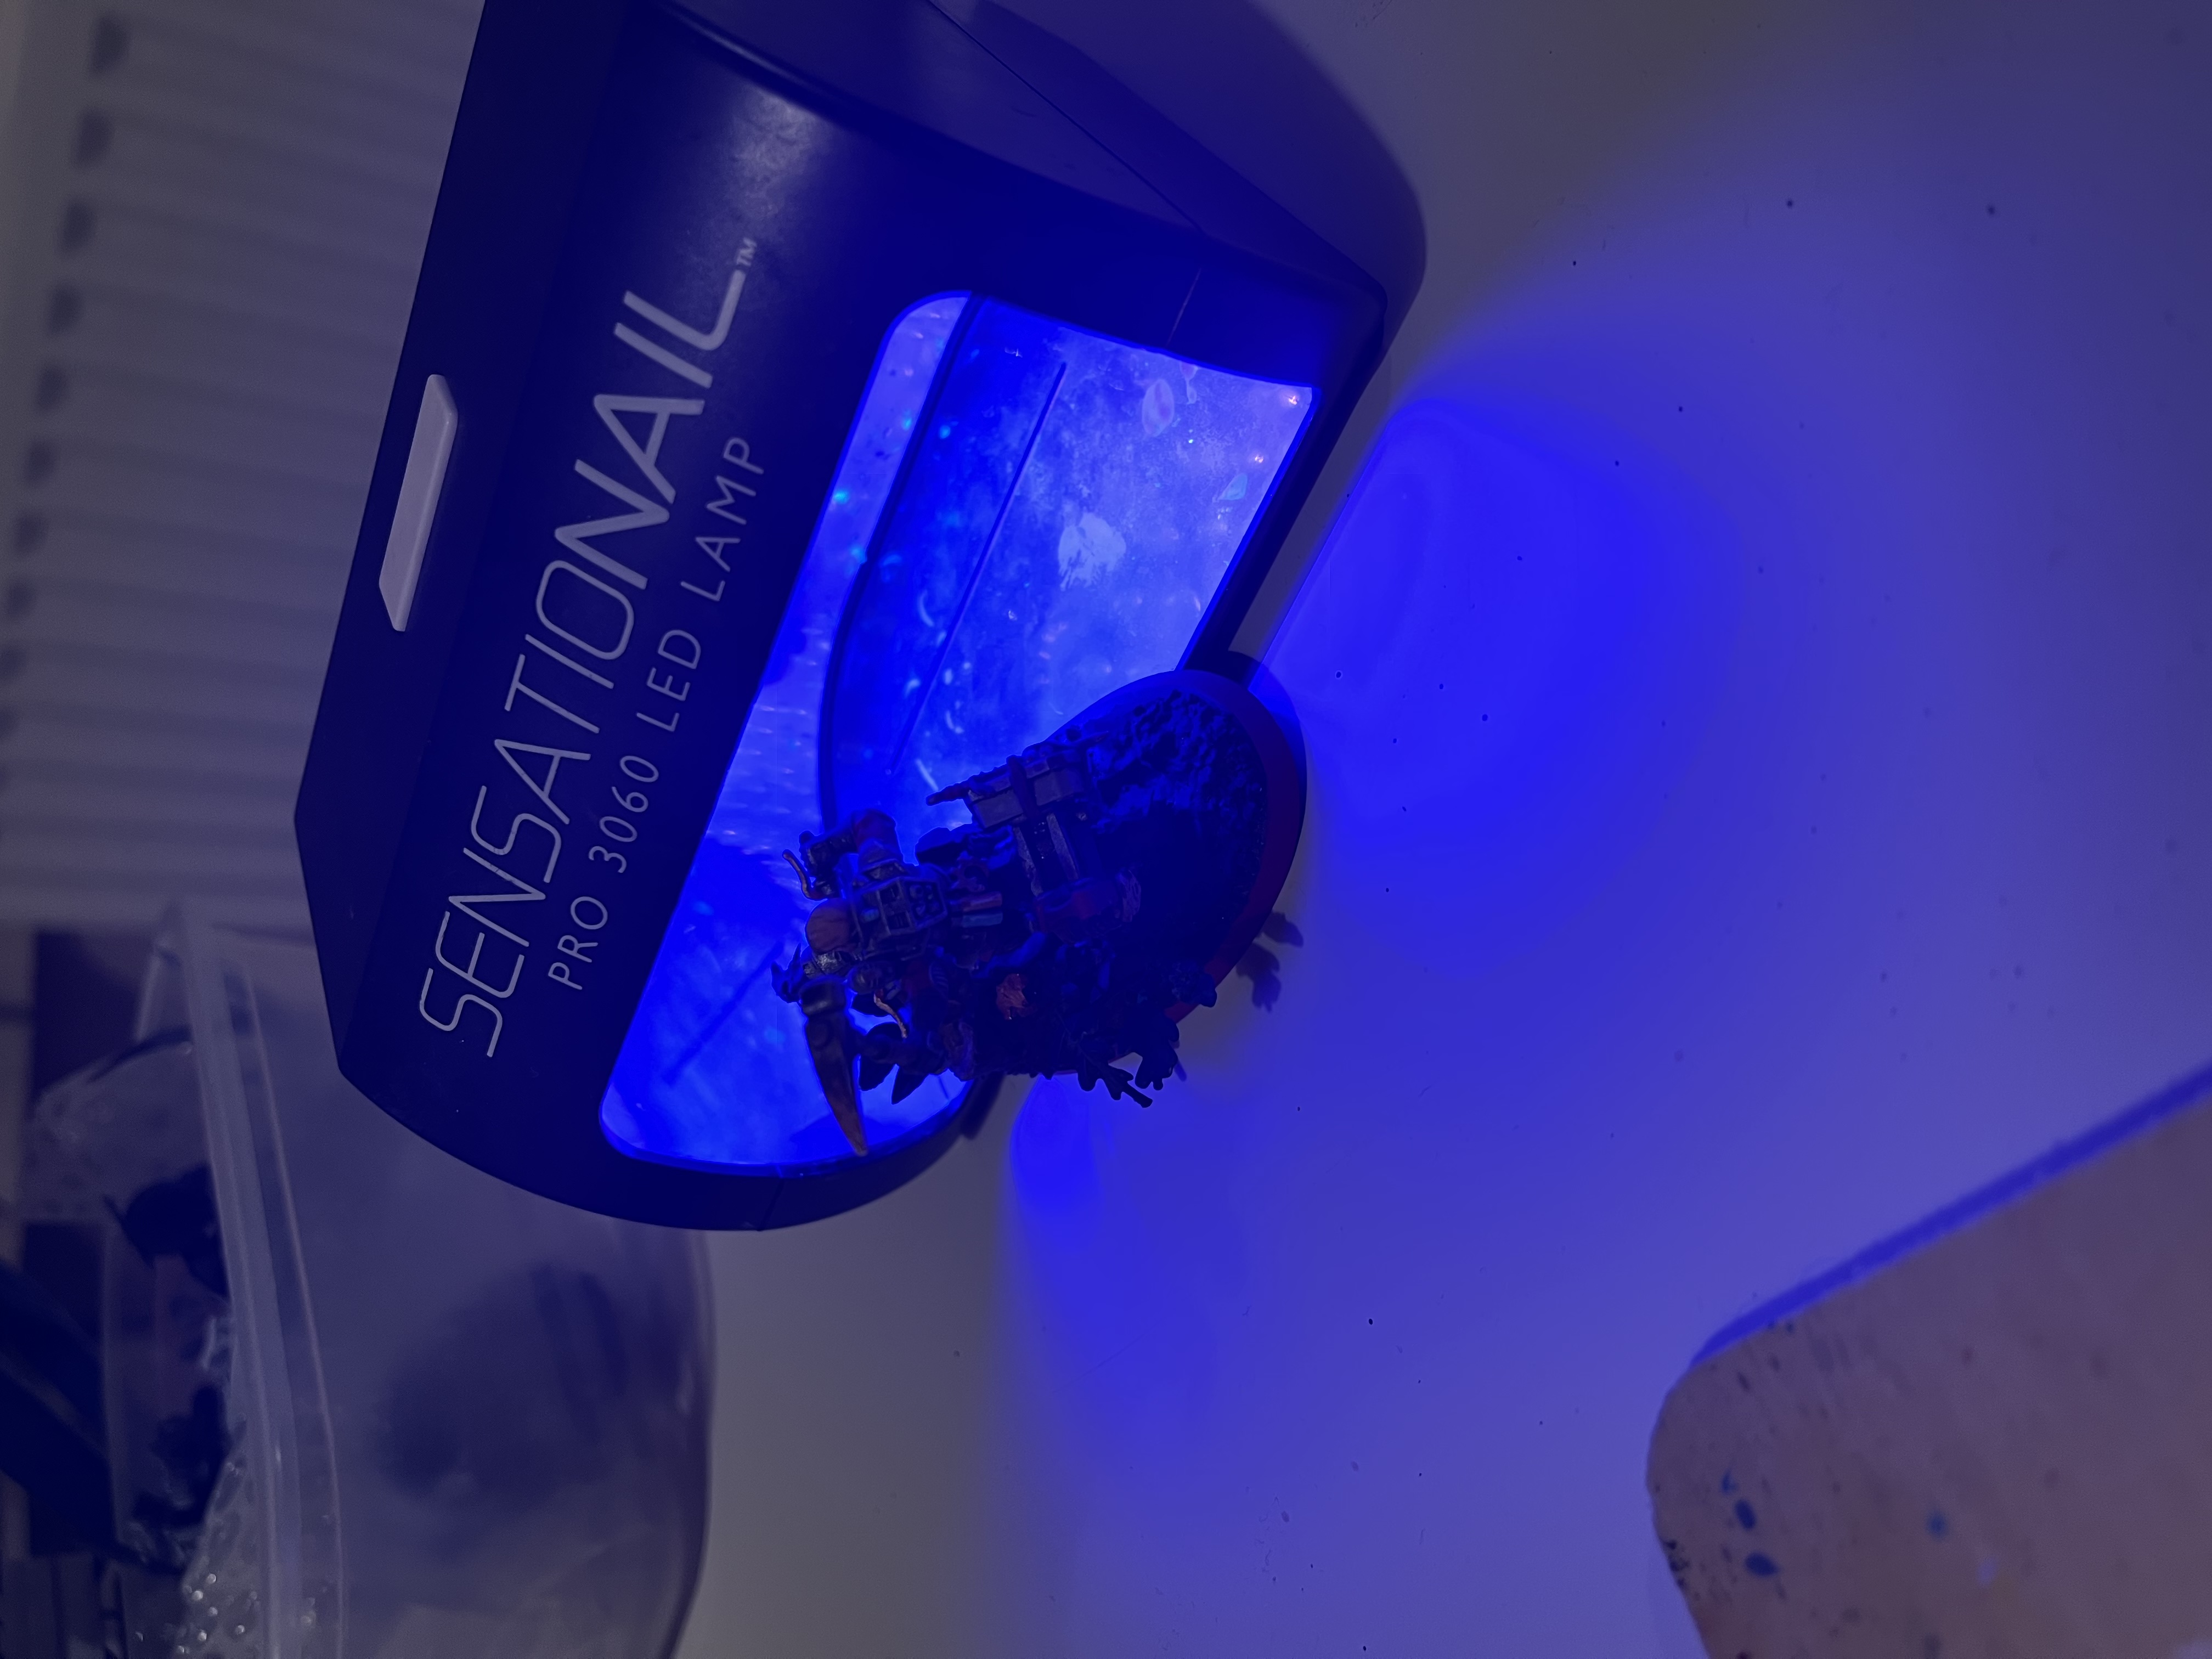
- do a SMALL bit of UV resin at a time and use the lamp for 30 seconds before moving on
- I use tweezers to put on the leaves gradually pushing them into the resin
- I put a tonne of resin at the base of the wheels and the aquarium plants to make sure they stay stuck.
- I also put resin on the goggles and wheels to create a wet look!
Let me know what you think and if you have any questions go right ahead!
How to make mud?!
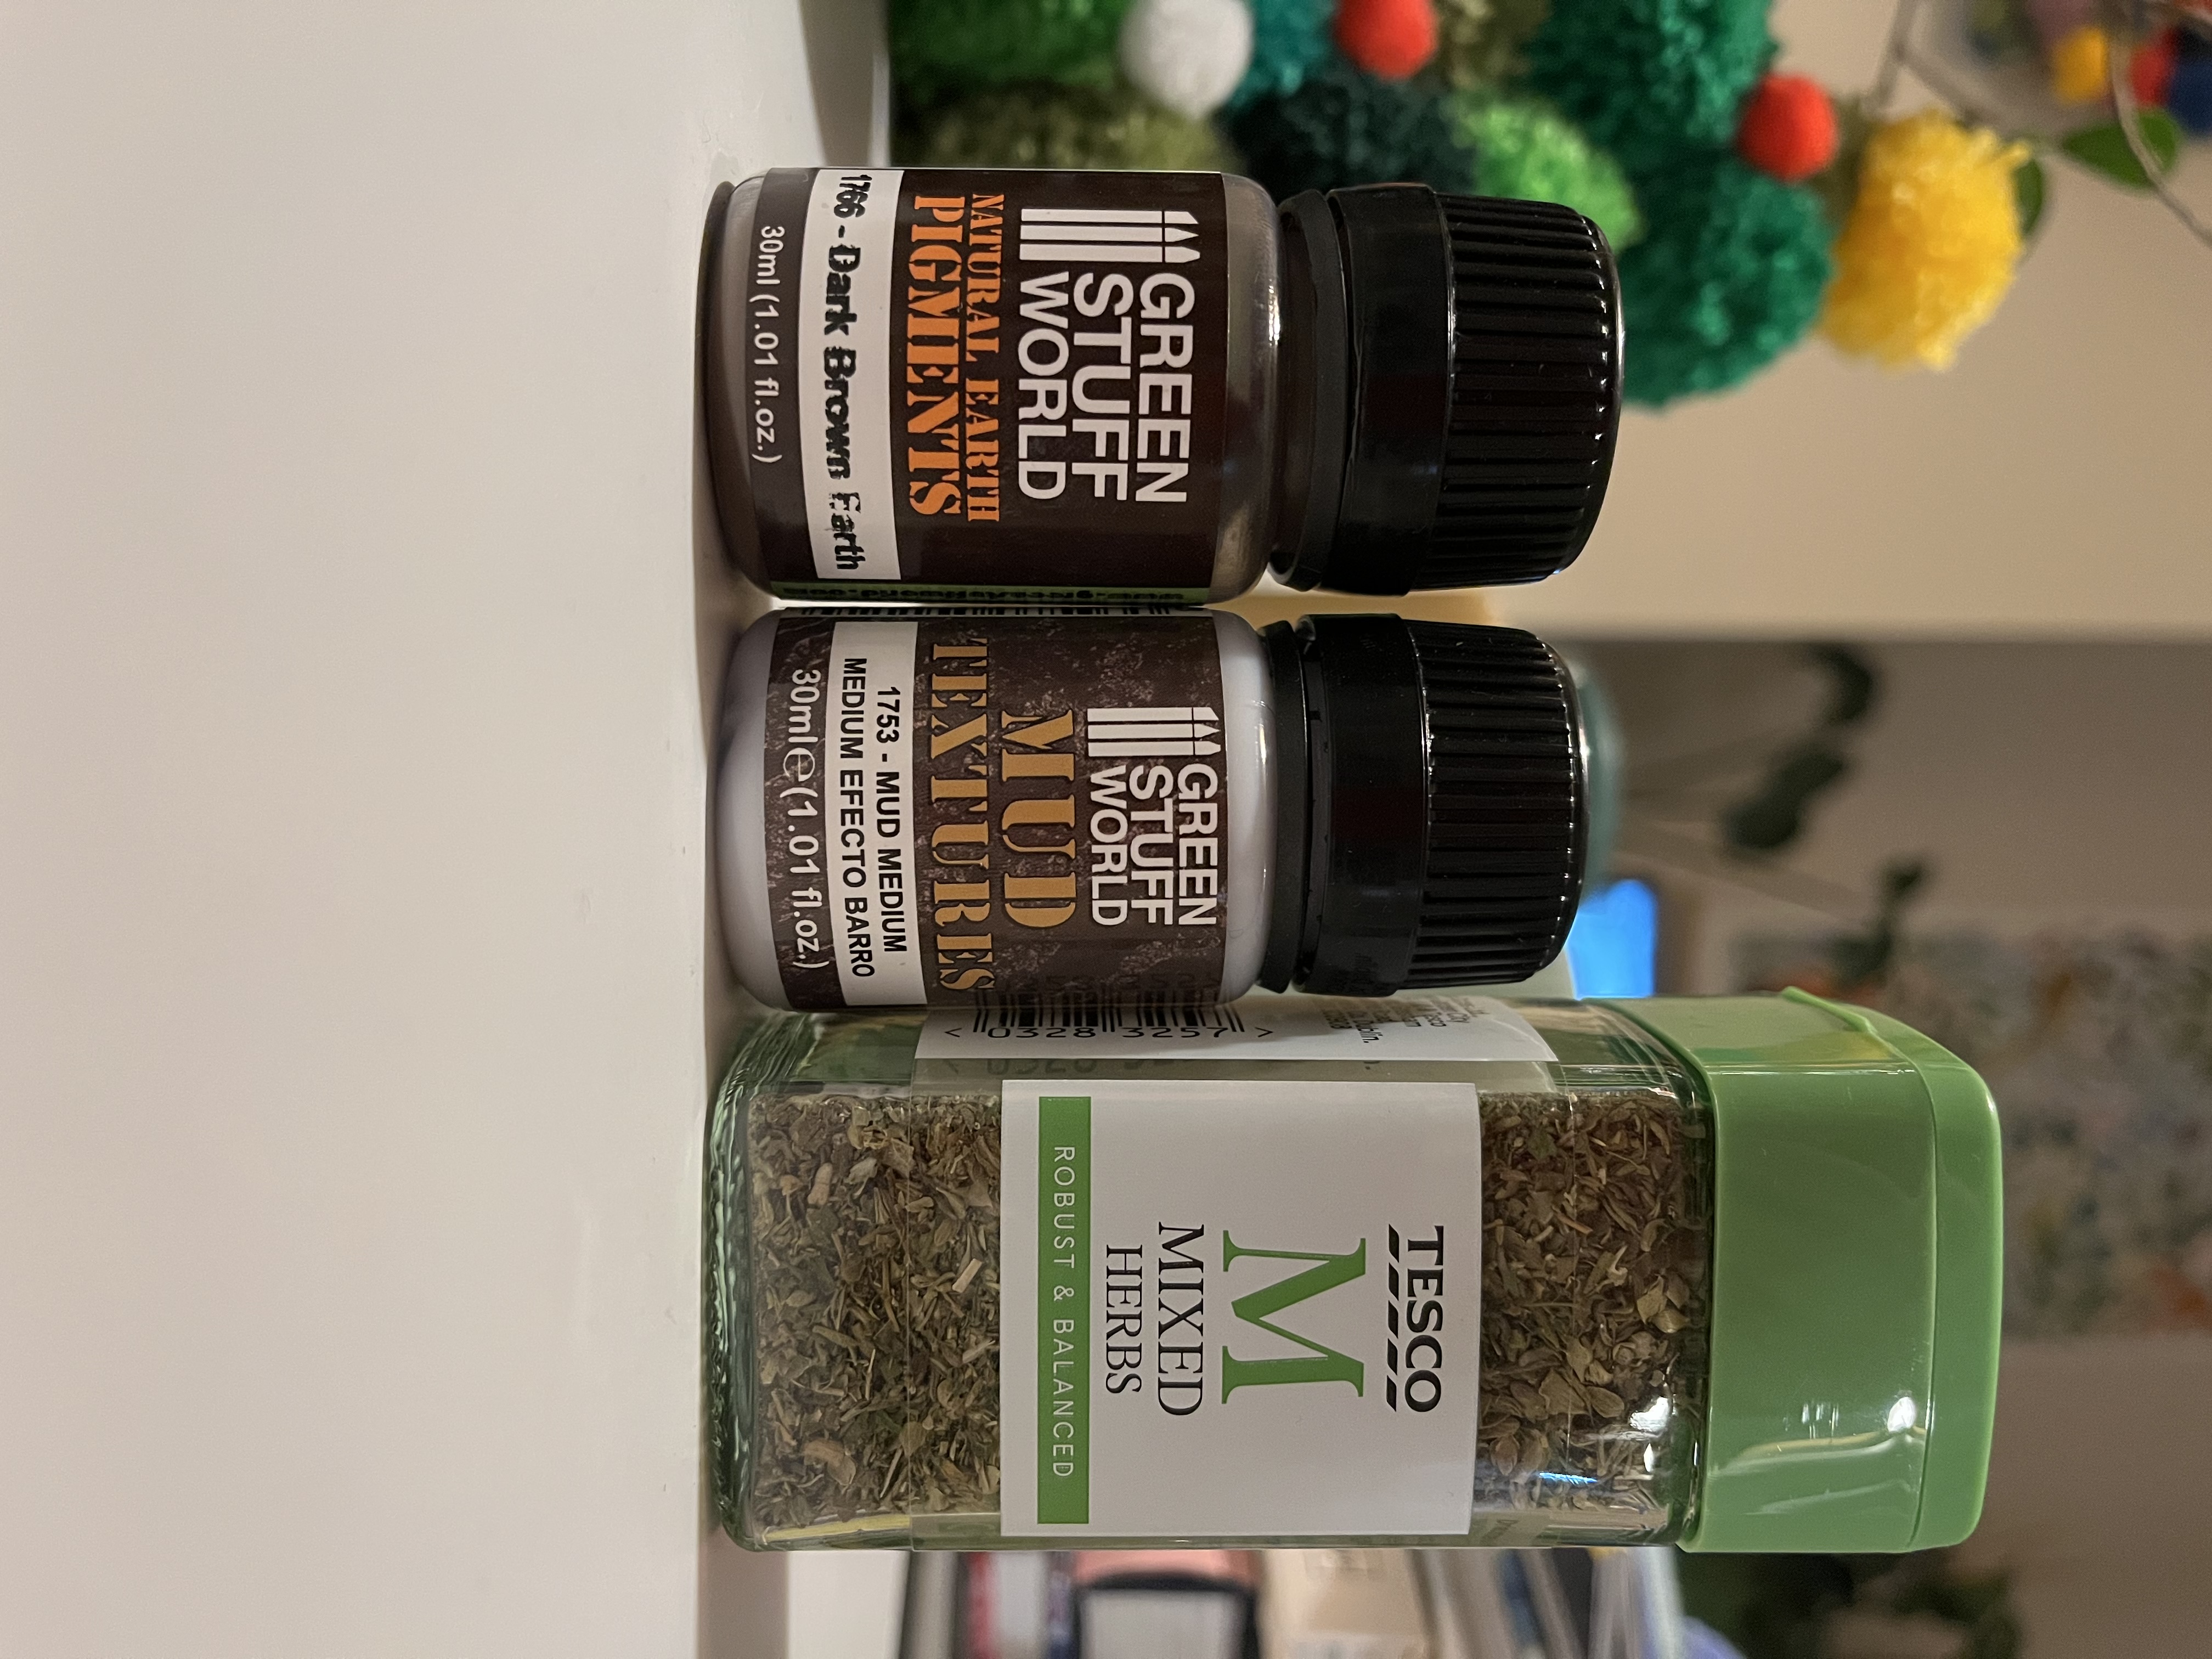
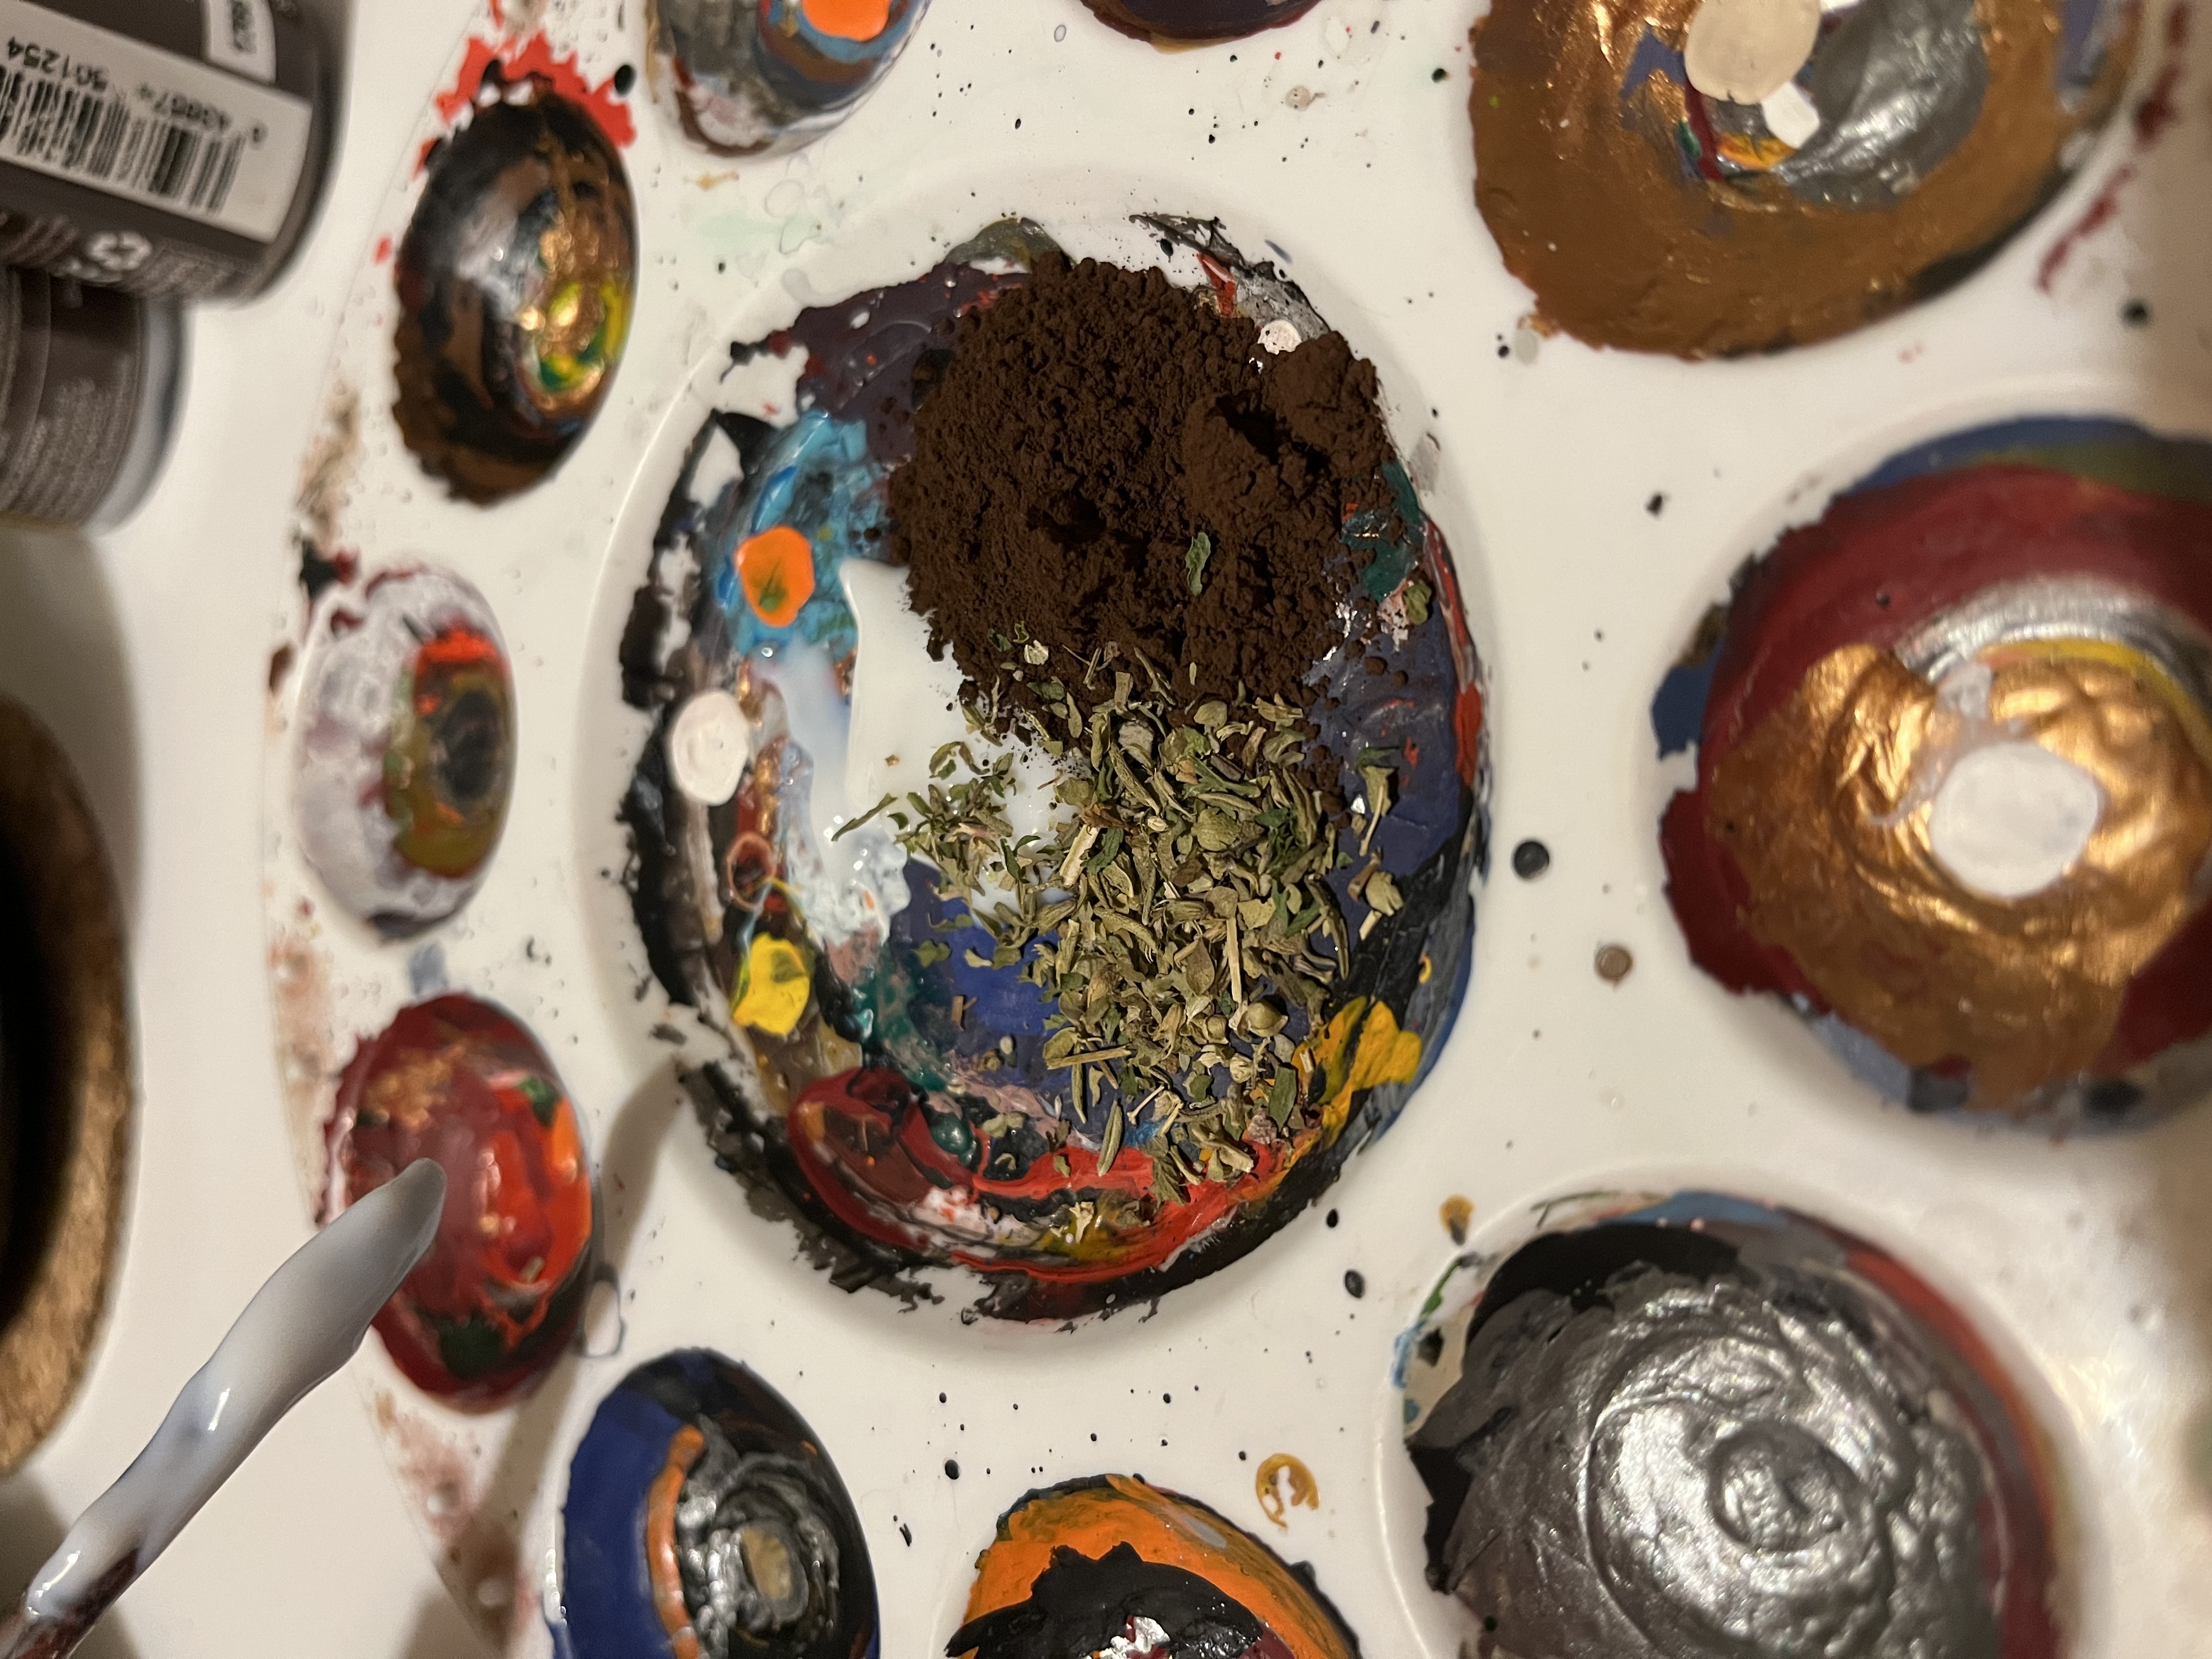
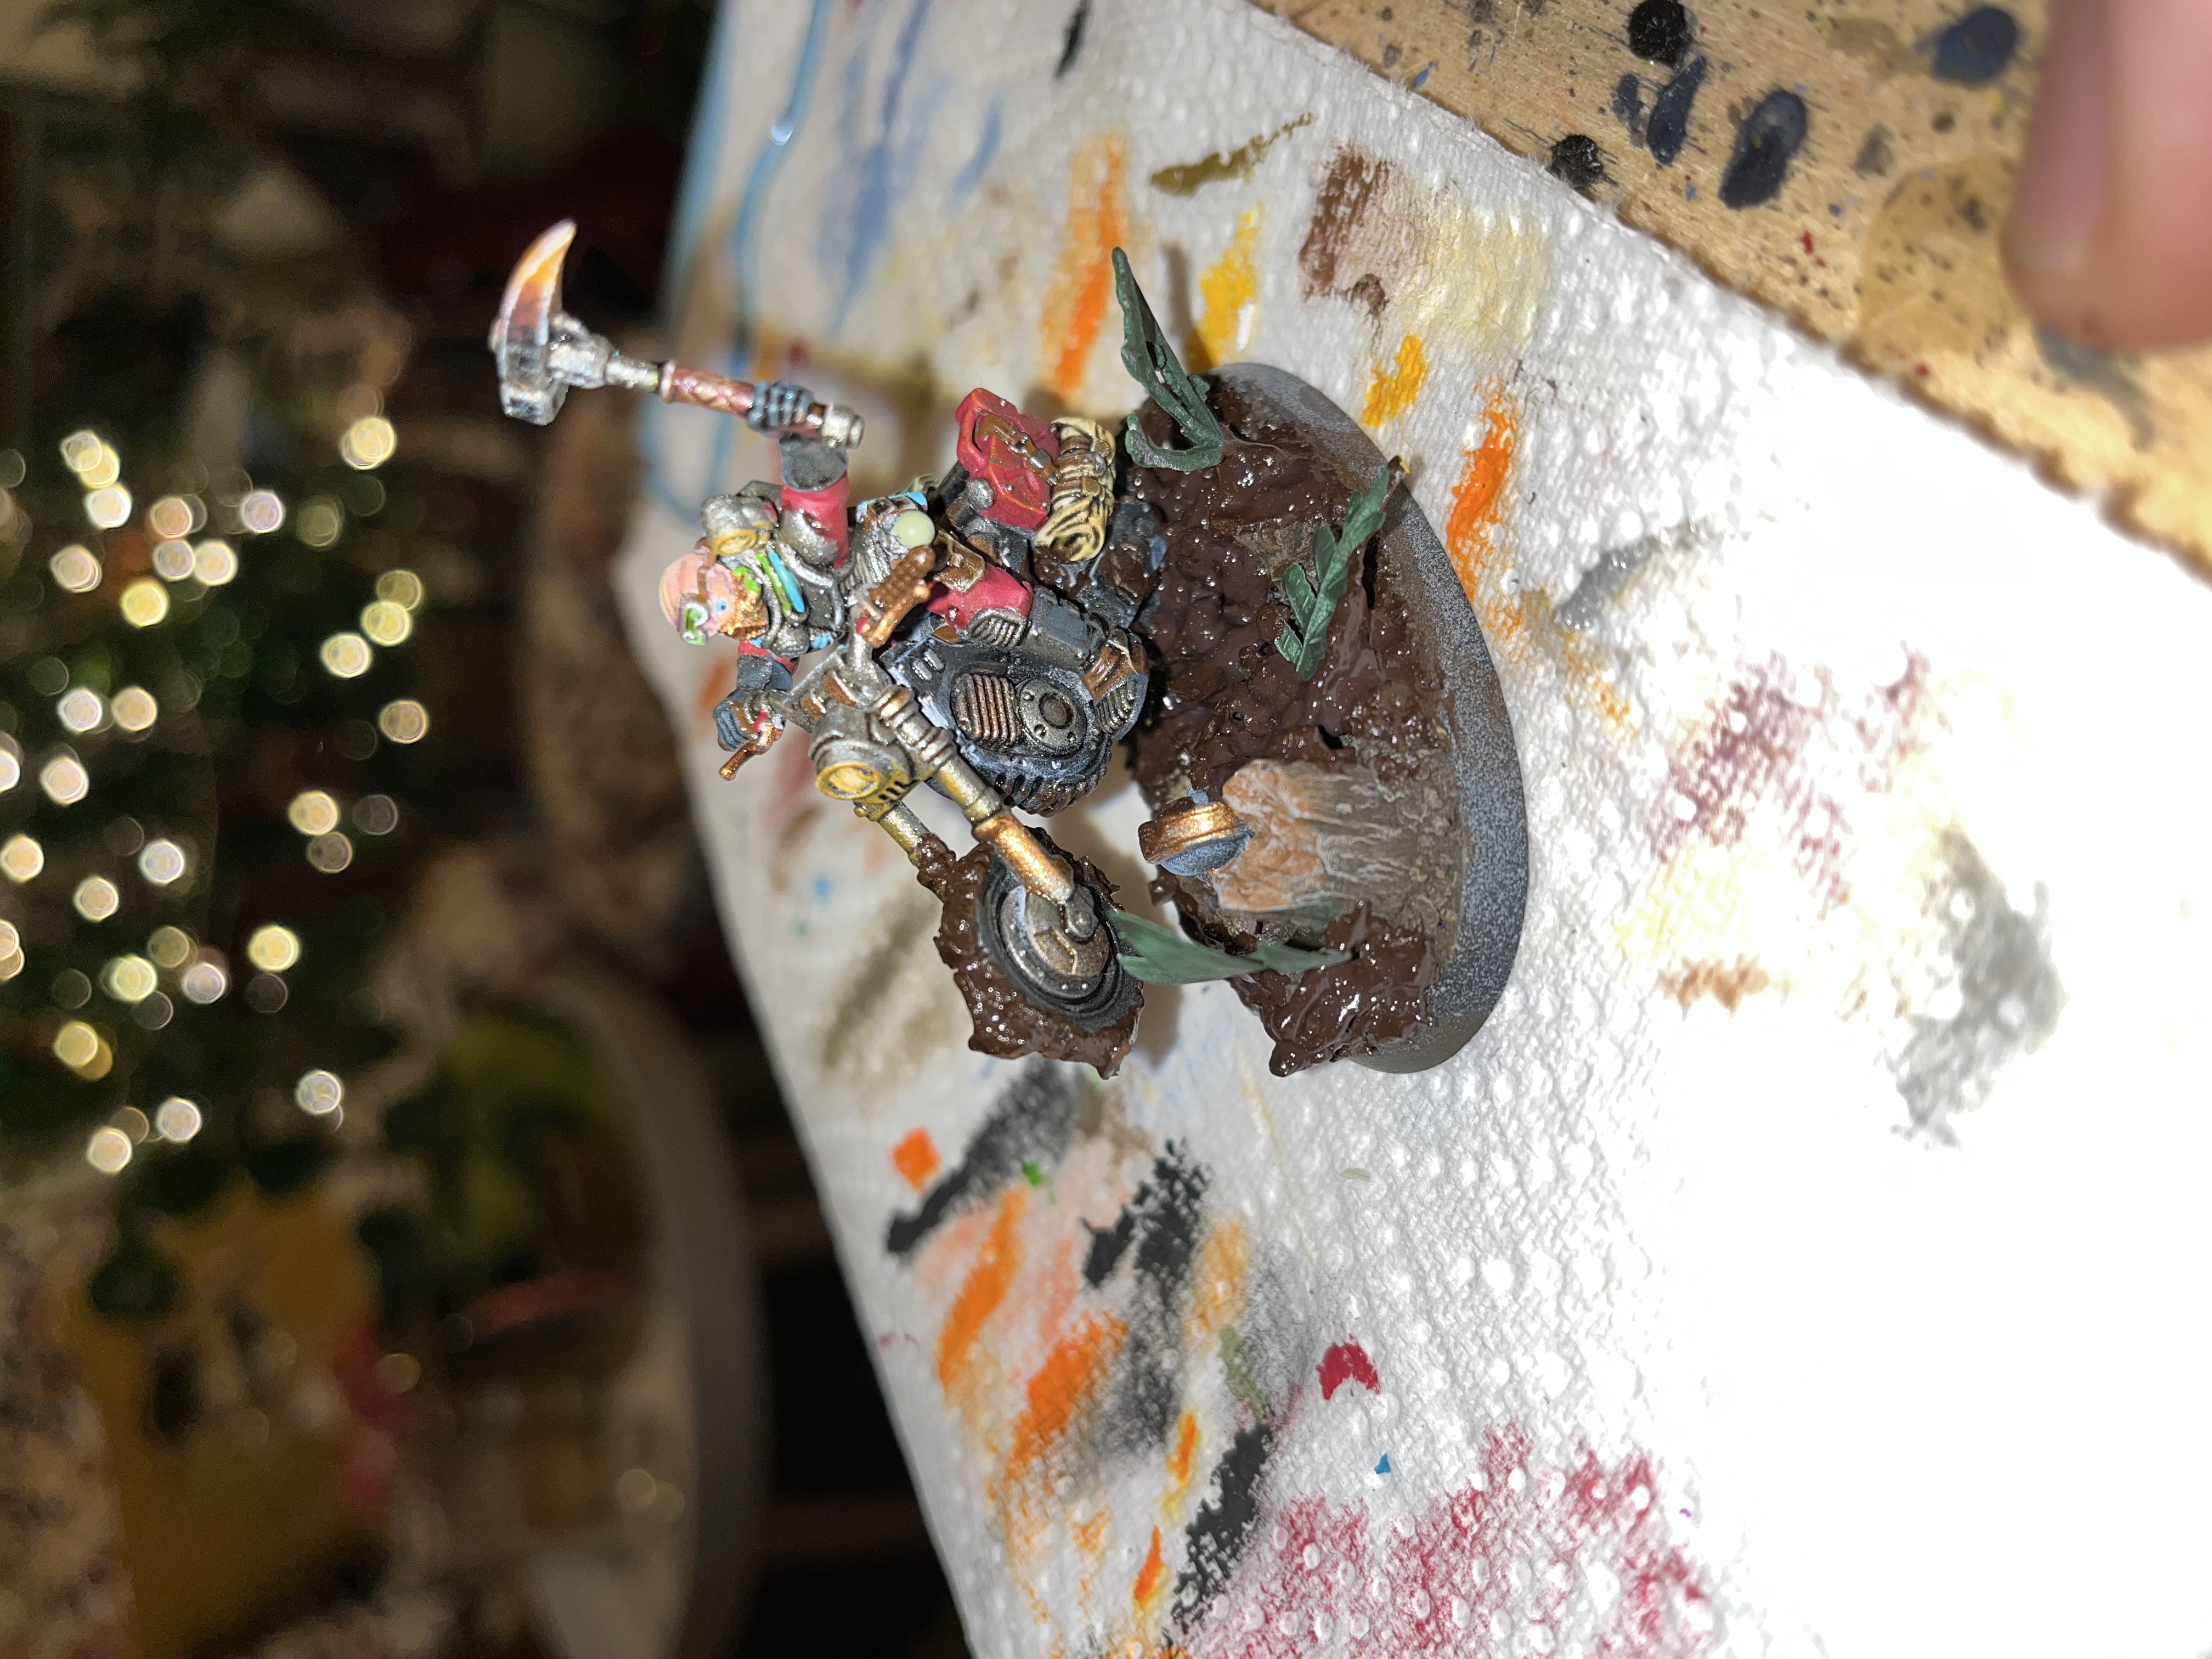
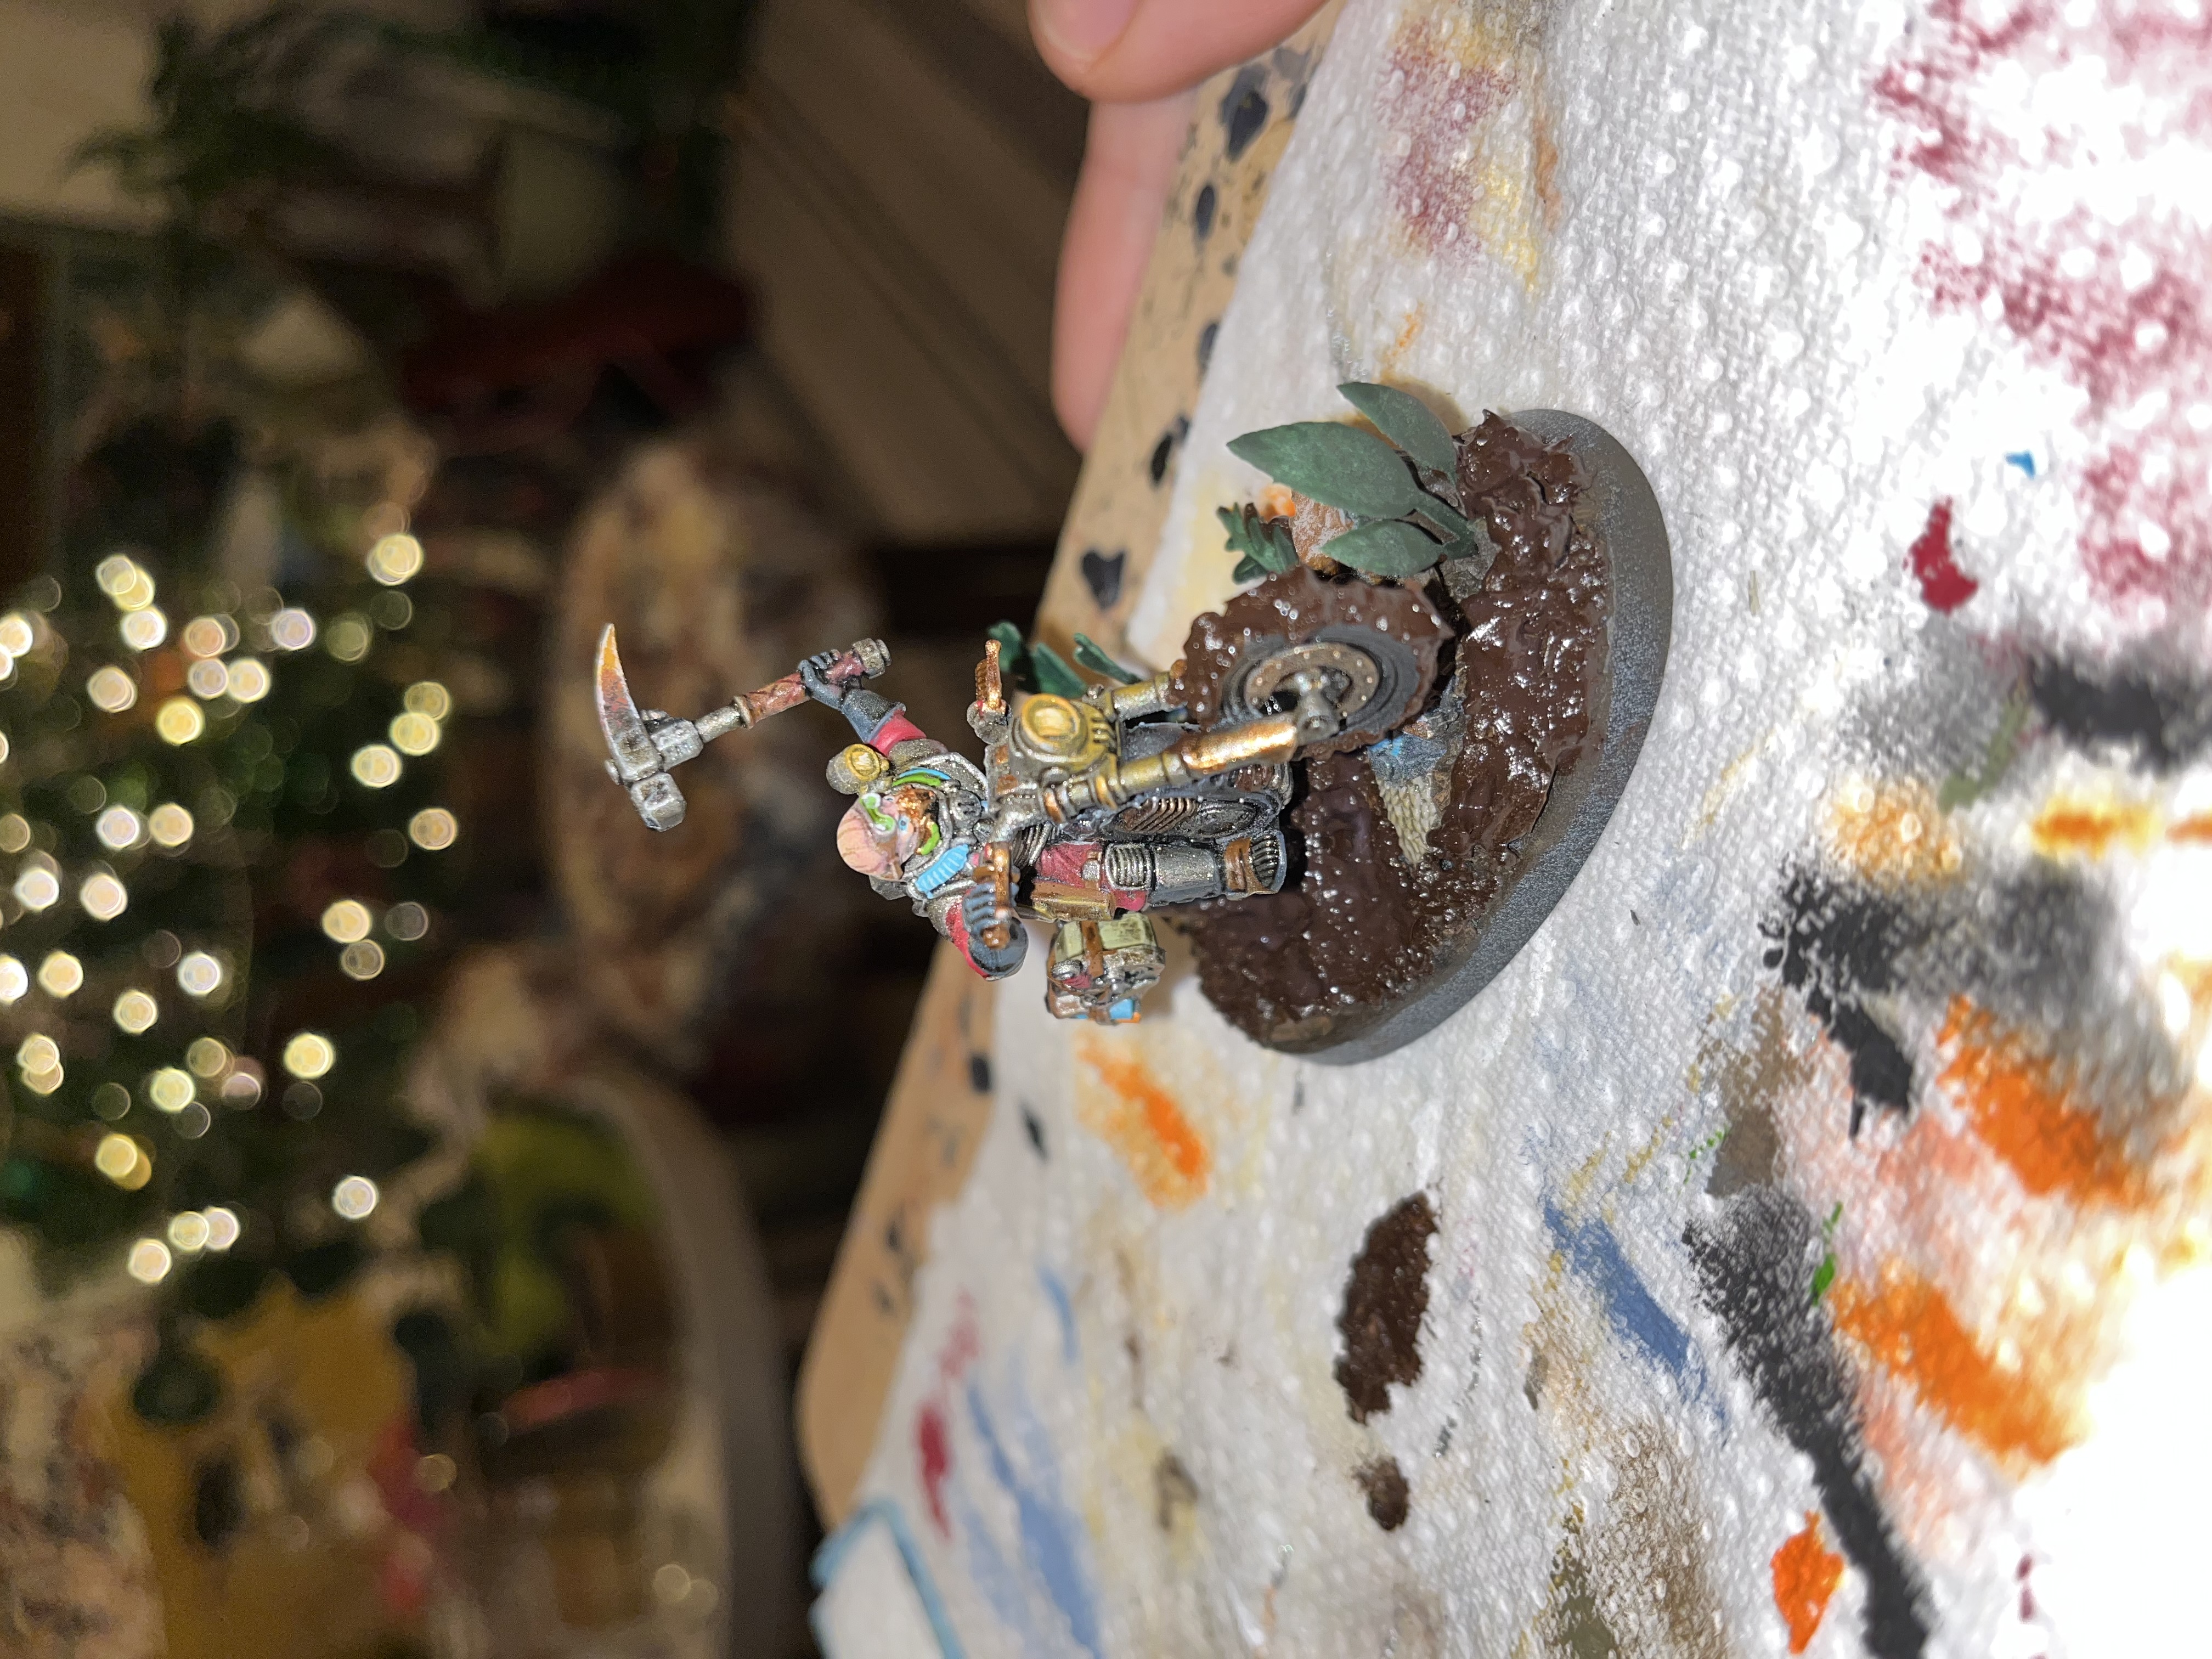
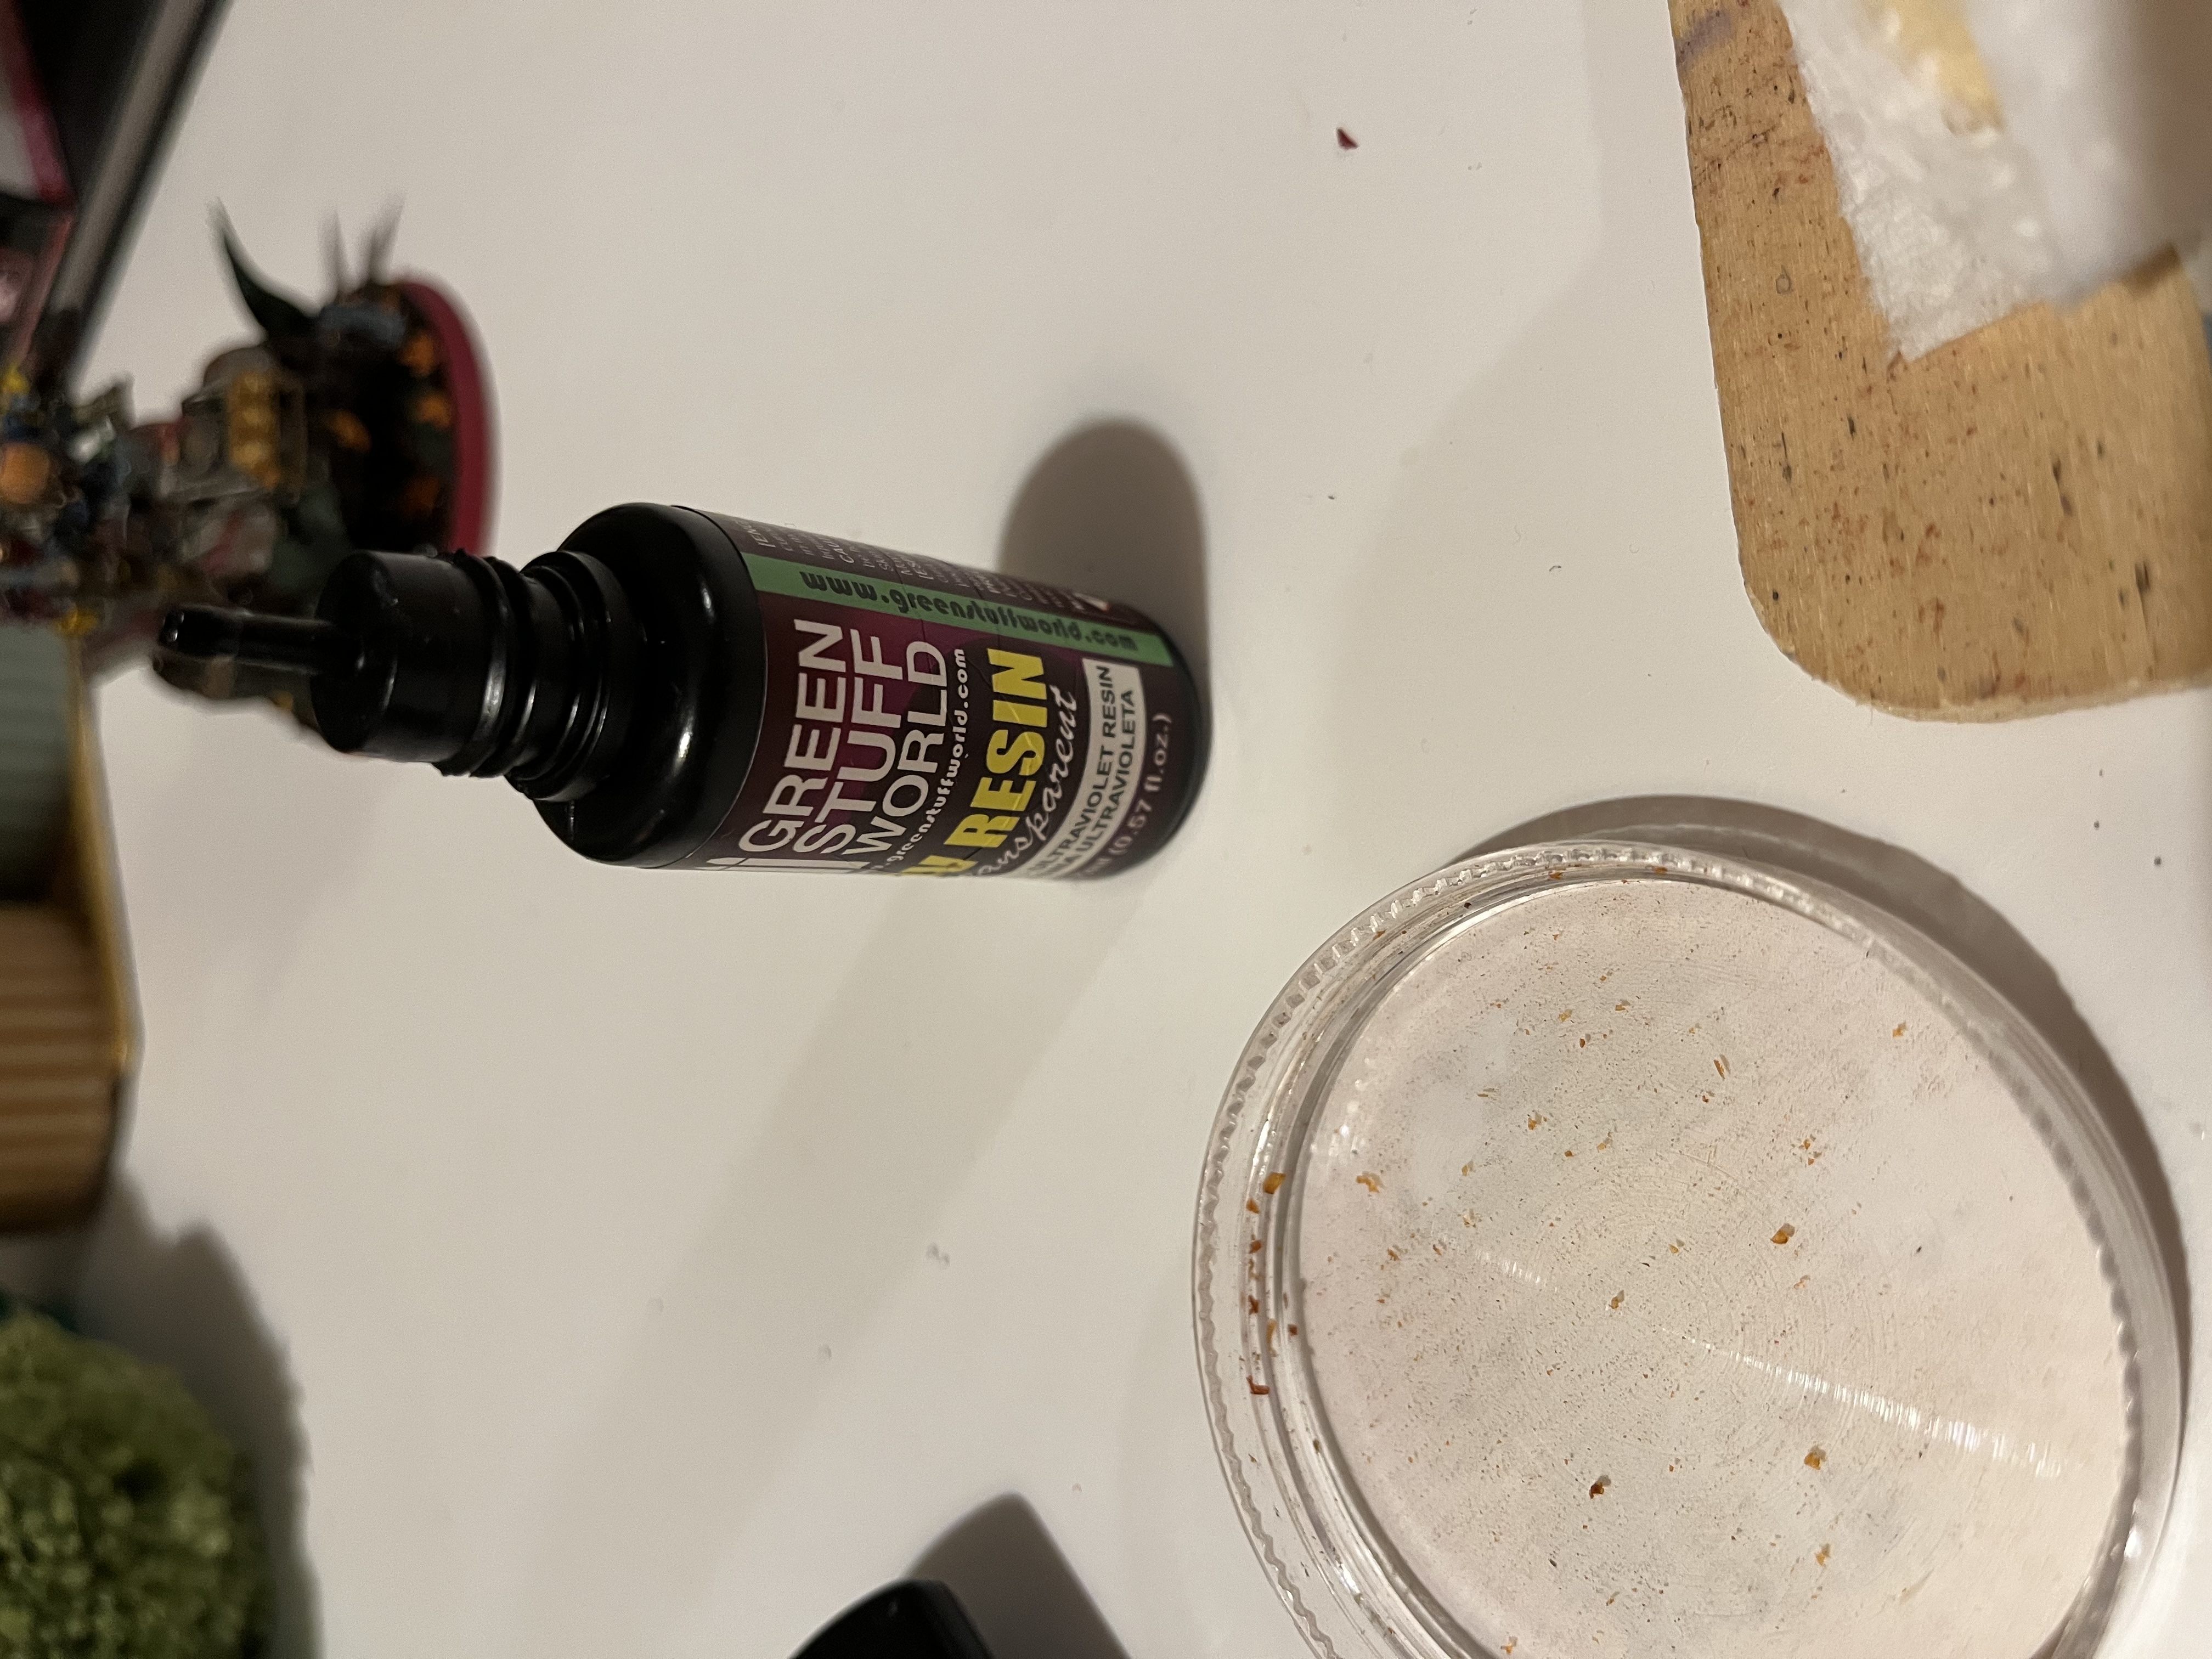
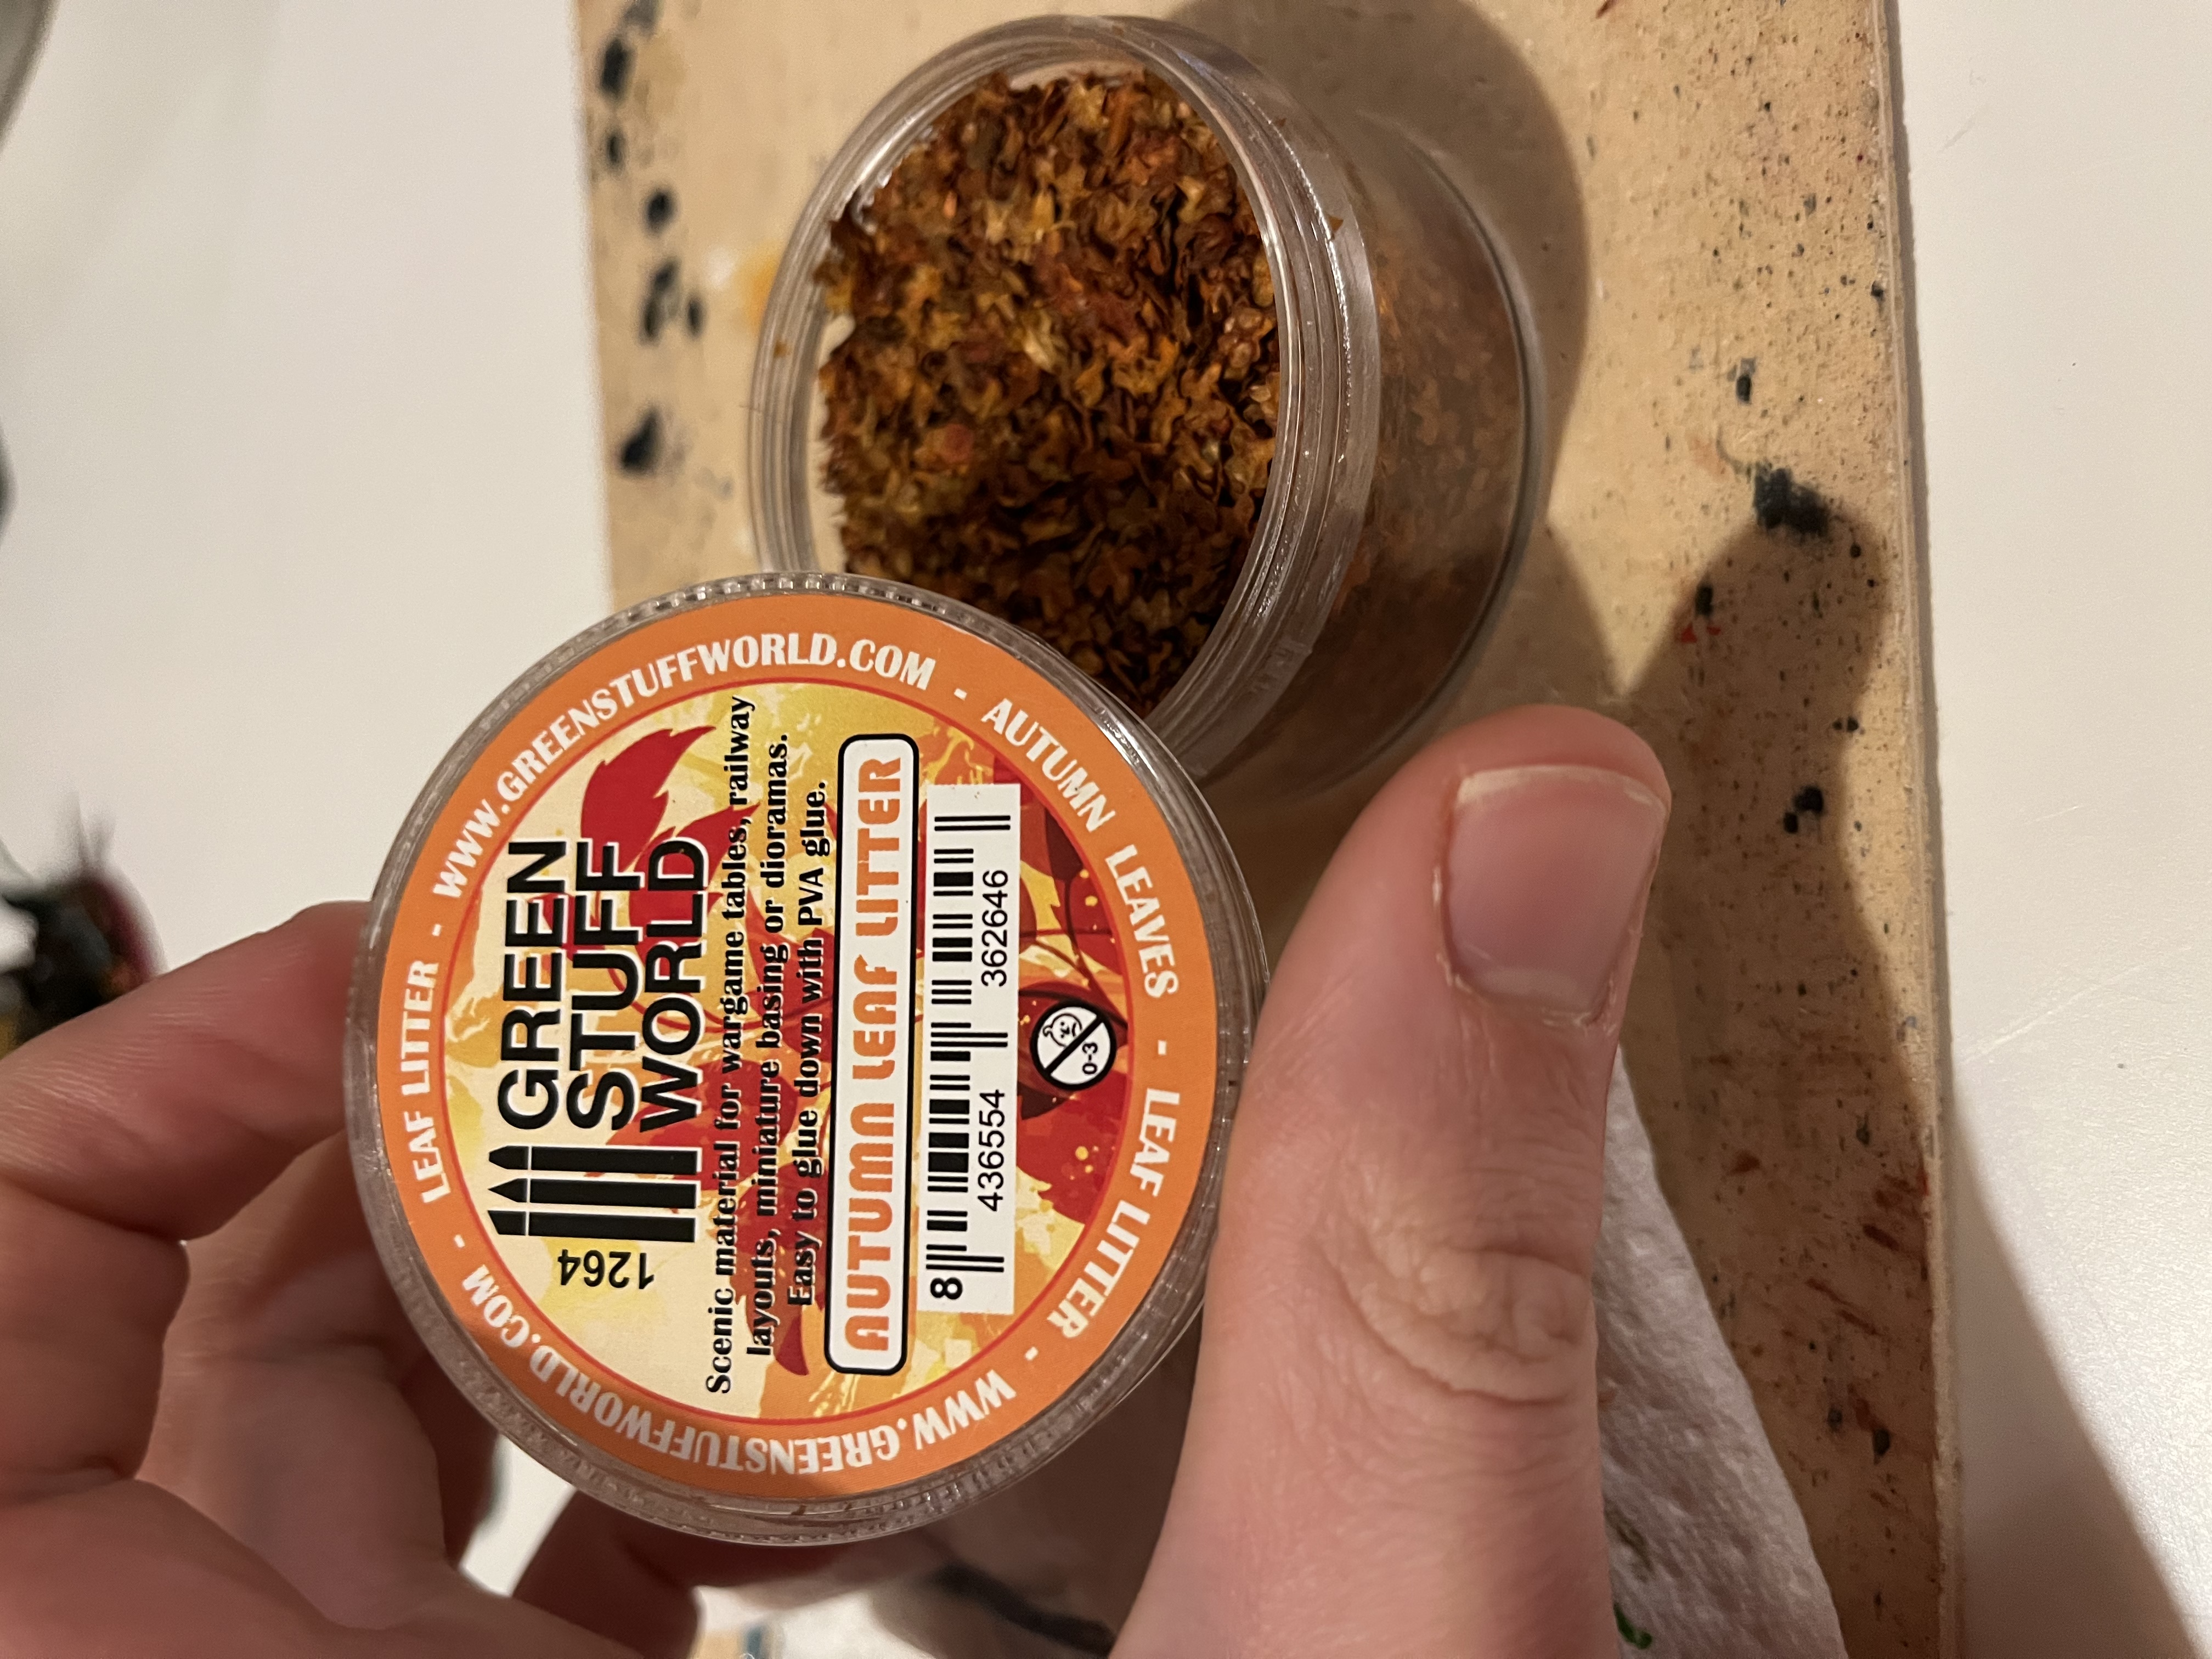
Small update; on the sergeant of the jackal squad and I thought I’d add in a bit more about how I make mud.
Inspired by MS Paints (YouTube him amazing) I use mixed herbs, brown pigment and mud medium and mix 1 to 1 to 1 ratio; then add water and mix thoroughly in the dirtiest palette in the world?
I apply liberally onto the wheels and the ground and wait for it to dry. Then I’ll end up putting on my varnish and then UV and green stuff leaves to complete my jungle theme!
Im loving this sergeant so far but will add some fine detail to fix him up!
Also I cannot paint eyes but I’m working on it! This may be an update in the future.
I’ll meet you on Thunder Road
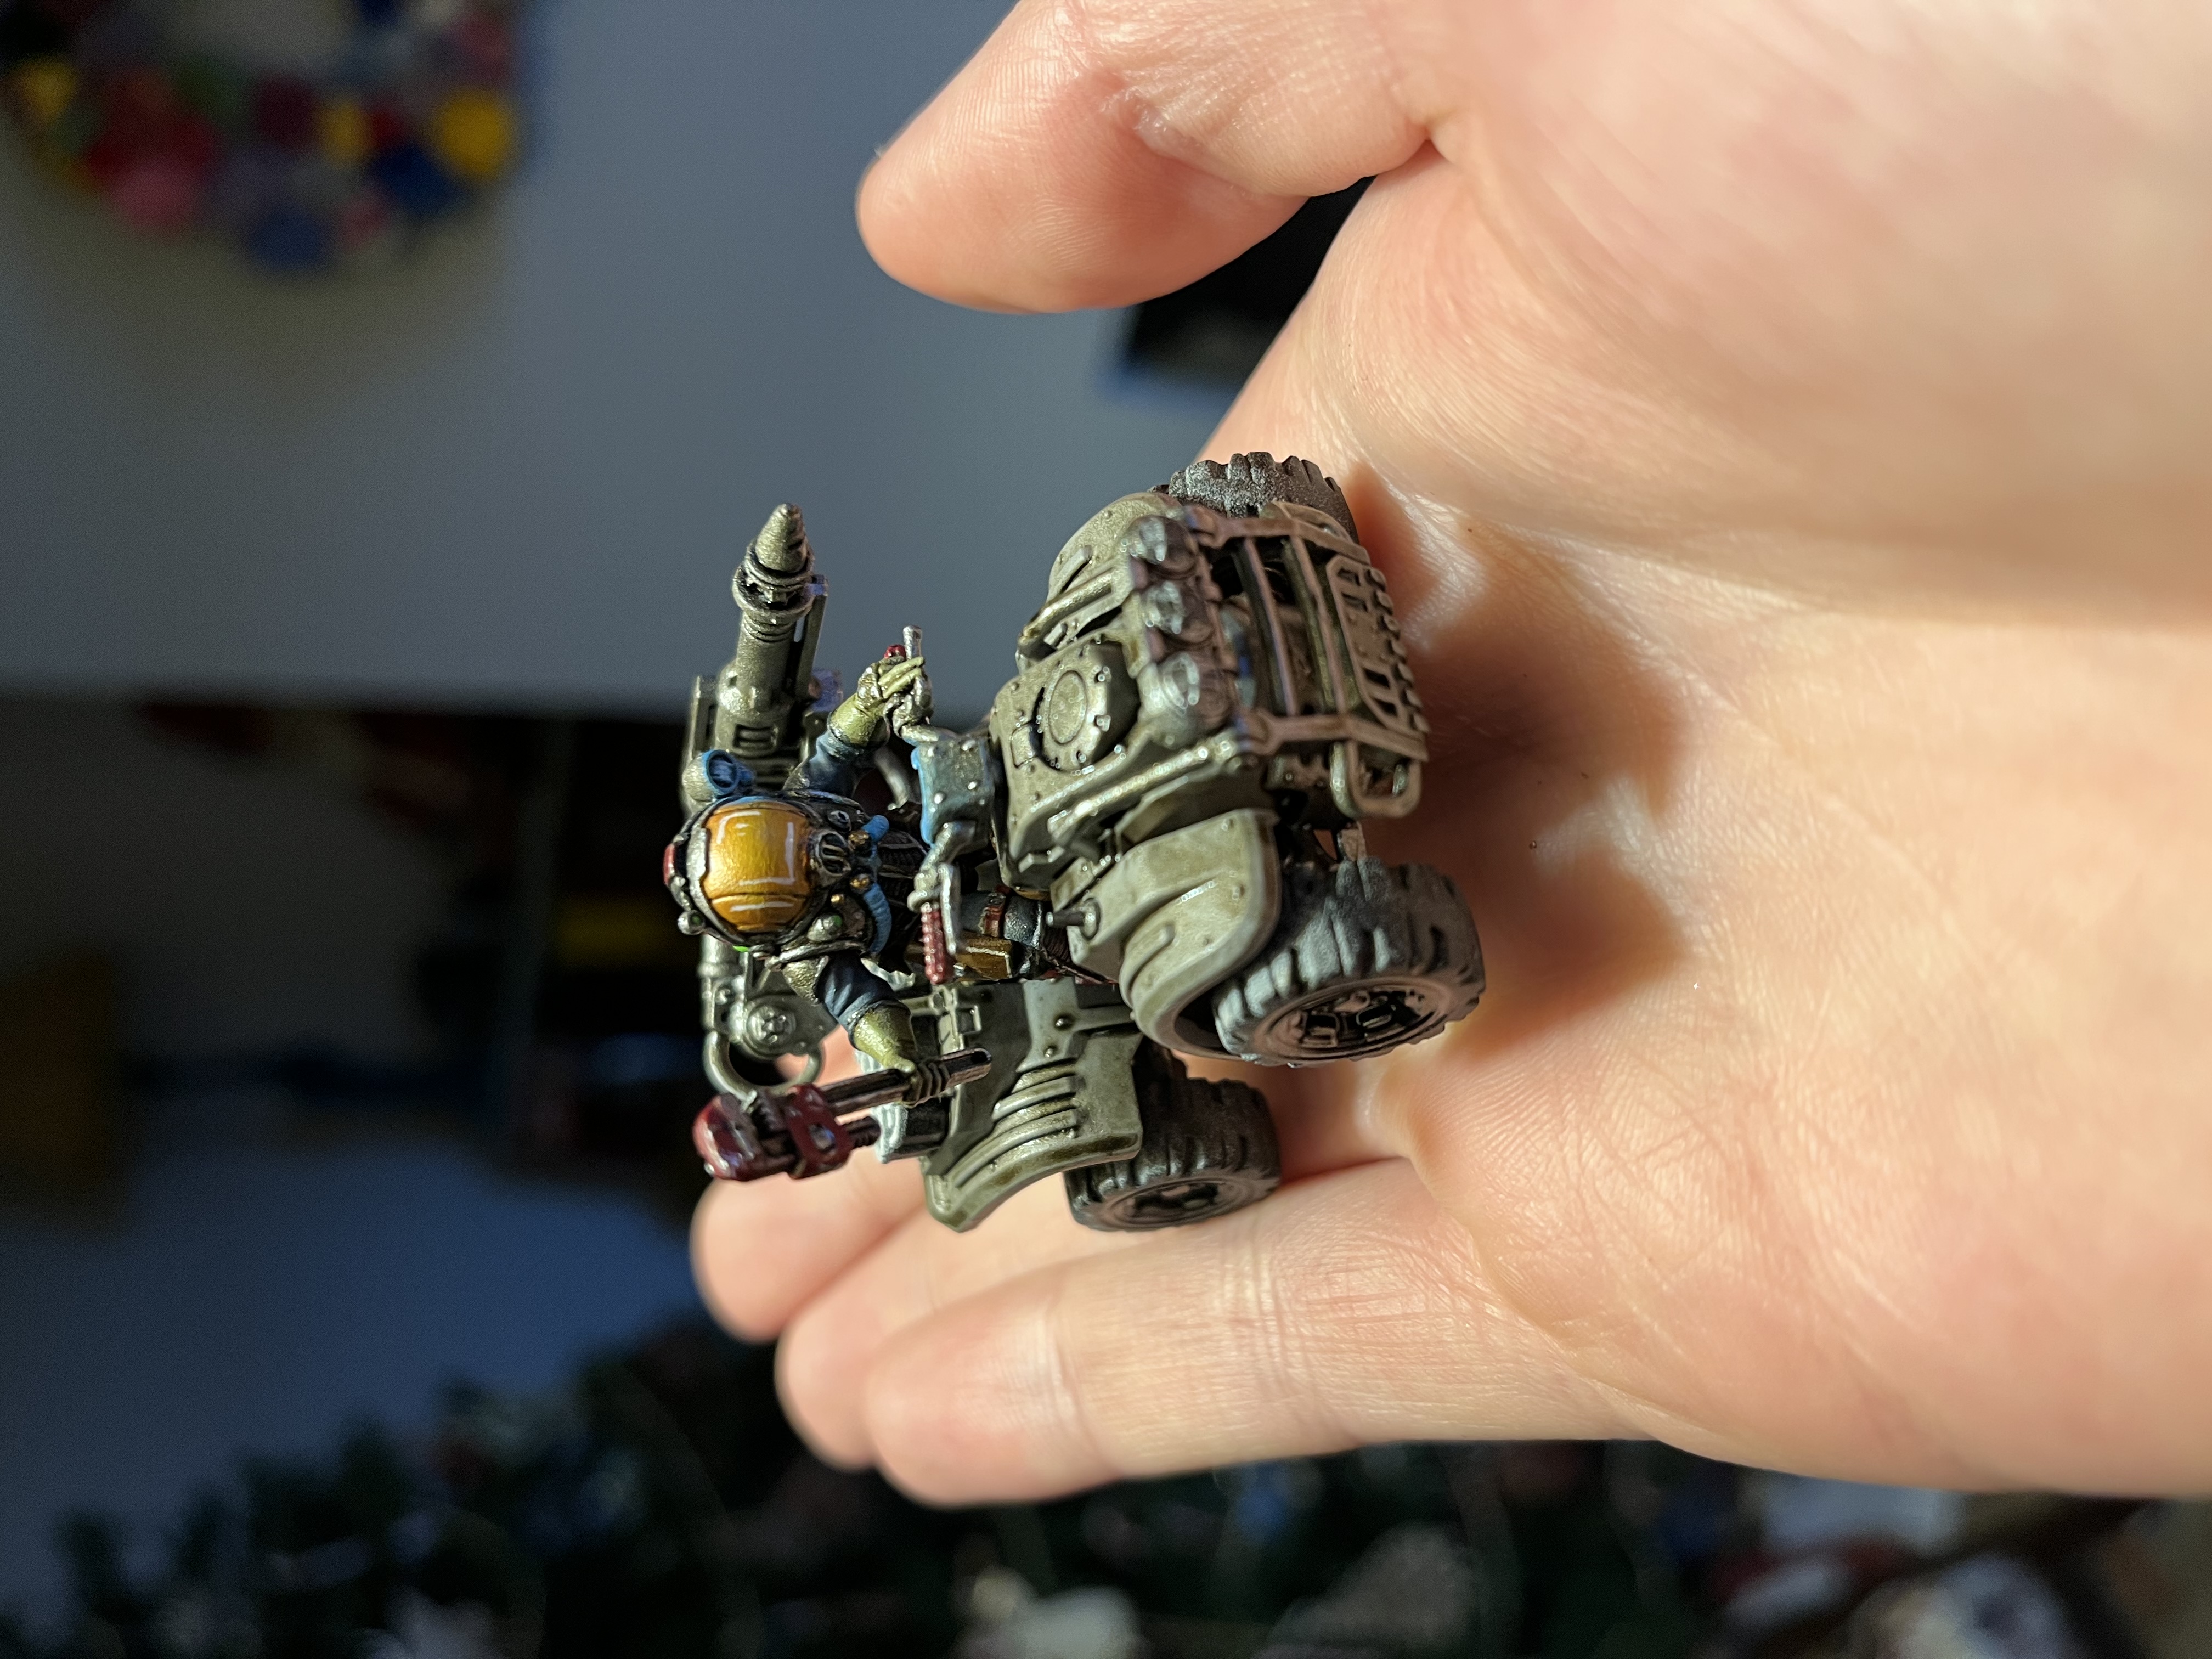
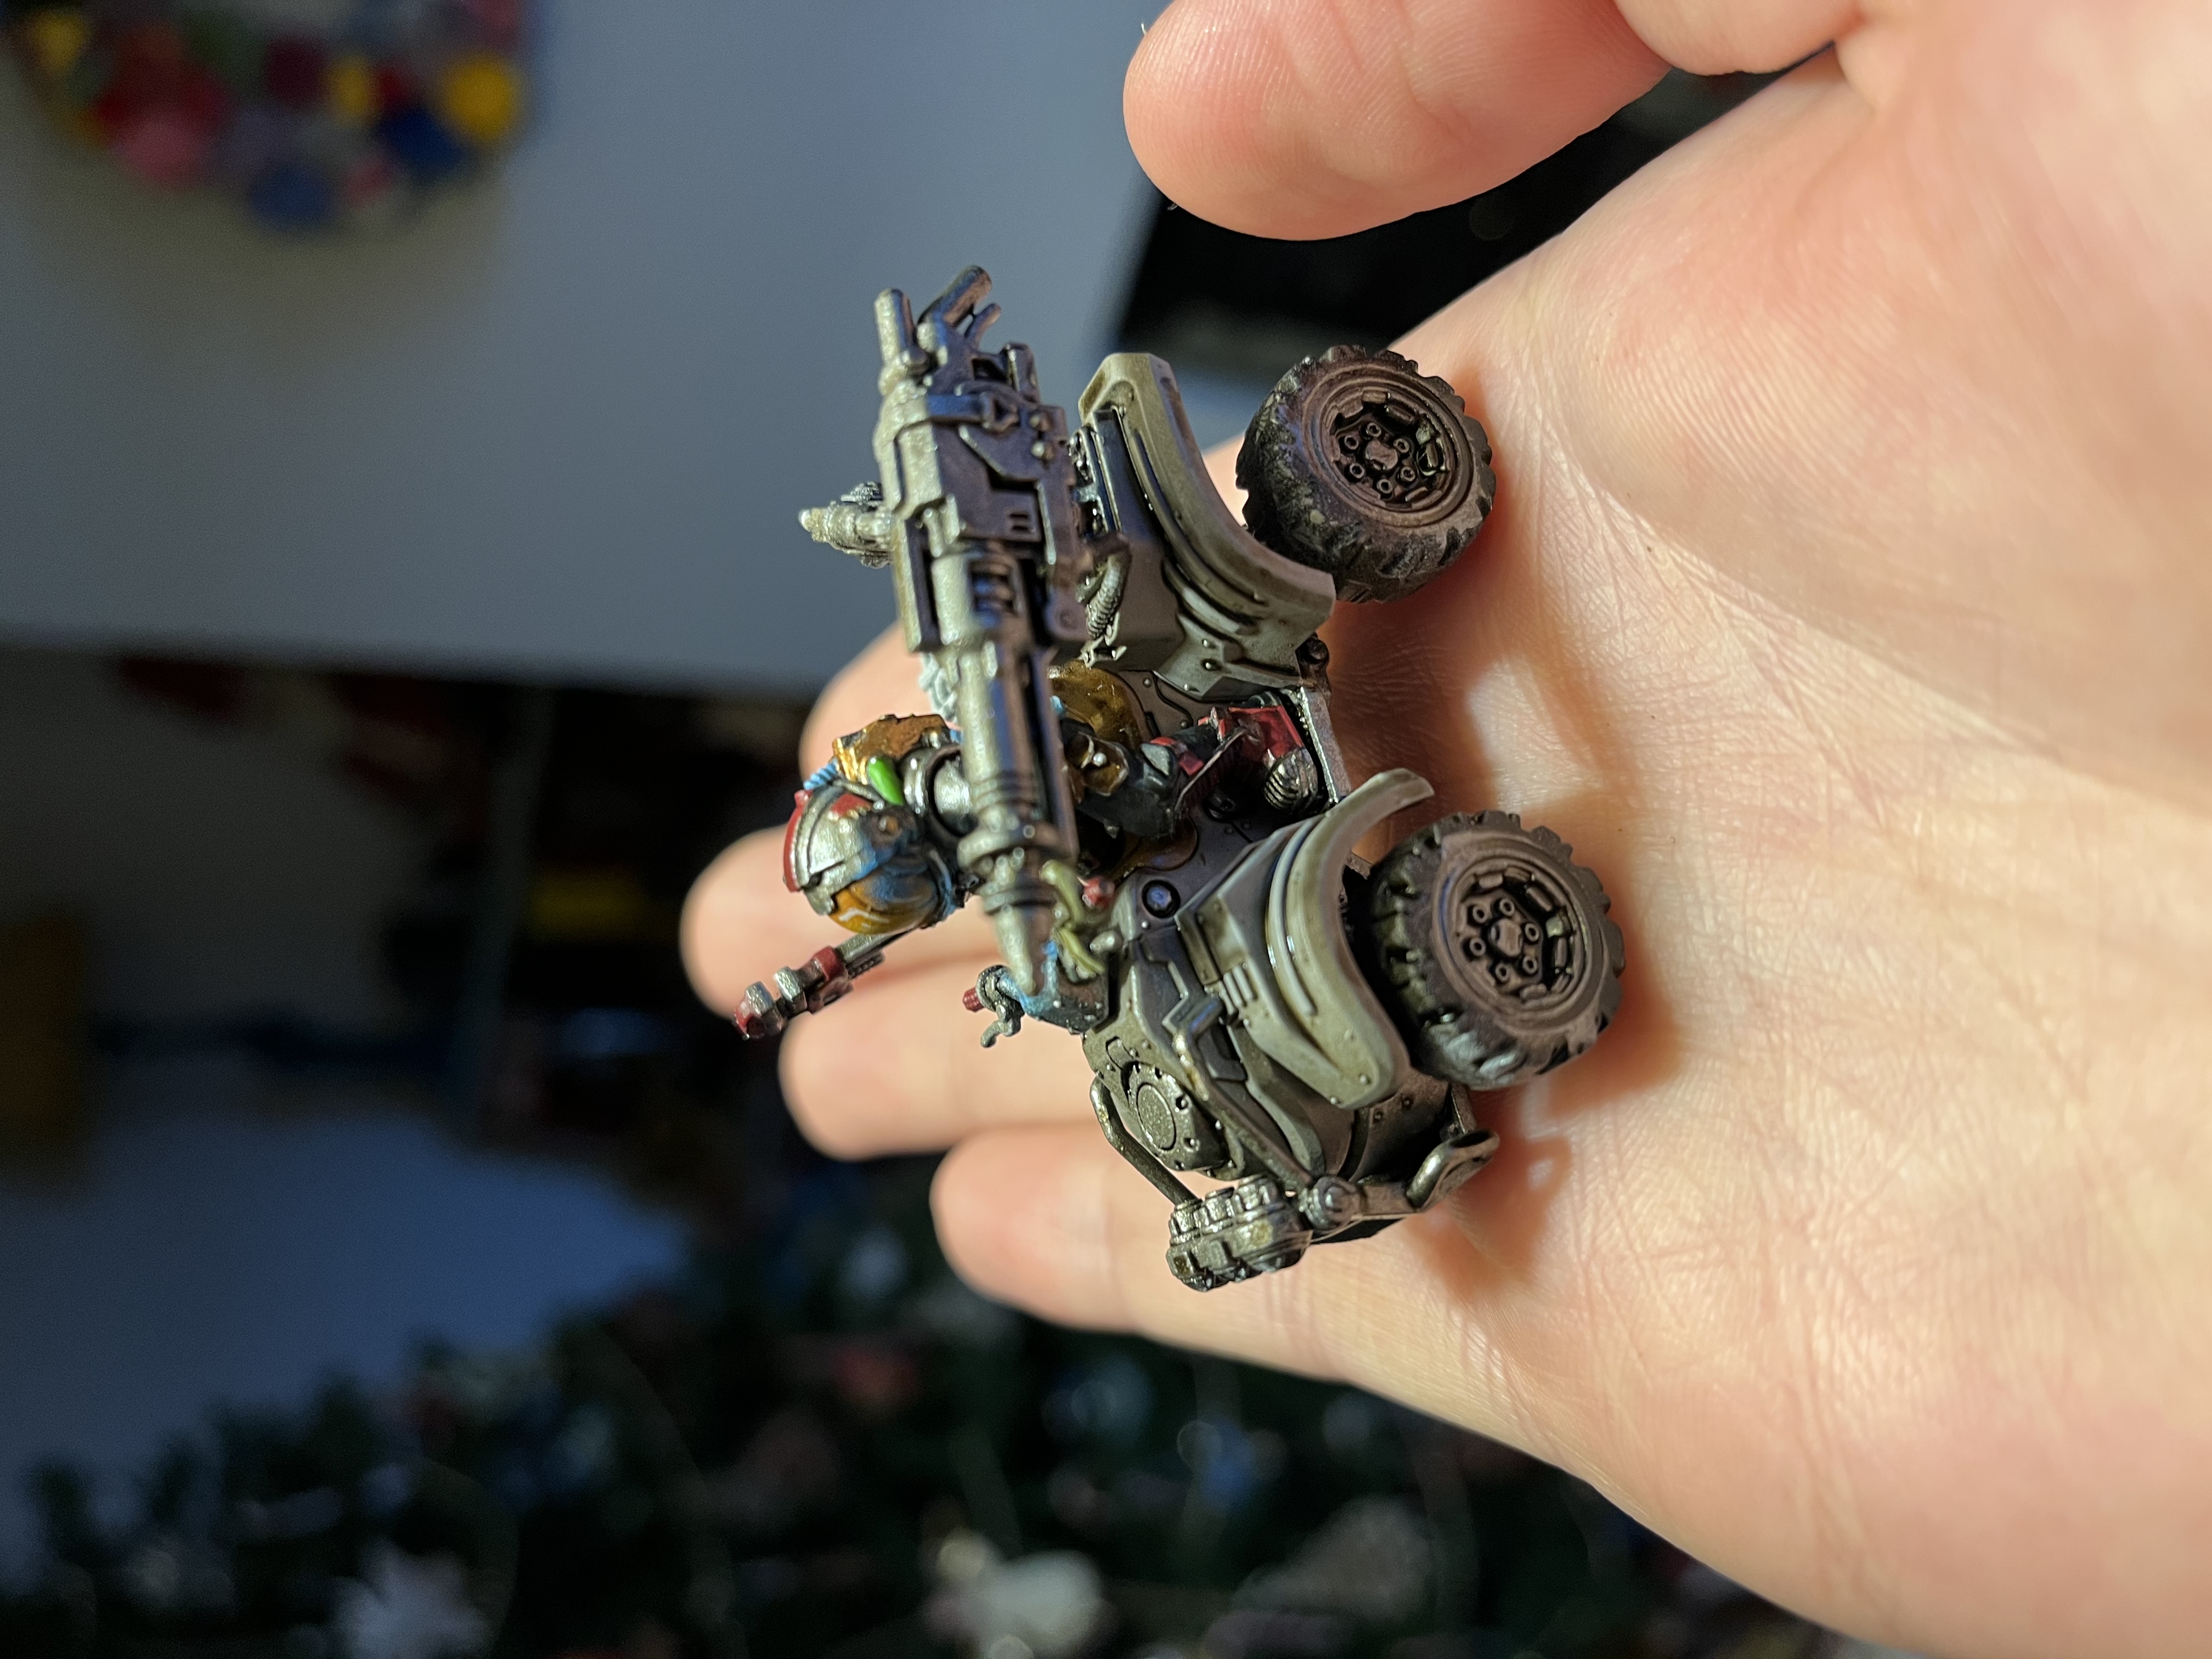
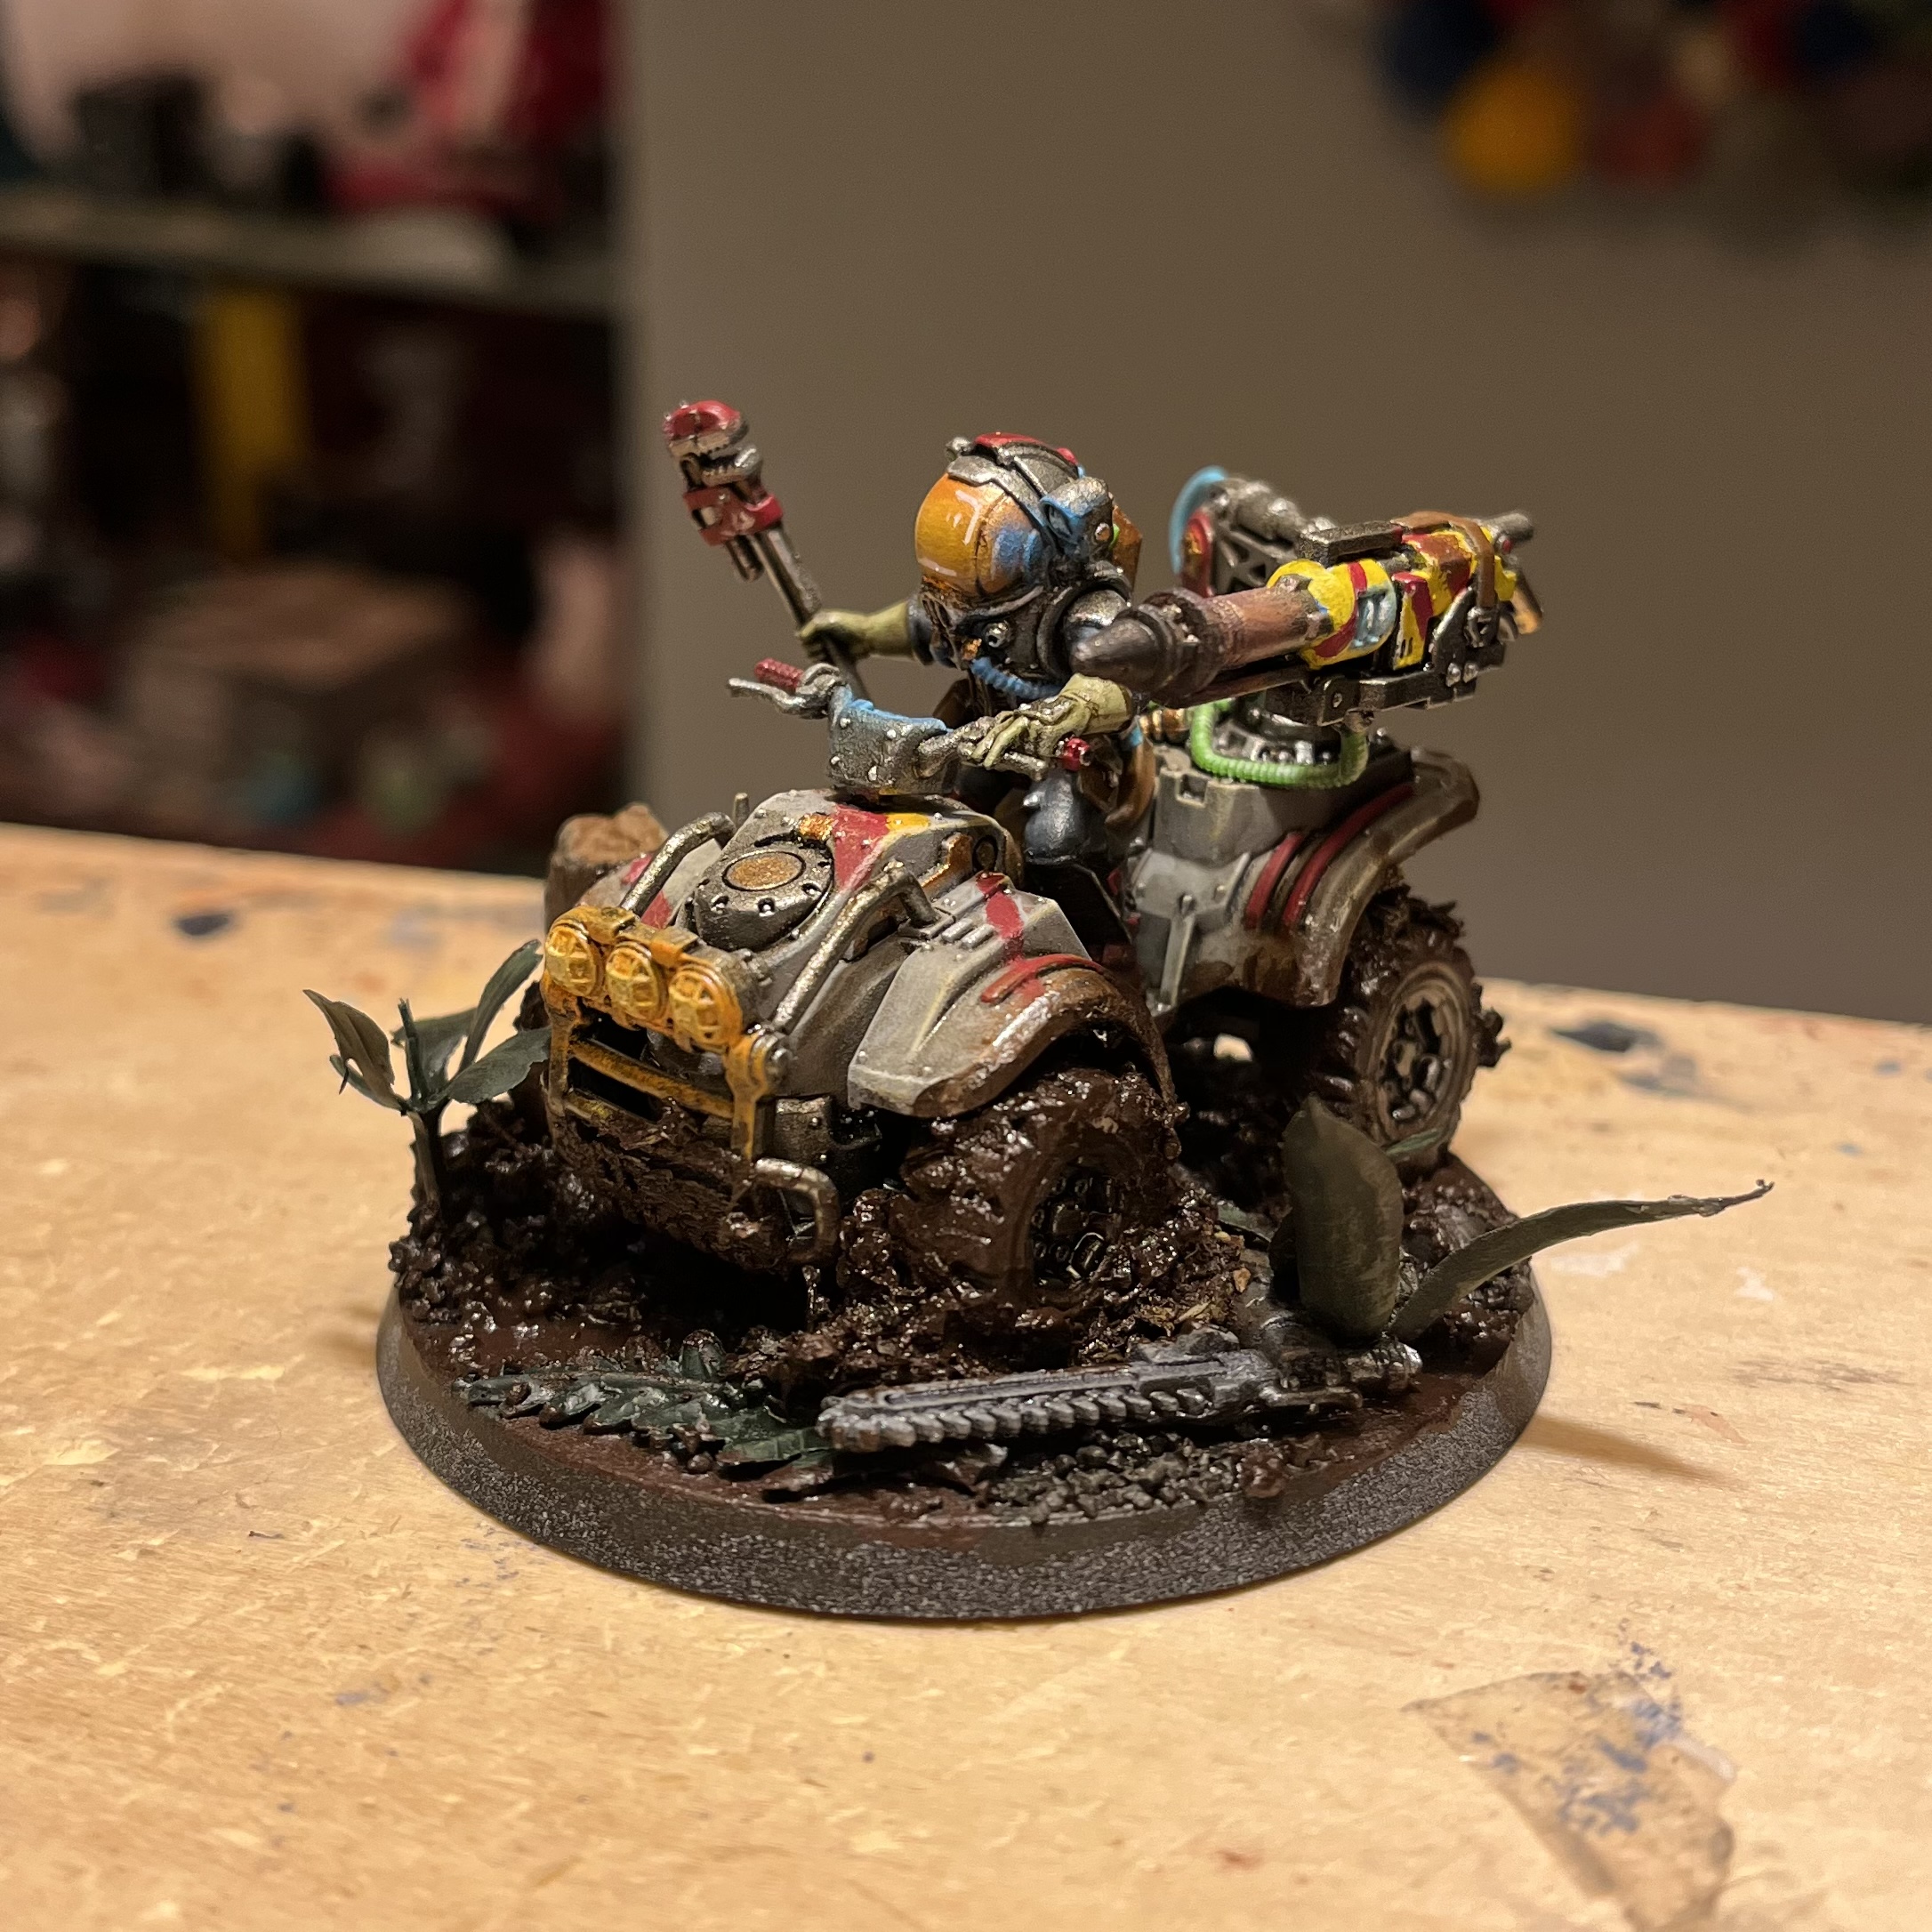
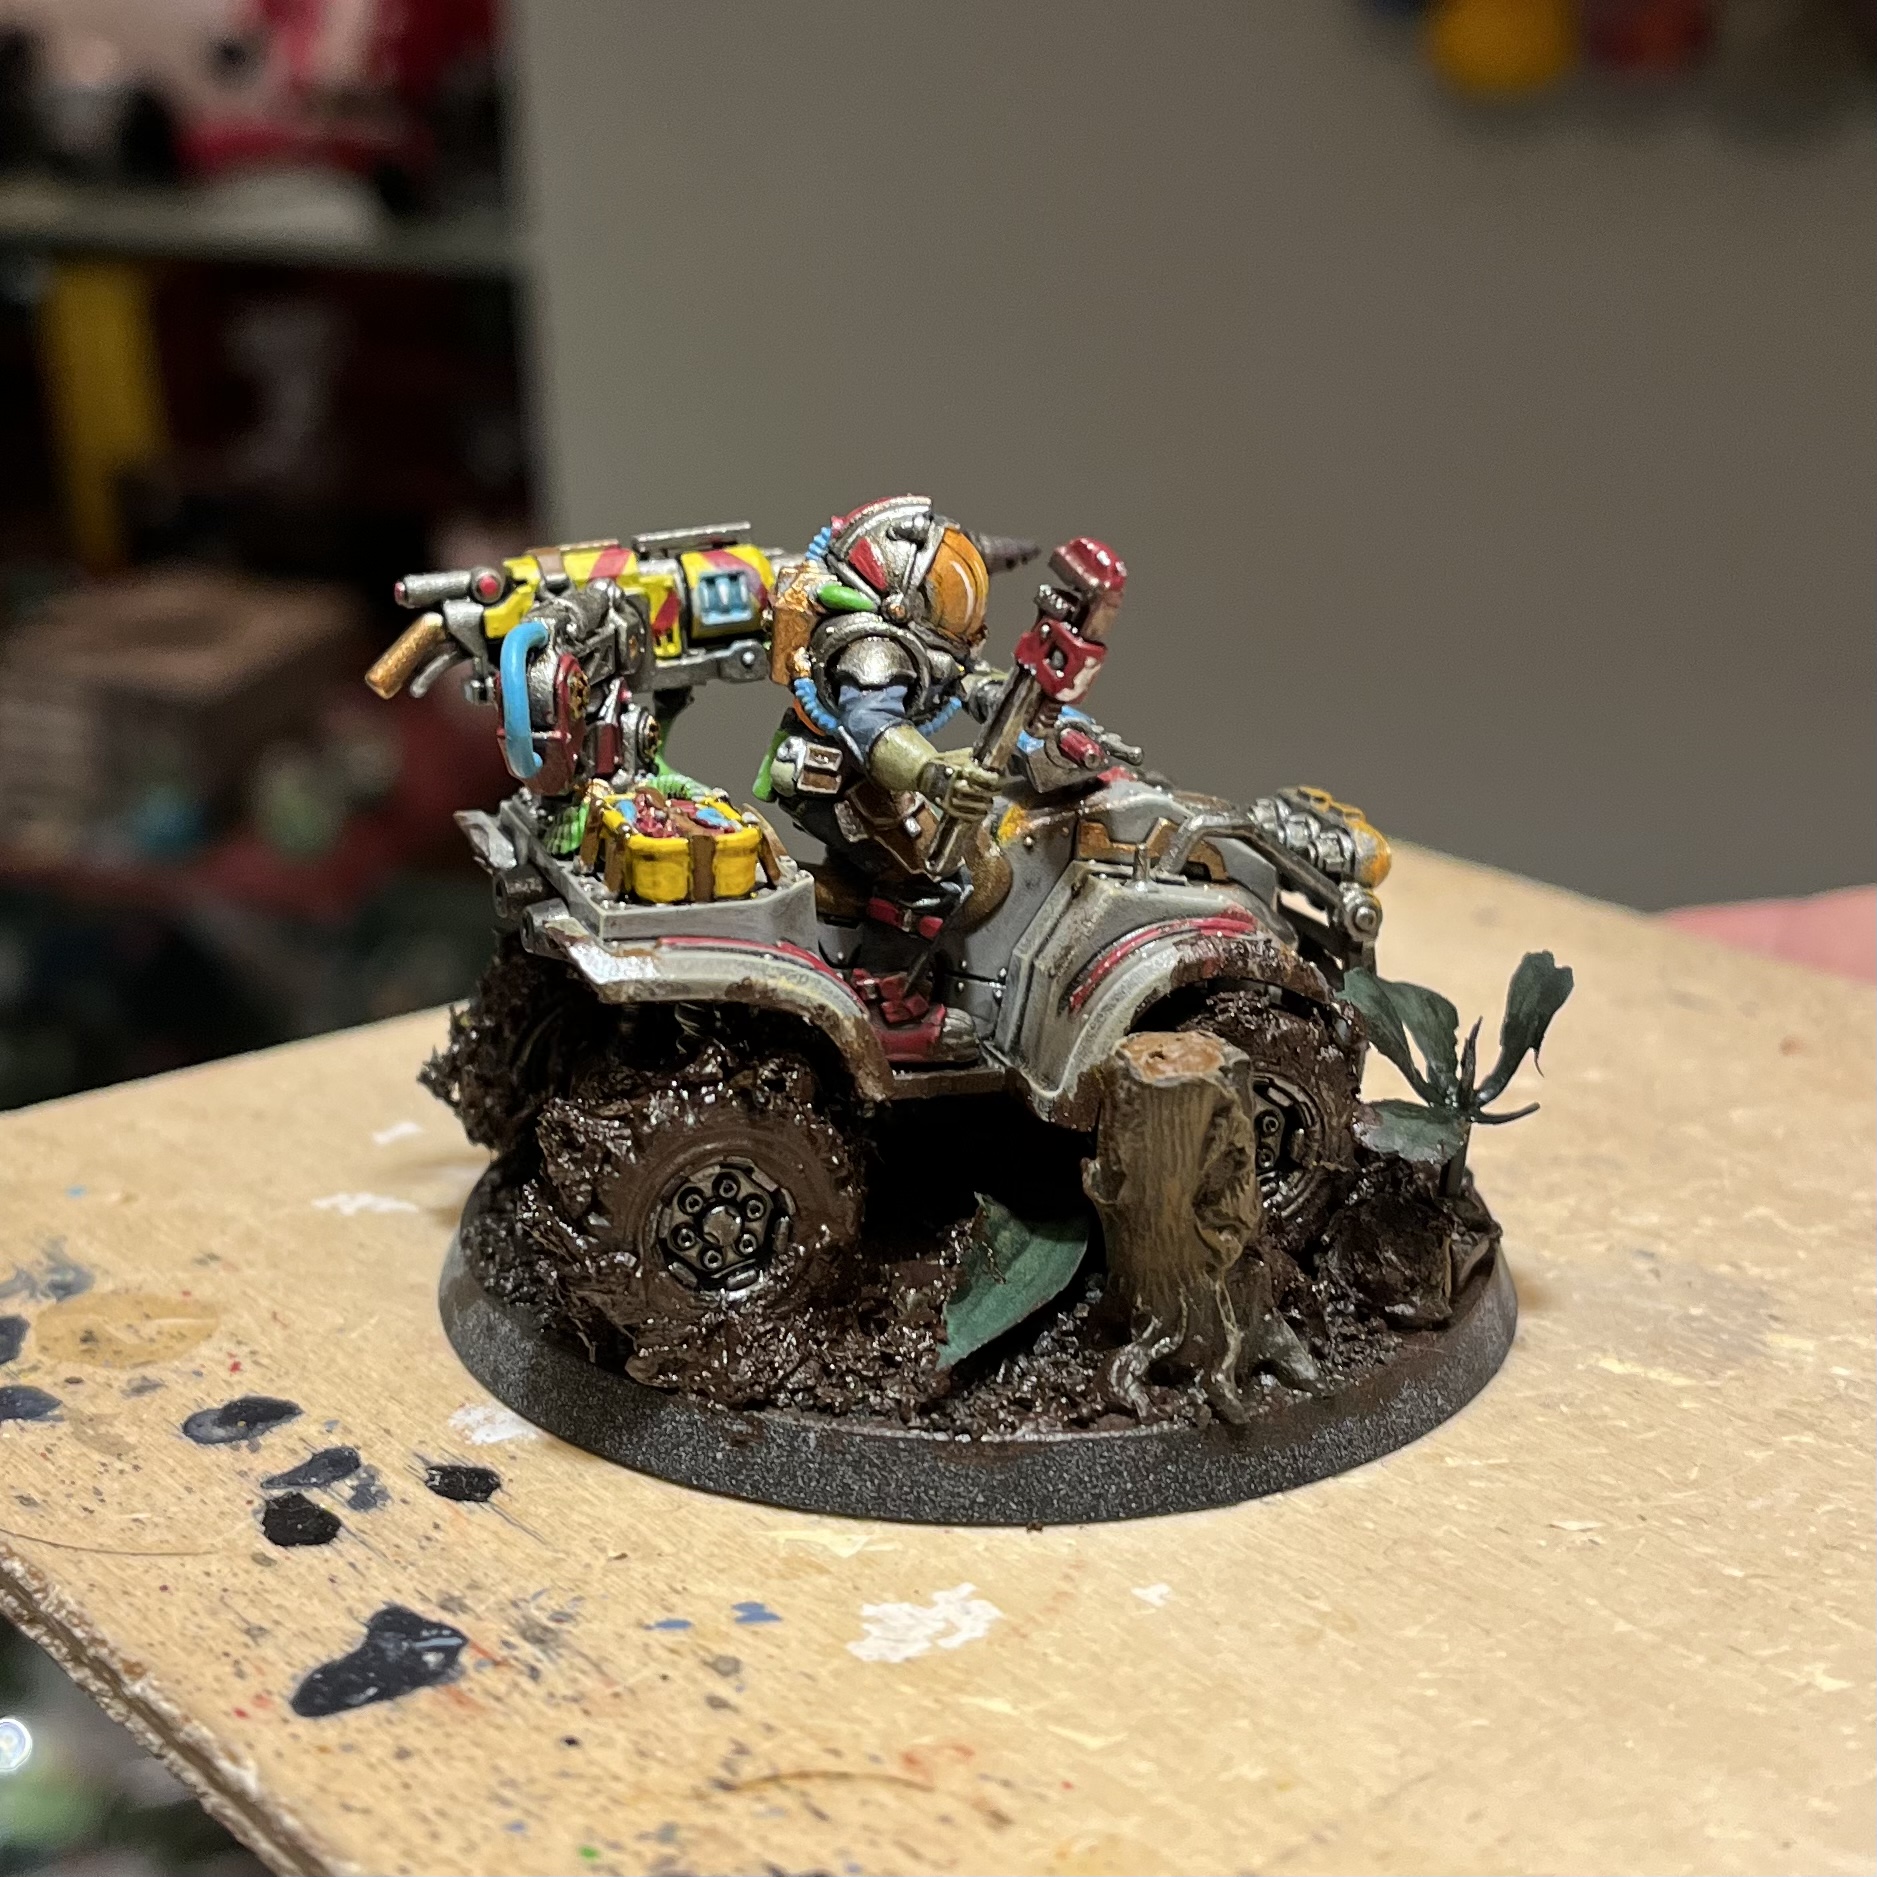
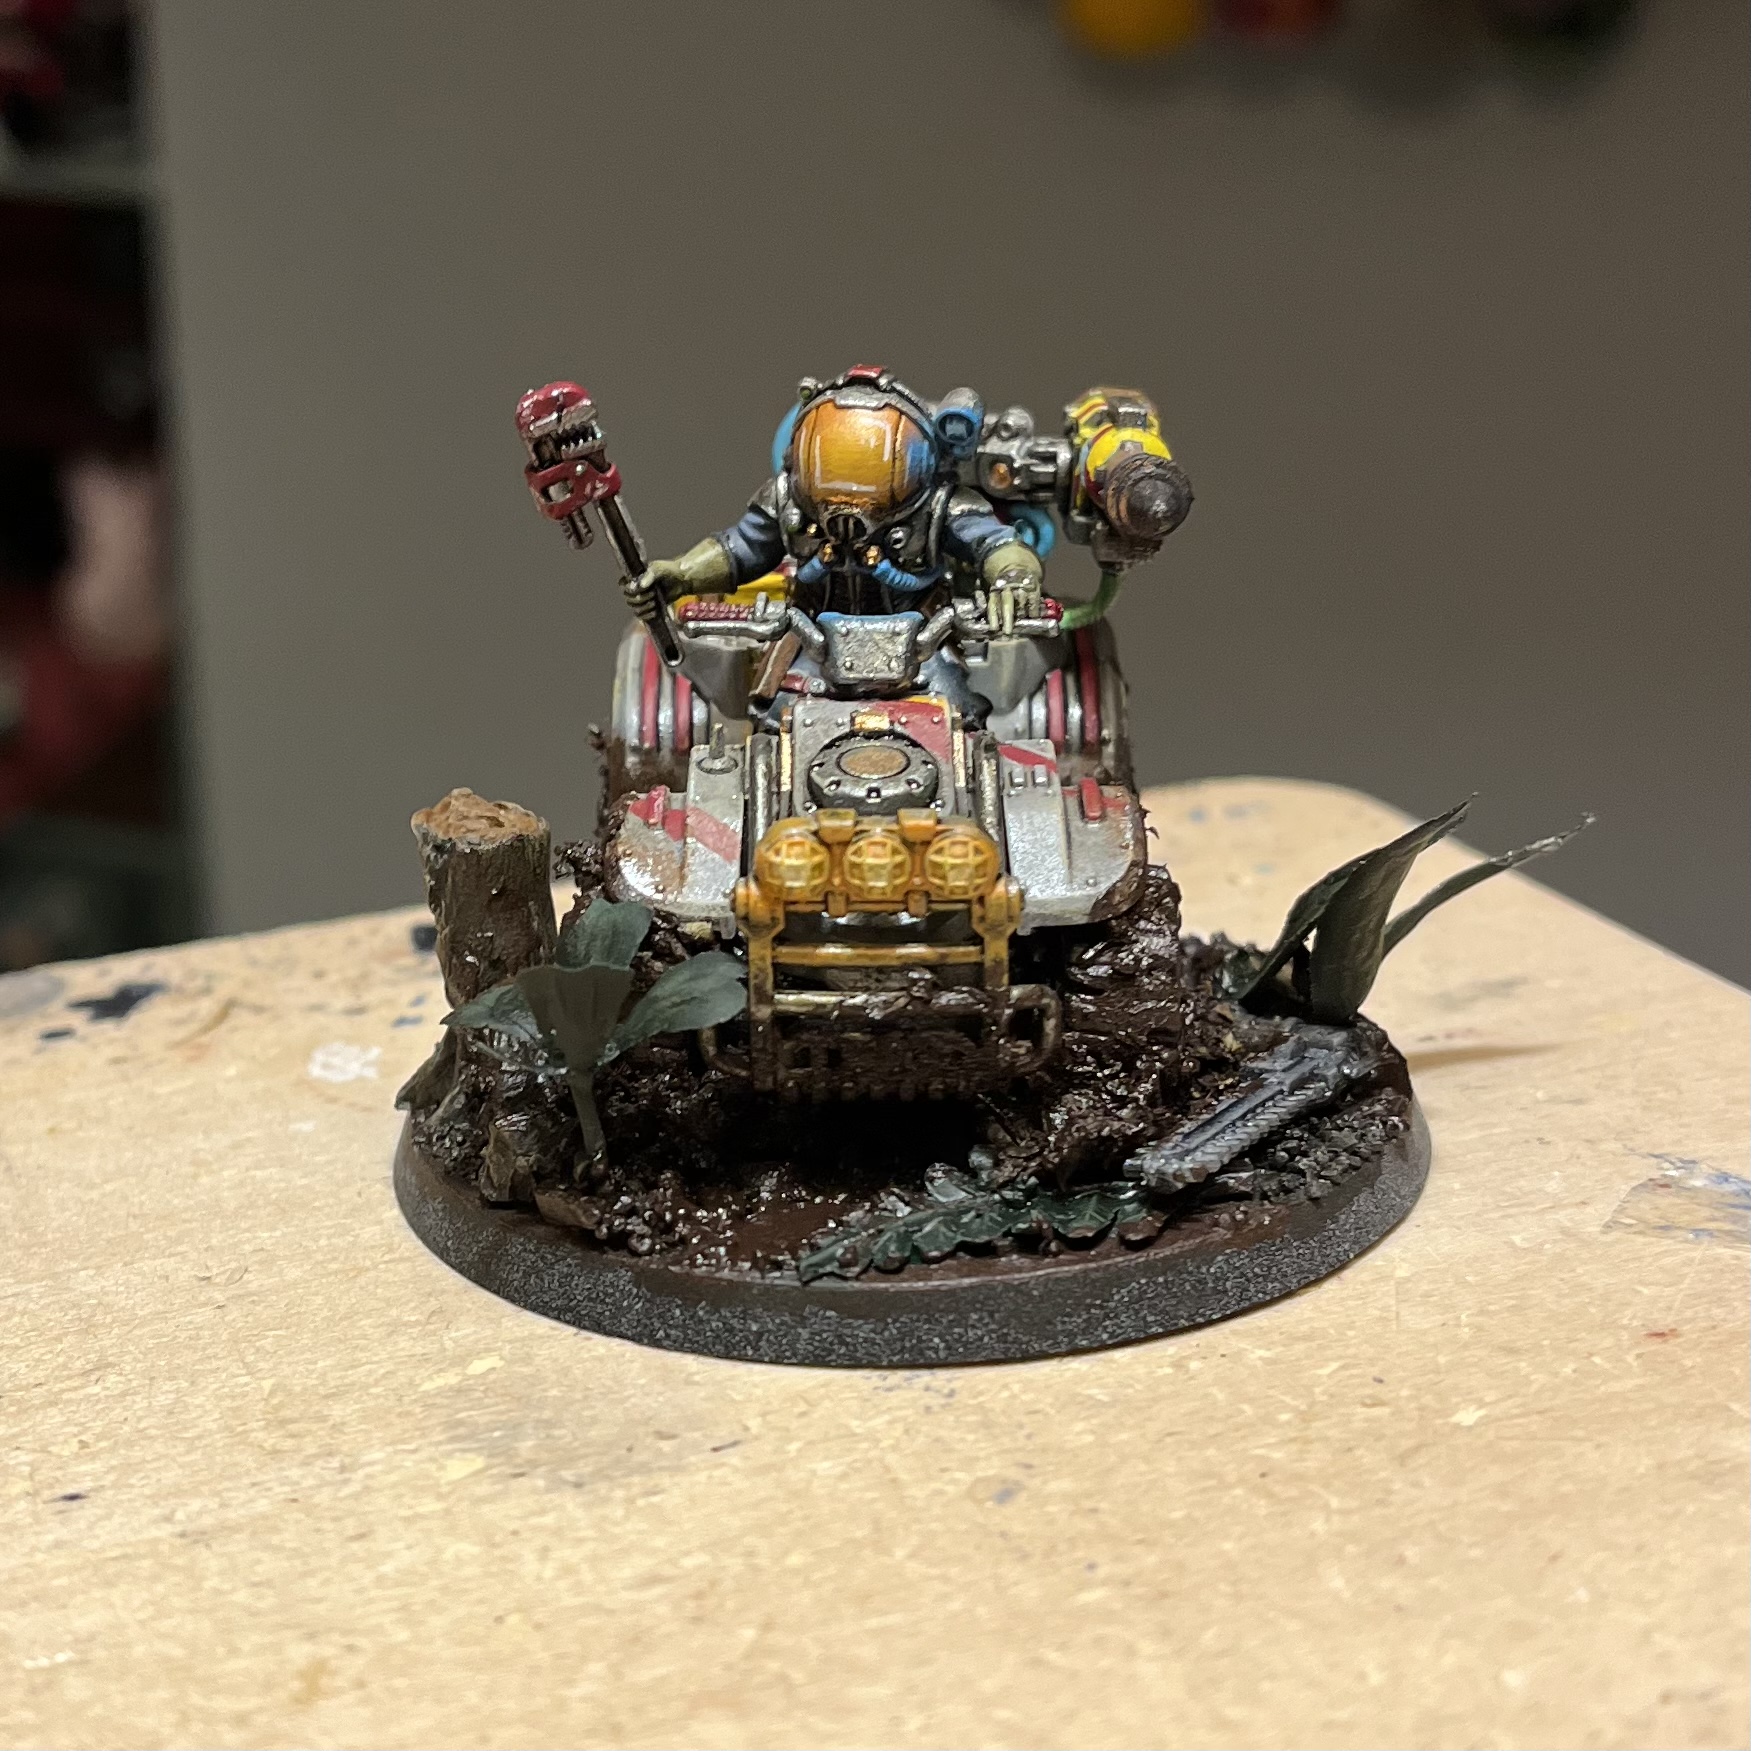
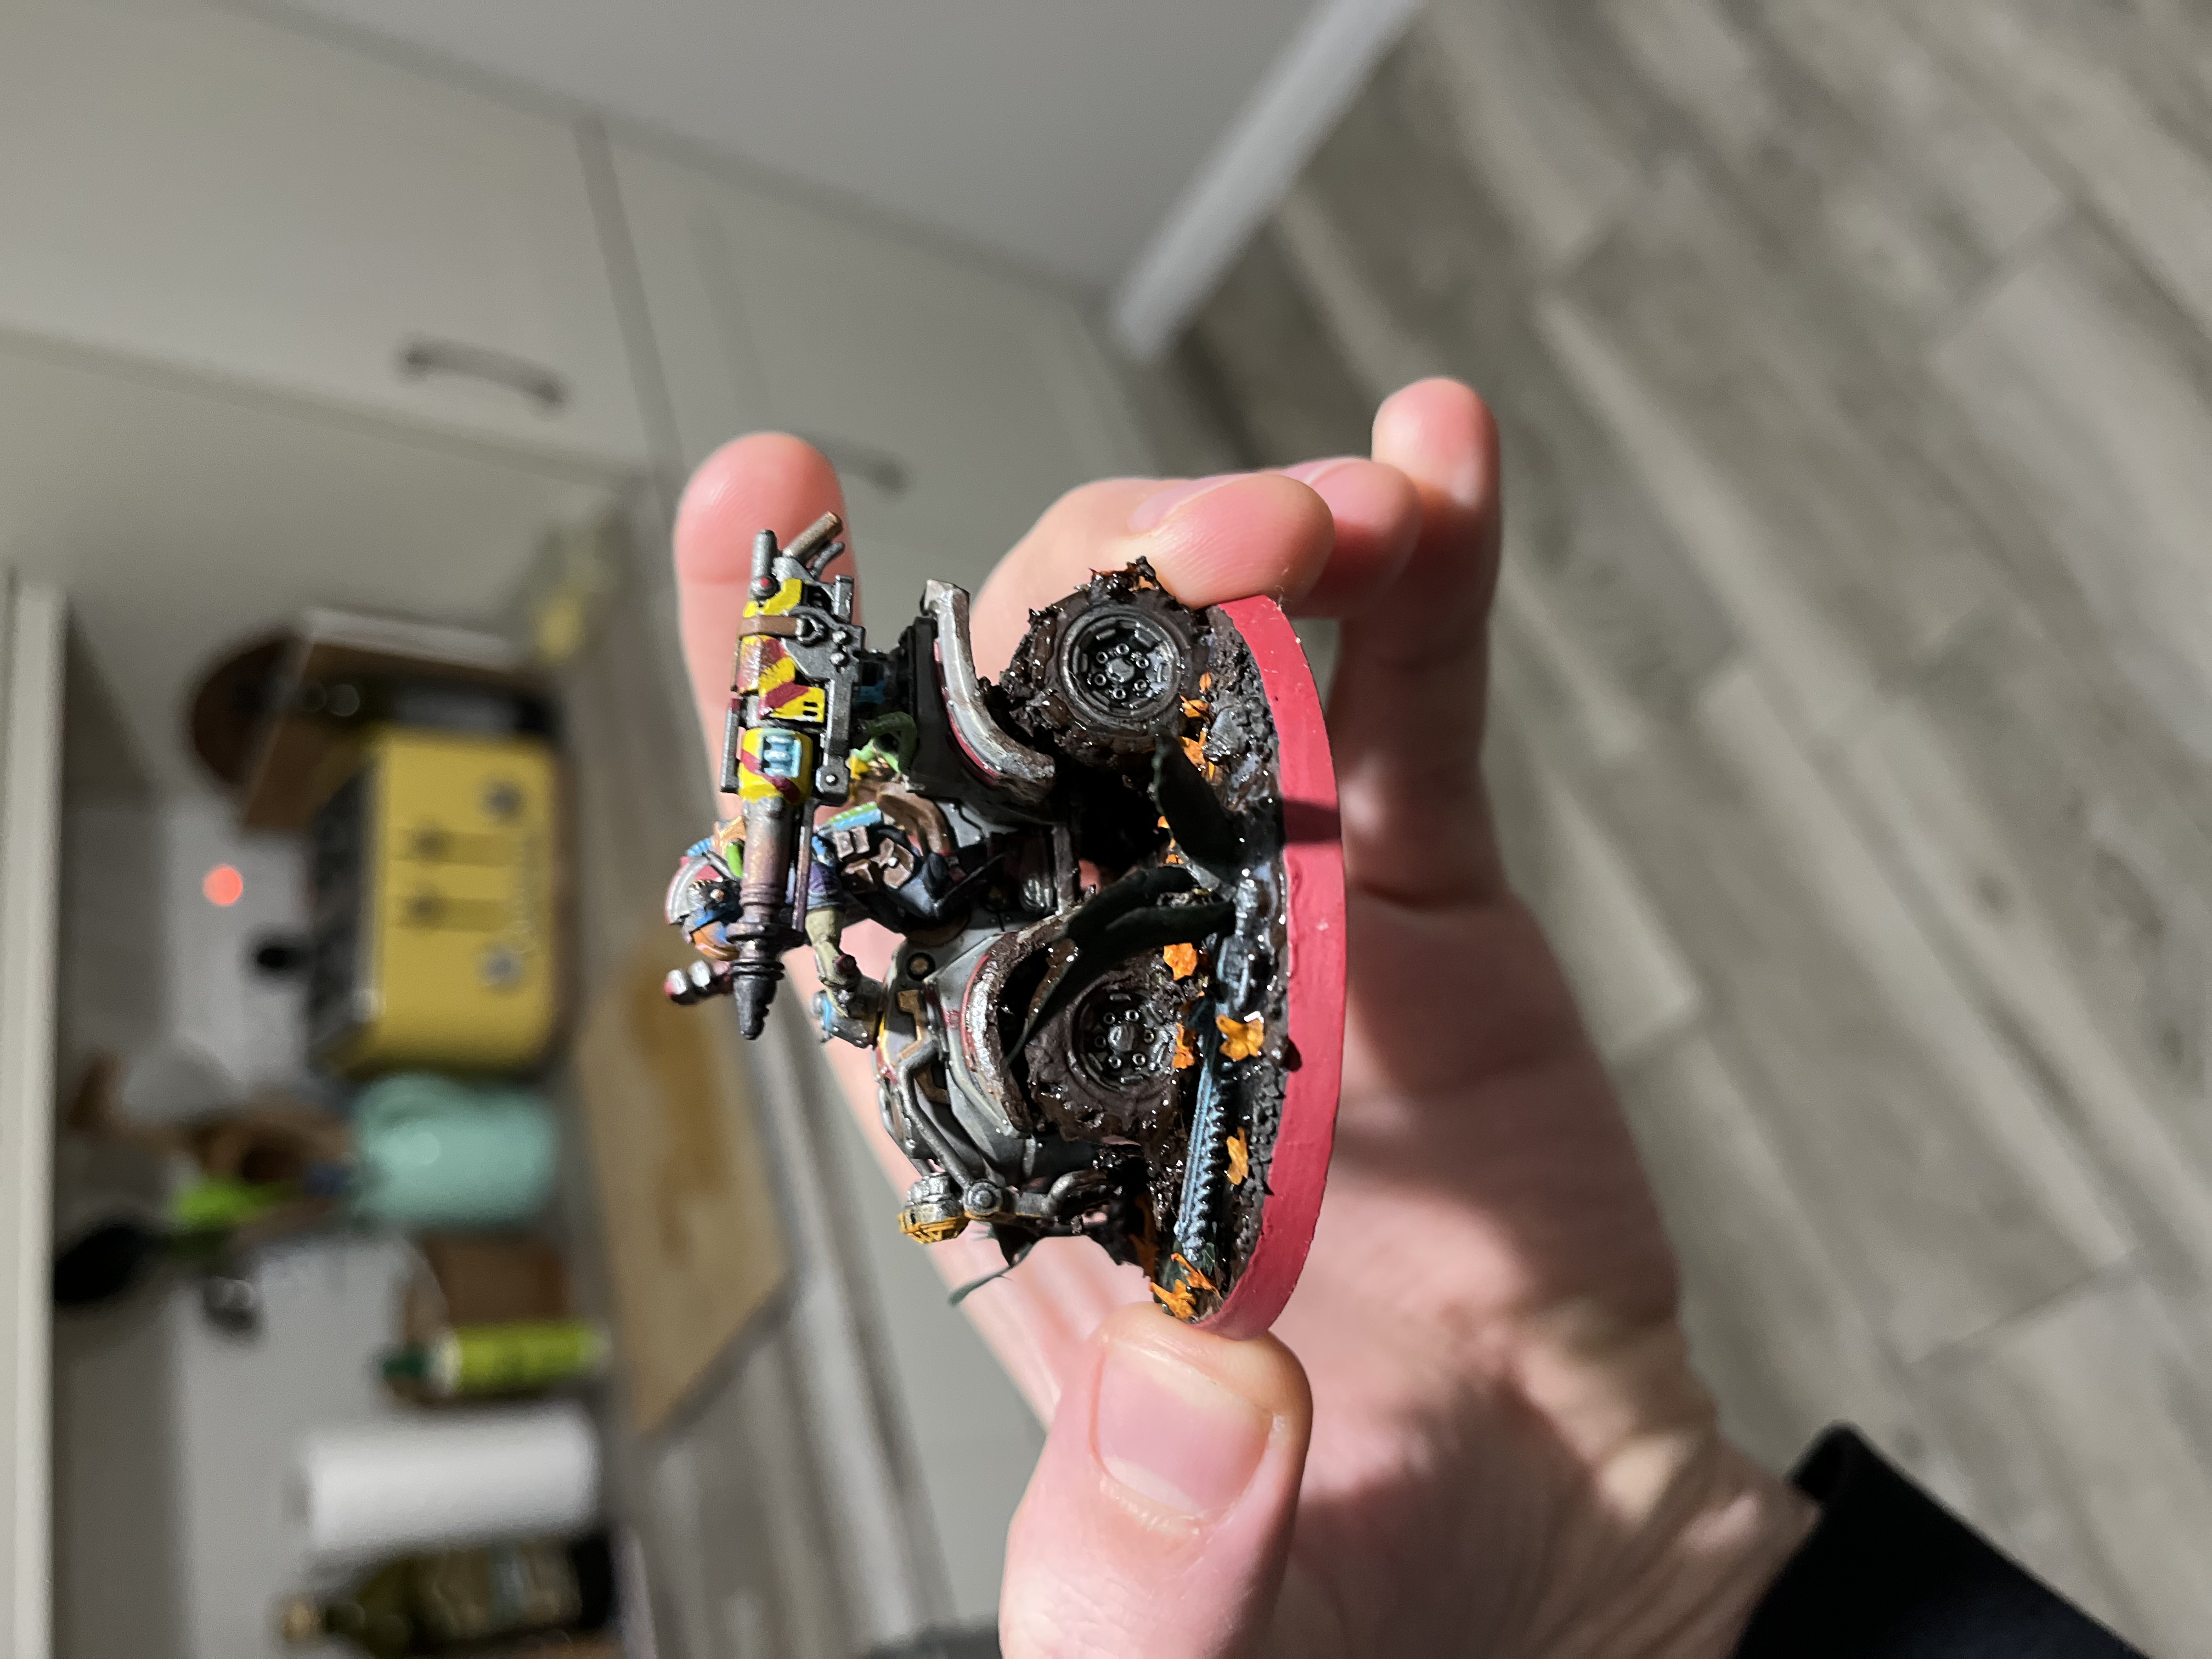
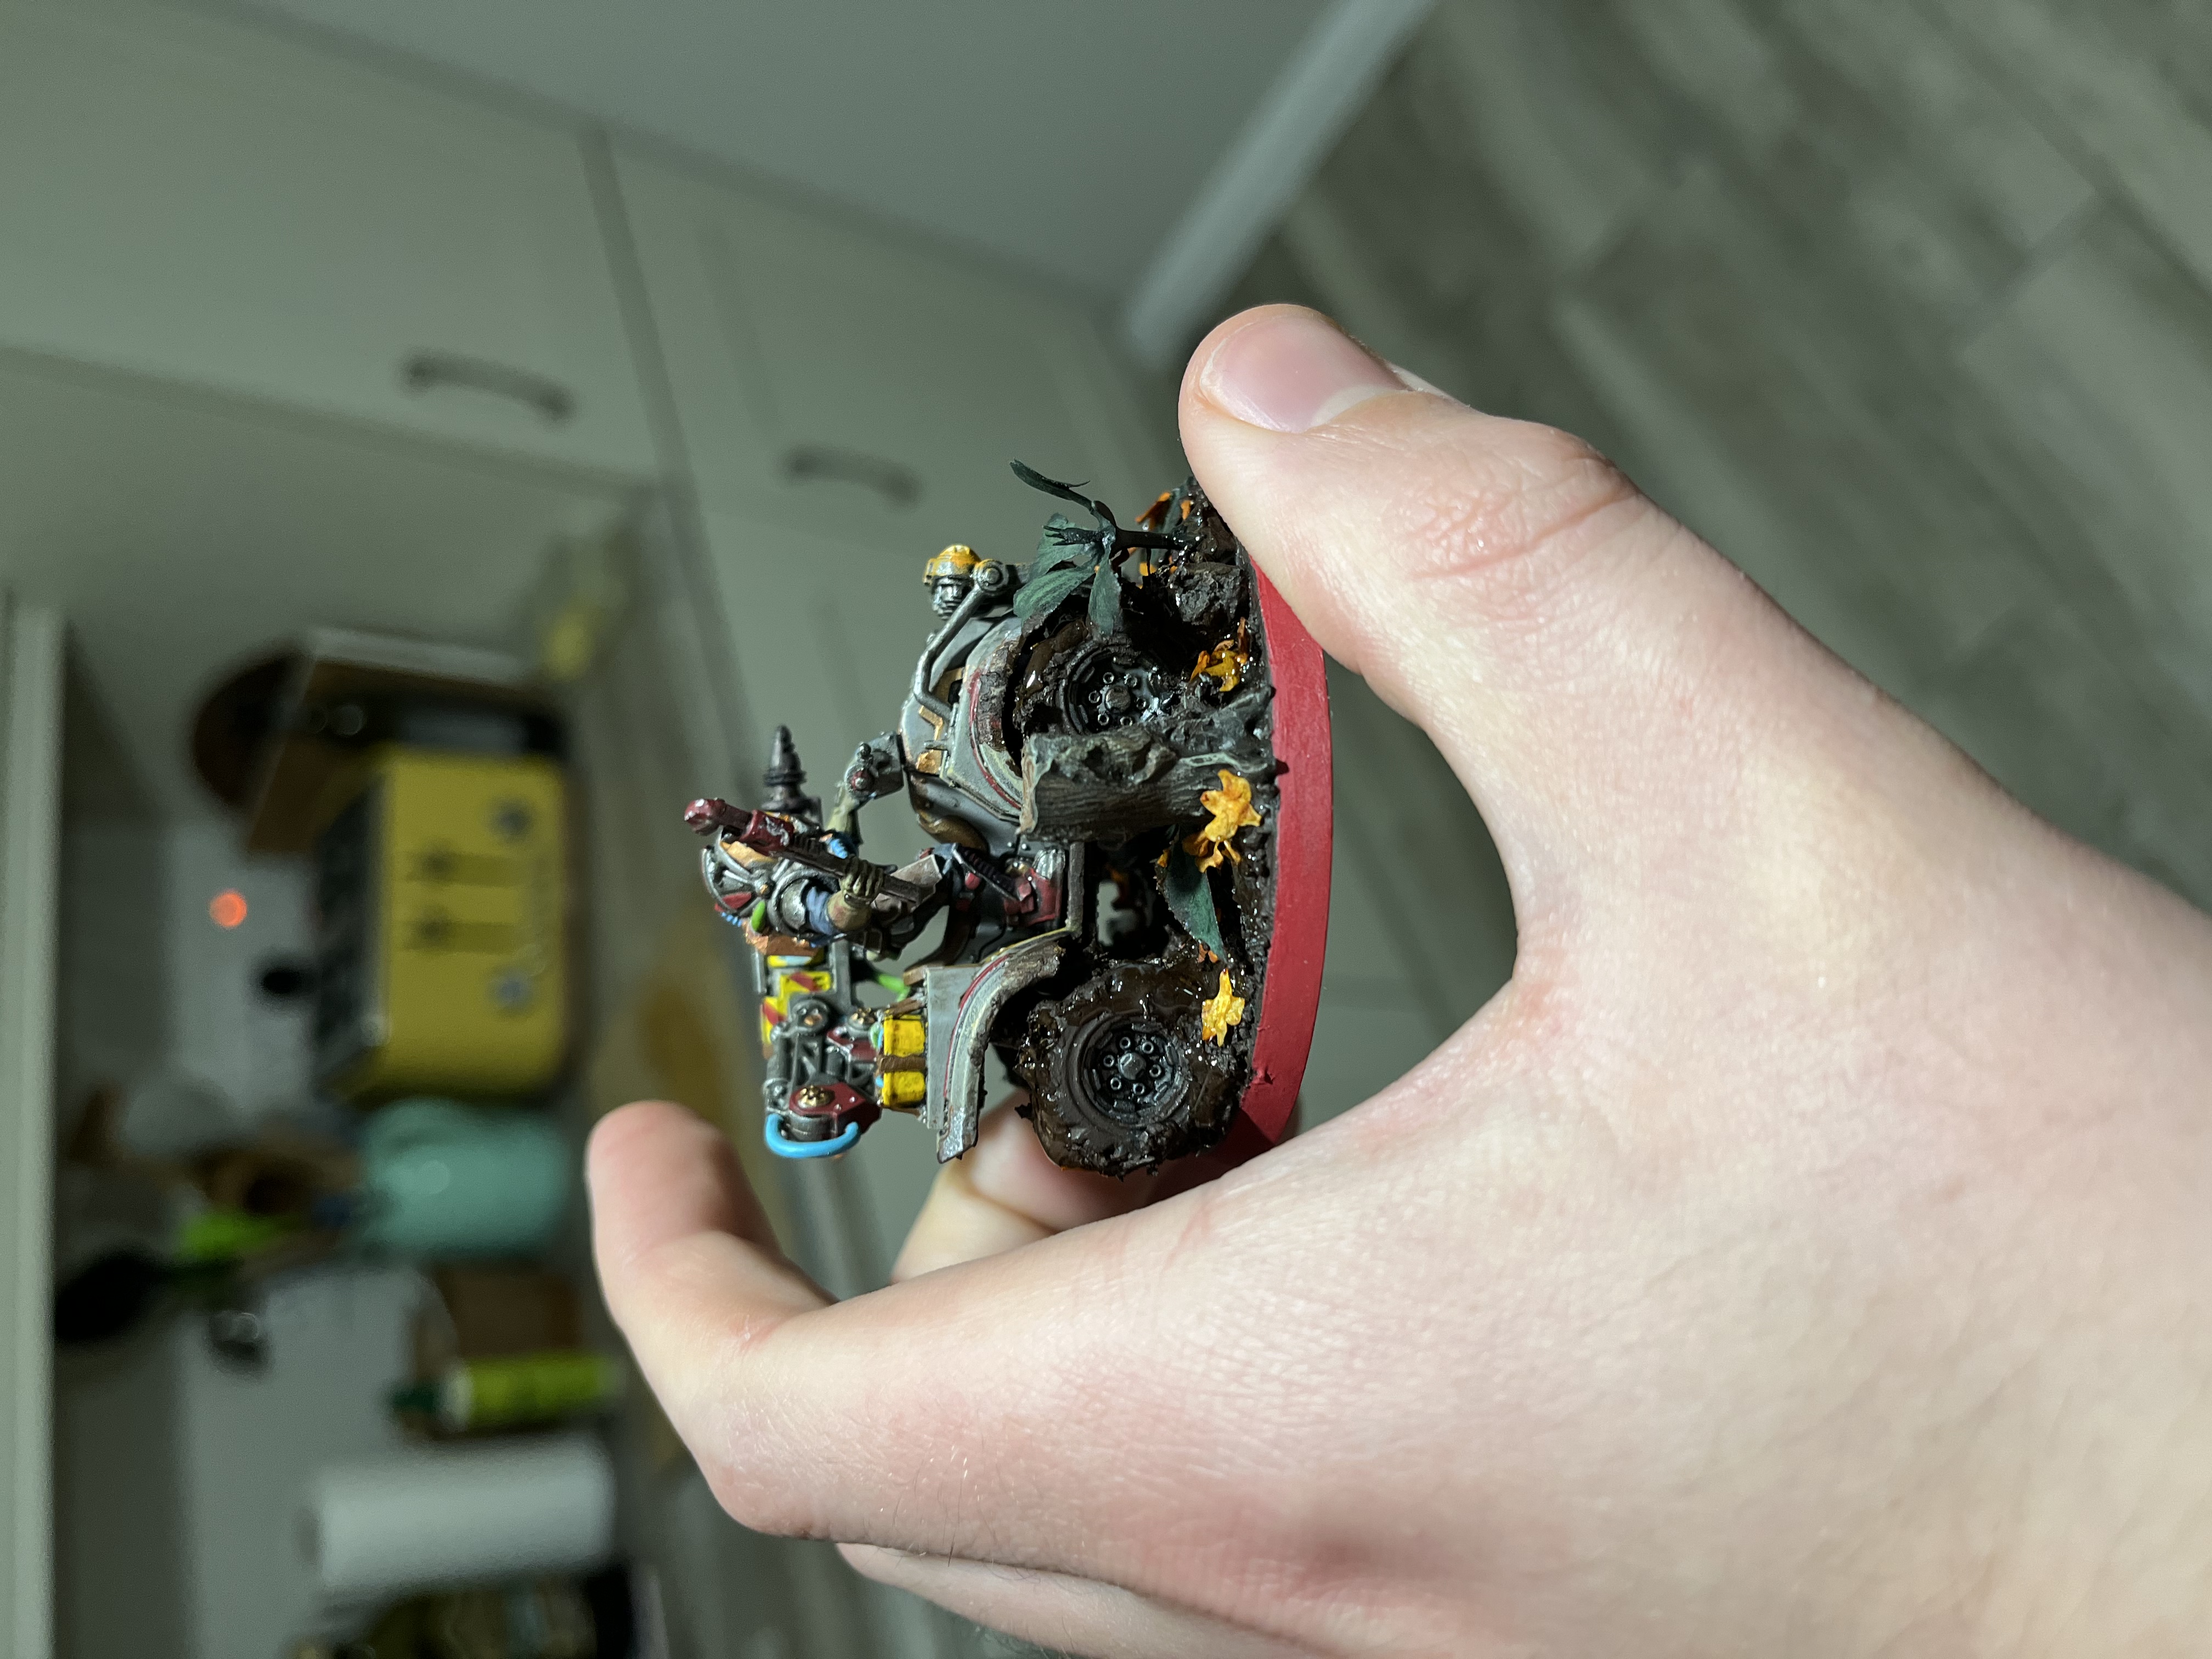
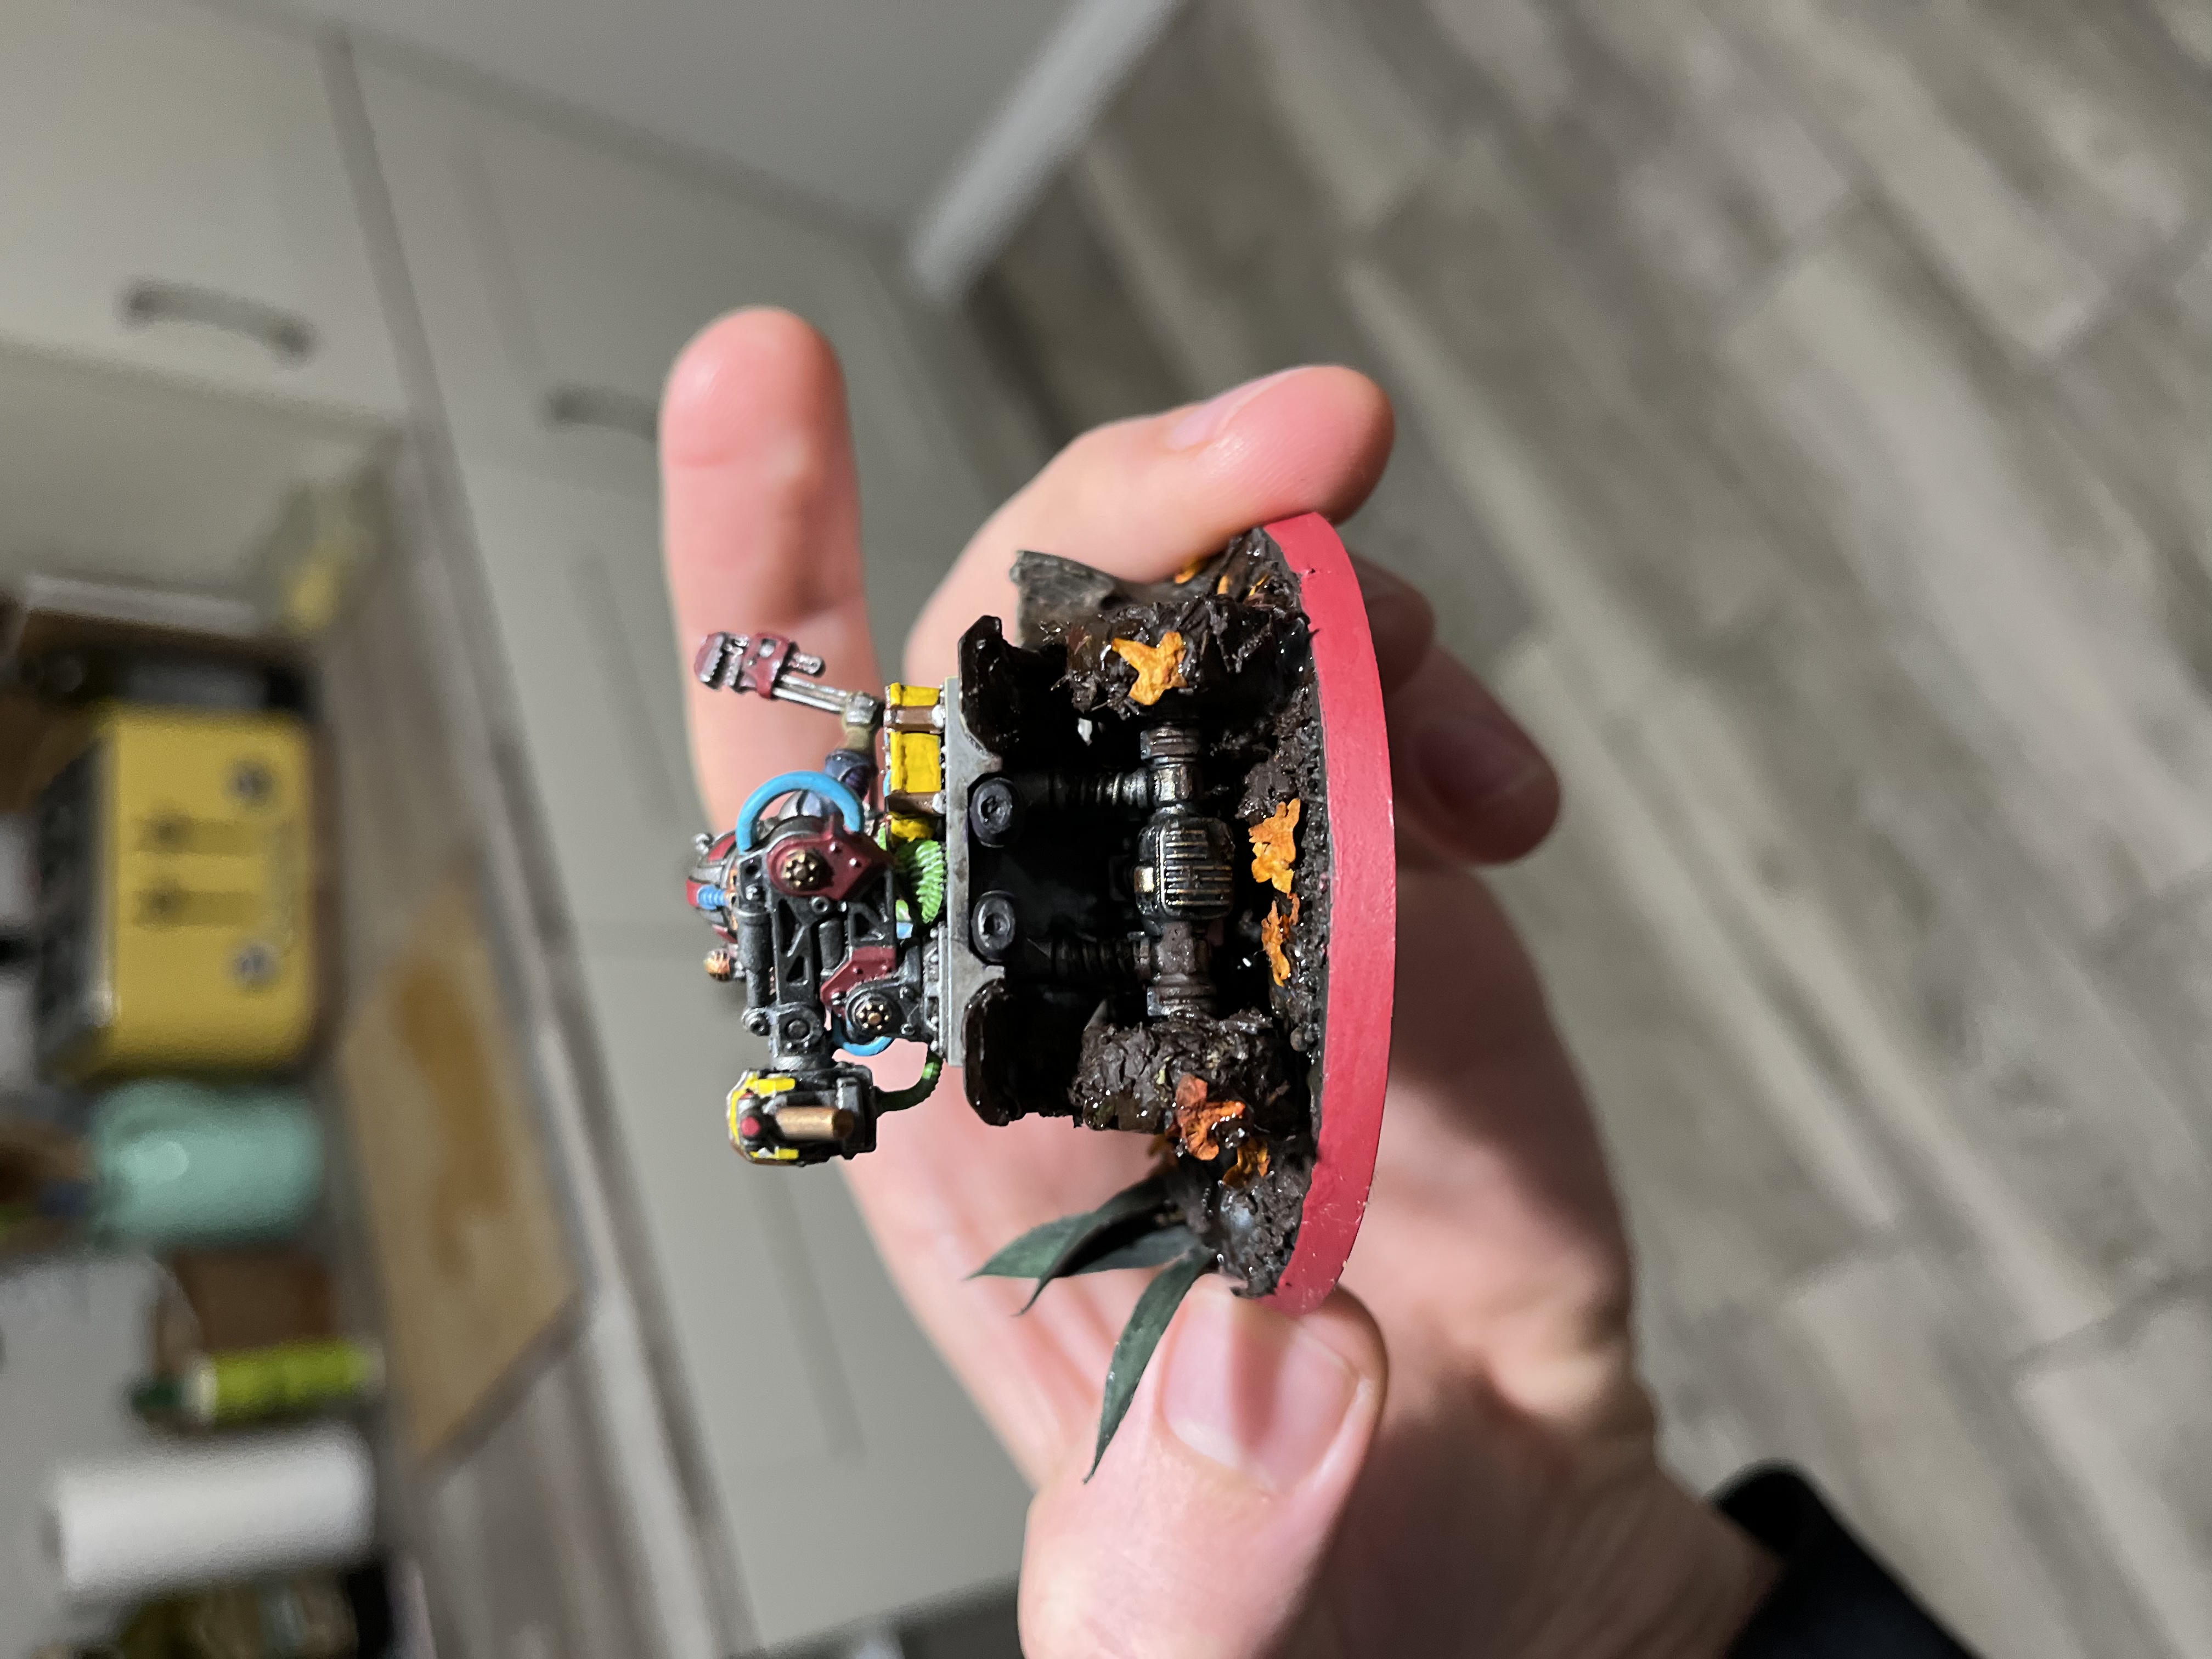
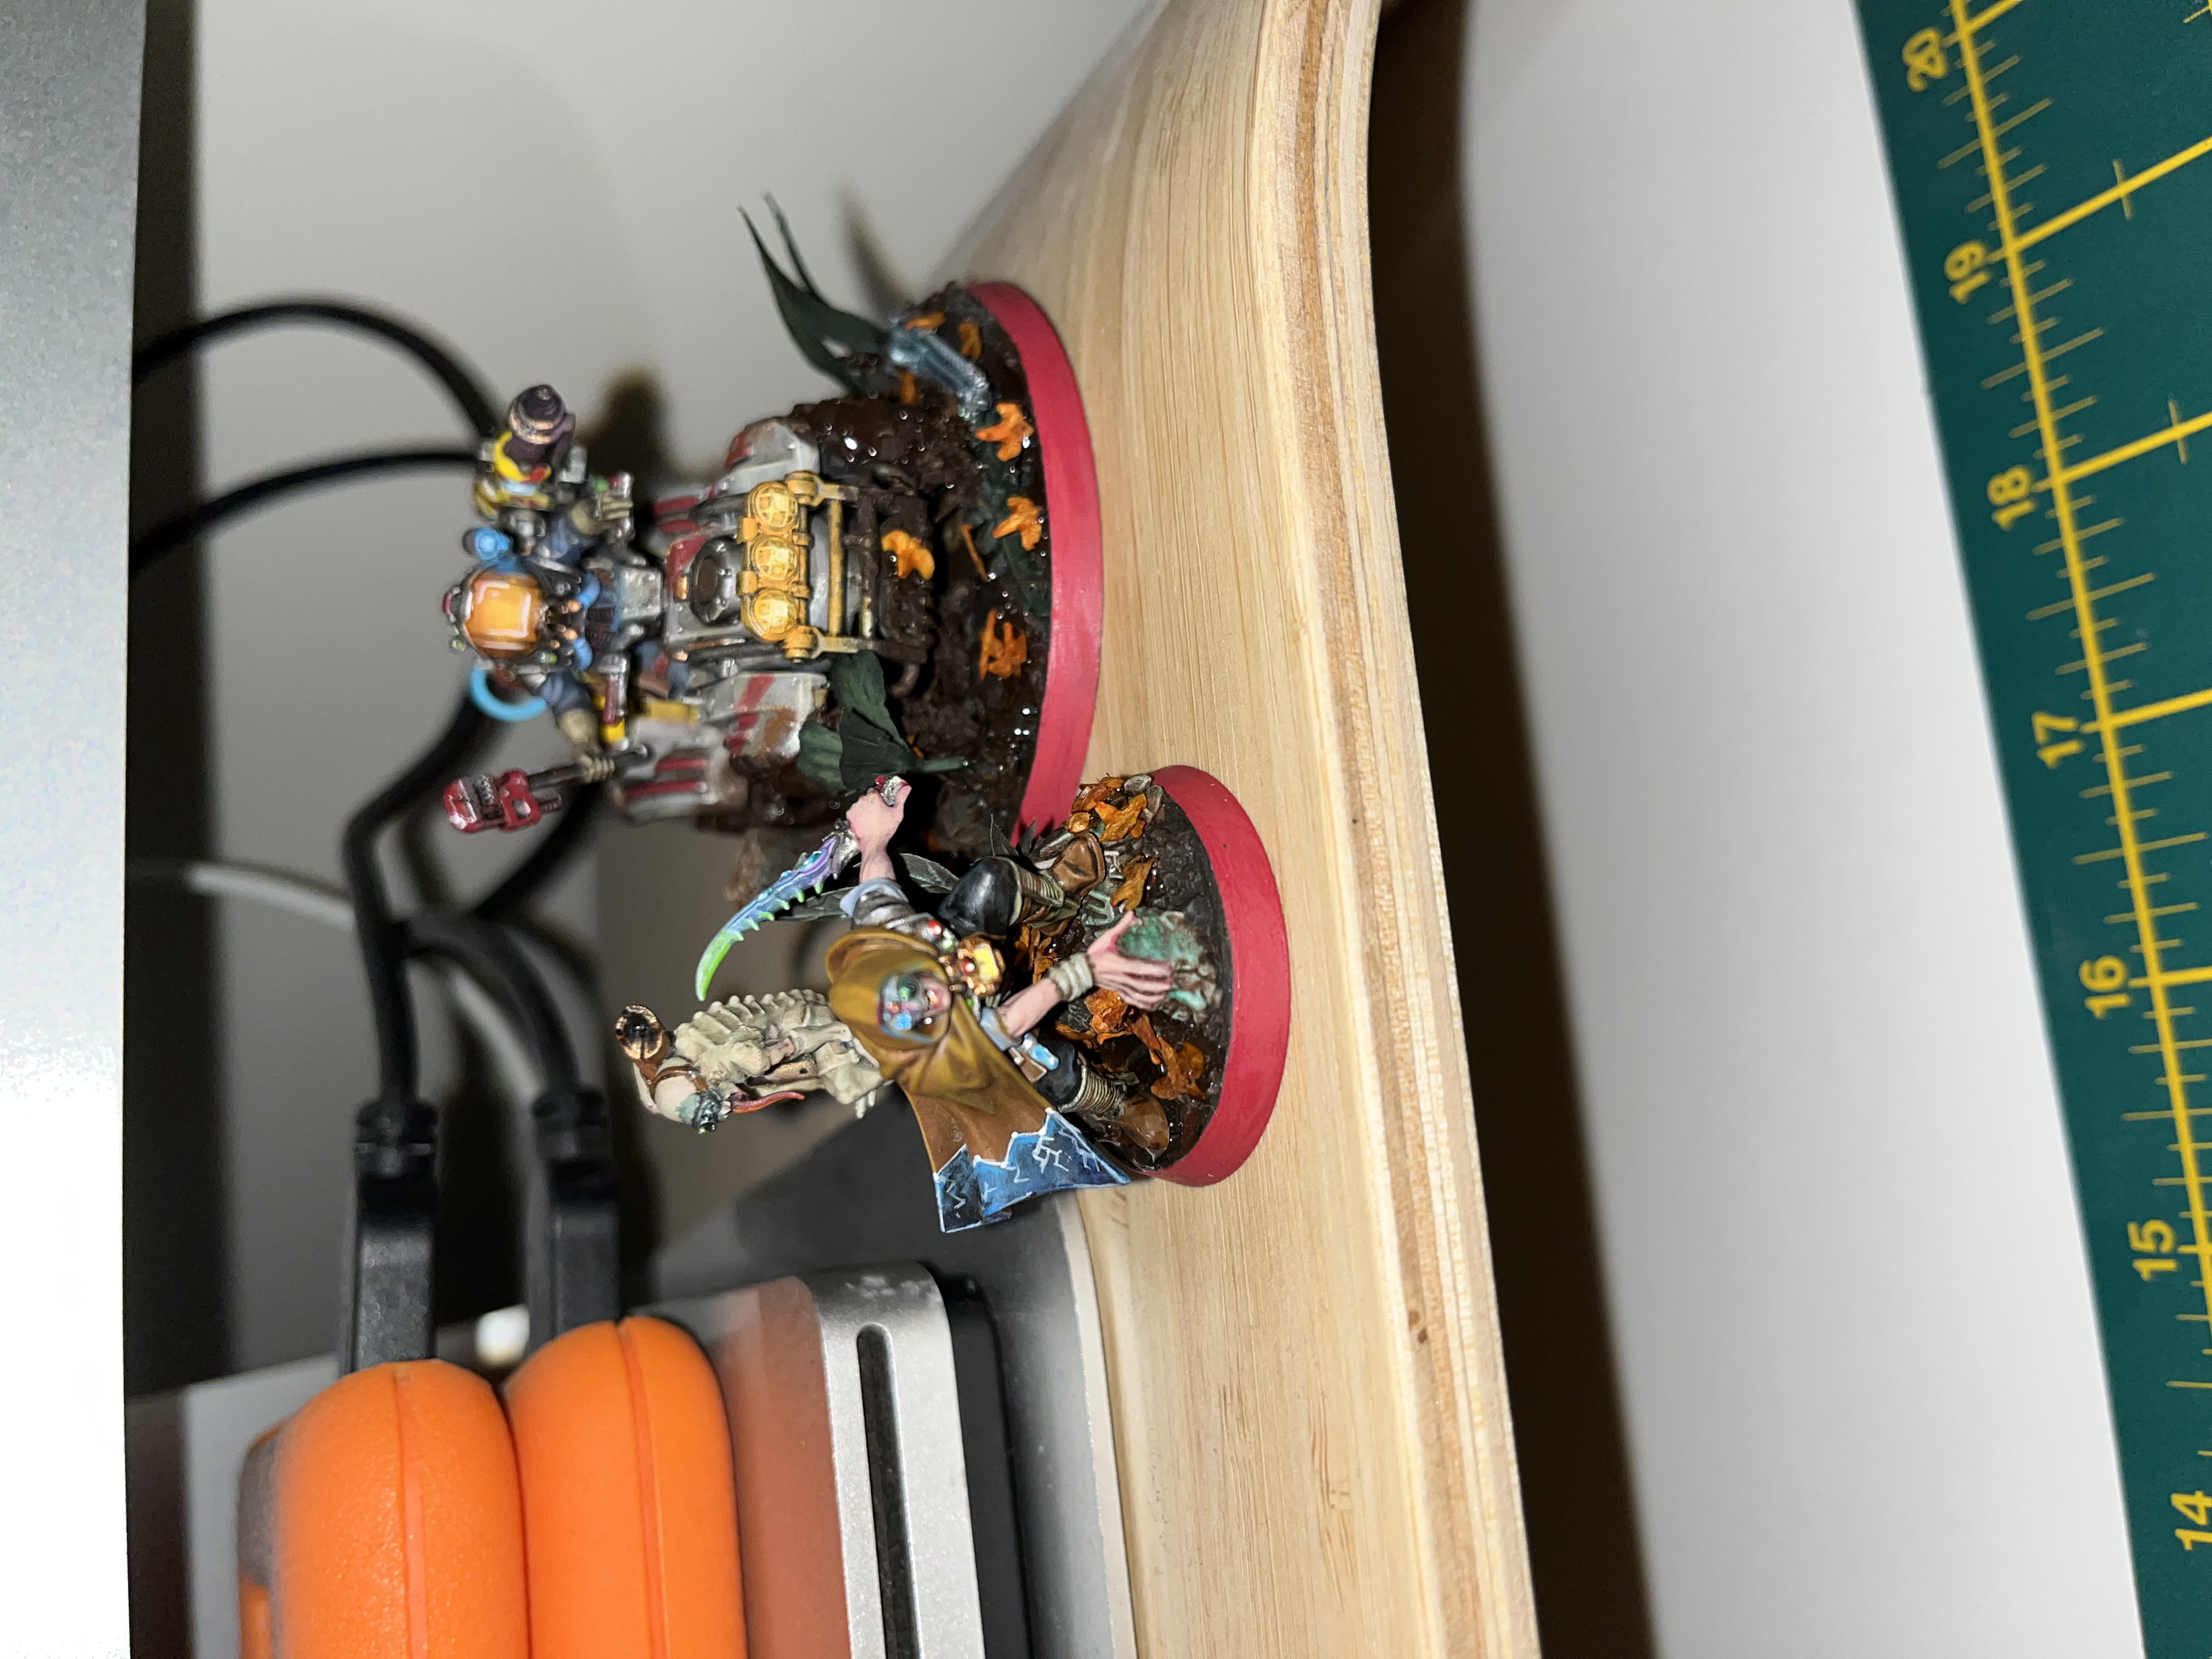
I flew through this guy;
But really enjoyed the process!
Some points of note;
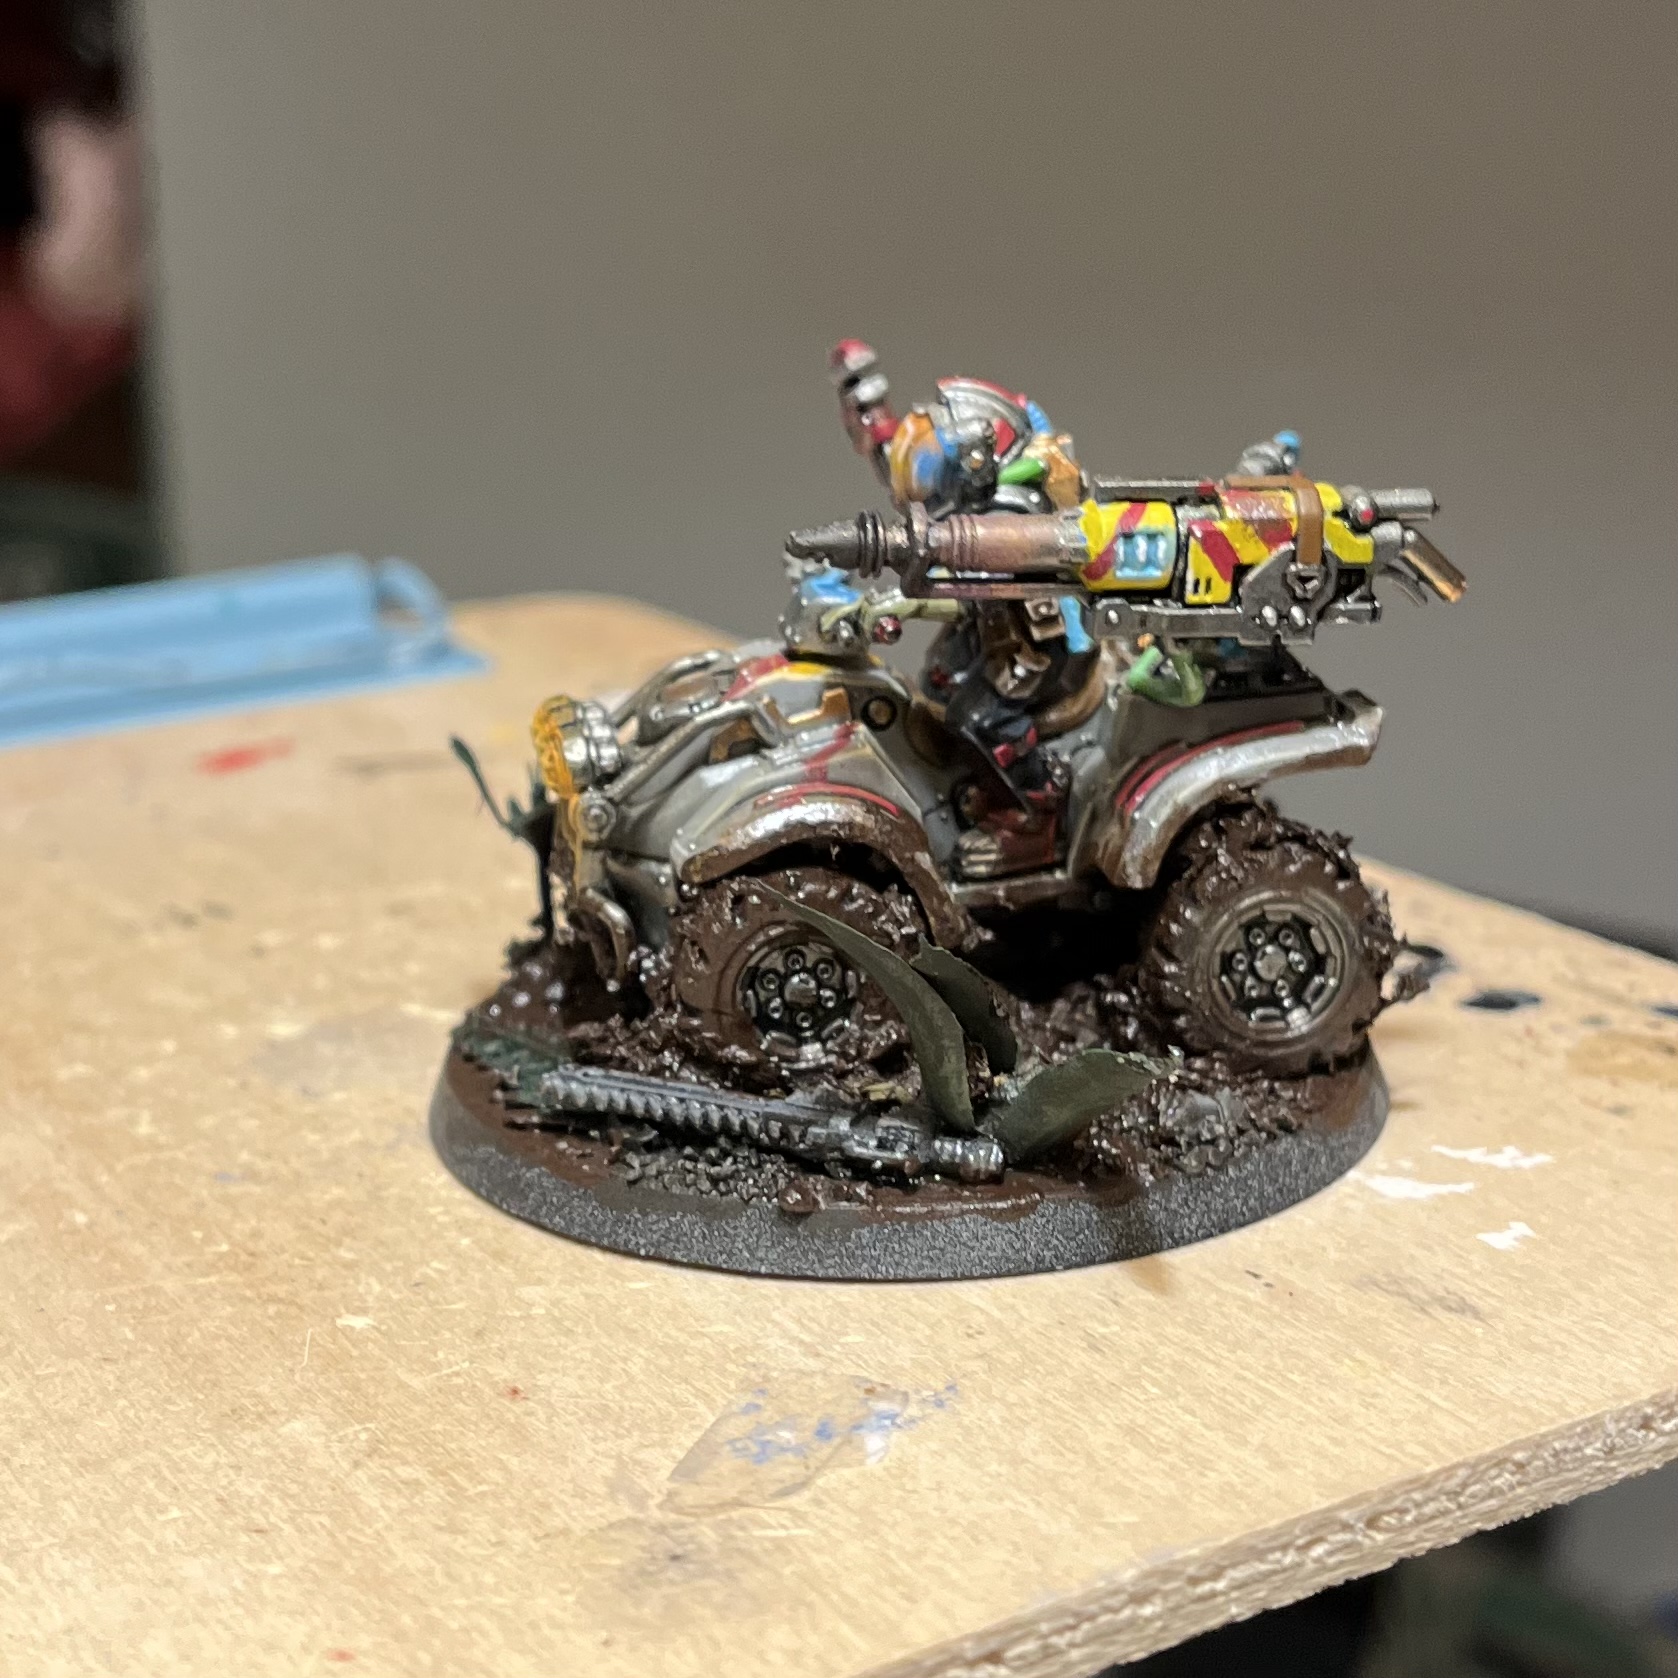
- I achieved the effect on the helmet by firstly painting orange then a large highlight of bright bronze then a smaller highlight of gold and finally some SFD lines of white to show reflection.
- I don’t want any of the jackals overalls to be the same colour; this guy had reaper blue (I think) then highlighted with Russ grey.
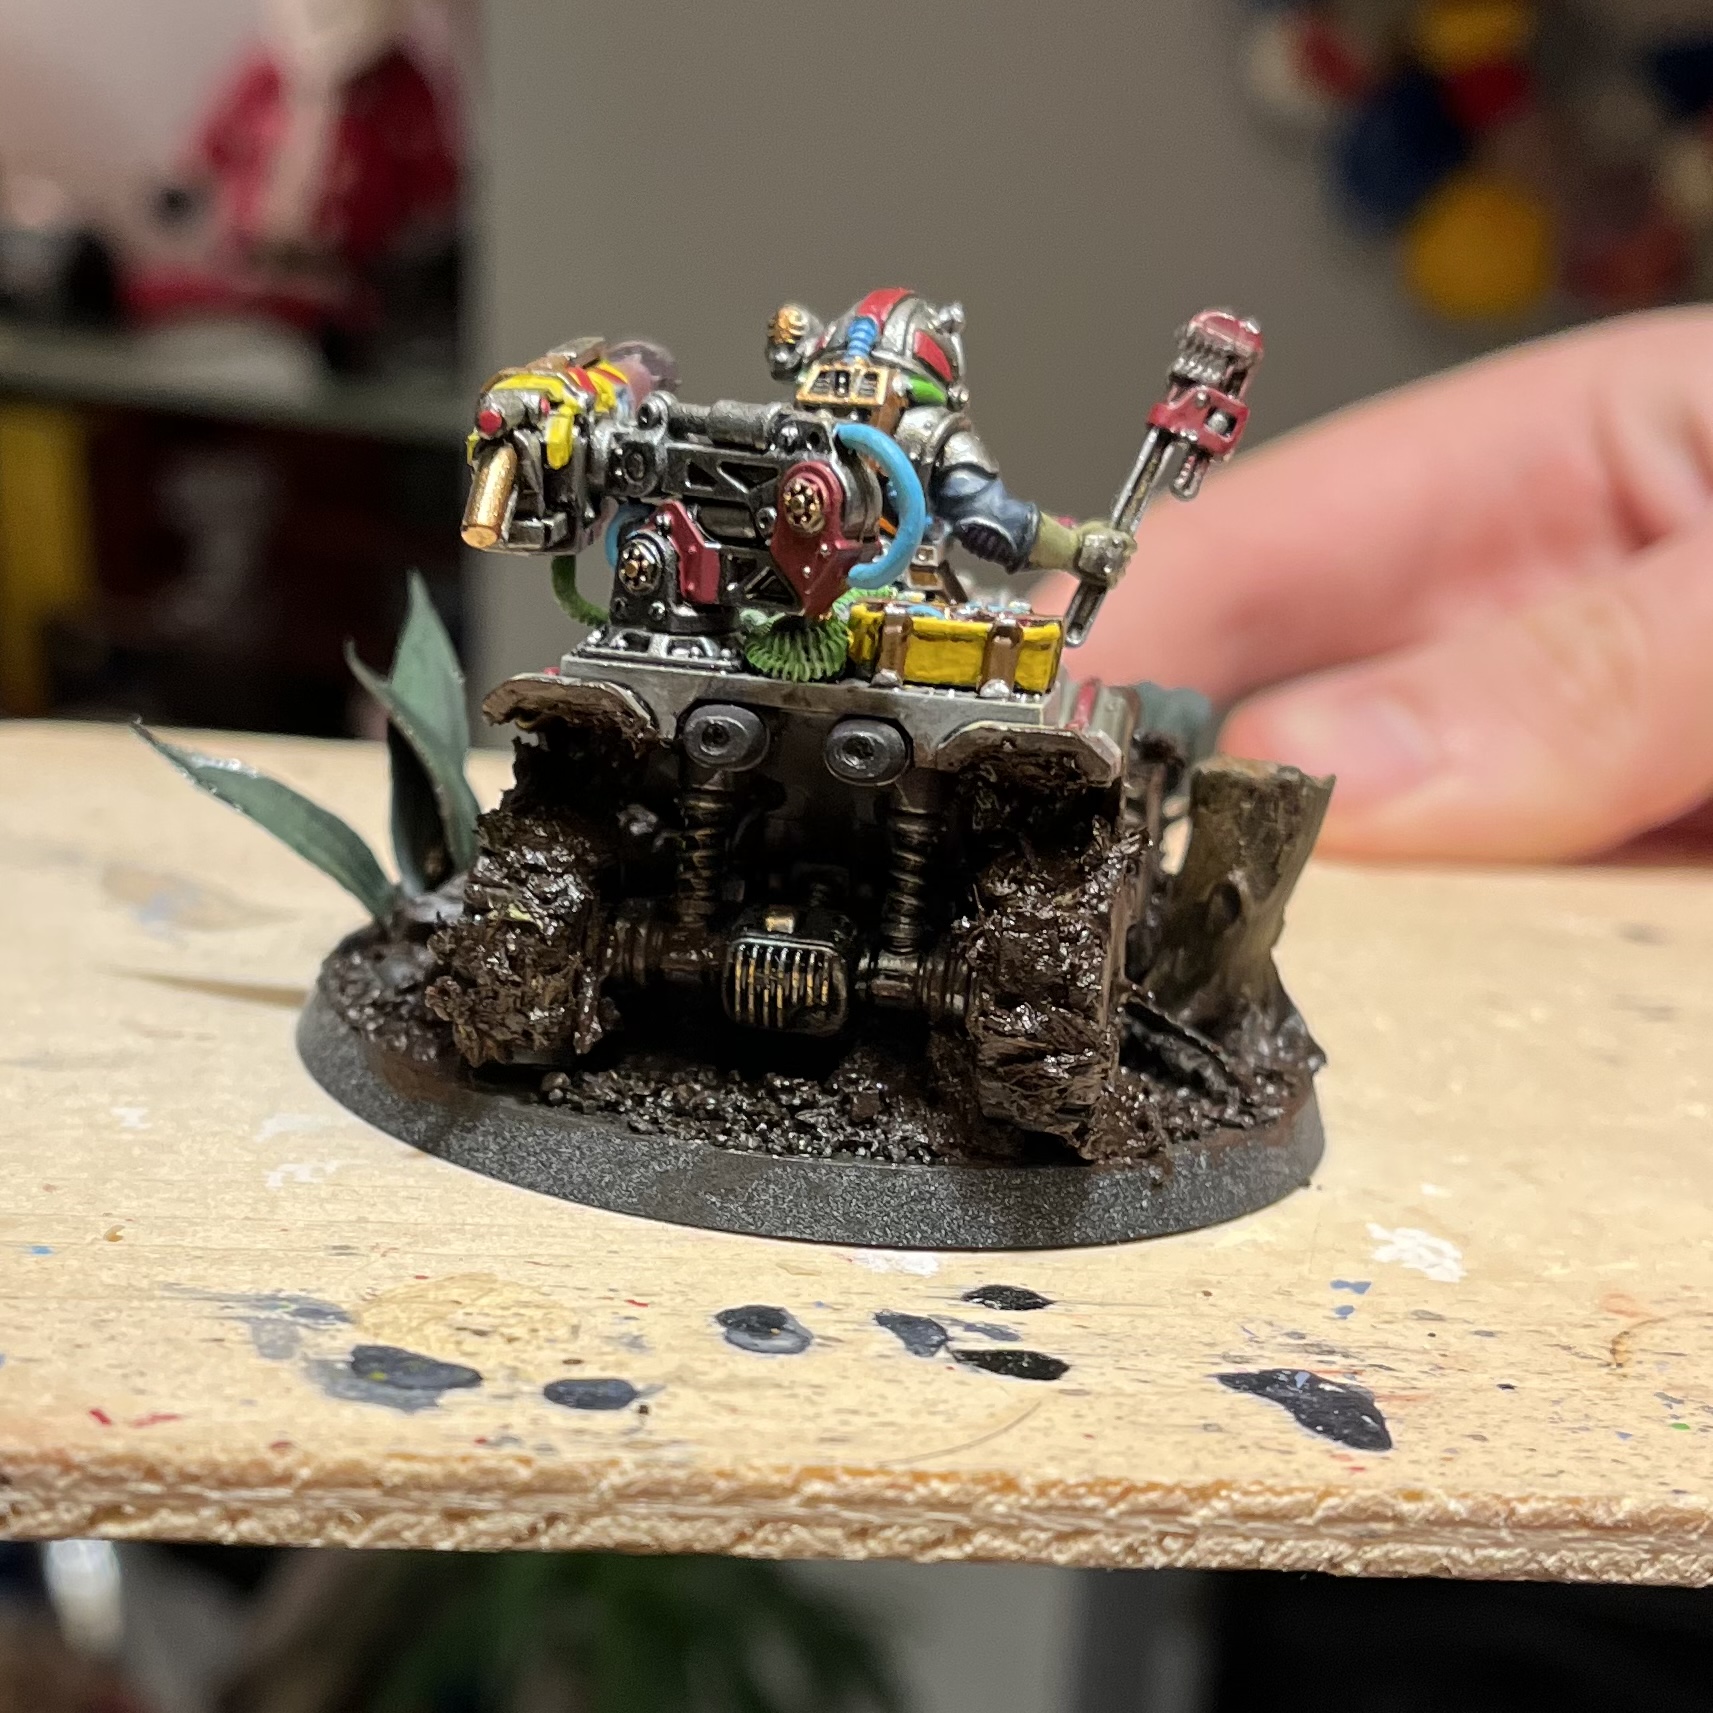
- the mining laser barrel was painted gun metal (lead belcher) then heavily dry brushed bright bronze at the end then a lighter dry brush nearer the top purple then at the very end black. The hollowed out exhausts were done with the same.
- The body of the quad was painted stonewall grey then masking tape was applied and a heavy dry brush of red and yellow was applied at stages then a light dry brush of bleached bone all over and finally an even lighter dry brush of white over the top of the body of the quad.
- I created the OSL on the headlights using a heavy dry brush of orange hitting the headlights and everything that their light would touch then a lighter dry brush of yellow nearer the centre of the headlight and finally a really light dry brush in the very centre with white.
- Inspired by MS Paints (check him out on YouTube) I mixed mixed herbs (like what you cook with) with green stuff mud texture and dark earth pigment. I applied this thickly to the wheels to make it look like the tires were digging up the wet earth around them and did the same trick as the Sanctus with green stuff UV resin and green stuff leaves.
I think that’s all the fun stuff; if you have any questions please ask!
Next up the sergeant!