






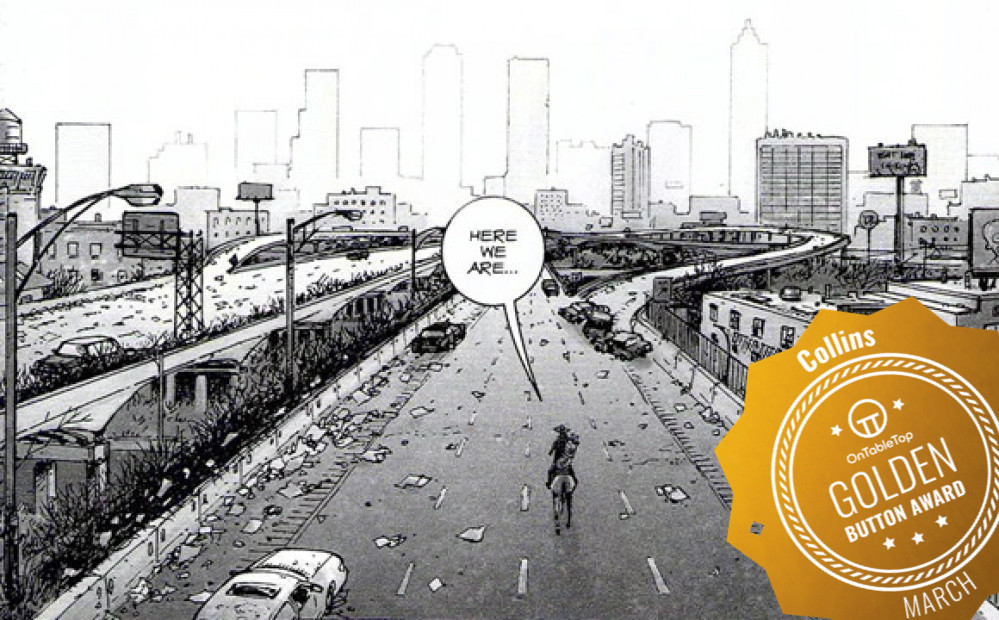
Collins builds the world of The Walking Dead




Recommendations: 1516
About the Project
In this project I will be building boards that are interesting and unique from The Walking Dead and using them in another project as I document my solo play through of Mantic Games The Walking Dead All Out War. I may take inspiration from the comics or the TV show, i'm not fussed for timelines etc and i'll be making my own story for Rick along the way. Enjoy this project is the building and prep project, go view my other one for the storyline (battle reports)
Related Game: The Walking Dead: All Out War
Related Company: Mantic Games
Related Genre: Pulp
Related Contest: Spring Clean Hobby Challenge 2026
This Project is Active
220 horse power down to 1 horse power
As Rick failed to get any petrol from Dinogas he’s going to have to ditch his car and find another mode of transport. This is playing out just like the comics so far just with more death and injuries than we initially saw.
This means painting up ‘Rick on a Horse’ model, one from the range that kinda doesn’t have much of a place in the game until more horse models were released. a few people made some amazing dioramas using it back in the day though.
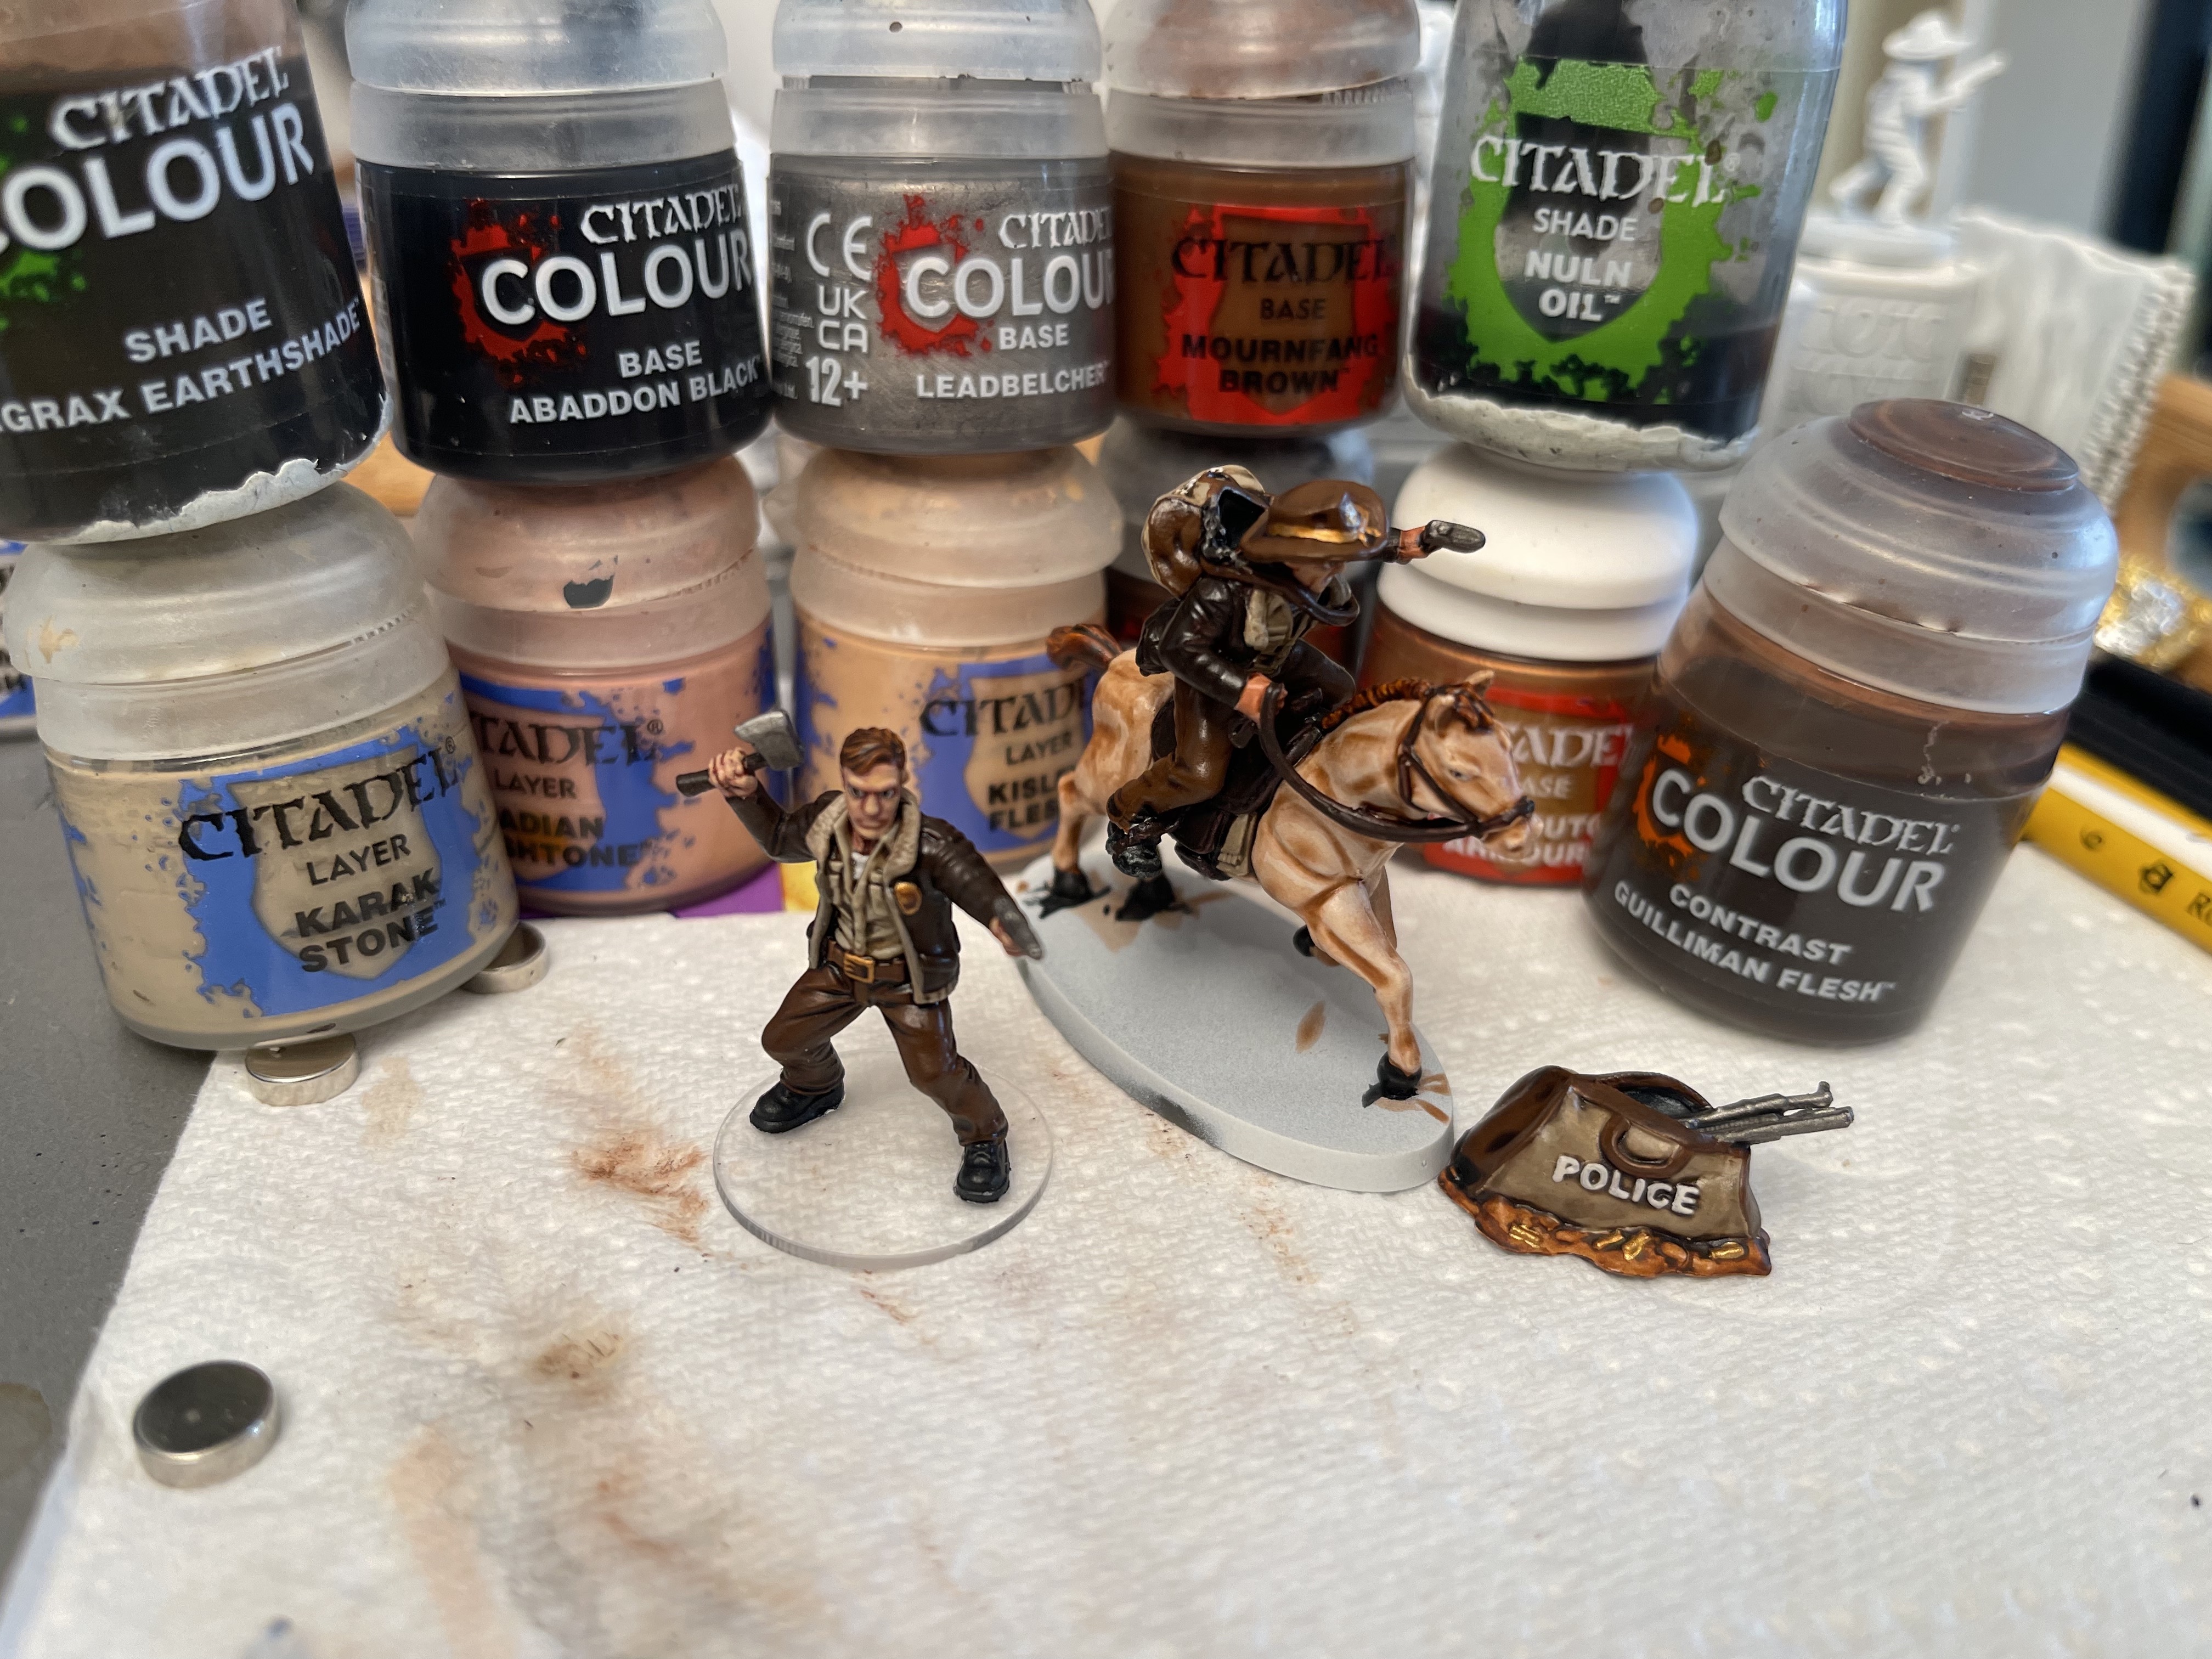
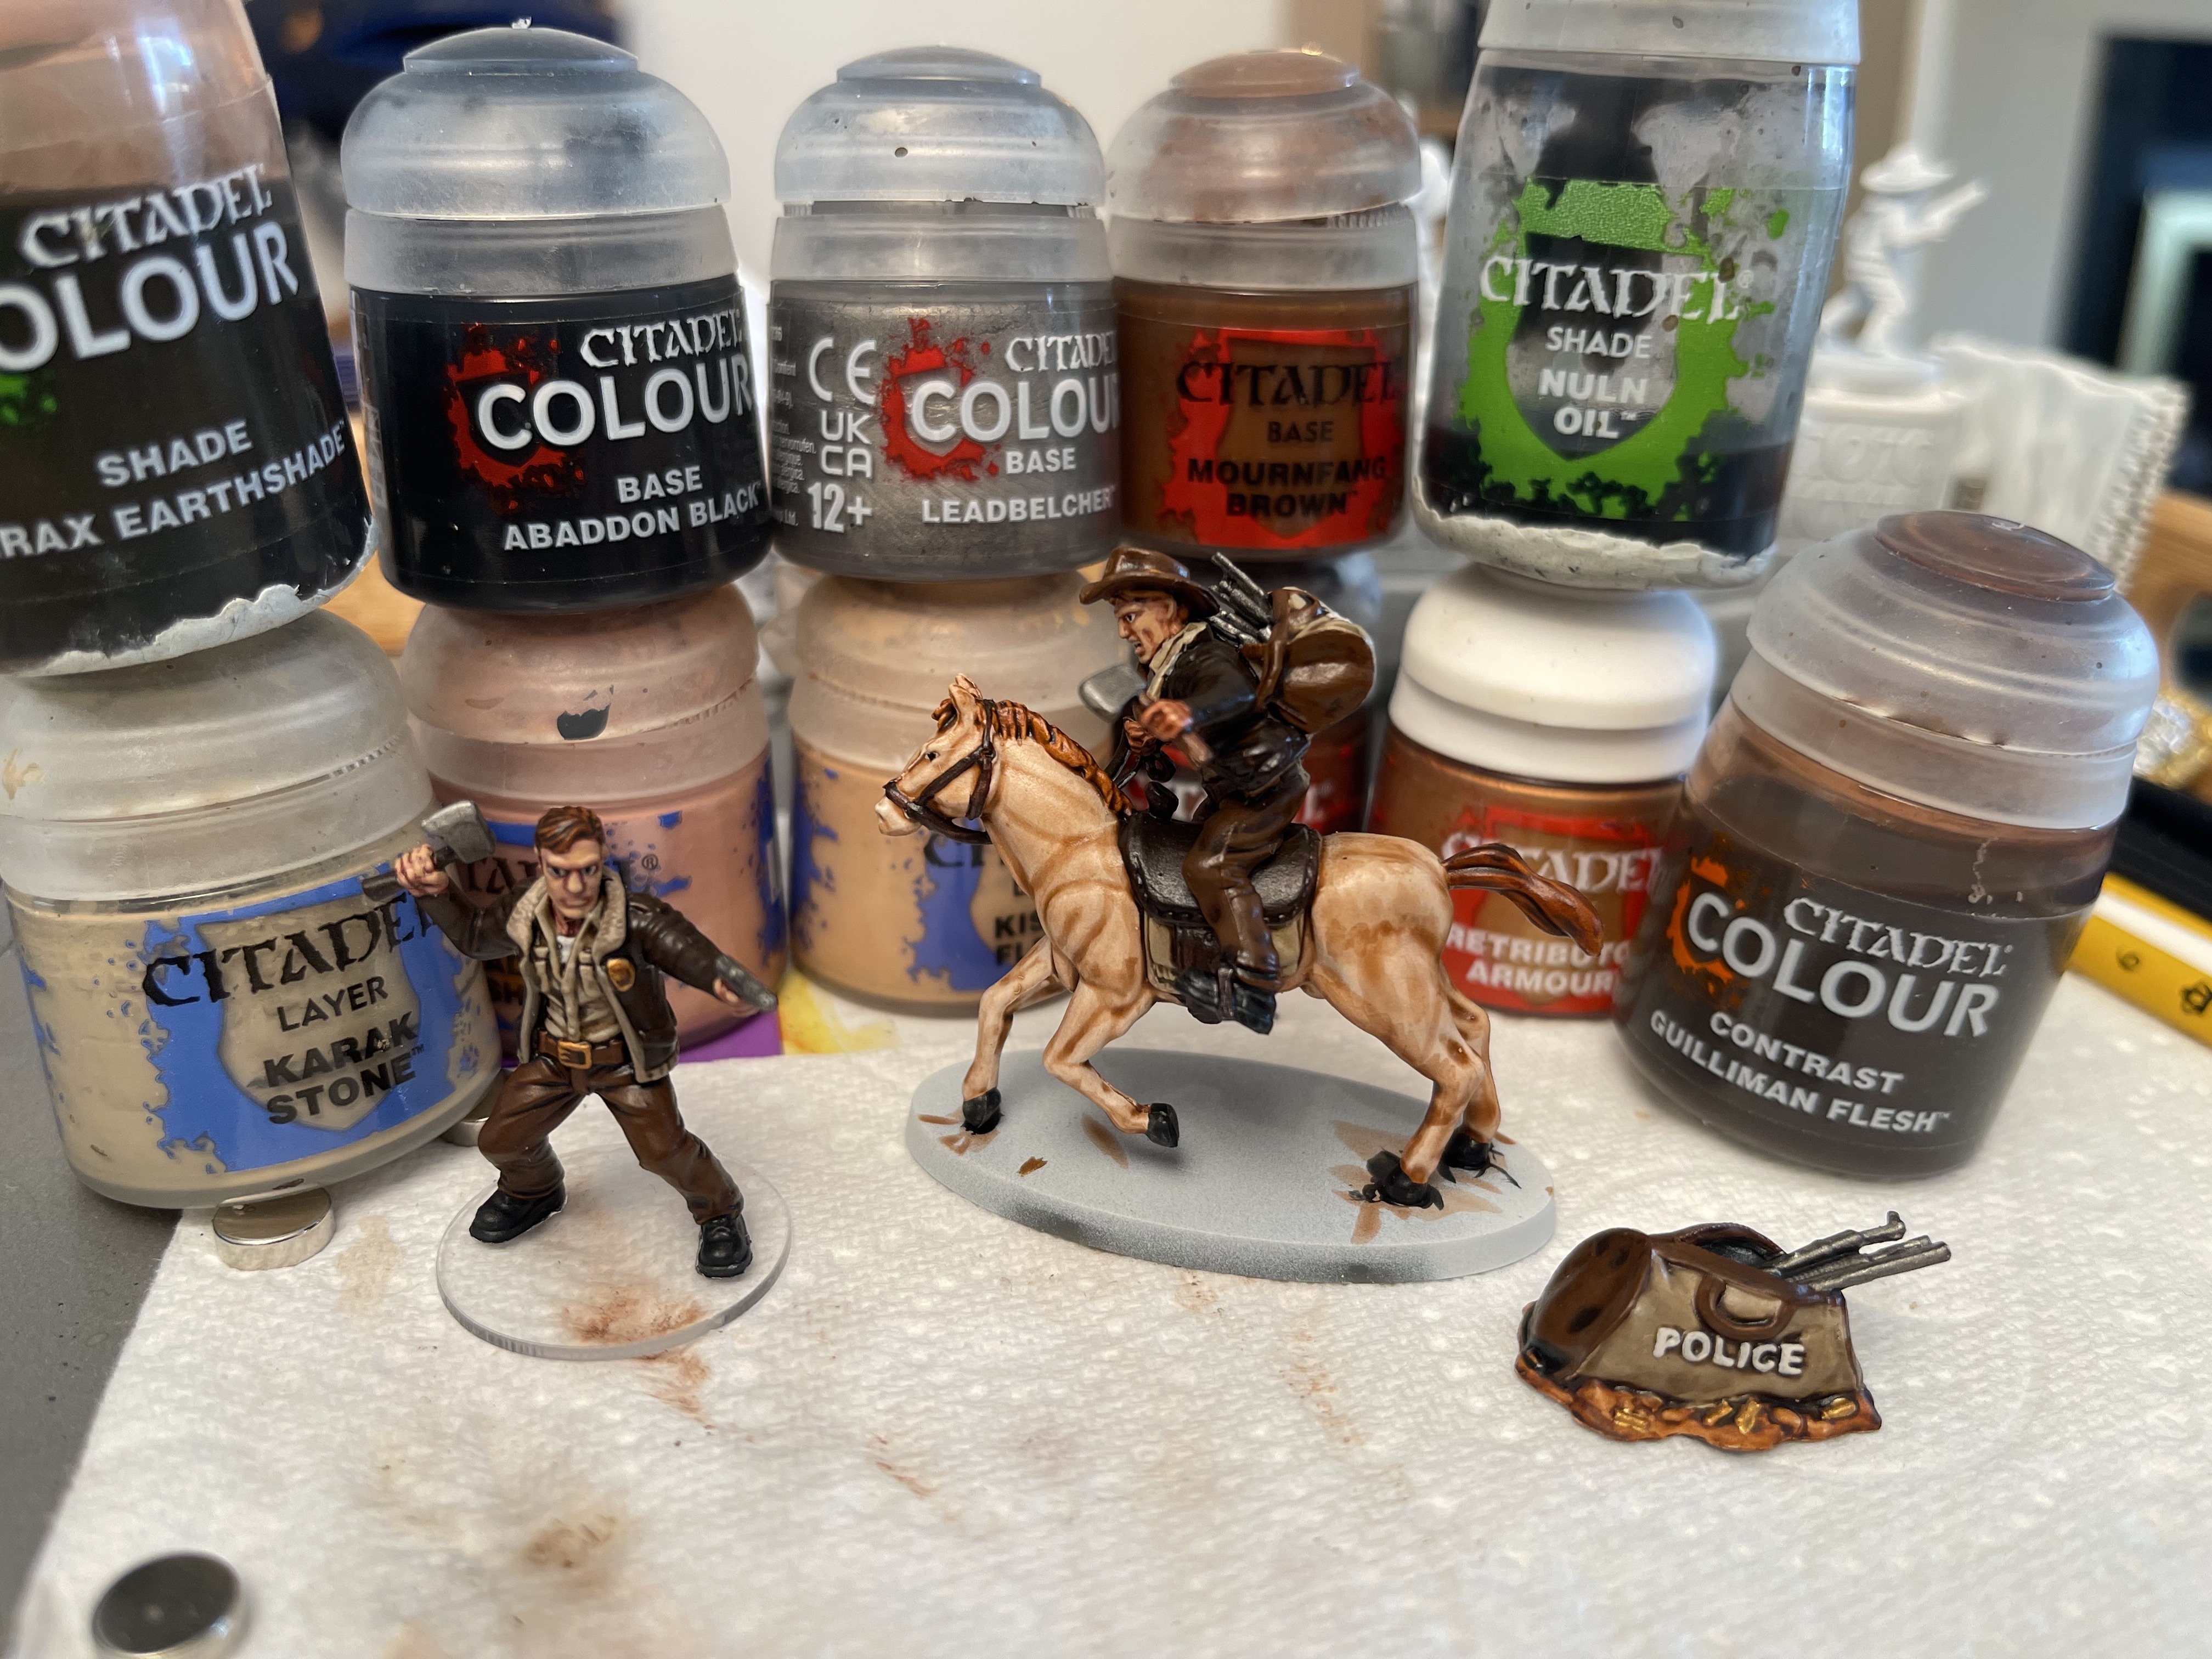
I painted Rick the same way I painted the dismounted Rick. The horse I painted with contrast paint, specifically guilliman flesh.
thinned down with medium to make it quite pale and applied thinly to identify the very basic muscular lines etc. then filled in the lines with deliberate brushstrokes and tried adding shade or depth where I felt it needed it before finally giving another coat of thinned contrast just to bump up the colour on the raised areas.
The tail and mane were done using gore-grunta fur which is a lovely colour for brown hair.
Mantic terrain crate
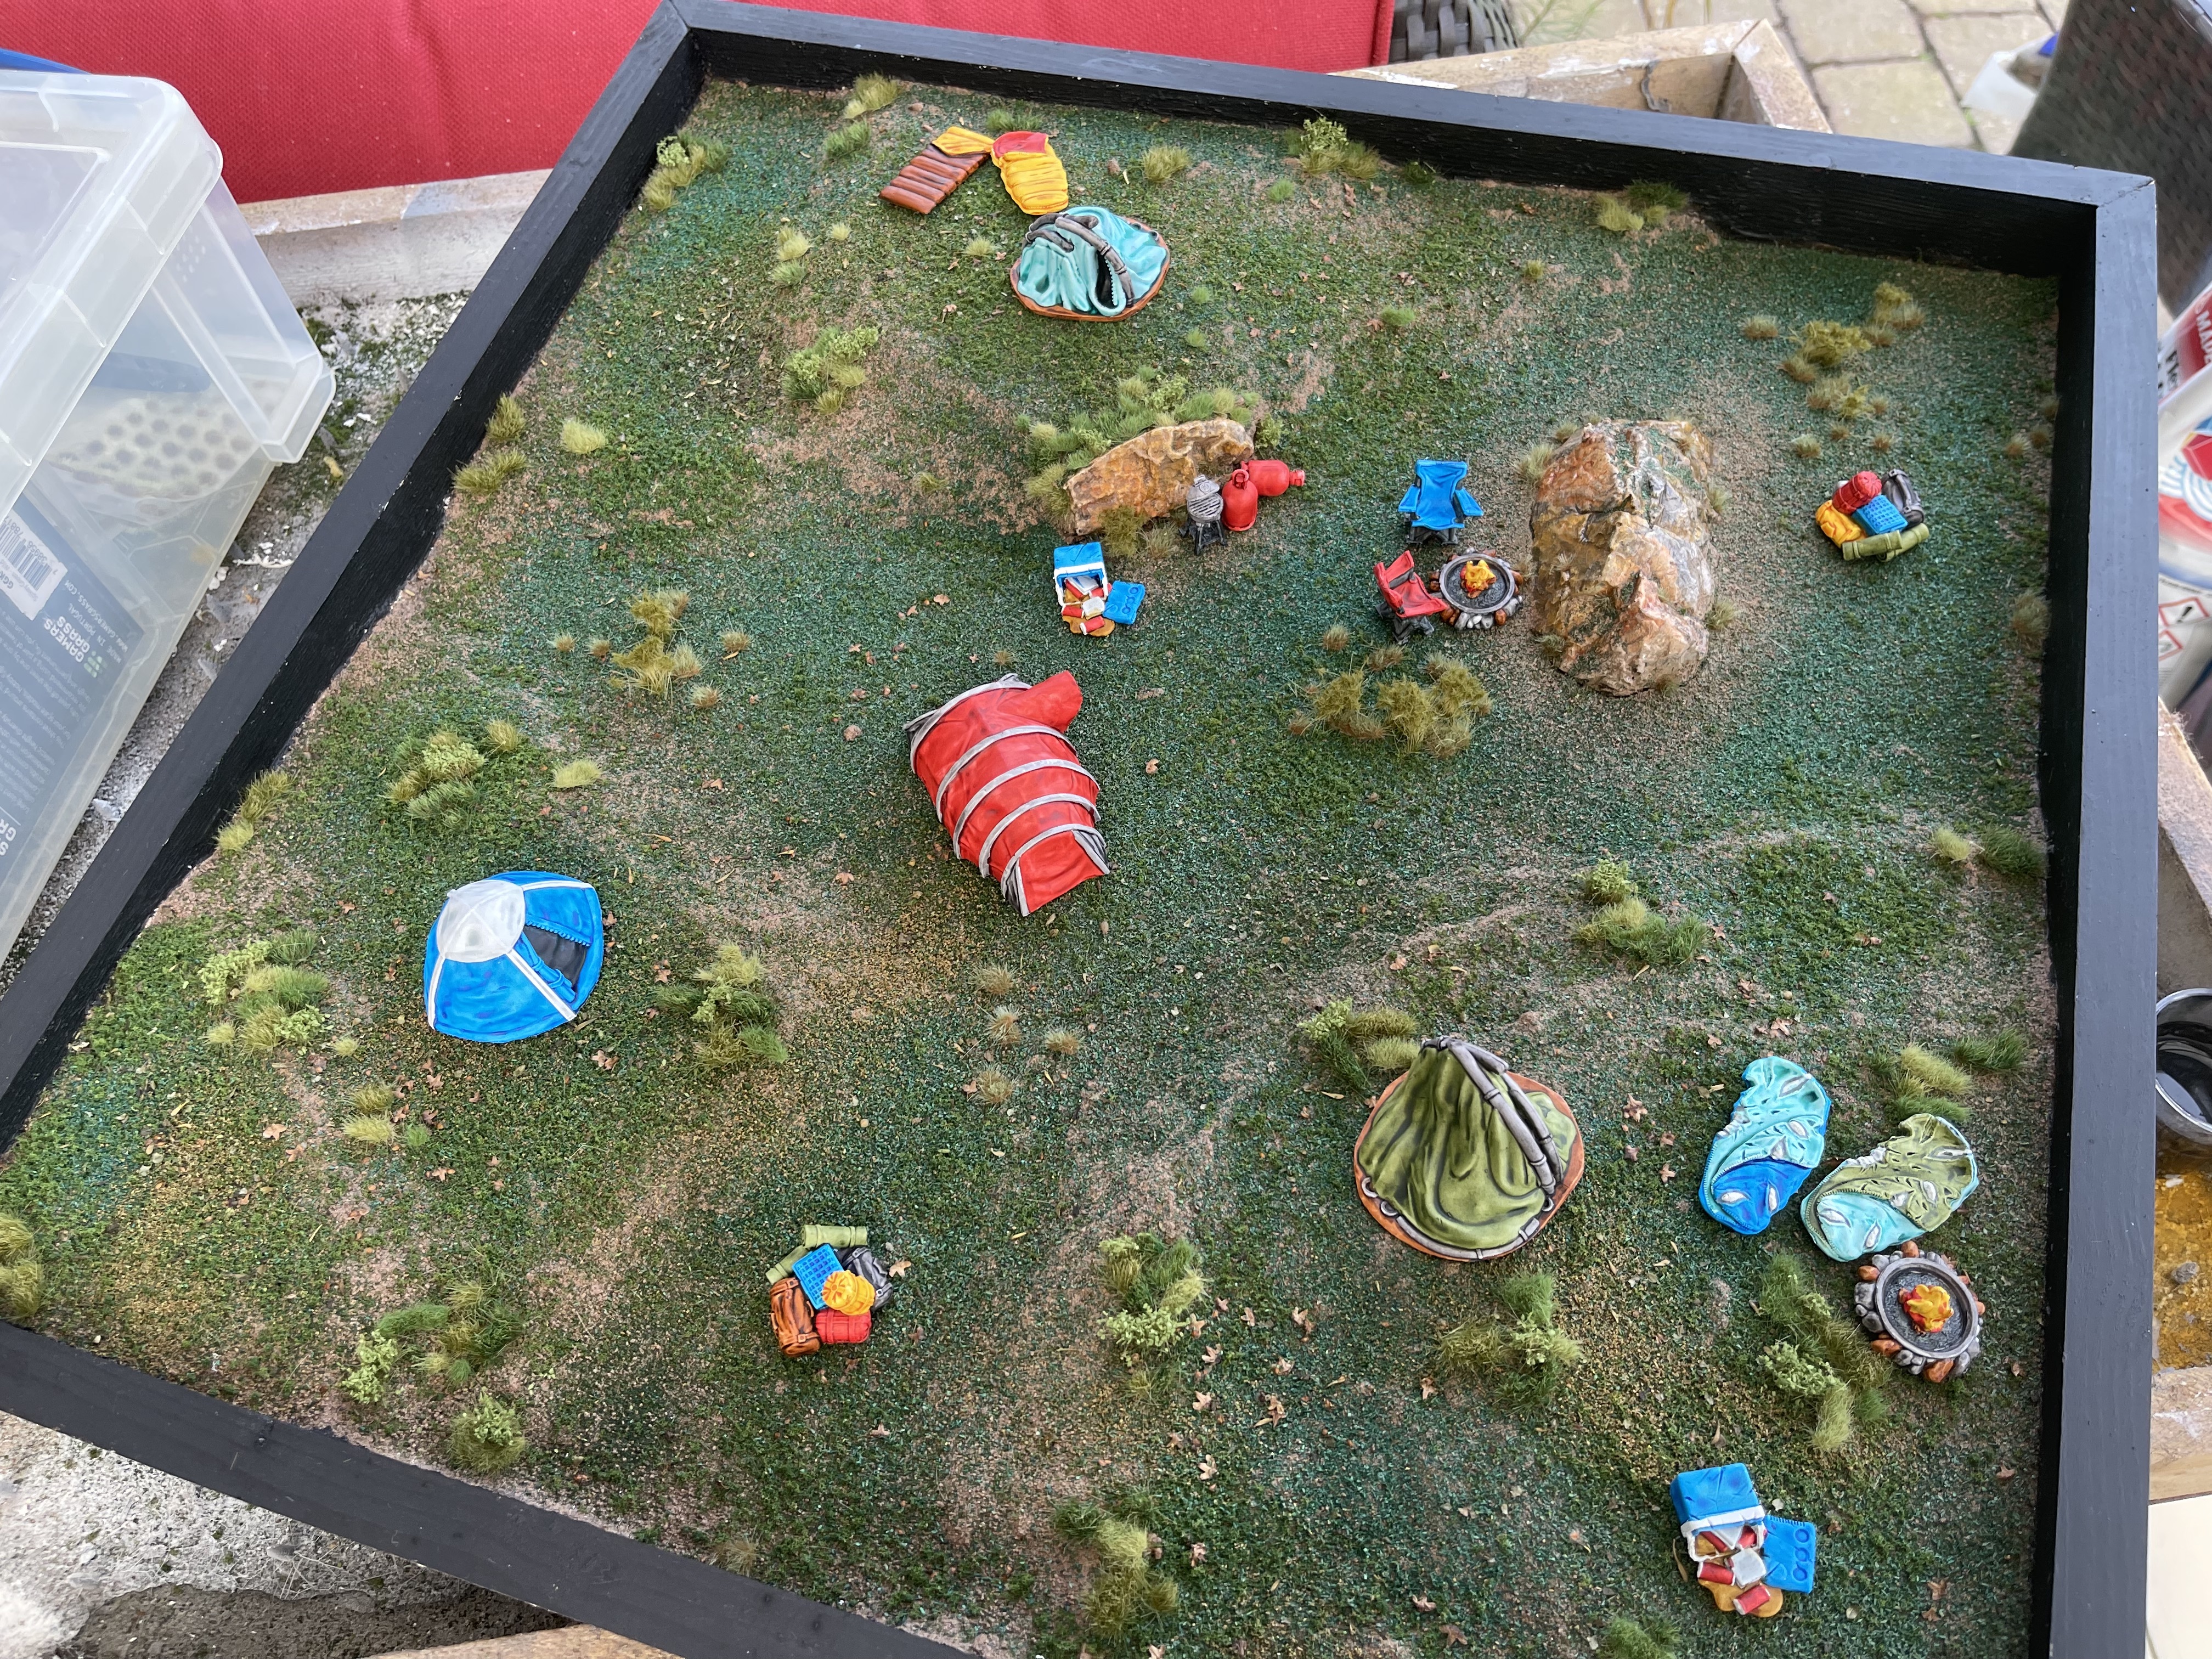
I bought a mystery terrain crate hoping to get shed loads of the walking dead stuff they made but for a quarter the price. I mostly got a hit! pretty happy with that transaction really.
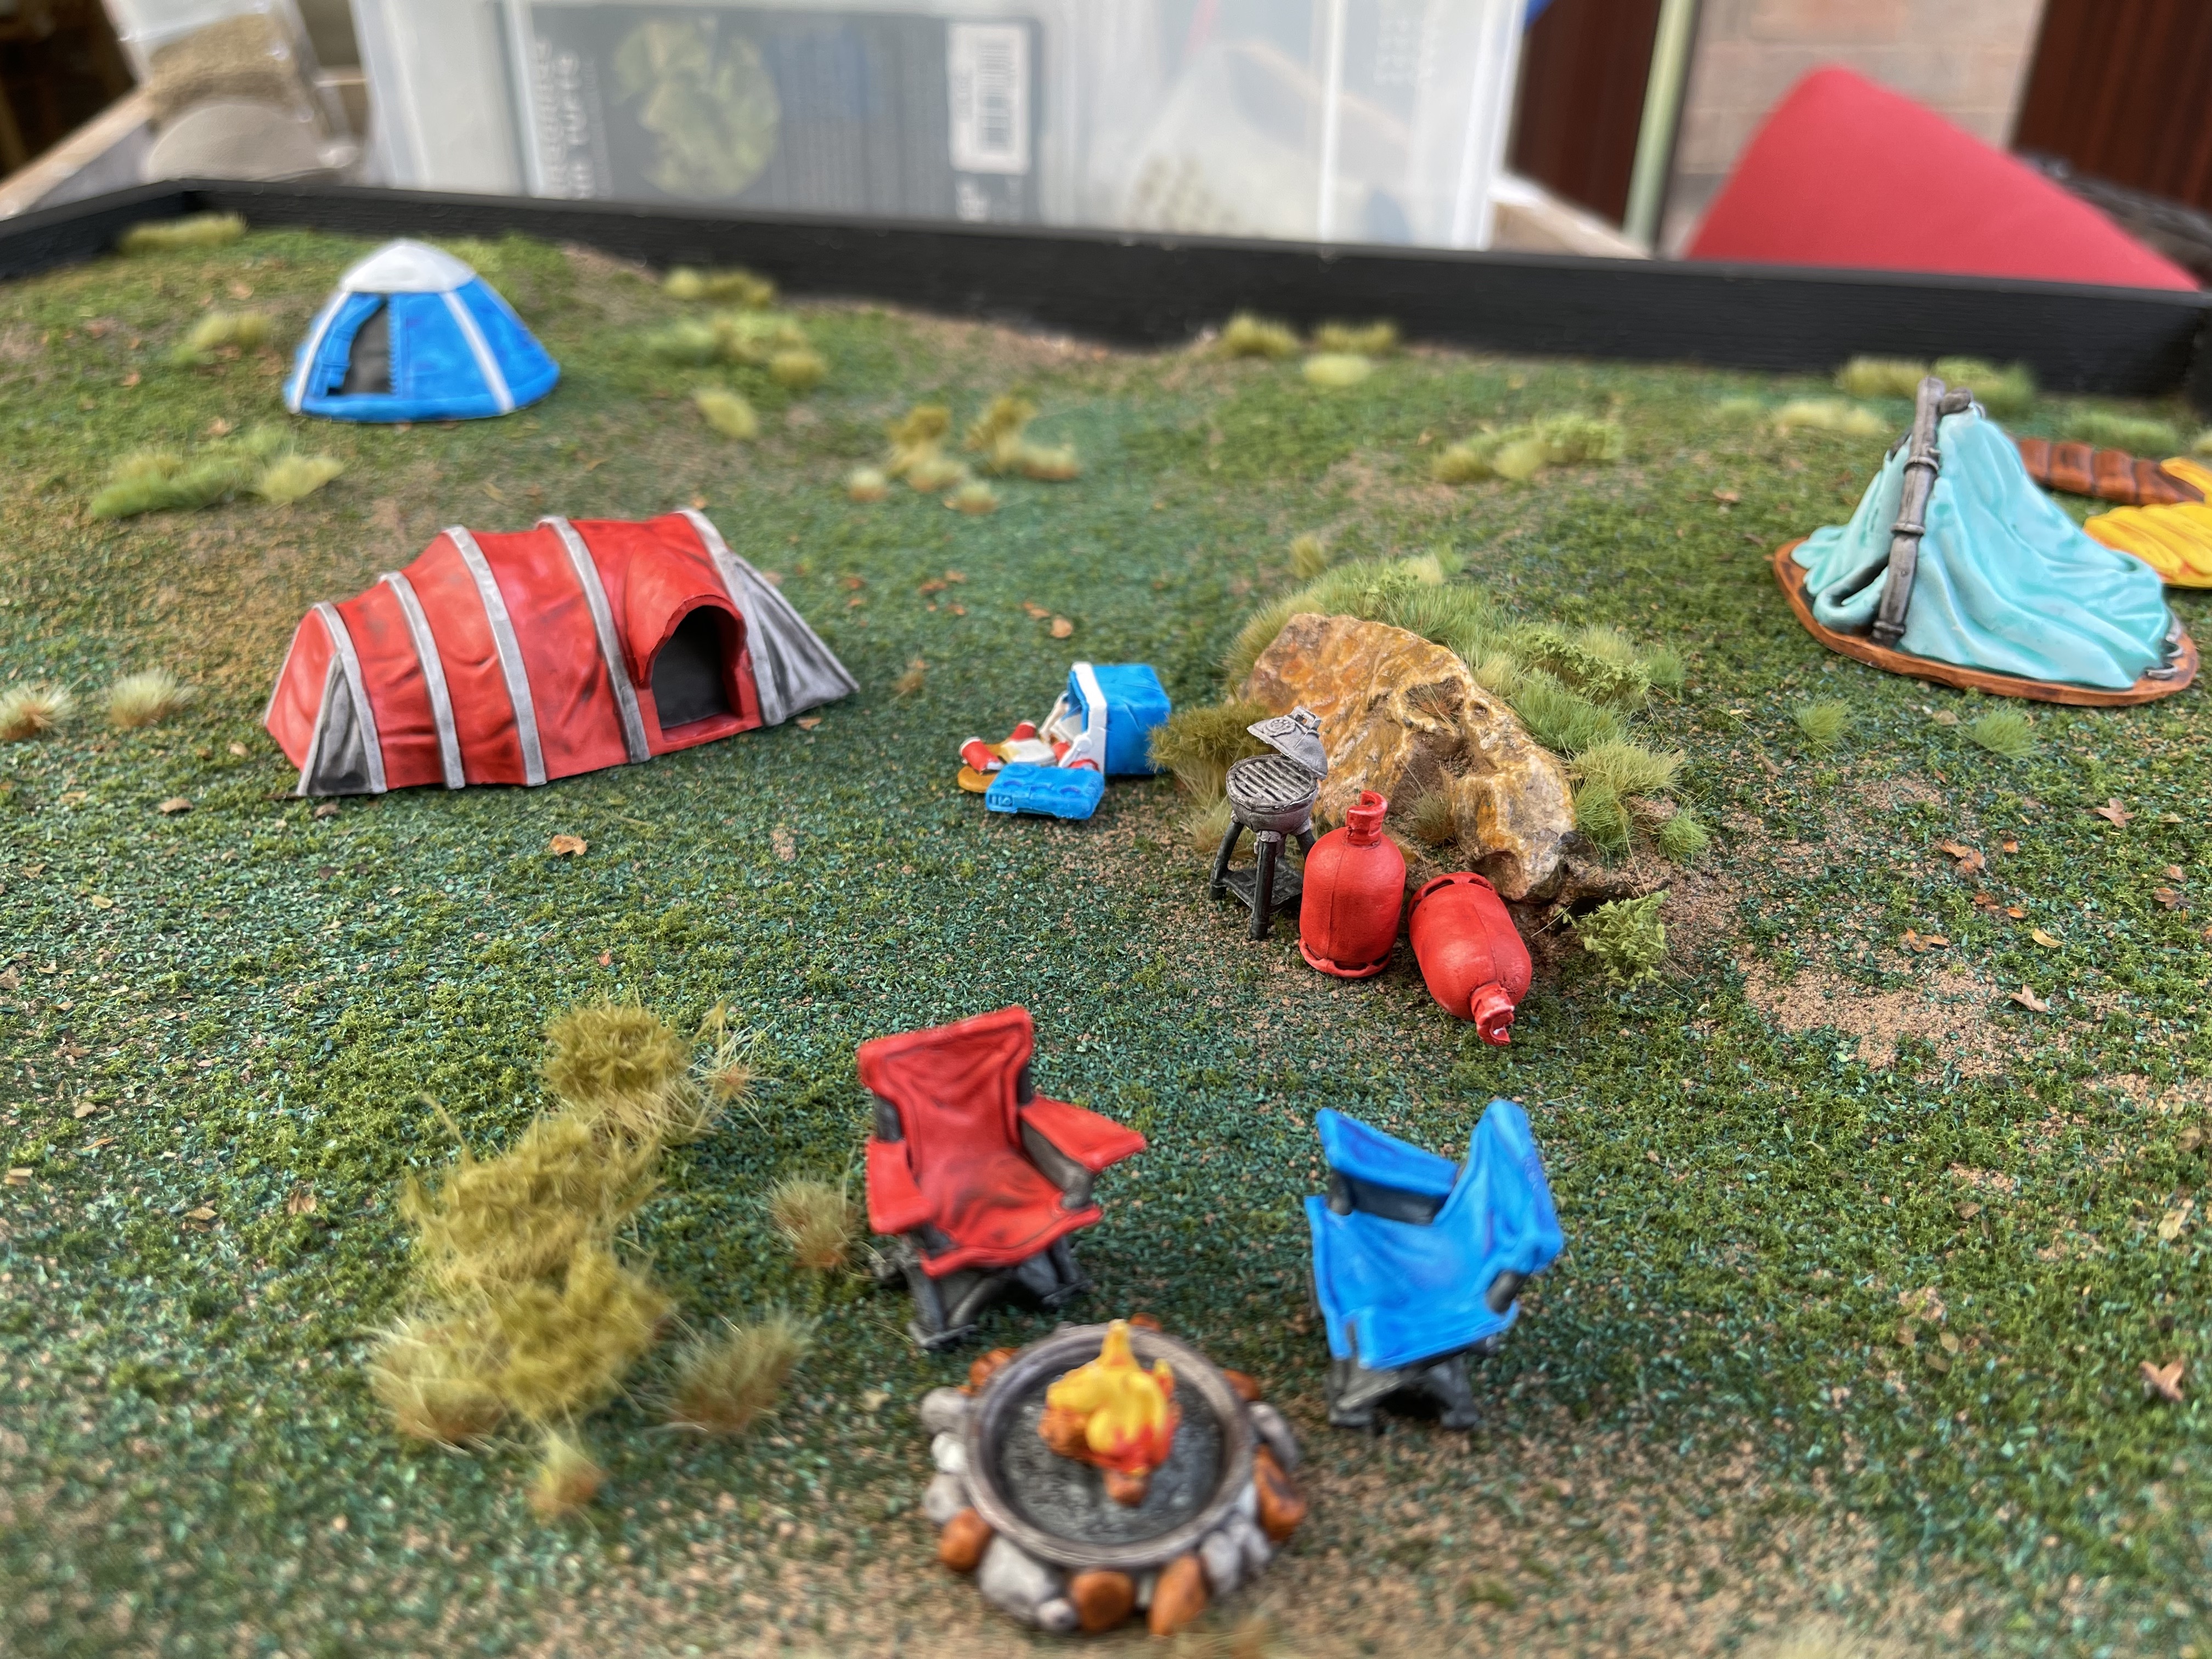
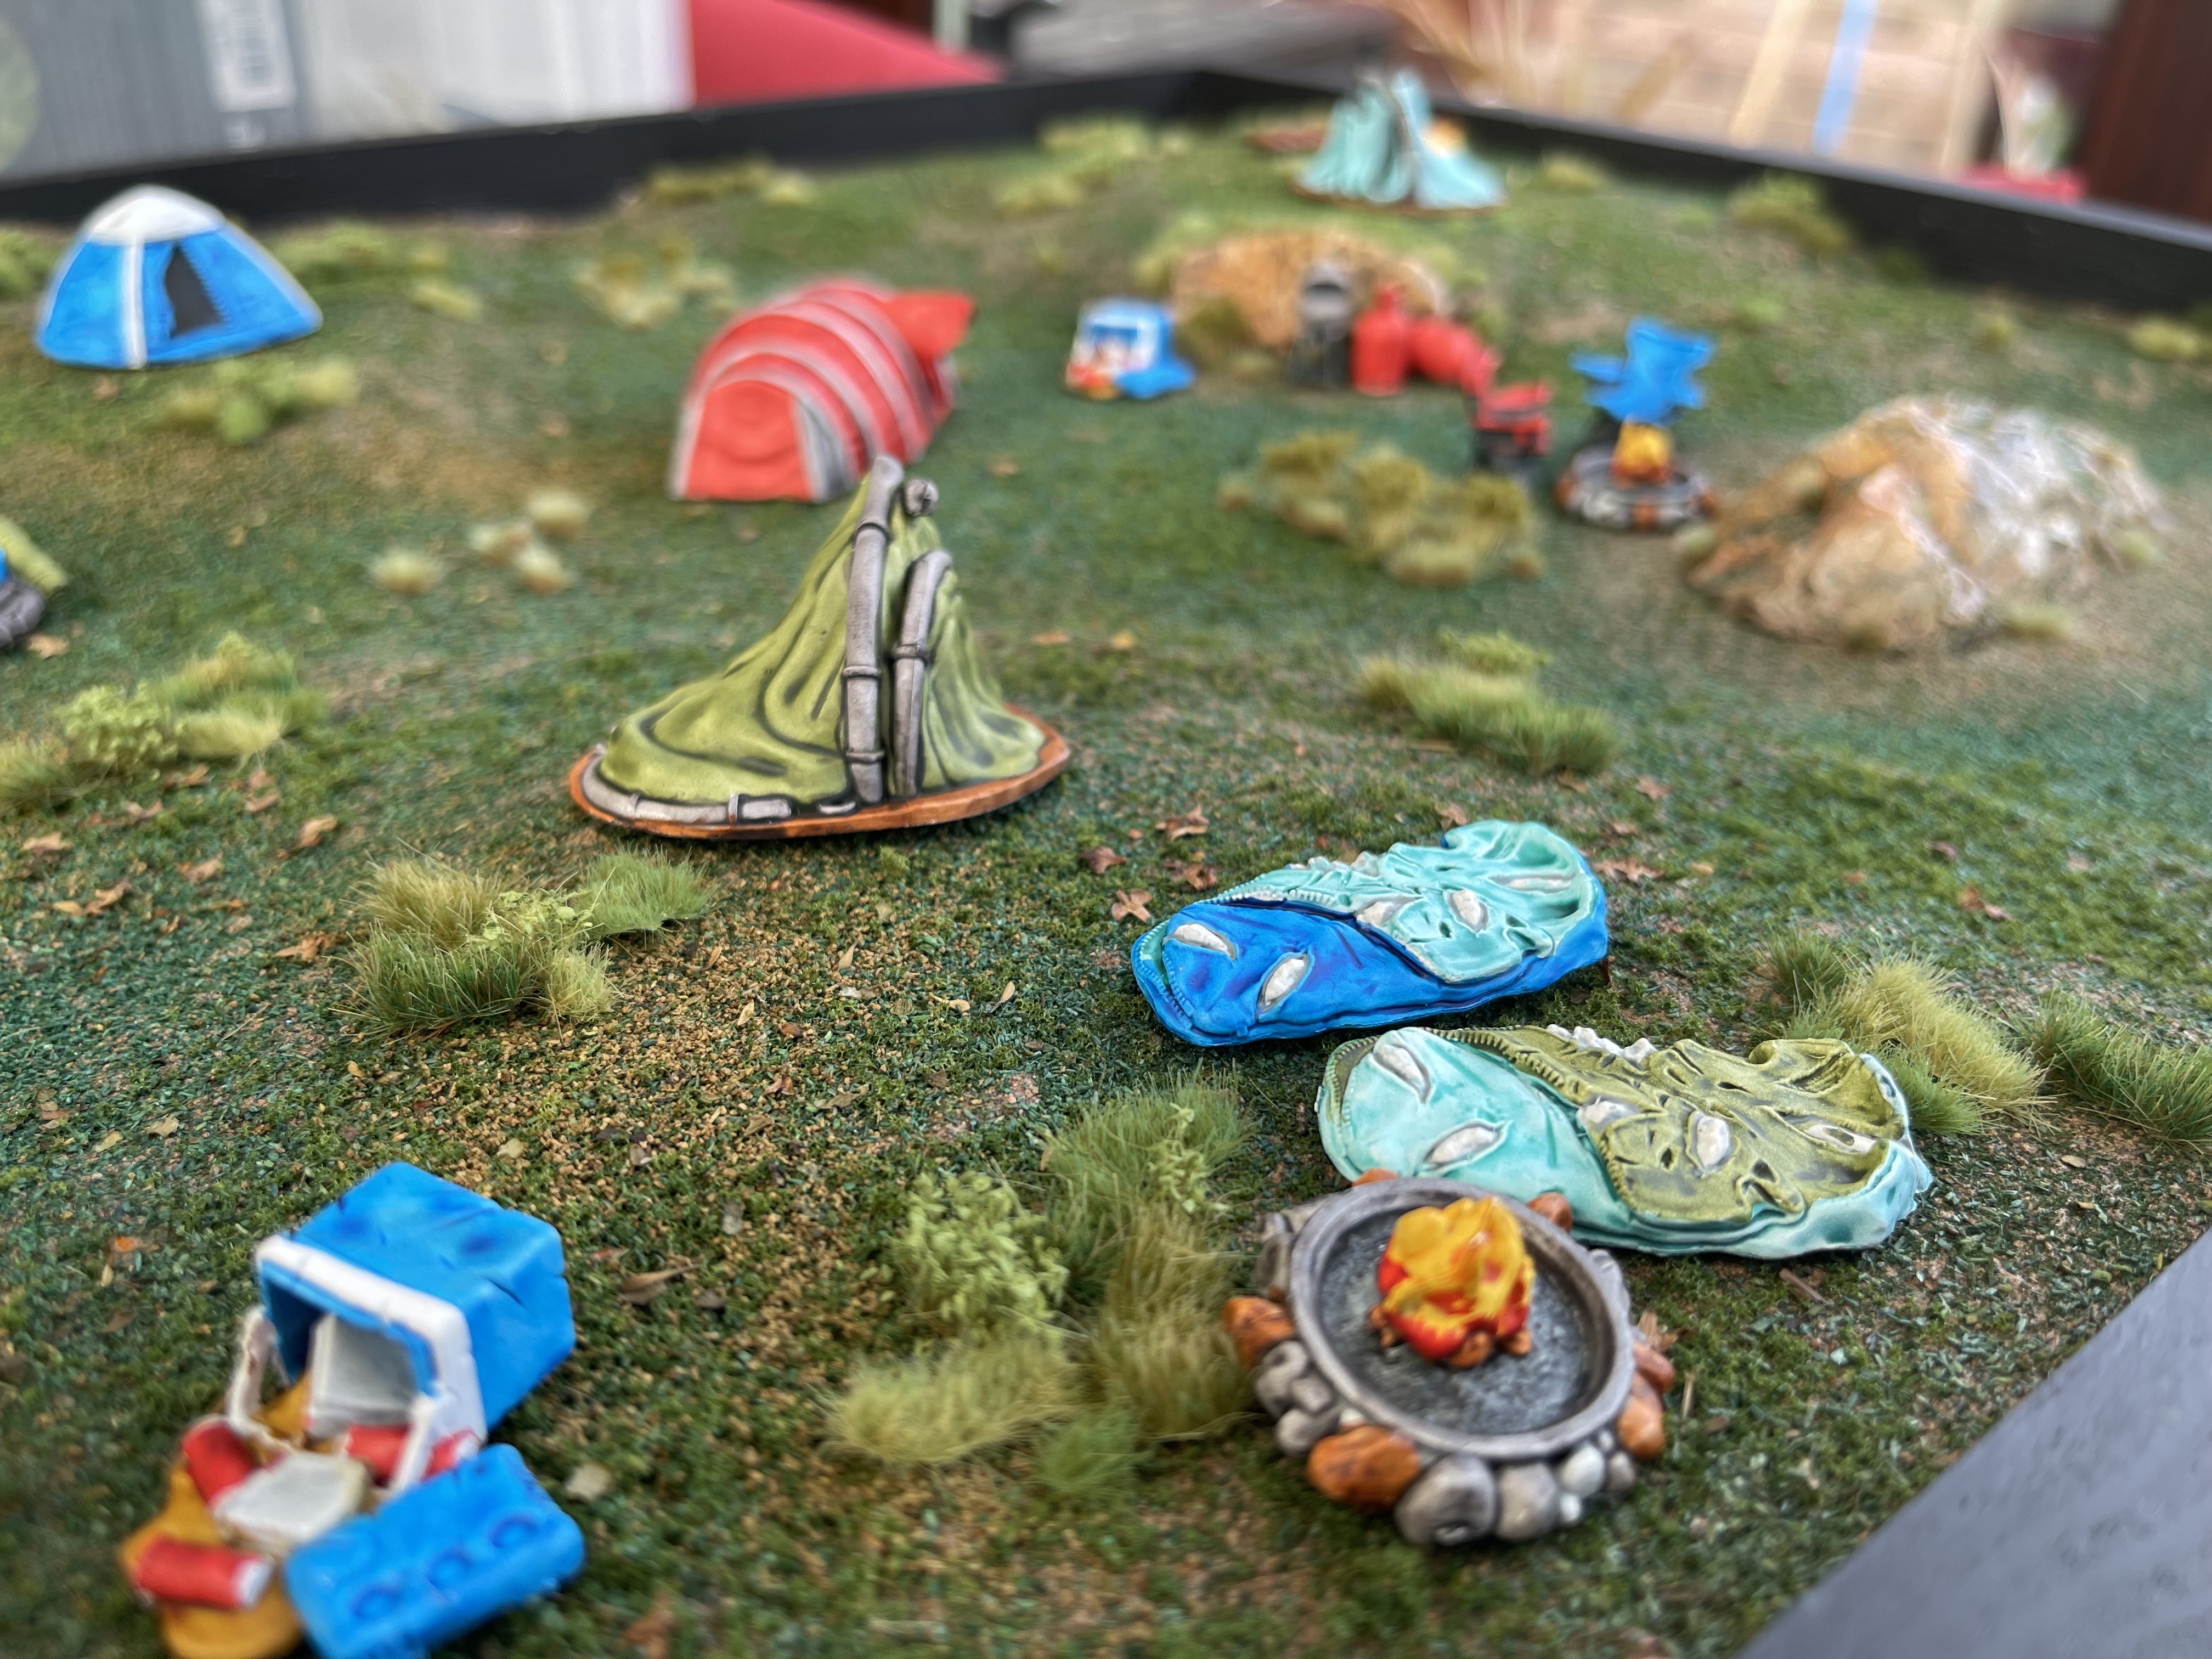

All the scatter on here is mantic terrain crate and has been painted using citadel contrast paint. very quick, very easy and good enough for it to represent the Atlanta camp should Rick get there alive, baring in mind the poor lad didn’t do well in the last episode where he tried to get fuel from DinoGas…
Gamers need Grass
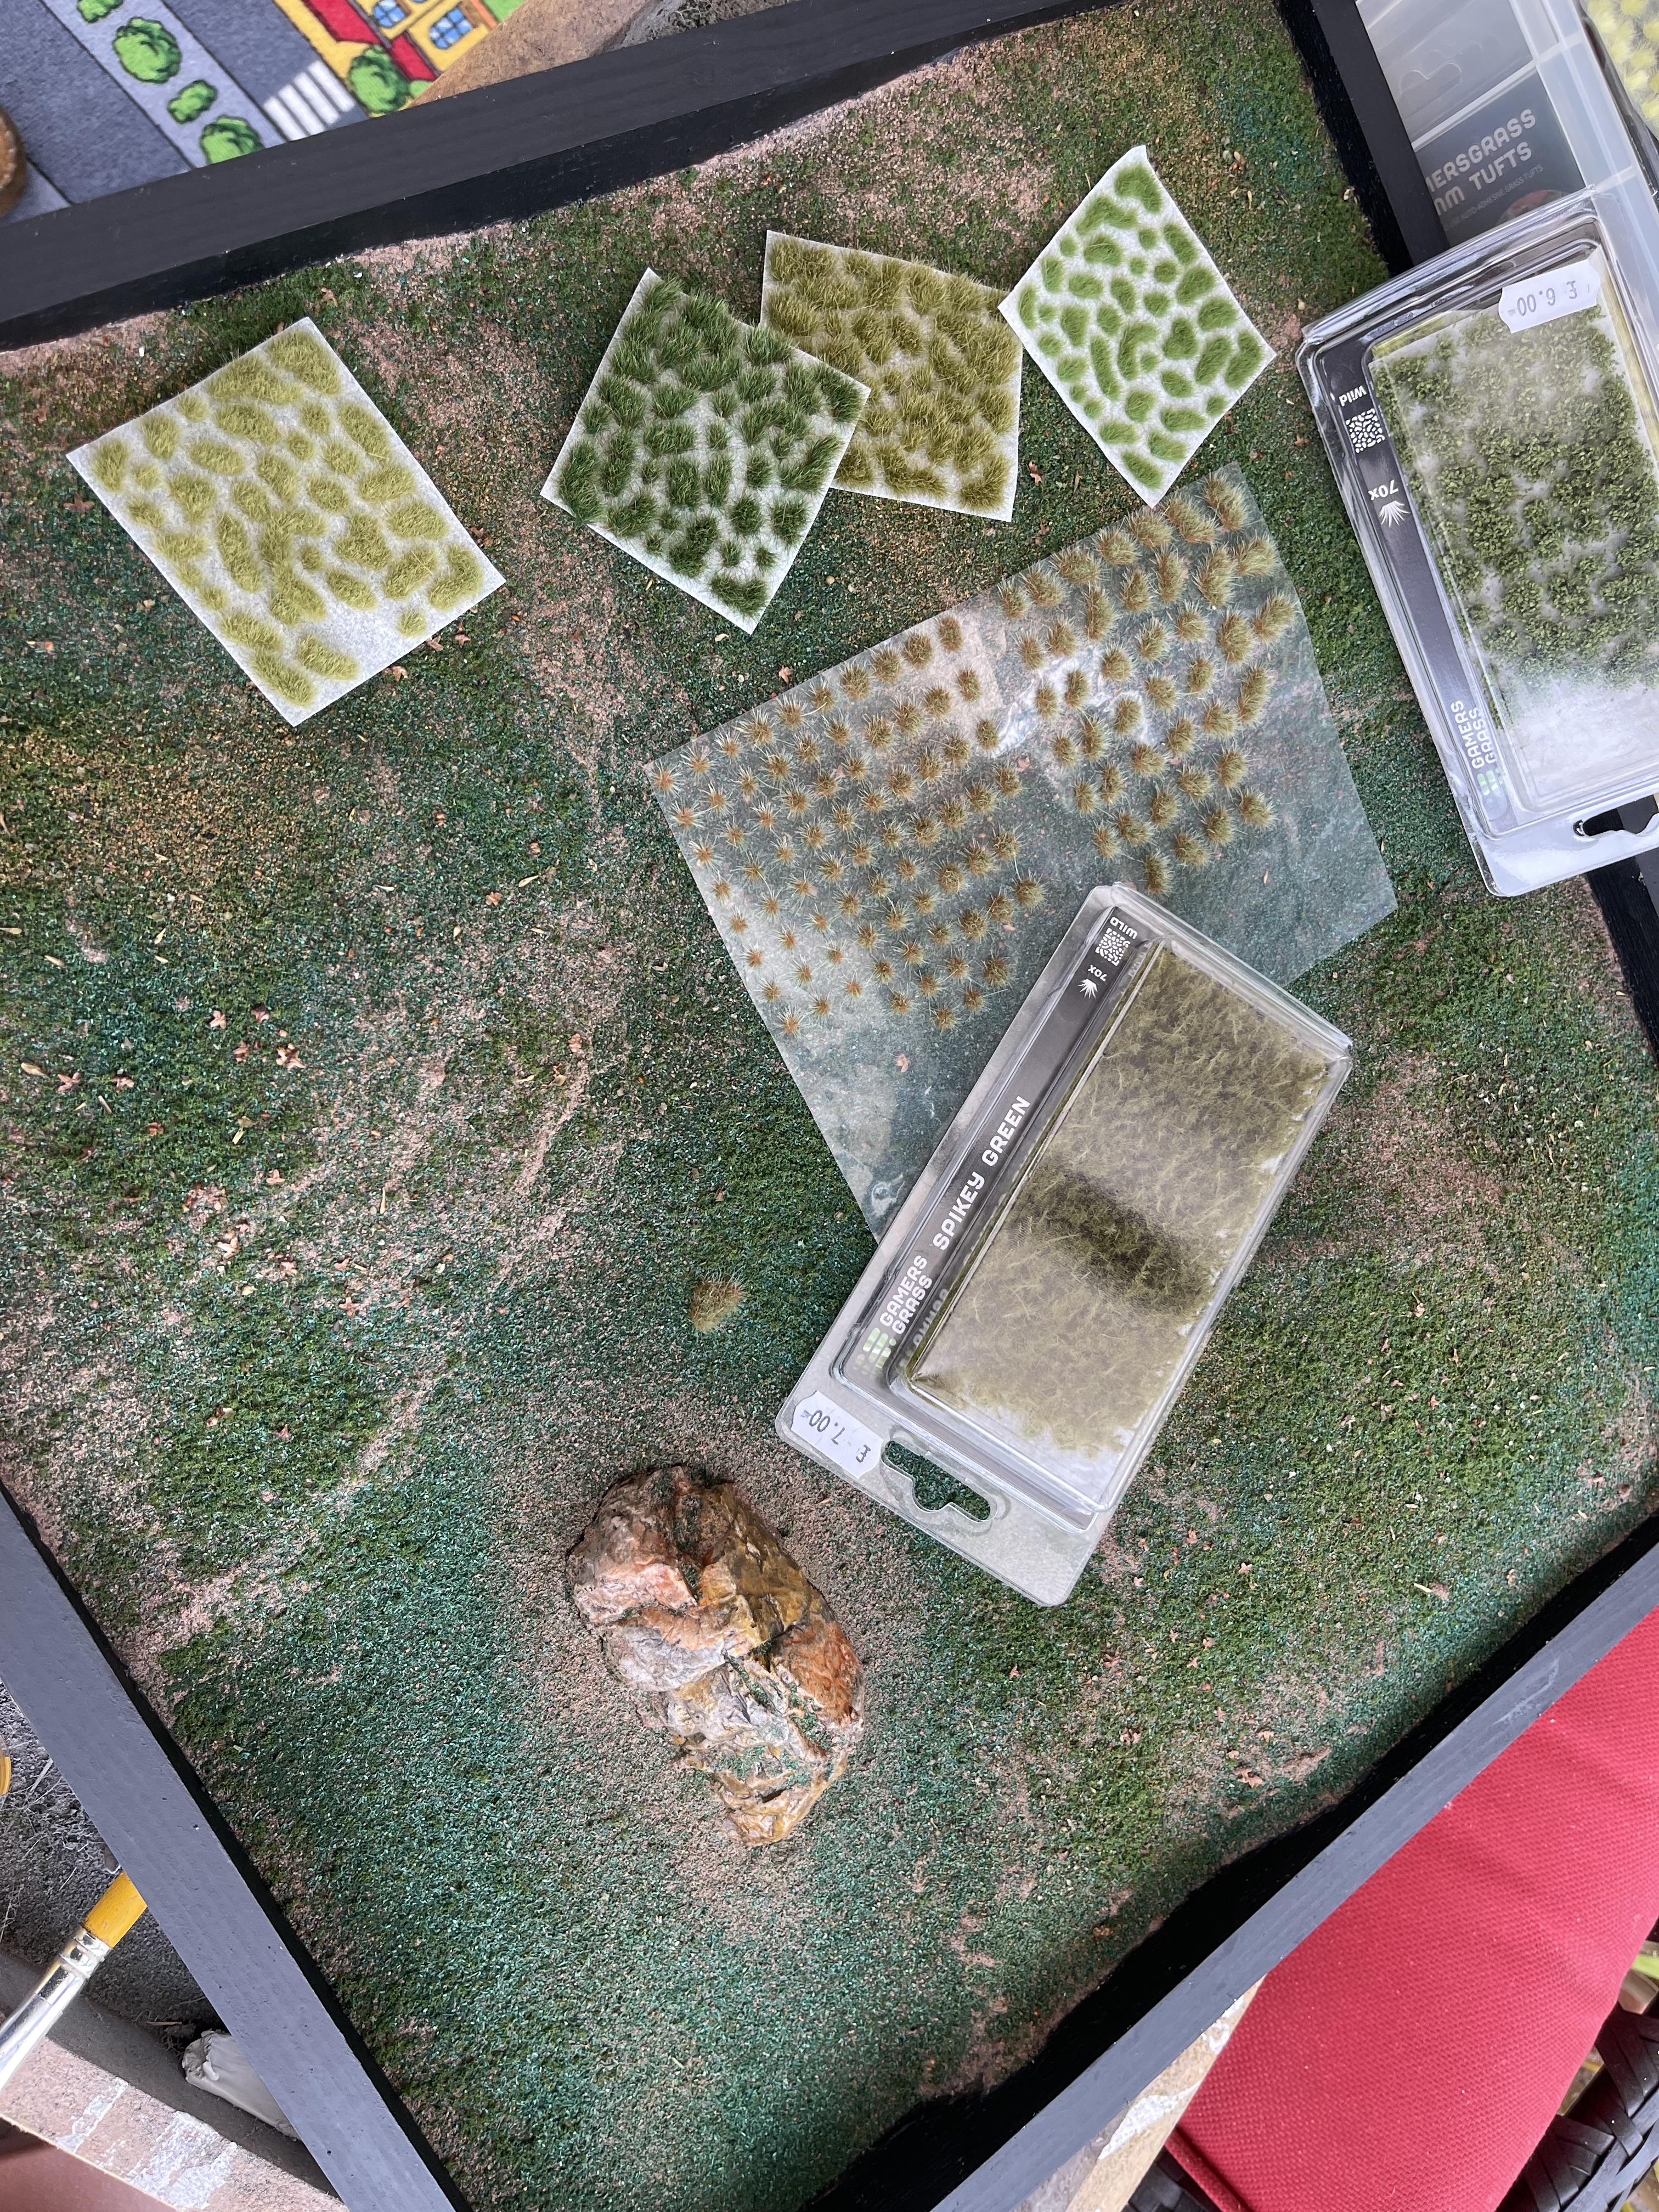
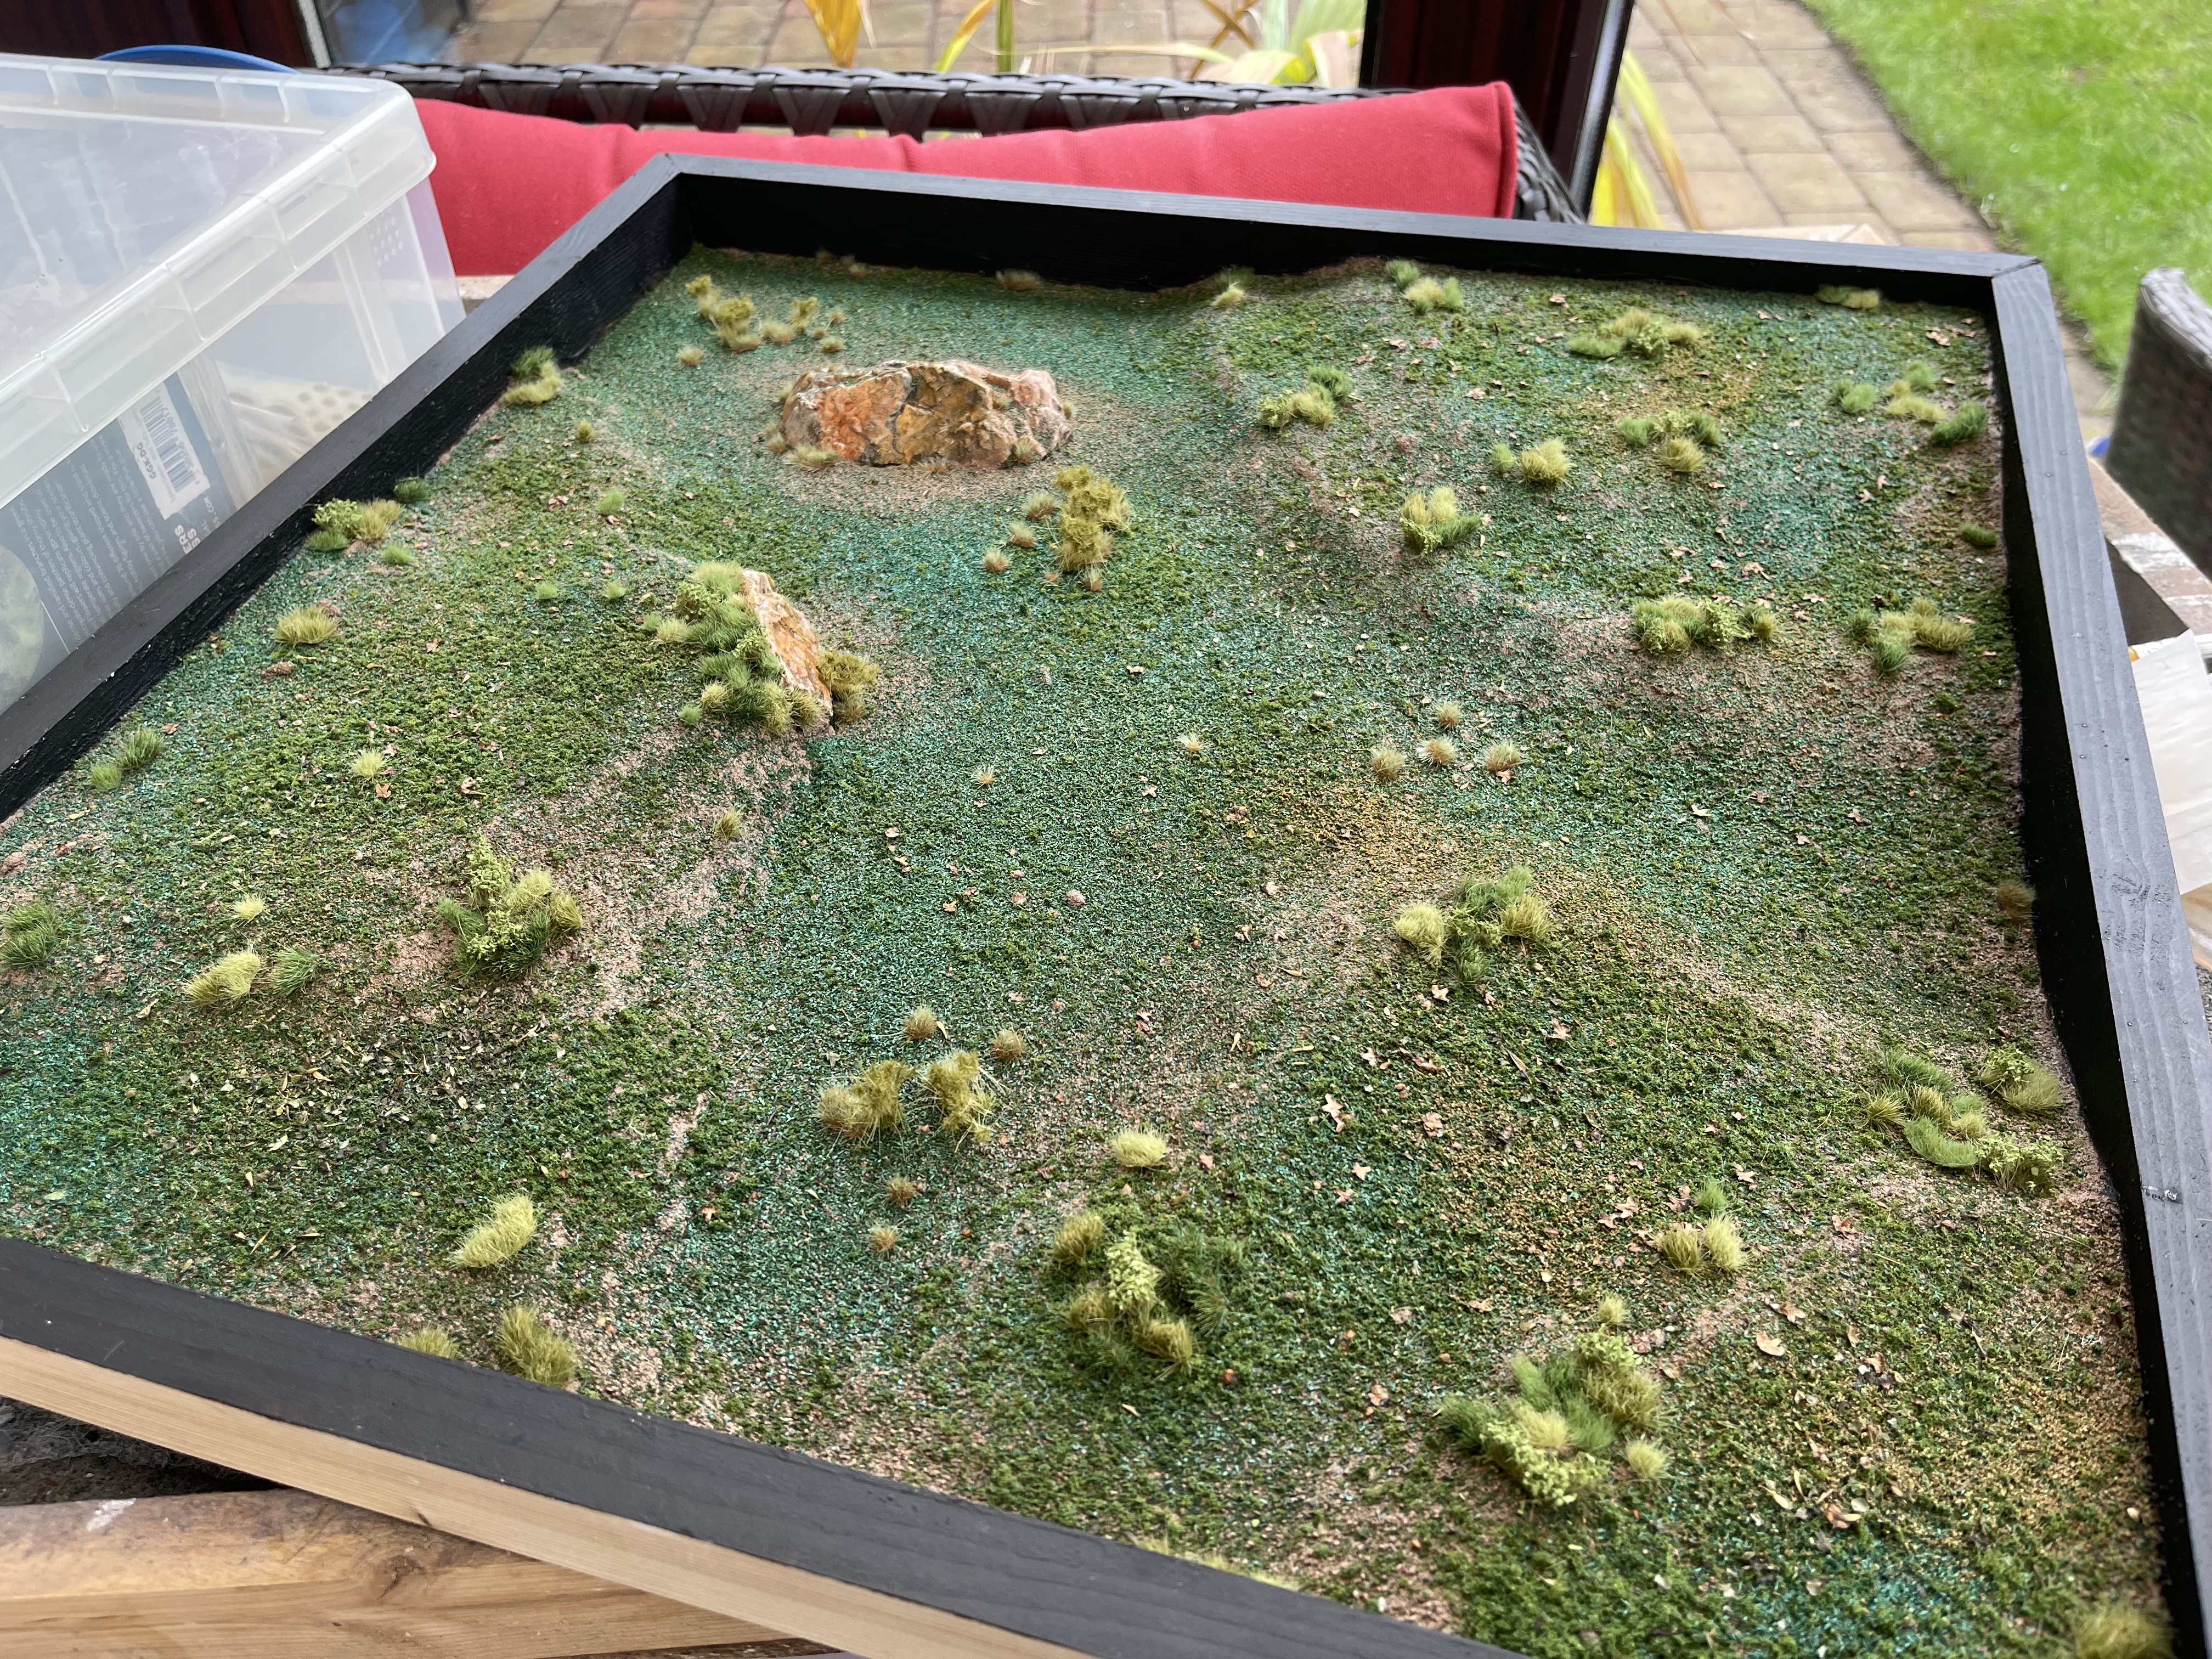
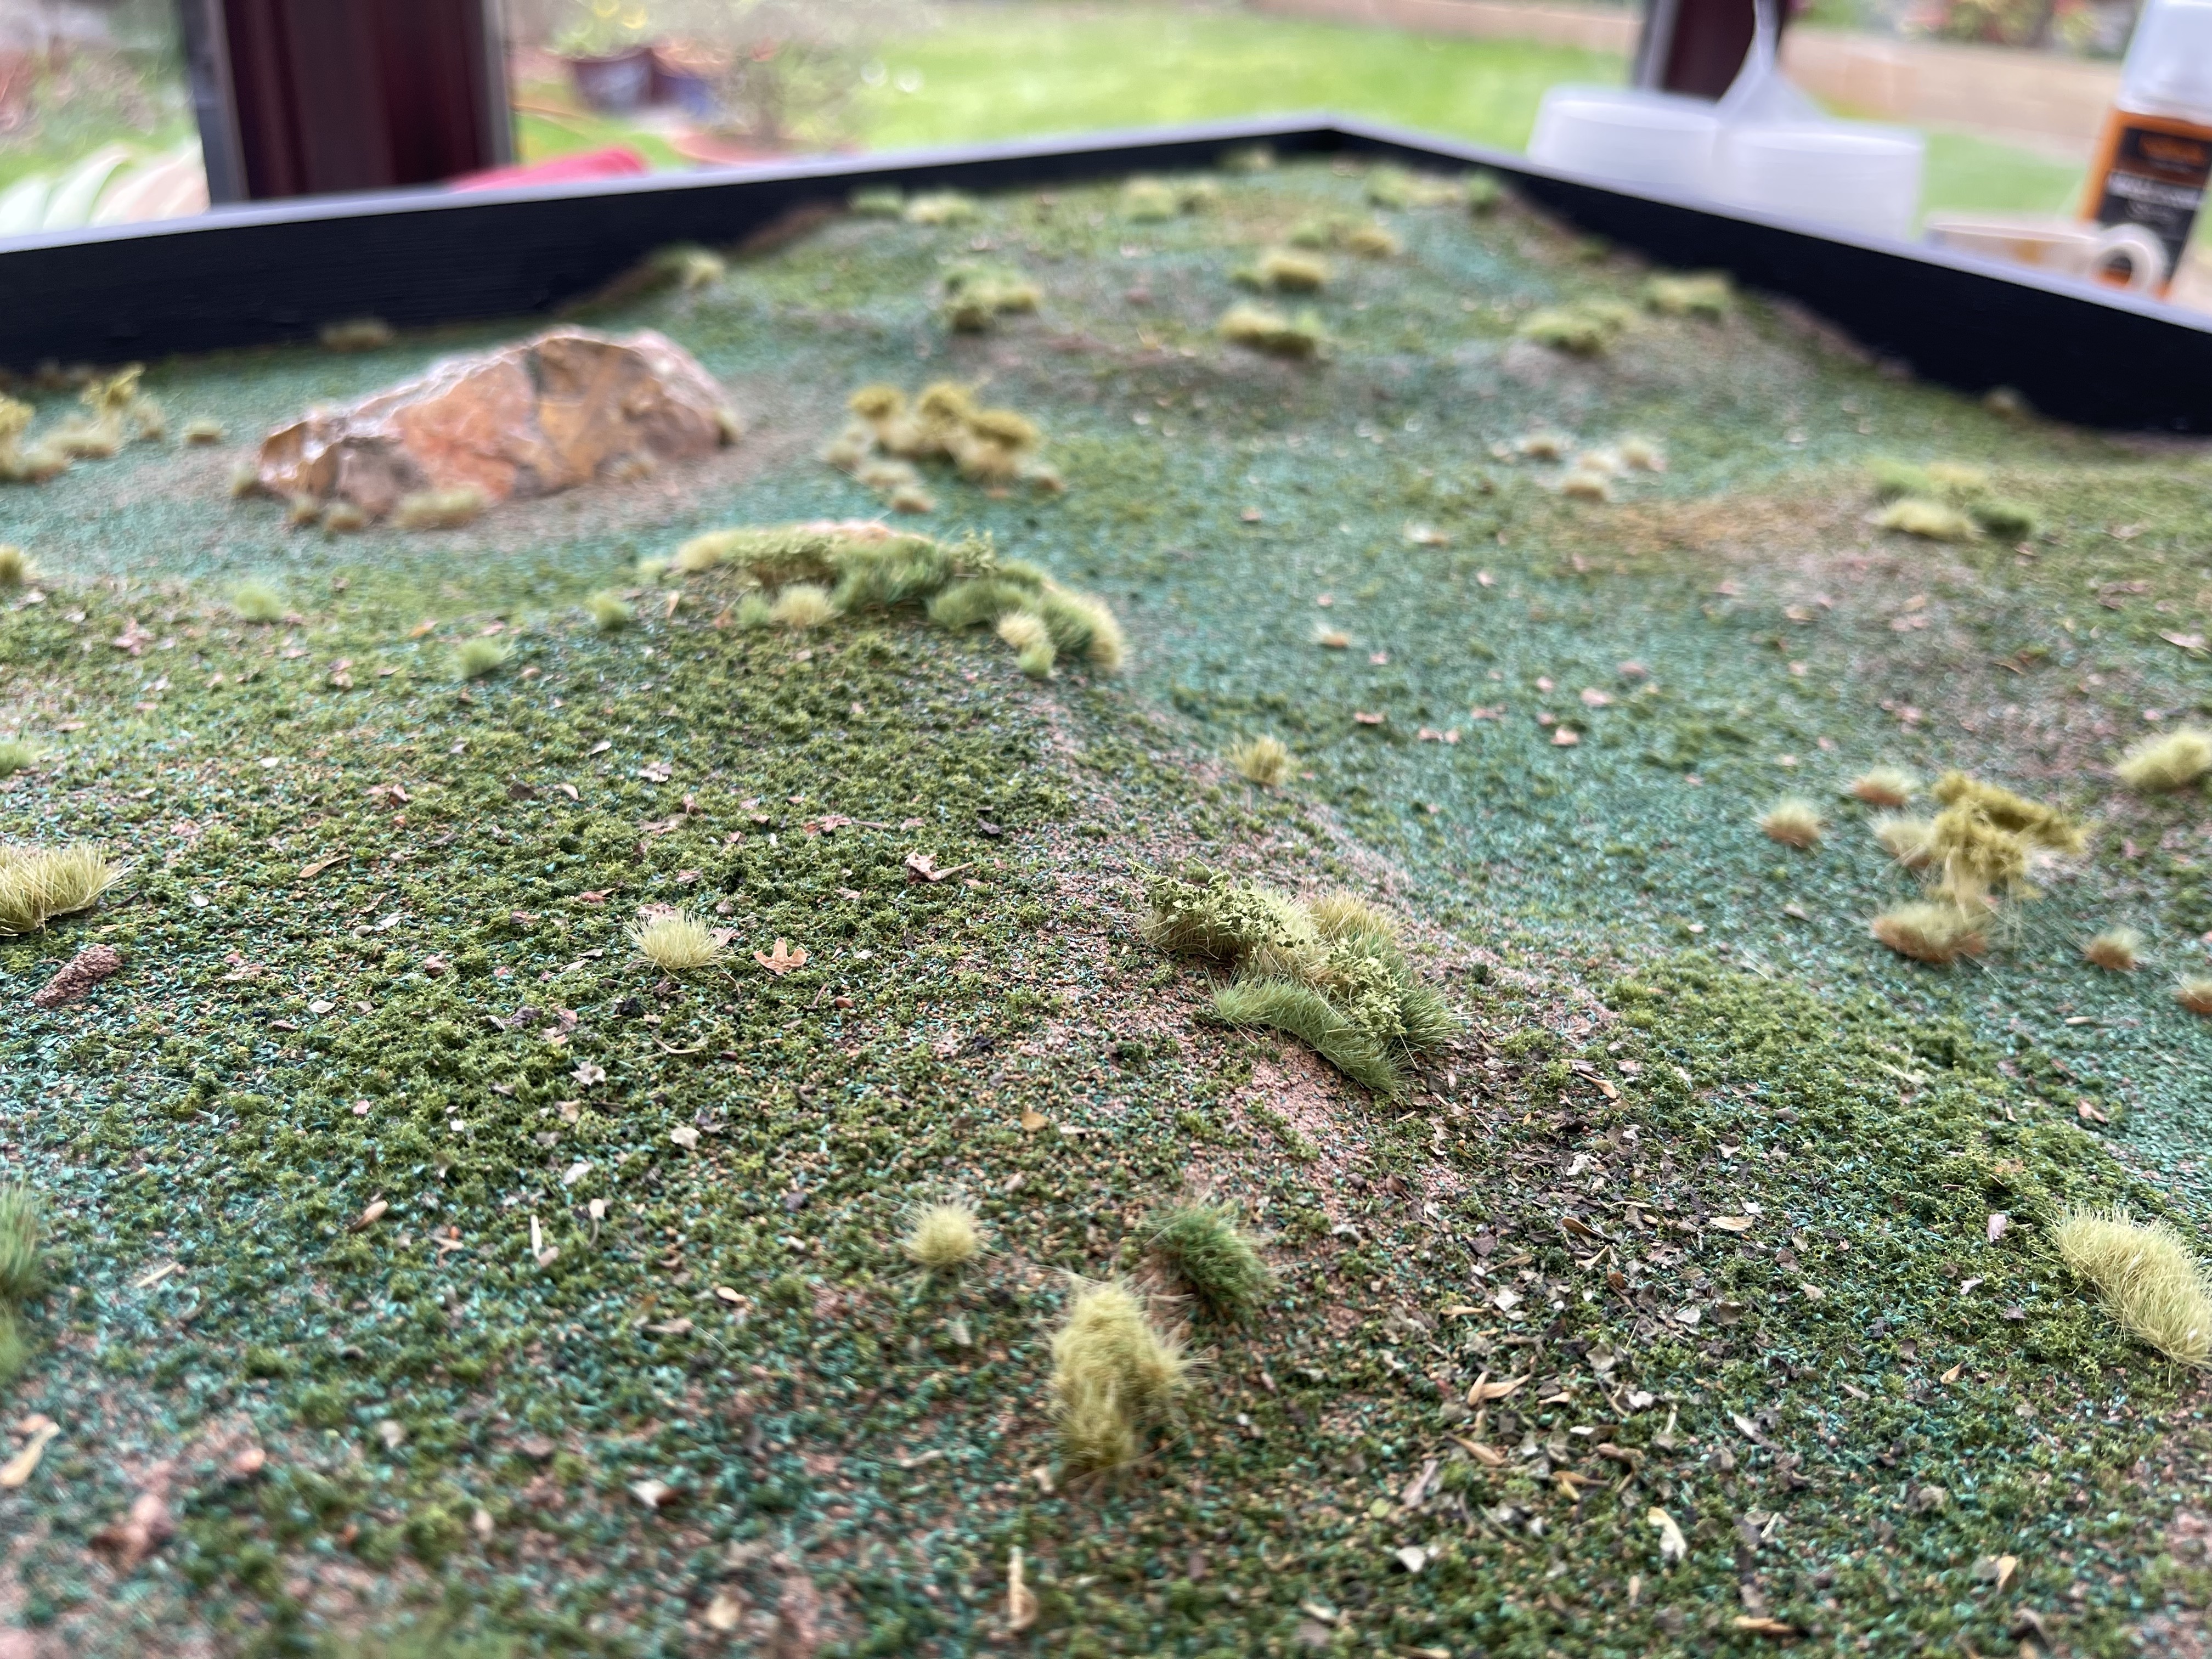
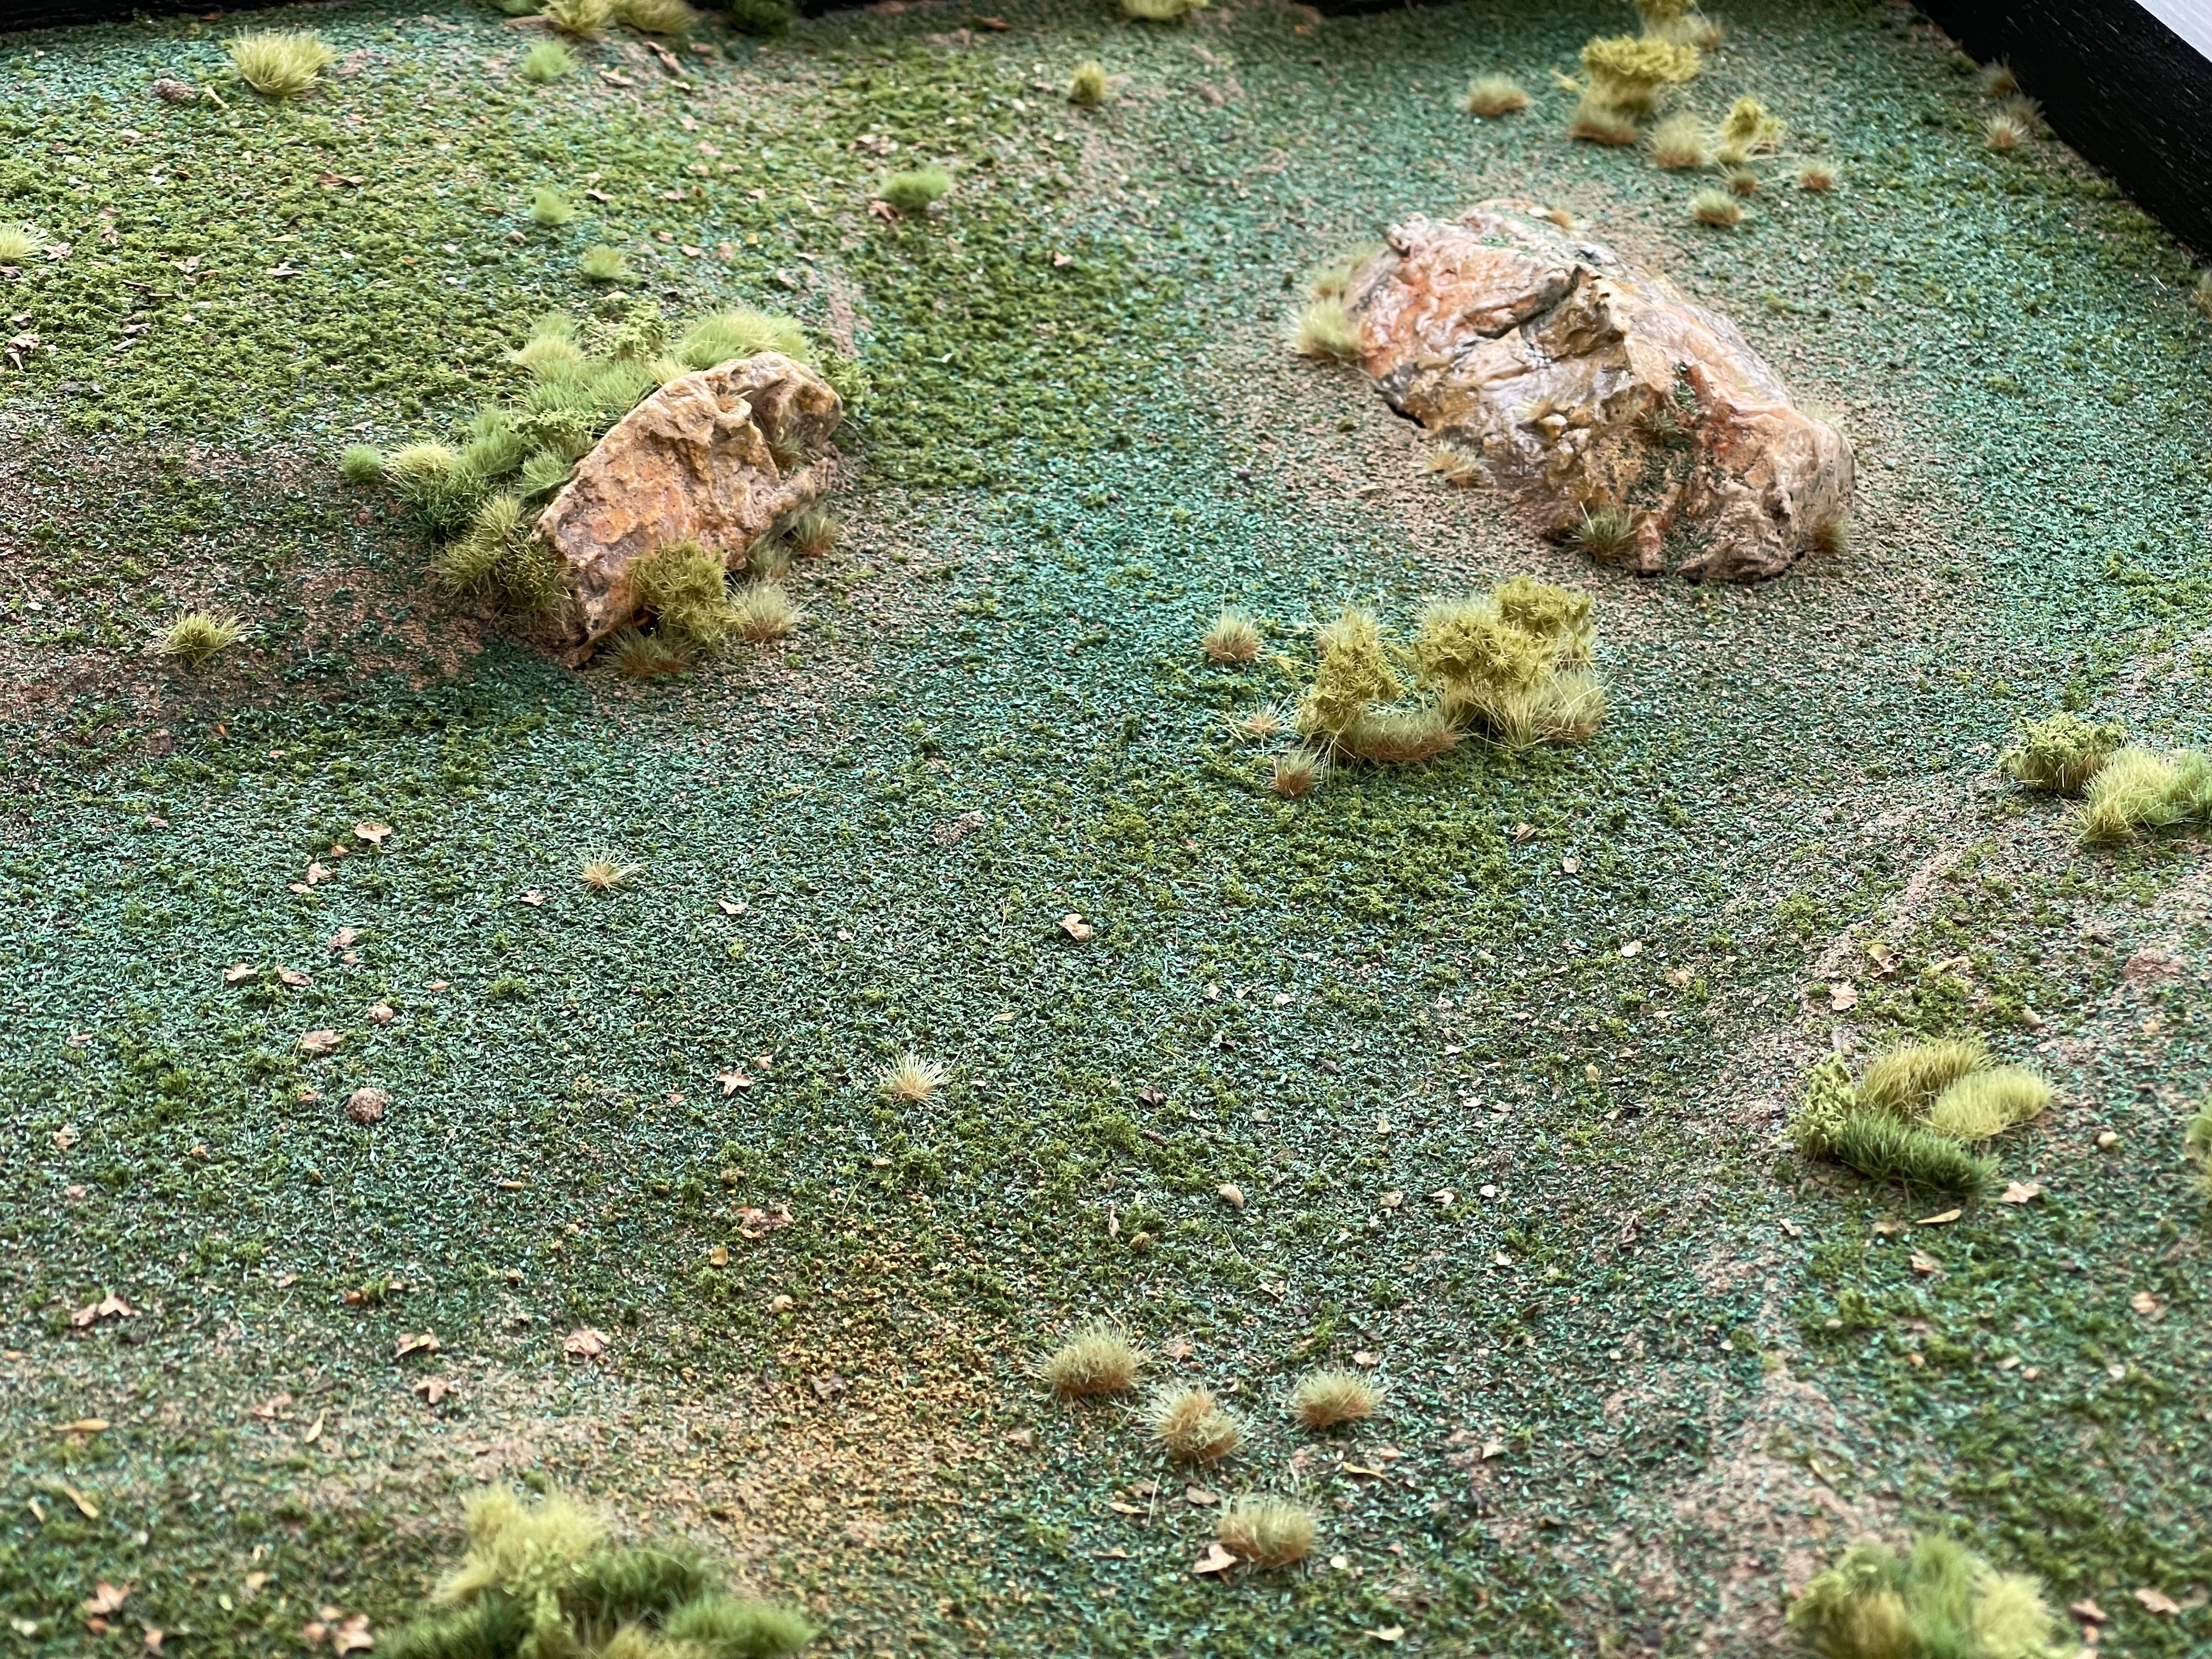
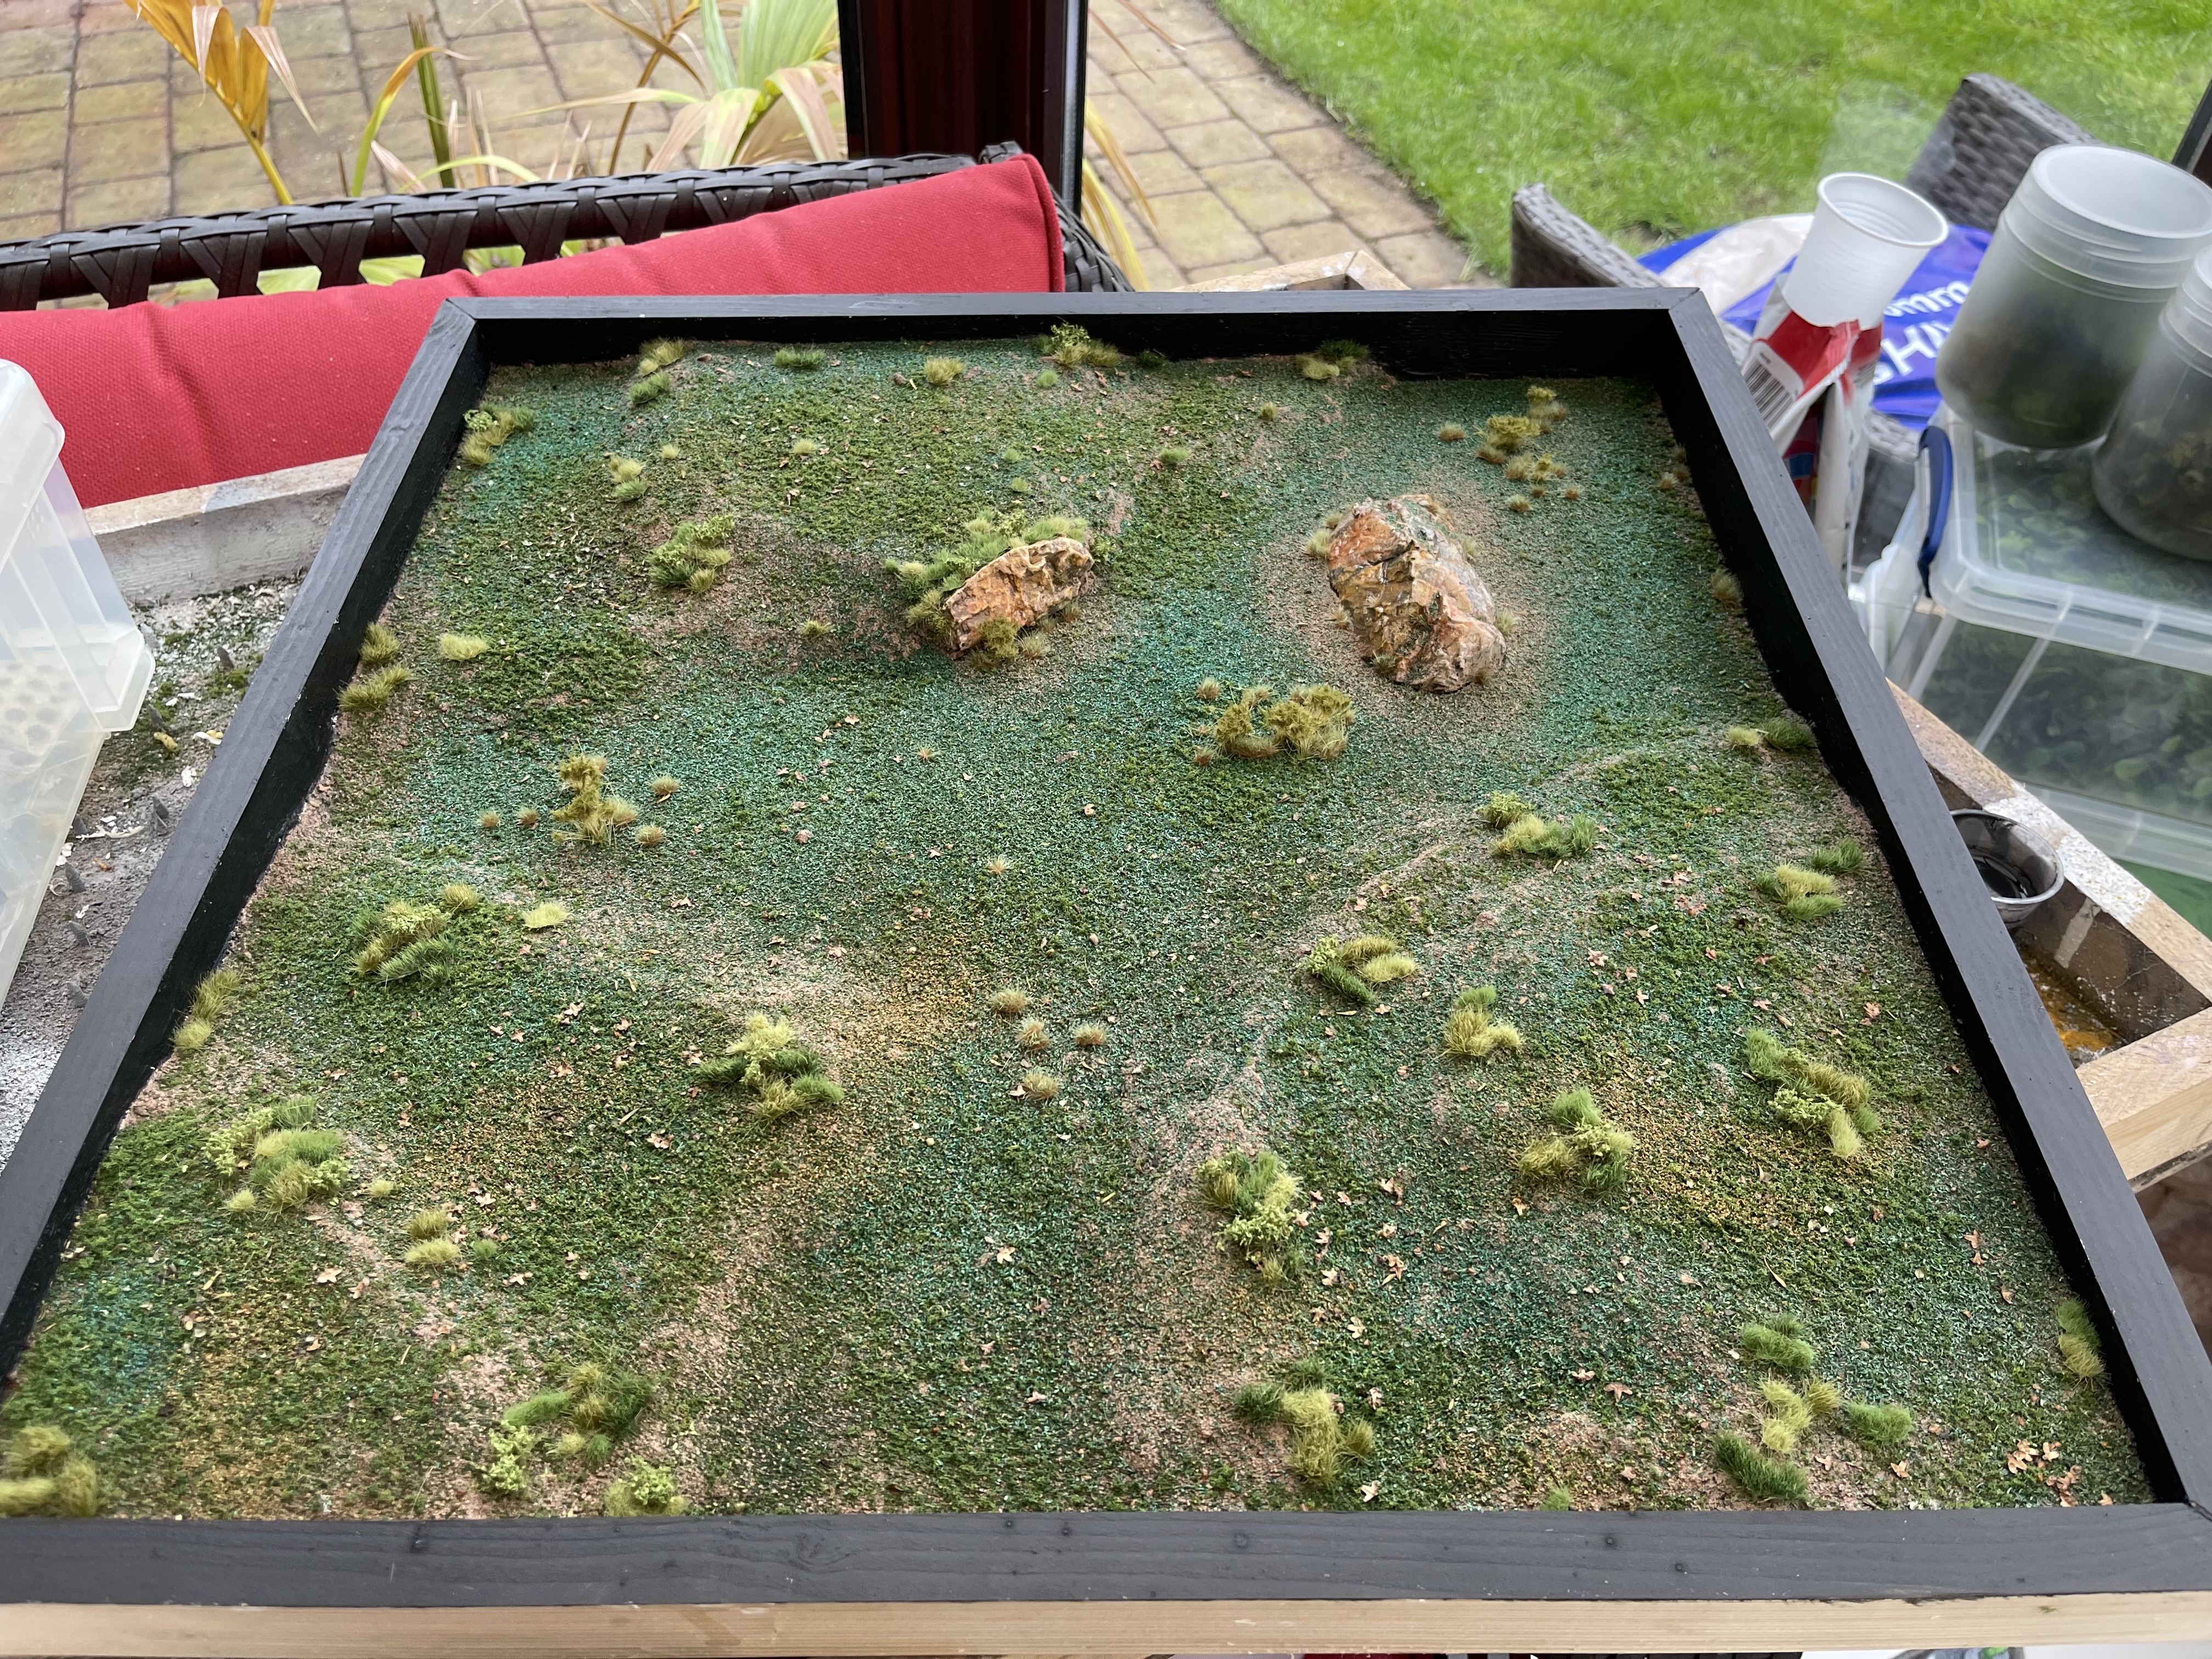
With this finishing steps I broke out the collection of static grasses and some superglue. there are 6 types of static grass on here as variety is the spice of life. I then put the moorland and wet gorse grasses in the middle Y (I have plans to recycle this side) and on the higher areas I stuck to summer colours and wild shrub grasses.
These were mainly all from gamers grass, they’re stuff is really good and I’d recommend them, they do need sticking down with superglue however unlike the games workshop tuffs which have a nice ‘never dries’ gel medium they’re fixed in that’s super sticky. I do like the GW tuffs for this reason, very simple to use.
Greenery pre and post sealing
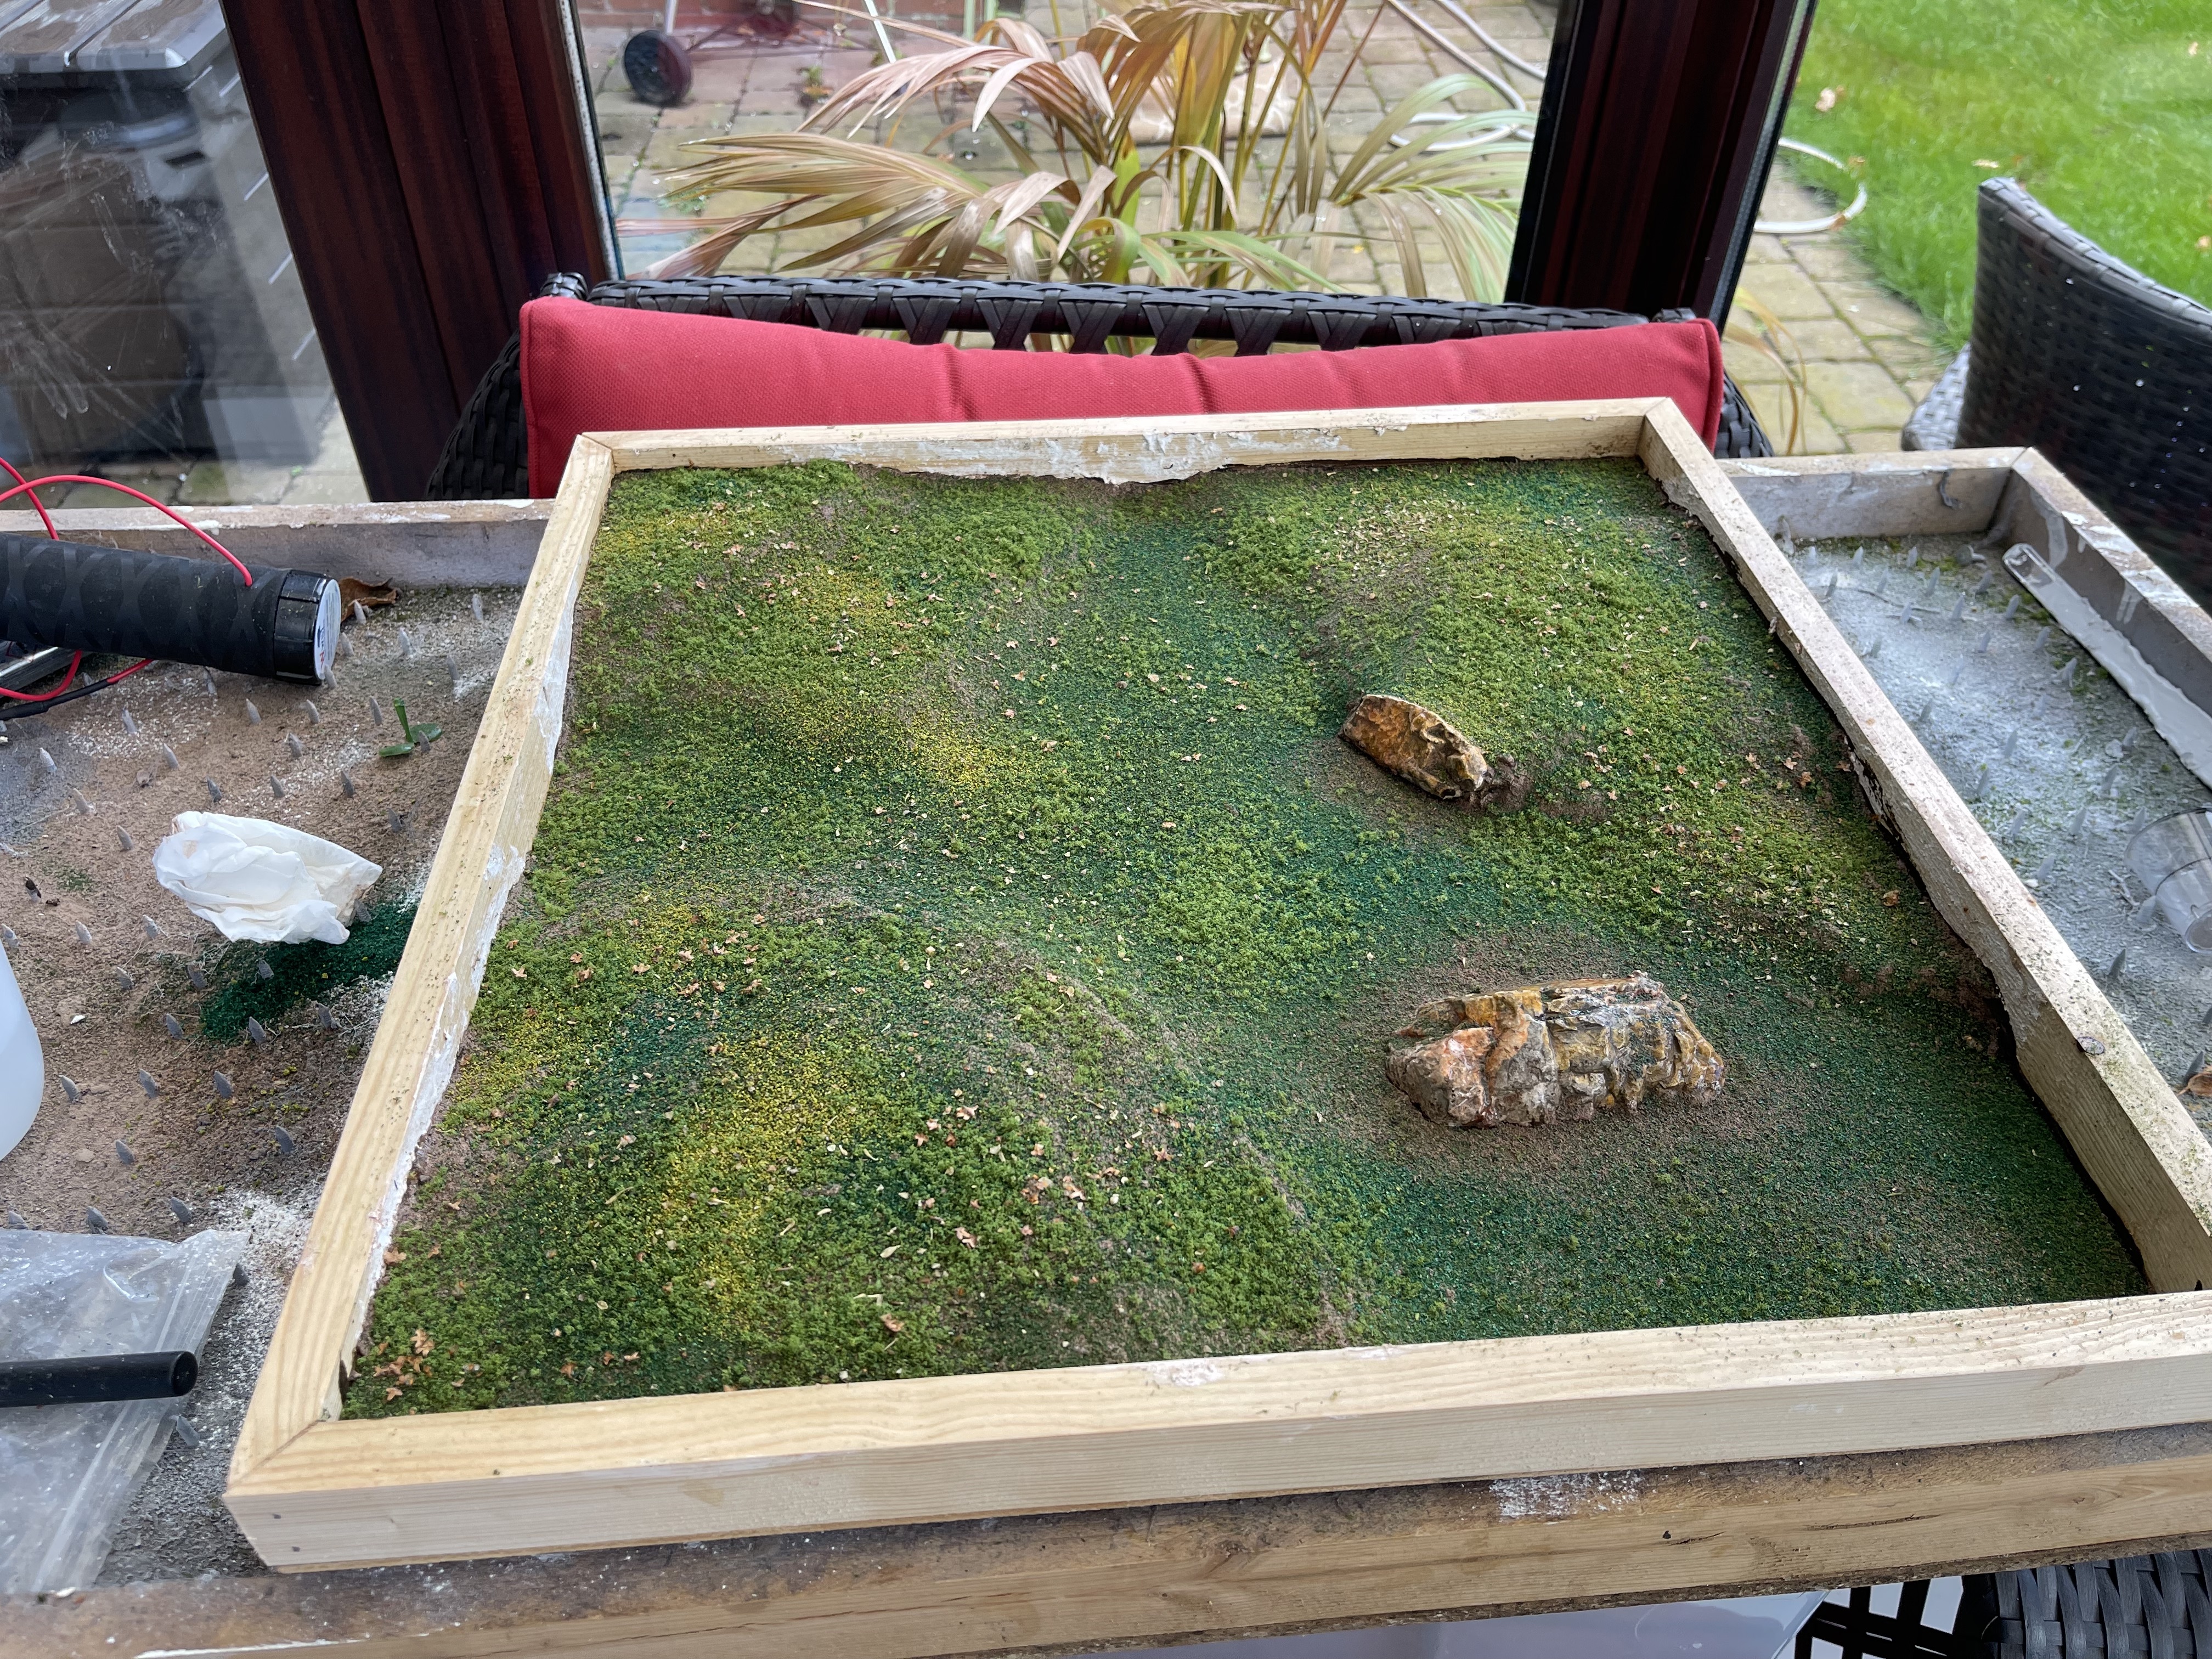 pre glue
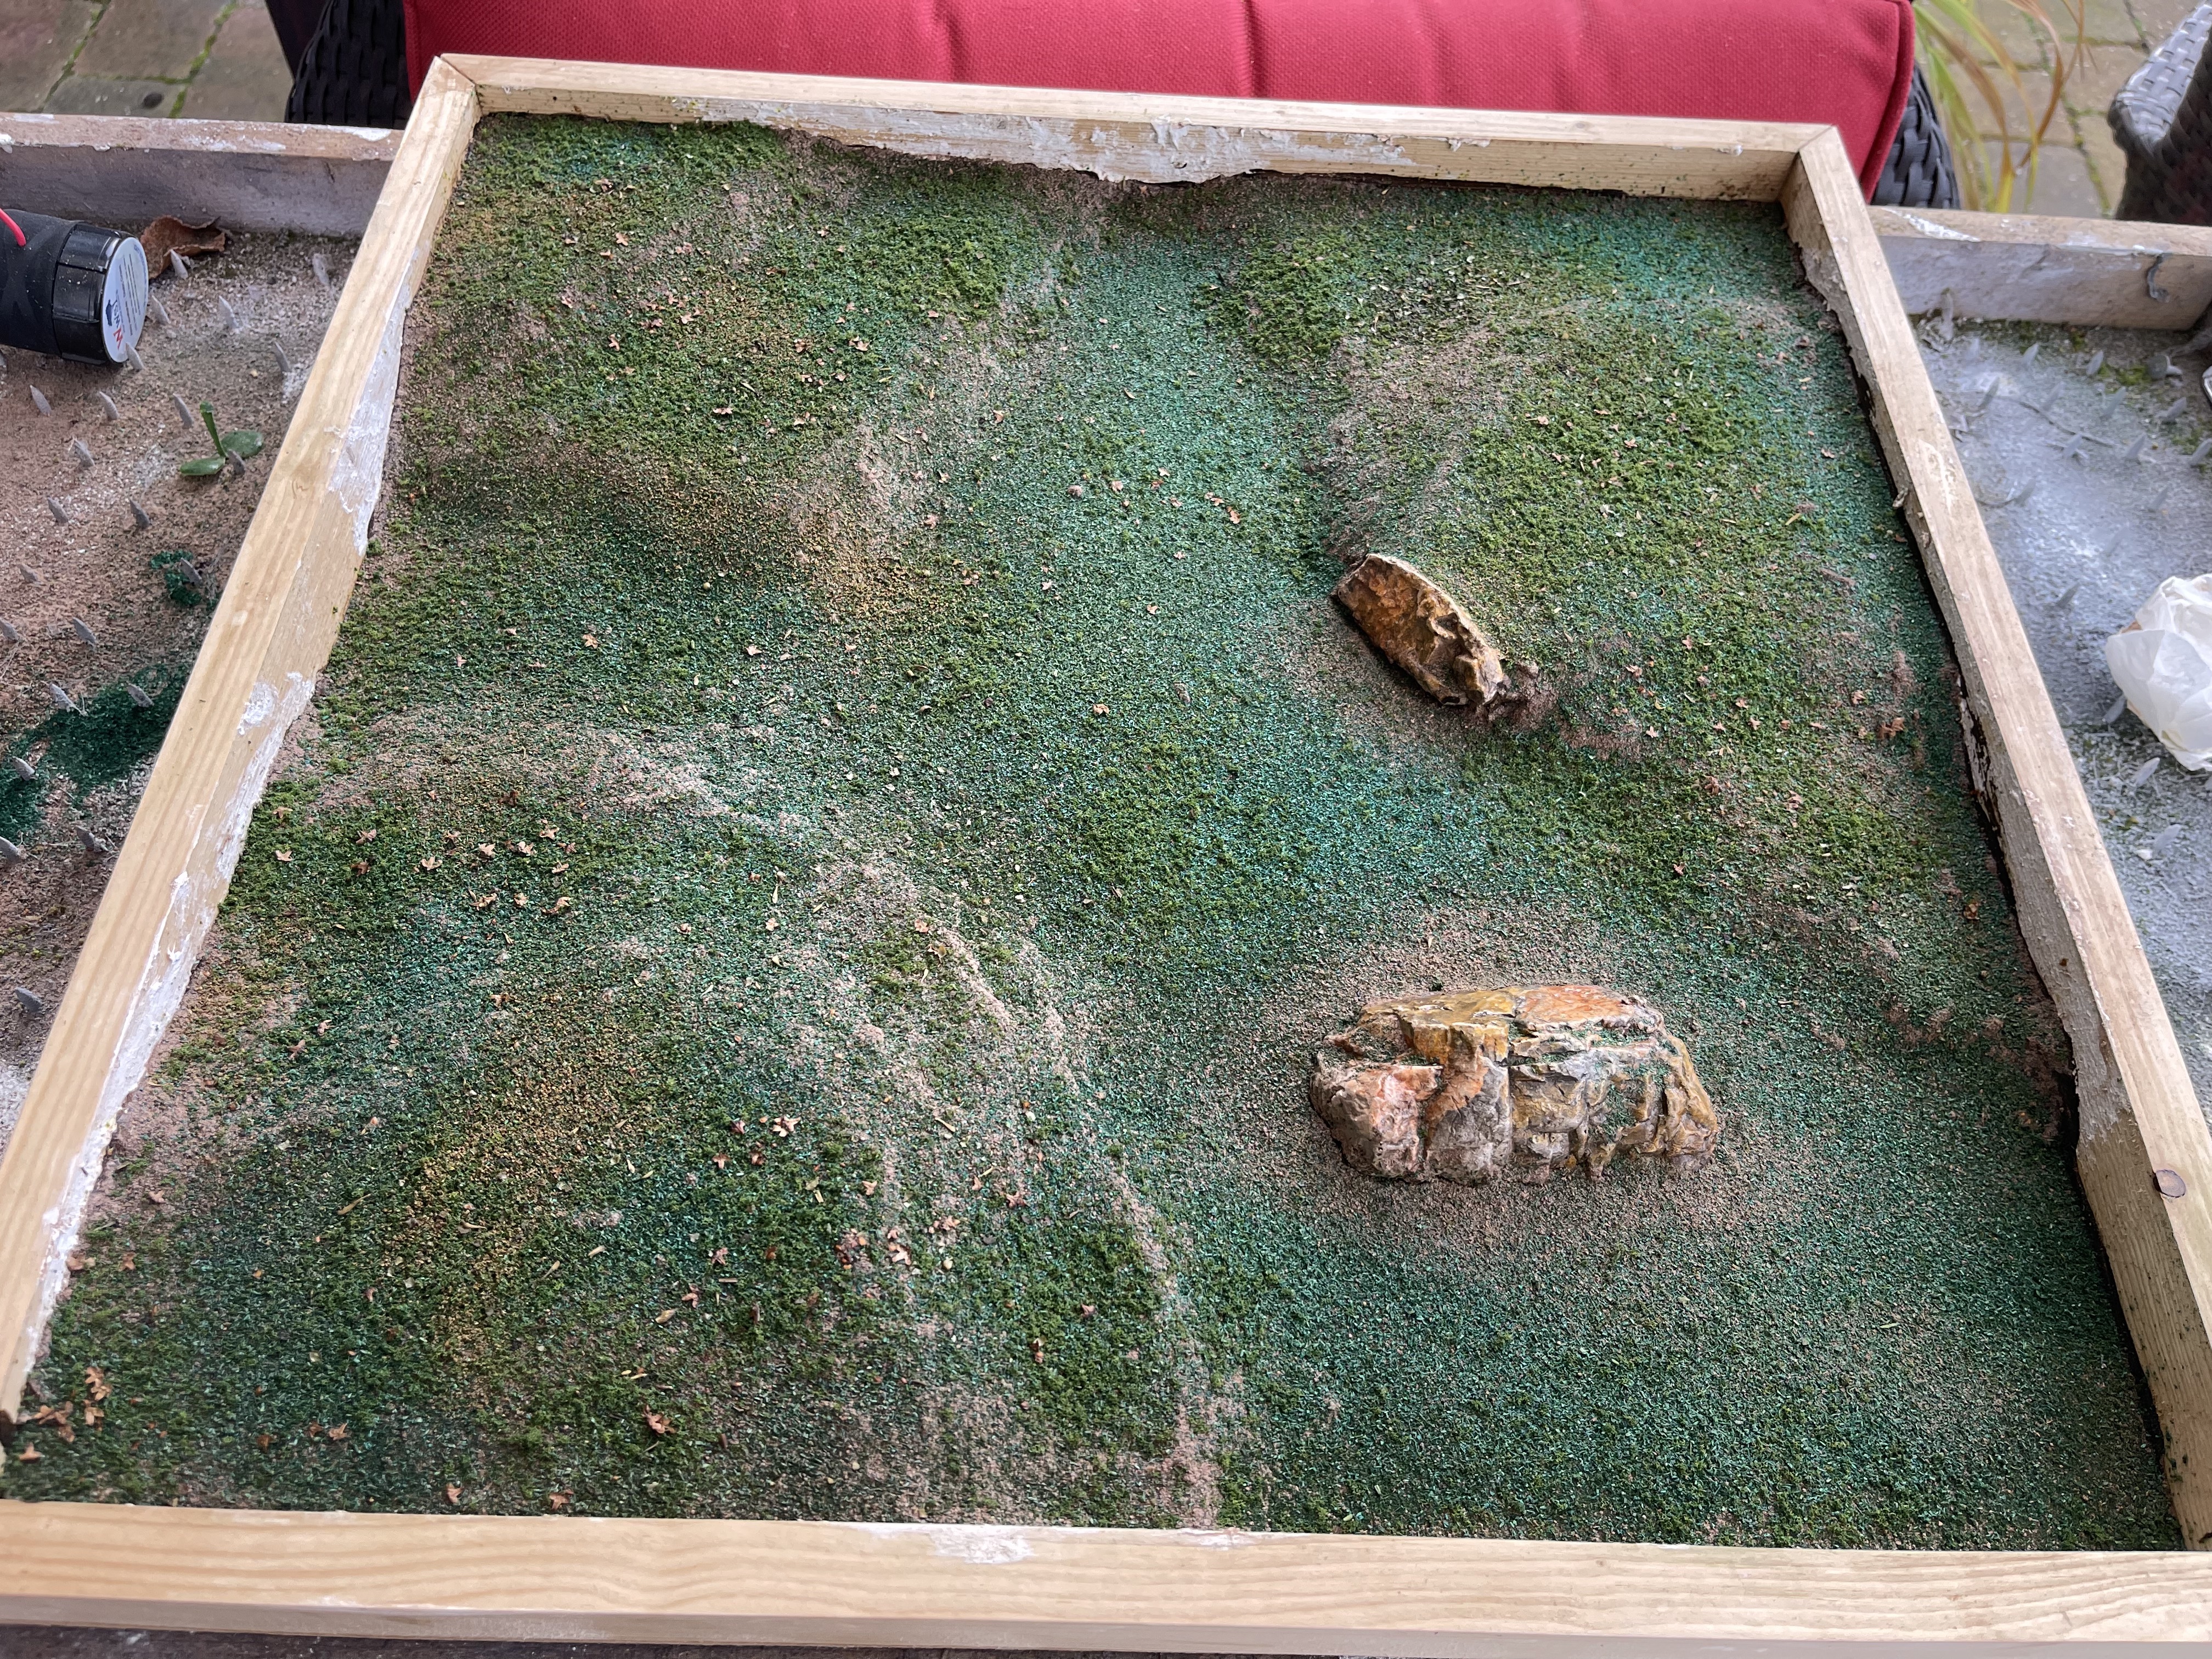 after sealing with watered PVA
It’s interesting how the different flocks have interacted on this at the pre and post sealing stage.
Before sealing everything was quite vibrant and had a lot of different height. Then when sealing all the dyes in the wooden flocks have merged and muted each other down. the really dark one has somehow become really visible and strong.
the lighting is different to be fair, one day was sunny and the other overcast so that might be affecting it a bit.
Now there are two of them!
Those that paid attention at the beginning know that I made 2 bases with the nailgun of hobby glory… well now its time to maximise the second one.
What I’ve figured out is that the board actually has 2 sides… so given that they’re basically a one and done board (all that effort for one game!! hope you appreciate the storyline project) Ive decided to halve my material costs by doing one normal board and one on the slightly smaller interior of the underside. besides being cheaper it means I might also be able to experiment with resins or making boggy ground etc and have it all contained (hopefully!)
As we are coming close to adding more characters to the story I think it is time to build the big meeting place where a number of ‘events’ could happen. A camp!

first thing I did was add some polystyrene as some landform. this was glued down using gorilla glue (the brown expanding foam glue). simply add to one side and then add water to the other side to be glued and then put the two together and add some weight, I used books and spray cans etc.
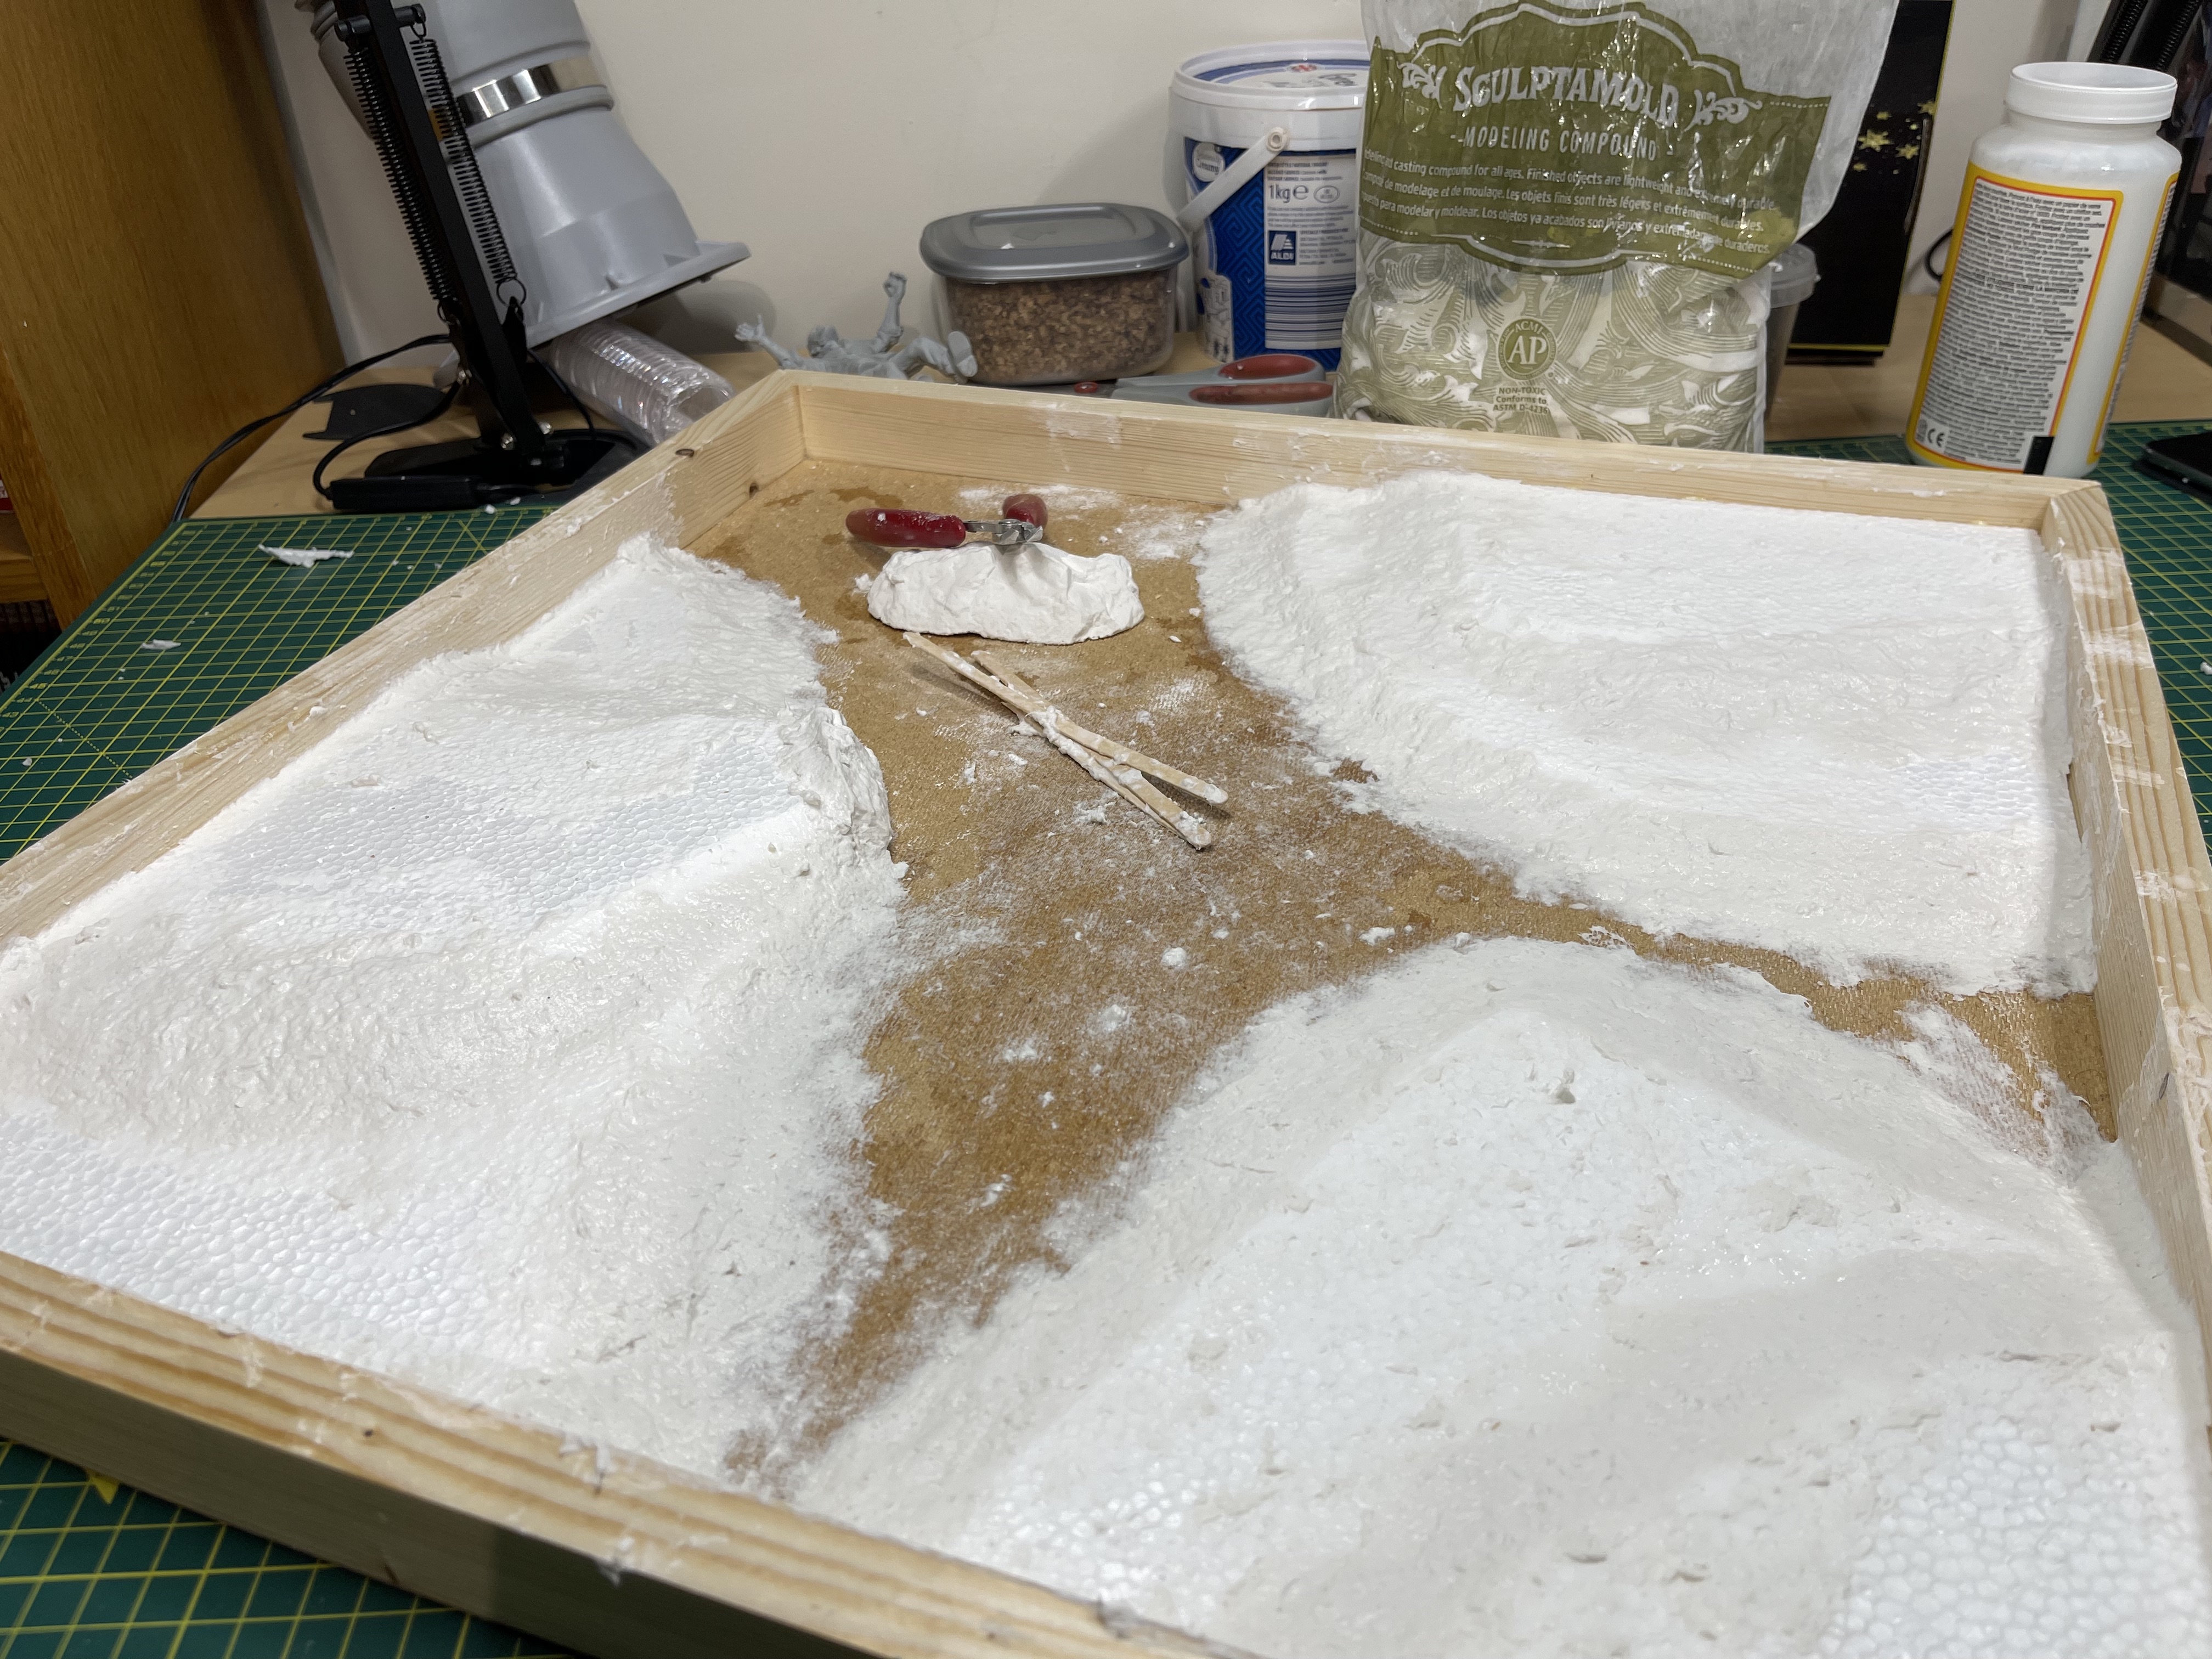
To join the layers I beveled some of the edges using a mega sharp scalpel and laid on some sculptamold (or home made modelling compound).
One spot I left a sheer edge so that I could use up some old plaster rocks that I had knocking about (this project is in spring clean after all so using old stock is the point!)
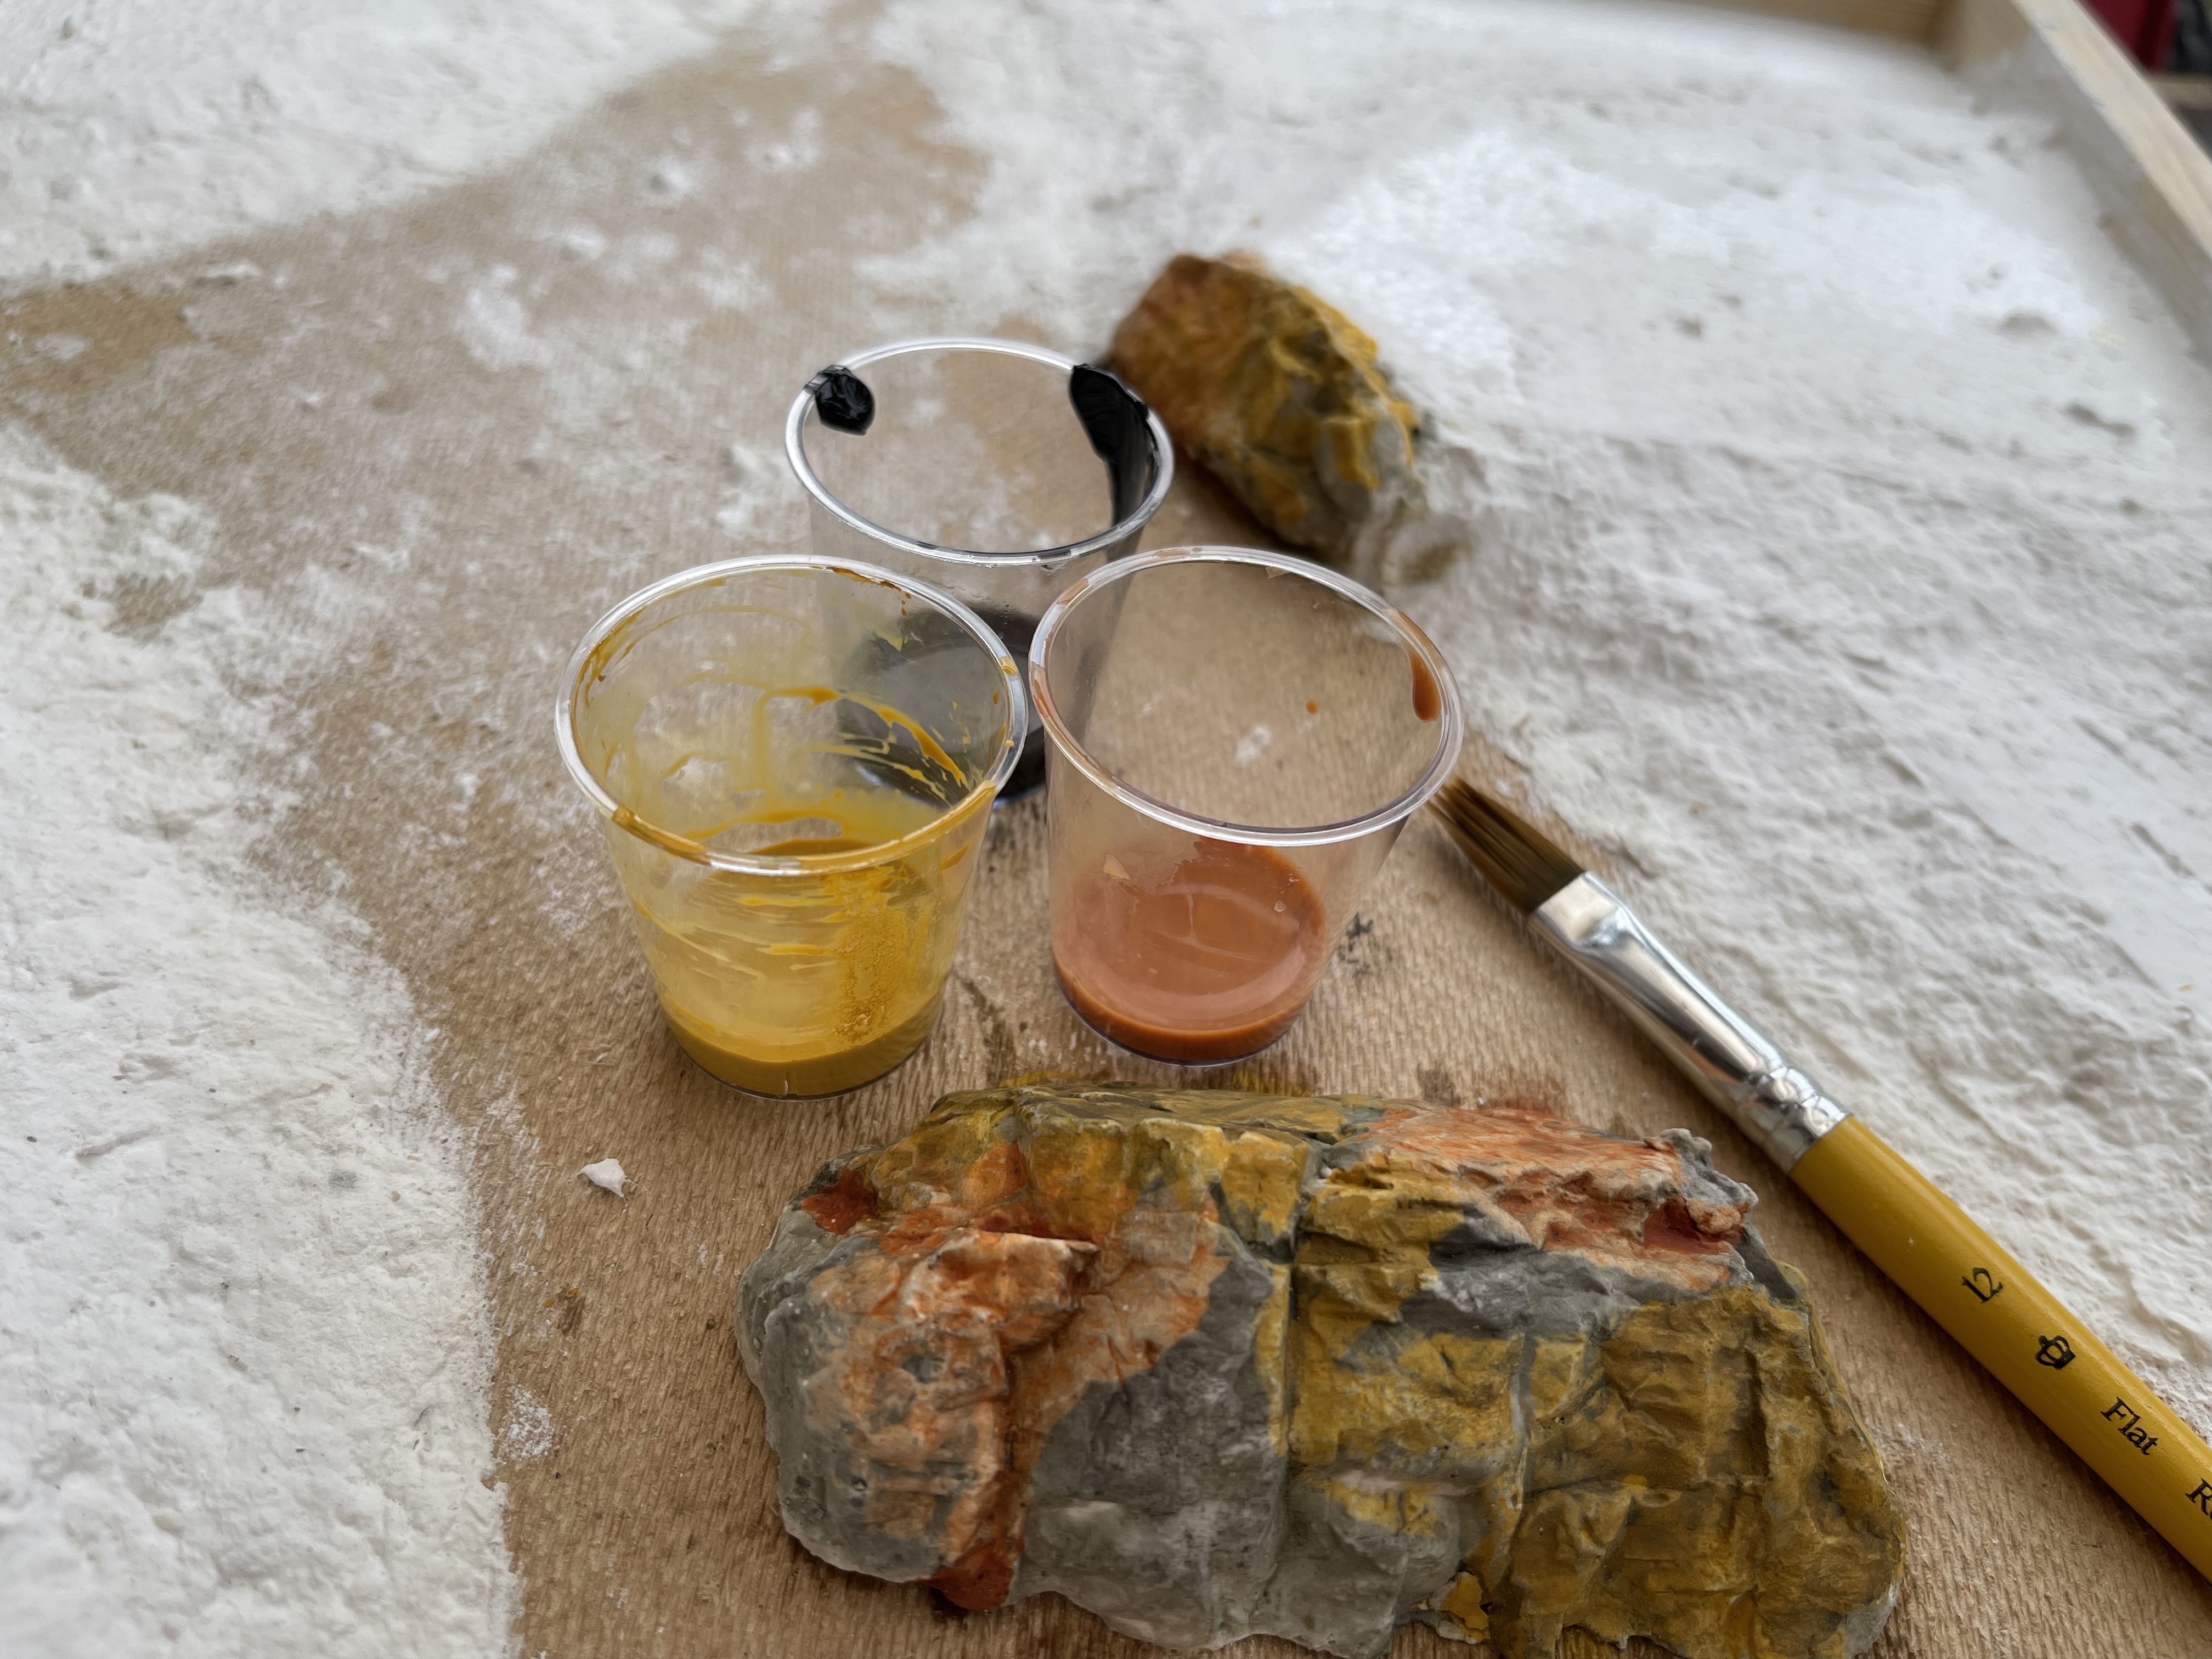
before doing any other painting on the board I ‘leopard spotted’ the plaster rocks.
this is super simple, it involves VERY! watered down paint, you can see in the black cup that there is excess paint that was not mixed into the water.
first apply liberal amounts of the orange and yellow earth tones (use whatever earth tones you want that might blend well with your planned ground form) then give very light layers on black wash to taste.
it is super easy to overdo the black so do not be worried about water that one down a lot. I think I went a little heavy on this one but its ok.
I might go back over it with a drybrush to try and tie it all together.
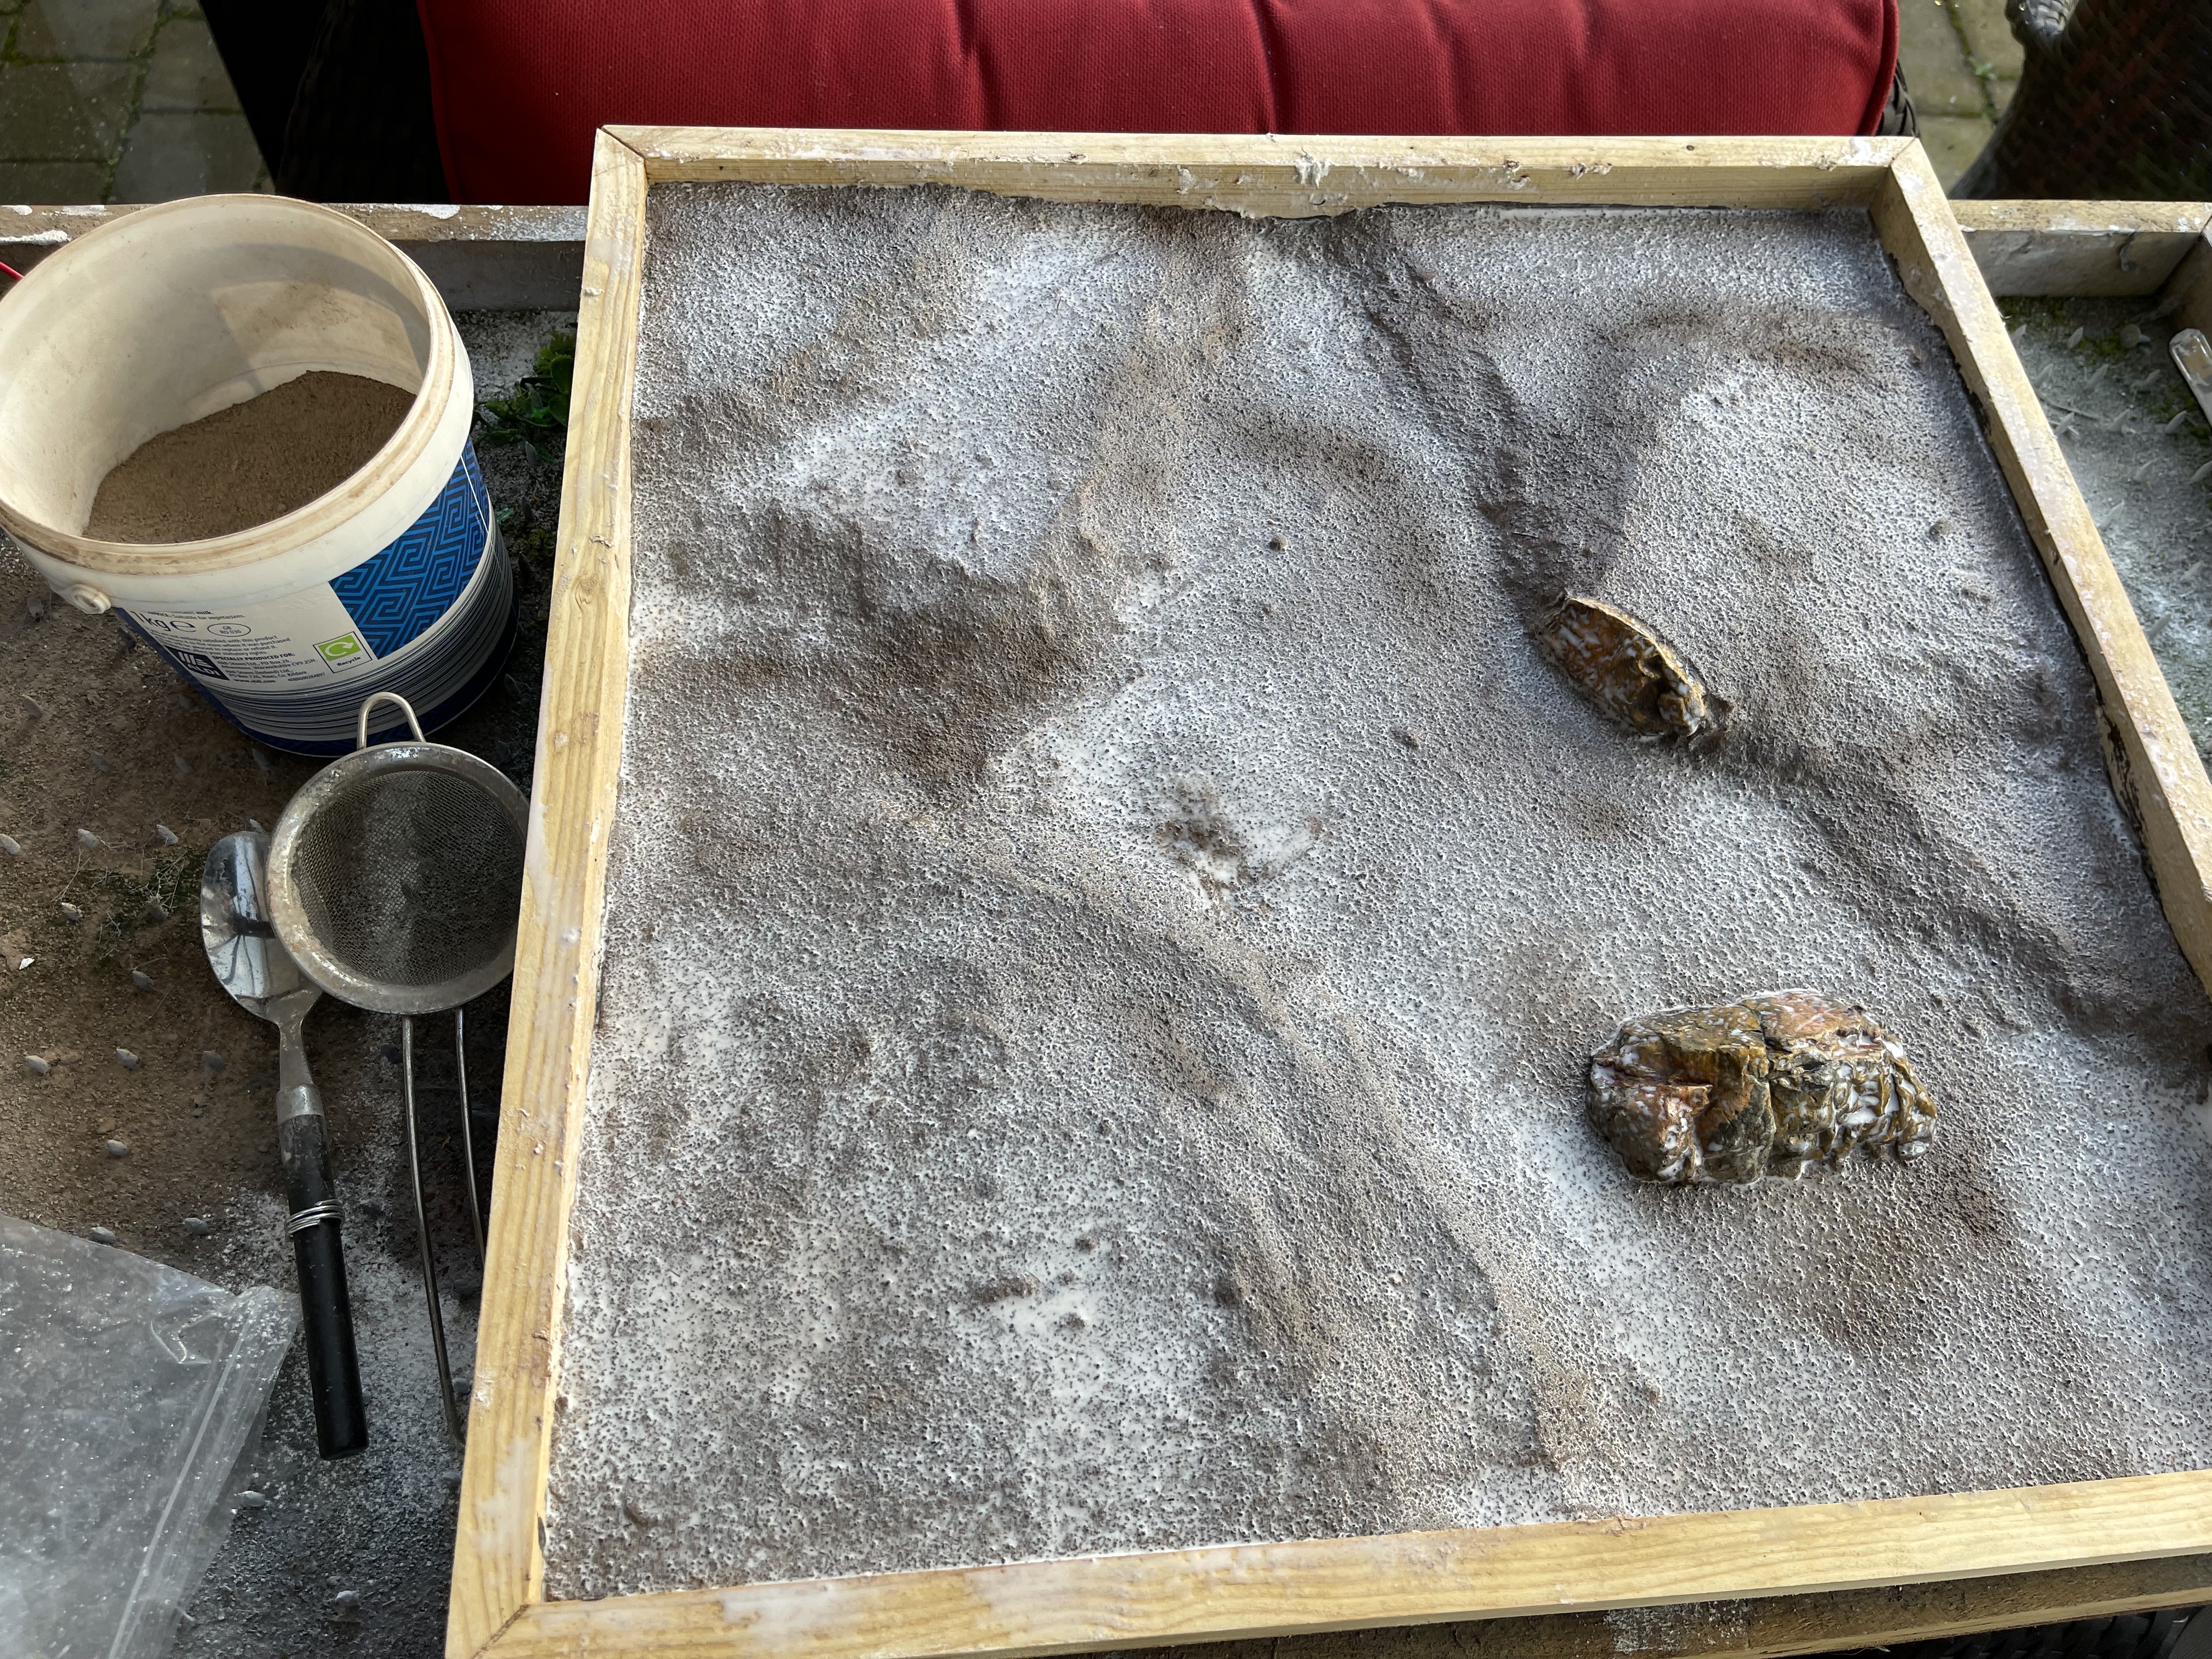
All the white ground then got a coat of raw umber brown. this is not necessary but is insurance against me mucking up the next ground form step.
The ground form texture is a 2:1 ratio of soil and brown tilegrout. once the paint is dry I simply slaver PVA everywhere I want soil and sieve on the mixture to create a nice even but random covering. in the past I’ve built up little mounds with this to make it ‘not flat’ but I didn’t in this instance because I was deliberately not careful with the sculptamold, and, in the past when it drys it has occasionally gone very chalky and fragile.
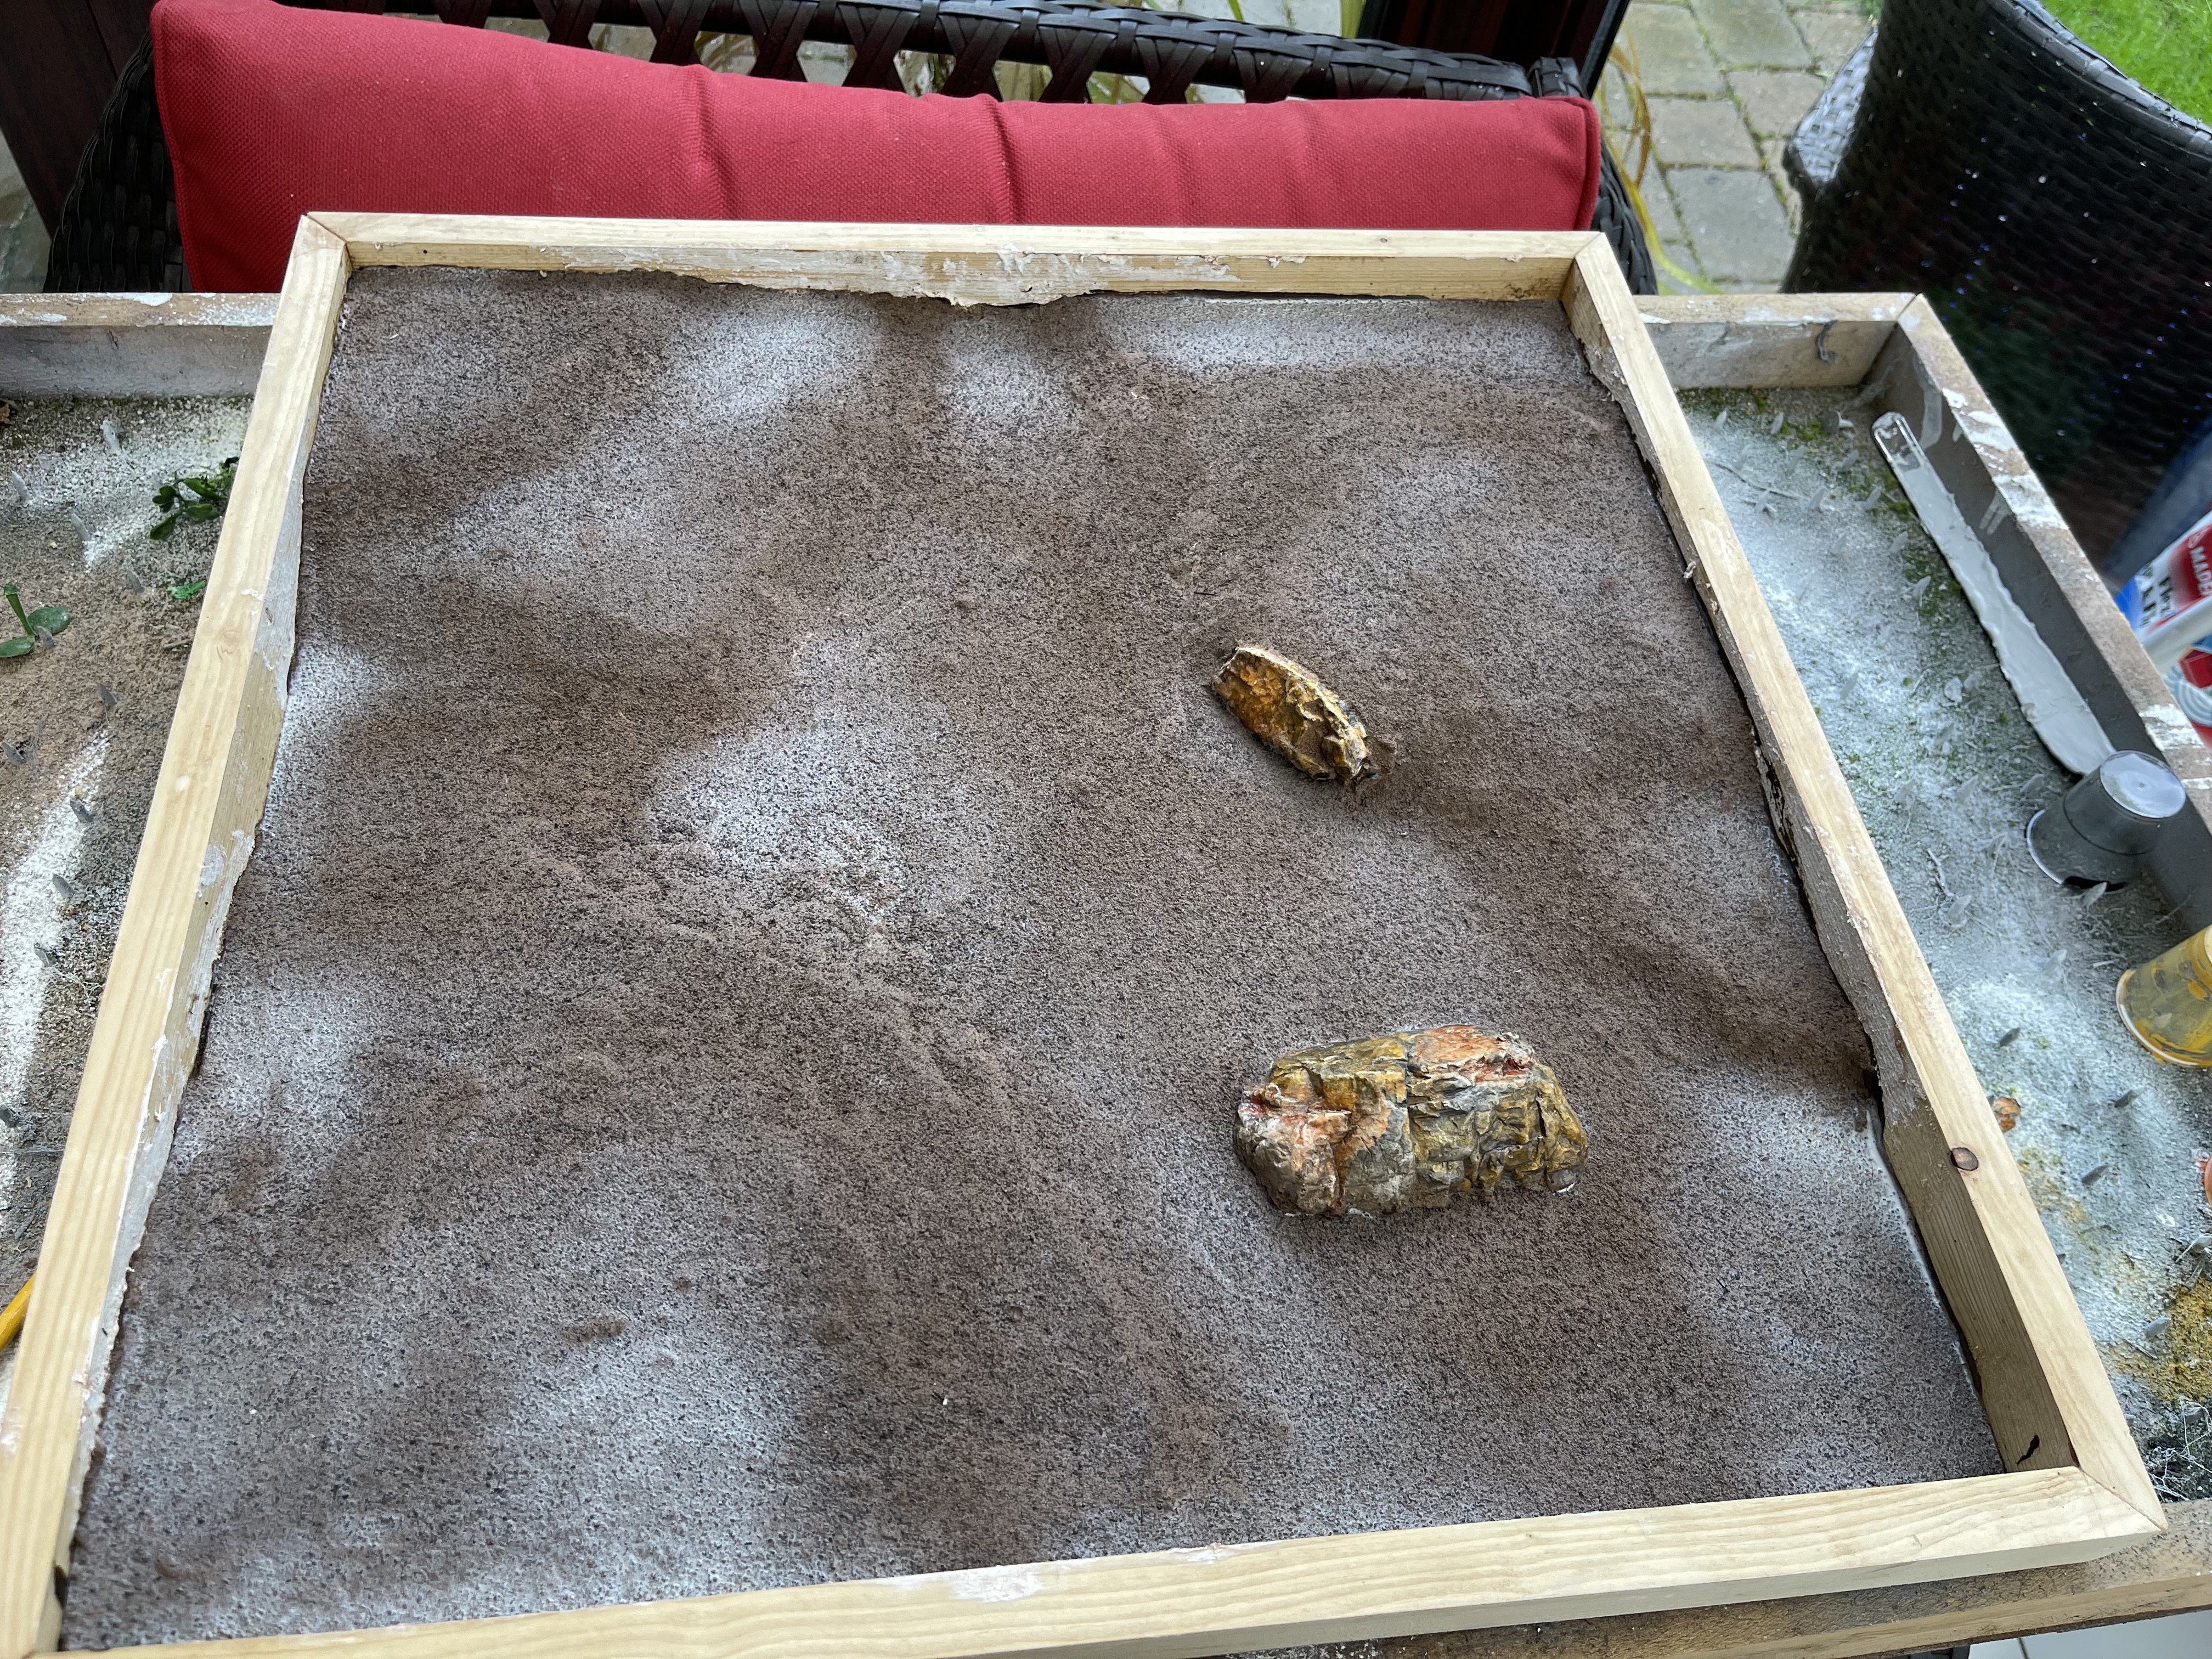
to seal it all down I used two things,
ISO to act as a flow agent sprayed onto the board through a windowlene spray bottle after the ground cover is laid down, this helps the PVA/water mix (again sprayed via windowlene spray bottle) flow into all the little cracks and bind everything together.
Left to dry for a few hours this is the result.
At this stage you could start adding your greens and browns for grass etc but life got in the way so you’ll have to wait till next time for that.
winner winner chicken dinner
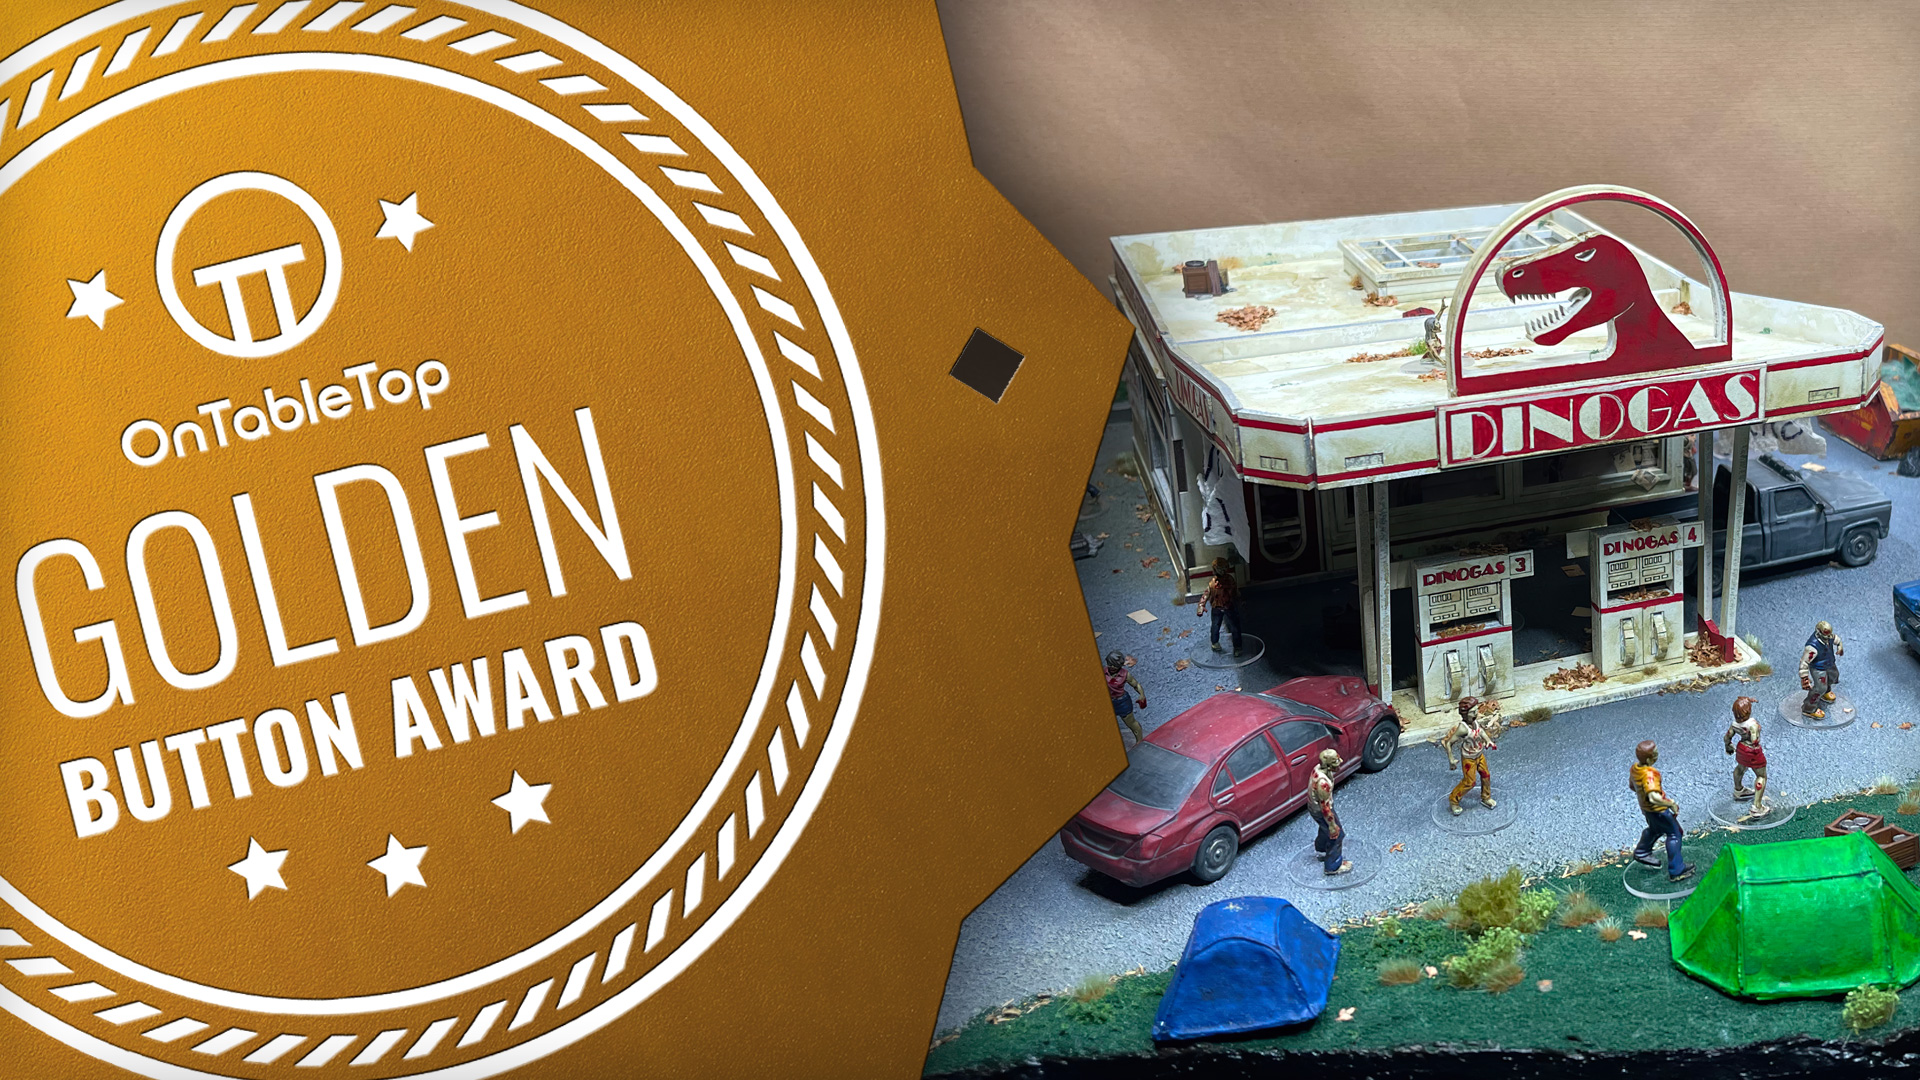 https://www.ontabletop.com/fantasy/community-spotlight-constructing-terrain-crusaders-surviving-the-undead/?nid=578562
 shameless flex!
if you want to read about what the OTT team thought about this project you can find their thoughts here.
sorry not sorry for the shameless flex post with no hobby content!
Battlereport Project live!
Everyone should go and read my battlereport project to see the first instalment of The Walking Dead
Battlesystems cardboard solution
way back when the game was still new Battlesystems had a kickstarter to create urban apocalypse terrain in their cardboard solution.
This is flat packable, fully coloured and not that expensive. If you ignore that its all cardboard and covered in clips it is a quick(ish) way to build a small TWD table.
Ive laid this out as a generic sub-urban area that a police officer would possibly live in.