


A journey into Gnarlwood


Recommendations: 194
About the Project
A simple (I hope!) project to paint up all the WarCry terrain in the Gnarlwood. Lots of trees, lots of giant skeletons and lots of rope bridges.
Related Game: Warhammer Age Of Sigmar: Warcry
Related Company: Games Workshop
Related Genre: Fantasy
This Project is Completed
What’s the Gnarlwood all about?
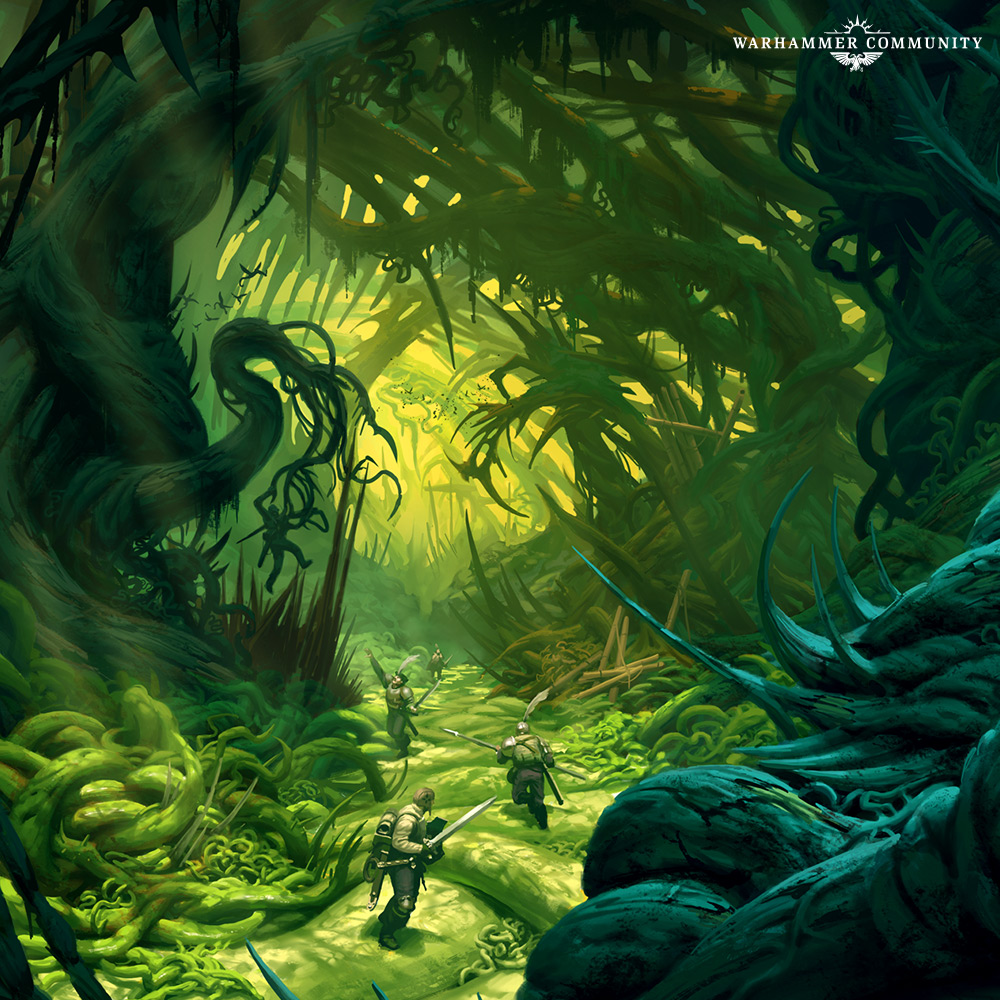
Deep within the Gnarlwood lies Talaxis, the Ravening Ruin – a fallen ark-city of glittering spires and untold treasures. Daring warbands and avaricious thieves descend to claim its power – but the dangers of Ghur are many, and blood flows among the trees.
It can take a gnarloak many years to finally consume a creature that’s unlucky enough to find itself as prey. That gives anyone brave enough plenty of time to erect bamboo platforms to gain a clear view over the jungle floor.
In gaming terms, this adds incredible verticality to your thematic battlefields.
 Inside the Gnarlwood
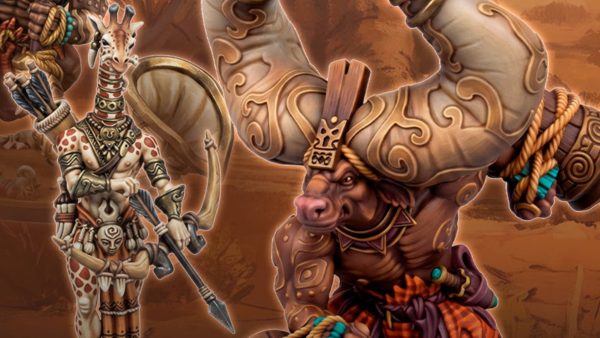
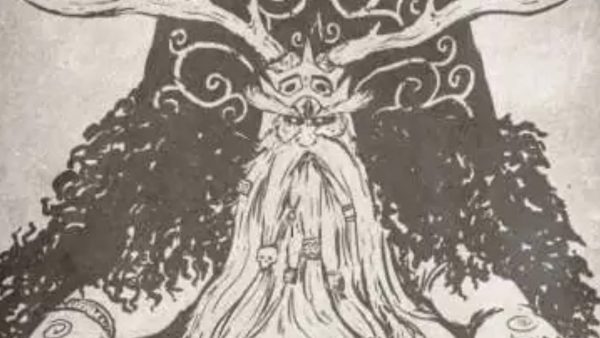
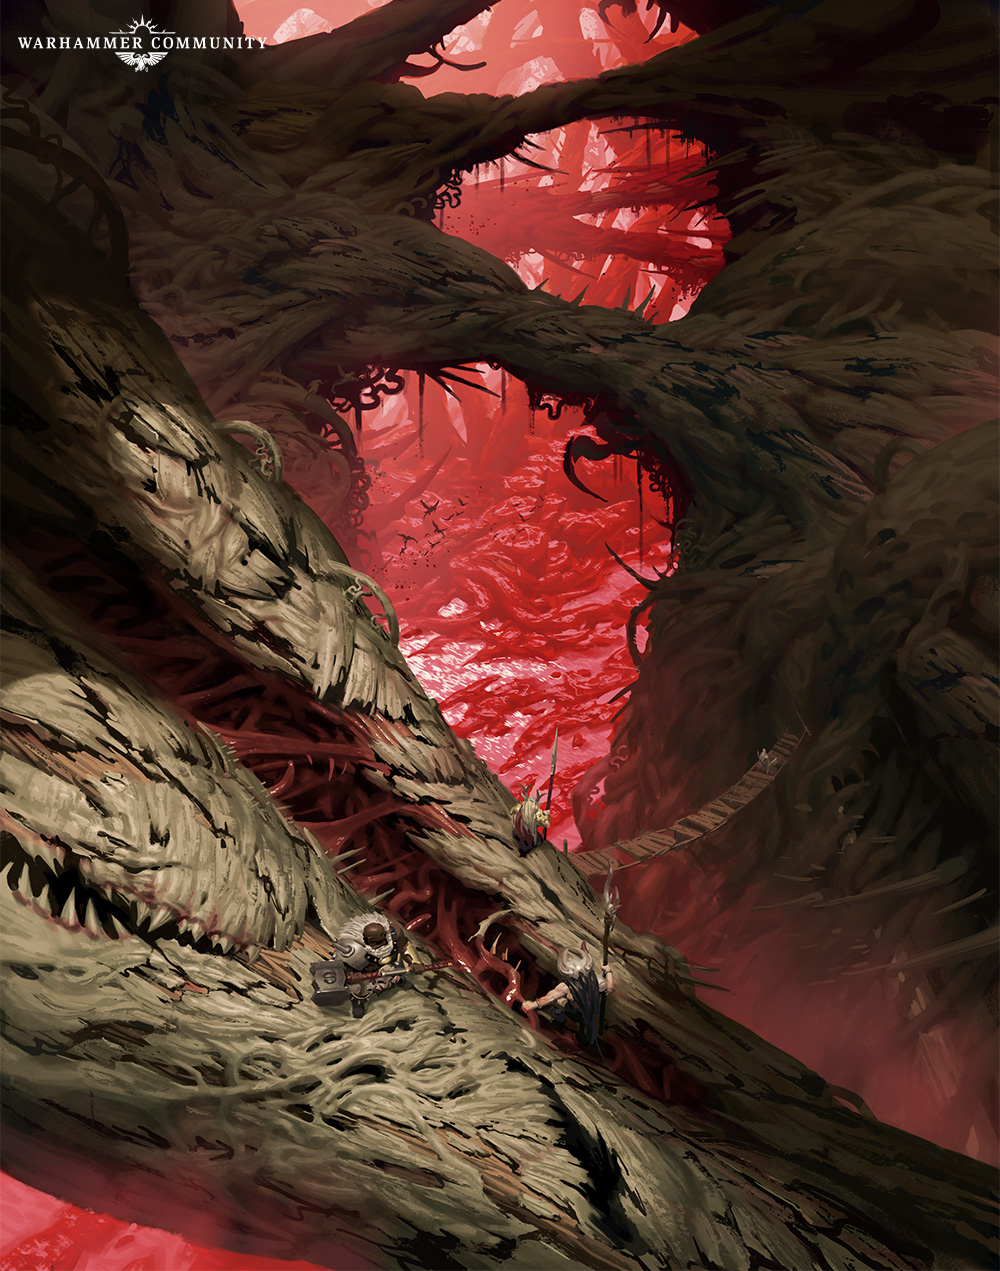 Bloody trees!
That’s some helpful flavour text and cool artwork about the Gnarlwood. Next let’s take a look at some of the sprues.
A look at the kits
Tale of Painters have done some brilliant reviews of the WarCry box sets and I’ve used a few of their photos here – but I urge you to go read their articles.
Each of the 3 box sets released so far is packed with content. You get loads of terrain sprues, like this selection show here.
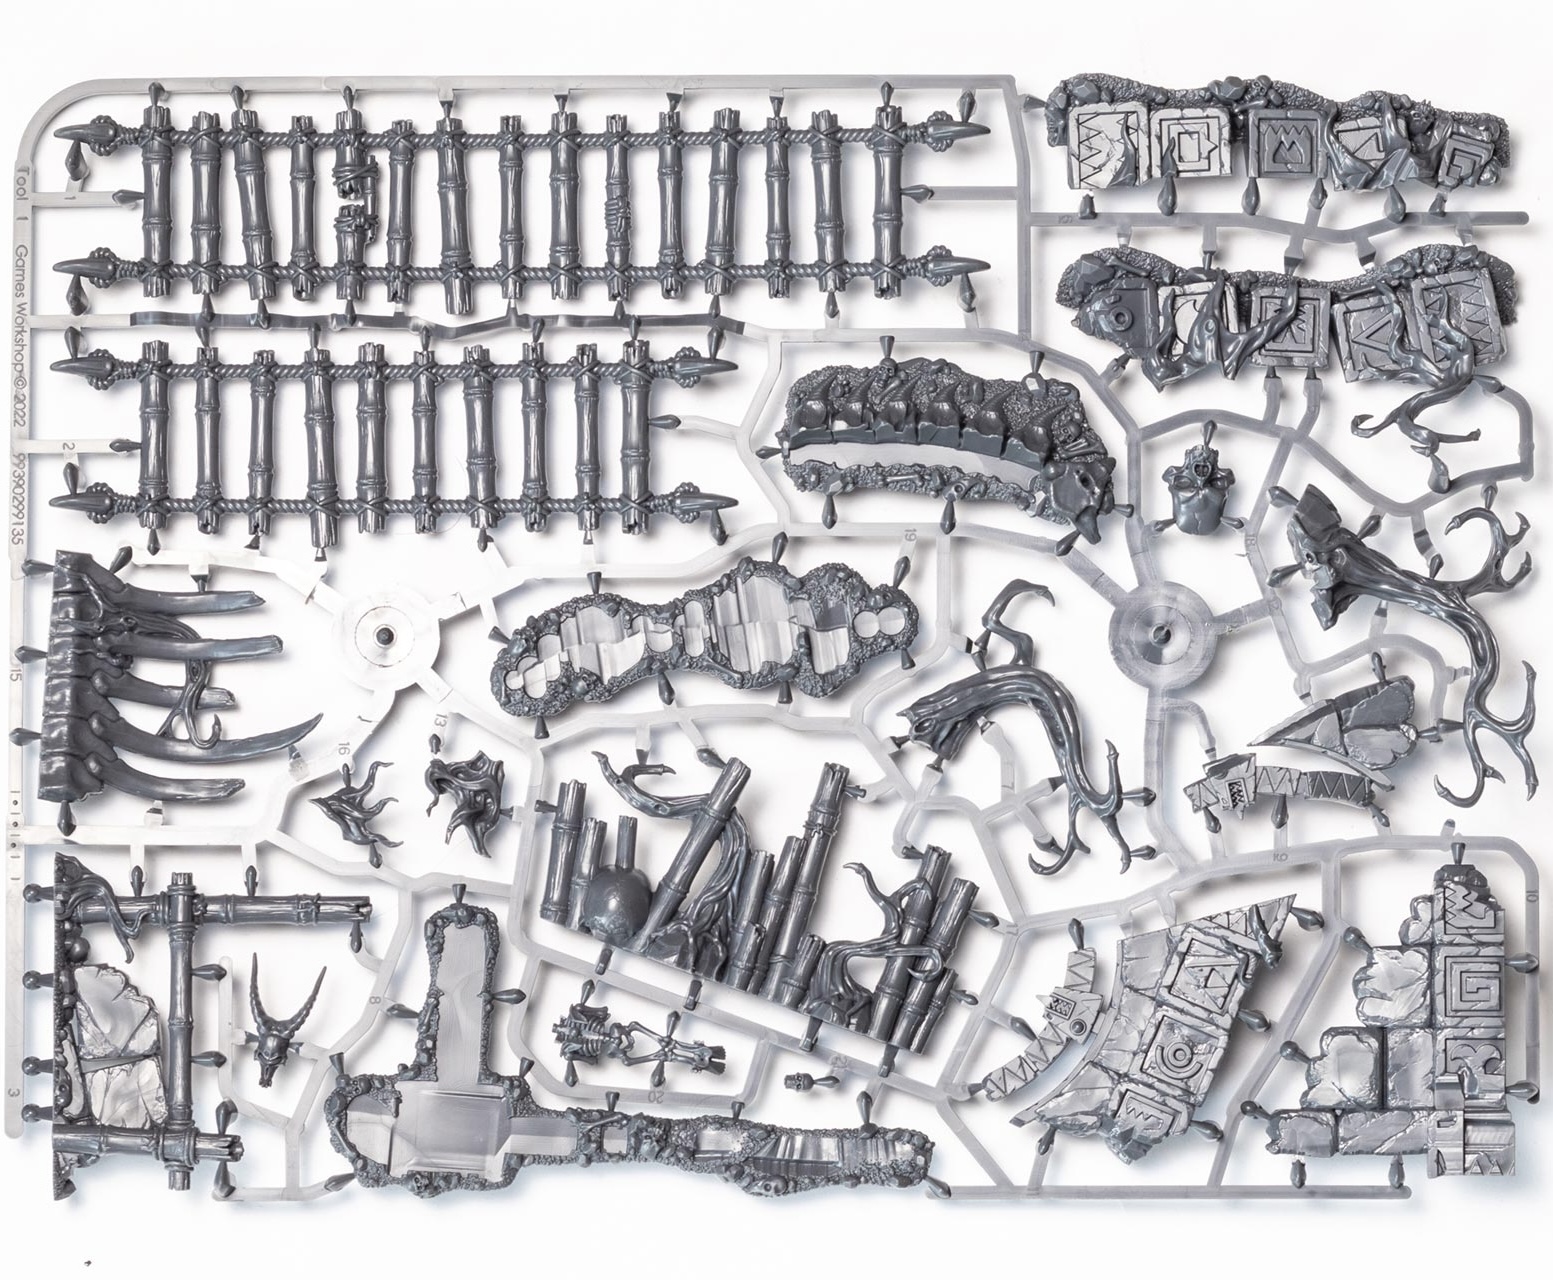

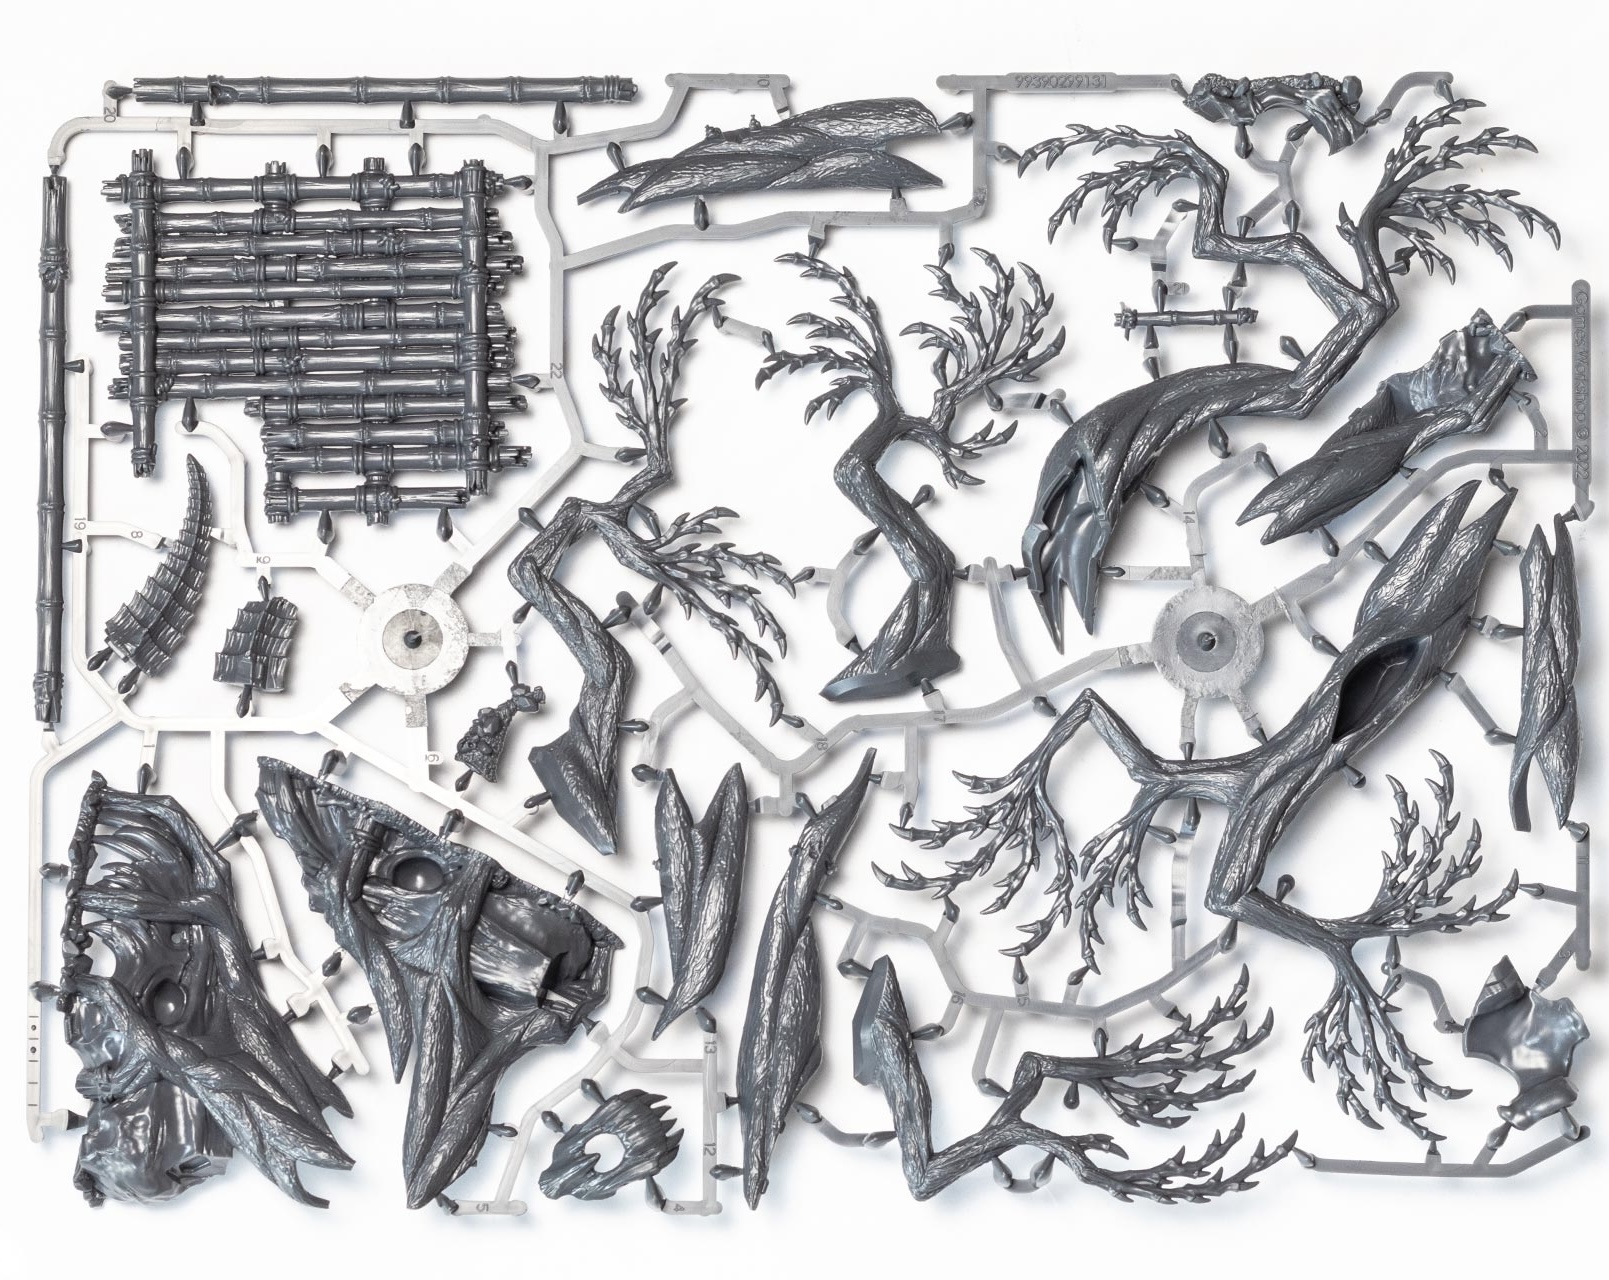
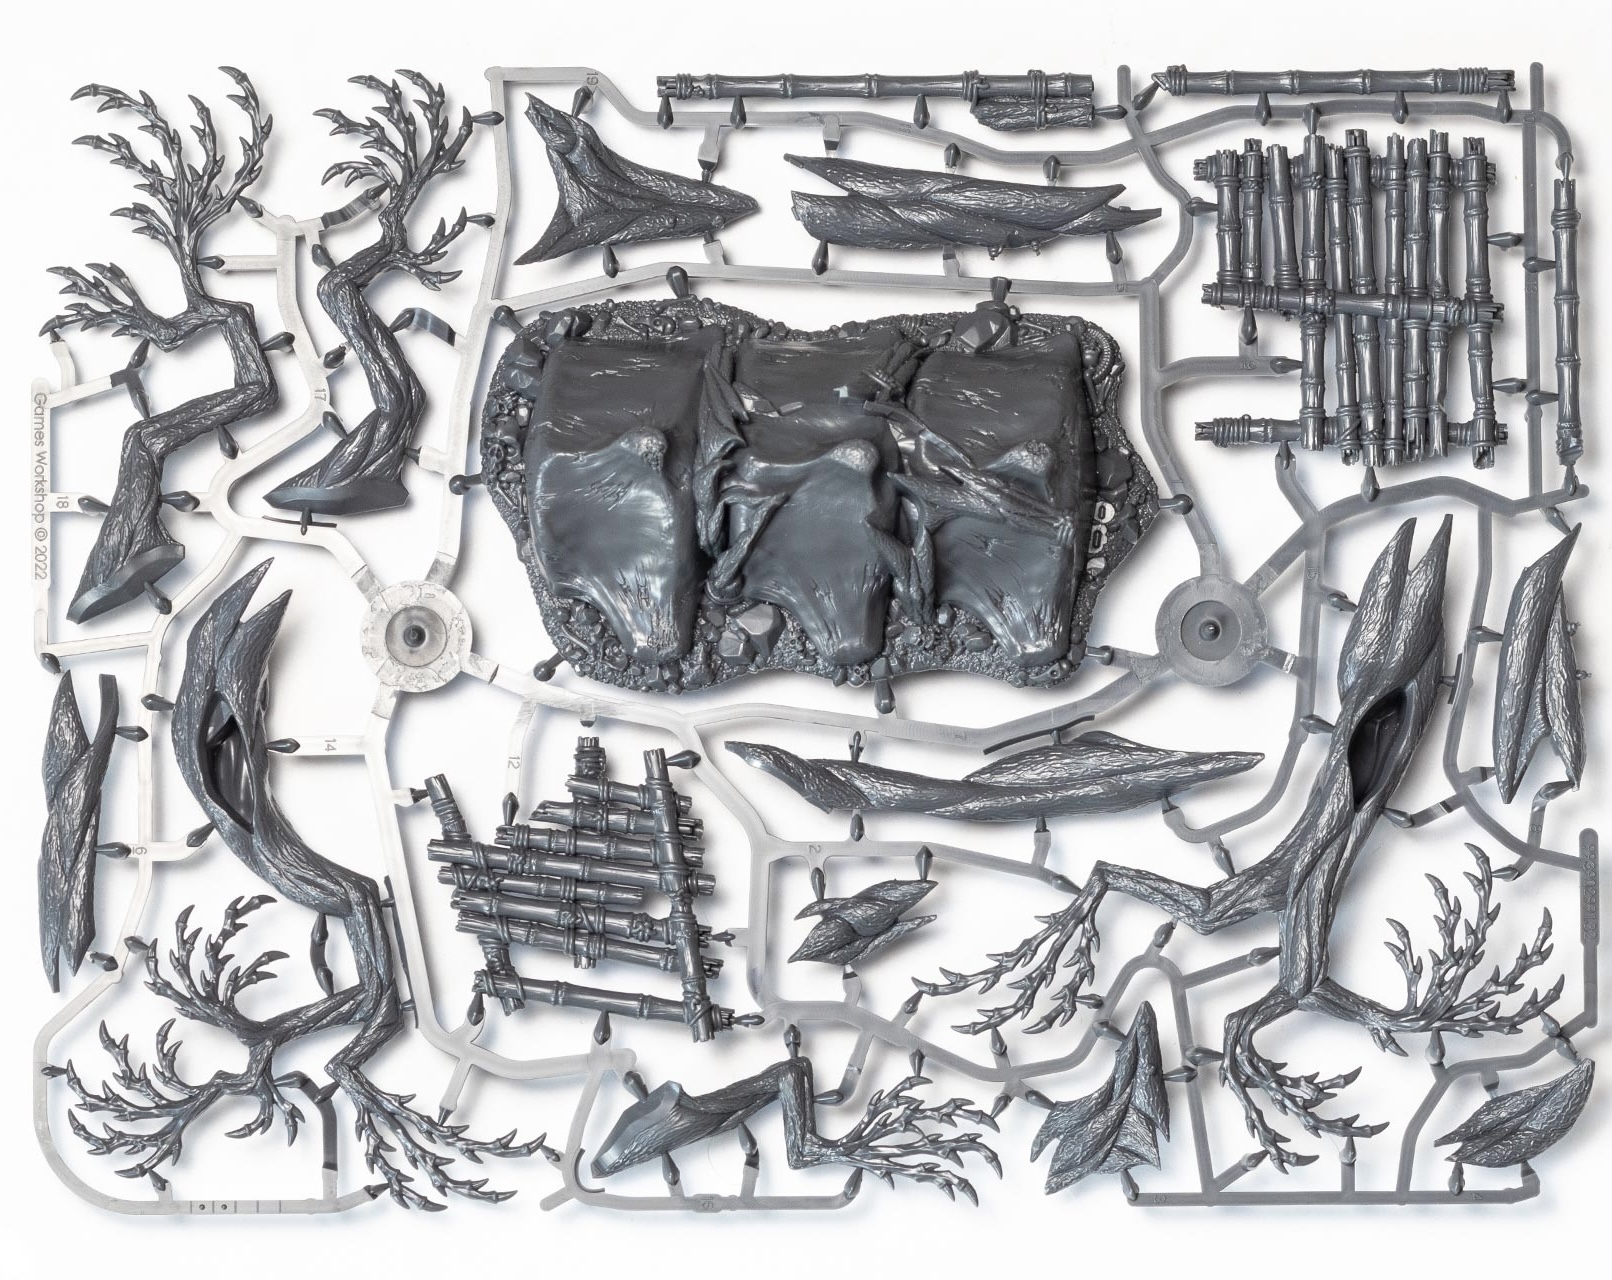
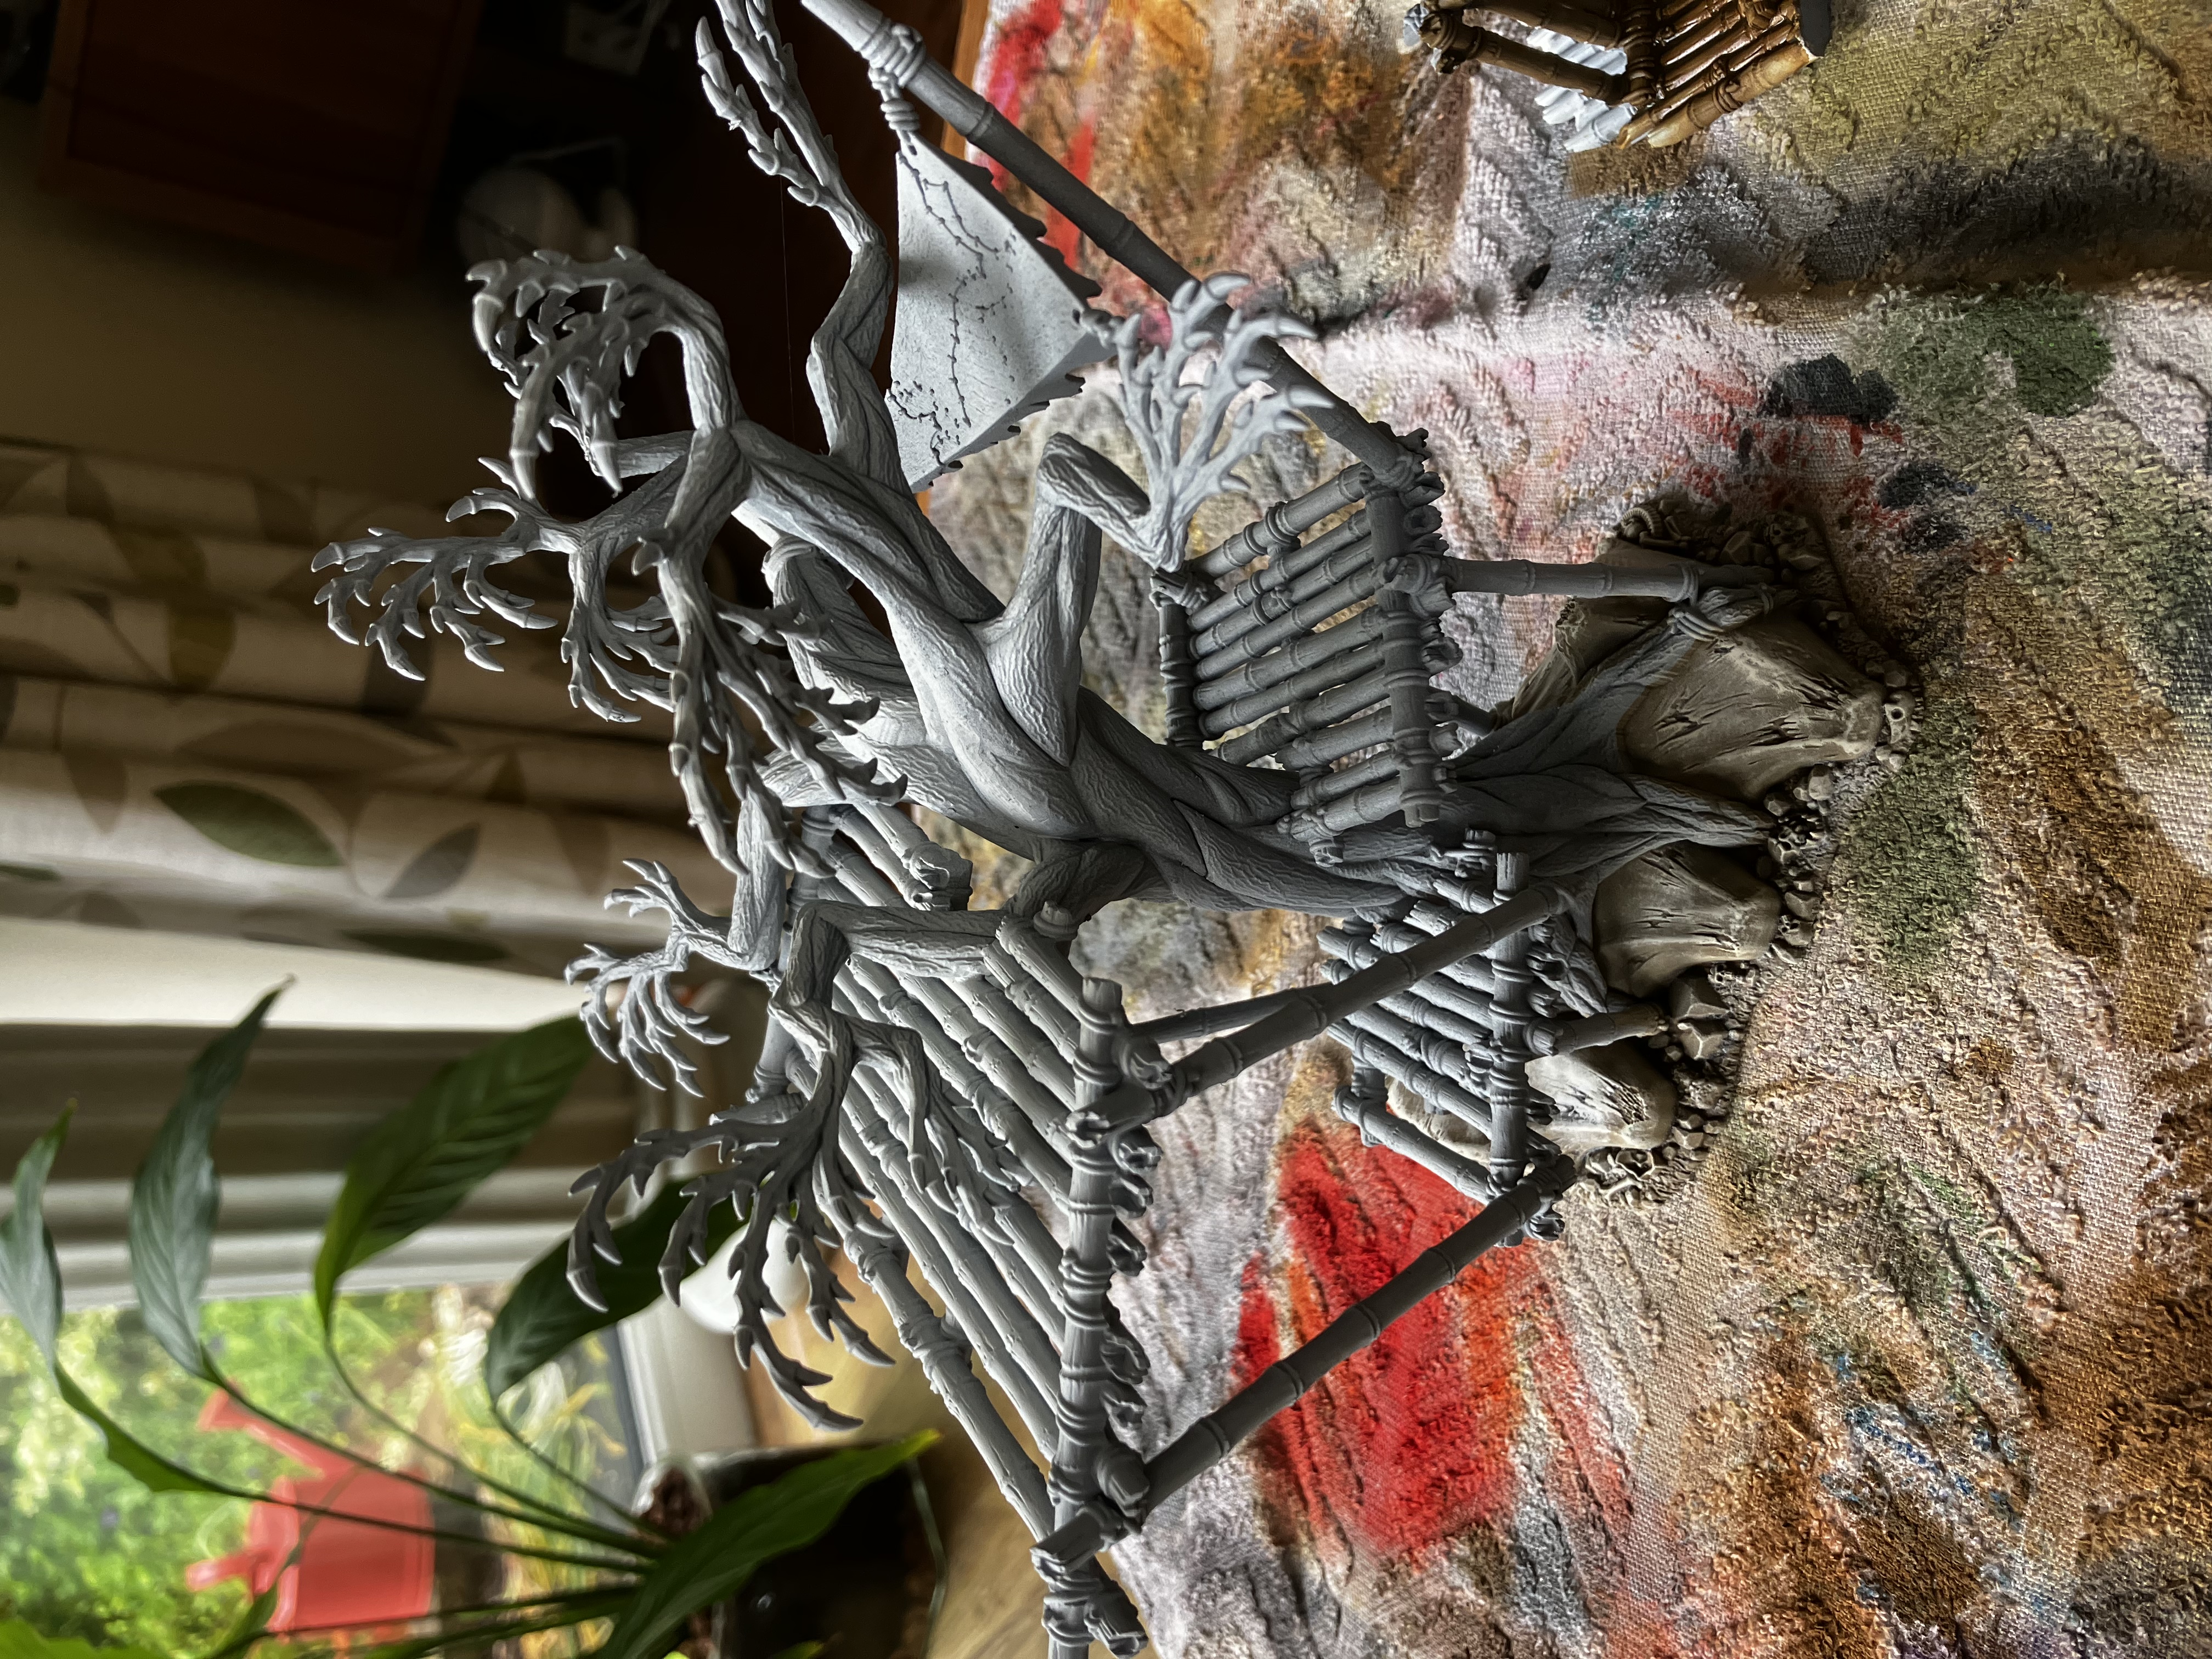
The trees themselves are a little tricky to assemble – you do need to pay attention to the part numbers and elastic bands are really helpful when assembling the trunks, which often come in multiple confusingly shaped parts.
But, once assembled they look really good and imposing. The rope bridges and different platform heights mean you have so many ways to set up a weird woodland tabletop.
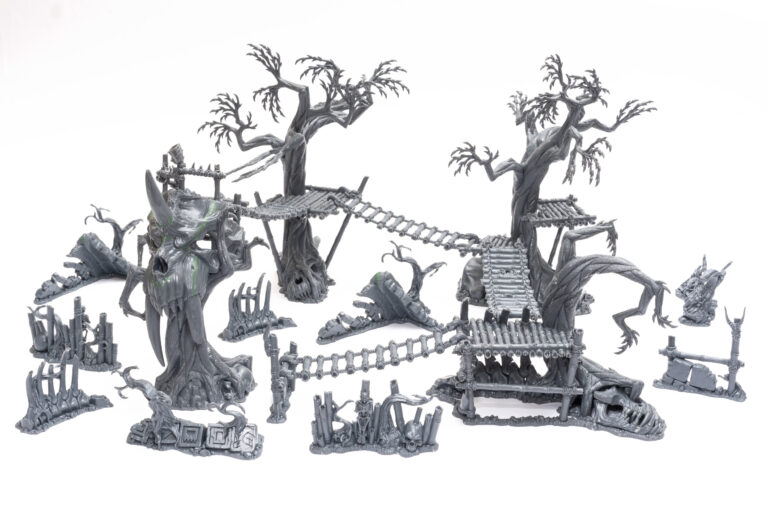 This is the contents of just the first box set!
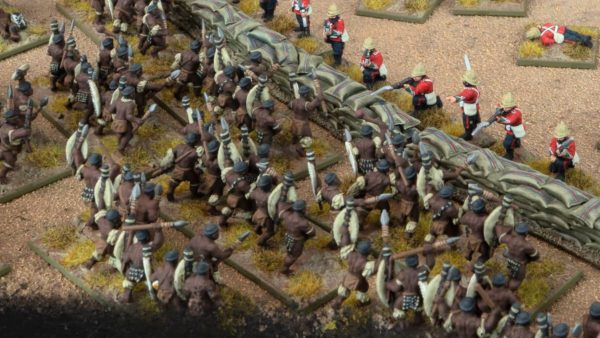
Scale wise, these trees are even taller than the Awakened Wyldwood, so you get a lot of scenery.
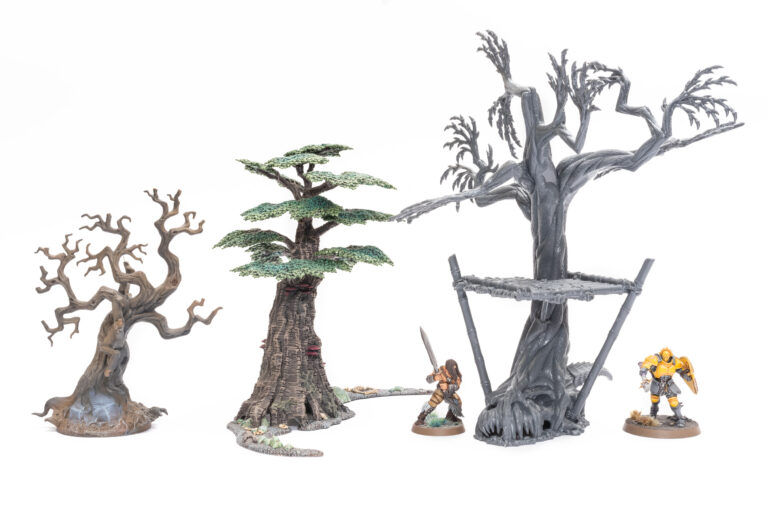 Scale comparison with previous citadel trees
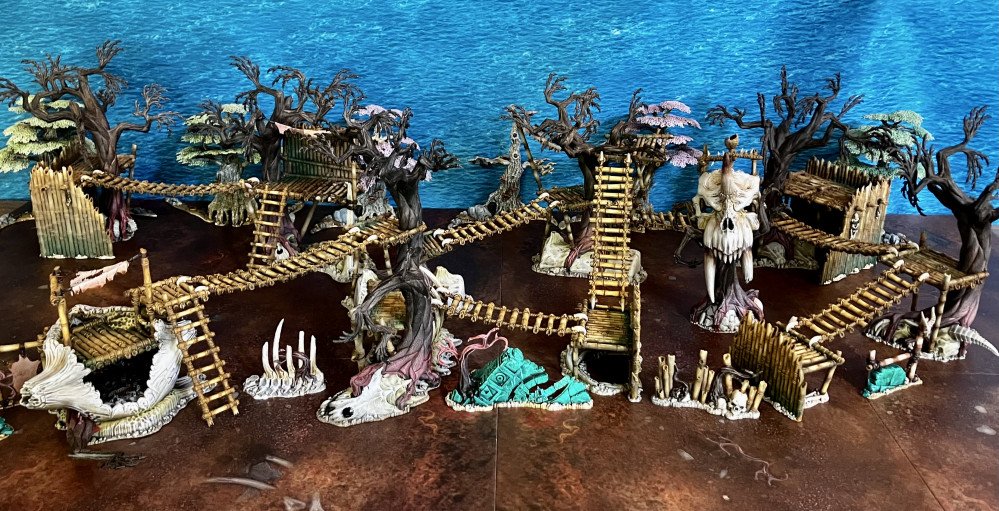
All the scenery!
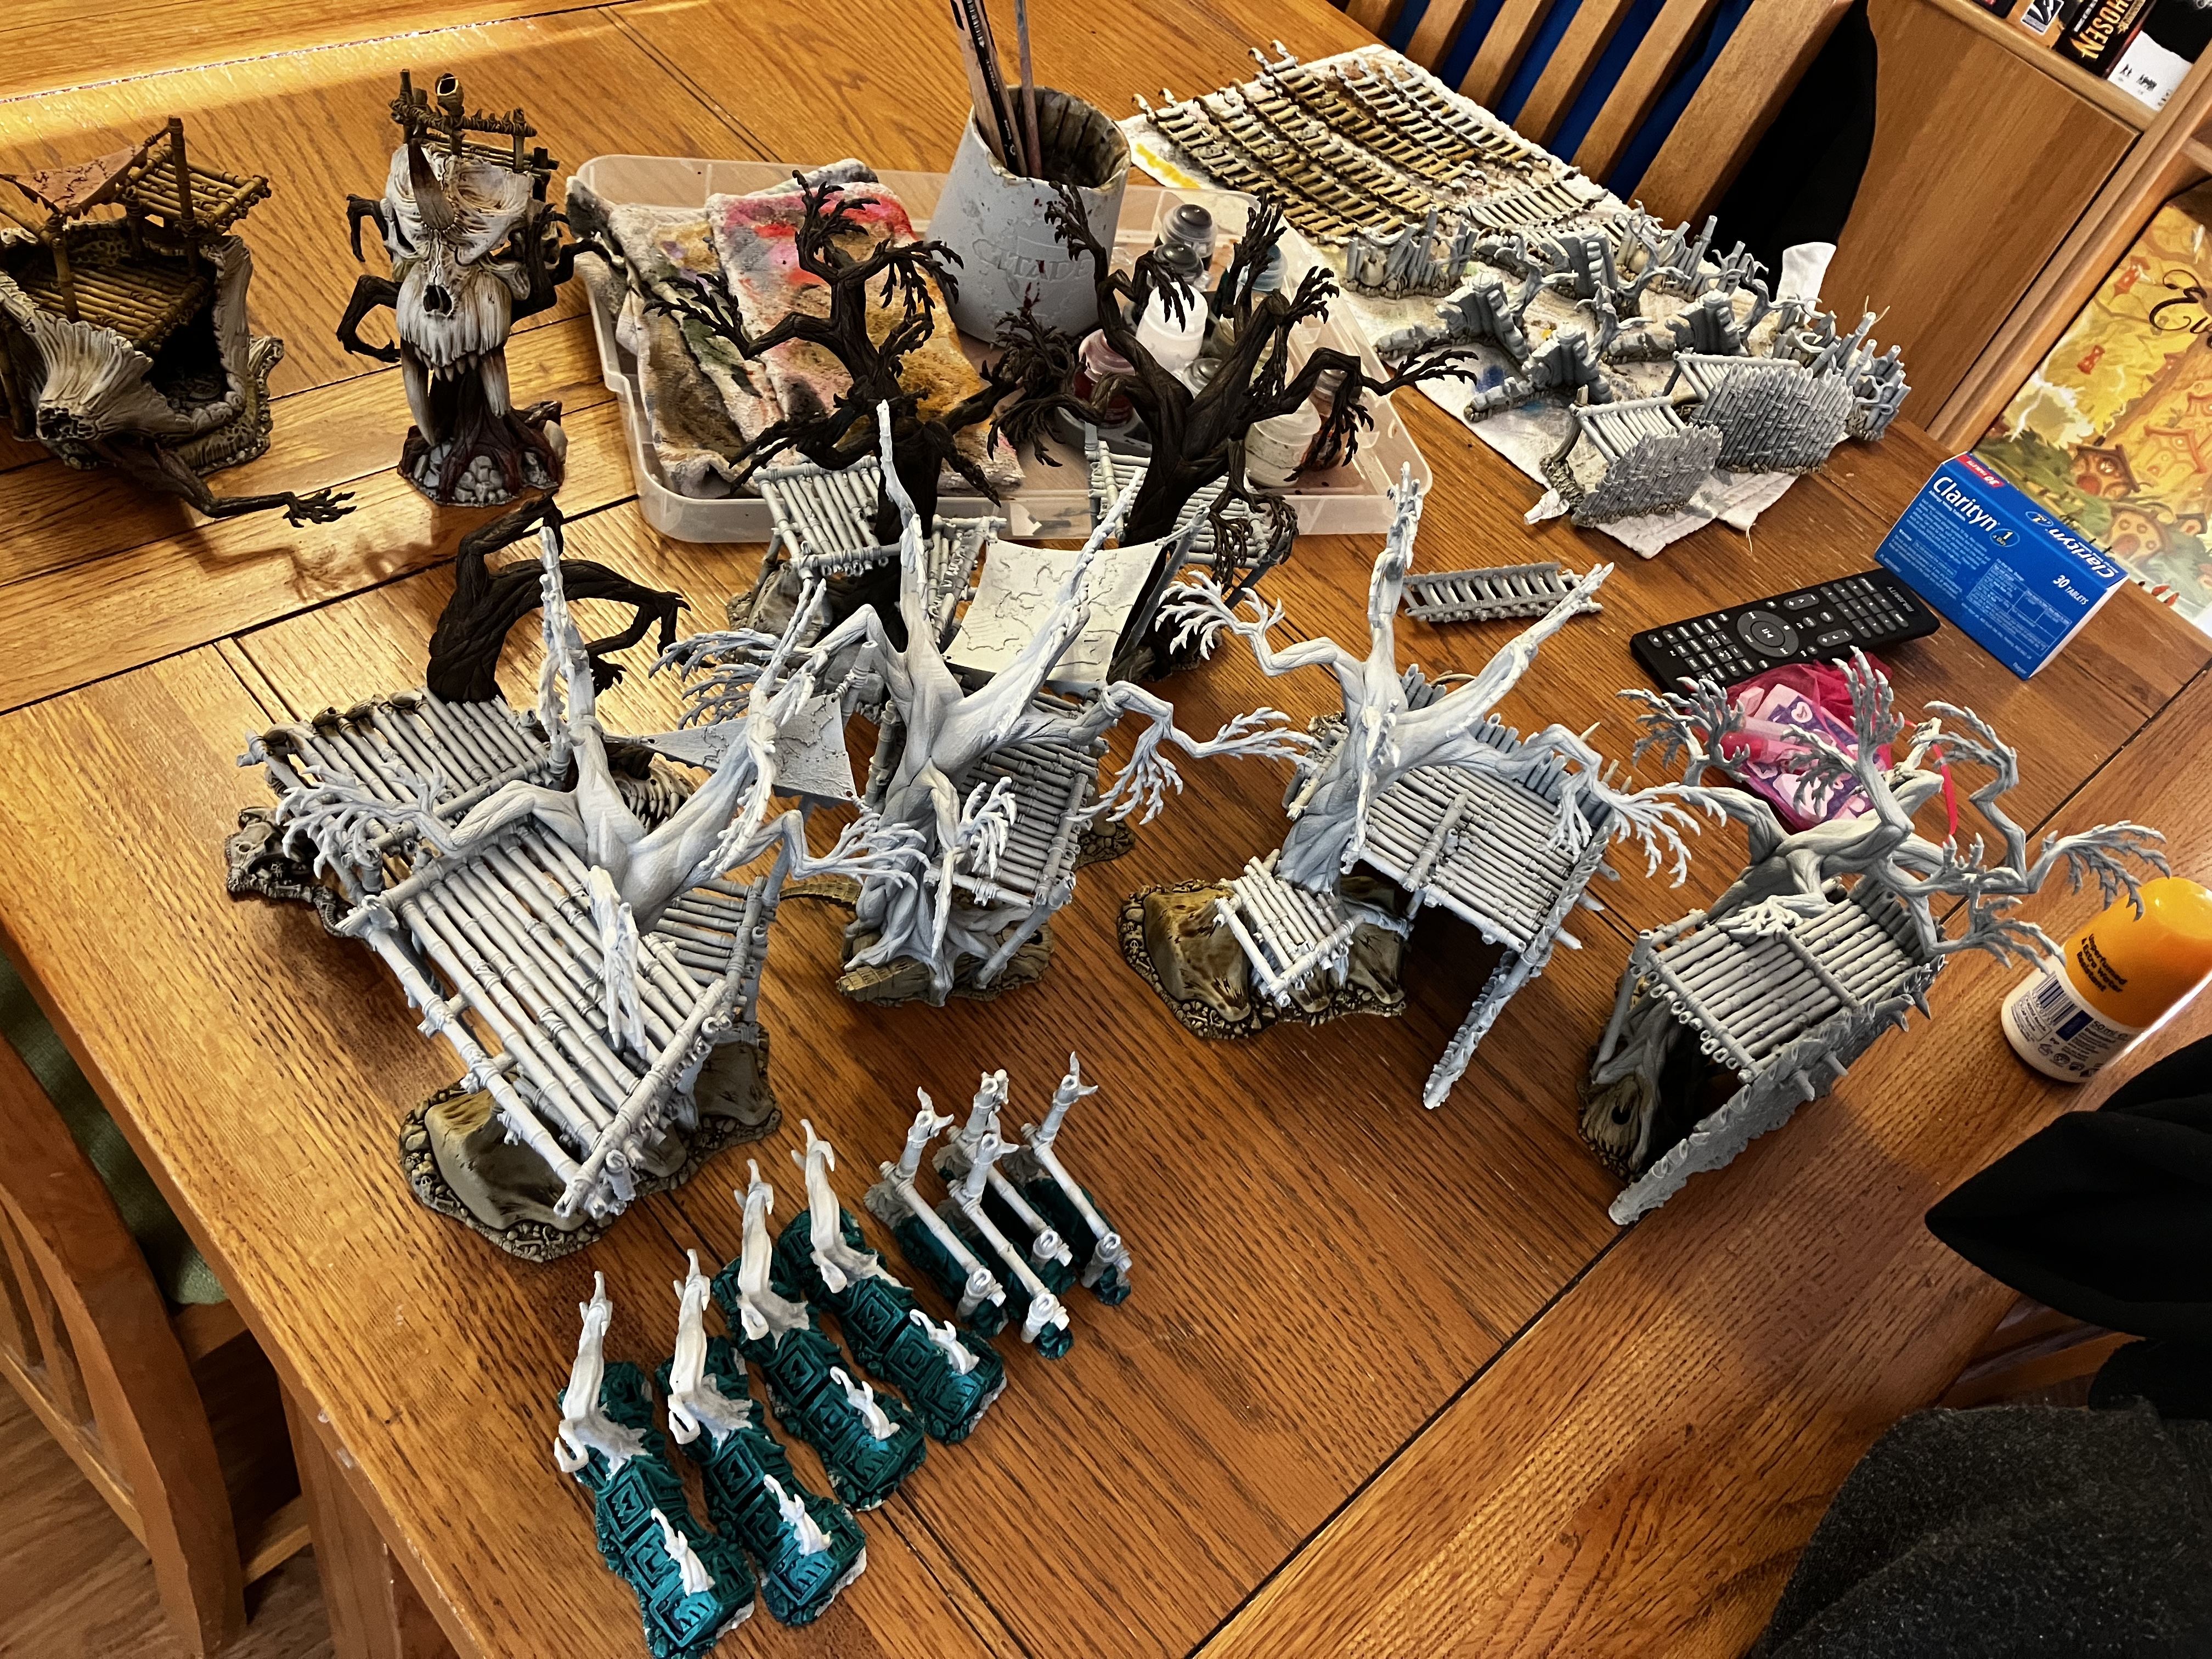
Last weekend ( having built all the scenery of a period of months) was a nice dry day, so I broke out the rattle cans and spray primed everything. That’s all 3 box sets.
I used what is now my standard zenith approach for terrain:
- With each piece upside down, spray it grey. I used GW Mechanicus Standard Grey, but Halfords Grey Primer is excellent too.
- Turning the pieces the right way up, spray with very light grey. As I’m mostly going to be painting these with contrast, I used GW Grey Seer which is exceptionally smooth.
- Finally, a near vertical dusting of GW Wraithbone to catch all the top-most surfaces.
I find that gives me a really great base to work from, and helps guide me with the areas that don’t matter so much versus the areas that benefit from more detailing.
Once we’d done that (and I’d stuck some basic colour on a couple of bits – this log will jump around!), me and my son played a game with ALL the terrain.
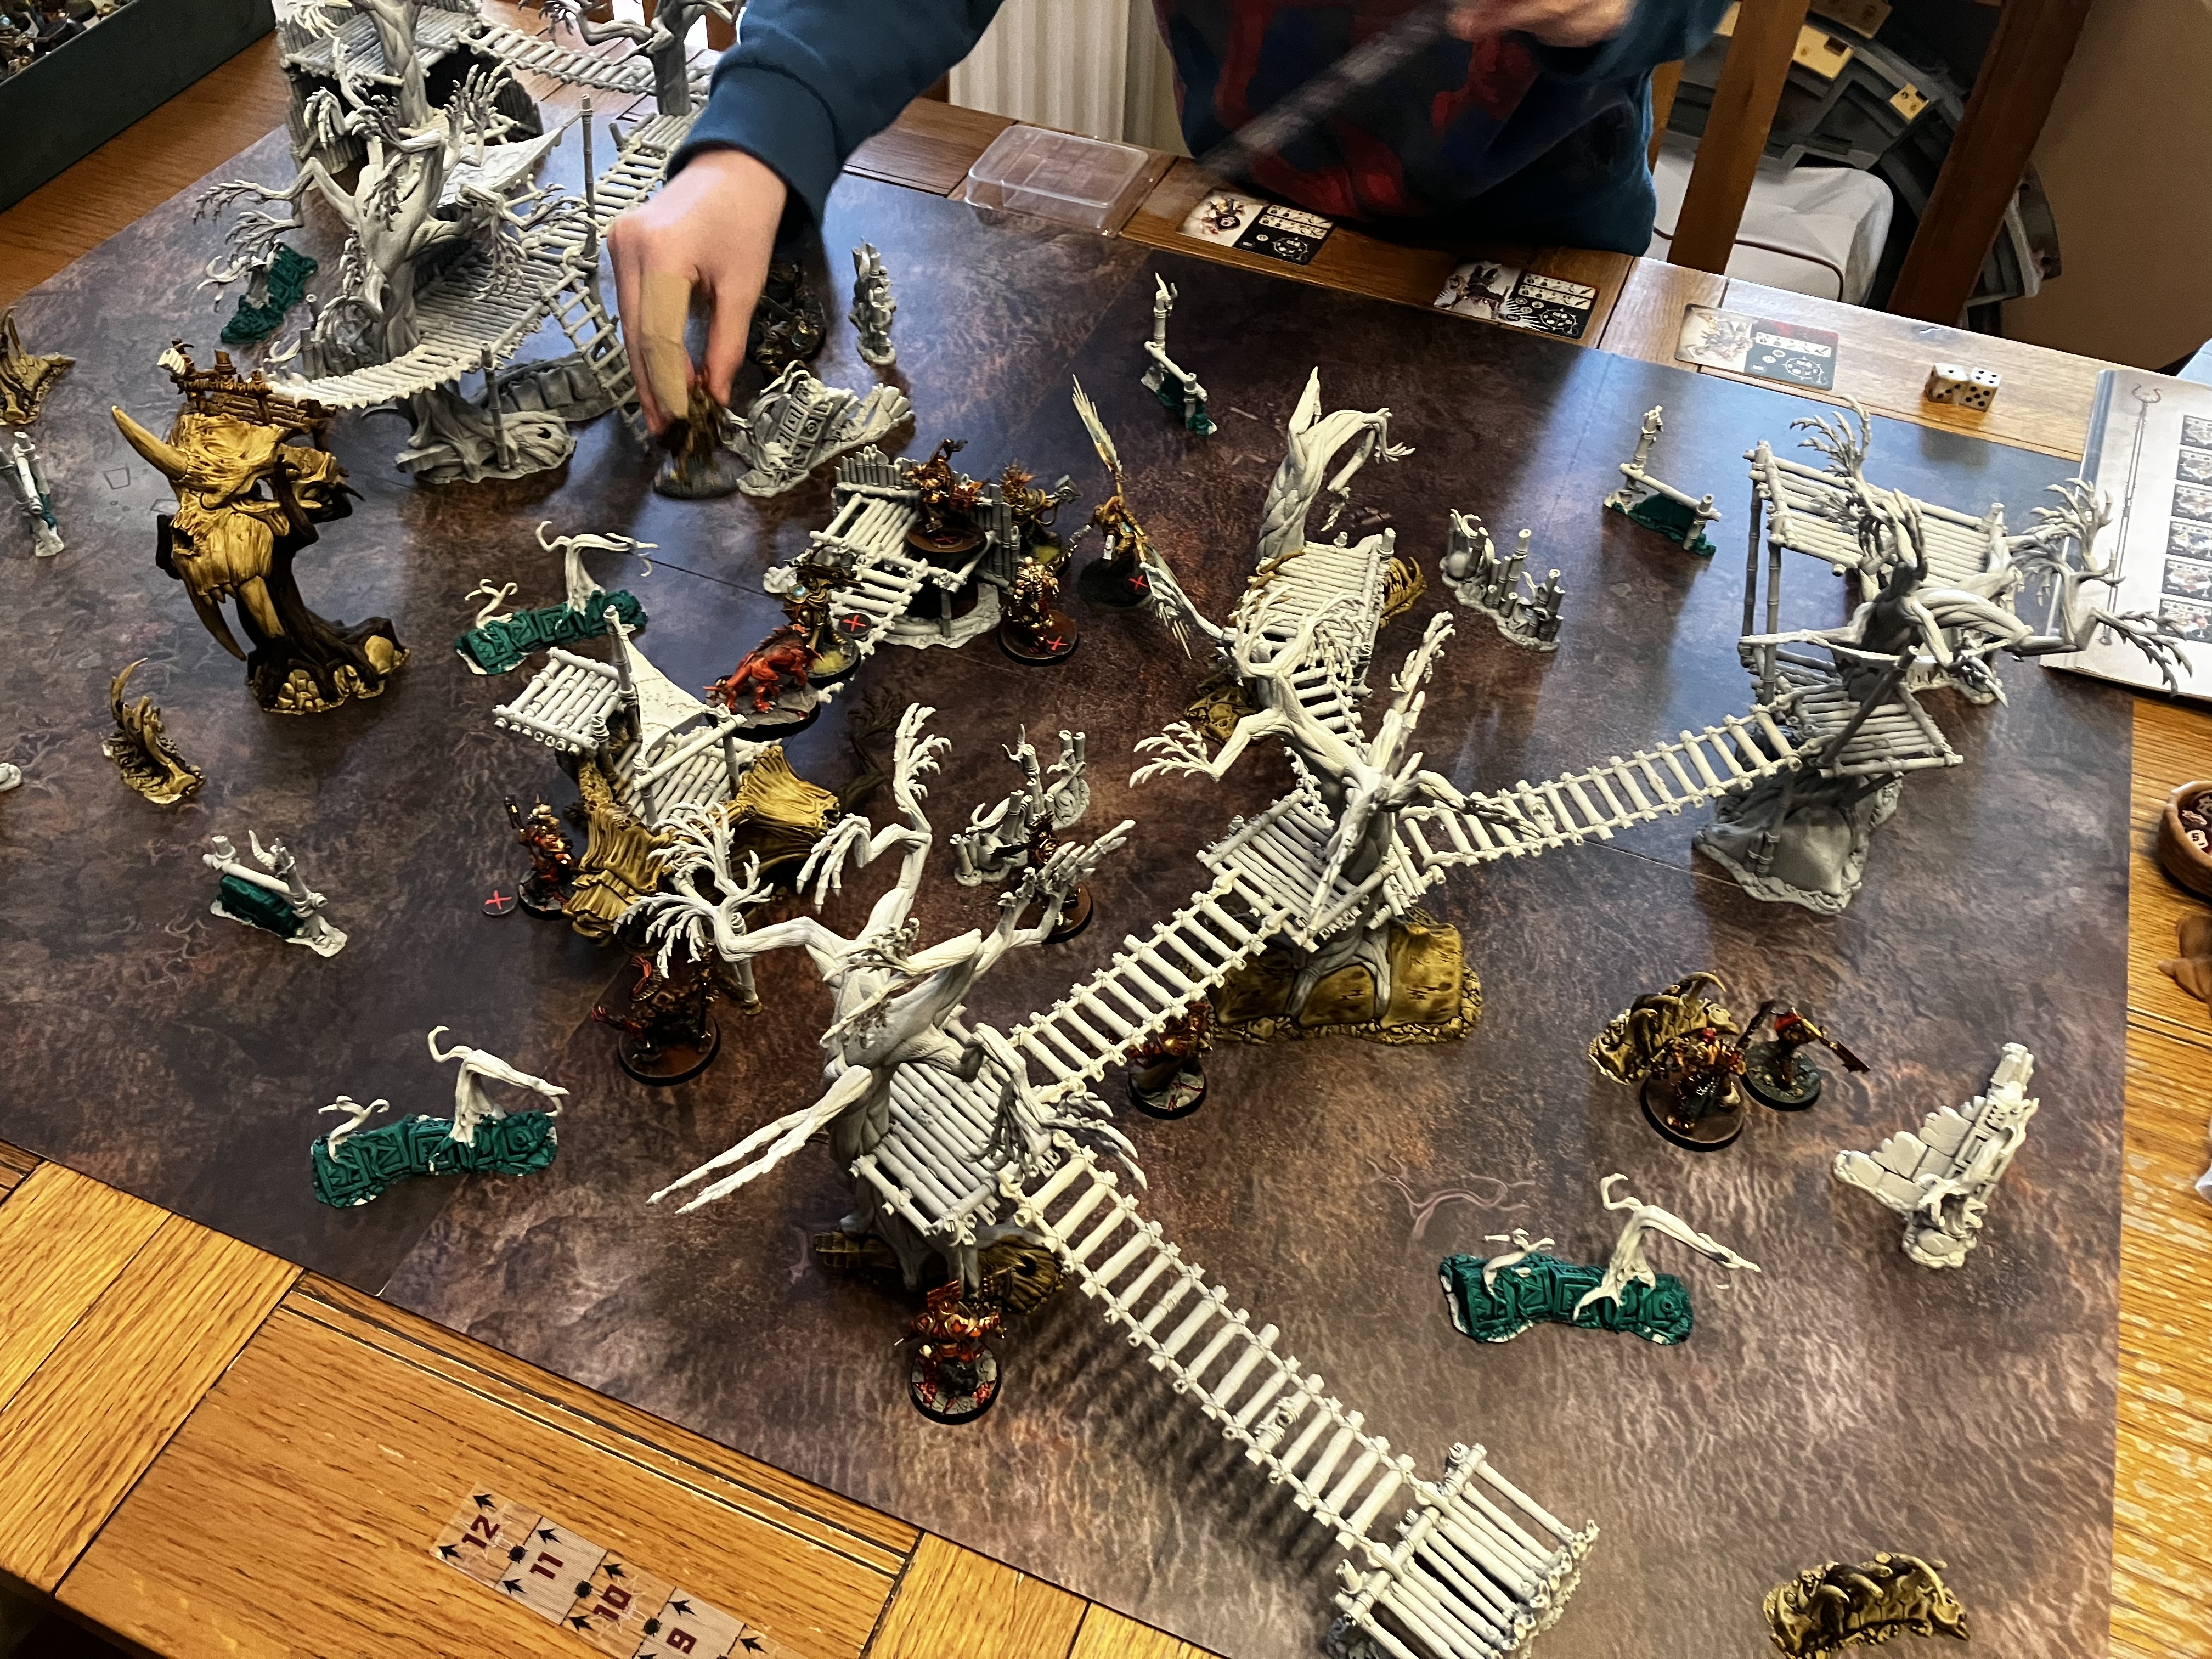 My son wiping the floor with me at WarCry, as always!
Assembly line
When it comes to a sizeable terrain project like this, I tend to treat it as an assembly line – grouping pieces by type, and working out the stages I’m going to go through to get the project complete without going mad.
A key part is being happy with “good enough”. There’s so many tiny details on these pieces (all the twine/cord holding bamboo together, for example) that I could spend weeks on this. Instead, I’ll break it down into stages and go for an over-all effect rather than exhaustive detail.
Two sample pieces
I chose these to be two sample pieces as I thought they offered a good range of the materials that the whole set is made from, but also quite self-contained so if anything changed across all the trees it wouldn’t matter too much.
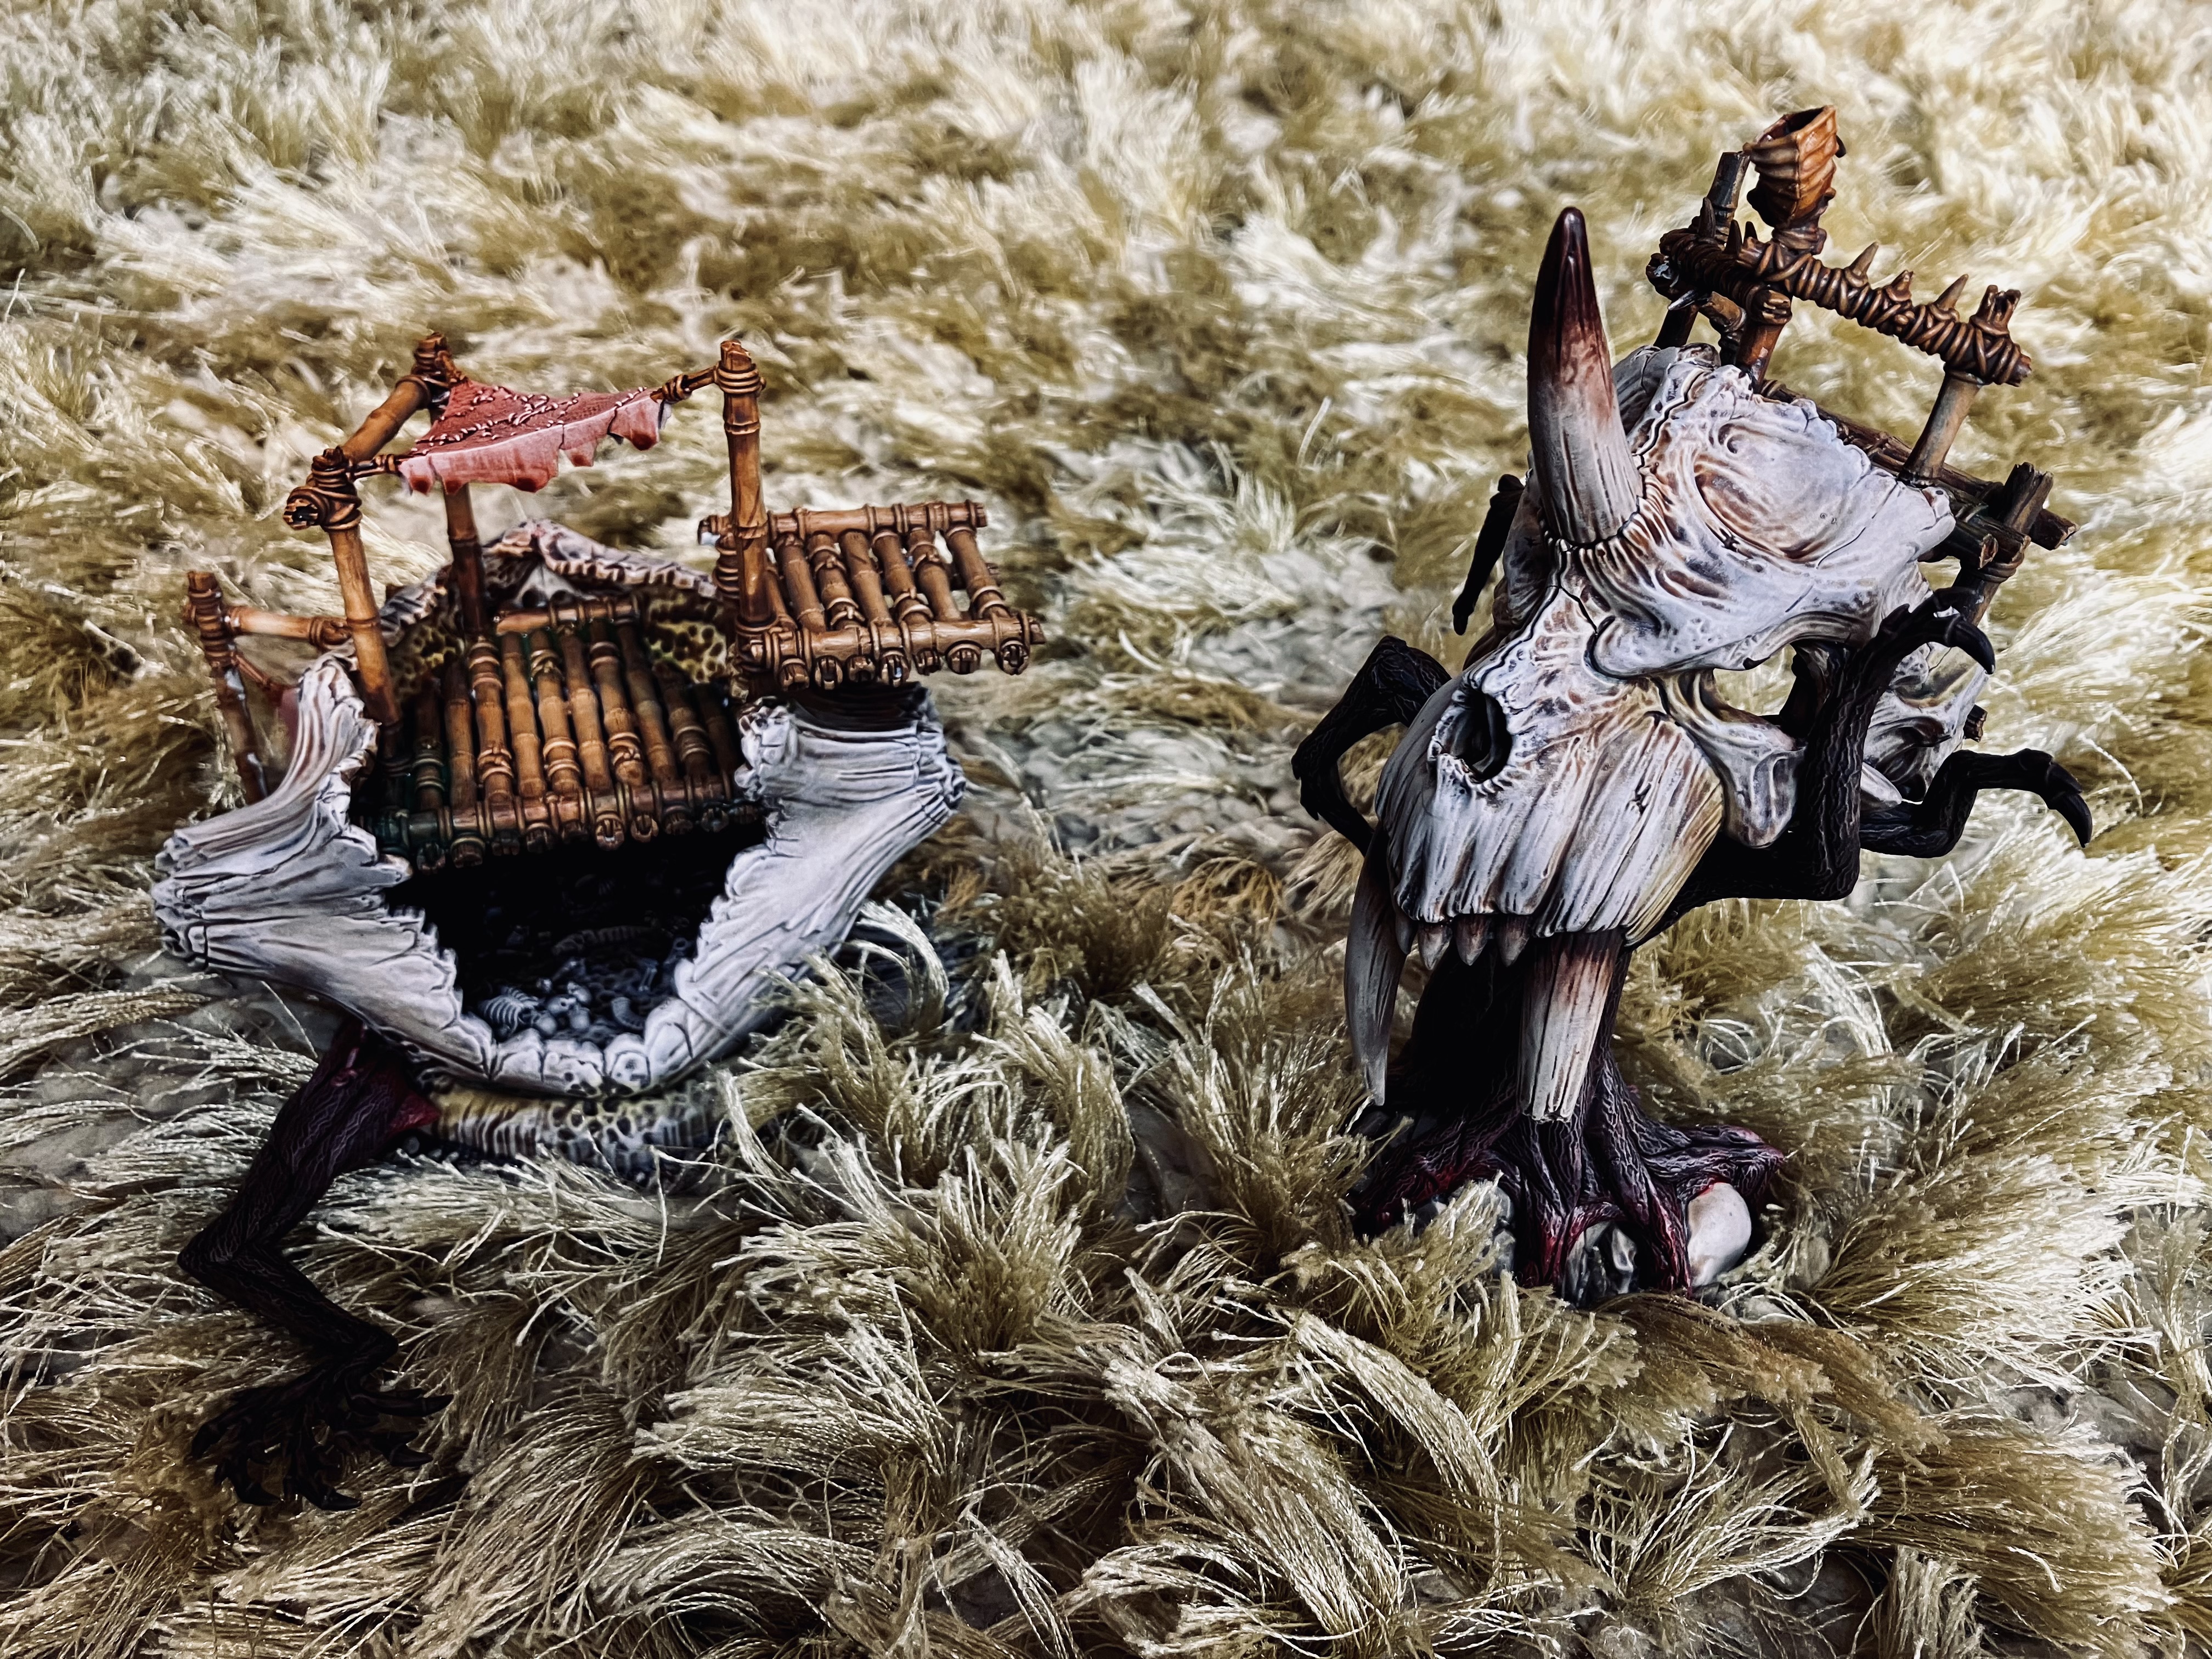
Here’s what I did:
- Skeleton Horde contrast over all the bone
- Once dry, drybrush with Wraithbone
- Wyldwood contrast over the tree/branch
- Once dry, drybrush at the base/roots with Wraithbone, fading up as you go
- Mix some Blood Angels Red contrast with contrast medium and paint over the lower parts of the tree, fading out as you go
- Snakebite Leather contrast over the bamboo, using a damp brush to lift the paint between the knuckles
- Plaguebearer contrast on the bamboo and some of the bone to make an algae effect, deepened with Warp Lightning and blended through in a few corners.
That sounds like a lot, and I’ll cover in more detail how I did the bamboo in a future post – but it was surprisingly quick to get to a good finish, and very repeatable across the rest of the pieces.
Painting the bone
With my stages figured out, I was able to get started on the first stage – bone.
Over the primer base, I gave all the bone elements a good coat of Skeleton Horde contrast. I also painted the surrounding rocks/grit the same way to get some basic colour down and because there’s lots of little skulls and bones there.
Once dry, I then gave all the bone a really good drybrush of Wraithbone. I worked this up over a couple of passes, so that I could get a really nice dry, worn bone effect.
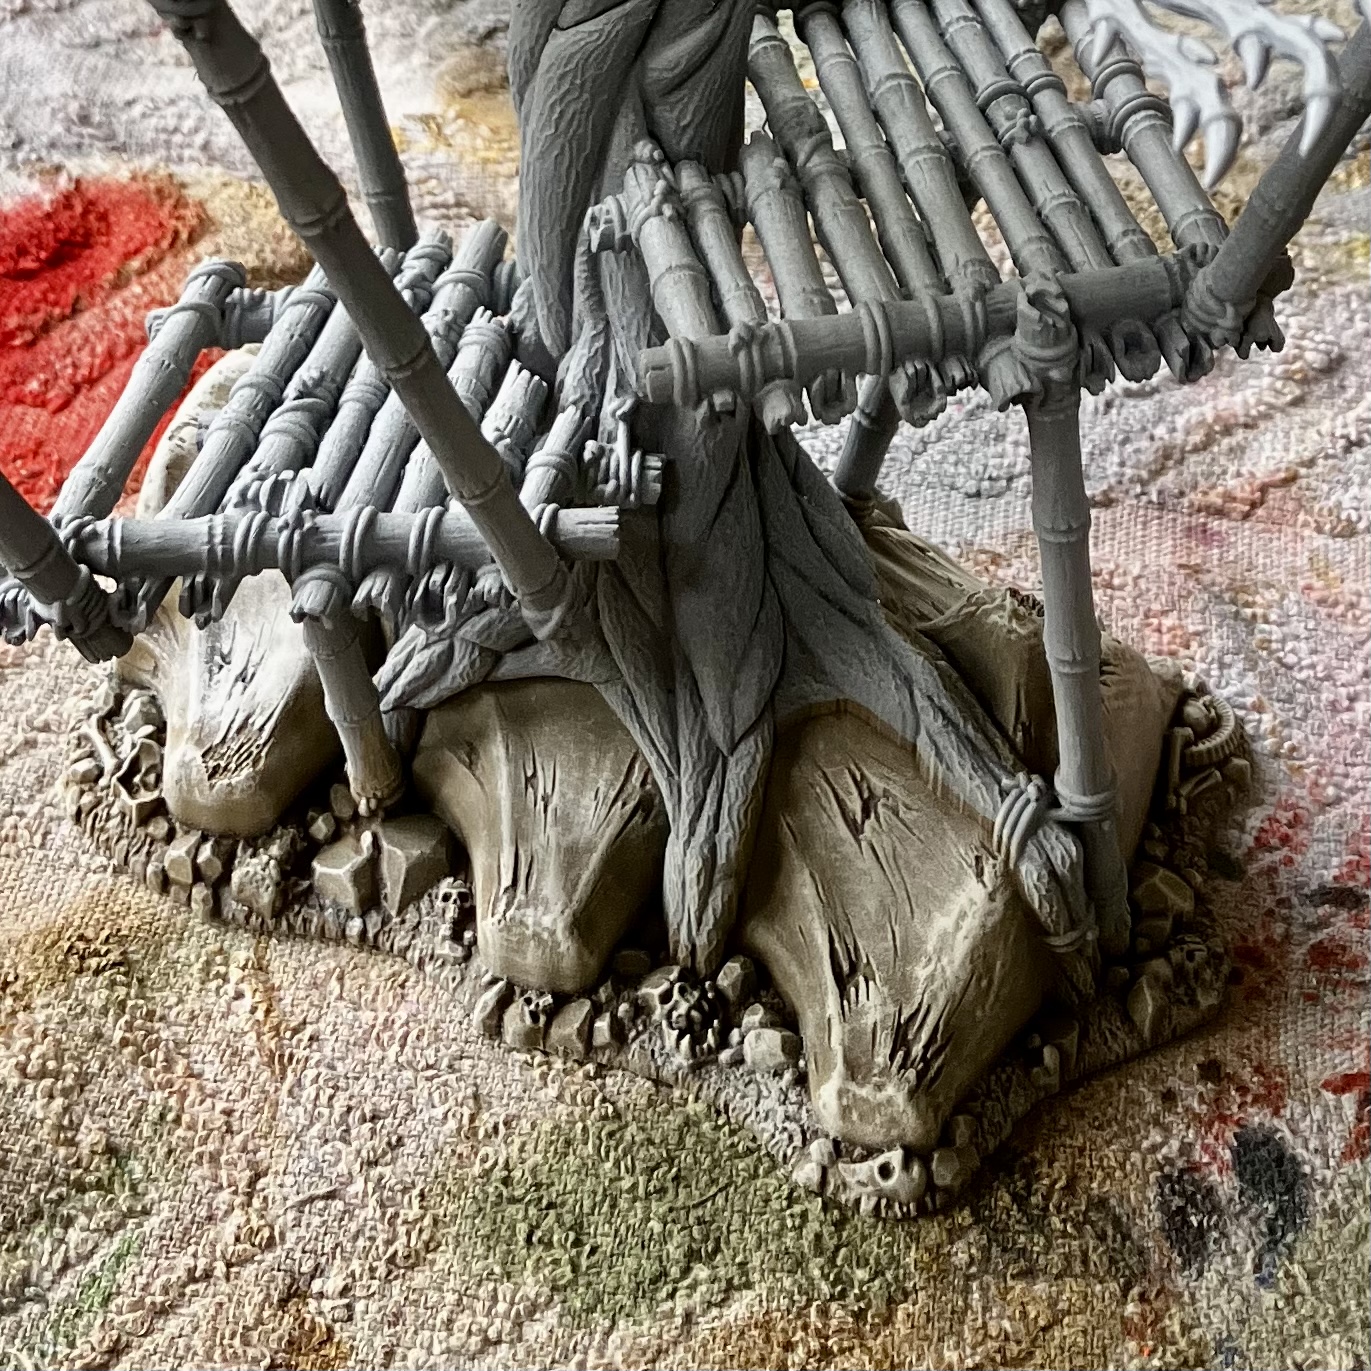
In the image below you can hopefully see how nice and weathered the bone looks, especially when up against the dark tree trunk.

Painting the trees
With all the bone finished, I was able to get started on what was one of the more time-consuming tasks – the trunks themselves. I knew I wanted a dark trunk – like a cherry tree and so I chose Wyldwood contrast. At this point I needed to be a bit careful as contrast has a tendency to run everywhere. I used a smaller brush for the roots, and then swapped out for a larger brush to do the trunk and the fiddly branches.
 Before applying the Wyldwood
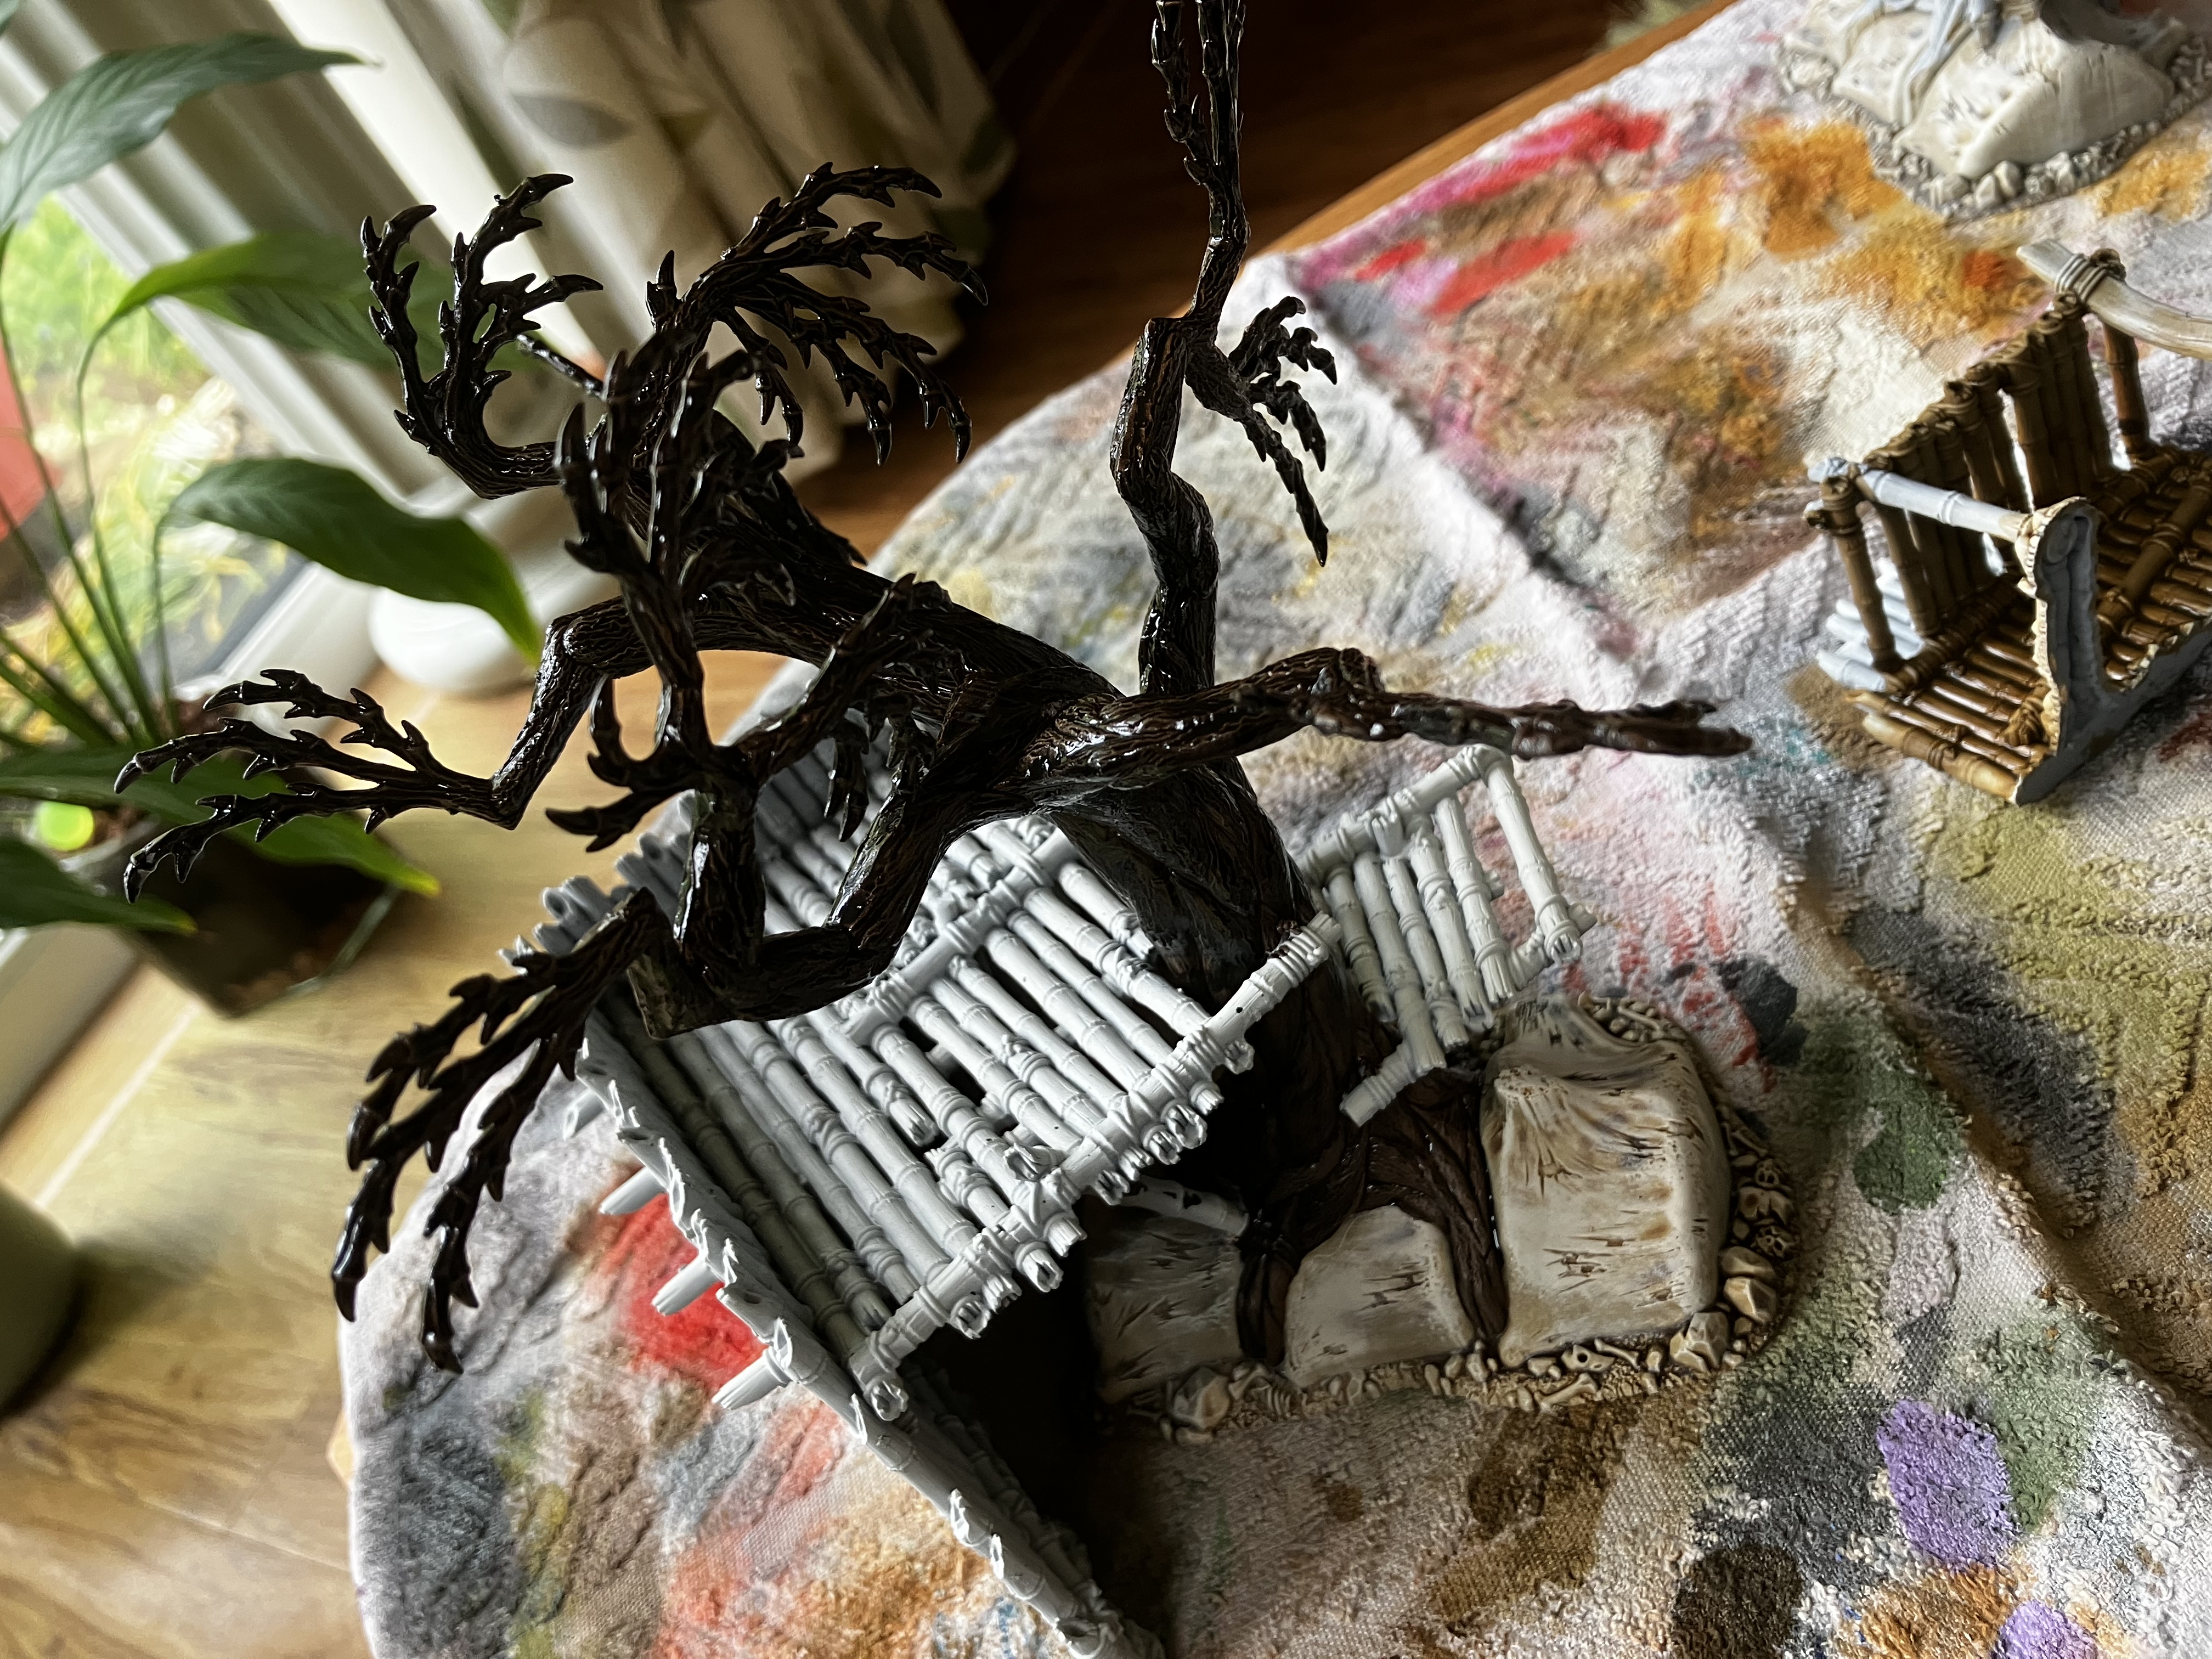 And a finished tree, just waiting for it to dry
And after working my way through all of them, it was just a case of touching in any areas where the paint hadn’t dried very well, and then ready to go to the next stage.
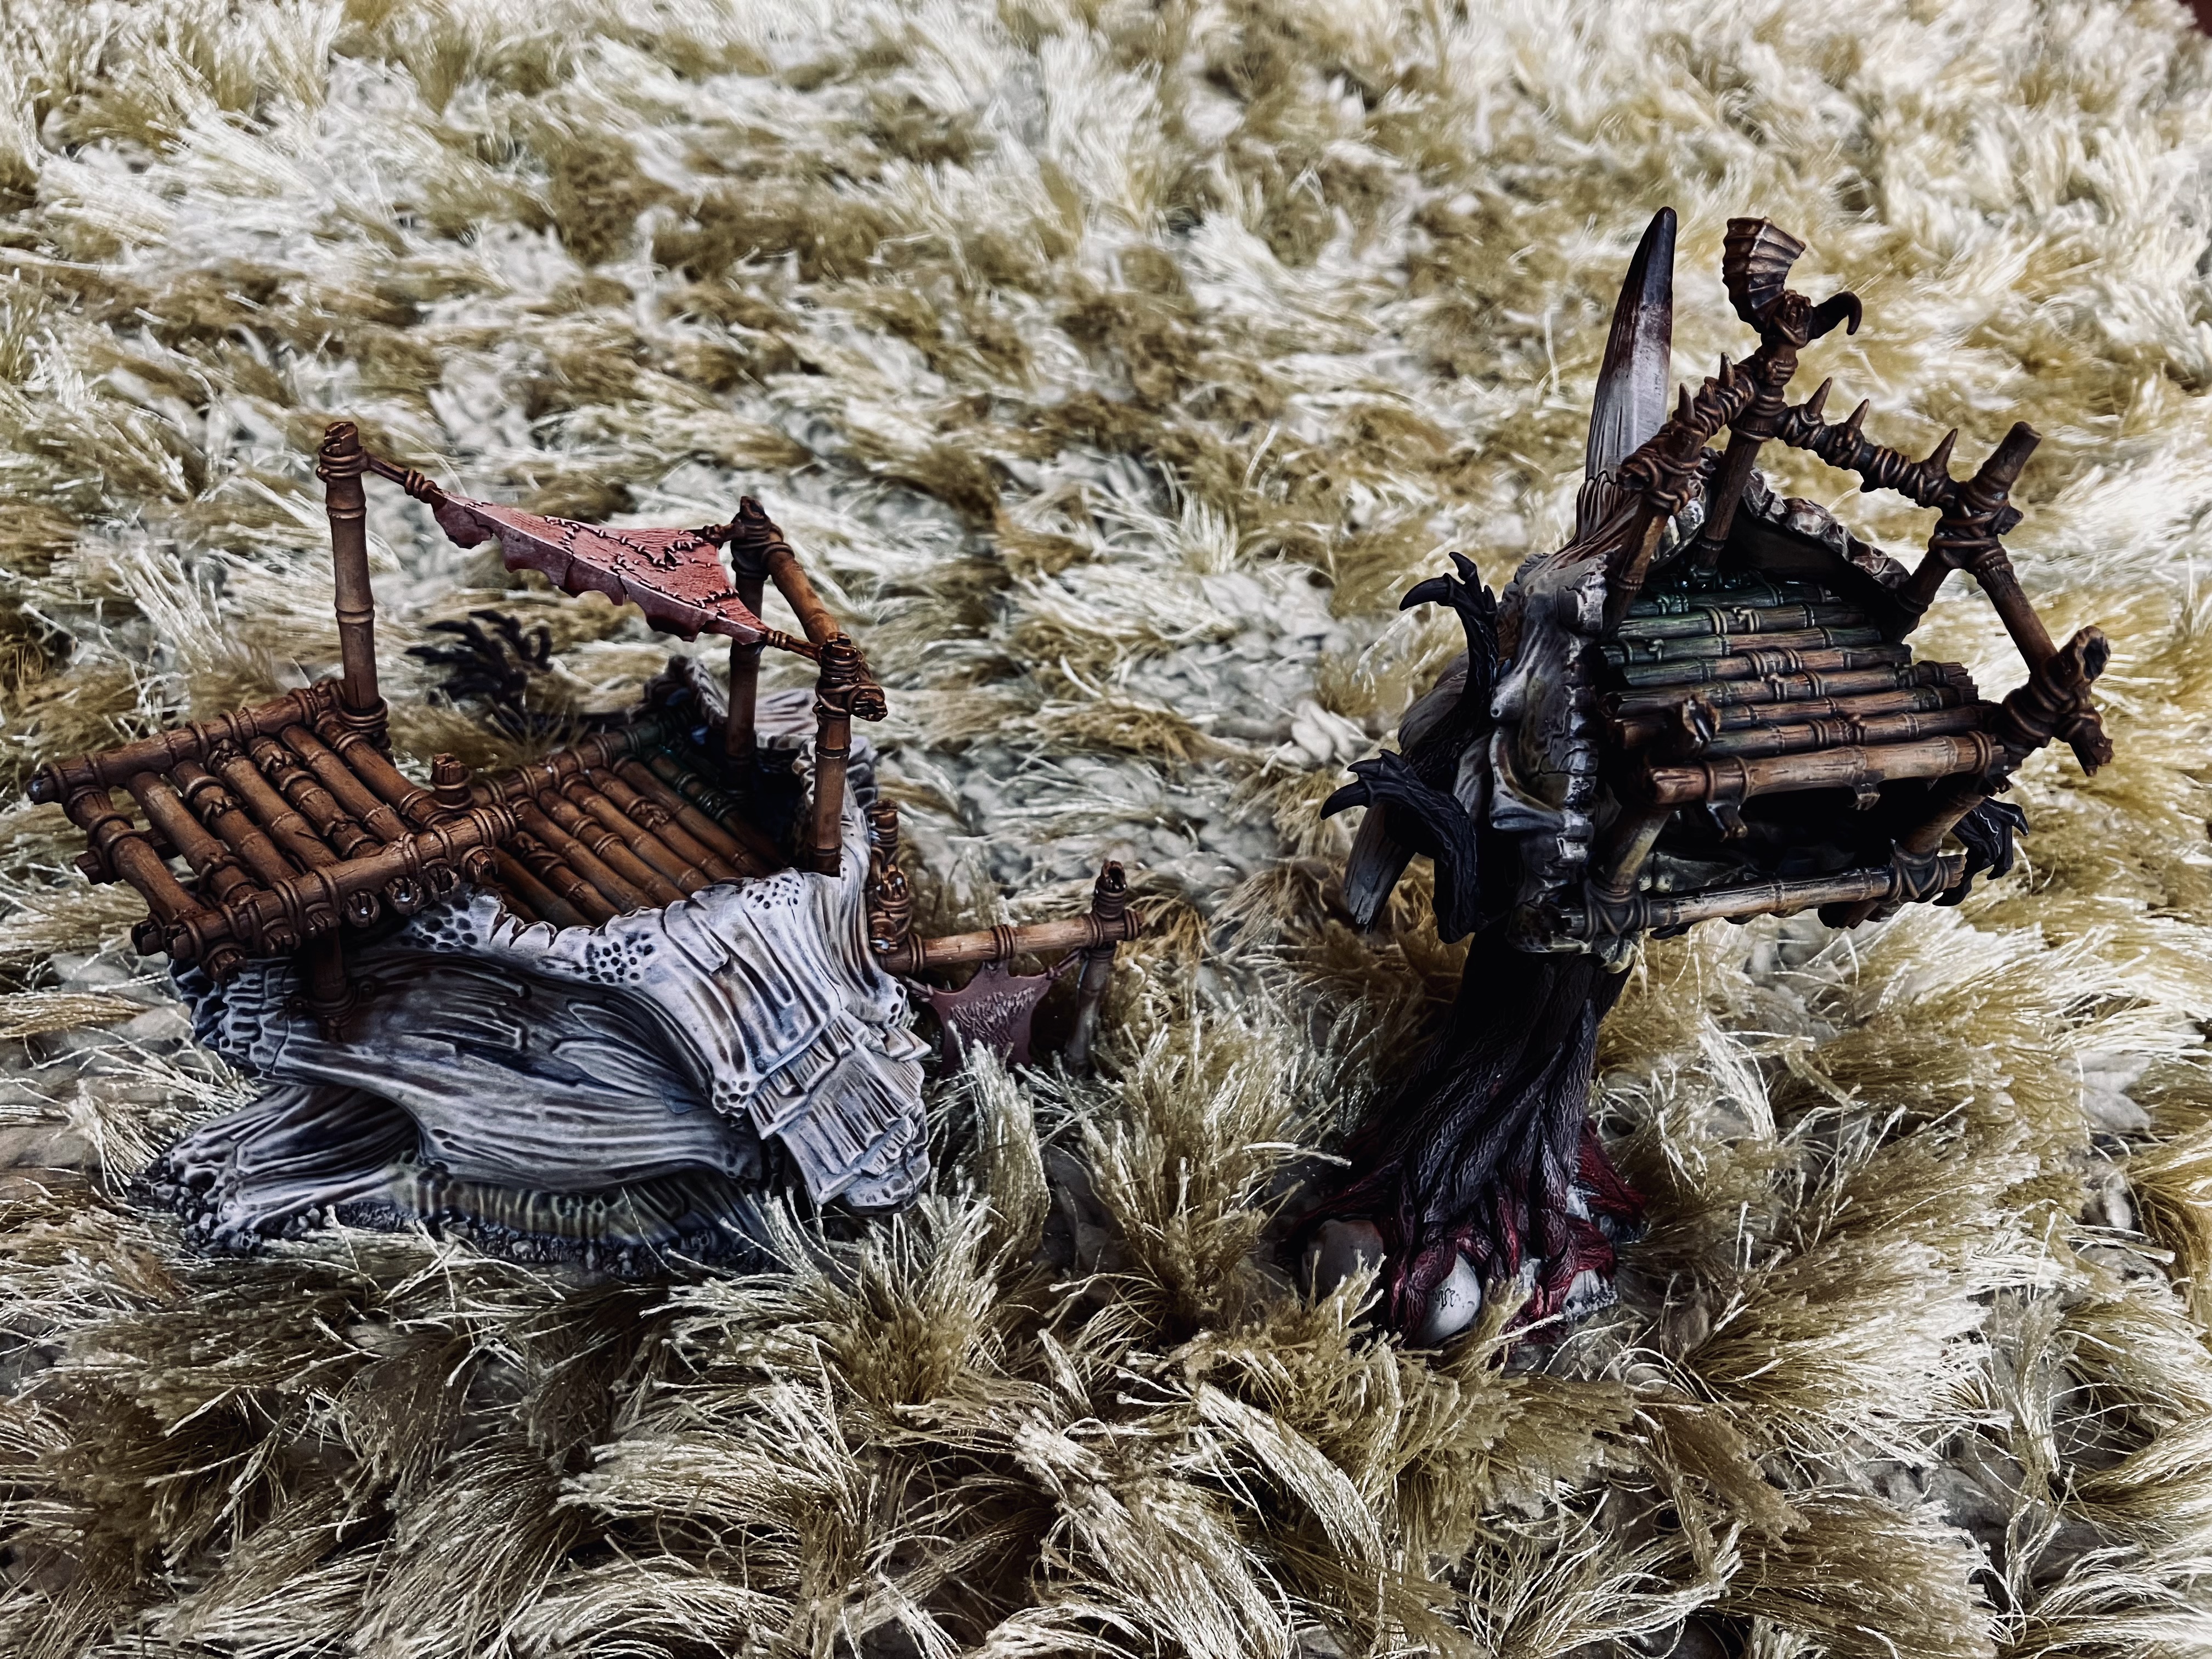
Painting the roots
For this project, I’ve tried to downplay the whole “meat trees” vibe of The Gnarlwood, but still give a sense that these trees are sinister. To do that, I thought it’d be good if they had red/bloody roots – like they’ve been sucking the sustenance up that way.
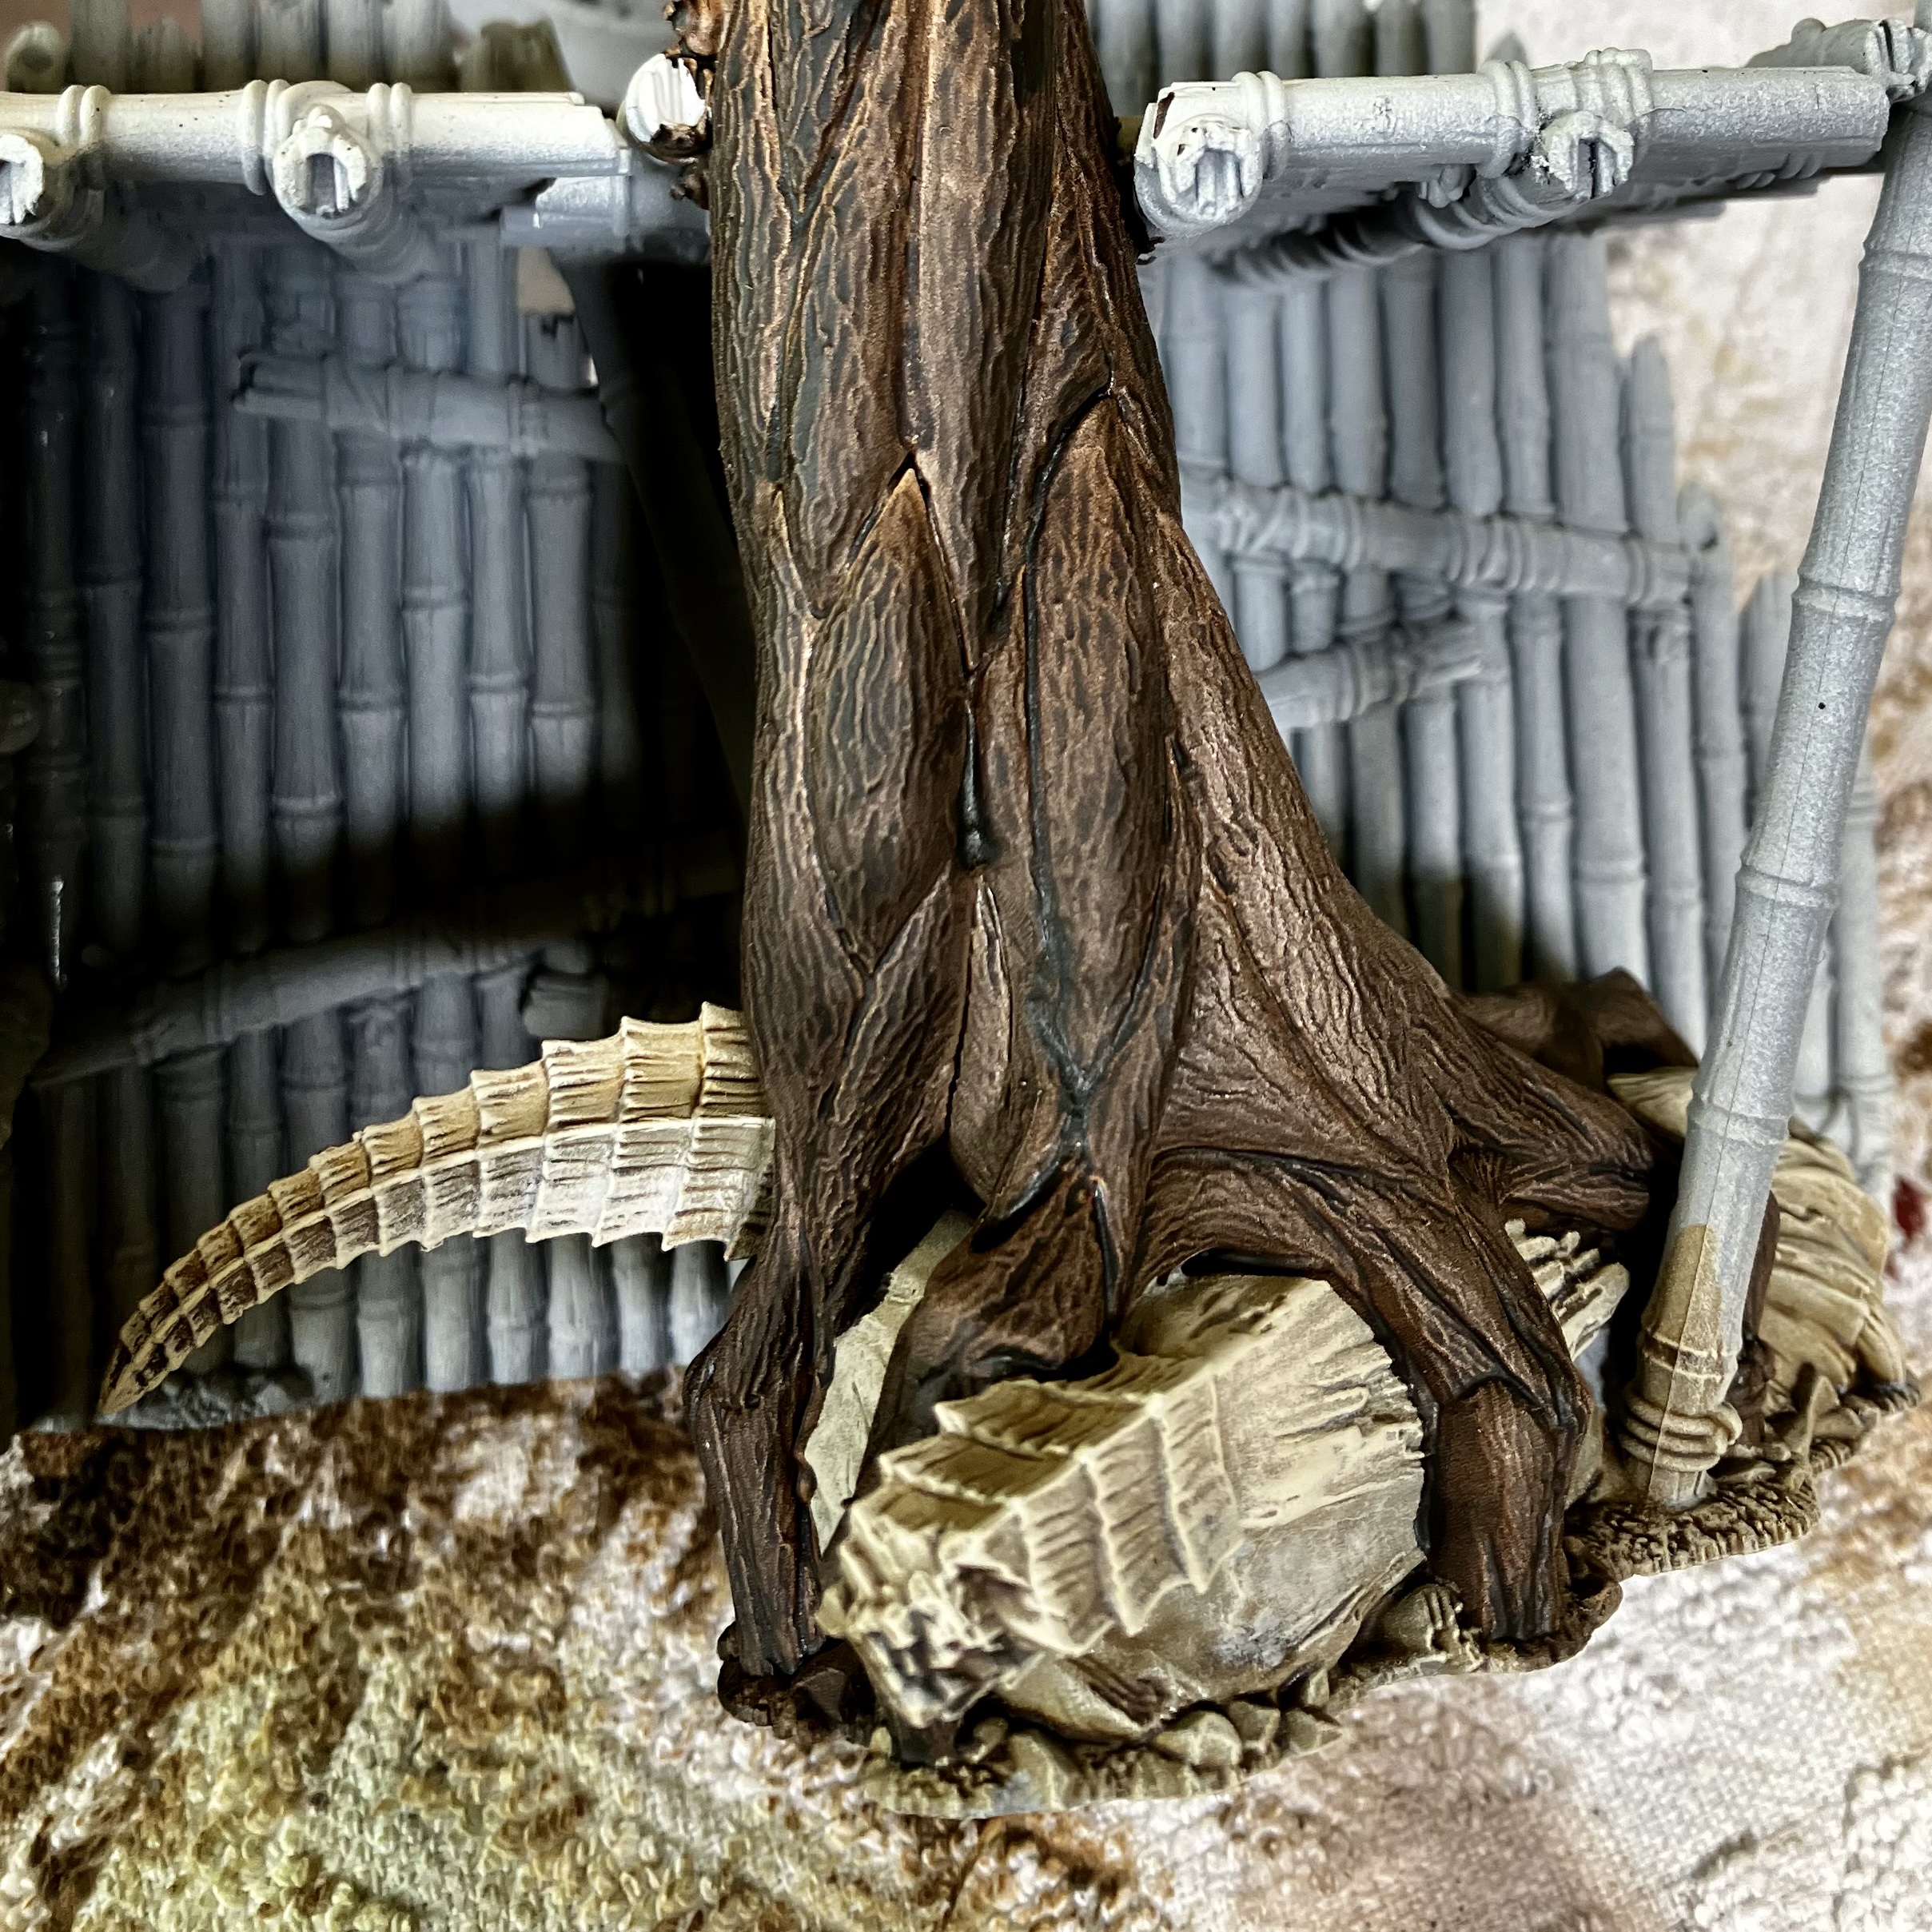 Make sure the whole tree base is basecoated in your colour of choice. In this case Wyldwood
  Drybrush Wraithbone over the roots, feathering and fading up the trunk
 Using a mix of Blood Angels Red and Contrast Medium, apply to the roots and feather out up the trunk
Easy, eh? And gives a really nice result when dry.