


A journey into Gnarlwood


Recommendations: 194
About the Project
A simple (I hope!) project to paint up all the WarCry terrain in the Gnarlwood. Lots of trees, lots of giant skeletons and lots of rope bridges.
Related Game: Warhammer Age Of Sigmar: Warcry
Related Company: Games Workshop
Related Genre: Fantasy
This Project is Completed
Painting the bamboo
This method came about by accident, and am still not sure it’s the best method – but I kinda like it so I’ve stuck with it.
From the basic primer and working in sections, apply a coat of Snakebite Leather contrast.
 Basic primer
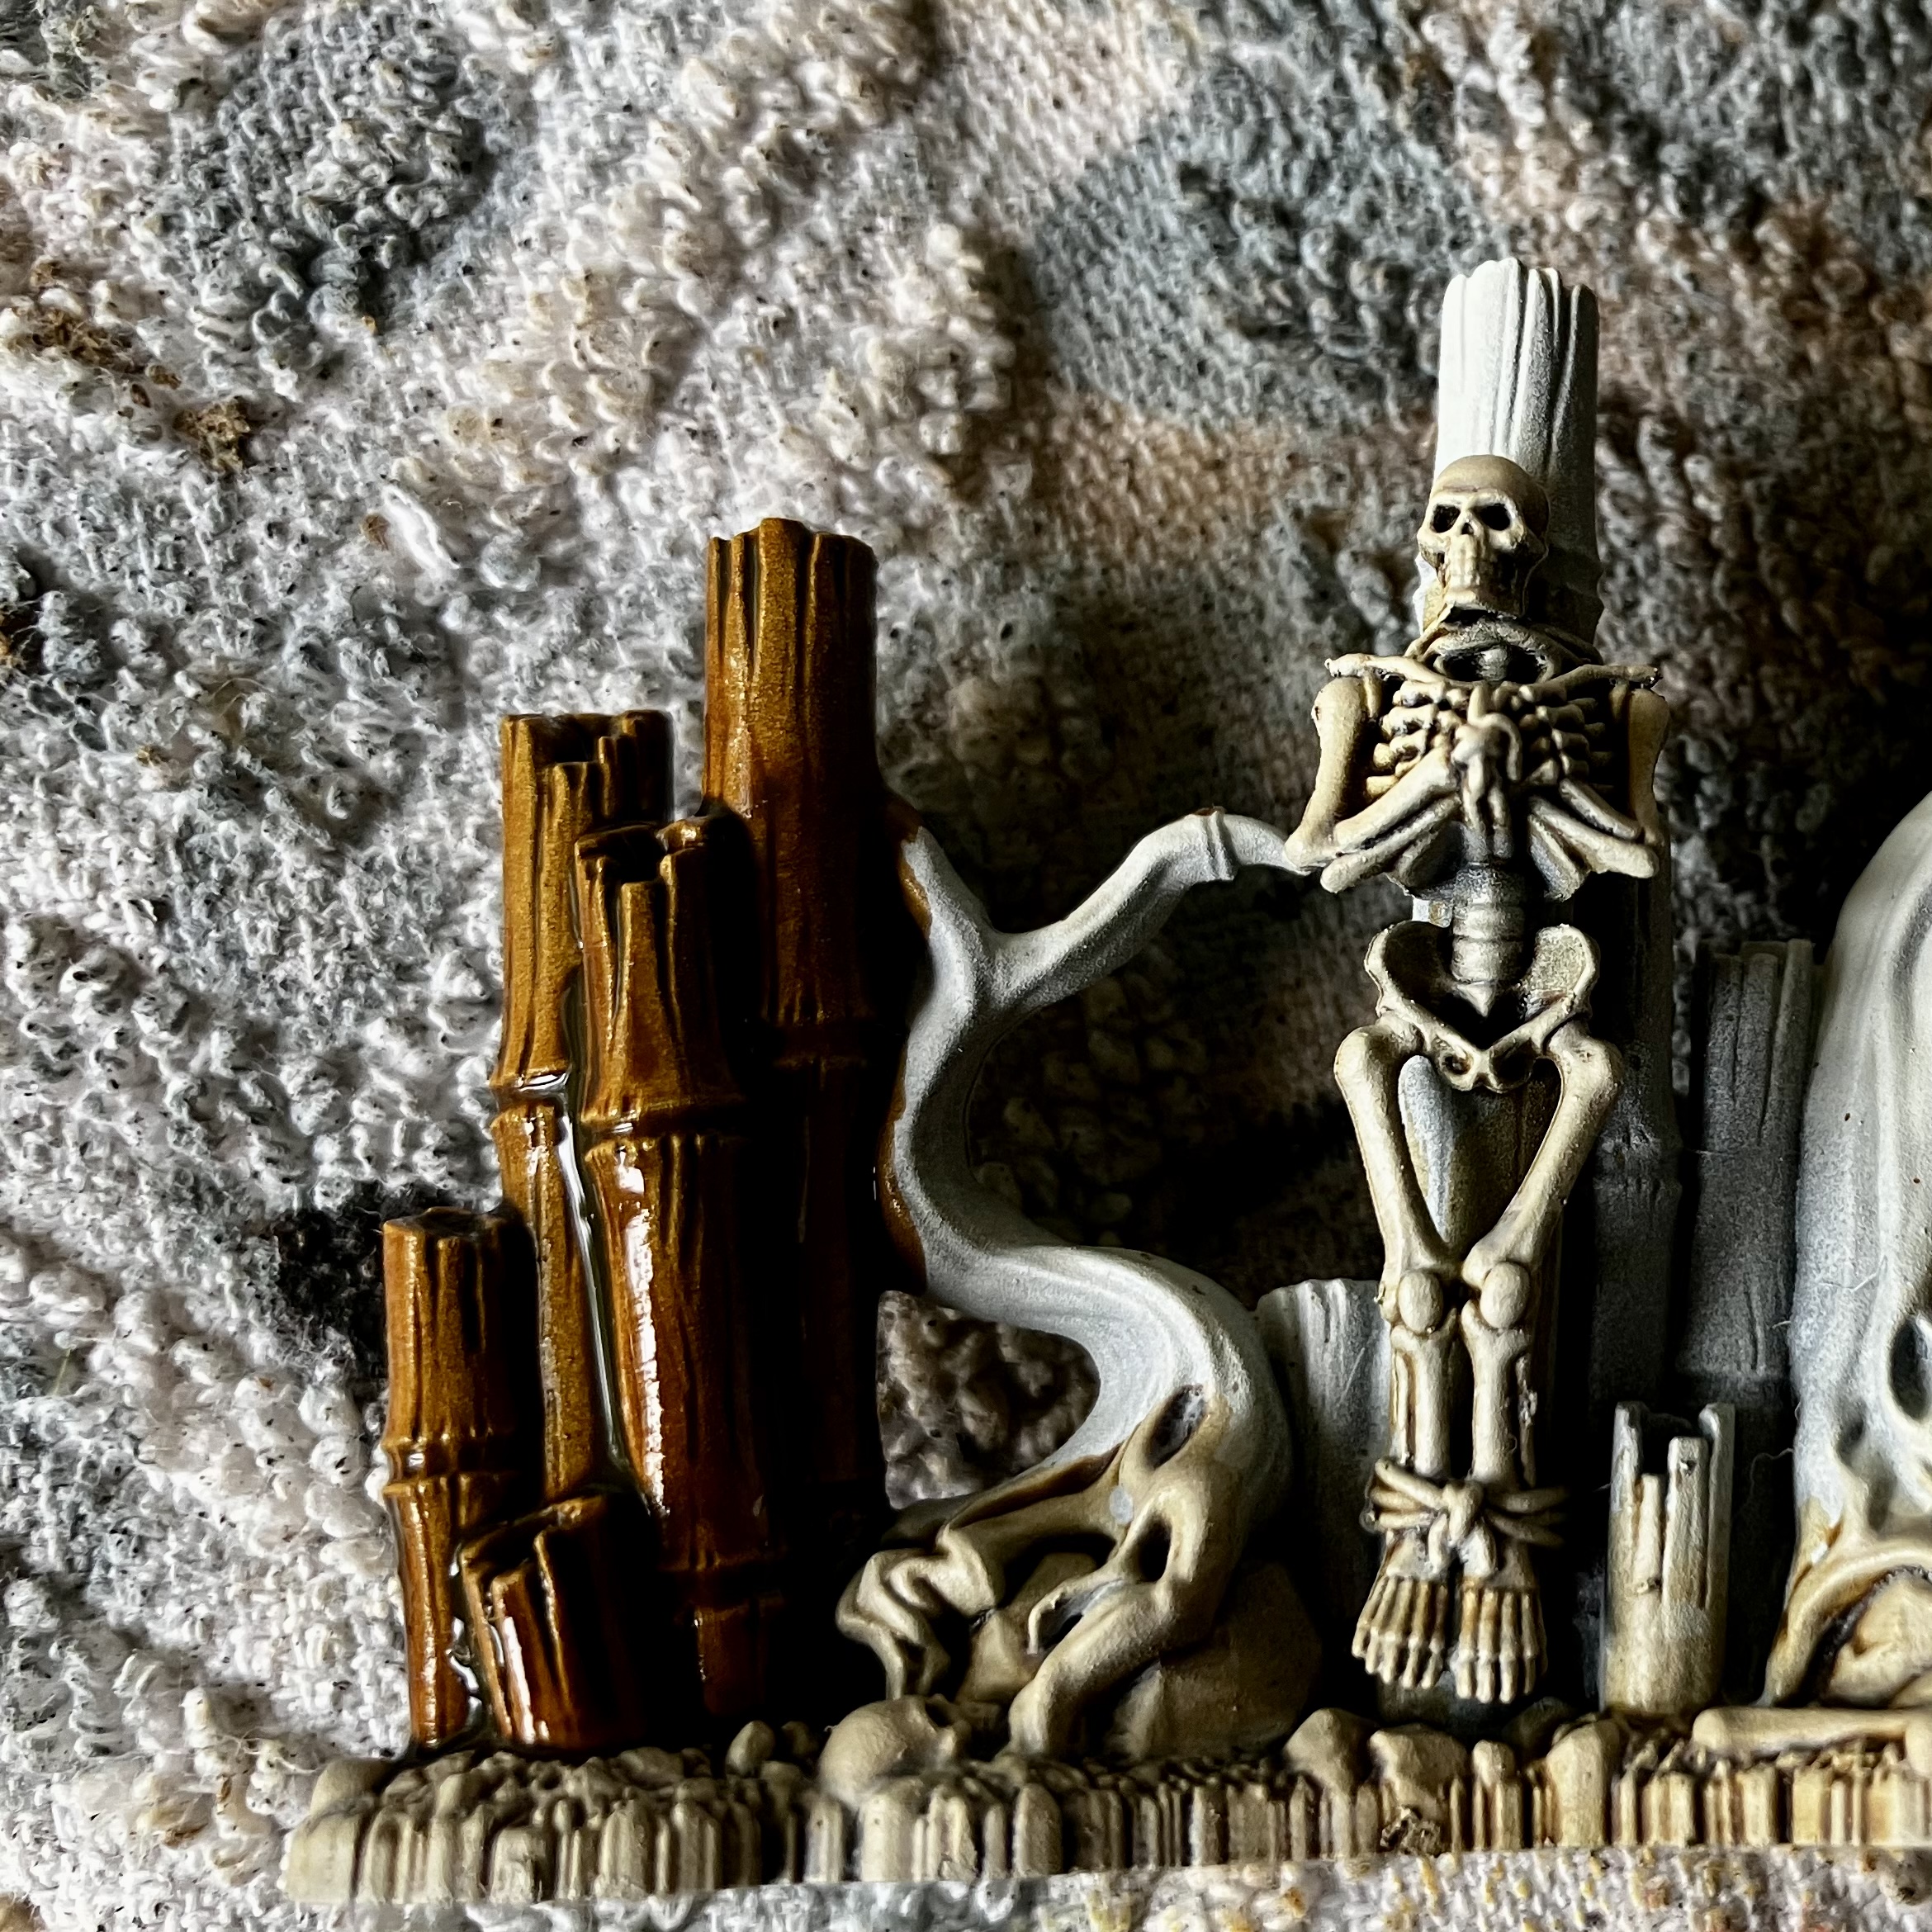 Snakebite Leather applied all-over the bamboo
Then, with a moist brush, lift the pigment with a gentle sweeping technique at the tips and between the bamboo knuckles.
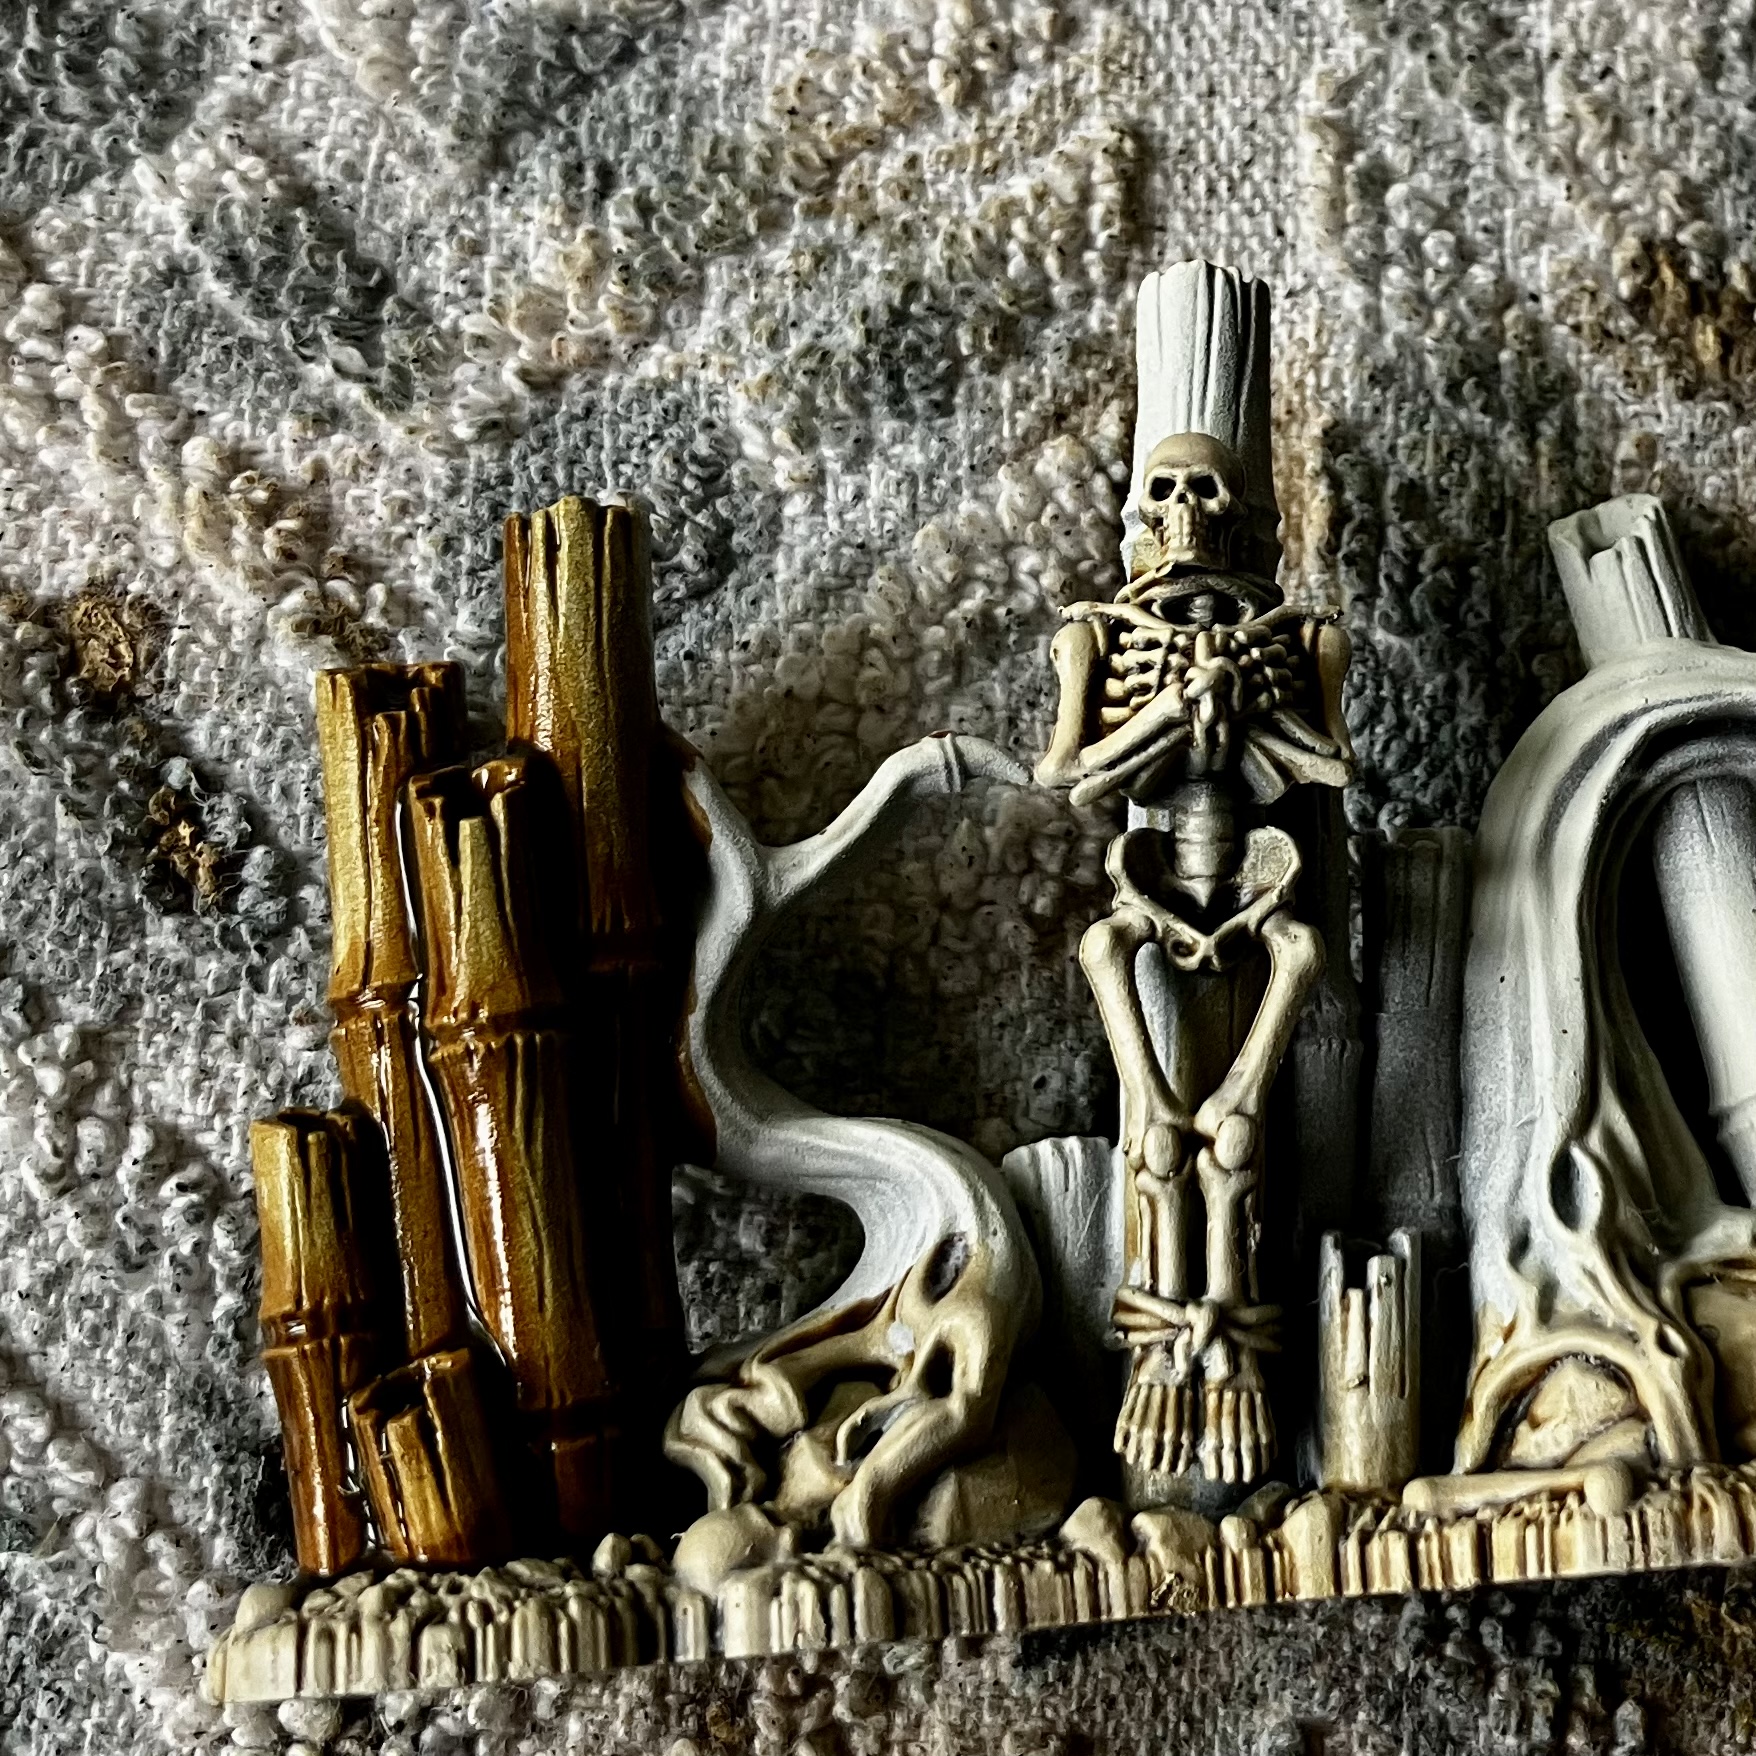
Once dried, you’re then left with a really smooth transition between the darker knuckles/joints and the lighter mid-sections.
It’s simple to do and looks quite striking over larger areas, like this example:
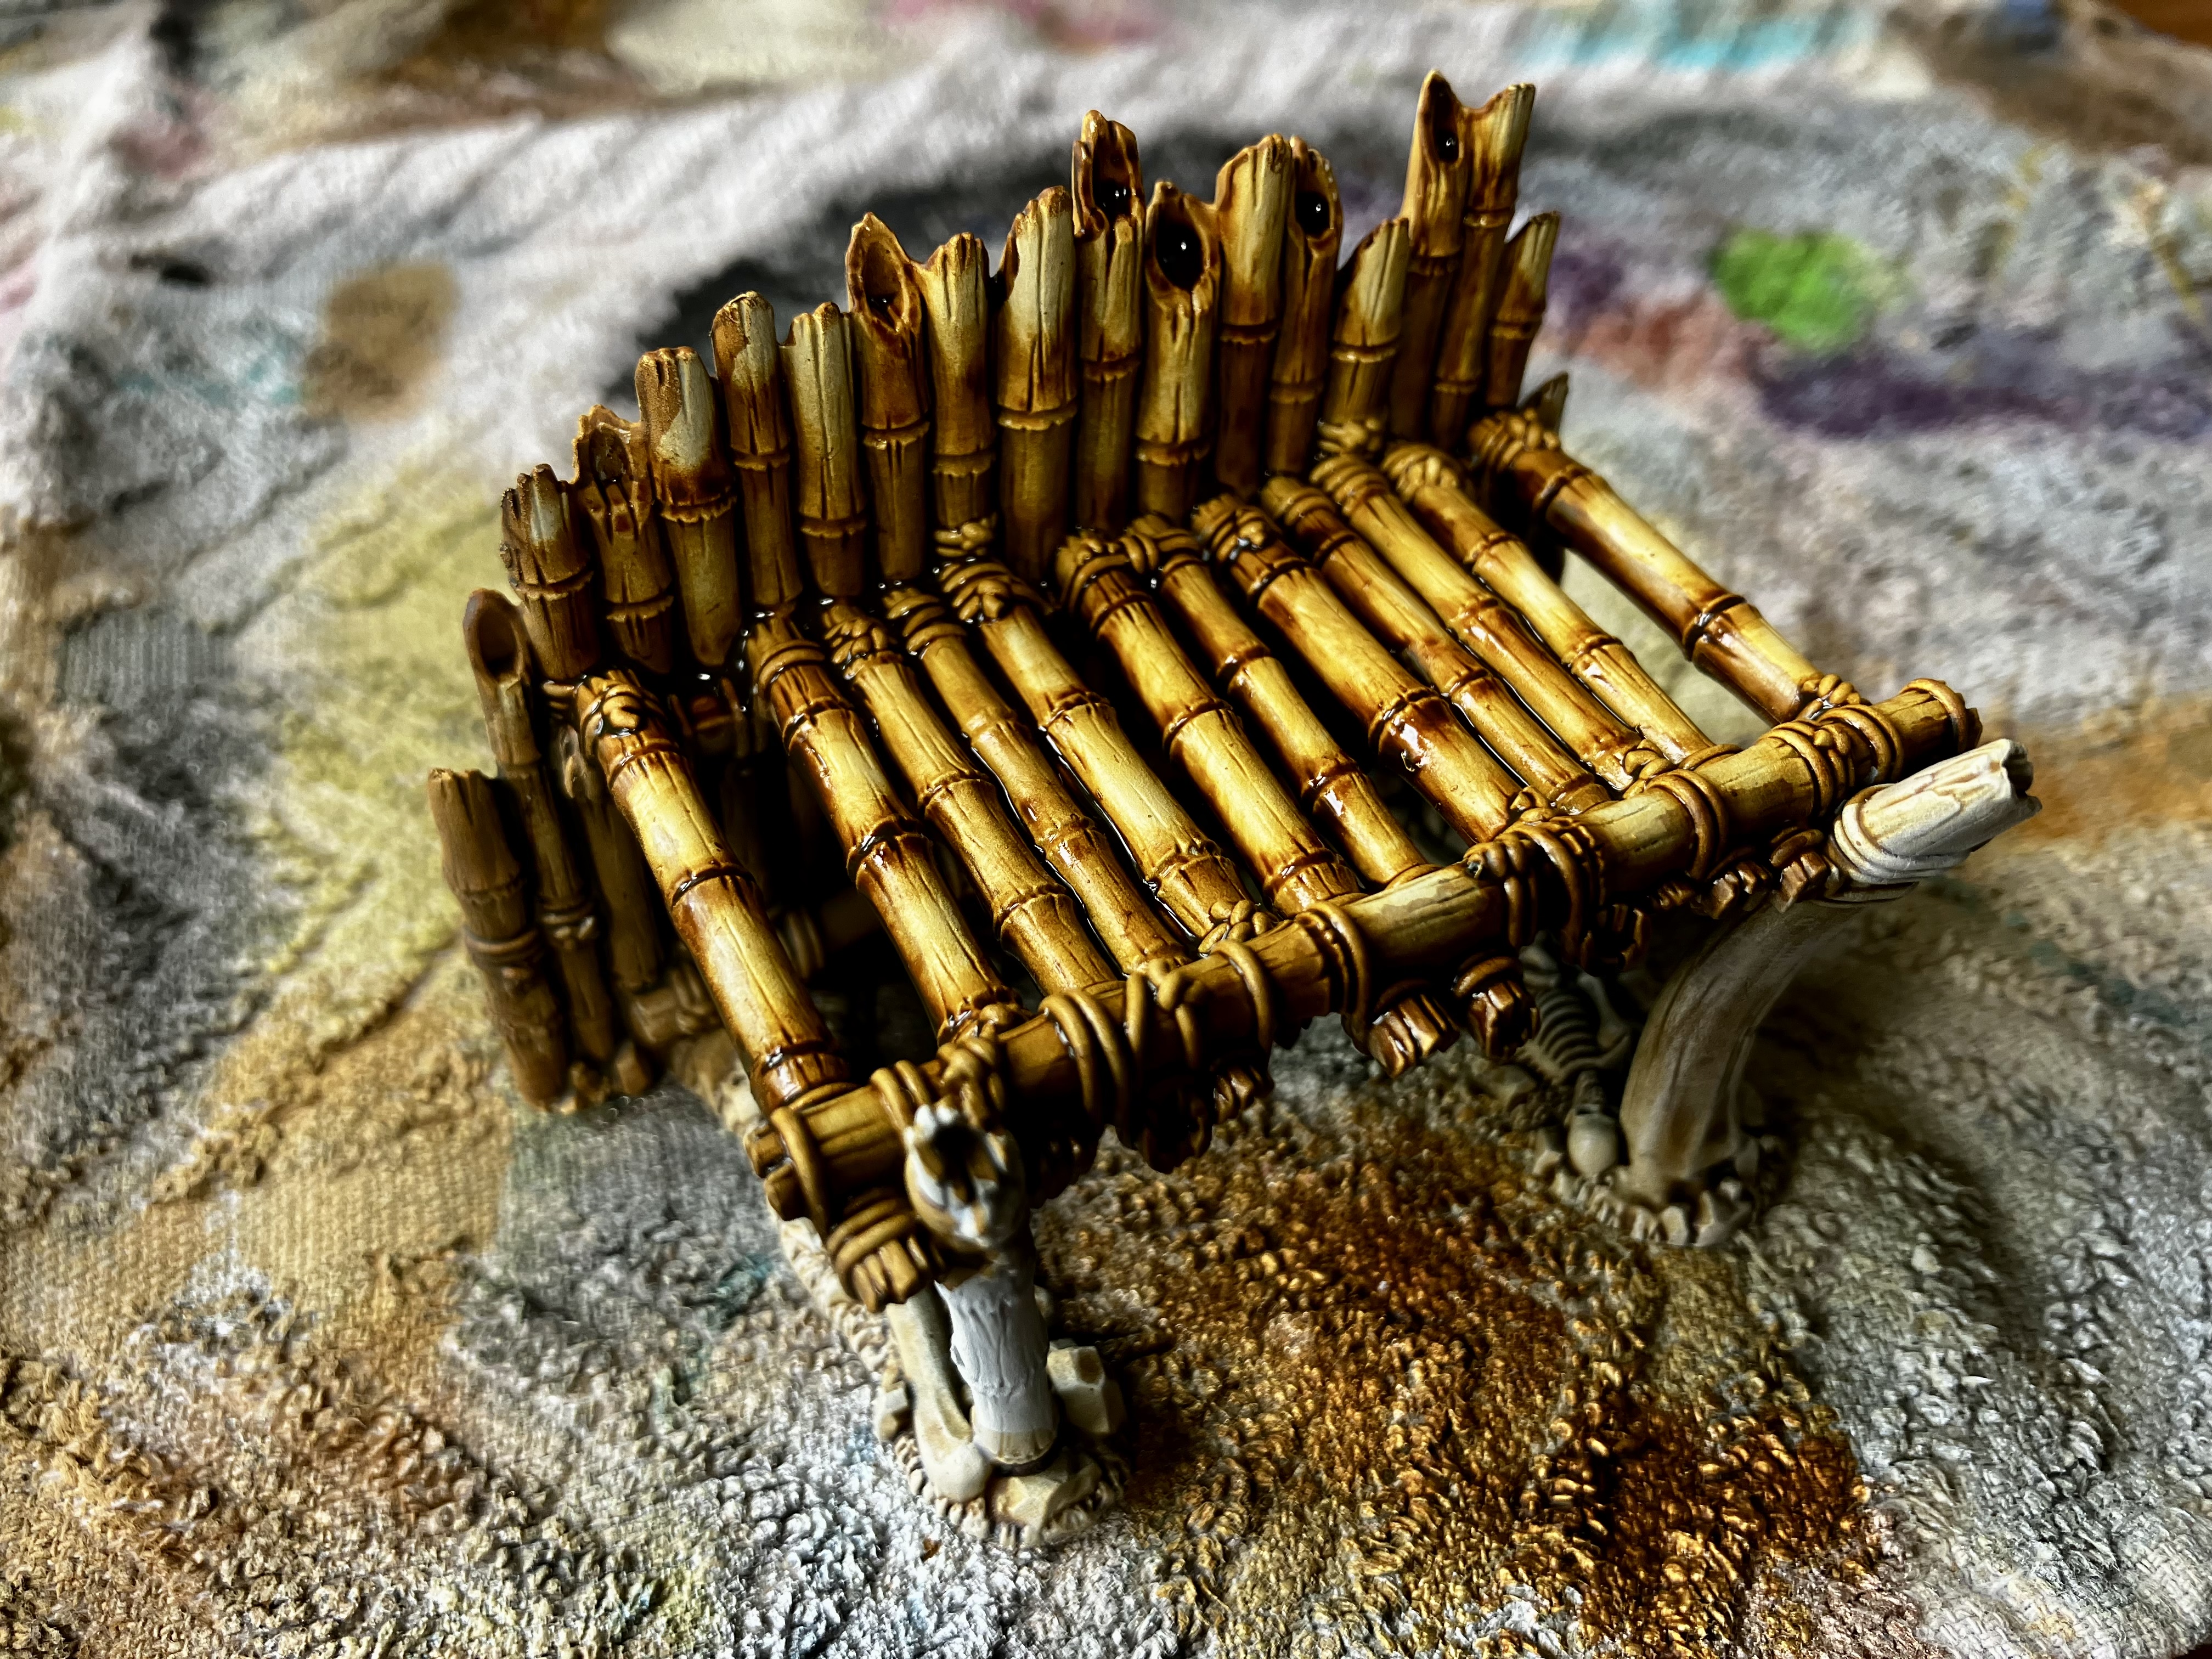 An example of the technique on a larger platform
Comparison to real bamboo
So you can see how it pairs up against real bamboo, here’s a couple of reference shots I saved, along with another view of a painted panel.


 Spot the difference!
 Weathering the bamboo
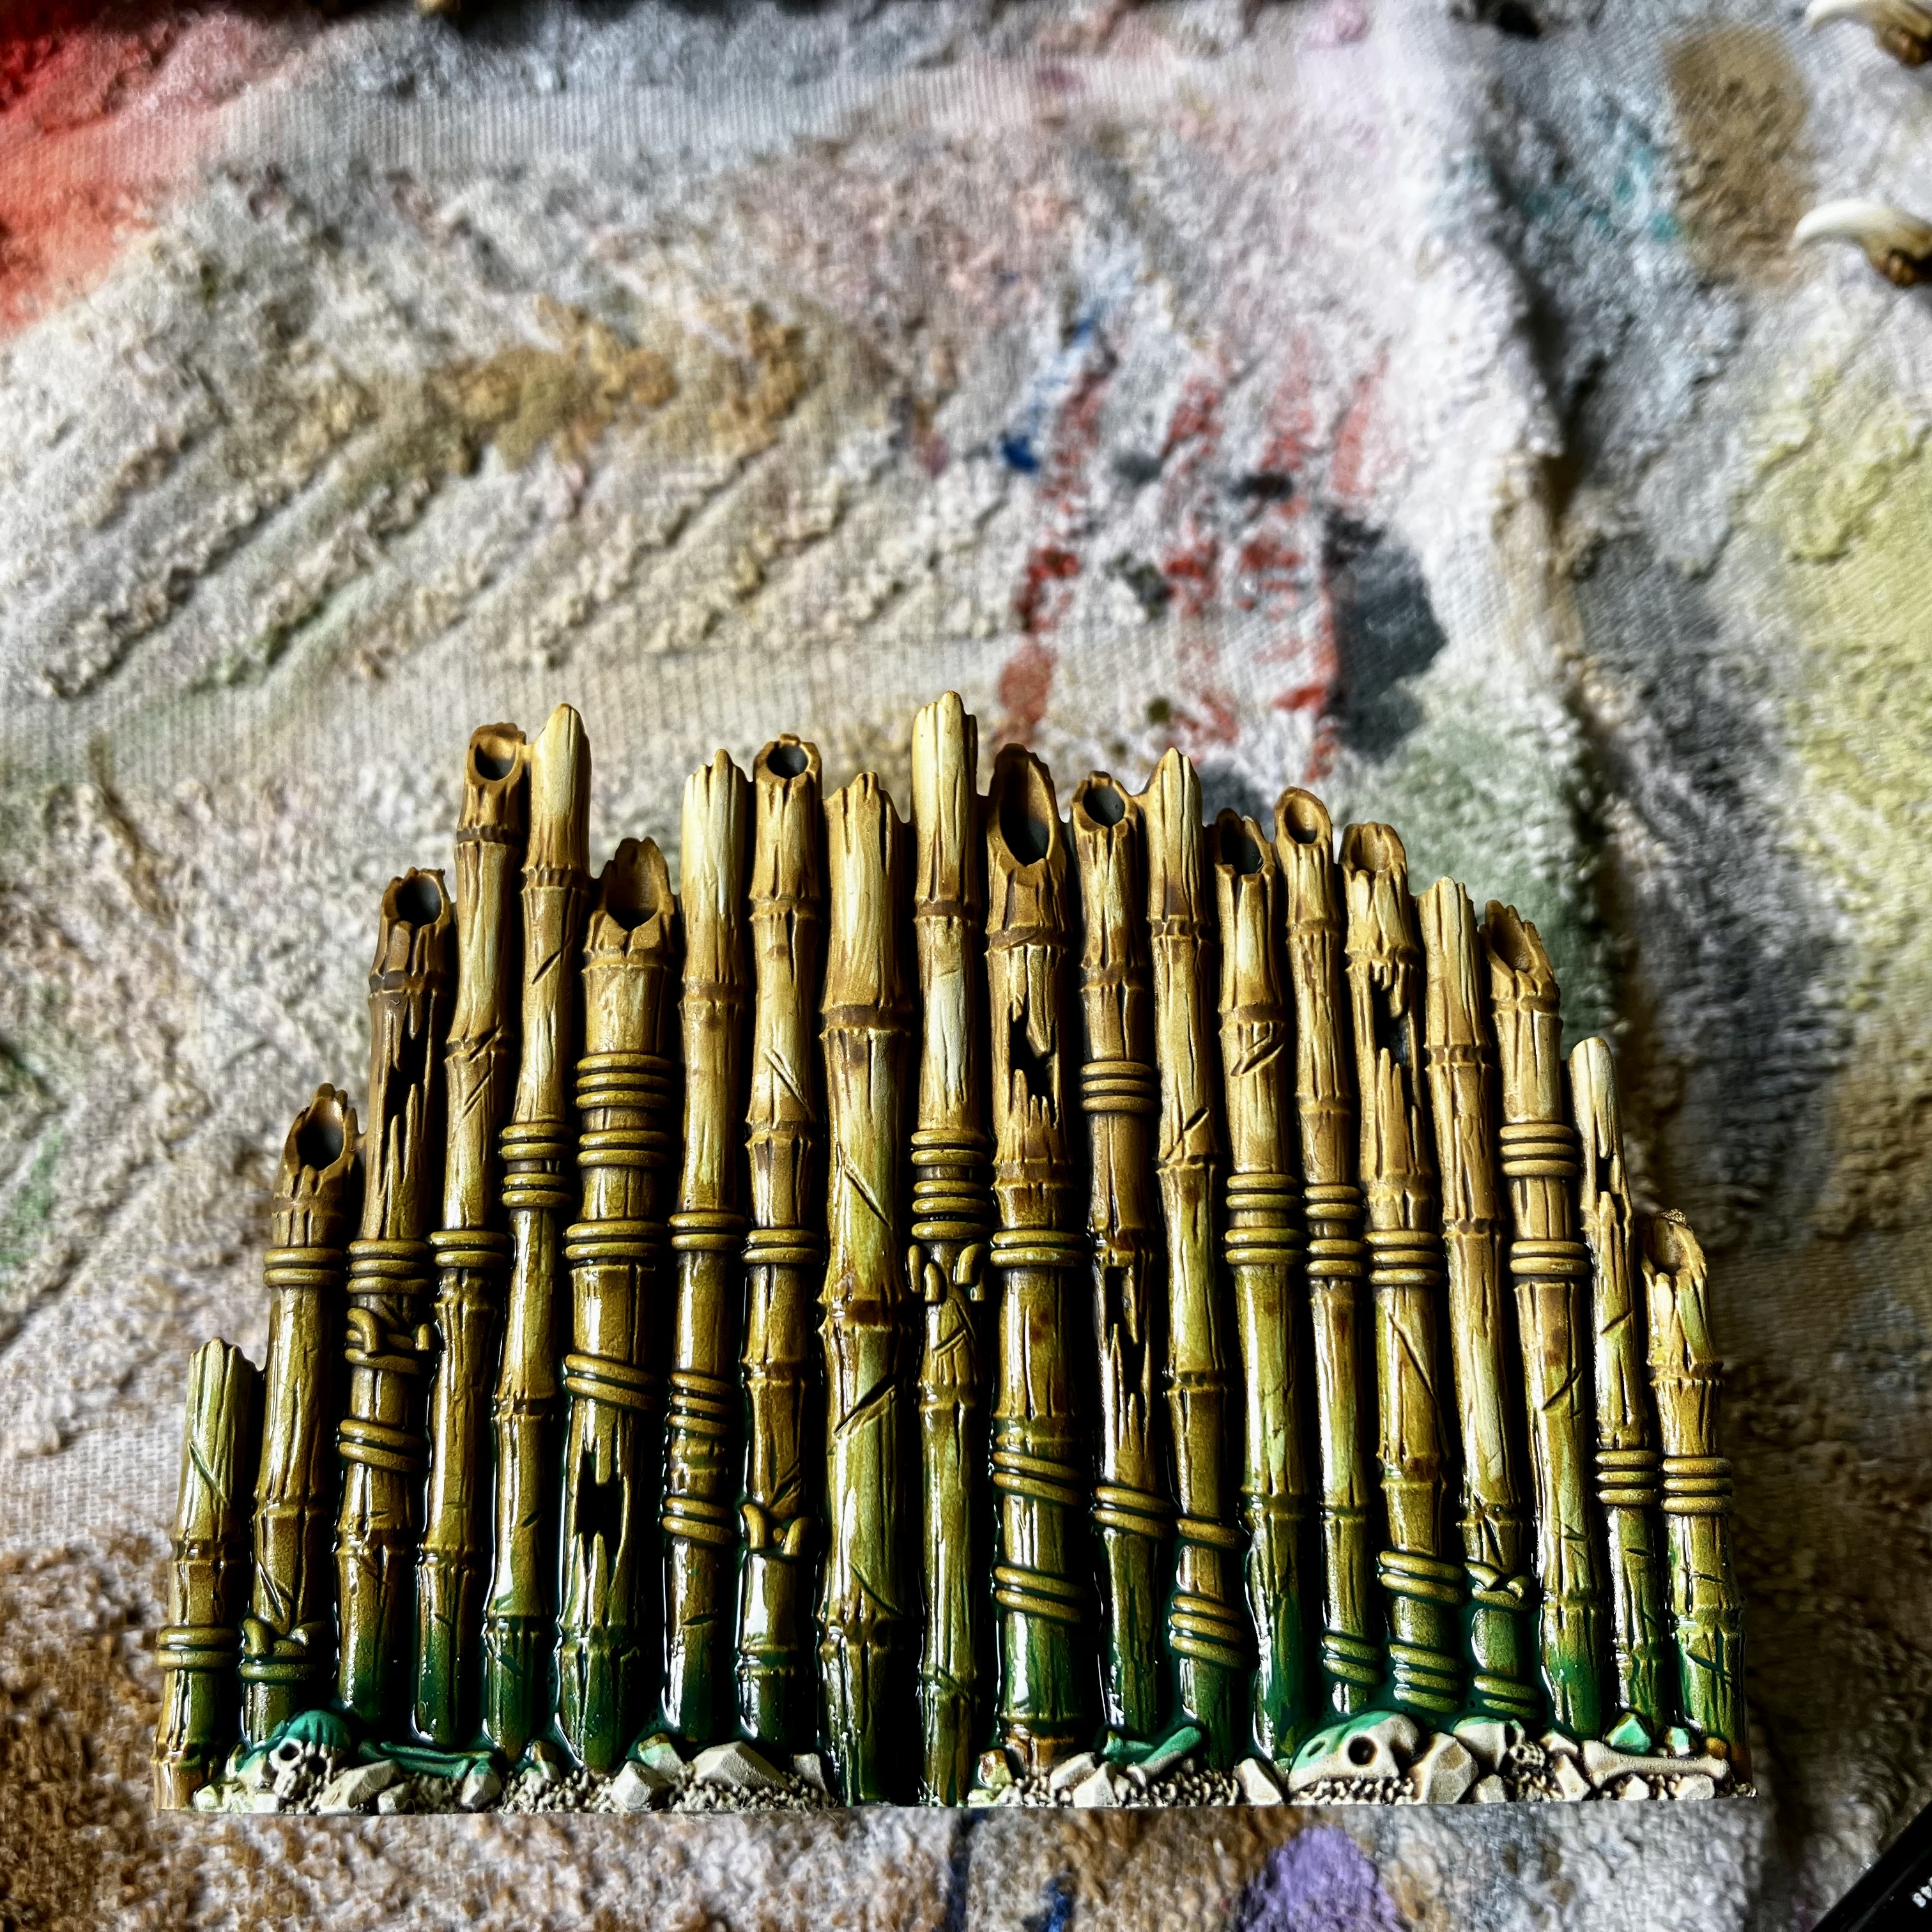
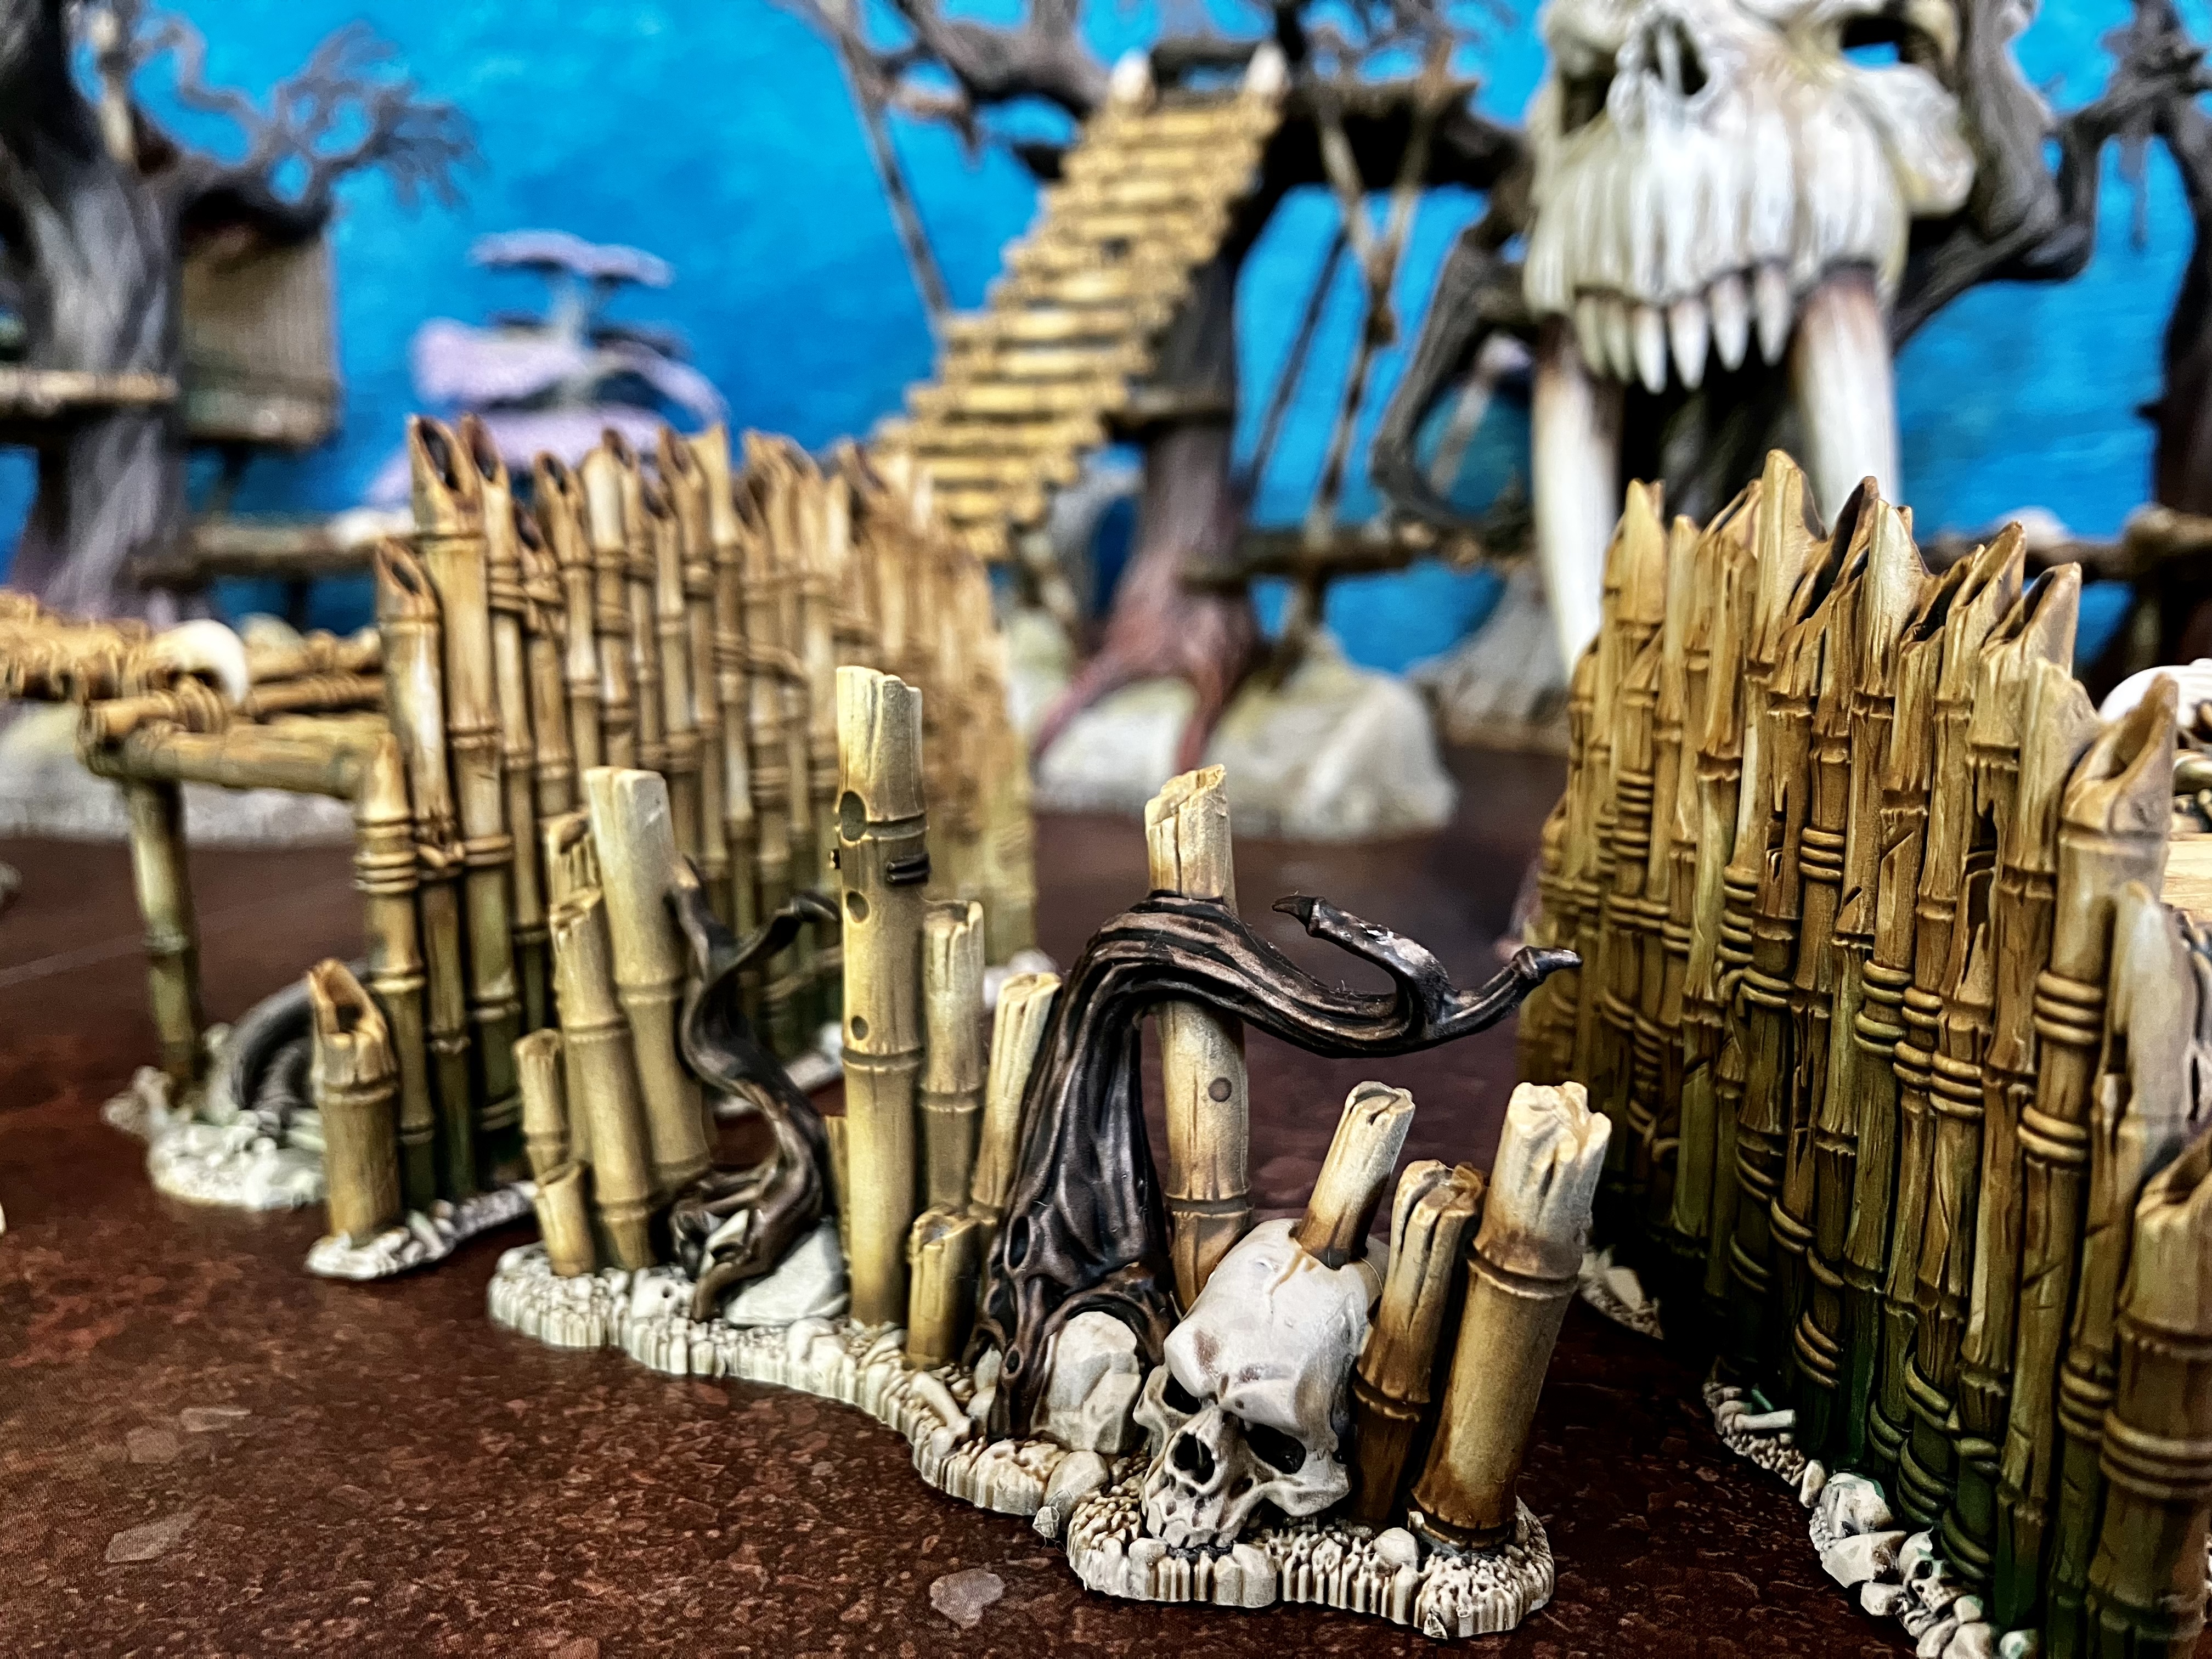
To add a little extra visual interest, I thought I’d apply some weathering and mildew to the pieces. I originally thought I’d just go with a very dry, arid look, but think some mildew will make them look more lived-in (and mask any messy areas!)
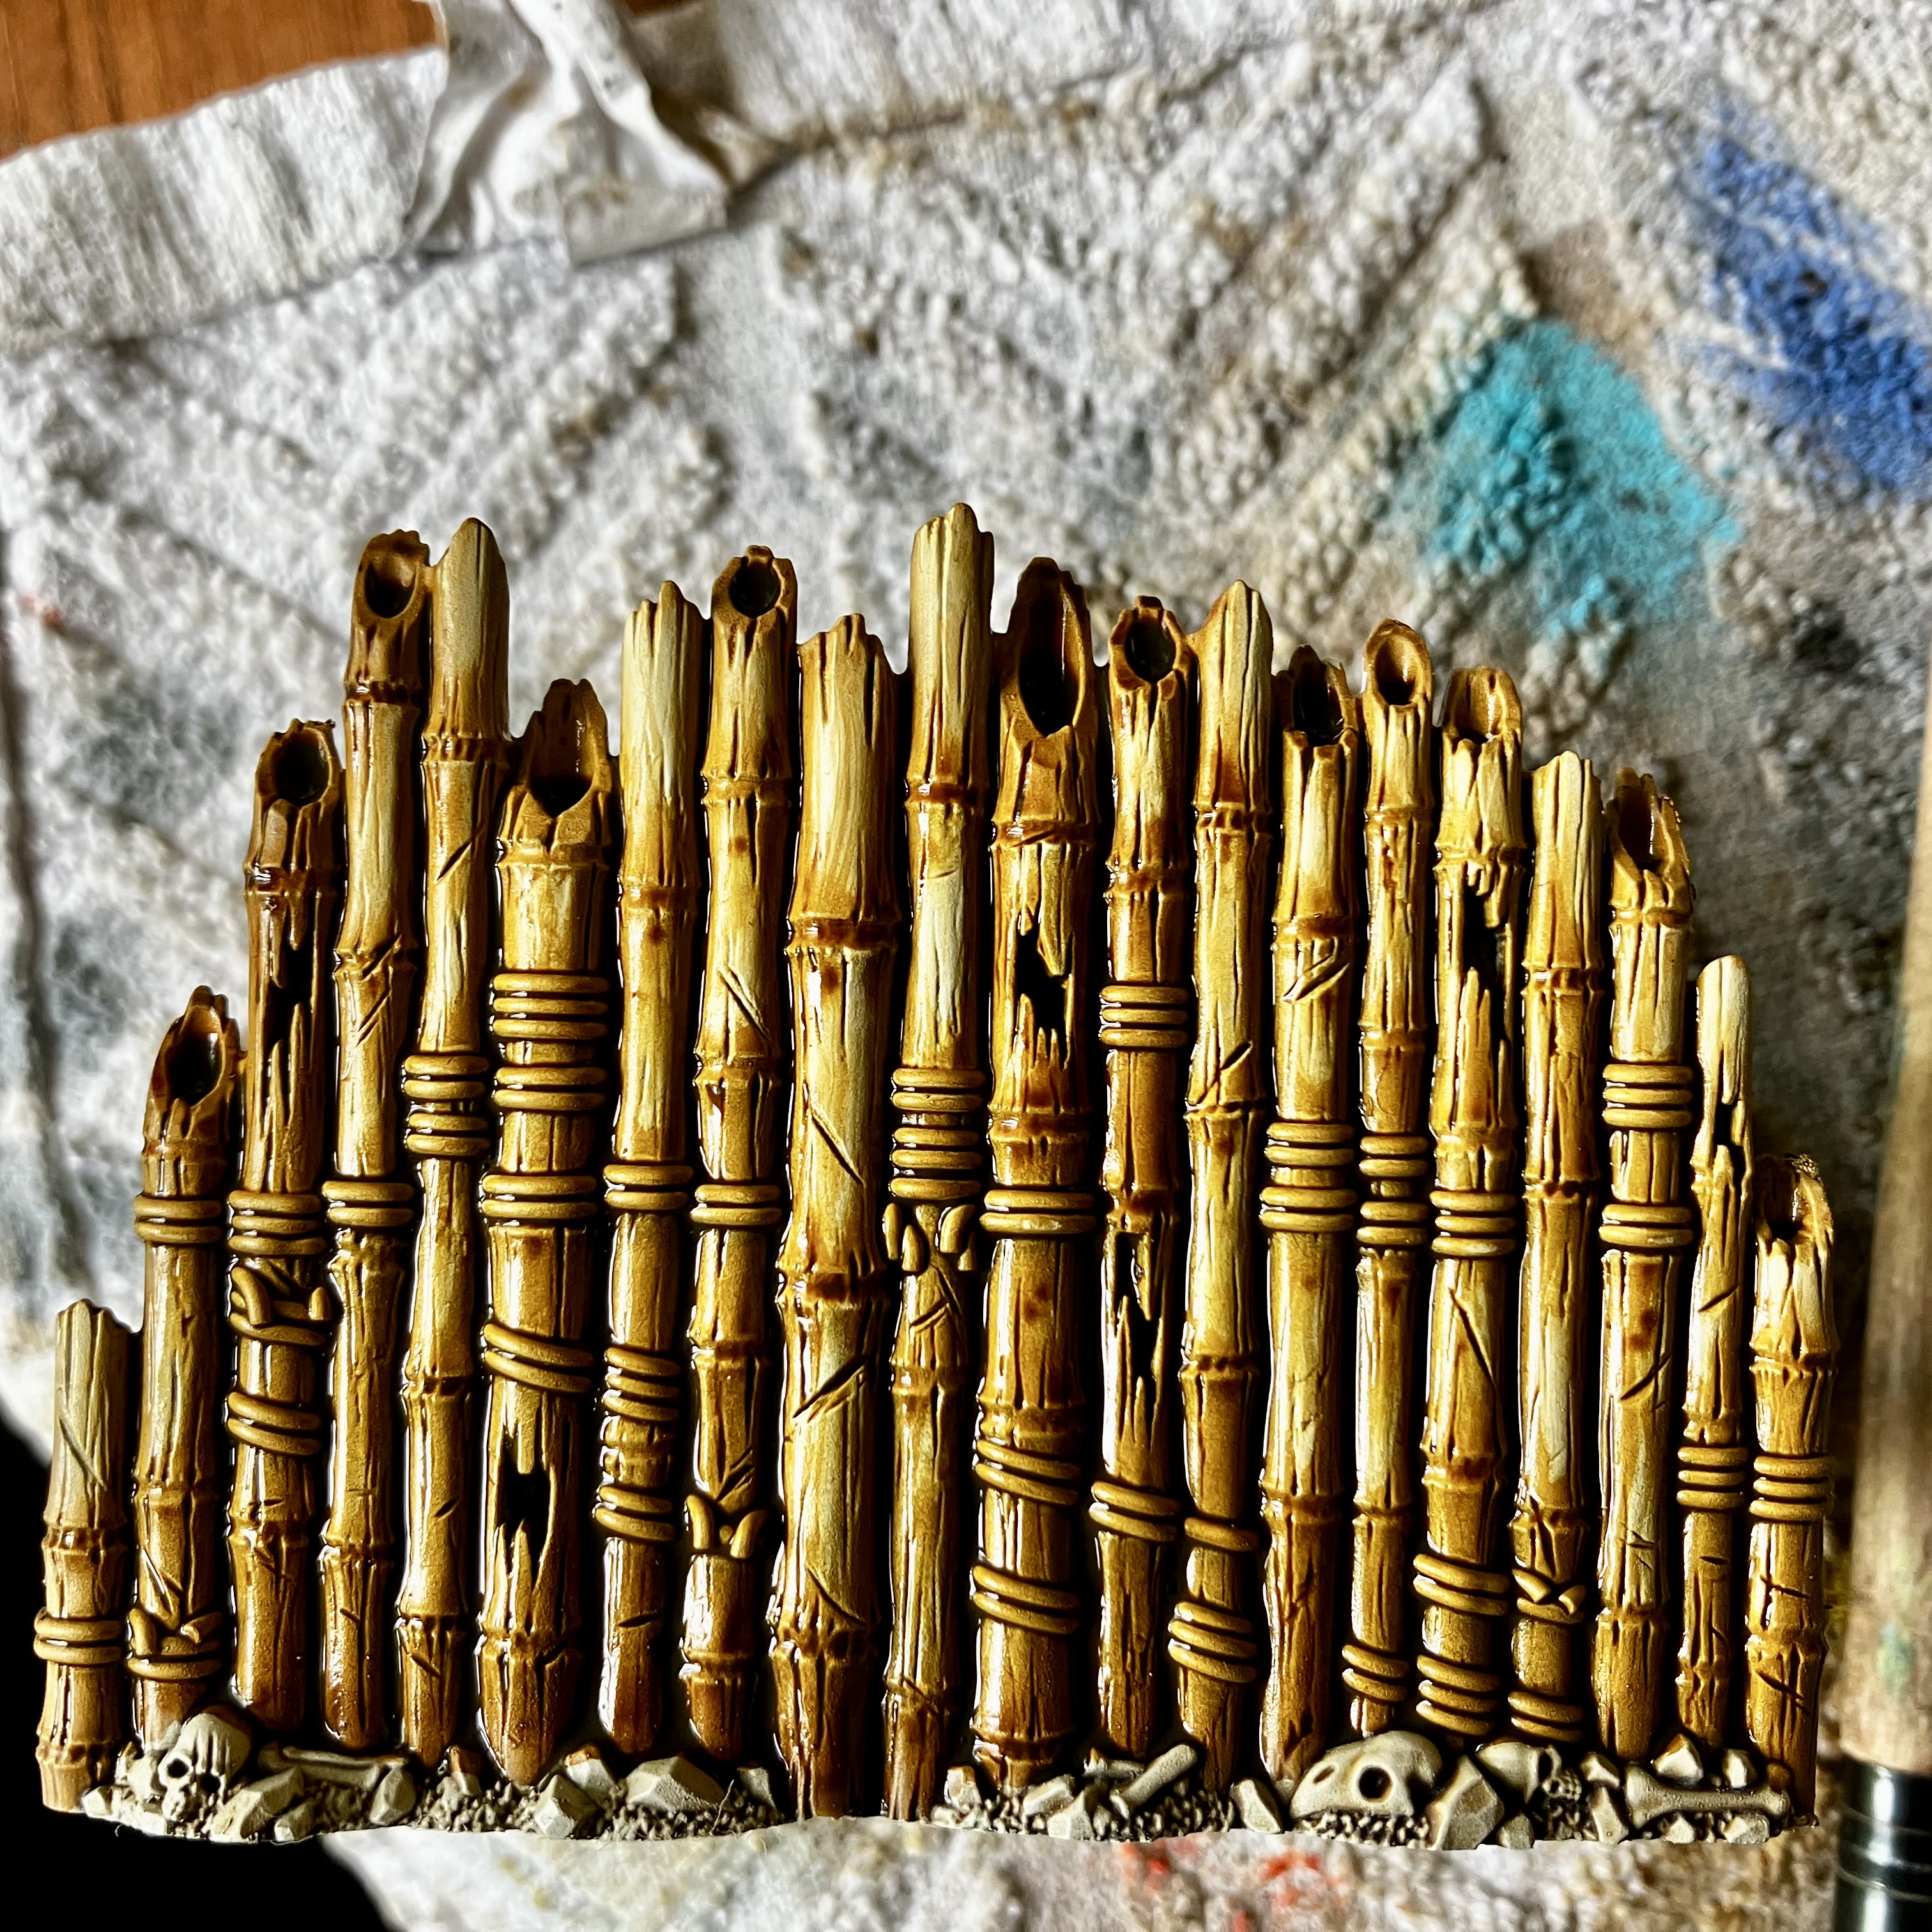
 Completed bamboo panel, as previous post
I’ve got a couple of contrast greens – Plaguebearer Flesh and Aeldari Emerald.
To start with, I applied Plaguebearer Flesh, but it was really feint – barely visible at all I’ve the brown. So while wet, I added a few dabs of Aeldari Emerald at the base of the bamboo and then feathered it up the wet Plaguebearer Flesh contrast that was already on it.
The picture below shows it still wet, but once dry, it makes a really good mildewy bamboo effect.
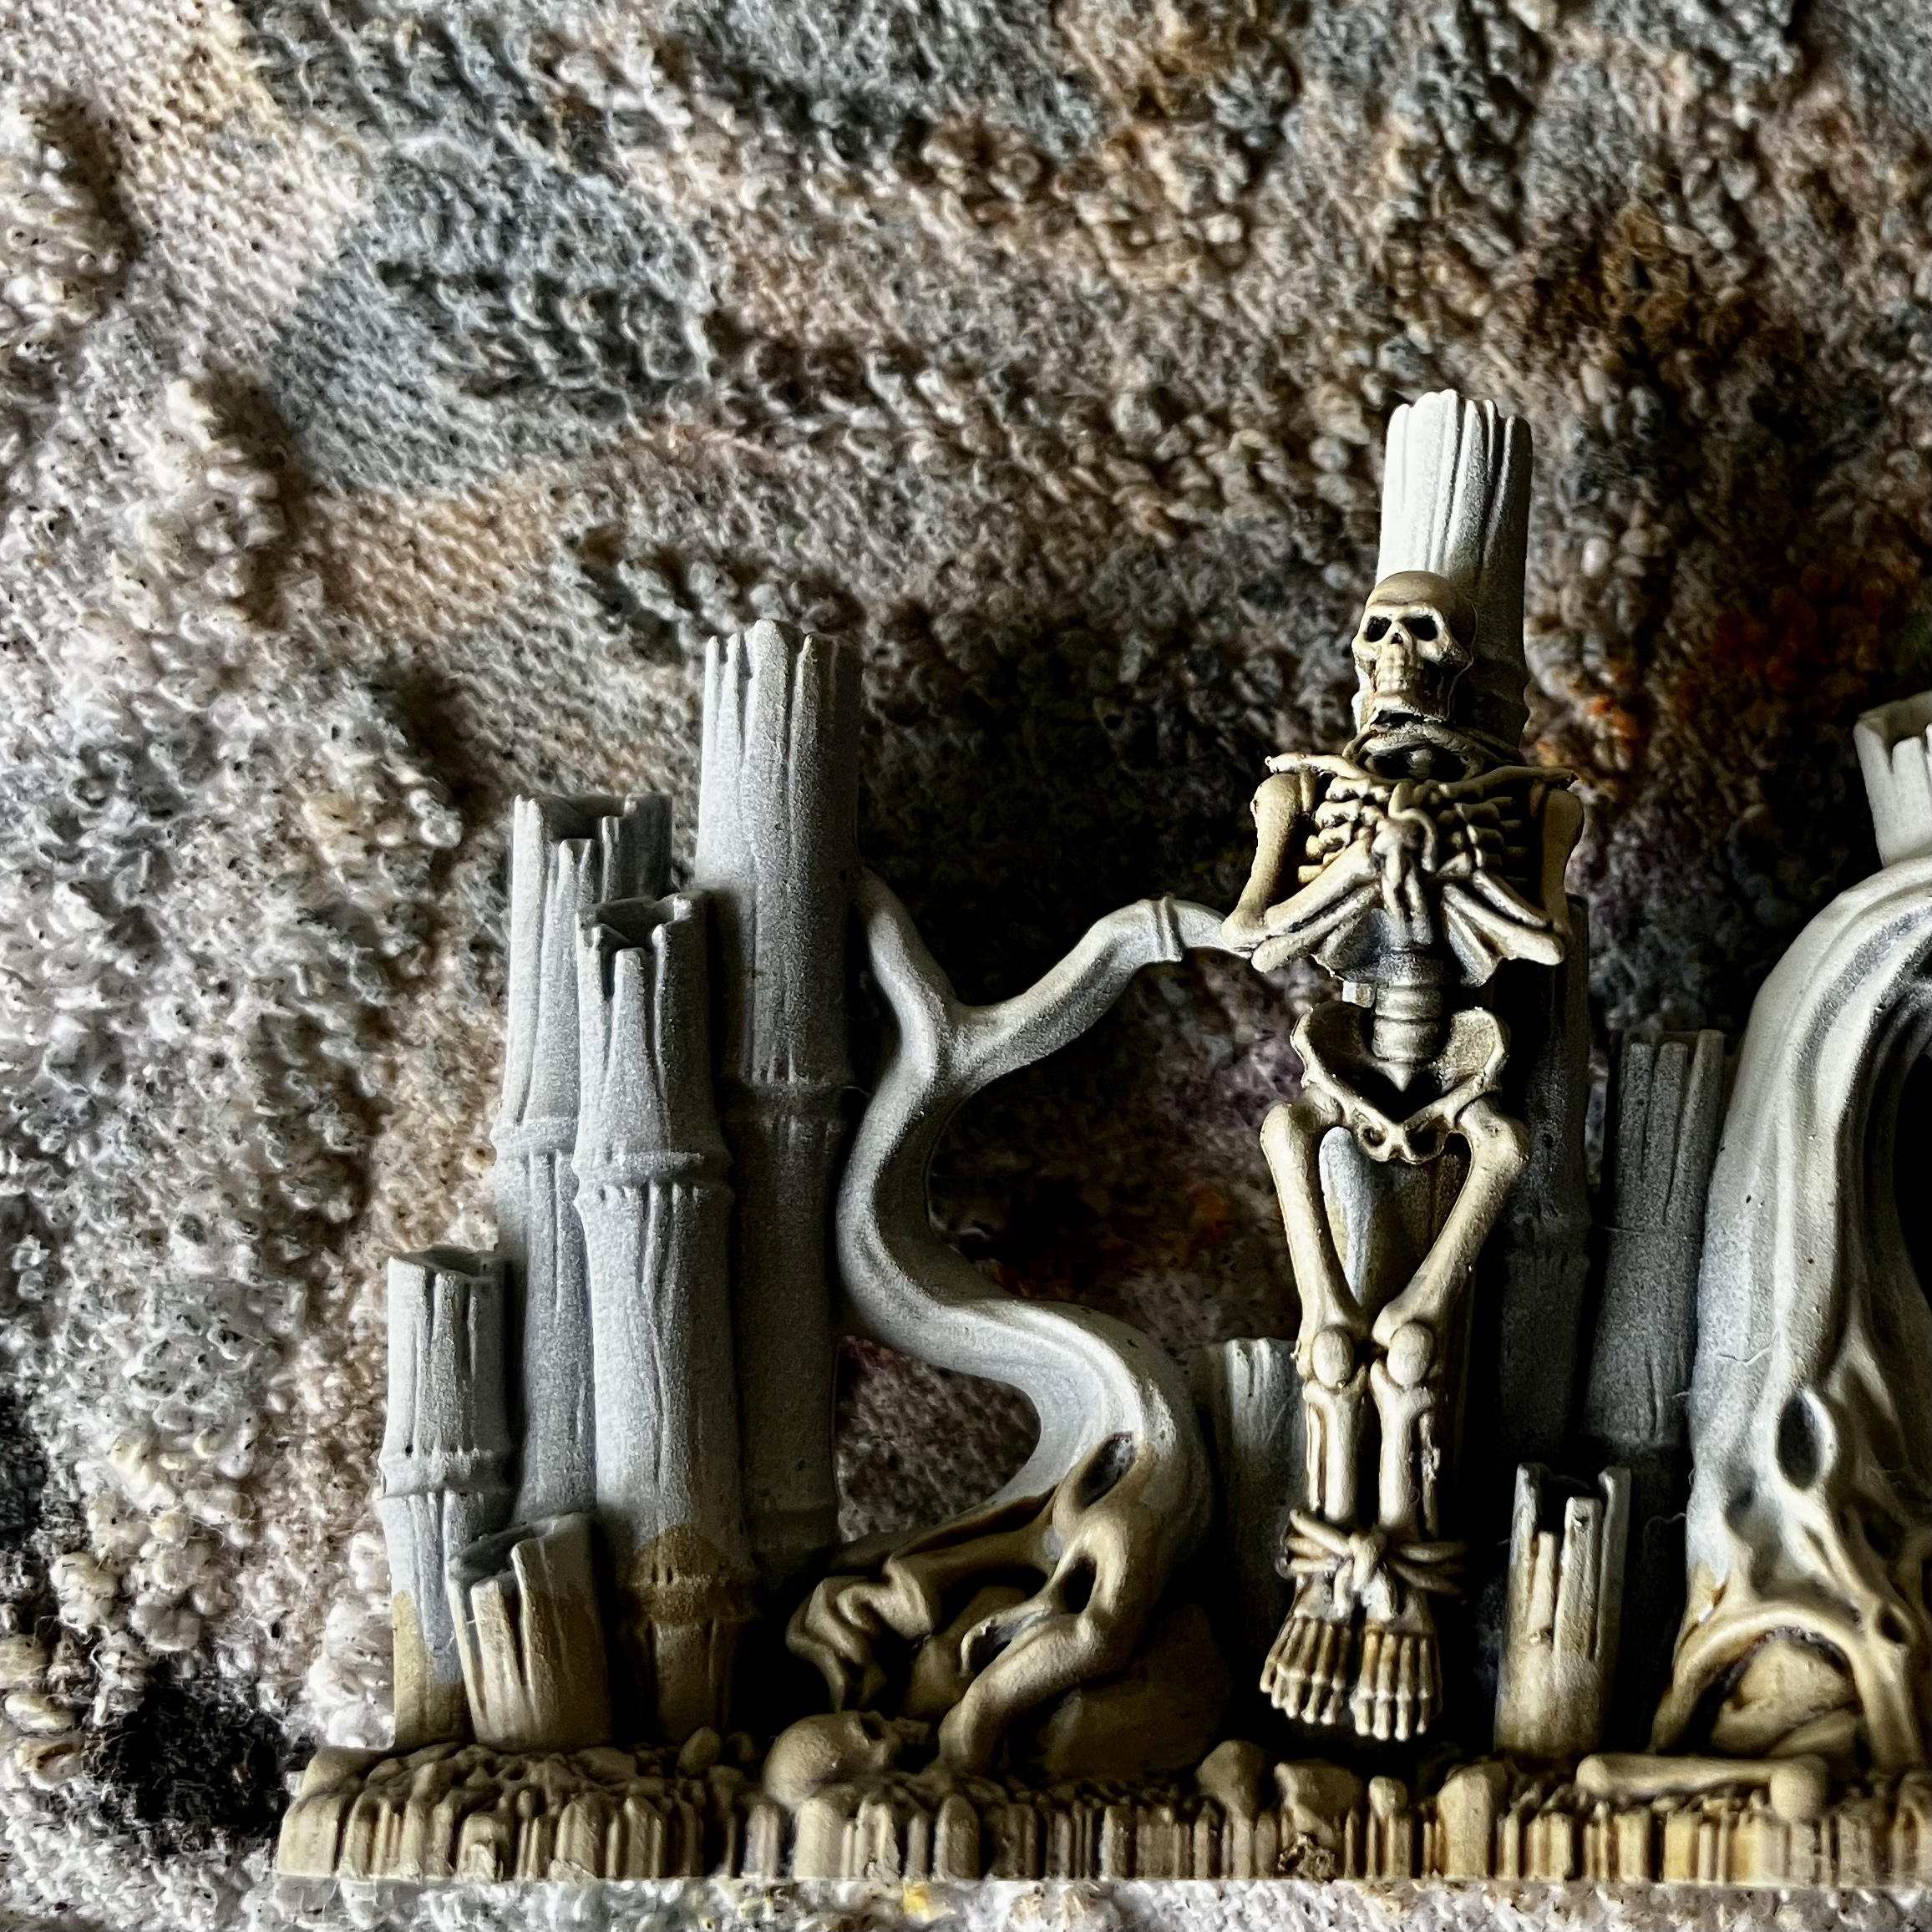
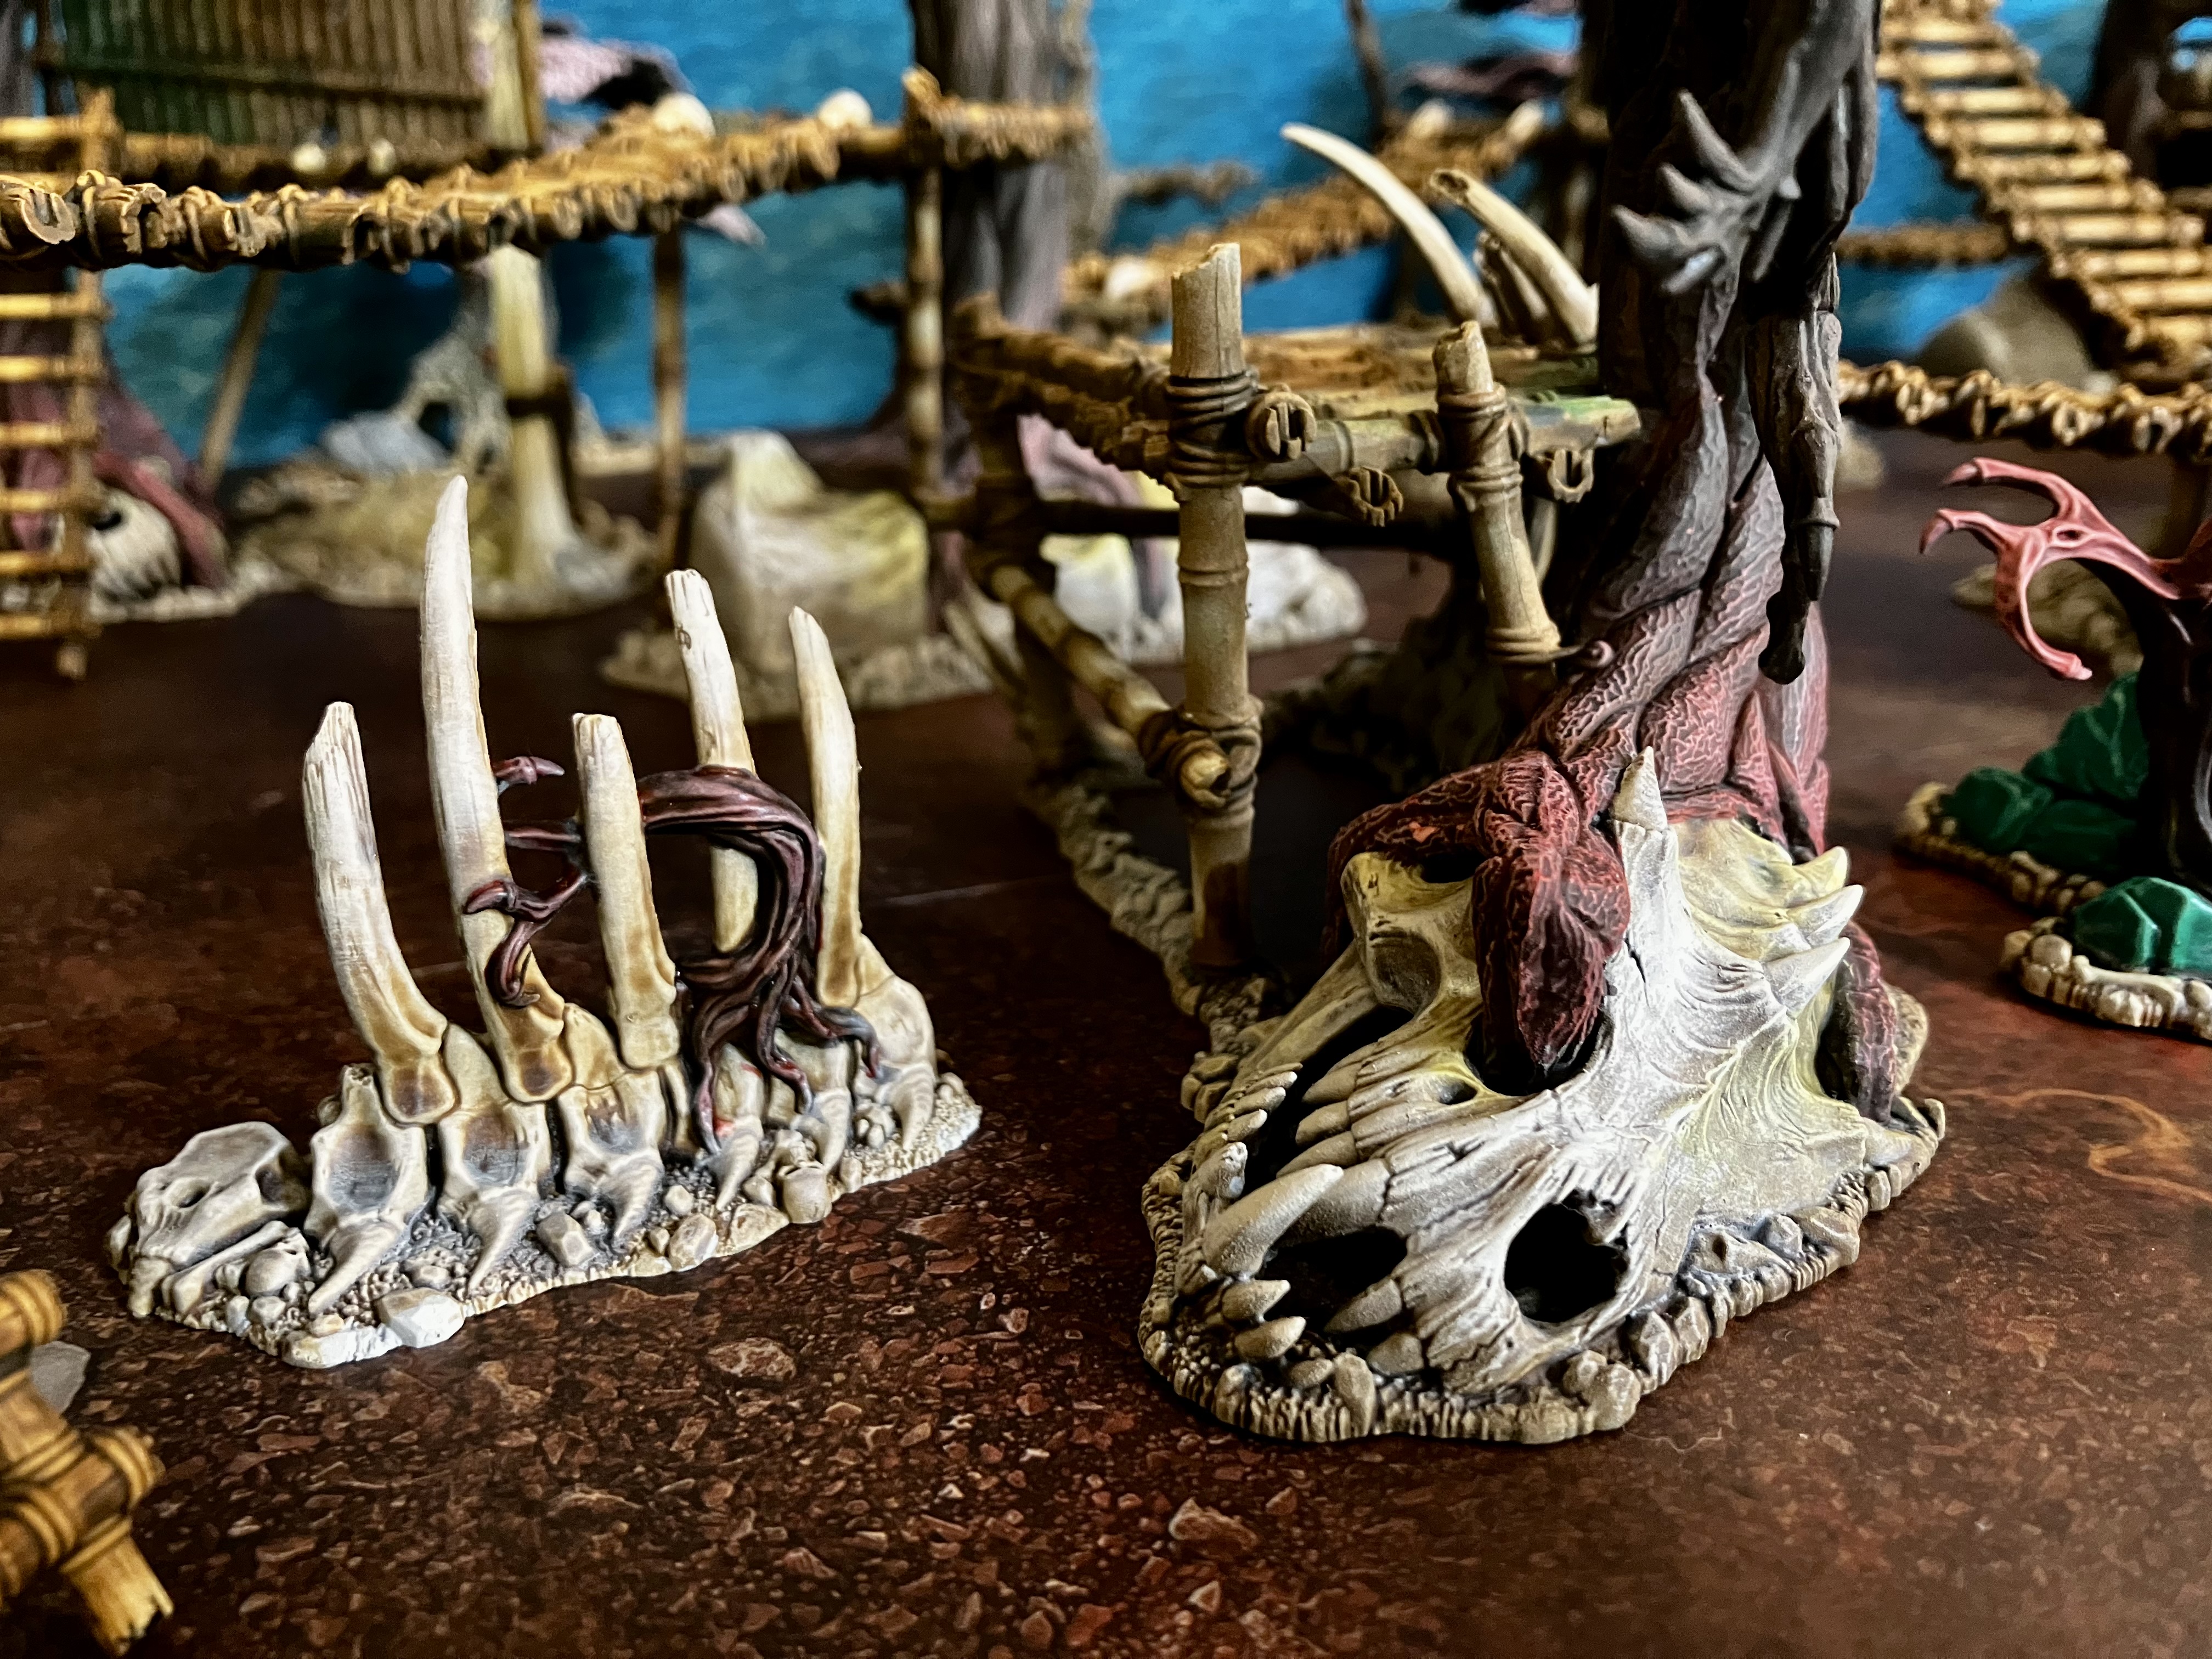
 I’ll tidy up the skulls and detritus at the end!
Options for stonework
The final main element, that is on about a dozen of the pieces I have (4 lots of 3 different pieces) is the broken stone of the Seraphon Realmship.
I thought about just doing it as simple greyish stone. But I’ve painted a lot of that before on other terrain projects.
Thinking about the dark cherry tree bark I’ve gone with and the bamboo – I decided to go for a richer oriental jade across the stonework. It’ll look really vivid and I hope it works!
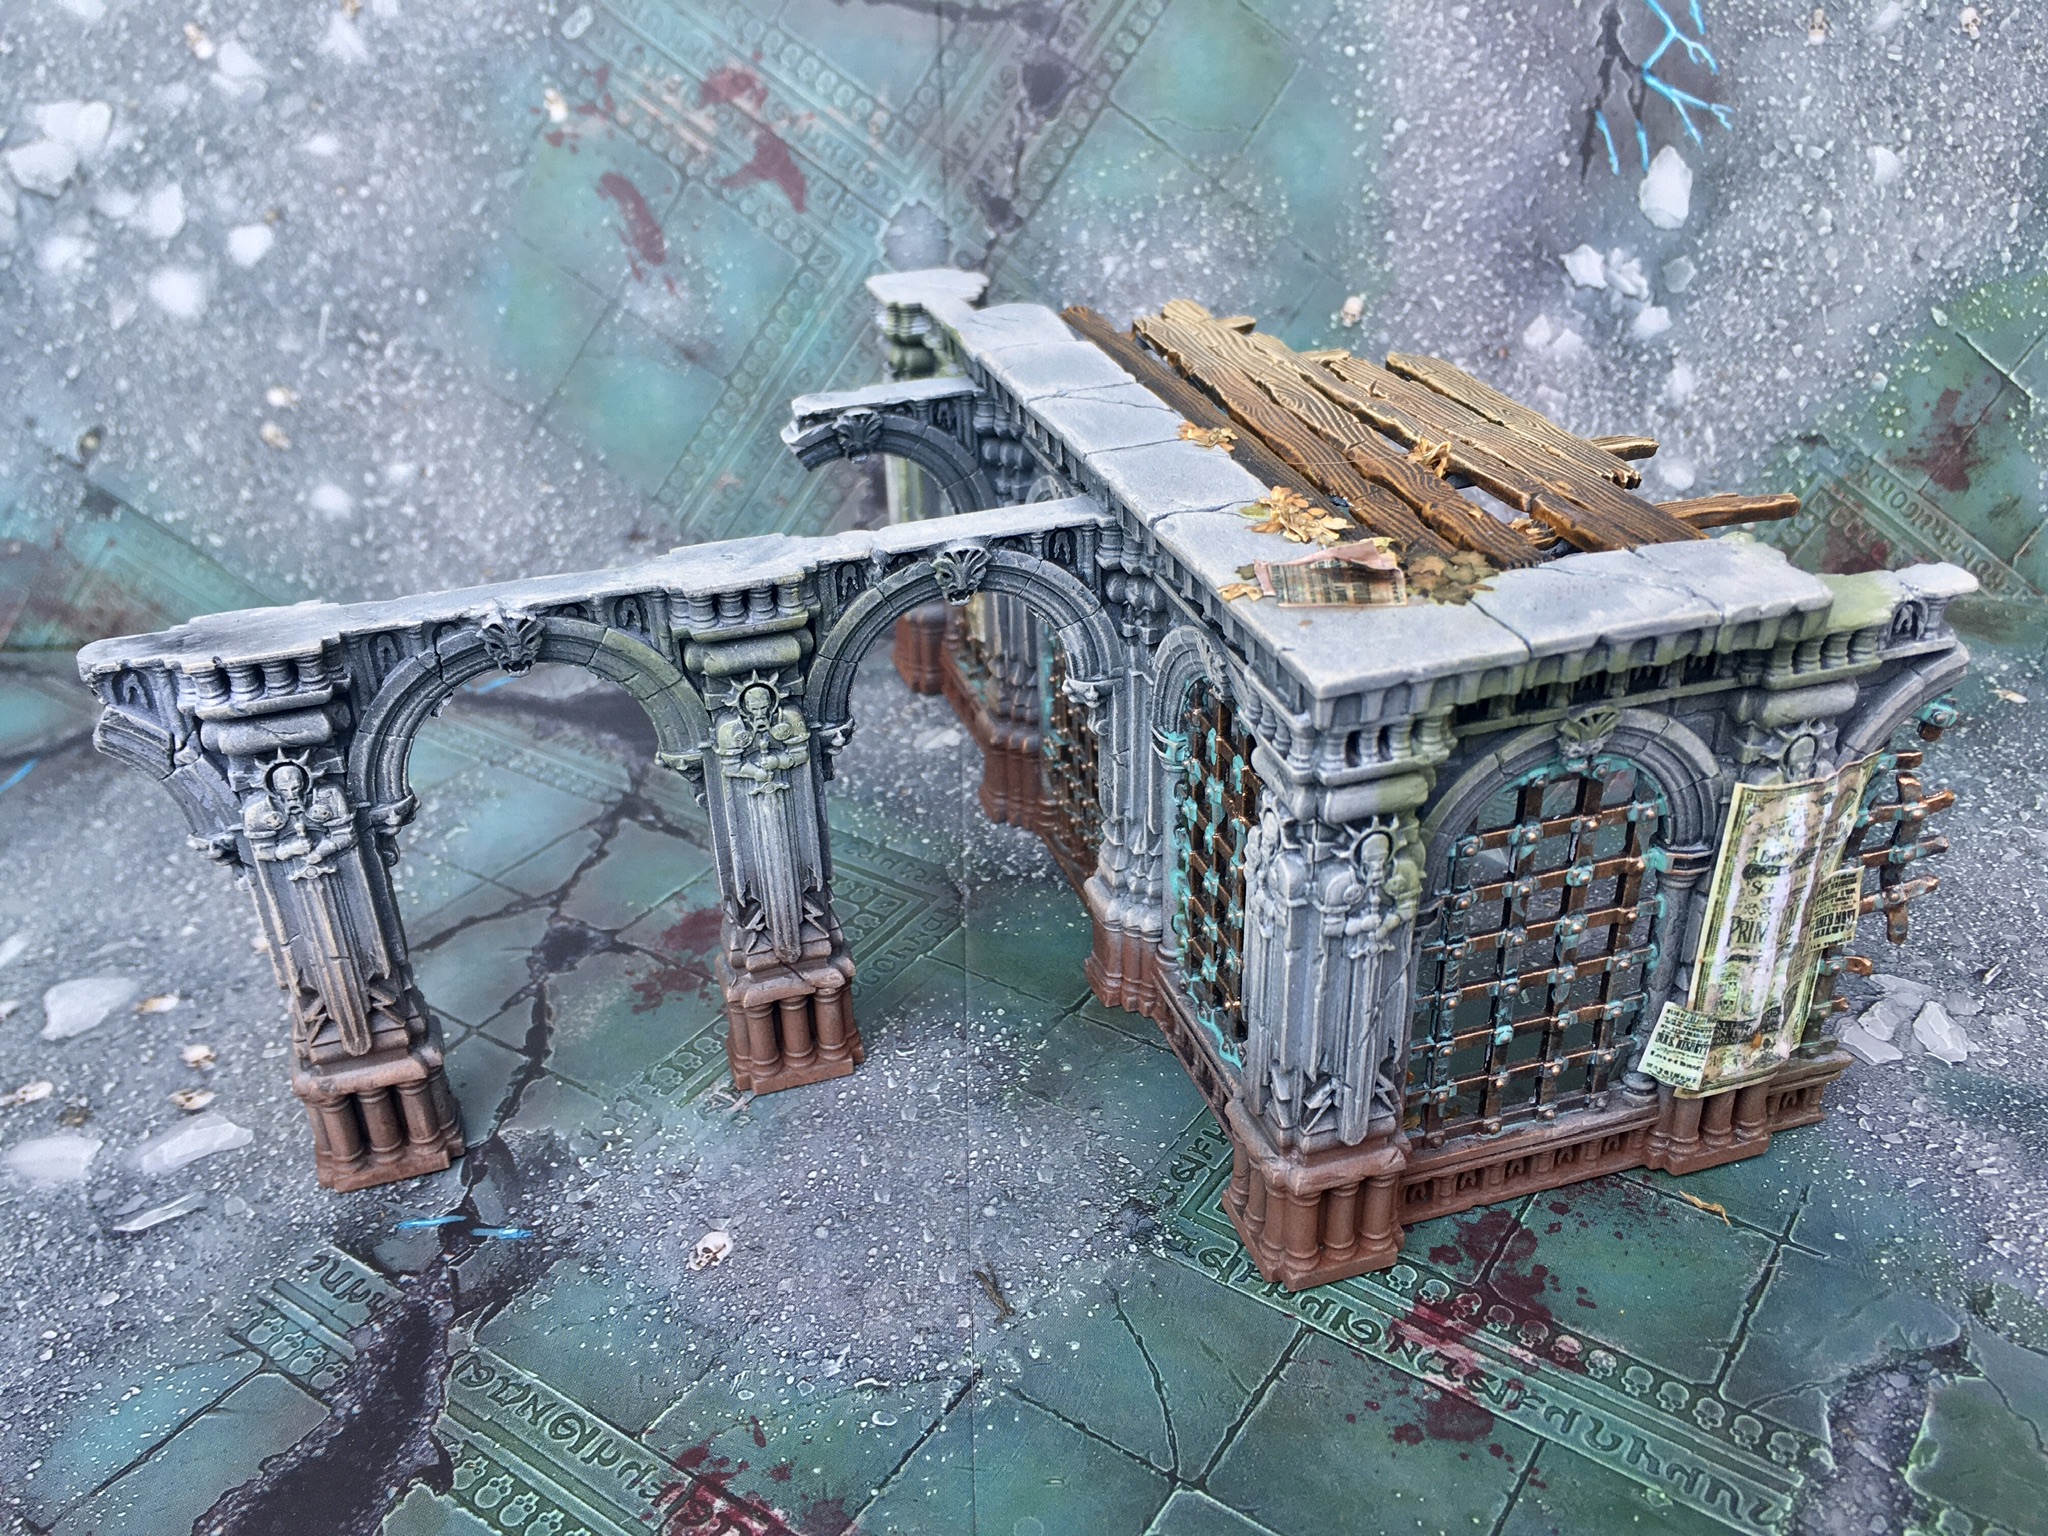 I’ve painted lots of grey stone in the past..
 …But a Jade building would look beautiful…
 …and give lots of opportunities for rich greens.
Painting the jade
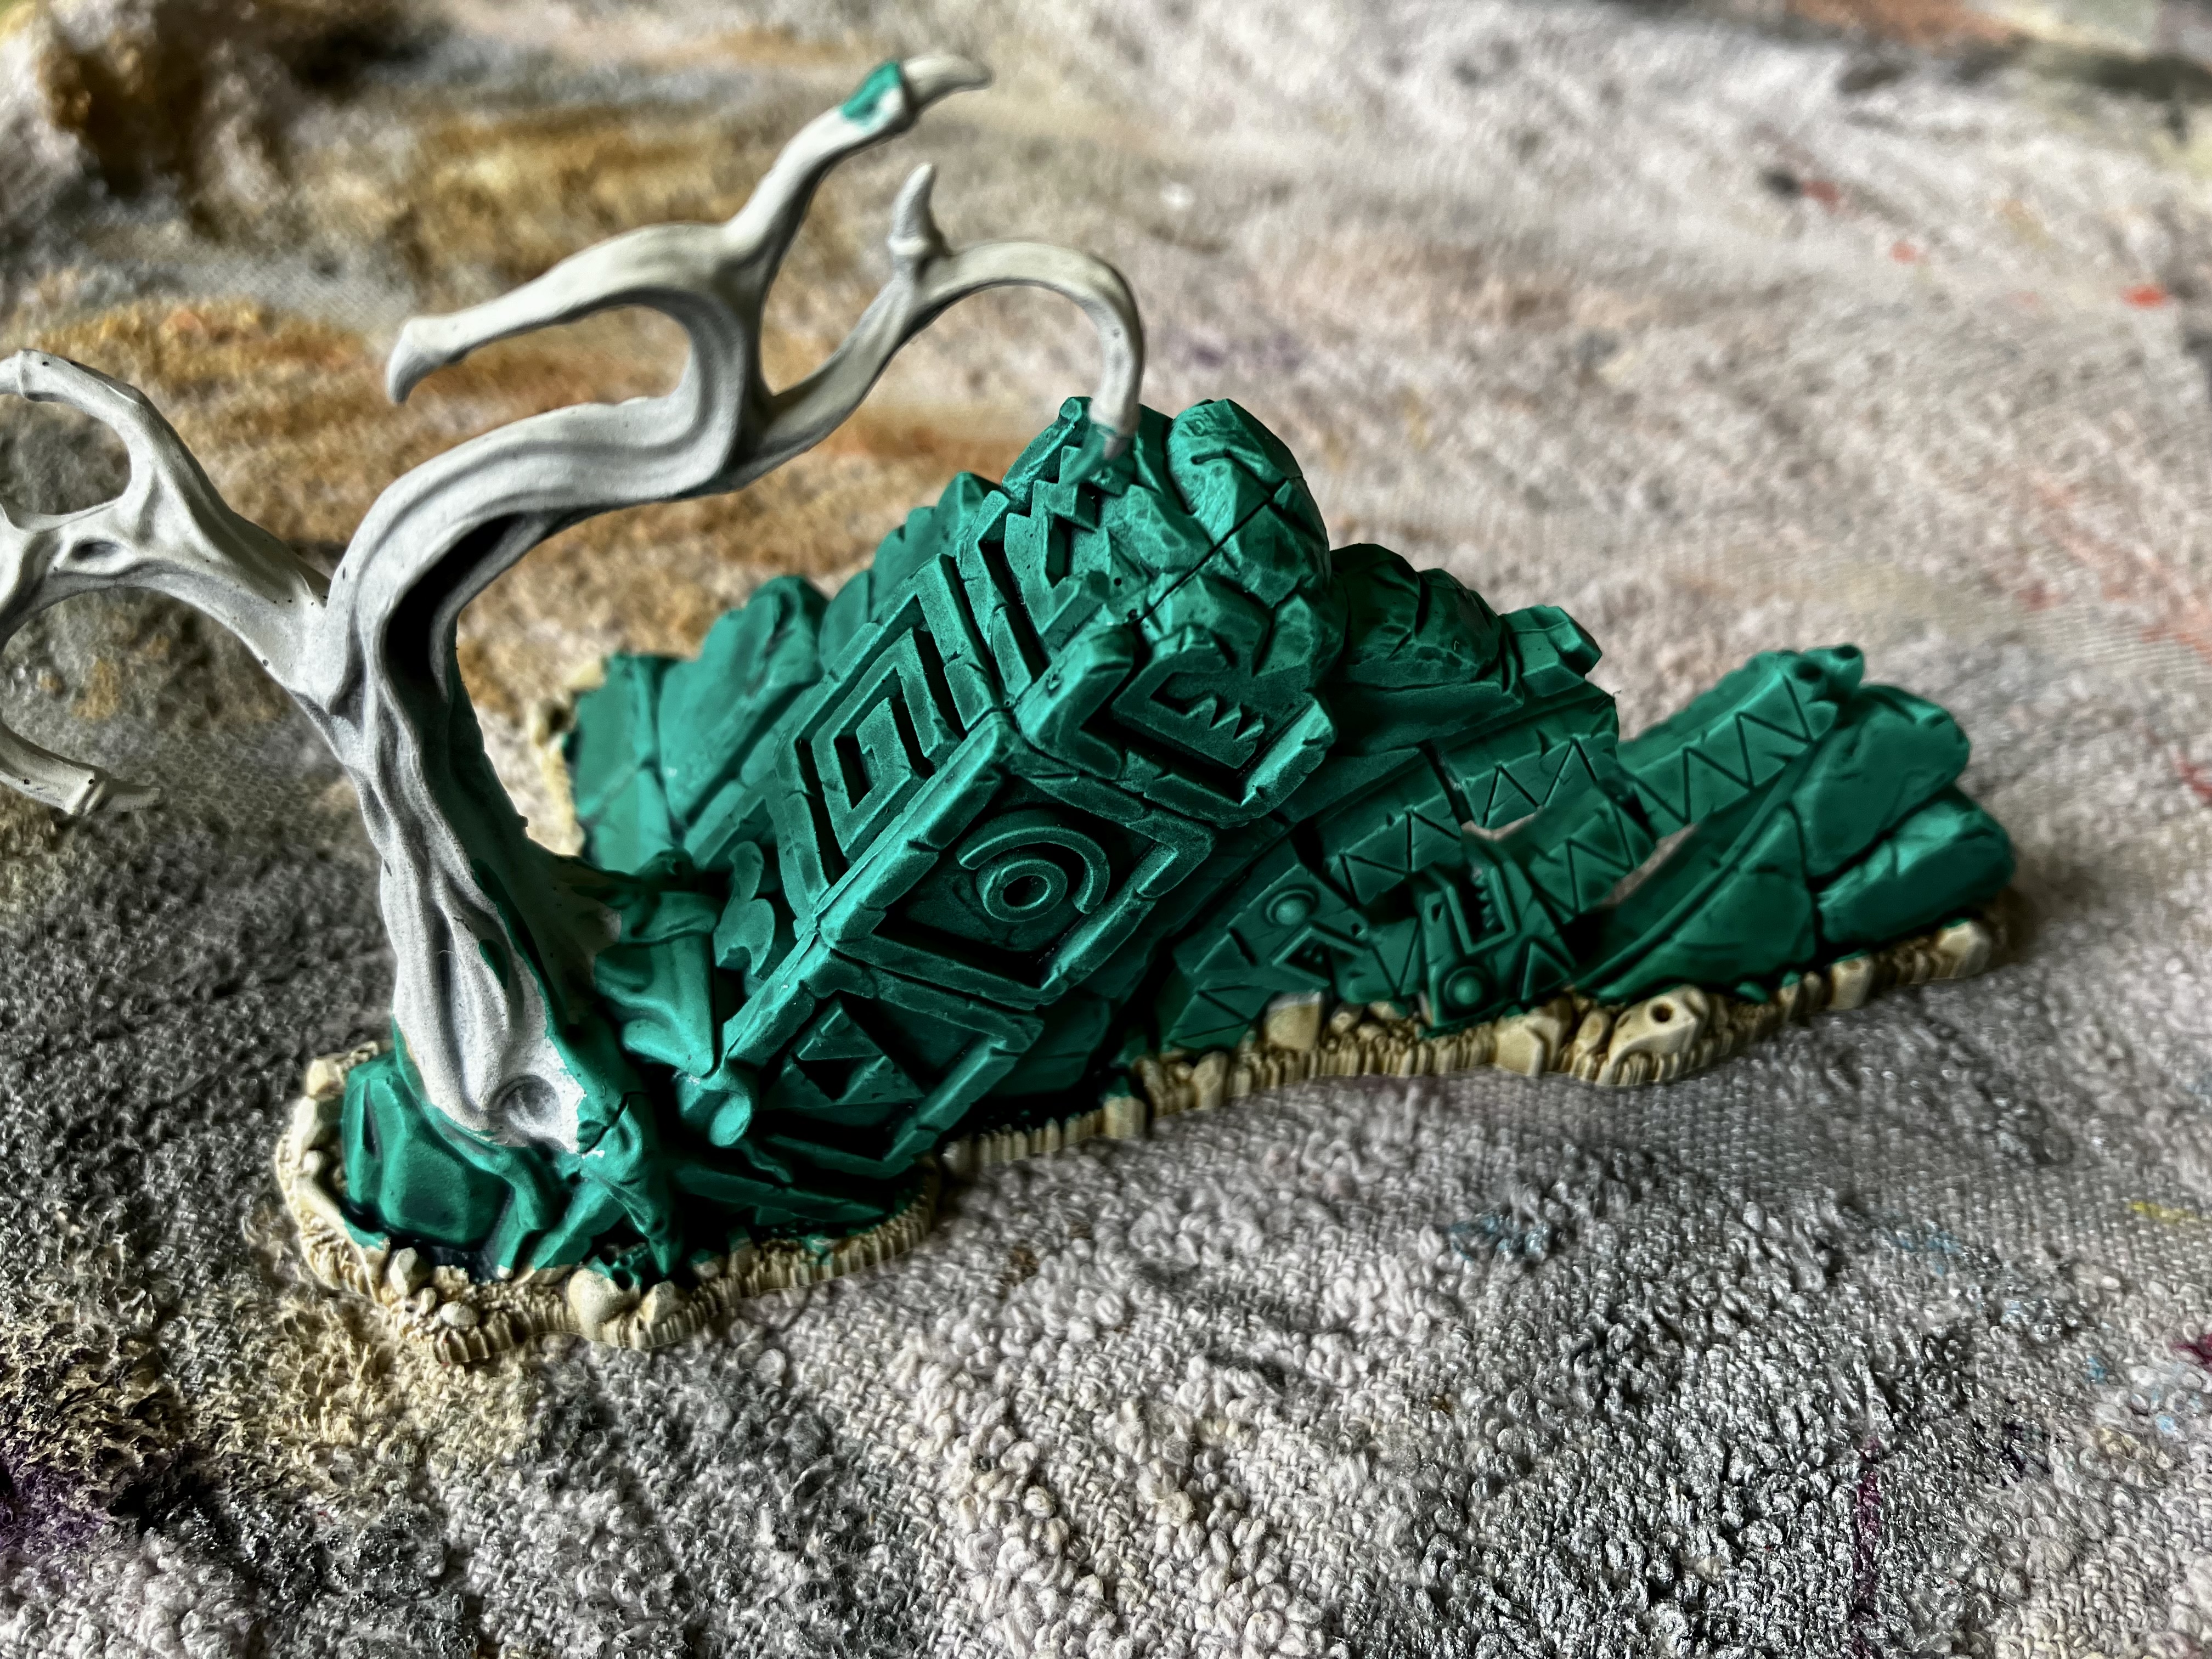 Apply a nice coat of Contrast Aeldari Emerald
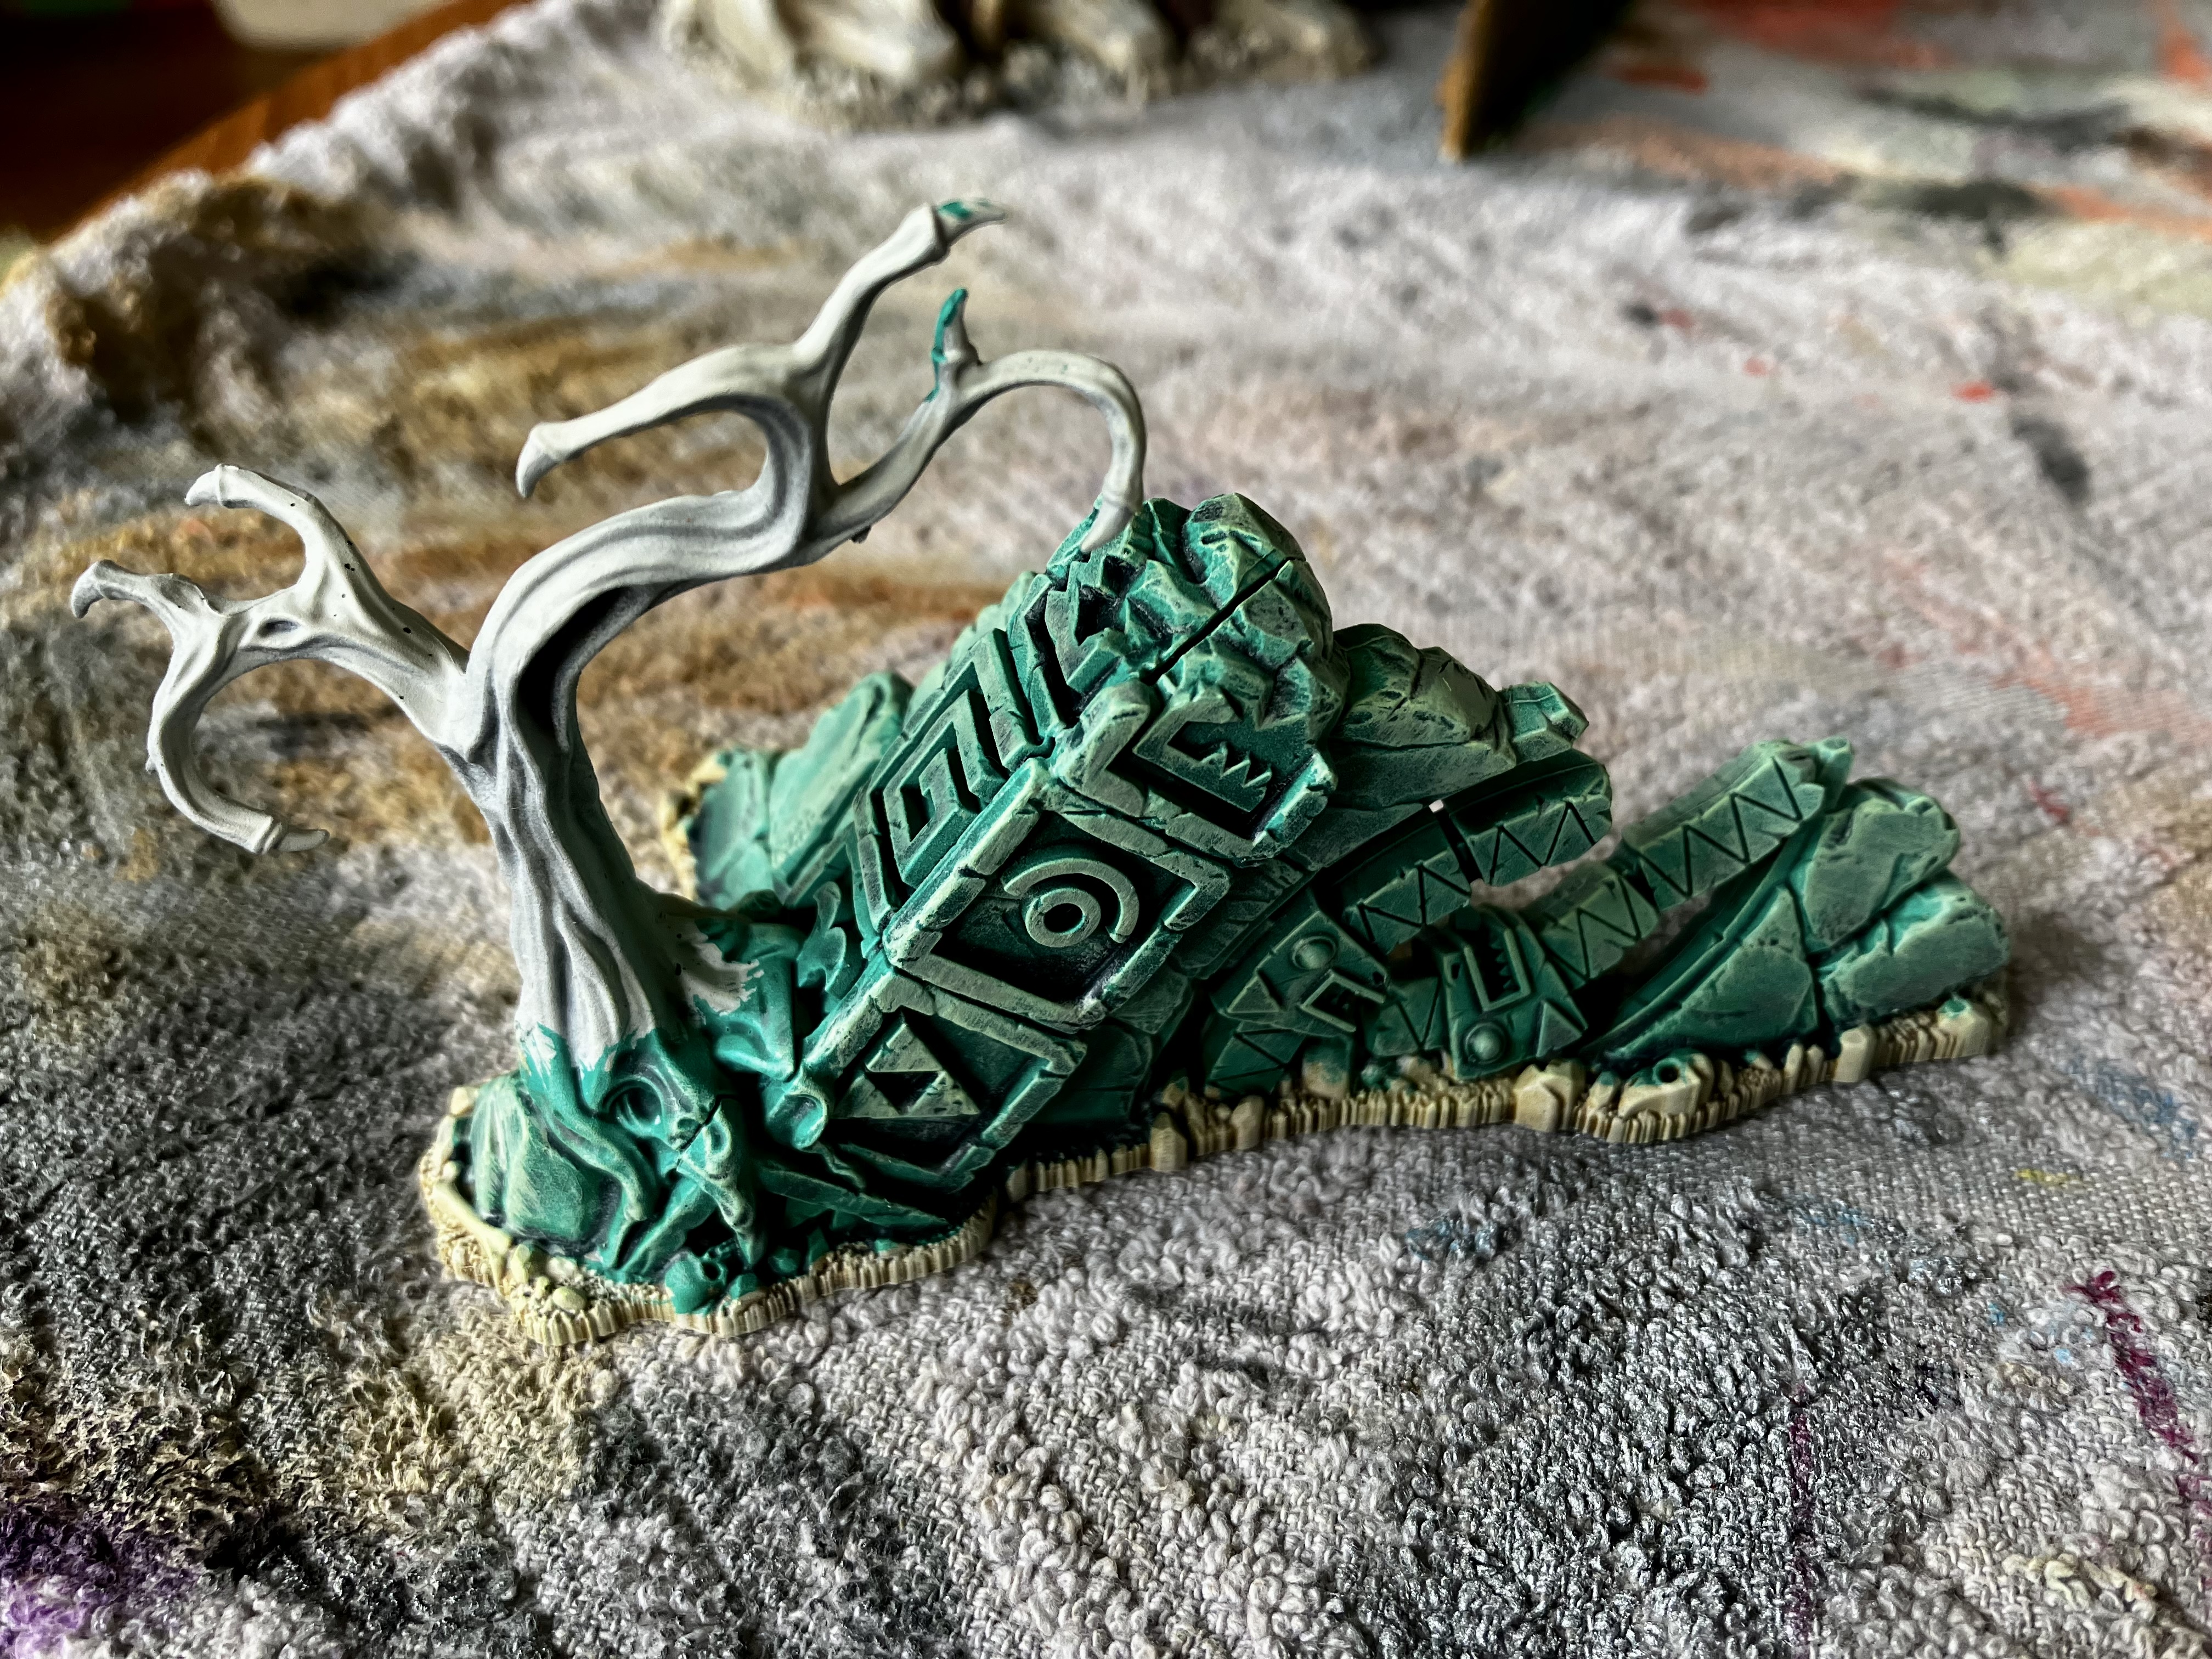 When dry, drybrush with a very pale yellow. You could use white just as well.
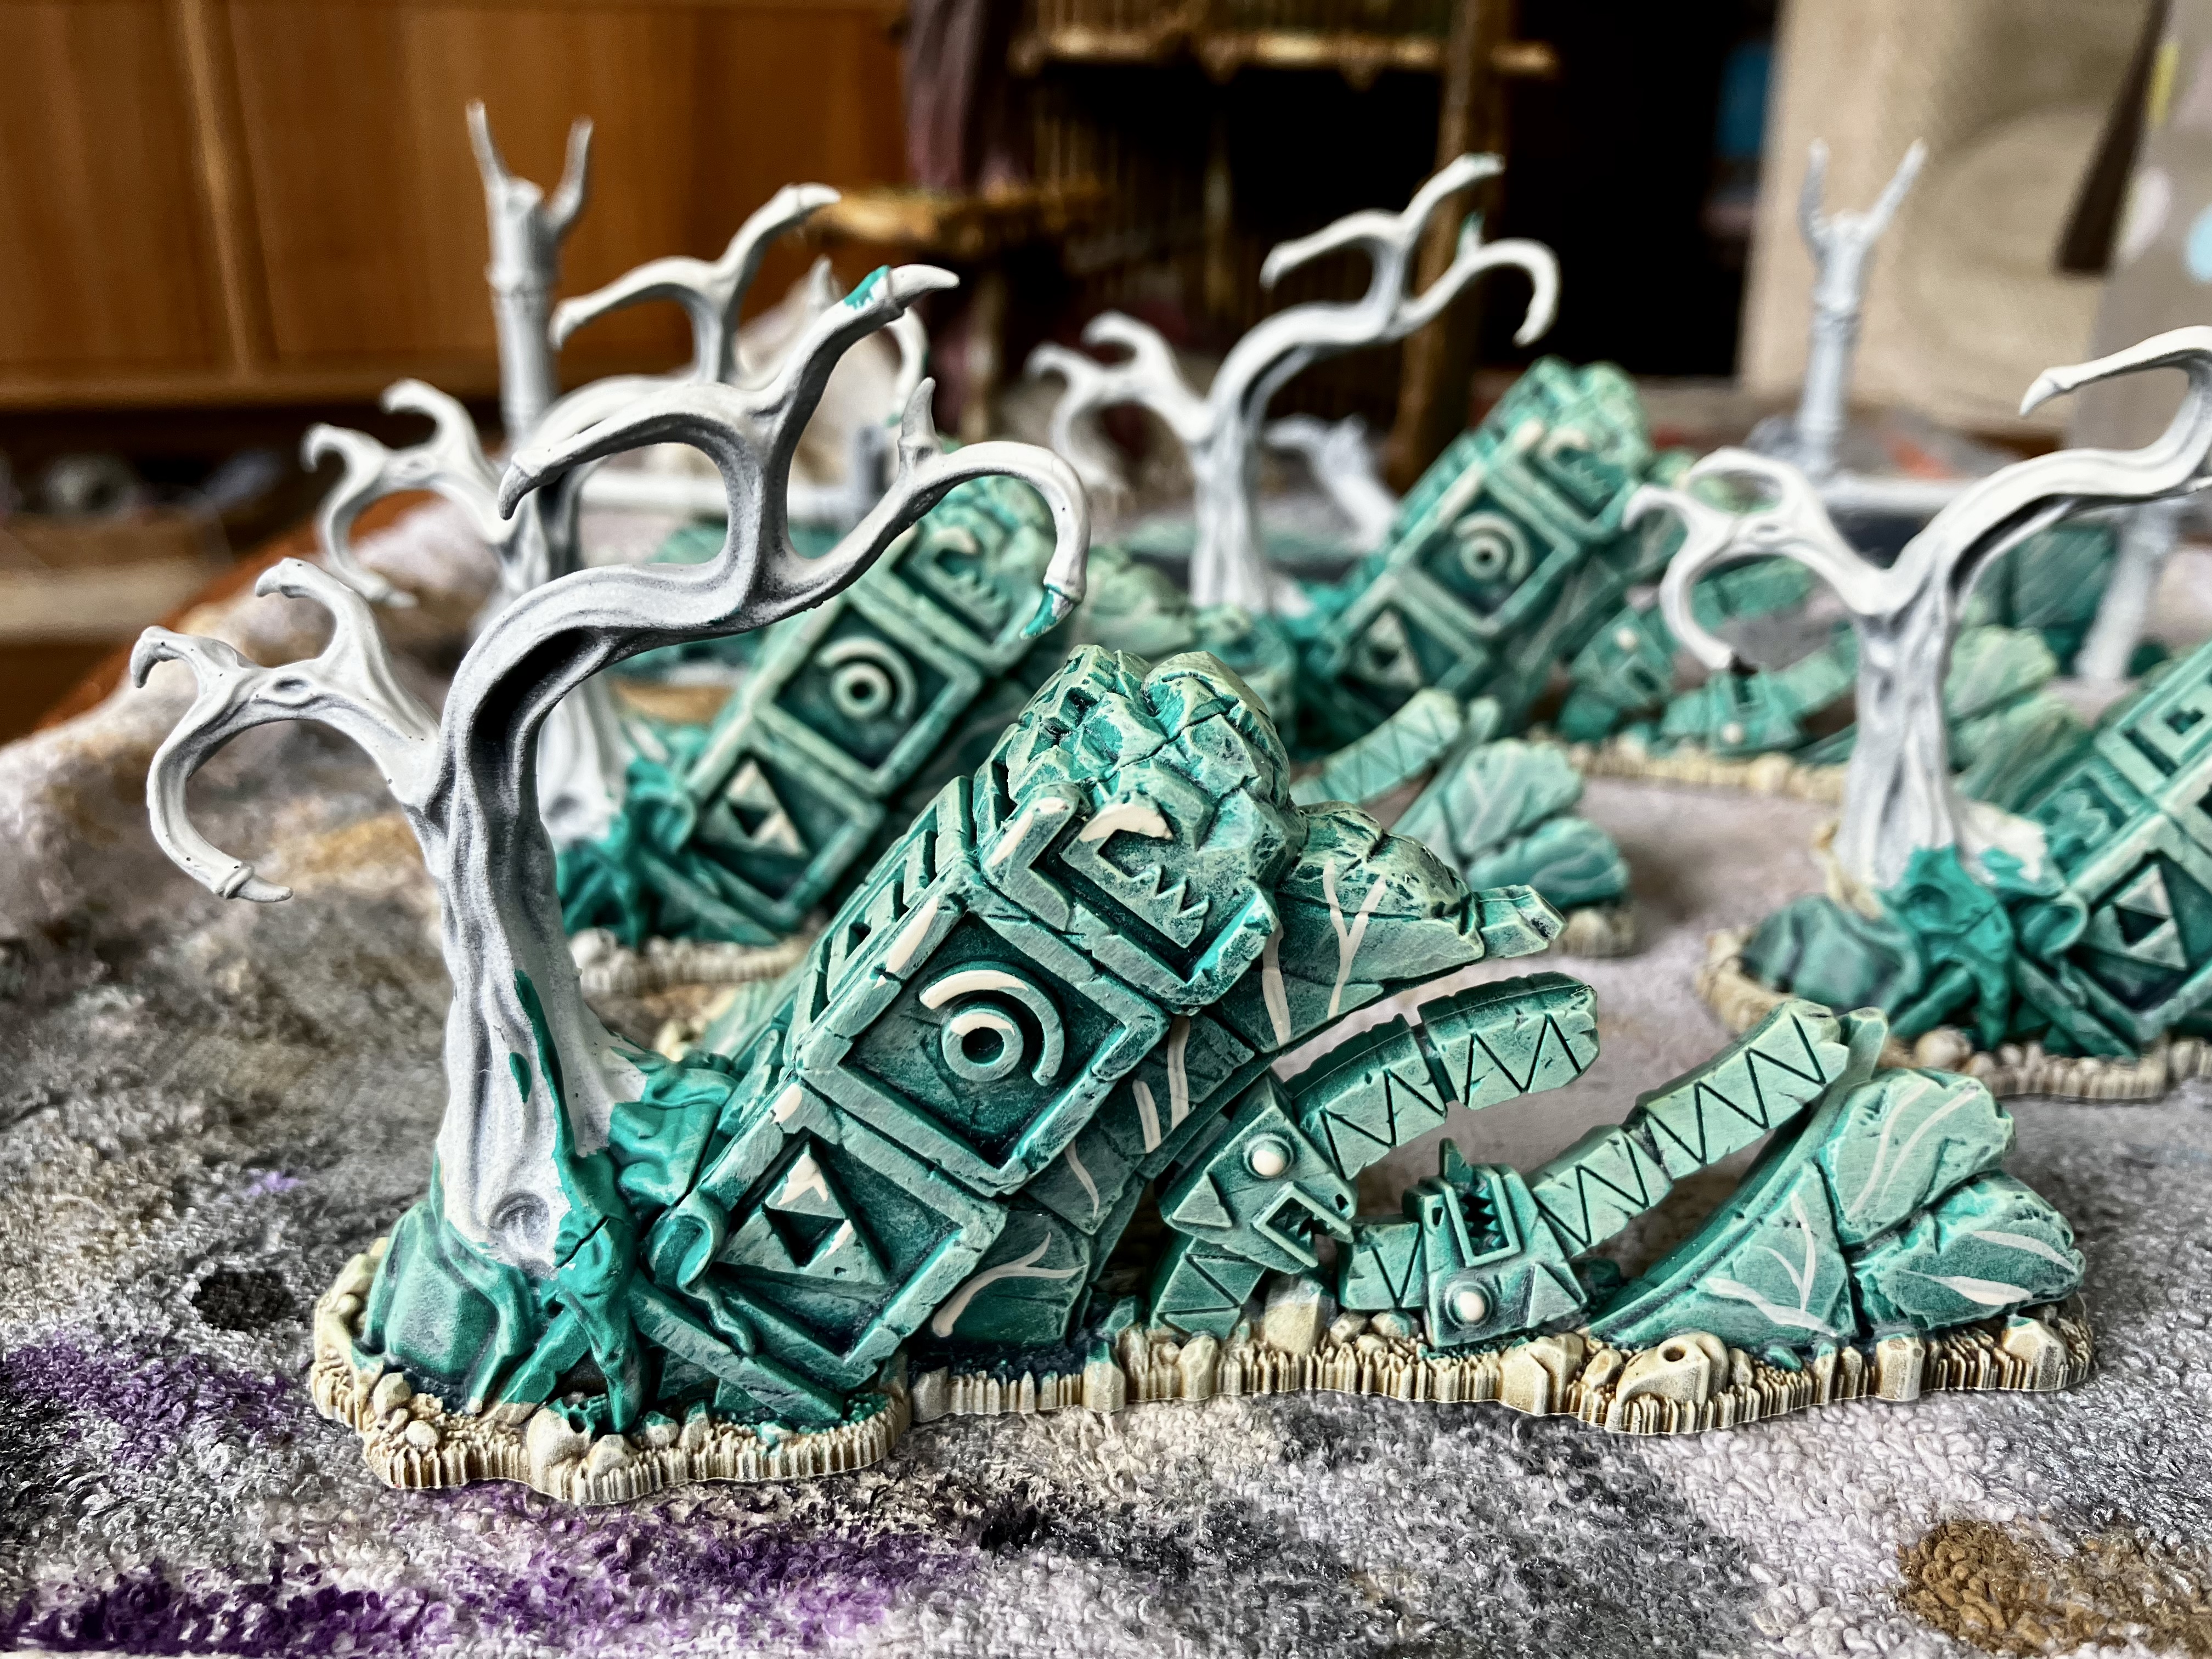 Apply a few highlights here and there with a brush. I’ve also added some really simple veins/lines
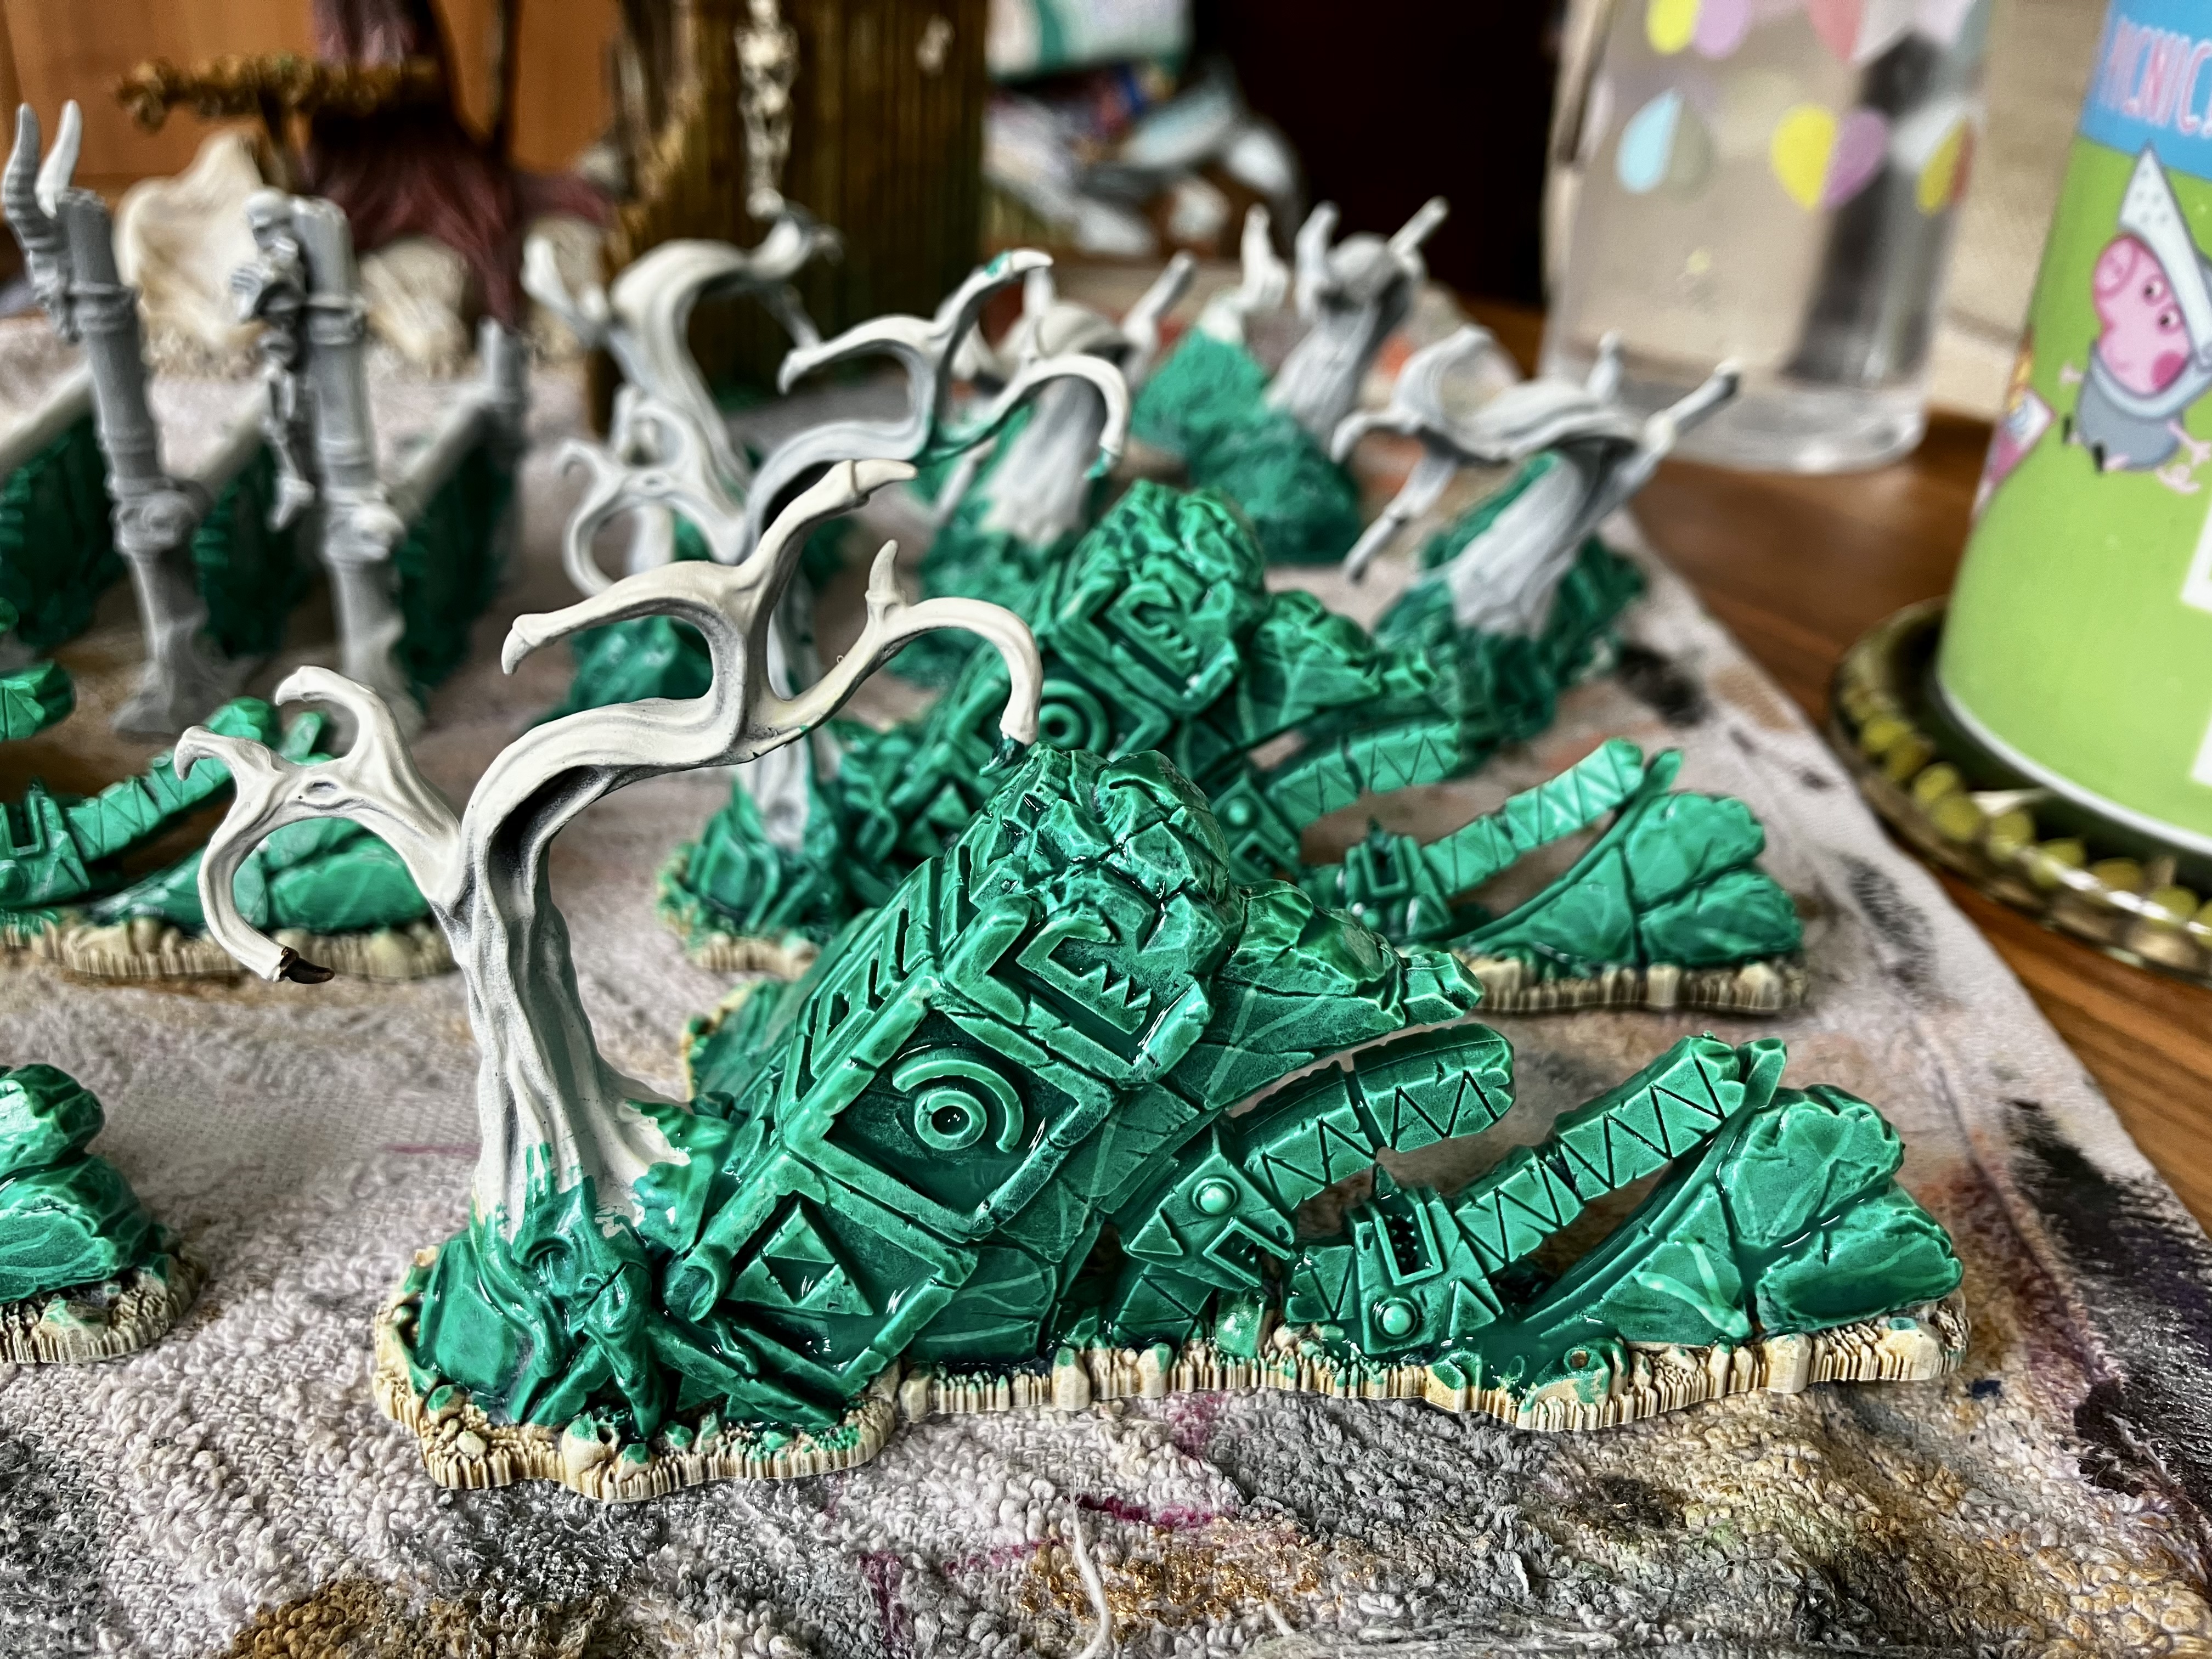 Finally, a good gloopy coat of Waystone Green technical paint to tie it together and add depth.
It’s not perfect, but it gets me to a place that I feel happy with and looks like a deep rich jade stone.
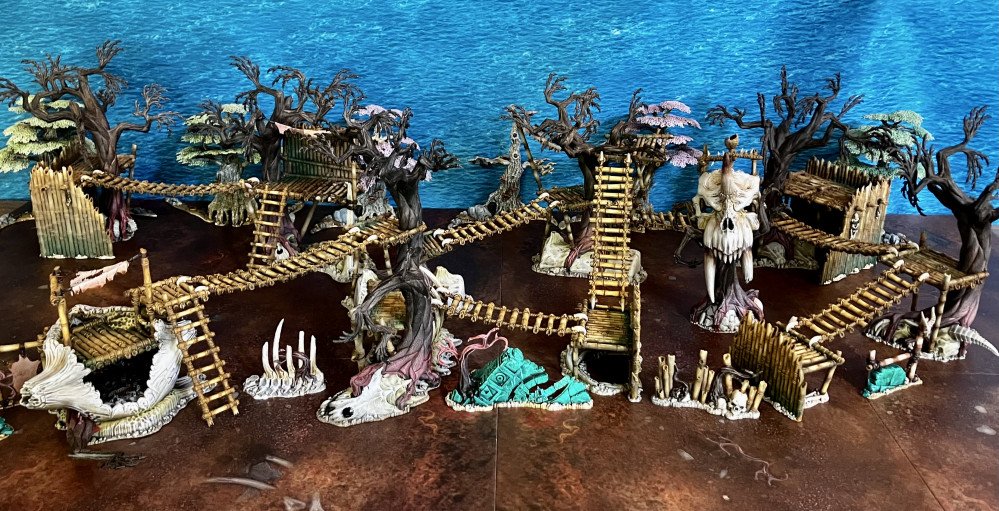
Group shot gallery!
Second try at this, as the project system crashed on the last attempt (please guys do something with this!).
Here’s a group shot of all the scenery completed. It’s ready to play with/on at this stage, but there are a few extra ideas and elements I have to take it to another level.

A golden button!
Thank you so much for the Golden Button! Am so pleased that others have liked seeing this terrain project come along, and the how-to’s I’ve been posting. Thank you ?


![New Carolingians & A Pillage Starter Set From Victrix? [Updated]](https://images.beastsofwar.com/2026/07/pillage-introductory-cover-600-338.jpg)