


Narrative Gamer’s 30k/40k Table


Recommendations: 223
About the Project
I’m building a 30k/40k terrain set from the 2023 Terrain Fest prize kits.
Related Game: Warhammer: The Horus Heresy
Related Company: Games Workshop
Related Genre: Science Fiction
Related Contest: TerrainFest 2024
This Project is Active
Day 8 painting the main build step 2
Time for painting!
Before I started, I checked everywhere for exposed polystyrene or otherwise non-natural texture and covered them with modelling paste. I used a dark brown Pro Acyl paste, it has very similar texture to the sand I used.
To avoid unnecessary repainting, I masked off parts that I wanted to keep grey..
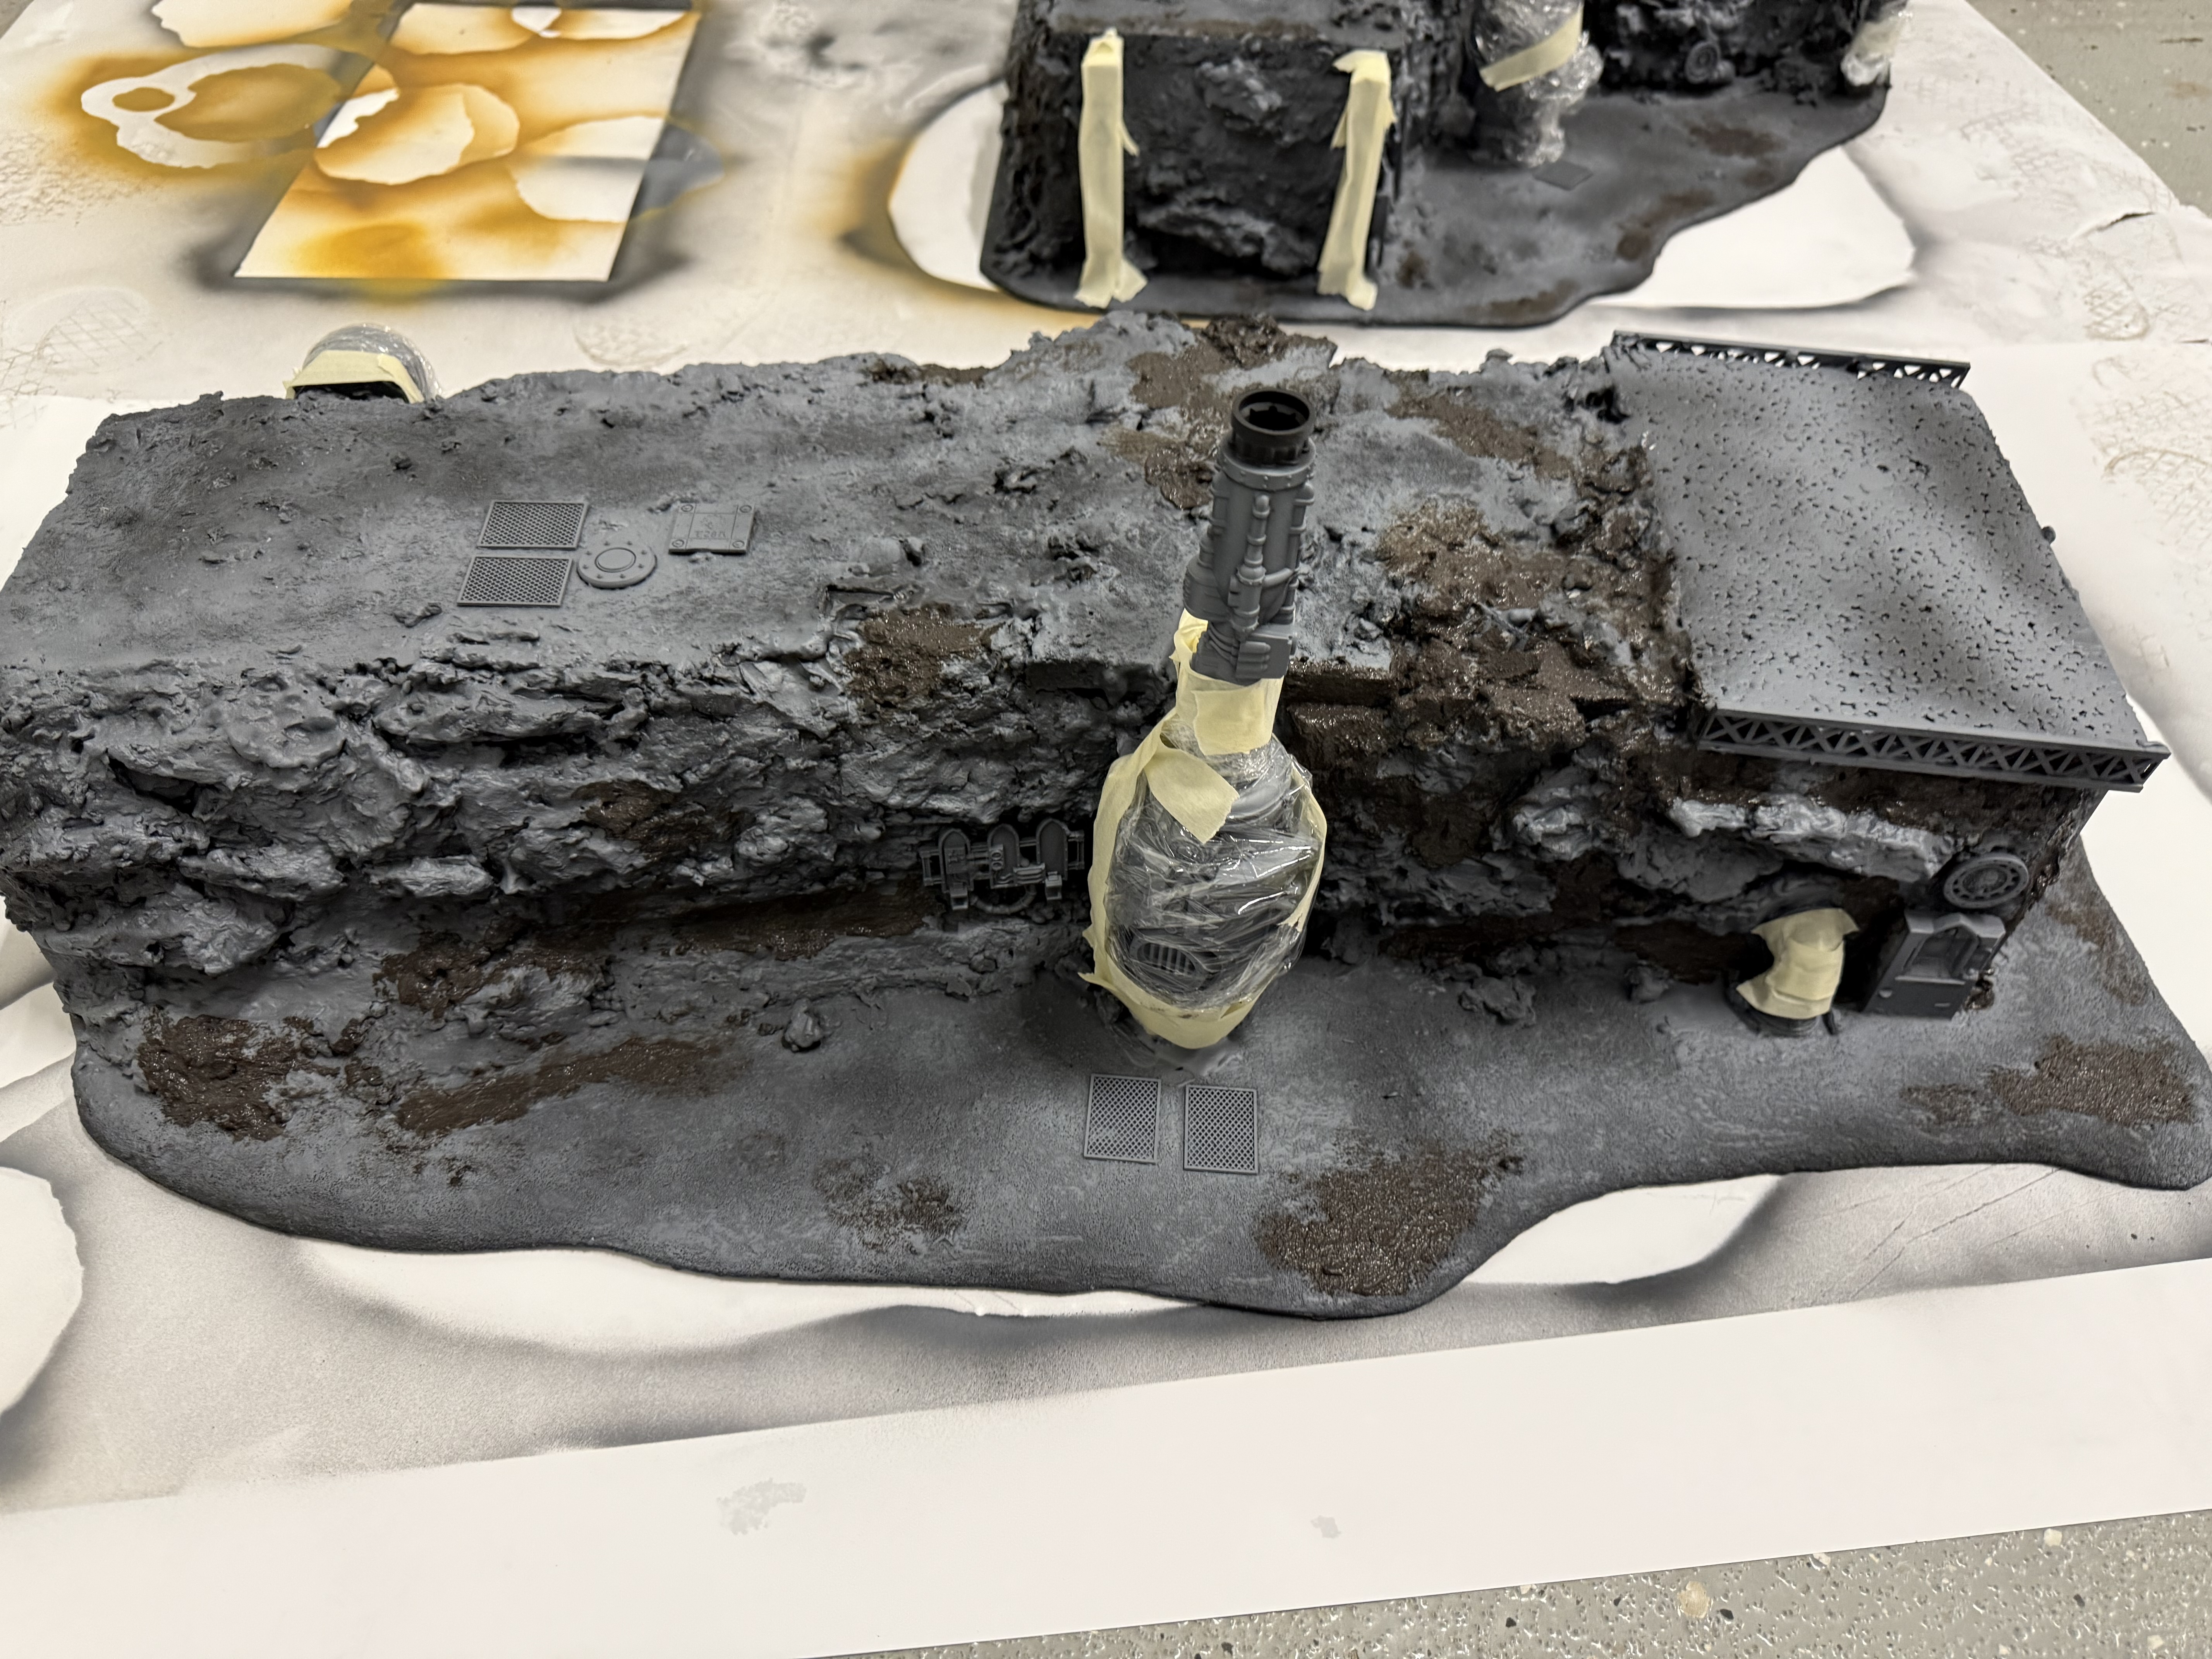
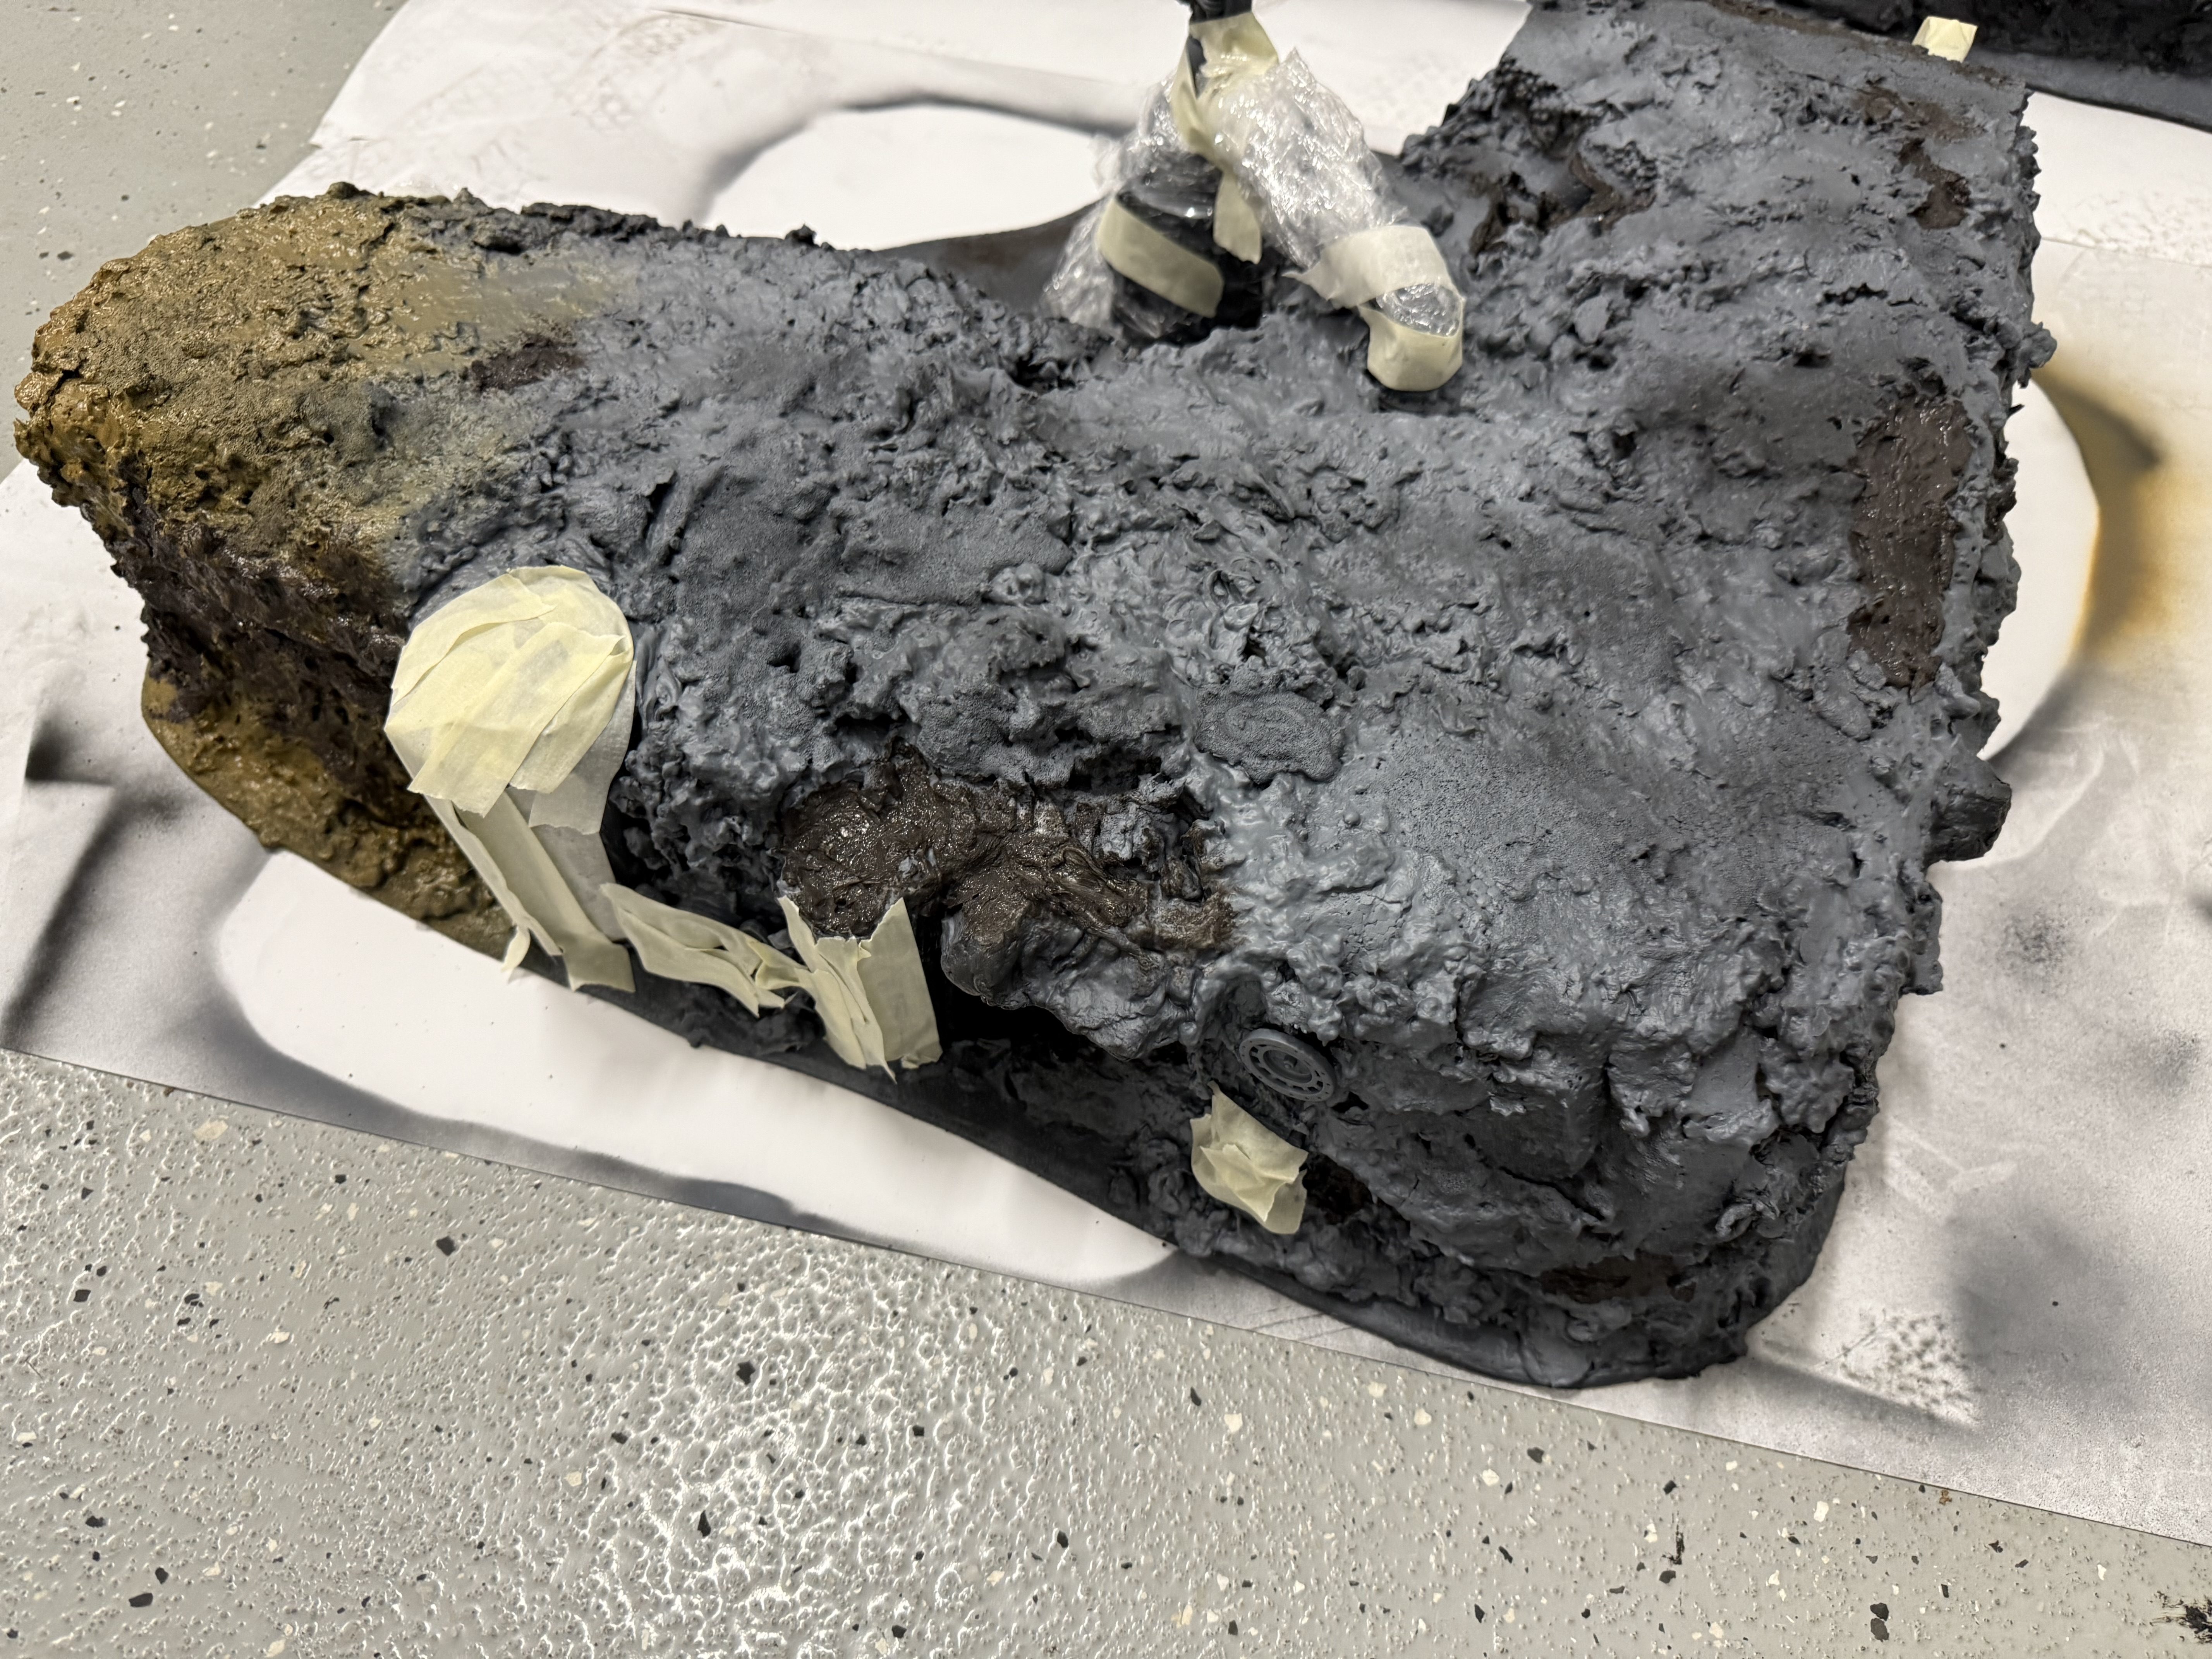
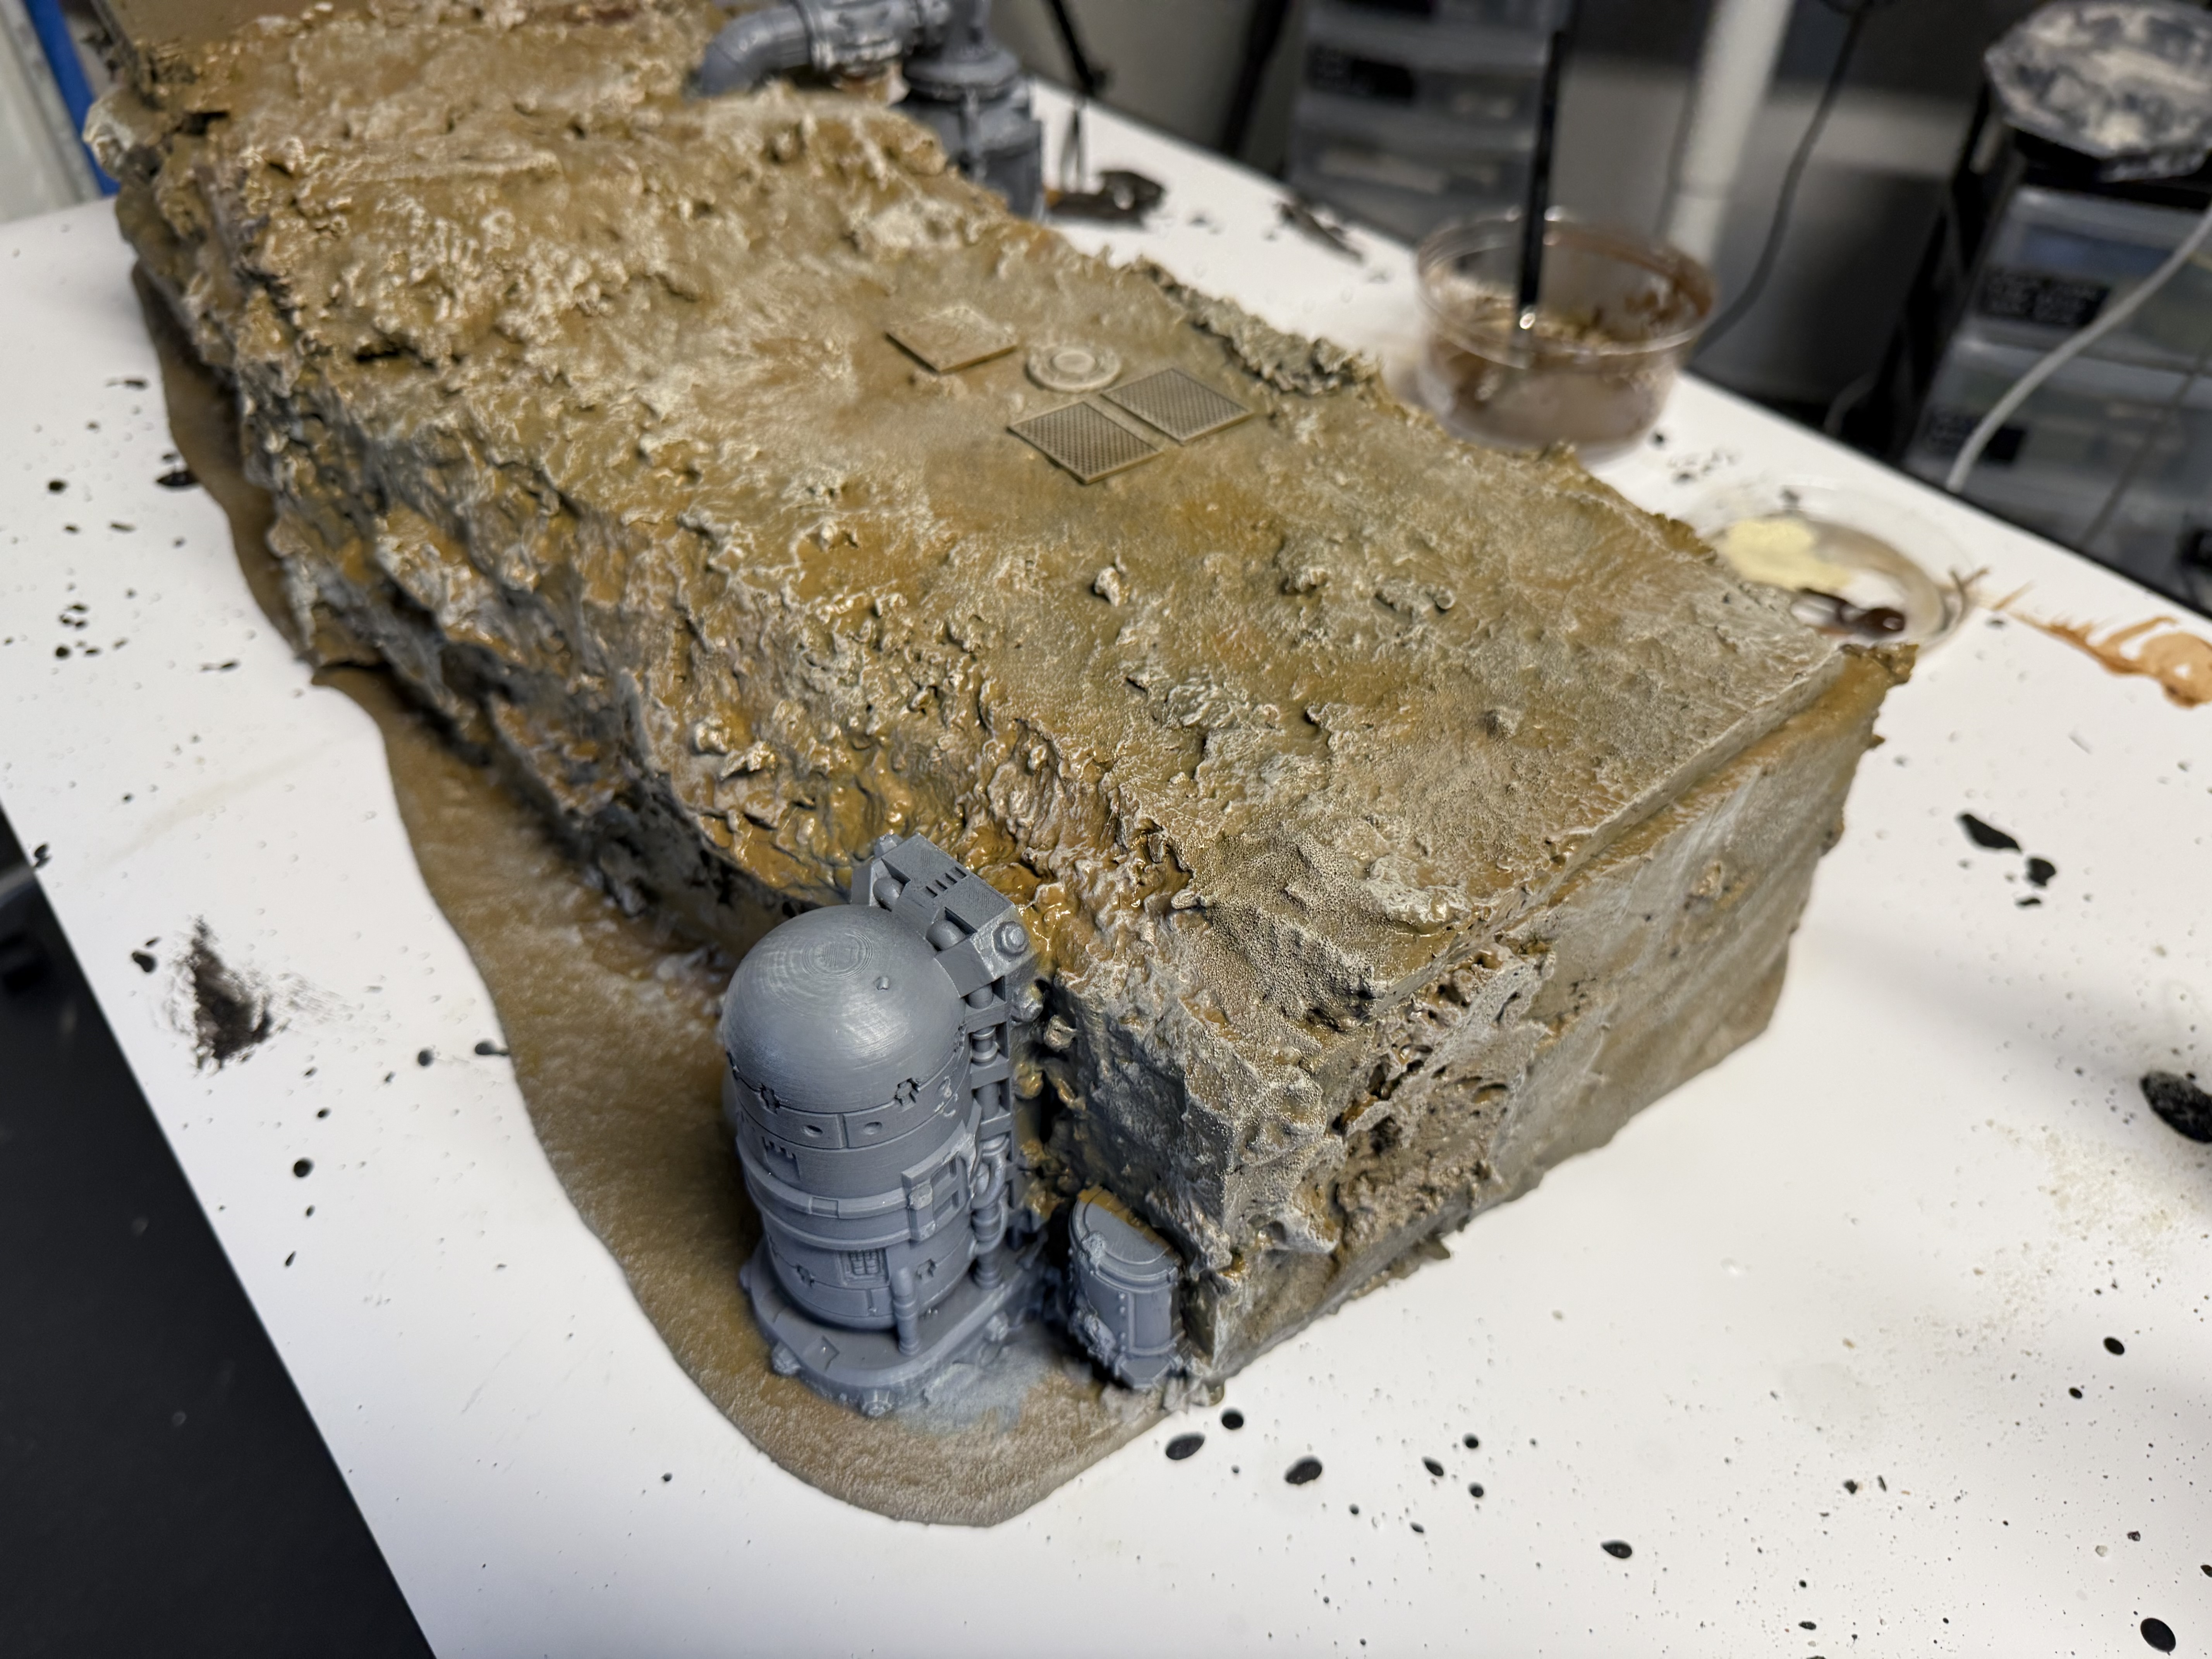
Everything was sprayed brown. The colour I used is RAL 8008, which is really nice for terrain and happily my local hardware store has that as a rattle can. The finish is satin hence looking a bit harsh on the photos. A matt varnish in the end will tone down everything nicely.
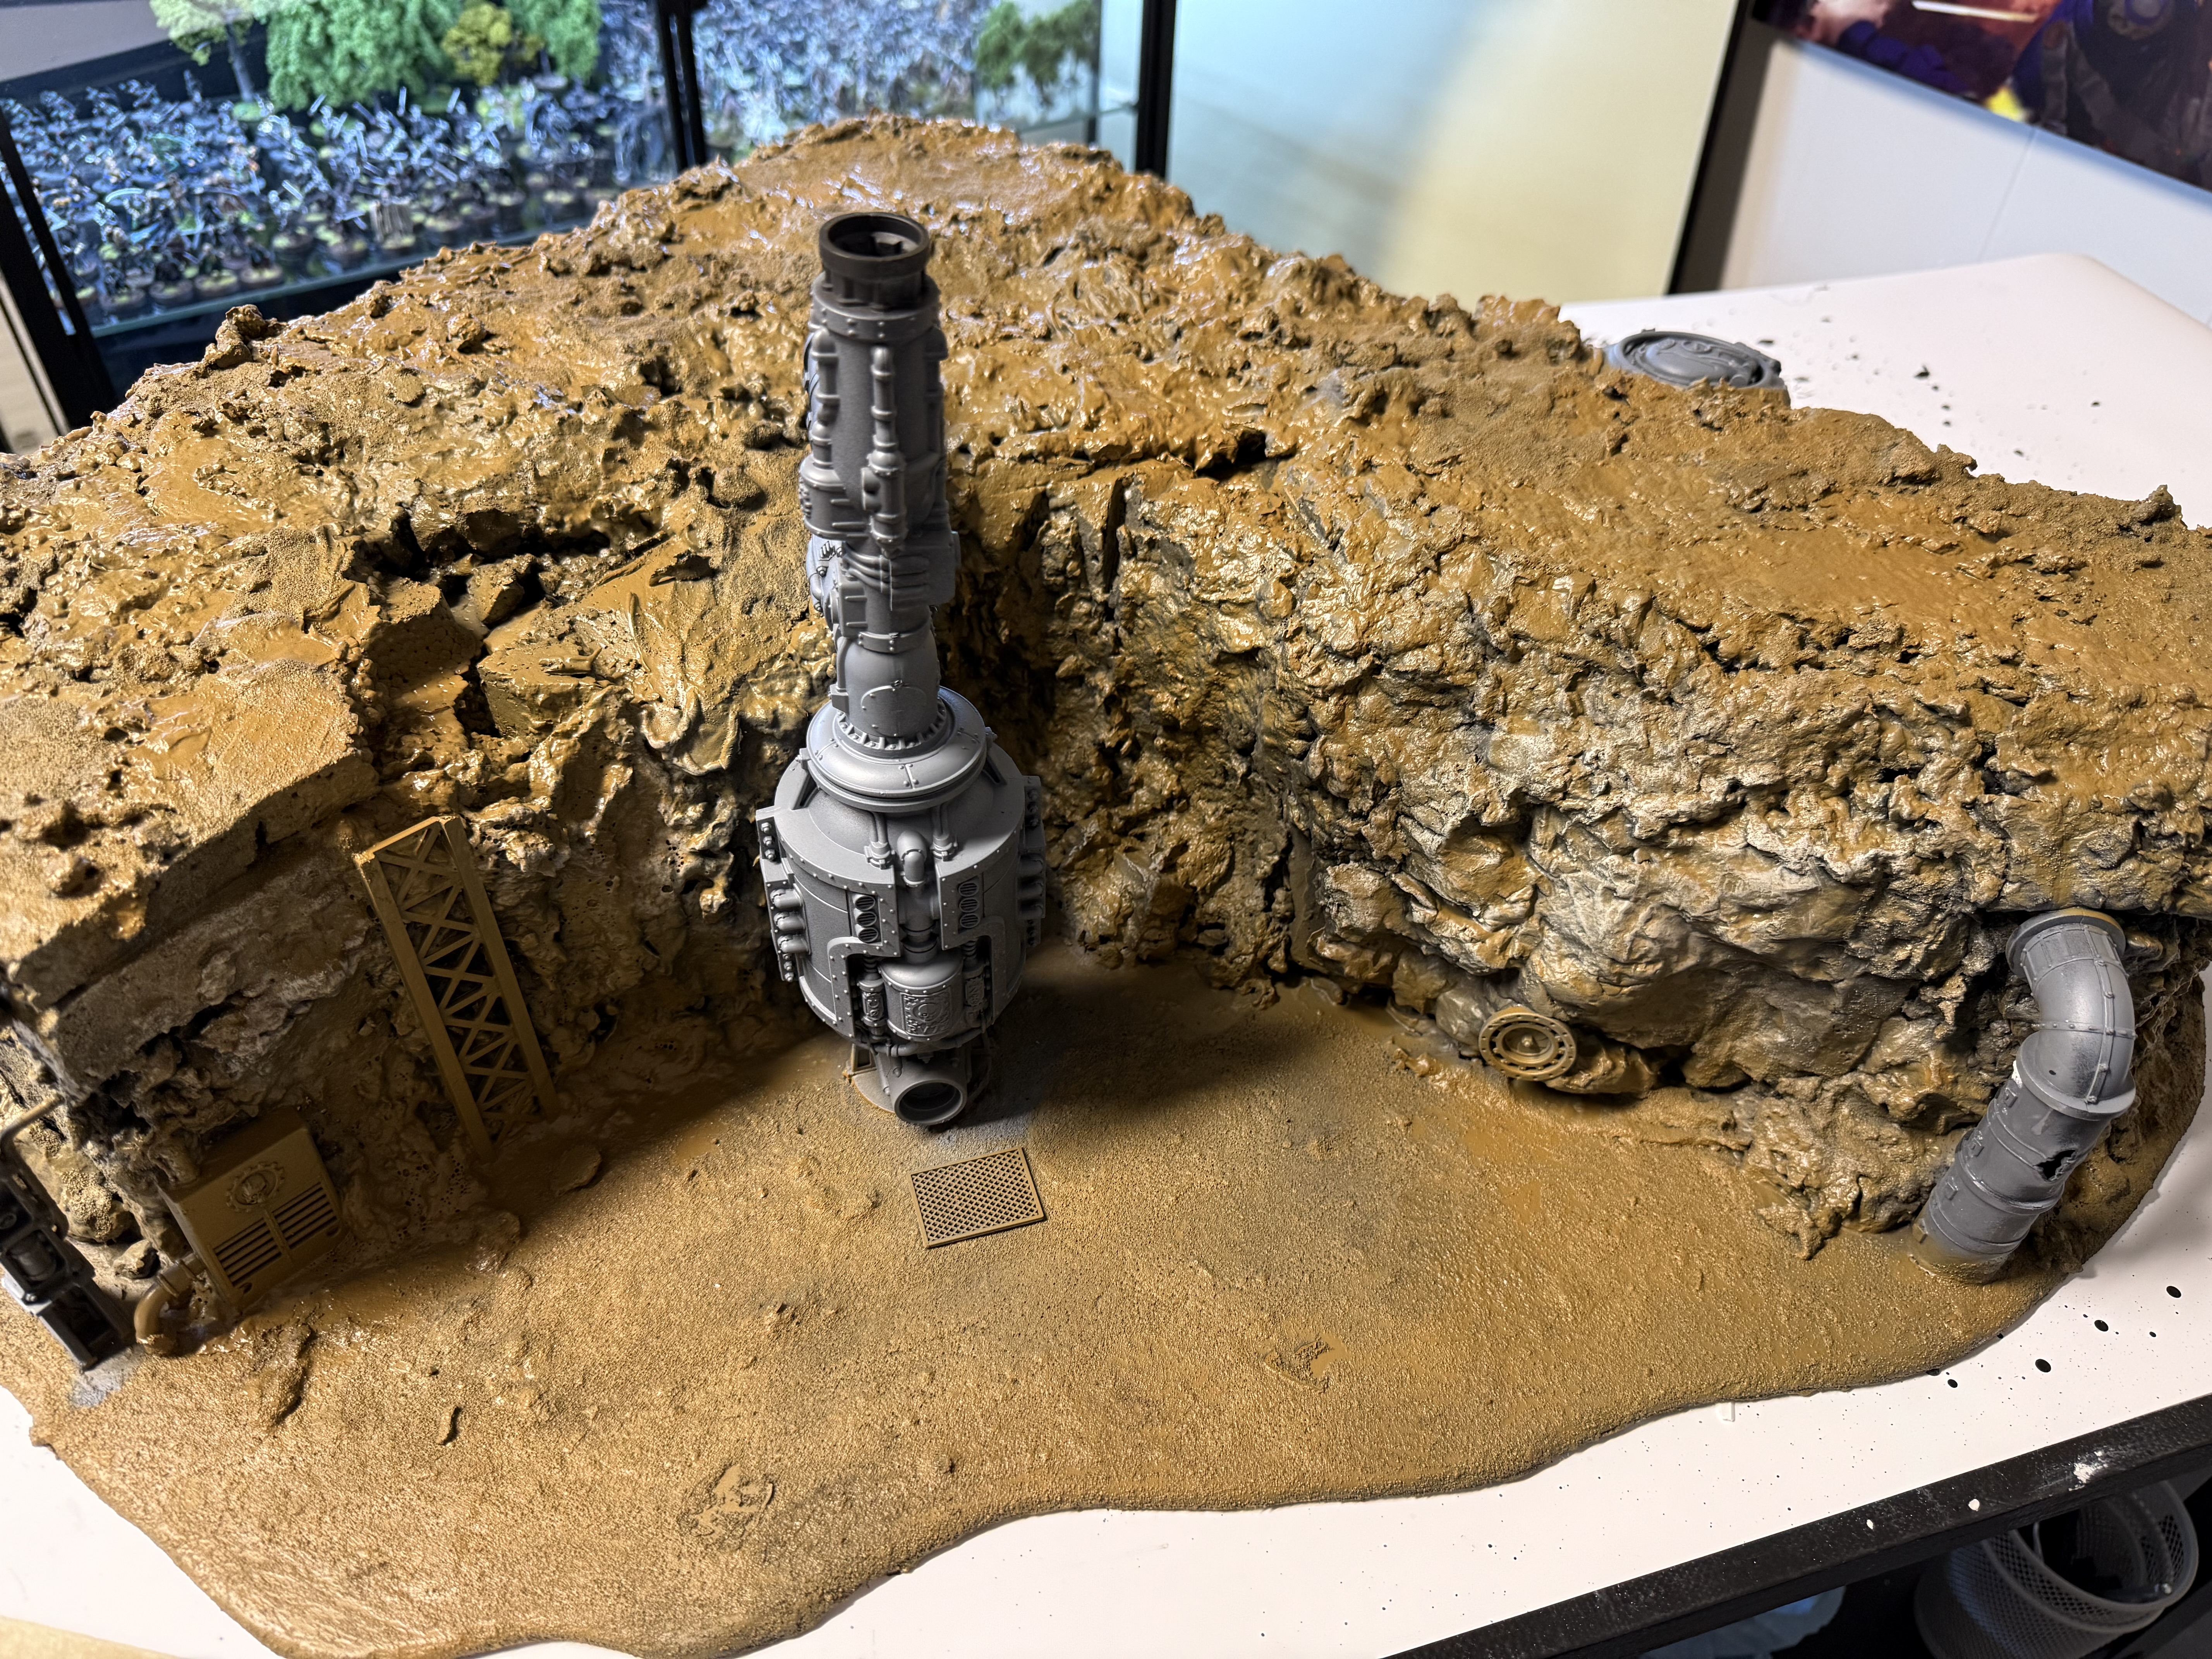
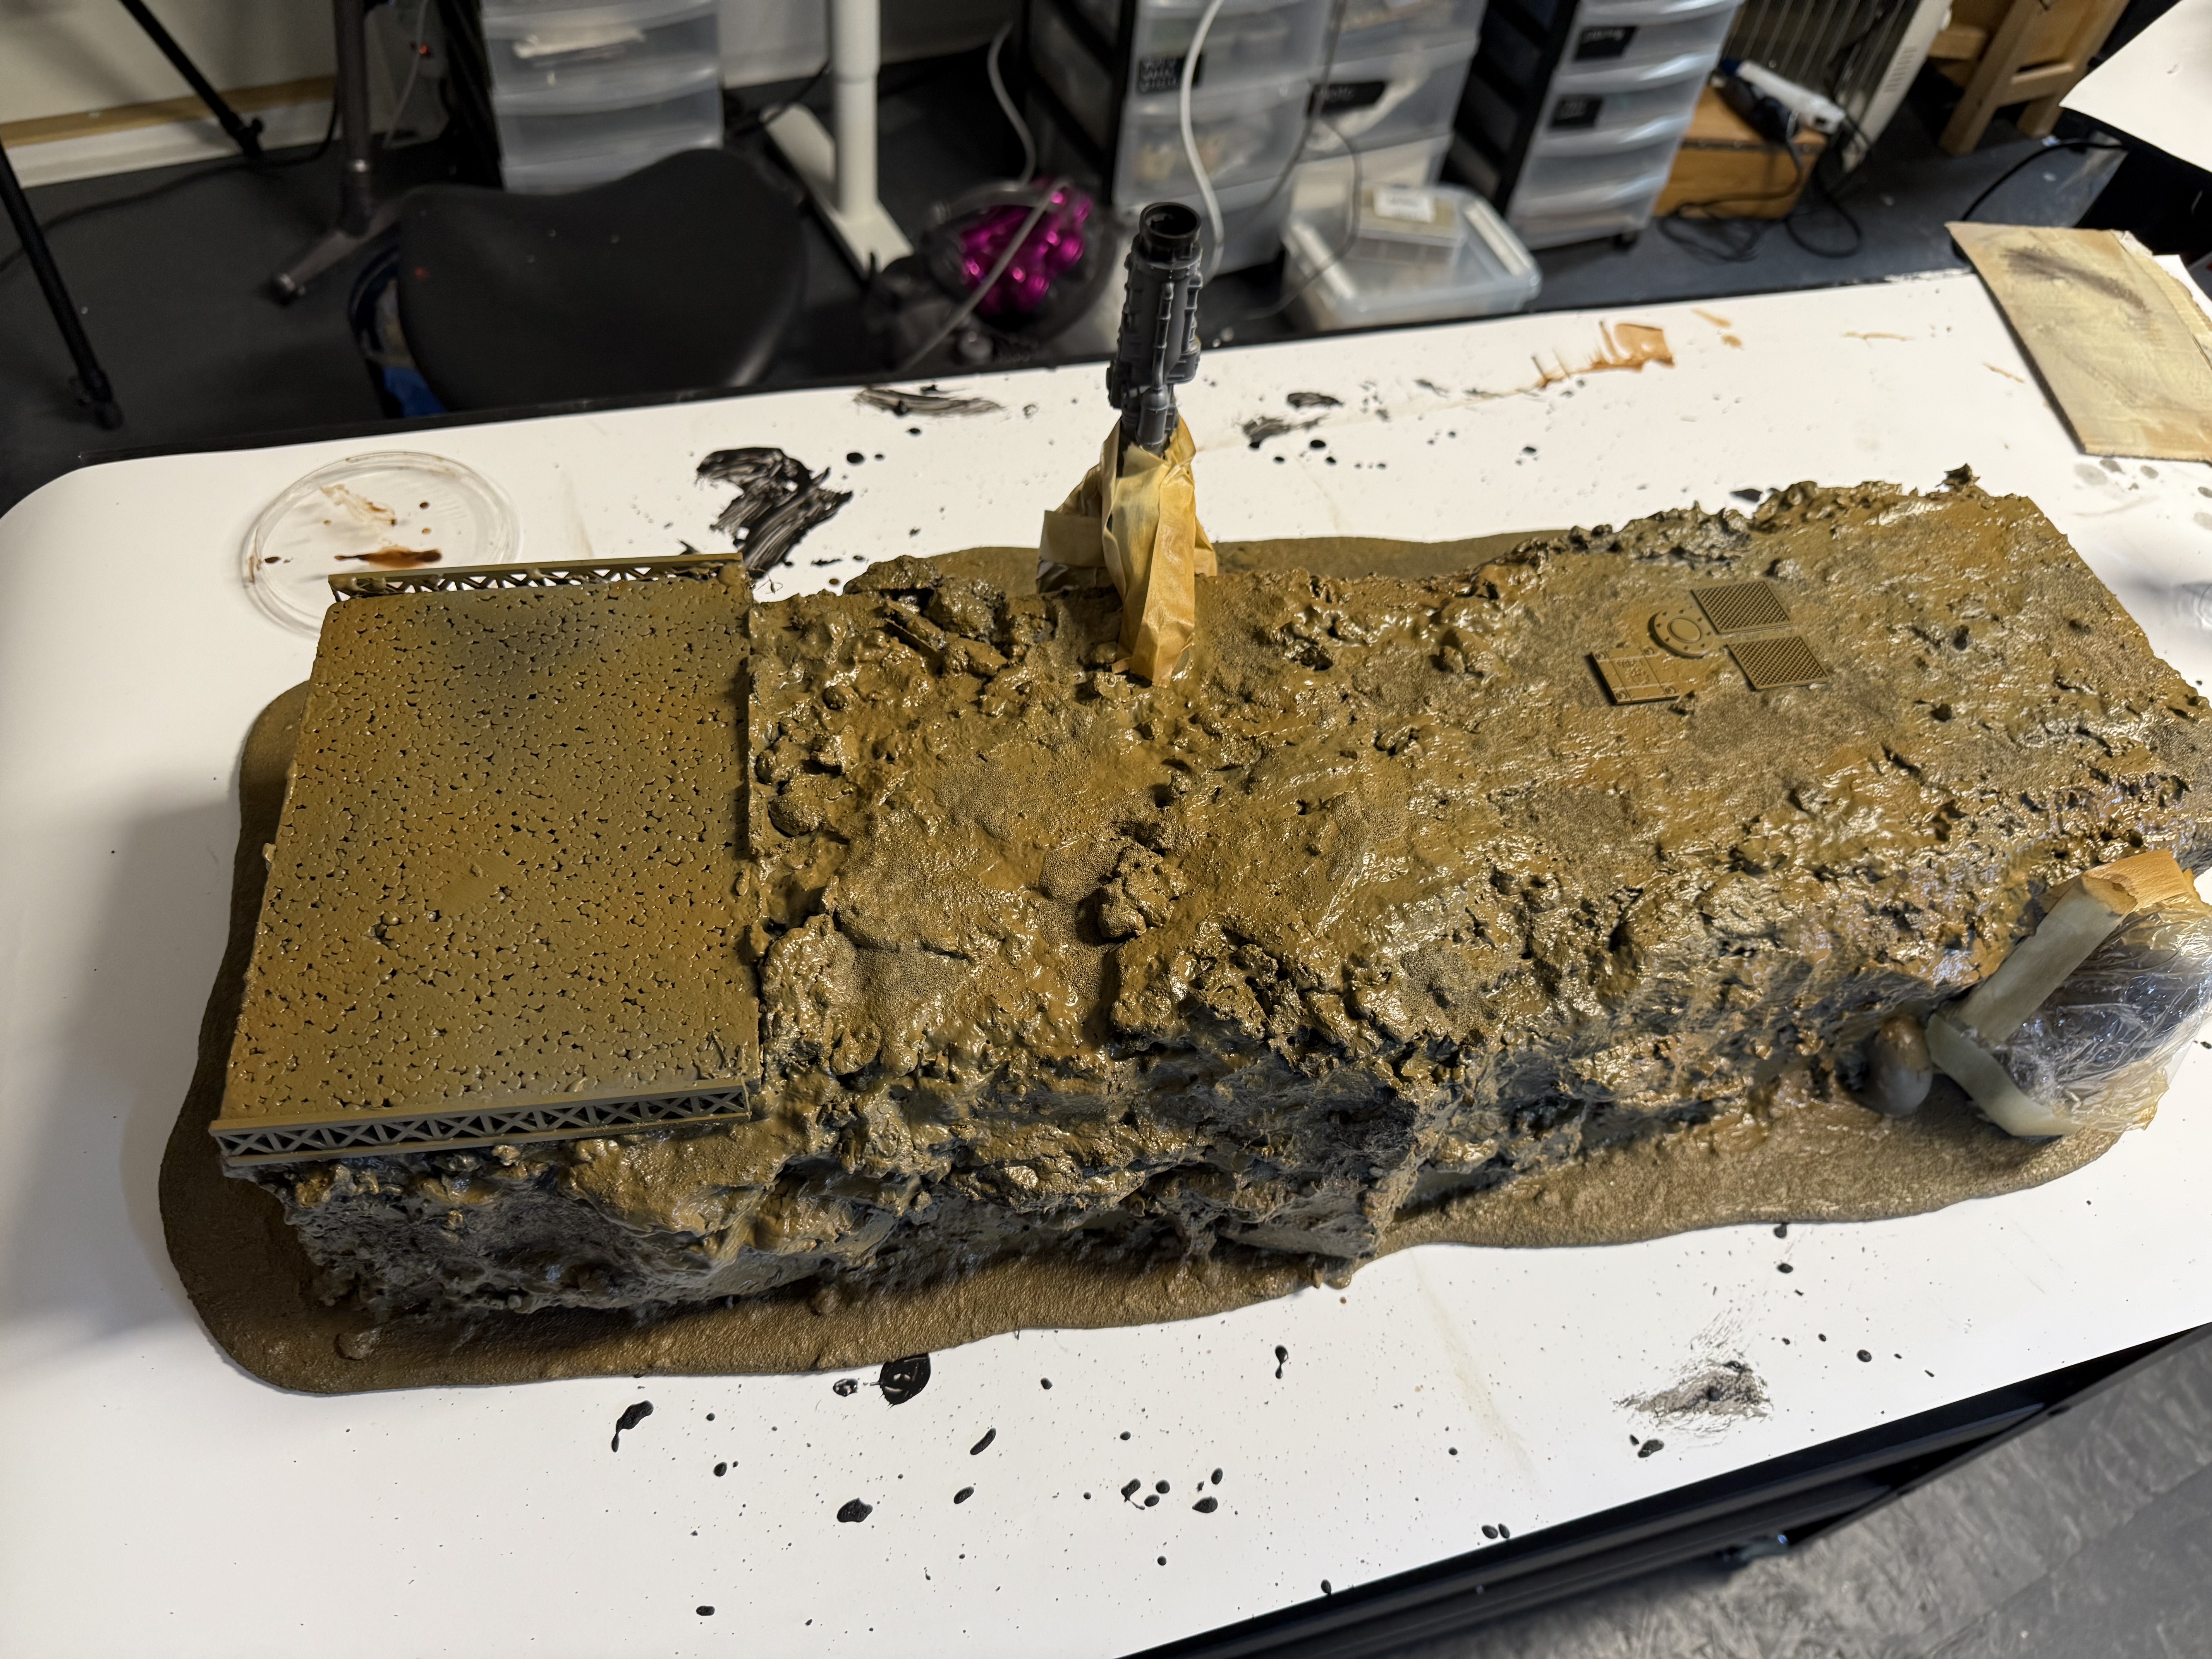
Next up, a dry brush of cream colour. I’m using Liquitex unbleached titanium artists’ acrylic.
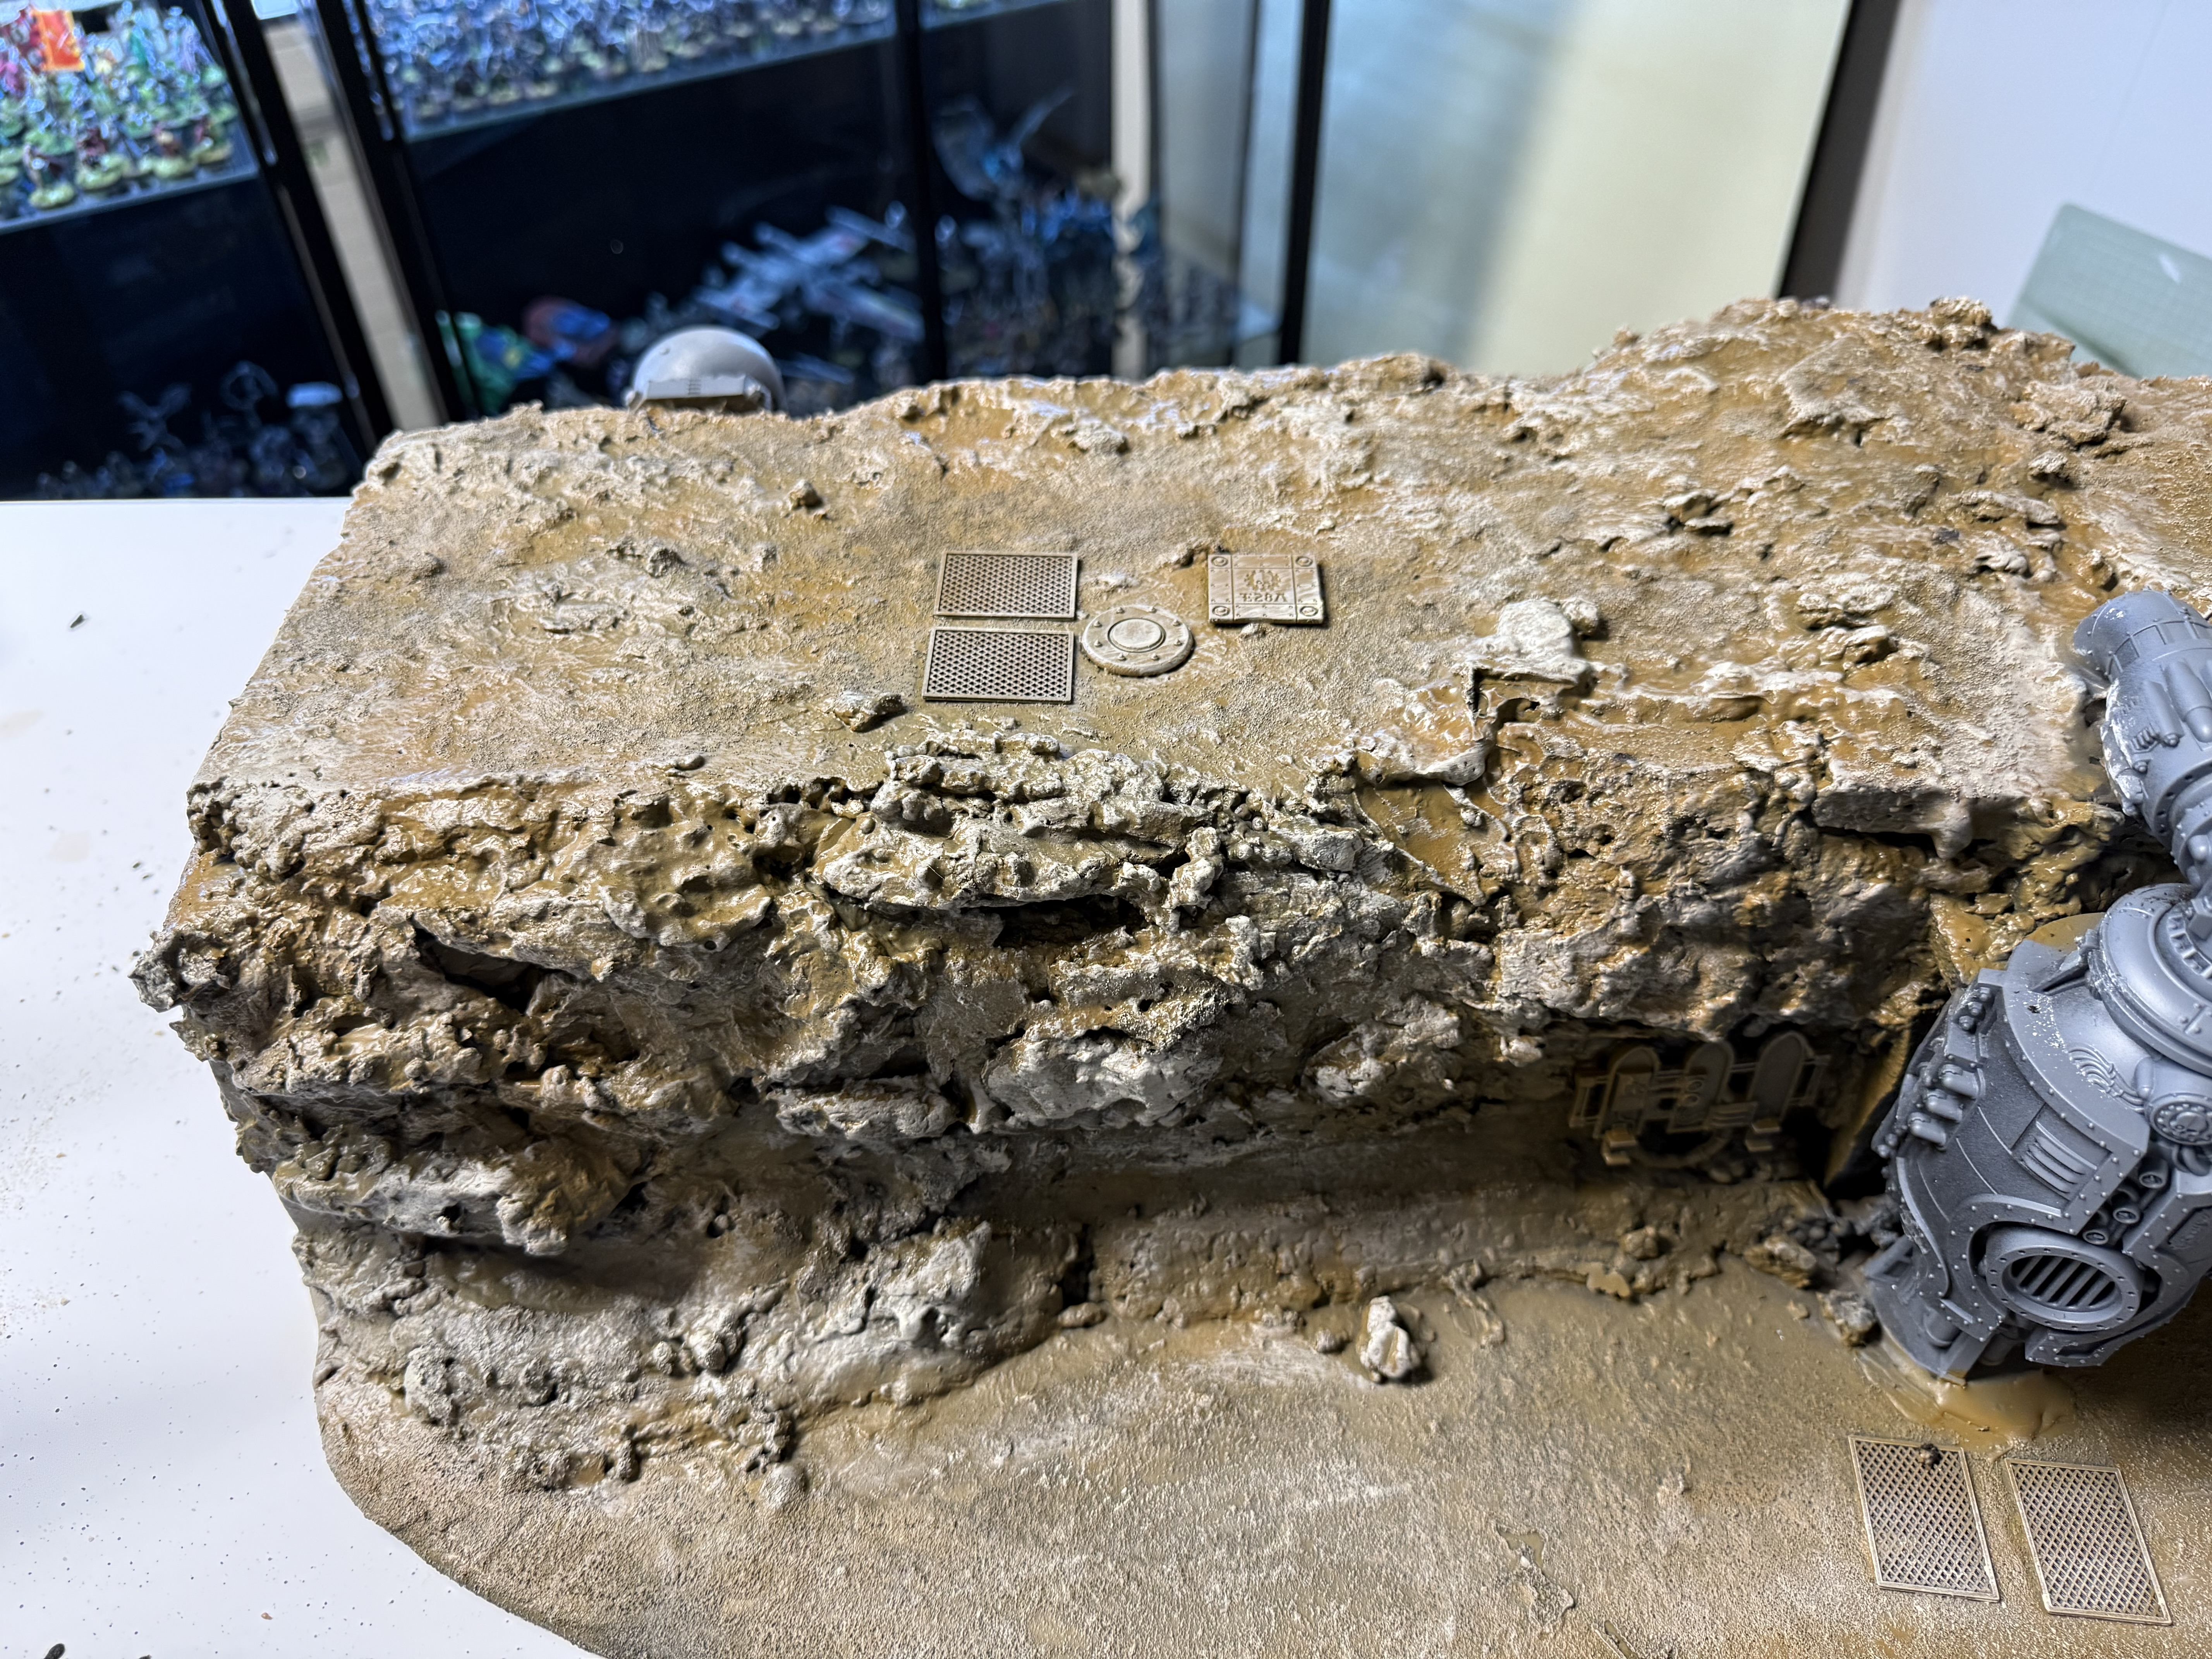
As a final step for the ground, everything got a burnt umber wash.
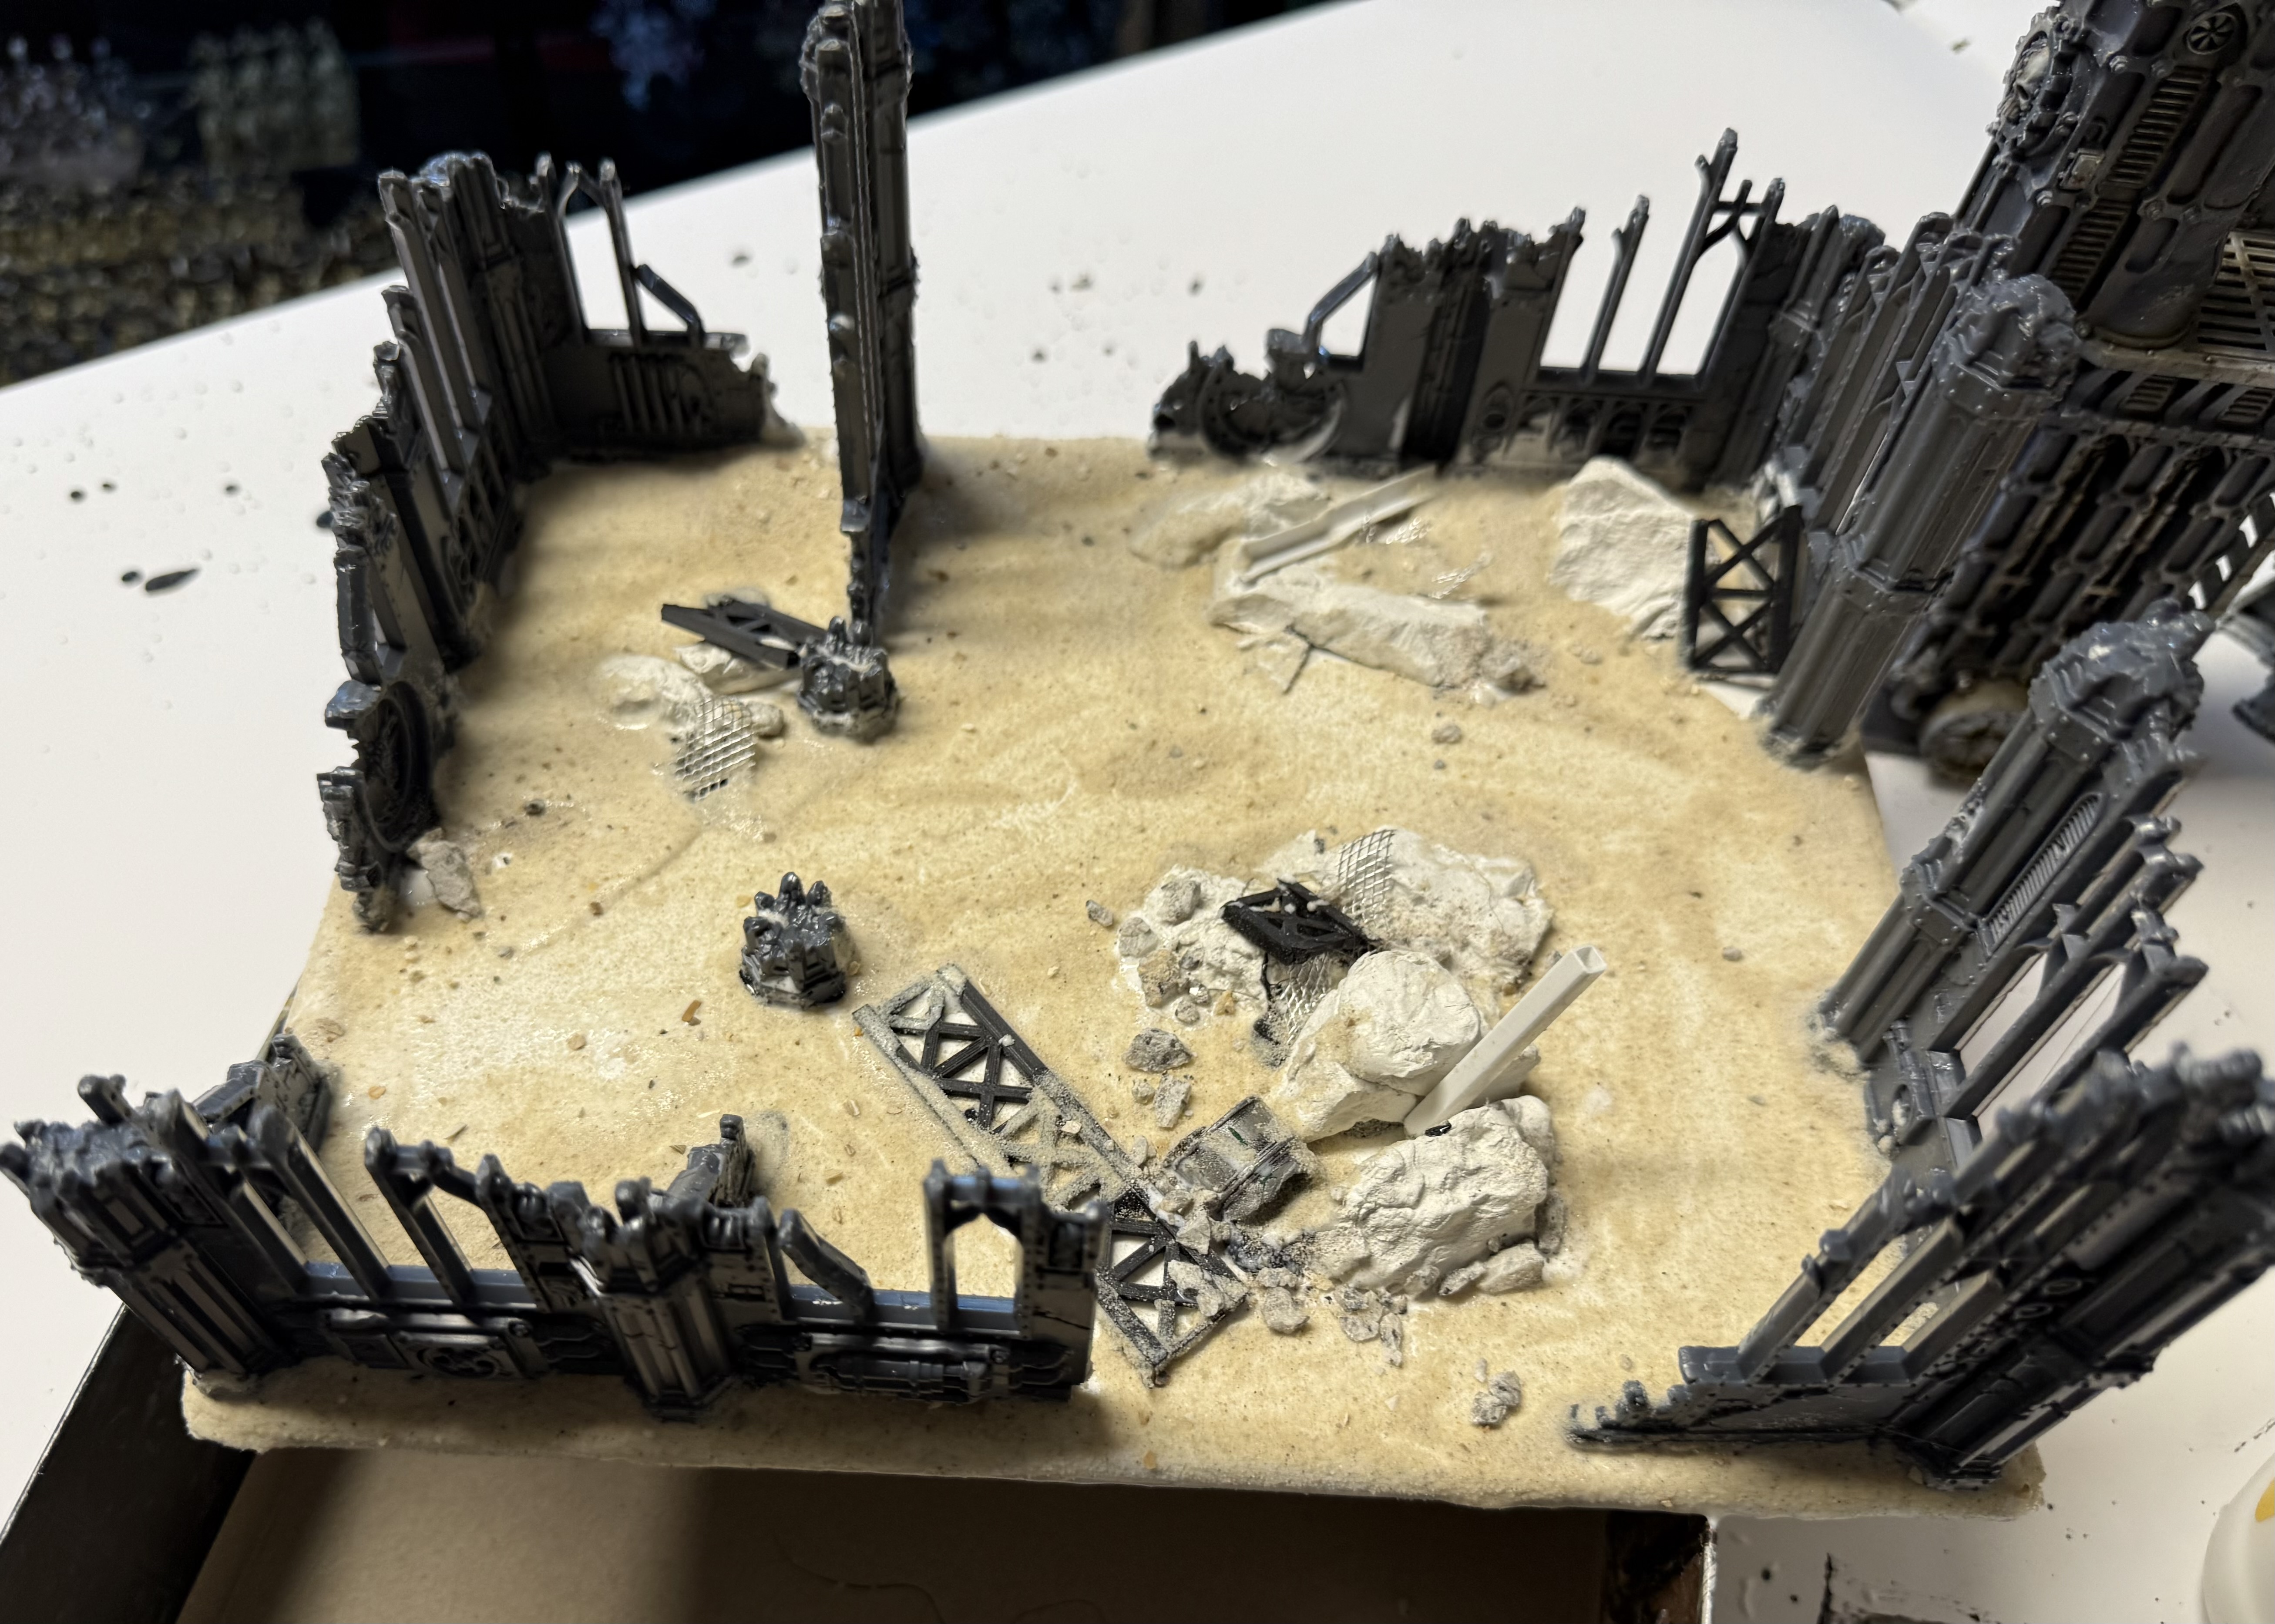
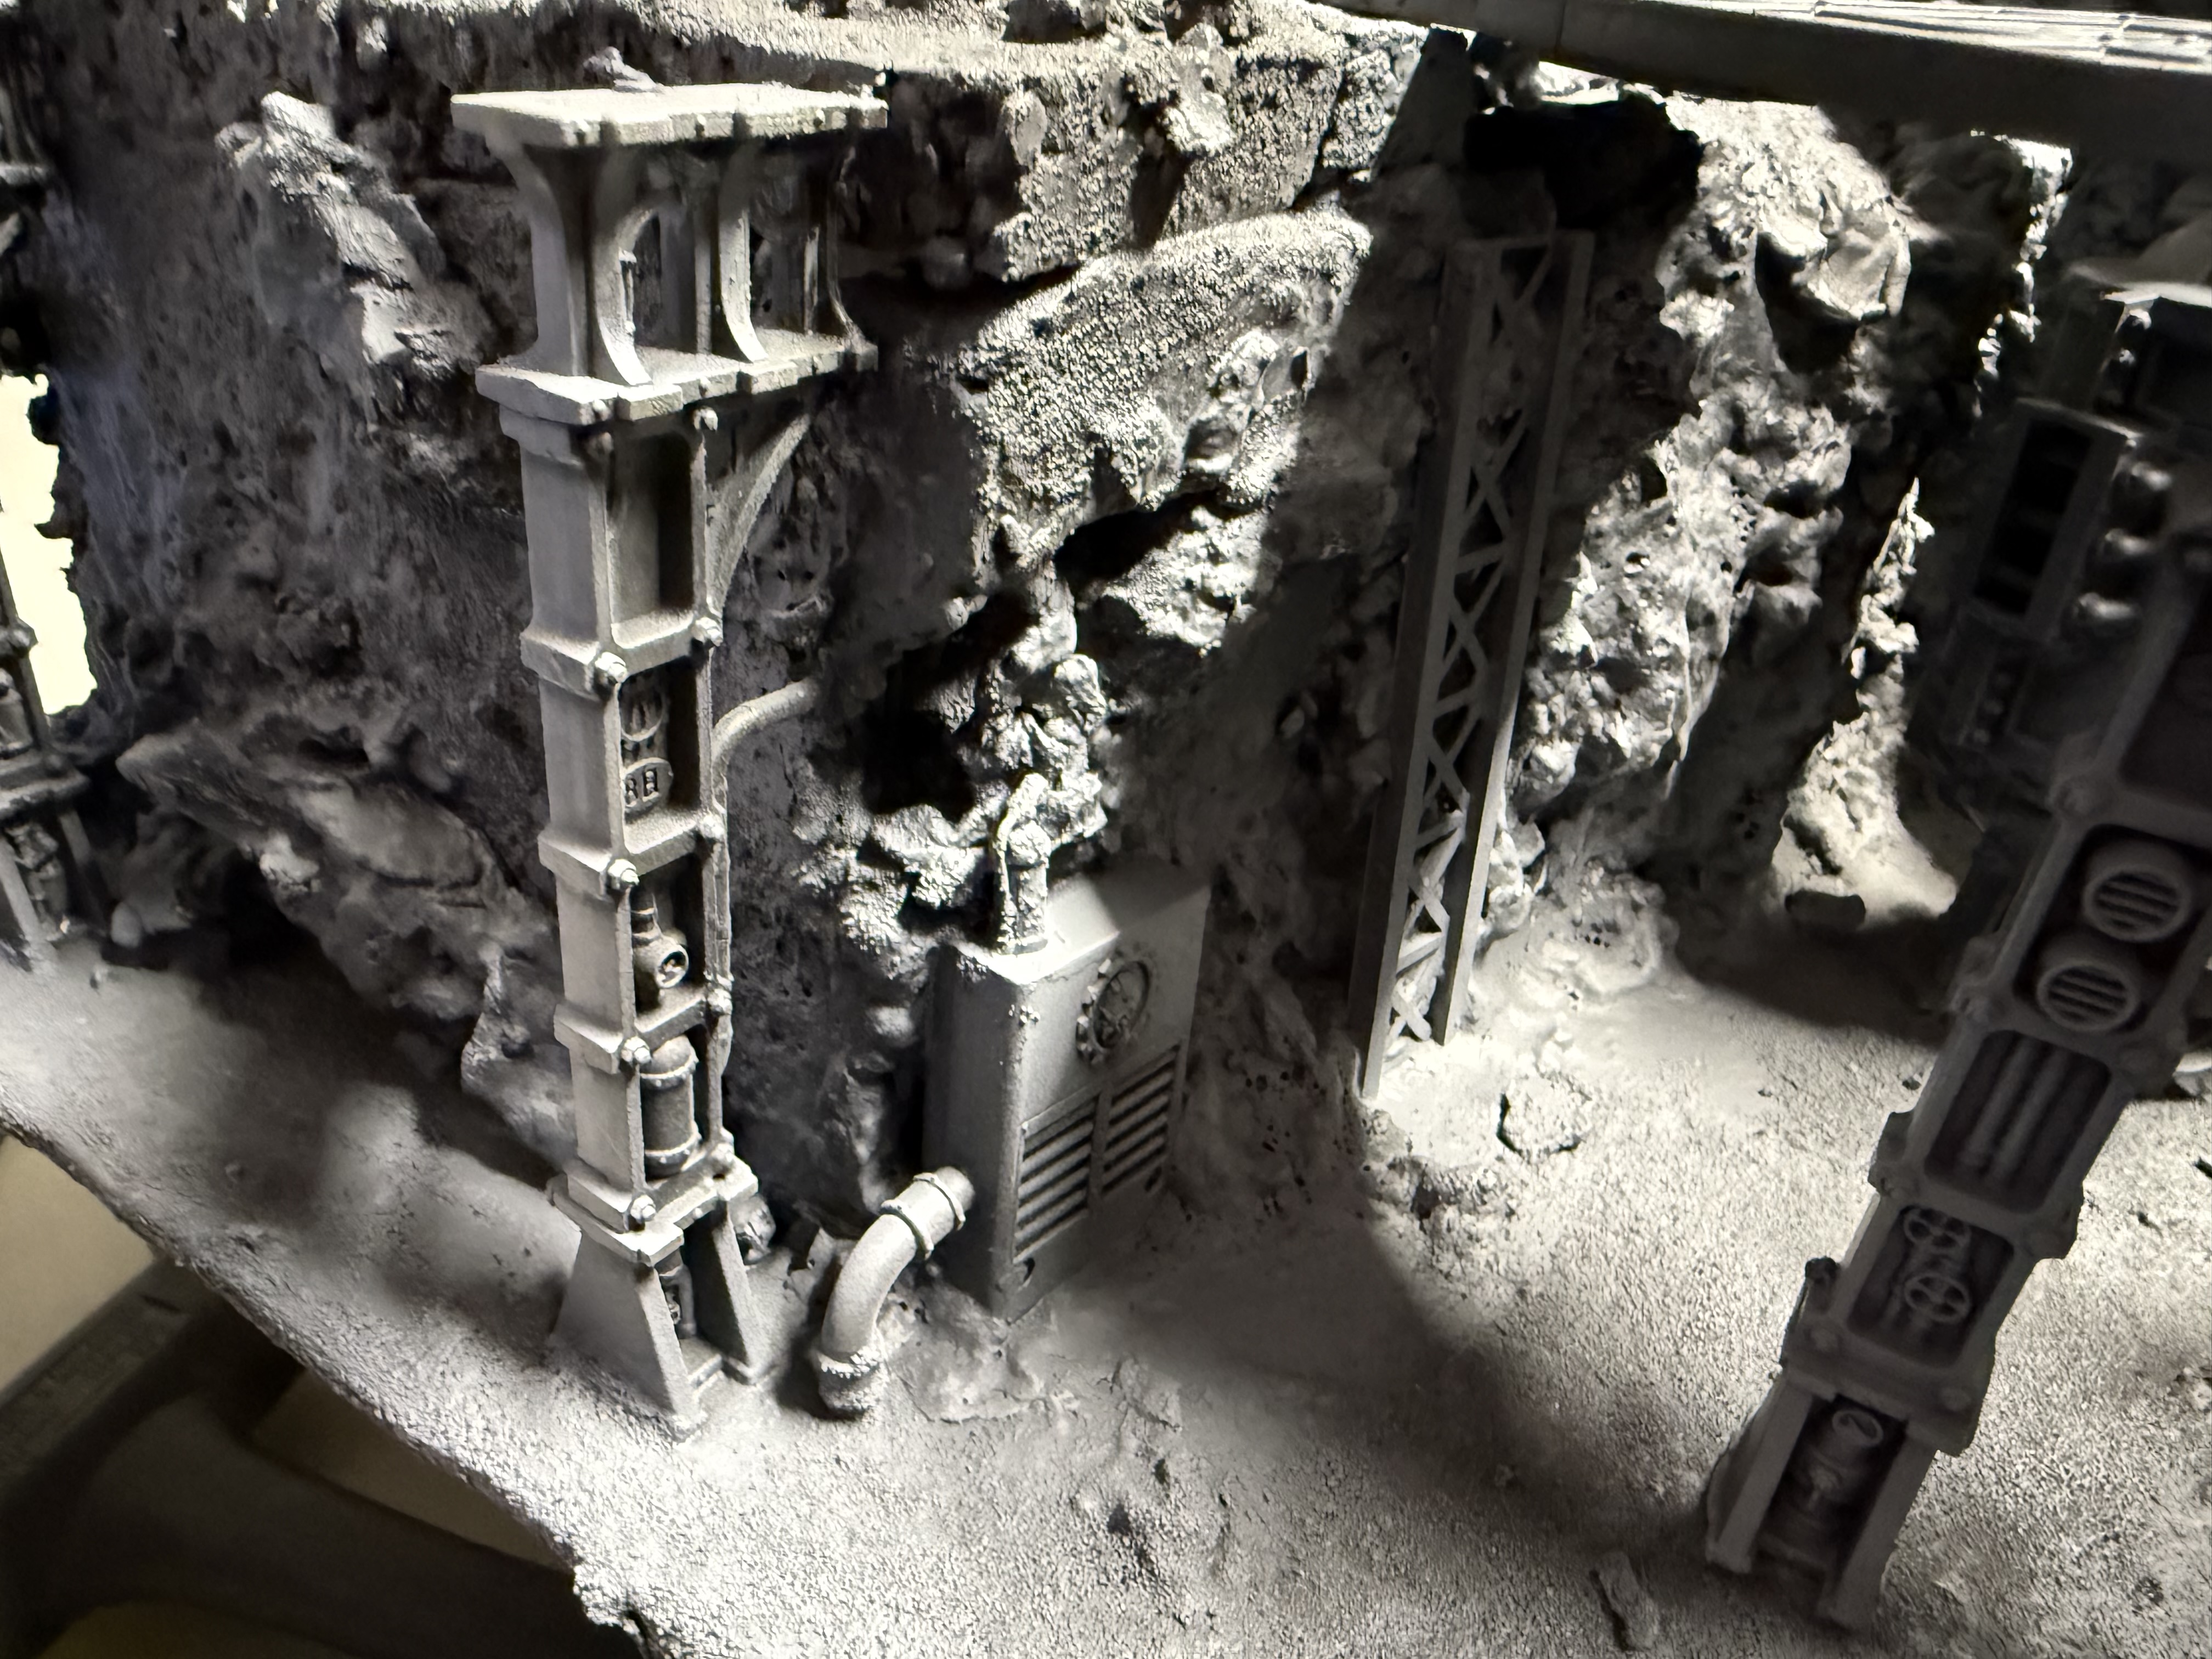
Build day 7 - Sector Imperialis Ruins
I nearly forgot — there was also the Sector Imperialist Ruins as part of the set. This got completed while I waited for the main build paint to dry.
They’re really quick to put together and I had a a left over base with right size at hand.
Hot glued the ruins in place, adding some of the left over DAS rocks and random bits and pieces.
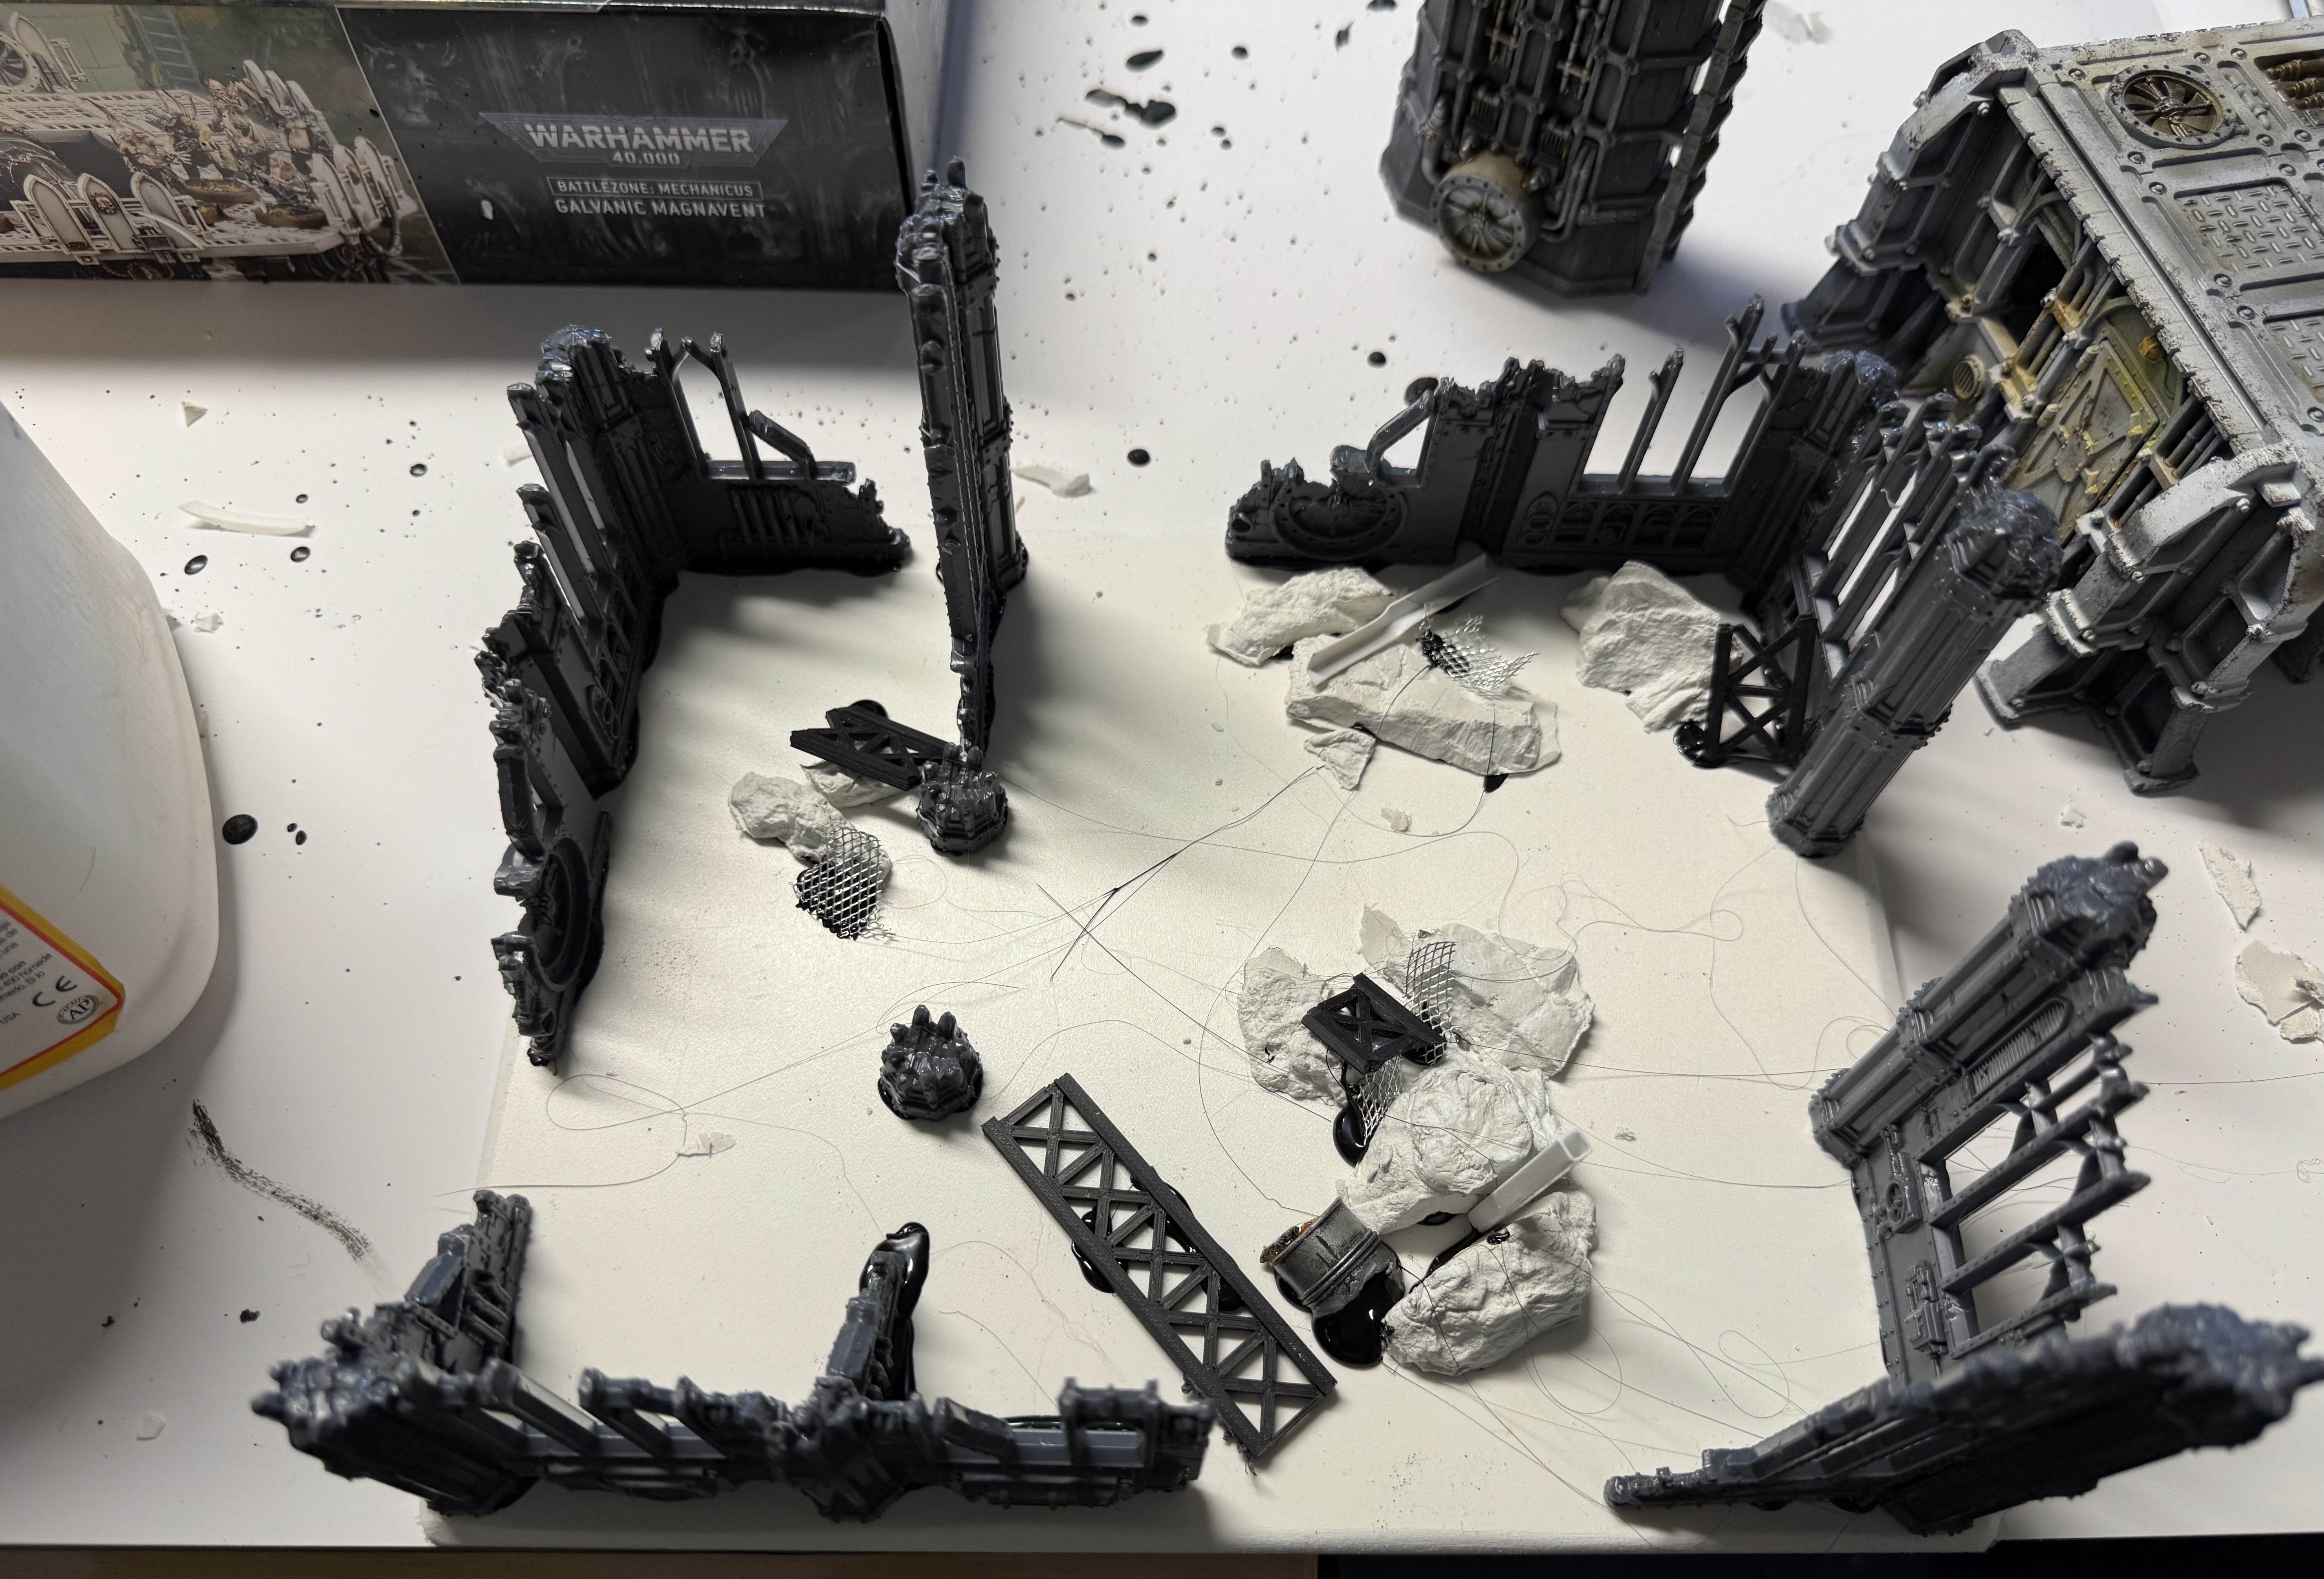
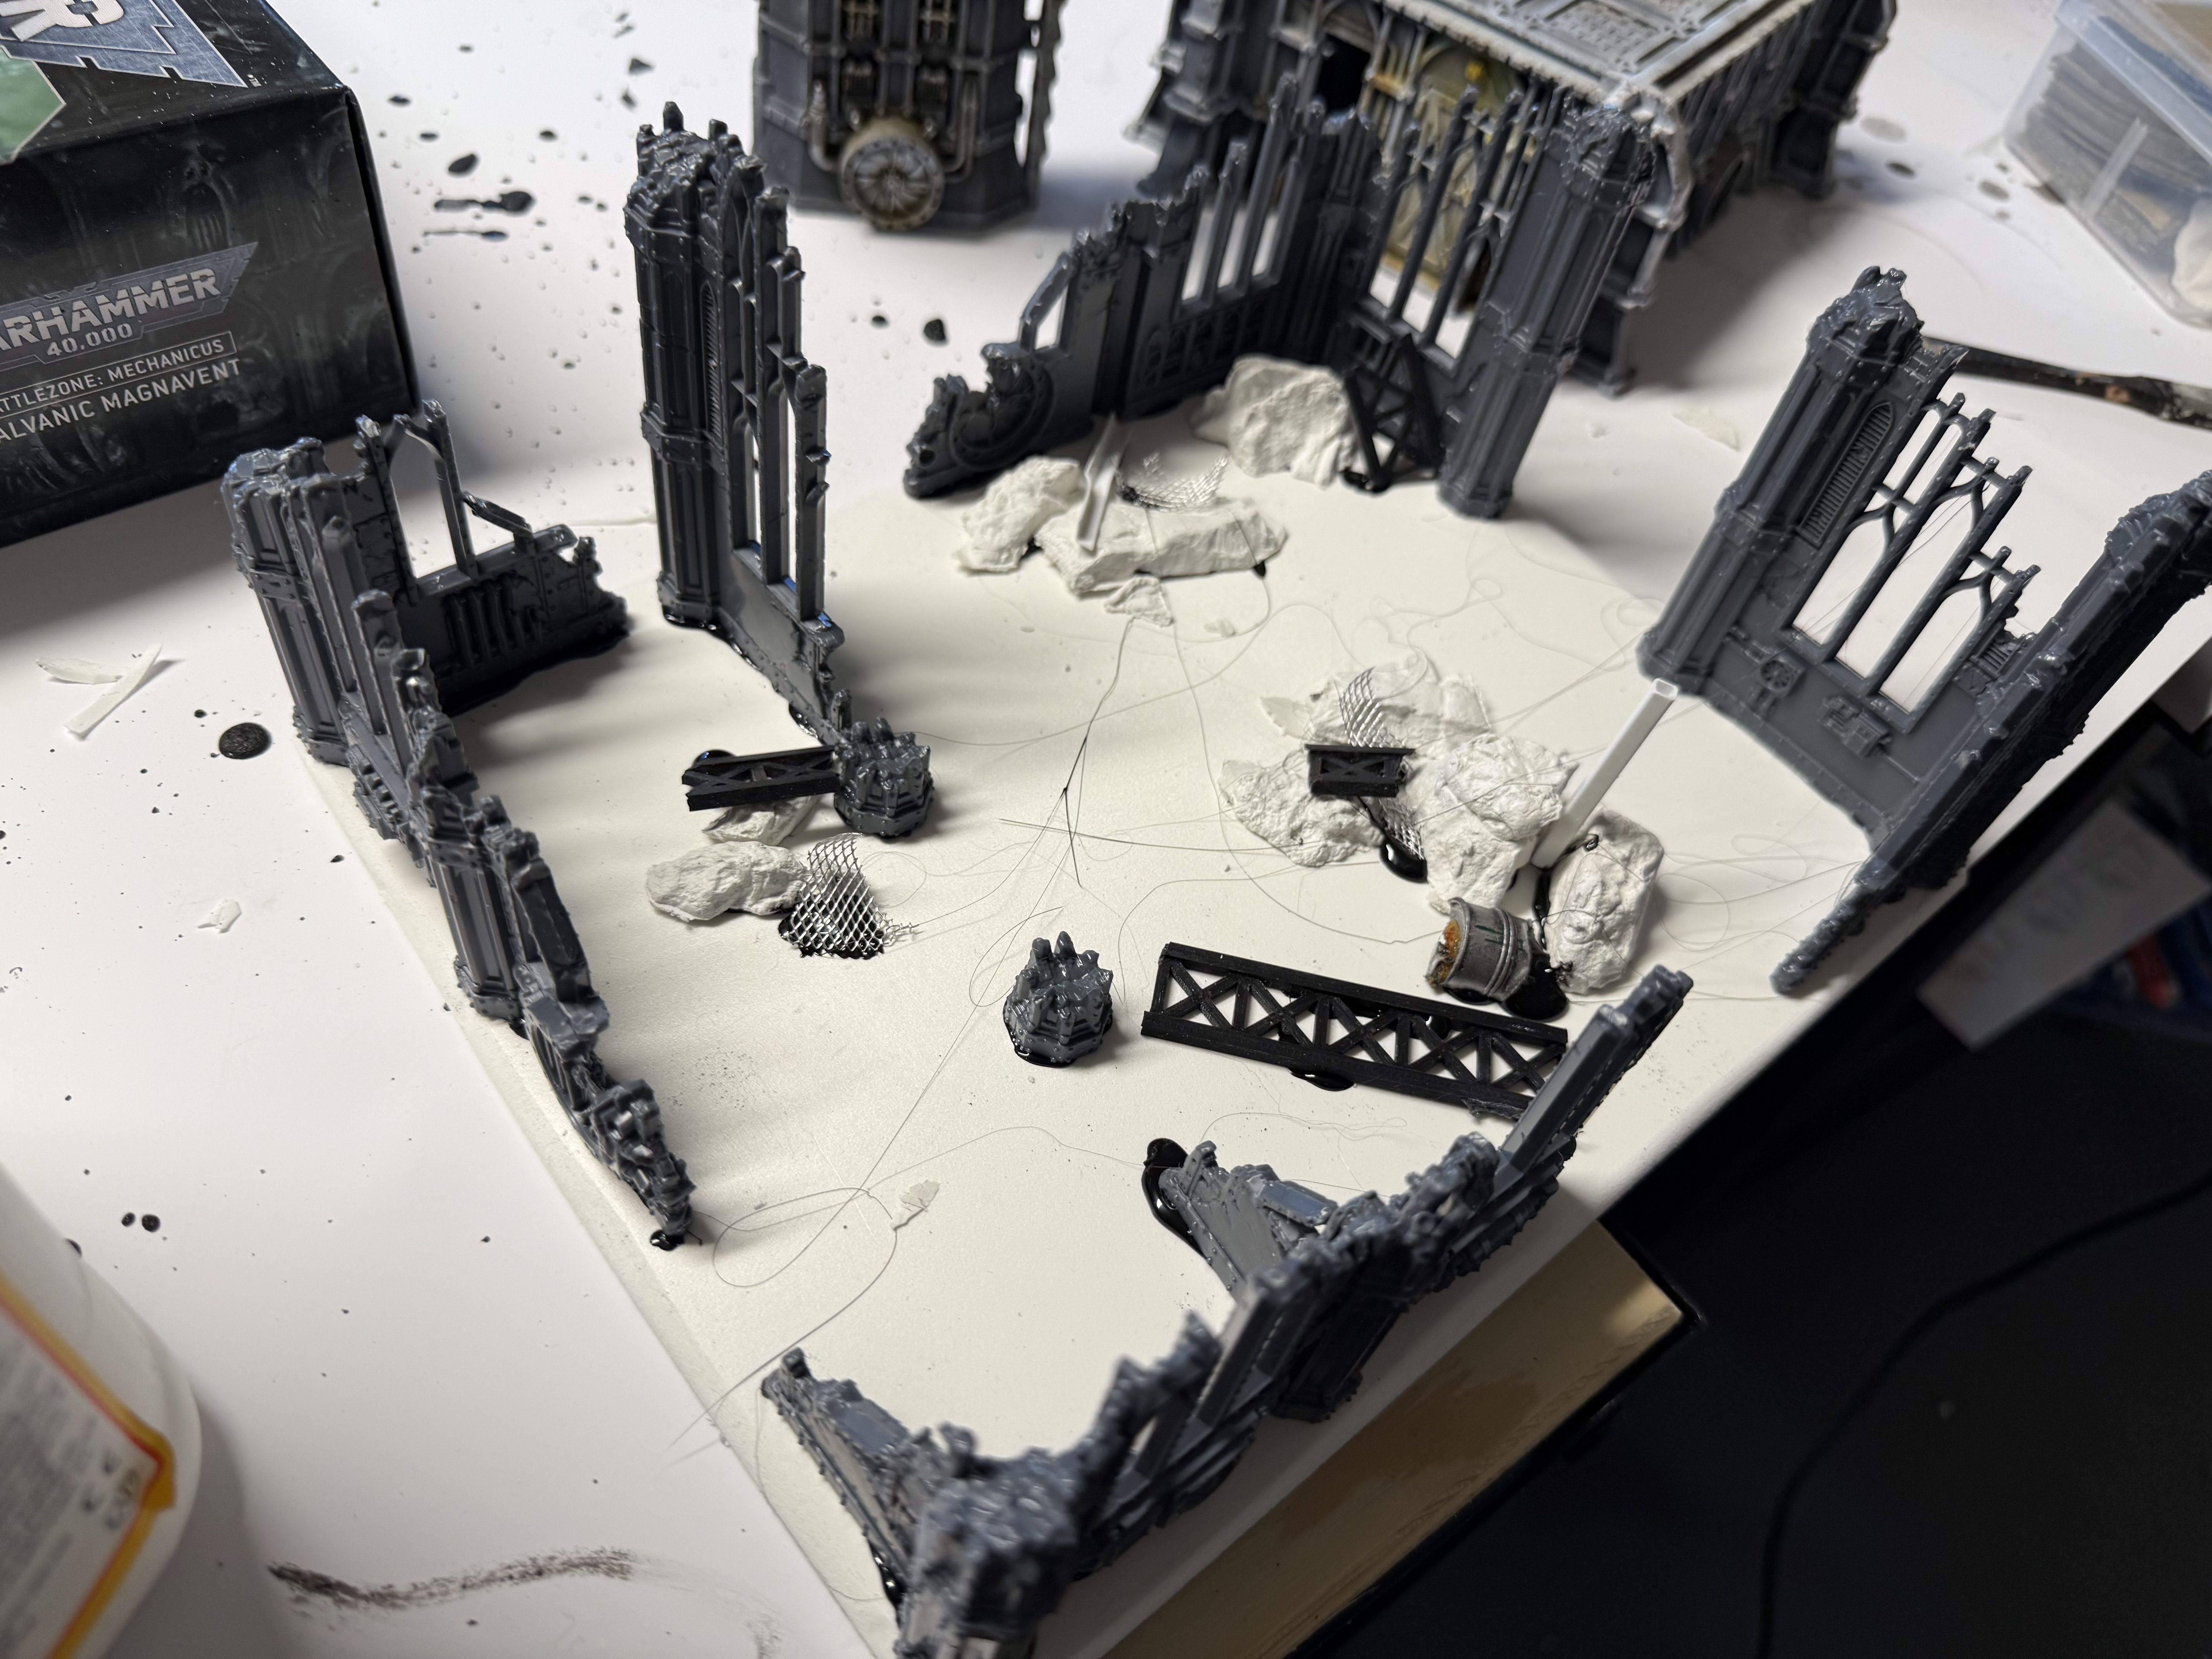
Mod Podge and bird sand to finish it off.
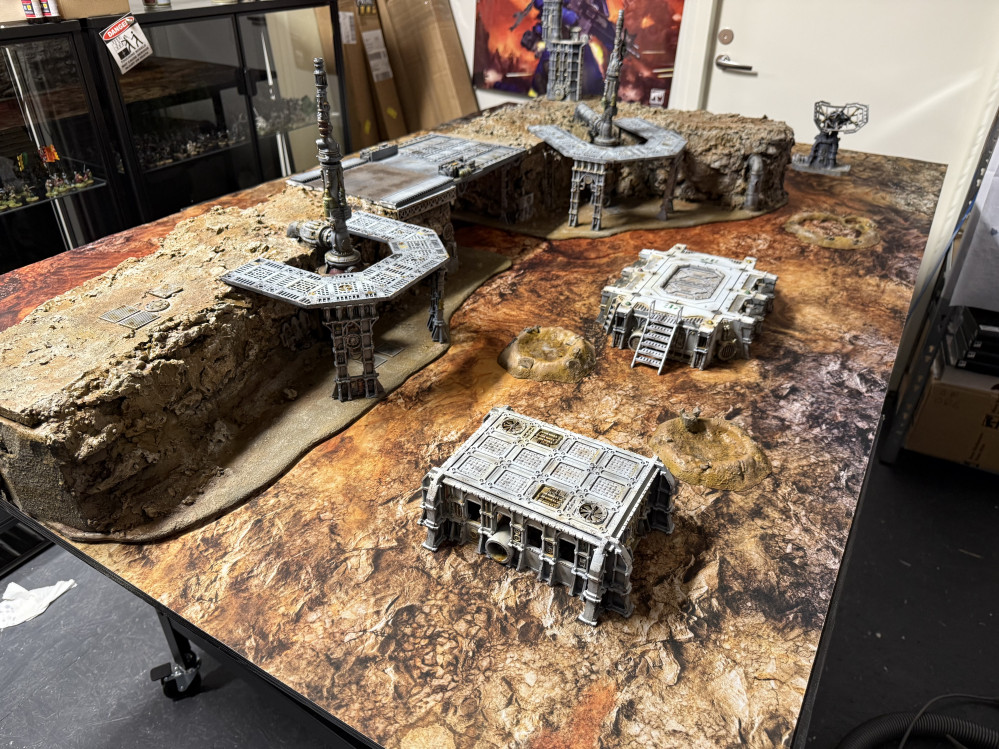
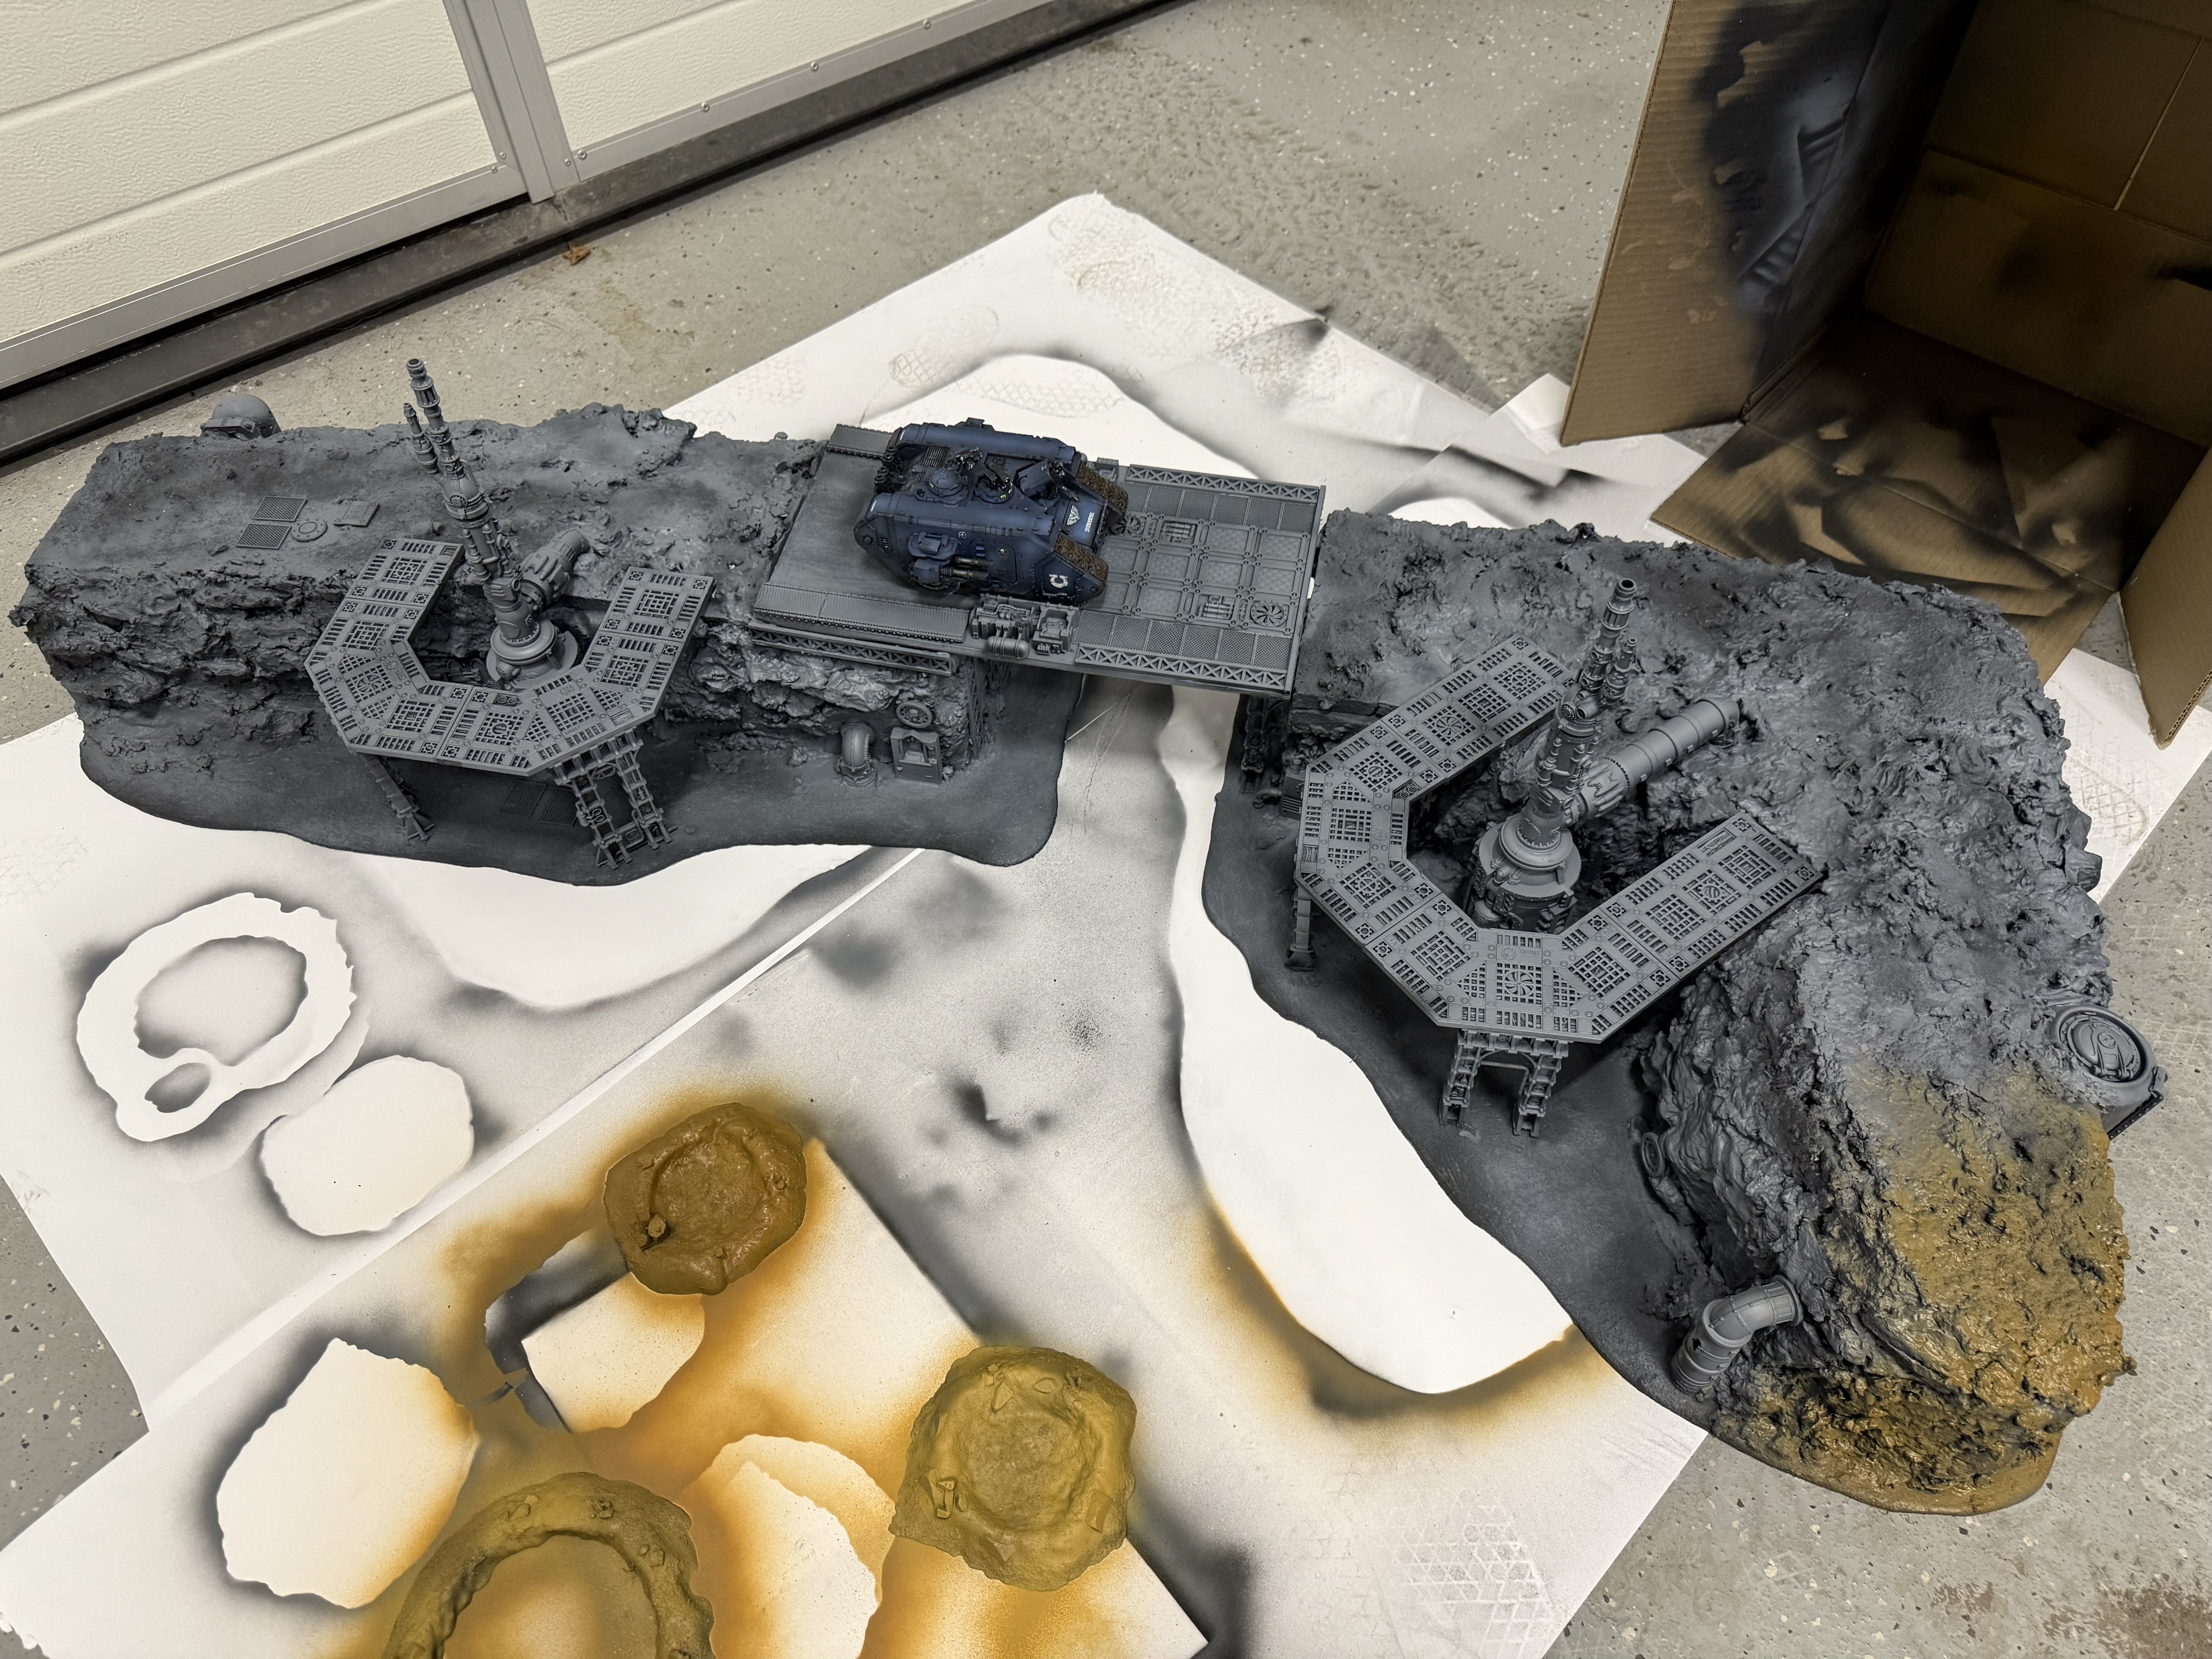
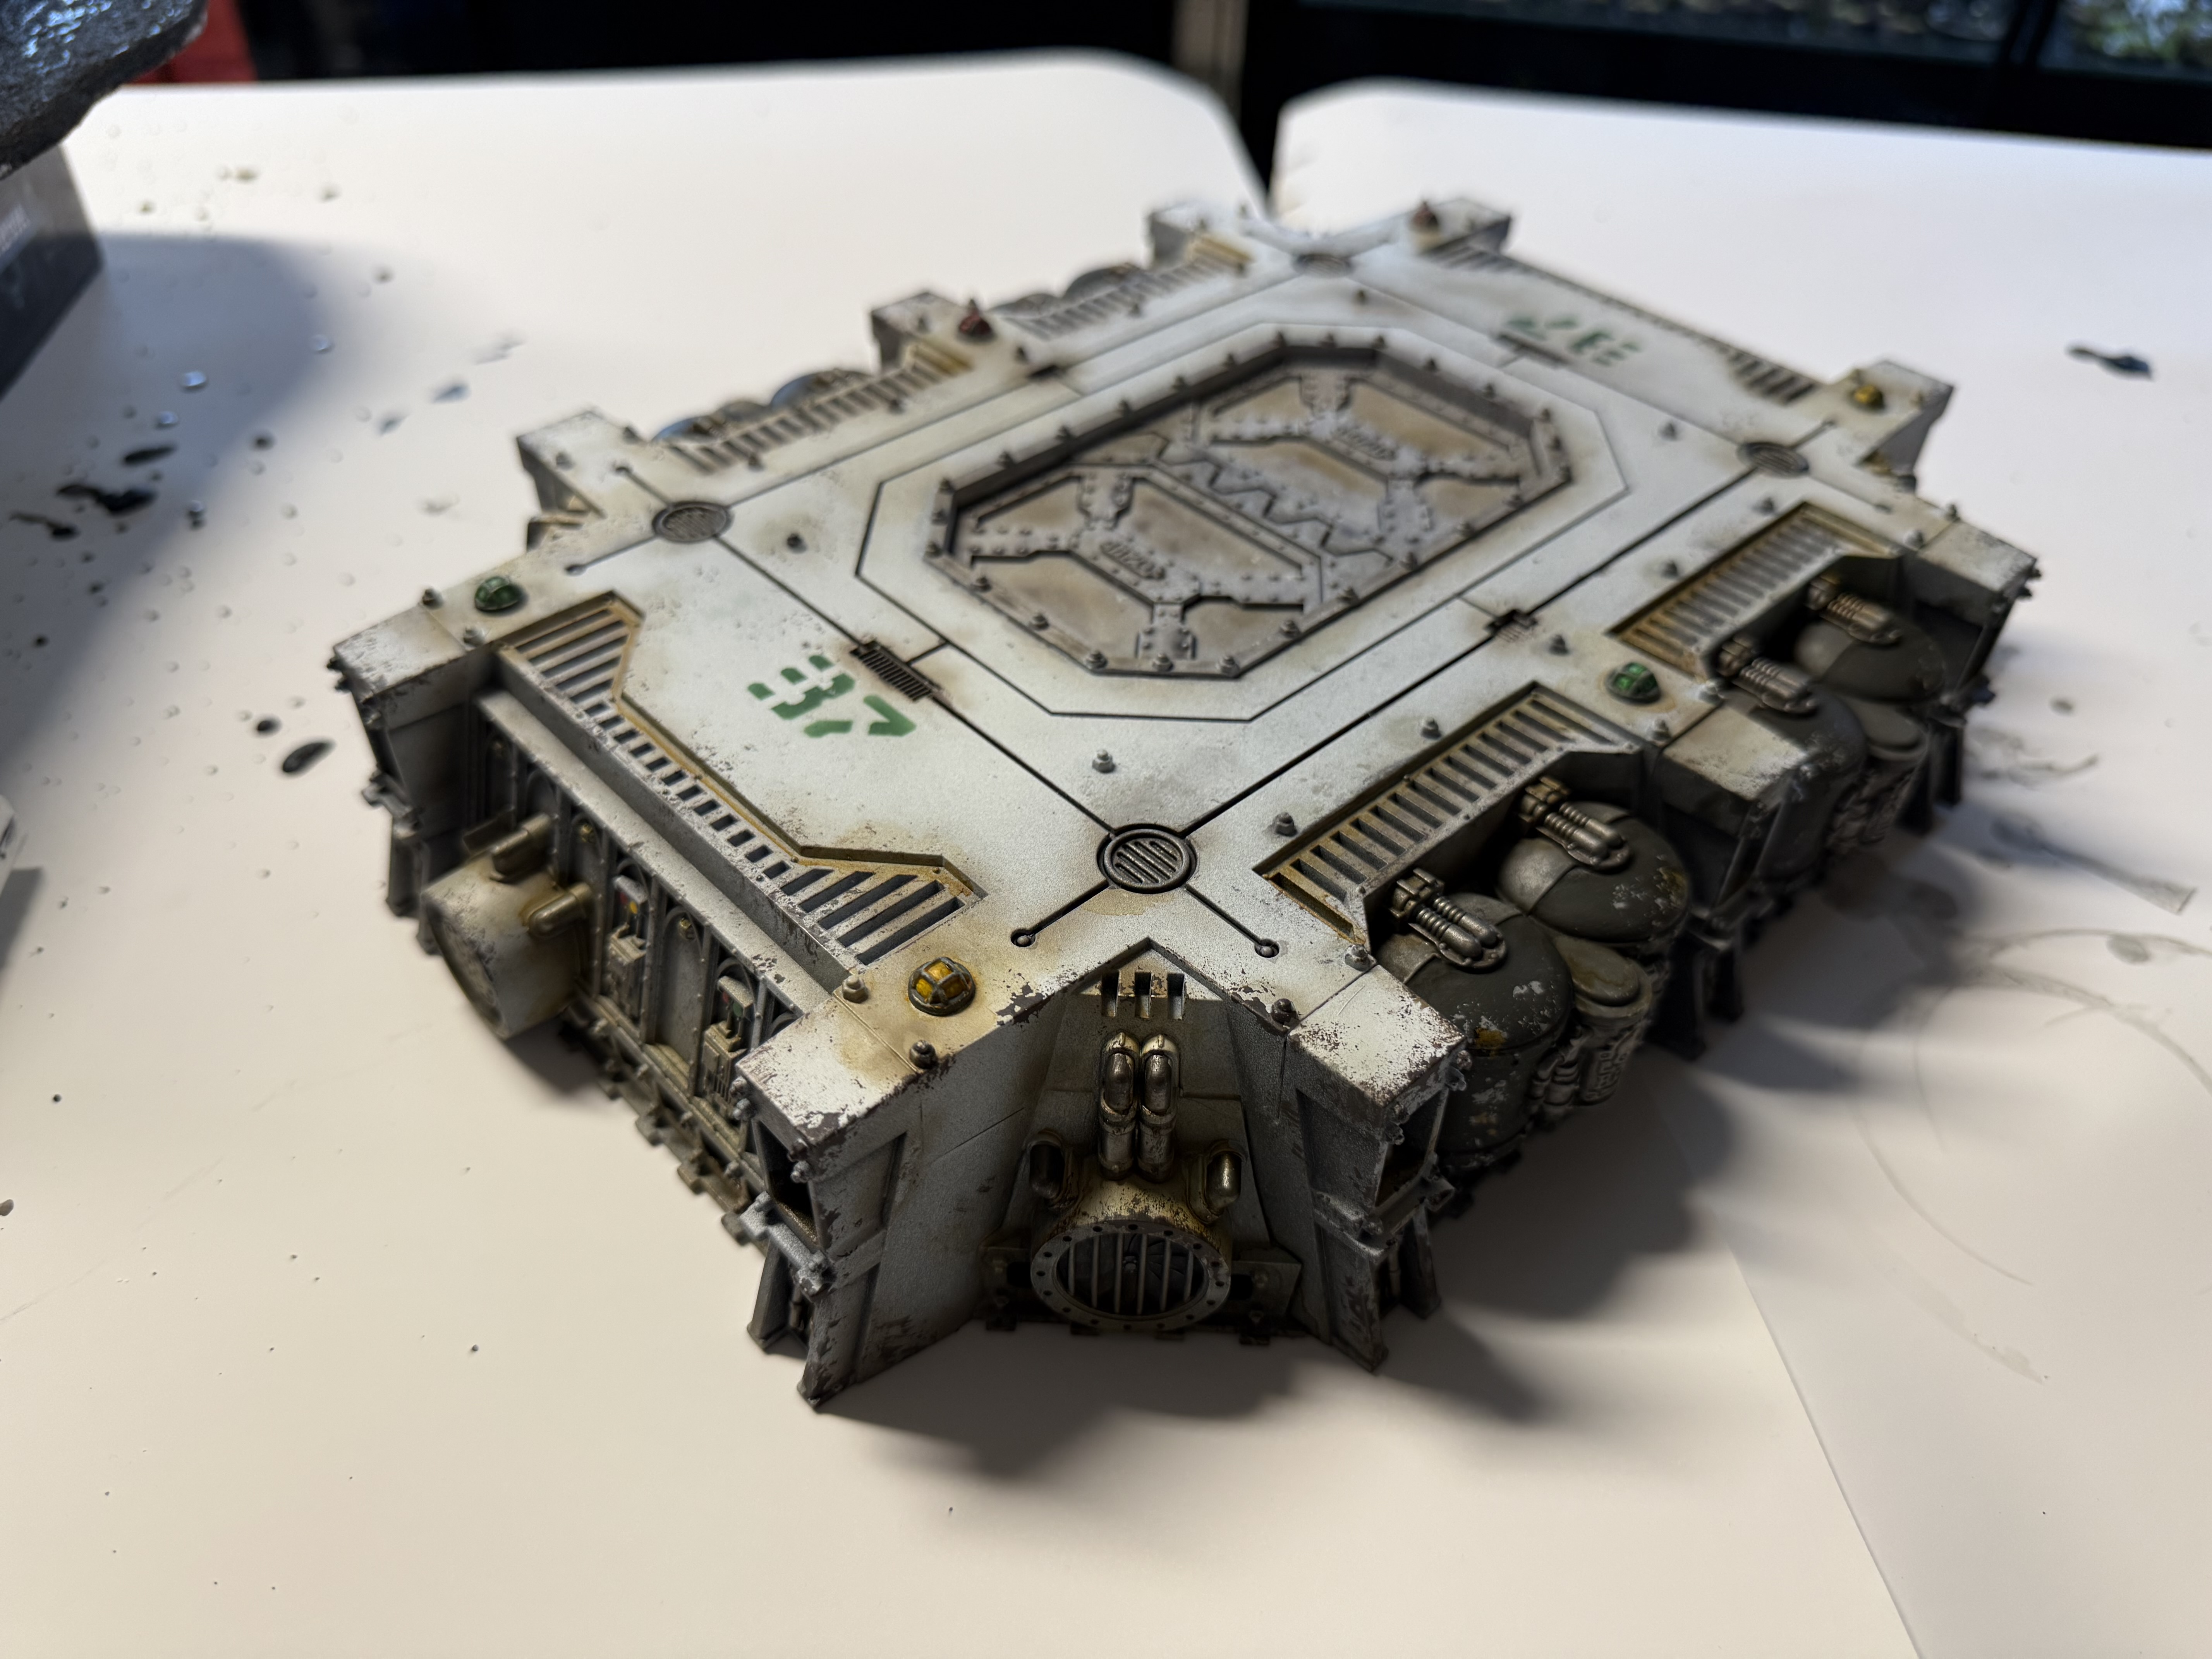
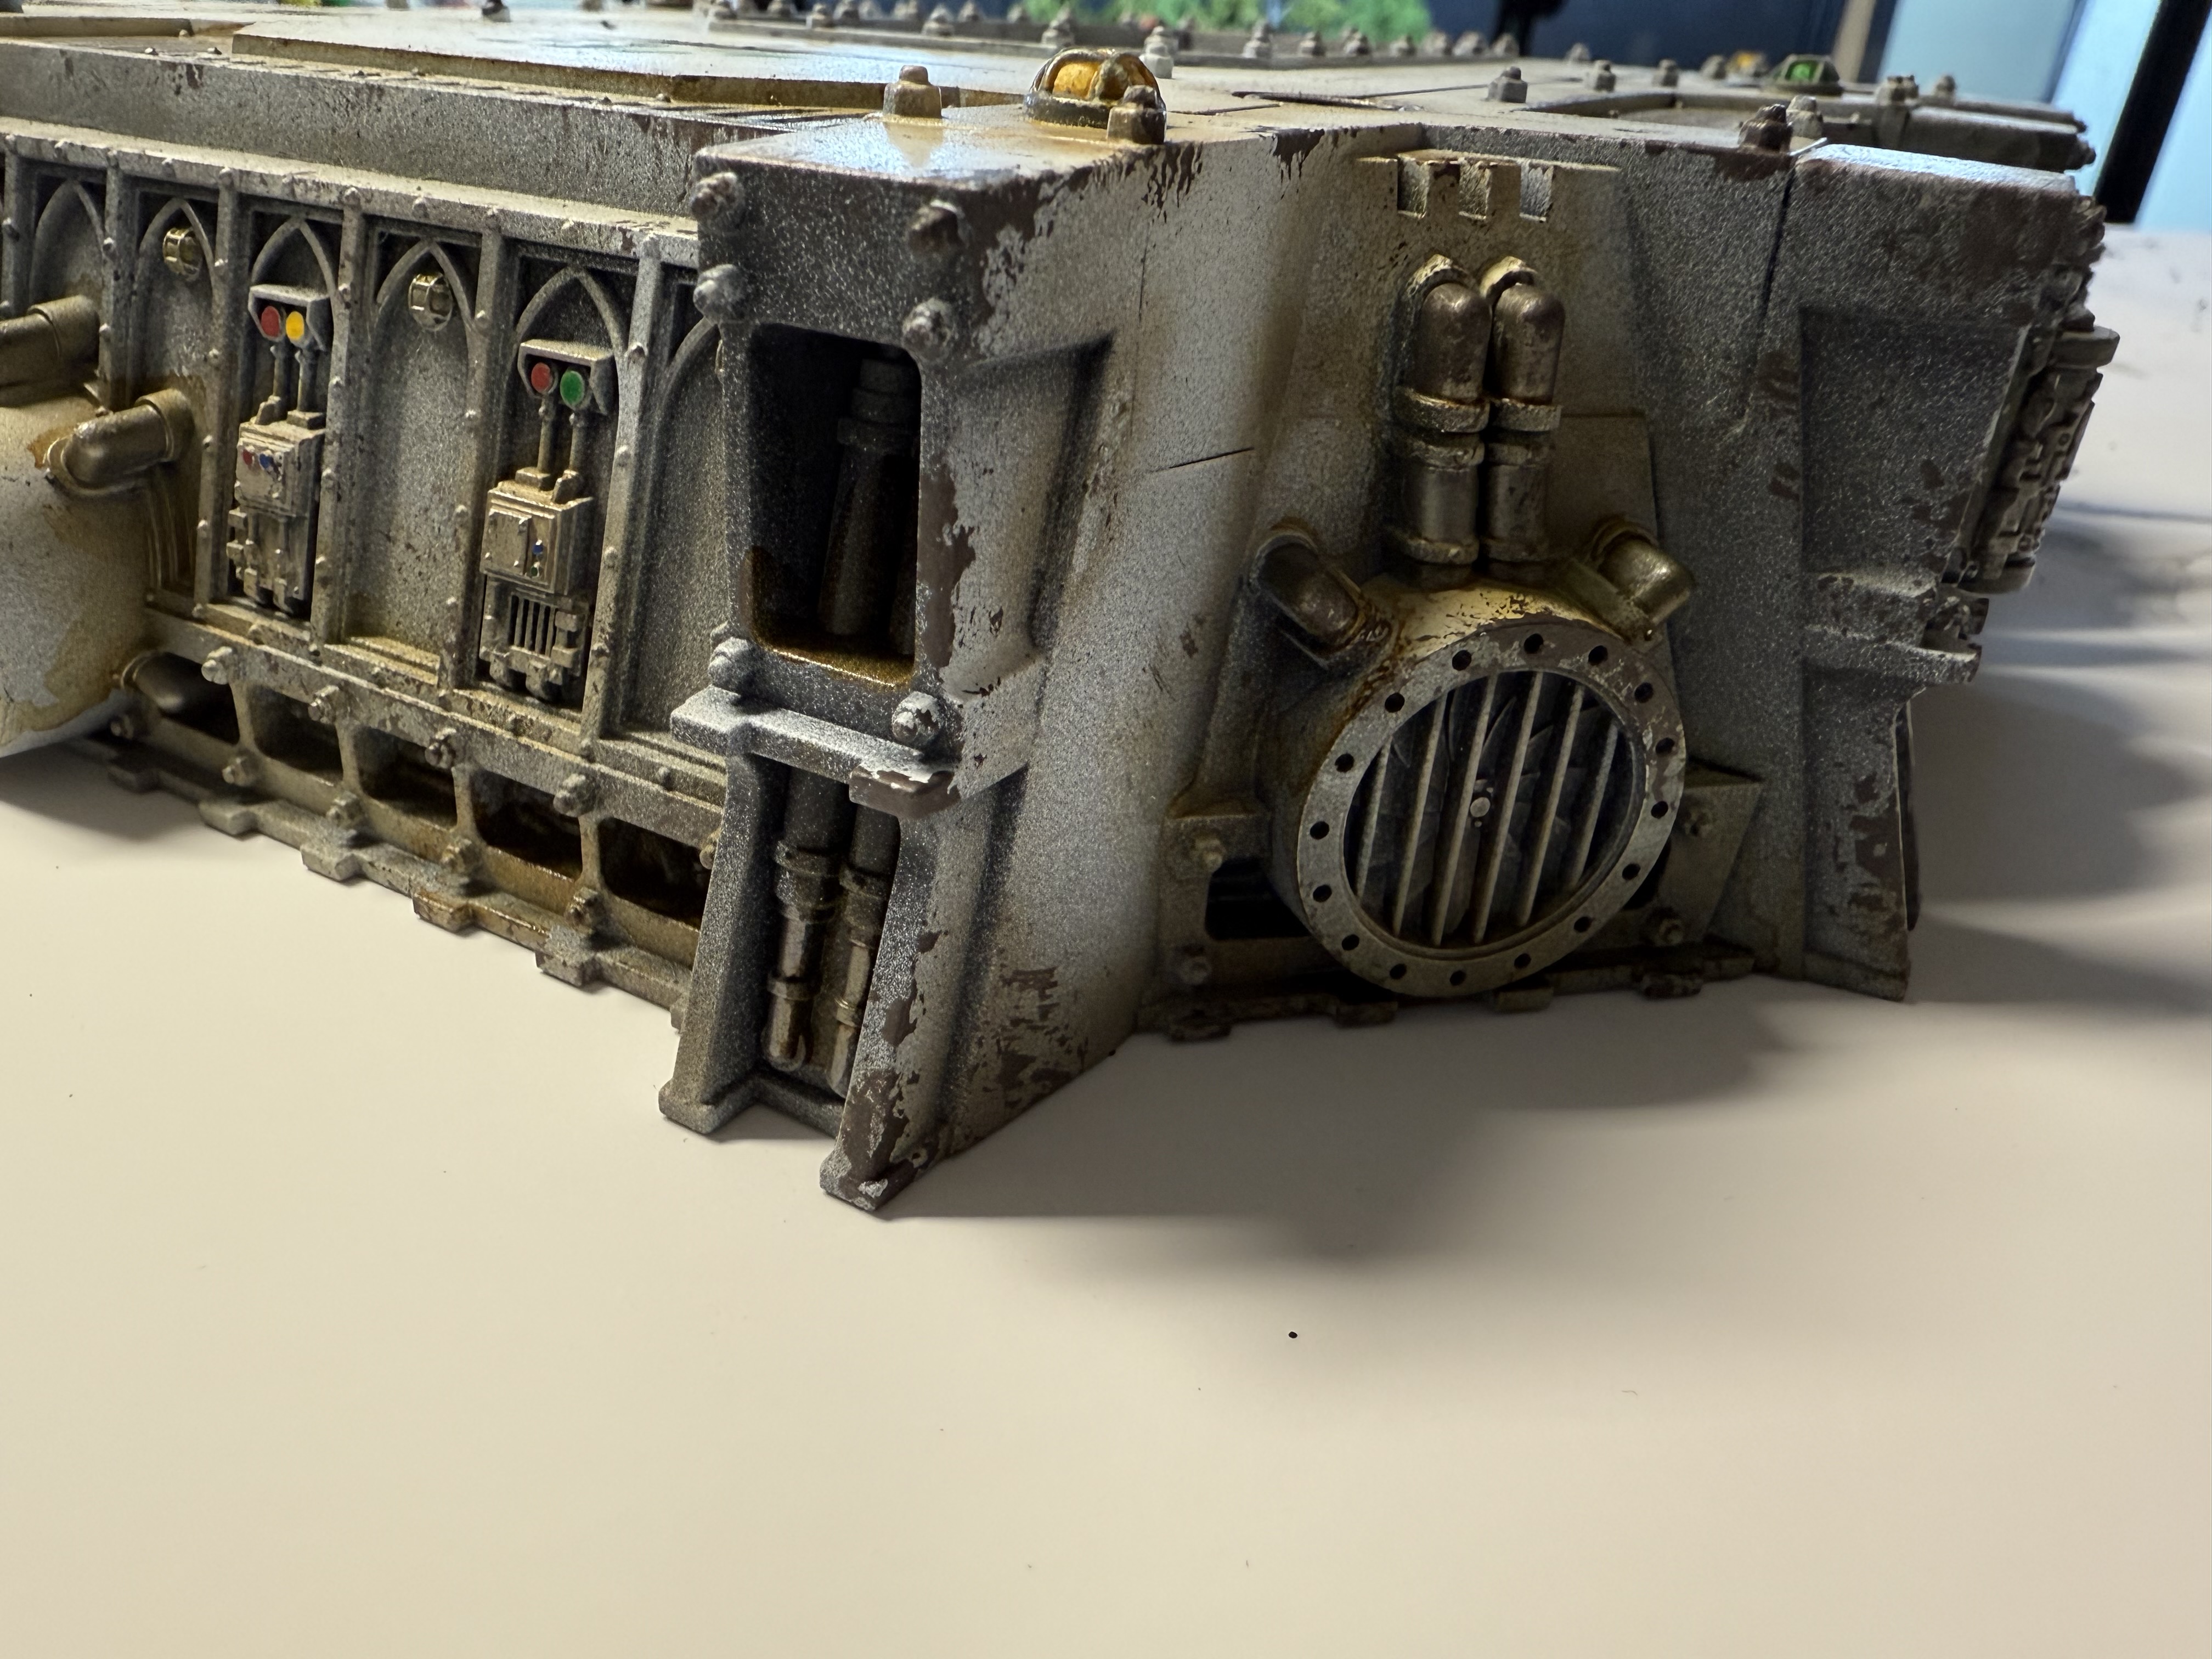
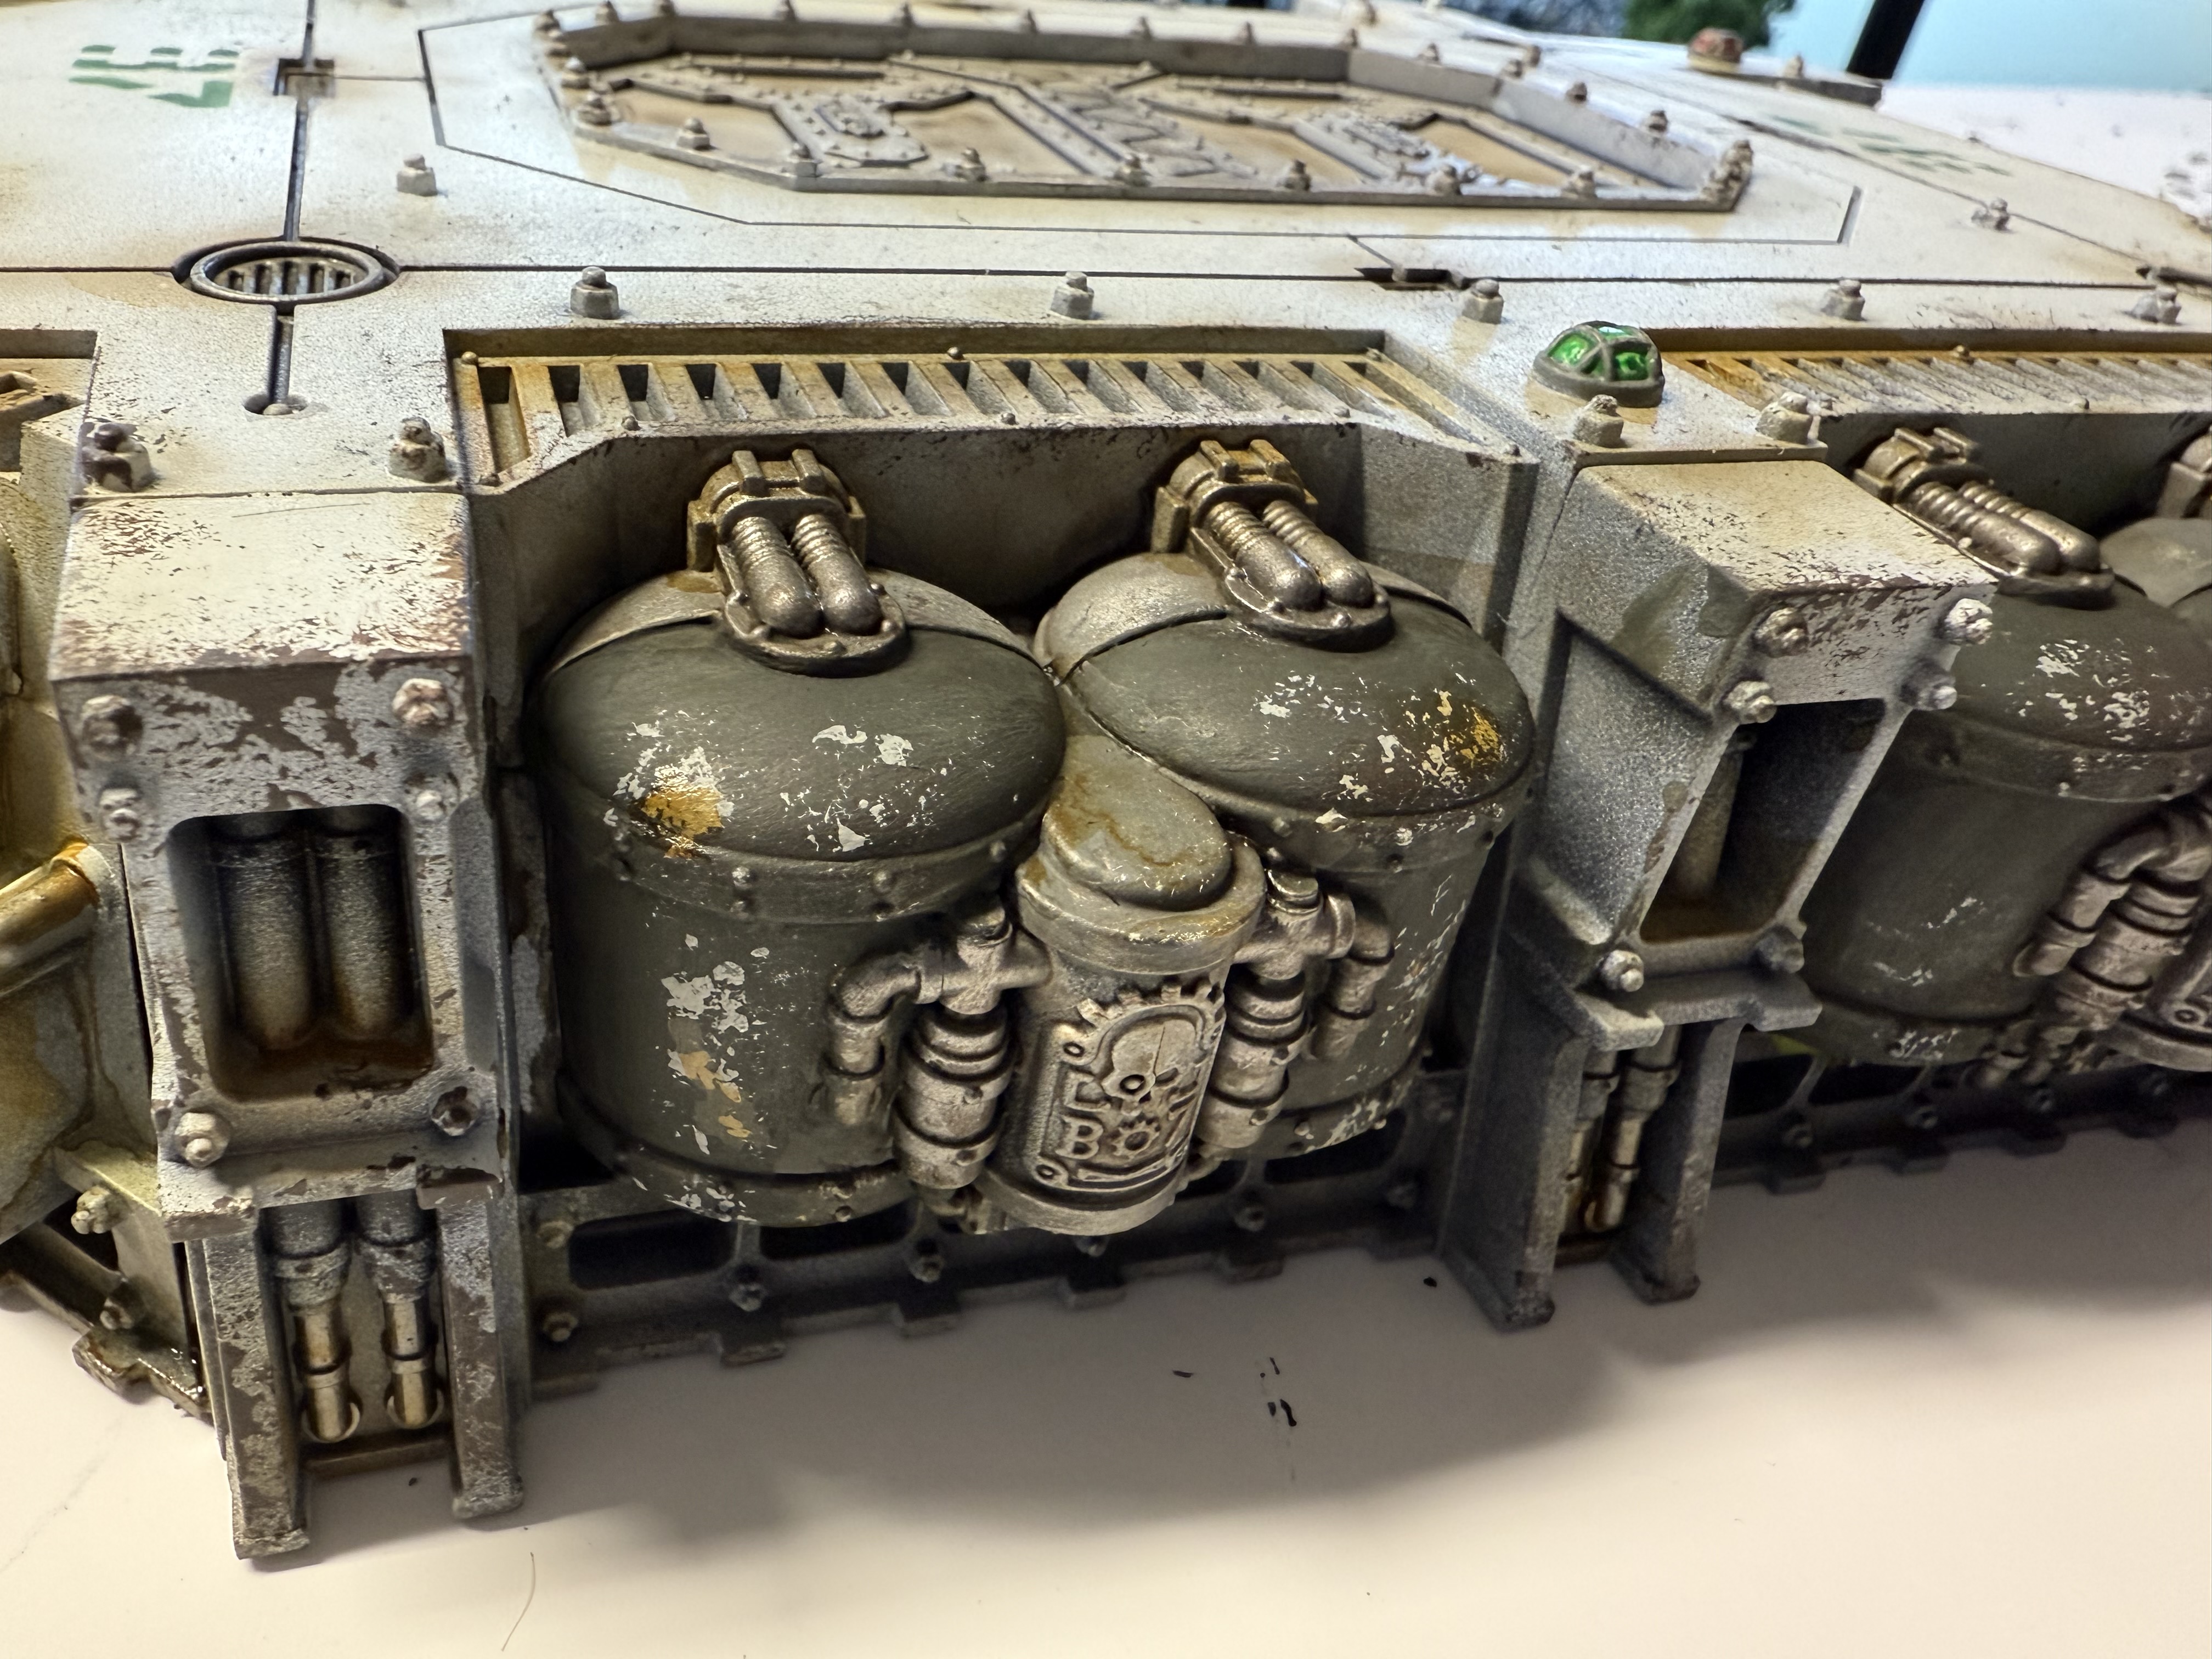
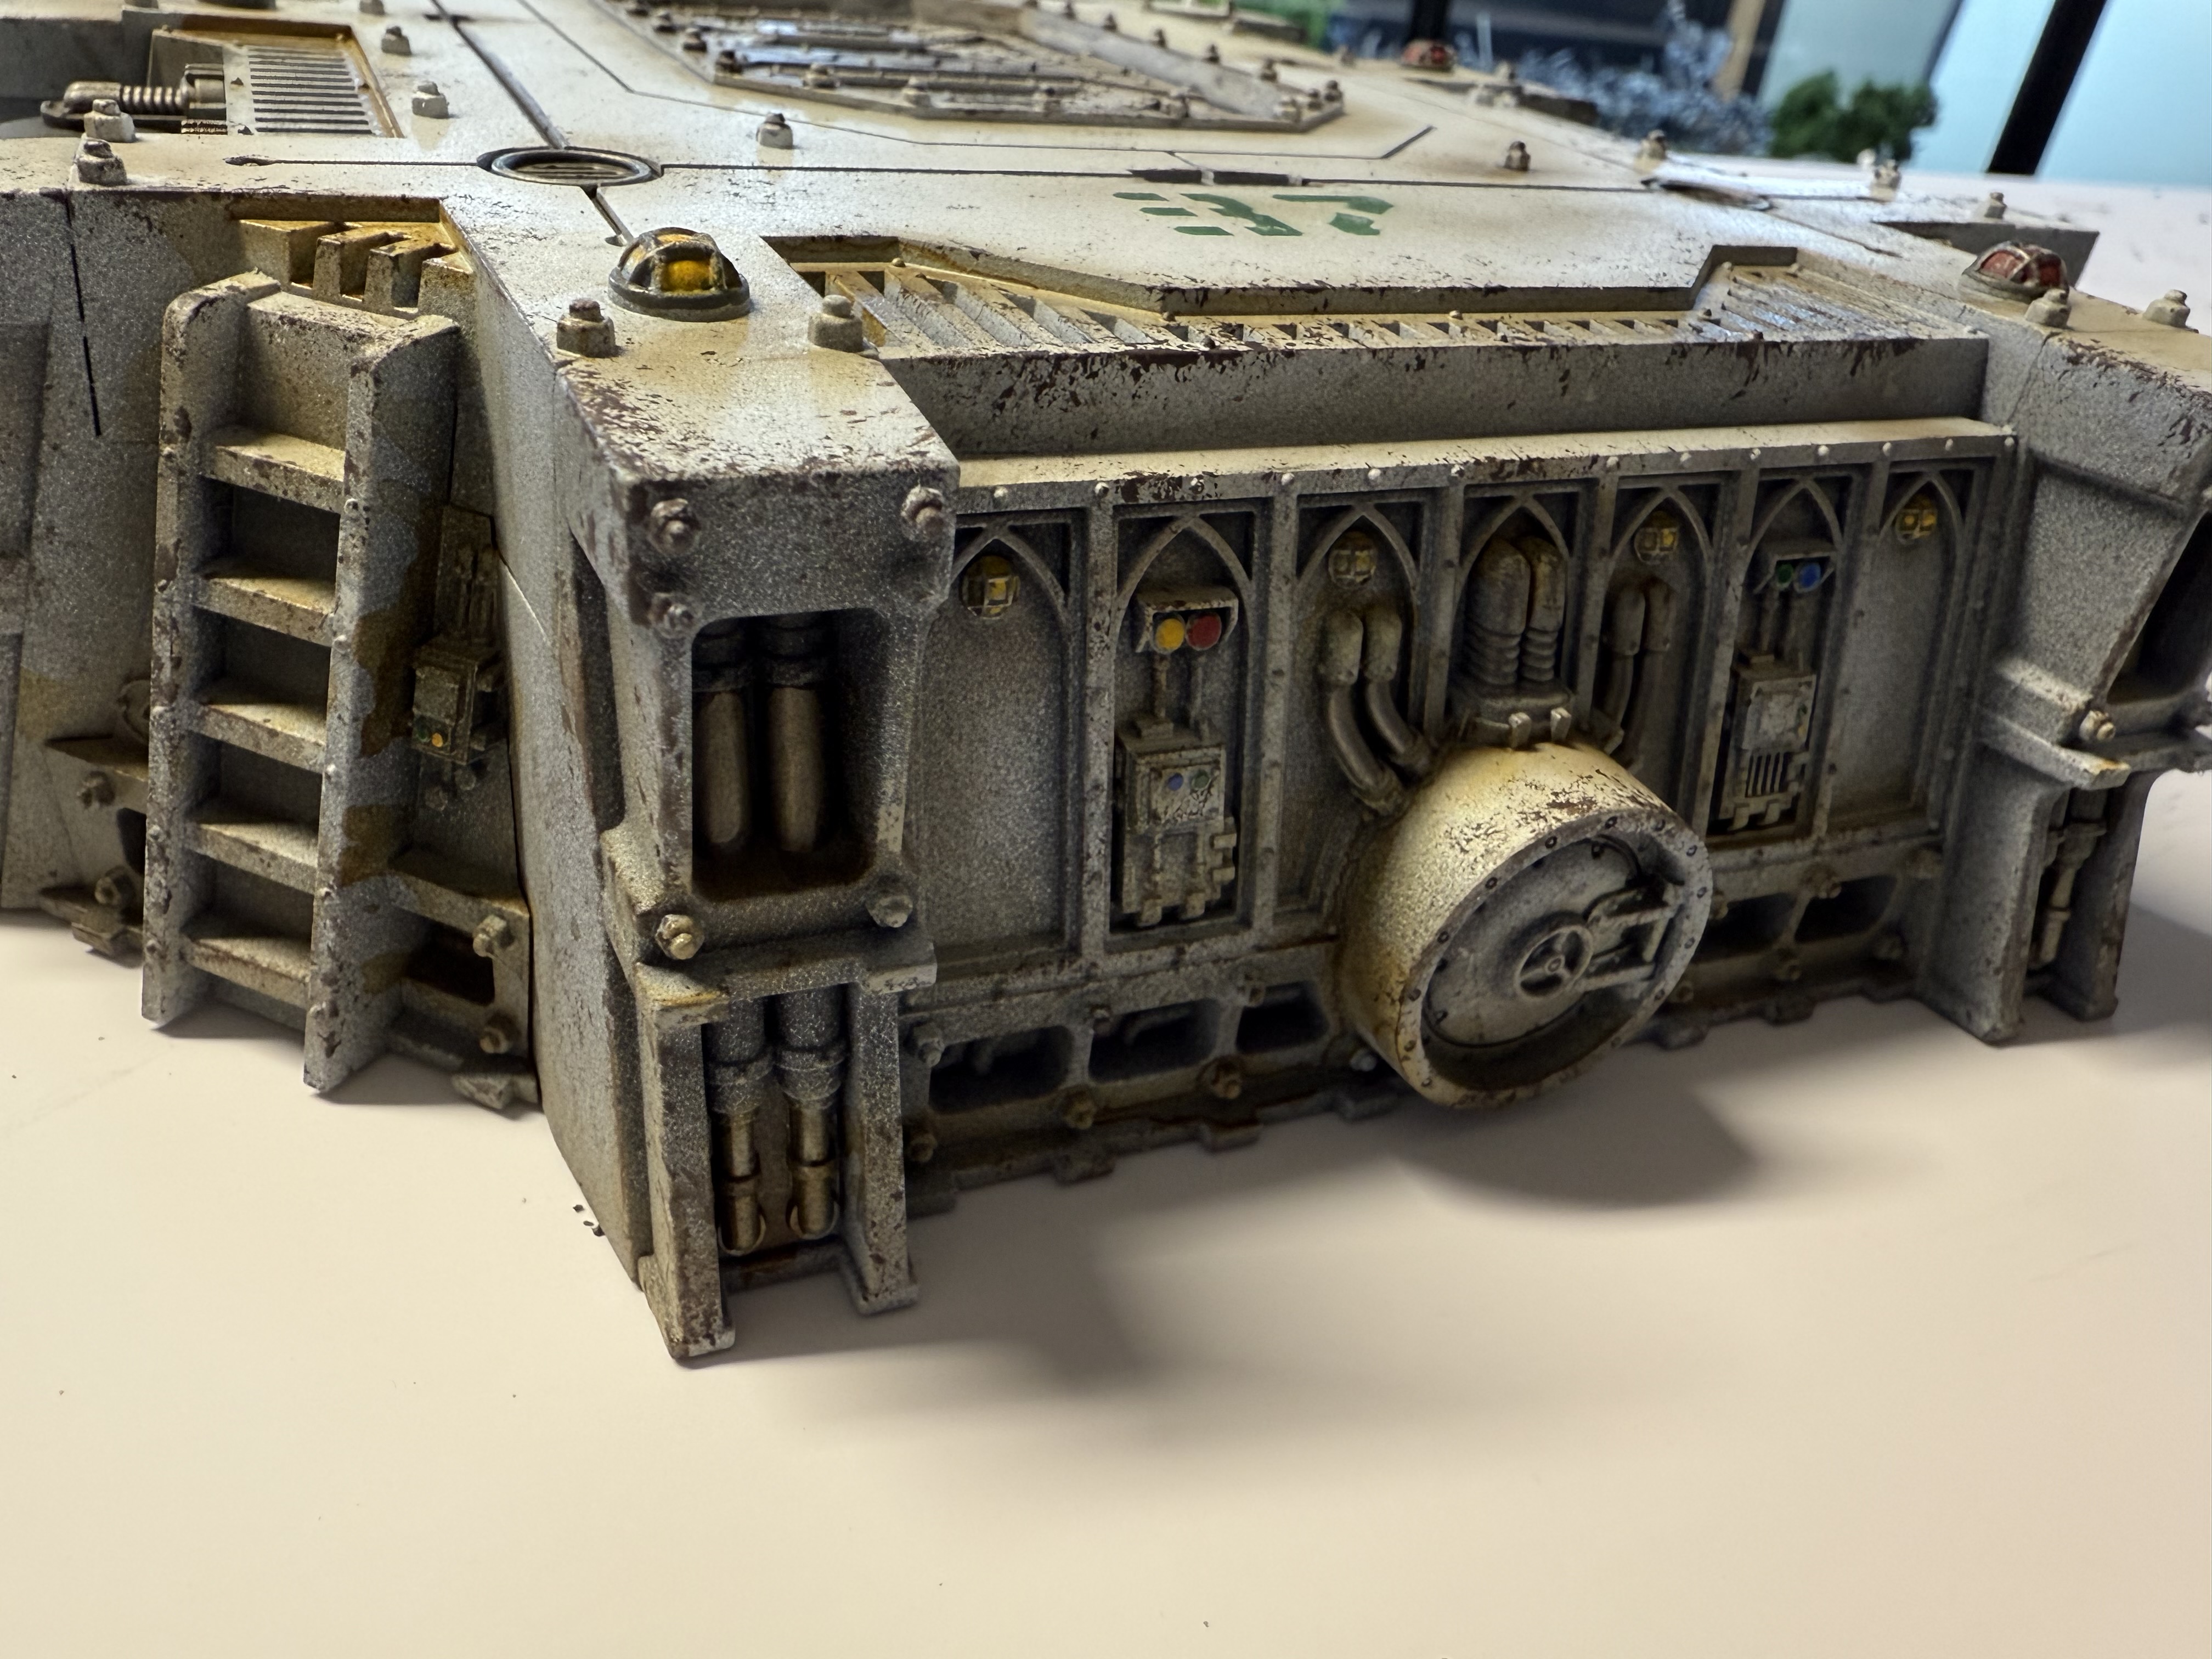
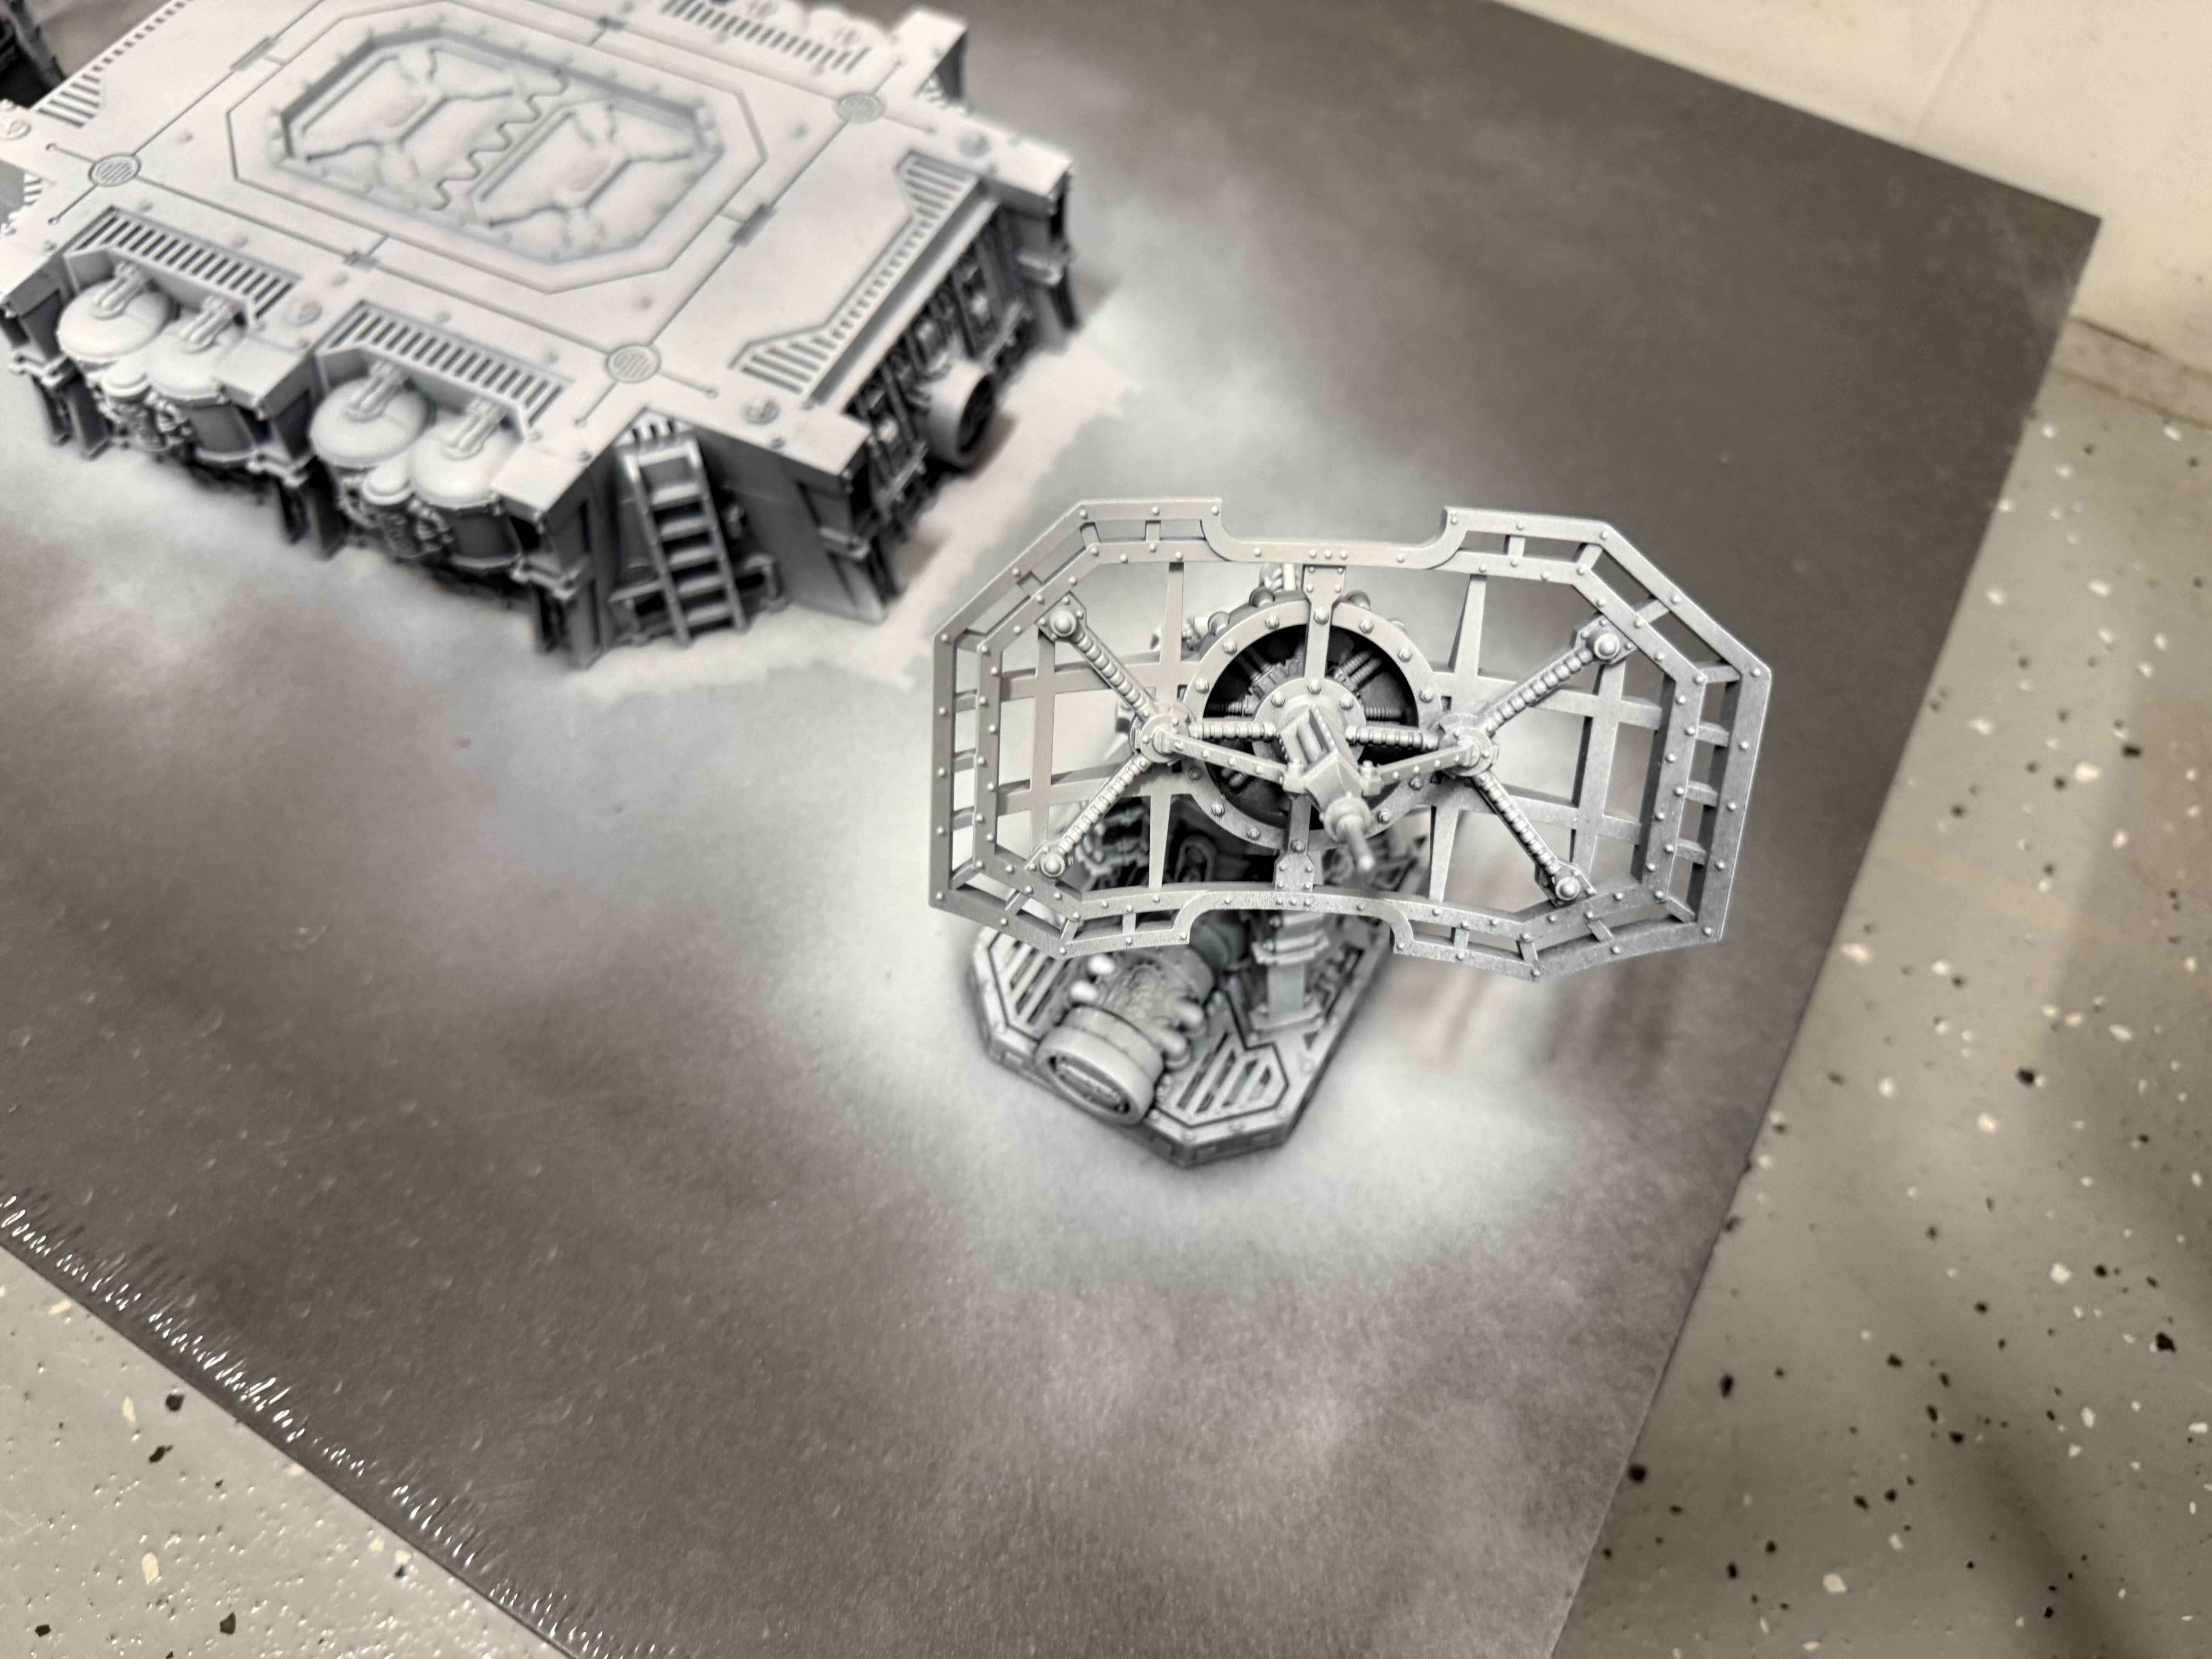
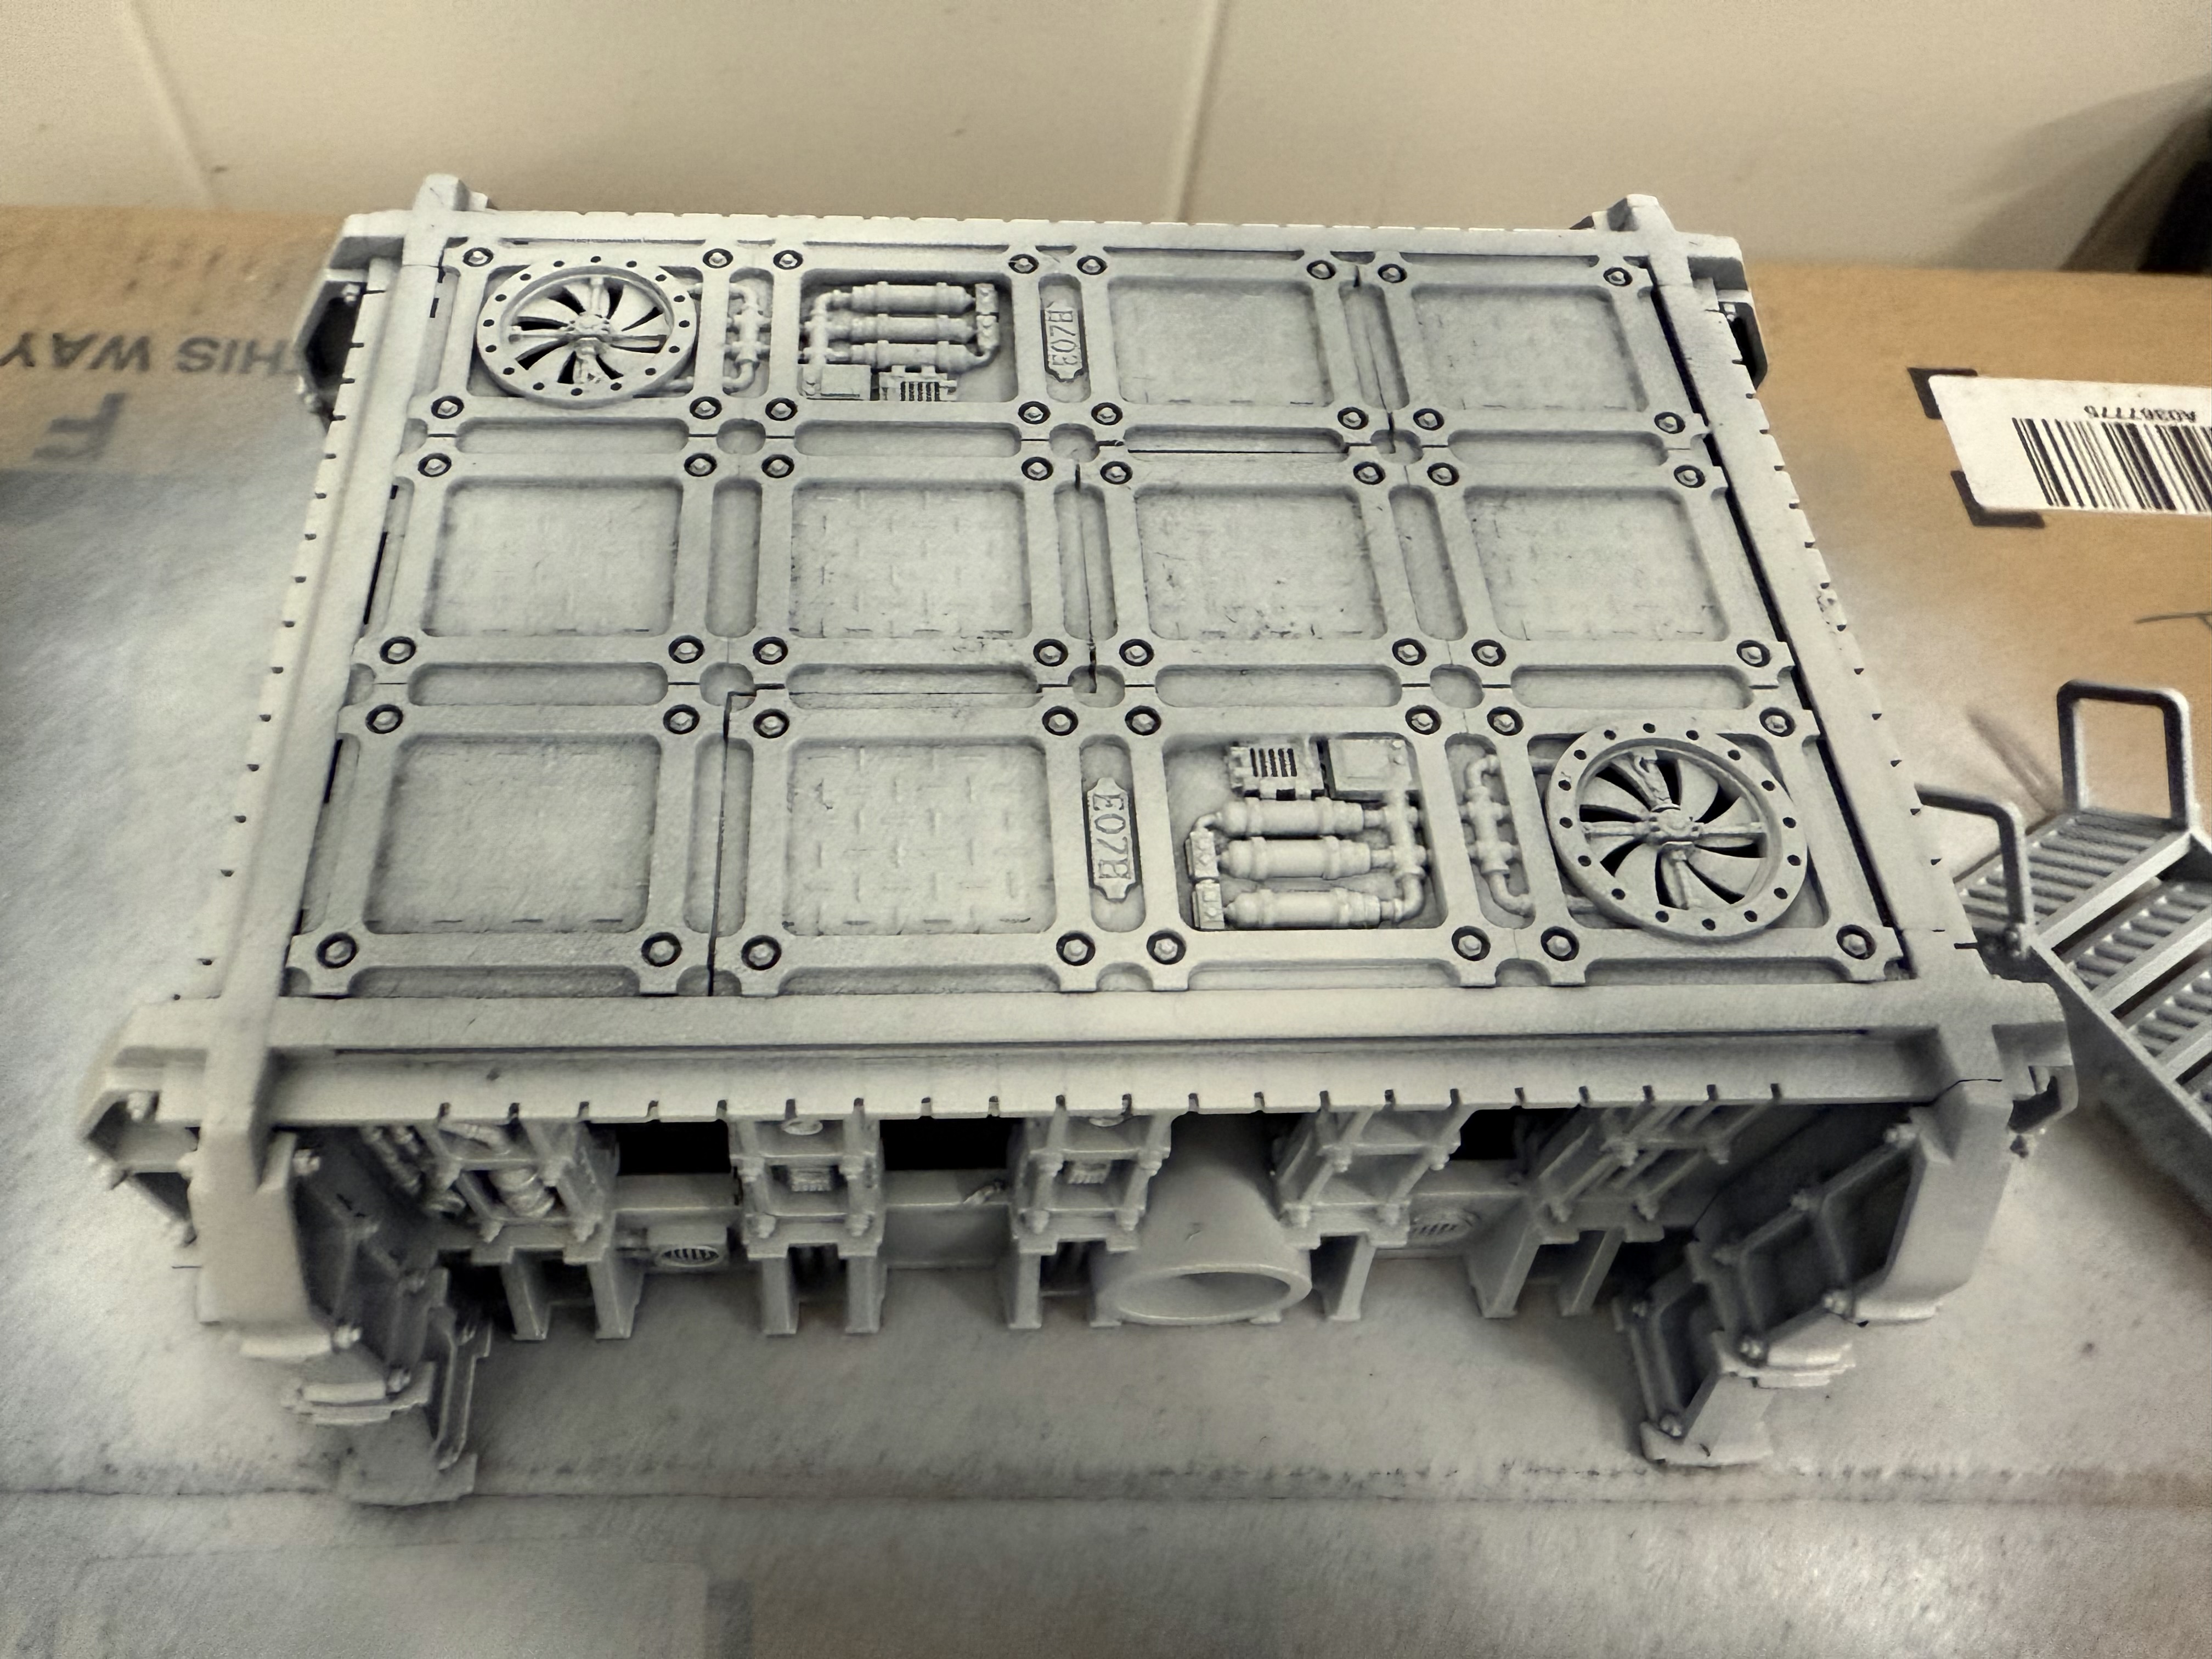
Build day 7 - painting the main build step 1
The most exciting part of the build, getting colour on!
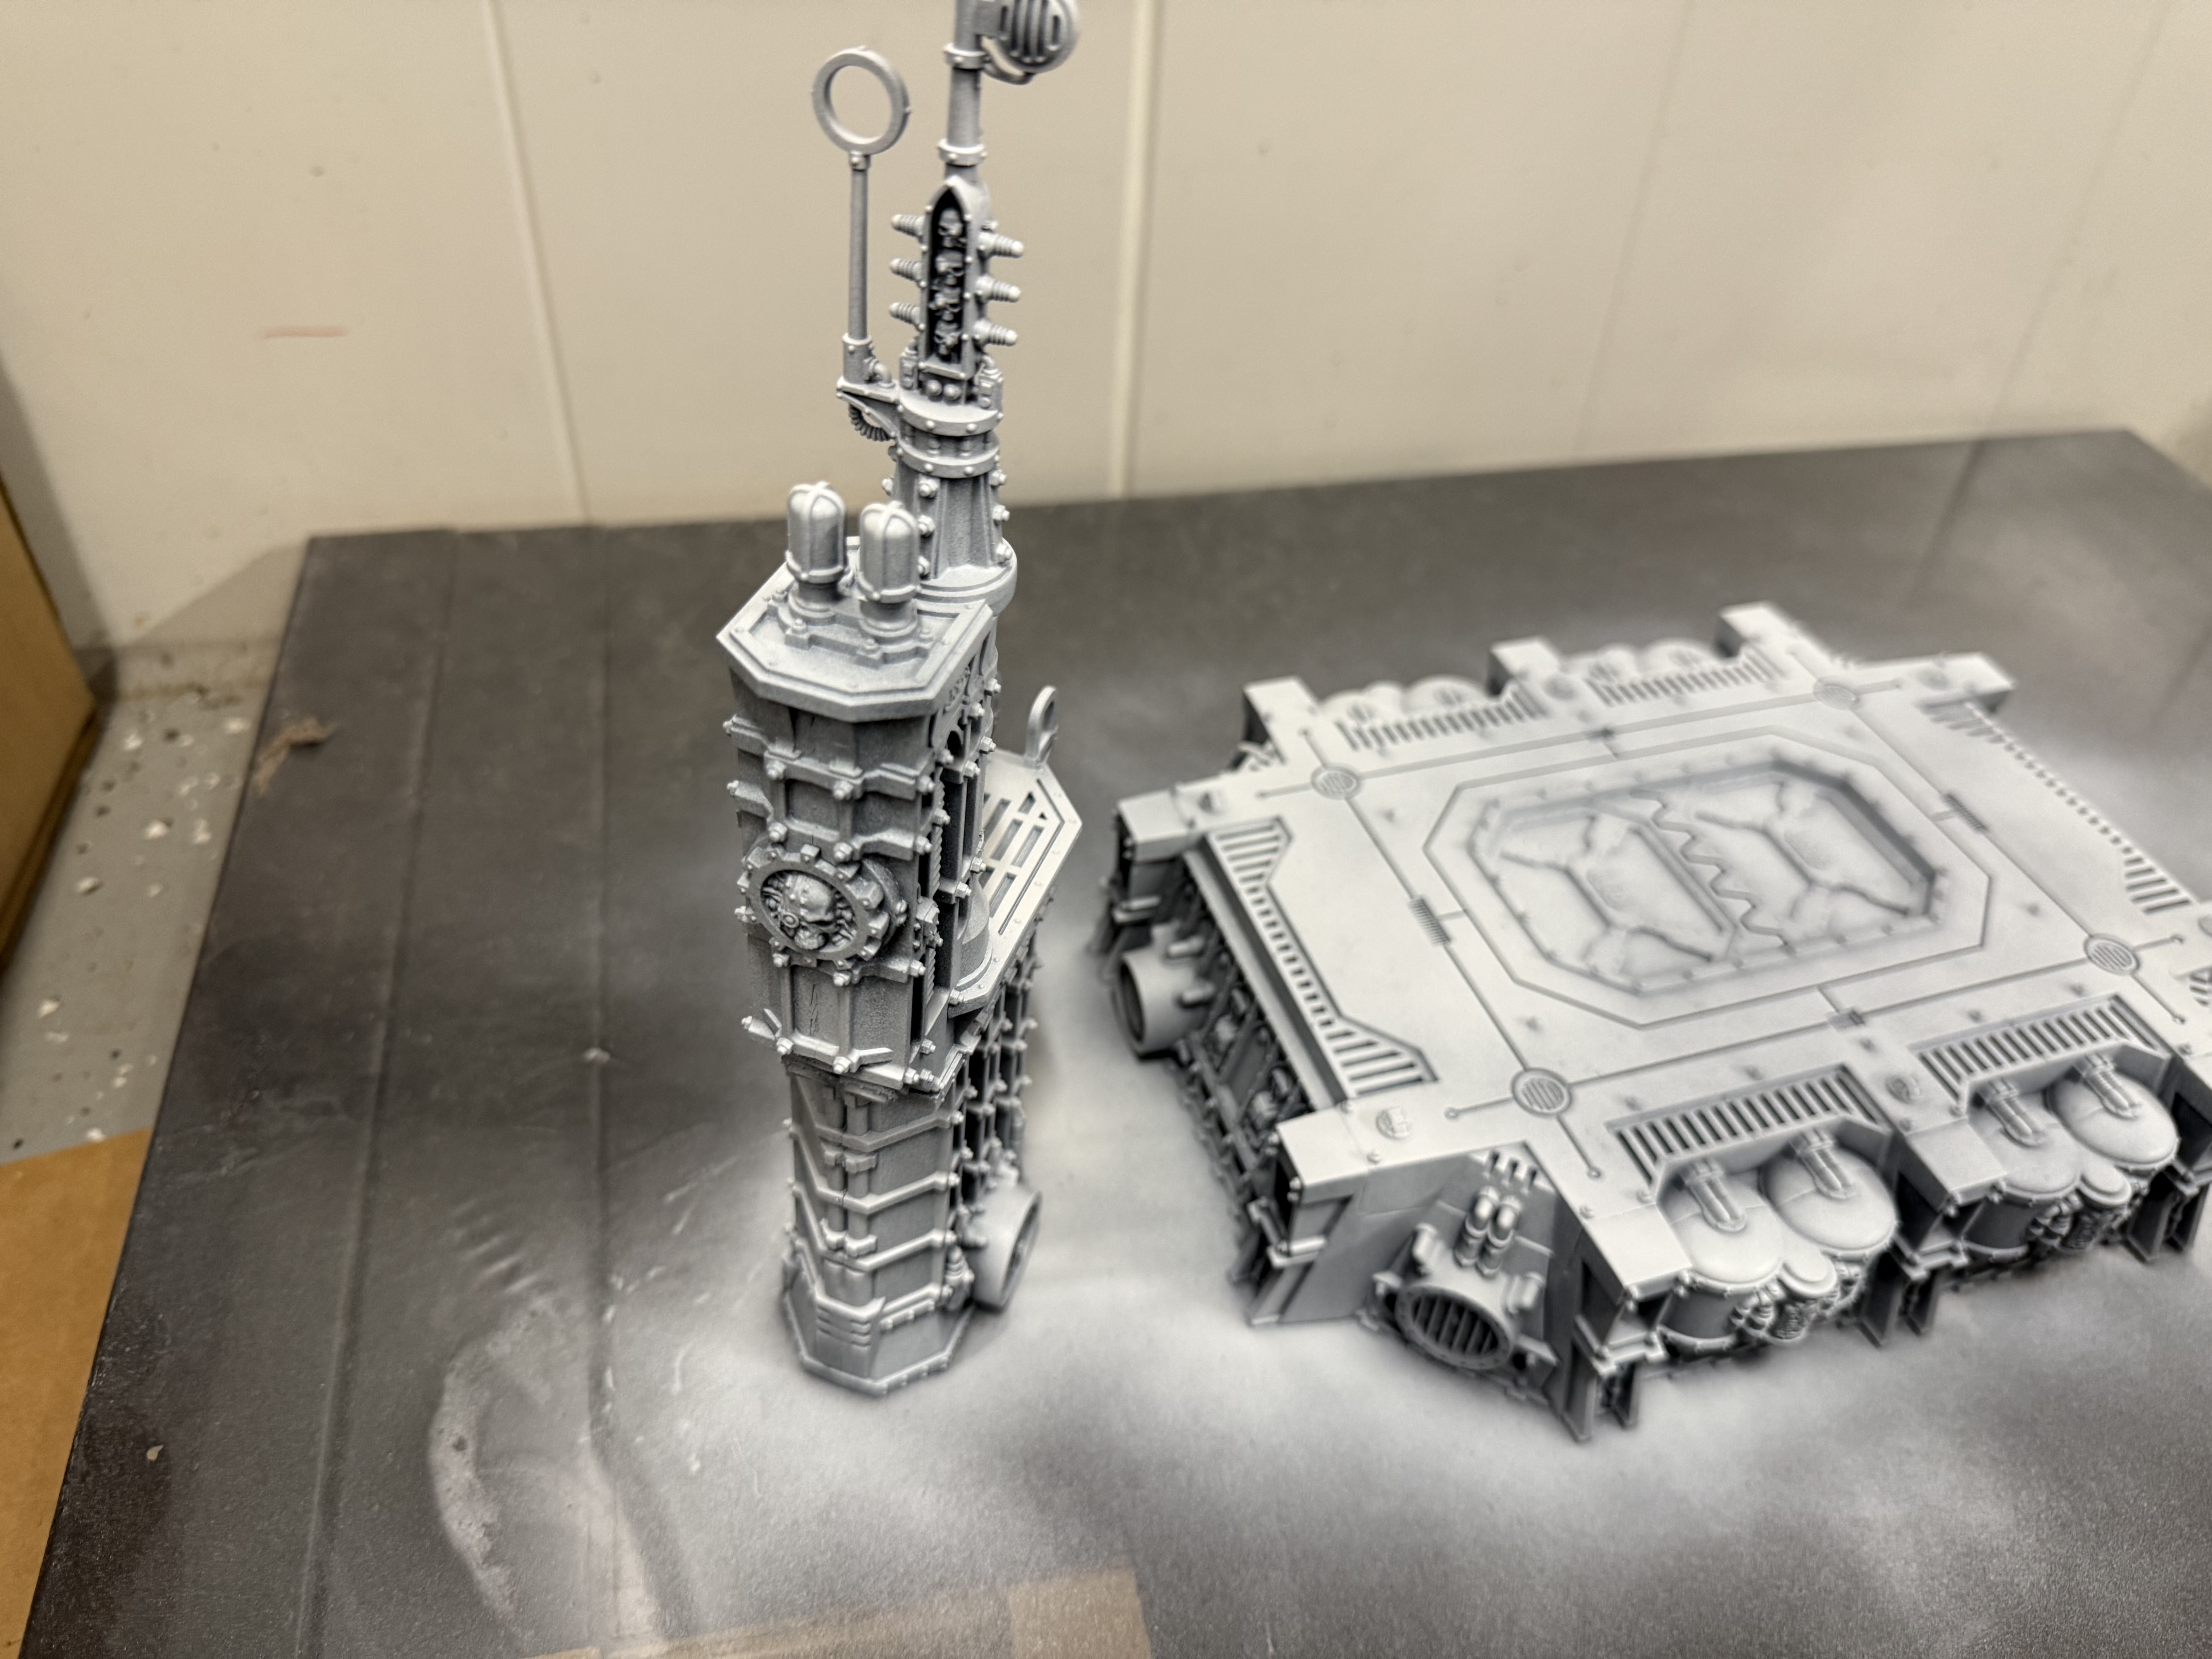
I sprayed all the plastic bits black and then followed with a grey spray to bring out the detail. This is really to see the texture properly for the first time. And it looks really great!
I also did a colour test with the brown spray I have, painting the craters first and also part of the main terrain piece. Looks pretty good, it will get knocked back with a wash afterwards.
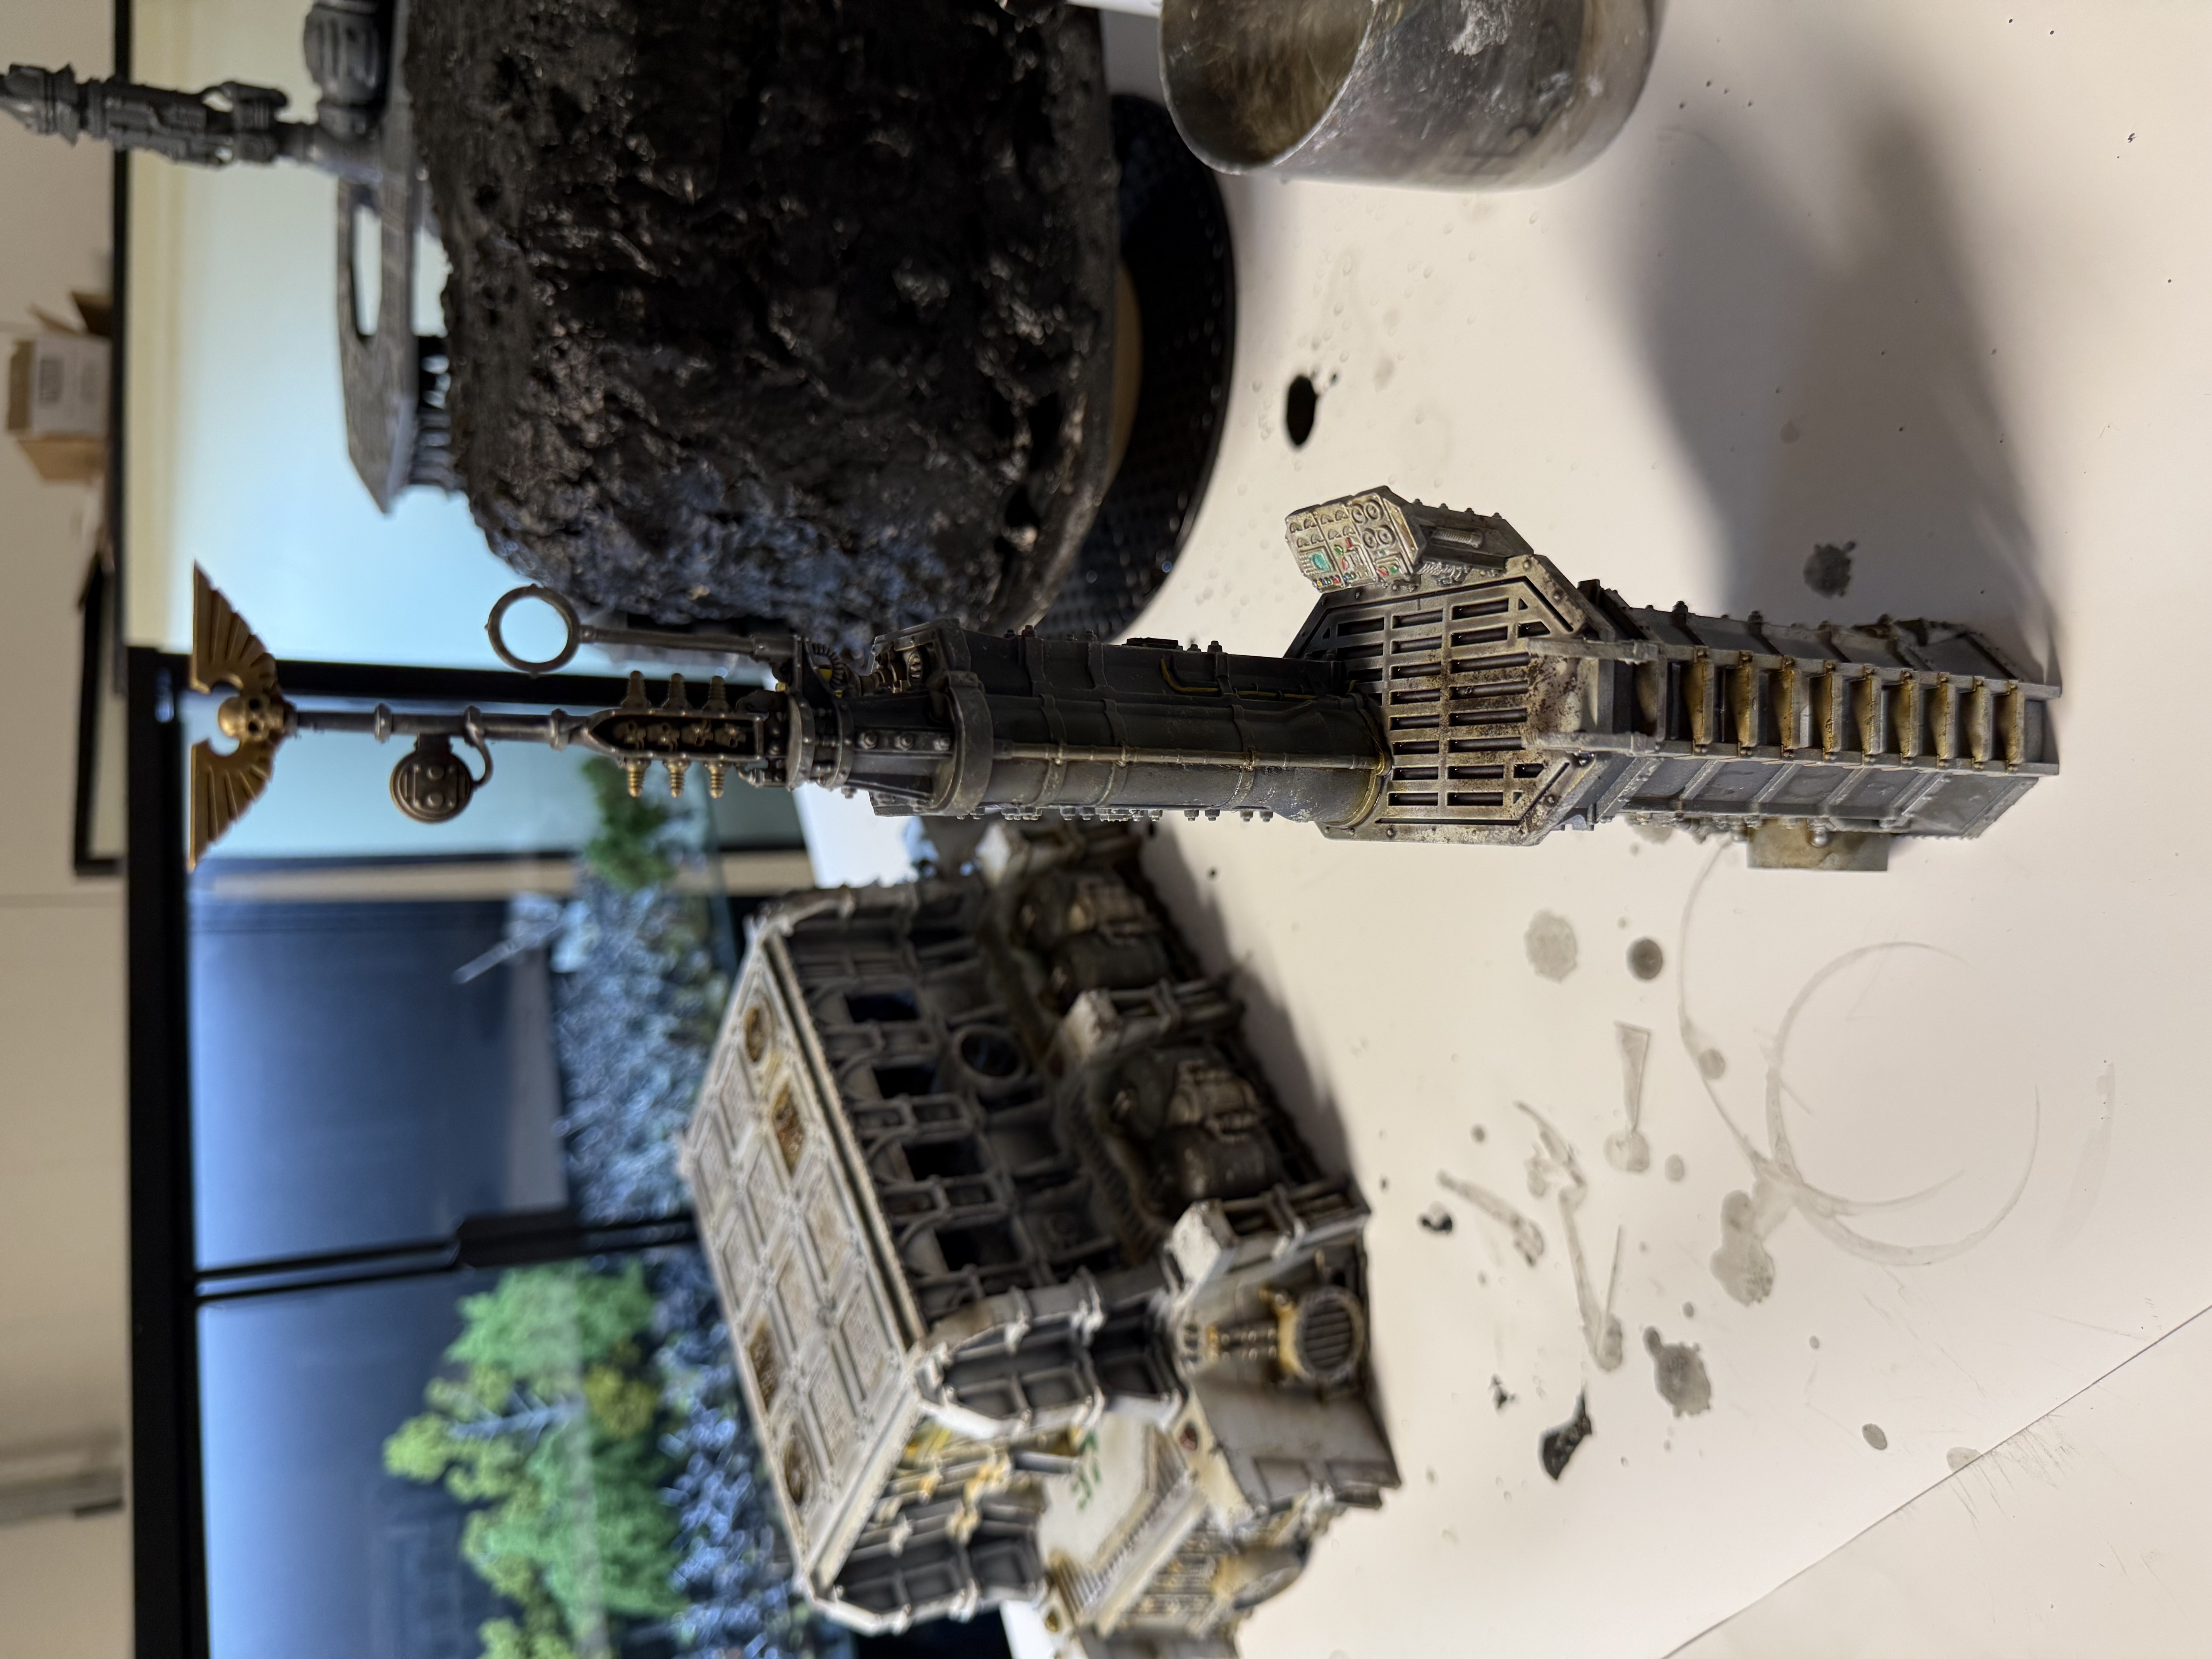
Here’s a photo with Land Raider for scale.
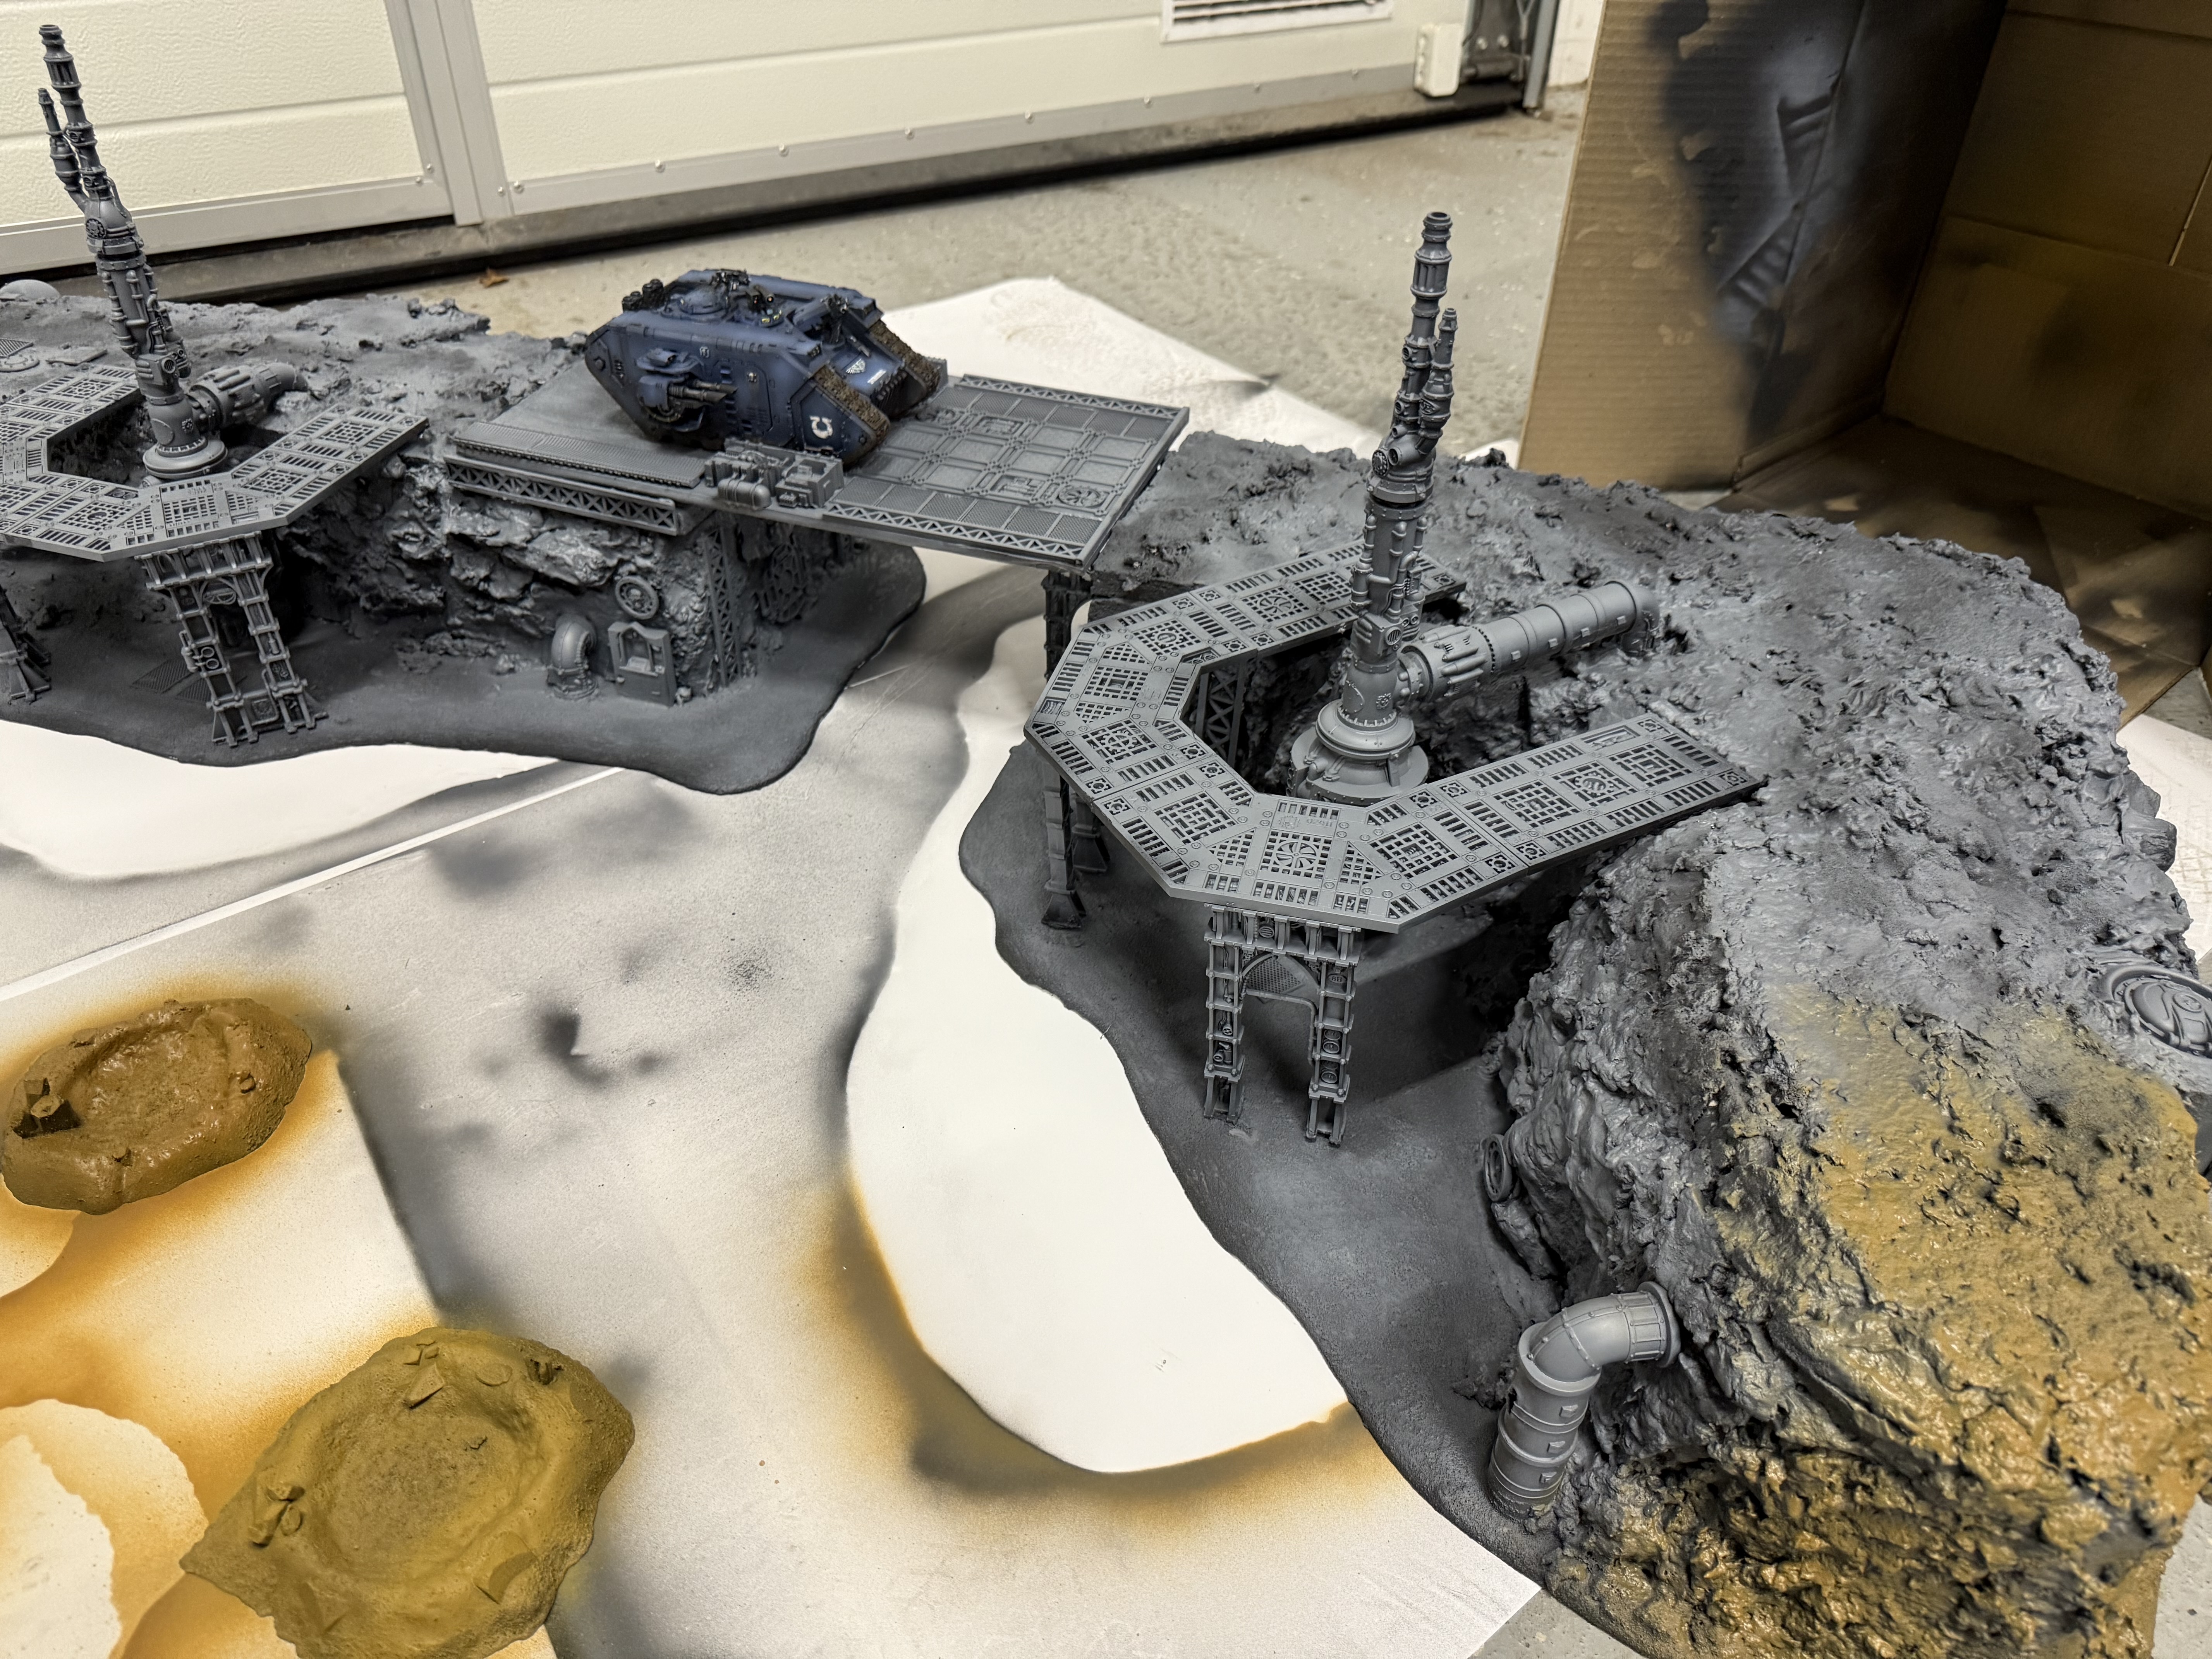
Zoomed out view of the build.

Build day 6 - painting the buildings
Very productive day. In addition to the main build, I managed to paint and weather the bulk of the buildings. Here’s a photo dump.
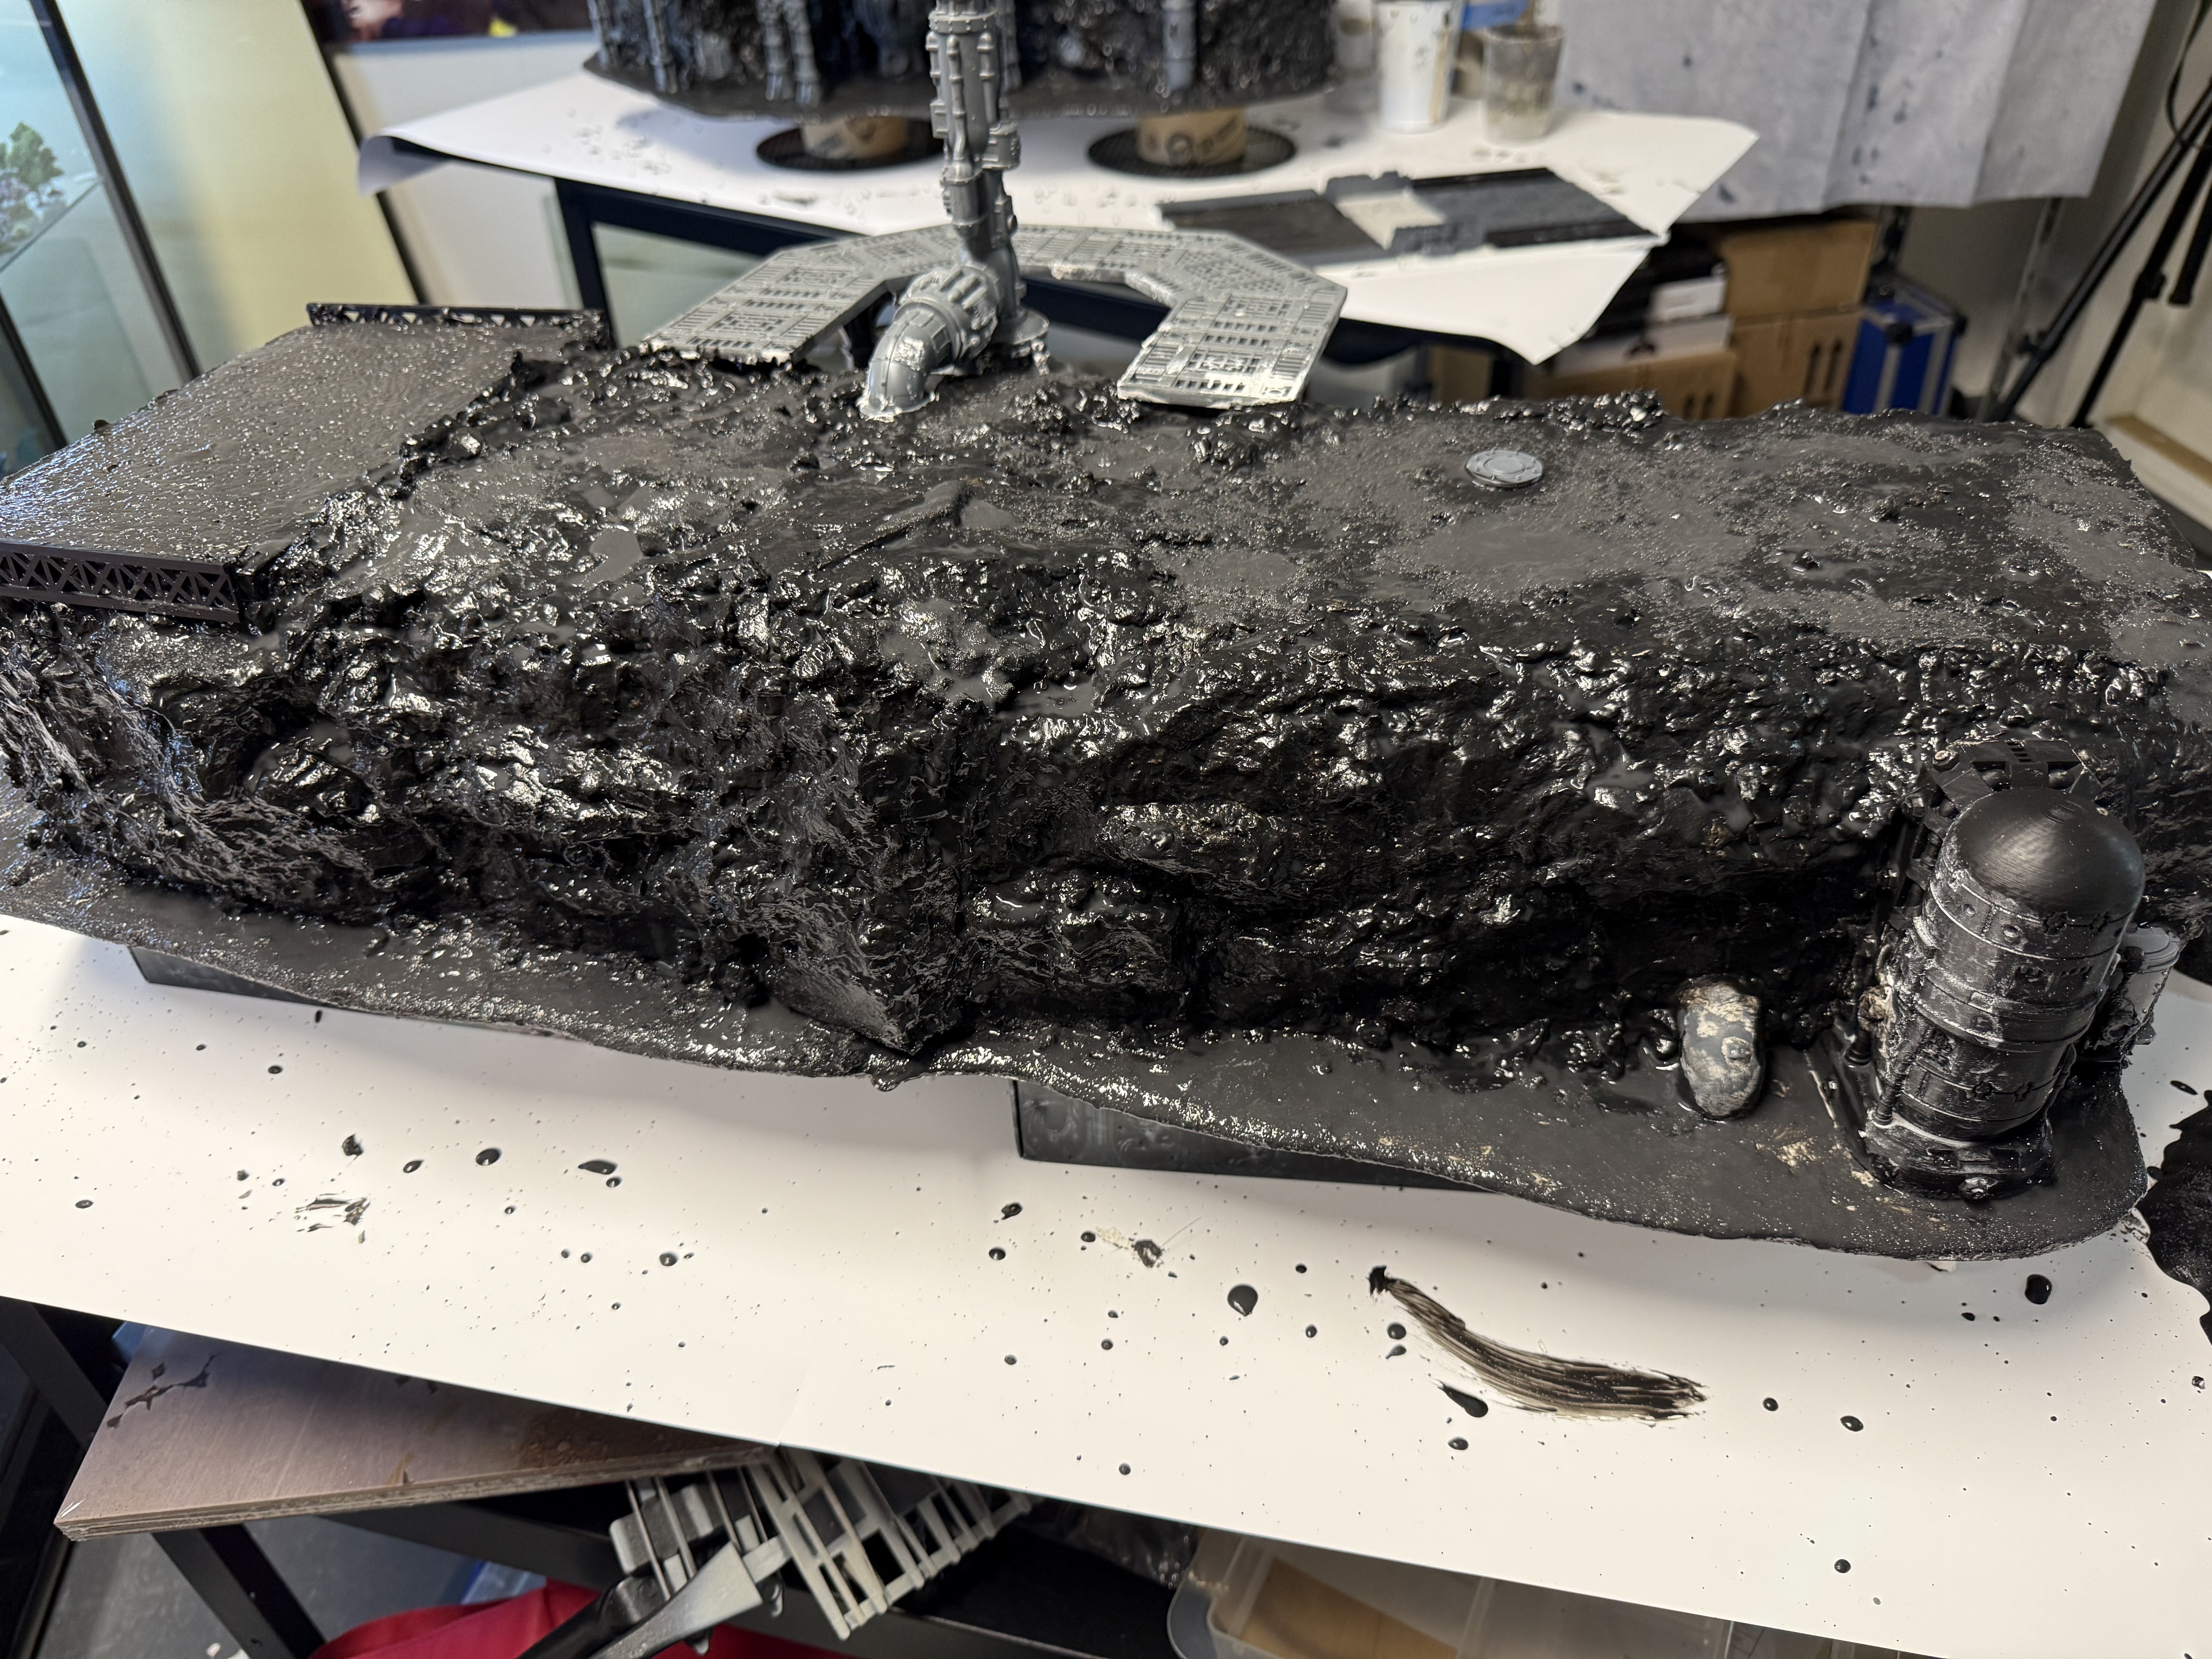
Build day 6 (main build)
Time to seal everything.
I made a mix of Mod Podge, household black paint and a bit of water and just covered everything with it. For a project this size, I needed a lot! I probably used around 1.5 litres of the mix total.
Finally I added some bird sand into my Mod Podge – paint mix and covered the non-textured base with it, along with some bits that needed further texture.
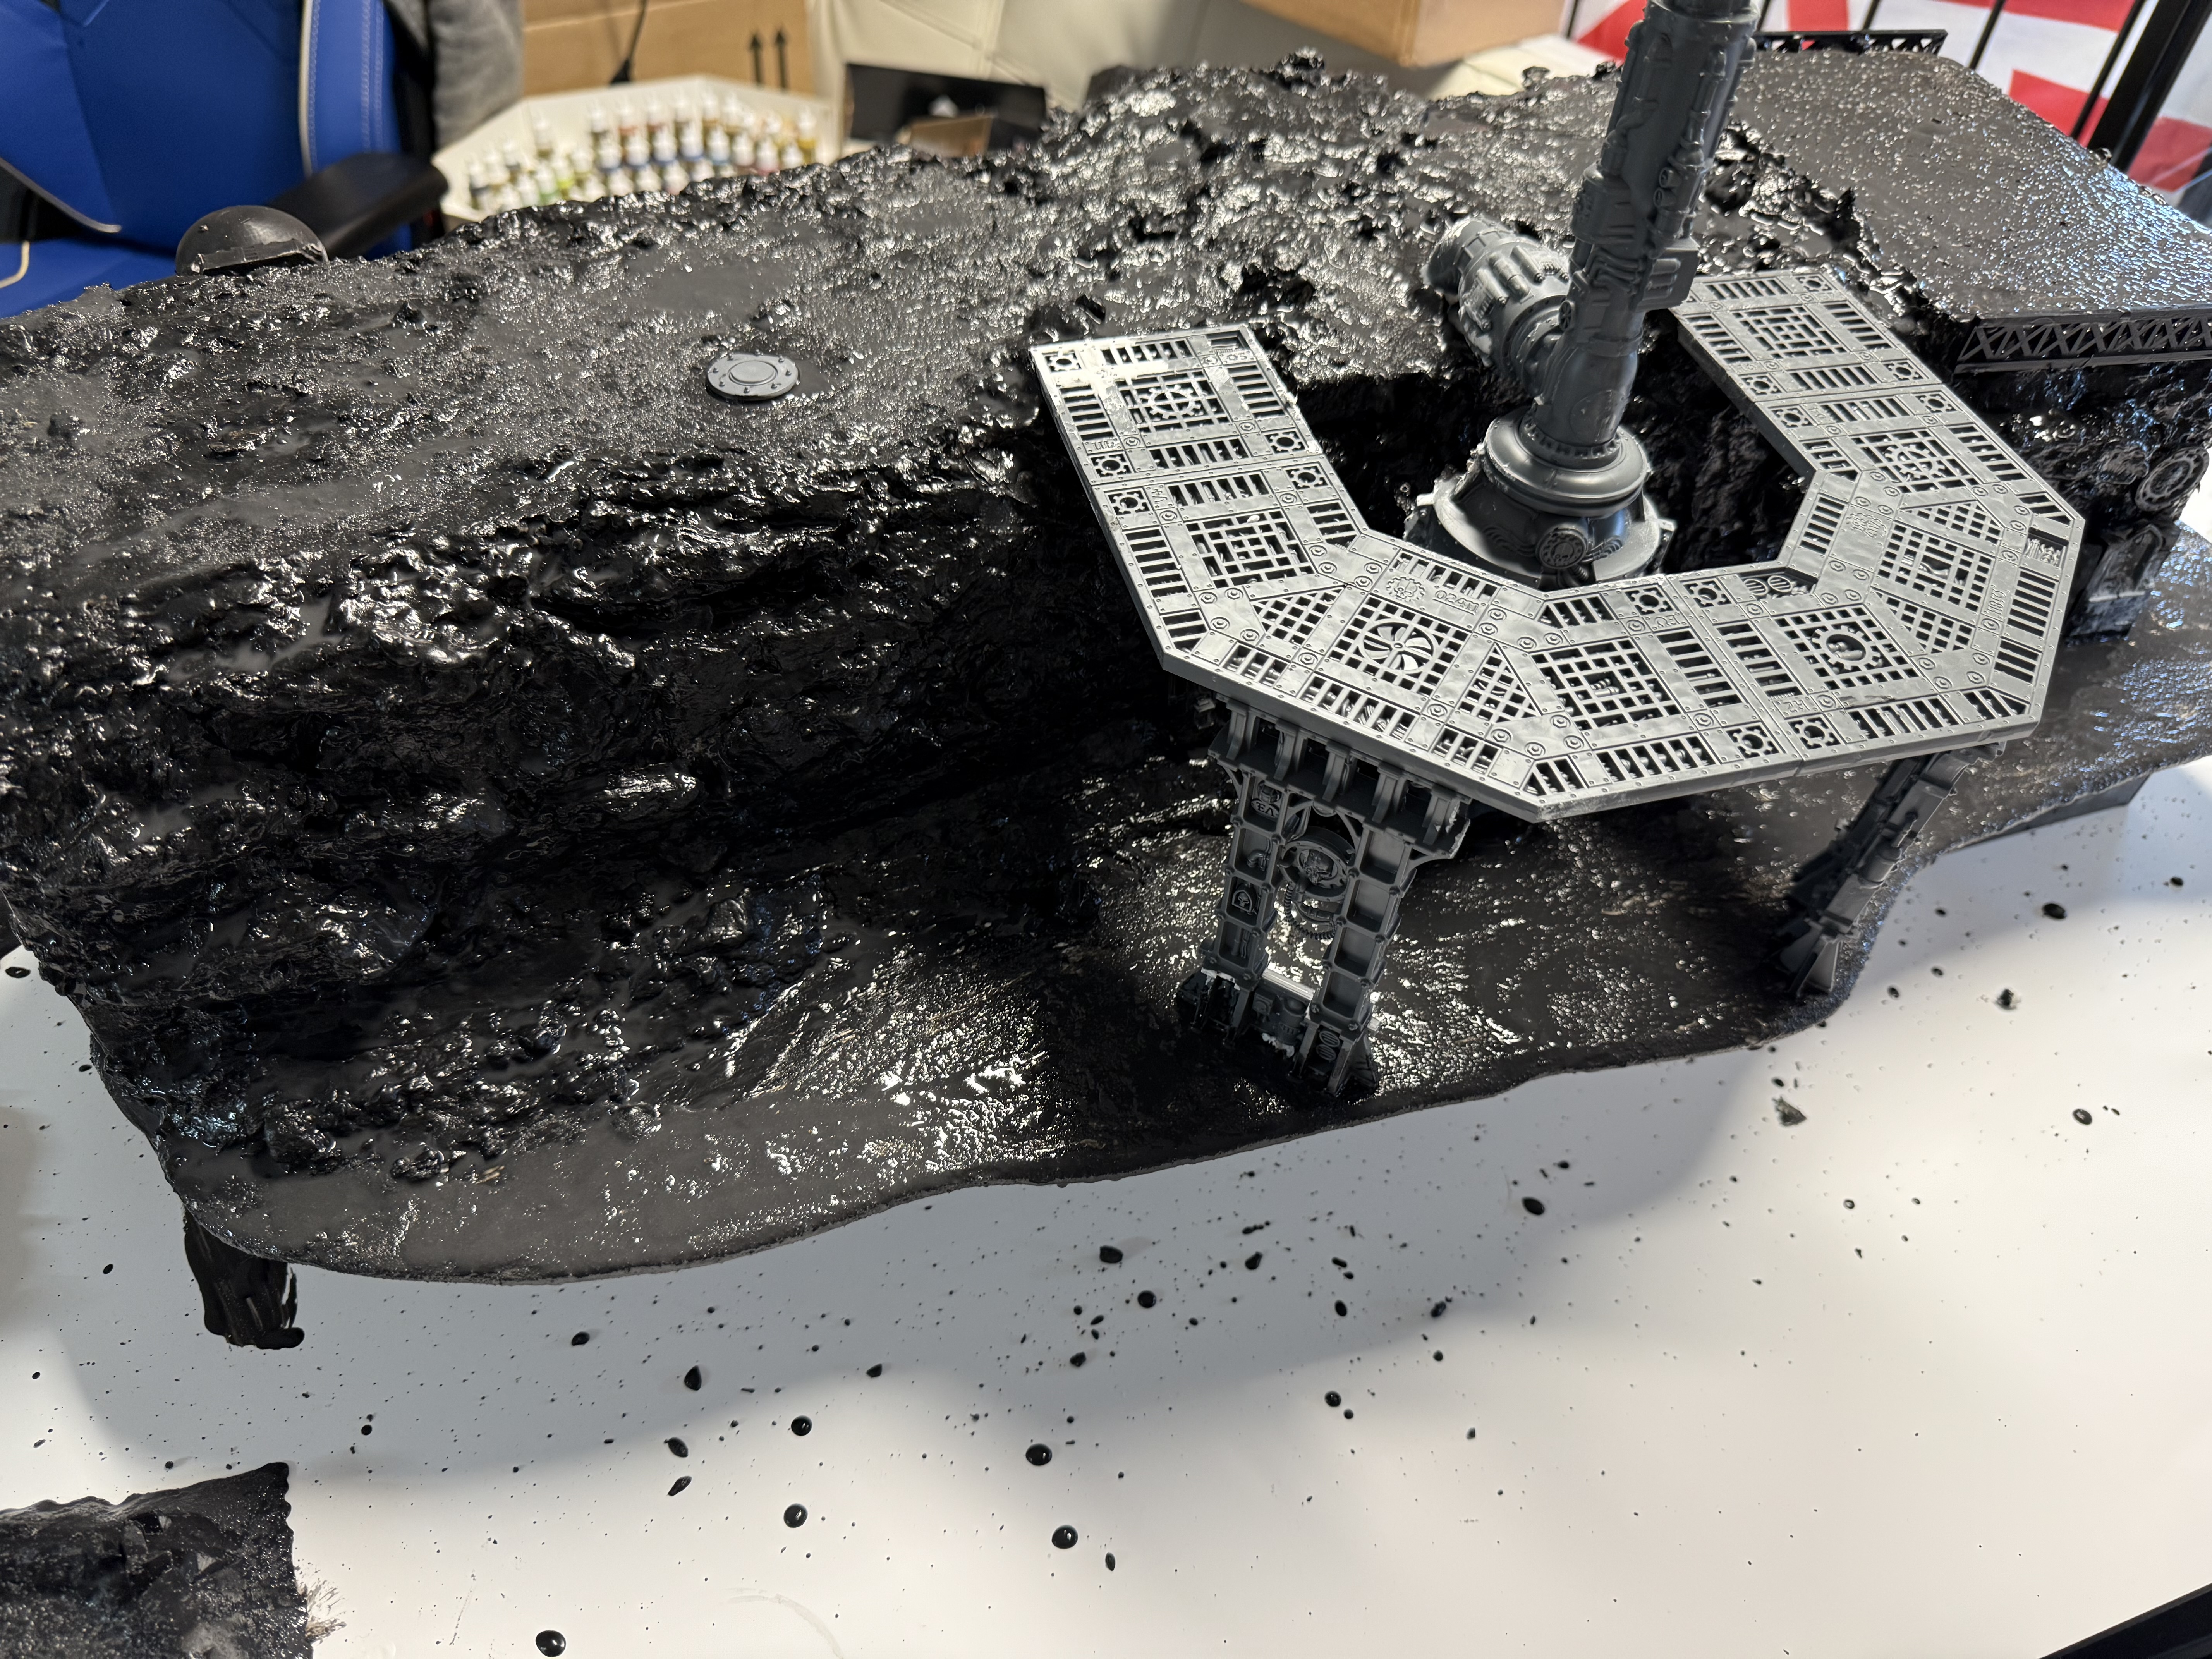
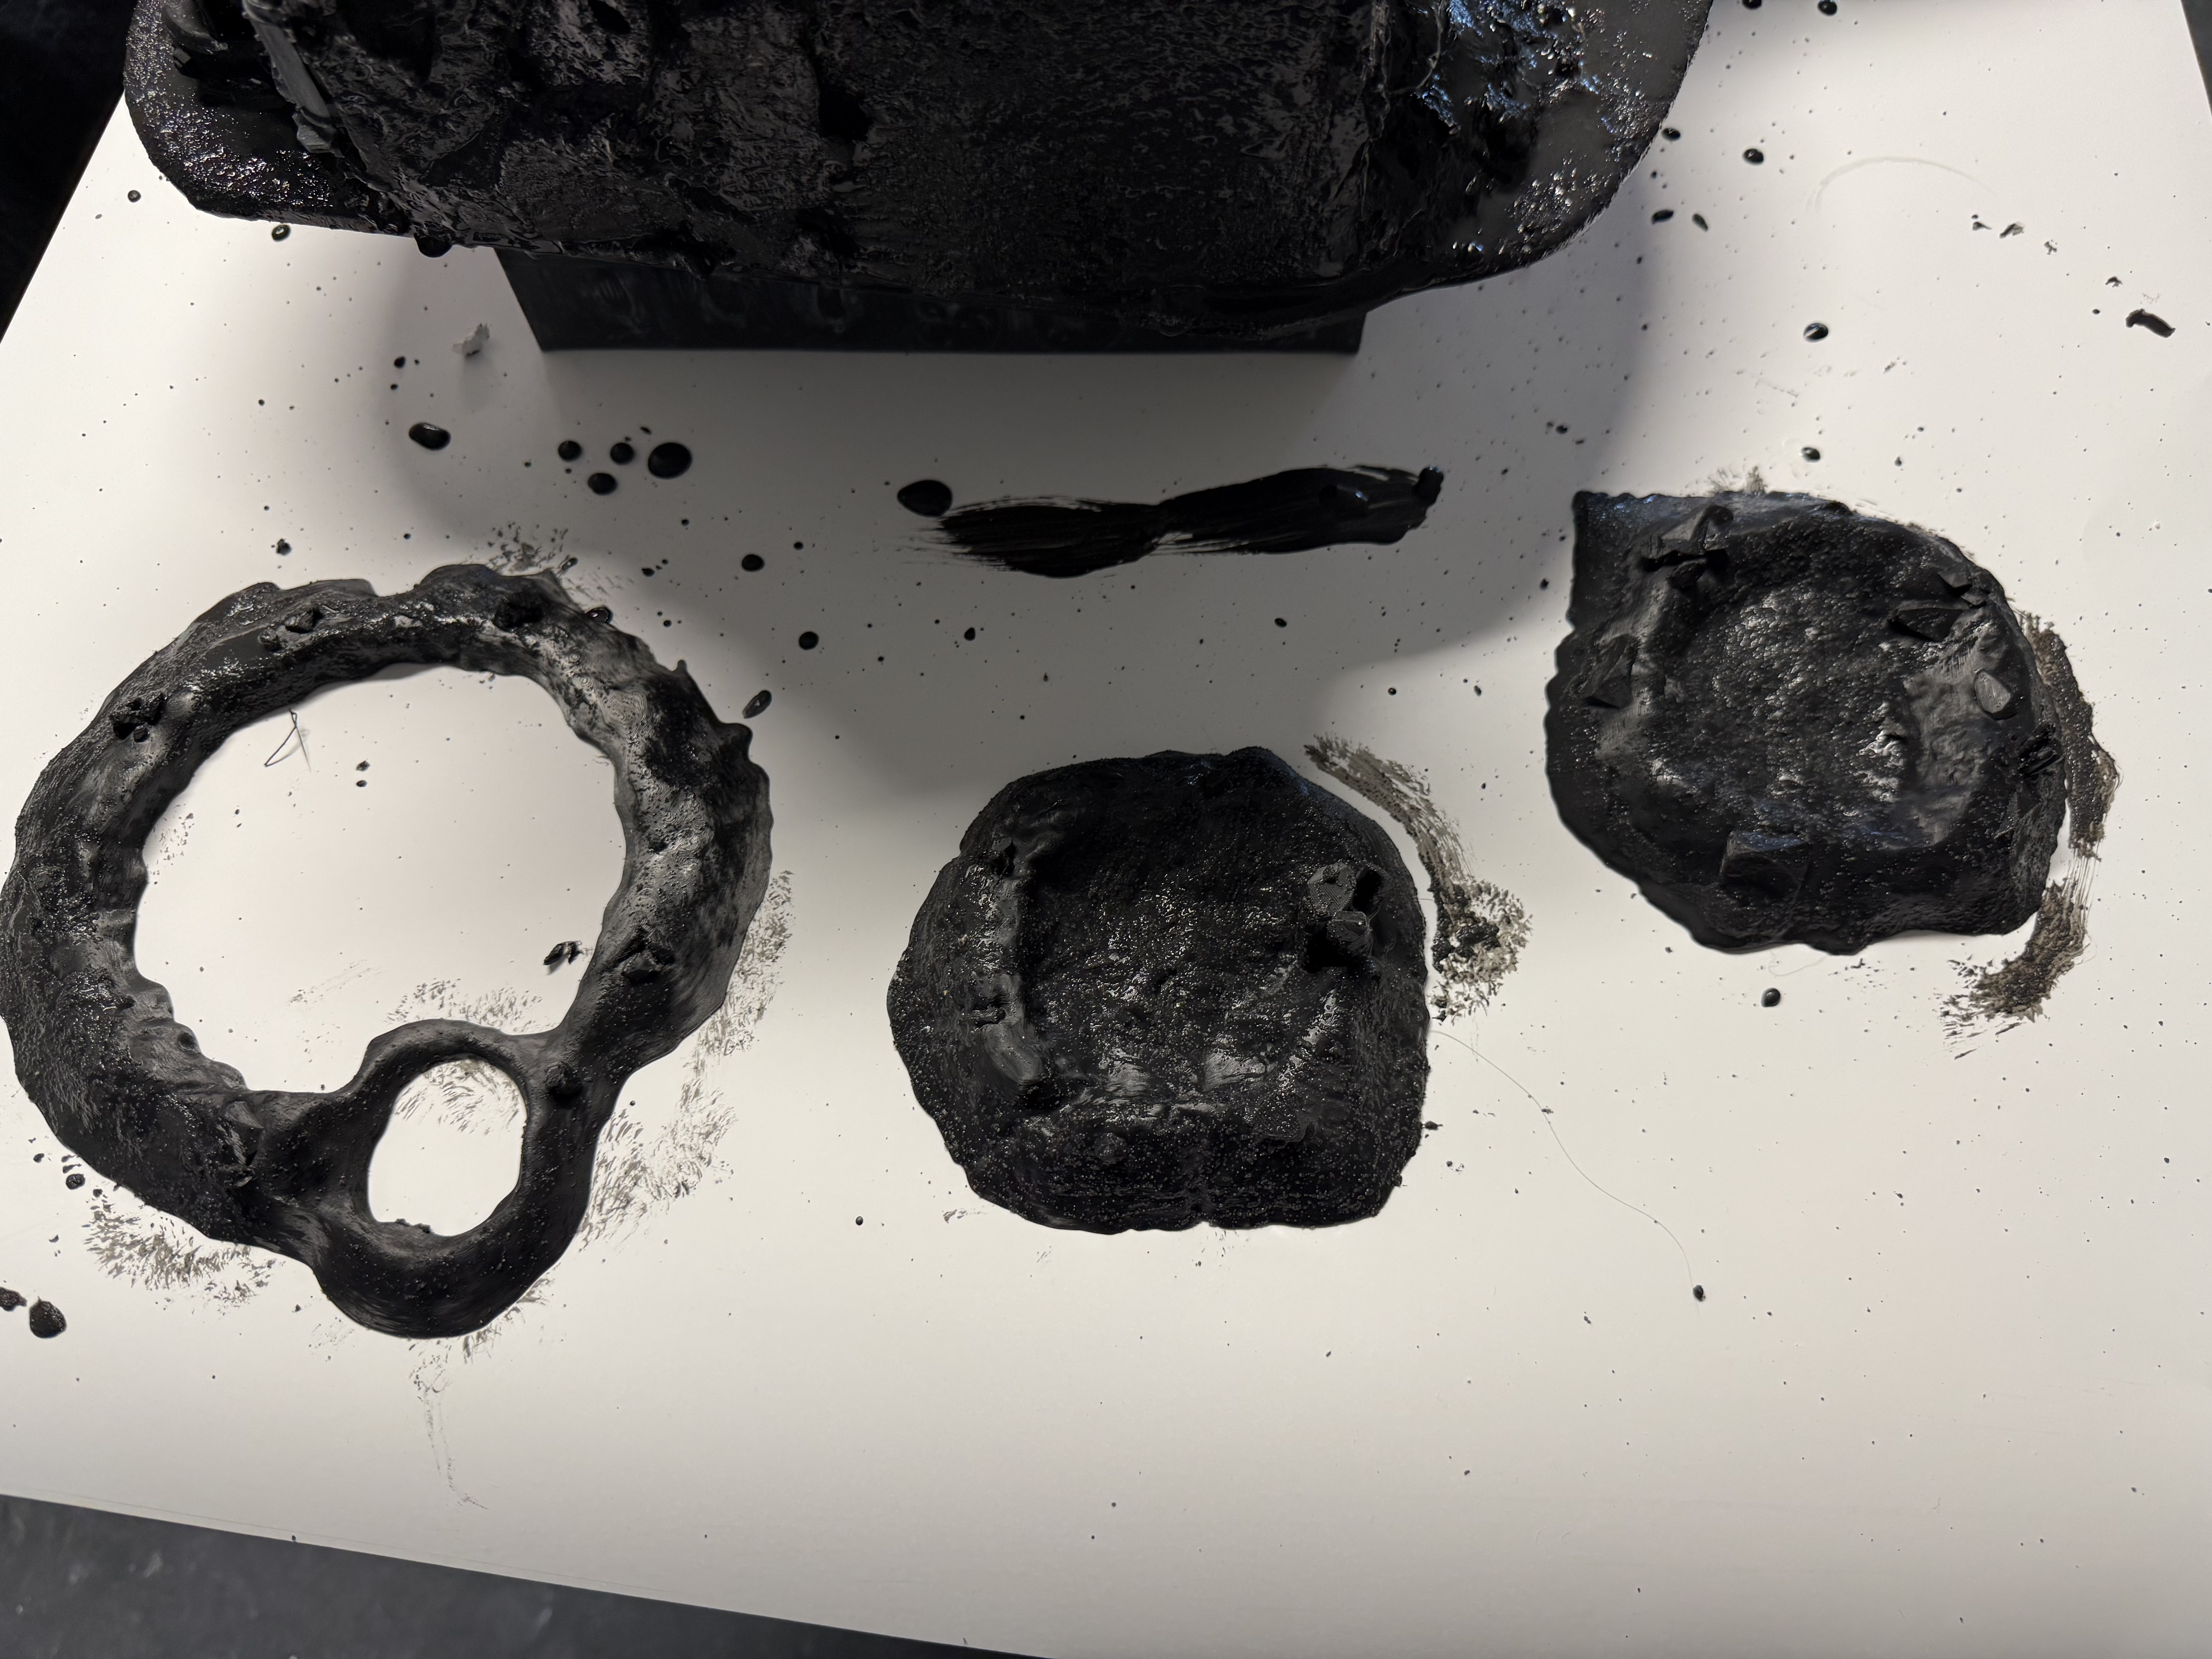
I had printed few craters as well (these are STLs from Saucermen studios). They got a coat of the sand mix as well.
They will be themed for this project, perhaps most importantly will function as the test pieces for the final painting stage.
Build day 5
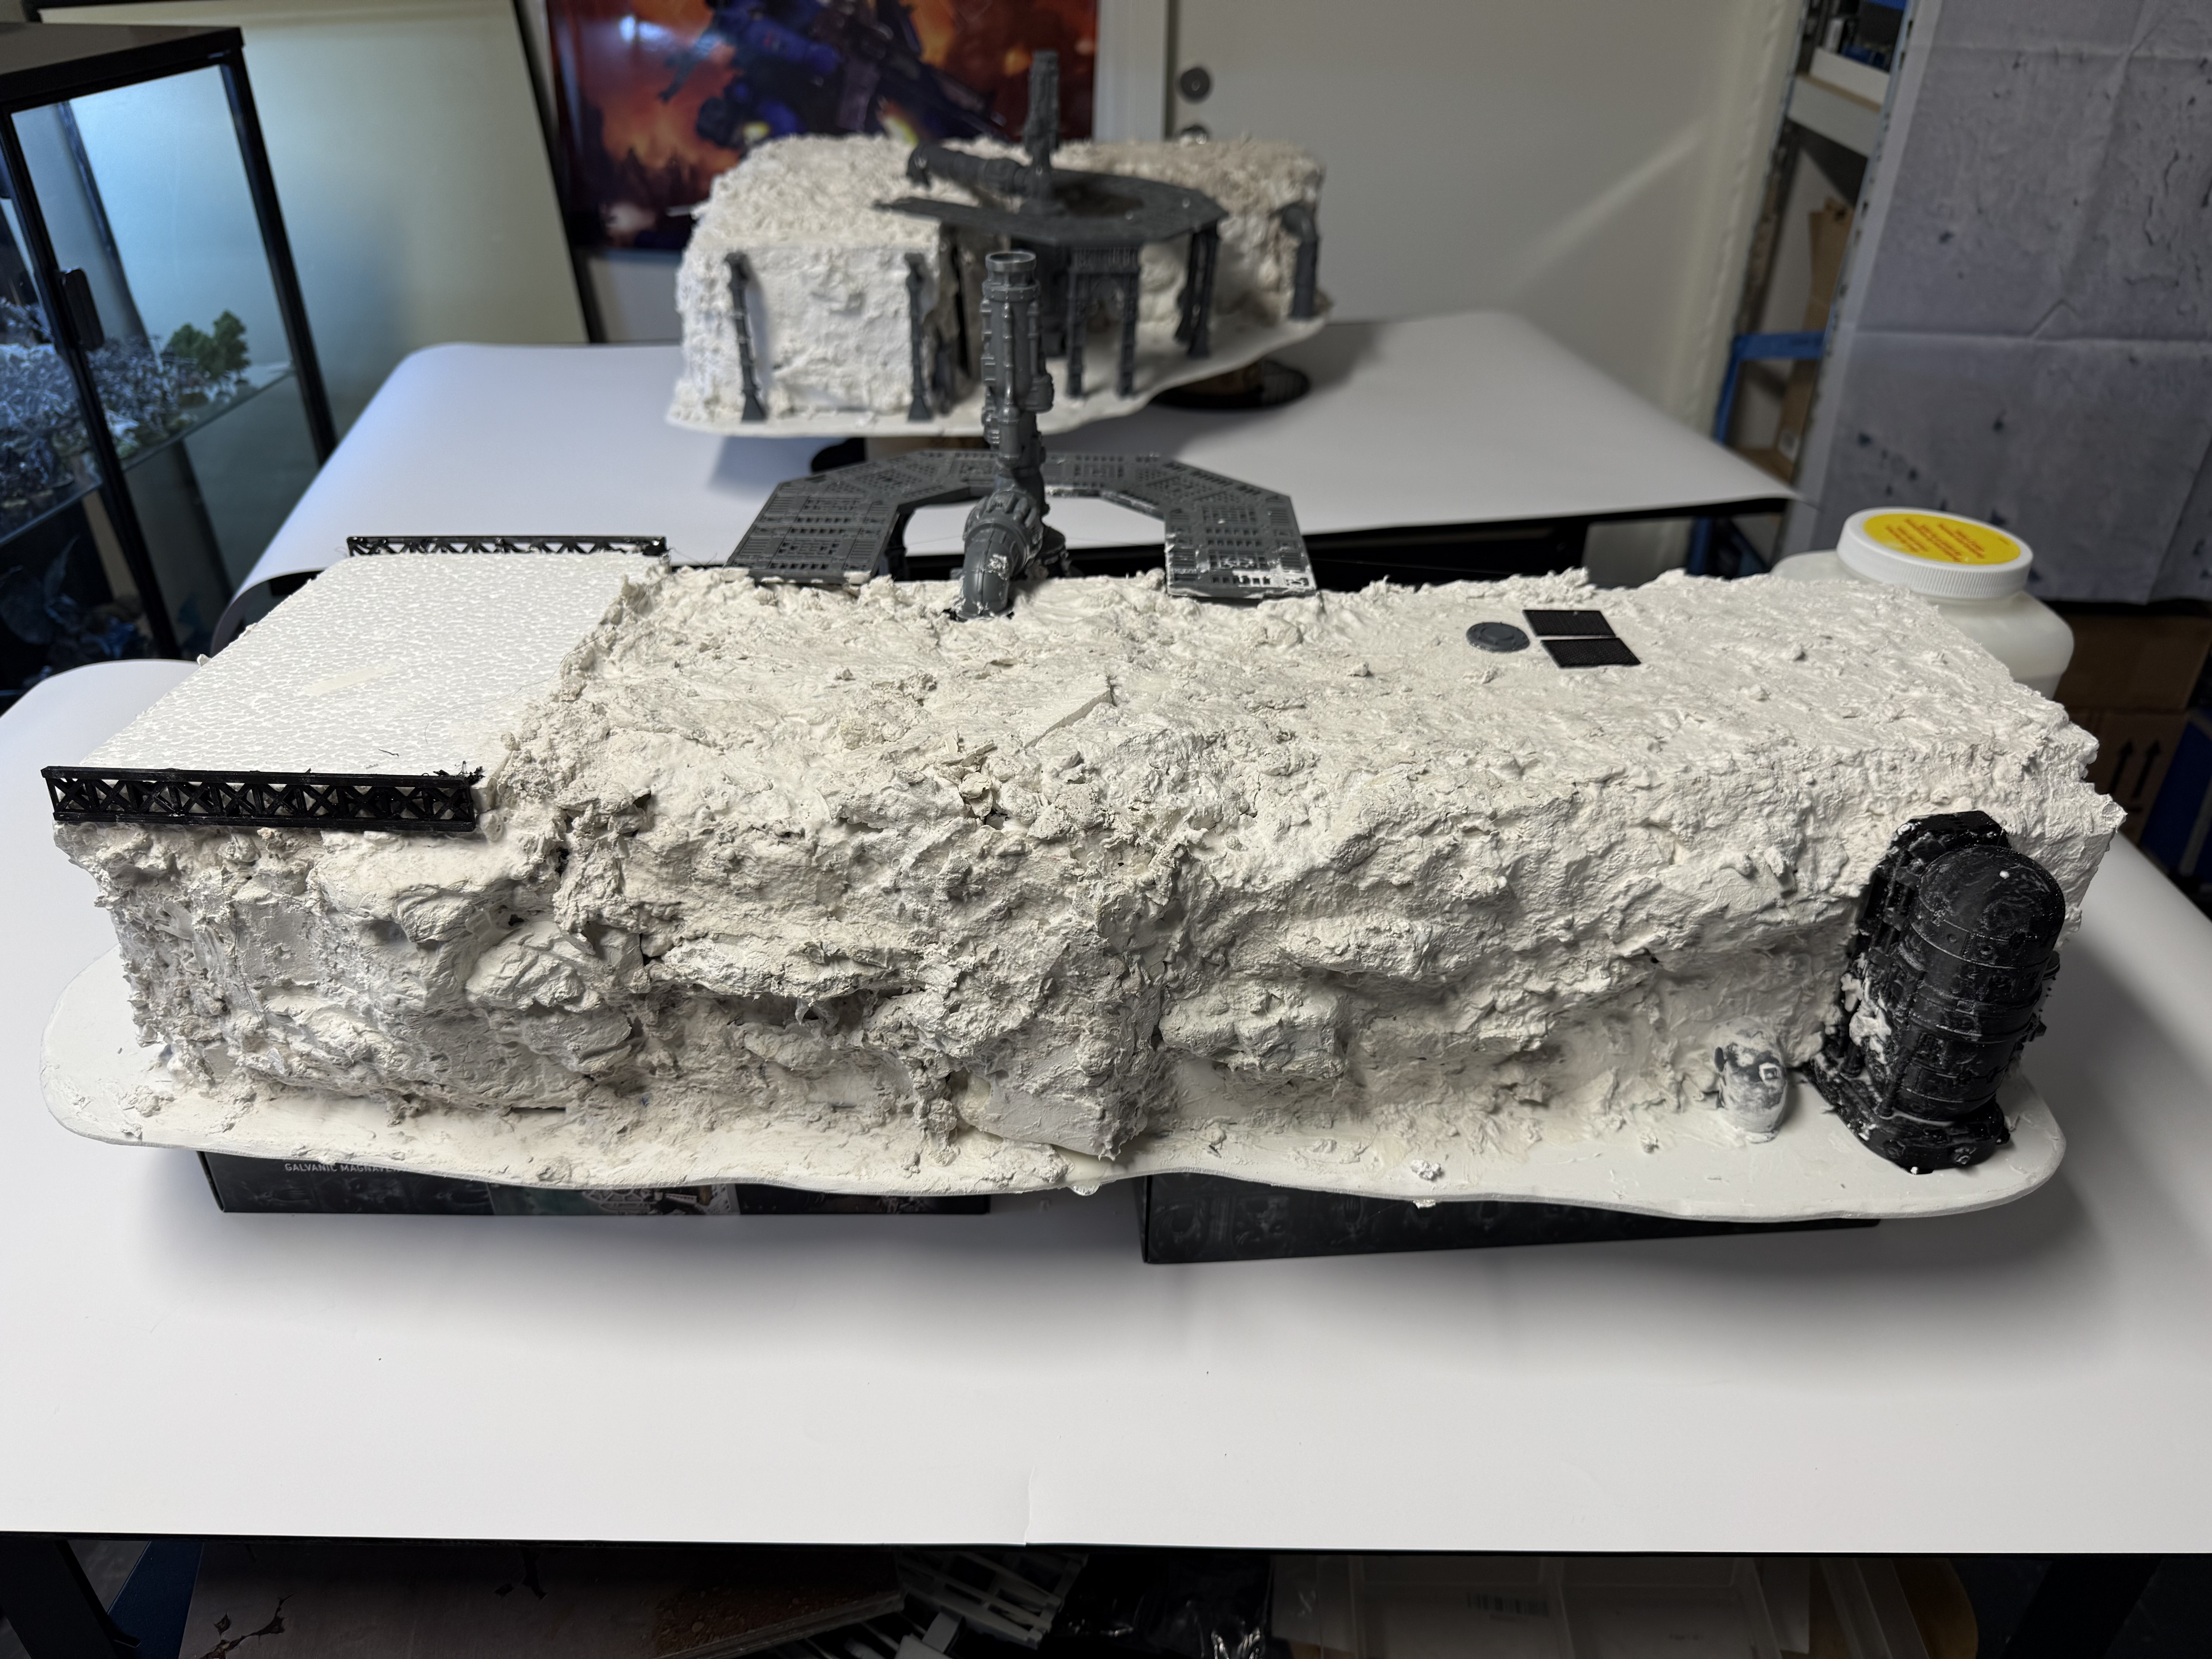
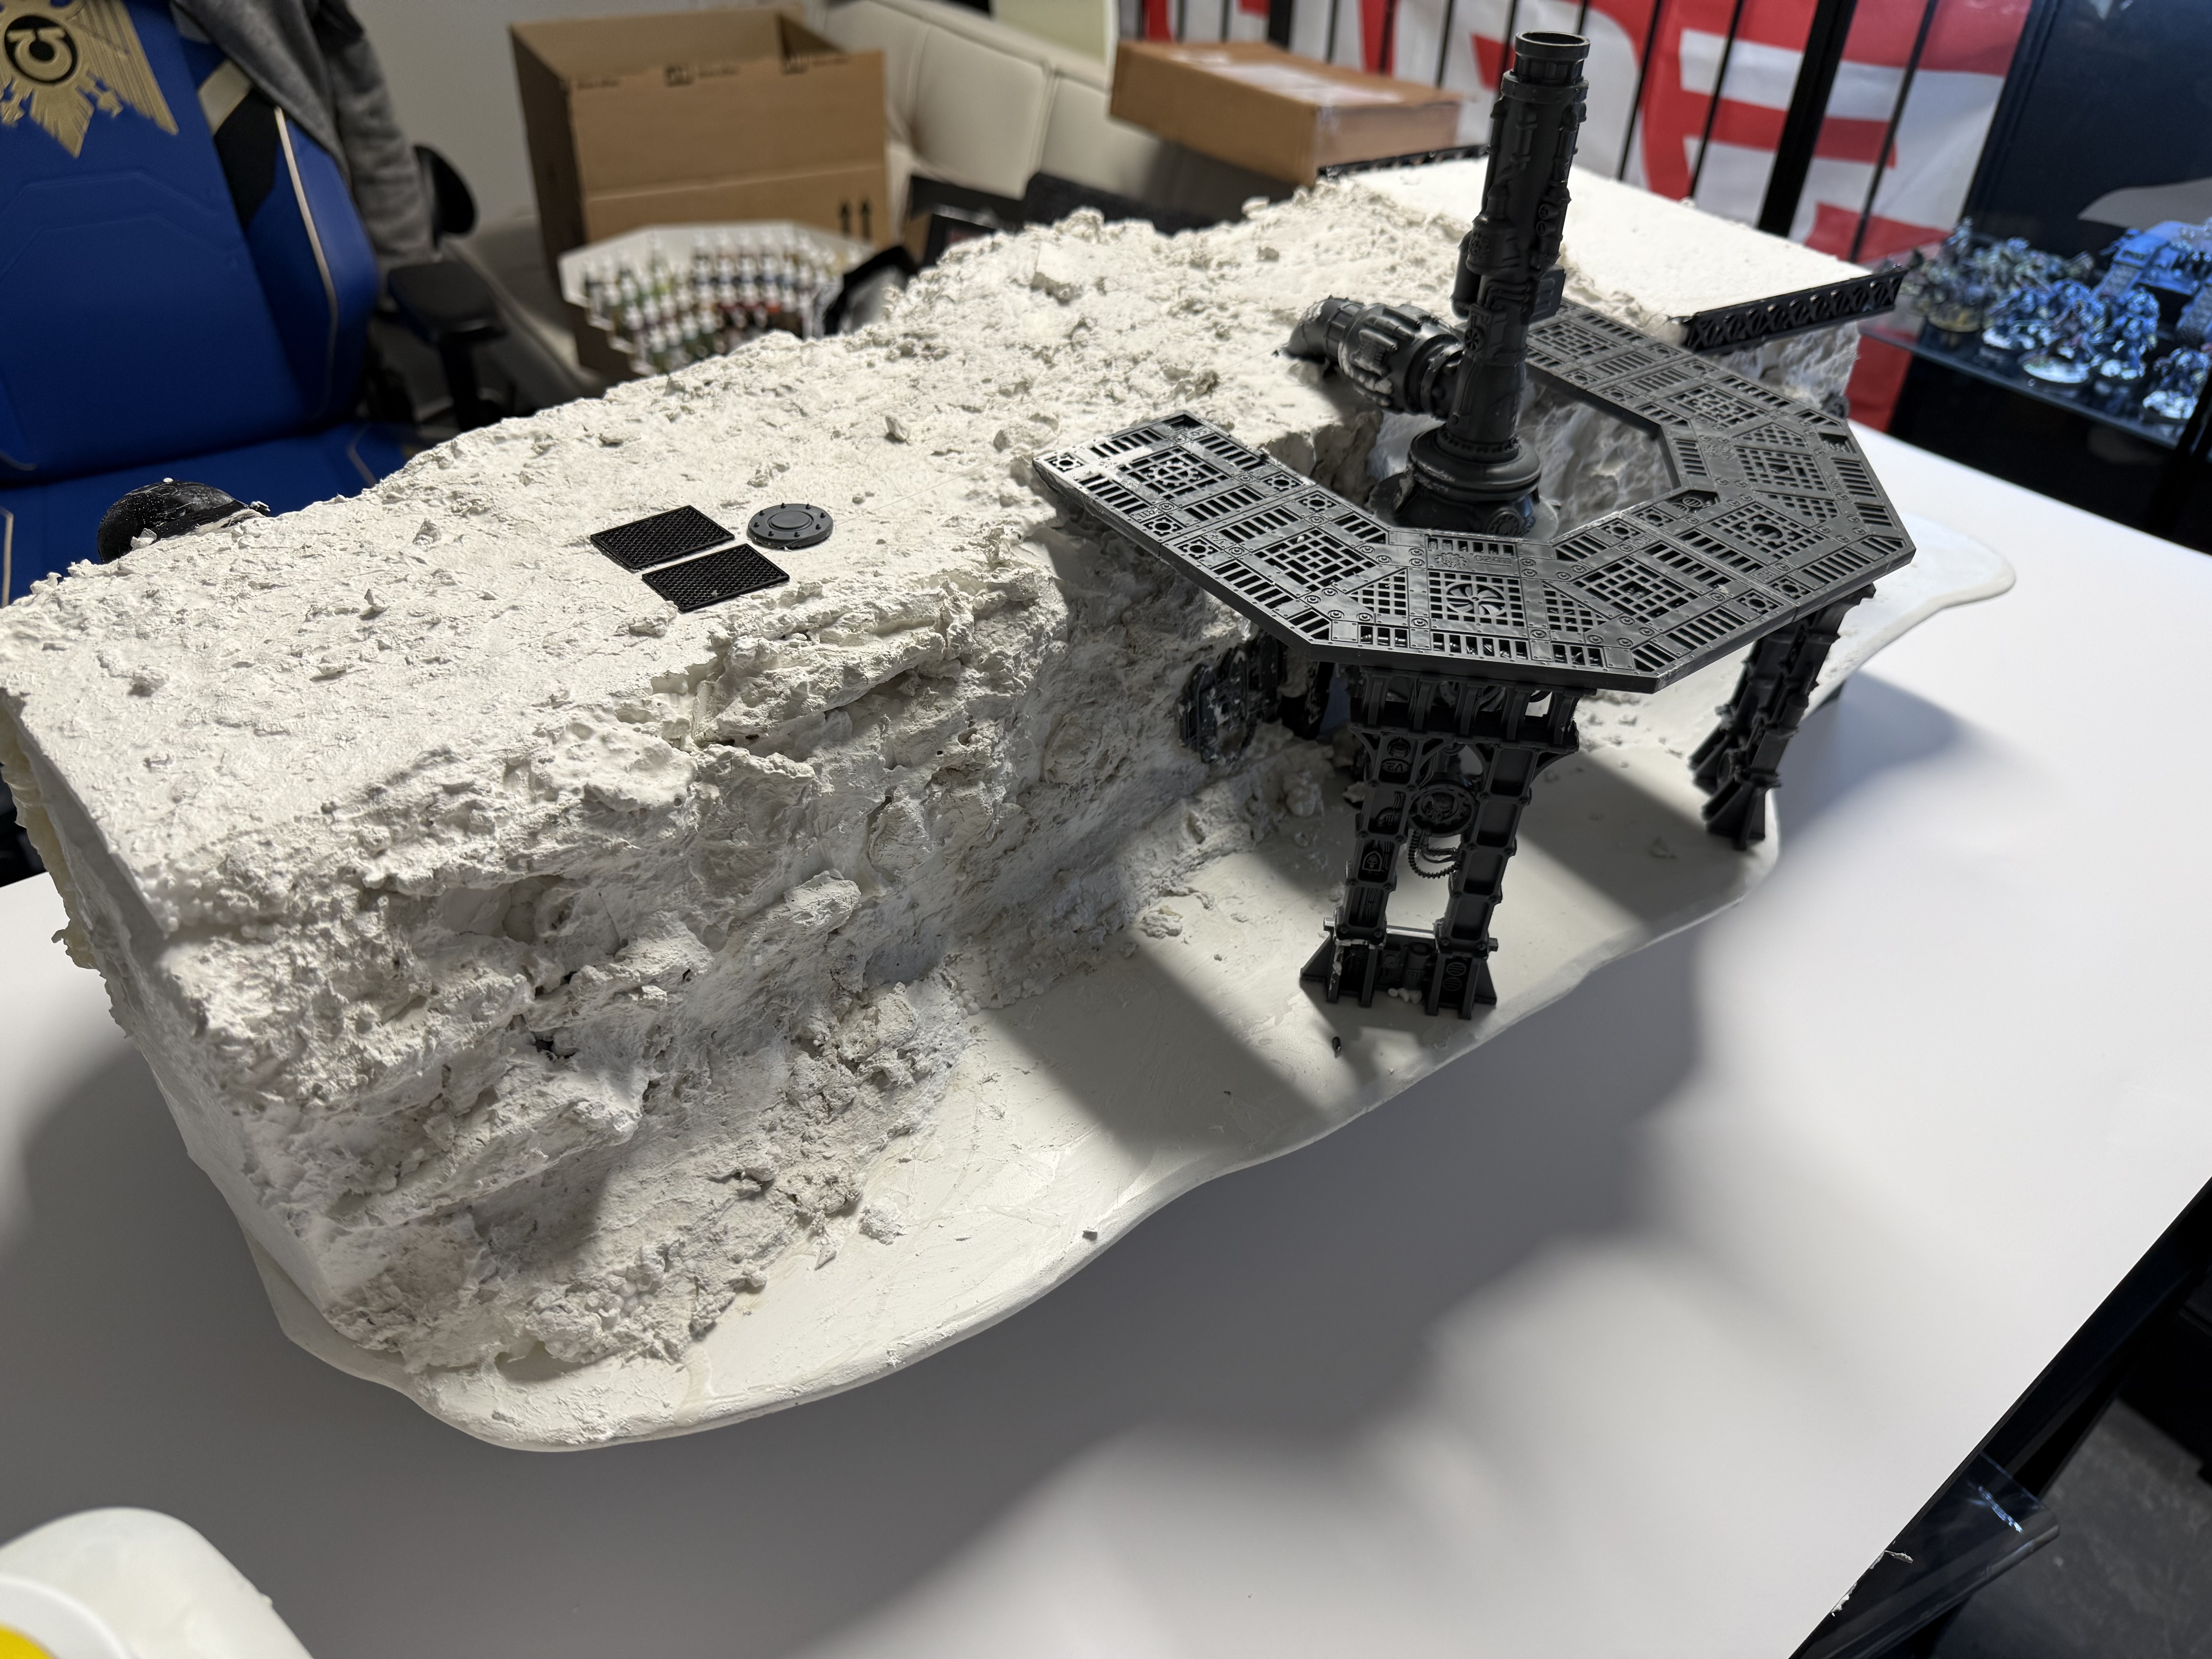
Everything covered in modelling compound, pieces fixes in.
Last look before this gets some colour!
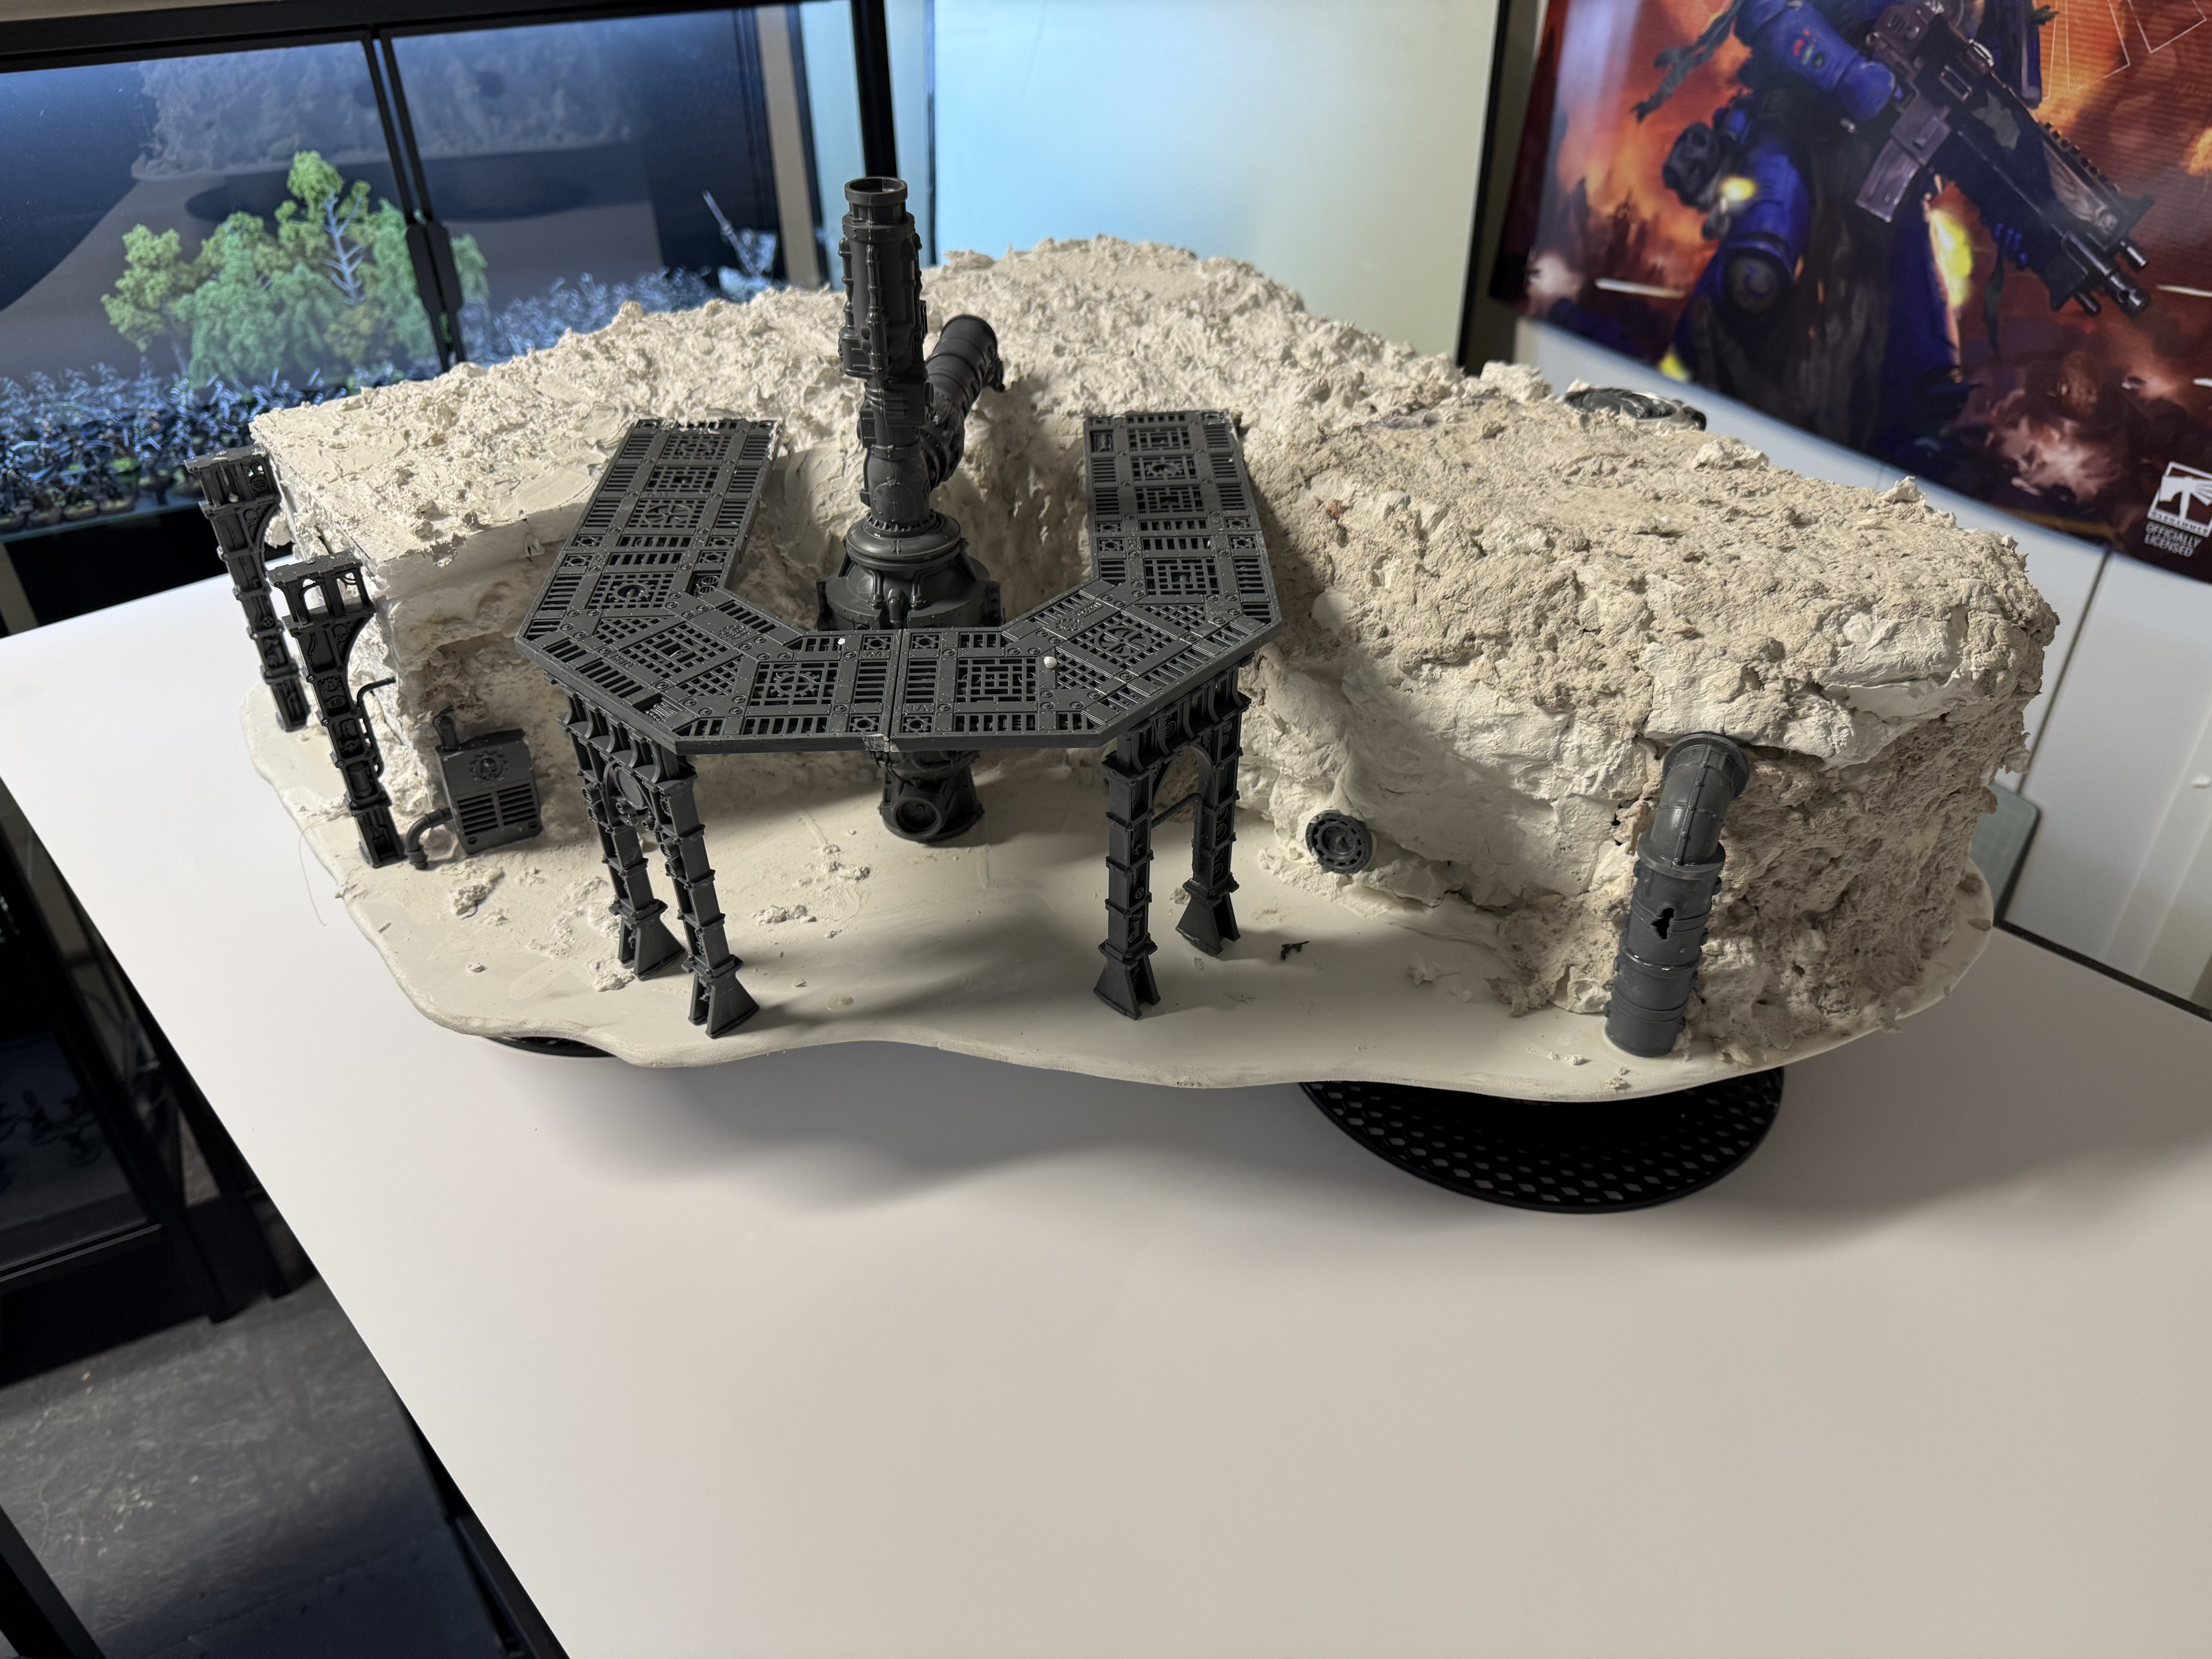
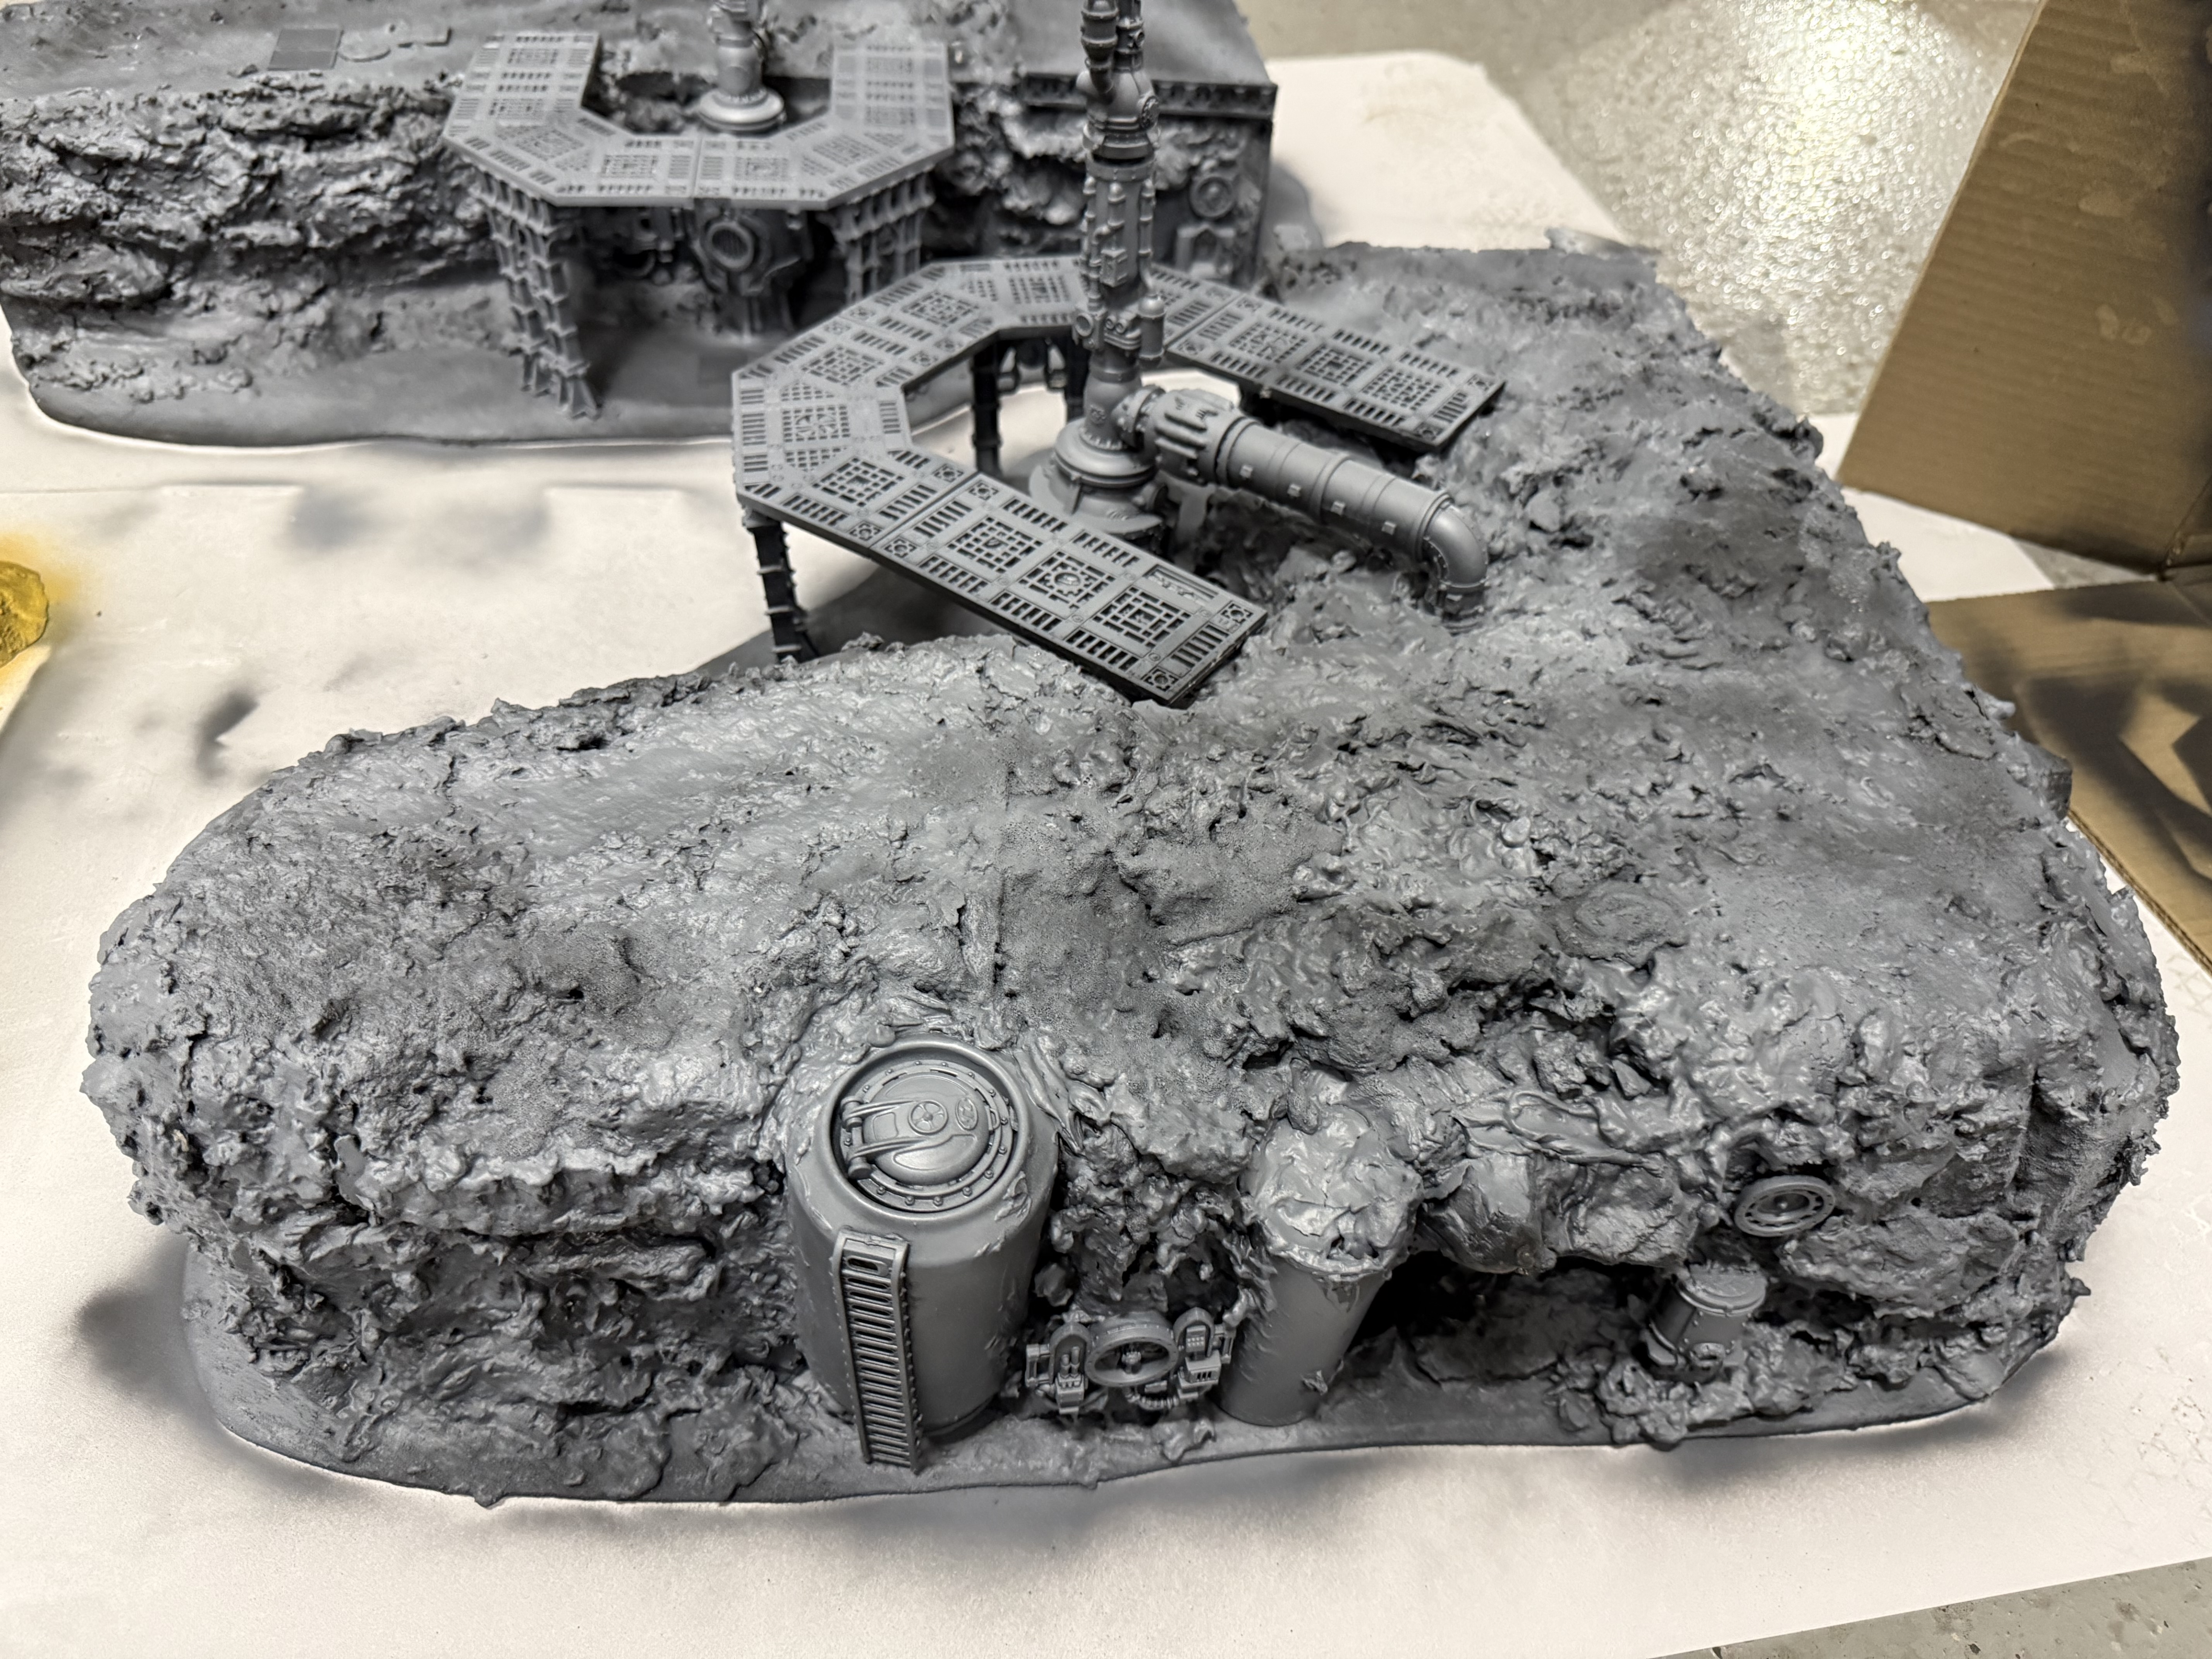
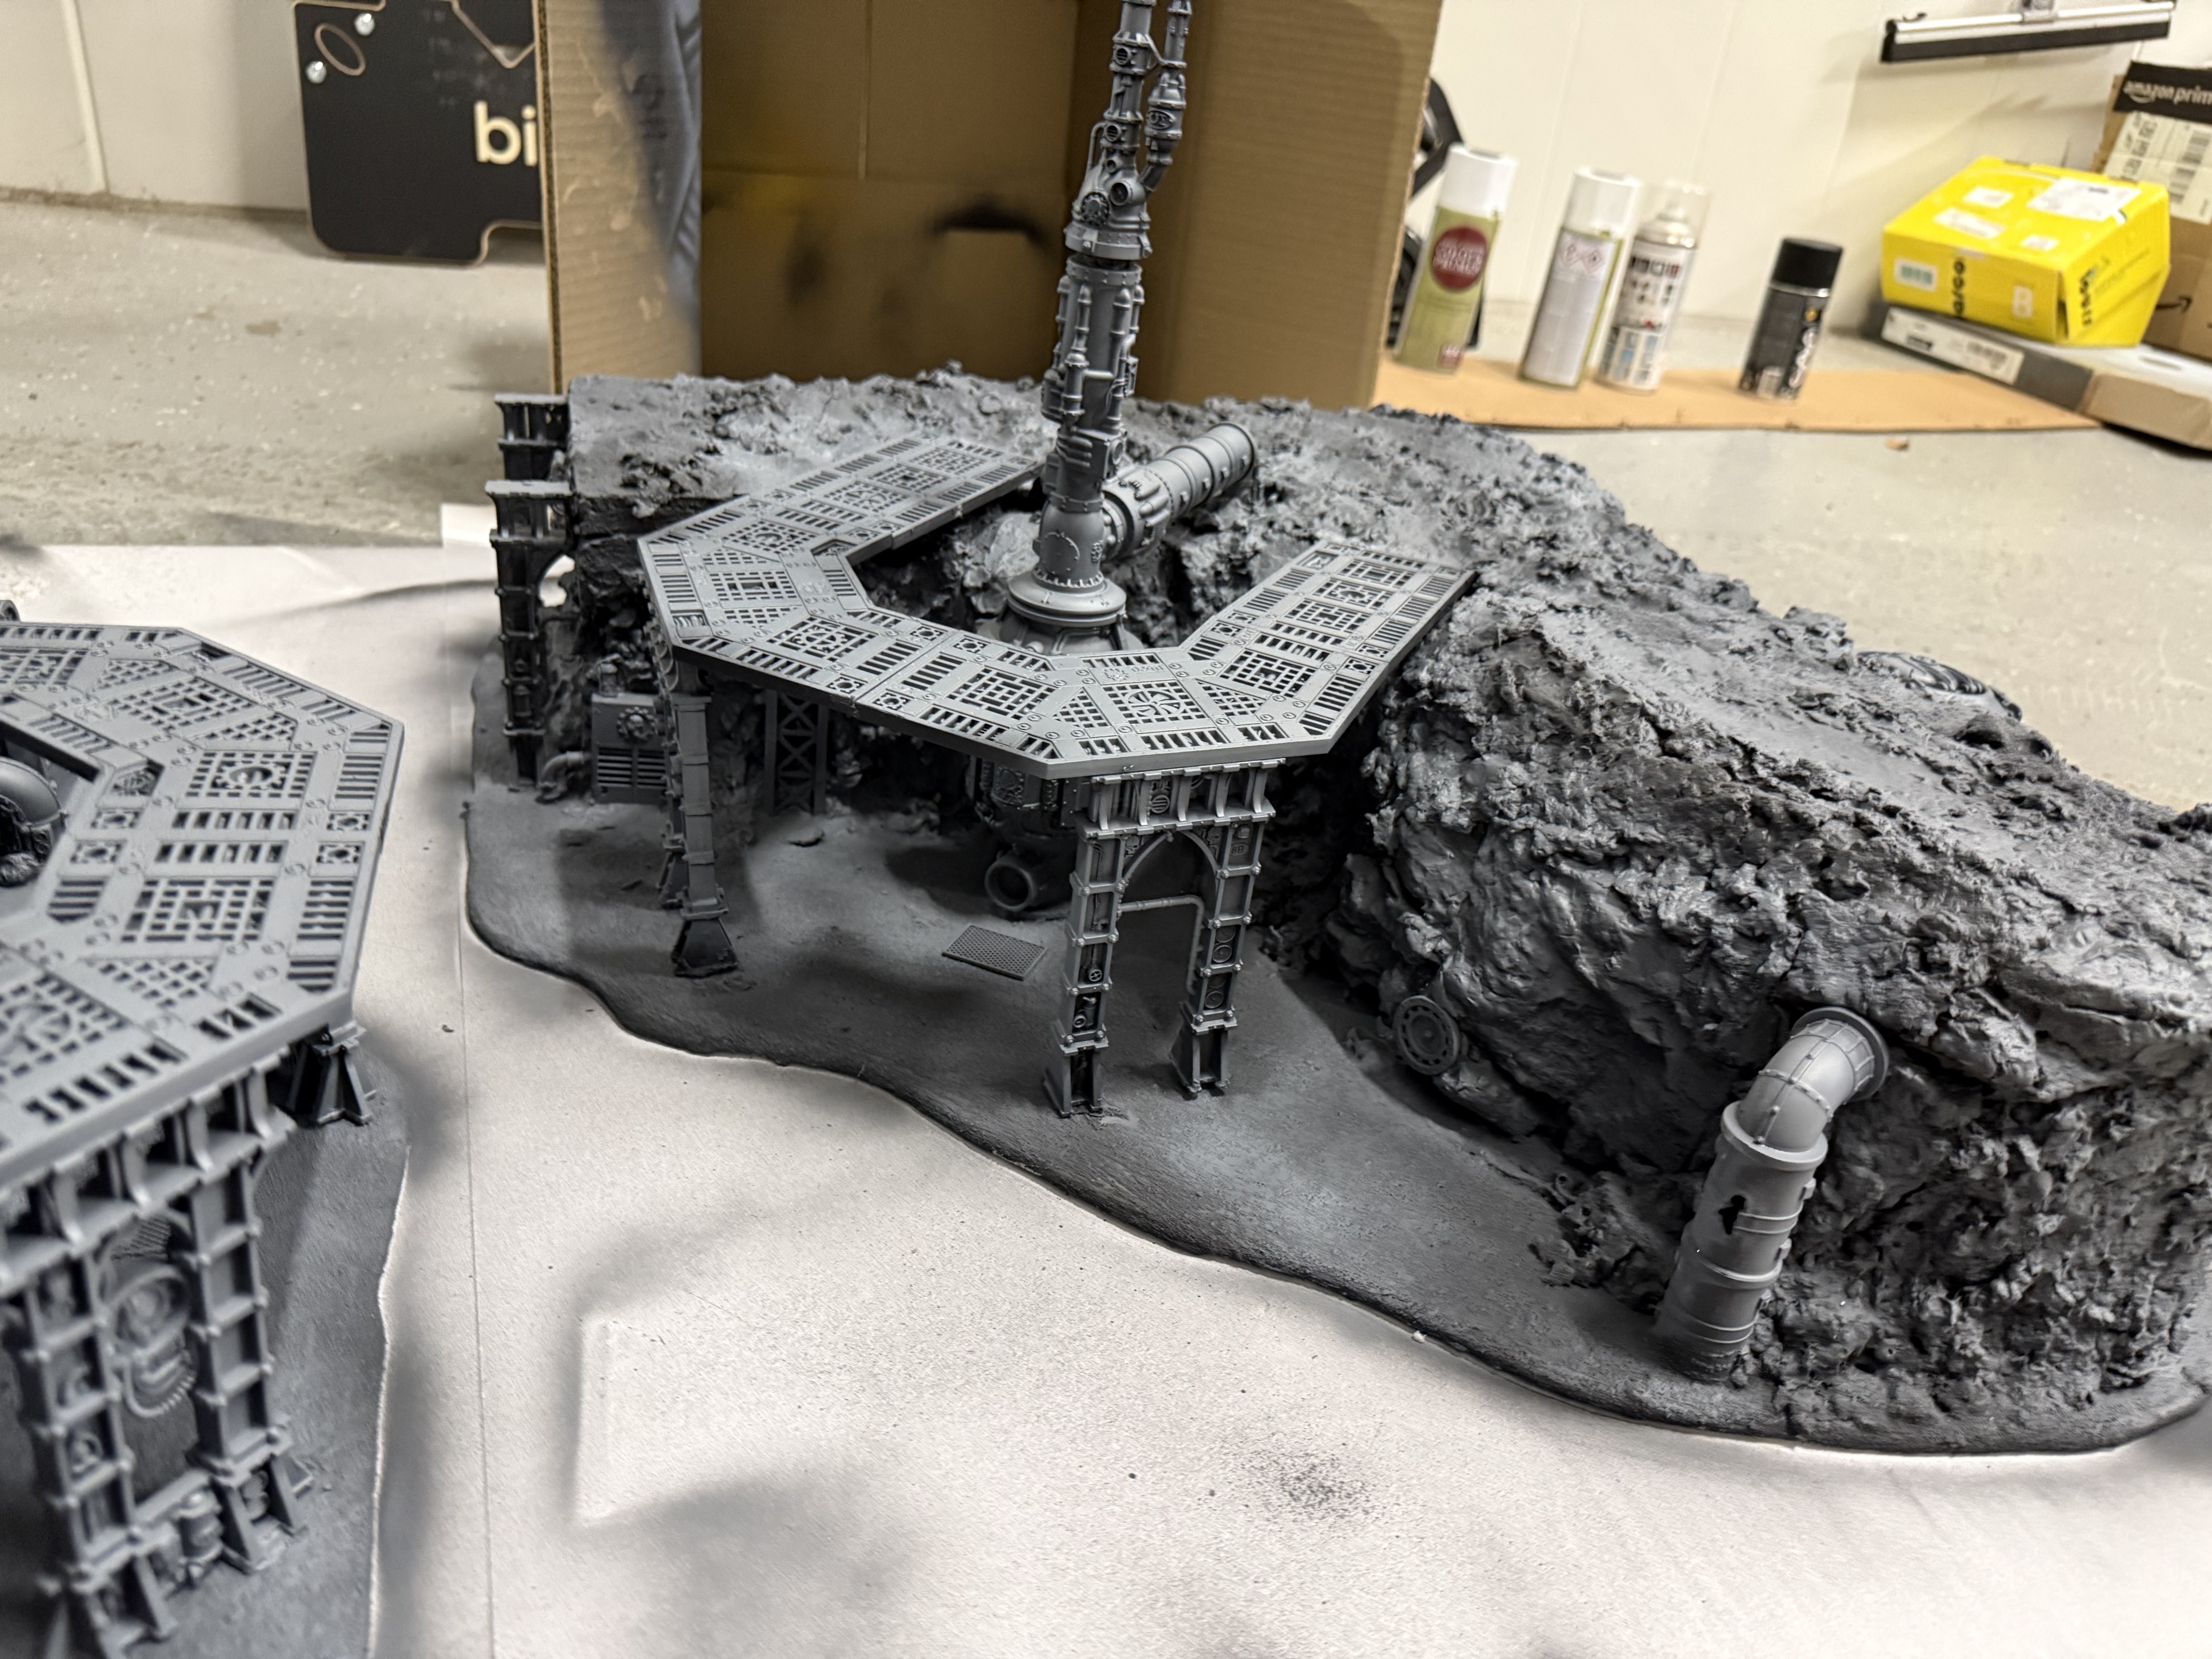
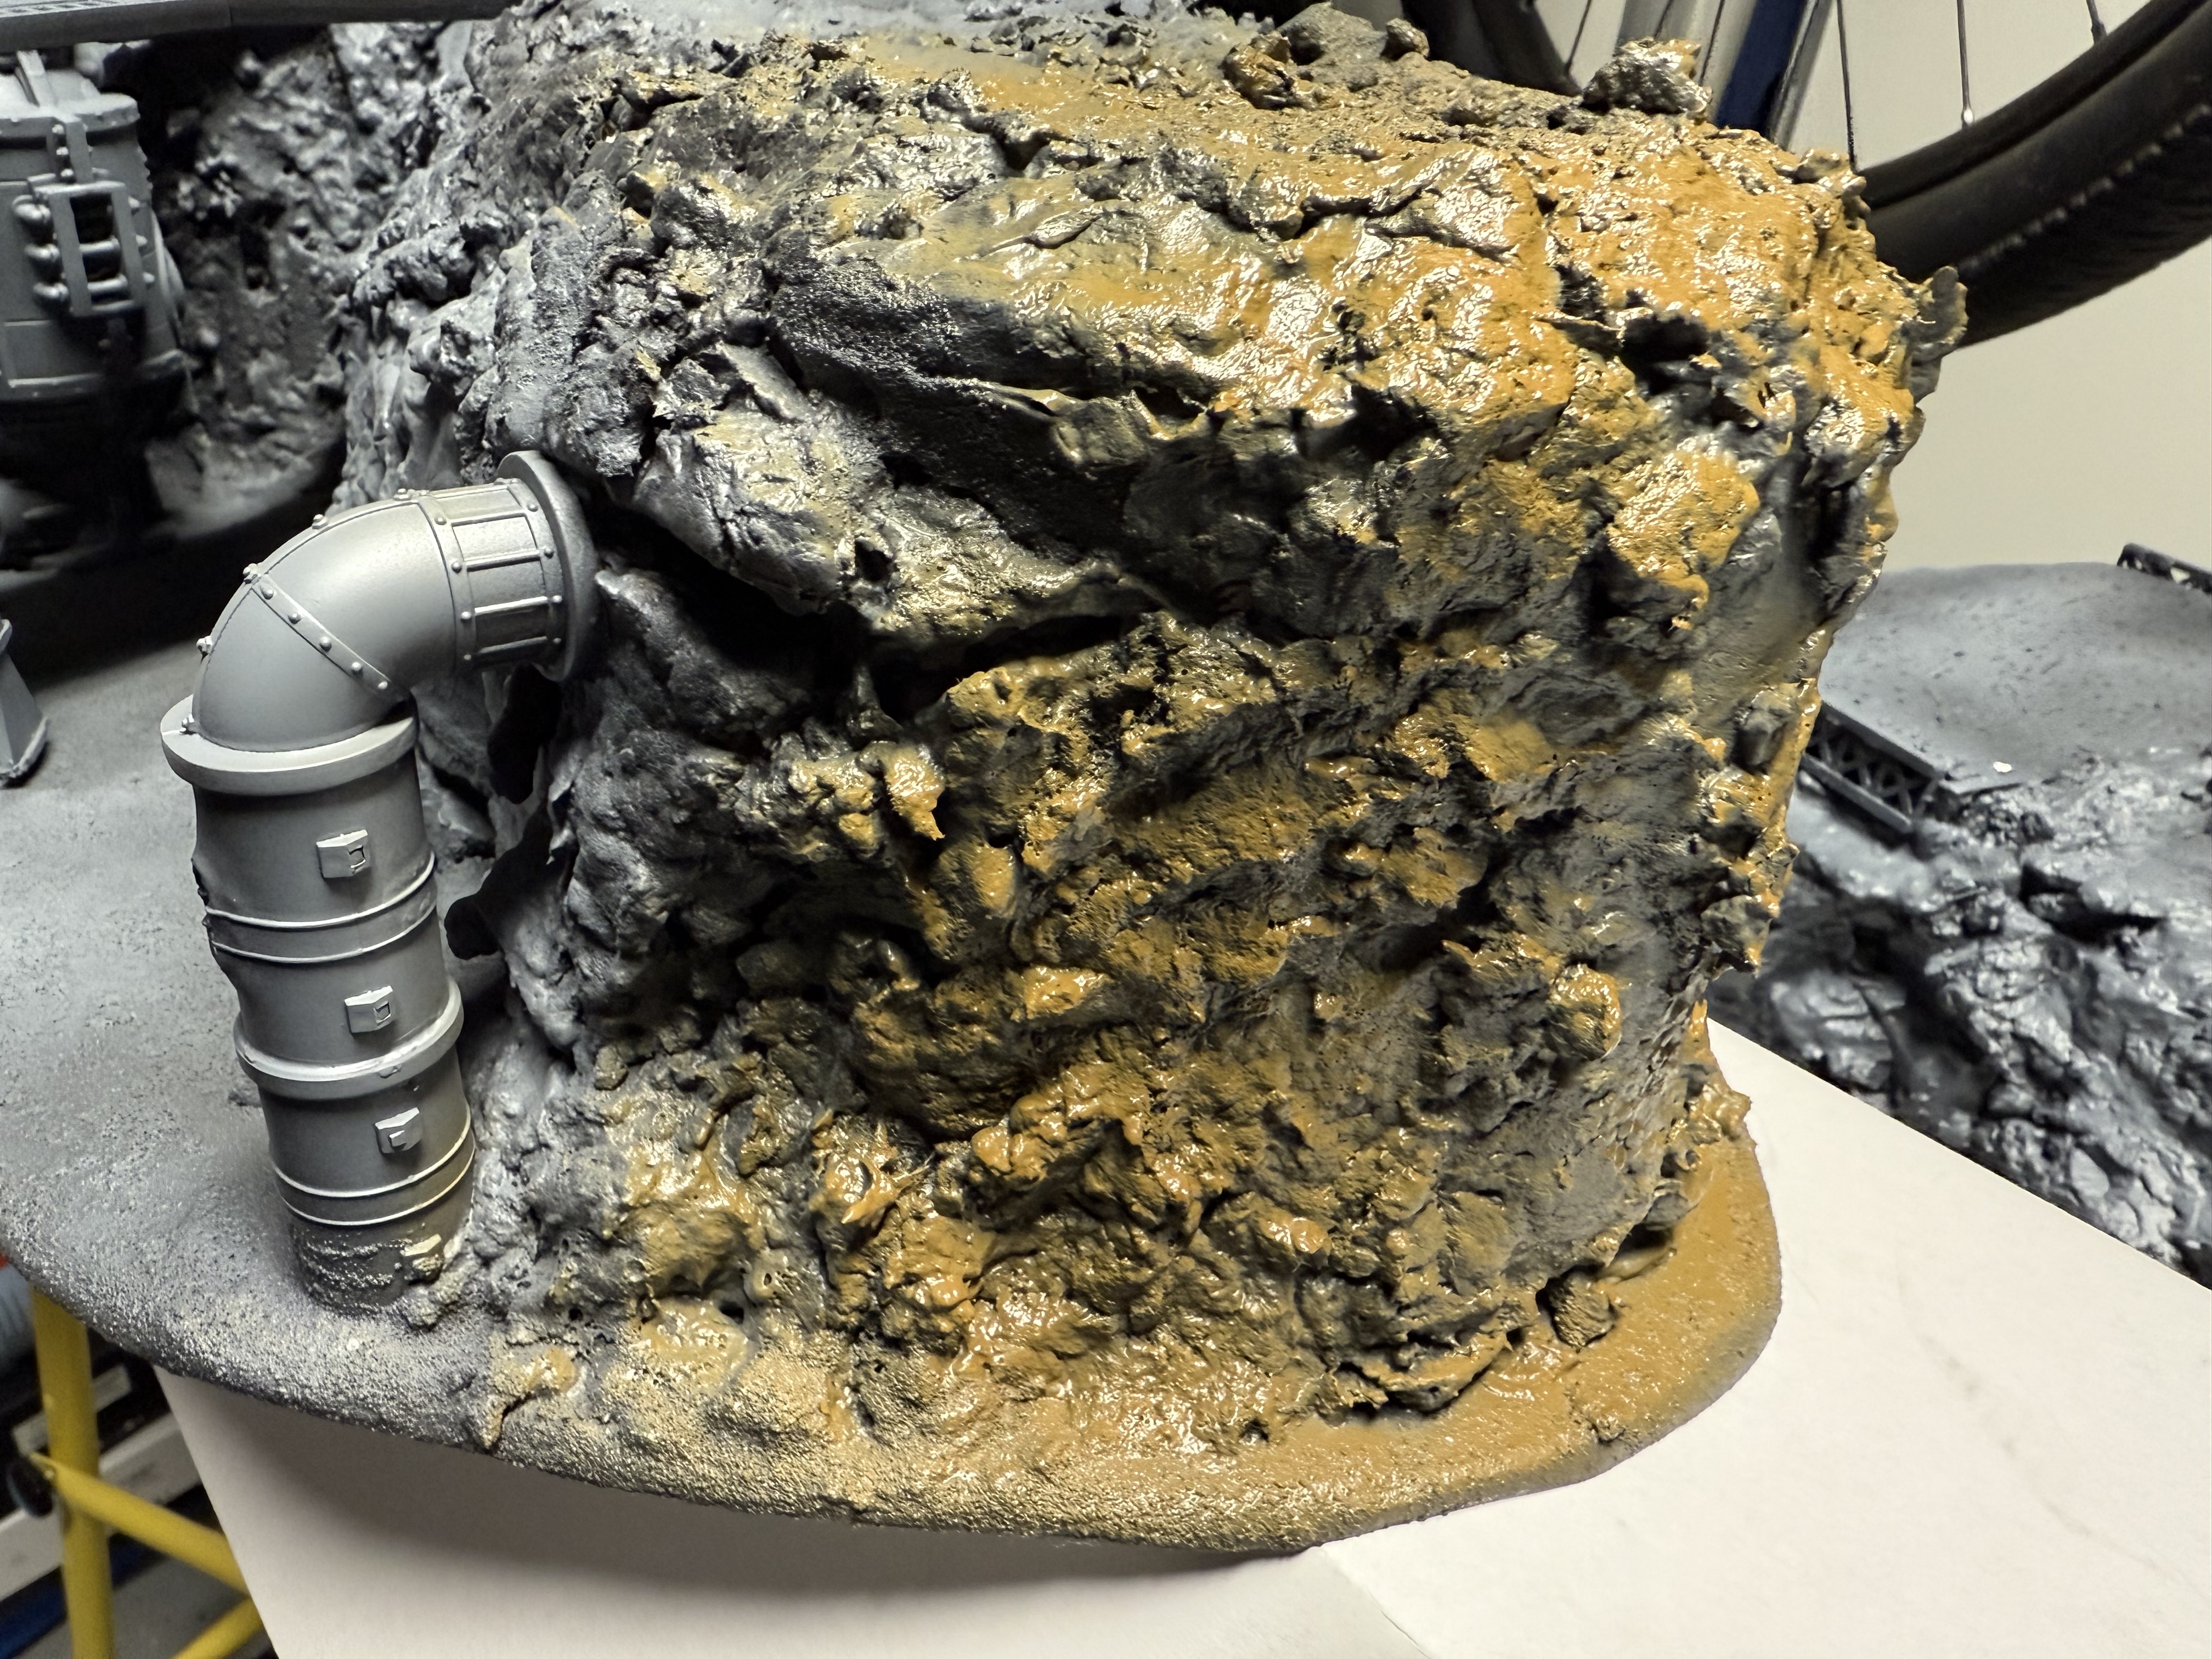
How to: rock faces with cast rocks and modelling compound
Here’s a quick update on how I’m building the rock faces on top of styrofoam.
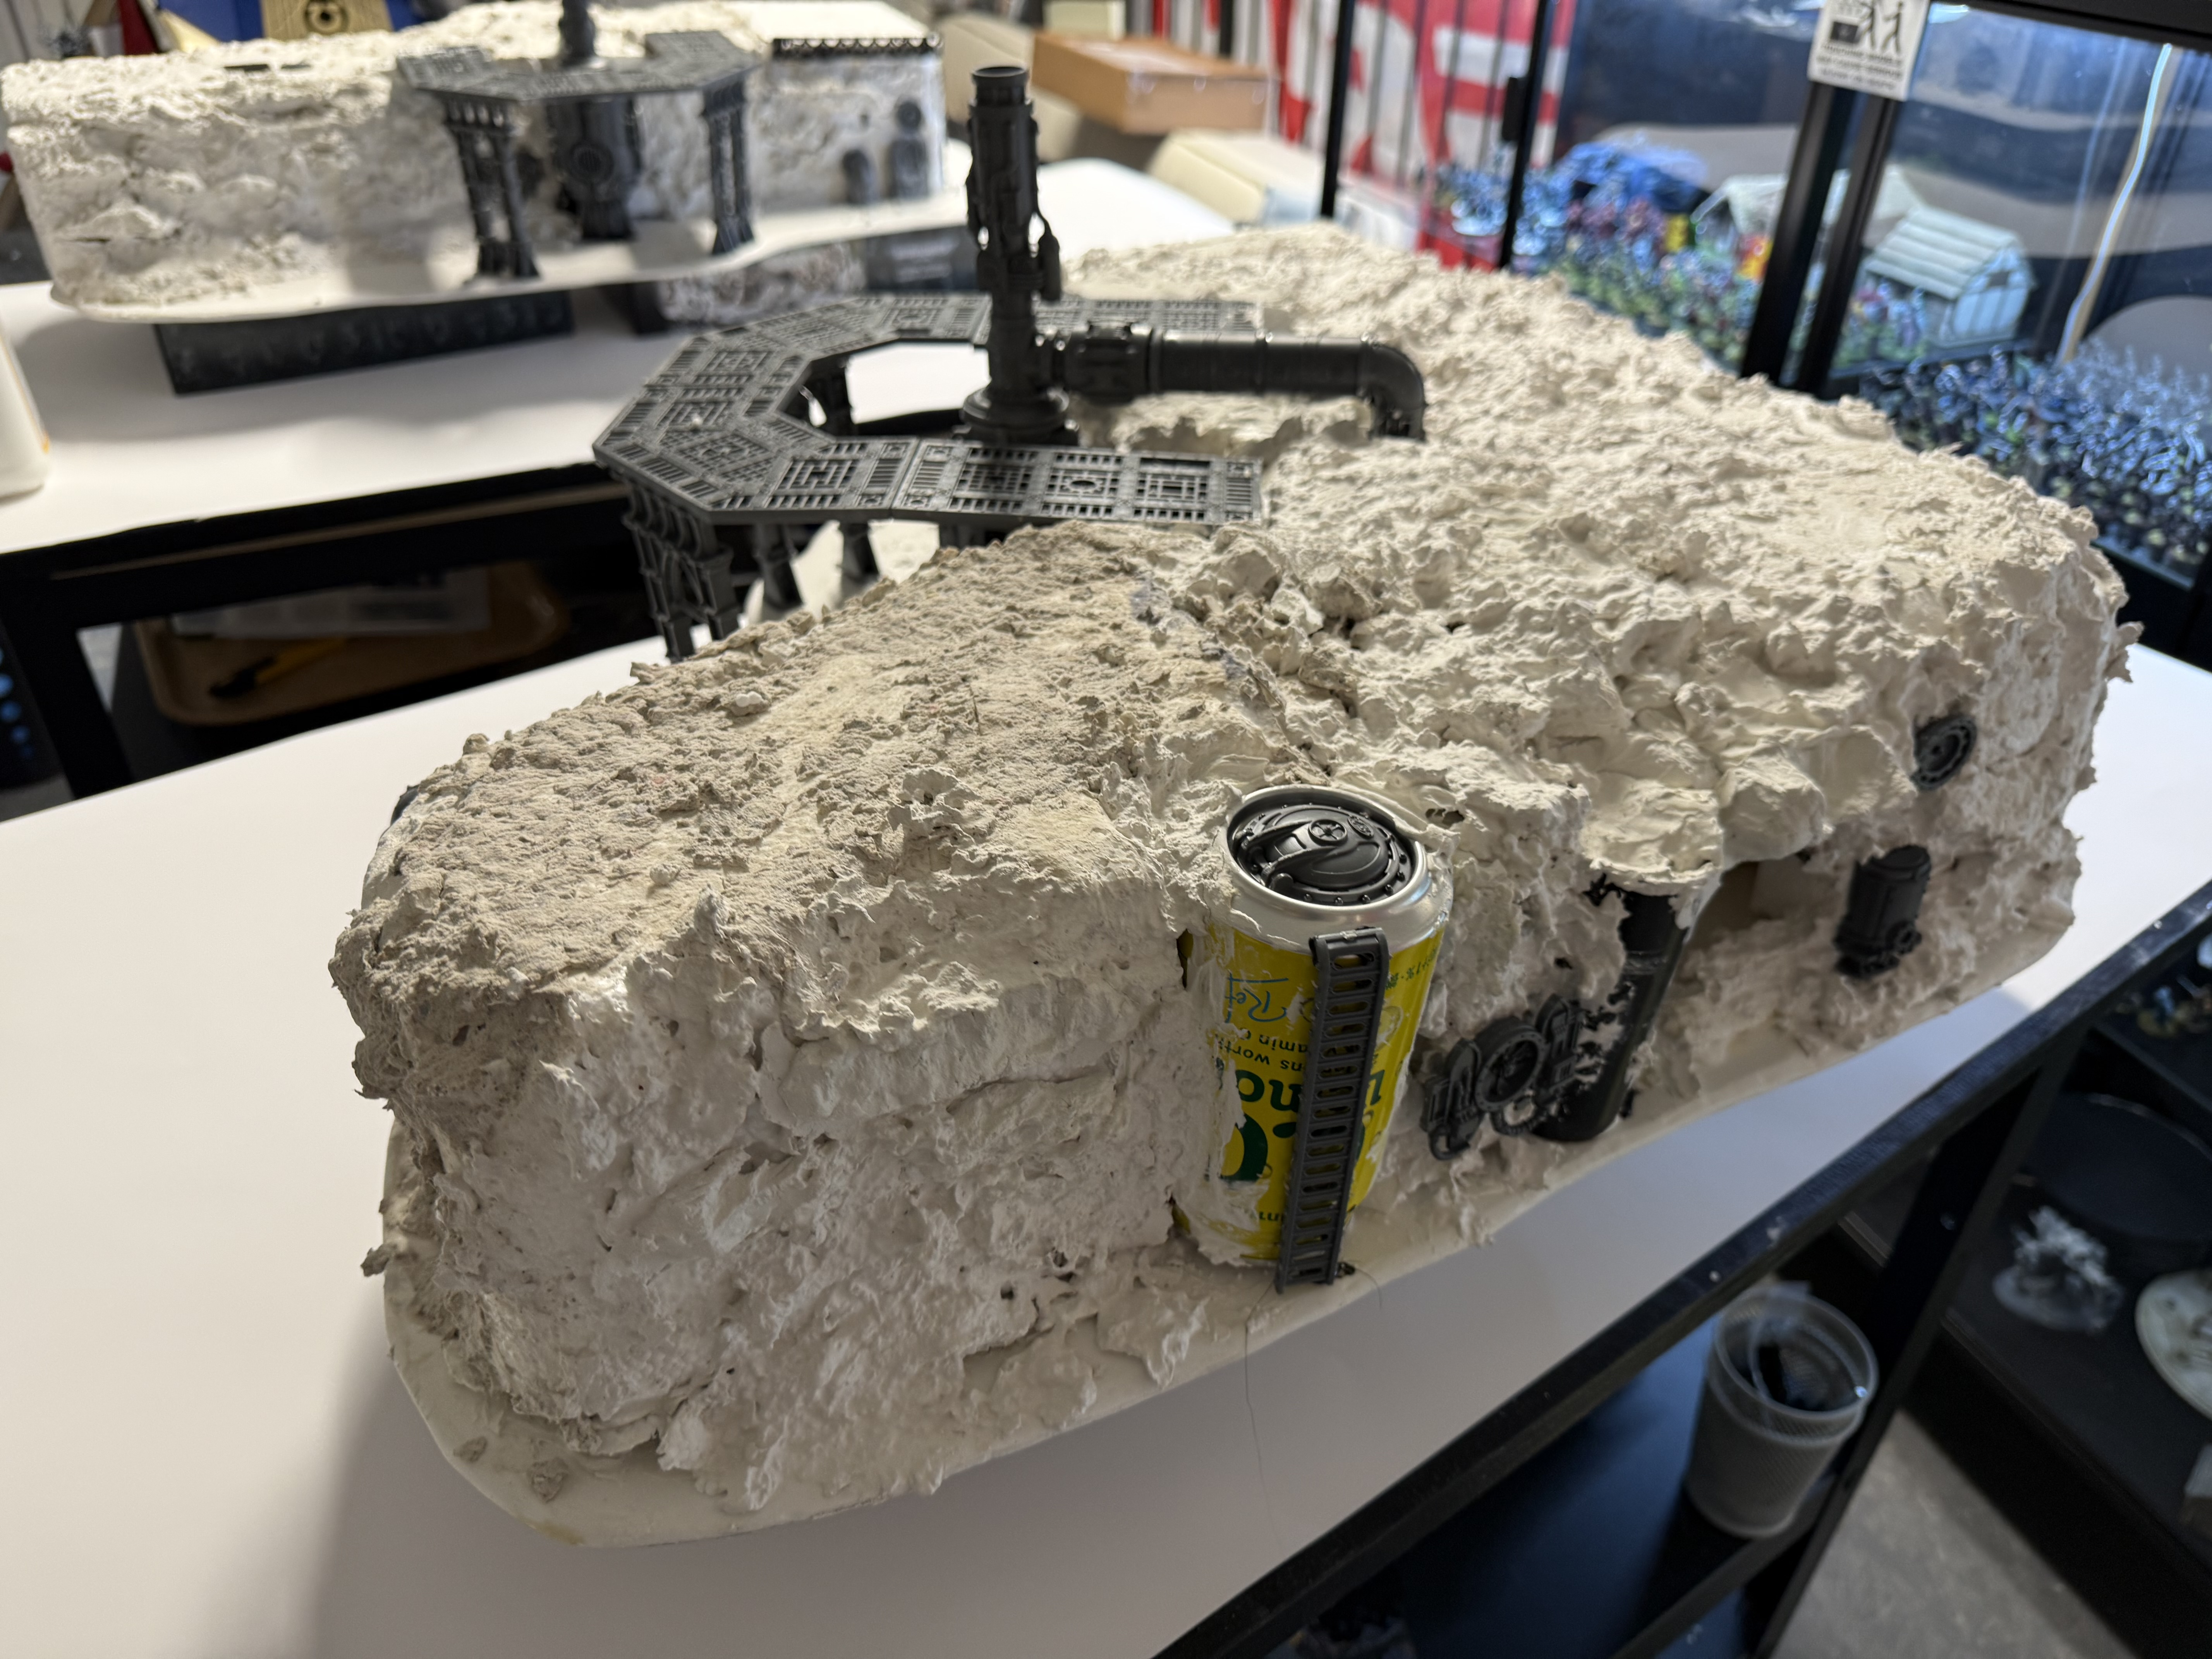
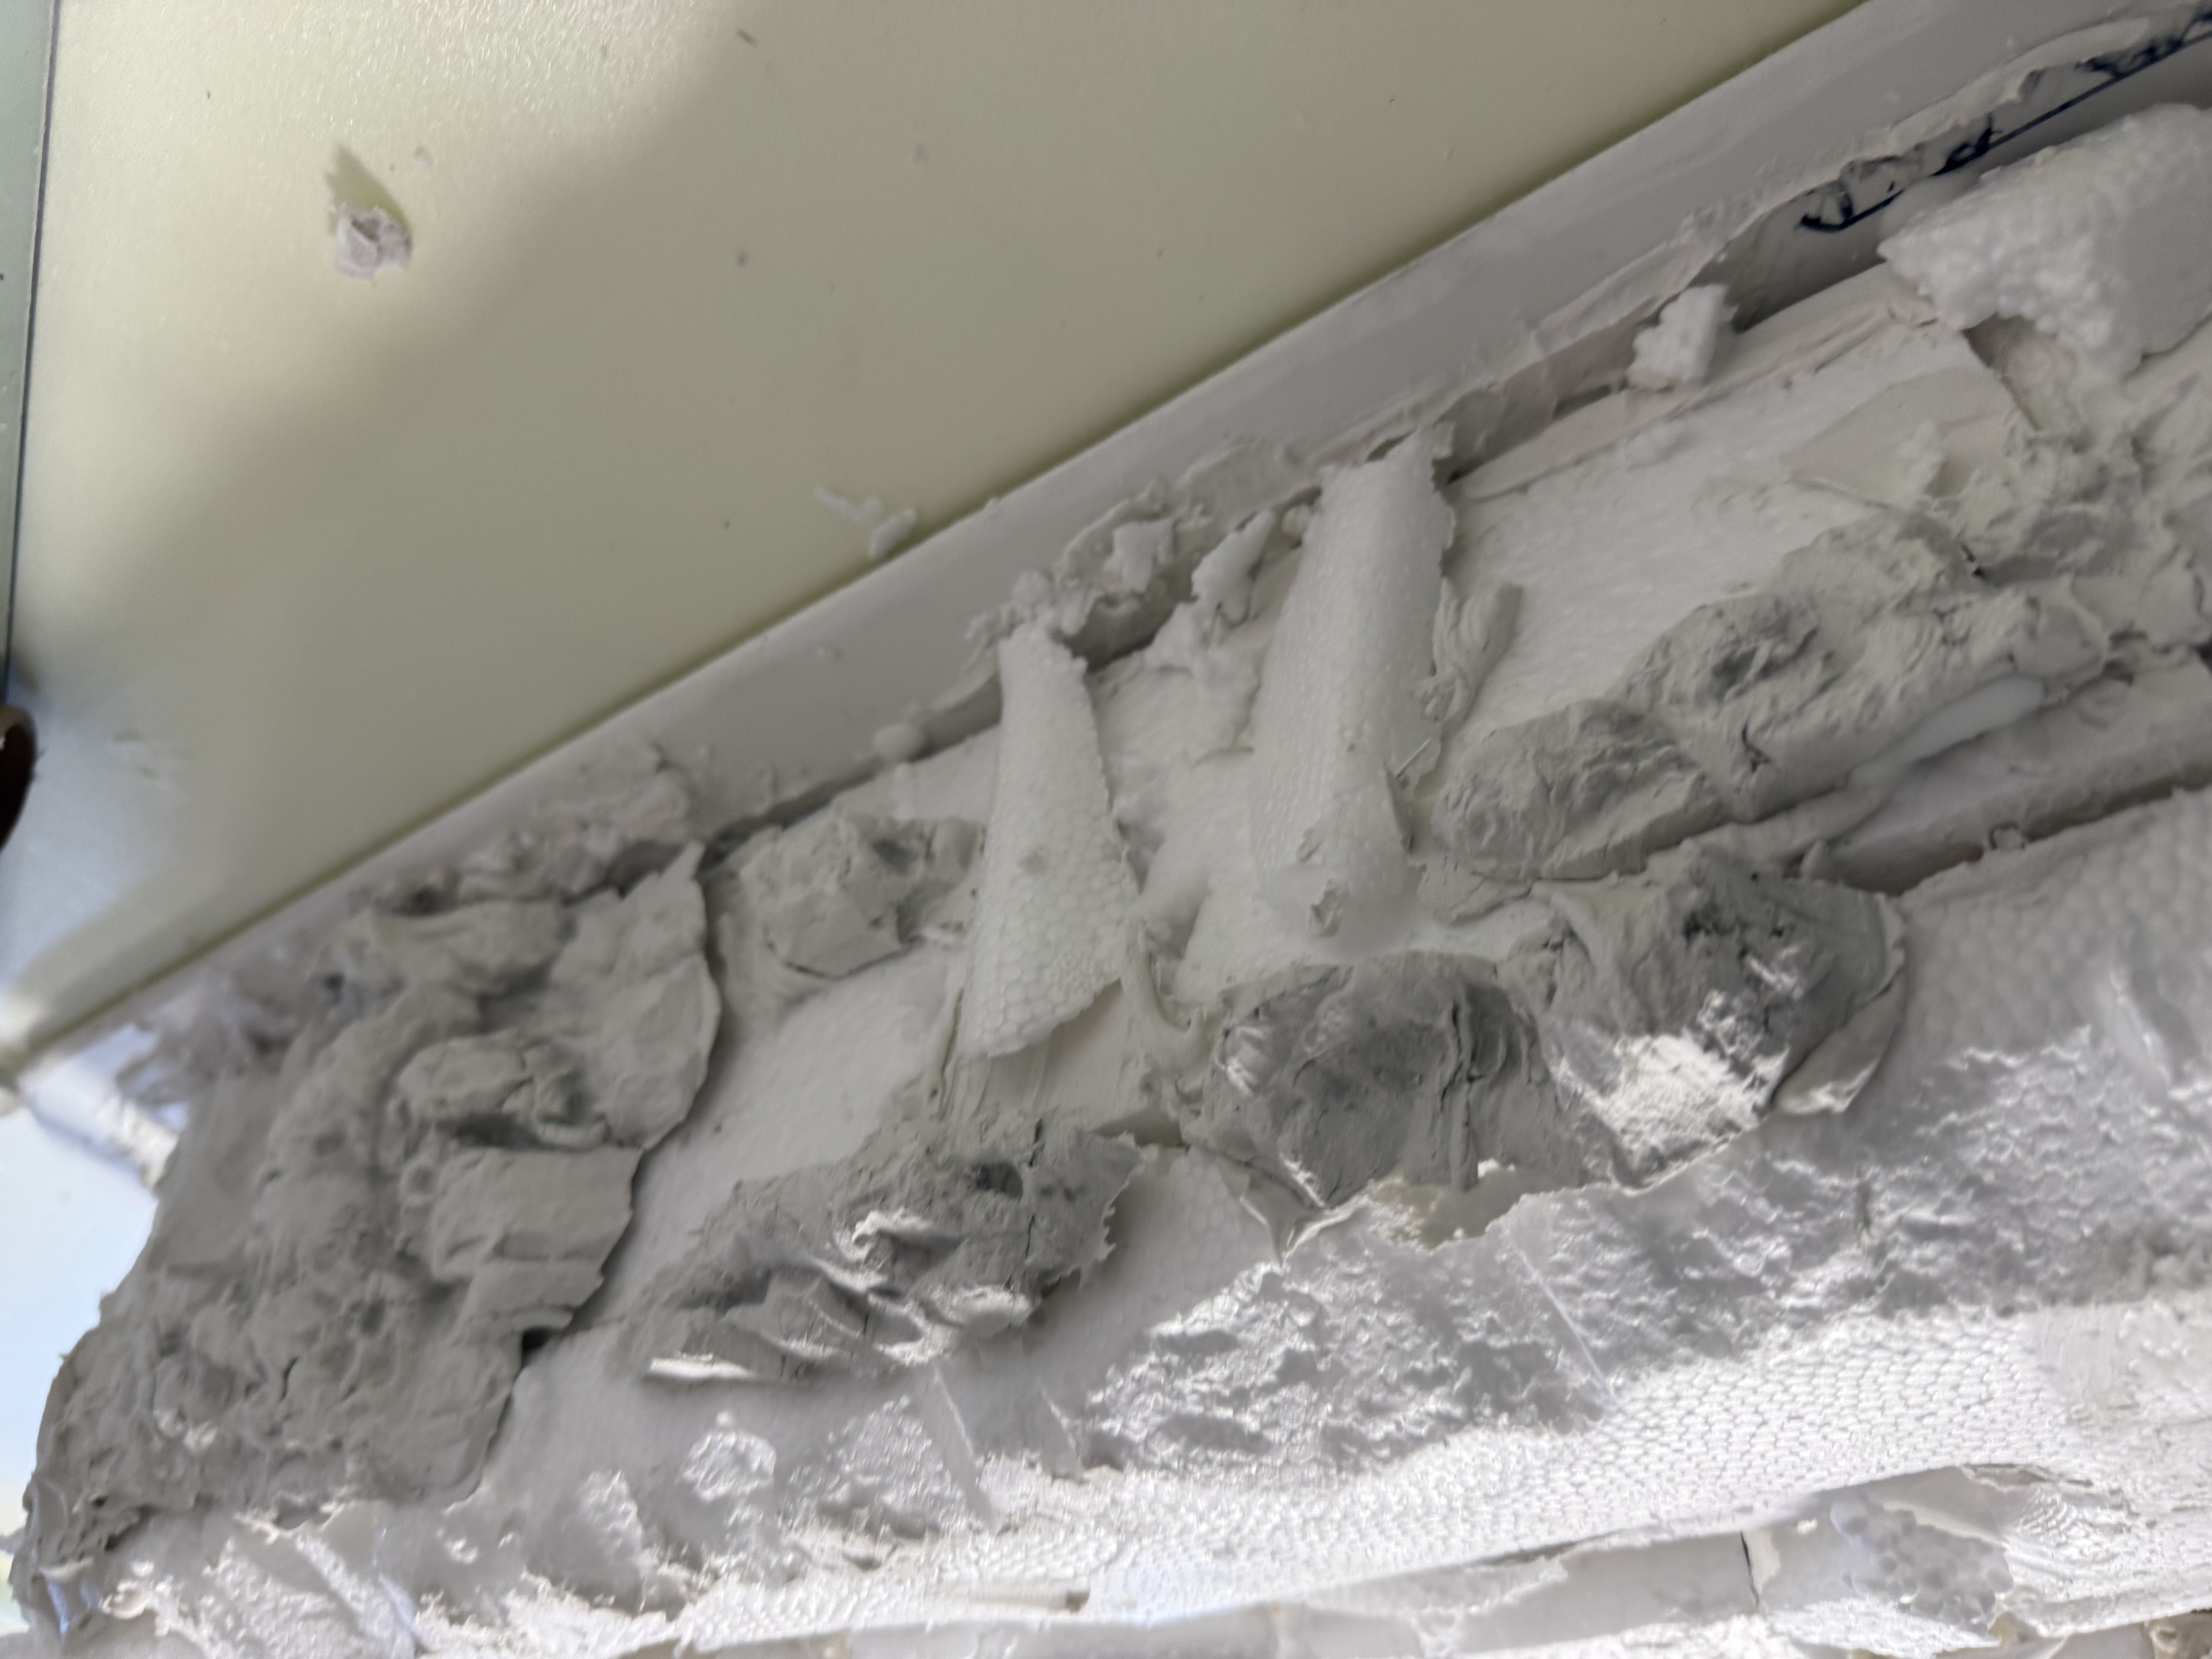
Shaping cliffs from styrofoam is cheap, easy and lightweight. But you have to get everything covered because the surface will never look natural and if you intend to use aerosols to paint it — well you don’t want to melt your project.
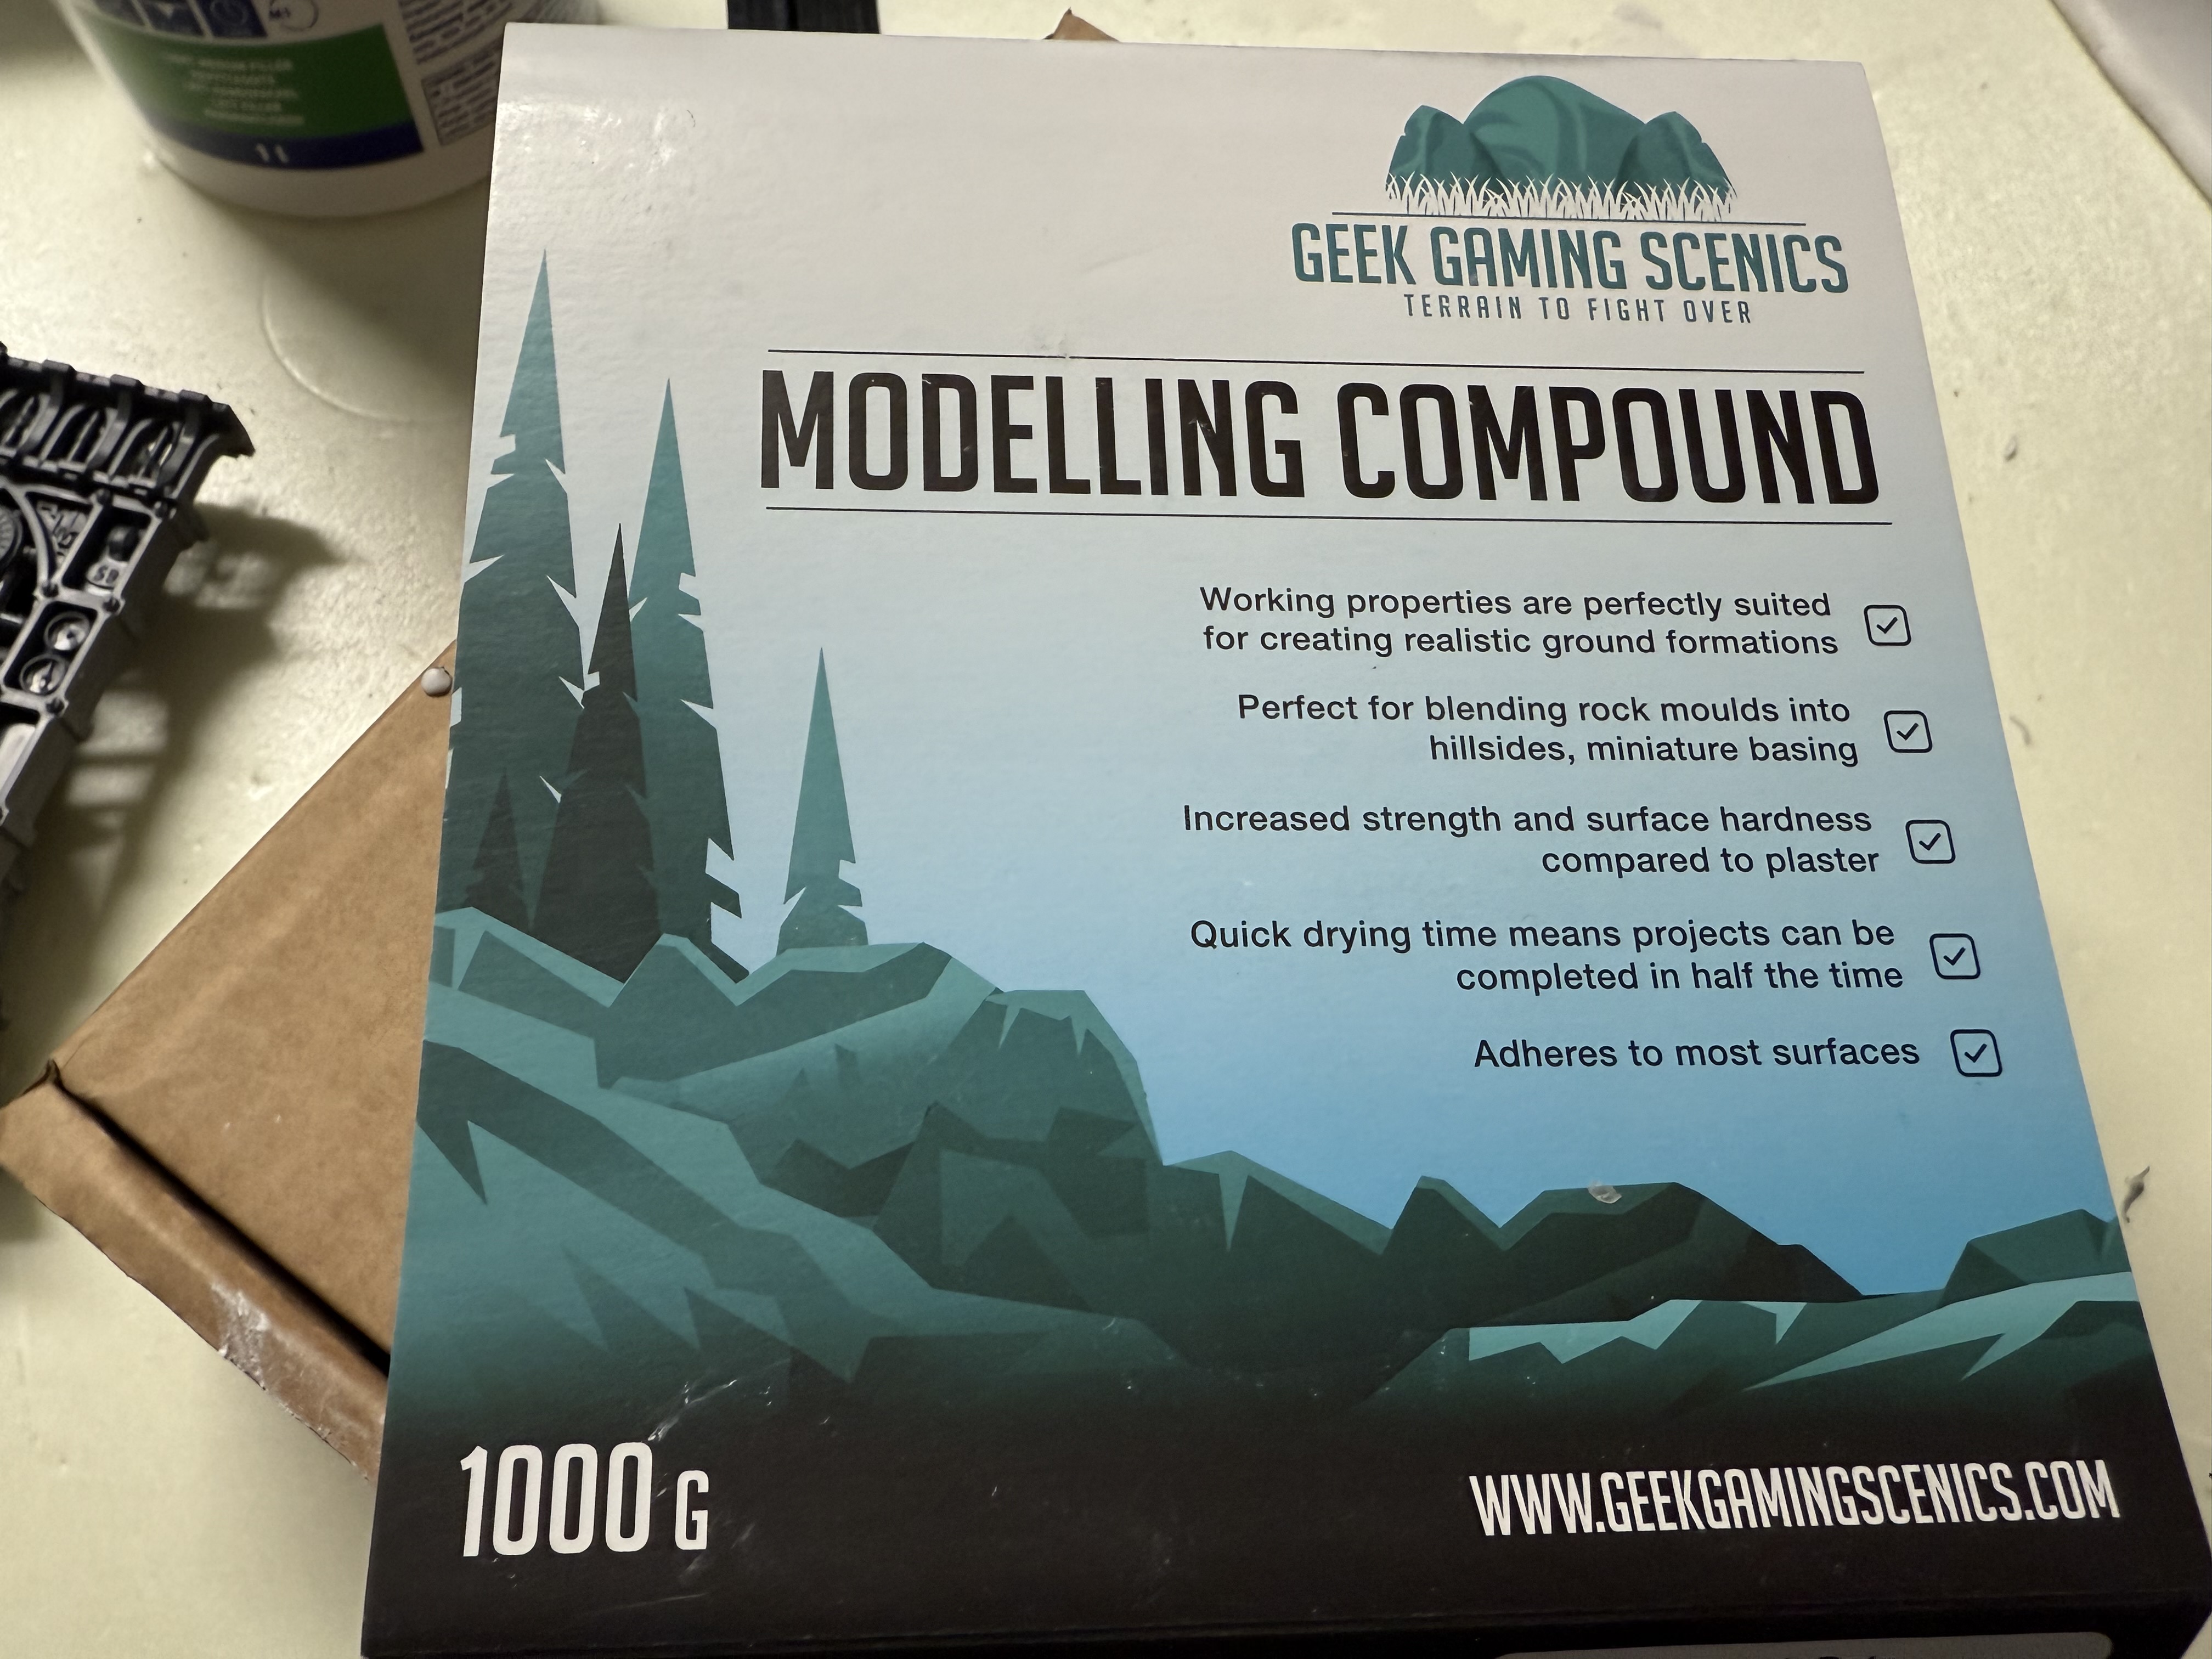
I like to use the Modelling Compound product from Geek Gaming Scenics. I don’t know what it actually is, I believe it’s a mixture of plaster and other stuff. It’s extremely easy to use, dries quick, hard and durable.
Simply you need to mix it with water, roughly in 3:1 ratio. And then slap it on to the surfaces and shape with your hands.
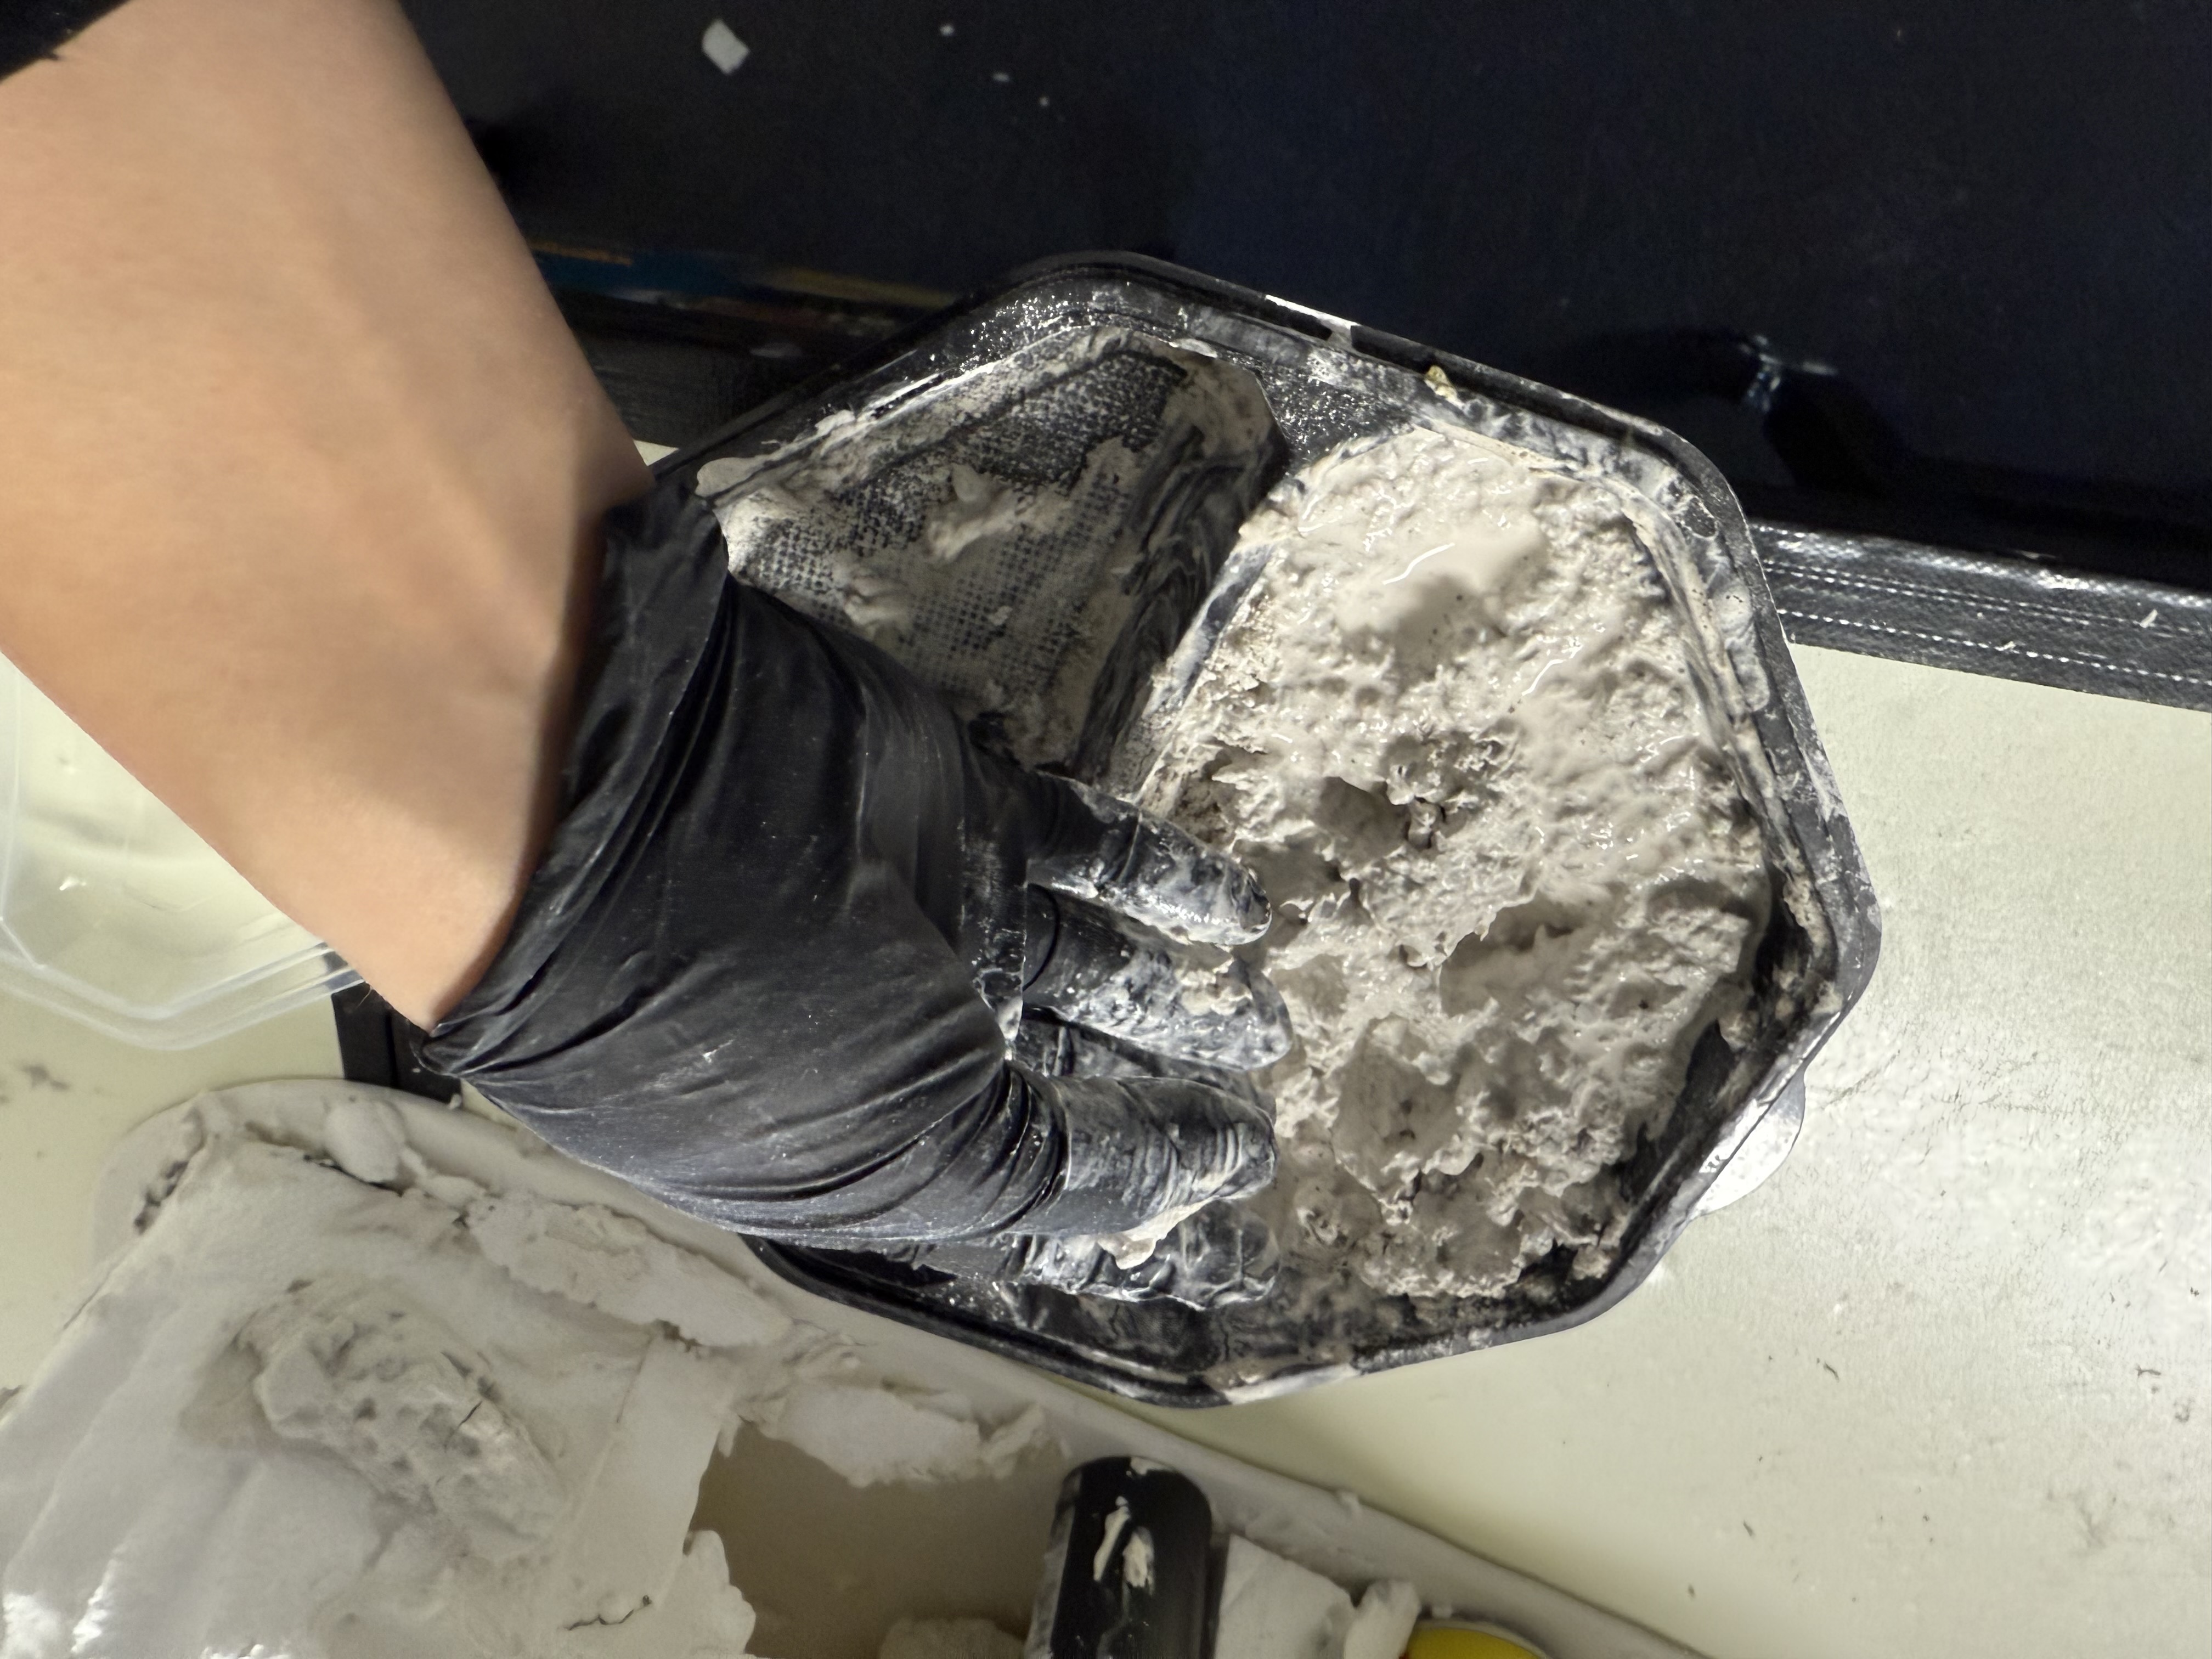
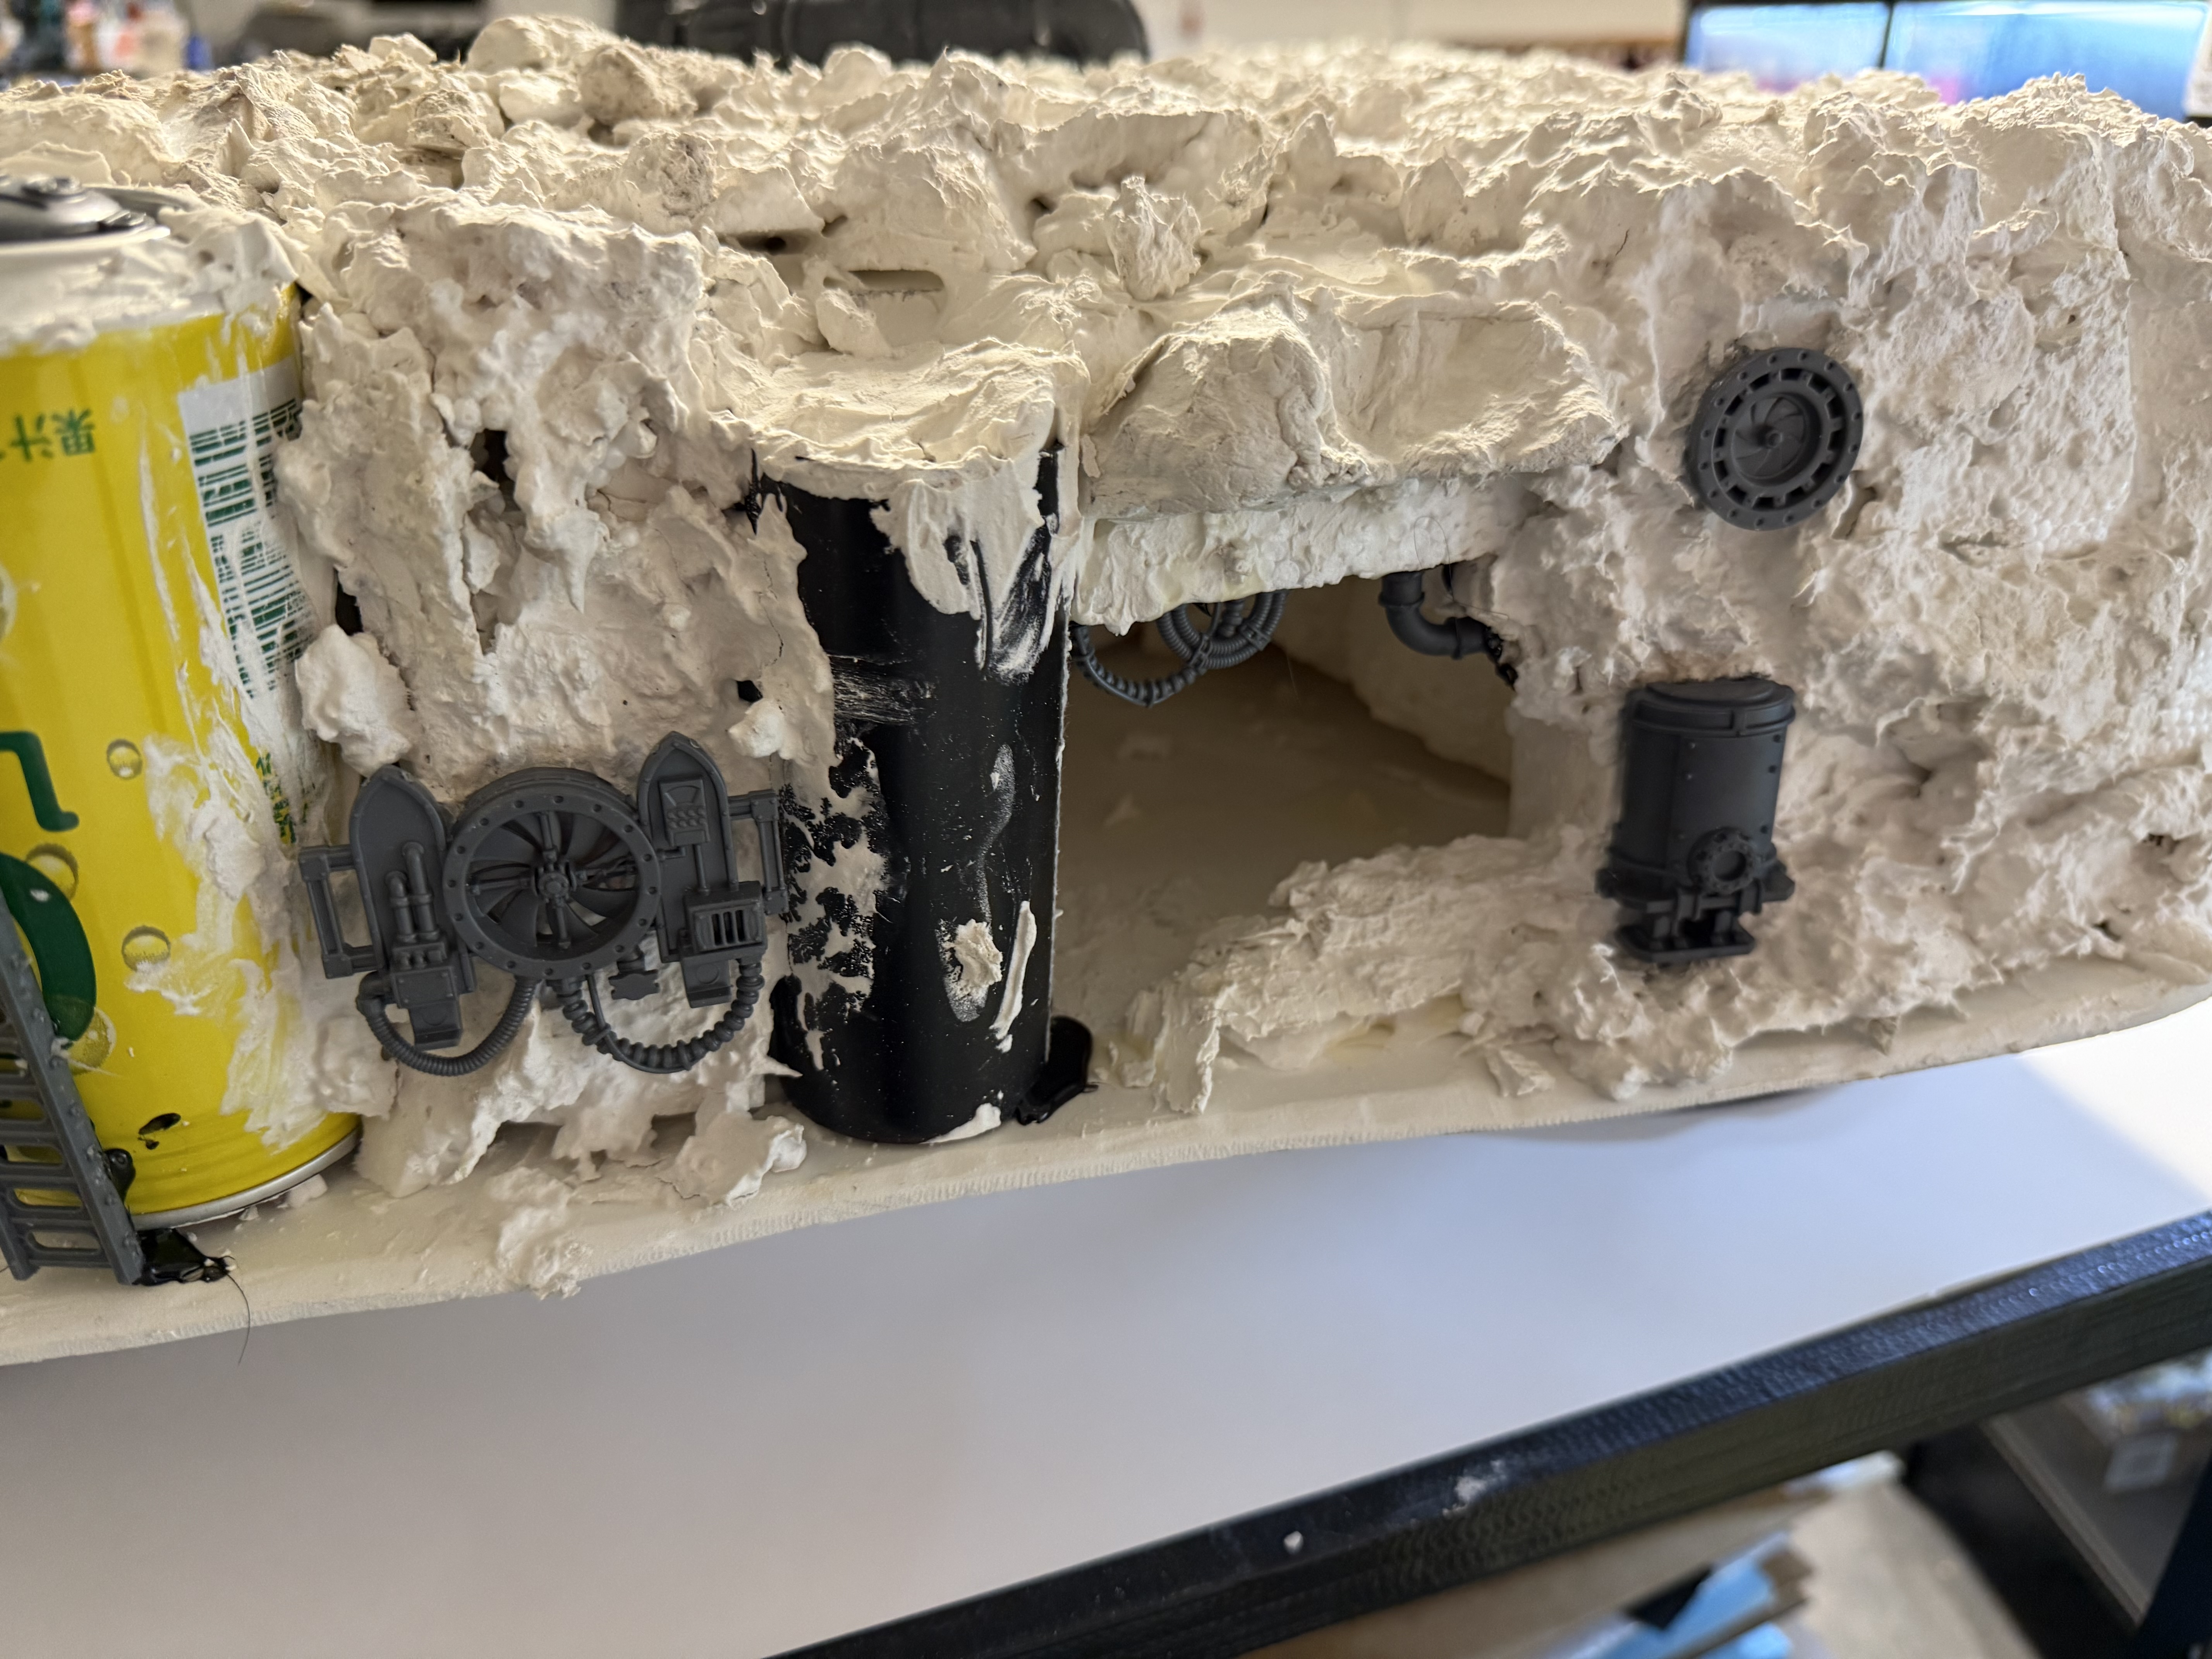
In this project I’ve also used rocks cast from DAS clay. I first glue some of them here and there on the cliff face, to have some really natural looking rock textures. Then I proceed to fill the gaps with the compound.
I’ve found hot glue working best for gluing to styrofoam. Get some on the piece you’re about to glue, let it cool for a moment and press it in. That way you’ll avoid melting the styrofoam.
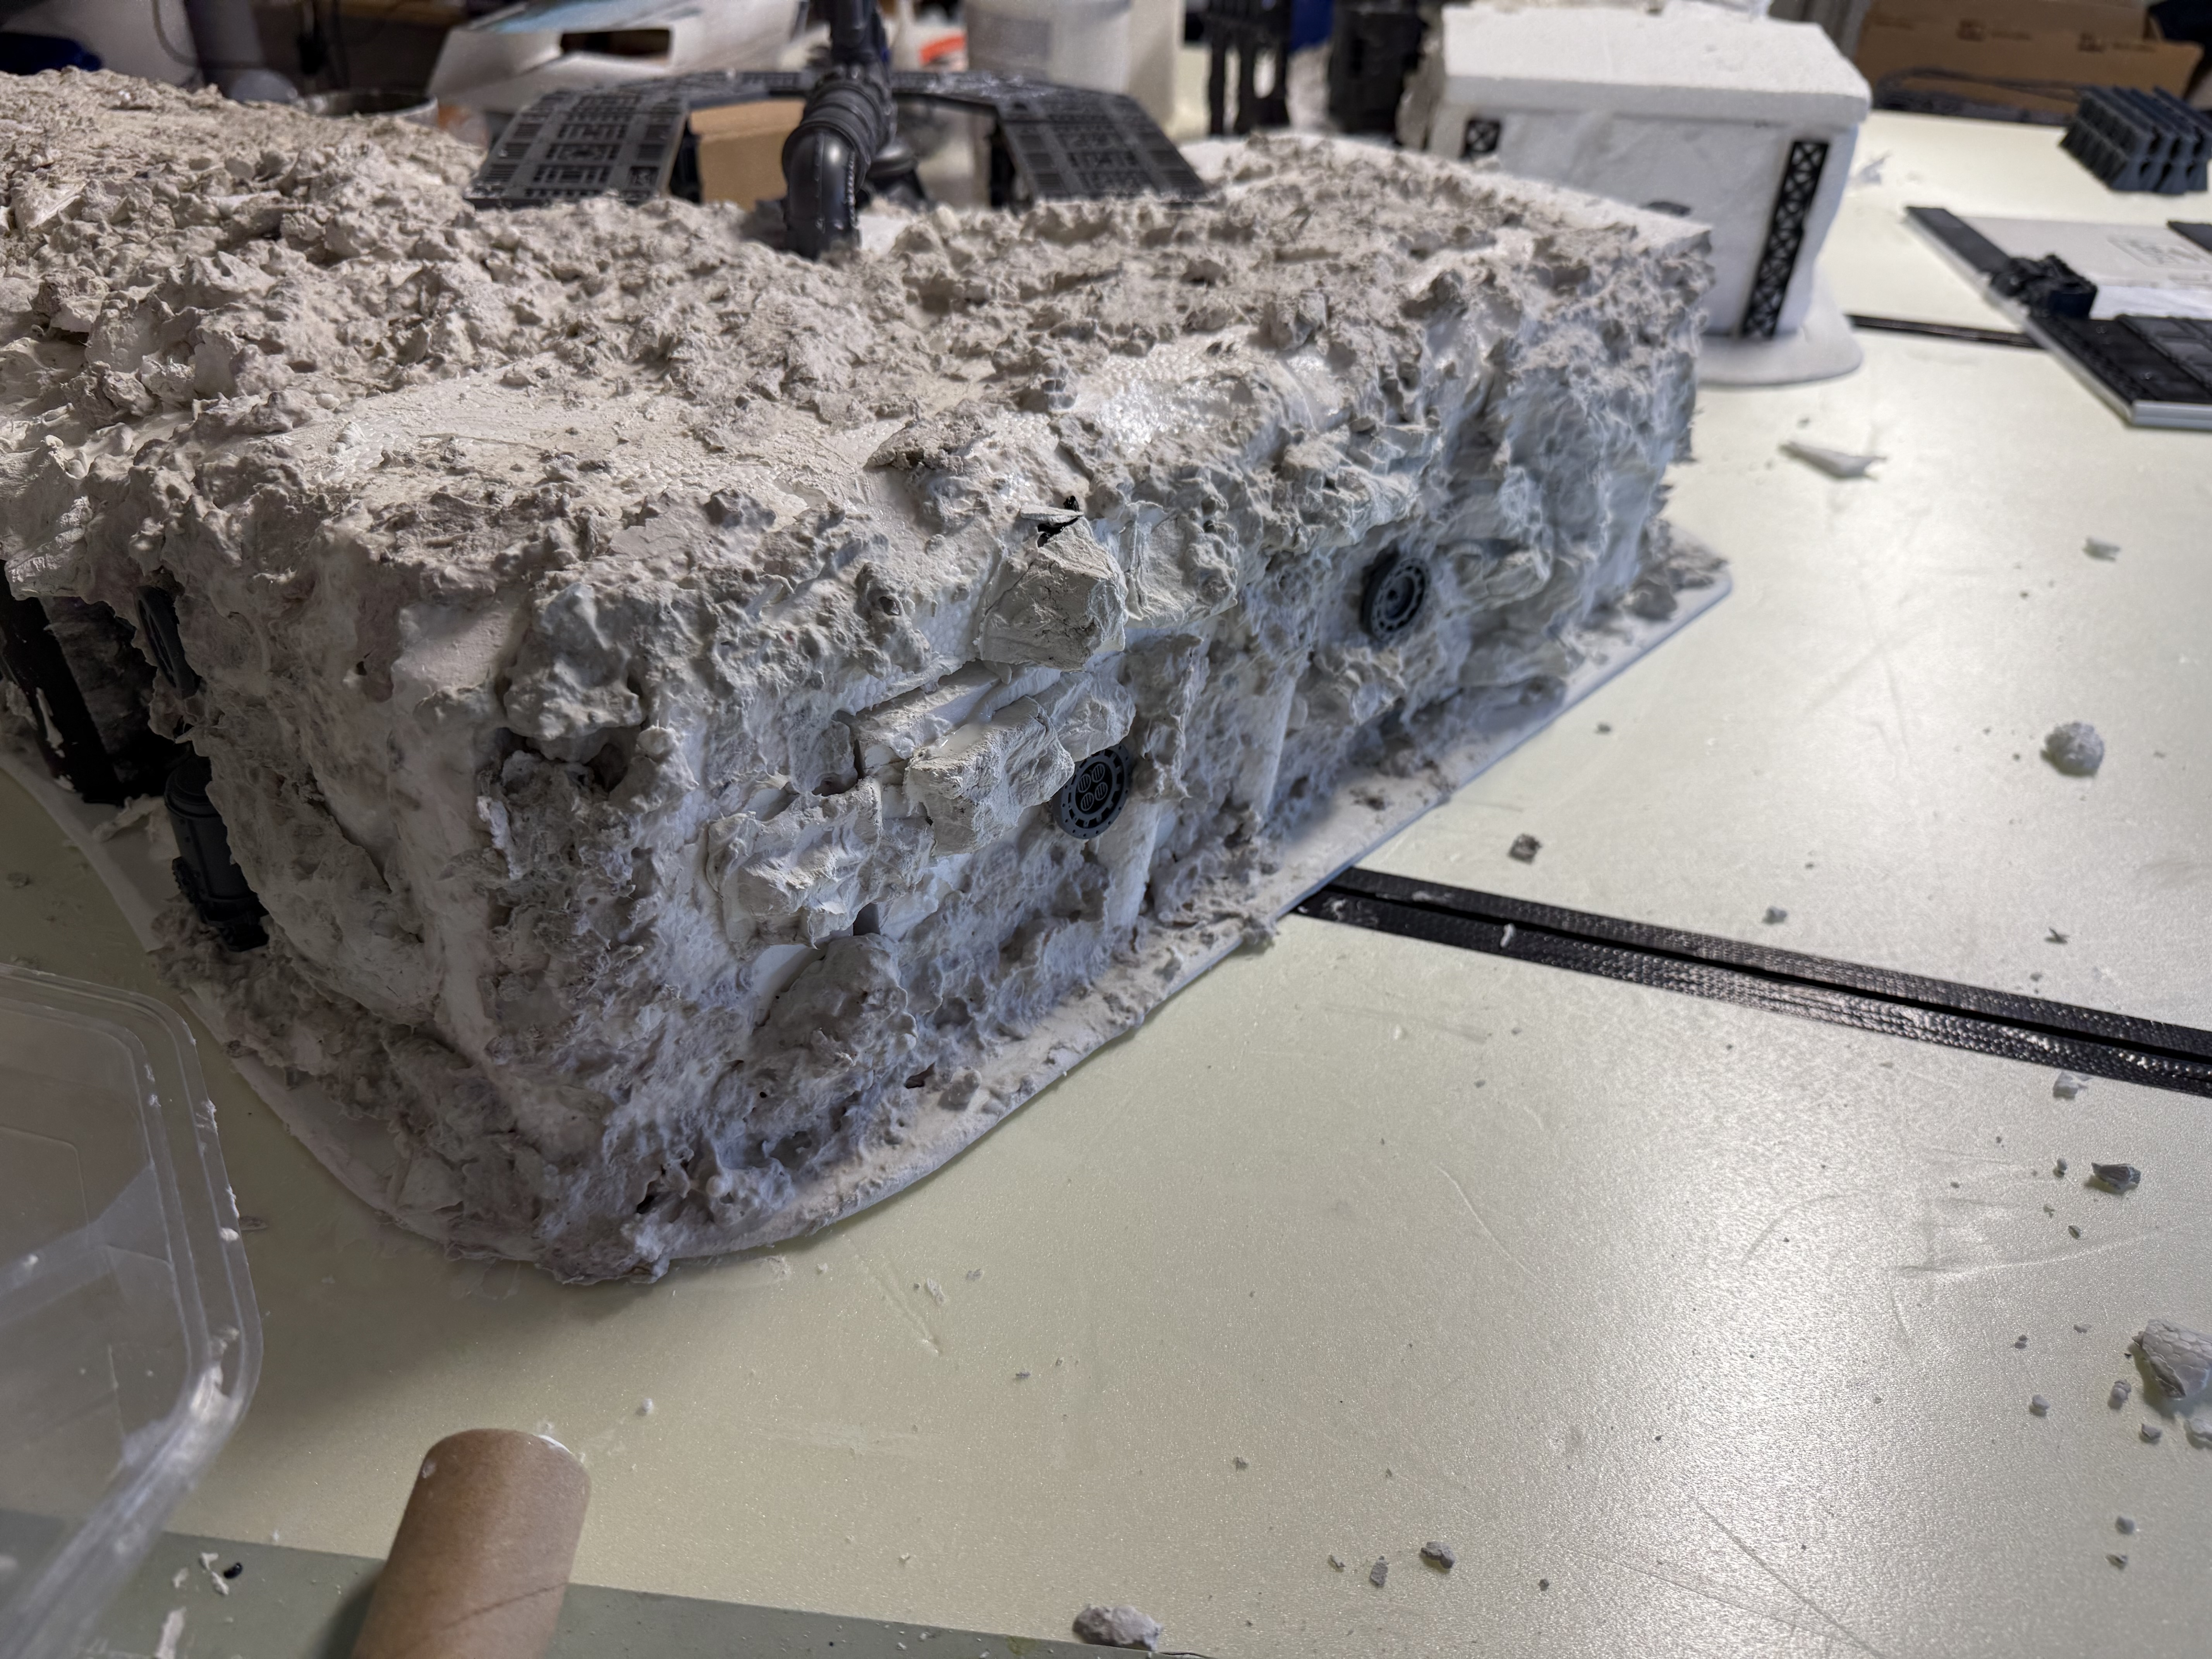
Below is how everything looks completed.
Next step is to seal everything with mix of Mod Podge and black paint. I will mix some fine sand for texture on the base and the top. Can’t wait to get colour on this thing!
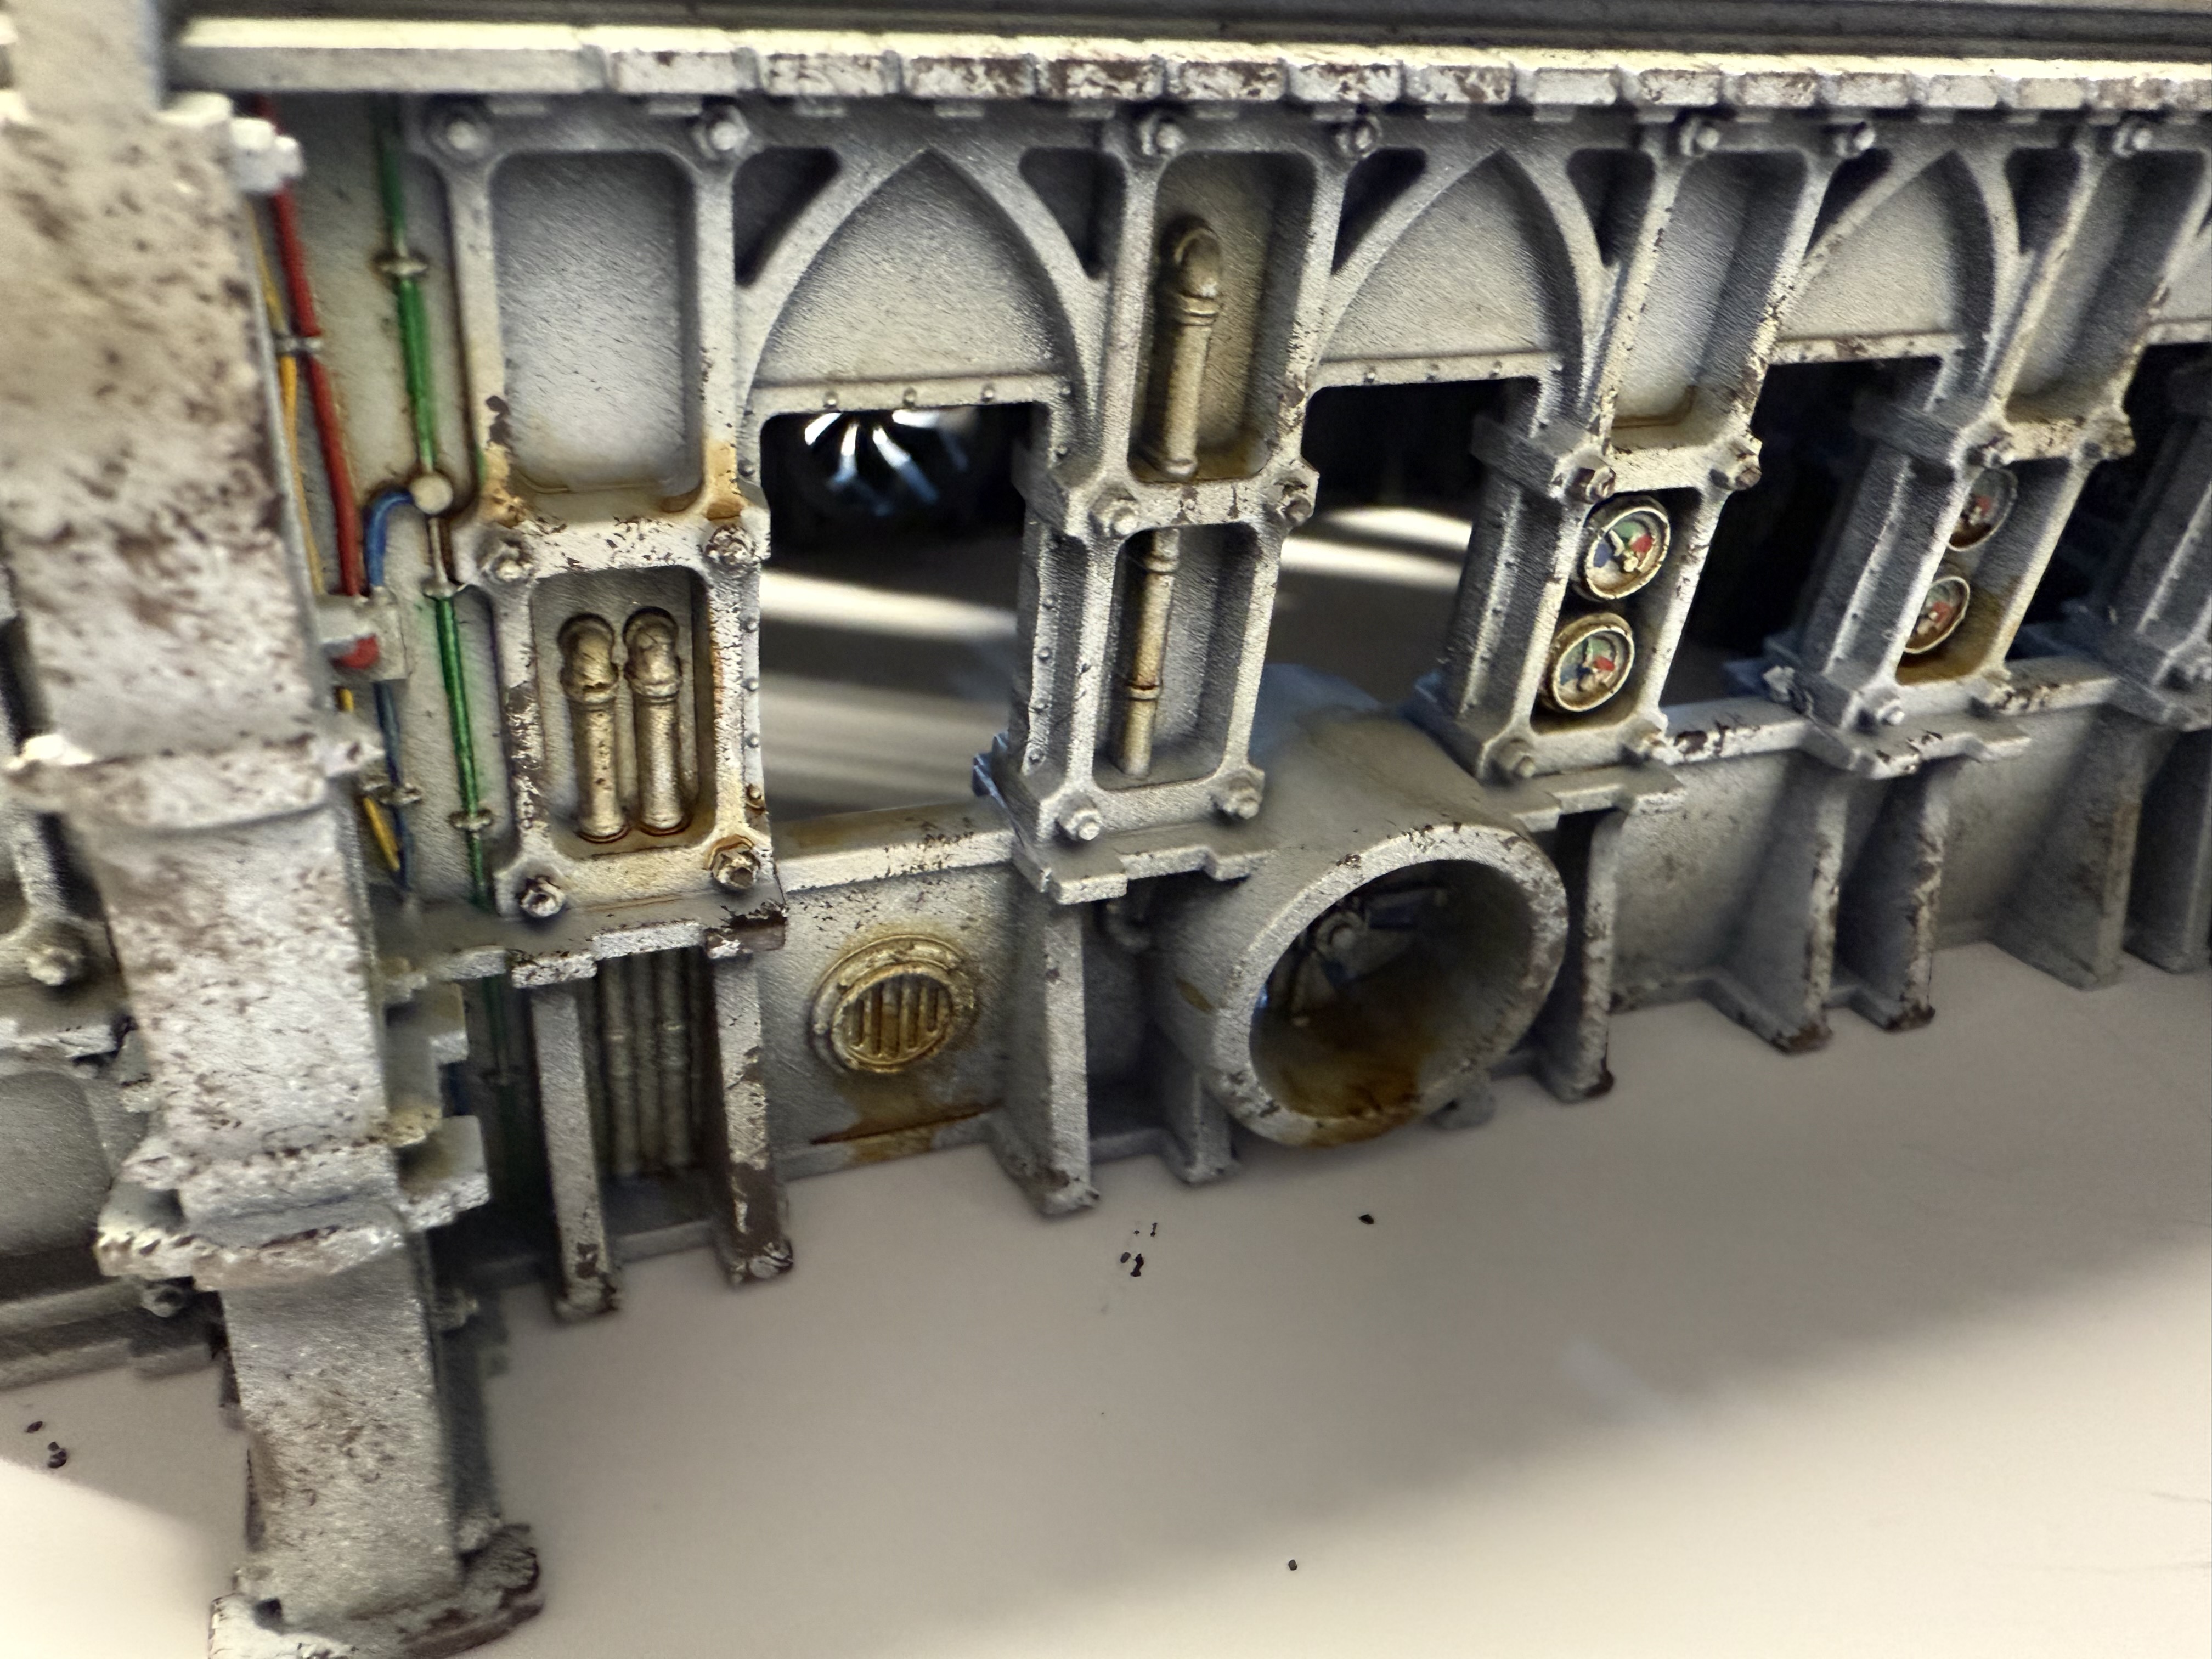
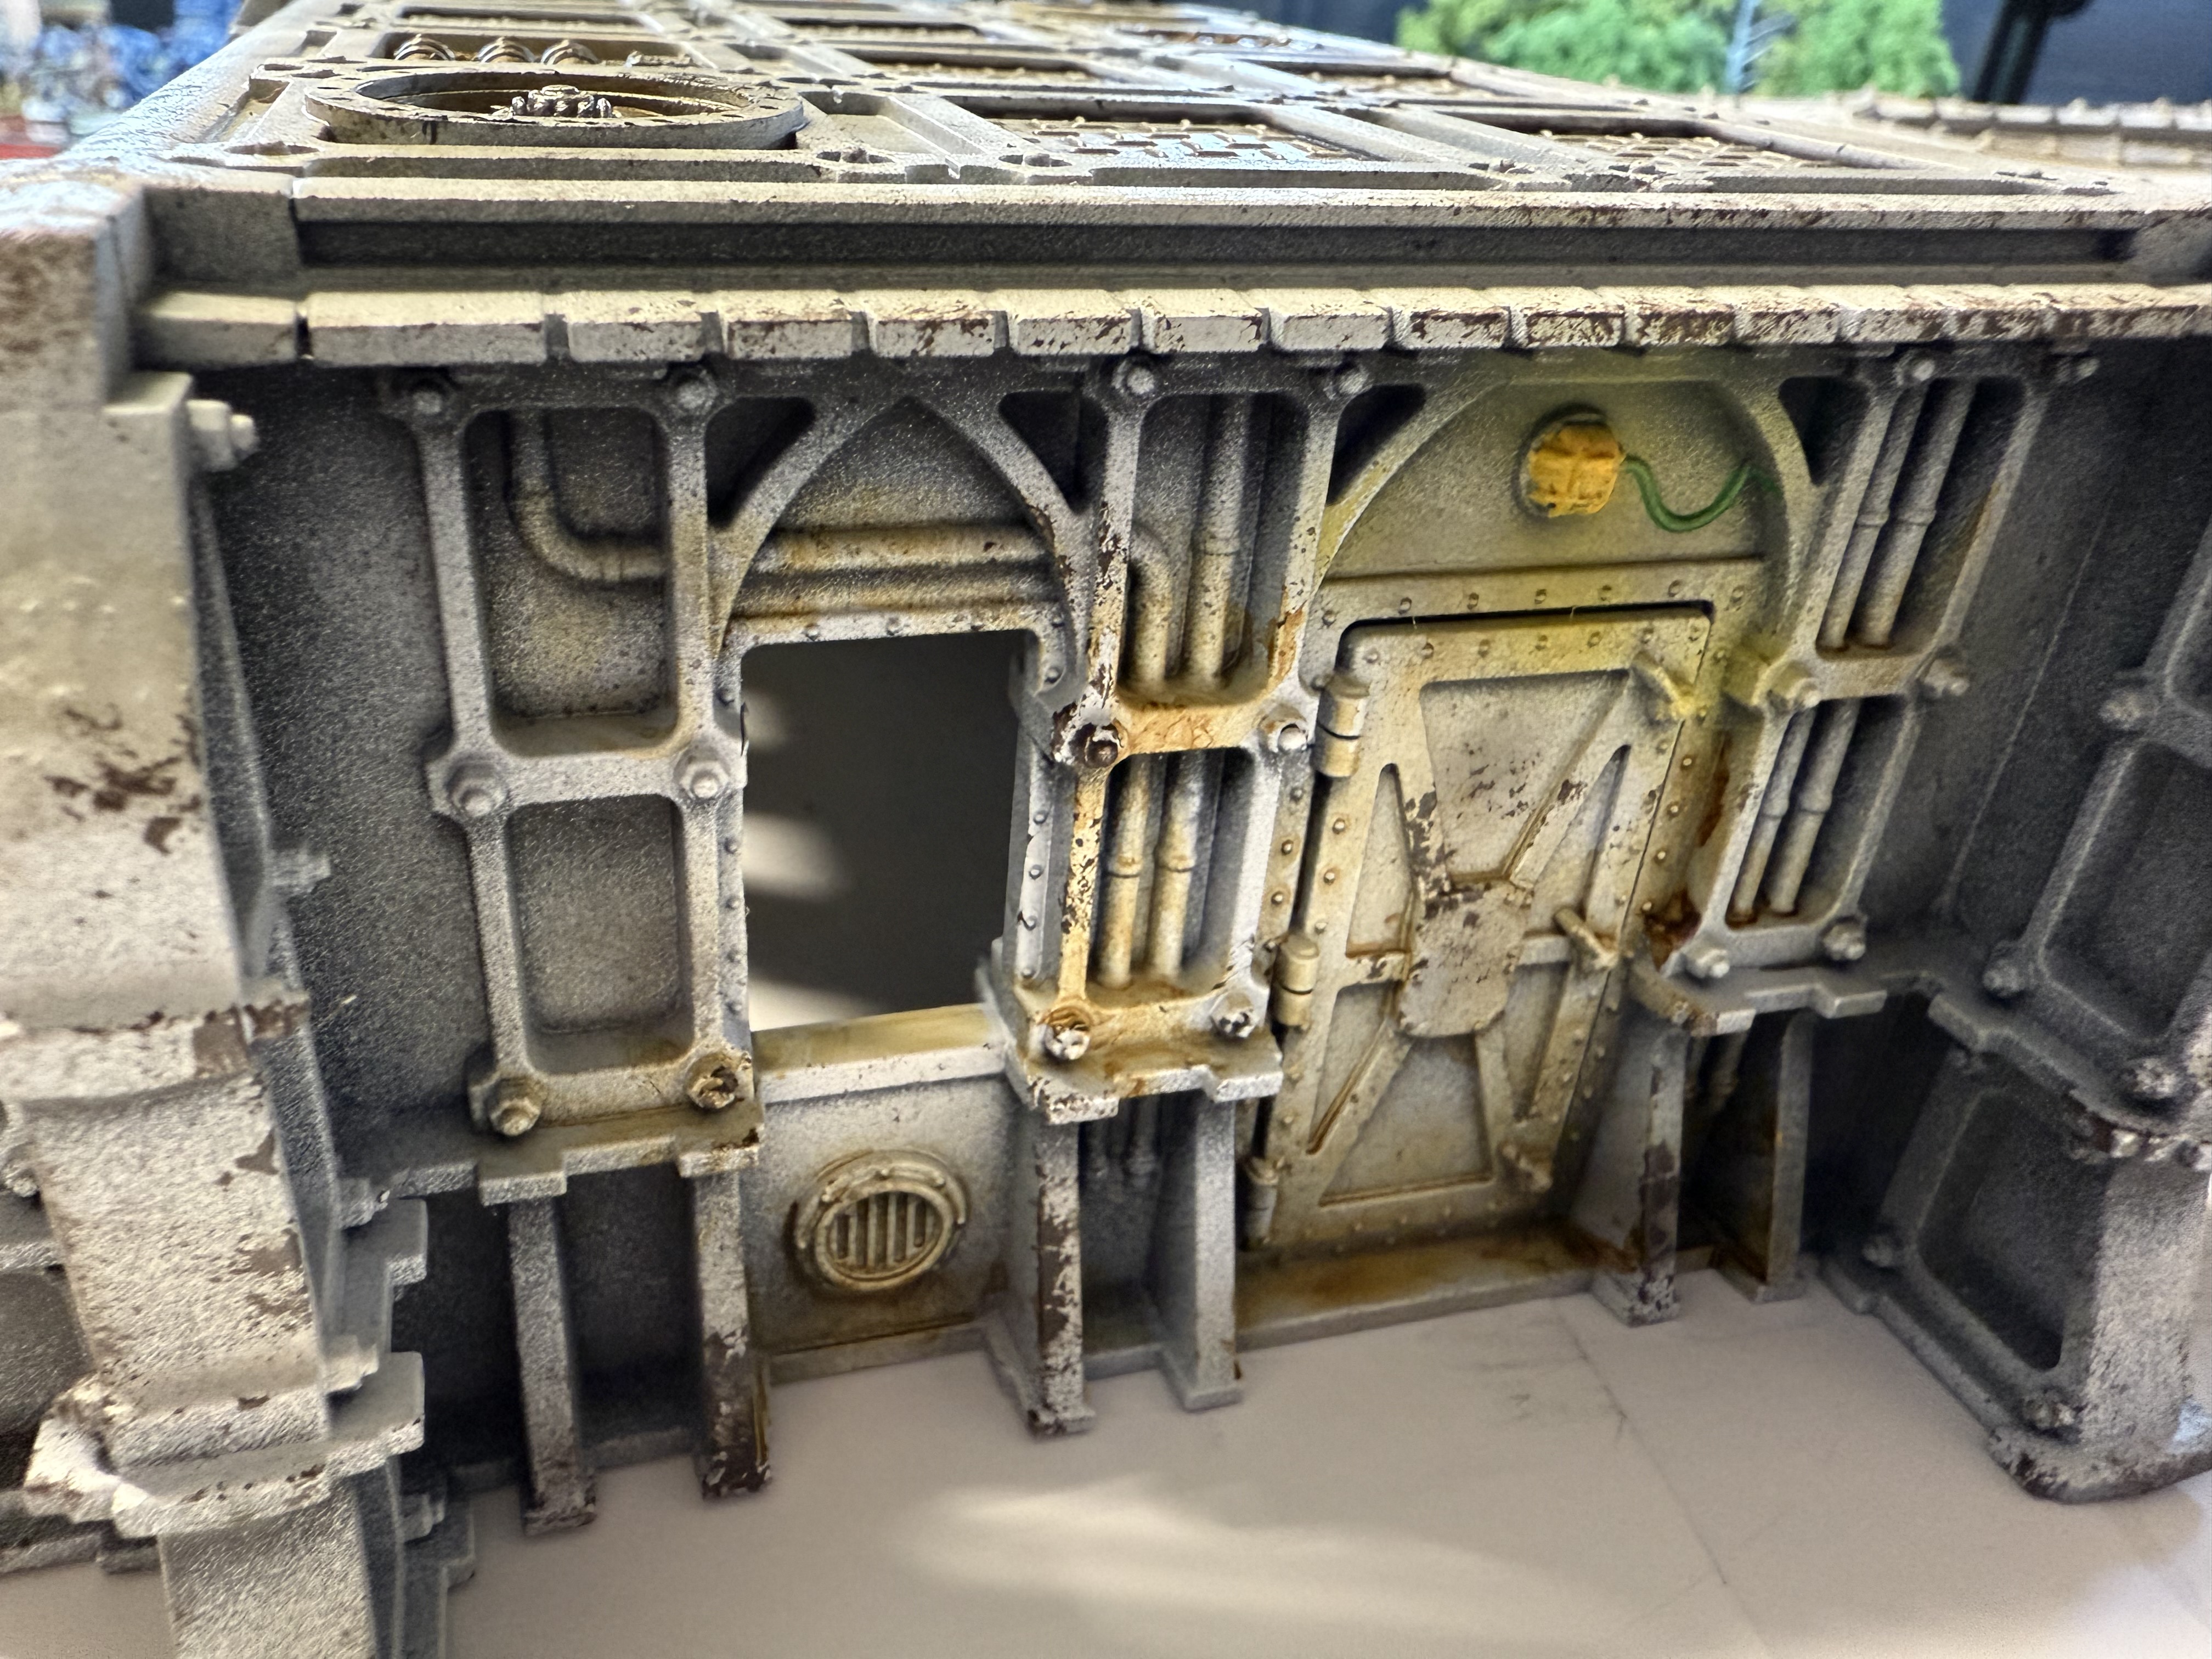
Painting the buildings
Quick photo update here on painting the buildings. I’ve gone with simple black-gray-white zenithal with rattle cans to start with. Next is to airbrush and handpaint details and weather all in.


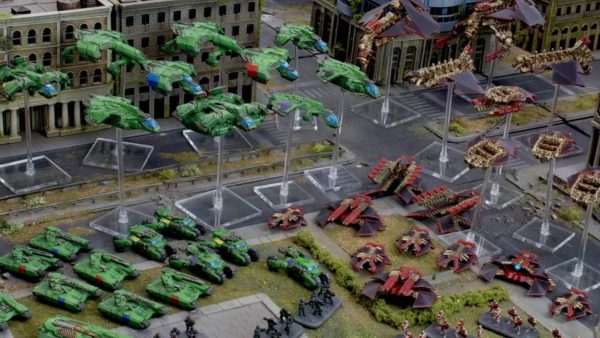

![New Carolingians & A Pillage Starter Set From Victrix? [Updated]](https://images.beastsofwar.com/2026/07/pillage-introductory-cover-600-338.jpg)