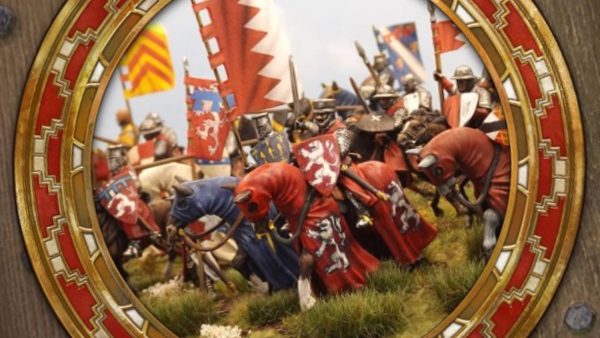


75th Anniversary of the Battle of Monte Cassino and Northern Italy (Gaming The Battles)


Recommendations: 781
About the Project
BEST READ IN REVERSE ORDER! The project charts and recreates the battles of Monte Cassino, fought between January 1944 to May 1944, and the onward Allied push through Northern Italy.
Related Game: Flames of War: The World War II Miniatures Game
Related Company: Battlefront Miniatures
Related Genre: Historical
This Project is Active
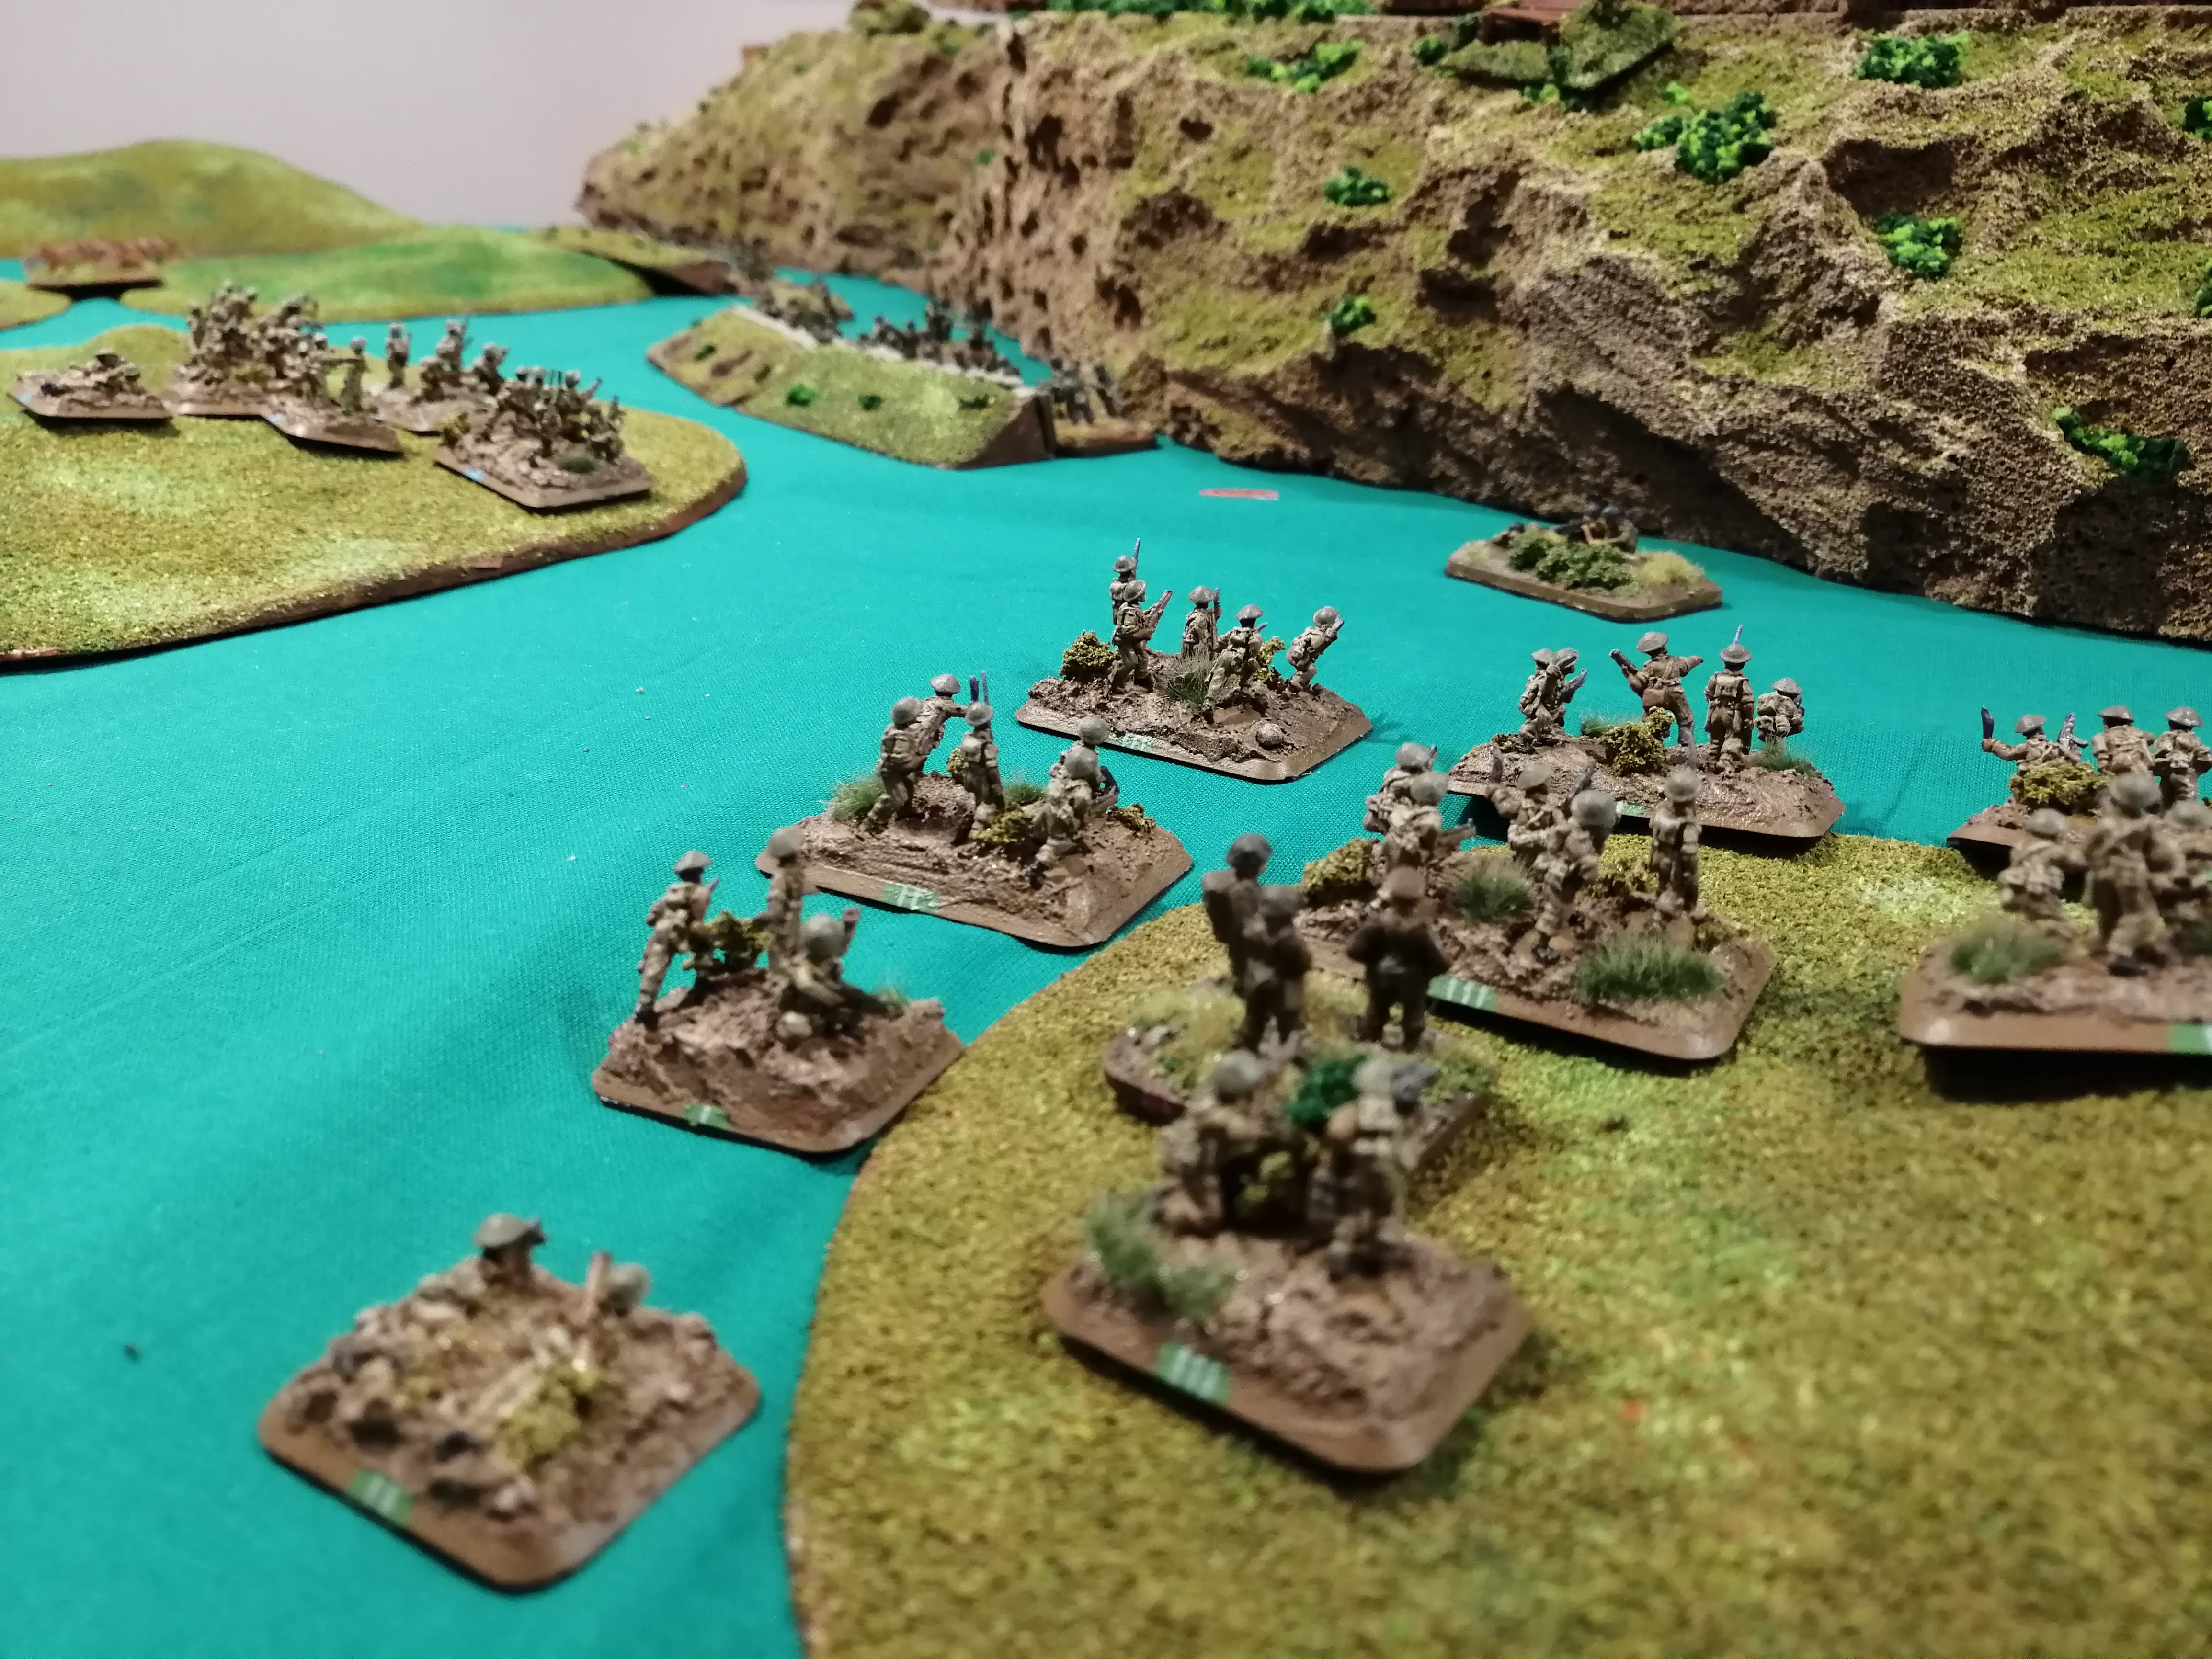
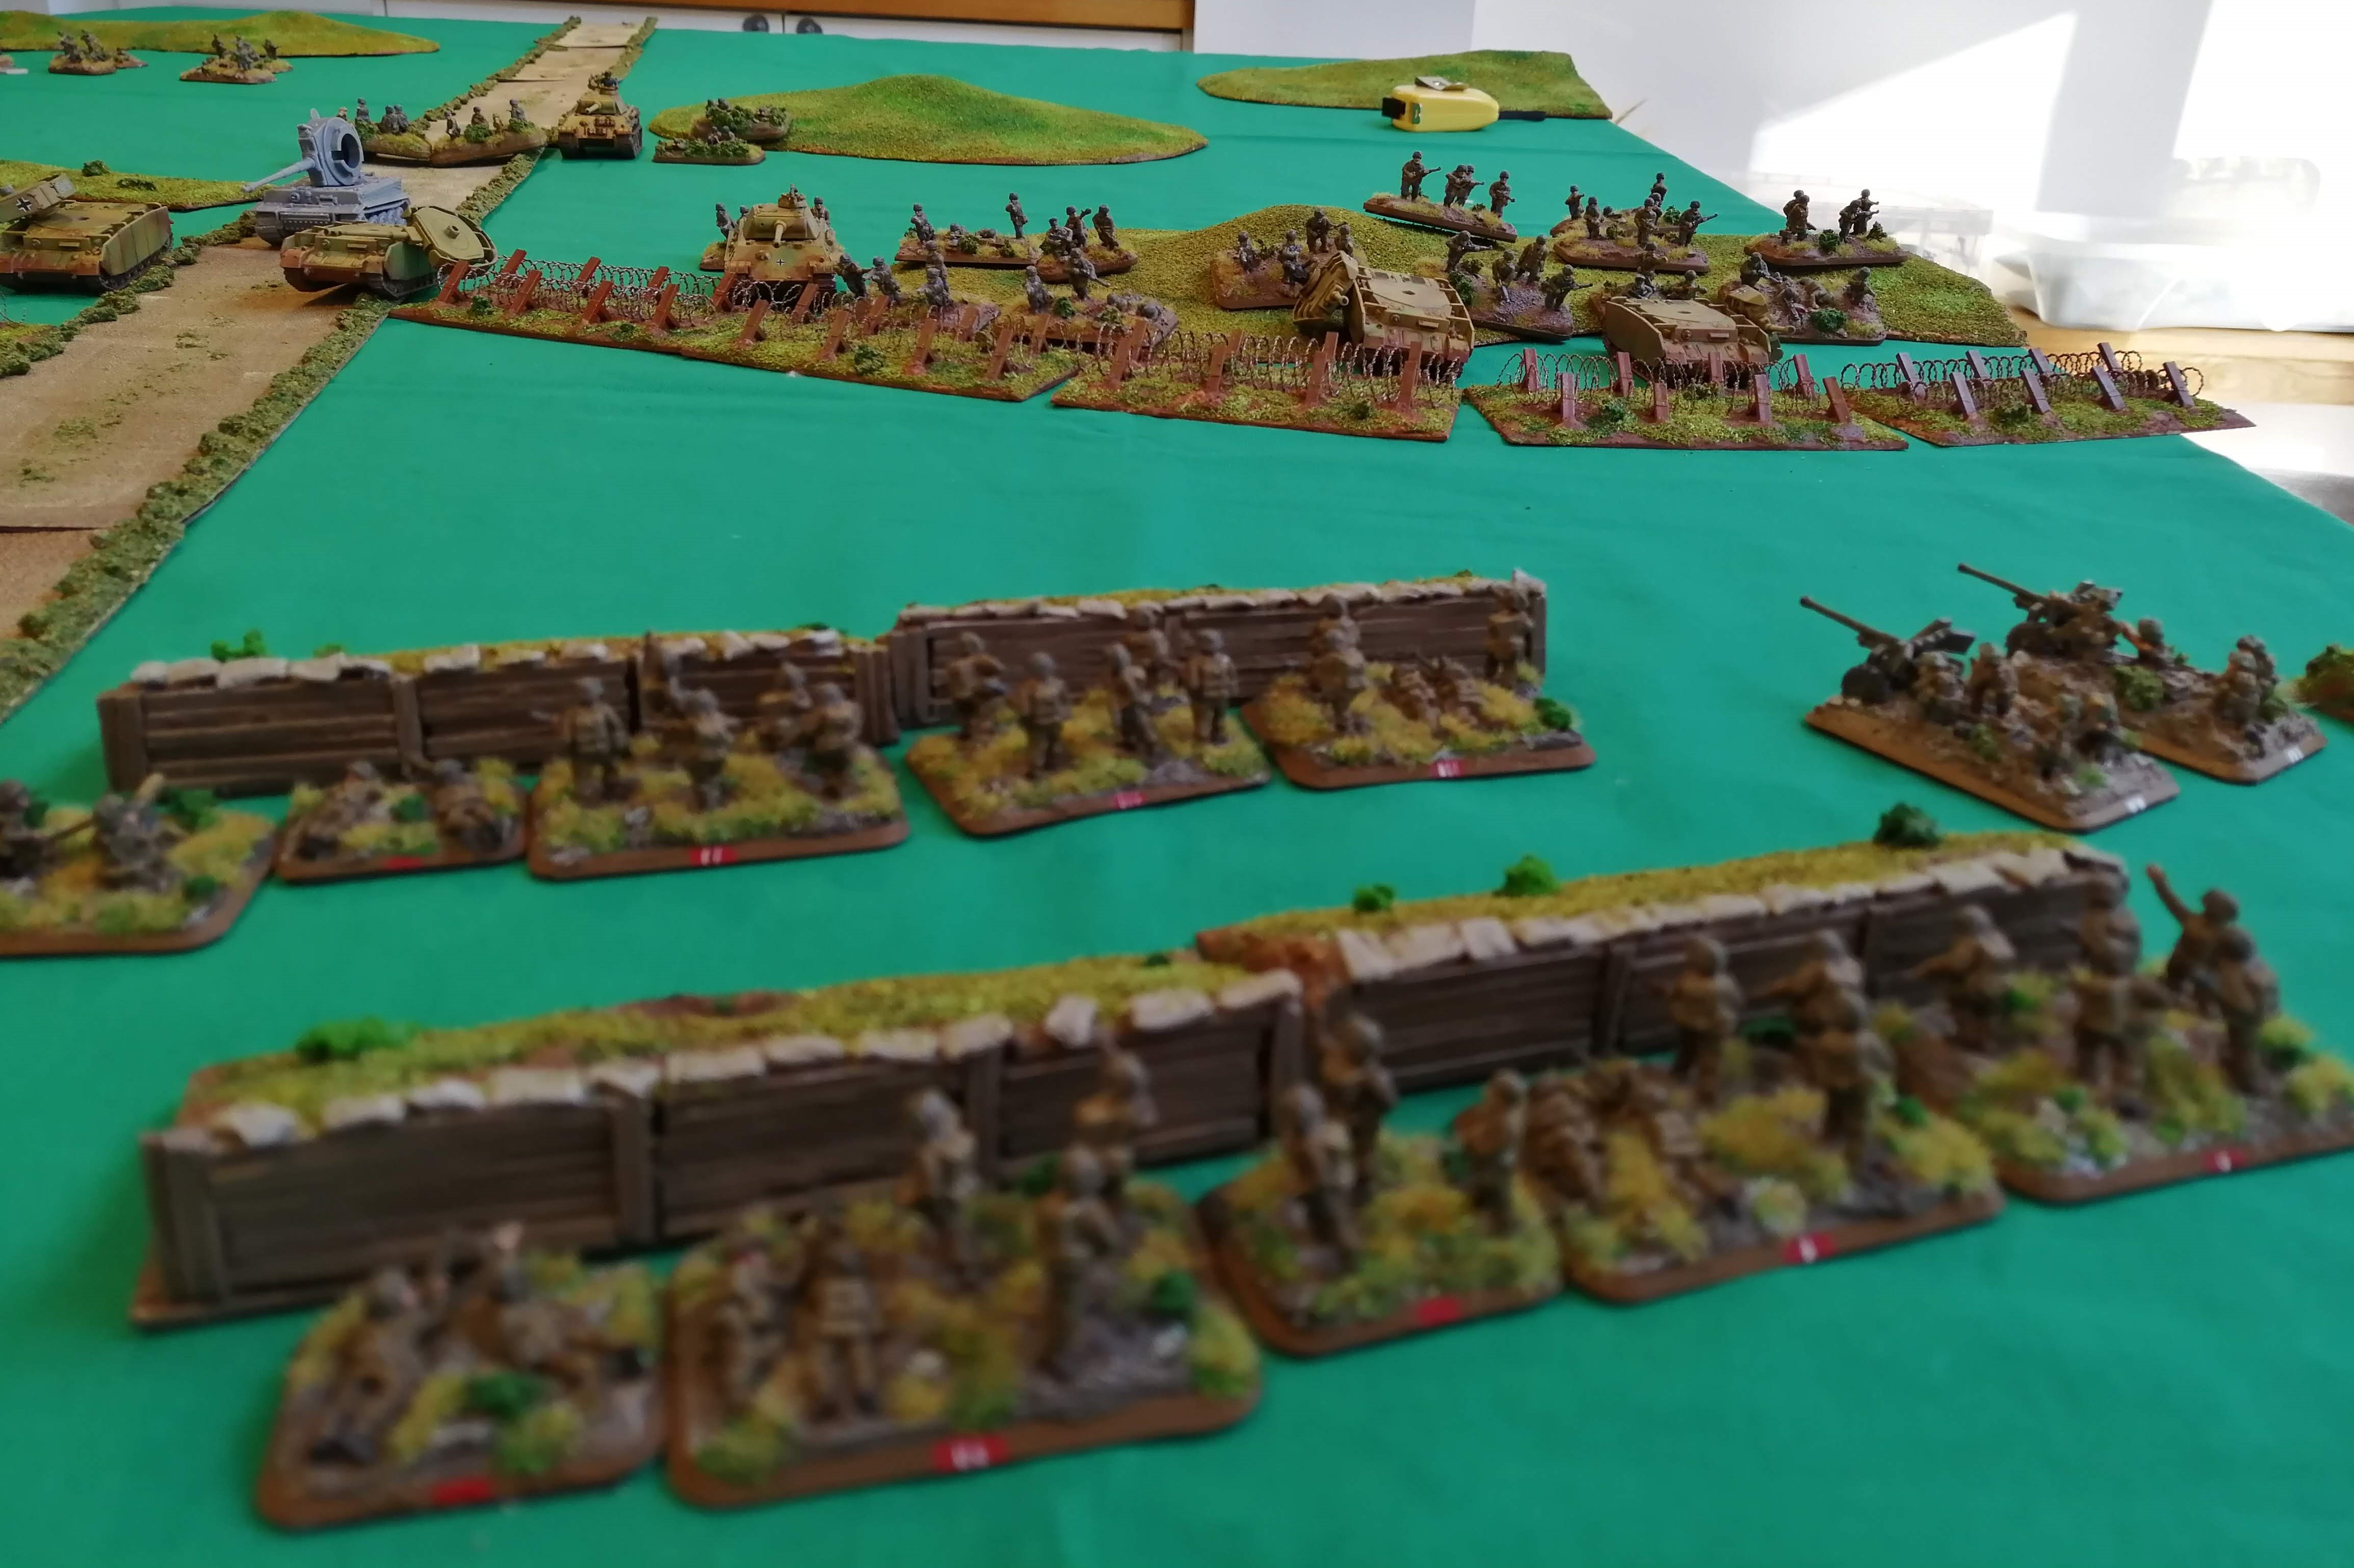
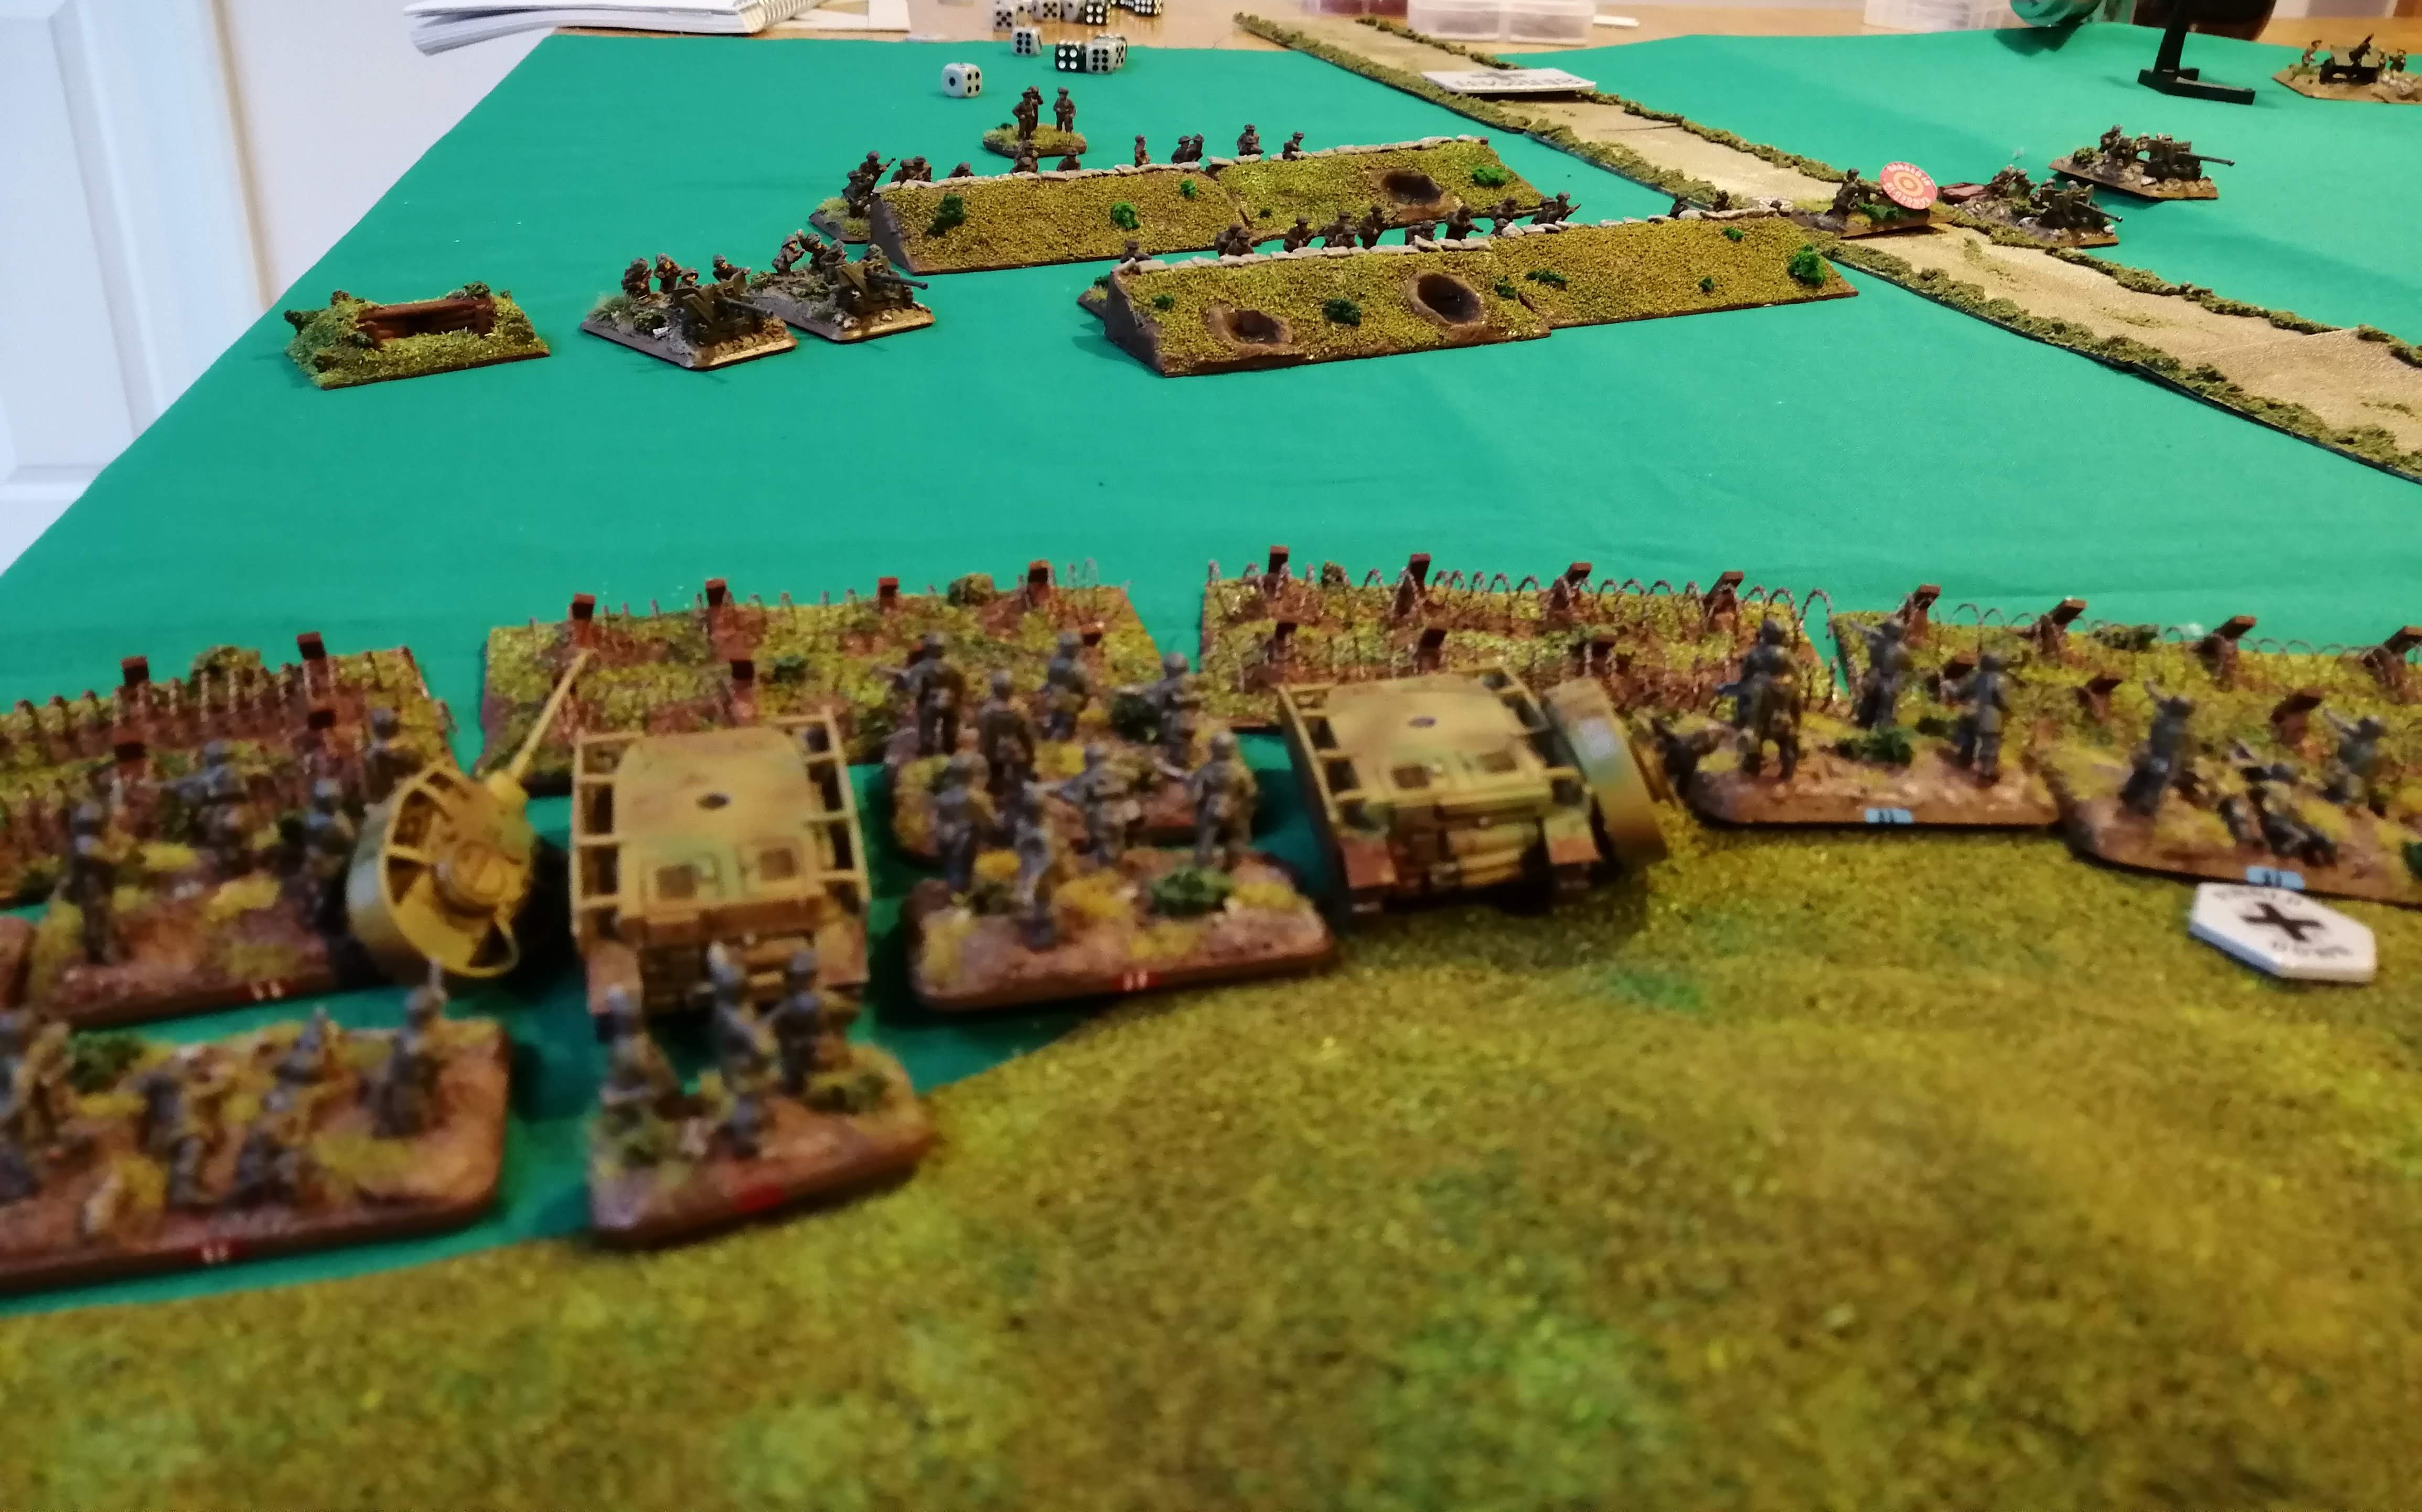
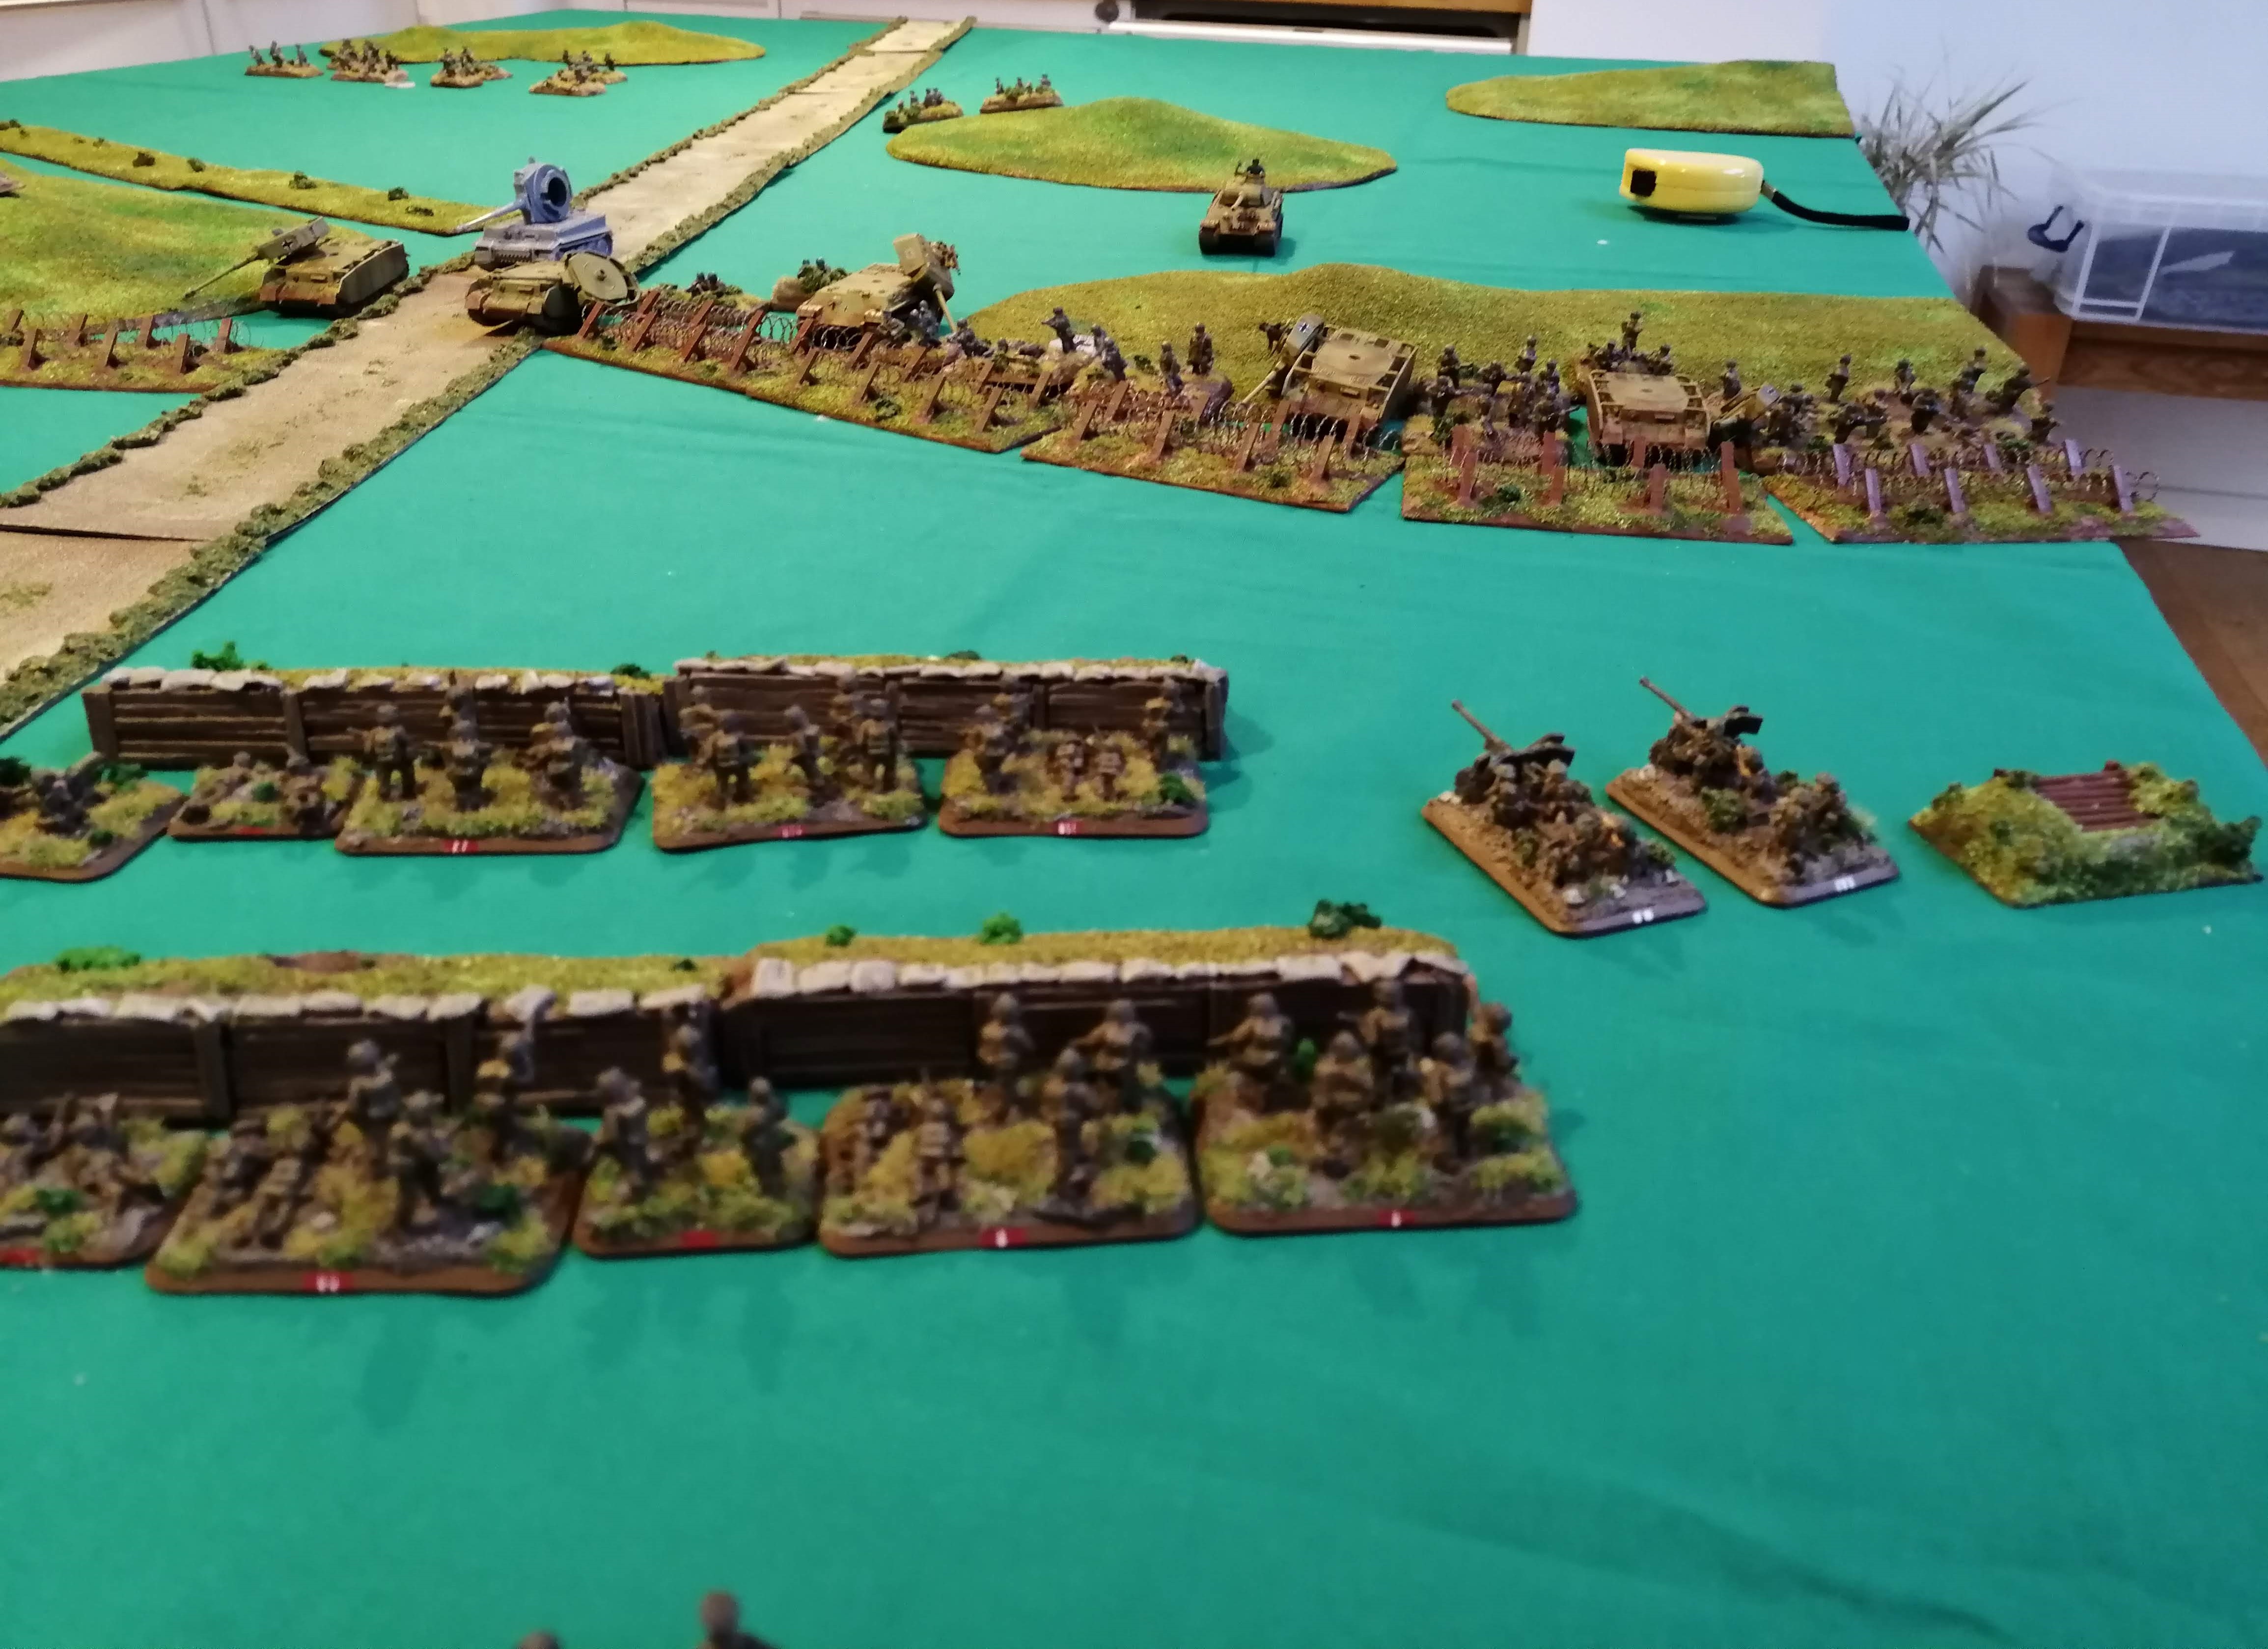
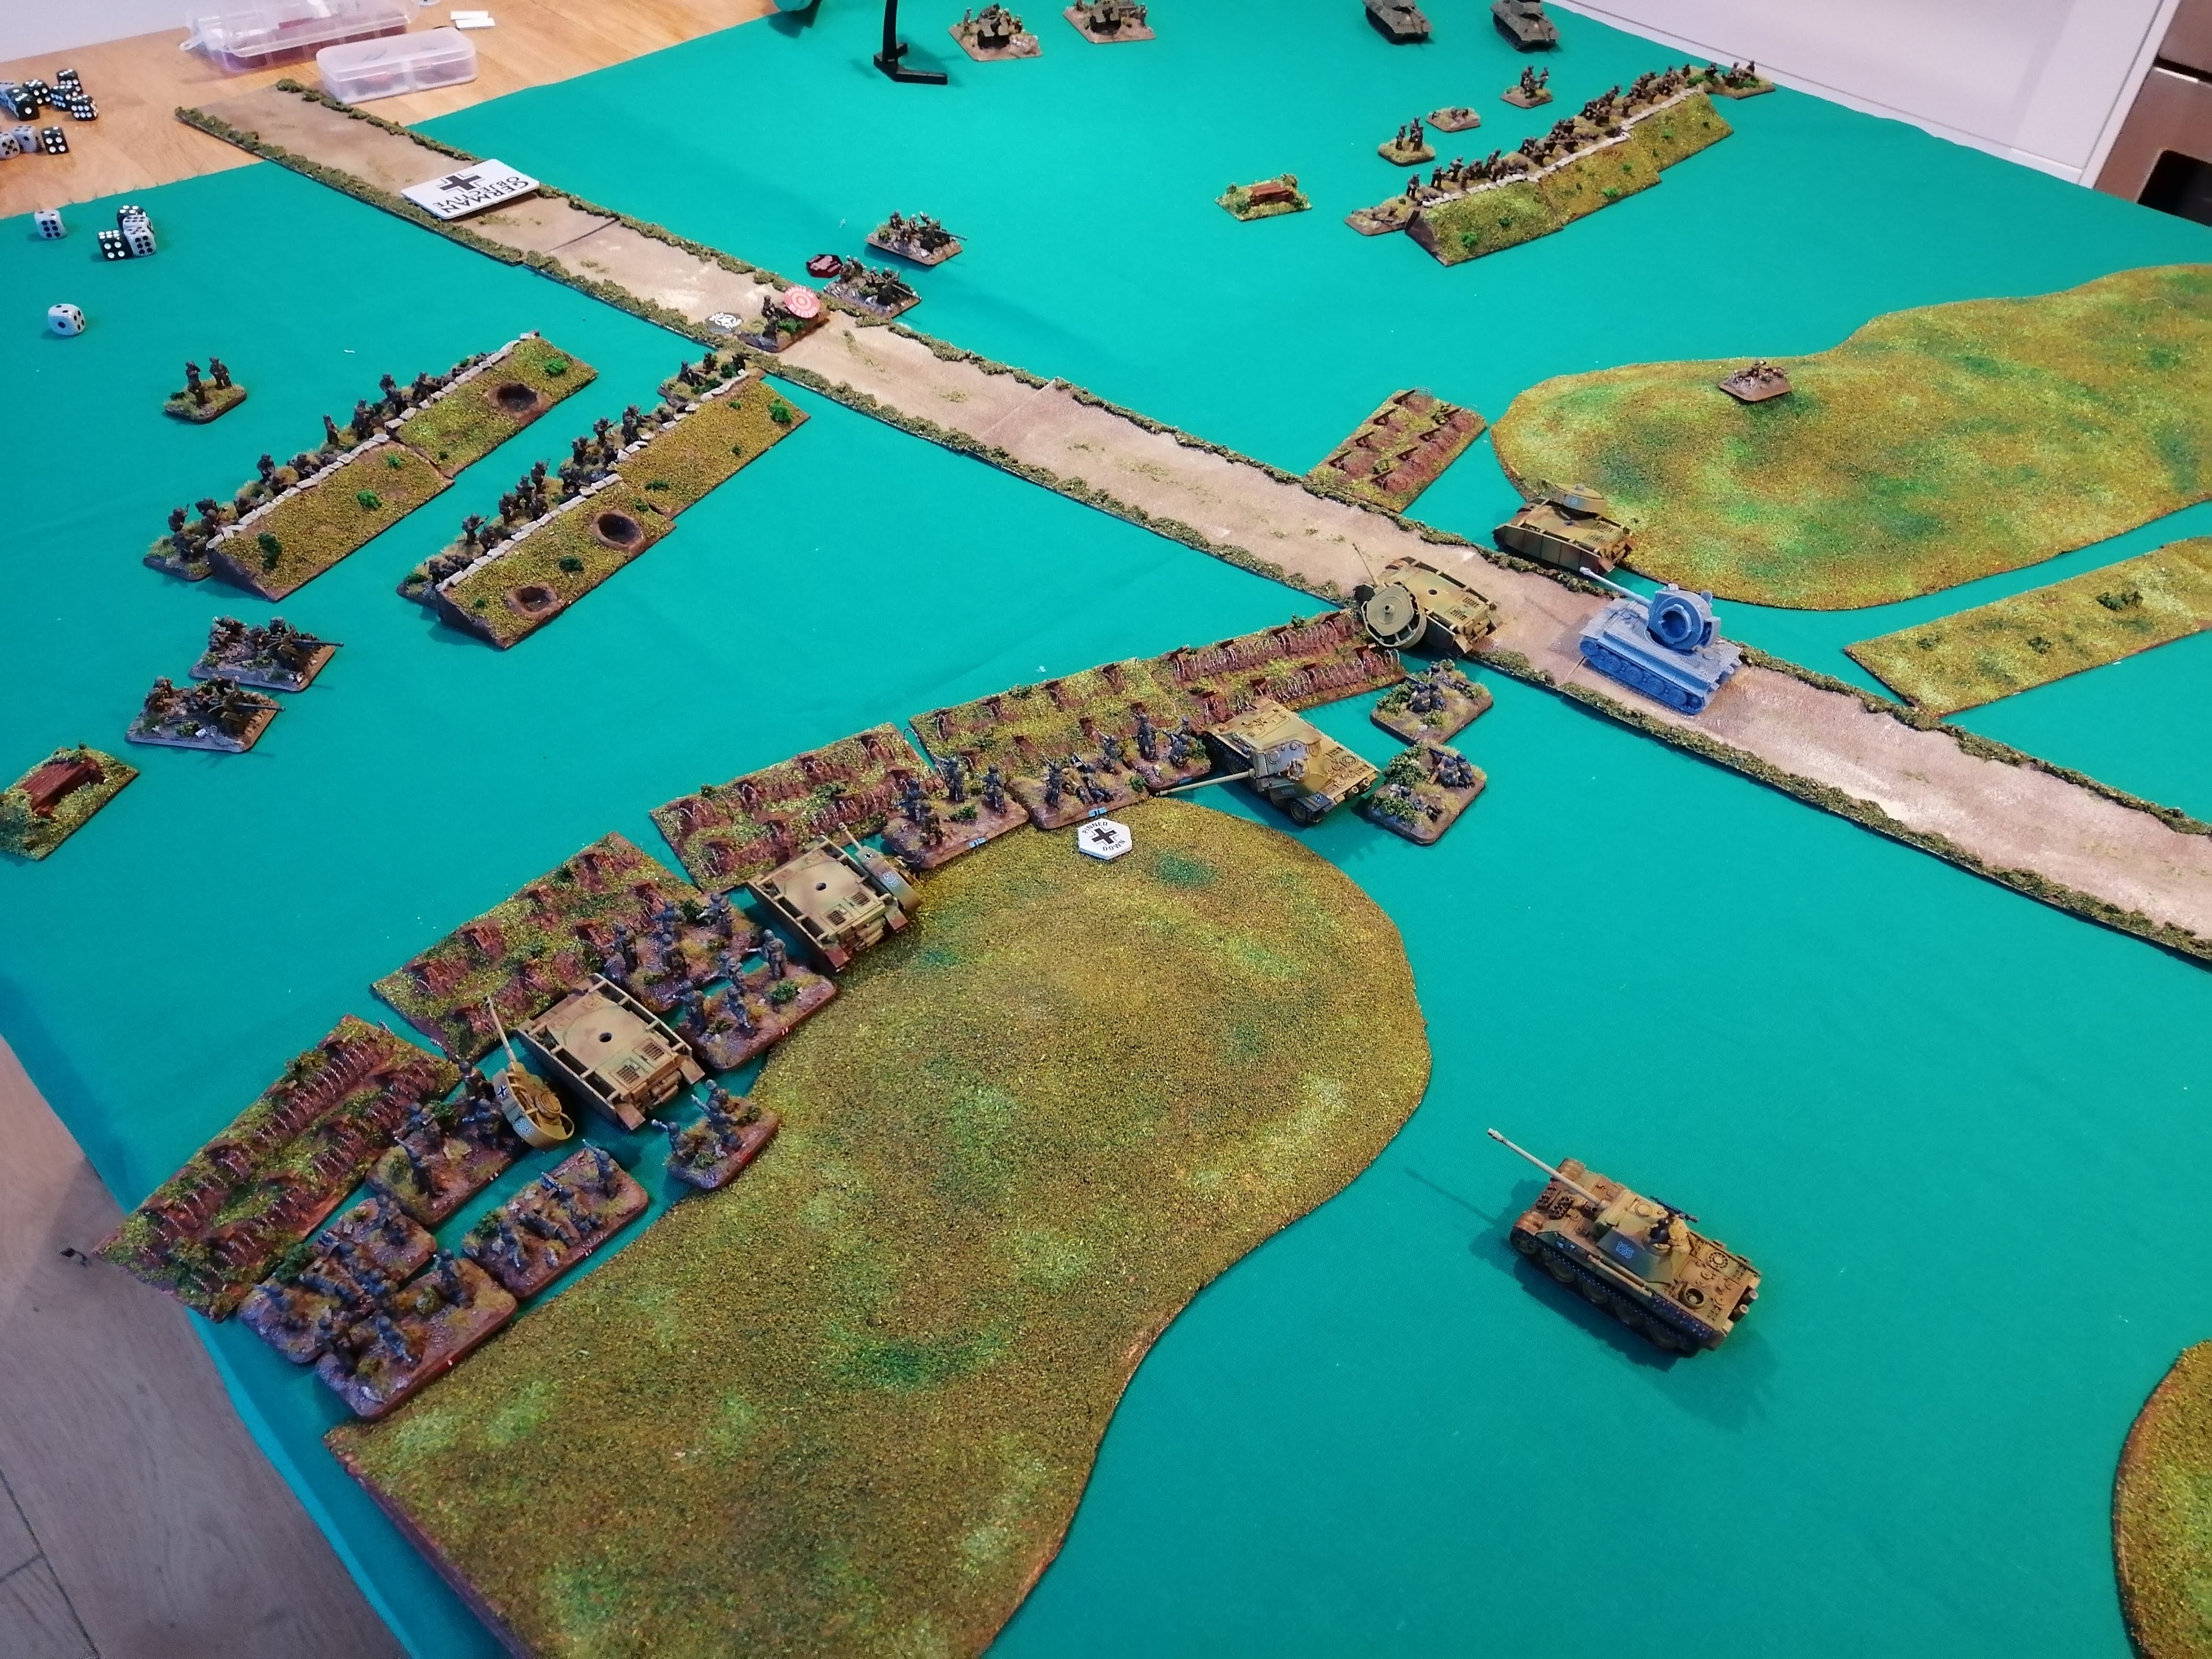
2nd Battle of Monte Cassino - Cassino Station
Firstly, real life has overtaken everything recently and I’ve not had nearly as much time to play the games and update this project. The 4th and final battle for Monte Cassino started 11th May 1944, so I am already a few days late in missing its 75th Anniversary, but I thought I would update with a battle report first before looking at the Allied break through.
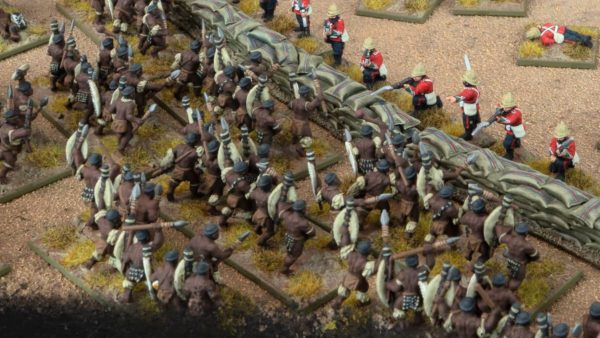
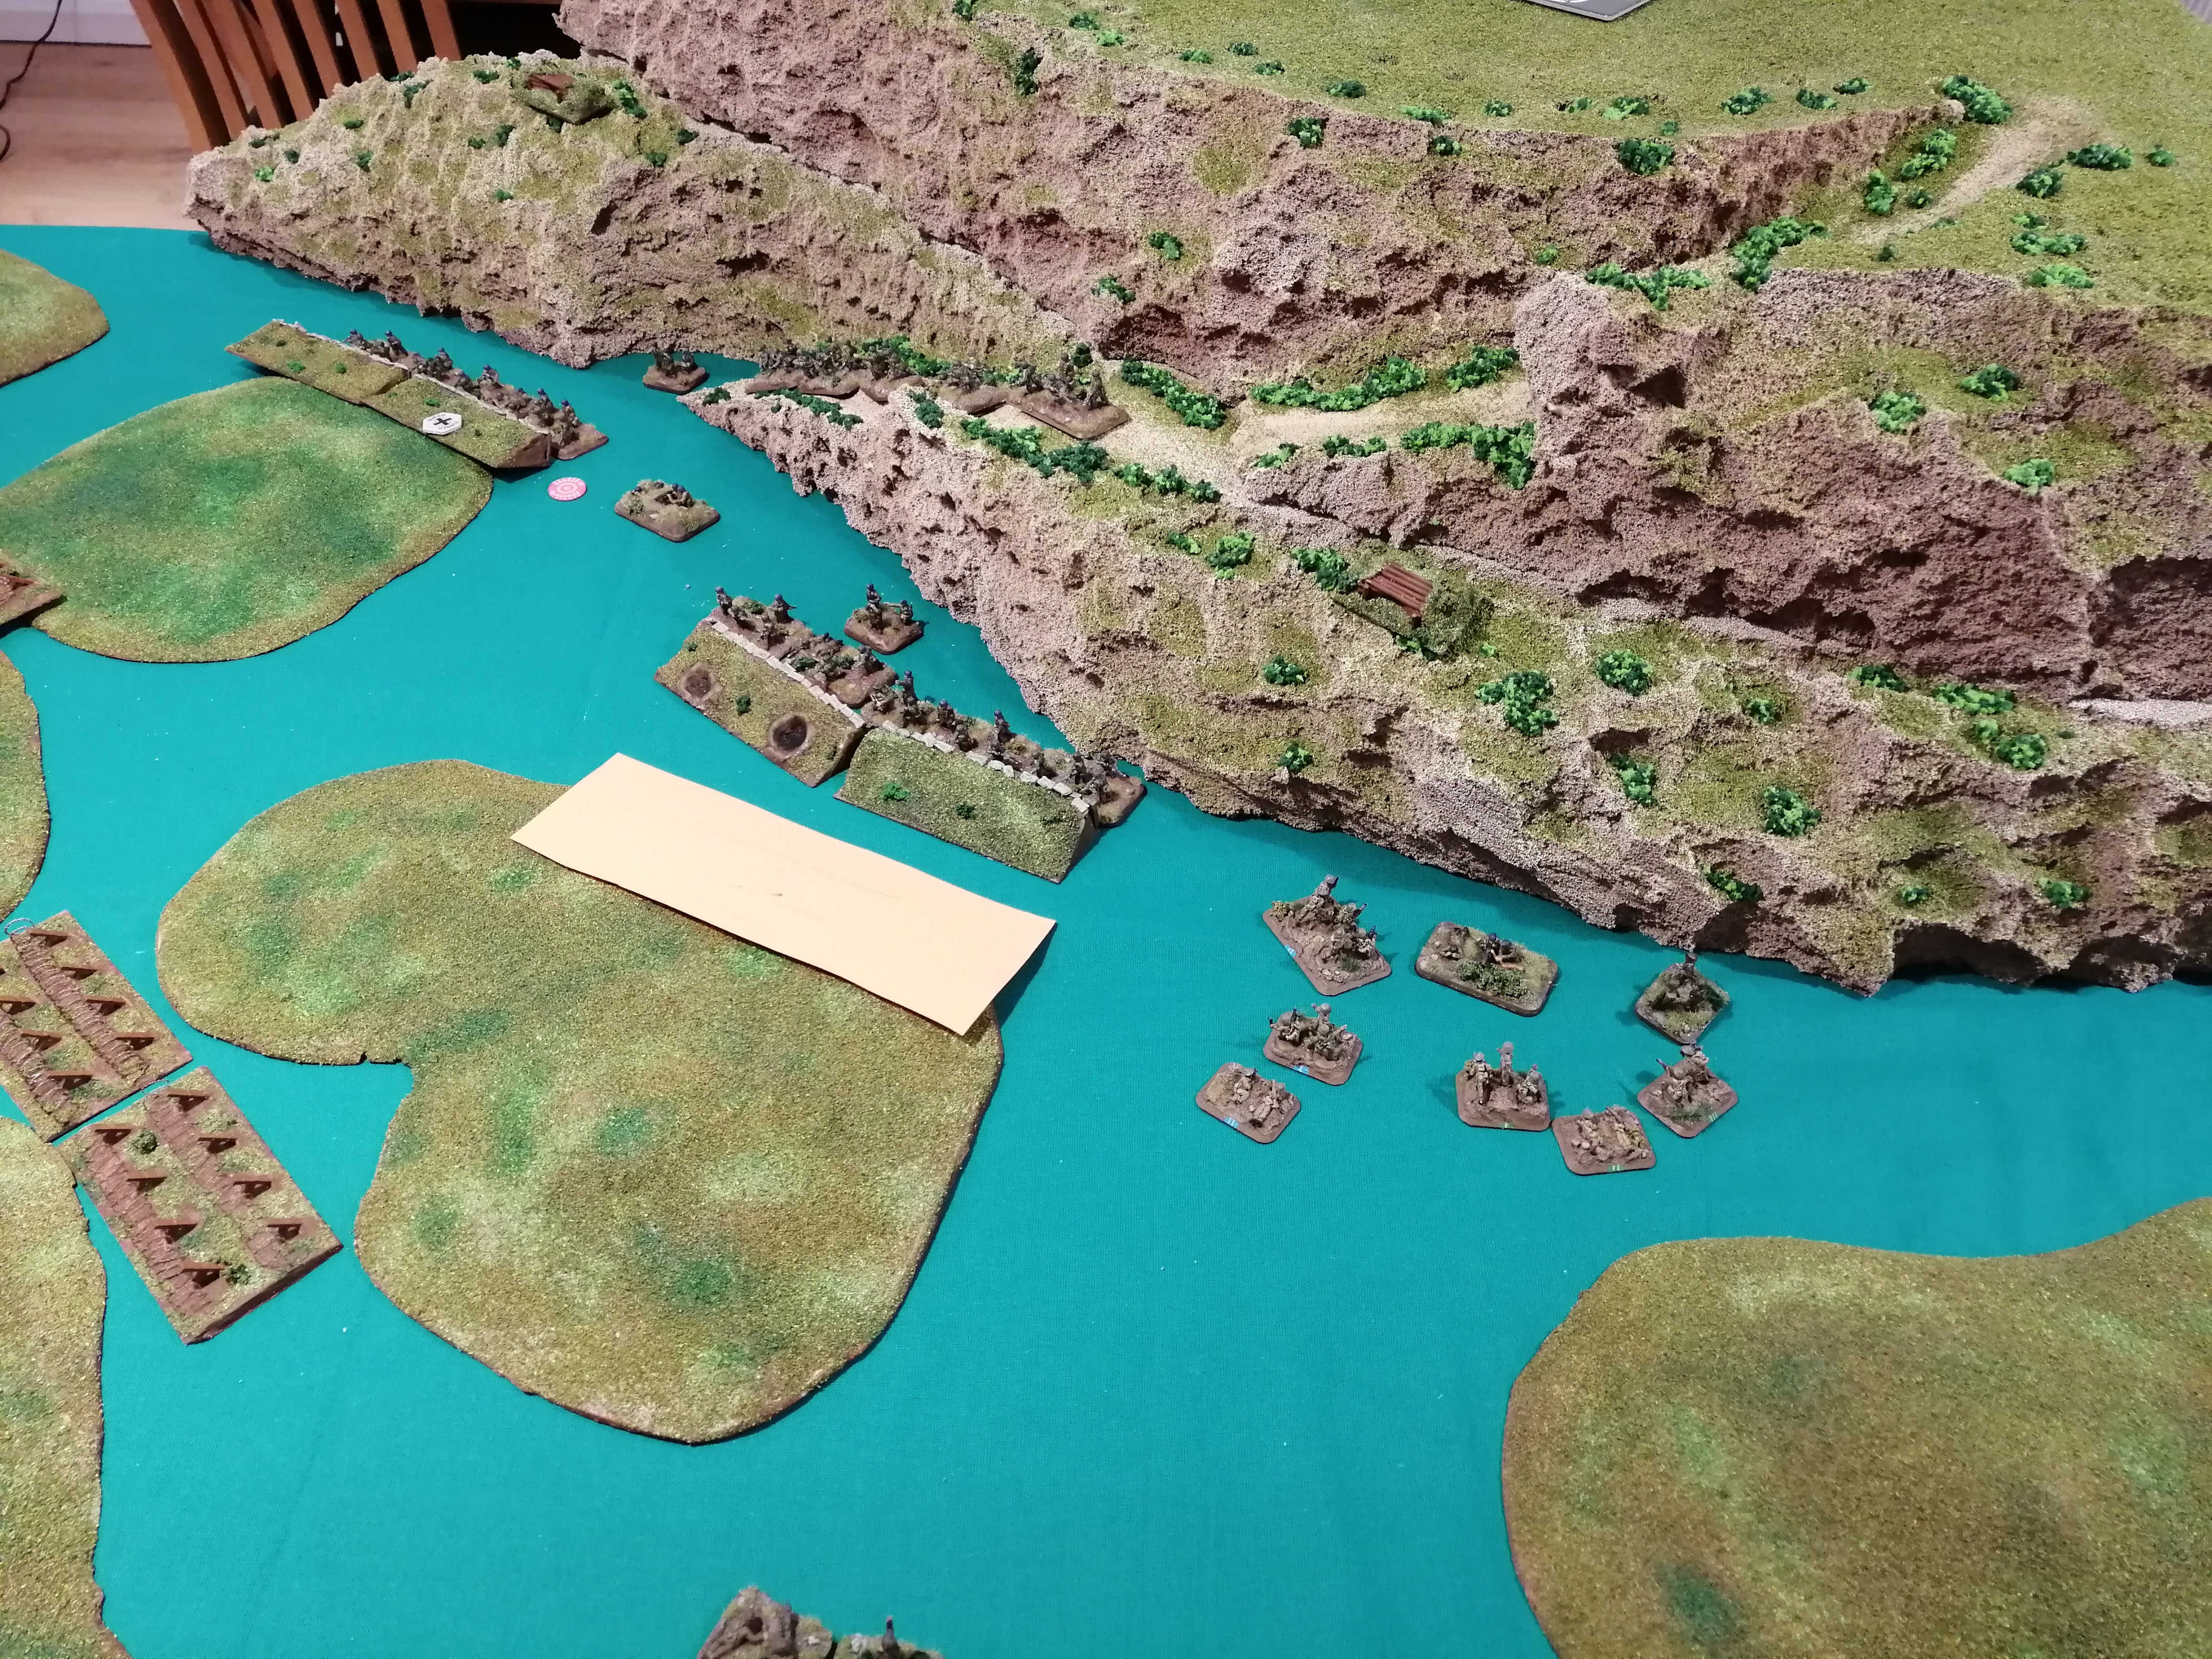
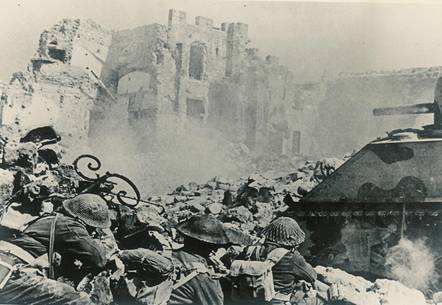
During the Second Battle of Monte Cassino, on the night of the 17th February the 4th British Indian Division were tackling the defenders at Point 593 up on the hill. Meanwhile, in the valley, the New Zealand Division were tasked with taking the town of Cassino. Under the cover of darkness and artillery bombardment, the Division crossed the Garigliano and inched toward the town. The 28th (Maori) Battalion was tasked with advancing up the railway line and to take the station. Many of the bridges had been removed which limited armour support and so the men of 28th Battalion were left largely unsupported in the assault. Their route of advance was also obvious to the defenders and many of German mortar crews had ranged in on points along the railway line making the advance treacherous.
As day broke on the 18th February, under a continual smoke bombardment, the 28th Battalion were able to achieve their objective and capture the station. They dug in and held for most of the day until a German counter attack led by two tanks was launched. With no dedicated anti tank equipment beyond the standard PIAT, they were ordered to hold out for as long as possible before eventually being ordered to fall back. Following the battle, Kesselring, commanding the German defenders, expressed surprise that the 28th Battalion had taken and held the station but even greater surprise that the German counter attack had succeeded. It would appear that he had overestimated the support that 28th Battalion actually had.
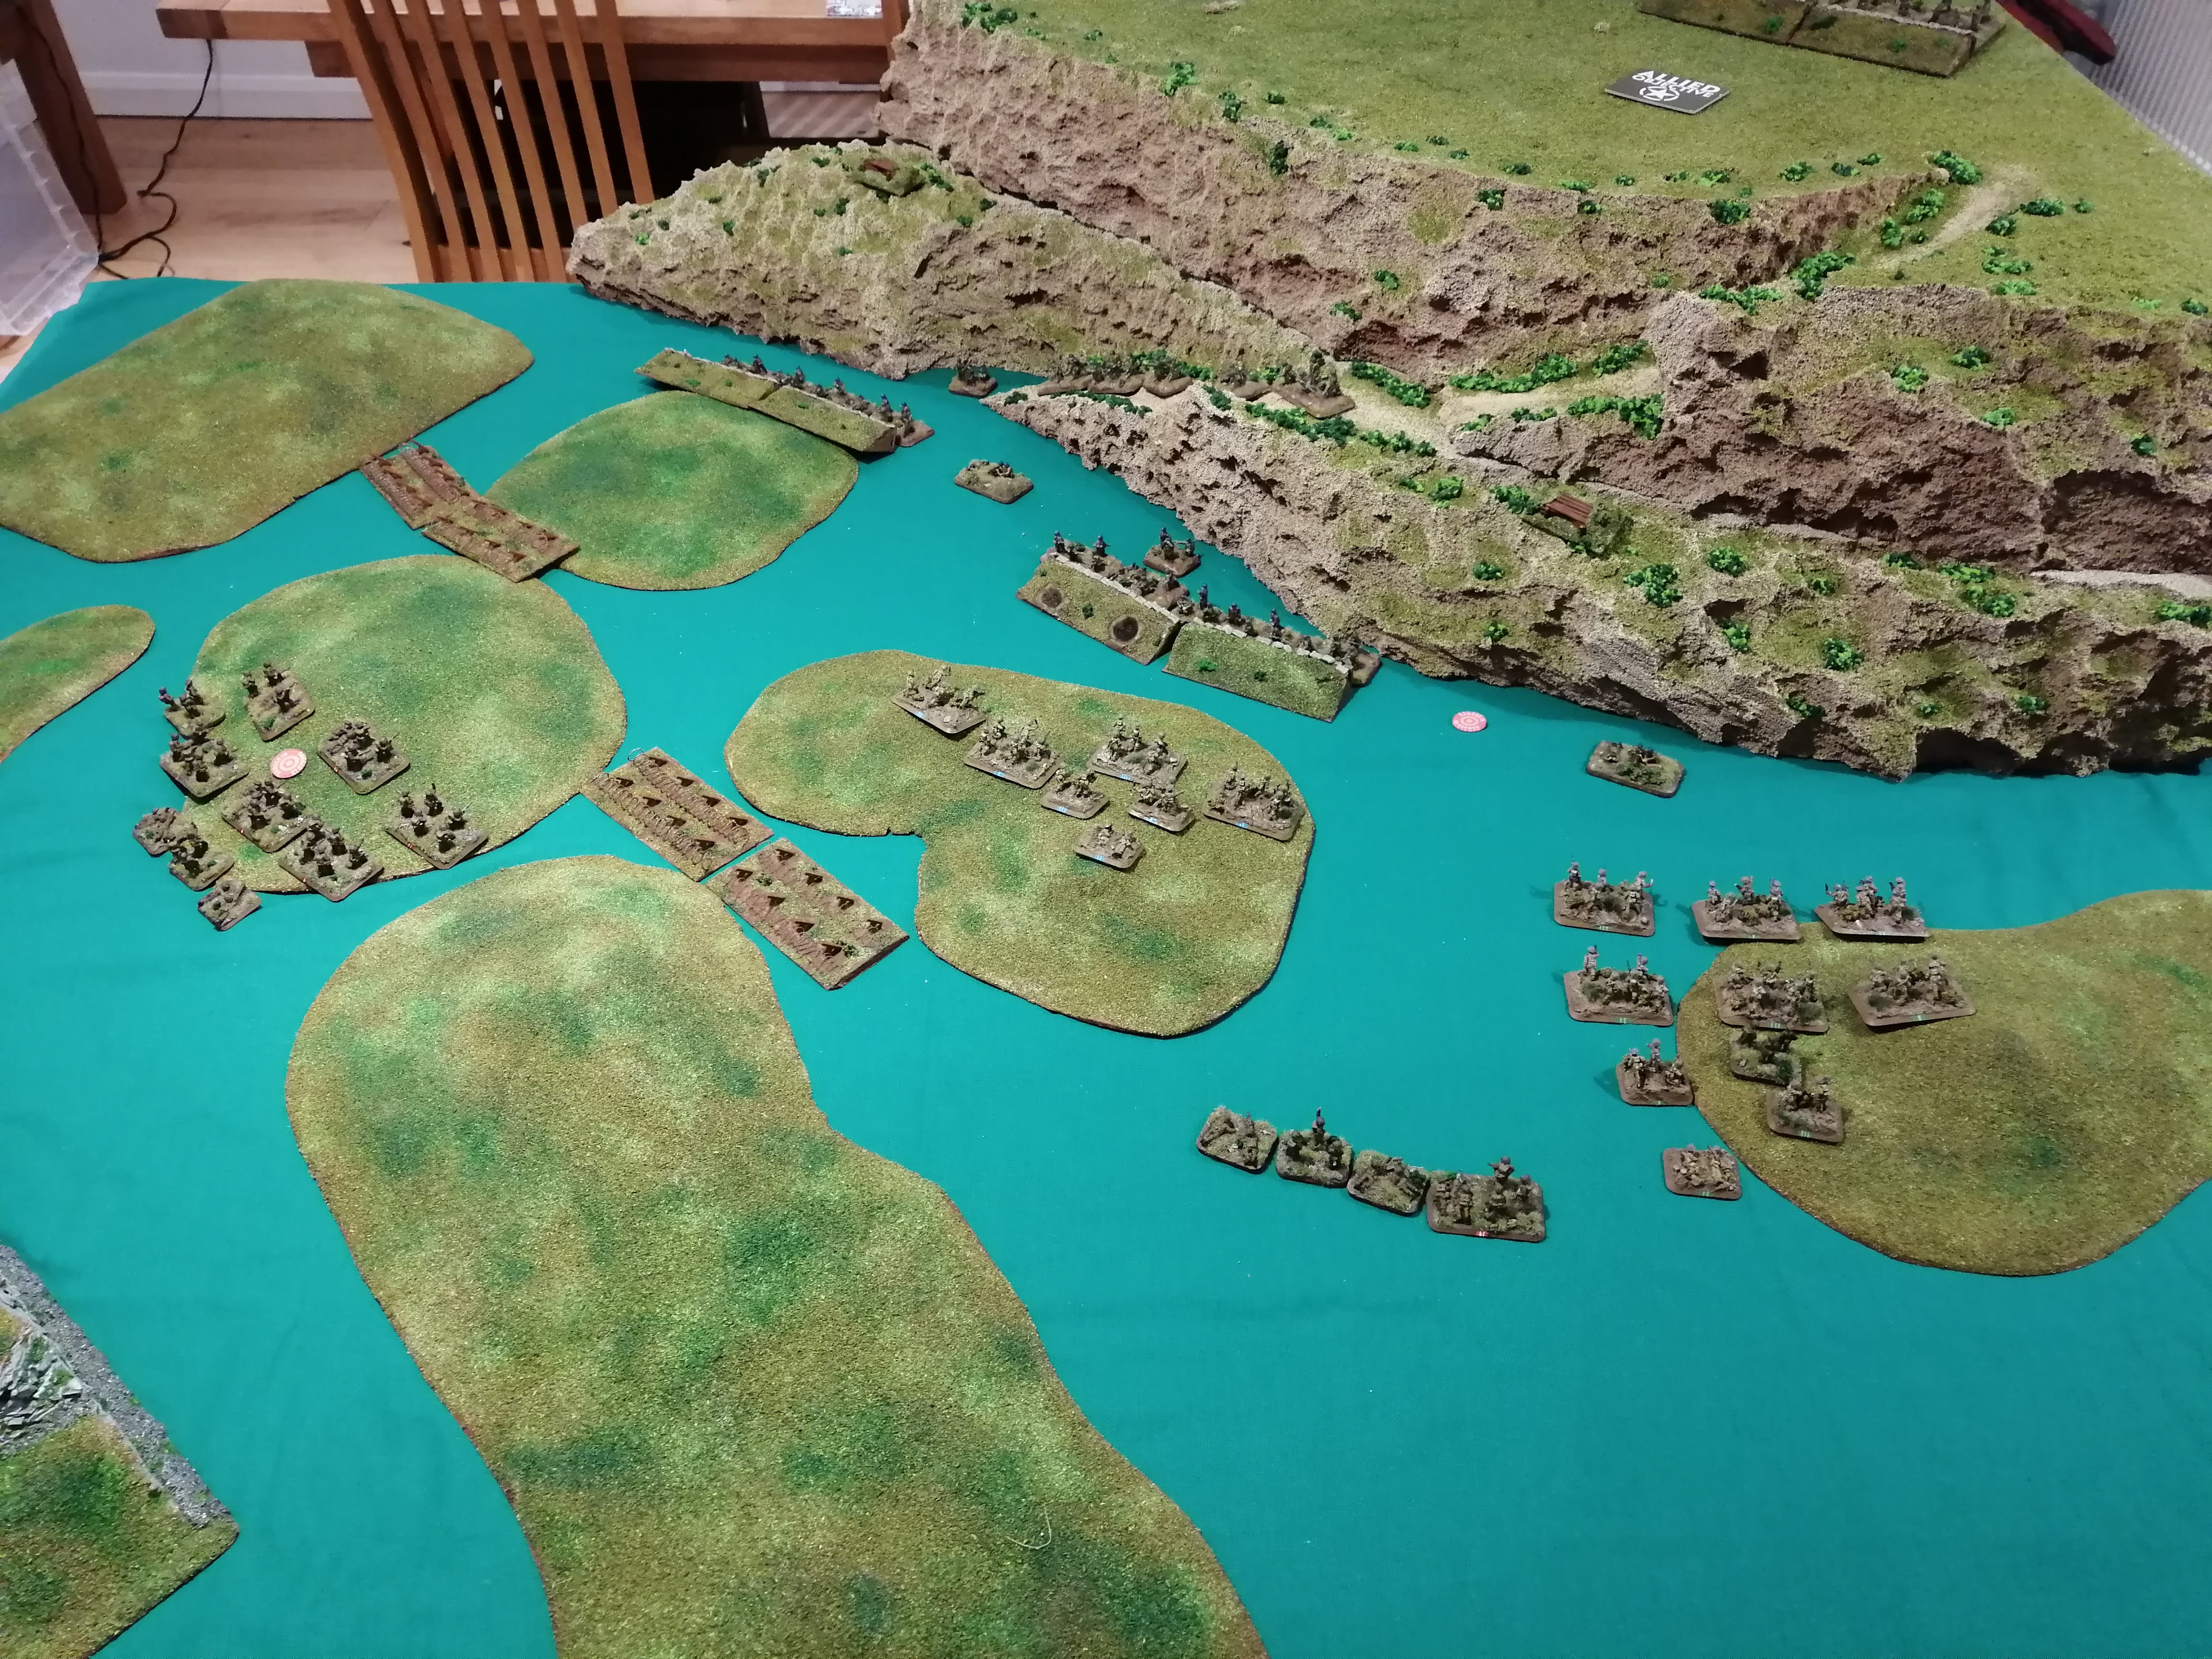
 The Tactical View of the overall battle - the station is at the bottom of the map
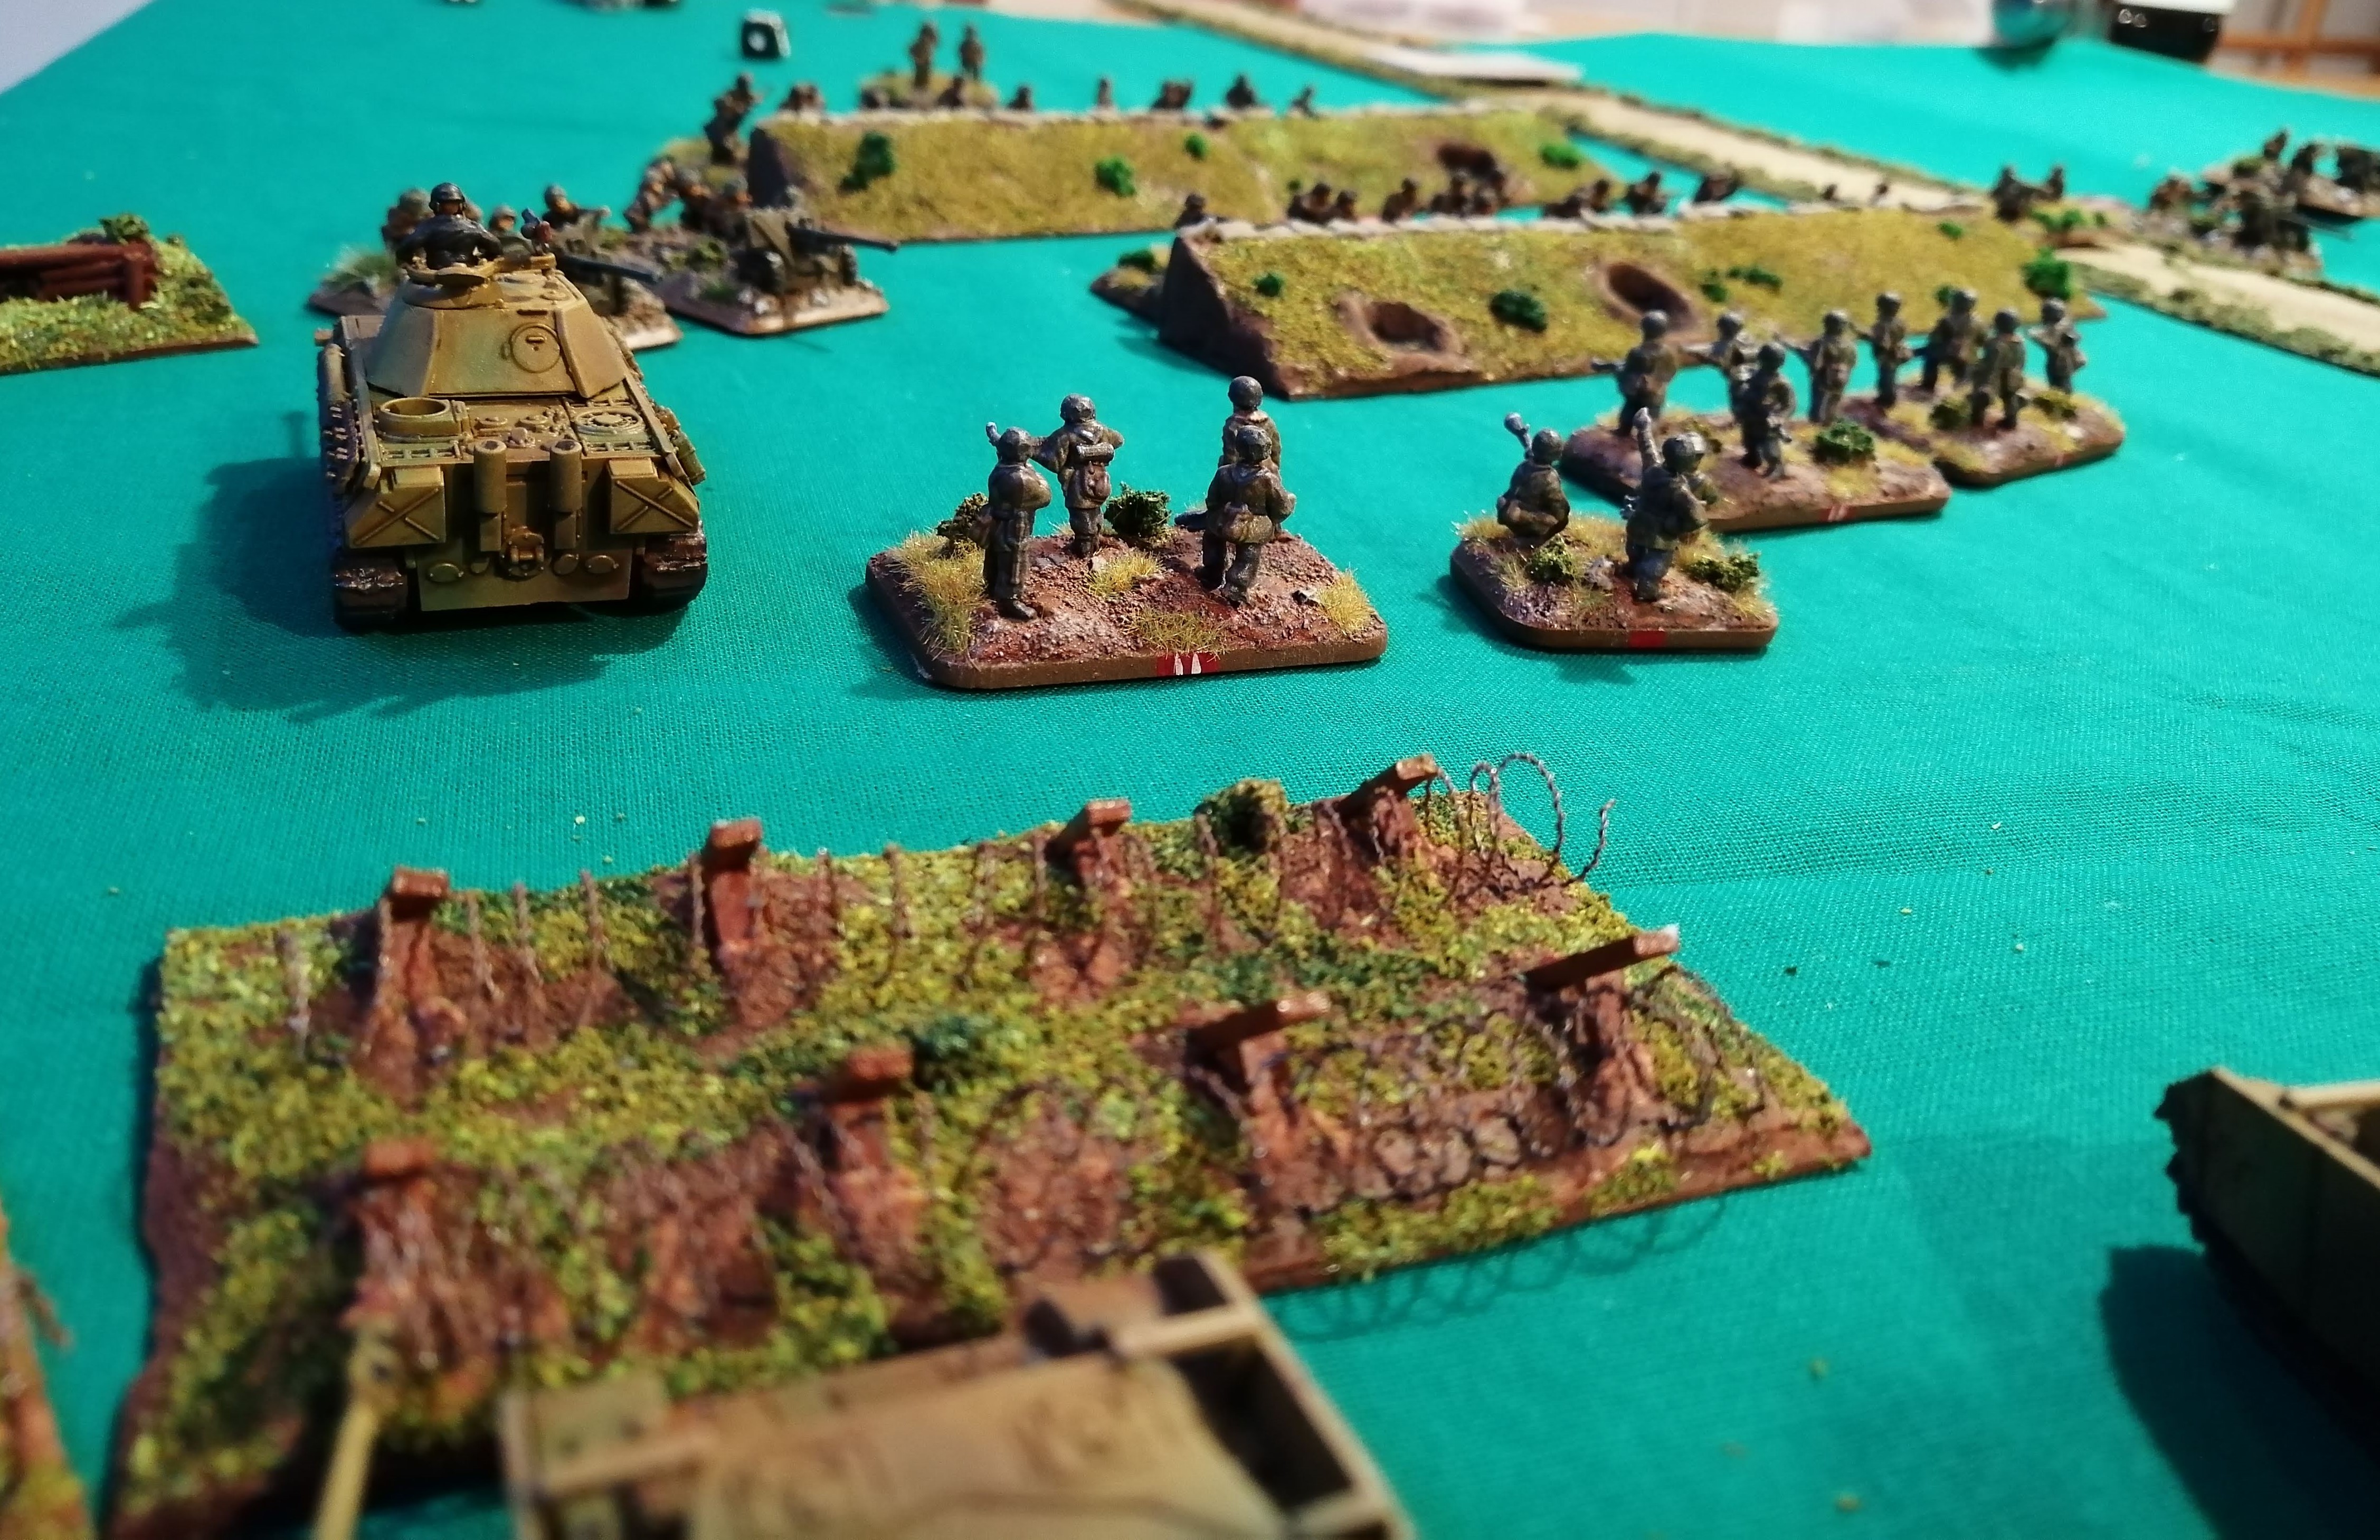
This battle will be a condensed version of the events around the Cassino Station. I’ve reduced the forces to a table top sized battle rather than a Battalion sized action – despite all the preparation for this project, I don’t have enough models to carry out Battalion sized activities!
Forces:
Both sides are rated as Confident/Veterans
28th (Maori) Battalion
HQ – 1iC and 2iC Infantry teams
3 identical Infantry Platoons of HQ, PIAT team, 2” Mortar Team and 6 Teams. They’re considered Rifle/MG teams under FoW standards.
90th PanzerGrenadier
HQ – 1iC and 2iC Infantry SMG teams
3 Identical Infantry Platoons – HQ and 9 Teams counted as MG Teams
1 Platoon HMG (2 teams)
2 Panzer IV tanks
I’ve opted for Panzer IVs here as I can’t pin down what actual armoured support was used. I’ve read conflicting reports stating it was either a Panzer IV or an Assault Gun.
Victory Conditions:
The Allied player receives 1 Victory Point for each Platoon in good spirits exited off of the board. They also receive 1 VP for each Turn they hold the station beyond turn 5.
The German Player receives 2 VP for each Platoon destroyed and 1 VP for each Platoon reduced below half strength.
Special Rules:
The 28th Maori Battalion cannot begin the retreat until the start of turn 5.
The station is considered in Maori hands if there are units either on or in the main station building. The German Player can contest this if they have units within 1”
The Maori platoons must exit the board by getting within 3” of the corner of the table behind the station.
There was a near constant smoke bombardment during the day. At the start of every turn, 3d6 are rolled and the total doubled to give the spotting distance in inches. No unit outside of this distance can be targeted, otherwise the smoke does not provide concealment unless any unit specifically fires their own smoke.
The Germans are the attackers and start the first turn.
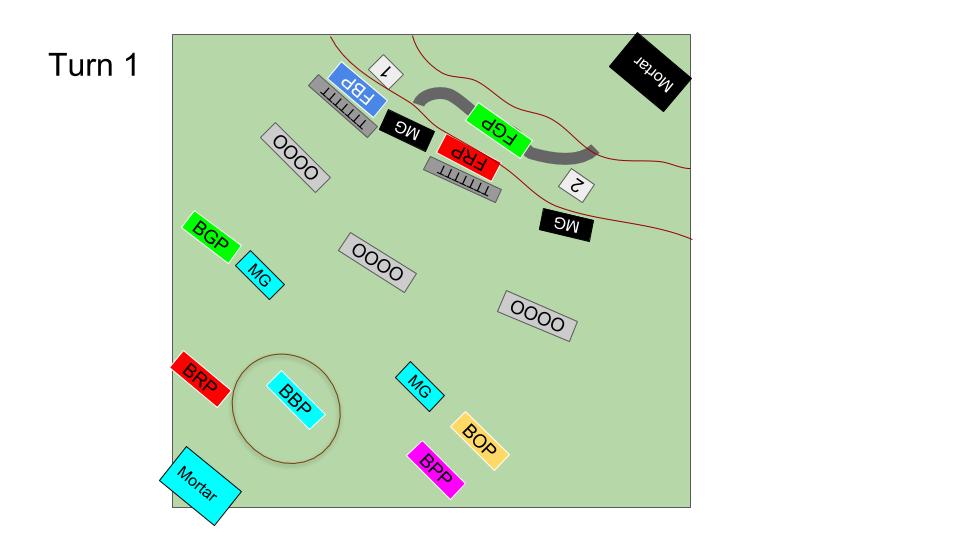
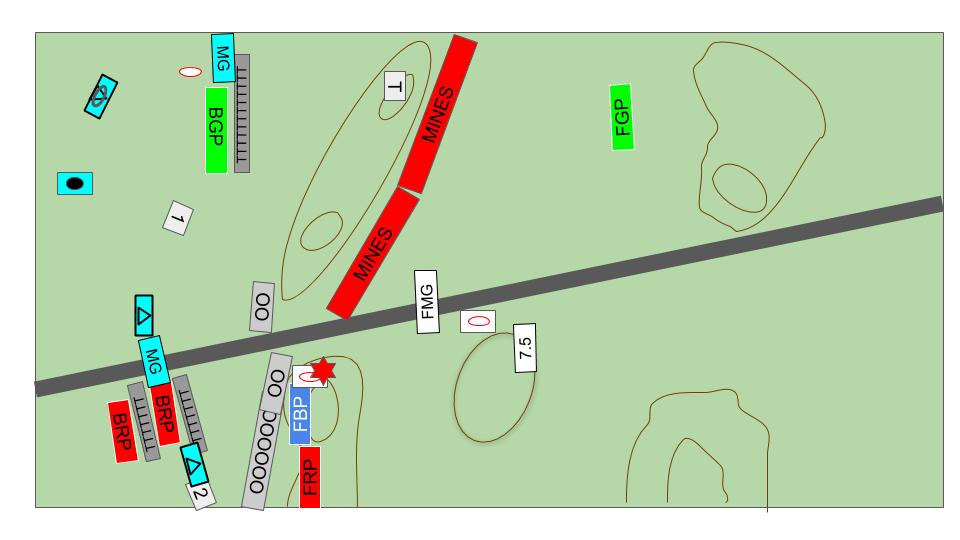
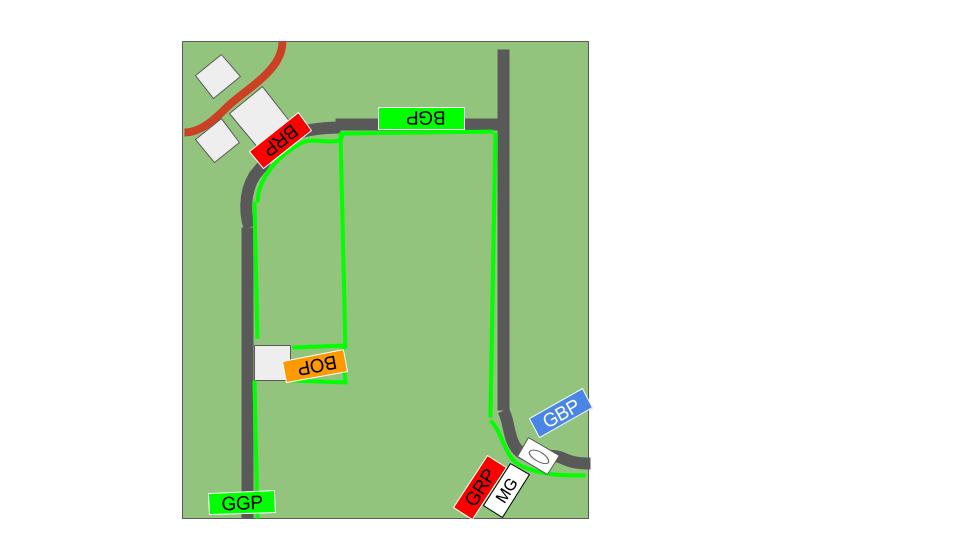 The deployment
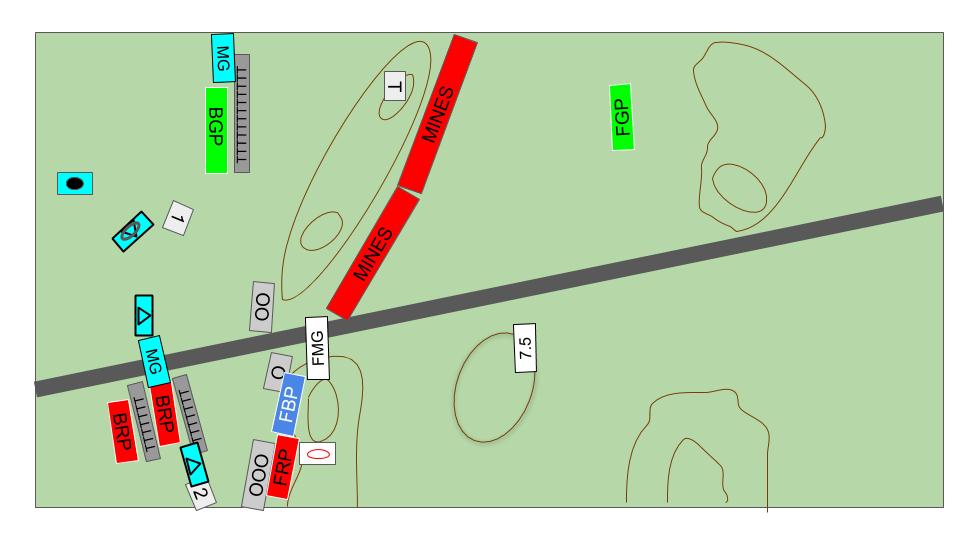
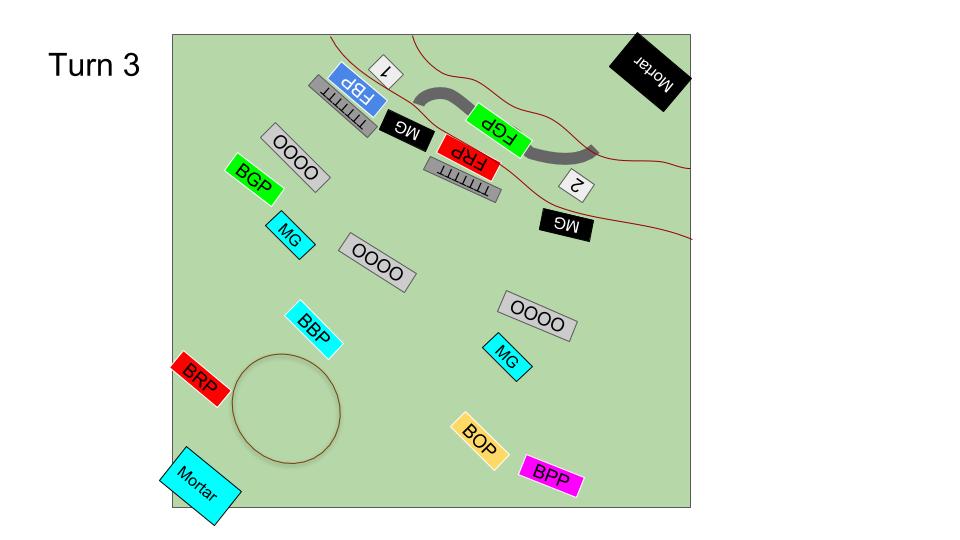
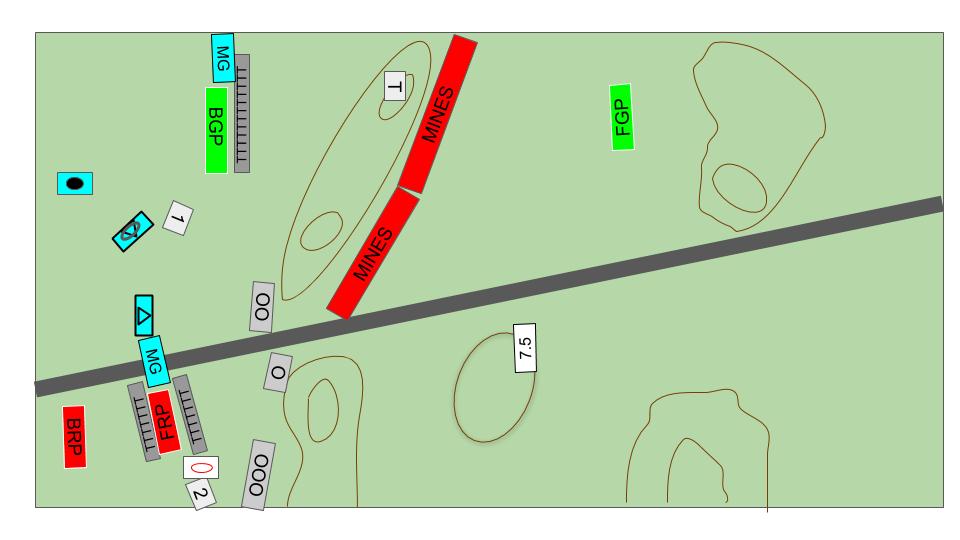
Understanding the Map:
I’ve used three letter acronyms for the units in the text and on the map. GGP means German Green Platoon and the Germans have Green, Blue and Red Platoons. BOP is British Orange Platoon and the Maori have Red, Orange and Green Platoons. And yes, it should realty be MOP rather than BOP but I had cut and pasted a lot of the map before I realised and couldn’t be bothered going back to change it, so apologies to labelling the Maori as British.
The green lines are hedges, dark grey lines roads and the red line is the railway. White blocks with no writing are buildings.
 Opening deployment
Battle Report - The Assault on Point 593 (Final Part)
Turn 7
BOP is able to clear the barbed wire in front of it which opens its route to point 593. BPP continues to advance while BBP stumbles into the second minefield but fortunately does not lose any teams. The rest of the British units remain pinned in place
1iC calls in the mortars and then land near FBP, pinning them in place. Meanwhile, the rest of the shooting fails to even hit, let alone cause any damage.
BPP are within assault range of the German MG2 and so try to take it out. MG2 and Nest 2 get their defensive fire and cause 5 hits, killing 3 stands. The assault fails and BPP are pinned in place.
FBP unpins demonstrating just how effective the Fallschirmjager are under fire, they have barely flinched during this assault.
MG2 and Nest 2 continue with their hail of fire directed at BPP, cutting down another 3 stands and reducing BPP to just three teams.
FRP and FGP both spot BBP and are able to bring down 4 teams with their heavy fire. The mortars are able to repeat their bombardment and destroy 1 team from BRP. The kills are now starting to take their toll on the British.
 BPP preparing to launch their fateful assault
Turn 8
Again BPP and BBP unpin. BBP chooses to move through the minefield, losing a team in the process and moves toward German MG2 with the aim of launching an assault.
The British shooting is woeful and unable to hit anything. This just leaves the combined assault from BBP and BPP on MG2. The defensive fire causes only 4 hits, removing 1 stand which means that the assault hits home. MG2 is overrun and destroyed by the combined British assault.
Nest 2 continues to focus its fire on BBP, killing another team. FGP kills a further 2 teams from BPP, leaving just a single team left. FRP kills another team from BOP and at this point, with British casualties running at well over 50%, the assault is called off.
 What's left of the British forces following the assault on the MG team
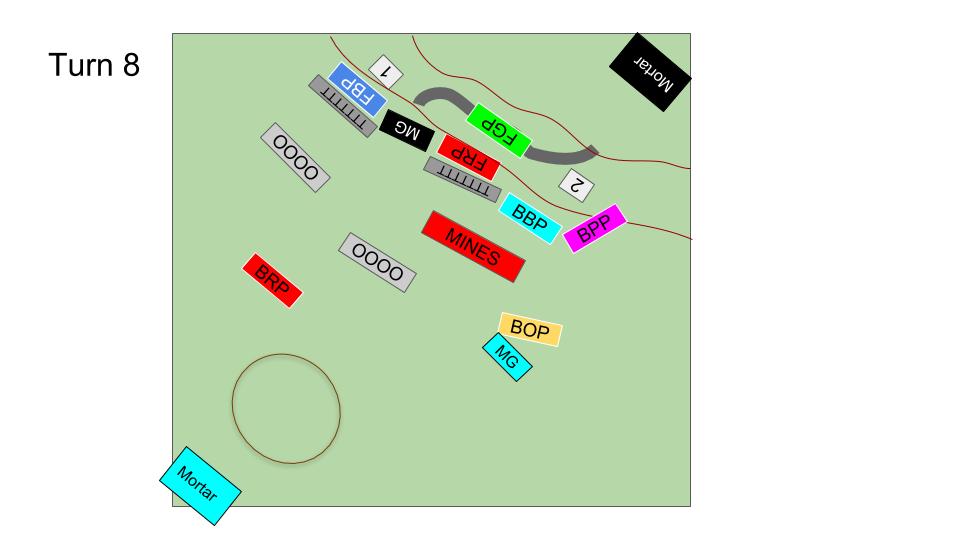

In the actual assault, both sides took a mauling however here, the Fallschirmjager came out of it fairly unscathed, losing just a couple of teams.
As a follow up battle, we could plot the real assault by allowing the Rajputana Rifles and Gurkhas to assault the same positions the following night, perhaps with the Germans having to maintain the losses they sustained in the first night.
Still, an interesting game and a clear demonstration of just how brutal the assault on Cassino actually was.
Battle Report - The Assault on Point 593 (Part 3)
Turn 5
Despite MG1, all of the British platoons unpin this turn. BPP heads out further right to try to outflank and stay out of the way of the German MG’s. BOP advances up to the barbed wire to its right, fearing a frontal assault might be too much. BBP heads straight ahead and BRP successfully clears the minefield it’s in. BGP bravely continue to inch closer to FBP in their trenches.
BOP fails to cause any wounds as does BBP although BBP does at least lay down some smoke on FRP. BGP is able to kill one stand from FBP but doesn’t cause enough hits to pin them ready for another assault.
1iC again changes the location of the bombardment to target a point that takes in FGP and FBP. Ranging in on the second attempt, both German platoons are hit and pinned but no further damage is caused.
Once again BGP tries to assault FBP. The defensive fire from FBP and nest 1 is just as brutal and BGP loses another 4 stands and gets pinned in place.
The Germans again unpin all of their units. FBP wastes no time in removing the the remaining stands from BGP. British Green Platoon is removed from the game.
FRP is able to kill 2 stands from BBP while MG2 kills another stand from BOP.
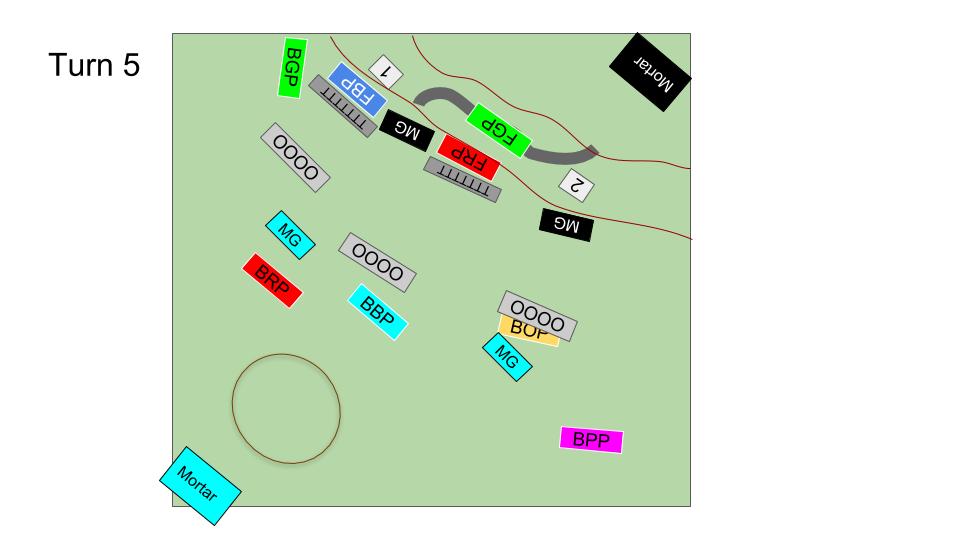 End of turn 5
Turn 6
The British fail a lot of pinning checks and only BPP, BBP and MG1 are able to unpin. MG1 stays put as this allows it to bring its full rate of fire. BPP continues to advance to the right while BBP moves up the middle between the two sets of barbed wire.
The British shooting fails to cause any damage despite quite a few hits. The Germans have dug themselves in very well and are proving very difficult to damage. The only real success of the British shooting was the mortar attack that hits FRP and pins them.
FRP unpins at the first ask, effectively making the British last shooting round redundant. The Germans begin to return fire, and the German MG1 and FBP destroys the British MG1 platoon completely, significantly reducing the British firepower. The 1iC is able to spot the BRP and the mortars rain down but despite a lot of hits, fail to cause any wounds at all.
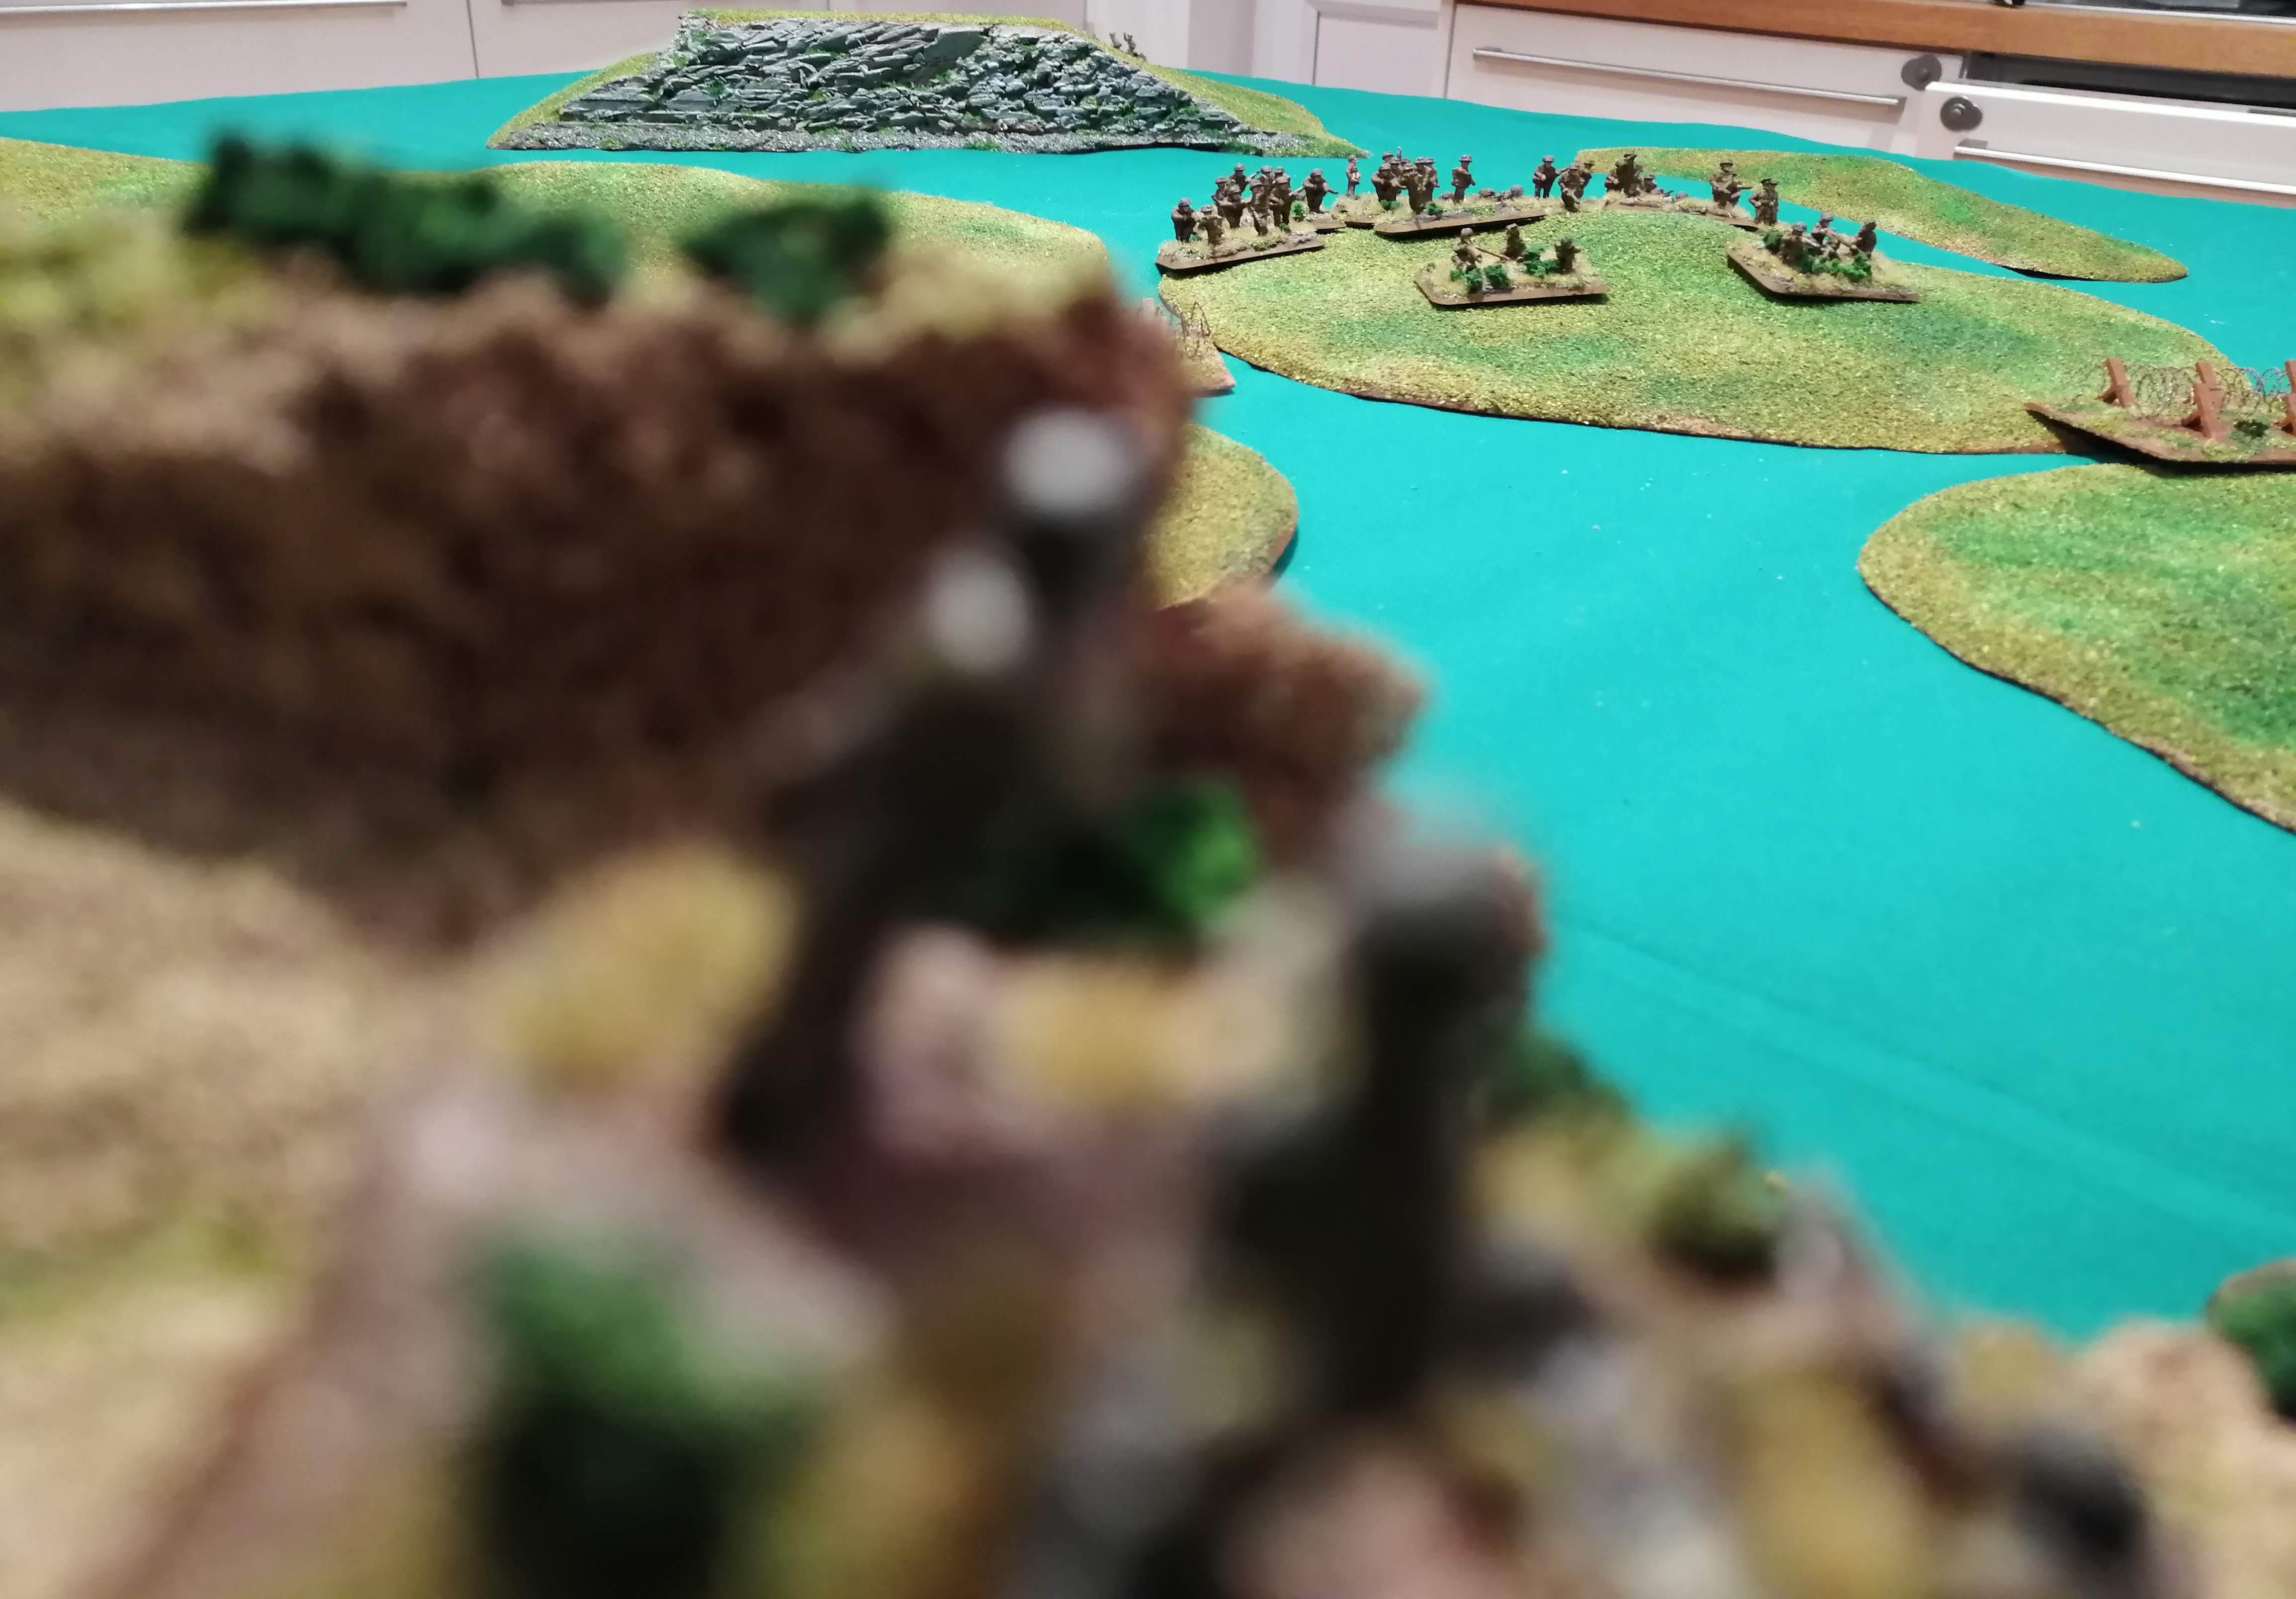
 The view from the top of Point 593
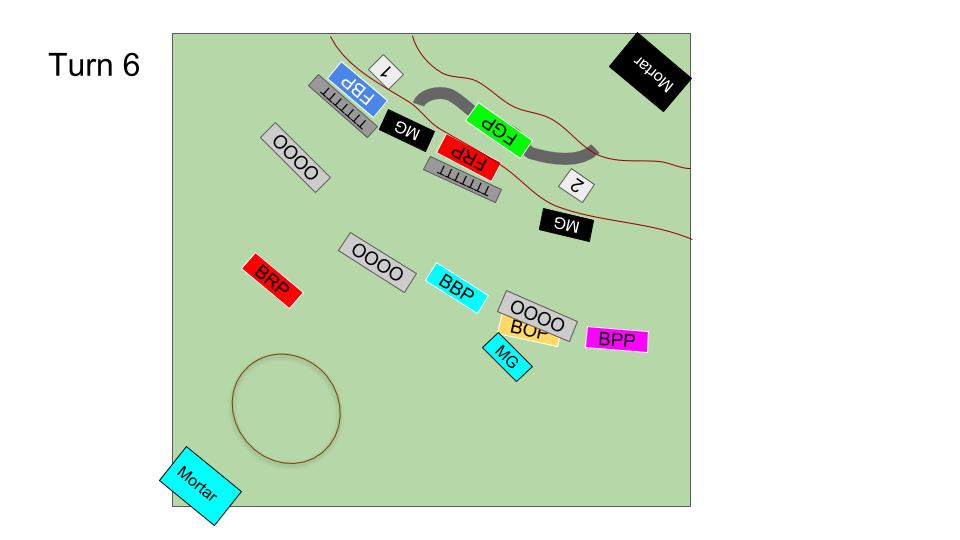

 Two German Fallschirmjager fire down from the top of point 593
Battle Report - The Assault on Point 593 (Part 2)
I forgot to define my naming conventions at the start of the last report. BRP stands for British Red Platoon, as indicated on the tactical maps. BGP would be British Green Platoon. FRP = Fallschirmjager Red Platoon and so on.
Turn 2:
As per the special rules, the British platoons need to unpin to move.Only MG2 and BBP are able to unpin and continue to crawl forward toward the enemy. The British fail to spot any German troops this turn.
For the Germans, just MG2 is able to spot their opposing number and open up on the British MG2 platoon. 6 shots cause a couple of hits but these are saved and no damage is caused.
It’s a cagey start to the battle with Turn two ending with no casualties so far and only a couple of British Platoons able to move in both turns.
 BGP advance toward the barbed wire while the MG Nest looms on the hill

Turn 3:
BPP, MG1 and BGP unpin and advance 8” toward the German lines. MG1 is able to spot the German MG1 but again, the dug in position protects the Germans from any damage. BGP is close enough to now spot FBP but the two shots that do hit fail to wound thanks to the trench works. Finally, 1iC who is advancing just behind BGP is able to spot for the mortars who range in on a point covering the German 1iC, German MG1 and FBP. The mortars aren’t particularly effective, only causing the 1iC to duck for cover and become pinned.
 End of Turn 3
Turn 4
This turn MG2, BOP, BRP and BGP all manage to get going and advance. BRP finds the first minefield but fortunately, none of the teams that entered it take any damage. They do however find themselves stuck in the middle of the minefield, not an ideal place to be when faced with German MG’s! BOP and BGP are able to spot and fire upon some German targets but again fail to cause any damage. The British 1iC can only spot 14” this turn and so can only call in a mortar bombardment on the FBP which hits, pinning them in place but causes no further damage.
BGP are close enough now to launch an assault against FBP. Shouting the order, the platoon command tries to drive his platoon forward. FBP and HMG Nest 1 both open up with defensive fire and get 6 hits, killing two stands. This is enough to pin the British in place and cause the assault to fail.
At the start of the German turn, FBP unpin and immediately begin firing into BGP. Despite a lot of hits, they fail to cause any further damage although HMG Nest 1 is able to pick off another stand.
THe British MG2 is removed by its opposing number and HMG Nest 2 takes out 2 stands from BOP. FRP also removes 2 stands from BOP, effectively reducing BOP’s fighting strength by half in a very short space of time.
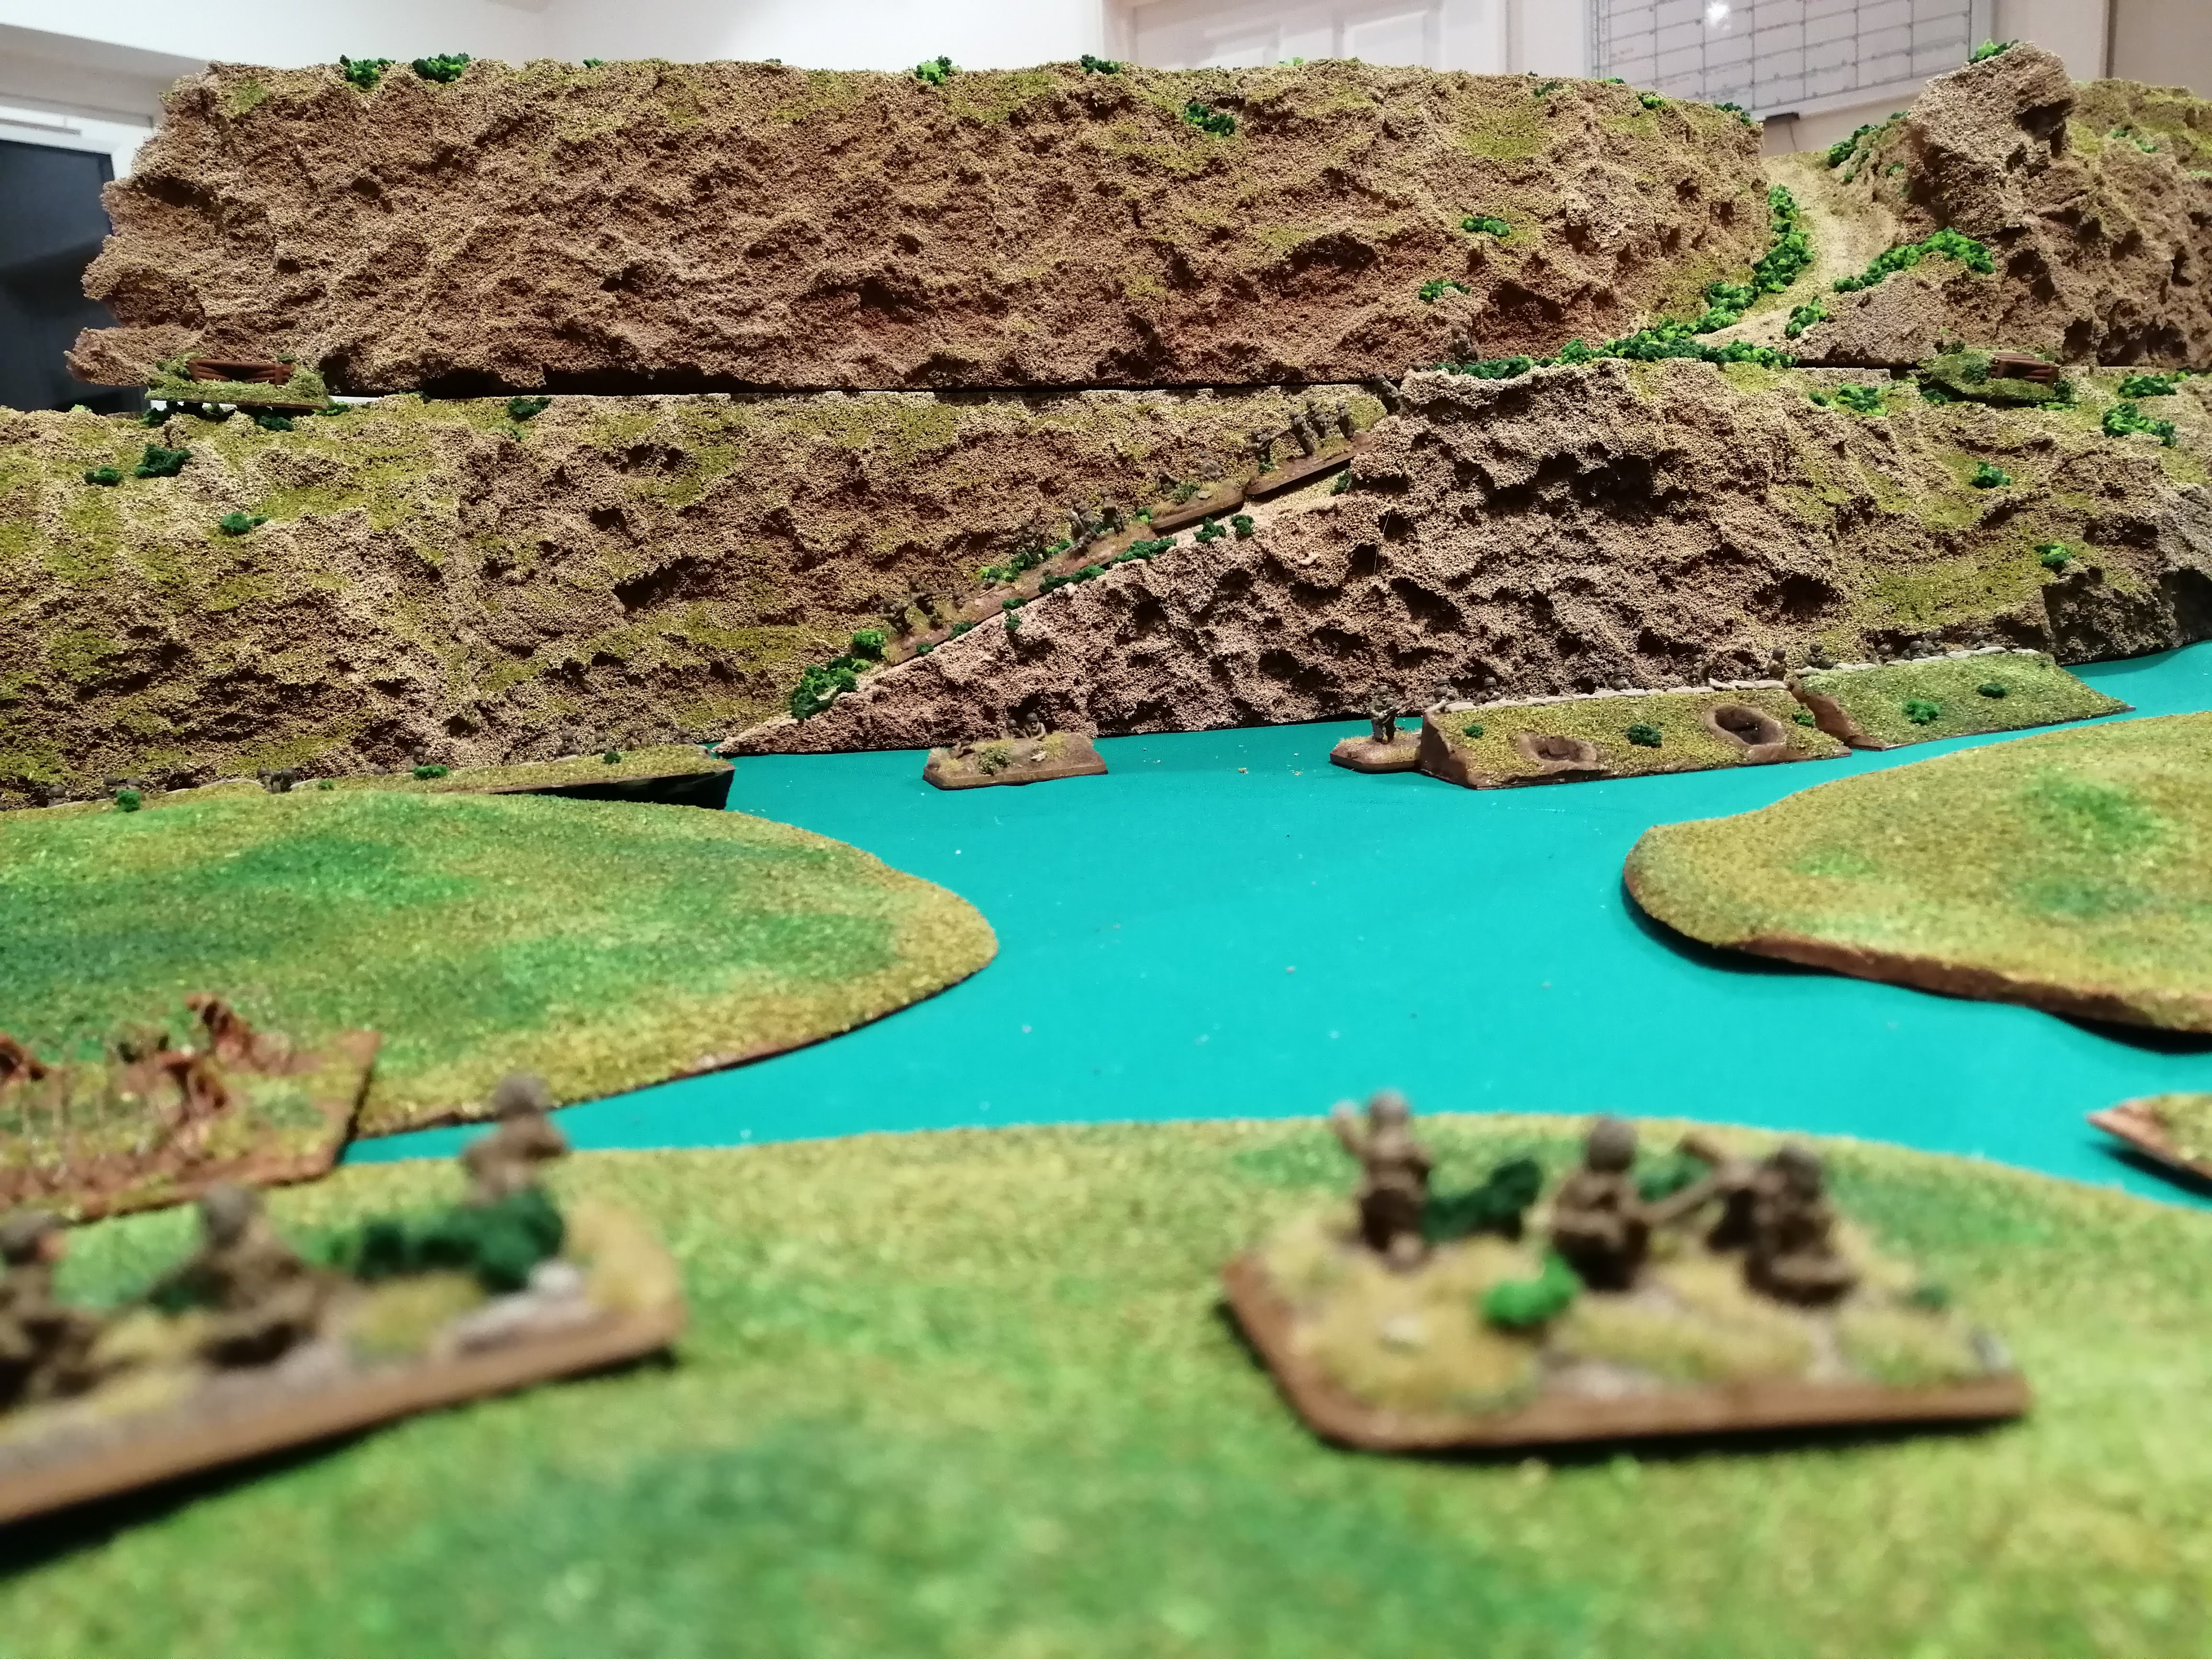
 BRP finds a minefield (the big whitish rectangle now on the battlefield)
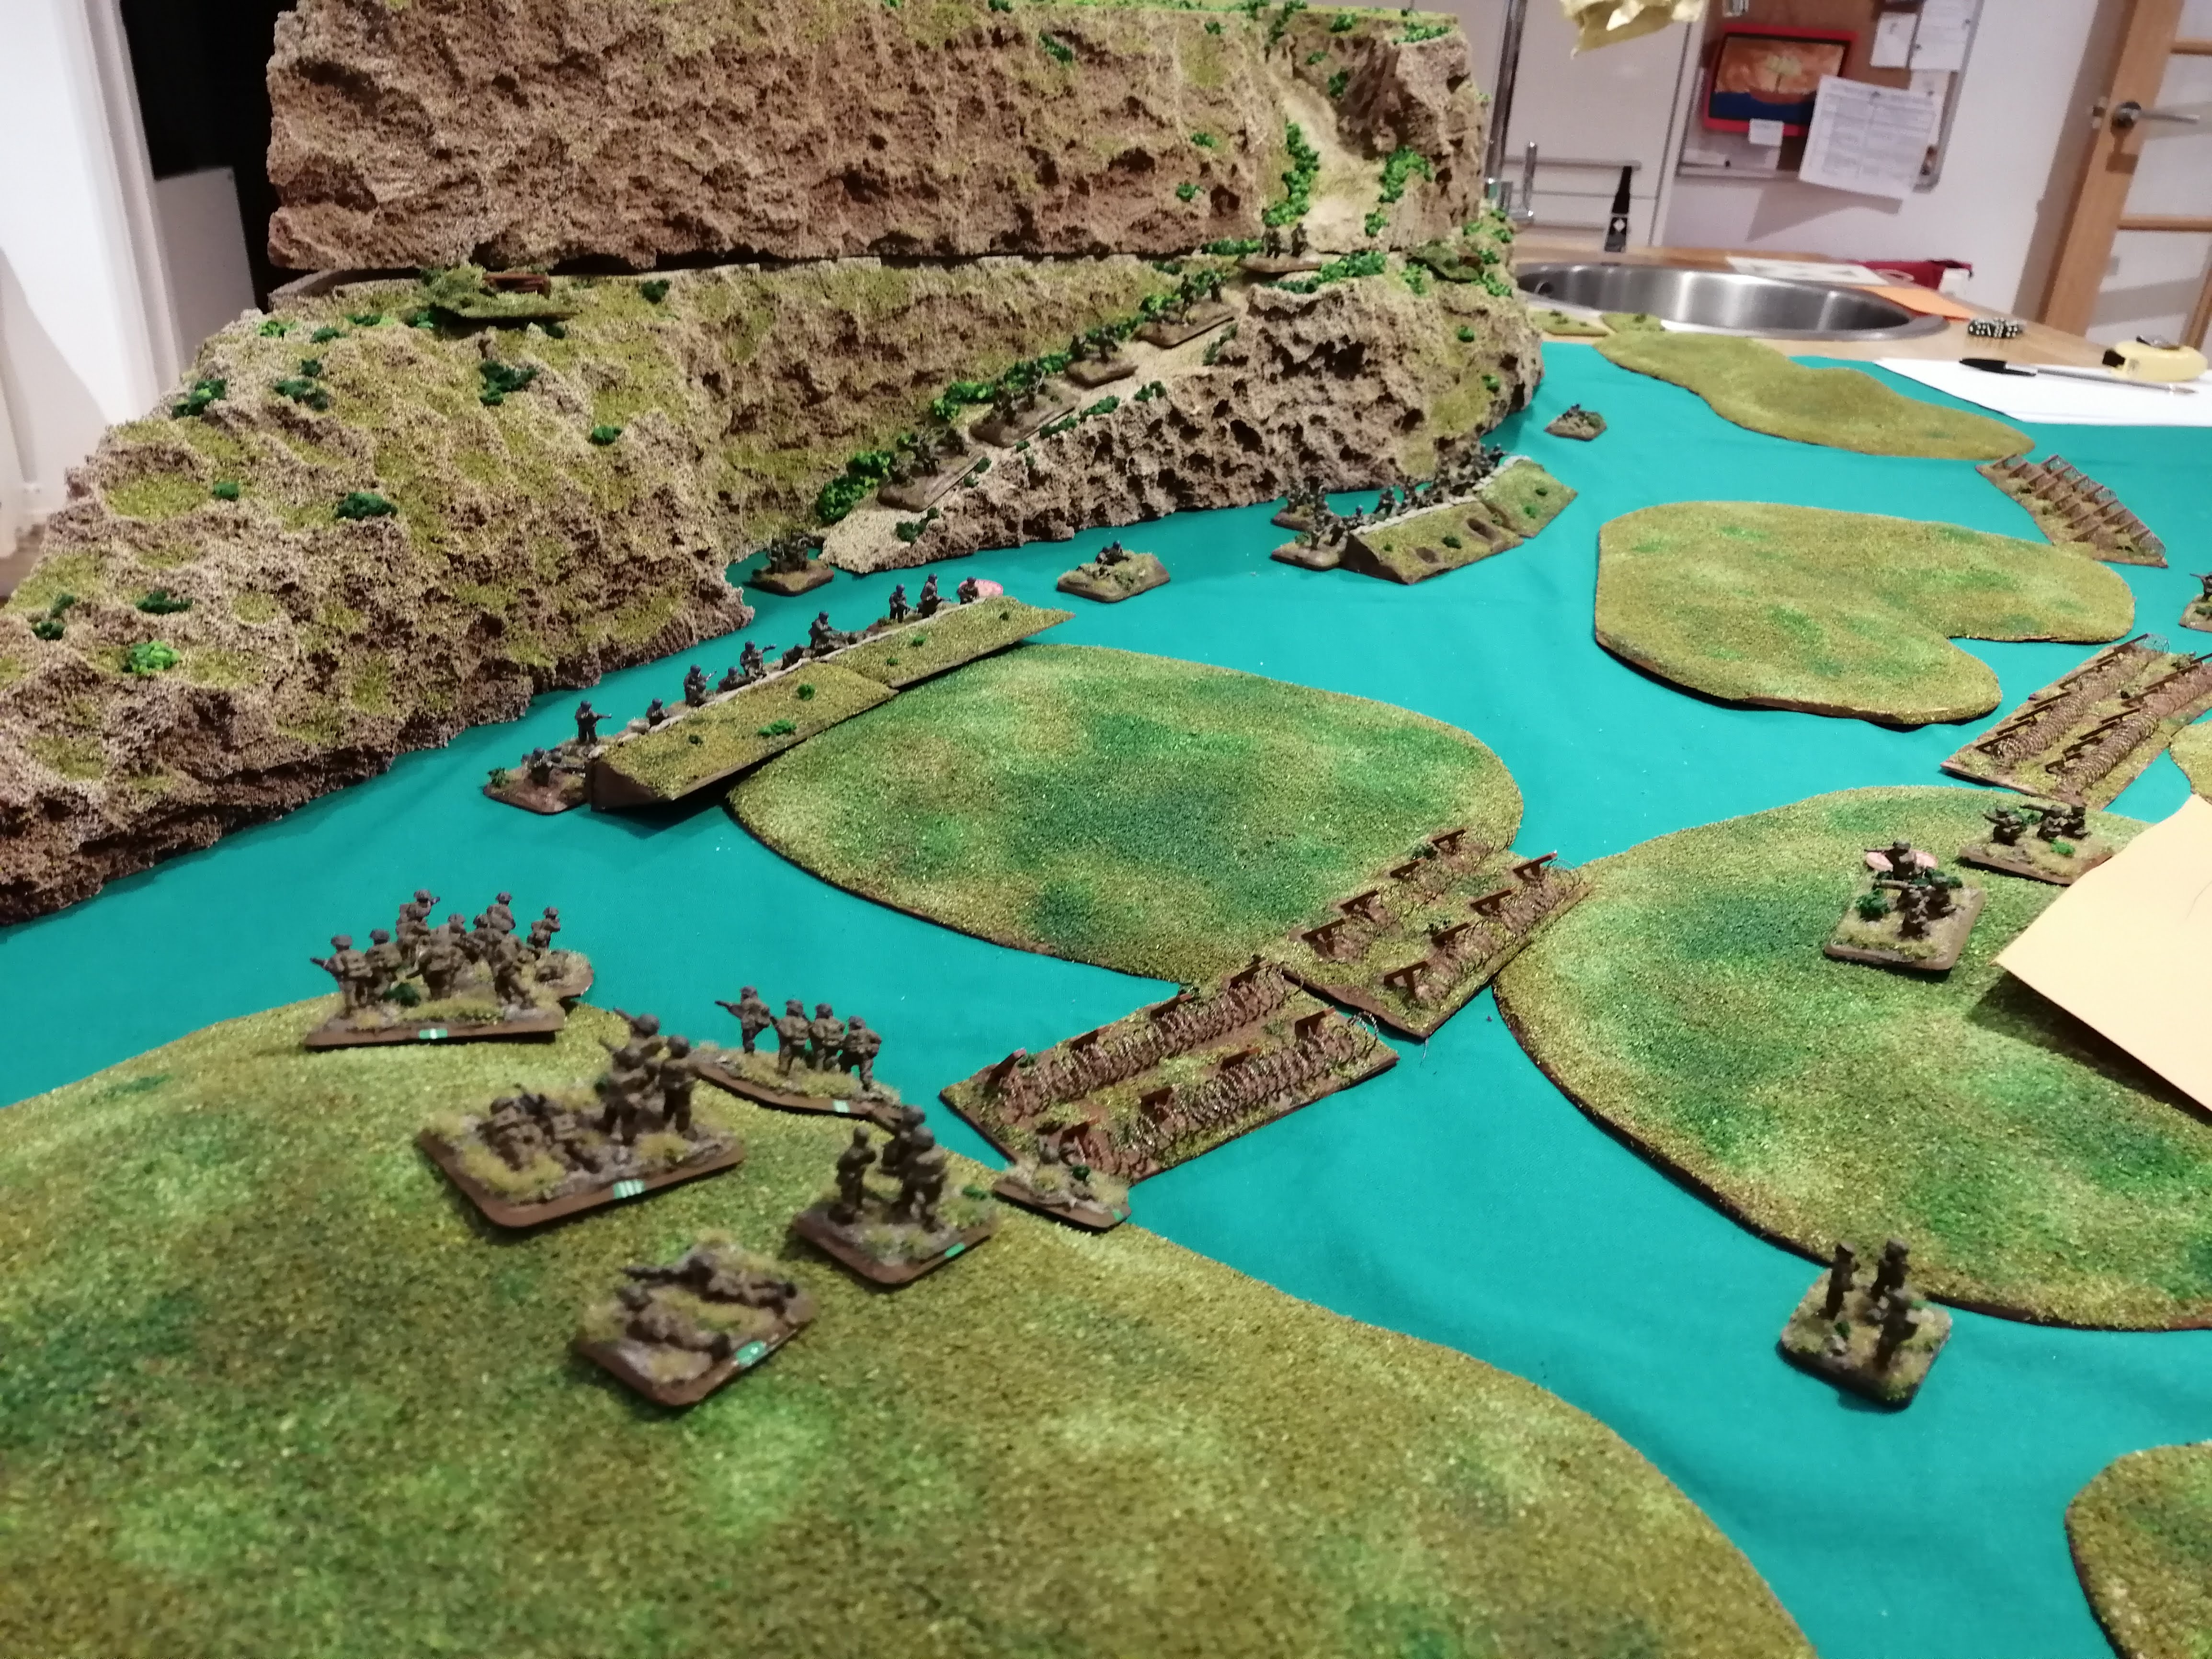 BGP prepares to assault the German defences
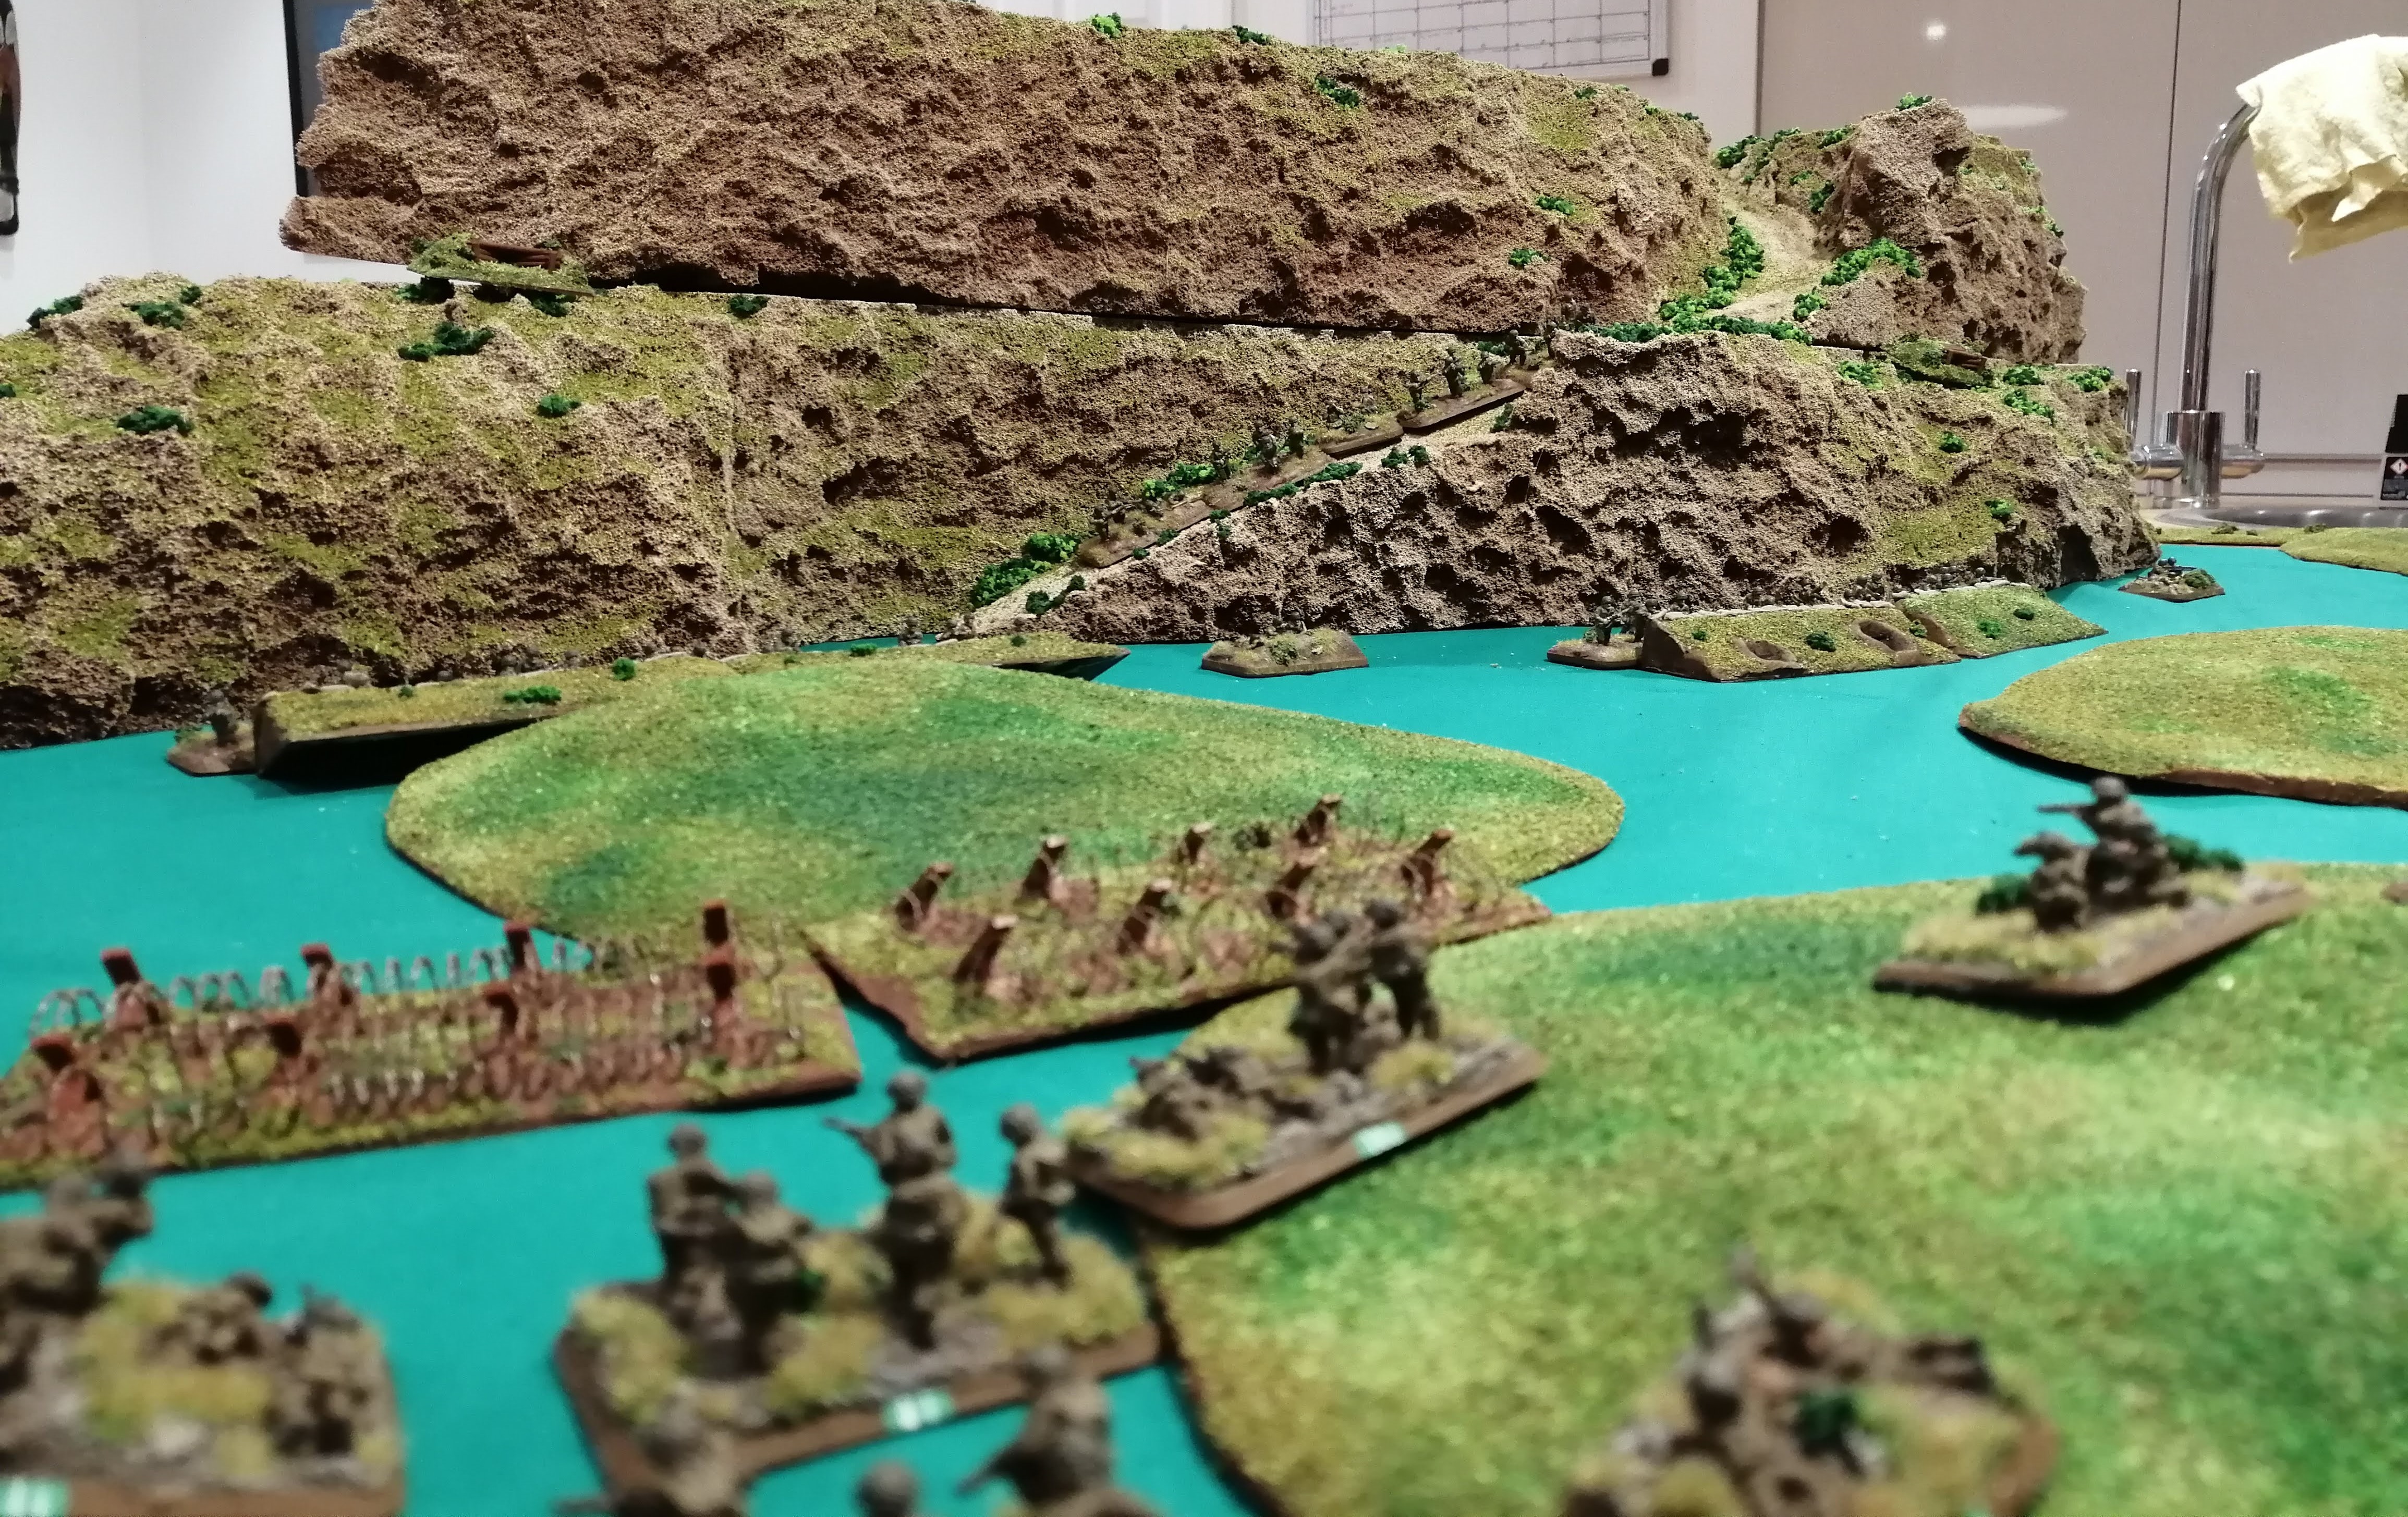
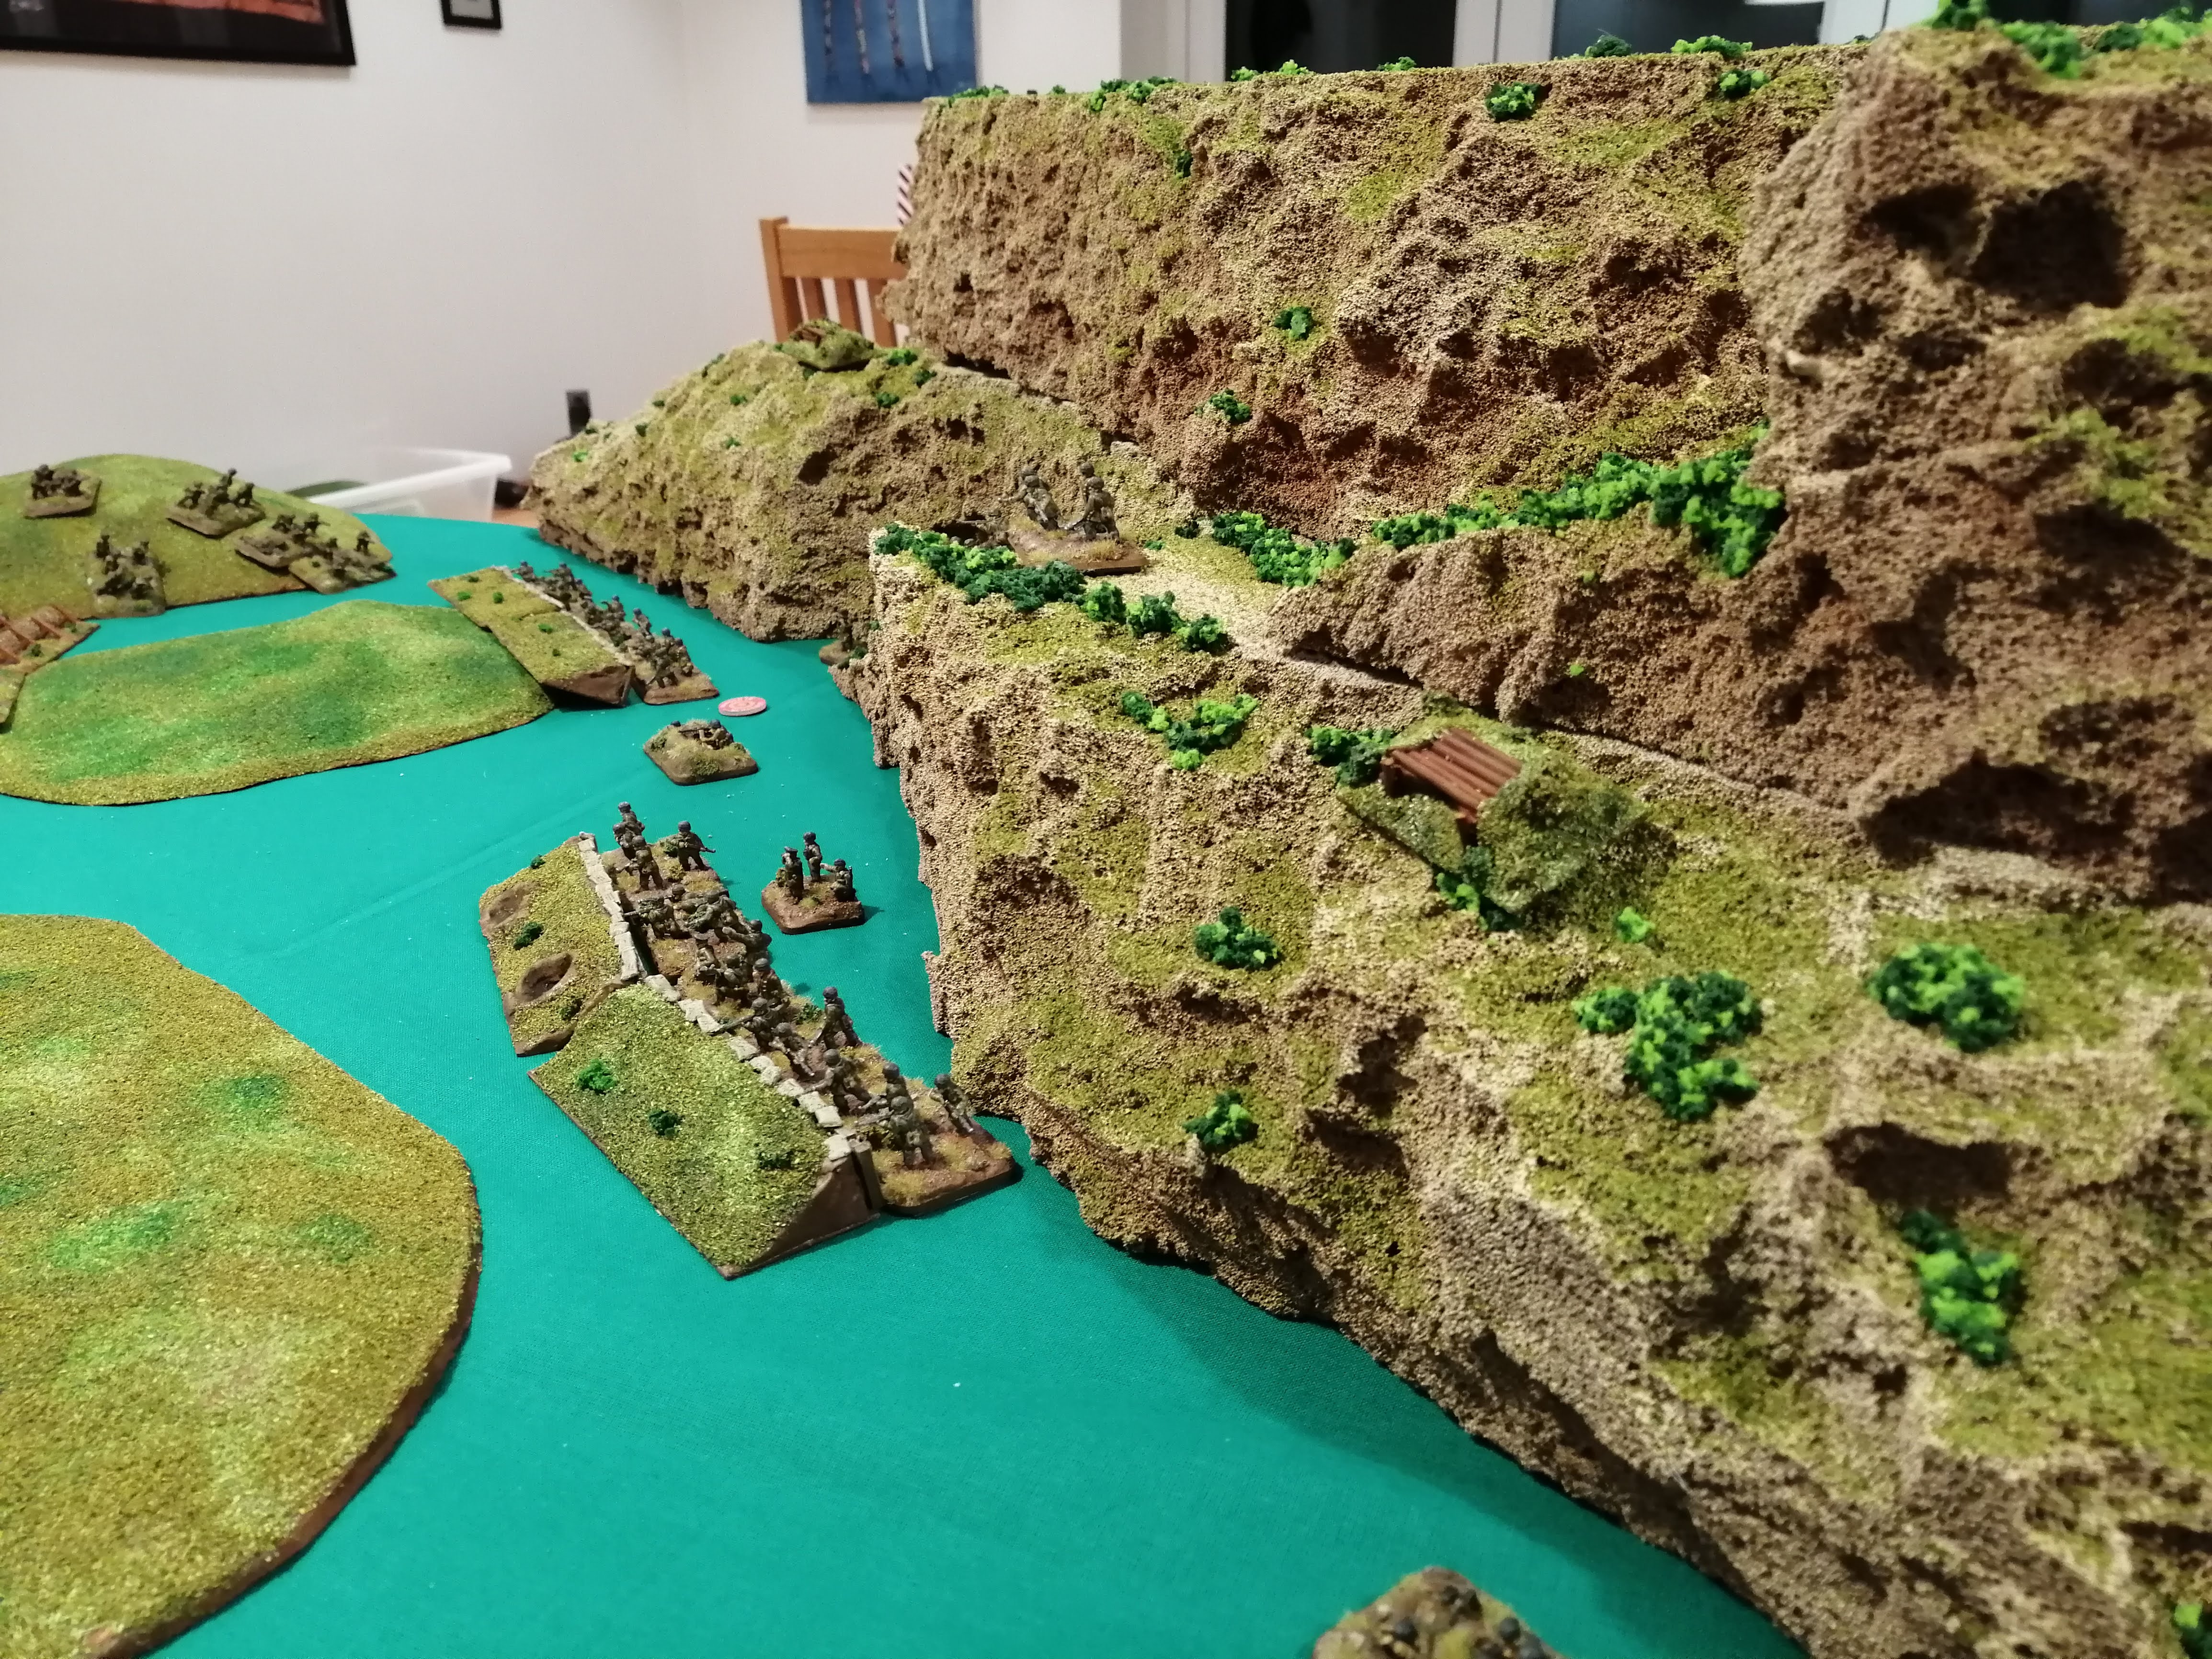 The German Defensive line along the base of Point 593
Battle Report - The Assault on Point 593
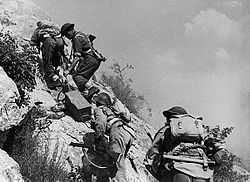
On 16th February, elements from the 4th British Indian Division had advanced up Snakeshead Ridge and were preparing to launch an assault on the key defensive position of Point 593. 1st battalion from the Royal Sussex Regiment, supported by the Rajputana Rifles and a Battalion from 9th Gurkha Rifles, had reached a low rise just 90m from Point 593. Opposing them, and heavily dug in around Point 593, were the elite German 1st Fallschirmjager.
As night fell on the 16th, the Royal Sussex Regiment attempted to cross the 90m and capture point 593. Nearly 50% of the men that attempted the assault that night failed to return.
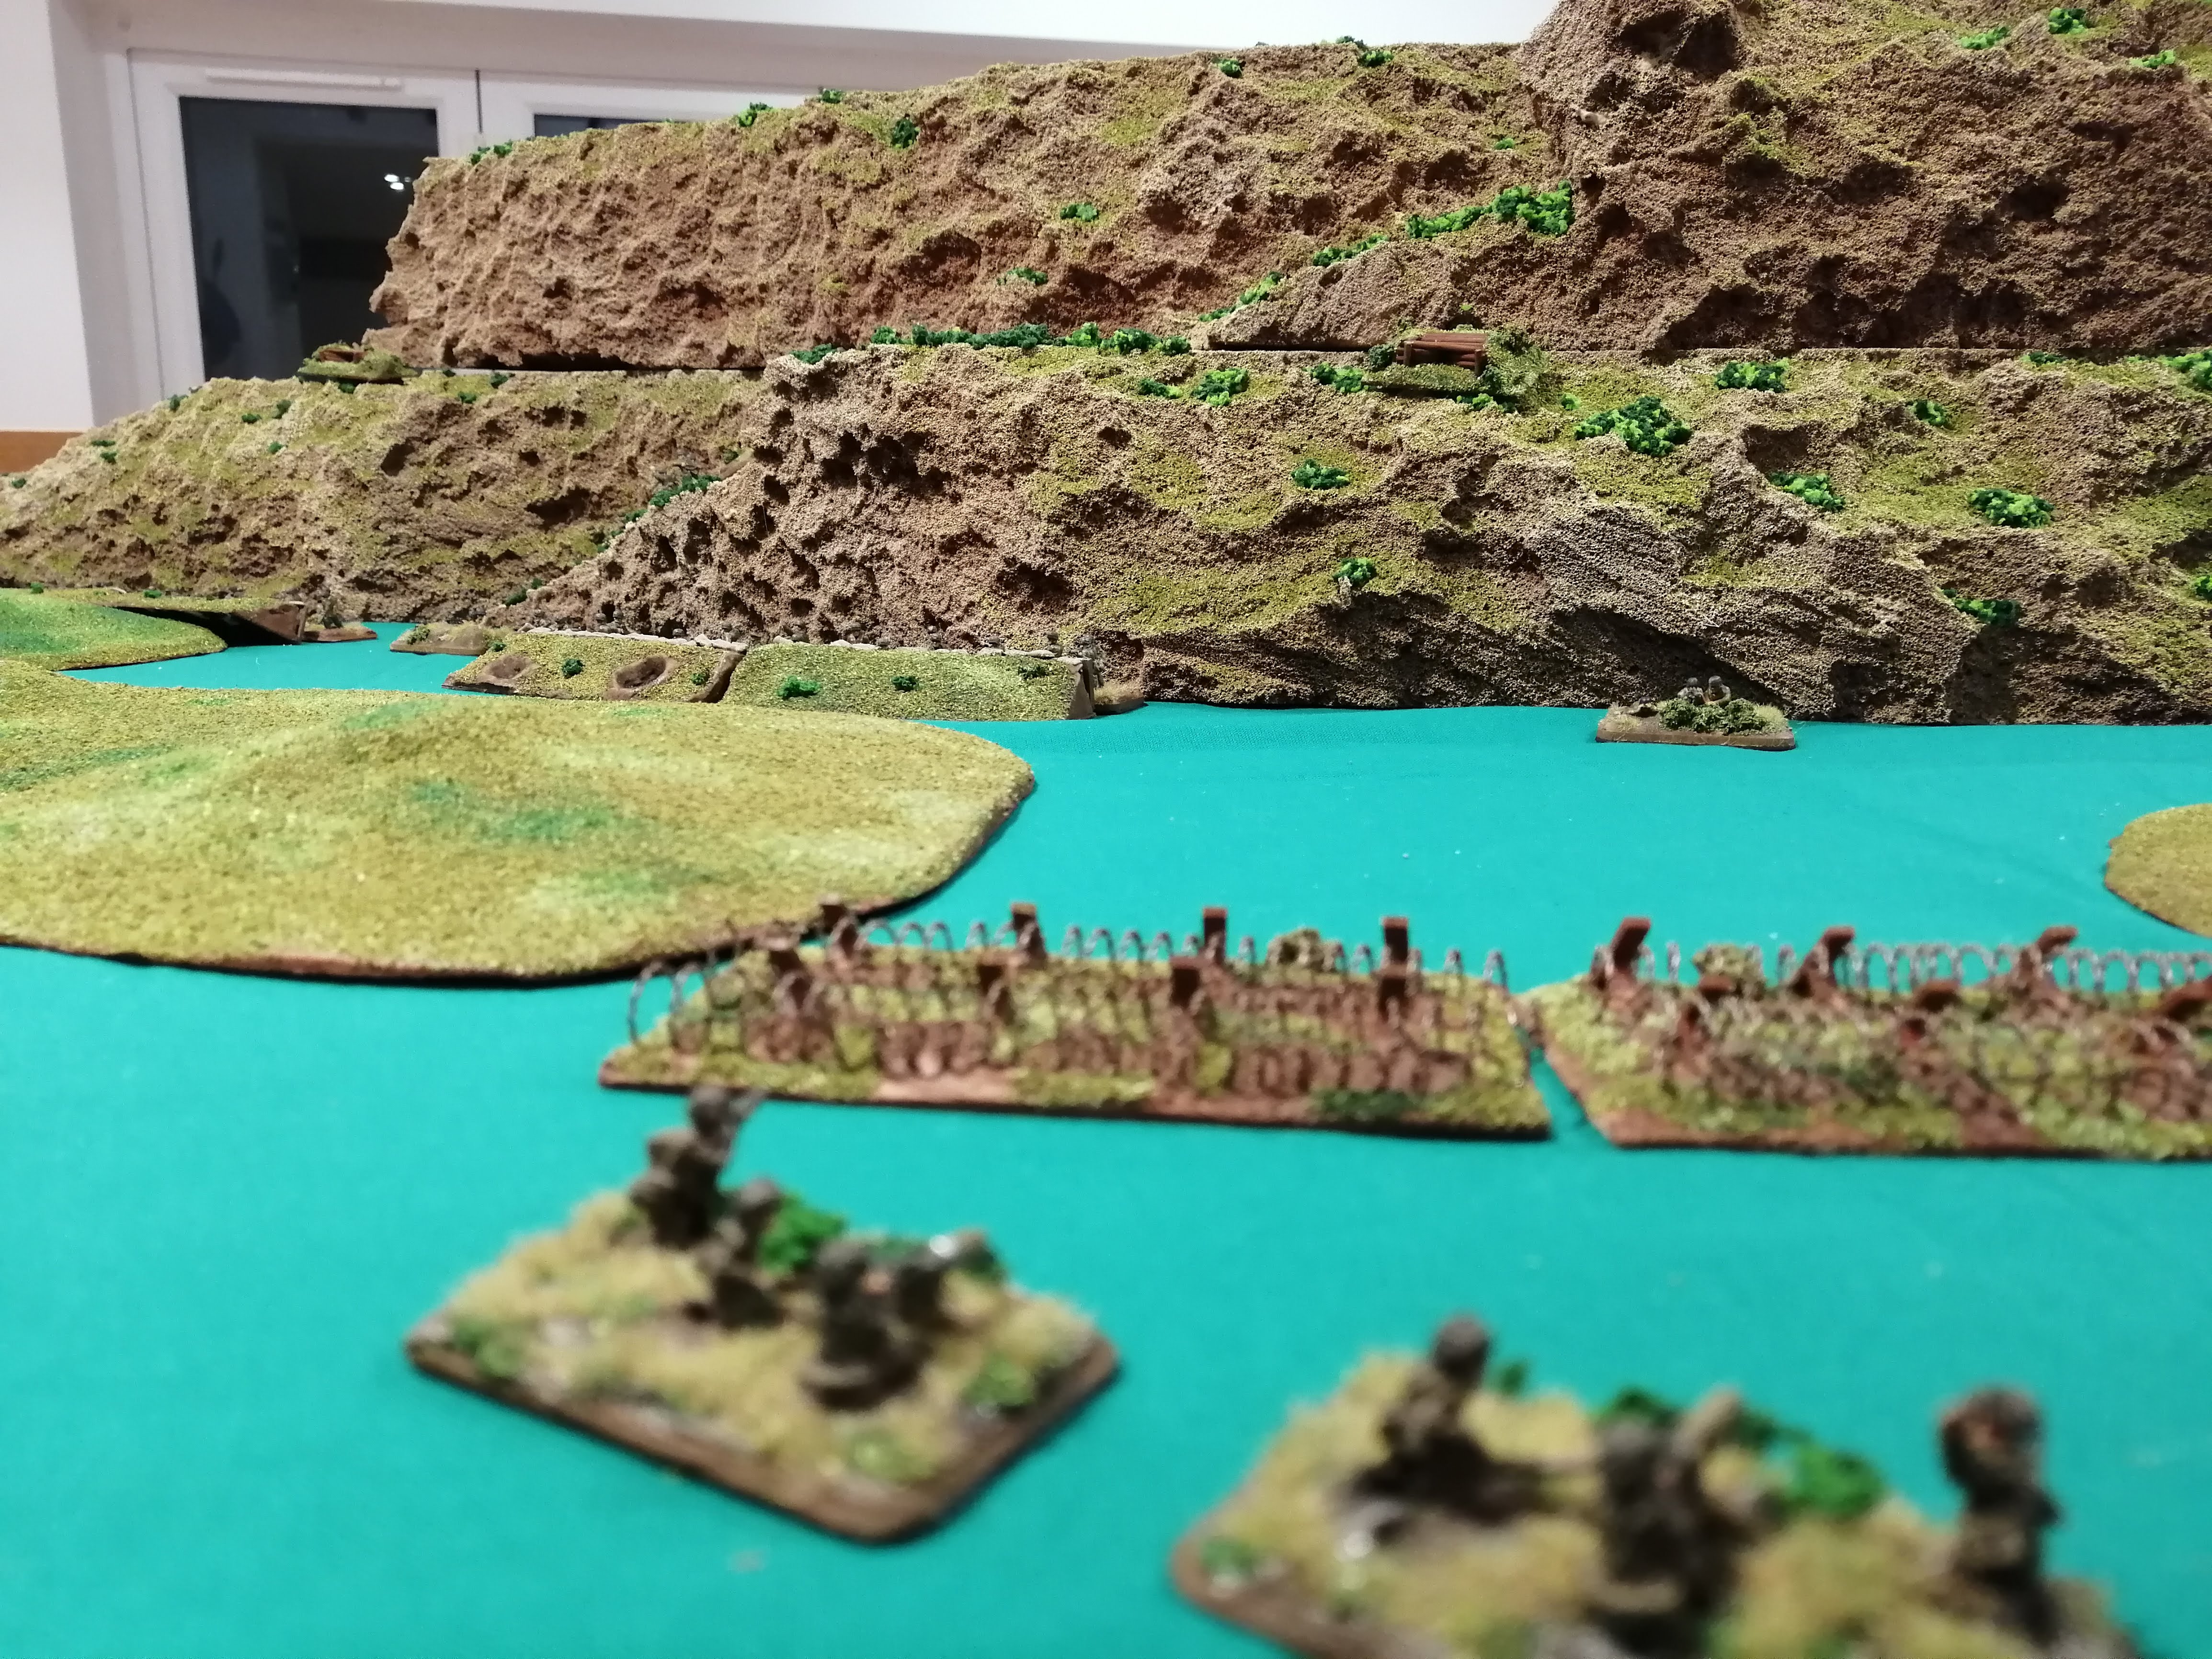
In this battle, we will try to recreate the assault by the Royal Sussex Regiment. The table set up is as close to scale as possible, with just 90cm separating the low rise occupied by the British and the base of ‘Point 593’. There is no cover between the two locations, similar to the actual battlefield where the troops had to try to cross the gap nearly completely exposed, only able to inch forward.
Troops:
1st Fallschirmjager
1iC and 2iC armed with SMG
3 Platoons of SMG HQ stand and 4 infantry stands, all behind trench lines
1 MG Platoon of 2 stands
1 Heavy Mortar Platoon of 4 stands
2 HMG nests
3 8” barbed wire entanglements
2 8” mine fields that will get deployed randomly
Royal Sussex Regiment:
1iC and 2iC Infantry teams
5 MG/Rifle Platoons of 1 HG, 6 stands infantry and 2 light mortar teams (I’ve replaced the PIAT team by a light mortar team due to not needing a Piat up in the hills and the weight of carrying it up)
1 HMG Platoon split into smaller Platoons of two stands each (no penalty for splitting this)
1 Light mortar Platoon of 4 stands
Victory Conditions:
In the actual battle, both sides took heavy casualties so while the Fallschirmjager actually held their position, it’s questionable whether there was really a ‘winner’. To reflect this, there aren’t any victory conditions. A nominal objective token has been placed on top of Point 593 but this game is more an exercise in ‘seeing what happens’.
Special Rules for the Scenario:
Night Fight. The attack was launched after night fall so any platoon attempting to shoot must roll 2d6 and double the result to get their spotting range in inches. Anything outside of this range cannot be targeted
Pinned – The entire German force starts the game pinned from the mortar barrage that proceeded the assault
Open Ground – Due to the exposed nature of the ground that the British tried to cross, every British platoon in between the two hills (barring 1iC and 2iC) starts the second and subsequent turns automatically pinned and must unpin to move. Furthermore, British teams cannot attempt to dig in.
Tricky Terrain – The battlefield, despite offering little in the way of protection, was difficult to cross. Teams cannot move at Dash speed.
Unknown Minefields – Snakeshead Ridge was laced with barbed wire, booby traps and minefields. To represent this, two imaginary lines are drawn across the battlefield, one at 30cm from the British starting position and one at 60cm. The first time that a British Platoon crosses each line, a dice is rolled. For the first Platoon crossing the 30cm line, they encounter a minefield on a roll of 6, for the second team it is 5+, third team 4+ and so forth. Same for the second line at 60cm. Once the minefield on each line is found, further teams crossing the line do not need to roll.
As the attackers, the British will start the game.
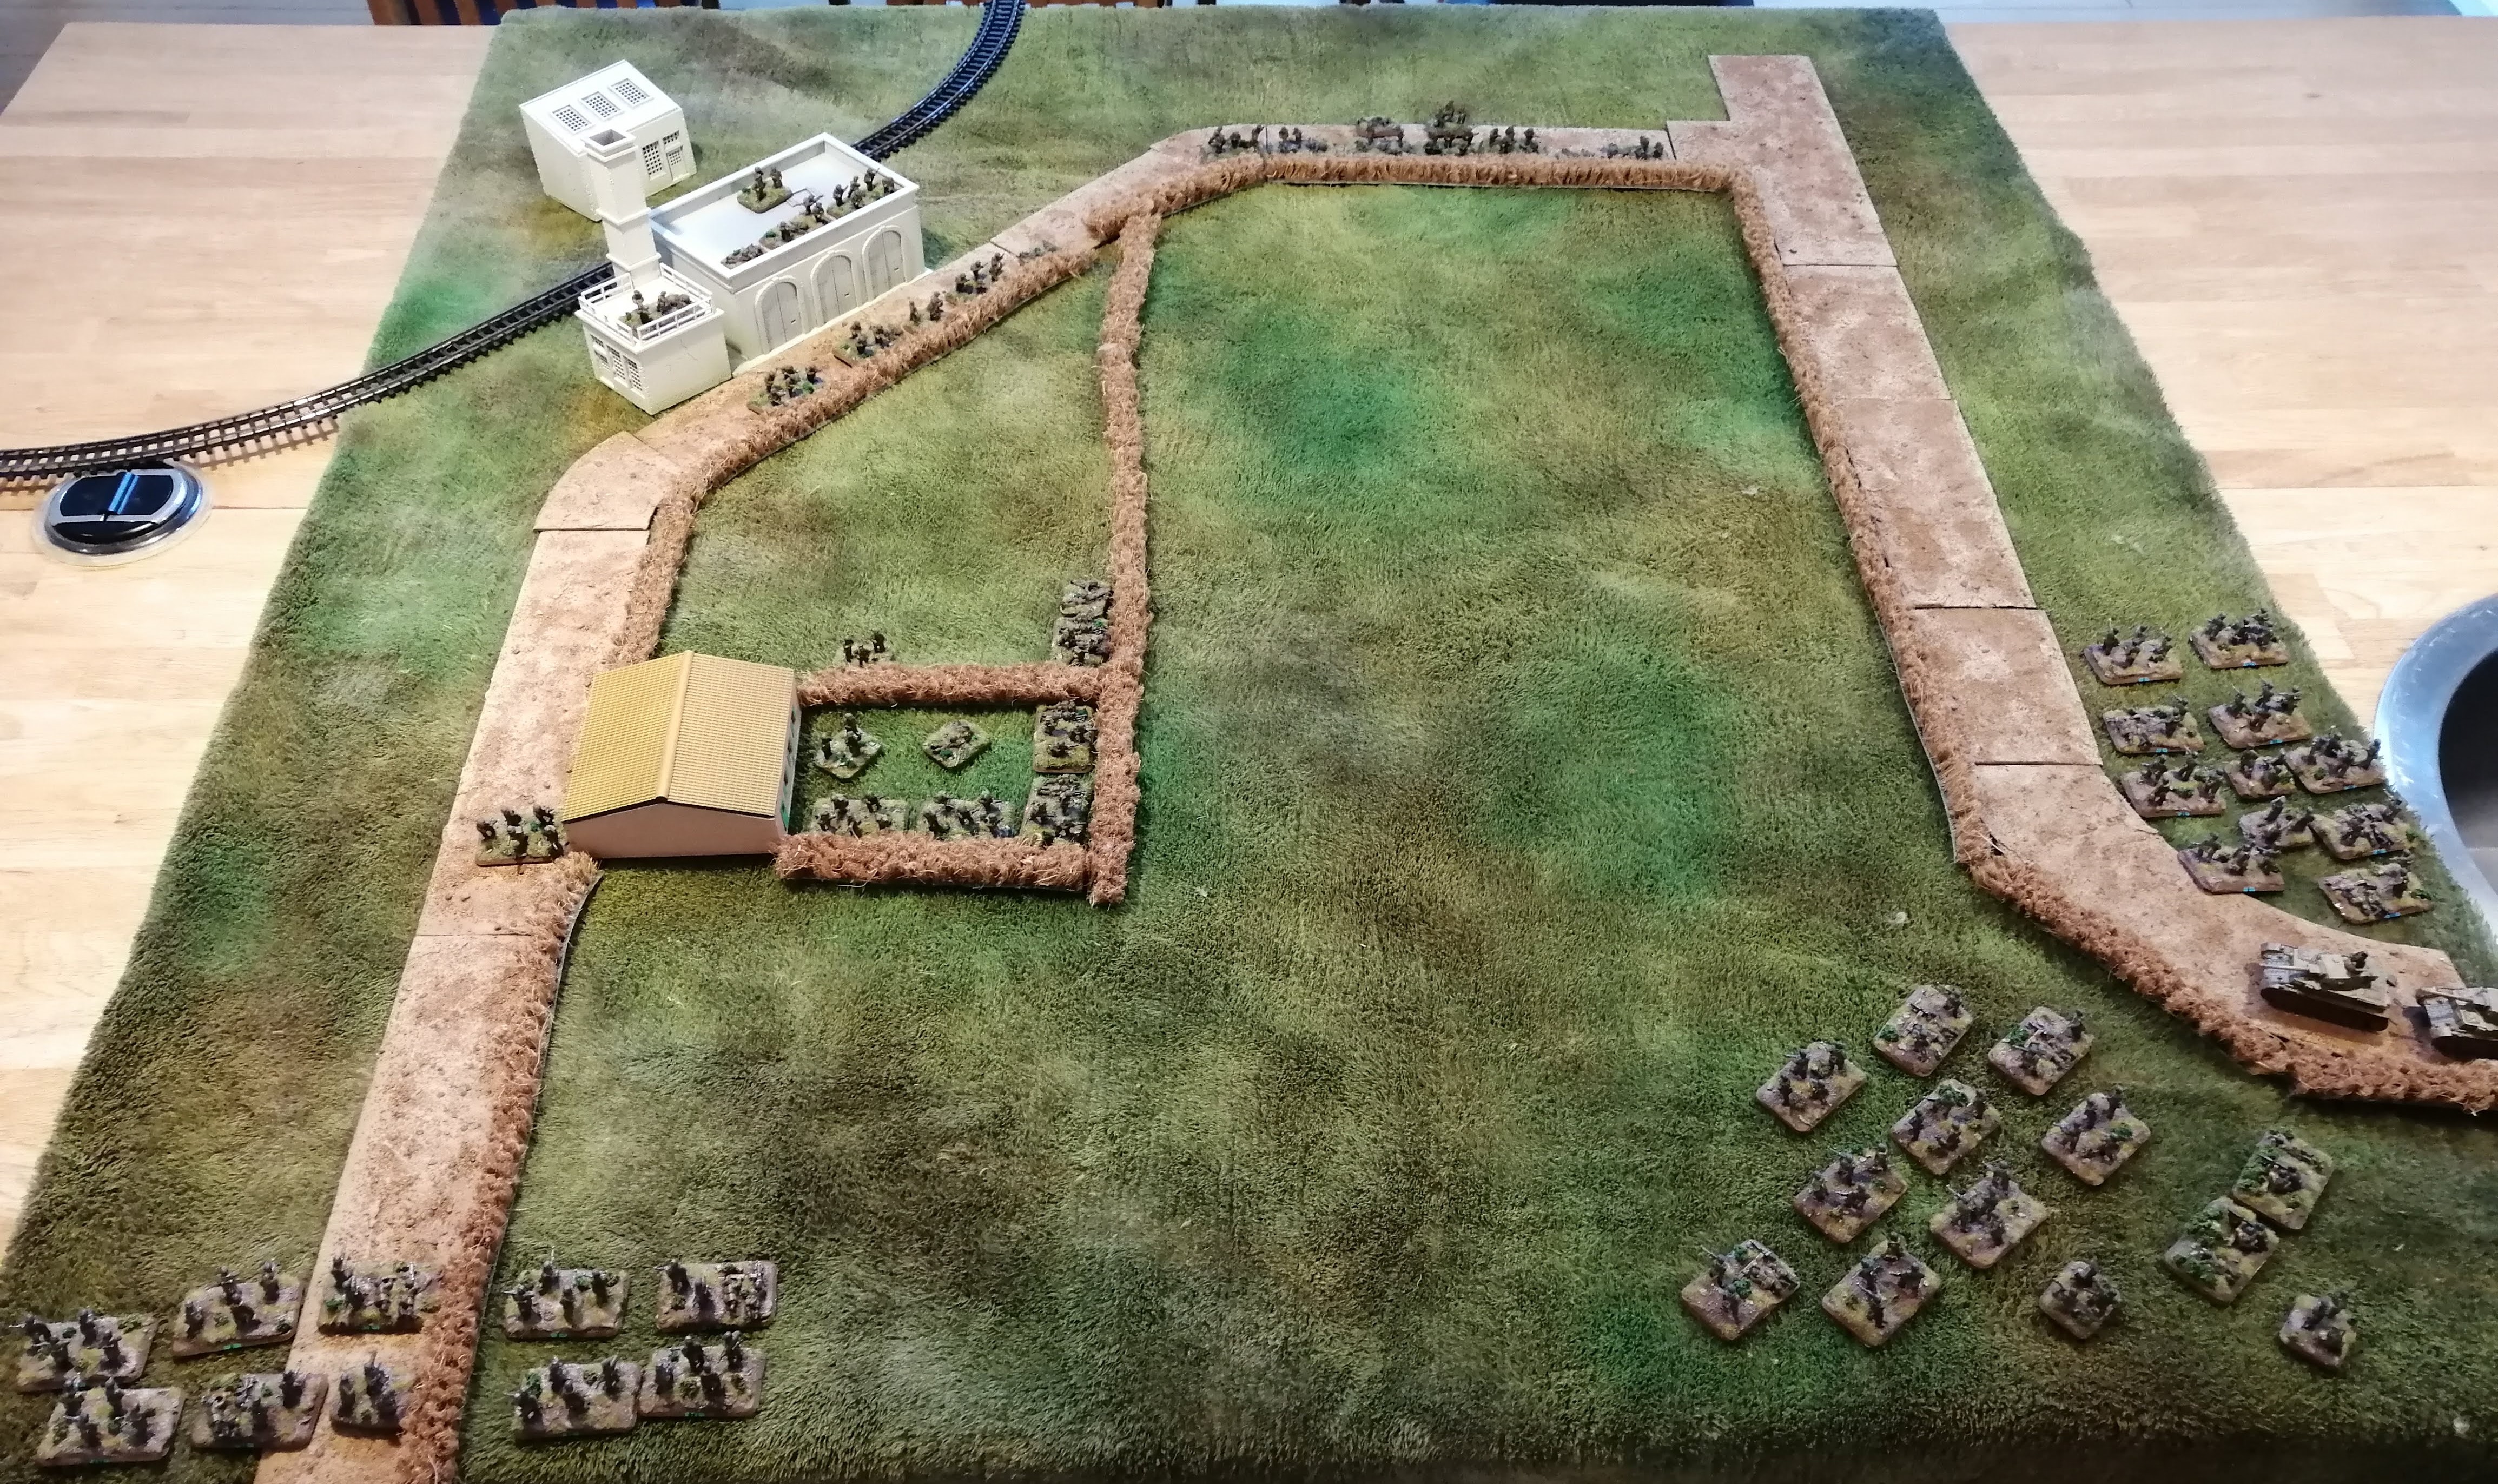
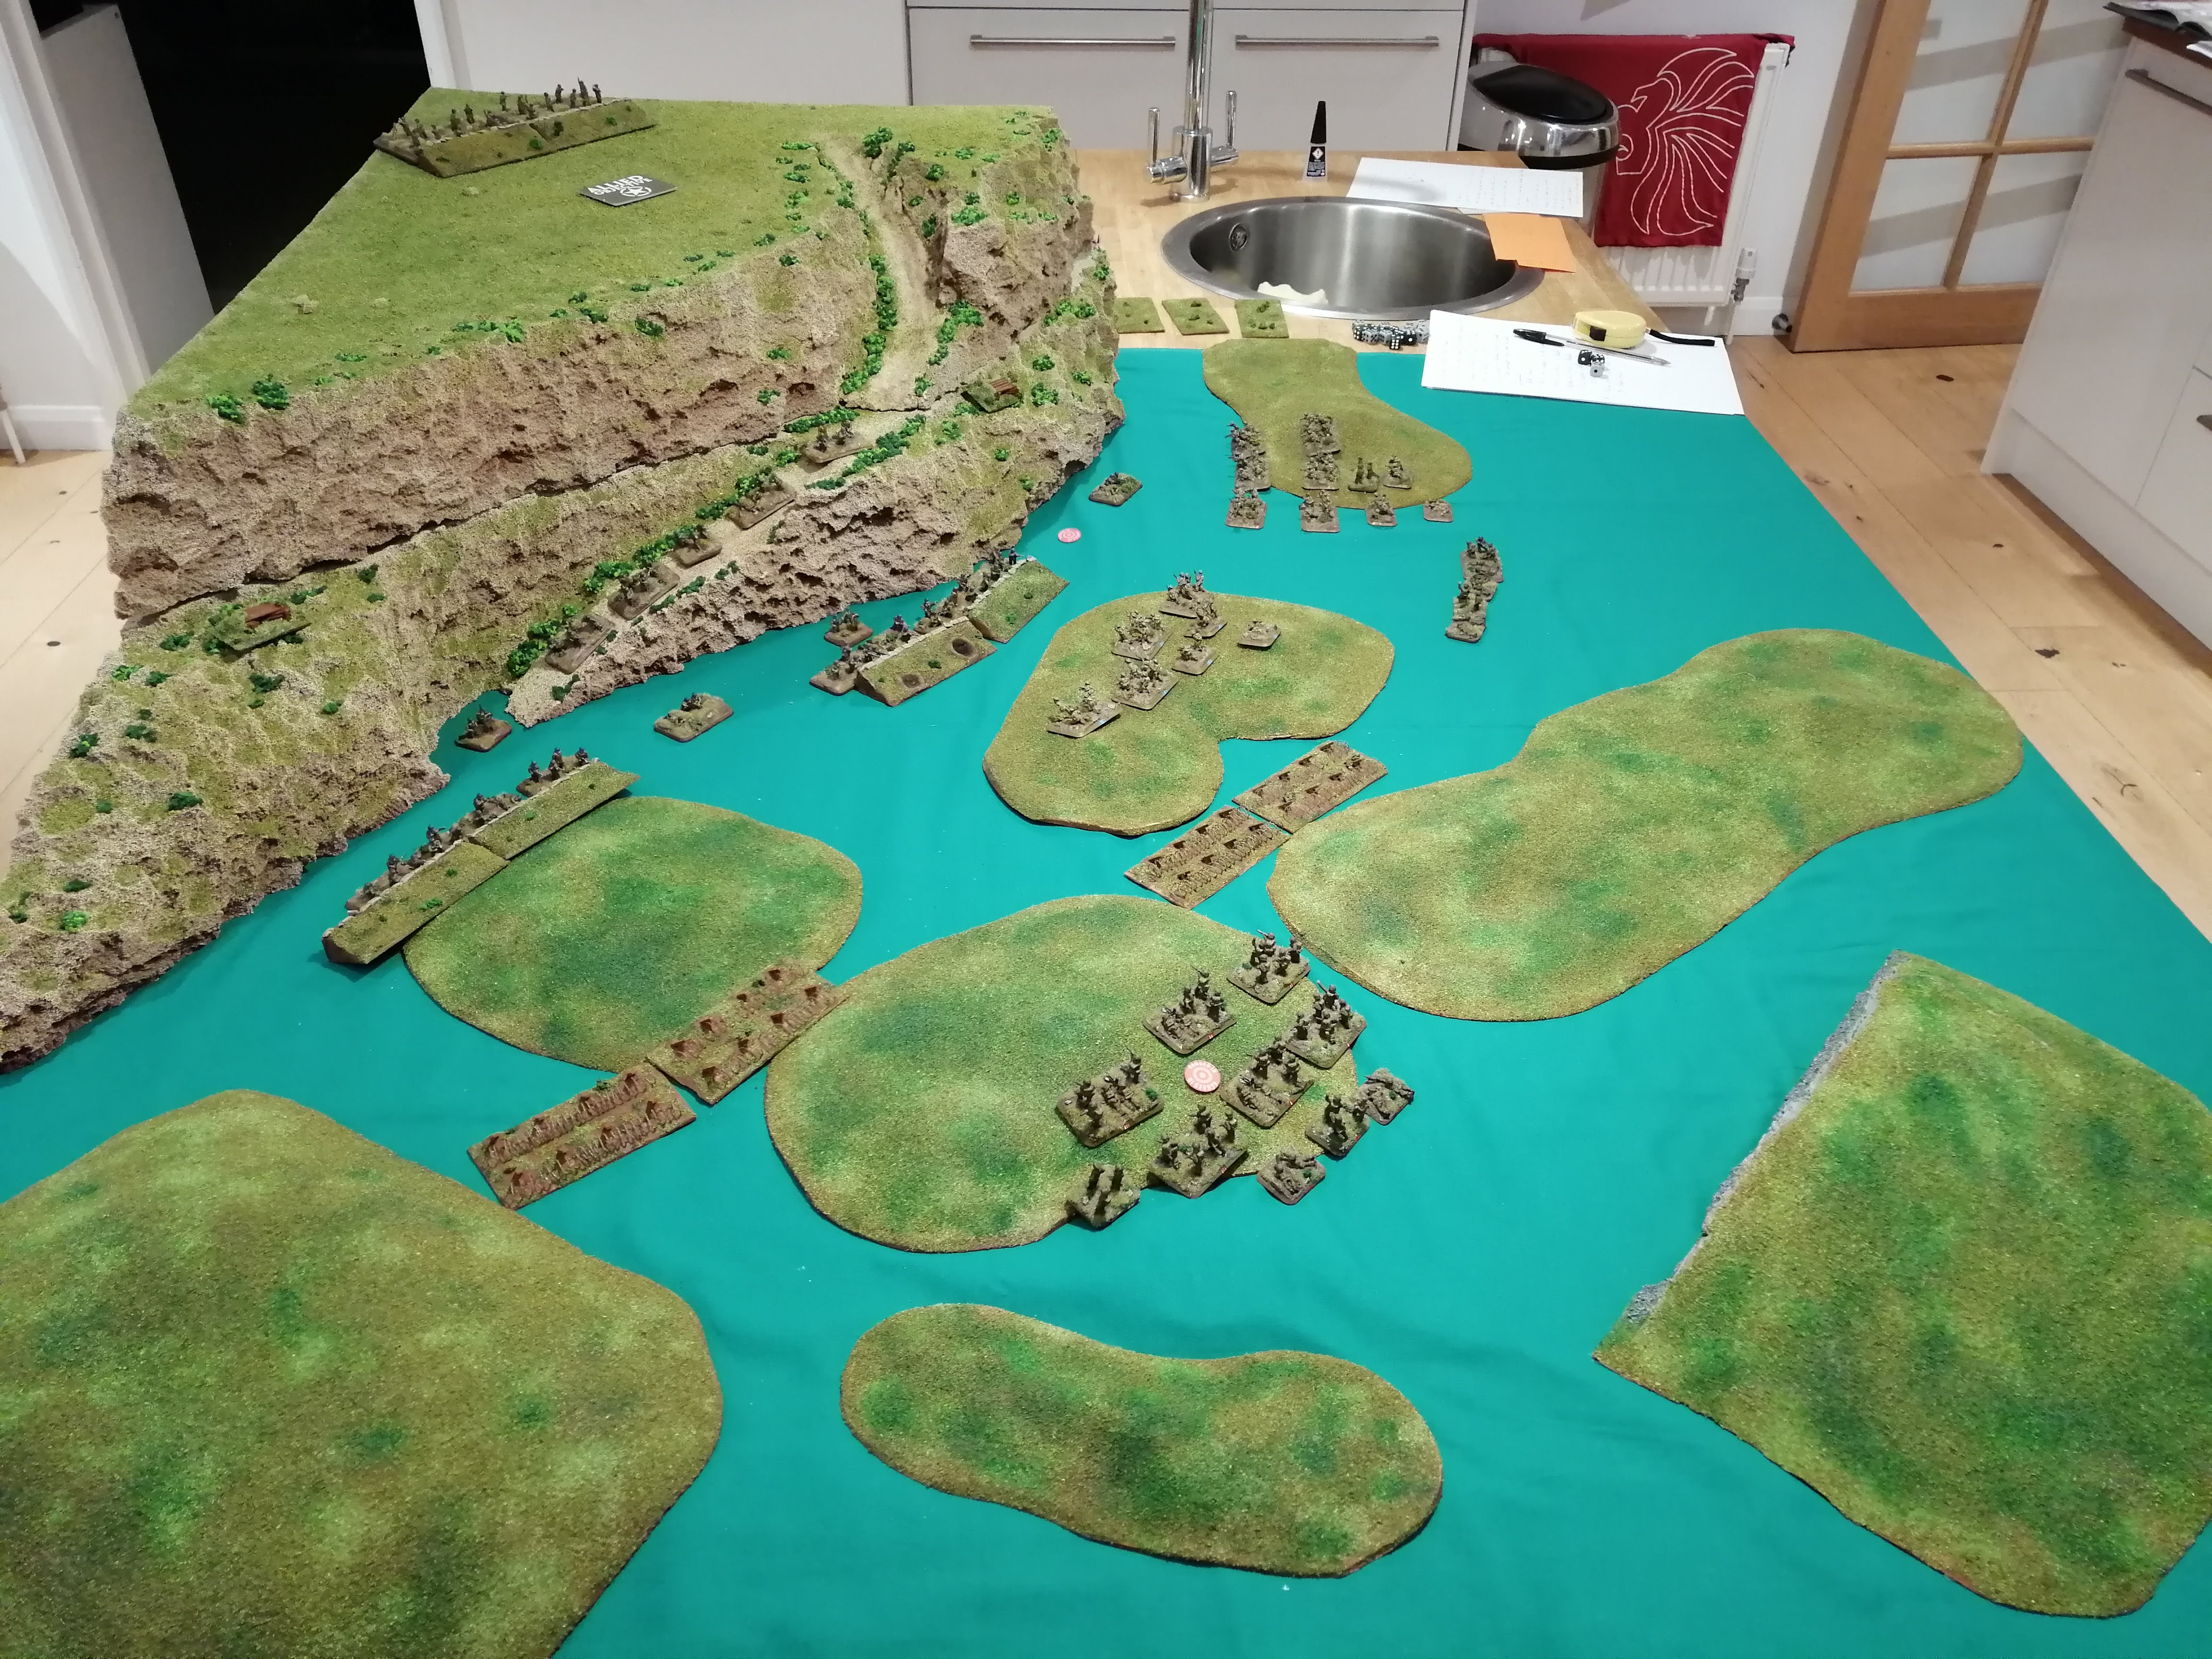
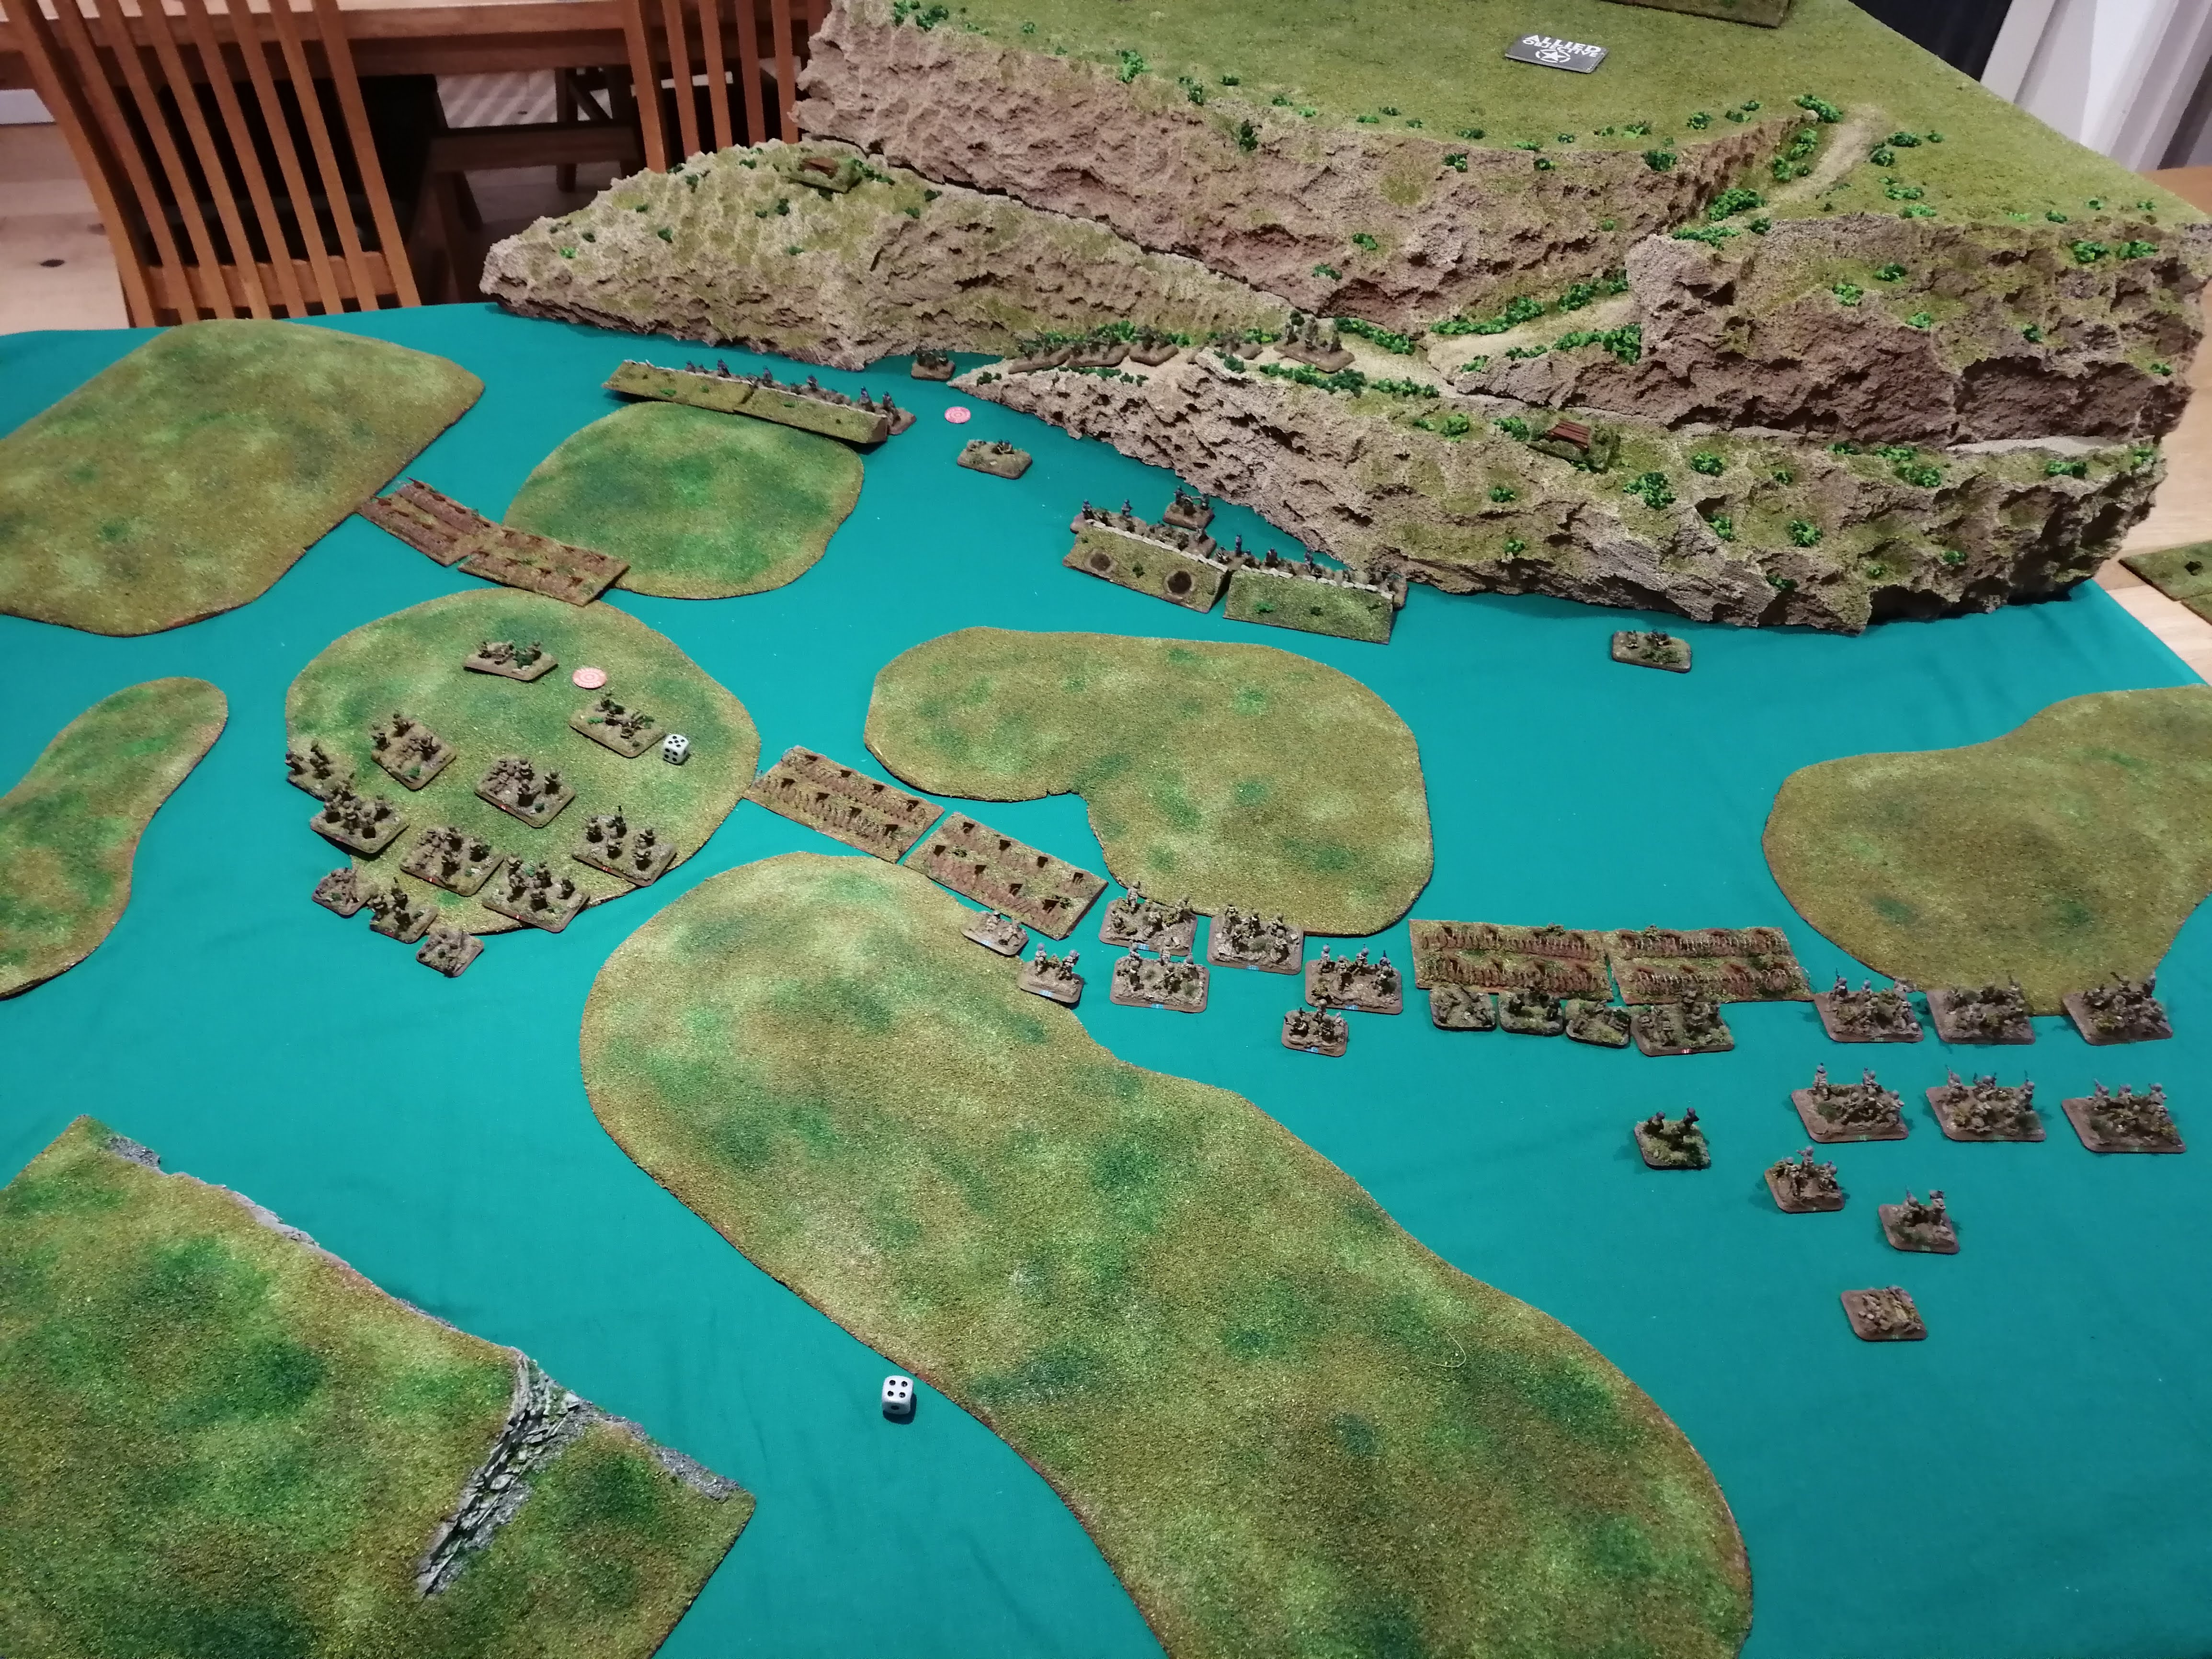
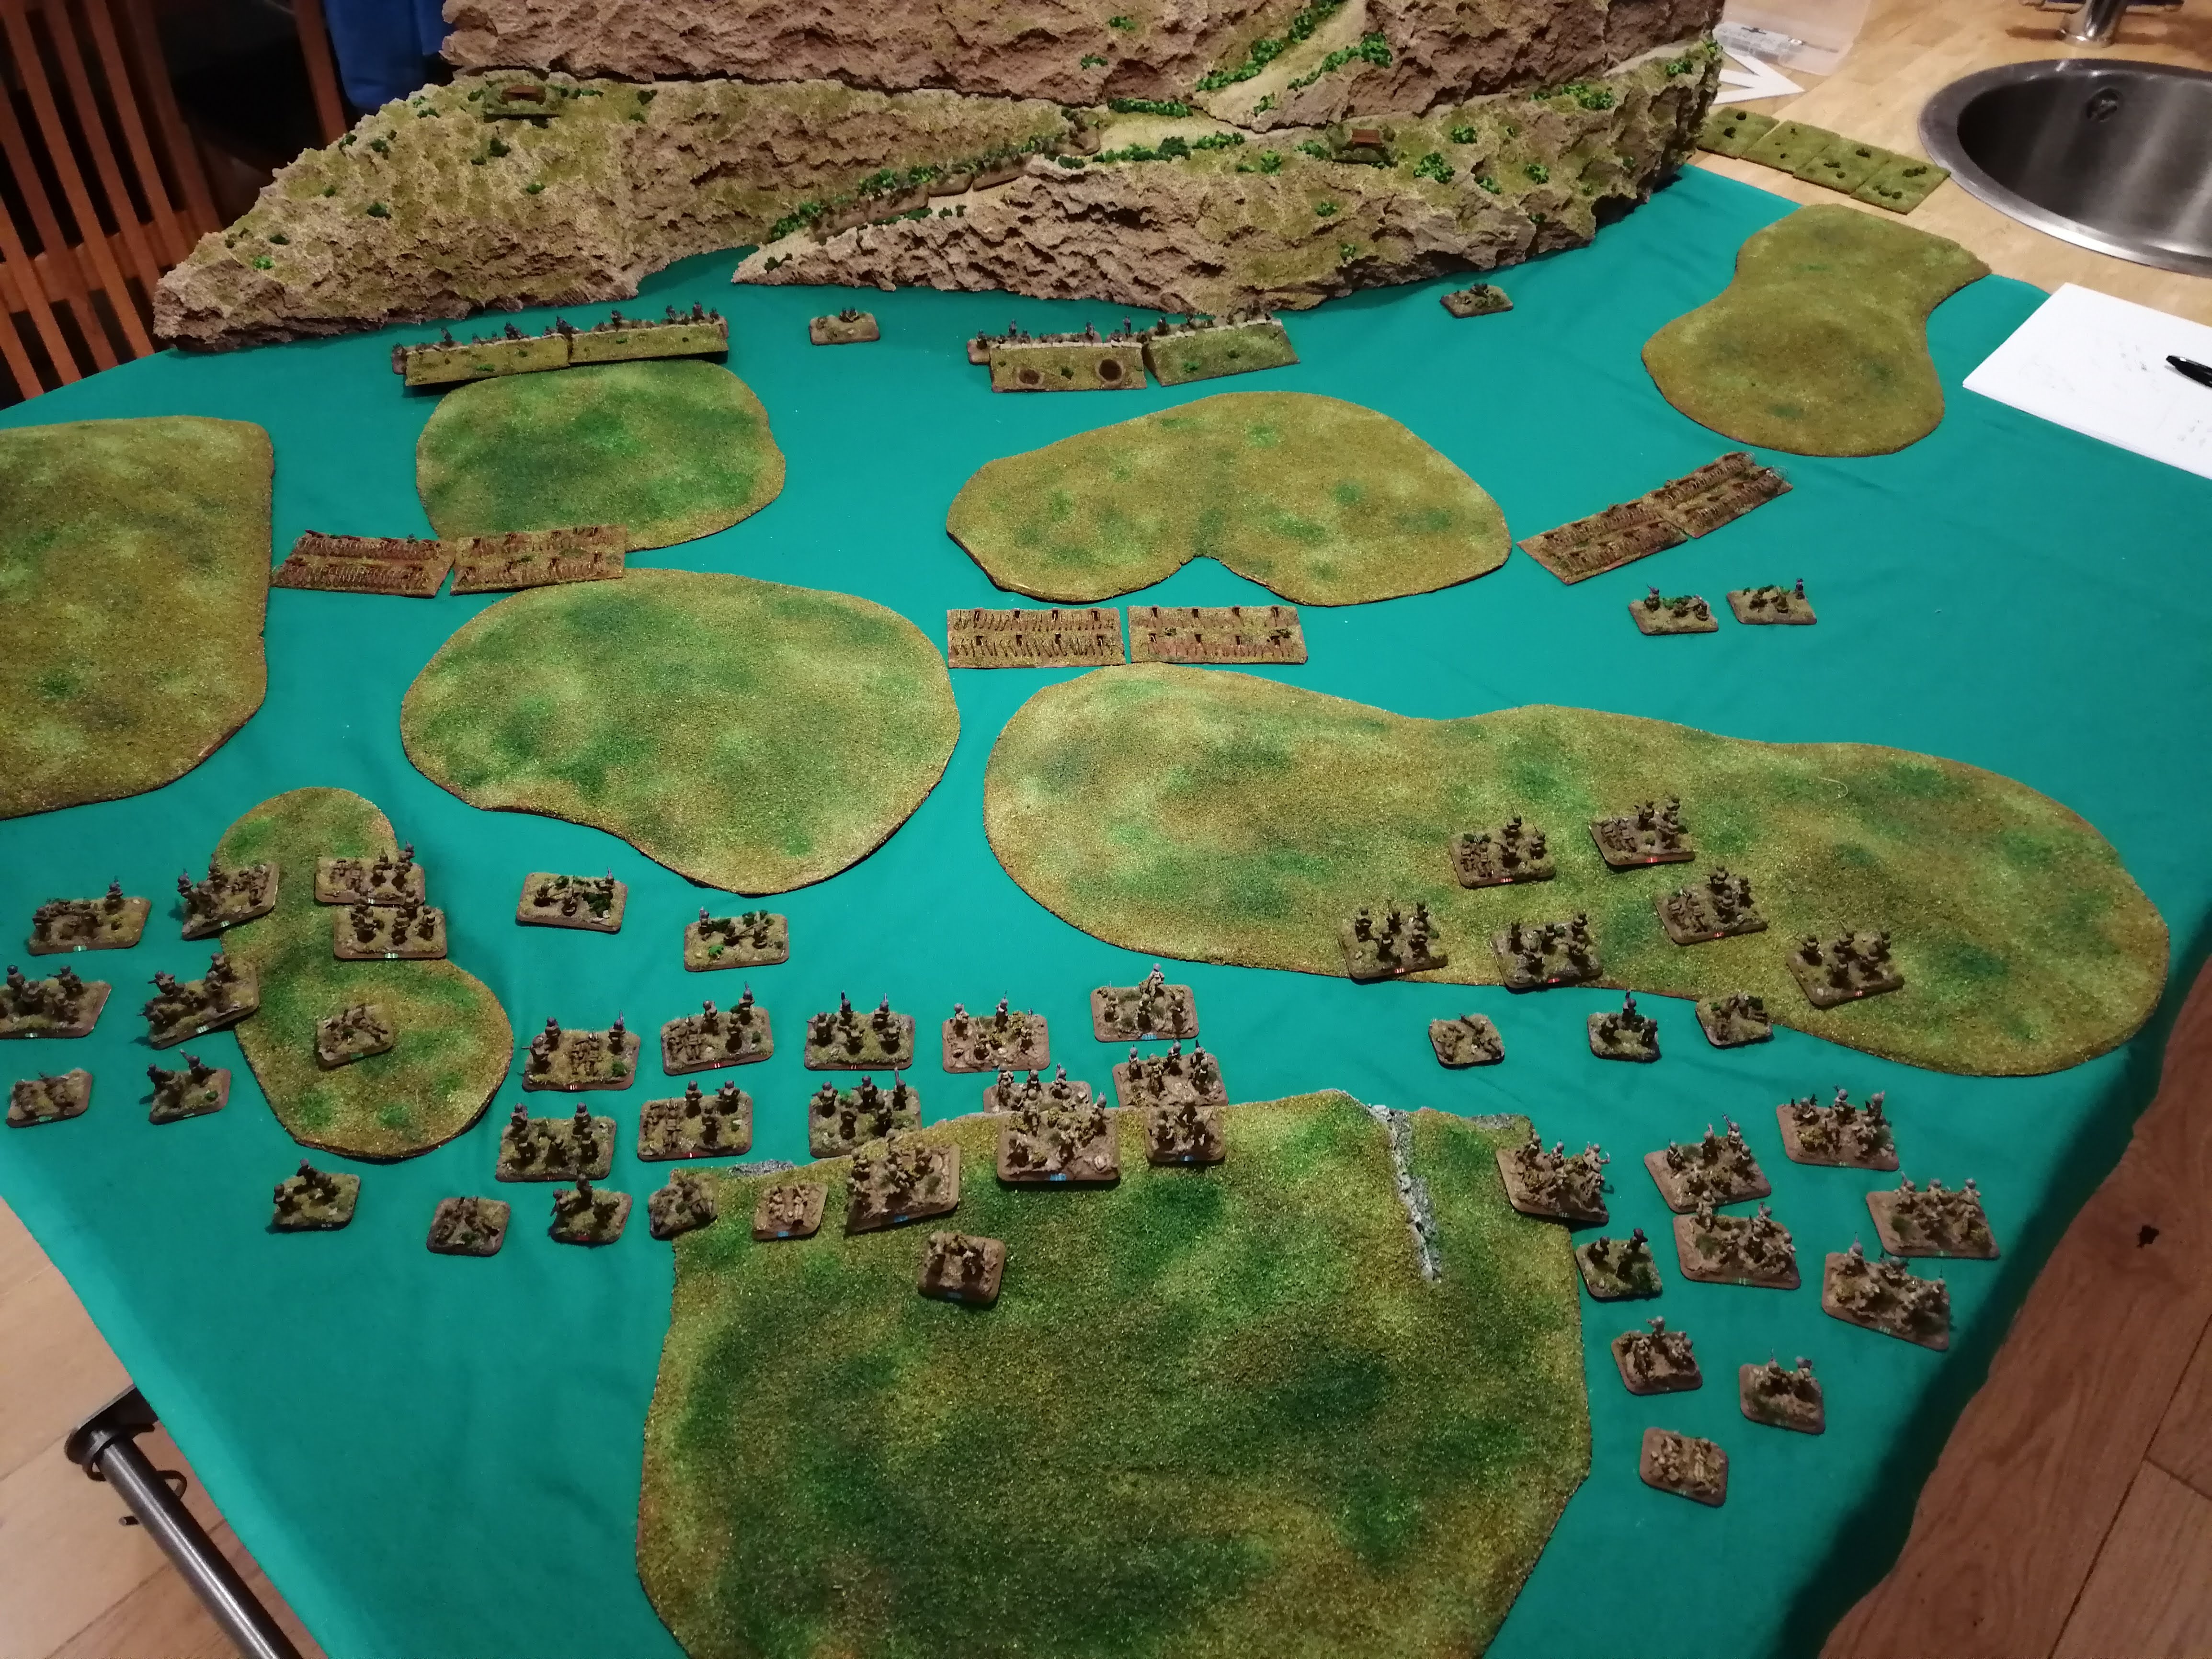
 Tactical map of the battlefield and dispositions
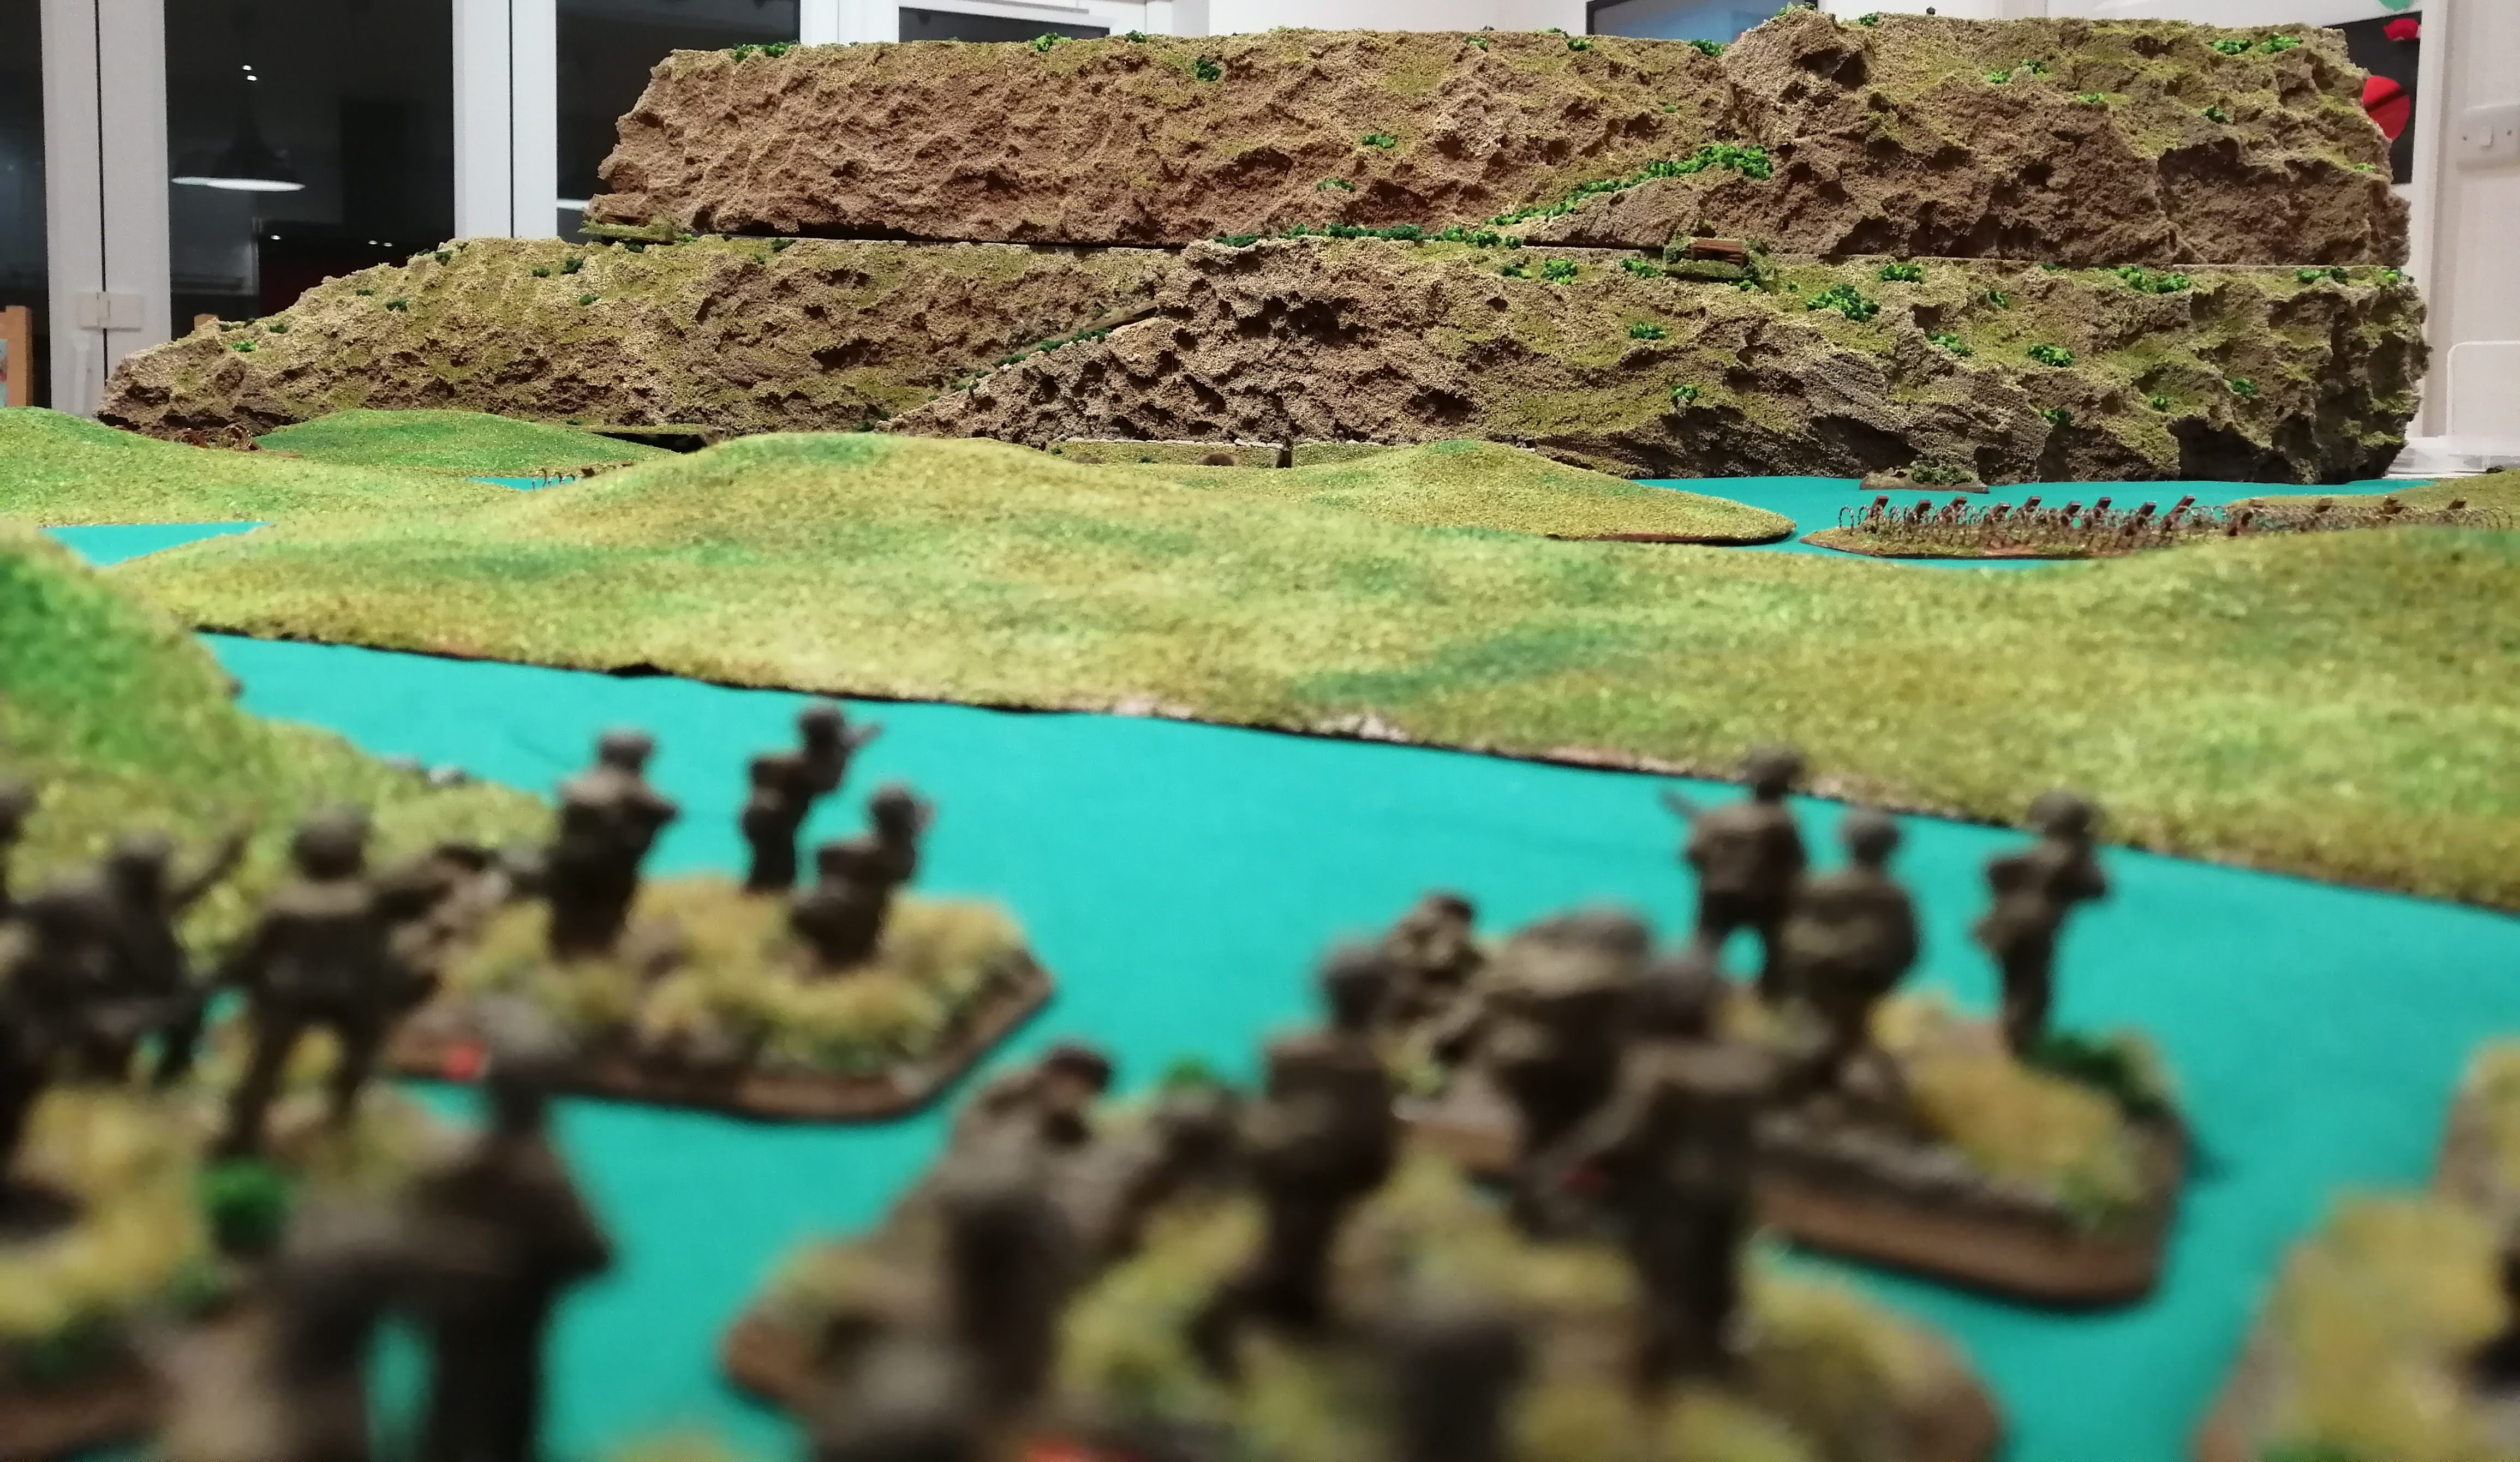 Men from 1st Battalion Royal Sussex Regiment look up at point 593 prior to the assault
 View of the battlefield just before the assault is launched
Turn 1:
All of the British platoons advance 8”, trying to spread out across the front line as much as possible. Four of the teams reach the 30cm line and roll to see if they encounter the minefield – nothing so far! MG1 is able to roll high enough to spot the Fallschirmjager MG1 but fails to score any hits. BGP can also spot FBP but again, the range and the fact that the Germans are concealed and dug in means that no damage is caused.
The entire Fallschirmjager force is able to unpin giving them full rate of fire should they be able to spot anything. The Fallschirmjager are trained well enough to know that they shouldn’t move out of their positions and so go straight to shooting. Unfortunately, despite straining into the cold night air, they fail to spot any British teams and so cannot fire this turn.
 End of Turn 1
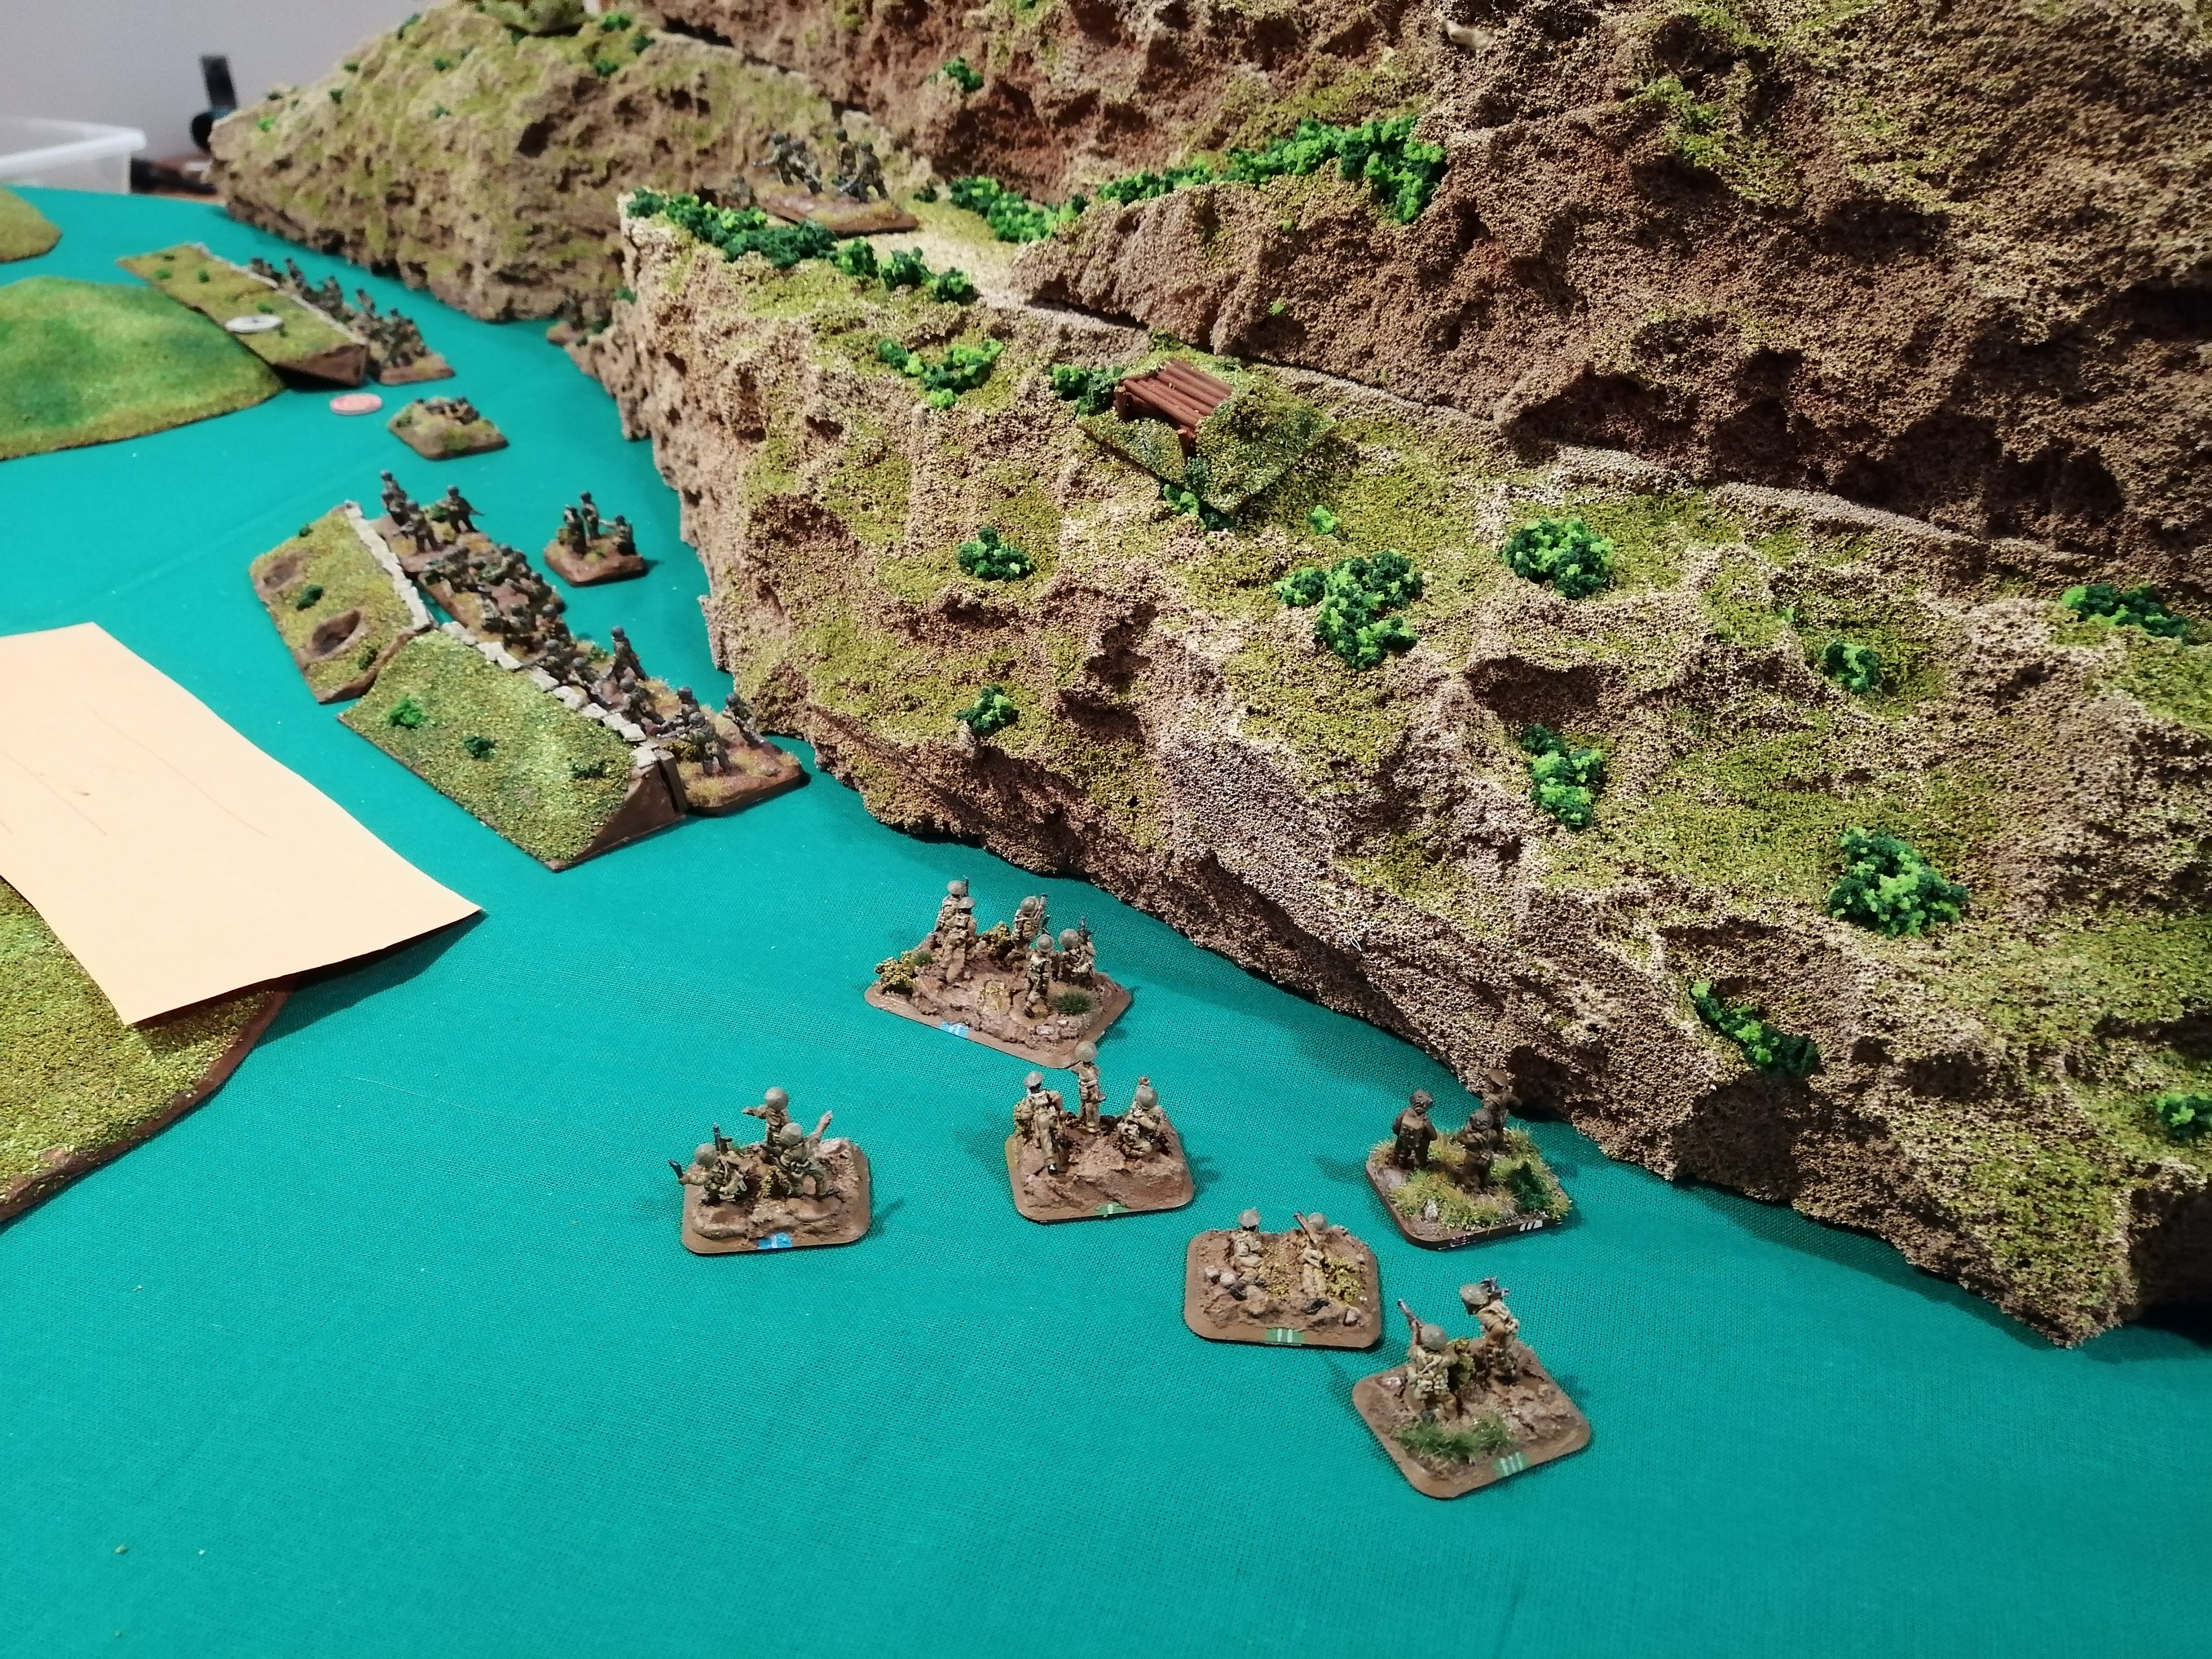
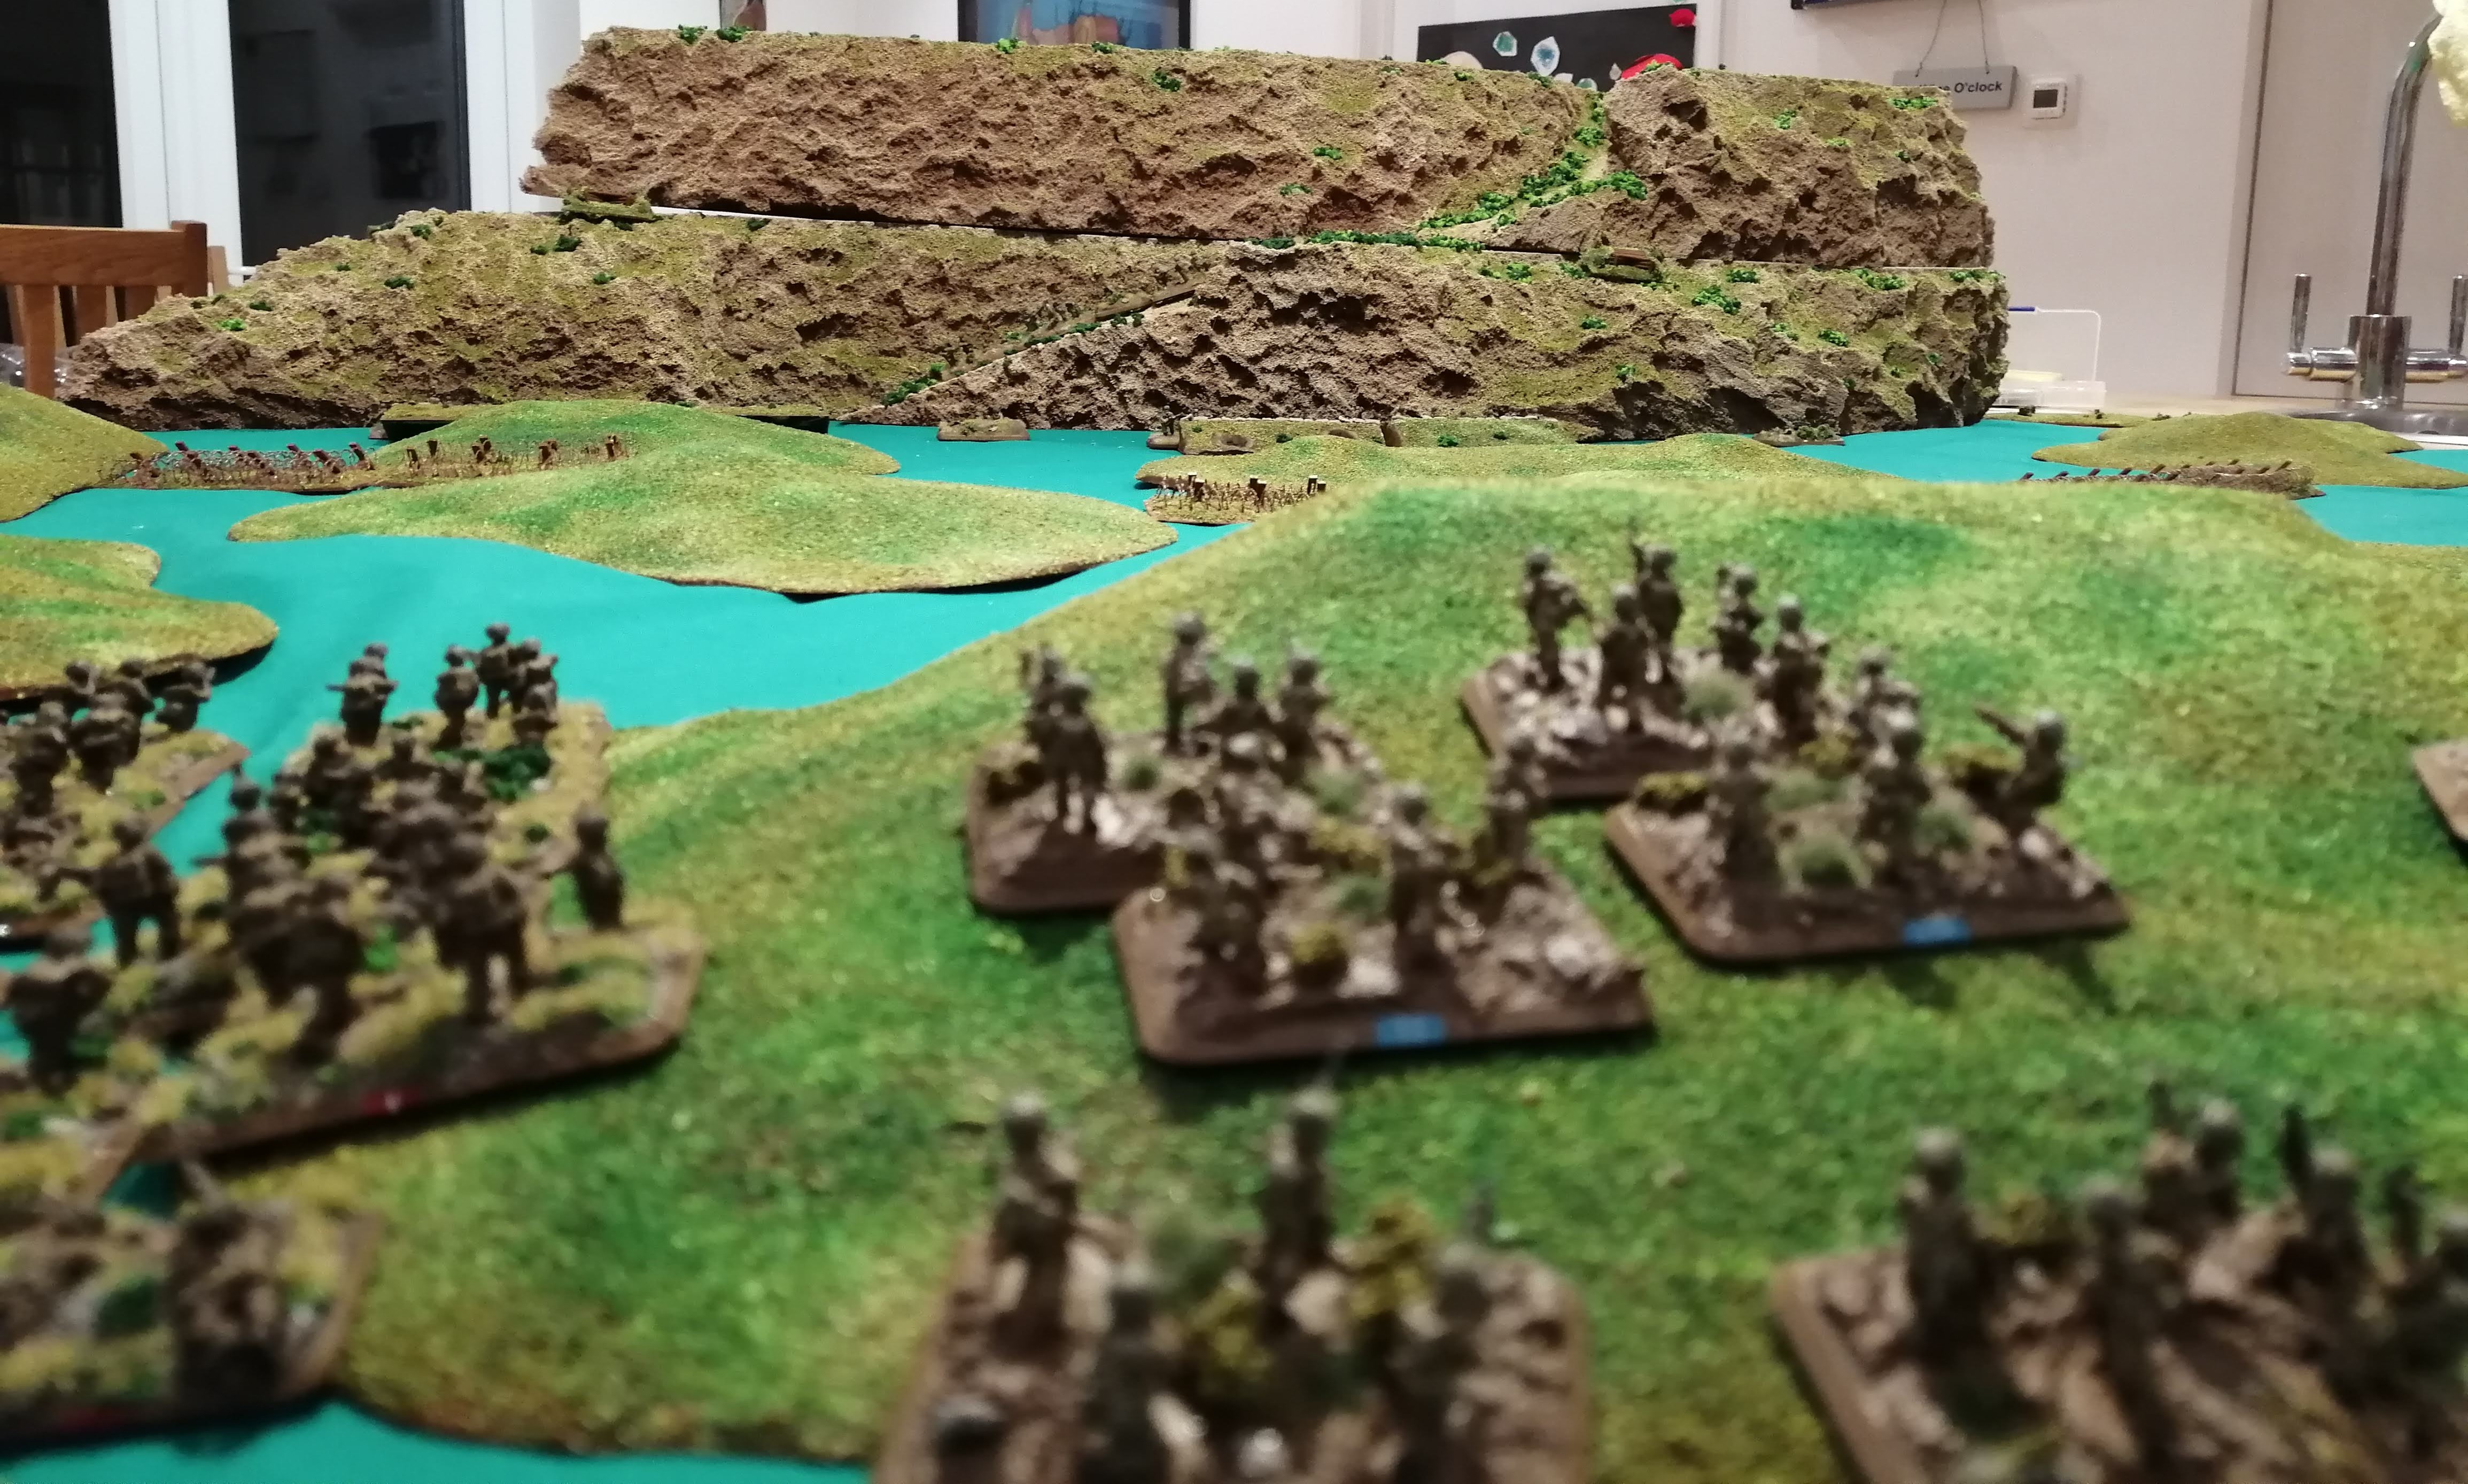
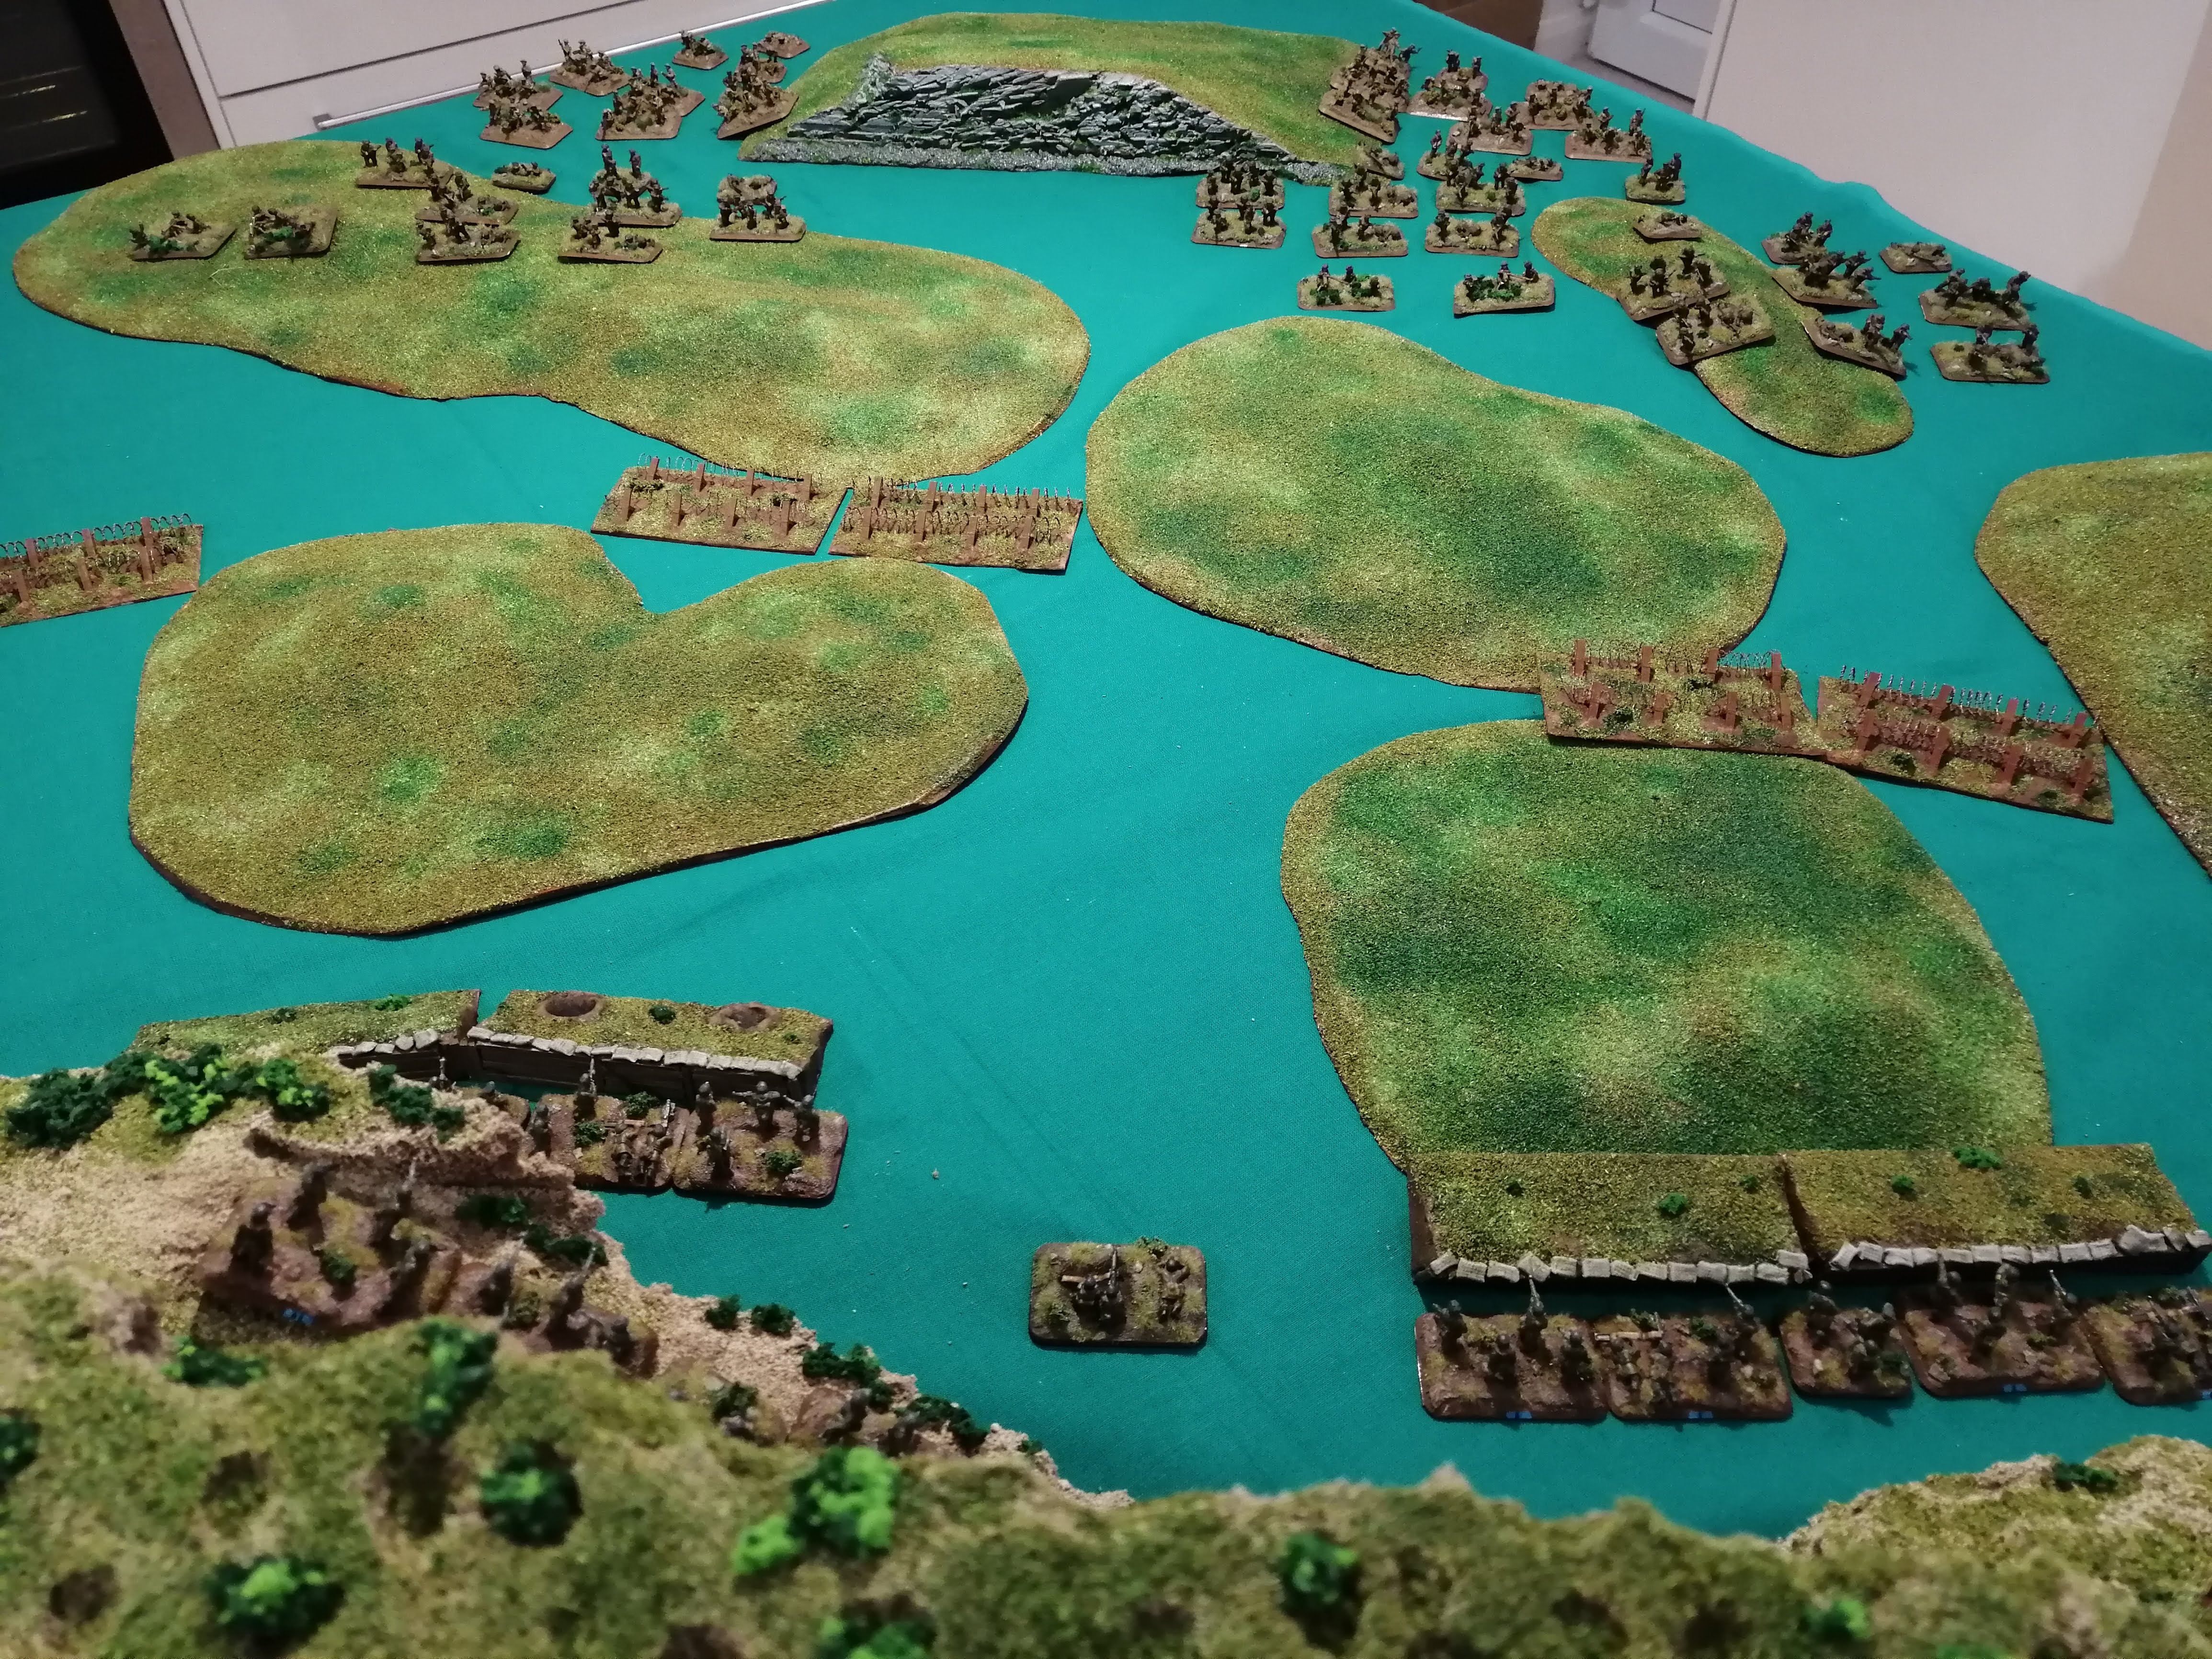 A view down from the top of Point 593 as the British begin the assault
 The British advance (and yes, that is the kitchen sink in the background!)
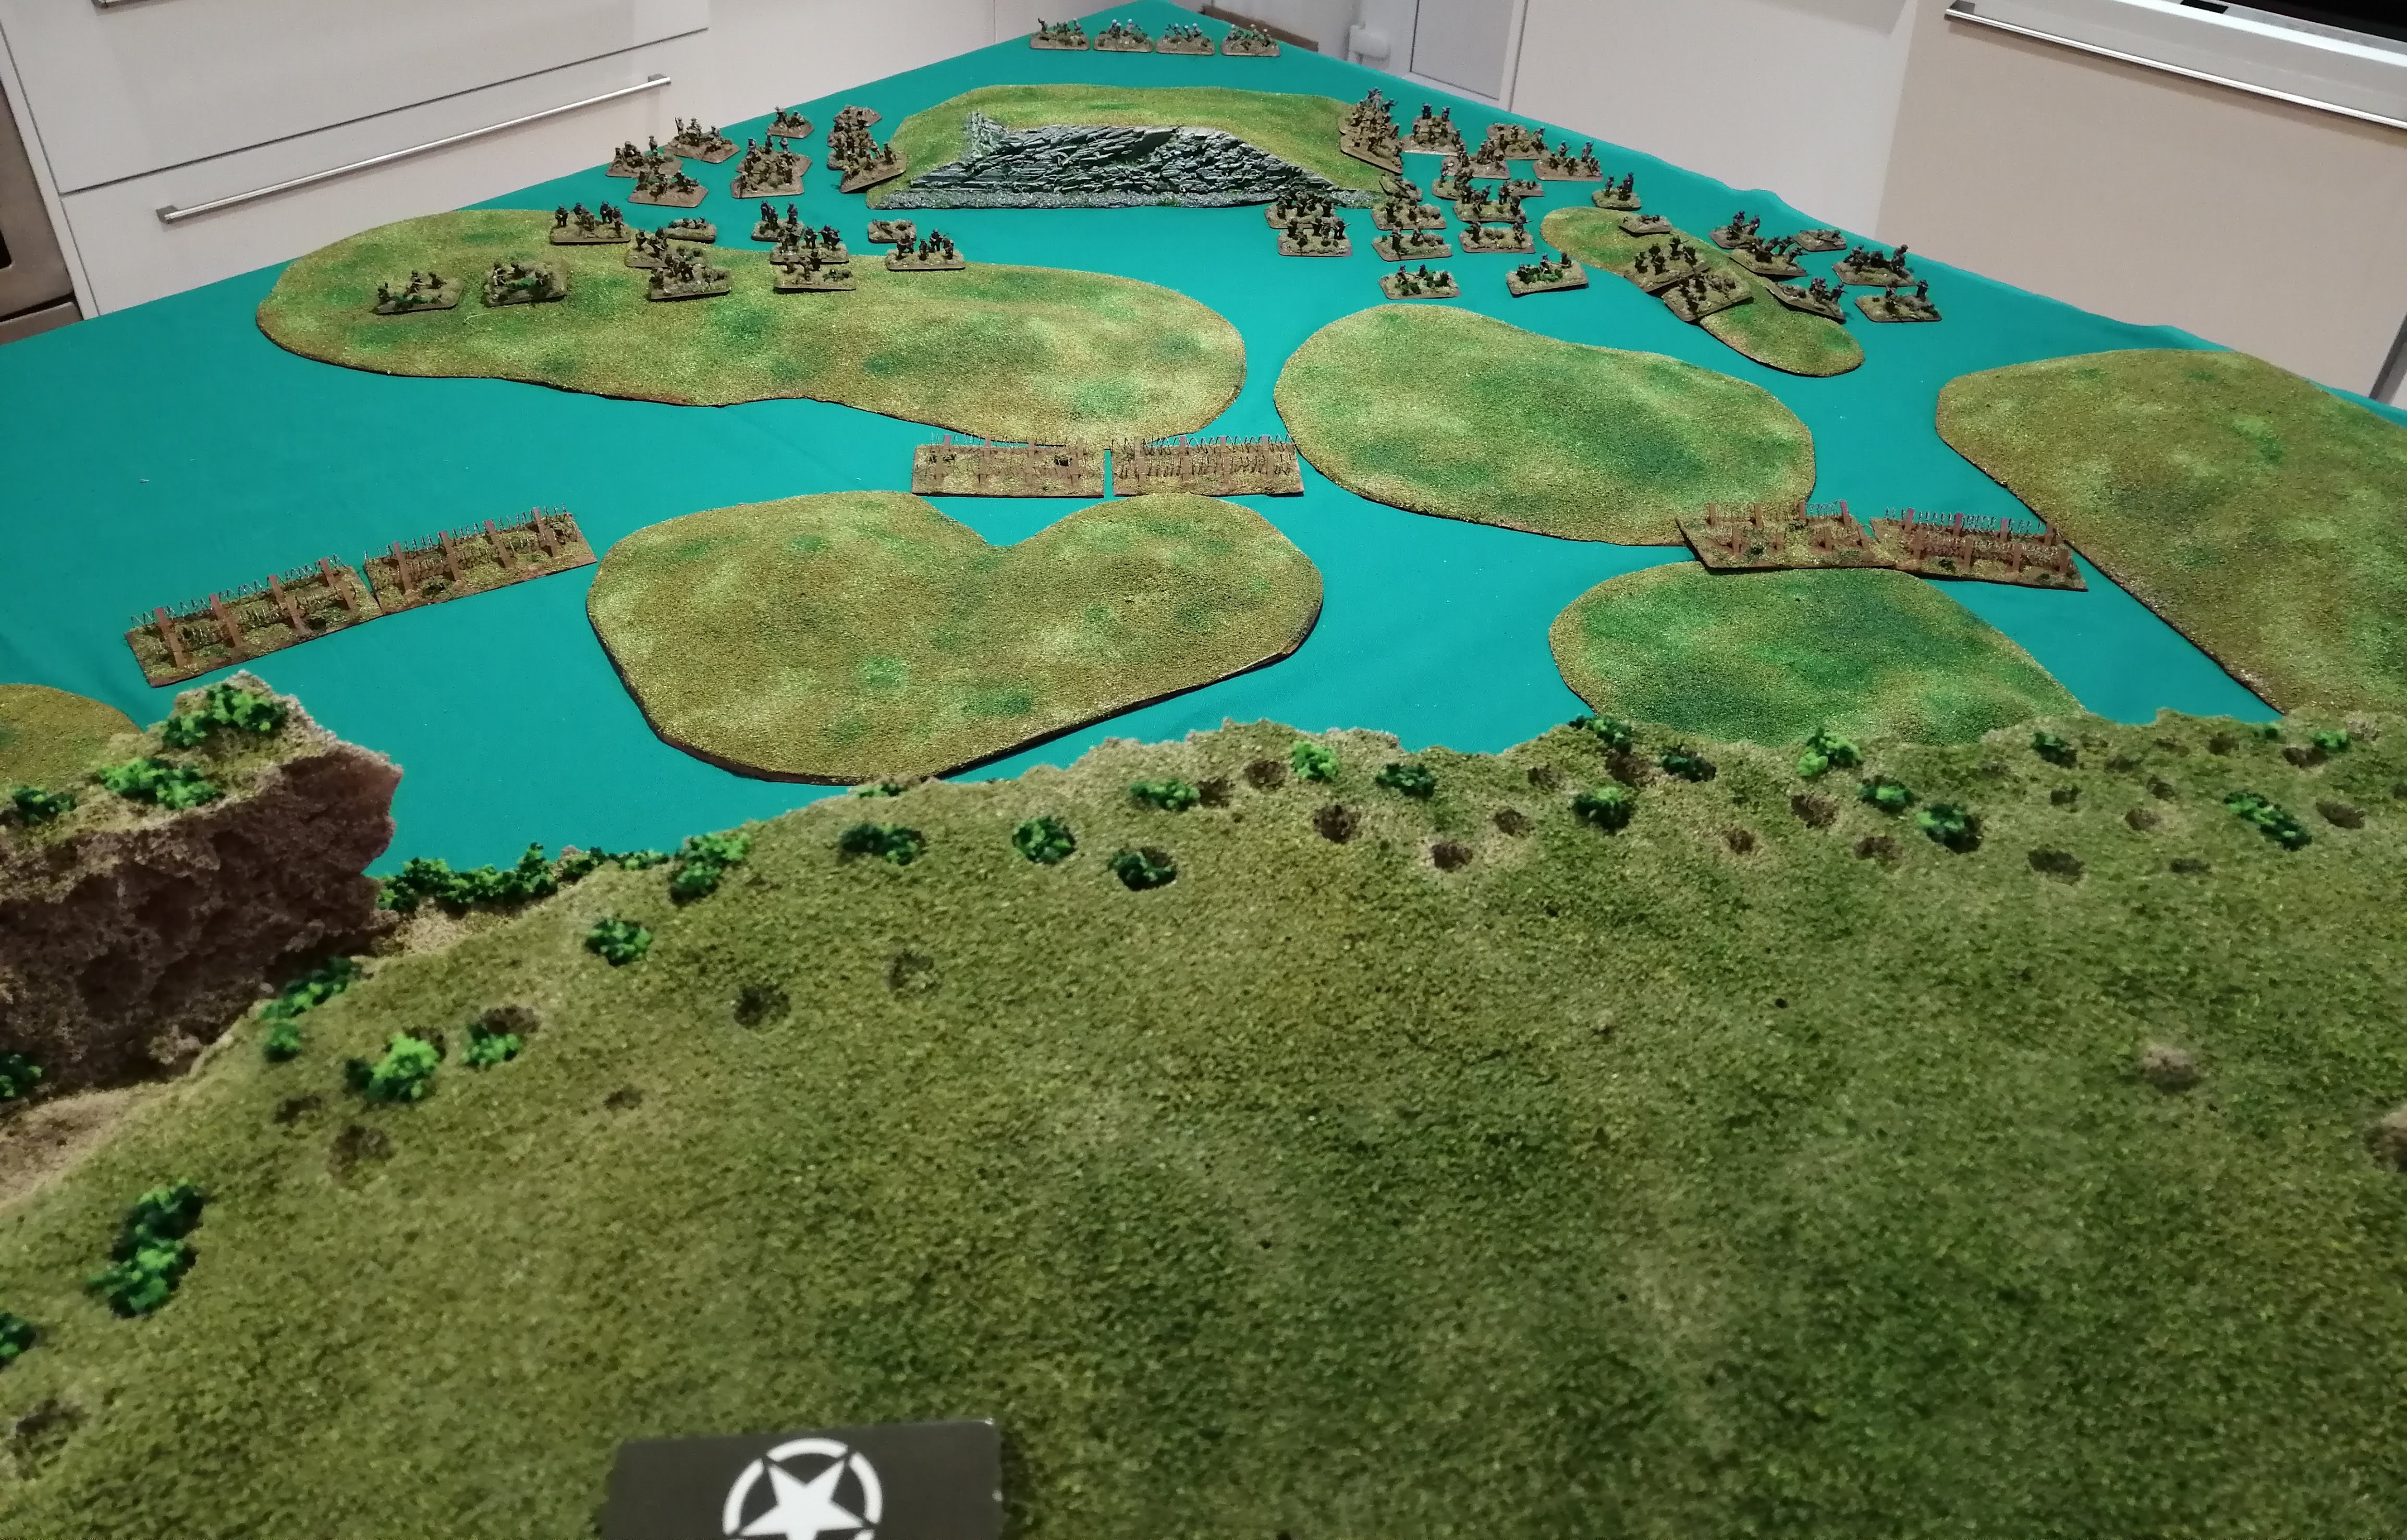
Third Battle for Monte Cassino - New Zealand Corps Try Again
Following the 2nd attempt to capture Monte Cassino, both sides had fallen back into defensive positions to regroup and rebuild. Both sides had taken a beating during the assaults and needed time to recover and rest. The other key factor for the lack of action was the inclement early spring weather. Torrential rains had turned the ground into a quagmire whilst snow melt from further inland had added to the rain water to swell the rivers into impassable barriers.
Freyburg’s New Zealnd Corps had not been withdrawn following the 2nd assault and it once again fell to them to carry the attack. The NZ Corps had recently been bolstered by the arrival of the British 78th Division but otherwise were comprised of the 4th British Indian Division and the 2nd NZ Division, both still nursing losses from the previous assault.
The poor weather had meant trying to cross the Garigliano river and pushing into Cassino directly was a highly unattractive proposition, especially after the last two attempts had ended so poorly for the Allies. Freyburg drew up an alternative plan to cross the Rapido further North and then proceed in a two pronged attack down the valley from the North. The 2nd NZ Division would keep to the valley and attempt to take the town of Cassino while the 4th British Indian Division would once again head up into the hills and assault the monastery. If the assault proceeded well, the 78th Division would cross the Rapido further downstream and proceed up the Liri Valley toward Anzio and Rome.
It wasn’t a popular plan. The view from the Allied command was that there was a lack of troops to complete the operation and those that were available were under equipped. The weather was also of significant concern. However, pressure was being applied to make another attempt to break the deadlock and relieve the troops at Anzio and so the plan went ahead.
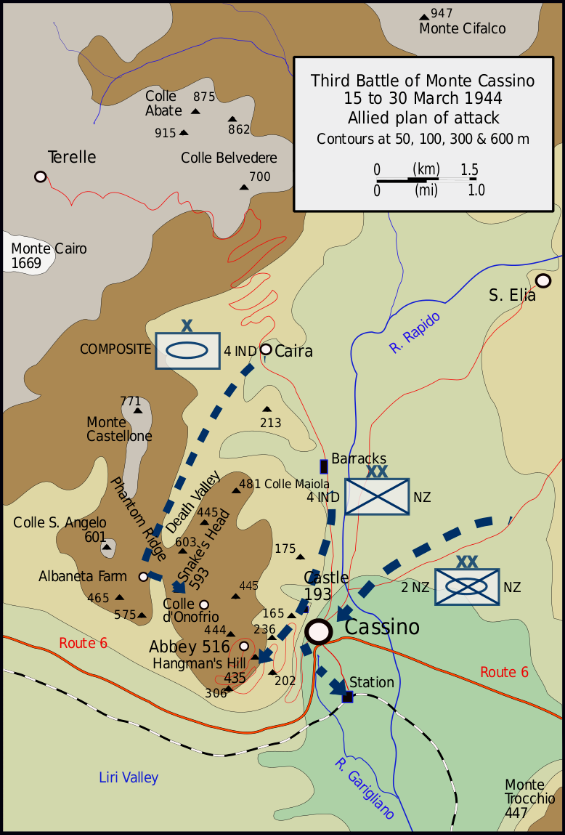 The Proposed Plan of Attack Including the Key Defensive Points
It was hoped that a colossal bombing and artillery bombardment would clear the town of Cassino of defenders and make the taking of the town considerably easier. To accomplish this, three consecutive days of good weather were required and it wasn’t until the 15th March that the forecast was favourable.
Early on the morning of the 15th March, around 750 tons of 1000-pound bombs were dropped on the town of Cassino. Shortly after, the NZ 2nd Division began the advance from the North toward the town of Cassino. This advance was made behind a creeping artillery barrage from around 750 Allied artillery guns that lasted well over 3 hours.
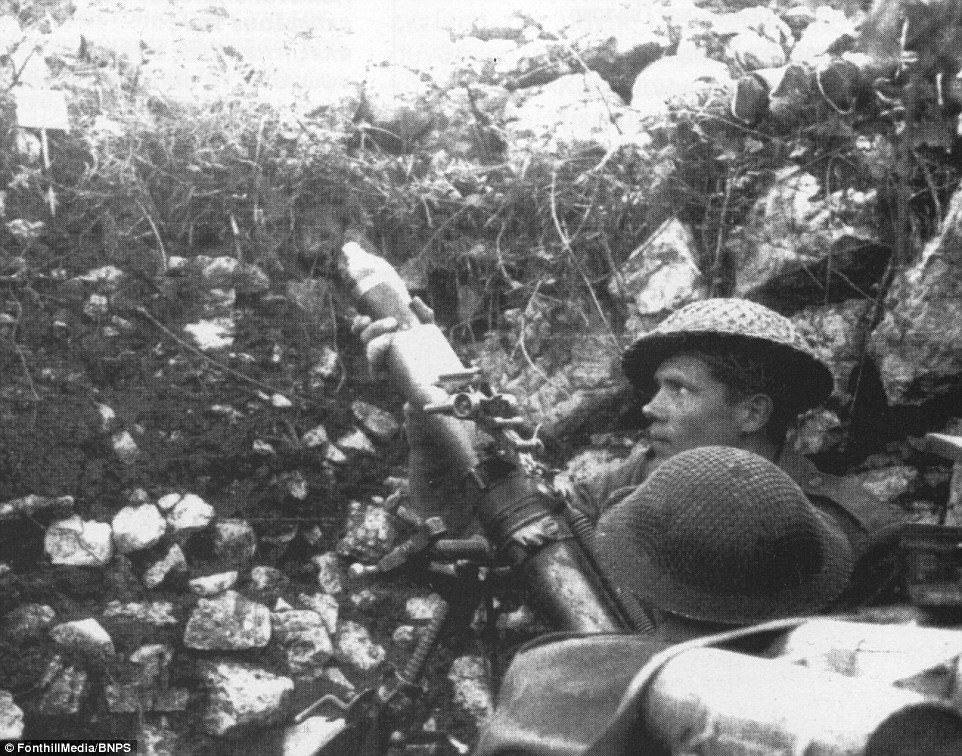 Allied Mortar Teams Bombard the Town of Cassino
Trying to imagine the scale and power of such a bombardment for the defending Fallschirmjager is beyond comprehension. This was partly the Allied plan, to make use of the shock and confusion to overrun the defenders. However poor coordination and the defenders ability to rally and organise quickly meant that the advantage quickly dissipated. To further confound the problem, Allied armour was held up by the heavily cratered ground leaving the infantry to assault the town without support.
While the NZ 2nd Division were assaulting the town, the 4th British Indian had advanced up the hill to once again assault the monastery. For some unknown reason, the monastery that was the focus of such bombing and shelling in the last assault was left off of the list of targets for the Allied Air Force and Artillery this time. This left a highly trained and motivated defensive force dug in to highly defensible positions.
The 4th British Indian Division encountered stiff resistance throughout their advance up the hill. They had slowly fought their way to point 236. The Rajputana Rifles led the assault and were due to be assisted by the 9th Gurkha Rifles who had looped around. In the confusion, the 9th Gurkhas had missed point 236 and had progressed to take point 435 further along the hill. Meanwhile, the heavily defended 236 repelled the attack from the Rajputana Rifles. This level of confusion and fractured front line, pocket fighting, was typical of the battles at Cassino, especially along the hill tops.
 Getting supplies up to the ridge was problematic
The weather unexpectedly turned on the night of the 15th and the heavy rains again began to fall. This further hampered the assaulting infantry and craters rapidly filled with water, leaving troops sheltering in small ponds. Communications broke down as radio sets, not designed for near continual immersion in water, failed. Despite the setbacks, the NZ 2nd Division fought their way into the town. Fighting was bloody and often hand to hand. It was not unusual for the same building to be occupied by both sides at the same time. A near continual rain of mortar shells and smoke fell on the town. An excerpt from a NZ Platoon commanders diary reads,
Our four days and nights were absolute hell;
mortar bombs continued to rain down; we had
a nebelwerfer rocket through our roof; and the
never-ending smoke shells meant that we were
living in a world where there was no day. Our
nerves were stretched to breaking point, hands
shaking so much that cigarettes were hard to
light. Hot meals were impossible, as was
washing and shaving. My diary notes, ‘it takes
all our nerves to move from our position to
Company Headquarters 25 yards away’.
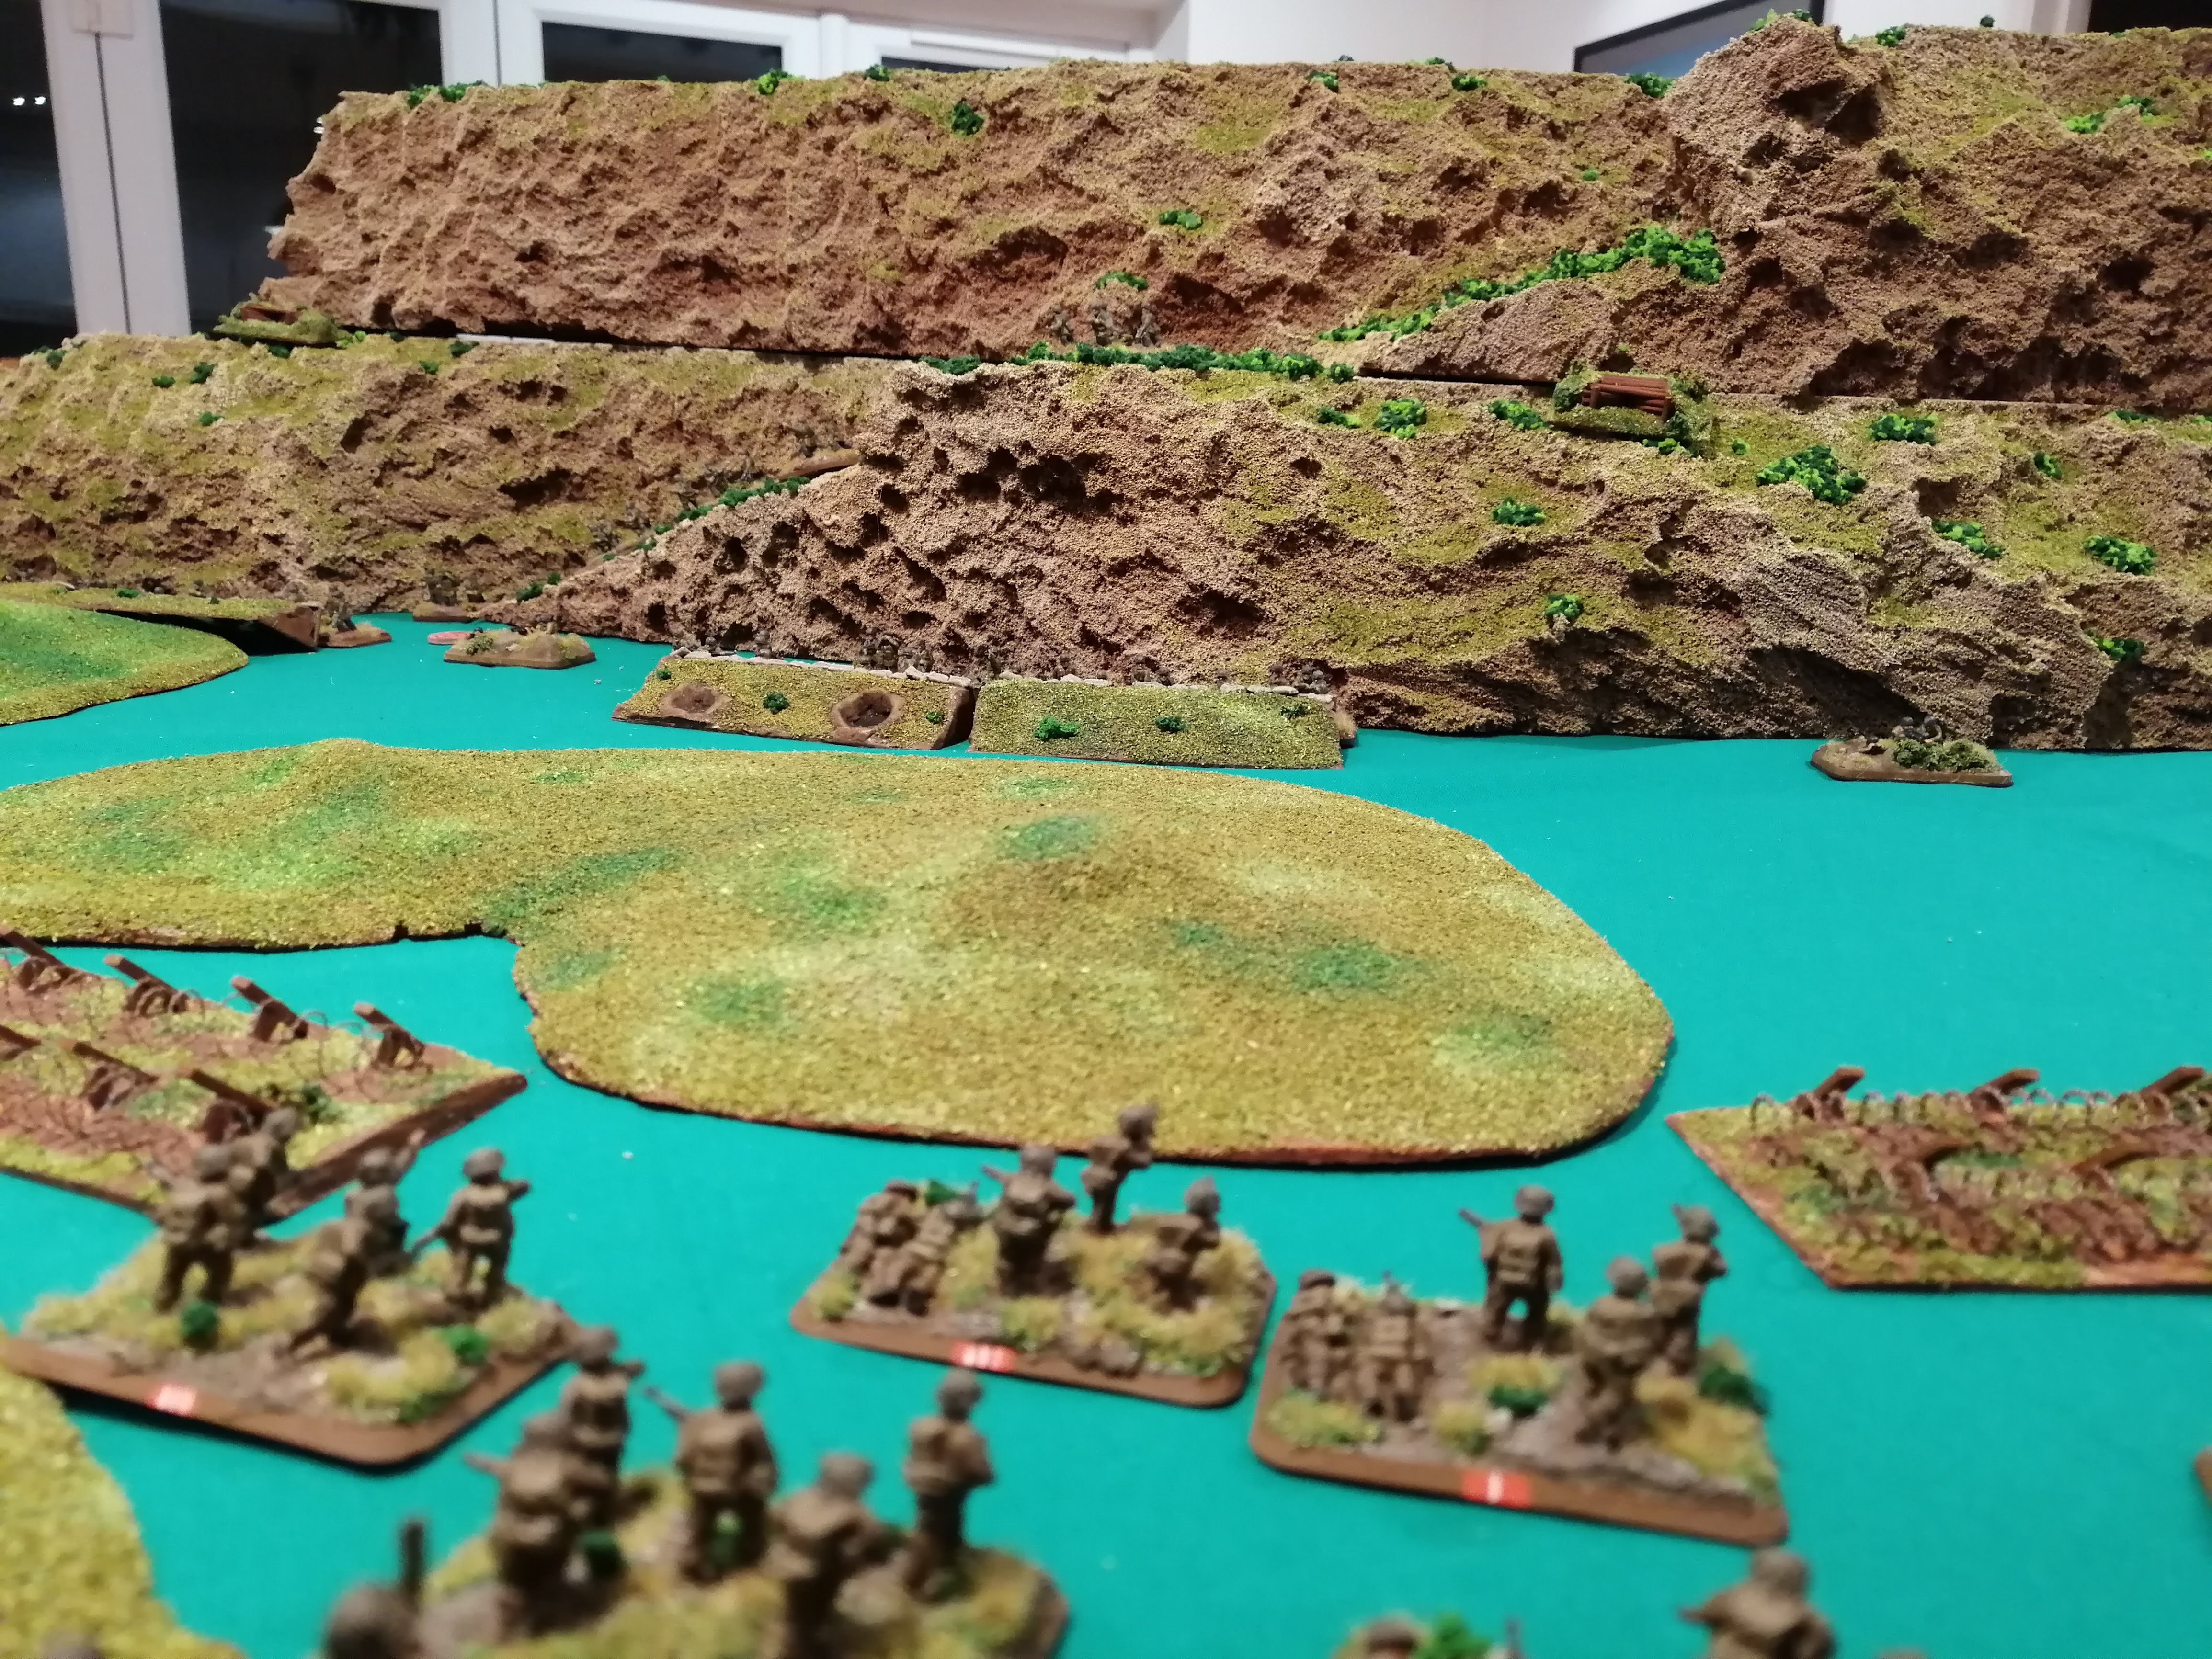
Despite the conditions and the tenacious defence, the New Zealanders managed to Capture Castle Hill and were slowly pushing through the town. Shermans from NZ 2nd Division had also managed to advance across the cratered and muddy landscape and, along with some infantry, had captured the station on the edge of the town.
By the 17th March, the Gurkhas still held Hangman’s Hill (point 435) and the rest of 4th British Indian were now just 250m from the monastery. Point 236 had still not be taken allowing the Germans to seriously compromise the supply lines of the 4th British Indian. The Northern part of Cassino still lay in German hands and this allowed for a steady stream of reinforcements to keep the defences of the town solid and well supplied. Several times the New Zealanders found German troops and snipers had infiltrated parts of Cassino that had previously been cleared.
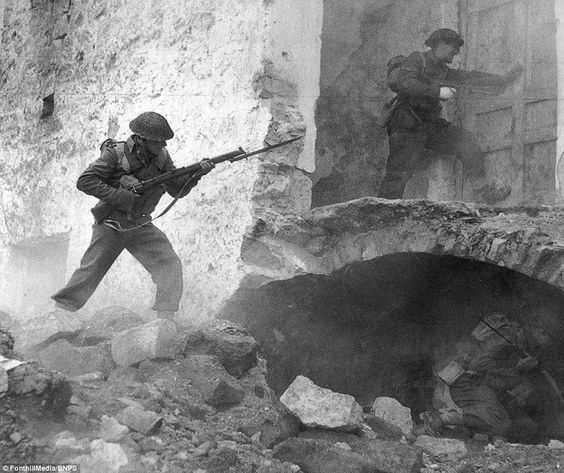 Clearing Buildings in the Town of Cassino
Further to the North, while the 4th British Indian were struggling up Monte Cassino, engineers had been preparing a small track looping around and connecting to Albaneta Farm, to the North West of the monastery. A surprise assault by tanks of the 20th Armoured Regiment was due to take place on the 19th March, using the newly prepared track. From their position, the tanks were unsupported by infantry however the 4th BI were also due to launch an assault, linking up with the tanks and pushing to the monastery.
1st Fallschirmjager launched a surprise and fierce counter attack shortly after the Allied assault started, driving between the infantry and the armour. 4th BI were unable to make any ground, leaving the tanks unsupported. In the difficult terrain, the armour made slow progress and by mid afternoon, all of the tanks had been knocked out or disabled. This surprise and timely counter attack had stopped the Allied assault in its tracks and effectively stopped the Allies in their attempt to take the monastery from the North.
In the town of Cassino, progress had also ground to a halt. The defenders were still able to feed reinforcements into the town using a route down through Points 445 and 165. This being despite the Allies holding Castle Hill (Point 193) and the Gurkha’s holding onto Hangman’s Hill (Point 435). To cut this route off, Freyburg committed elements of the 78th Infantry Division into the town and to Castle Hill to free up defenders to launch an assault on Point 445 from Castle Hill. Again the fight was grim and bloody but resolute defending from 1st Fallschirmjager just managed to hold off the attack and the Allies fell back to Castle Hill.
By this point, both sides were exhausted and gains were measured by metres. The Allied commanders felt that victory was close but with losses mounting, Freyburg took the decision to call off the assault. The order to withdraw was given on 23rd March. The next few days were spent digging in and extracting the isolated Gurkhas at Point 435 and NZ 24th Battalion that had also become isolated further down hill at Point 202. The NZ 2nd Division and 4th British Indian Division were withdrawn from the front and replaced by British 1st Guards Brigade and British 78th Division respectively.
During their 6 weeks on the Cassino front, 4th BI lost around 3,000 men while the 2nd NZ Division lost 1,600. Meanwhile, the defending Fallschirmjager had taken an absolute mauling. Some battalions had been reduced to a strength of just 40 and their lines of defence had been stretched to the point where many lesser forces would have broken long ago. But they had held and continued to occupy the monastery and the road to Rome and Anzio remained closed to the Allies.
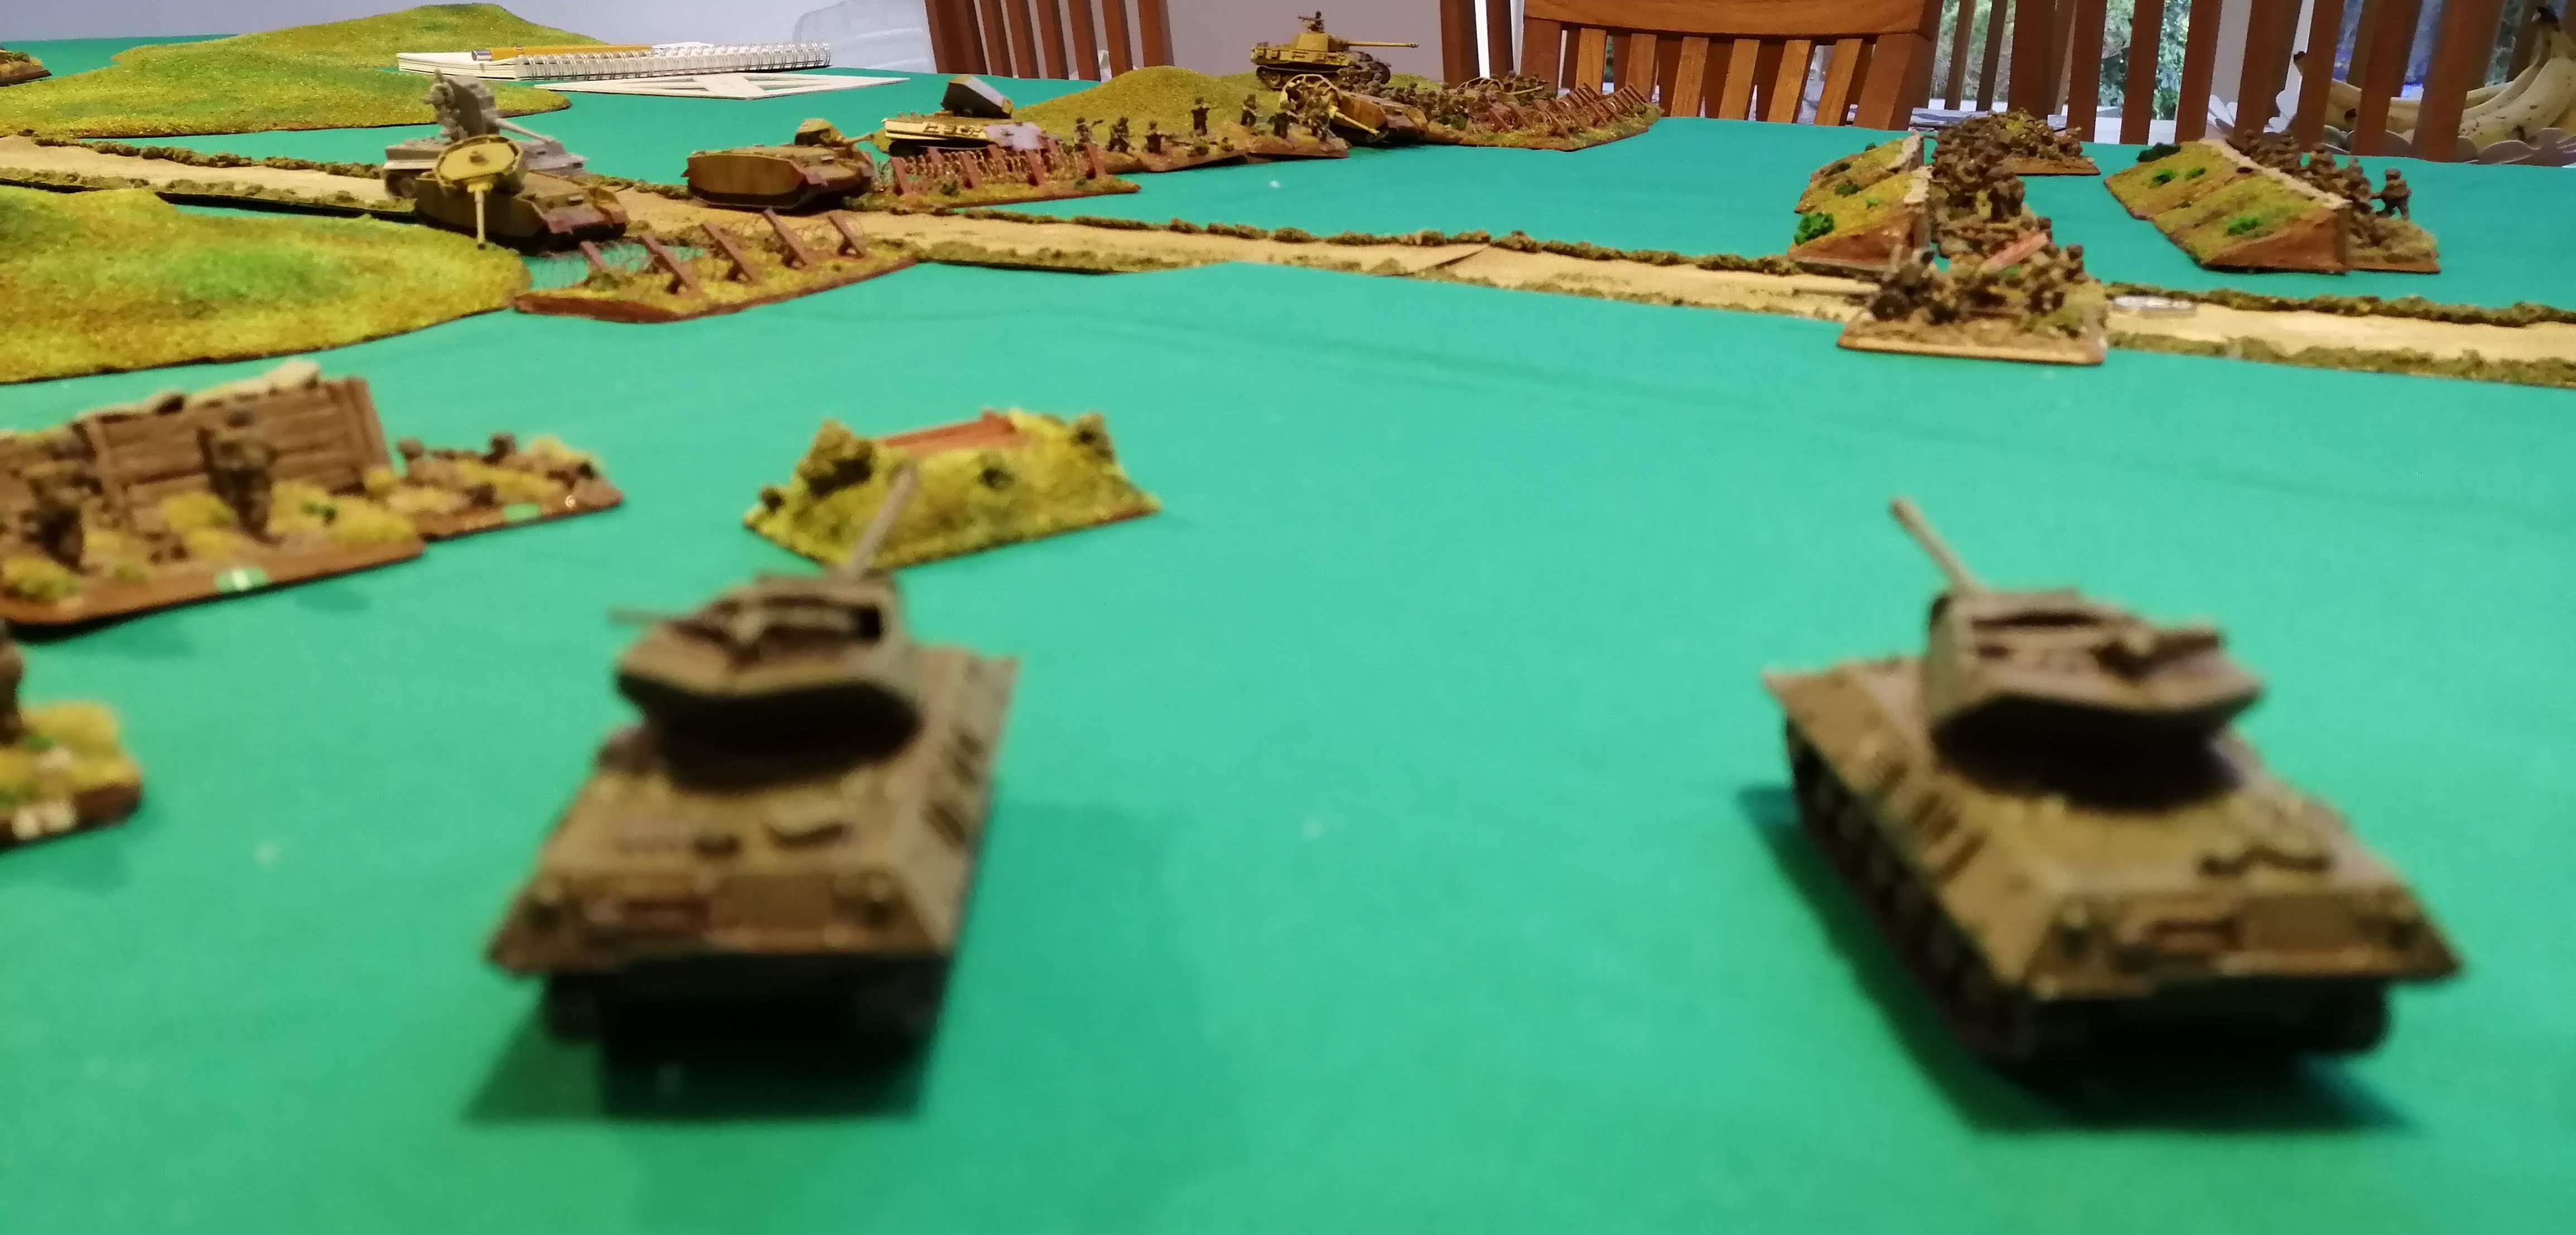
 Armour is finally able to get forward to support the infantry
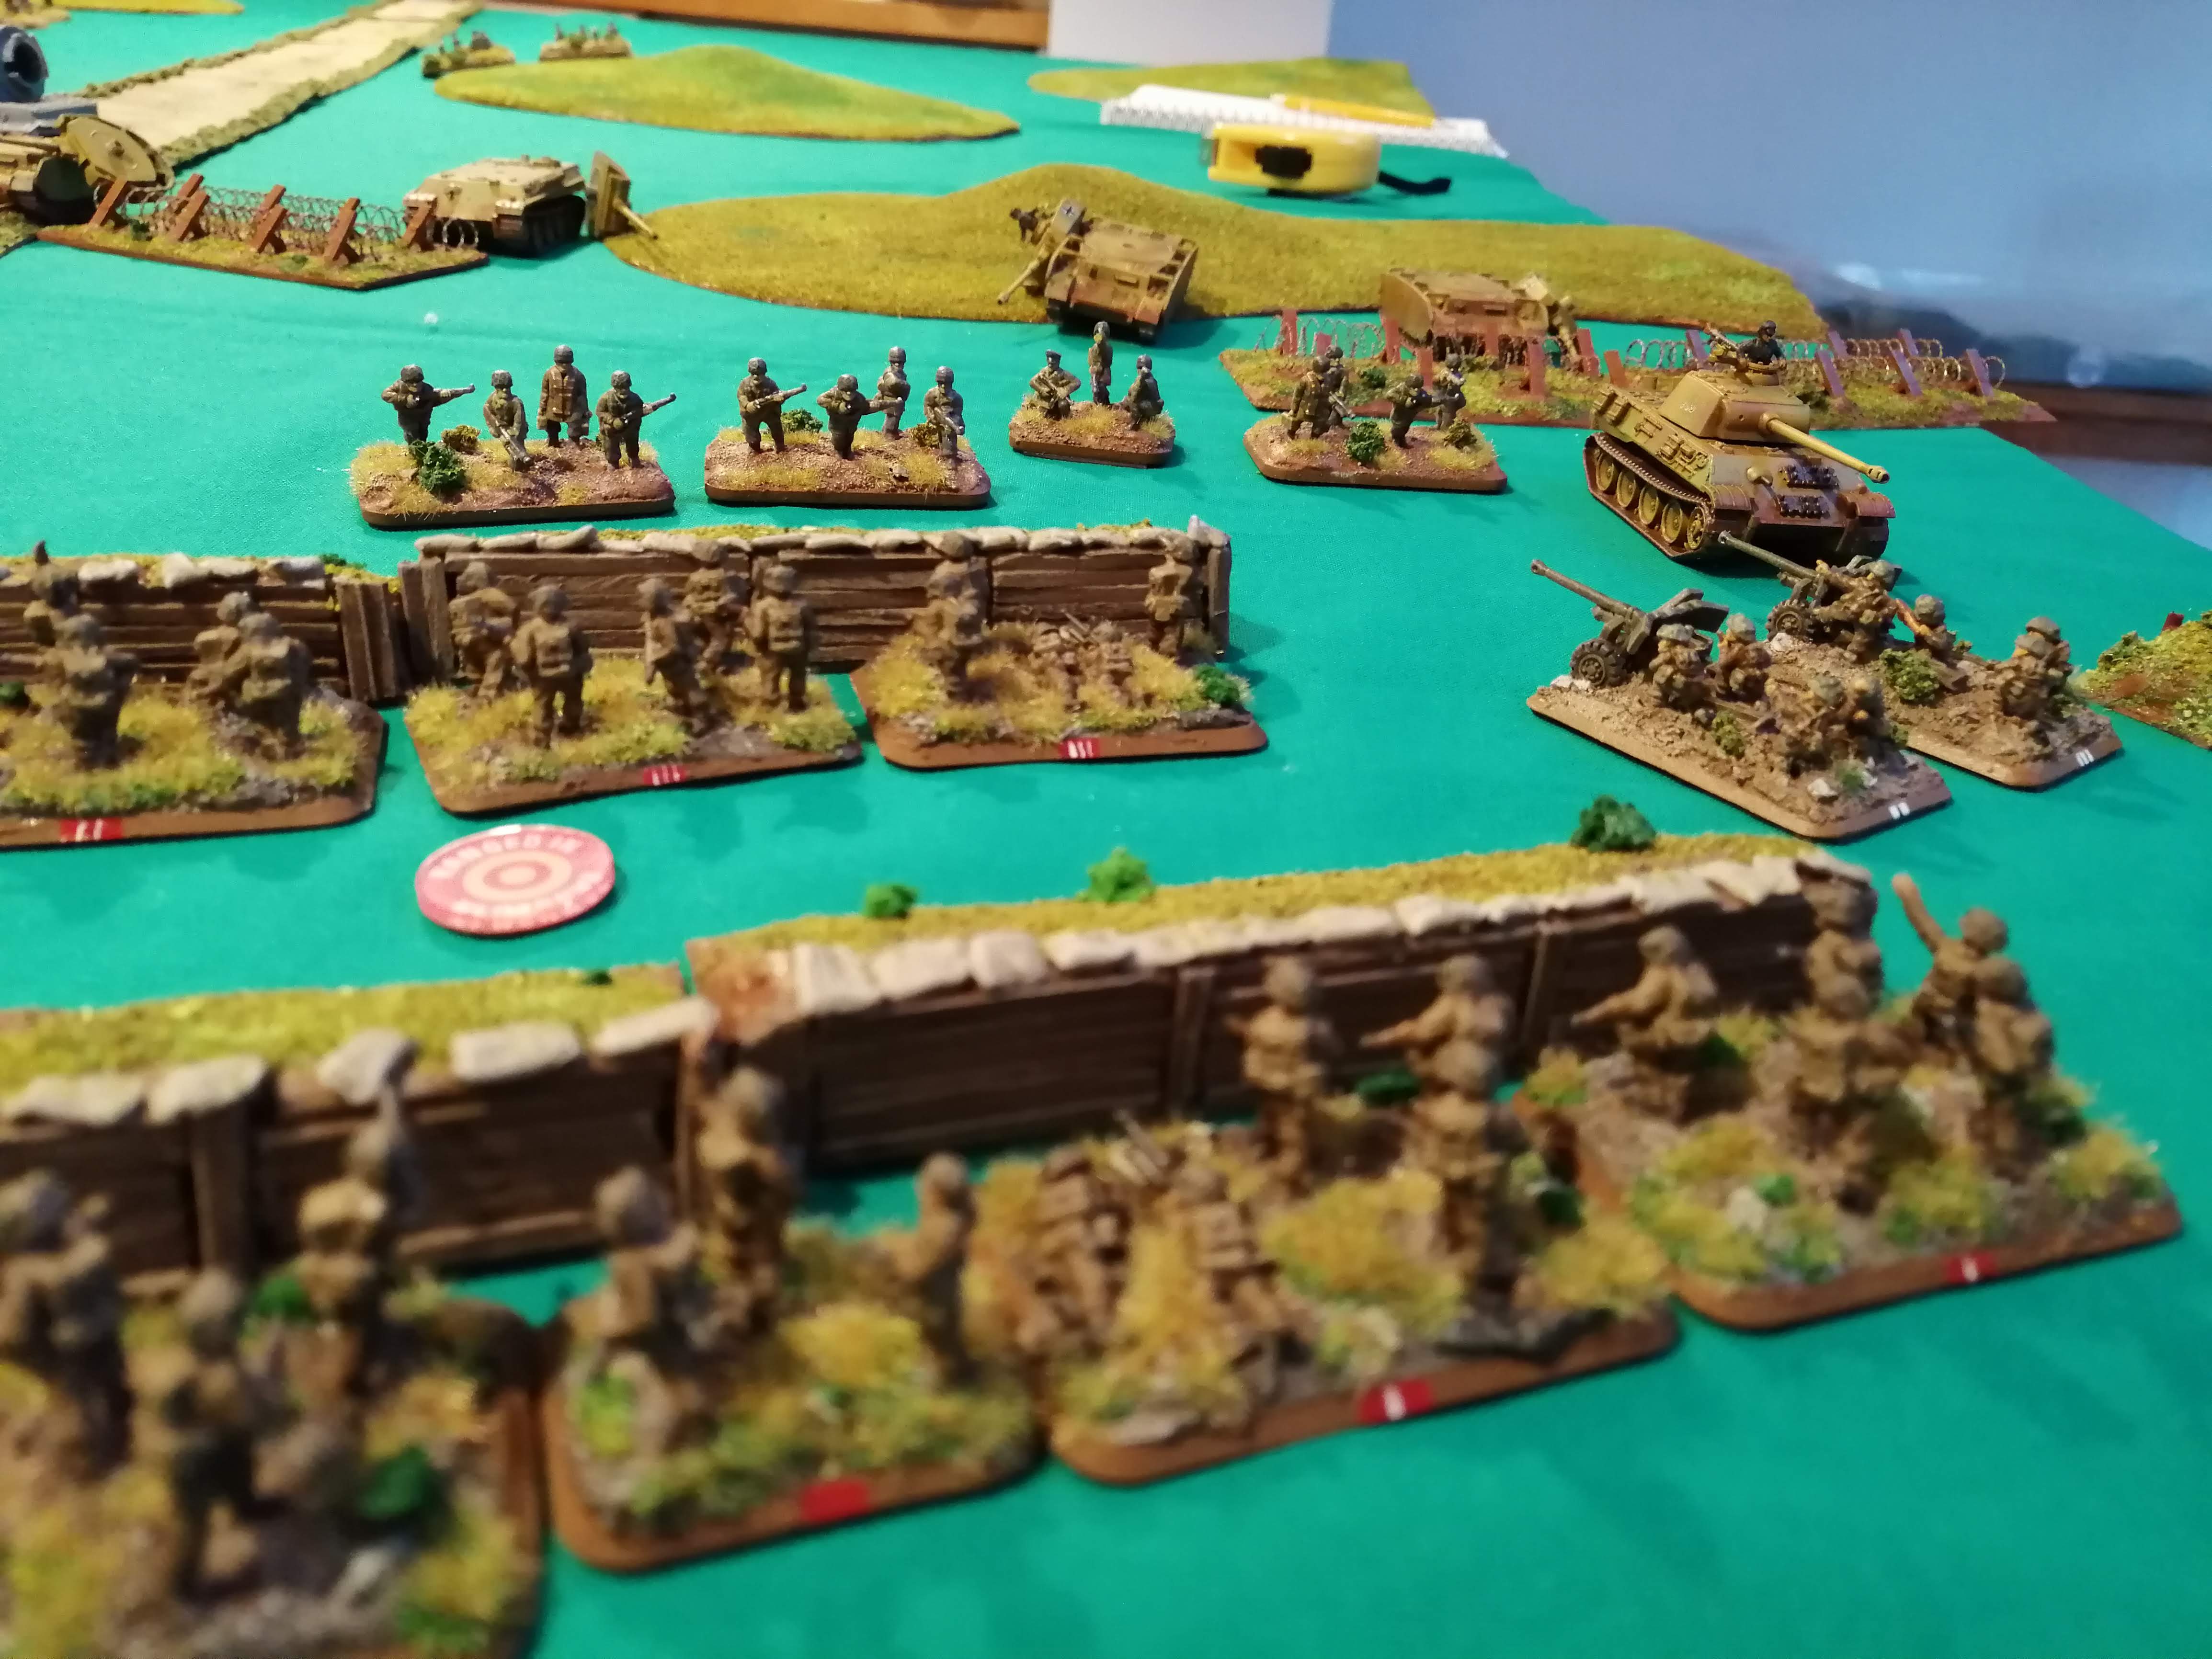
Battle Report - Operation Fischfang (The last throw of the dice)
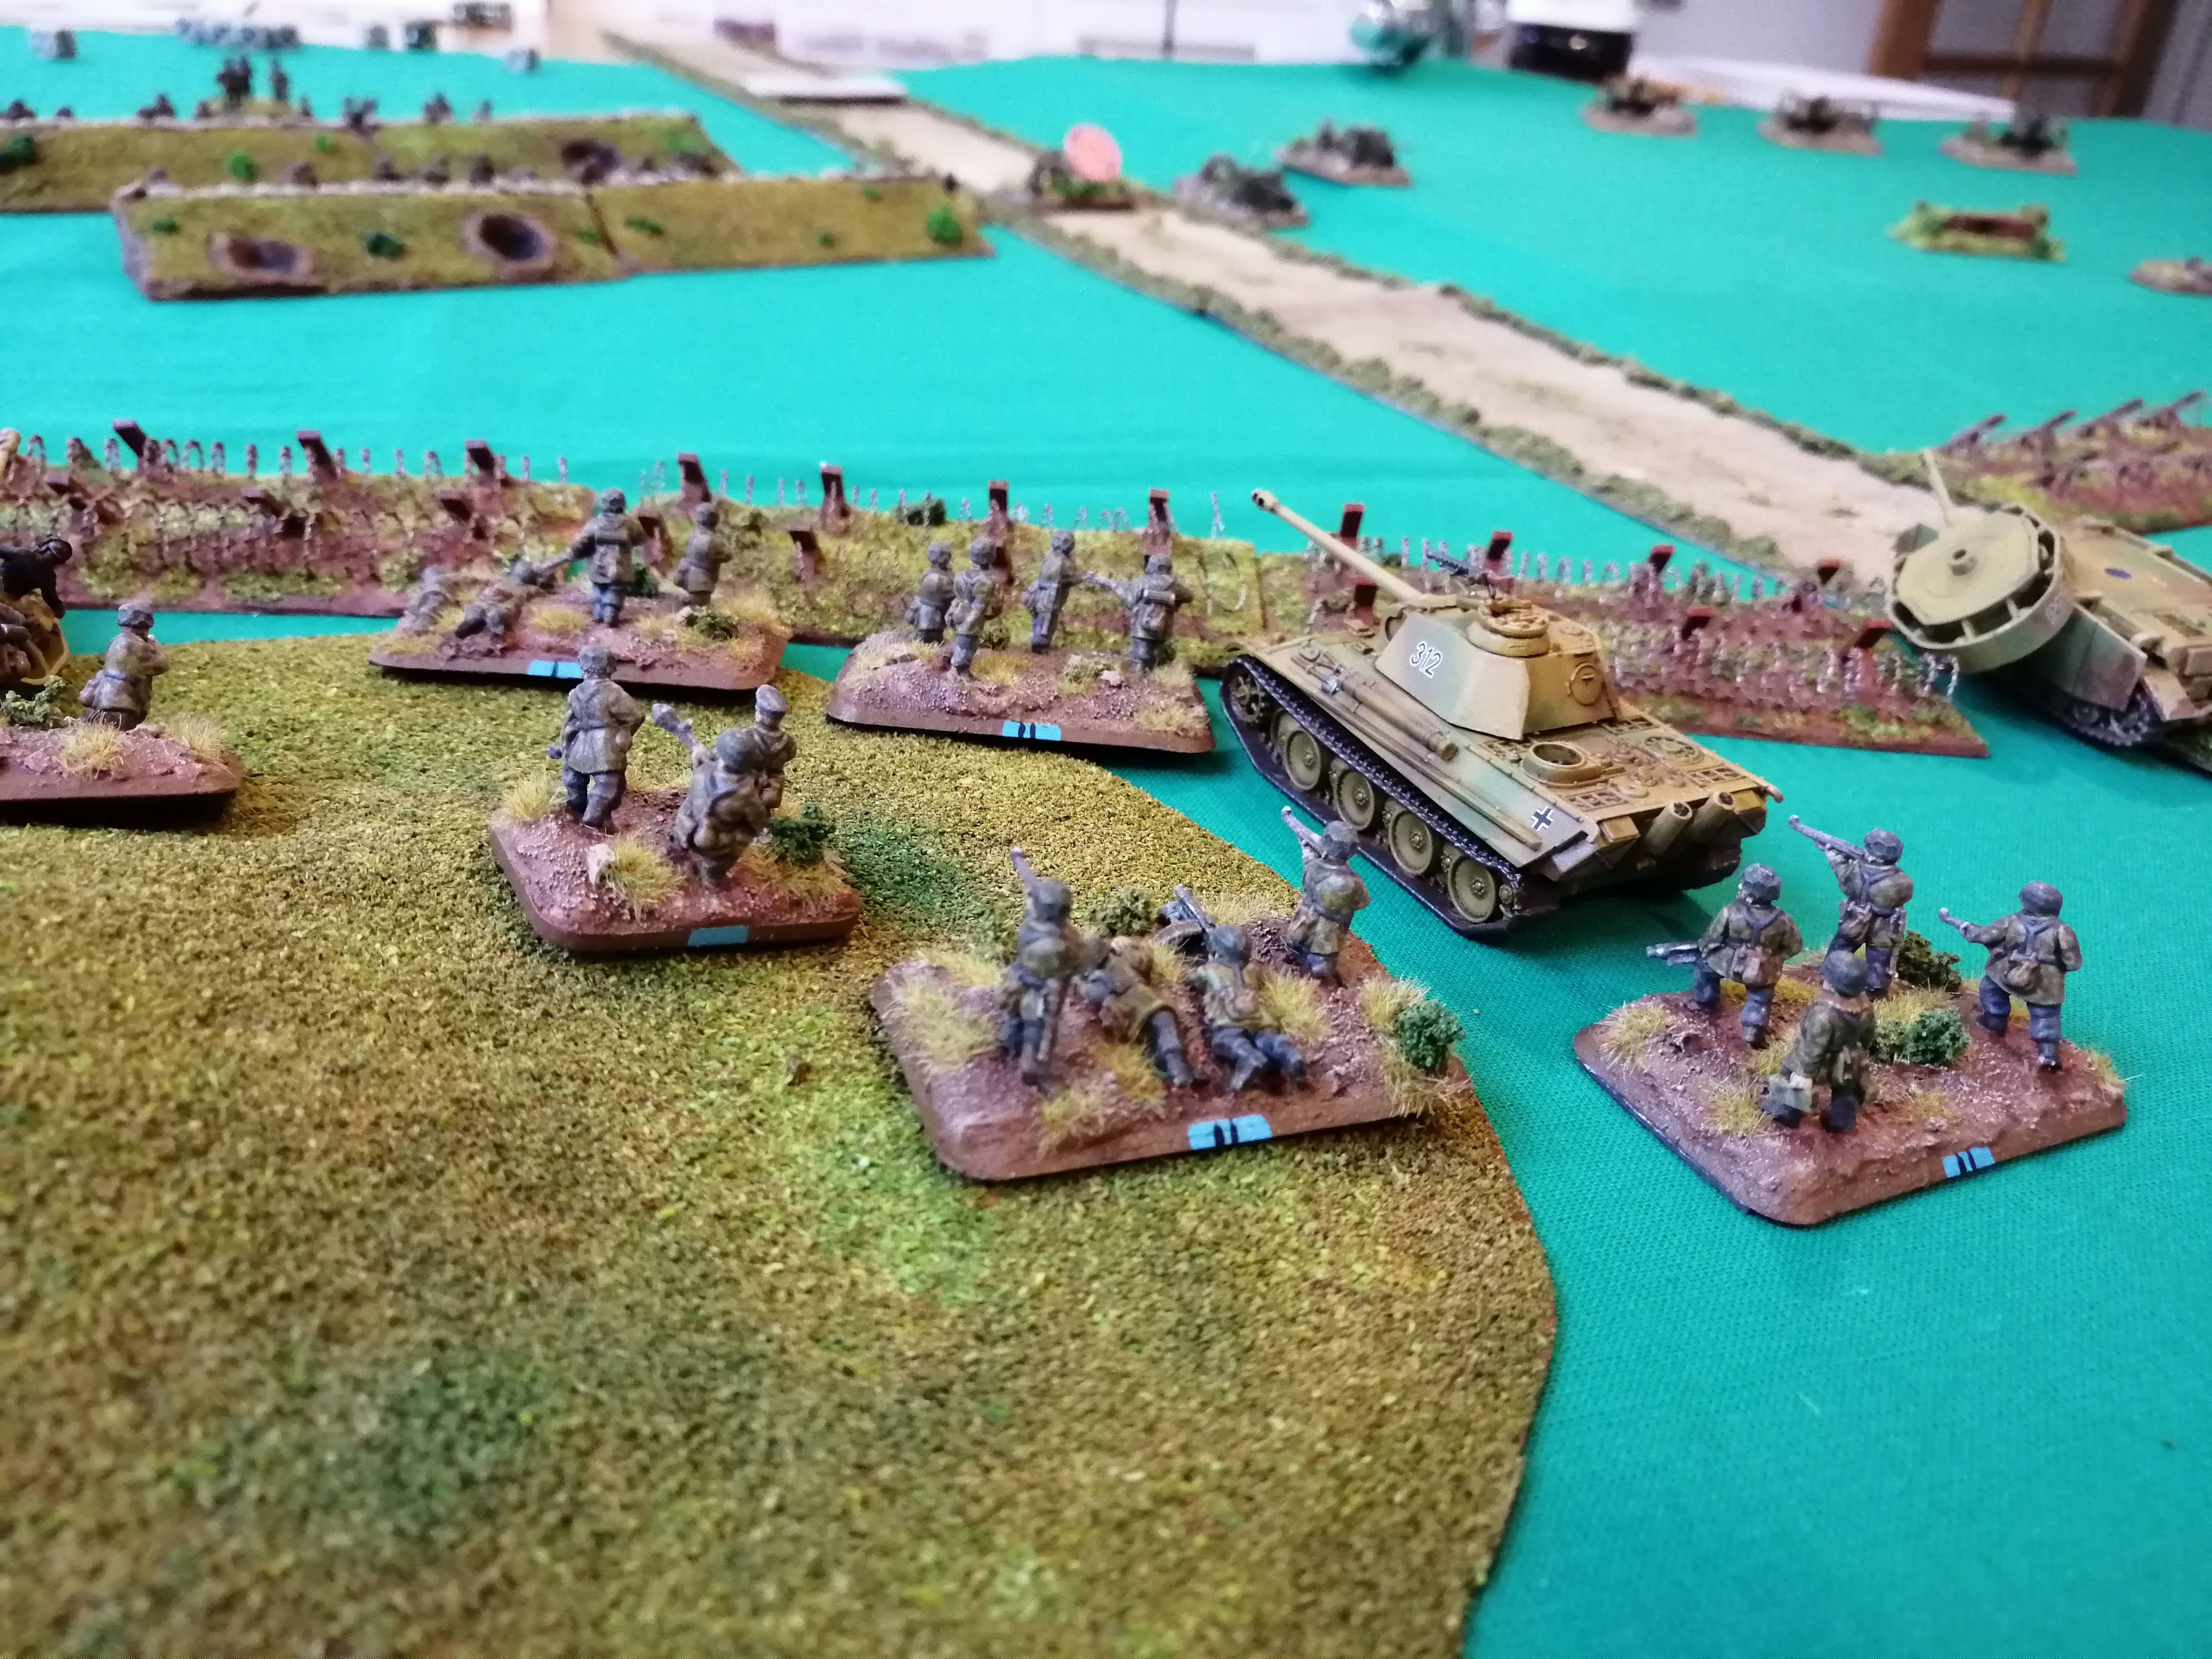
Turn 8
The German’s start the turn with FBP failing a morale check and being withdrawn from the battle. The German left flank is now looking very shaky! Once again, FGP fails to unpin, which given the supposed fearless reputation of the Fallschirmjager is nothing short of shameful!
With some of the barbed wire now removed, FRP are able to advance upon the British trench positions. 1iC in the Panther also advances to support the infantry and both are within assault range.
Another couple of Stukas arrive this turn and concentrate their bombs on the 2 M10s. Despite ranging in, they fail to hit the M10s which might leave the Panther horribly exposed!
The 7.5cm guns start to bombard BRP in the hope of pinning them in place to support the assault. They successfully range in and hit a number of teams causing a pin but fail to do any damage – still a good result!
Finally, FRP and the Panter fire at the British in their troops but fail to cause any damage.
With the shooting done, the 1iC assaults the 6pdr teams with his Panther. The Defensive fire is ineffective against the thick armour of the Panther and the tank crashes into the gun teams, killing one. The remaining gun team is unable to fall back and is destroyed.
FRP launches an assault against BRP in their trenches. The defensive fire fails to cause enough hits to pin FRP nor cause any wounds, so the Fallschirmjager hit home, destroying 3 British units in the process. The rest of the British Infantry Platoon can’t muster a counter attack and fall back allowing the Fallschirmjager to occupy the trenches.
With the German’s now making progress toward their objective, the British need to stop this quickly. The last remaining 6pdr team fail to unpin again, which is not going to help stop the rampaging Panther.
The MG team and what’s left of BRP fire upon FRP in the trenches. It causes a few hit but not enough to remove any stands.
The M10s are able to shoot at the Panther and hit, rattling the armour and forcing the 1iC to bail out – this now effectively leaves the German forces without a commander!
Over on the British left, the sniper kills one of FGP’s stands. The Naval guns fire again, with the bombardment catching some of FGP’s teams, destroying another stand.
Have the British done enough to stop the Germans?
 Just before the assault
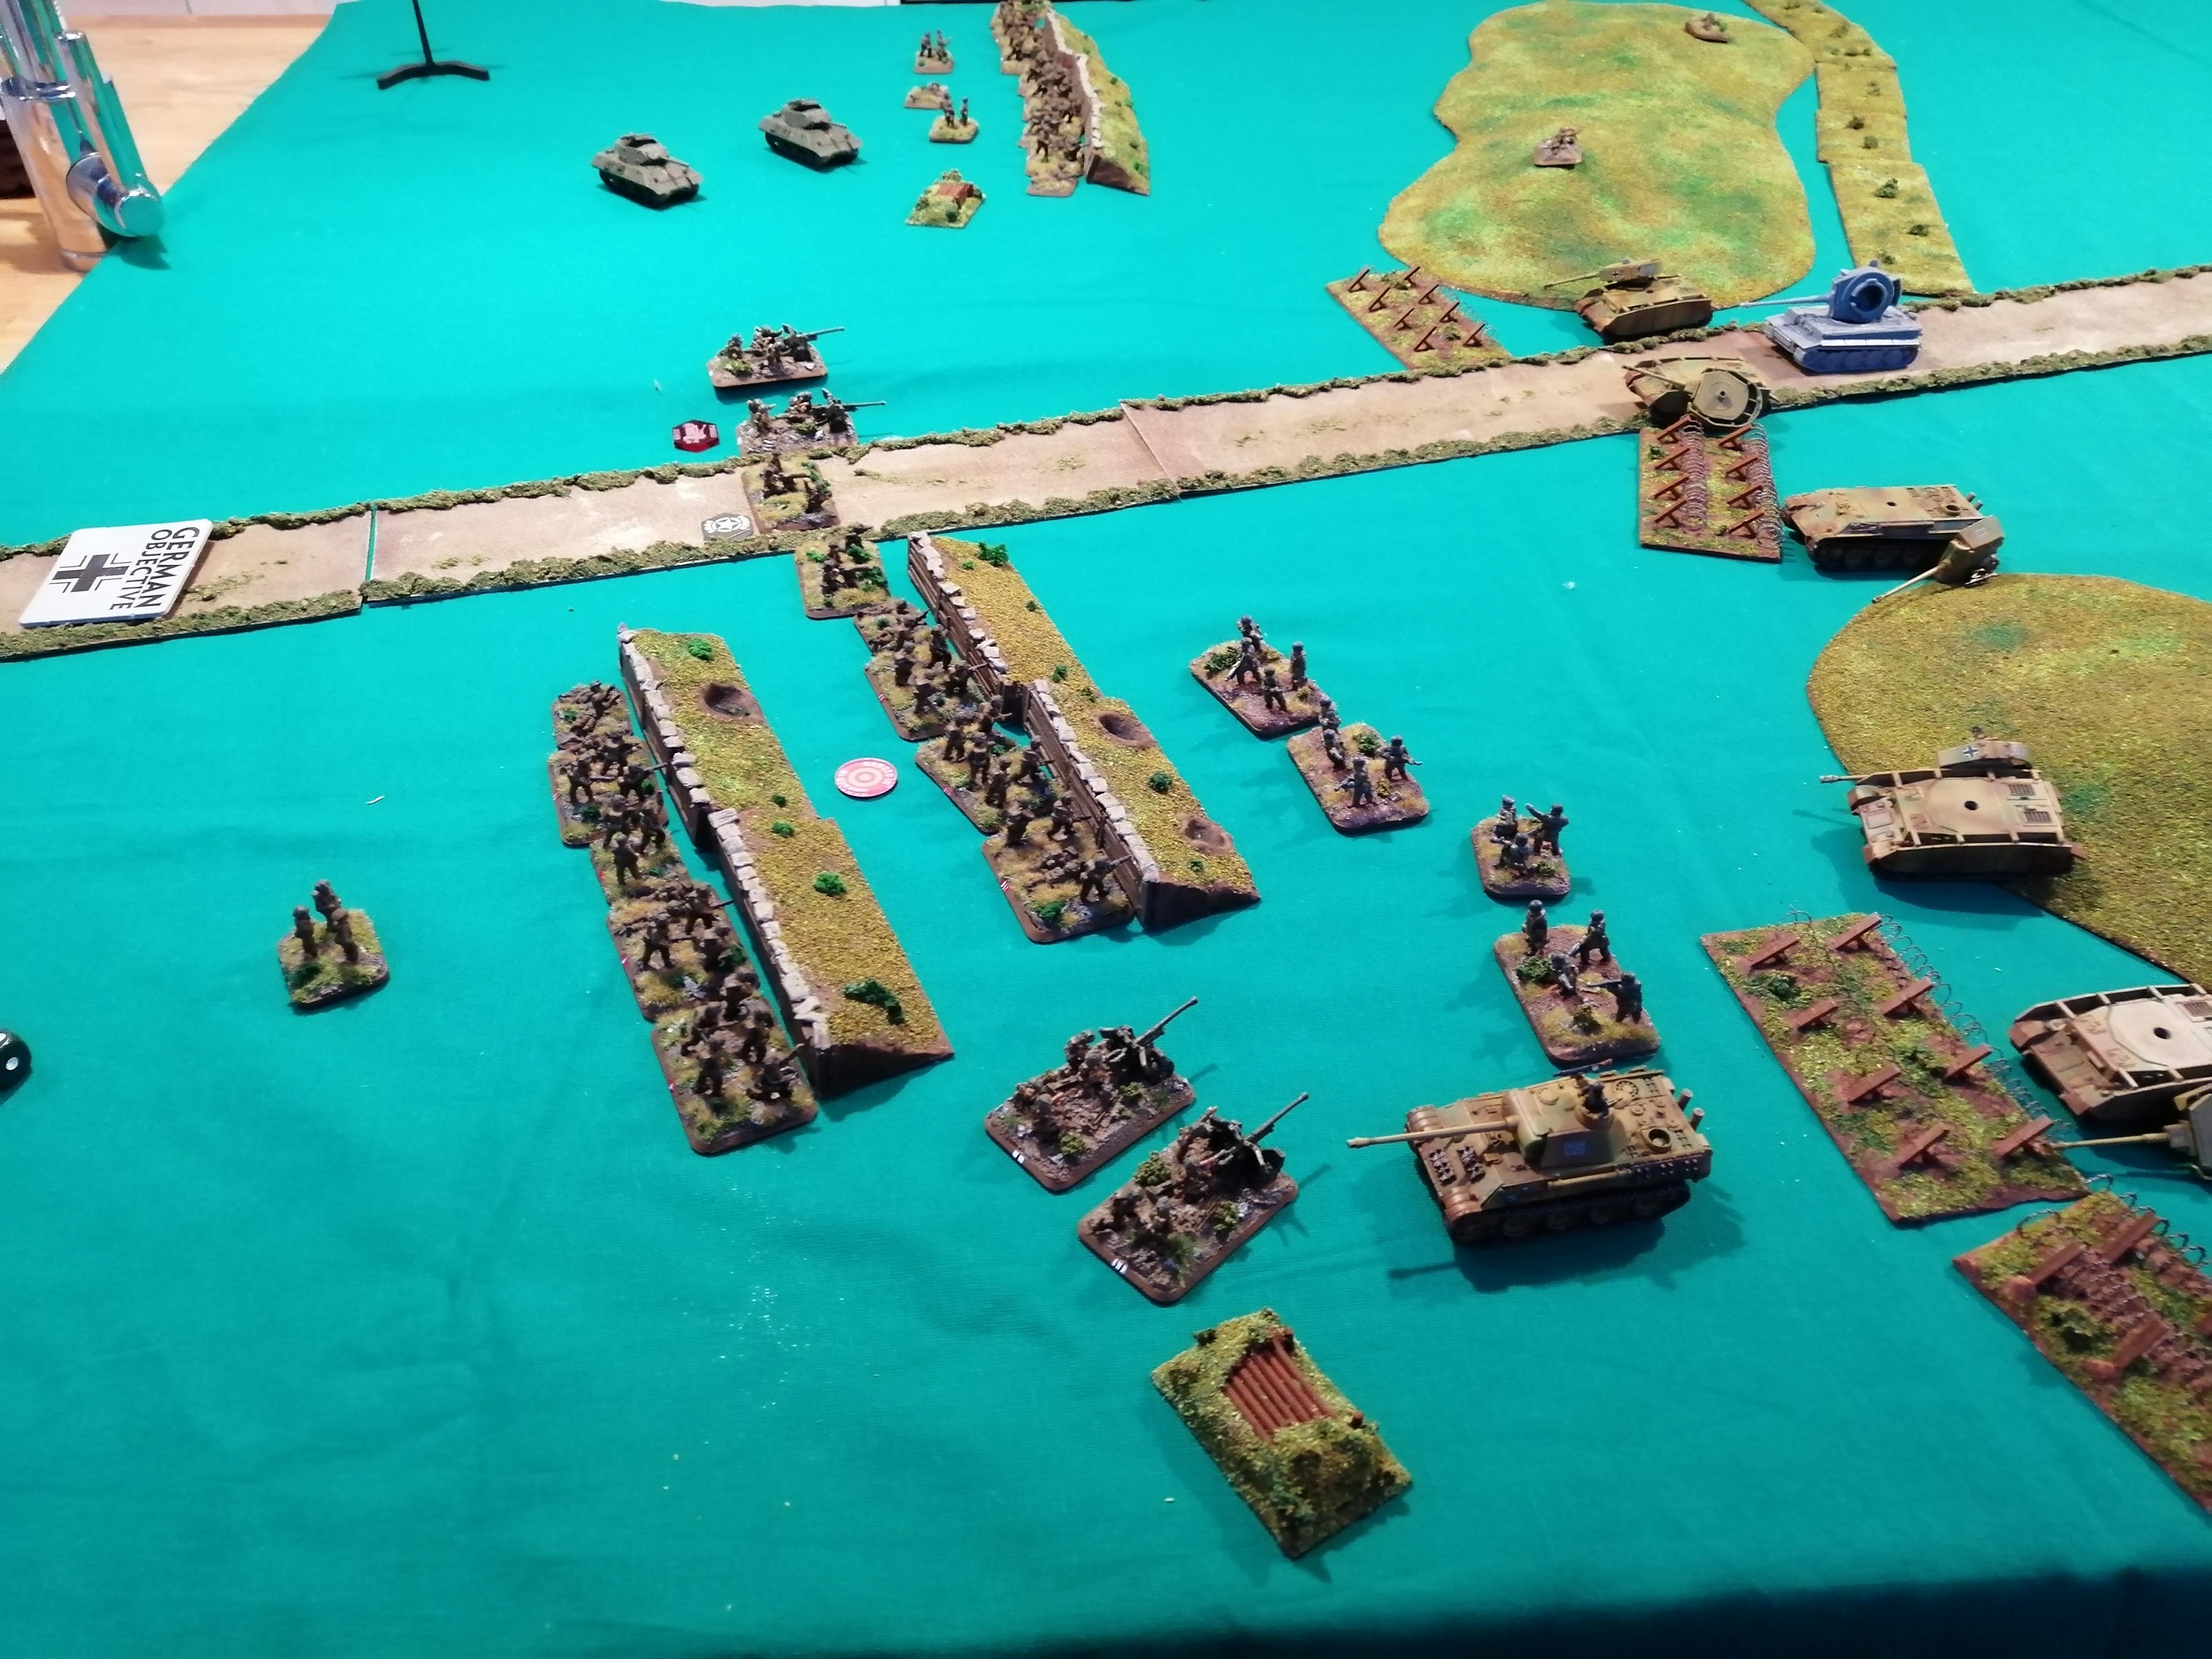
Turn 9
The 1iC needs to remount to stop the entire German force melting away. It’s on a roll of a 3+ and the 1iC makes it, just, with a 3! Remounted, the Panther can continue and advances toward BRP! Over on the German right, and perhaps forced into action after being pummelled by the navy bombardment, FGP finally gets moving and advances up the board toward the sniper. FRP advance out of the trenches toward BRP to support the Panther.
The Panther is unable to hit BRP with any shots however FRP does hit the MG platoon, destroying the two teams.
The Panther launches an assault against BRP. The PIAT team take aim and fire, hitting and penetrating the Panther. It doesn’t destroy the tank but it’s enough to cause the 1iC to bail out (again), halting the assualt!
It falls to FRP to try to remove BRP. They assault, losing one team through defensive fire but hit home, killing a British team. The British fail to counter attack again and fall back, allowing FRP to follow up to within 2” of the objective. With no British unit contesting it, this gives the victory to the Germans!
 The winning position
 Final state of play
Reflections
This was an enjoyable game, particularly at the end with the somewhat unlikely and pyrrhic victory for the Germans. Had the game continued, it’s unlikely that the Germans would have held onto the objective and would probably have been pushed back, but, to win they only had to be in unopposed possession of the objective.
Tactically the British should have moved their left flank to cover their right and leaving the infantry in platoon in position on the left was a big mistake. This could have been enough to stop FRP rampaging through to the objective.
The Naval gunfire was perhaps not as effective as it could have been, perhaps the rules should have automatically pinned all German troops within a much bigger radius rather than the standard FoW rules of pinning from bombardment. However, the sniper on the left earnt his pay, tying down an entire platoon for pretty much the whole game.
Finally, this is actually the first time I’ve ever used a Tiger in a FoW battle. Can’t say I’m very impressed so far…
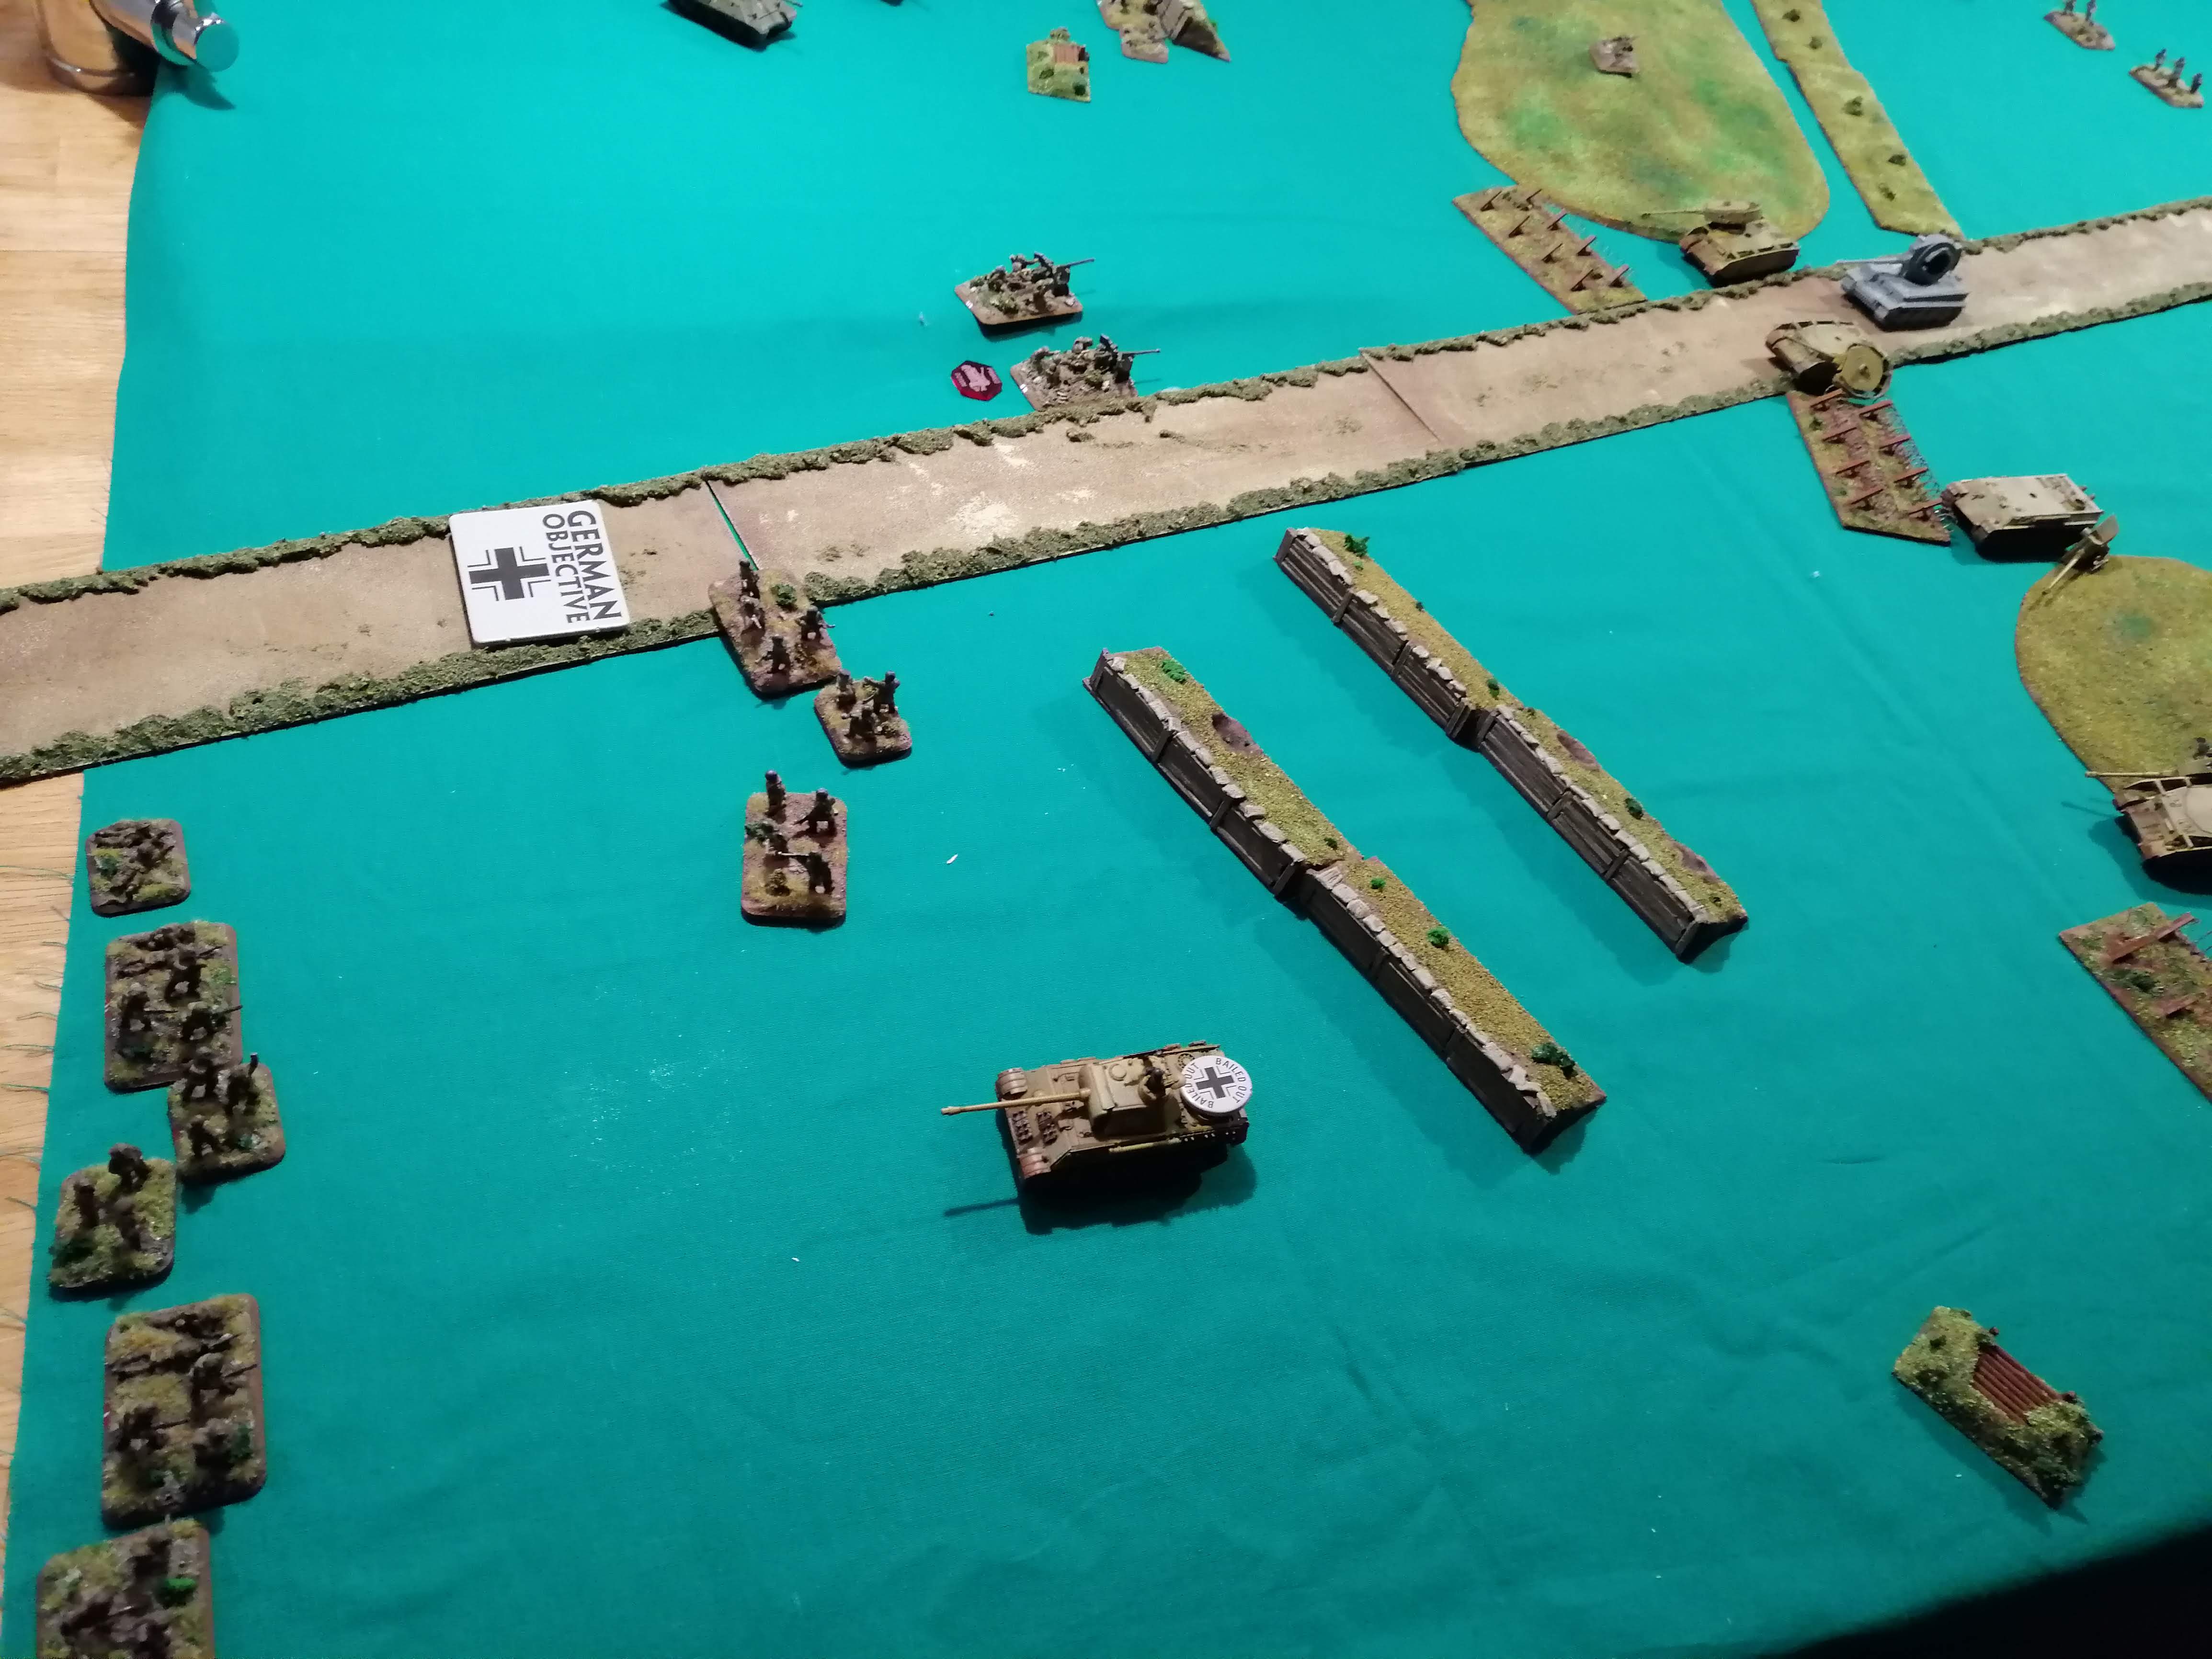
Battle Report - Operation Fischfang (Turns 5, 6 and 7)
Turn 5
1iC is able to finally remount its Panther and get going again. FGP is still not able to get up and advance in the face of the sniper. This is now really hampering the attack as the Germans cannot apply any pressure on the British left flank.
Again there is no air support this turn for the Germans, so no pressure can be applied to the British back line.
The 2iC panther attempts to cross the barbed wire but fails their cross check and stays stuck in front of the obstacle. FBP and FRP continue to advance, getting up behind the destroyed Panzer IVs and in support of the Panther. The MG team continues to move forward as well.
Both FRP and FBP fire upon the 6pdr guns getting a couple of hits however as the gun teams are dug in, the shots fail to cause any damage.
The 2iC Panther attempts to take out the MG Nest but fails to hit at all, firing wildly.
The 7.5cm guns repeat their bombardment causing a couple of hits but no damage. It does pin the MG team and 6pdr teams in place though.
The British start their turn failing to unpin both the MG teams and the 6pdr teams. With still no movement, the British go straight to shooting.
The unpinned 6pdr gun teams on the British right fire on the 2iC Panther. Trying to punch through the Panther front armour is a tough call for a 6pdr but they score 3 hits and are able to bail the Panther. The pinned 6pdr teams fail to score any hits at all.
The pinned MG teams fire upon FBP scoring three hits and killing 1 unit. BRP also fires upon FBP causing another two units to be removed and pinning FBP in place.
Both of the HMG nests fail to cause any damage this turn despite their best efforts. The sniper also fails to wound despite scoring a hit. FGP remains pinned down.
Finally the remaining artillery guns fire direct at the 2iC Panther, scoring 1 hit. This solitary hit is enough to punch through the armour and destroy the Panther. There’s a growing tank graveyard in front of the barbed wire now!
Turn 6
FBP unpins but FGP remains pinned for yet another turn. A couple of Stukas arrive this turn to harass the British.
The Germans continue to advance. FBP and FRP both move up to the barbed wire, stopping in base contact with it. The MG team advances up the road while the 1iC Panther moves across to the German left flank to focus the attack there while also gaining cover from the hill from the British artillery.
As the two stukas dive on British Artillery, the AA guns on the M10s try to stop them. They successfully bring 1 Stuka down but not the other one who is able to drop its payload, destroying another artillery unit.
The 7.5cm guns continue to bombard the British MG and 6pdr teams. Again they hit but fail to cause any damage but this does keep the pinning in place. The 1iC Panther also fires on the 6pdr team hitting but failing to punch through the dug in defences. The small arms fire from FRP and FBP fail to cause any damage to the British line. The German attack is currently failing to find a way through the British defensive line and is stalled at the barbed wire.
The British fail to unpin their gun teams and again refuse to move any units. The Sniper again hits but fails to wound.
Both HMG nest 2 and the 6pdr guns fire on FRP sat just in front of the barbed wire. Together they score 5 hits and destroy two units, pinning FRP in place. BRP scores 5 hits but no wounds against FBP which pins them in place.
The MG Teams fire upon their counterparts, destroying 1 unit. The rest of the British shooting fails to cause any damage beyond pinning FRP in place with weight of fire. The Naval bombardment catches the 7.5cm teams and pins them in place.
 The Fallschirmjager massing at the barbed wire
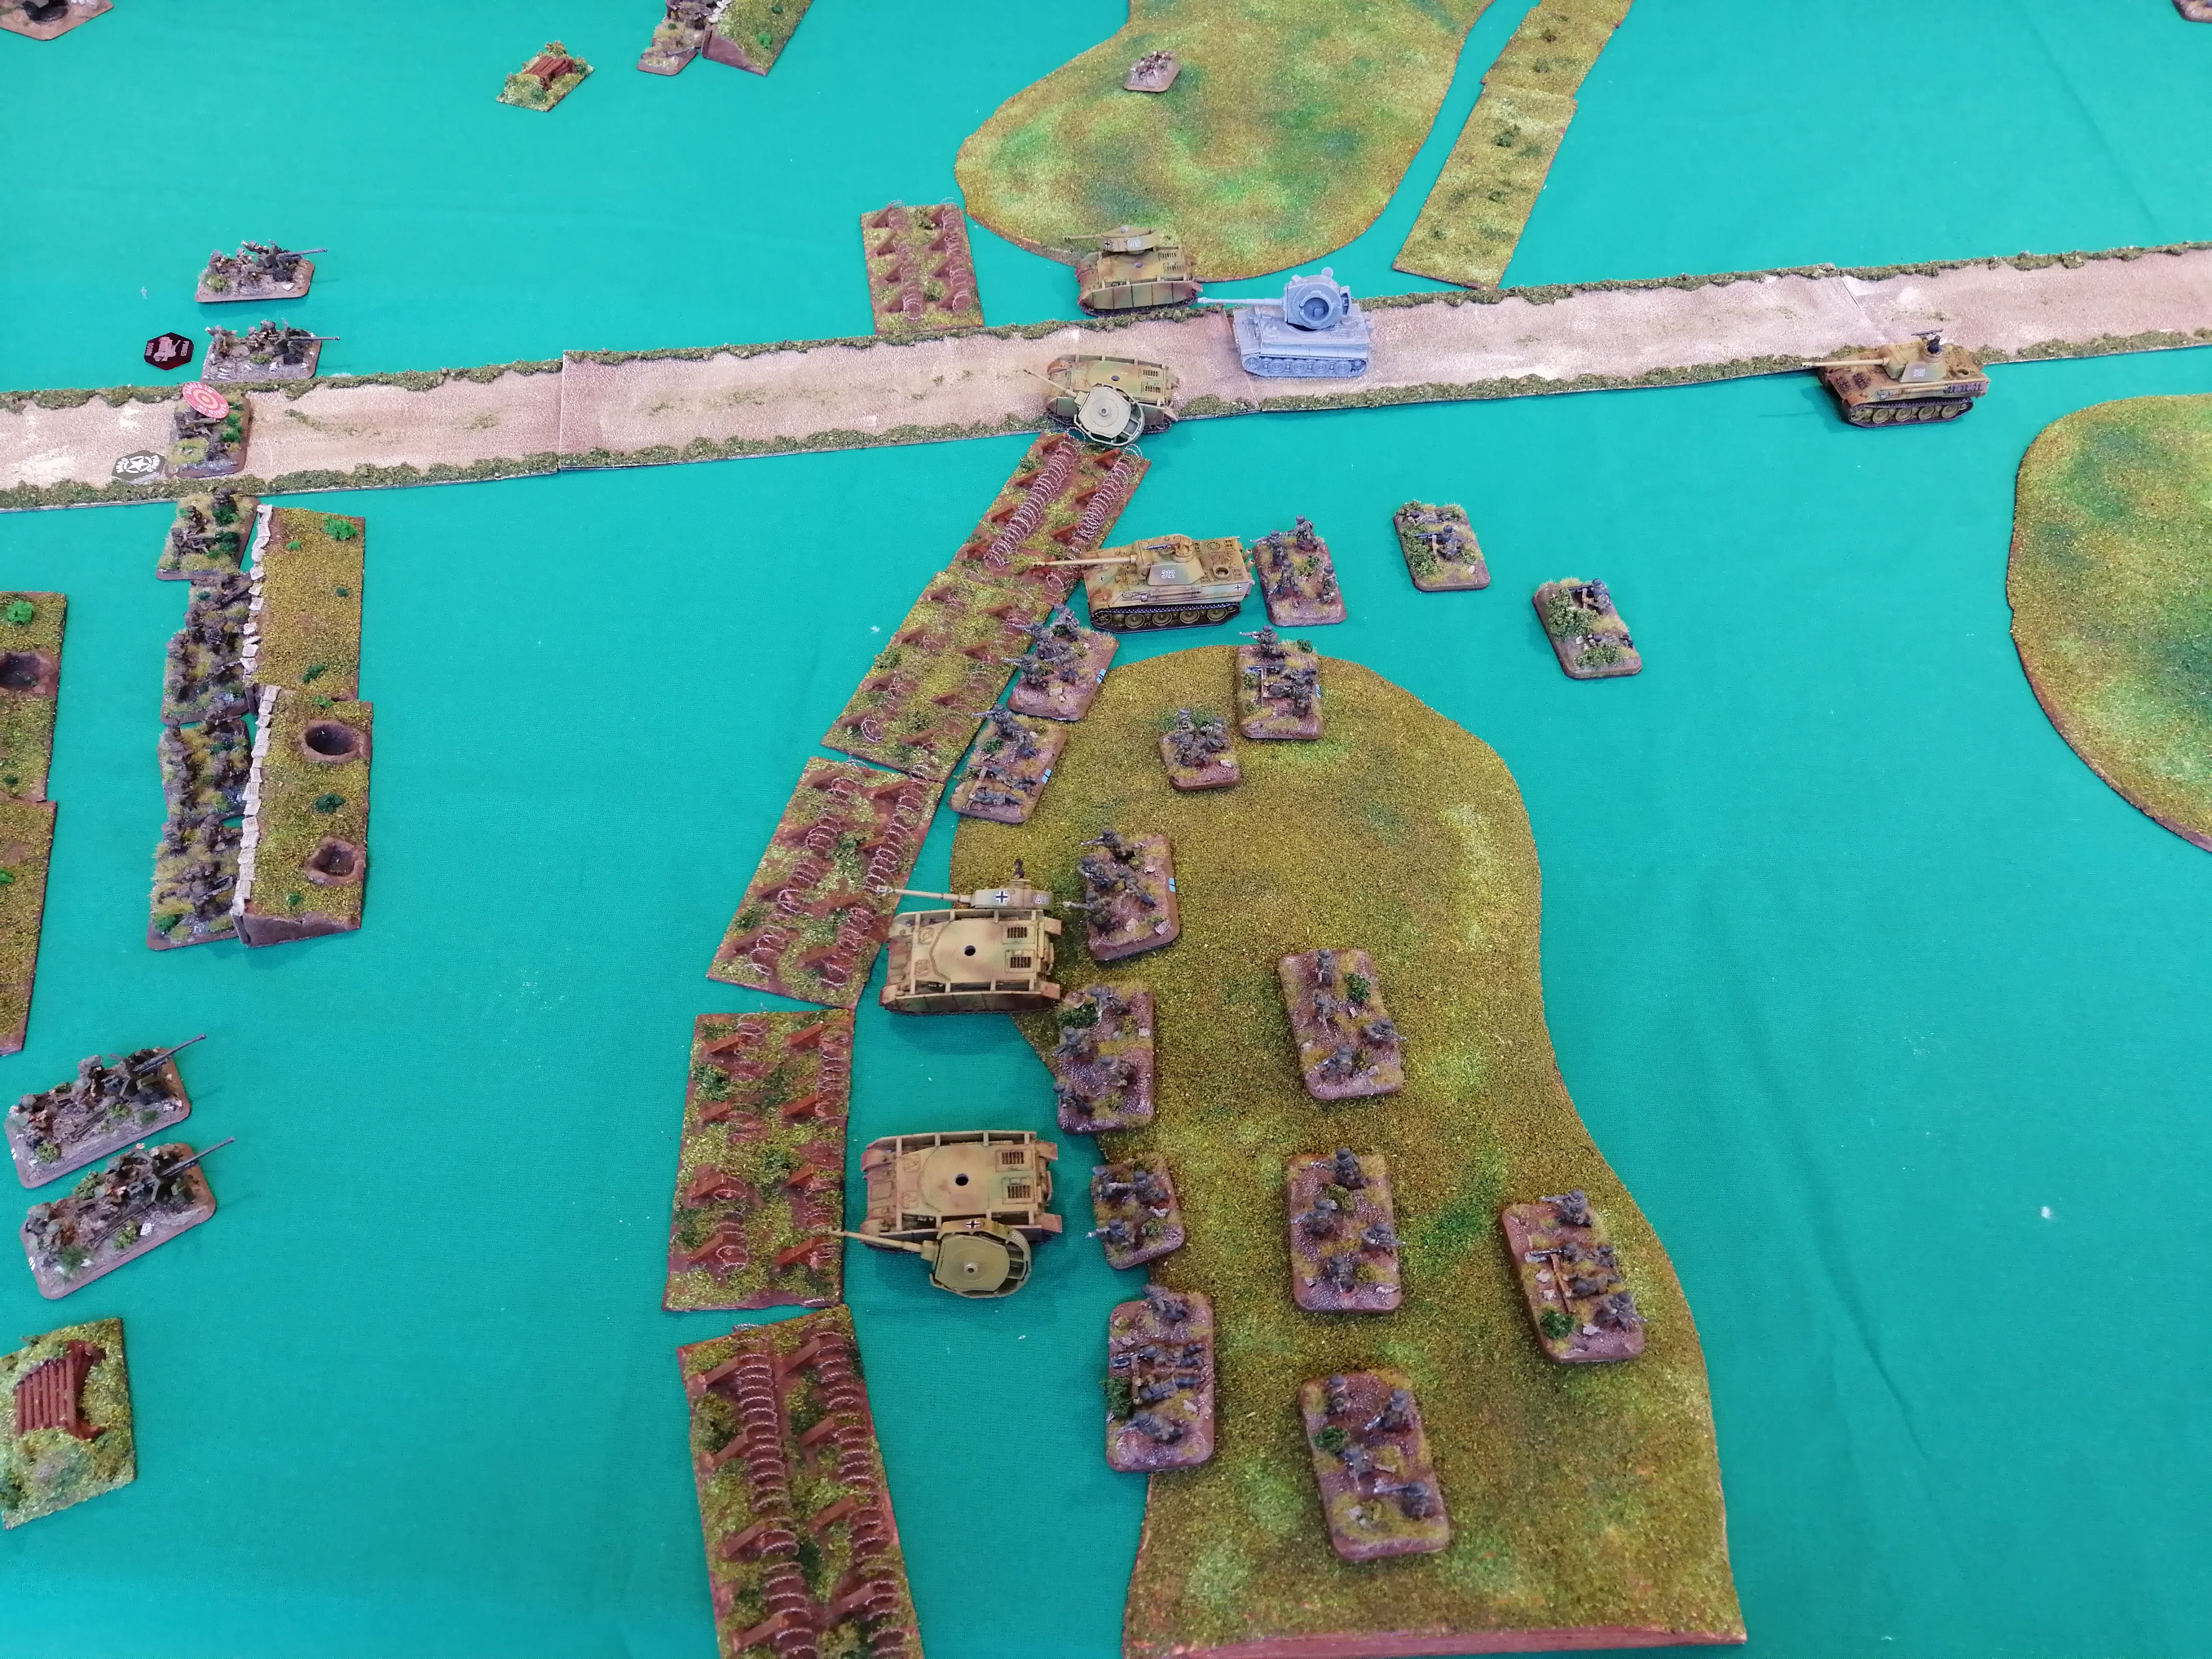
Turn 7
The Germans are able to unpin Red and Blue platoons as well as the 7.5cm gun team. Green platoon remains stubbornly pinned in place however and unable to advance for another turn. The last remaining MG team fails its morale check and is removed from play.
Both Blue and Red platoons try to gap the barbed wire. Blue succeeds and opens up the terrain in front of them to allow an advance toward the British trenches. The 1iC Panther advances up alongside Red and Blue Platoon and fires unsuccessfully on HMG Nest 2.
Another wave of Stuka bombers arrive and successfully destroy another artillery gun and pins the last remaining gun in place. But that’s all the Germans can manage this turn, the attack has almost run out of momentum.
The British start their turn by having the last remaining artillery gun fail a morale check and leave the battle. This puts a dent in their hopes of stopping the last remaining Panther. To further add to the problems, both the MG team and 6pdr teams fail to unpin, restricting their firepower again this turn.
The M10s begin to move over to the British right flank behind the HMG nest, looking to open up an angle on the Panther which they cannot achieve this turn.
The 6pdr teams fire on the Panther hitting twice but the shells bounce harmlessly off of the thick armour. The MG team, Red Platoon and HMG nest 1 all fire upon FBP. 8 hits are caused in total pinning FBP but these hits only convert to 2 kills. Meanwhile, nest 2 fires upon FRP hitting 4 times and causing another kill.
 The M10s line up the Panther