


WARHAMMER QUEST: RE-CREATING MIDDLE-HAMMER’S FINEST DUNGEON CRAWLER


Recommendations: 102
About the Project
I loved GWs 1995 Warhammer Quest set - I could finally collect all those awesome minis from various different armies and battle my way through them in my very own fantasy dungeon! Fast-forward to today and the forgotten boxed set languishing in my parents' garage had escaped several culls and clear-outs, with the cardstock surprisingly intact (even if many of the miniatures had long since vanished, probably sold on E-Bay when I thought I would never be a hobby gamer again!). Lovely as this card version is, I did wonder if I could re-create the board sections and 3D print them, for an enhanced tabletop experience. This started me down a 3D design rabbit-hole, and for the last 3 months I've been designing, printing and painting my brand new WHQ95 board sections
Related Game: Warhammer Quest
Related Company: Games Workshop
Related Genre: Fantasy
Related Contest: Spring Clean Hobby Challenge 2026
This Project is Active
DESIGNING AND PRINTING CATACOMBS OF TERROR EXPANSION BOARD SECTIONS
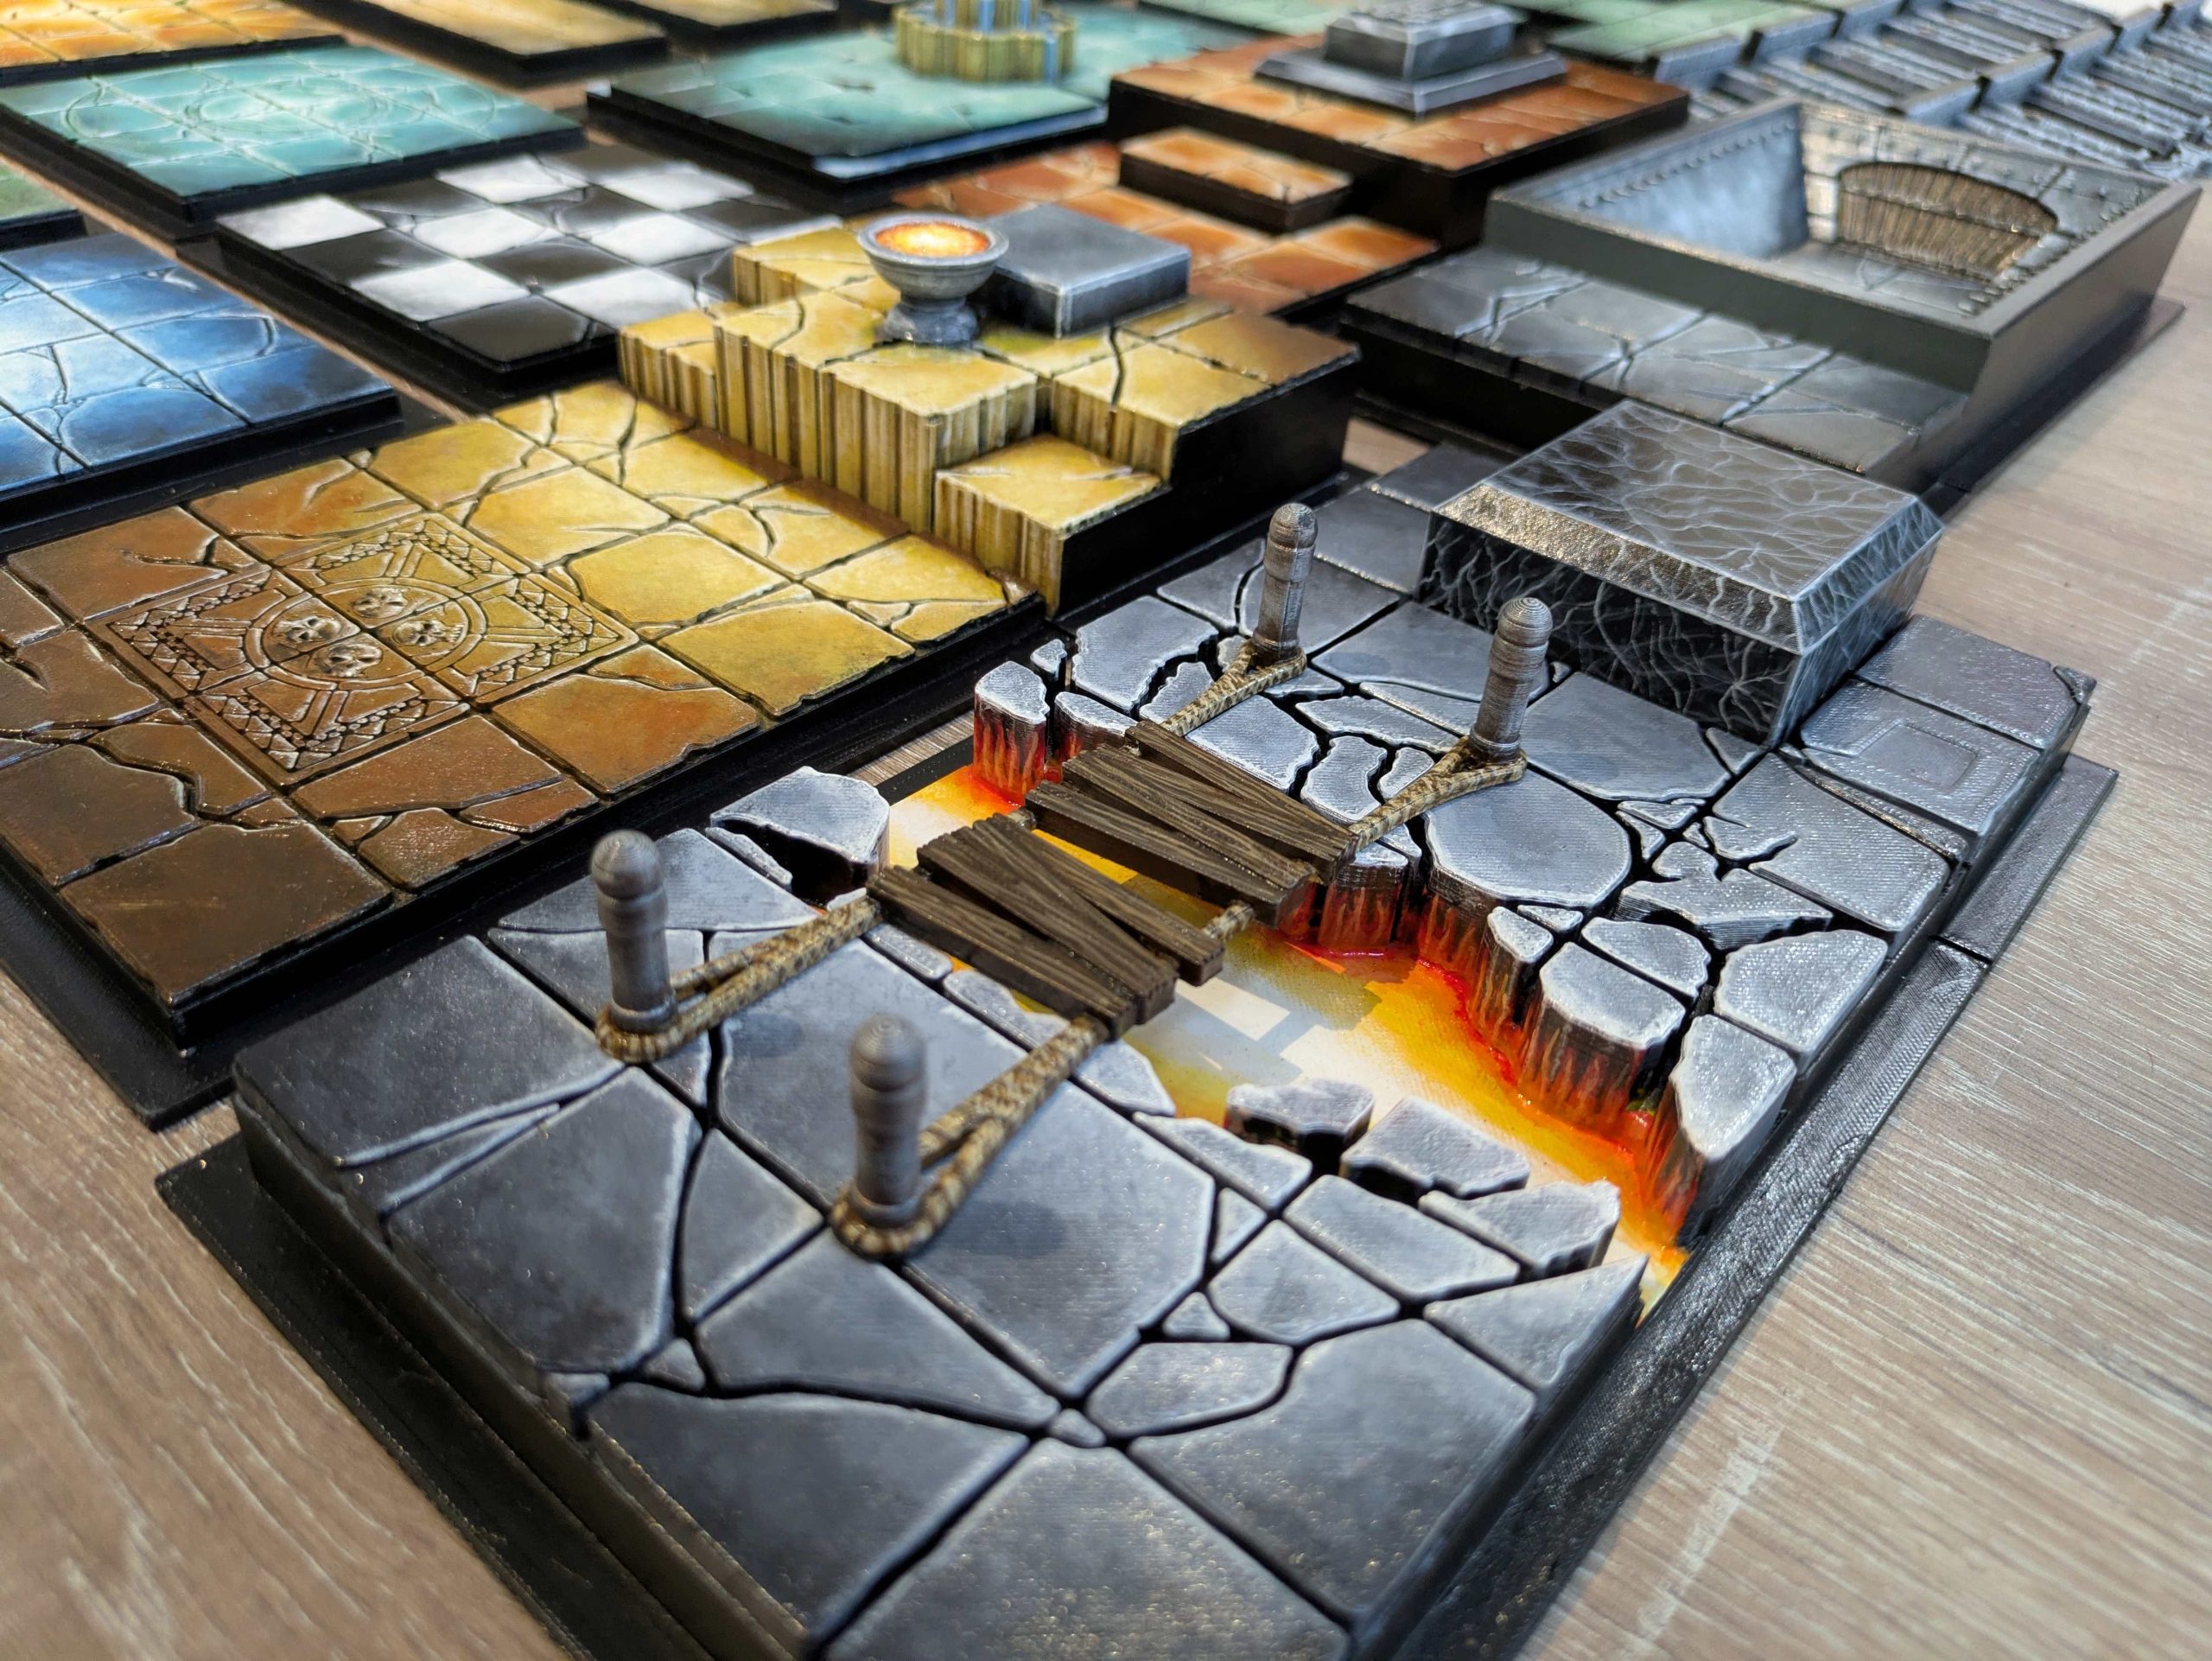
 Flames of Khazla Board section - I believe this one also featured in a White Dwarf article, which reminded me that I will have to look up additional tiles that featured in White Dwarf so I can draw them up, too! Quite a straightforward make really - the raised area I actually made taller in the end so that it would look better alongside the minis, and I tweaked some of the diamond floor decorations as they weren't very clear in the first print
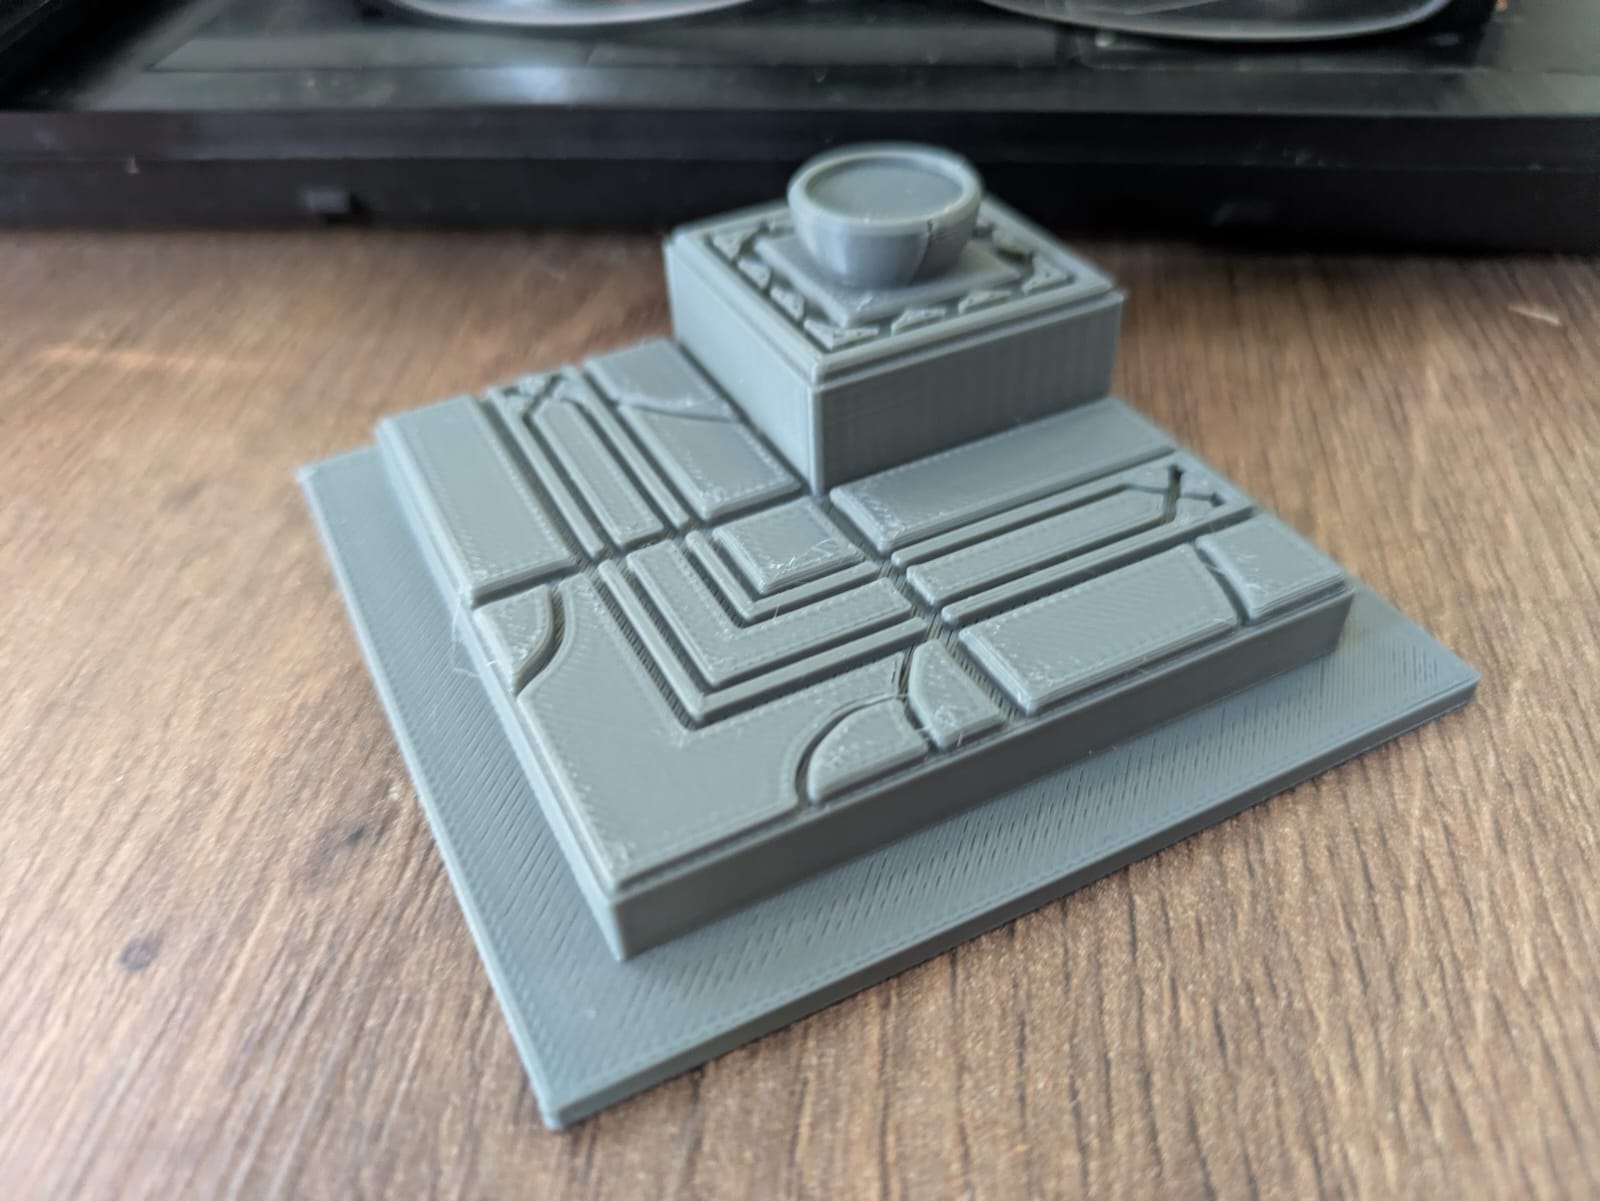
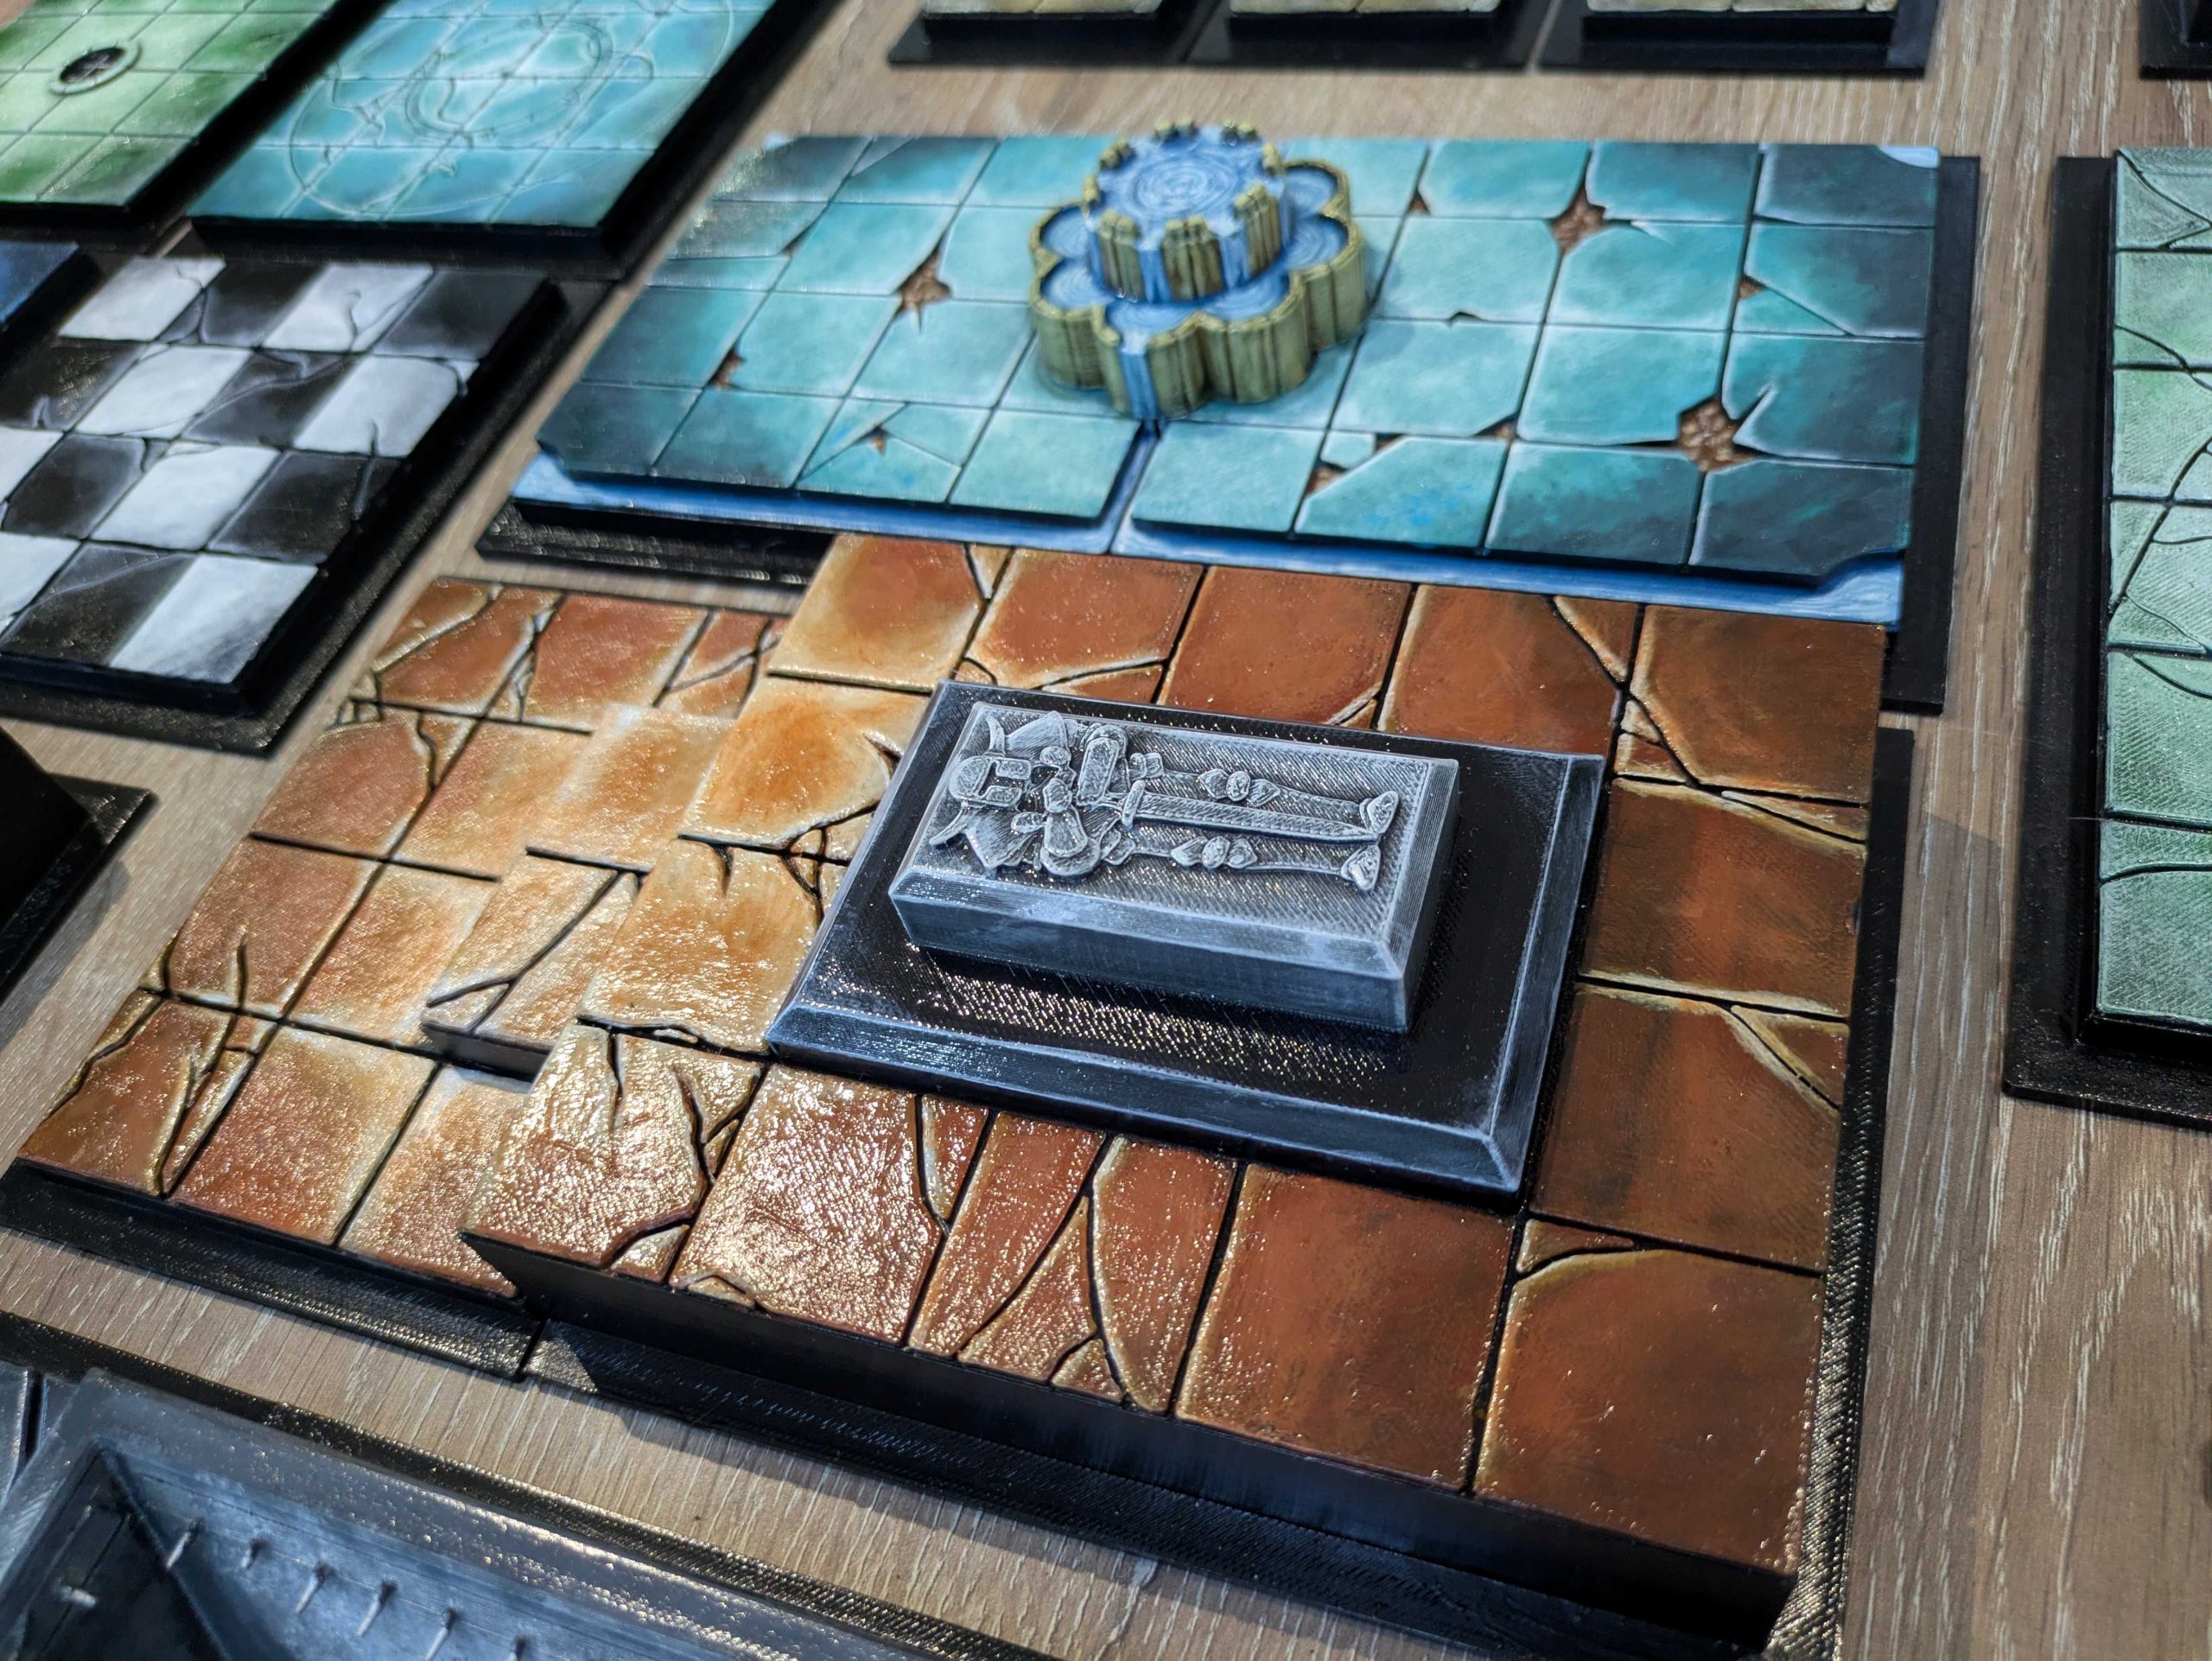
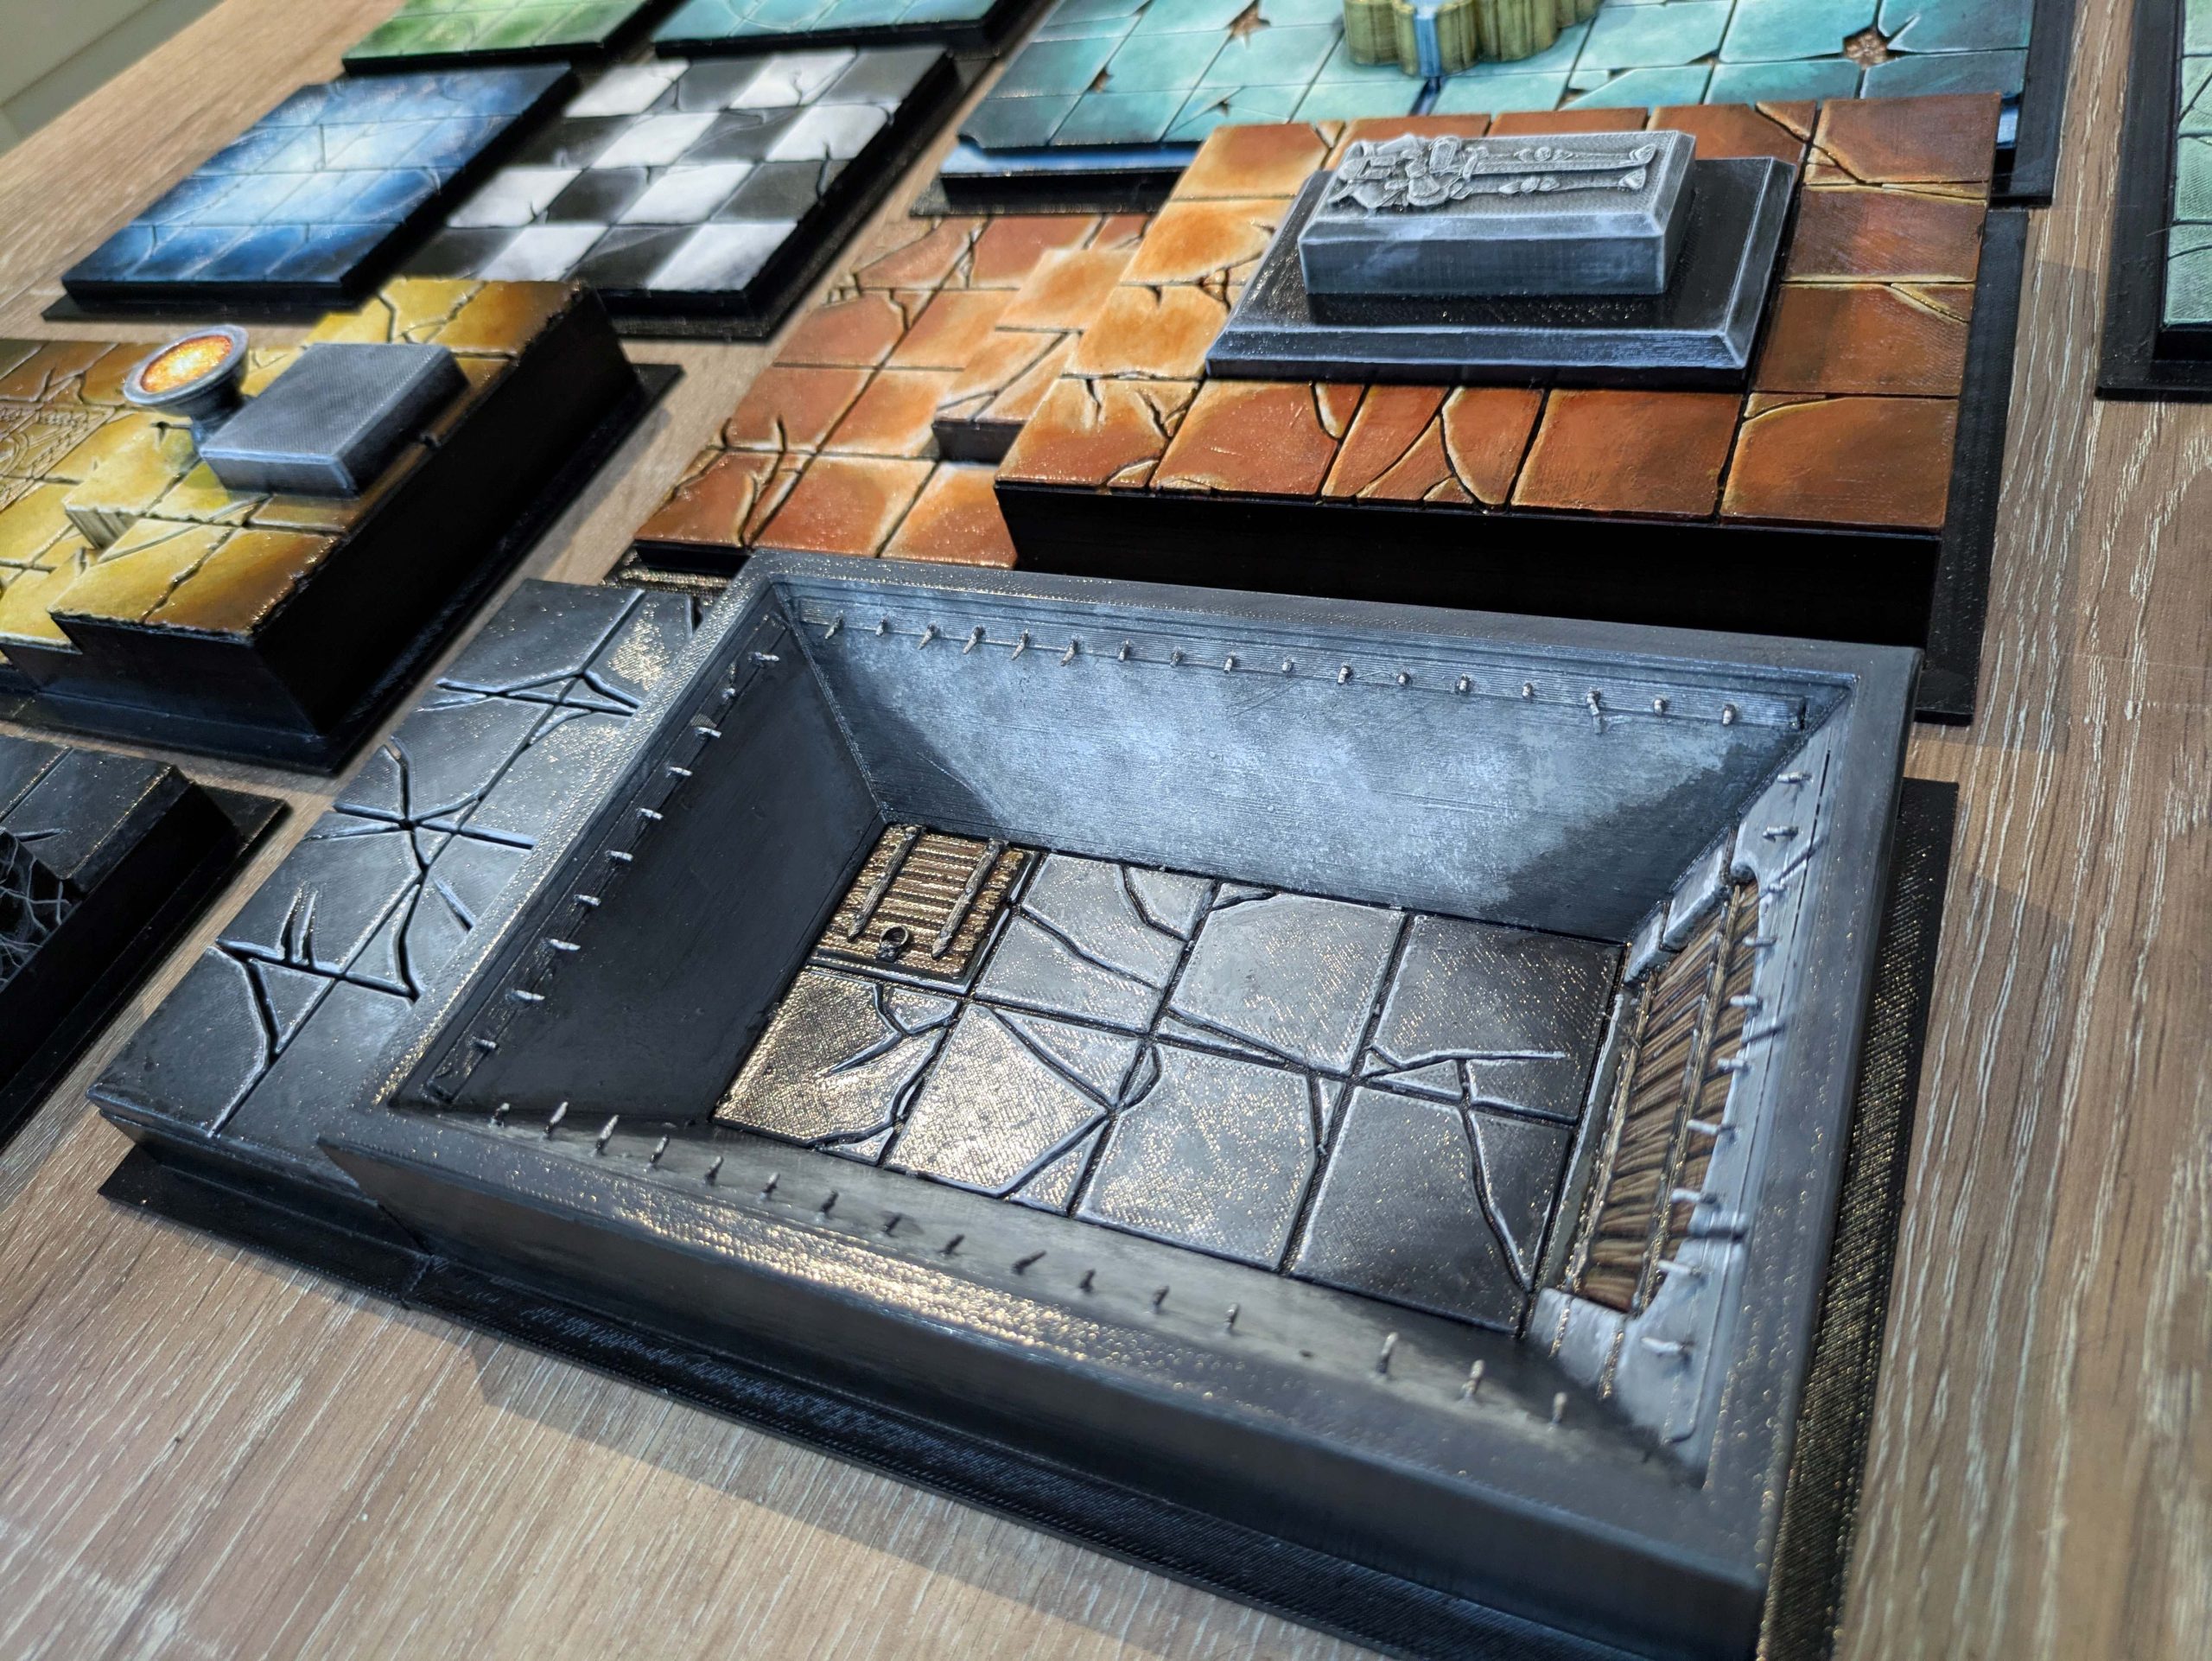
 Hall of Death. This one was awful! I made some VERY rough circular shapes for the skulls and replicated them, but had to be careful piling them up because I didn't want to have any floating areas, or weird things like half a skull with another stuck out of it. I ended up making the corner sections separately because I wanted the option to modify these at a later date
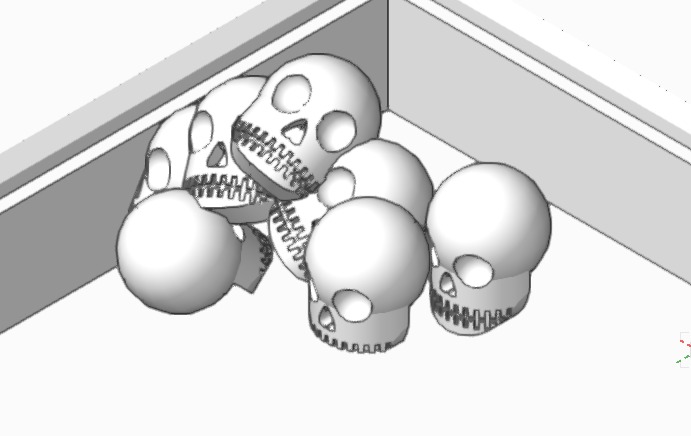 Up close the skulls are nothing special, but as a collective they have worked quite well. The proof will be in the printing!
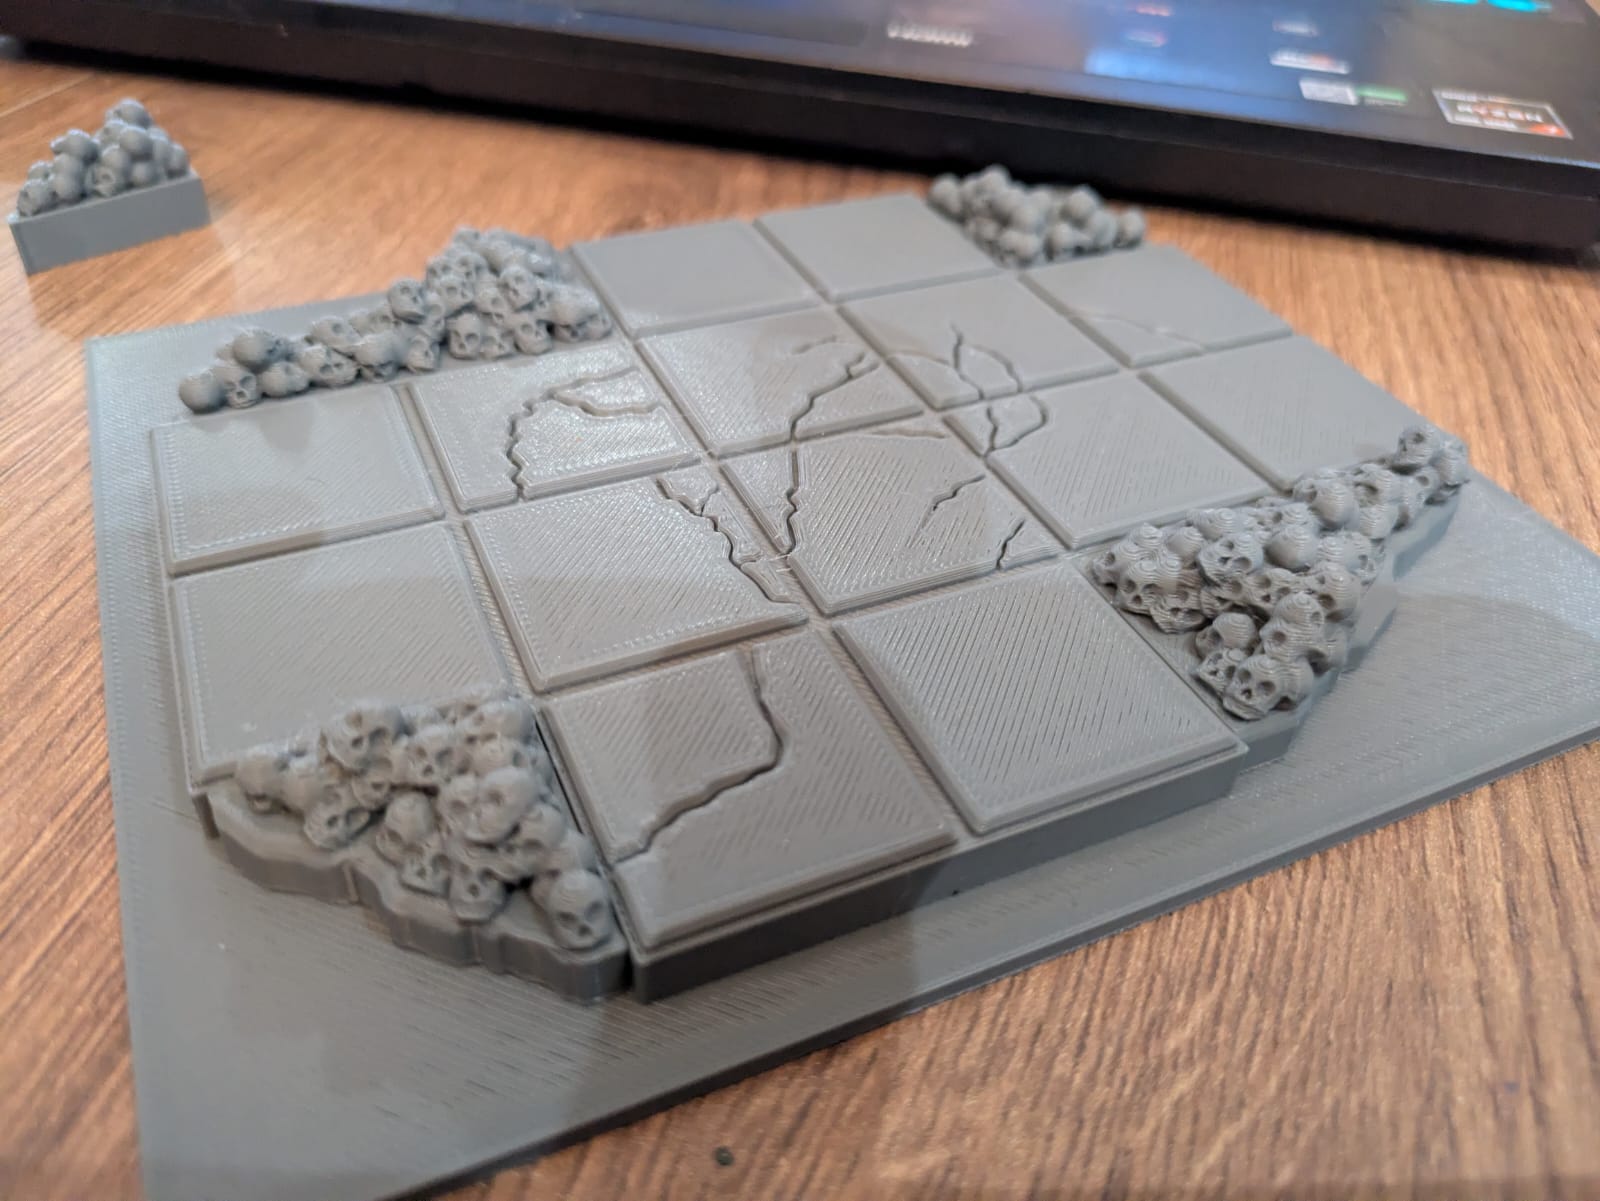 I was also a bit worried about how well the skulls would actually print on a filament based printer, but it seems to be ok. I'll paint them up and see how that goes before looking at the need for amends
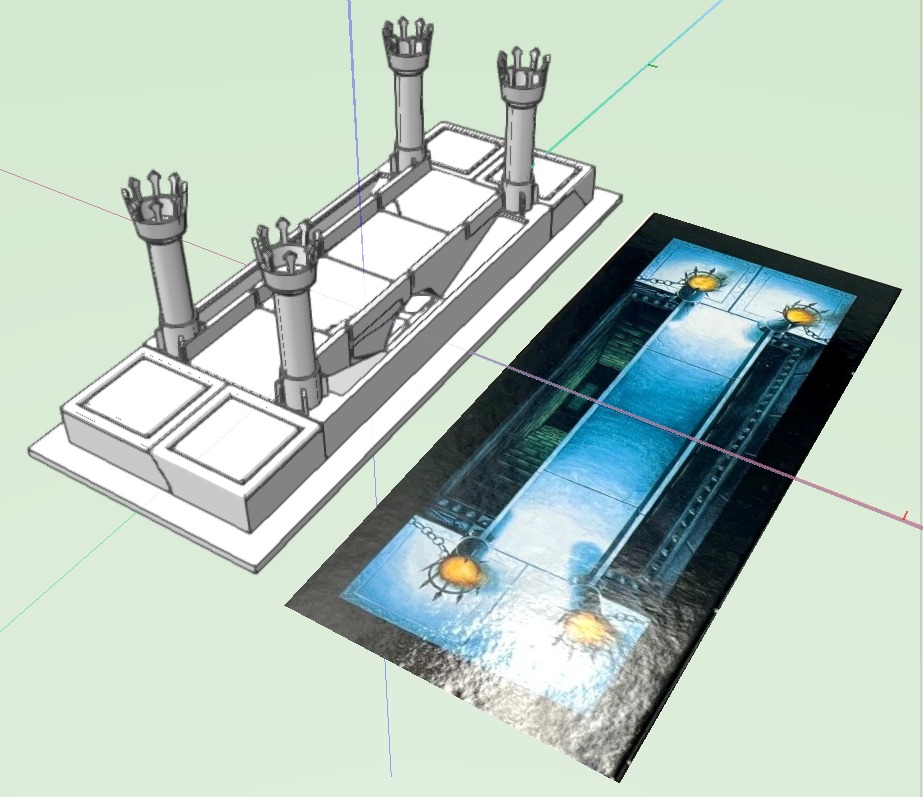 Chasm of Despair. I had to modify this one a little and take the columns off the floor tiles so you can fit a mini on there. I also couldn't raise the tile too much or it would look out of place with the others, so I had to try a bit of forced perspective for the actual chasm. I also realised after the first print that the columns were much to short, so went back in, increased the size, and added metal bands an a few other embellishments
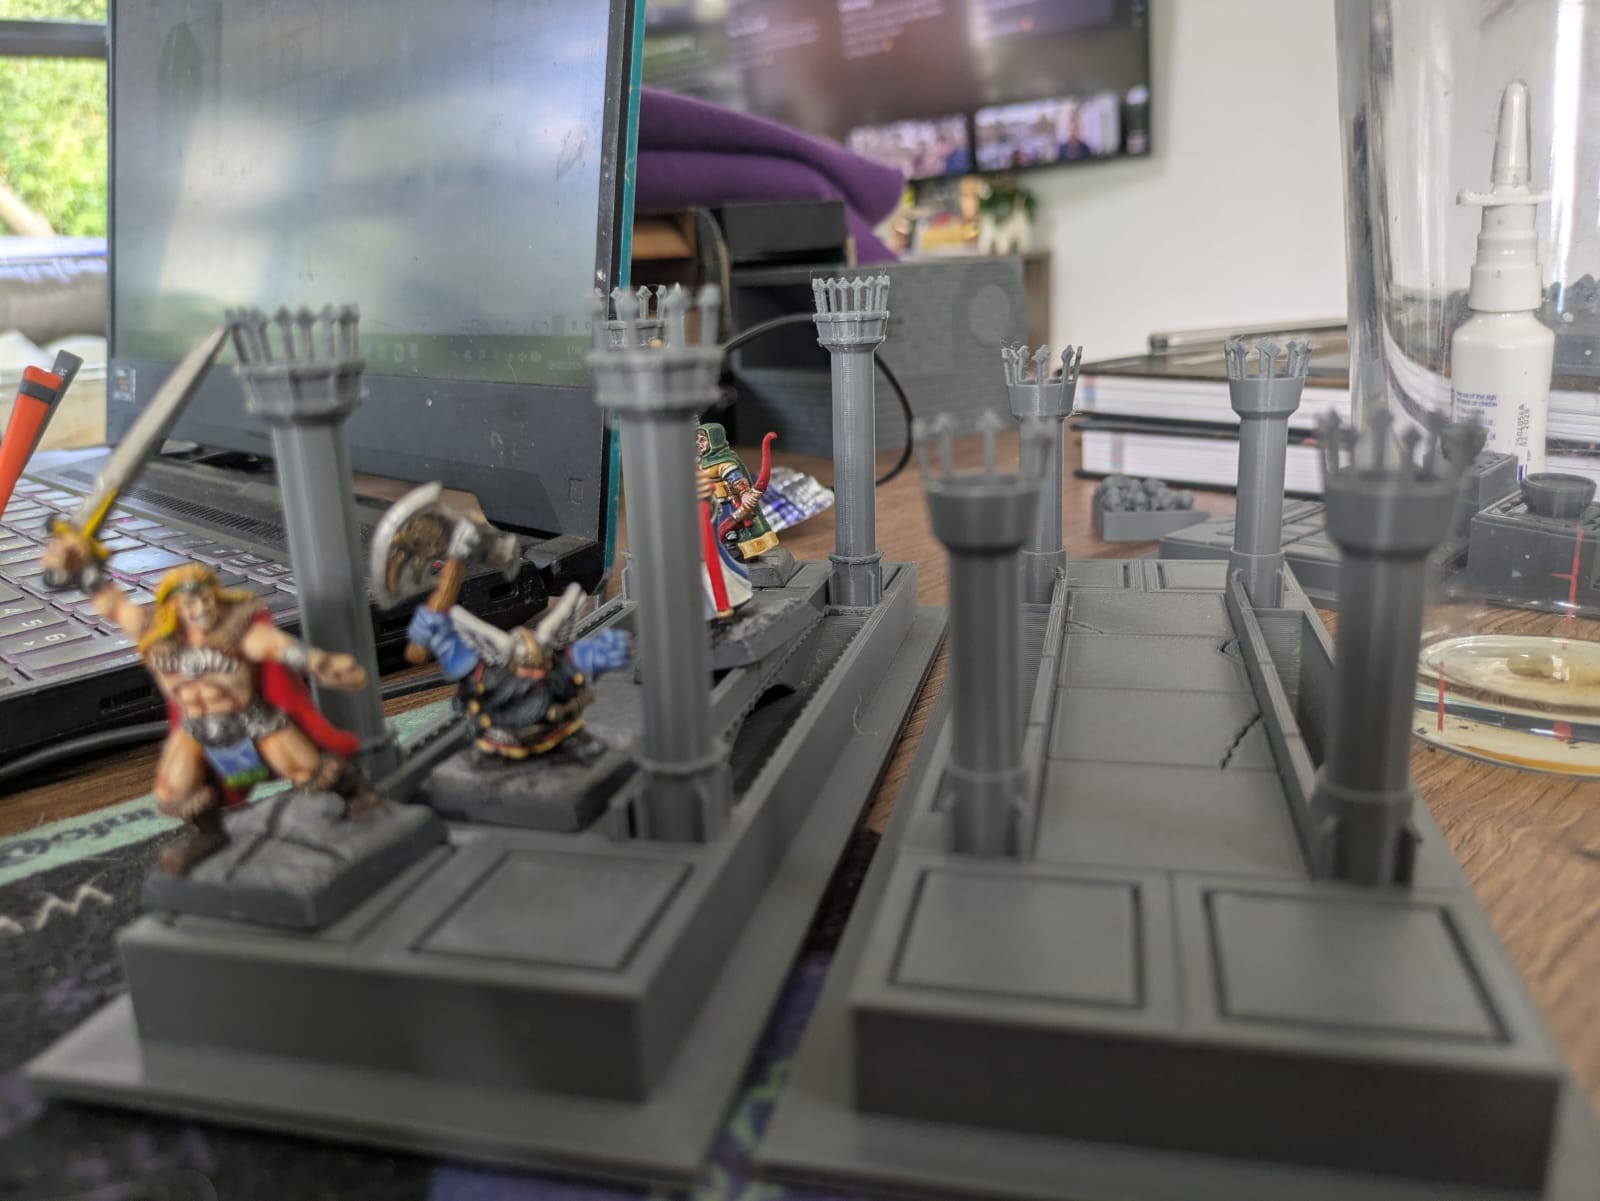 Much prefer the taller columns
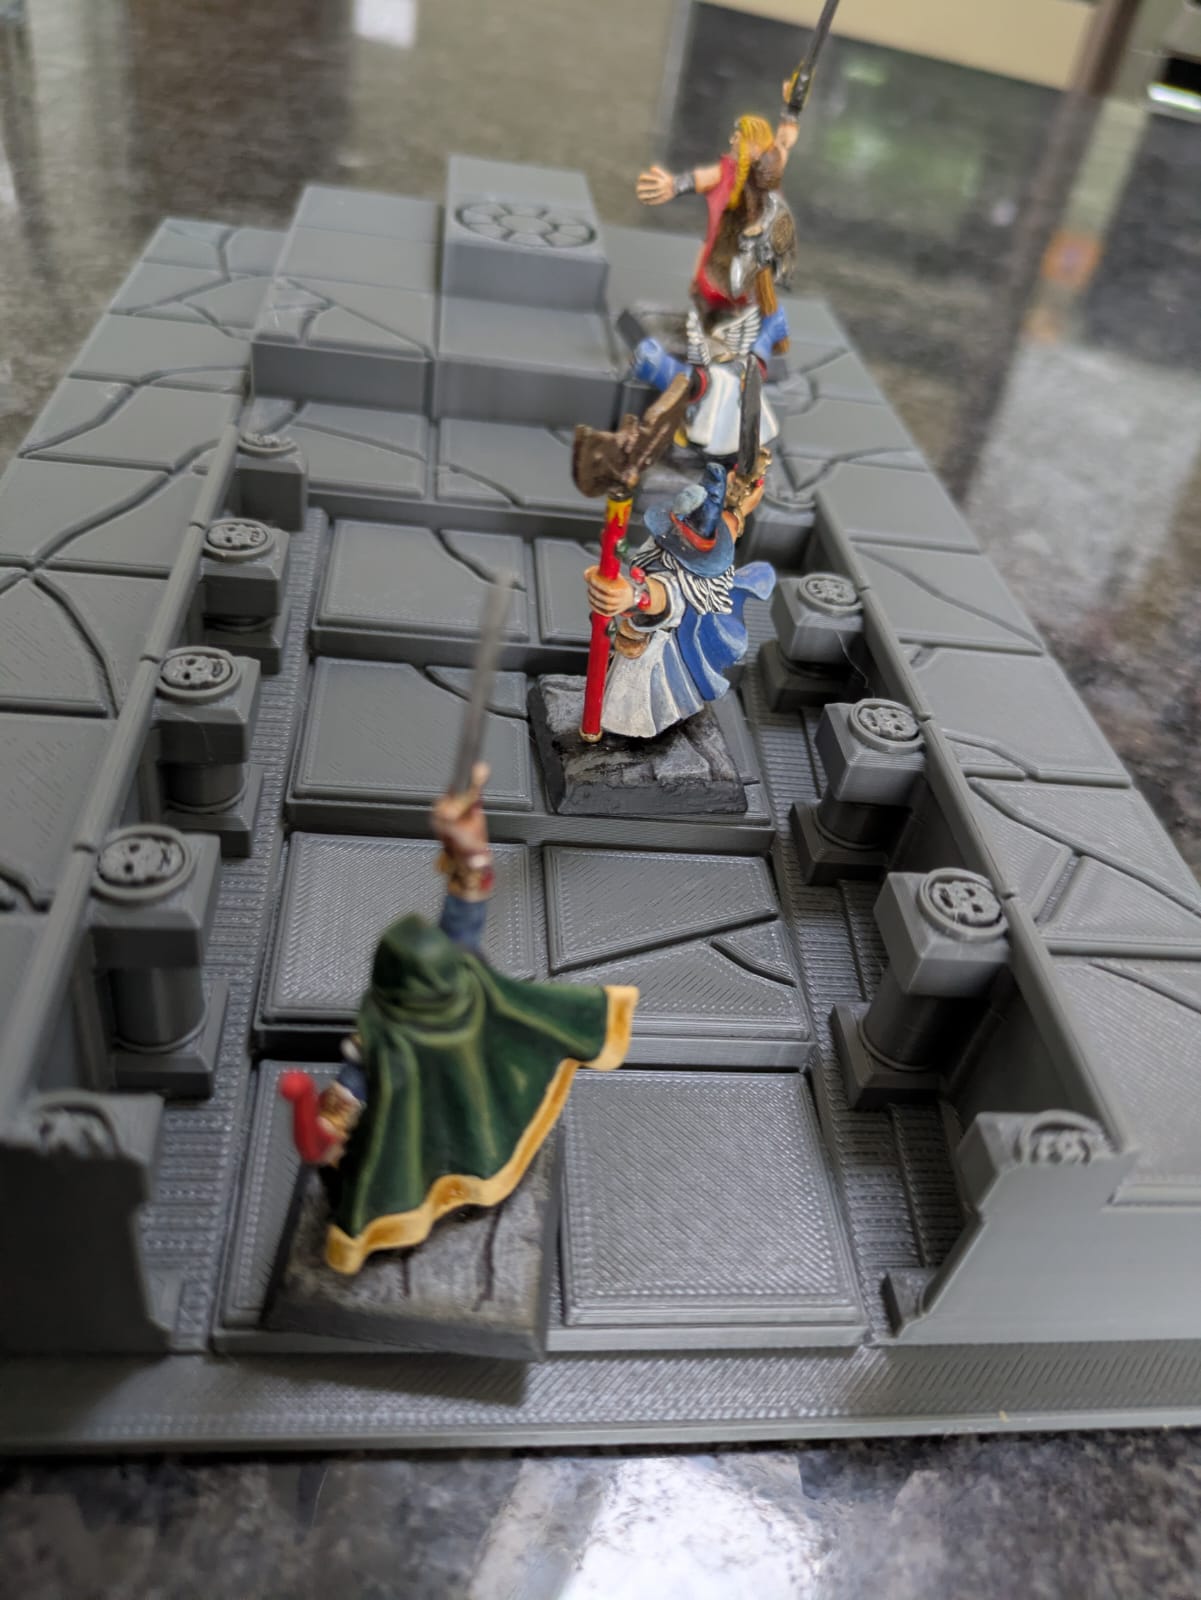
 The Dread King's Throne Room - last of the Catacombs of Terror board sections. This needed a bit of thinking about as it is 4 tiles wide with a ramp on the first part, and then 5 tiles wide with a stepped dais. The angled step for this dais was also tricky as it's split in half along the diagonal. In the end I did steps rather than a ramp (although I may go back and create a ramped version to see if the minis will stand up on this). I used the gap between the ramp and the adjacent platform level areas to create the pillars. I had considered doing a forced perspective thing, but thought it would look out of place given the steps etc. As for the diagonal split dais steps, I decided to raise the entire square, and just make the design clearly different for the stone tile vs the dais steps
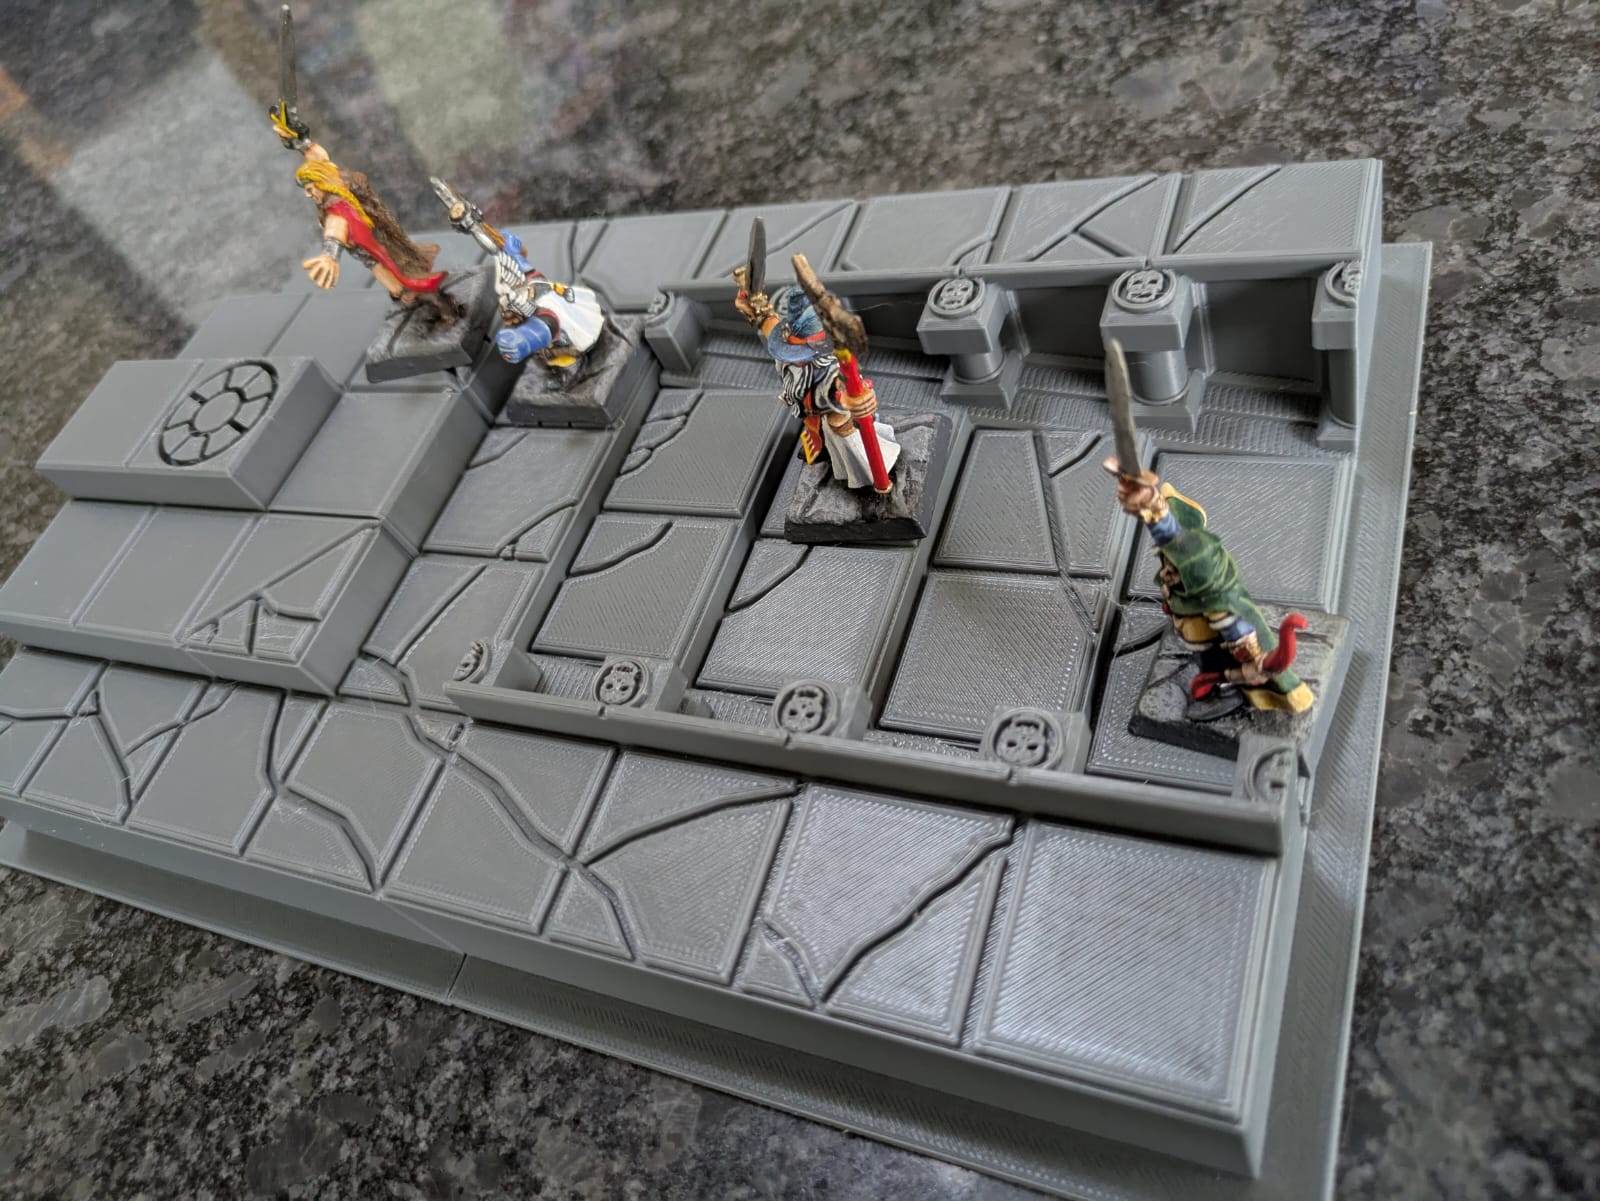
 That's it for the expansion board sections - now to paint them and research old White Dwarf Articles to find other board sections I might be missing!
DESIGNING AND PRINTING THE LAIR OF THE ORC LORD EXPANSION BOARD SECTIONS
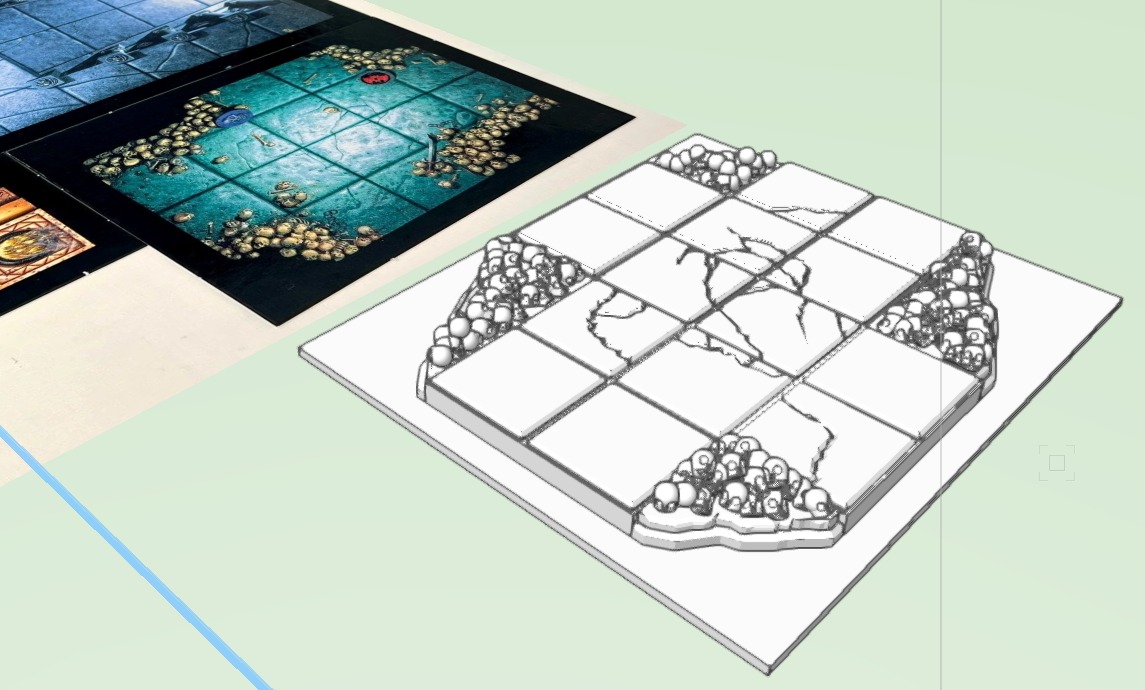
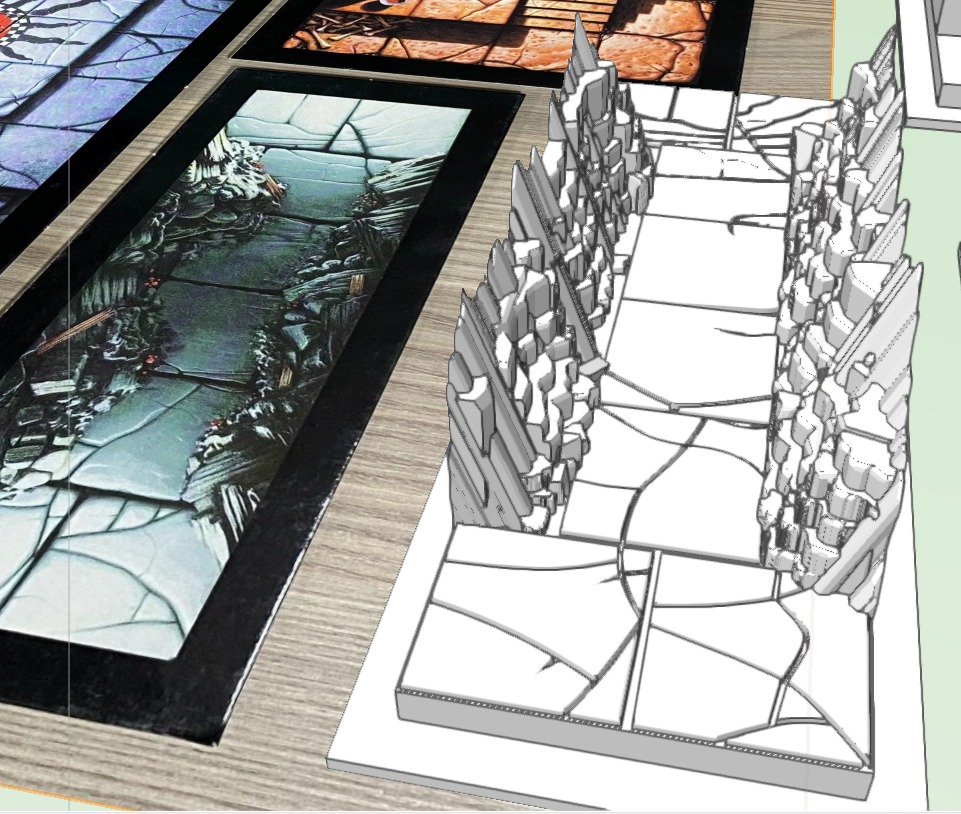 Collapsed Passageway from Lair of the Orc Lord (I believe it was in an issue of White Dwarf, too). I struggled a bit with this one because the program I use isn't good at organic shapes so replicating the rockfall was a bit fiddly. In the end I opted for vertical lines drawn free hand with some intersecting stepped horizontal sections. I had to make it taller as initially it was only about waist height on the minis! I also couldn't have rocks covering the squares or there would be no room for the models.
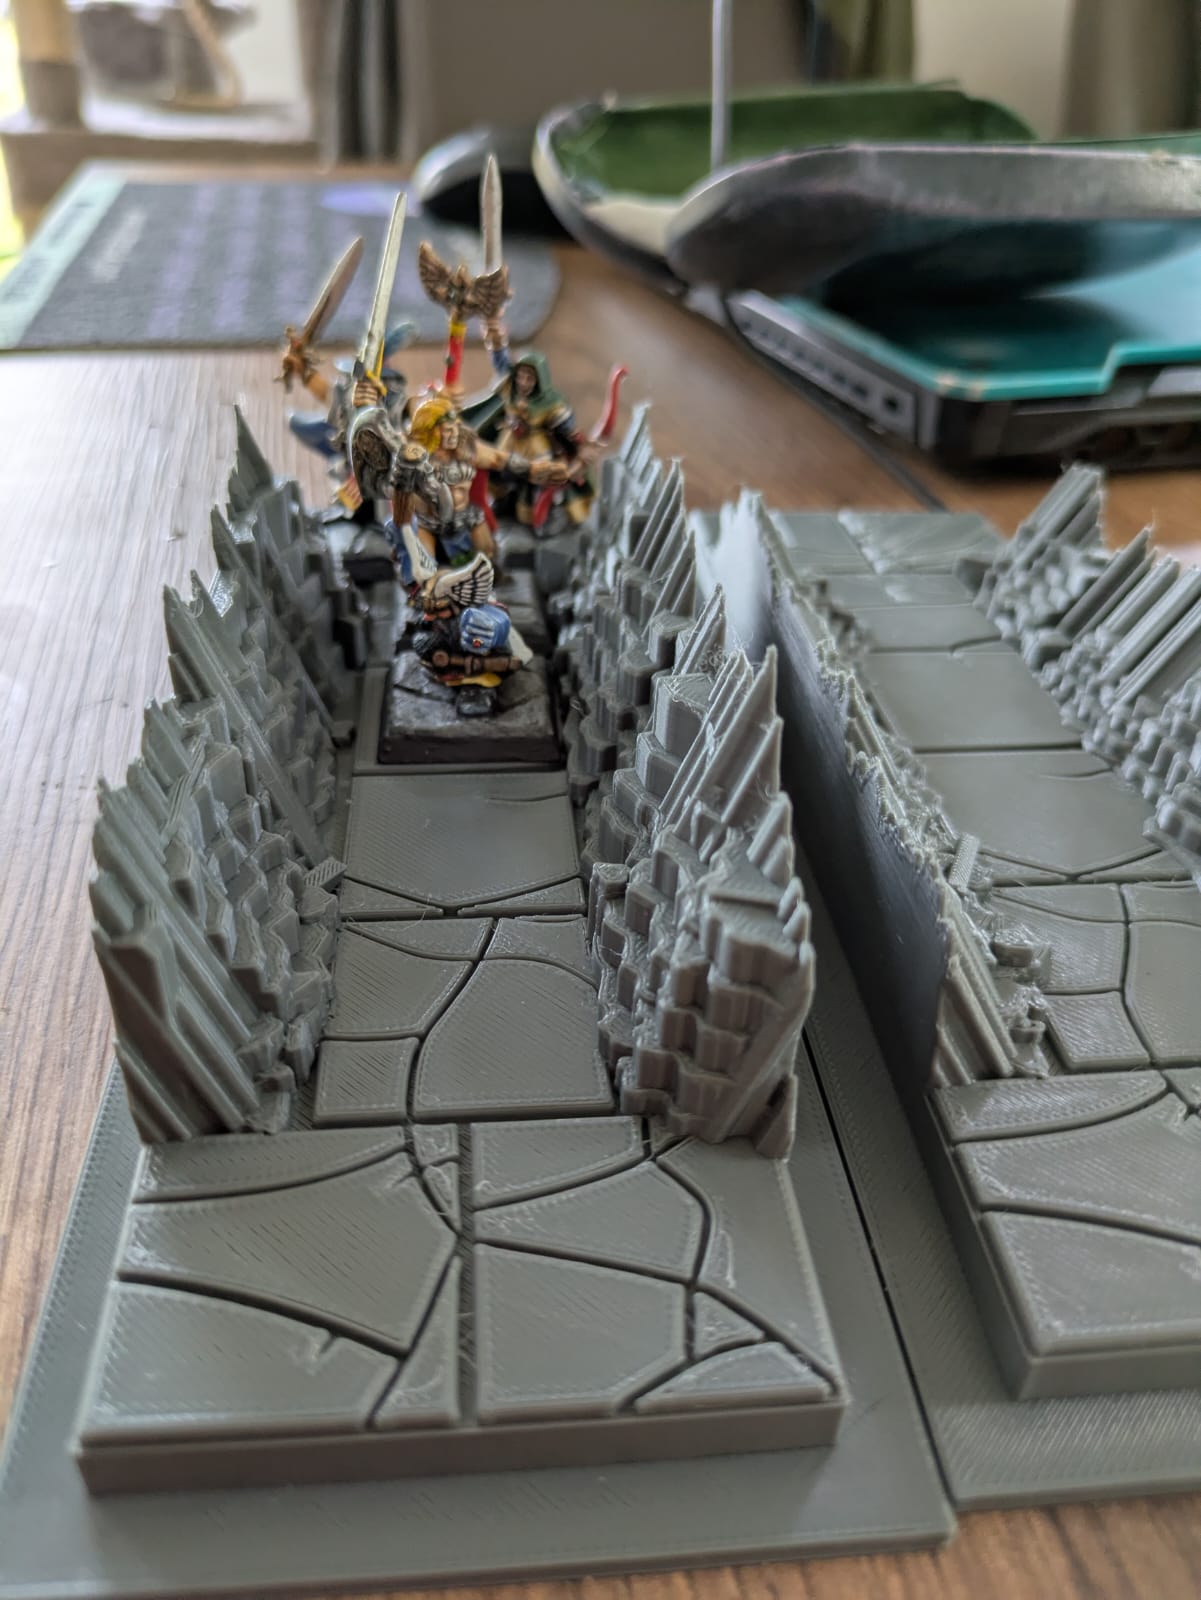 Of all the board sections I've done this is the one I have the most doubts about - I'll paint it up and see how it looks before deciding whether or not it's worked!
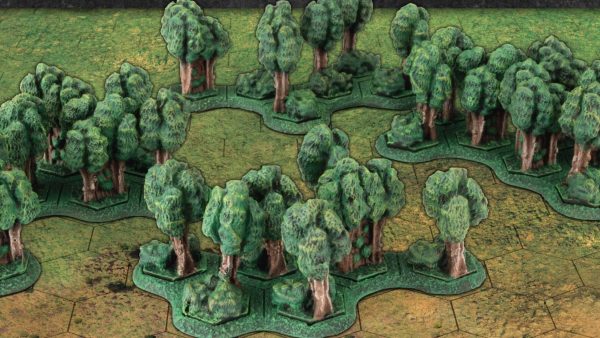
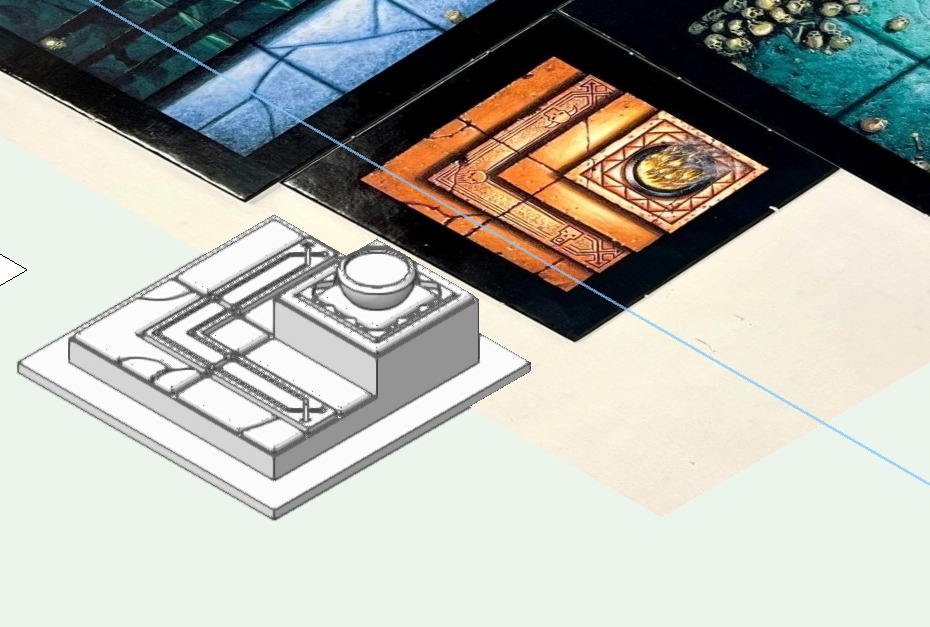
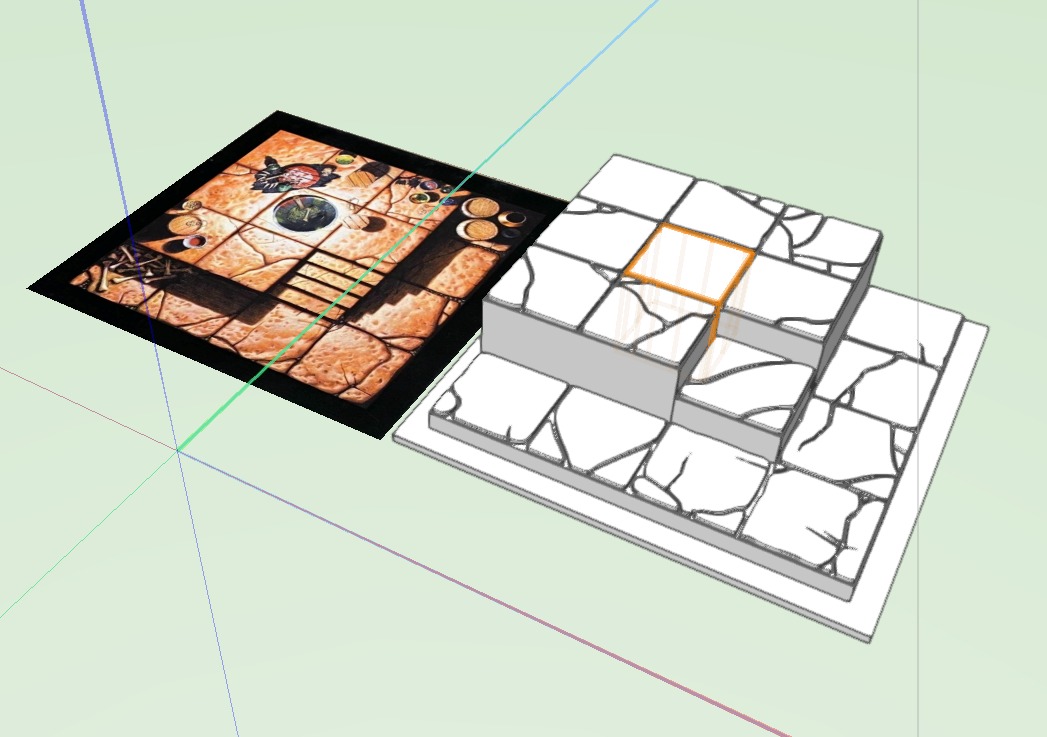 The Shaman's Den from Lair of the Orc Lord - Quite a straightforward one really. I used a curved shape for these tiles rather than straight, and extruded them out to 3 levels. I opted not to add any of the barrels etc. that are painted on the board, however I am considering going back to make the cauldron that is featured
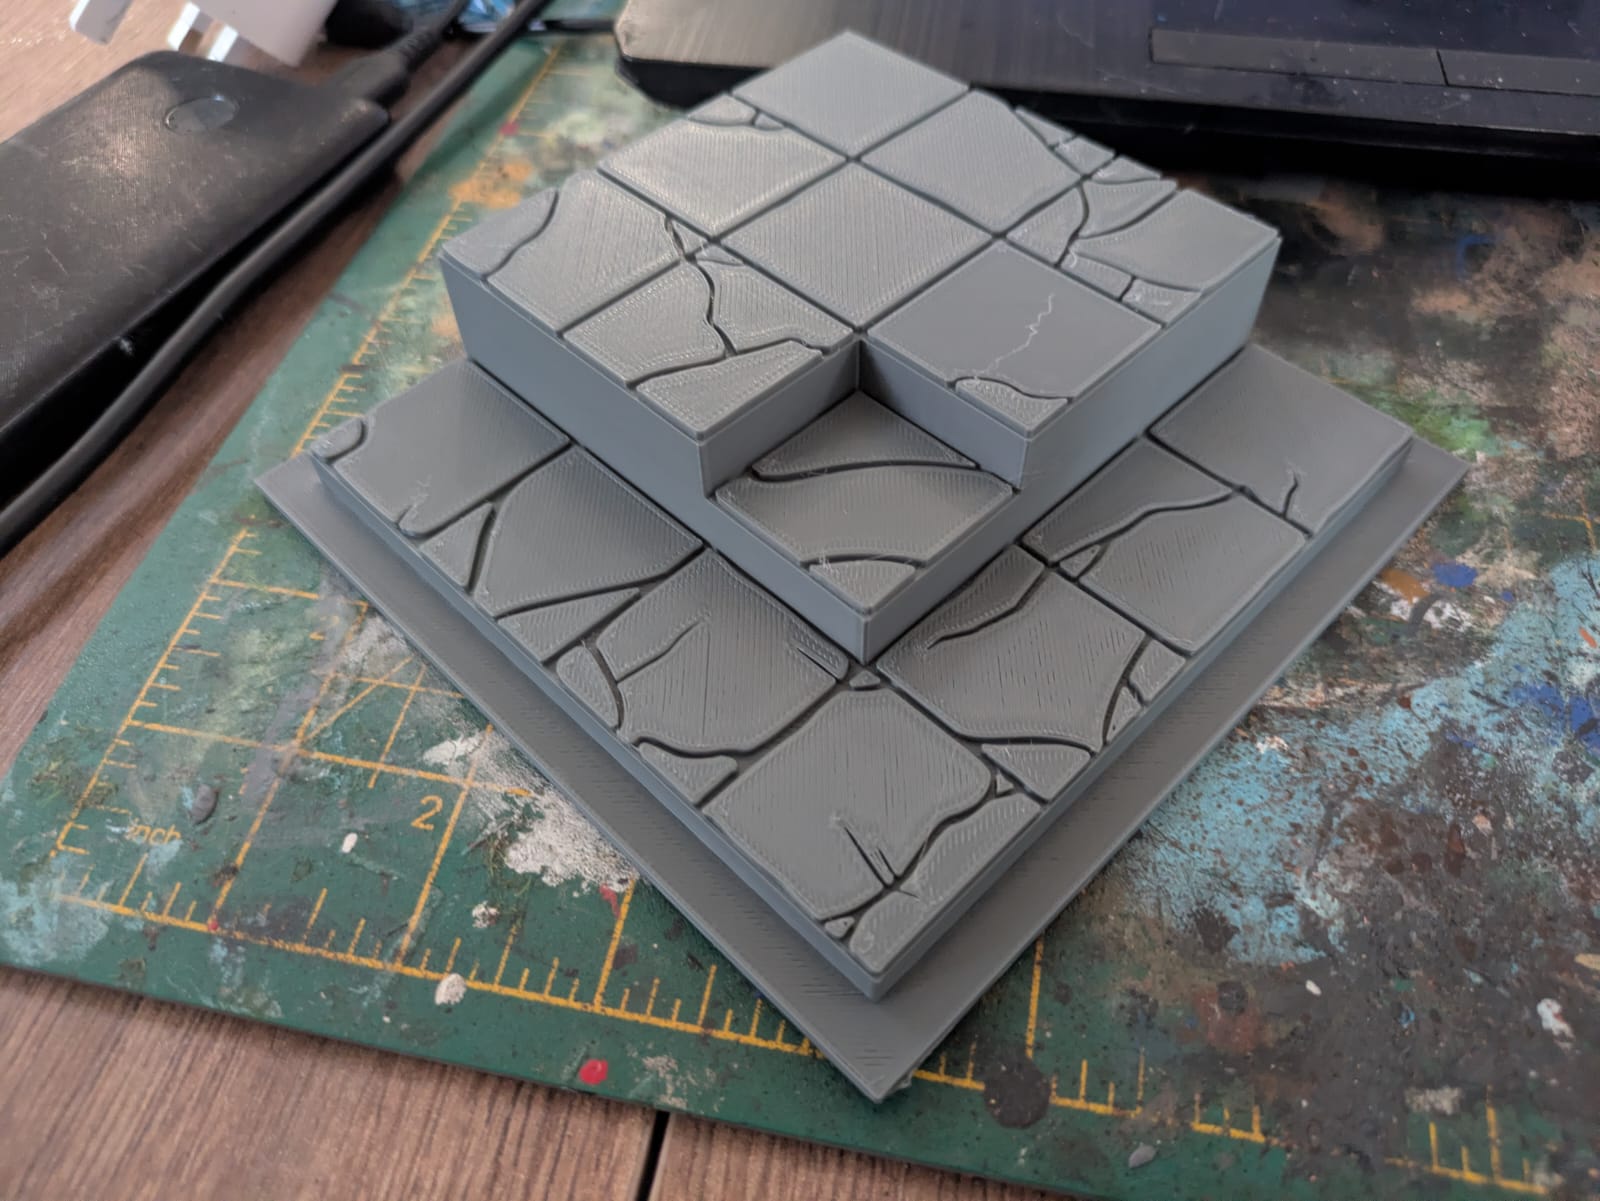
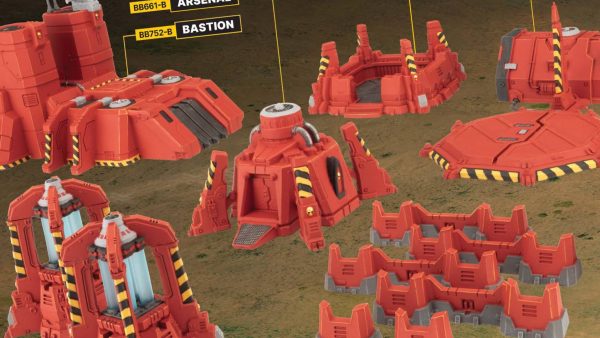
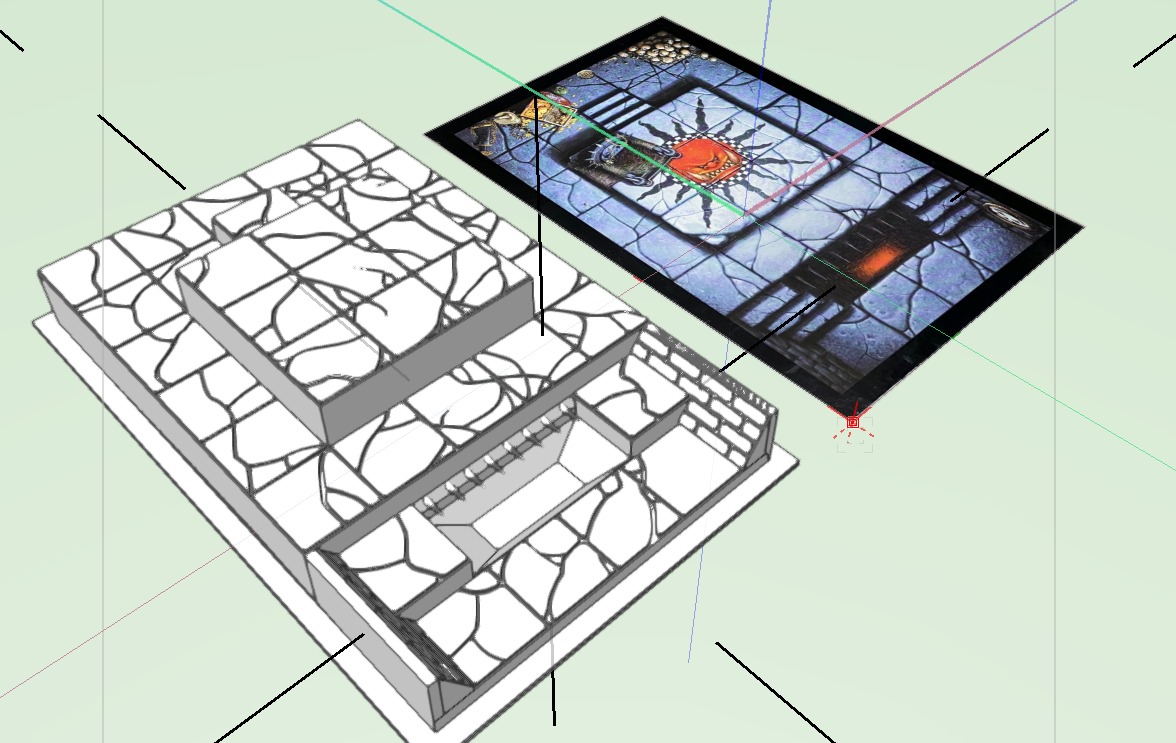 Gorgut's Lair - Lair of the Orc Lord Objective Room. As this is a larger room at 5 squares across and also features multiple levels it took a bit of thinking about. The interaction of the initial 4 squares, the step up, then the platform with 5 squares, as well as the pit and retaining walls took a bit of experimentation to nail down. I also had to make the spikes for the pit as a separate STL file. I then had to cut the model before generating the STLs as it wouldn't all fit on the print bed at once
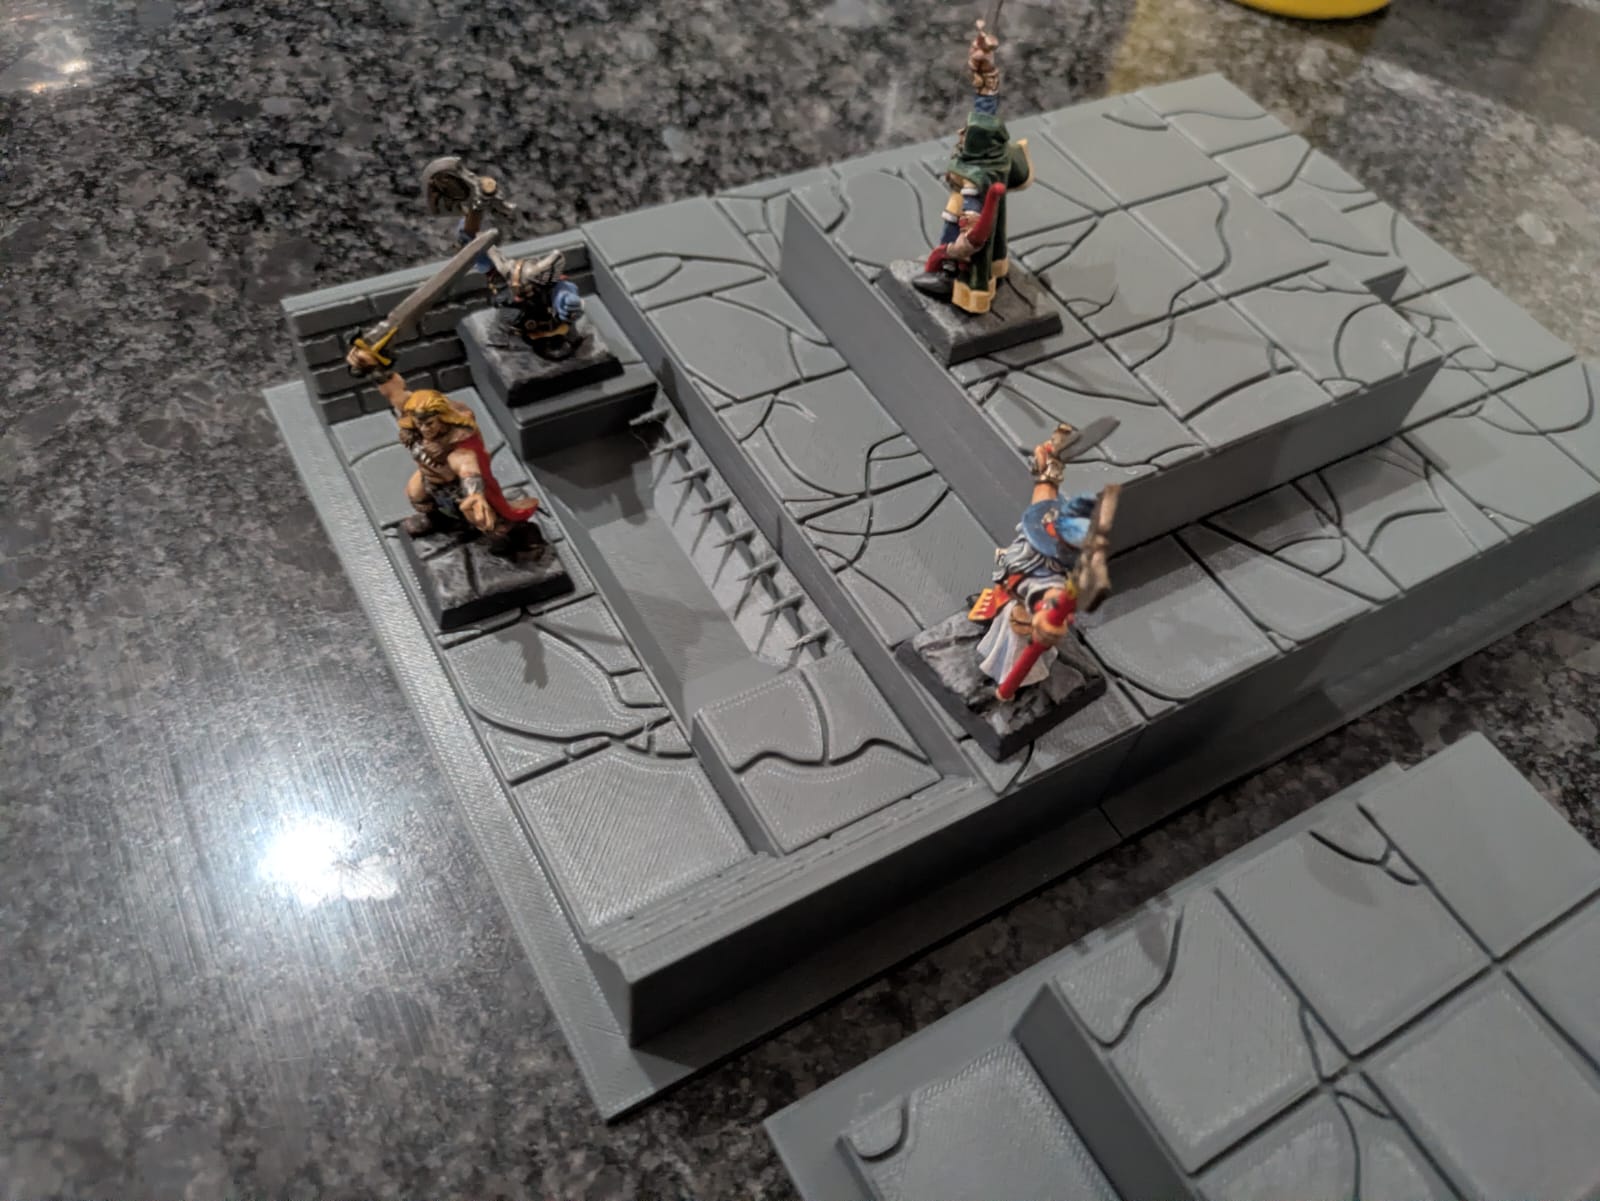 This is by far the biggest board section I've printed - it's both taller and wider than any of the other pieces, and in total took 8 hours to print and used almost a third of a role of filament!
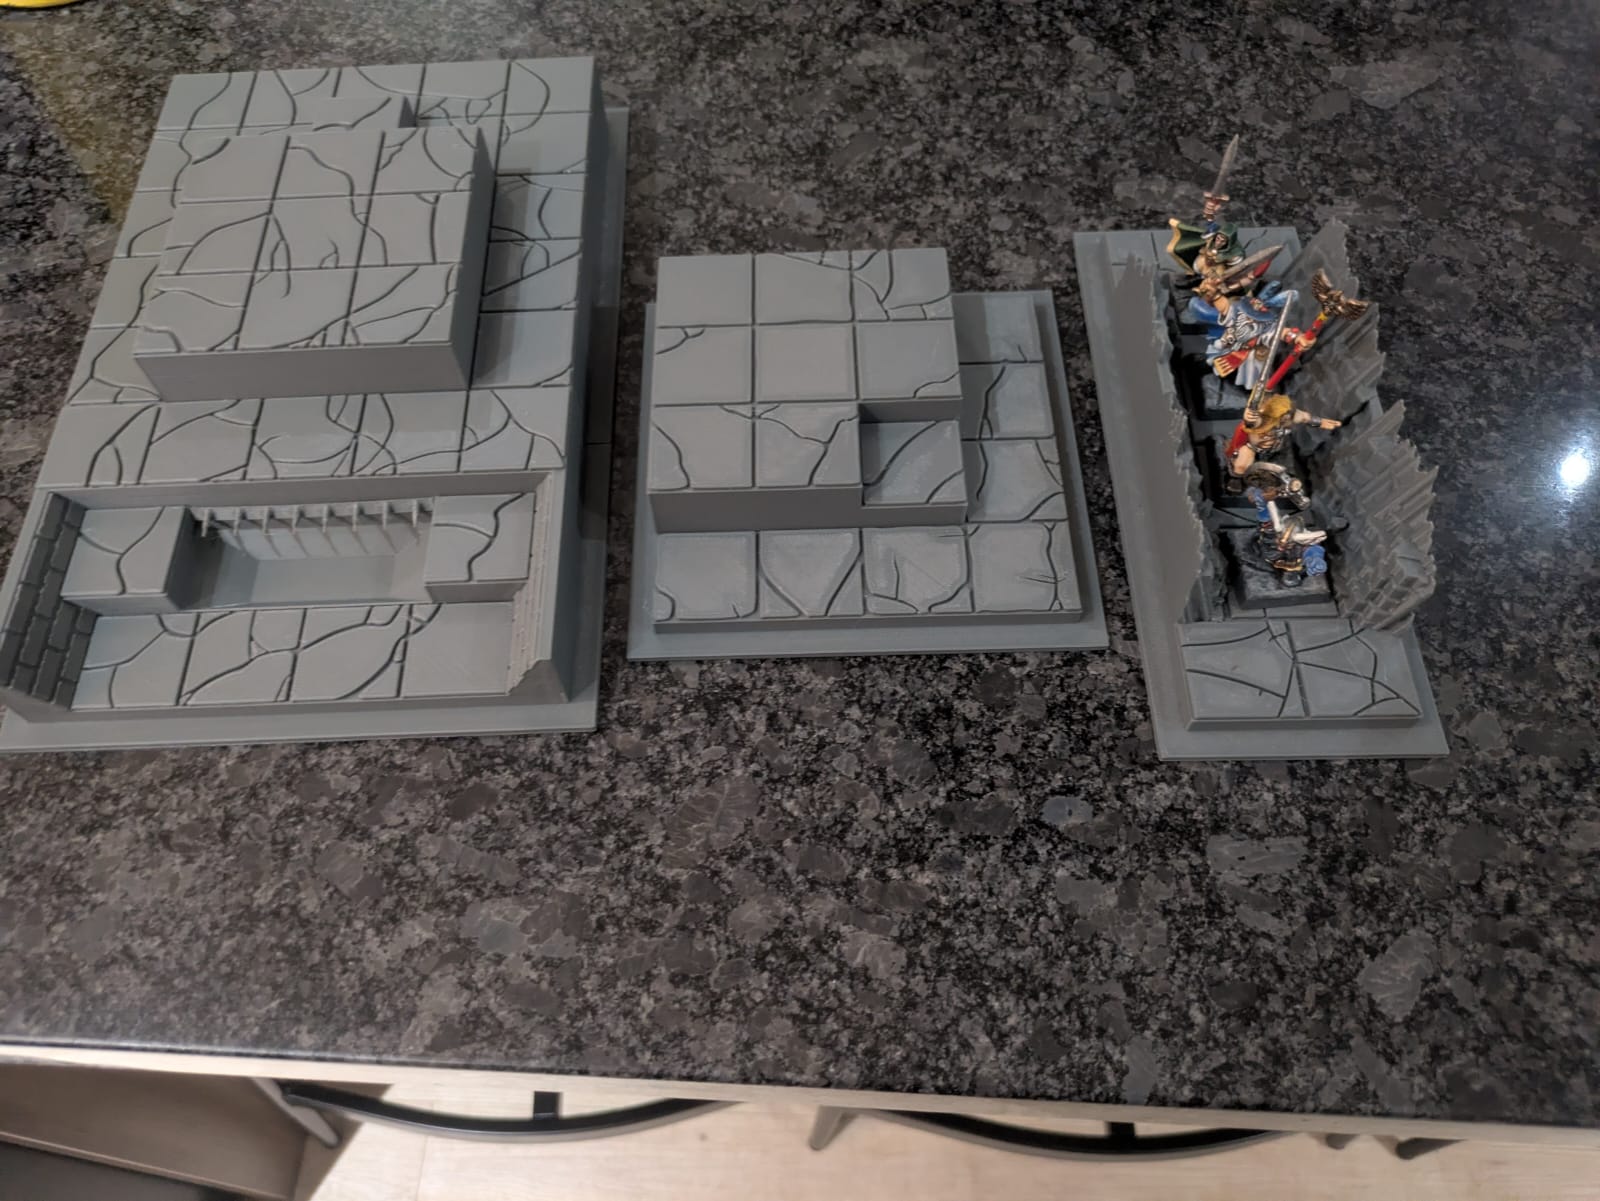
FINAL MONSTERS
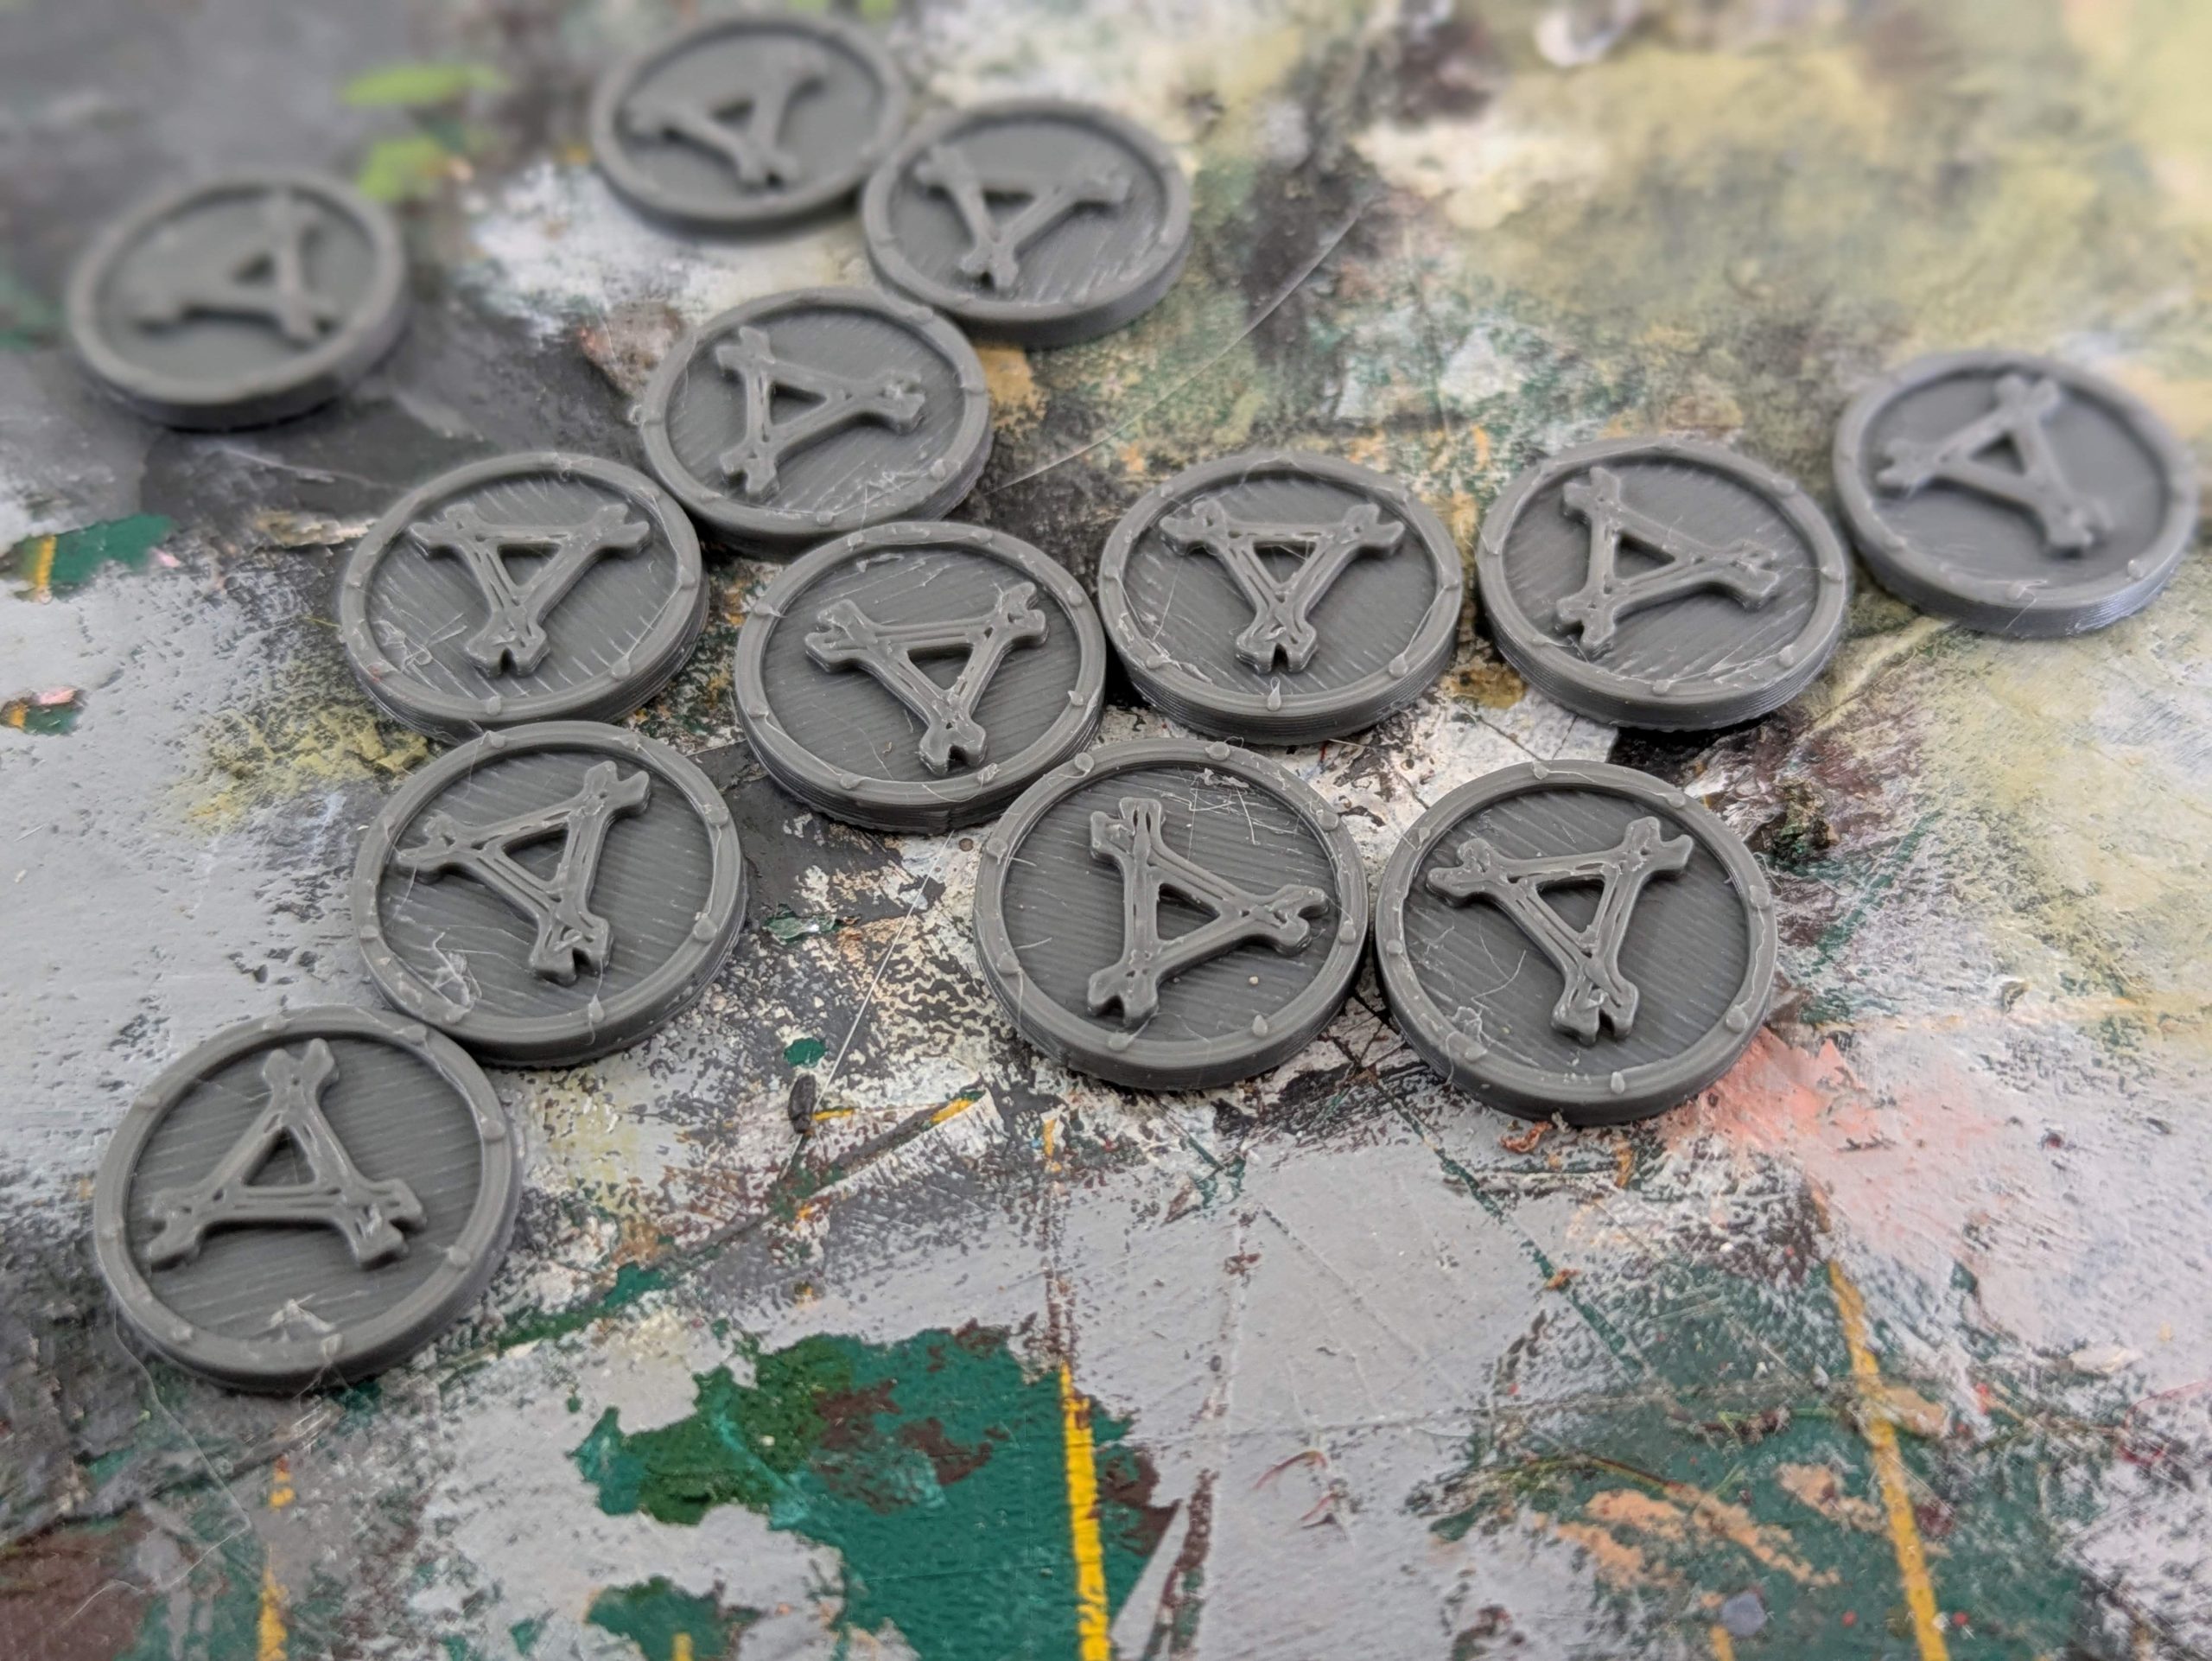 I had a few sprues from a WHFB 5th Ed Skaven Clanrat boxed set, with multi-pose minis rather than the monopose skaven that came with the original WHQ. Unfortunately I didn't have the shields for these, so I went to my design program again and drew up some simple shields so all my Skaven would match.
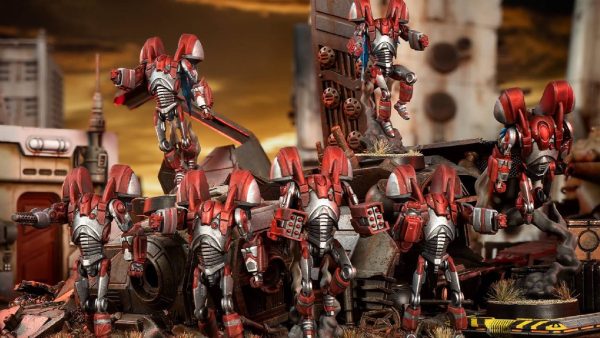
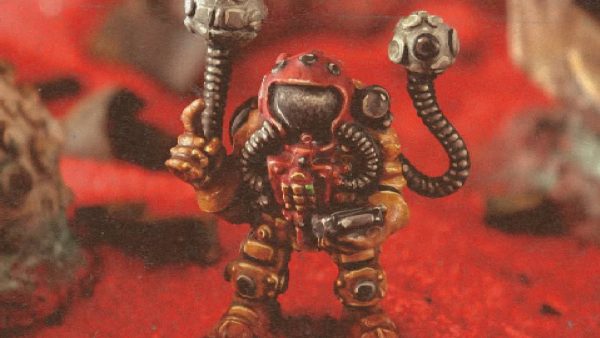
 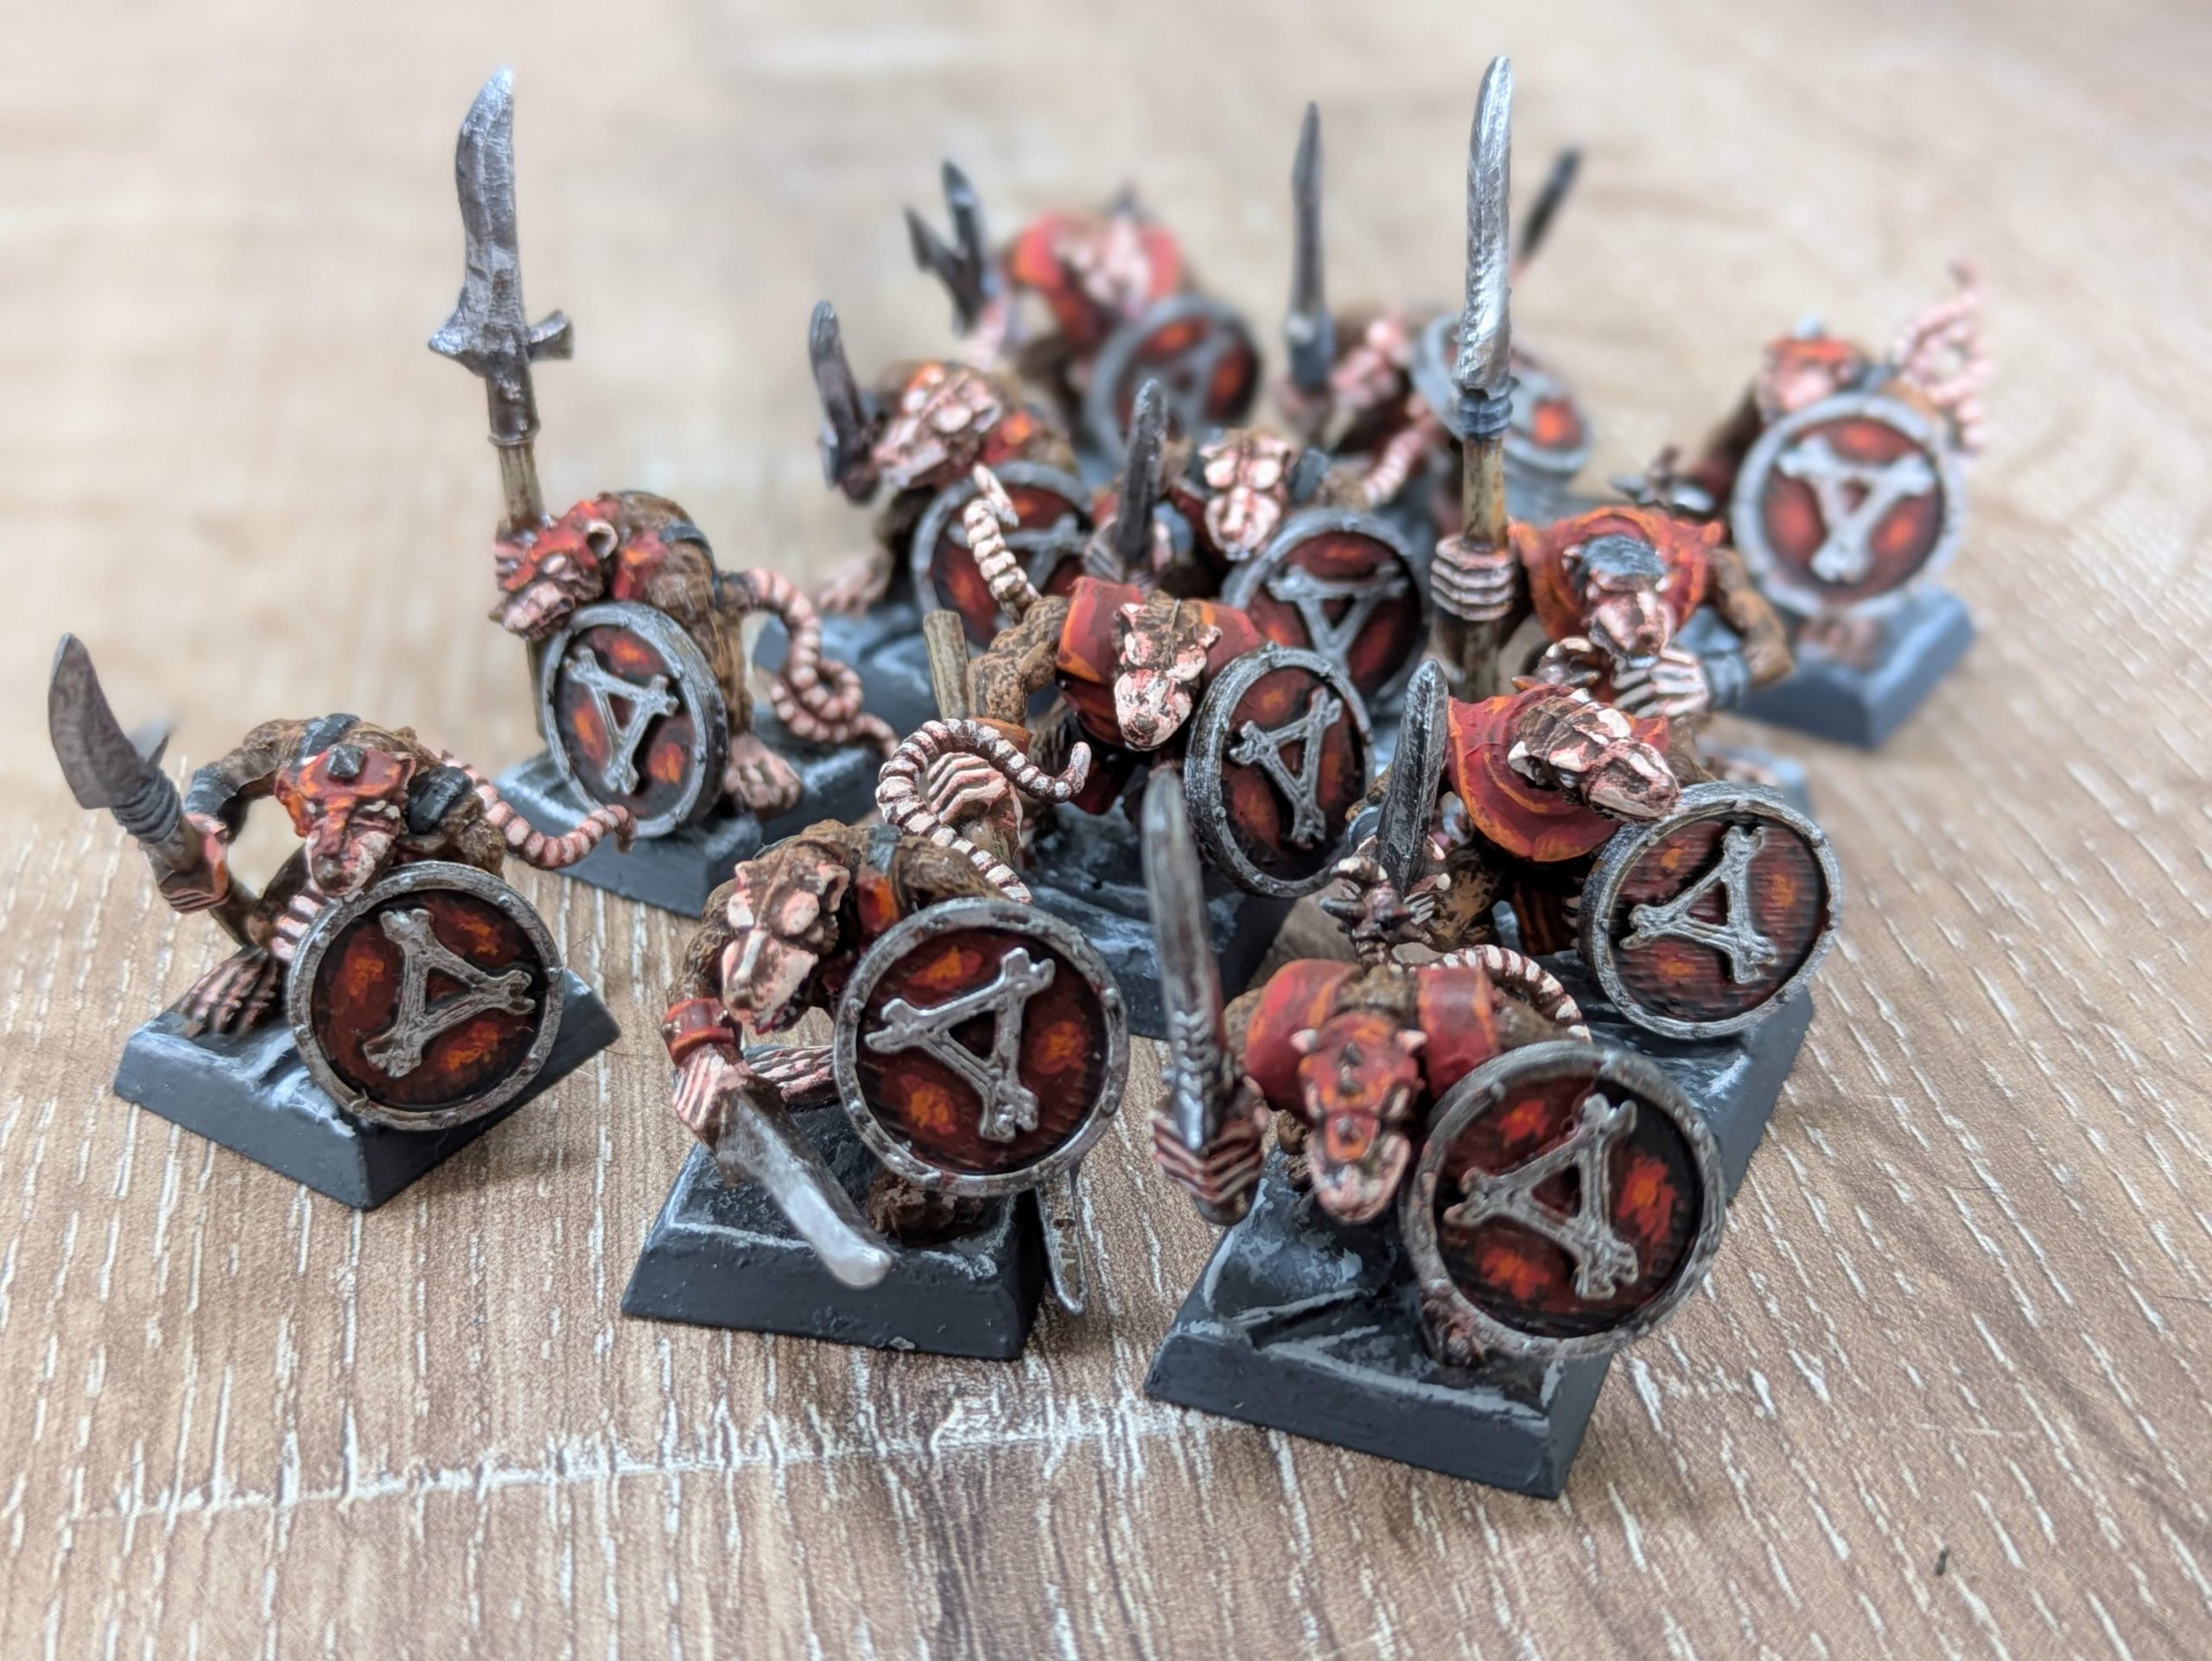 To differentiate my Skaven I went with a red colour scheme. The shields I drew up pull the unit together nicely.
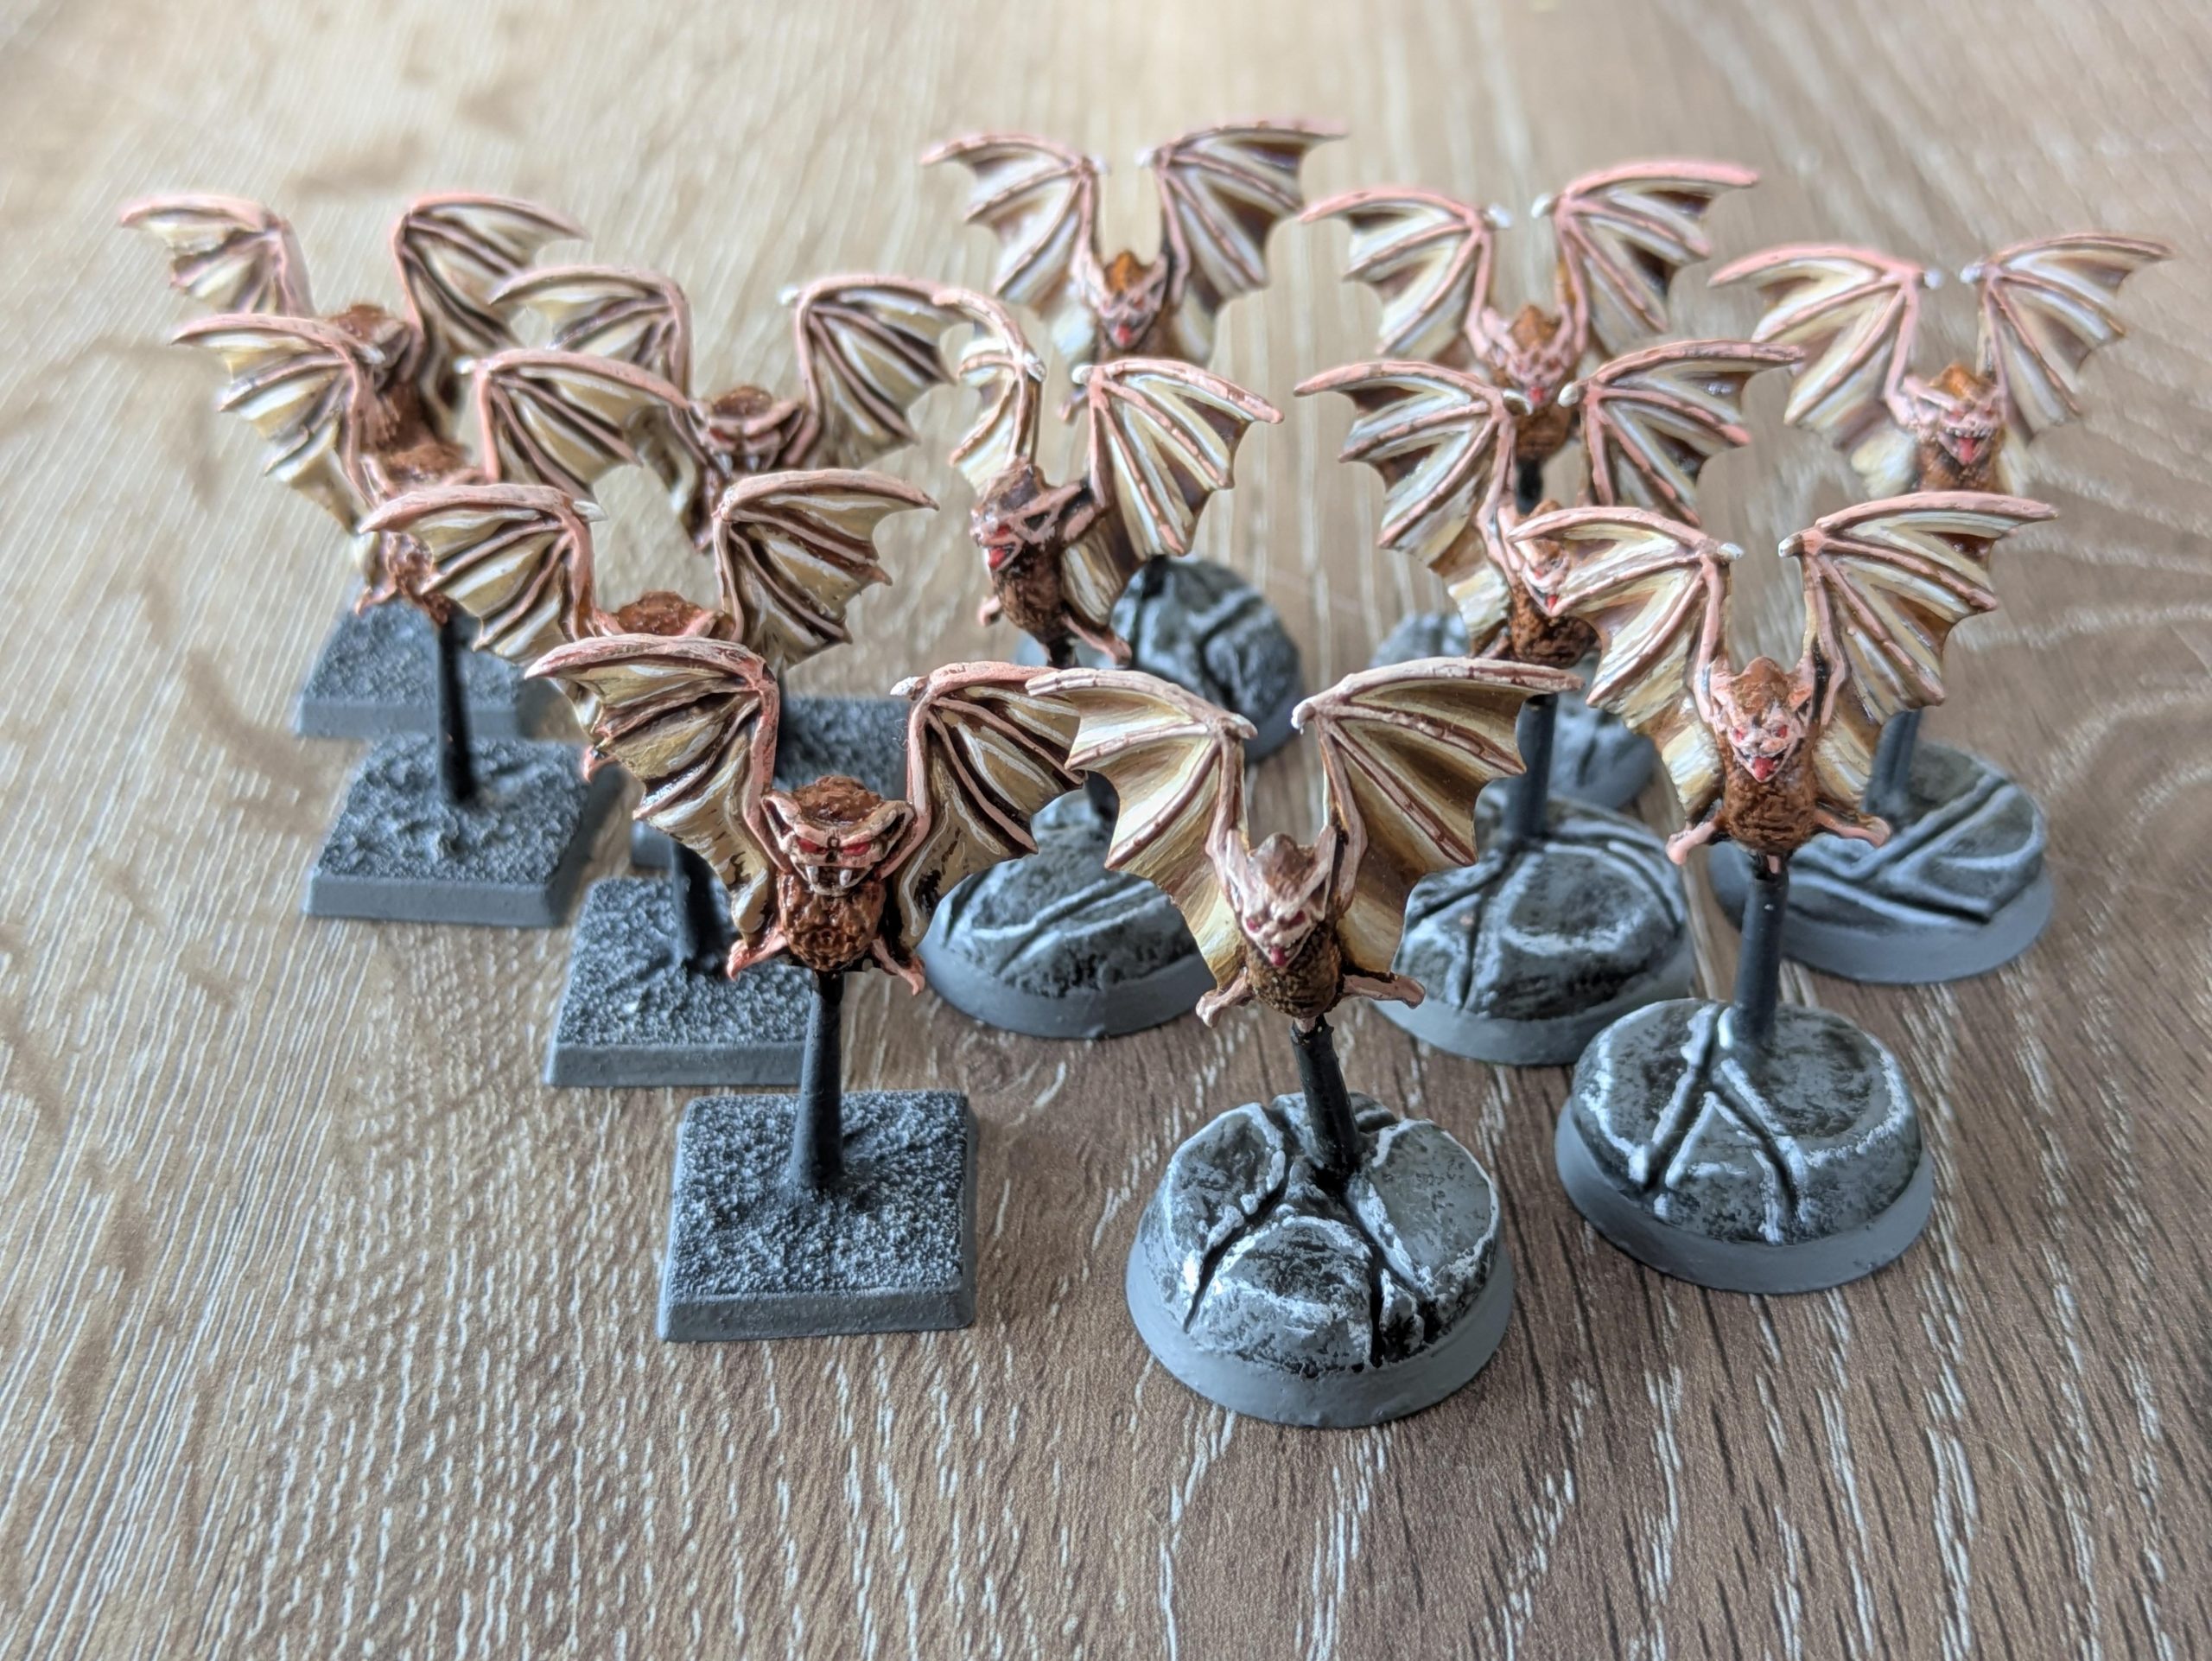 I still had a few of the original bats, and a friend of mine kindly 3D printed me some very close matches to bolster the ranks. I went with a lighter colour scheme for these, using flesh for the faces and fingers, then beige/brown for the wing flaps and a darker brown fur on the body
MORE MONSTERS
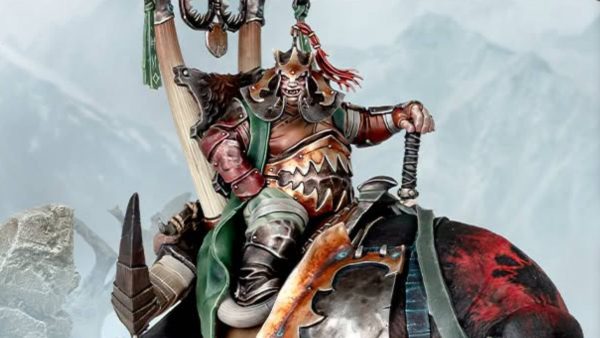
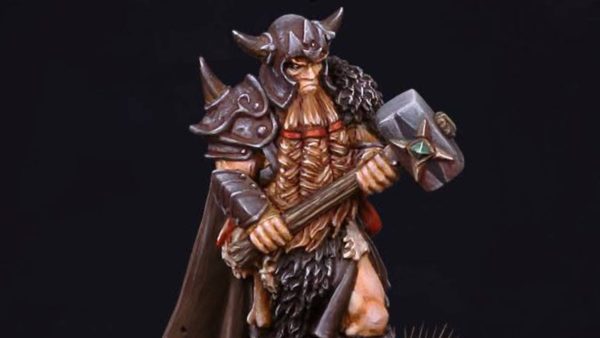
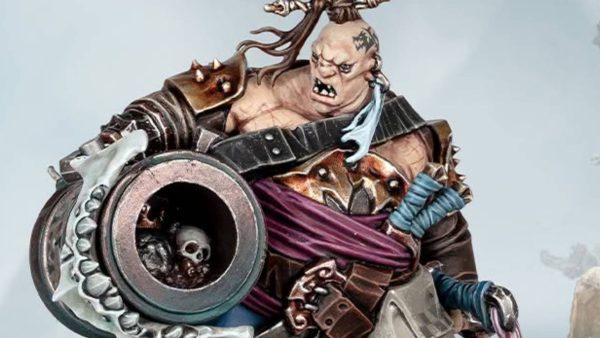
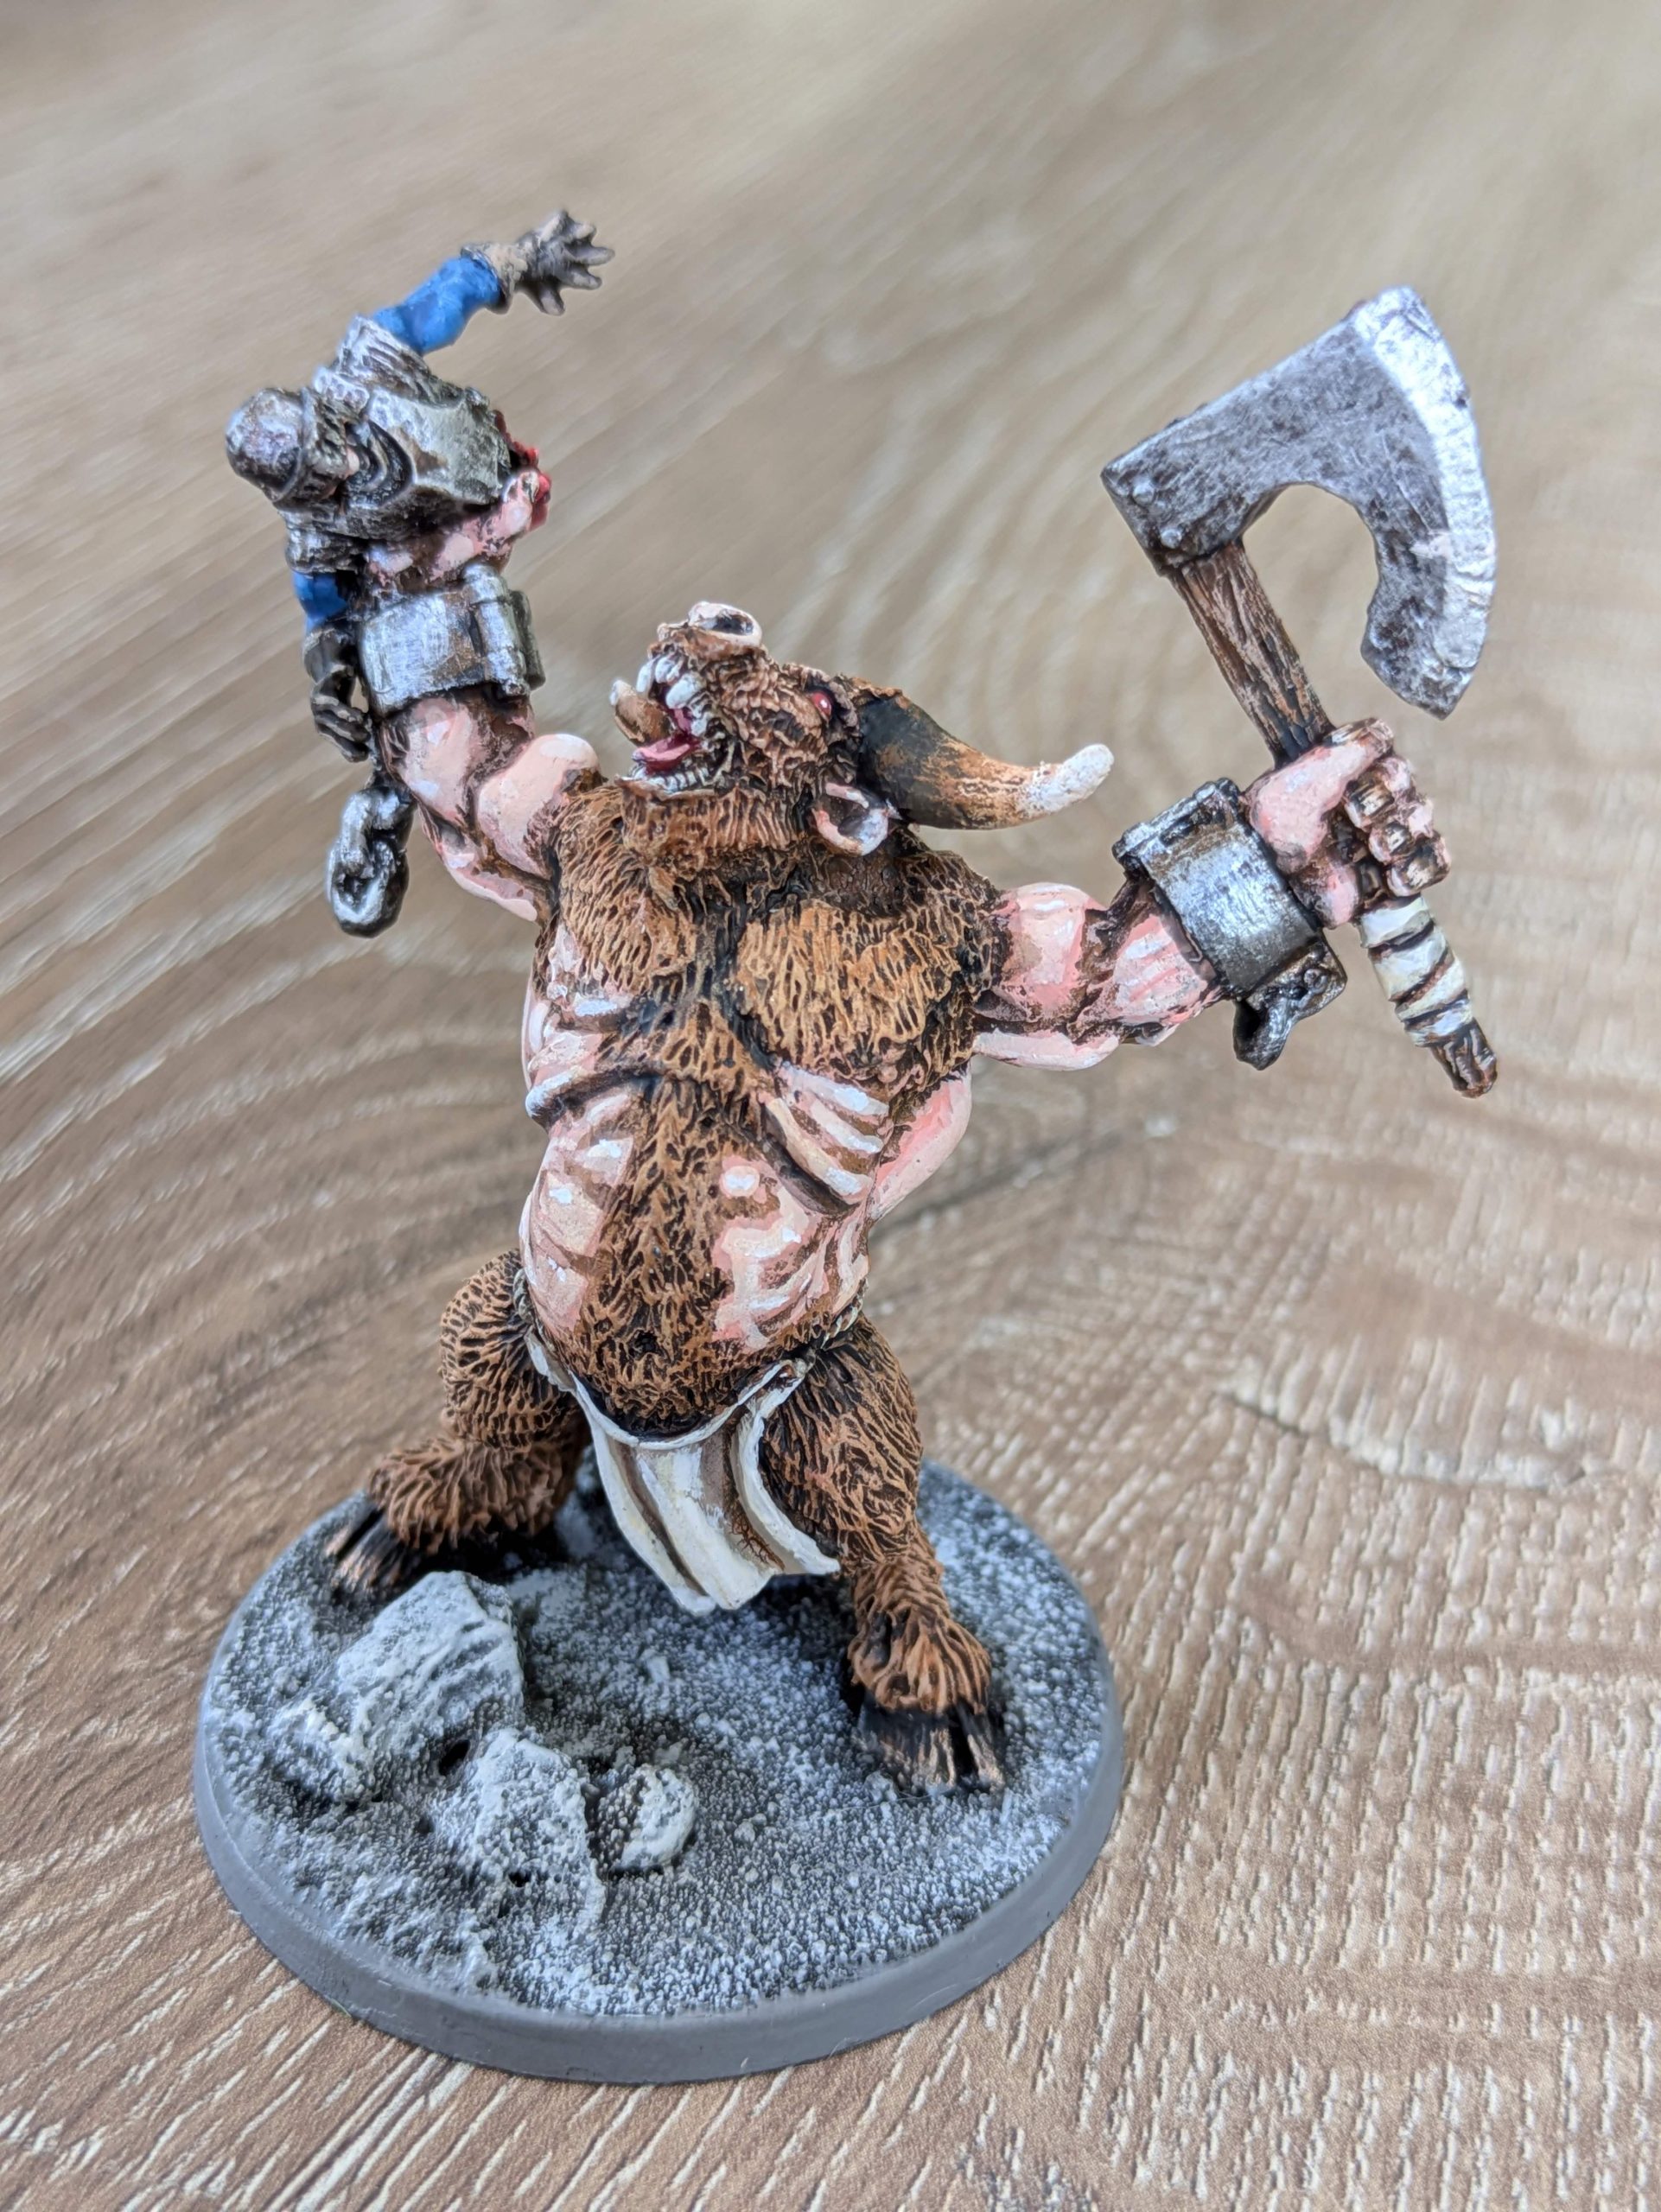 I decided I wanted to try some variation in skin tone for my other minotaurs. This was painted using Vallejo skin tones, working from Athena Skin, to Rosy Flesh and then Pale Flesh, with white highlights. As the sculpts had exchangeable hands, this one has the upper torso of the poor knight in his right hand
 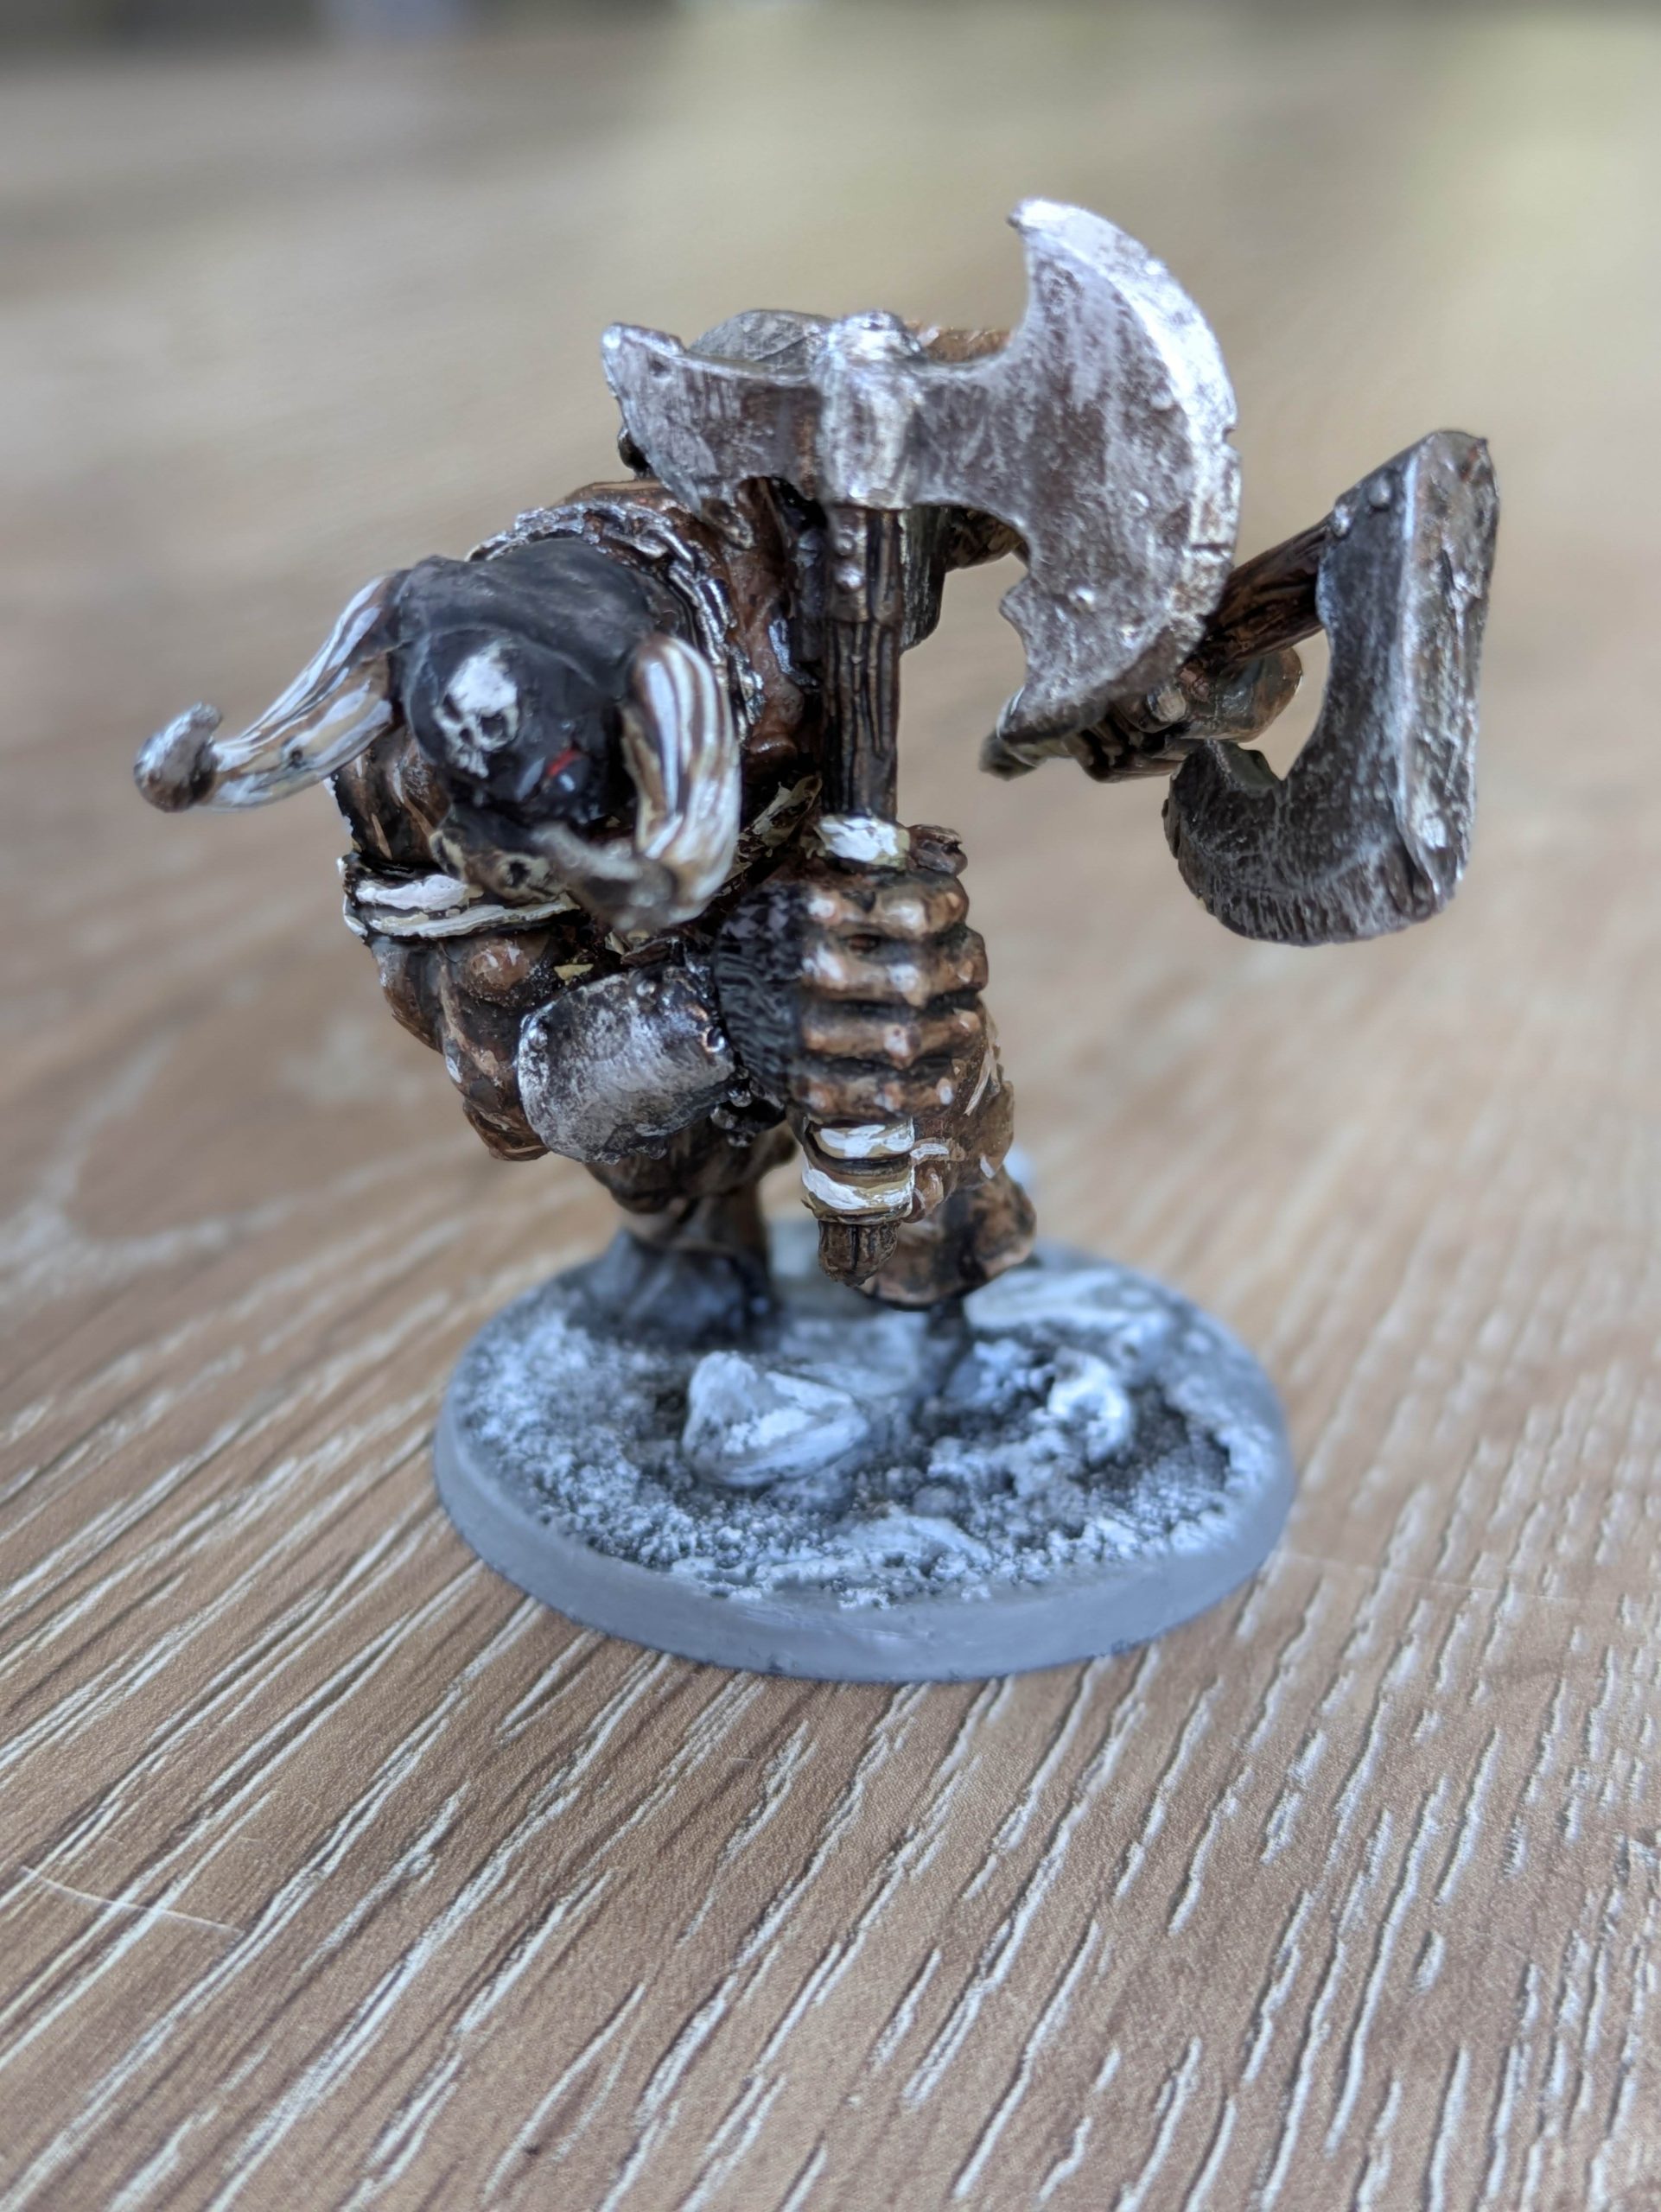 This last of the three minotaurs is also from Heresy, but is actually a fantasy football mini that I chopped the hands off and used my leftover weapons from the previous two minotaur minis. He's a tad smaller than the others, but he's in a much more dynamic pose
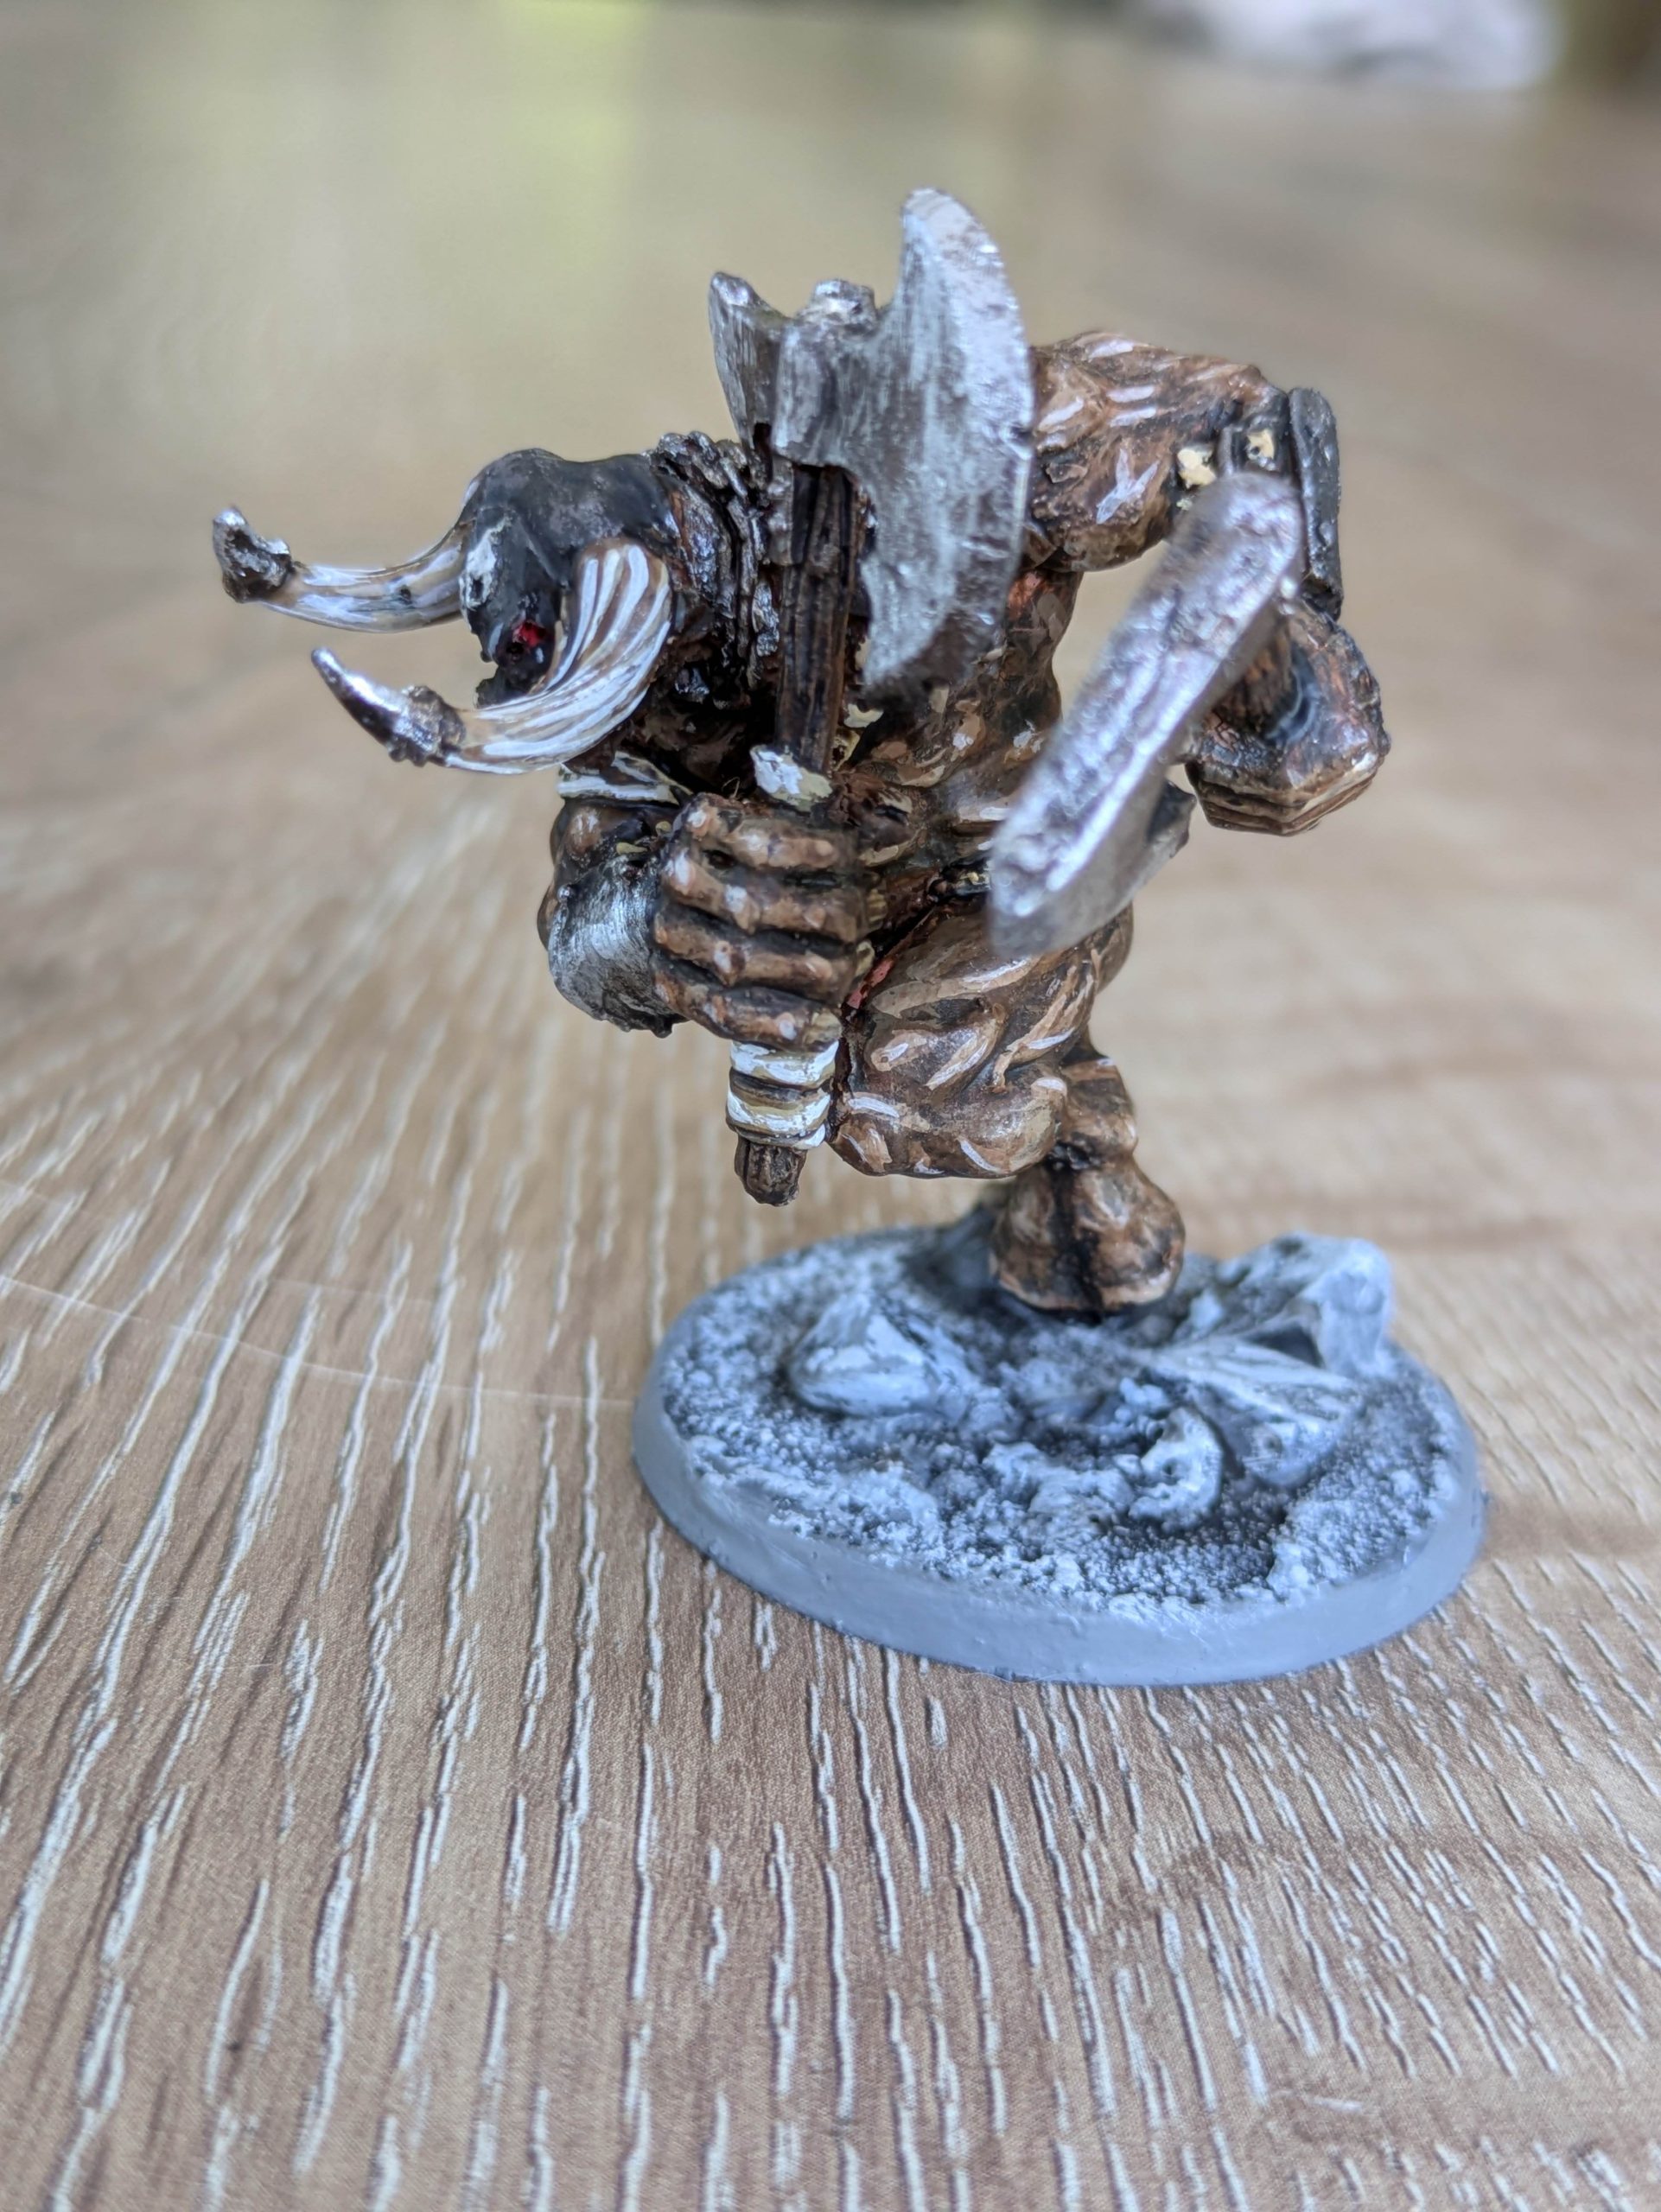
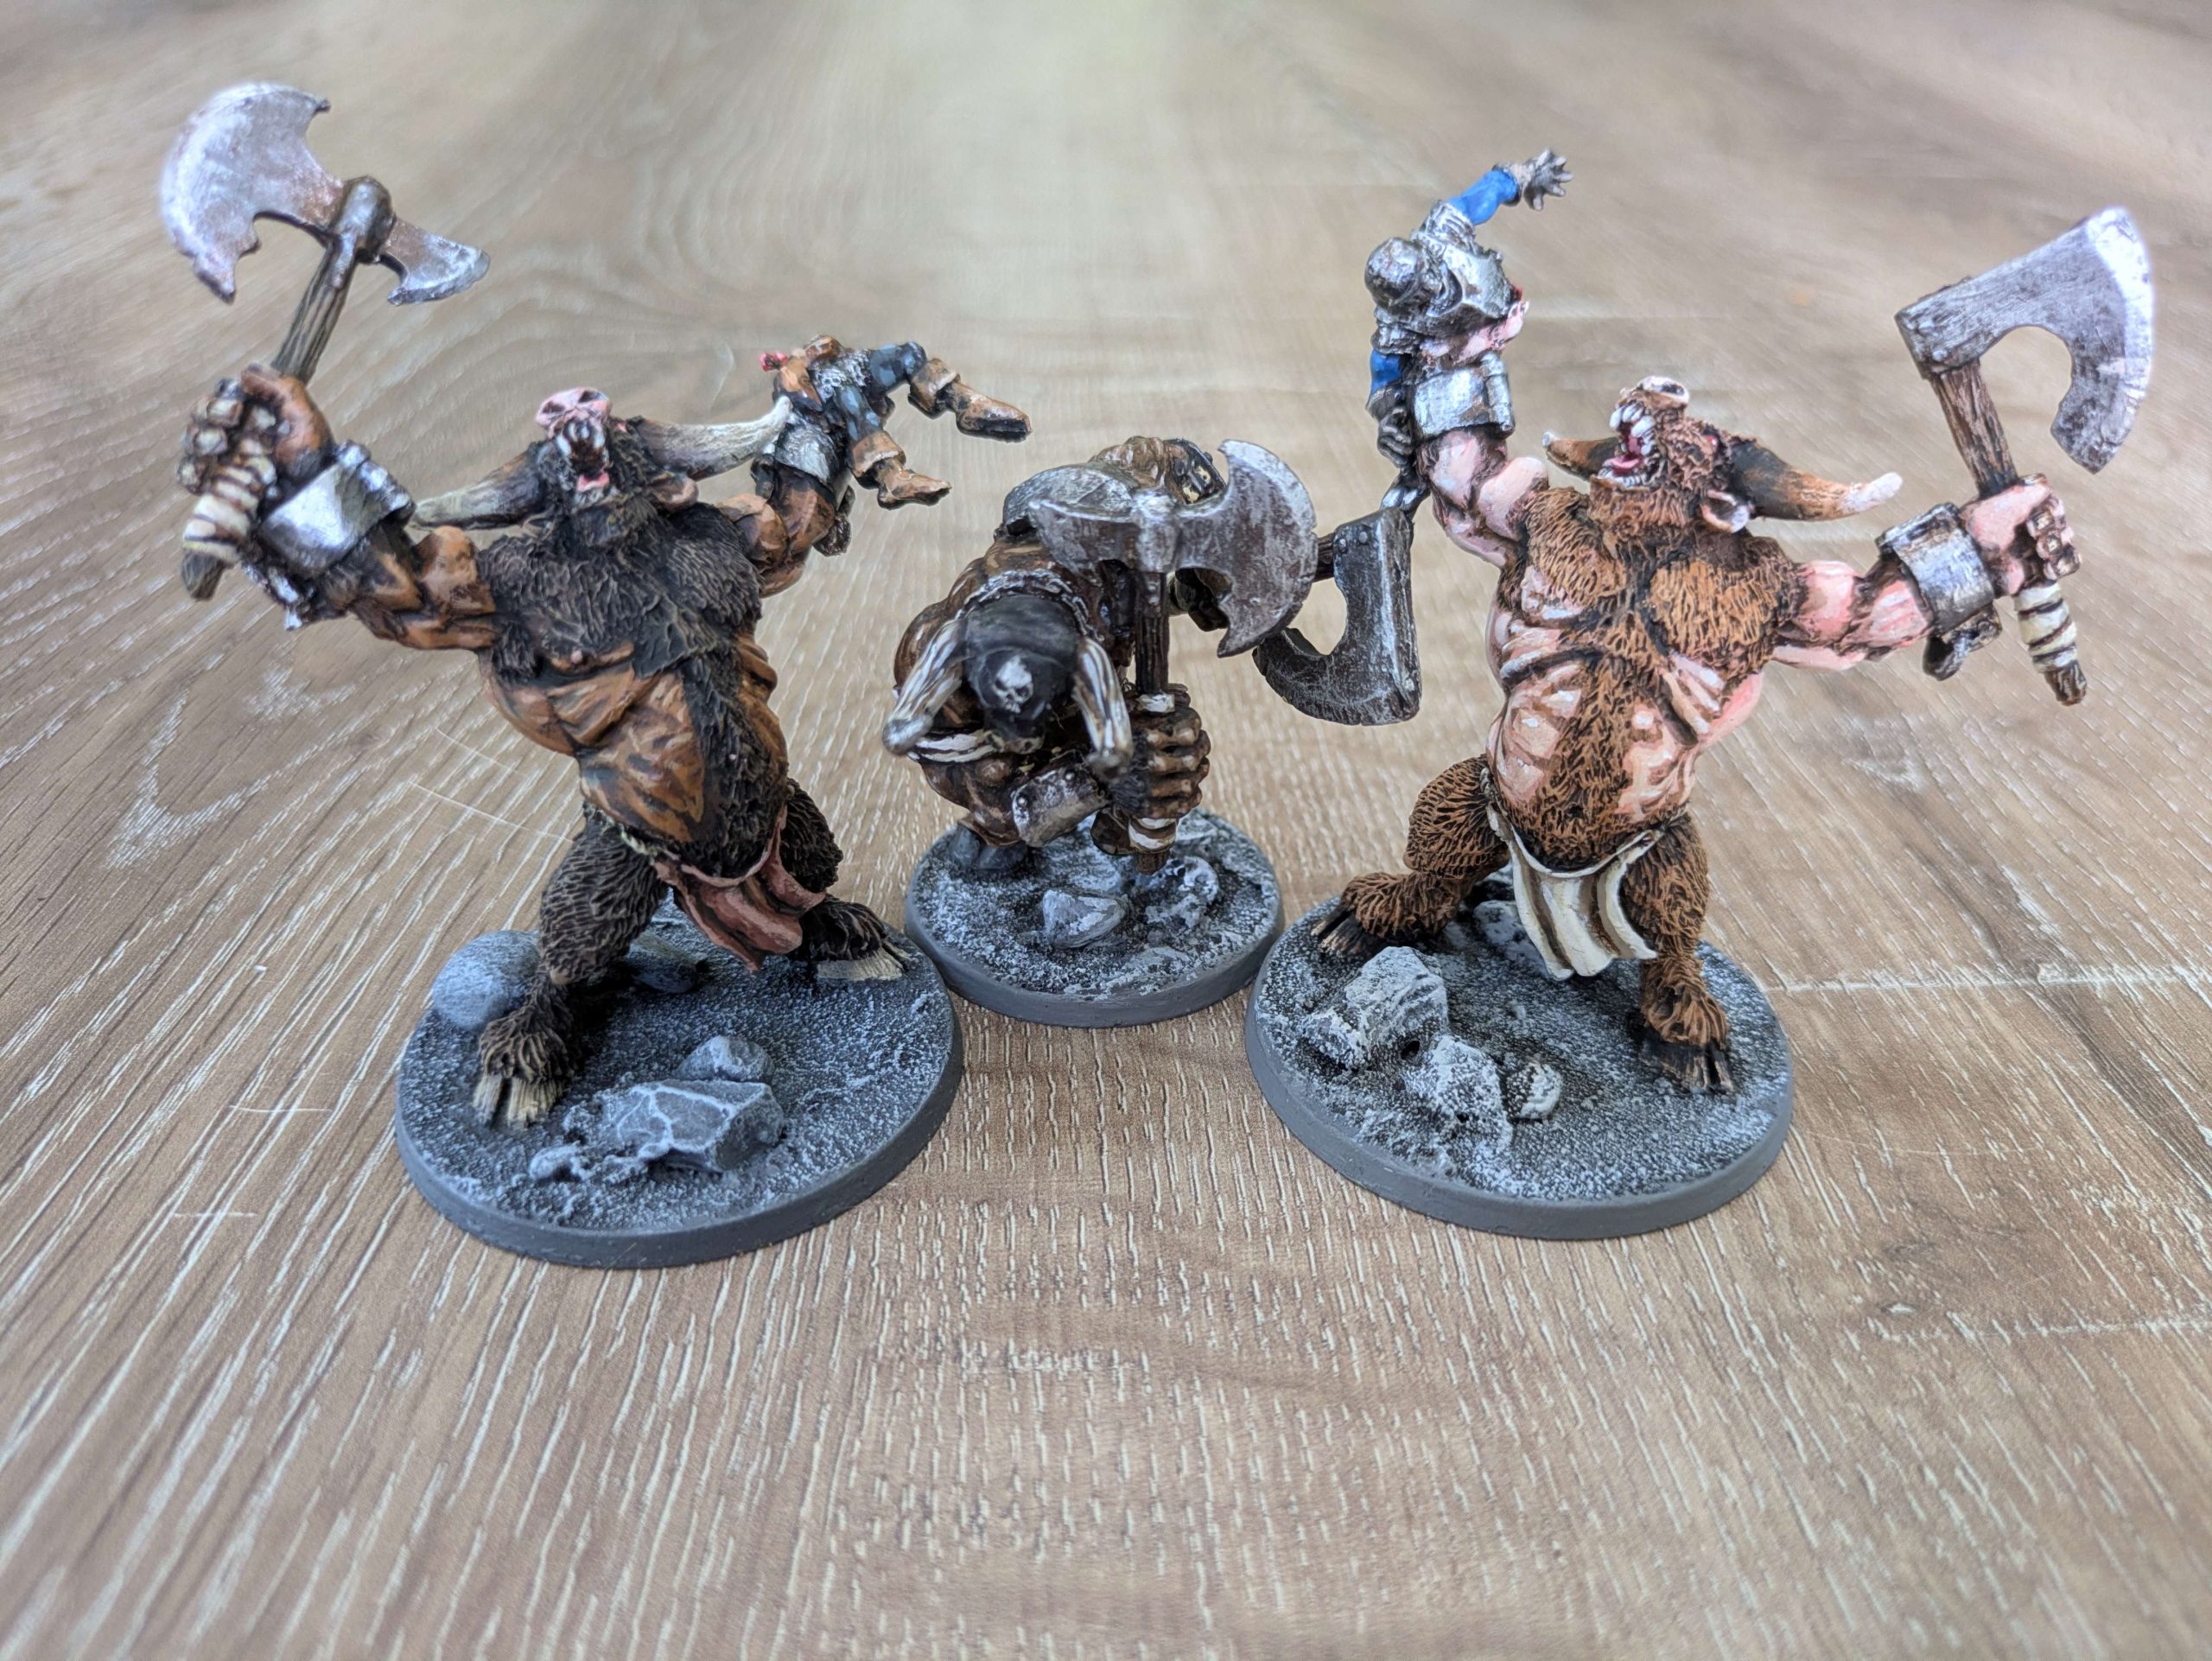 The base size for these guys might be an issue on the tabletop - but that said if you draw the 1D3 minotaurs card there's probably enough on the table to be keeping you occupied!
 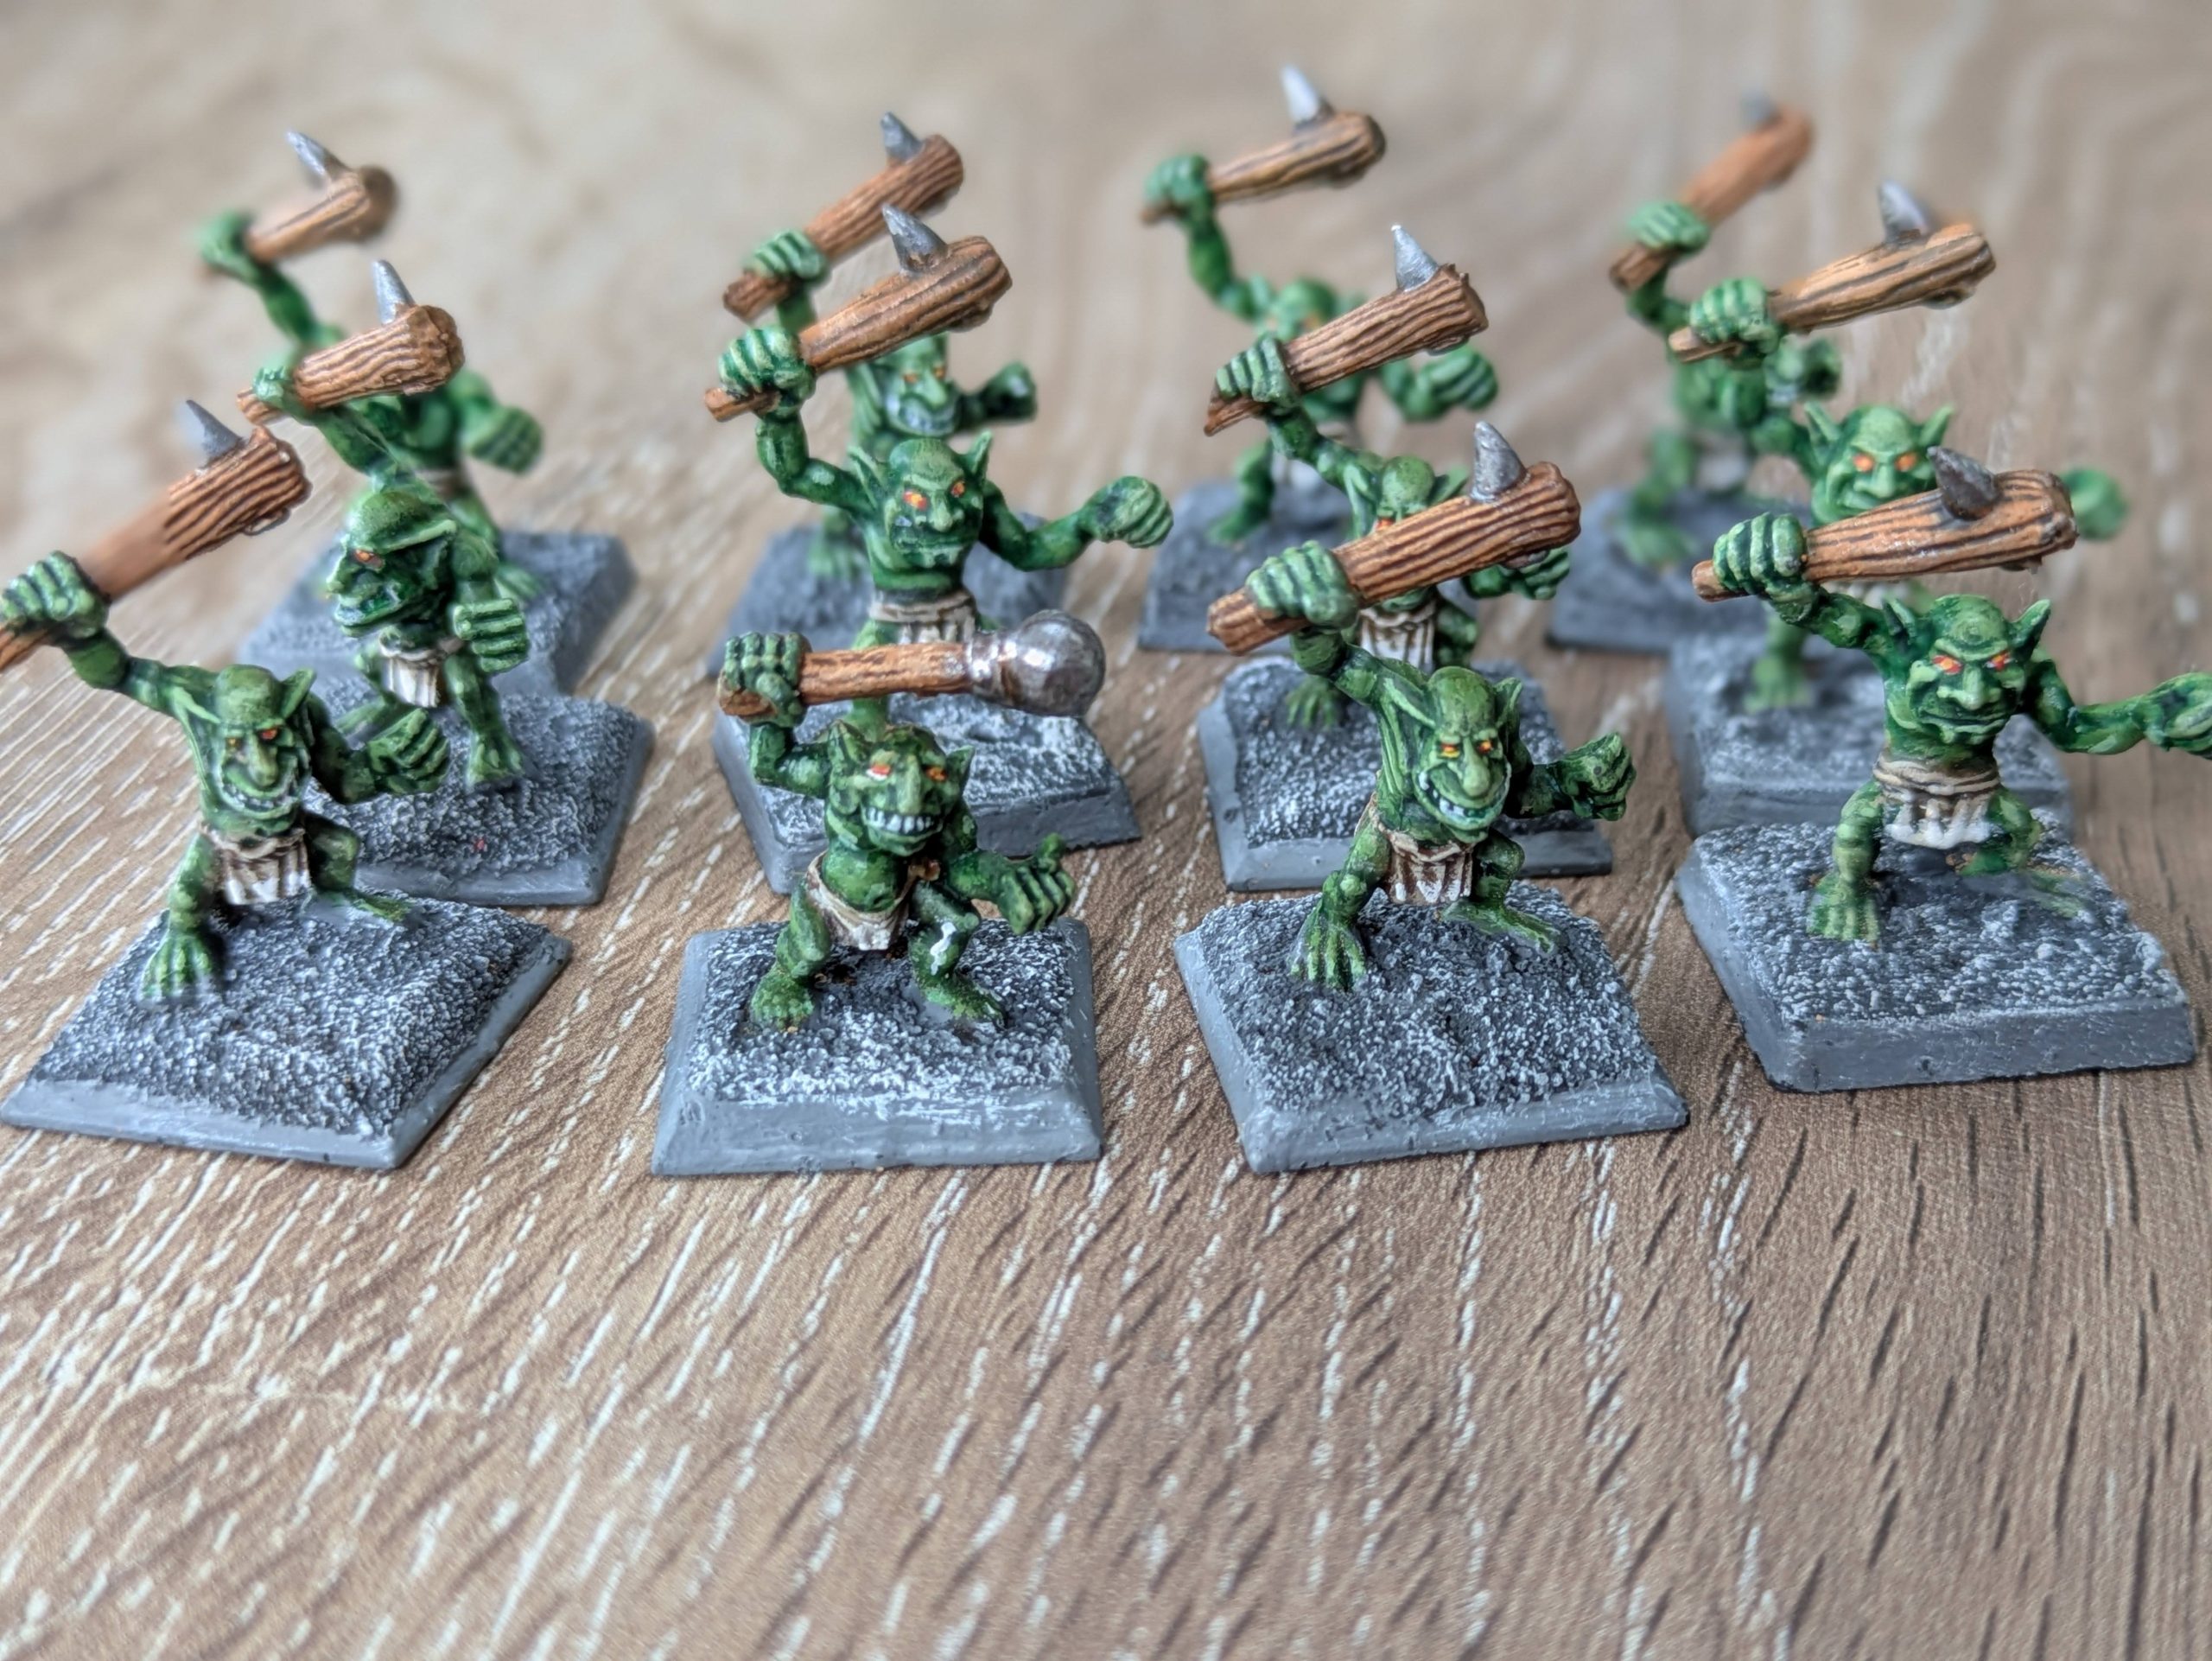 I still had 6 of the original monopose snotlings from the original box, and as a birthday present a friend kindly printed me out some STL files he'd found that are pretty close approximations to the original files. I did find the resin quite brittle on a couple of the minis, and had a few snapped legs/arms. I managed to repair a few, but sadly was still one short. However a quick shift through my old bits box found a few metal snotlings, so I topped up my numbers with one of them to make the required 12
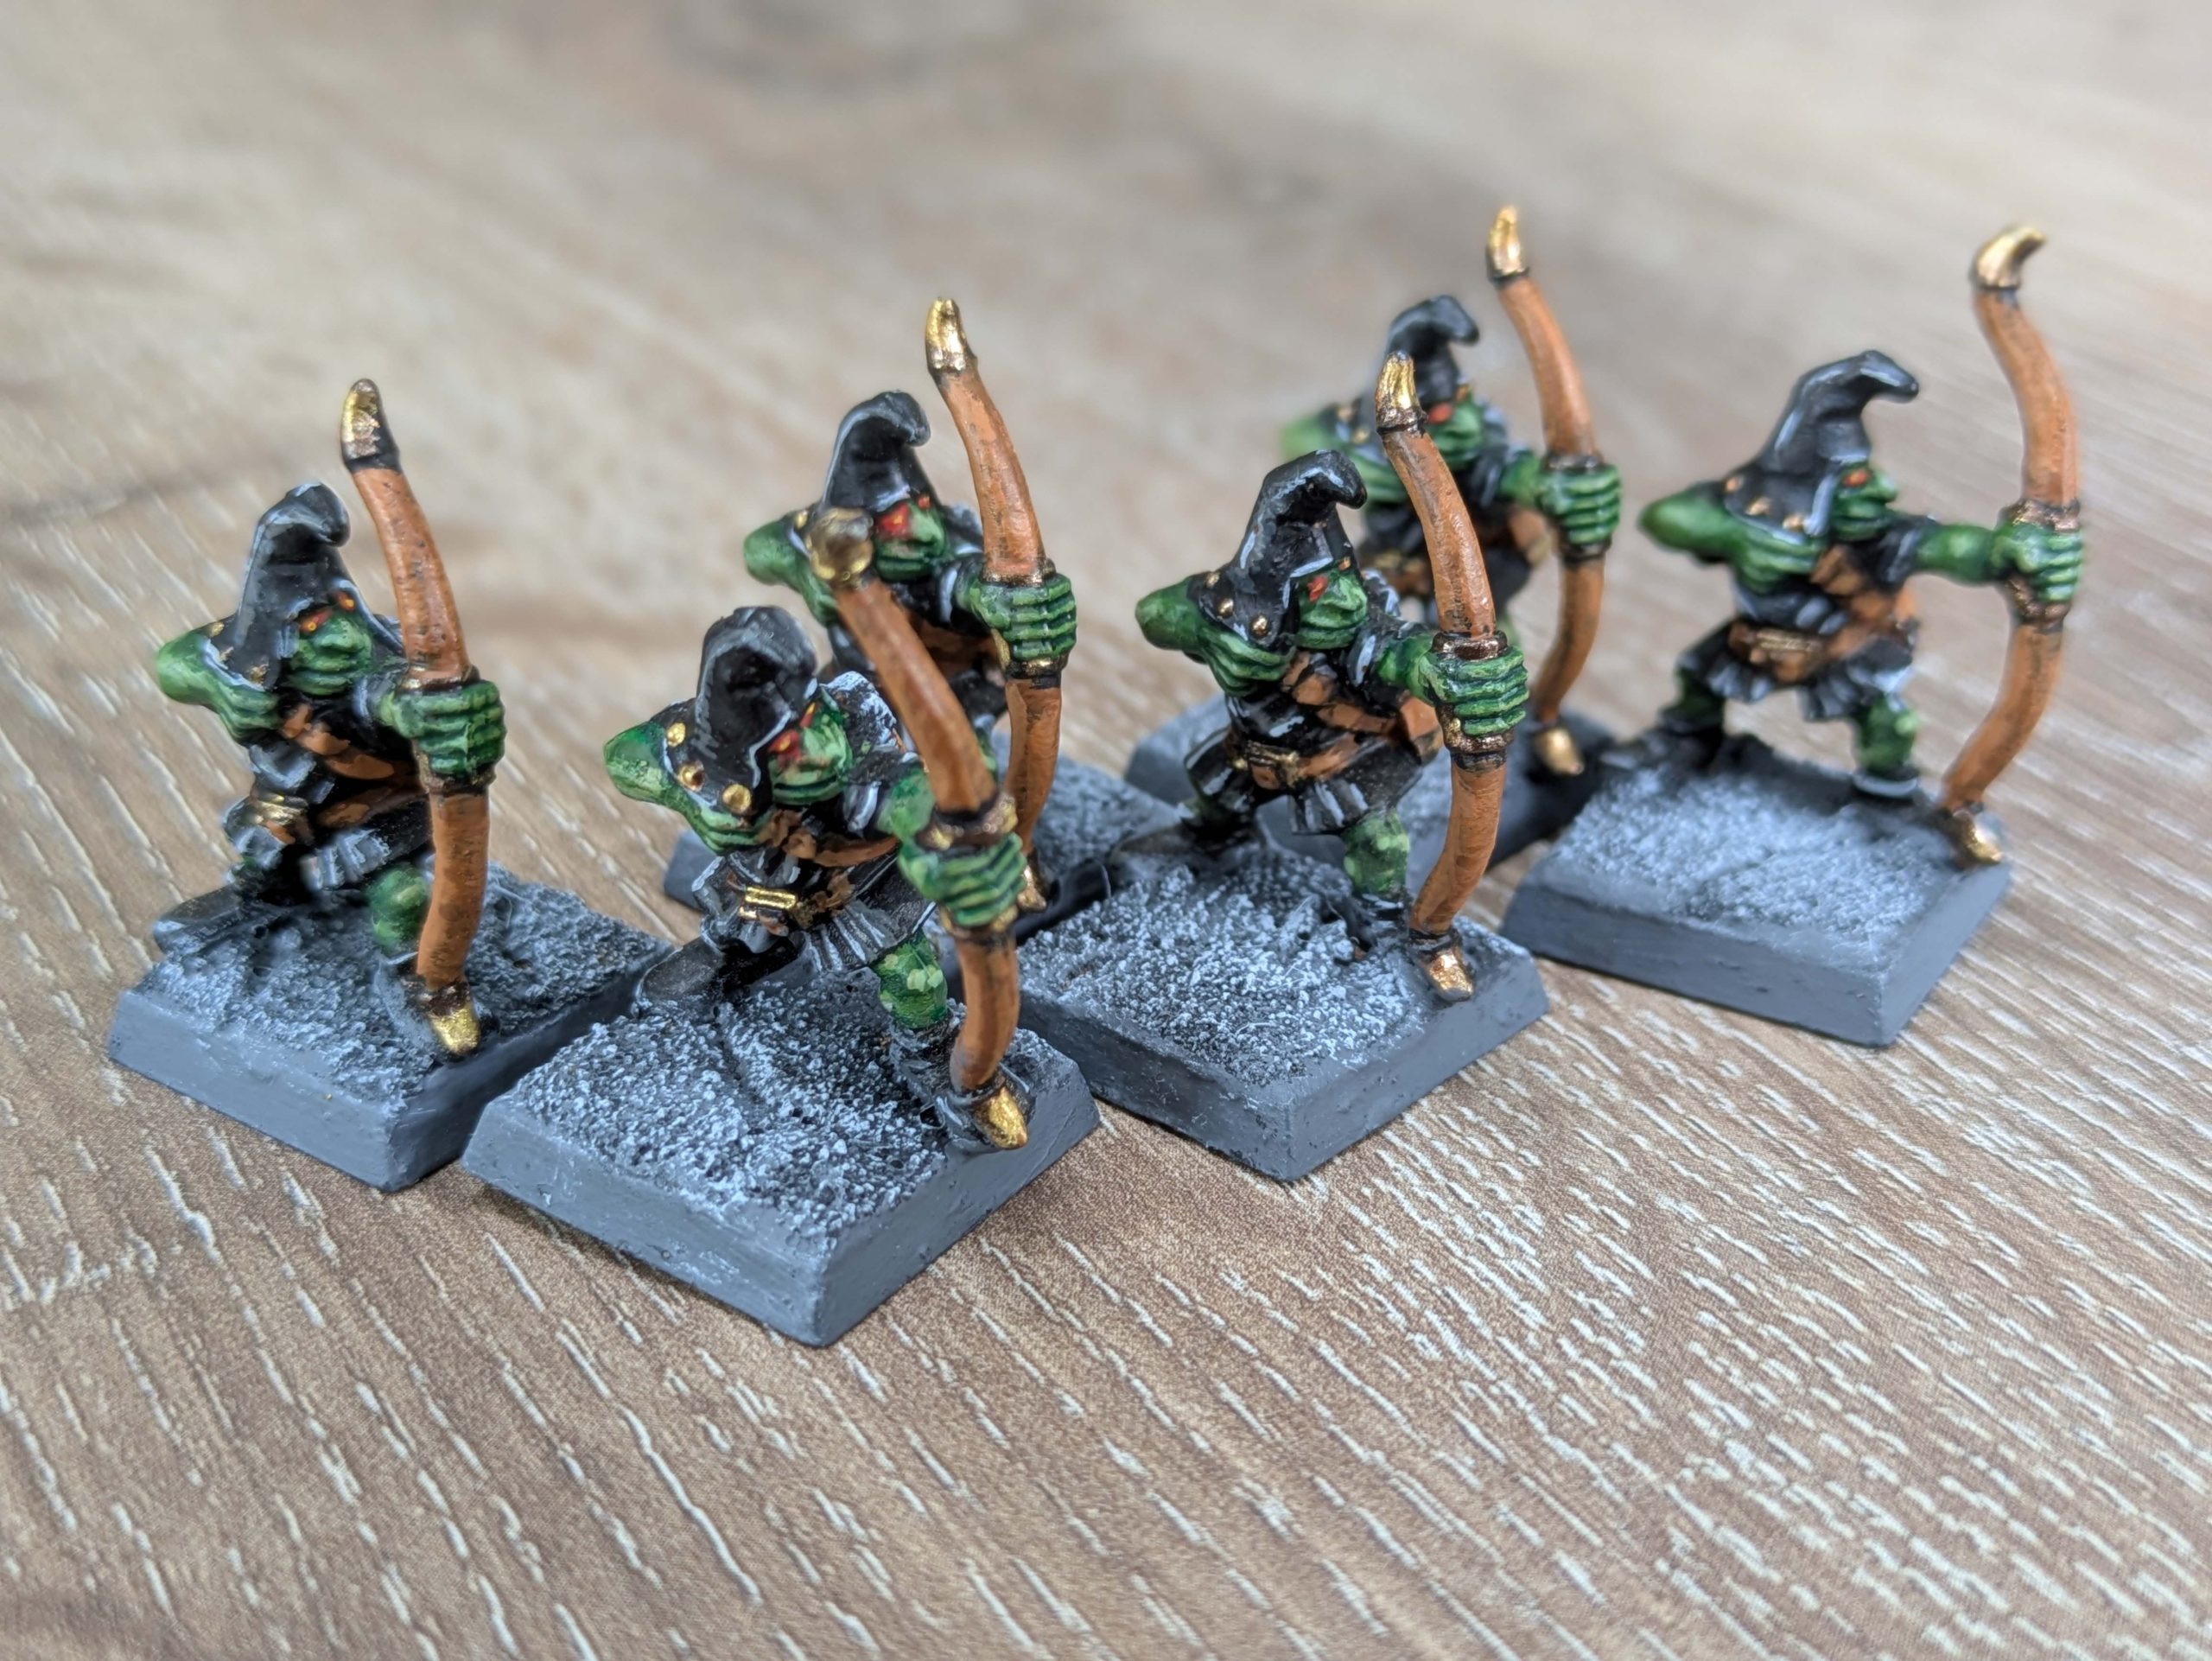 I also had 6 of the original monopose night goblin archers. Again I decided not to go for the bright yellow stripes and details of the original set, choosing instead to stick to black, grey and brown so they fitted in with the other Orcs and Goblins
DICE TOWER
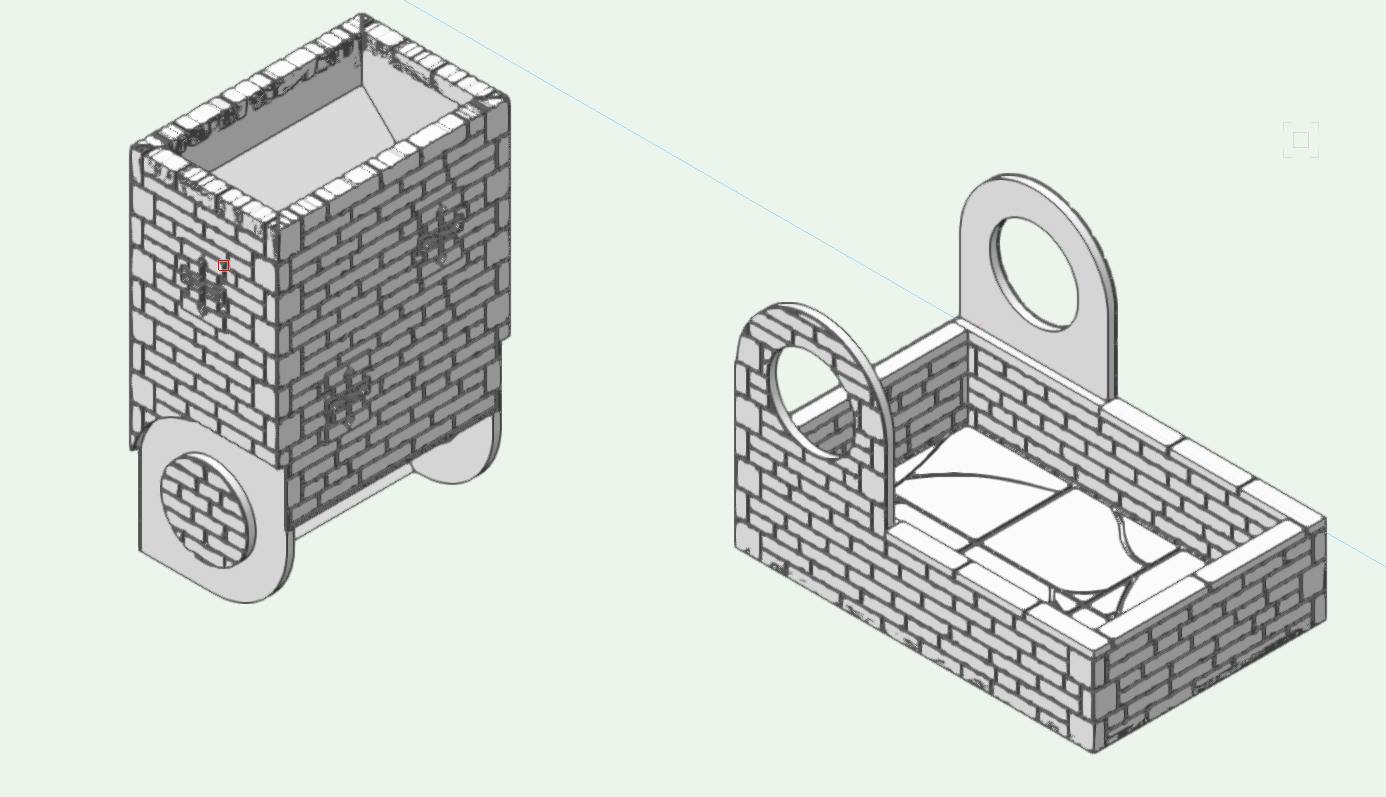 Although not part of the original box, I have memories of dice scattering across the table and onto the floor during the heat of battle, or as a result of over-enthusiastic rolling during the Power Phase when nobody wants to roll a 1! So I went back to Vector Works and drew up a suitably Fantasy-esq dice tower
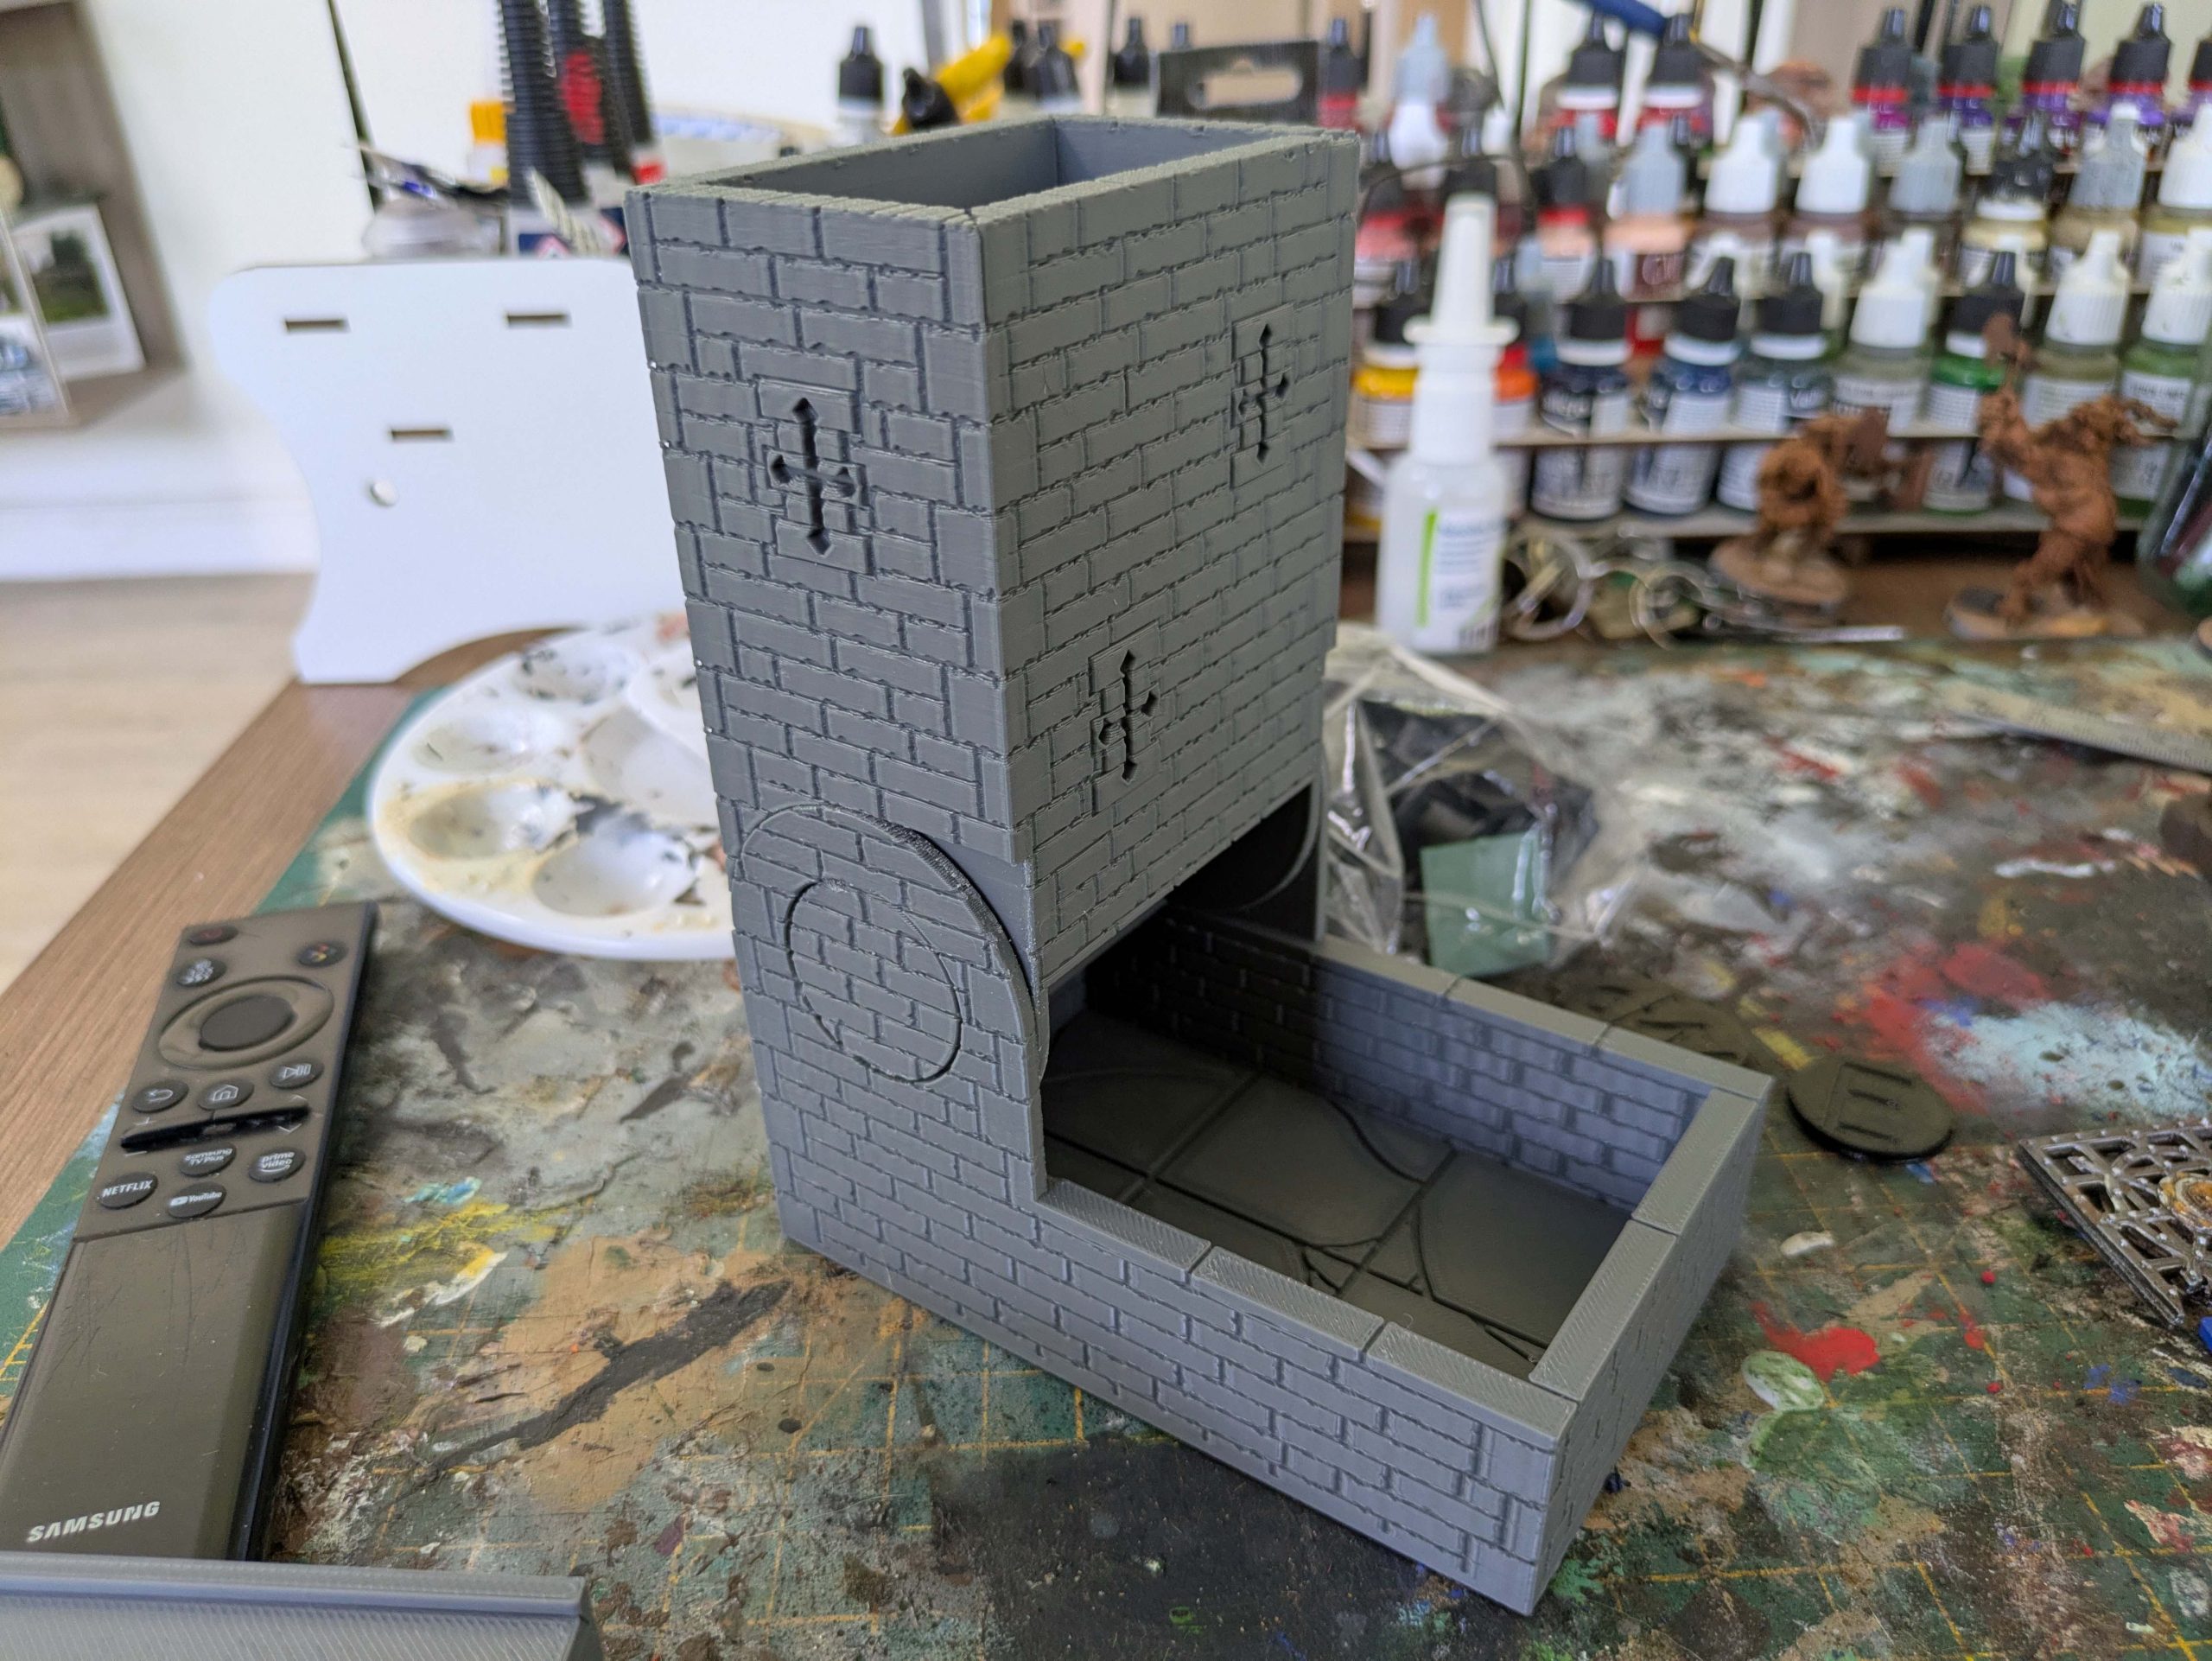 It worked well as a print, although I think I might need to teak a few bits to make the hinge a little smoother if I do anything like this in the future
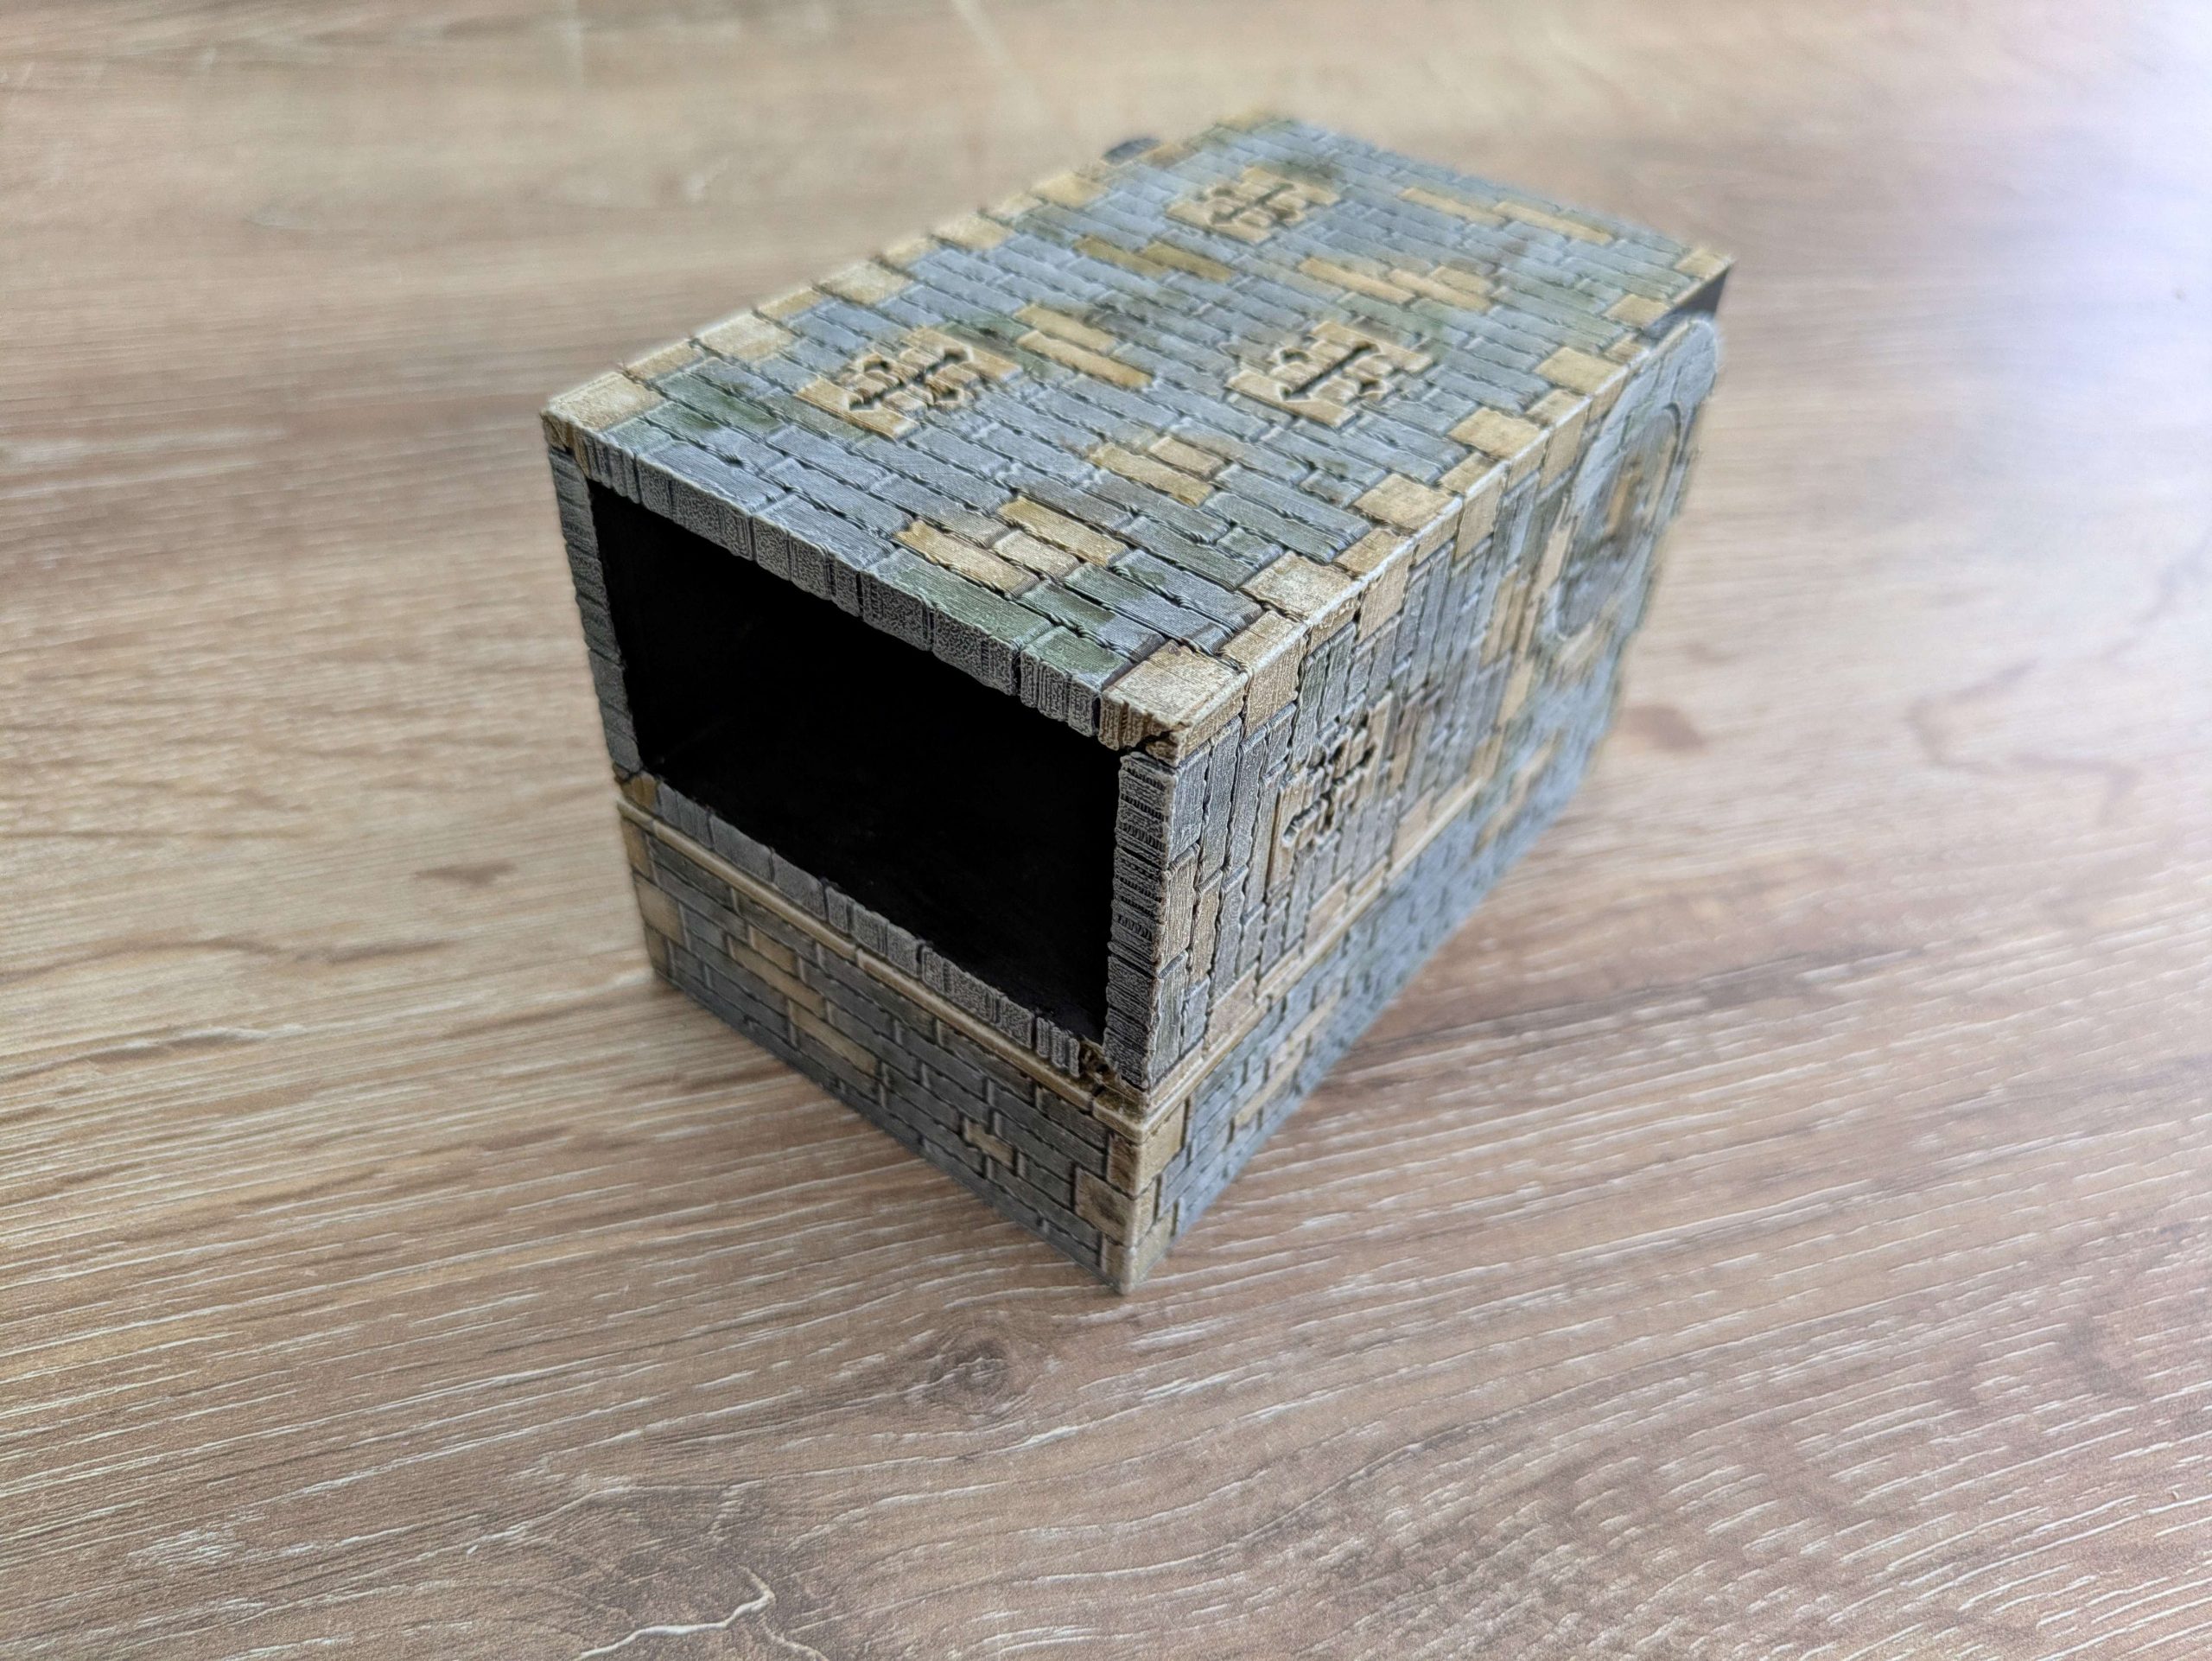
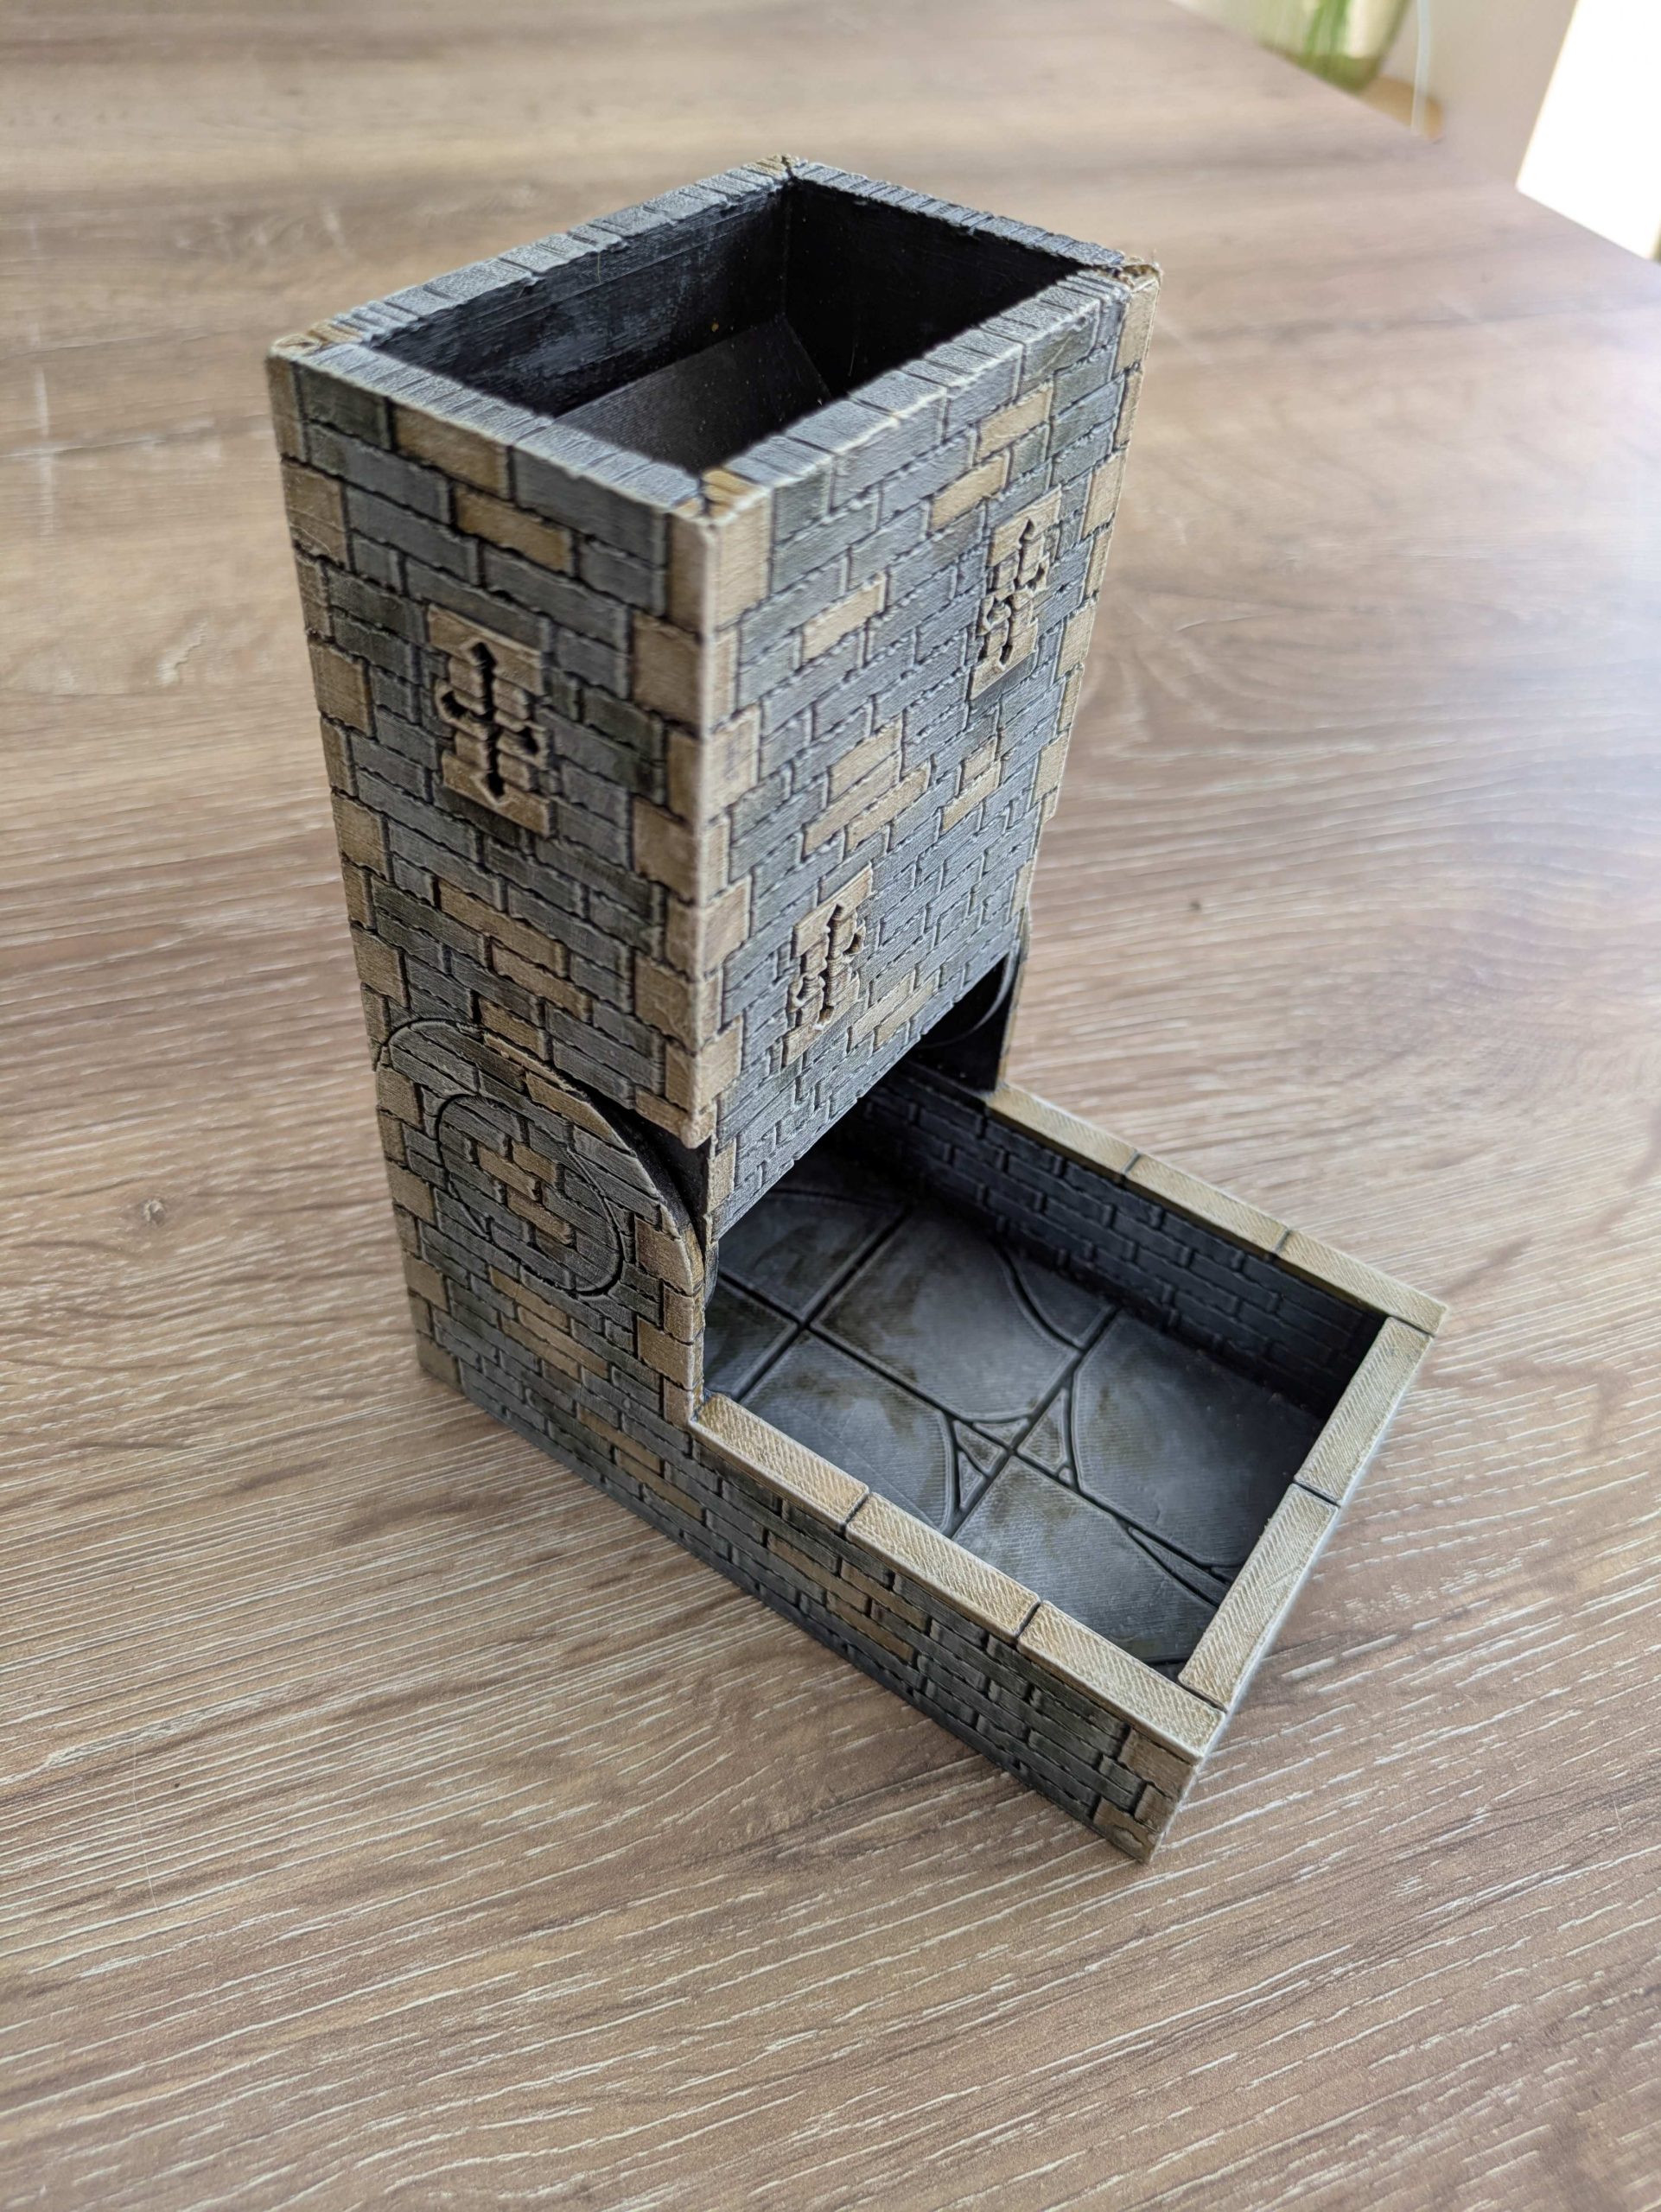 Finally a stone paint job to finish it off
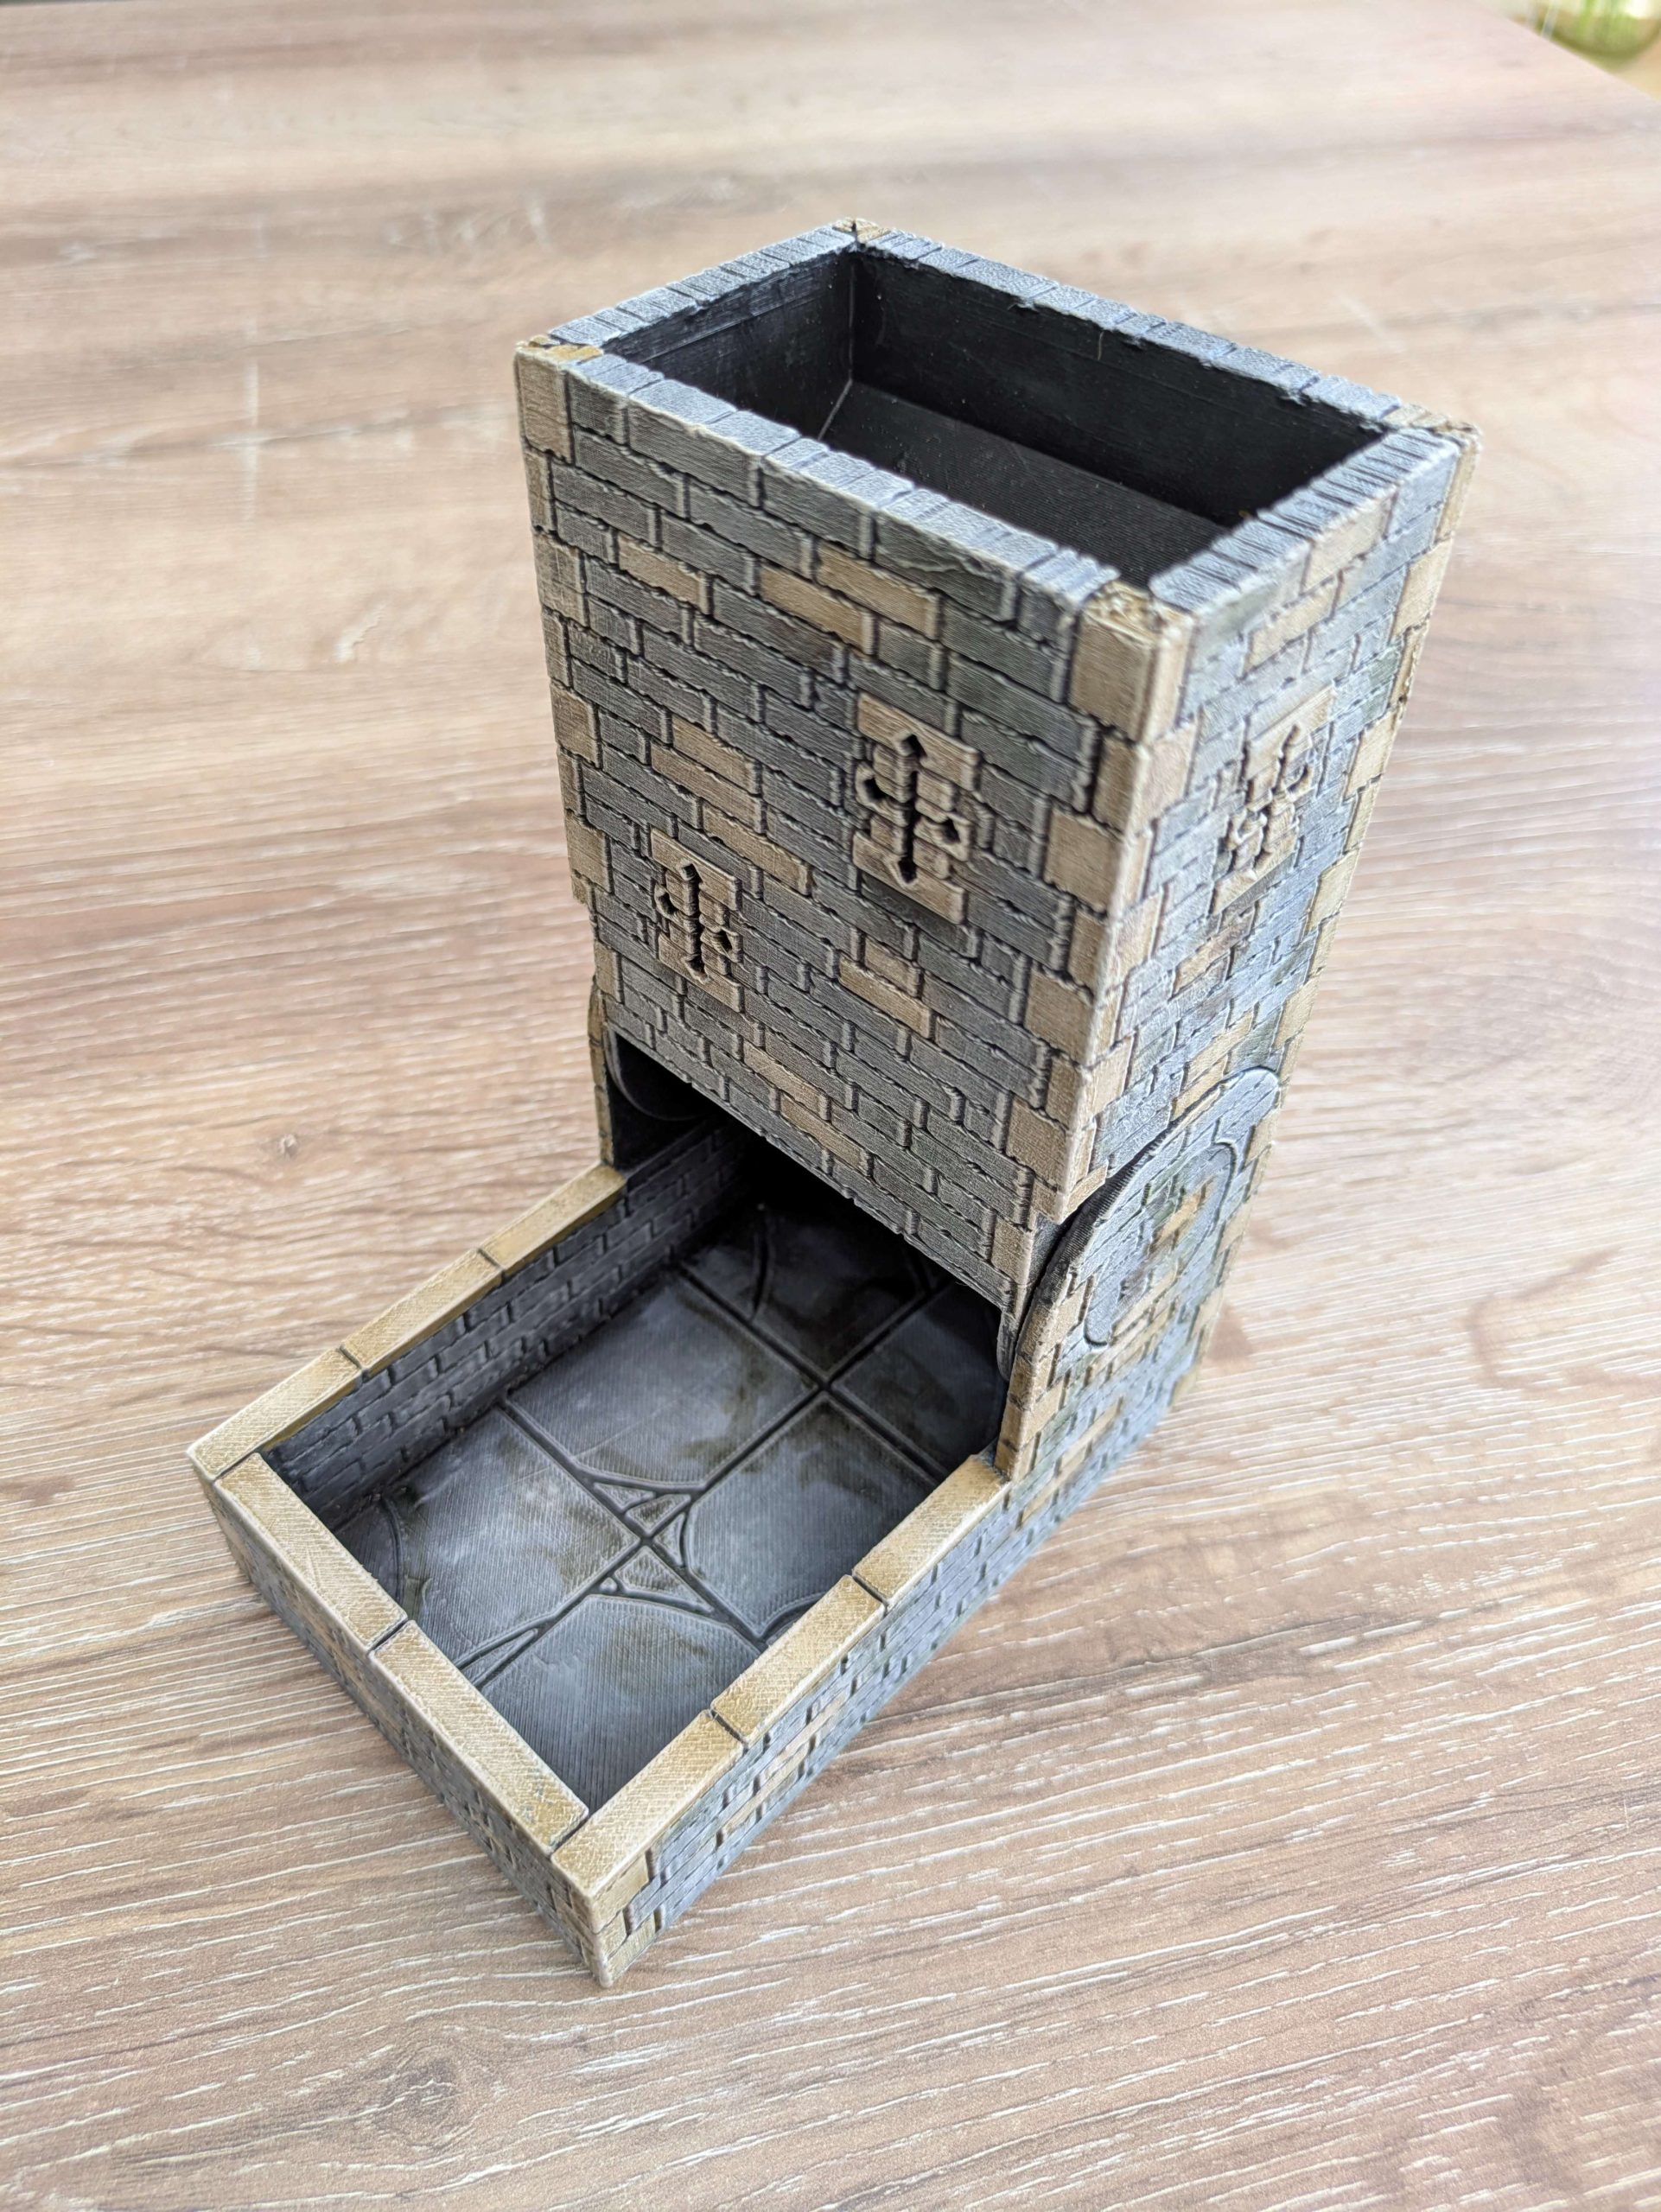
MINIATURES: ADVENTURERS & MONSTERS
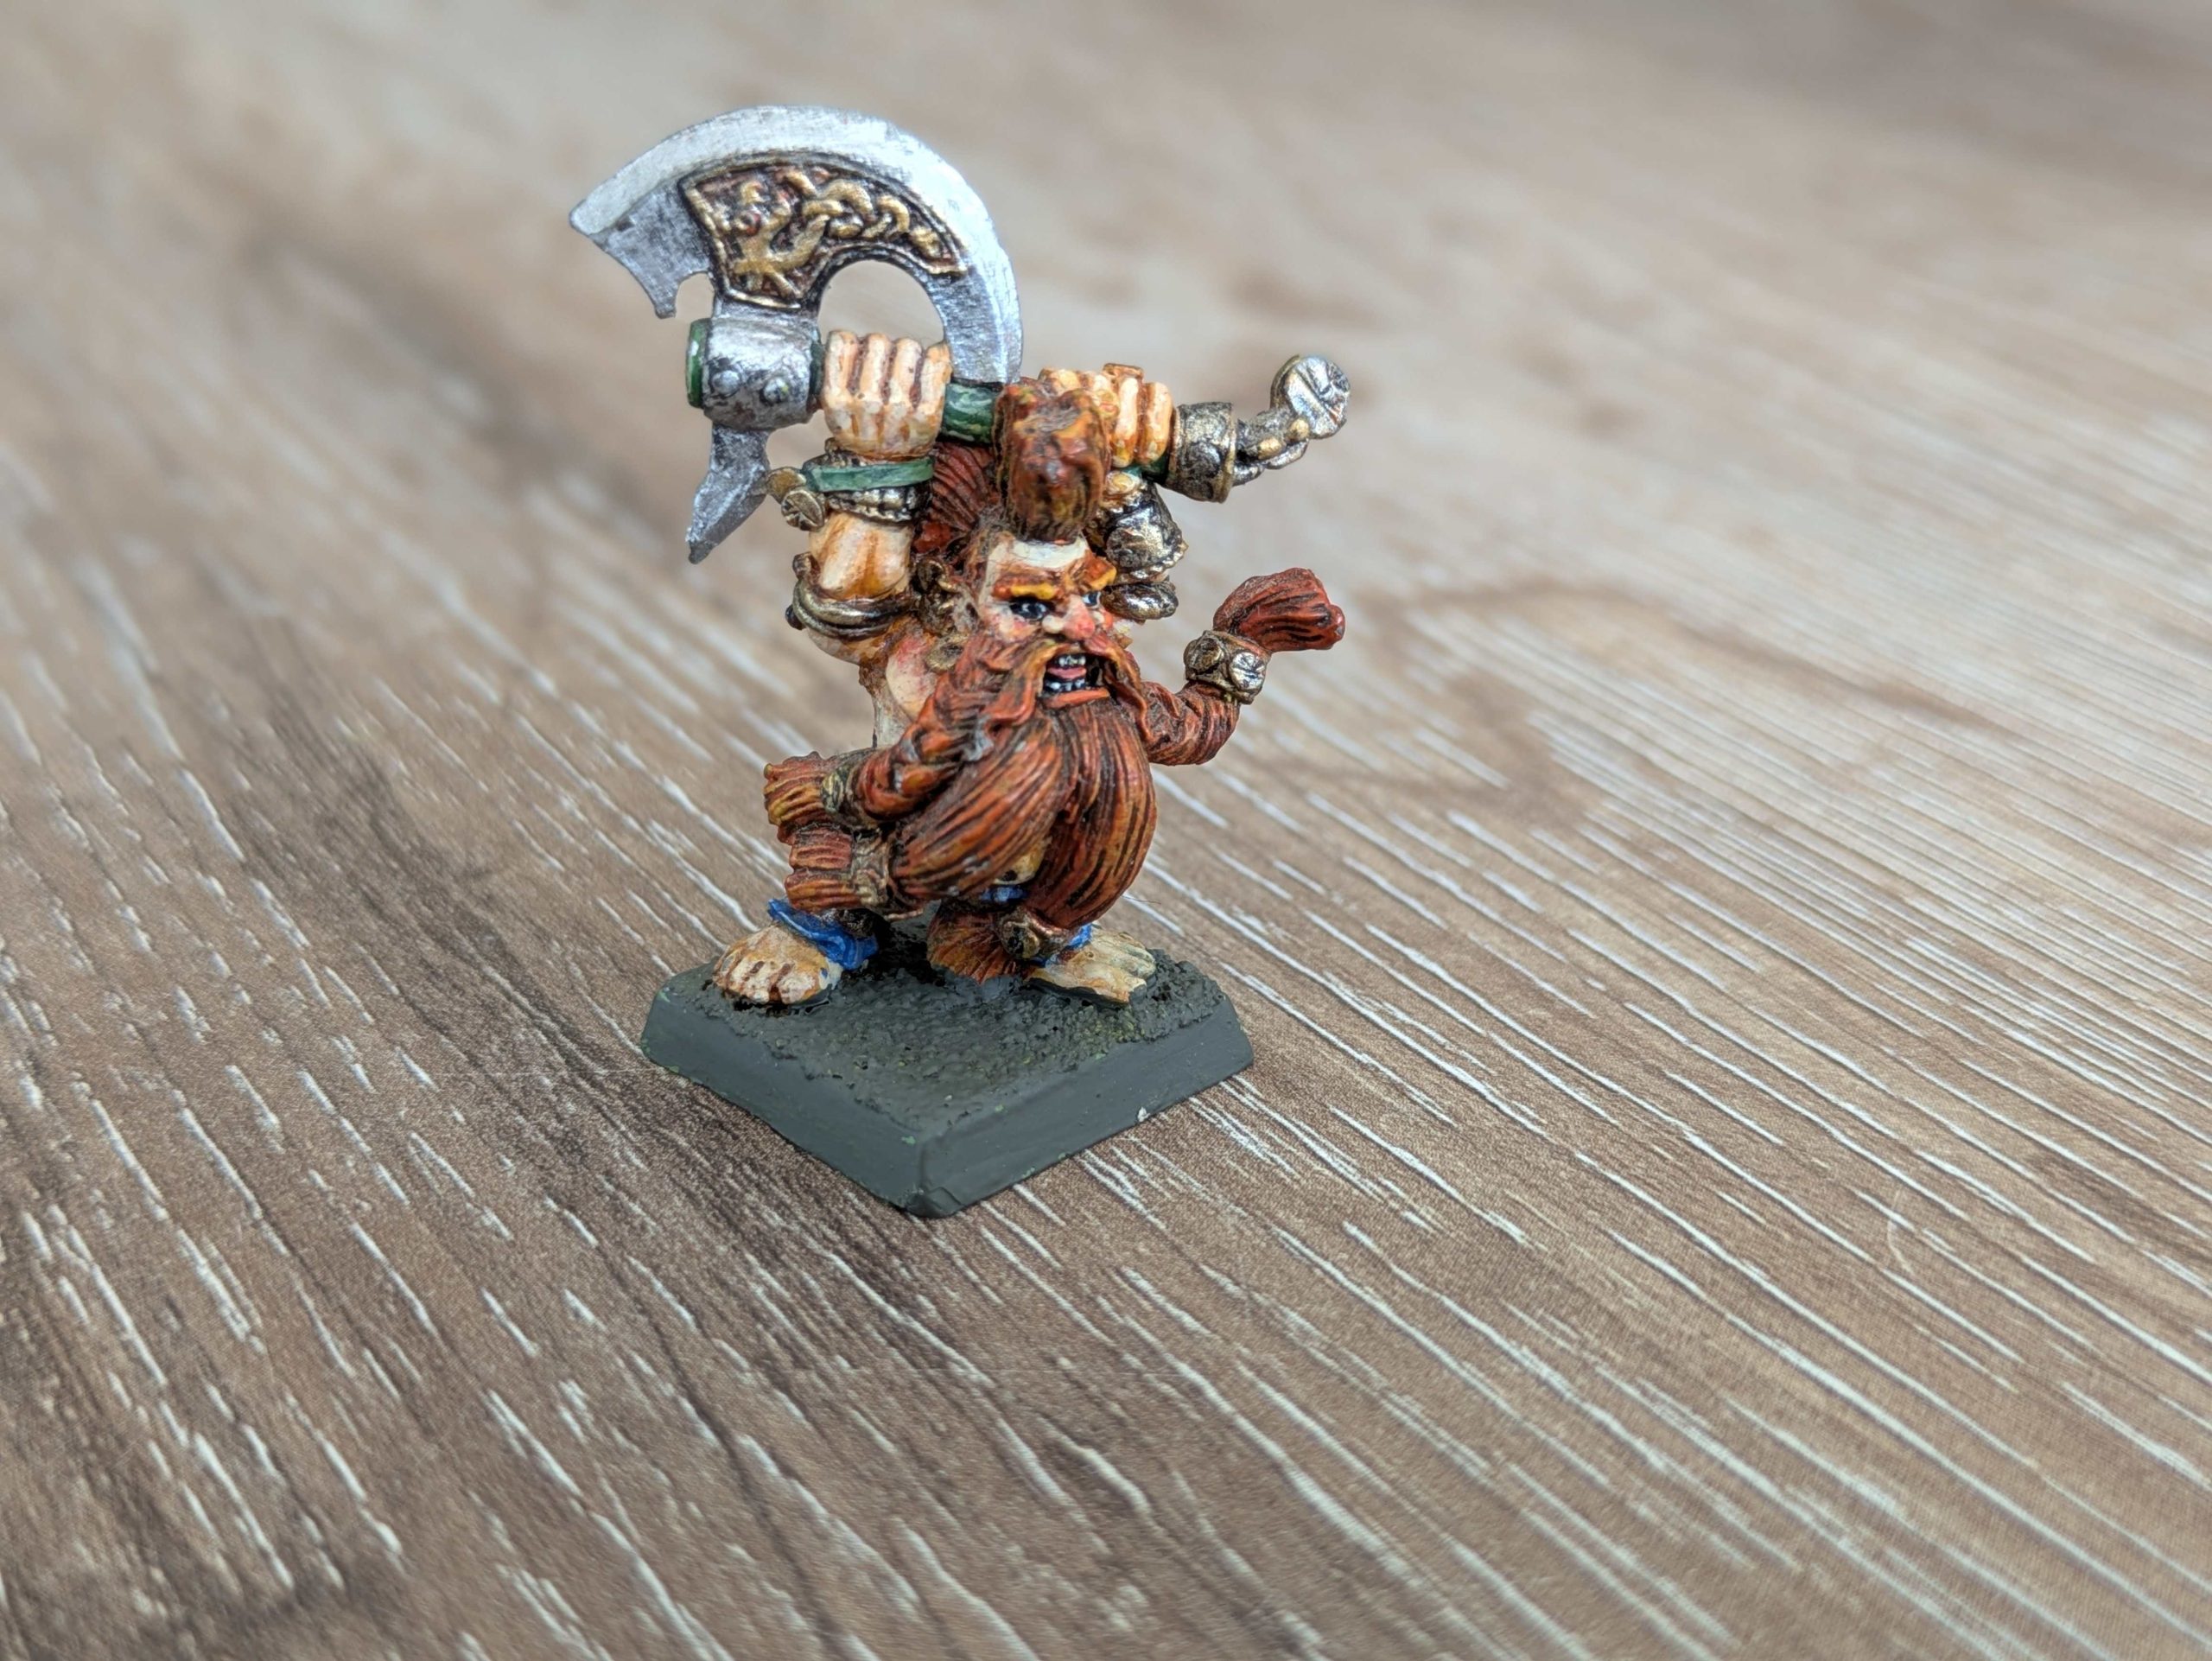
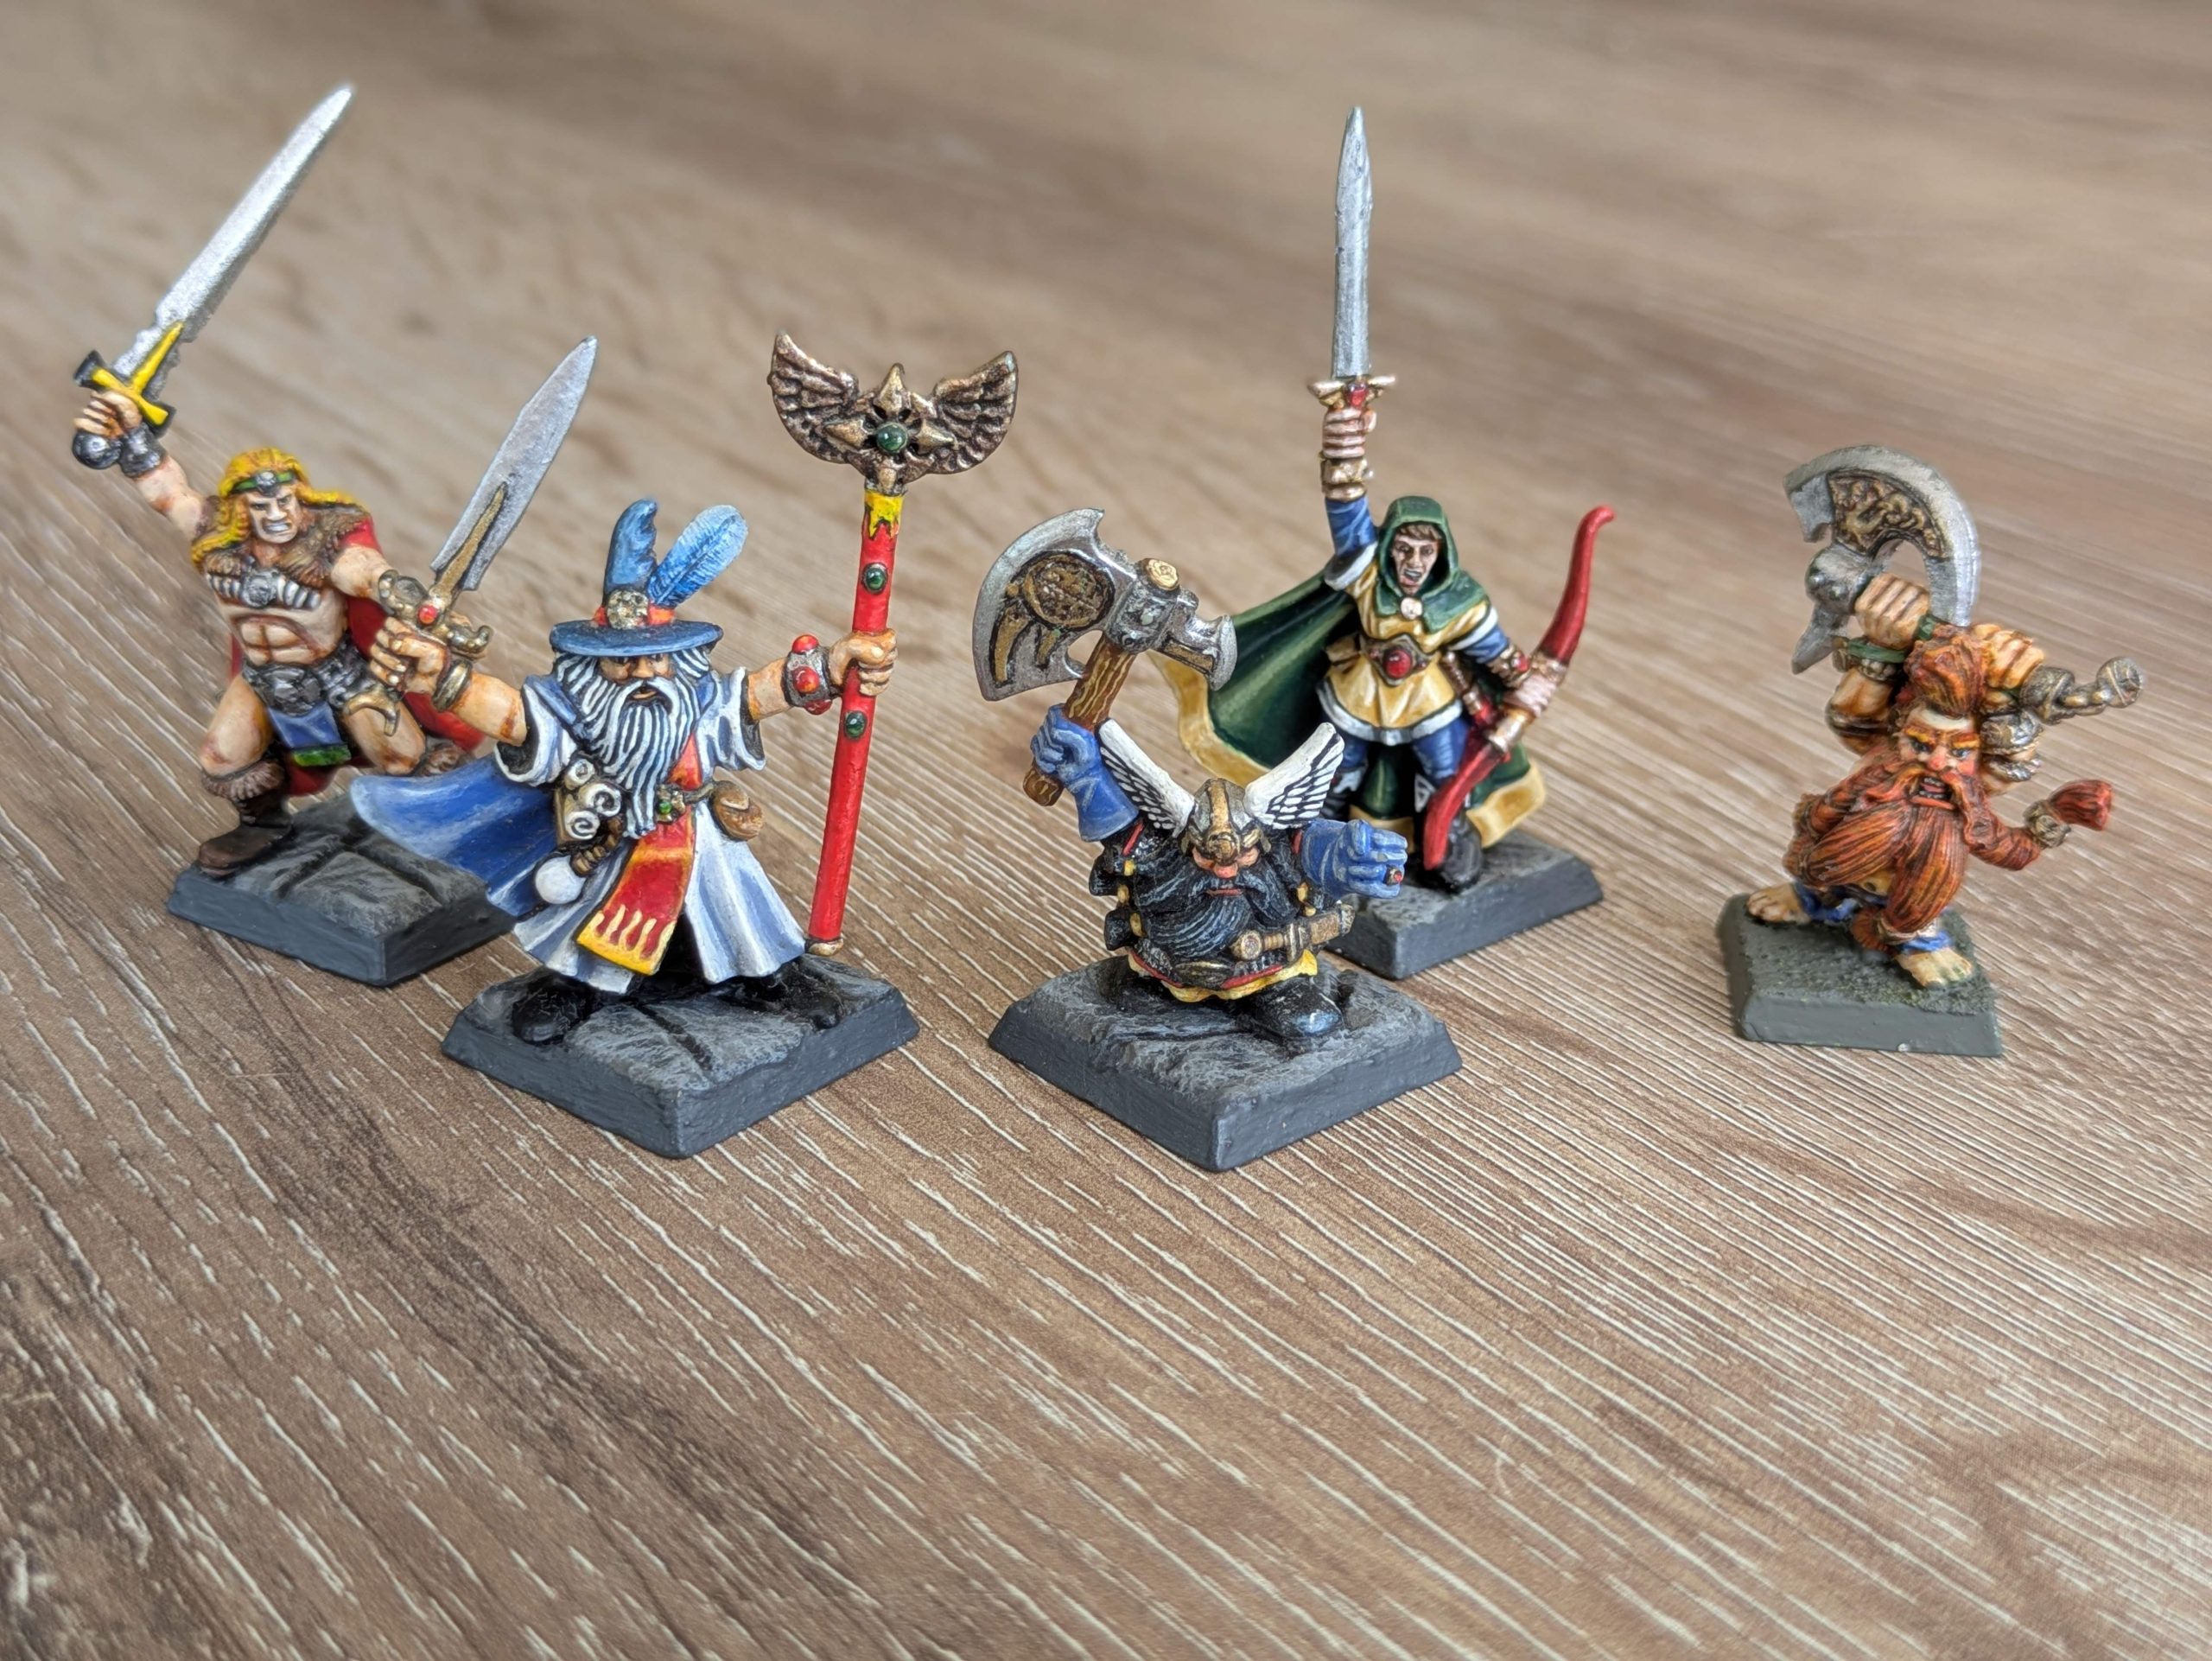 I was lucky enough to find my original WHQ Adventurer minis from 1995 - I'd thought they were long gone, but they were lurking amongst an old bits-box of stuff. I had painted them when I first got the box and matched the original 'Eavy Metal Adventurers - apart from the Dwarf's beard! I opted for black because the wizard already has a grey beard. I had a few of the extra warrior packs, but although the cards were still there for a few of them, the only one I could find the miniature for was the Troll Slayer. The Elf had a snapped bow, which I have replaced with a similar bow from my bits box. I also repainted the bases grey. The original 'Eavy Metal minis were all Goblin Green. I never really understood this for a dungeon crawler, but vaguely remember hearing one of the GW Old Guard talking about this in an interview. The guidelines were that all bases were Goblin Green, so even minis for games like WHQ and Necromunda got the same treatment, regardless of practicalities
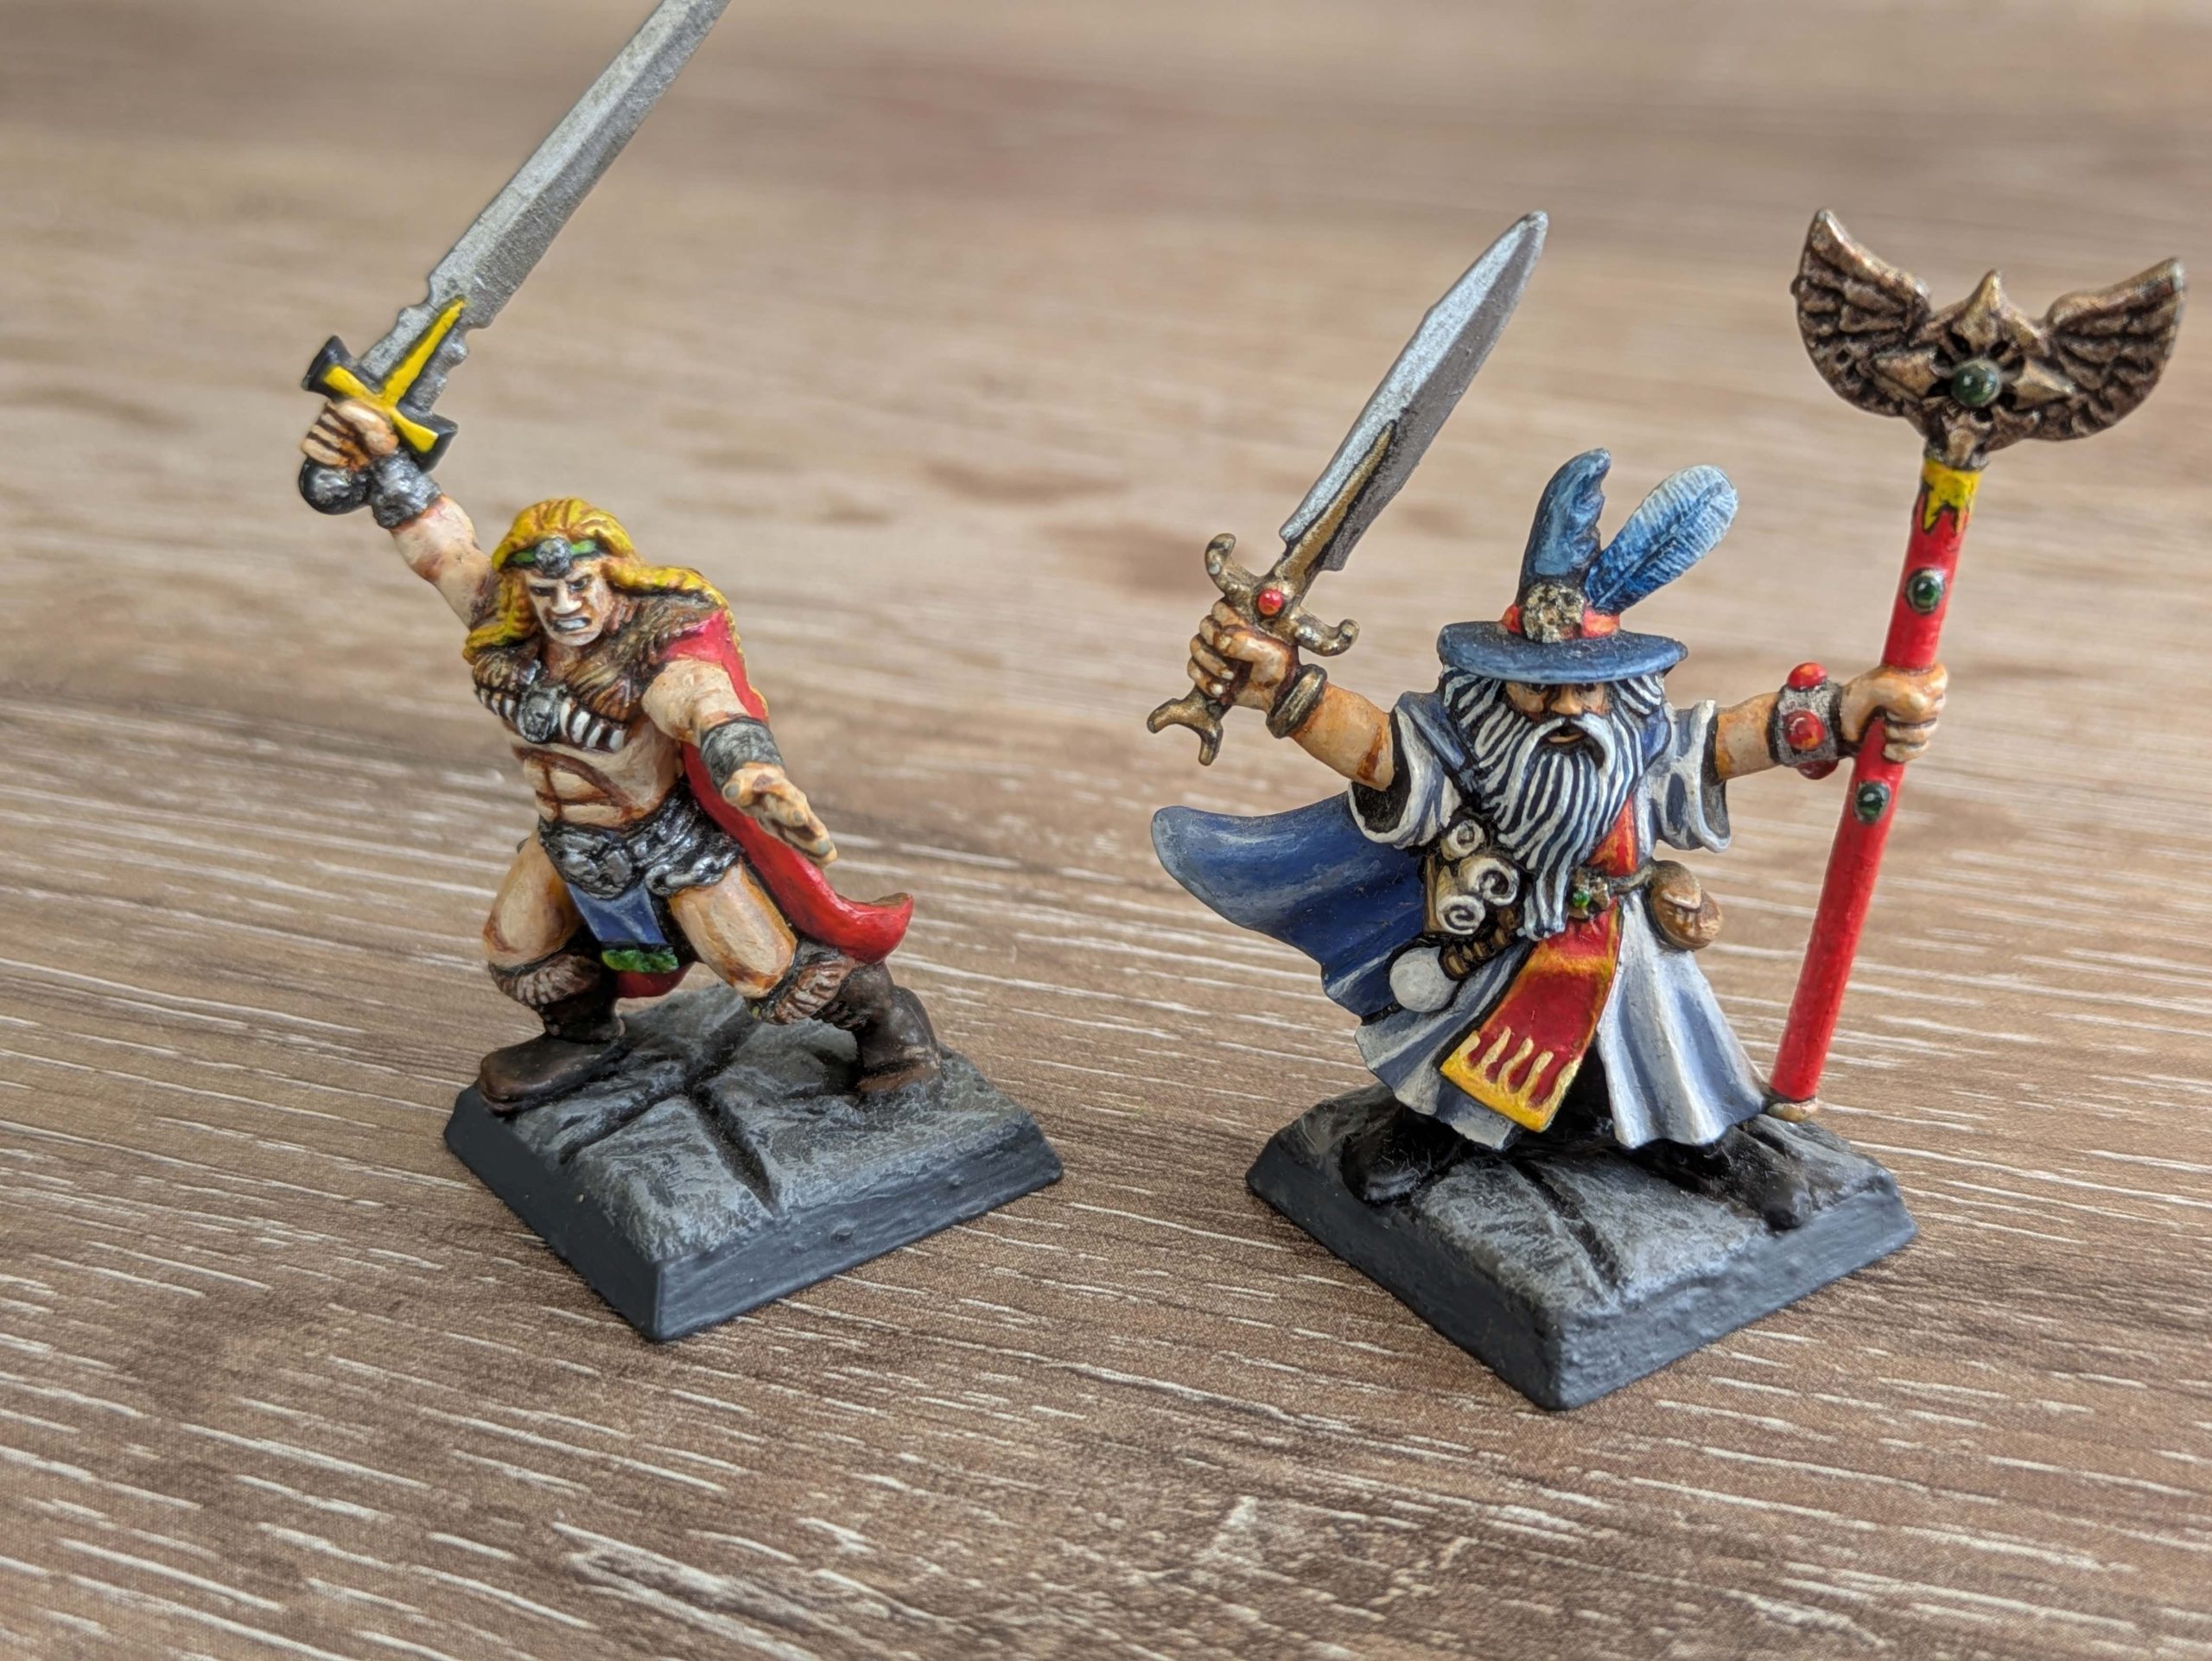

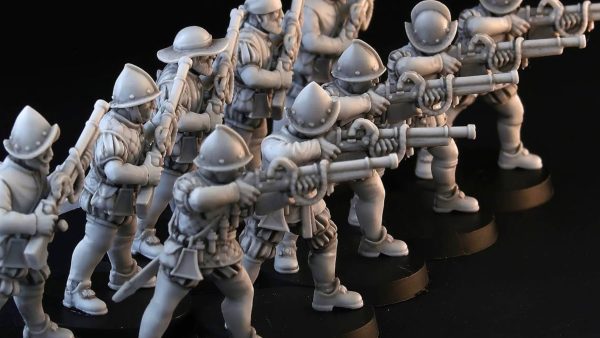
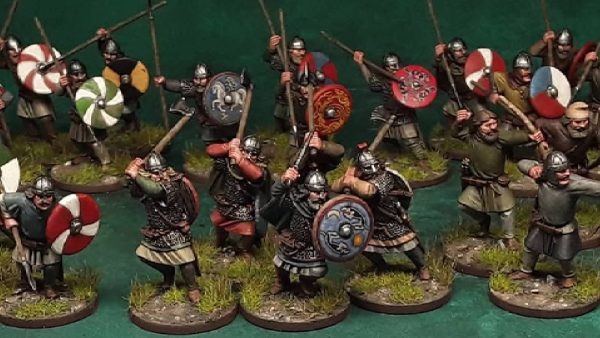
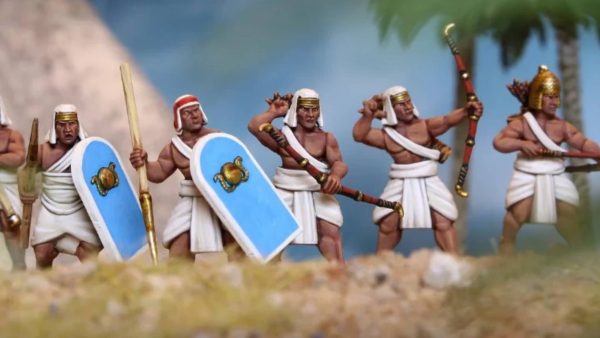
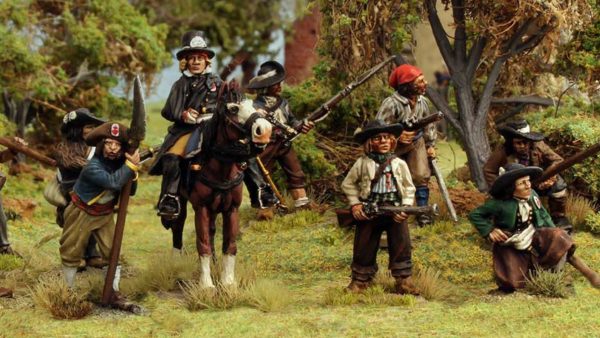
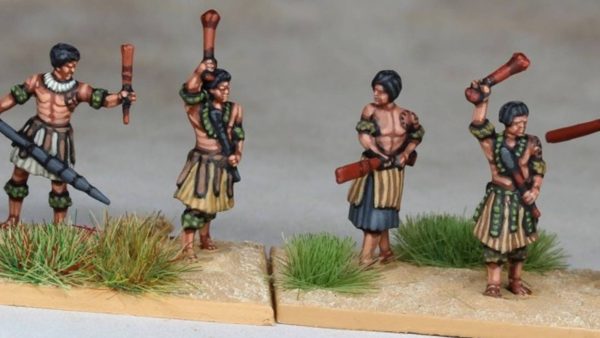
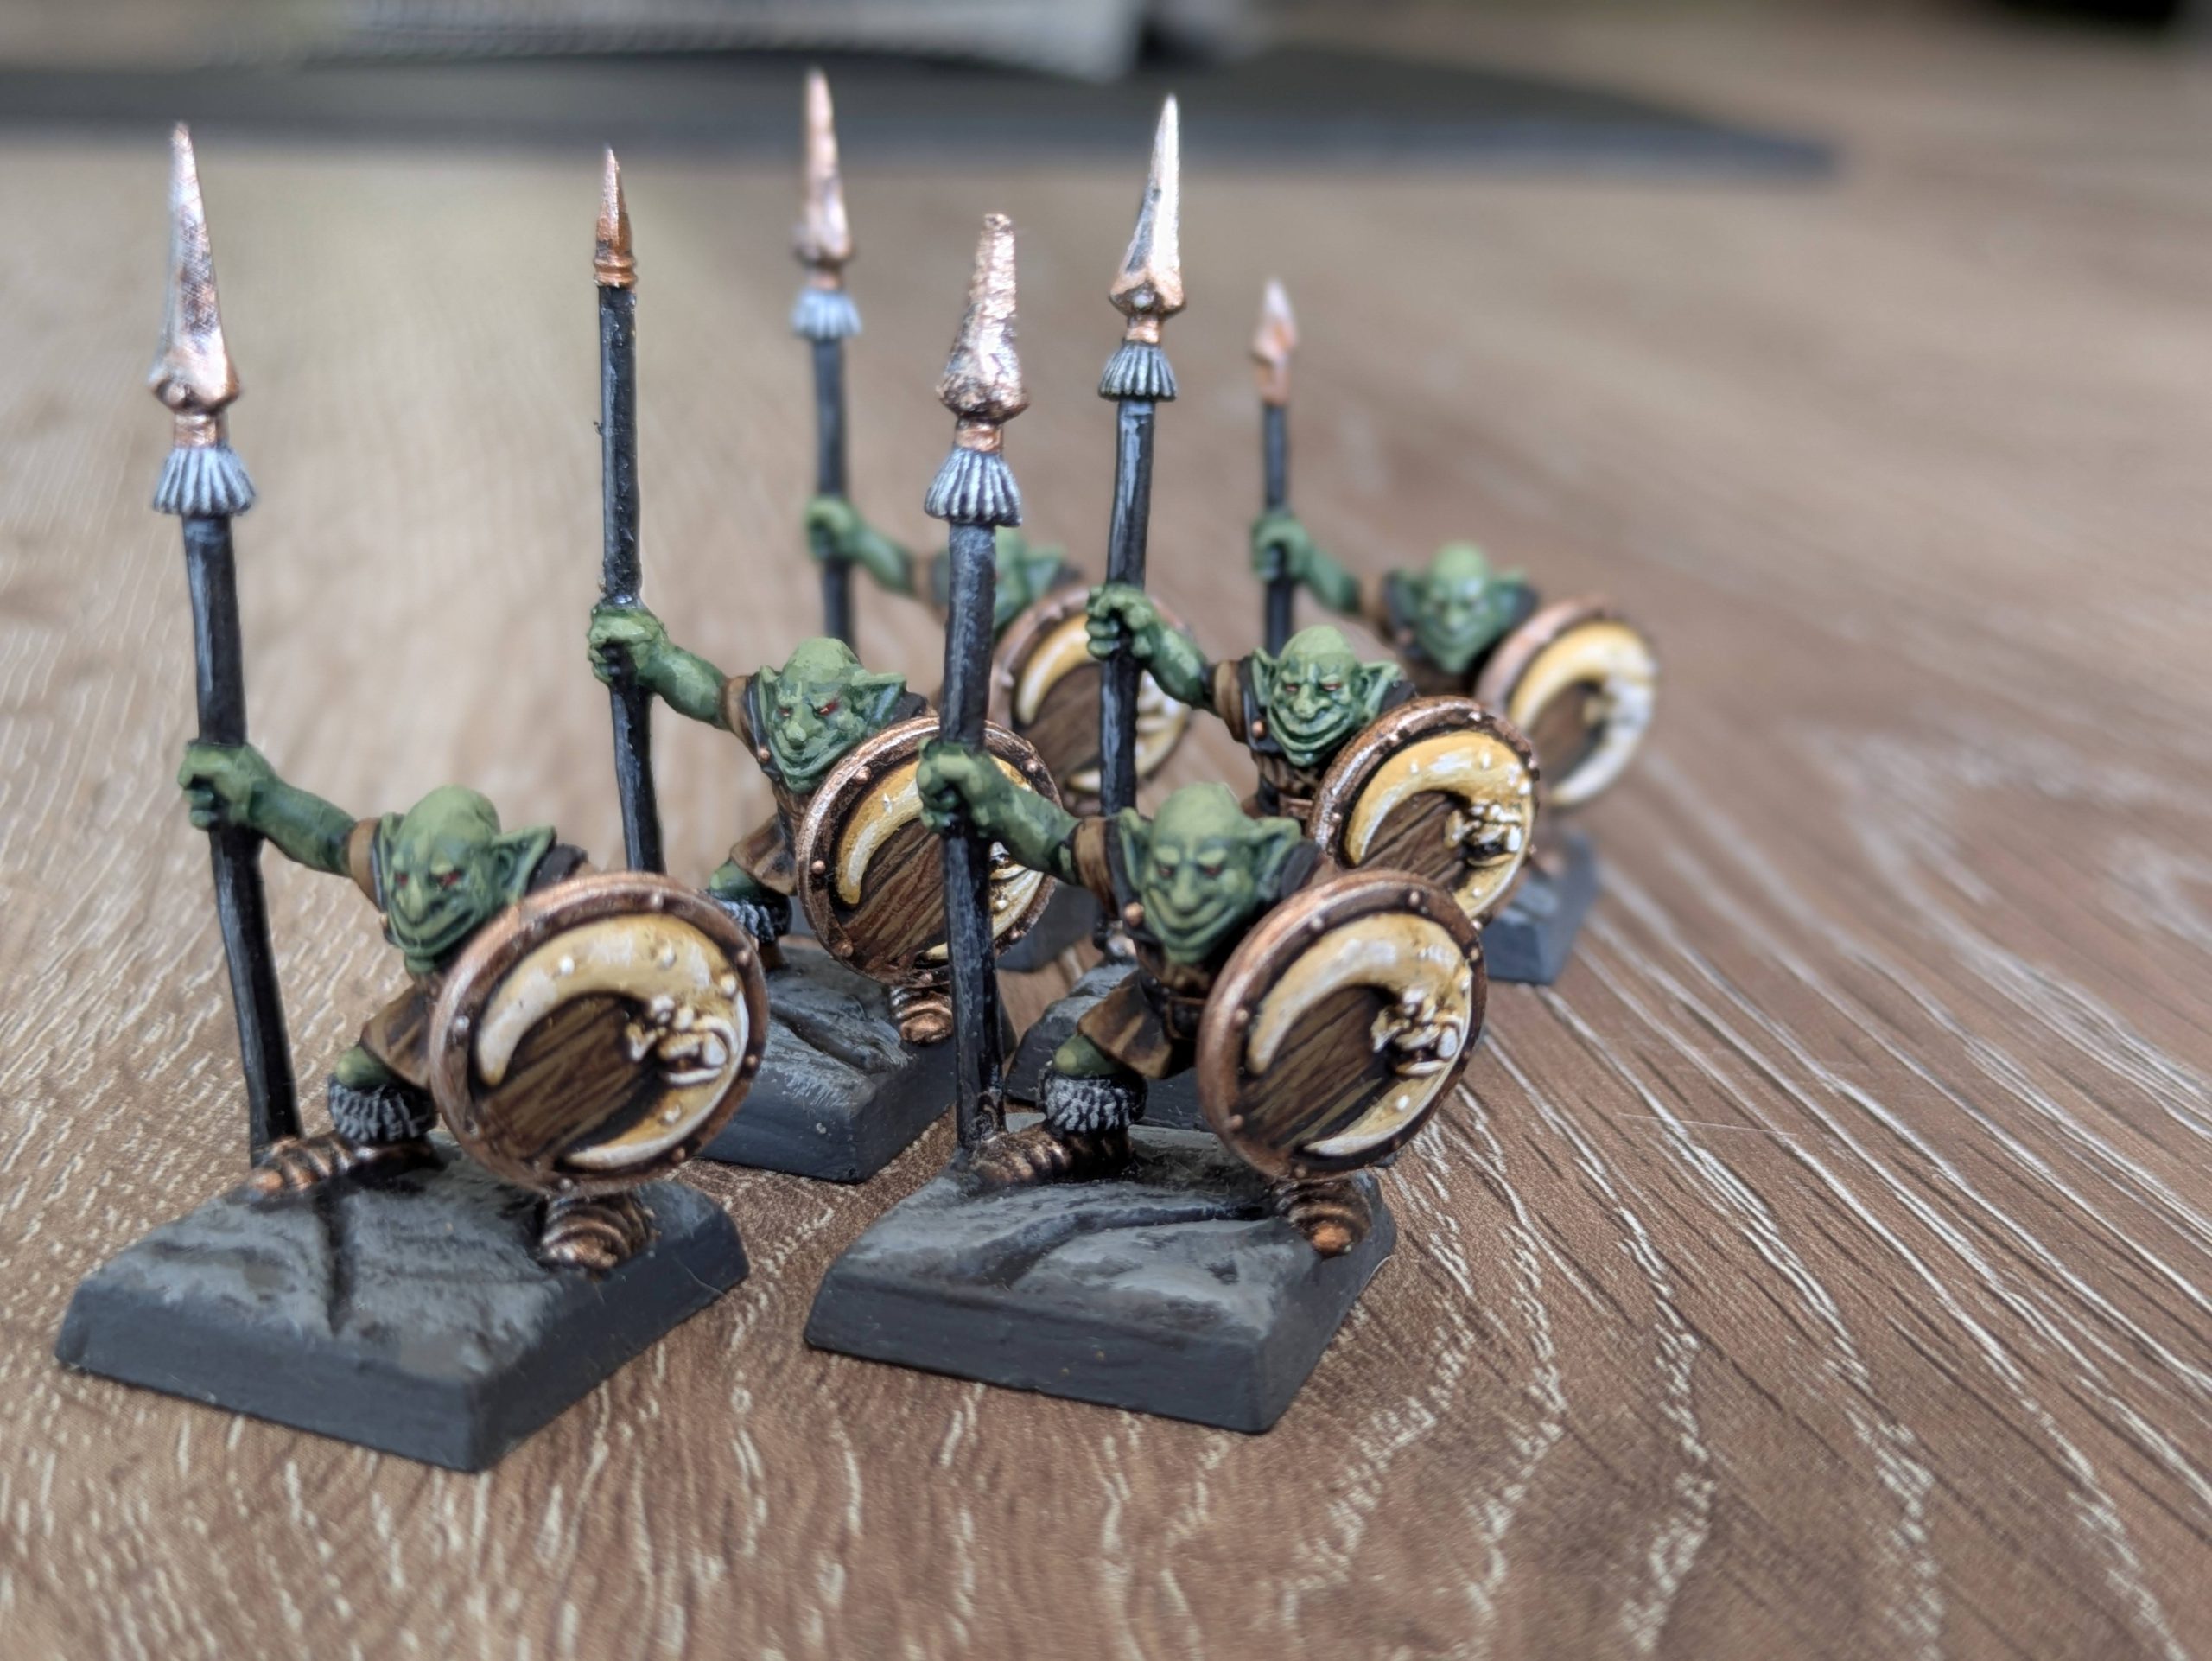 I was also lucky enough to find 6 Goblin Spearmen - not all the spears survived so another hunt through the bits box for spares was needed. I also wanted all the Orcs and Goblins to have the same shields, so after looking through my old collection I scrounged enough moon-face shields to suit my purposes. These minis hadn't been painted in 1995, so I was free to choose a colour scheme. I departed a little form the bright '95 reds though. I wanted something a bit more grounded and authentic, so I went with brown leather
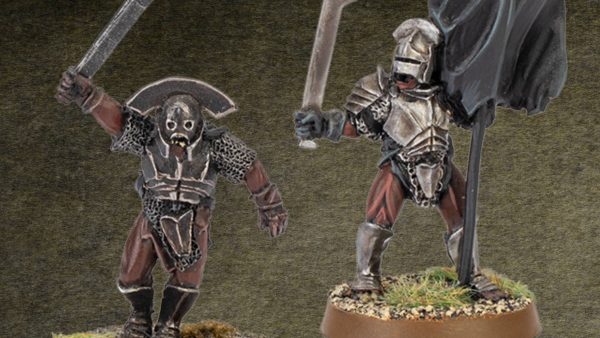
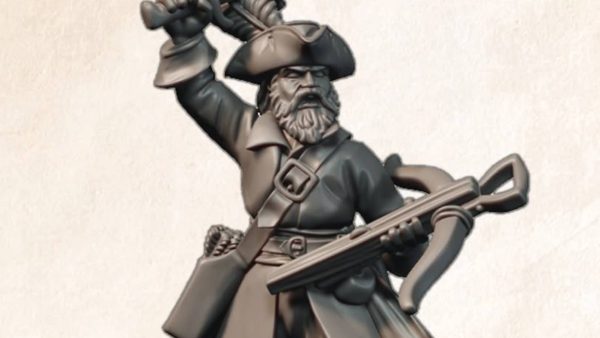
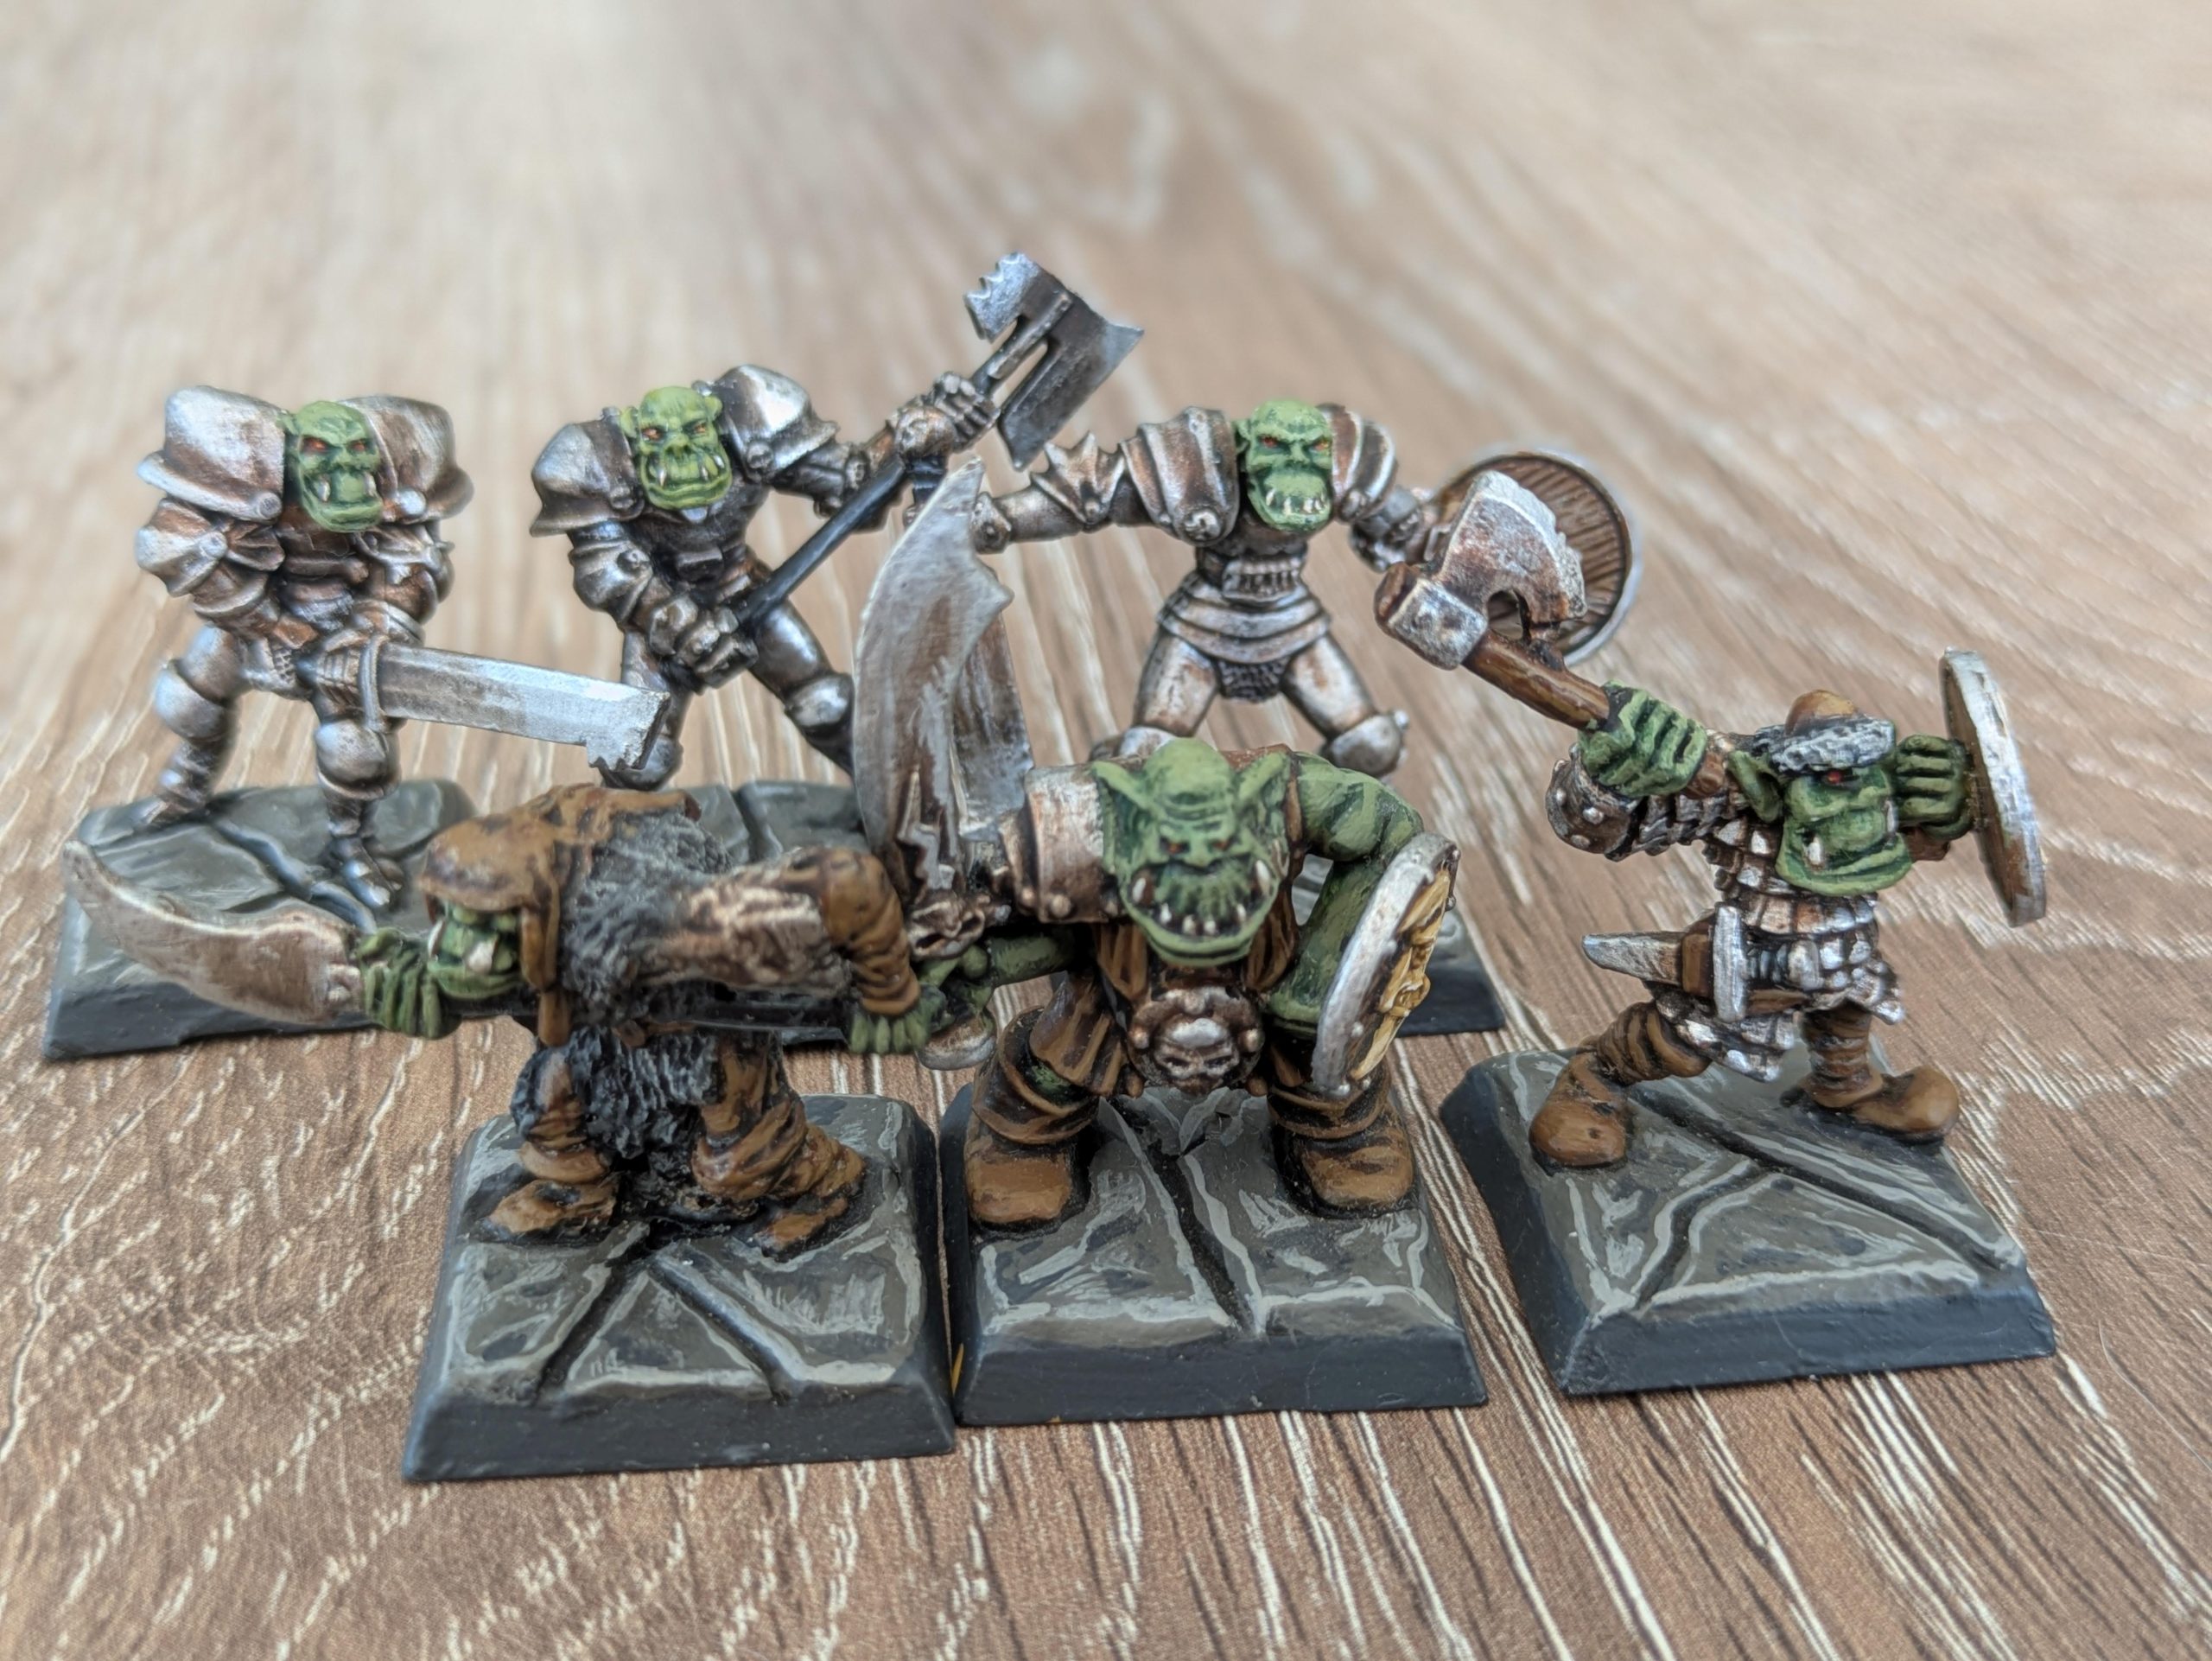 Unfortunately I wasn't as lucky with my Orcs - I had one original mono-pose plastic mini, plus another couple of Oldhammer Orcs that had been lurking in my bits box for a while. I had a search on-line and found some armoured Orcs on Black Tree Designs website and as they were sold in a pack of 3 I thought I'd give them a try. They're a little smaller in stature than the old Citadel sculpts, but for the purposes of this game I thought they would fit quite well. Again I went with blacks and browns for the colours
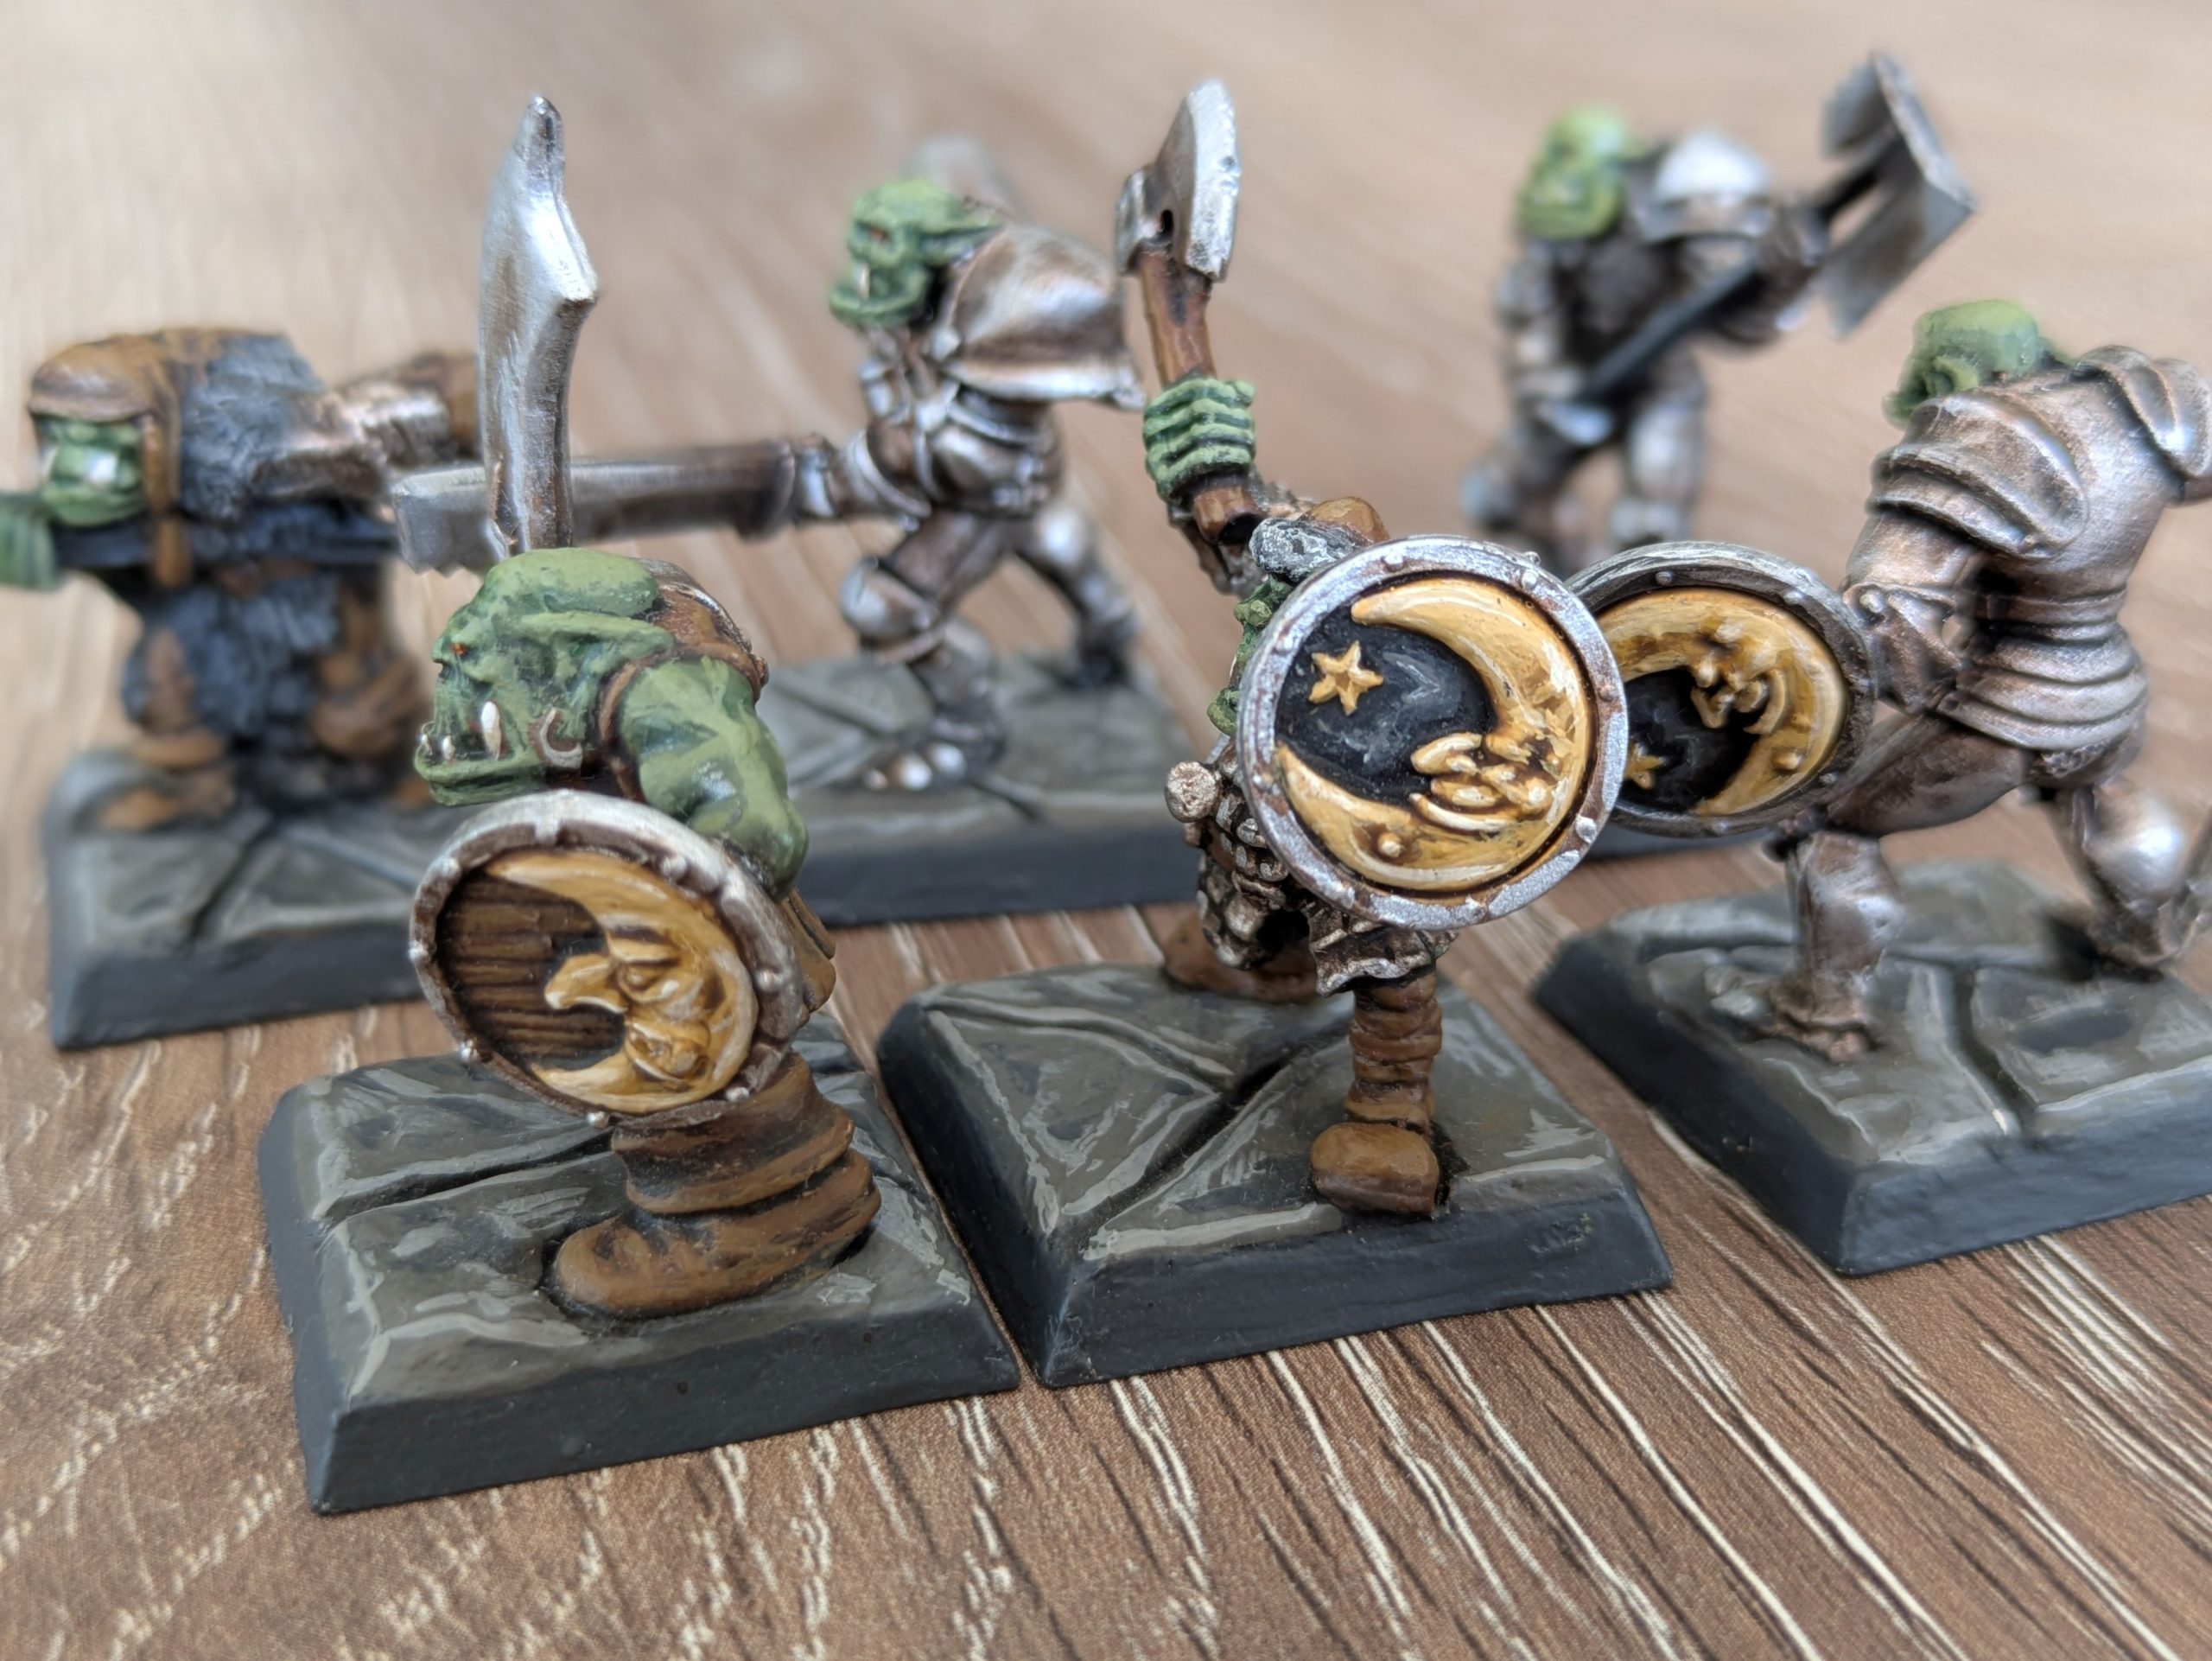 And I also used the Moon Face shields with grey bases
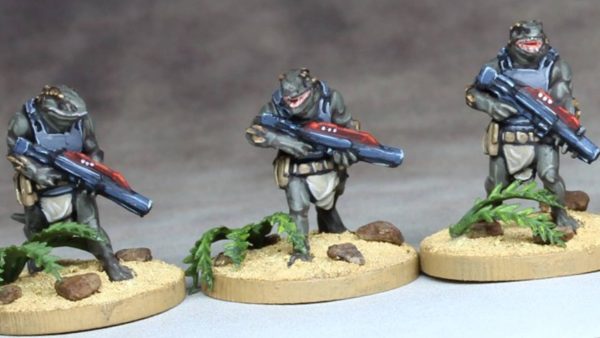
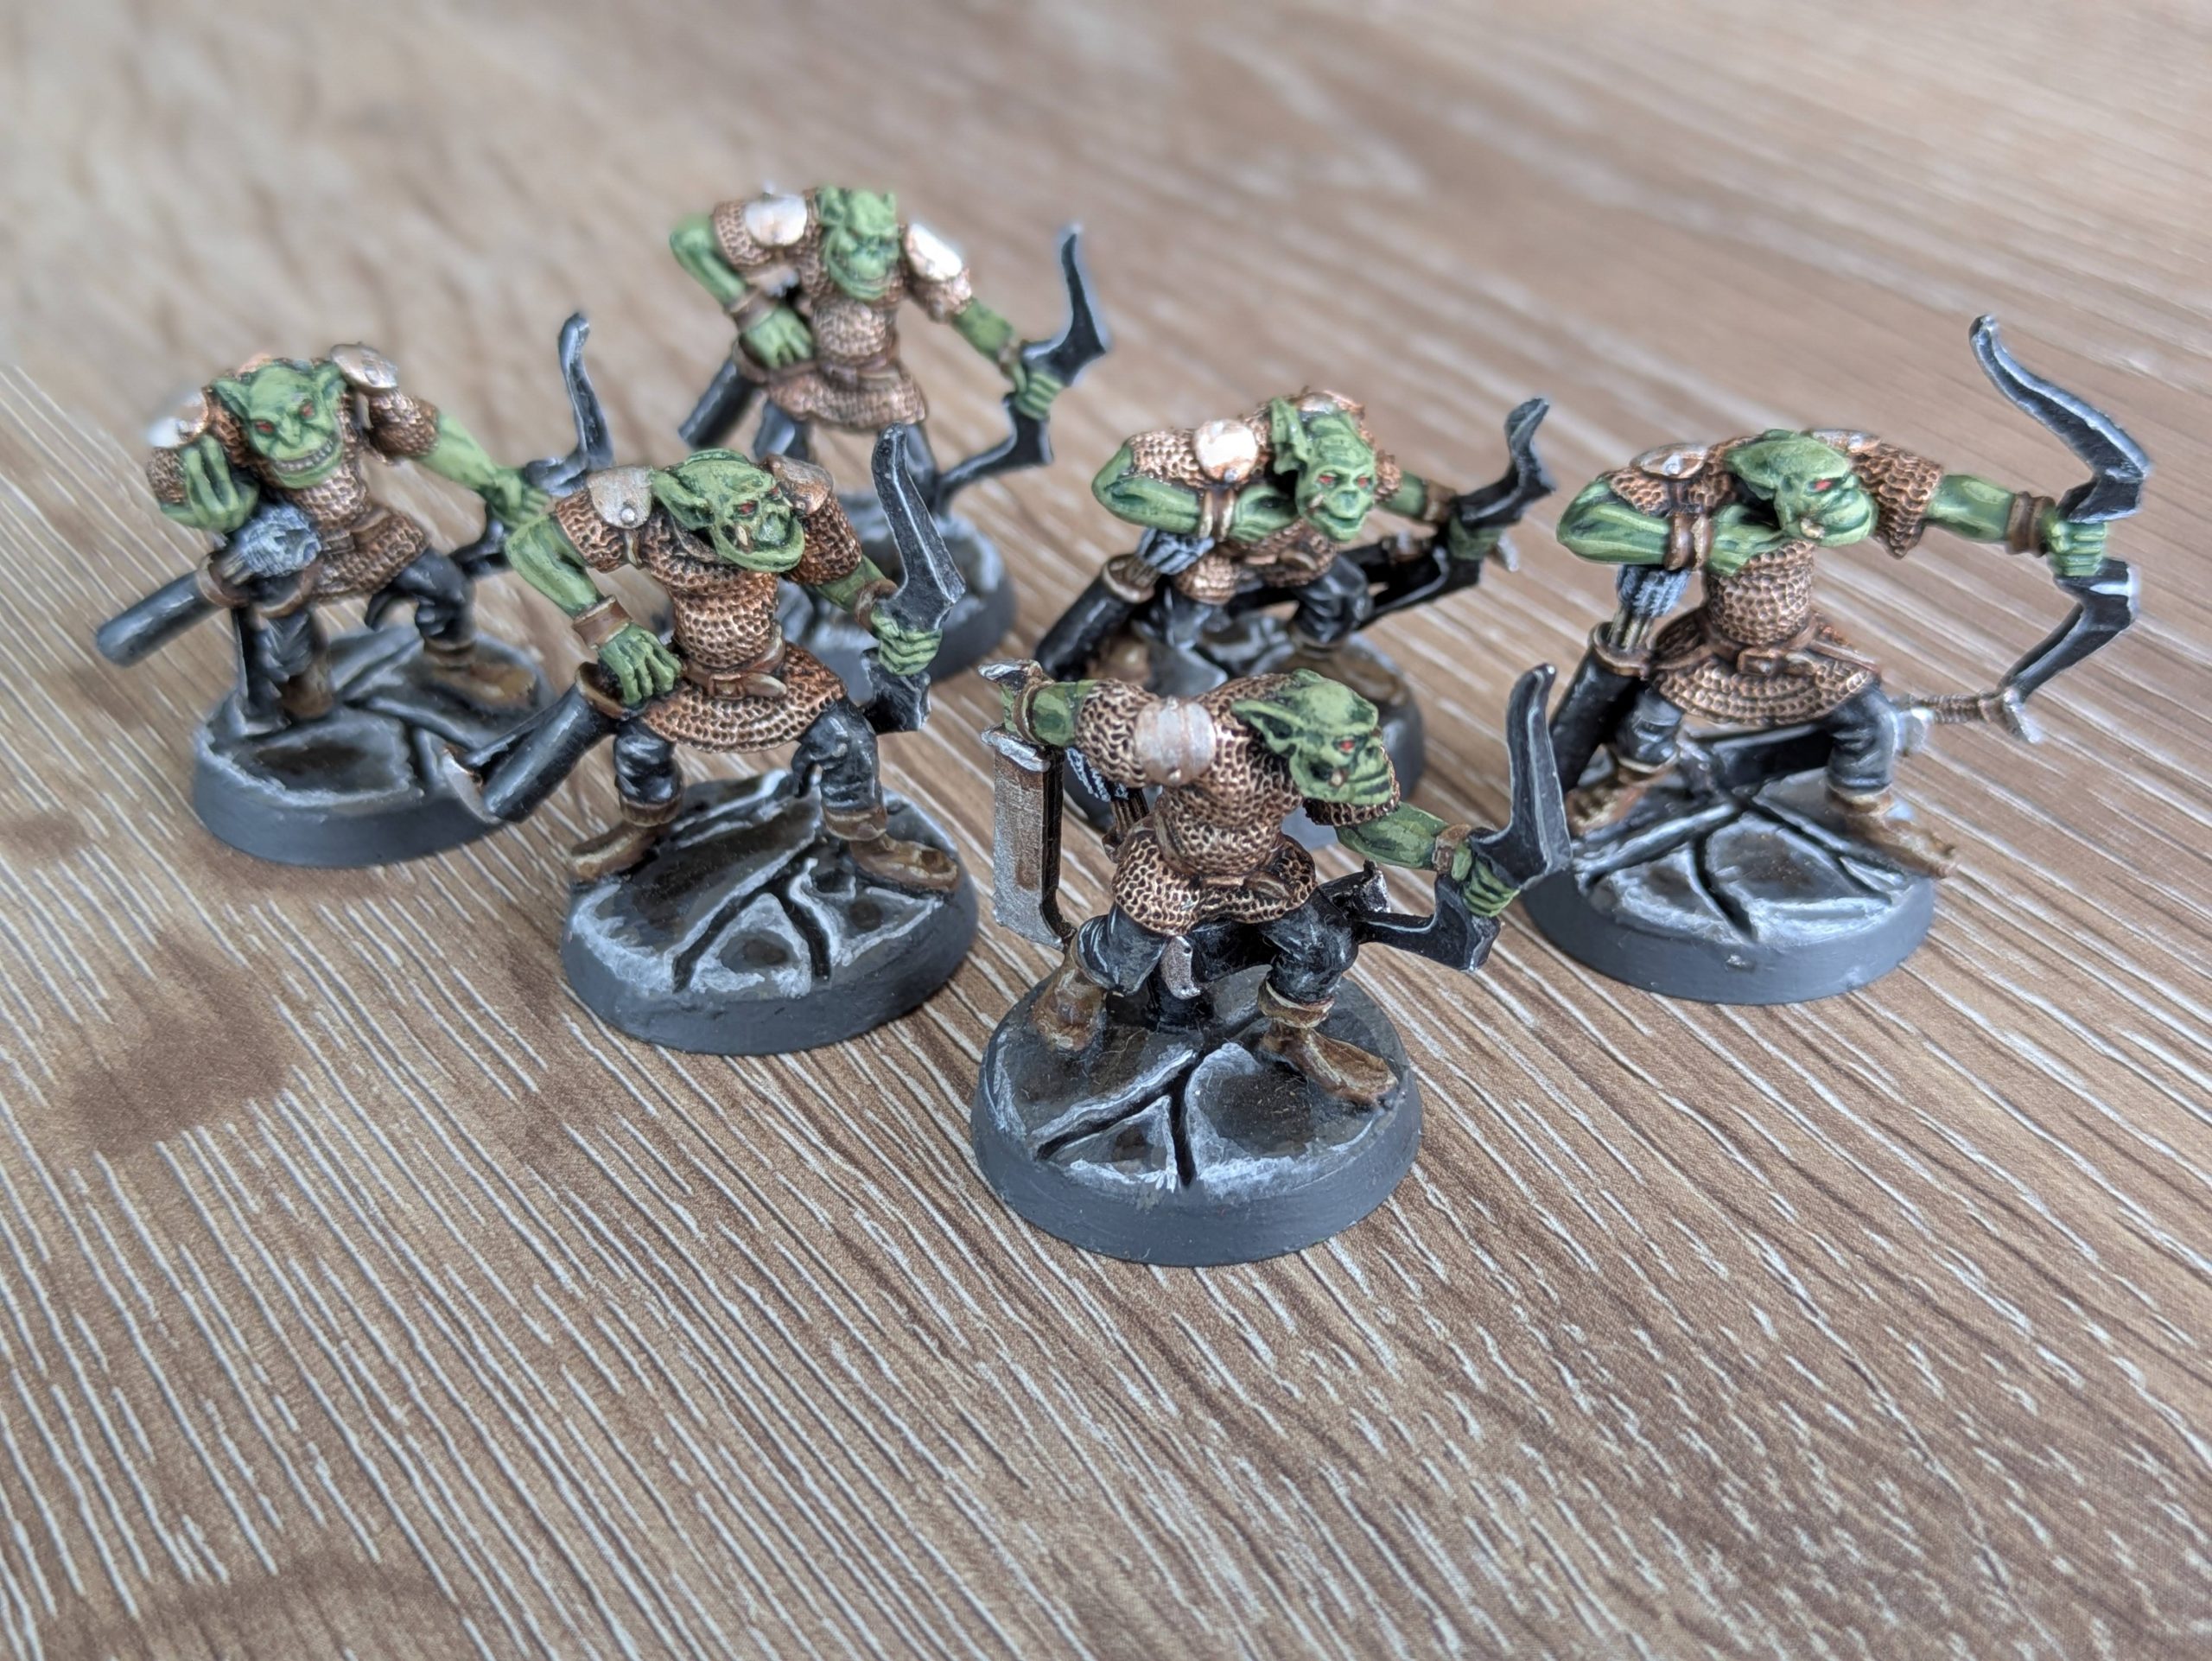 Black Tree also had some nice Orc Archer sculpts, so I stuck with them for the 6 Orc Archers
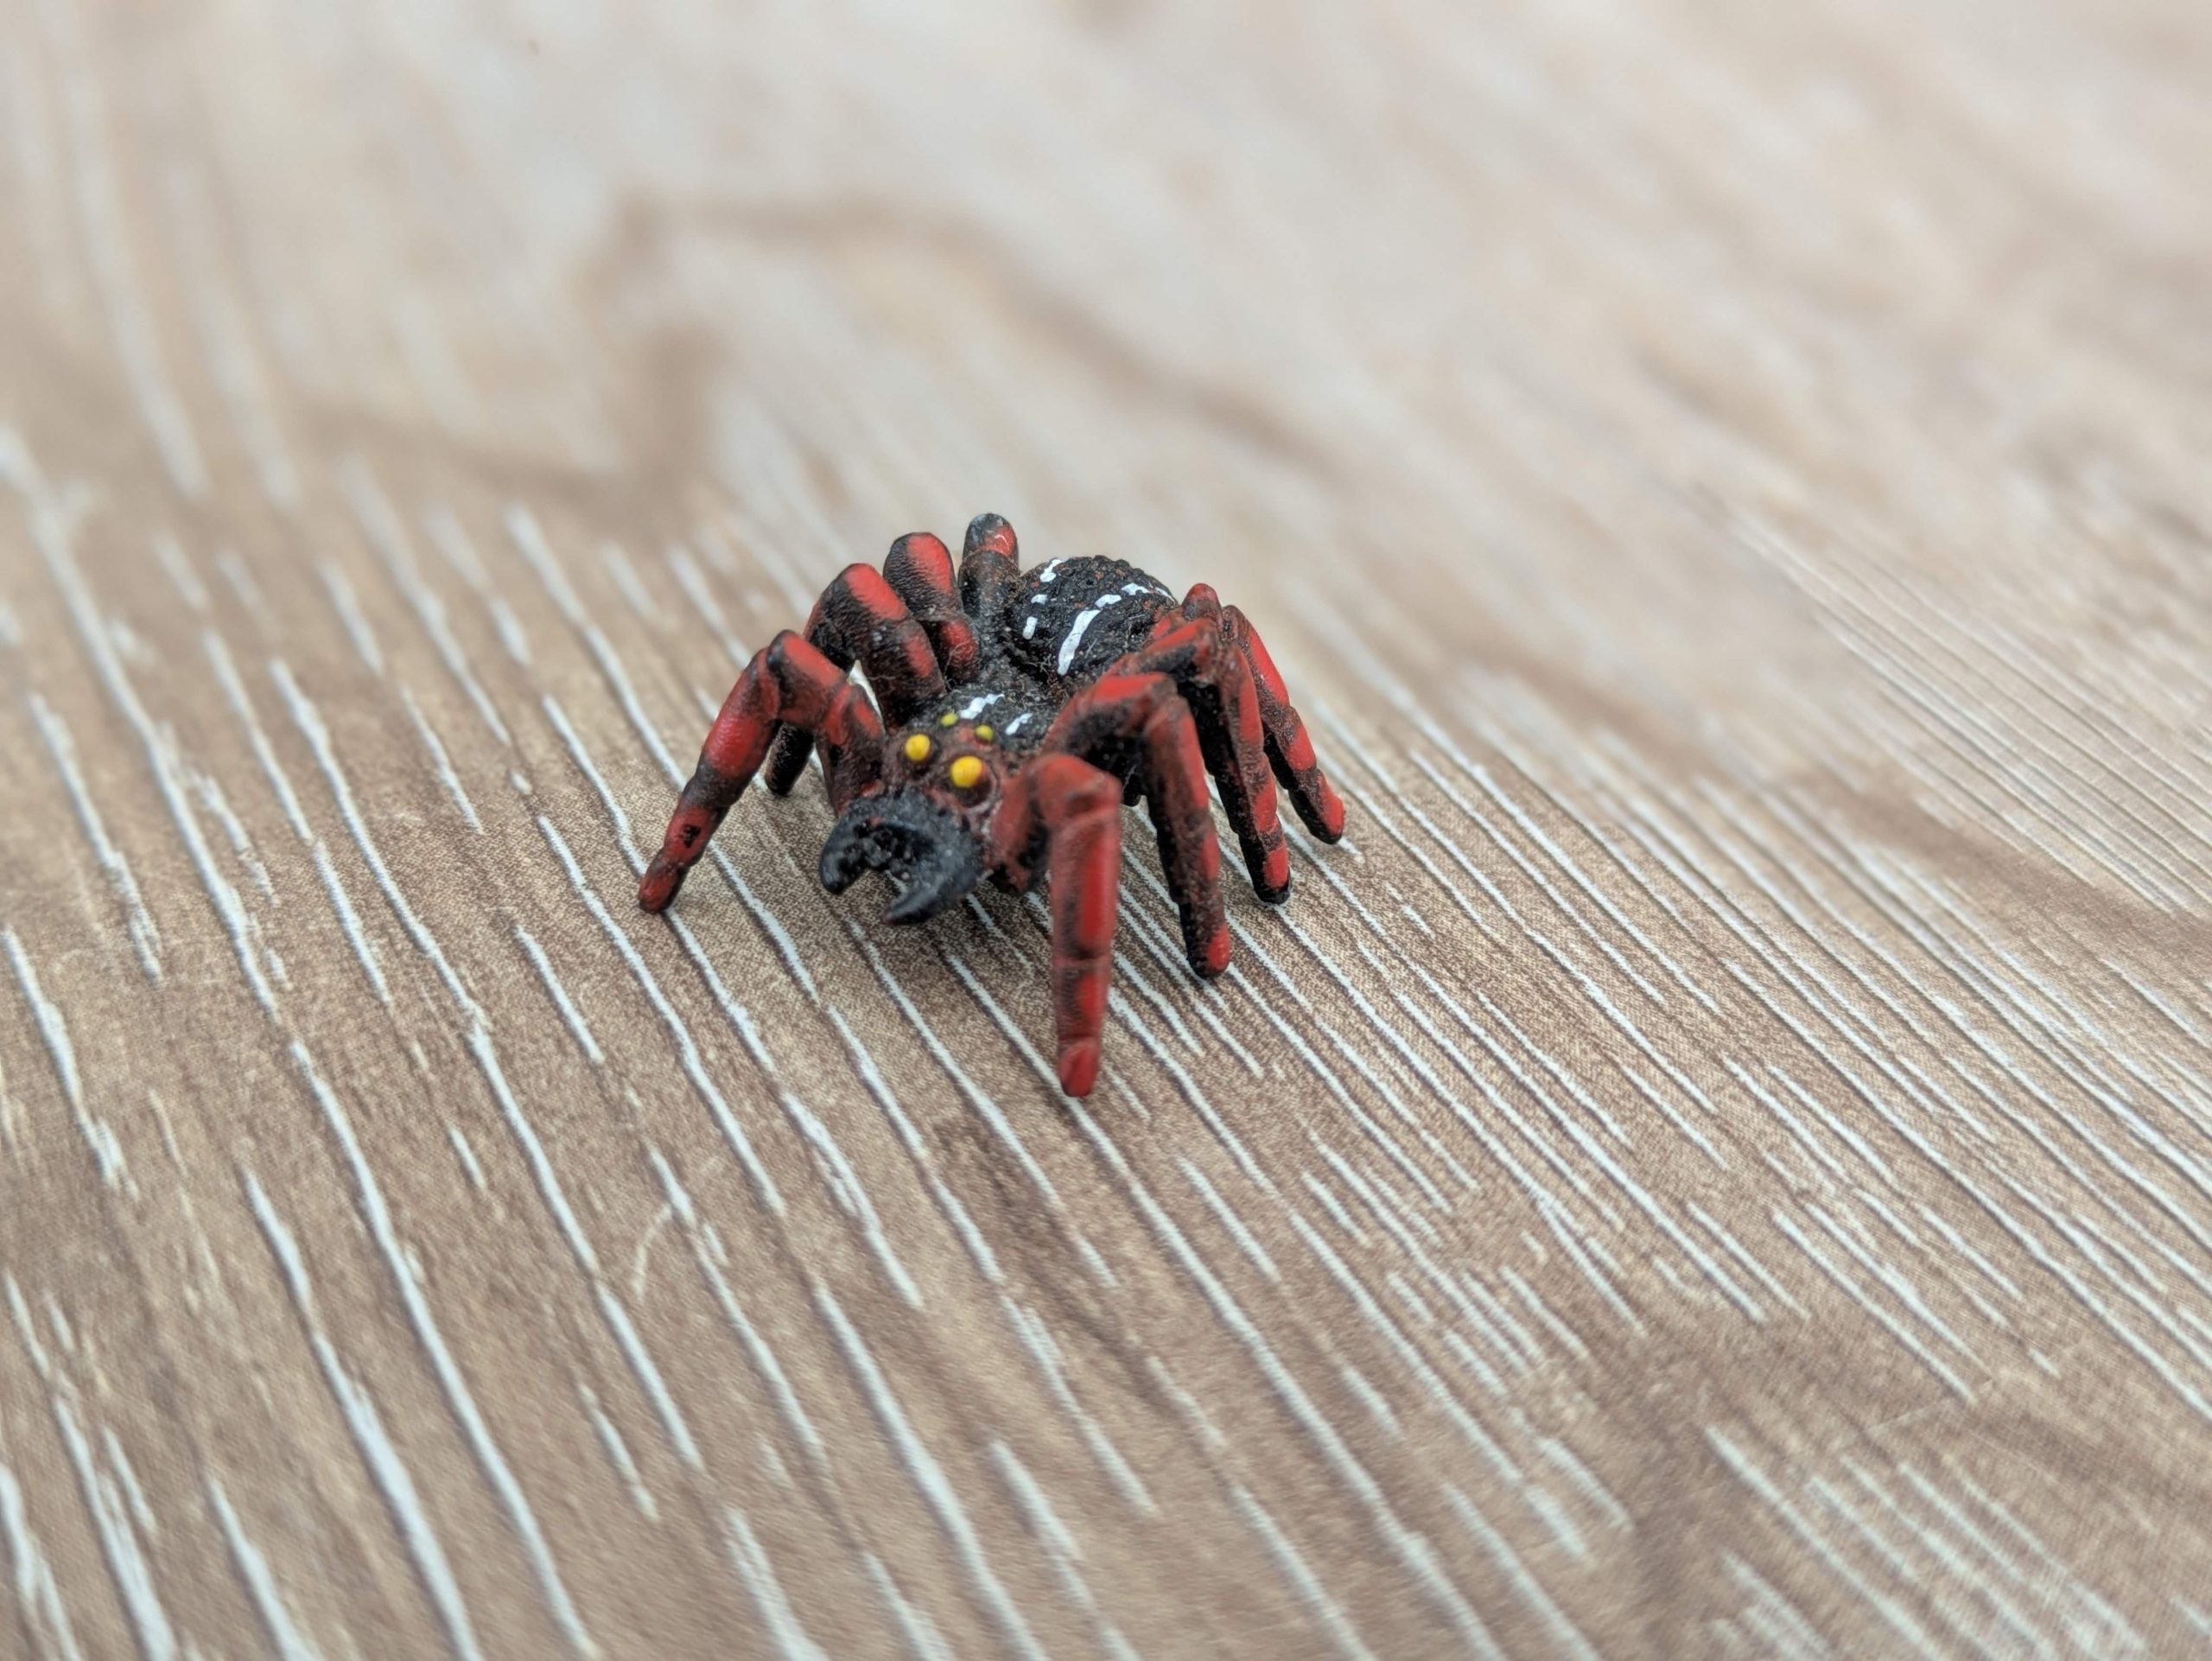 I did manage to find a lone '95 spider amongst my collection
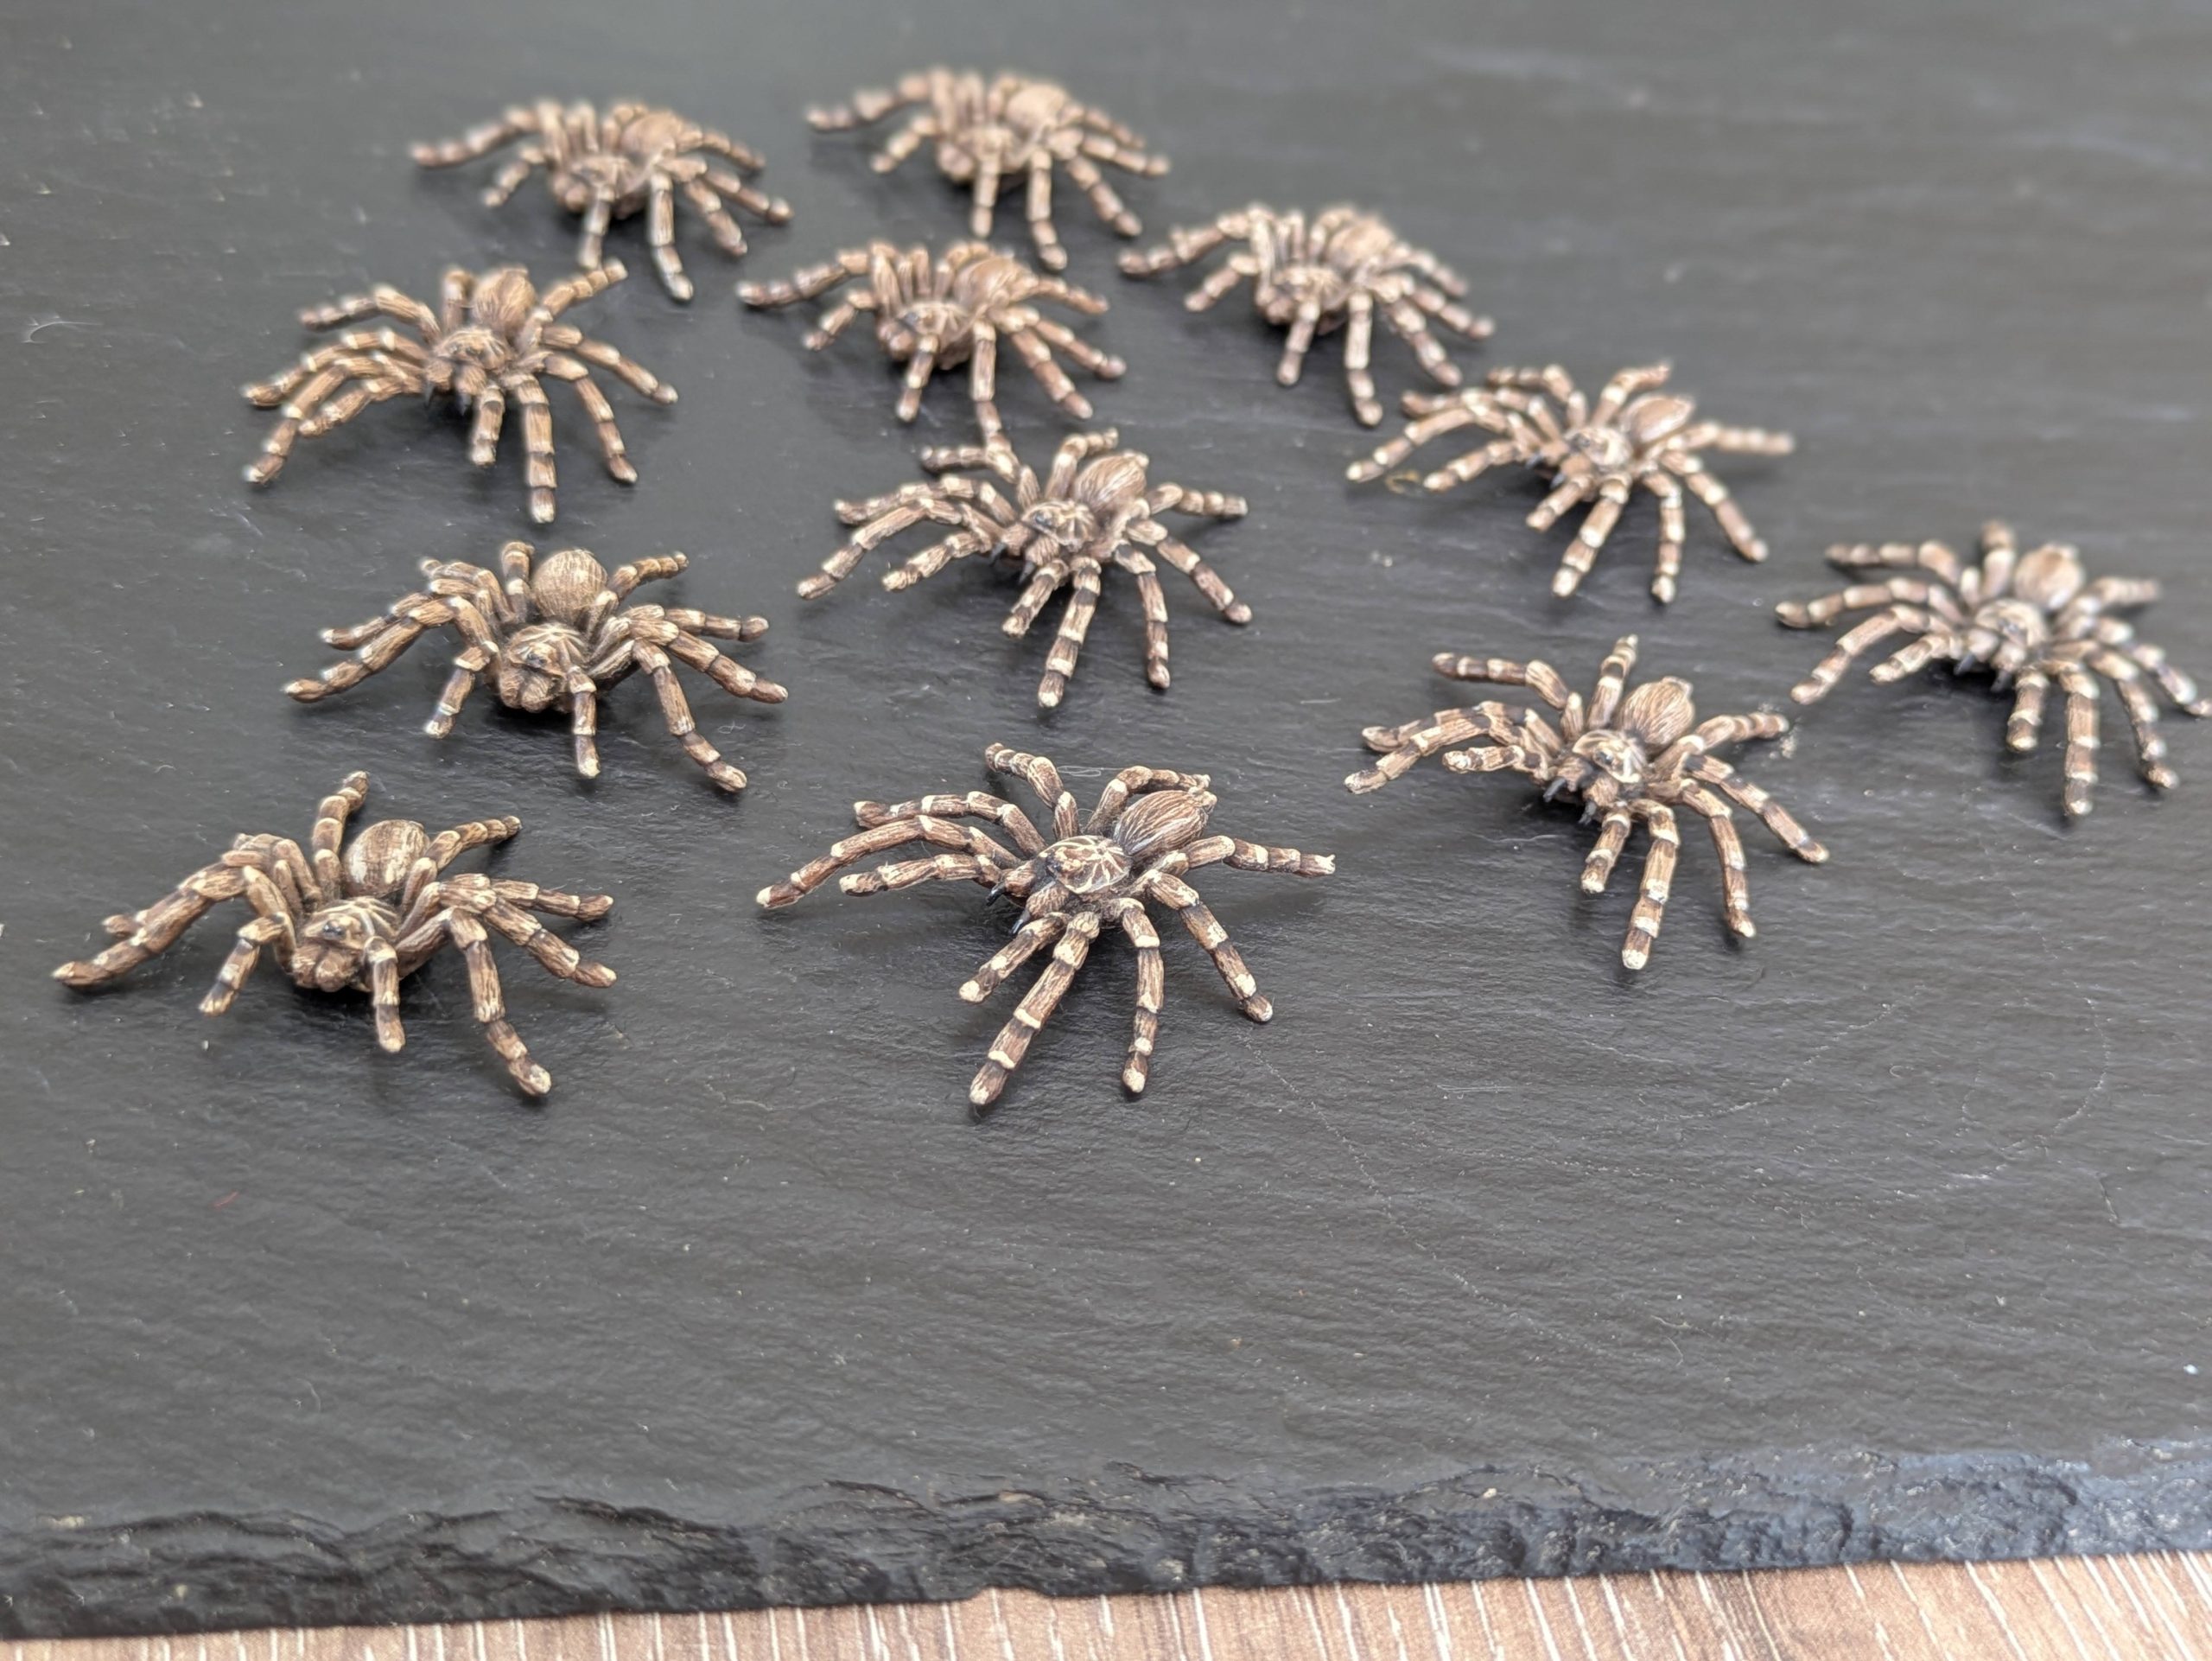 But as I needed 12, I had to do a bit of searching on the internet and found these Baboon Spiders on Ebay. I quite liked the realistic sculpts, and again went with a more natural paint scheme, rather than the bright red and black of the old minis
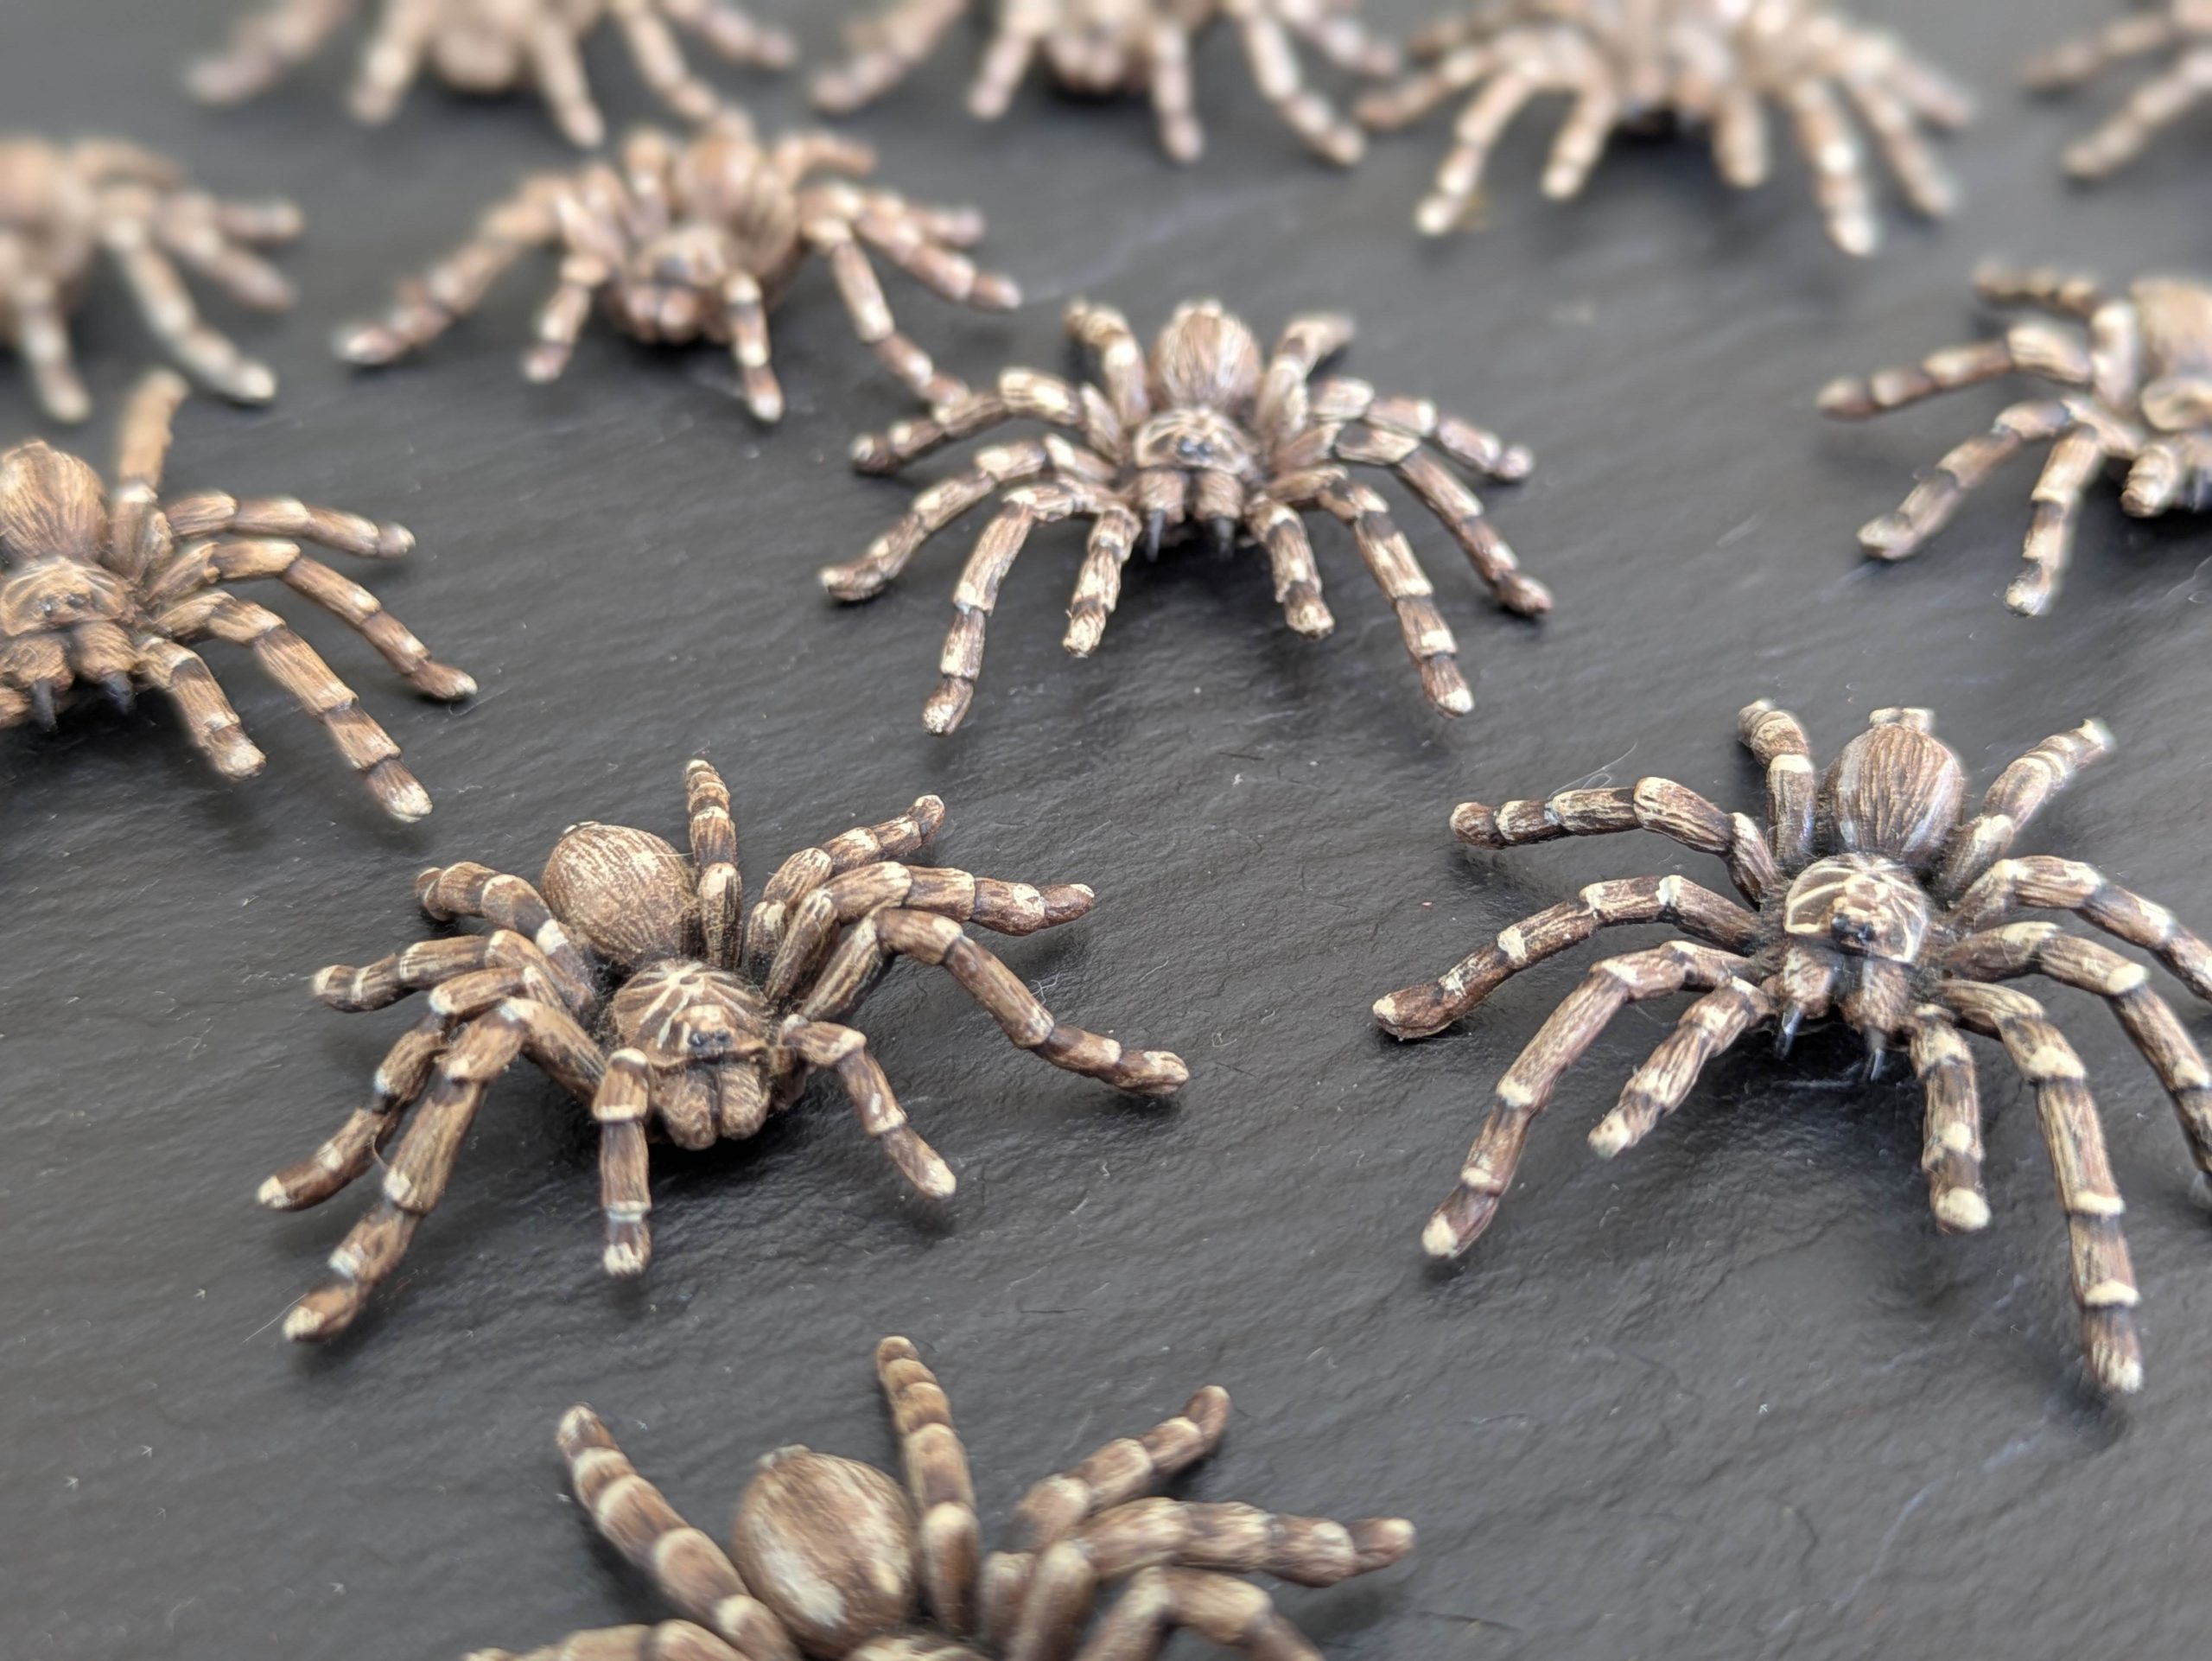
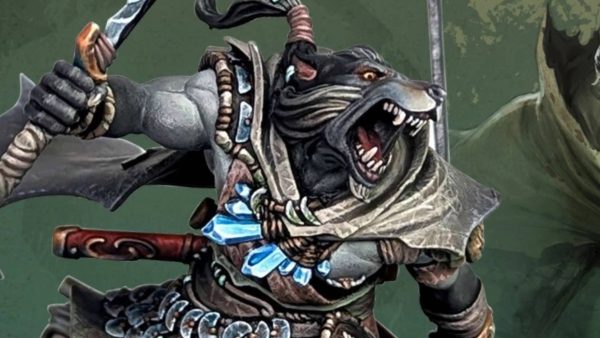
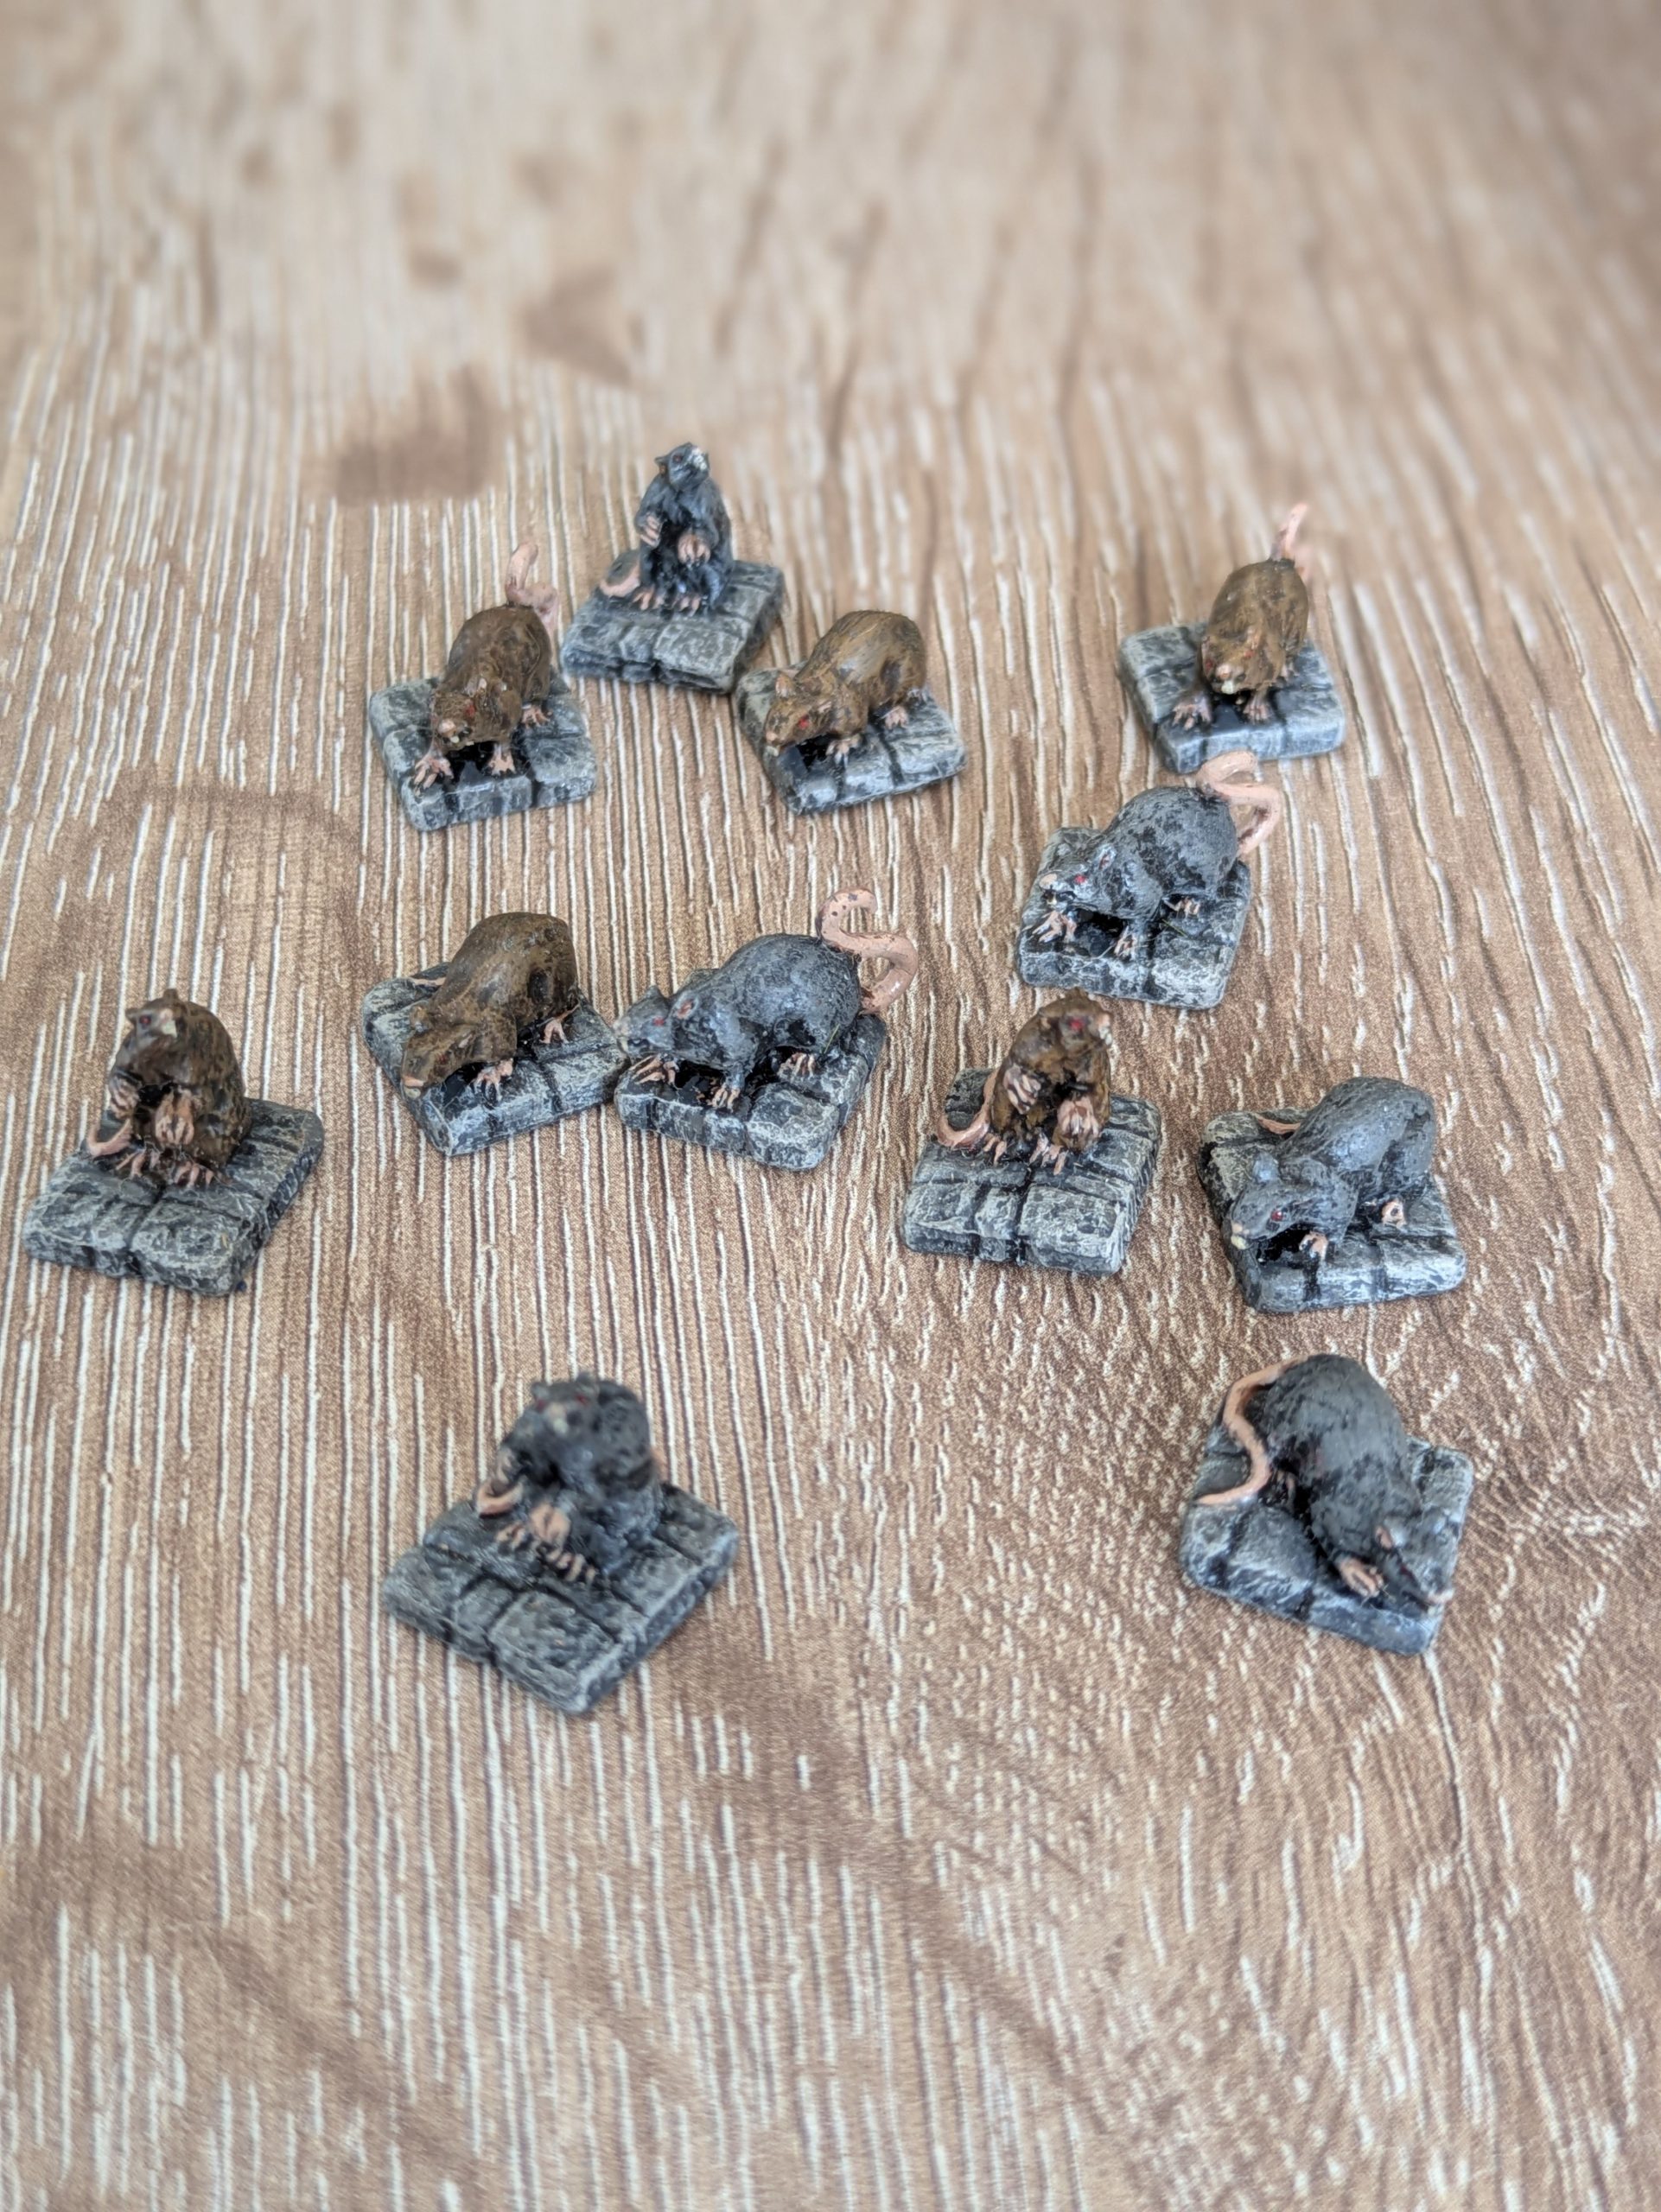 Another Ebay purchase for Giant Rats - this time from Reaper I believe.
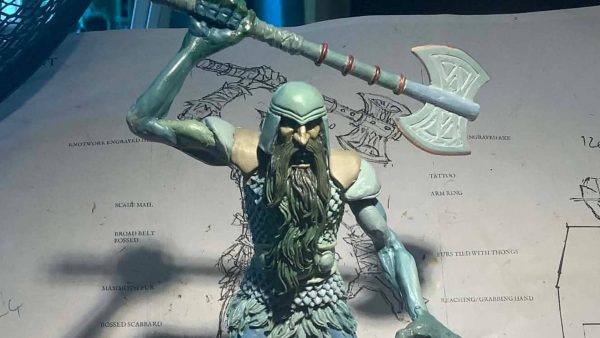
 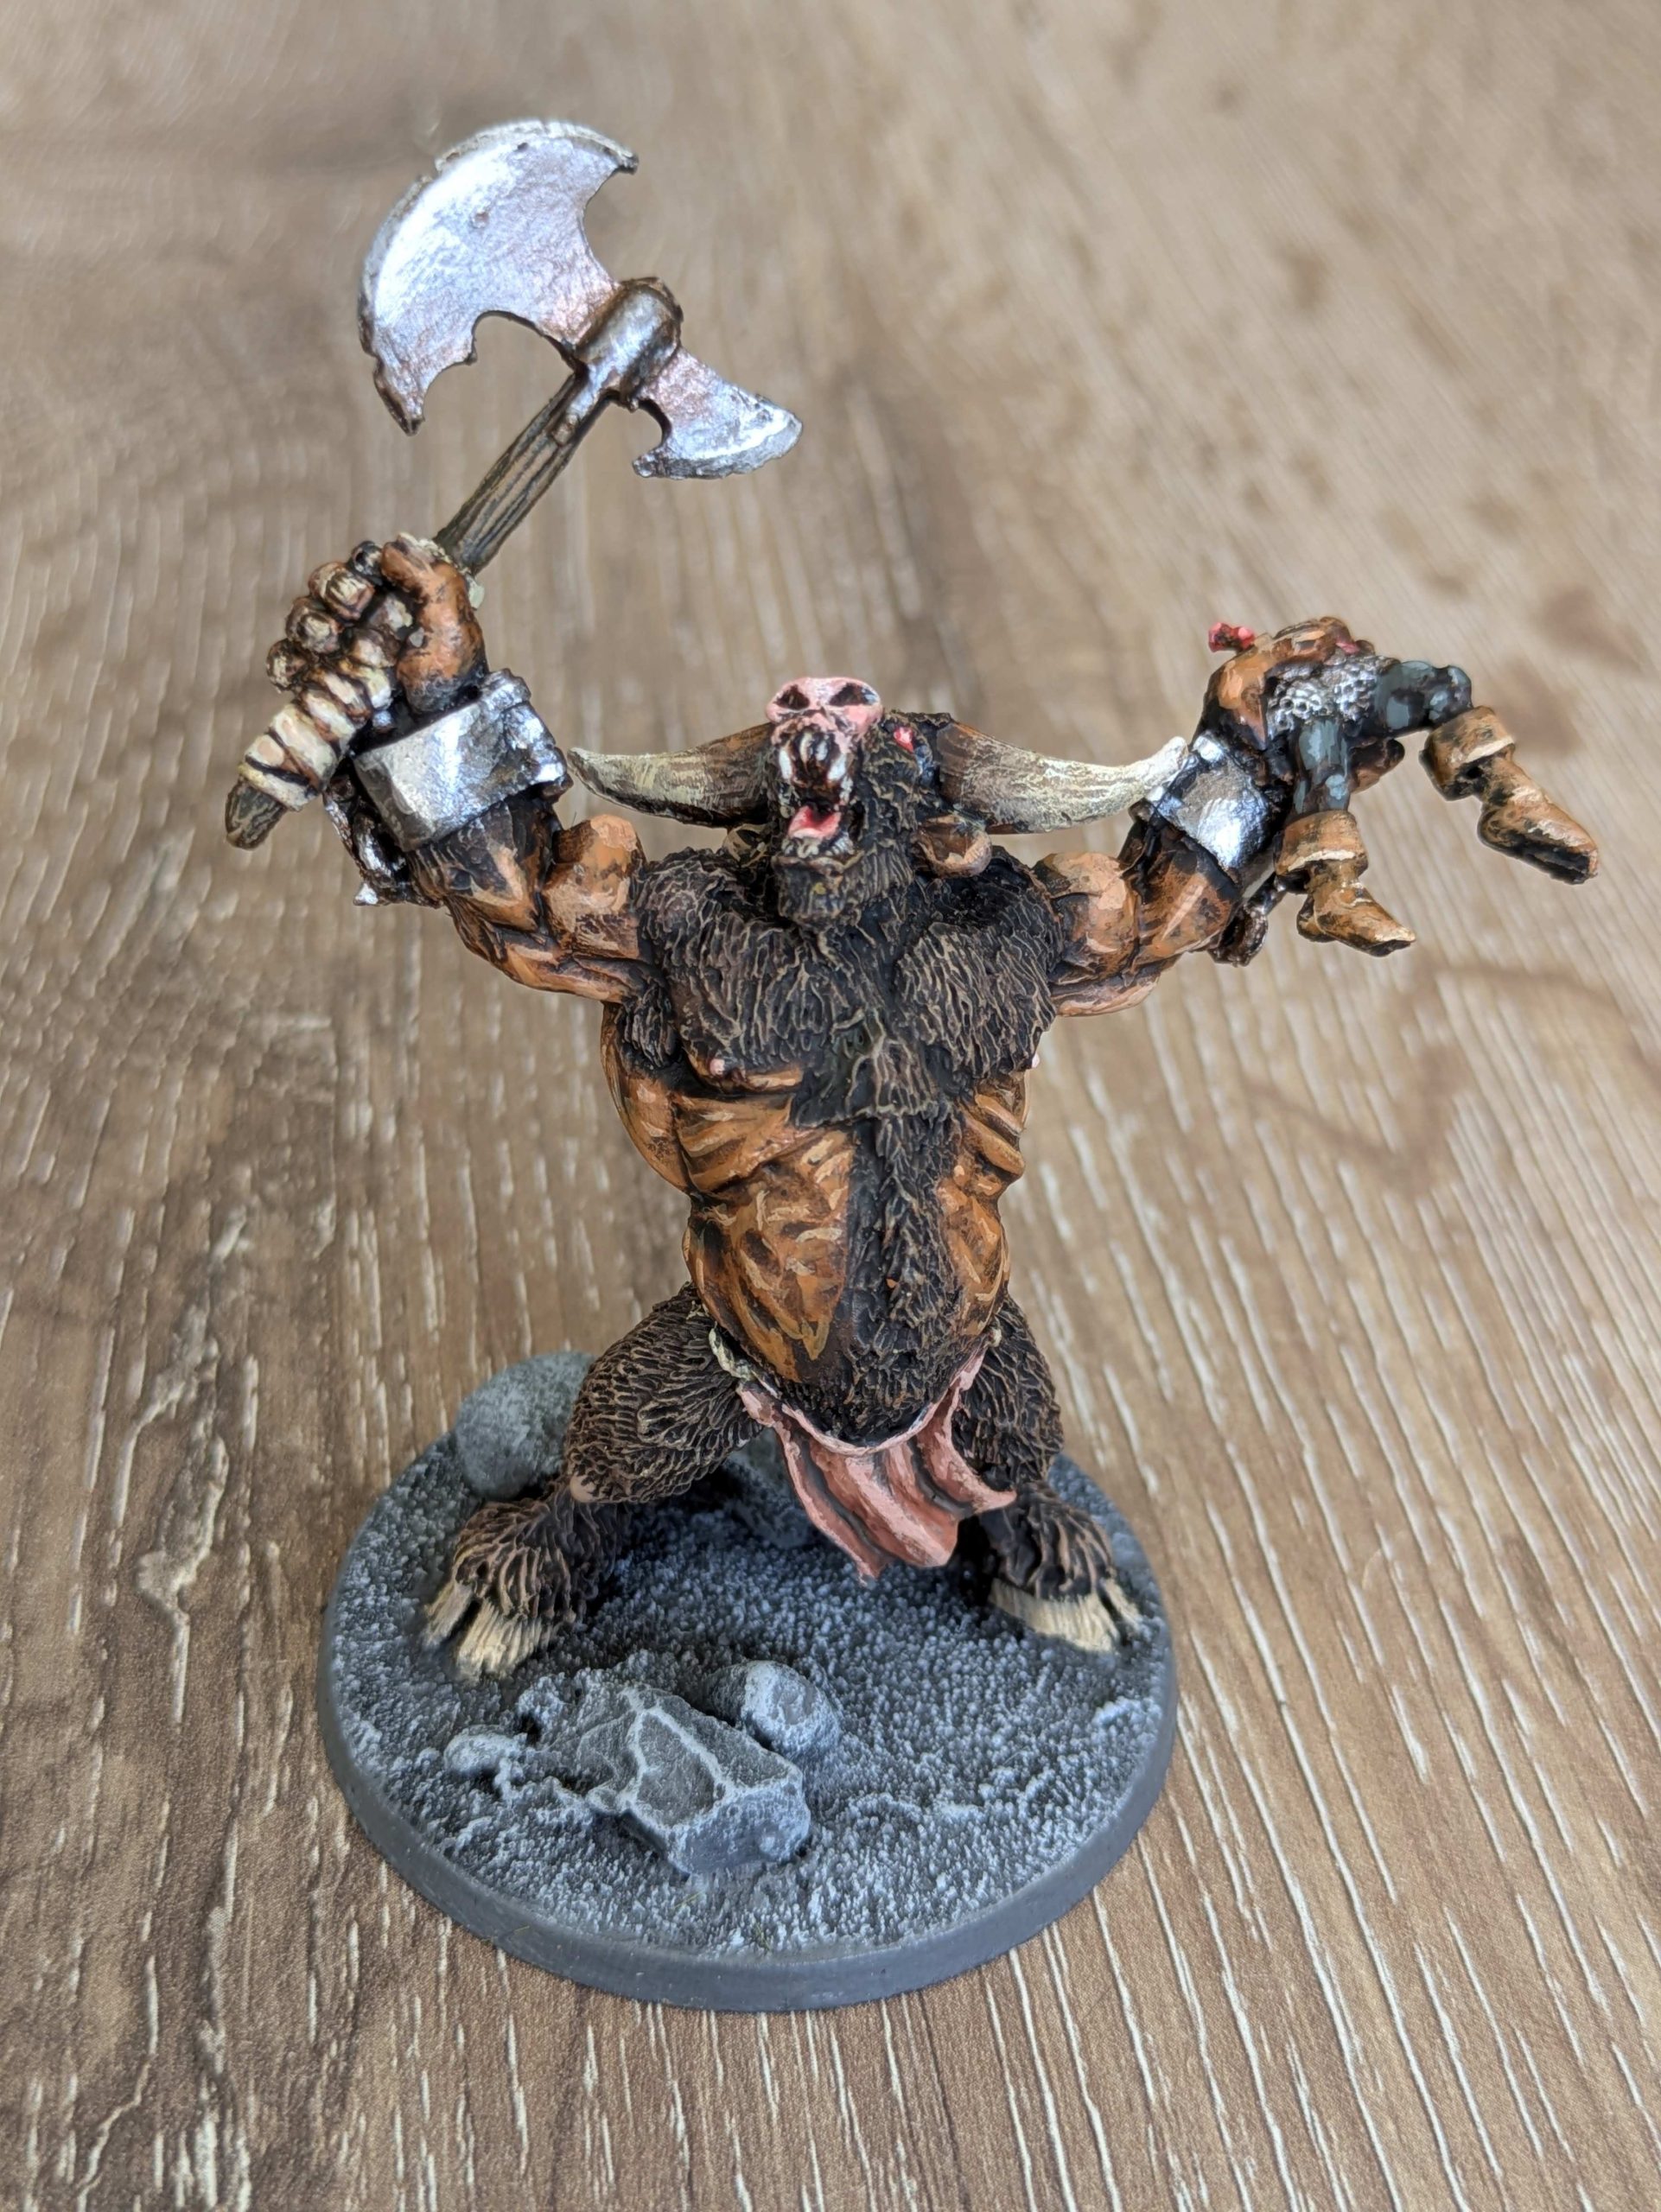 For the Minotaurs I went to Heresy Miniatures. It's a much bigger sculpt than the original WHQ minis, but it's also a bit more dynamic with a warrior's half-dismembered body in one hand
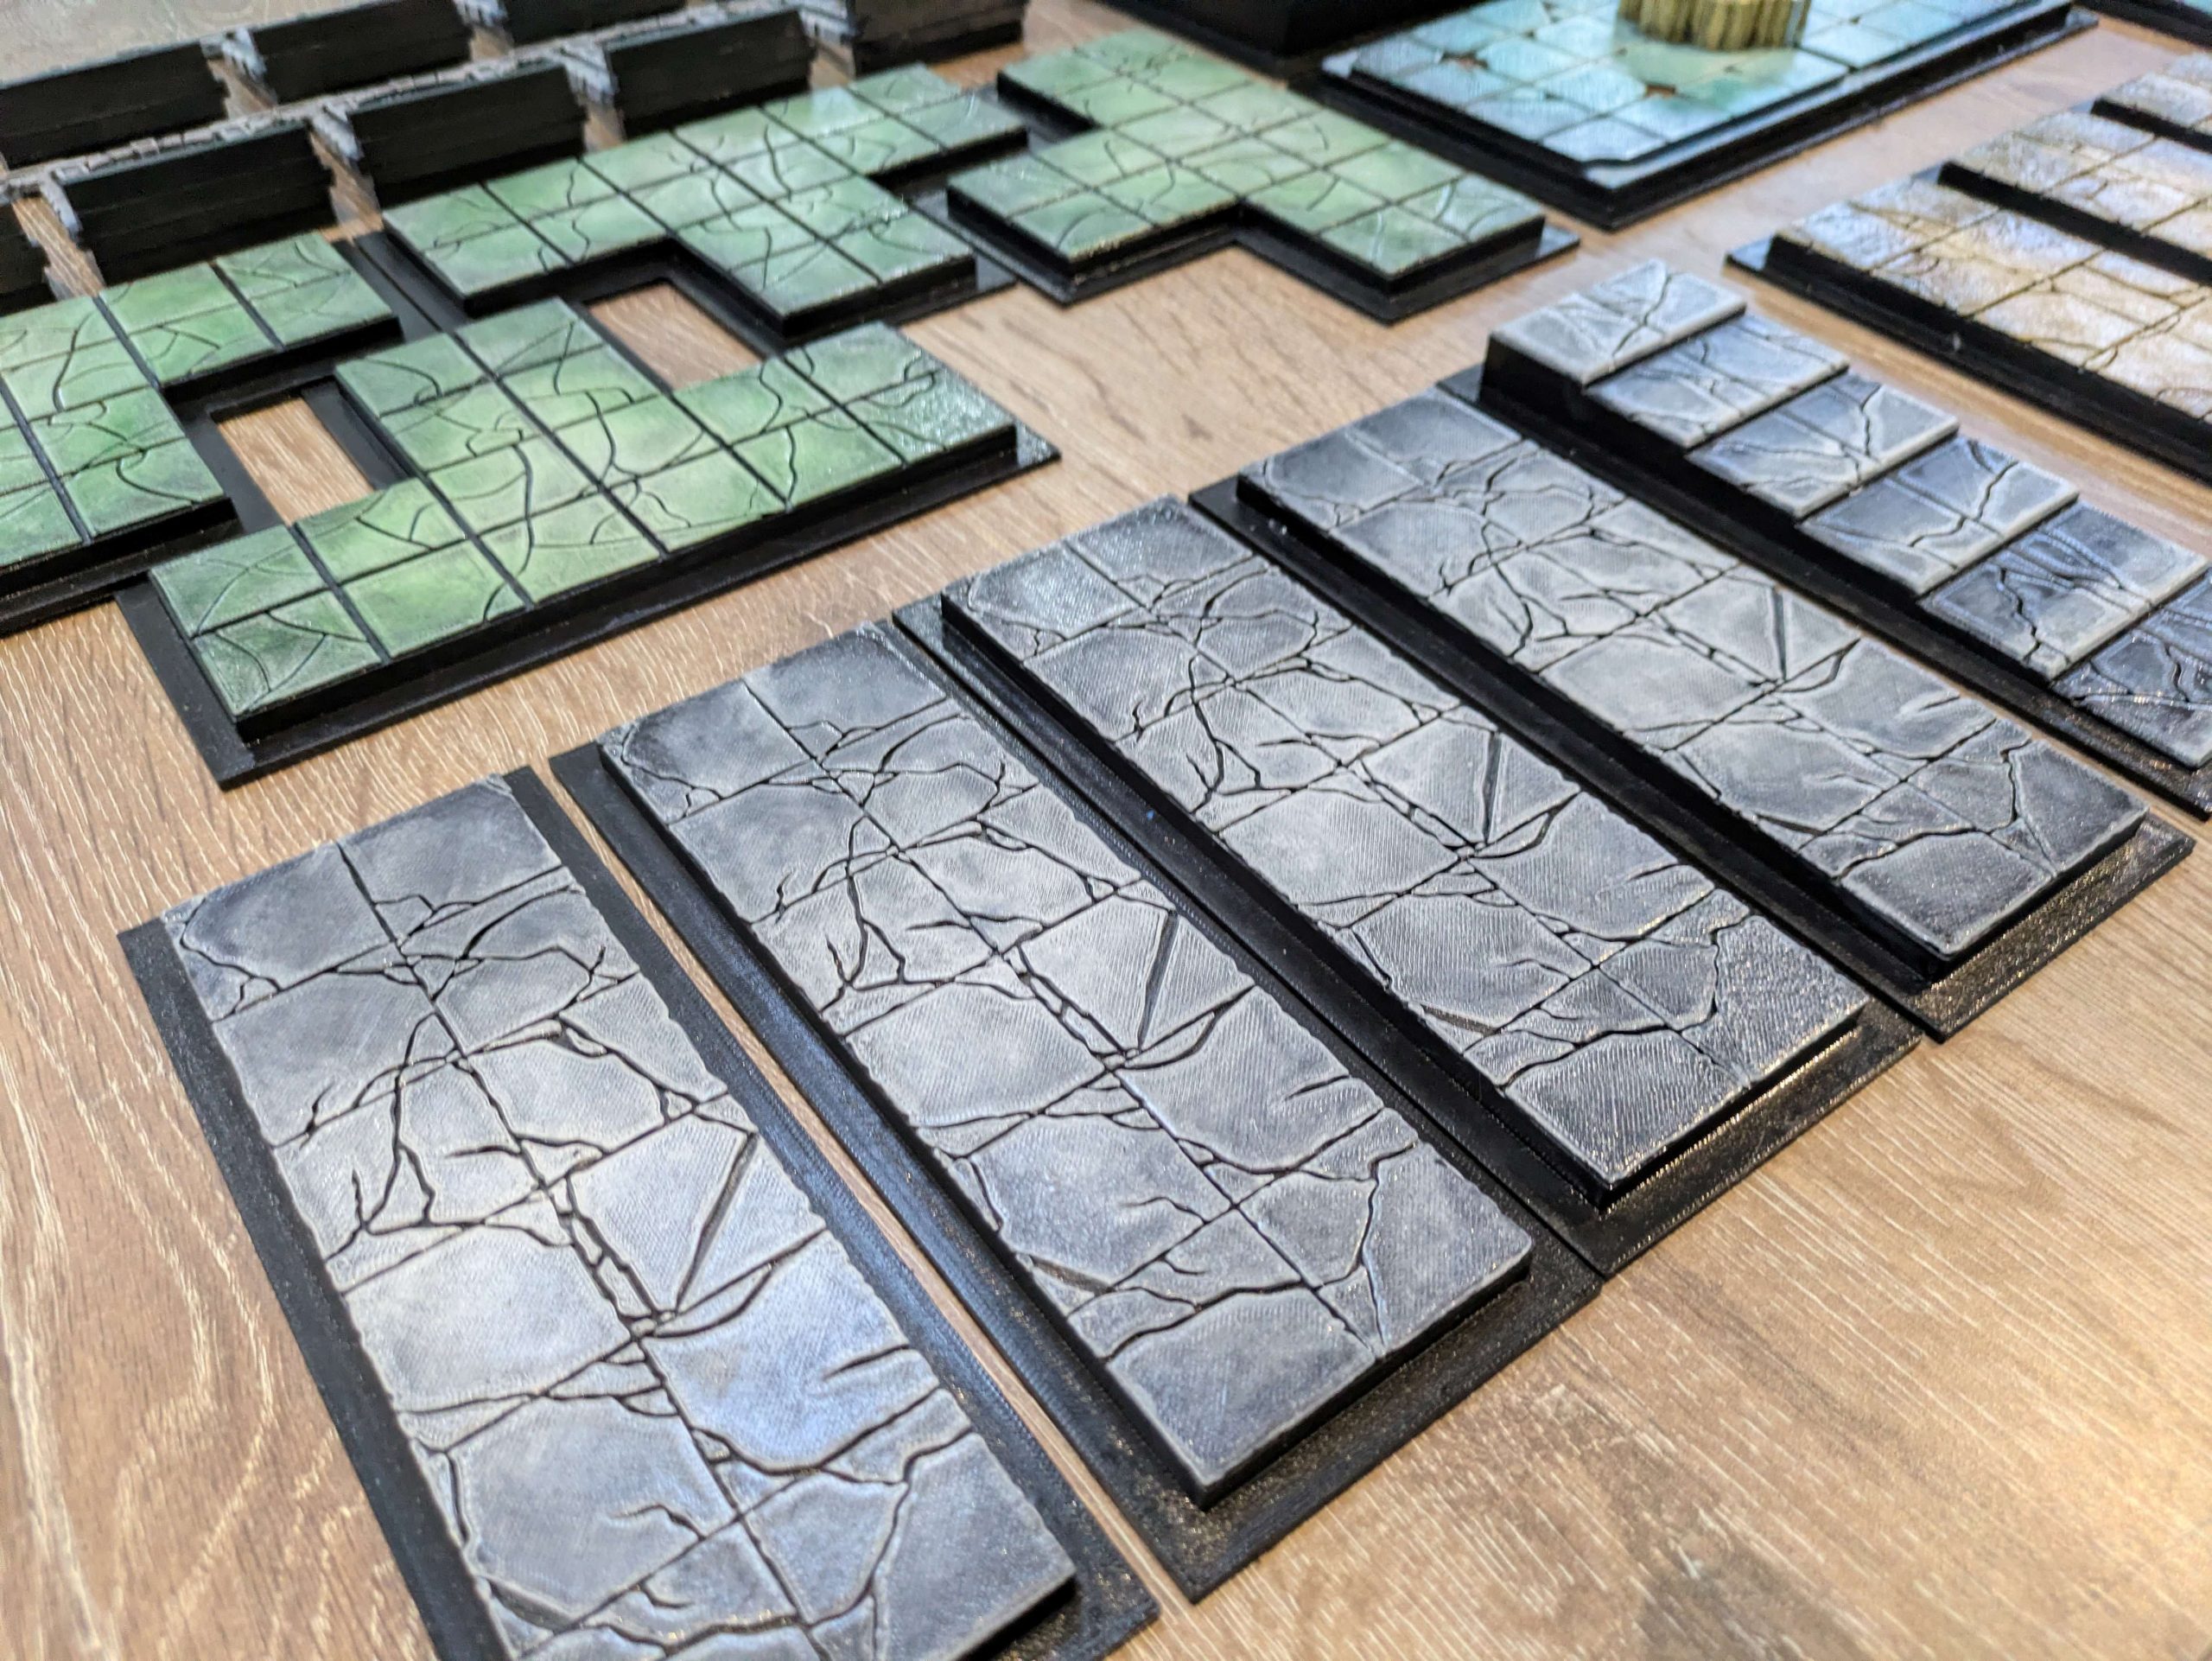
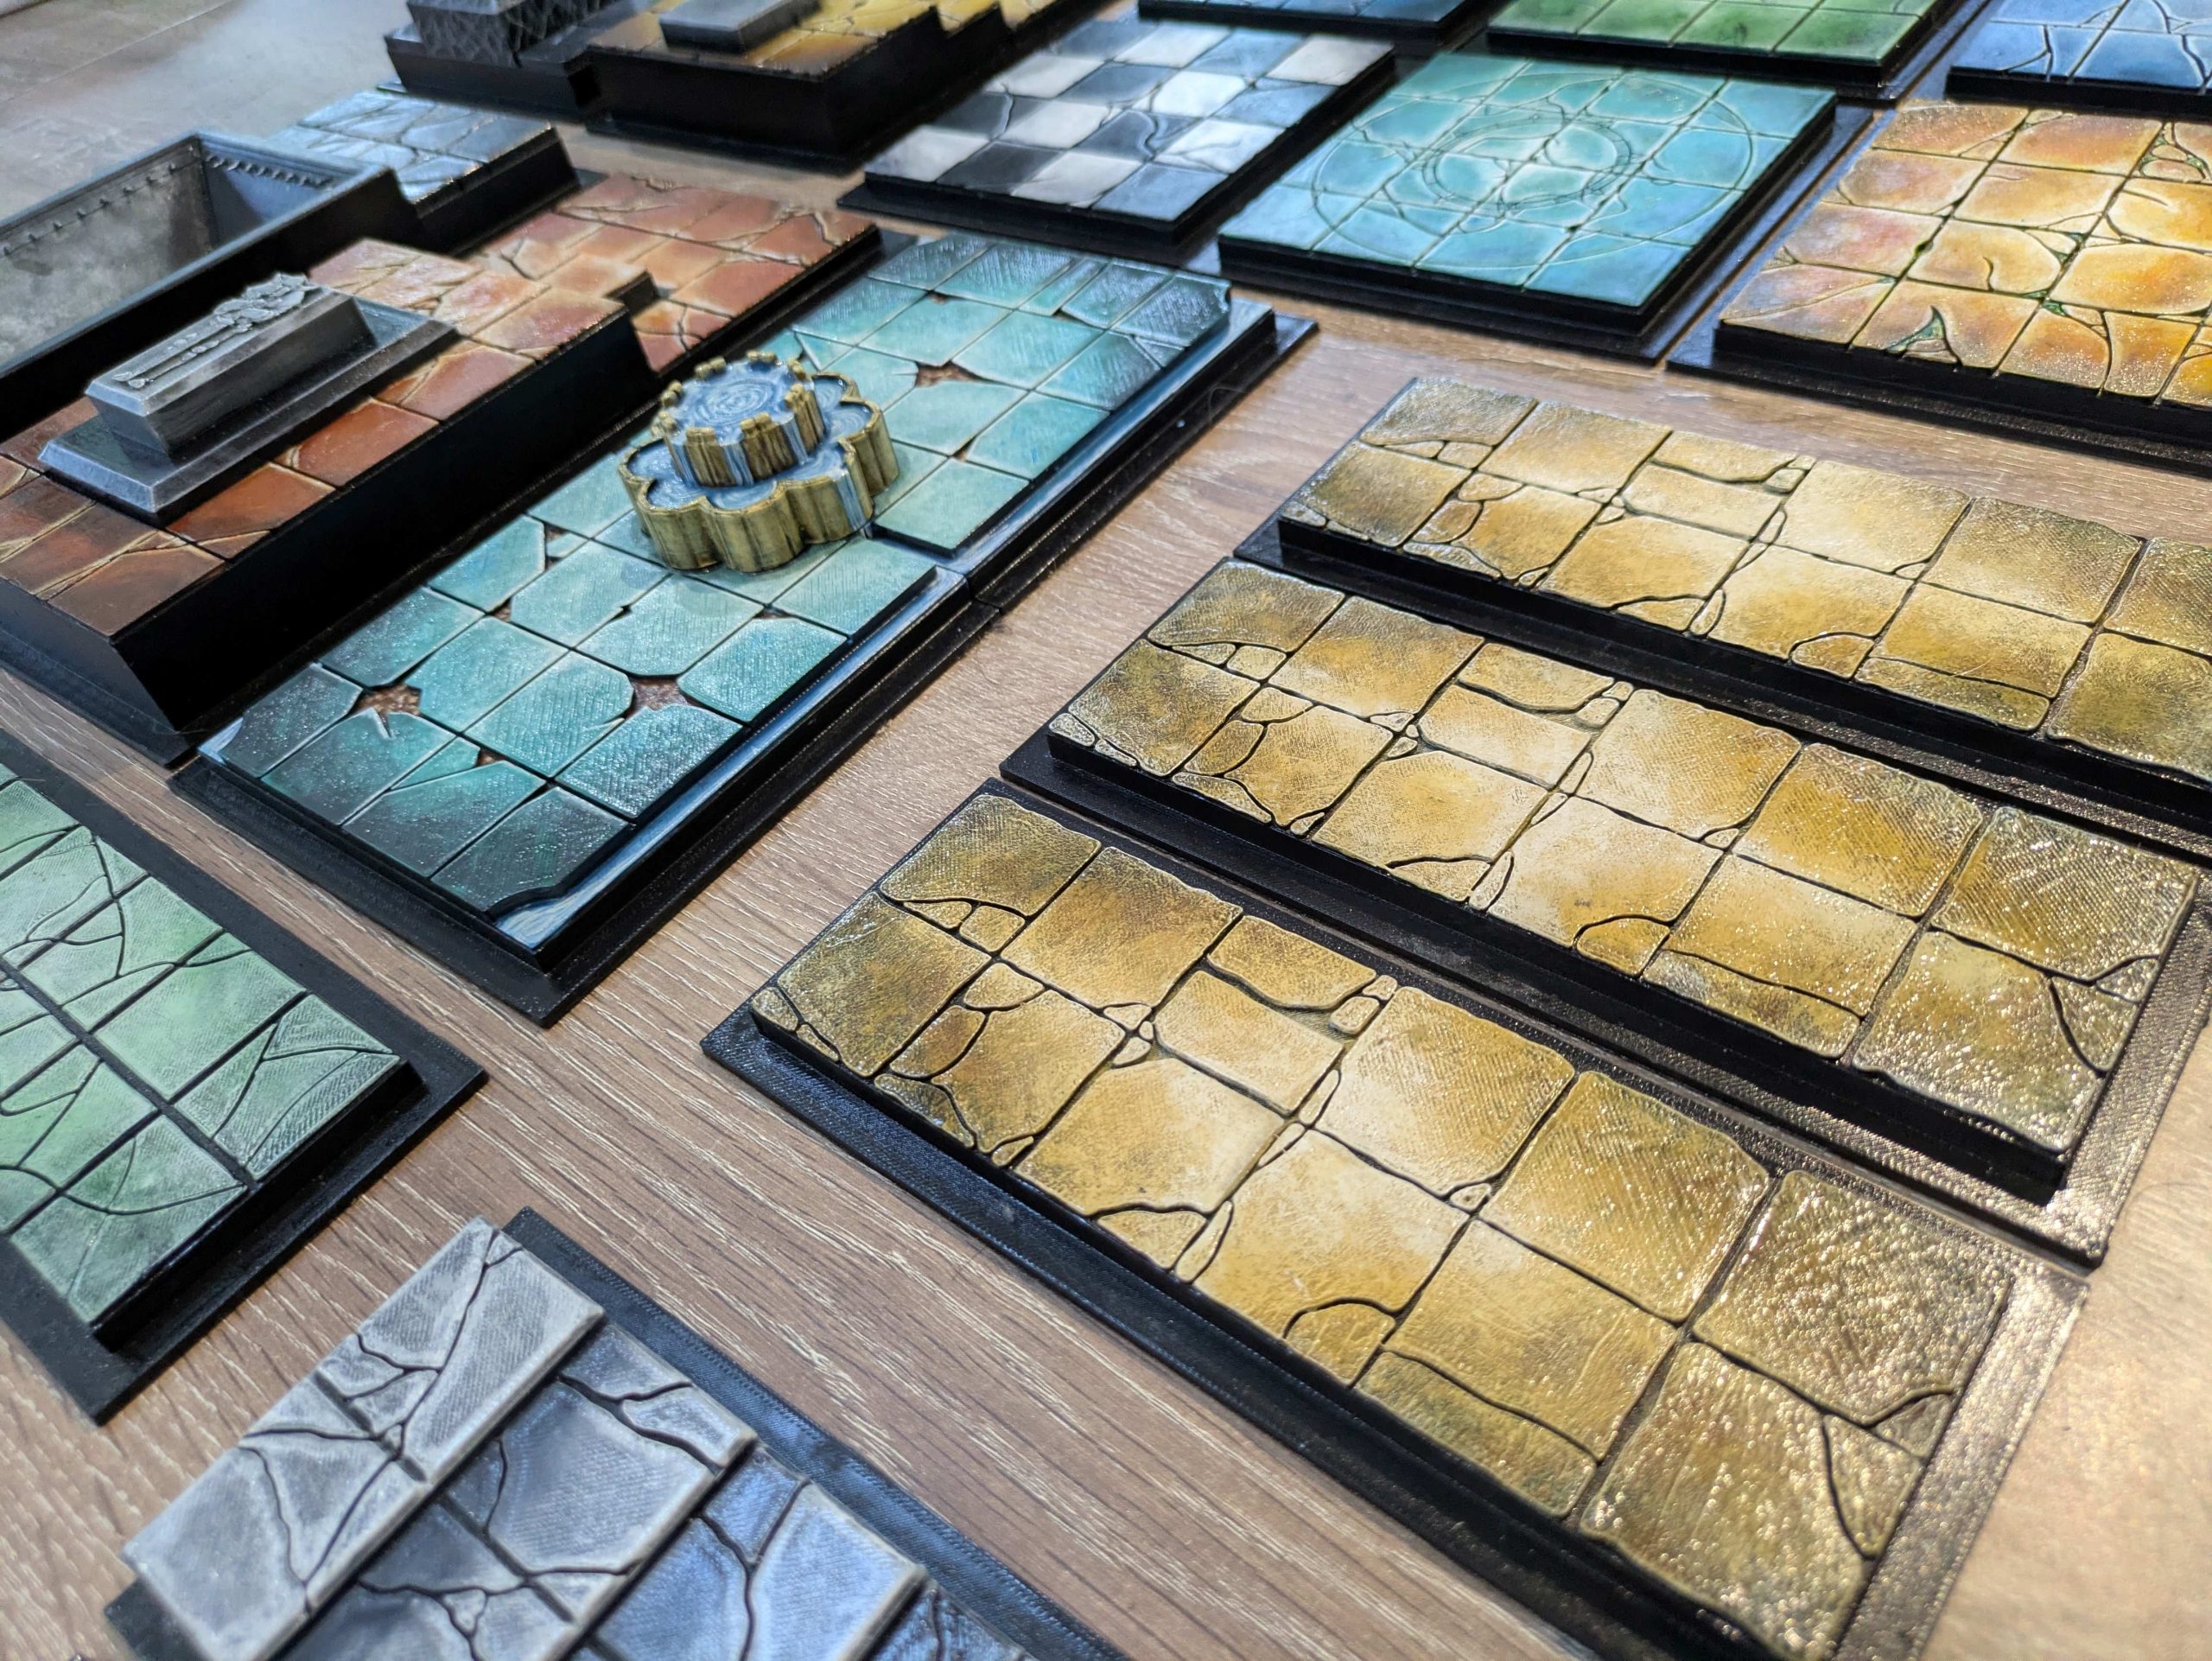
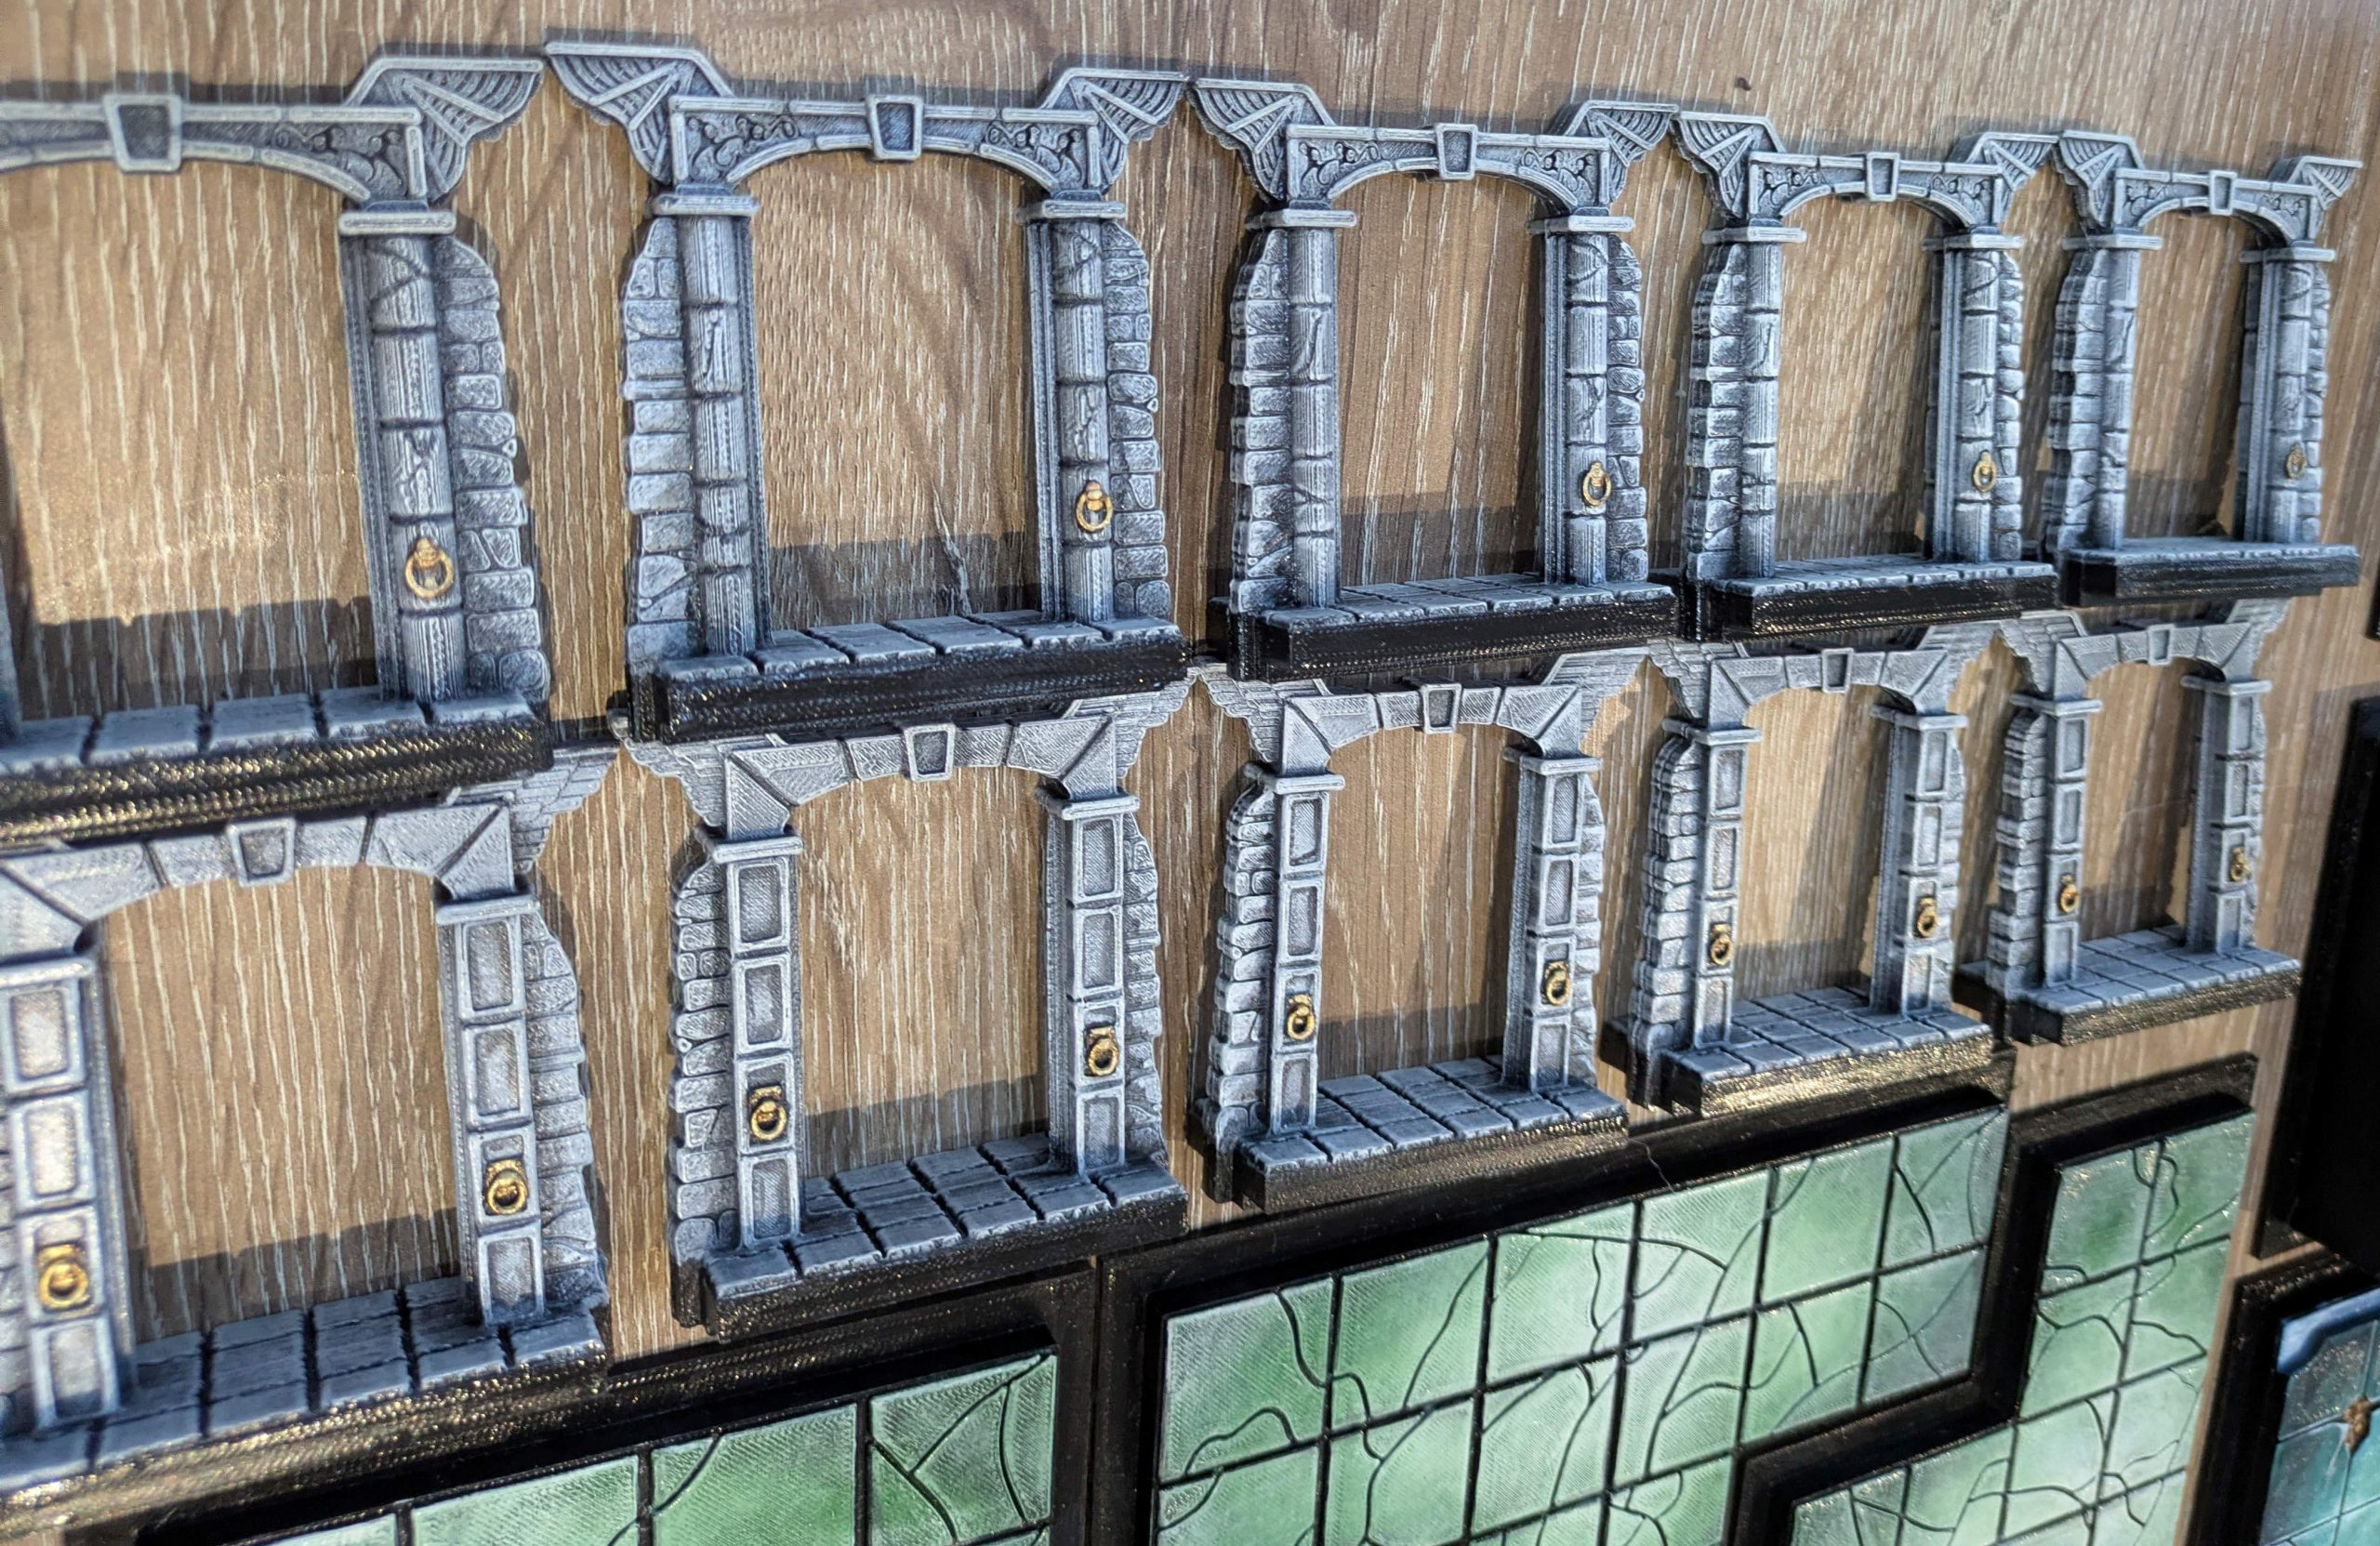
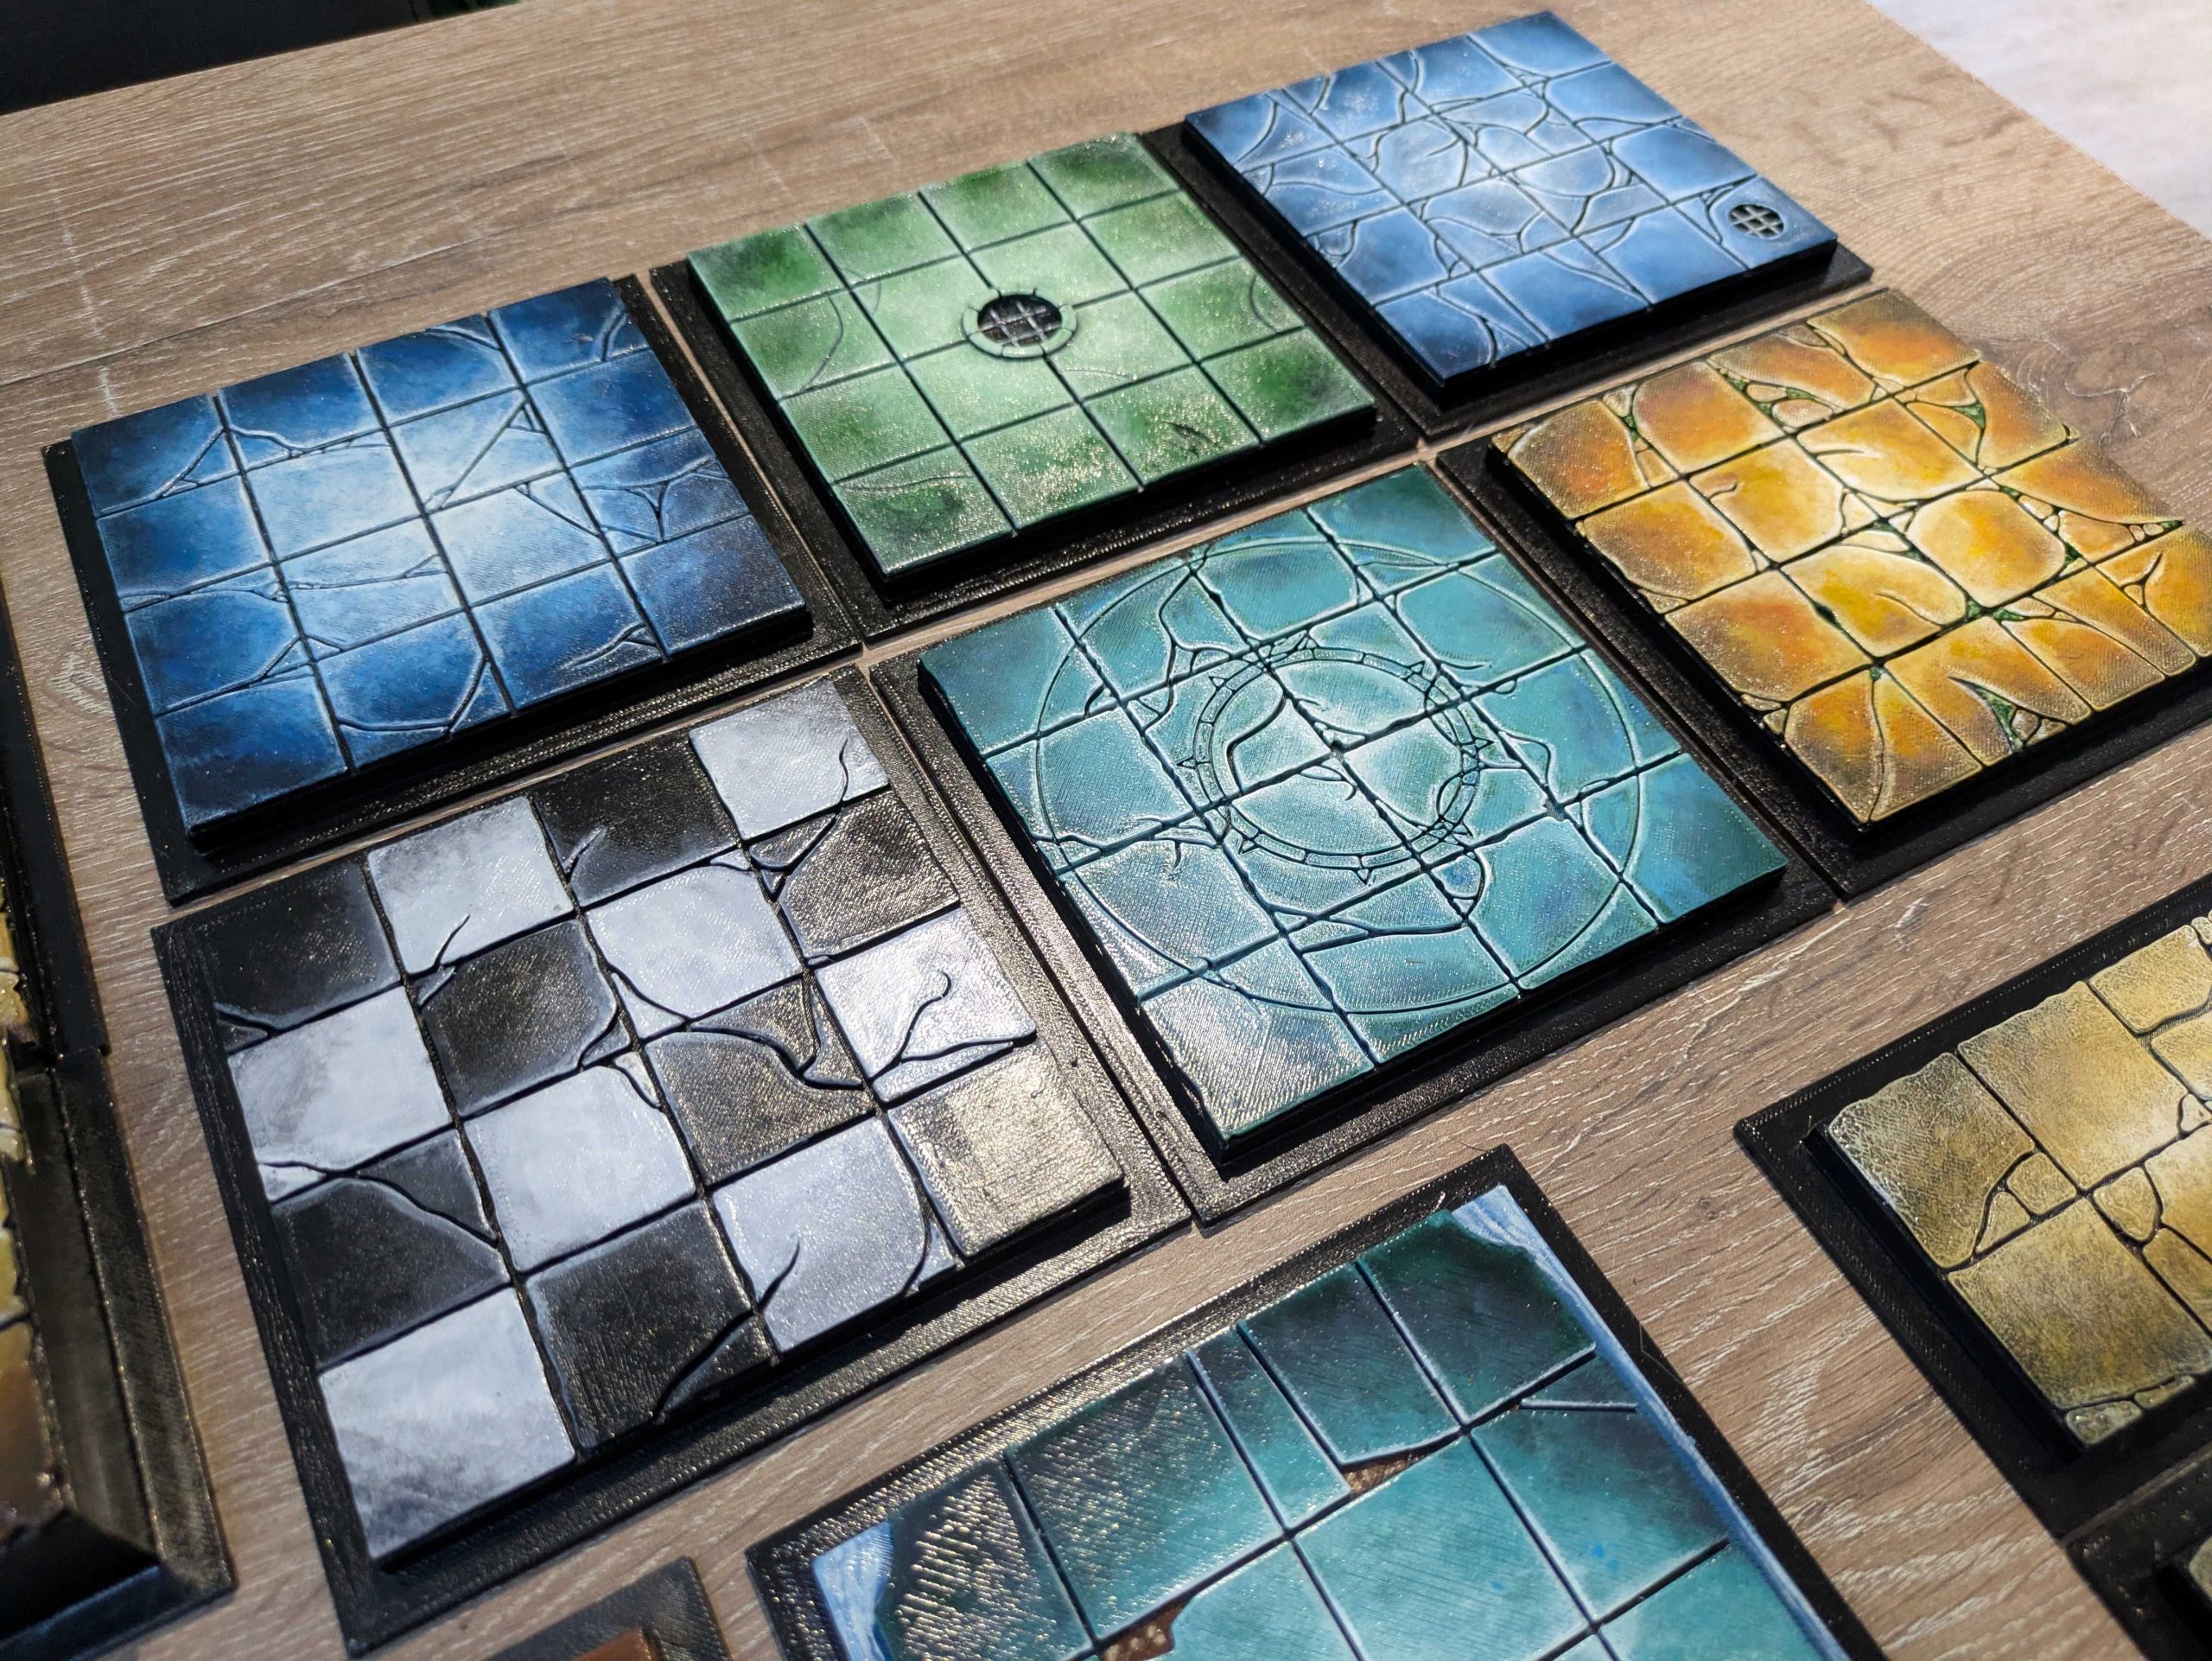
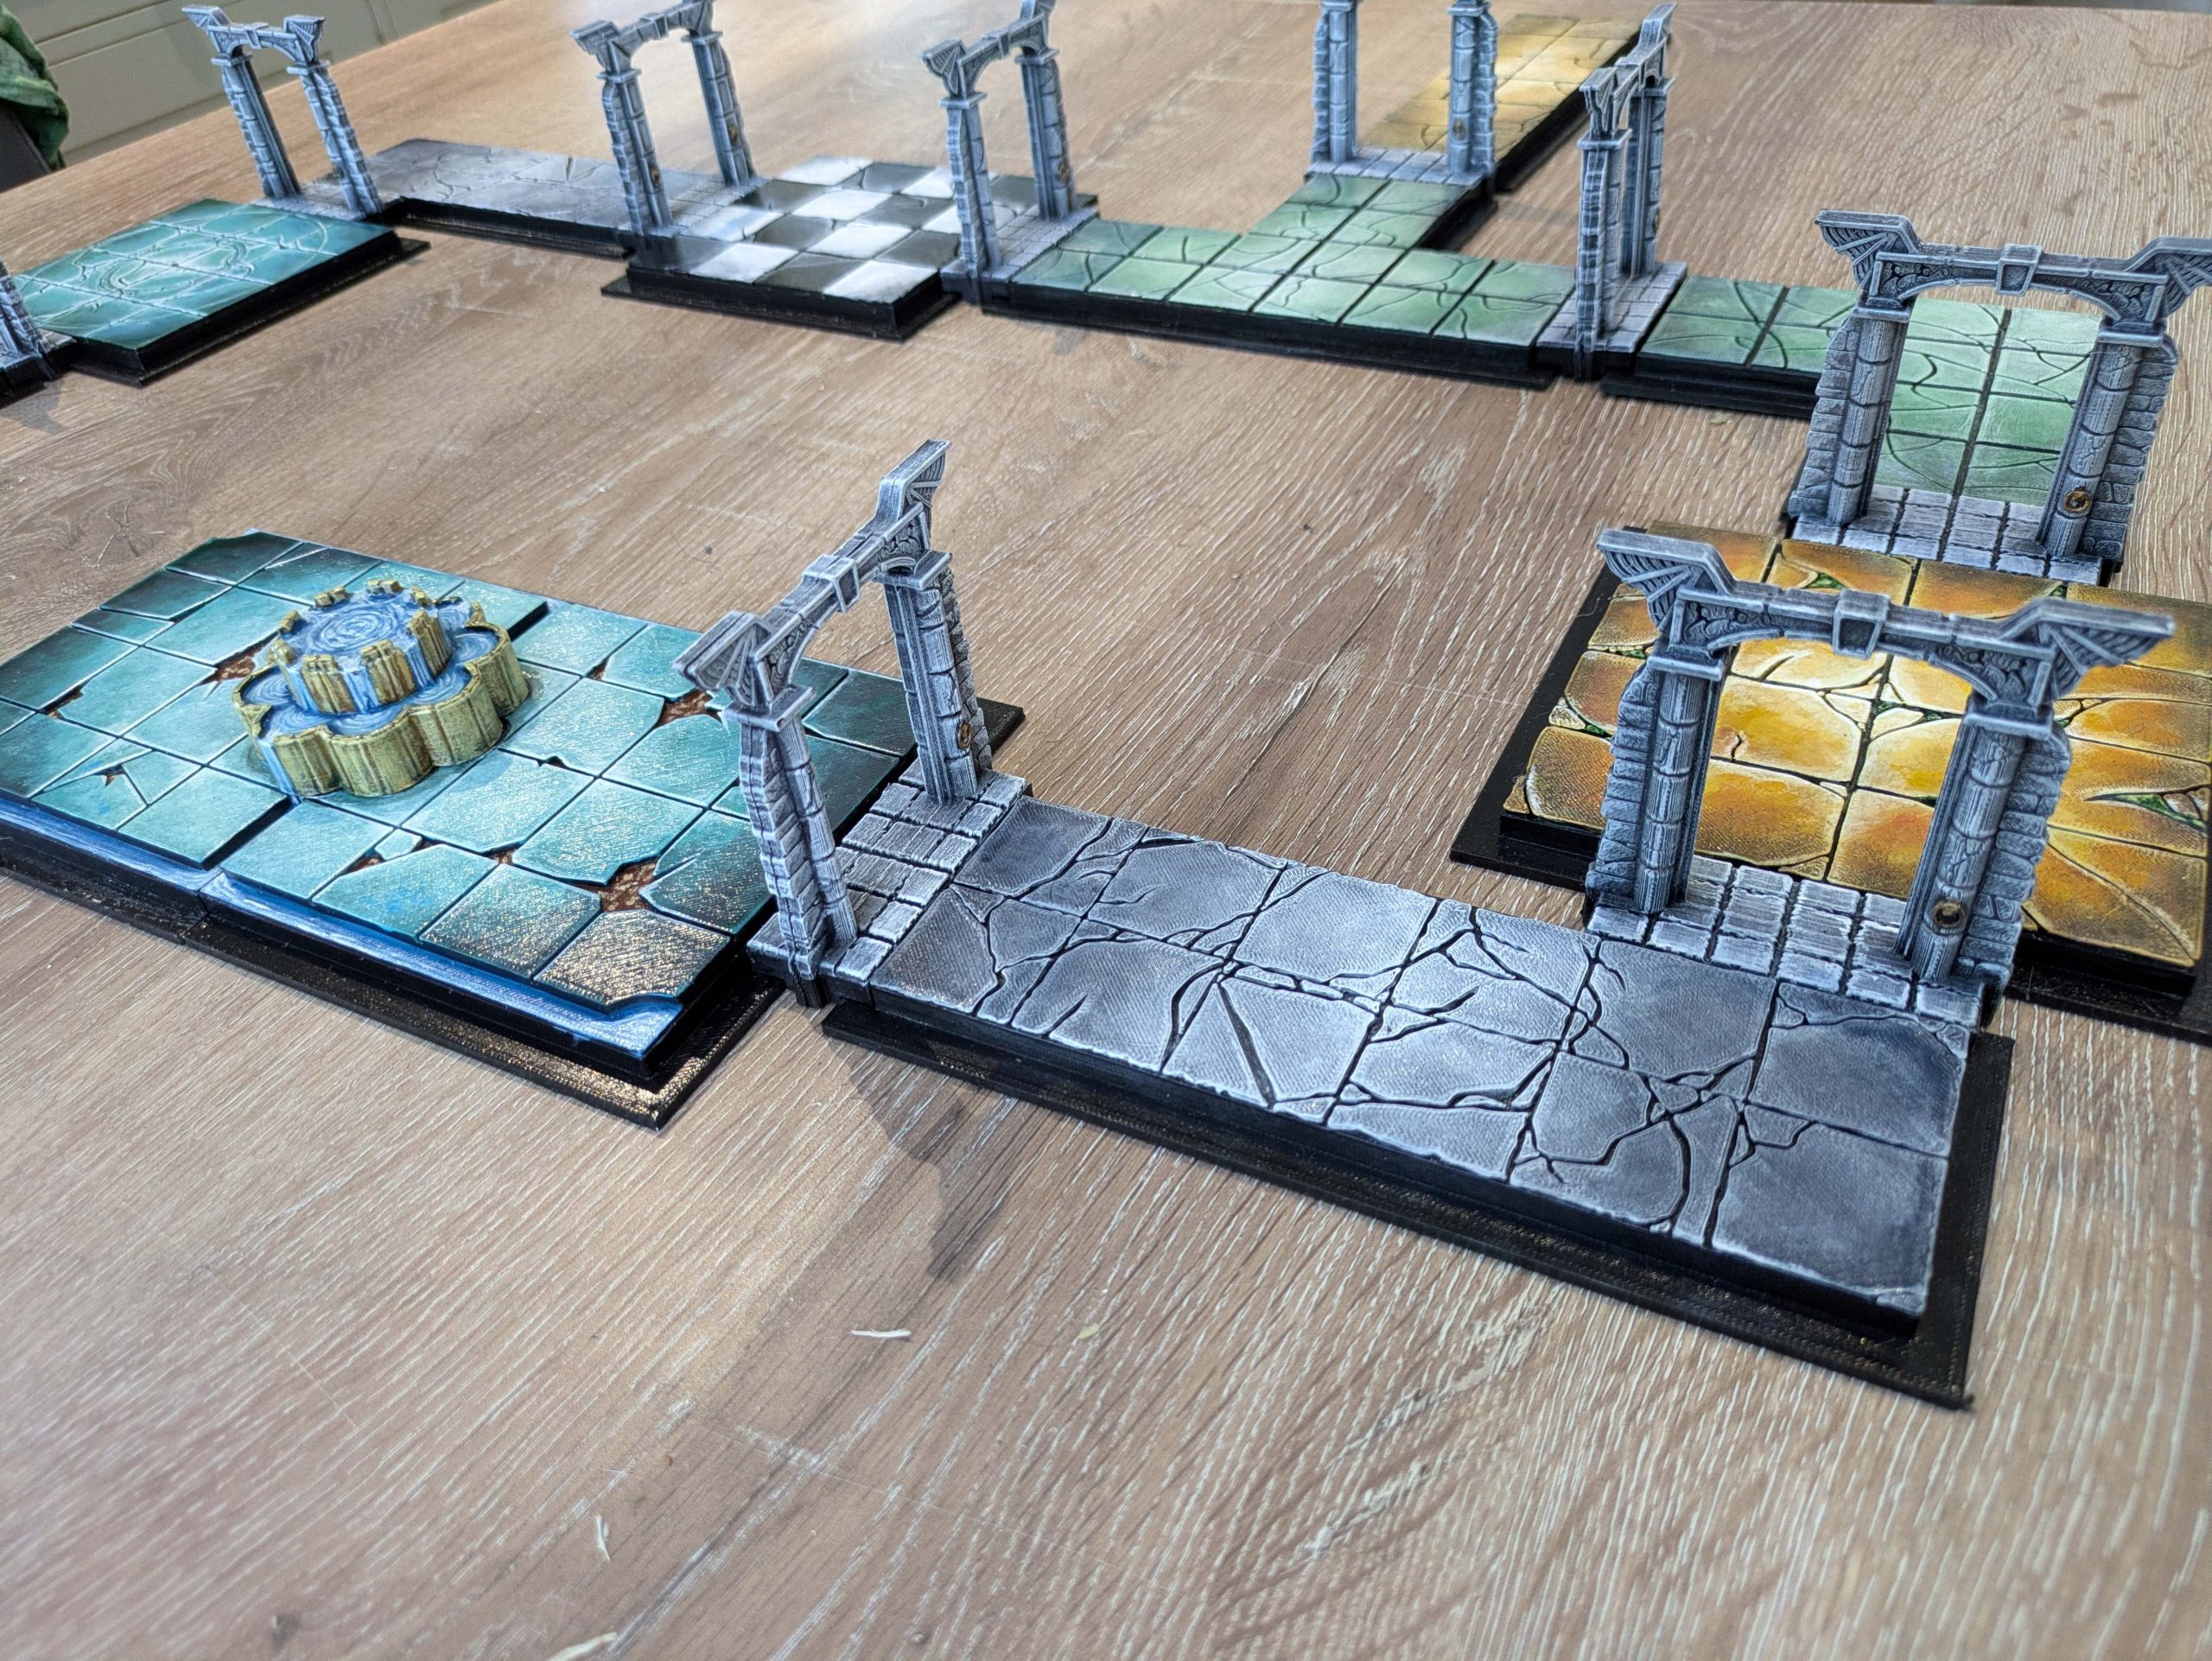
 FULL SET OF PAINTED BOARD SECTIONS
 Here is the full set of 3D printed and painted board tiles and doorways as per the original box. Once painted I gave them all a coat of semi-gloss clear spray varnish to protect them a little. Now I just need to have a game on them!
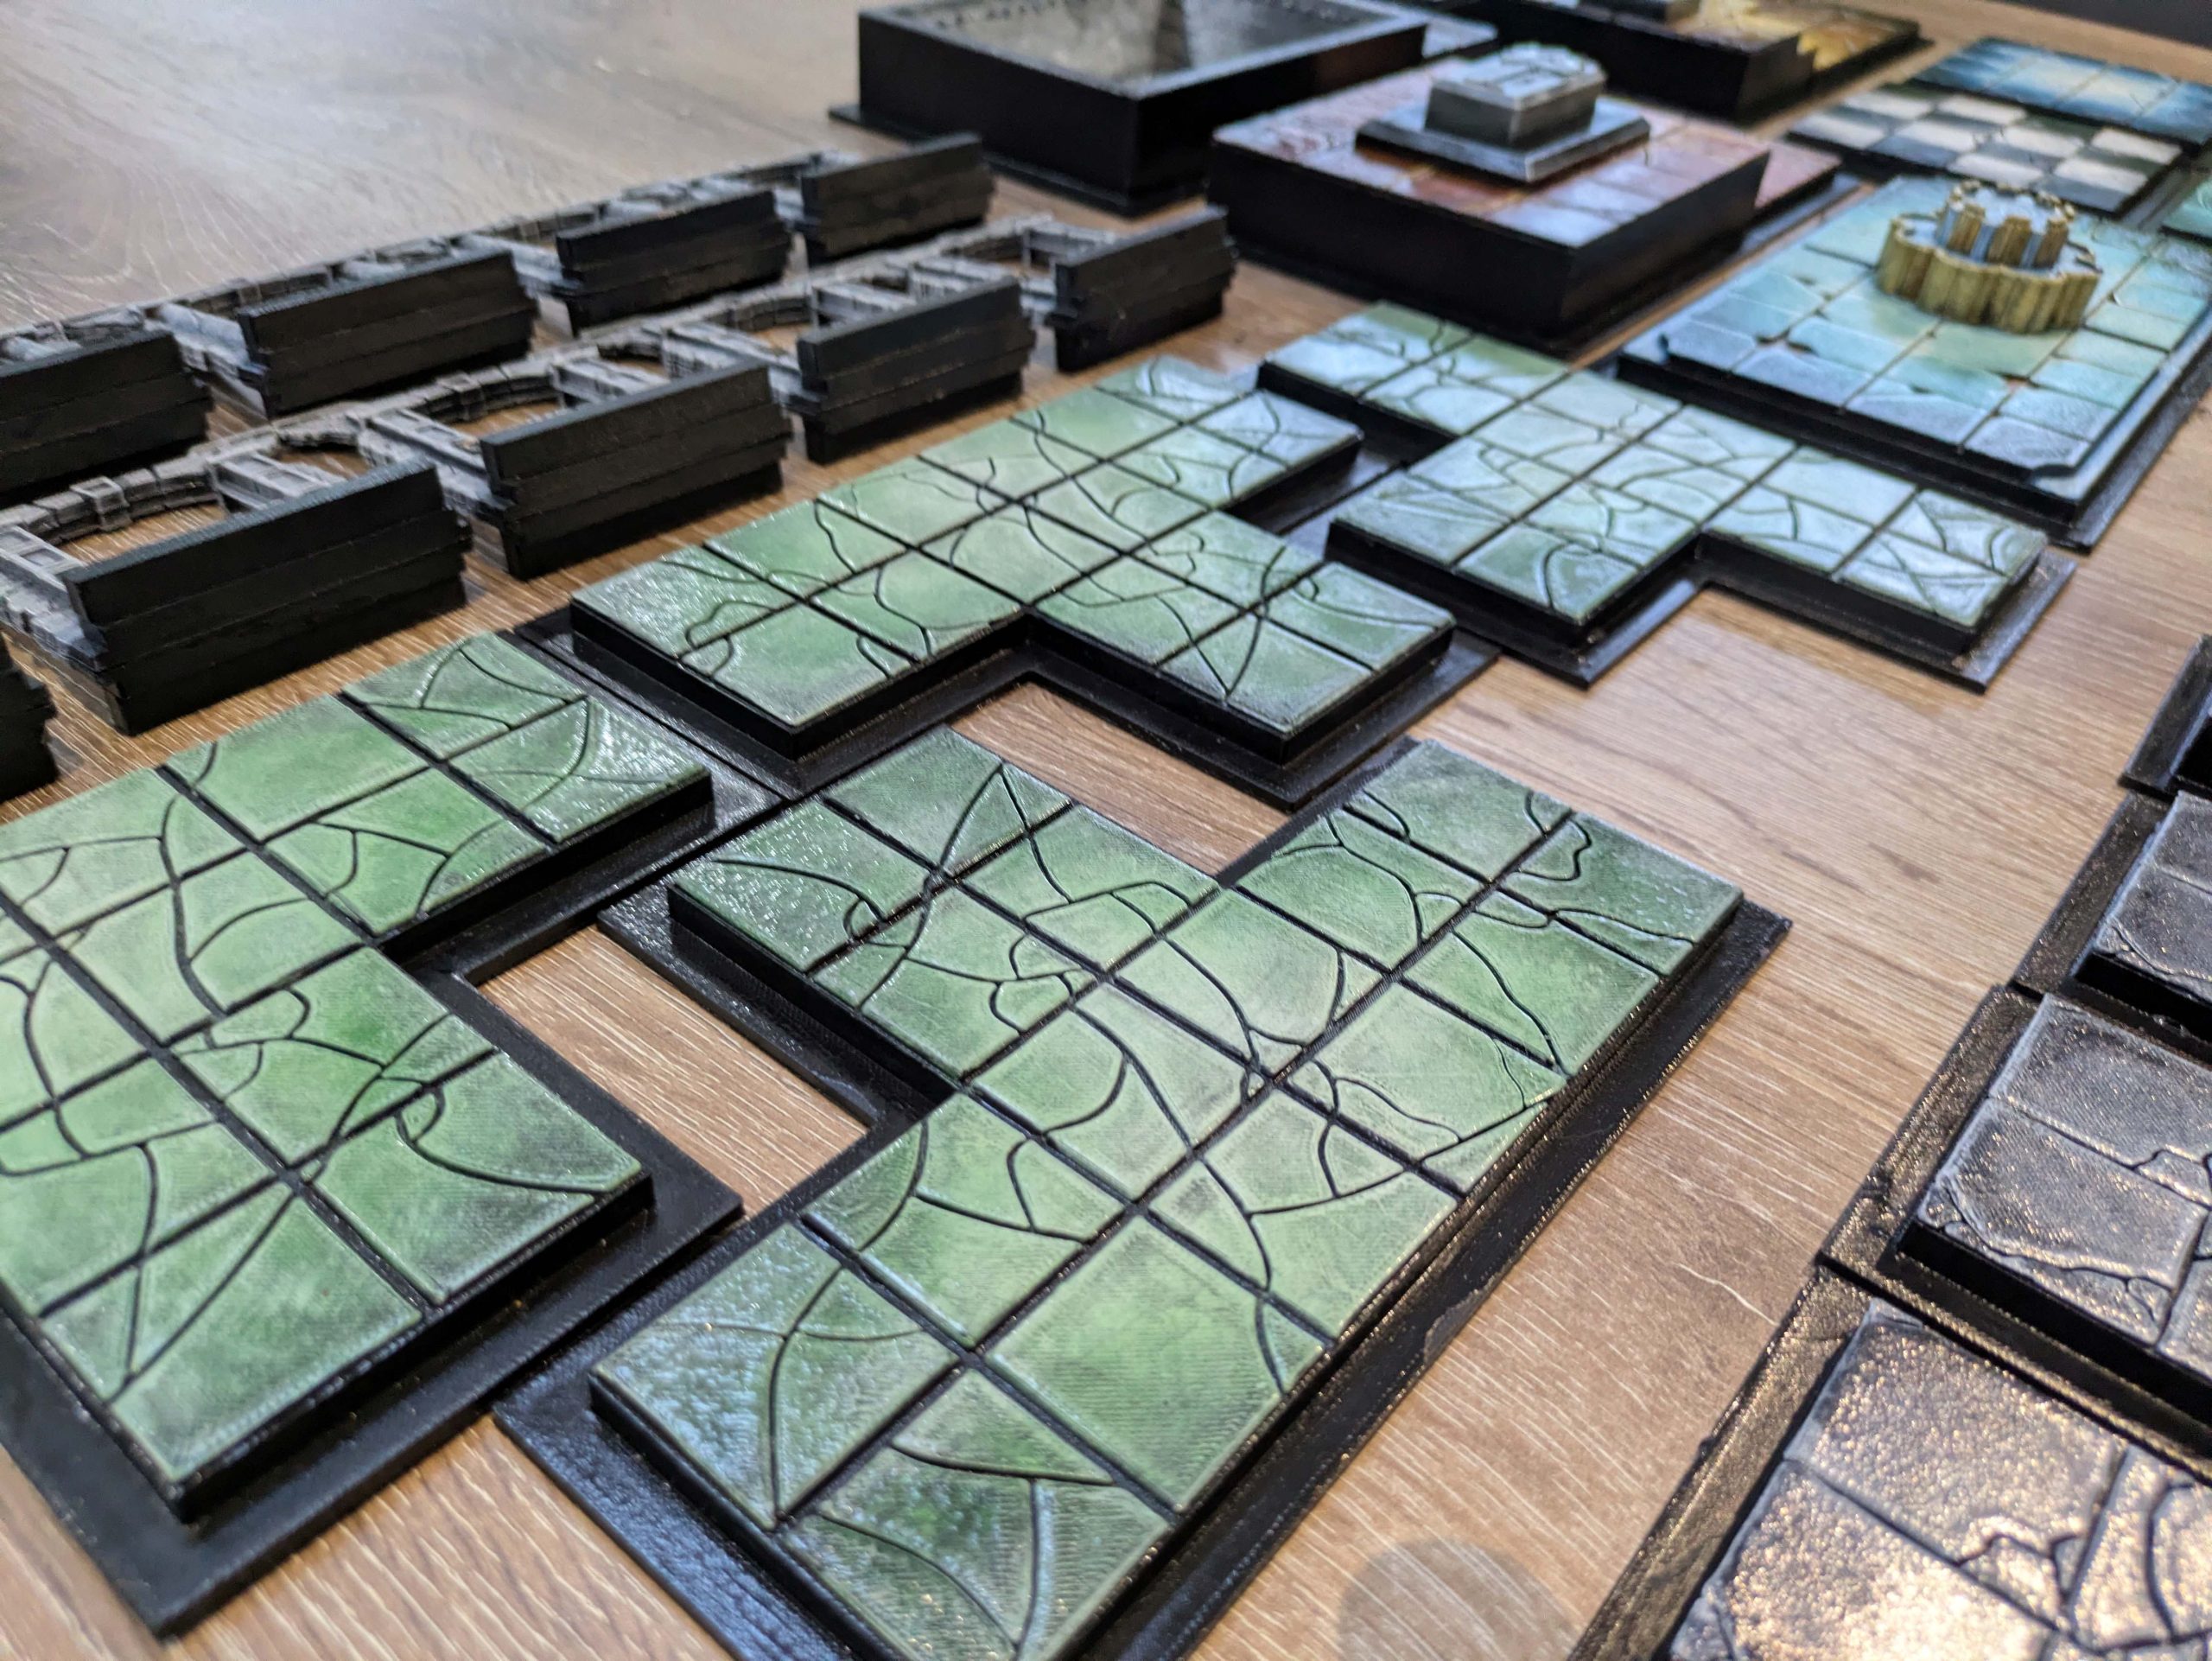
FIGURES FOR PODIUMS
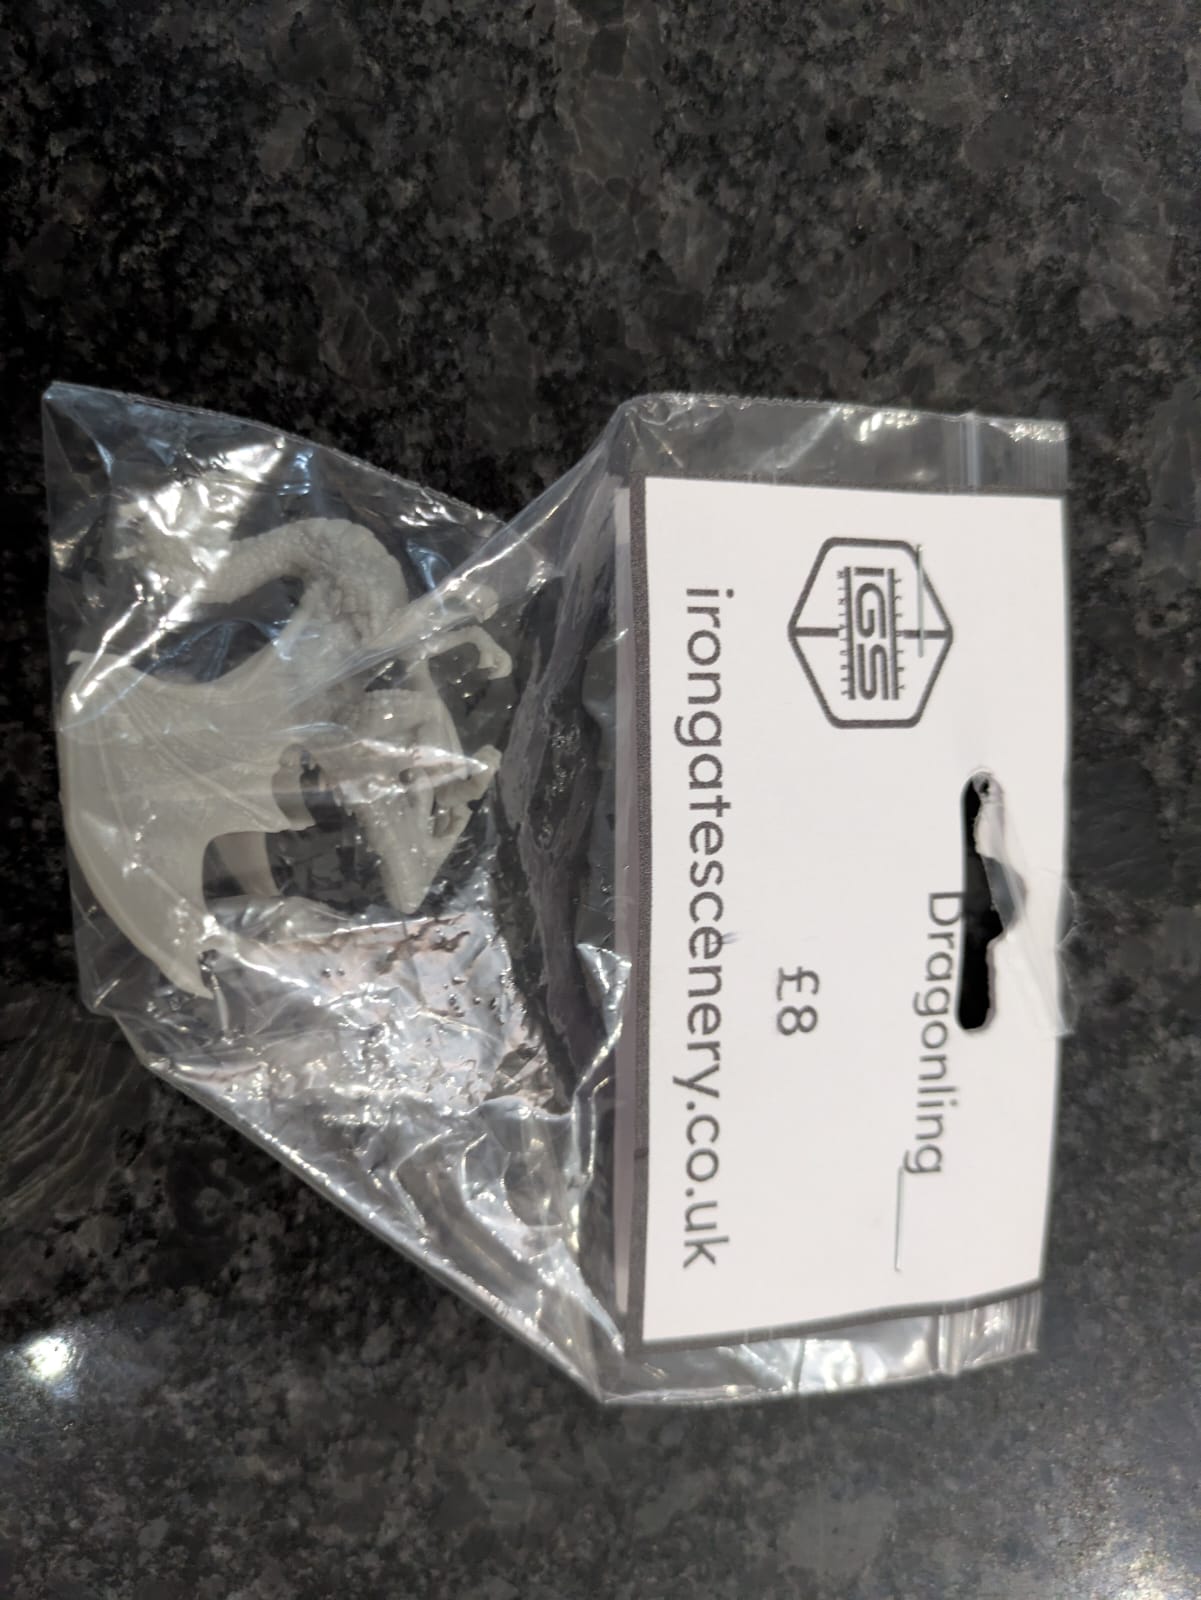 I found this baby dragon from Iron Gate Scenery, which luckily fits exactly on my podium!
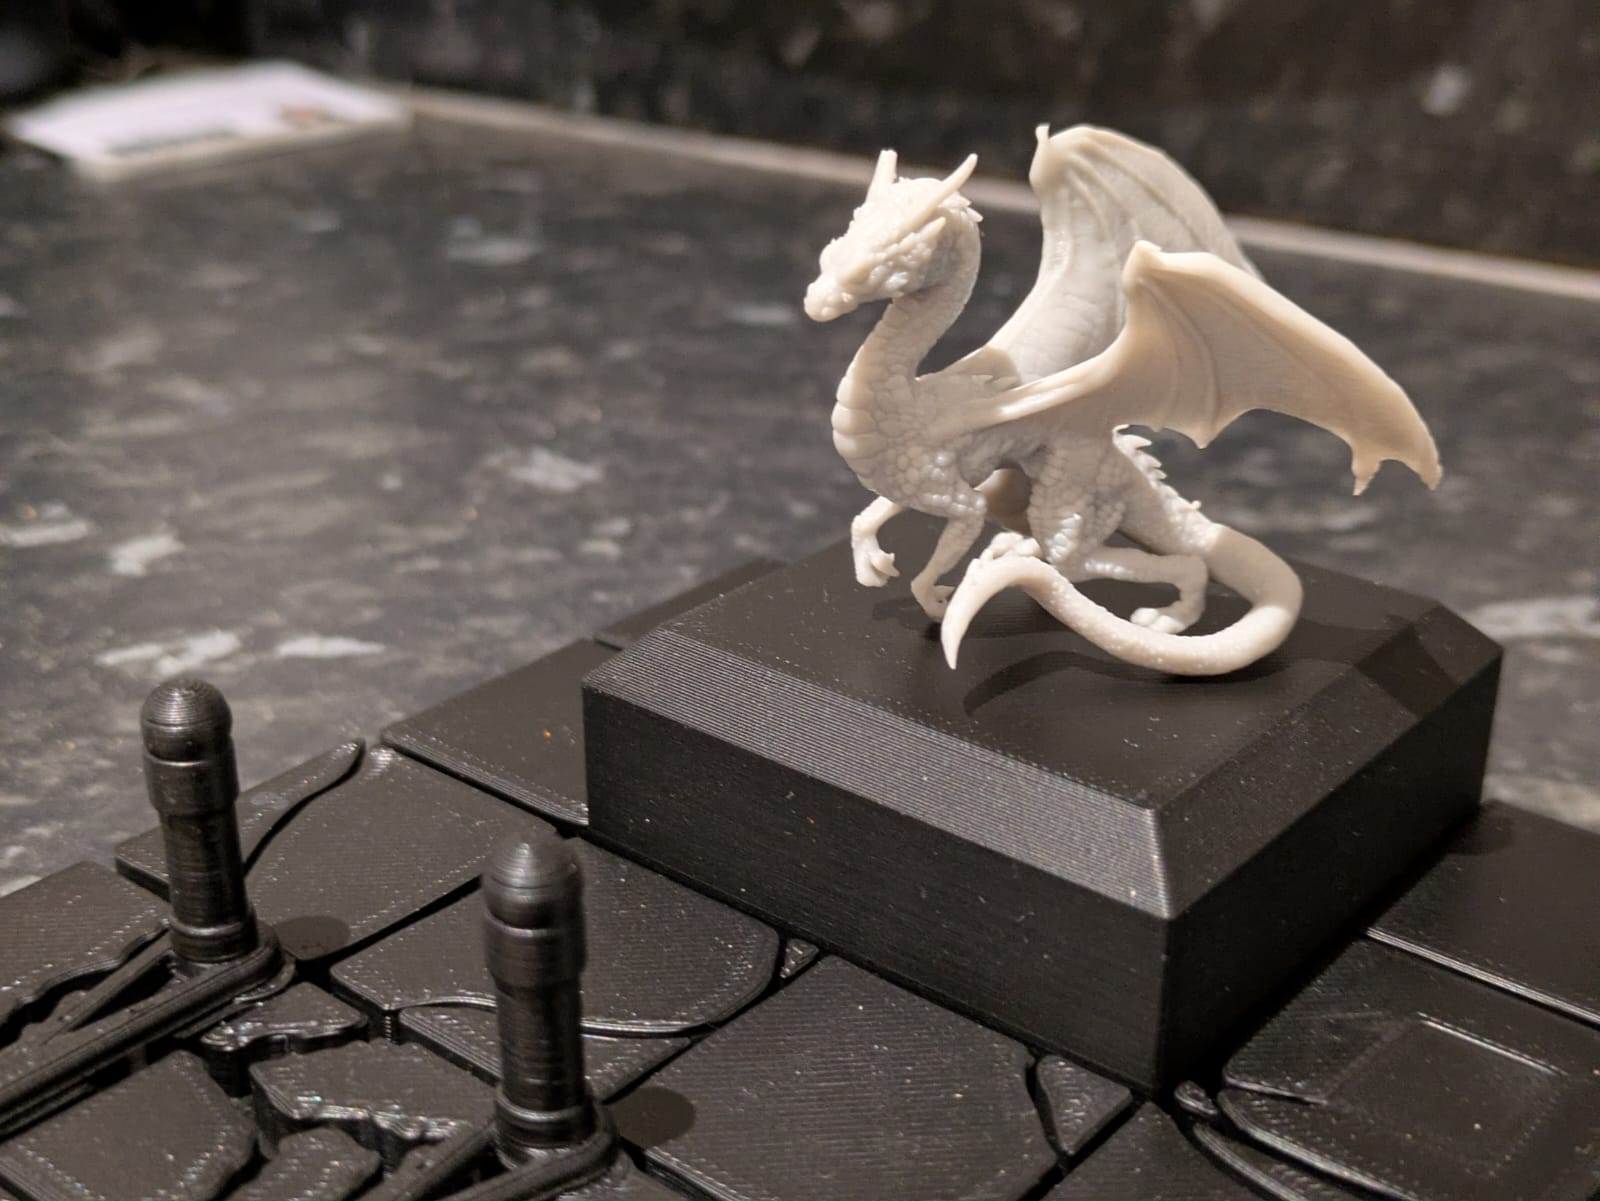 It really needs a pile of gold and treasure to be sitting on
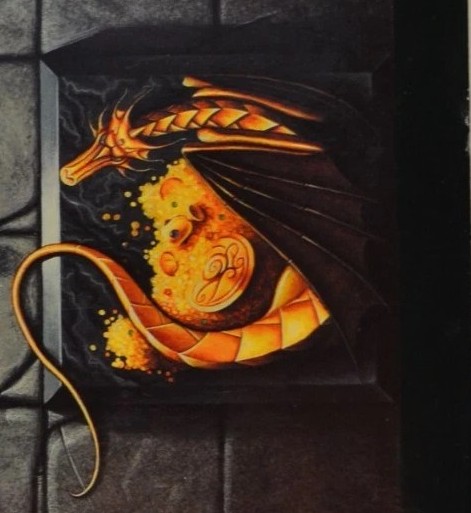
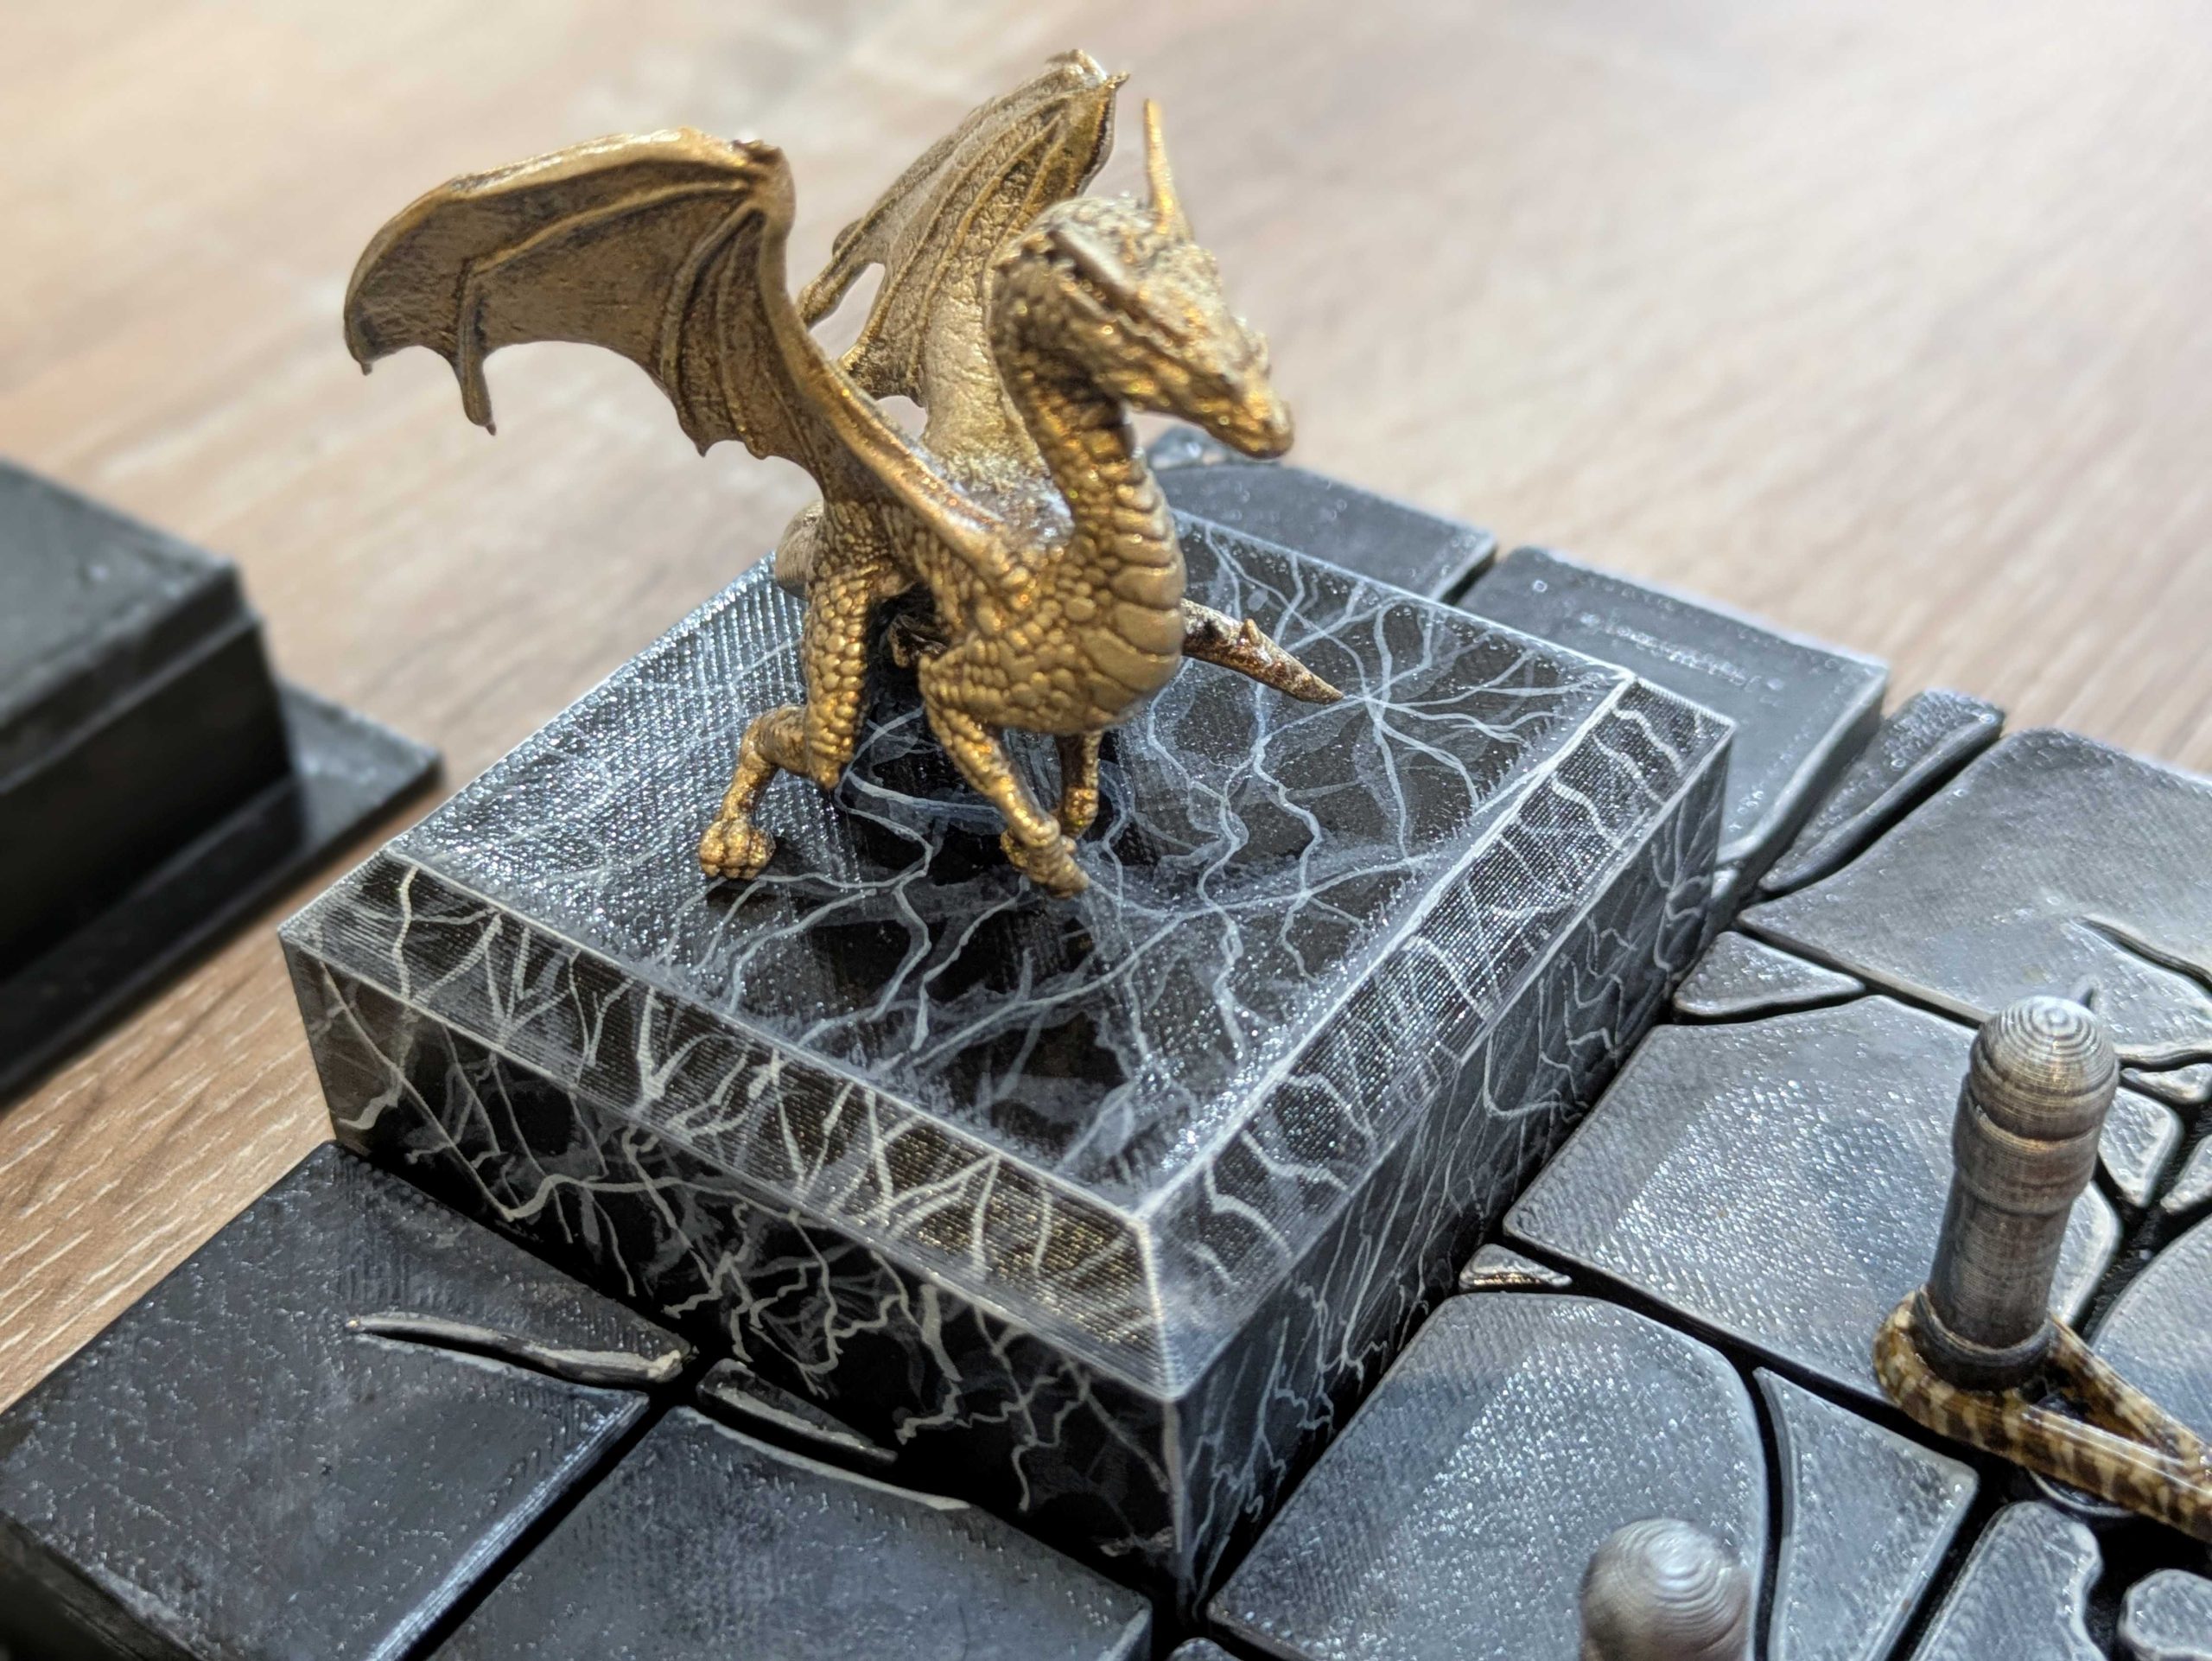 A lick of gold paint - I used Vallejo Tinny Tin, dry brushed with Glorious Gold, then Polished Gold
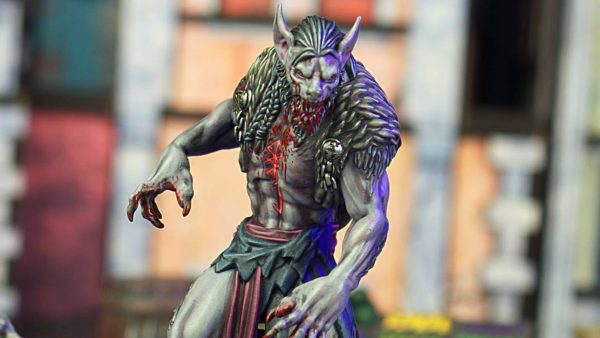
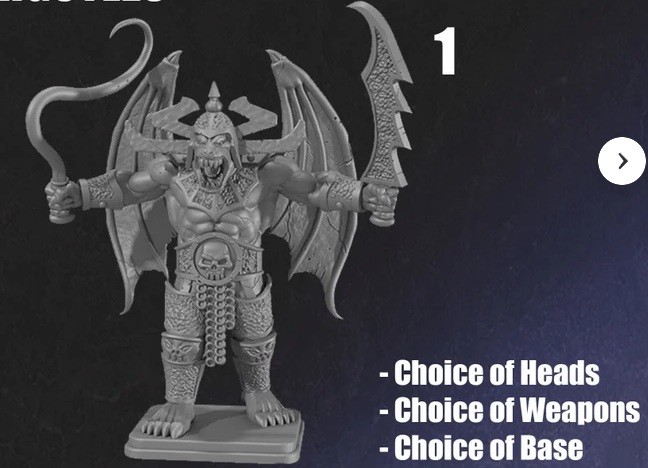 I found this Hero Quest Gargoyle on Etsy, which was a quite close match to the image on the original painted board section
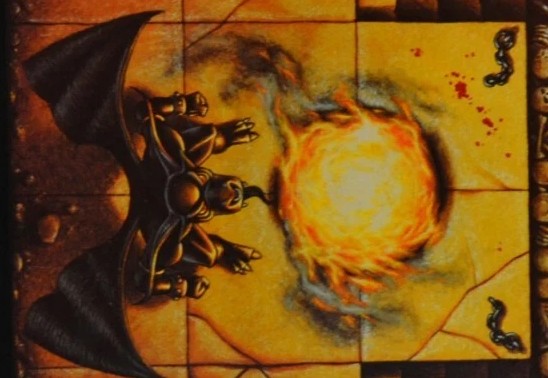
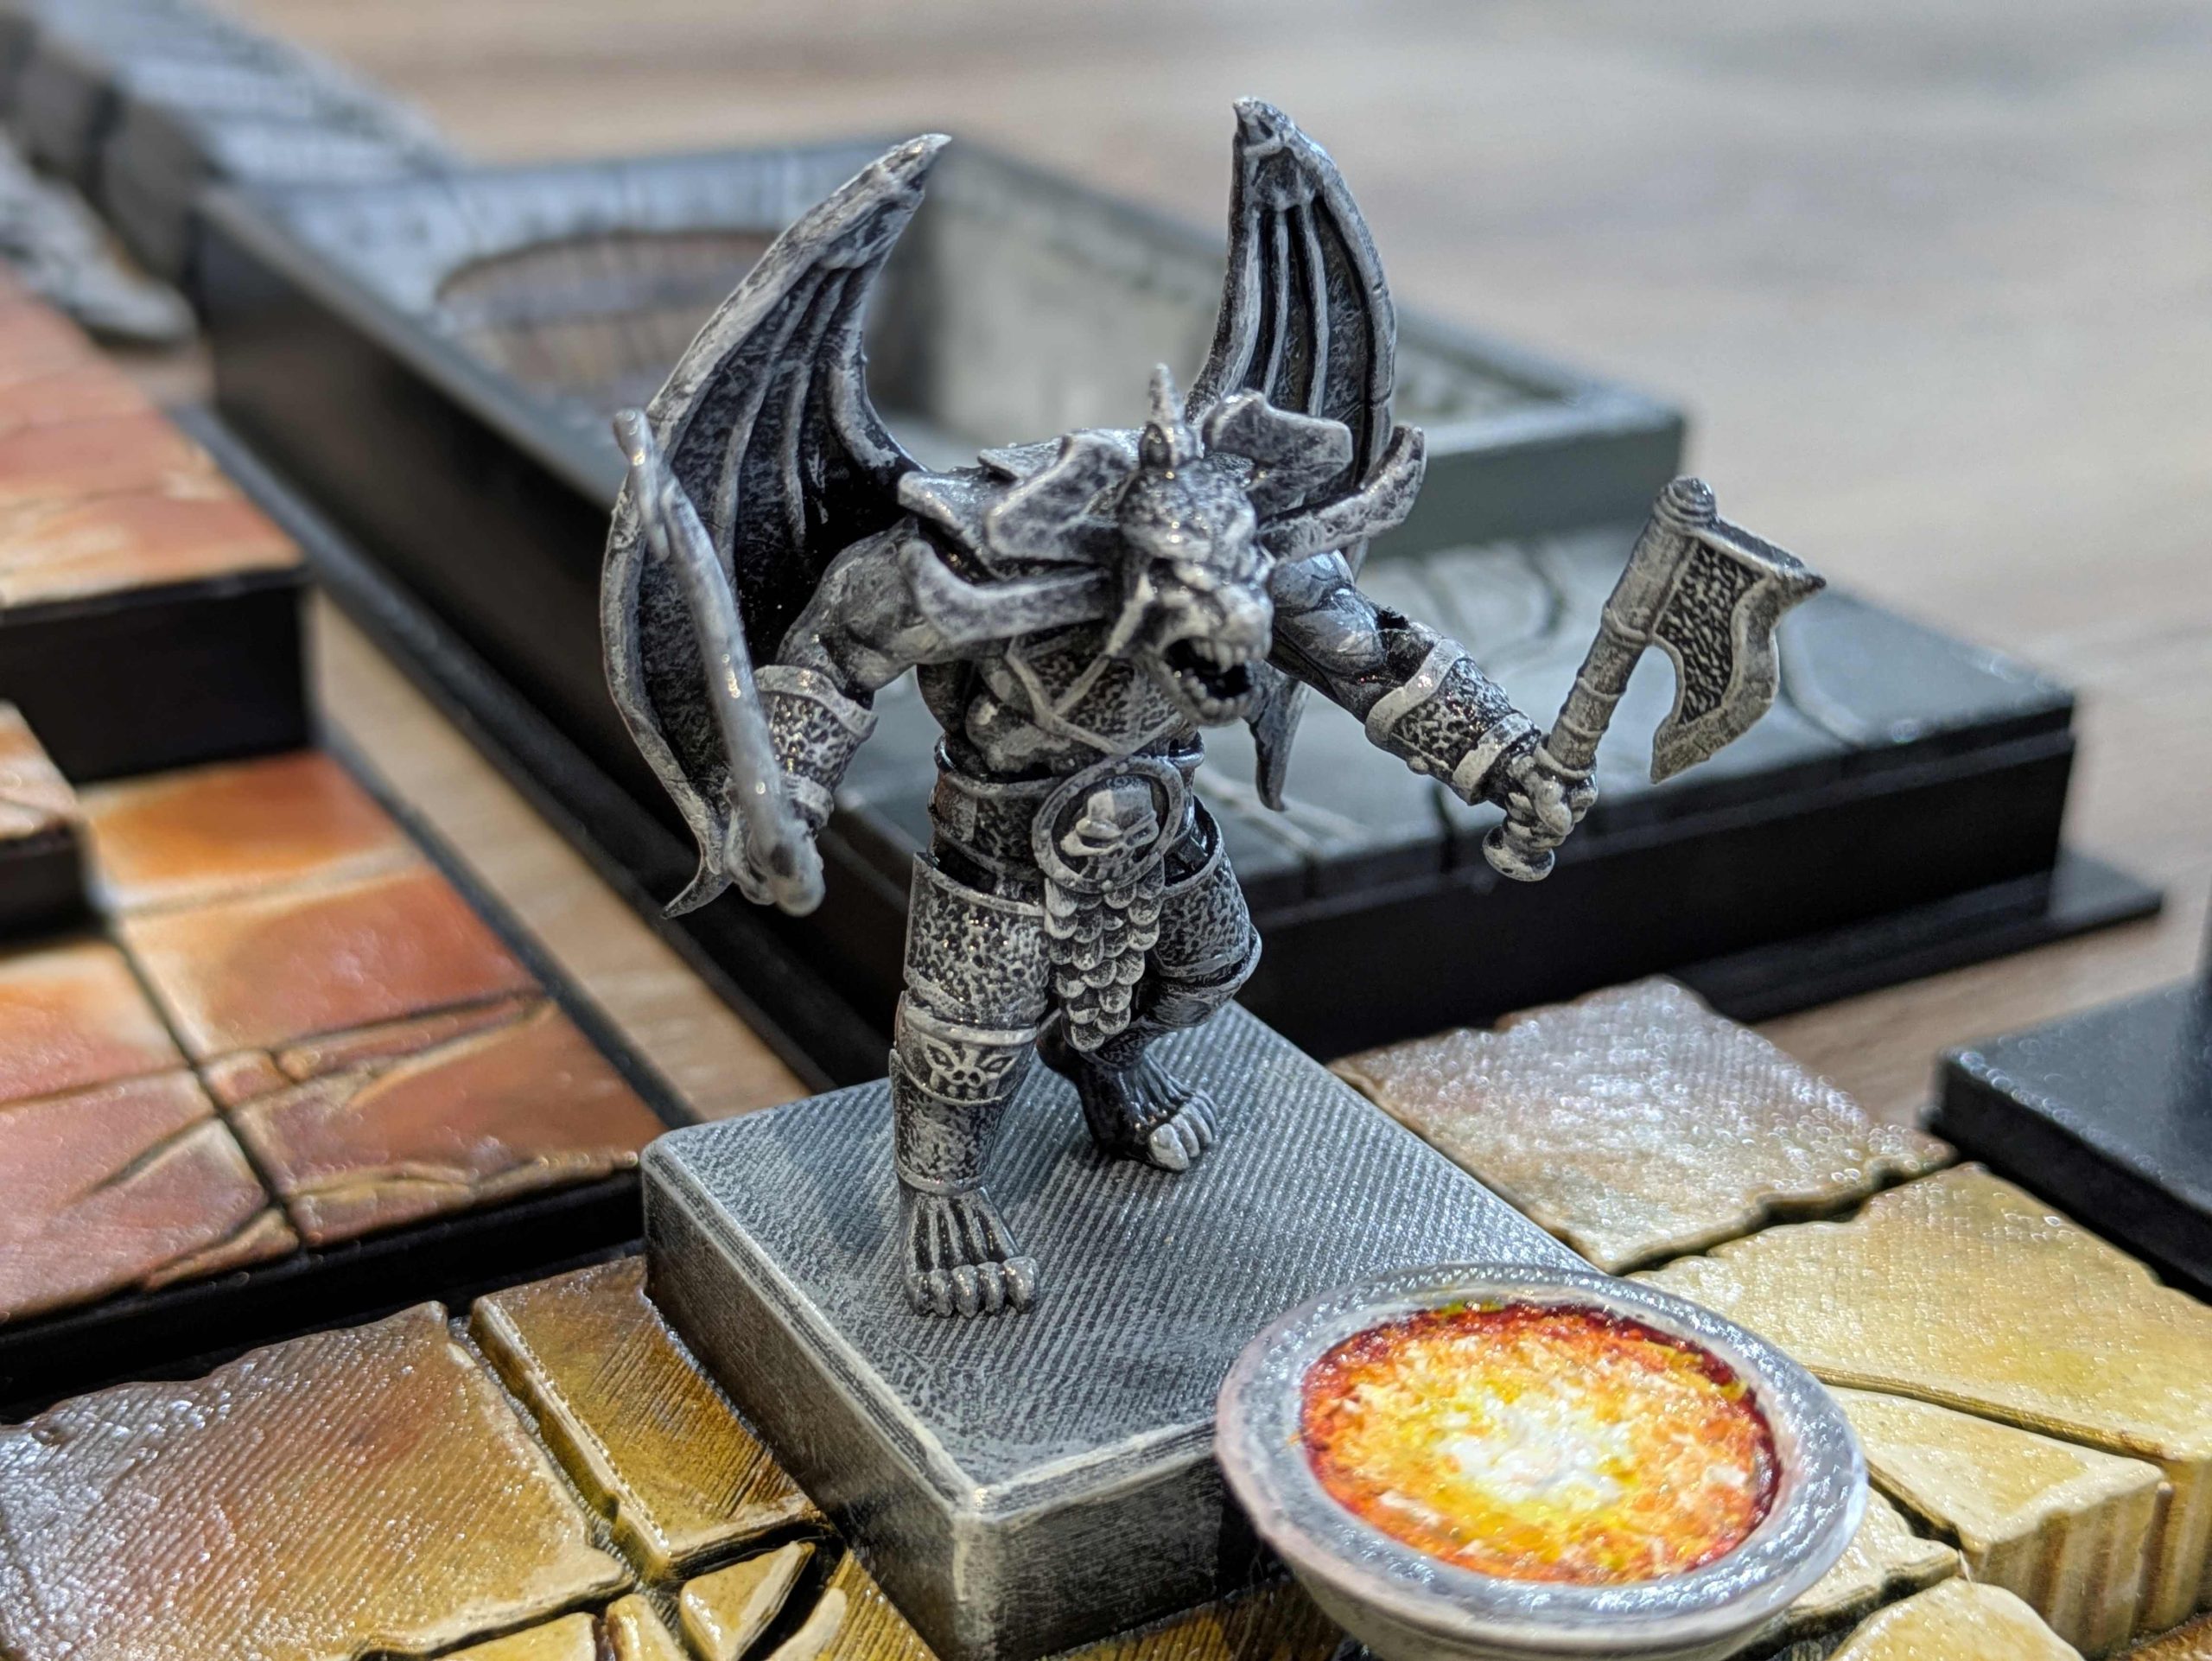 A quick stone drybrush
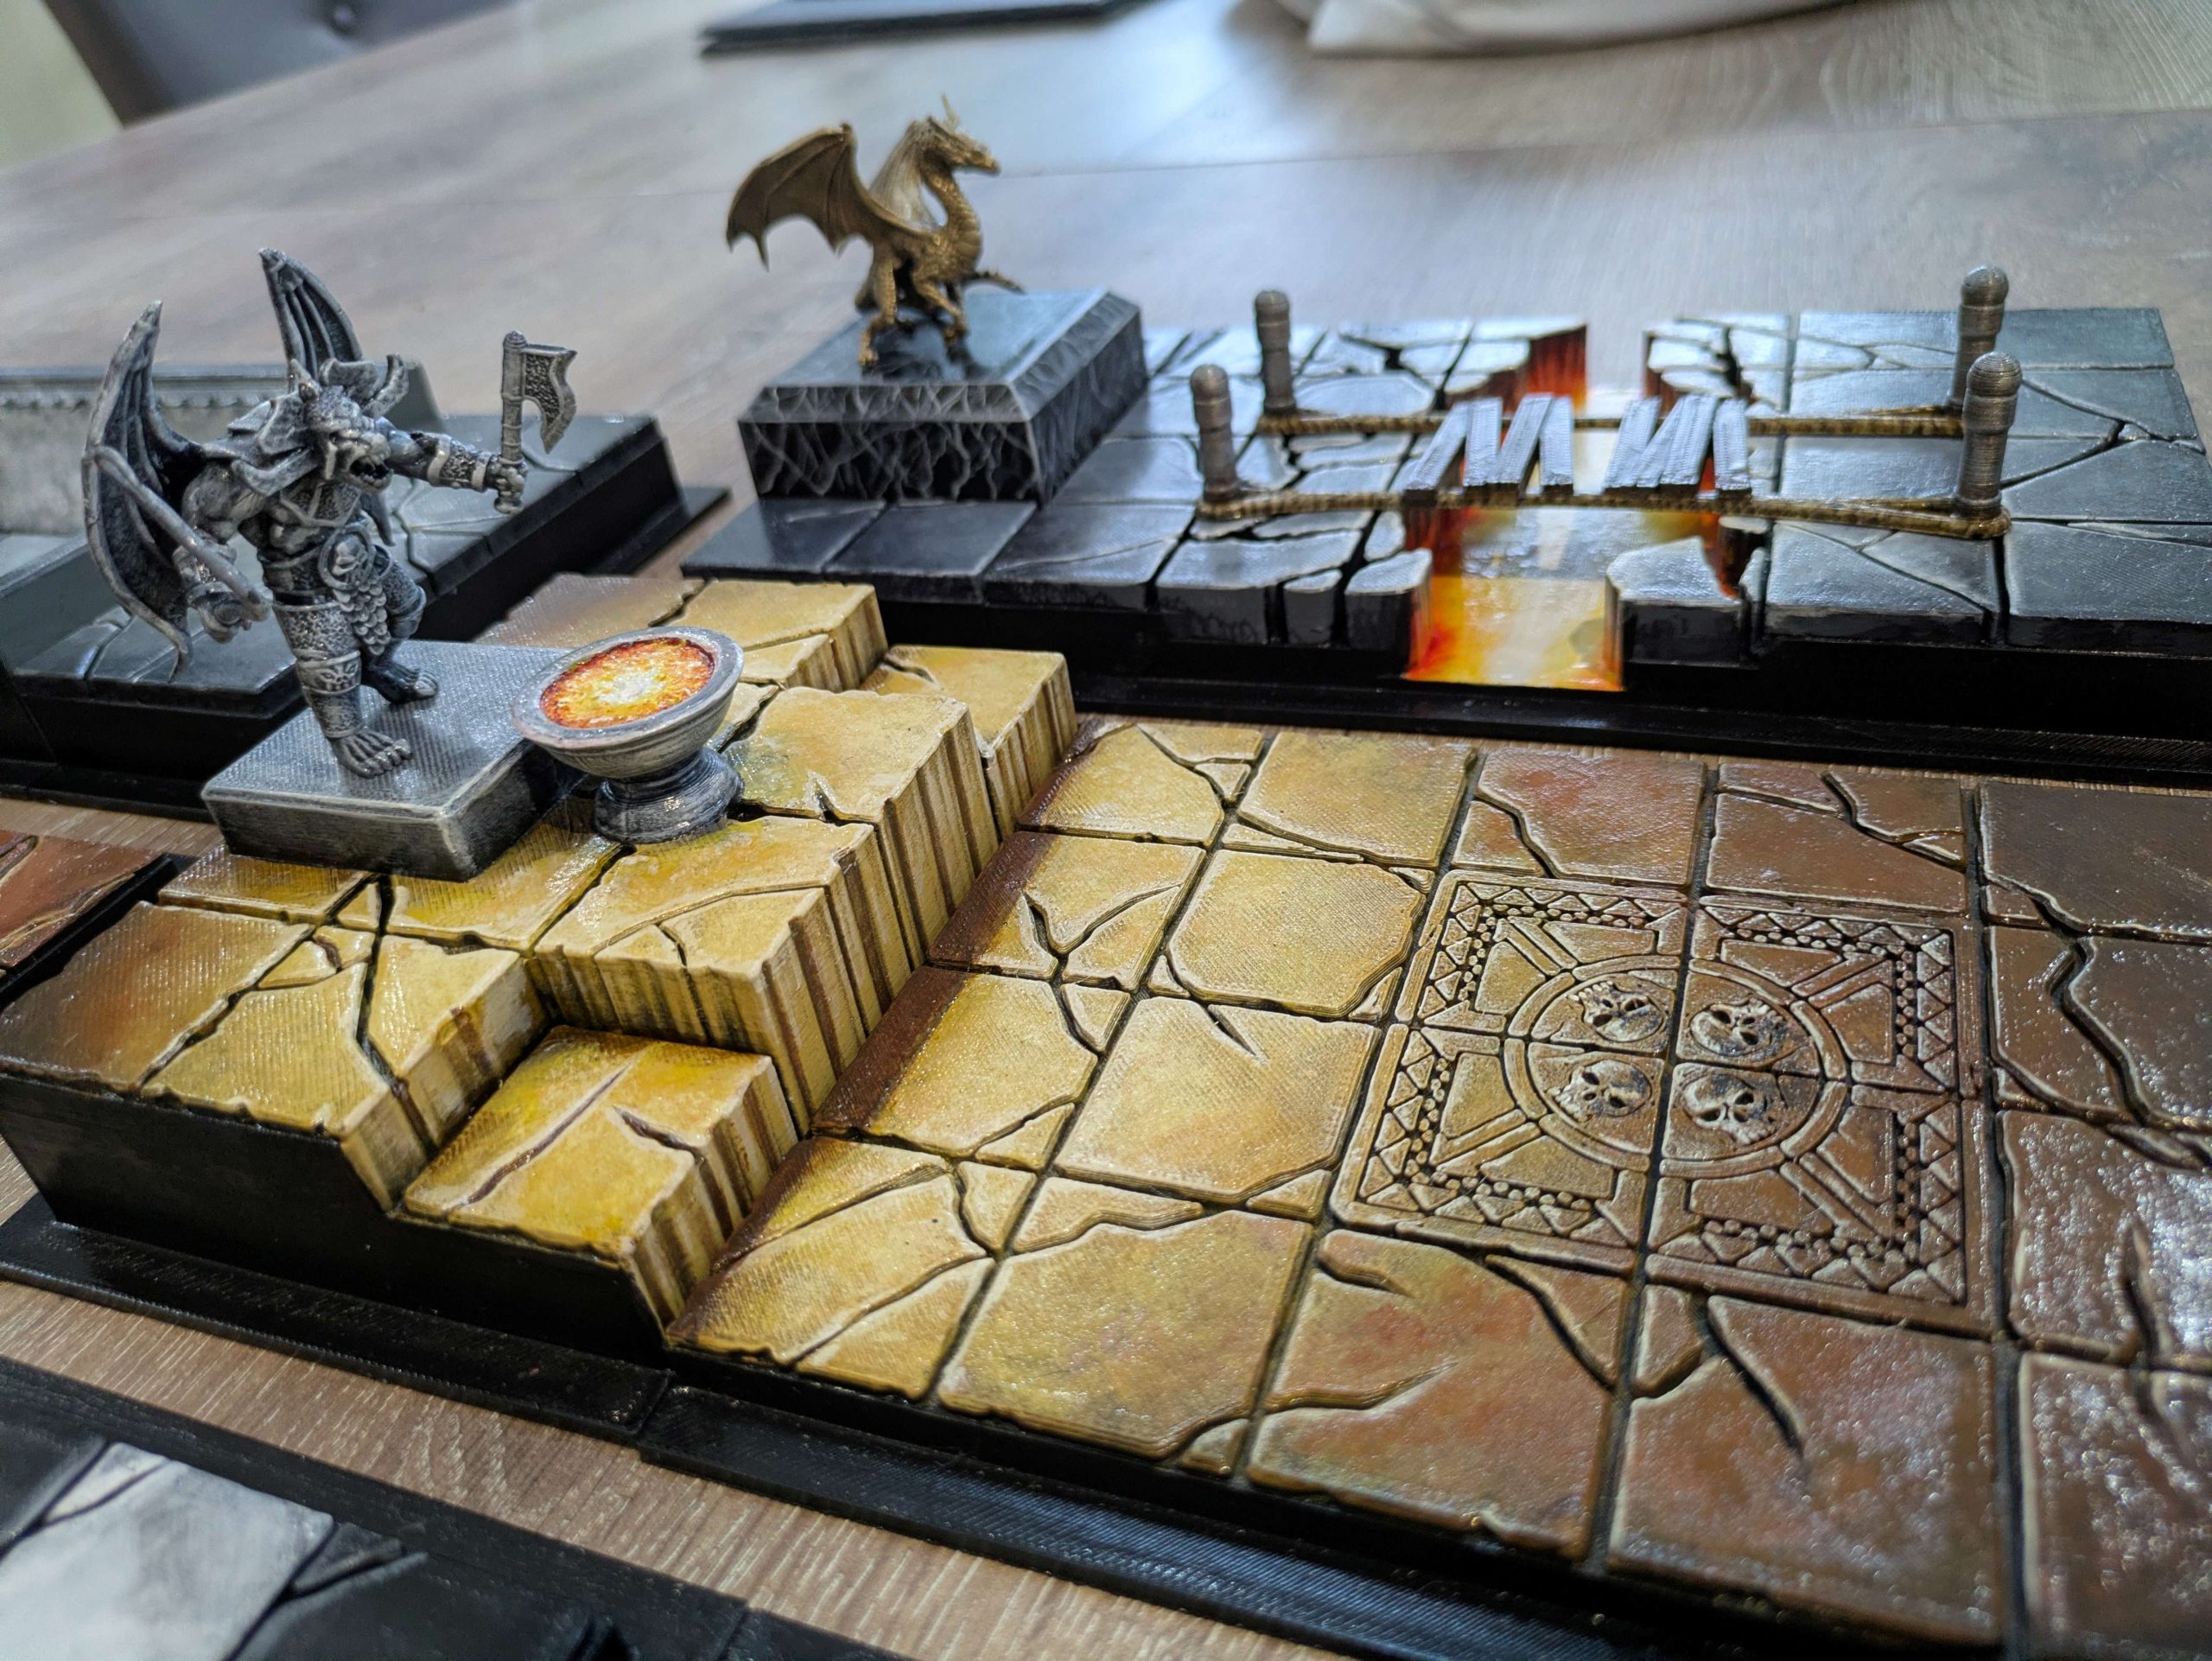 I think they work quite well to finish the board sections off