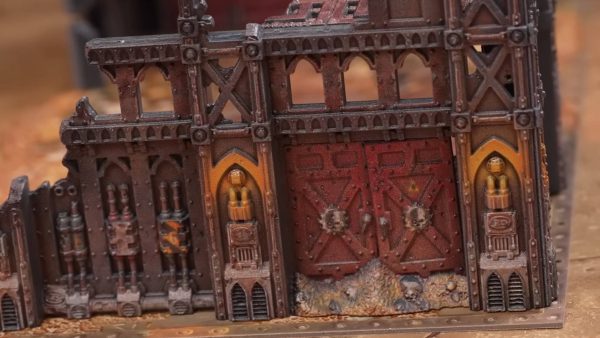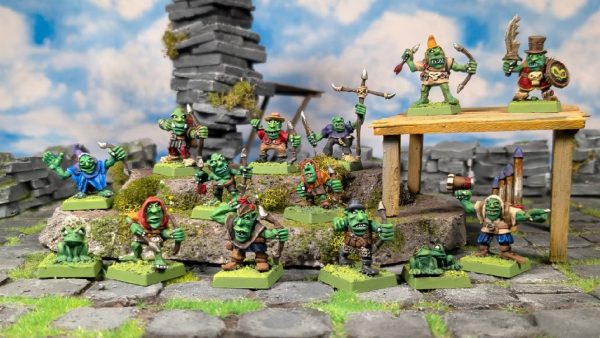


Collins does a Frostgrave board


Recommendations: 337
About the Project
As an entry for the terrainfest 2024 competition (and because of timing where I accidentally bought another game system) I hope to make a 3x3 board for the game of Frostgrave.
Related Game: Frostgrave
Related Company: Osprey Games
Related Genre: Fantasy
Related Contest: TerrainFest 2024
This Project is Active
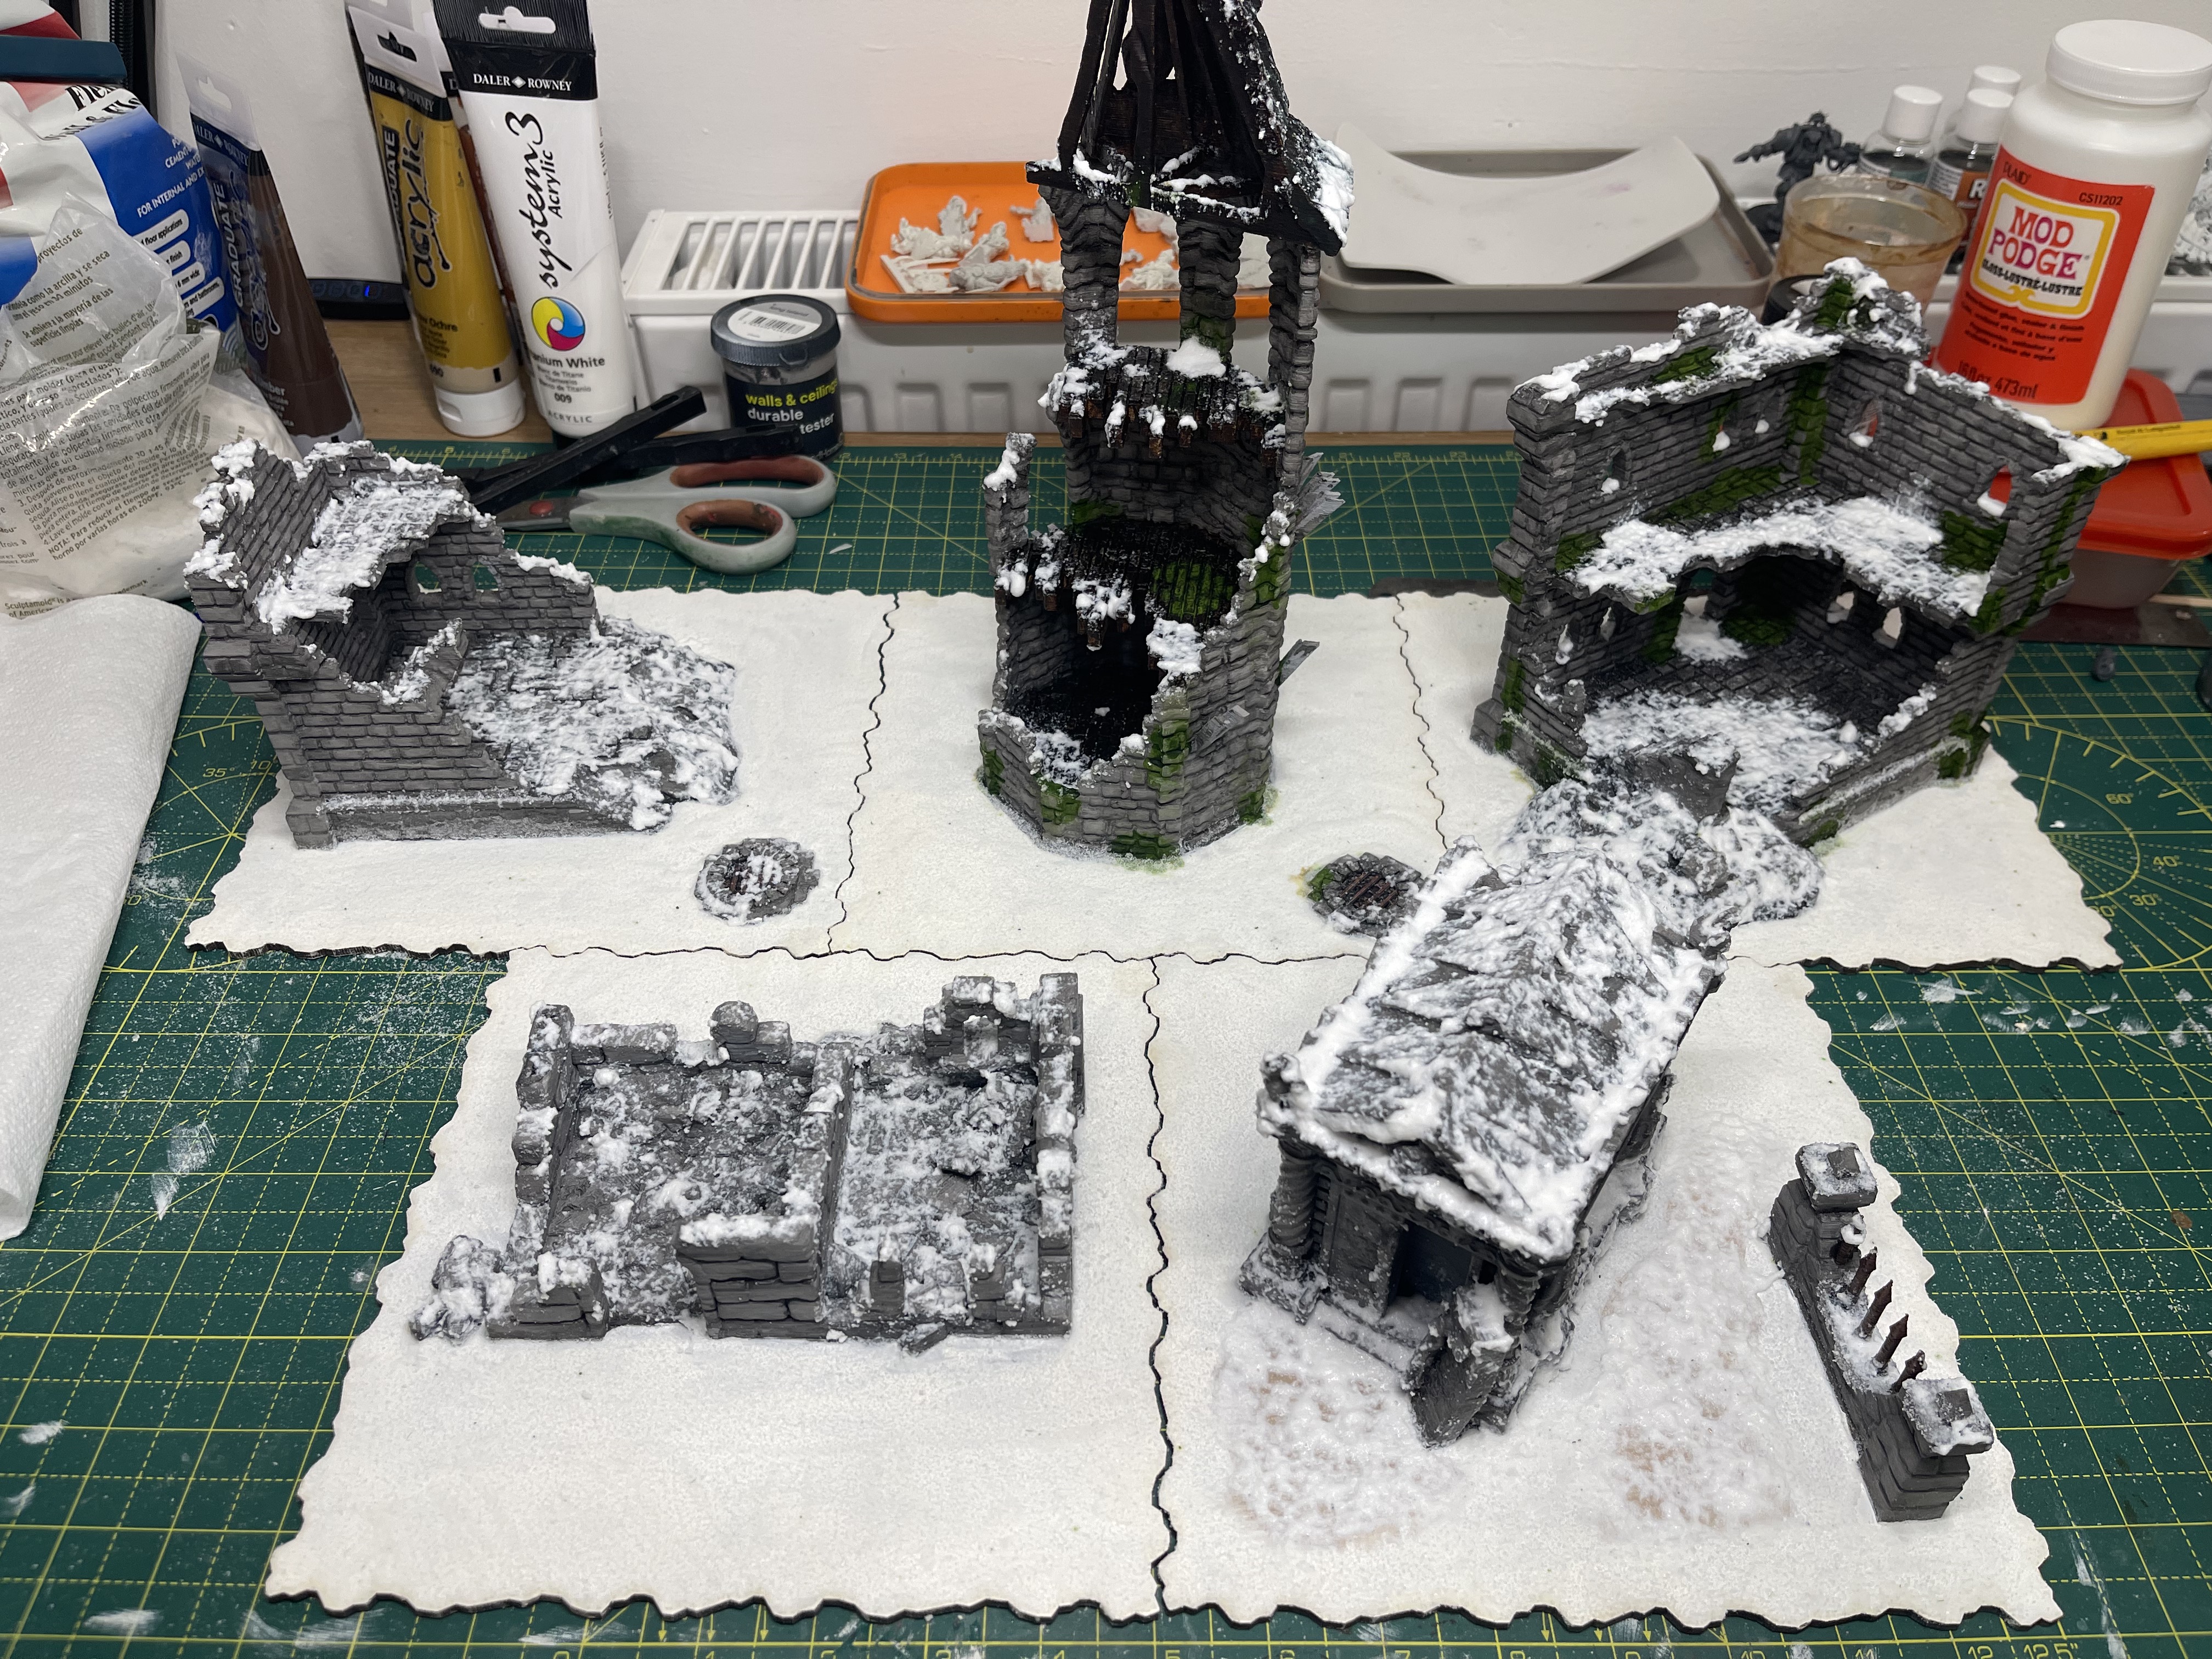
flocking up buildings
dead short update because I am struggling with motivation.
I utilised my modpodge flock glass beads mix to add snow to these buildings.
I was careful to not put any under overhangs but also I tried to put it on top surfaces including windows.
one thought I have about it is that I used gloss modpodge which might have been a minor mistake for this purpose… we shall see when it has dried
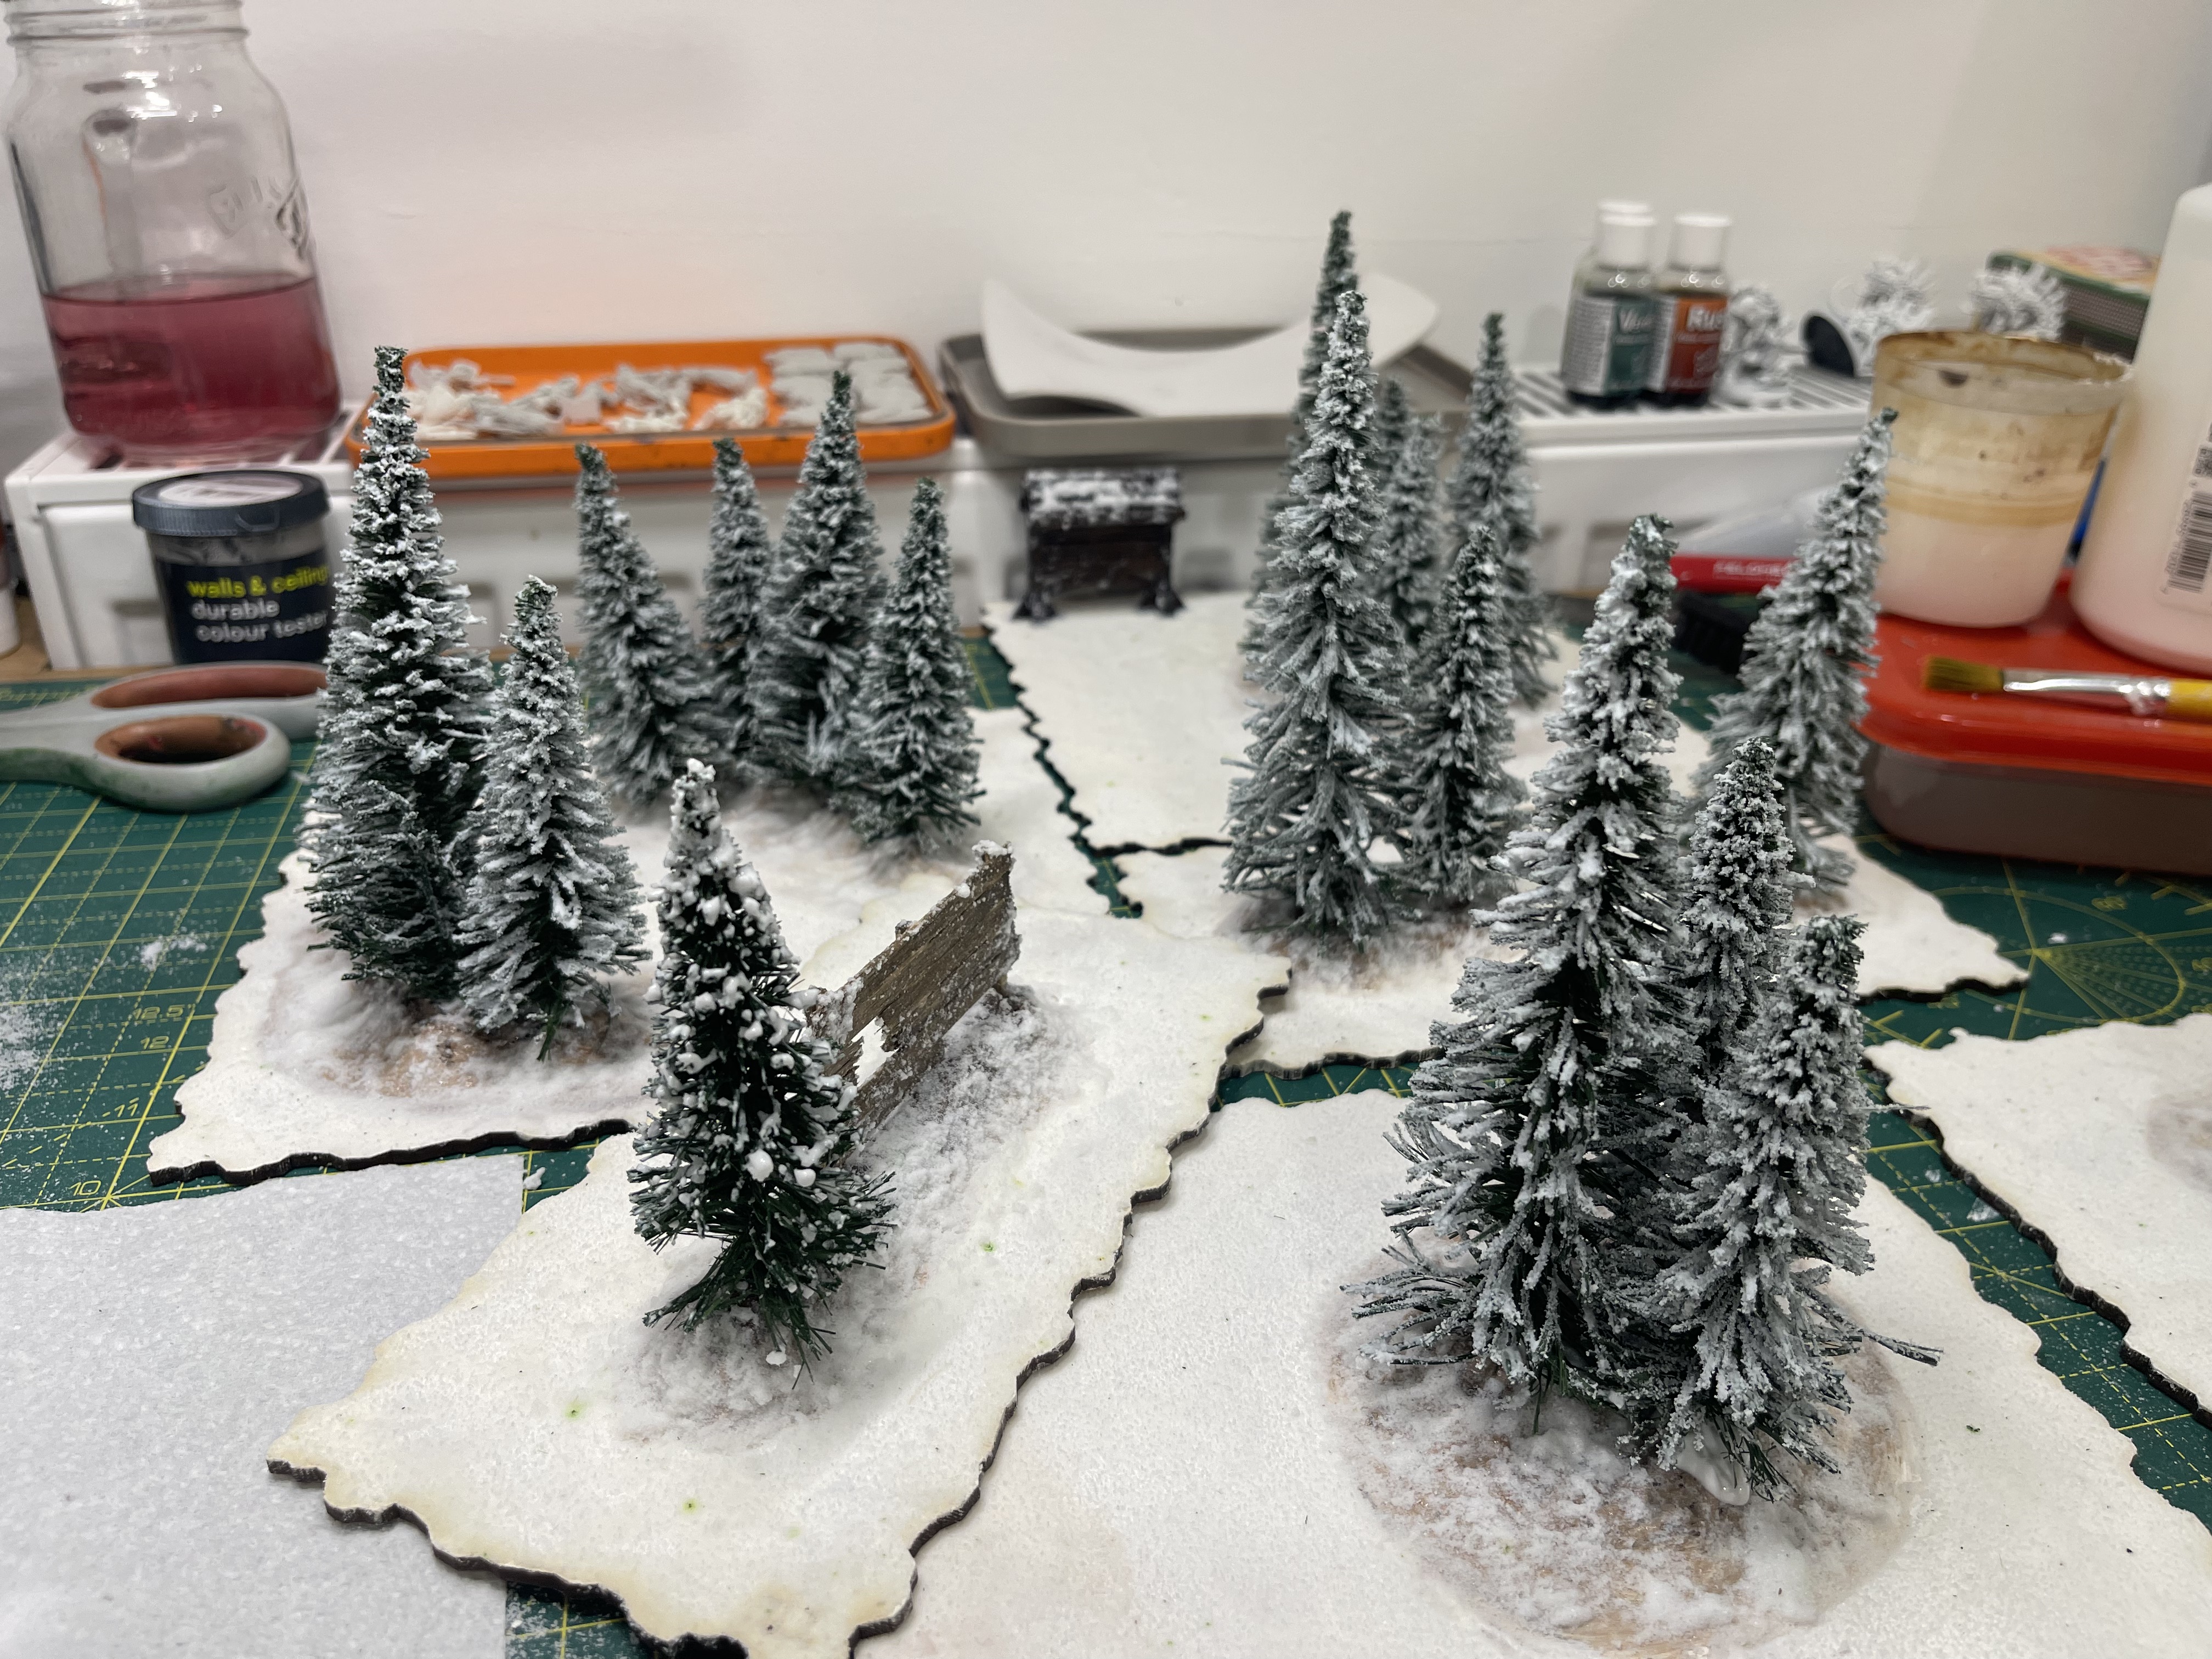
Winter wood
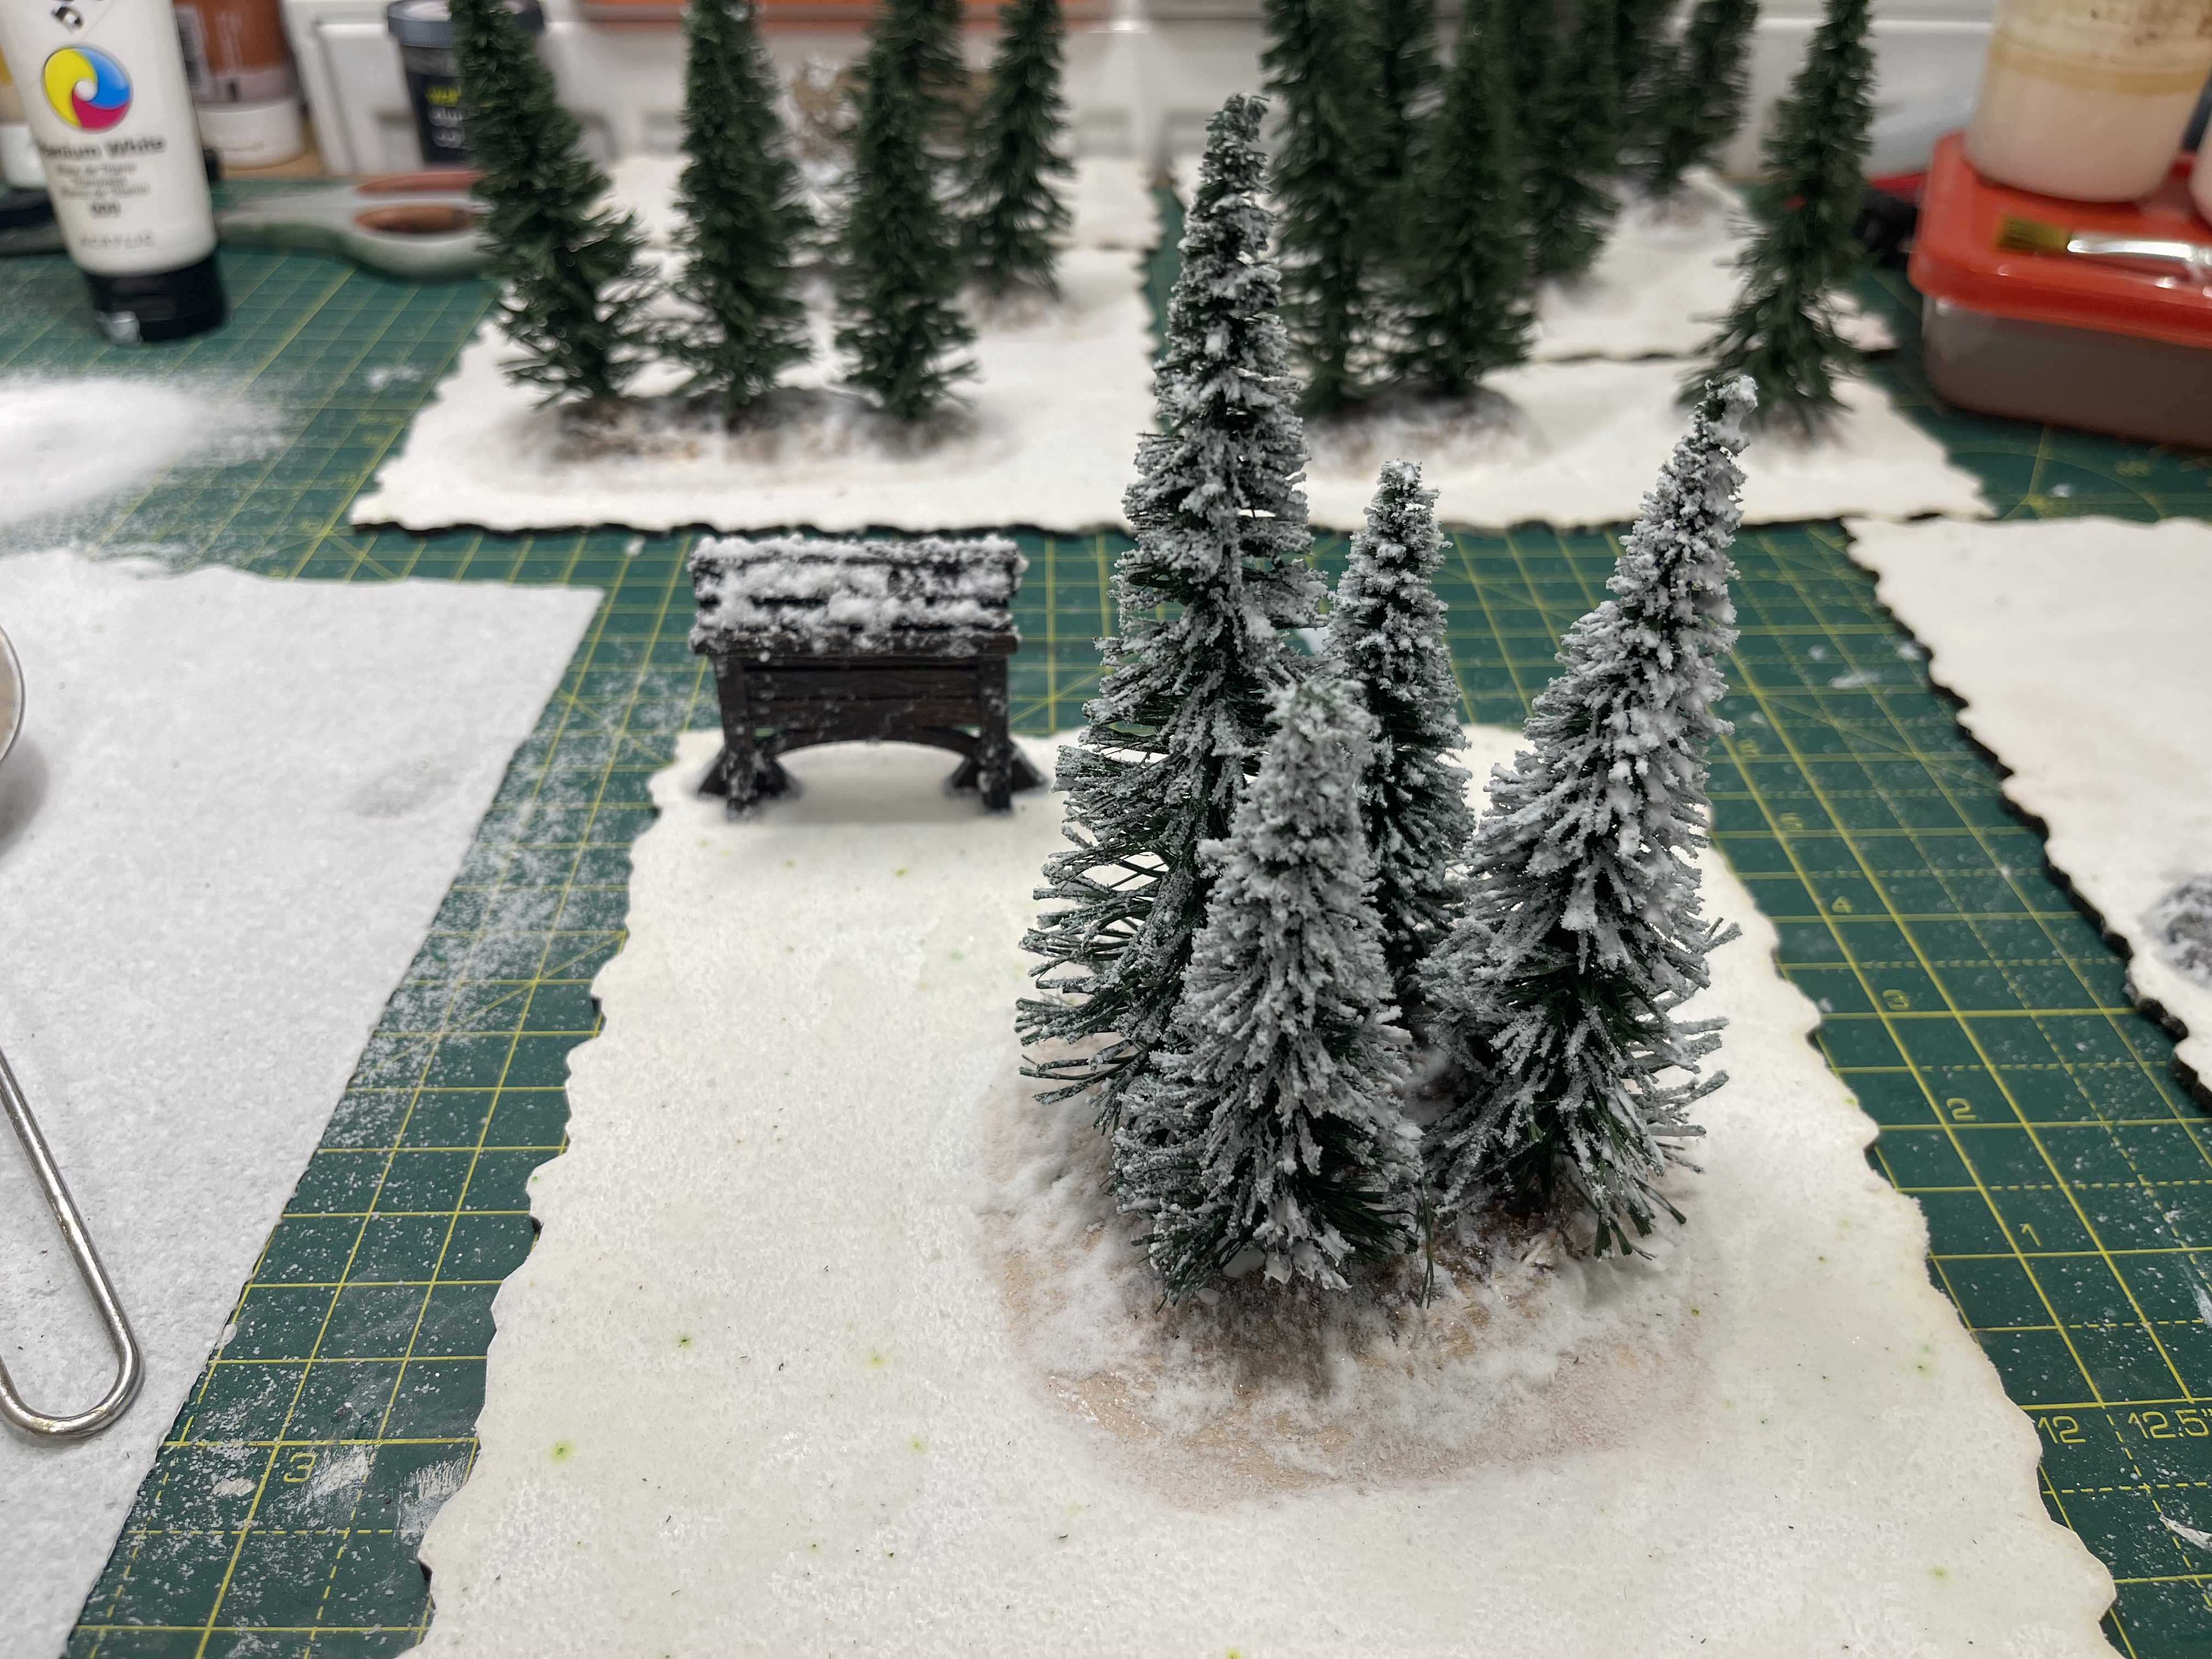
 comparison shot between the doloped tree (front left) and the dusted trees (all others)
A quick and easy update for you now.
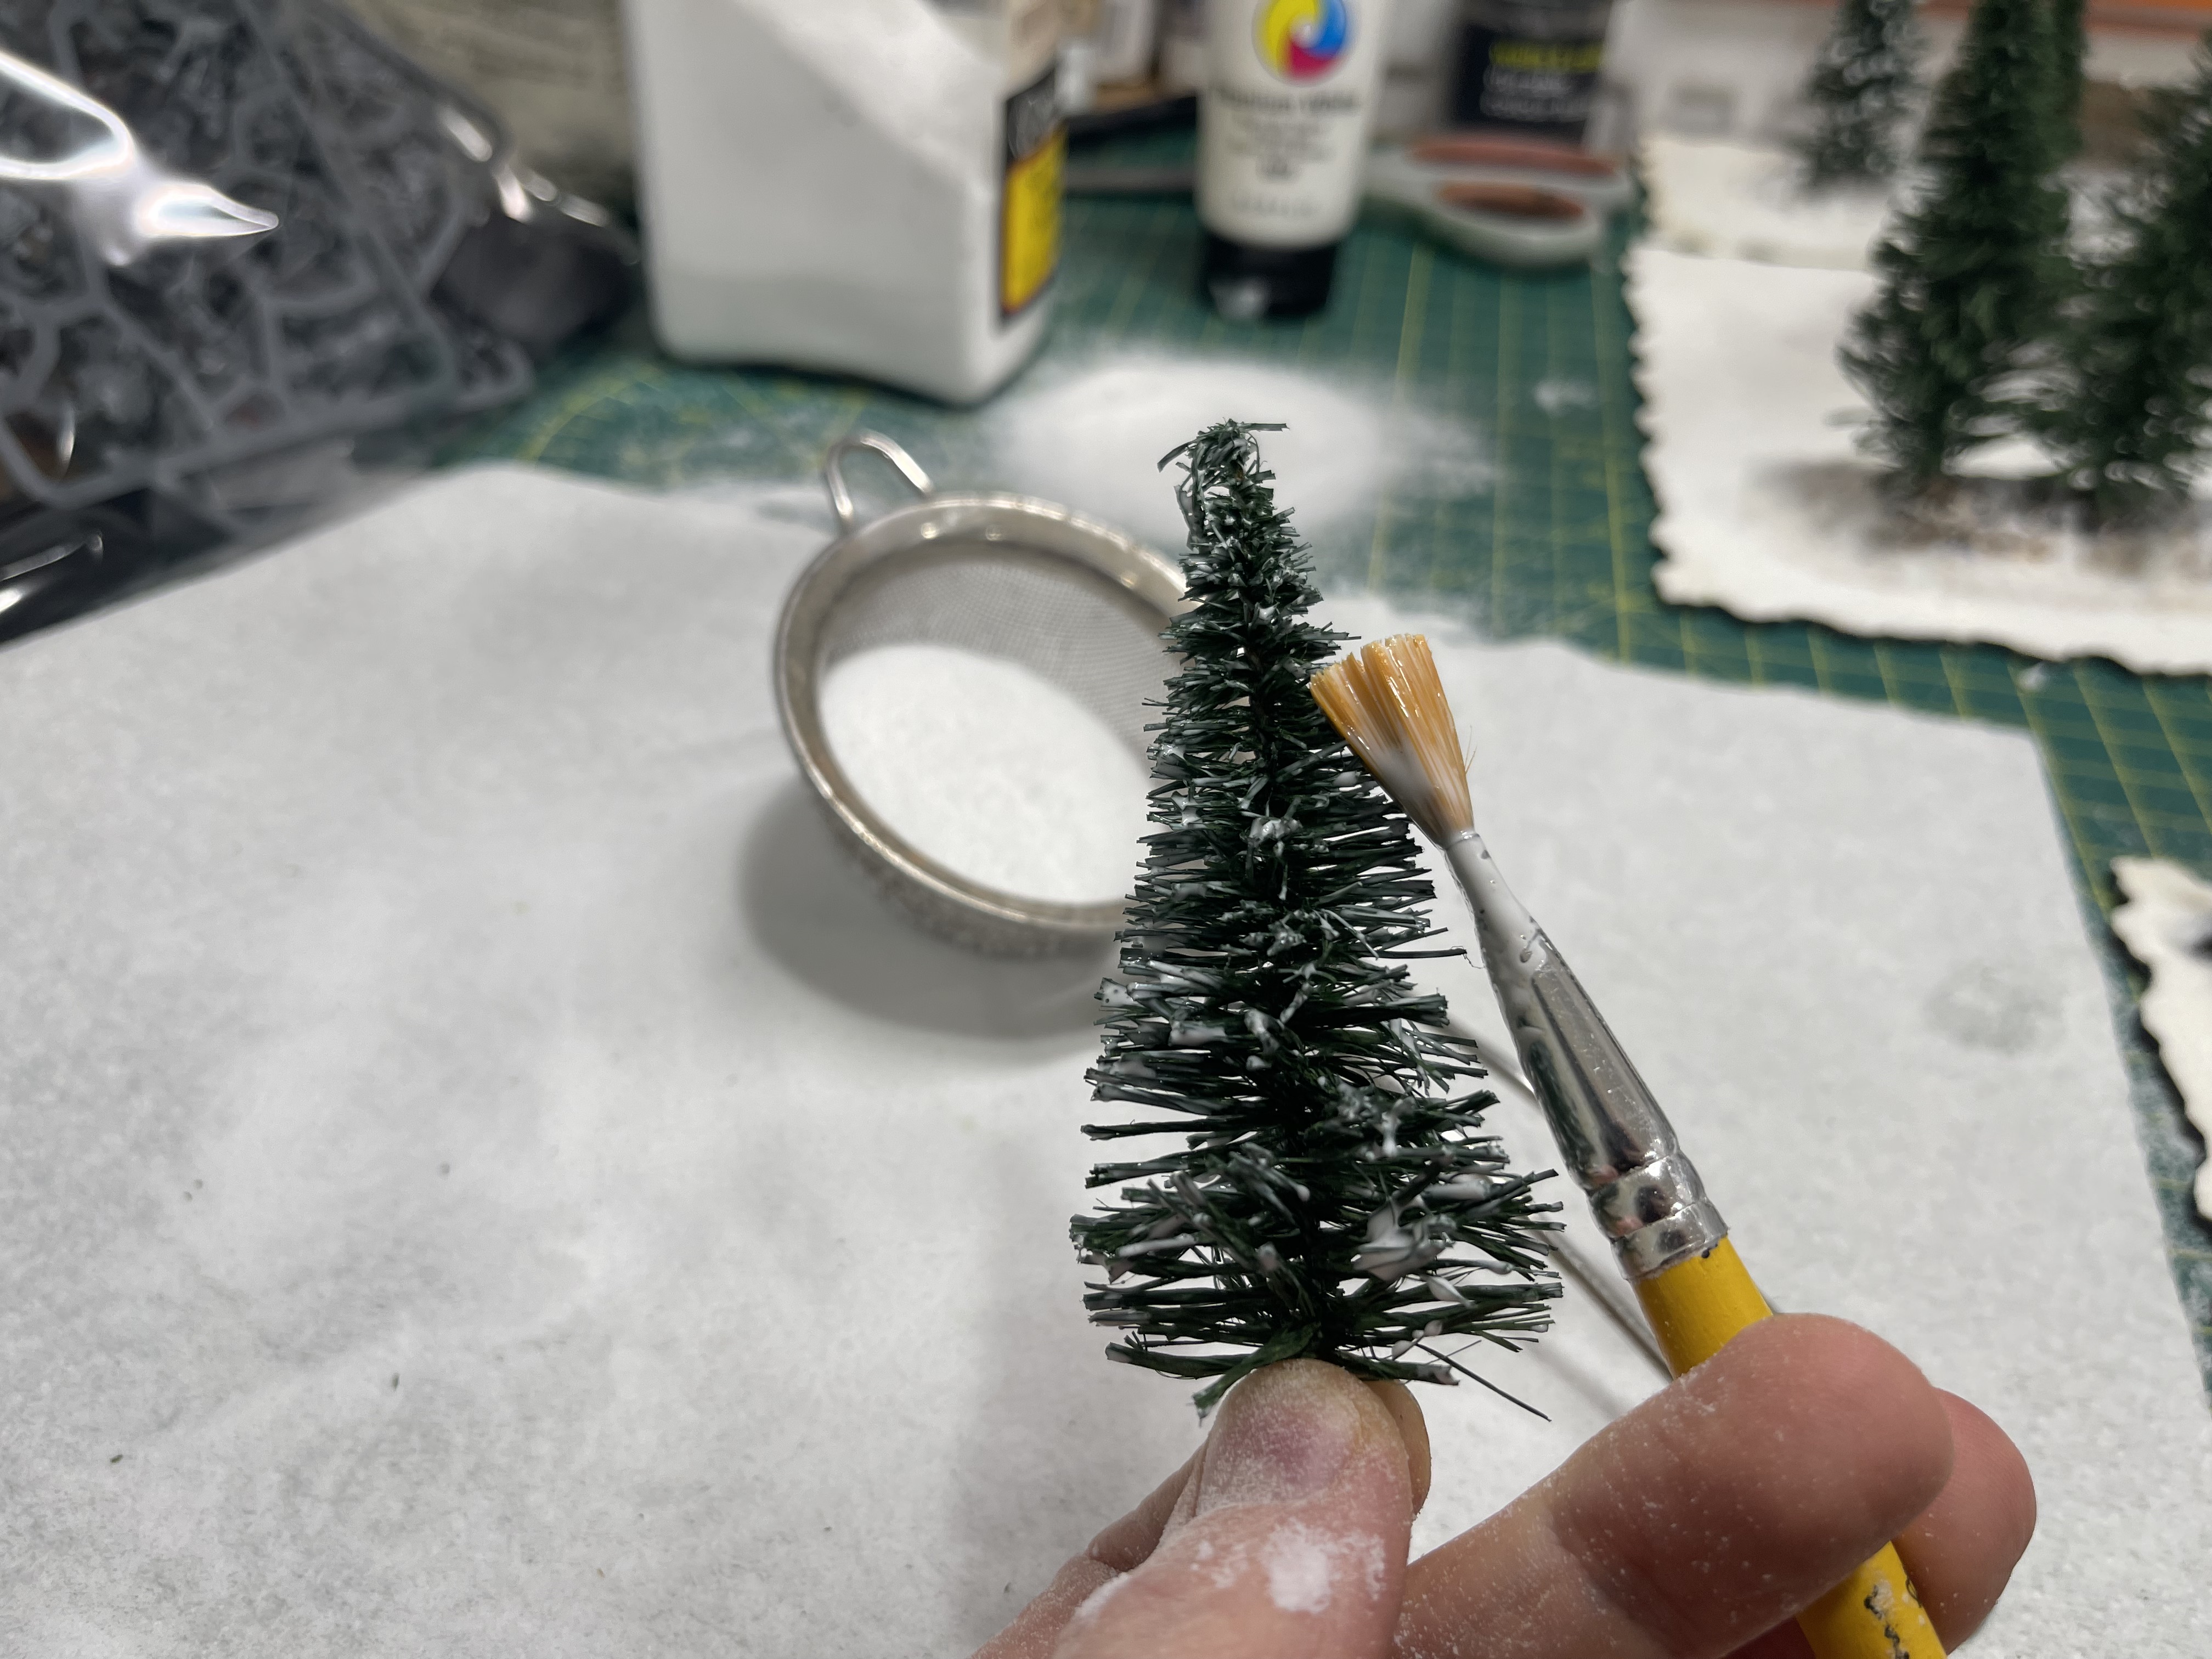
I chose to go with a different method for snowing up the trees to the first one I did. This is because I felt that a dusting would look better than a doloping of snow.
I simply painted on mod podge and then sieved on the snow flock leaving it to dry in its own time. easy and simple.
dried out and snowed up
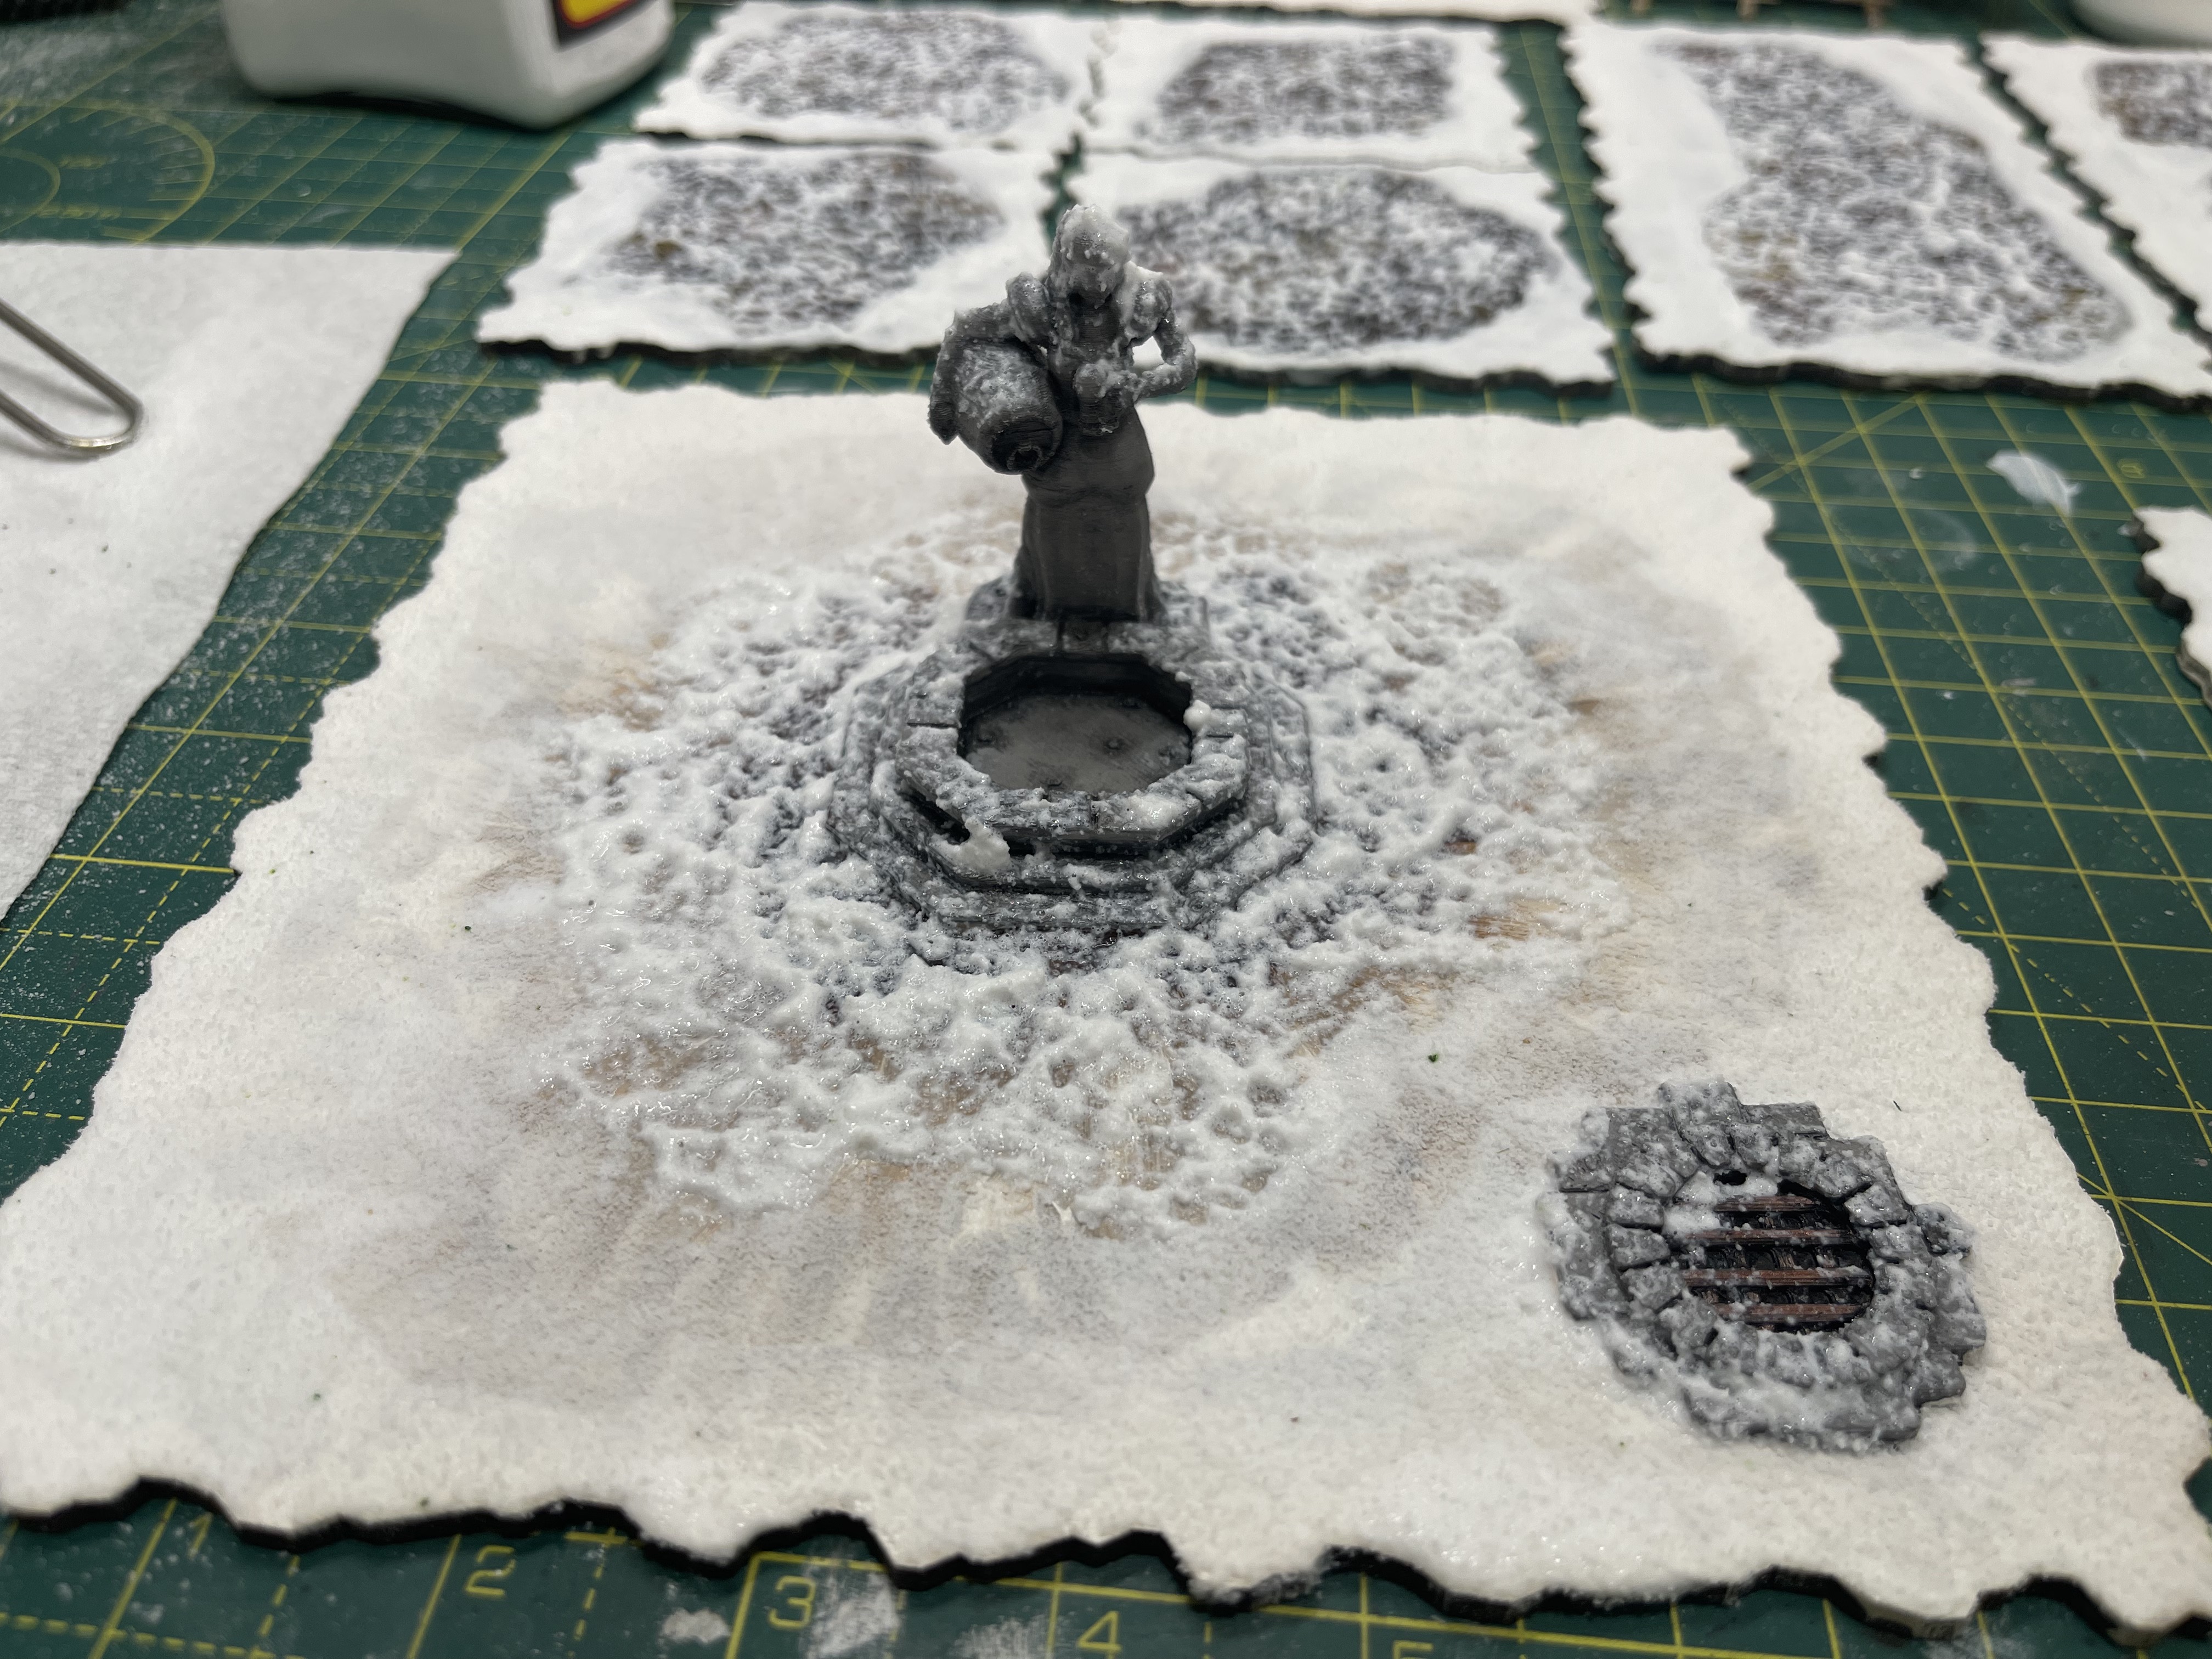
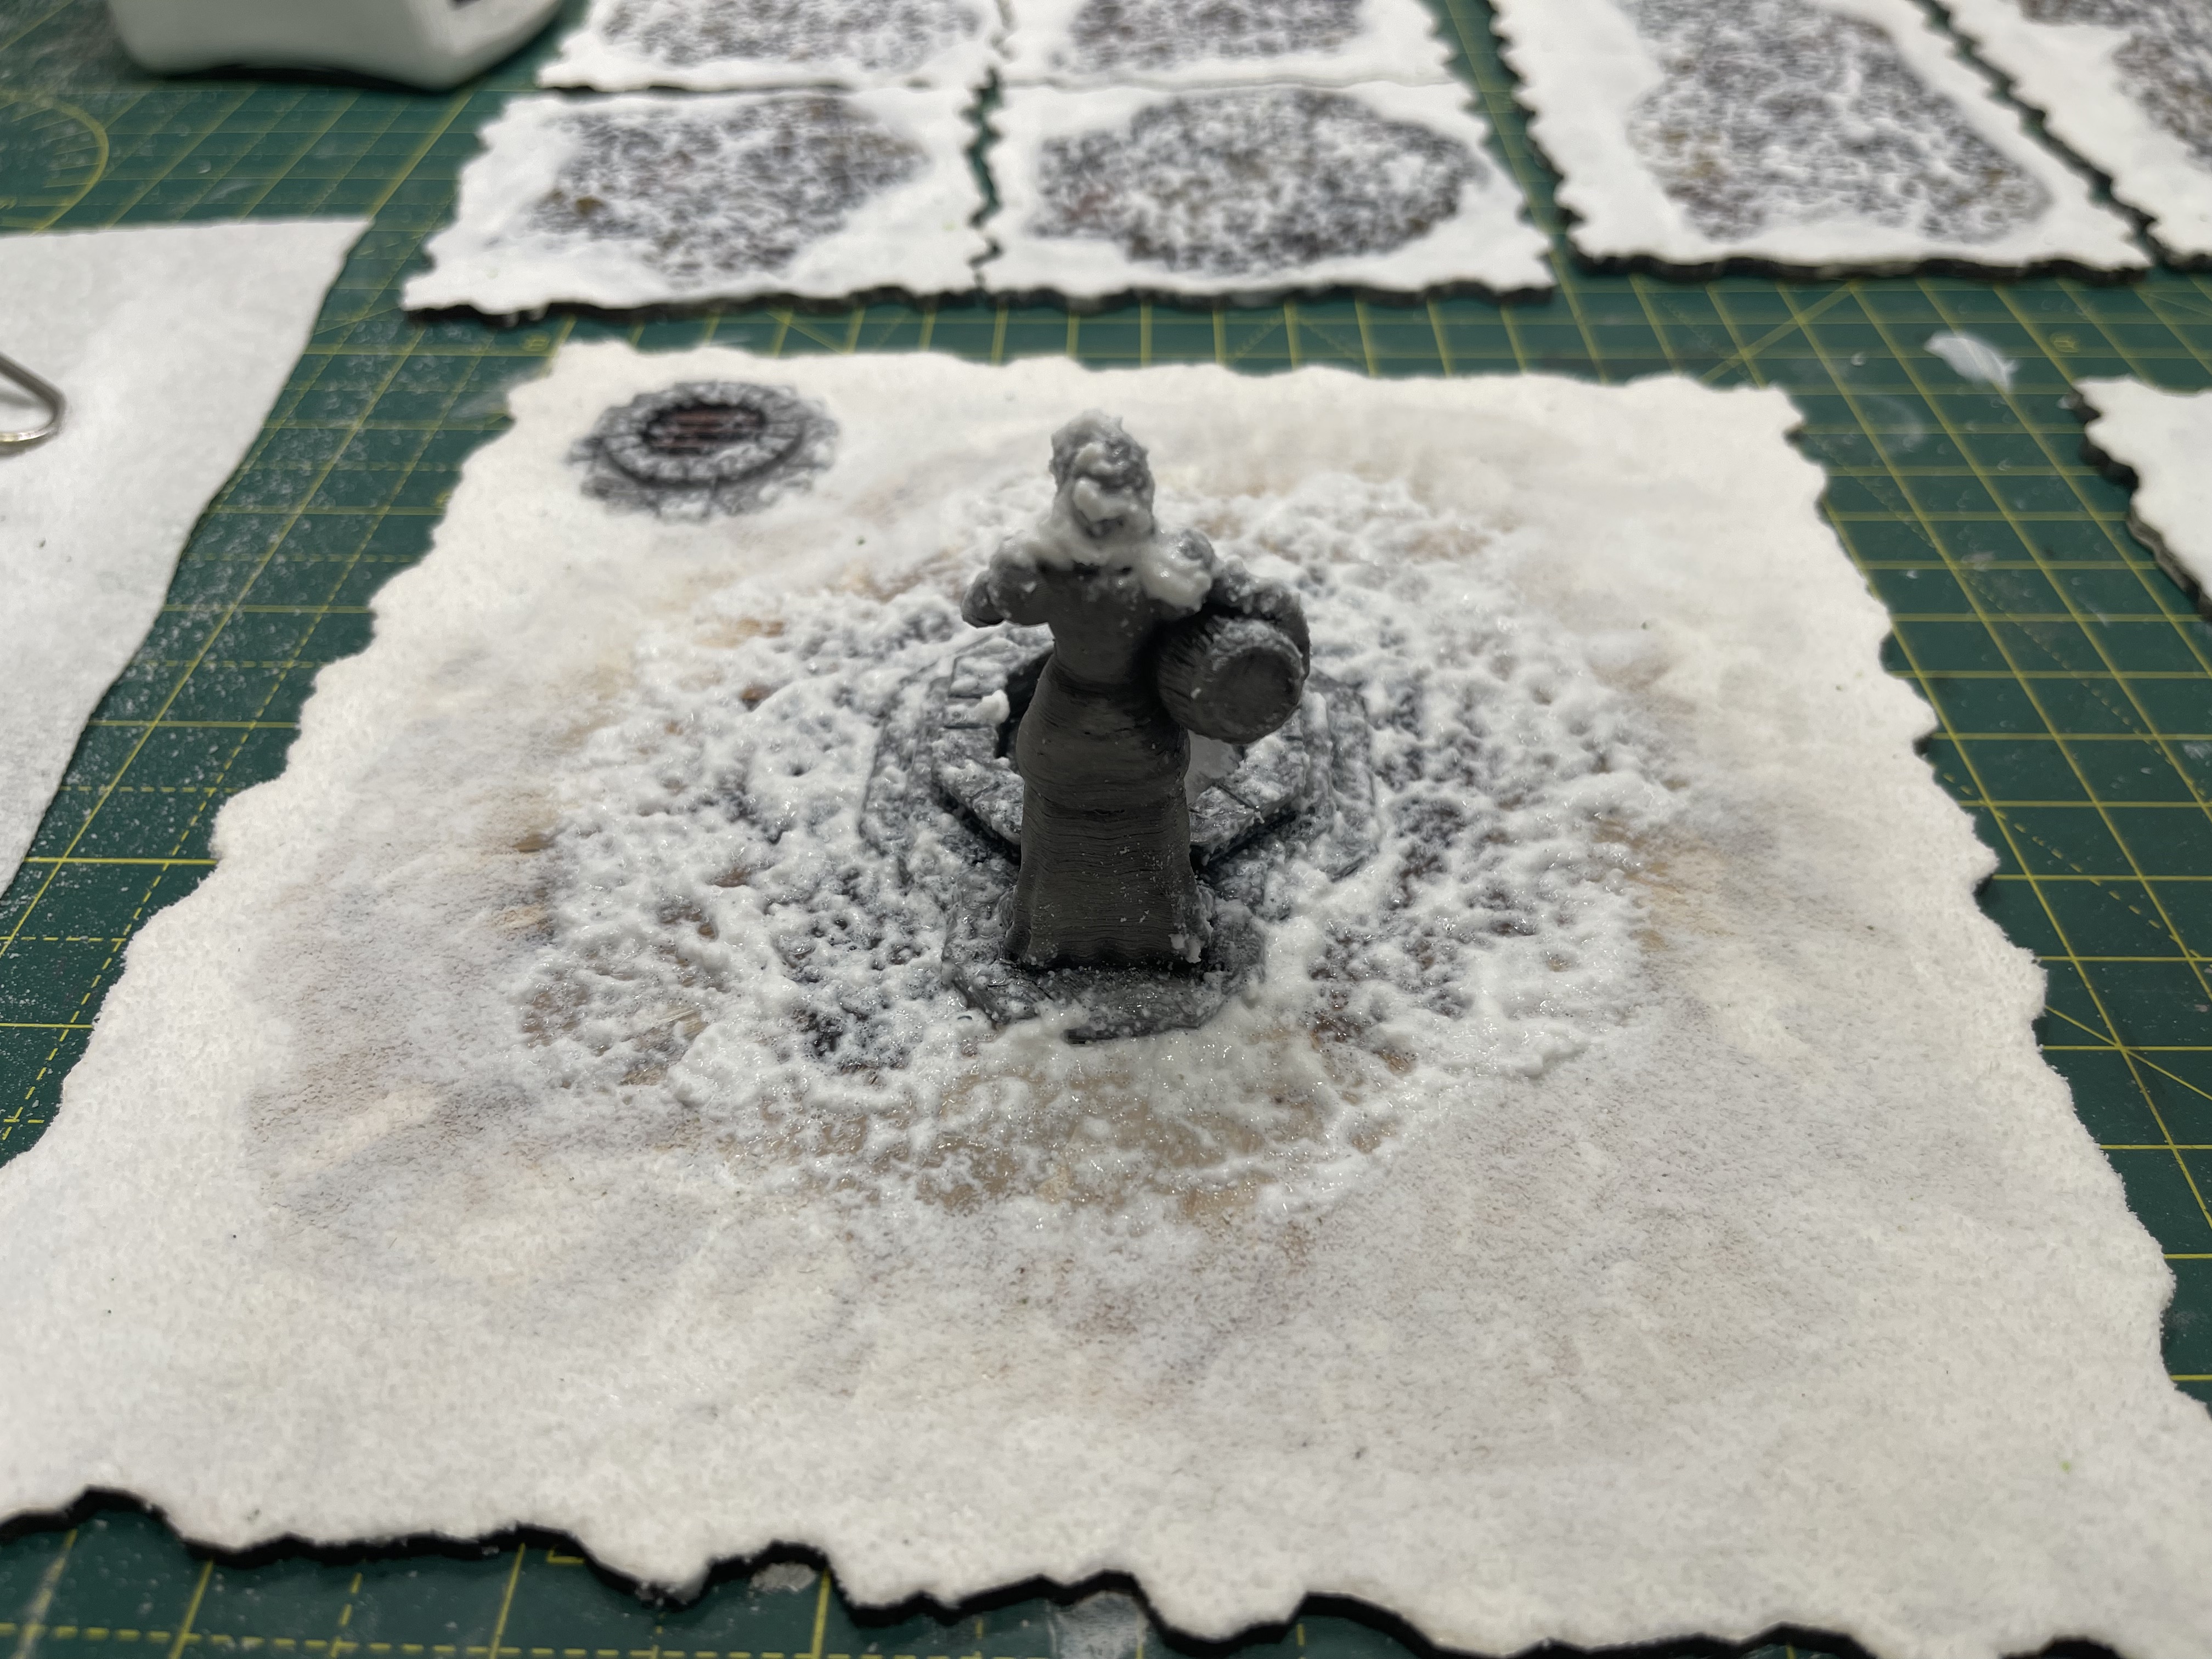
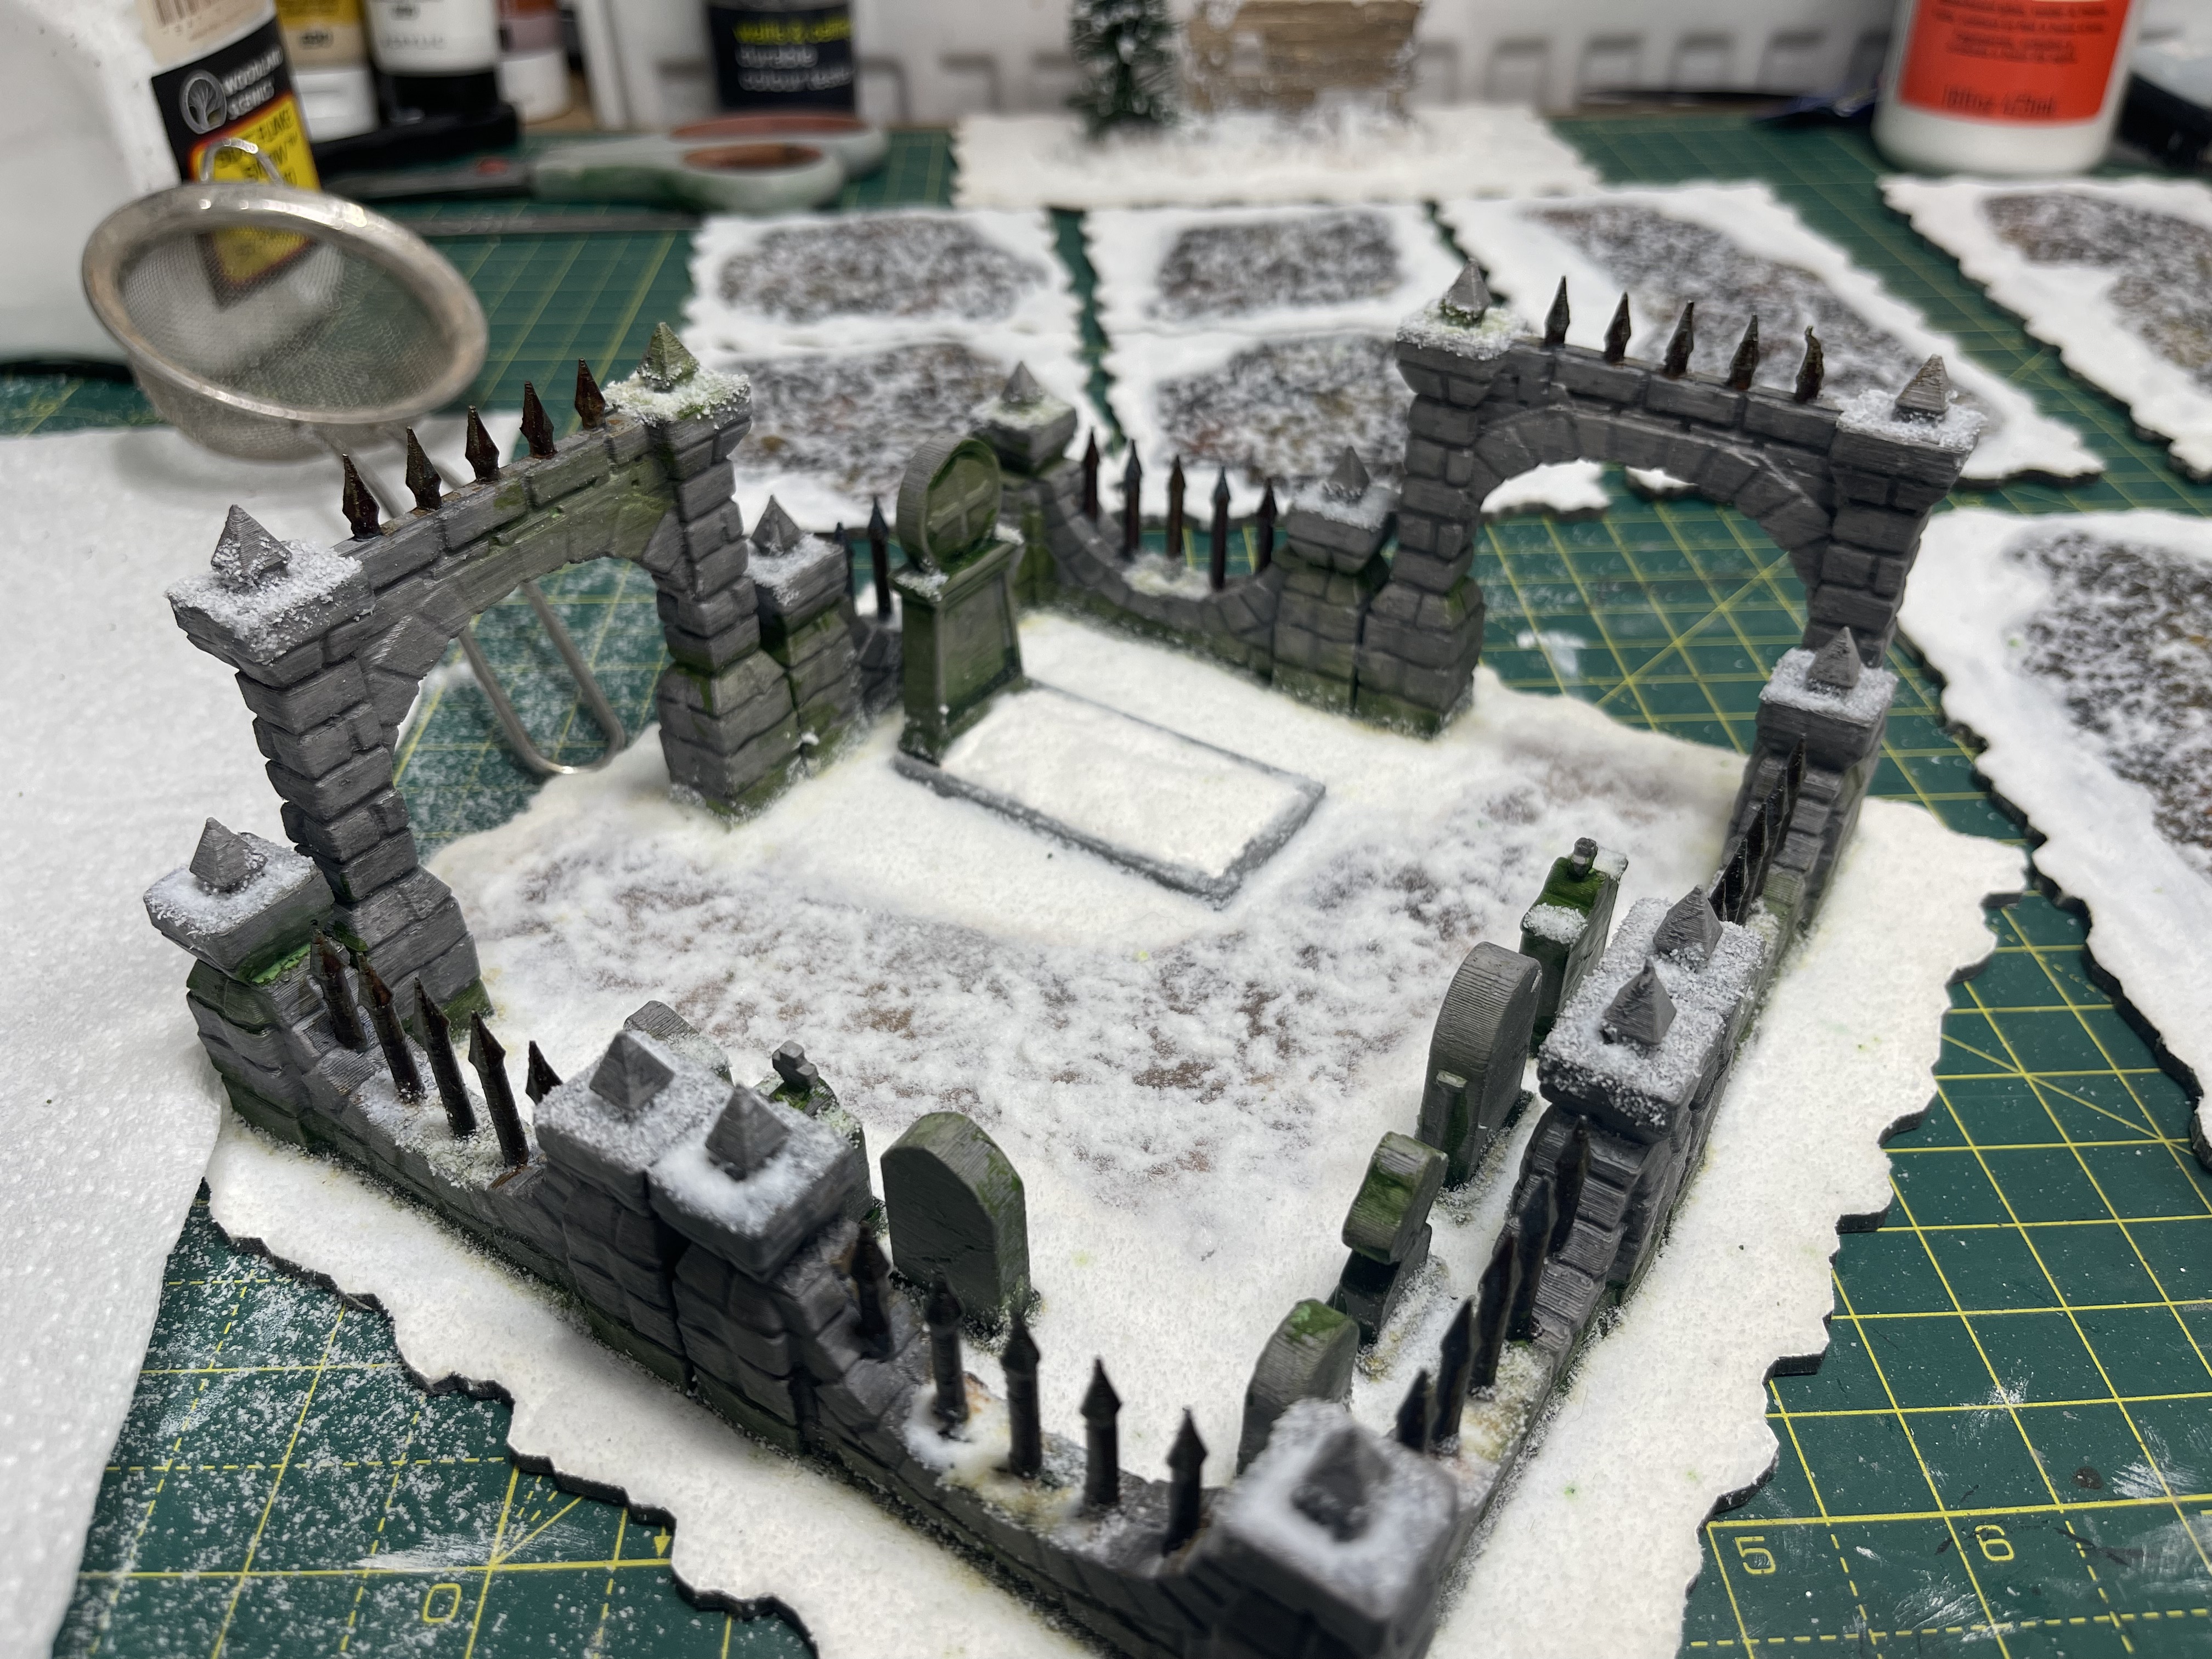

Well they turned out well didn’t they!
the snow and gloss mod podge mix worked really well on the cobblestones and also surrounding the fountain where it looks like it have been trodden in really well.
I did go a bit OTT on the graveyard but nevermind, a lesser trodden path…
I had some left over so I dumped it on a tree and fence to see how it would work out. Looks fine but I think I’ll go with a different method in future.
The first snowdrops!
 take the above ingredients and mix in various quantities... whiskey is purely medicinal
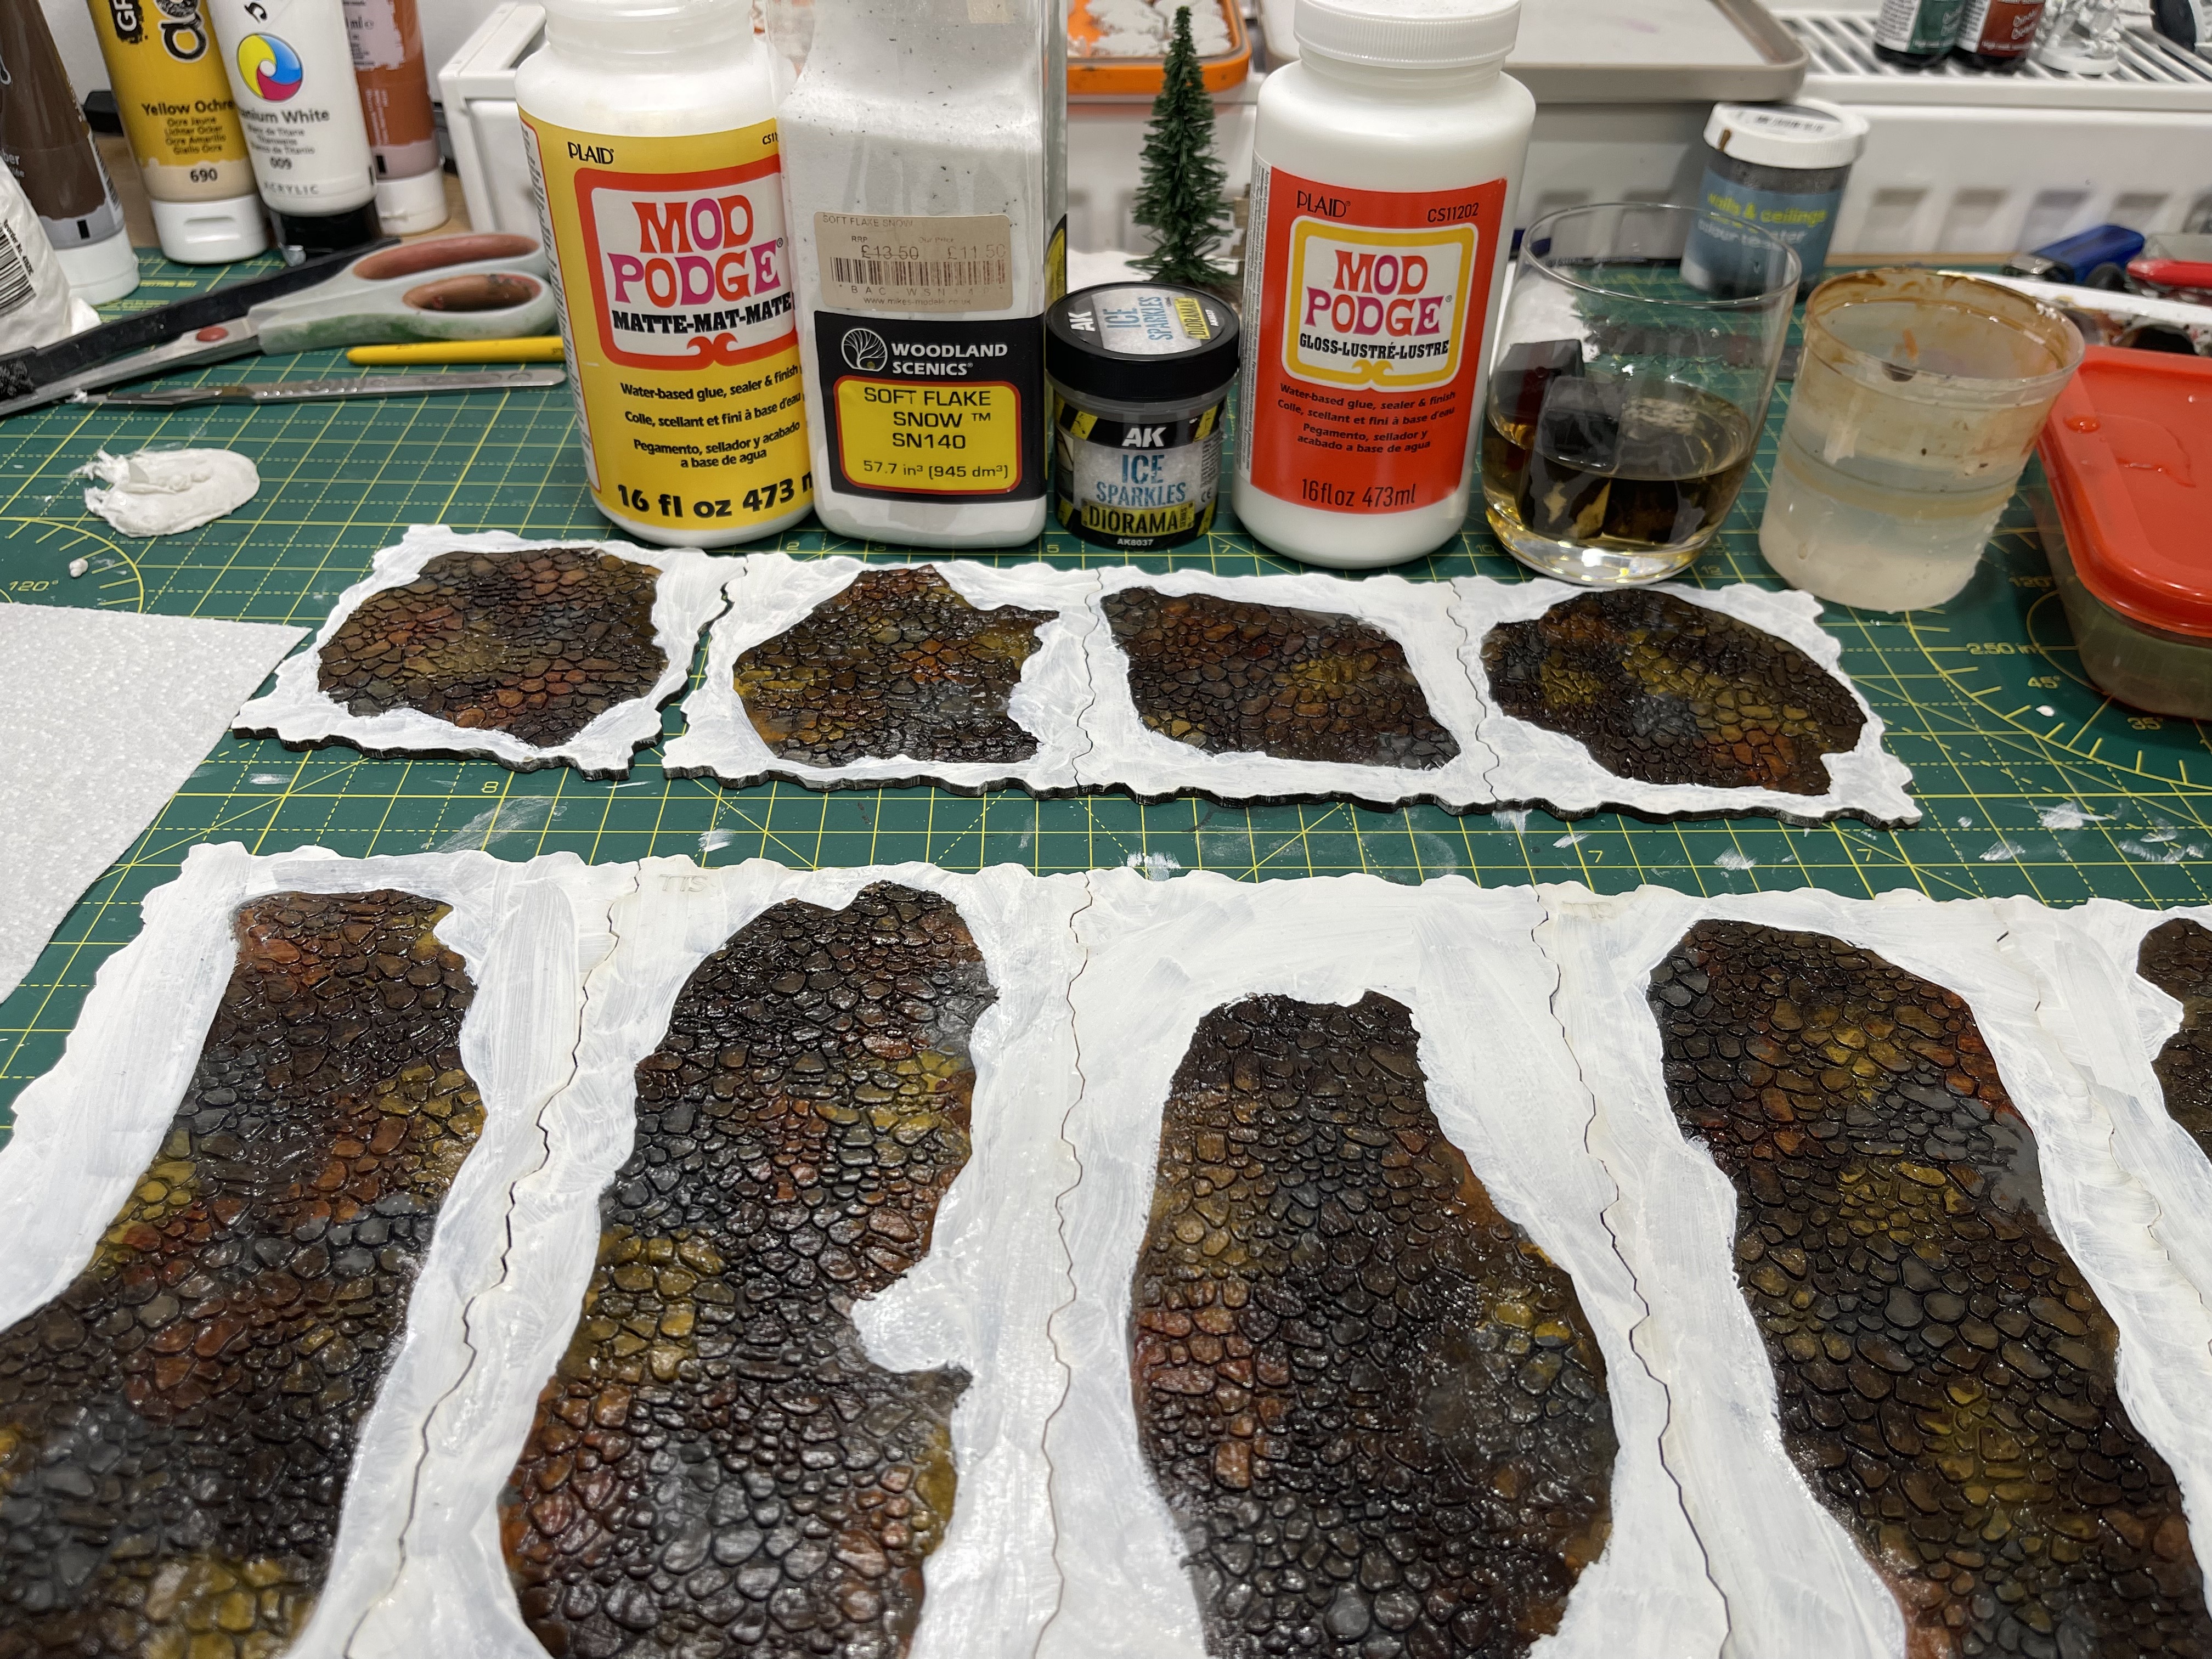
 Put a layer of matt mod podge down on the white base areas then I sieved on the snow flock. it leads to a solid flat area of snow. not overly realistic but absolutely fine for gaming.
for the paths I use gloss mod podge which I then saturate with woodland scenic snow flock and a bit of the AK glittery snow flock (basically glass beads) in a ratio of 5:4:1 (glue:snowflock:glass). it is then stippled over everything that I want to have a glossy icy snow layer to it.
 clumpy snow flog drenched glossy mod podge which is then stippled onto the brown areas
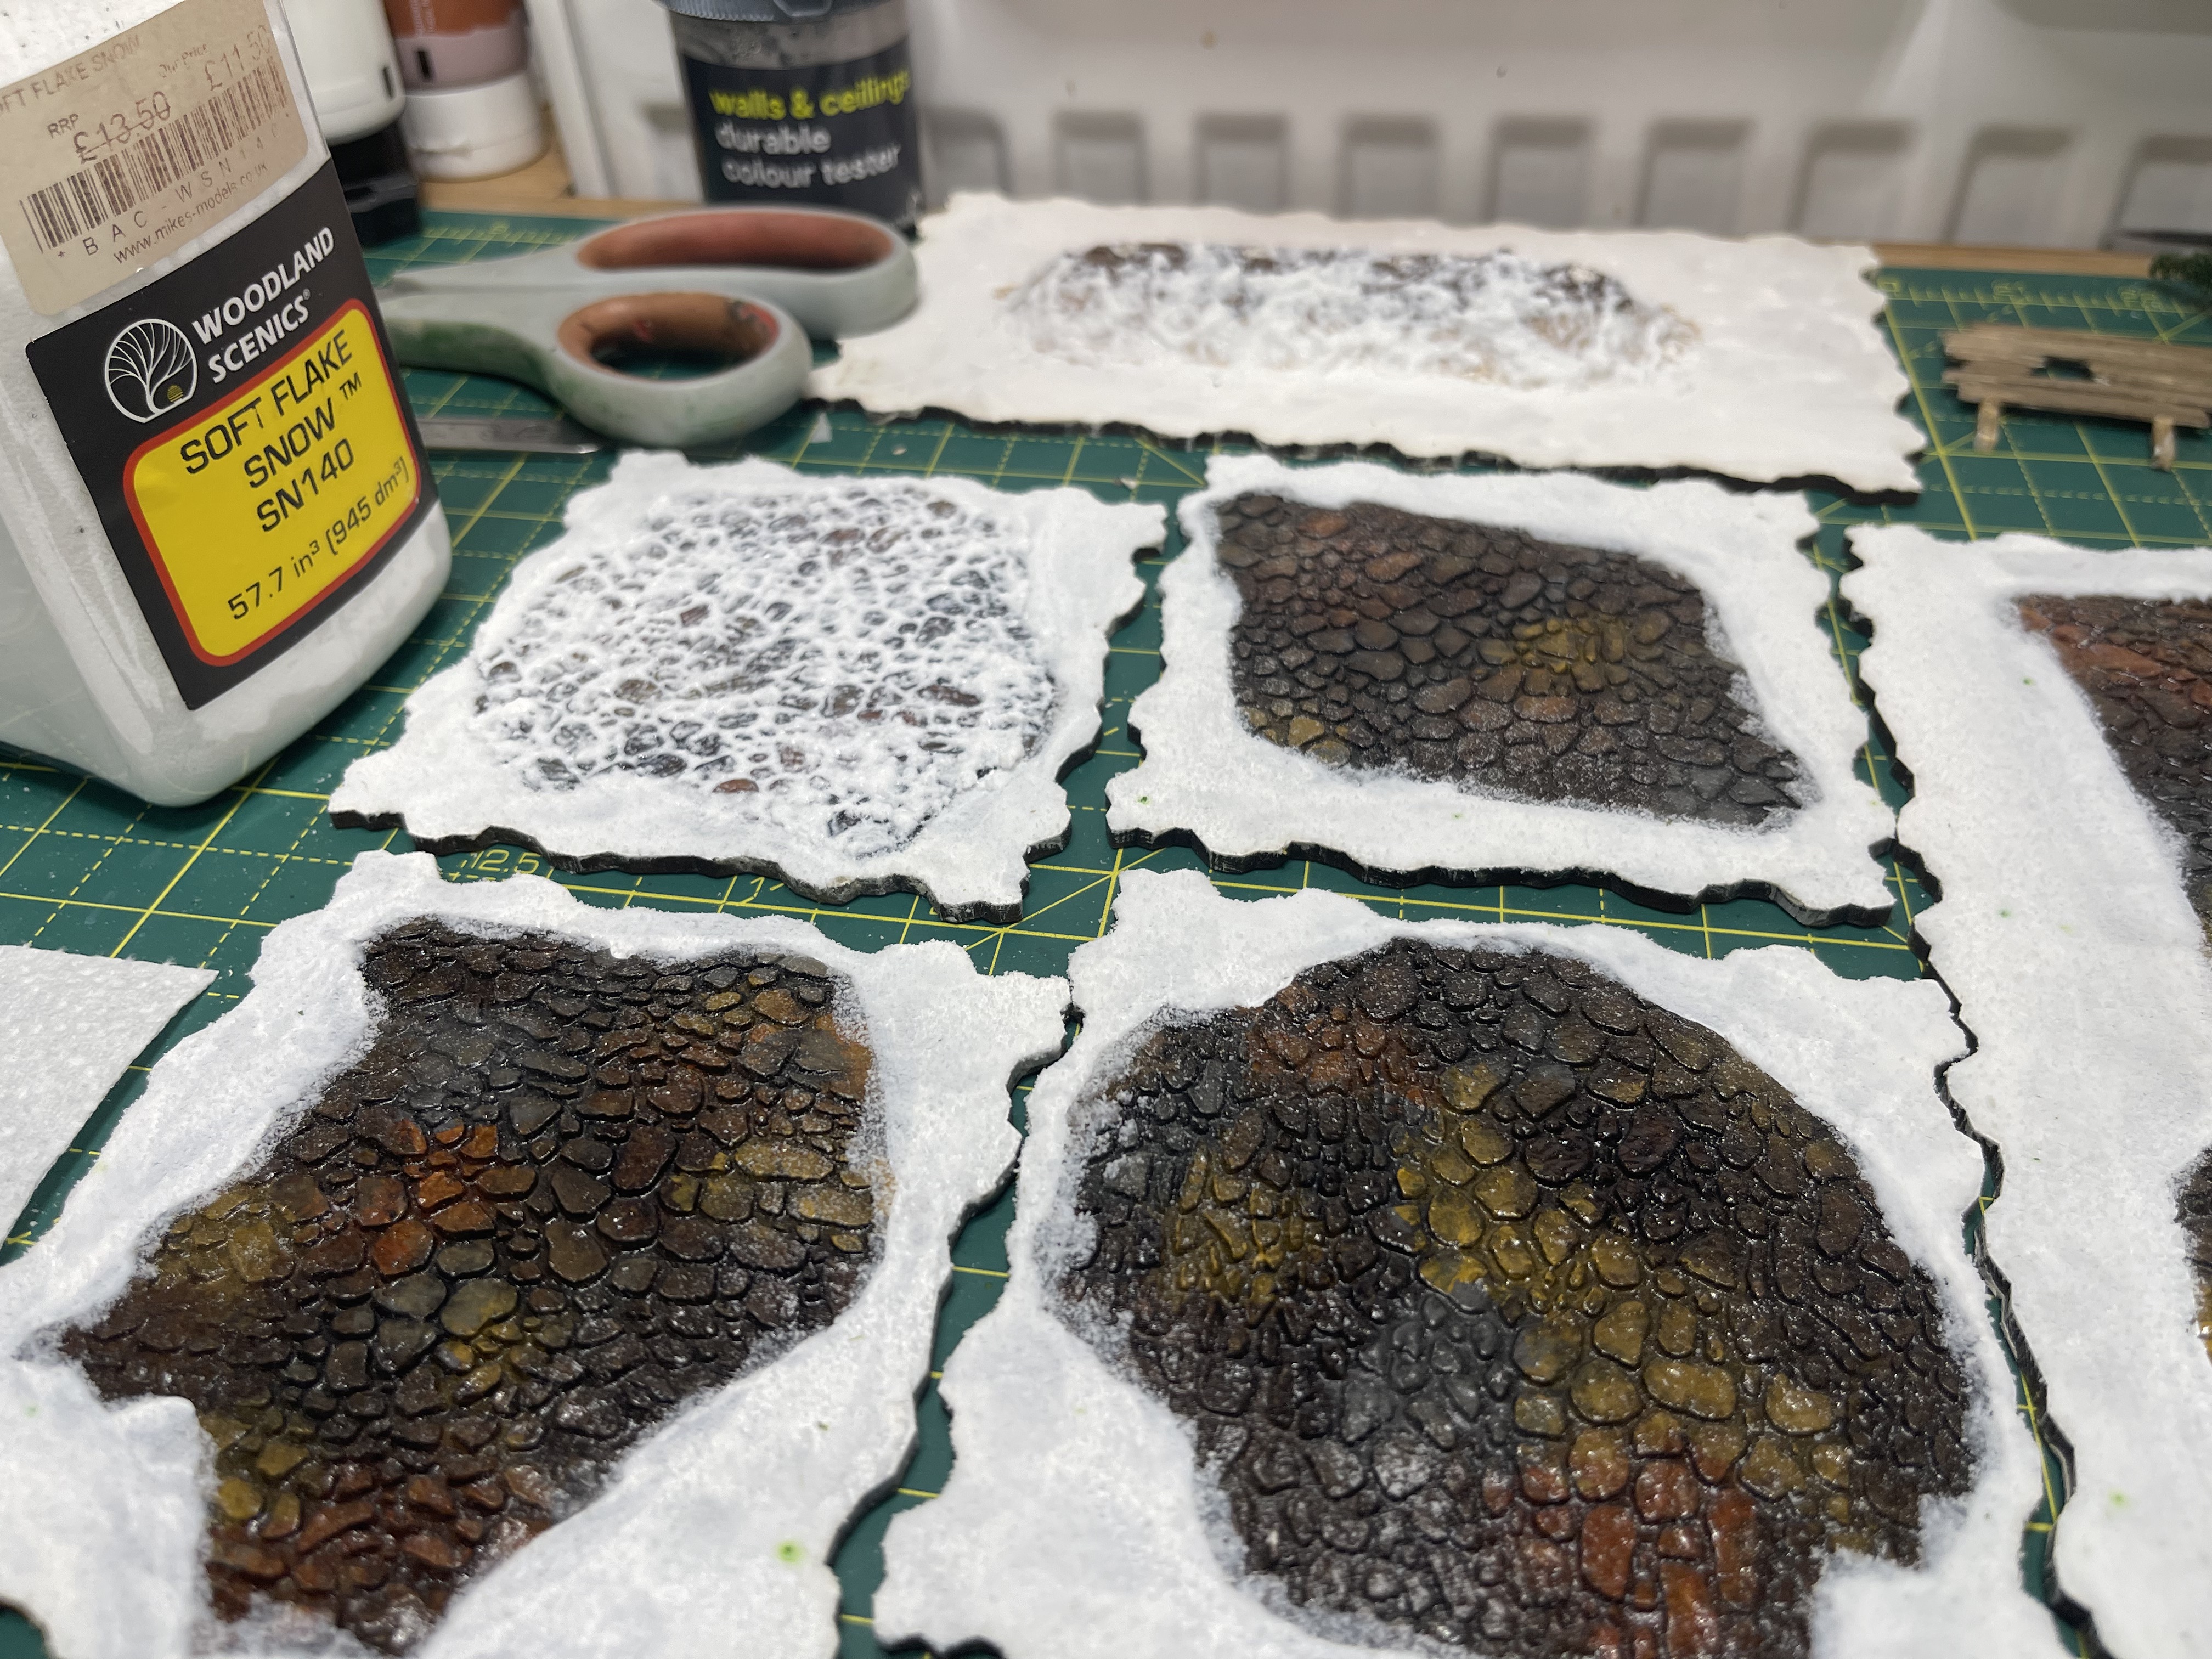 the plan is that the glue will dry clear and the colours underneath will show through
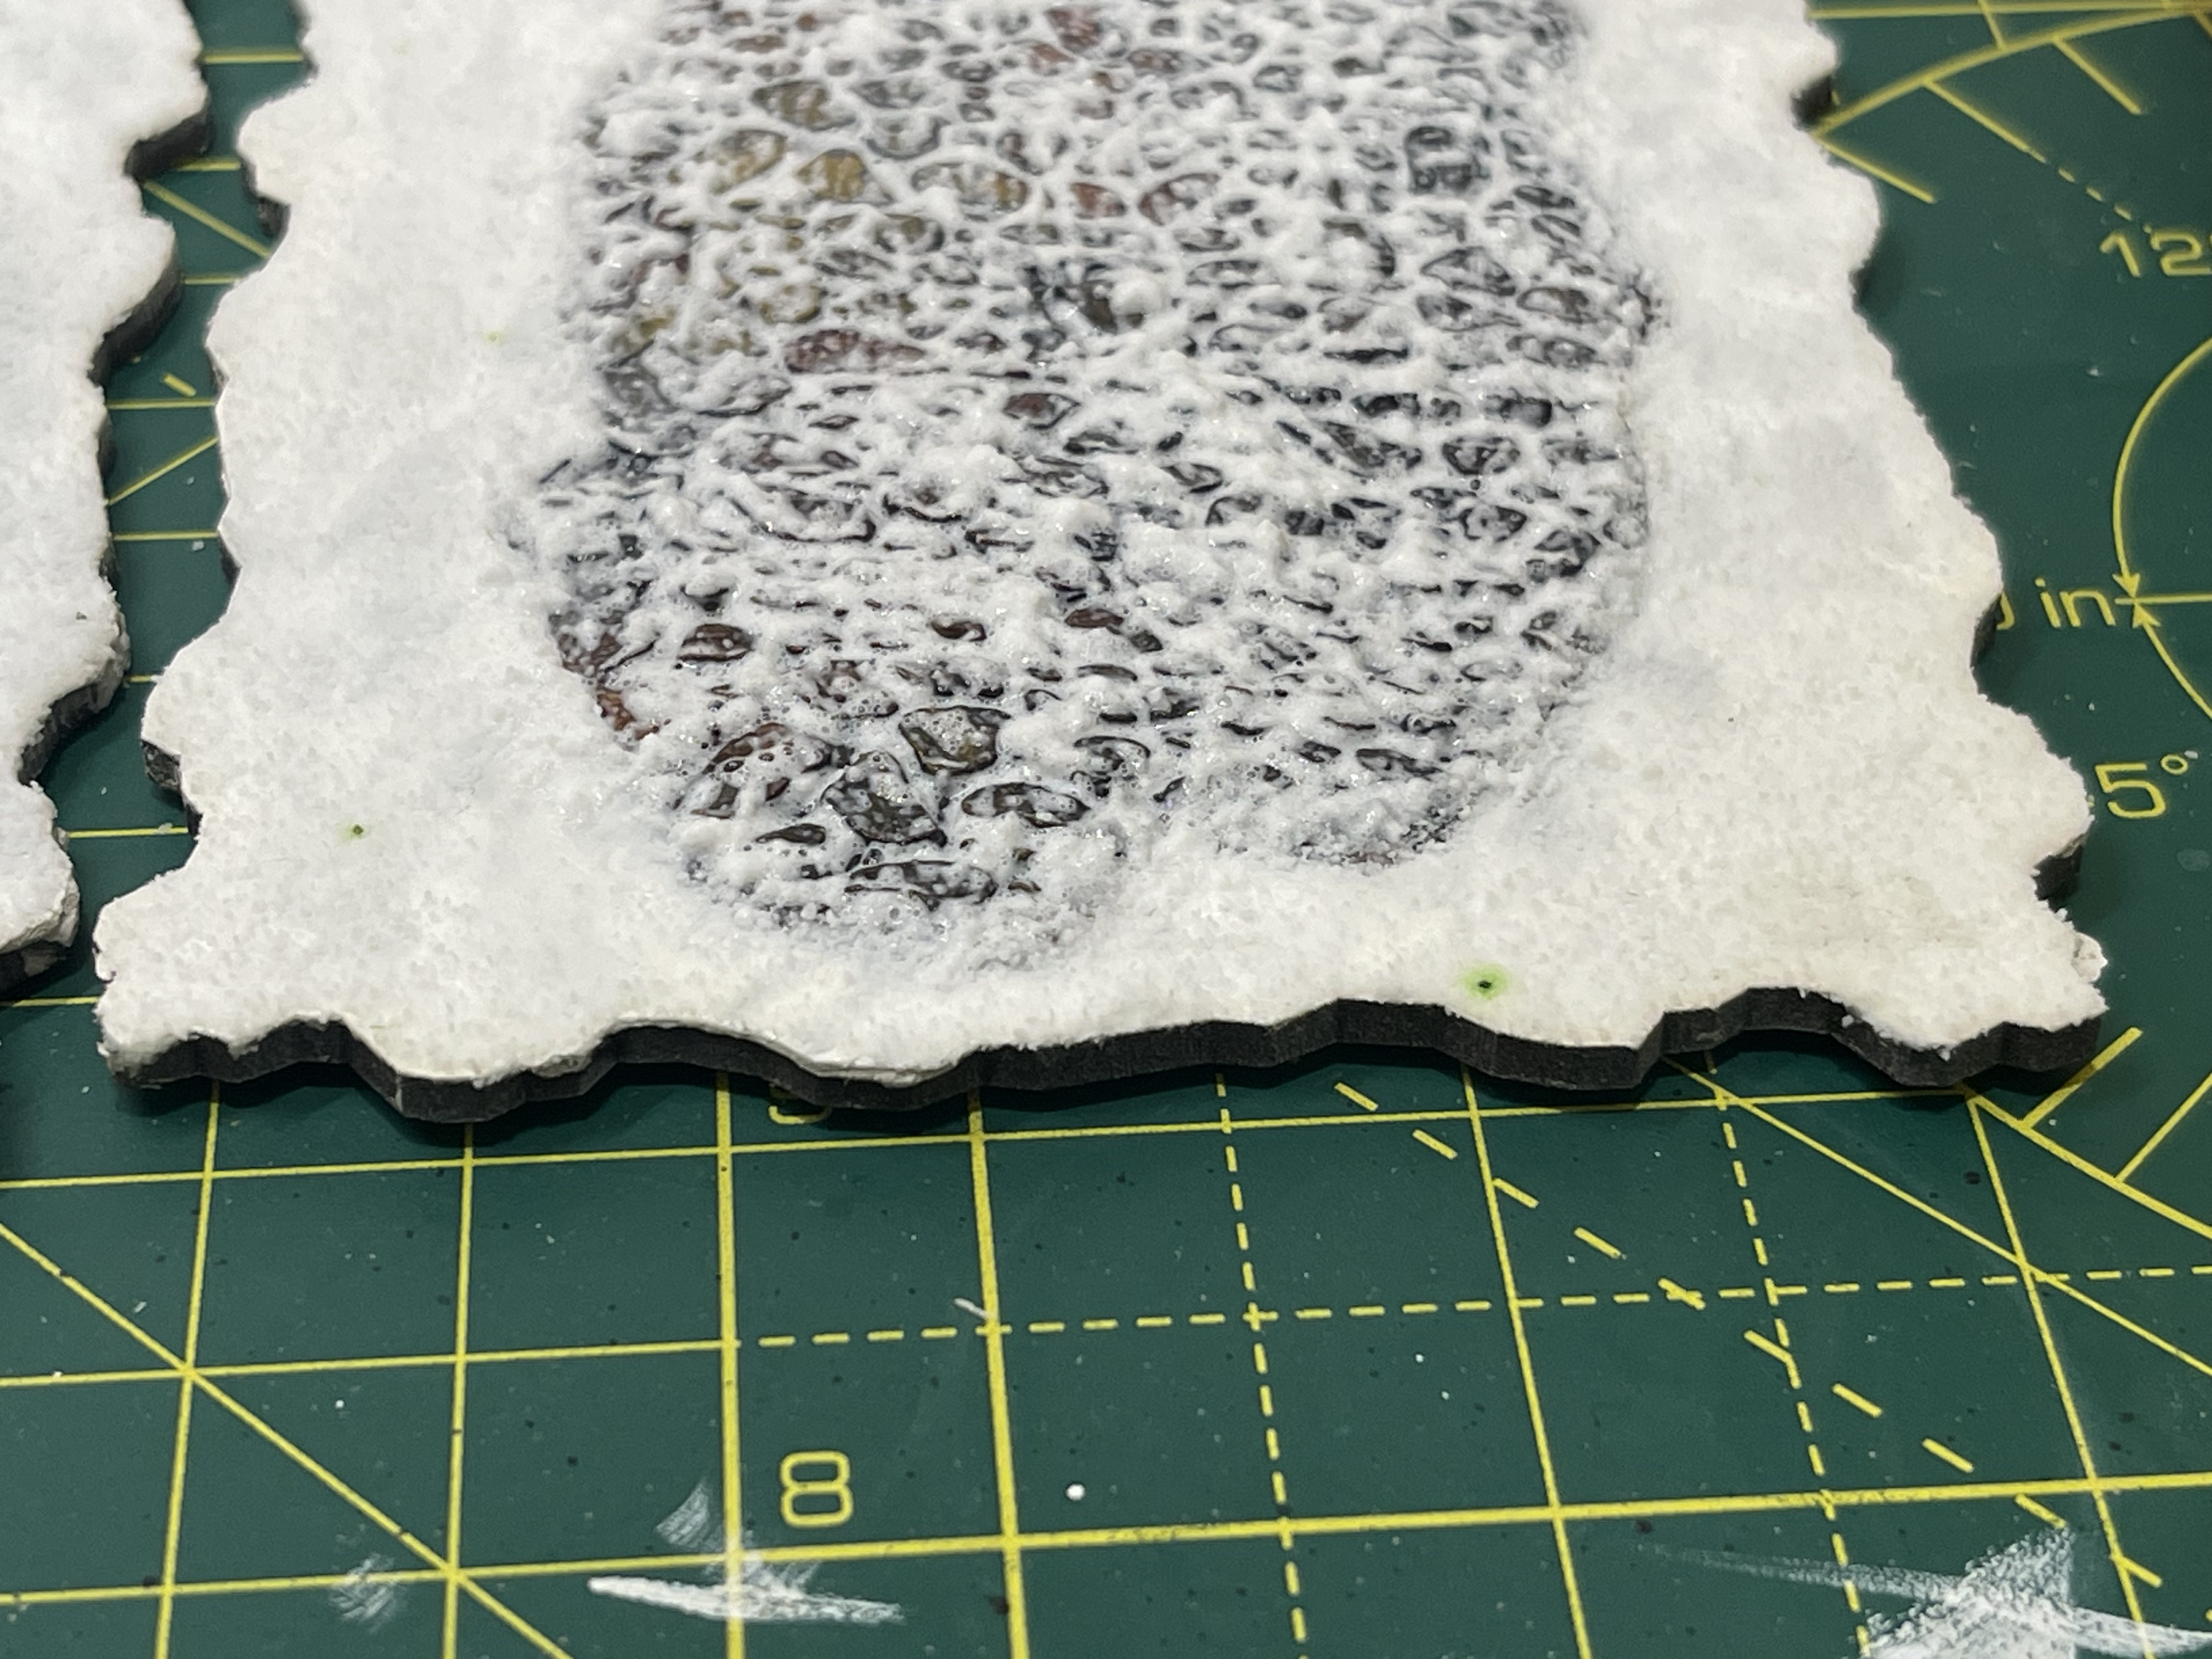 AH! I have got green flock mixed into the snow flock by accident and it is bleeding through
We shall reconvene on this one when everything has dried to see whether or not the plan works as intended!
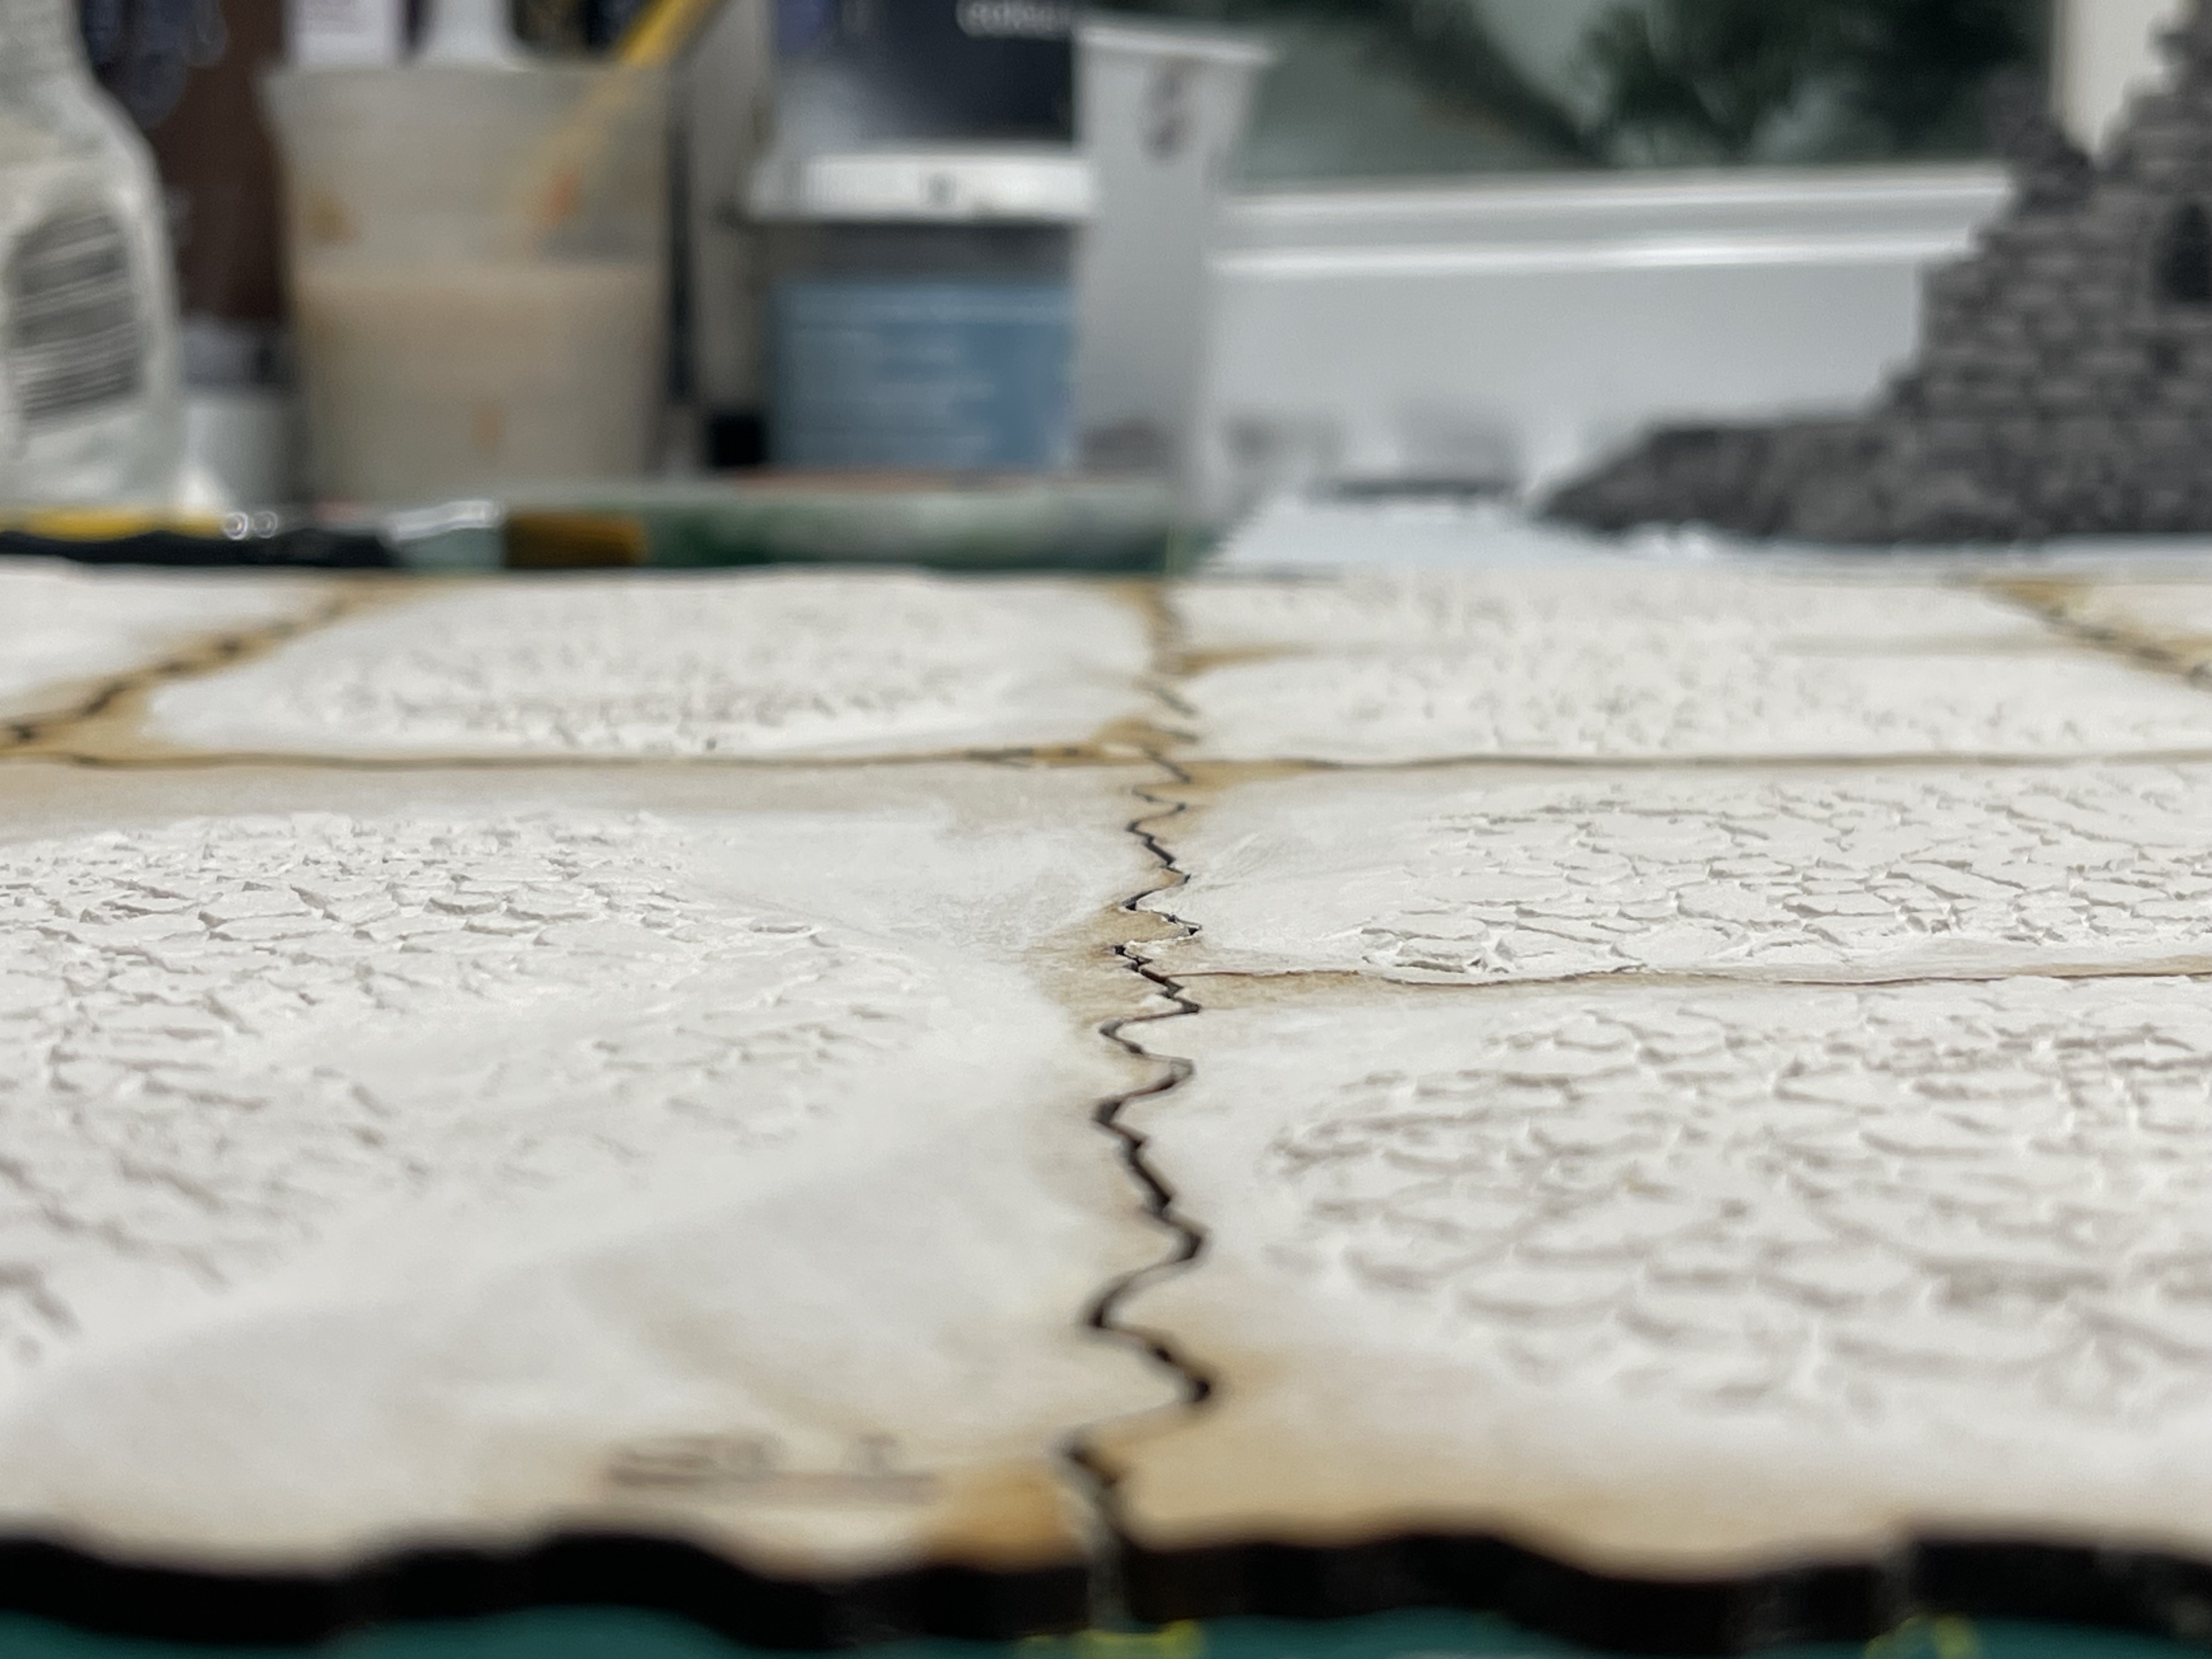
Full build to date
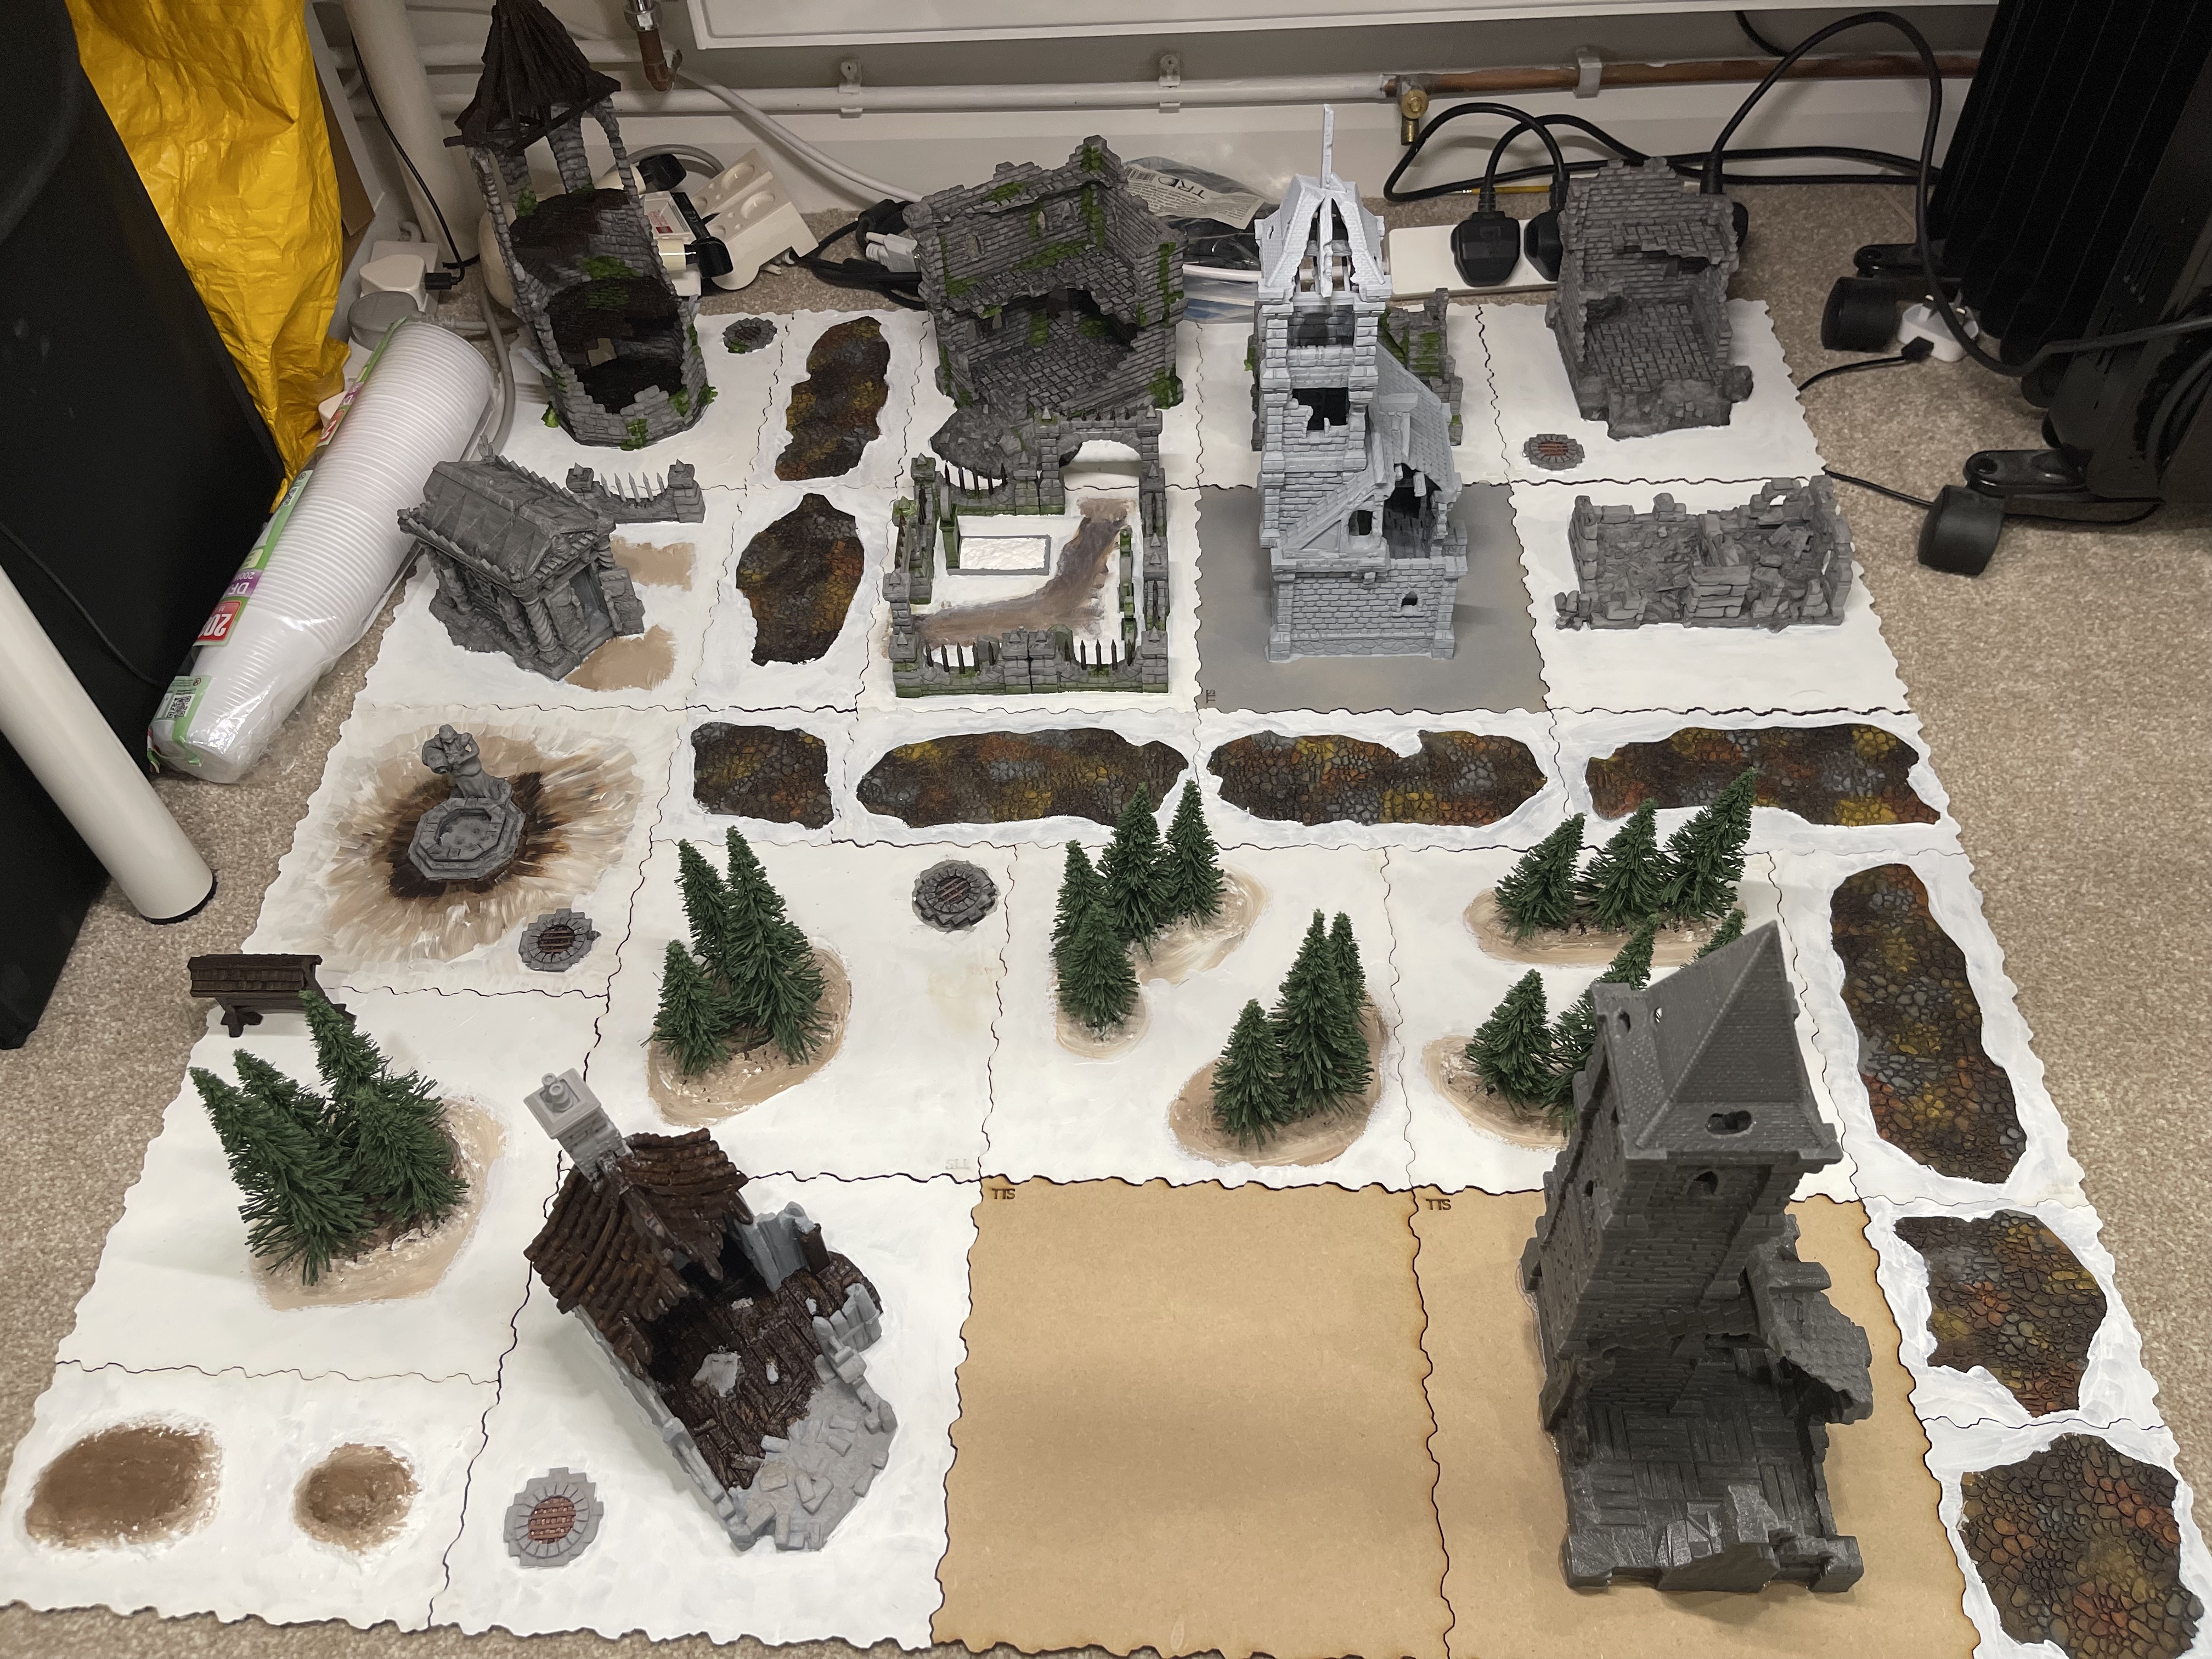 3x3 board layout
this evening whilst I had an hour to myself I painted 2 half tiles ready for adding trees to and then decided to put the whole lot together to make a 3×3 table.
It’s nice to check in every now and again to check progress and see how well you’re progressing. It has felt slow going so far due to not having much time to work.
I’ve just been too tired recently with work and the baby stealing sleep.
still got to figure out what I want to do with one of the tiles. If anyone has any ideas please shout up. I’m half thinking about making an encampment but could easily just 3d print another building, it is a city after all and I already have 6 non-building tiles out of 16. I would quite like something interesting with a bit of story to it though.
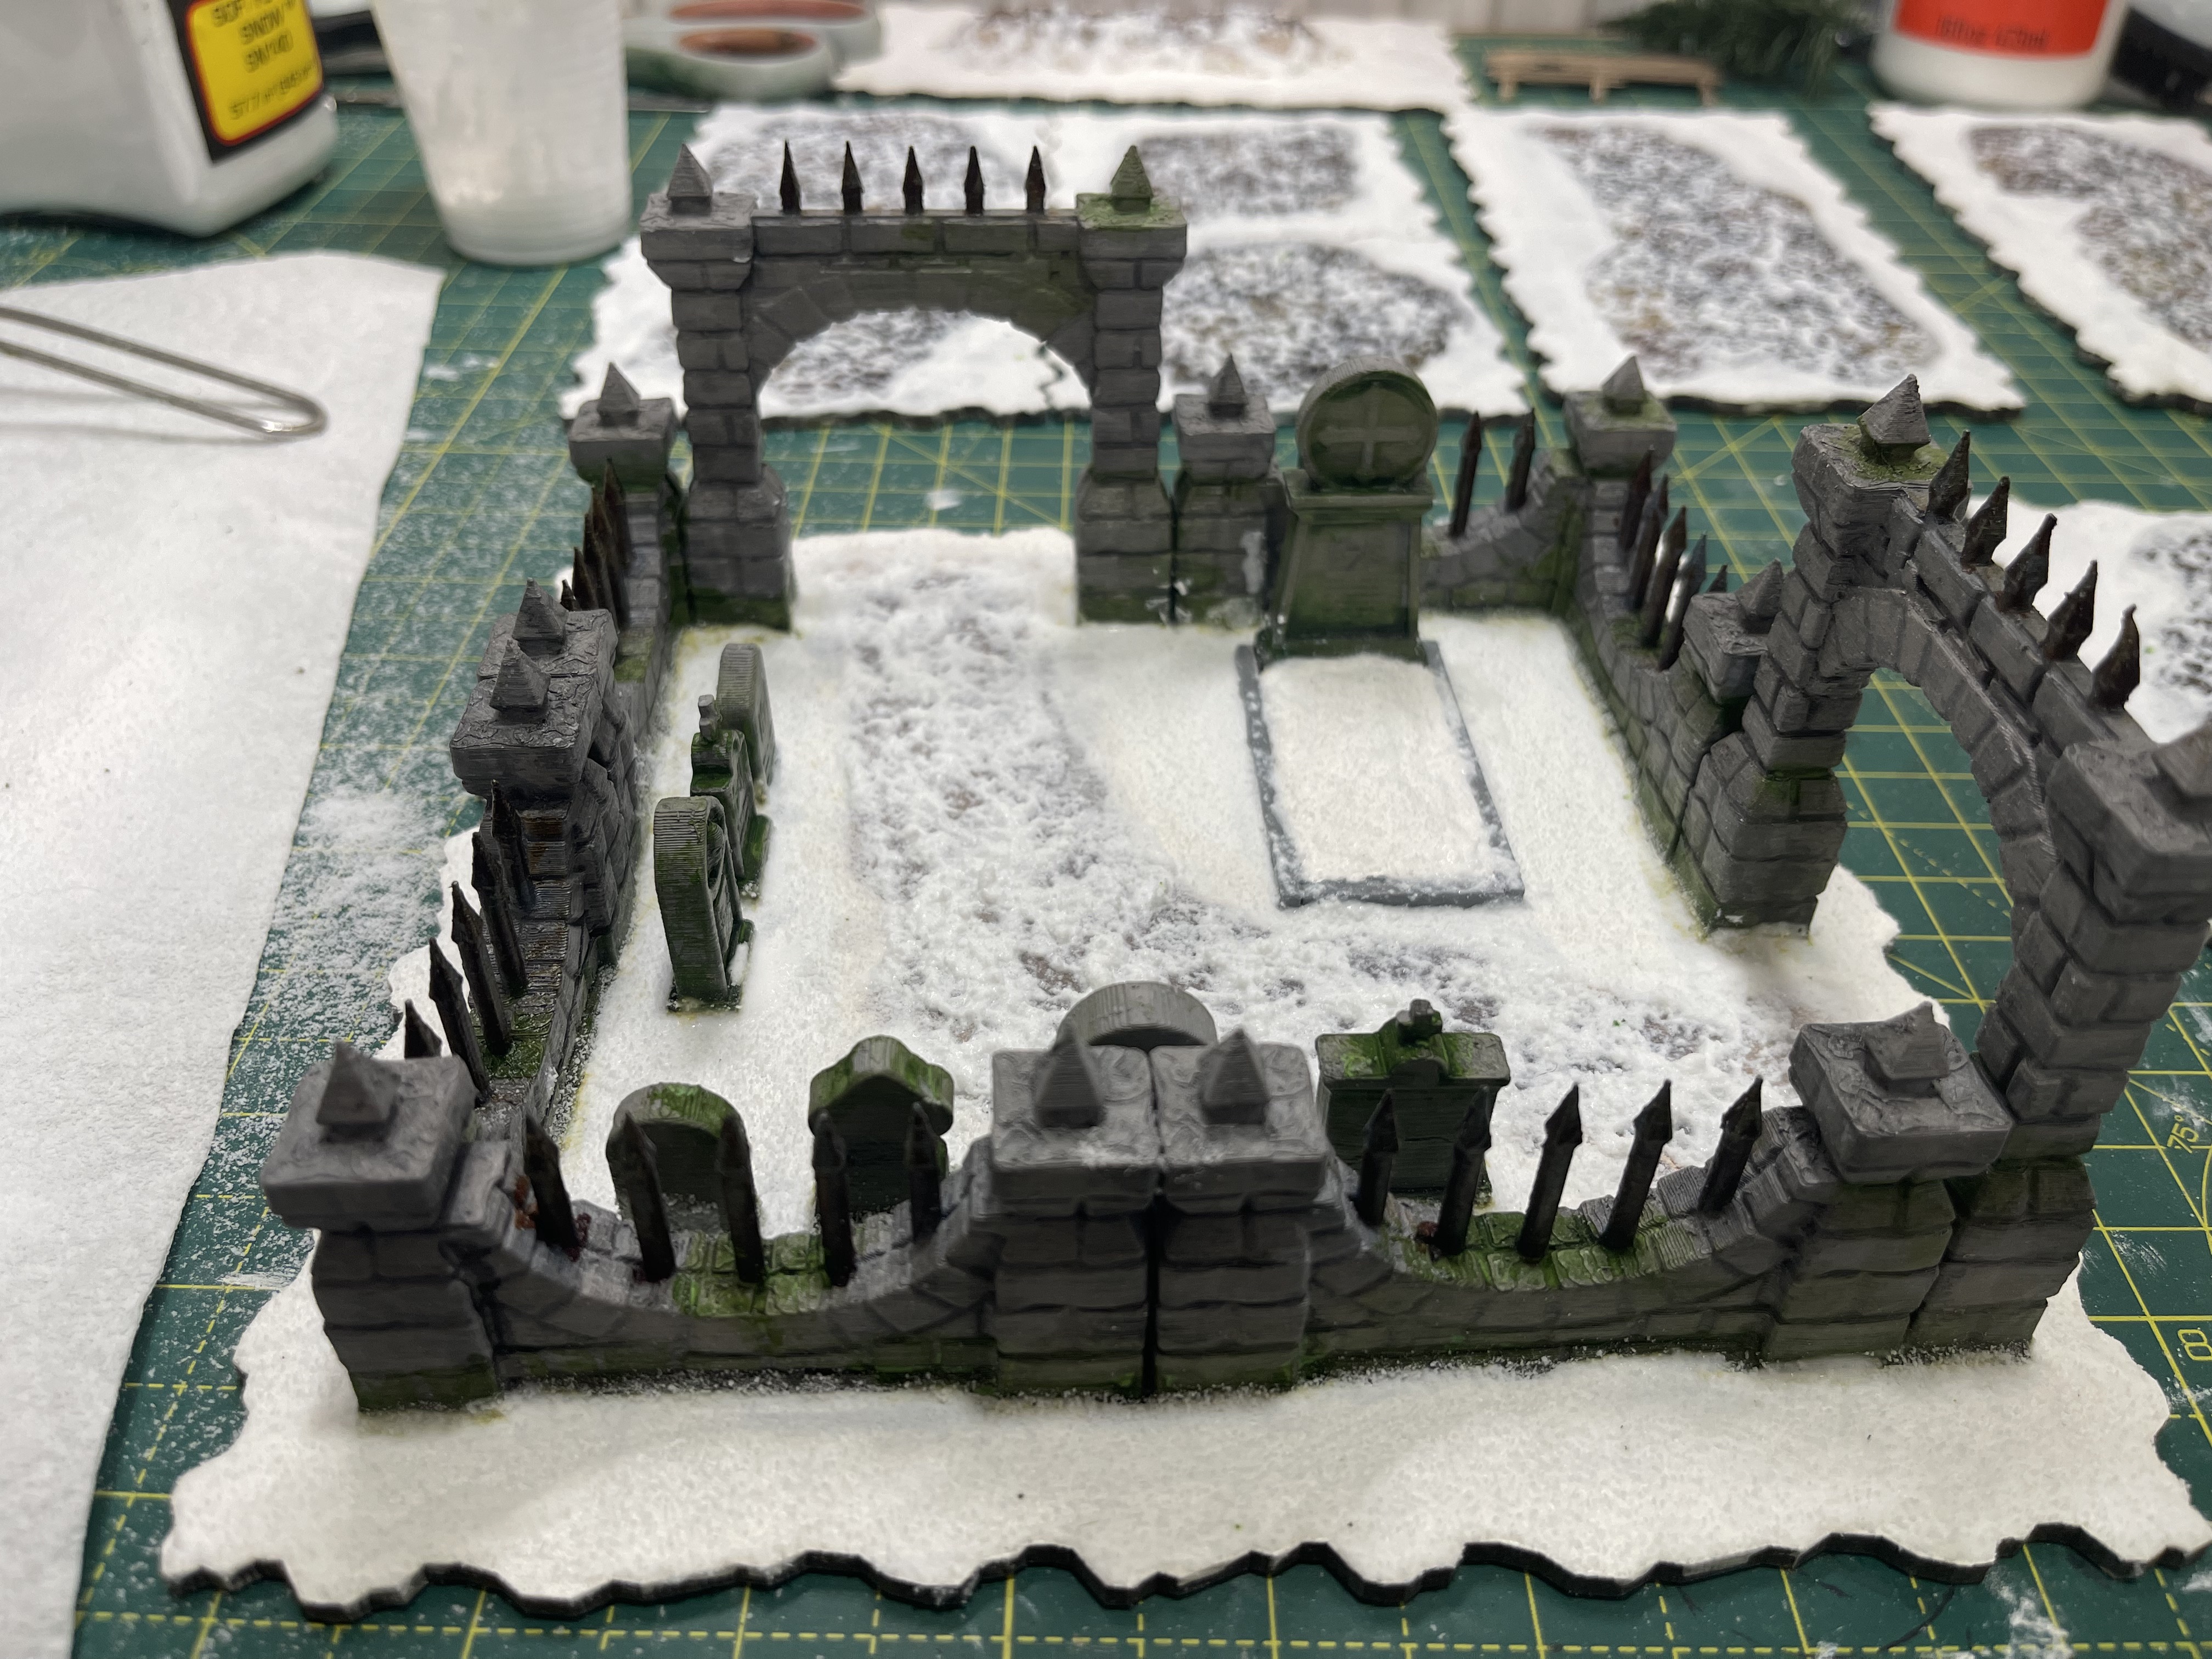
Woods and ruins
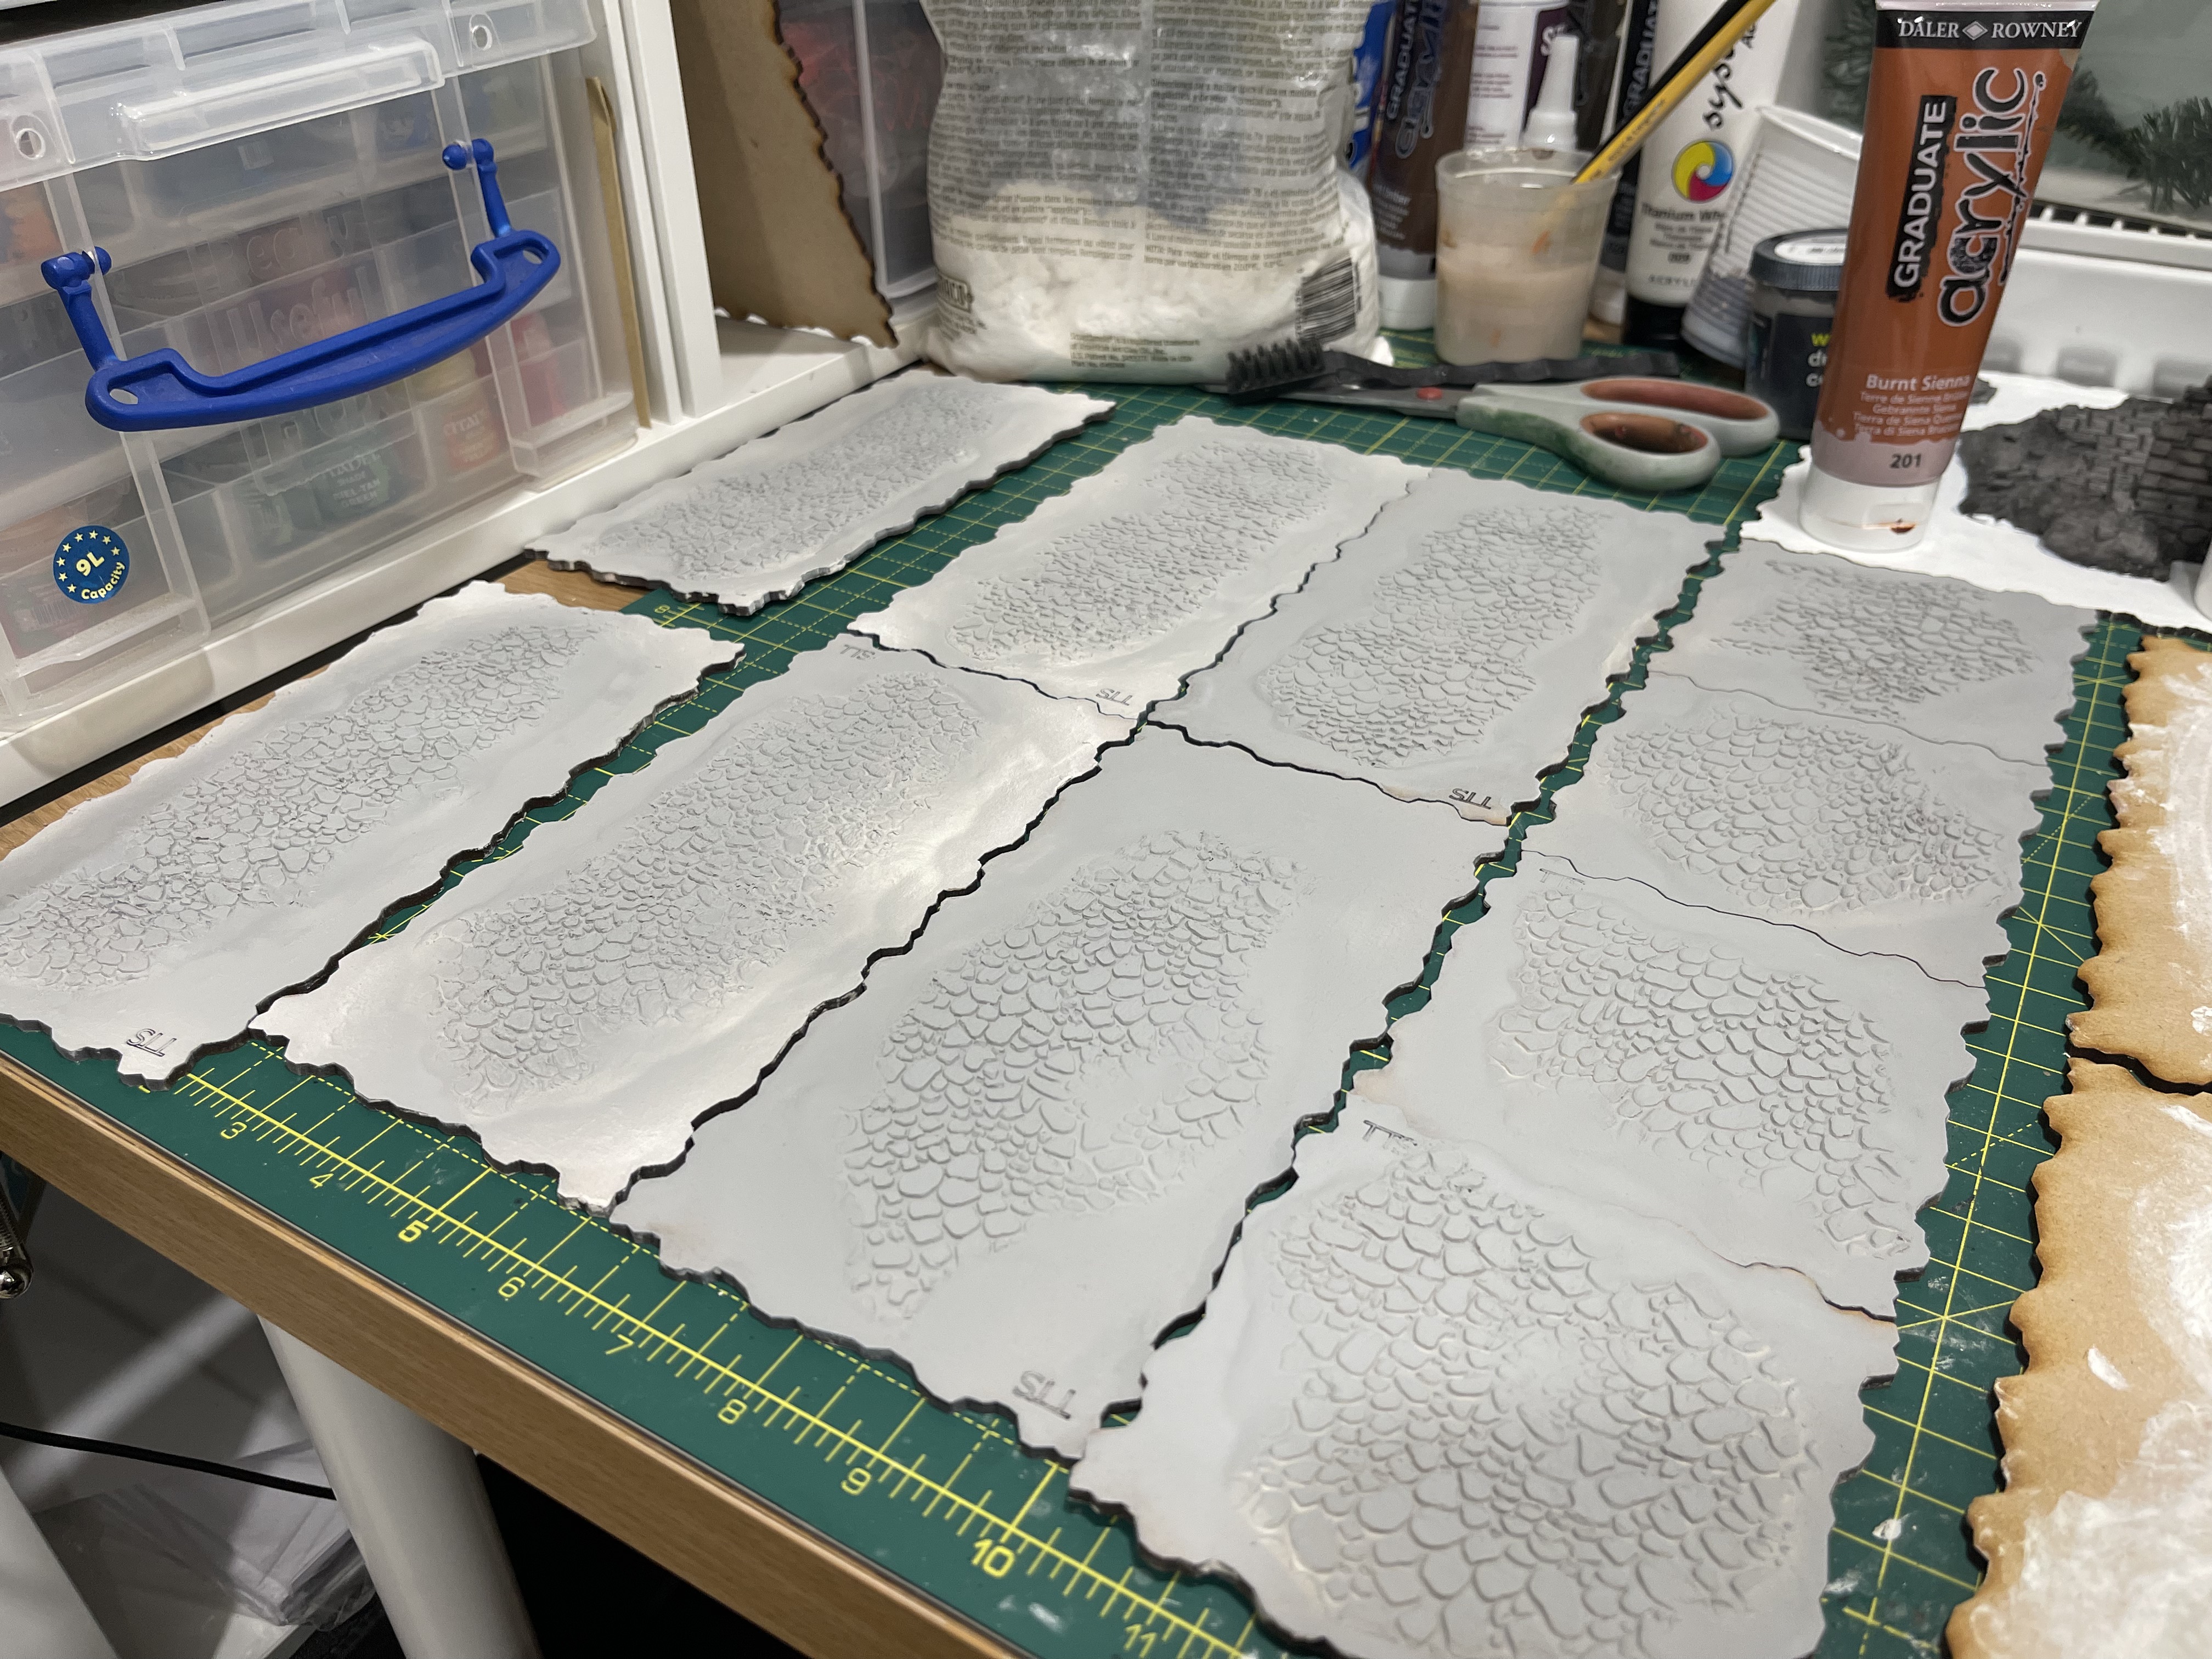
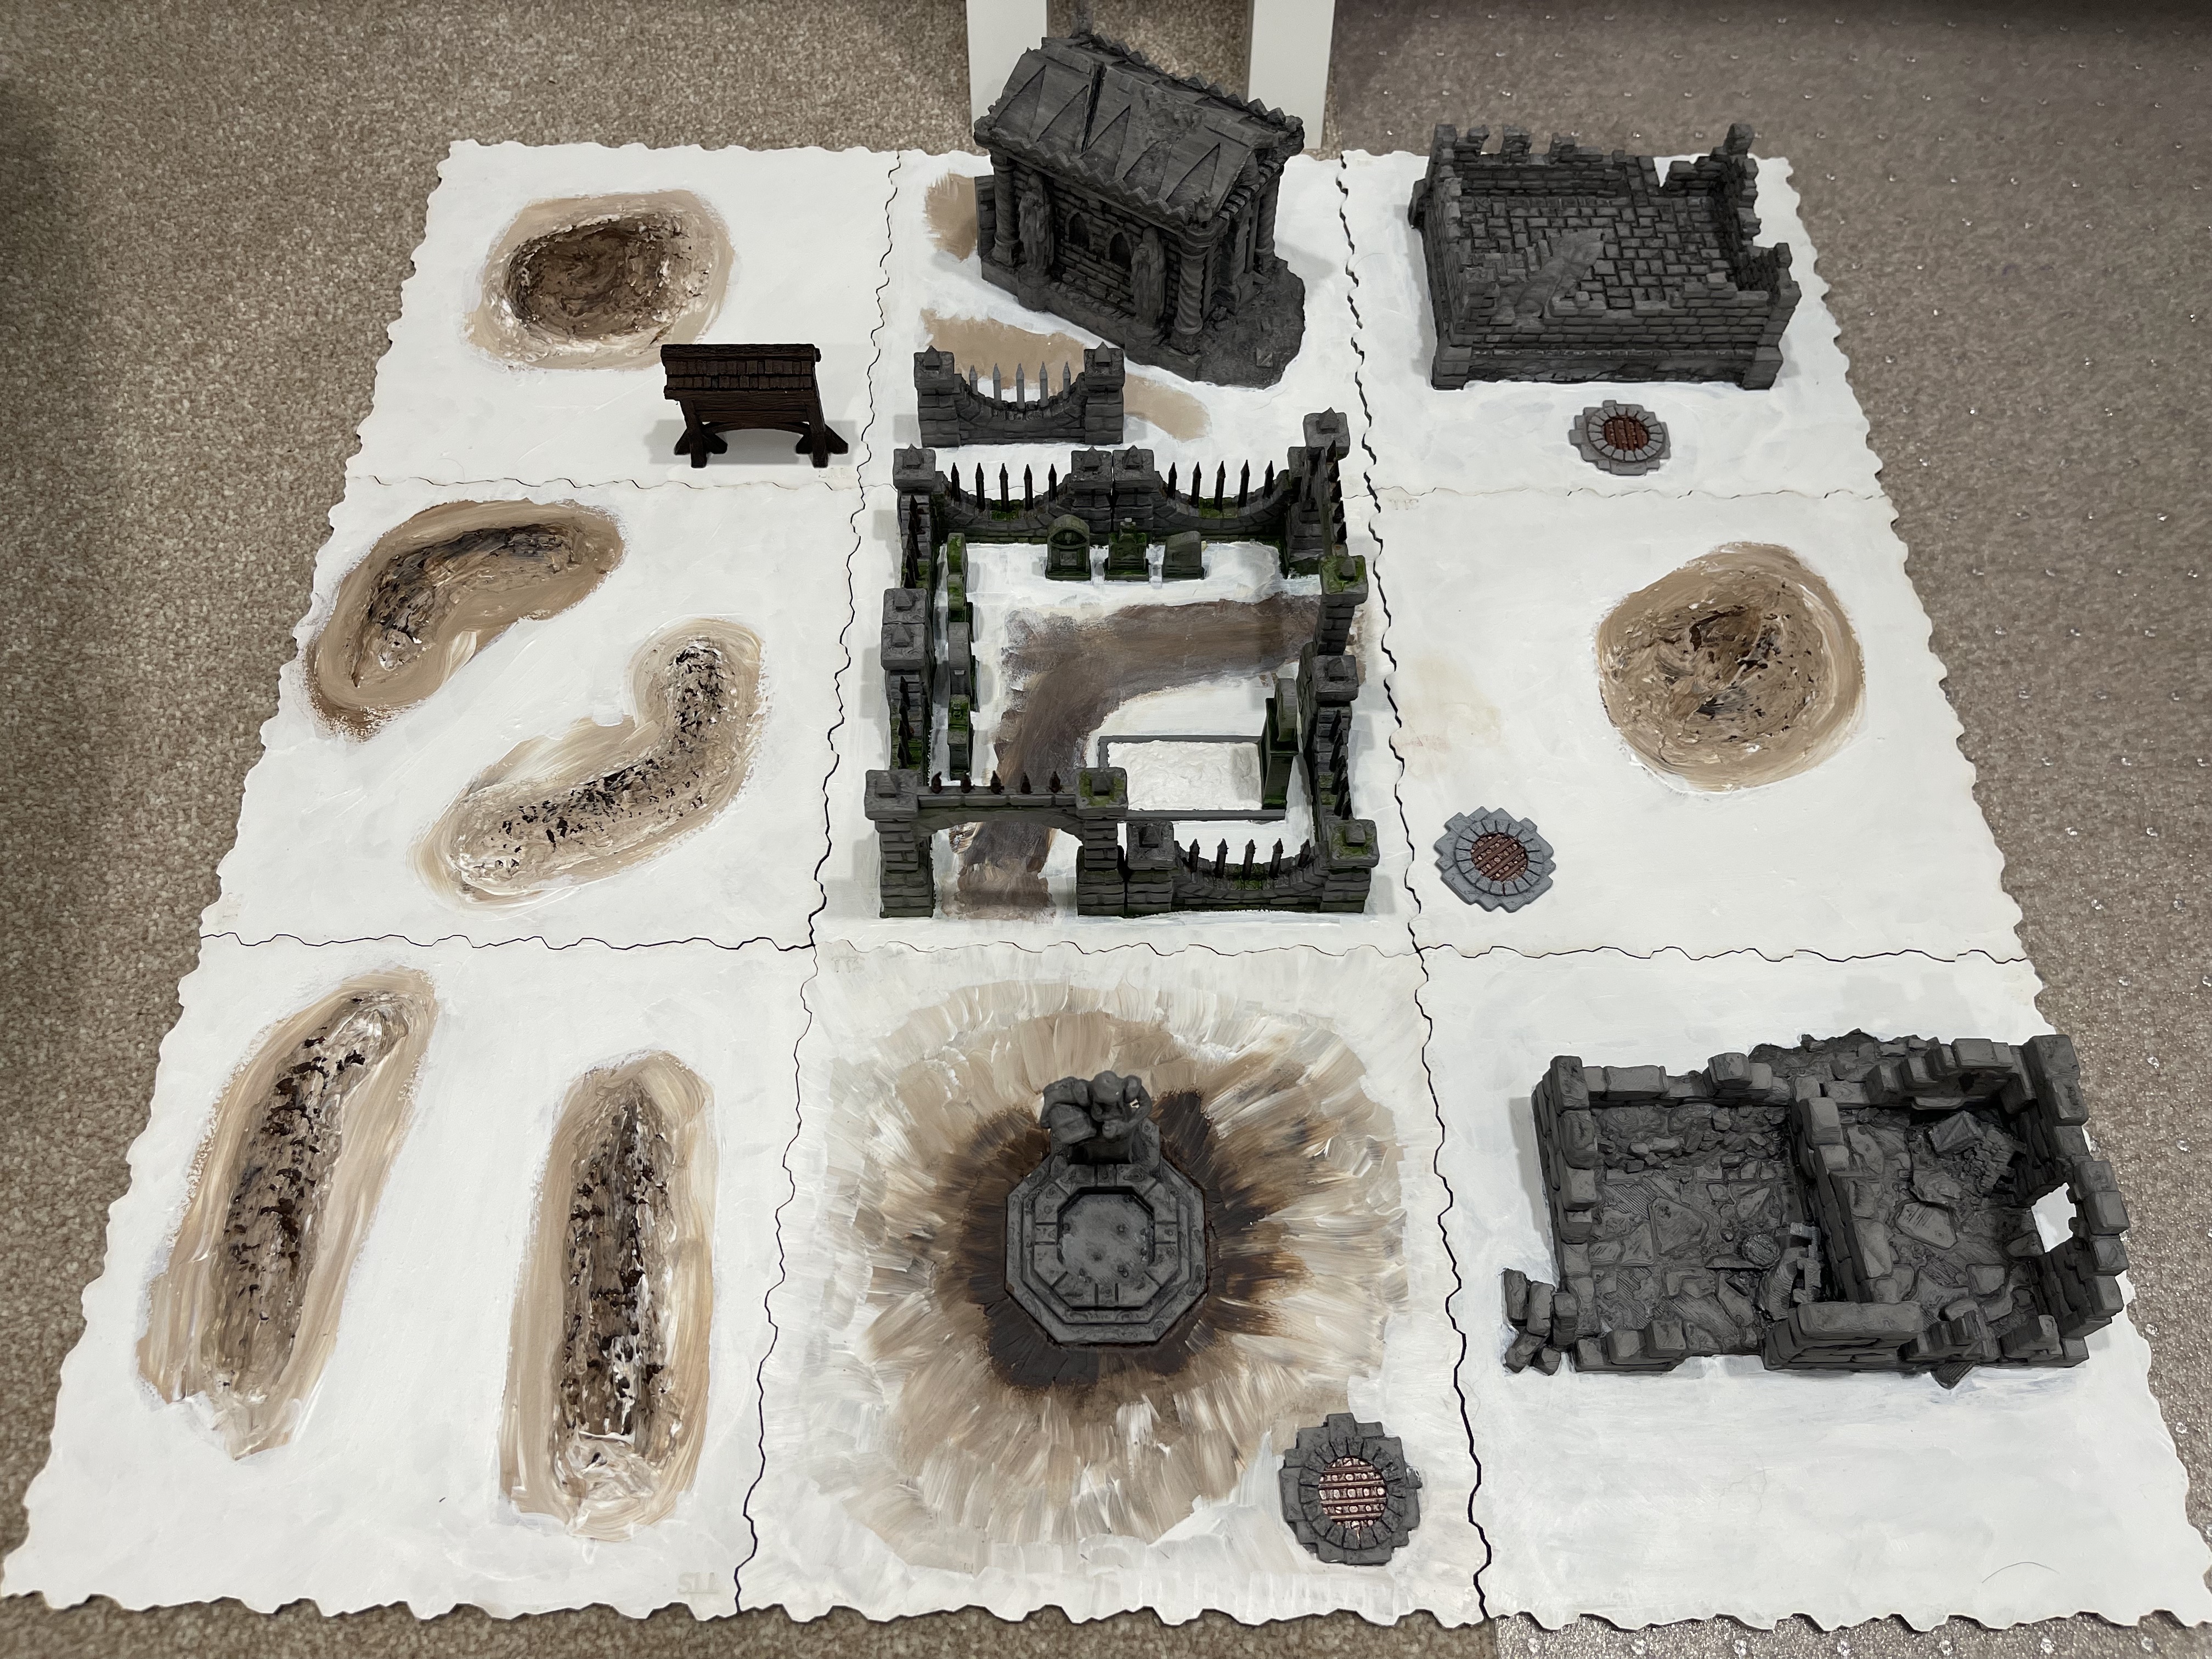 9 tiles all prepped ready for snow flocking
Gerry wanted hills so I have provided mounds…. of muddy snow.
Sculptamold was dumped on the tiles in sausage shapes, L shapes or simply blobs.
then once dried it was painted using the same brown and white acrylic paints as noted before.
Ive done this so that when the trees get added it will hopefully give the impression that the ground is protected from the snowfall a little bit.
I have also printed off a village noticeboard for our wizards to post up ‘wanted for hire’ notices for all the followers, after all thugs and thieves are ten a penny and entirely disposable muscle so there needs to be an ample supply…
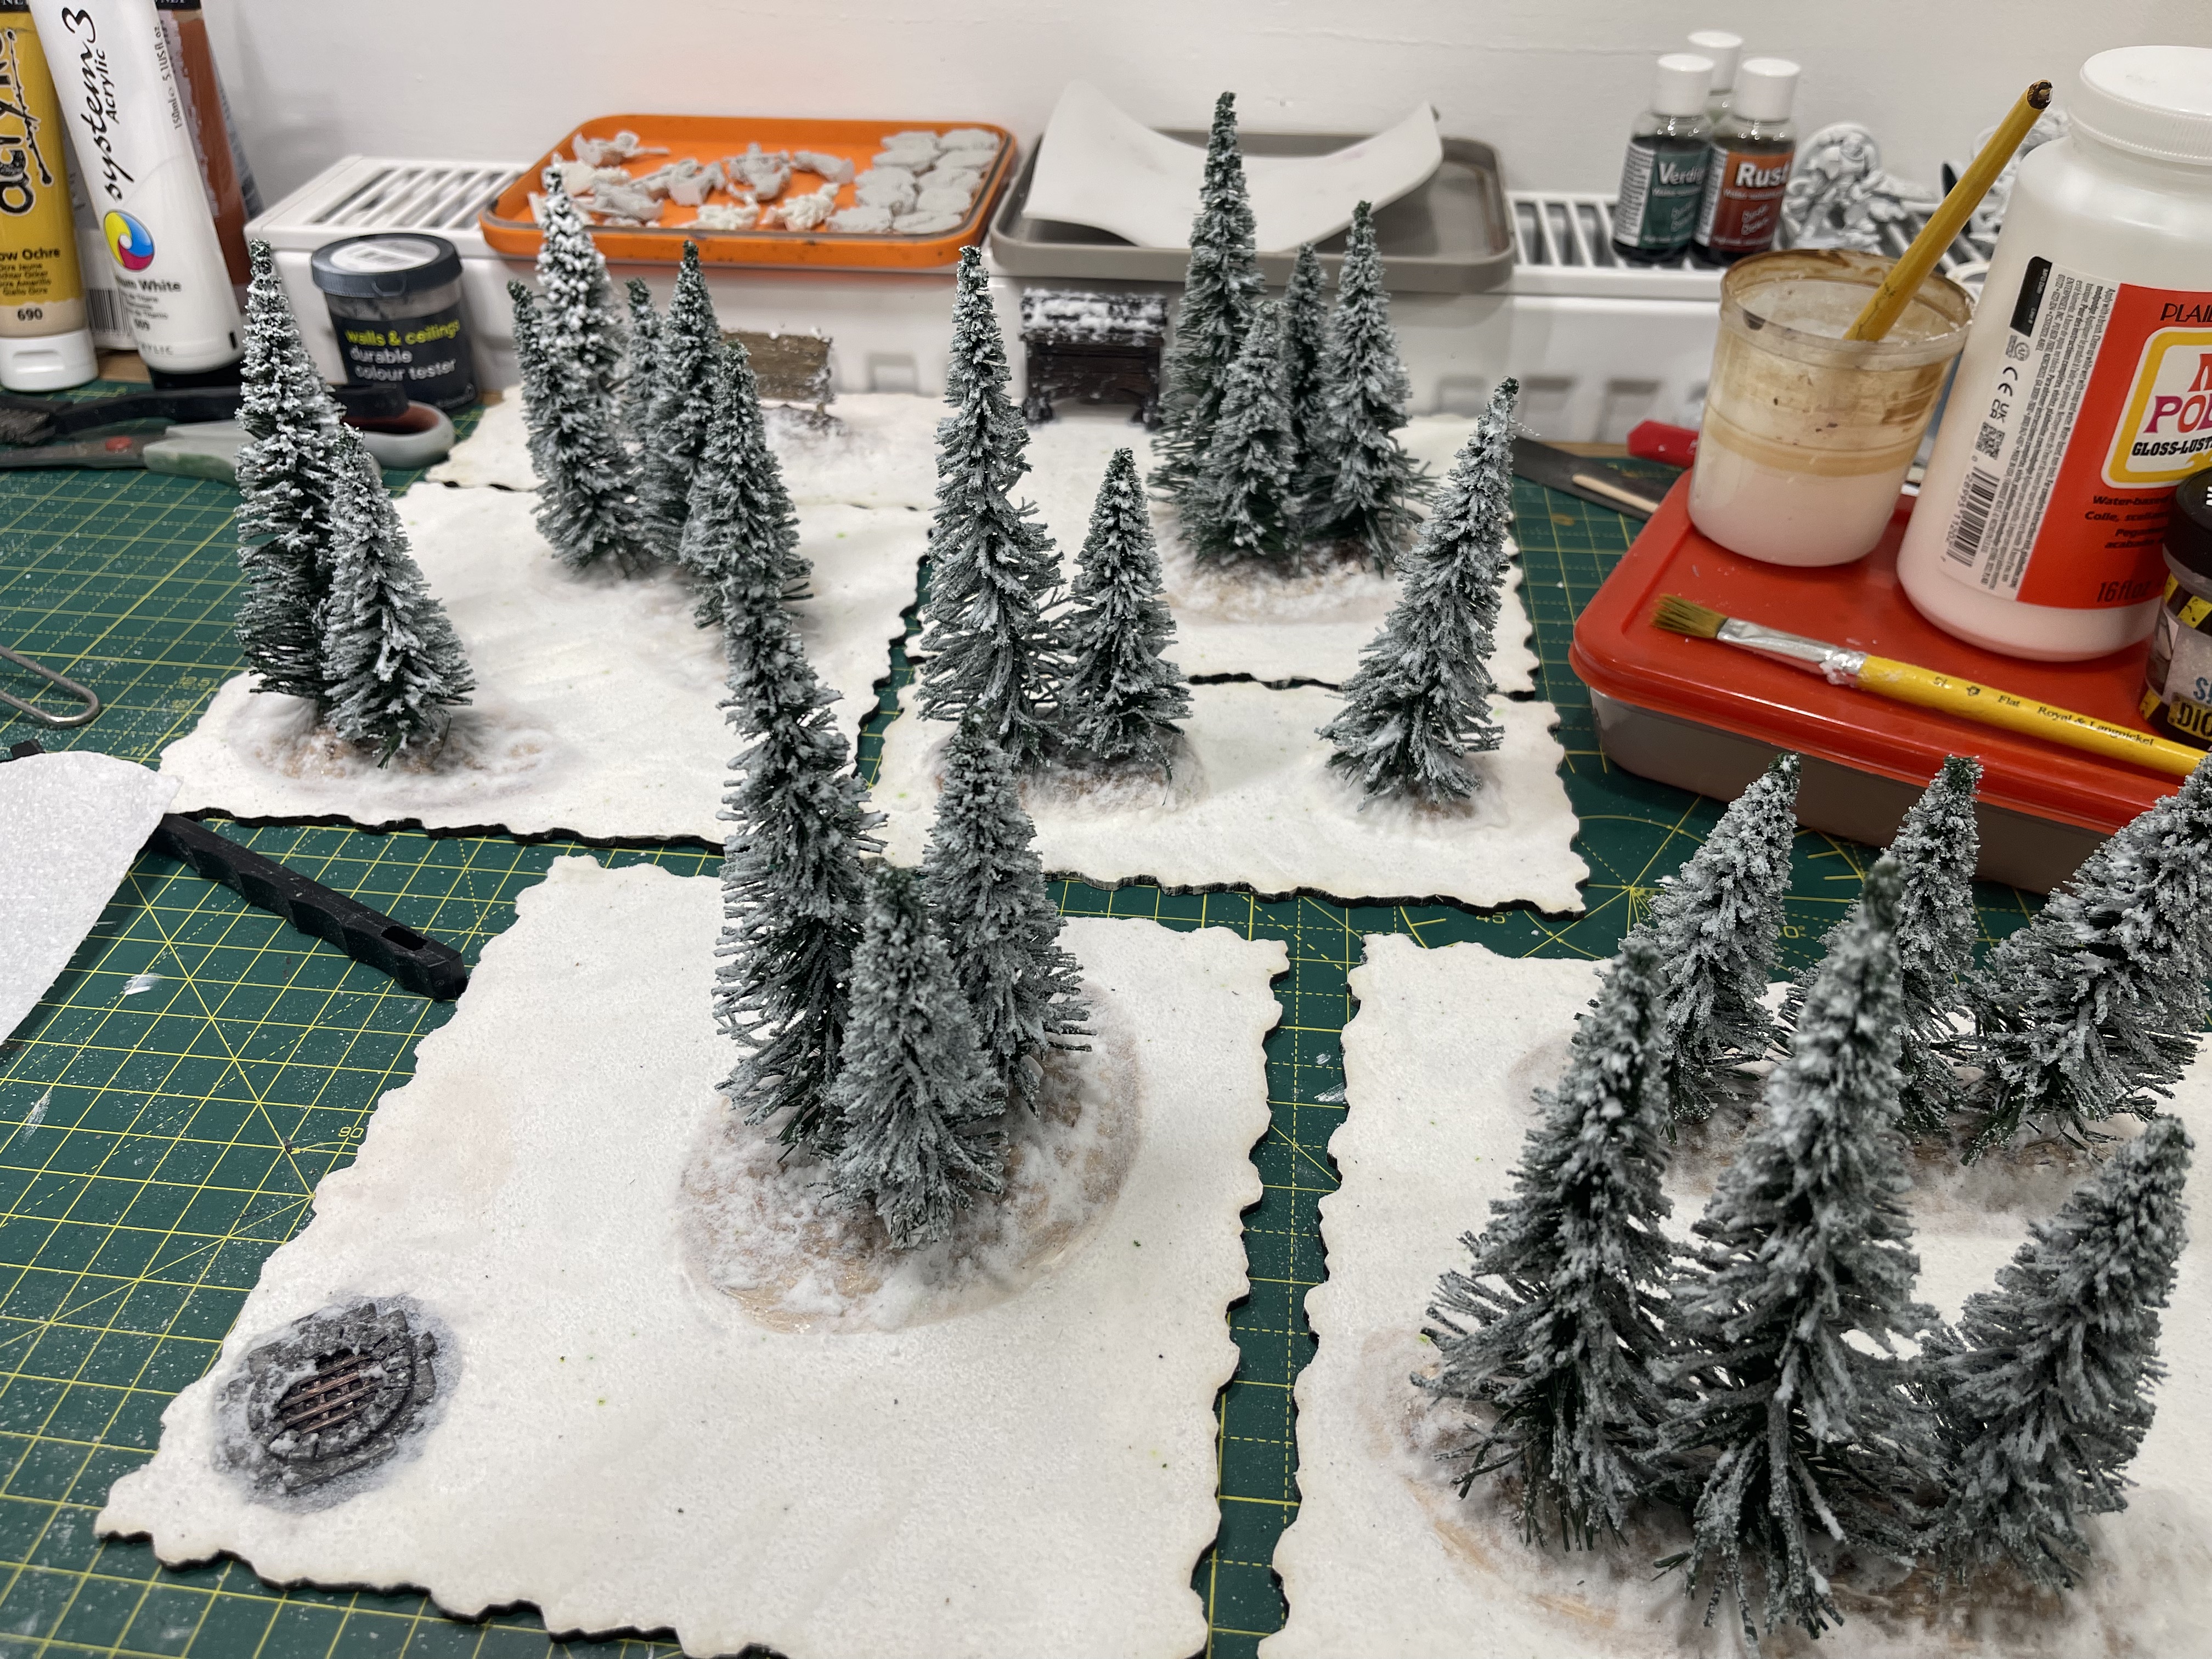
 trees added to the boards
the trees are simple heki model trees. I have been impressed by the previous deciduous trees from their range. these however are less than impressive and the bigger they are the more spindly and unimpressive they become. £30 for a box of about 24 so they are cheap and so much more efficient than making them myself, just in comparison they’re not as good as the deciduous range.
To mount them I took a 3mm drill straight to the now dried sculptamold mounds. I just eyeballed it to be honest, no measuring, after all nature doesn’t measure anything so why should I?
when I come to do the snowing I shall glue these in properly and spray with tacky glue to get them slightly dusted by snow flock. im undecided on whether to add ice and stuff the underneath first though. probably should.
colour colour colour colour colour the yellow brick road!
 prime it rattle can grey
 leopard spot blotches of orange, yellow, brown and grey being very uncareful about placement and blending... if it mixes all the better really!
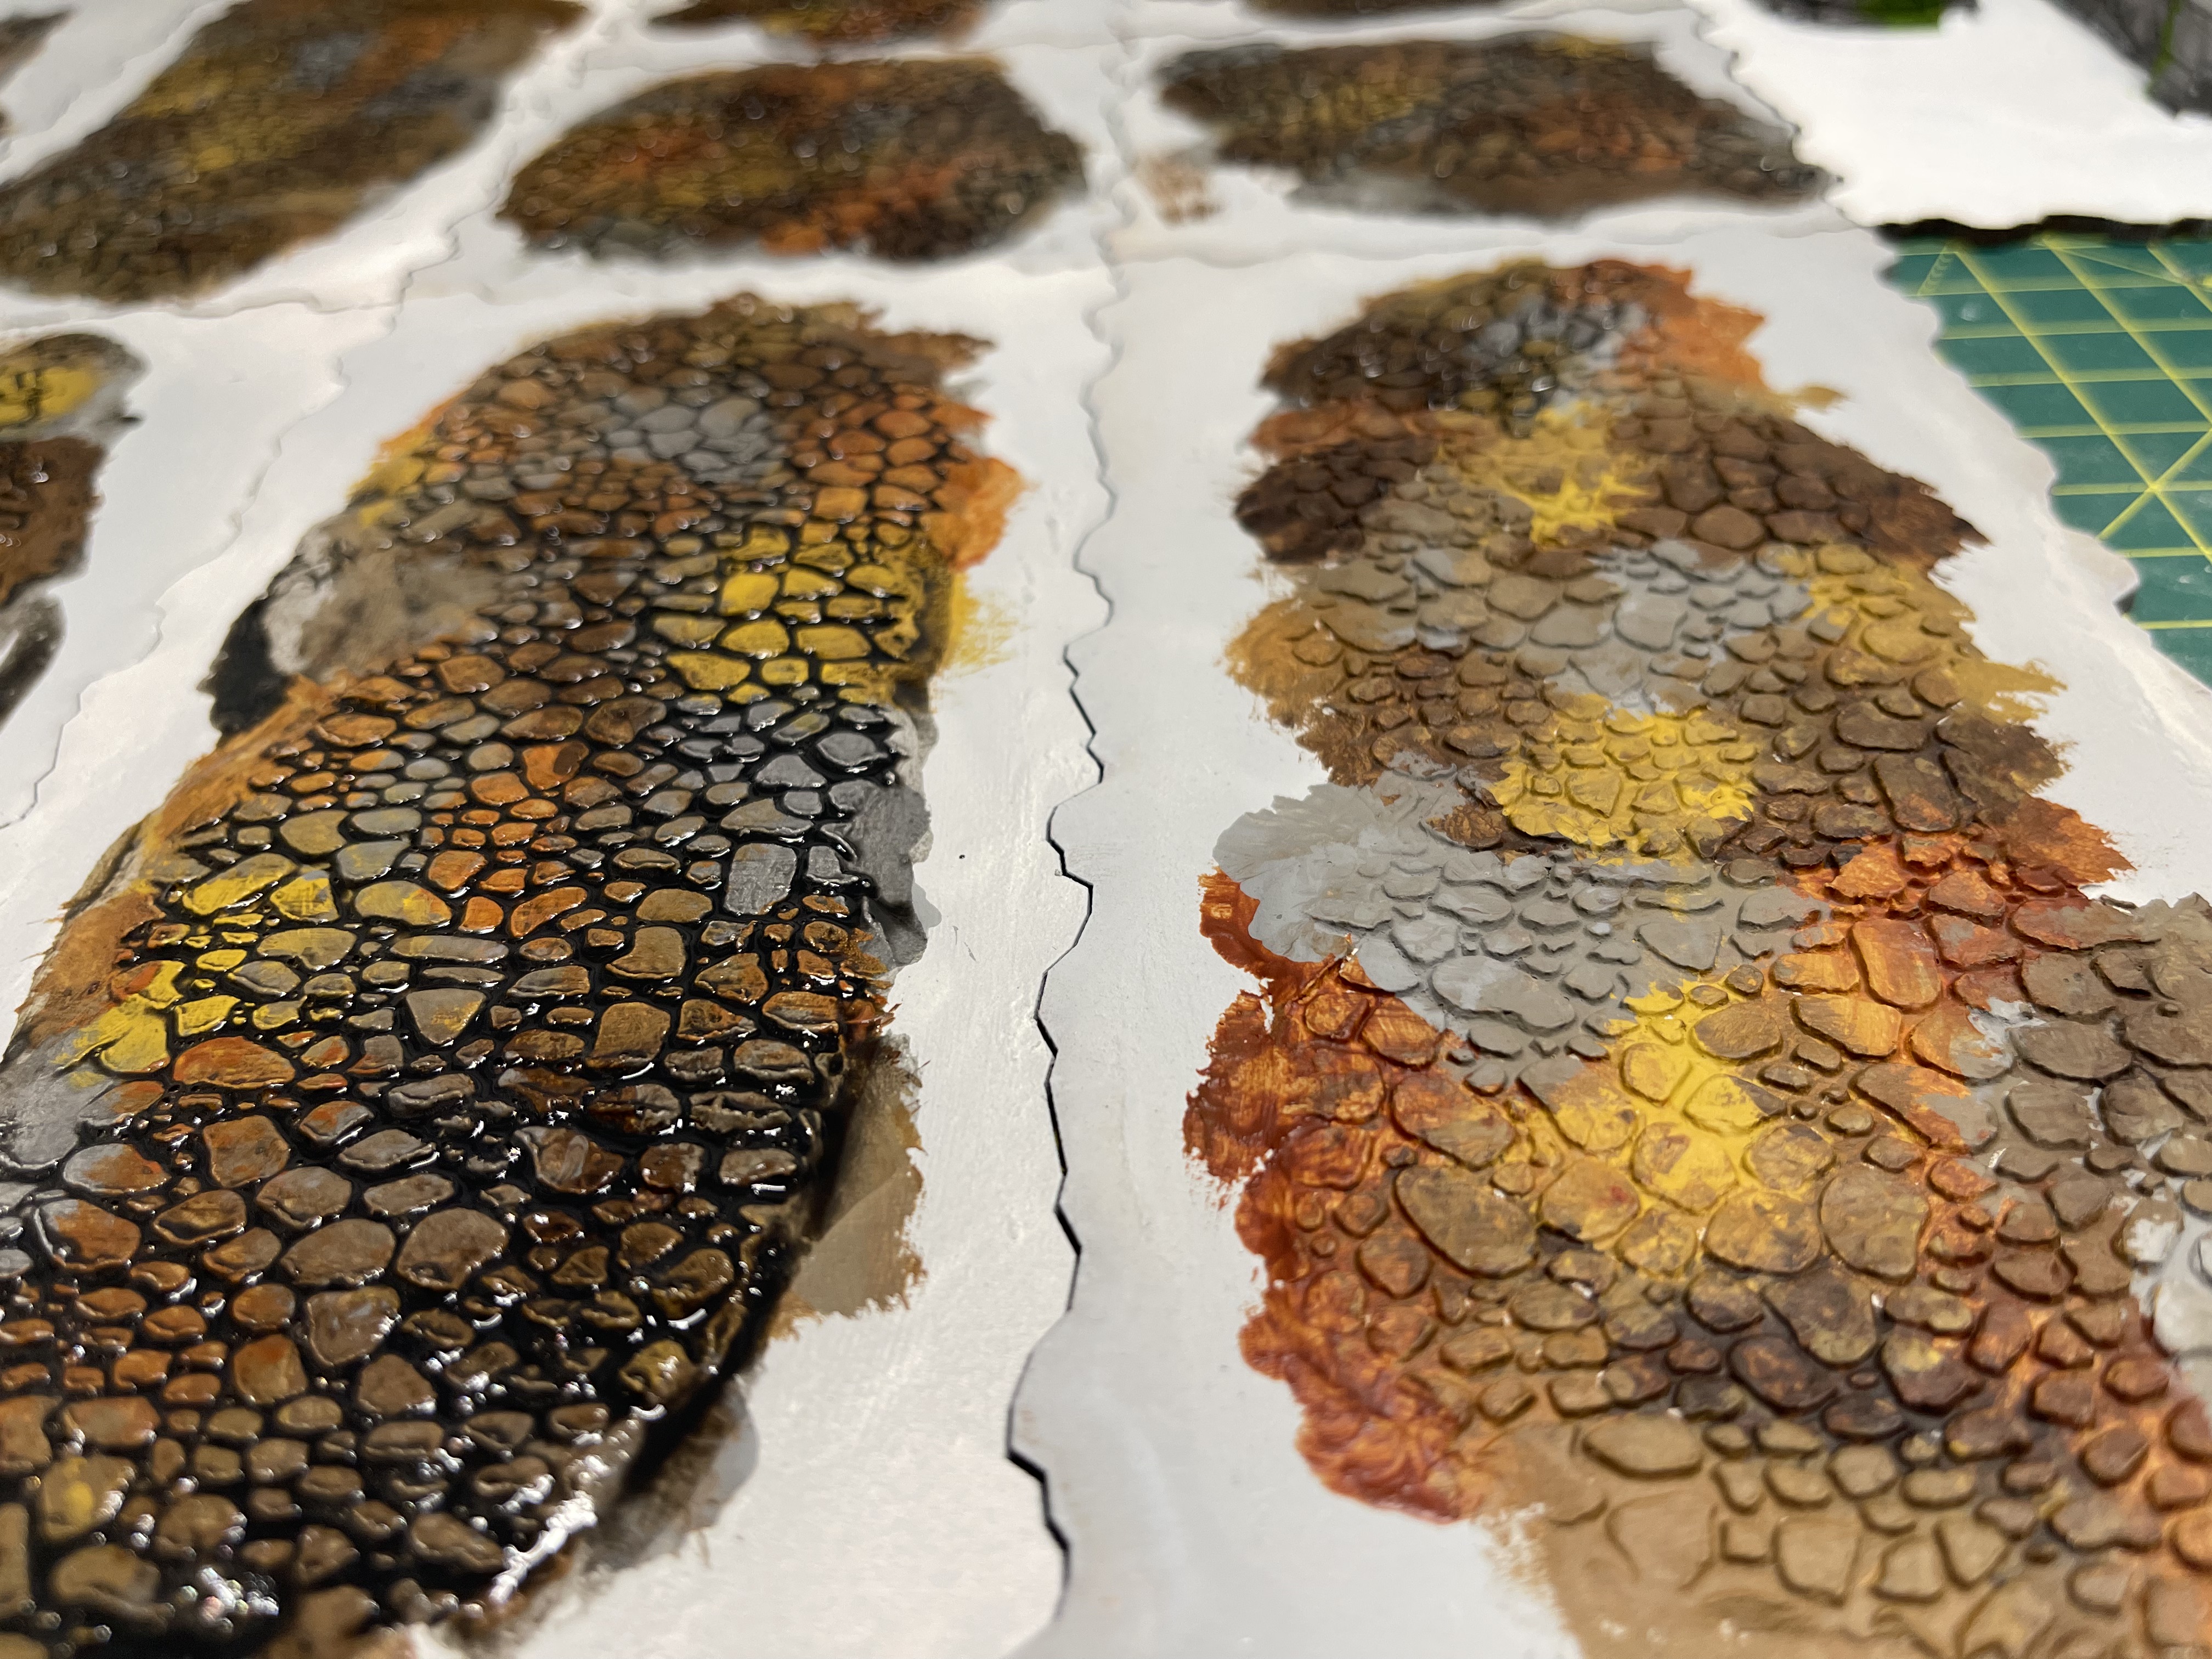 give it a good going over with home made black paint wash
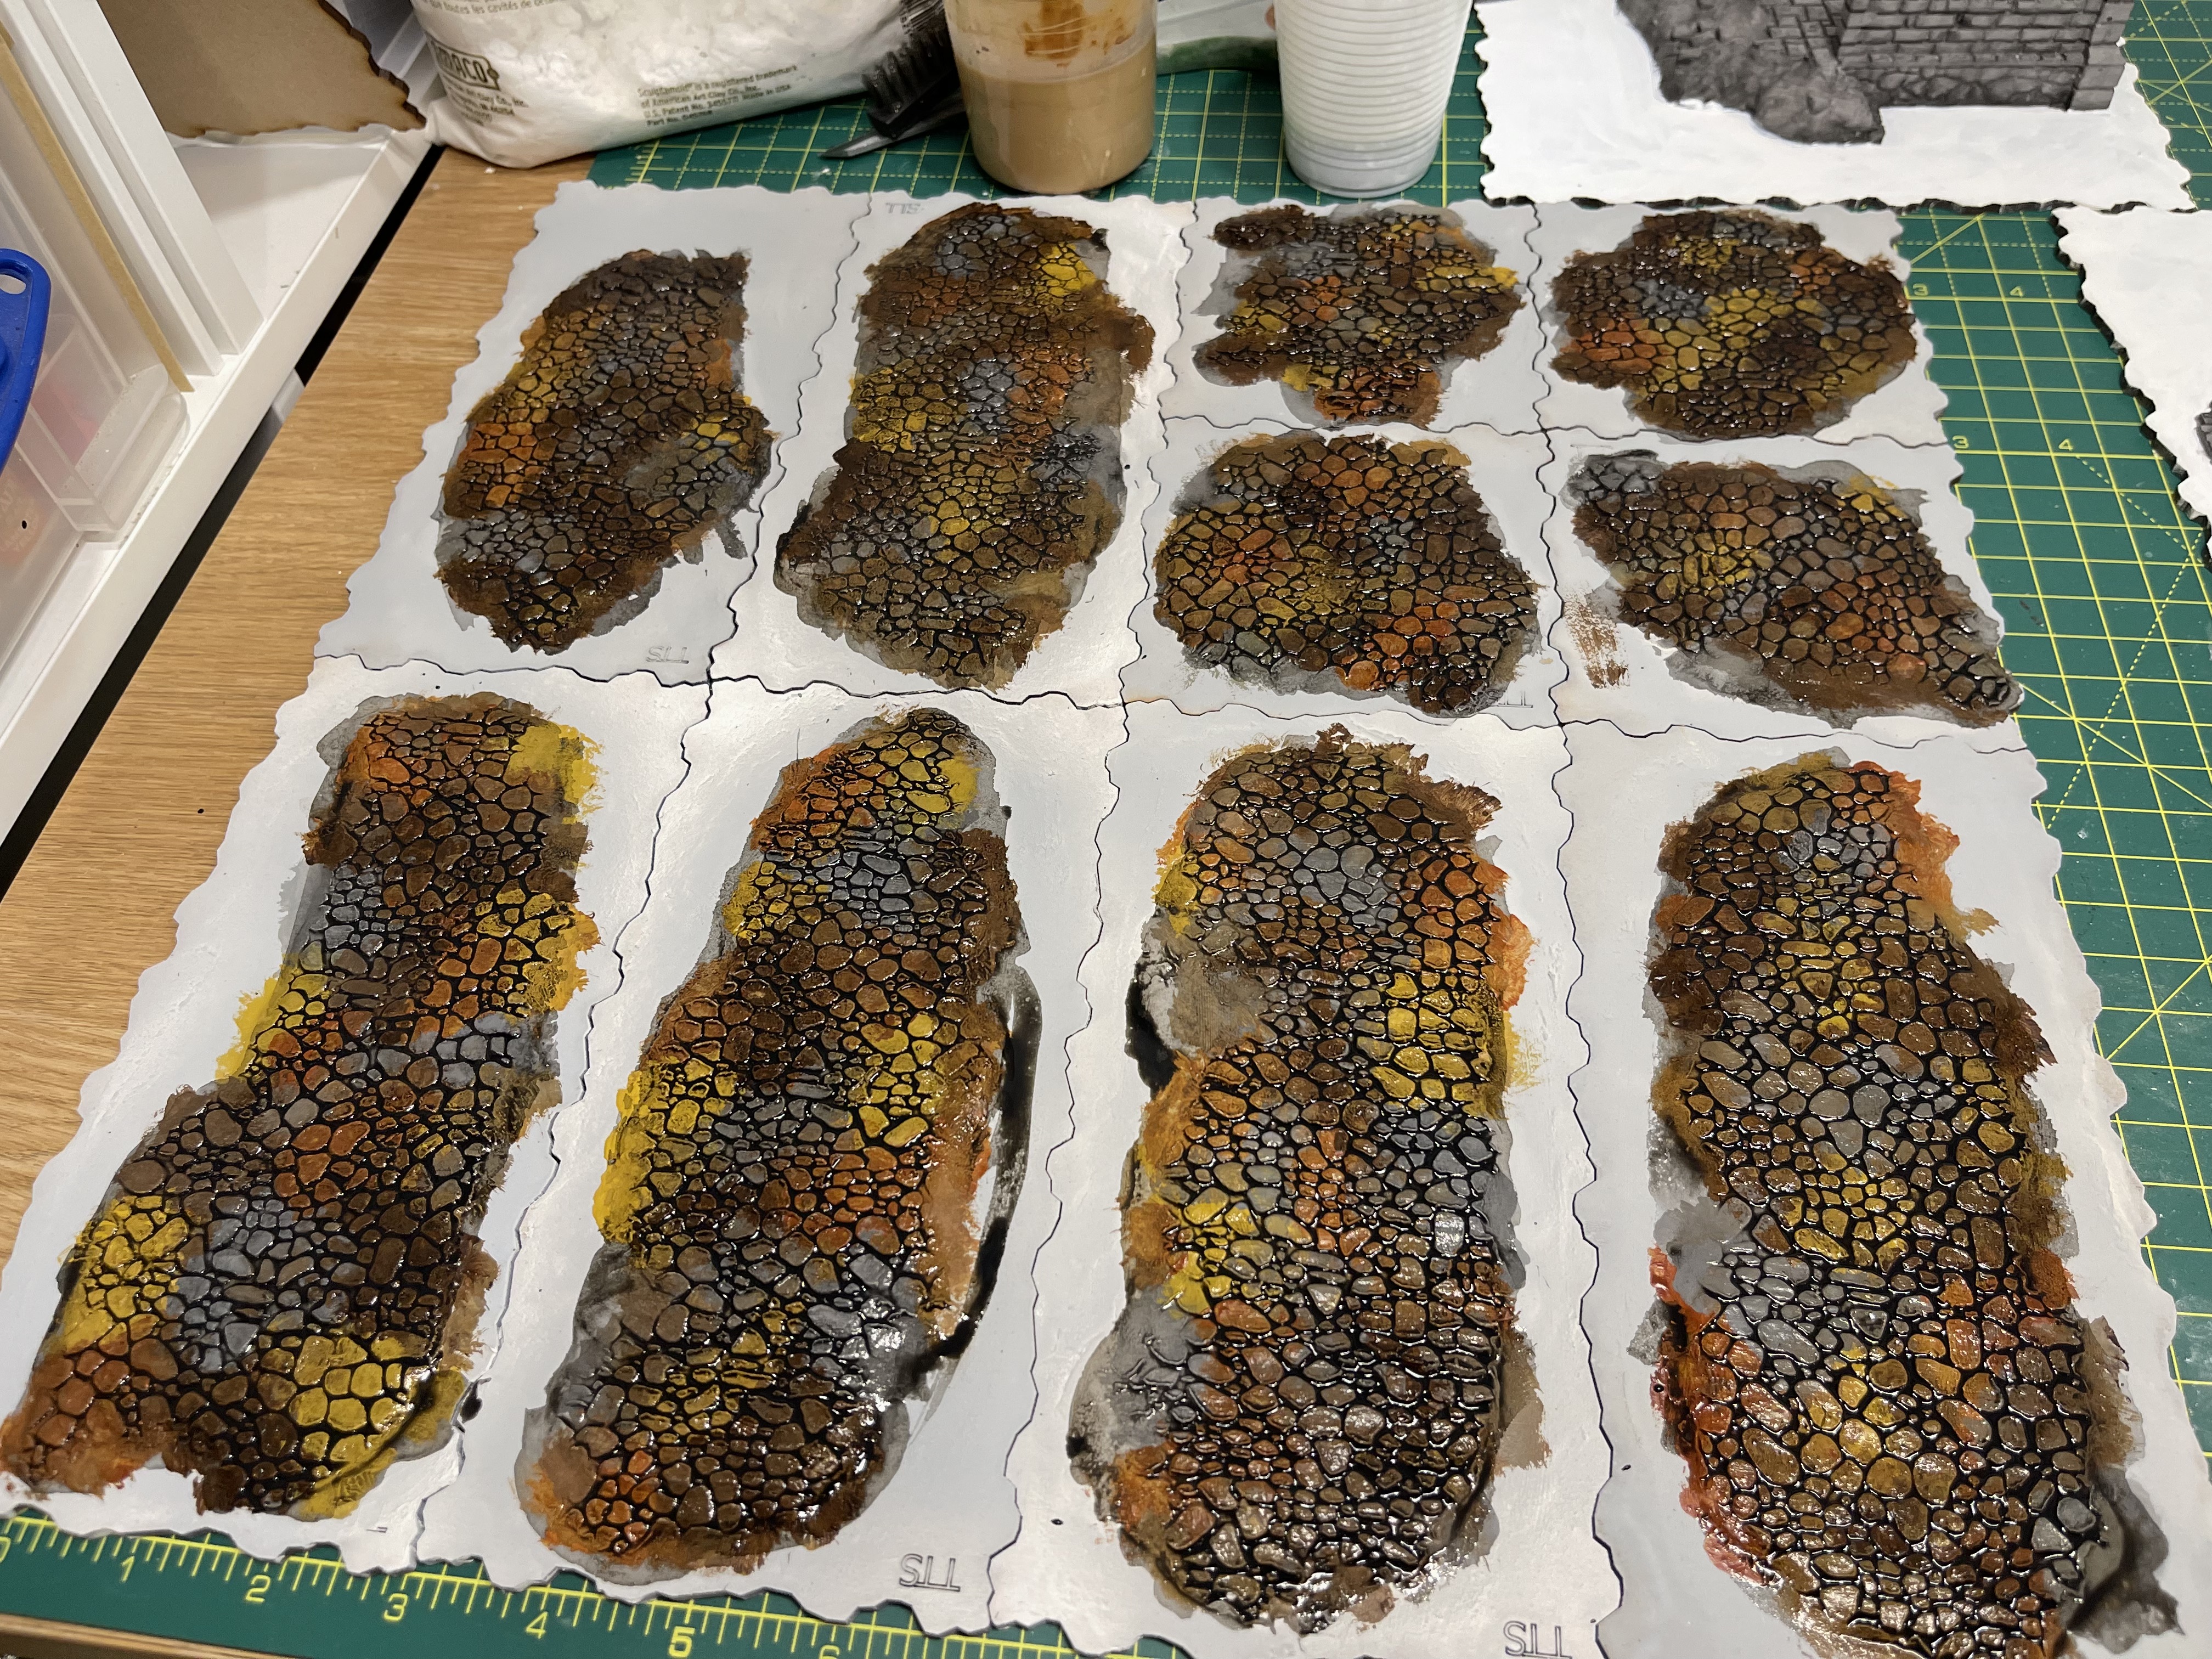 leave to dry following previous method! all was well when I went to bed and turned off the fan
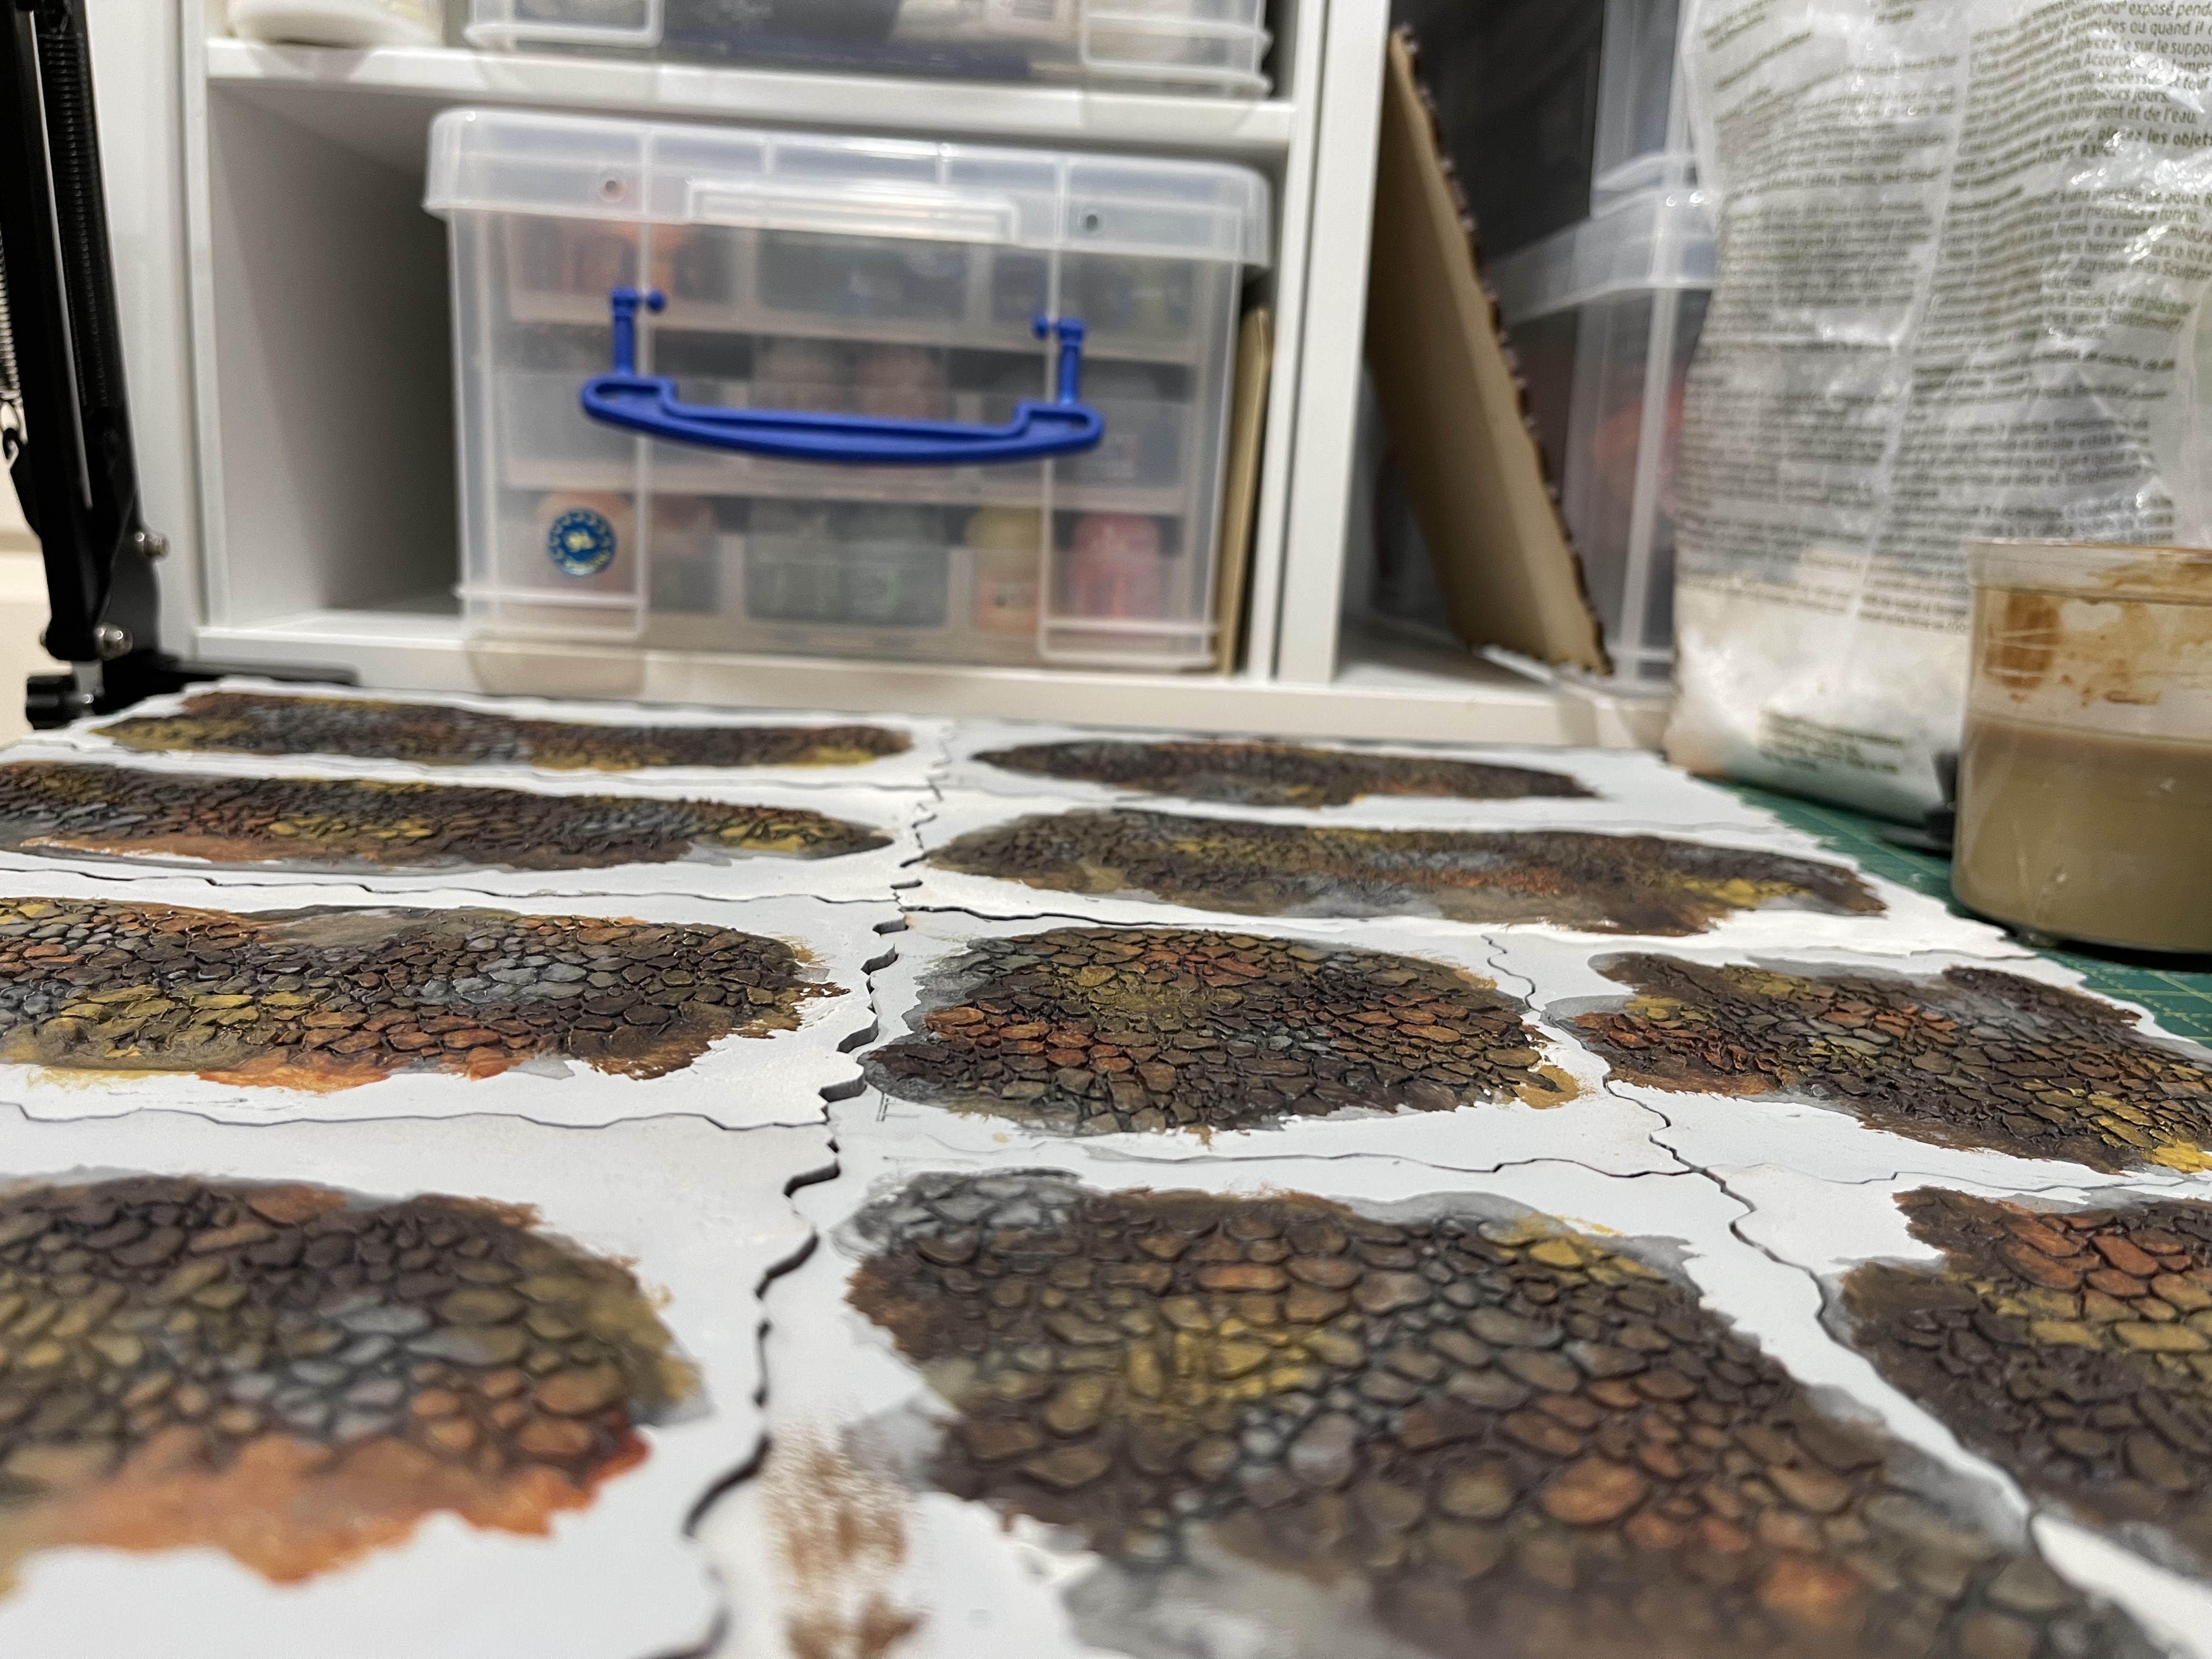 return home from work the following day to check on it.... balls! they warped whilst I wasn't watching!
the great drying experiment
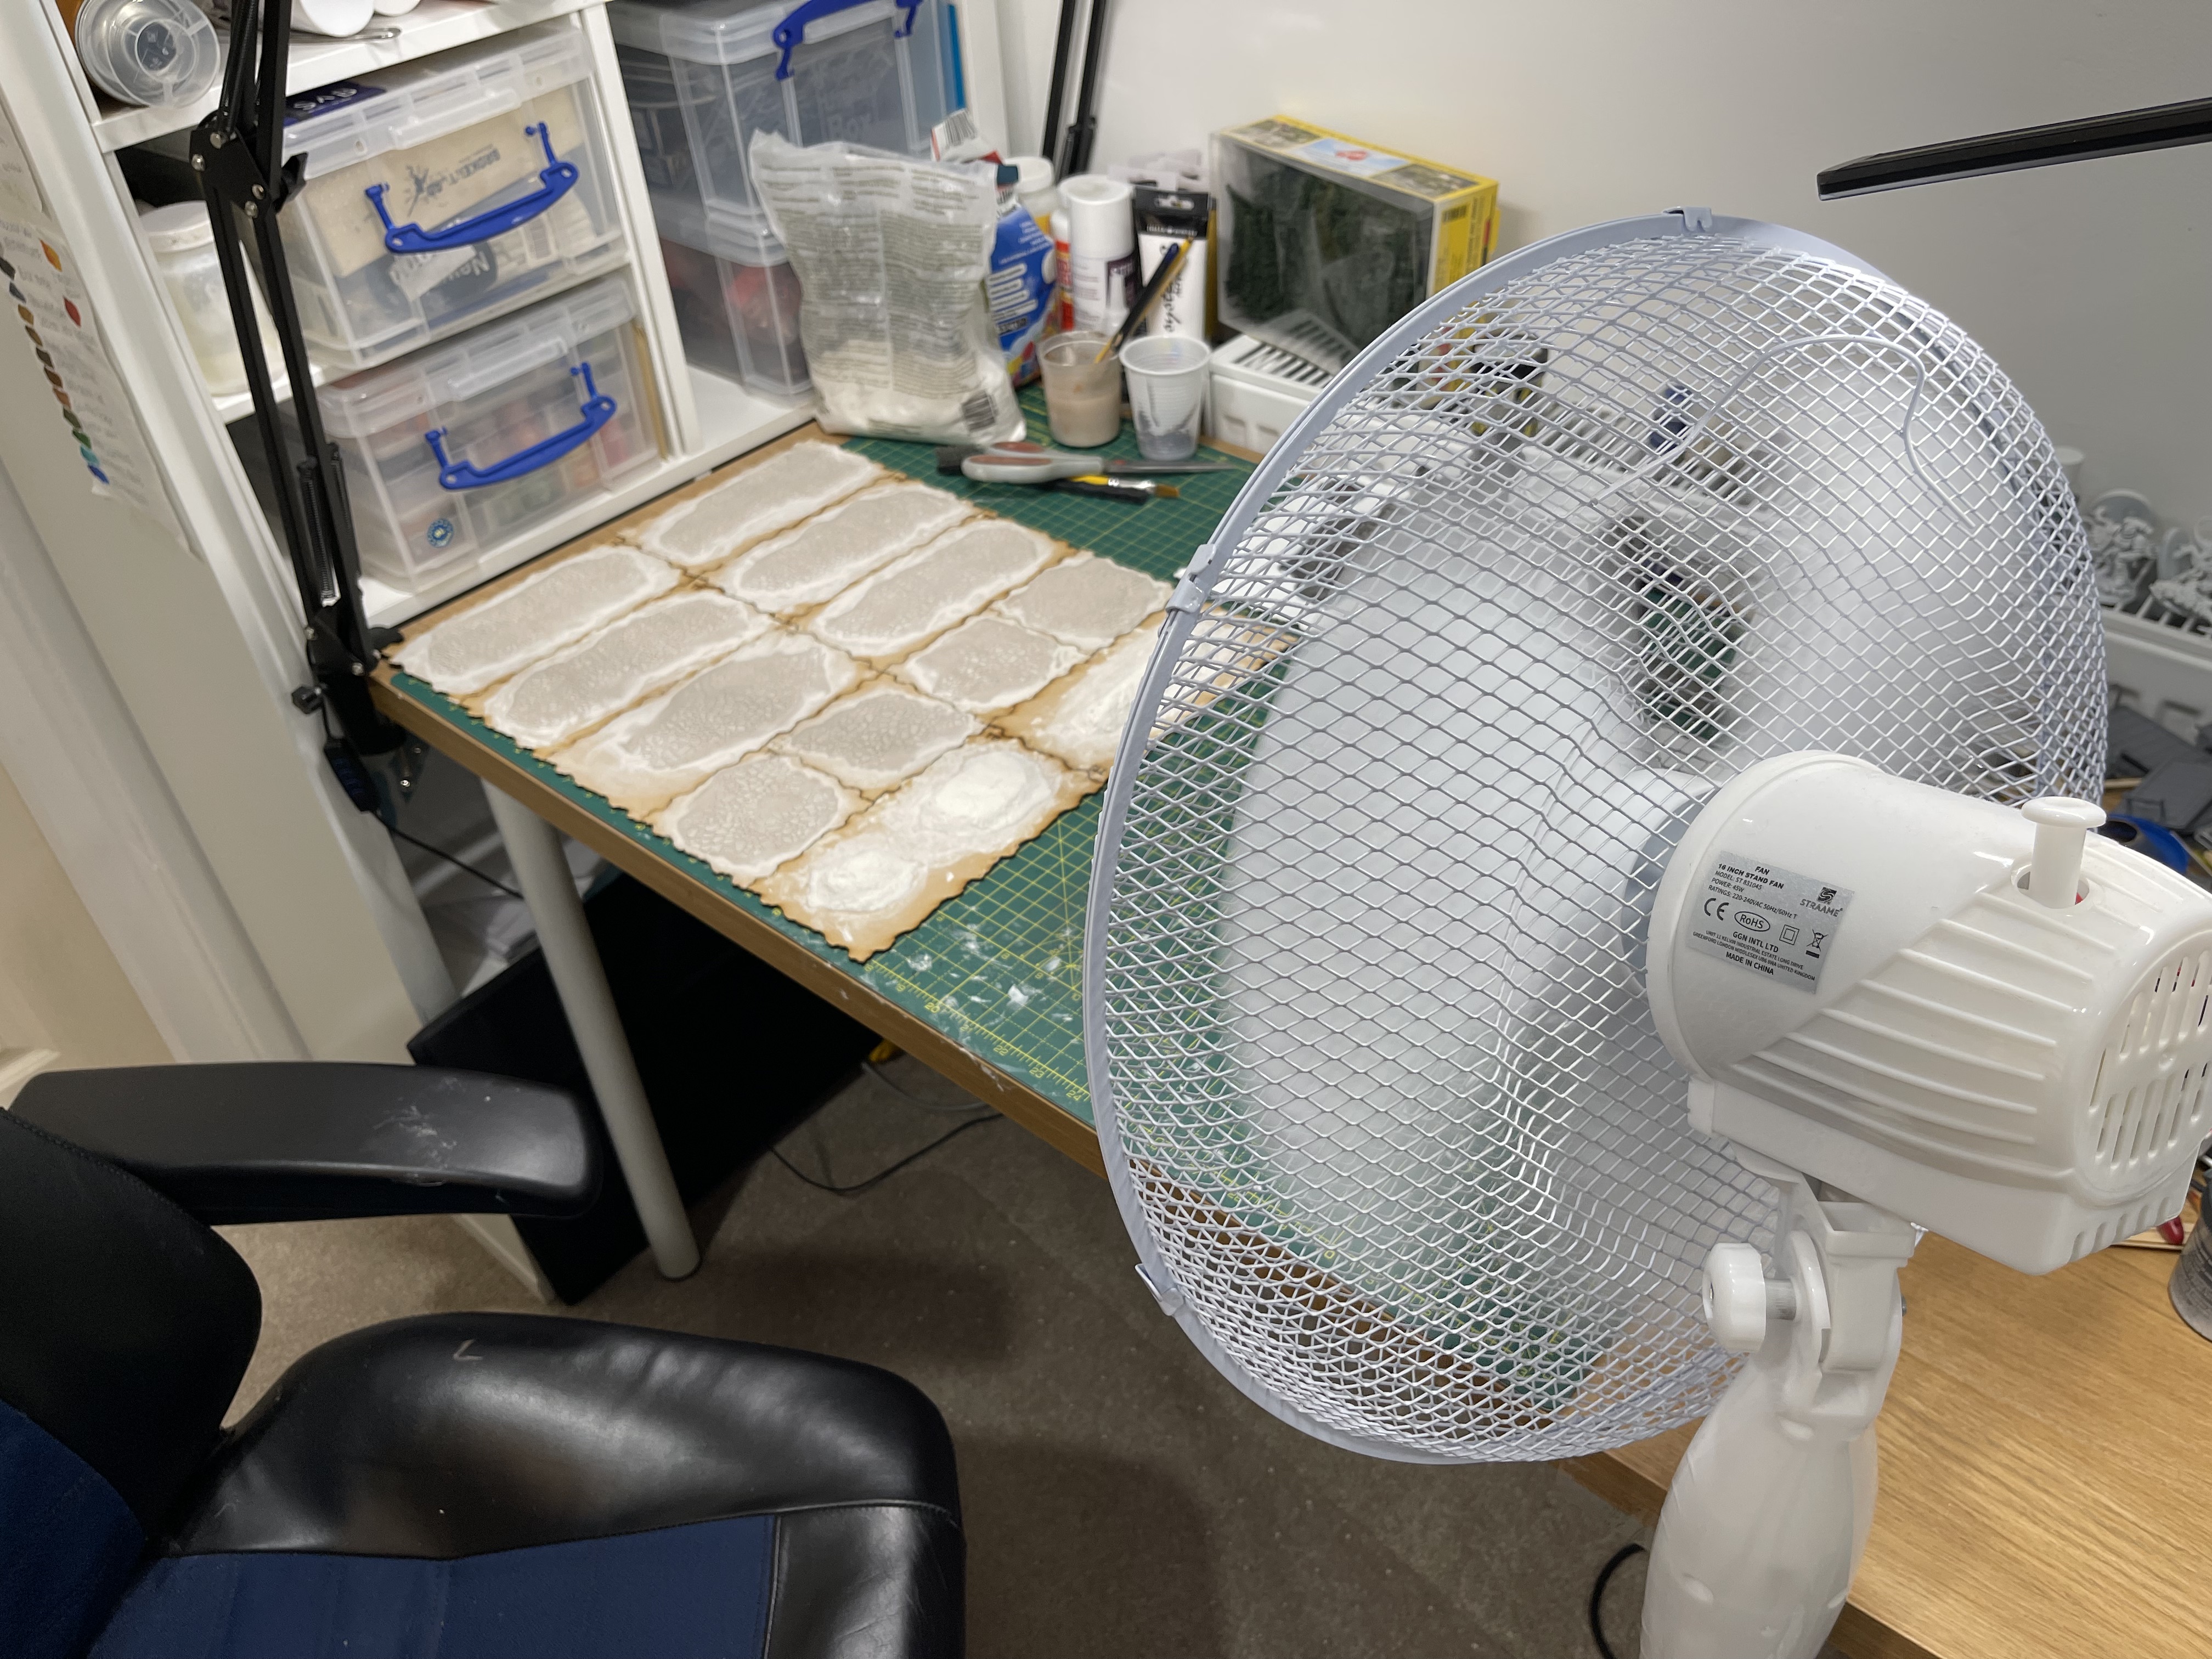 how it starts, with my biggest super mega fan
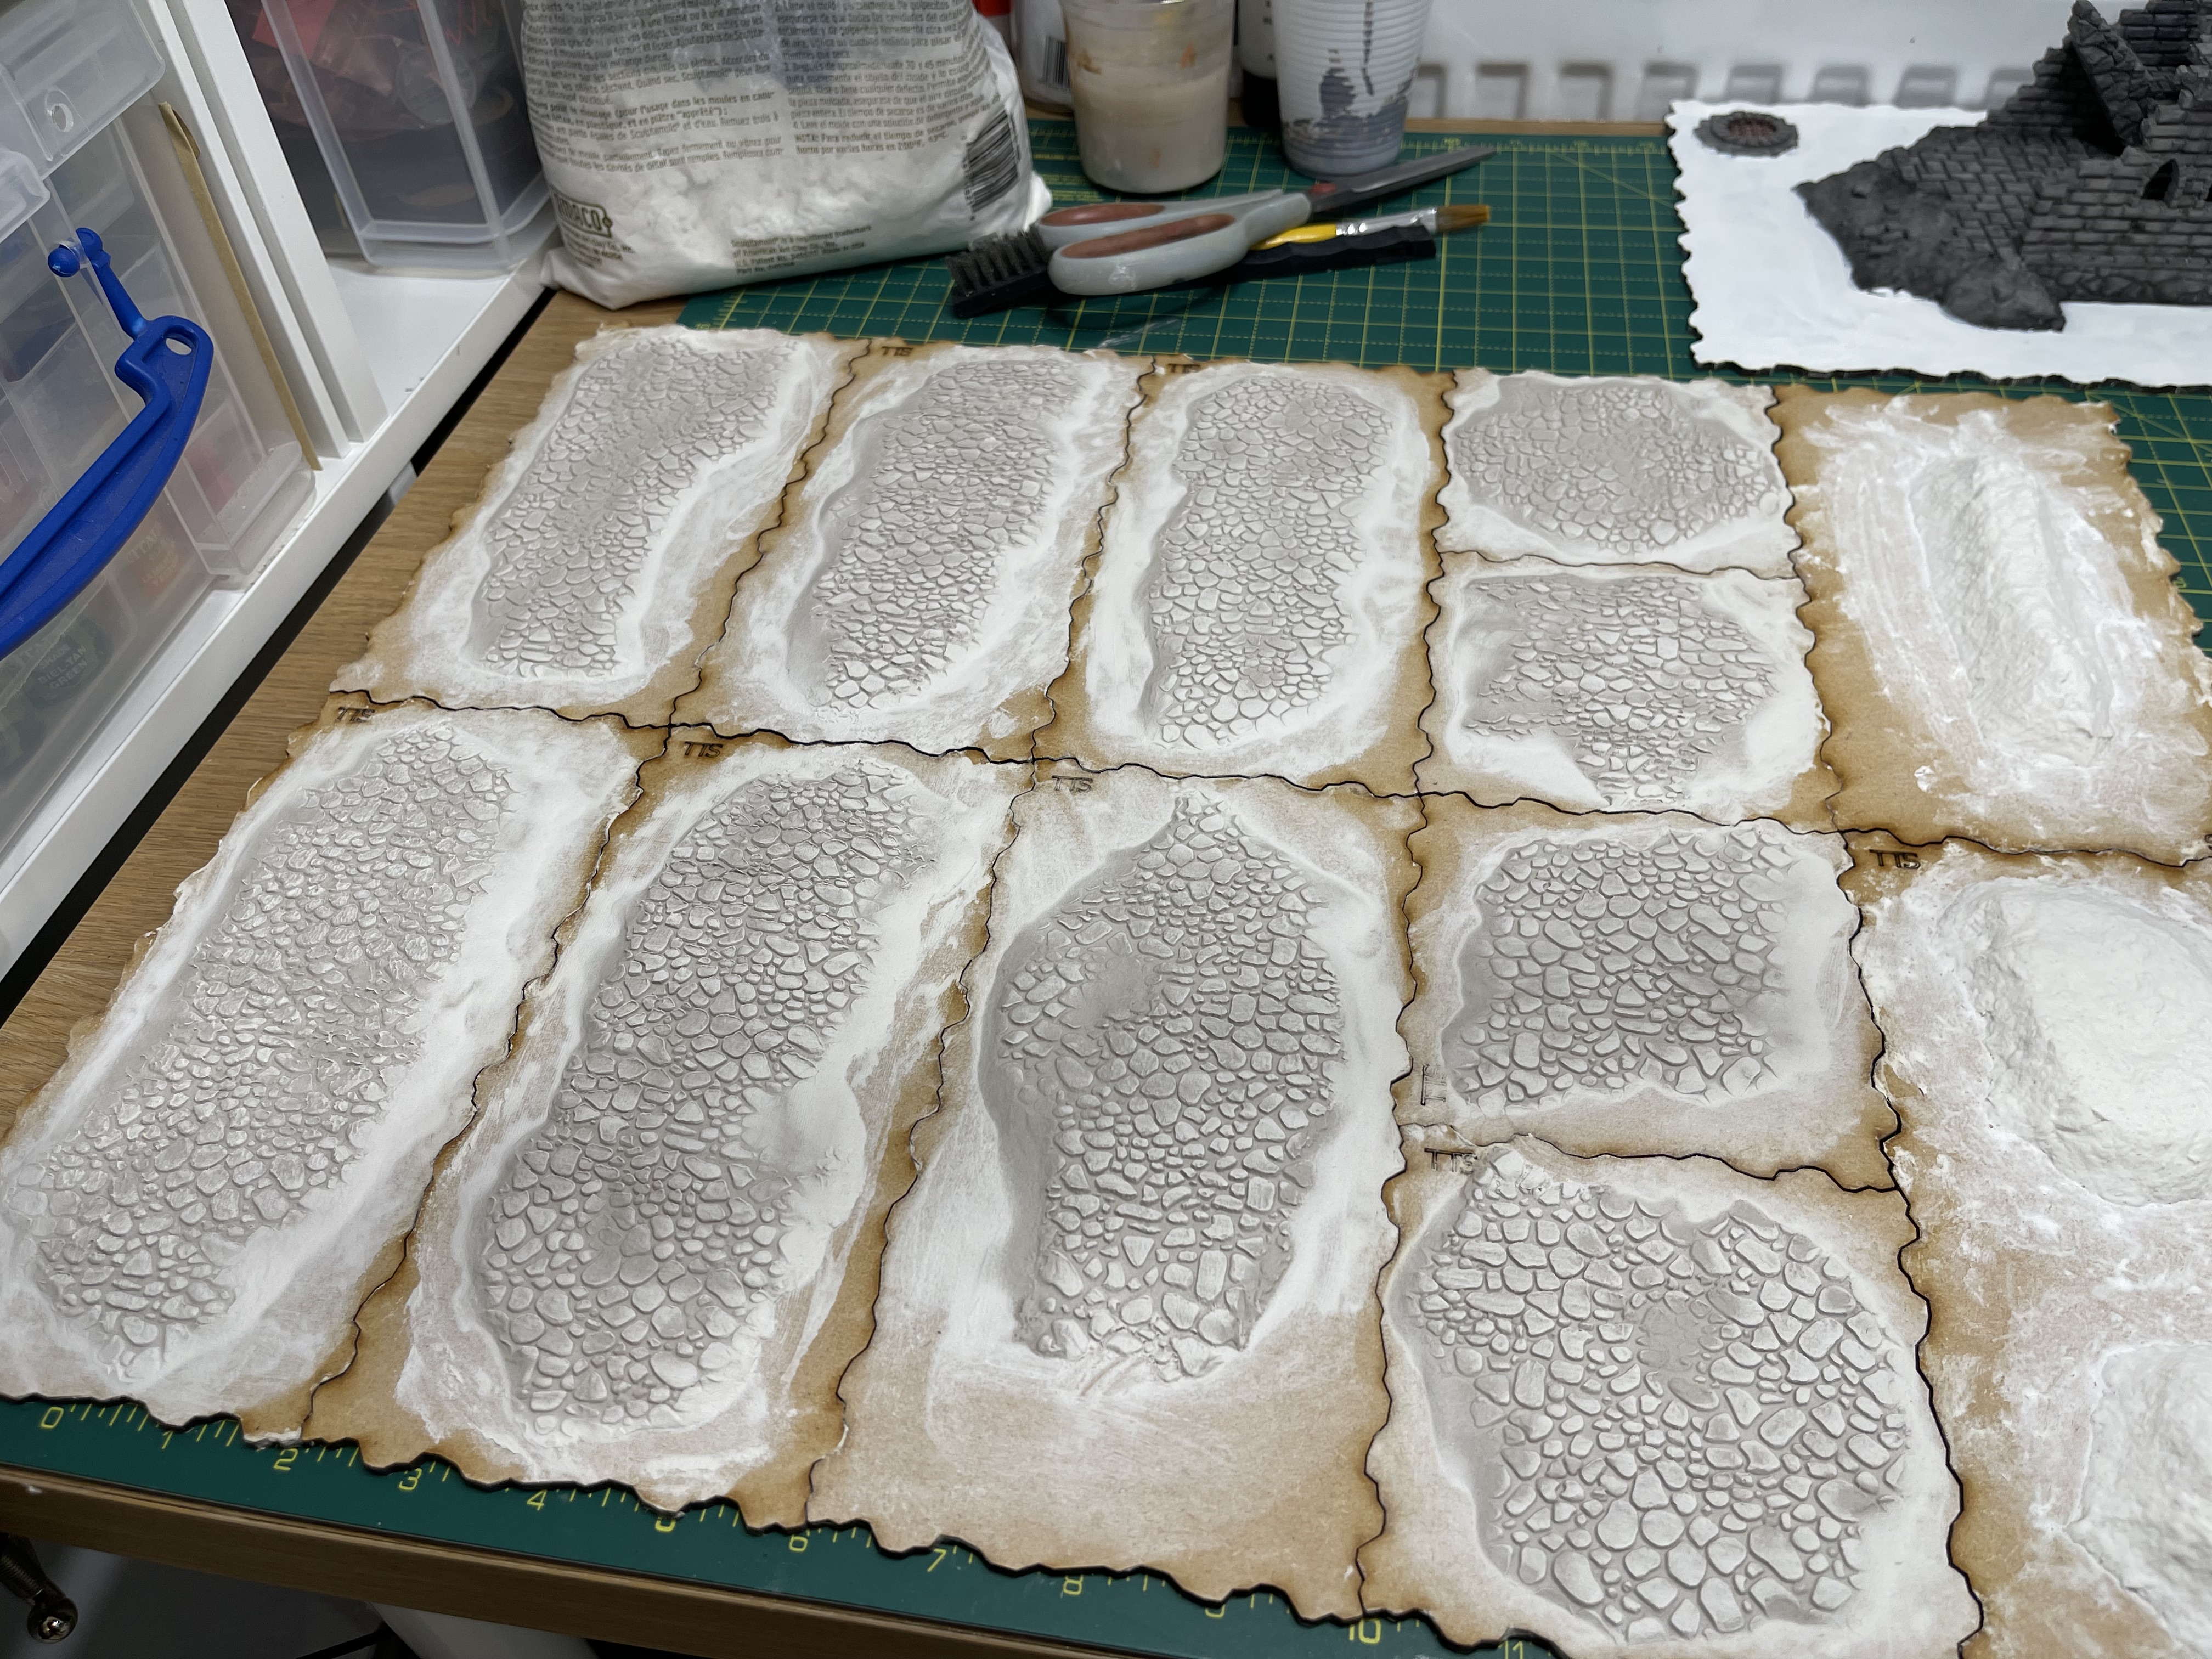 5 minutes of drying time
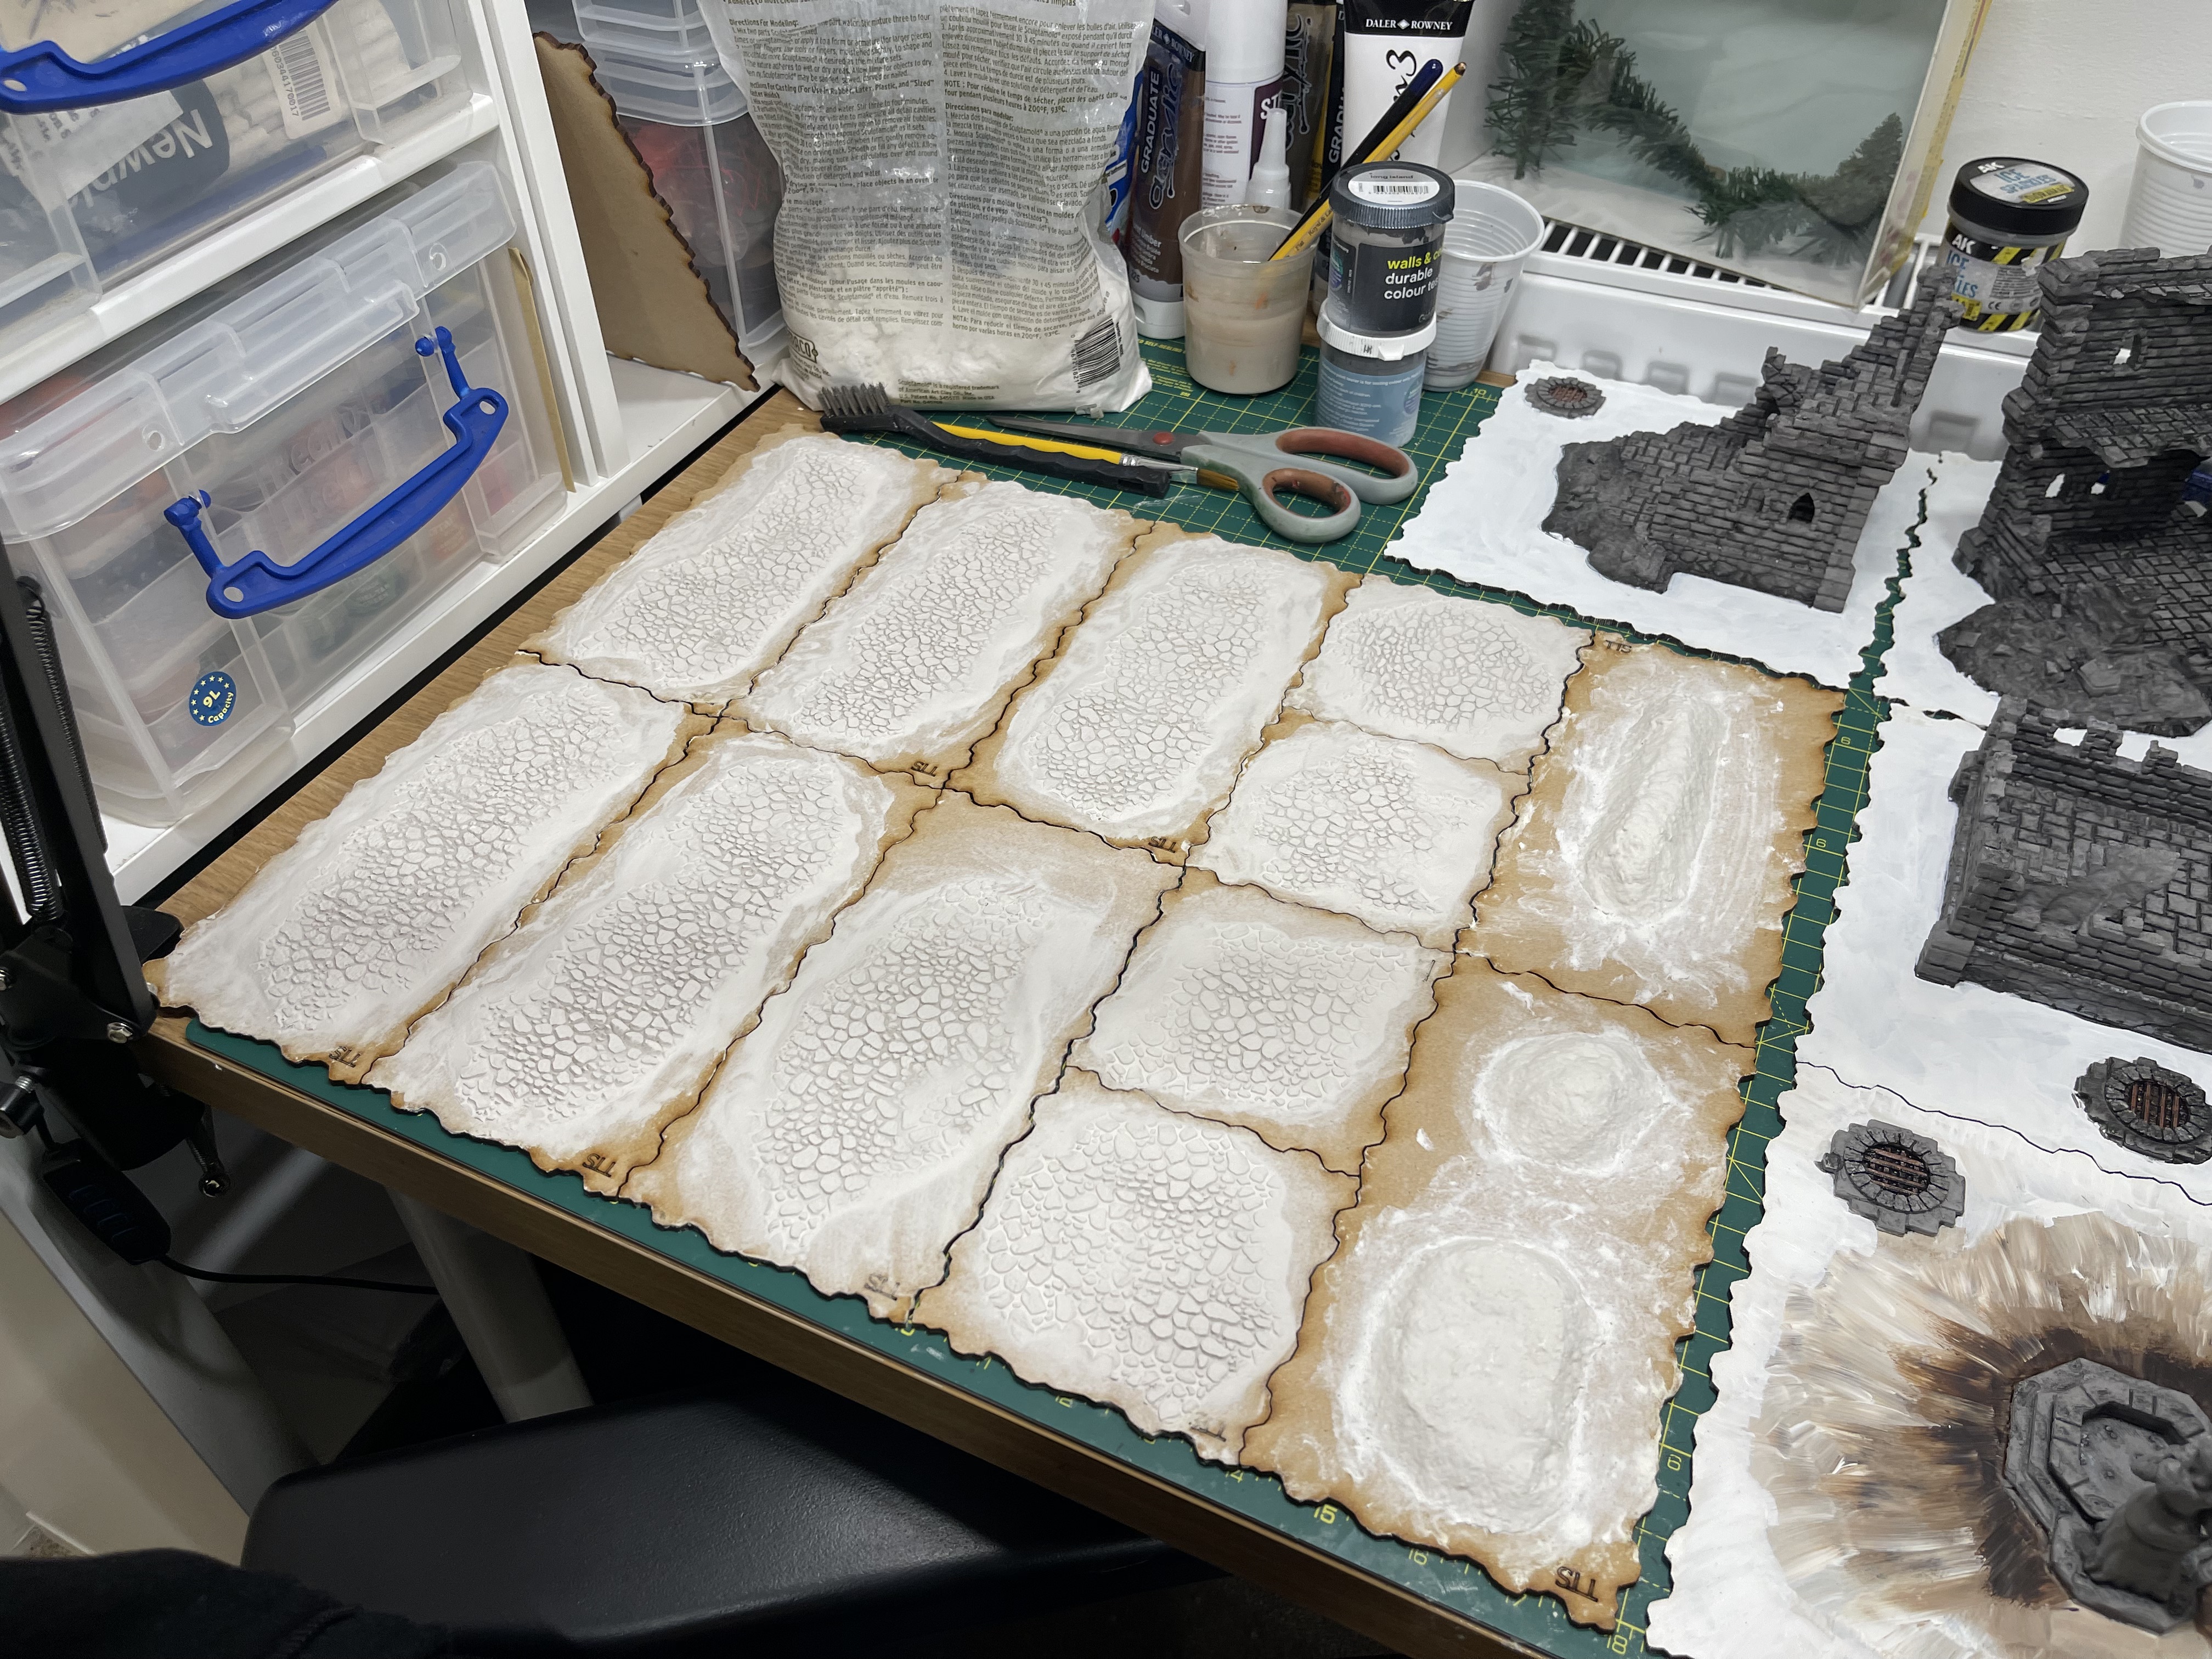 15 minutes of drying time
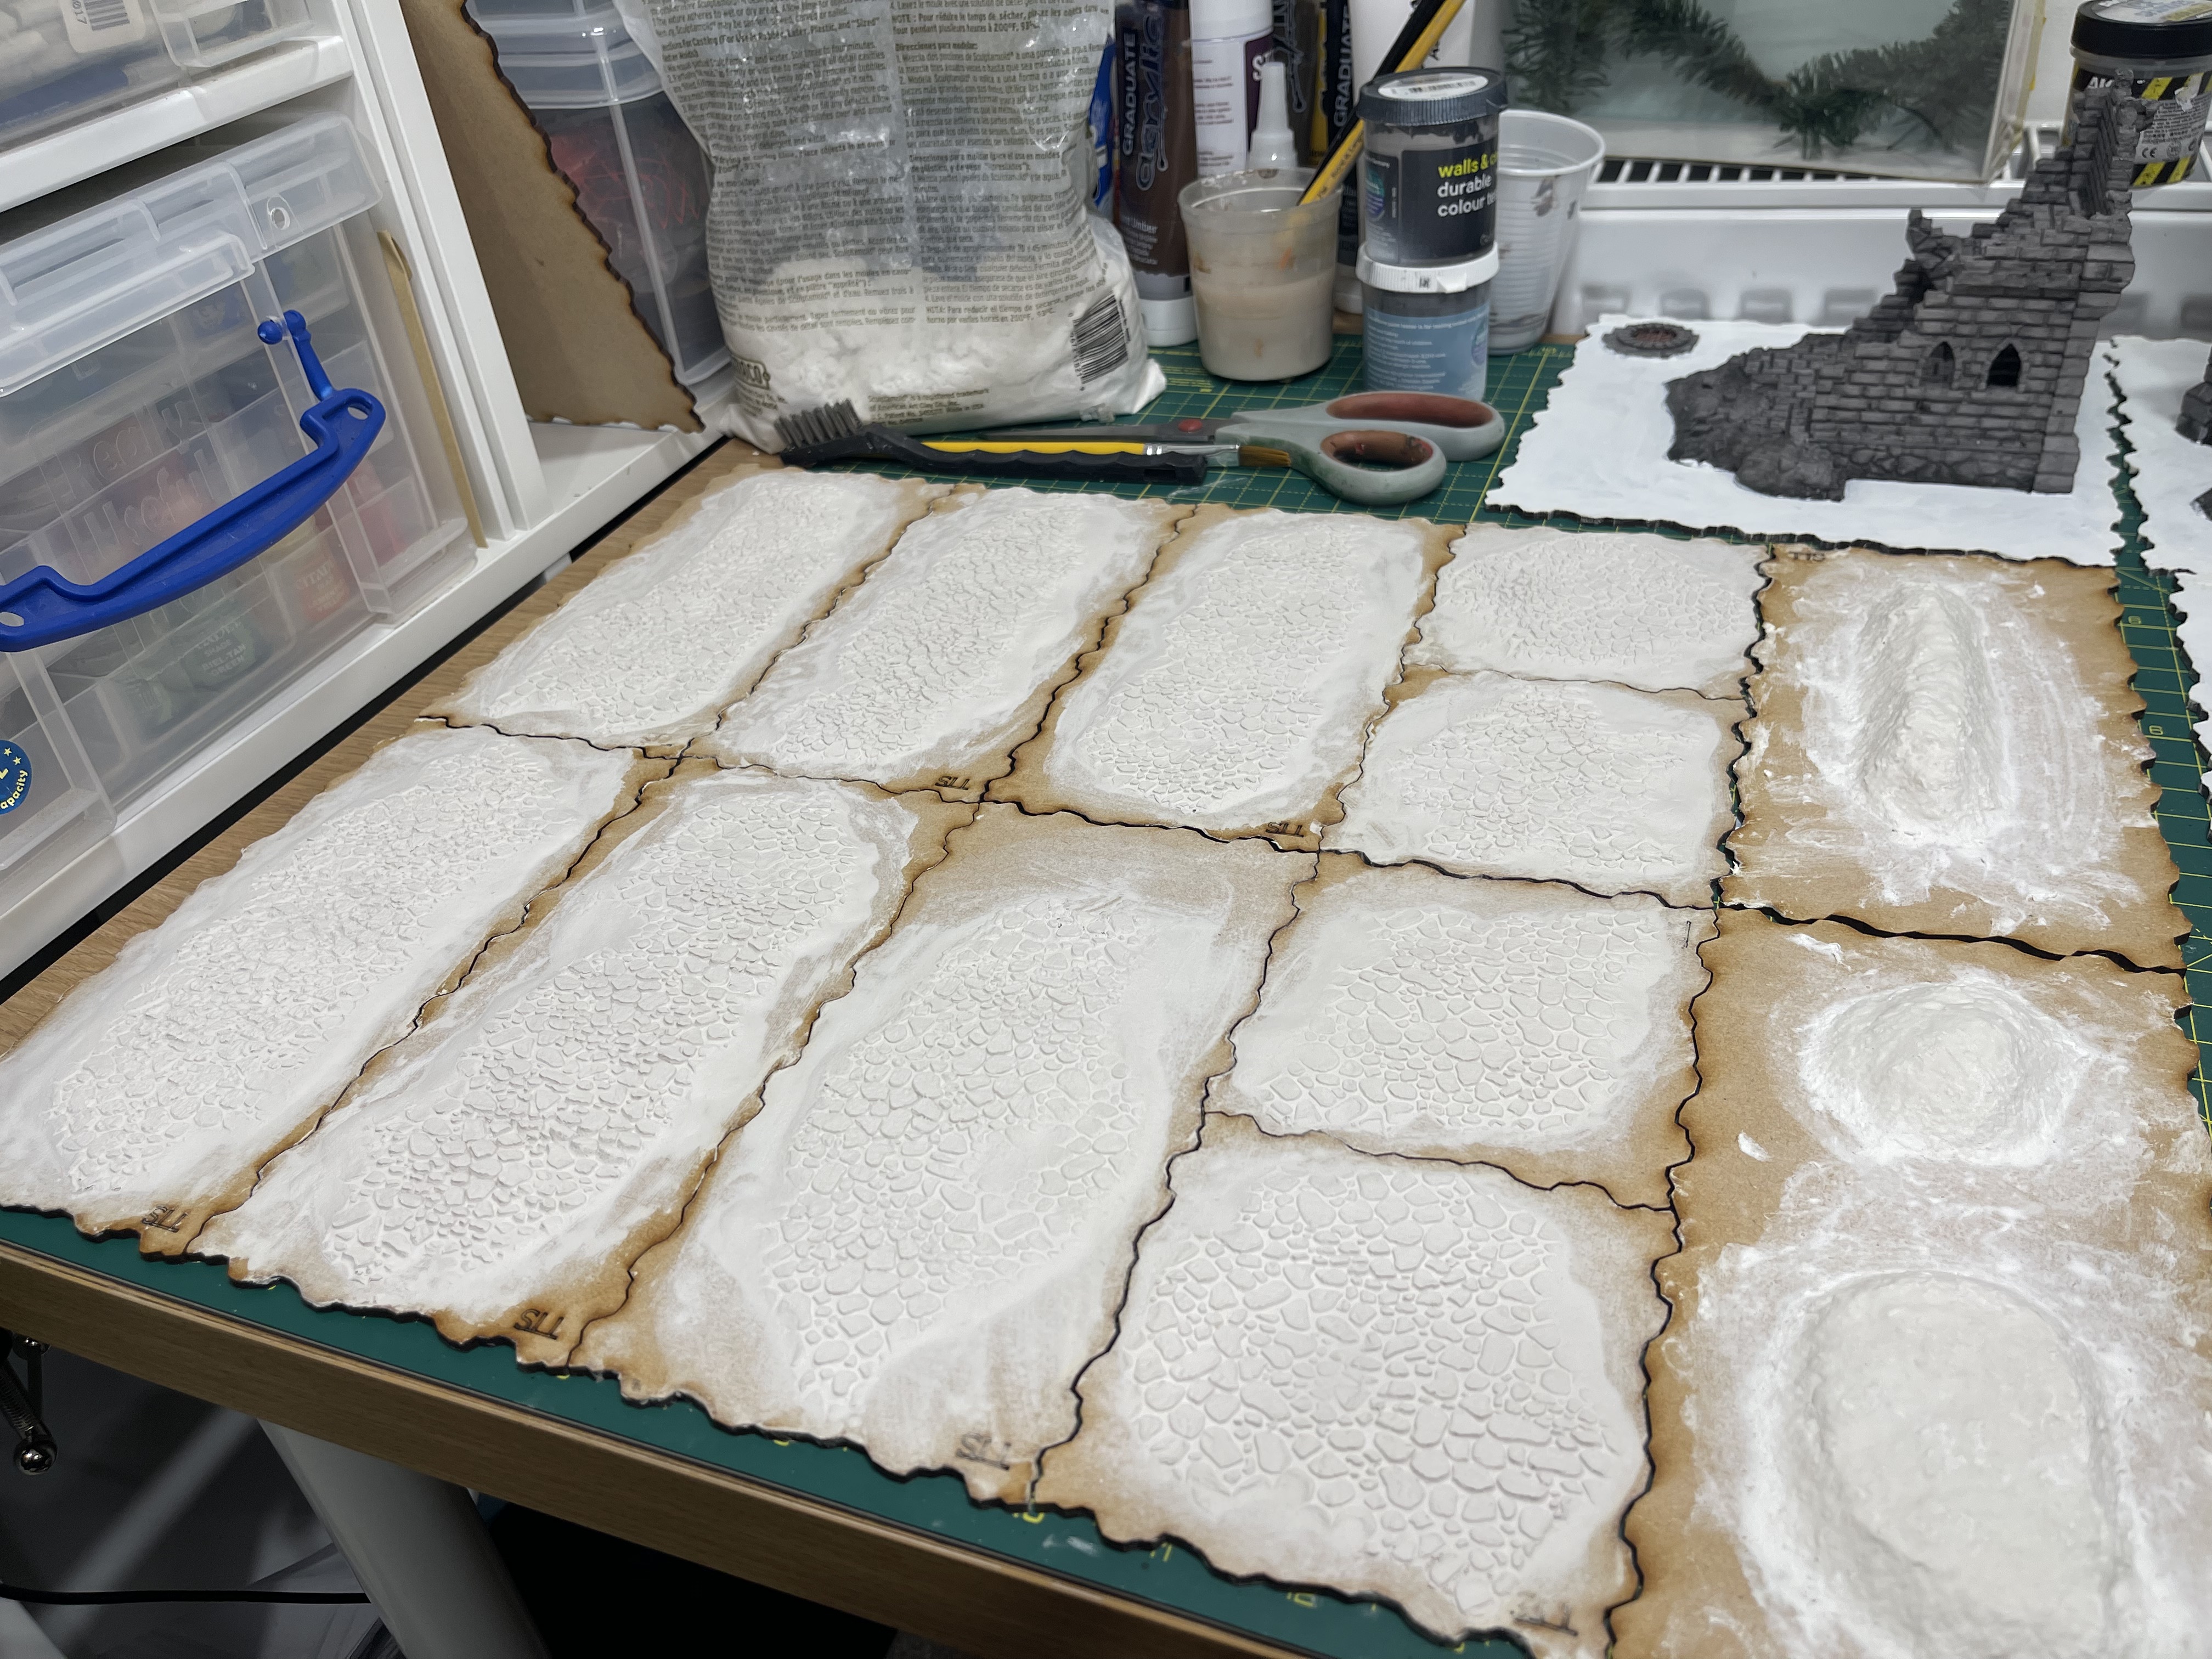 45 minutes of drying time... seemingly all done!
This was clearly an extremely scientific test with all the rigours and double blind exercises that go with it. as such I can declare it a success and not at all semi confirmed guesswork.
all in all, the constant move of cold air helped ‘air’ out the moisture from the clay rather than bake it and did it very quickly. It also didn’t warp the boards at all as noted below which was a concern I had.
Basically 8.93/10 would repeat
 proof in the cobblestone pudding